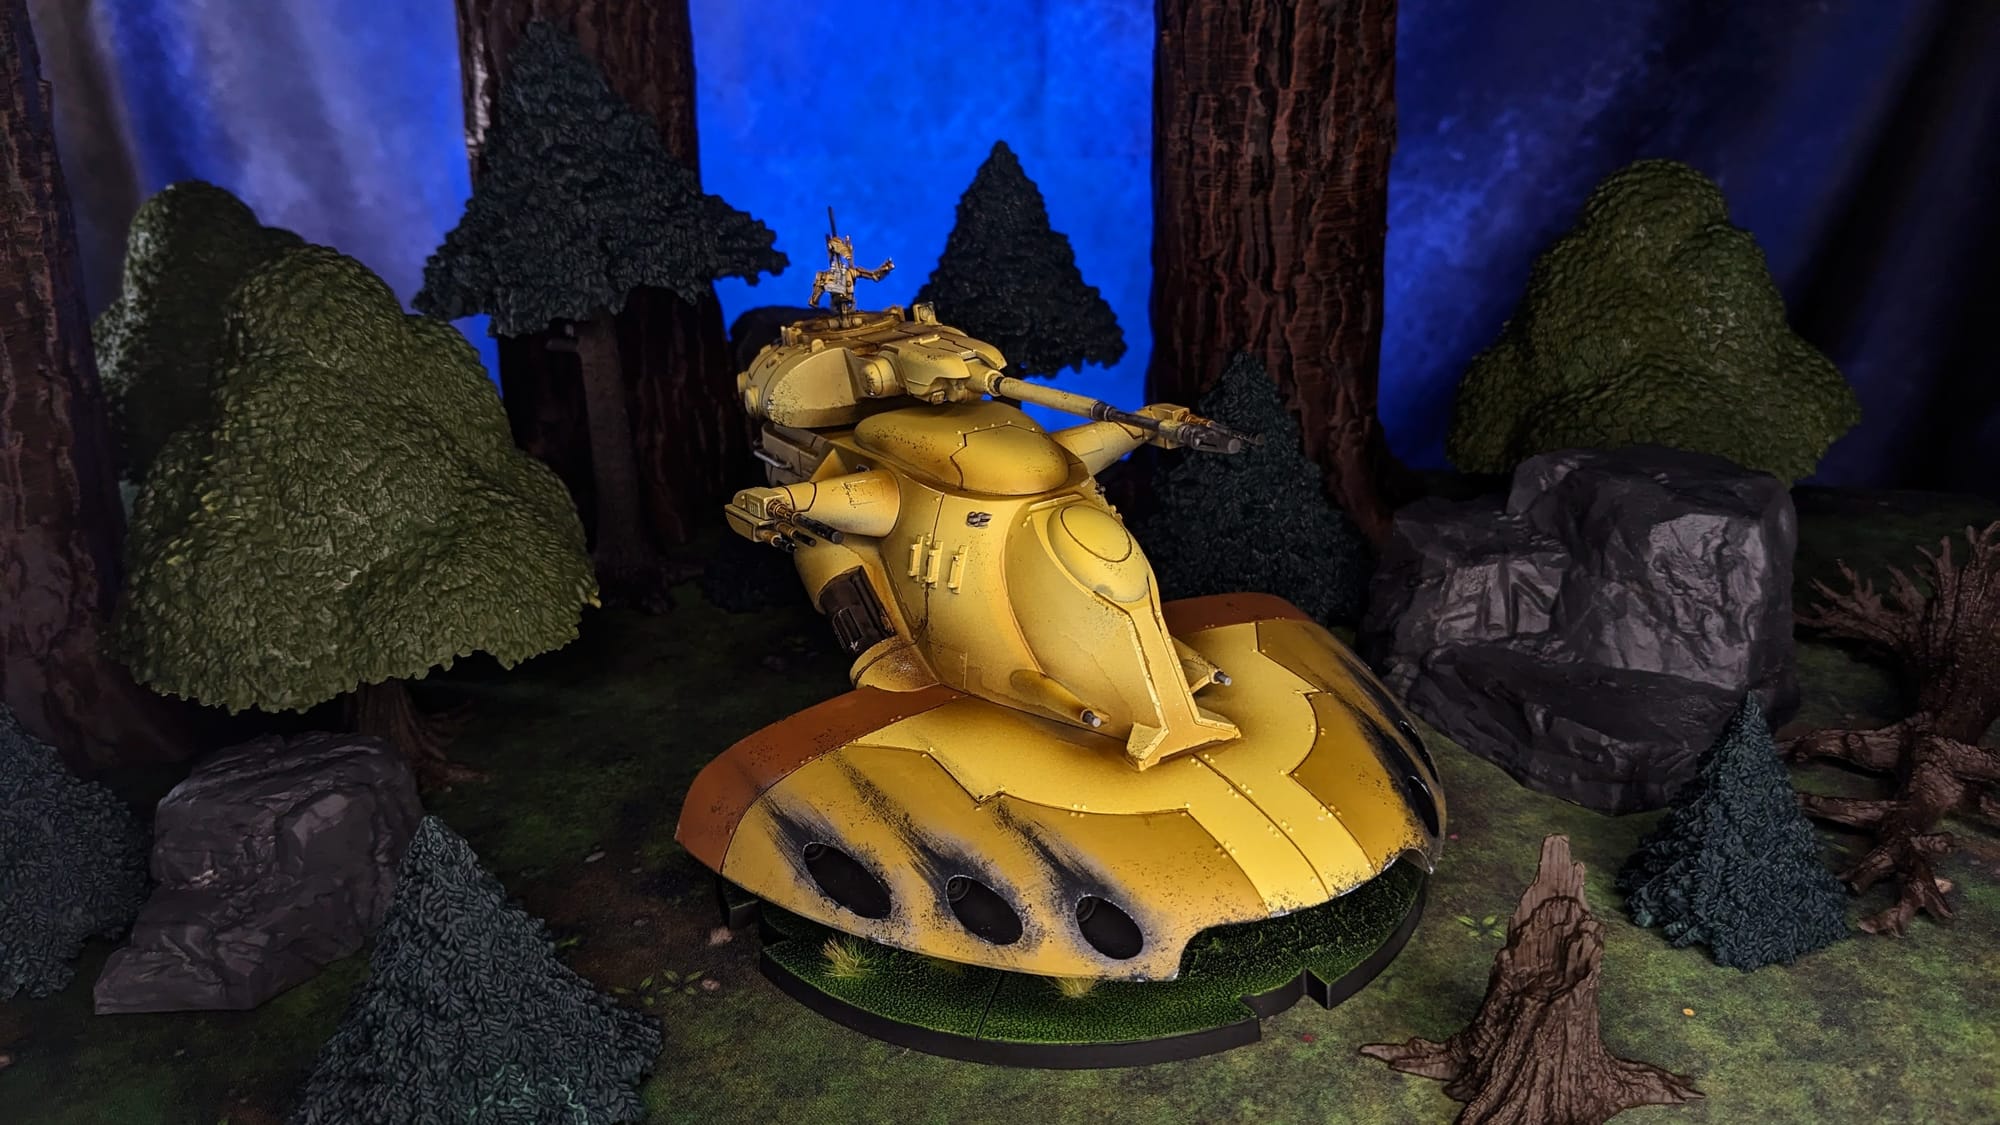
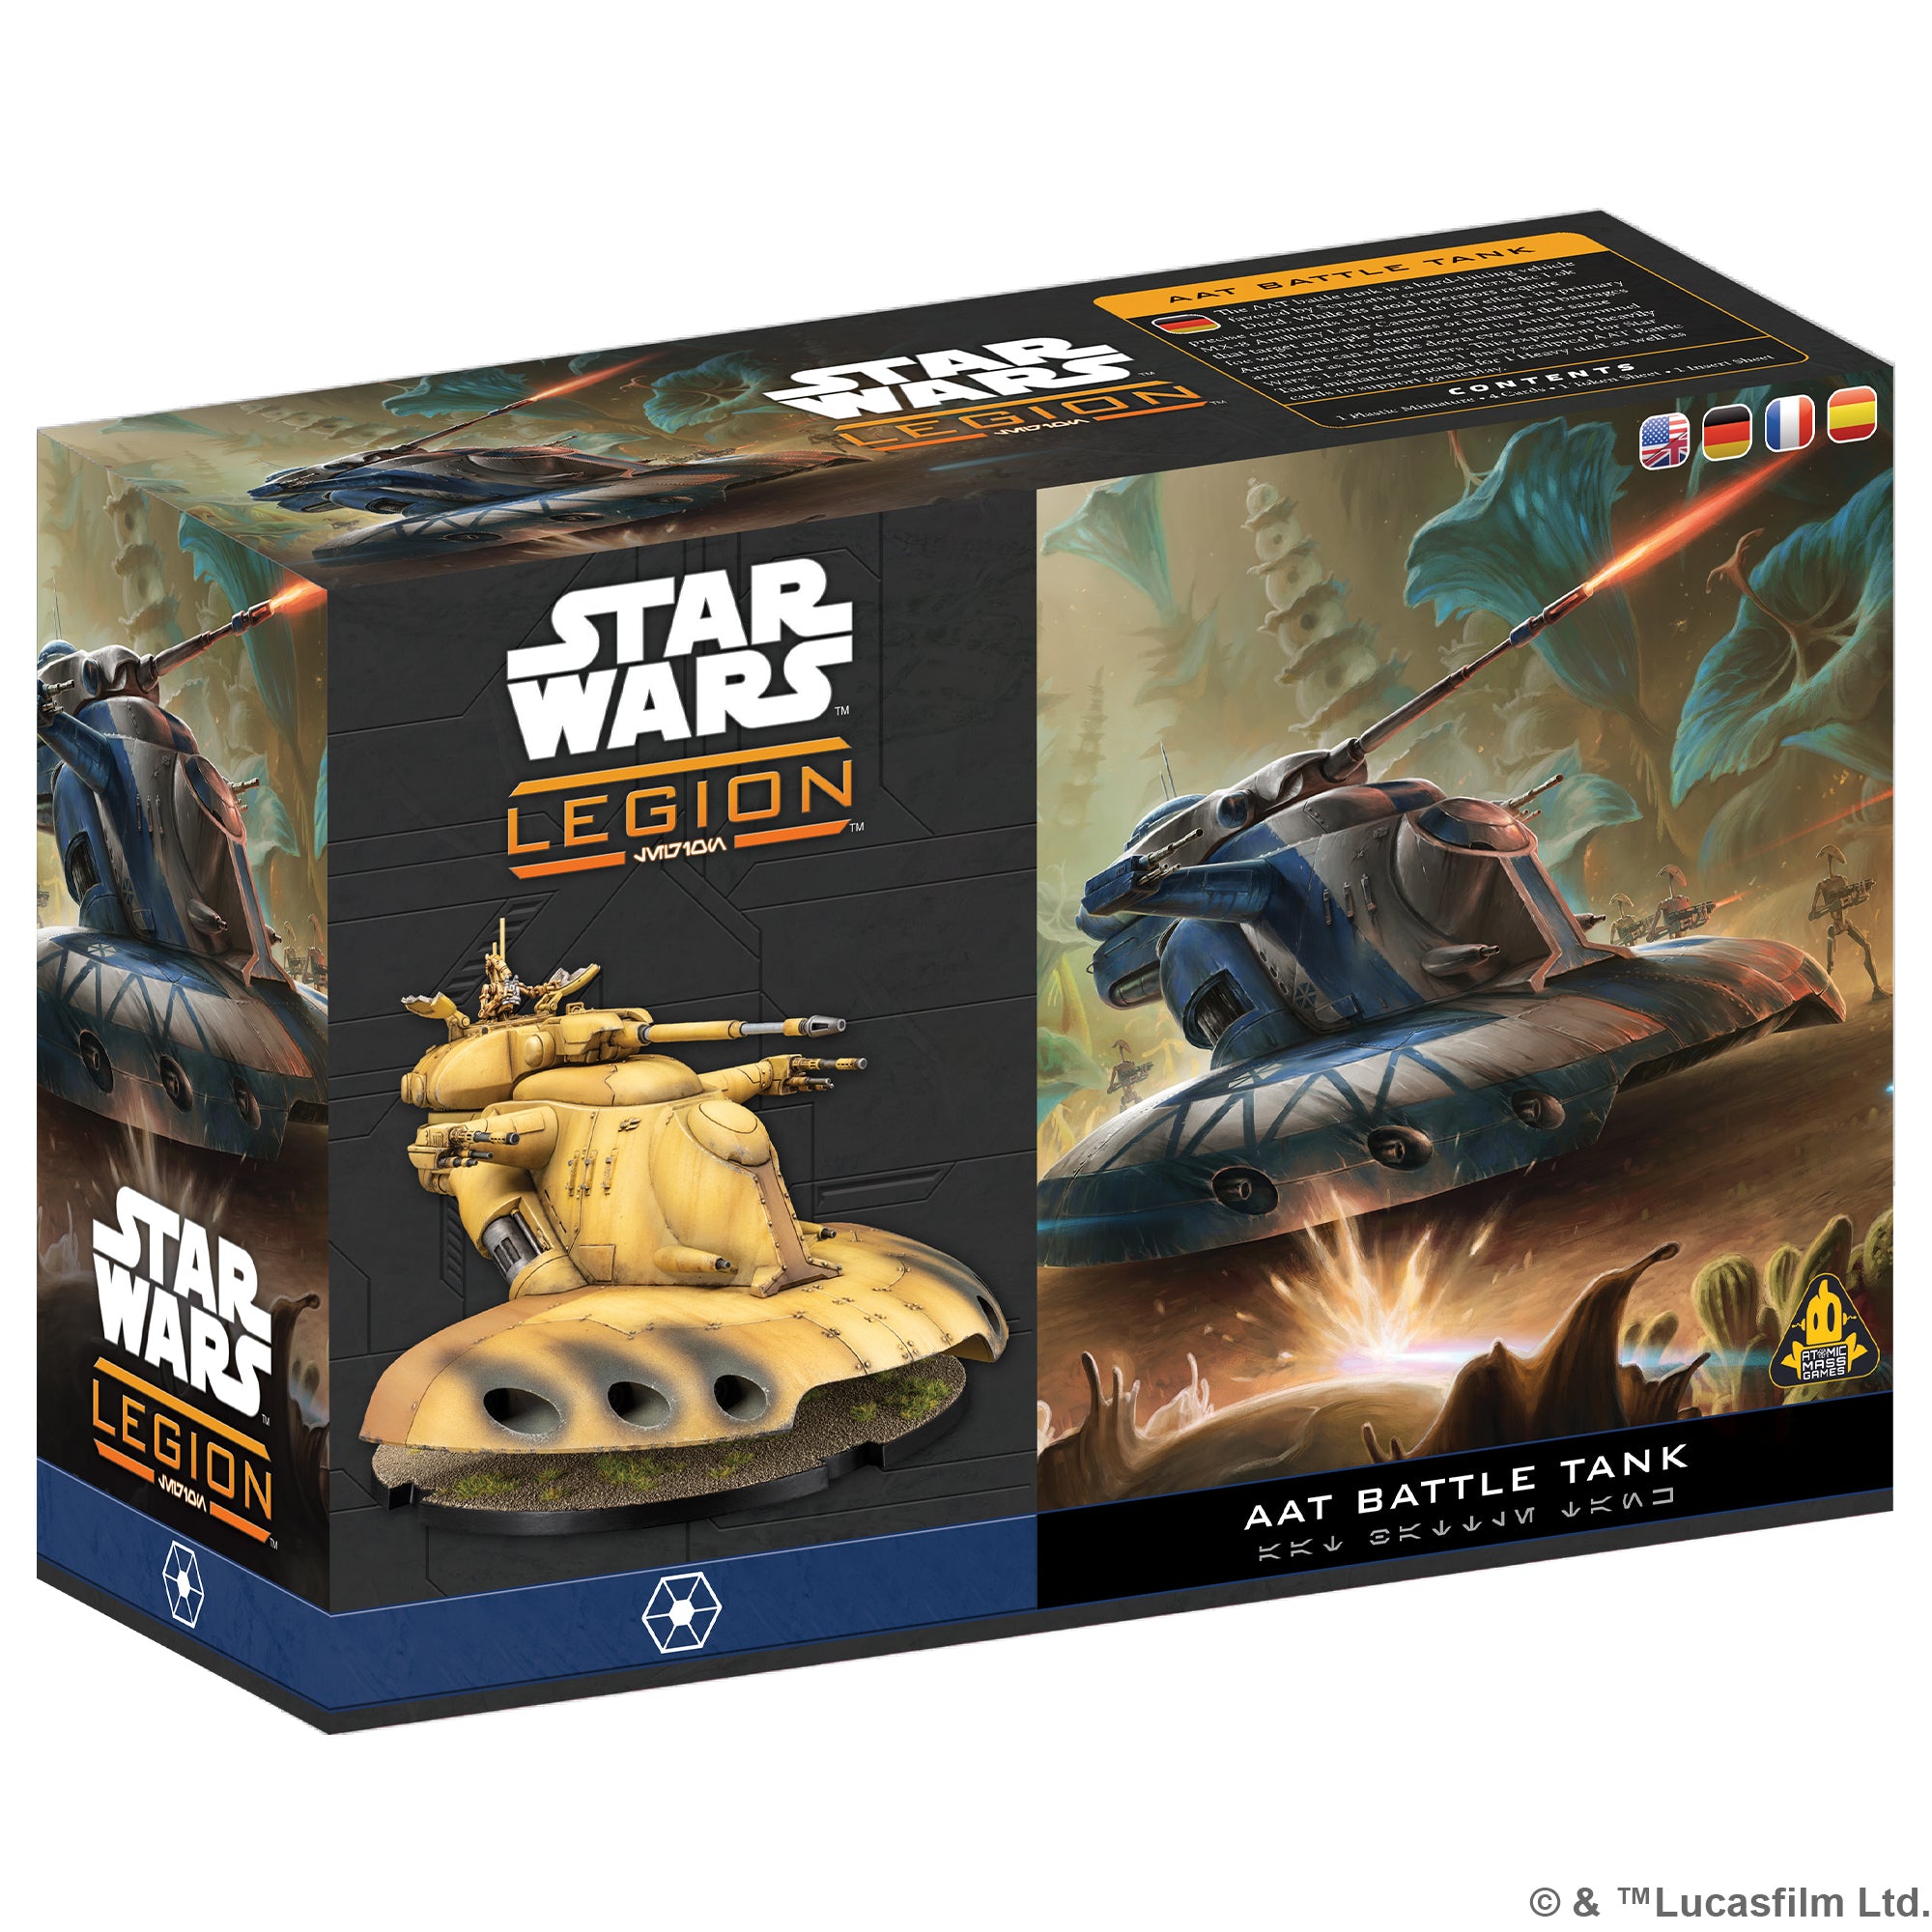
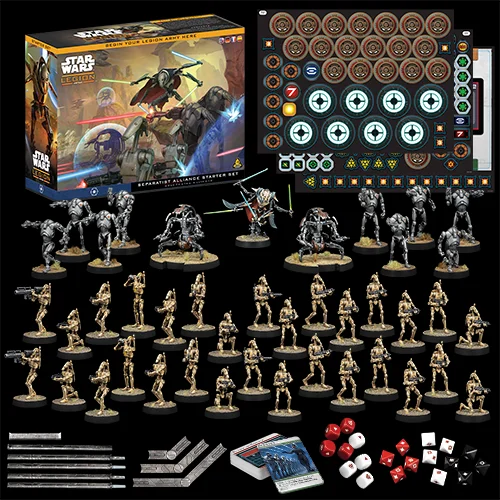
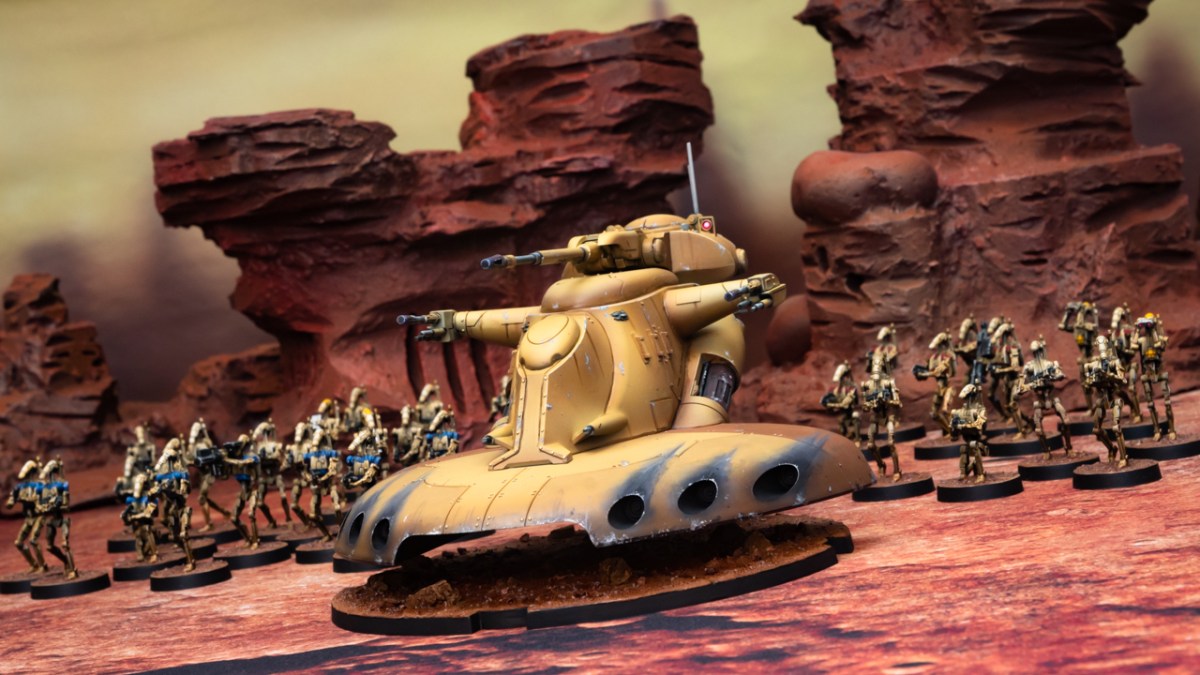
Rereleased earlier this year by Atomic Mass Games, the ATT Battle Tank has hovered its way back onto the tabletop army for many Droid Armies. A few minor engineering improvements in the build of the tank made the assembly much easier than the first version released by Fantasy Flight Games. I am excited to add this unit to my army from my Separatist Alliance Starter Box, and I hope you find this guide helpful to go from gray to play!
Star Wars: Legion is a tactical miniatures wargame where players assemble and command customized armies from the Star Wars universe and engage in tabletop battles across the galaxy. Players can build, paint, and play troopers, vehicles, and their favorite heroes and villains from the Clone Wars and Galactic Civil War era. The easiest way to get into the game is to choose a starter set of their favorite faction and build out from there! A robust catalogue of expansions offers nearly-unlimited customization and replayability.
Assembling Your Models
Prepping Your Models & The Tools
Our previous review covered the unboxing and building of the contents of the expansion, so for this article, I will be providing a step-by-step guide for how to paint this behemoth.
GamingTrend has put together a guide for you to follow for how best to clean, cut, and assemble your models, regardless of the game. While the materials for the models may be different between games (plastic, resin, metal, etc.) there are simple techniques you can do to help make your painting experience go that much smoother.
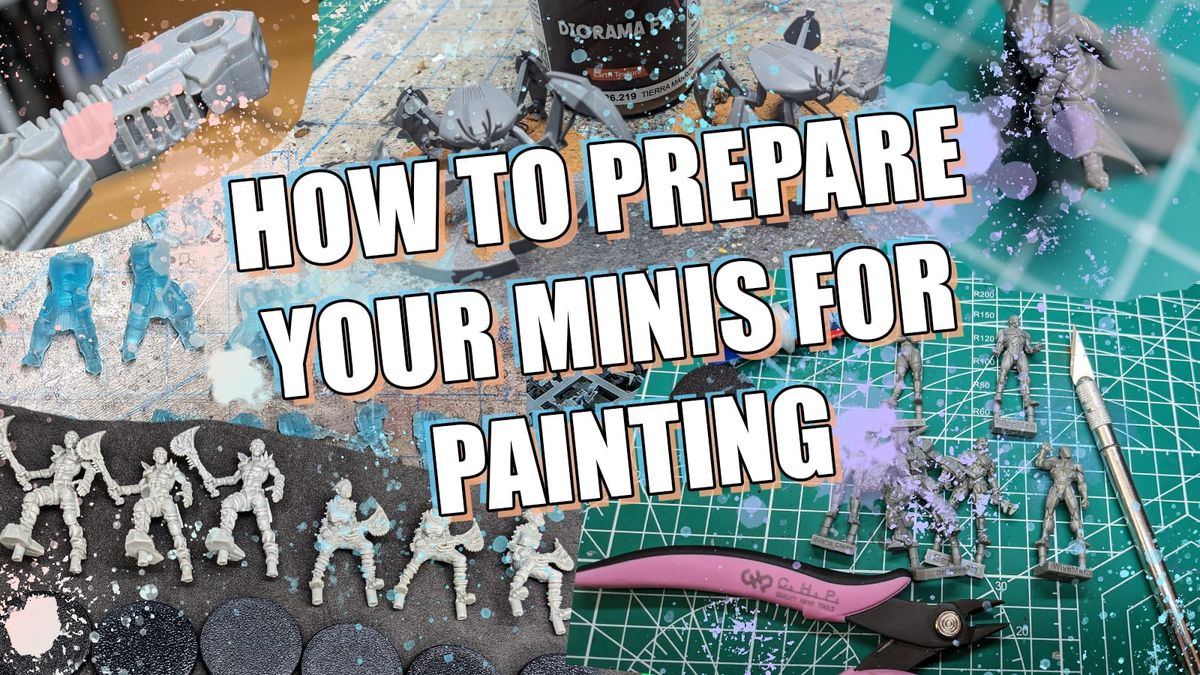
Additionally, if you are new to painting and are not sure what brushes or tools you need, check out the article. This is just a starting place, and every painter has different preferences and recommendations. These are my recommendations based on the last decade or so of painting, and I hope you find them helpful!
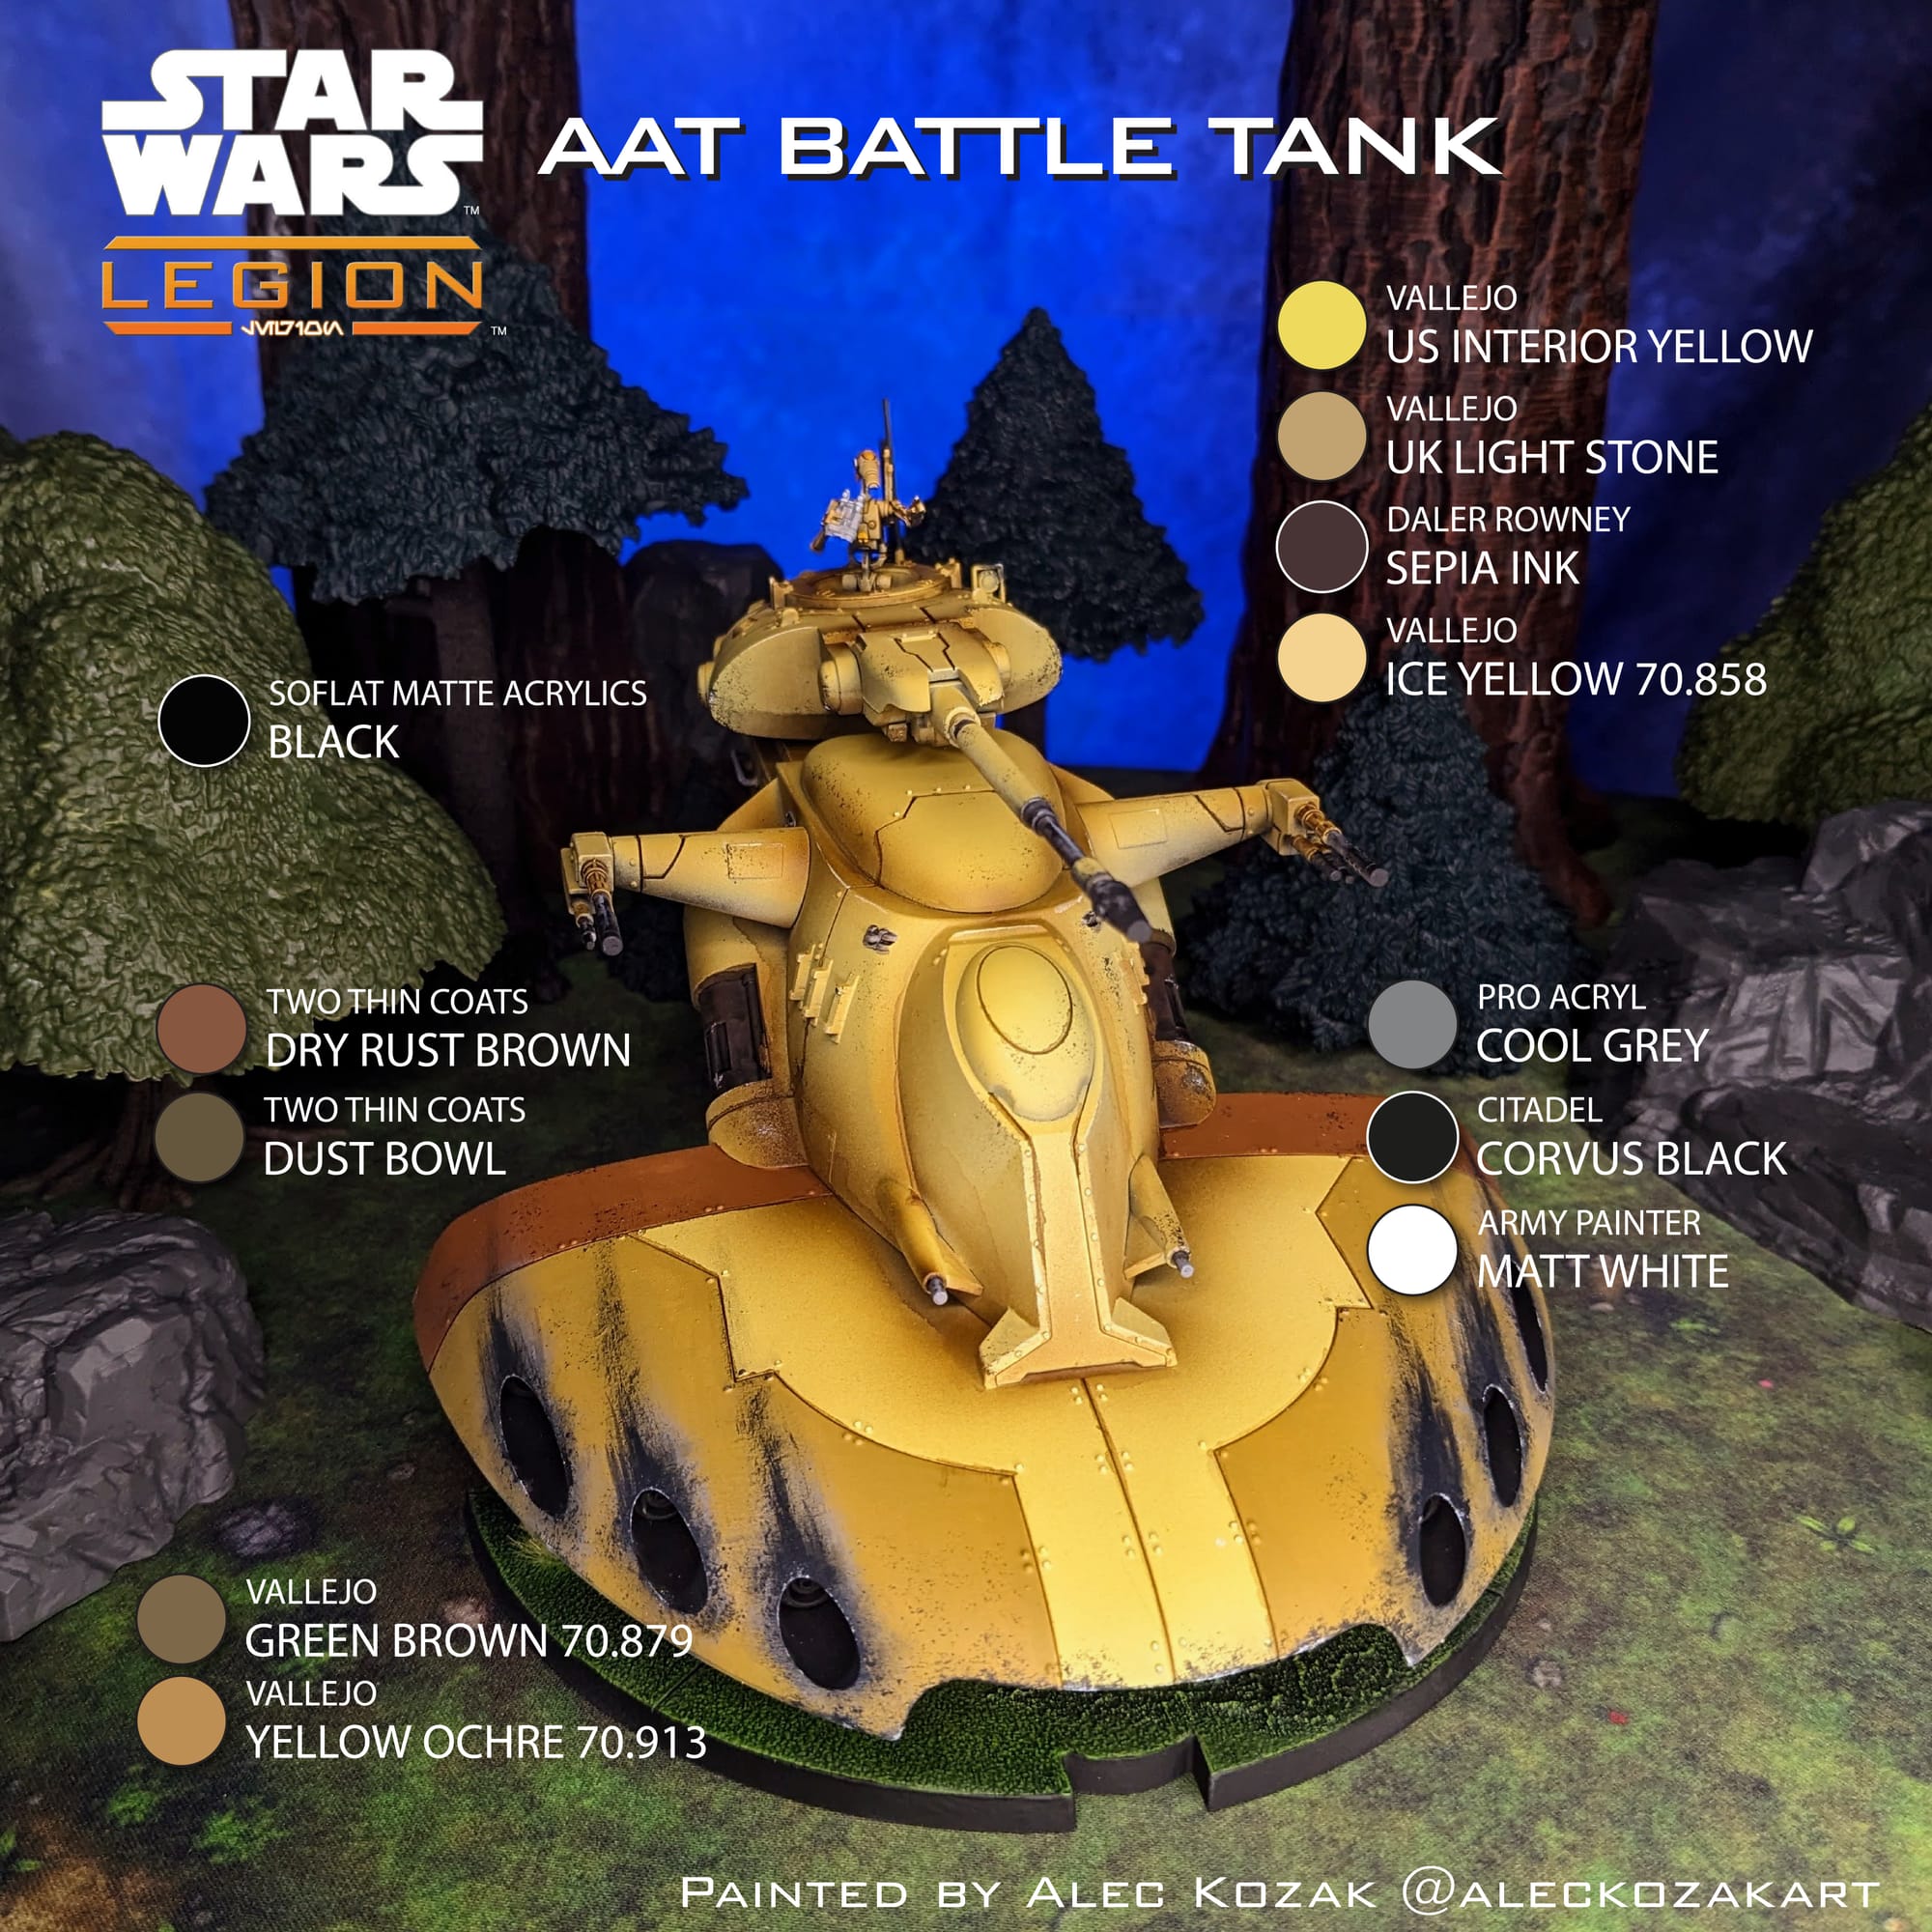
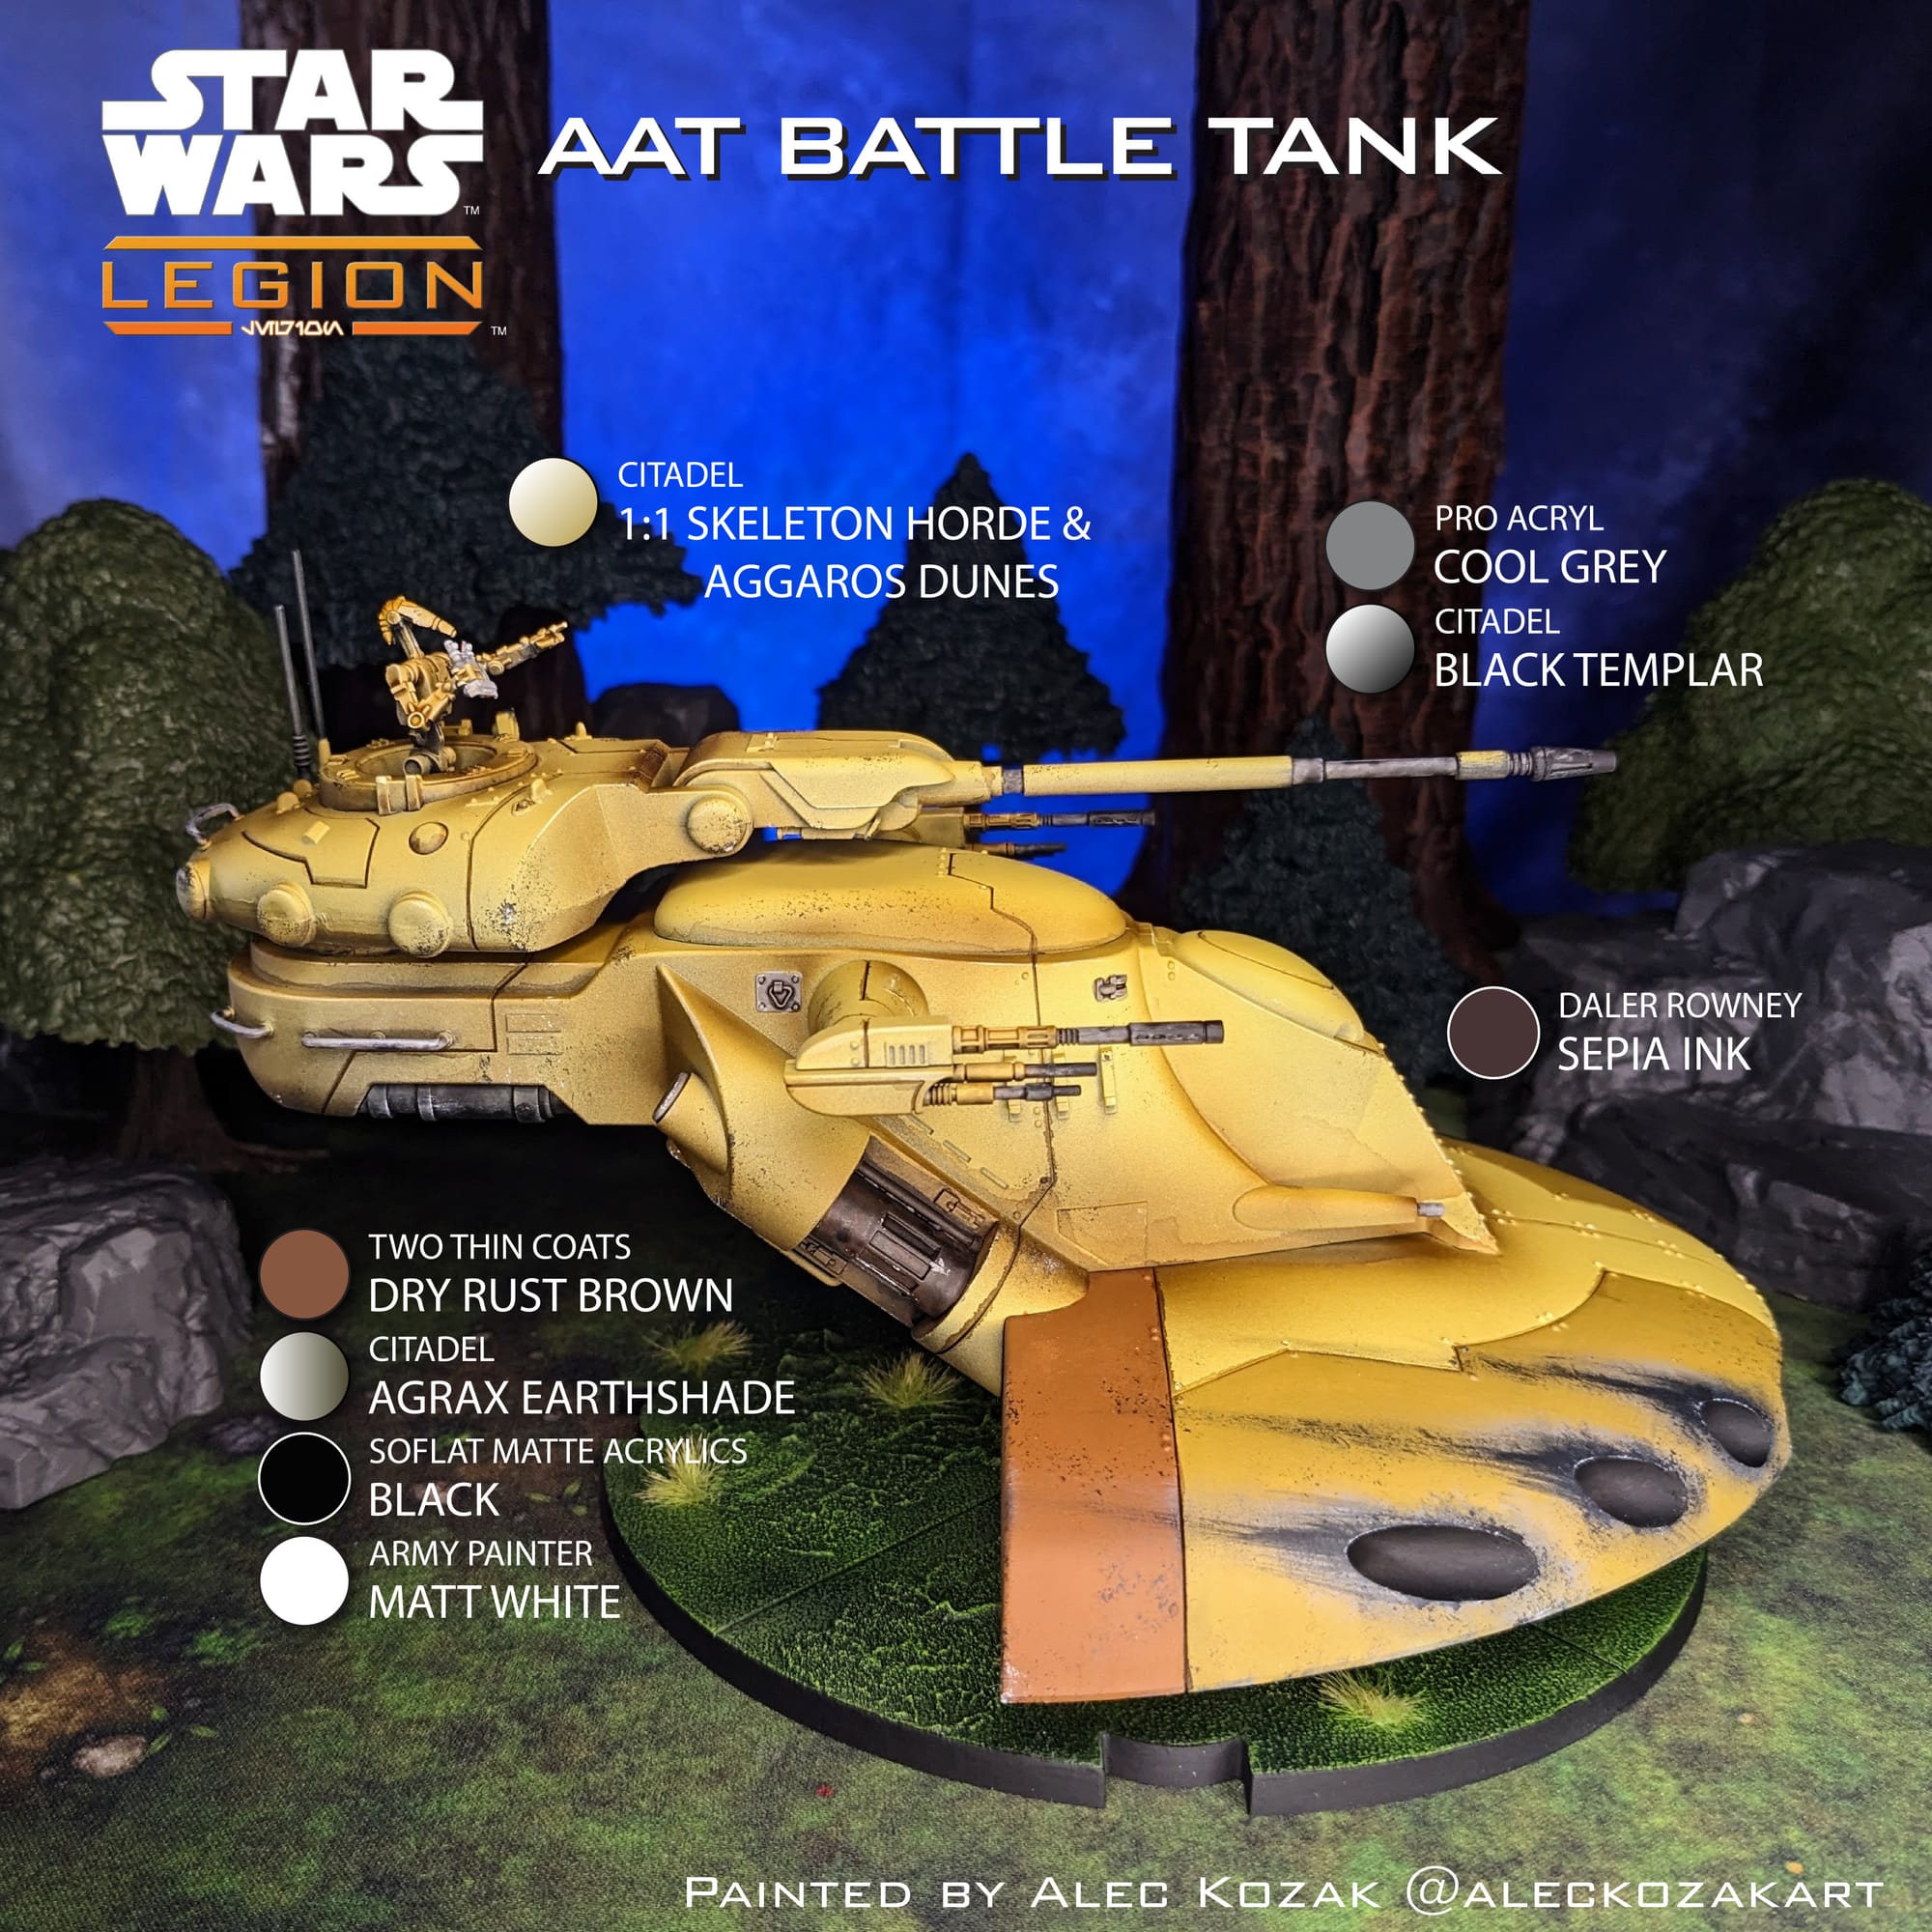
For this tutorial, I have included a visual guide (below) of the paints I used for the miniatures so you have an easily-accessible list to refer to if you need to go shopping. The paints are noted on the picture.
Painting Your Miniatures
The Paint Plan
For pretty much every miniature painting project I do, I start with a plan. Even before putting the primer and paint on a model, I find photo references of the paint schemes and details I am looking for. Most times, this means having a browser window up with different web pages and images next to my painting area, so I can quickly refer to them as I paint. I also come up with a paint plan, choosing what colors I am going to use and what order I apply them in.
Sorastro Painting put out a guide several years ago that still holds up to this day. His step-by-step PDF guide is really easy to follow, and so I credit him with providing the core style and colors for this guide. While there have been new paints and brands that have been released since then, the fundamentals of color choice and application are still very relevant and important, so please go check out his work!
Since my droids are being painted in the style of the Trade Federation, I also wanted to have the AAT be painted in that iconic first appearance look from Episode 1. I deviated slightly from the guide, using some different paints and applications, but ultimately the goal was the same.
Remember that done is better than perfect!
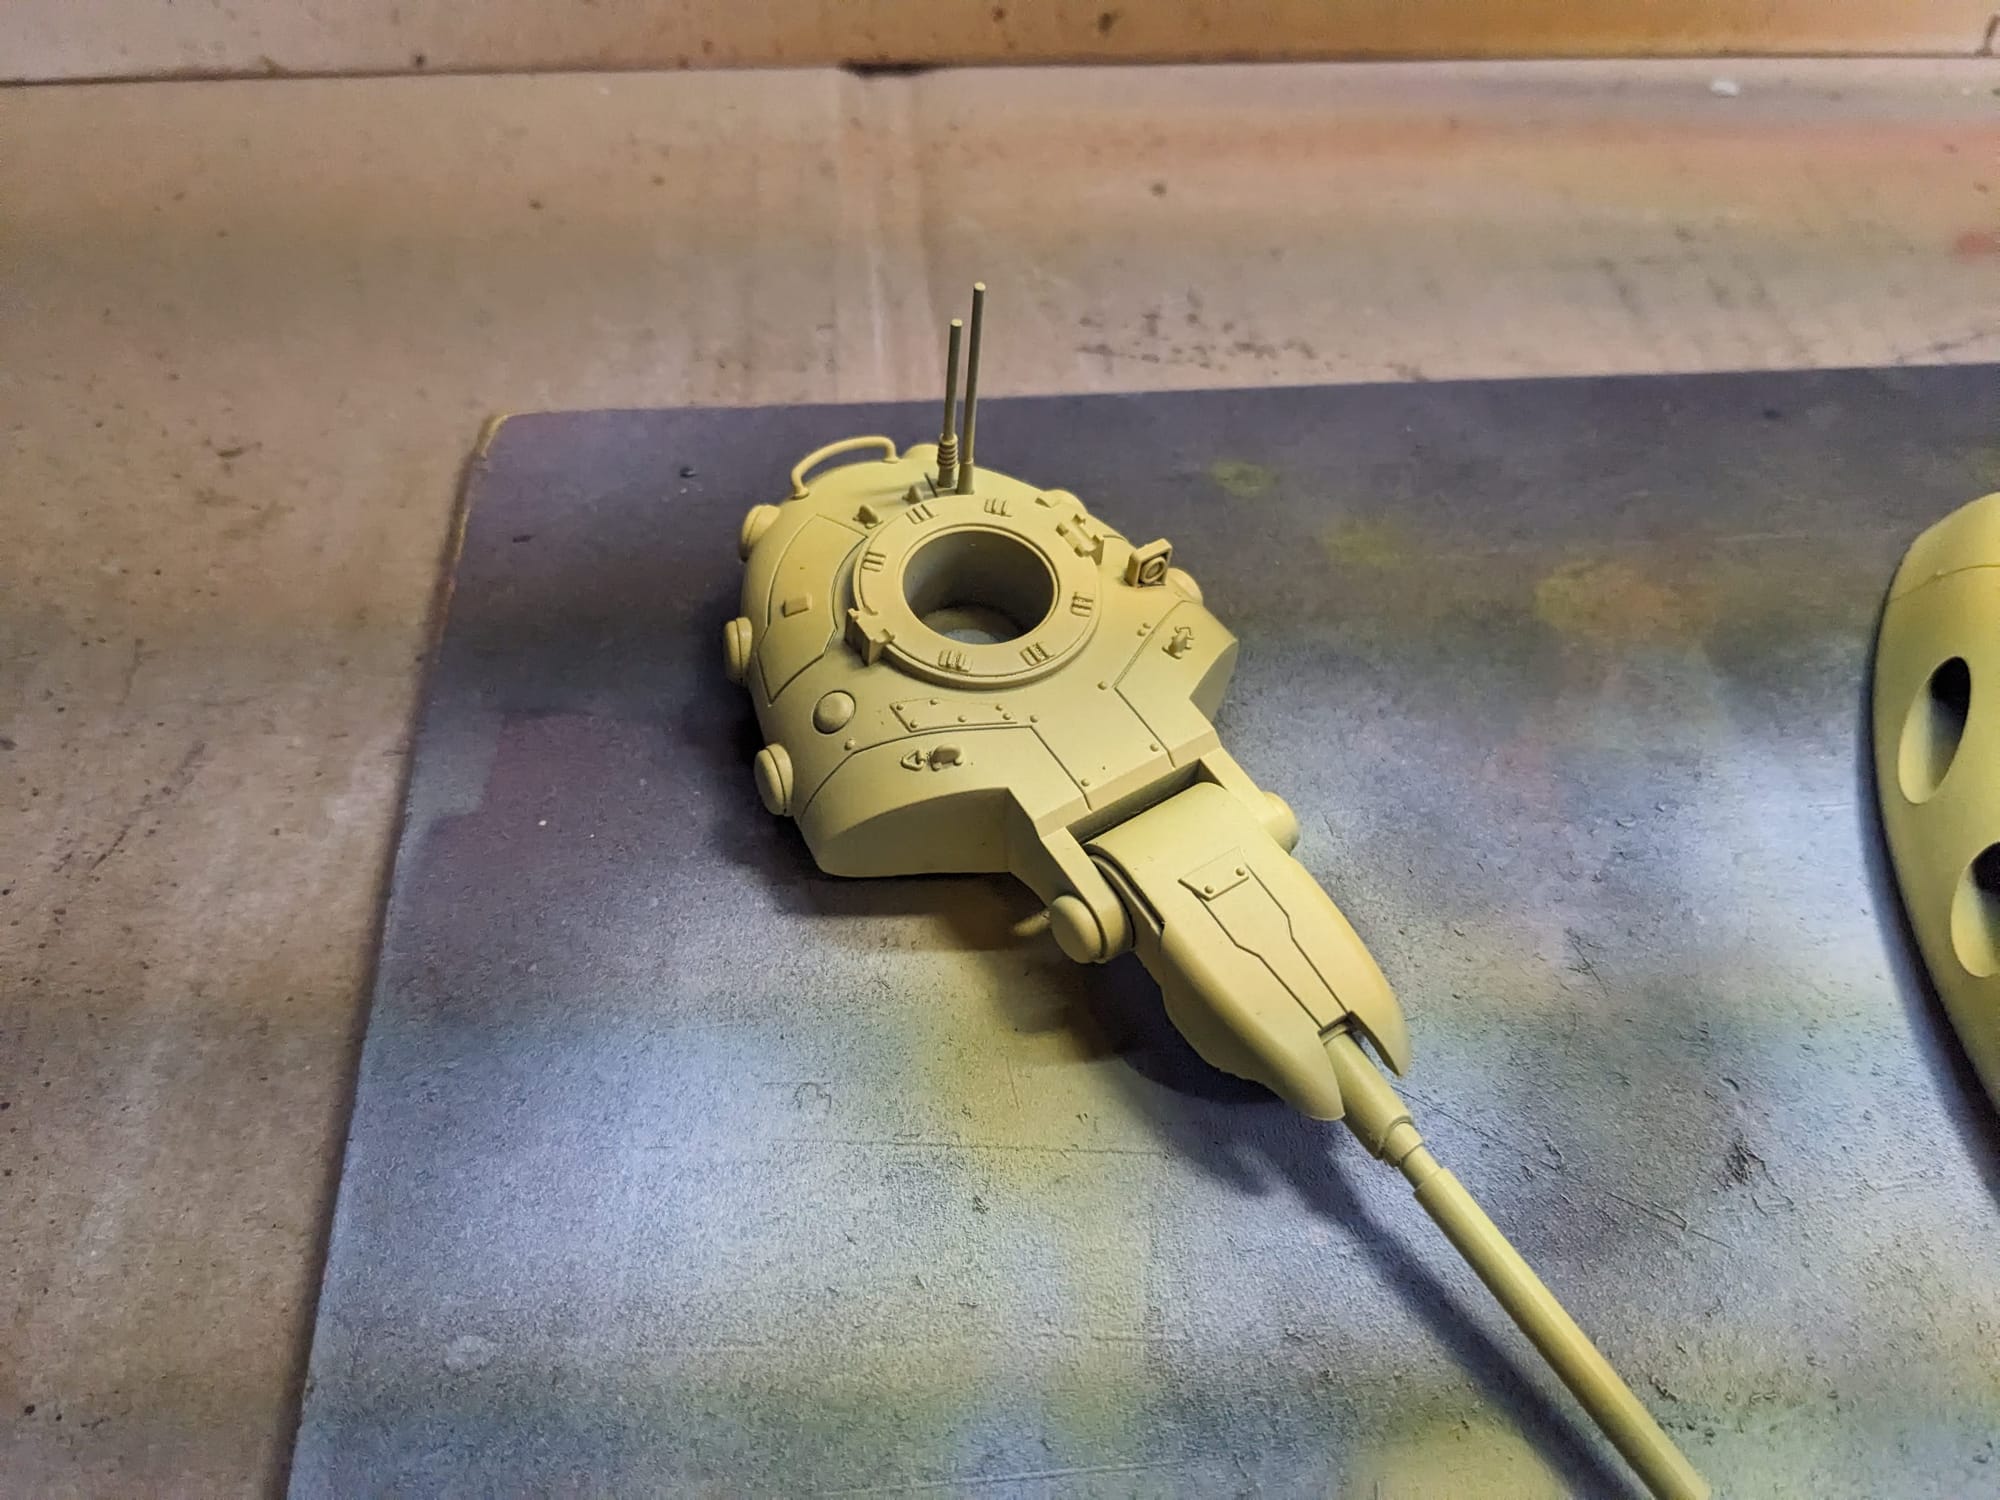
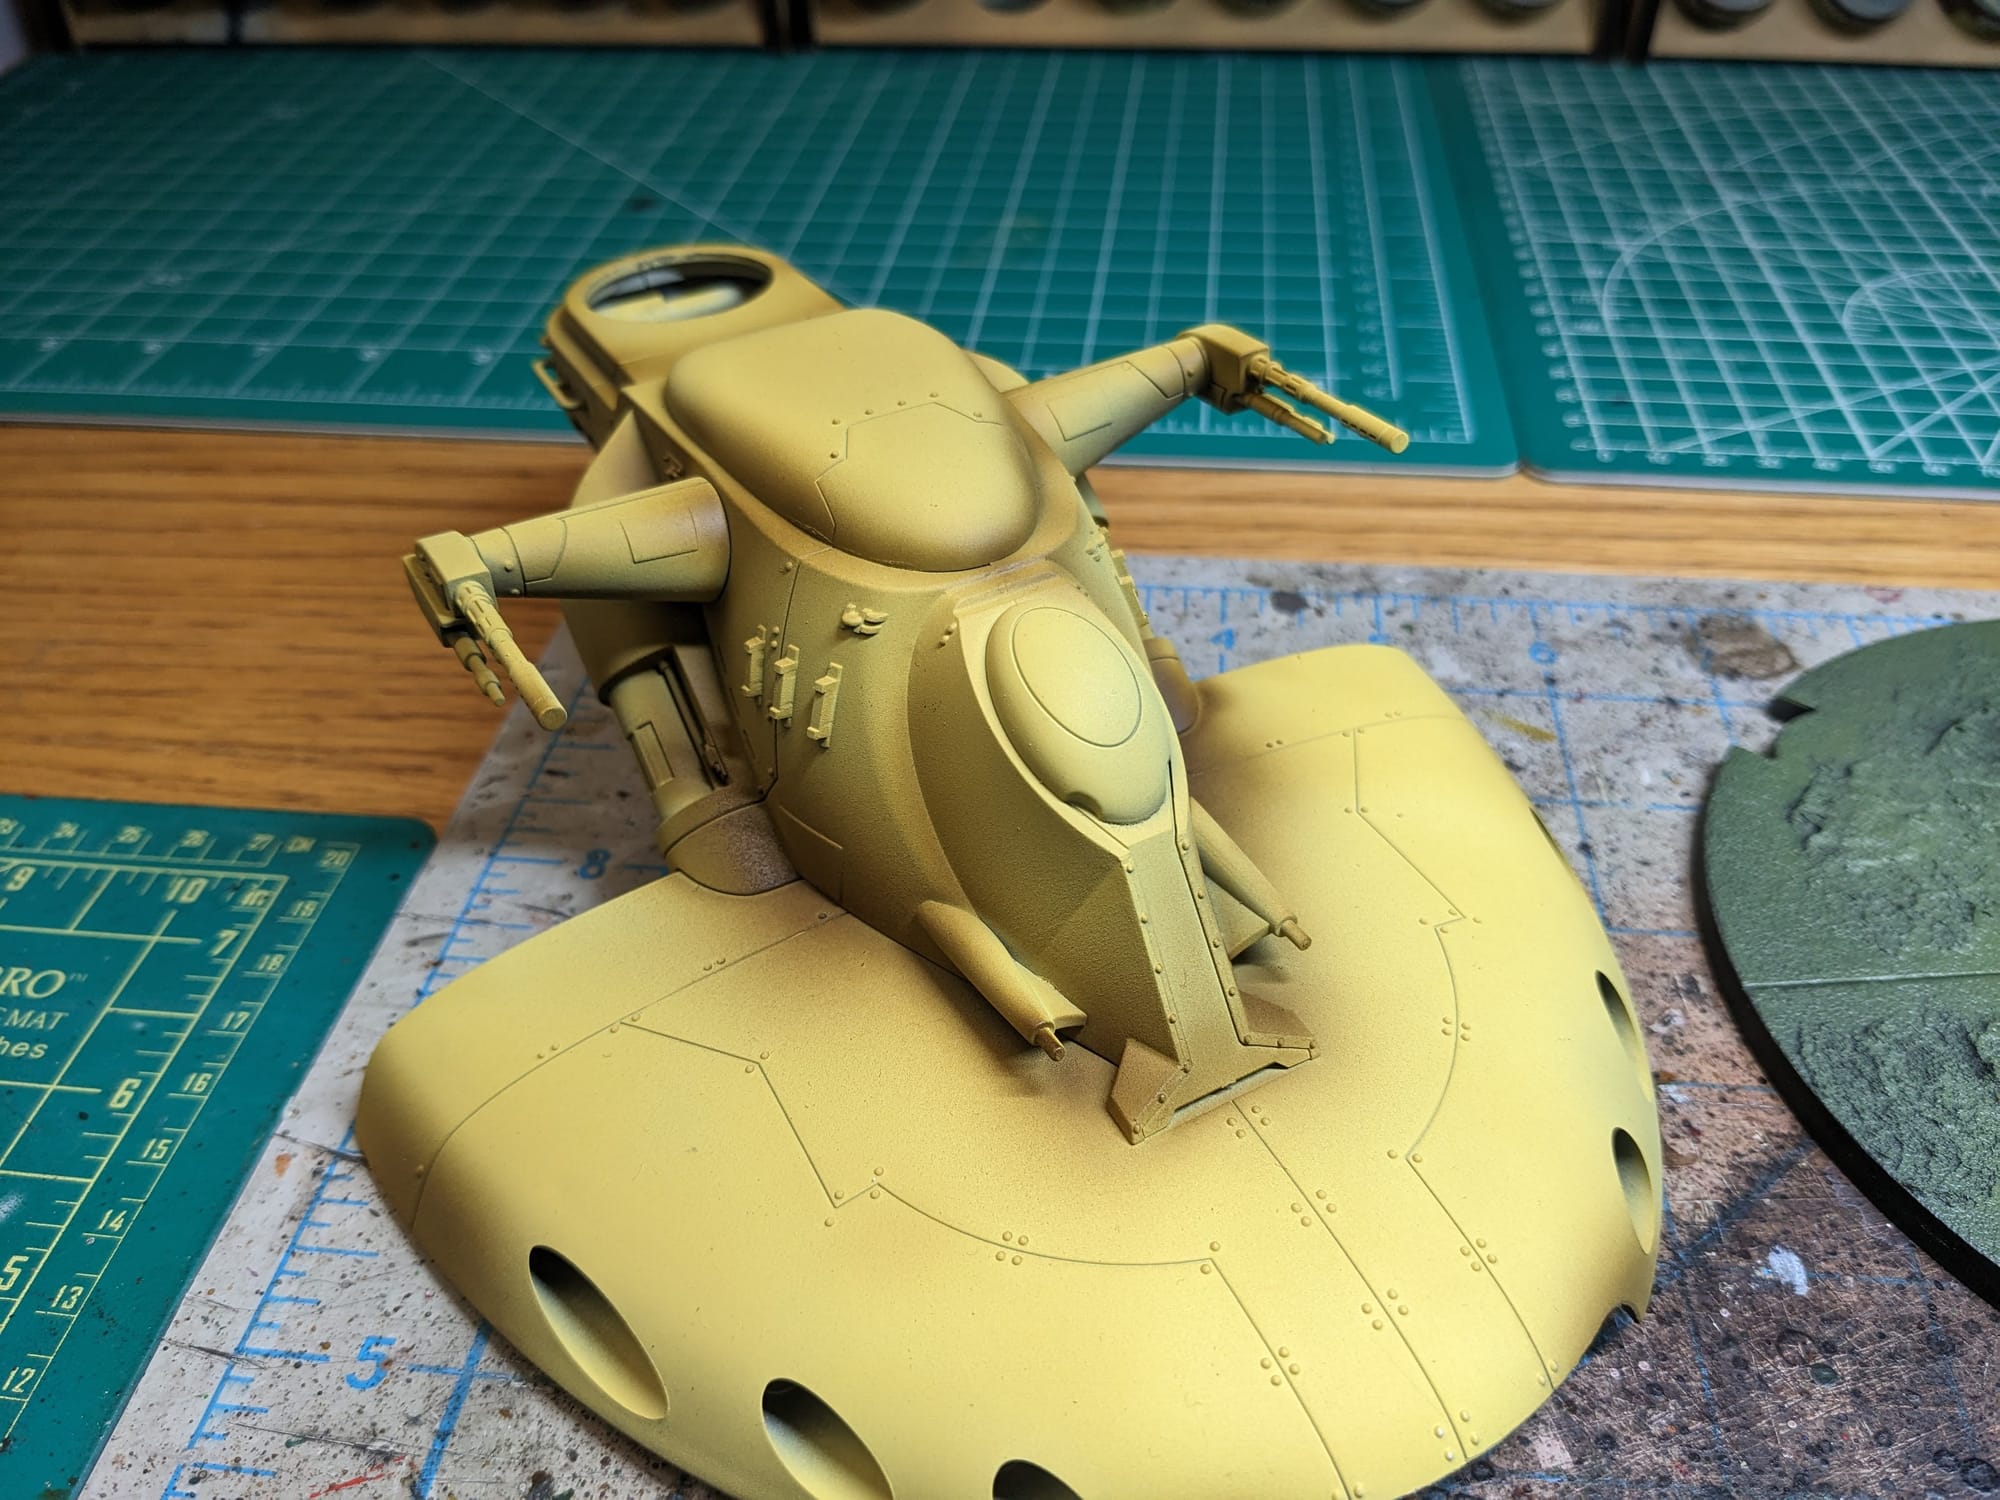
Priming the Models
In general terms, getting the majority of a color for a model applied via a rattle can or airbrush saves a lot of time. Typically, I prime all of the figures with a zenithal prime, using a base coat of Rustoleum Flat Black and a top coat of Army Painter White Primer or one of the other color primers. In this case, I used the Rustoleum Flat Black Primer and applied a zenithal spray of Army Painter Matte White over the top, priming the tank, cannon, figure, tank hatch, and base separately. I also used Army Painter Army Green for the base. Don’t forget to mask the little plastic holder!
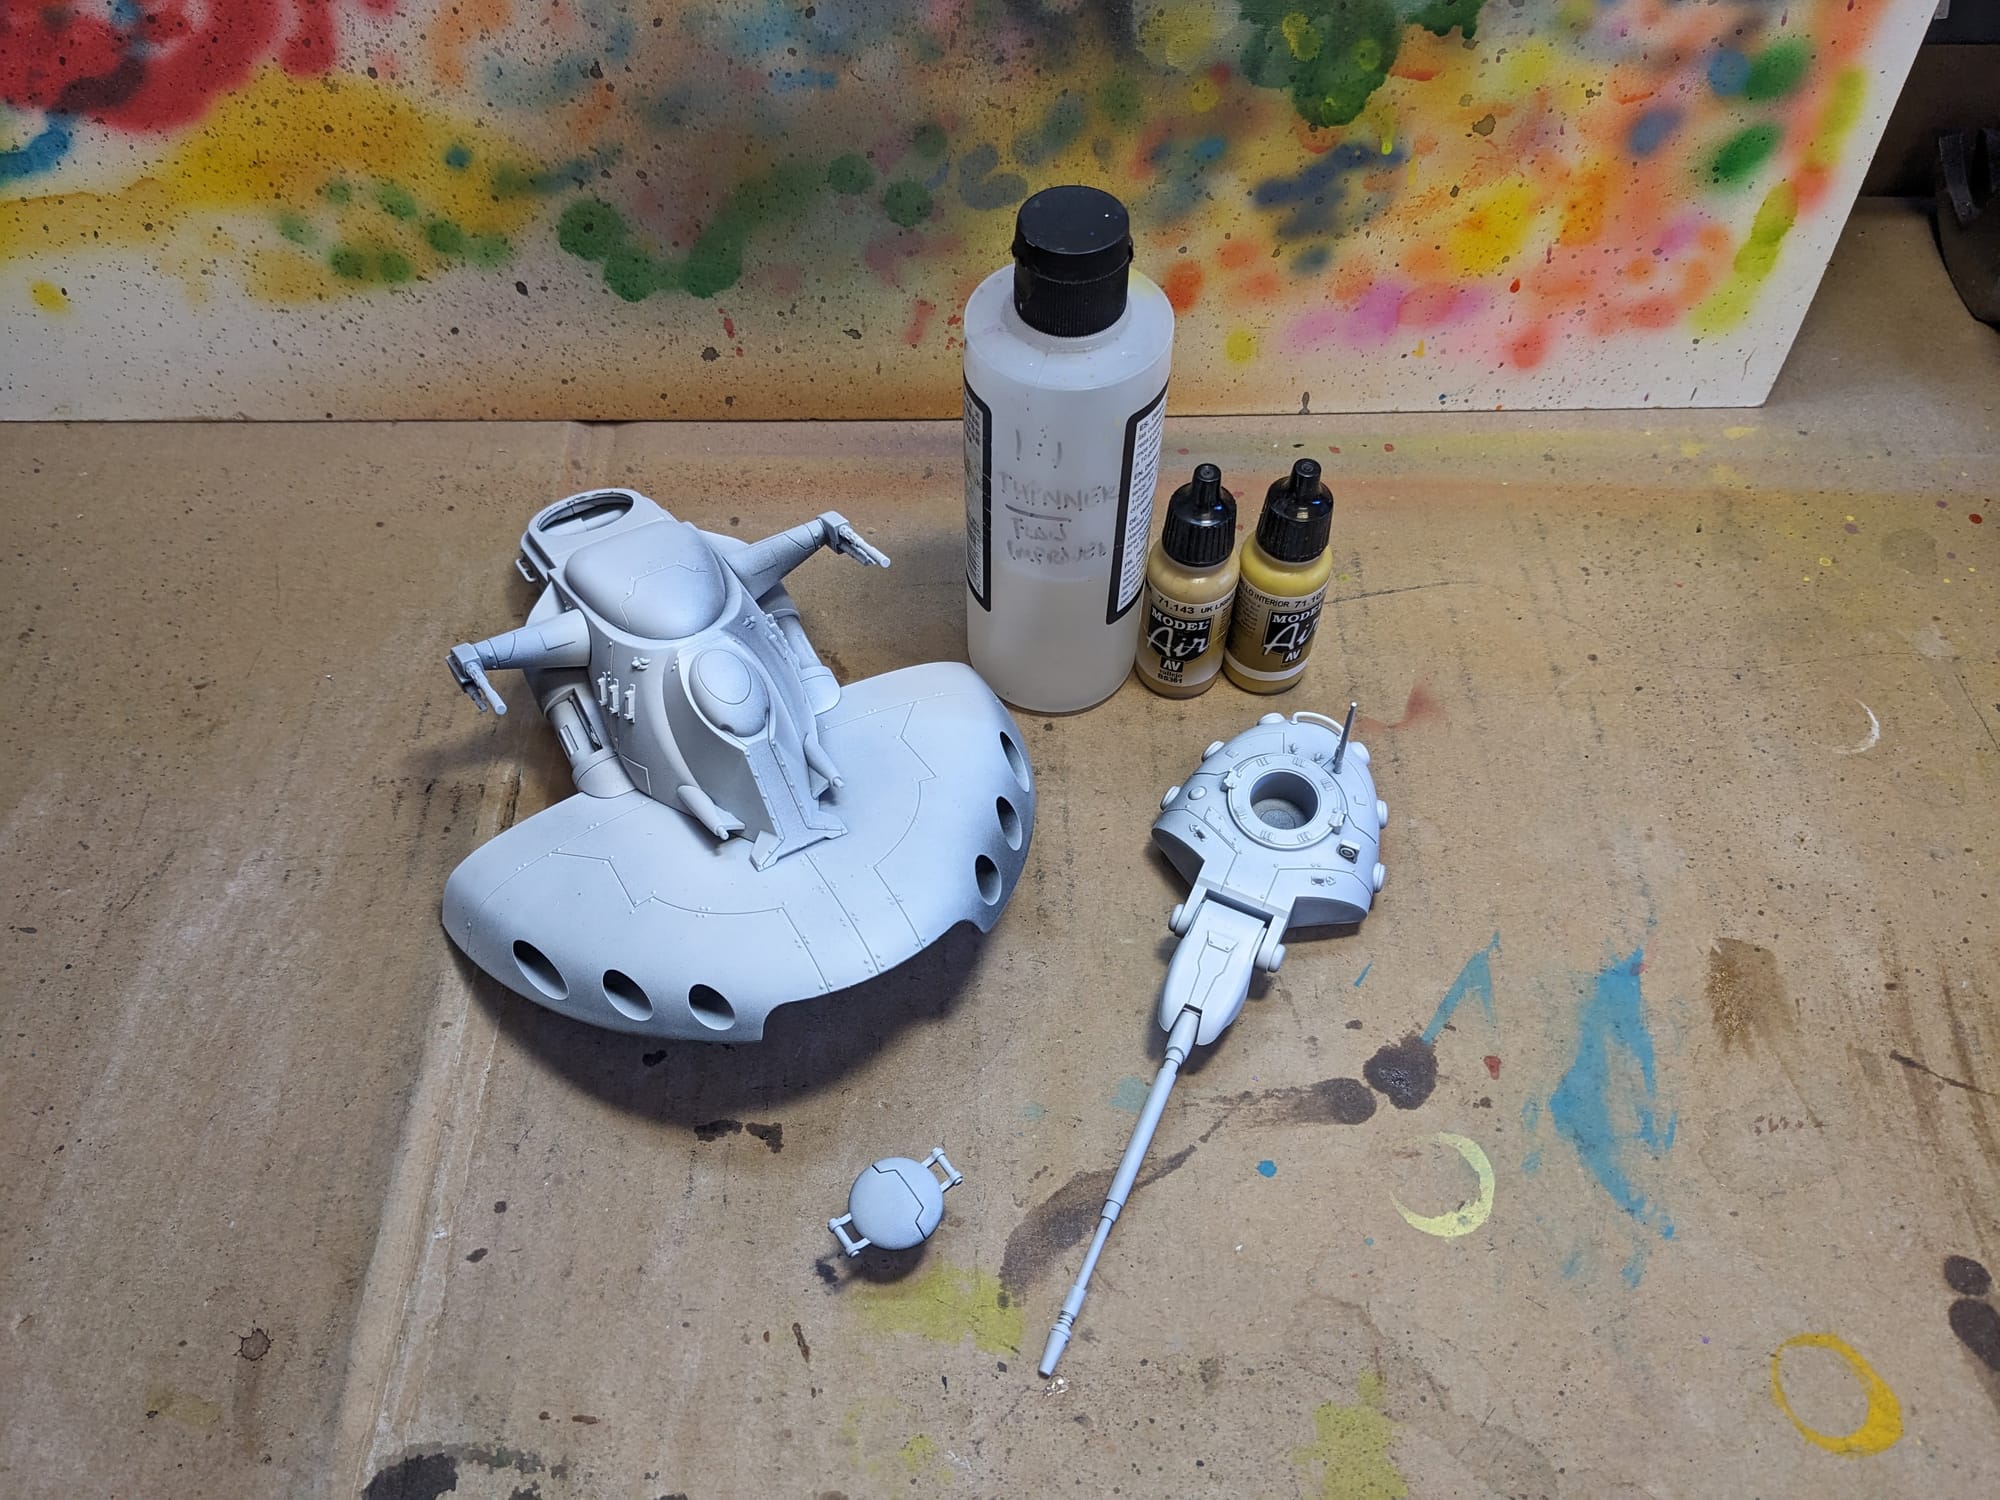
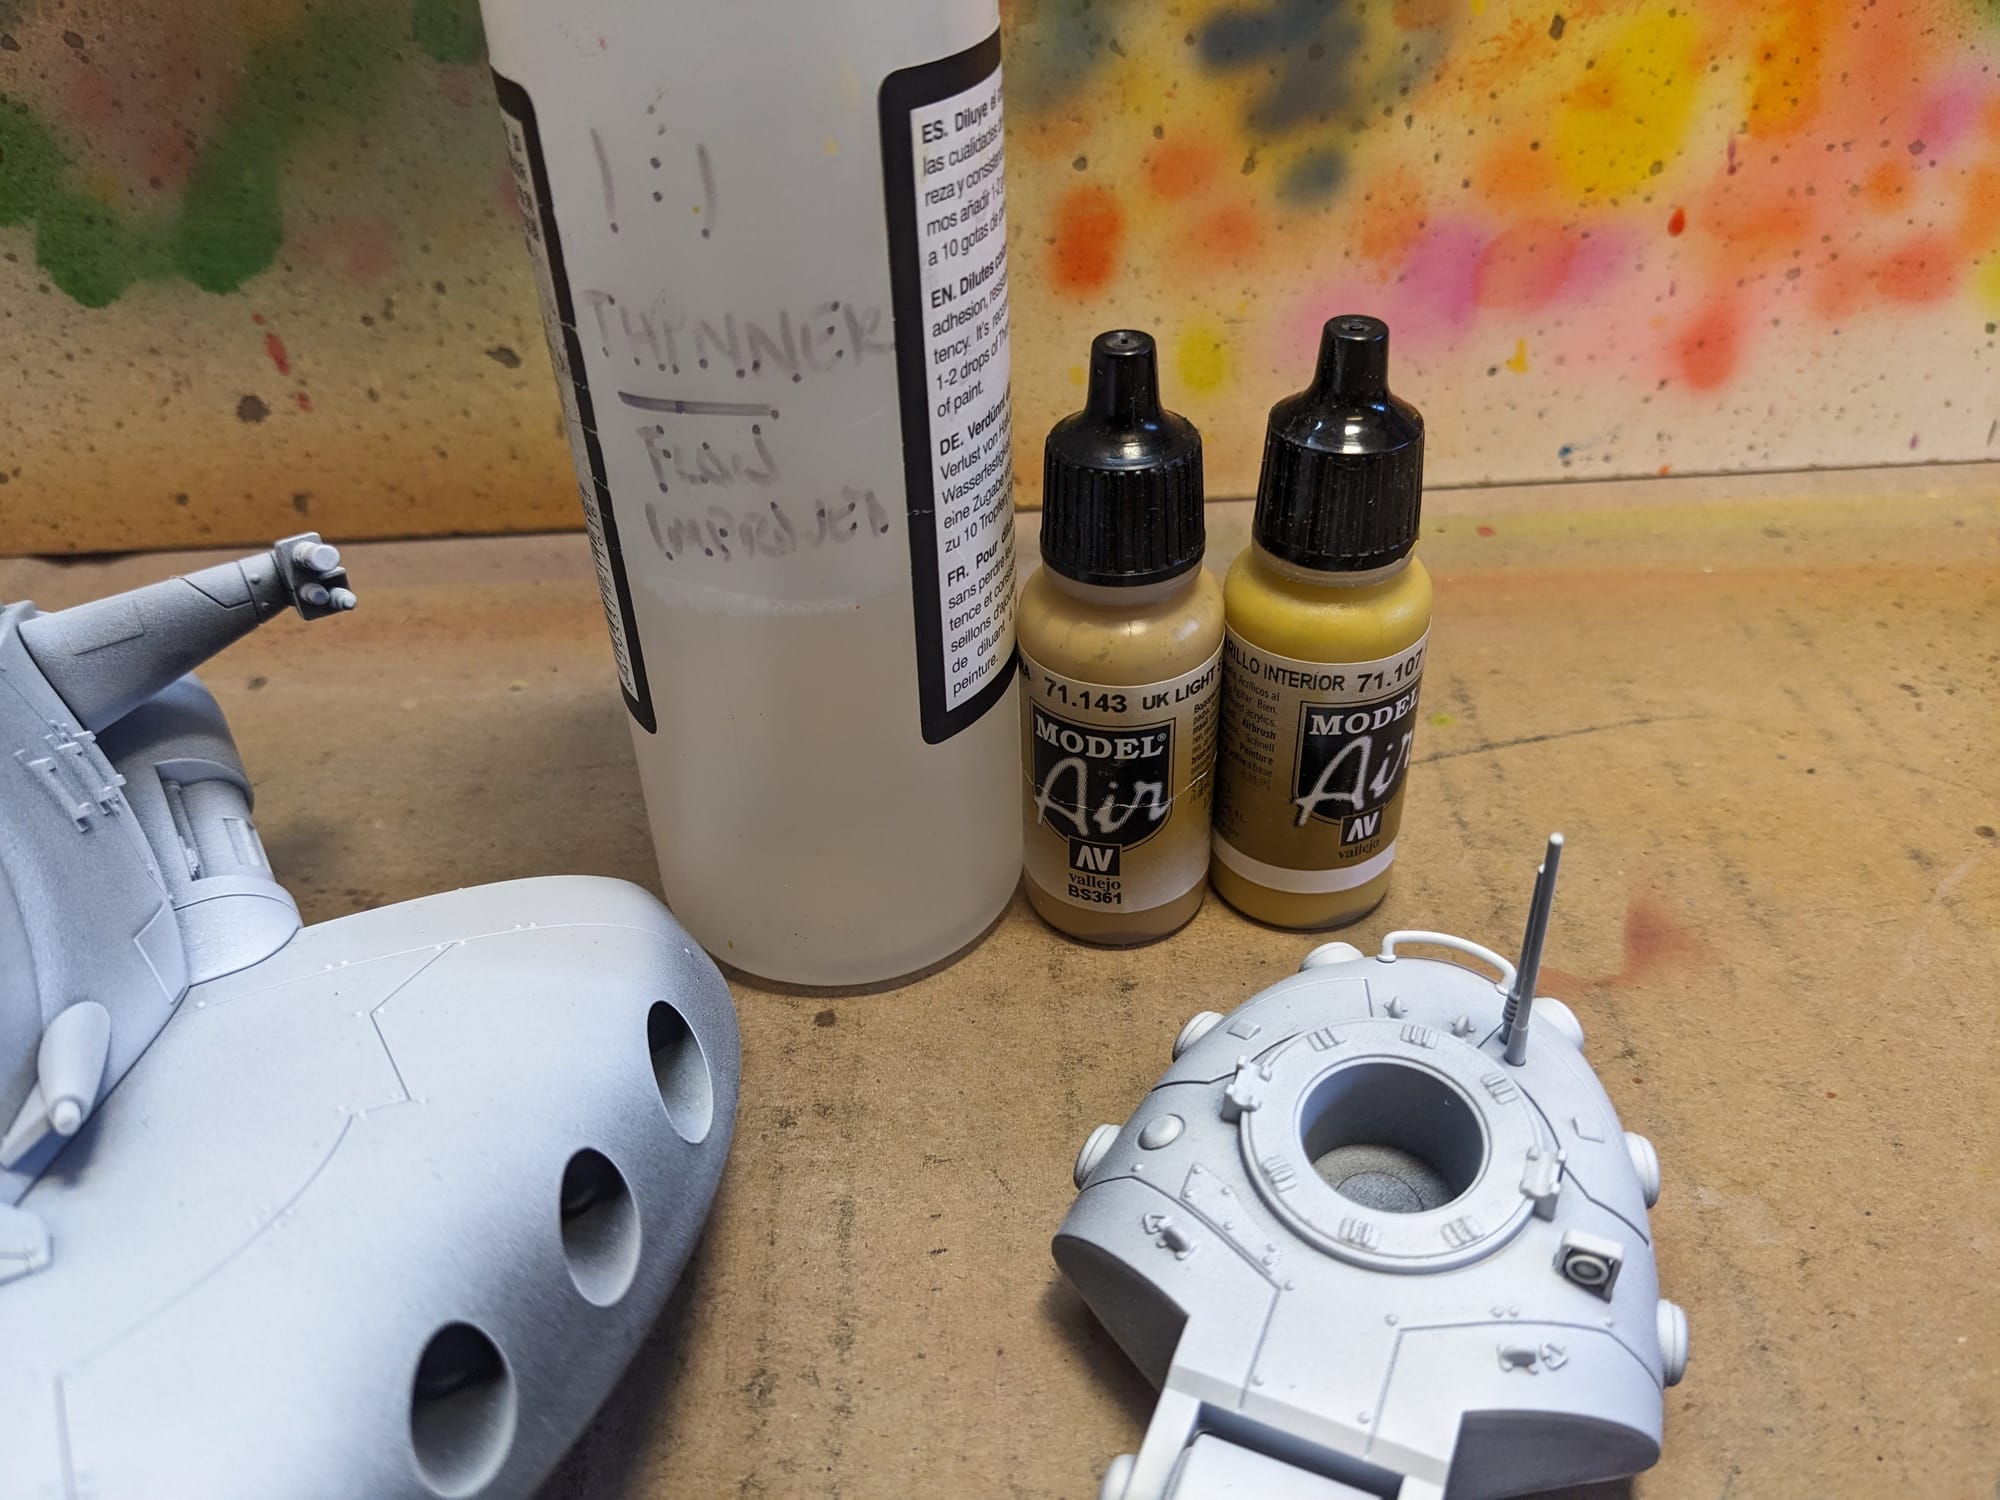
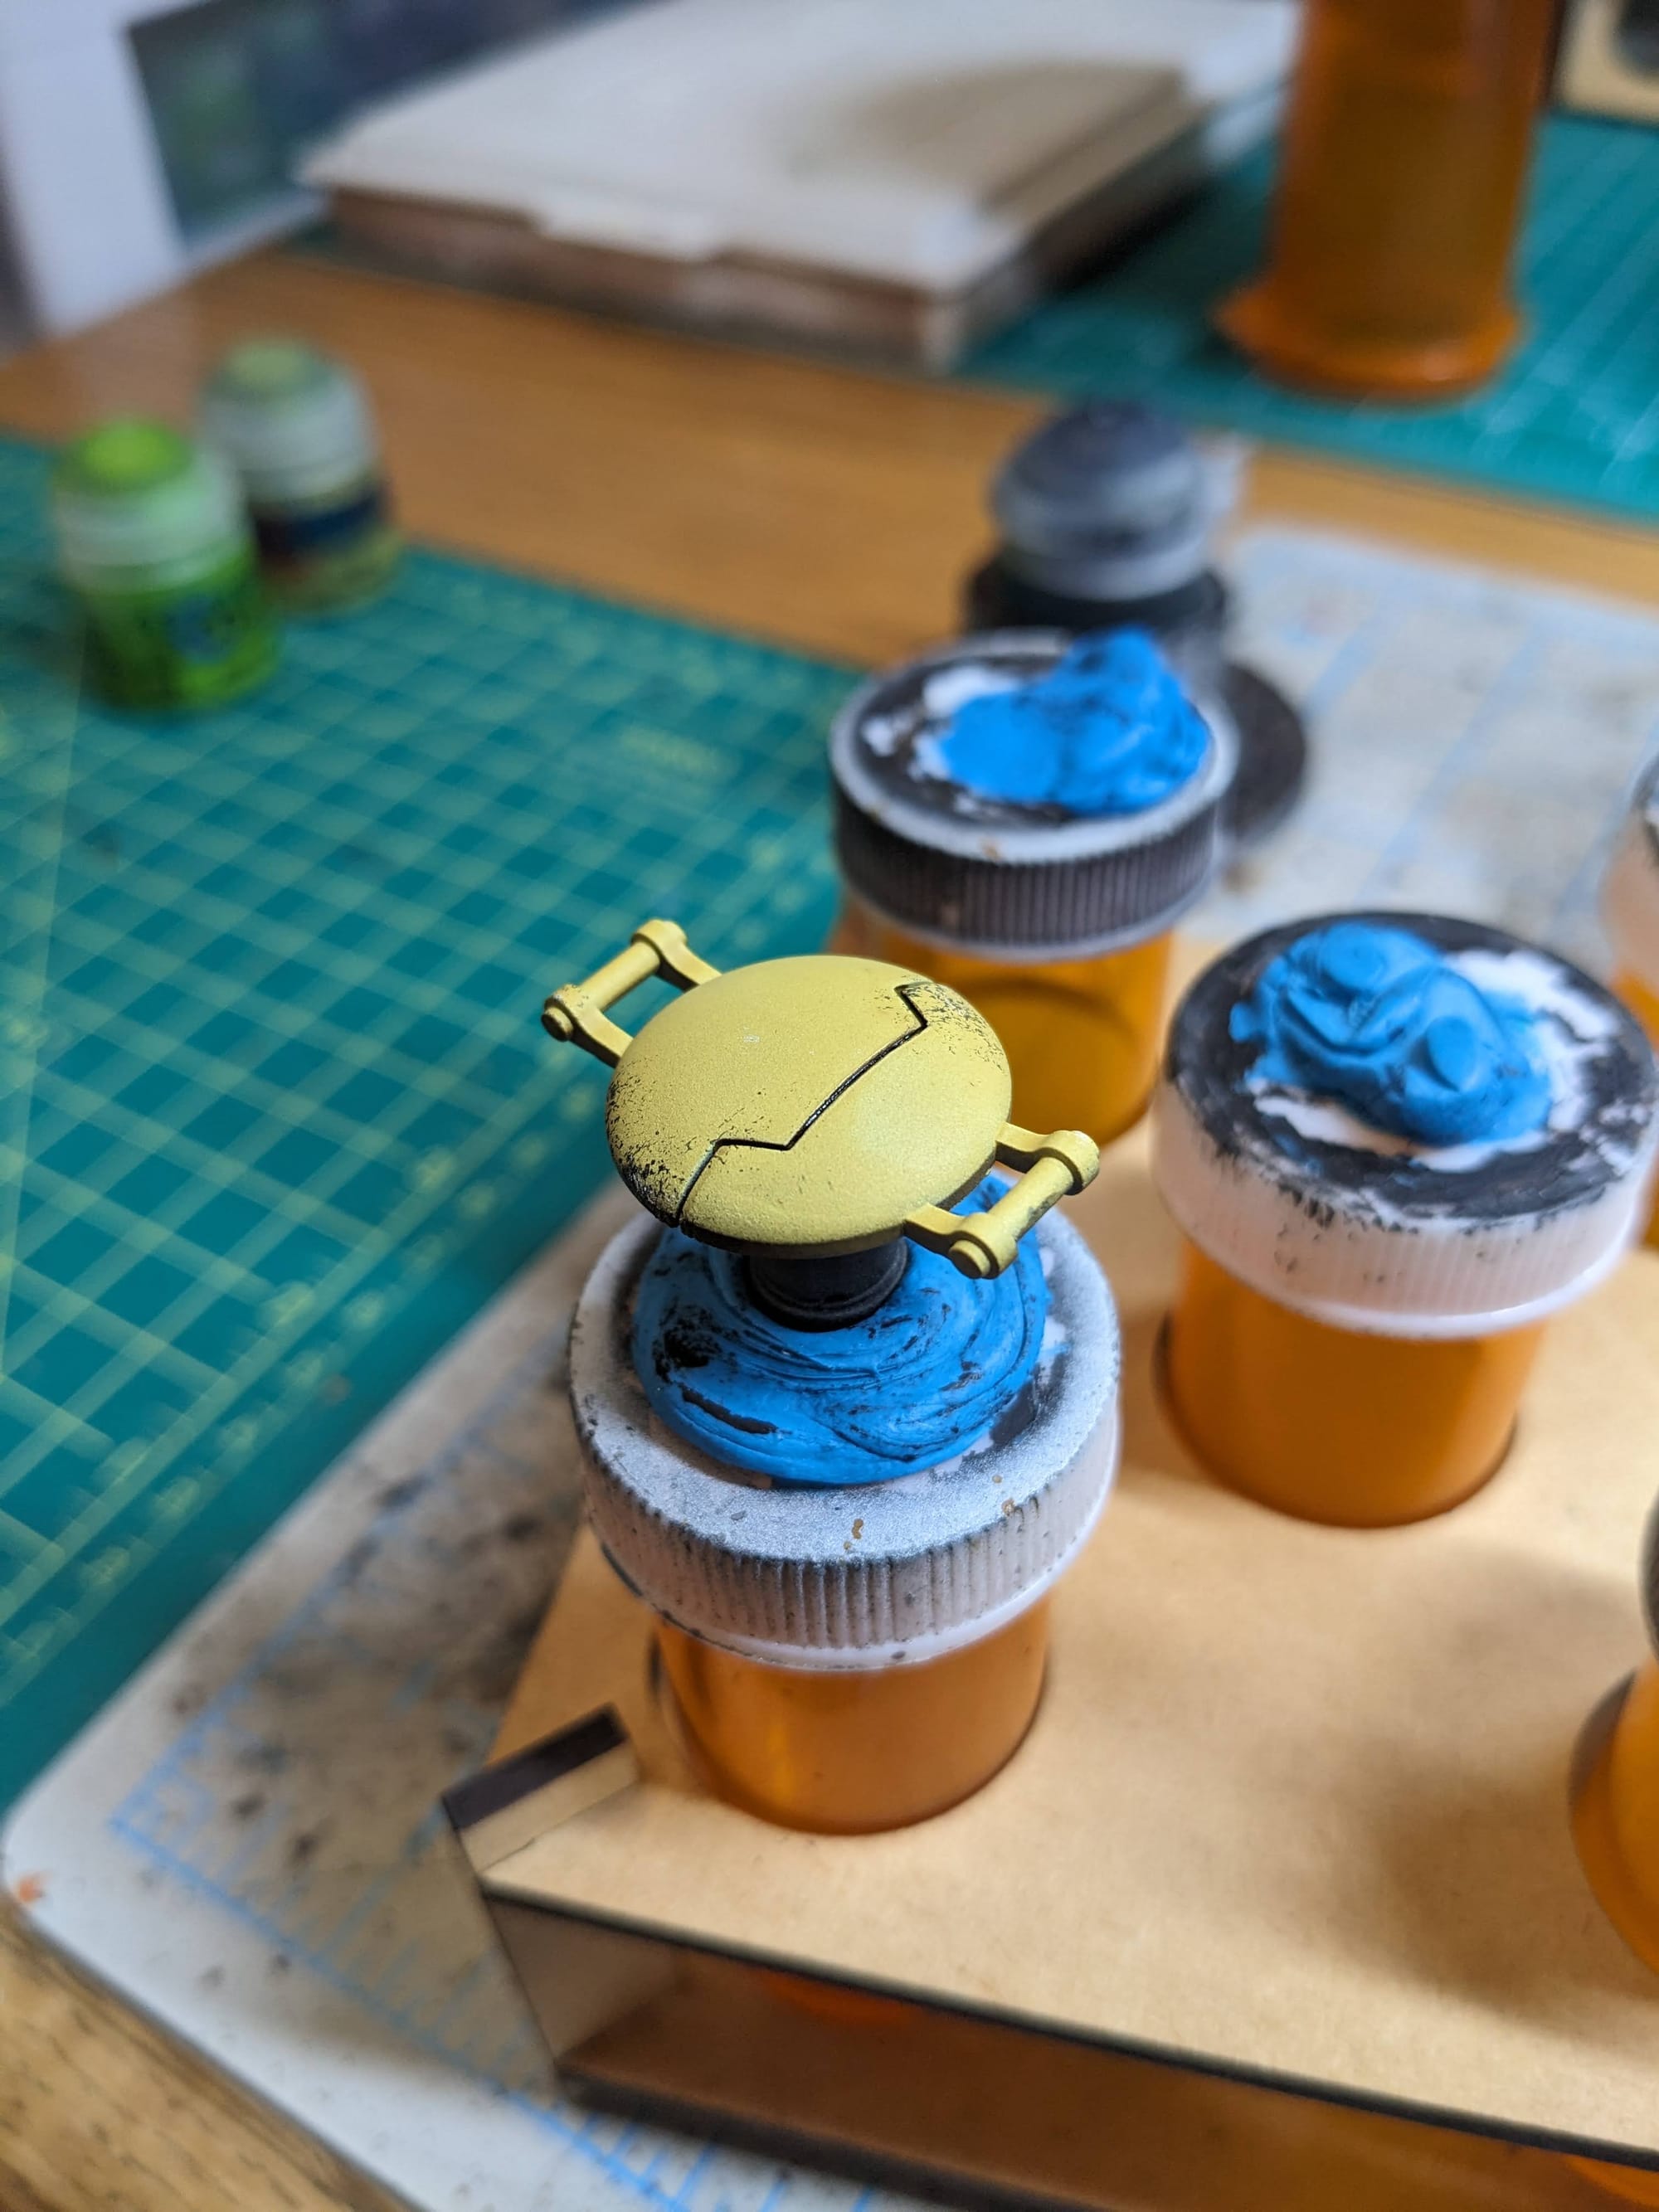
The note on the bottle says it's a 1:1 mix of Vallejo airbrush thinner and flow improver
Step-by-Step Painting
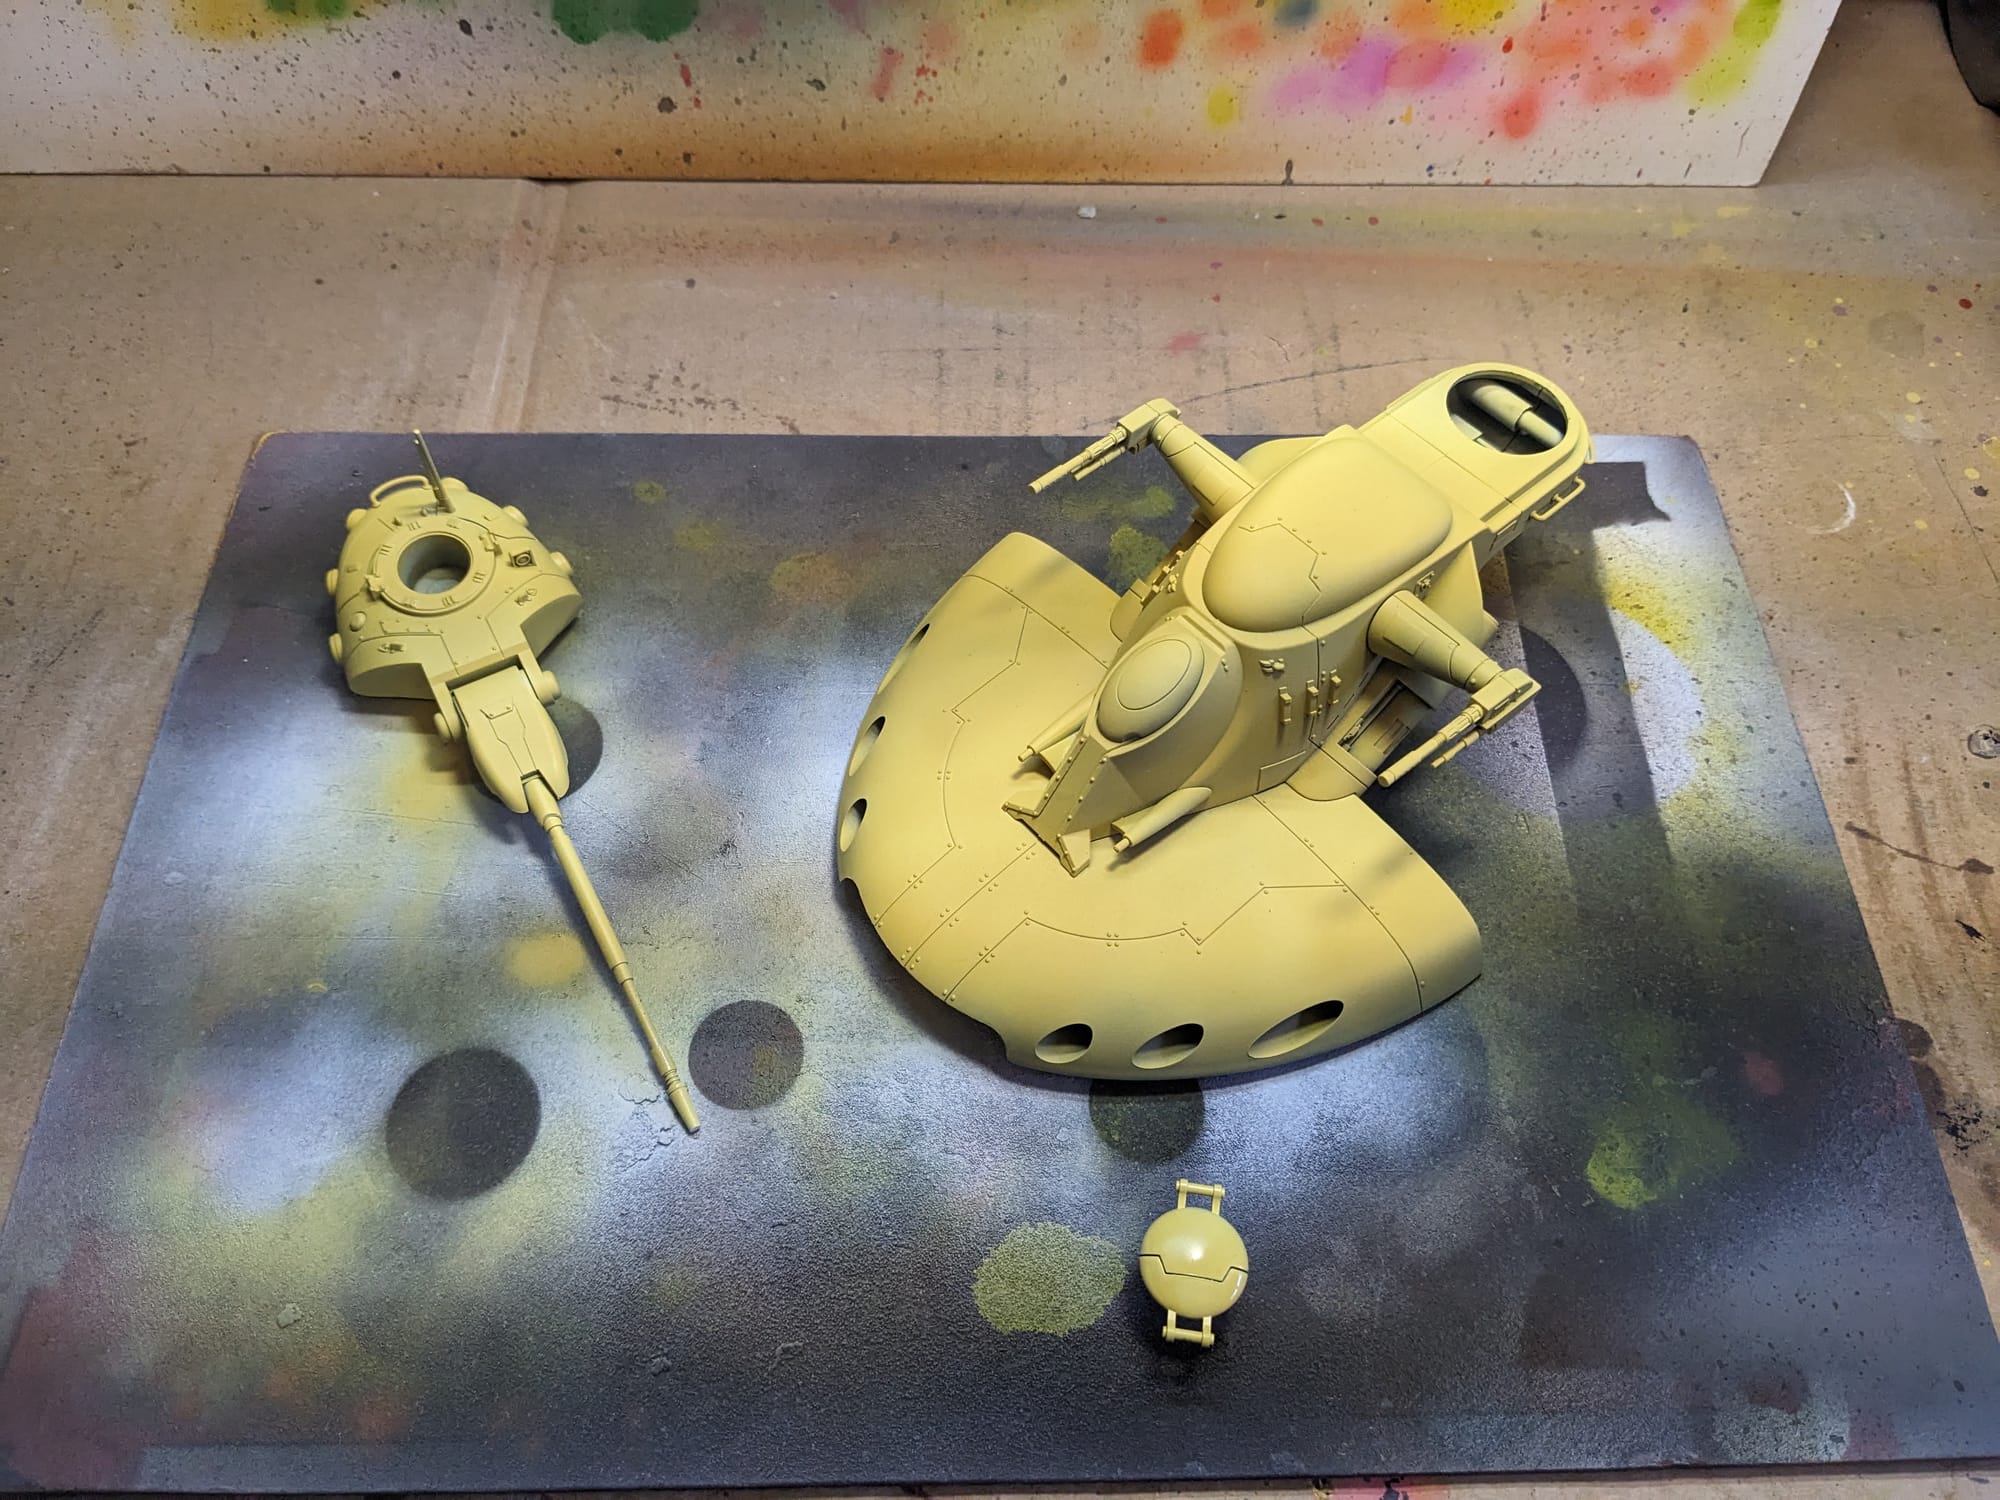
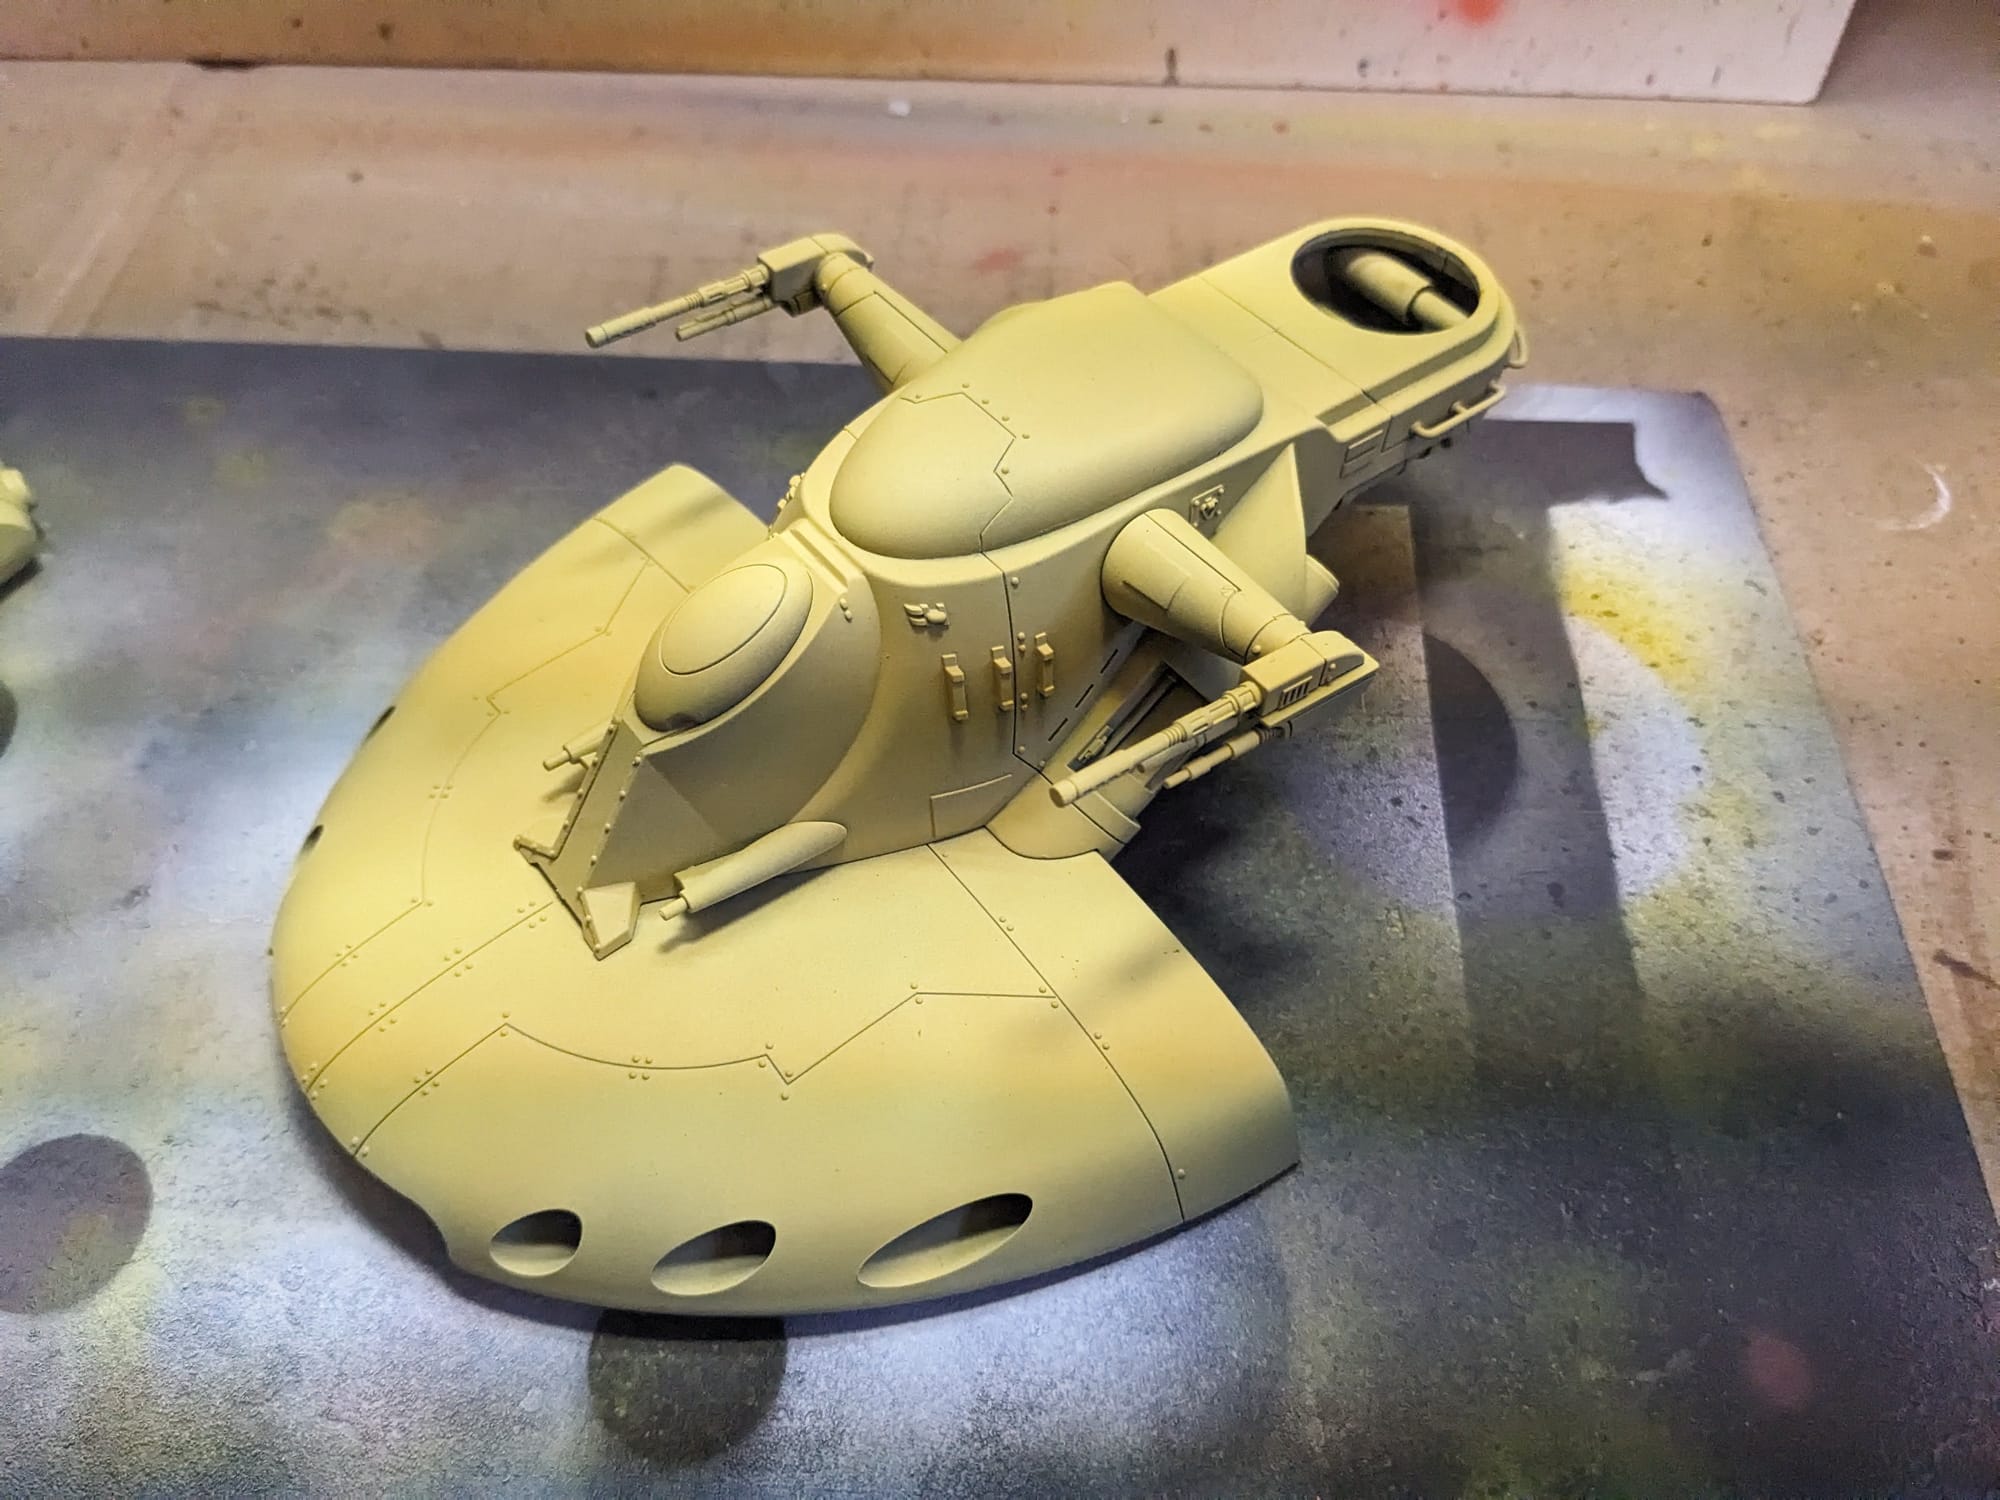
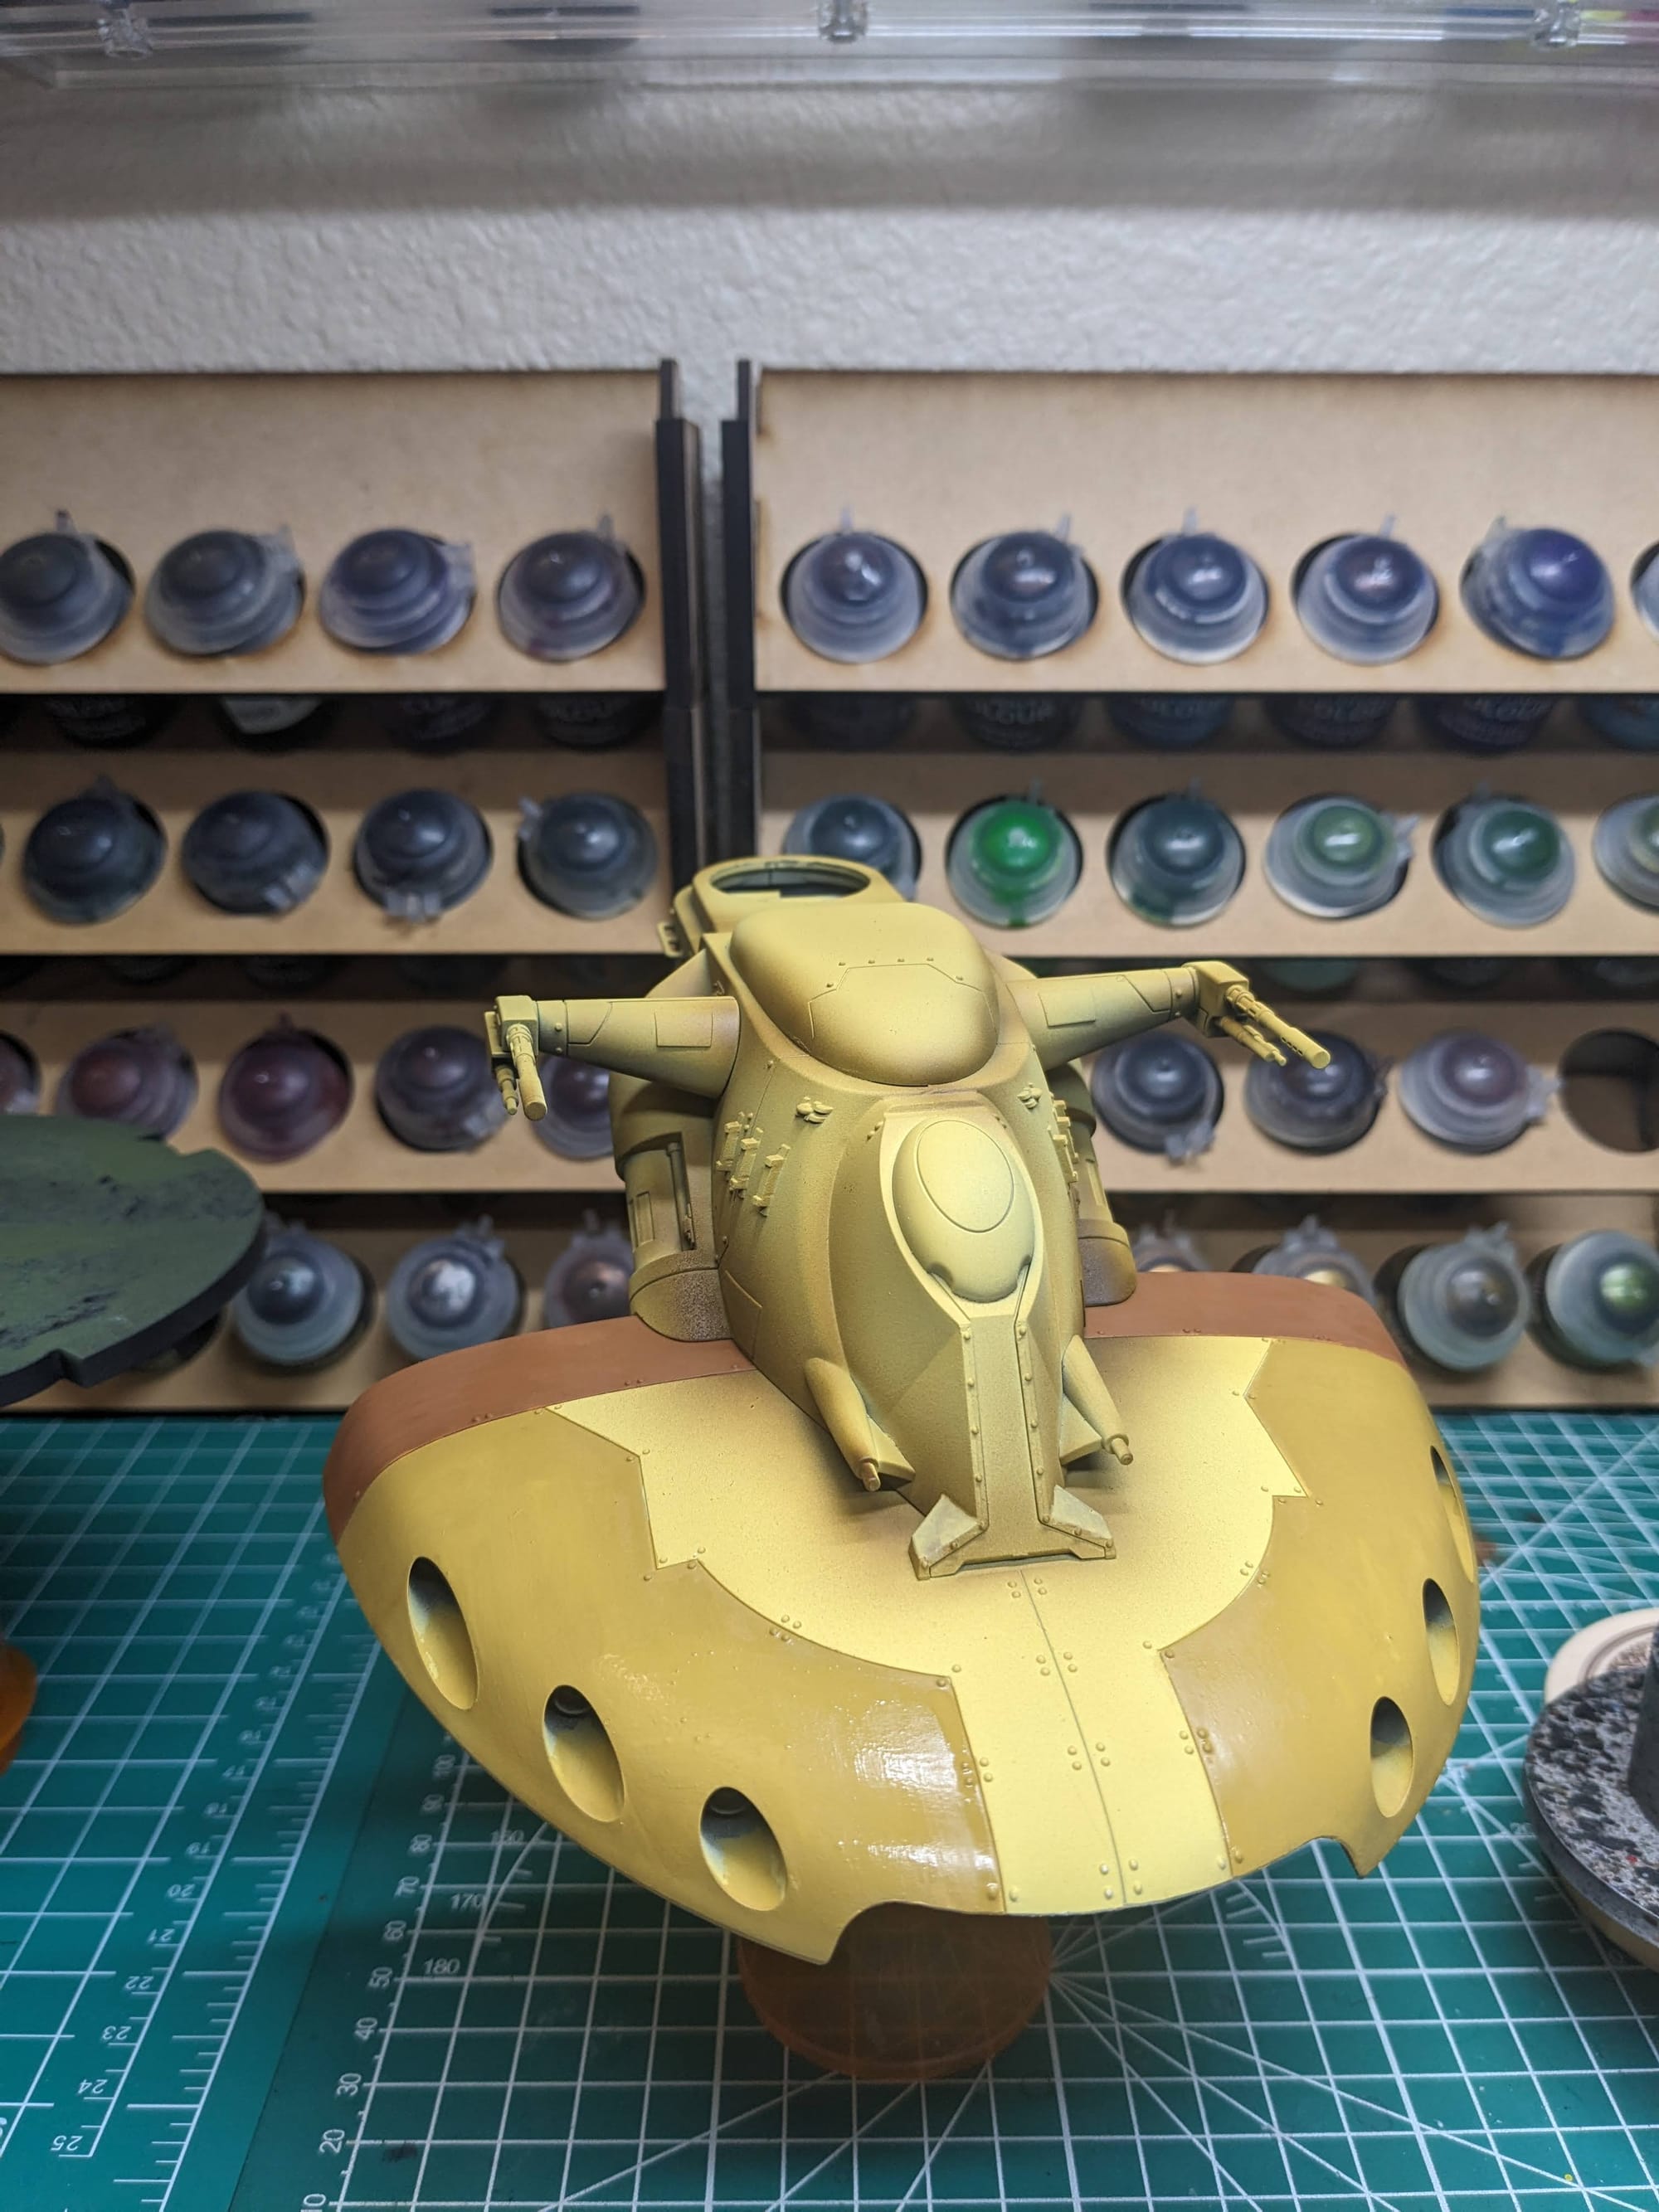
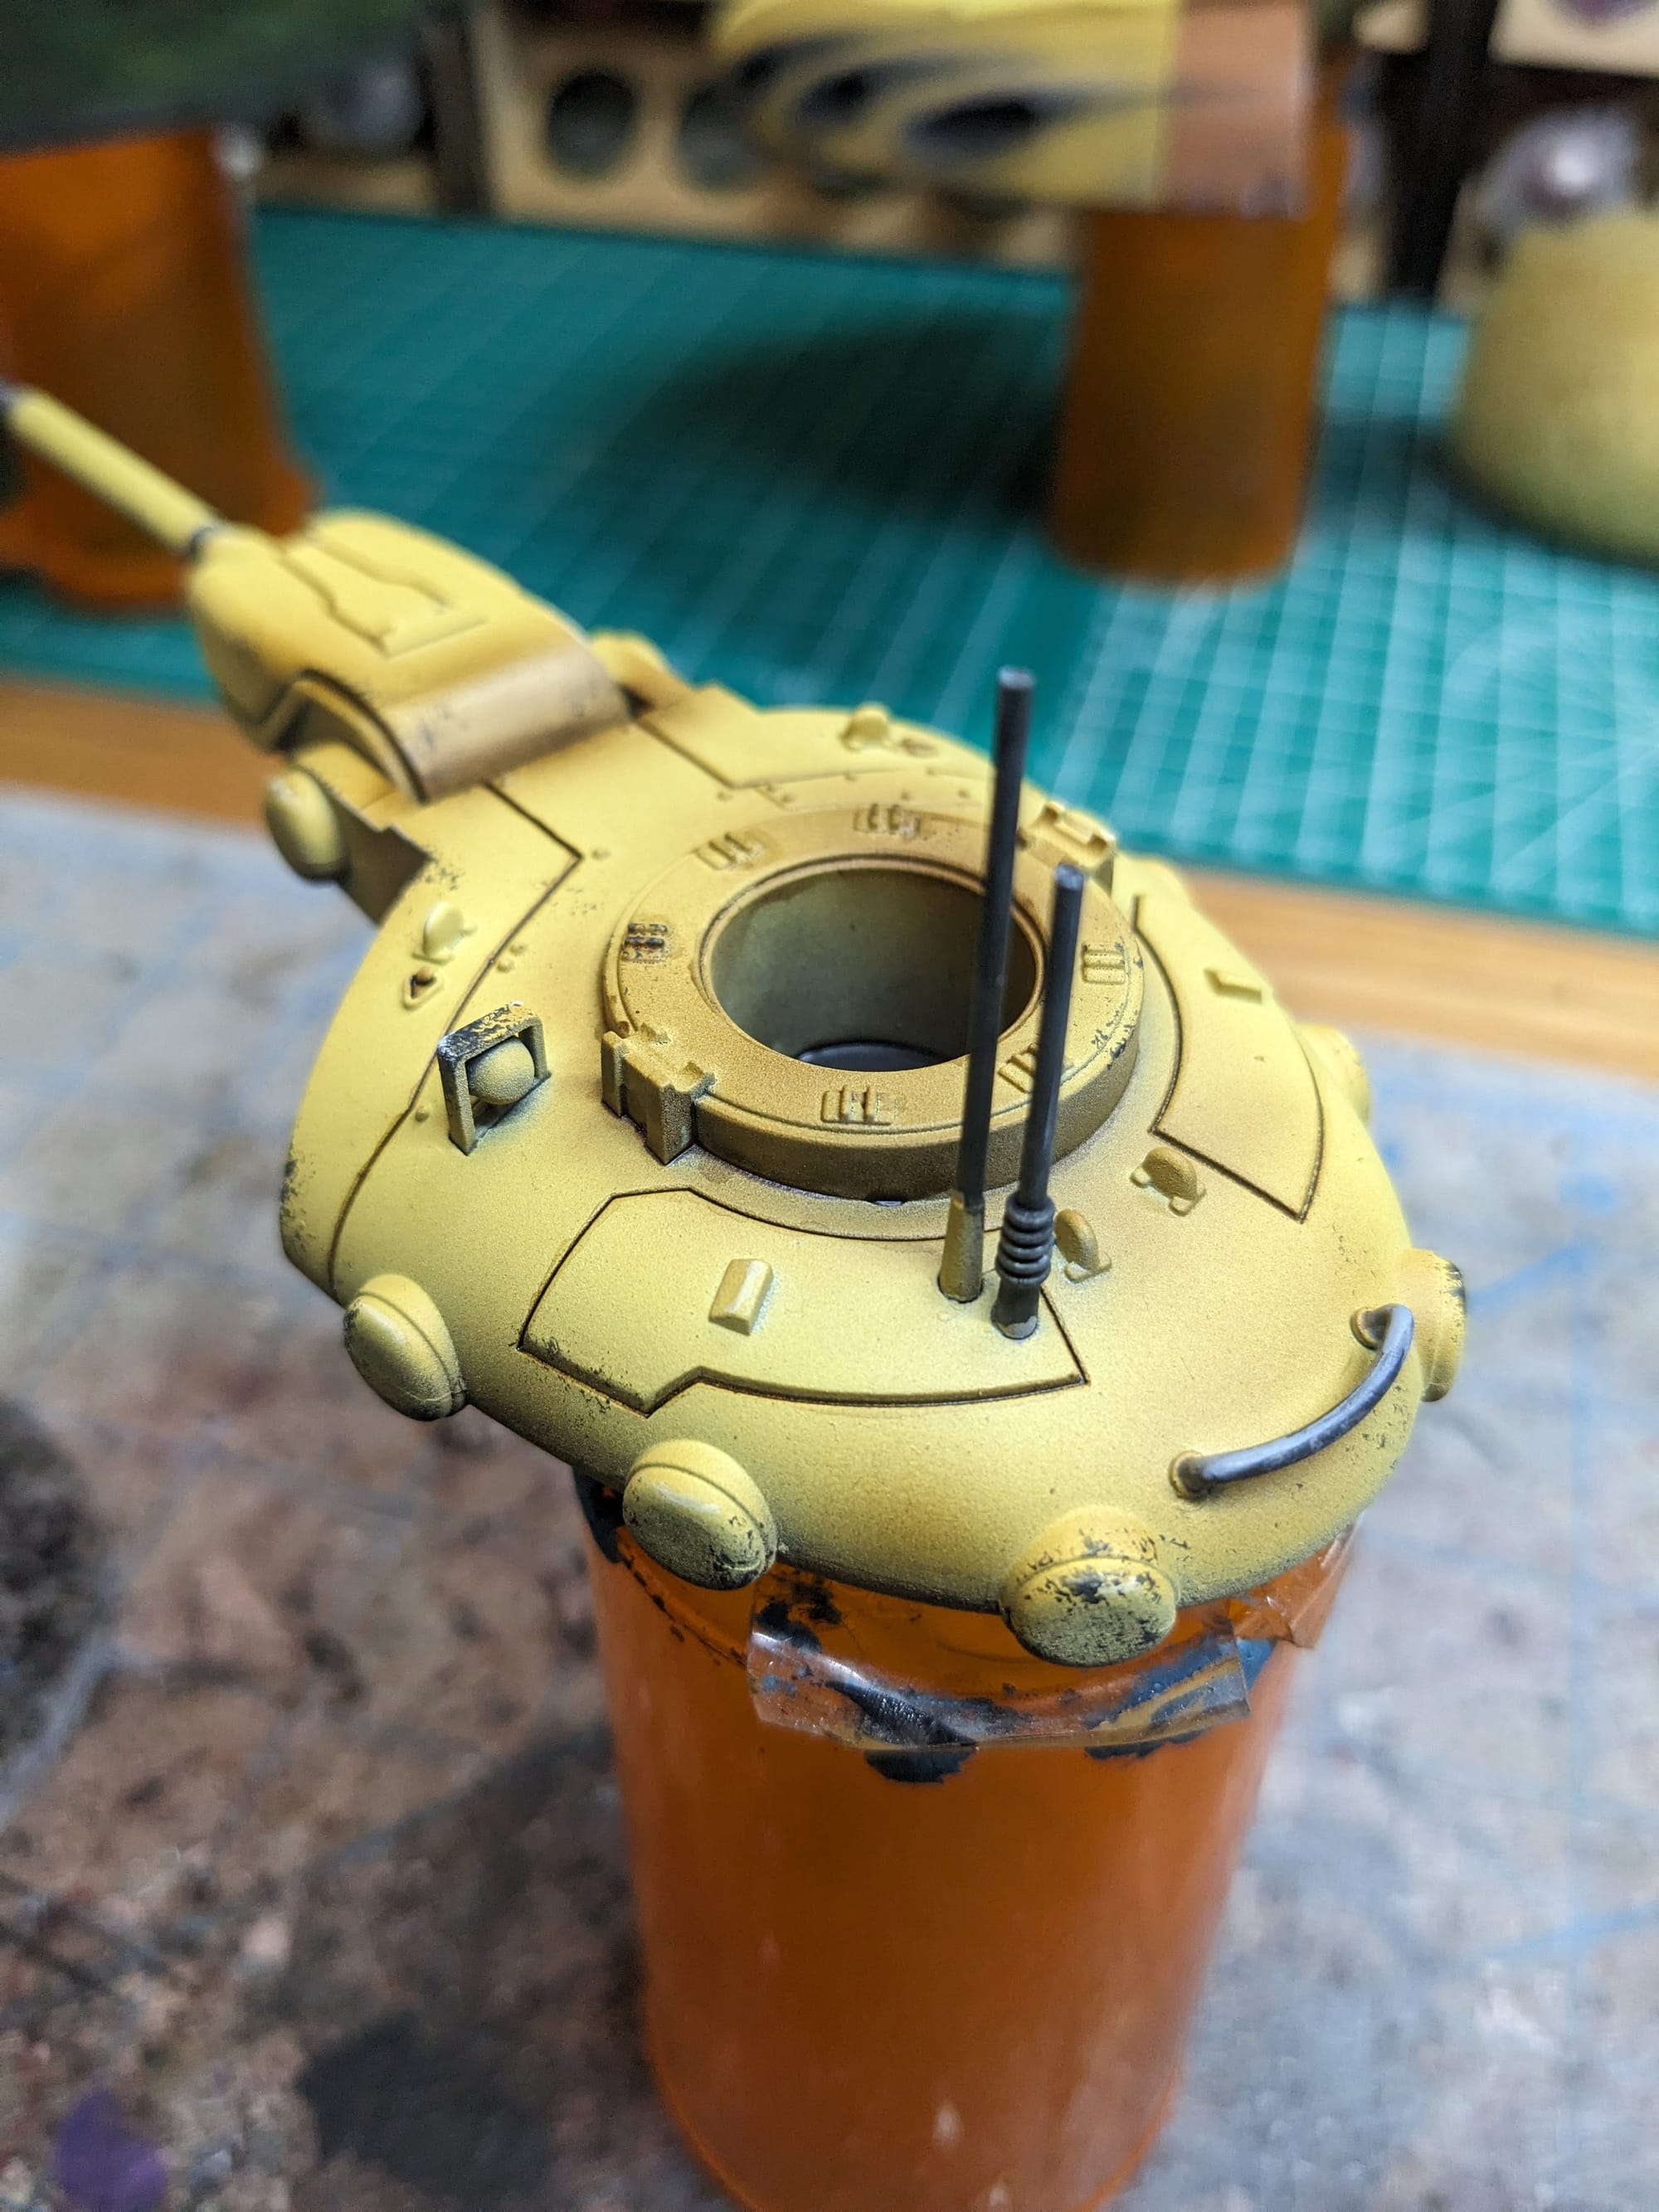
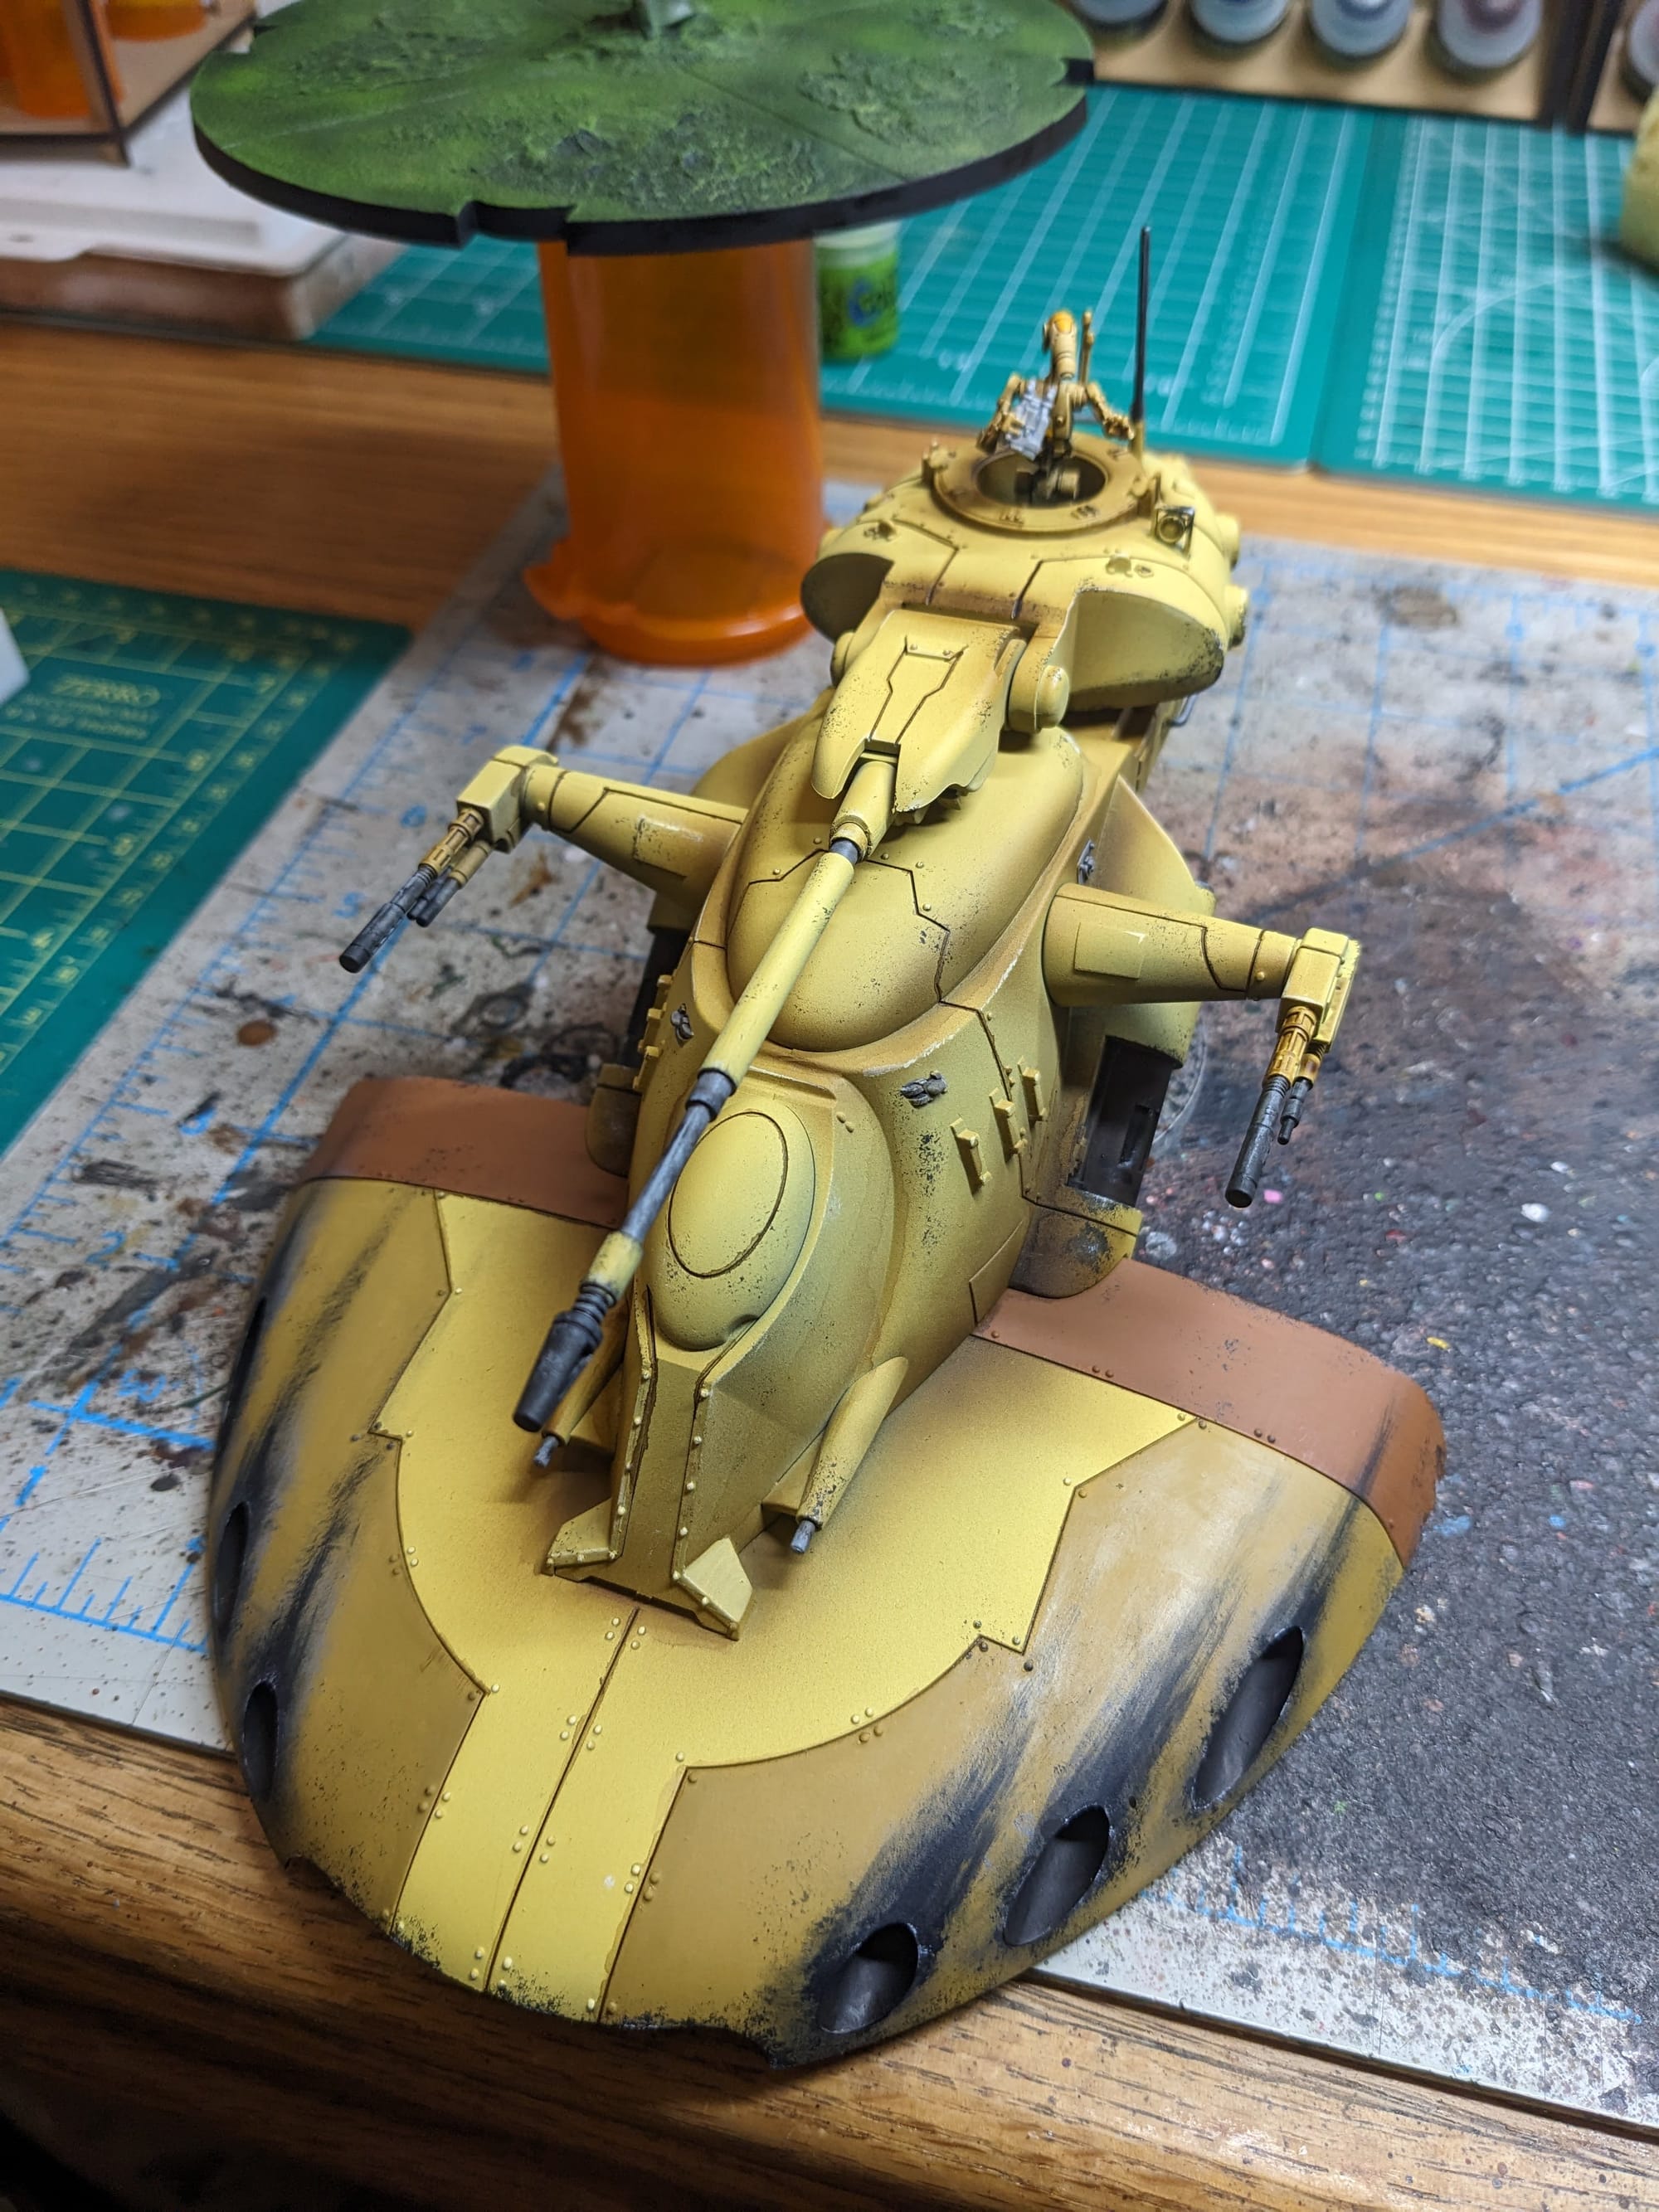
Once the model was primed and dry, I applied several thinned airbrush layers over the tank, the turret, and the hatch. Since this step resolves painting like 75% of the model, I made sure I took my time and got a nice even coat.
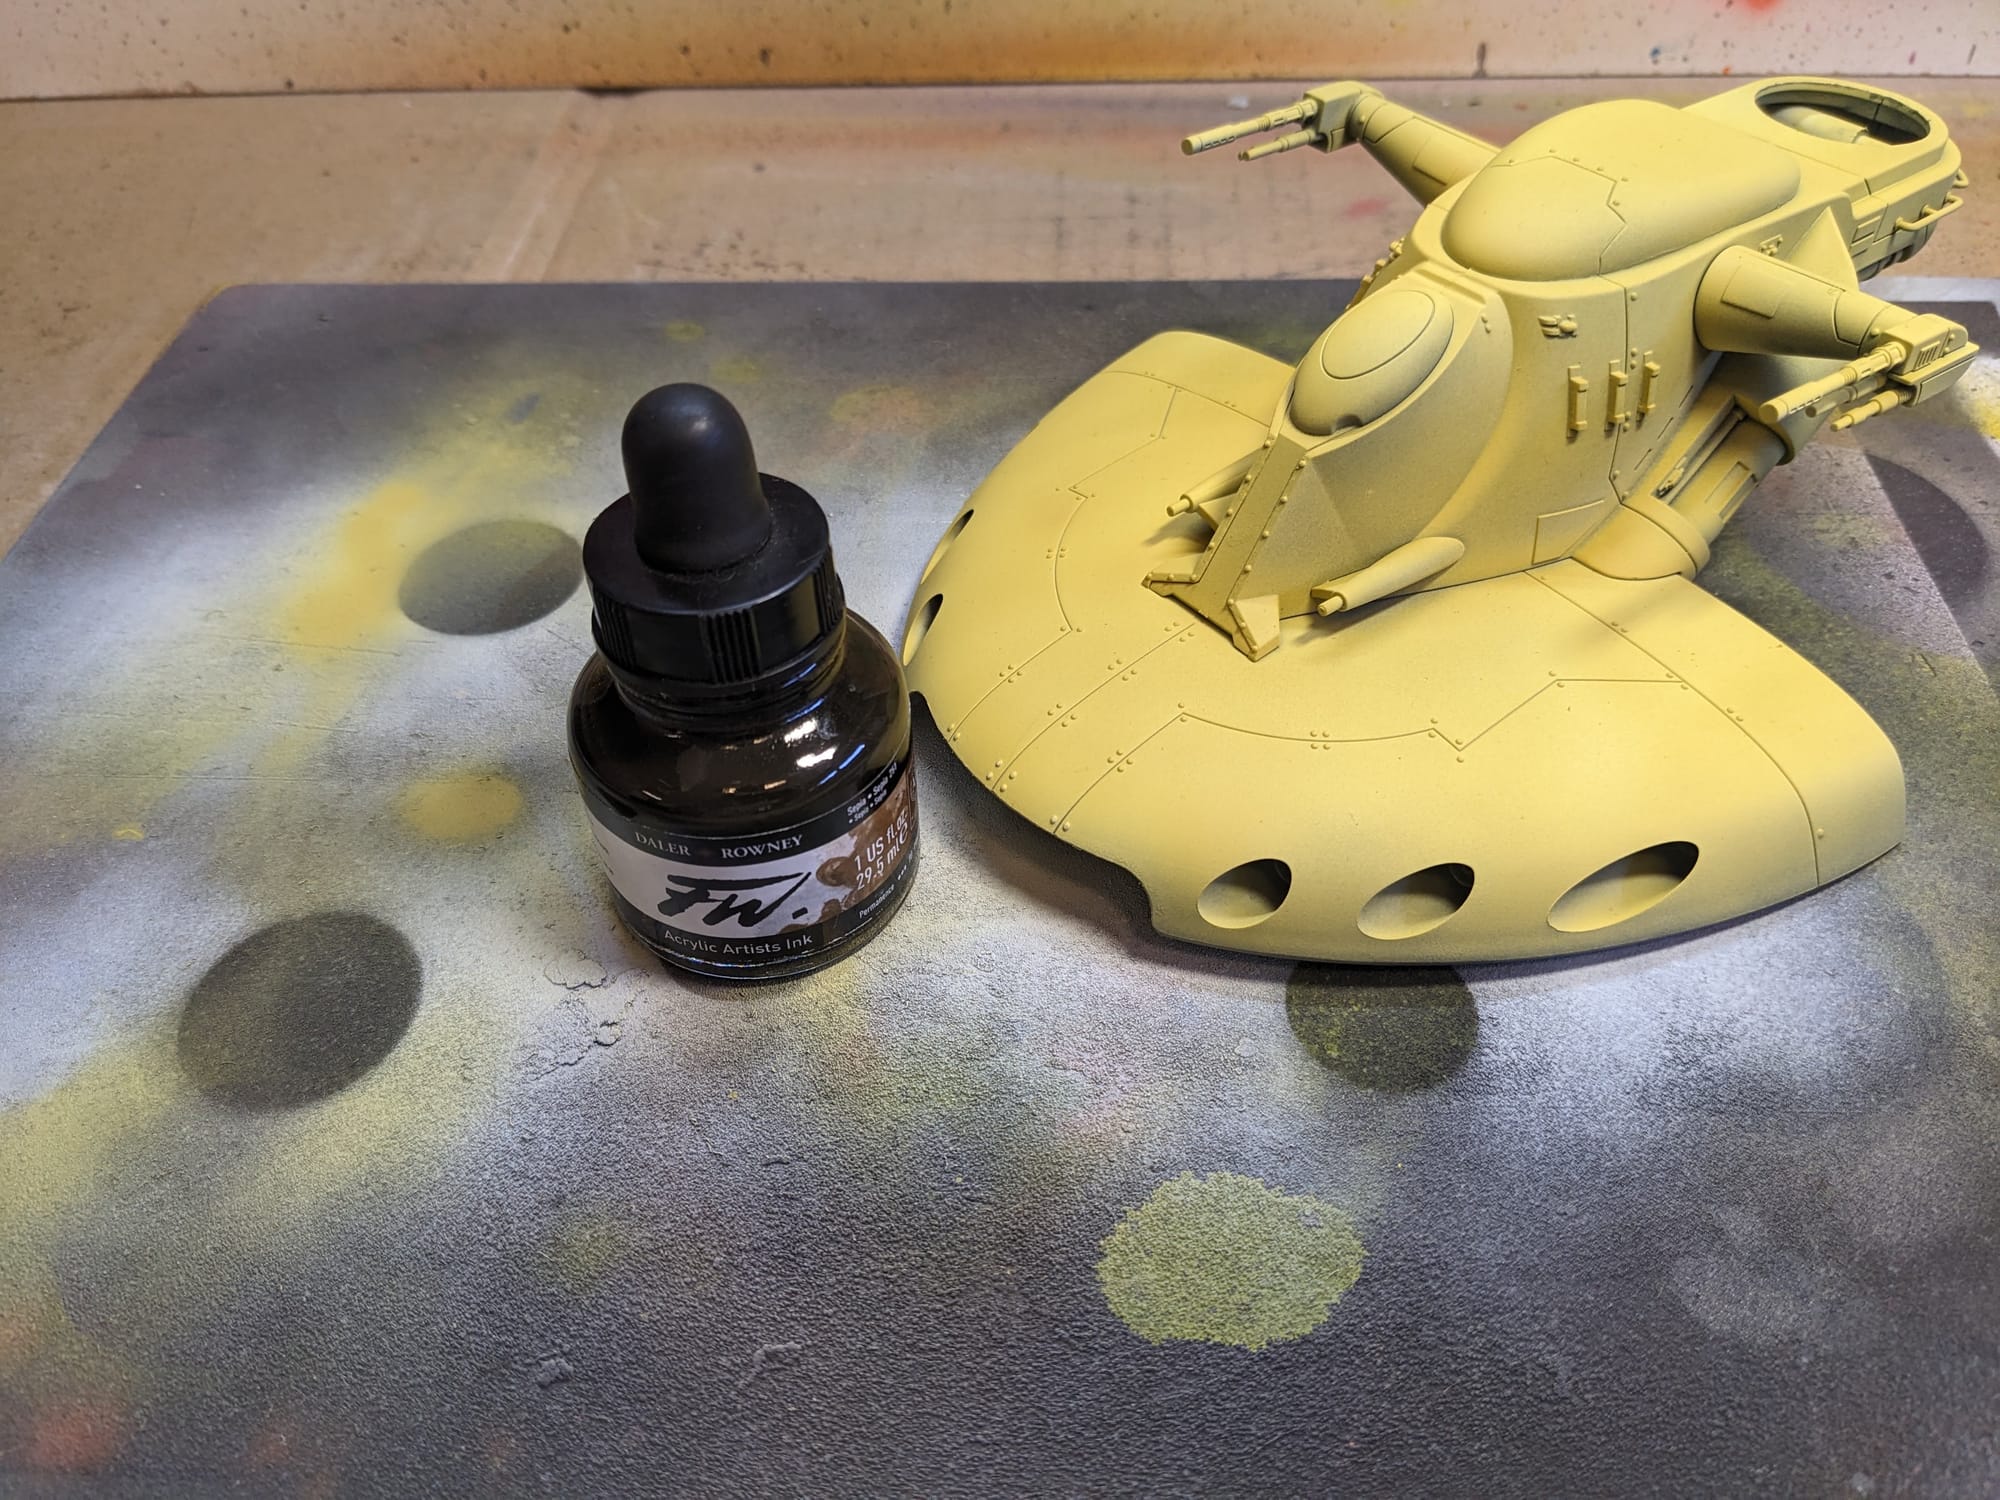
As Sorastro did in his guide, I airbrushed sepia ink as a shadow, underneath the backside, and in the recessed areas. I didn't go as carefully as I liked, but since I will be adding some battle damage in later, I wasn't as concerned.

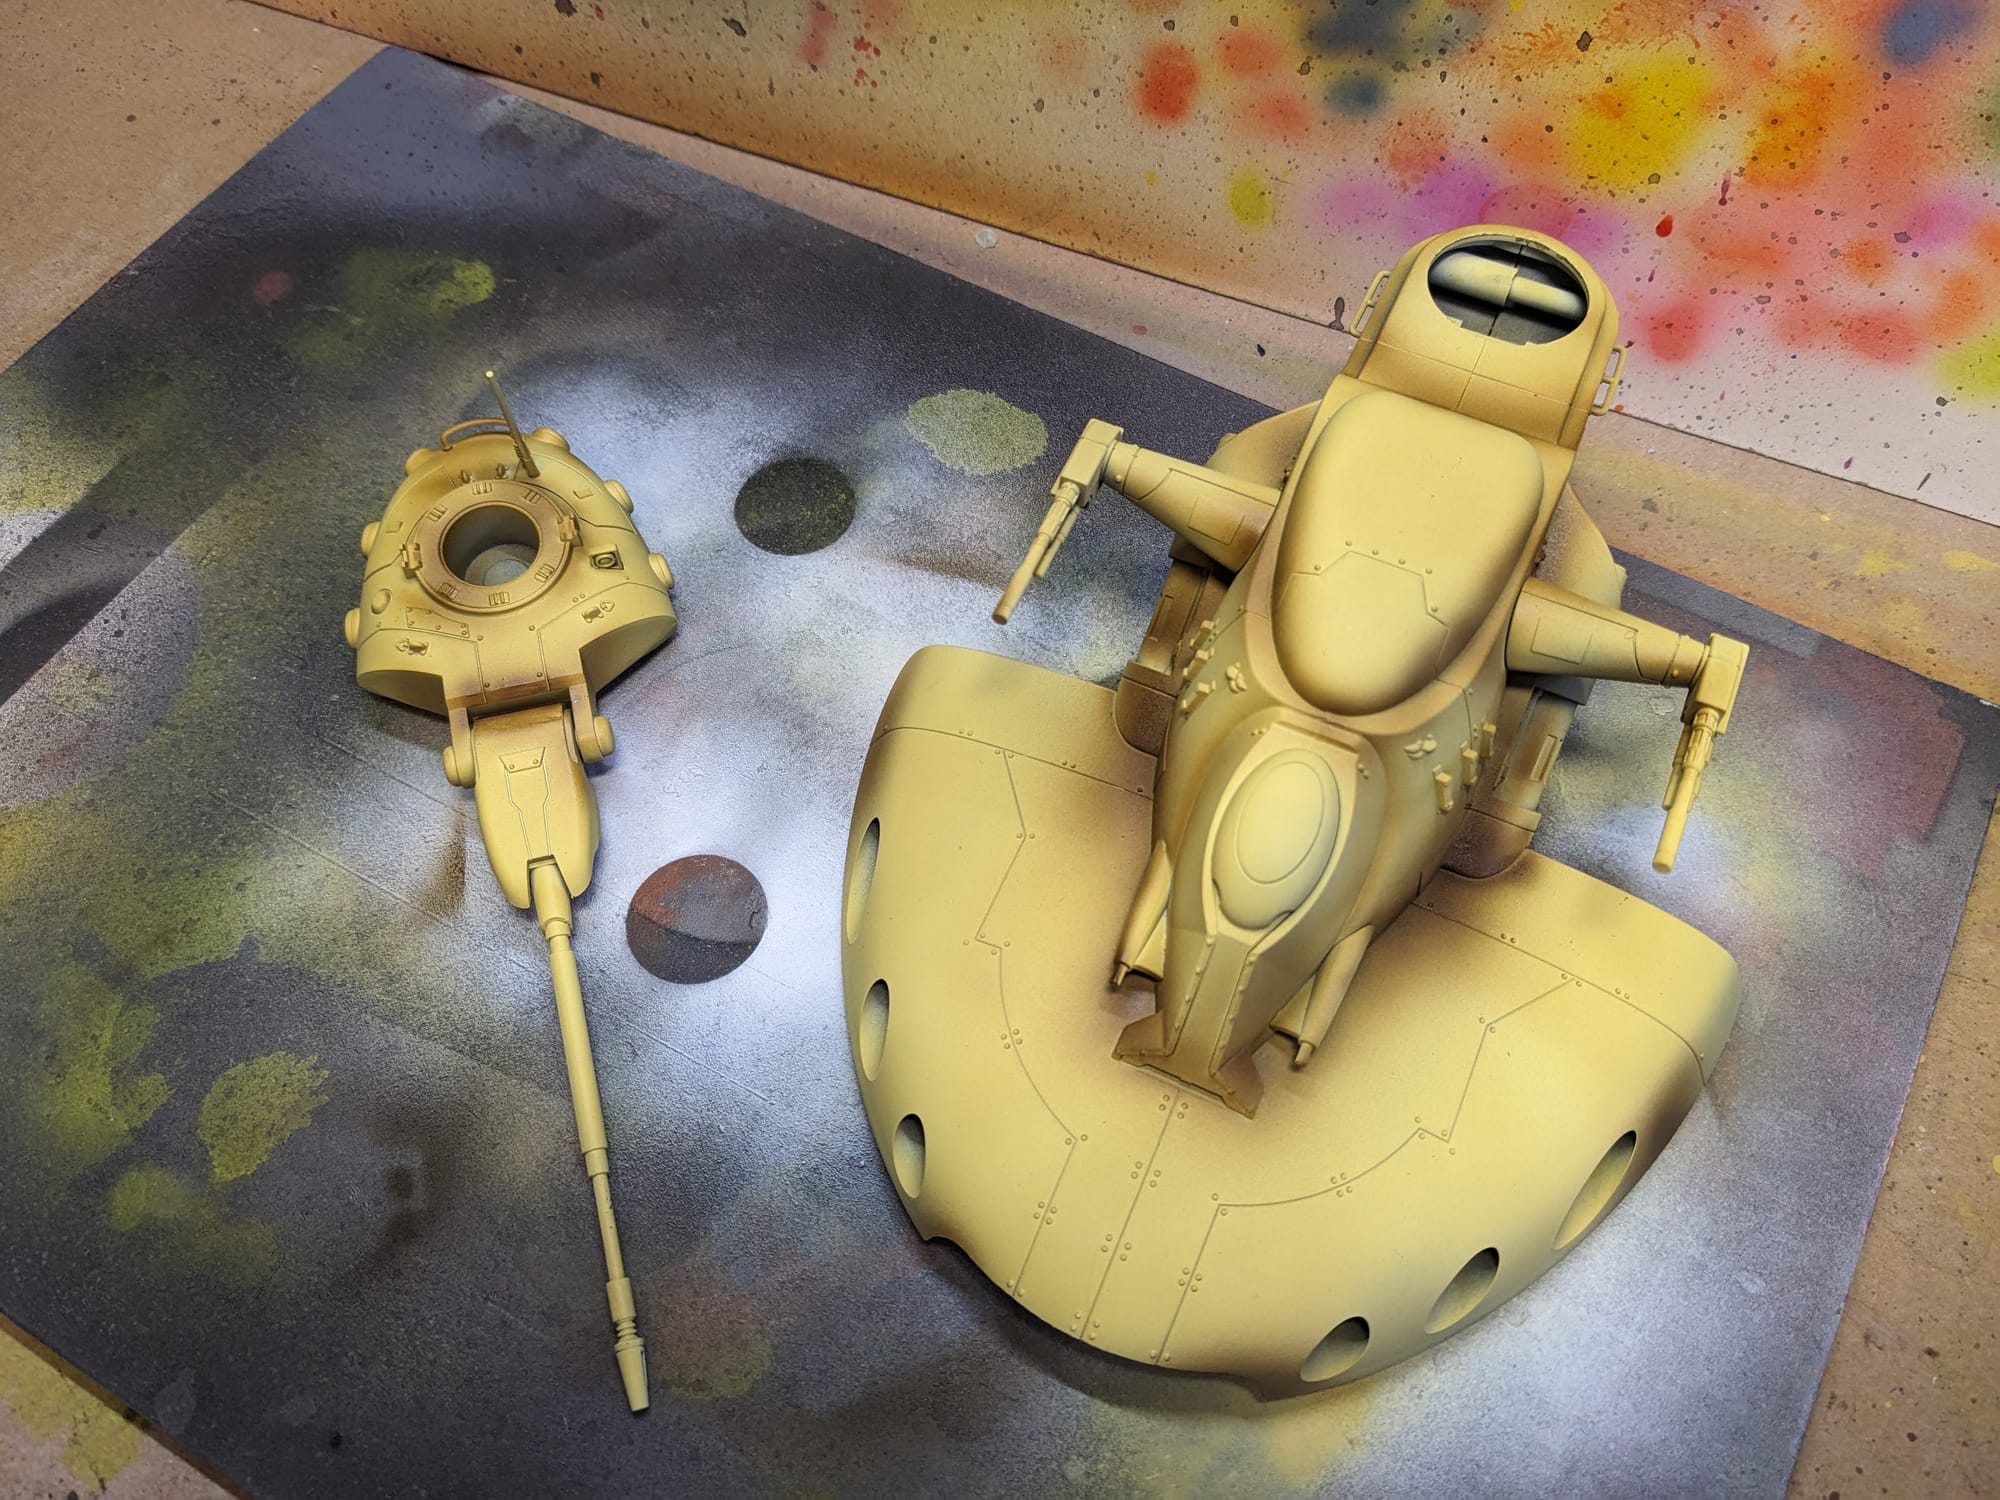
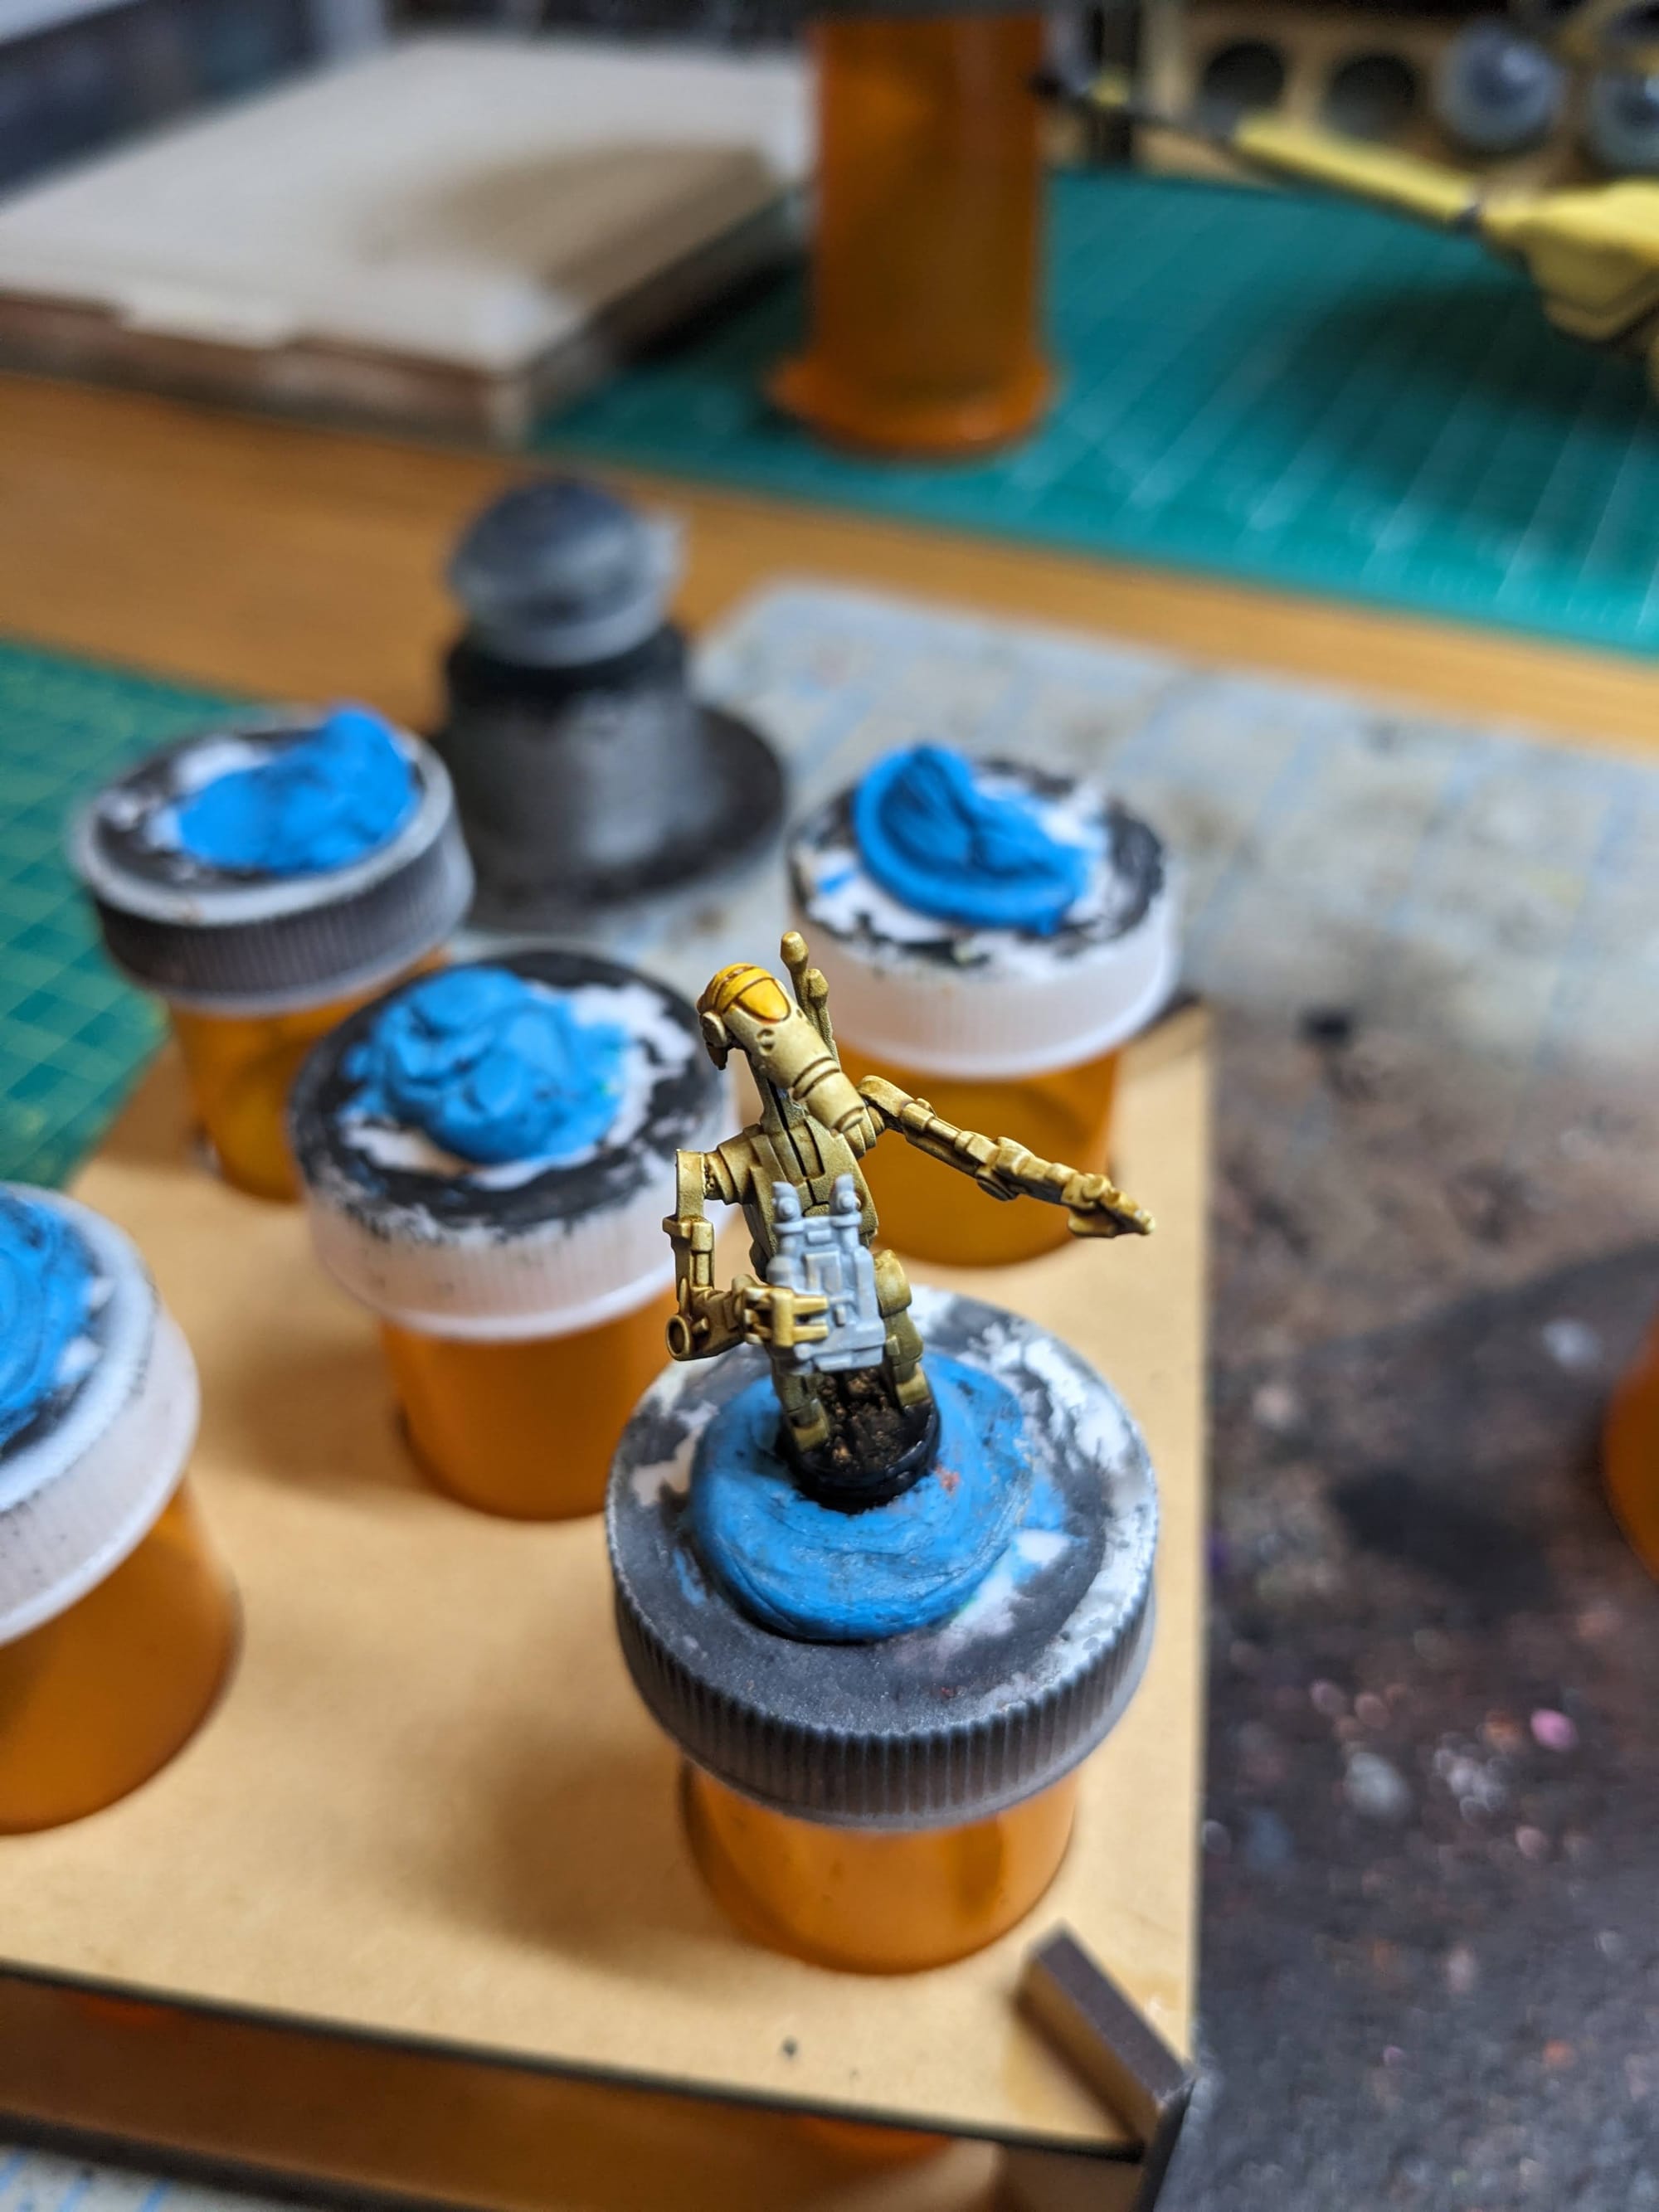
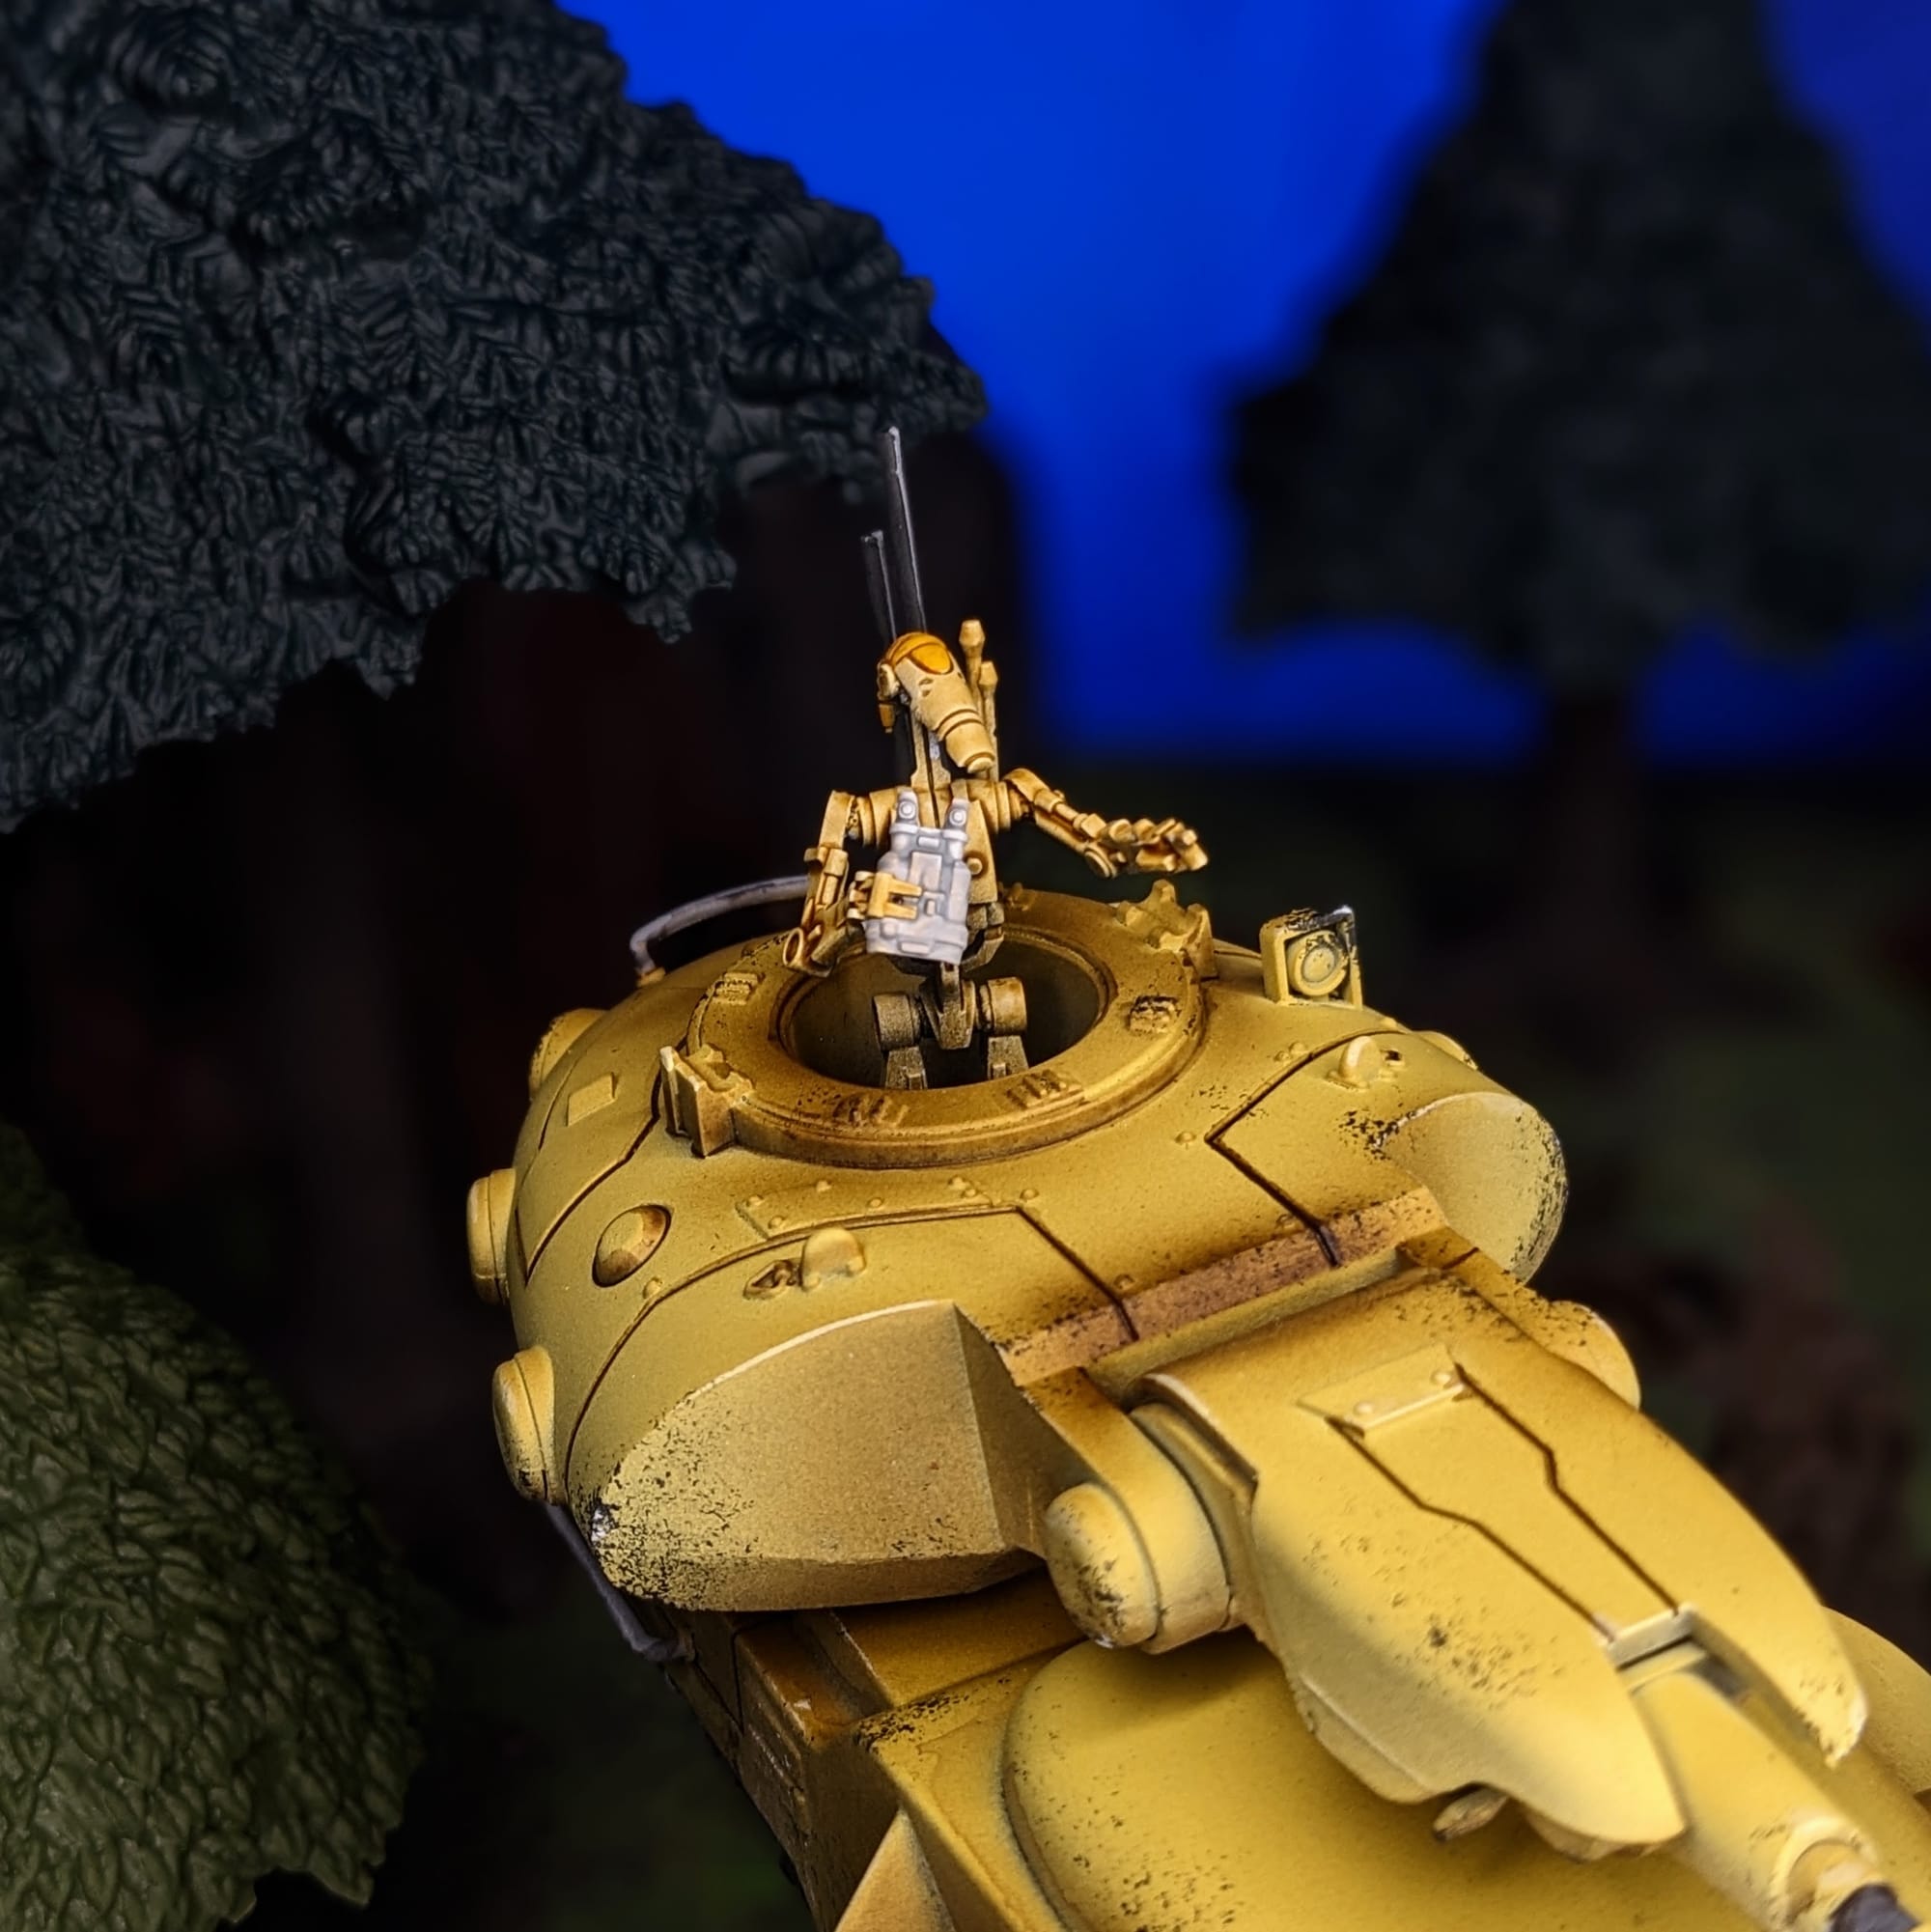
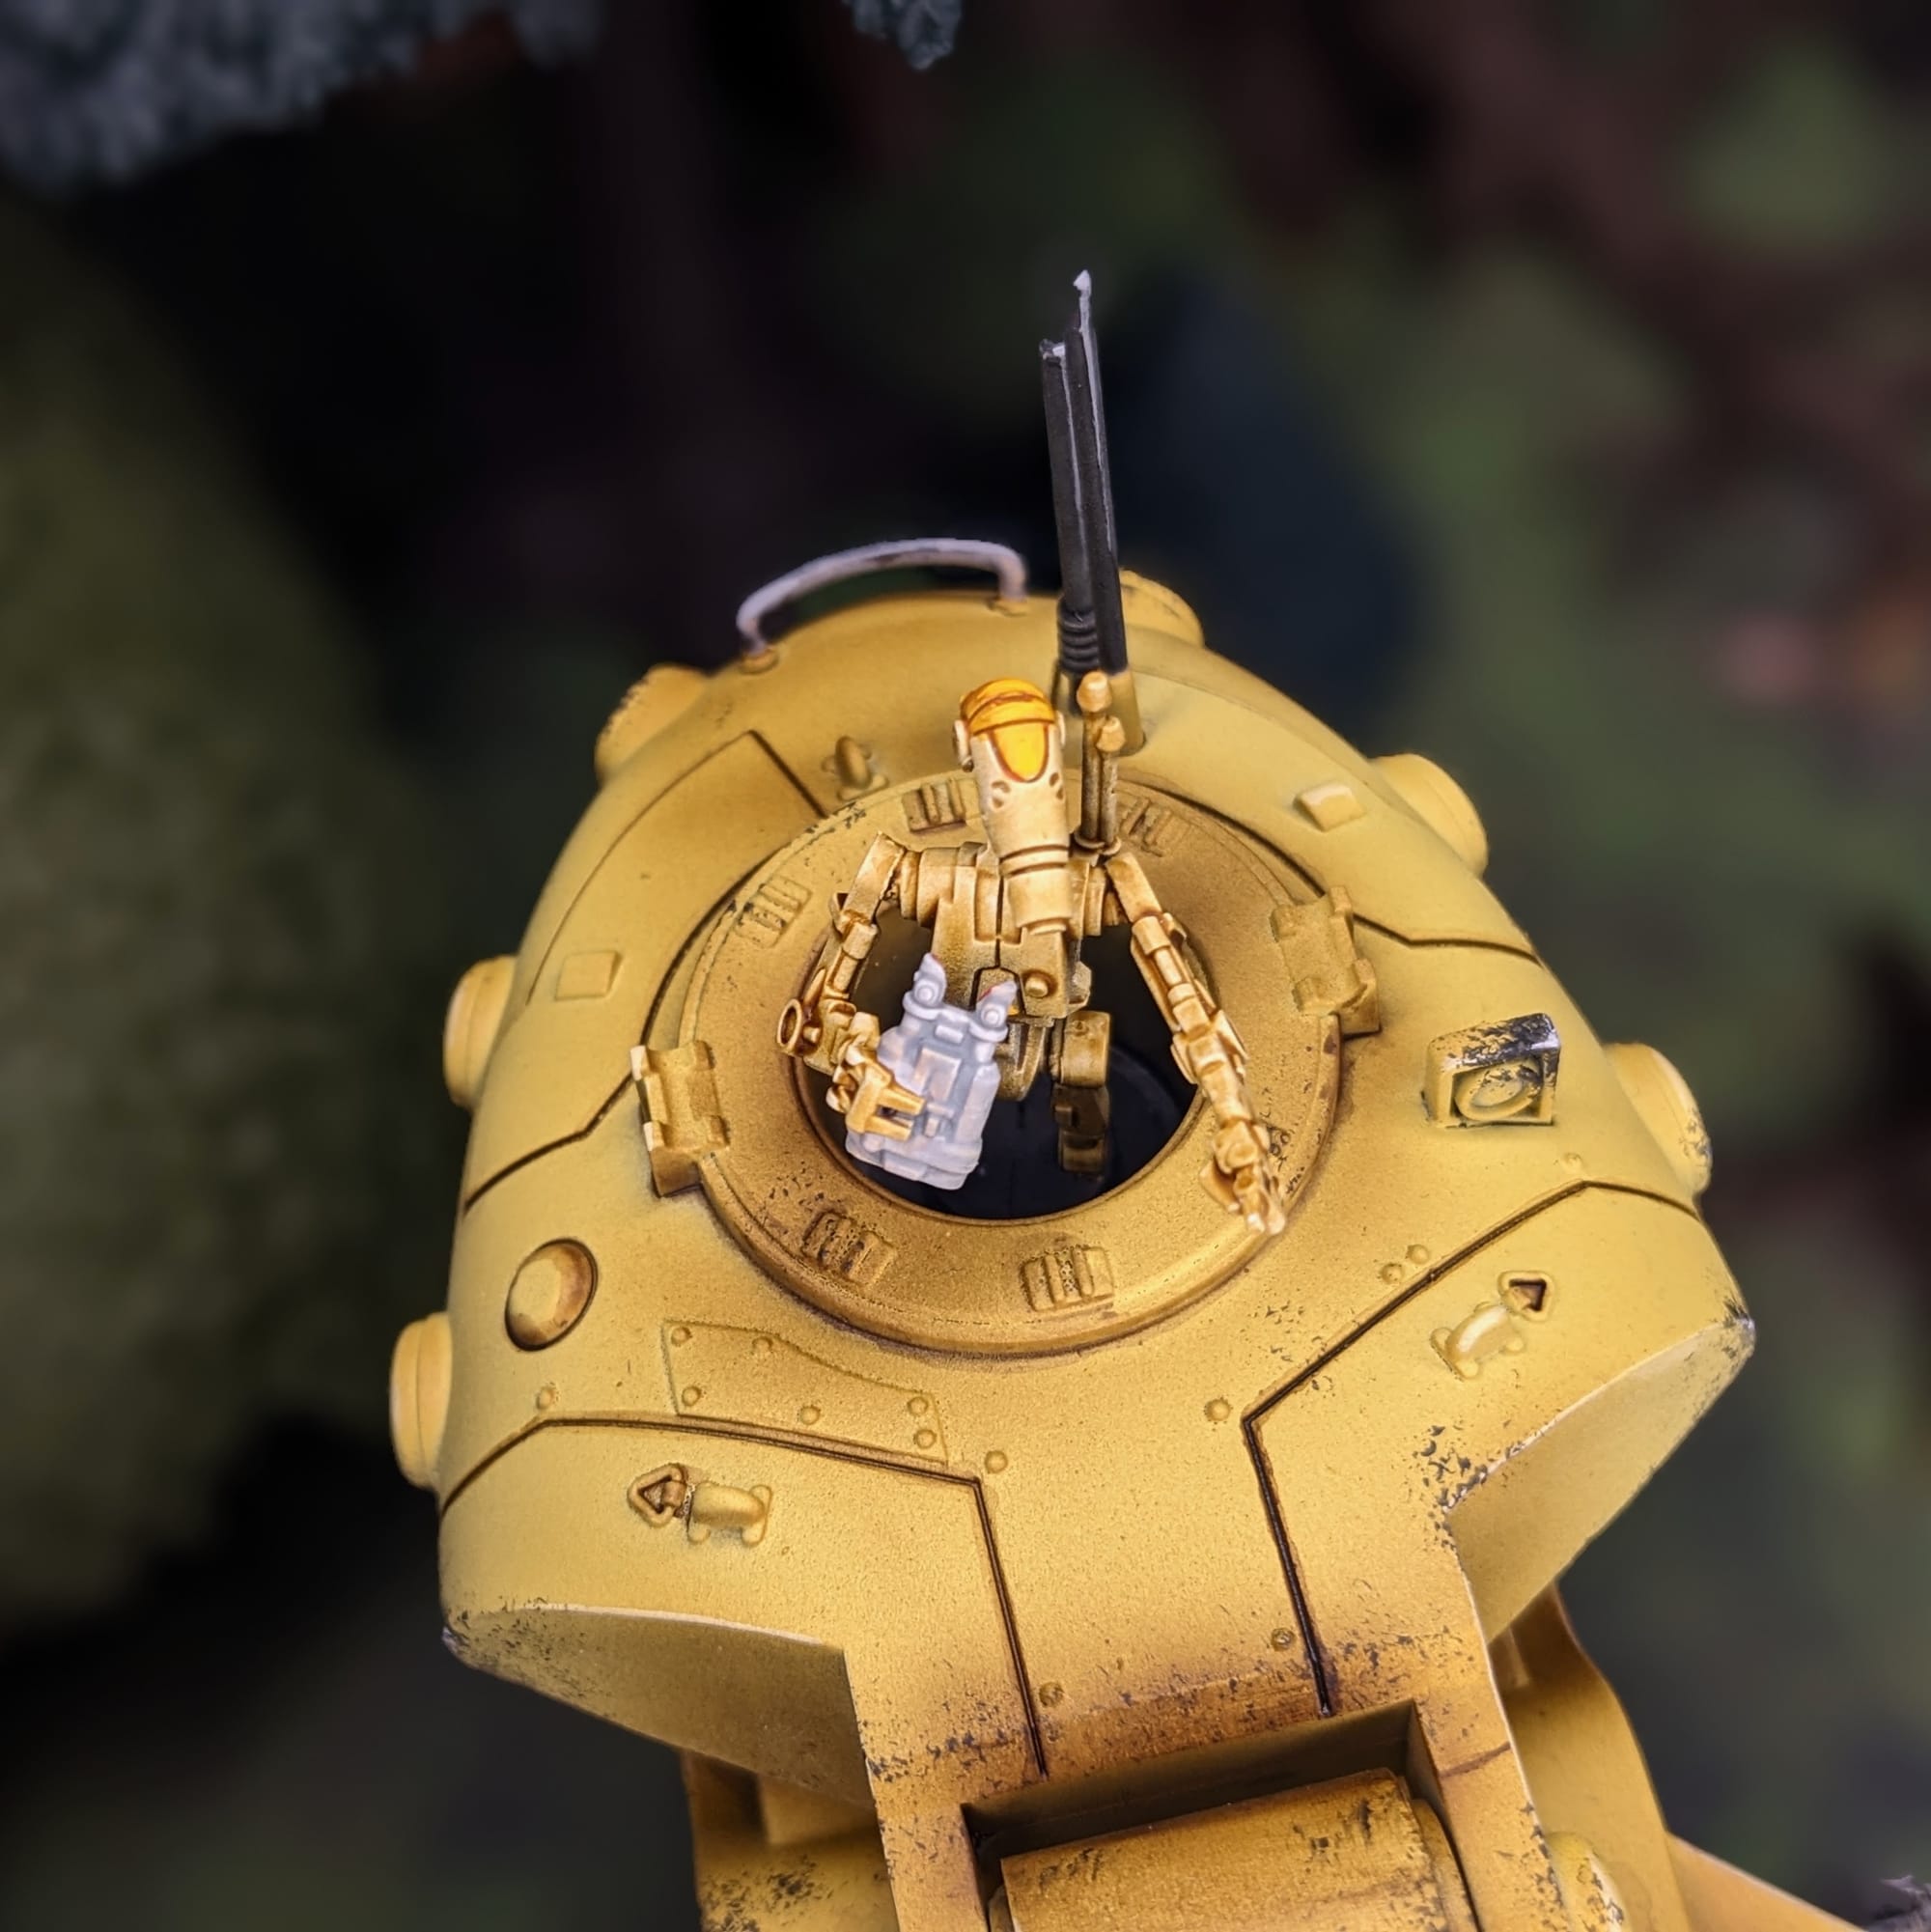
With all of the spraying done (rattle can and airbrush), I got back to the table and started working the details. The Tank Commander will be painted in the same style I painted my Separatist Core Box droids. The base I'll save for last!

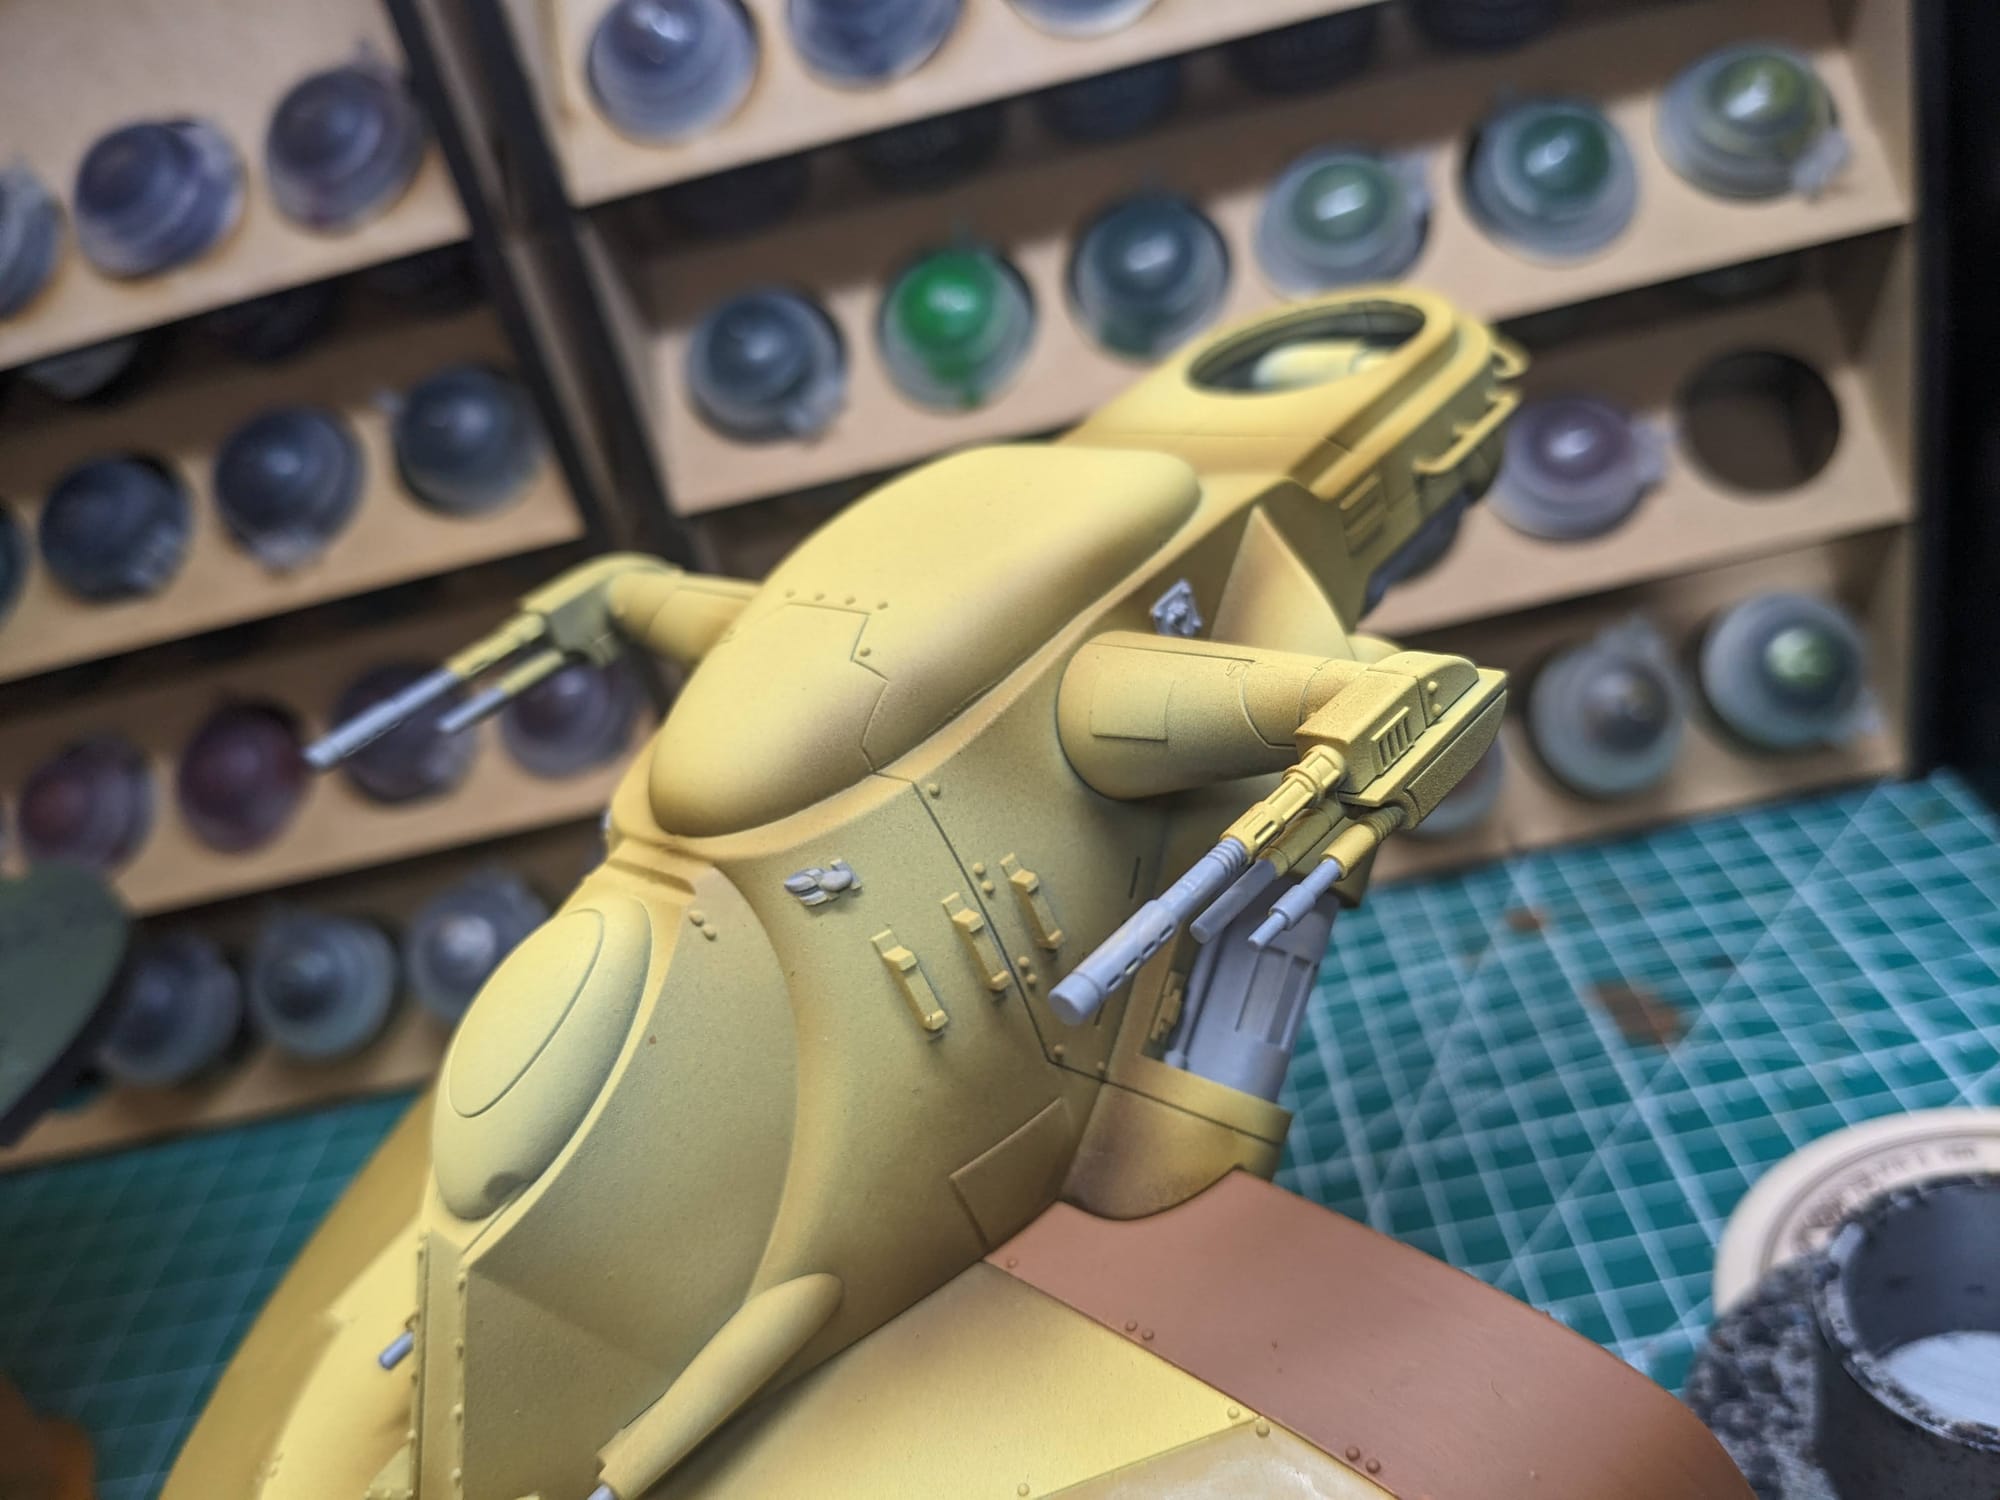
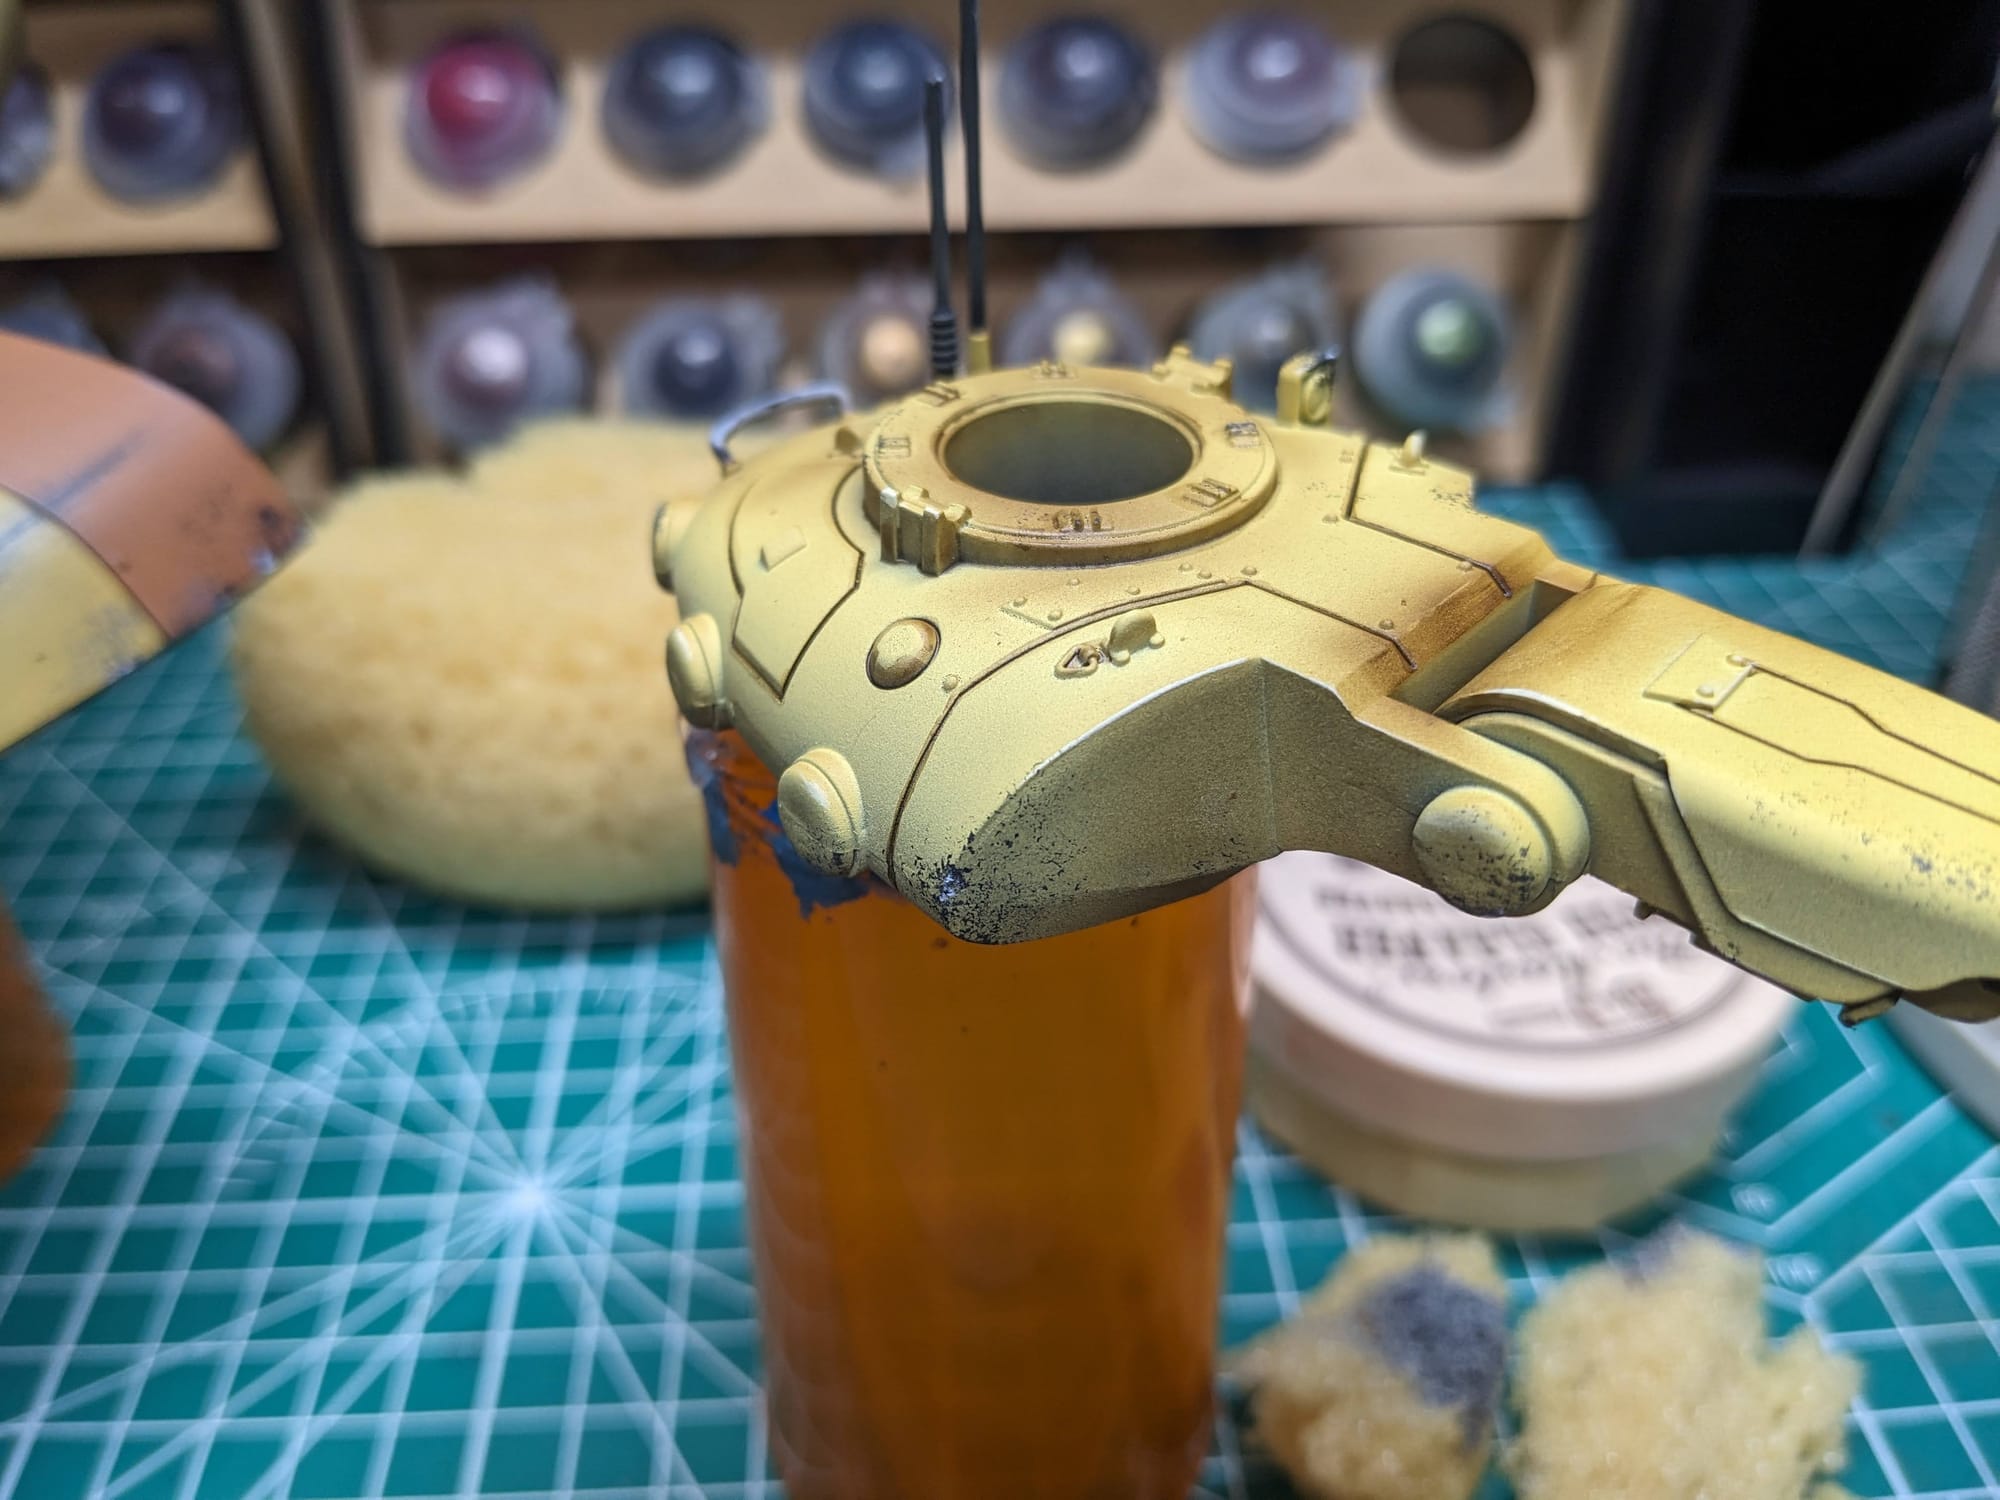
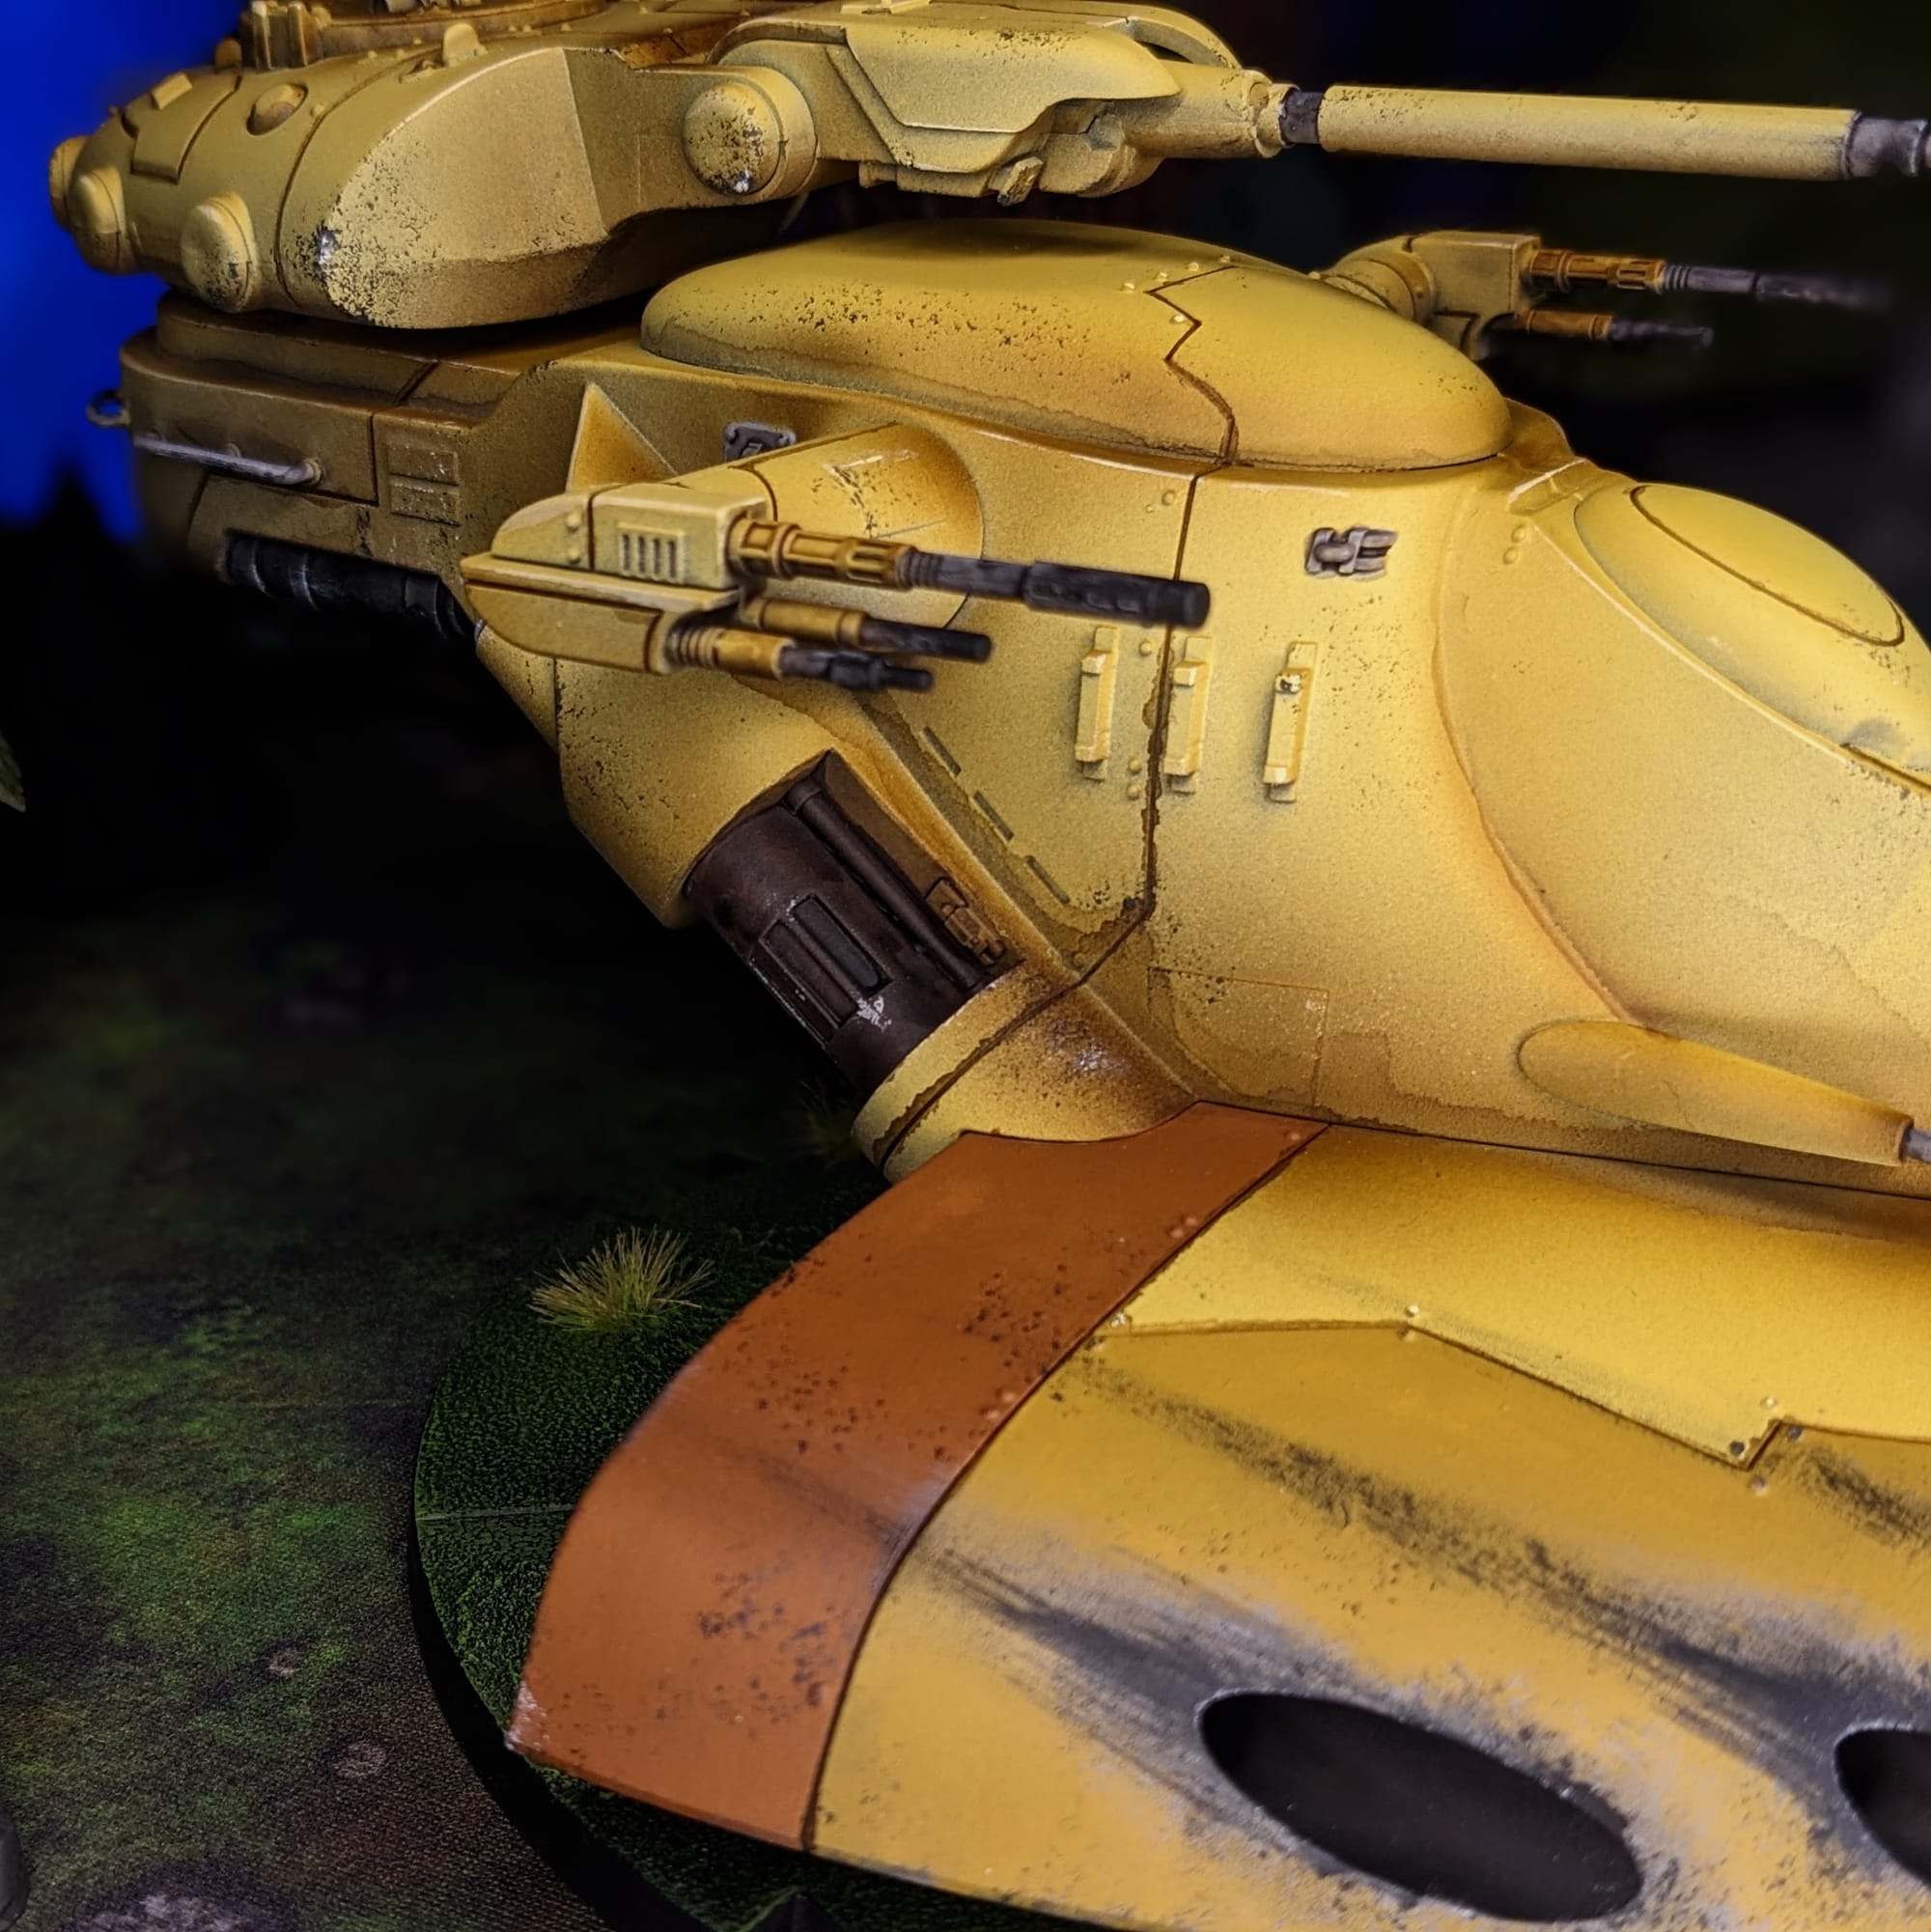
Even though the tank is mostly that tan-brown color, there are some variations in color in the bottom part of it. I applied the warm brown to the back and the ochre color to the sides using a few passes with a brush, with the paints thinned down to avoid creating brush streaks. I think went in and applied the cool gray to the areas as designated in the guide.
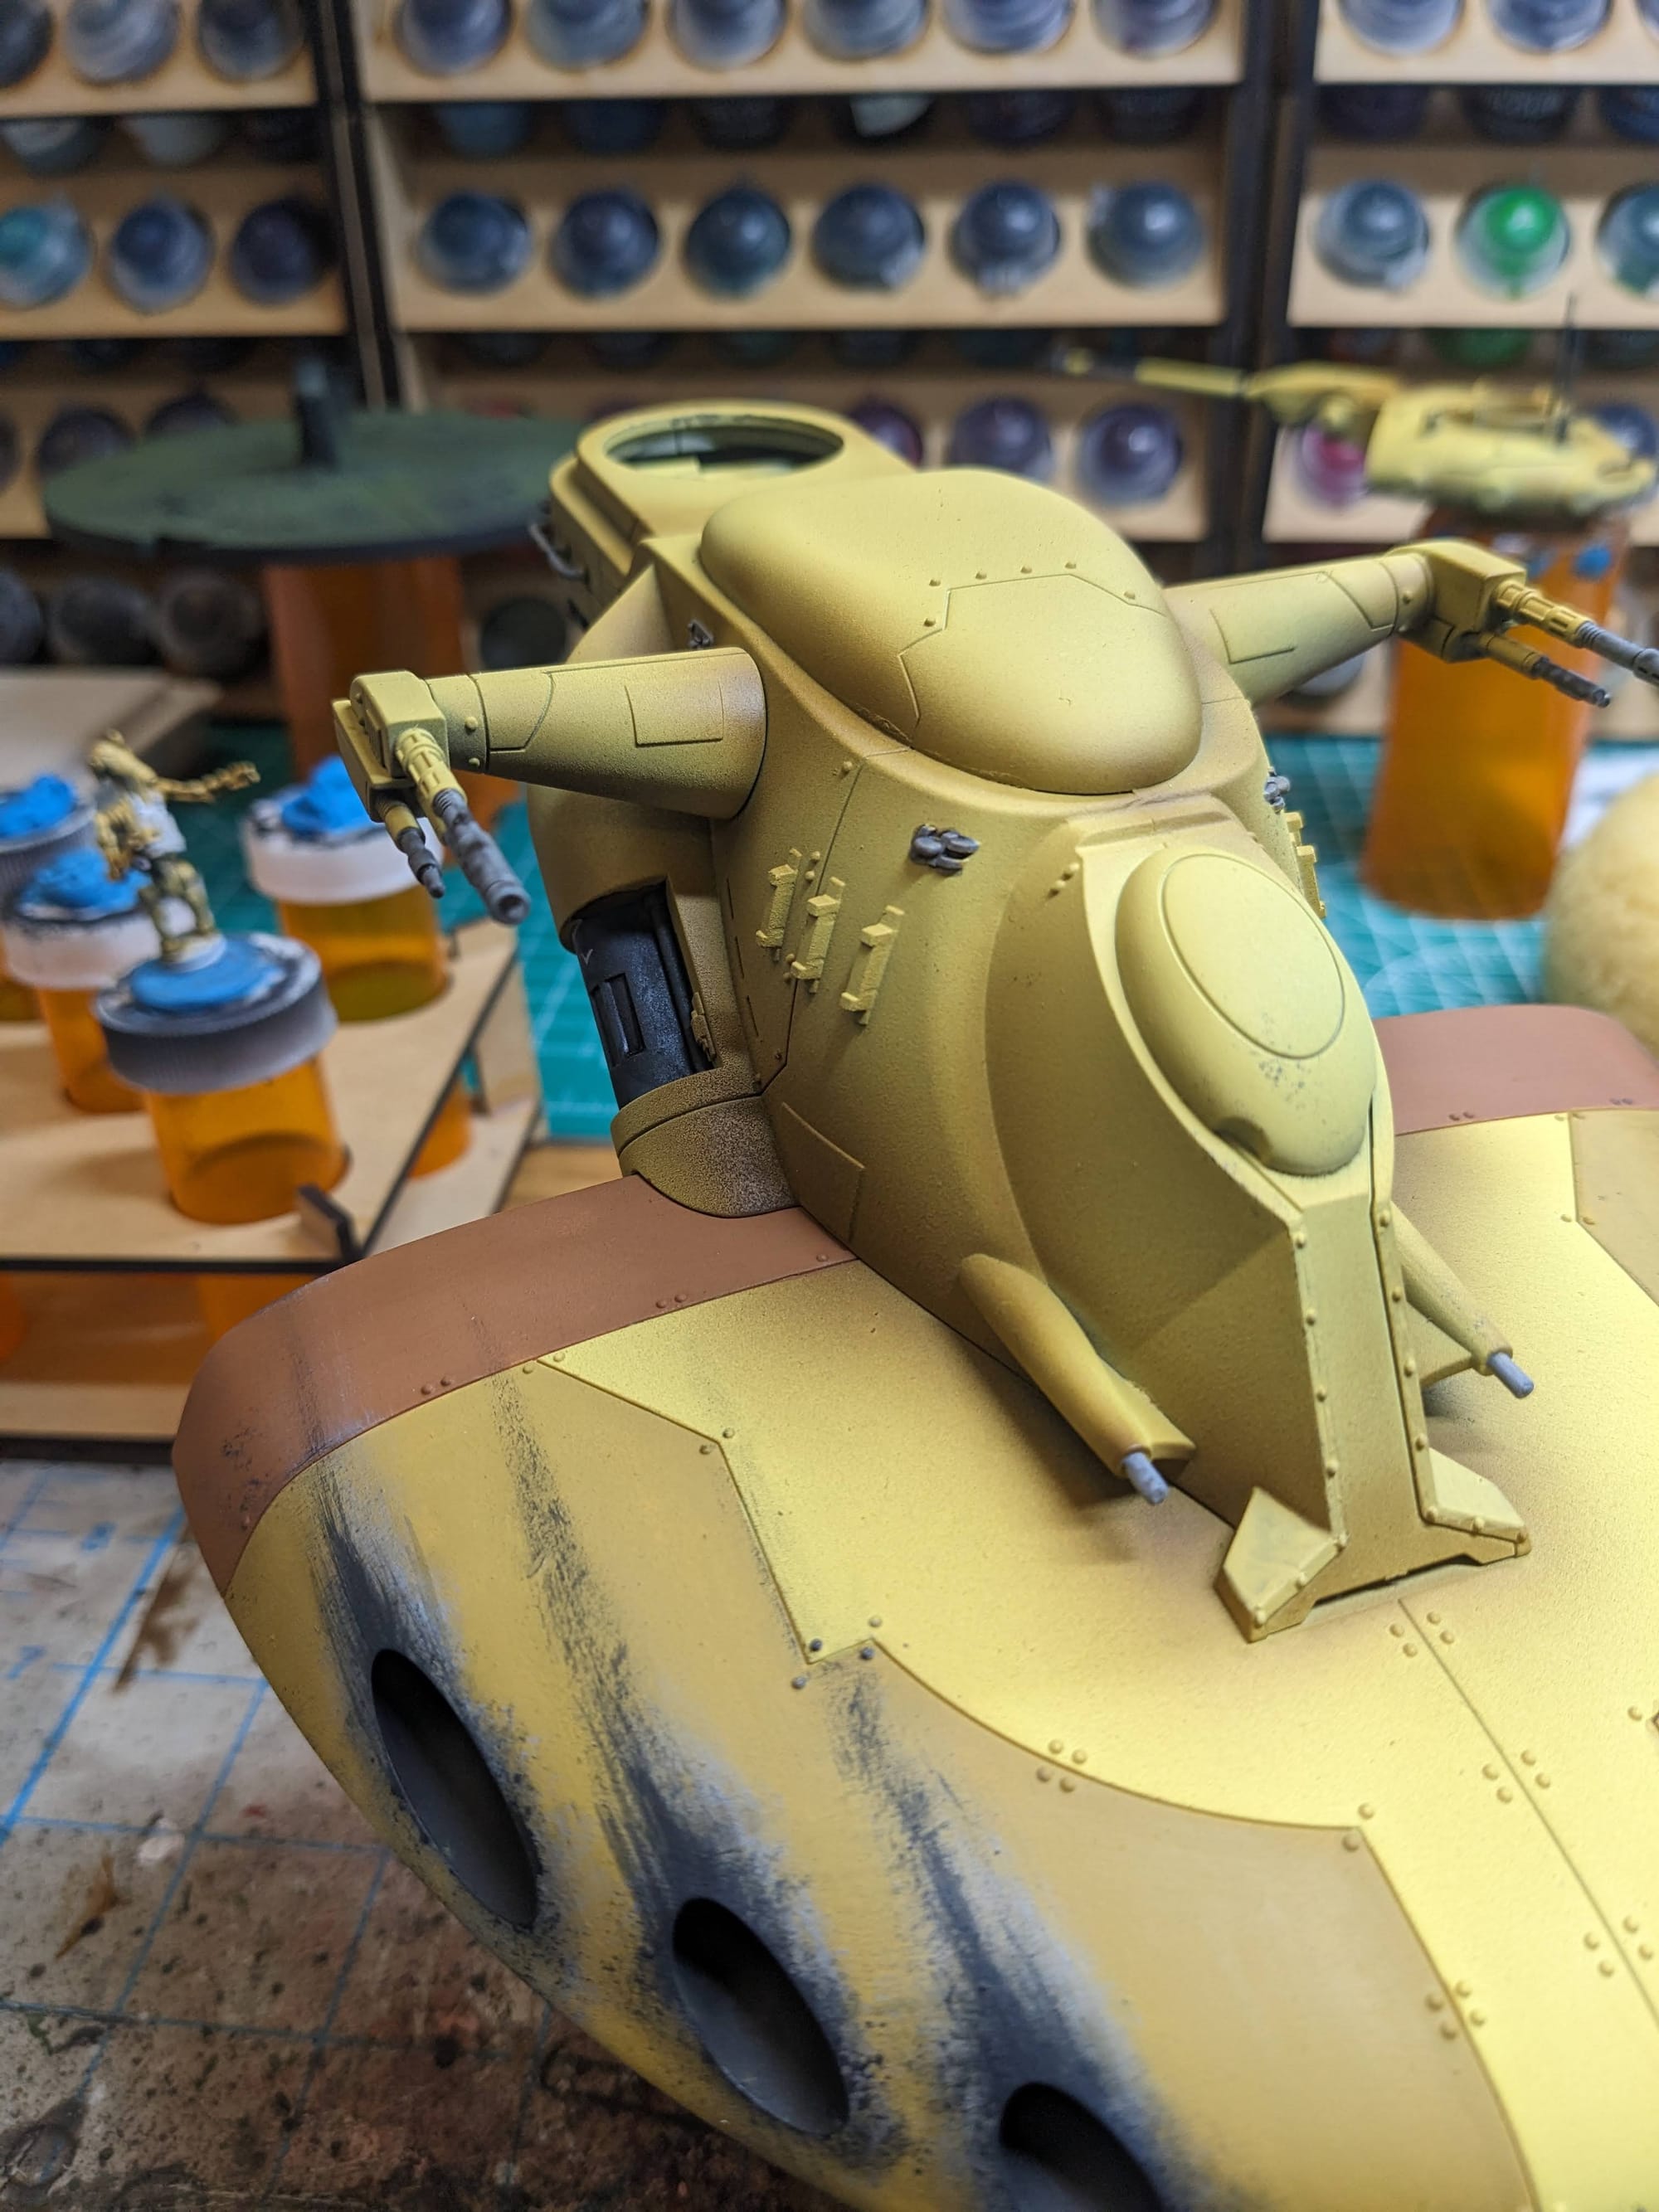
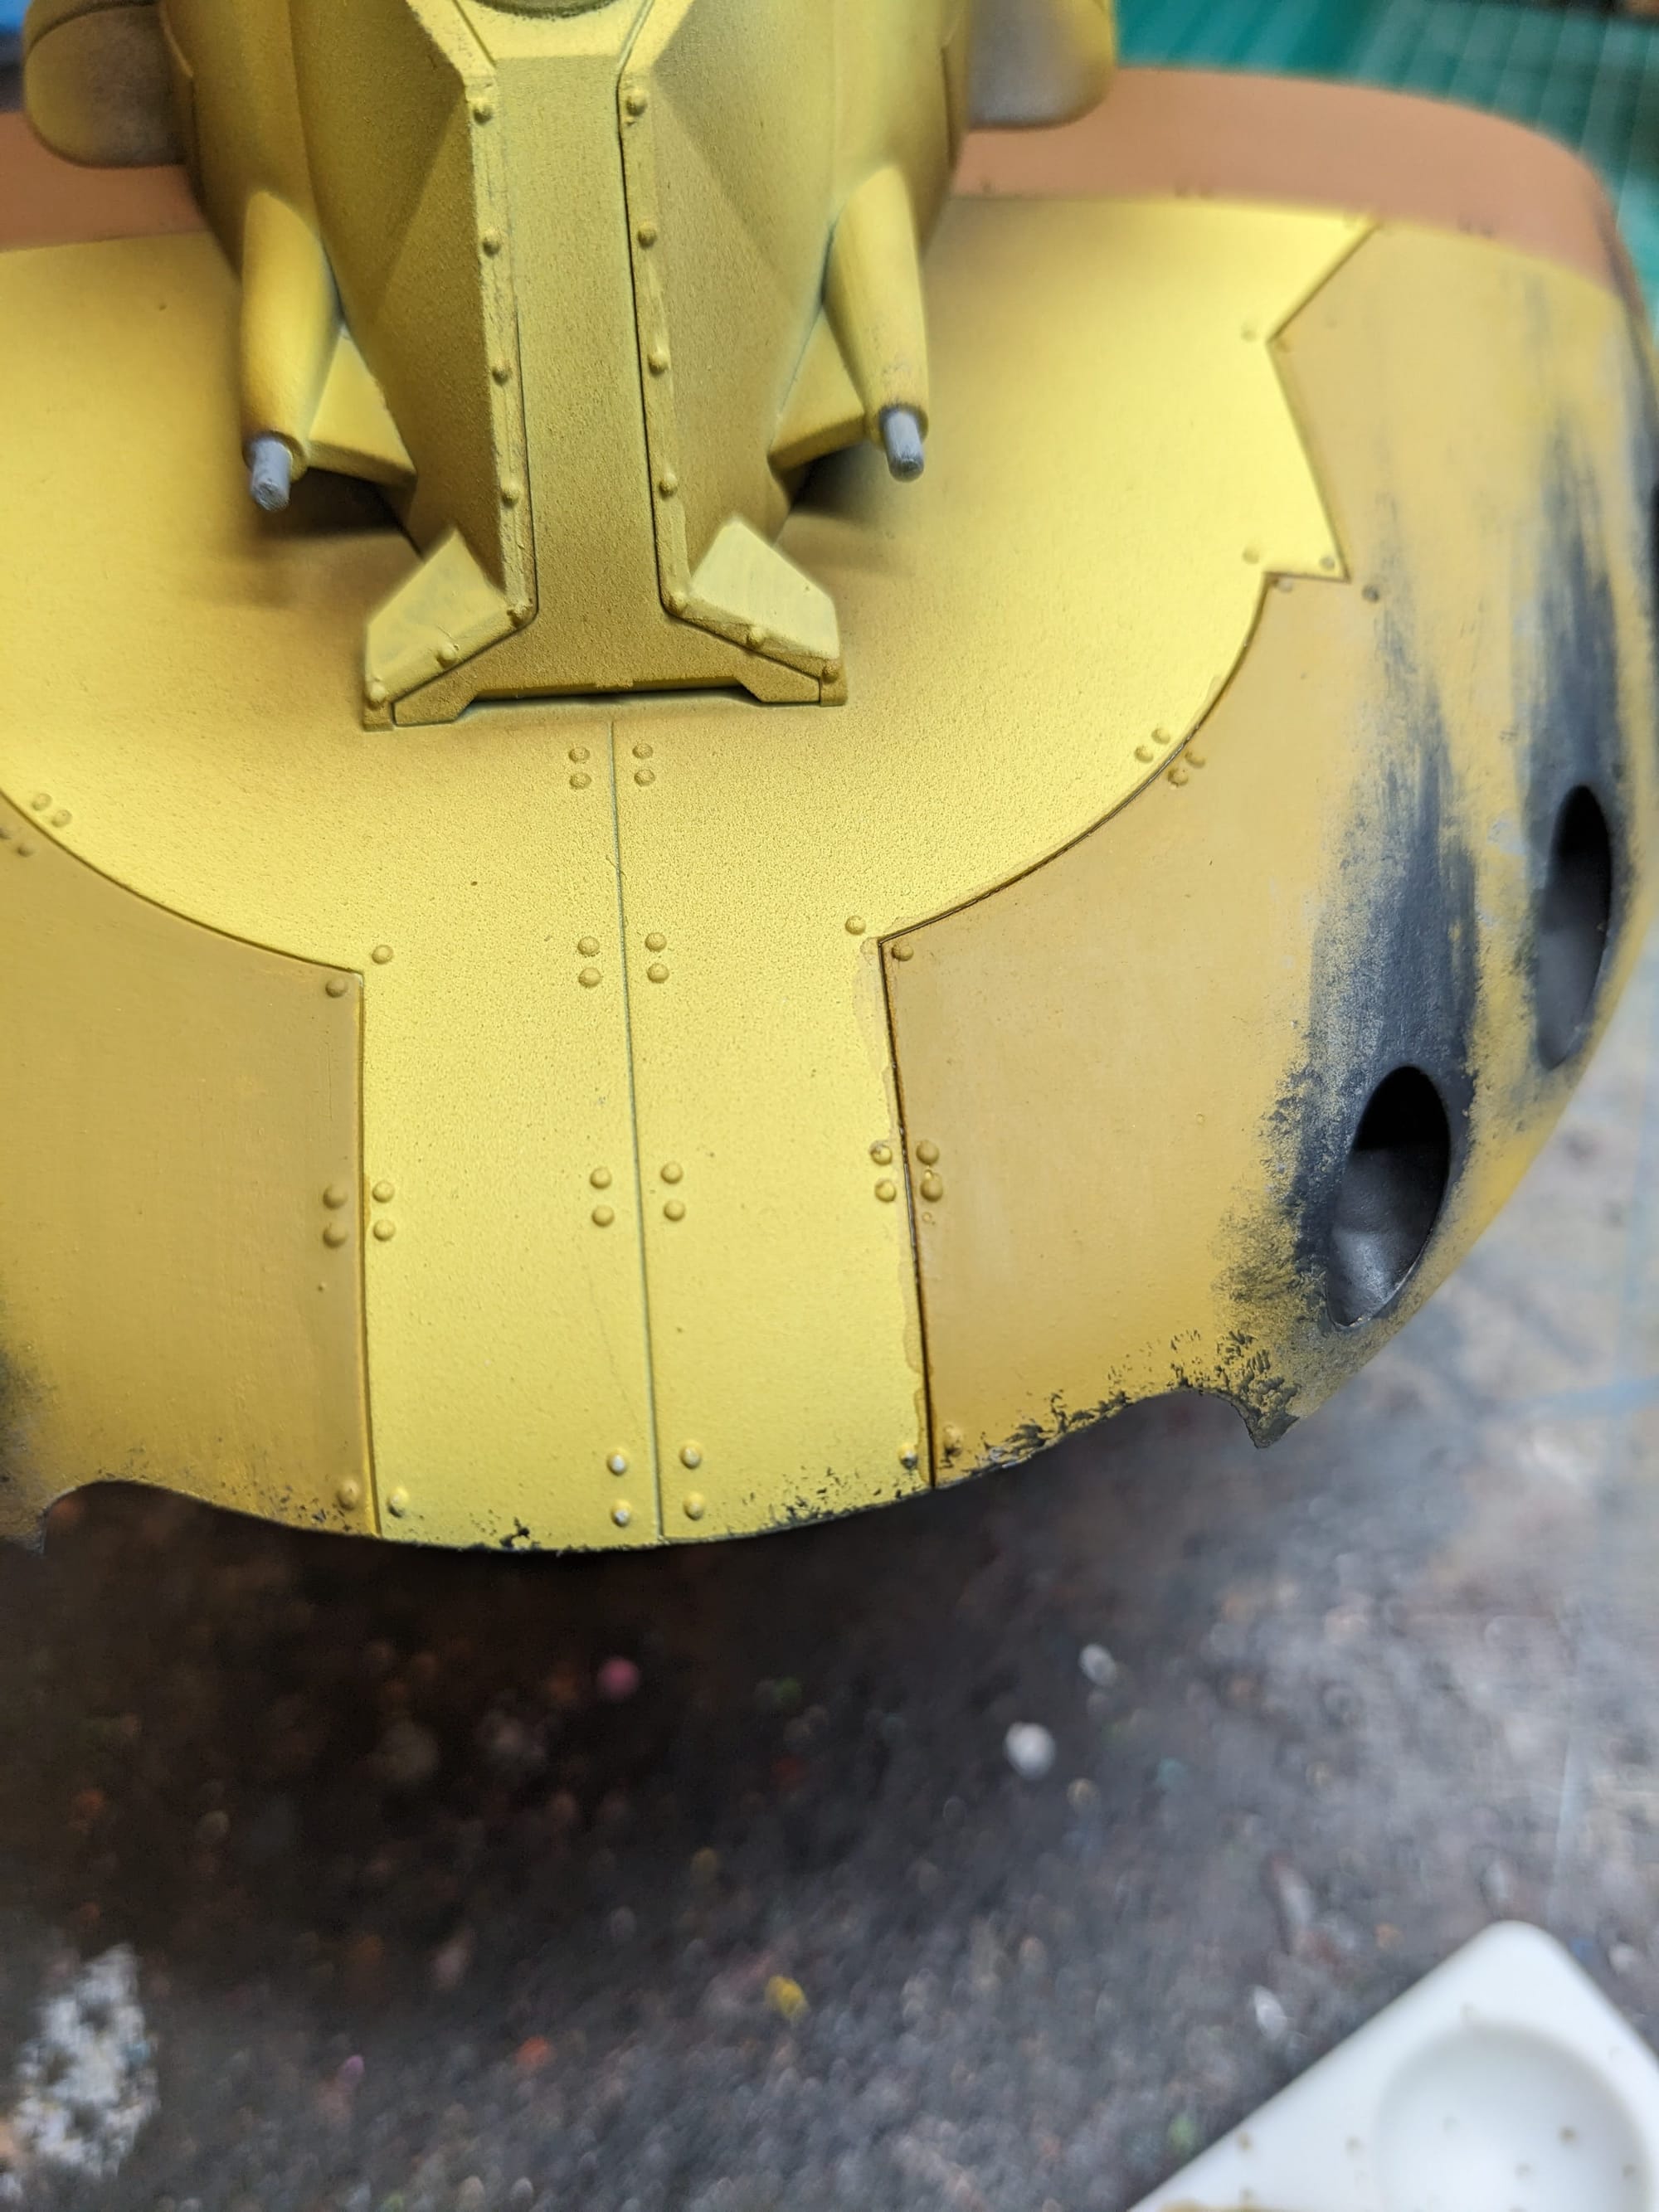
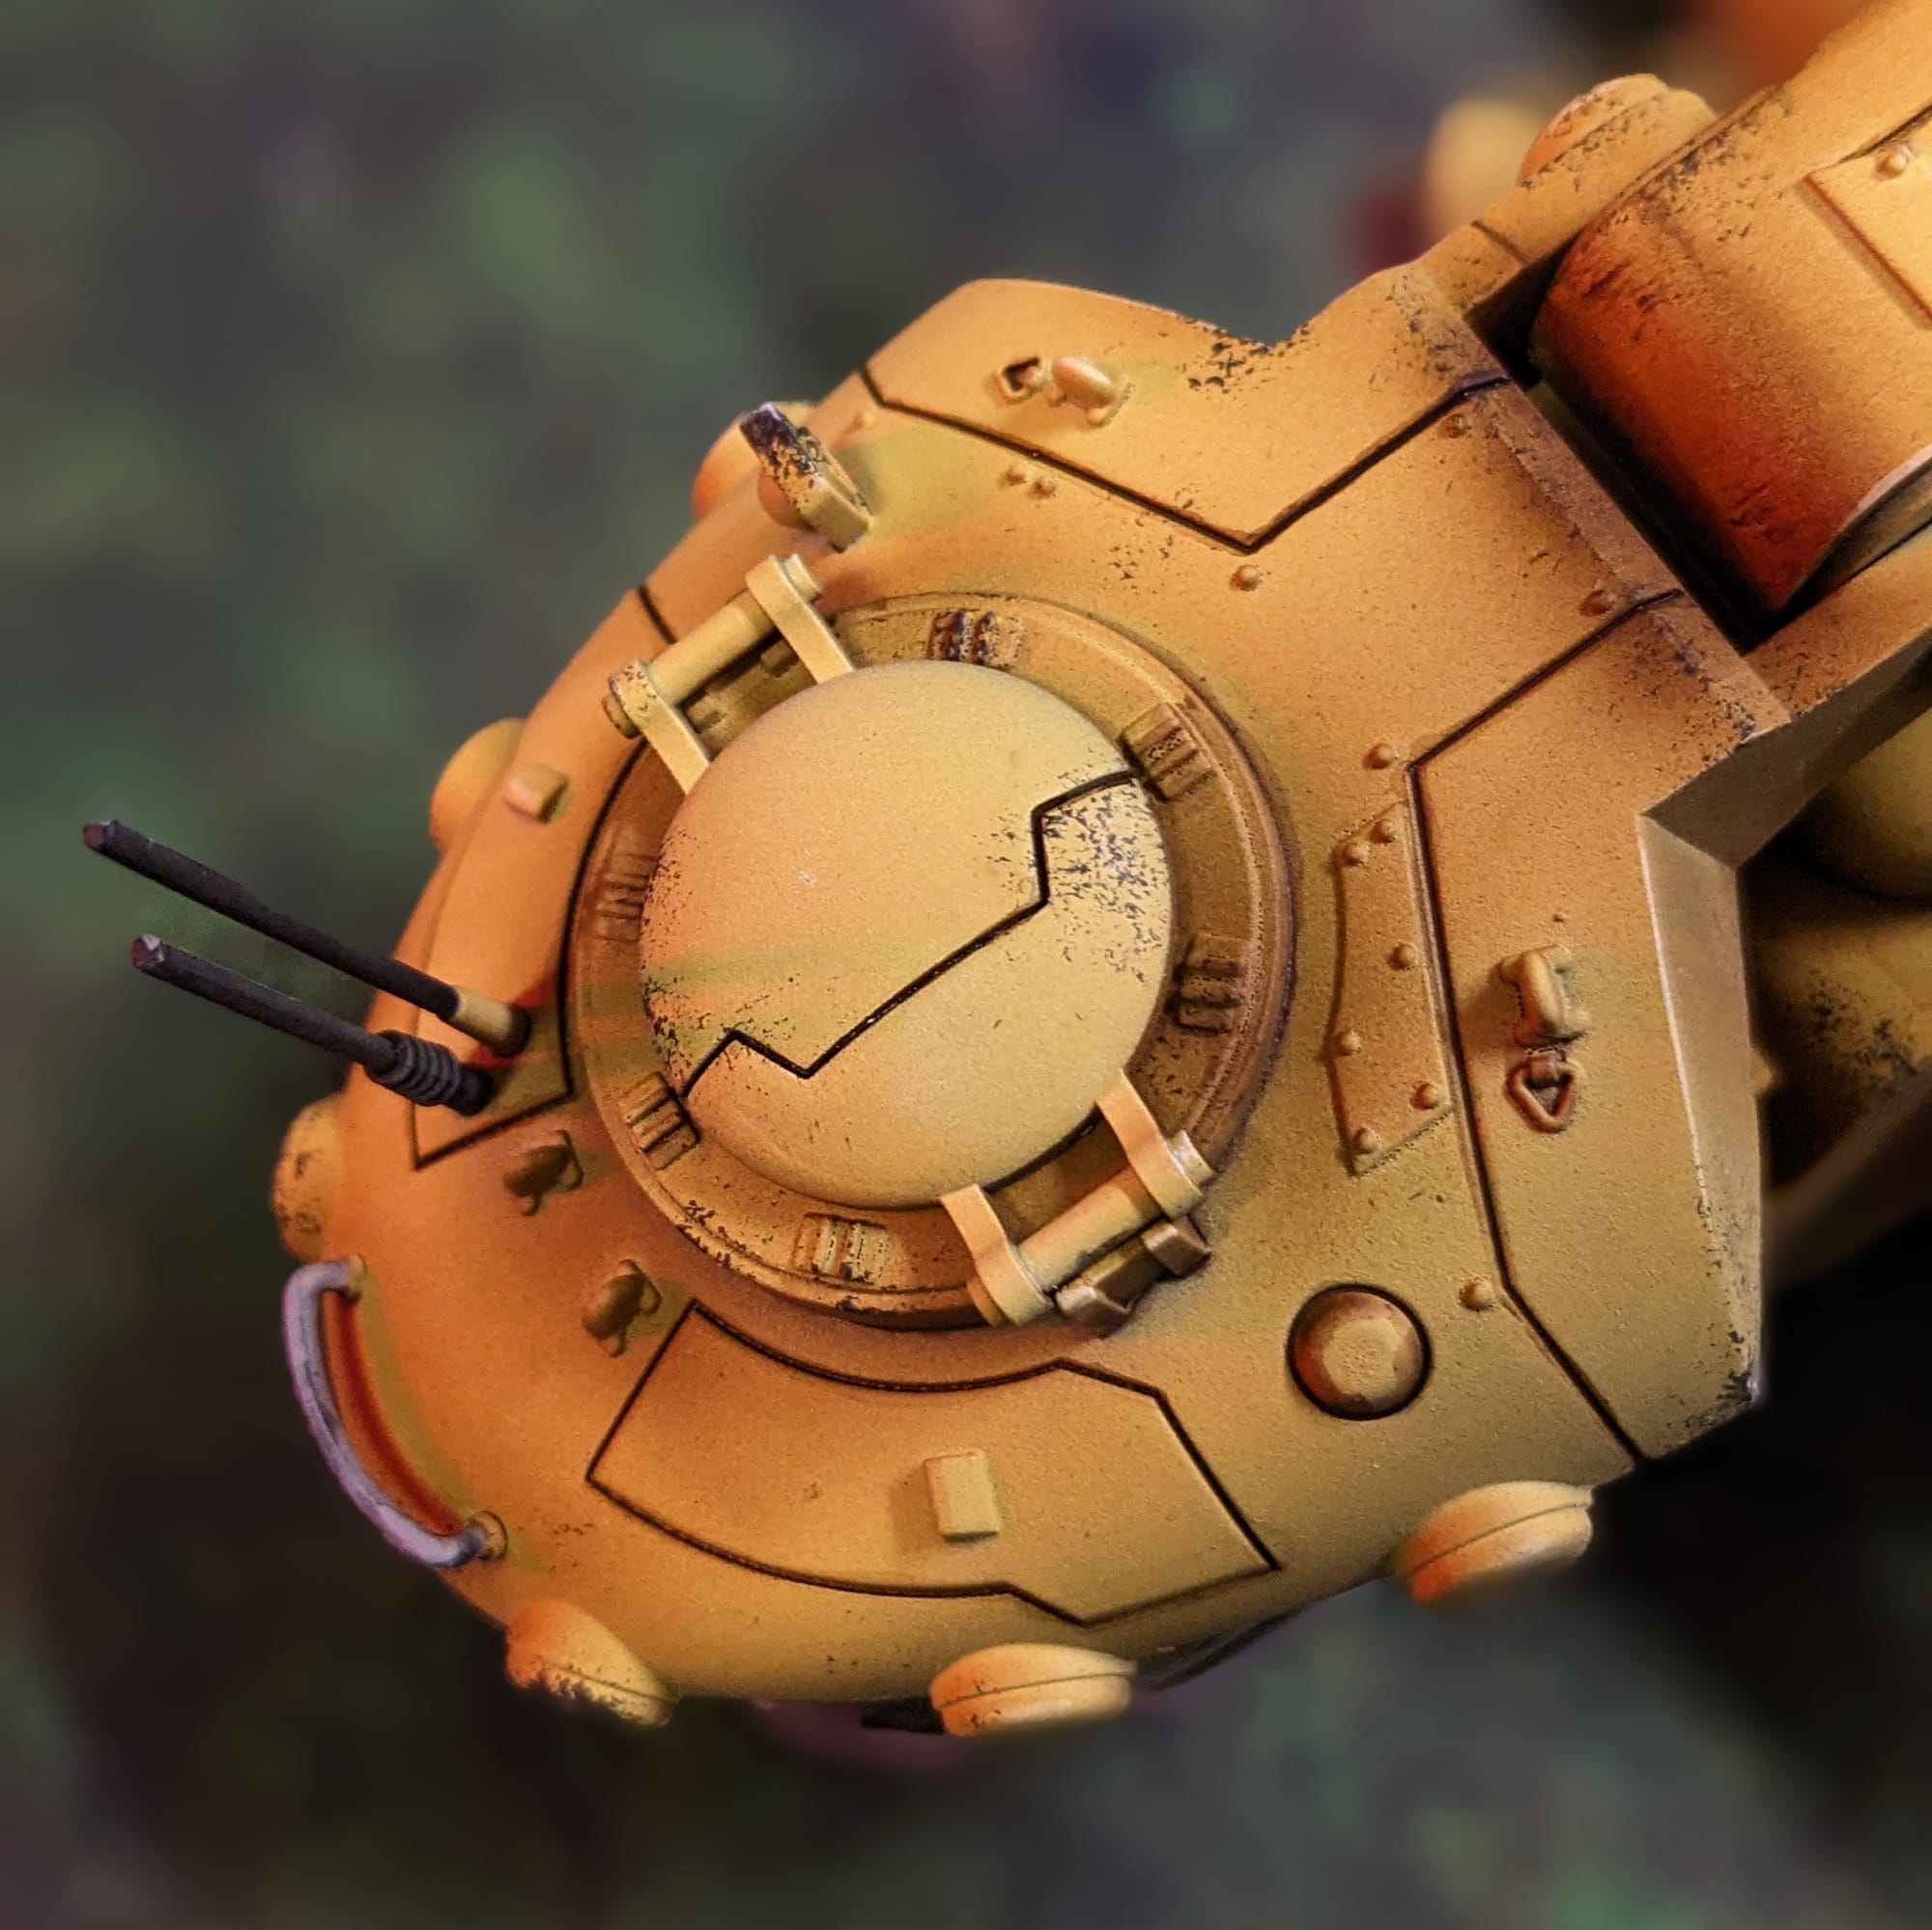
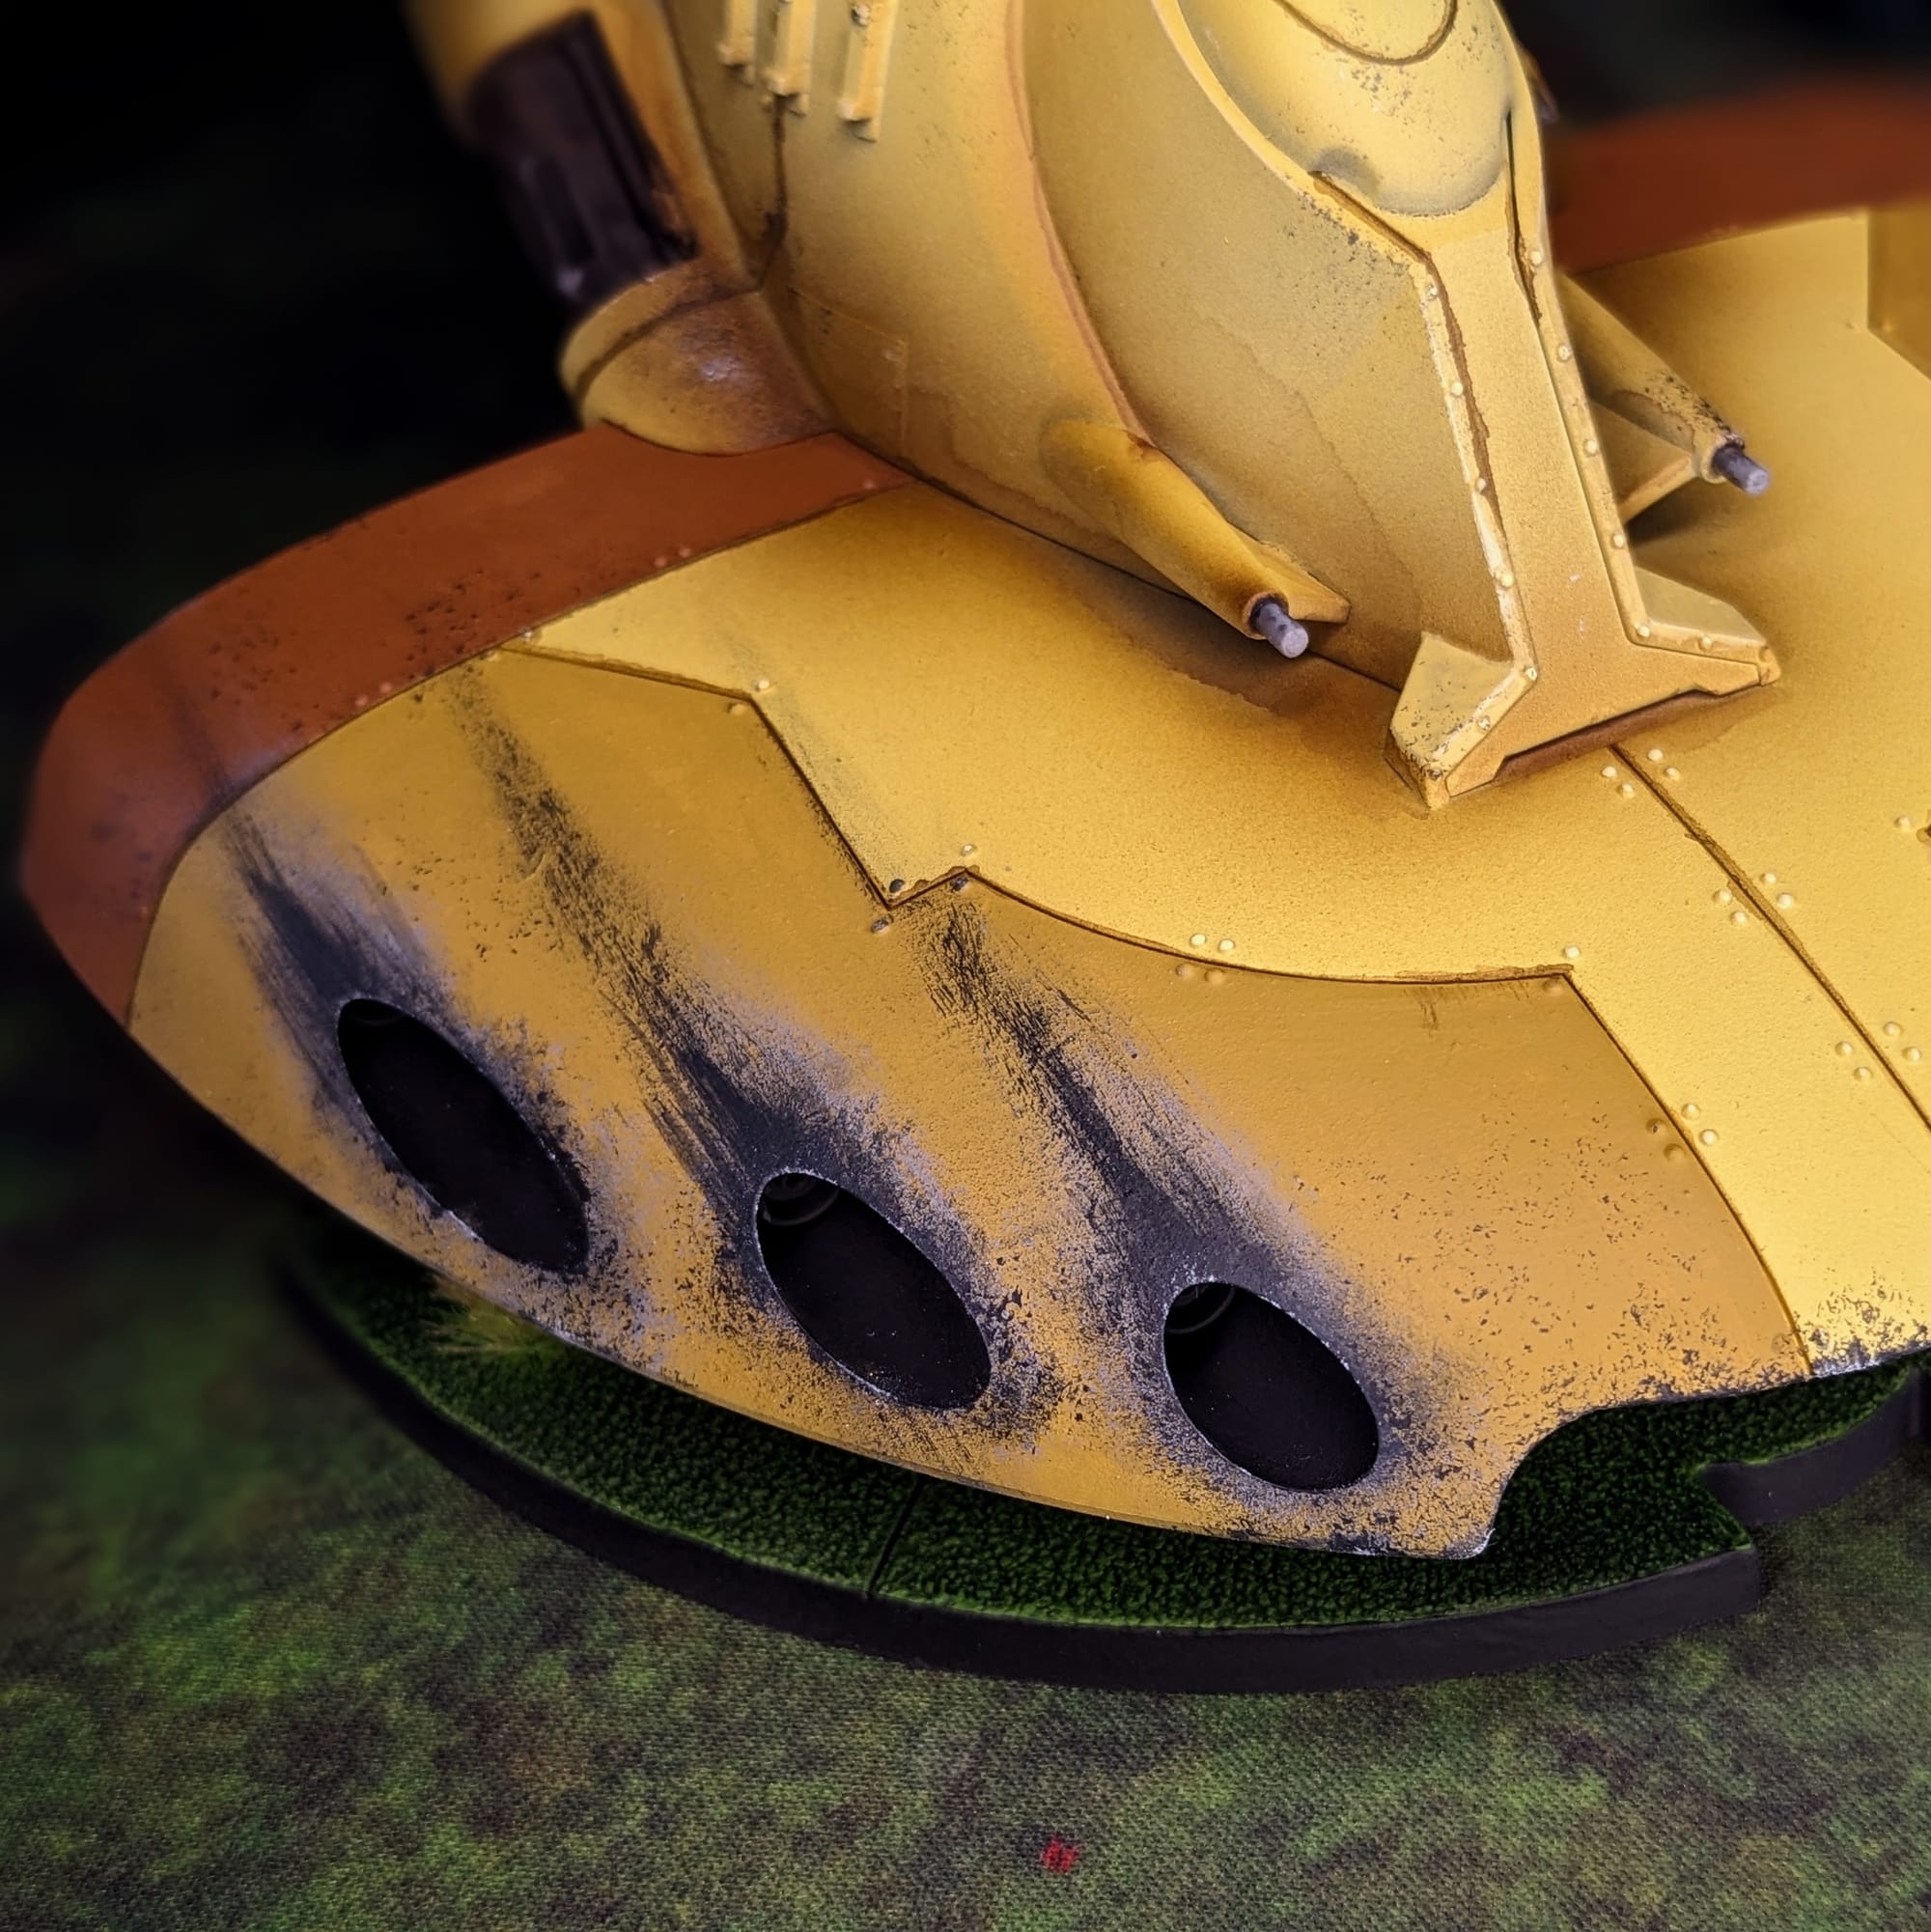
Using some grays and blacks, I create the blast/scoring marks from the missile pods using a large old brush and some irregular shaped sponges to give a more natural look to the effect. Also using the sponge, I added some chipping and battle damage throughout the tank hull and turret.

Continuing along the guide, I applied the same sepia ink the recesses in the plates, as well as areas around the model that would be affected by wear and tear. I added a little rust effect to the sides like Sorastro did, and then added tiny bits of white battle damage around the model (but was careful to not overdo it).
The commander and tank hatch I painted last, applying the same battle damage effect to the hatch. I didn't go as far in the detailing as the guide did, but if you've made it this far and want to add in more weathering/battle damage/wear on the tank, like Sorastro did, I would highly encourage you continue! With that said, I was happy with where it was at and called it good.
Basing the Models
To match the basing I did for the Starter Box, I used a variation of the process to quickly paint up the base. After using Army Painter Army Green primer over the base, which did a majority of the work, I then added spots of Creed Camo to break up the flat spaces and dry-brushed/dabbed Orruk Flesh and then Moot Green.
There is a little bit of texture on the bases that helps add some definition, but some Army Painter Jungle Tuft grass after sealing gave it a little more variation to the base. I added about four per quadrant.
*Sealing — This is really important. If you apply the grass before spraying the clear coat, the spray will attach to the grass like dew drops. Which, arguably, is really cool, but may not be what you're going for. So, make sure you seal up everything first, then apply the tufts.
Sealing Your Models
As I do with all of the models I paint that I also play, I applied a protective clear coating over the paint. This helps preserve the paint on the model and keeps oils from your hands from rubbing off the paint as you continuously touch the models during games. There are many different kinds of clear varnishes to use, but I typically use any matte or anti-shine varnishes, as satin, semi-gloss, and gloss tend to distort the colors of the models (not to mention that most models aren’t supposed to be shiny).
Brands that have been reliable for me are Krylon Matte Clear Spray, Rustoleum Matte Clear Coat, which is slightly glossy, and Testors Dullcote, although the latter can be expensive and difficult to find. For a coat with no shine that really enhances the colors, I use AK Interactive’s Ultra Matte Varnish, applied with an airbrush.
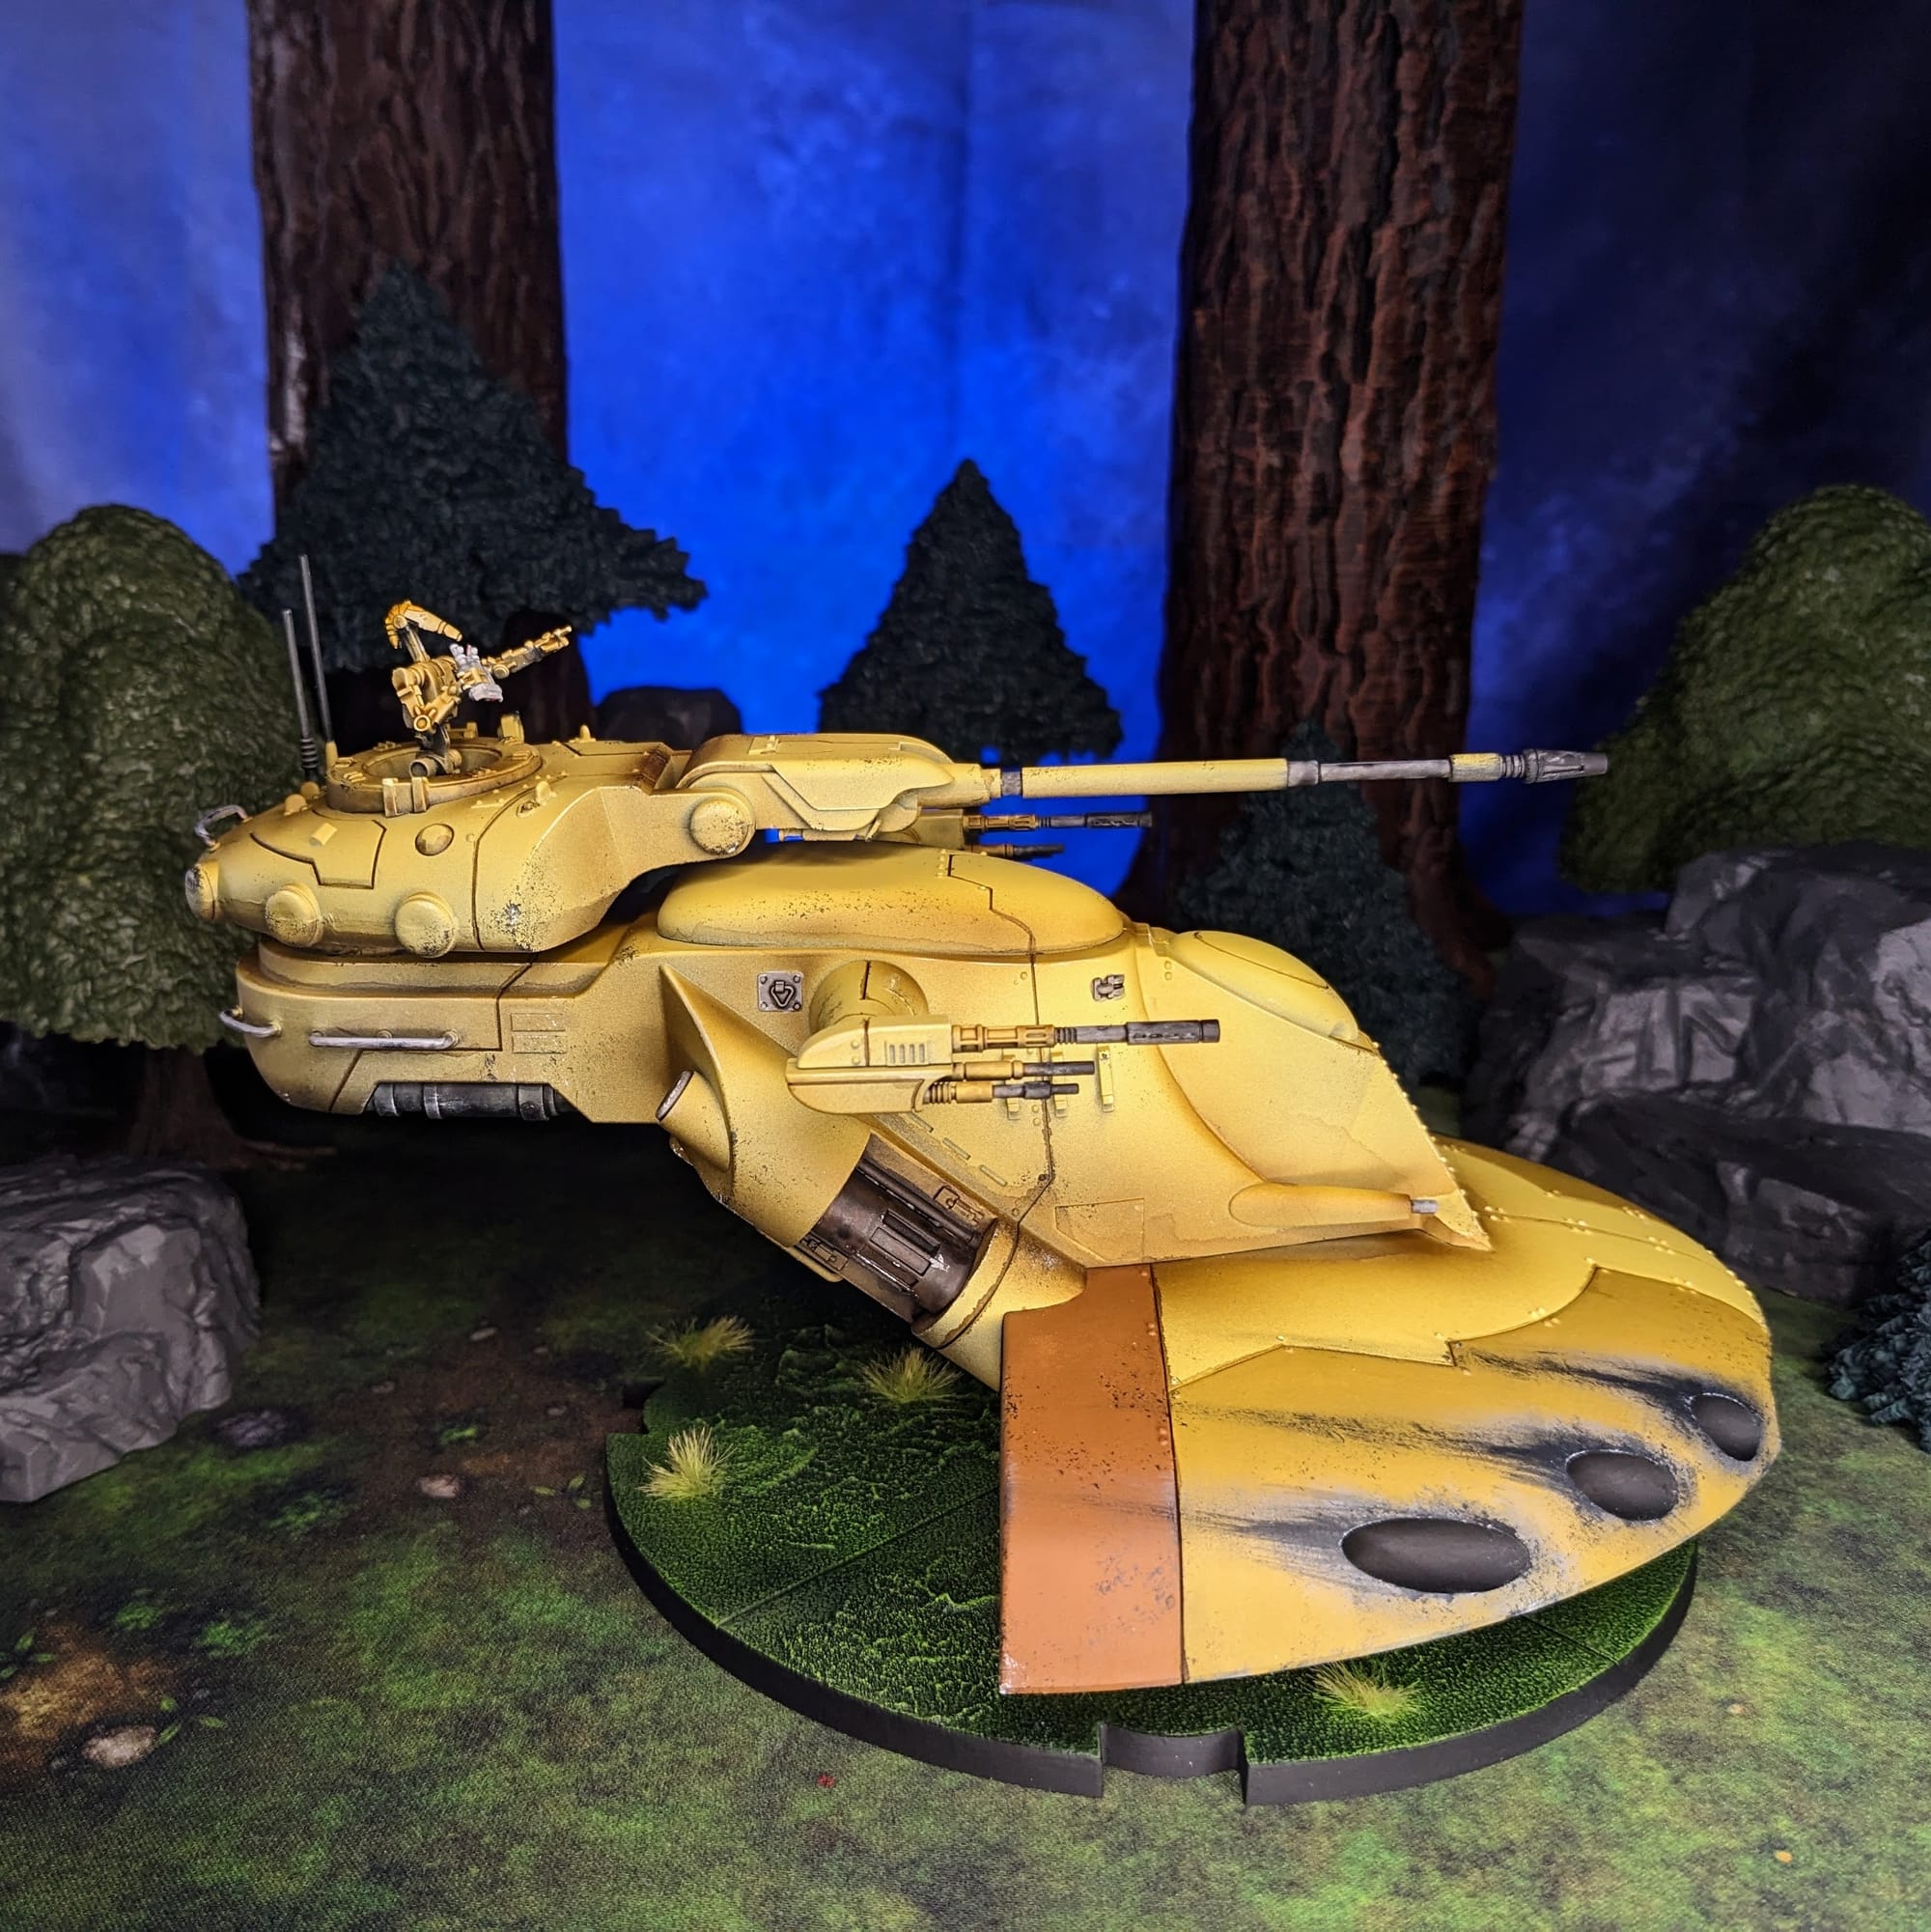
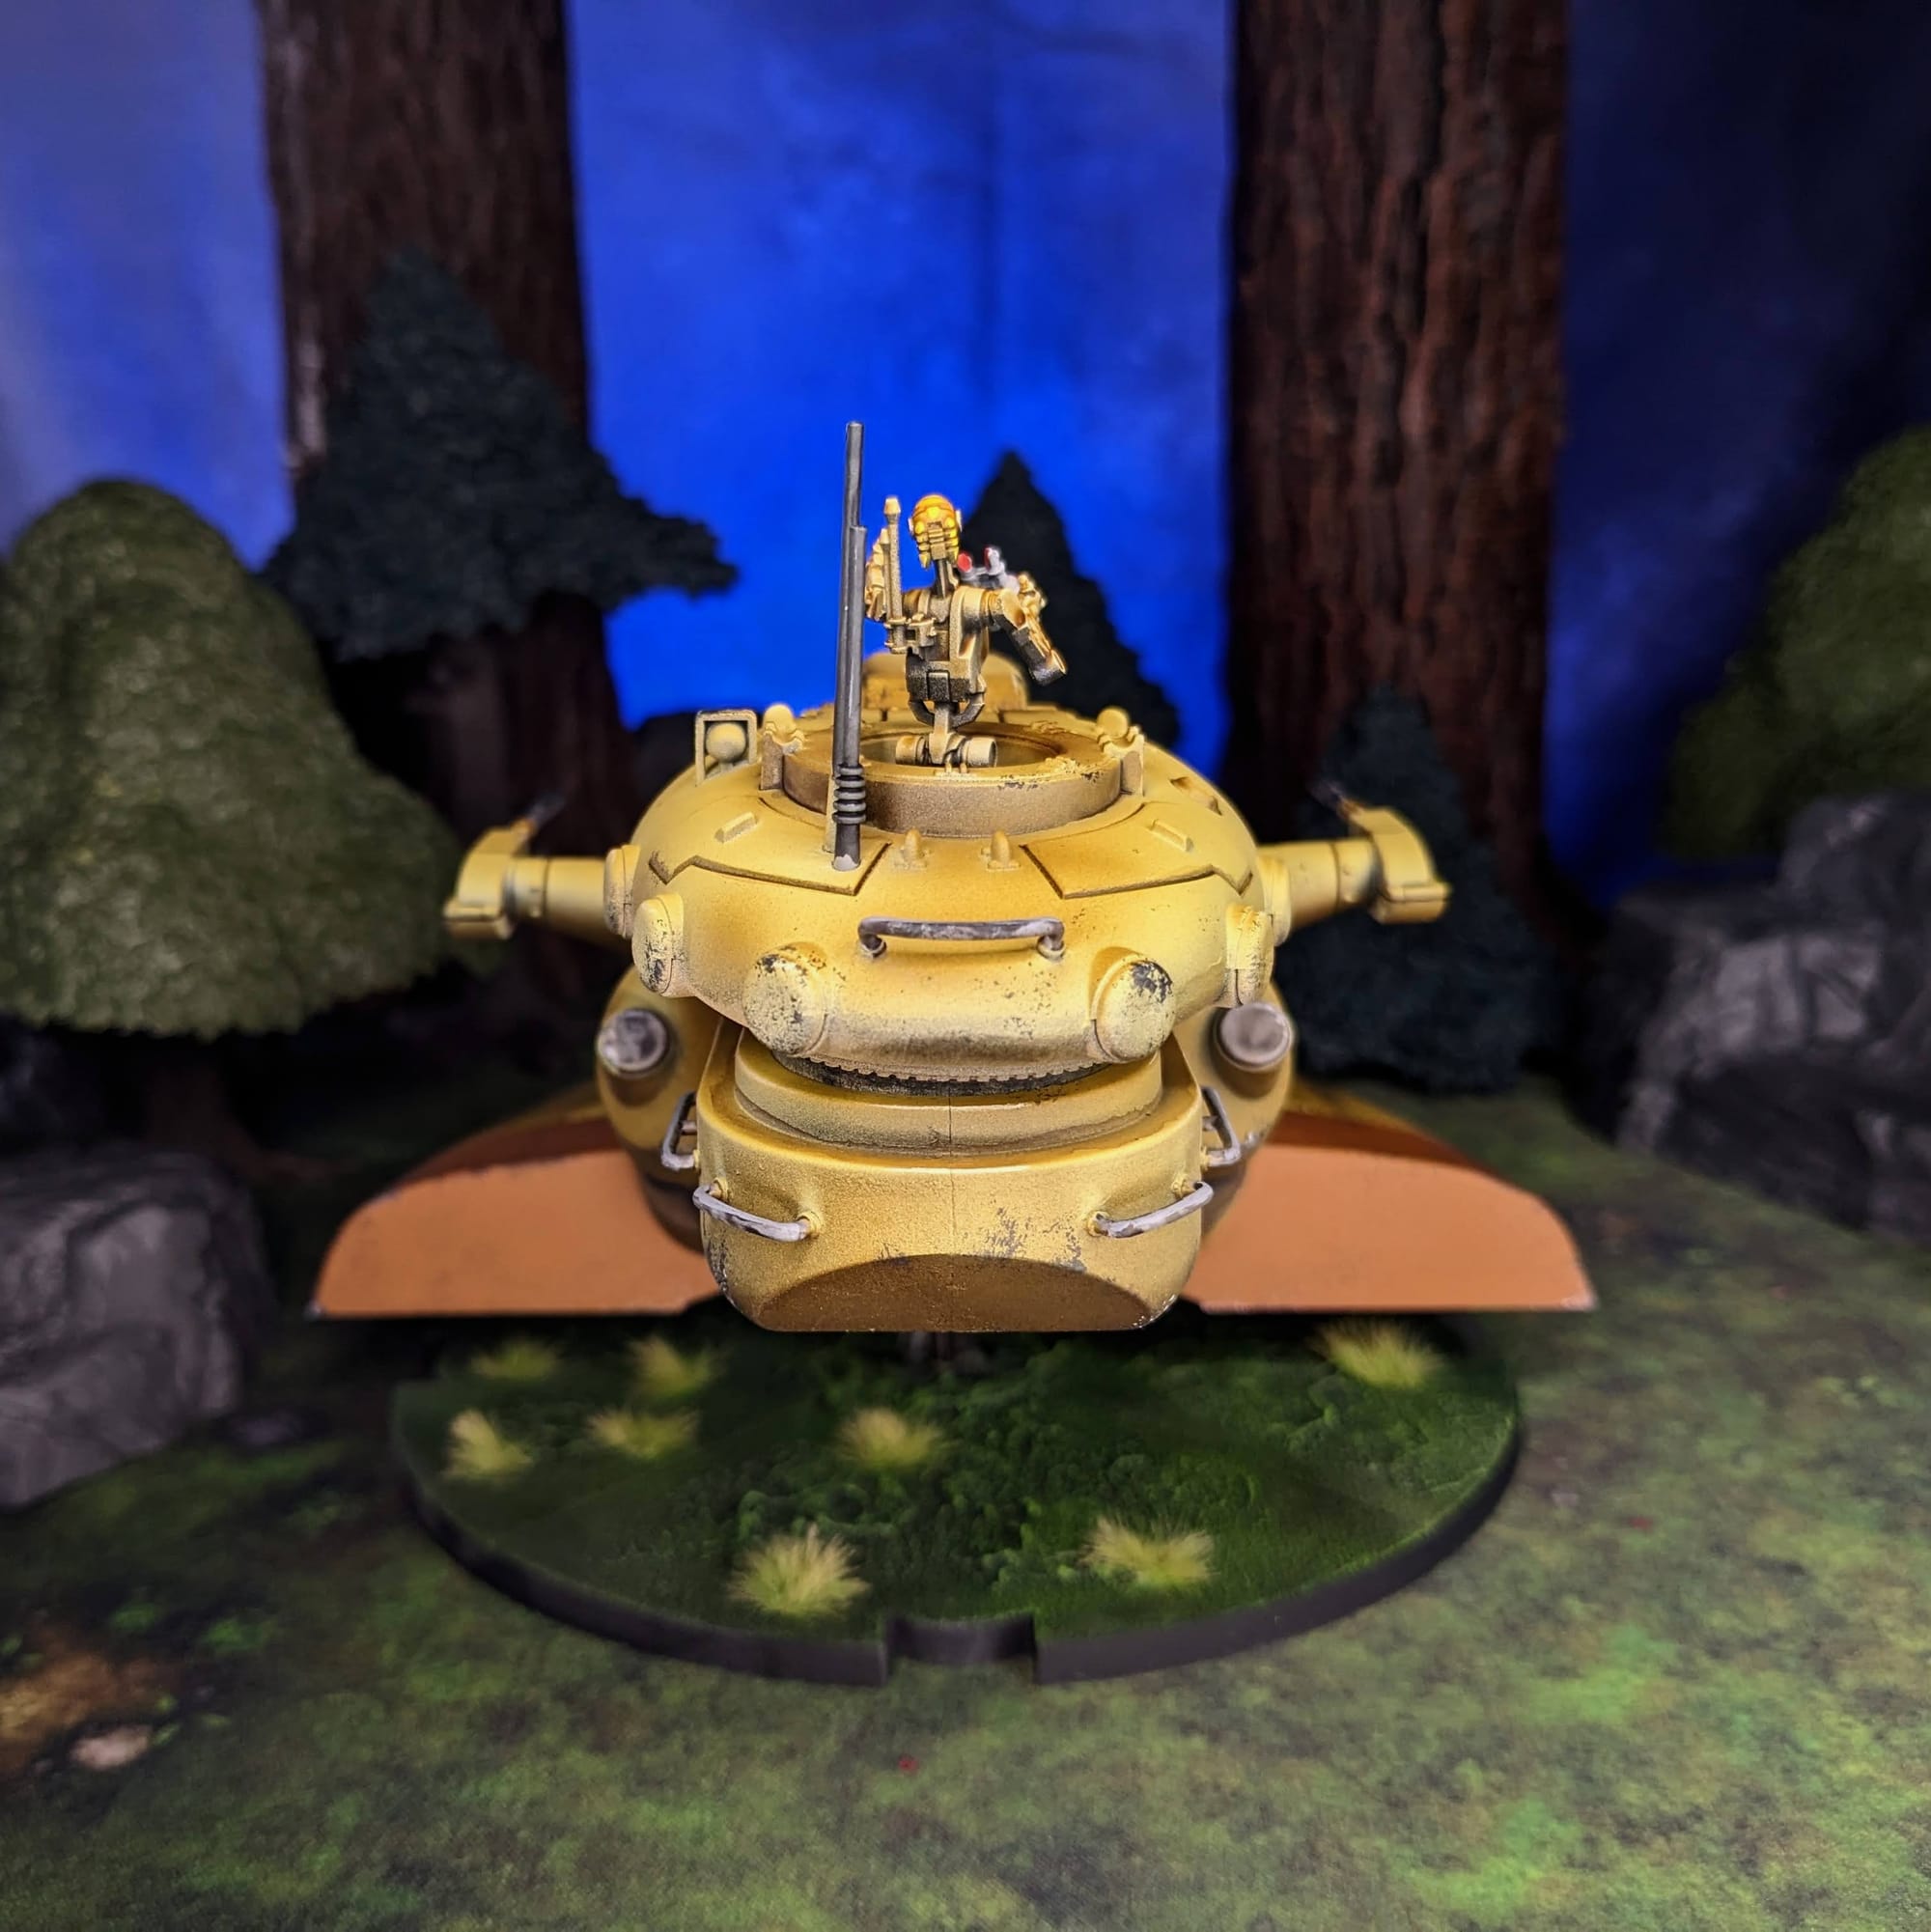
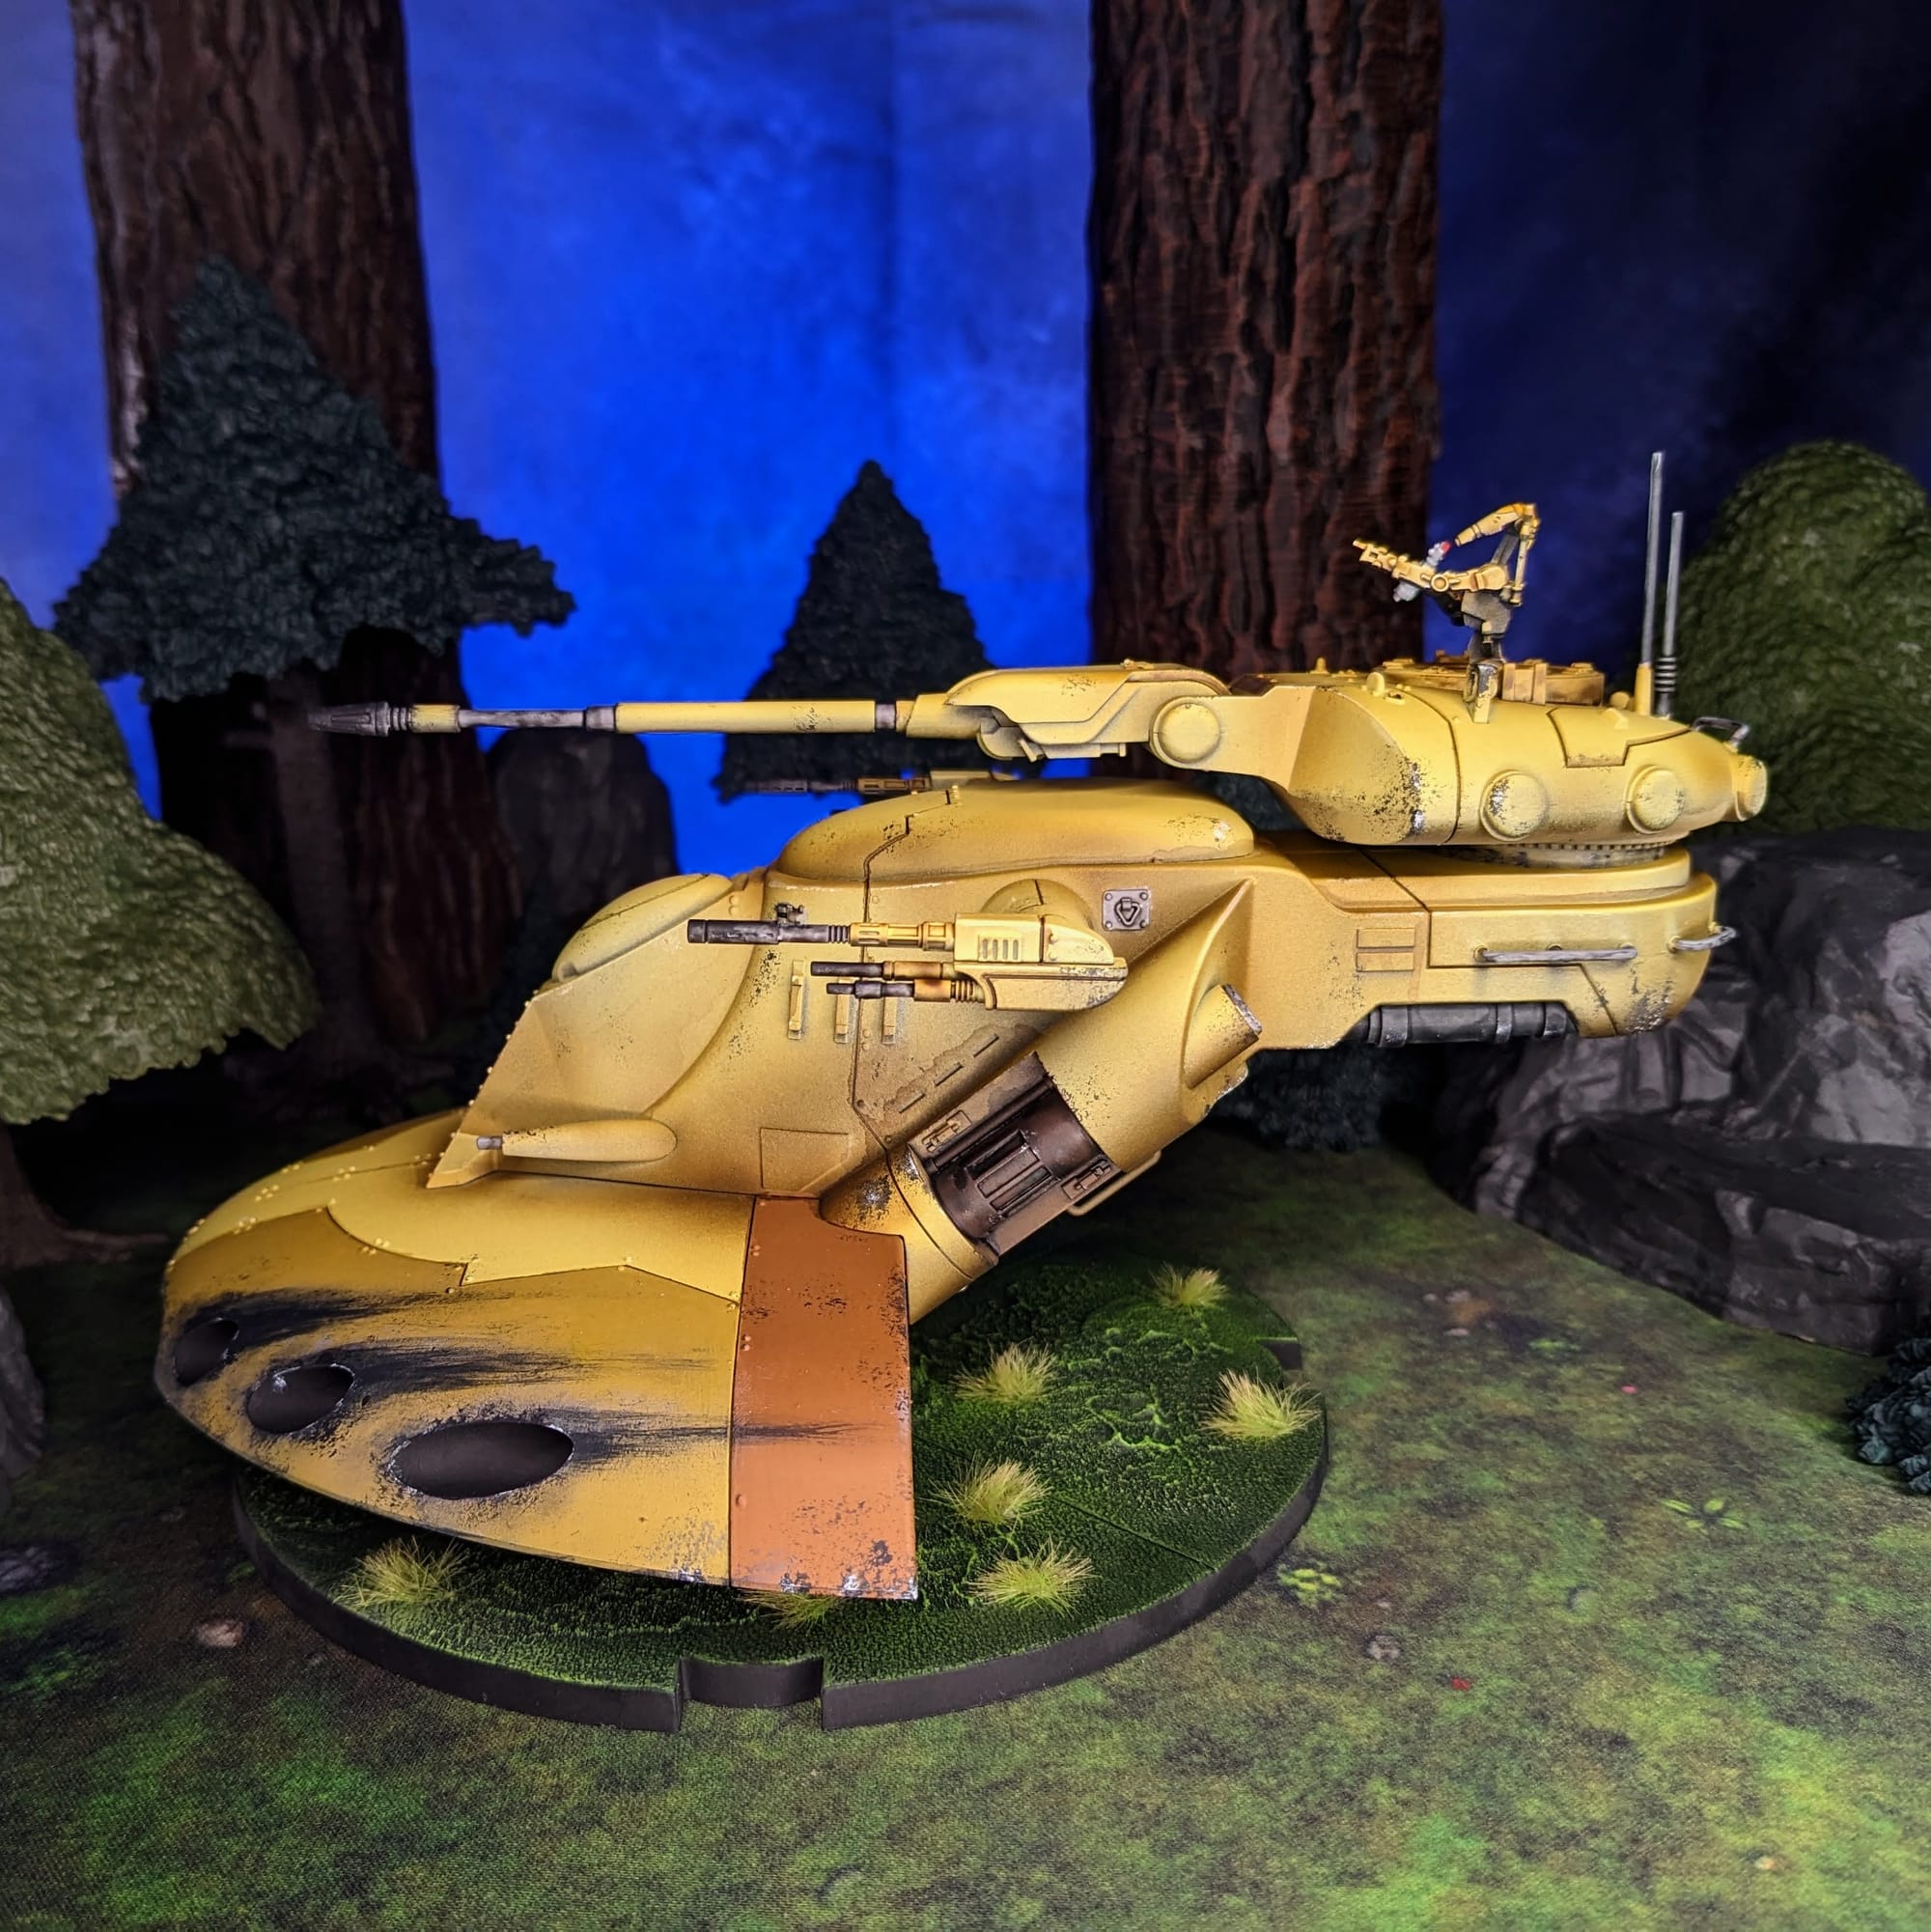
Painted and Ready for Play
Impressions
What Worked
Using an airbrush is basically a non-negotiable for this model, especially if you want to get an even and clean final outcome. I know not everyone has one, but this would be a project that would justify getting one. Big vehicles, regardless of game, are much easier to paint with an airbrush. So, with that doing most of the work, the rest of the model took an hour at most to add in all the details. I didn’t add as many details as Sorastro’s guide, but this is definitely tabletop ready and I am happy with it!.

What Didn’t Work
Something happened with the priming that gave the tank a little texture. I am not sure if it was the temperature or the can itself but the surface was a little rougher than I was expecting. It’s a small detail, and it actually helped with the battle damage, but it’s one of those things that I didn’t see until I started working on the details.
What I would do differently next time
I would pay a little more attention to my missile exhaust burns, as some got a little wonky. If I wanted to, I would add some more details to this one, but honestly, I was really happy with how it all turned out and how quickly I got it done. Also, I would have added a small weight to the front of the tank to help counter balance it a little better, but the flight stand helps keep it upright.
This process is something a player of any paint skill could follow easily; they could buy it on Friday and have it ready by the following Saturday for a tournament, fully painted.
Final Assessment
It’s a great model - easy to paint, and it looks fantastic and imposing on the table. It helps bring a sense of depth to the Droid Army. Having played against and with it before in games of Legion, I also know it’s a beast that you don’t want to get in front of, so what could be better than having a pretty-looking death machine?
Have you painted Star Wars: Legion miniatures yet? Share your work with us!
Don’t forget to subscribe and follow us on Instagram, Bluesky, and YouTube for more Star Wars: Legion reviews and painting guides, as well as more hobby and tabletop news and reviews!