In my journey of understanding the world and game of Infinity, the tactical wargame developed by Corvus Belli, I’m starting with the two factions in the Operation Mazebreaker 2 Player Starter set, the Nomads and Aleph.
For this tutorial, I’ve focused on the Aleph, the artificial intelligence organizational structure that has been created around it to assist humanity in its functions. In the game world, the Aleph monitor and assist much of humanity (in a Big Brother kinda way); however, the Nomads, who we painted a few weeks back, believe them to have a secret agenda.
 Randy Gregory II
In the source material for Operation Mazebreaker, they are depicted with a silver/purple/gold motif, which is what I decided to do for this tutorial.
I chose to paint up the “Beyond Mazebreaker” set, which is a pre-order gift if you pick up Infinity, and despite some issues I had with the metal models, I was able to successfully put them together, prime them, and produce what I would call a tabletop ready scheme. Let’s dive in.
 Randy Gregory II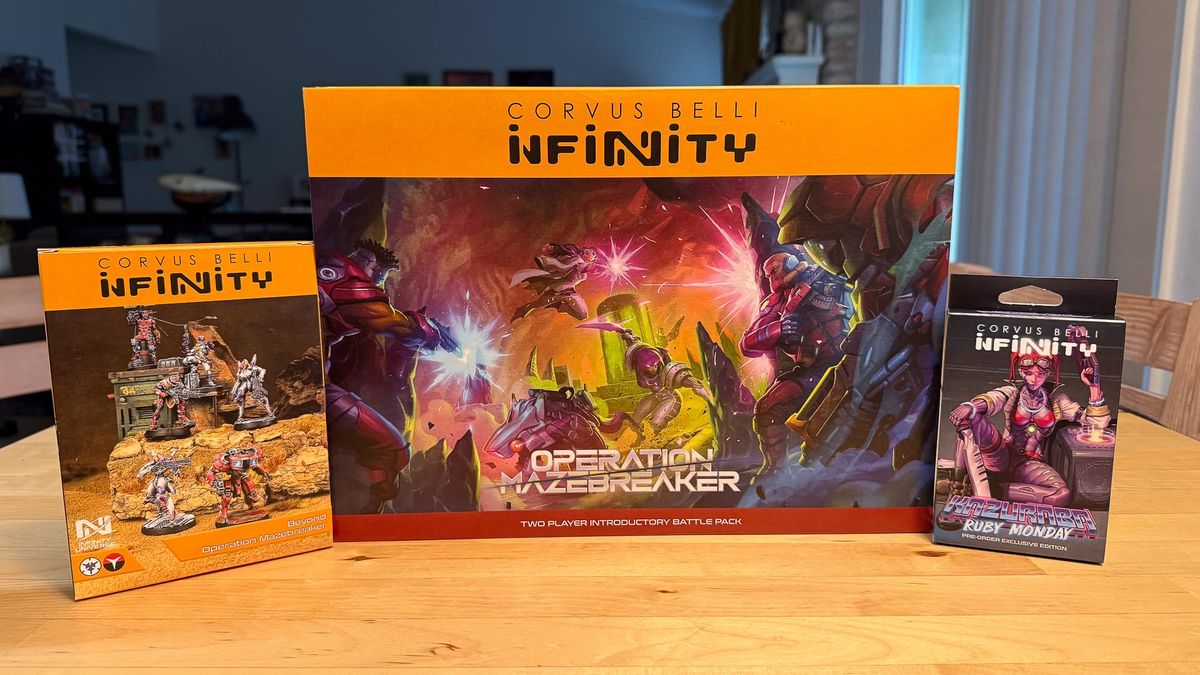
The Plan
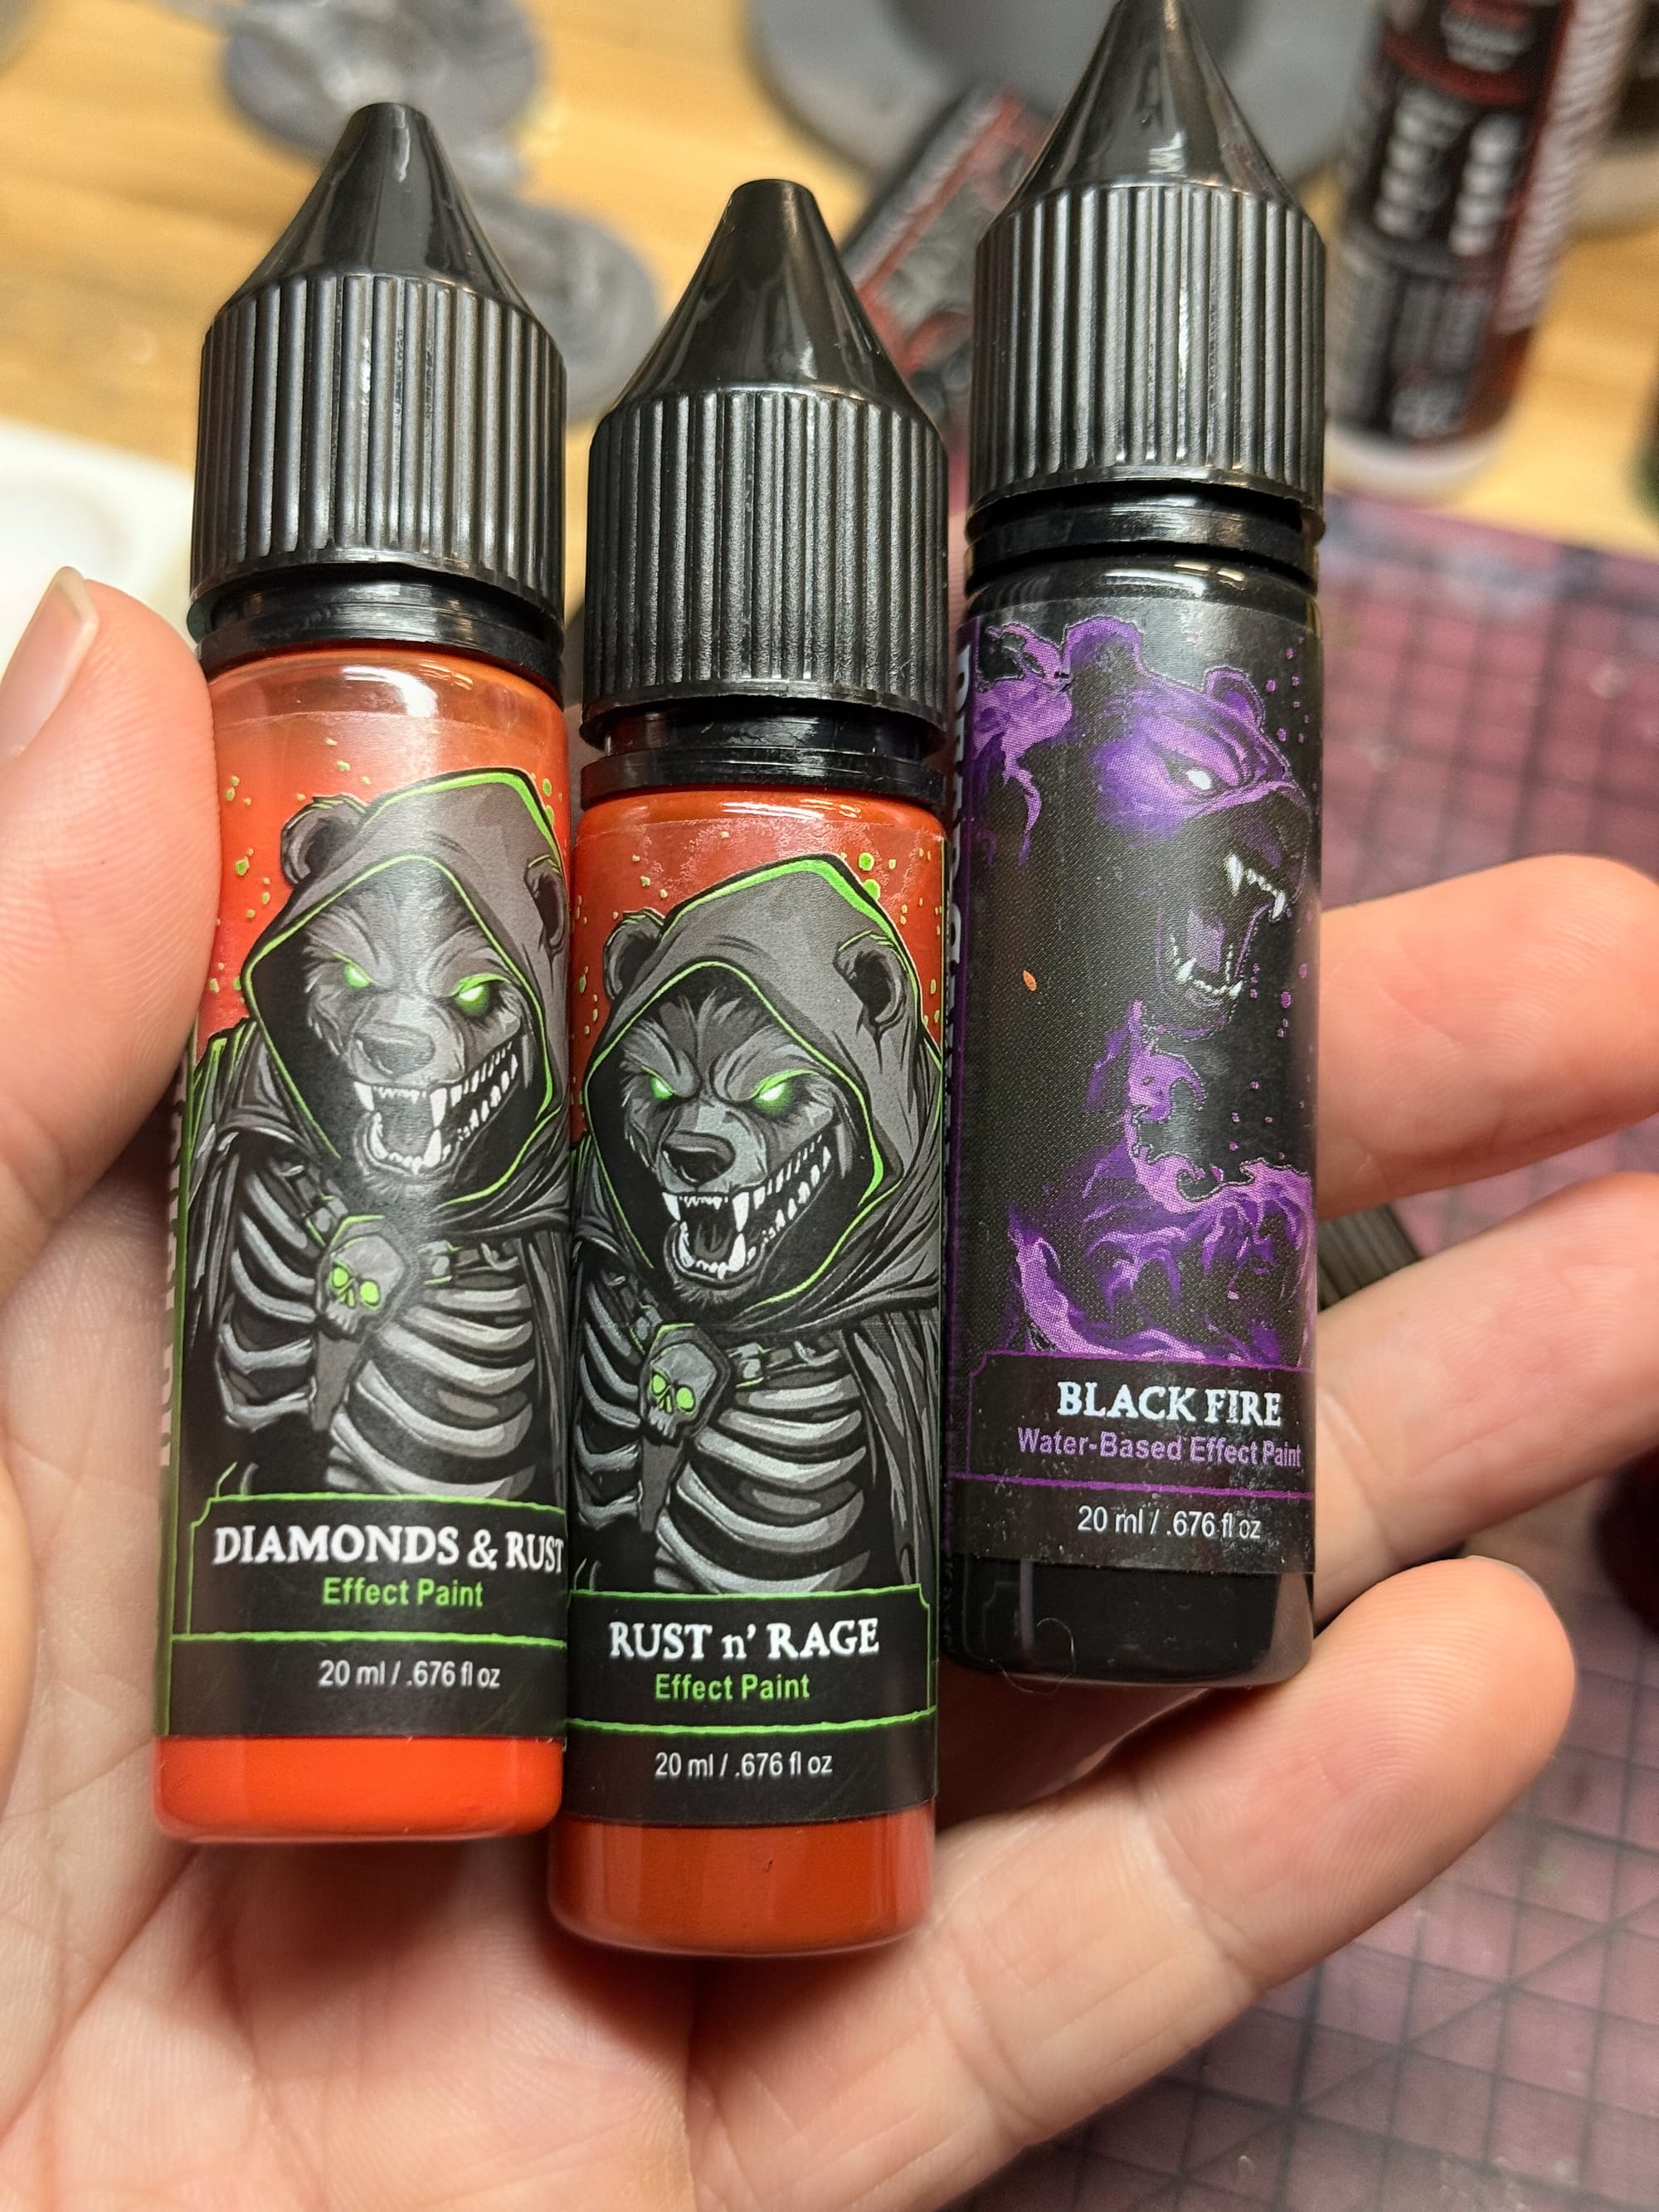
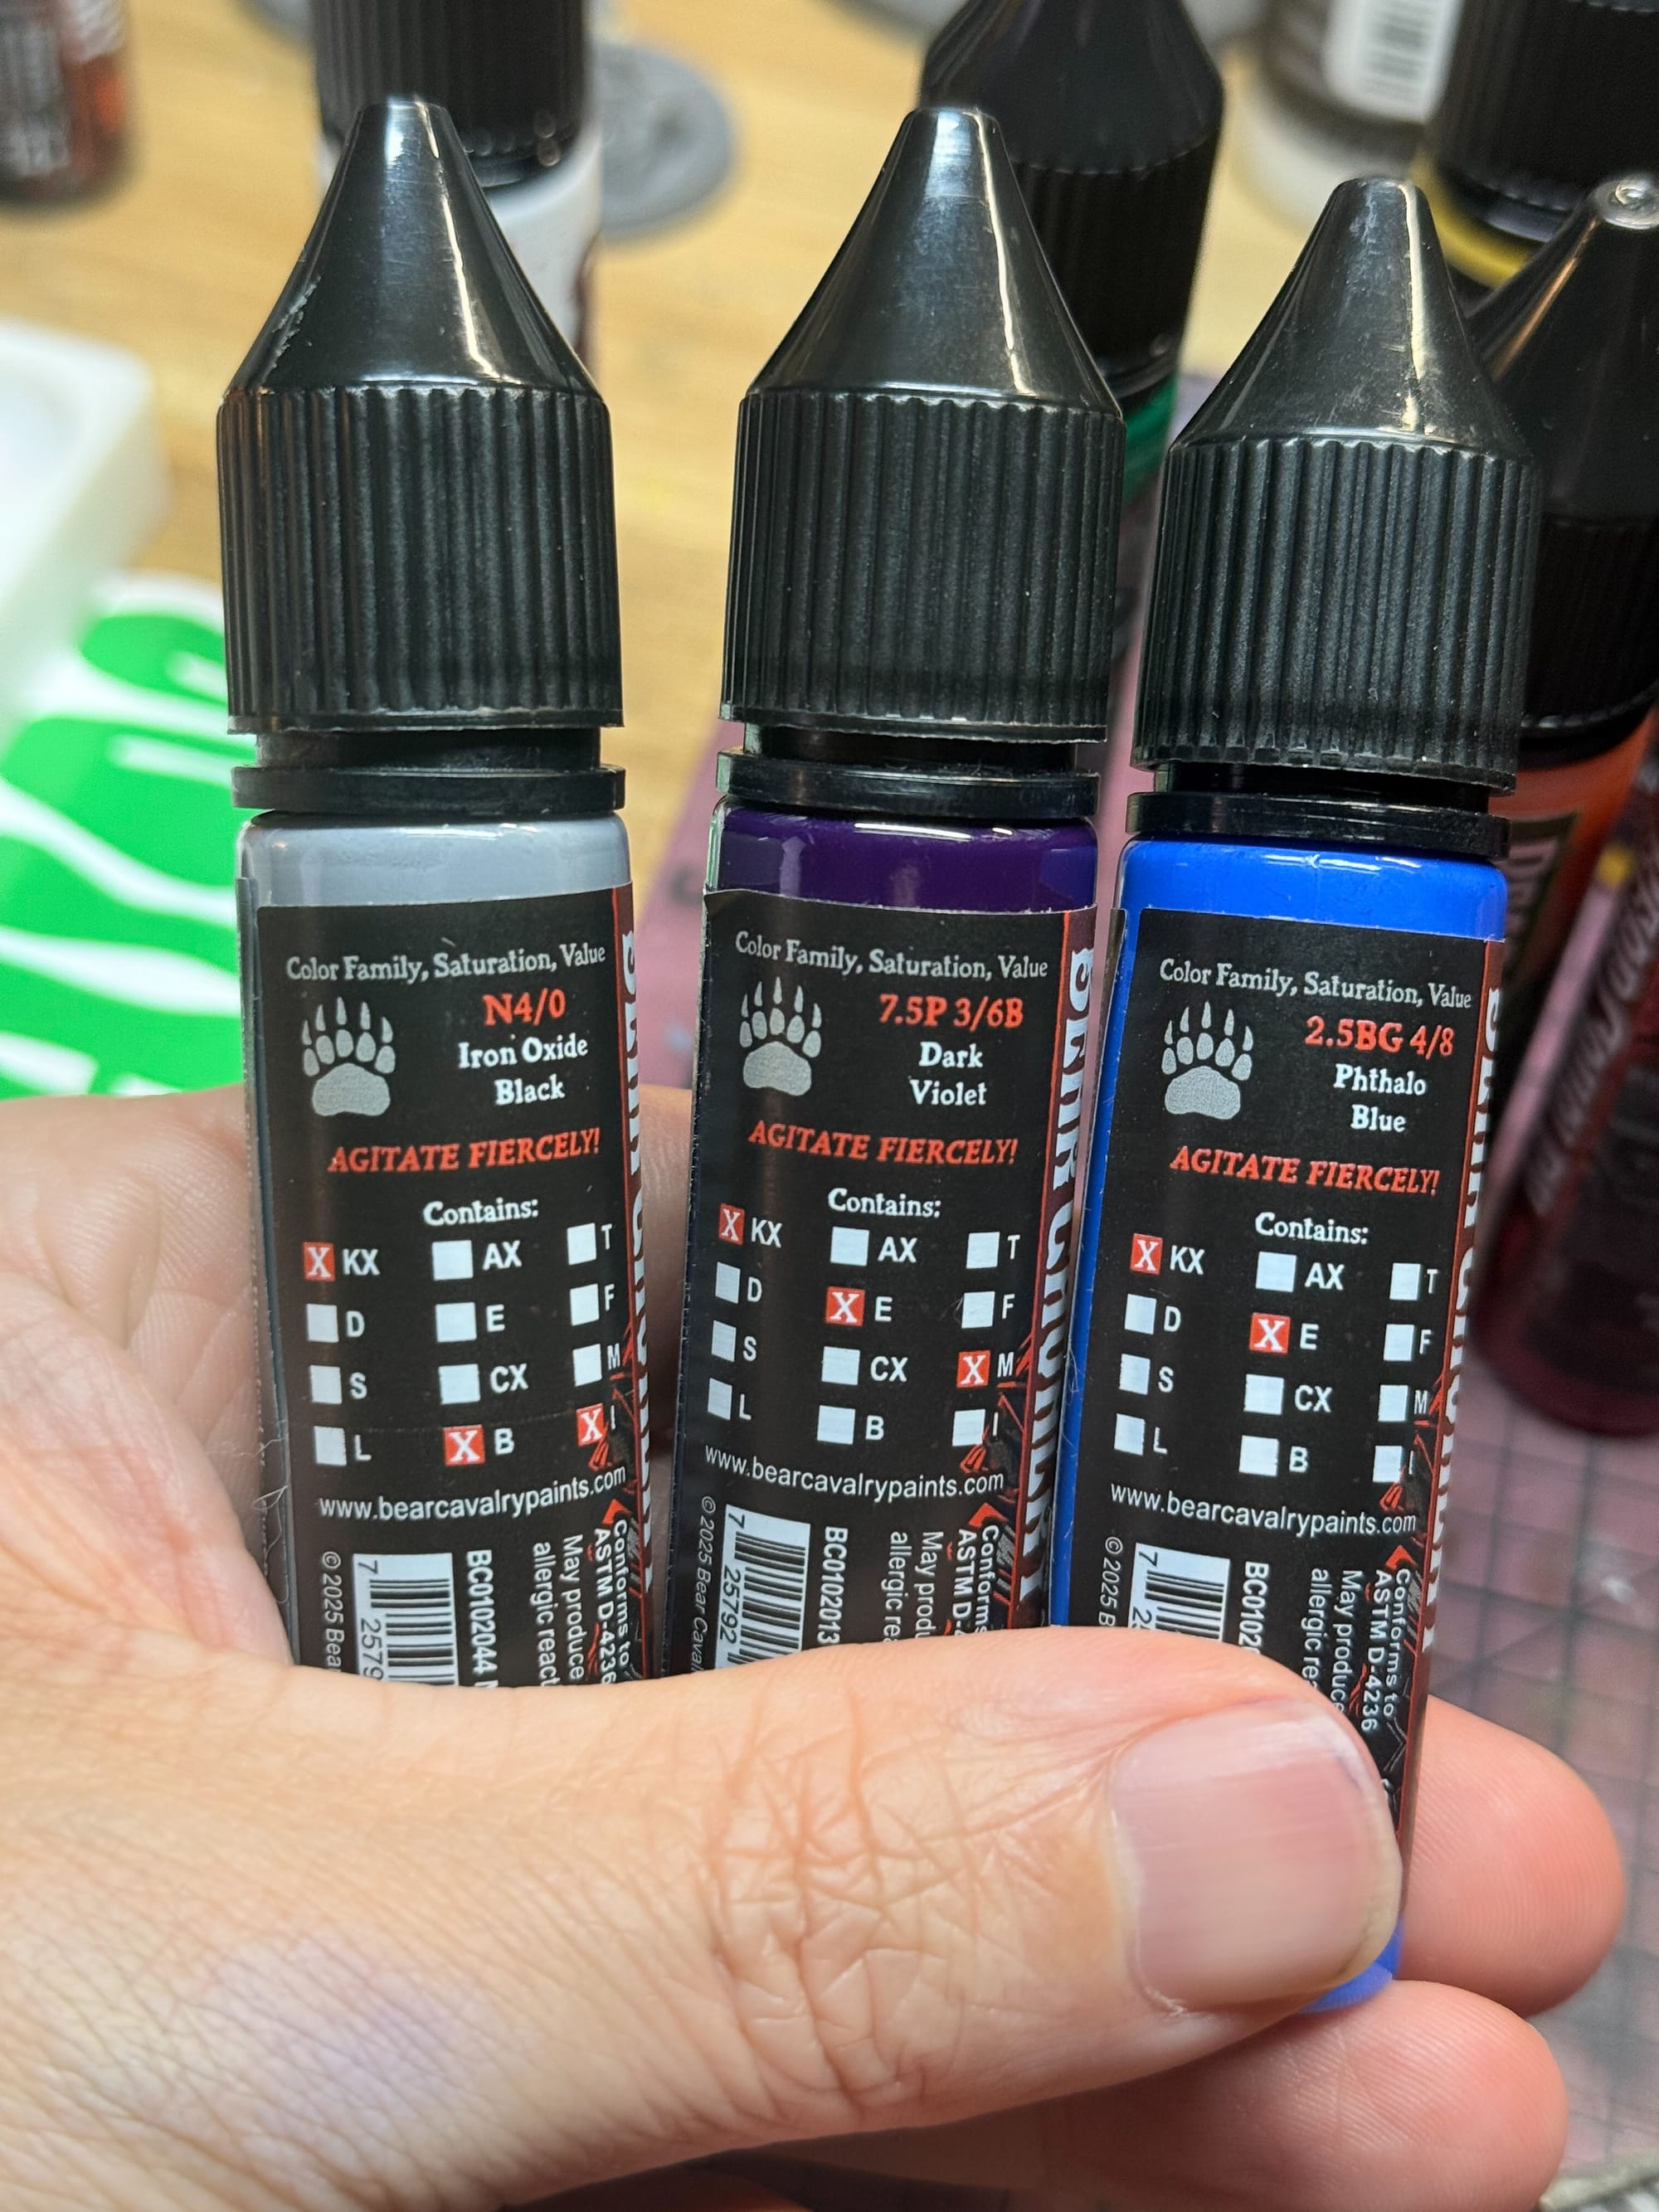
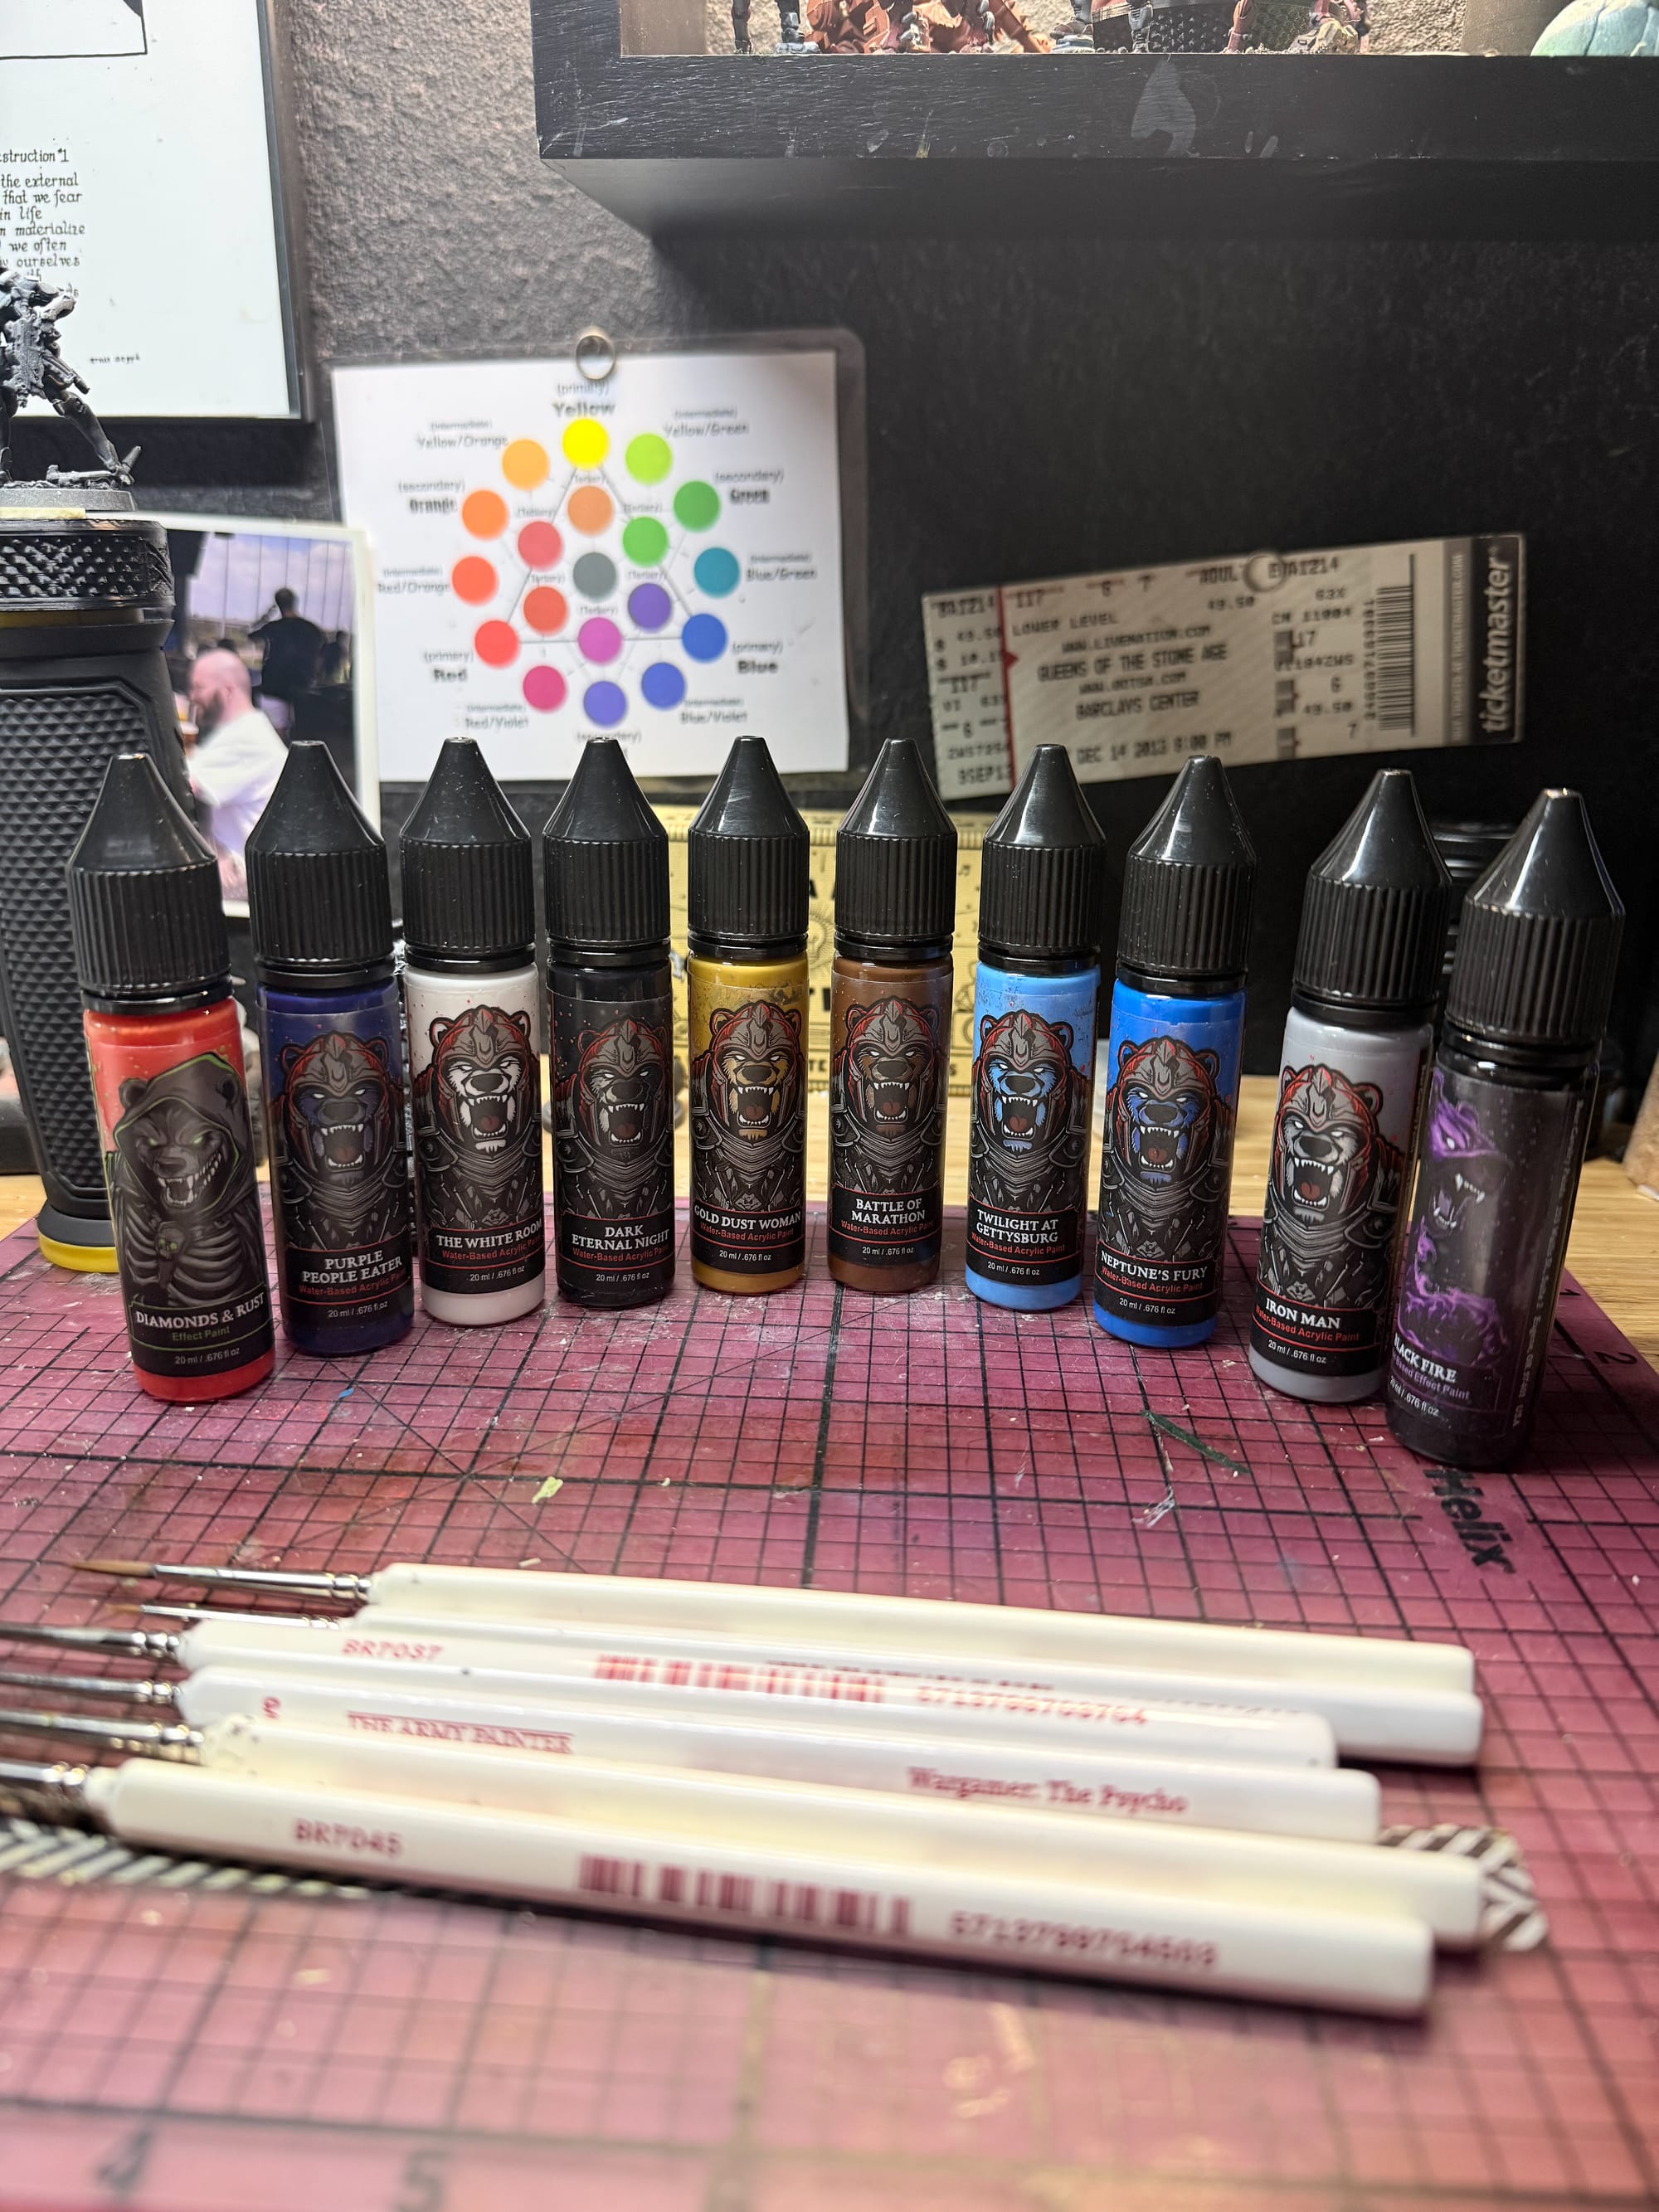
Bear Cavalry Paints have excellent labeling
For this paint scheme, I was sent a full set of paints from Bear Cavalry.
These paints impressed Gaming Trend when we reviewed them last November, and now it’s time to work with the rest of the range to see how they could handle some warband painting.
For this scheme, I wanted to use some core paints that could benefit from each other, and I also had fun with some of the effects paints, which gave me some fun rust effects with brightness.
Something cool that Bear Cavalry does is a breakdown of what pigments are in each paint, and a proper name to go alongside the “gaming name”. I’ve listed both names for you here.
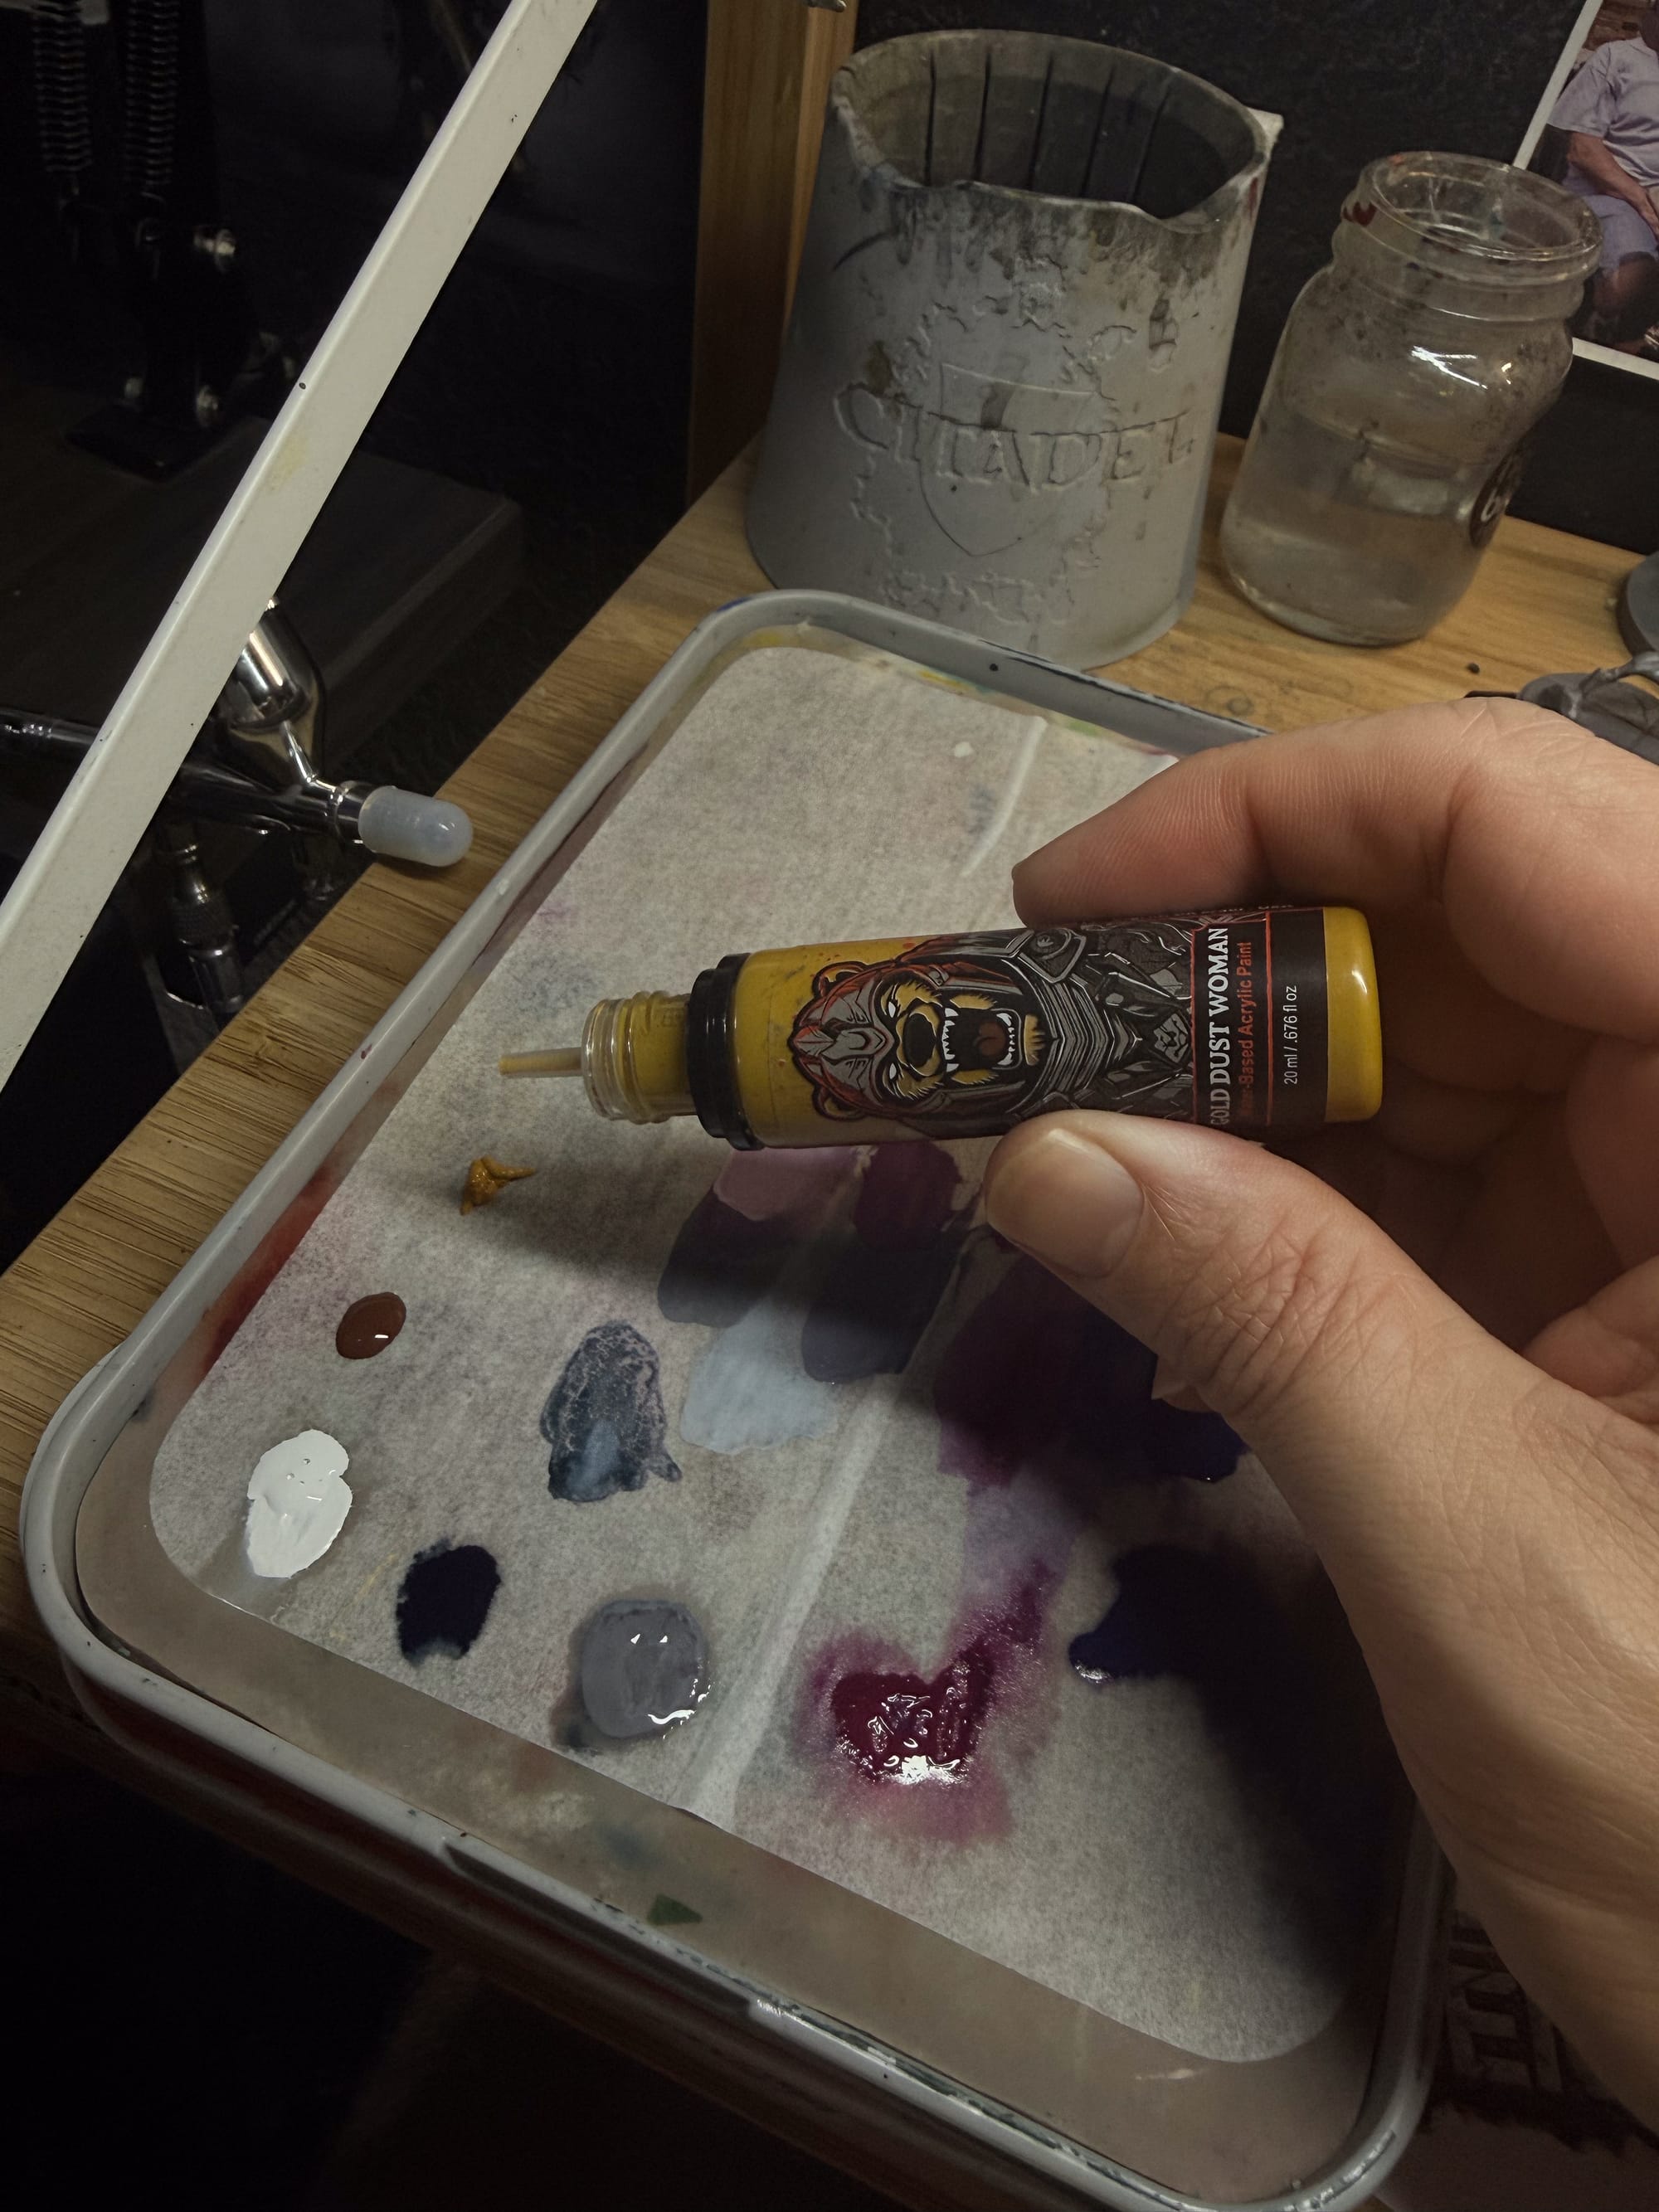
Gold Dust Woman - Yellow Ochre
Battle of Yellow Tavern - Chrome Yellow
Mindcrime Magenta - Deep Magenta
Diamonds & Rust - Effect
Rust n Rage - Effect
Agent Orange - Cadmium Orange
Pale Rider - Light Naples Yellow
Green Hell - Phthalo Green
Violet Skies - Dark Violet
Iron Man - Iron Oxide Black
Dark Eternal Night - Ivory Black
White Room - Titanium White
Neptune’s Fury - Phthalo Blue
Black Fire - Wash
Silver Panels:
The majority of these models are covered in metal panels. Since they are AI beings, I figure a variety of greys, with both yellows, blues, greens, would help build my shadow tones and highlights.
Weapons:
On most of the models I painted, they have some basic weapons like shotguns and pistols. The Sharvara HoundBot is armed with an Adhesive Launcher Rifle, so I figured I’d also paint it black. For these pieces, I’ll use washes and black, along with some highlight colors.
Accent Panels:
Pinks, purples, and golds exist on all of these models, and I figured to keep them similar on each model. The golds will be used sparingly, the pinks will be used to draw the eye, and purples can be used more throughout the model, but as more of an under-the-panel detail.
The Process
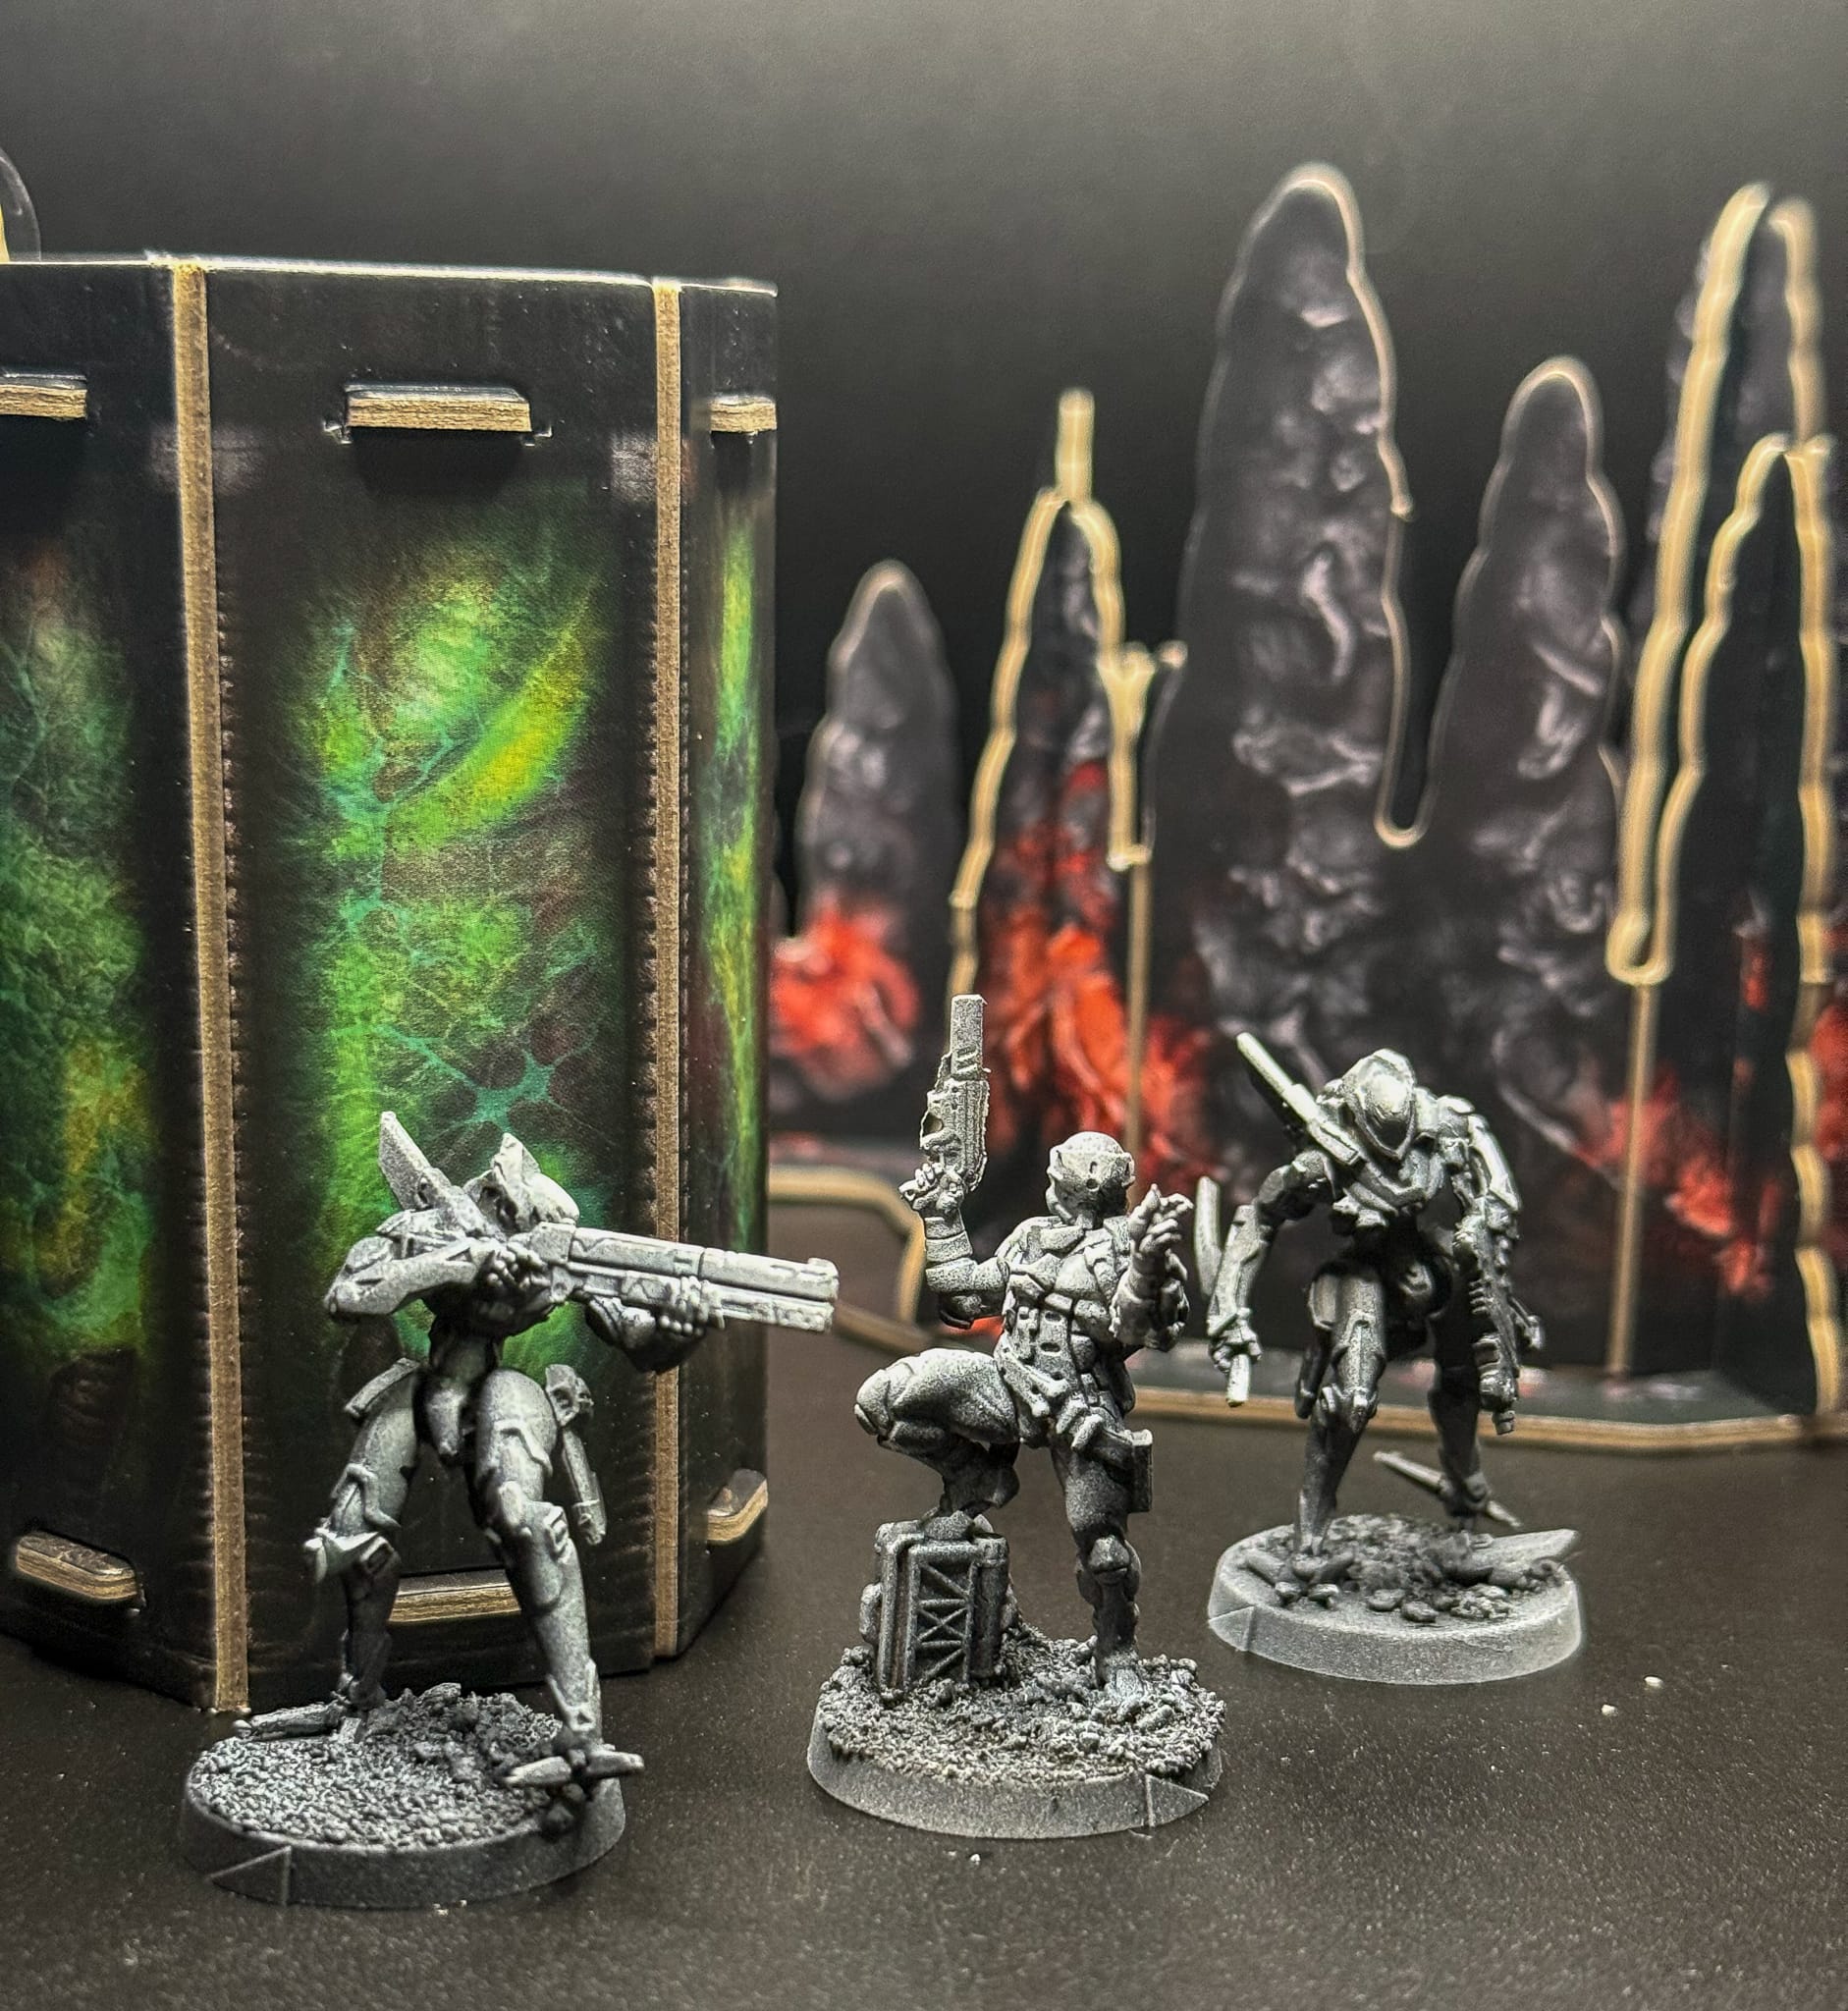
To get started, as always, go and check out our “How to Prepare Minis” article. It will help you understand preparation and priming. For these models, I primed them with a zenithal spray, which is basically painting a coat of white on top of black to help guide shadow and light placement.
 Alec Kozak
I started with the Kinnara Scoutbot, which is armed with a shotgun! I really enjoyed this sculpt, but fair warning to anyone building Infinity…make sure you put the feet on correctly. I did mine backwards, which I didn’t know until I had looked up some photos of the models and zoomed in.
I started with the paneling first, by leveraging Iron Man as my main base coat, I used a reference photo for all of the placement of the grey panels, but you do you.
For my shadow on those panels, I added a mix of Green Hell and Neptune’s Fury to give me 2 different levels. The green made the gray a bit more chromatic, and the blue definitely darkened the mix to a shadow level. Apply them in 2 layers; use the green to help give you a mid tone, and then blend it to the blue, which could just go in the darkest parts of the model. For me, that’s the backs and unders.
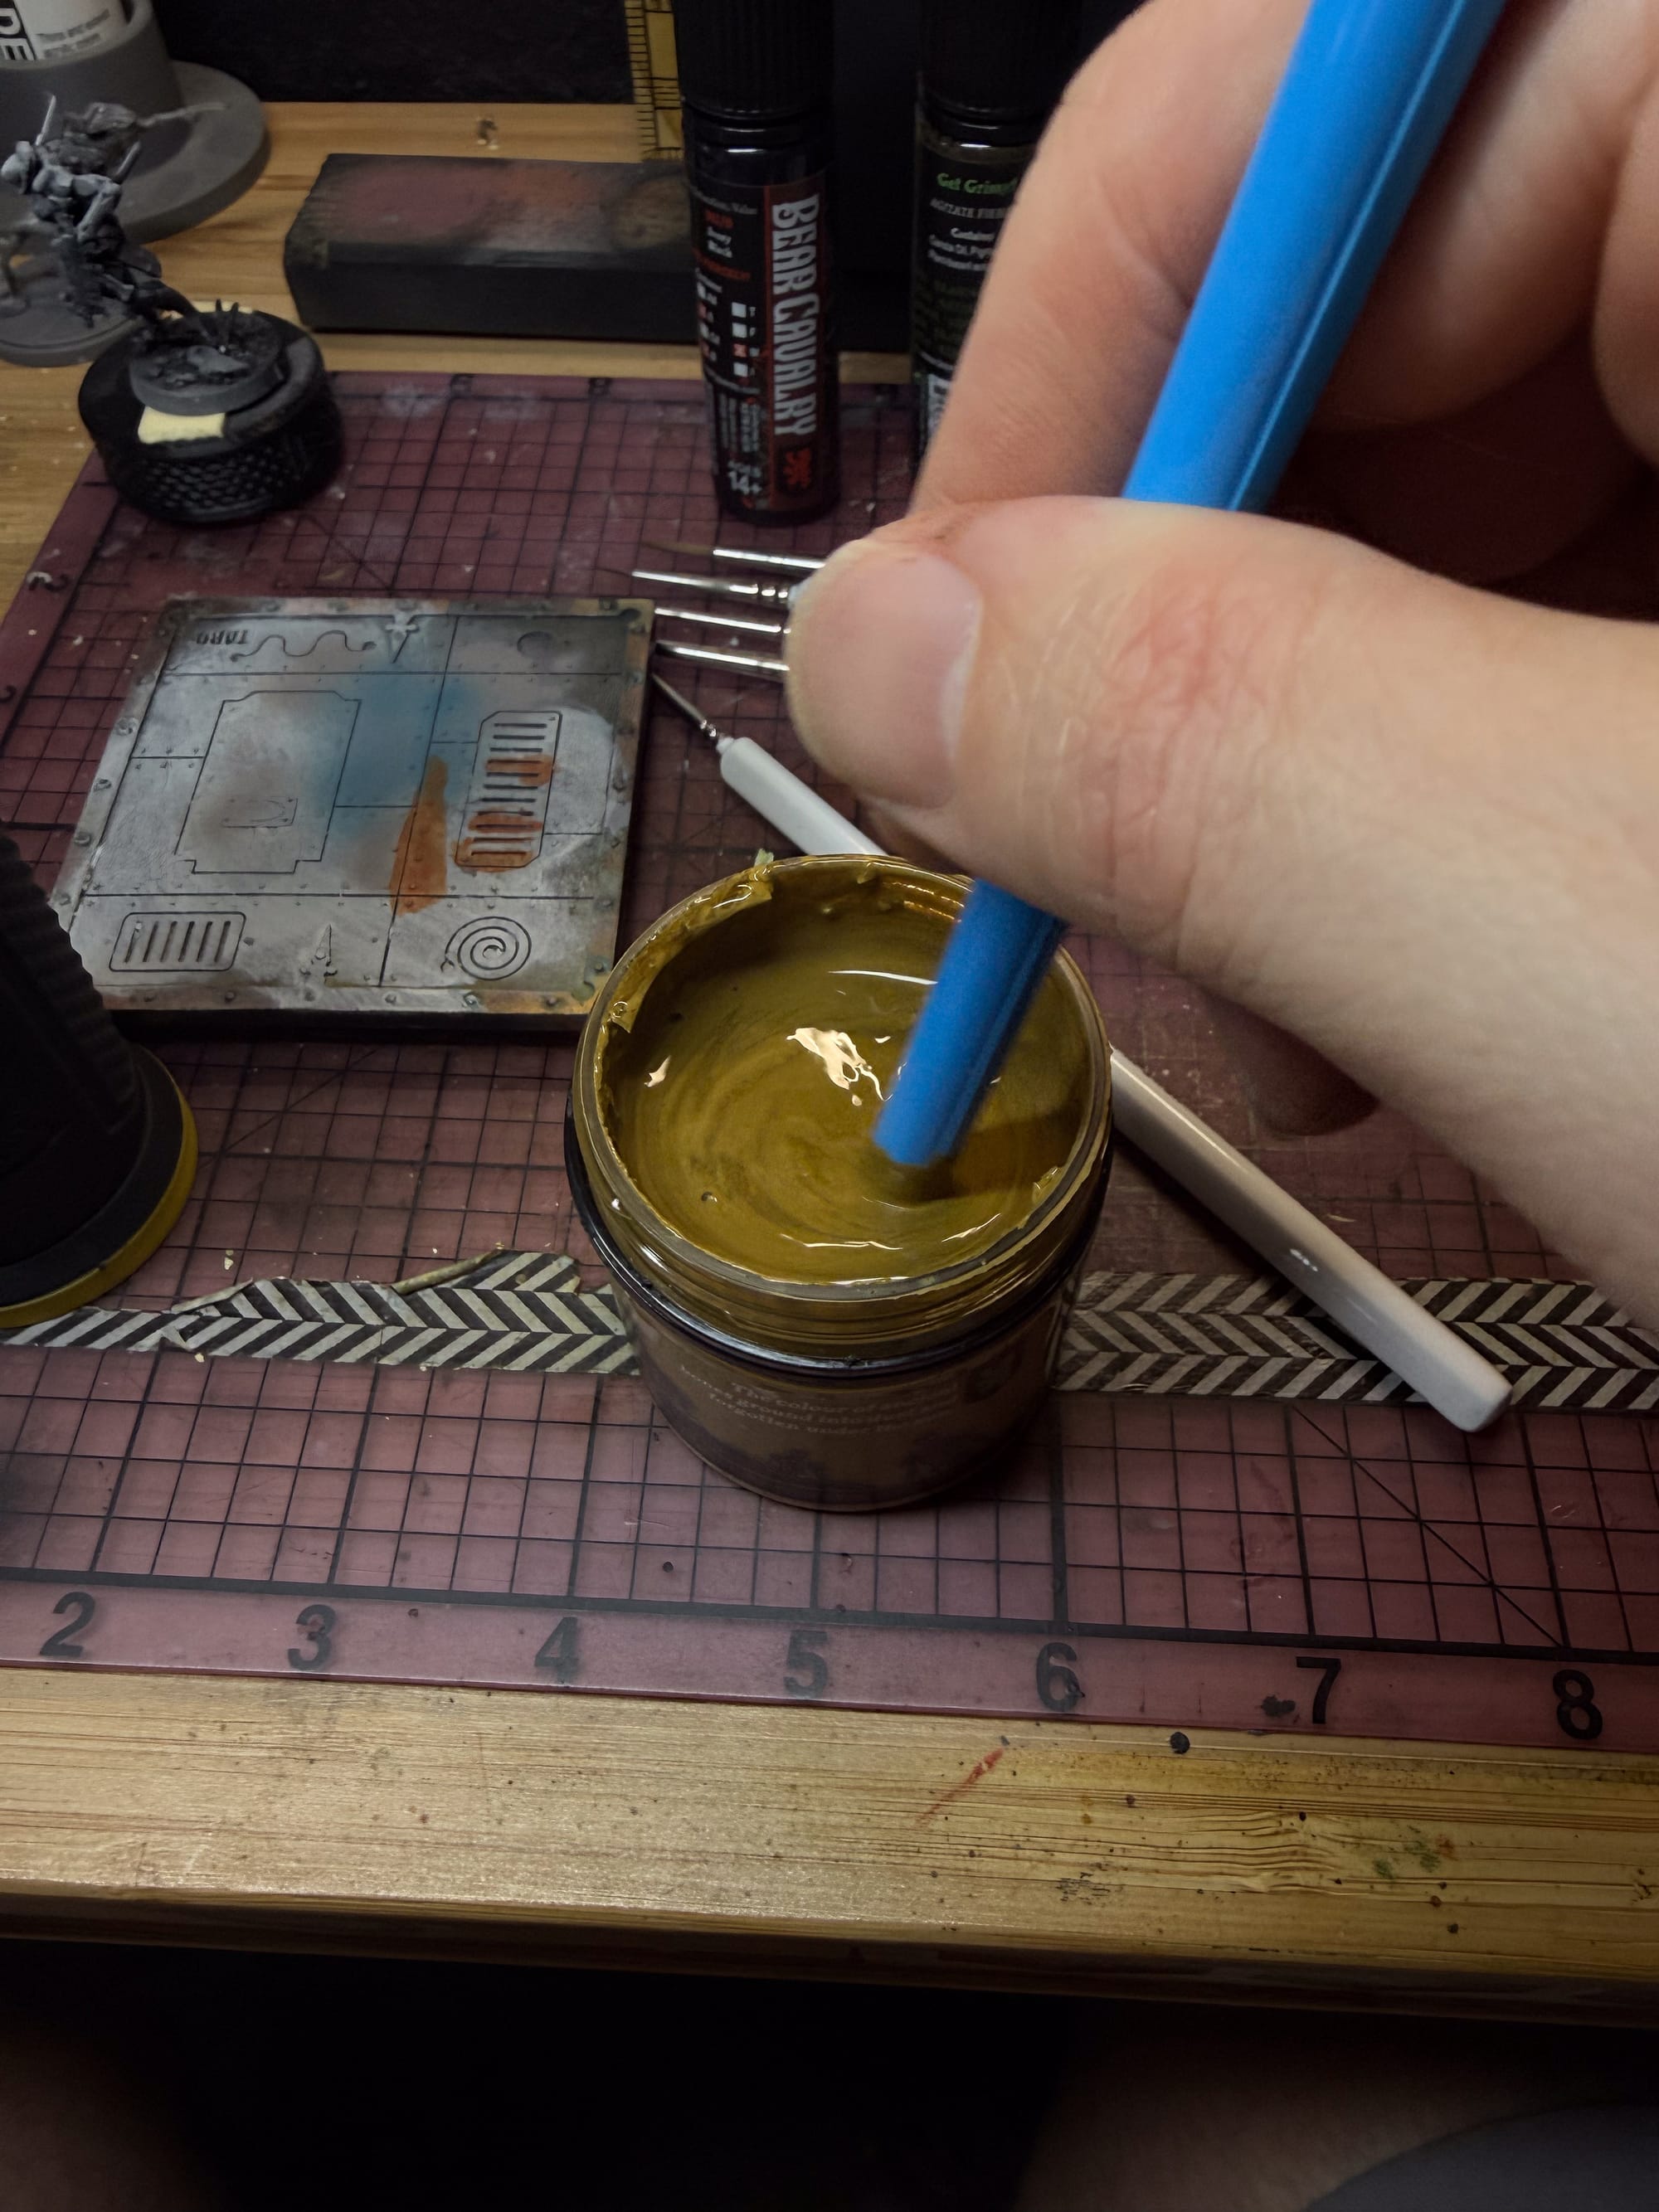
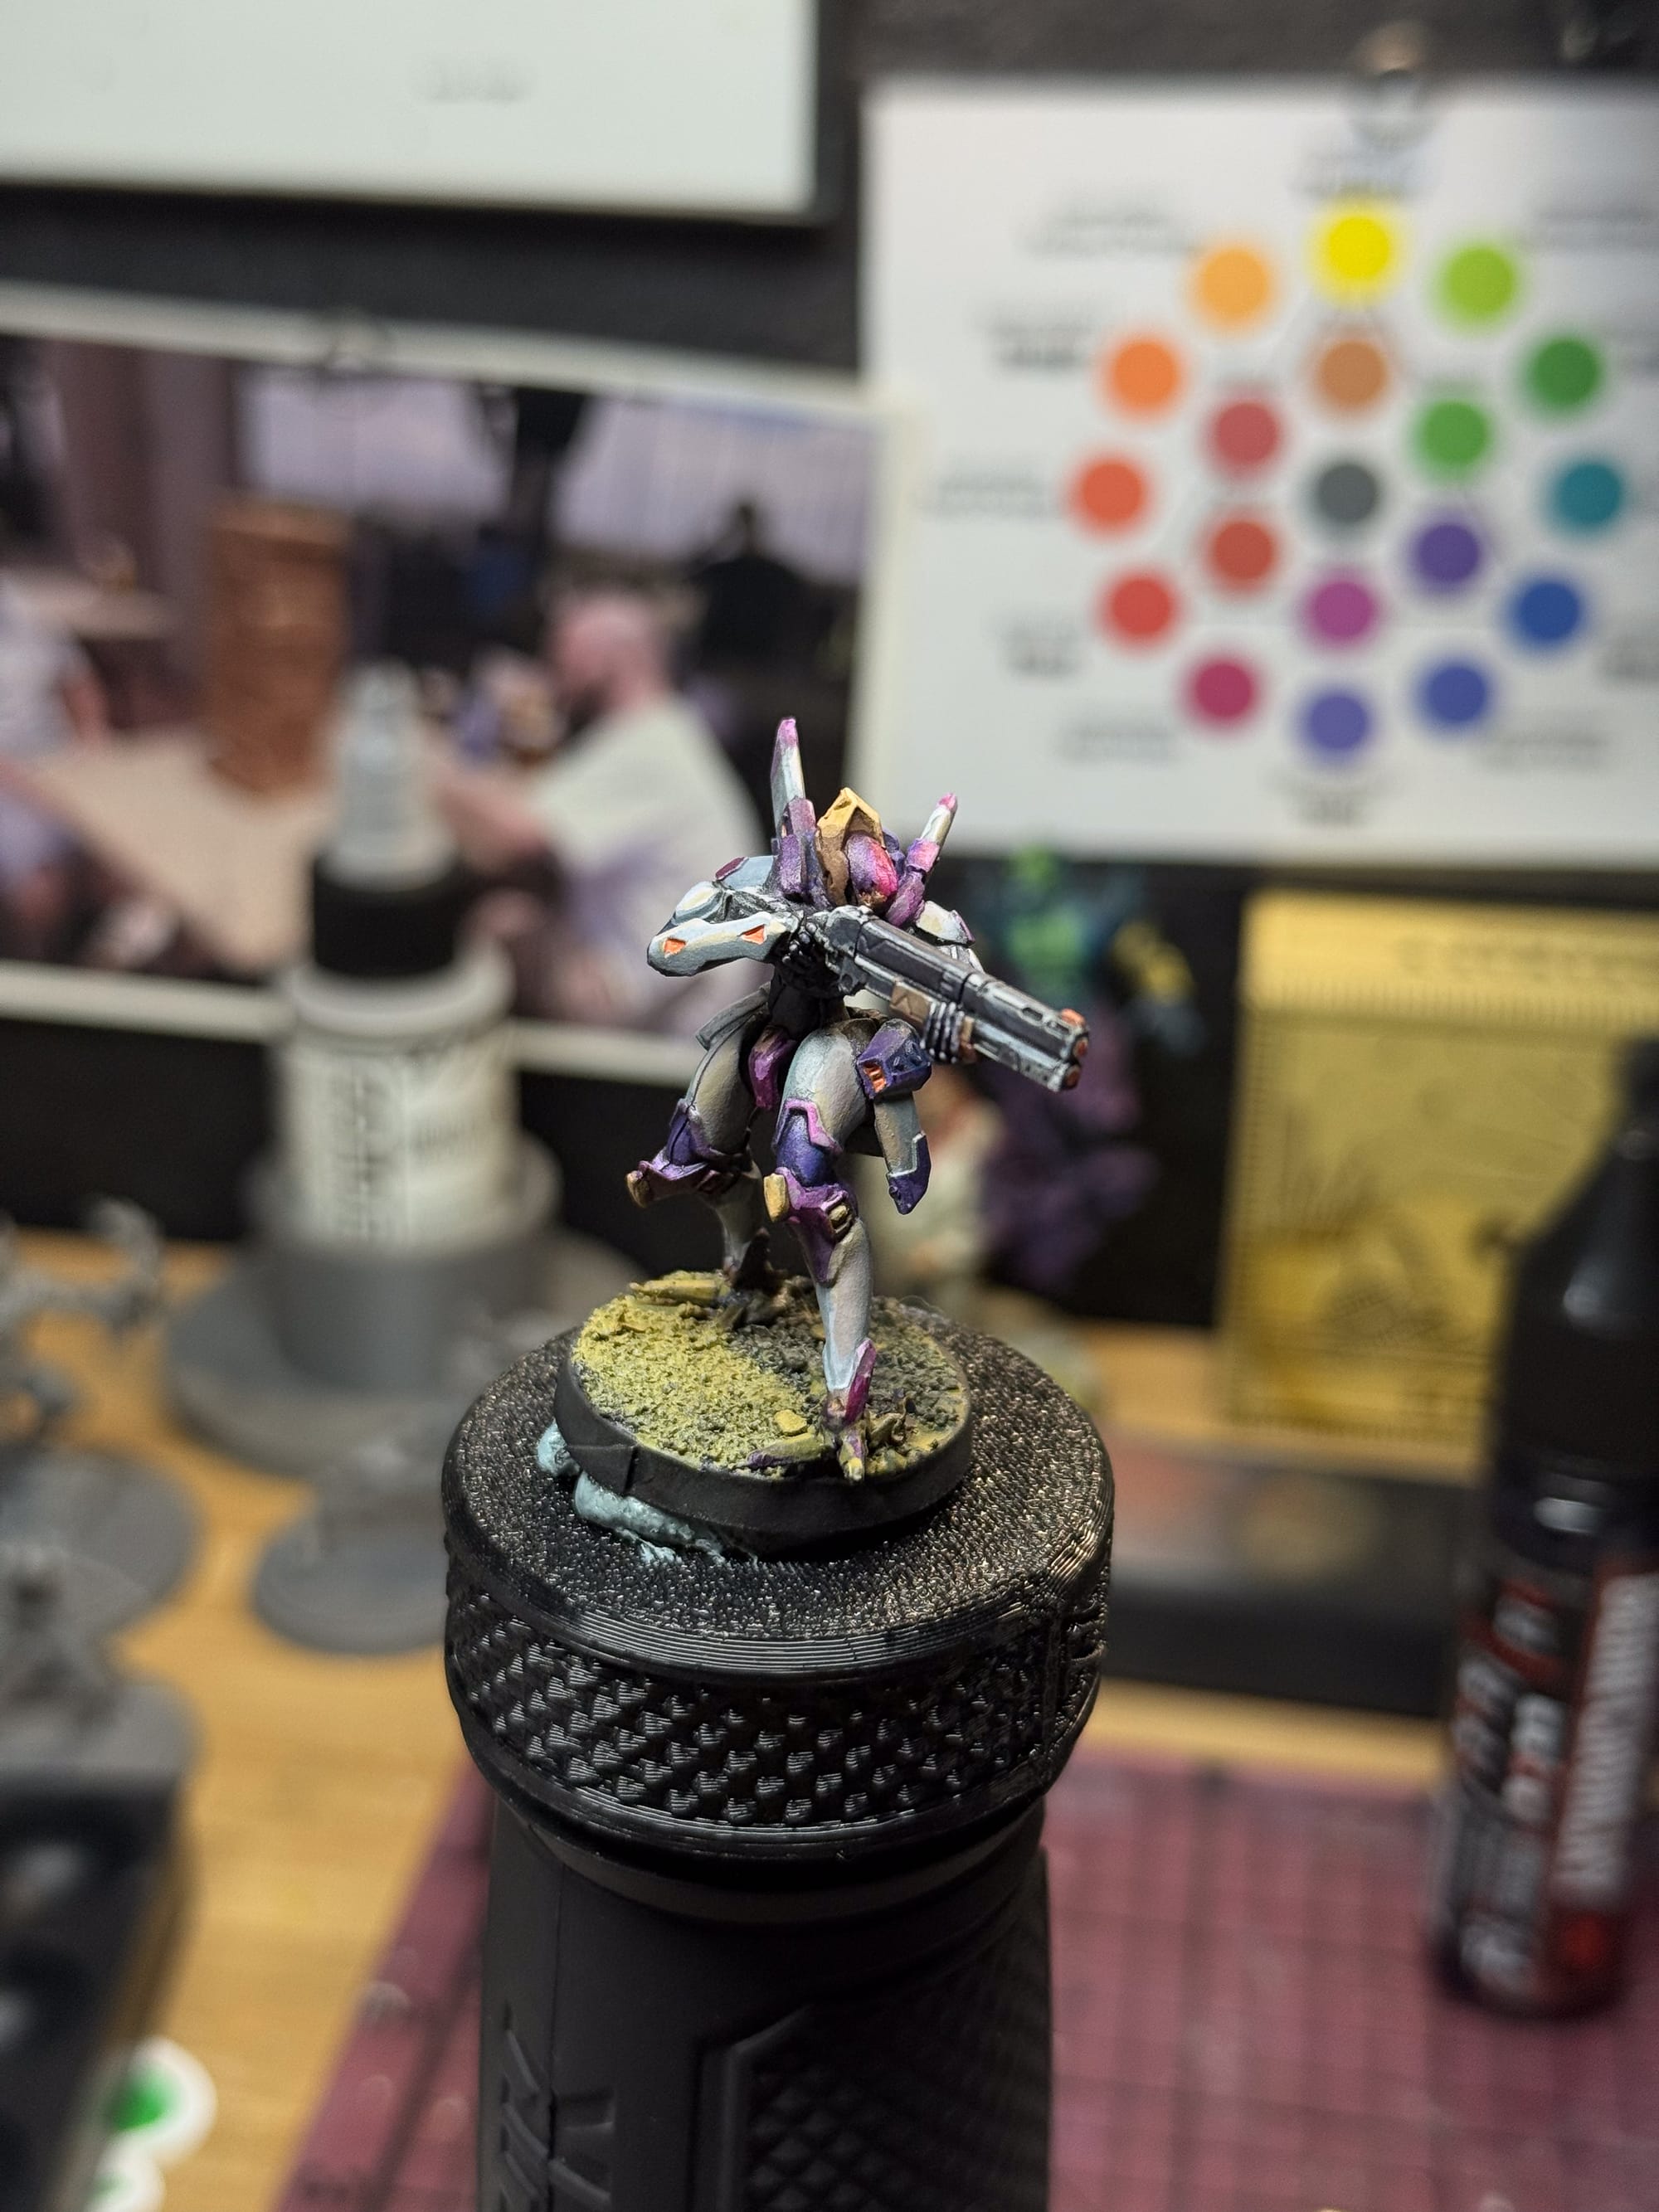
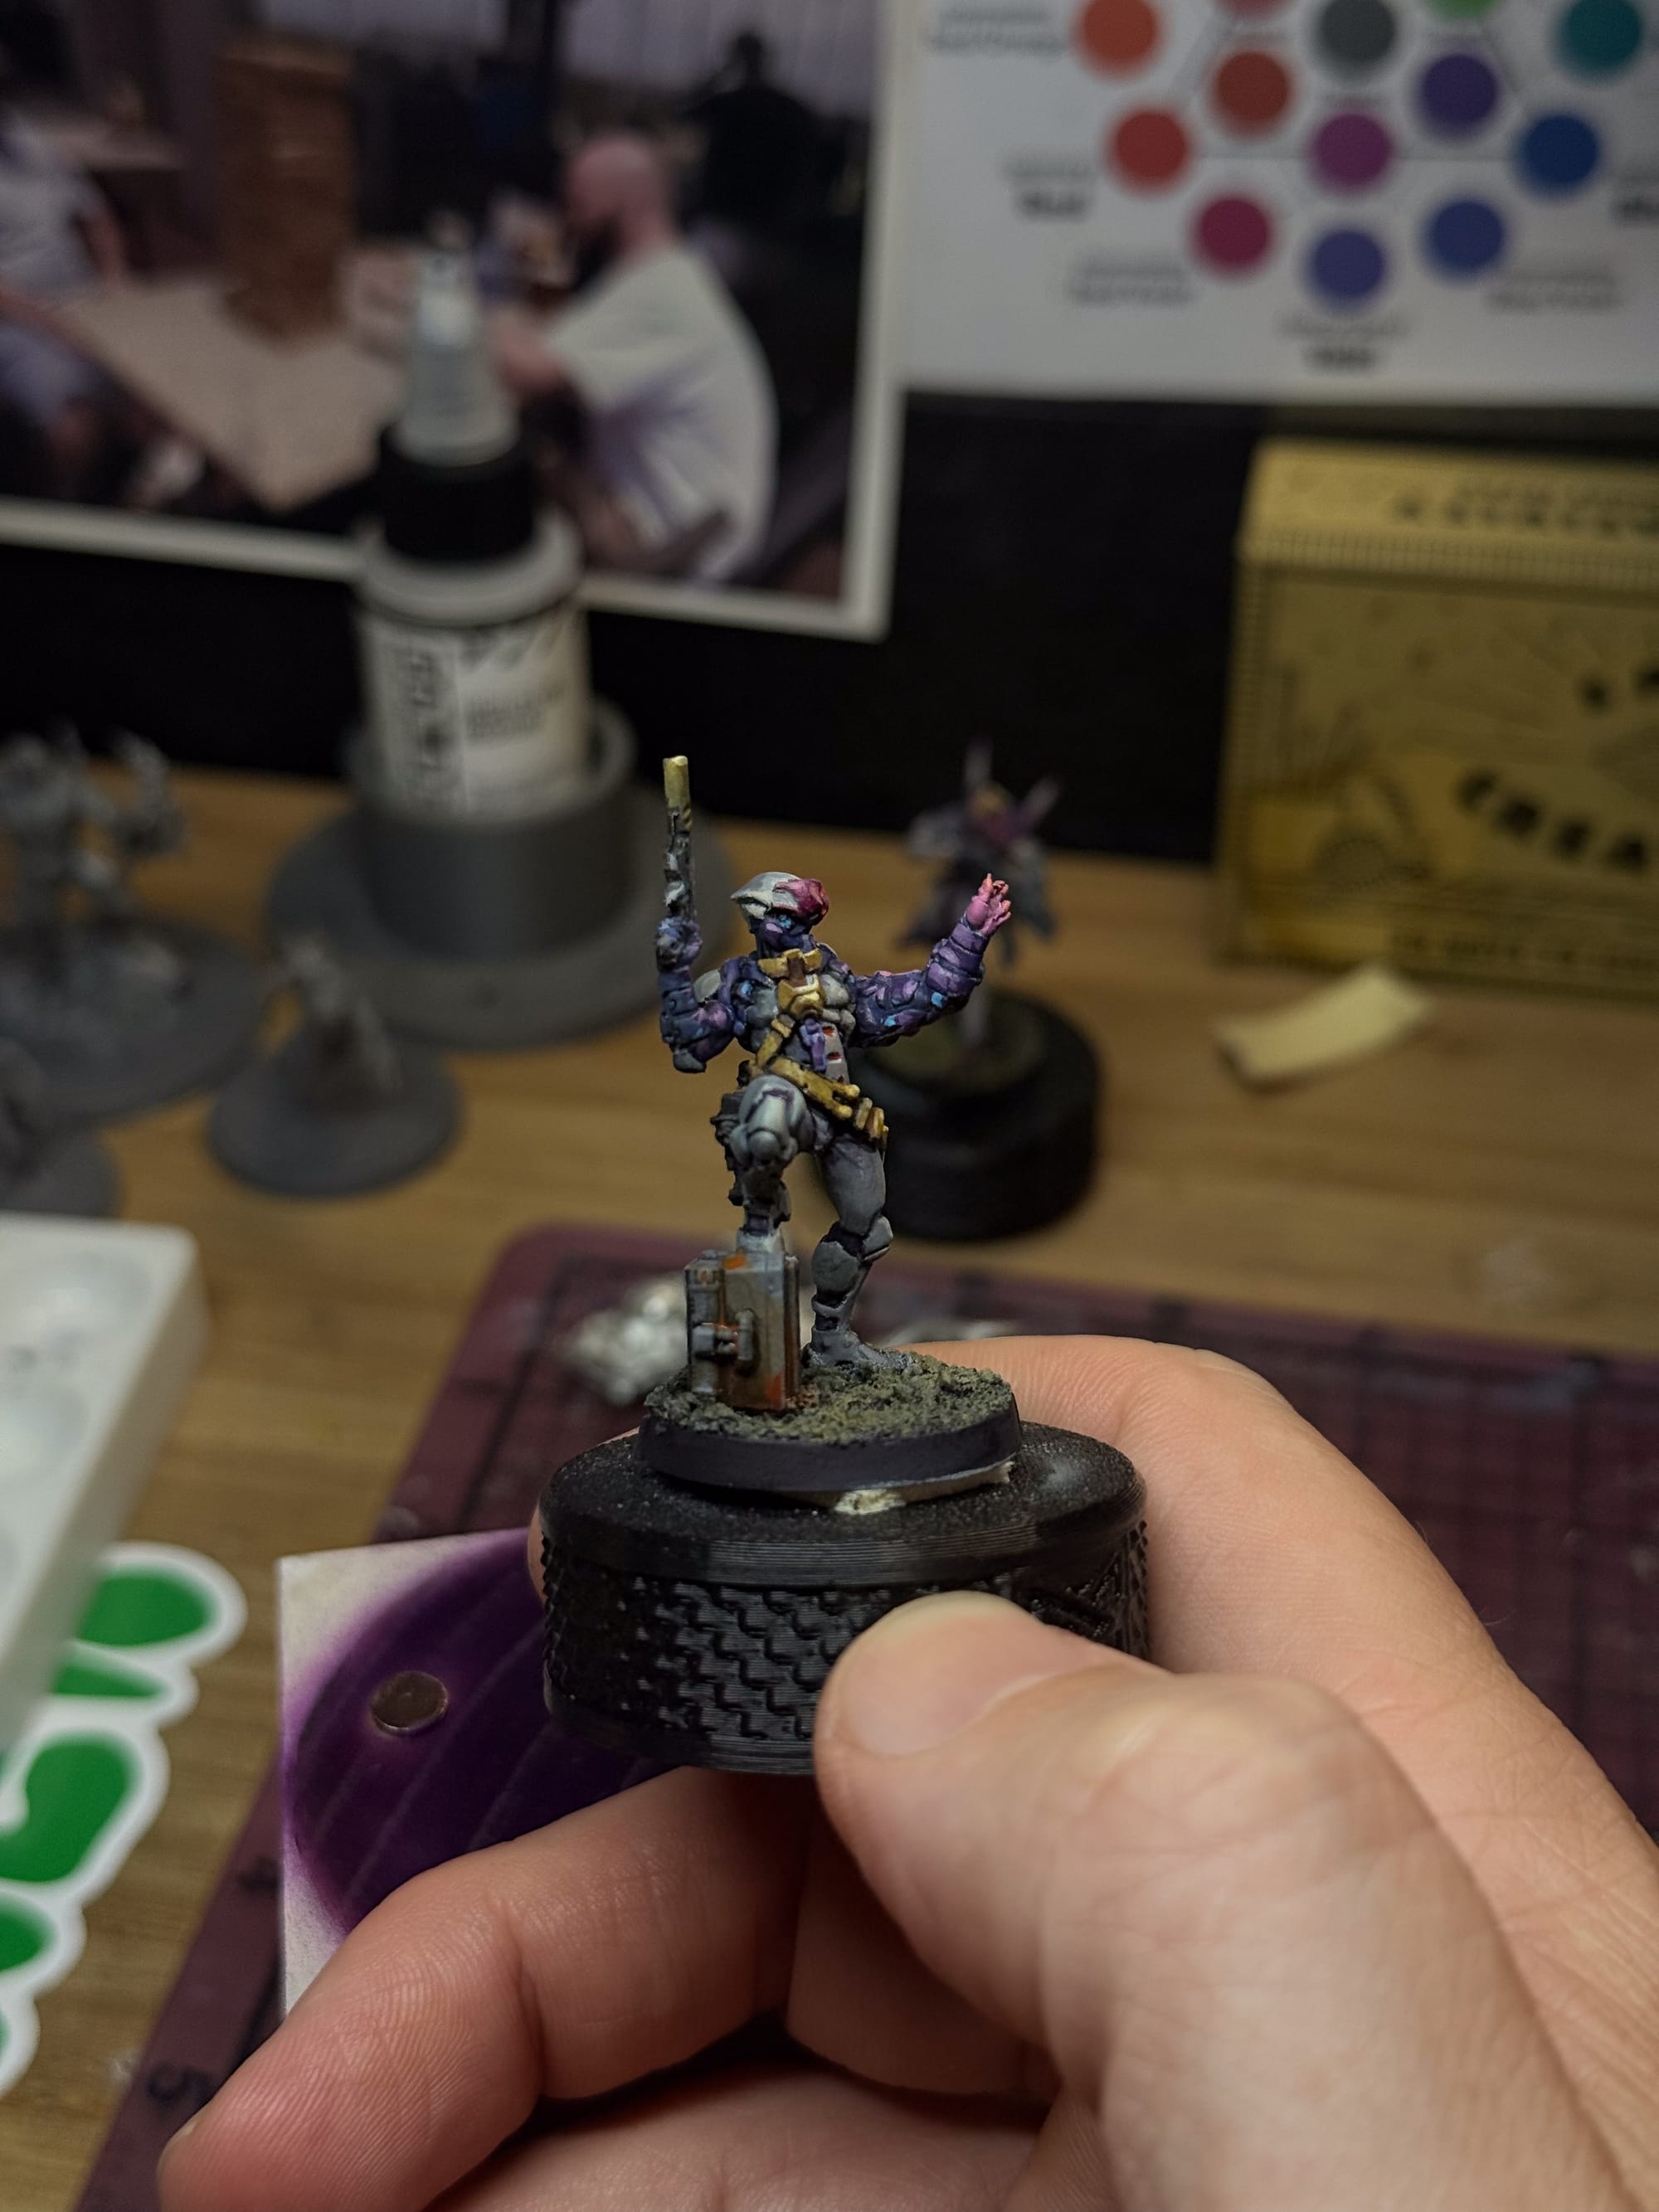
For the highlights, I added just a touch of magenta. As the rest of the bot is going to have purples and pinks, I wanted these pieces to fit in and have a little bit of fun. I find the majority of Infinity pieces on the internet don’t tend to be the way I paint, so I wanted to do something a bit more stylish. This will come back with some unique colors that I’ll apply randomly throughout the model.
For the purple, I wanted to hit all of the “undercarriage” or undersuit of the model. Violet Skies and a wash of Black Fire gave me my starting point. To help create midtones and highlights, I came back through with Violet Skies. I’ll do a few more special highlights to this for Houndbot by incorporating blue into the mix to help them stand out more, because the model has a lot more showing.
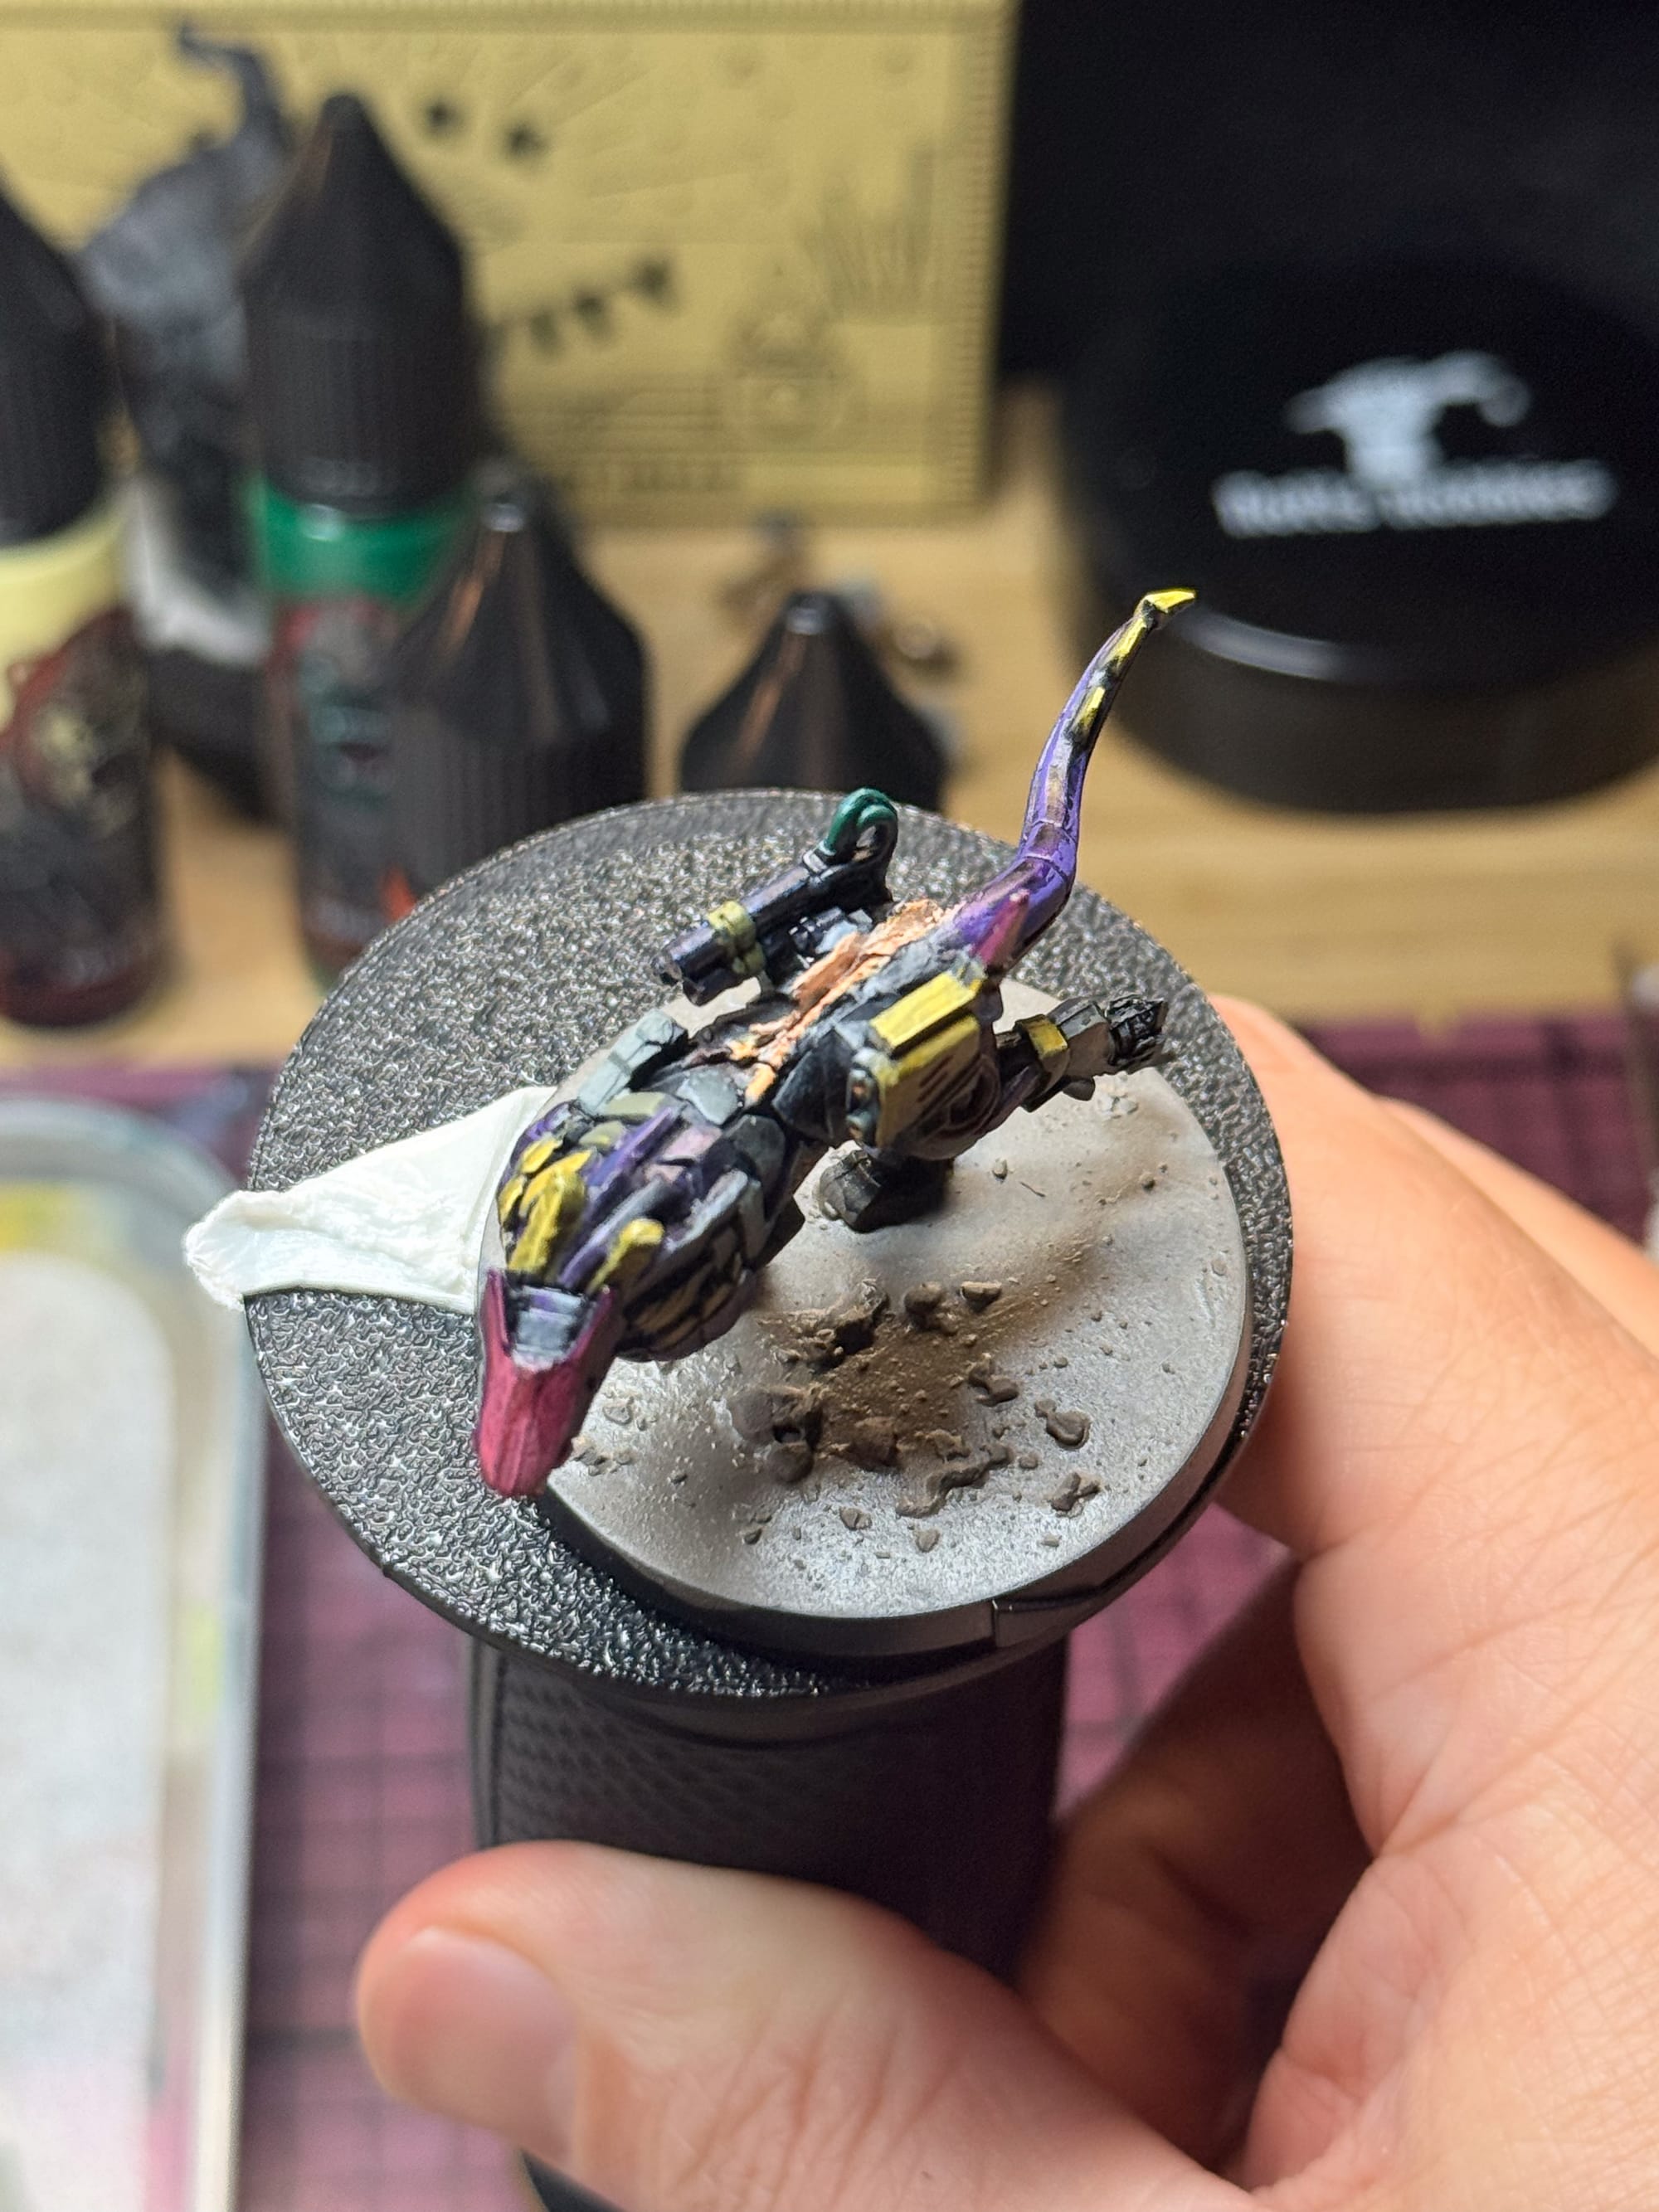
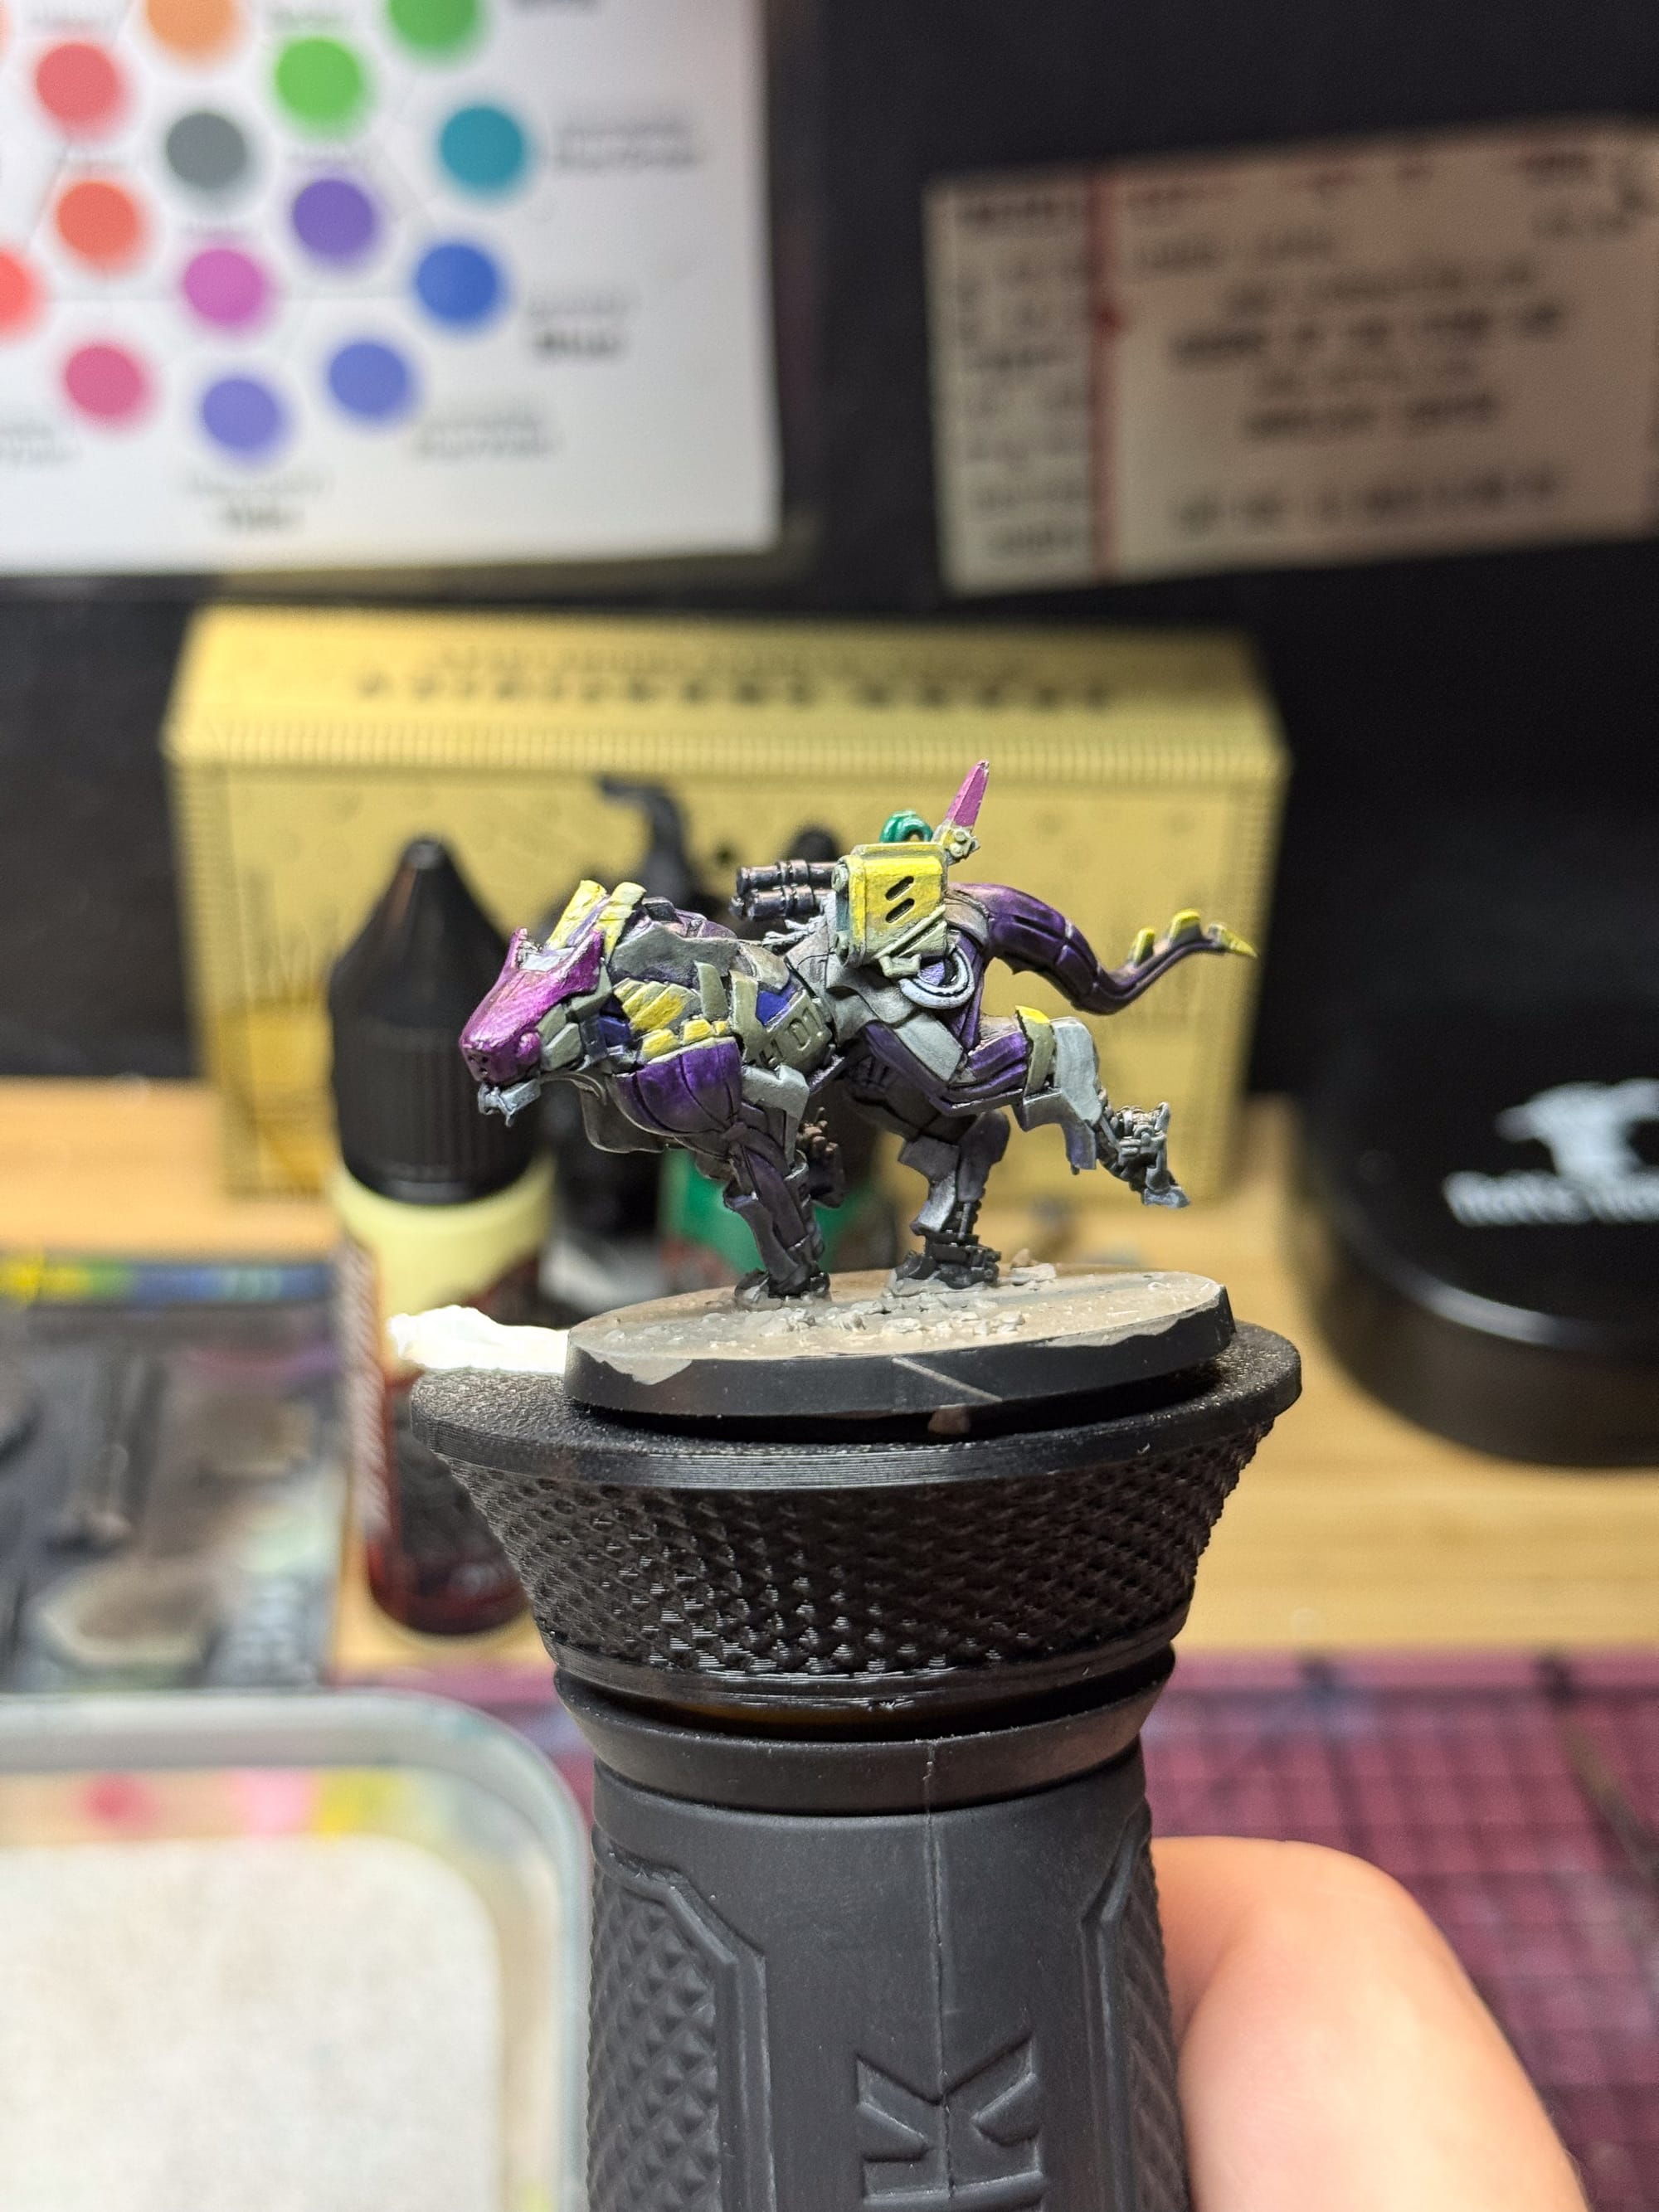
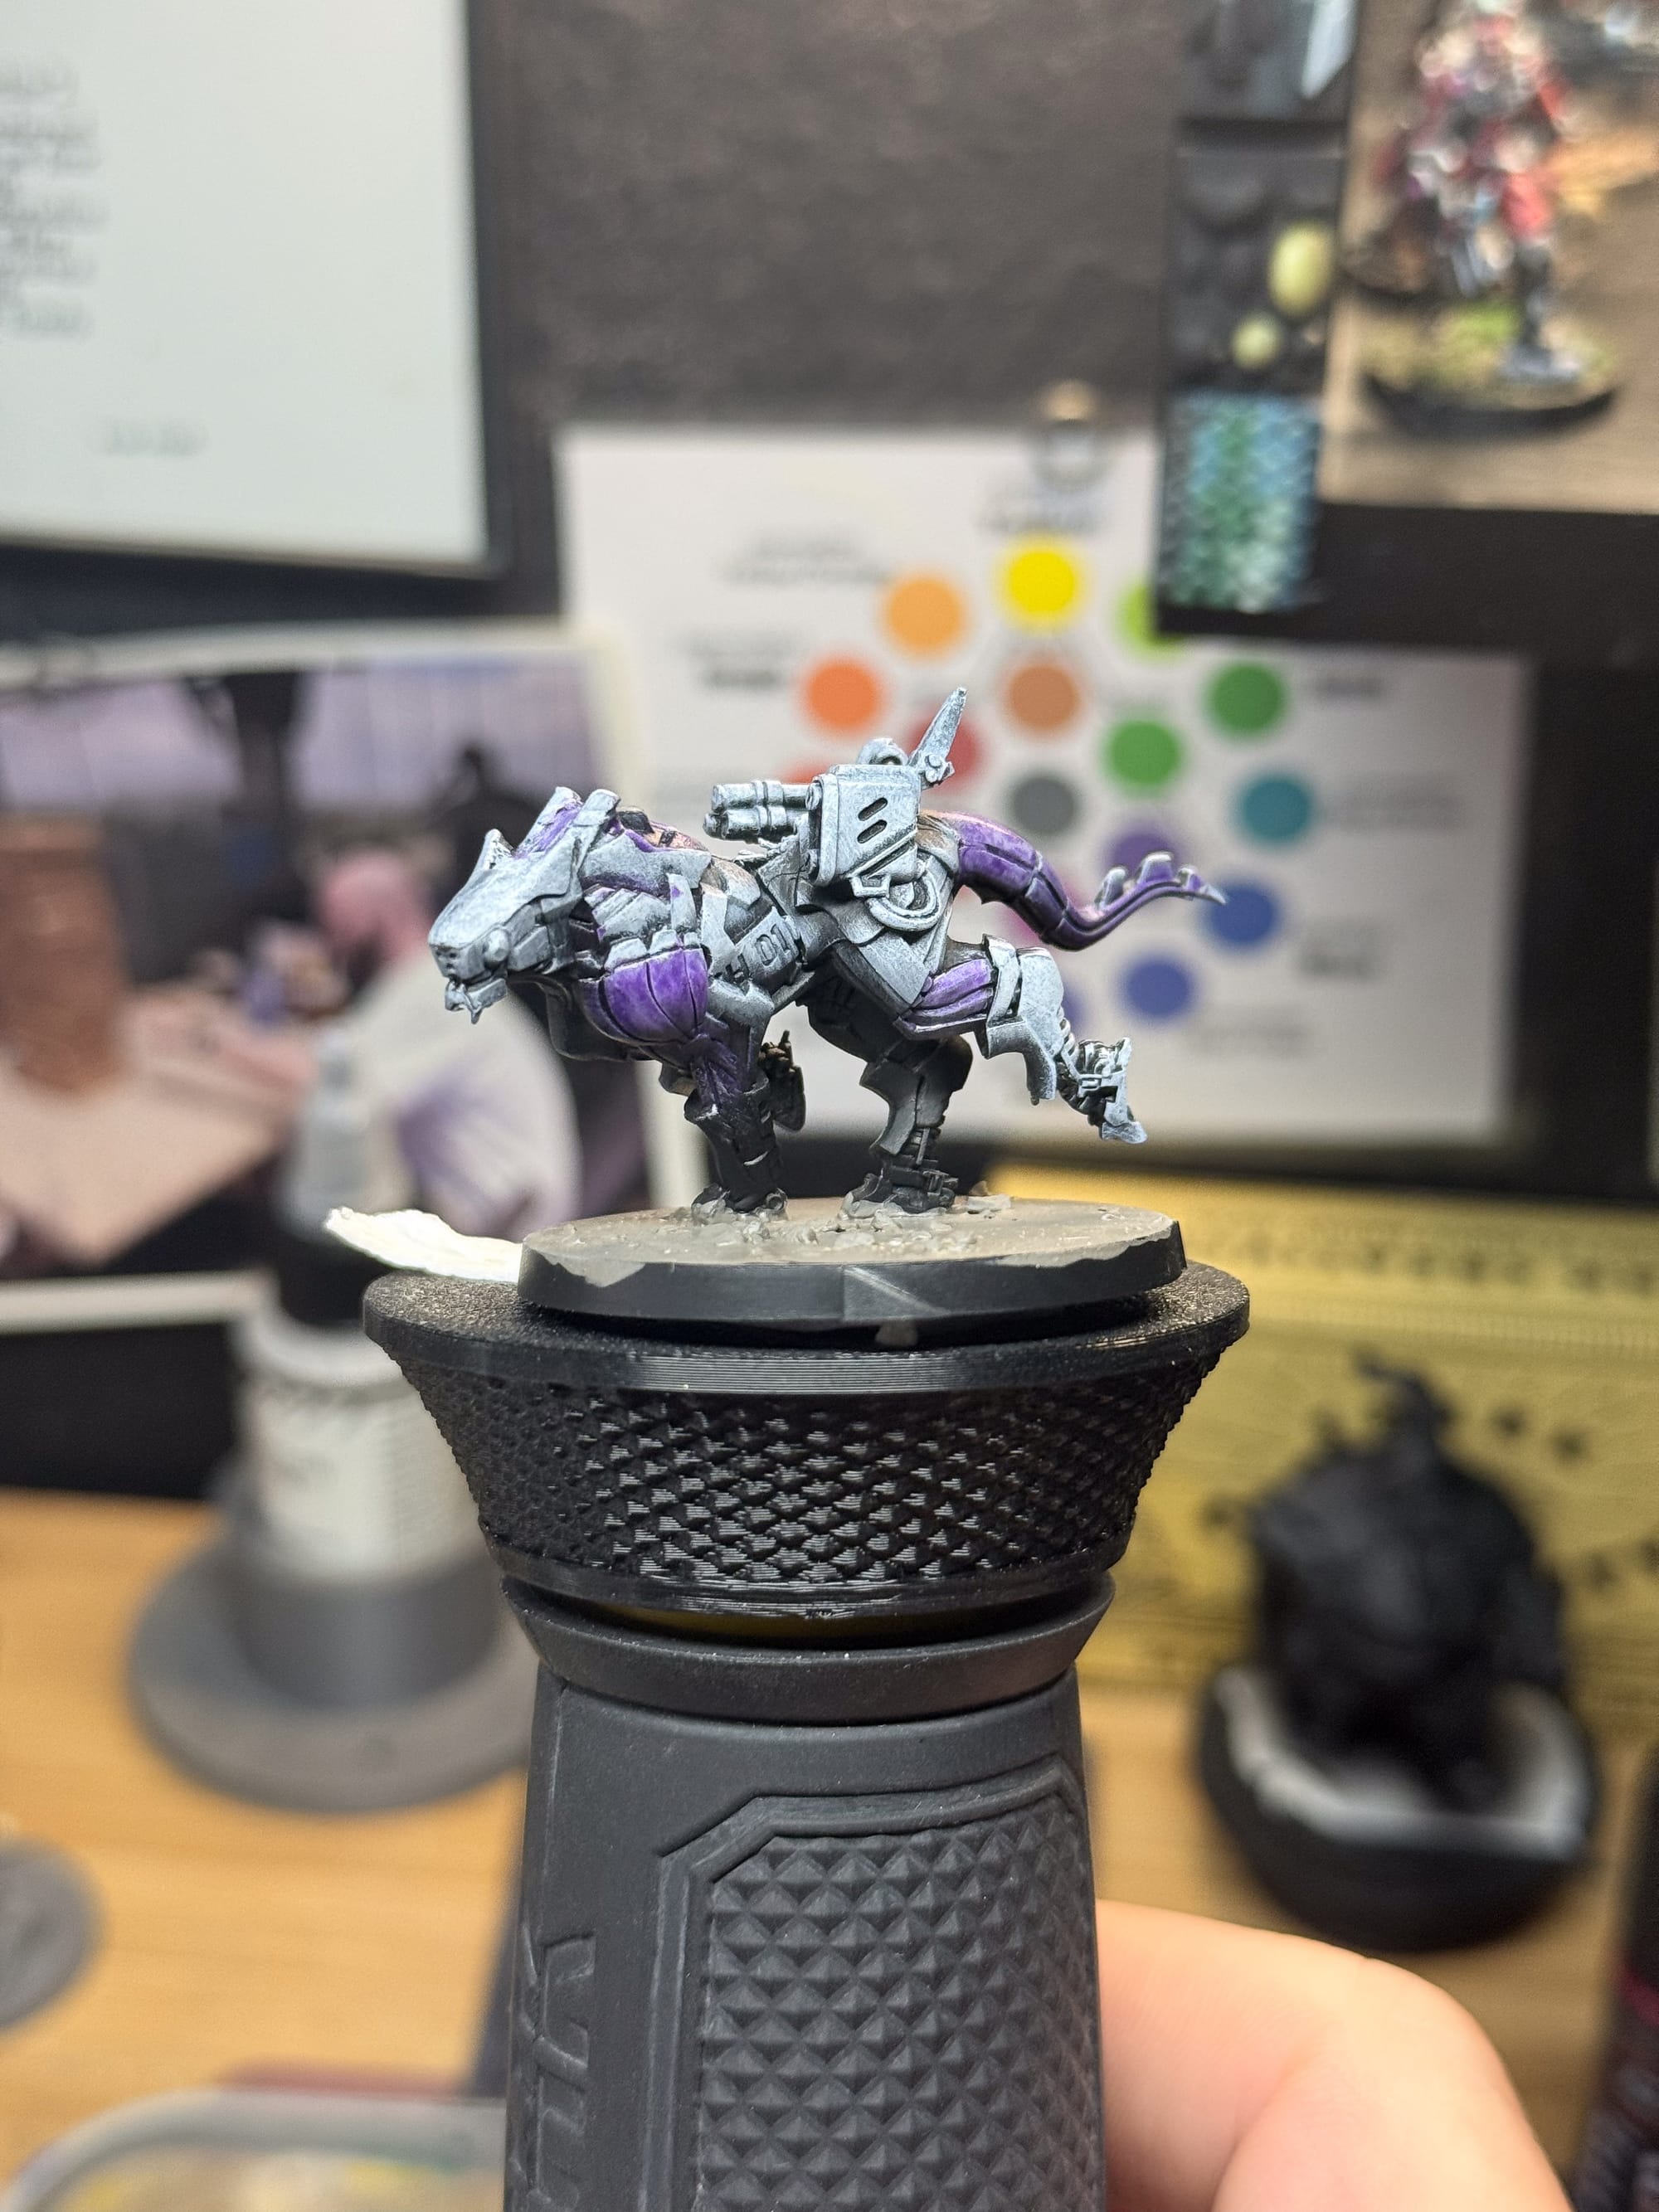
The Houndbot is an awesome sculpt.
For the pinks, I wanted to reserve them and the golds for special highlighted areas. As these hues tend to have a lot more value to them, I wanted them to feel special across the models. Everything that I could see as a visor or visual apparatus is going to get this color. On Daysus, who is a hacker, has his hand up doing some kind of augmented reality thing, so I figured most of his arm would be energized, hence, pink!
Magenta plus yellow was how I brightened up without losing the saturation of the hues. Only in areas where white was needed, like on the little eye holes, is where I would use white.
And finally, the gold. For these, I wanted to be sparing with the application, as I don’t want to compete too much with the various areas for eye attention.
Gold Dust Woman, a darker yellow ochre, served as a base for all of my golds, then increasing amounts of Yellow Tavern and White for the highlights, and then a bit of Orange and Green for shadows (especially on the Hound).
Now that the models are mostly done, it’s time for a bit of fun. In certain areas I wanted an OSL effect, so a dot or line of white (most seen on the Houndbot) plus a watered-down layer or two of Diamonds and Rust (an orangey color) helped create the effect. For the gun highlights, I went with a brightened blue + white to make the light stand out. Once again, not realistic, but fun.
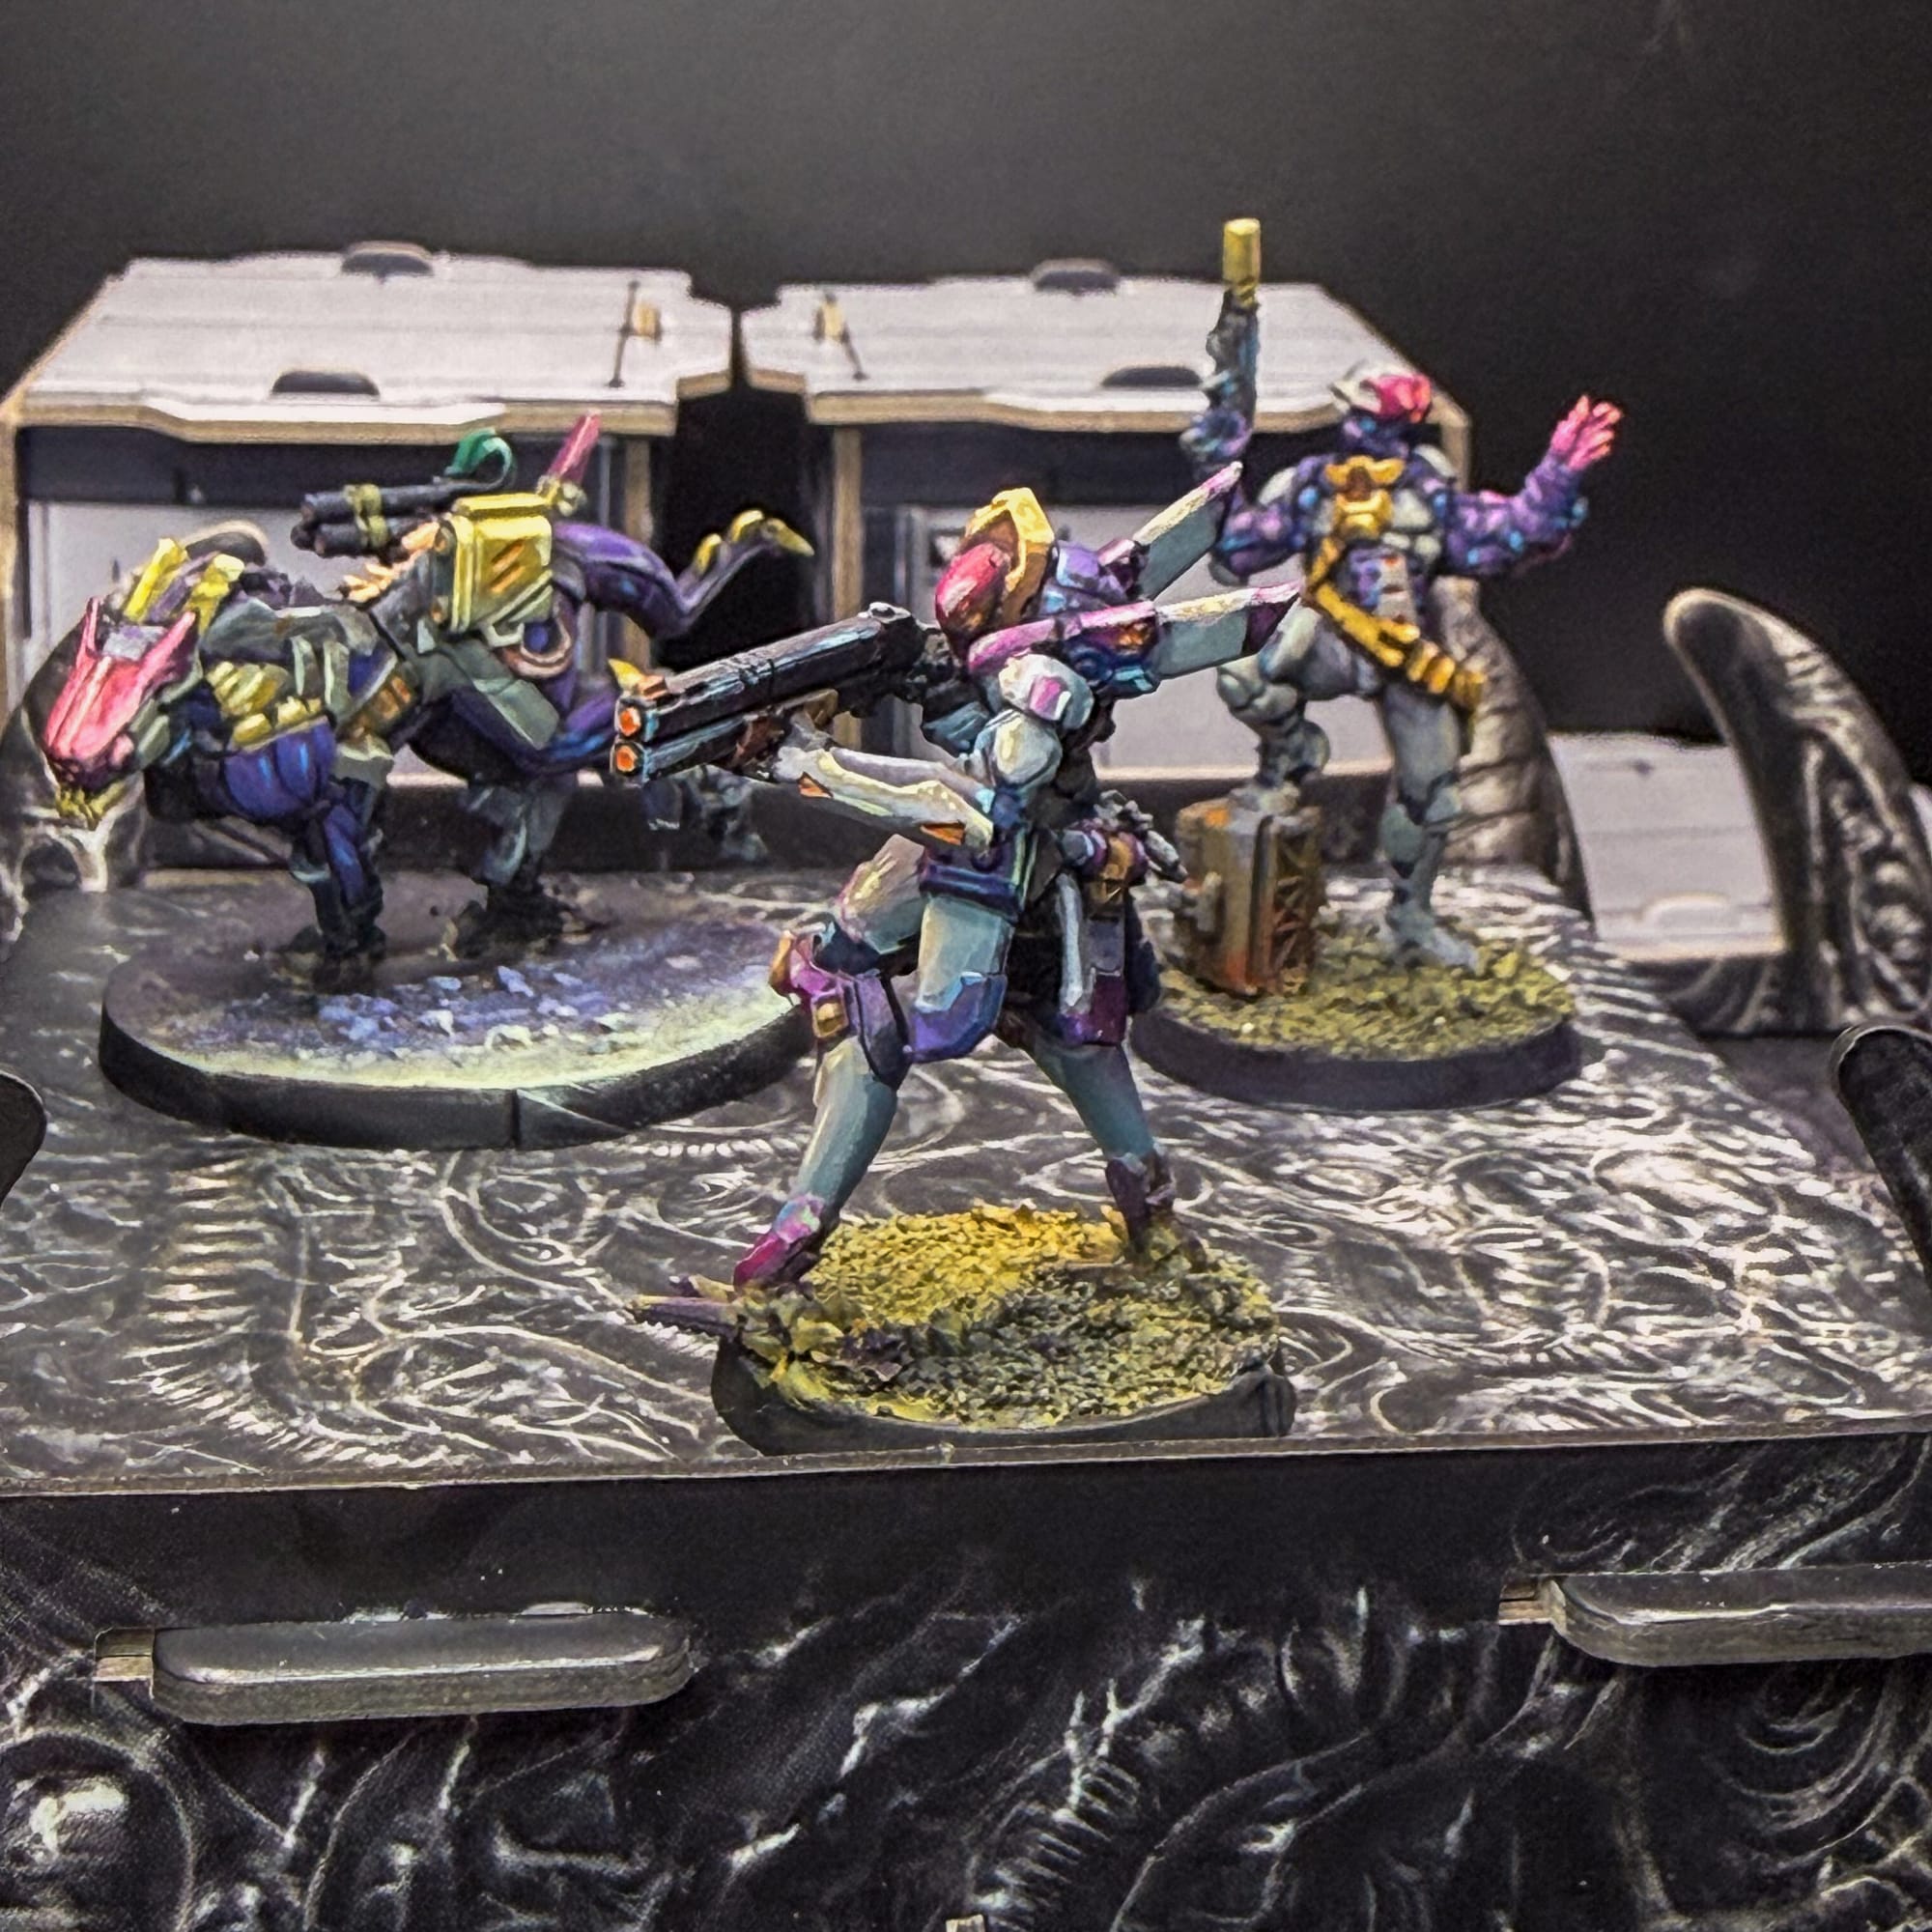
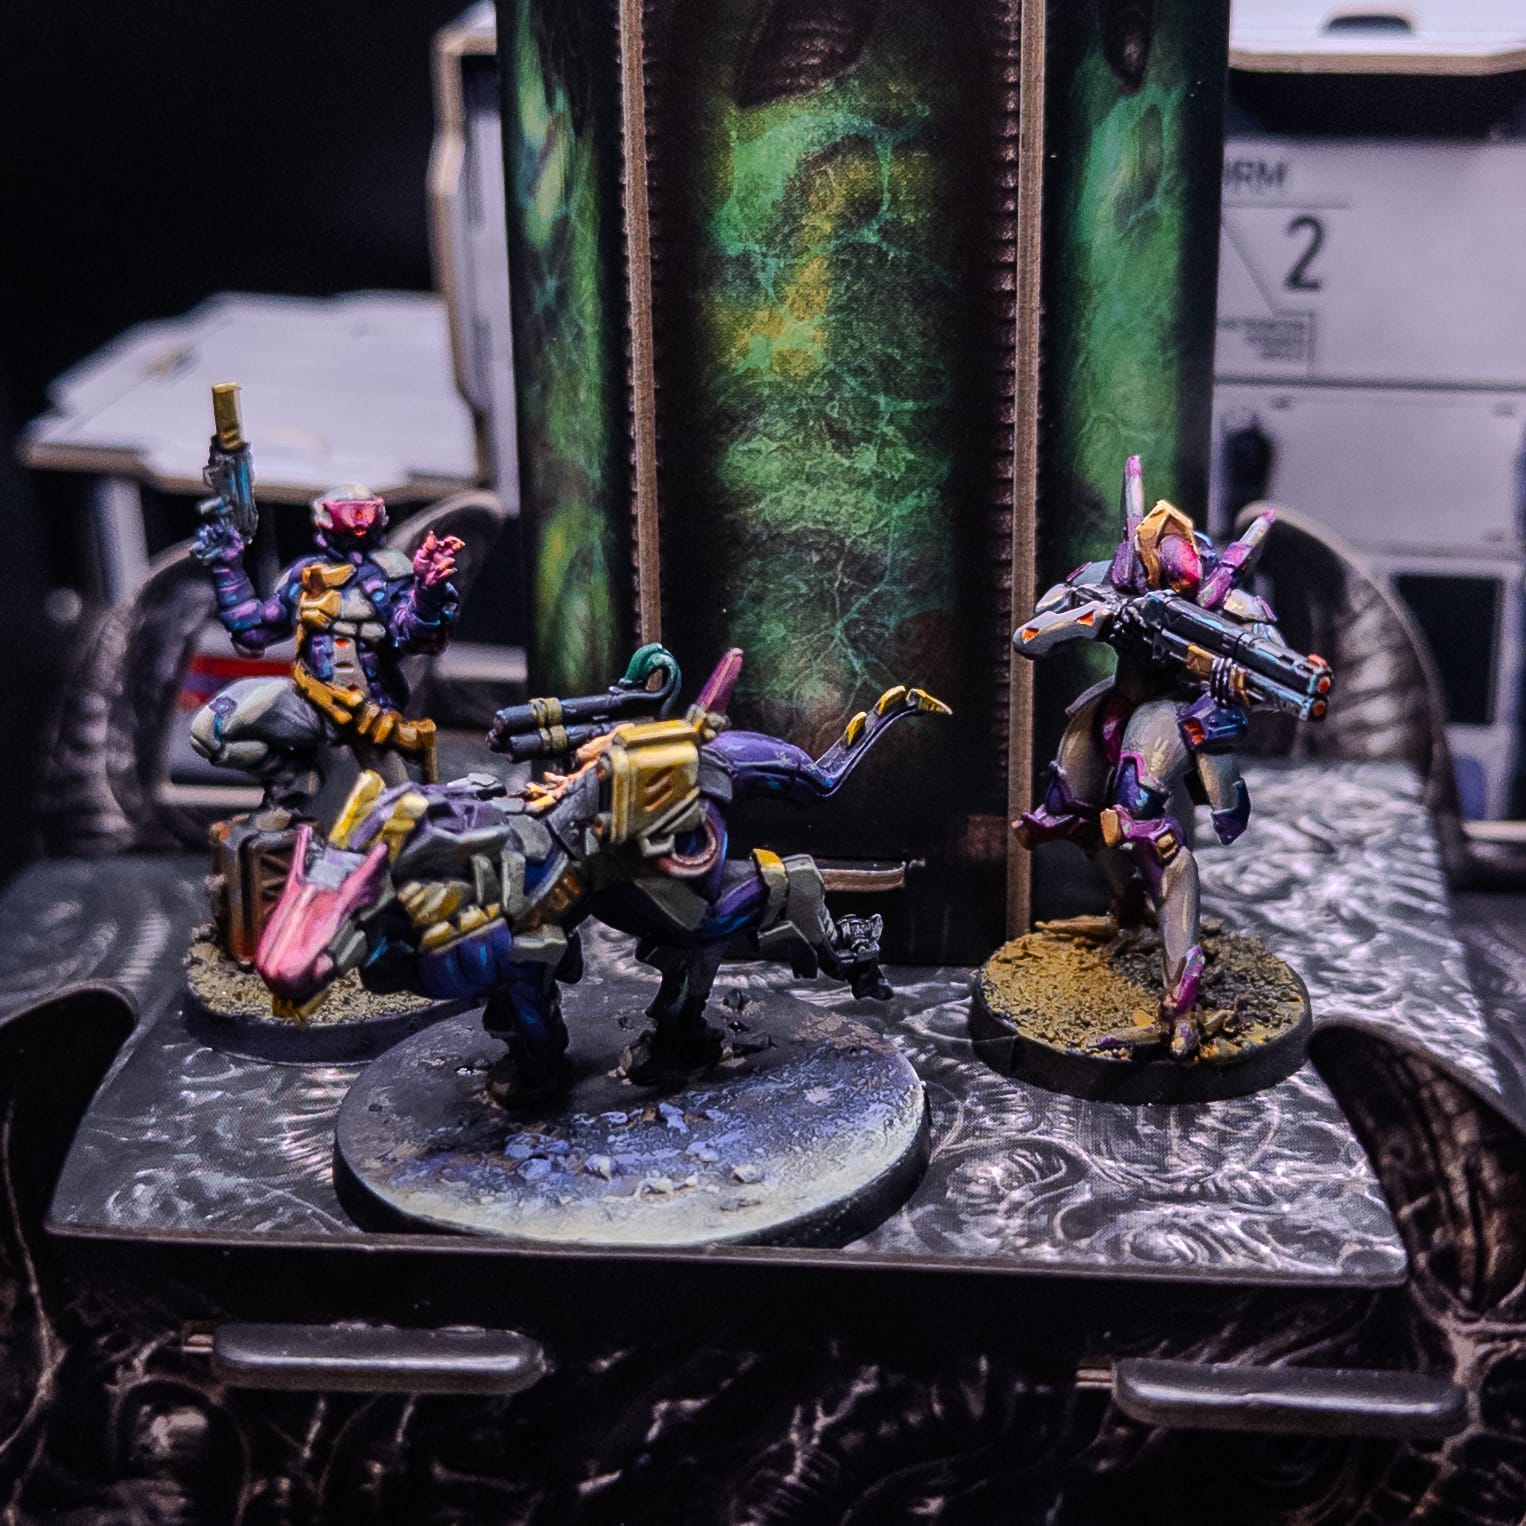
Finished models photograph well with the provided terrain in Operation Mazebreaker
For all 3 models, I kept them in dirty bases, as I don’t have anything on hand to make a cyberpunk-styled base; I wanted to keep it feeling like a warfield, much like what I did with the Nomads.
The final thing I did was on the Houndbot. I had a significant gap when I assembled the model, so I crammed a bunch of Green Stuff (an epoxy putty) into the gap and styled it into a gash…battle damage! I painted this with the same combo I did on the OSL, to give it the sense of a fresh wound.
Finished Models
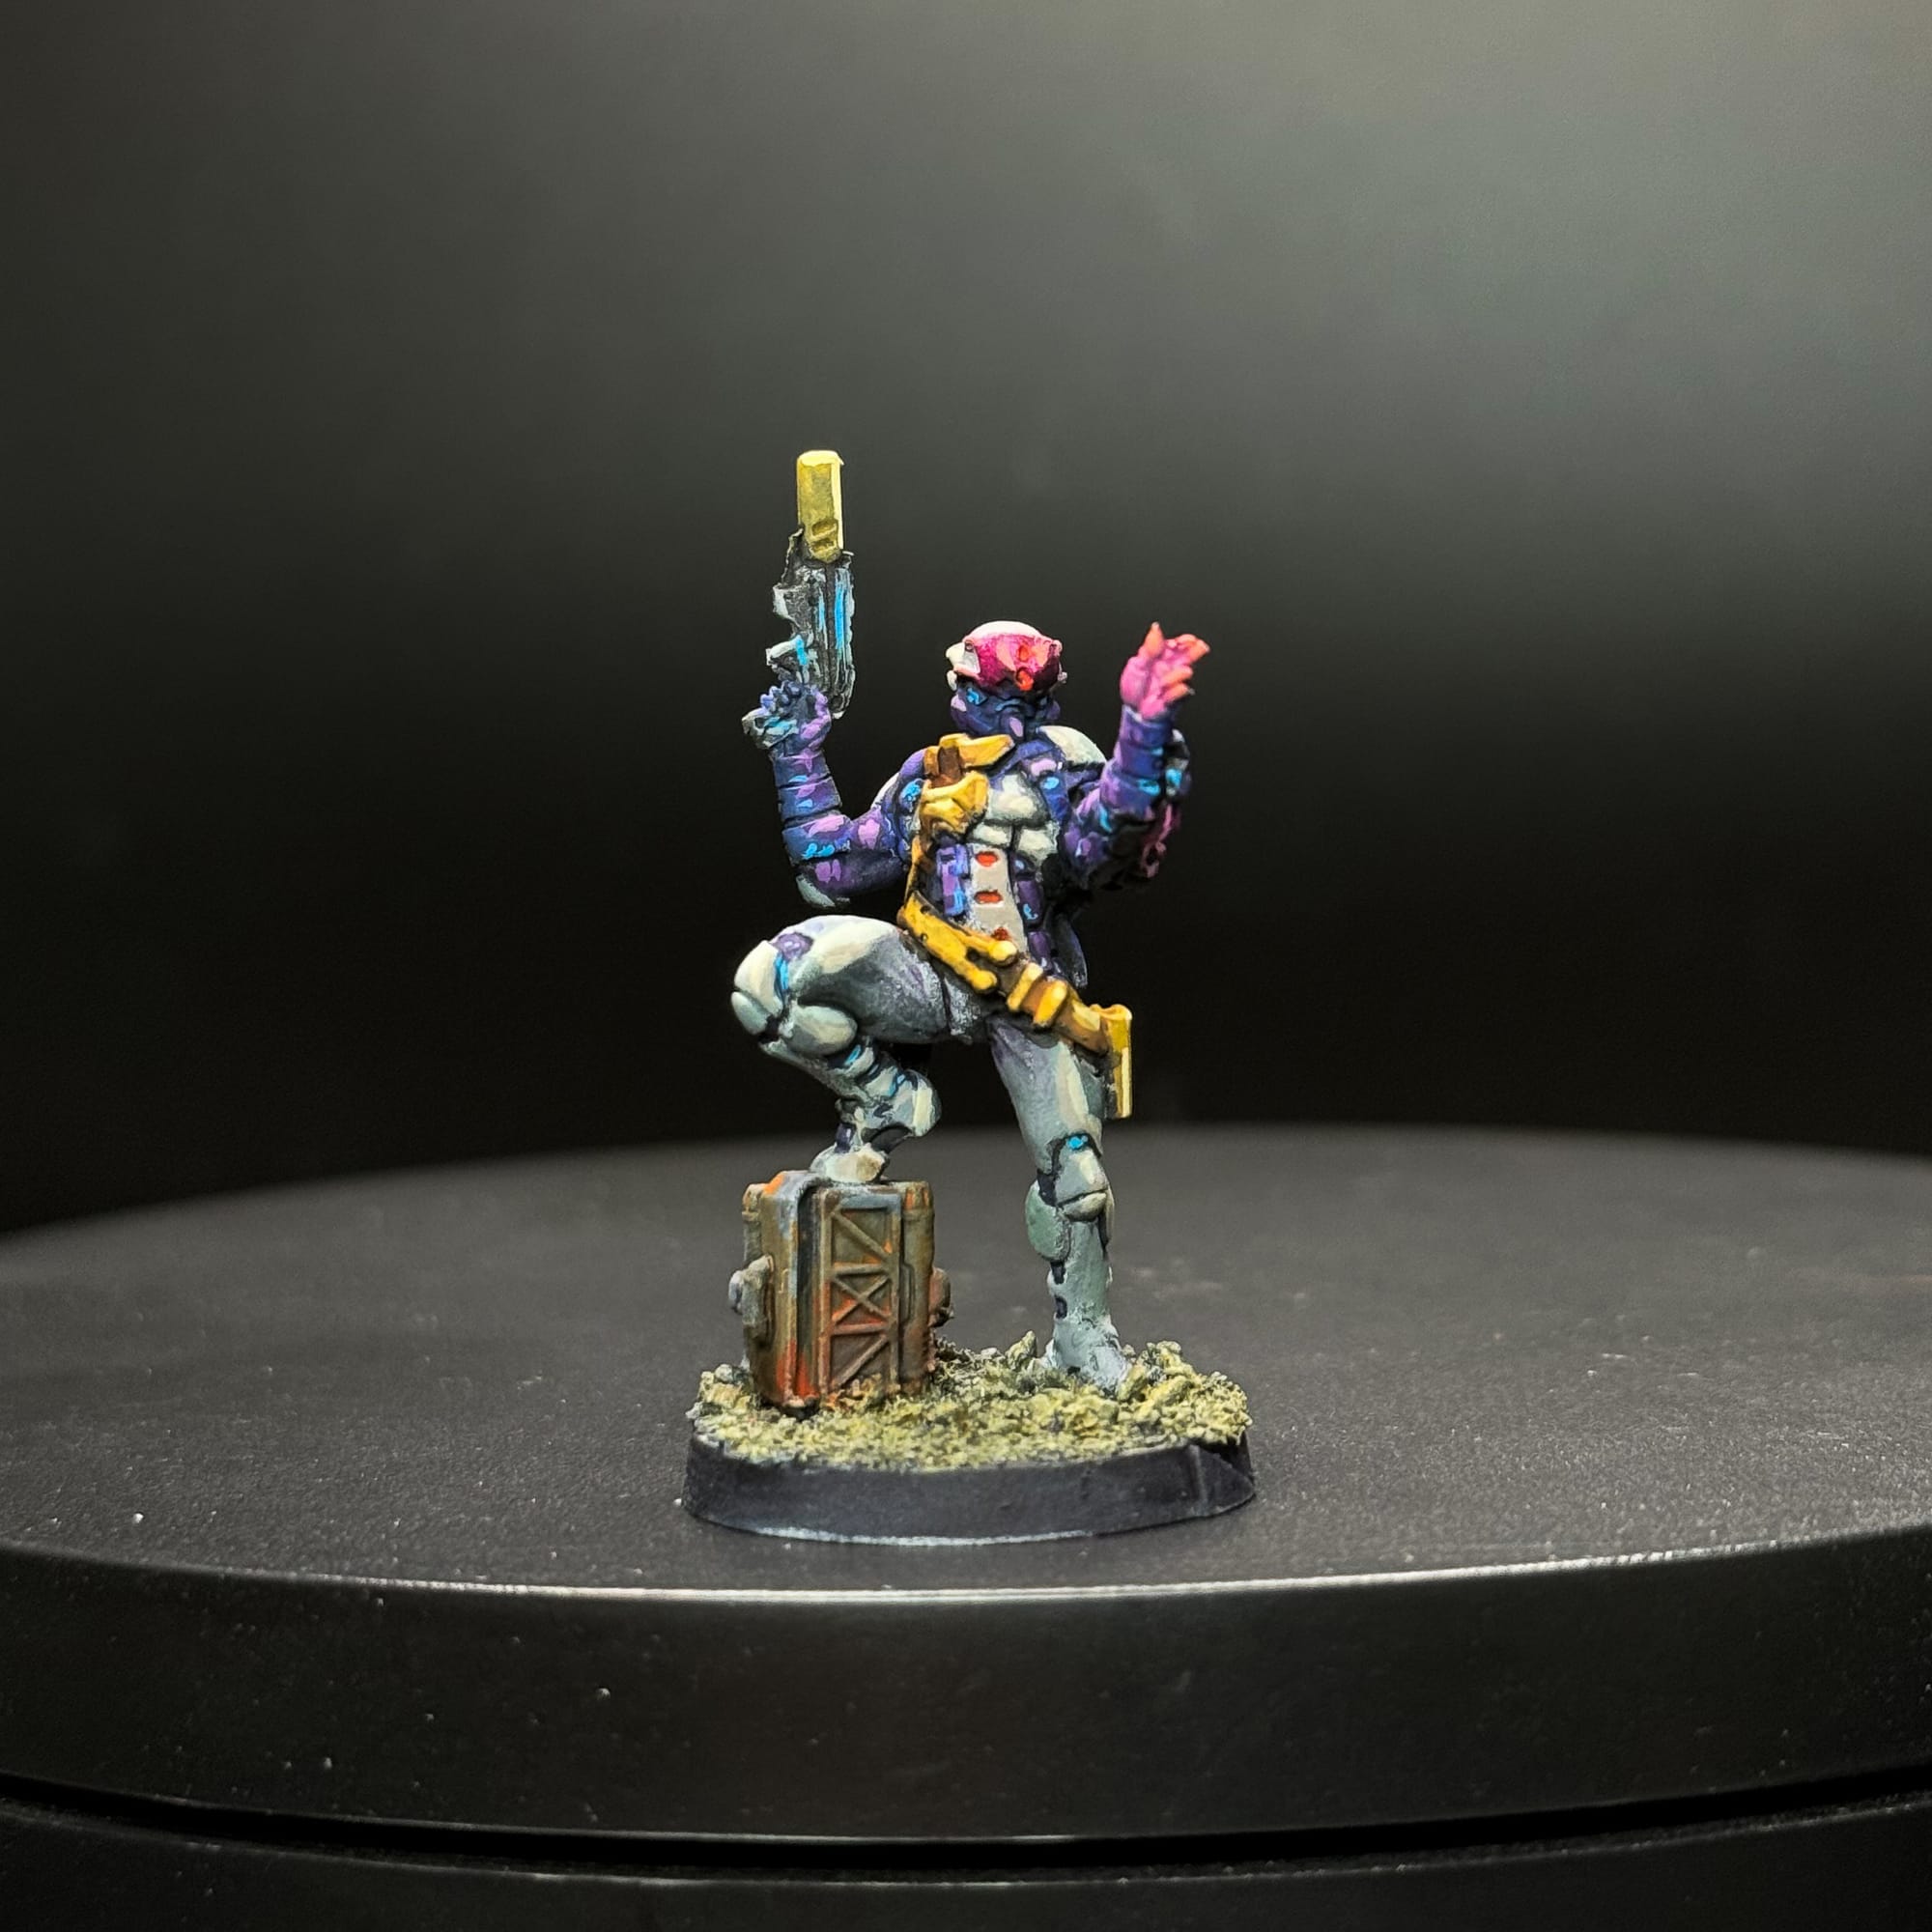
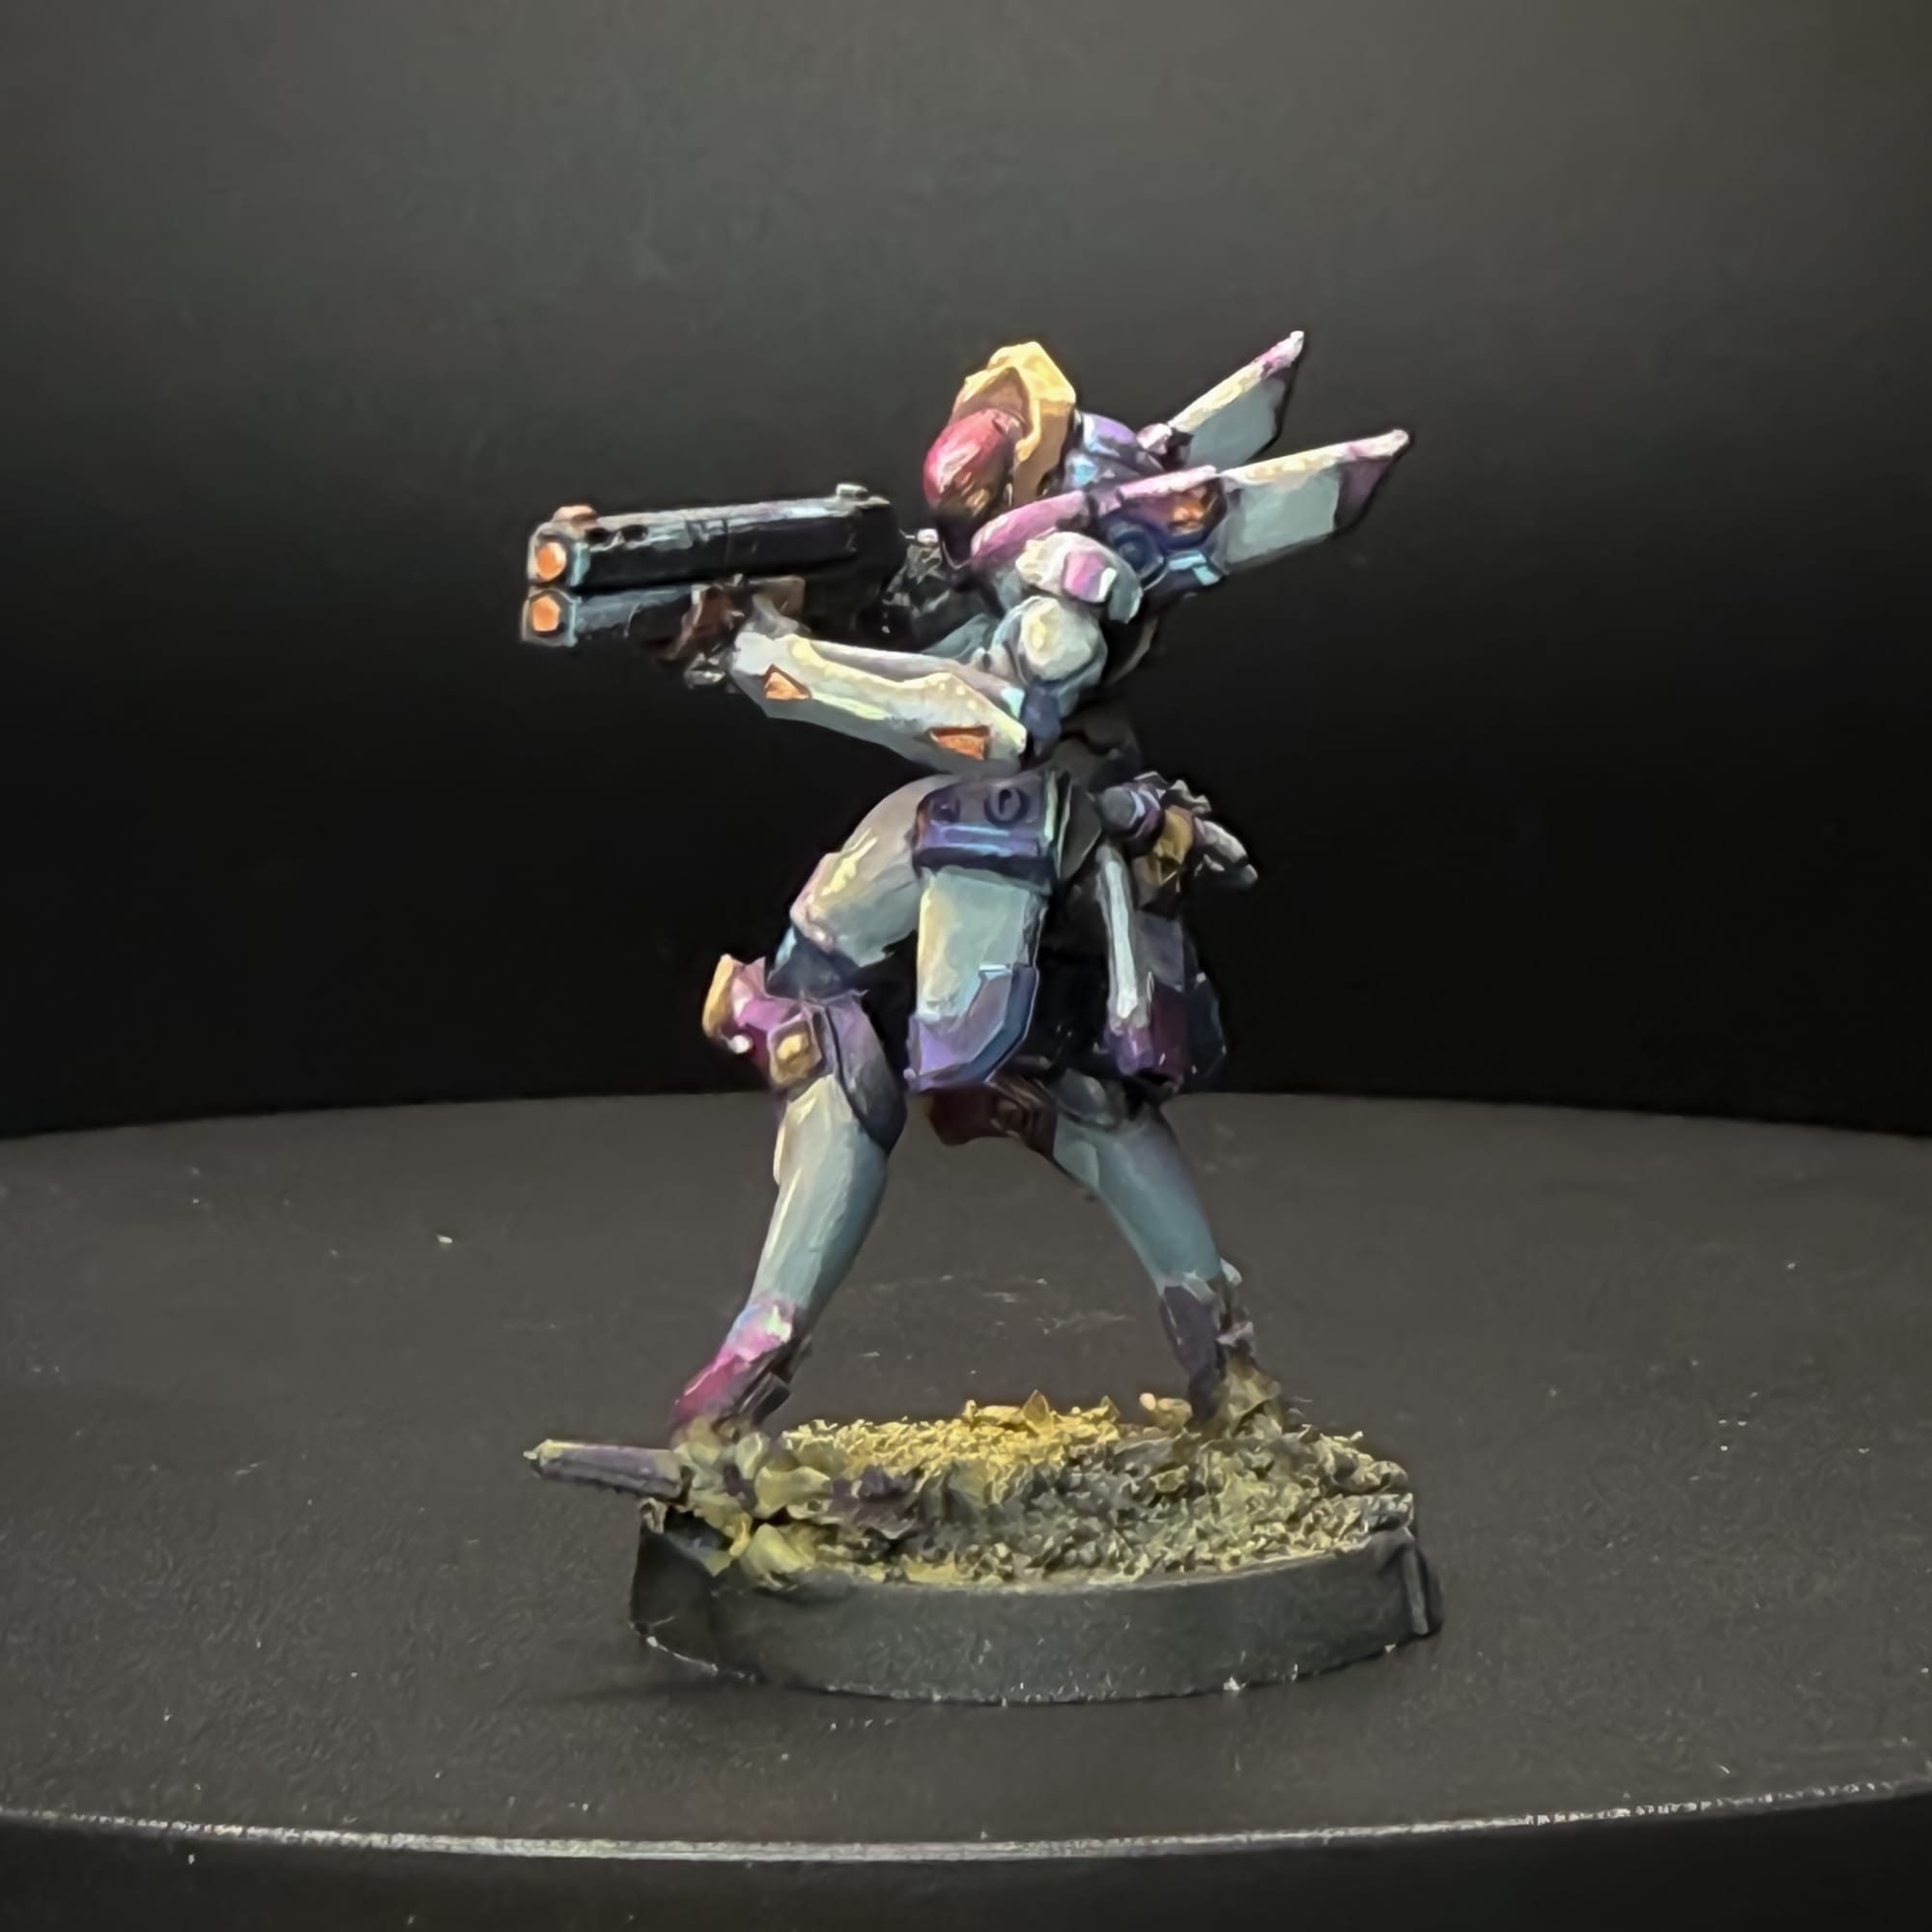
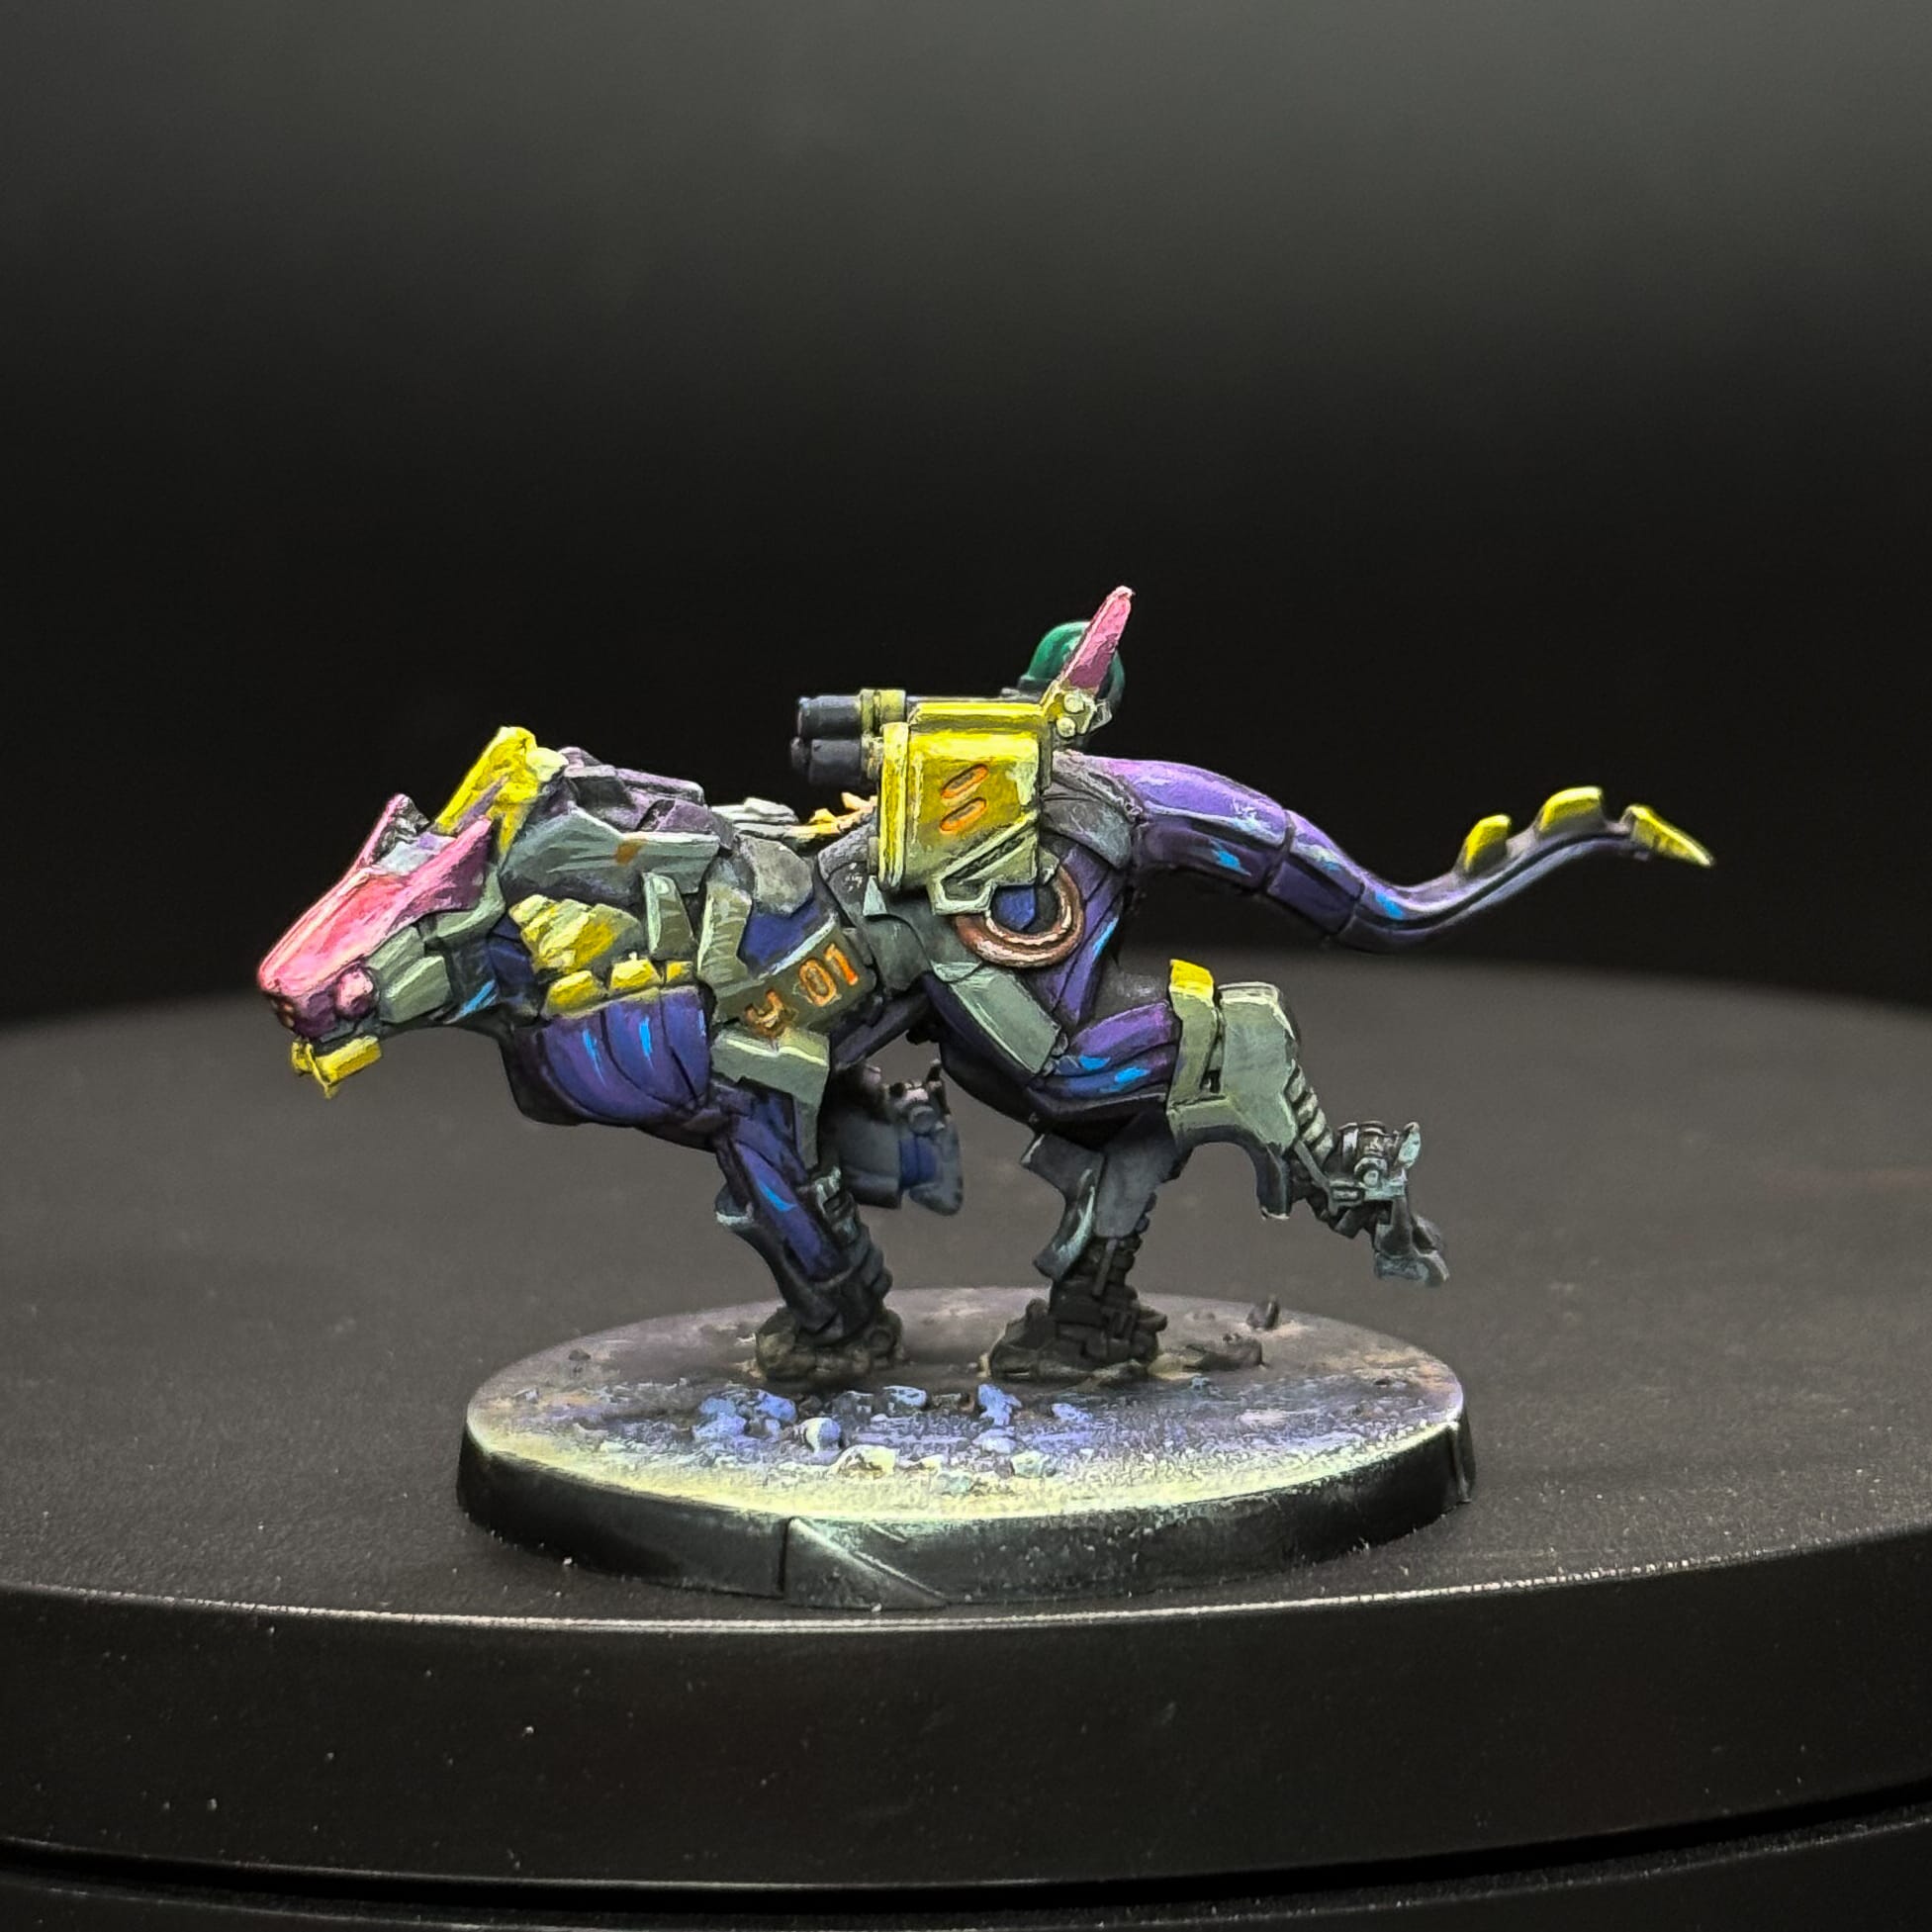
Ready to serve mankind...or subjugate it!?
And there you go! Hopefully you can see how a simple scheme can be repeated over the course of an army. If you wanted to push these further, you could. There’s a ton of details on these models, and you could paint every specific detail to a high level, like what you see on Instagram, but remember, done is better than perfect for the tabletop.
You can pick up Operation Mazebreaker now and start jumping into Infinity. Stick with Gaming Trend for continued Infinity coverage.