
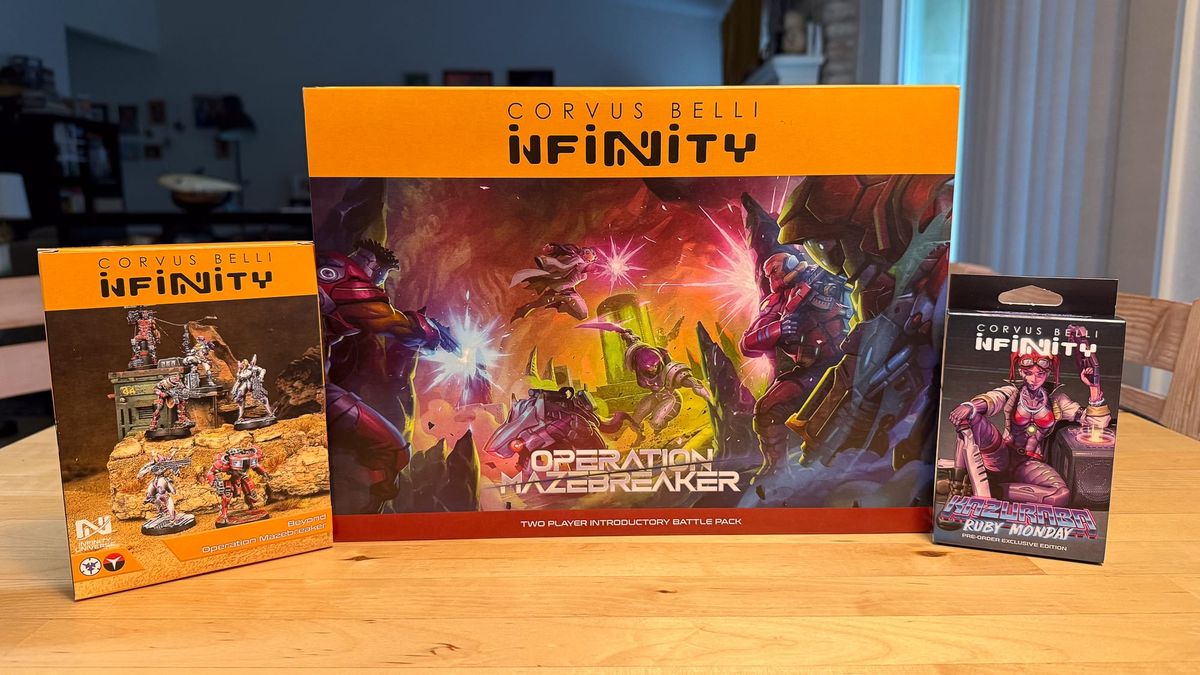
In my journey of understanding the world and game of Infinity, the tactical wargame developed by Corvus Belli, I’m starting with the two factions in the Operation Mazebreaker 2 Player Starter set, the Nomads and Aleph.
The Nomads are the subject of this tutorial, and for good reason…they’re easier to build and paint! In the storyline, the Nomads consist of three enormous ships filled with humans who have shunned the rest of the society of Infinity…foregoing A.I. and the macro economics of the rest of the universe, opting to be traders of information, skill, and technology.
I feel a bit of a connection to them.
They’re rebellious outsiders, preferring exile in their specific ships, rejecting the Aleph, and as such, they are tough, reliable, and aggressive.
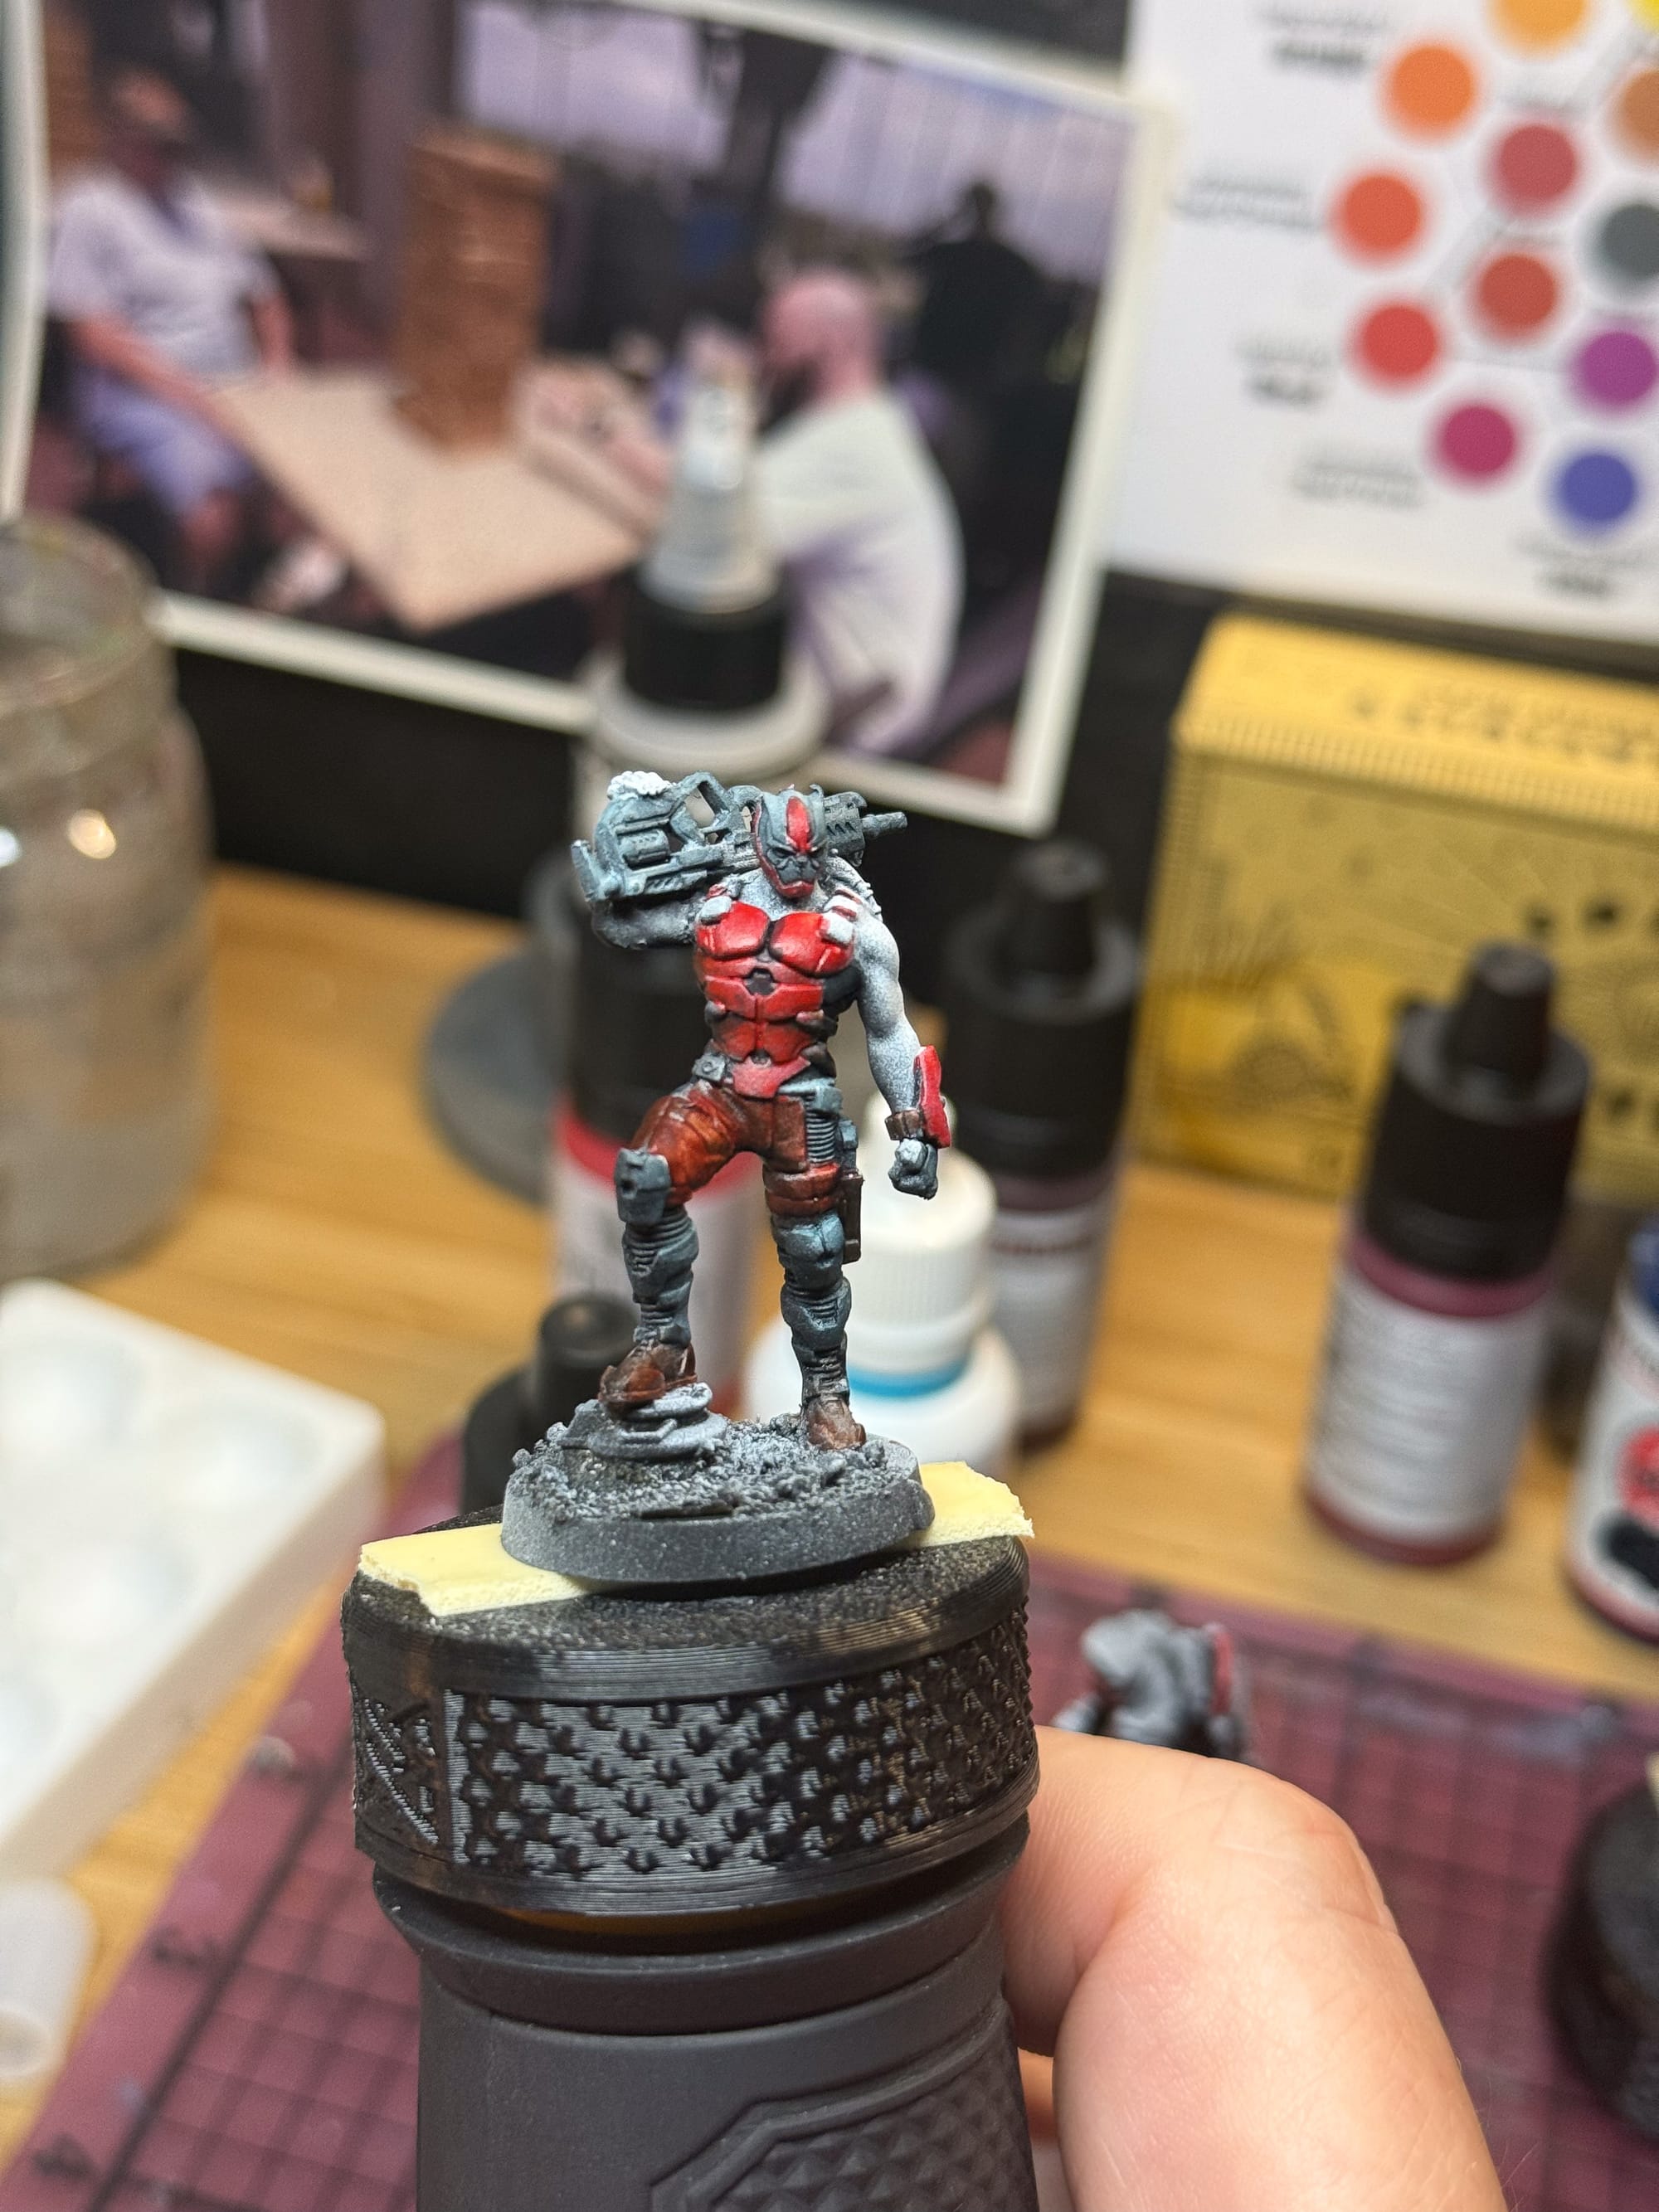
In the source materials, they are depicted normally in red armor, clothing, sometimes showing skin, sometimes not. In the book that came with Mazebreaker, they are also depicted with tan/desert motifs, a black and white pattern covered with symbols and battle damage, and an iron oxide pattern to represent Mars…but for our interpretation, we’ll stick to reds.
I chose to paint up the “Beyond Mazebreaker” set which is a pre-order gift if you pick up Infinity, and despite some issues I had with the metal models, I was able to successfully put them together, prime them, and produce what I would call a tabletop ready scheme. Let’s dive in.
The Plan
When I look back at the paints used, I see that maybe I used a bit too many to achieve my goals. When I paint the rest of Operation Mazebreaker, I’d say you could add in some speed paints to help leathers and hair tones instead of making those colors yourself:
From Kimera:
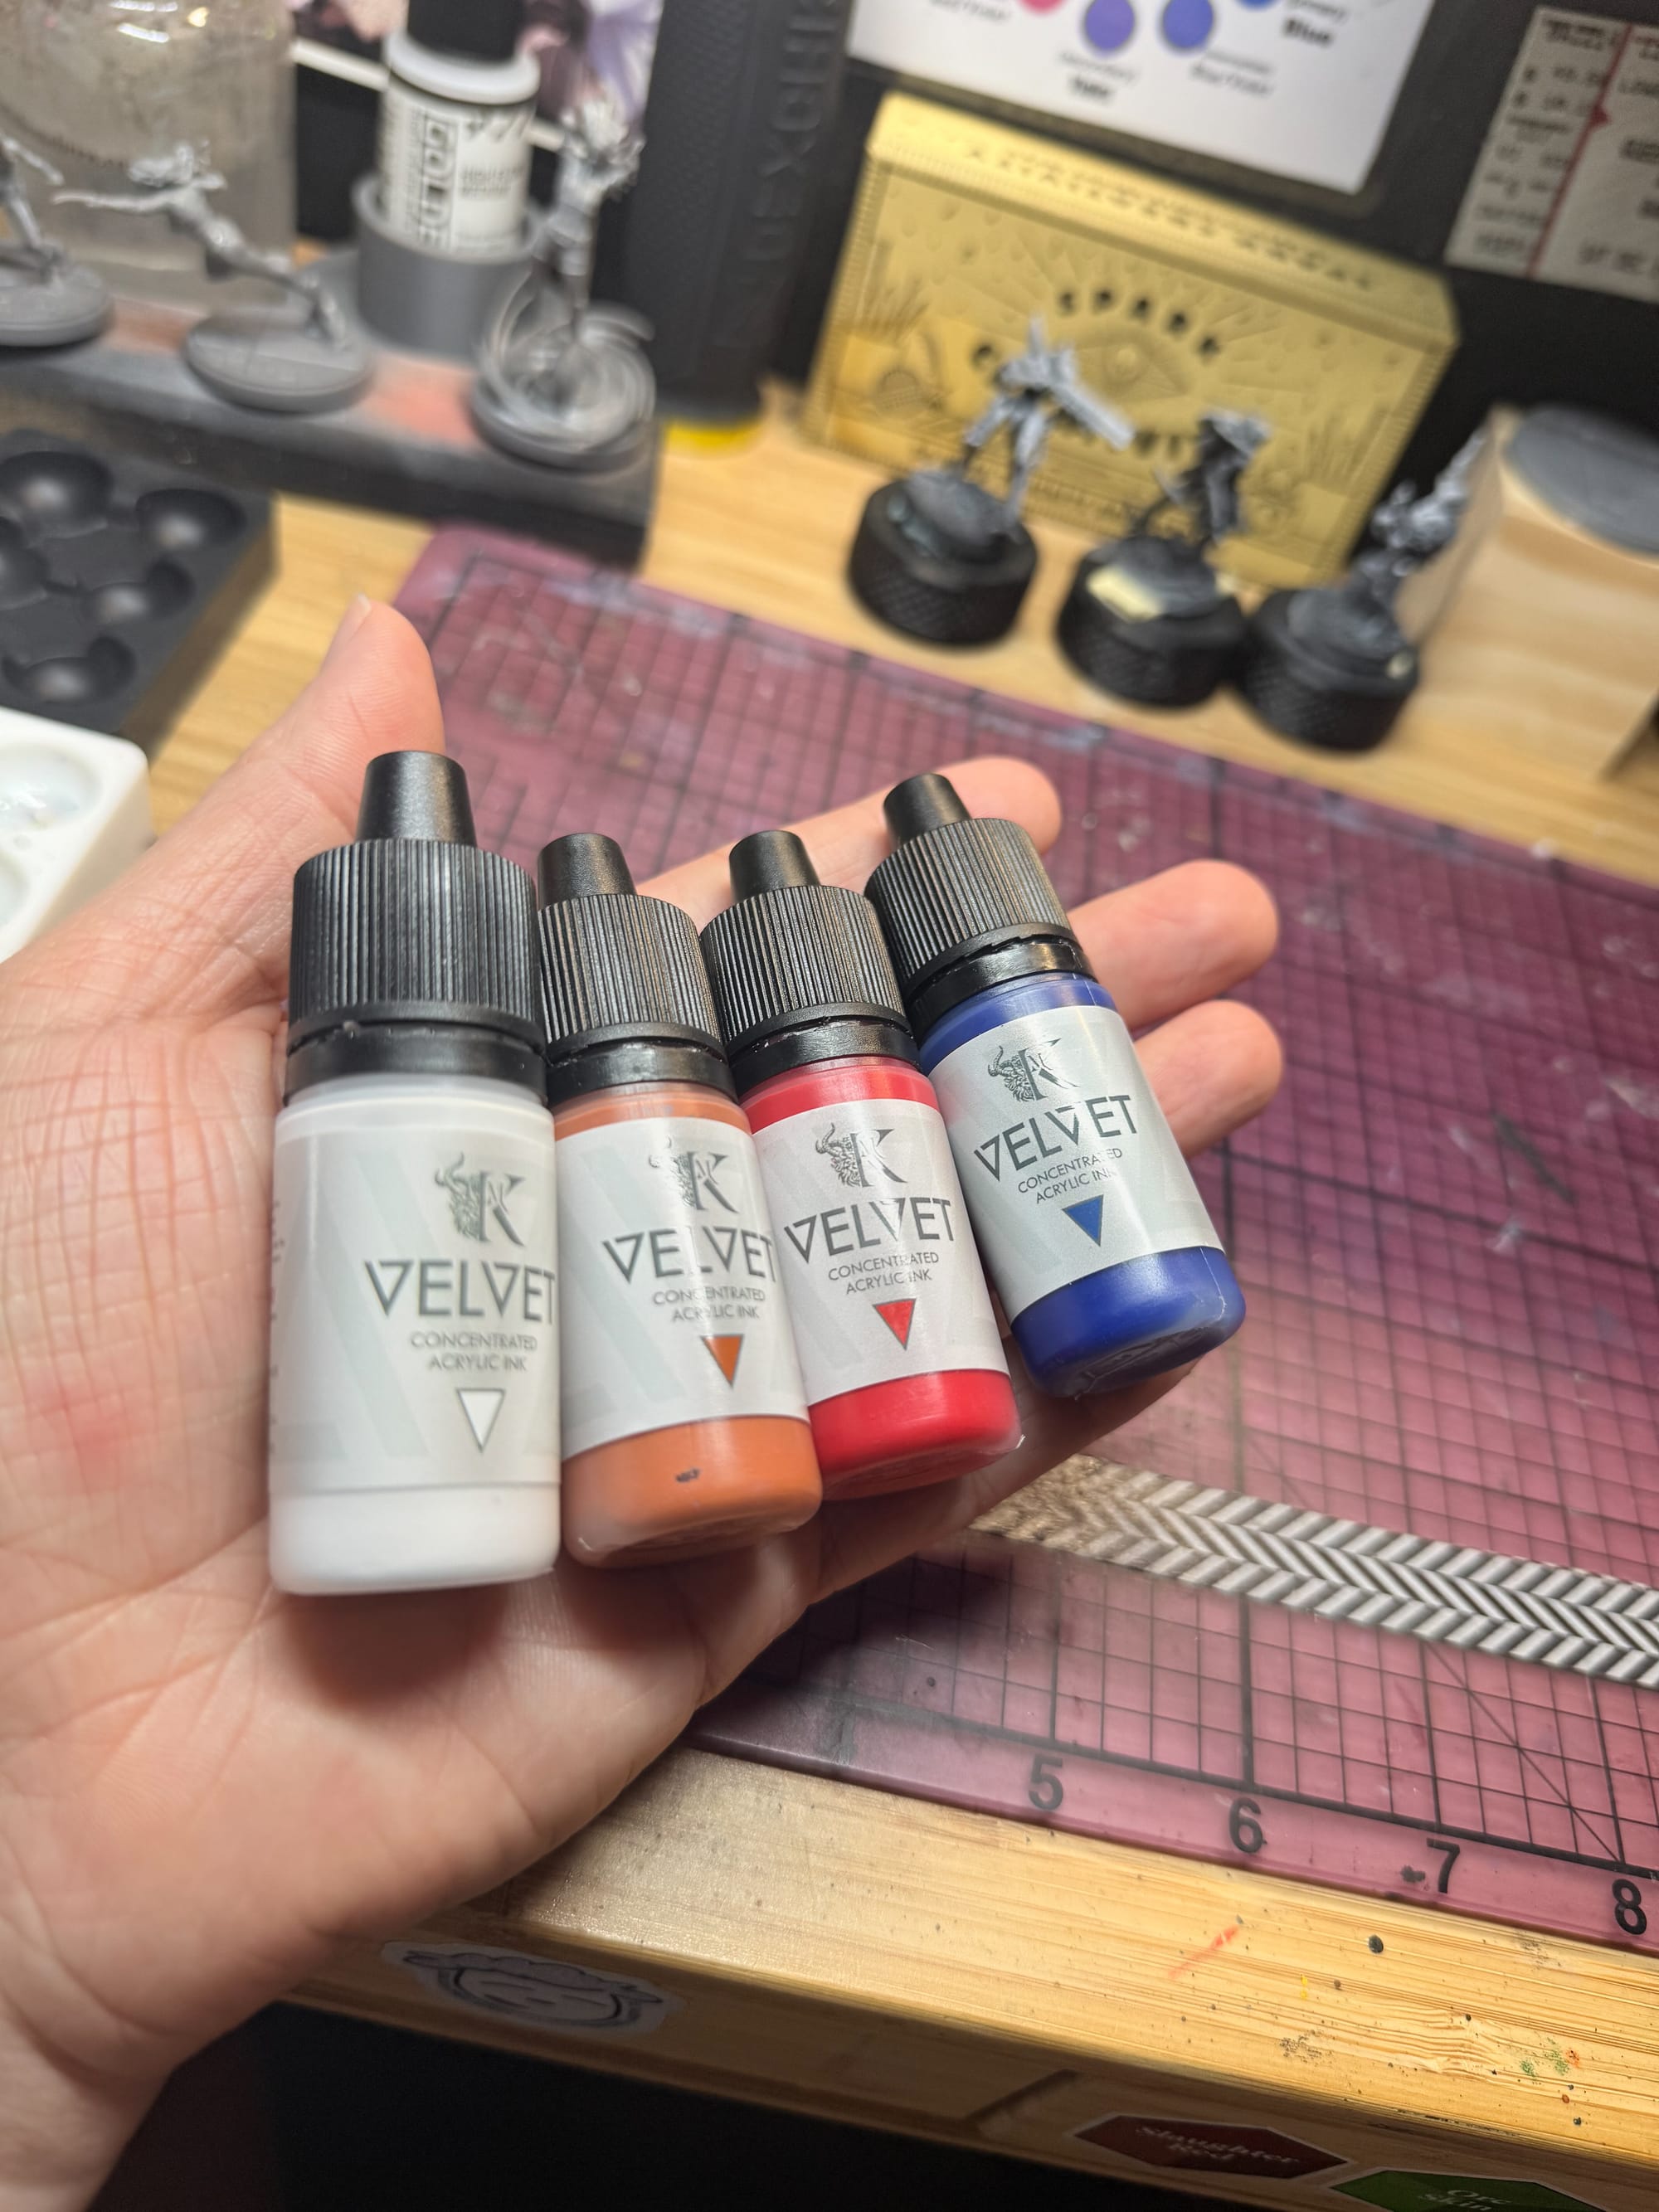
- Velvet White
- Velvet Cool Yellow
- Velvet Red
- Velvet Leather
- Velvet Phthalo Blue
- Velvet Royal Brown
- Carnelian Skin
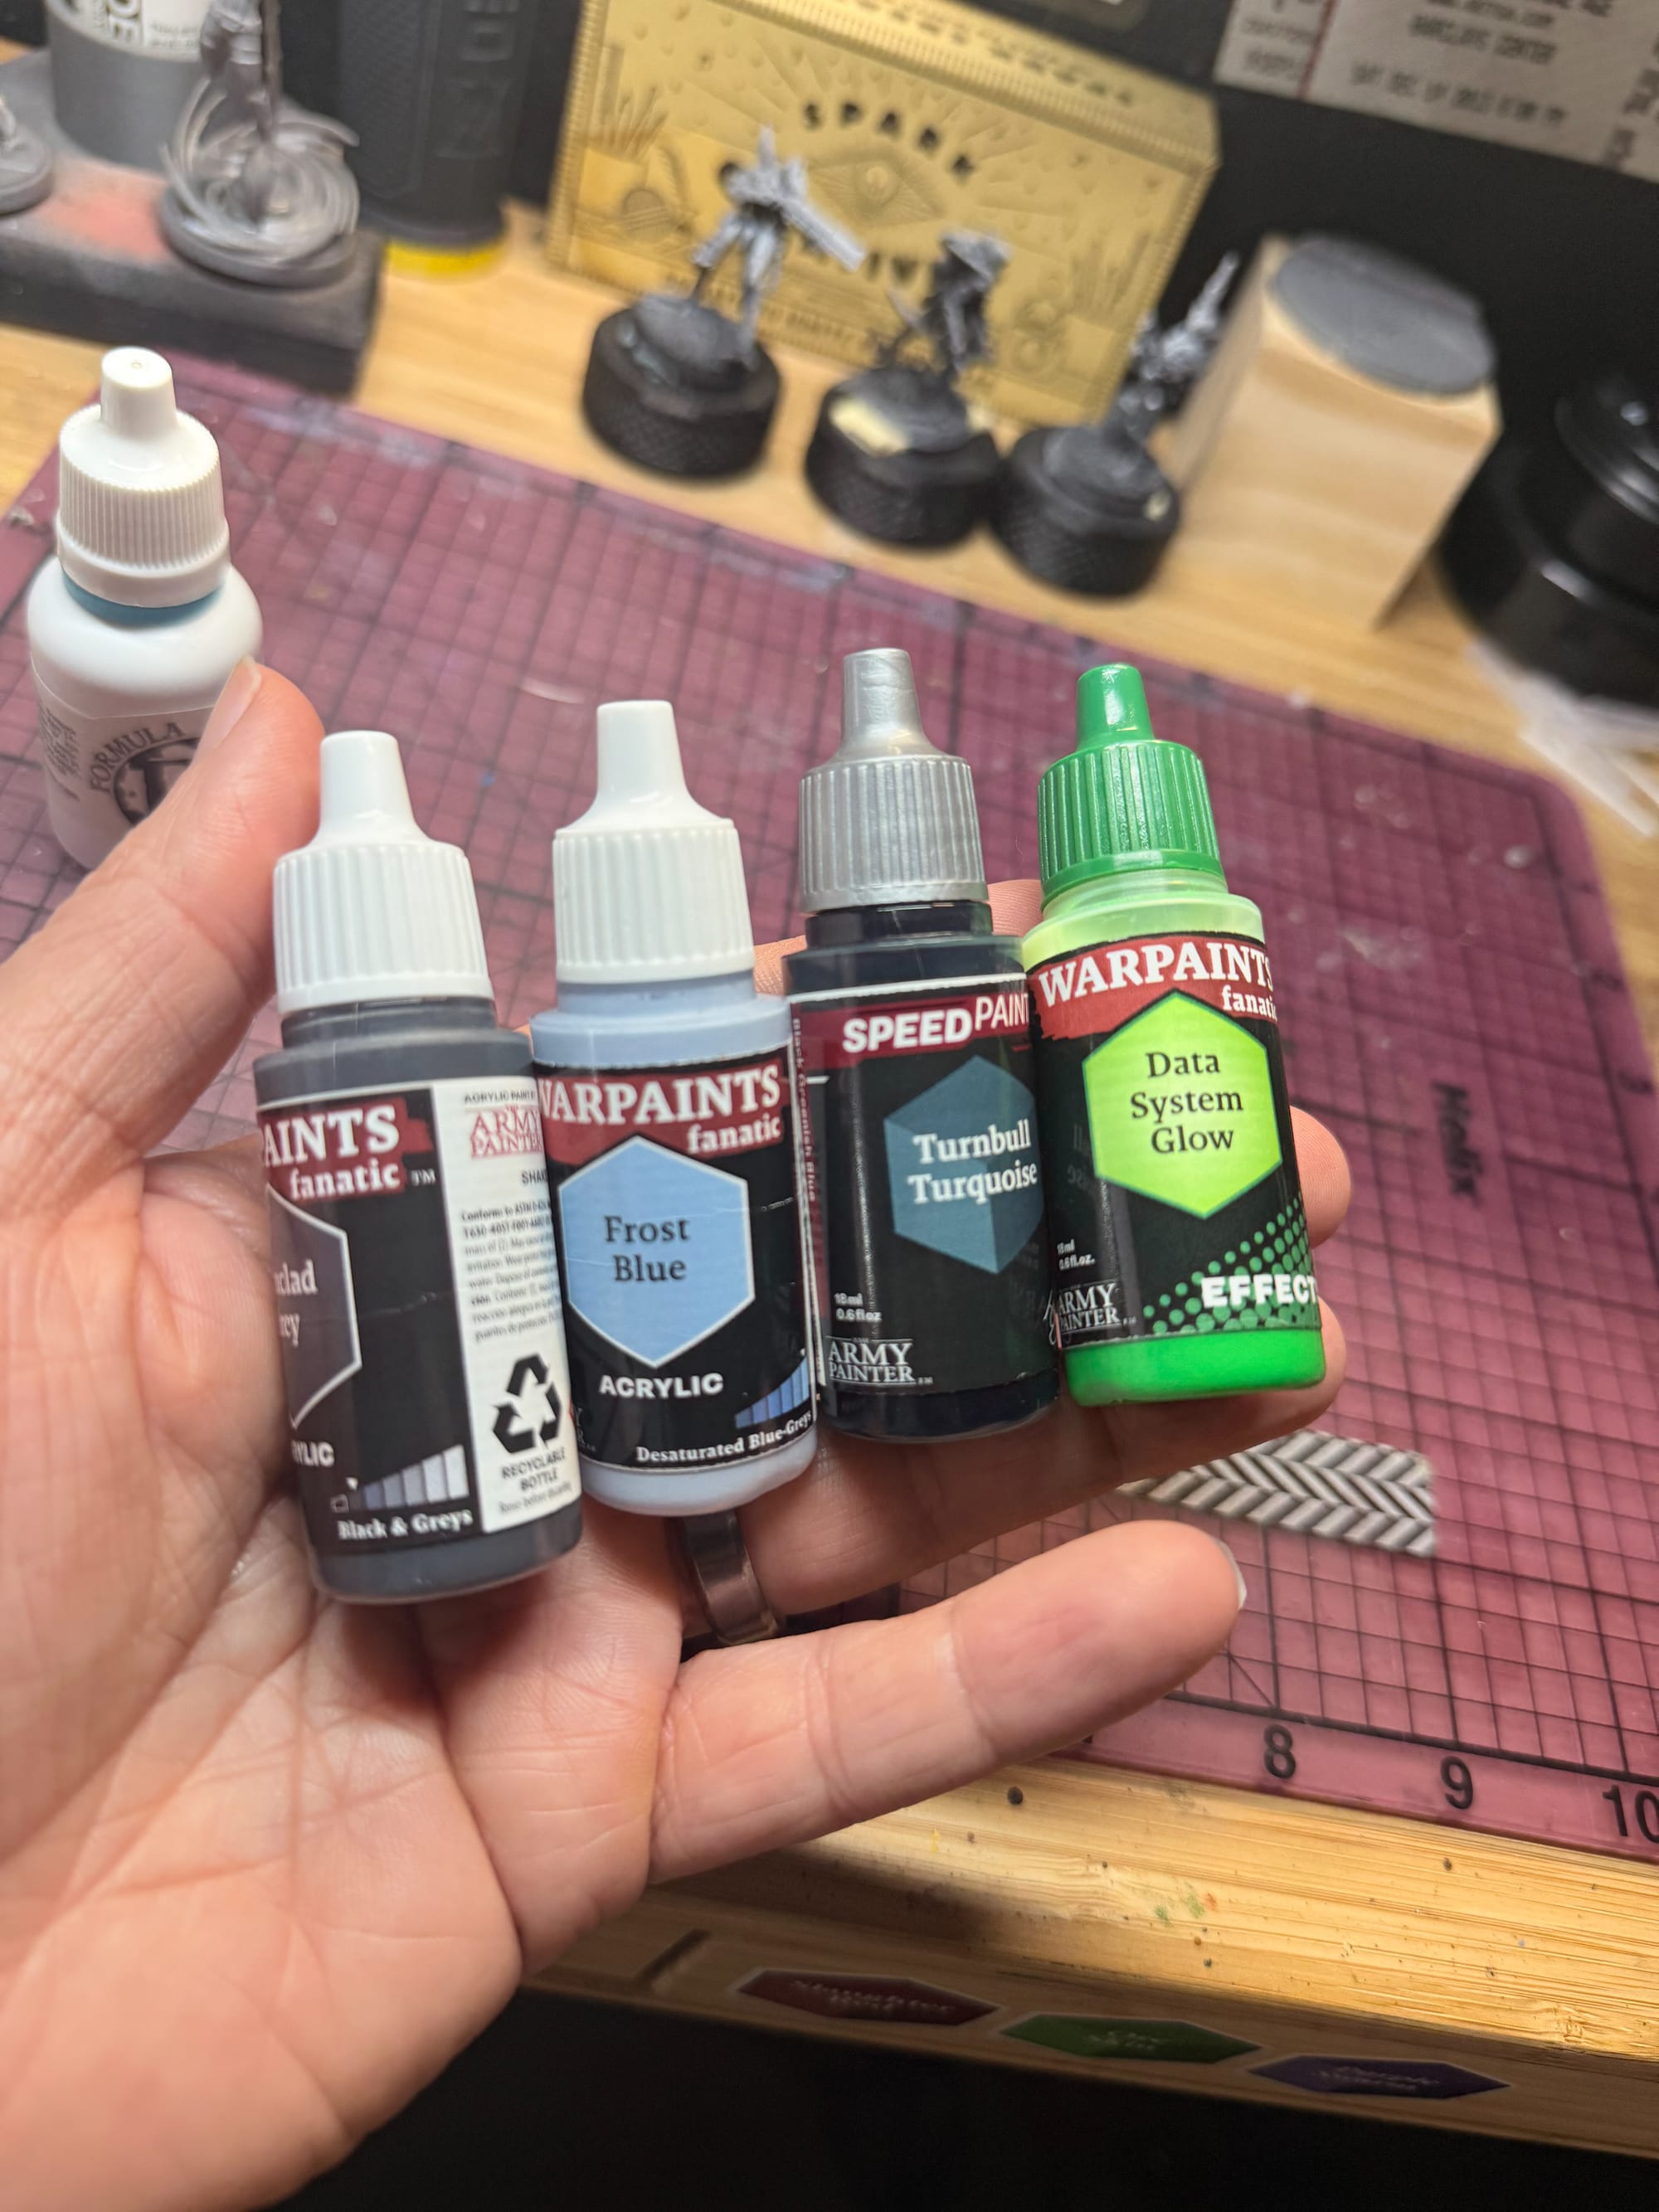
- Ironclad Grey
- Frost Blue
- Royal Blue
- Moonbeam Yellow
- Dark Skin Shade
- Turnbull Turquoise
- Data System Glow
- Mithril
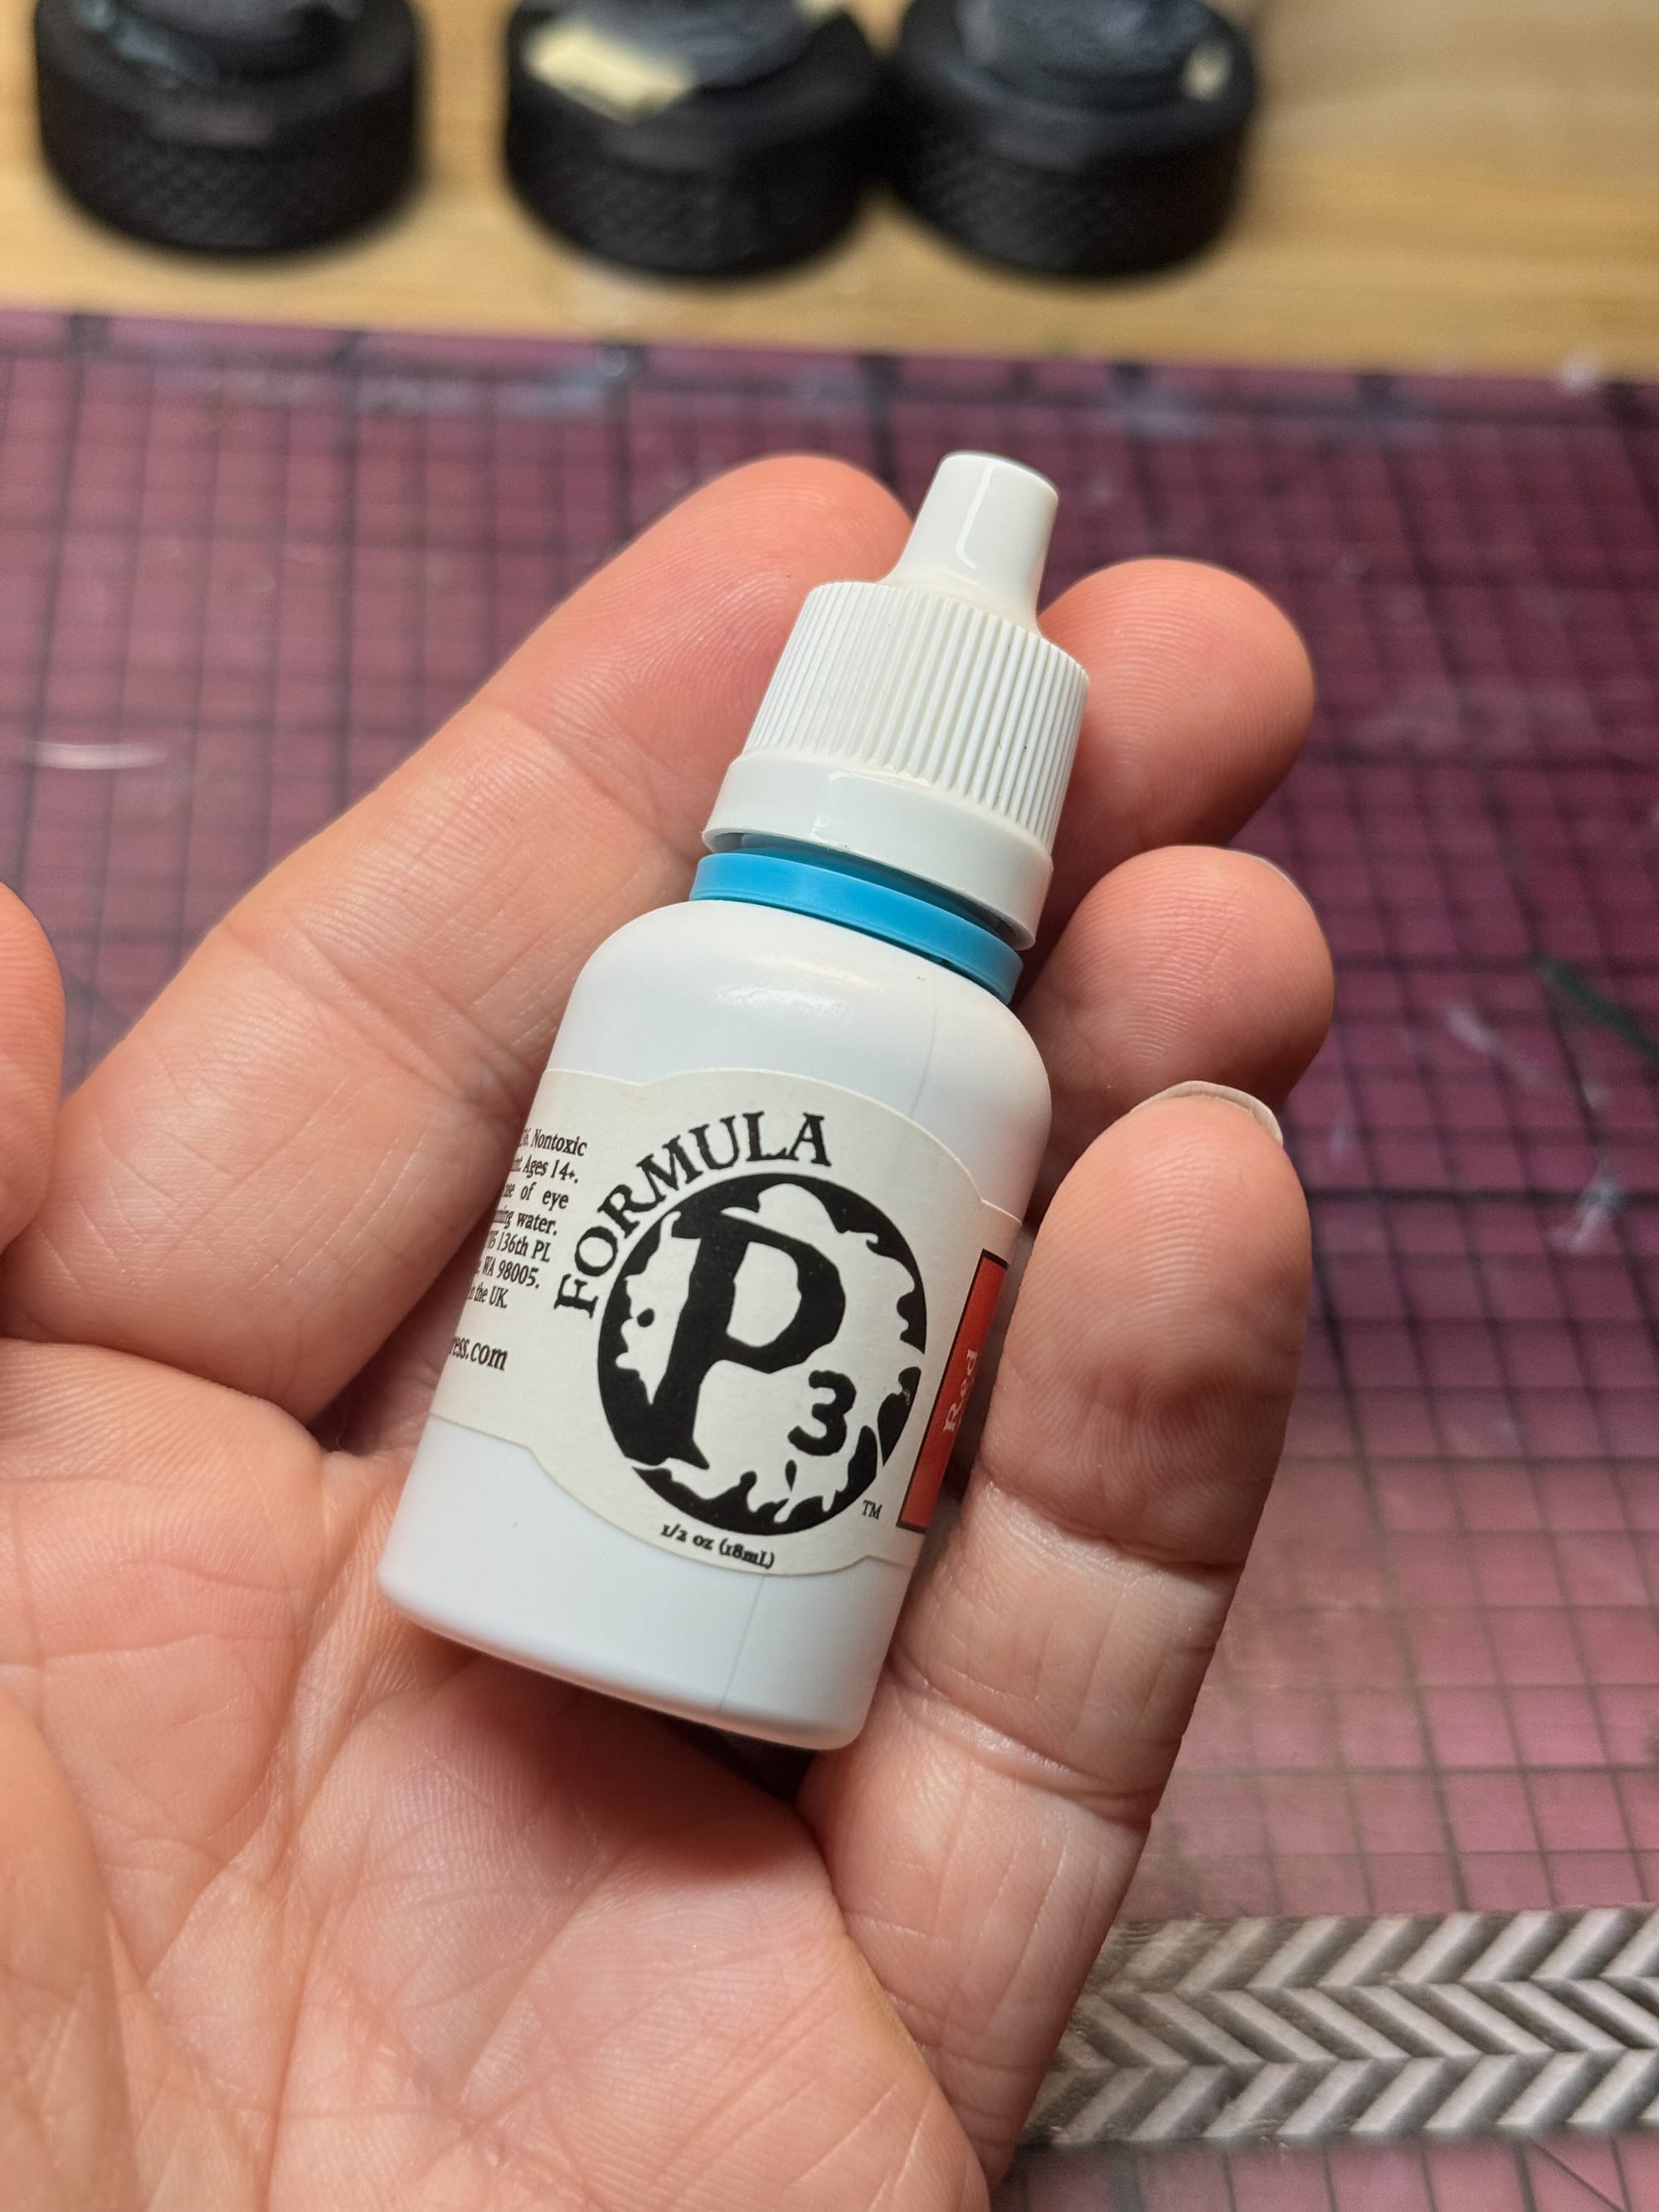
And lastly, I found an old bottle of Formula P3, which was a discontinued now revived range of paints.
- Red Ink
The skin tone:
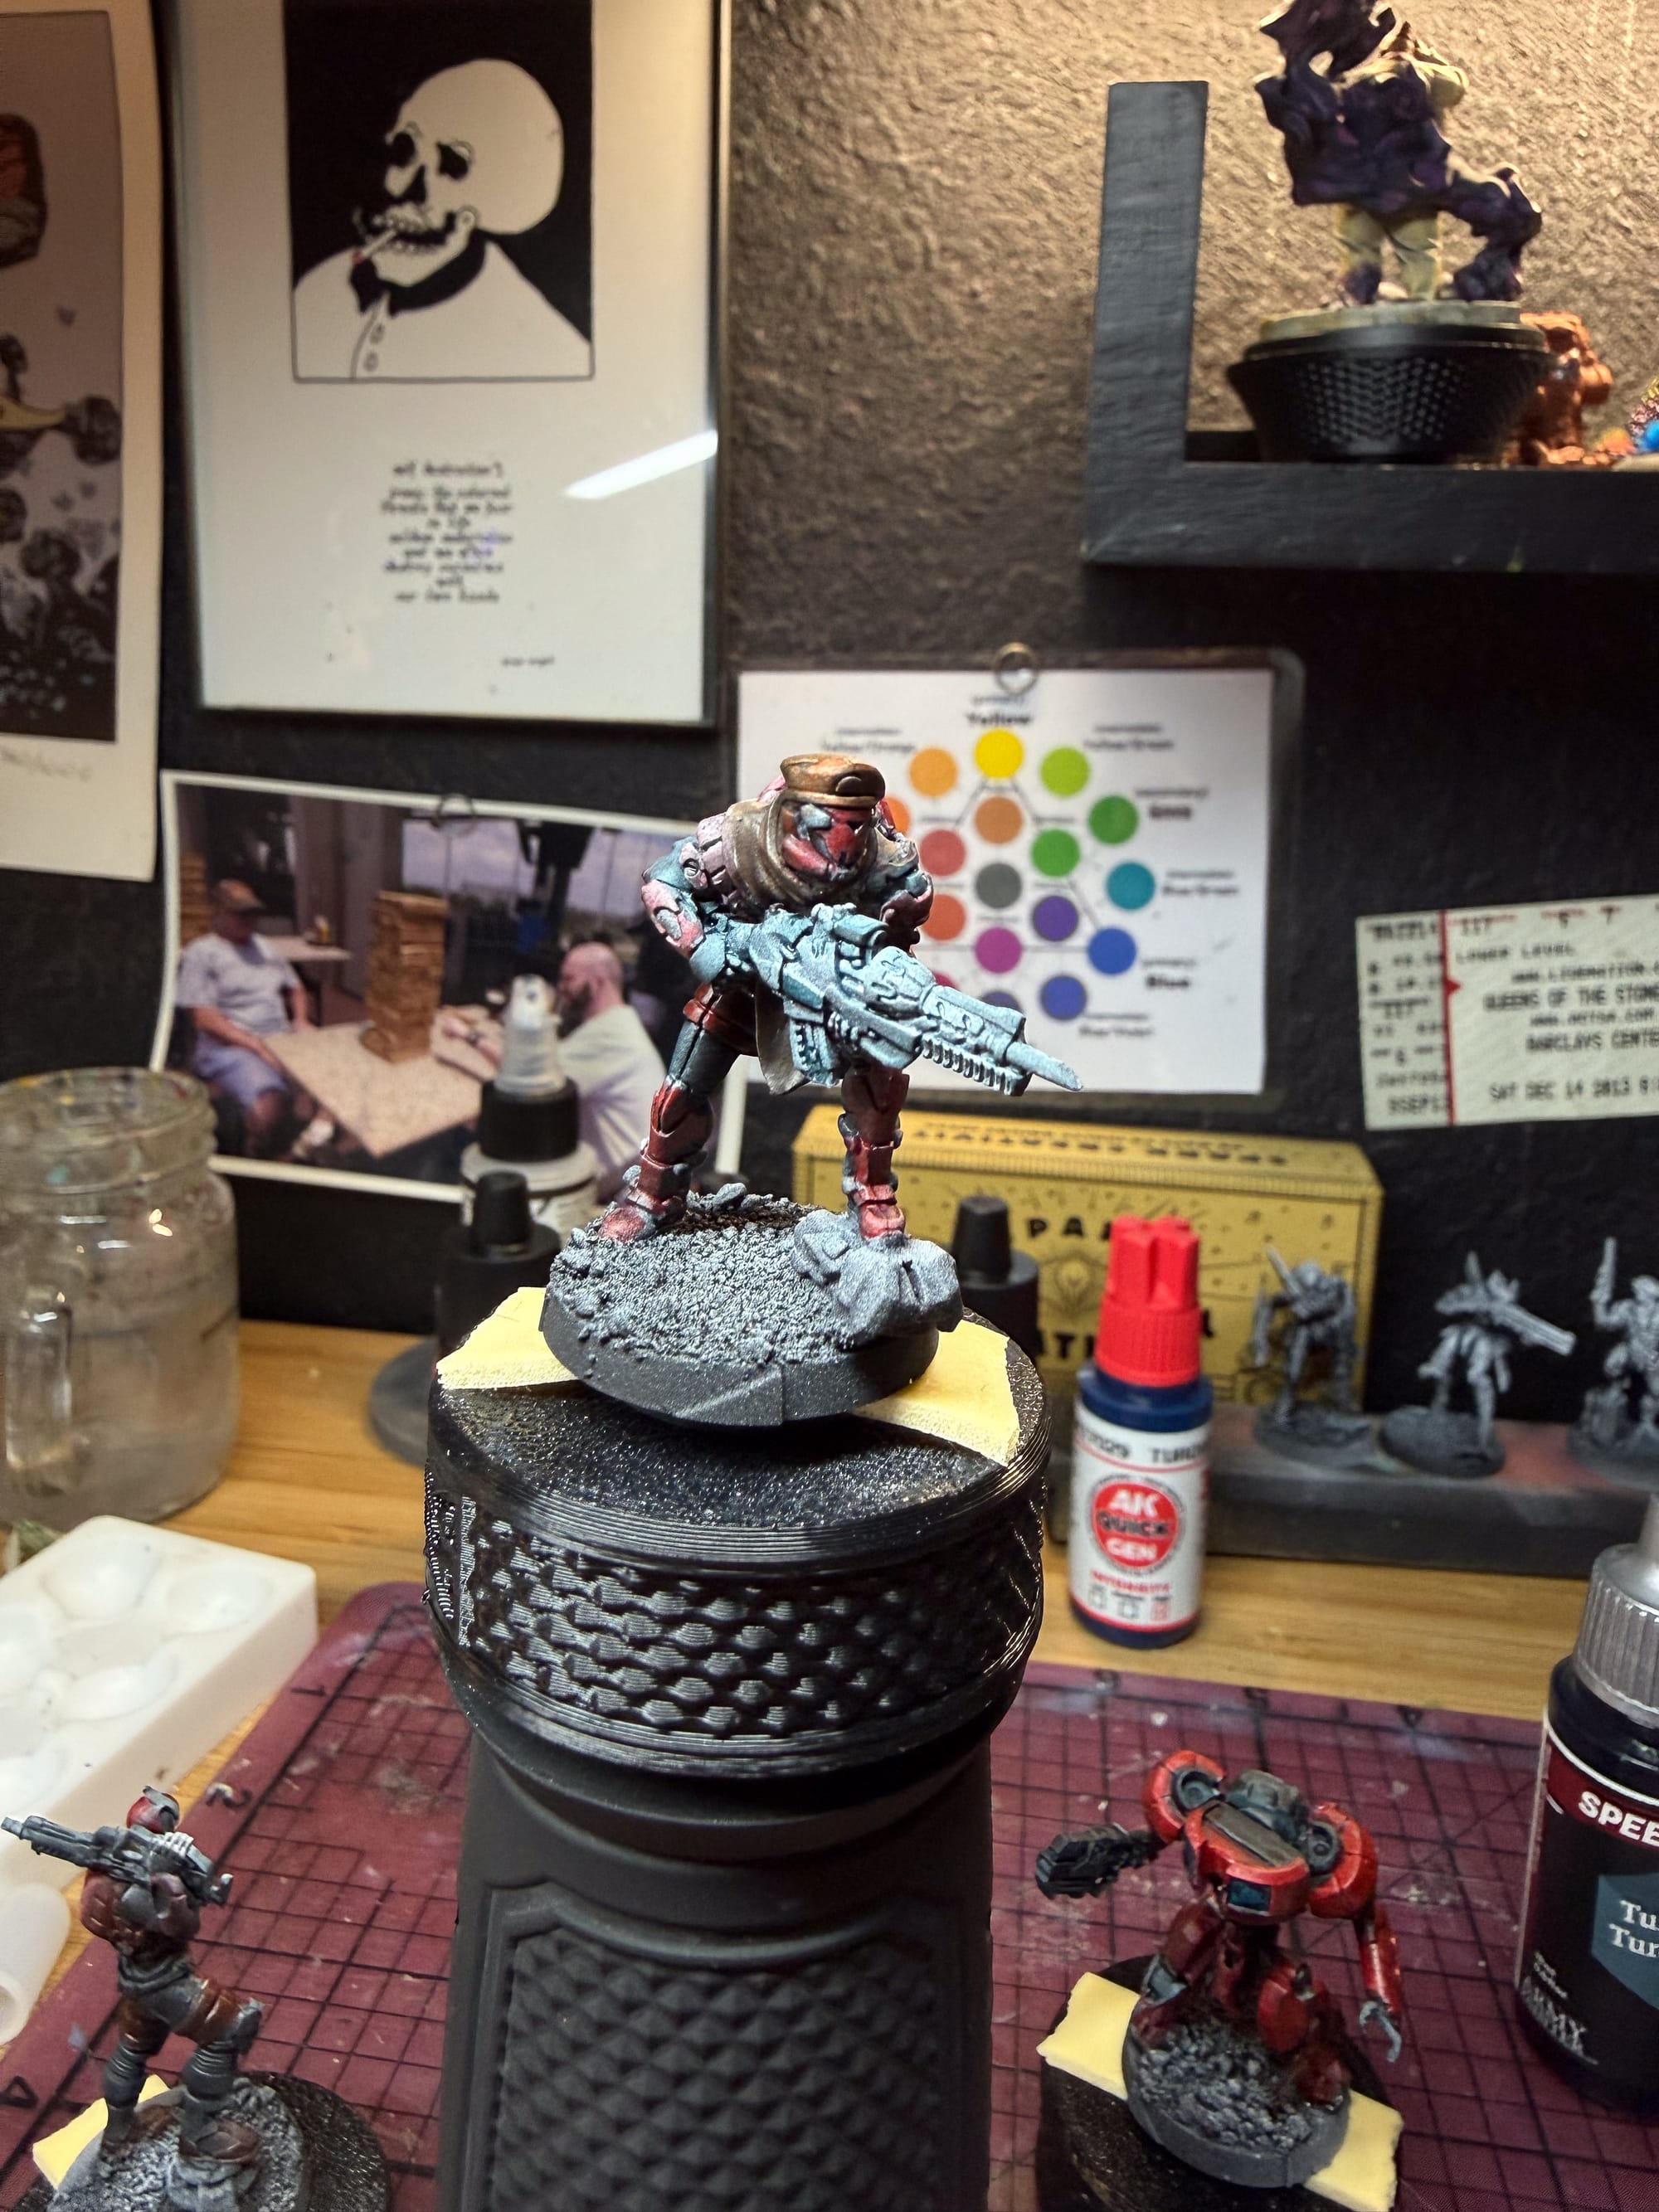
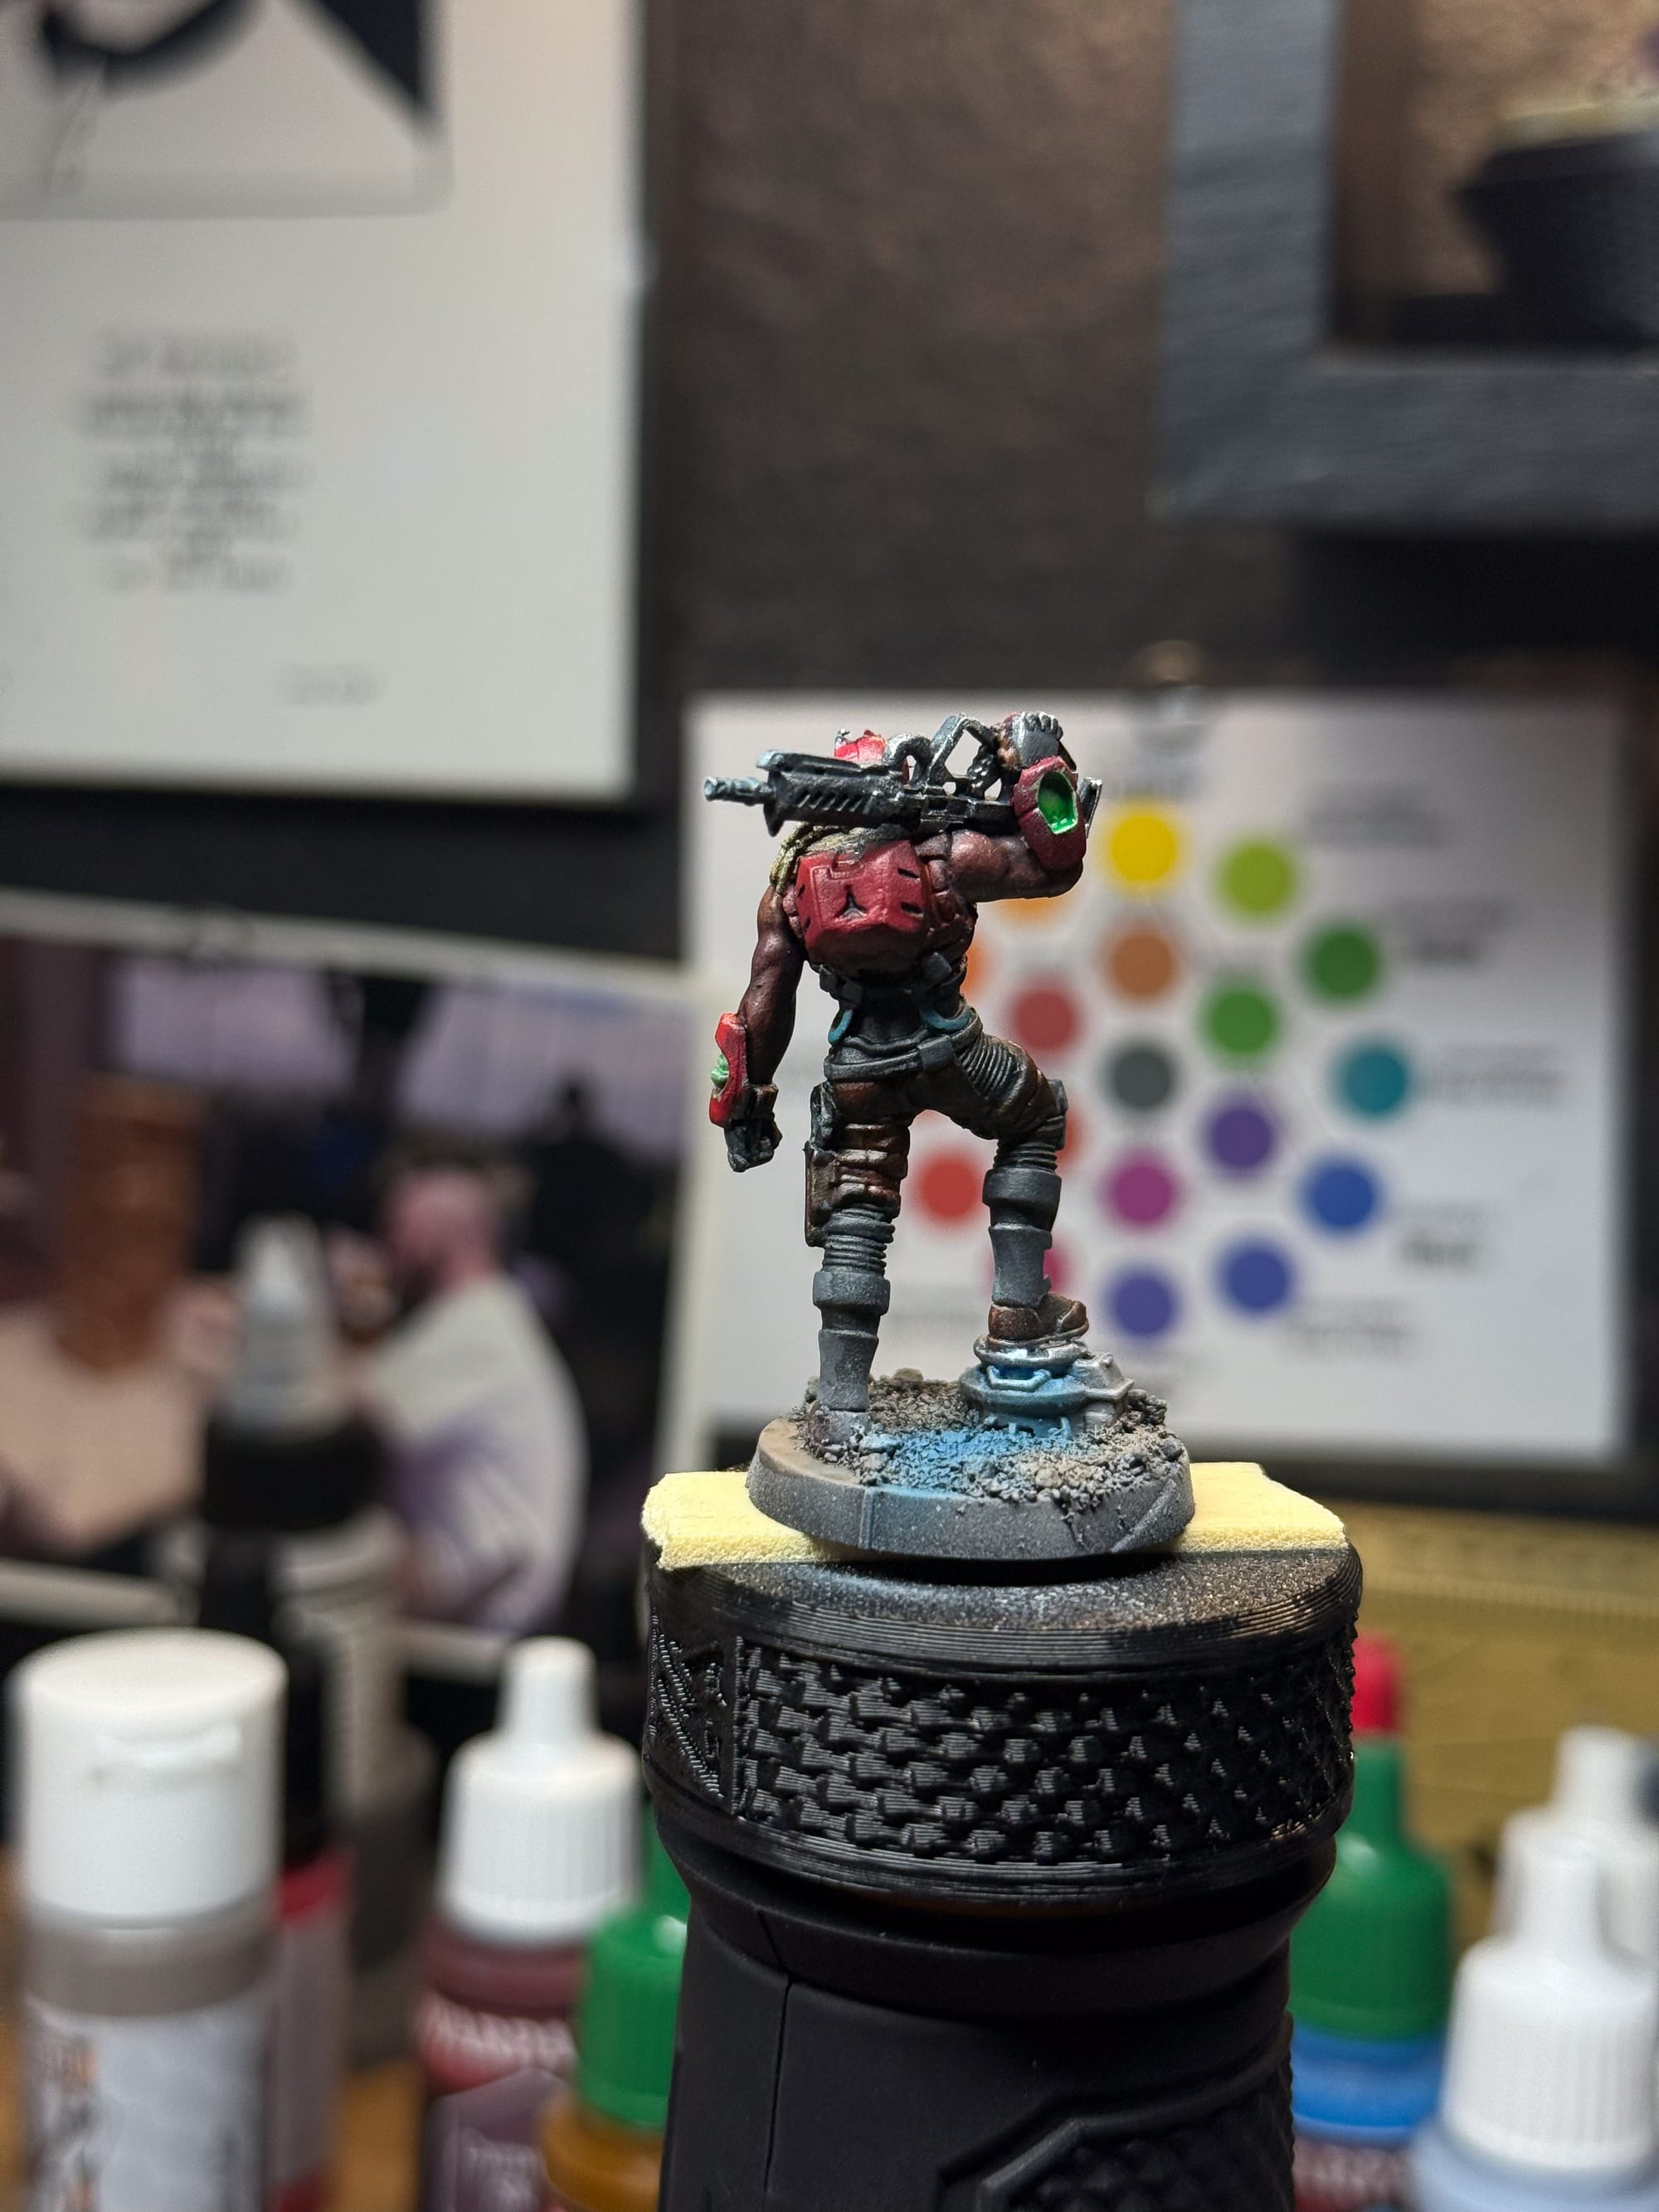
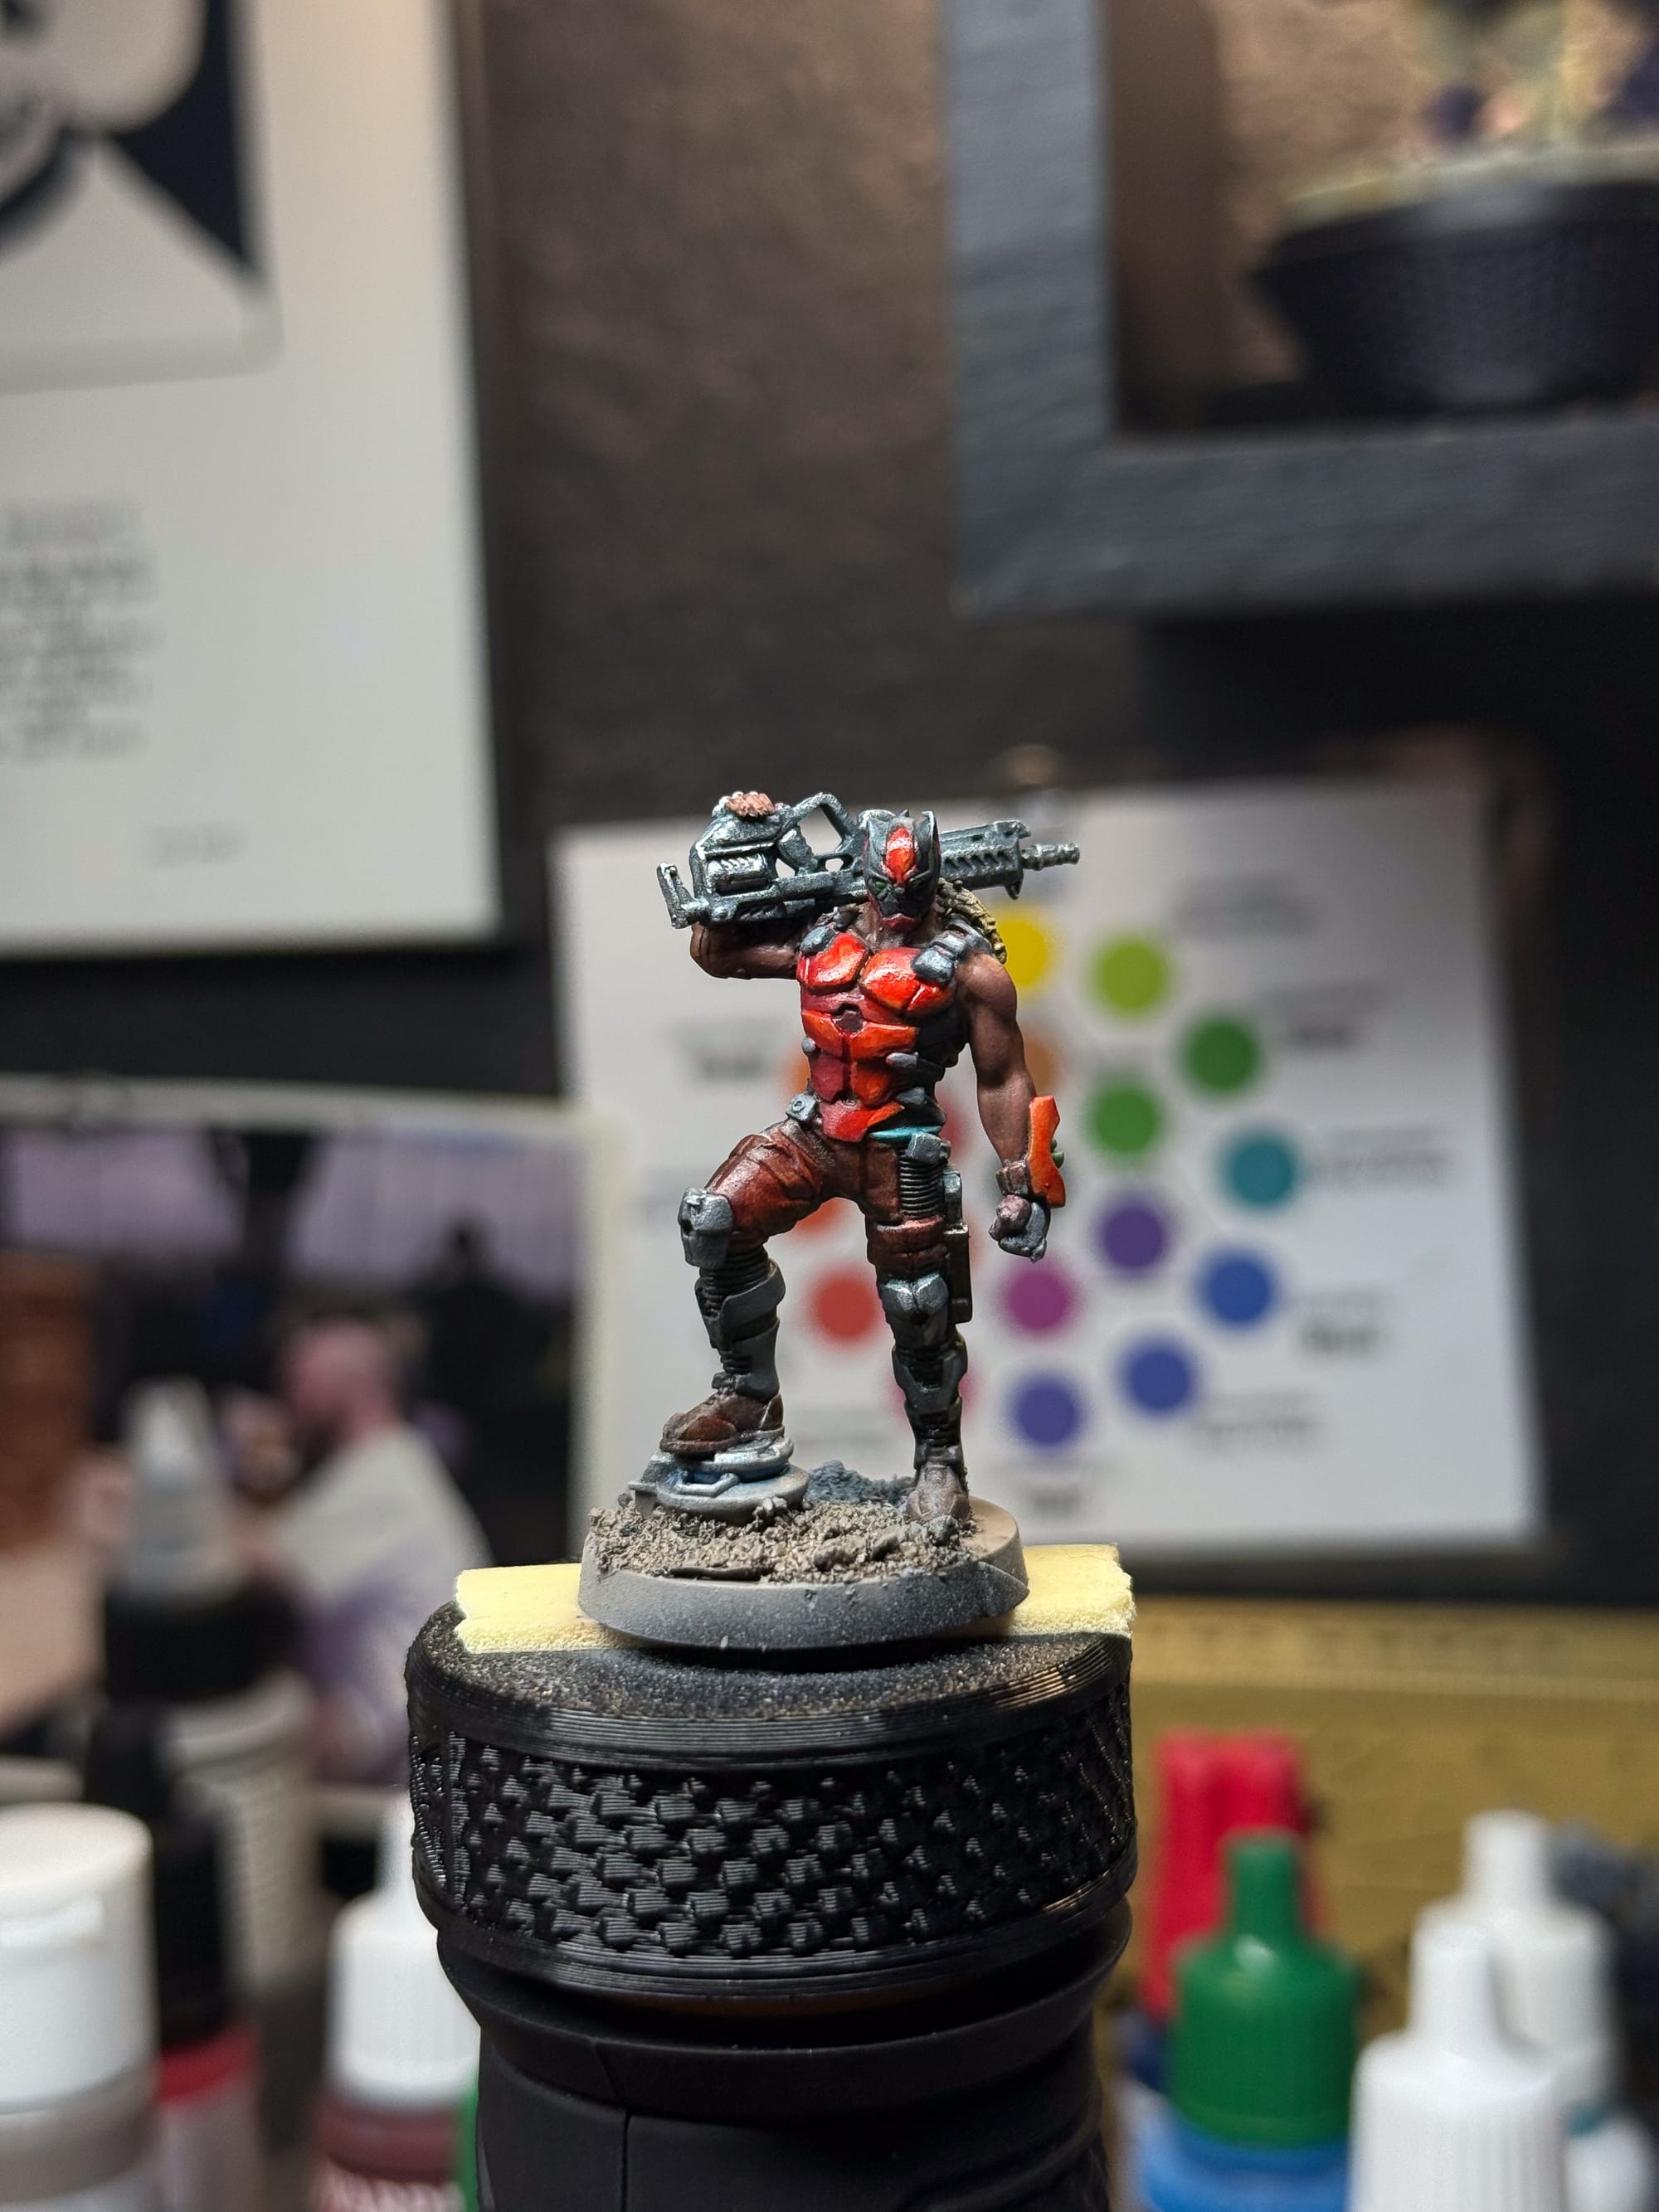
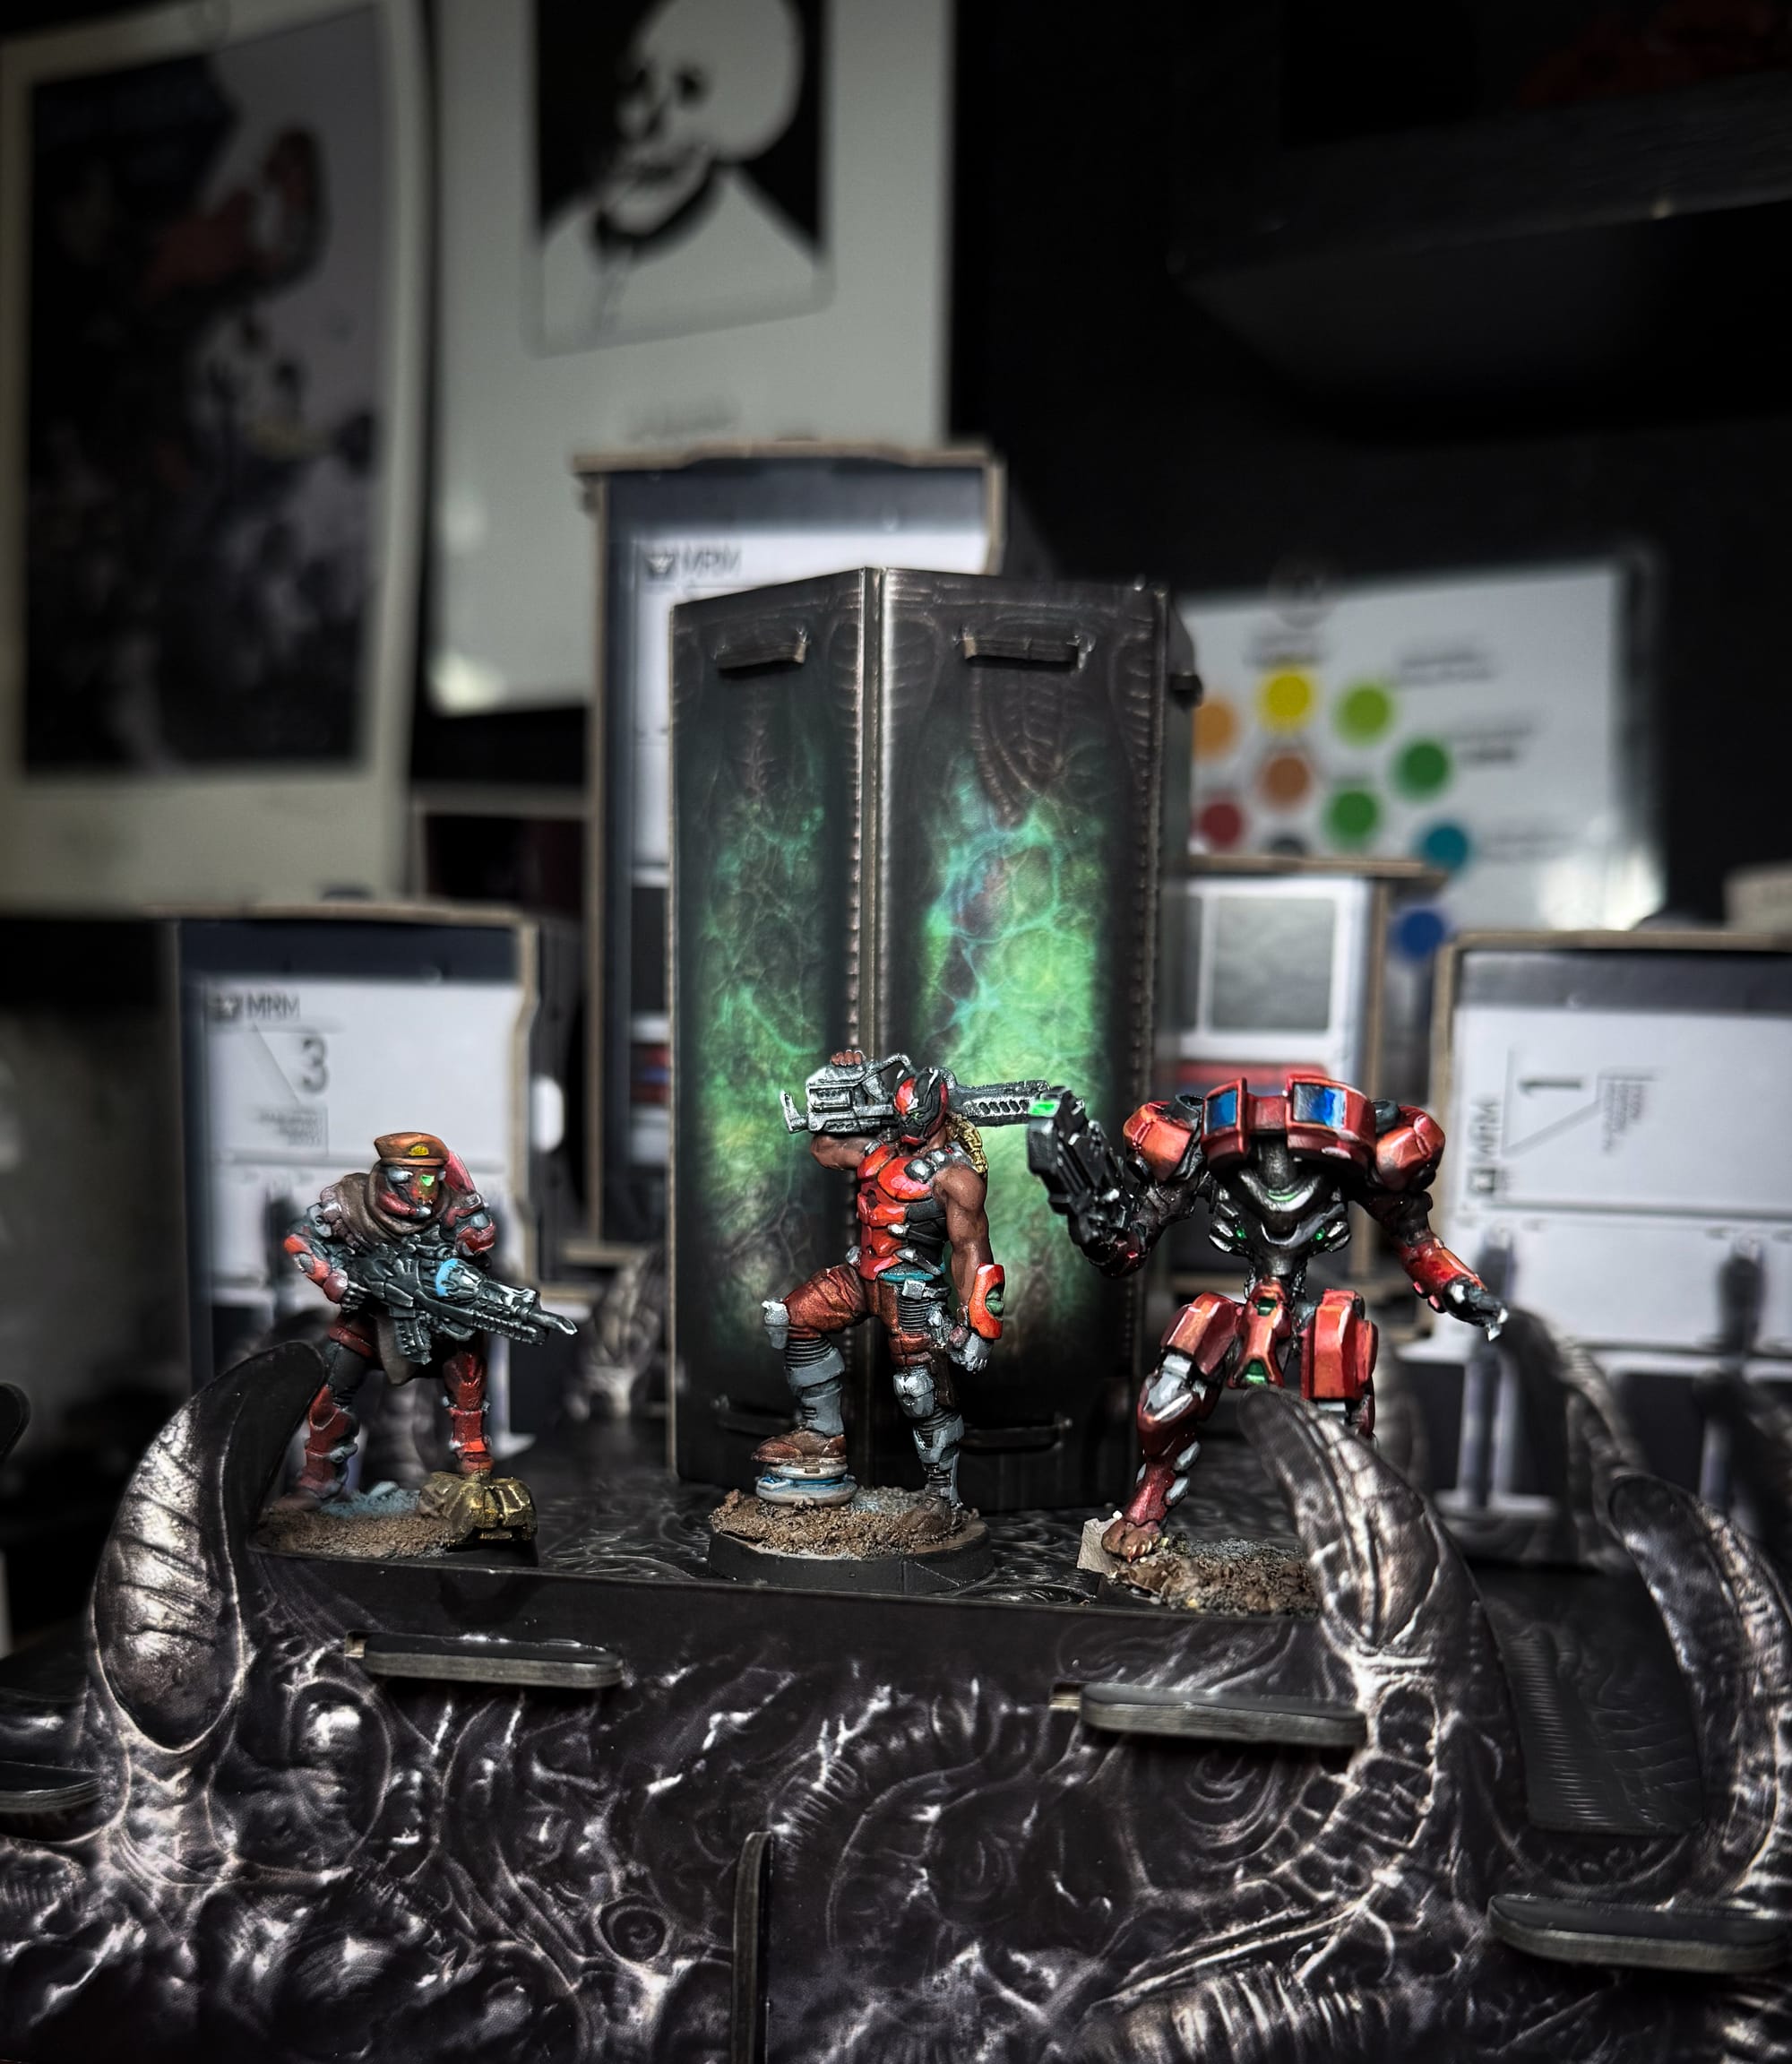
For the skin tone that existed on one model, the lore of the model, Shifta, was that the unit hails from East African descendants, so I took a shot at painting a darker skin tone, one that would have yellows in the highlights and reds in the shadows.
The Reds:
Red tones were going to be very easy for this process. I wanted the most red I could find, and highlight with a little bit of yellow, to develop some orange tones.
The Blacks:
Guns, gloves, and little bits of machinery were to receive some deep blue and hints of black, perhaps with some metallic in order to nail the highlights and edges.
The Silvers:
Most of these models are depicted with blueish silver pieces, but I opted for a more carbonized look, as I like weathered appearances more, and to be fully transparent, I don’t really have those skills to make perfectly rendered NMM yet.
The other bits:
On some of the models there were ports, LEDs, leathers, boots…all needed some special touch of leather tones or some special effects, so I wanted to keep them minimal.
The Process
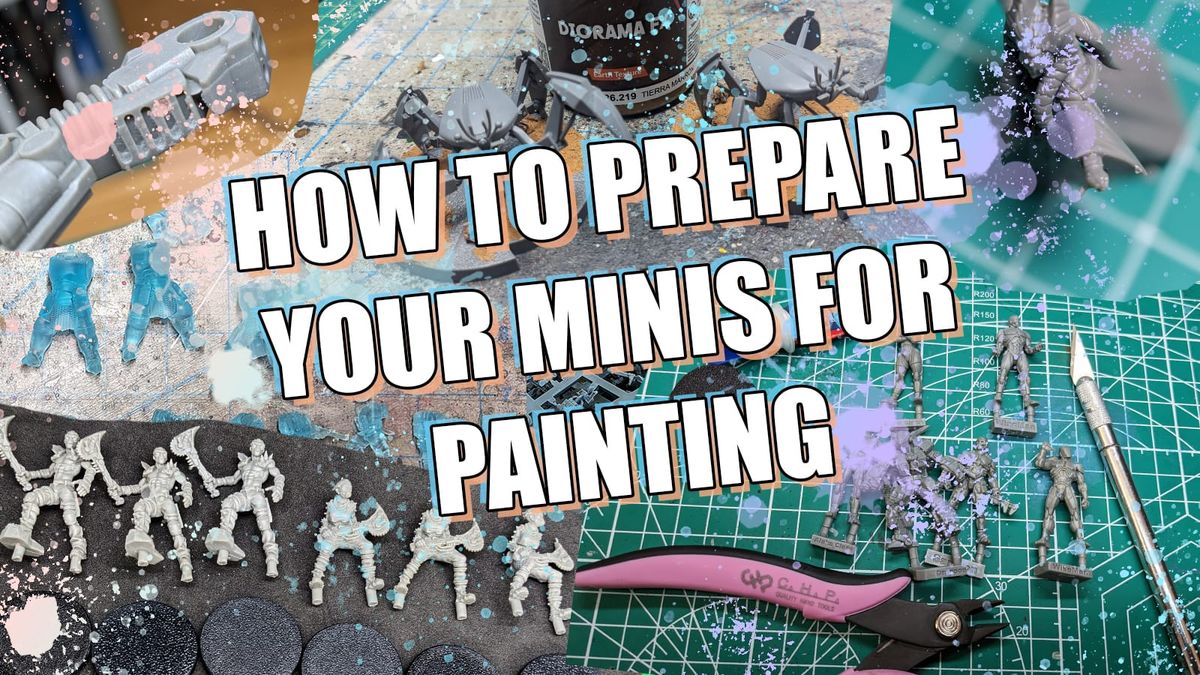
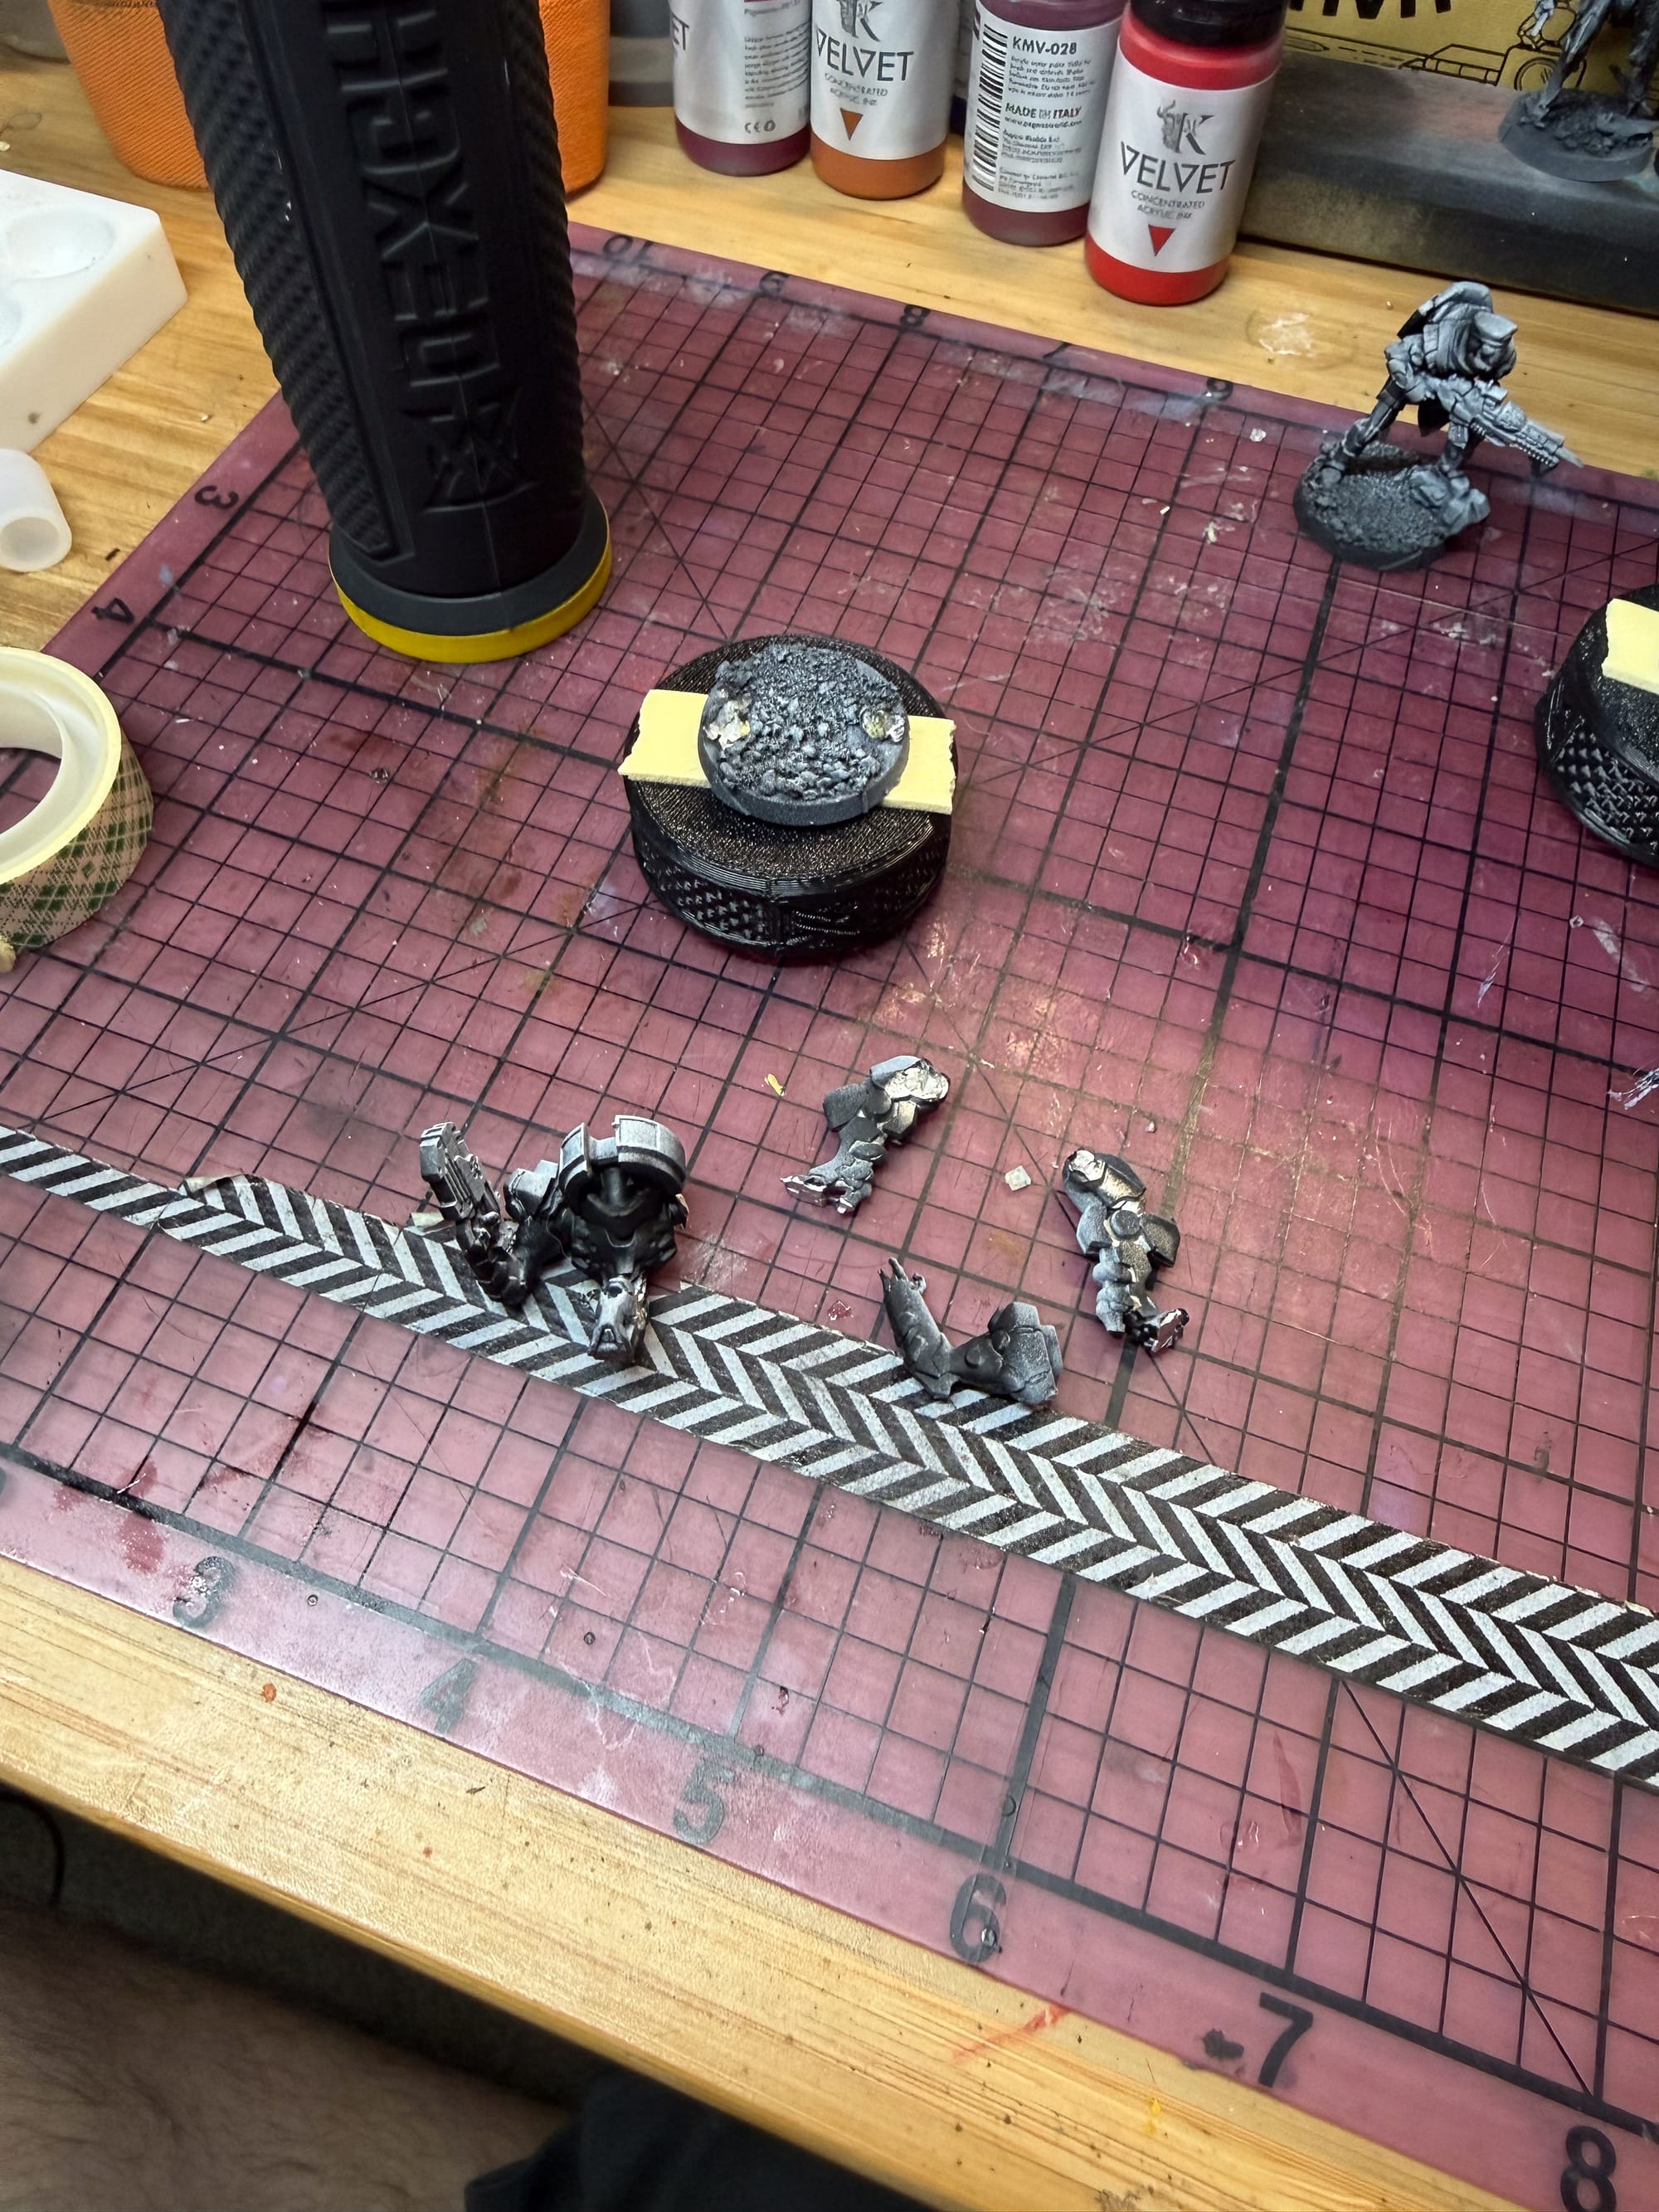
To get started, as always, go and check out our “How to Prepare Minis” article. It will help you understand preparation and priming. For these models, I primed them with a zenithal spray, which is basically painting a coat of white on top of black to help guide shadow and light placement.
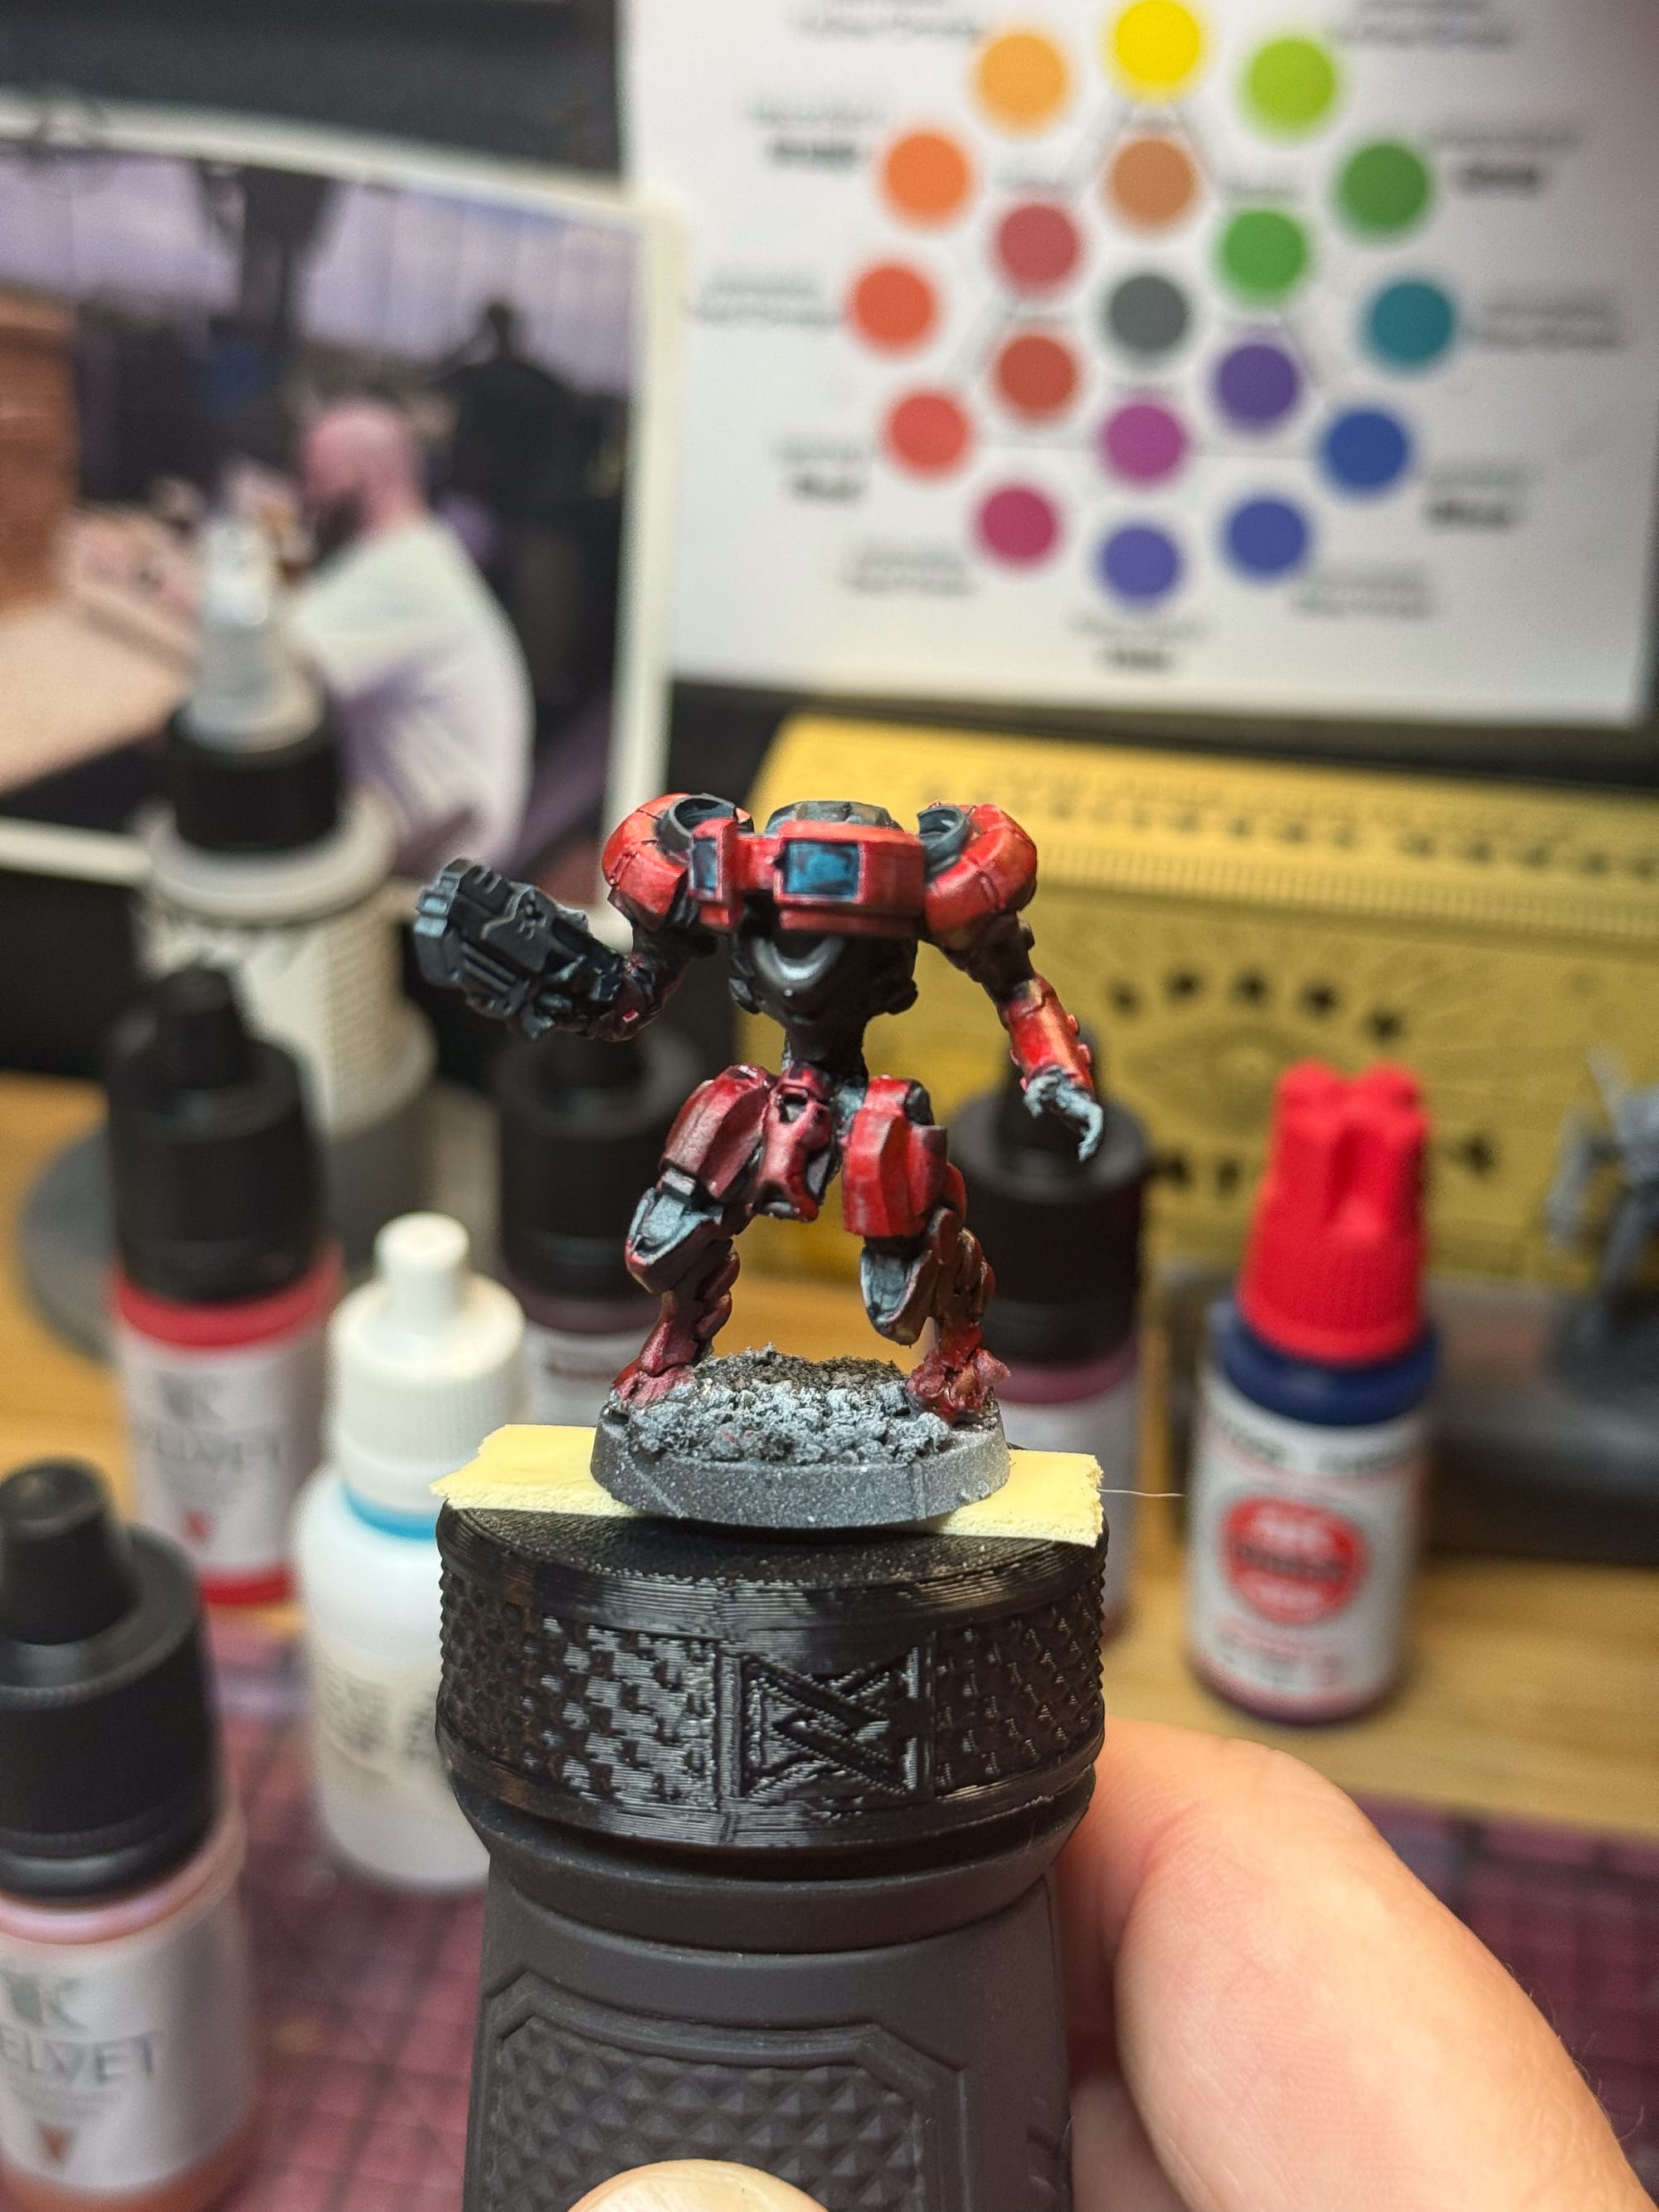
I then promptly dropped the BambaDroid, who then broke into pieces. Metal miniatures have a habit of being finicky with glue, but patience, pinning, and glue accelerator will be your friend, and help you ensure a tight bond.
I started with the reds across the models, layering down a mixture of the Kimera Red mixed with Royal Brown as my first layer, then adding in subsequent layers of Red to the mixture to build up my highlight. When I felt I was there, I added the Red Ink into the mix, which pushed the vibrancy.
For the pants on the Shifta model, I used a Quick Gen Leather paint from AK. This gives me a lot to work with, as it establishes a nice midtone that I can work down or up depending on my needs for light or shadow. I also used this color on the Coyote model’s hat and leather coat.
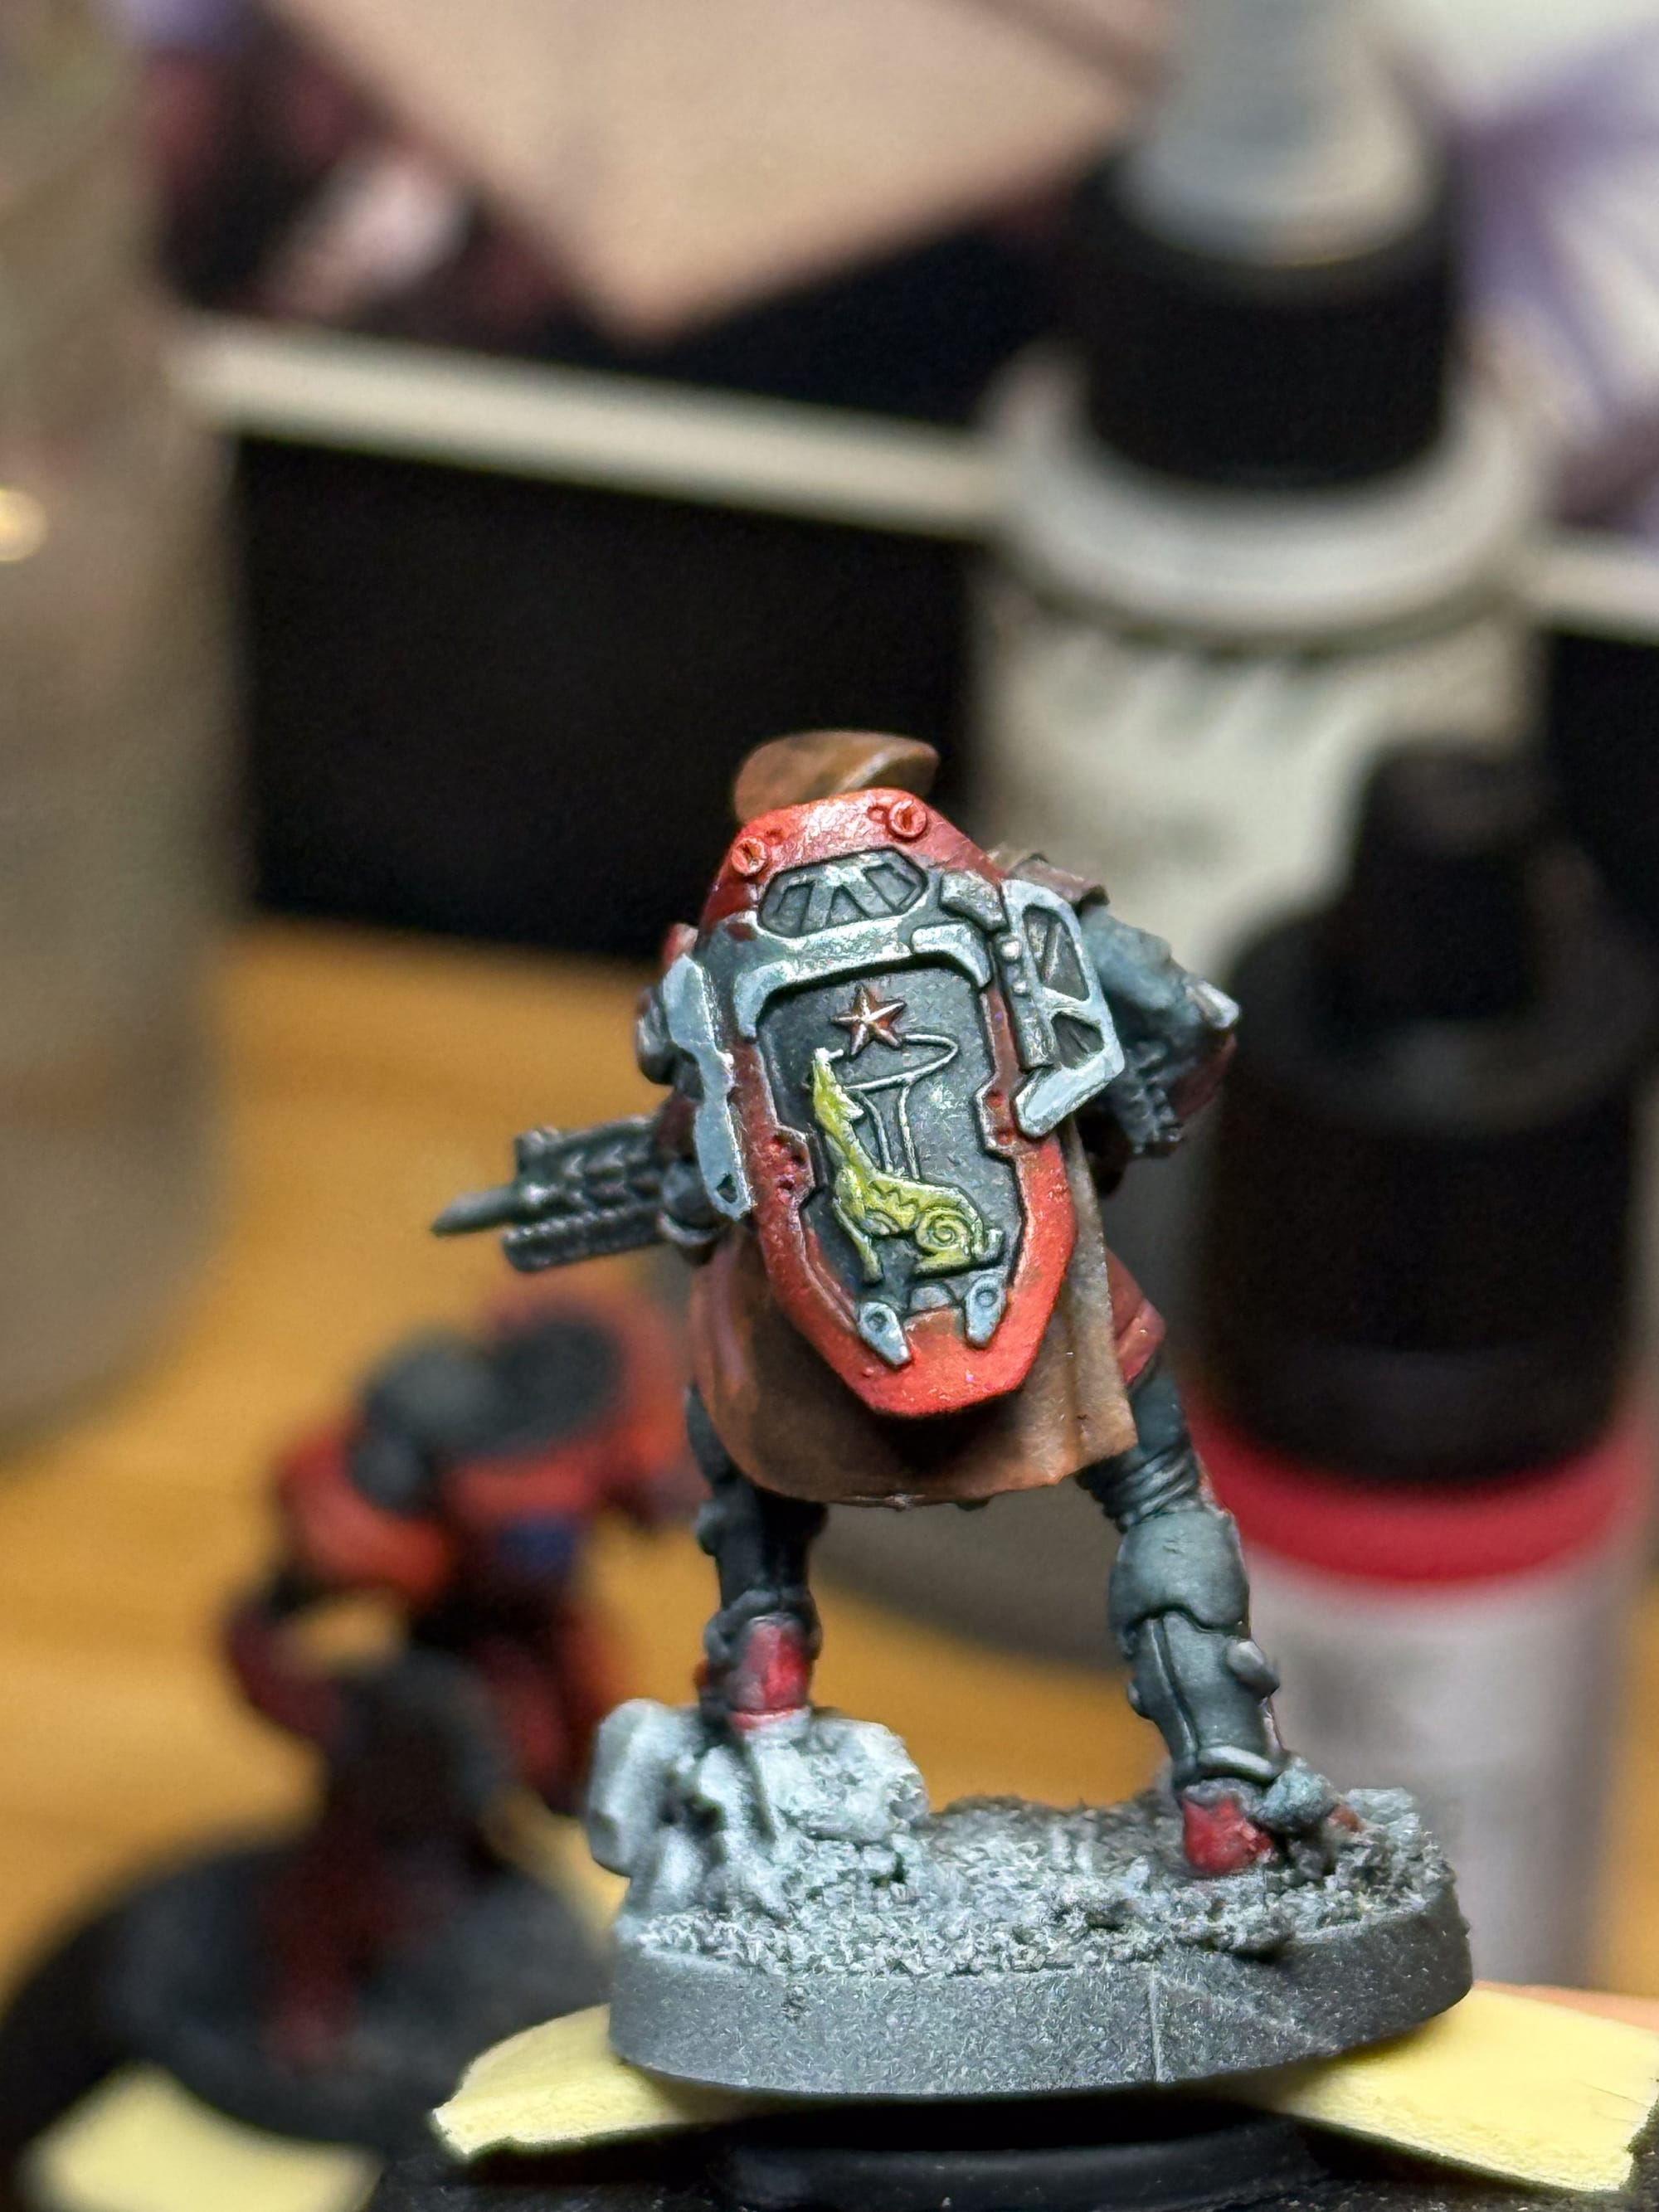
For the dark areas on each model, which could represent metal in shadow on the BambaDroid, the areas on the Coyote on the boots, or the under armor or black details on the sides and mask of the Shifta, I used Ironclad Grey mixed with some Royal Blue to help give a bit of color to the gray. You could also do this by pulling out a dark blue. I also took a moment to darken out areas of the shield on the Coyote.
This is a good moment to pause your painting and let things dry. On metal models, you will definitely see areas you missed. So take a moment, let the layers dry, and then go back into it. A few thin layers later, and I had some basic tones that I could work with.
For my next layer of work on the Shifta, I focused on the skintone. Dark skintones are not my strong suit, so I figured this would be a good time to focus as I can make mistakes without having to undo a lot of extra work on the models. I firstly took Carnelian Skin and some Royal blue to make my mid tone, and then highlighted each muscle with Carnelian Skin. I then took Moonbeam Yellow and added it in small bits to the skintone in order to make a subtle highlight. To finish, I took some Dark Skin Shade and washed the recesses, pulling wash away from the parts of the skin that stood out. Thus, a decent skintone for the table!
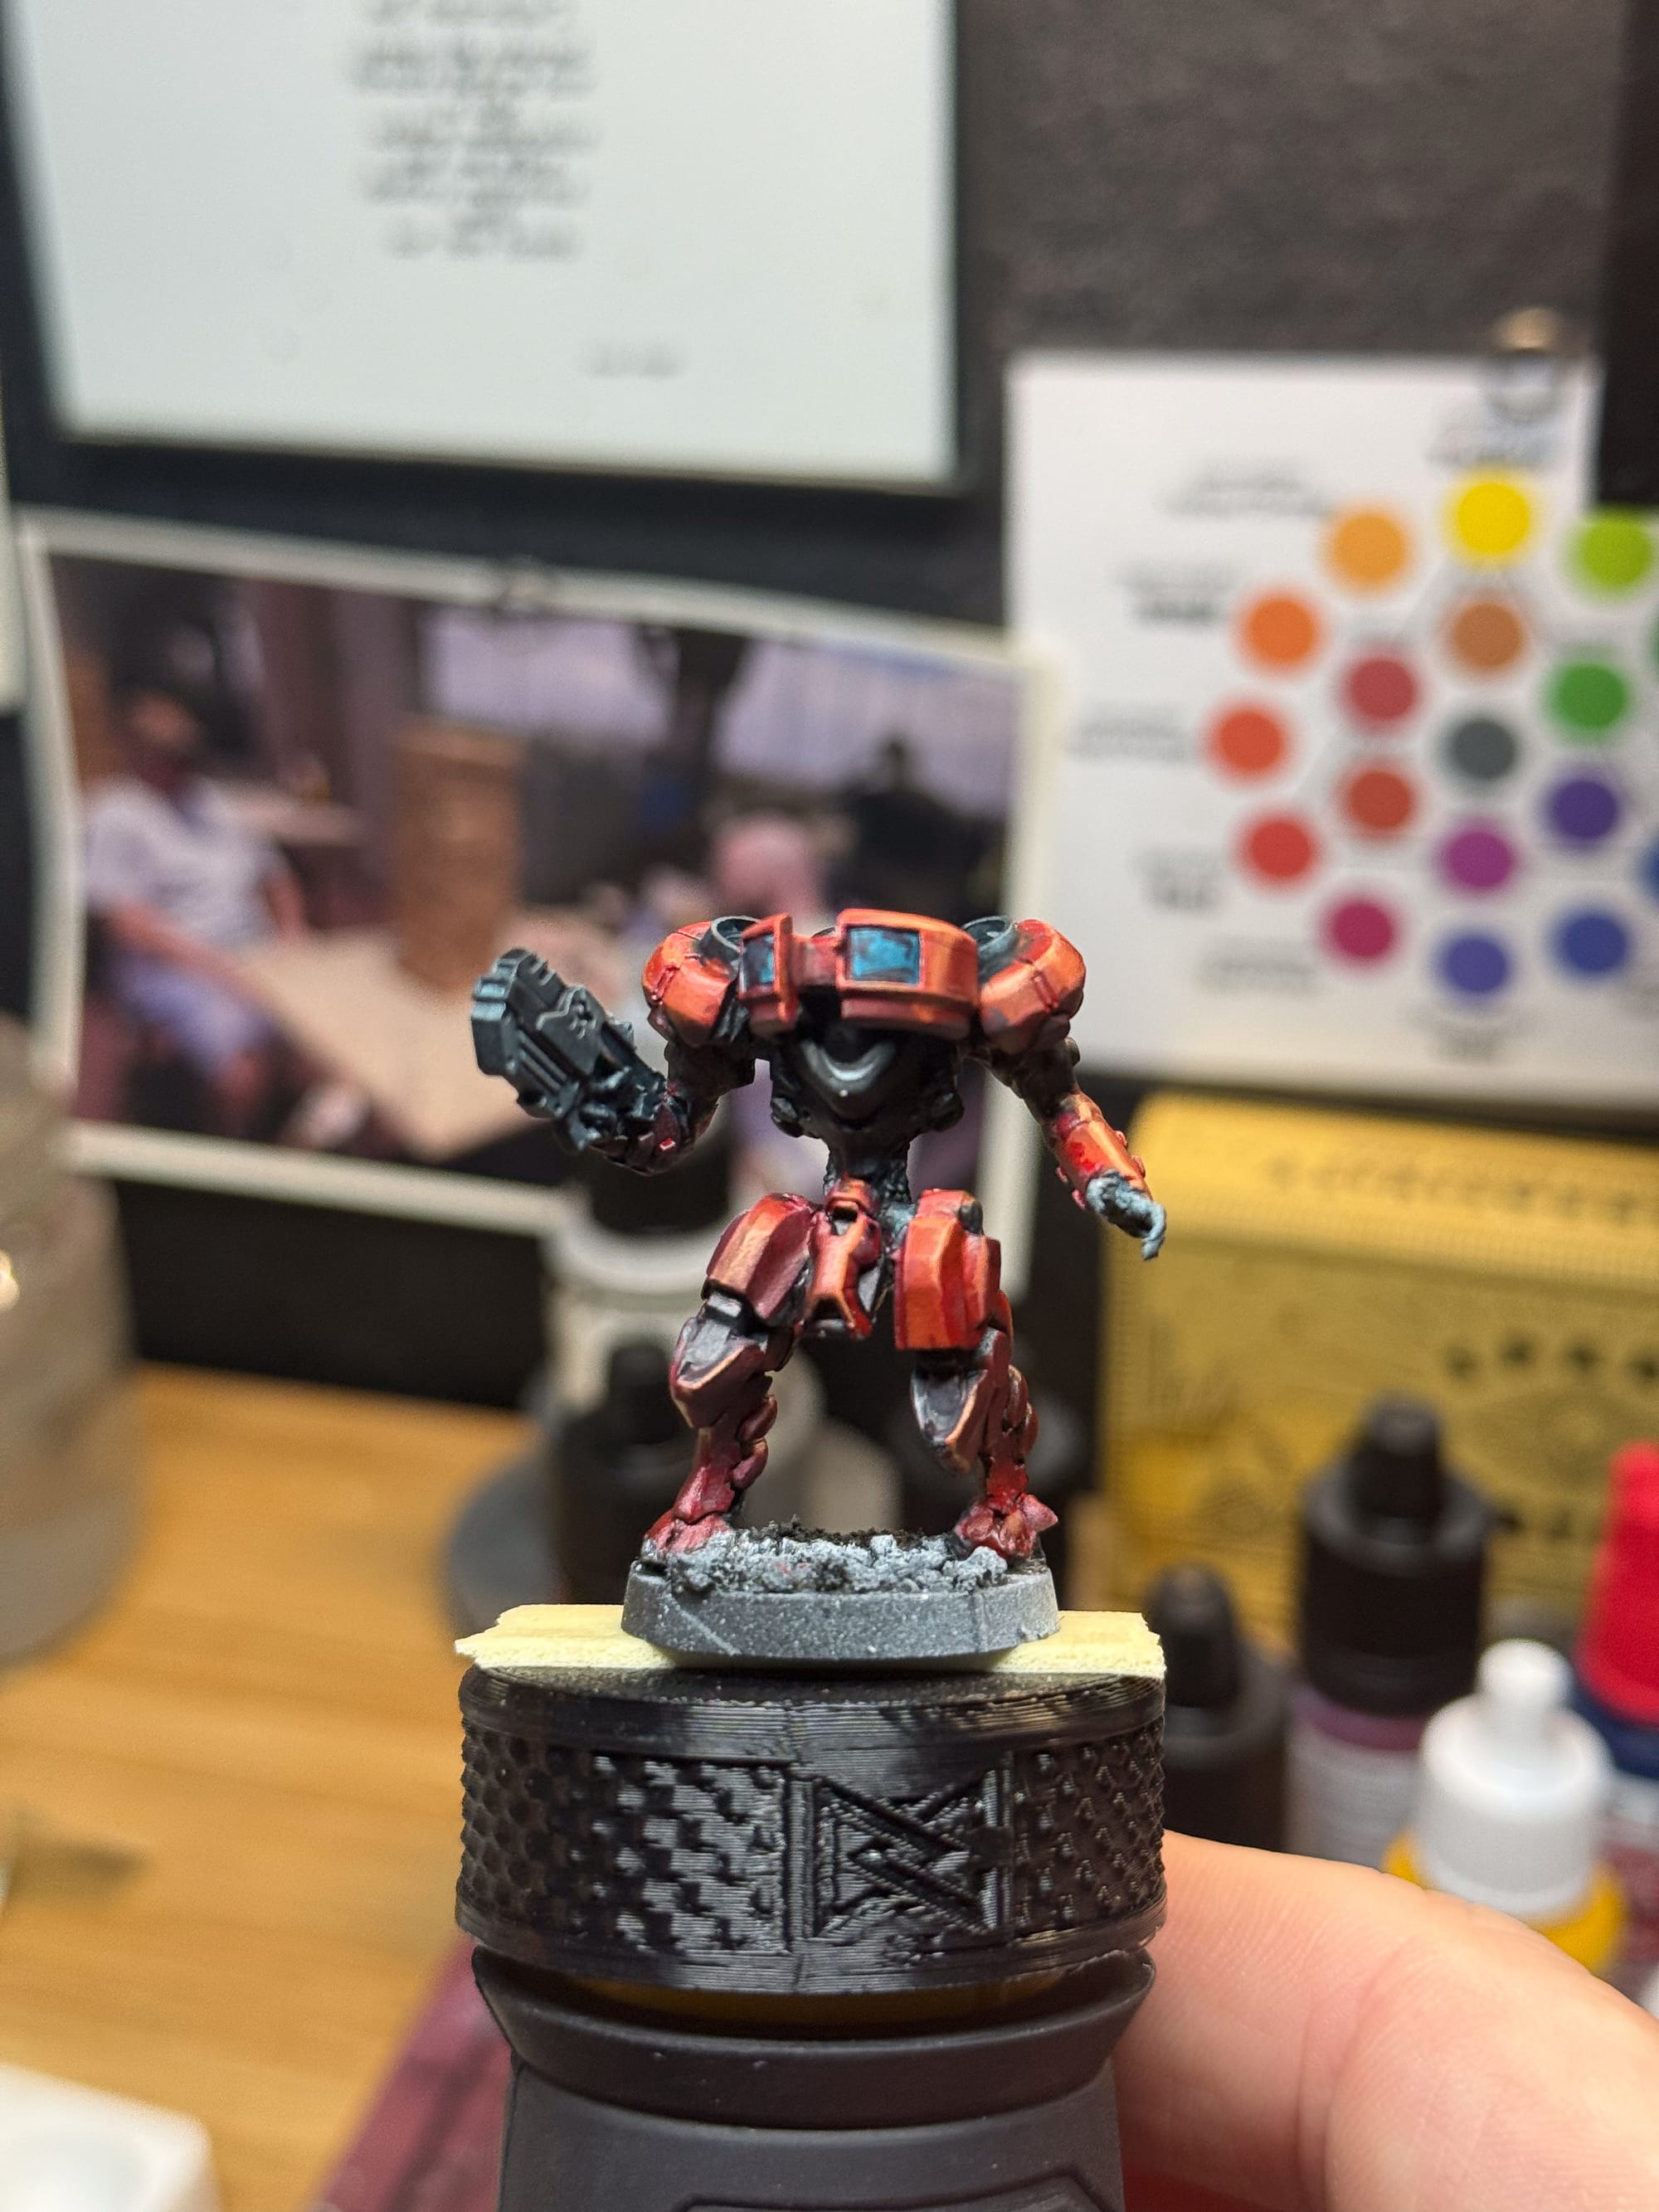
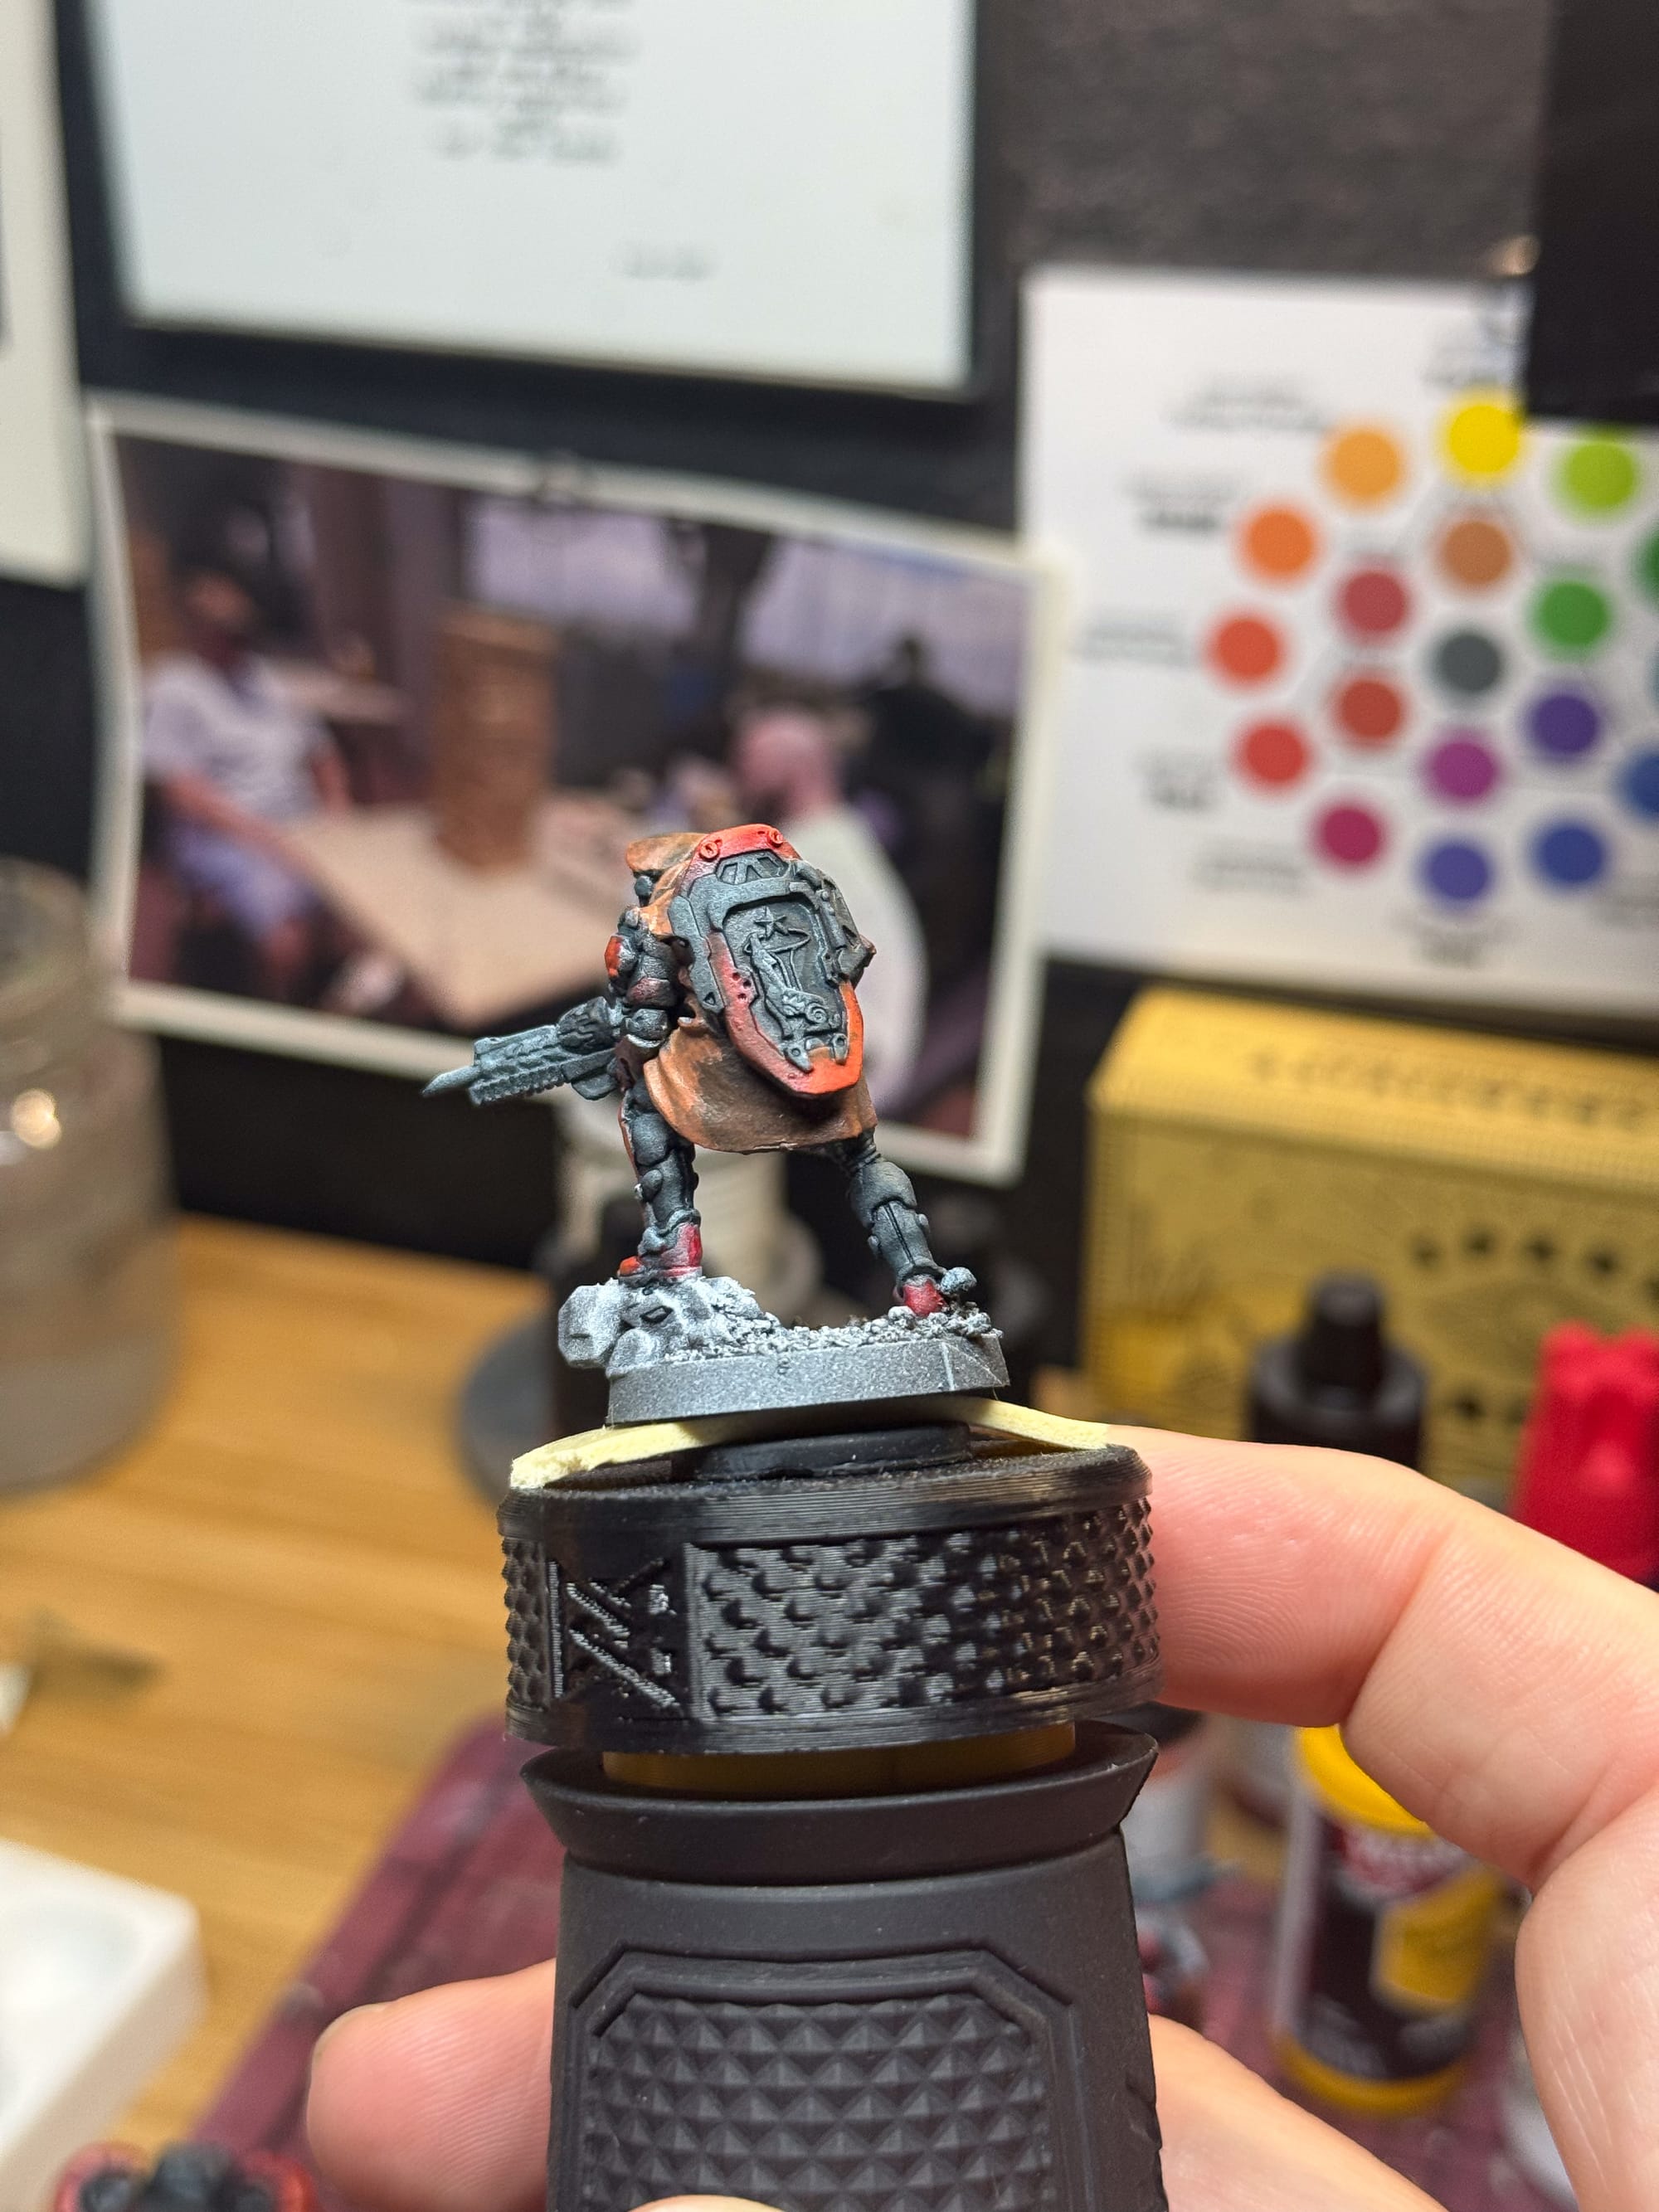
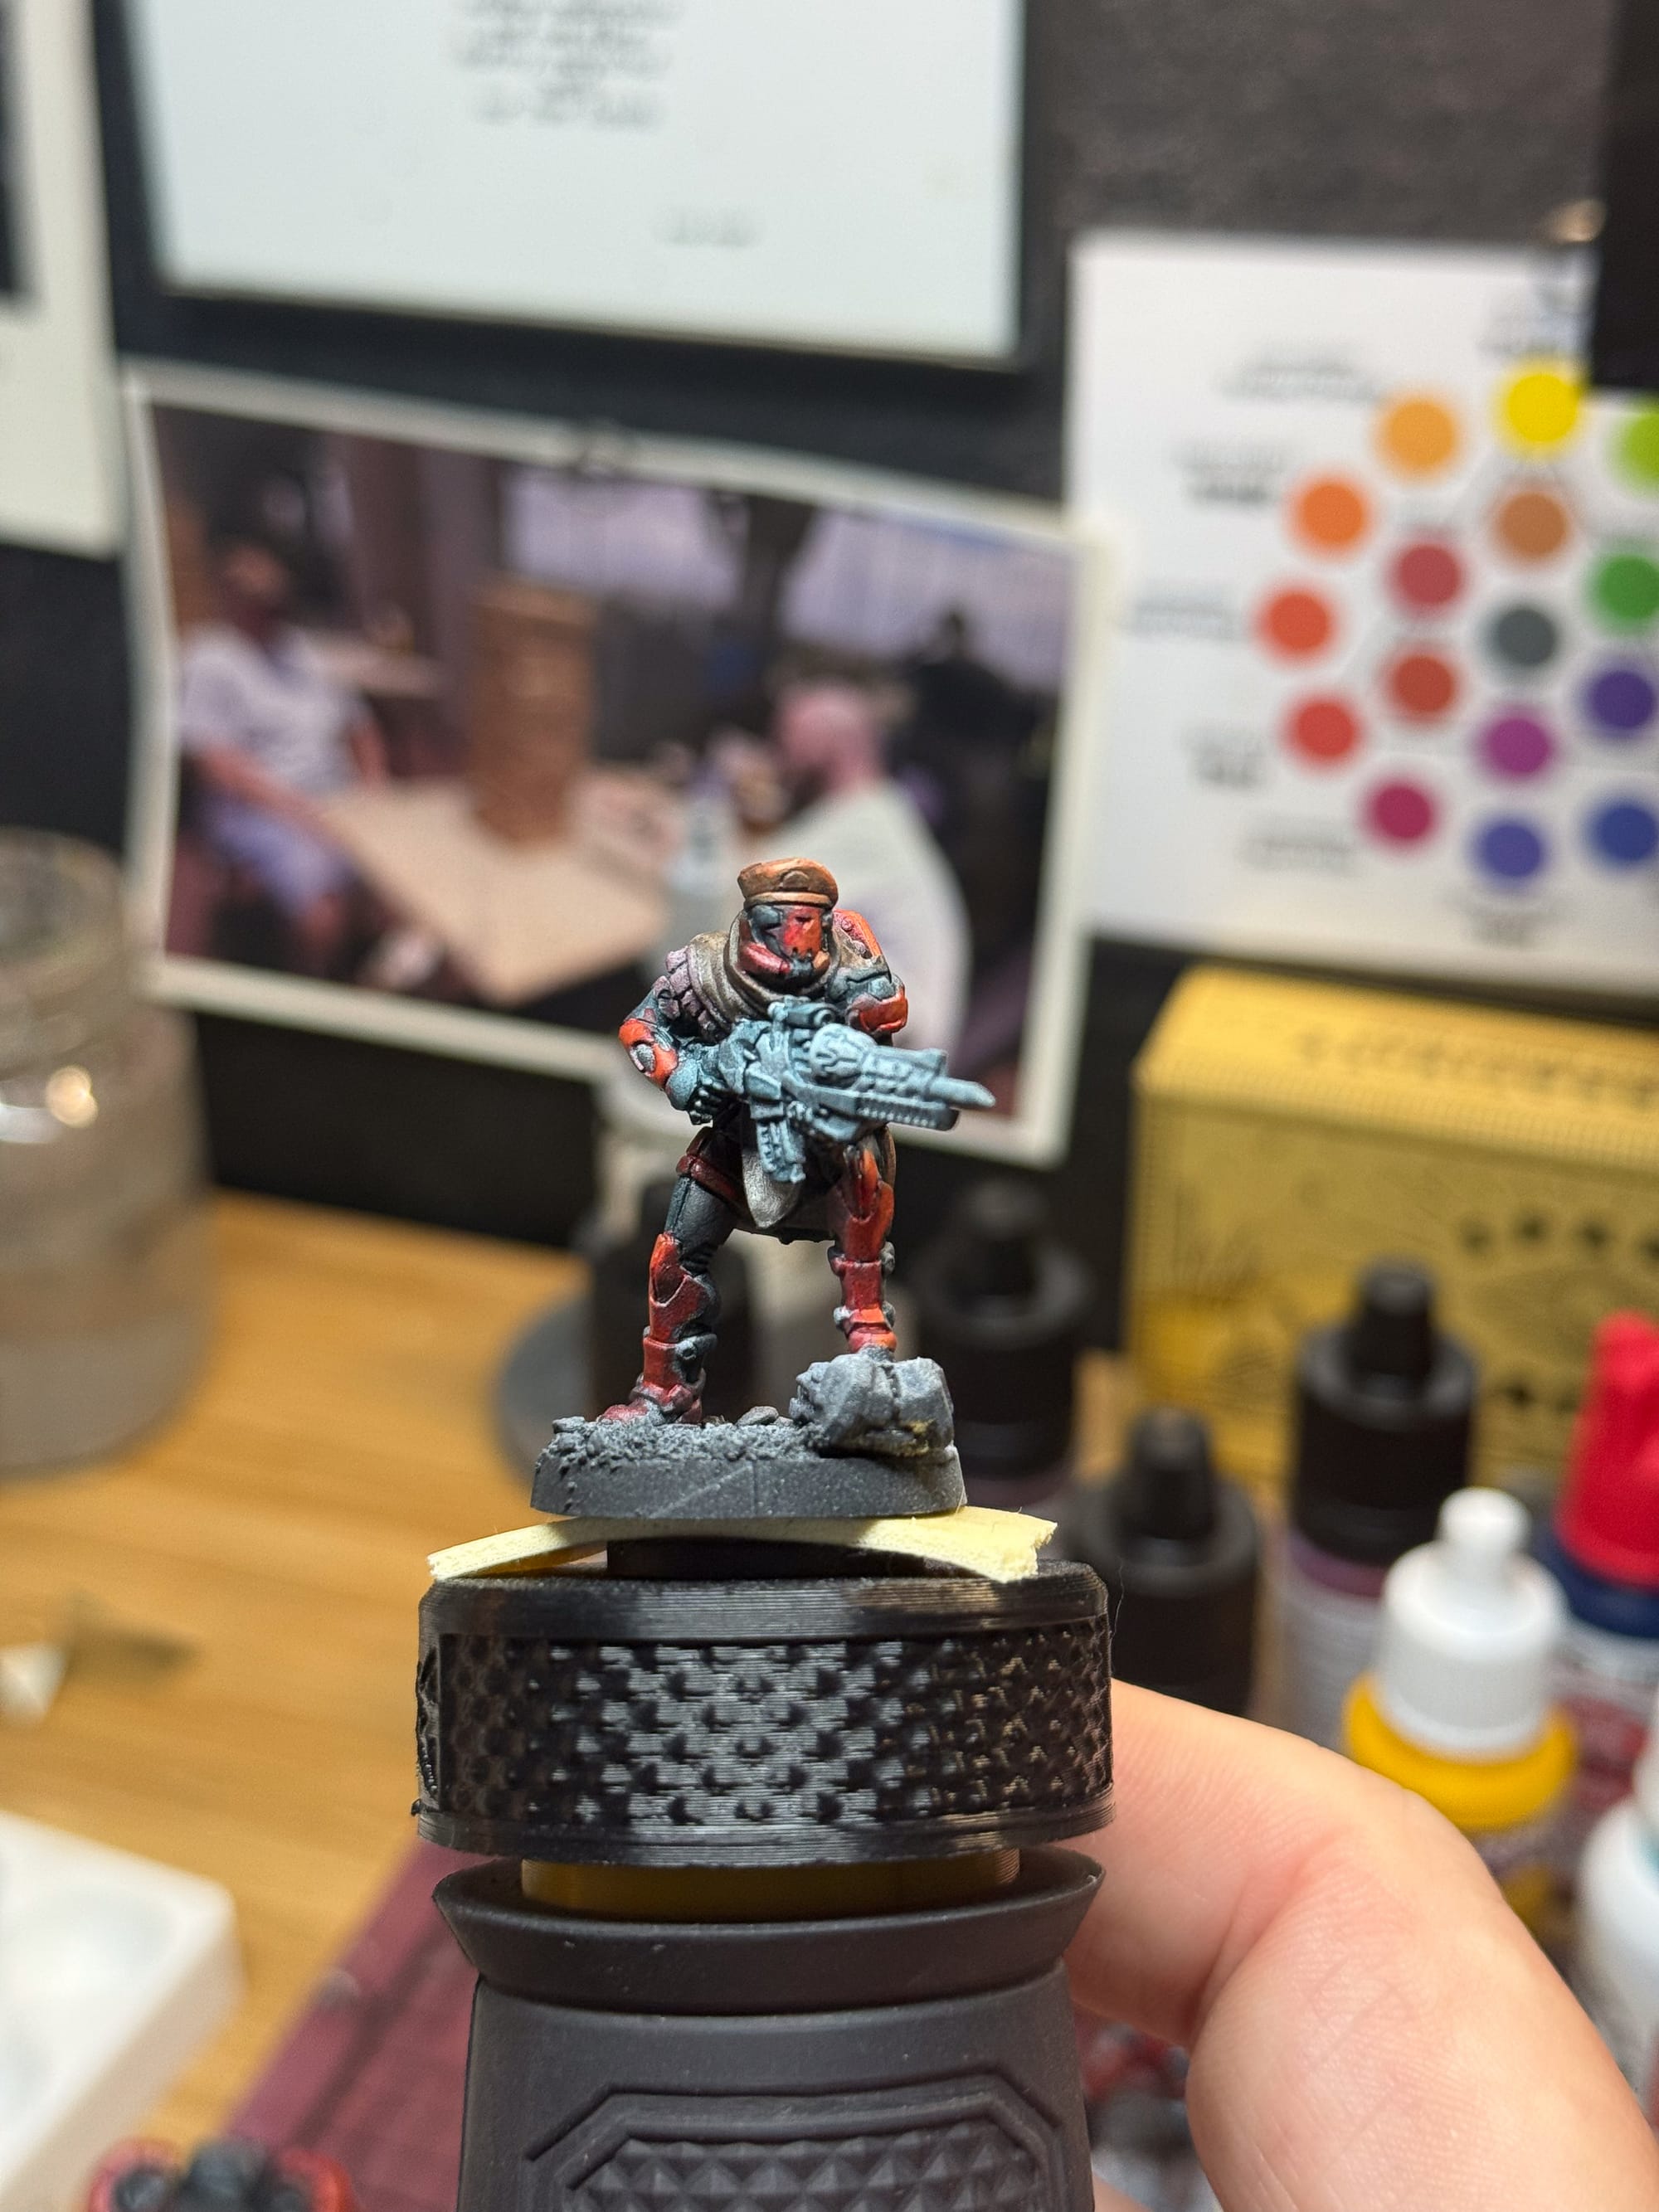
For the metallics, I took Turnbull Turquoise and gave every area I intended to be black metallic a few layers, I think about 3-4 depending on the model. The droid certainly took the most of this. When those layers were dry, I drybrushed Mithral, which is a very bright metallic silver, and really helps pop on the table. On the Coyote, I added a small layer of Frost Blue to what looks like some kind of rifle cartridge or magazine. On the Droid and the Shifta, I used this time to go and add a little bit of white to certain areas (on the droid, some of the vents on the body), and then Data System Green. This effect paint from Army Painter is a fluorescent paint, which is super bright and adds a punch to the contrast of the model.
In speaking of metallics, I needed to add in some Non Metal Metal (NMM) on these pieces. Ironclad Gray is my starter, and I used both Moonbeam Yellow and Royal Blue to create my dark and highlight colors. I painted this on the grieves, knees, tiny details on the armor, shoulder pads, and on the shield on the Coyote. I then hit all of these with the dry brush.

At this point, I realized that I needed to paint the screens/windows/ on the droid. So I did it with Royal Blue and built up to pure Frost Blue. Take time, thin layers, and glaze your highlights from the shadow to the lightest point. A few dabs of Kimera White throughout the models helped build out some specular highlights, and I’m basically done.
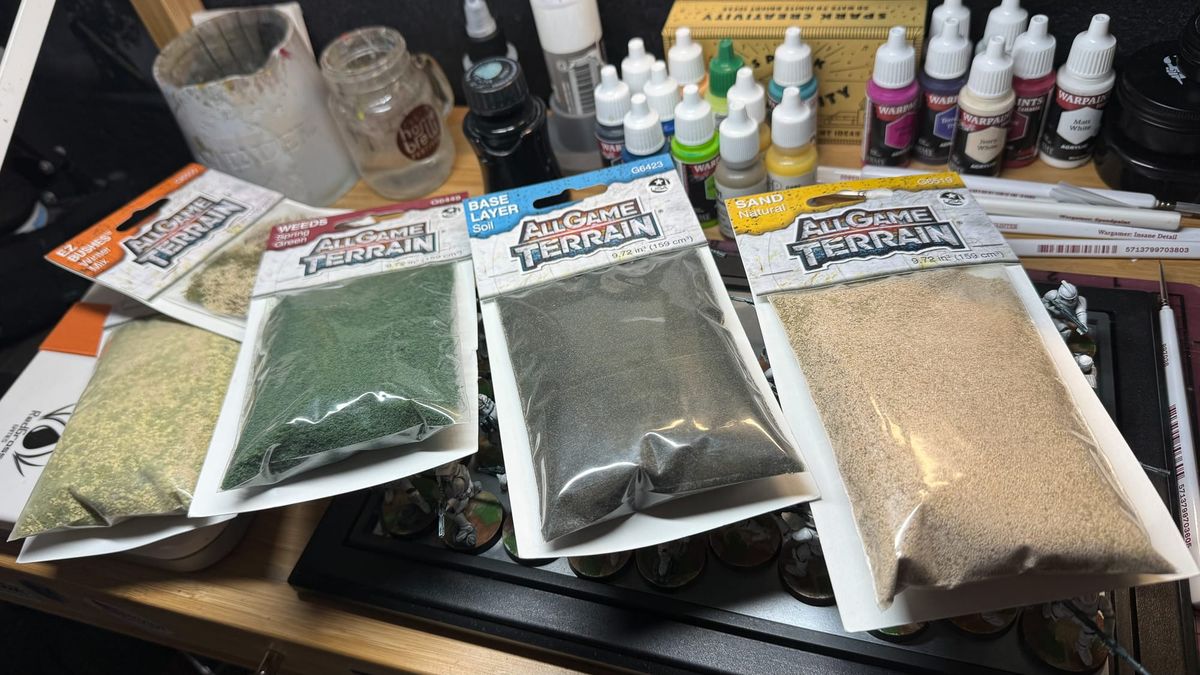
For the bases, I used a mixture of ground materials from All Game Terrain, and then used an airbrush to spray just a little bit of shadow on the backside of each base. For the Coyote and Shifta, they’re both standing on metallic elements, so I hit them with both the non metallic metal mixture, a little bit of metallic drybrush, and on the Shifta, a little bit of blue glow, and the Coyote got some wash, to represent dust and grime.
Finished Models
And there you go! Hopefully you can see how a simple scheme can be repeated over the course of an army. If you wanted to push these further, you could. There’s a ton of details on these models, and you could paint every specific detail to a high level, like what you see on Instagram, but remember, done is better than perfect for the tabletop.
You can pick up Operation Mazebreaker now and start jumping into Infinity. Stick with Gaming Trend for our next tutorial where I’ll cover painting the Aleph faction!


