In 2007, I picked up the miniseries Silent War, which was a 6 book limited series detailing the Inhumans being at war with humanity after Quicksilver stole the Terrigen Mist from Attilan.
For anyone new to Inhumans, I bet most of that line didn’t make sense, so here’s some context:
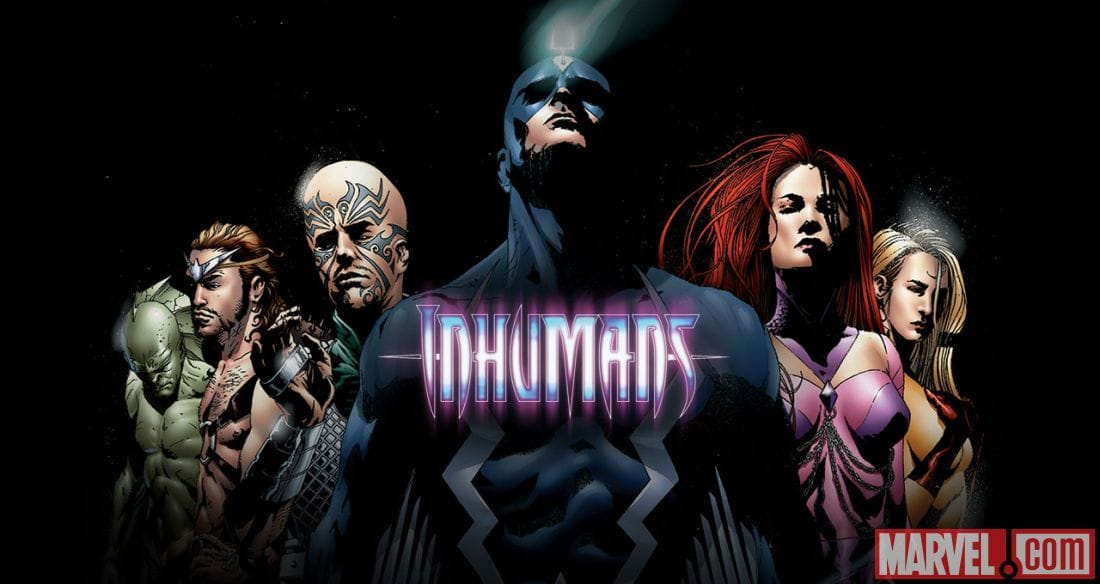
The Inhumans are a race of superpowered beings that were experimented on by Kree aliens in an attempt to evolve themselves and create some super soldiers for their war. As these things go, the Kree abandoned the Inhumans, which then went on to form their own society, experiment on themselves with Terrigen Mist (this gives them powers) and then in 2007, the mutant Quicksilver stole the crystals in an attempt to bring back his power set, which led to a lot of shenanigans, as most Marvel comics do.
The important part for you is that the Inhumans are a varietal race of mutated folks with some really cool and weird powers.
- Medusa, the queen of the Inhumans, has prehensile hair that possesses super strength.
- Crystal, her sister, controls the four elements.
- Black Bolt, the King of the Inhumans, has a hypersonic voice that can destroy…so he cannot talk.
- Lockjaw, their dog, who has the power of teleportation.
Like I wrote, weird powers.
Atomic Mass Games sent over the Inhumans for me to play with and paint, so if you want to check out the unboxing on them, here’s a link. Once you’re done with that, let’s get to painting.
 Randy Gregory II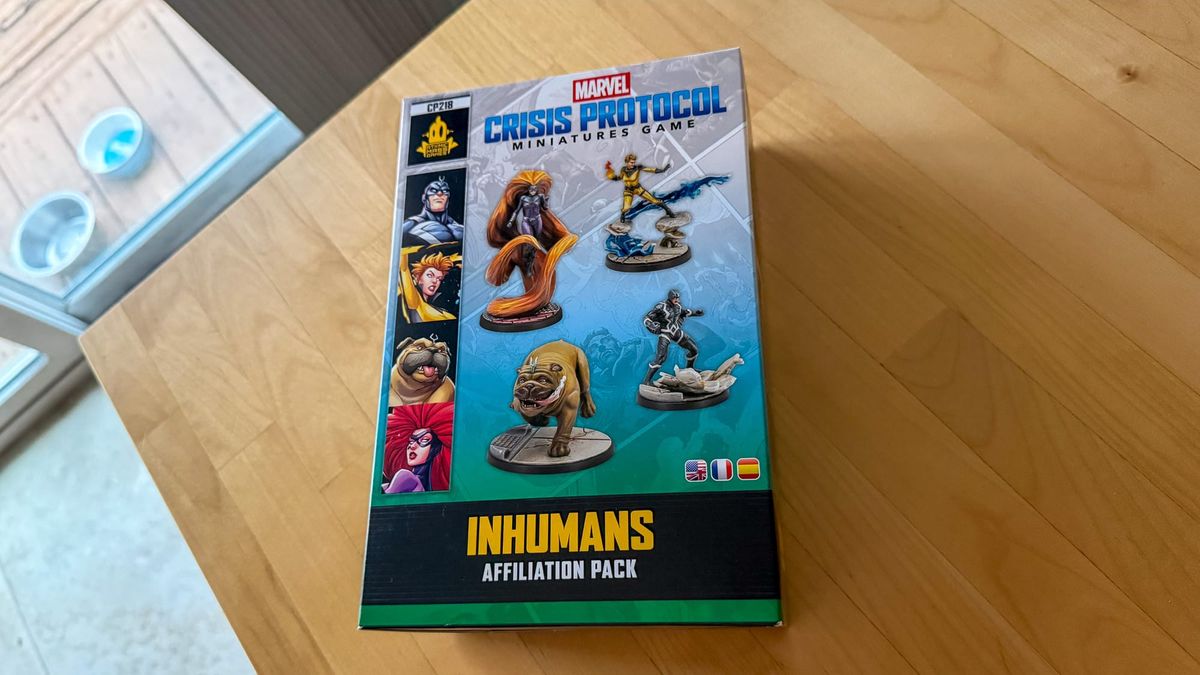
The Plan
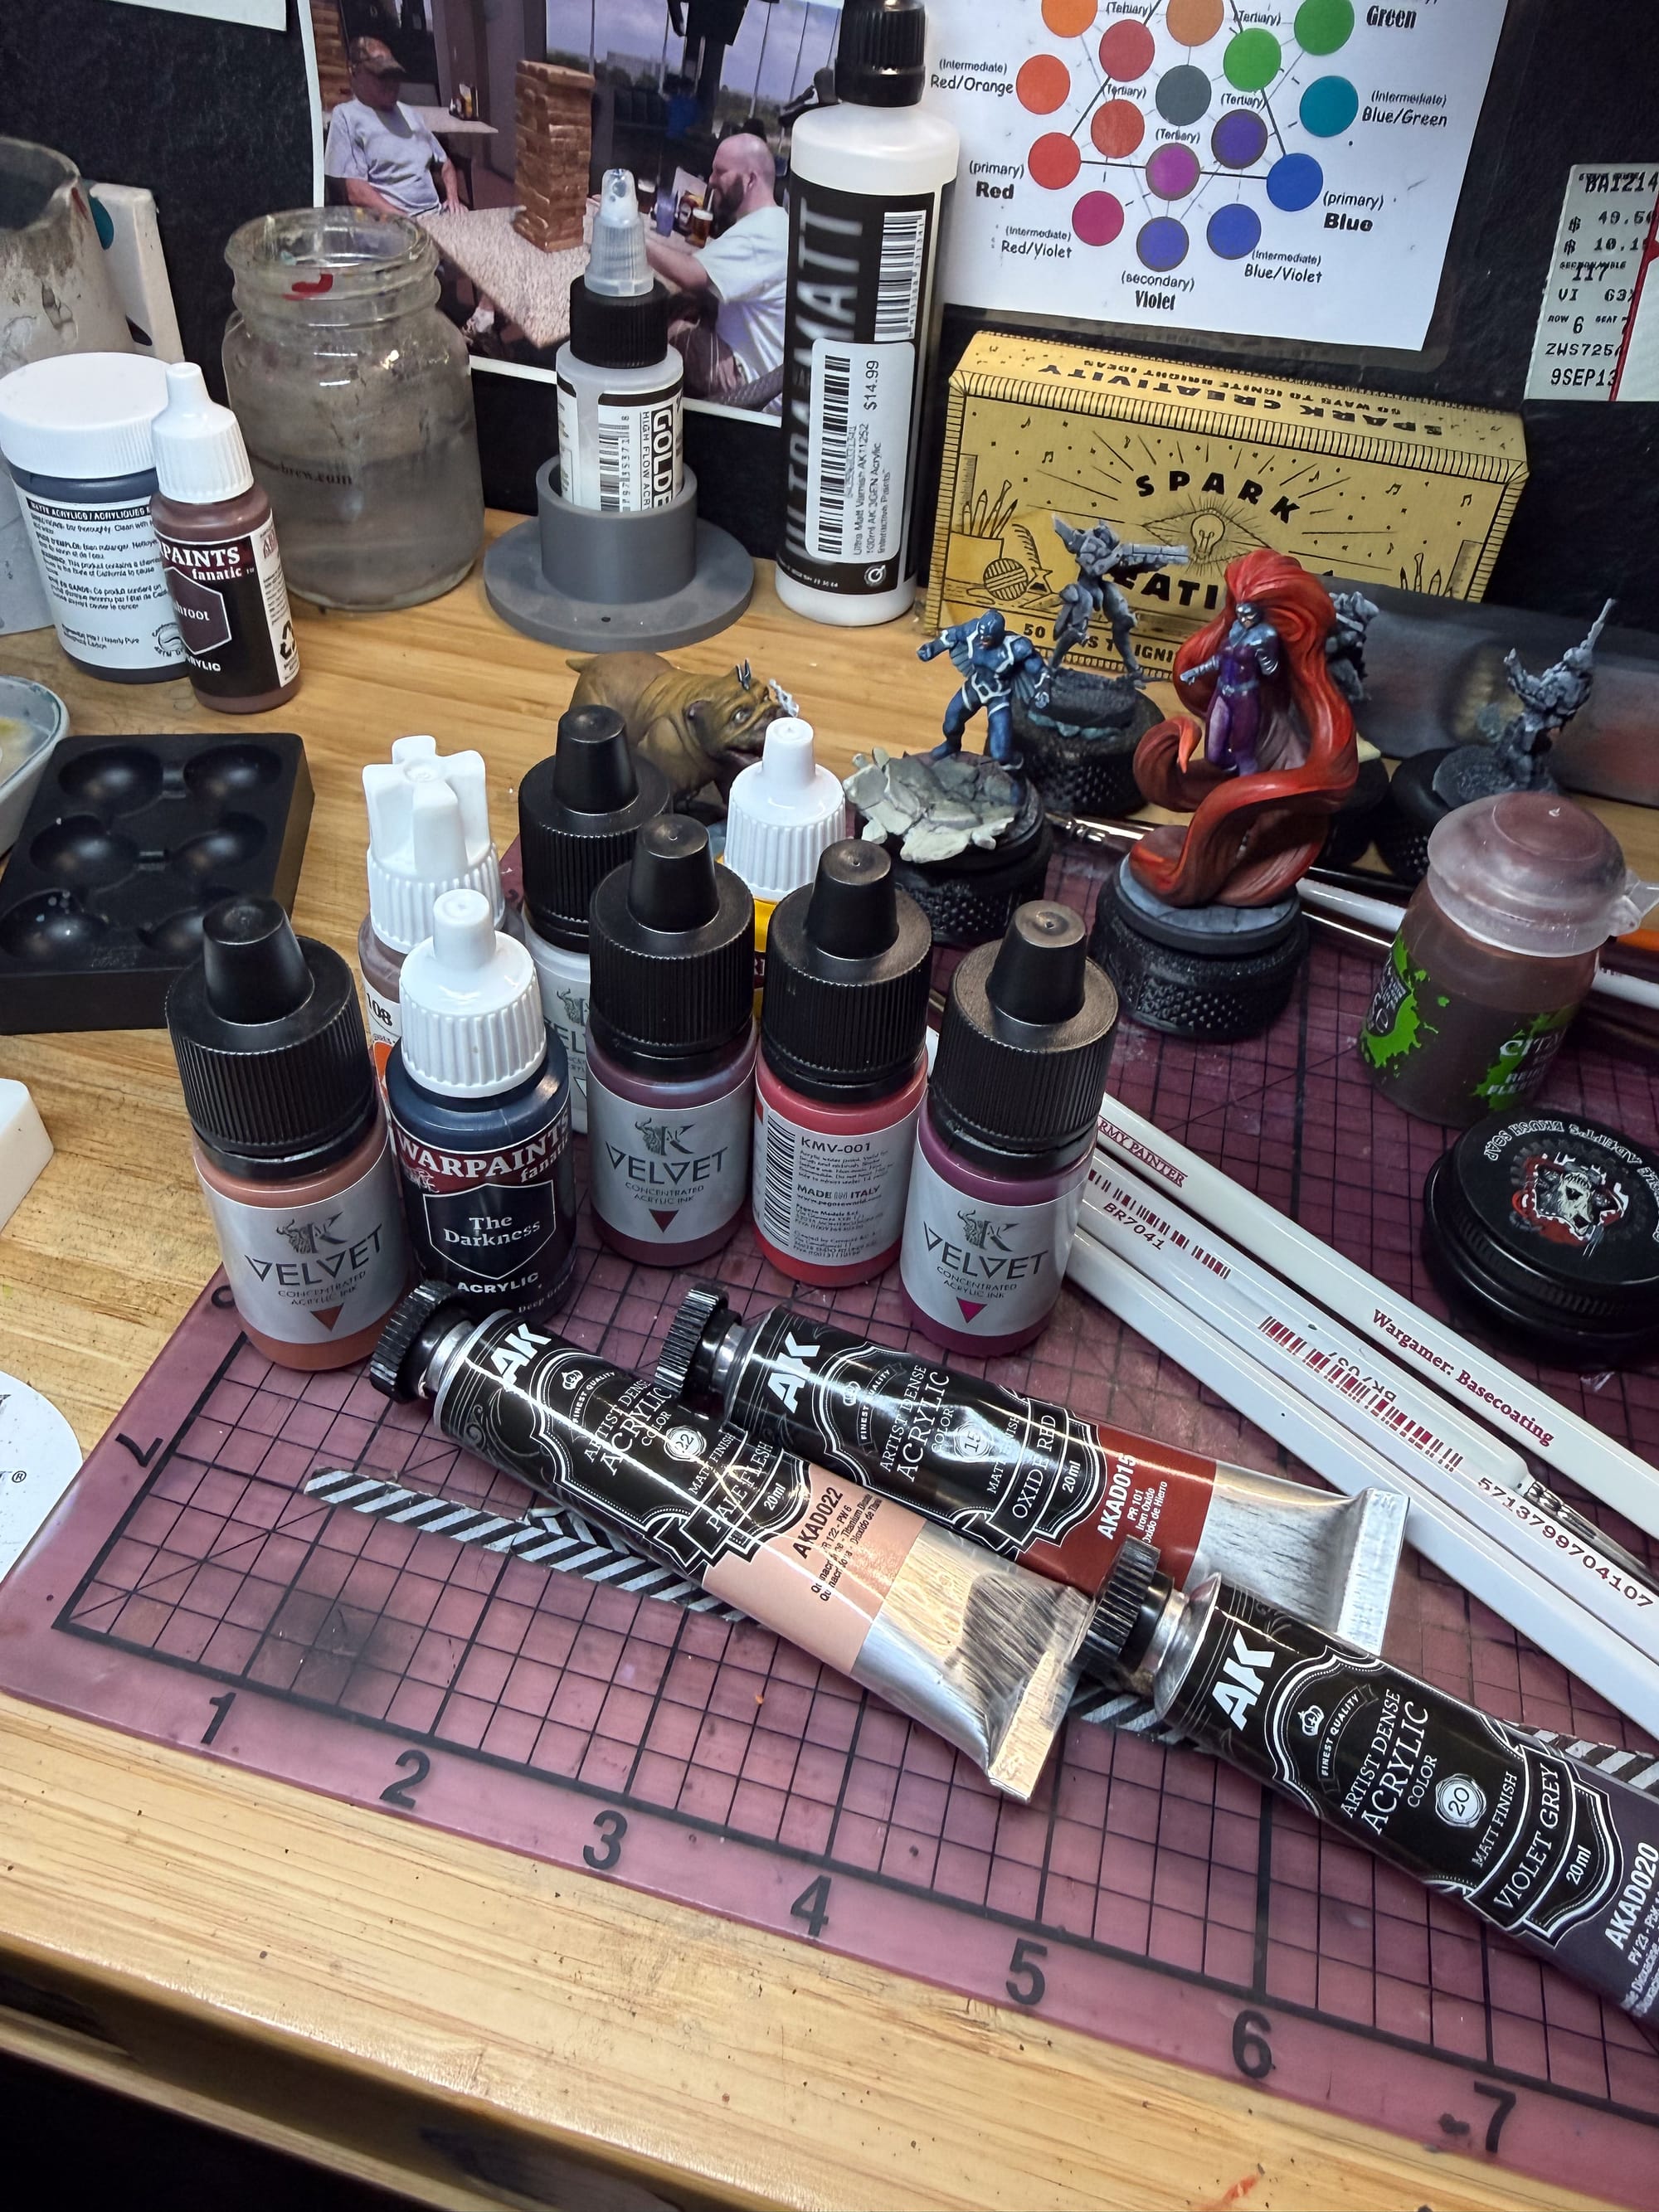
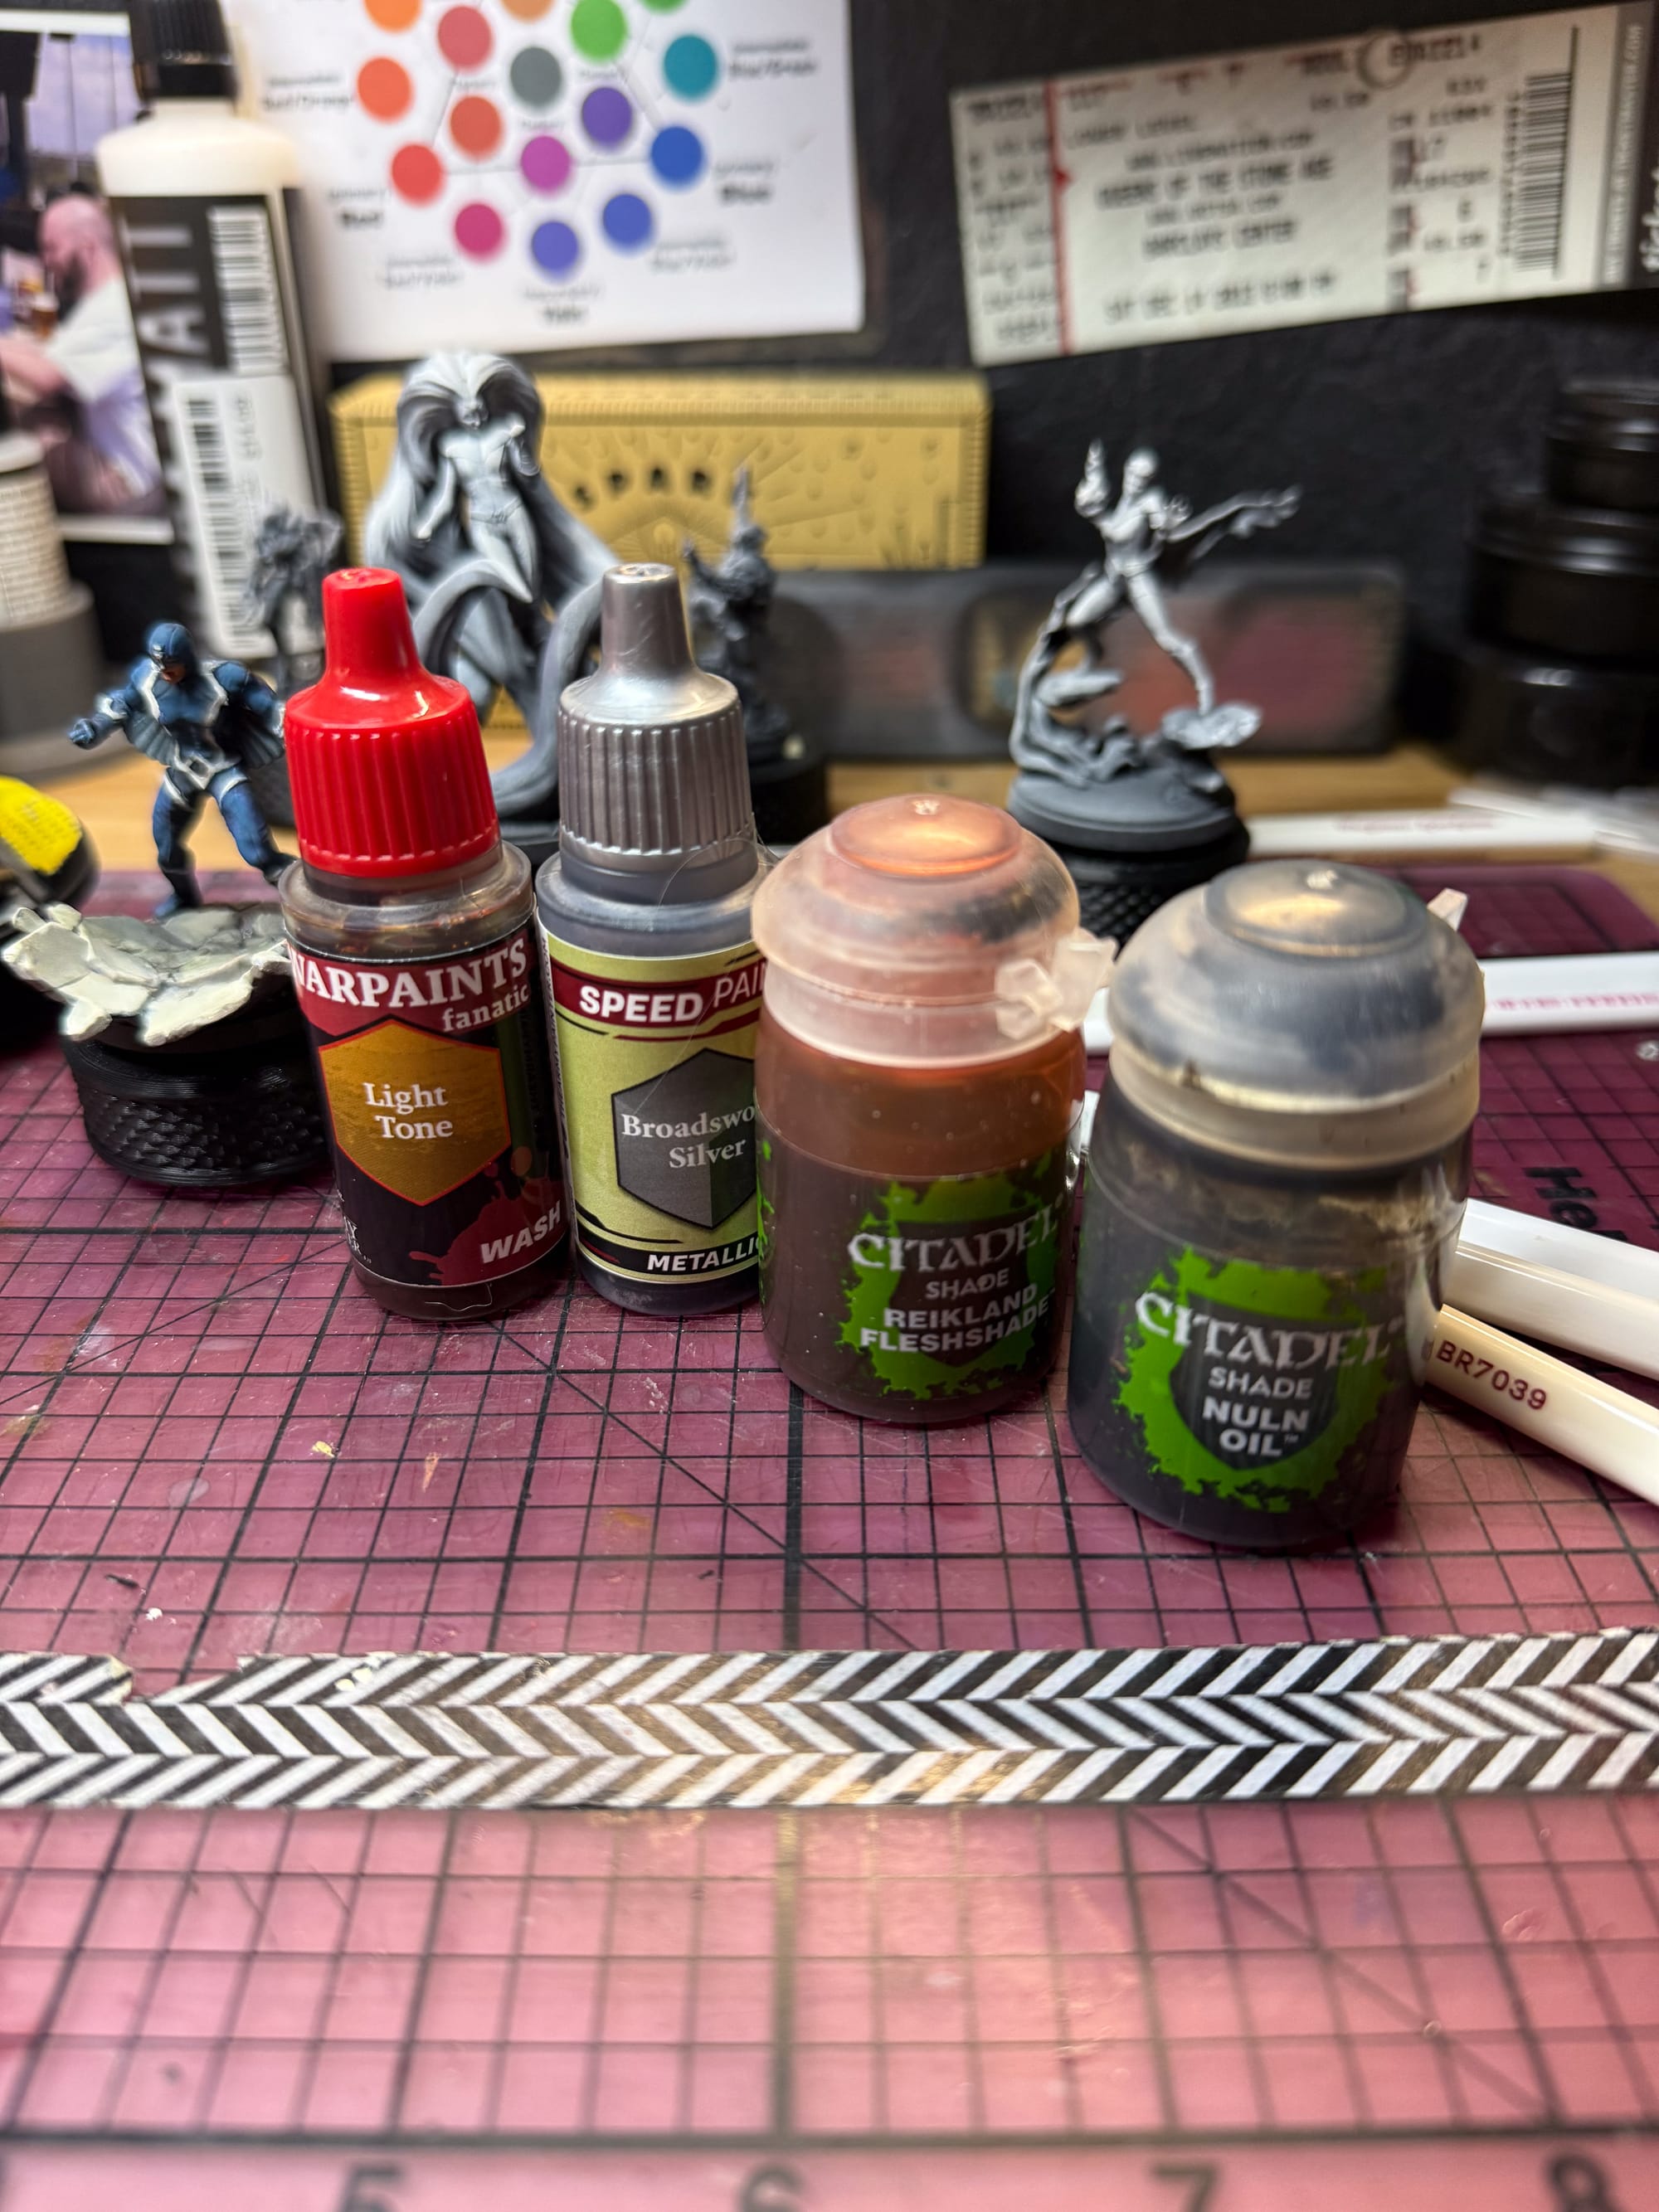
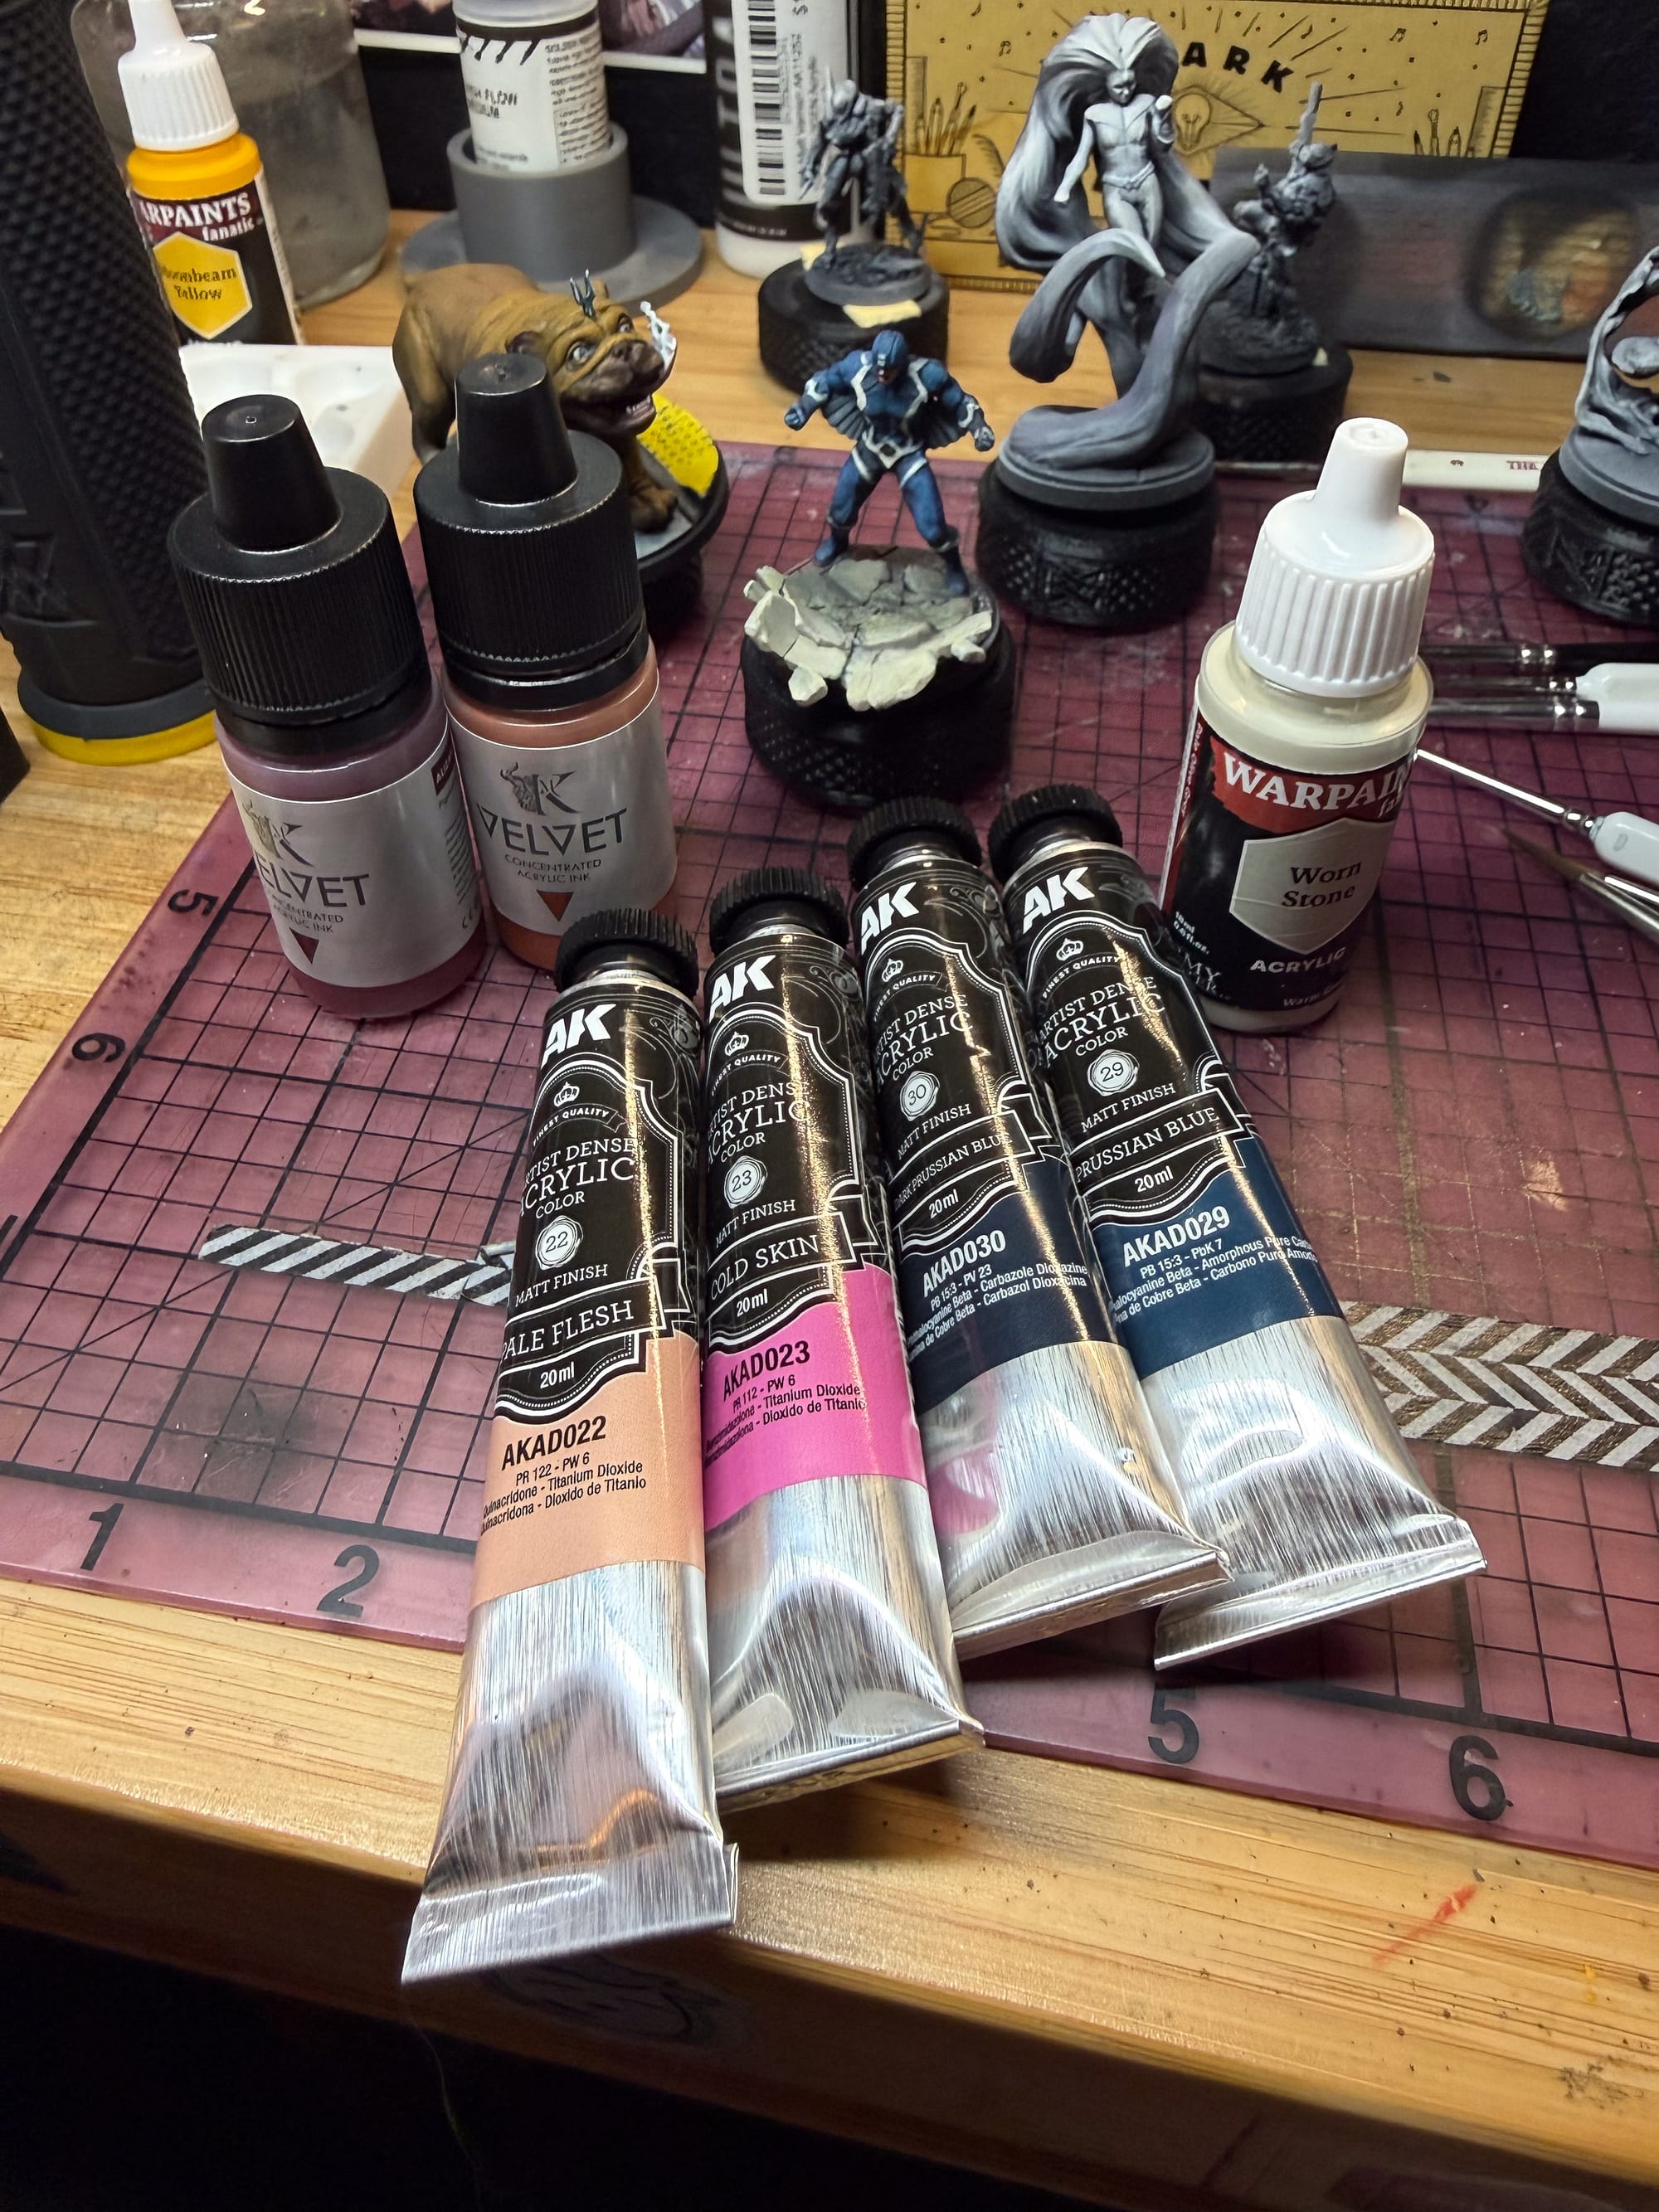
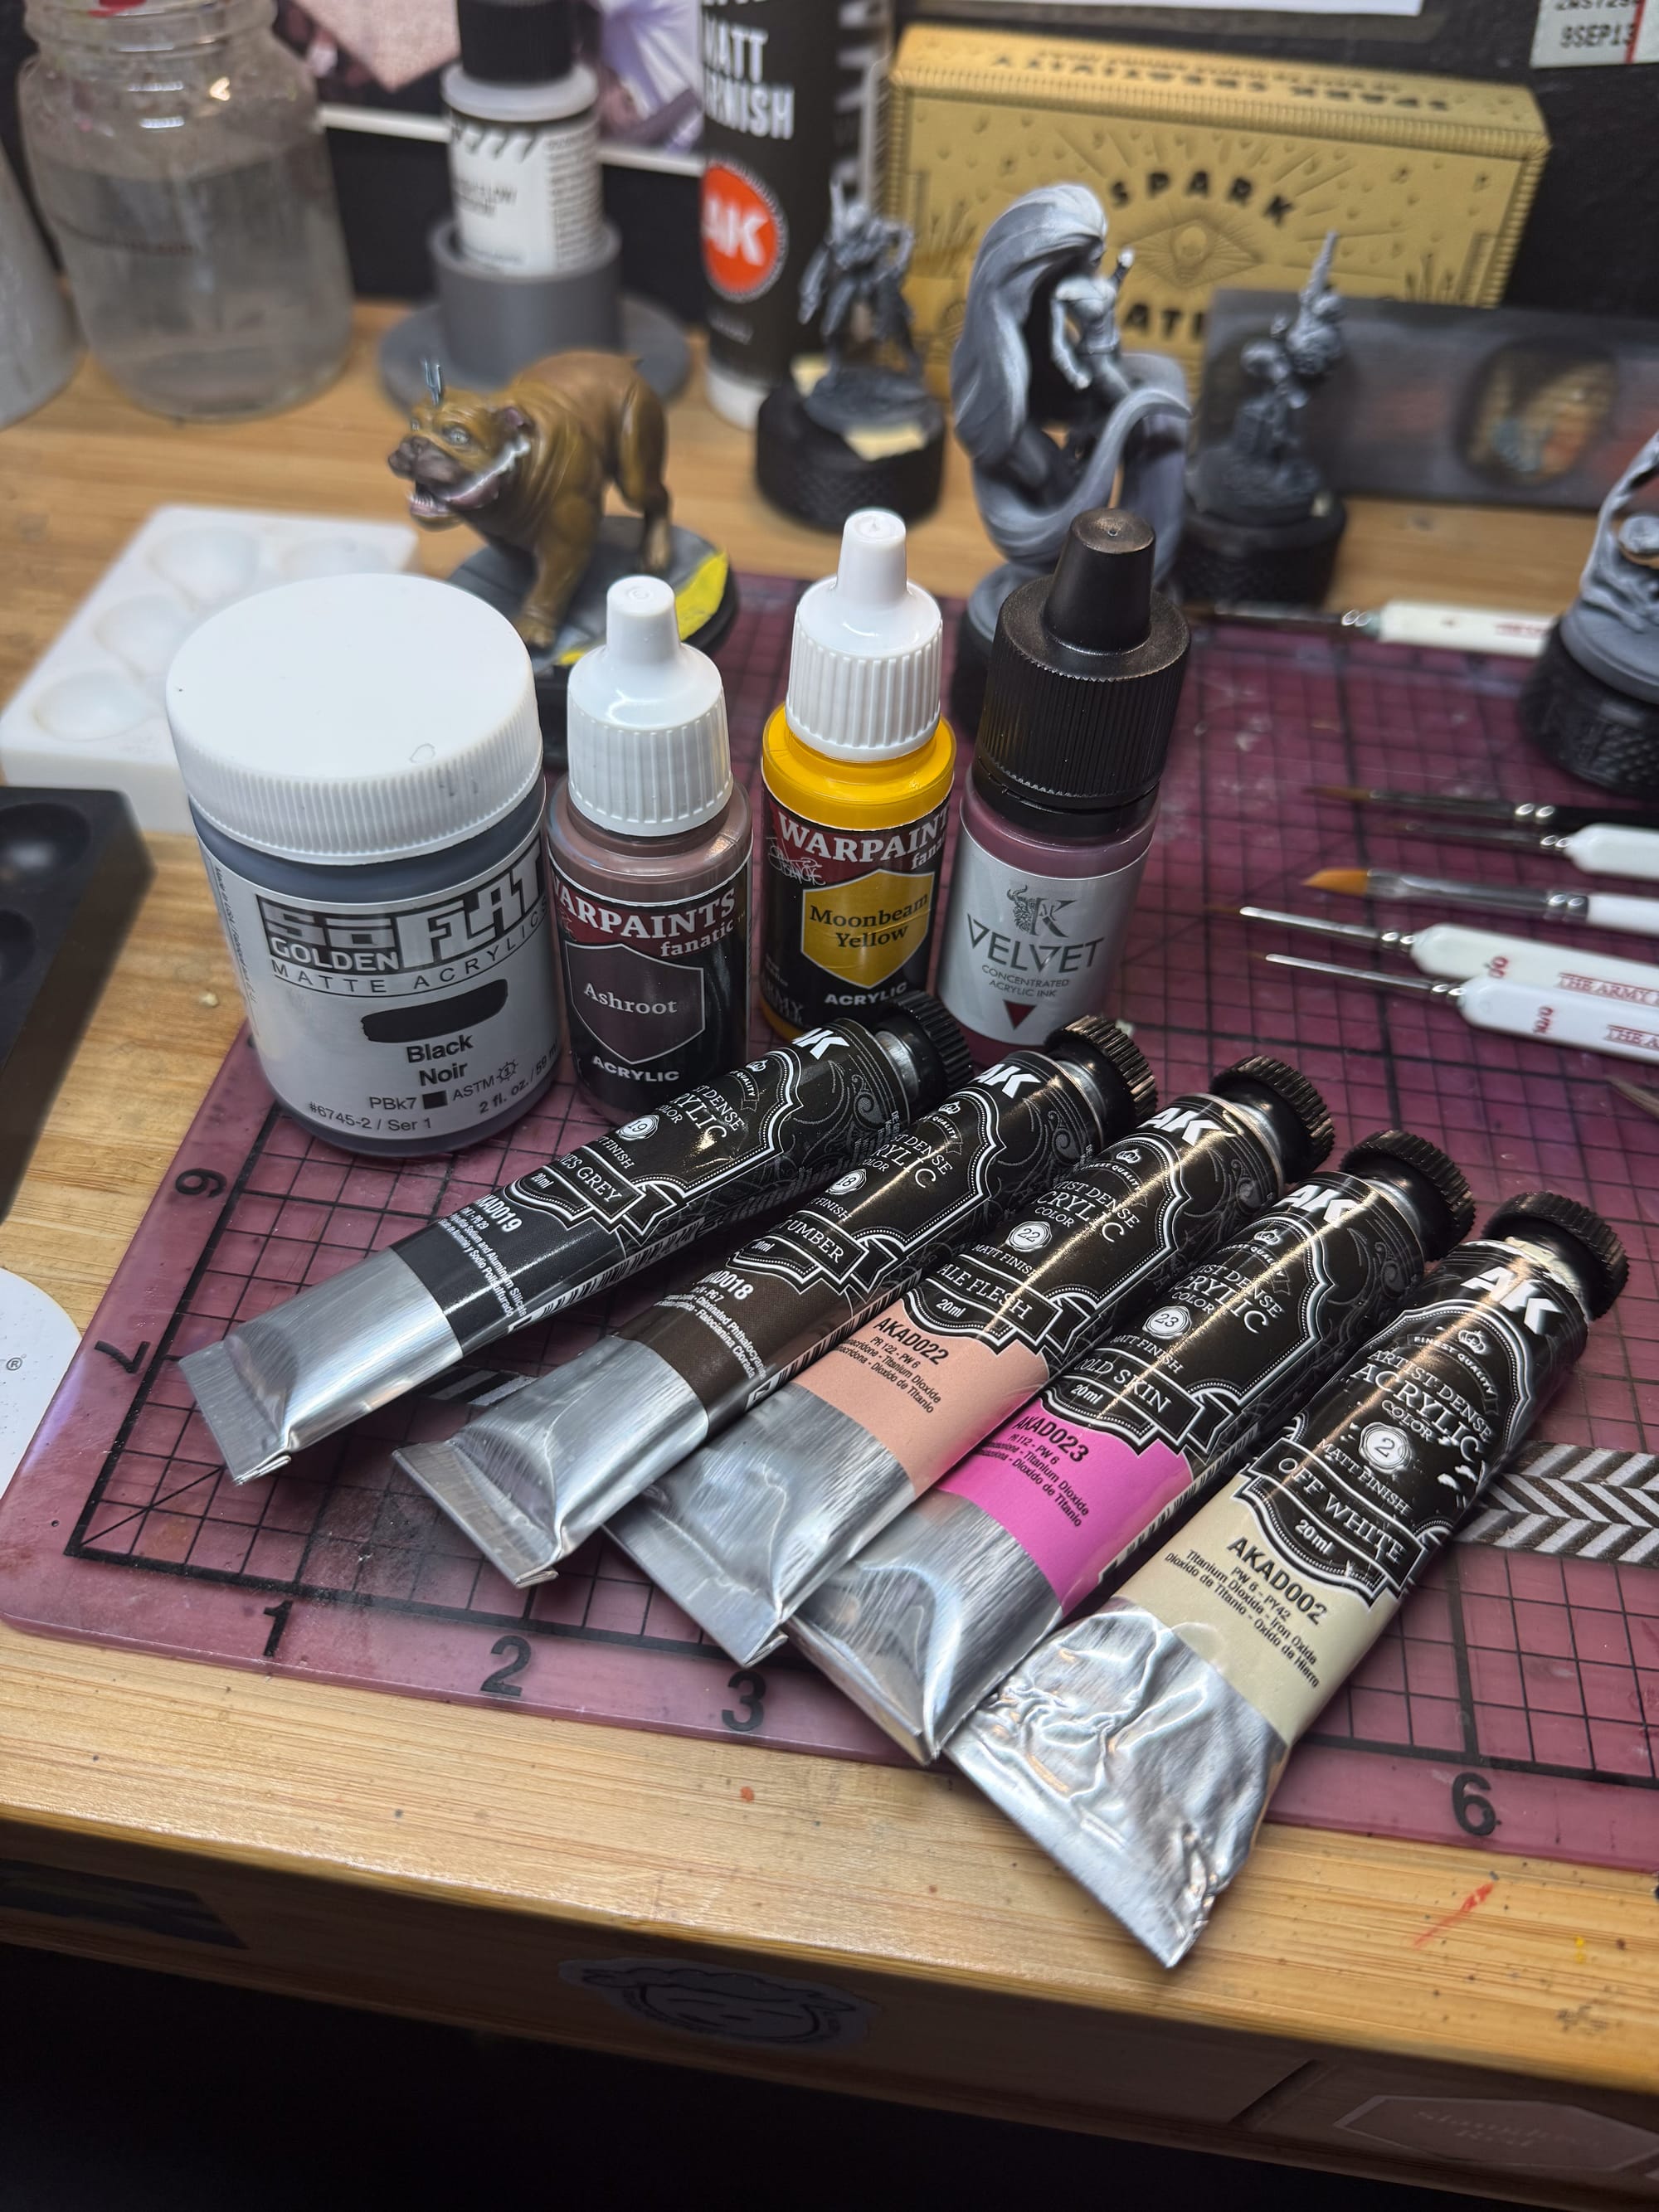
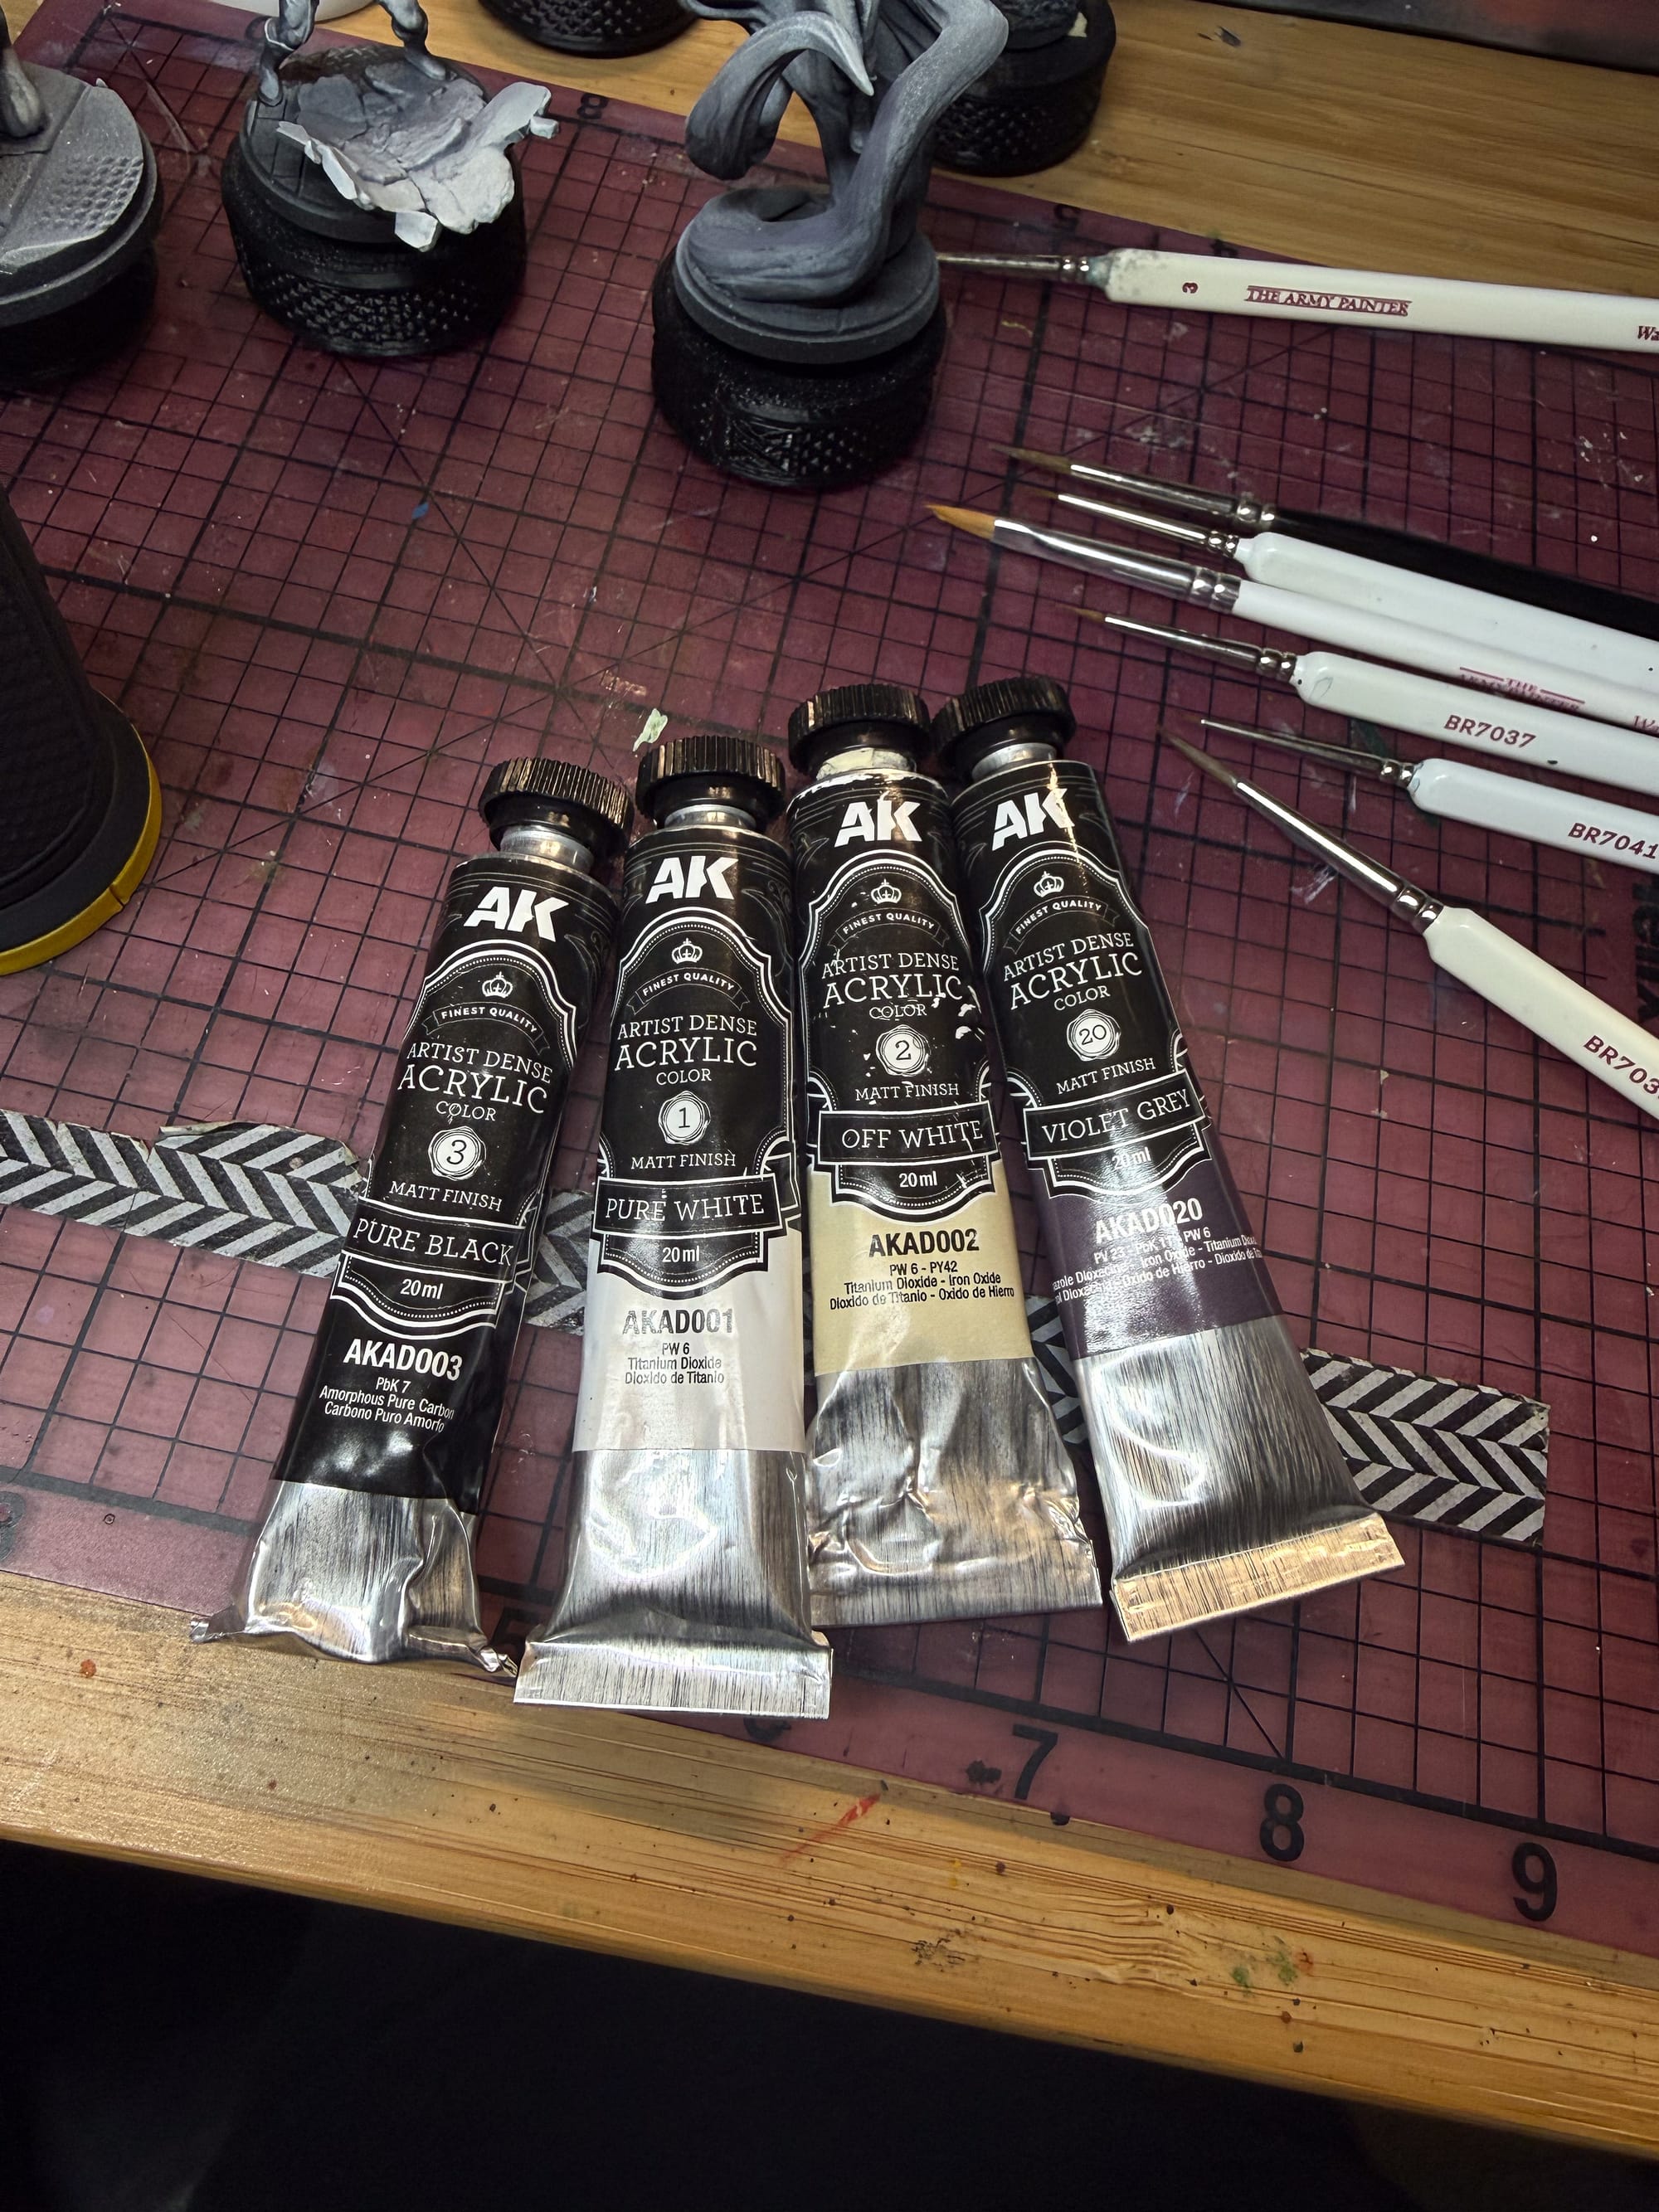
It takes a village to paint a unit
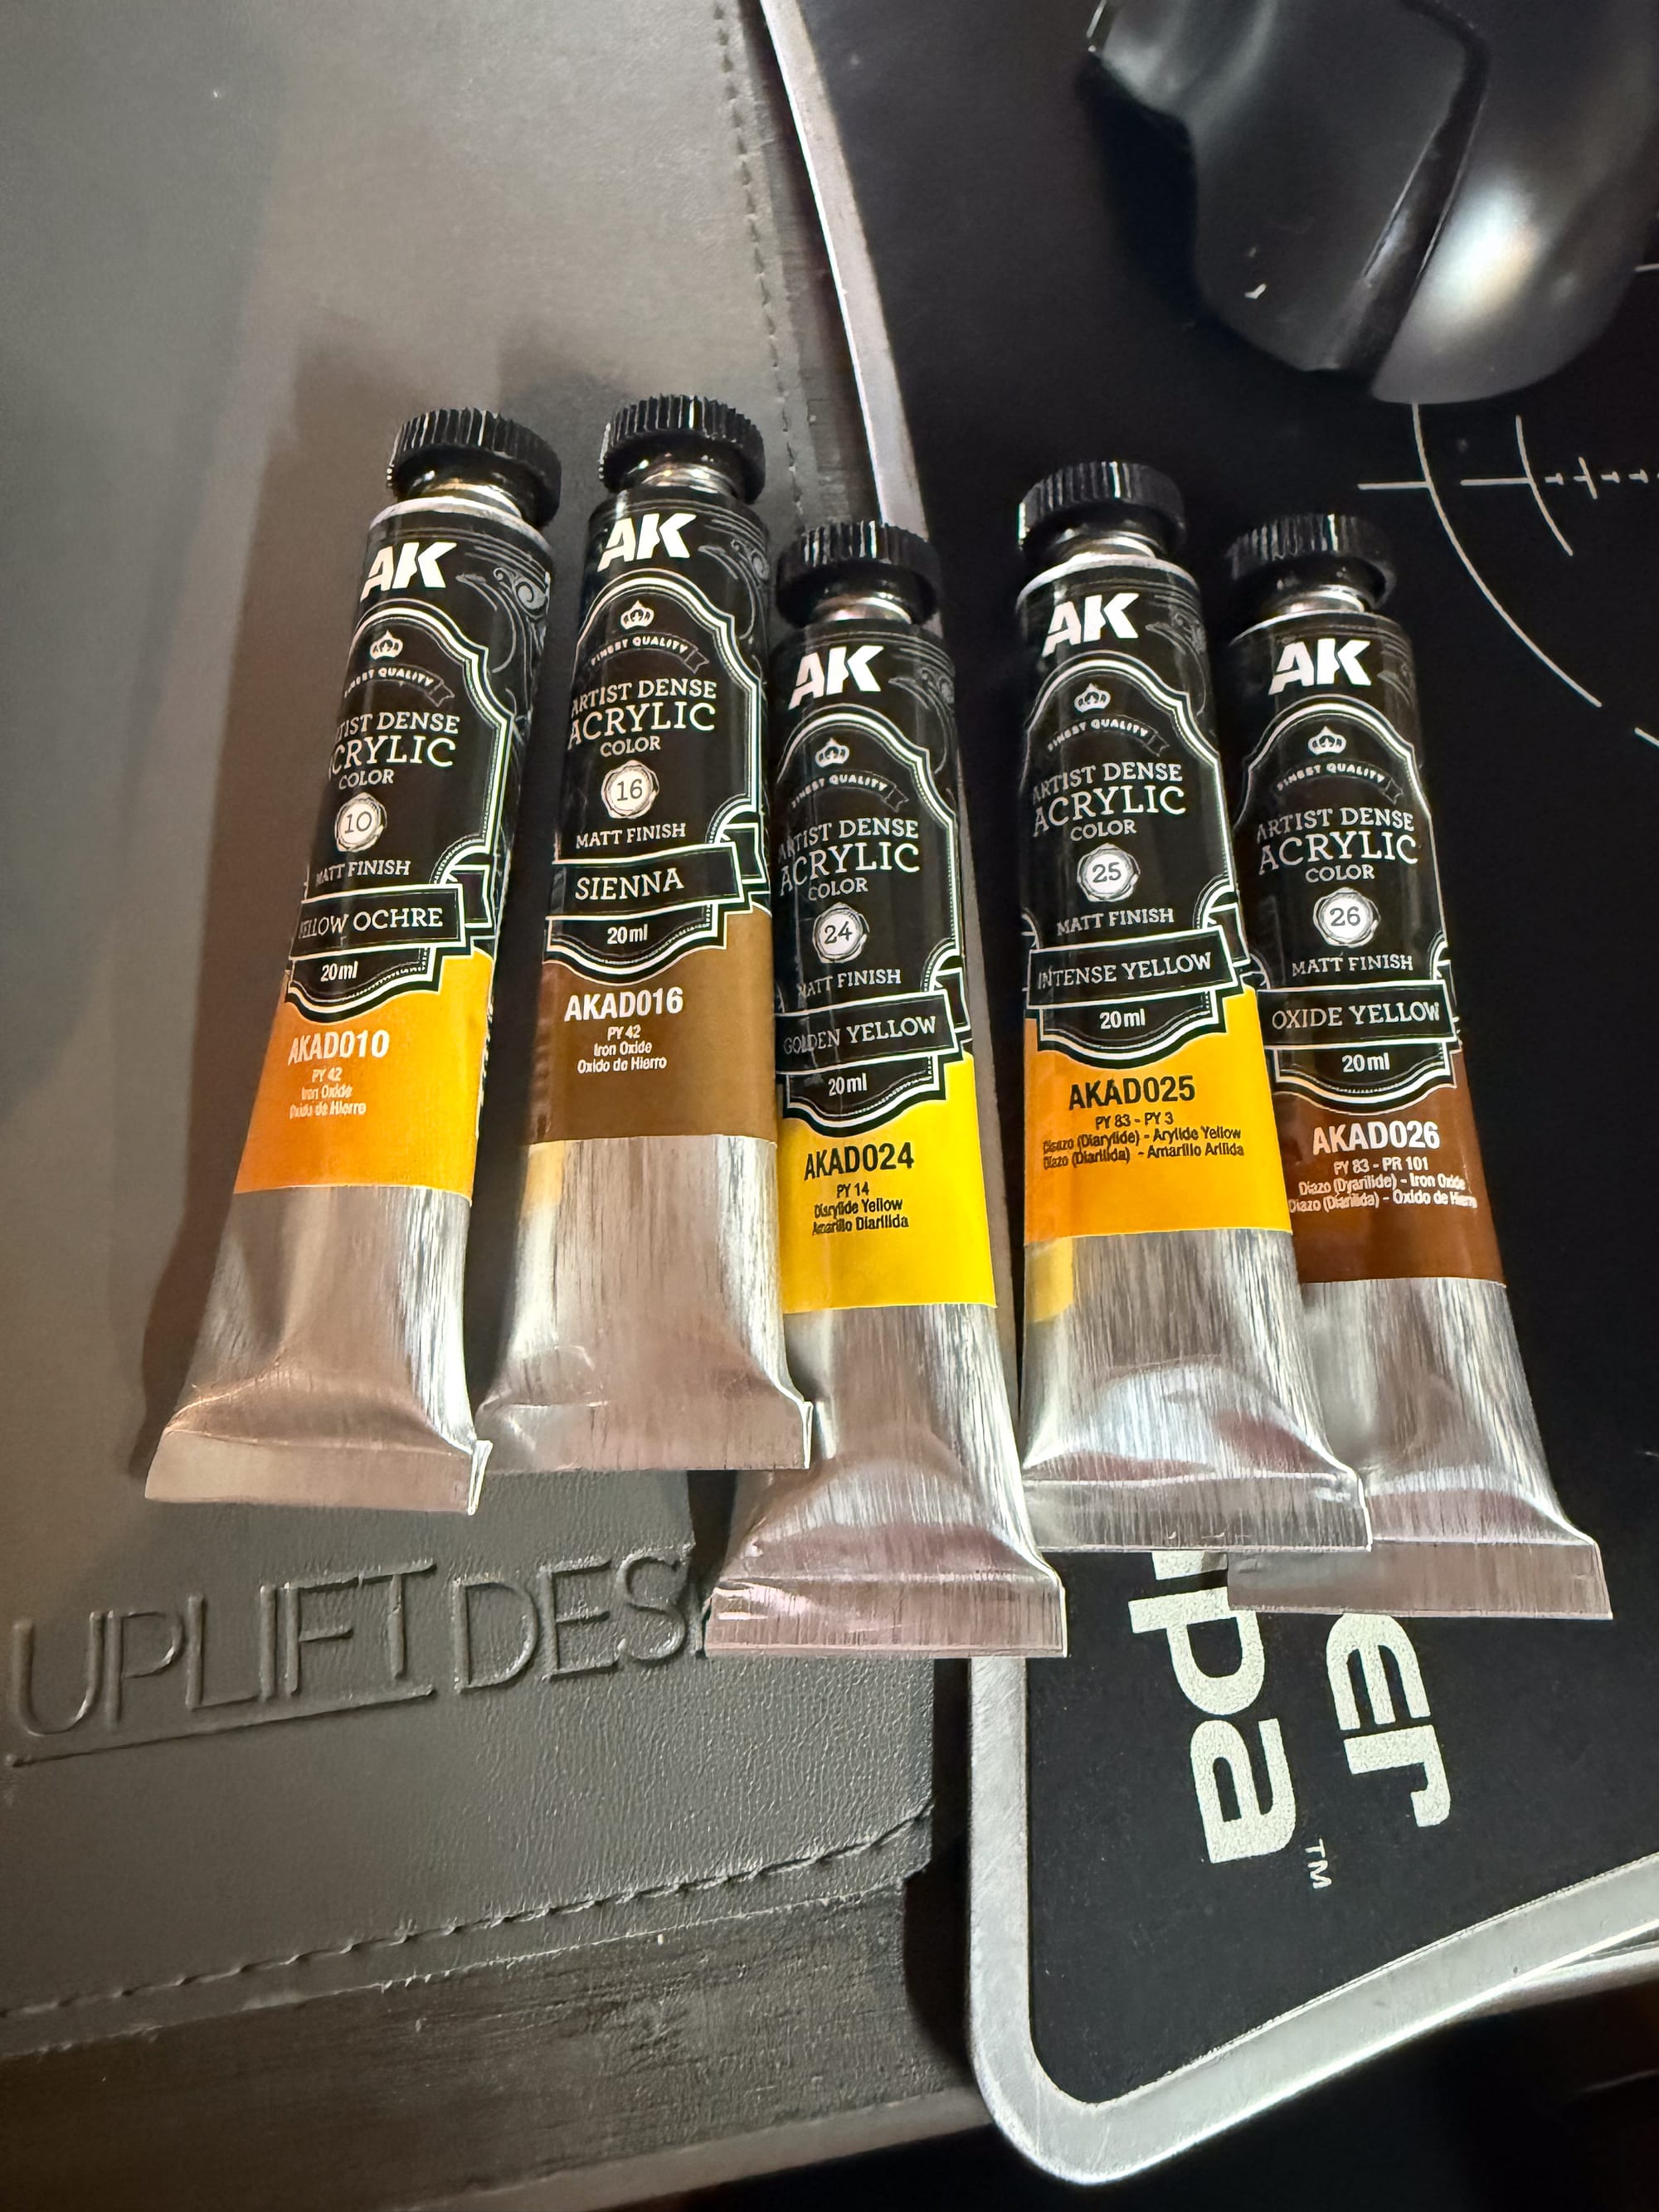
At the same time, AK Interactive sent over their new sets of Artist Acrylics, which we’ve featured in the past, and they have some new paints. For this entire article, I used the majority of the artist's acrylics minus the green range.
I also used a few other paints:
Army Painter:
- Ashroot
- Moonbeam Yellow
- Worn Stone
- The Darkness
- Light Tone
- Broadsword Silver
Citadel:
- Reikland Fleshshade
- Nuln Oil
Kimera:
- Leather
- Royal Brown
- Magenta
- Red
- White
Prep
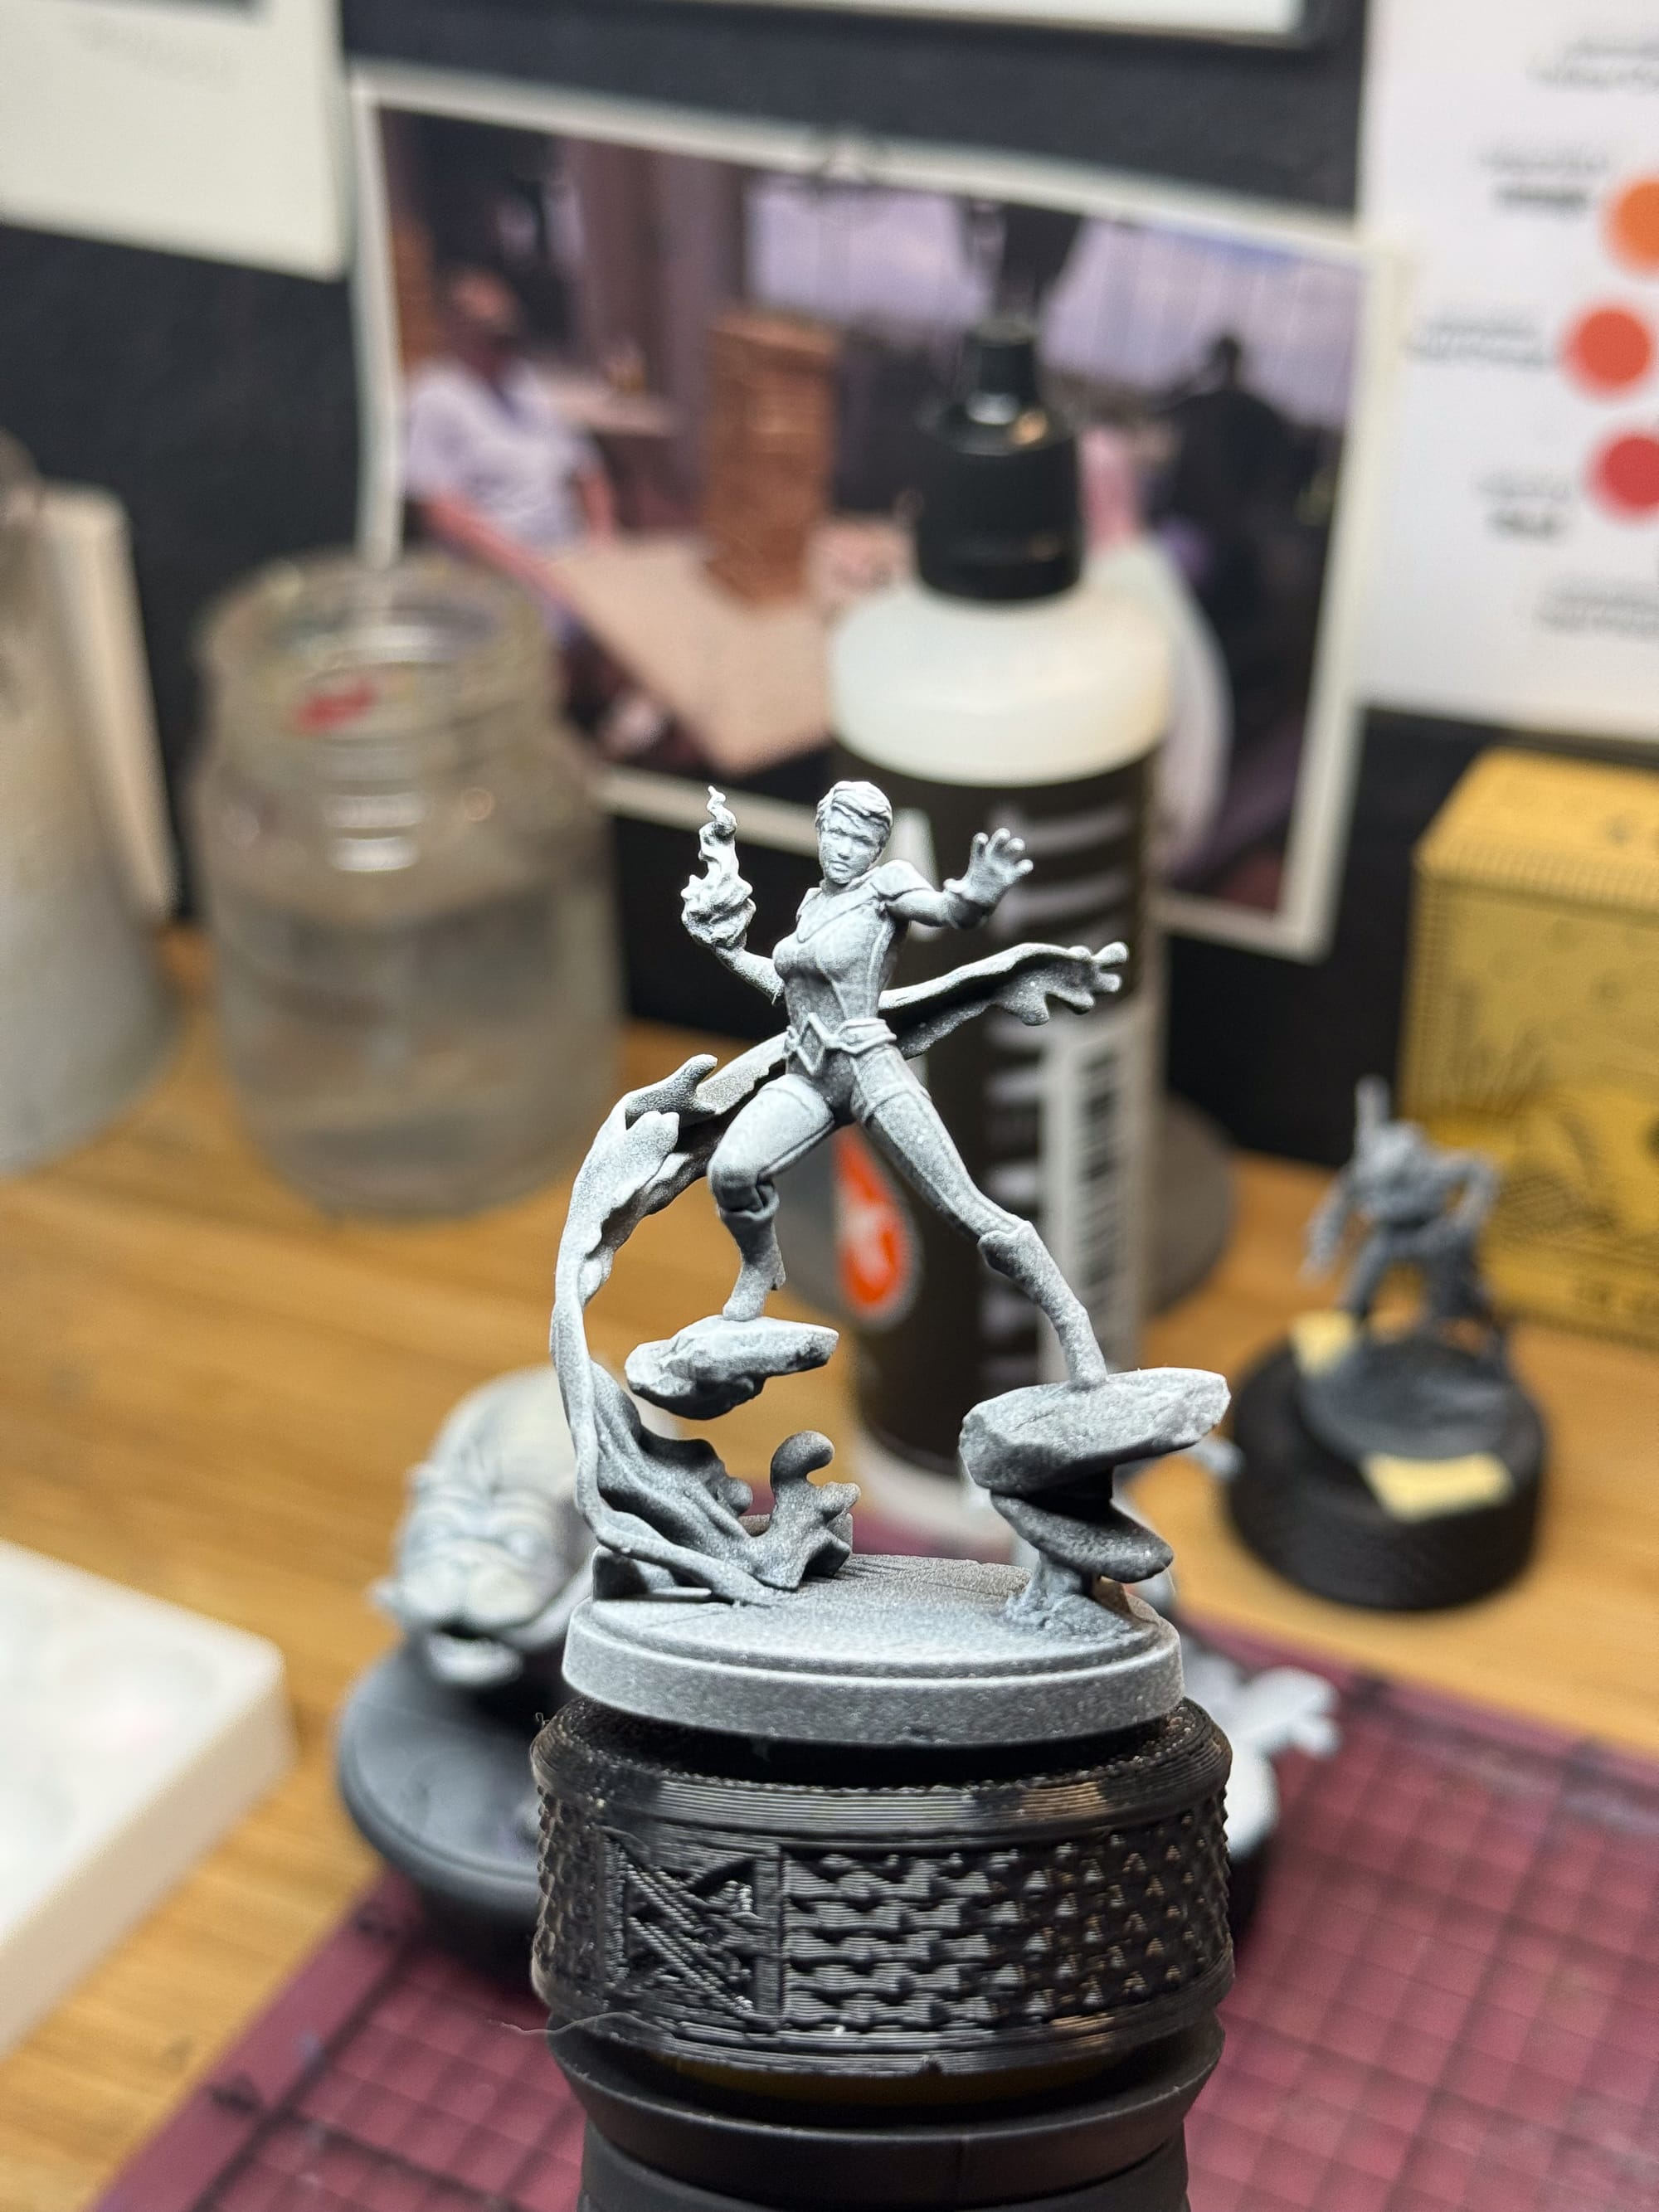
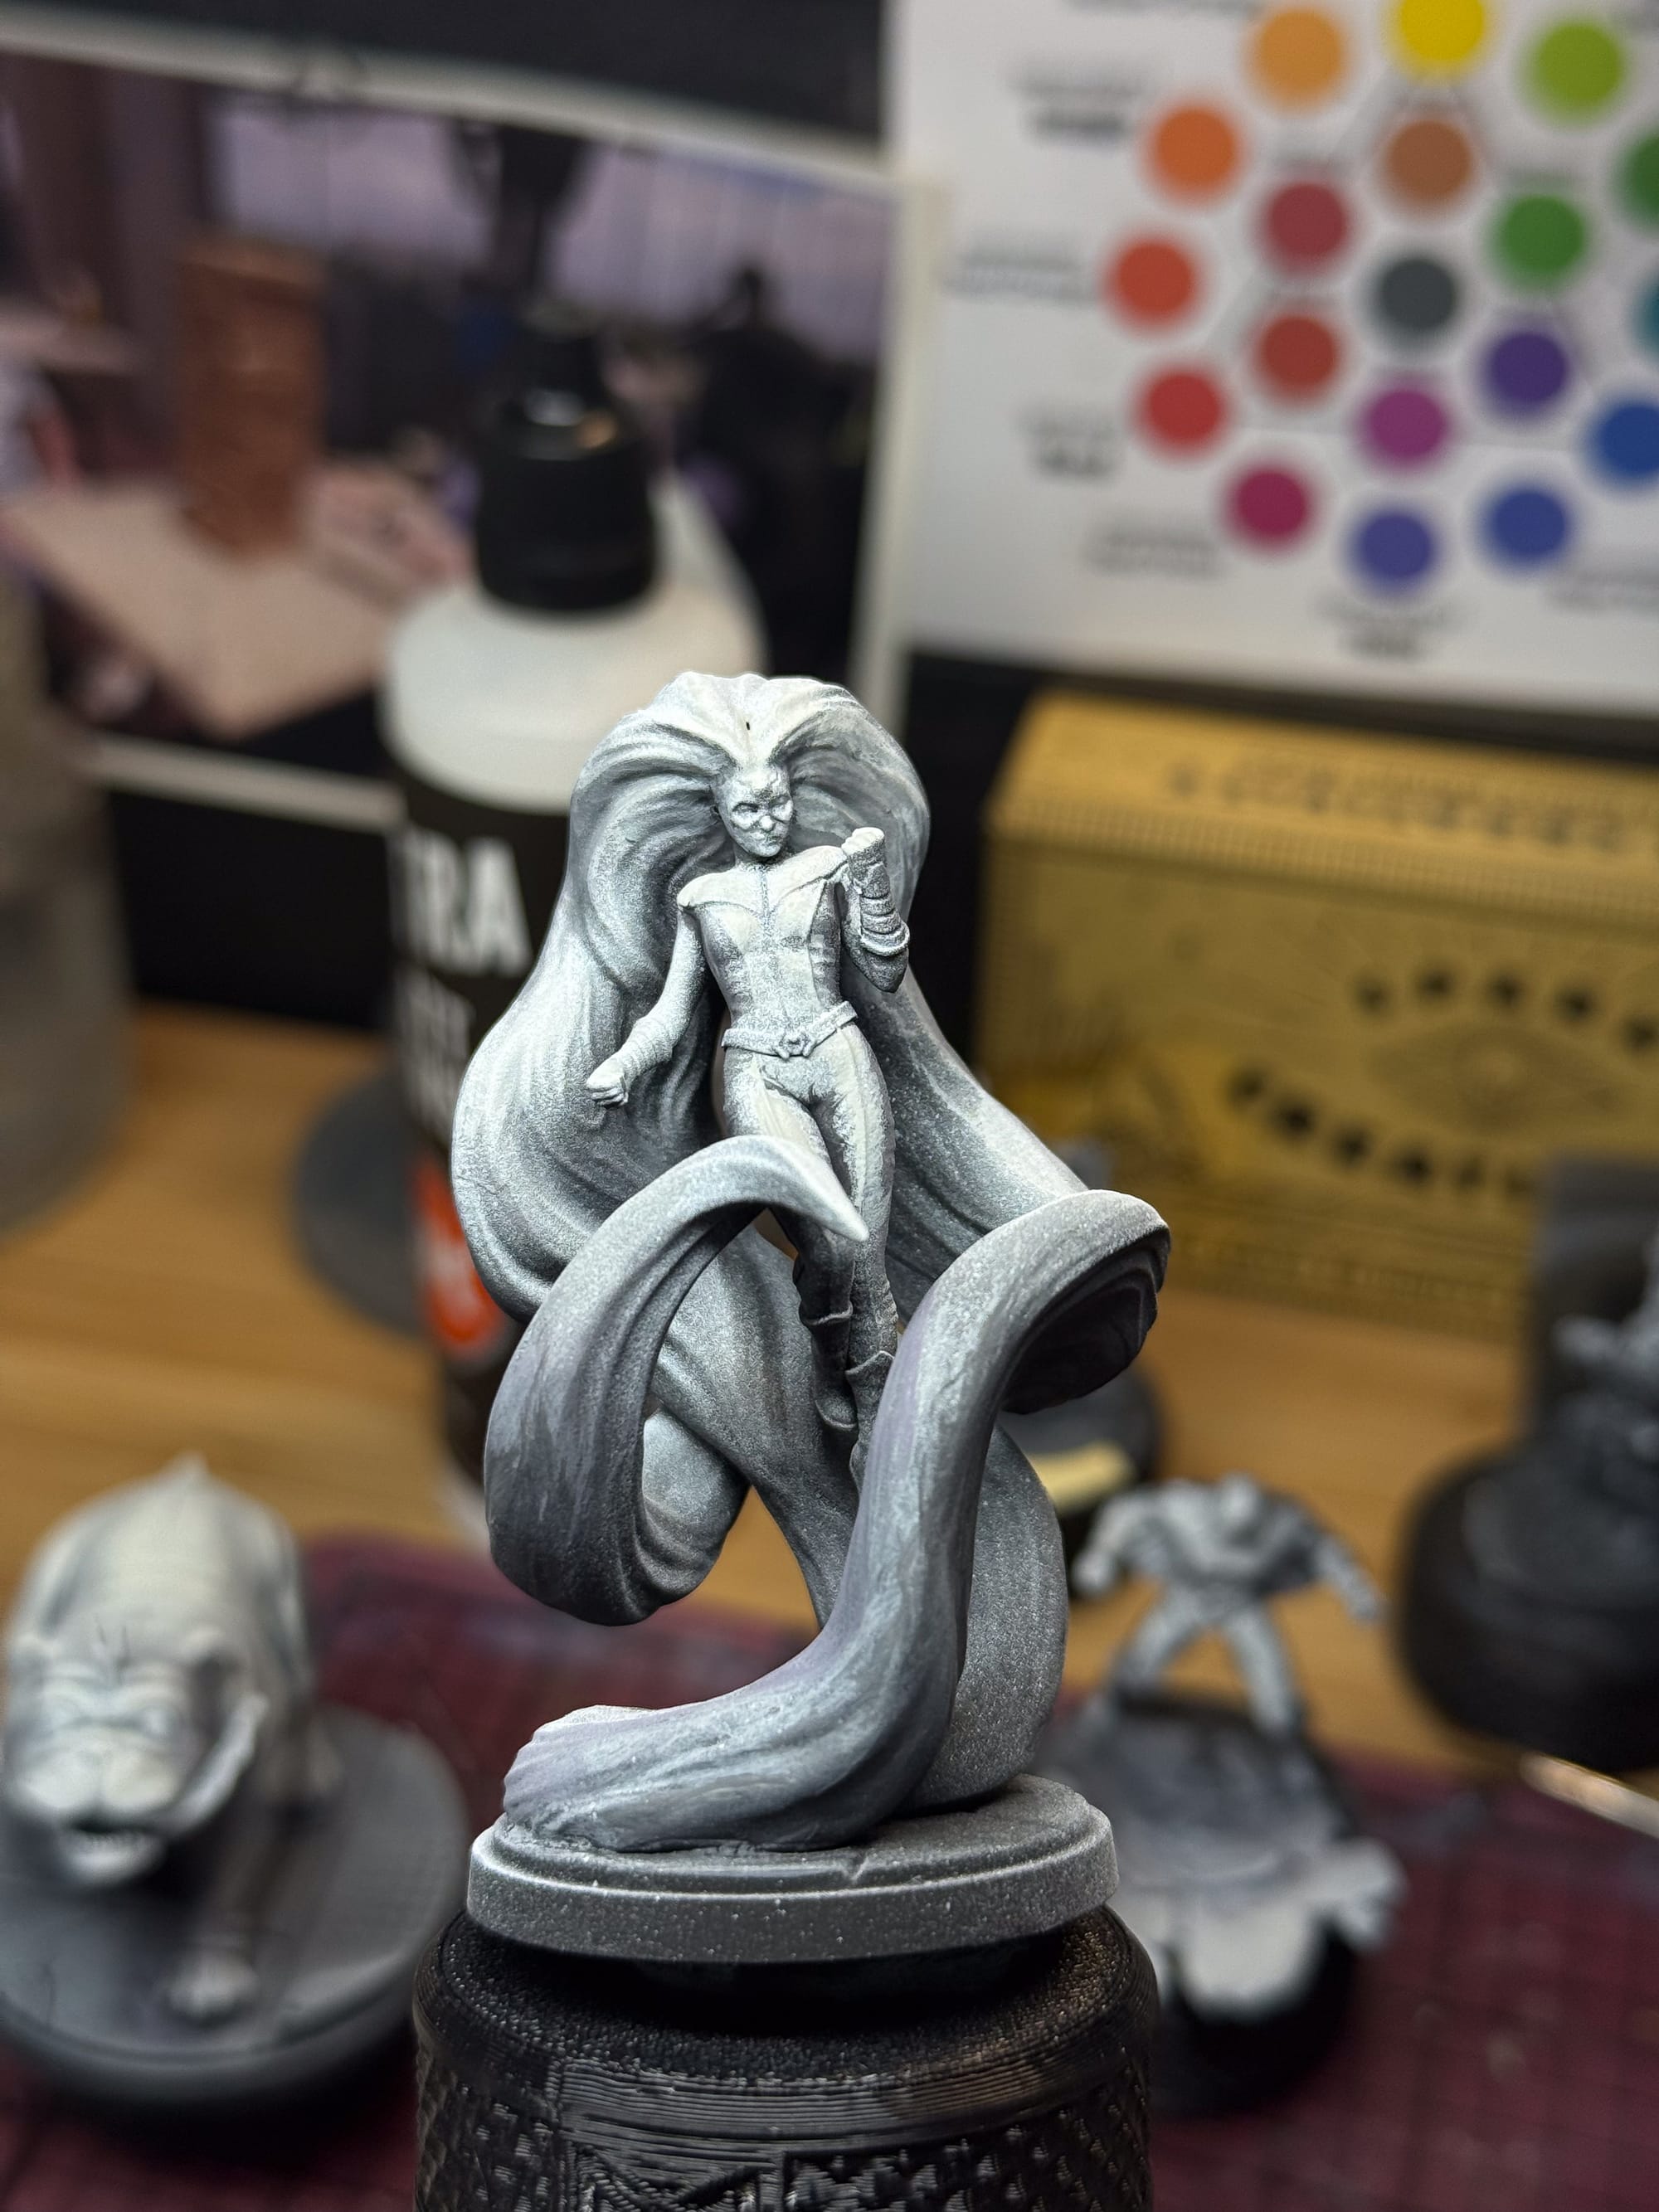
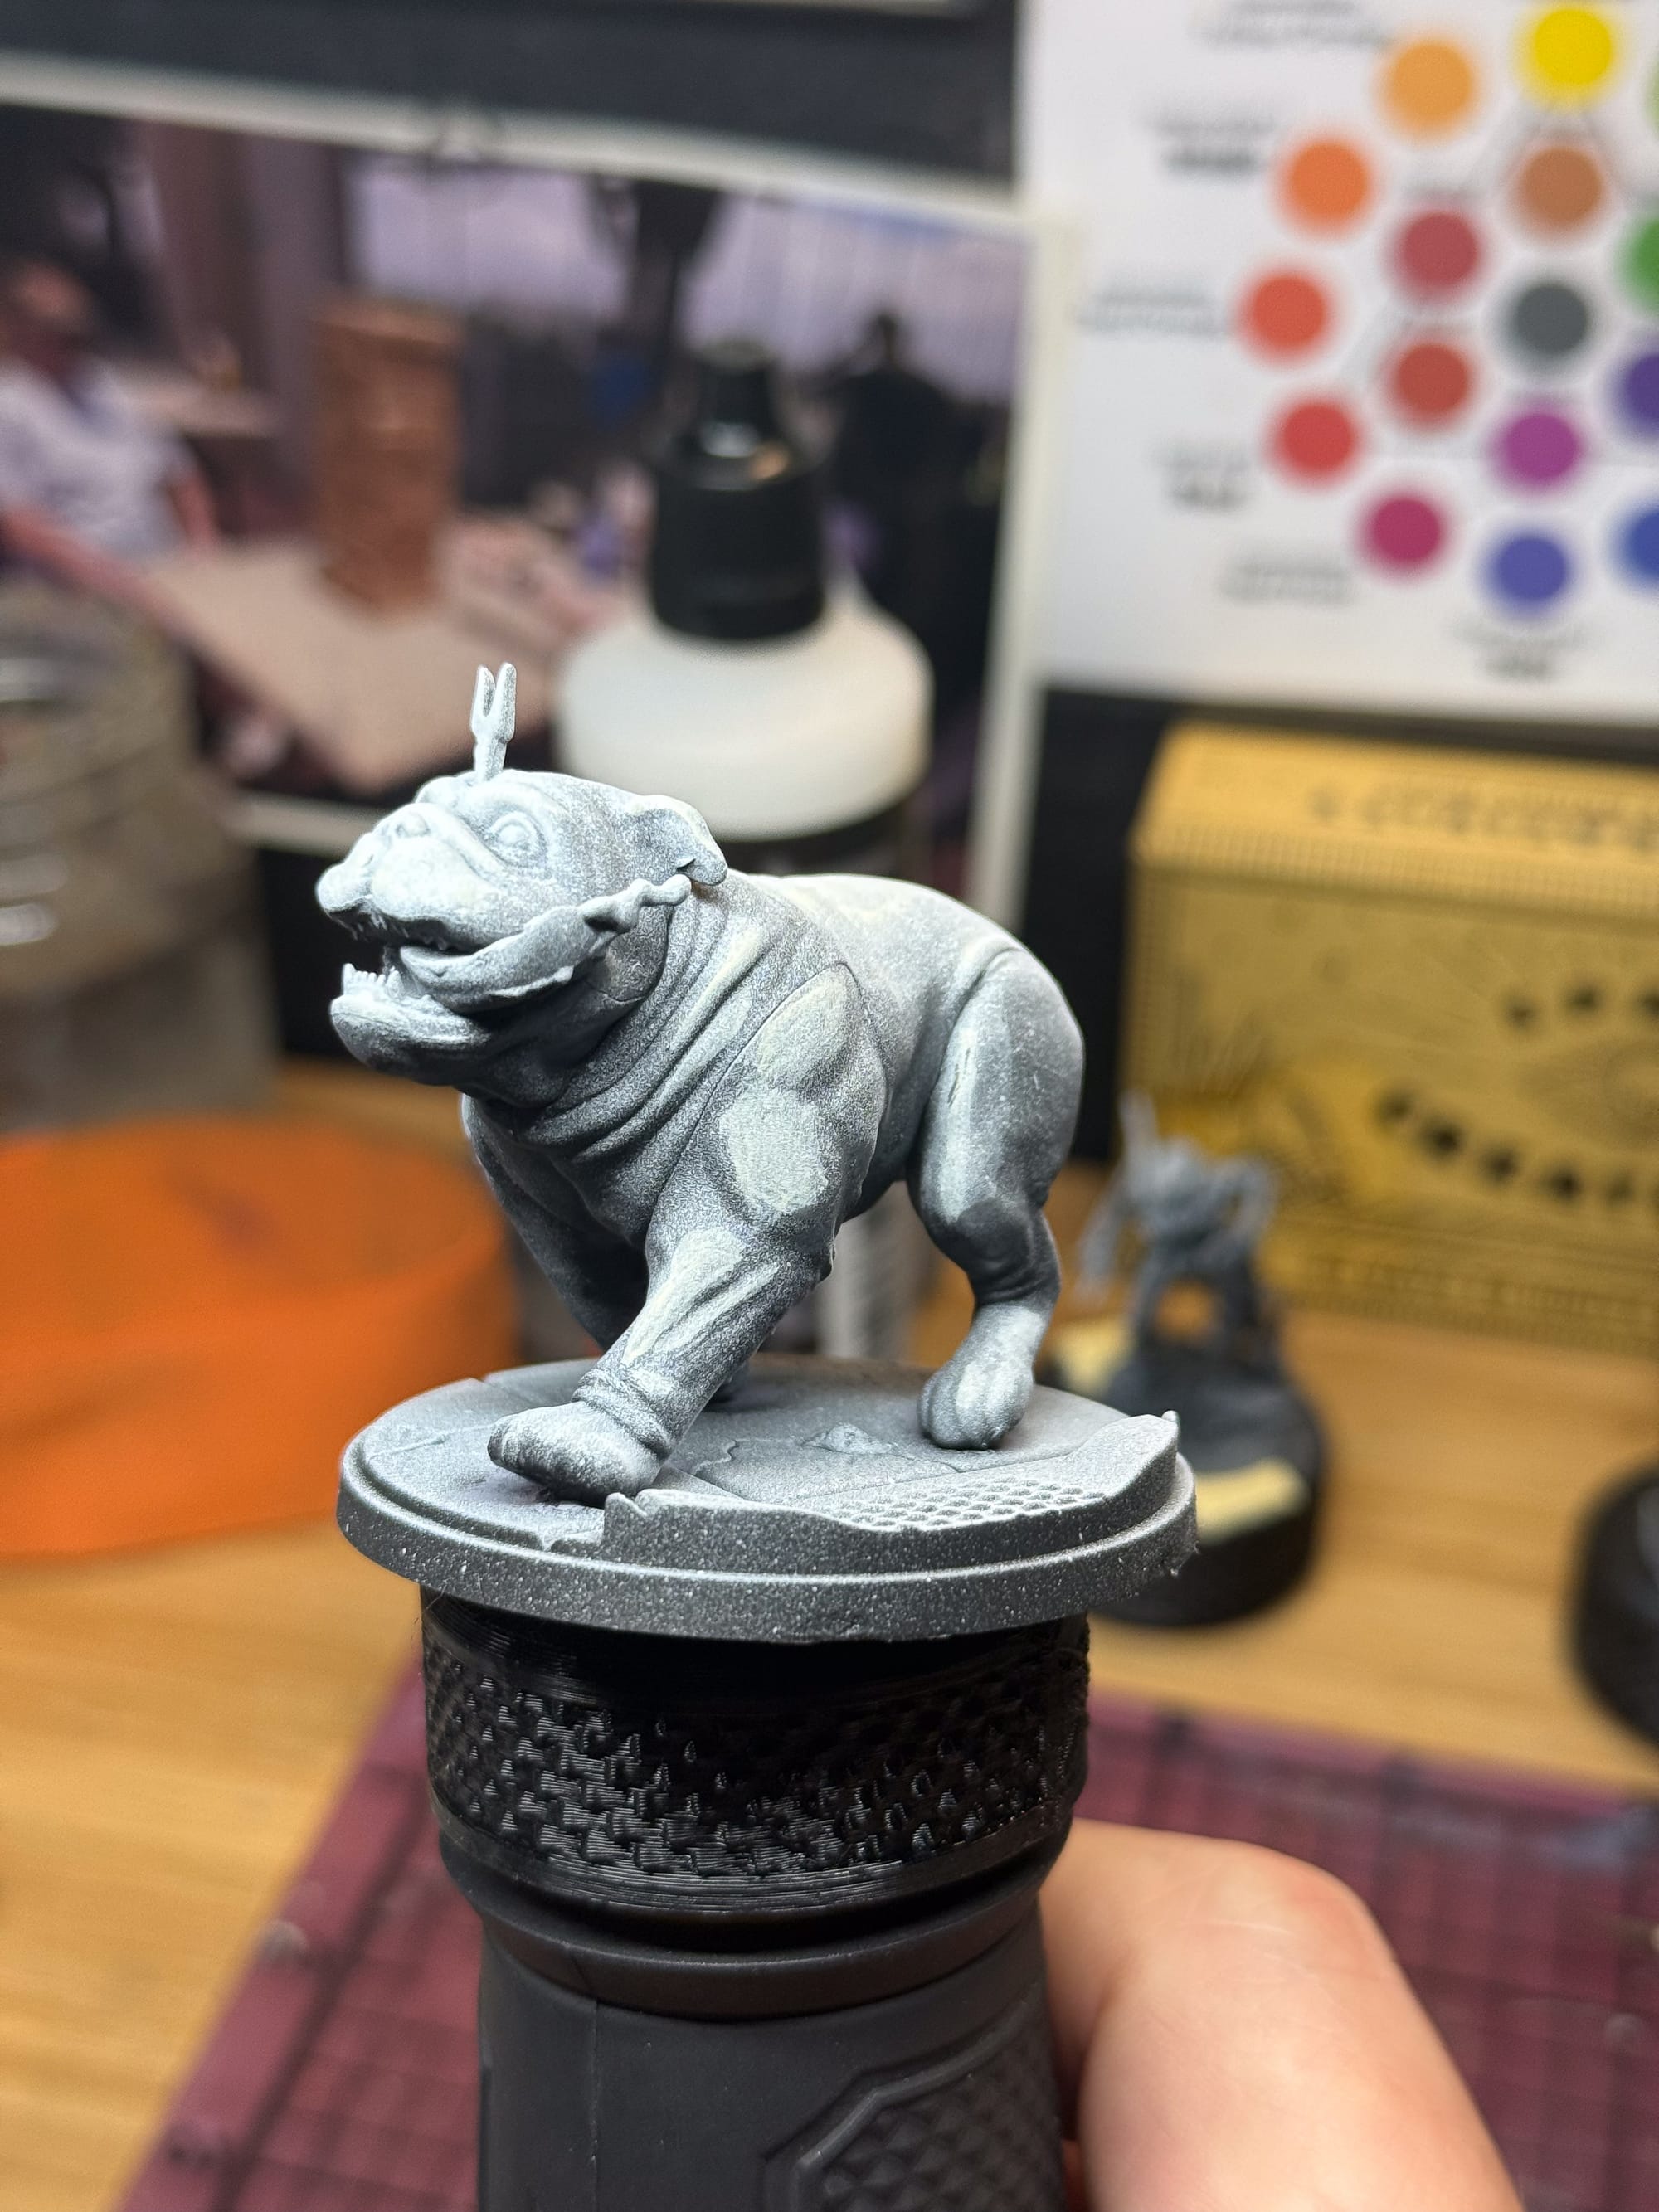
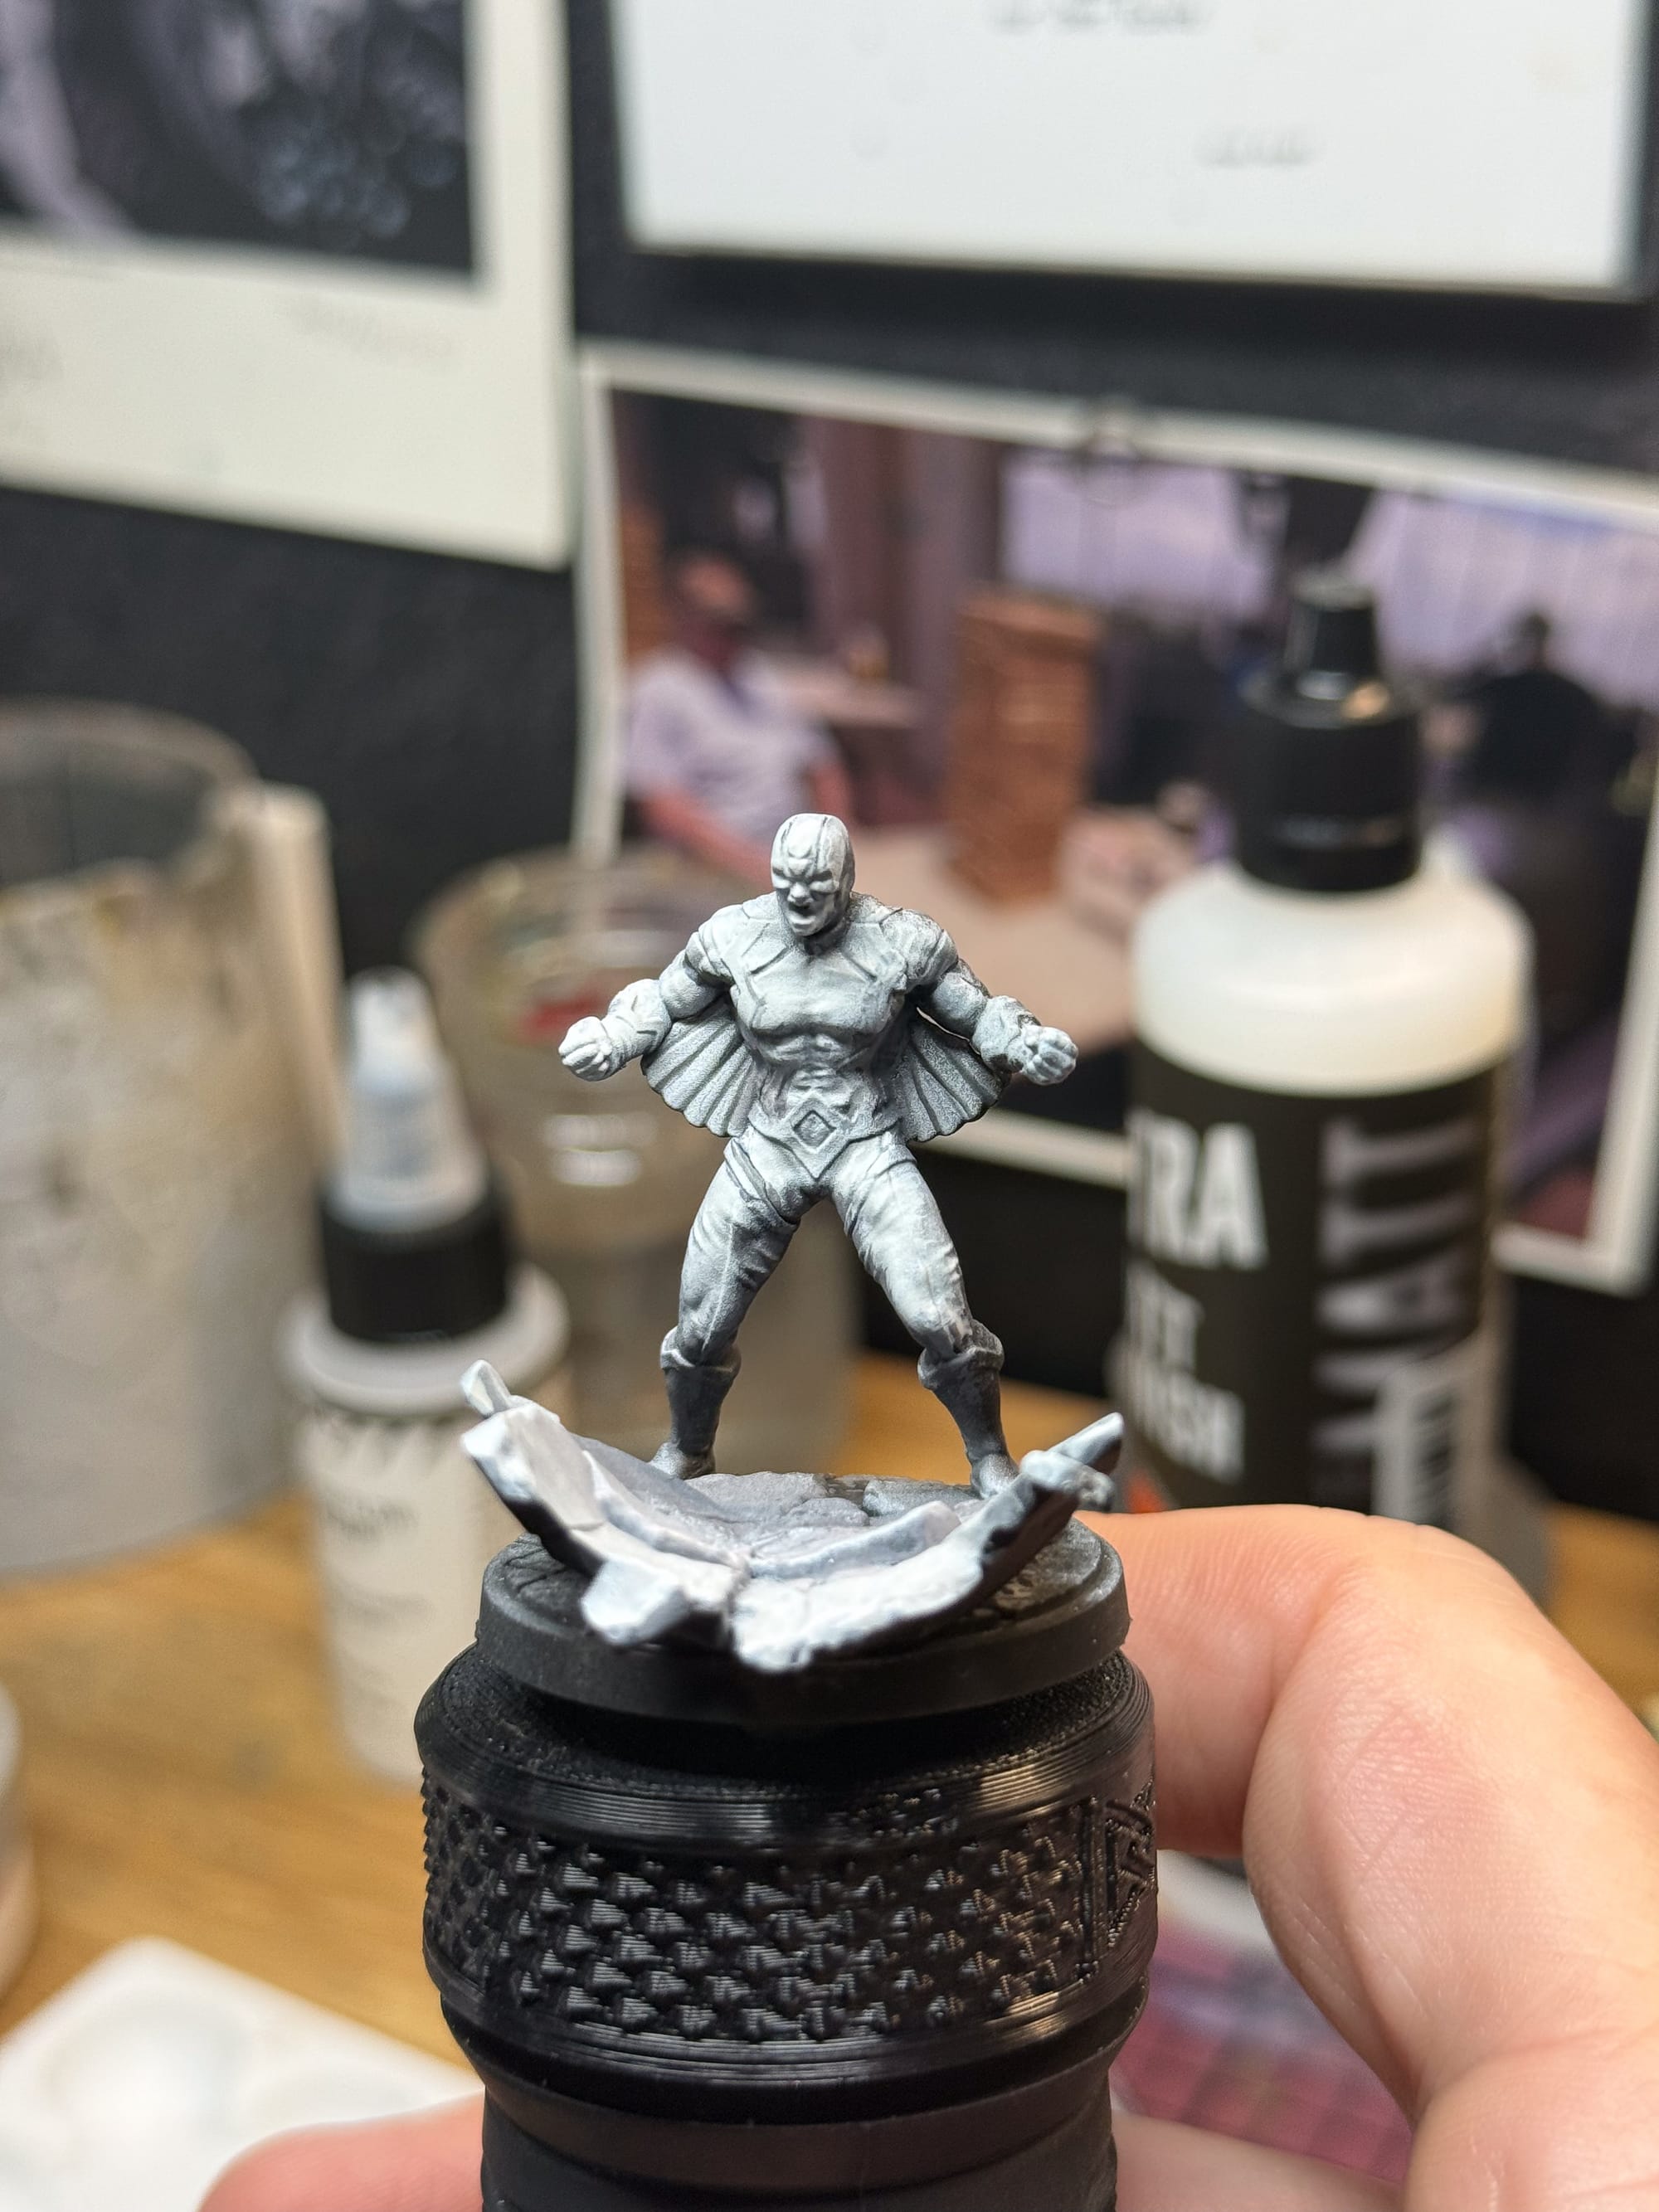
Underpaint your models for quick tabletop jobs.
Before putting any color on these models, I decided to underpaint all of them. Underpainting is a technique where you use blacks and whites to paint out all of your shapes, then by painting with a thinner translucent color on top, you can quickly get through models, better define shapes and muscles, and provide a great platform for colors like red and yellow.
Painting LockJaw
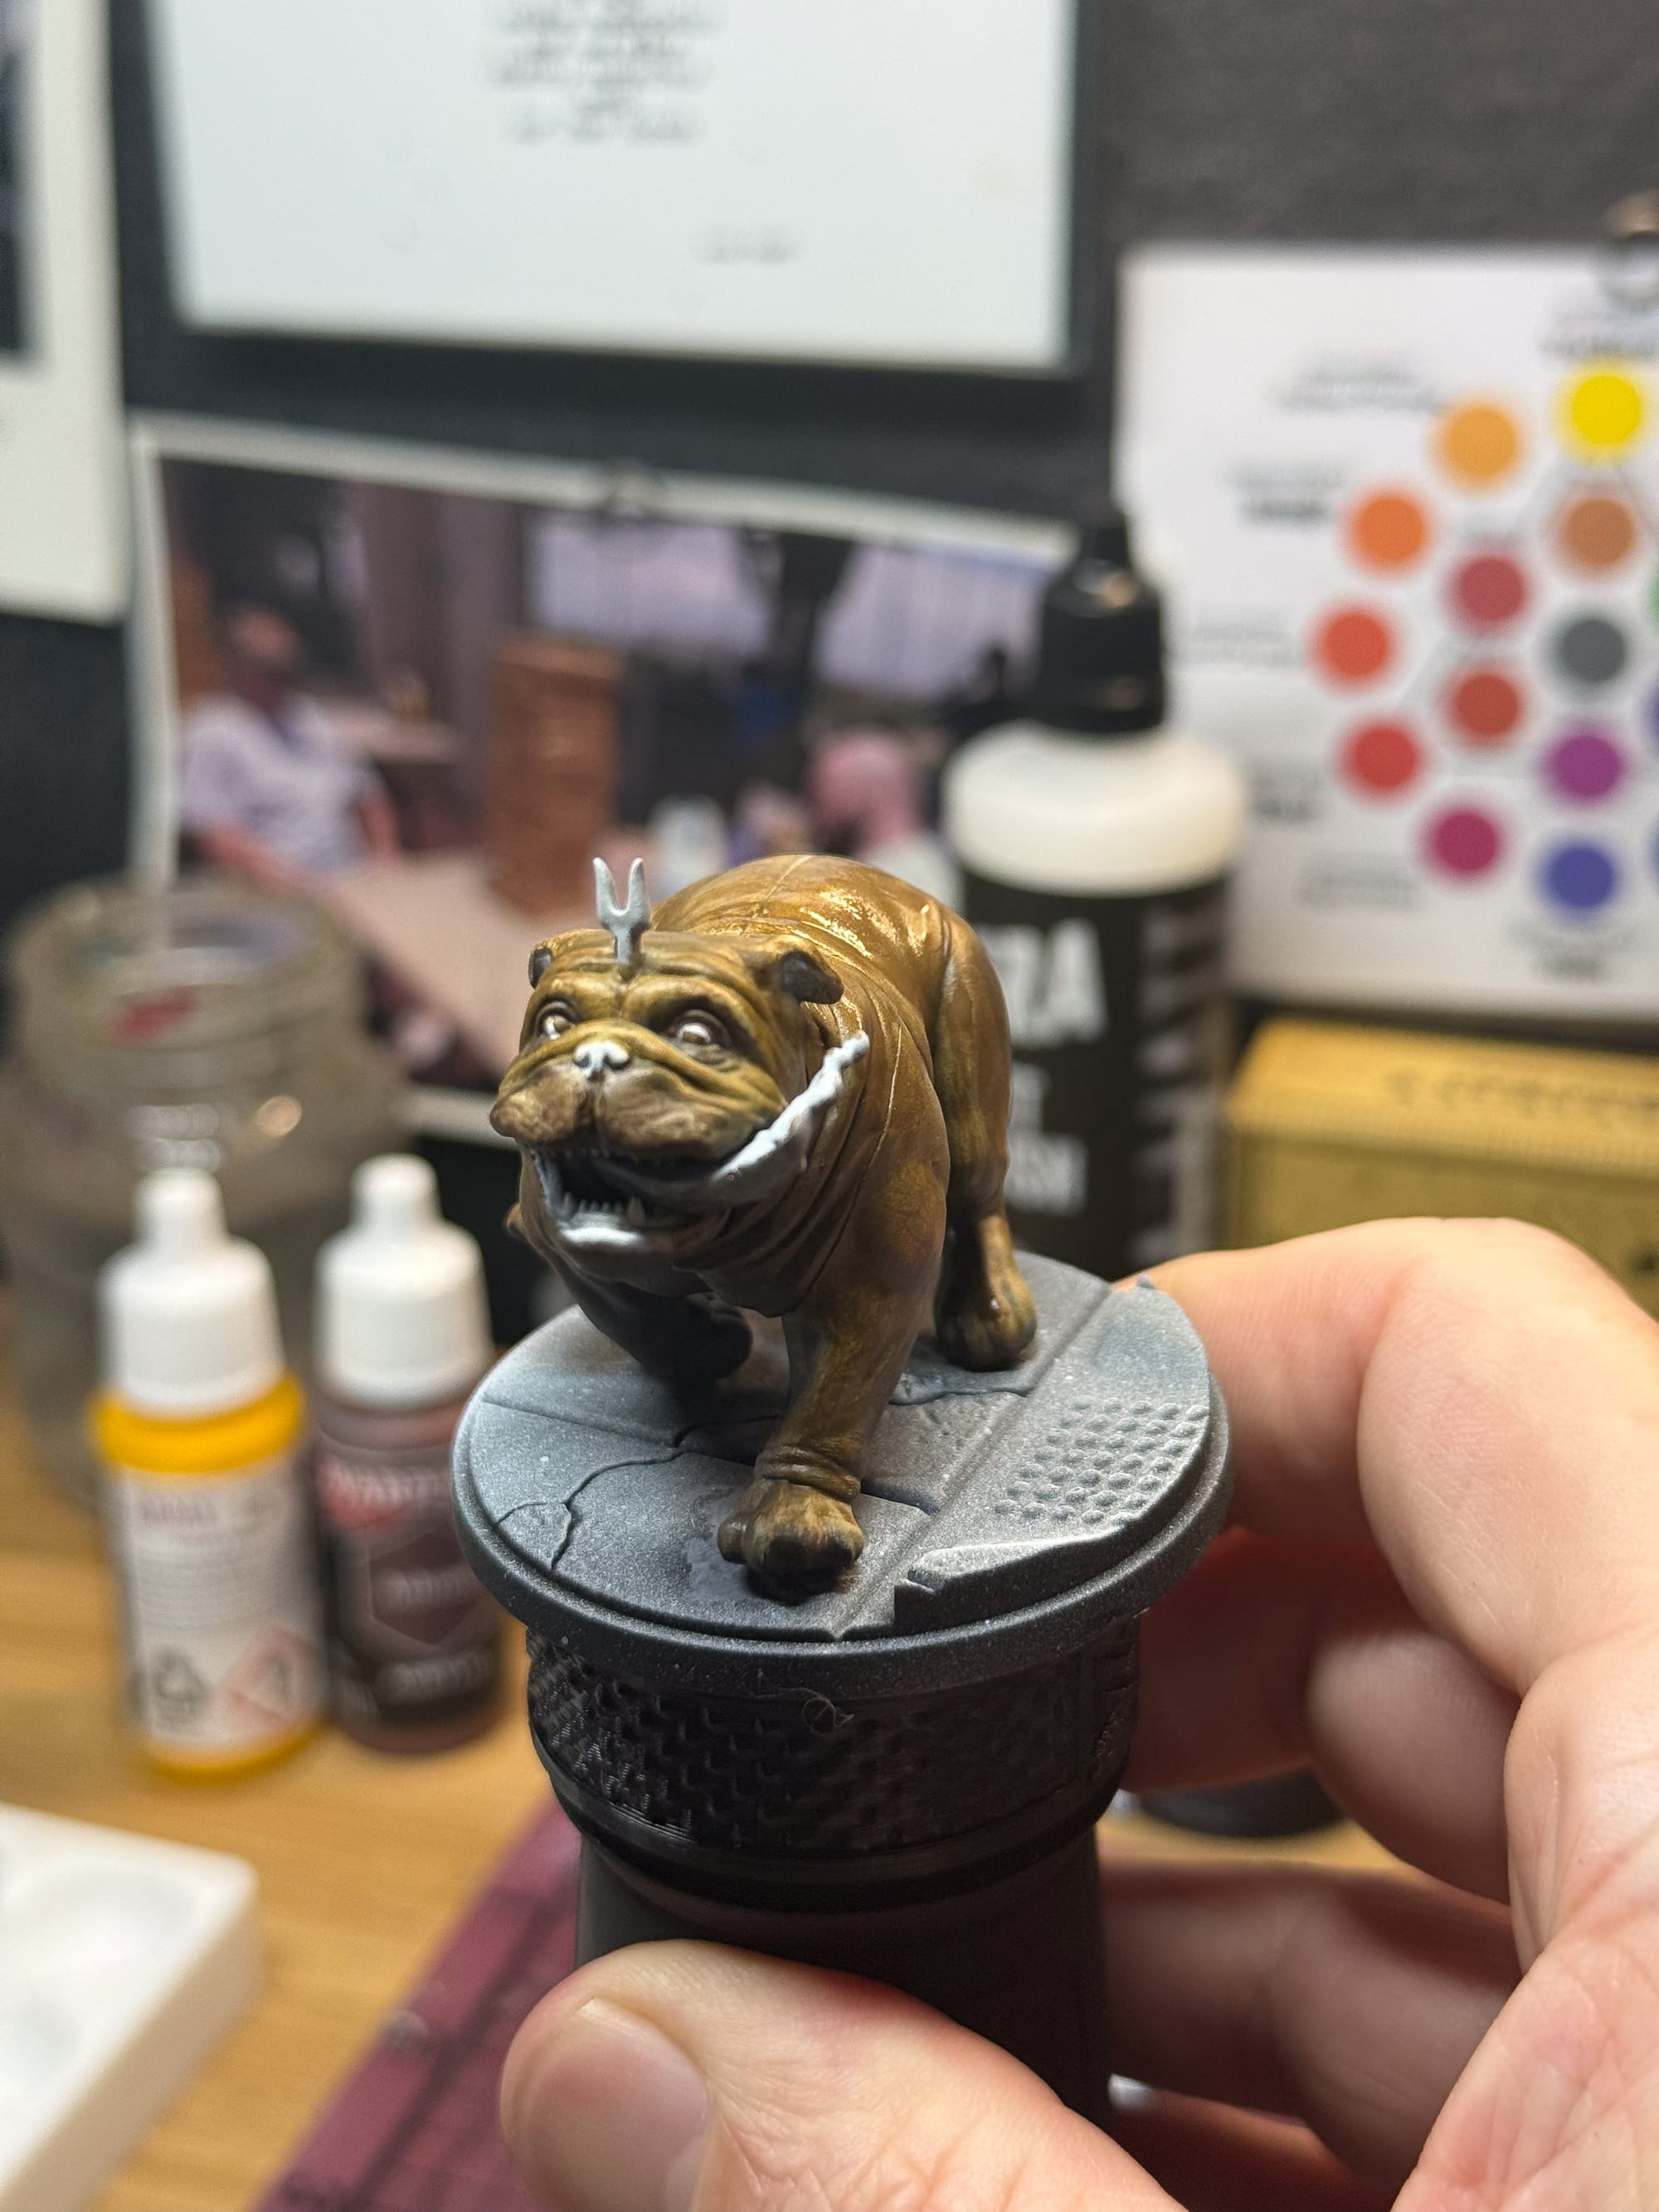
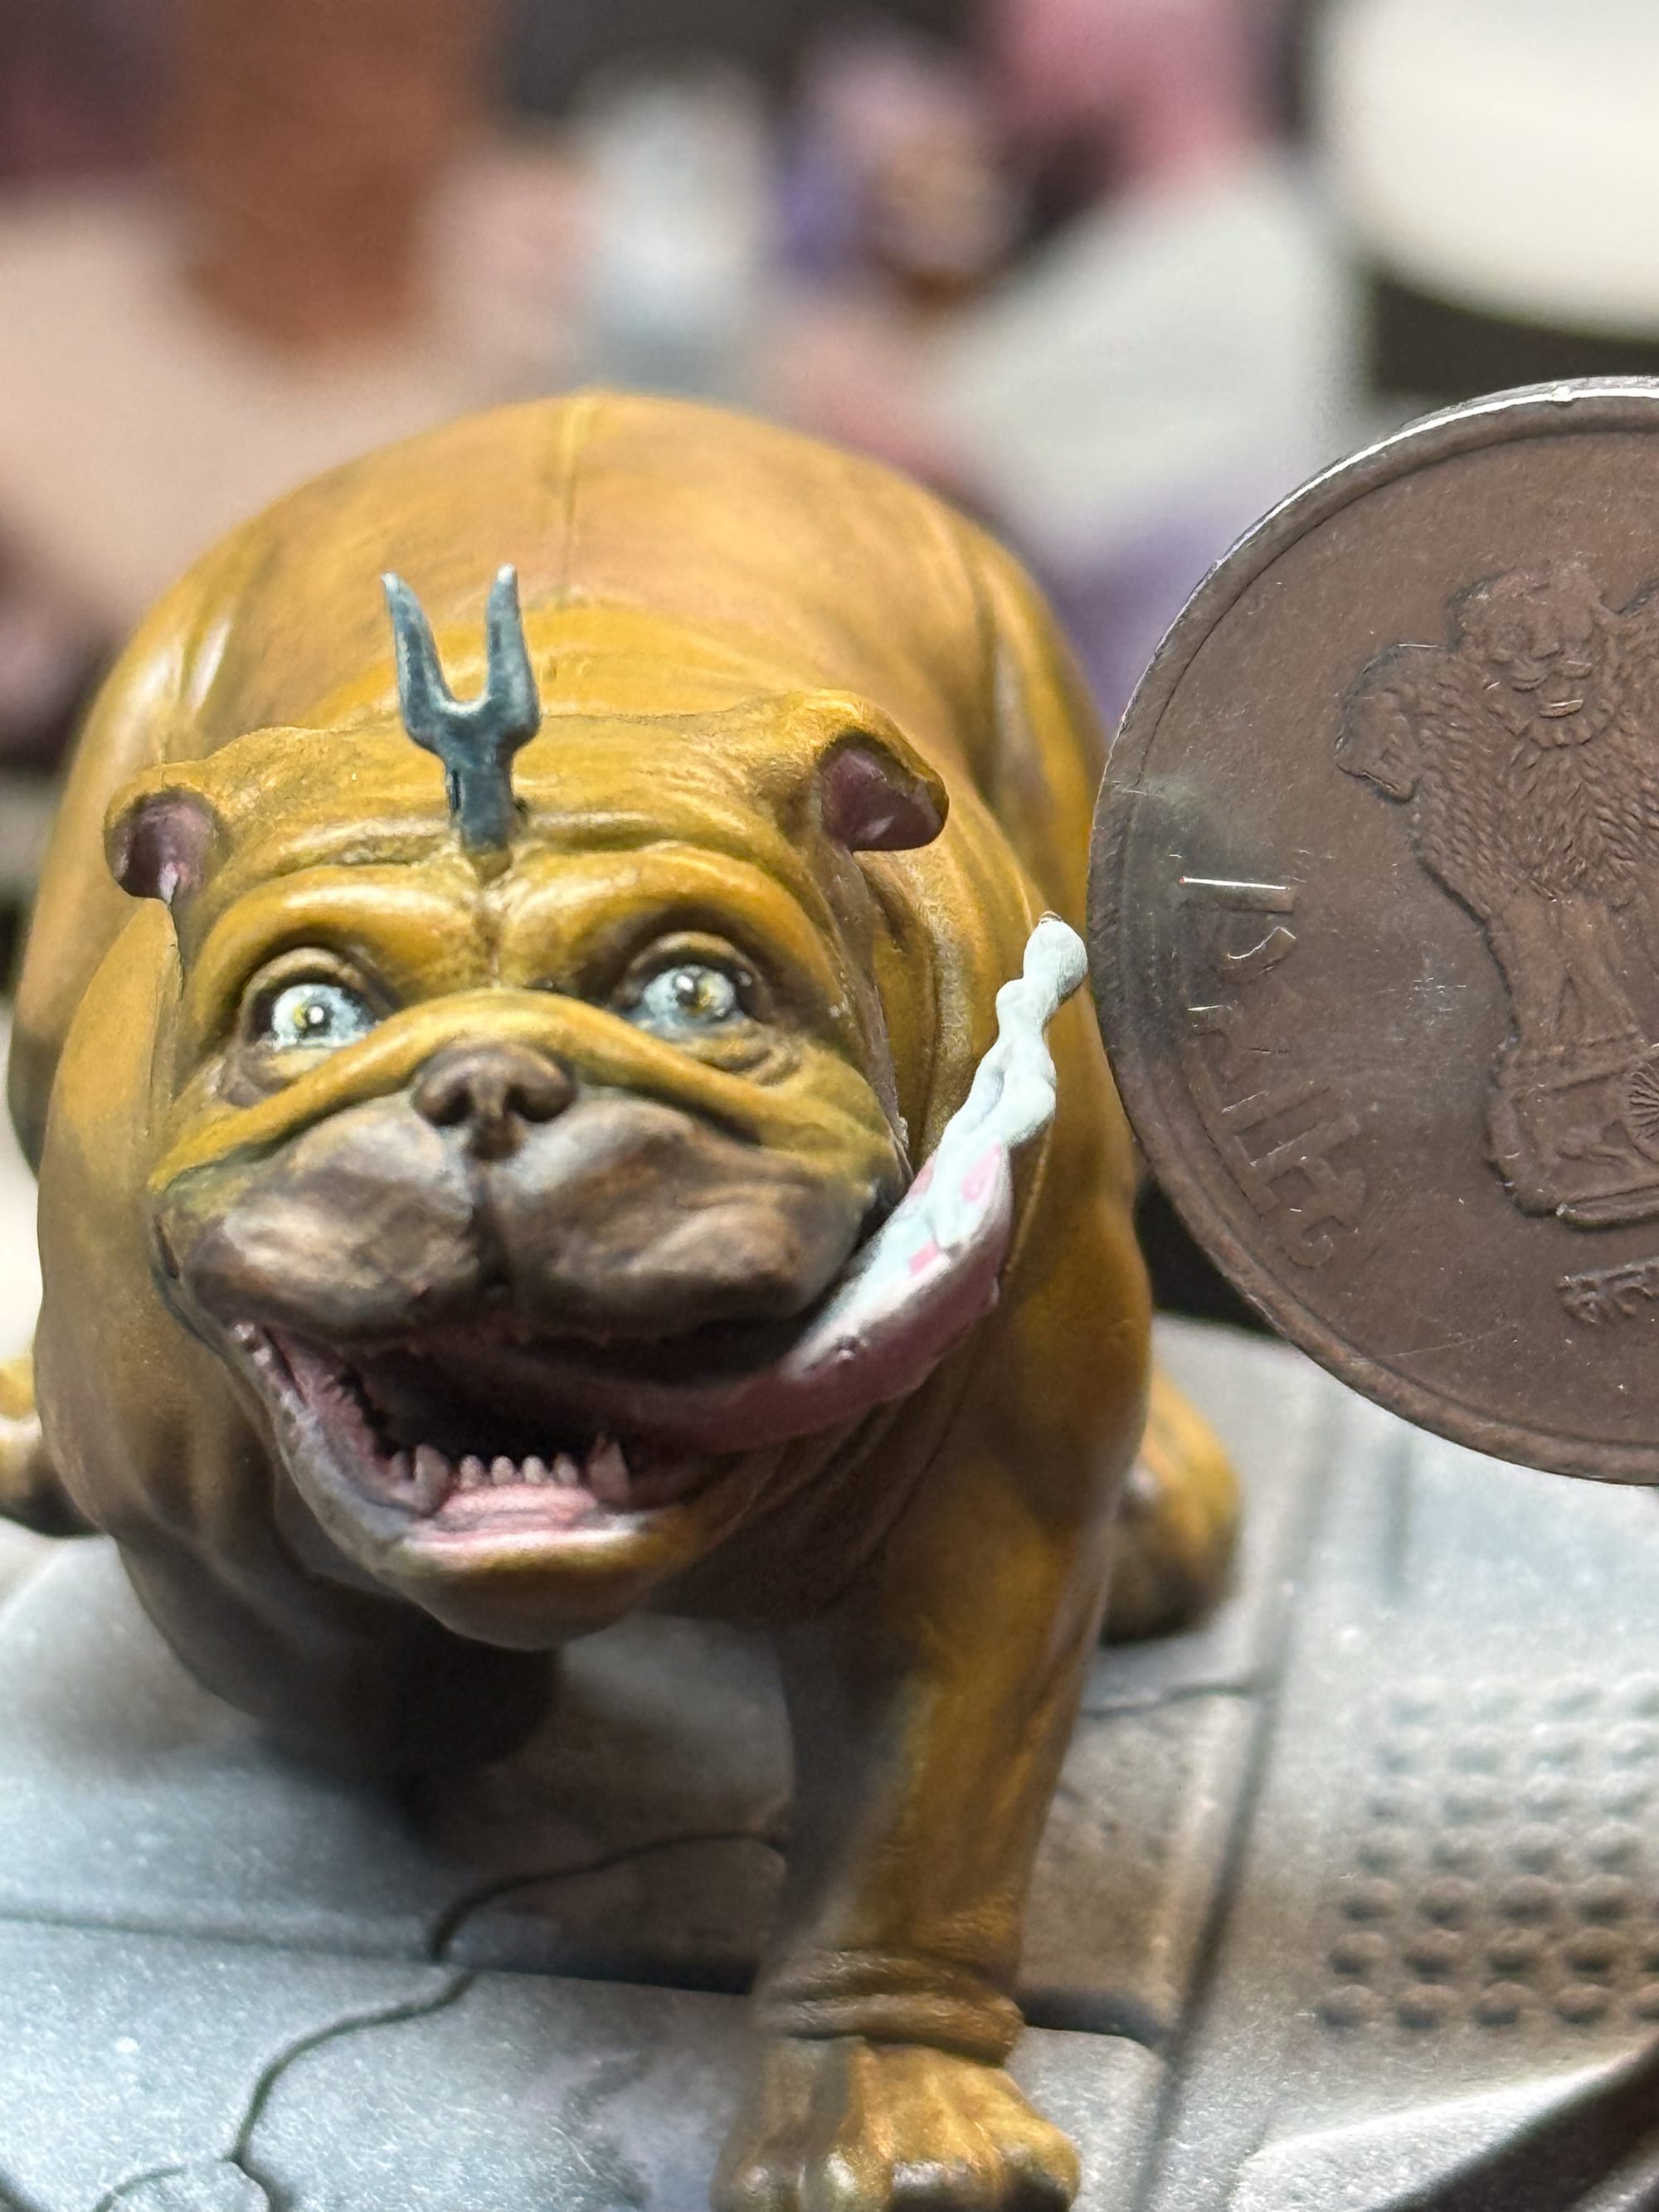
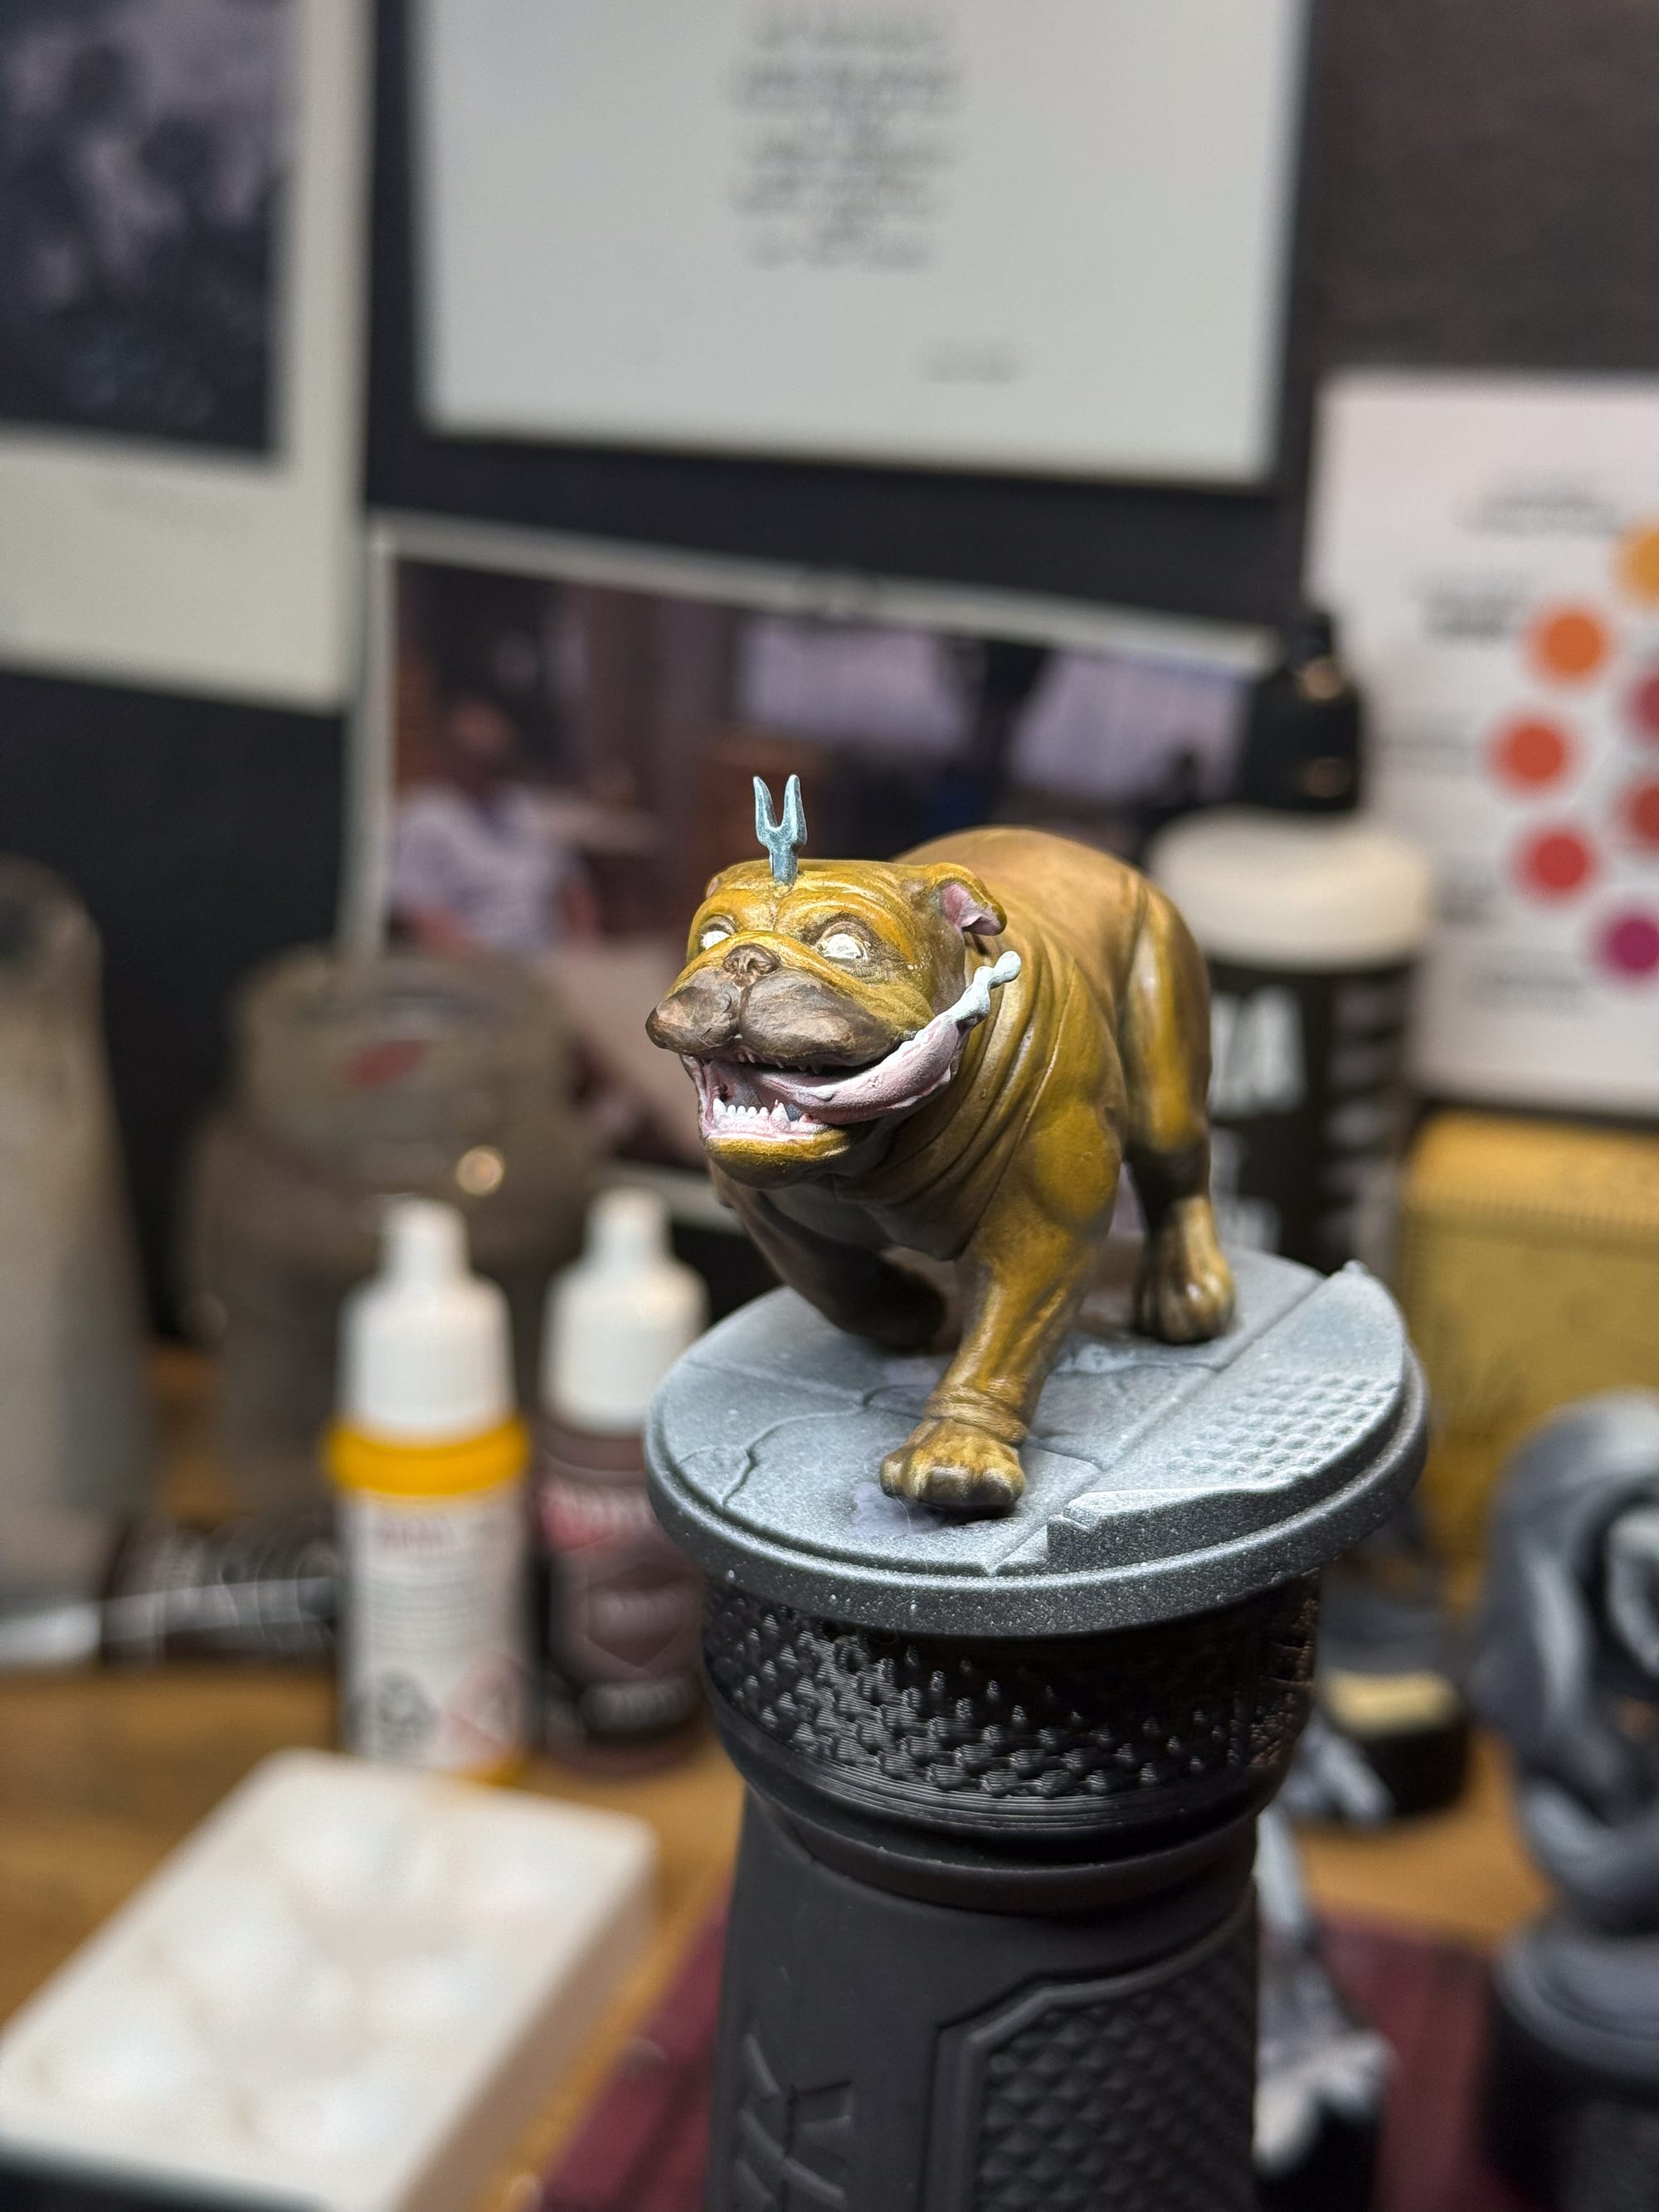
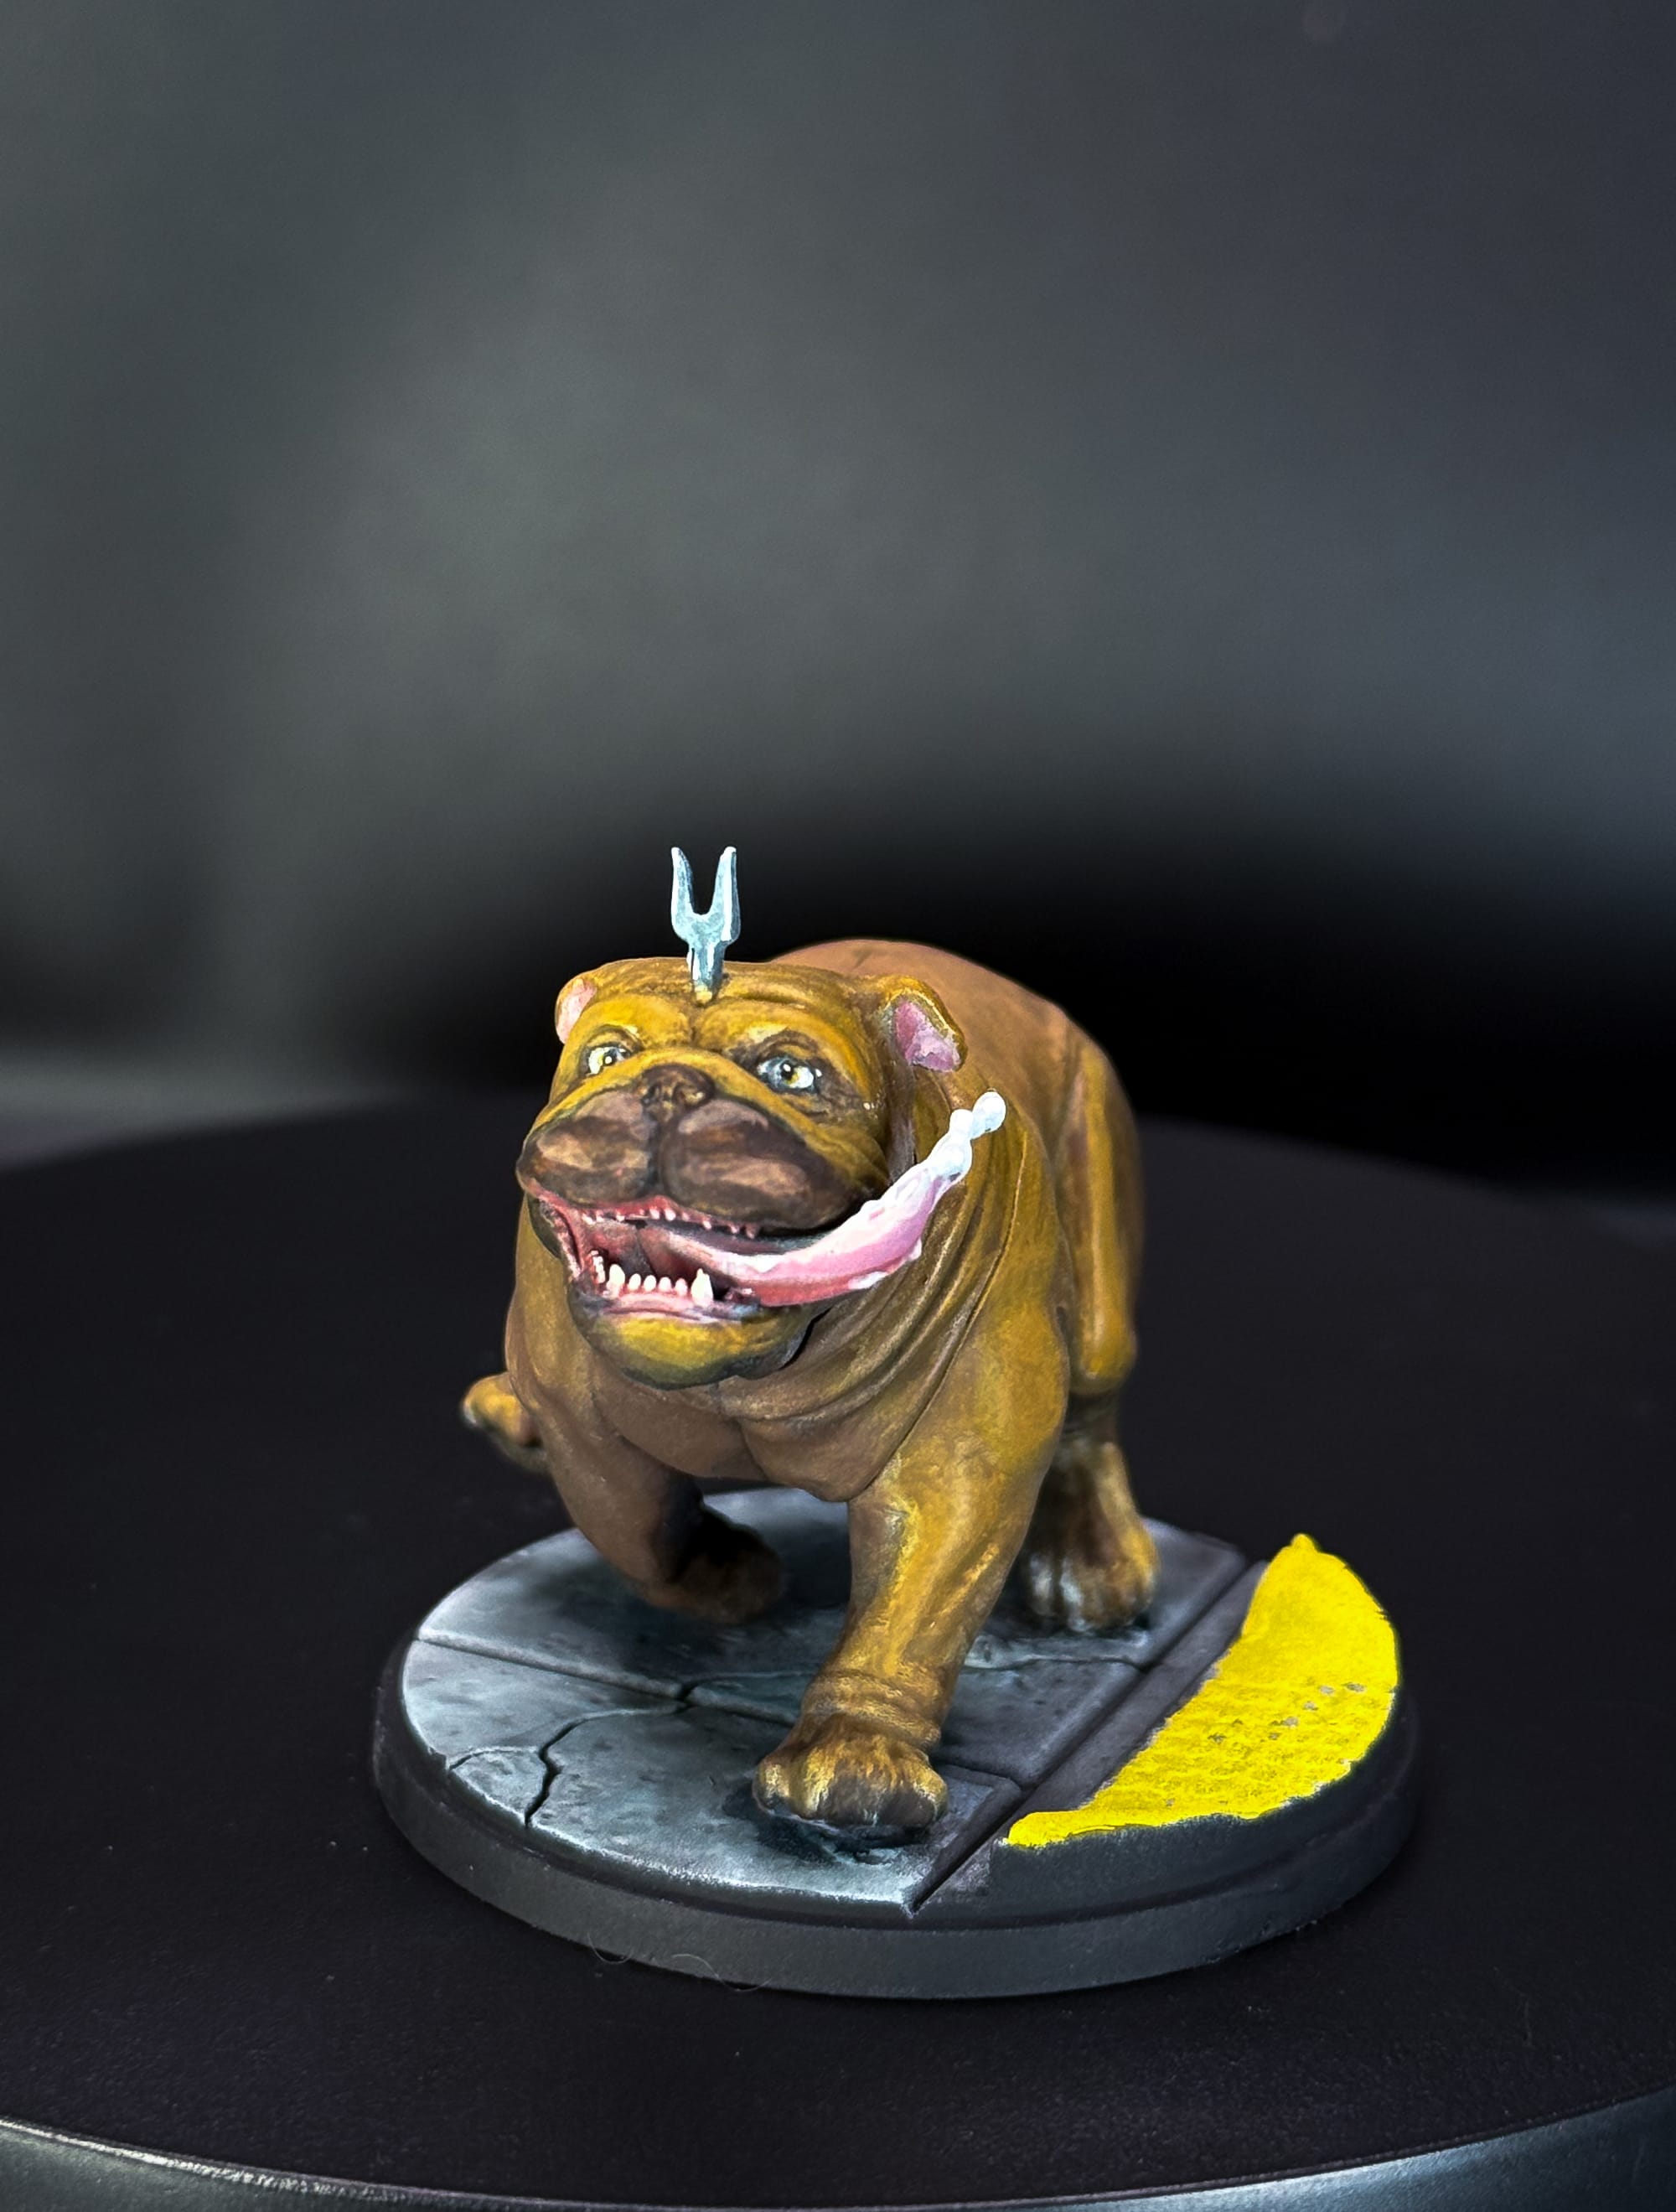
I started with Lockjaw simply because I wanted to start with something fun. His expression says it all. Also, the model is mostly brown, so that is very easy. With a model like this, it’s a good idea to start with large muscle groups and paint them as more rounded objects. By not focusing on the specific “islands,” you can do a better job of refining your skin tones later.
On the right side of the model, I wanted to place my shadows, so I left those areas darker than the left. The left side is also where the tongue protrudes, so I figured that would be a nice place for the eye to focus on.
For my first layers, I chose colors from the Yellow, Black/White, and Red sets, including Sienna, Oxide Yellow, Oxide Red, and Burnt Umber. These tones work really well together as they all come from a dark place. For the shadow tones, Burnt Umber, Oxide Red, and Sienna come together beautifully. In retrospect, maybe a bit more red would be nice.
For the highlight side and the top of Lockjaw, I used more Oxide Yellow, and folded in some Intense Yellow, which is a little more orange. This works well to create those starting highlights.
Work these layers until you’re happy. Towards the end, fold in some Off White to help create your final highlights.
For the fleshy areas (tongue, inside ears, jaw), I used Kimera Leather + White to make a simple pink flesh, which went into those areas, 2 layers. Reikland Fleshshade, a very dependable reddish wash, was perfect for putting in more depth and shadow by adding those crimson colors to the folds.
For the nose, I went for dark browns, so once again back to the yellow range, including Sienna with a little bit of my skin mixture in it for the highlights. For the eyes, Off White to begin with, then a slight wash of watered down Nuln Oil (you just want the edges of the eye), then a dot of Intense Yellow, a dot of Black, and a final tiny dot of White. Eyes are normally very hard, but this model has big ones, so take your best shot, and take your time.
I believe in you.
With that, Lockjaw is done!
Painting Black Bolt
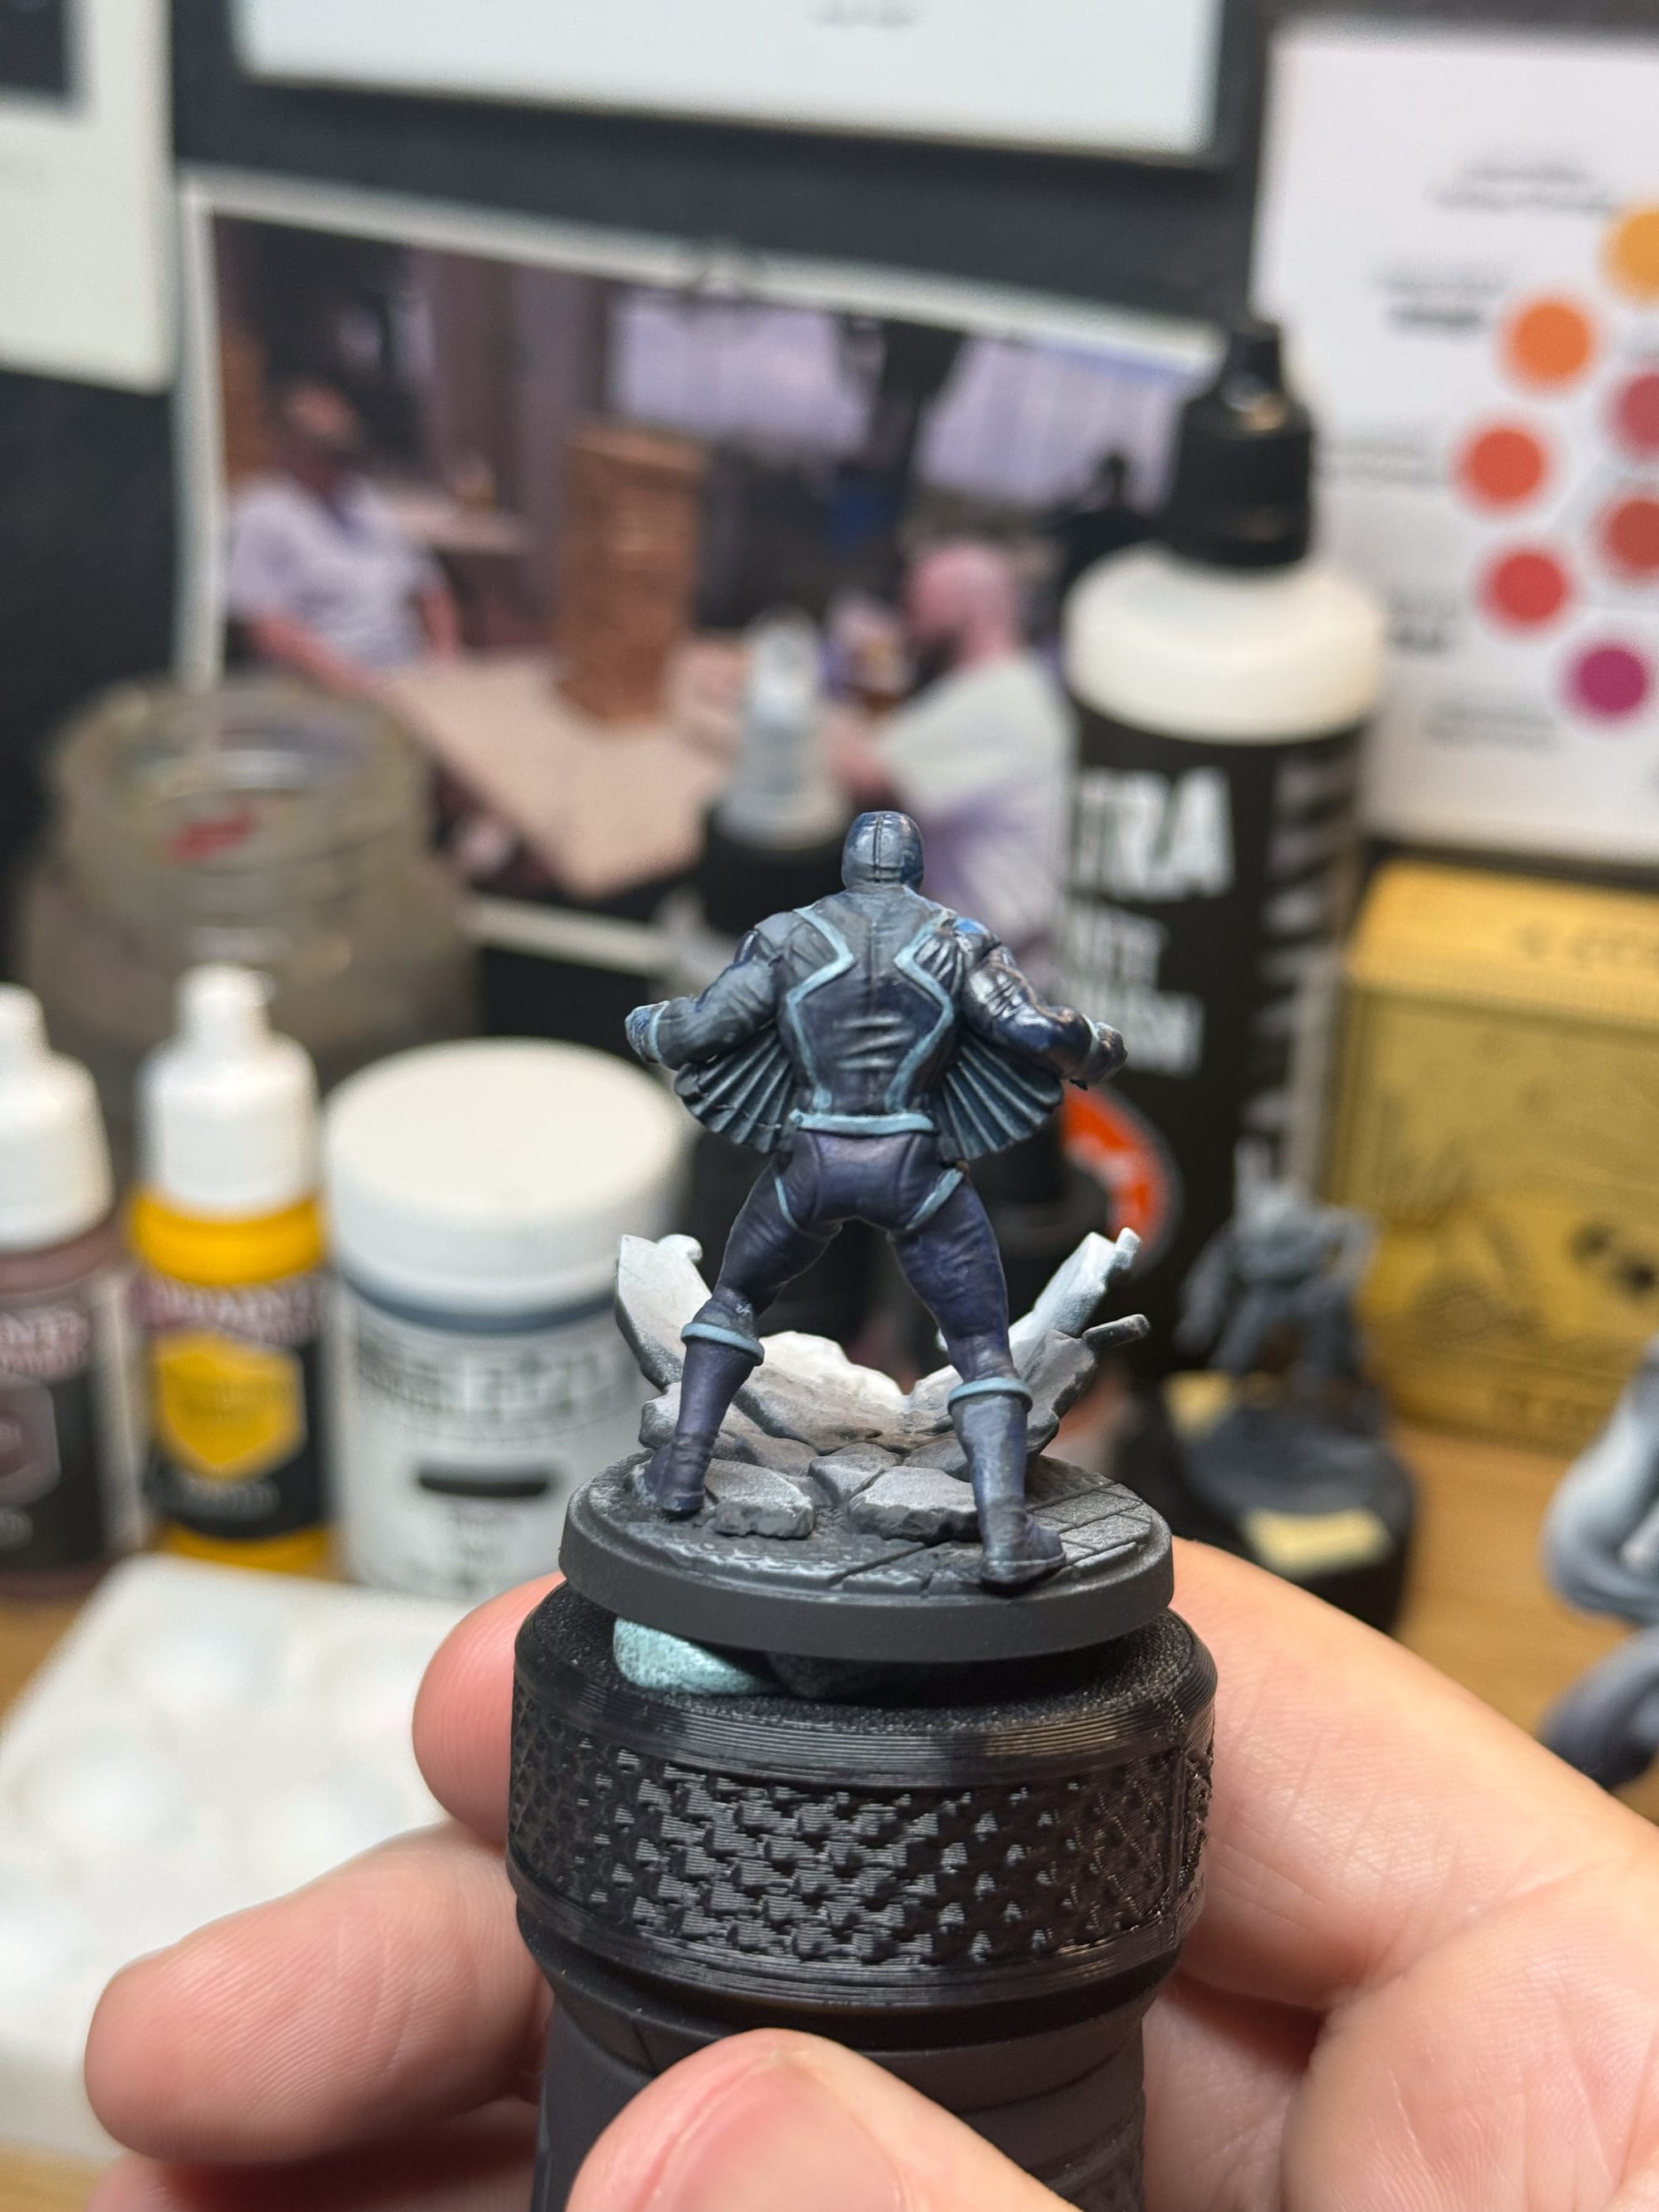
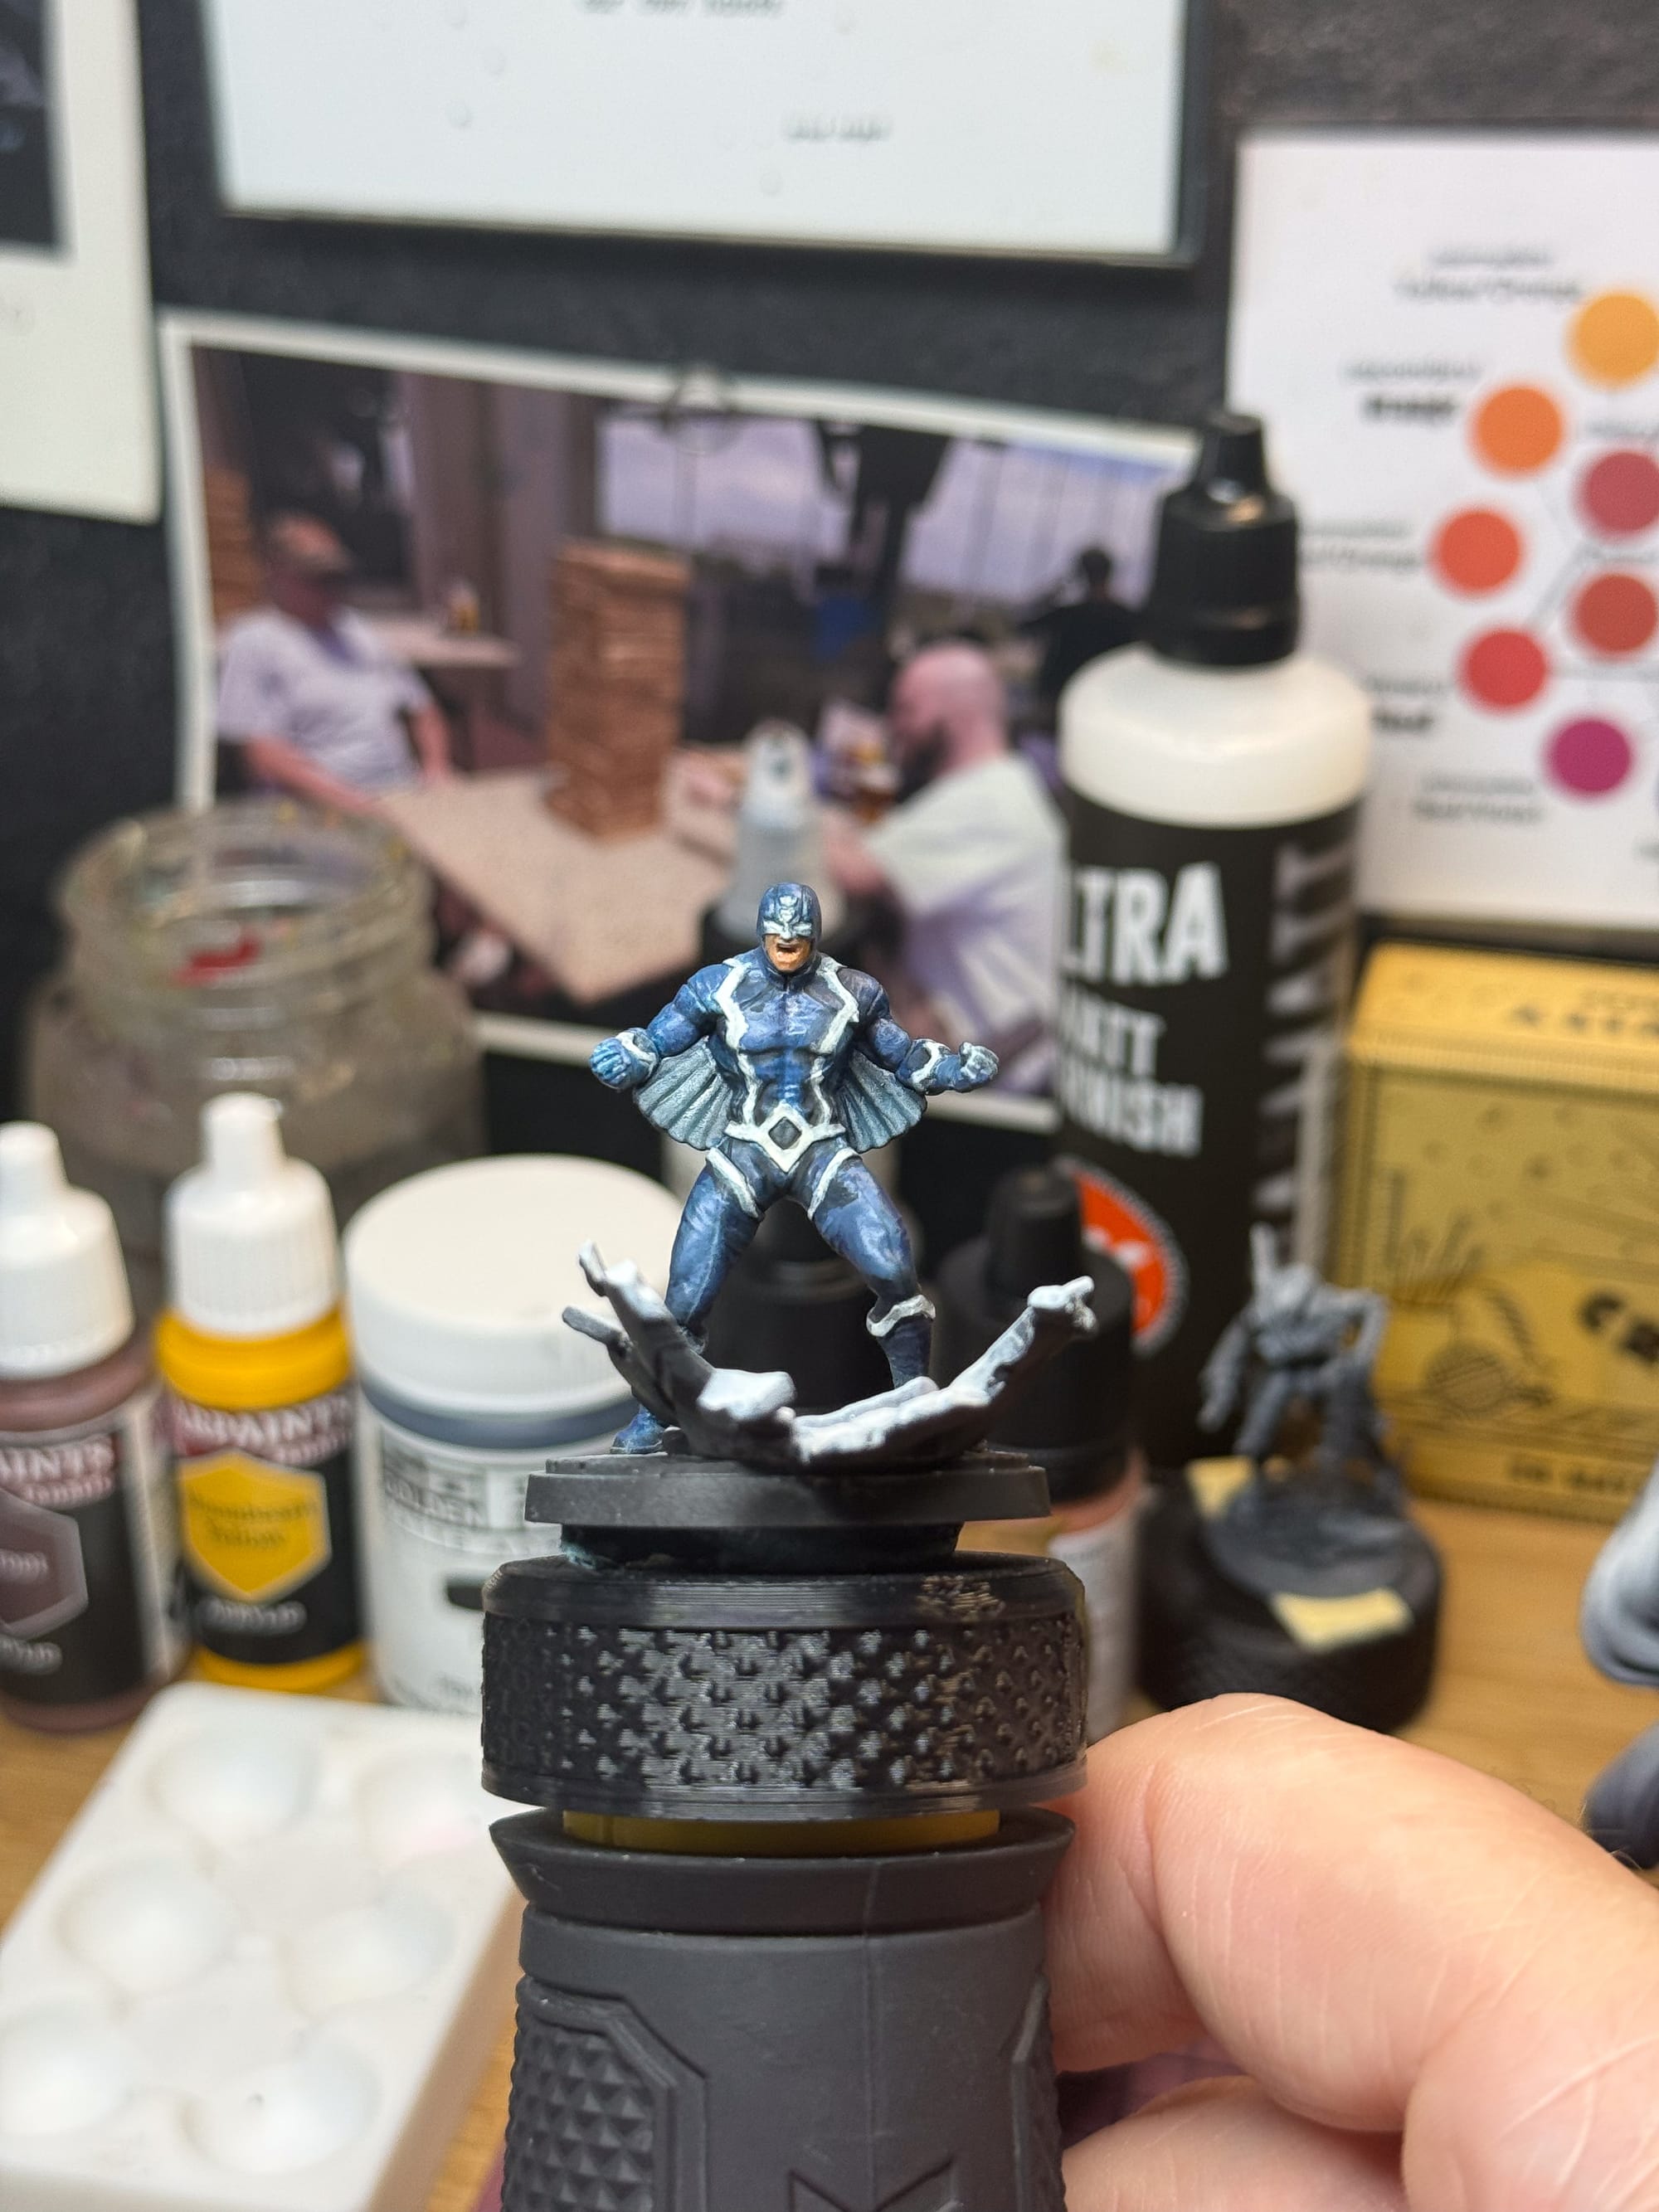
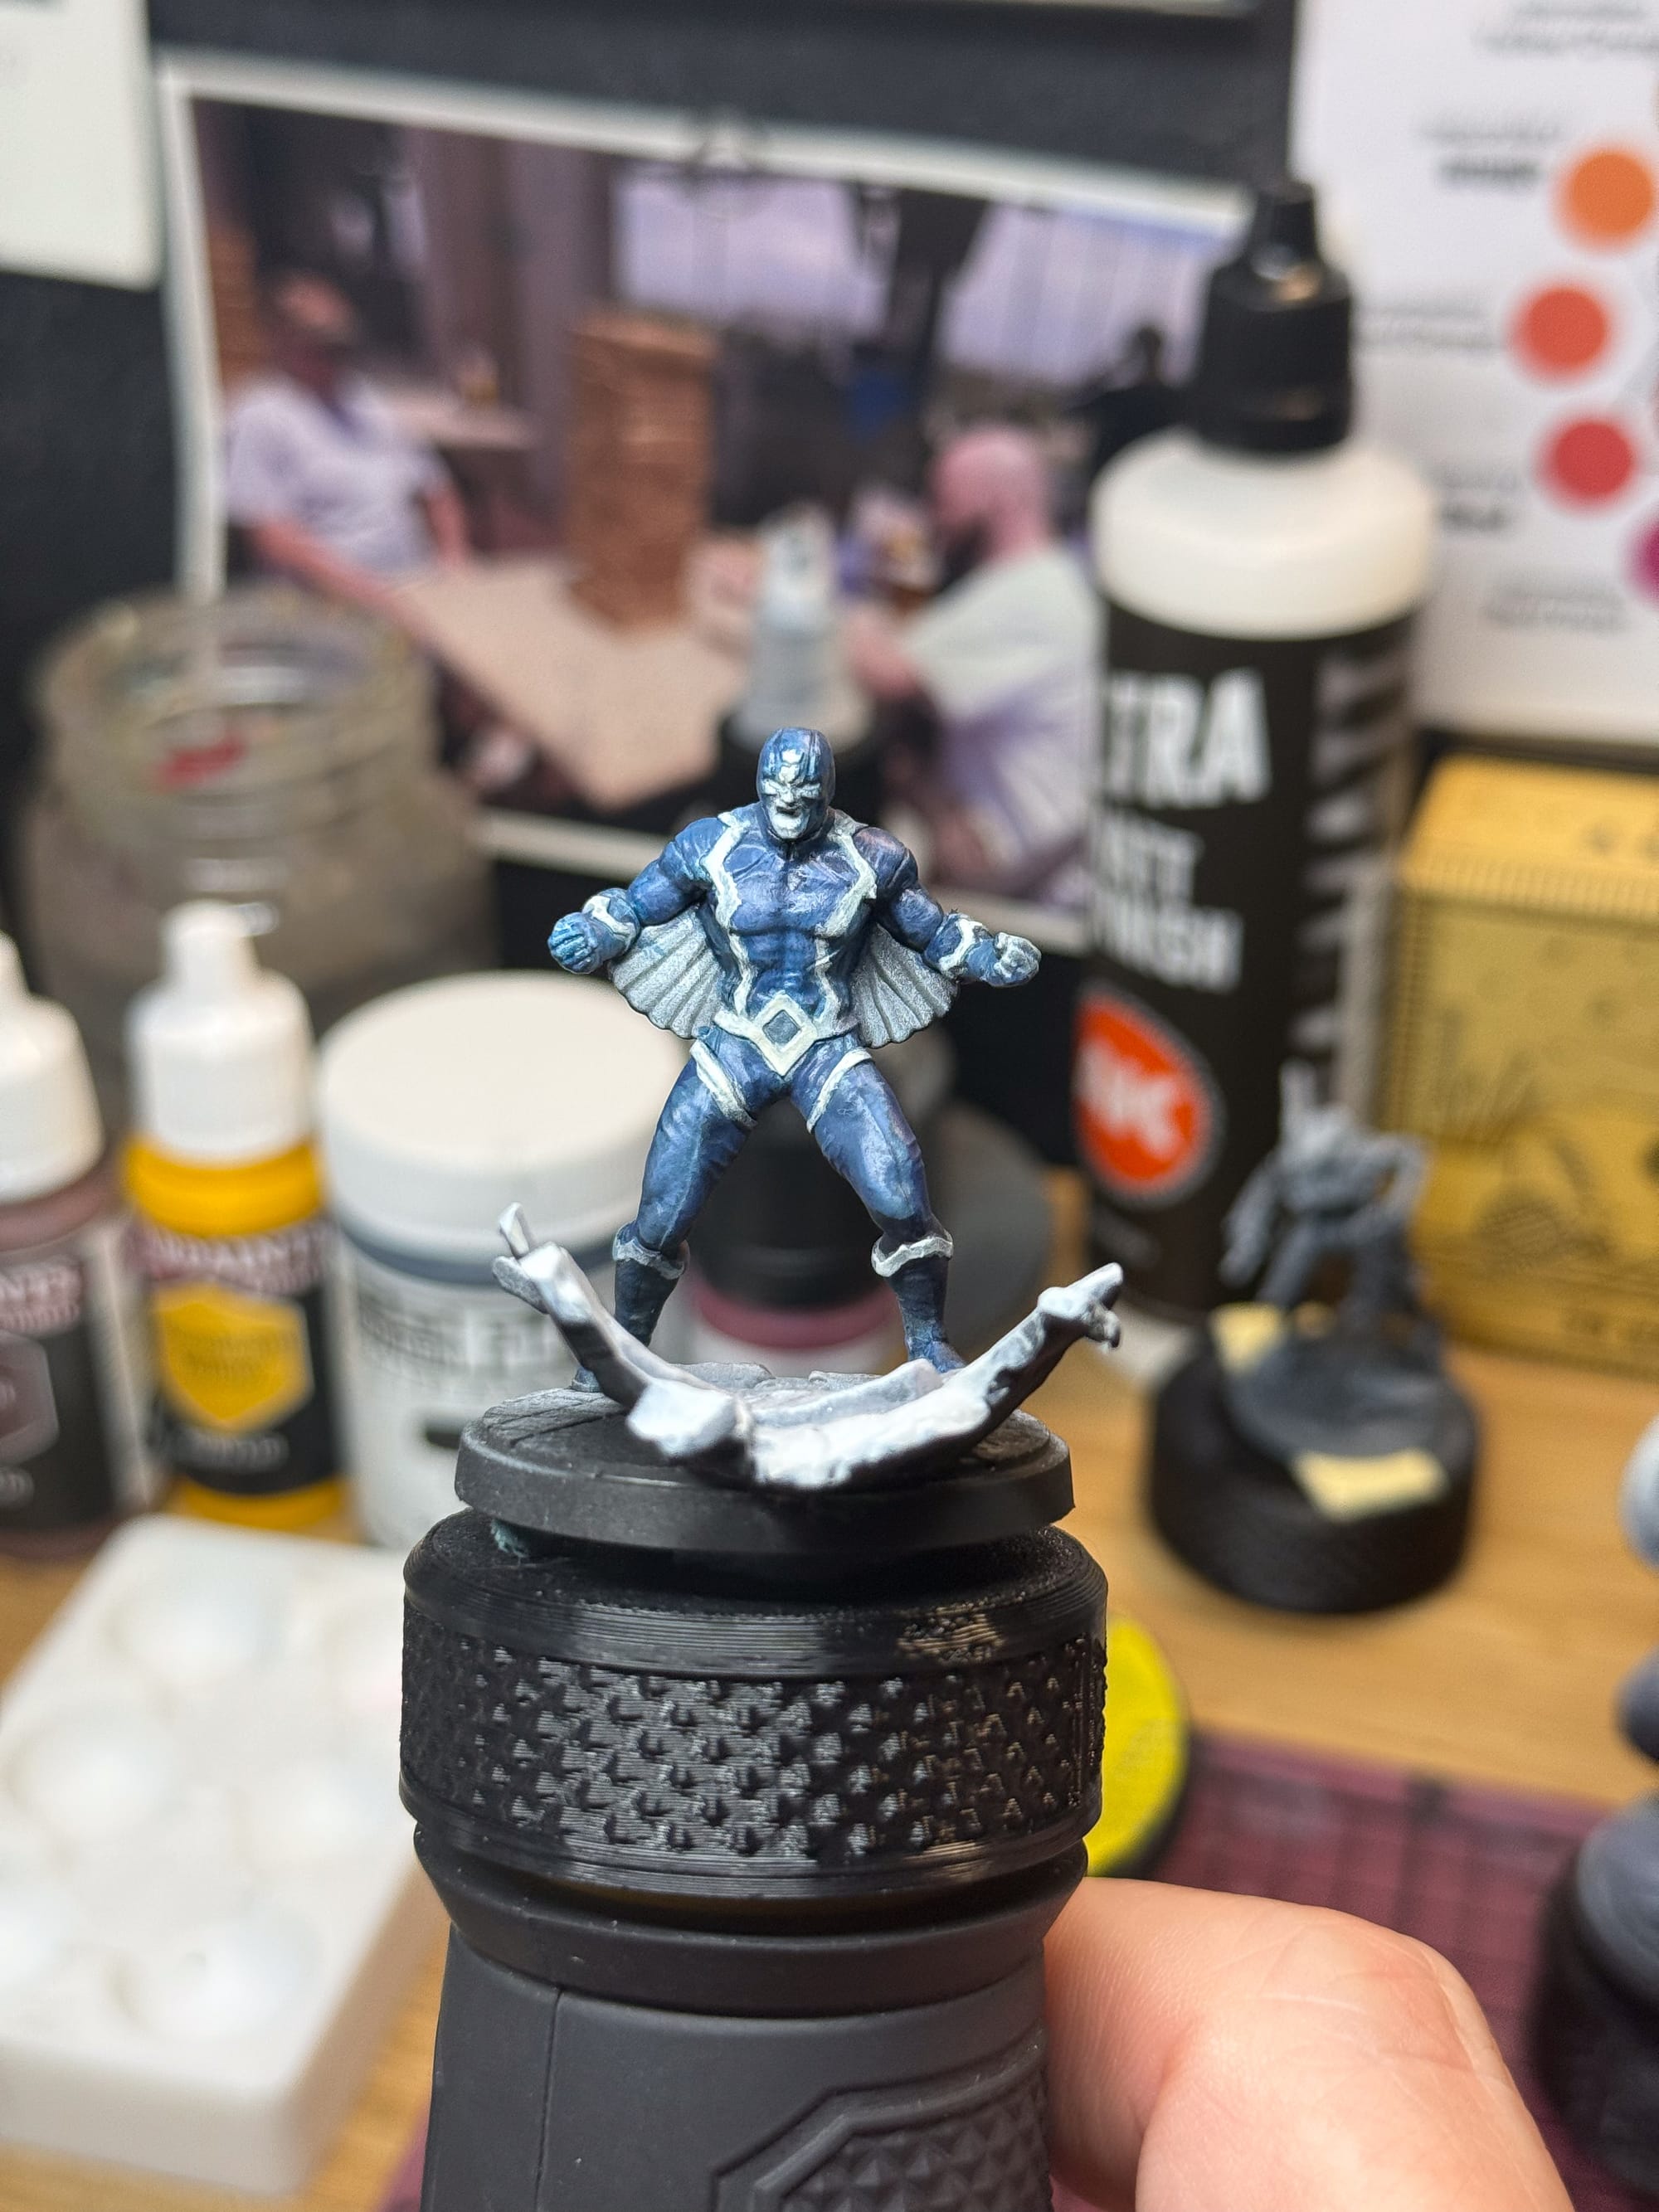
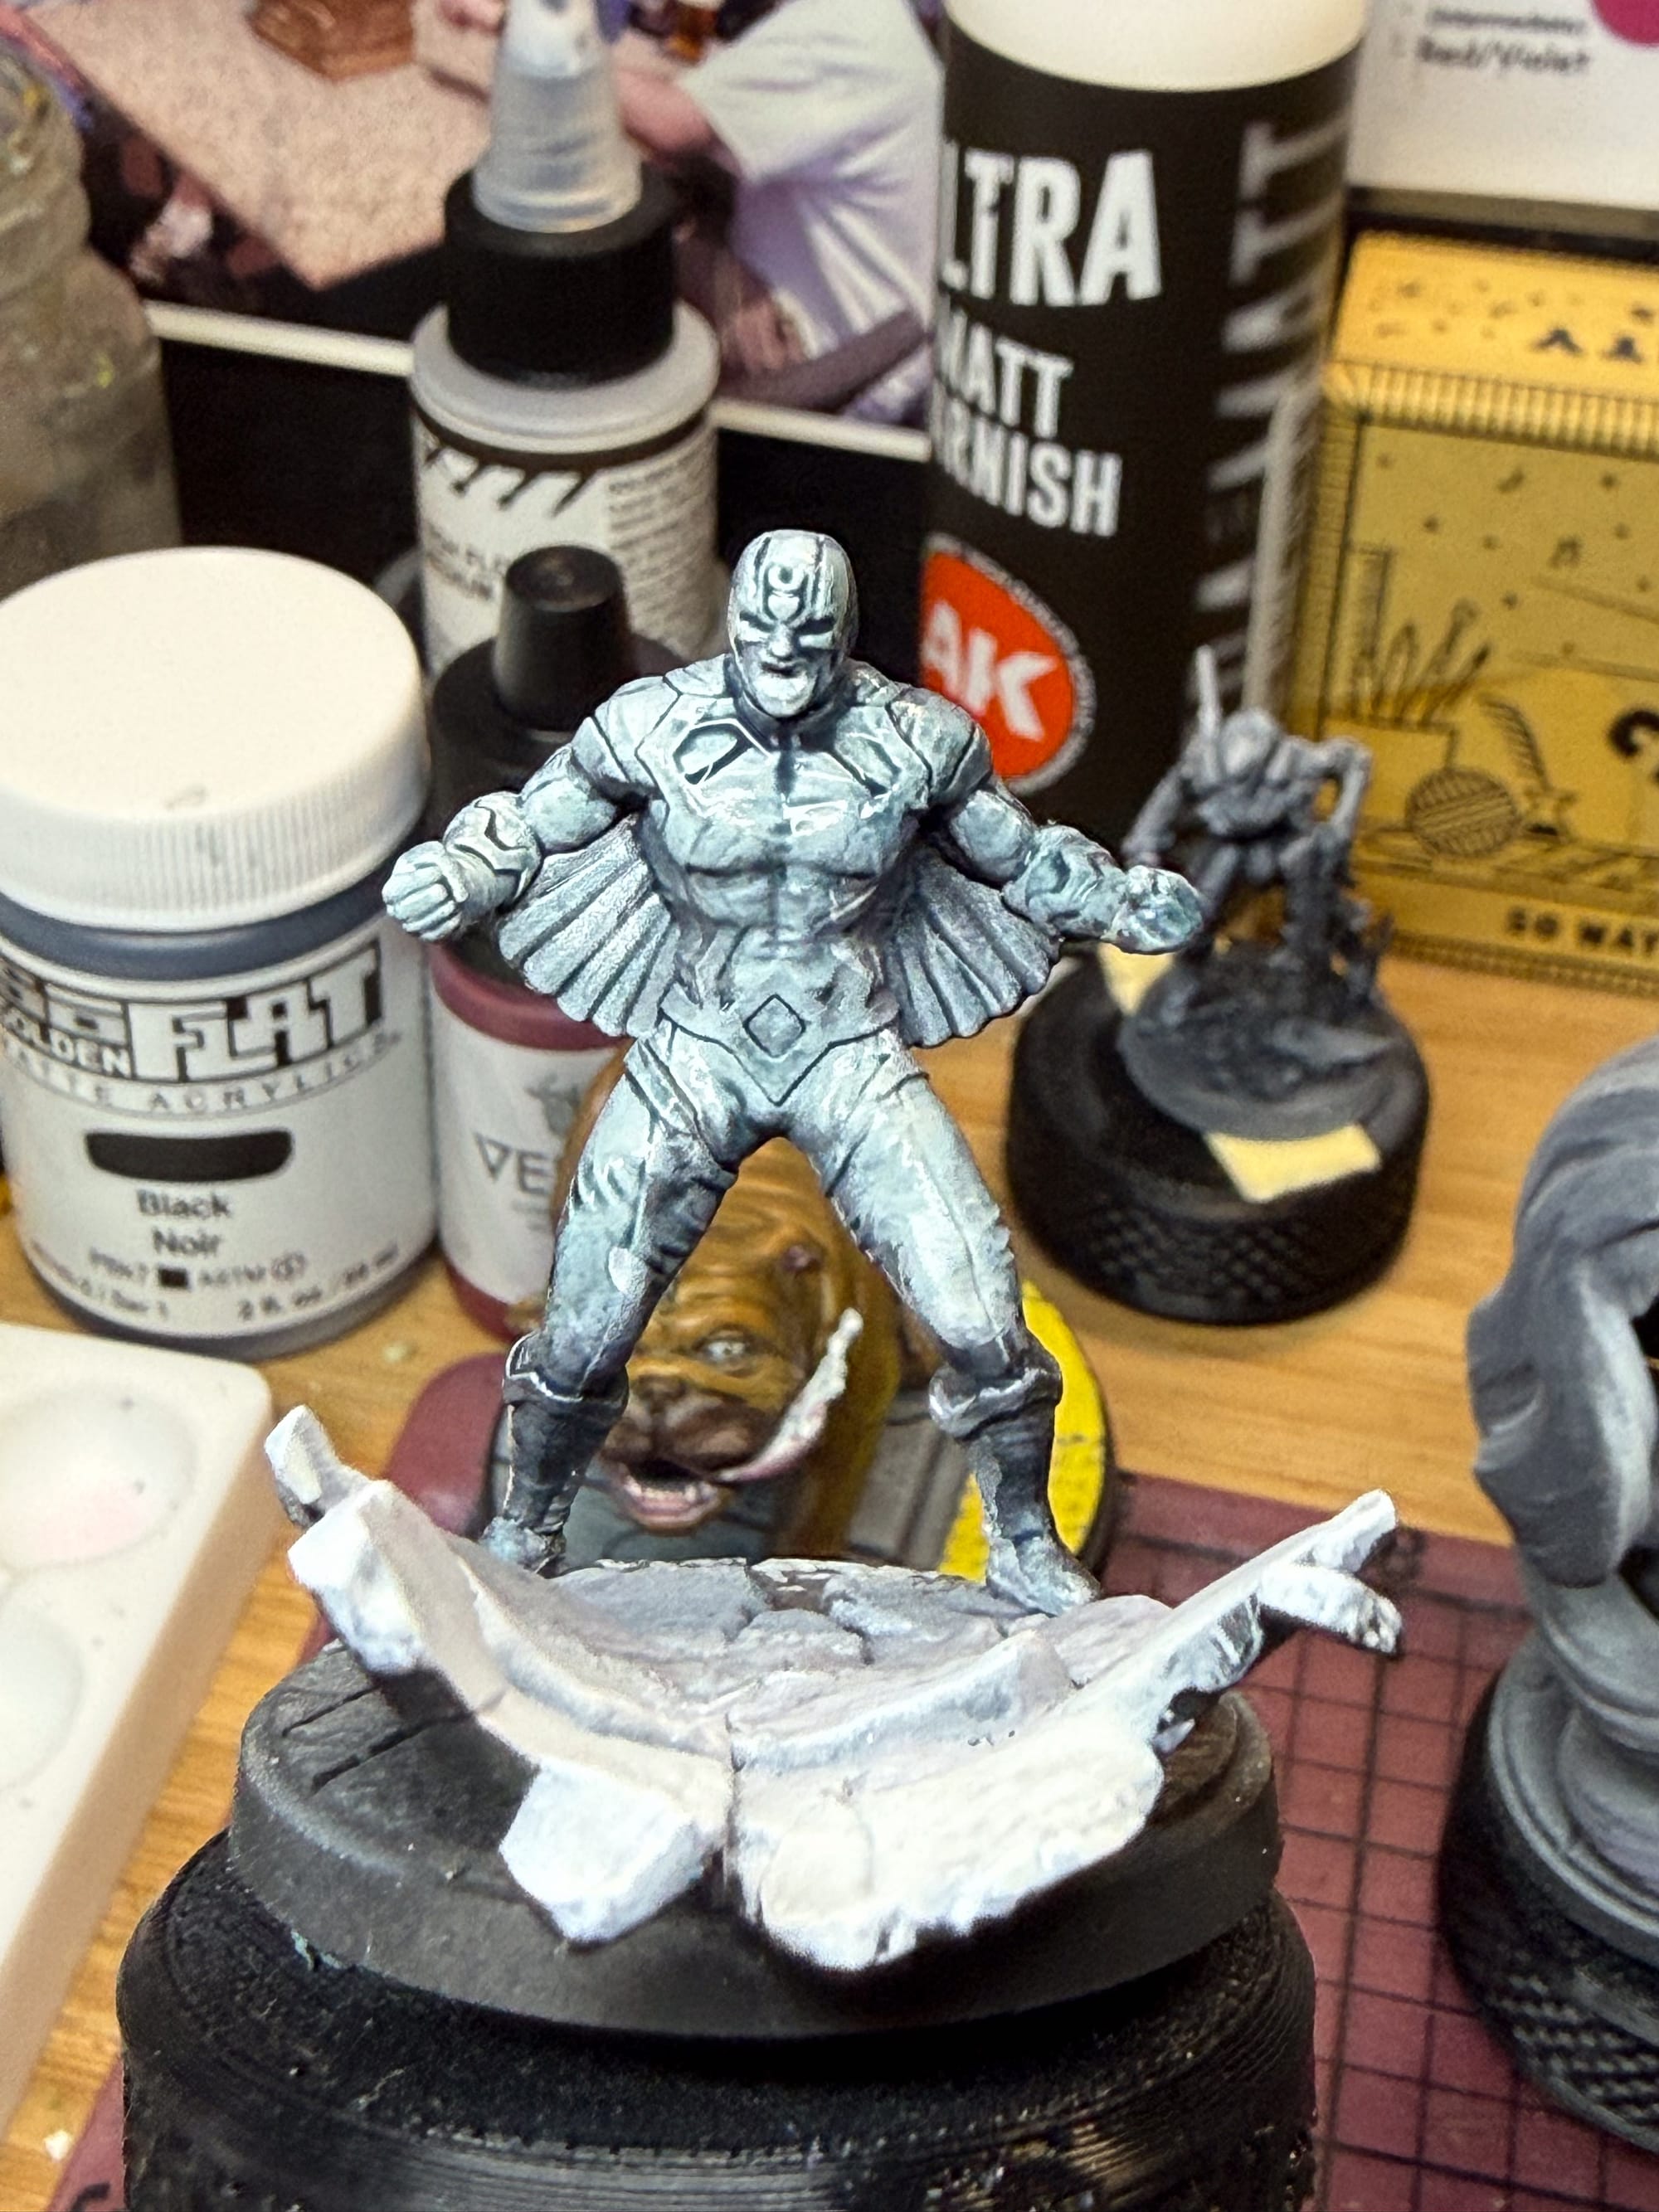
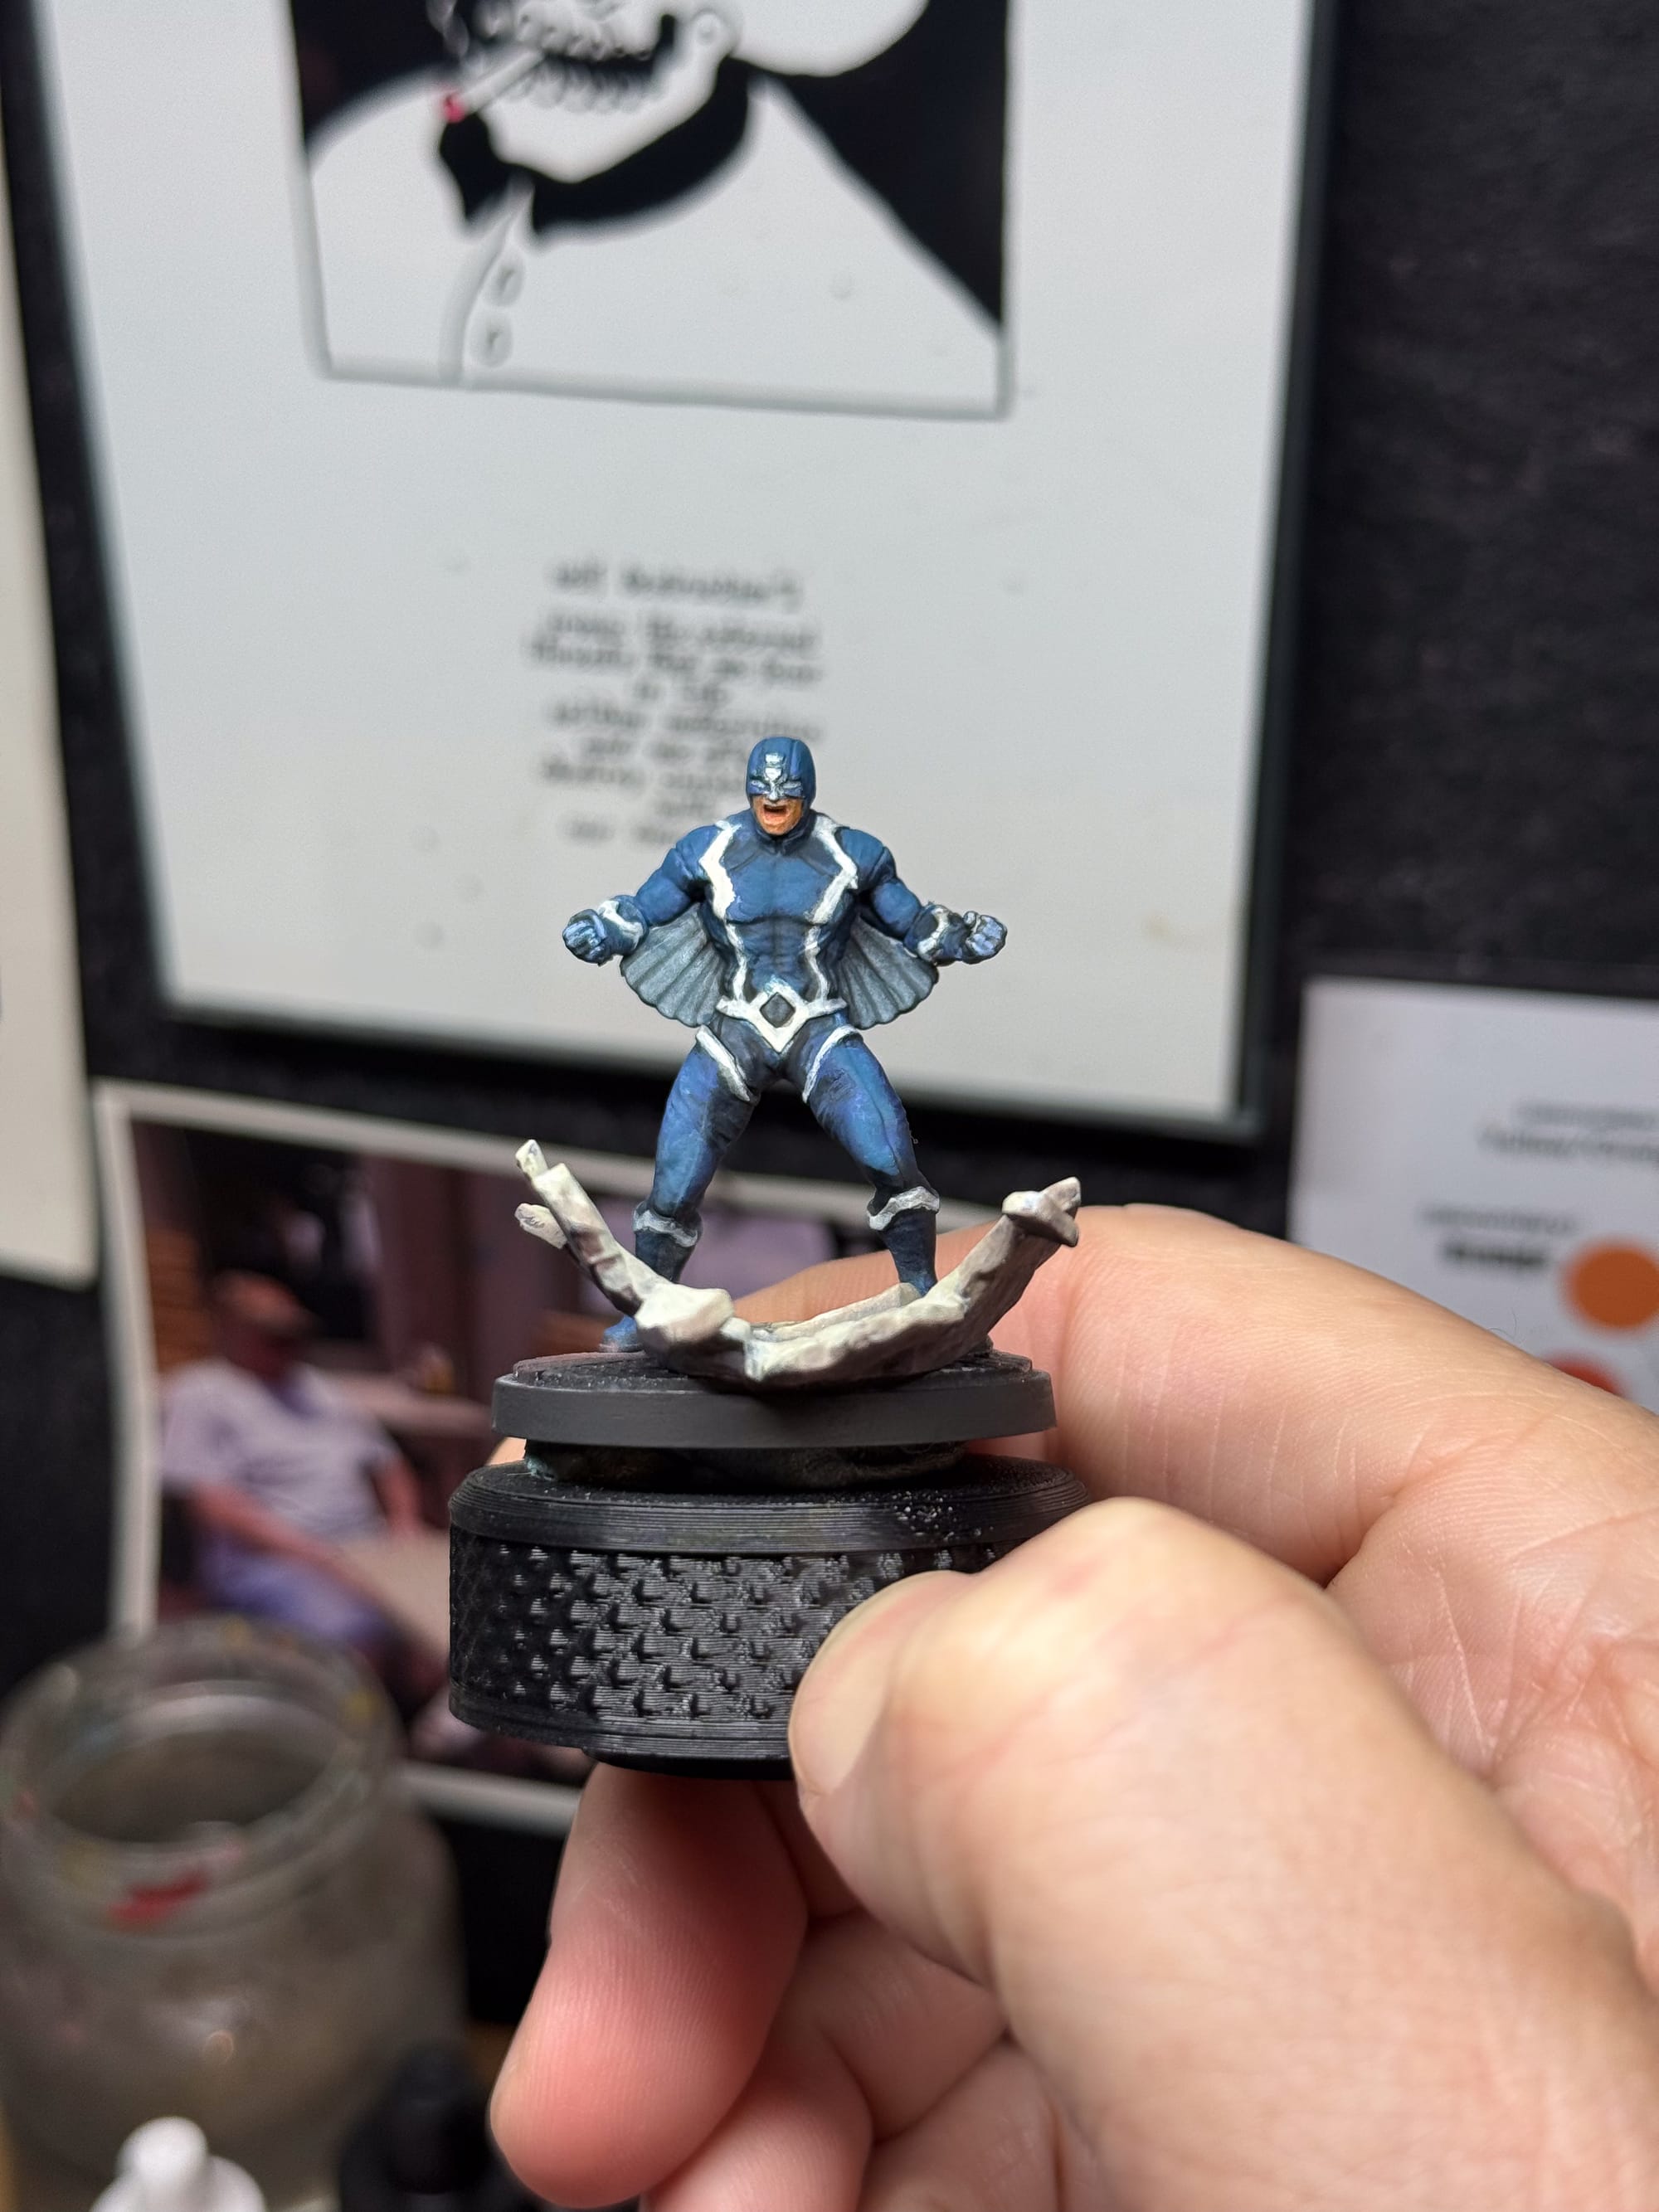
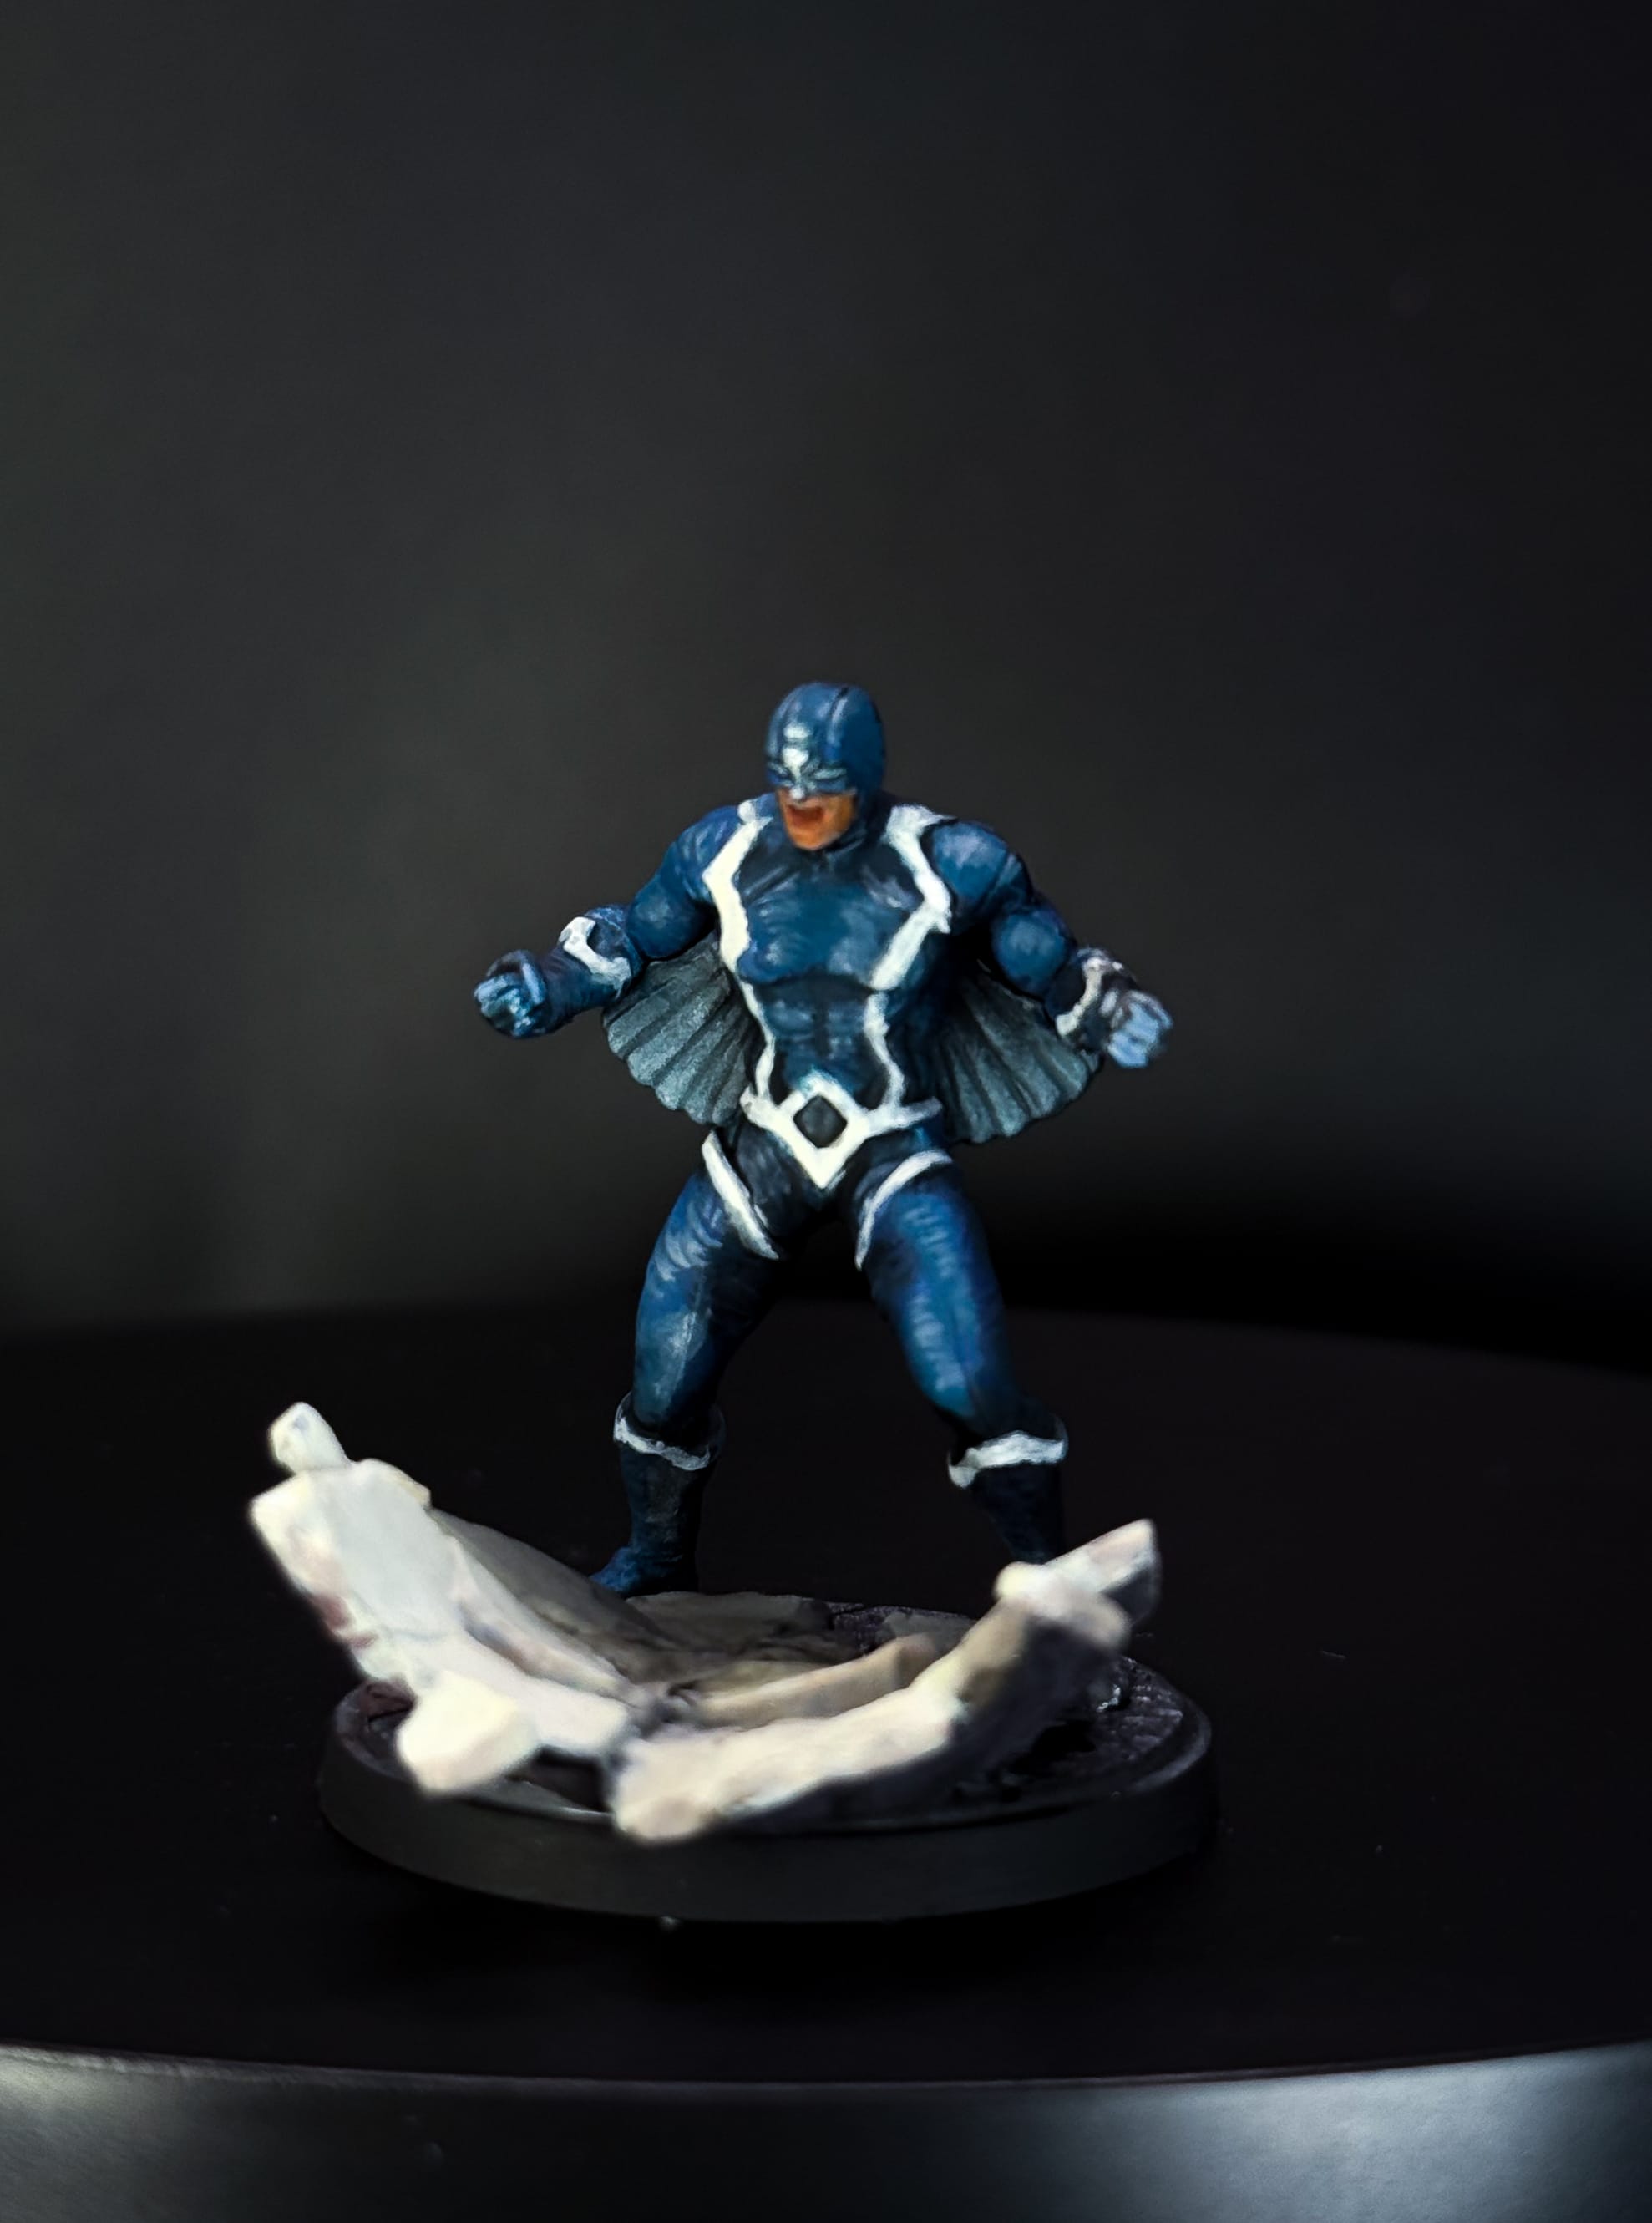
In most artwork, Black Bolt is depicted wearing Black, which to me is a little boring. Dark colors can have rich undertones to them, which is the direction I went with. Firstly, I bathed him in Nuln Oil. The intent of this isn’t to do anything with the paint job of the model, but for me to see what the shapes and textures are; in the case of this model, there’s a lot! Costume lines, muscles, areas where stretching occurs…it’s a good visual reminder.
I started with a mixture of Violet Grey and Dark Prussian Blue, which will give me a rich darkness made out of both violet and green tones; when mixed with blue gives you a richer black. Also on this piece, I’m choosing to make the front a lot brighter than the background, which will save me time on highlighting and add some dramatic emphasis to the piece.
To the Dark Prussian, I added in Oxford Blue, which is more of a denim color. This brightness really helps me define the areas of interest. This is also when I started adding incremental parts of white to blue. In most situations, White really wrecks a color by removing the saturation, but with blue, it’s perfectly fine.
For the white lines on the suit, I stuck with a light blue to light transition on the front, and a greyish blue for the back.
The use of bluish greys also worked on the wings, and my skin mixture helped with the little patch of skin on his face.
A quick blast of matte varnish, and Black Bolt is ready for the table.
Painting Medusa
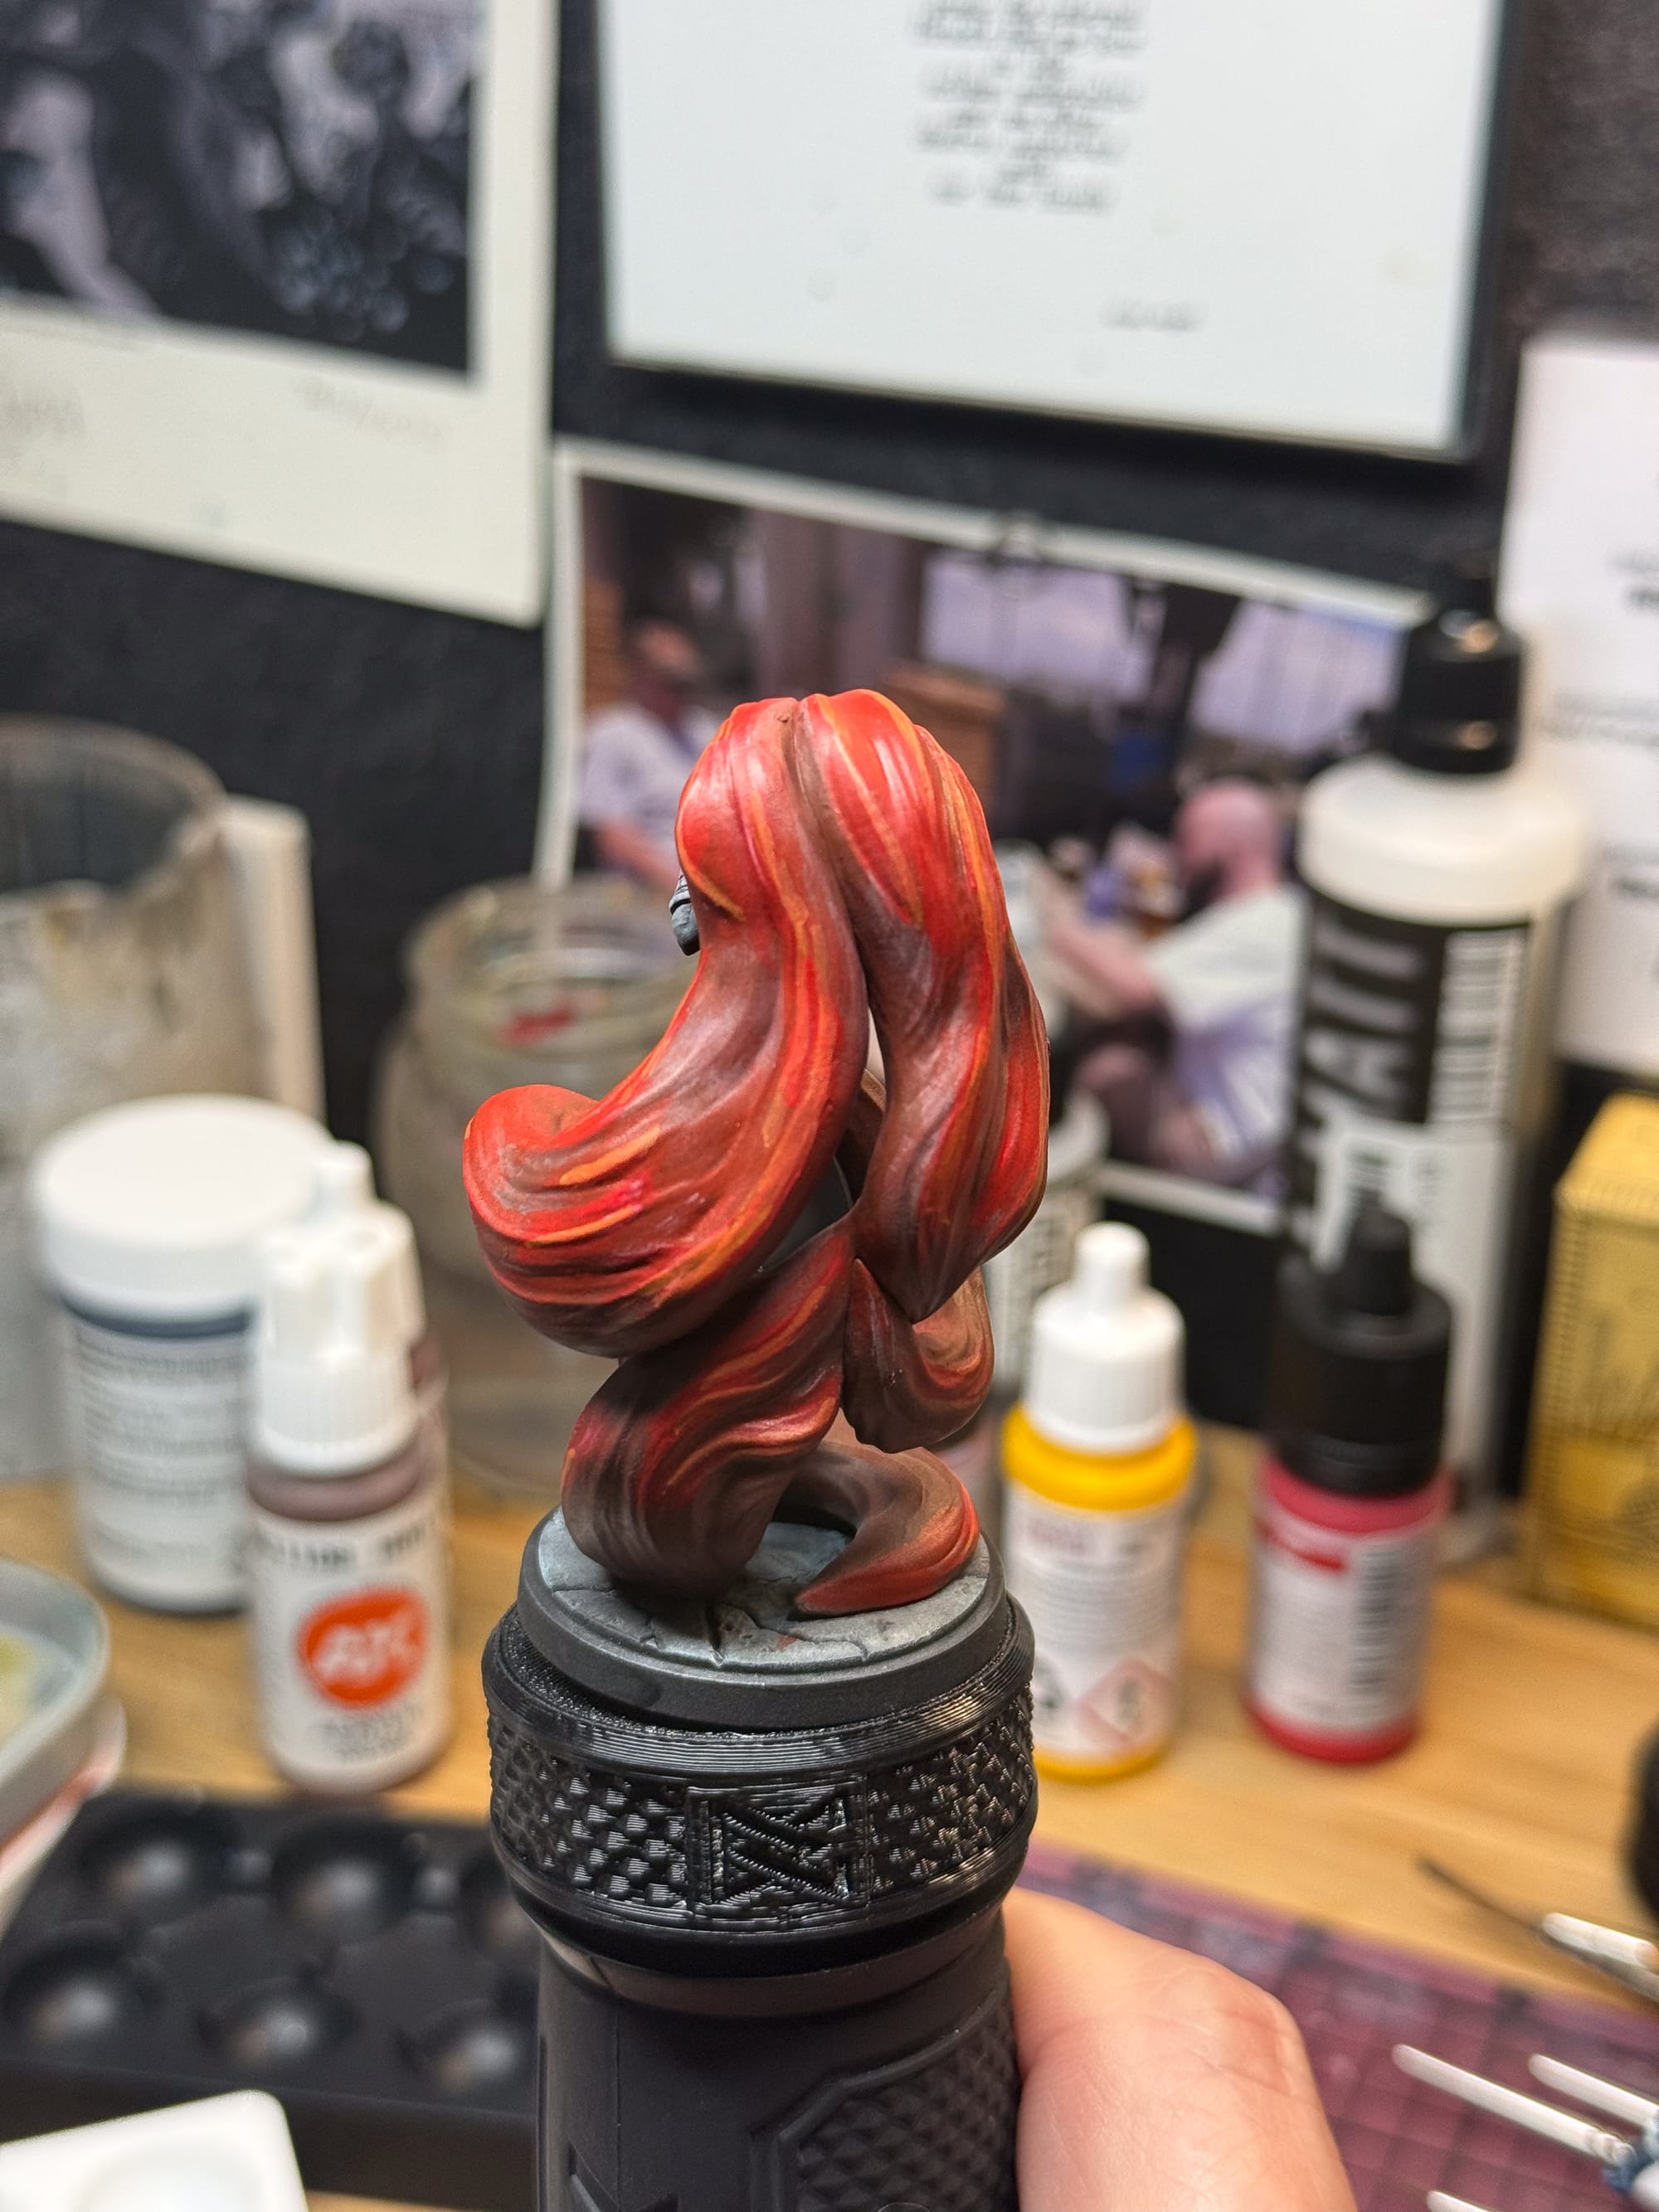
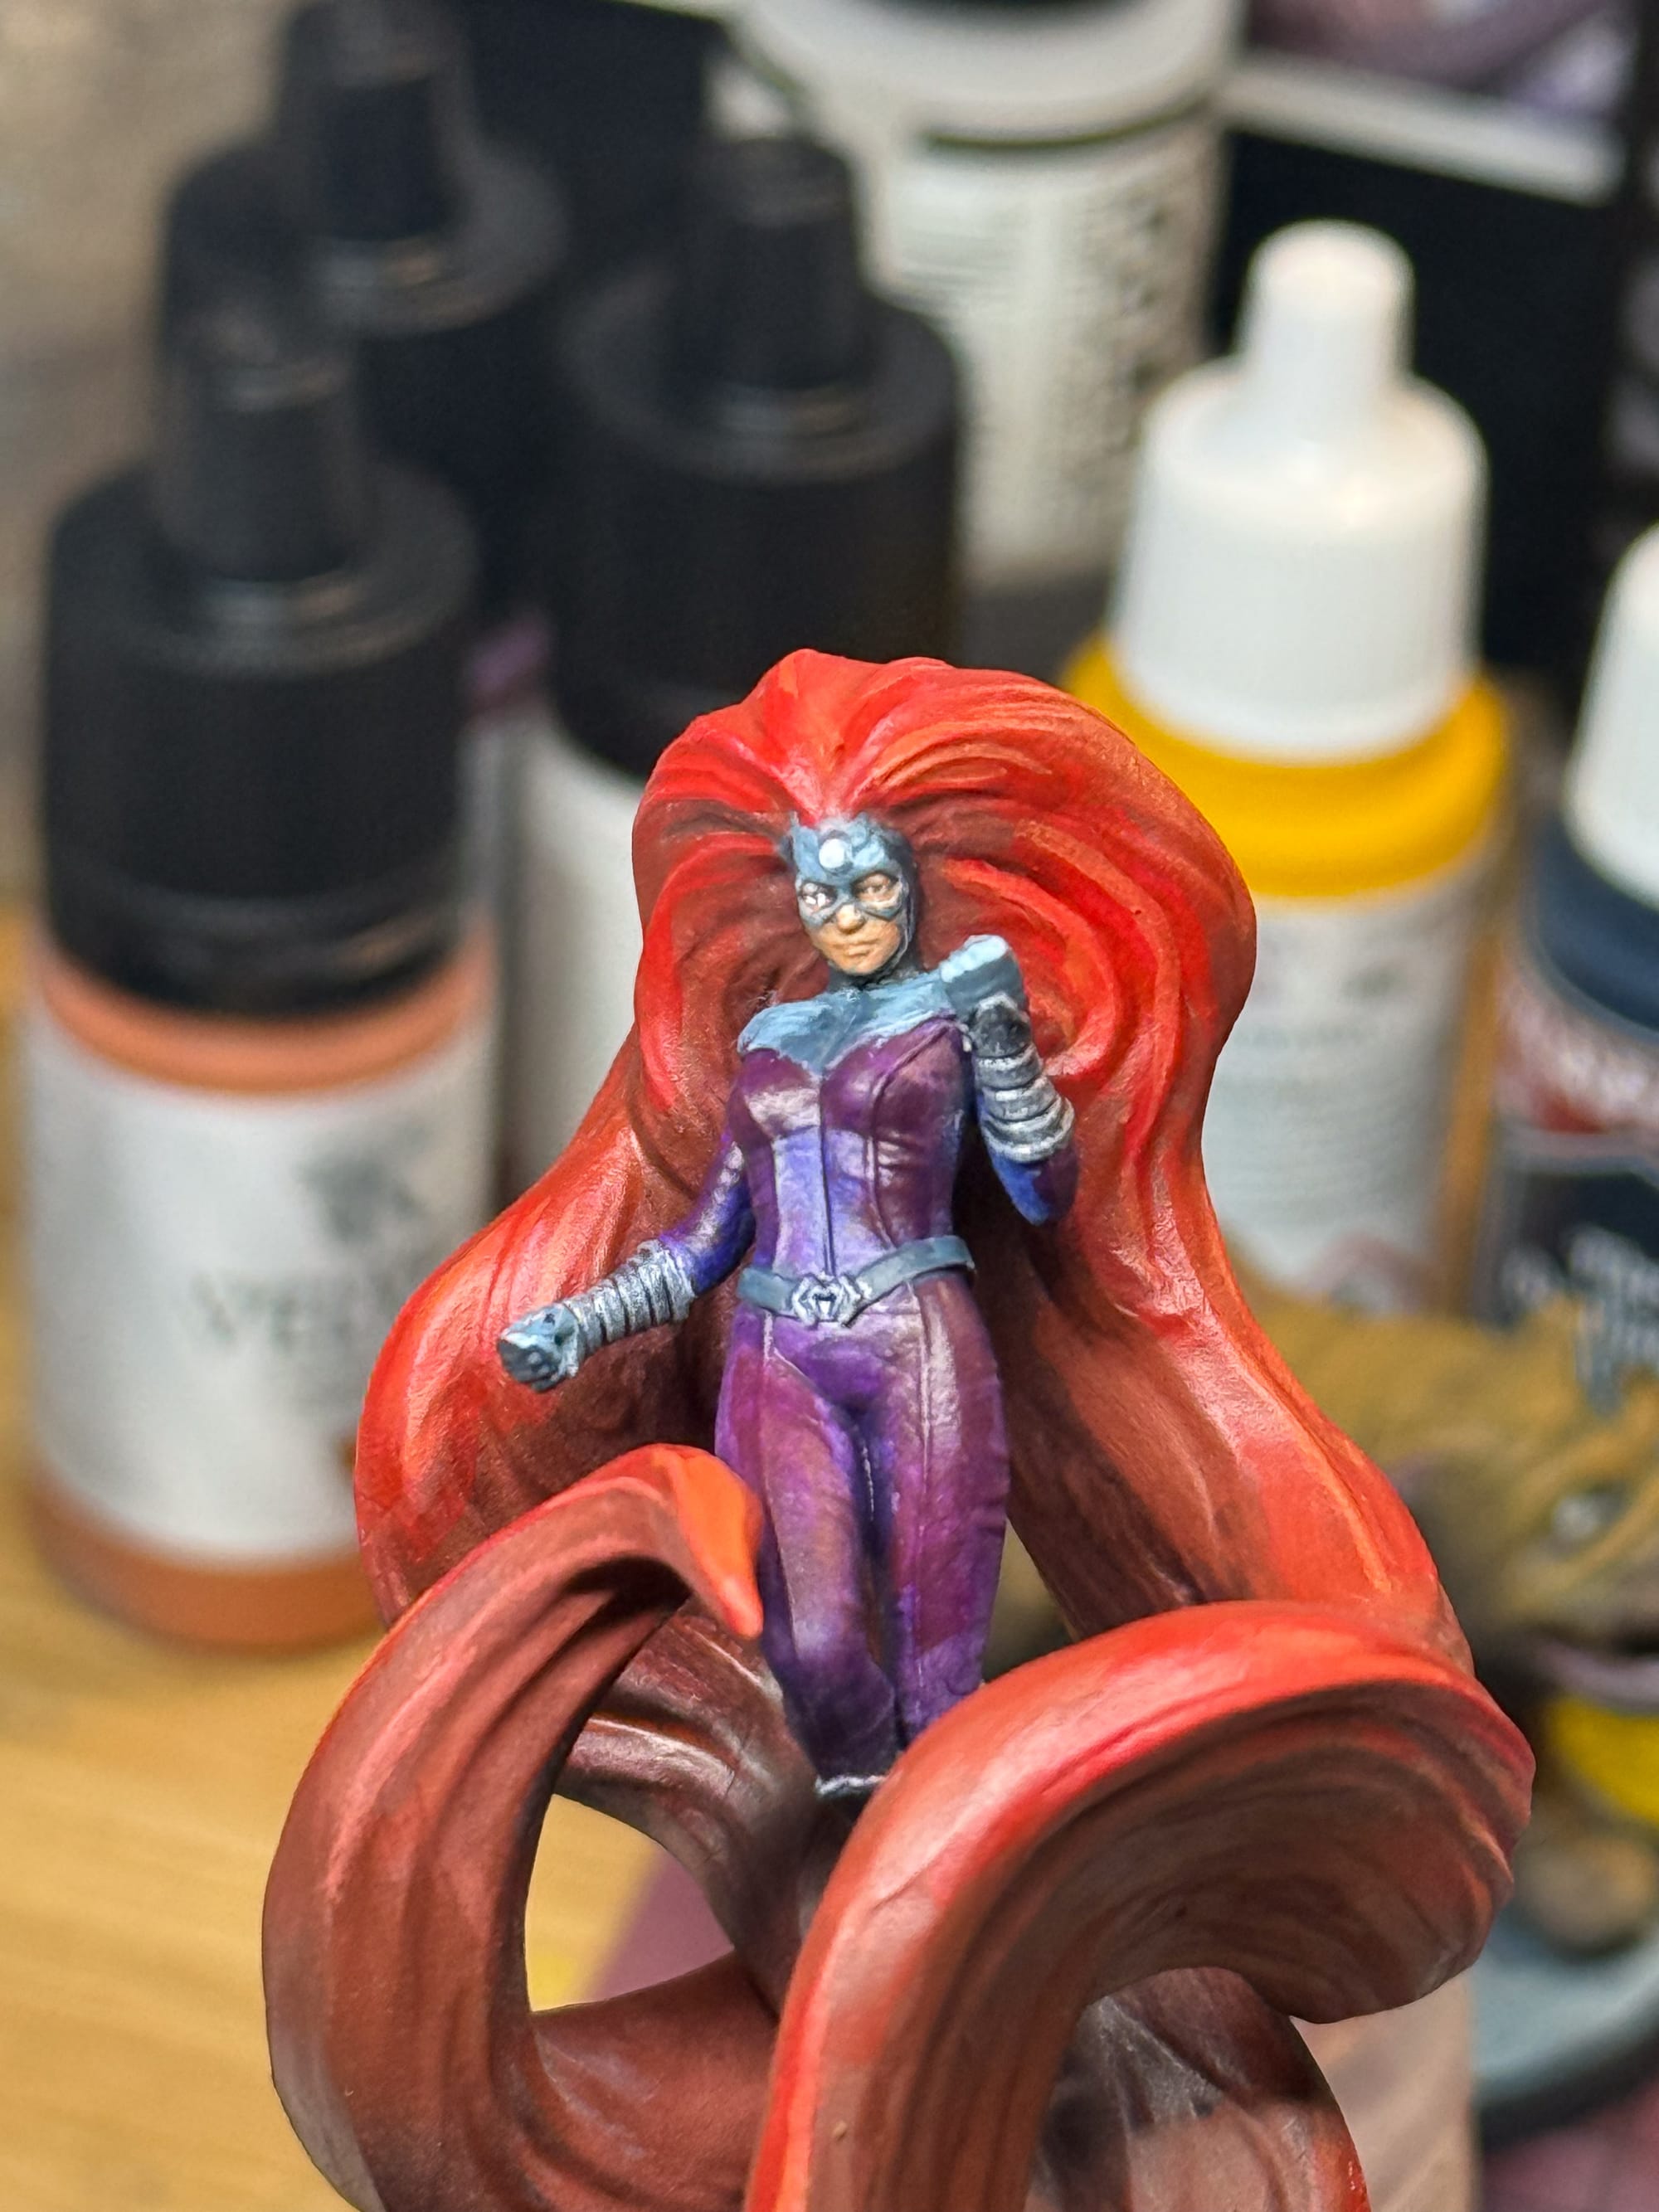
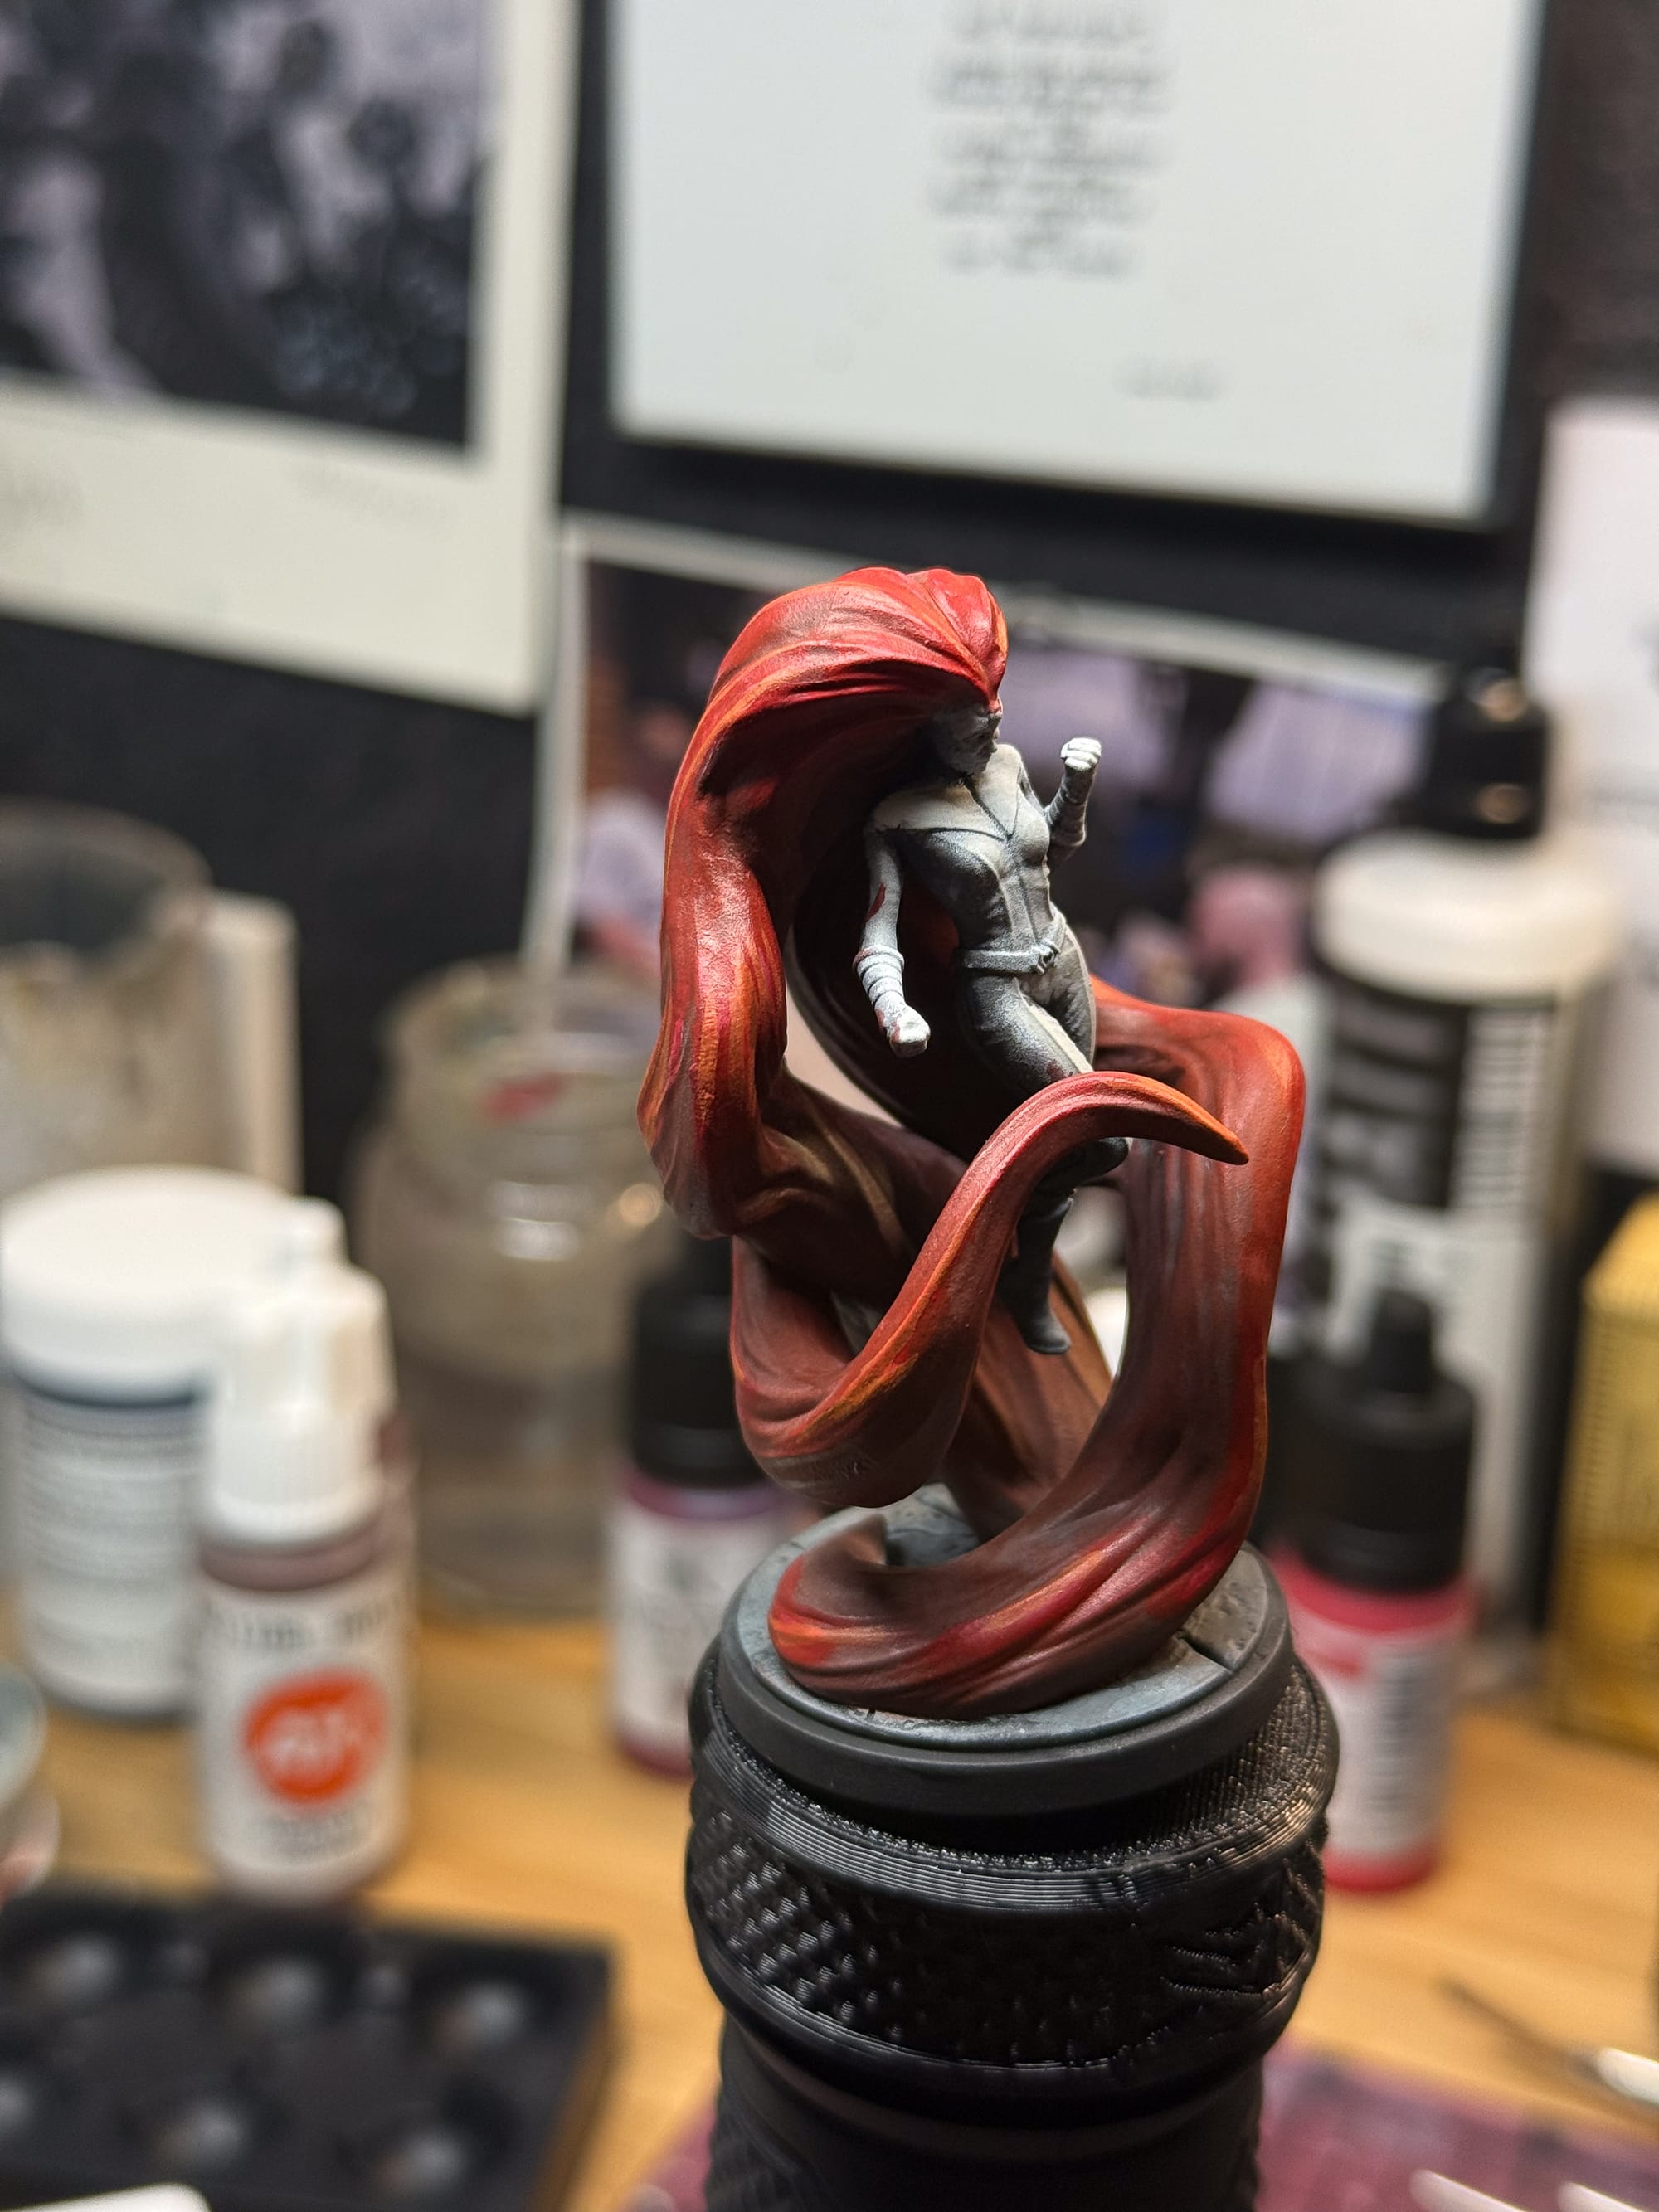
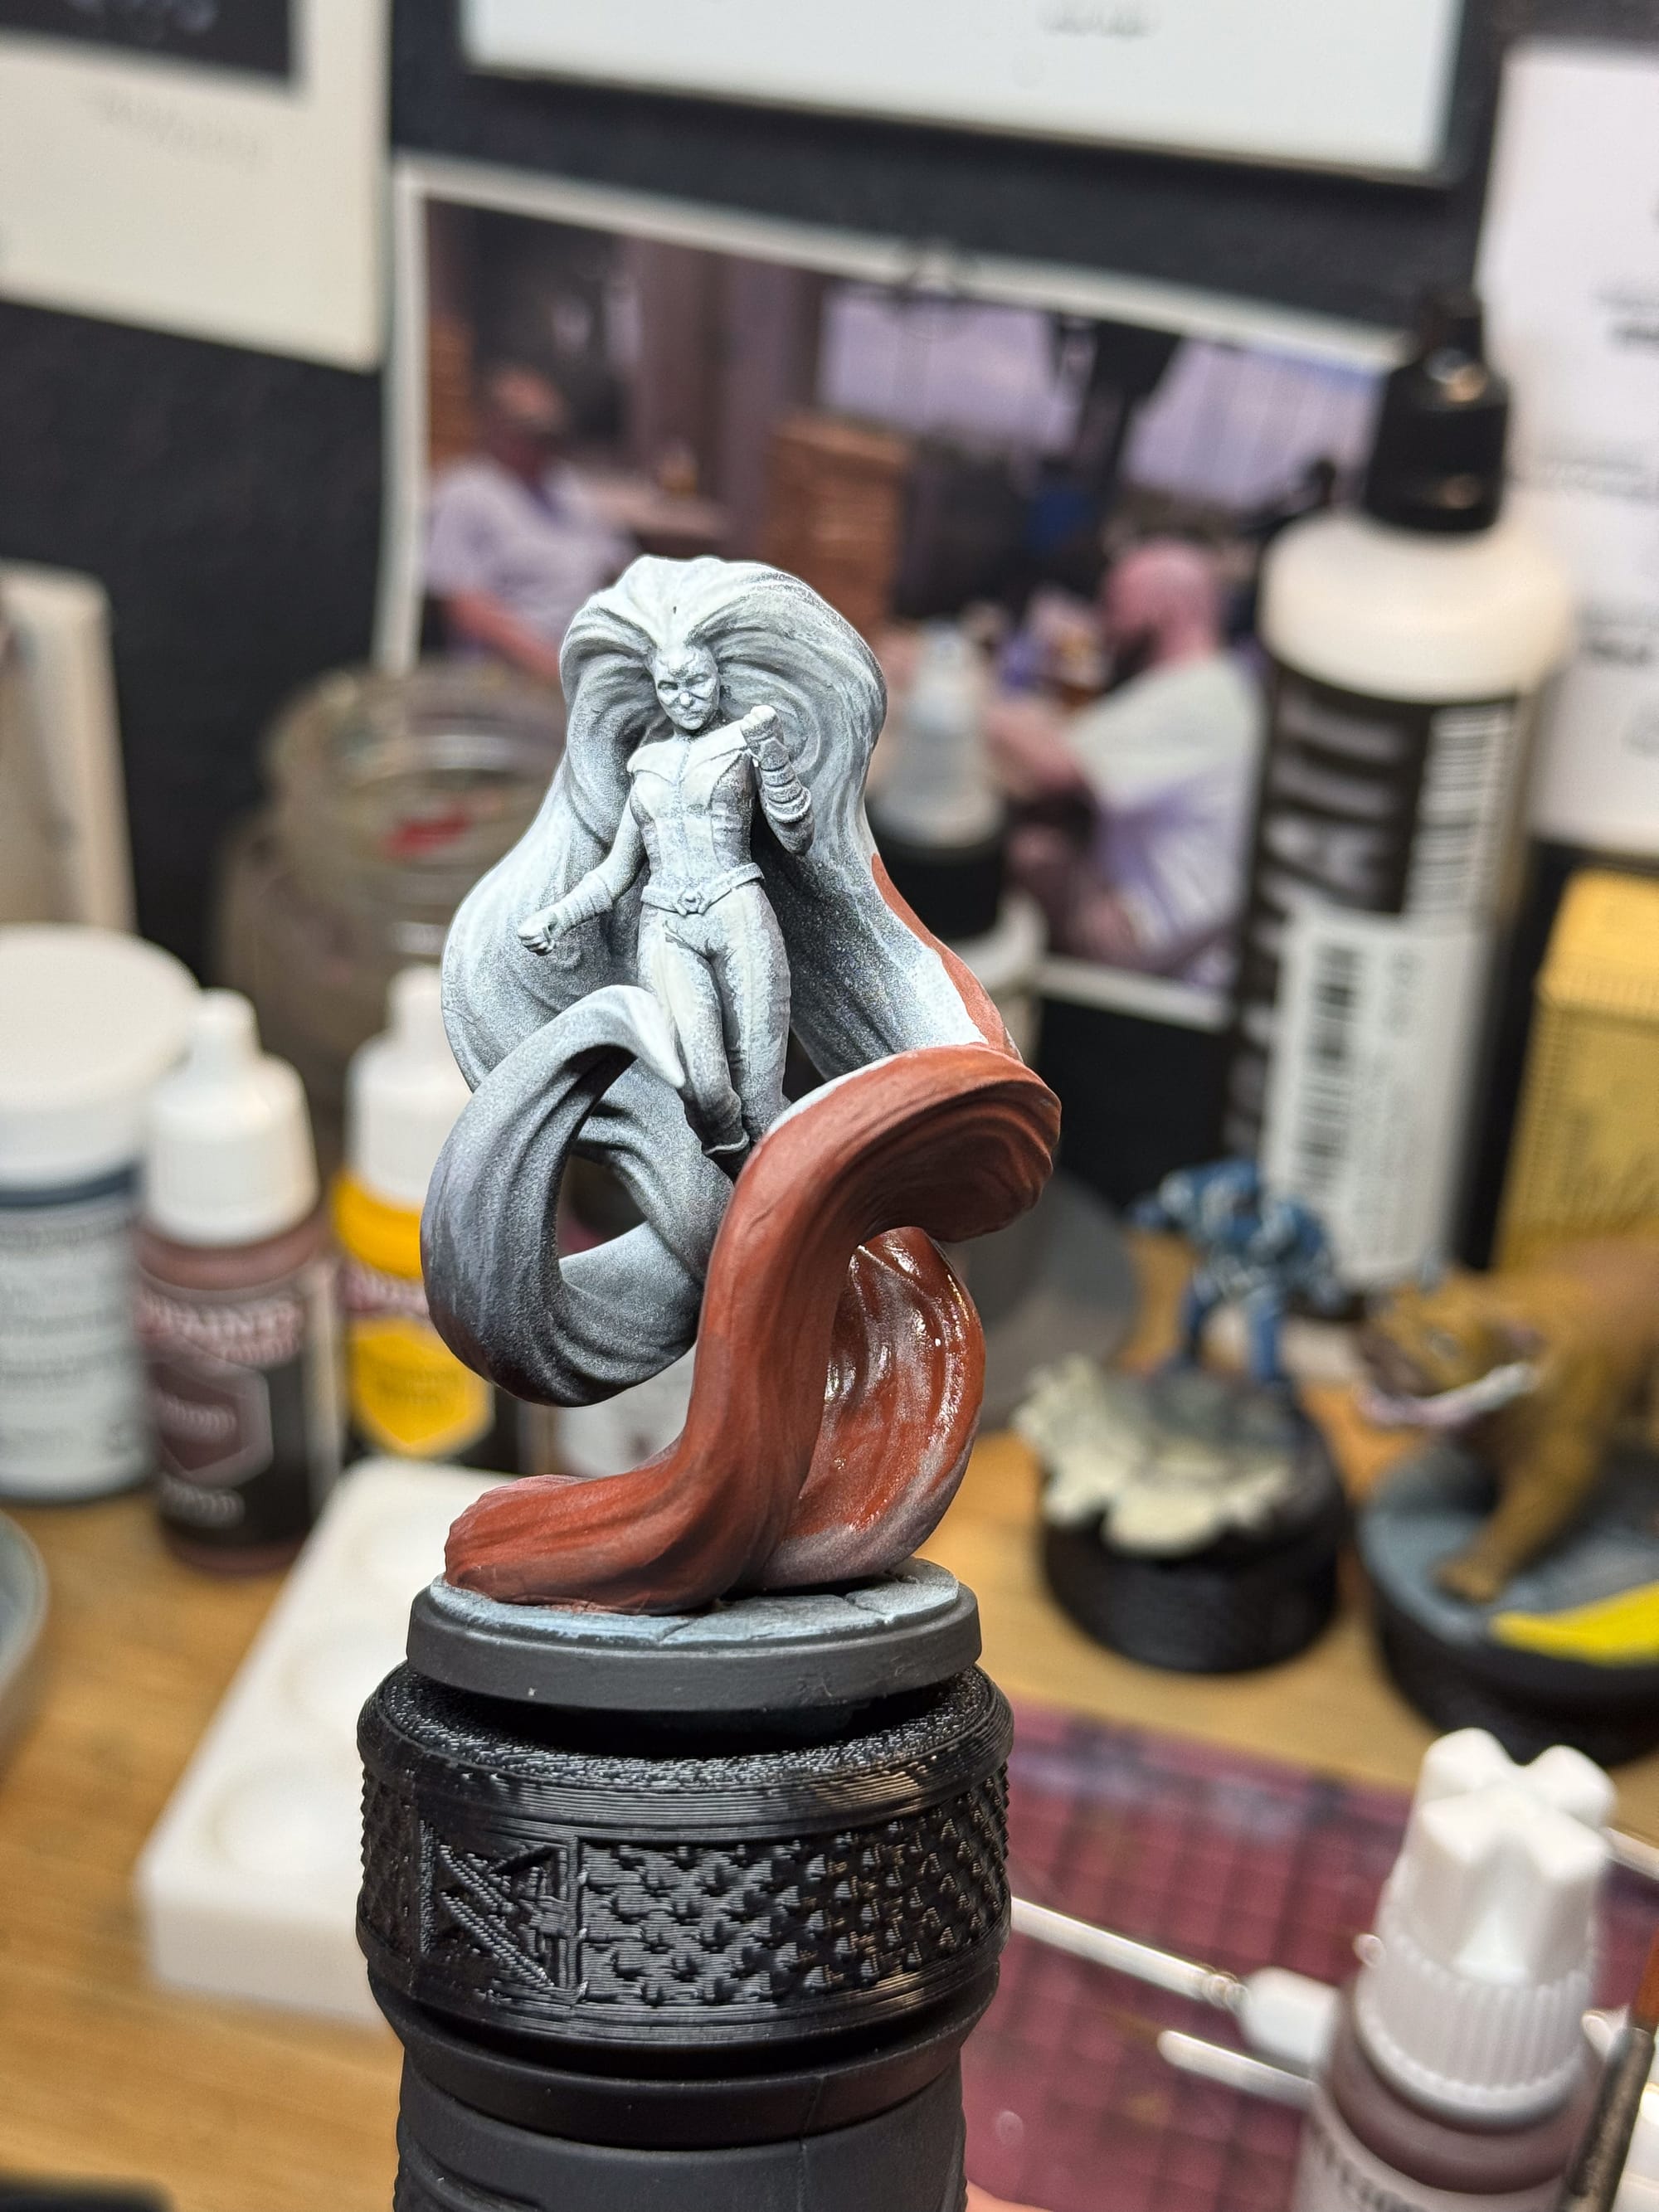
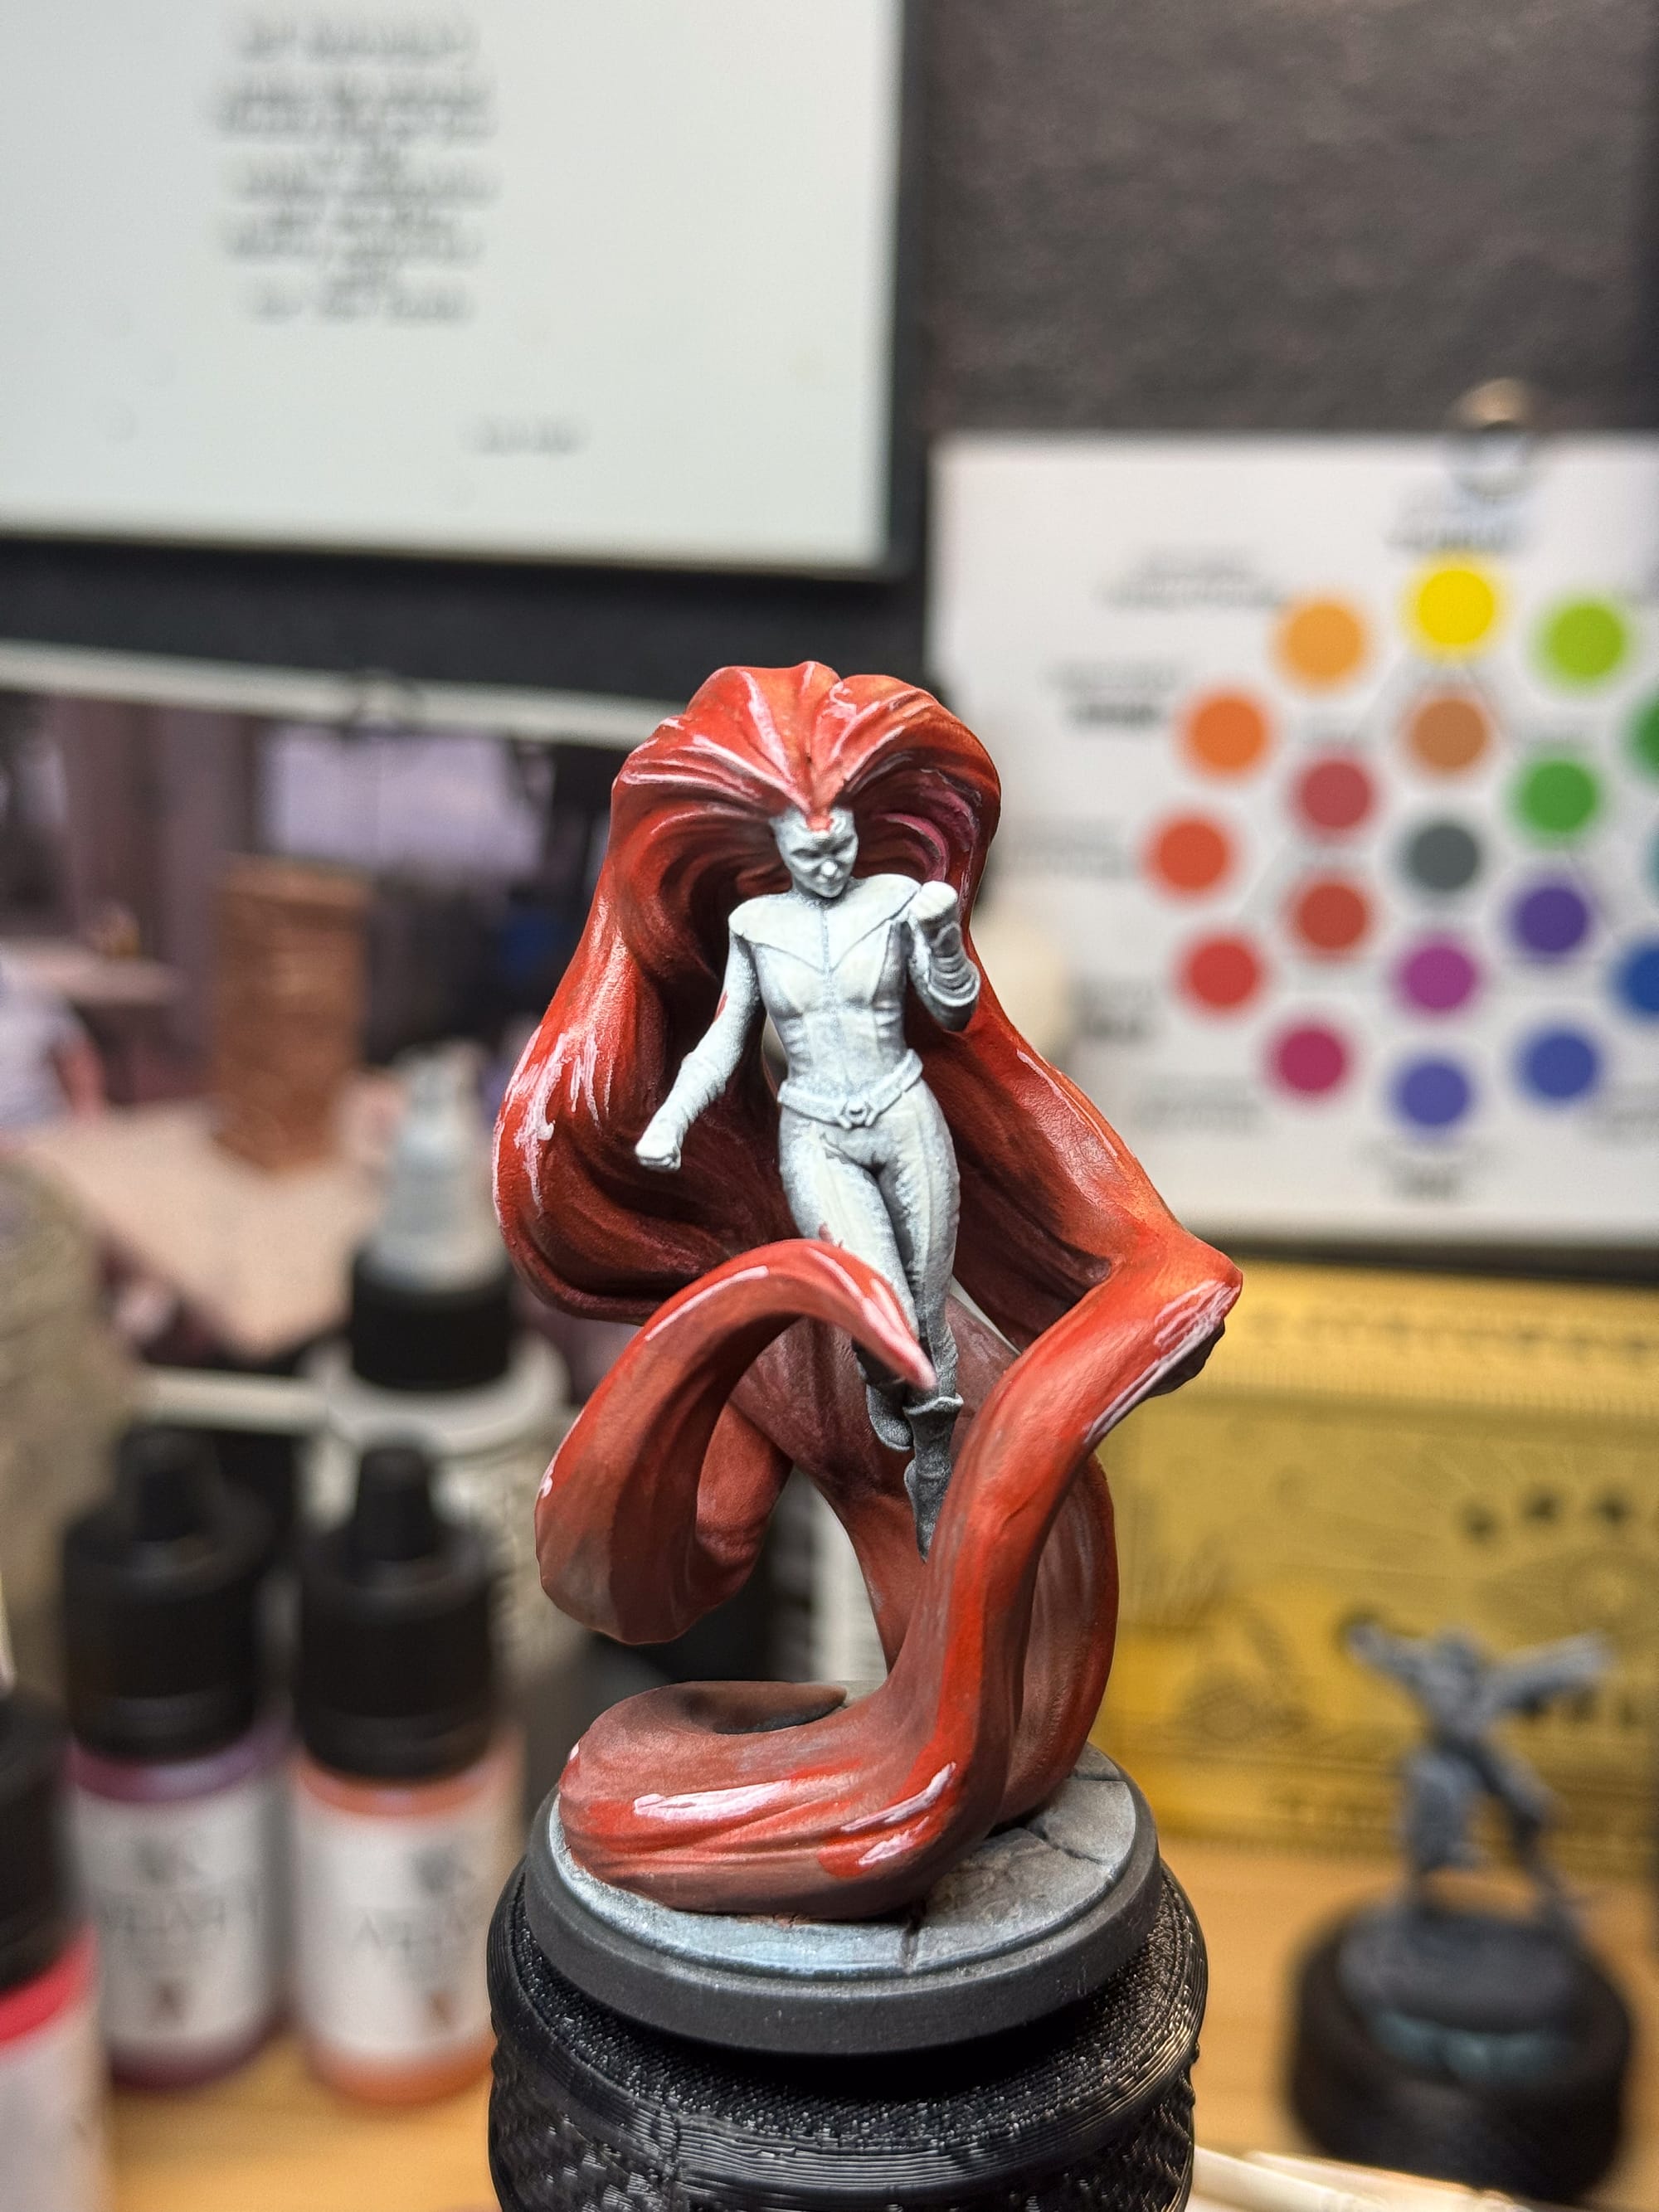
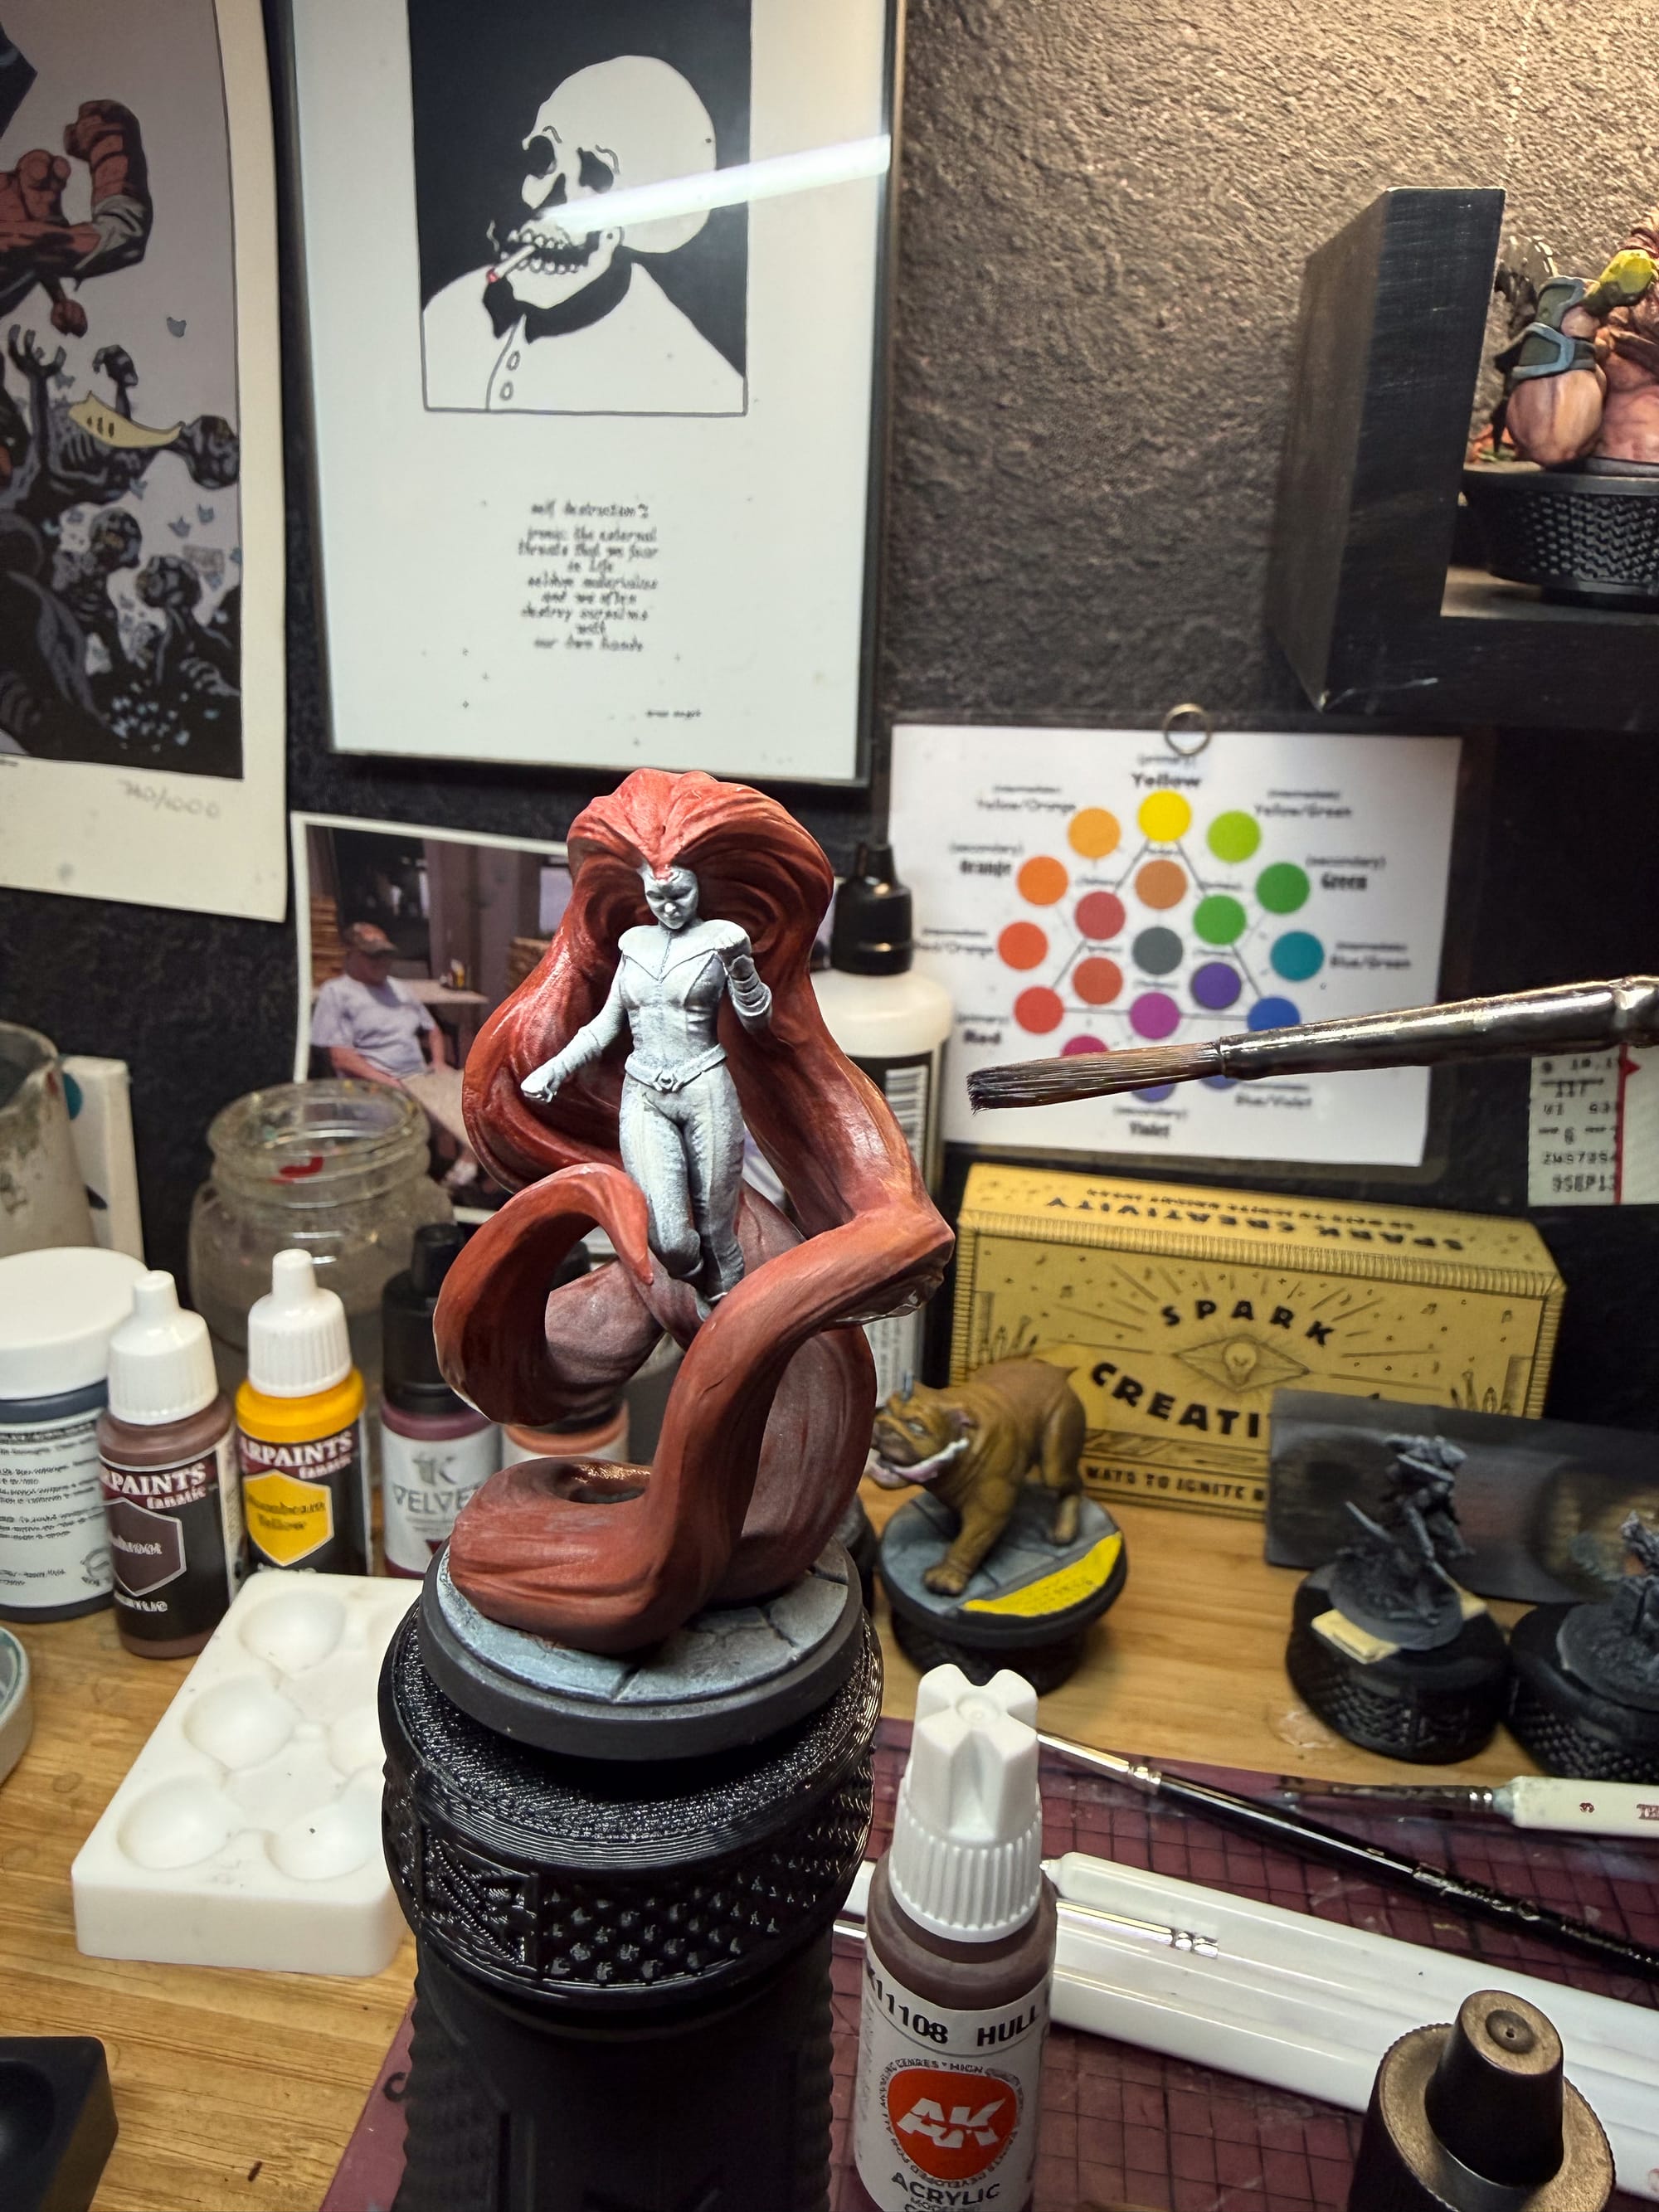
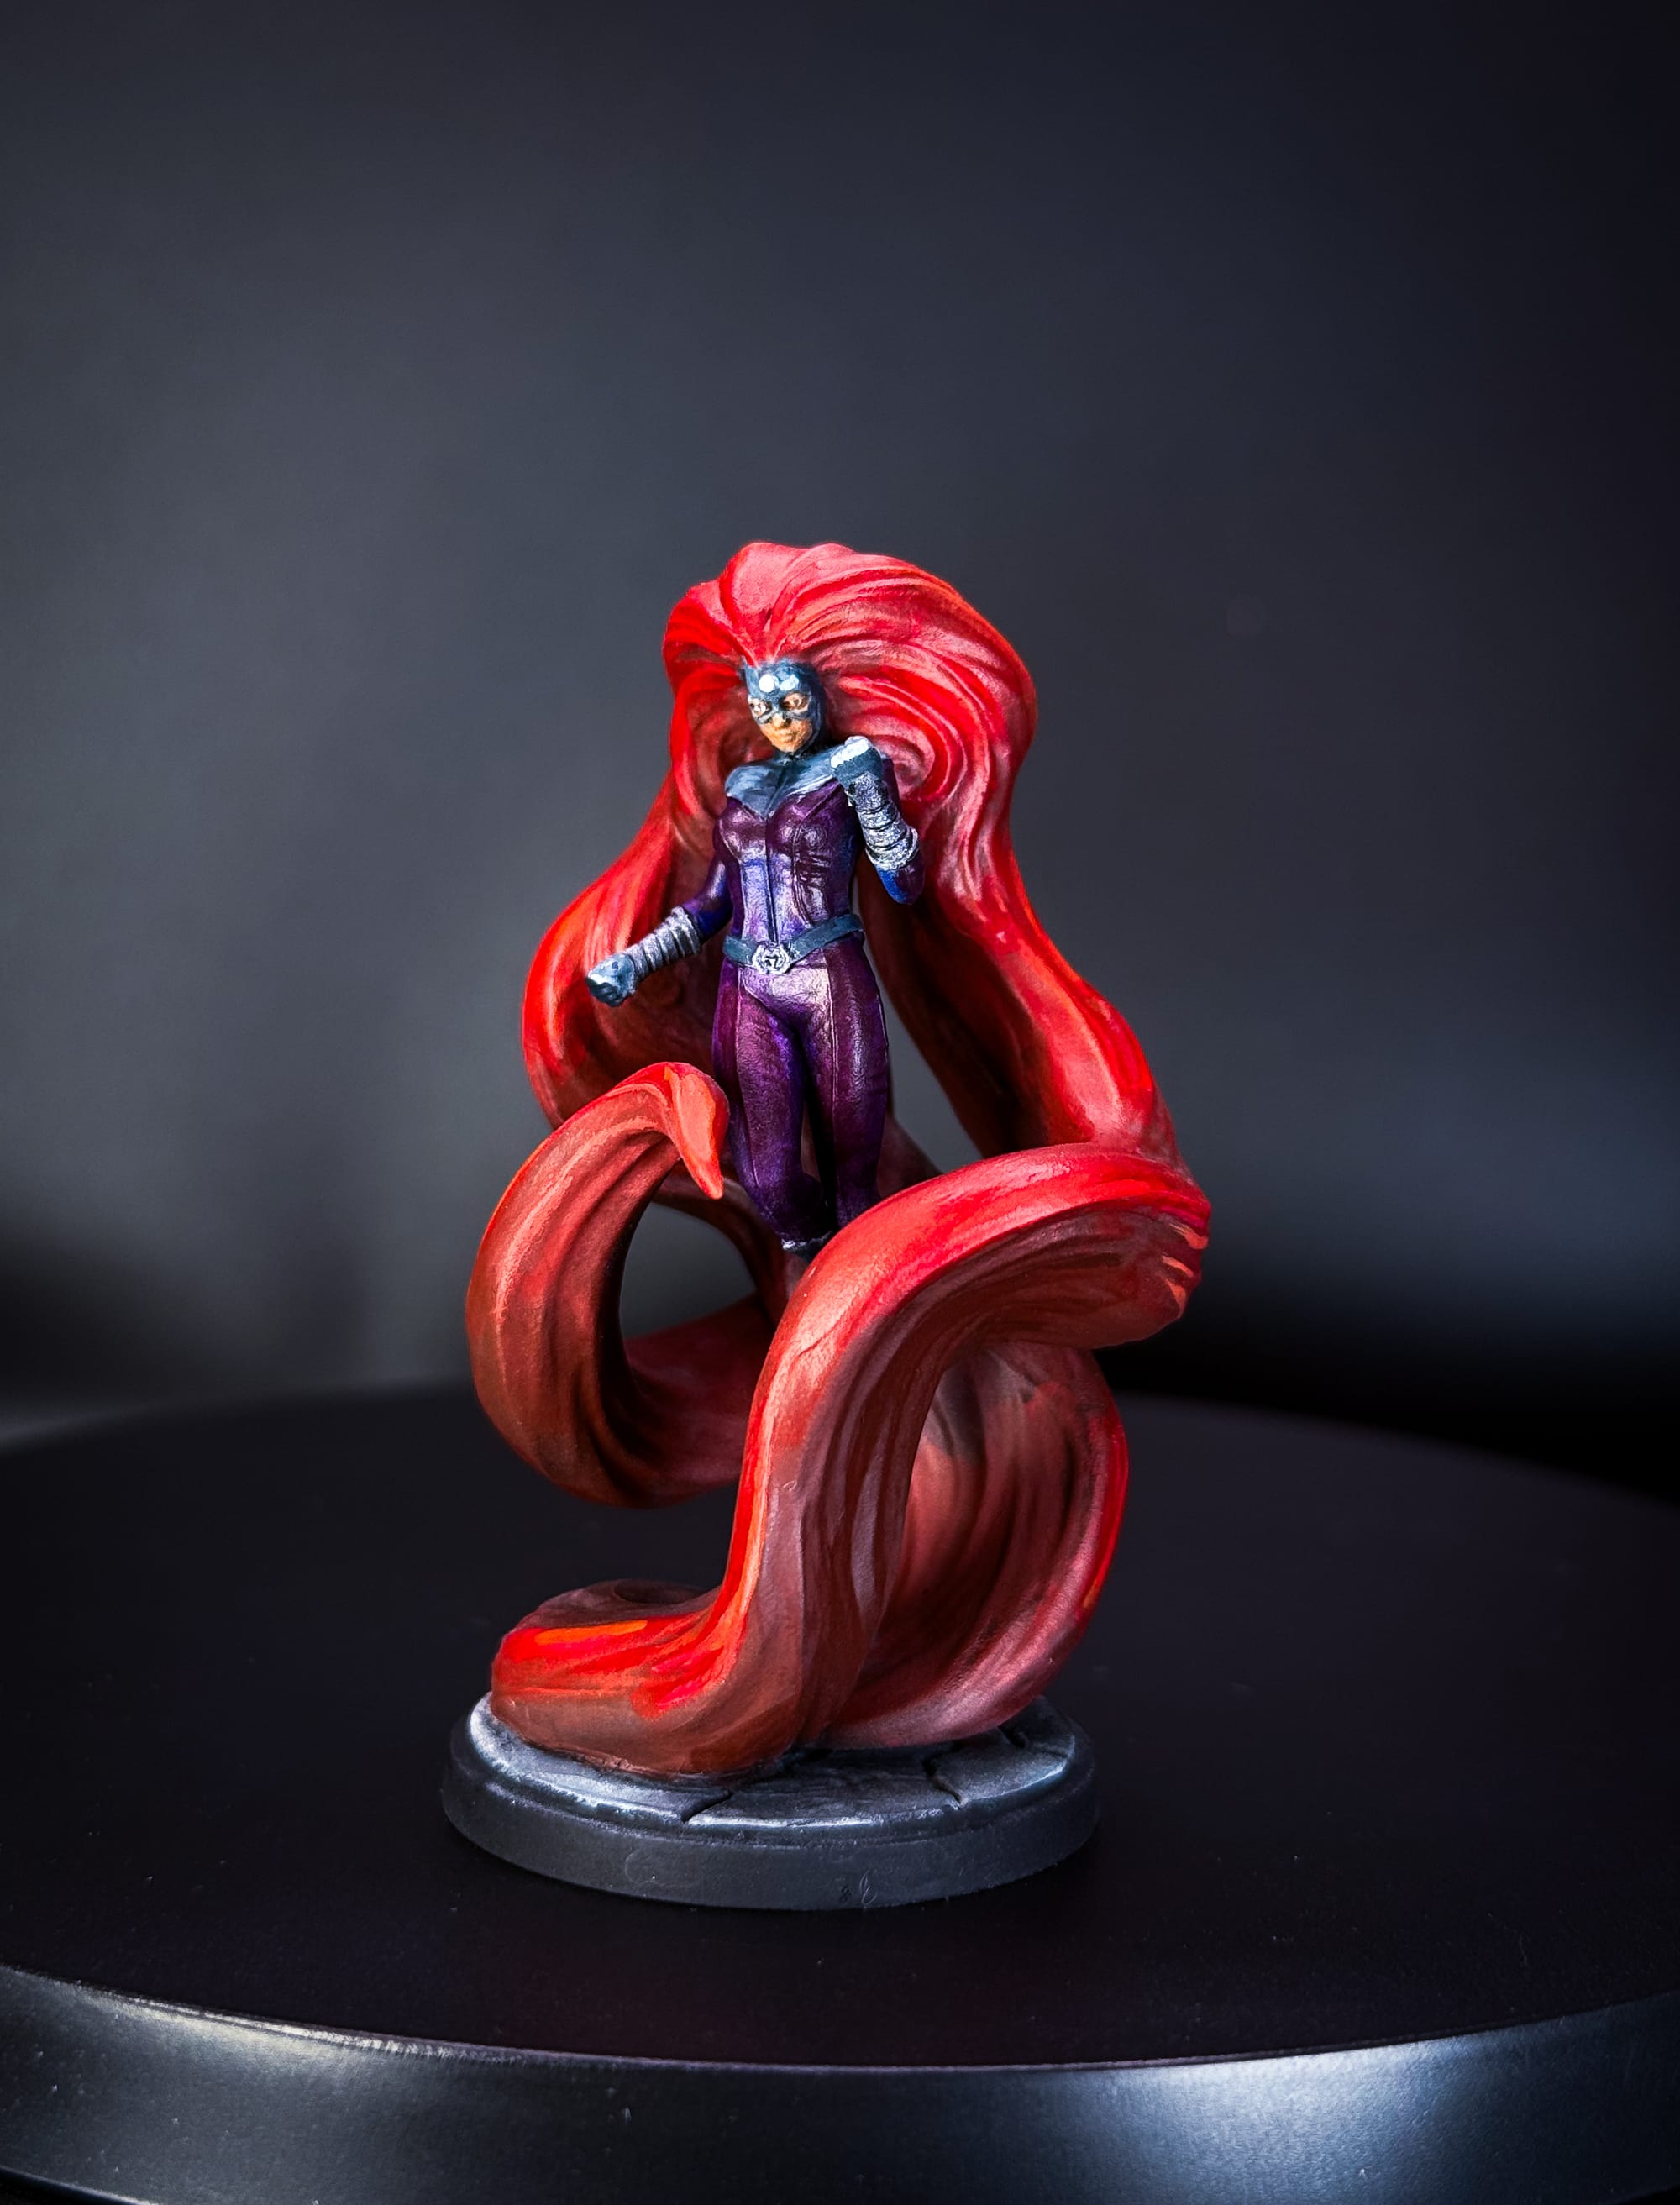
Medusa, the queen of the Inhumans, is usually depicted with rich violet, purple, and red tones, and I definitely wanted to keep in line with that.
I will start by saying that I made a huge mistake on this model, and that is painting it as one whole piece. I highly recommend painting the hair separate from the body. The reason being is that there are so many crooks and crannies, it’s just an easier time.
I started with a mixture of Oxide Red and Violet Grey to serve as both a base coat and a place for all my shadows to live, then I covered all of the hair in Hull Red, a brownish paint from AK Interactive.
Then, to start building the reds, I used Kimera Red to start raising the saturation of various areas. This is kind of up to you as the painter, but I would focus on raised parts of the hair.
This is when things get vibrant. I added the p3 ink to the mix. For those who don’t know, Inks are a classification of paints that are highly pigmented and thin. This makes them translucent and bold. This is perfect for red. I used Pale Flesh to create my highlight, then 2 coats of the p3 ink on top to start defining the highlight layers. Repeat this process, and add a little smidge of Moonbeam Yellow to the mix to start building an orange, but not too orange. Take it slow. After a while, everything will look red, and then pop, the highlights appear.
Repeat until happy.
For the costume, I used Kimera Velvet Magenta added to the Violet Grey to give me a nice base tone, and then created layers with more Magenta, and a little bit of red to create highlights, but believe me, the star of this model is the hair. For the arms, chest, belly, and face mask, I used The Darkness to base coat, and then added in little bits of Pale Flesh to help create my mid and highlight colors.
The skin took the usual mix of Leather and white, with a fleshshade wash, and then the eyes were a white fill with a tiny dot of black. These eyes are harder, but the payoff is striking. With a blast of matte varnish, Medusa is done.
Painting Crystal
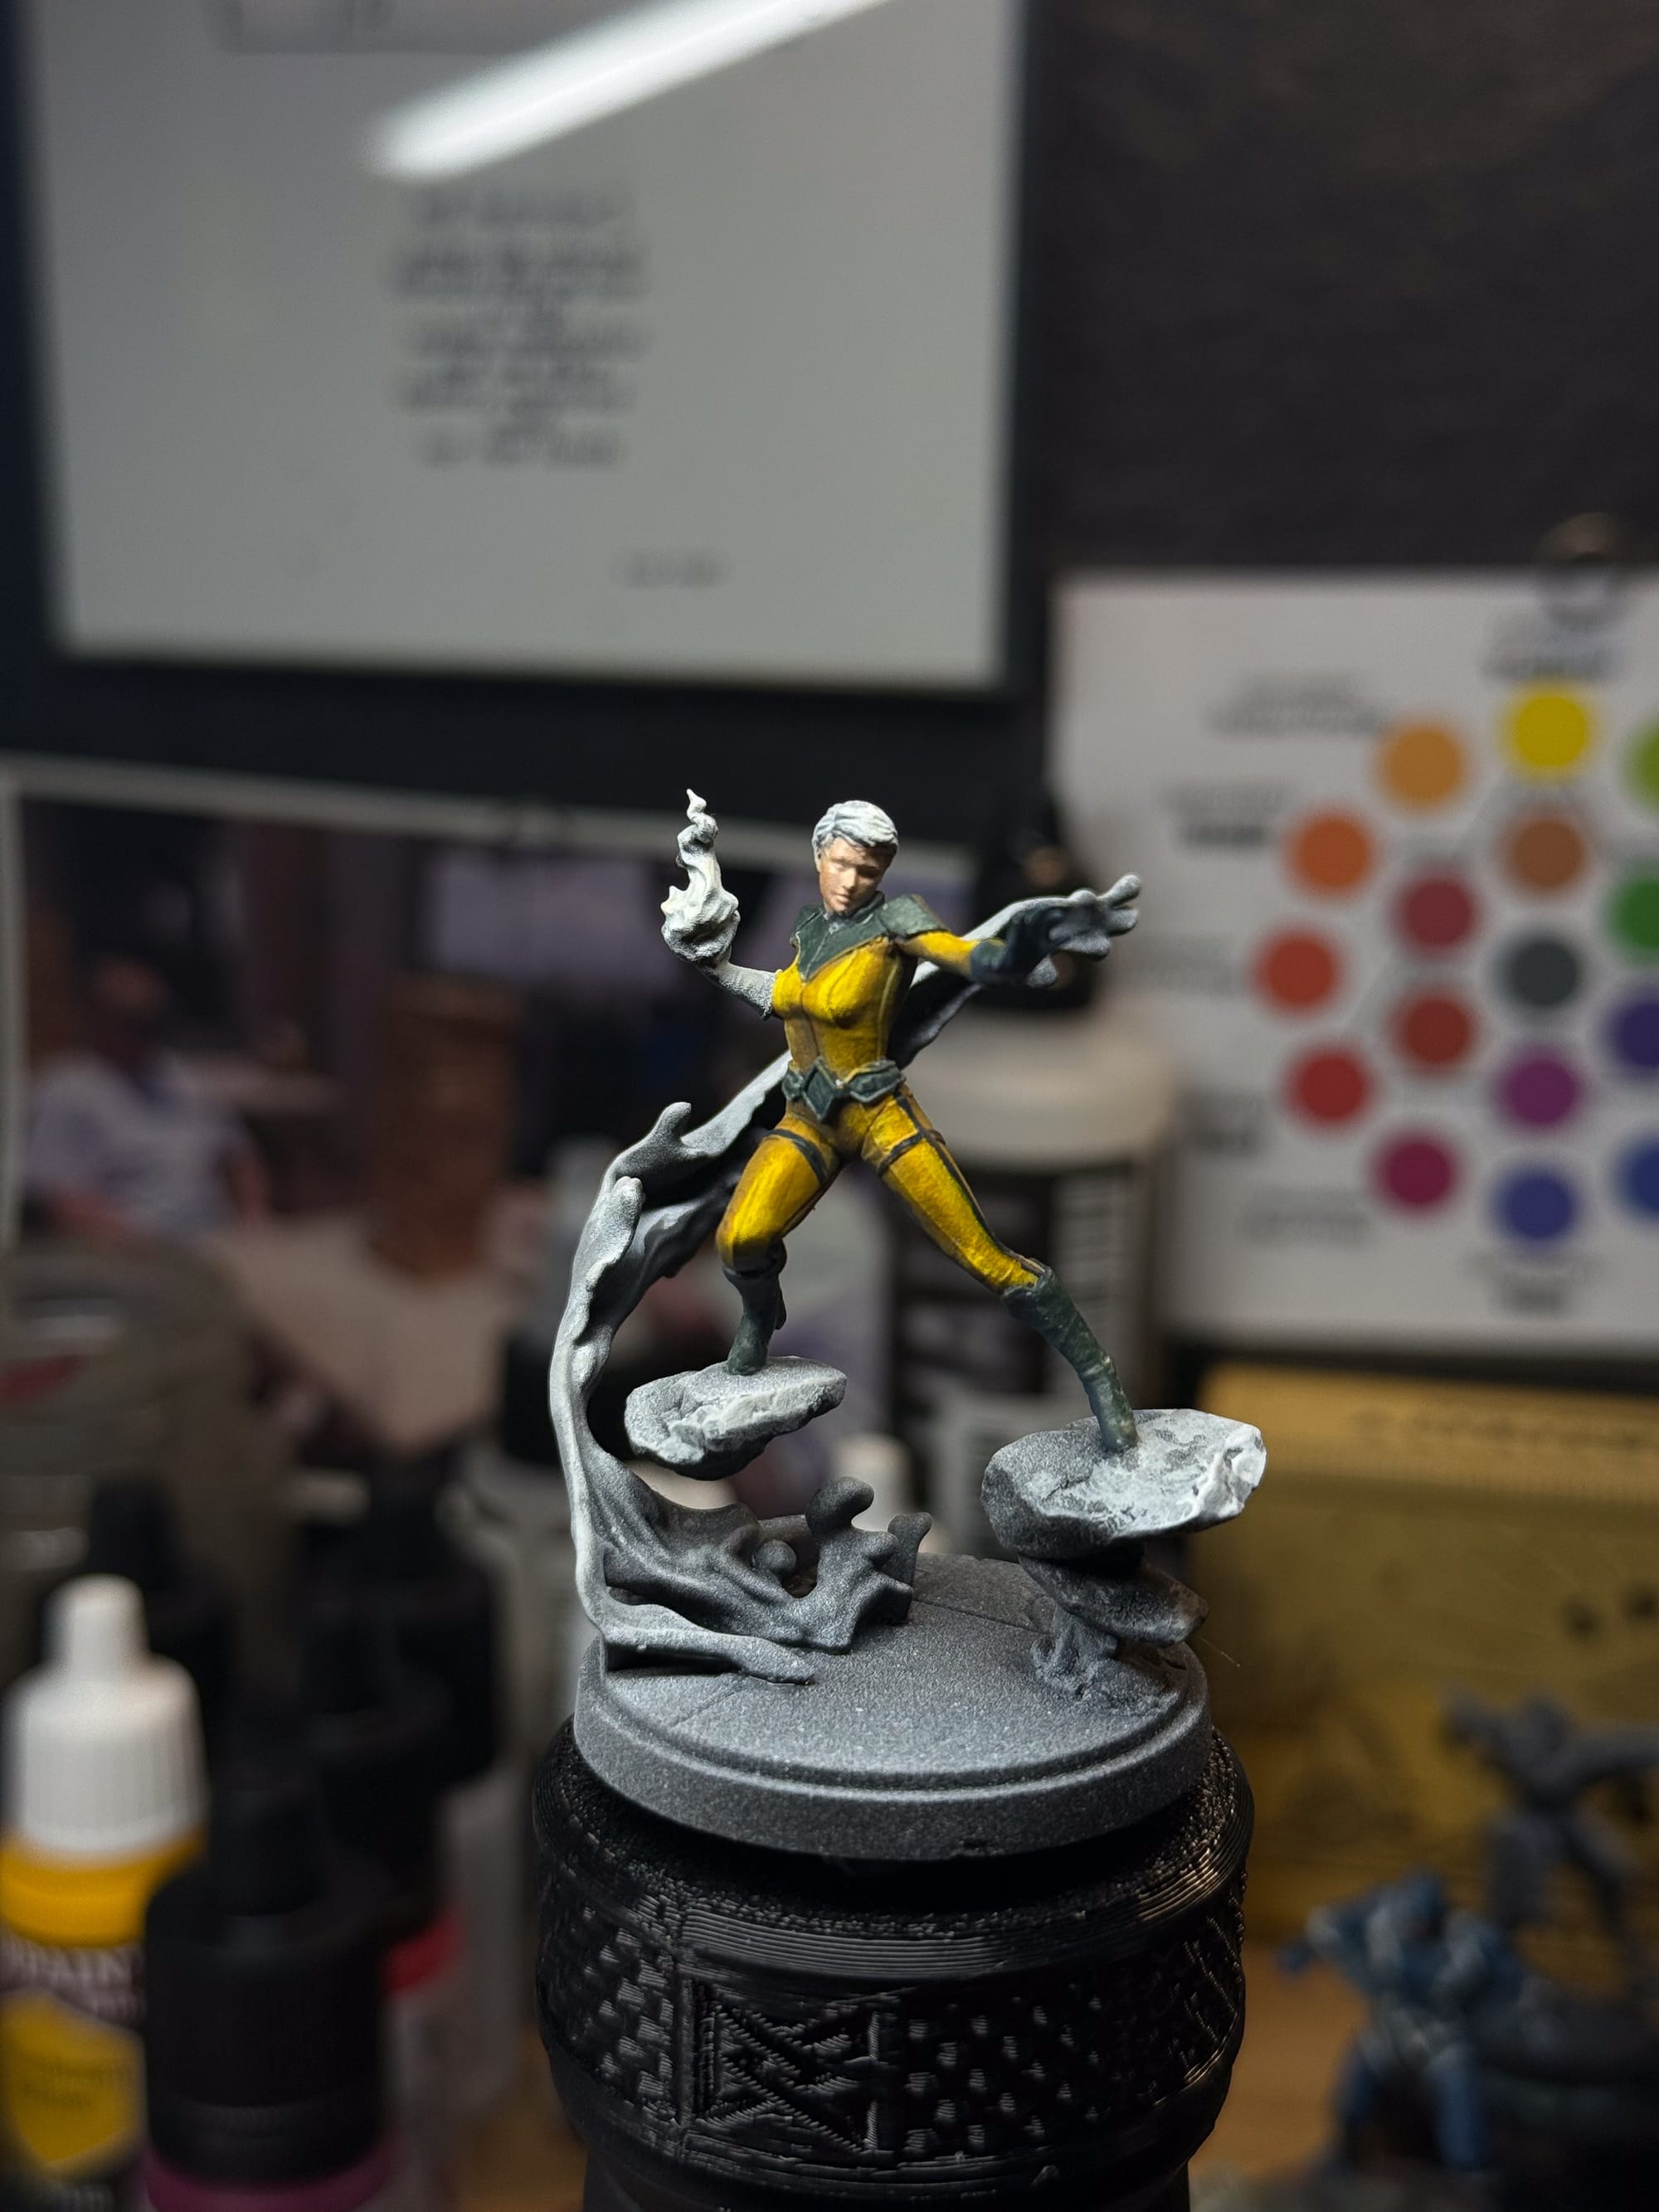
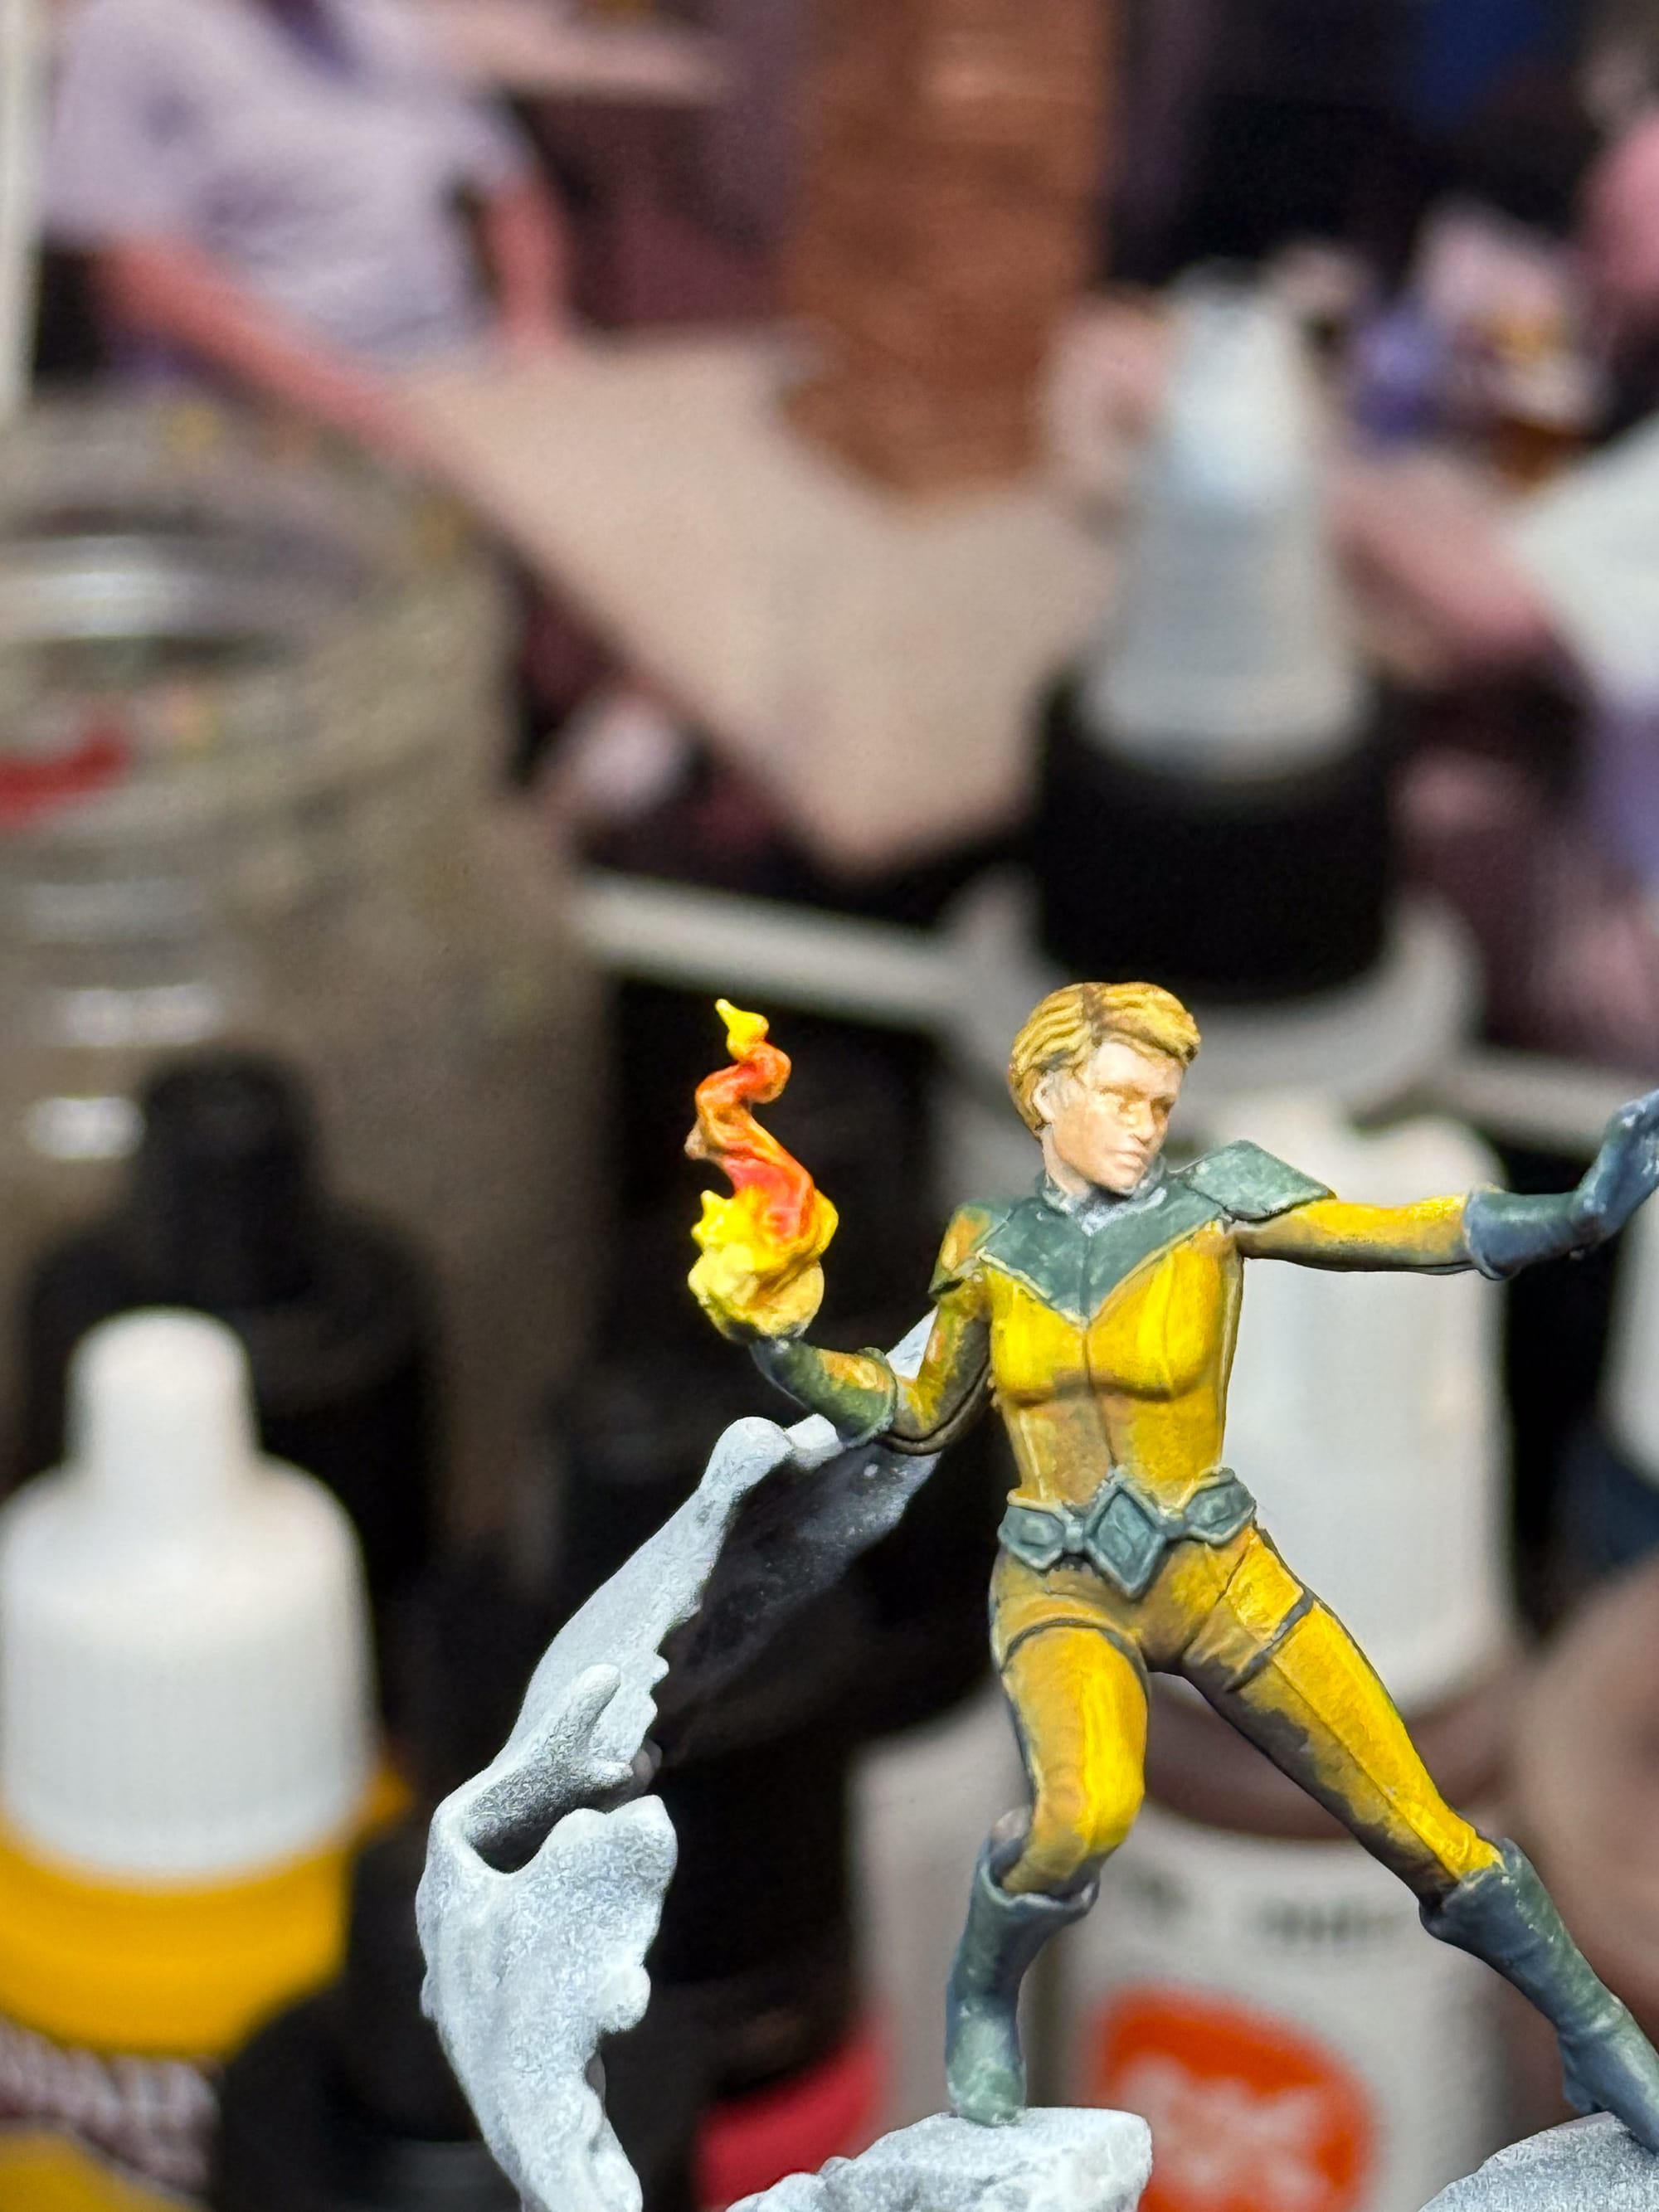
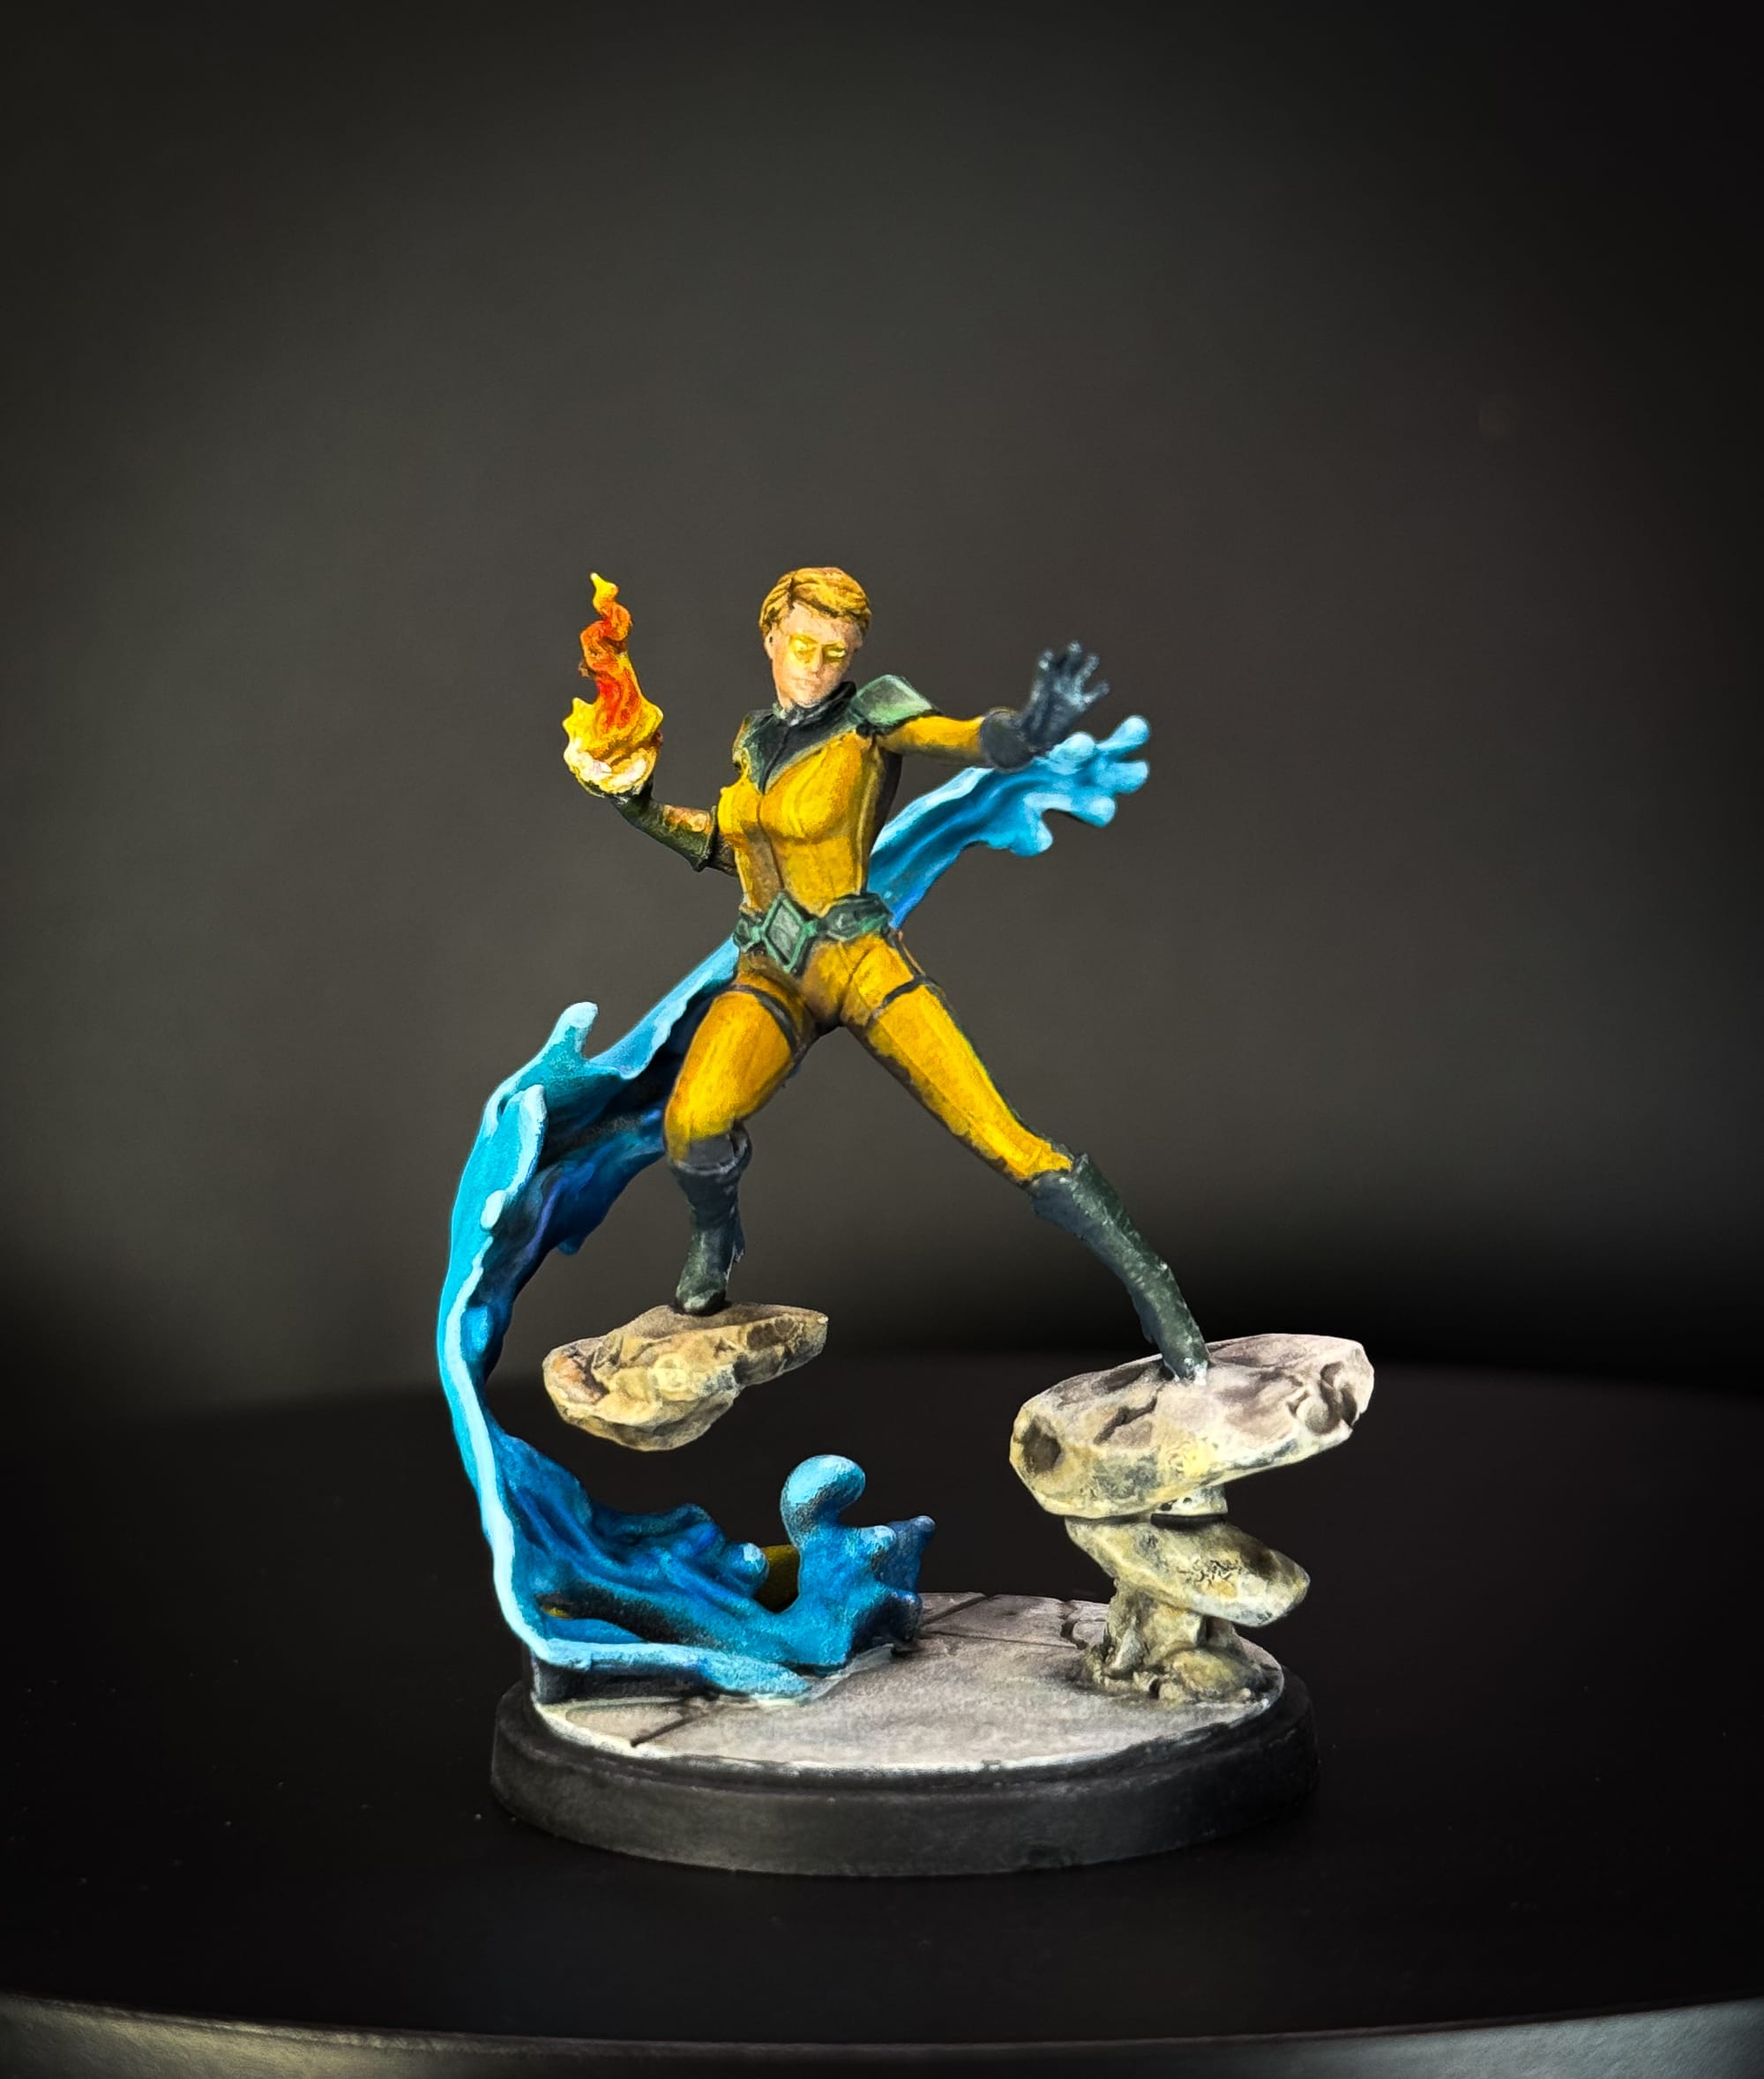
And finally, we get to a very cool model with Crystal. As the sister of Medusa, Crystal has control over the 4 elements, and 3 of them get represented on this model, with a water effect, her flaming fist, and the hovering stones, which I guess you can assume is held up with air, so 4 elements it is!.
For her suit, I really wanted to try just straight yellow on the model. Most times, yellow paint alone doesn’t work. I usually will underpaint a model pink, then add yellow on top, to make it vibrant, but I wanted to test the pigmentation of the yellow paints after having such a good time using them for highlights on Lockjaw earlier.
Starting with Intense Yellow, I worked the paint on her entire suit, and I was pleased with the results. In two coats, I had a good base setup. On the back, I went very dark with Oxide Yellow in the shadows, but if I really wanted to, I could get away with adding some more yellow on top, but chose not to. Besides, the goal is tabletop, not display.
I added a little bit of white to the mix to nail down the yellow highlights, and then it was off to the rest of the costume. The Darkness created my basic tone, and some Worn Stone came in as an off-white to help pull up the midtones and highlights.
Now time for the fun. For the fire, I wanted to go for an OSL (object source lighting) mix, so I used the intense yellow and added in some p3 red ink into the mix to give me a good mixture of yellow to red. Once I worked that around enough, I did the same mix on 3 spots. The shoulder, the wrist, and the bicep, as this is where that lighting would land. Lastly, I hit the “hottest” part of the flame with white, to indicate the heat source.
With that out of the way, I focused on the water. Going back into the blue box, Cyan and Turquoise made an appearance, along with some Darkness for the deepest parts of the water. For how to paint water, go look at photos, and see where the white foam appears out of a wave, and then work your paints (preferably with wet blending) until you hit a rhythm and are happy.
The stones, much like all of the concrete on the bases, started with a little bit of Worn Stone, hit with a wash of Nuln Oil, and then some various browns and yellows worked in to make highlights.
And with that, we’re done with Crystal.
Final Thoughts
I had a blast with this Affiliation Pack. As always, the sculpts from Atomic Mass are really on point. And these paints are pretty solid too. AK artist acrylics are something special as well, giving me excellent control over the paint, and they blended well with other paints and inks. I’ll be writing up a future article on them after I get into the greens, so keep an eye on this space.
Thanks, and catch you next time.