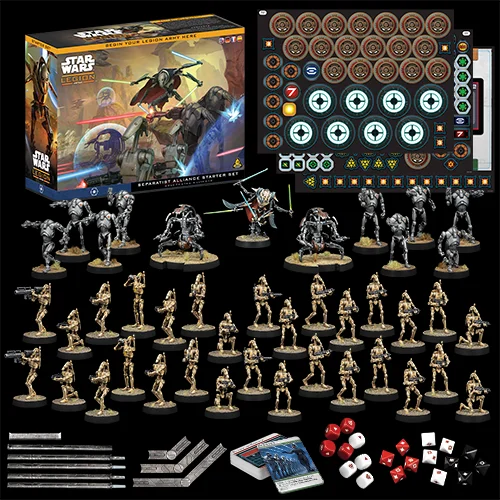
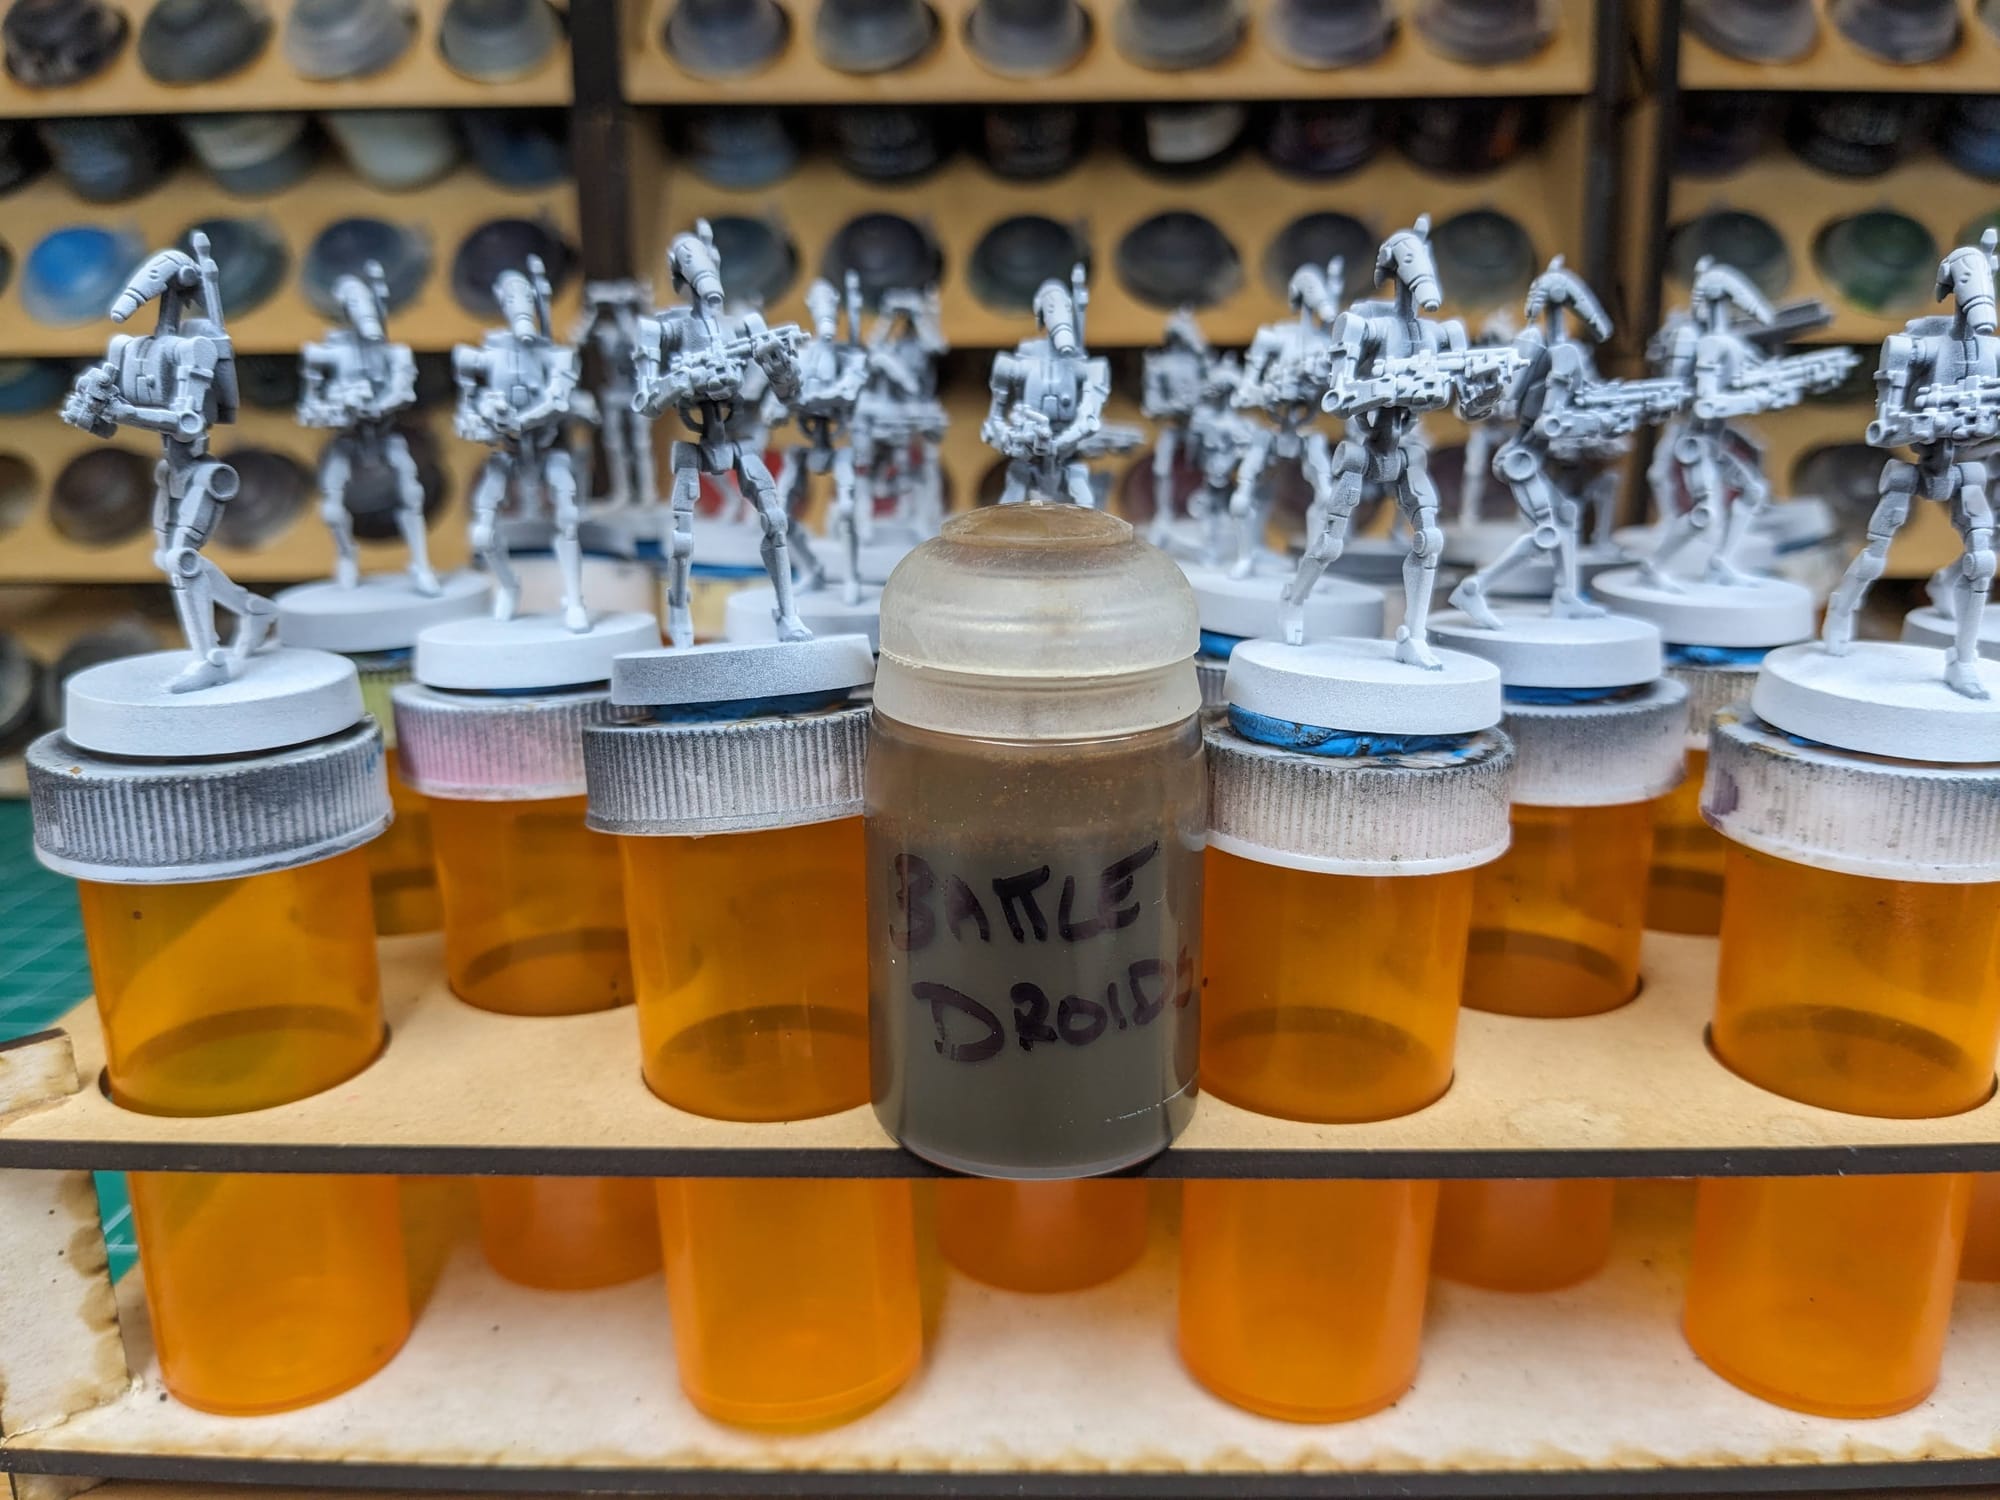
Atomic Mass Games was kind enough to send us the Star Wars: Legion Separatist Alliance Starter Set for unboxing and review. If you haven't already, be sure to check out our unboxing and first impressions article so you can see what is included with the new starter sets. For the droids, there are a lot of minis that come in the box, and if you're a new painter, that can be intimidating to build and paint up! If you'd like to learn how to paint up your new Separatist Army, then follow along in our handy-dandy Learn to Paint guide.
Assembling Your Models
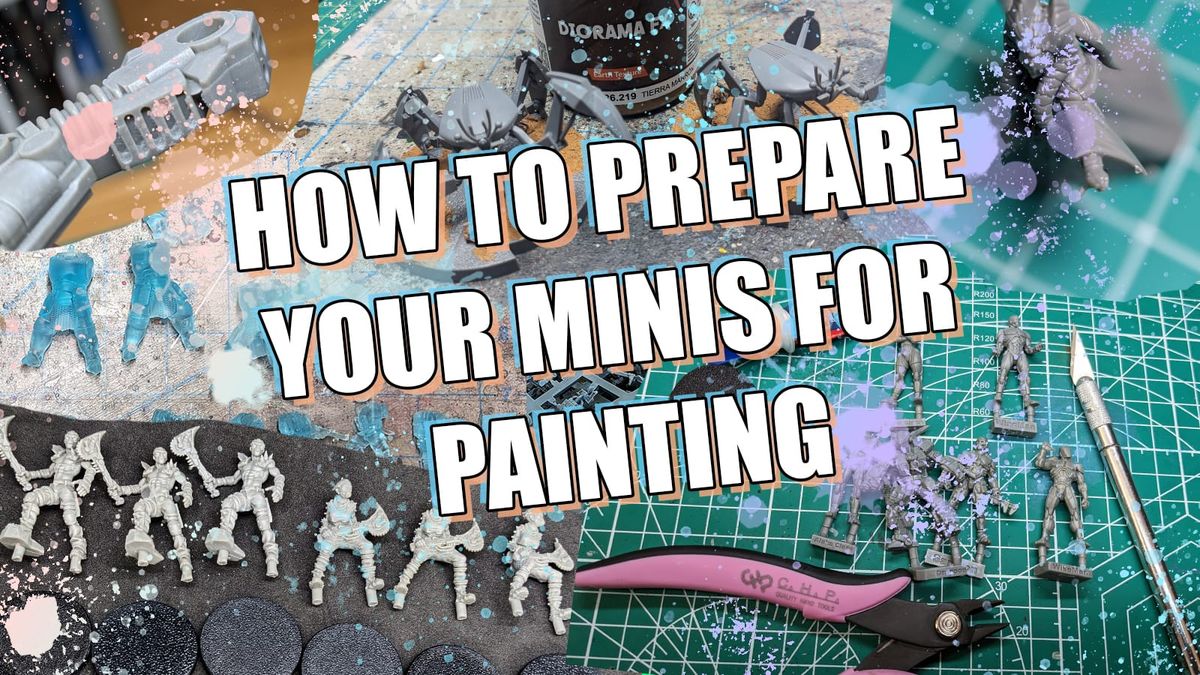
Prepping Your Models & The Tools
GamingTrend has put together a guide for you to follow for how best to clean, cut, and assemble your models, regardless of the game. While the materials for the models may be different between games (plastic, resin, metal, etc.) there are simple techniques you can do to help make your painting experience go that much smoother.
Additionally, if you are new to painting, and are not sure what brushes or tools you need, check out the article. This is just a starting place, and every painter has different preferences and recommendations. These are my recommendations based on the last decade or so of painting and I hope you find them helpful!
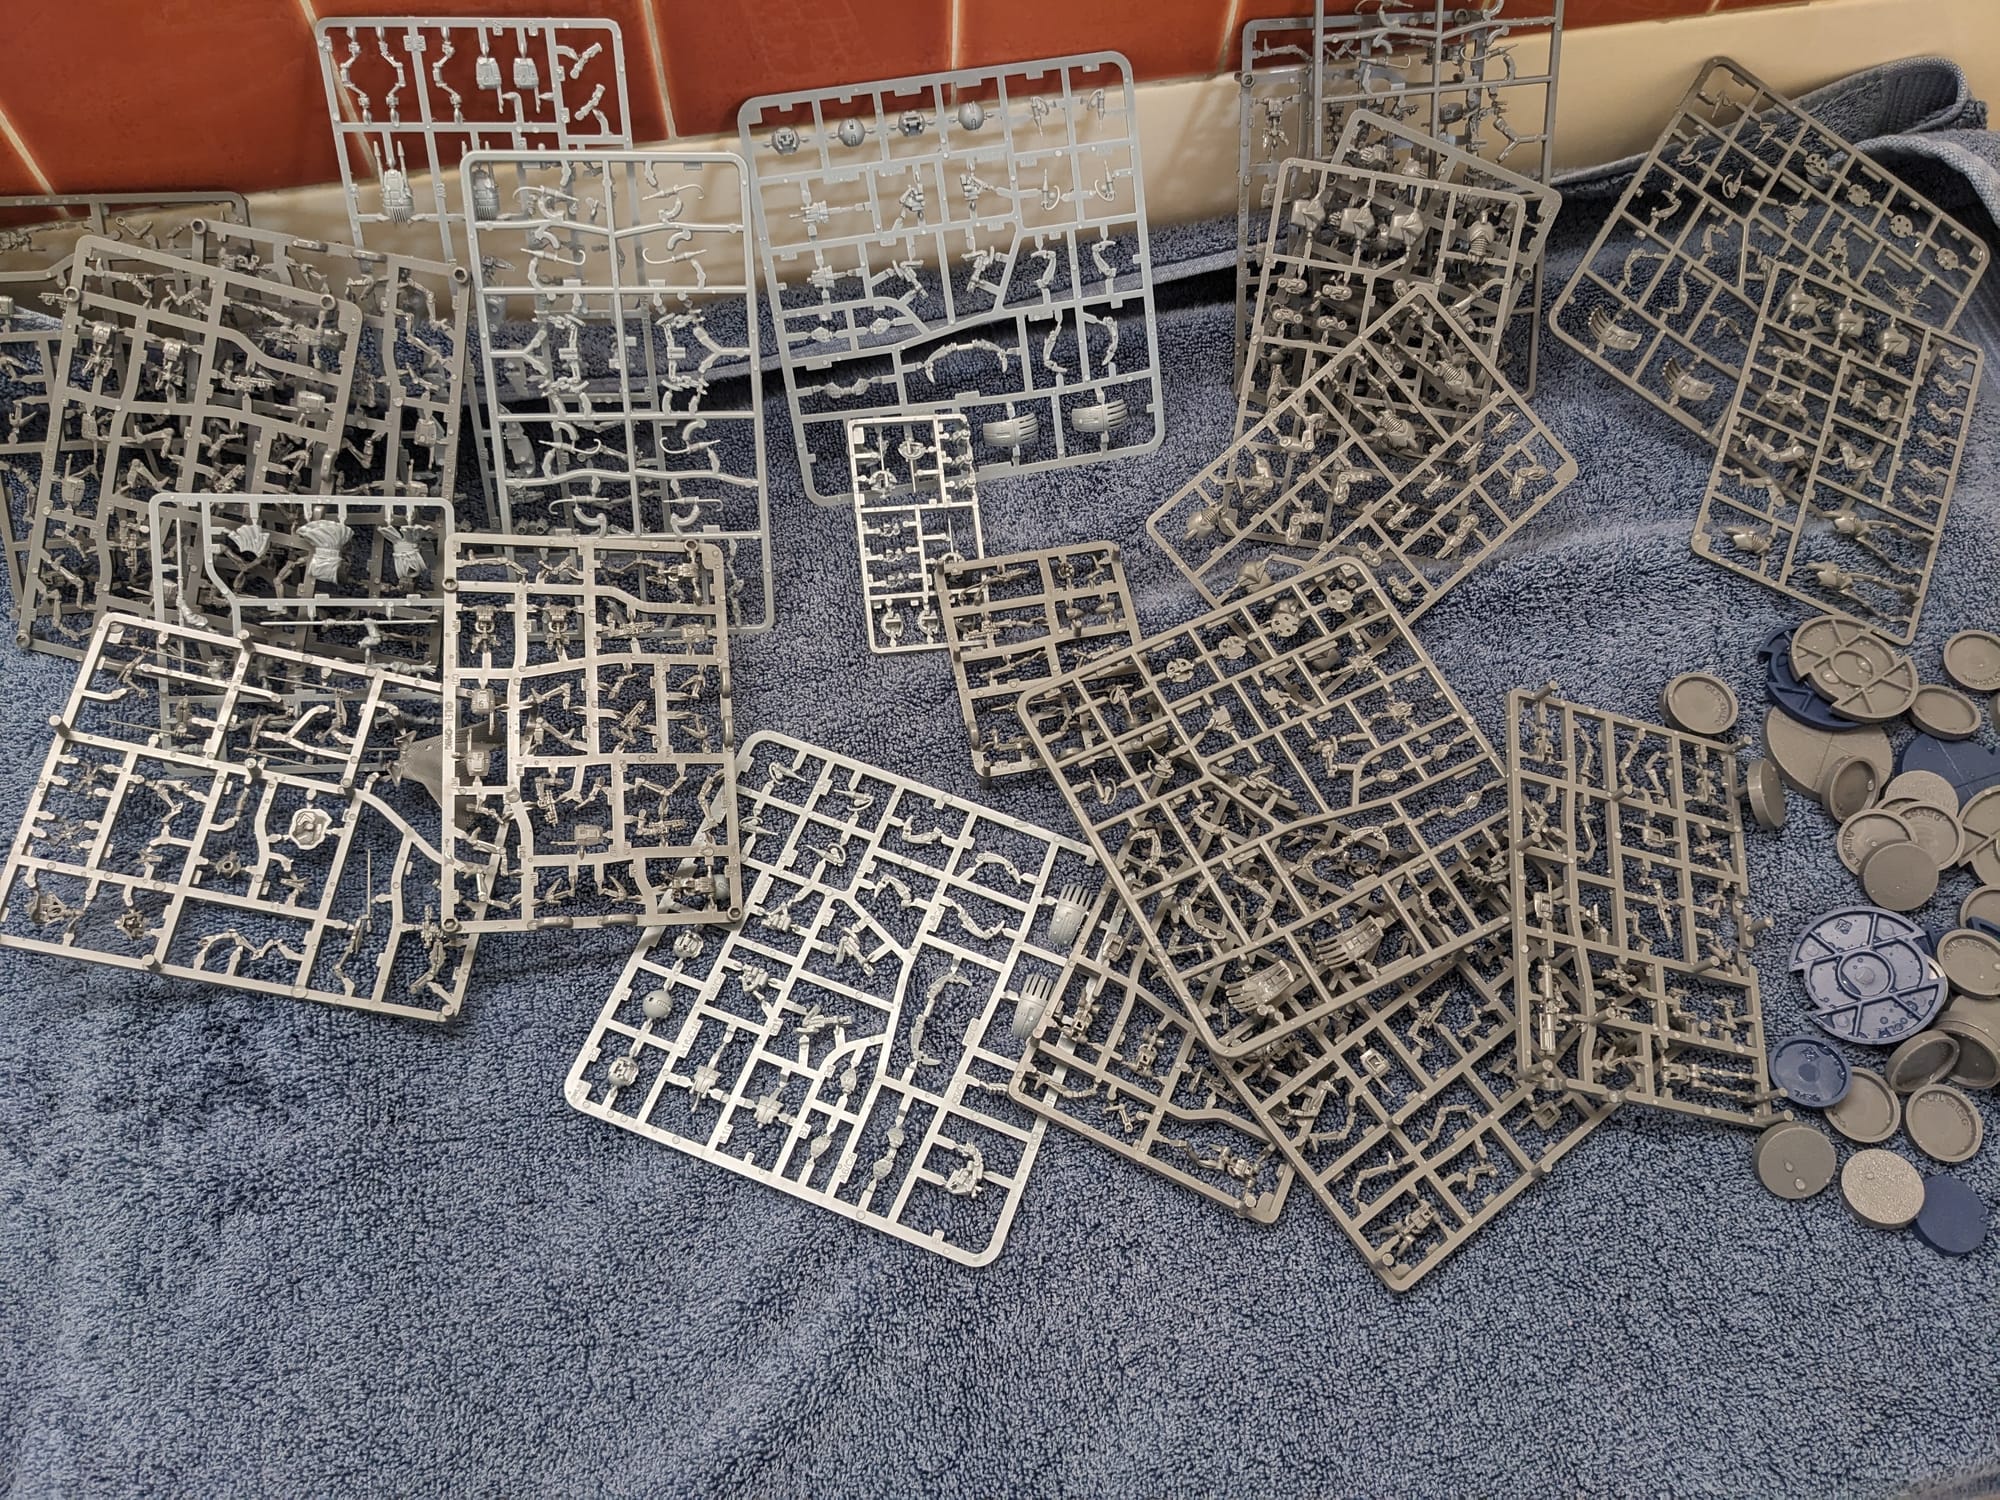
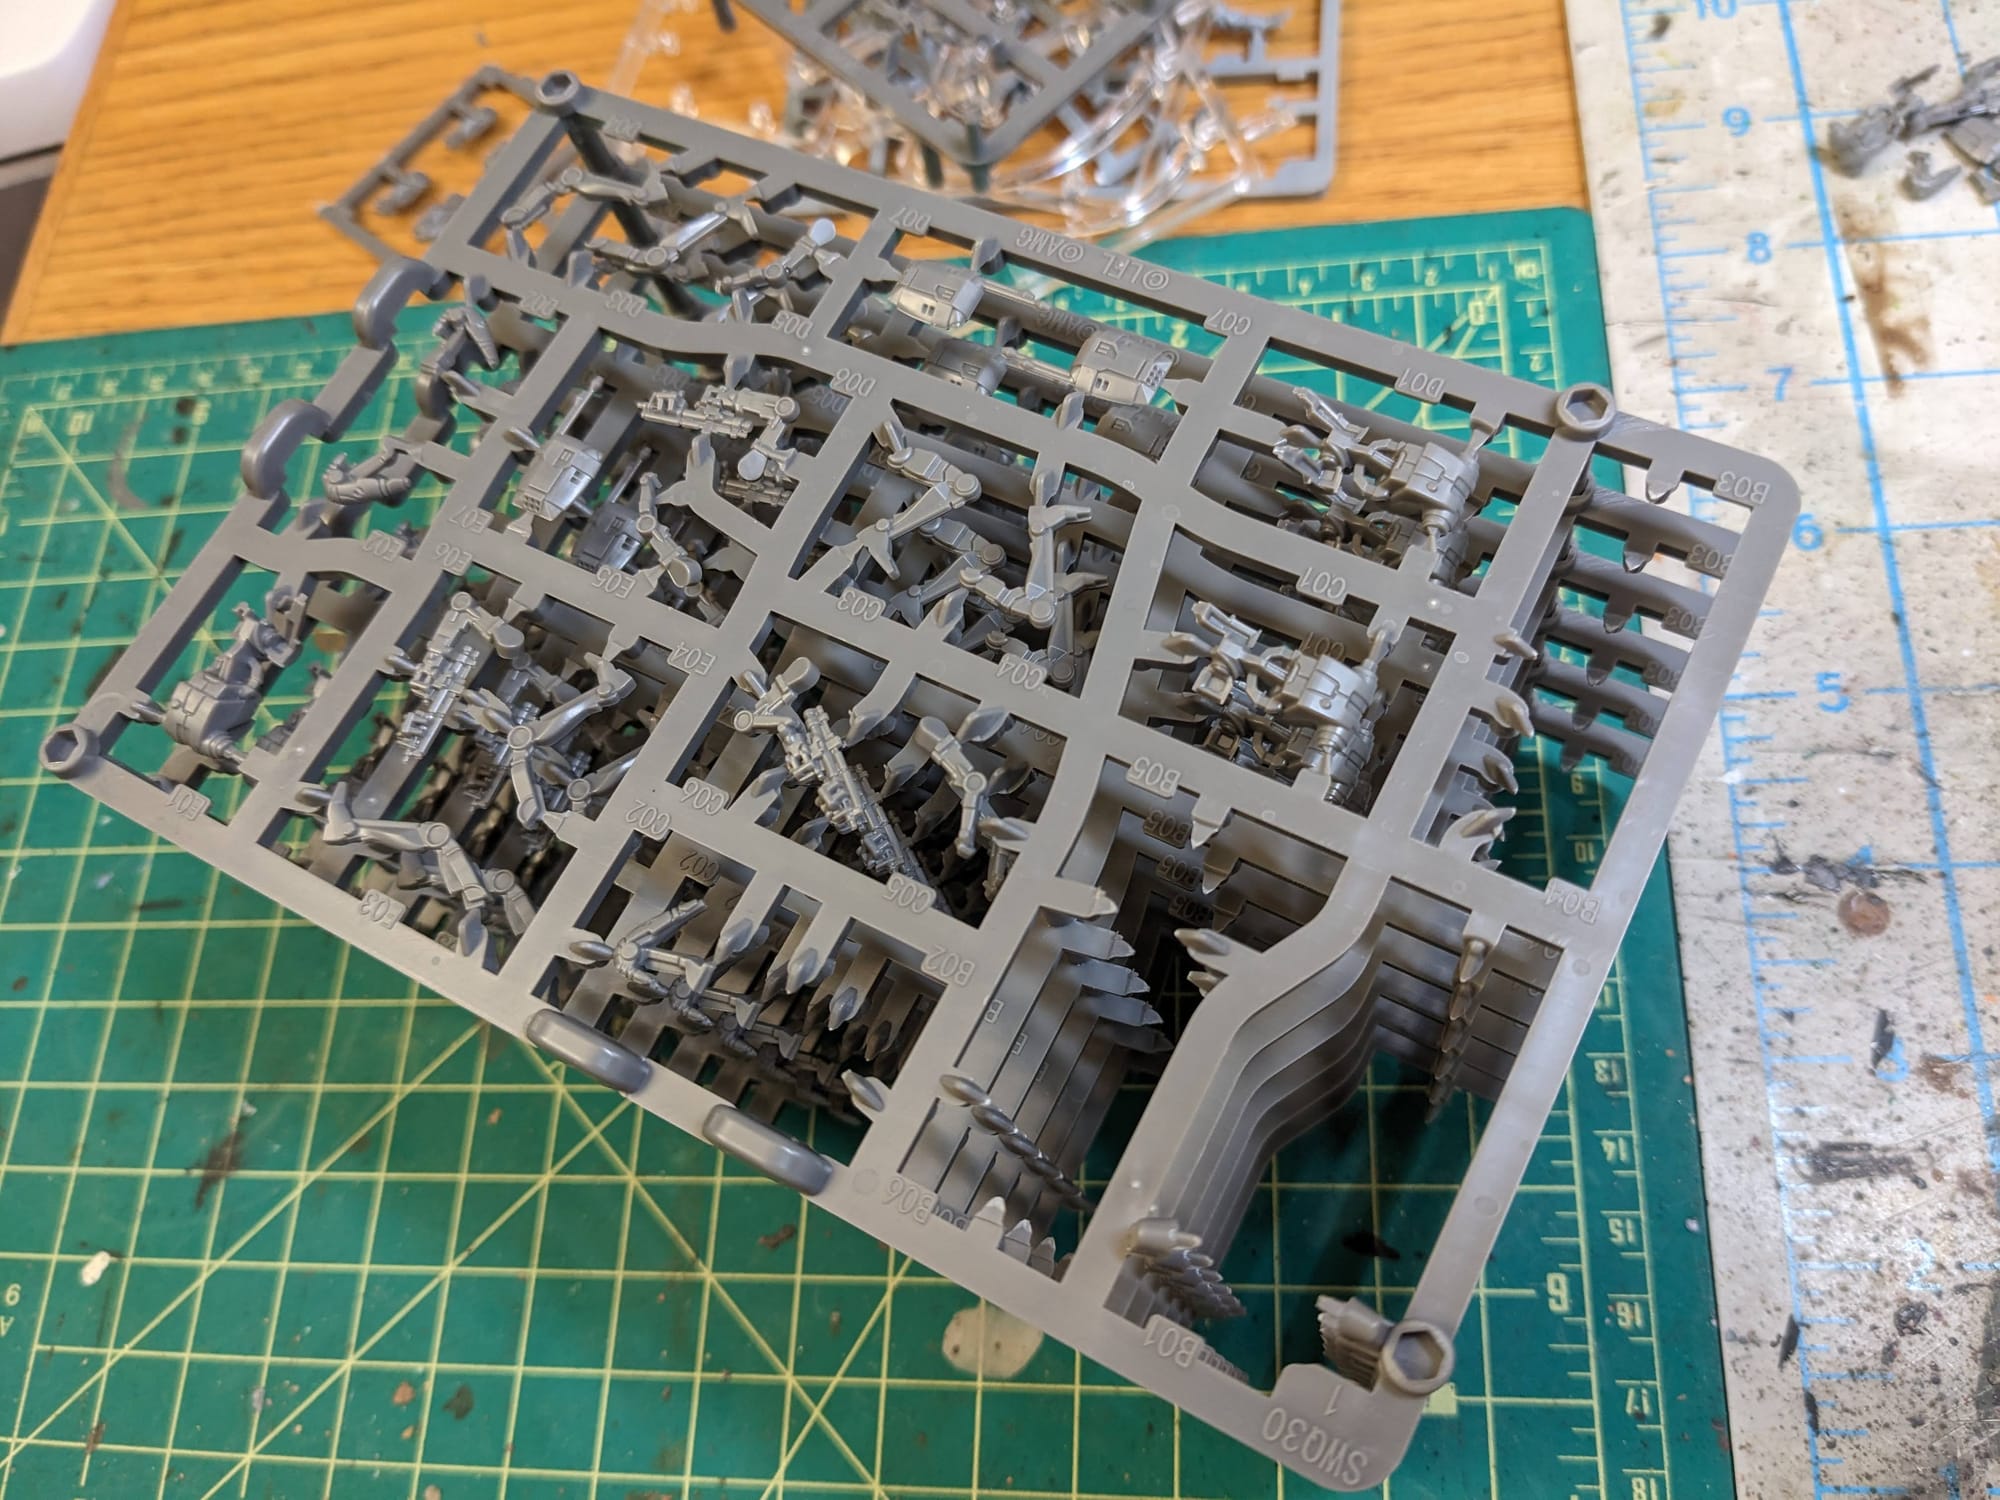
The sprues... sprues for days.
For this tutorial, I have included a visual guide (below) of the paints I used for the miniatures so you have an easily-accessible list to refer to if you need to go shopping. The paints are noted on the picture. Many paints are used for multiple figures, so a single bottle of each will be more than enough.
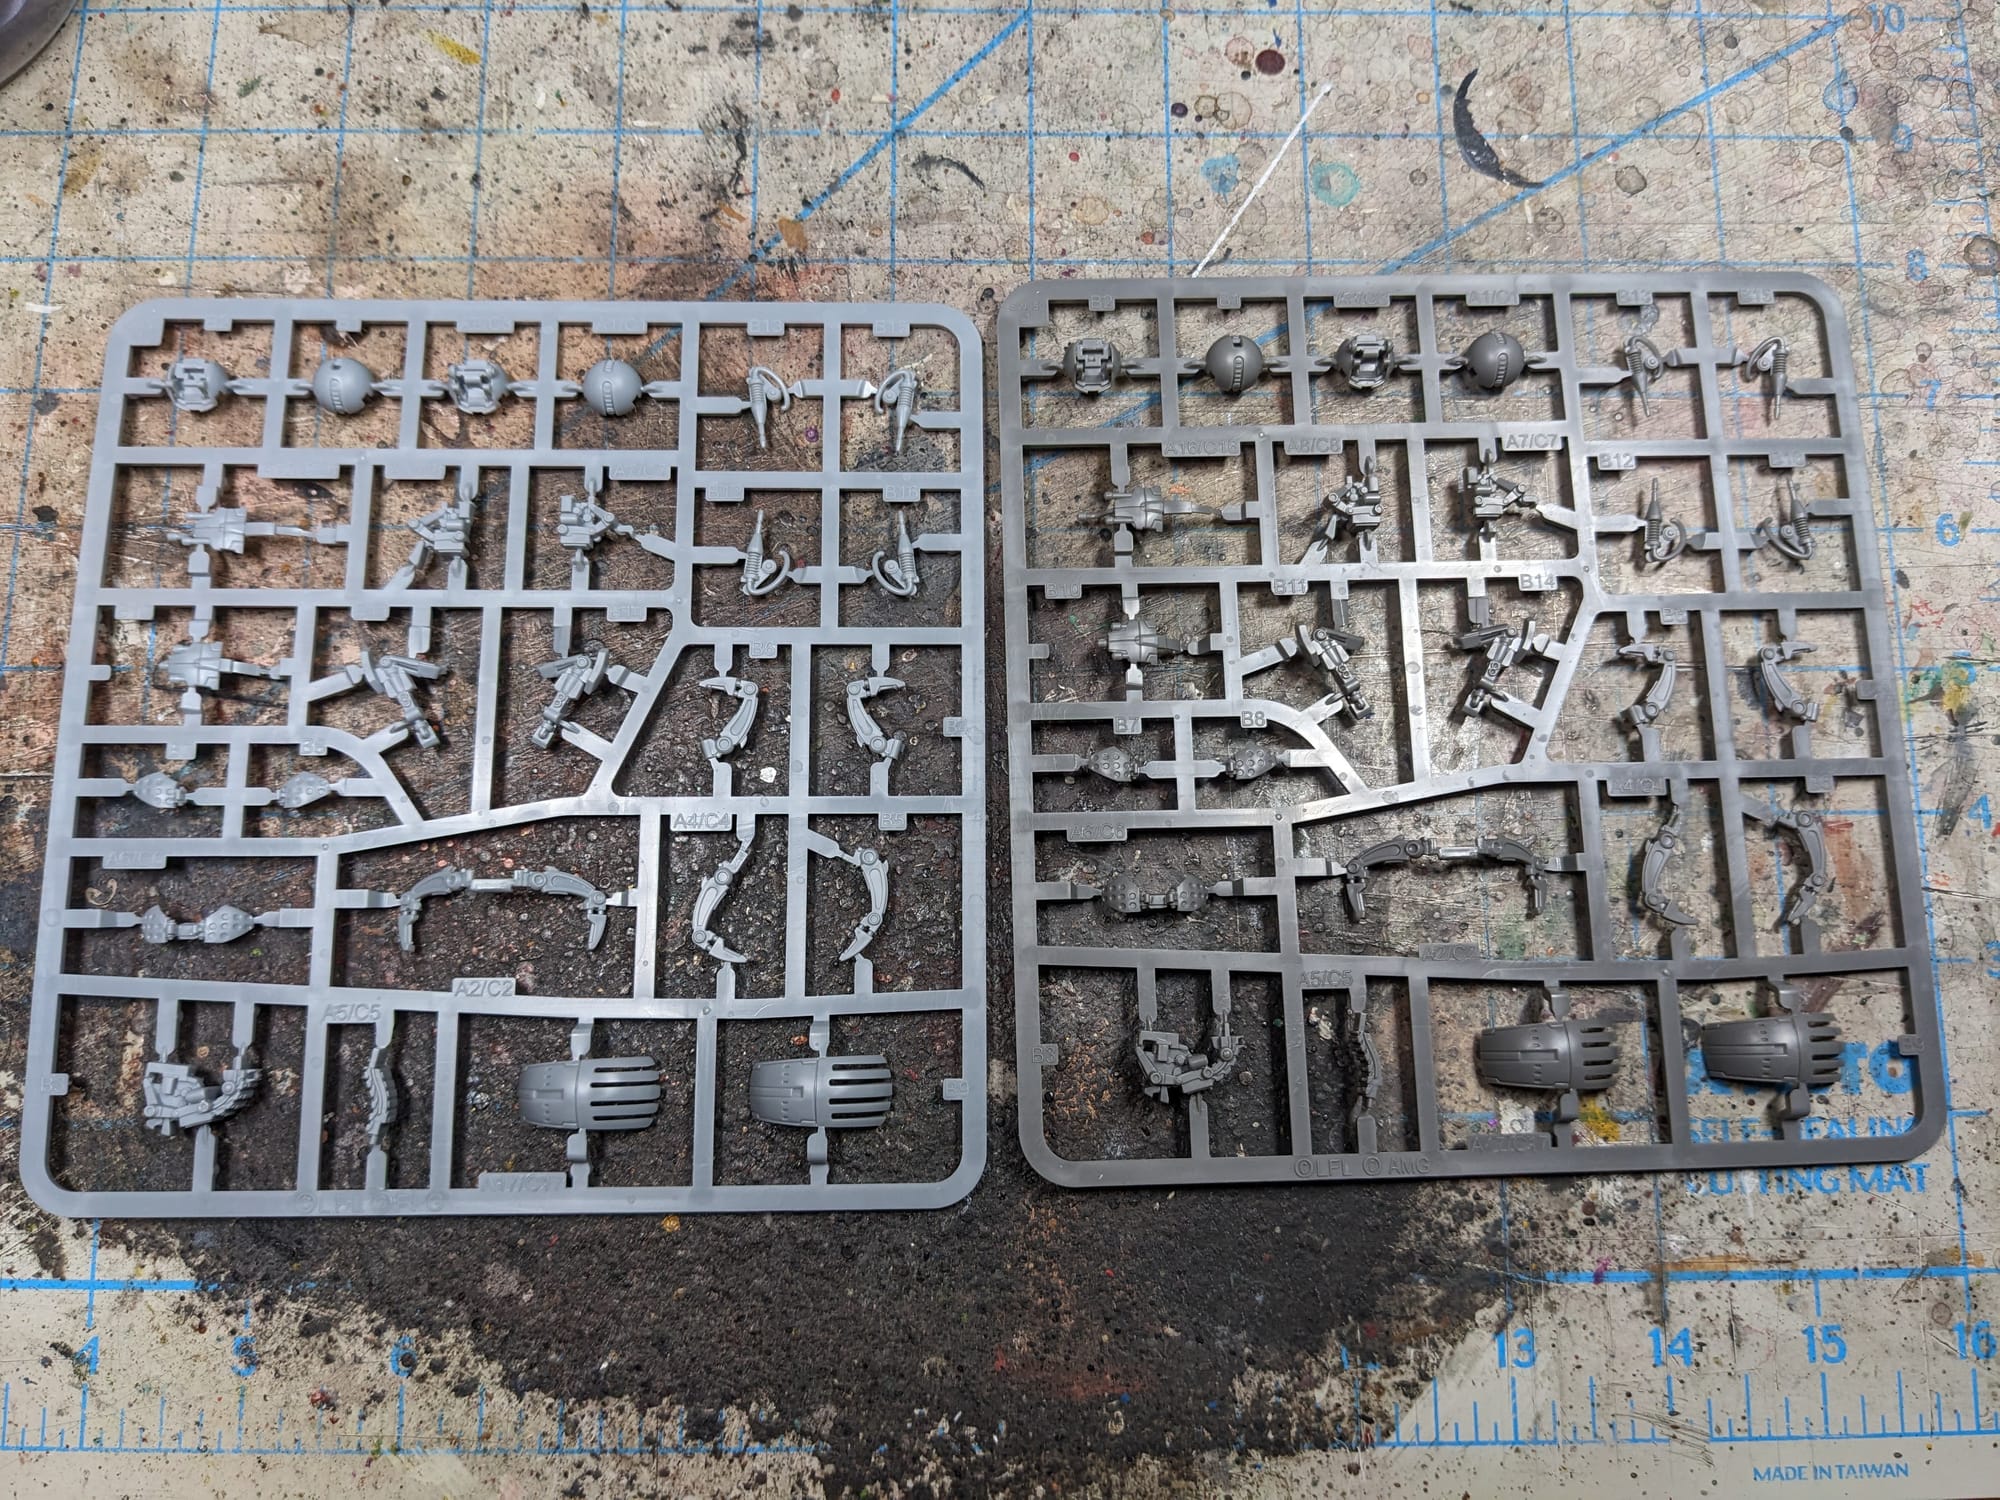
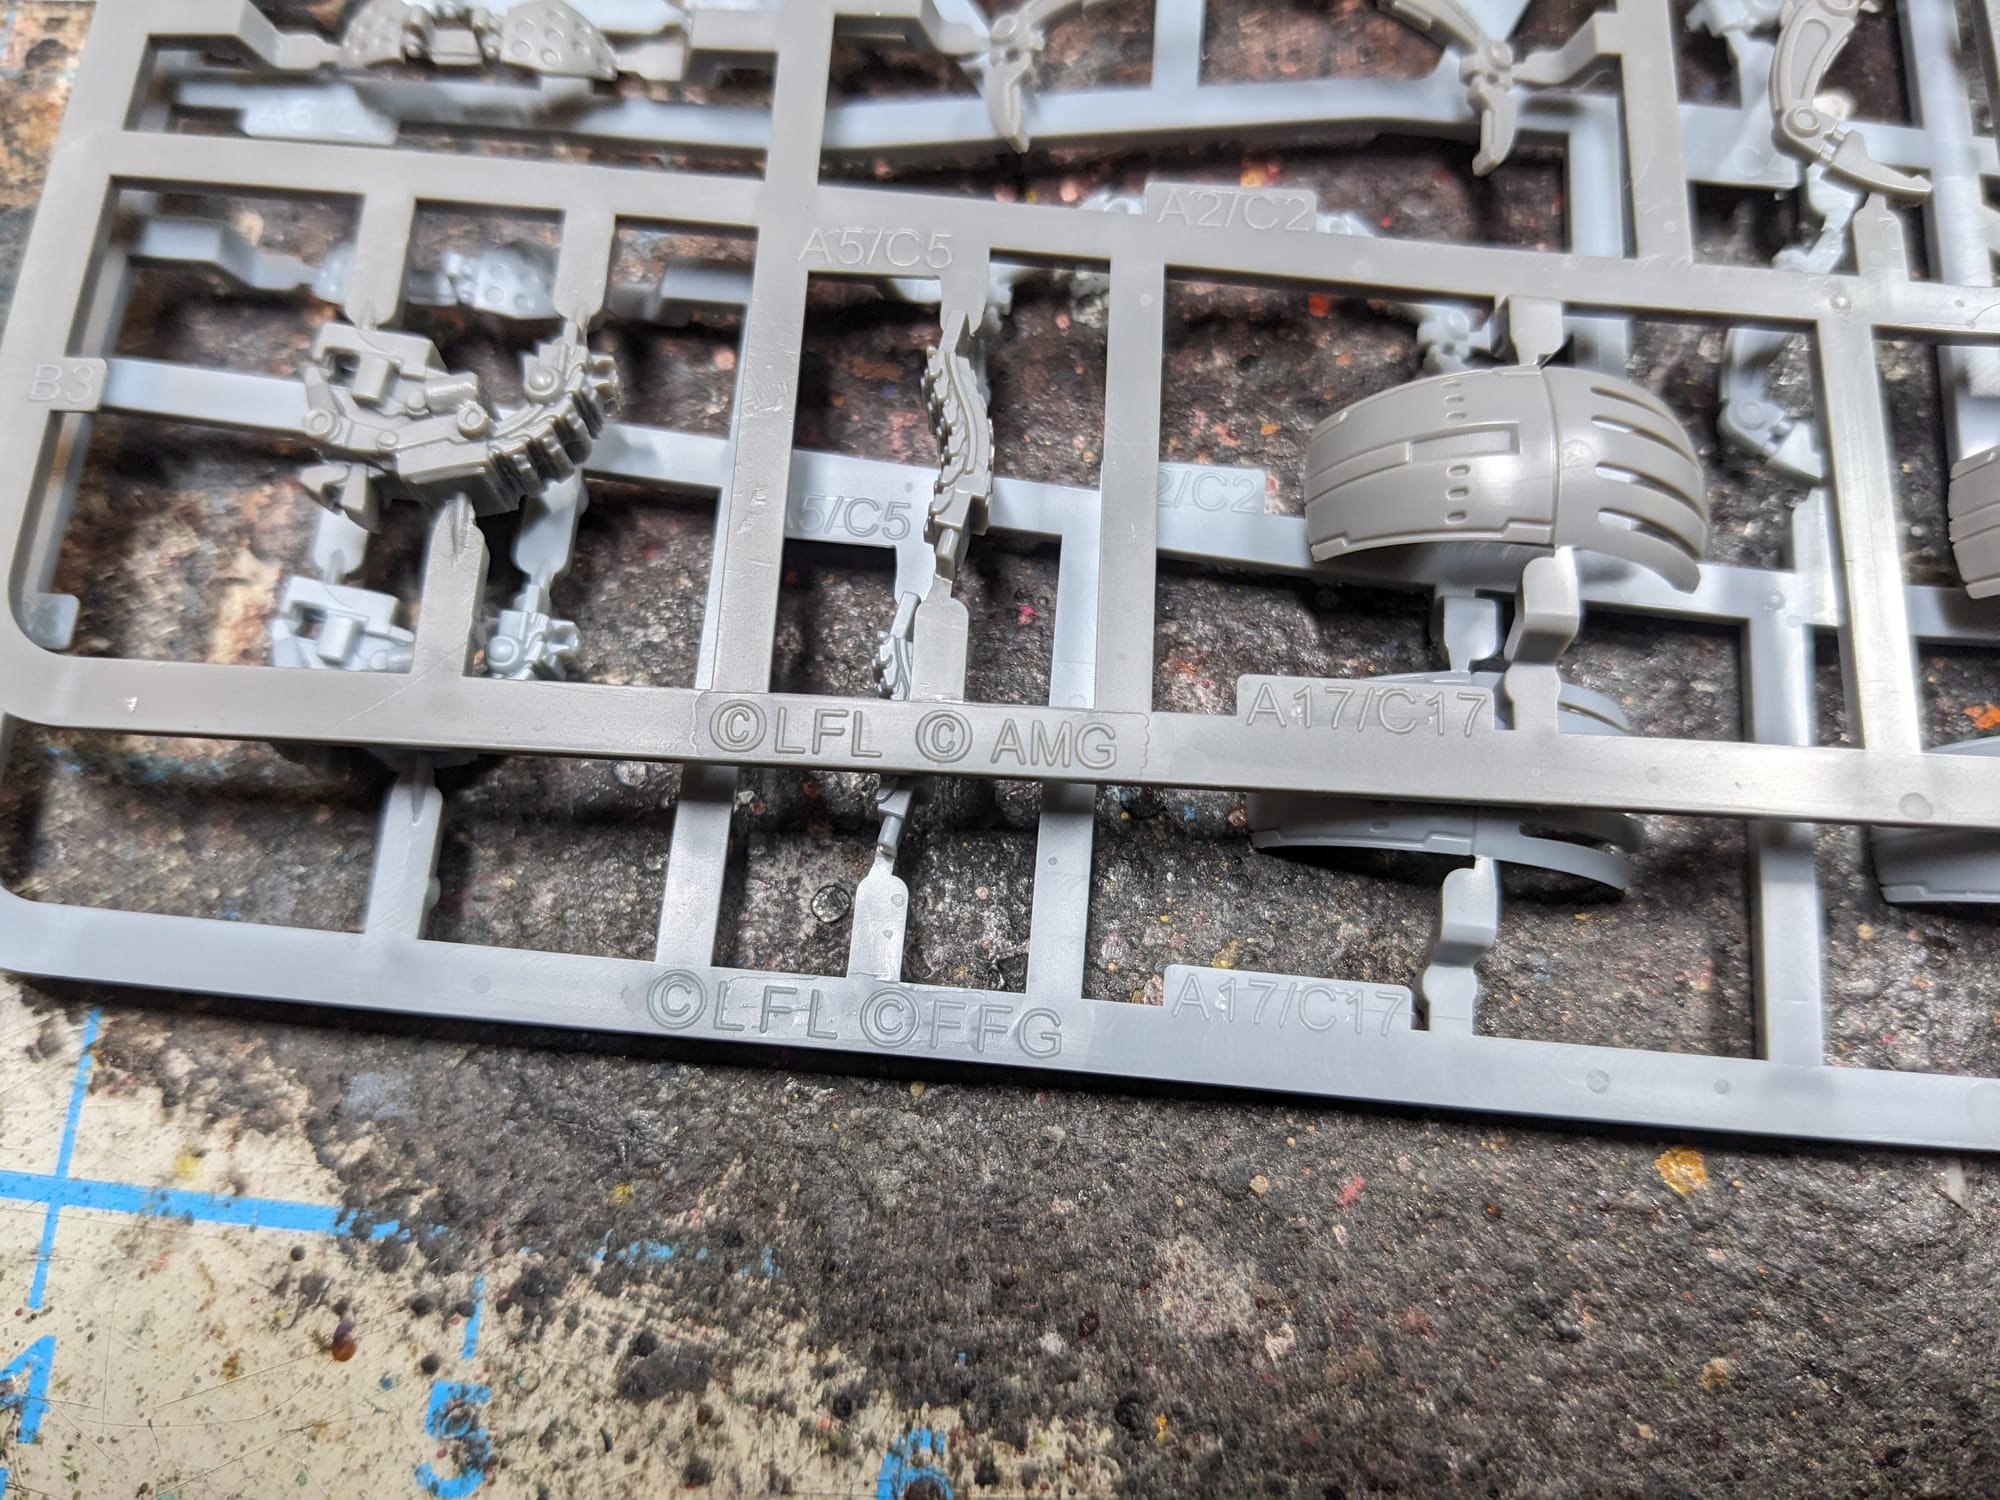

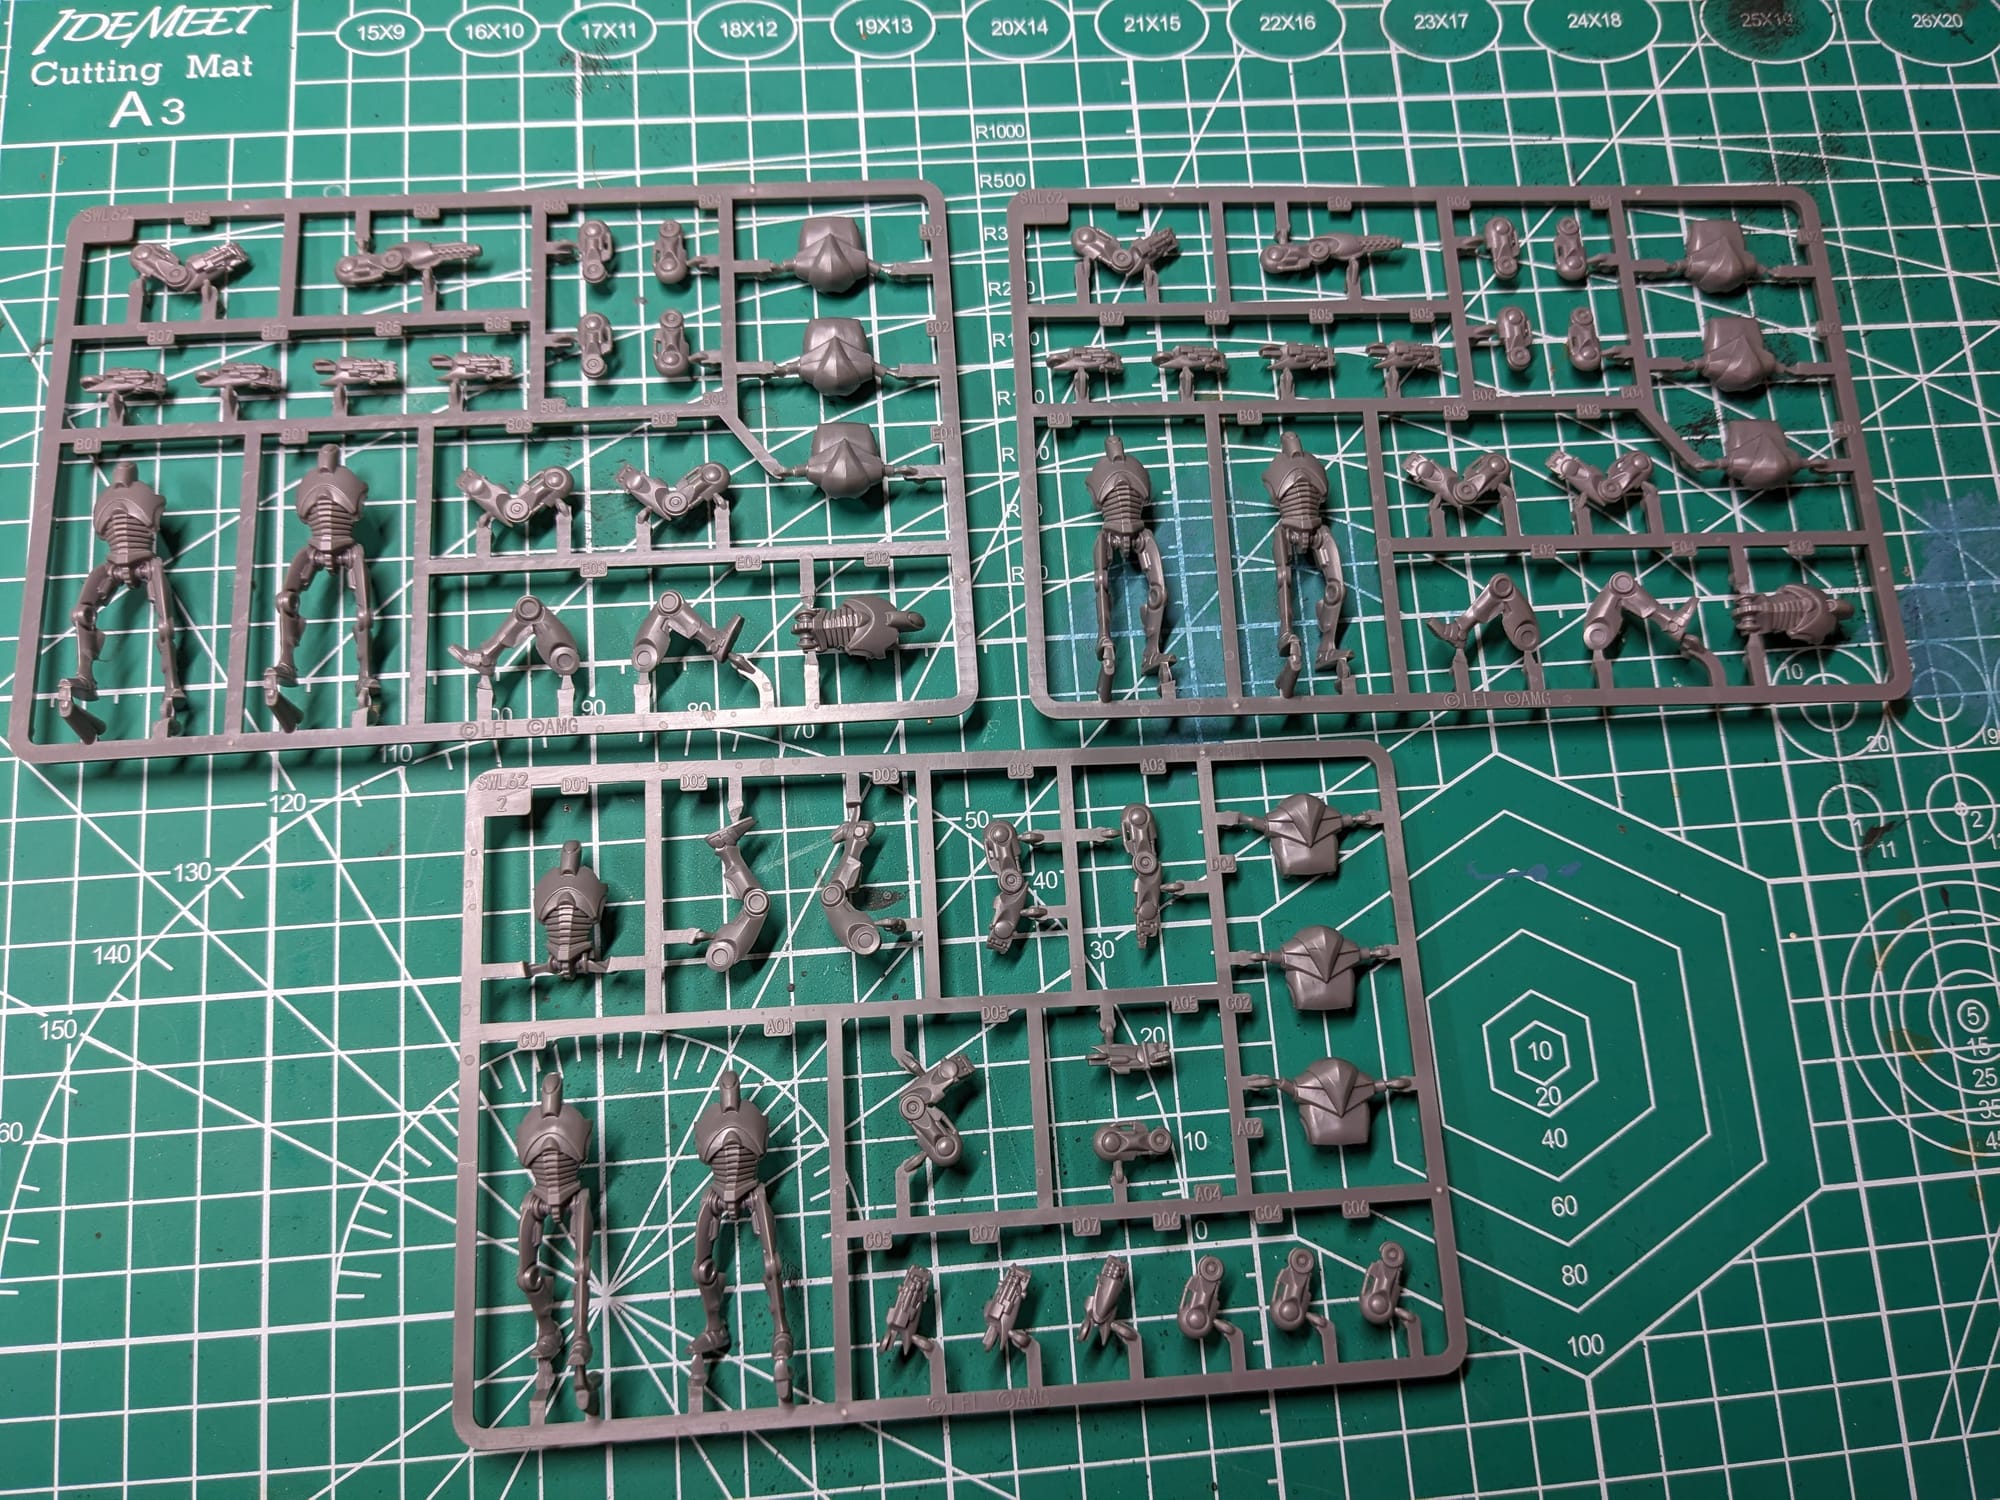
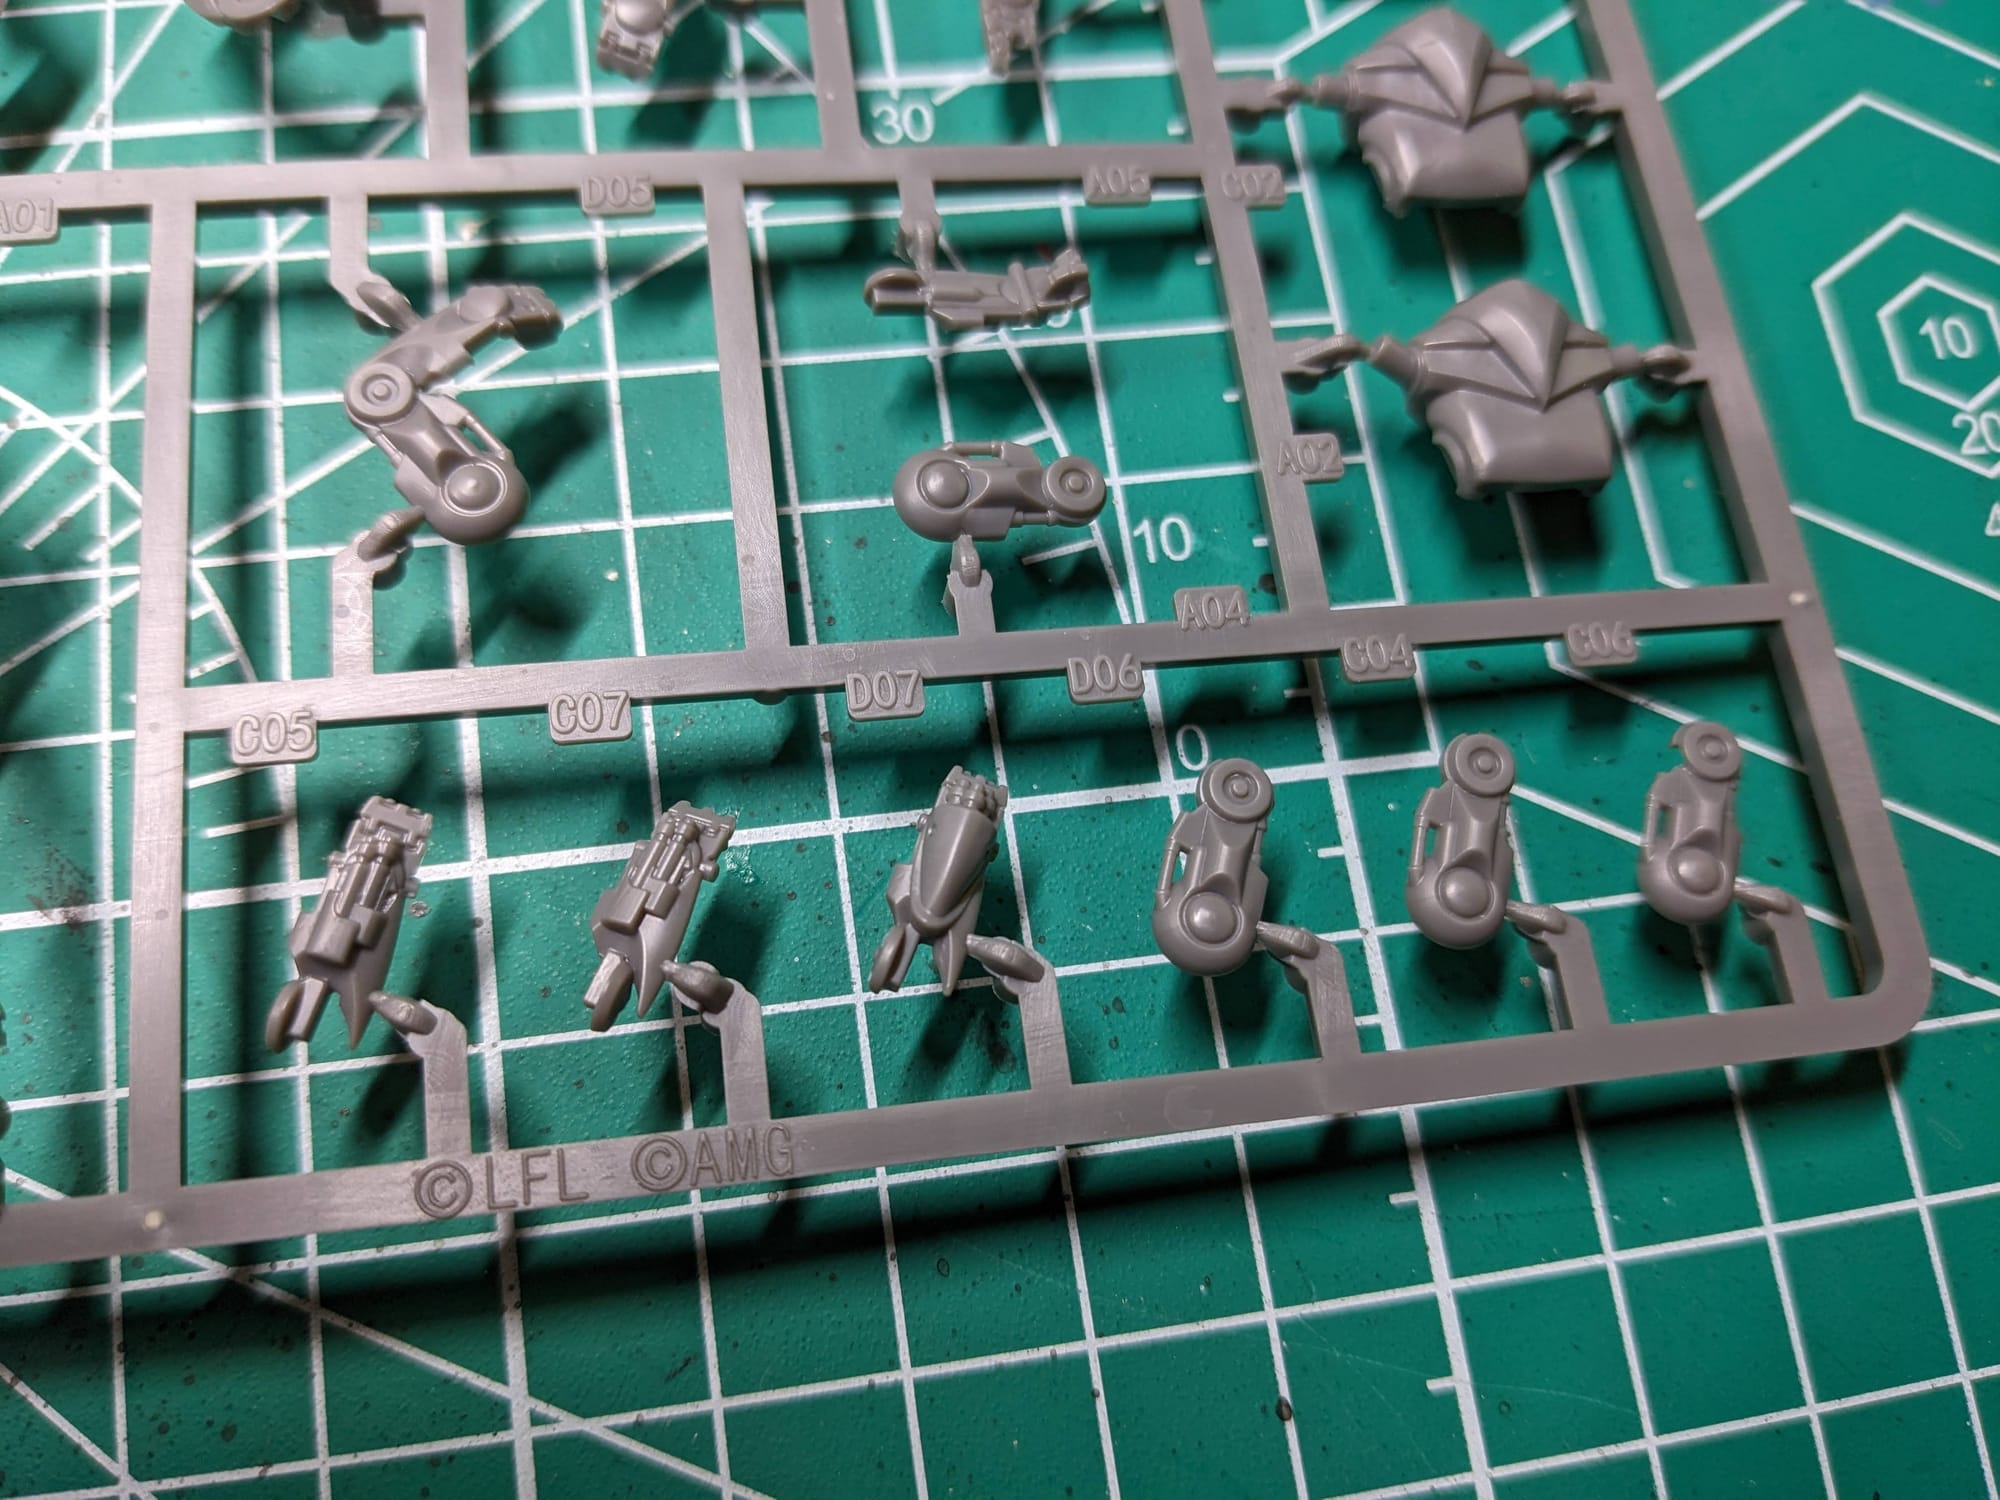
The two different, yet nearly identical, sprues from FFG and AMG
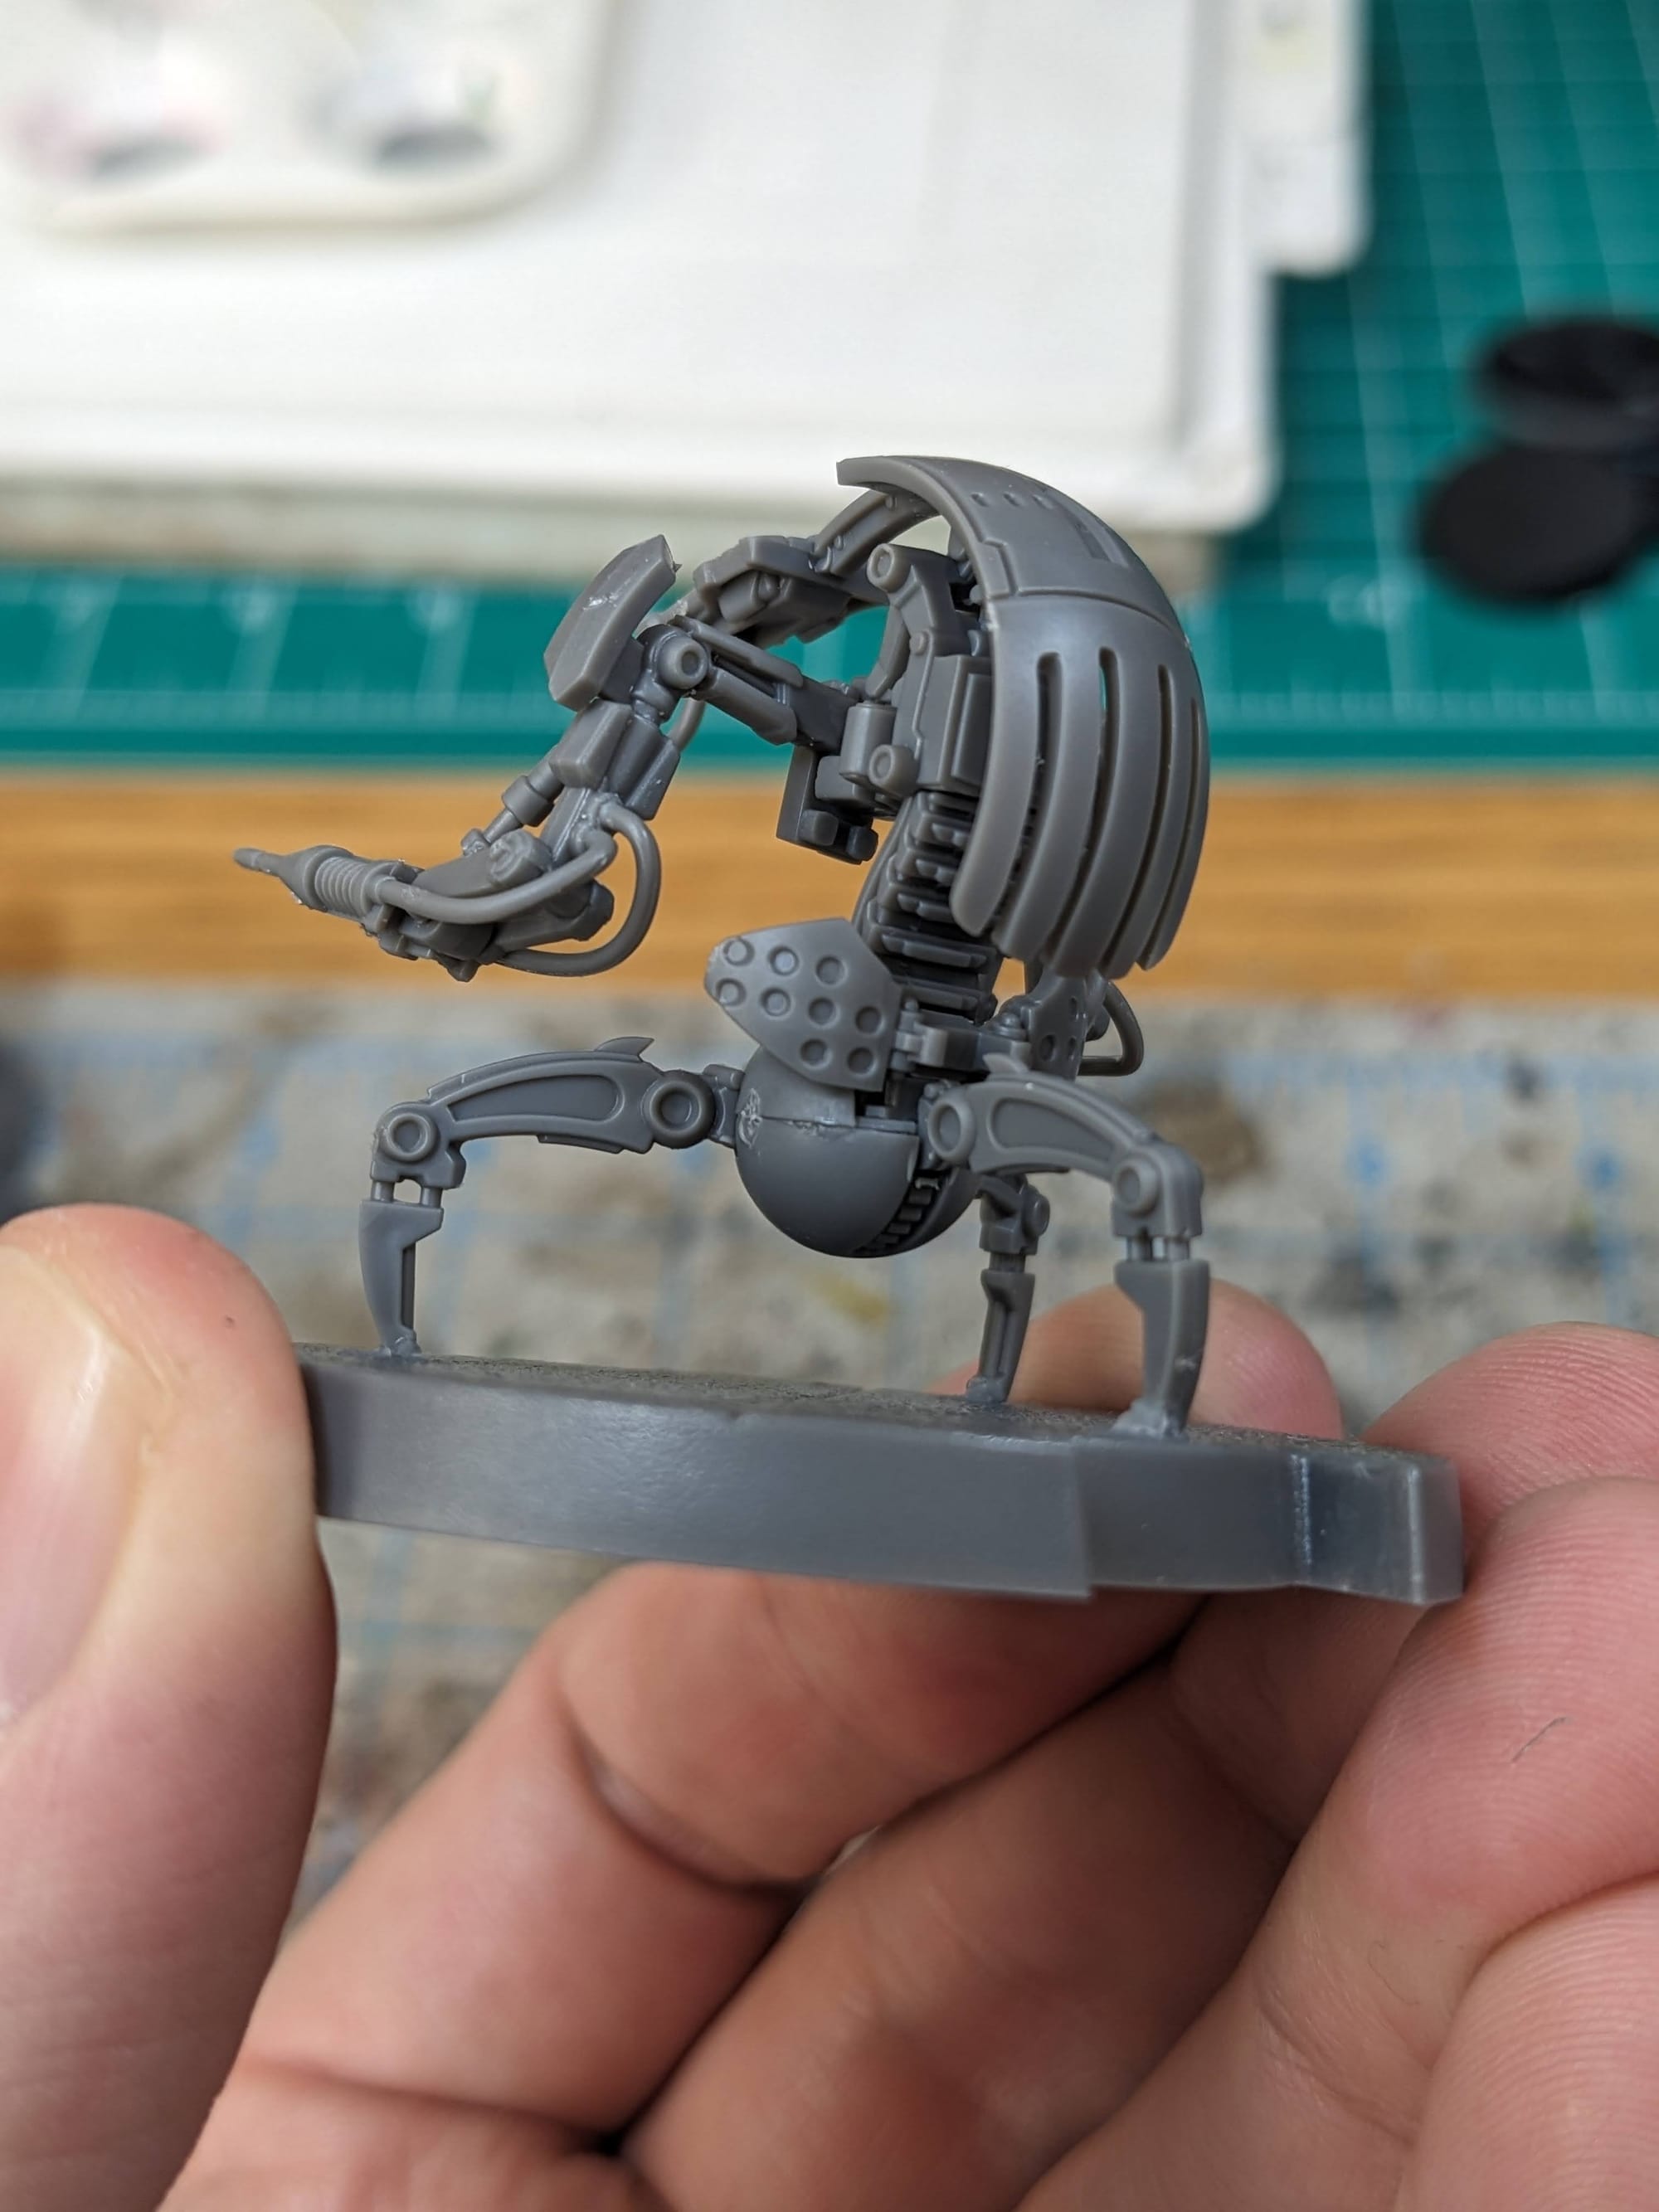
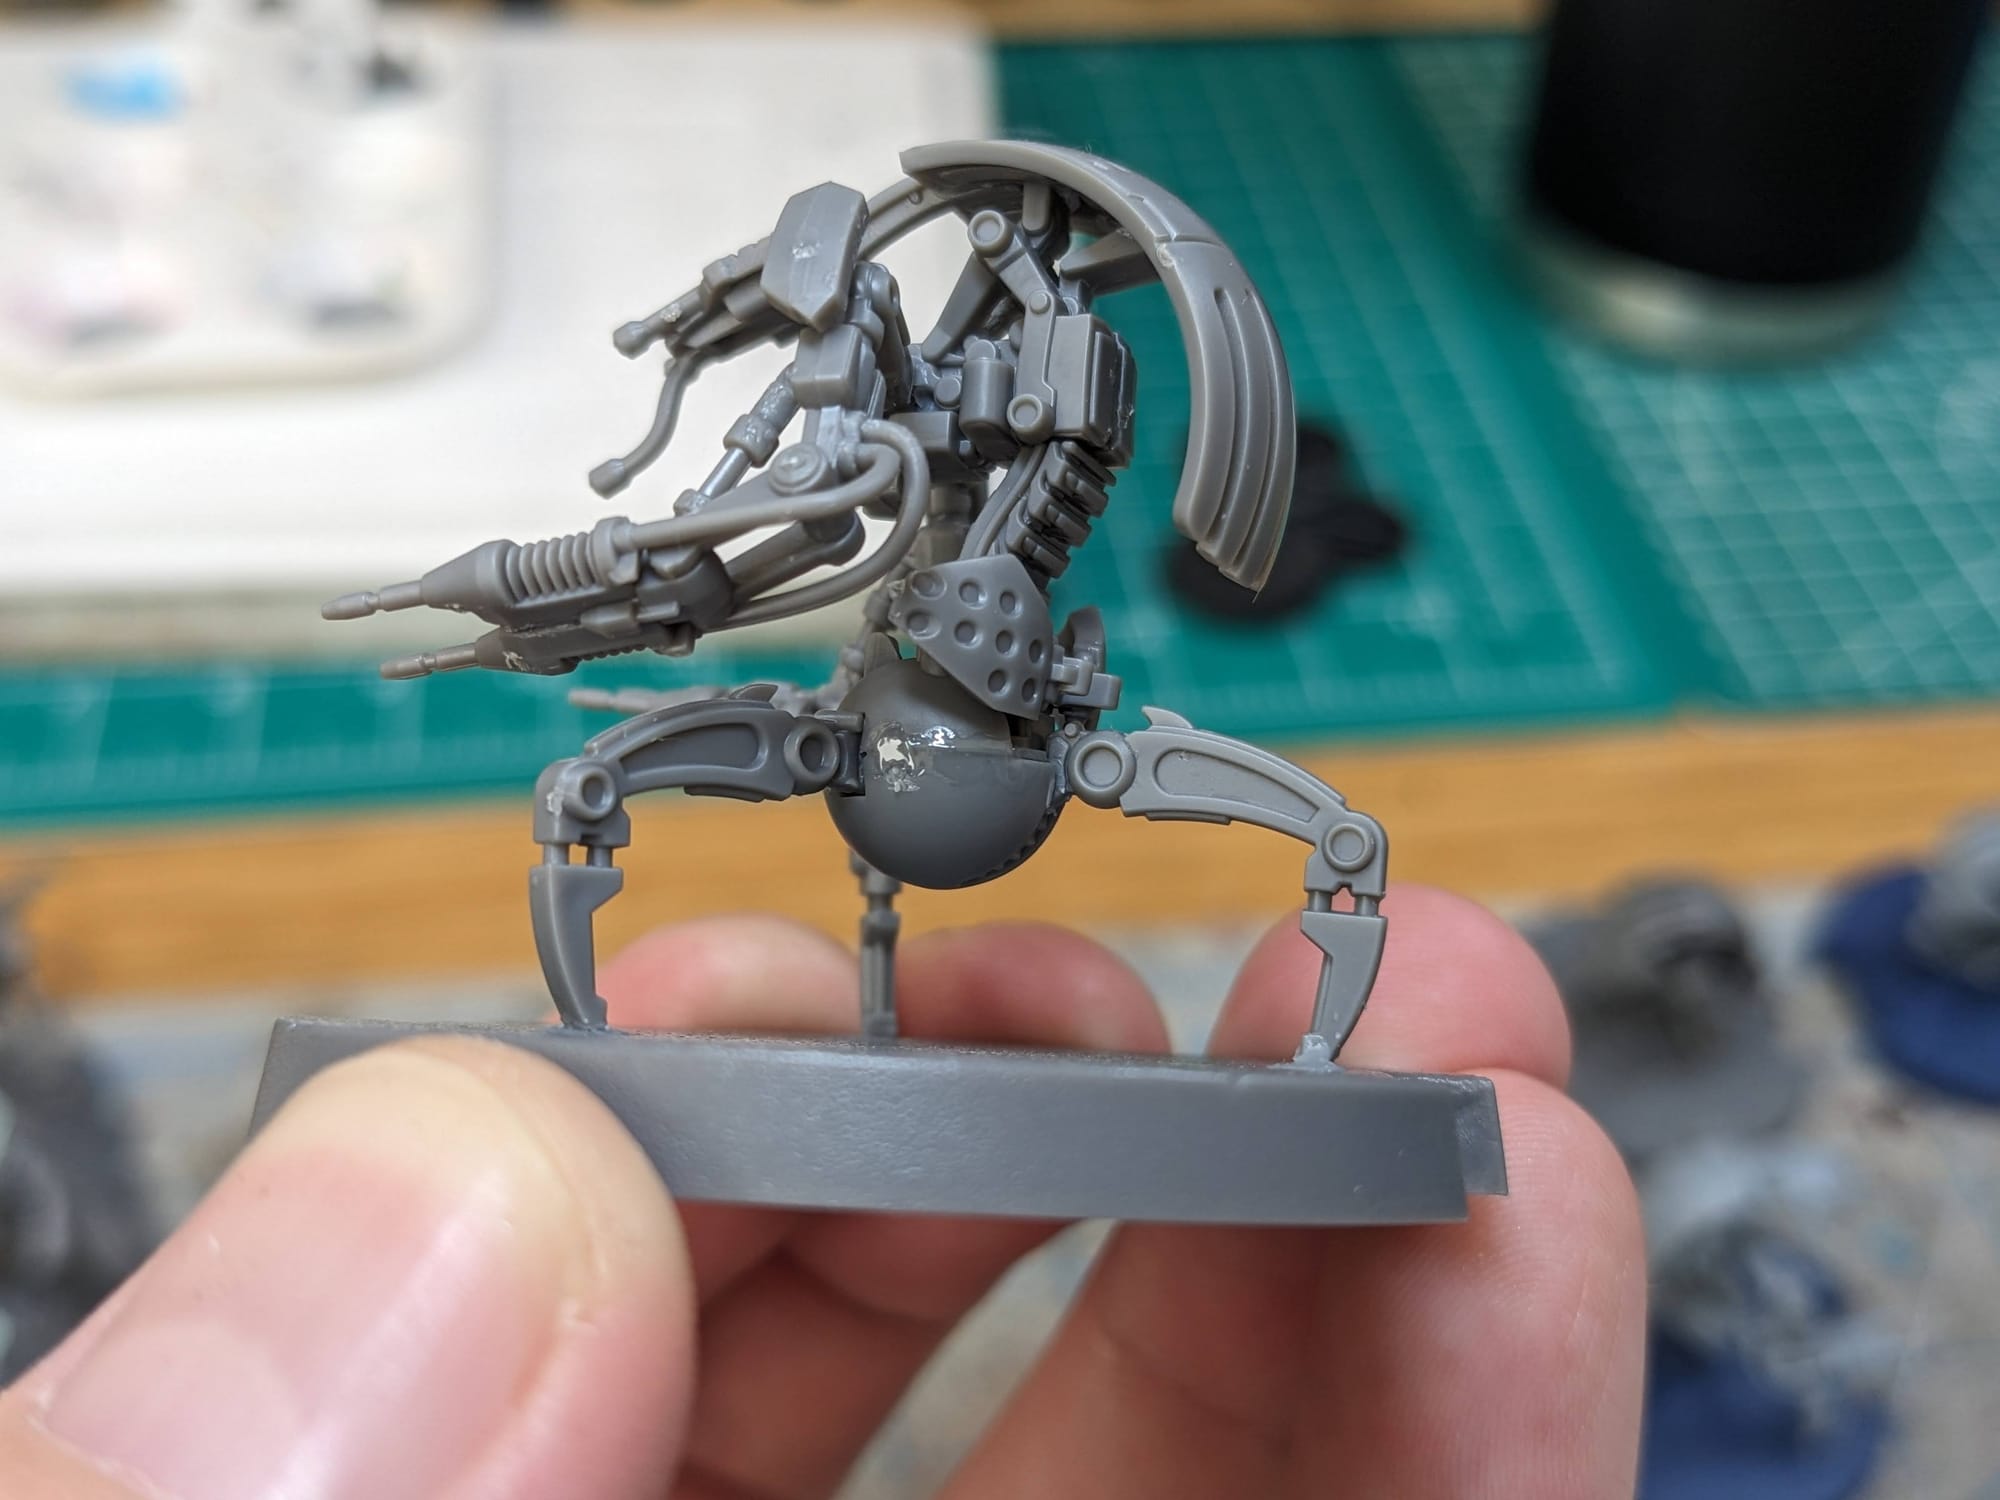
The gaps on the Destroyer Droid ball/abdomen are noticable

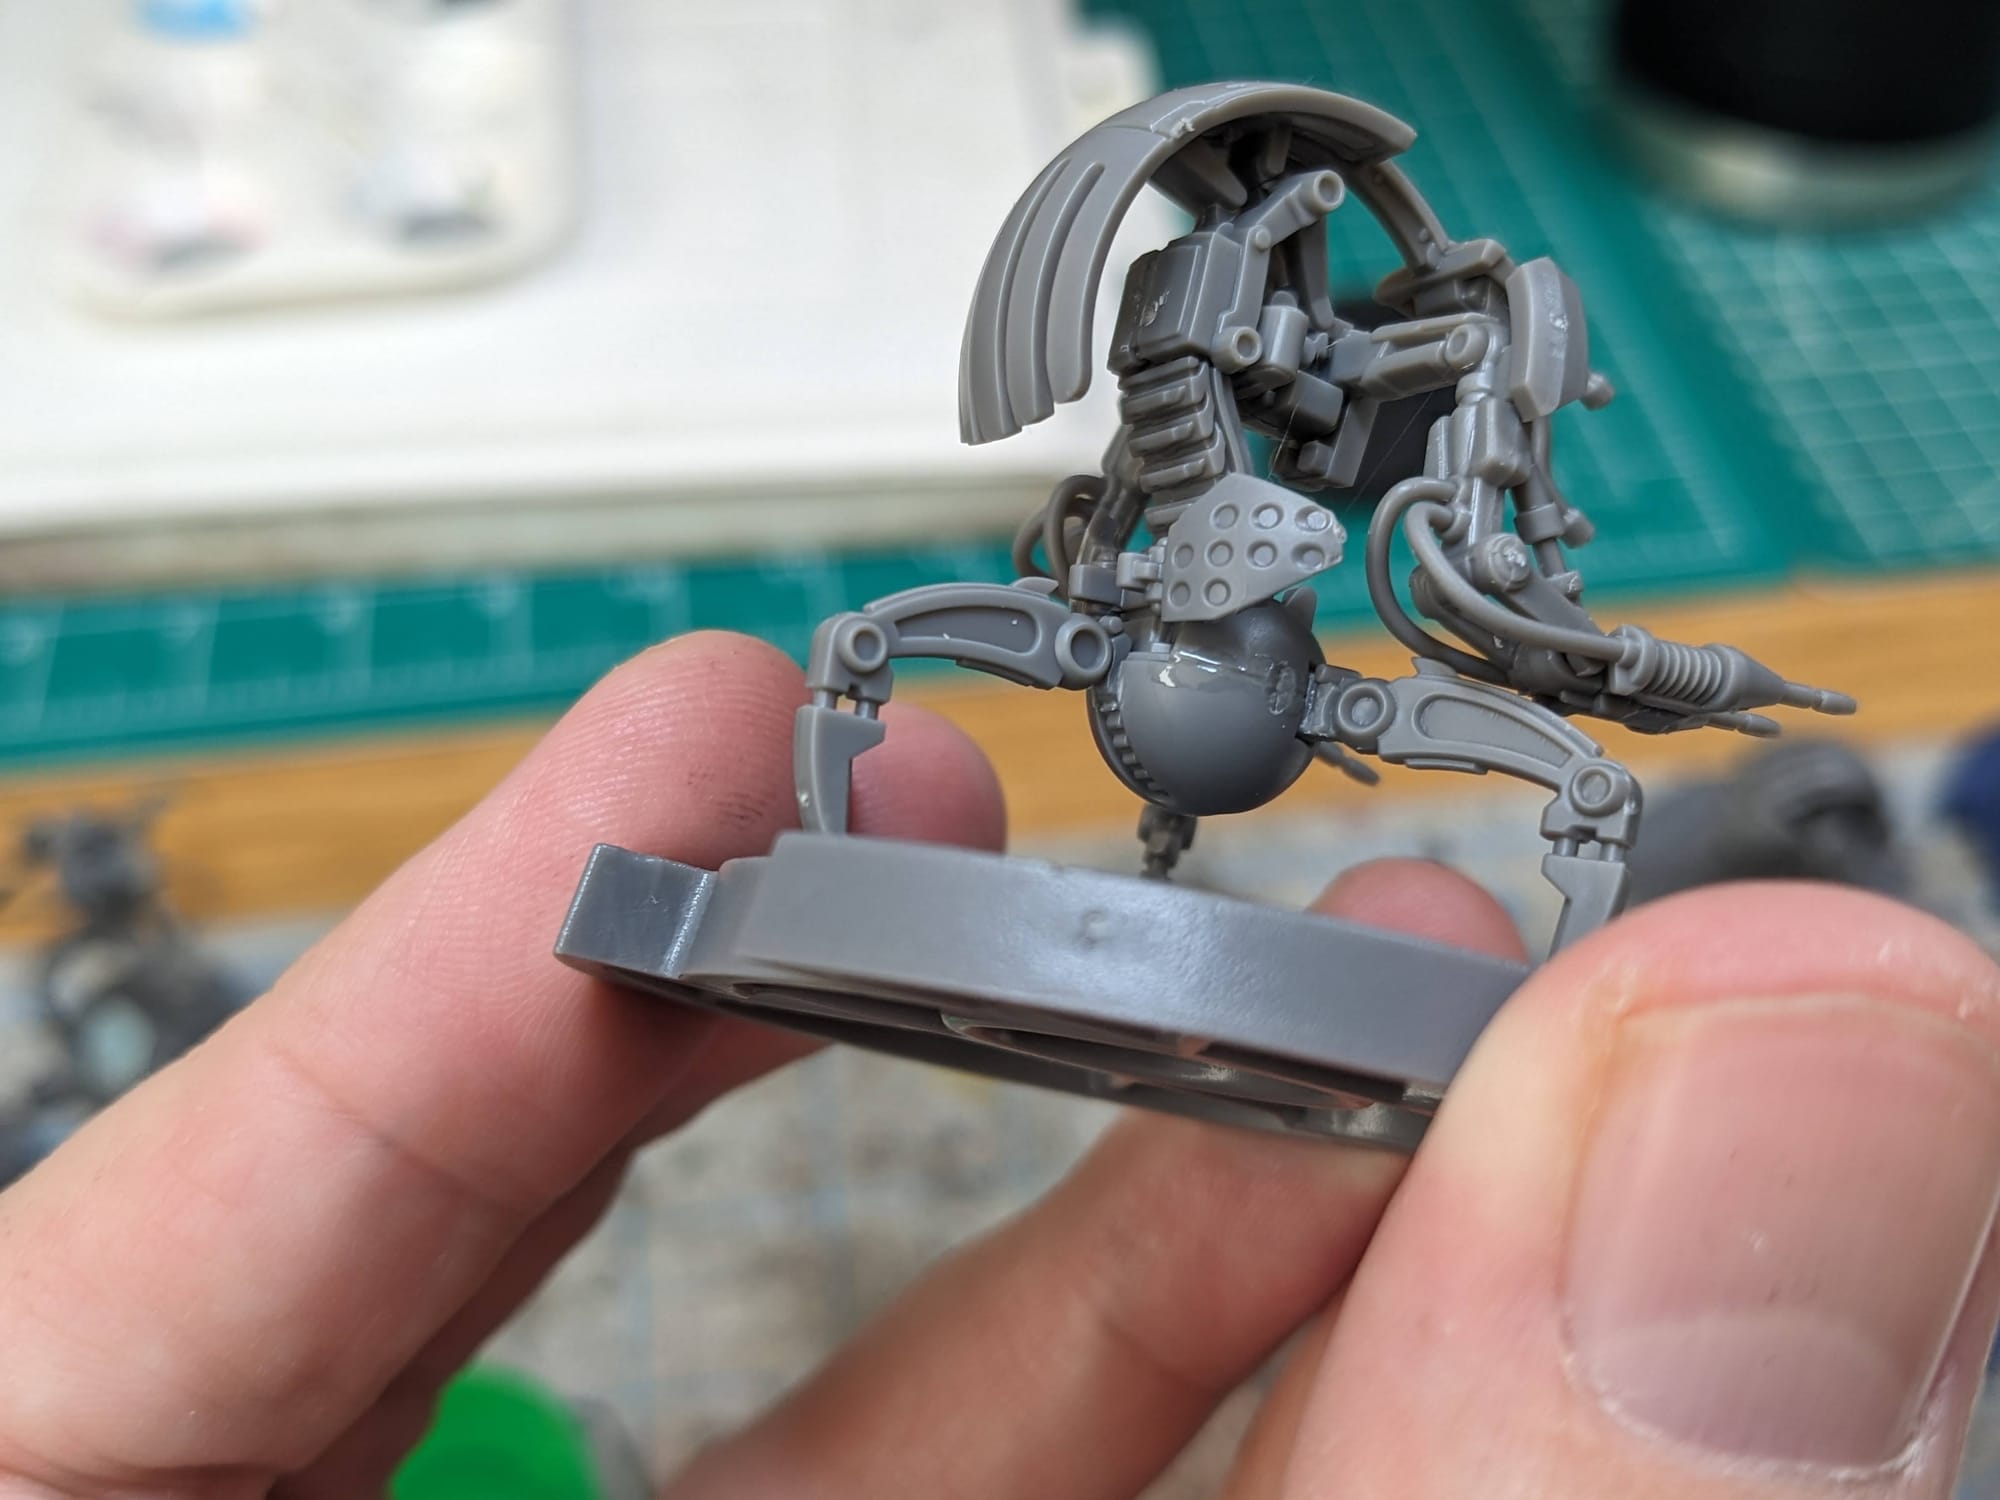
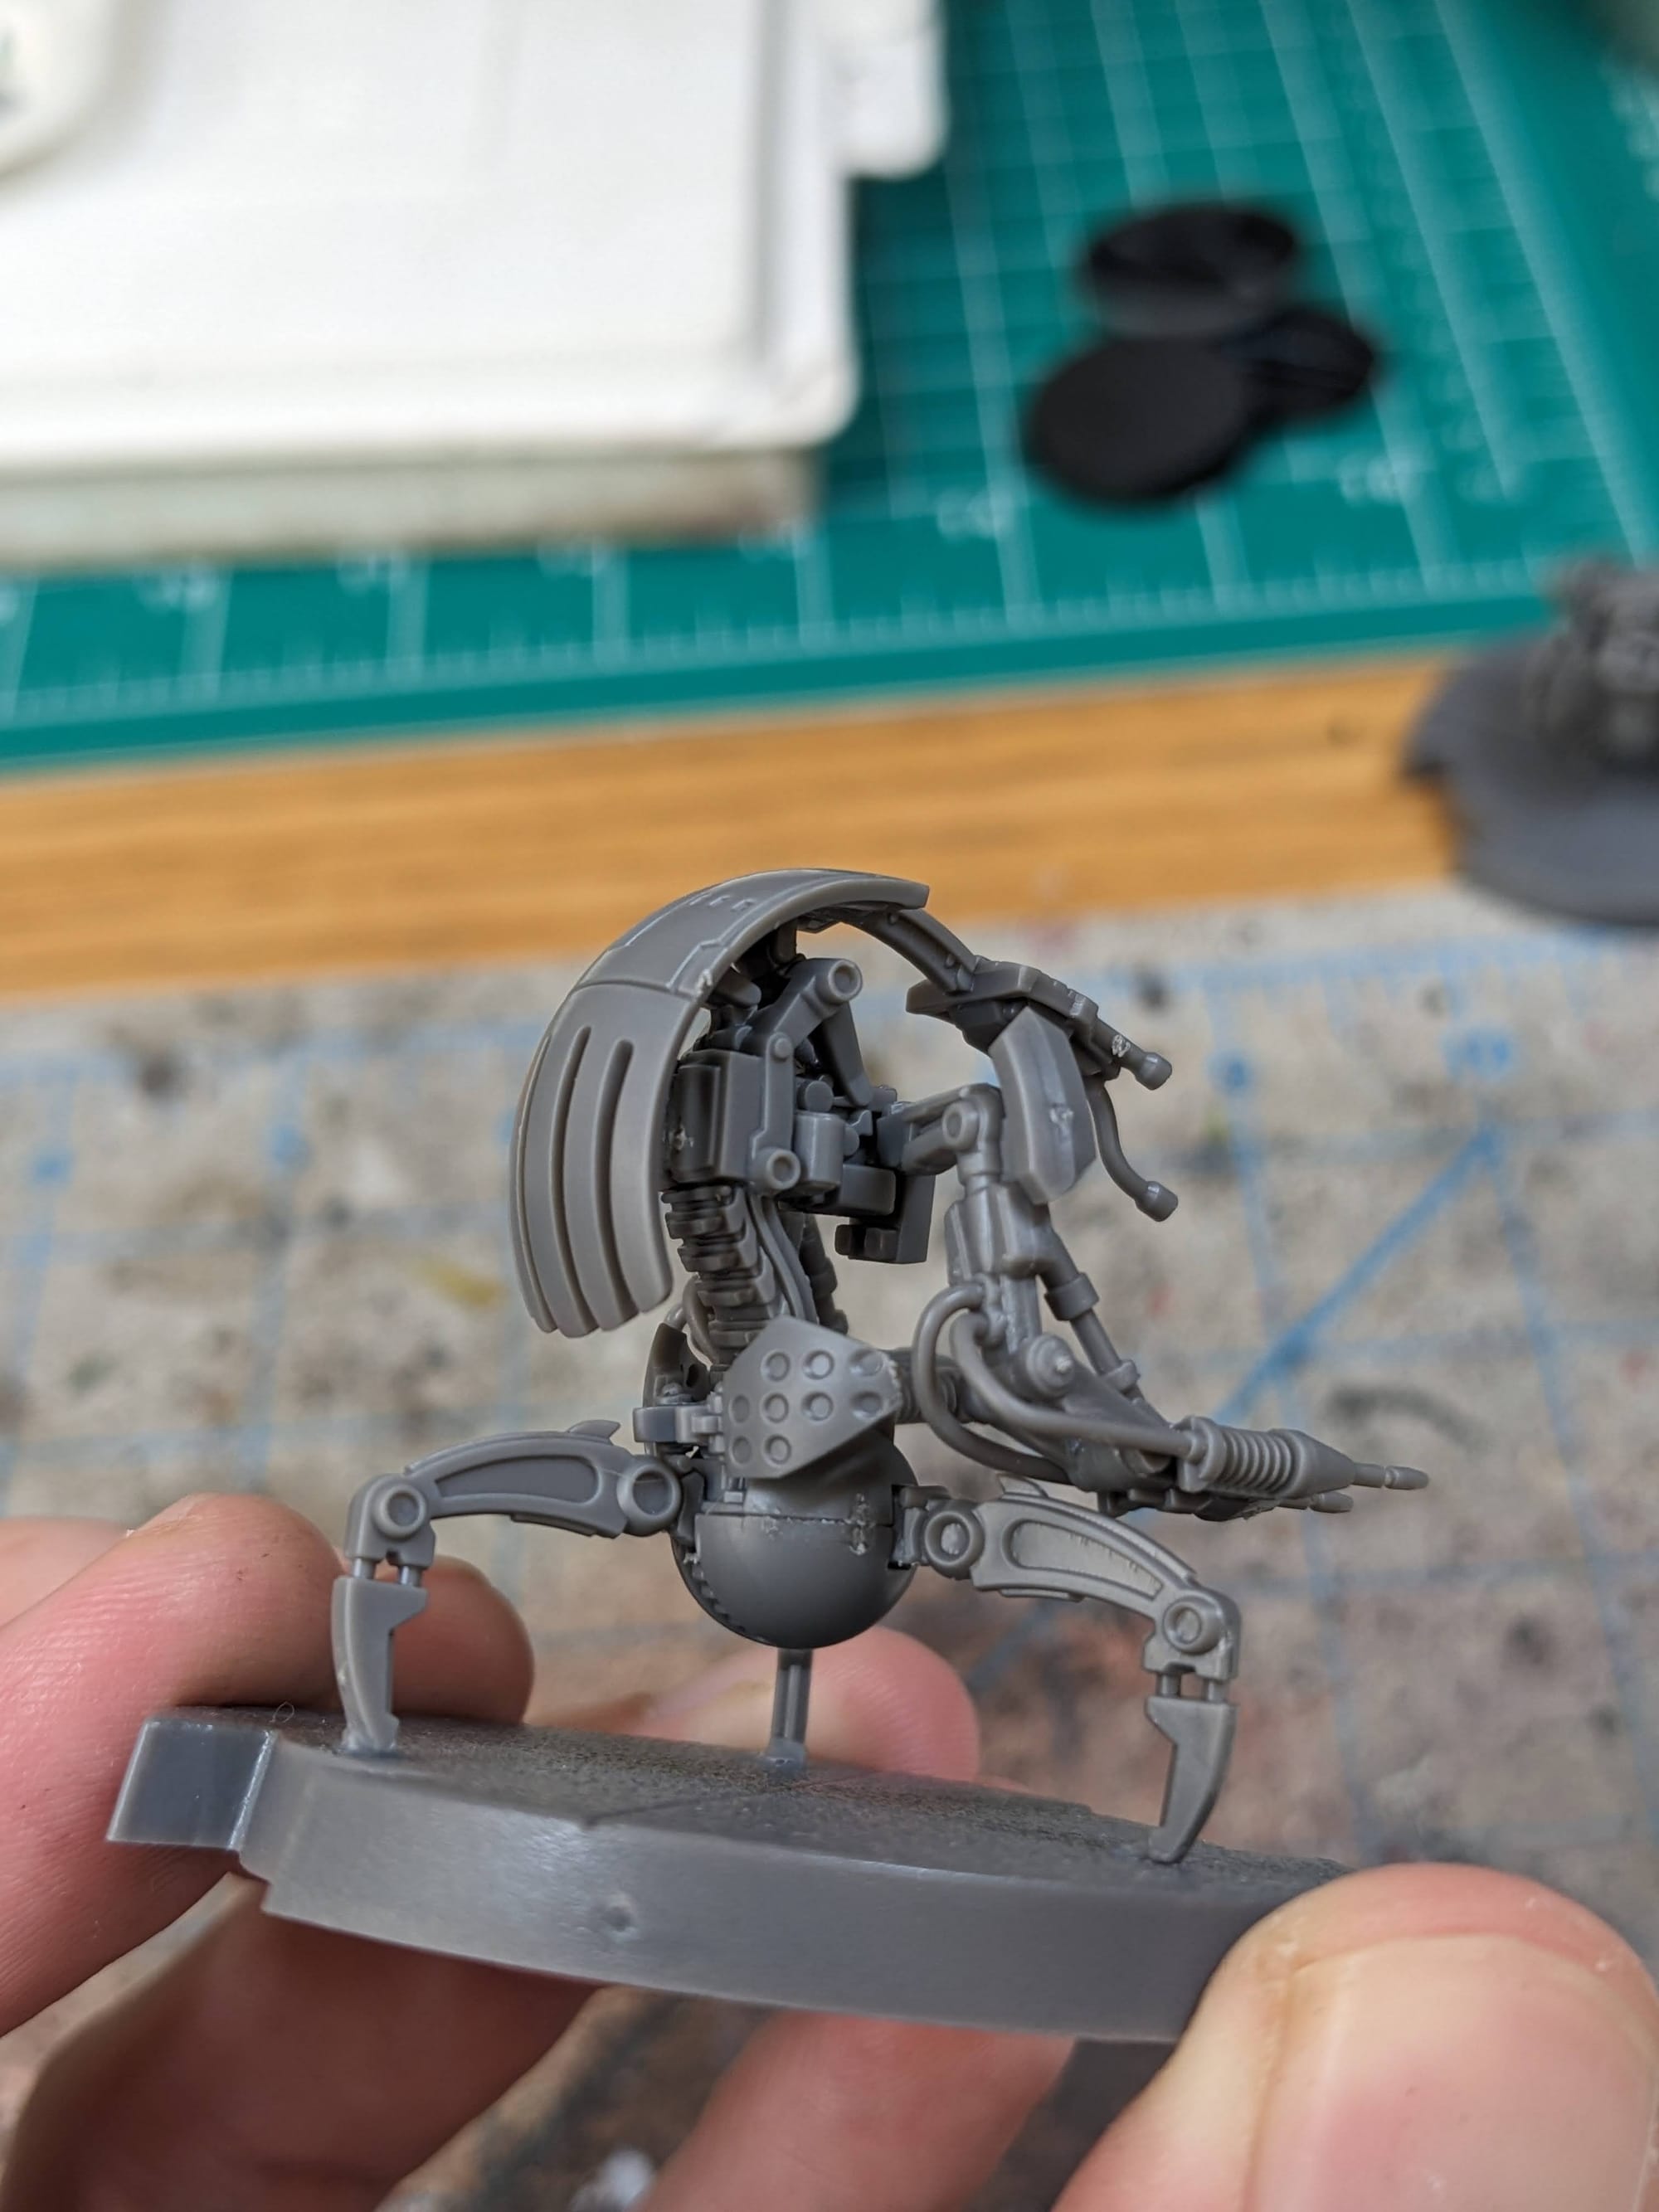
A little sprue goo goes a long way. Gaps be gone!
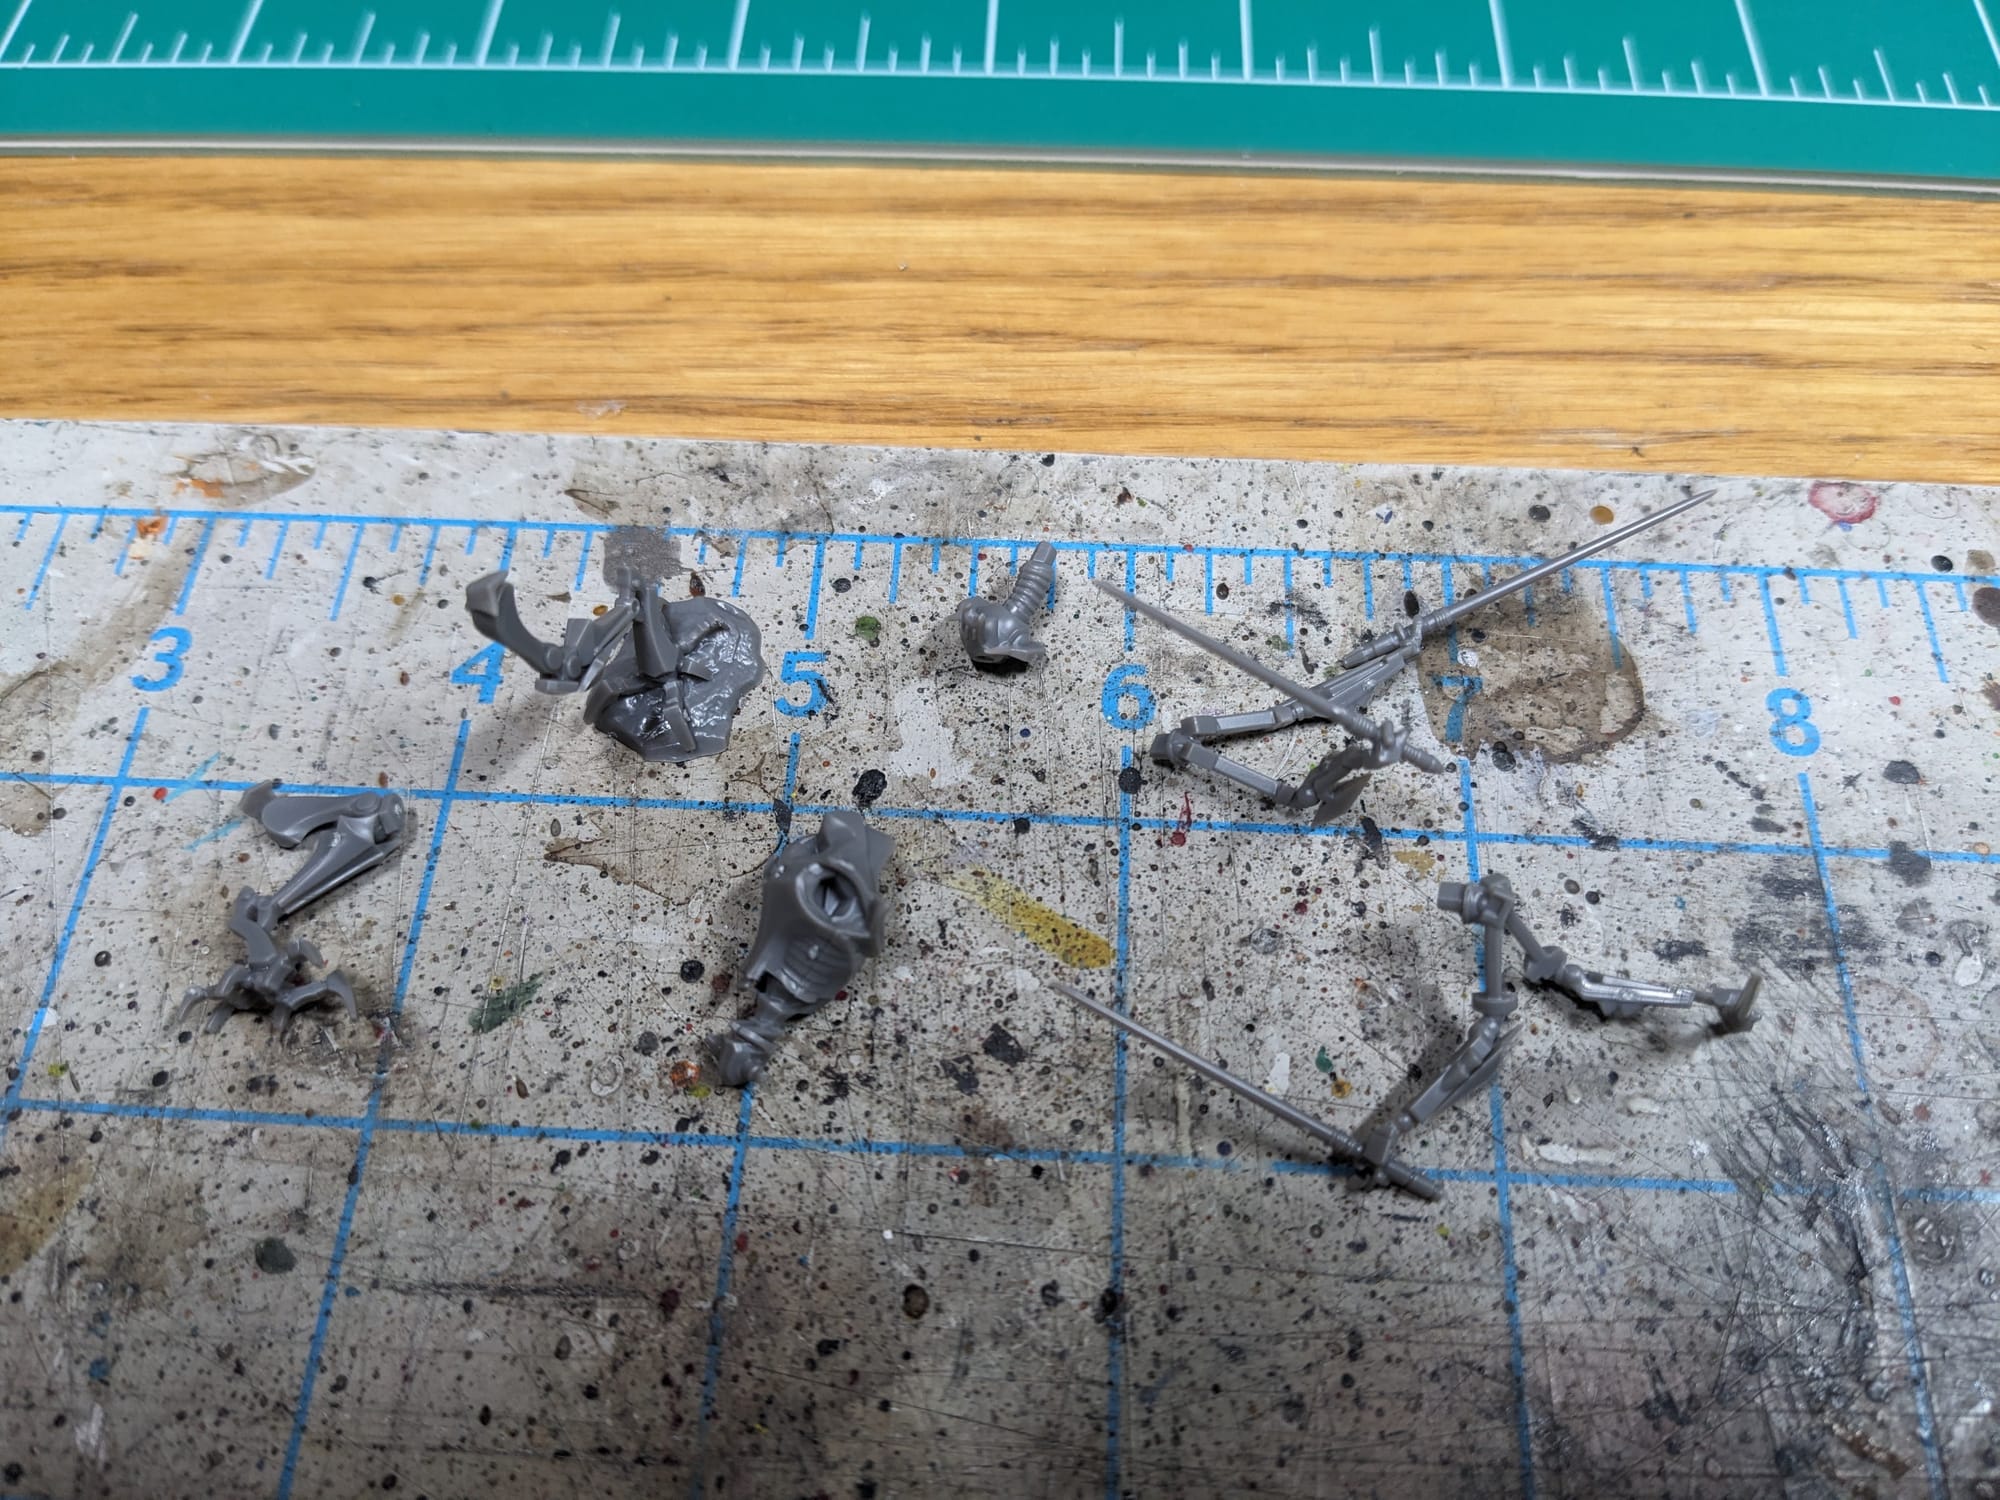
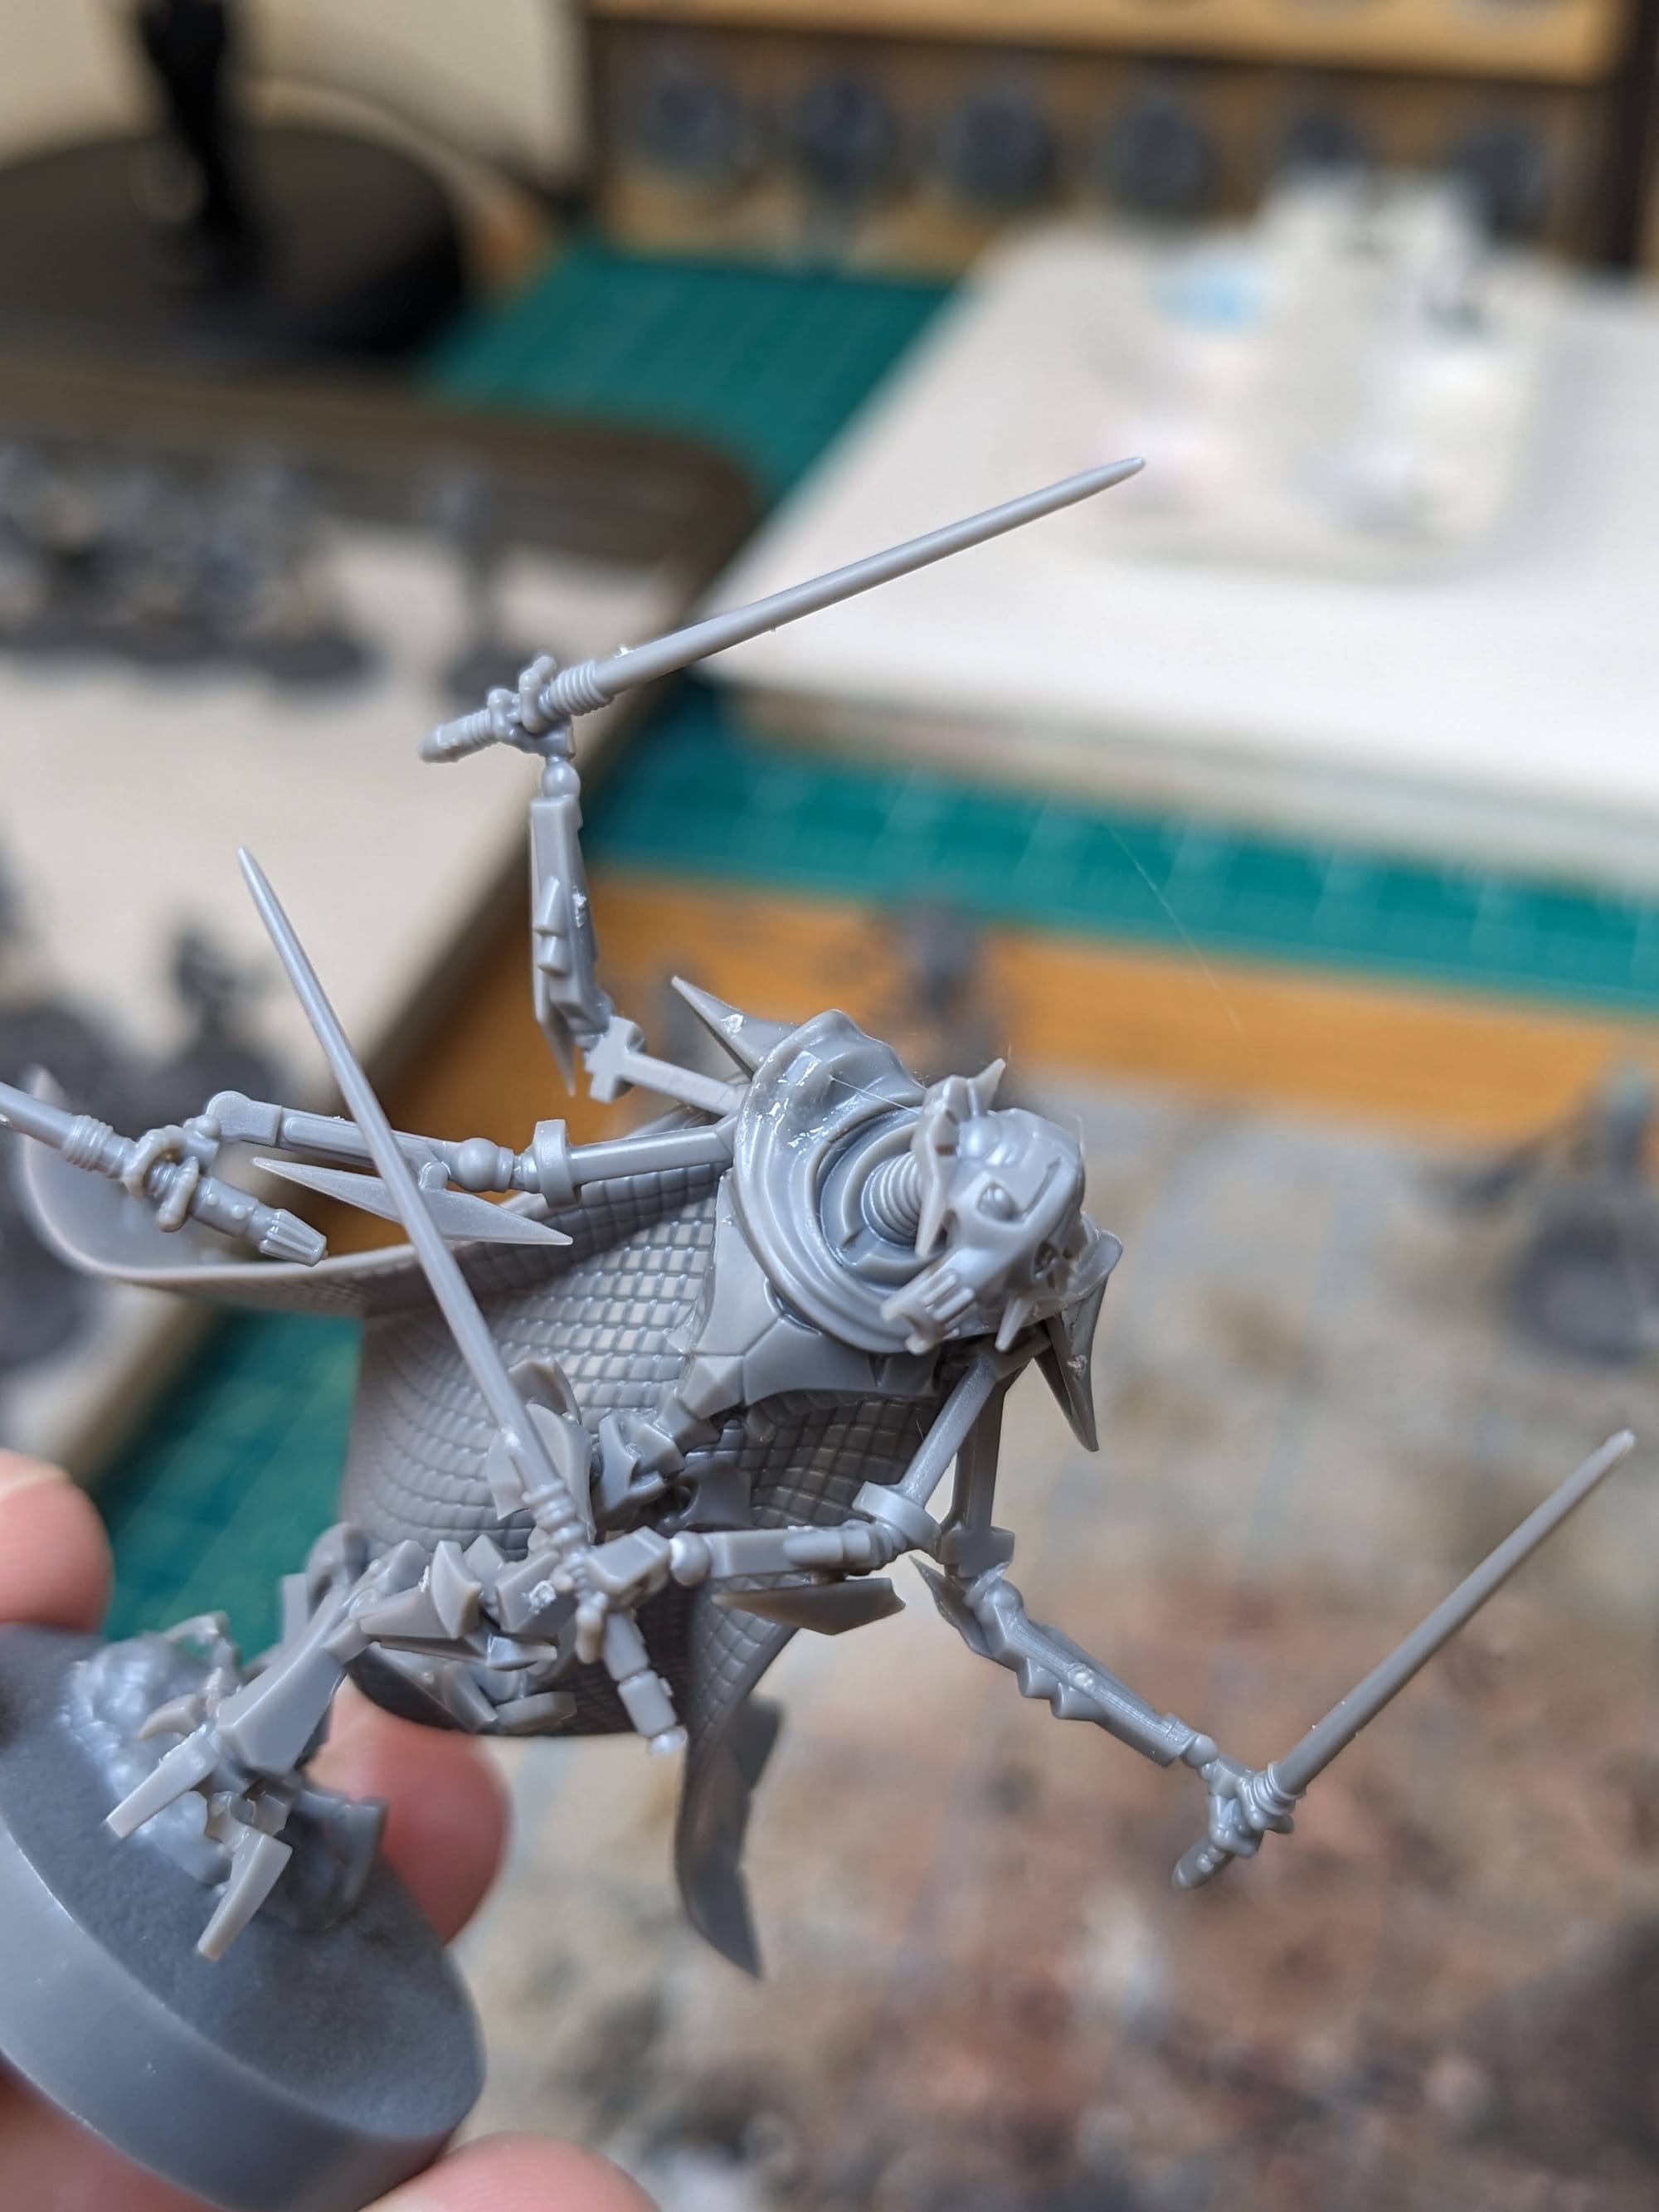

Tiny parts, tiny connection points, tiny gaps... Grievous is a challenge to build so be patient!
Painting Your Miniatures
The Paint Plan
For pretty much every miniature painting project I do, I start with a plan. Even before putting the primer and paint on a model, I find photo references of the paint schemes and details I am looking for. Most times, this means having a browser window up with different web pages and images next to my painting area, so I can quickly refer to them as I paint. I also come up with a paint plan, choosing what colors I am going to use and what order I apply them in.
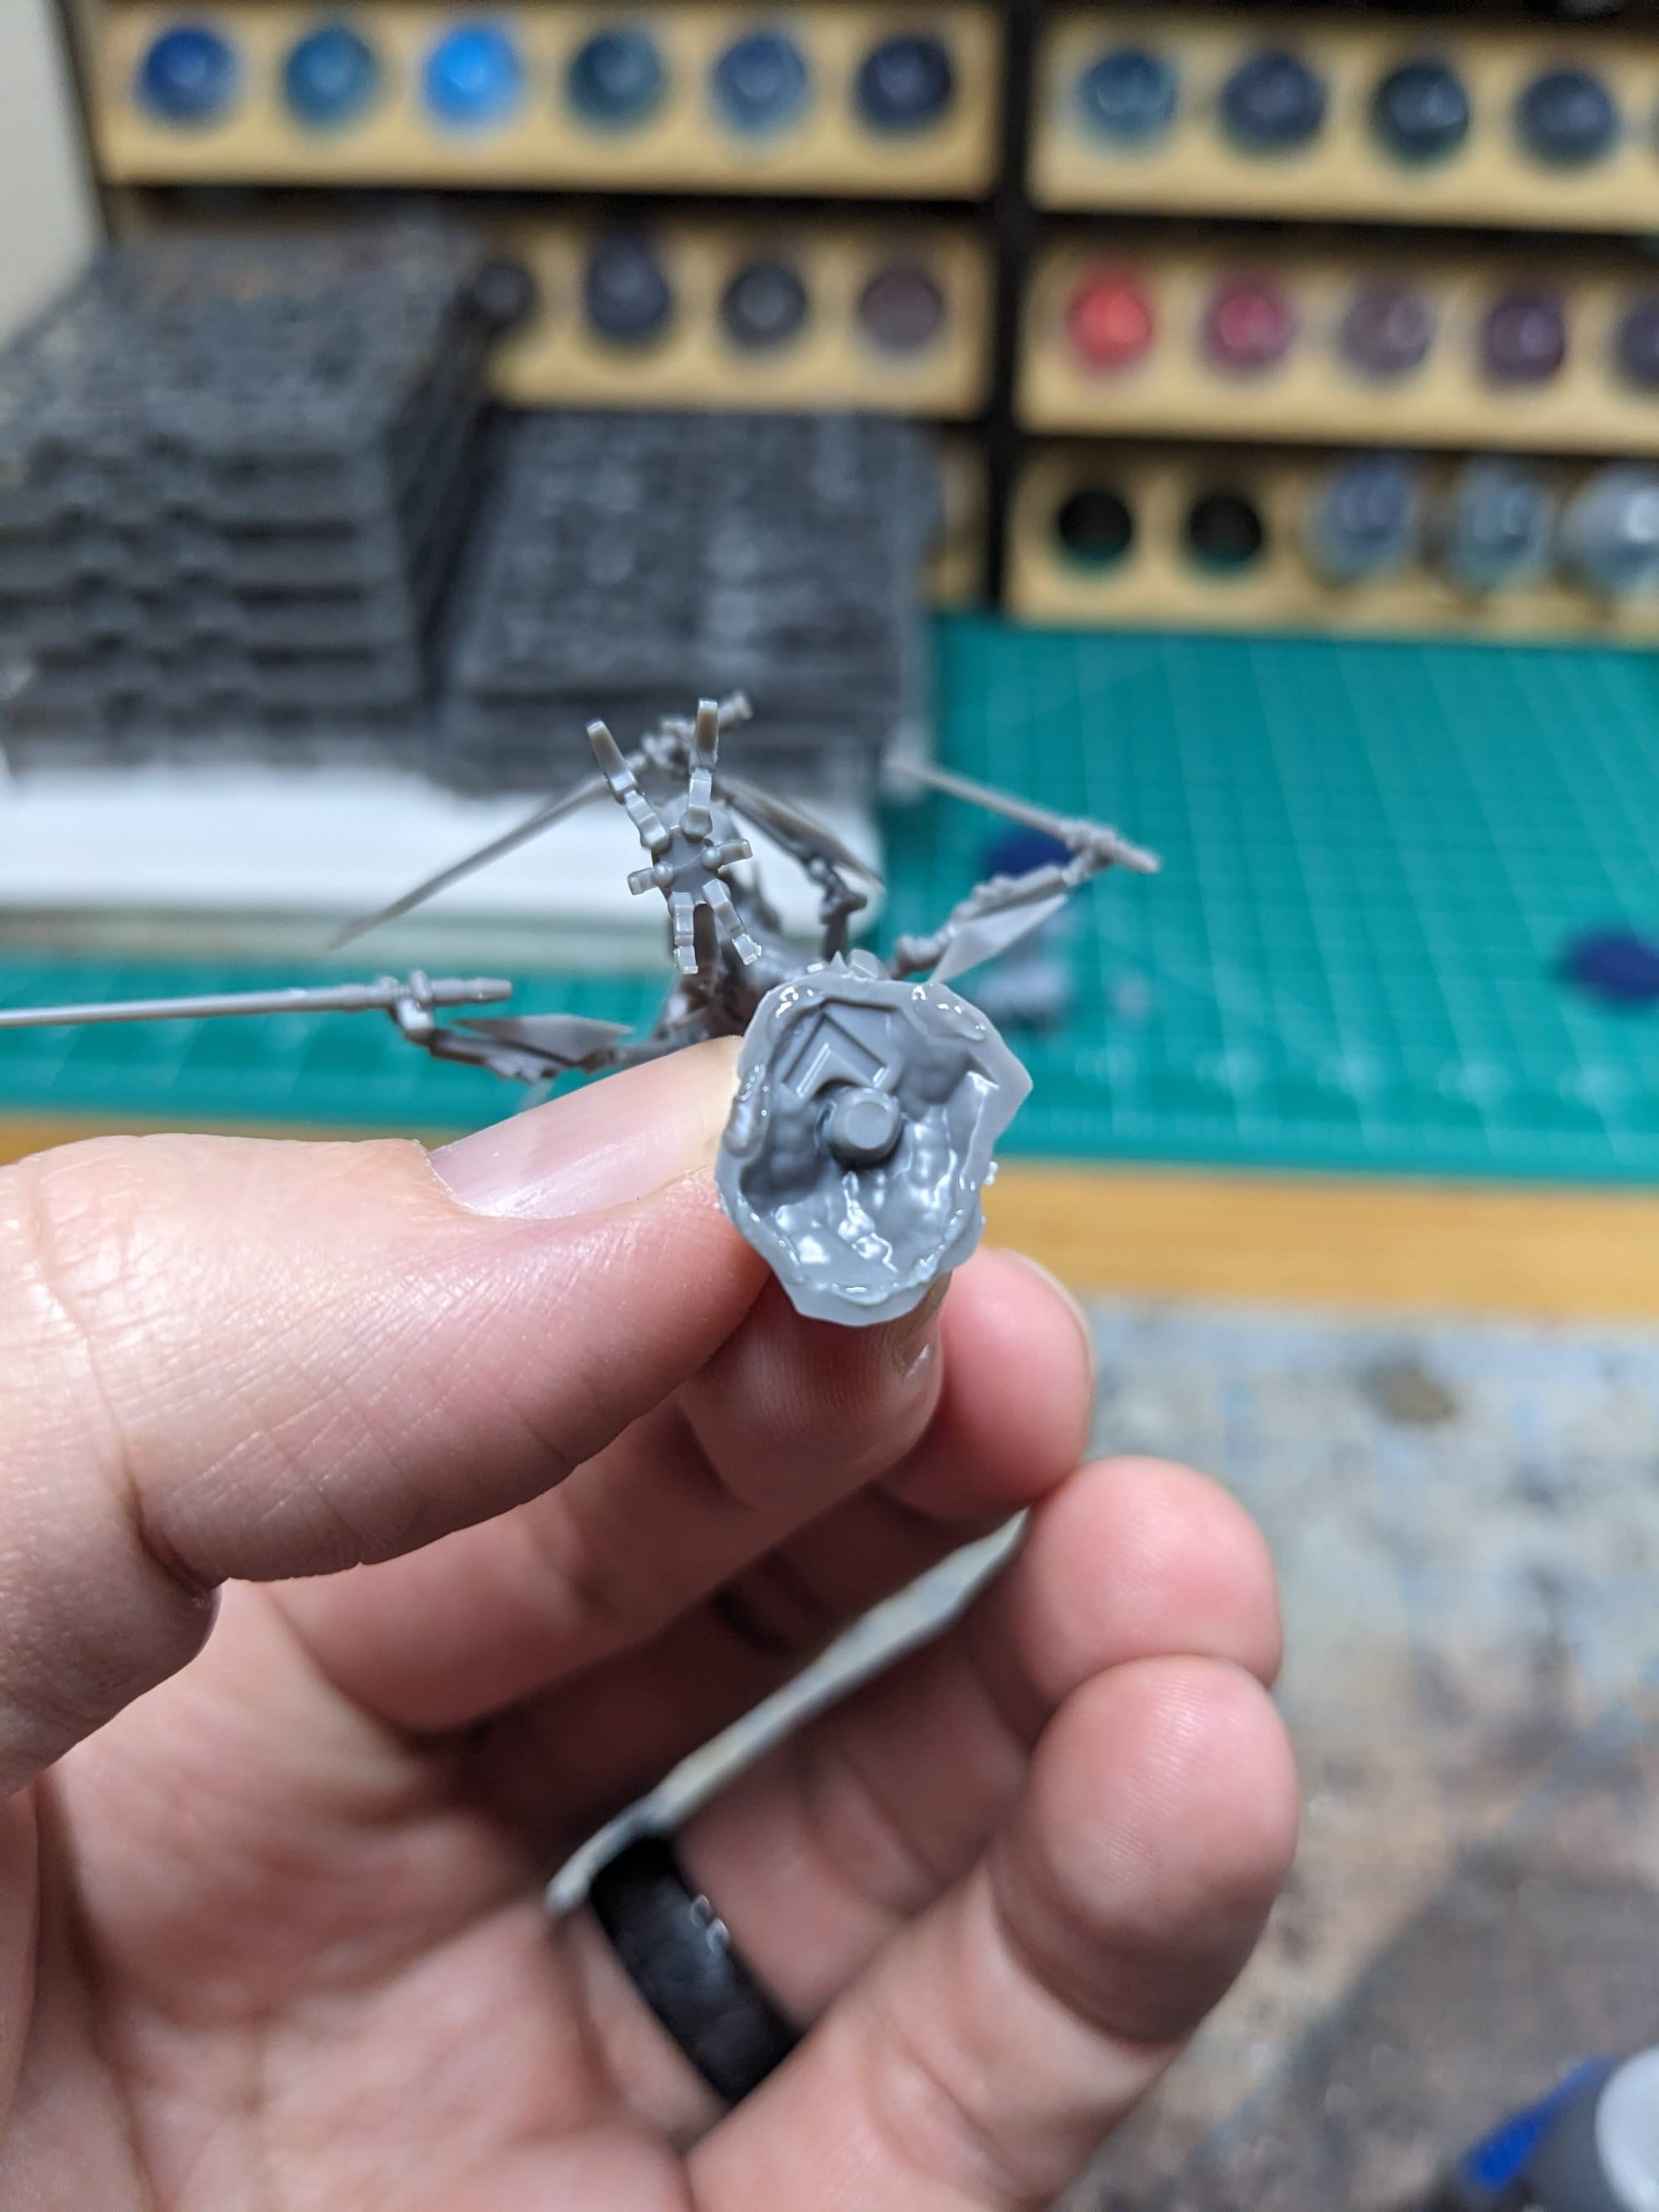
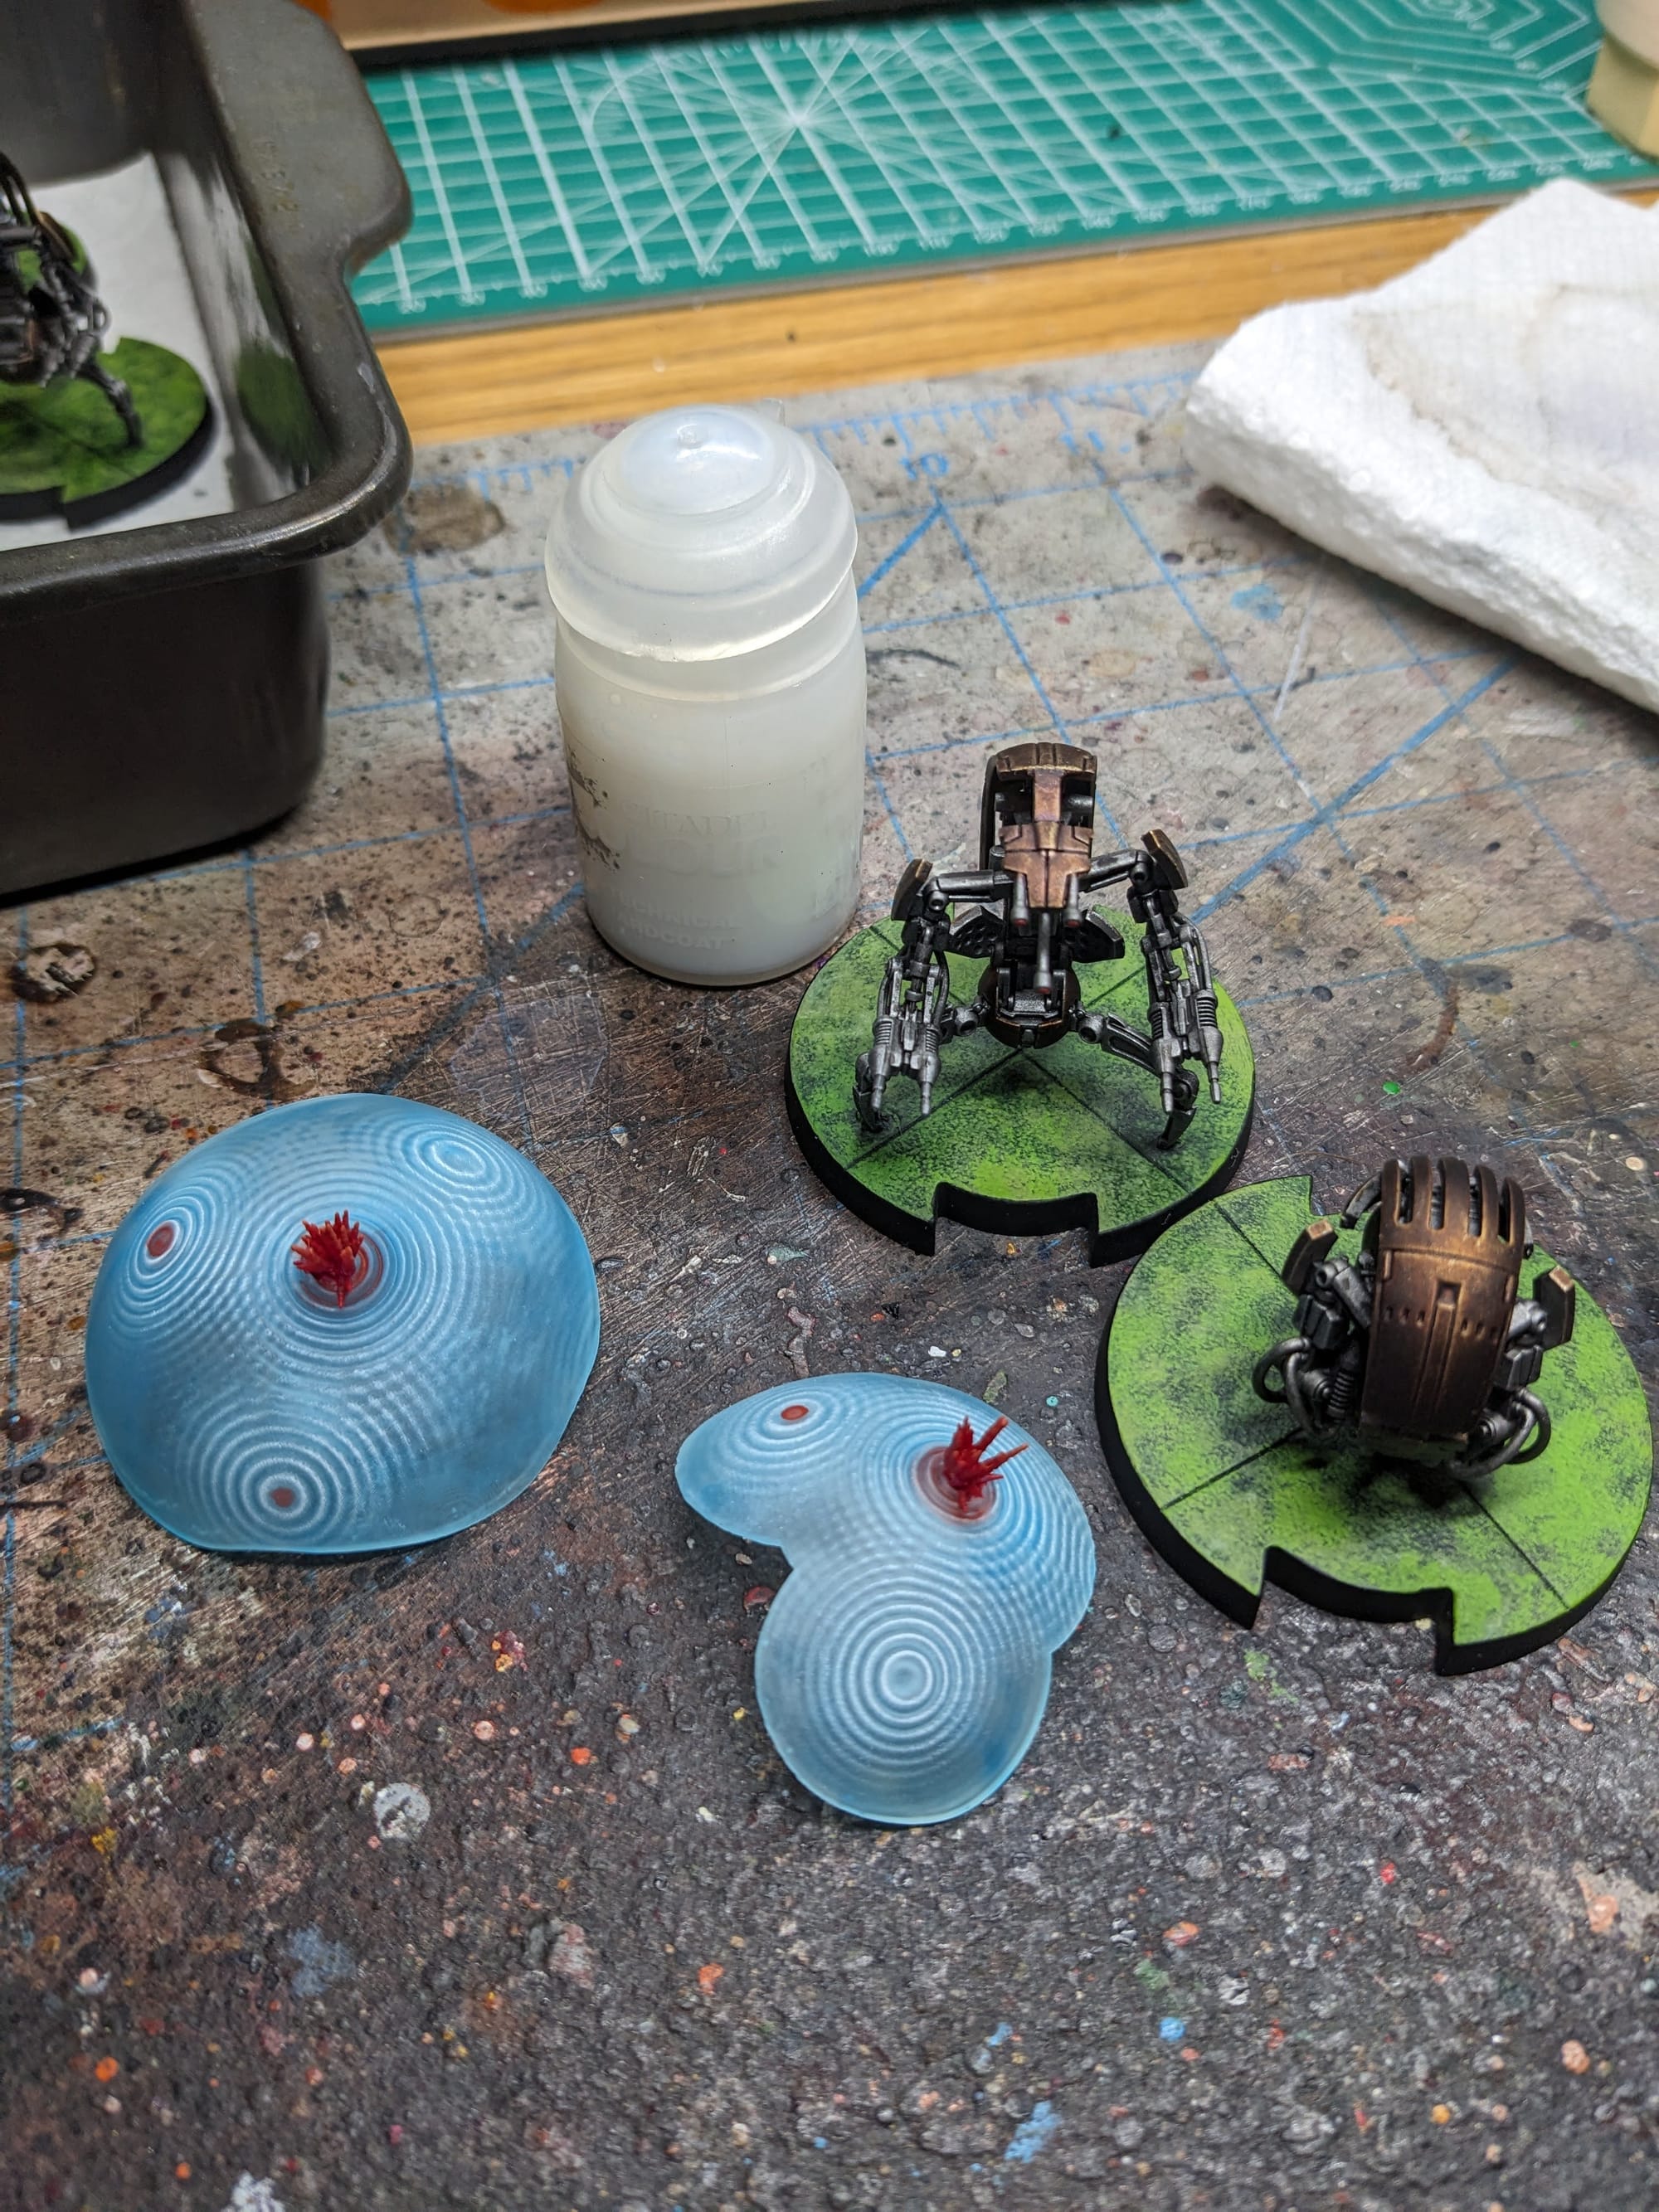
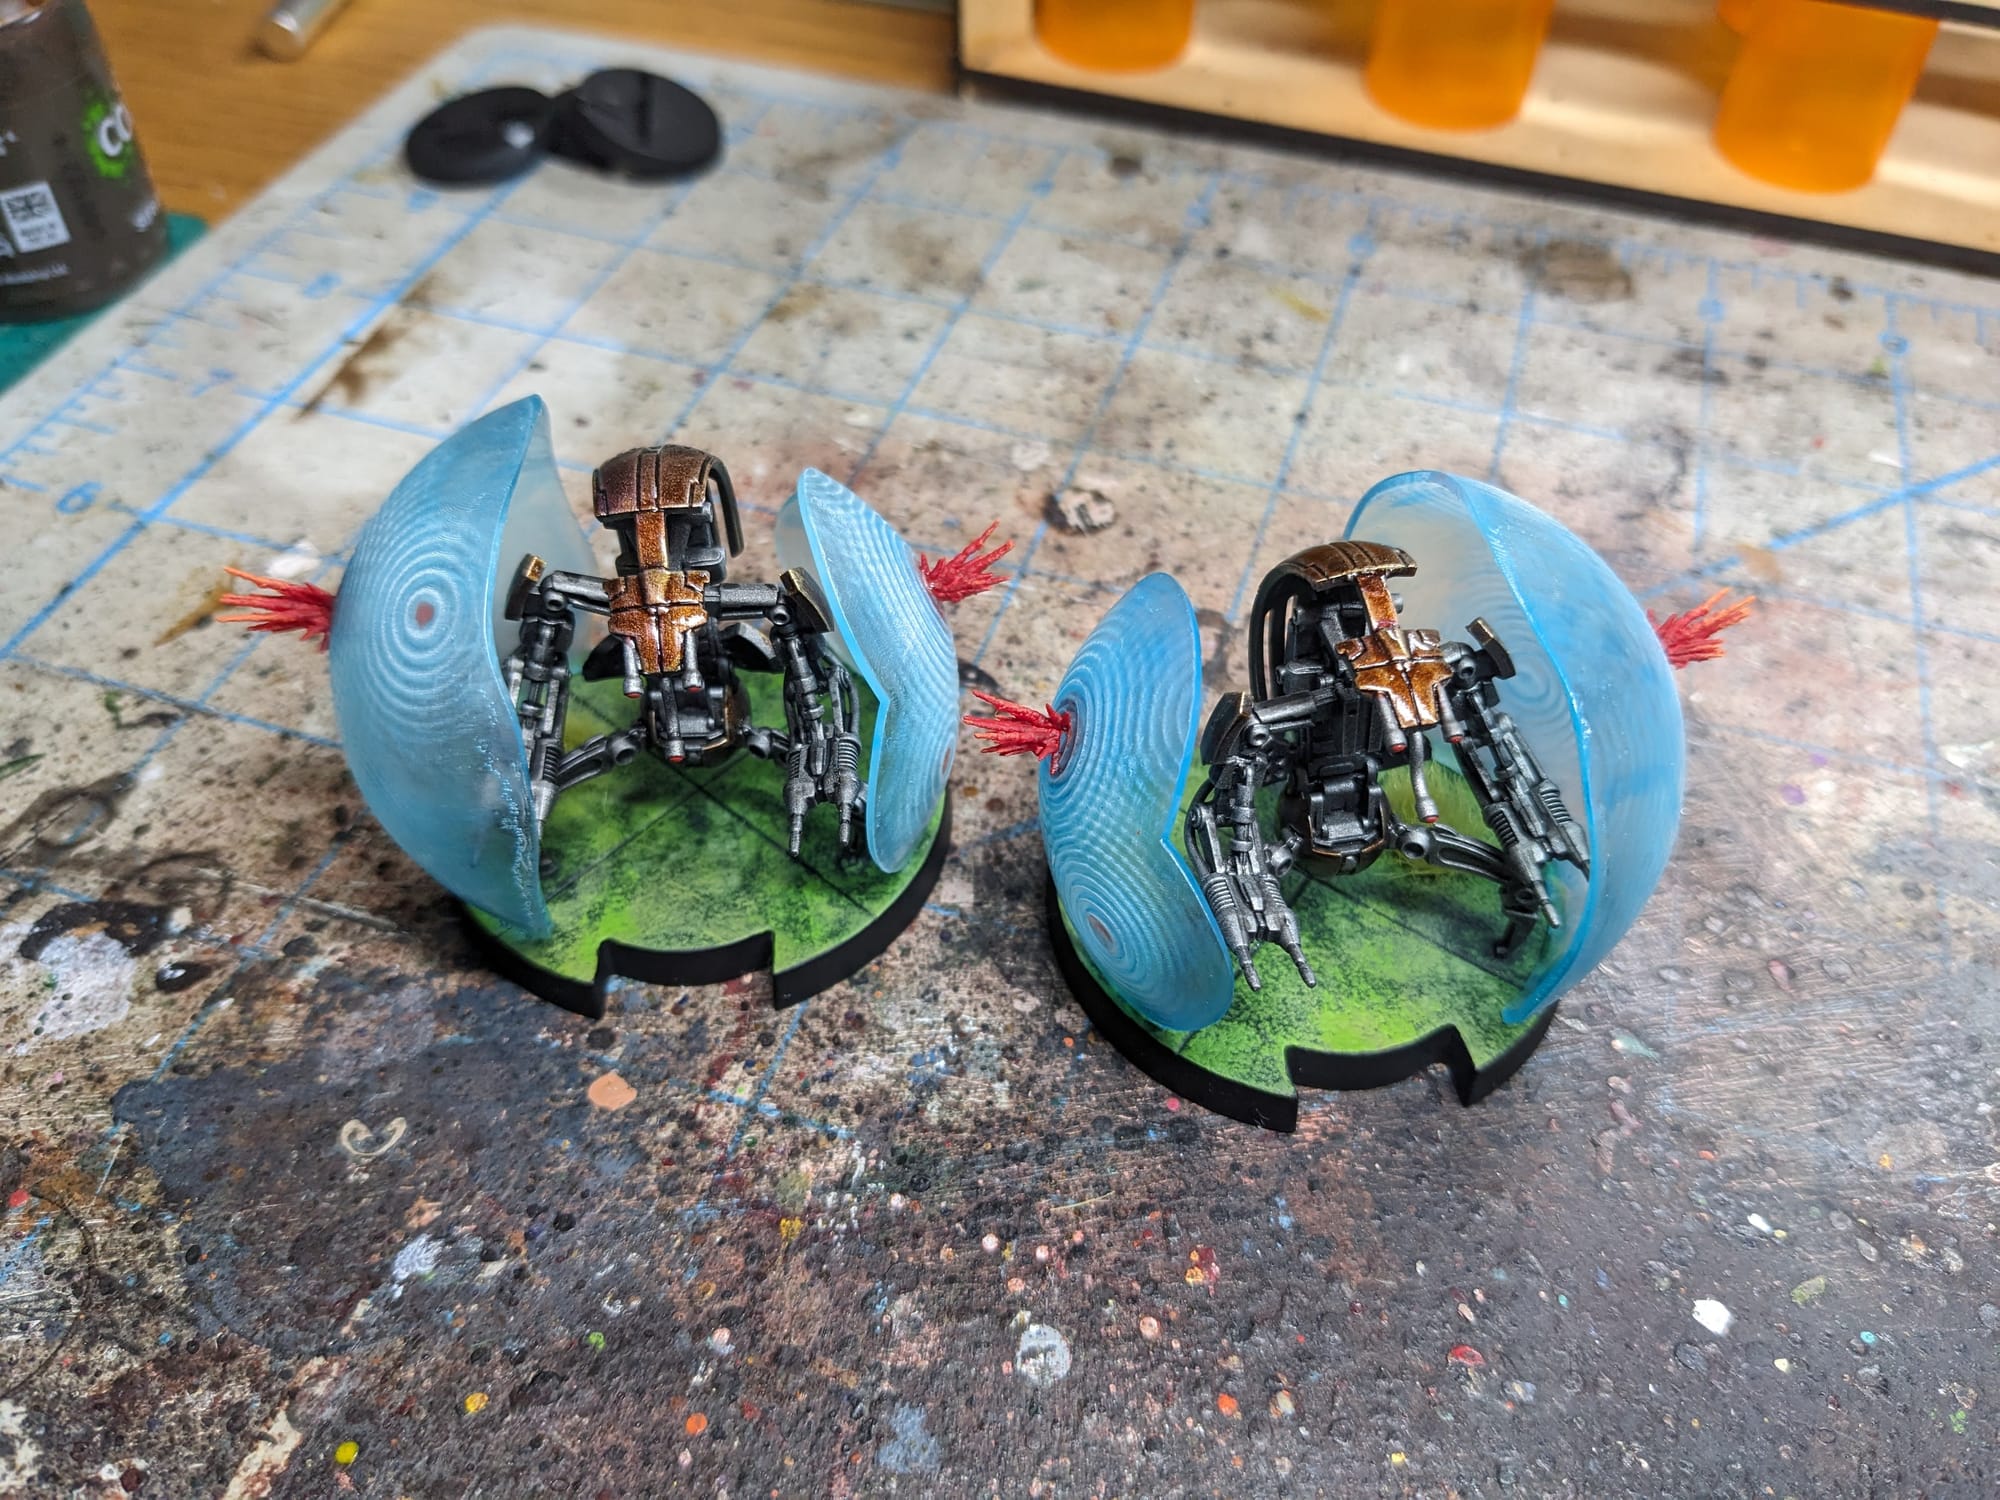
Some time ago I backed Deadly Print Studio's Kickstarter for their custom Star Wars Legion FX bundle, which included these totally rad Droideka shields. I wanted to add a couple in to the figures I had, so I printed them in Elegoo Water Washable Clear Blue Resin, and I will attach them after the painting.

For the Separatist Army, there are a lot of different models and colors, despite there being only four different unit types. Sorastro, who is a fantastic painter and whom I have followed for years, has composed a few video tutorials on both the B1 Battle Droids and the Destroyer Droids /Droidekas. Credit where credit is due.
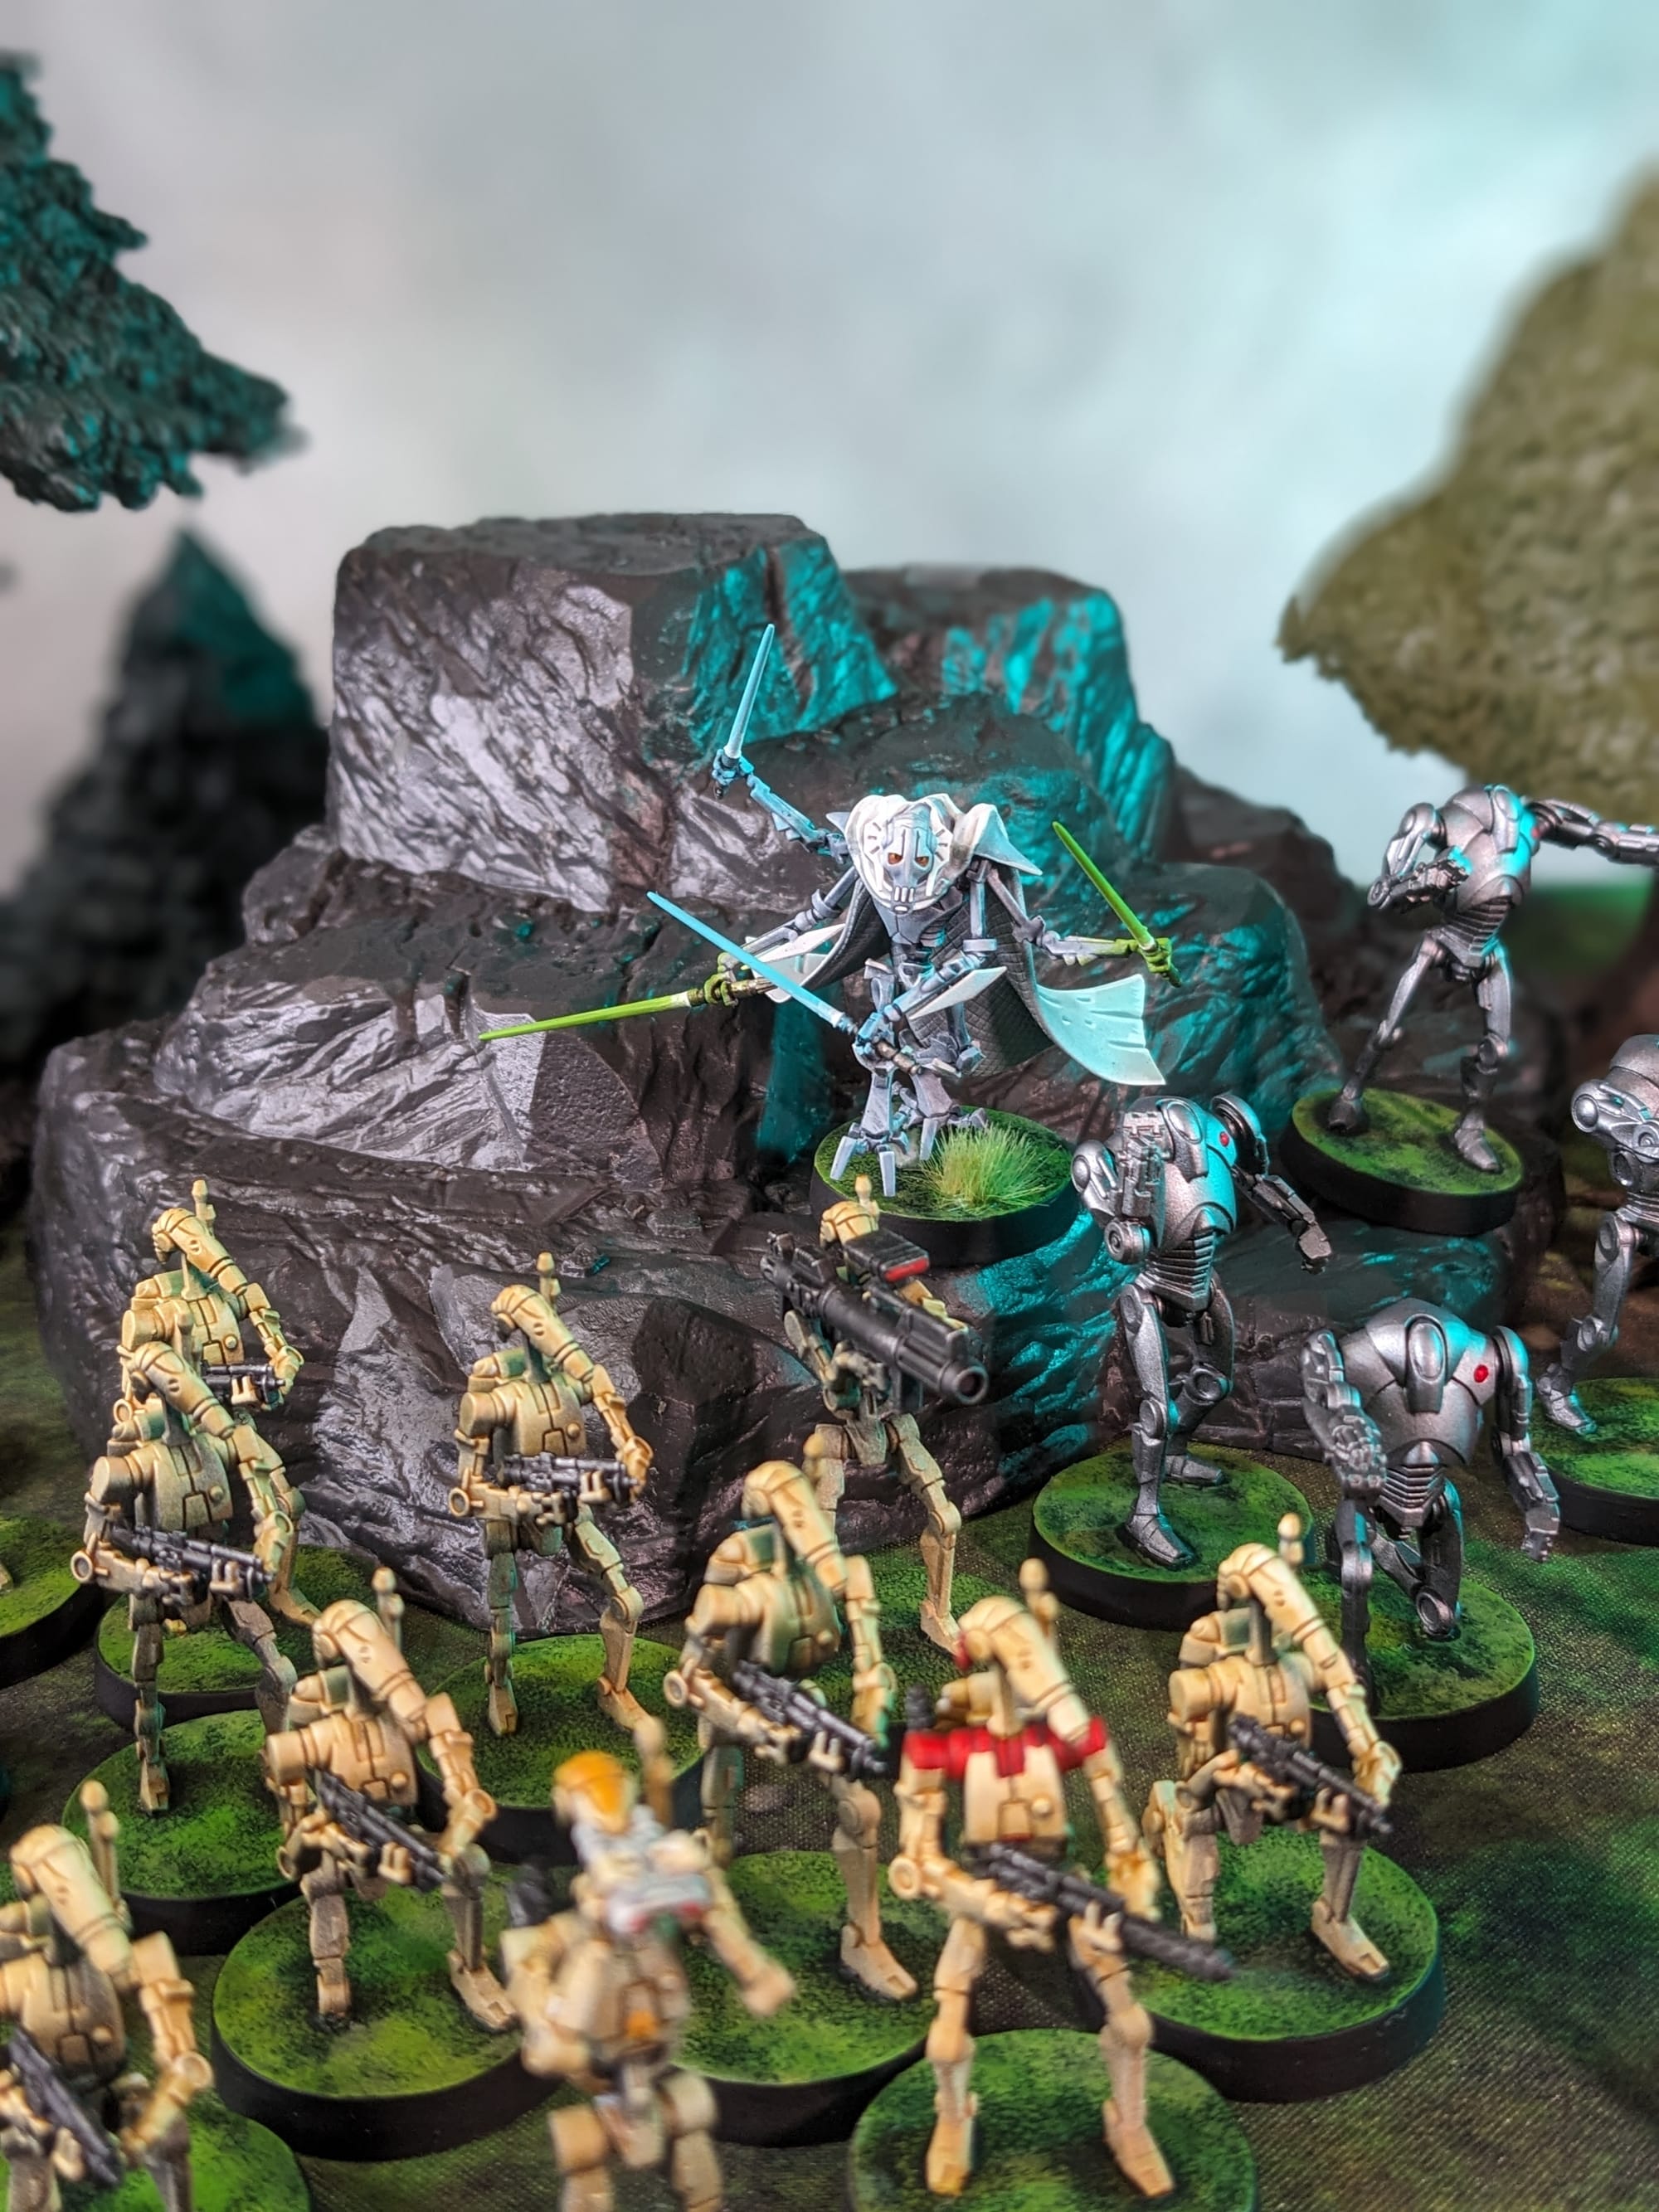
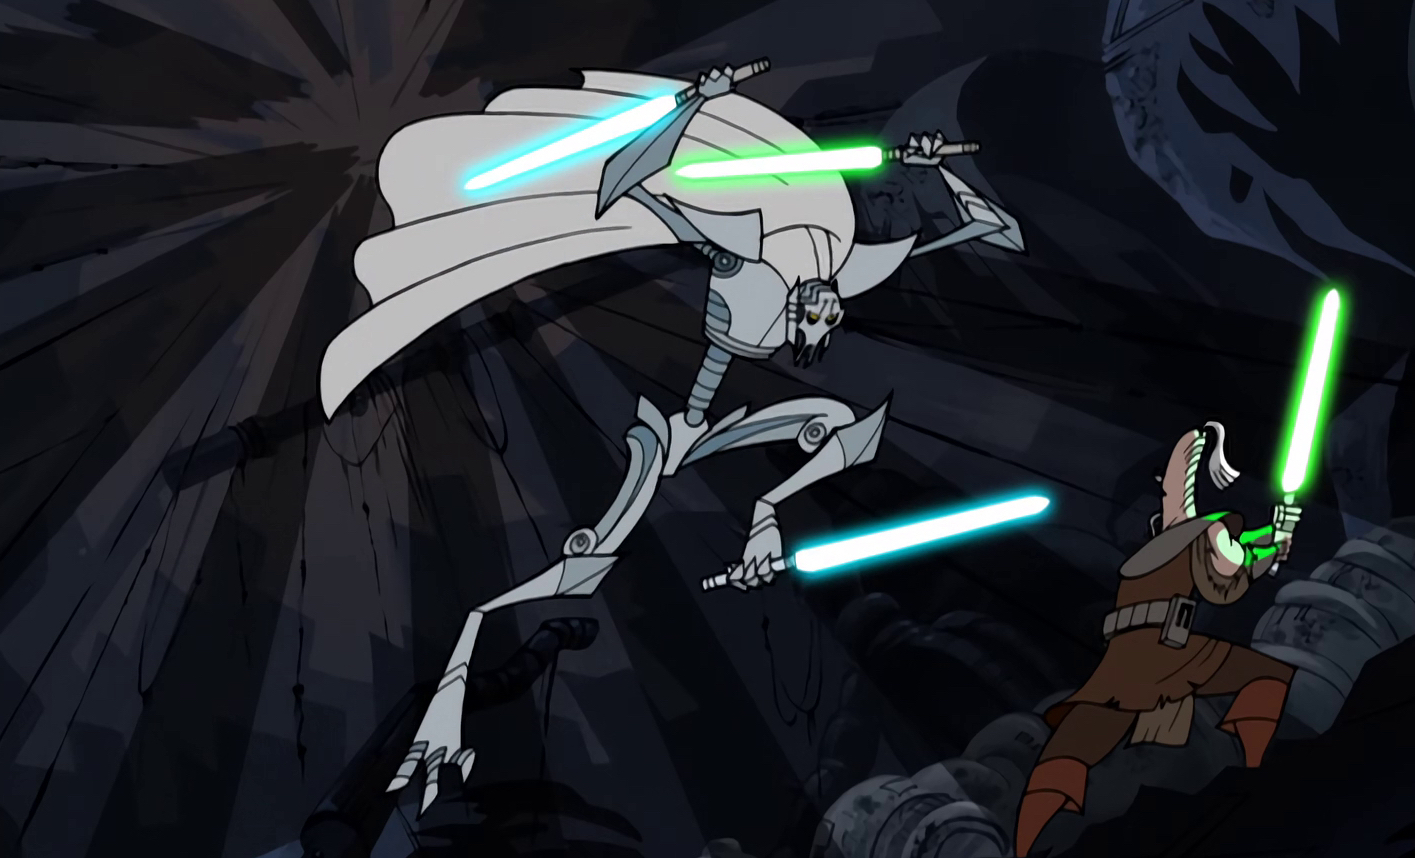
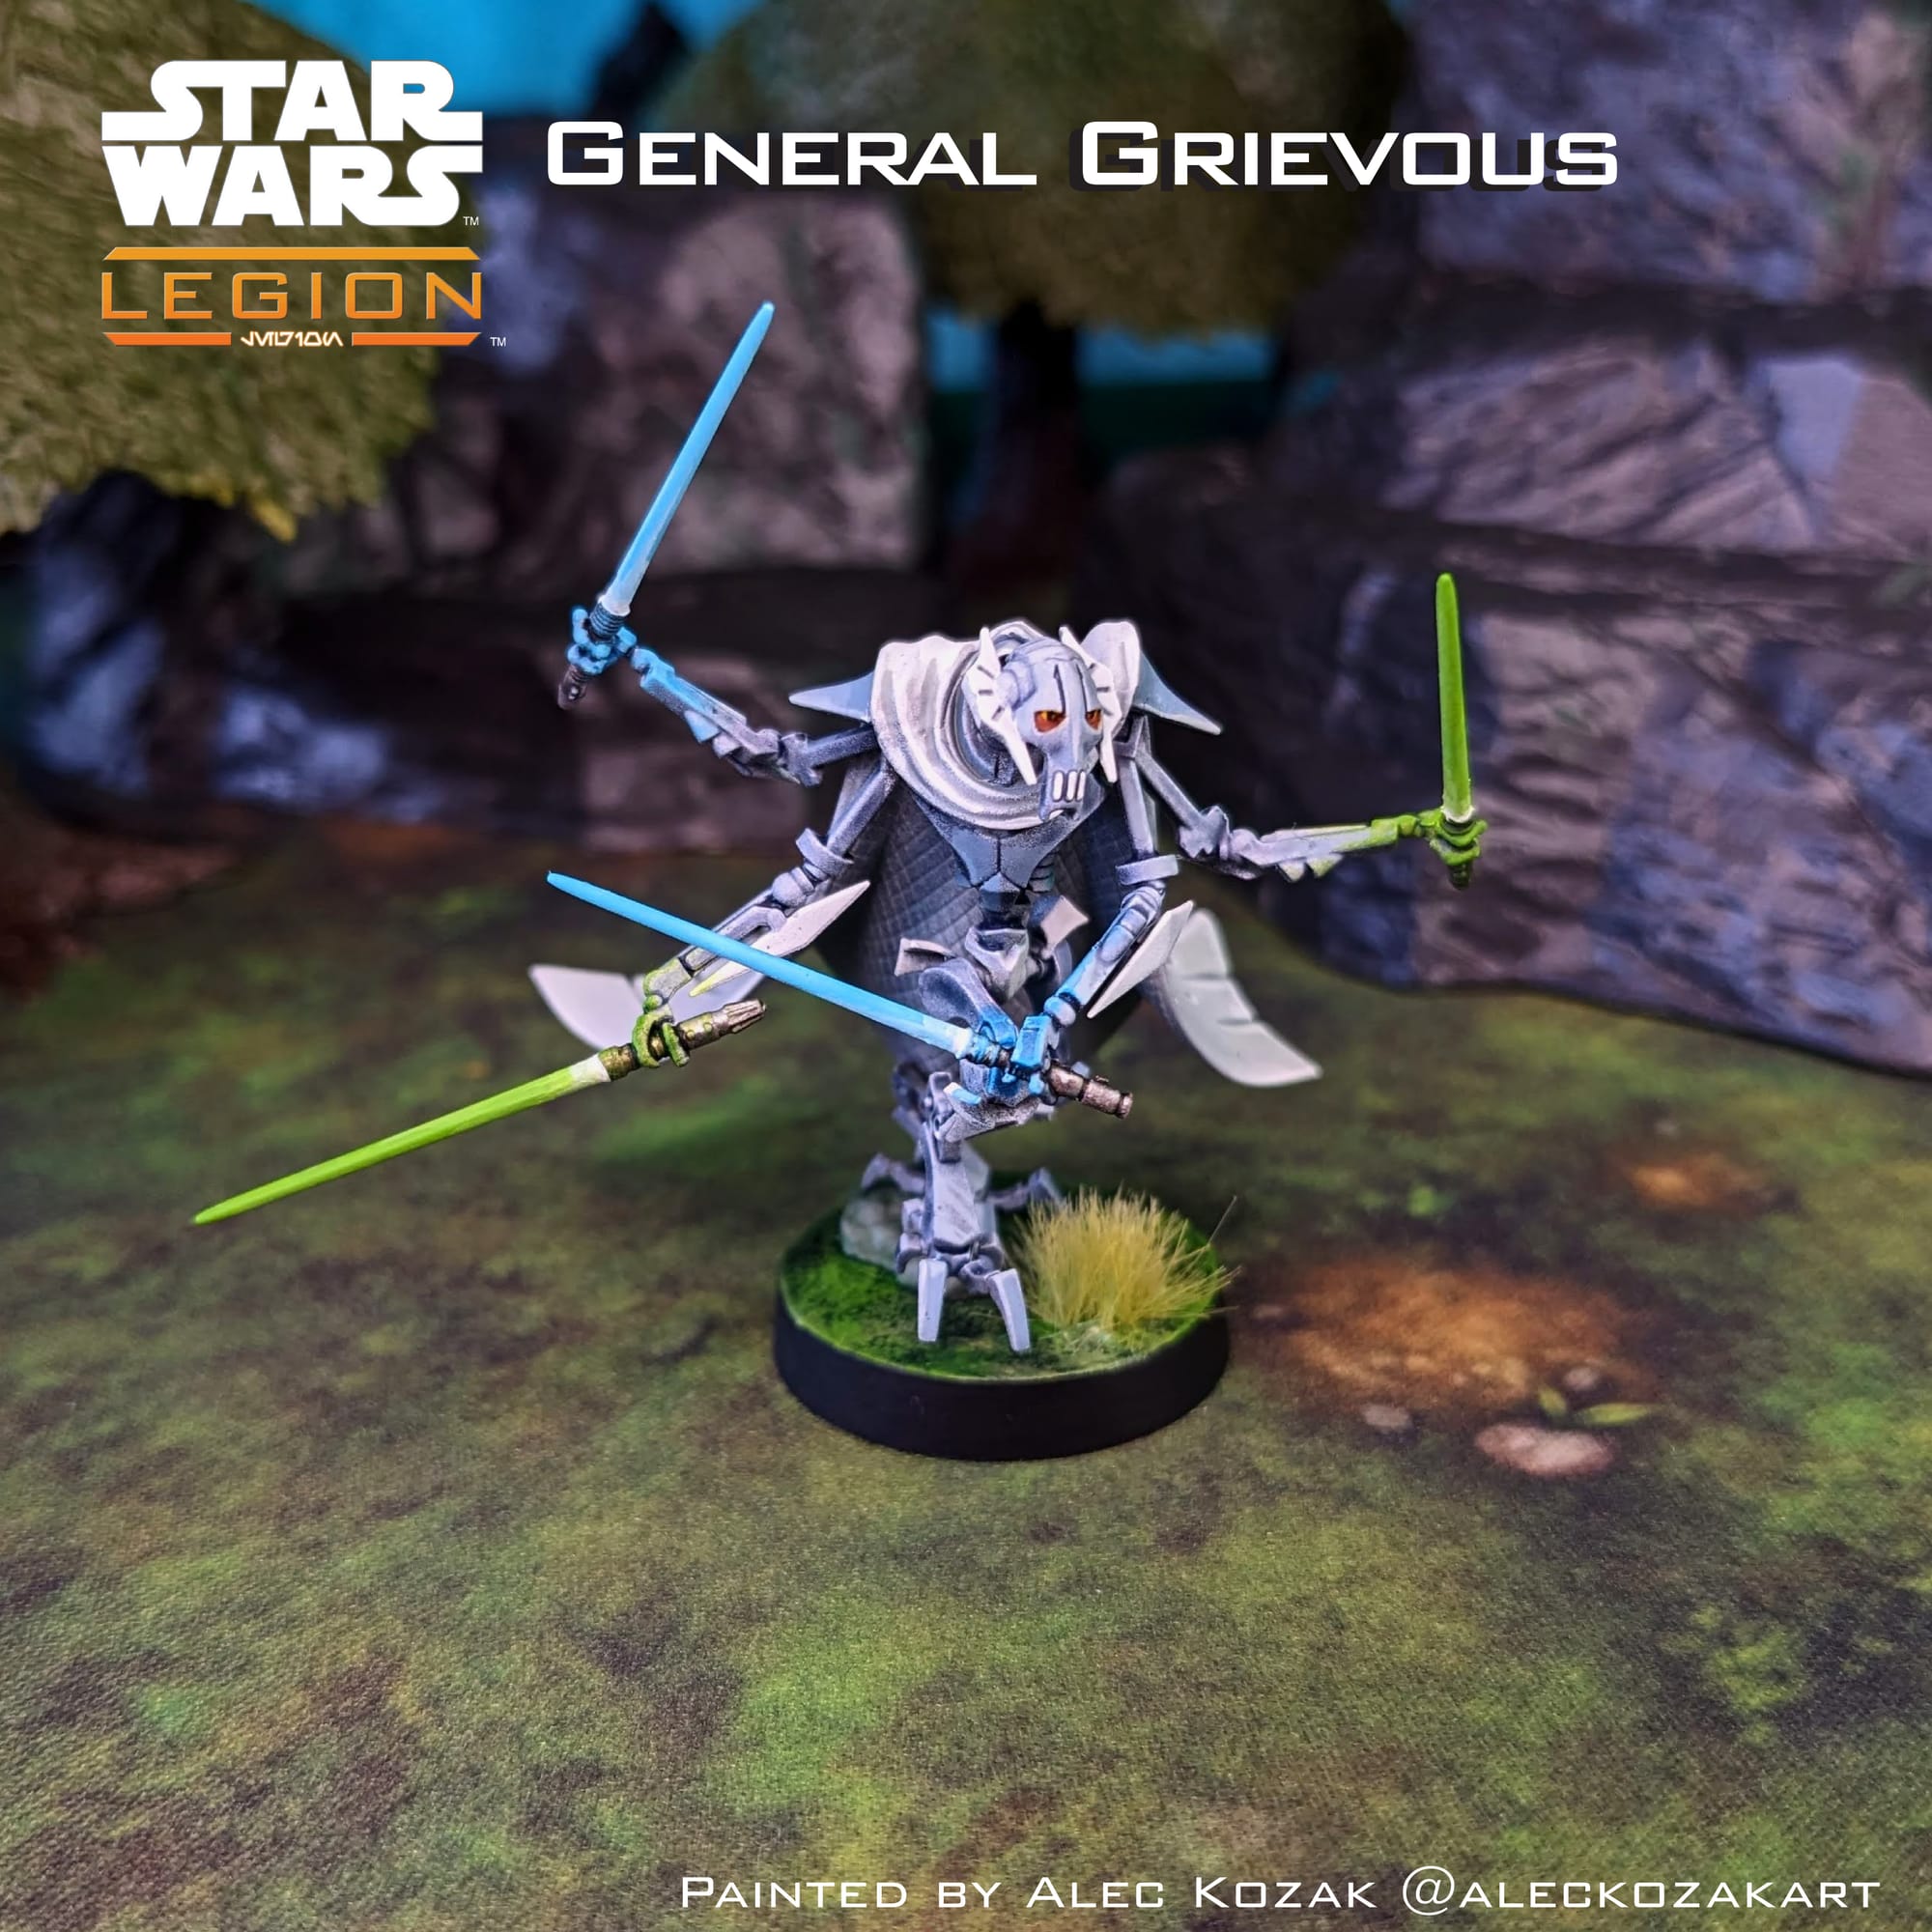
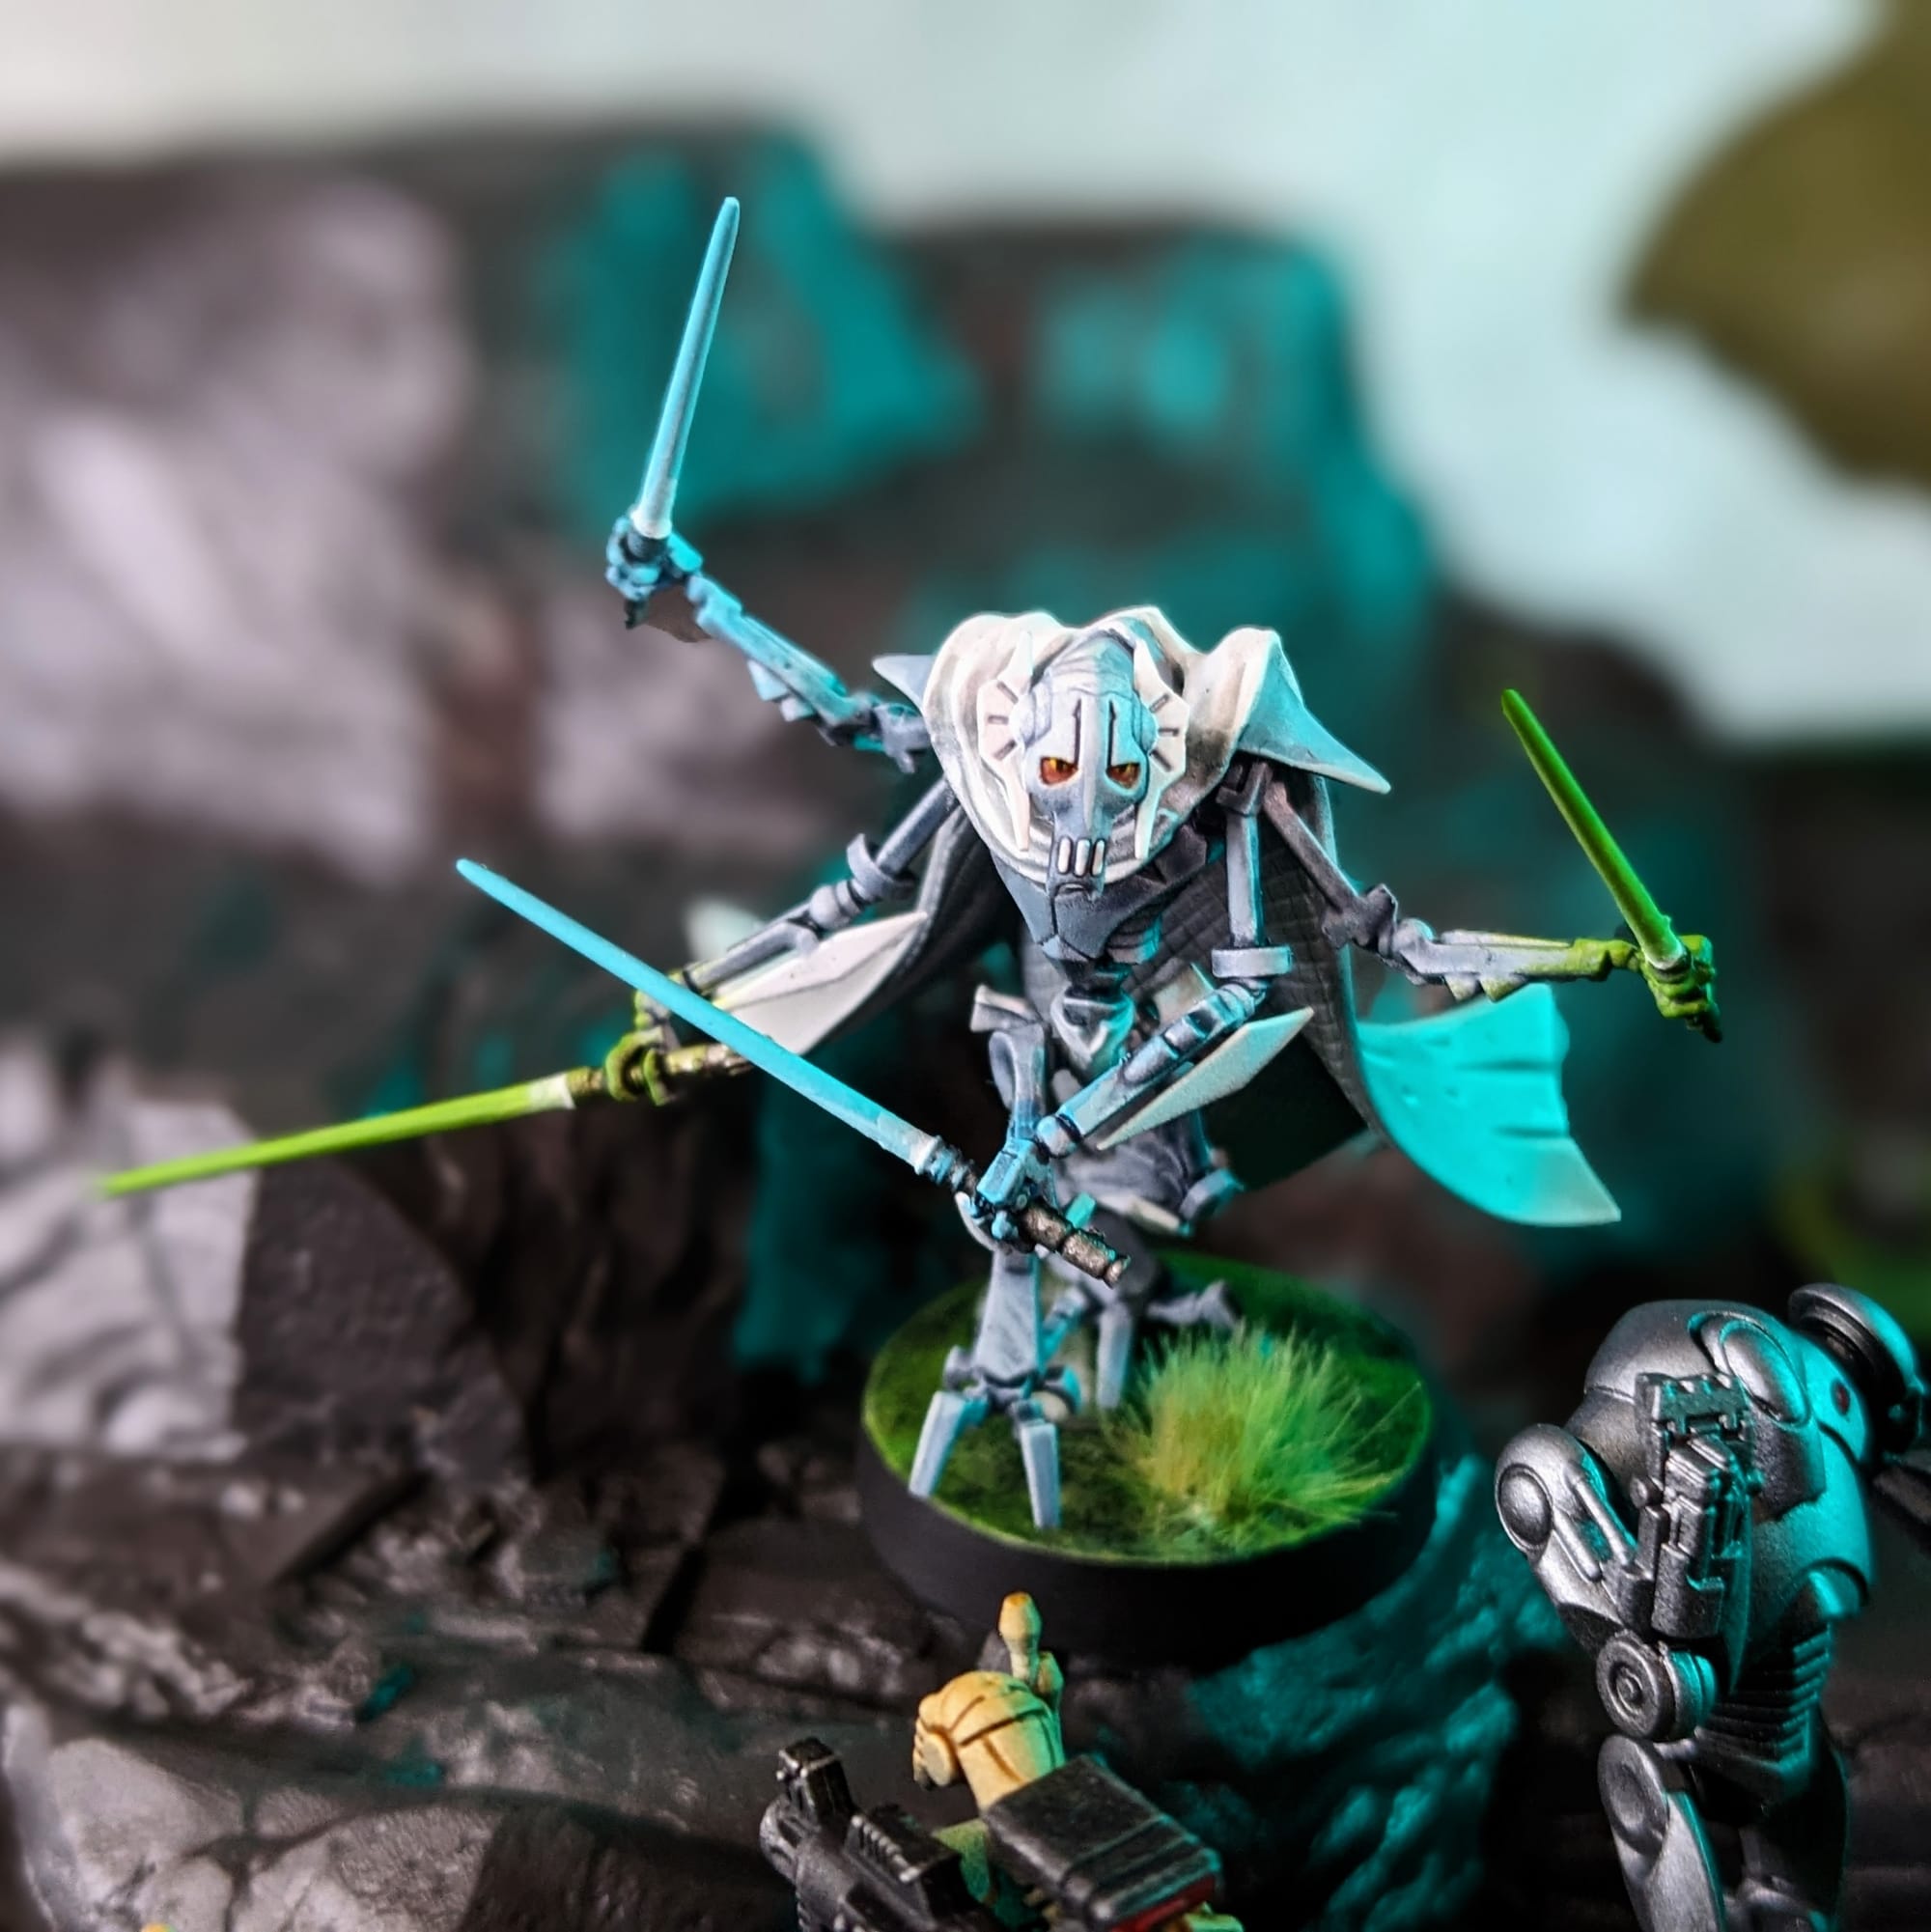
For the B2 Super Battle Droids and General Grievous, both of which I have painted previously, I wanted to keep the process simple. Even though the box art is for Grievous's film appearance, I wanted to paint him up in the style of the original Cartoon Network miniseries style, to help him pop a little more on the table.
Since the Separatist Army is a new army for me, I wanted to do a different basing scheme from my other armies to help keep them visually distinct from each other on the table. I am not ashamed to admit it, but I really enjoy Episode I, Gungans and all. I've always considered painting up a Trade Federation Army, so with that in mind, I wanted to paint everything like they appeared in that movie (except for the B2s, because they appear in Attack of the Clones). Anyway, they are going to be classic tan, classic metals, and that green Naboo grass color for the base!
Remember that done is better than perfect!
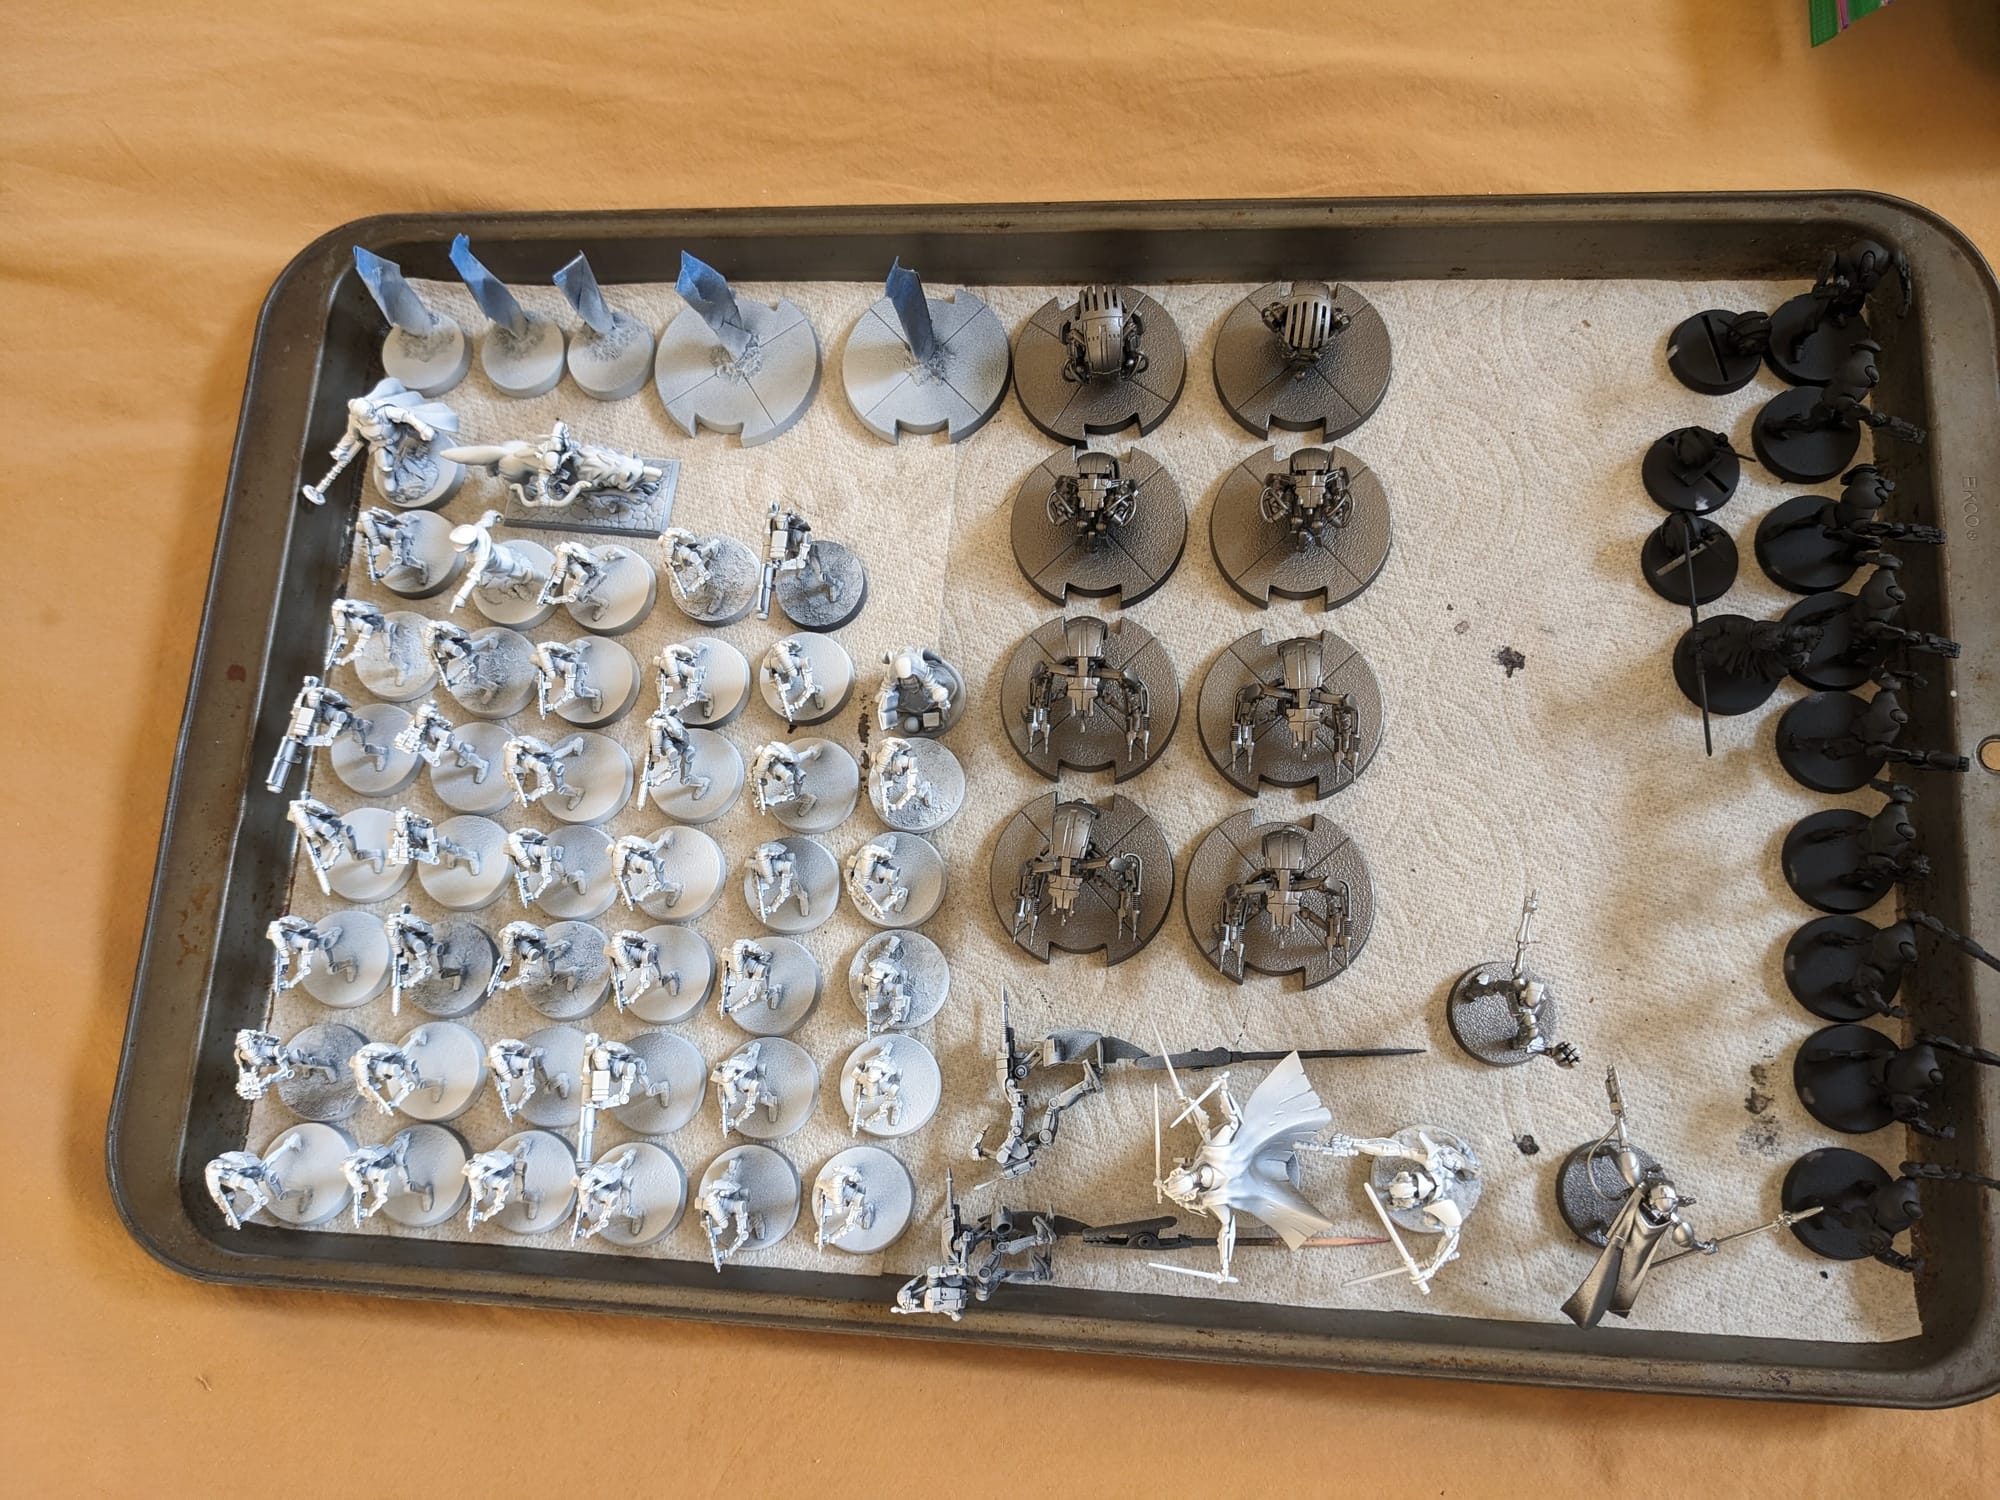
Priming
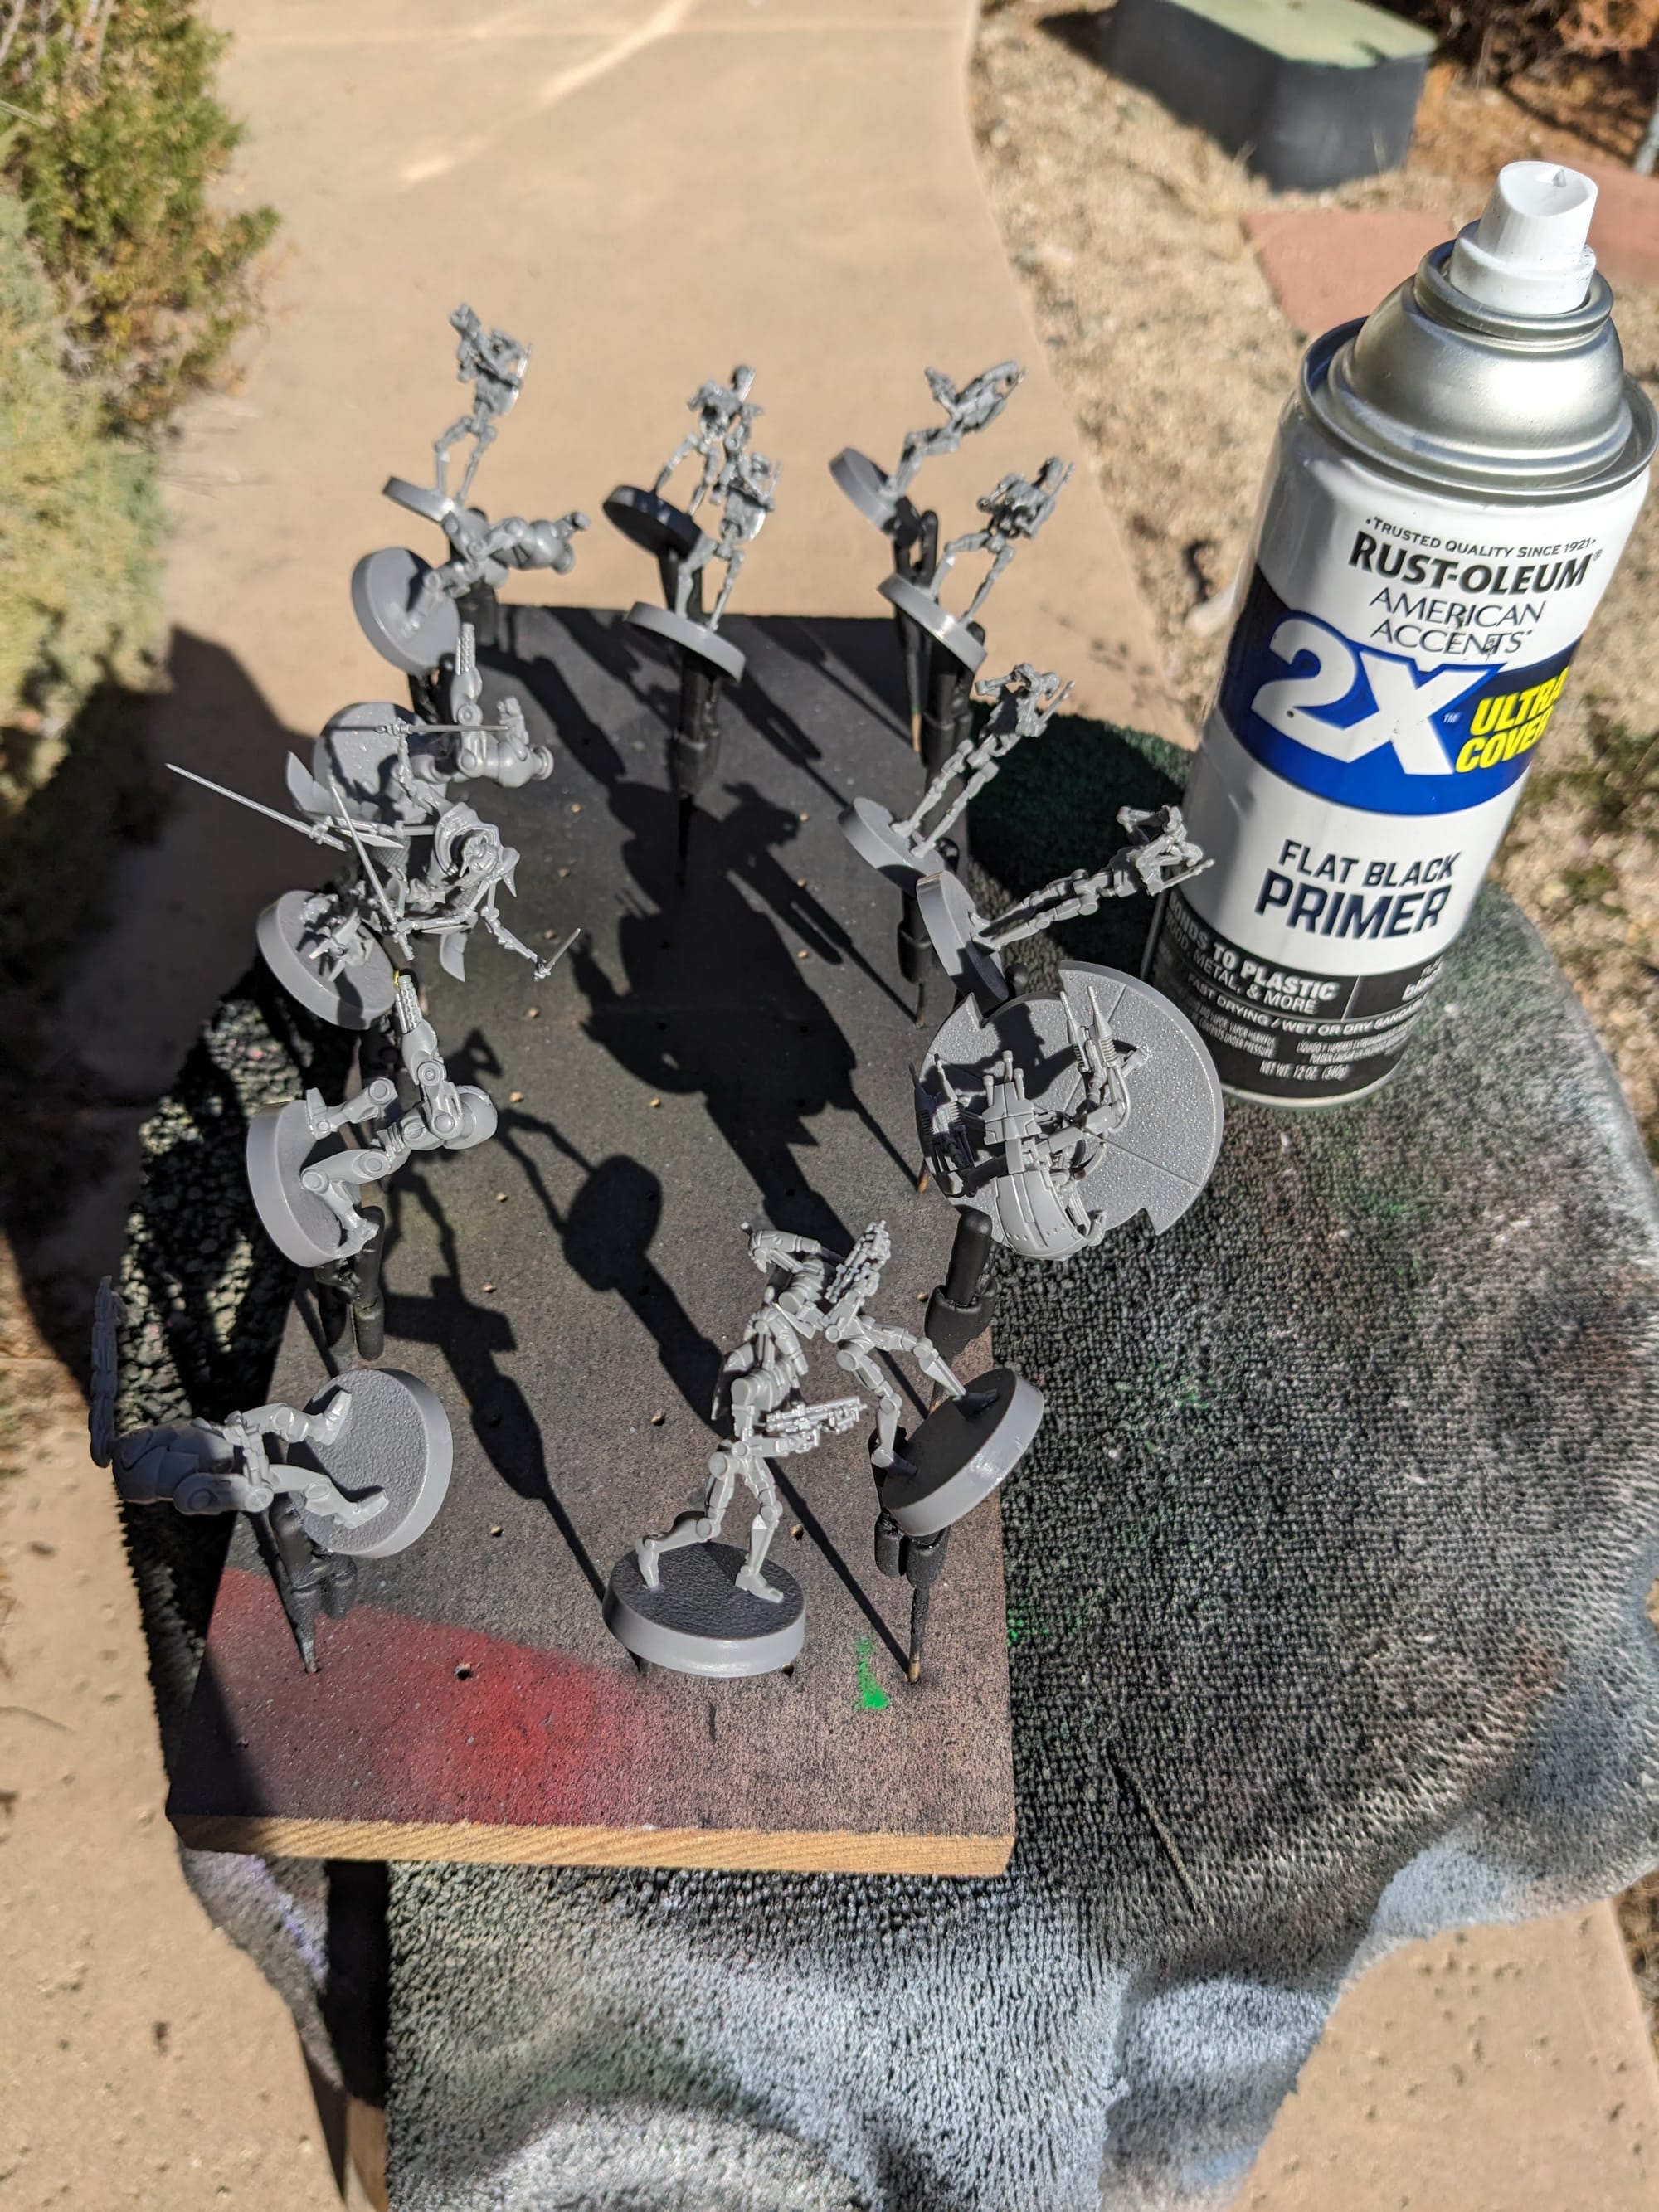
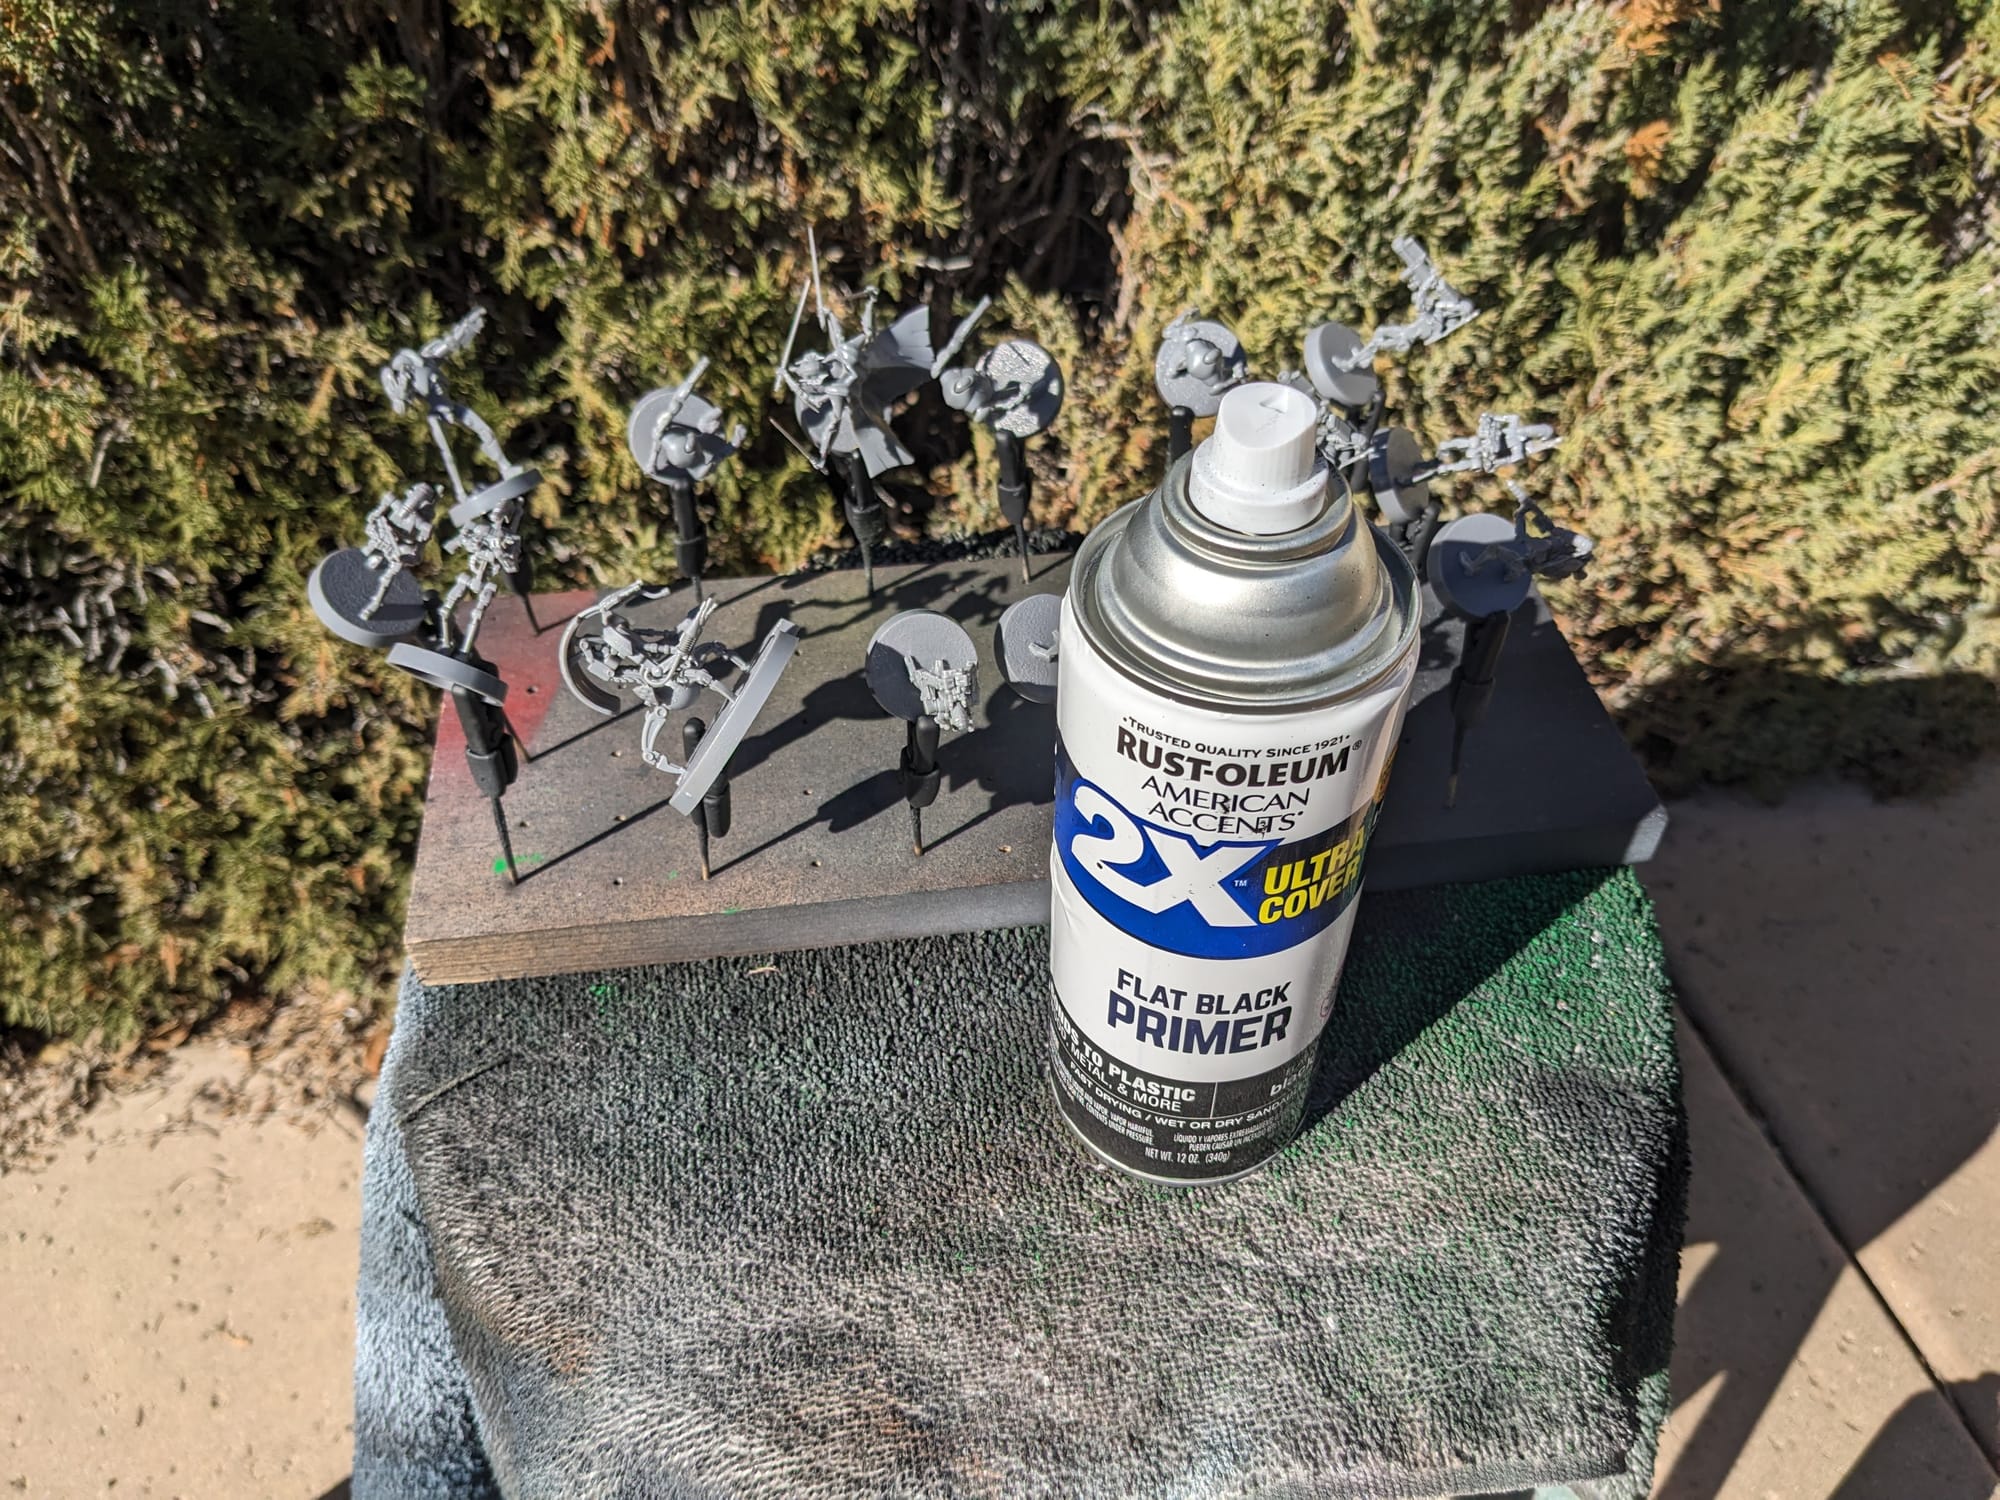
In general terms, getting the majority of a color for a model applied via a rattle can or airbrush saves a lot of time. Typically, I prime all of the figures with a zenithal prime, using a base coat of Rustoleum Flat Black and a top coat of Army Painter White Primer or one of the other color primers. However, sometimes I use just the black primer or use another color for the zenithal.
Here are the primers I used for the miniatures and terrain pieces.
- Rusteolum Flat Black Primer
- Army Painter White Primer
- Army Painter Plate Mail Metal (for the Destroyer Droids)
SLAPCHOP METHOD
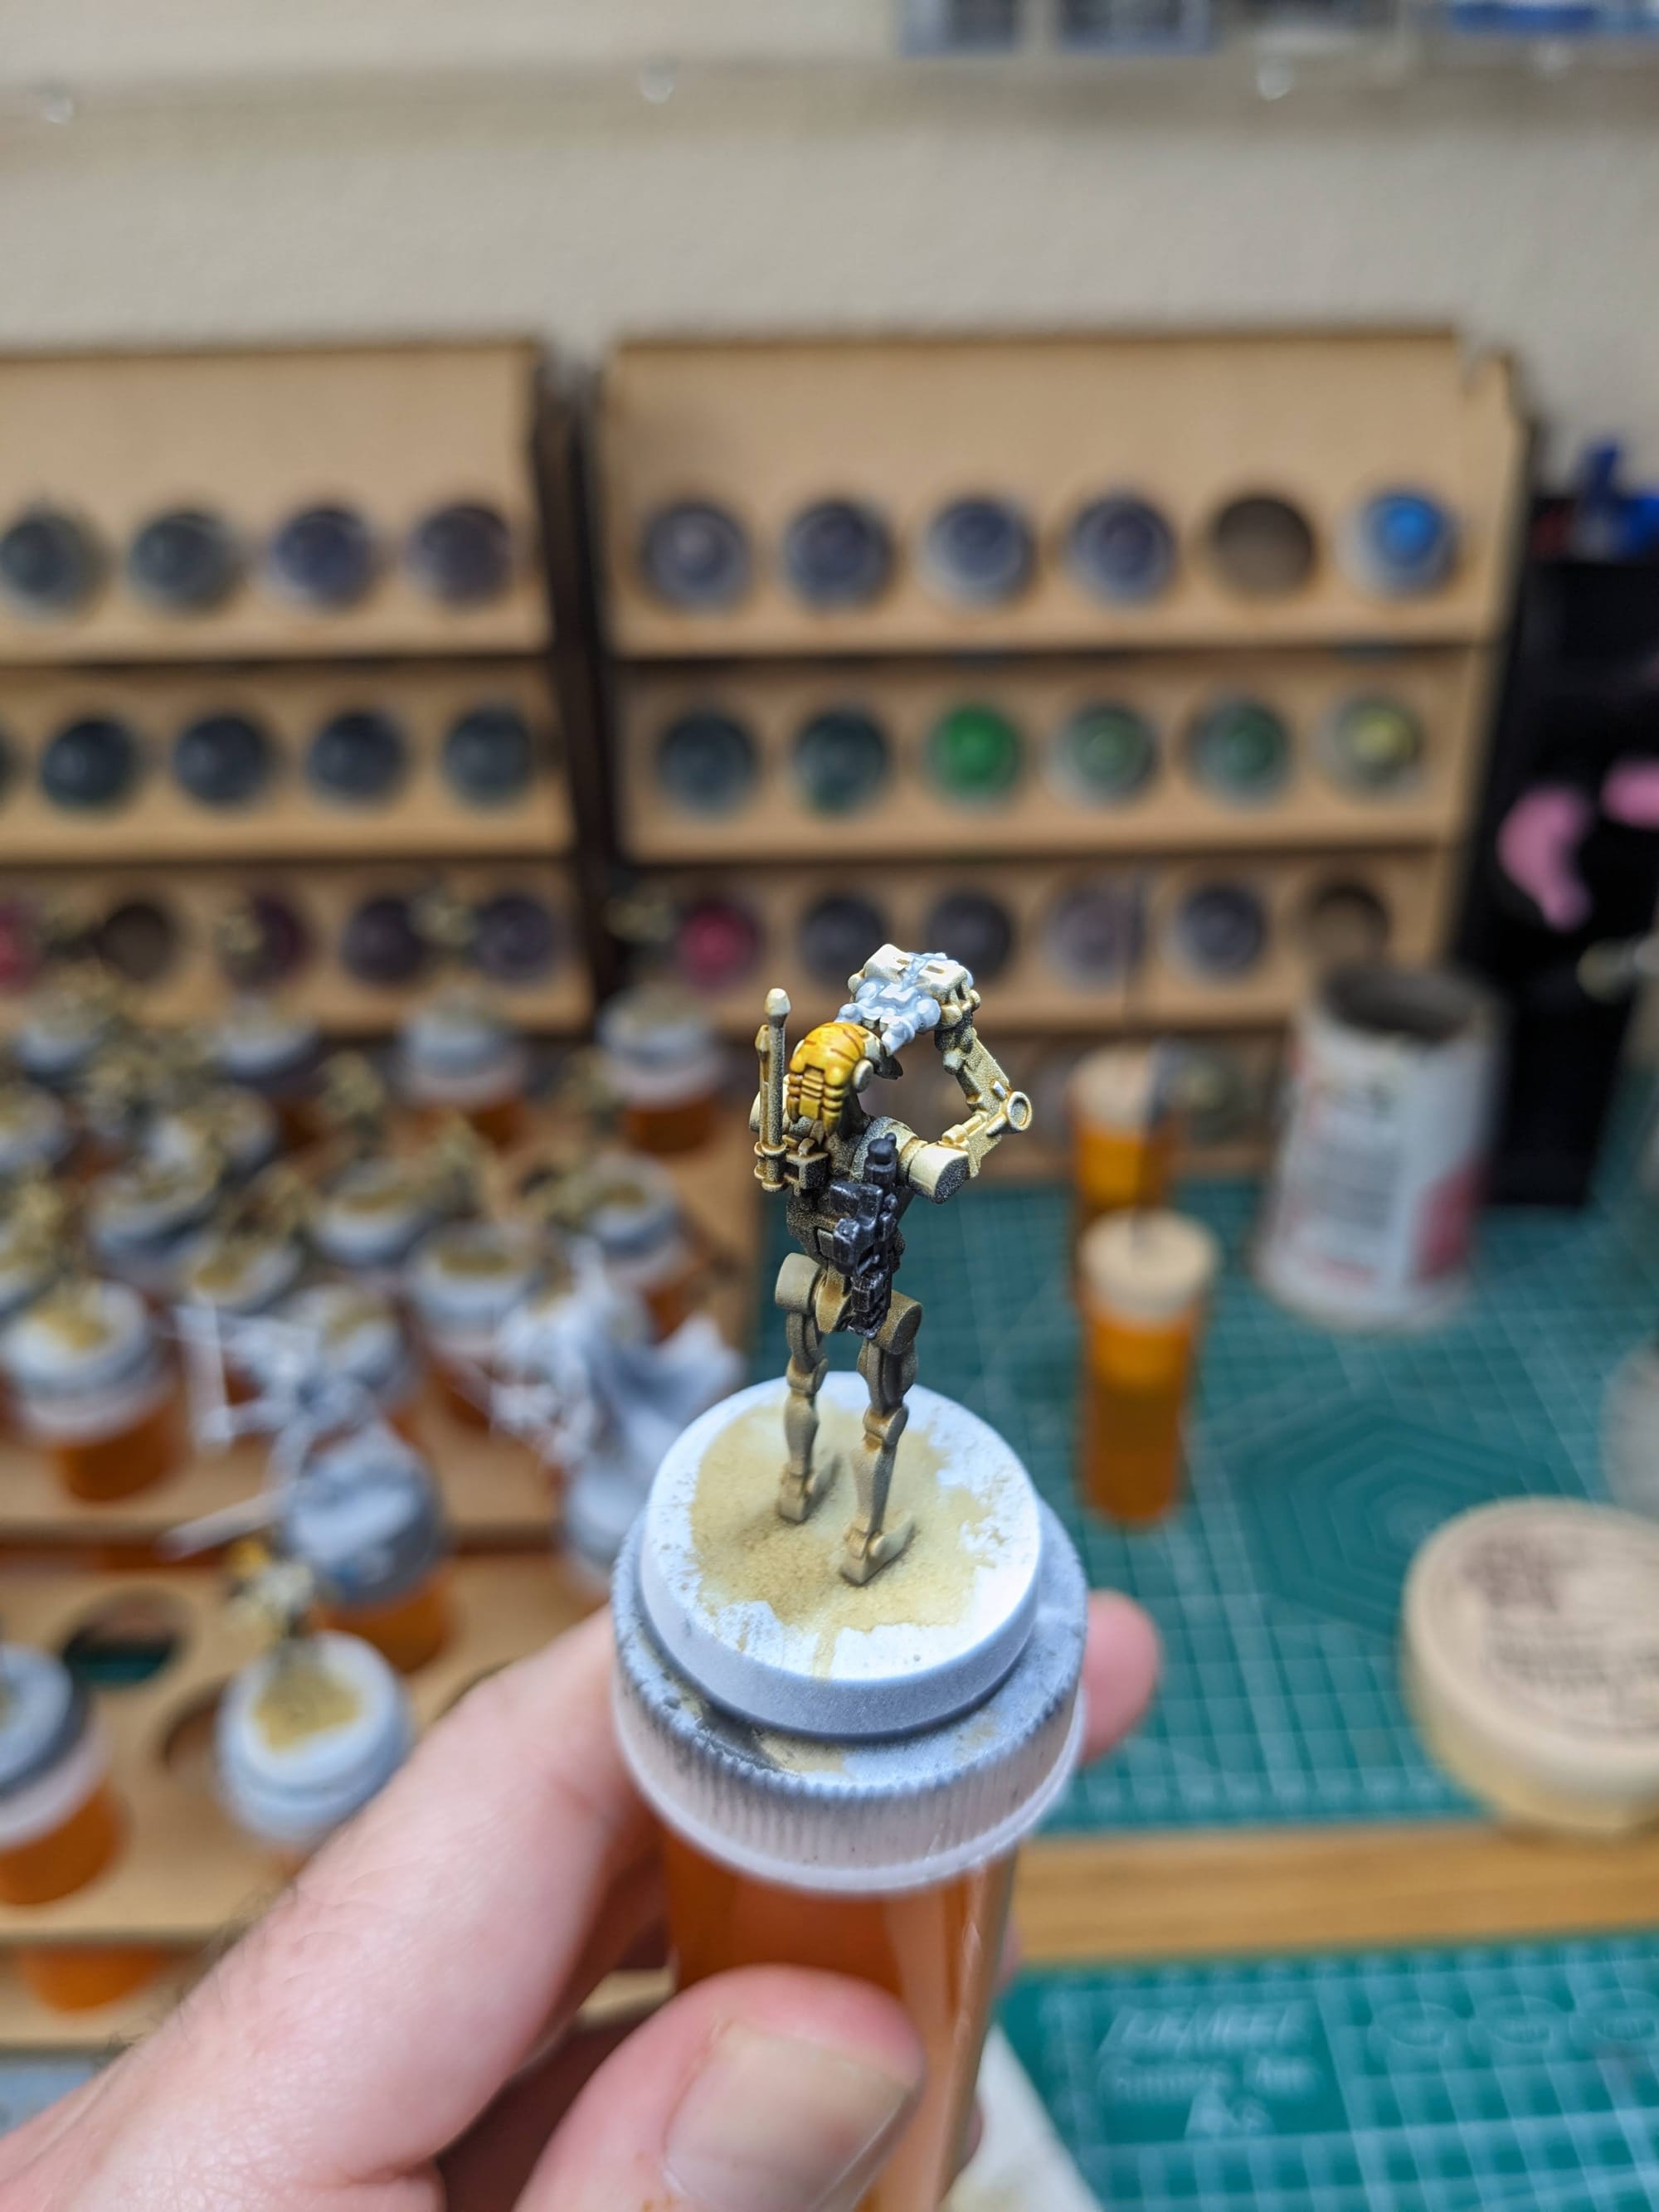
For Grievous I chose to take a variation of the “slapchop” approach to paint him. Slapchop is a painting method where you accent the details of the models by dry brushing shades of gray and white. Then, using speed paints, contrast paints, and/or washes, you paint a single coat over the top of the model, creating shadows, mid-tones, and highlights in a single pass. This would be akin to using Multiply or Screen layers in Photoshop to establish color values on a gray underlayer. This is a very fast and efficient way to paint a lot of models that you don’t want to put a lot of detail into, and instead rely on the mold of the model to provide enough detail and contrast to make it stand out on the table.
Step-by-Step Painting
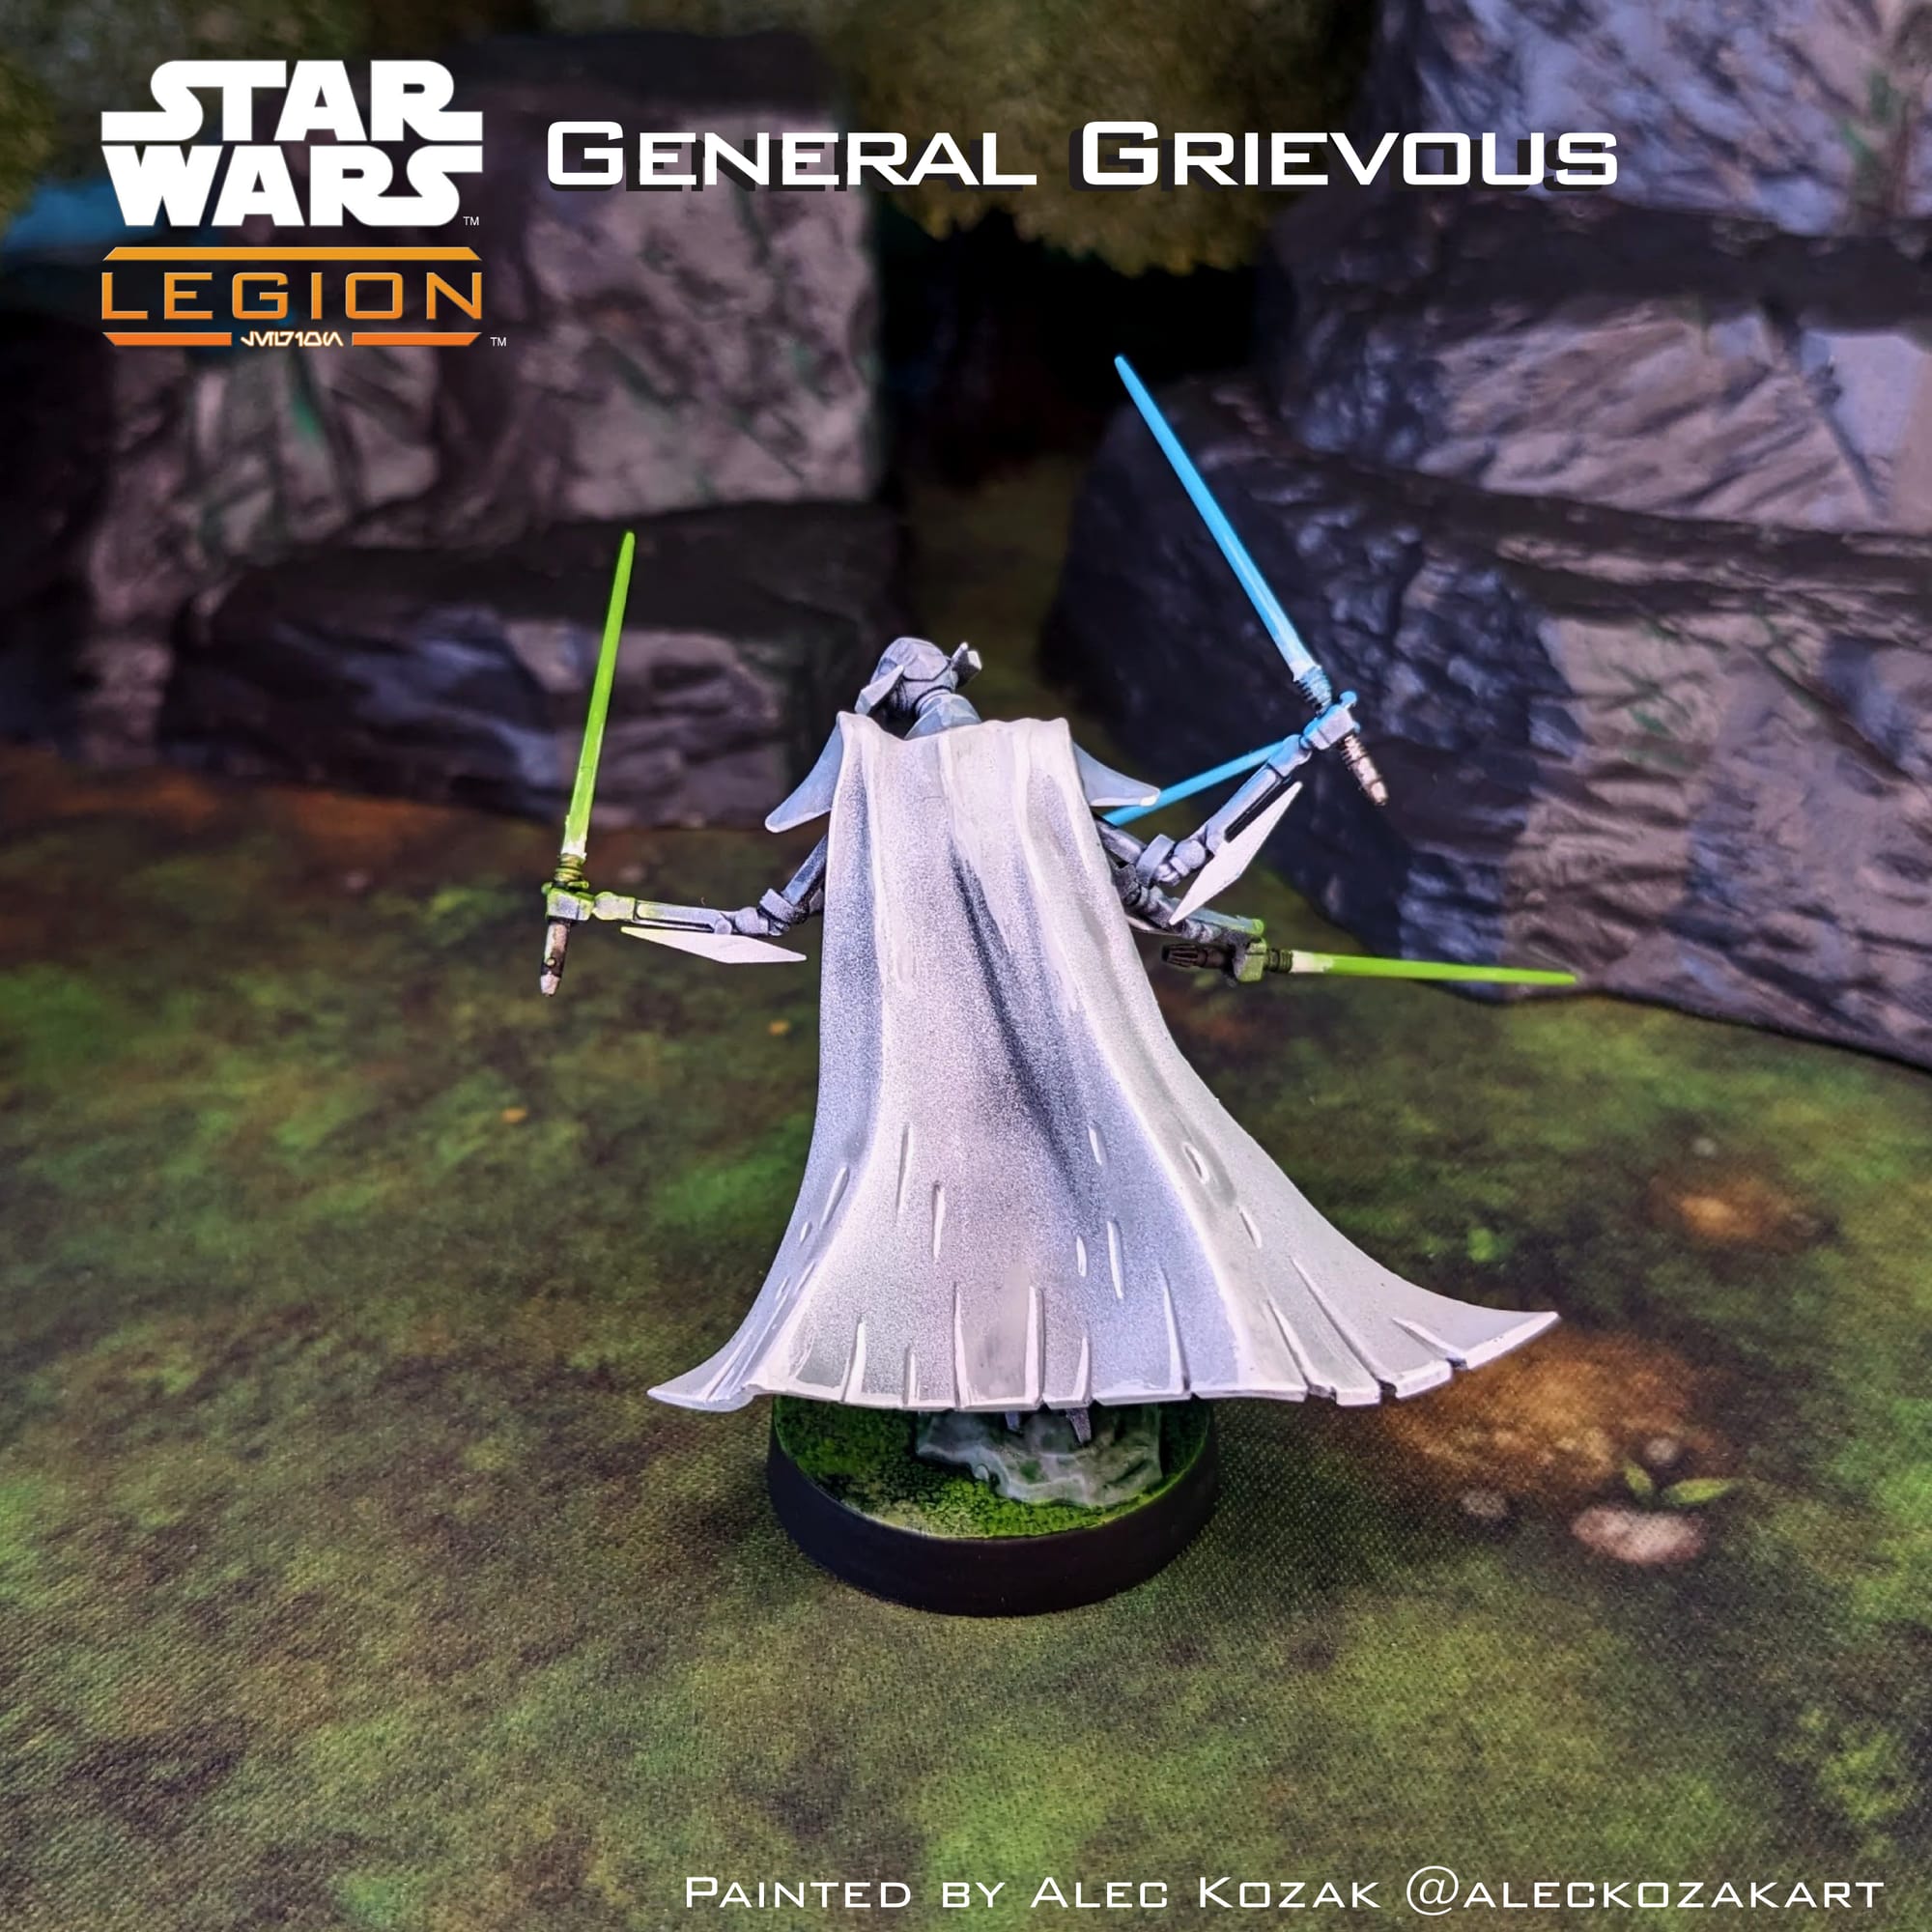
General Grievous
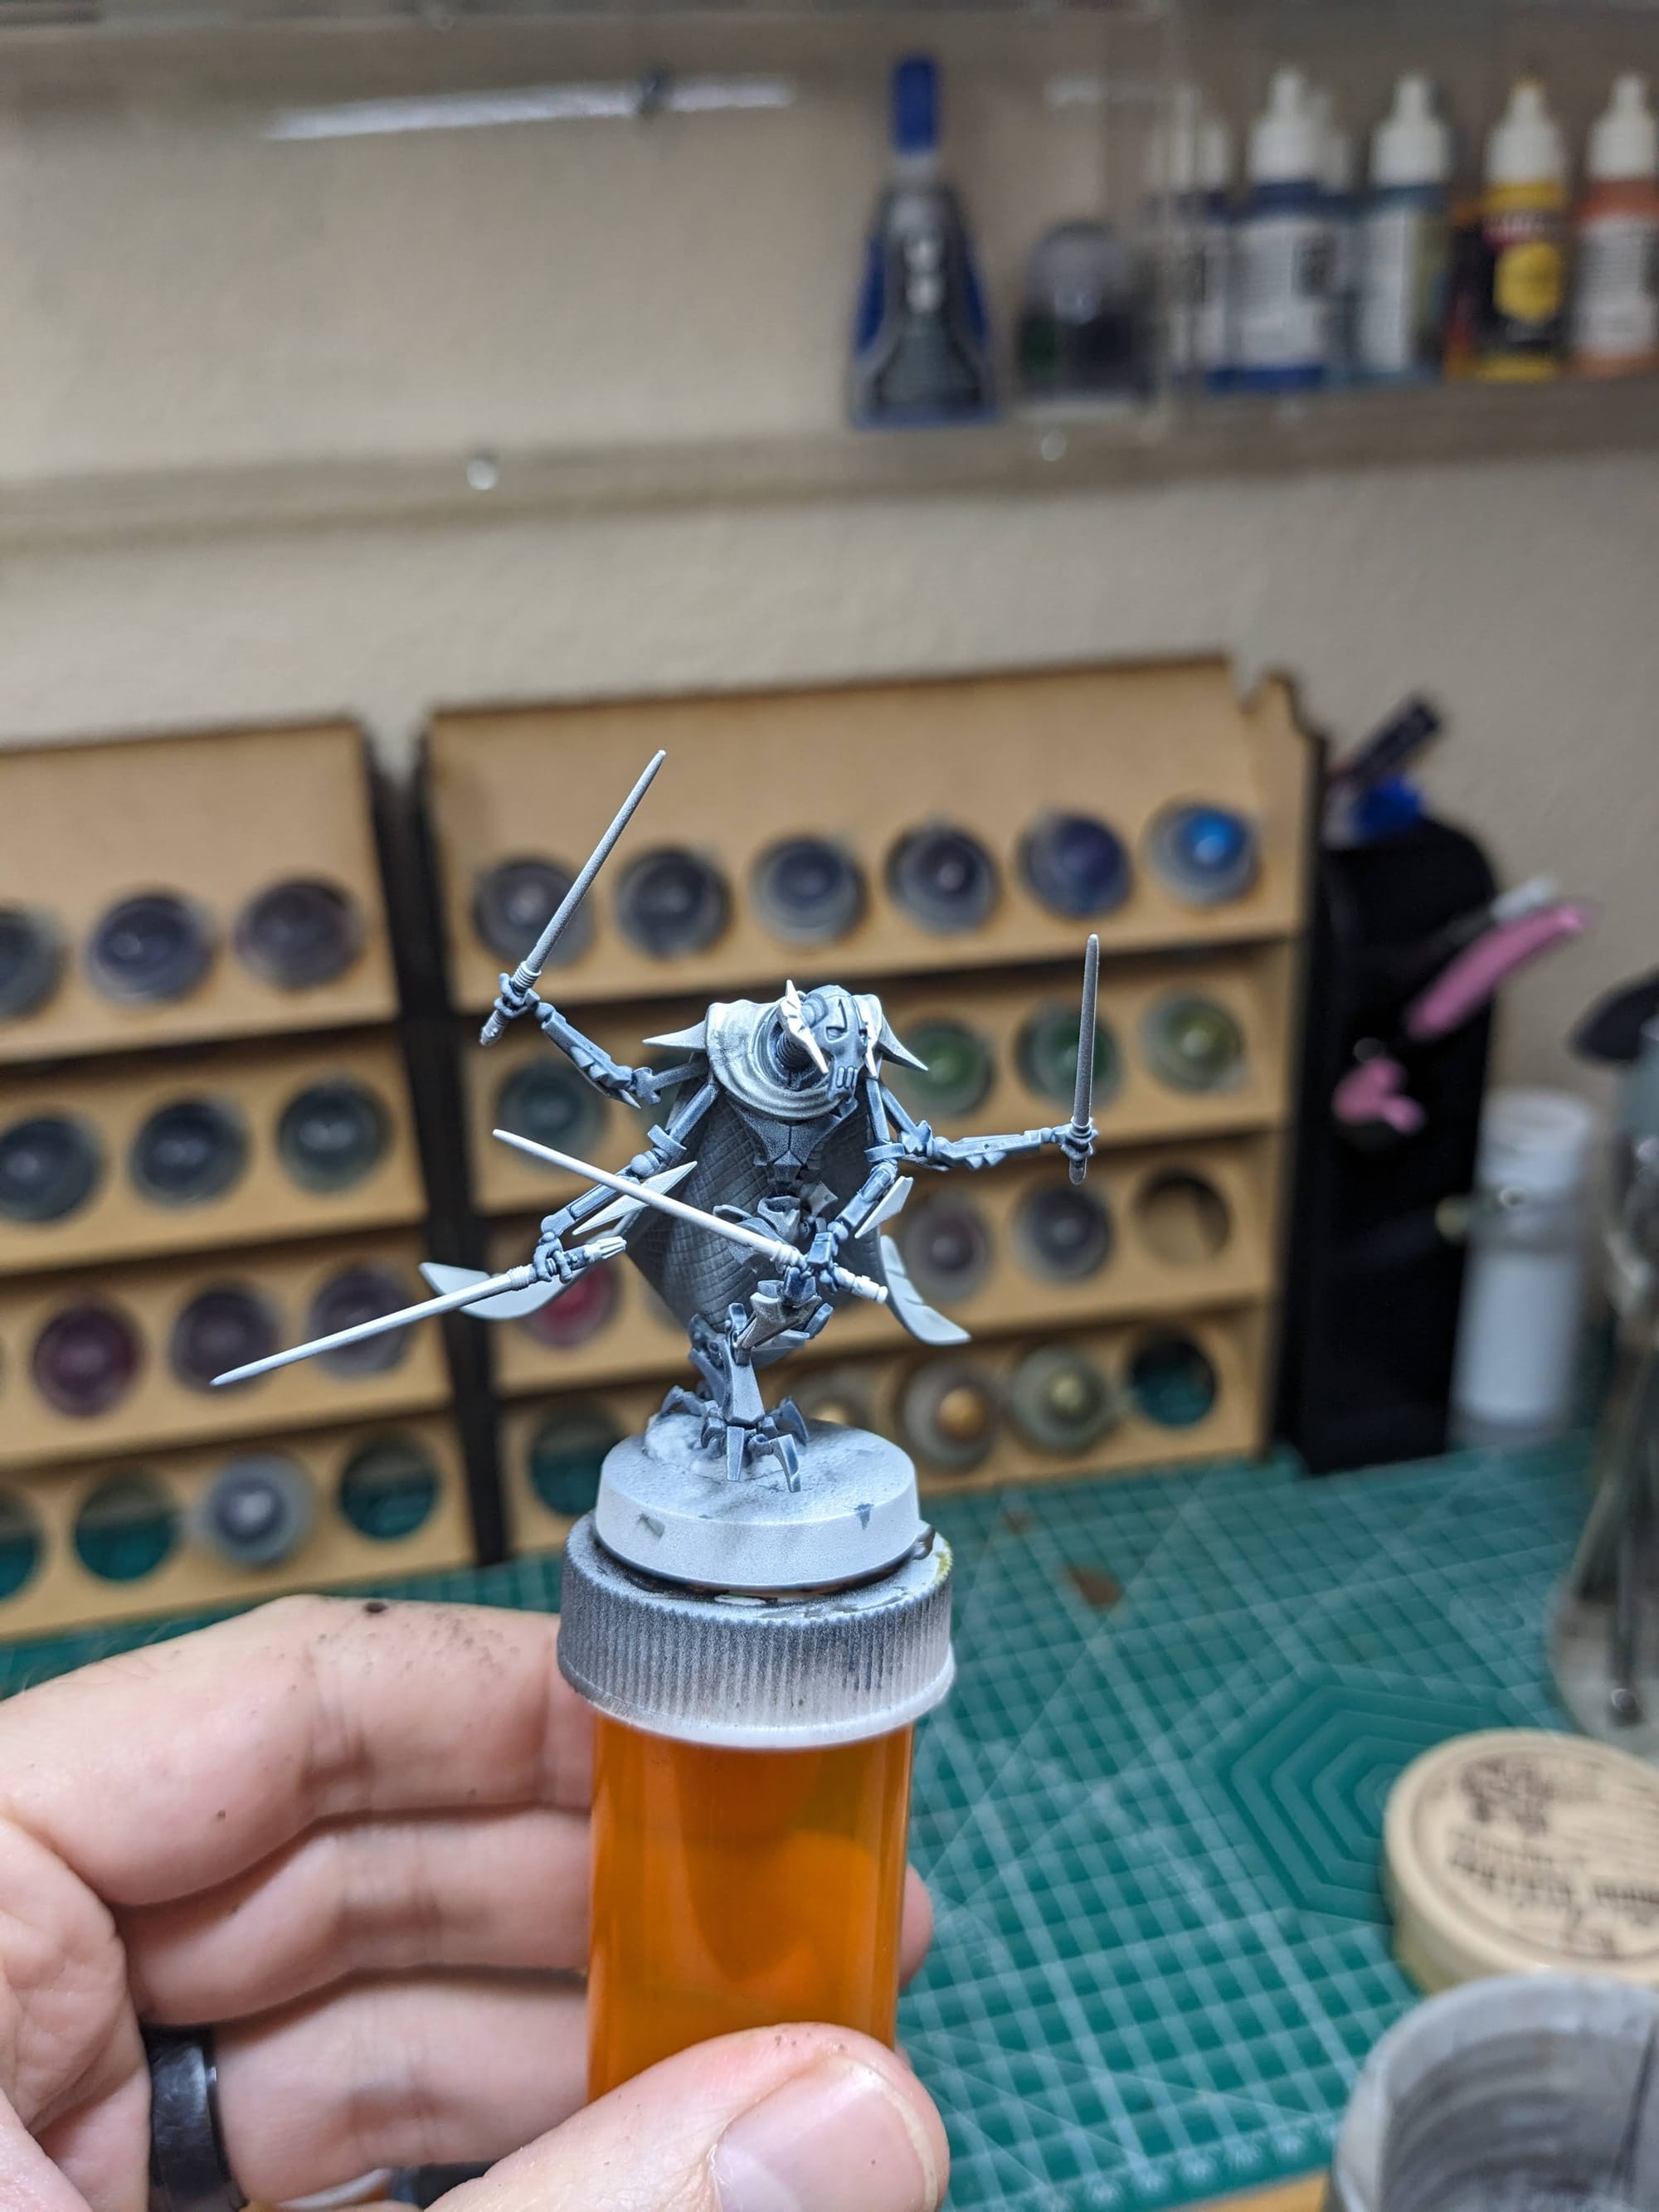

Since I opted to go with the color scheme of General Grievous's first appearance in the 2003 Cartoon Network Clone Wars Mini Series, painting him was pretty straight forward. I used contrast paints for both his cape and his body, and then highlighted up to help accent the angles and ridges more. Since he's the leader, I wanted to spend more time on him because, hopefully, he'll spend more time on the table!
Once the main body work was done, I painted up the eyes (using a 00000 size brush), and then painted the lightsabers using OSL. Check out our previous guide on painting blue and green lightsabers from the Star Wars: Shatterpoint Wisdom of the Council Pack

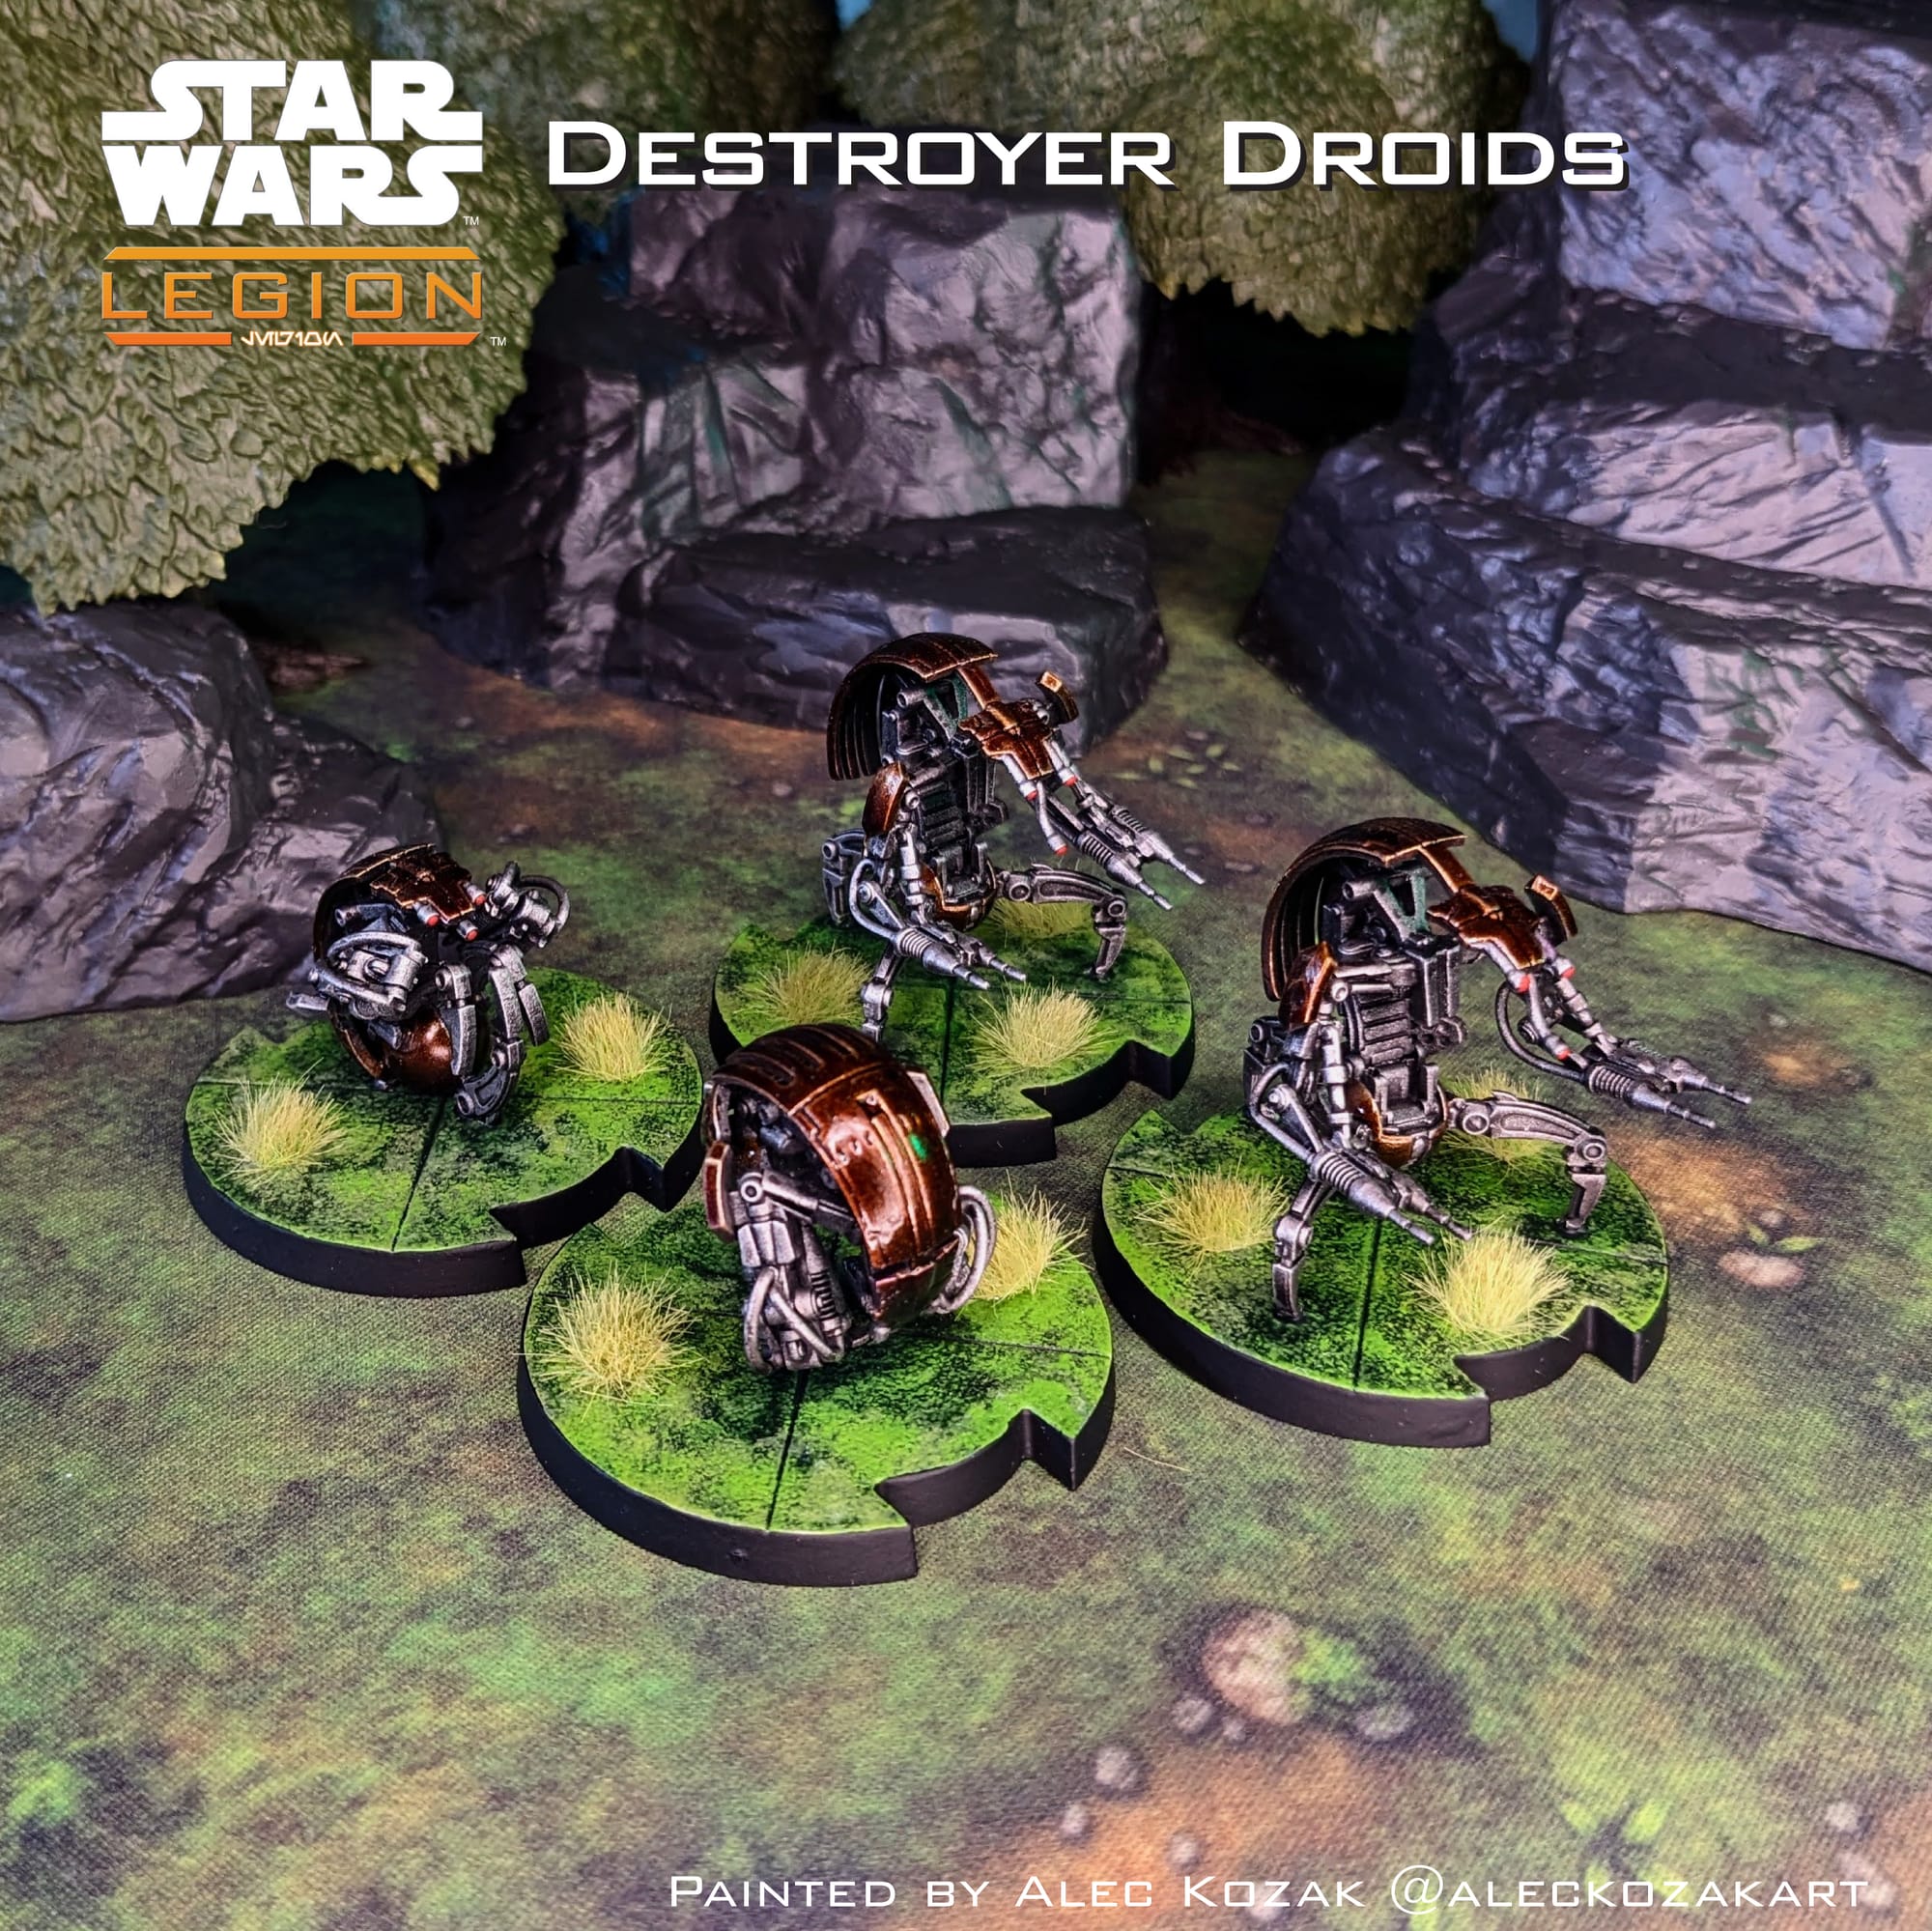
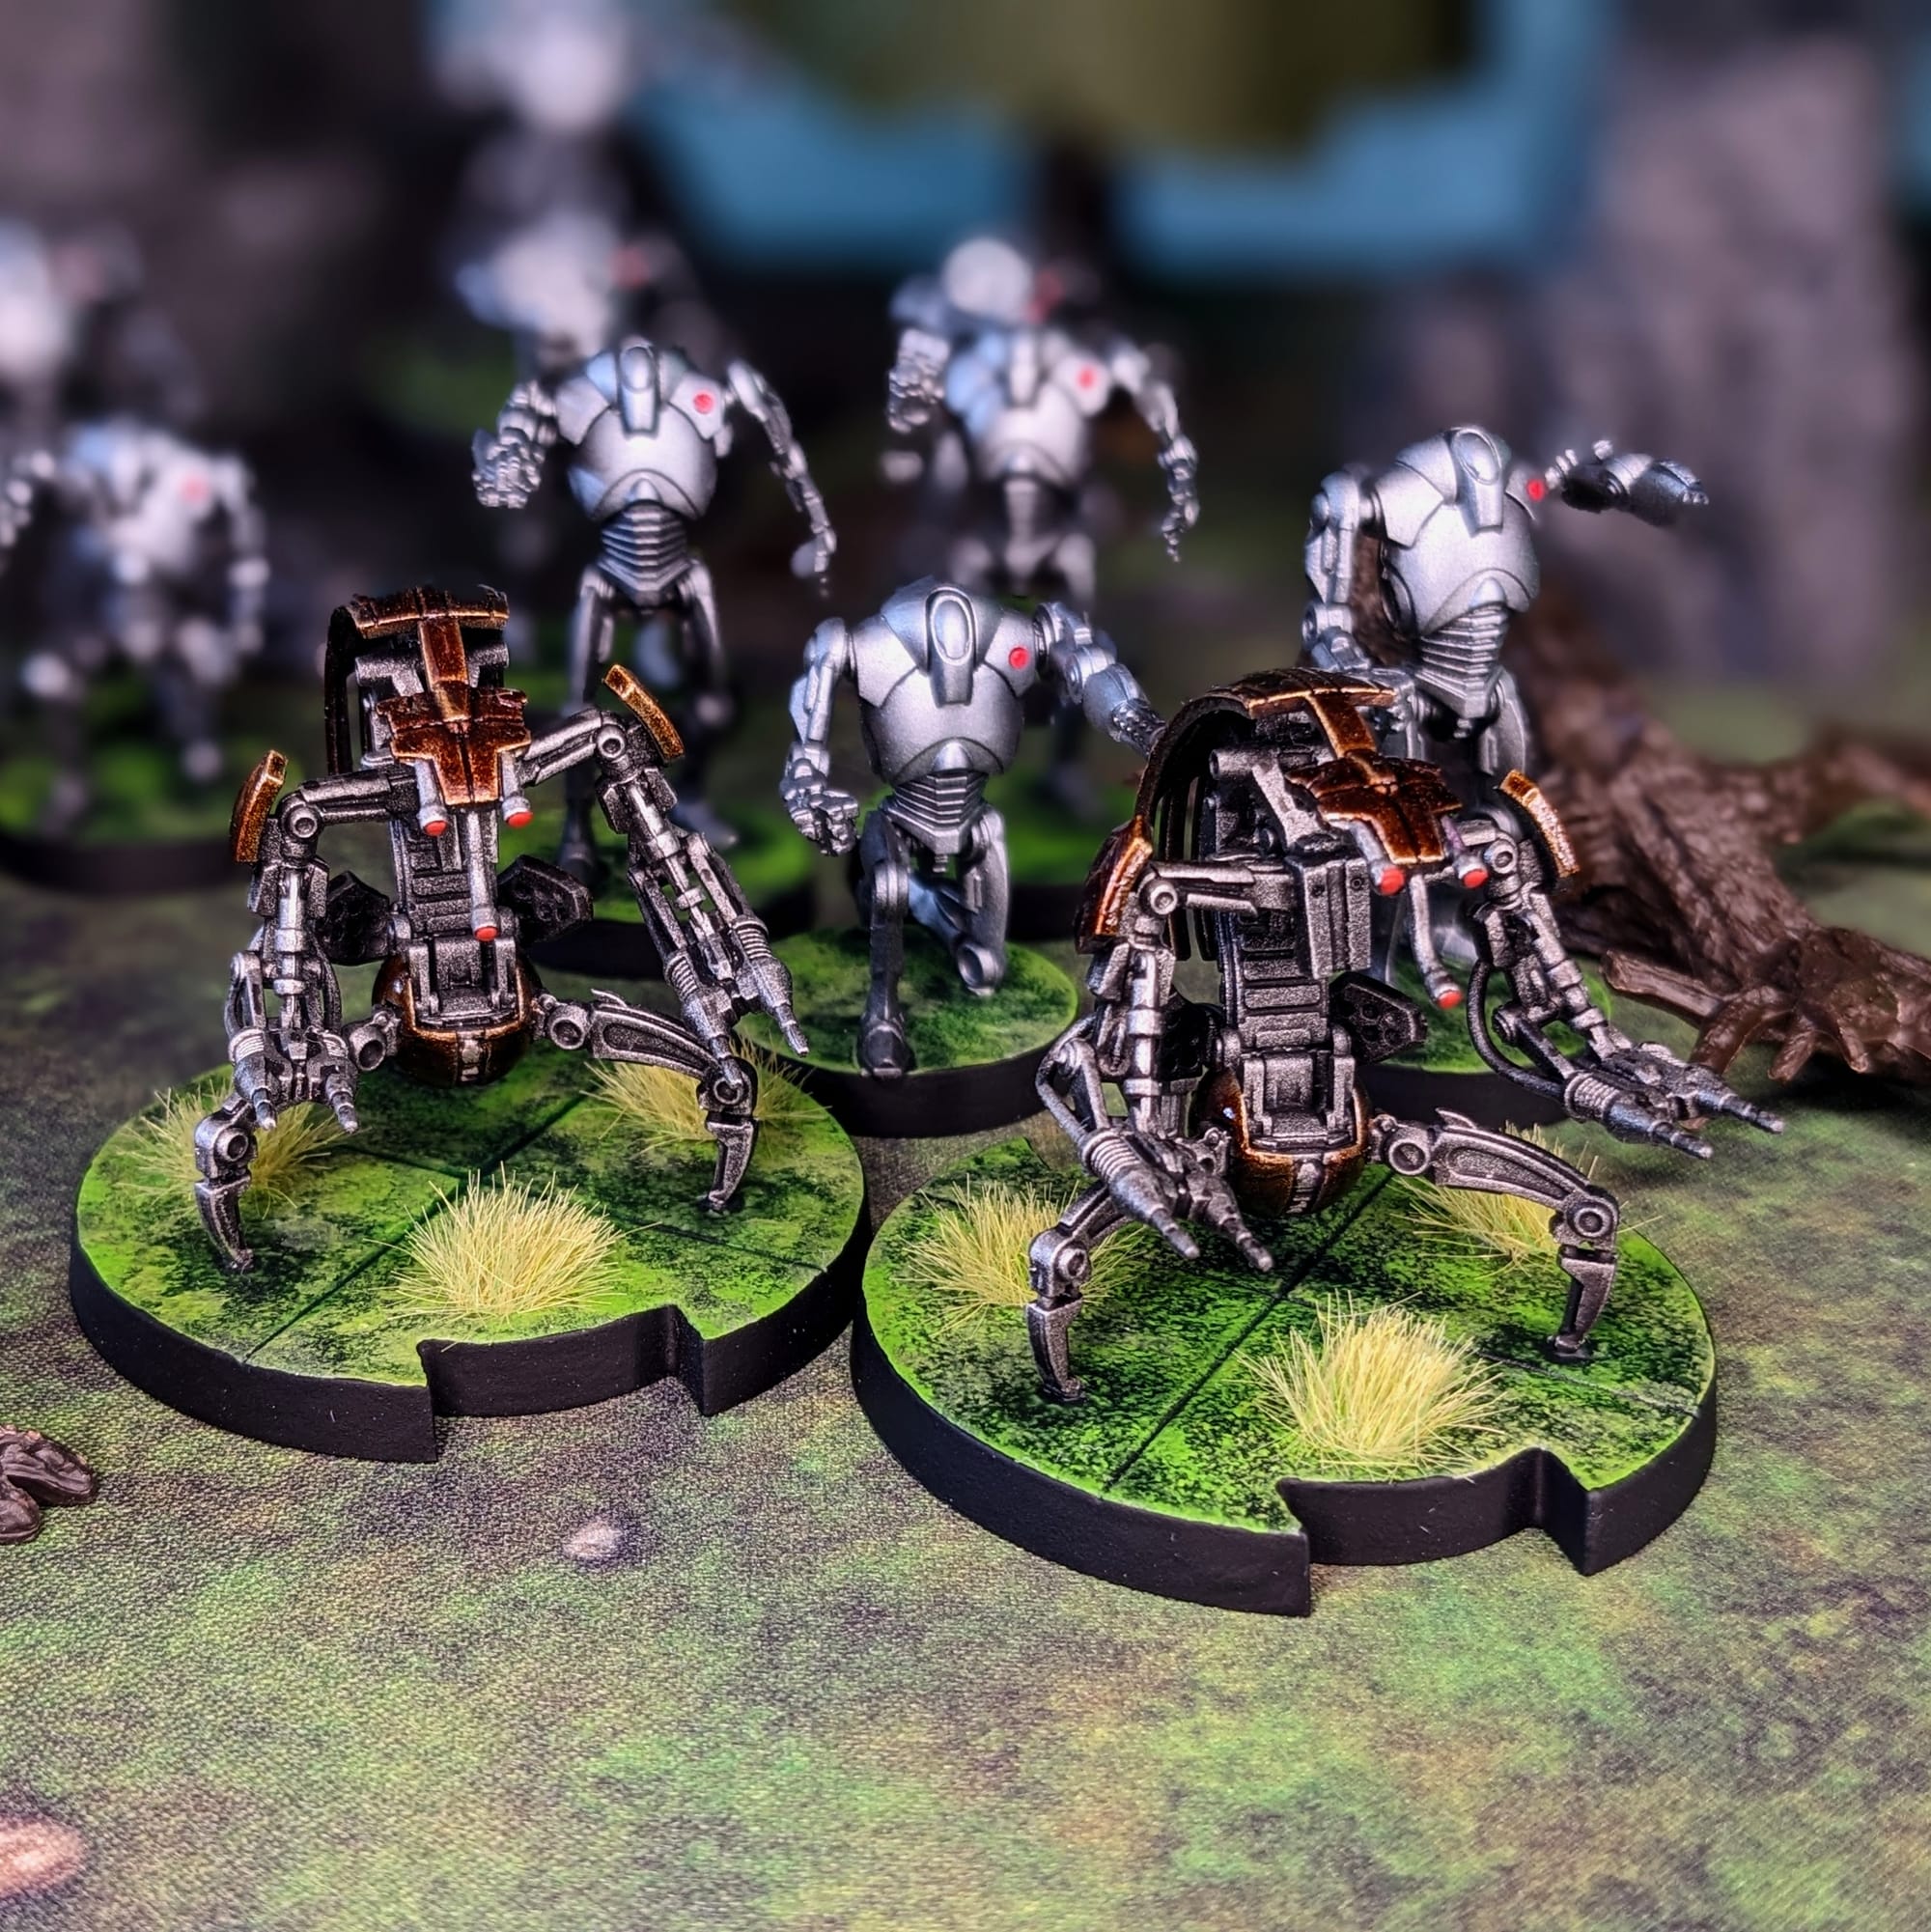
Destroyer Droids
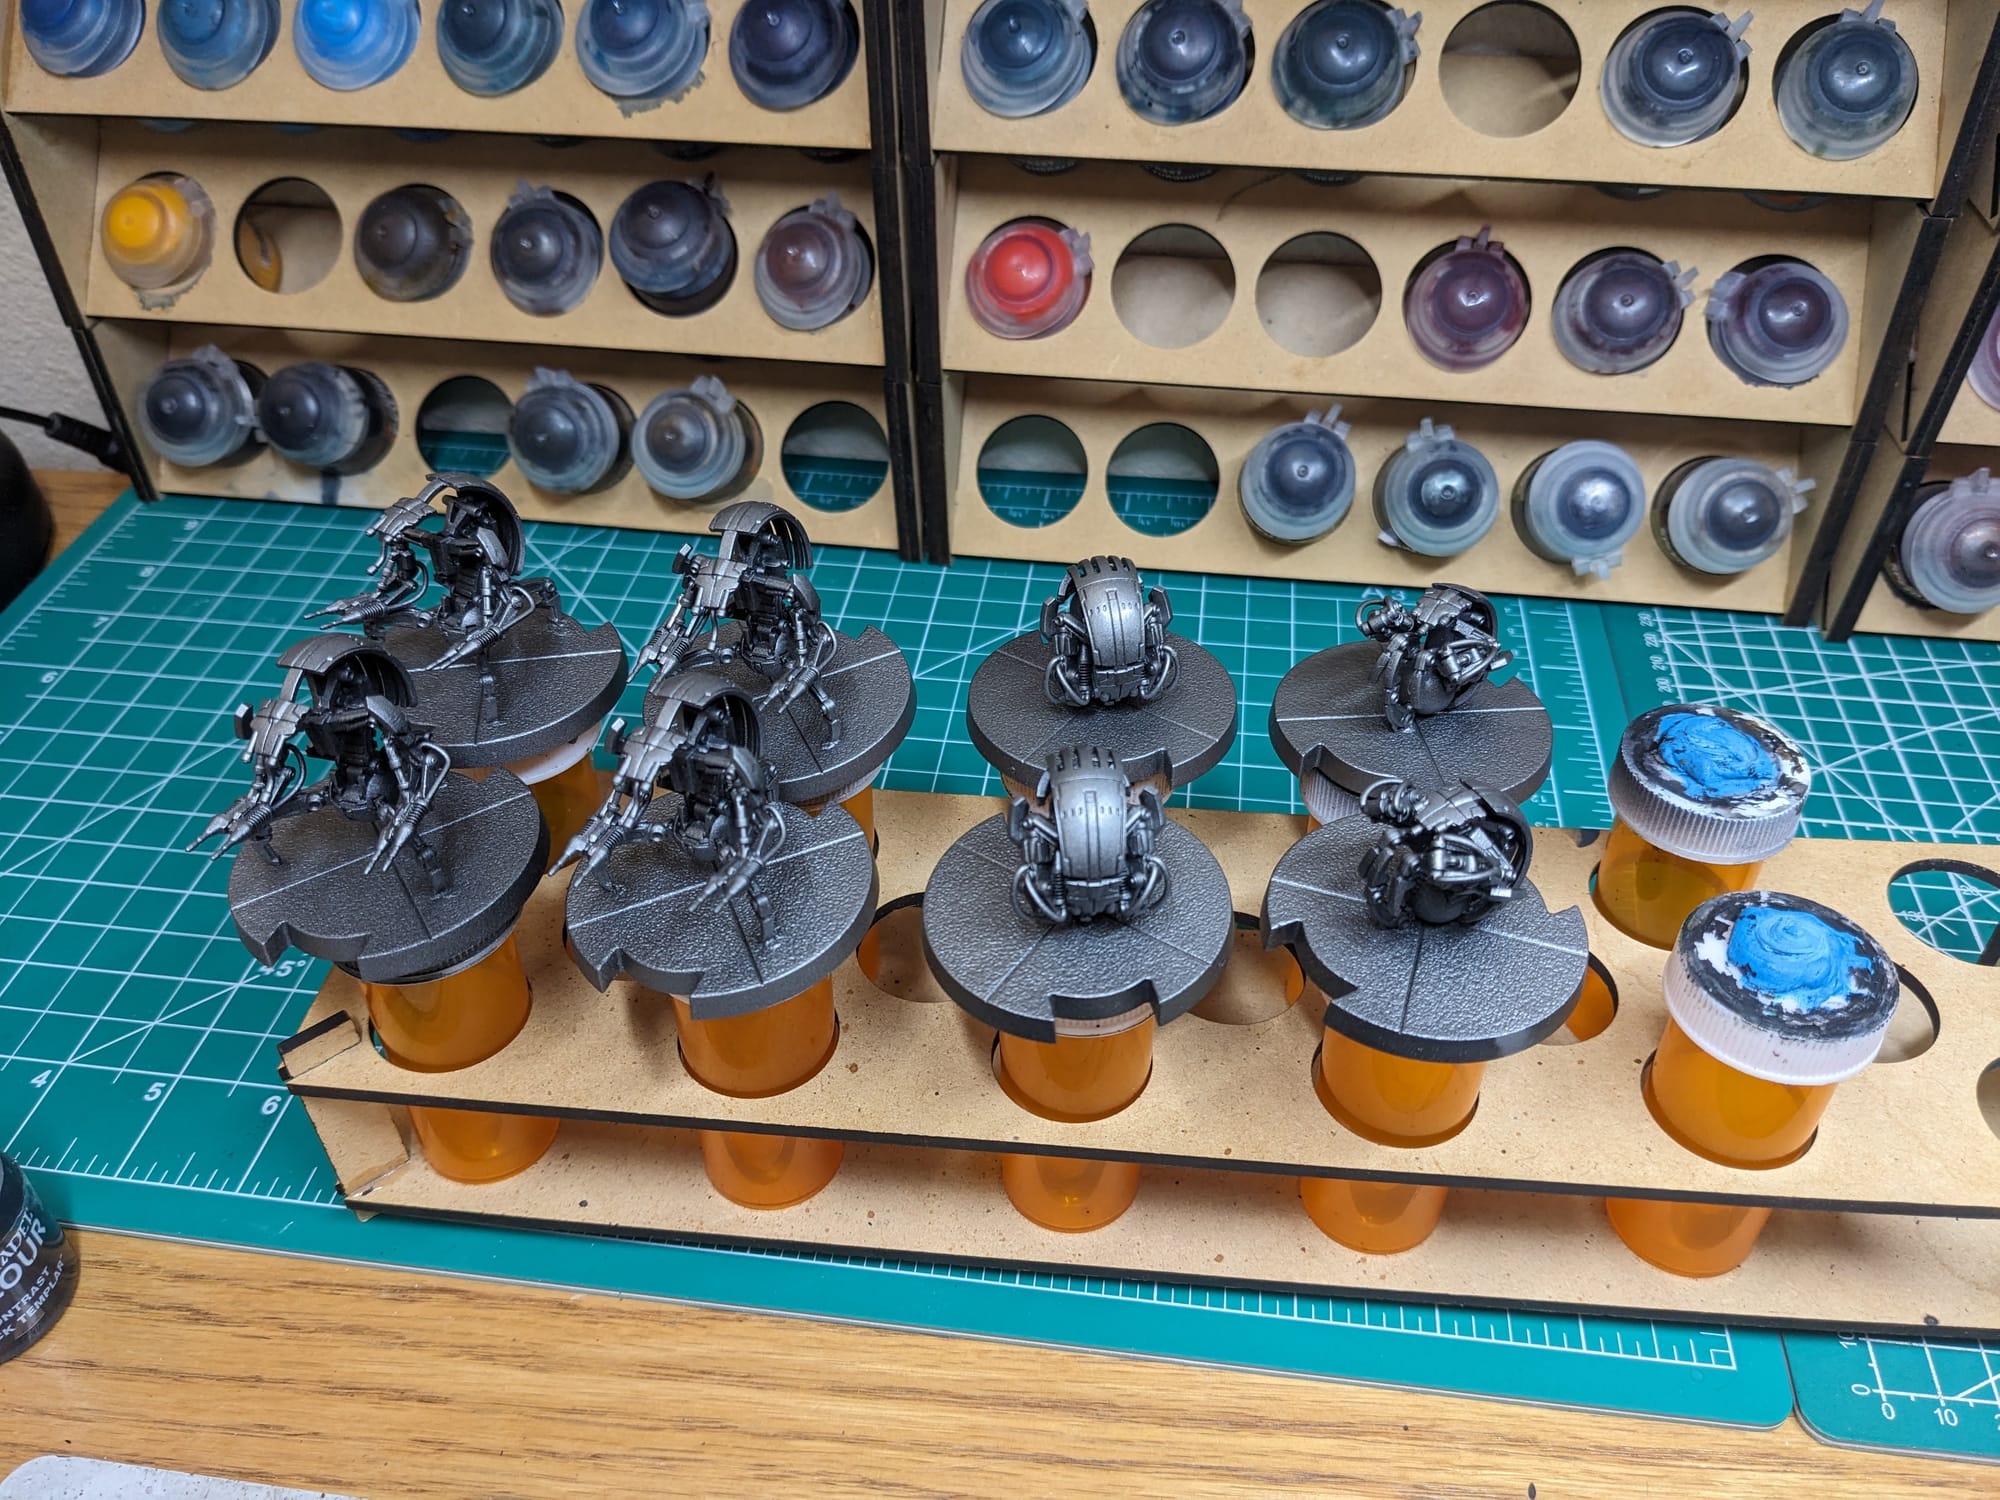
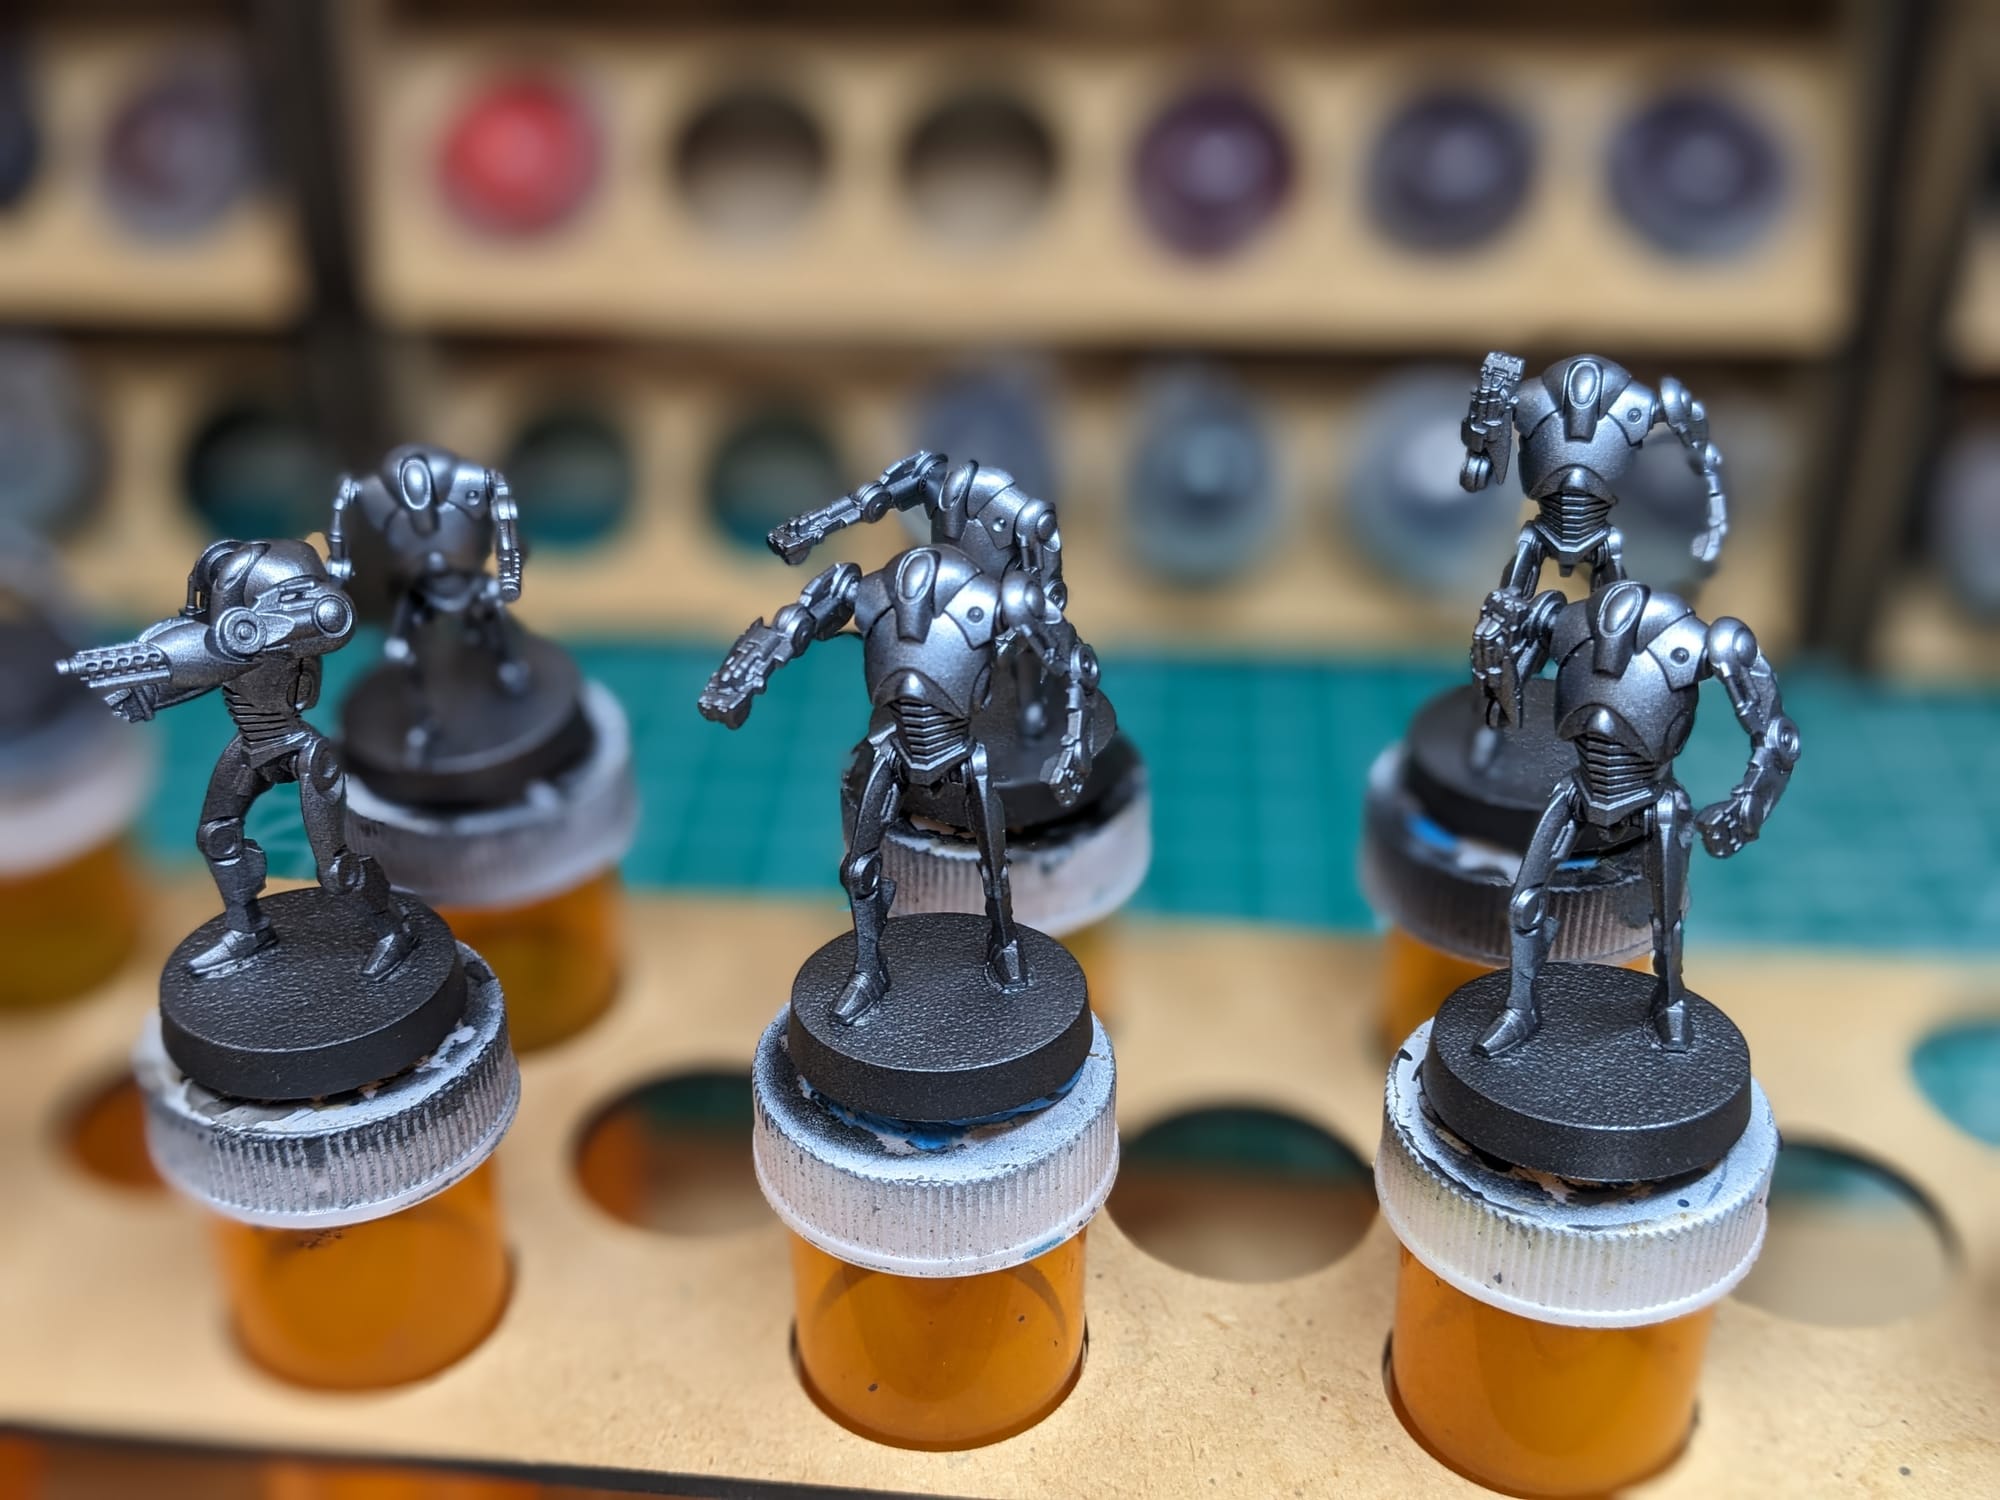
Since the Destroyer Droids were primed with silver, I can take advantage of the metal and apply speedpaints/contrast paints over the top to get 95% of the way there.
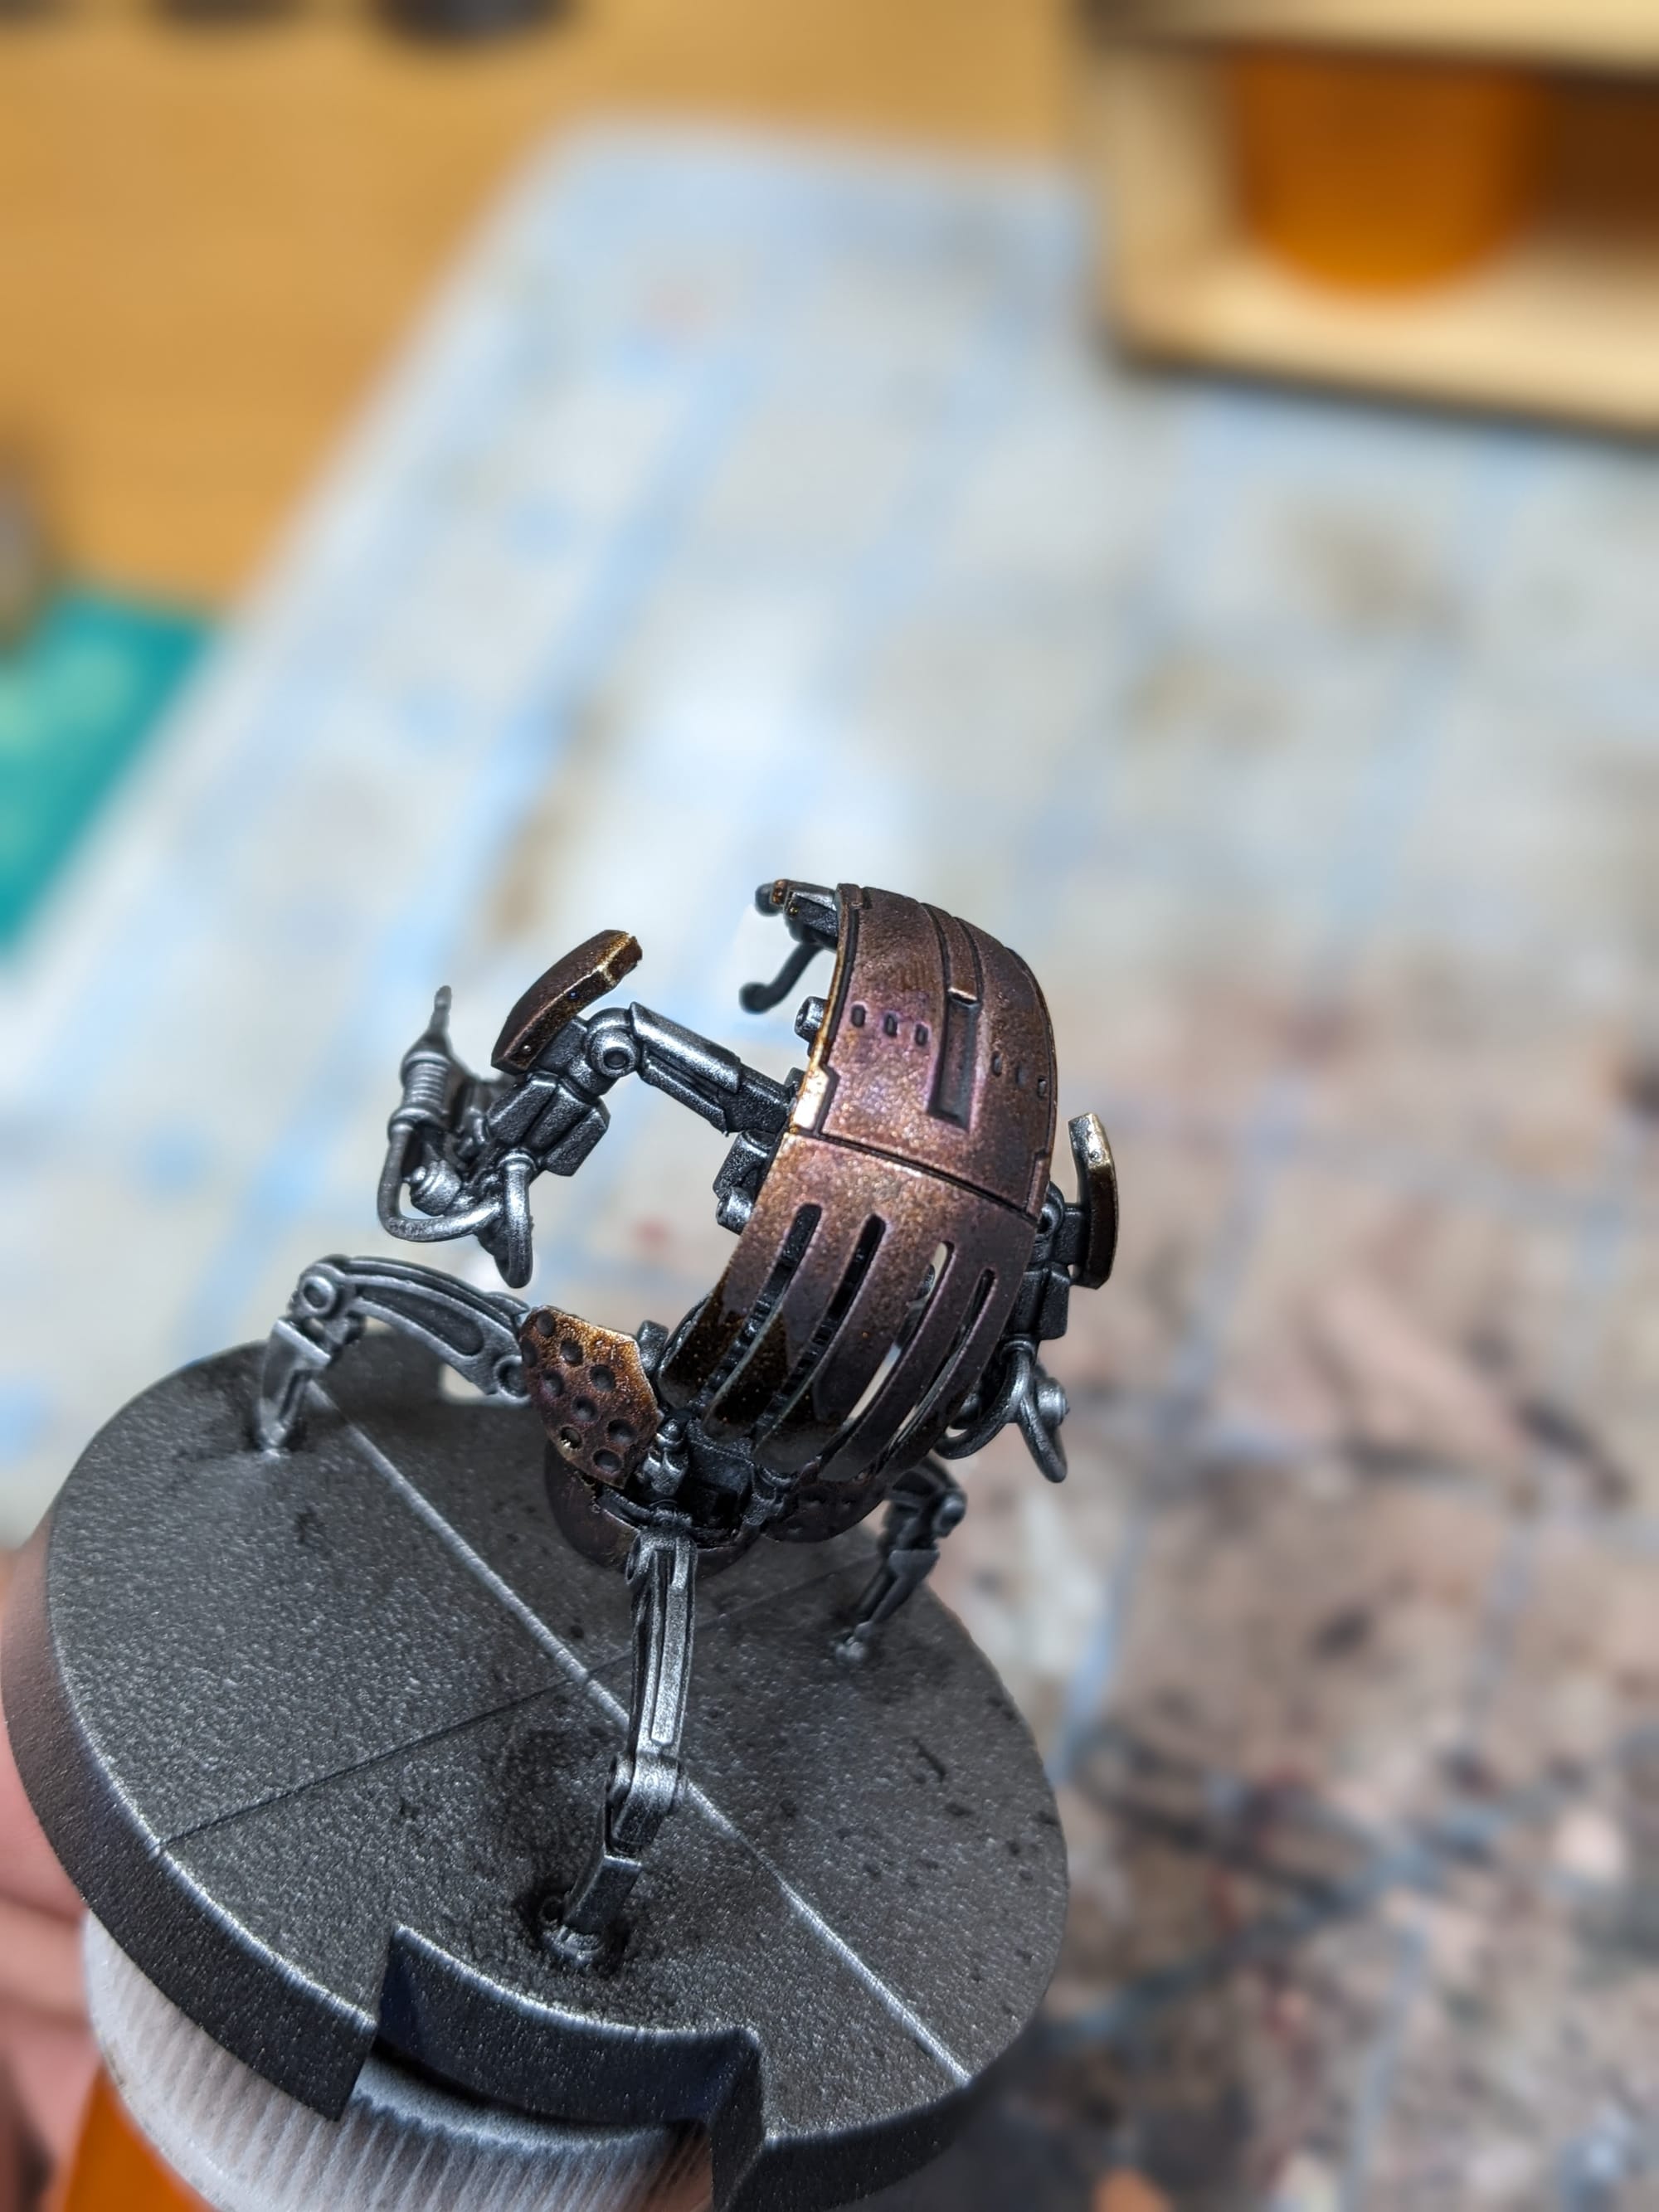
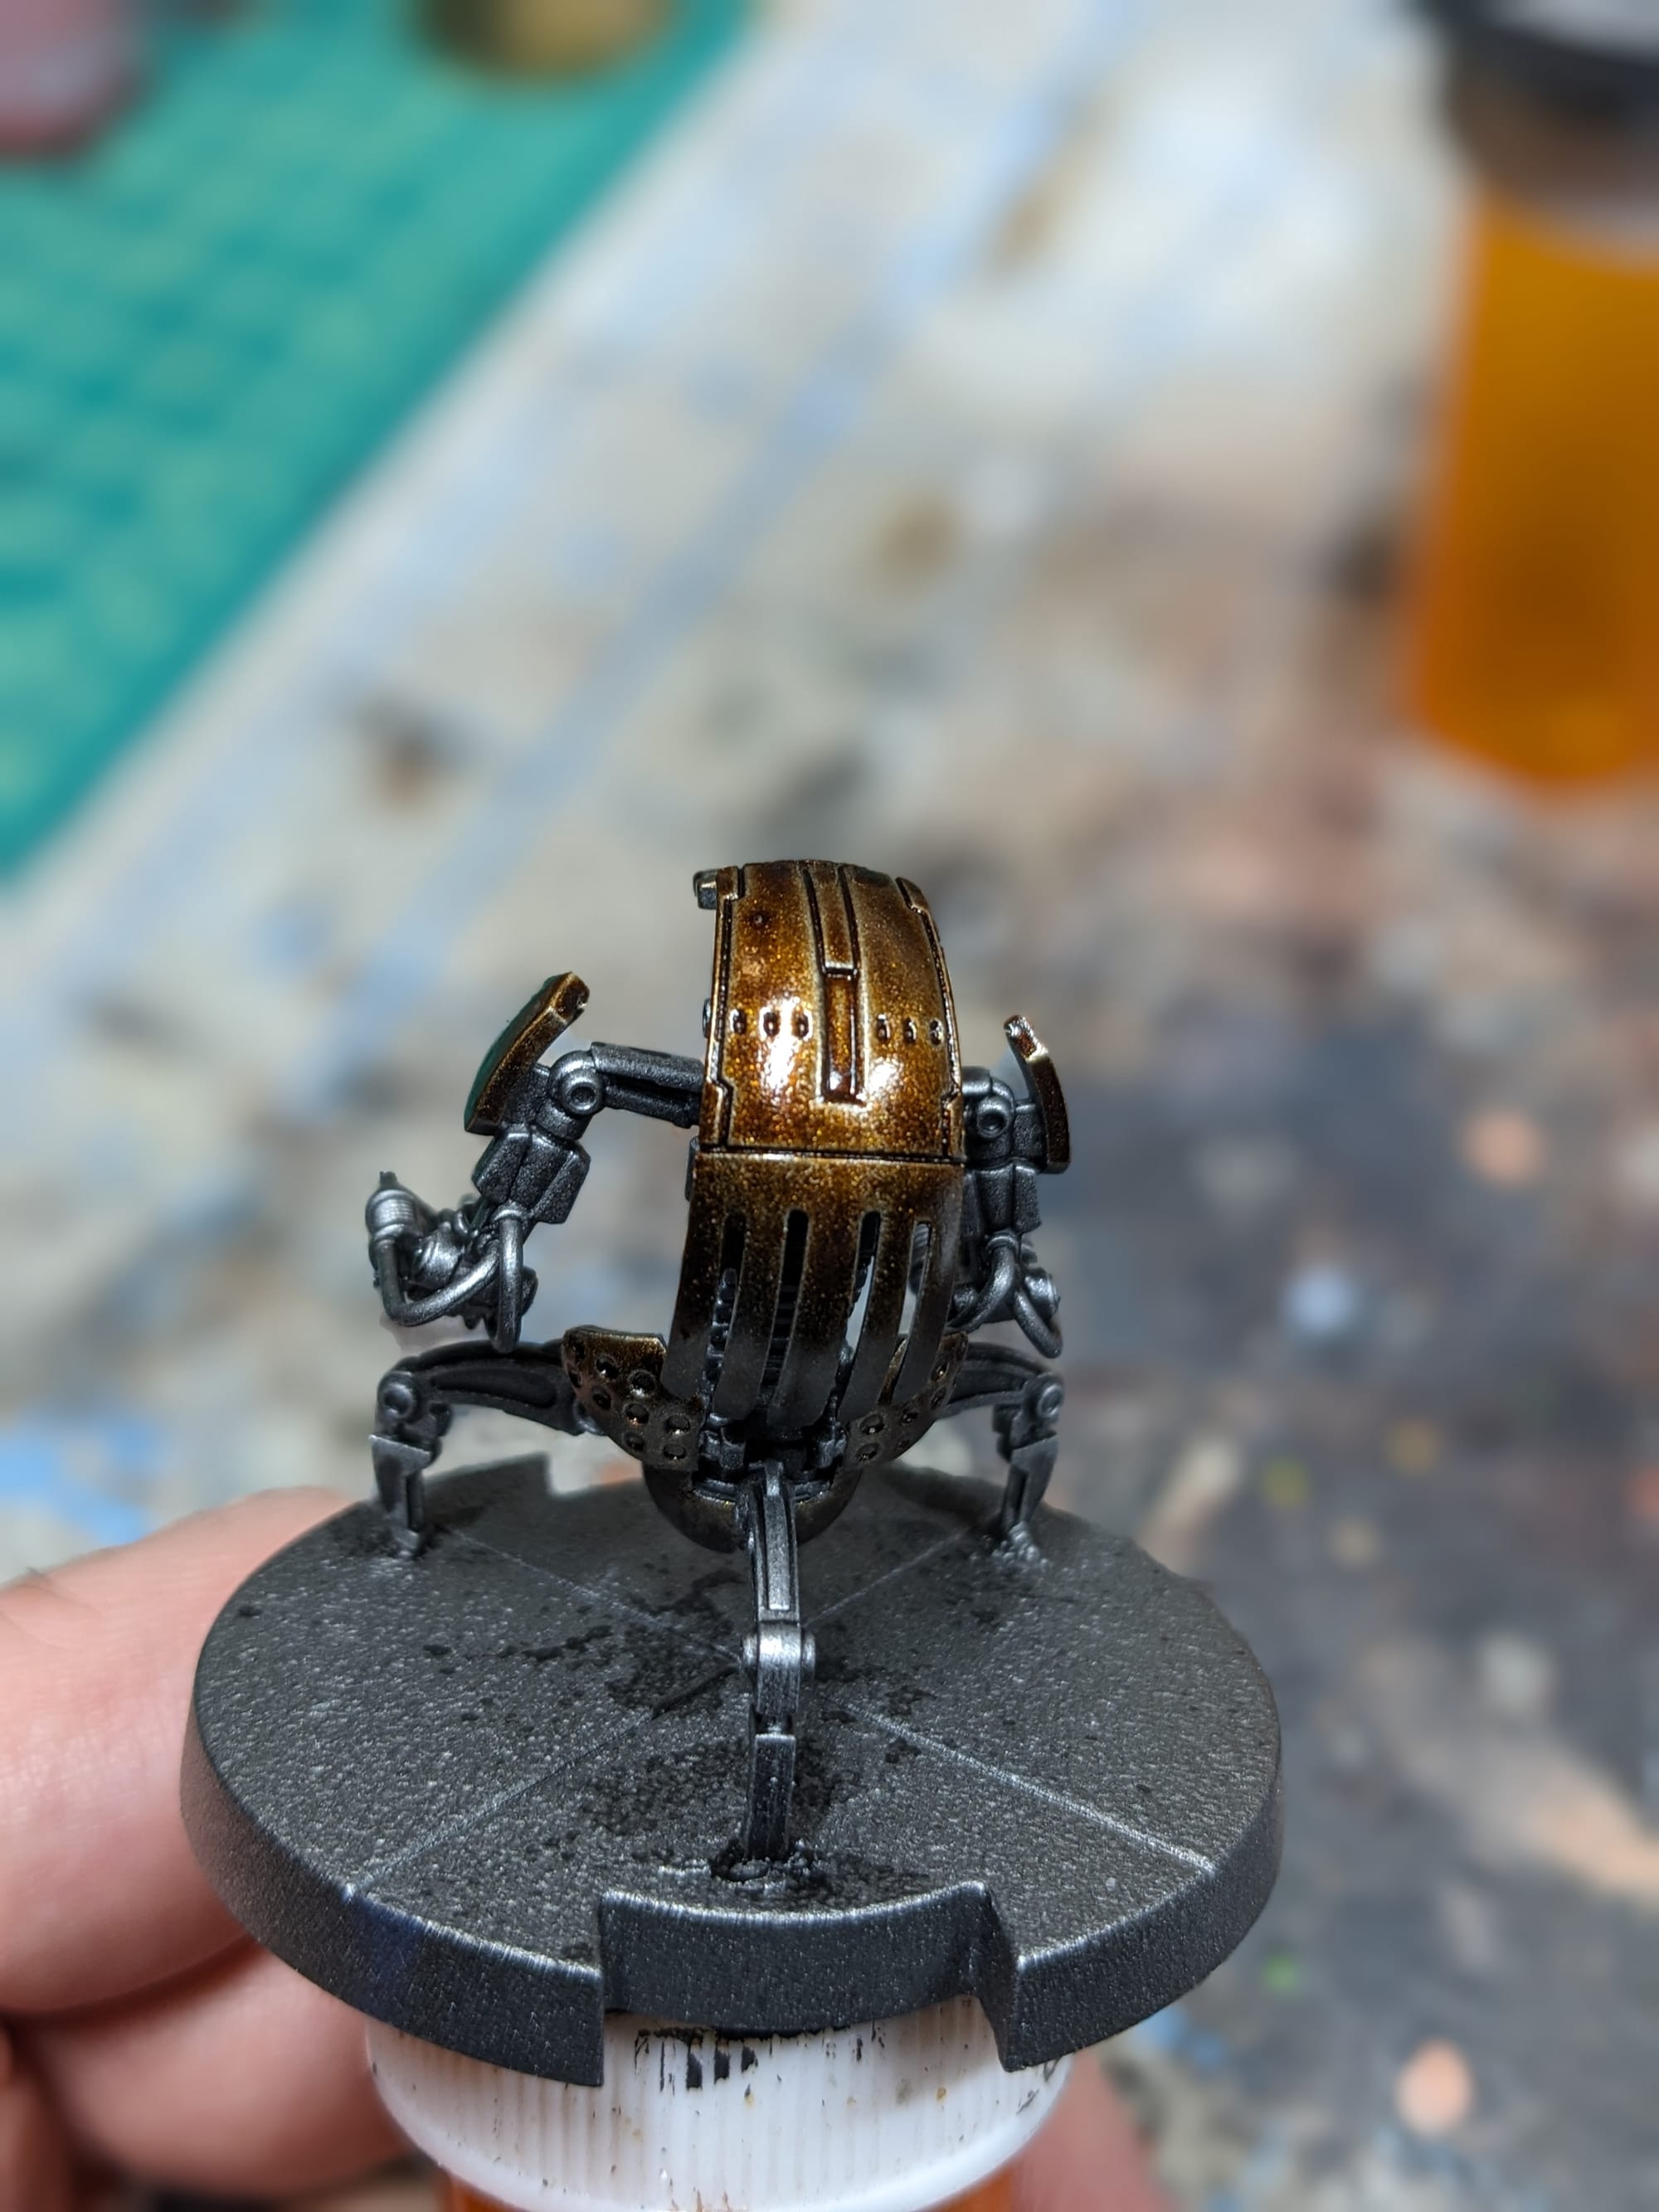

Without Semi-Gloss (Left) vs. with Semi-Gloss (Right)
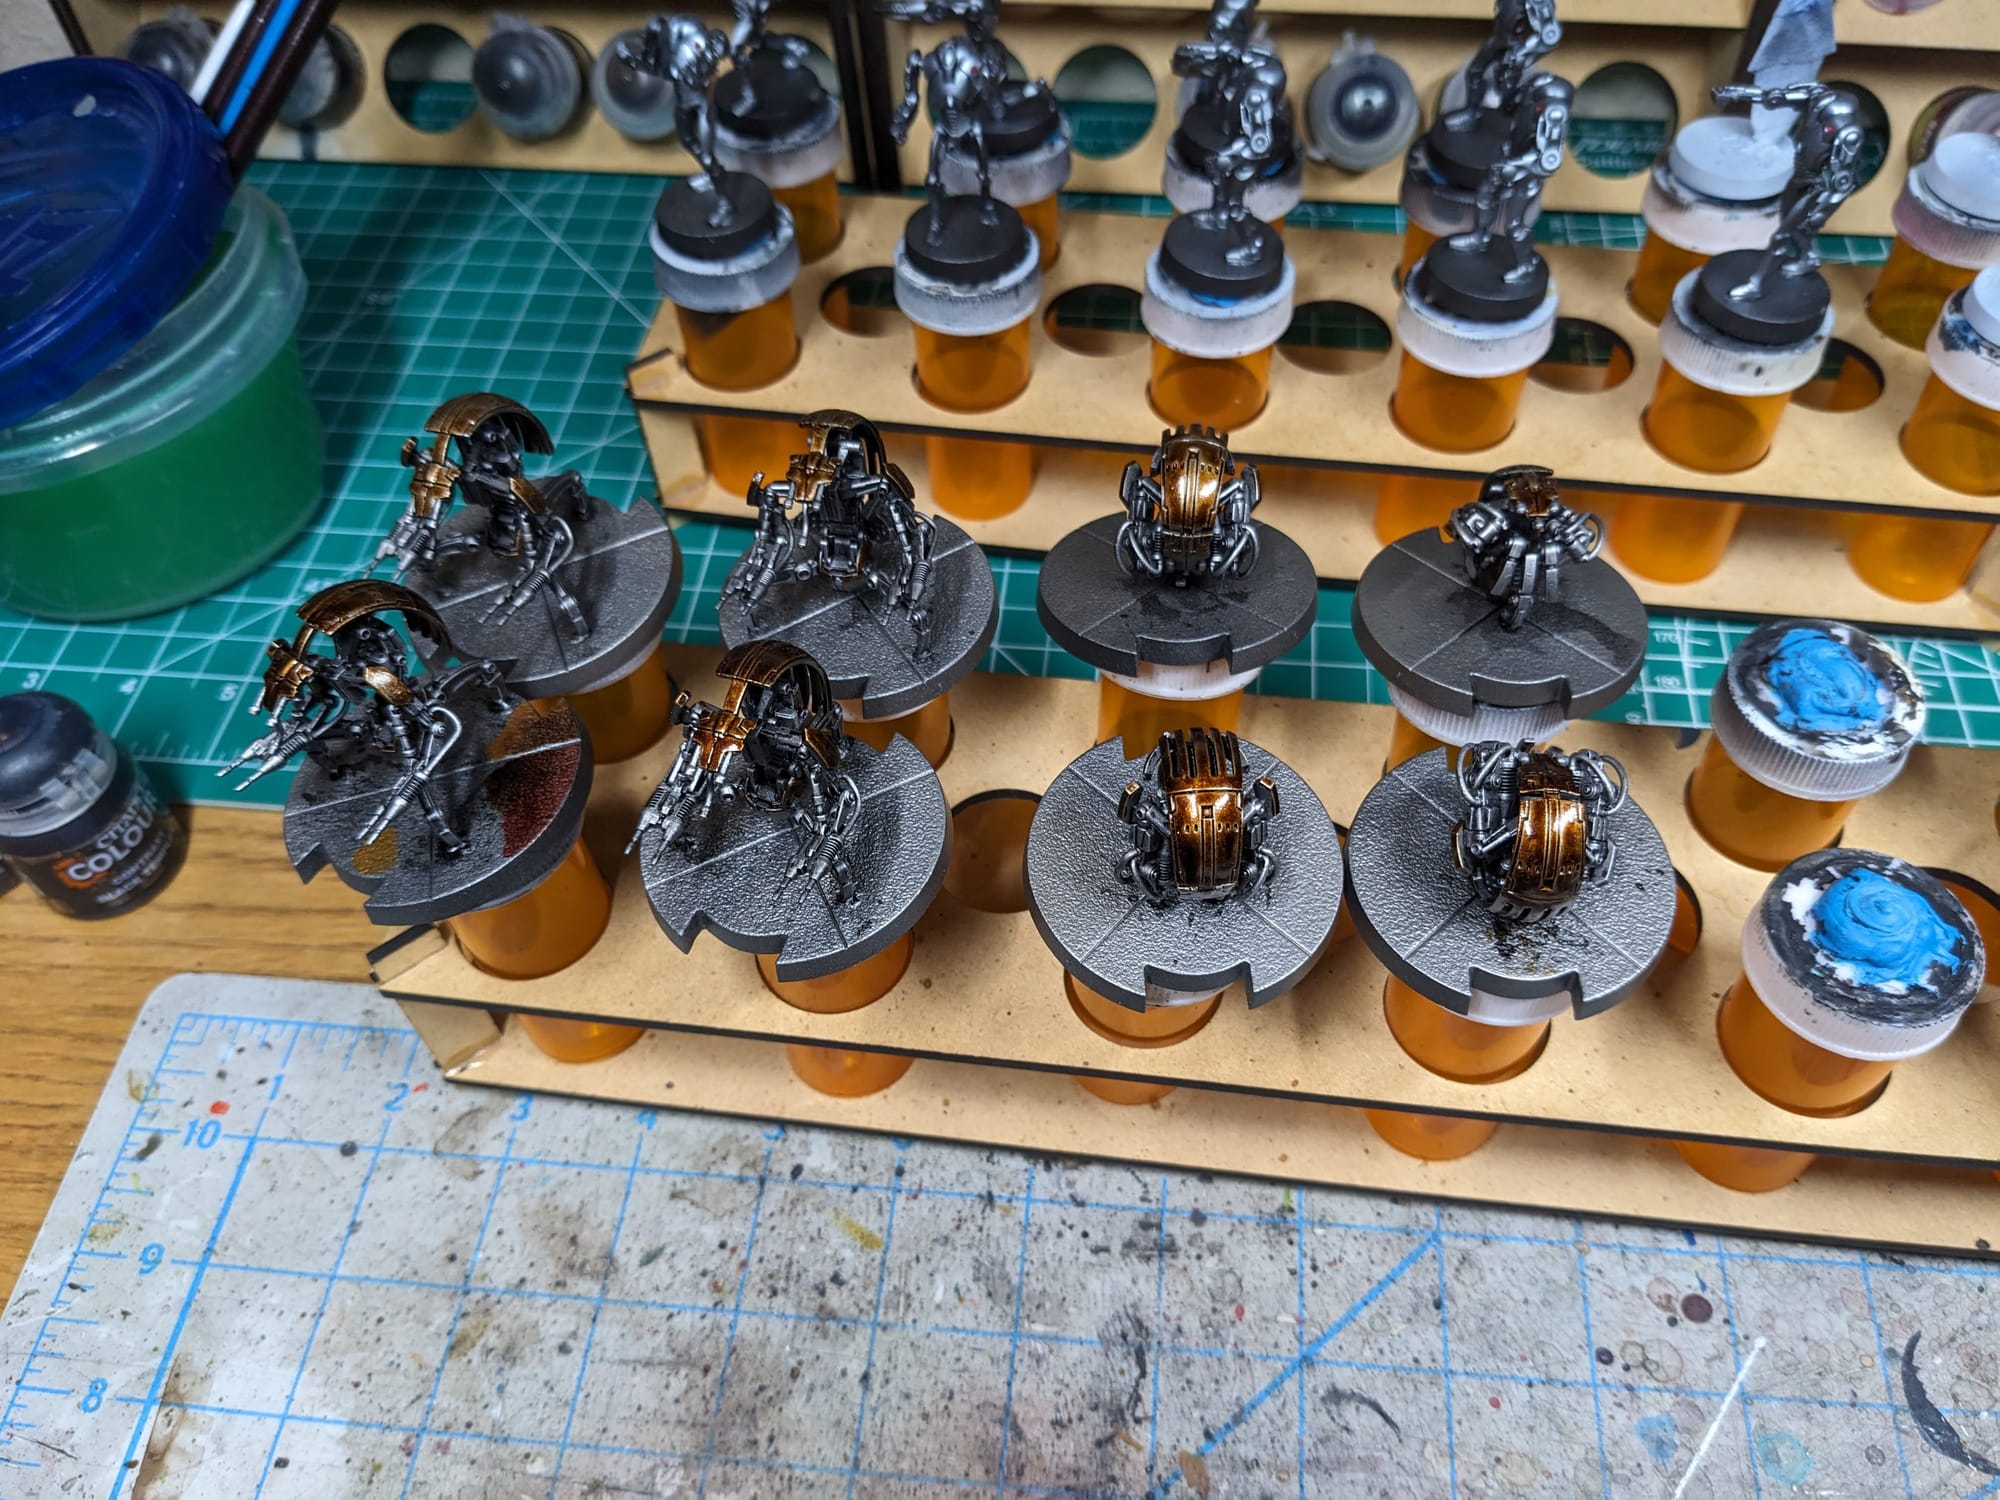
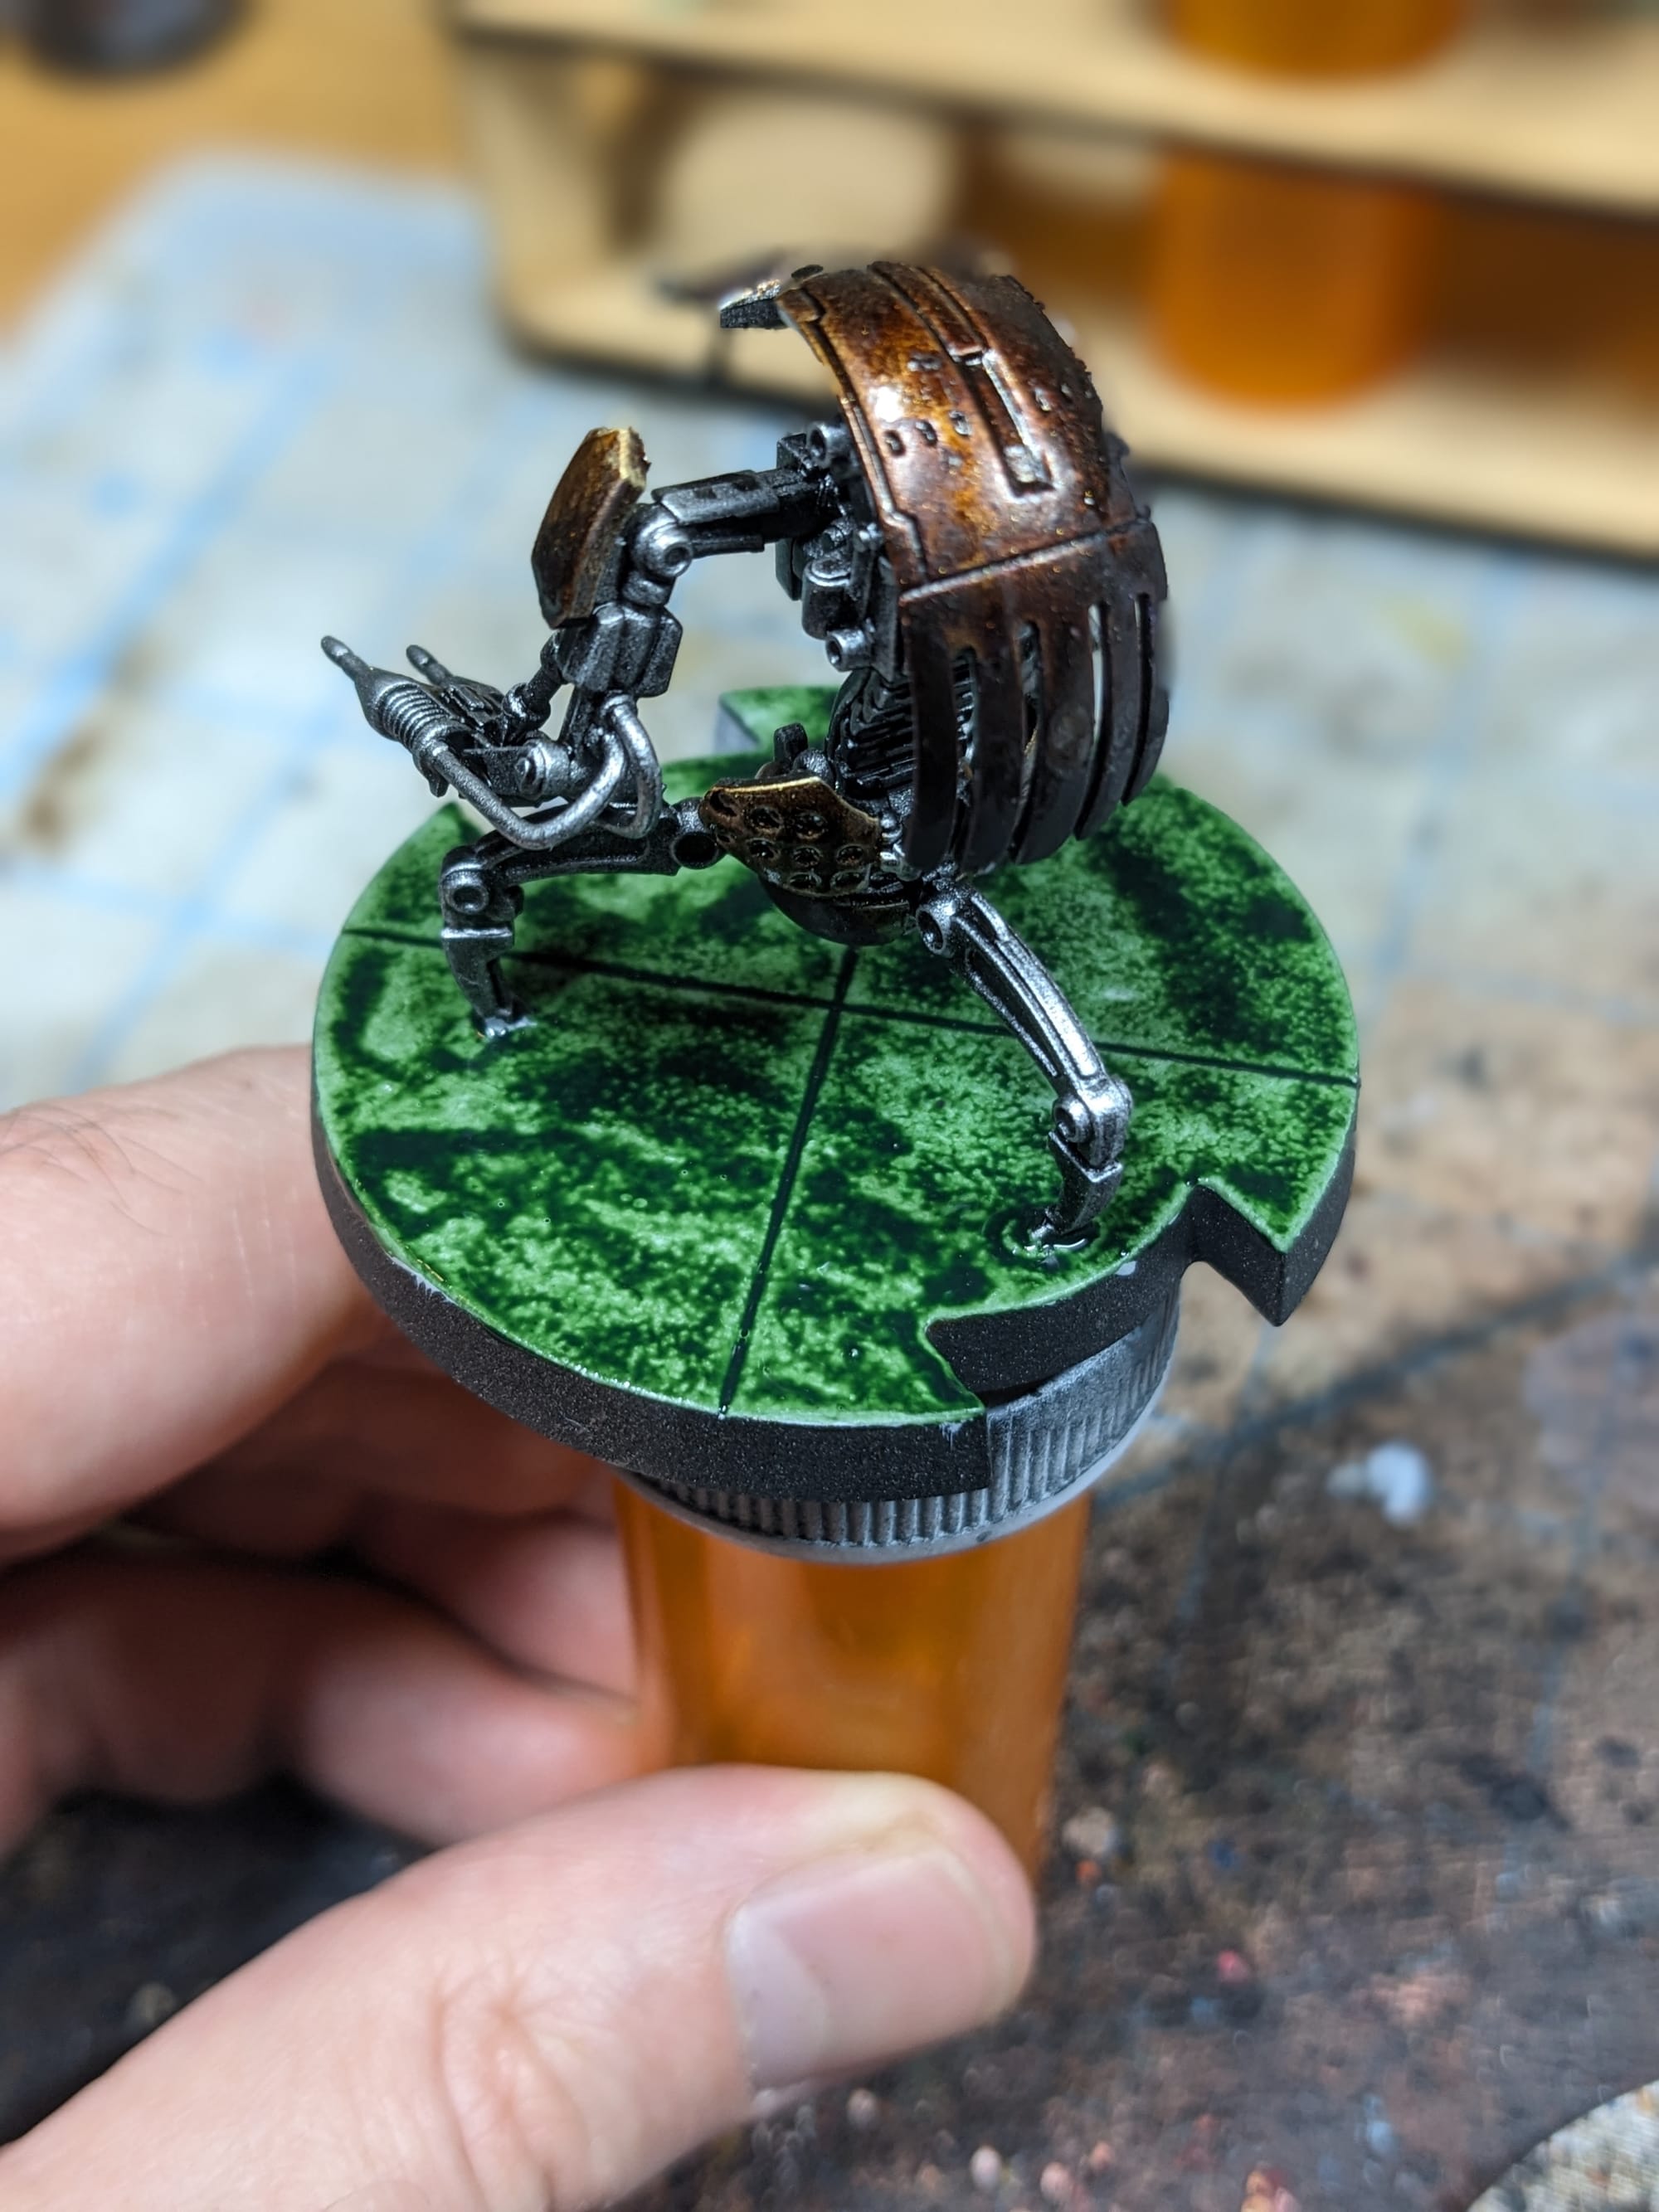
For the brown metal I applied Army Painter's Hoard Bronze Metallic Speed Paint, the shaded it with Druchii Violet and dry brushed Sigmarite over the top. After sealing the model, I used a semi-gloss (gloss works too), to make the metal nice and shiny.
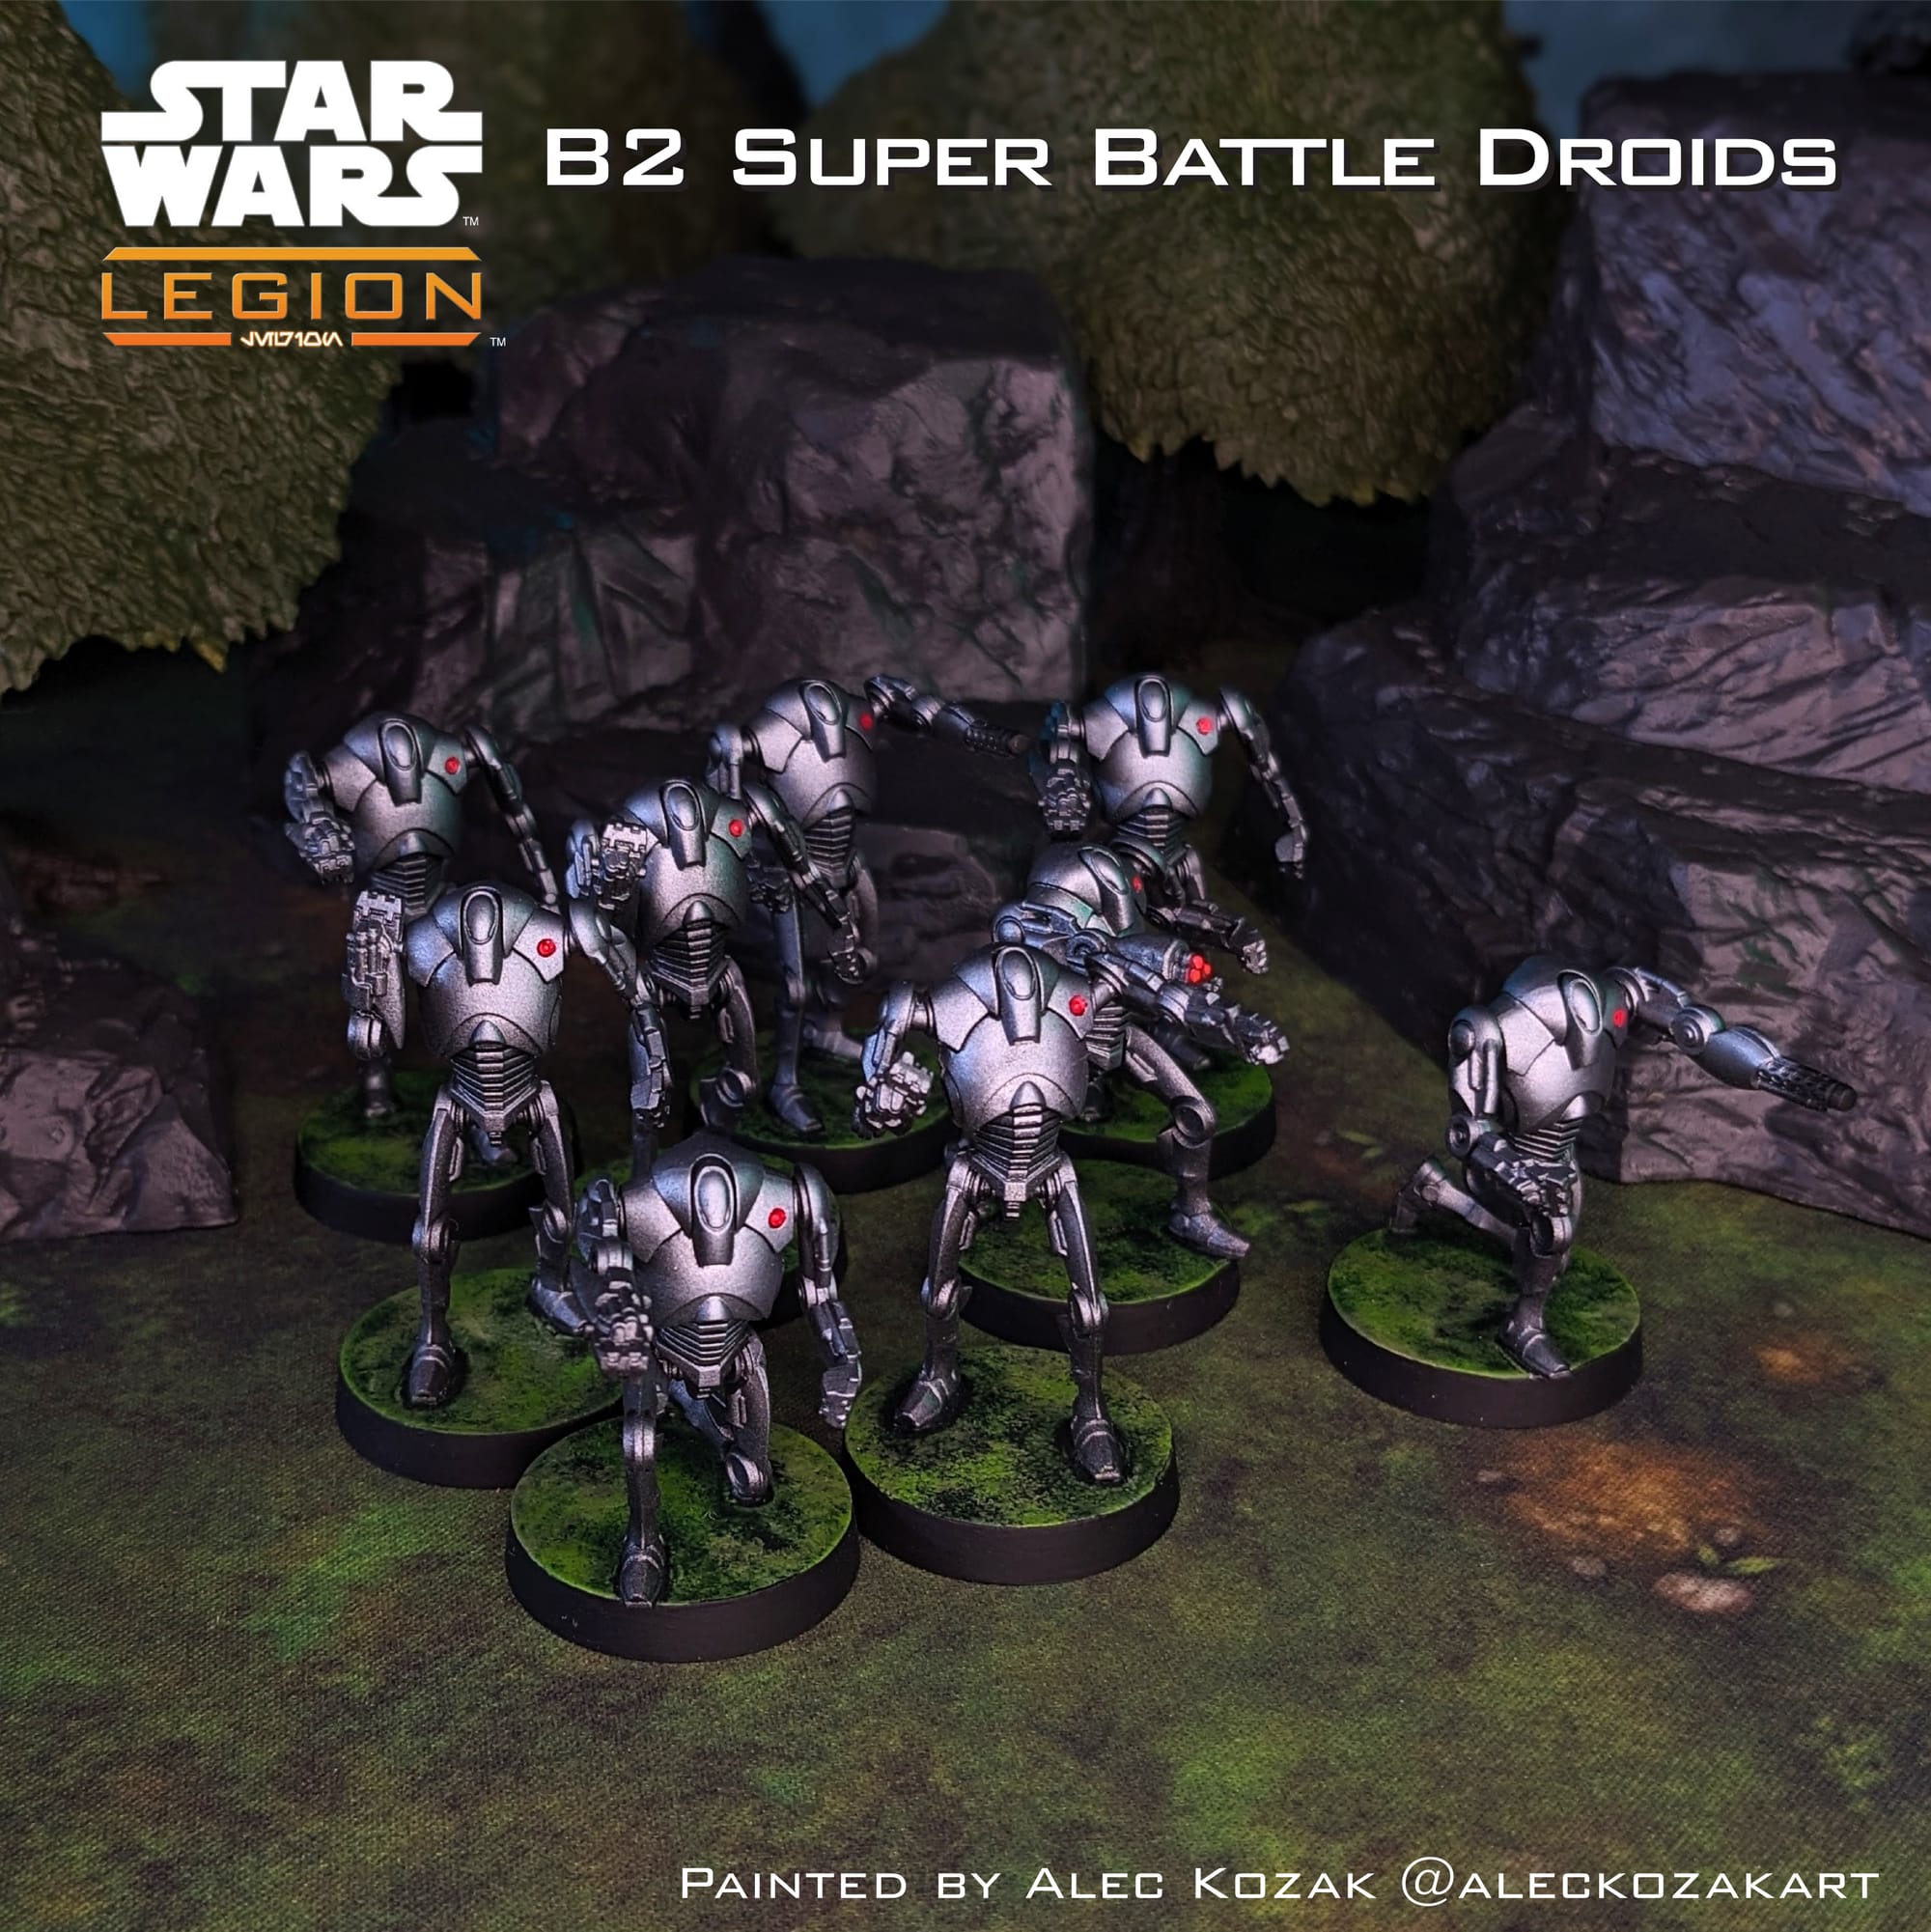
B2 Battle Droids
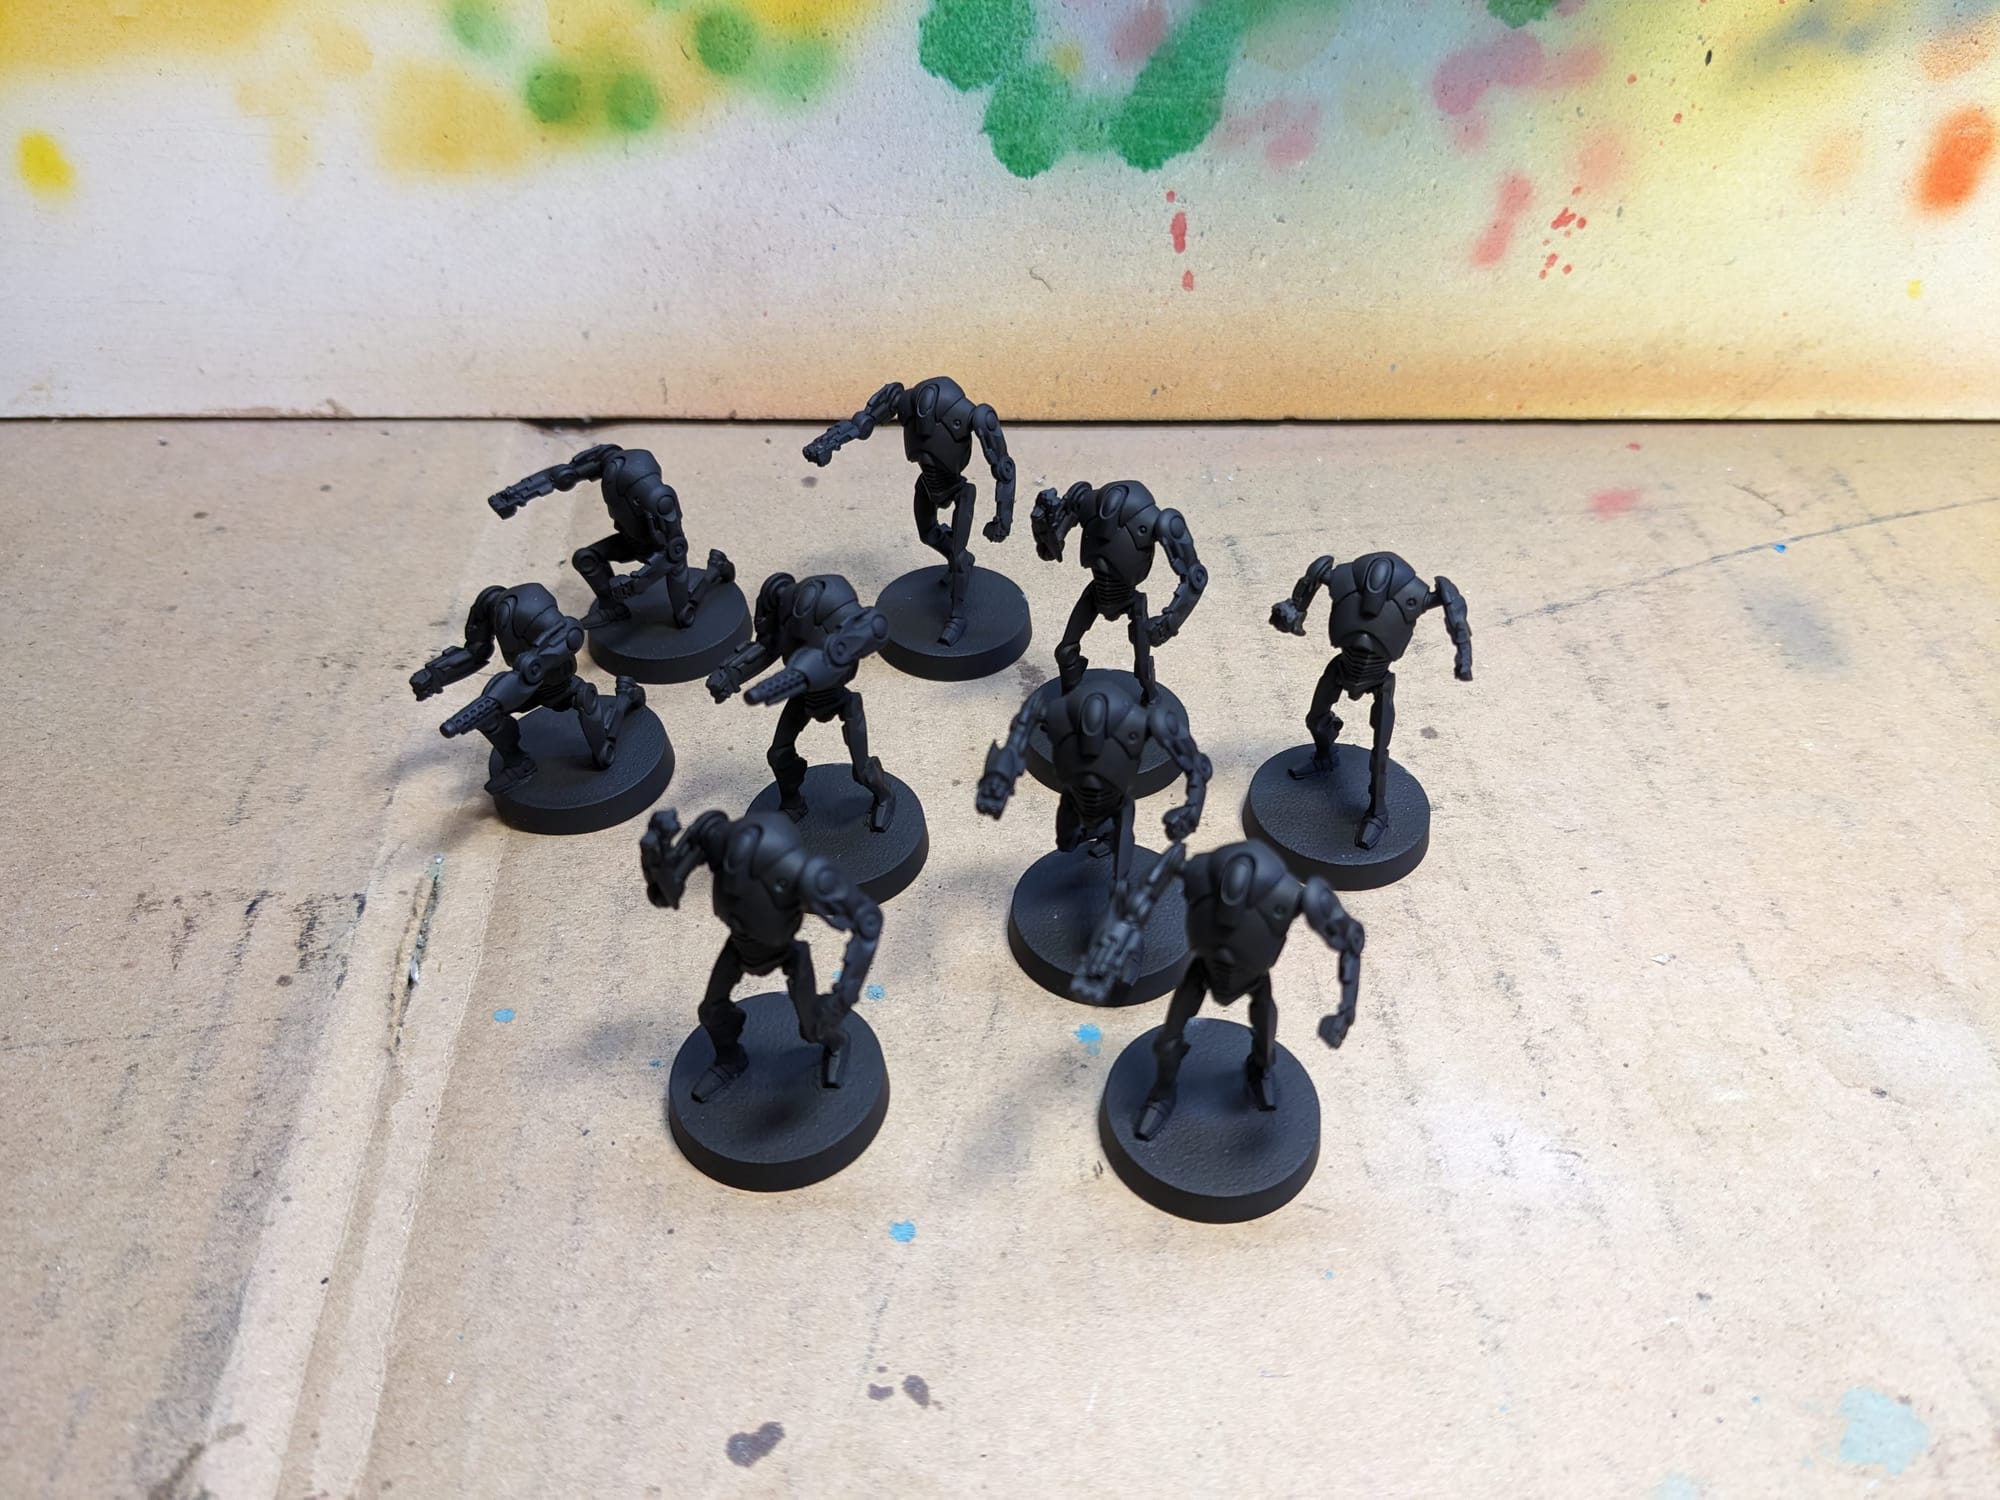

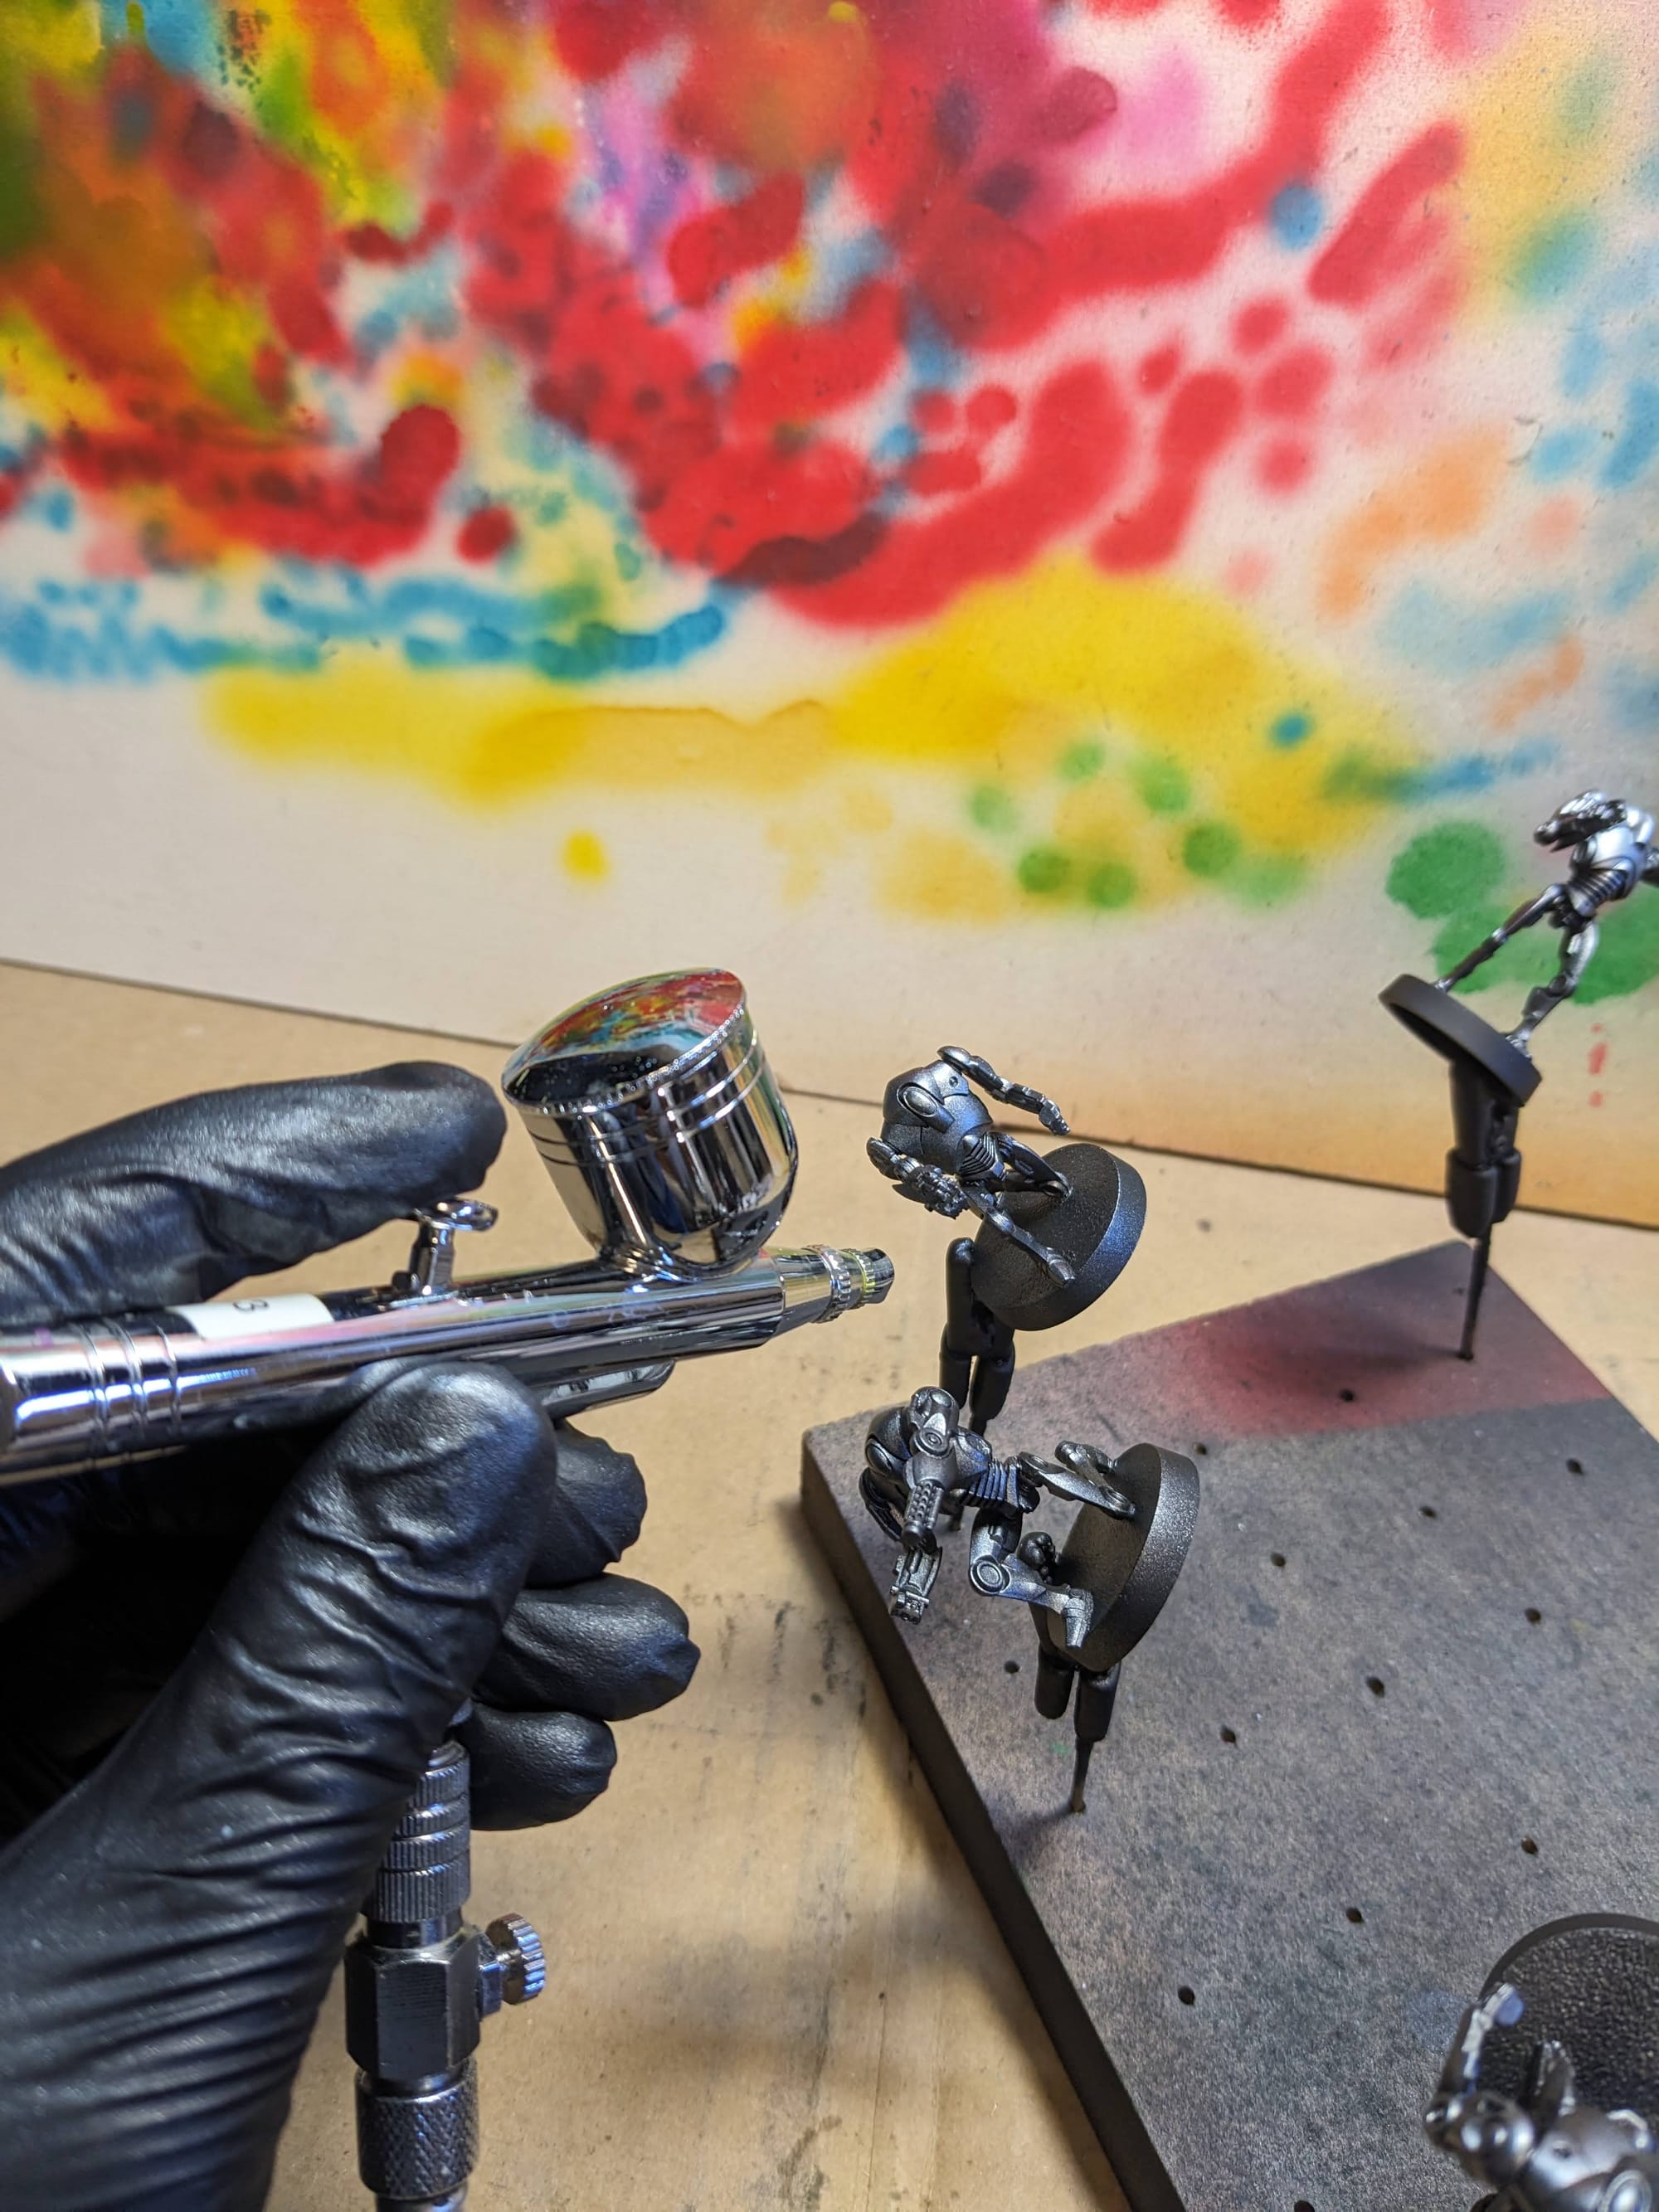
Unlike the other droids I did zenithal priming on, I left the B2 Battle Droids black as I have found the Grey Knights Air paint looks a little more robust over black than silver. Using the airbrush, I applied the Grey Knights Steel from the top to about a 30 degree angle down, which still gave a little contrast to it. This does about 95% of the work.
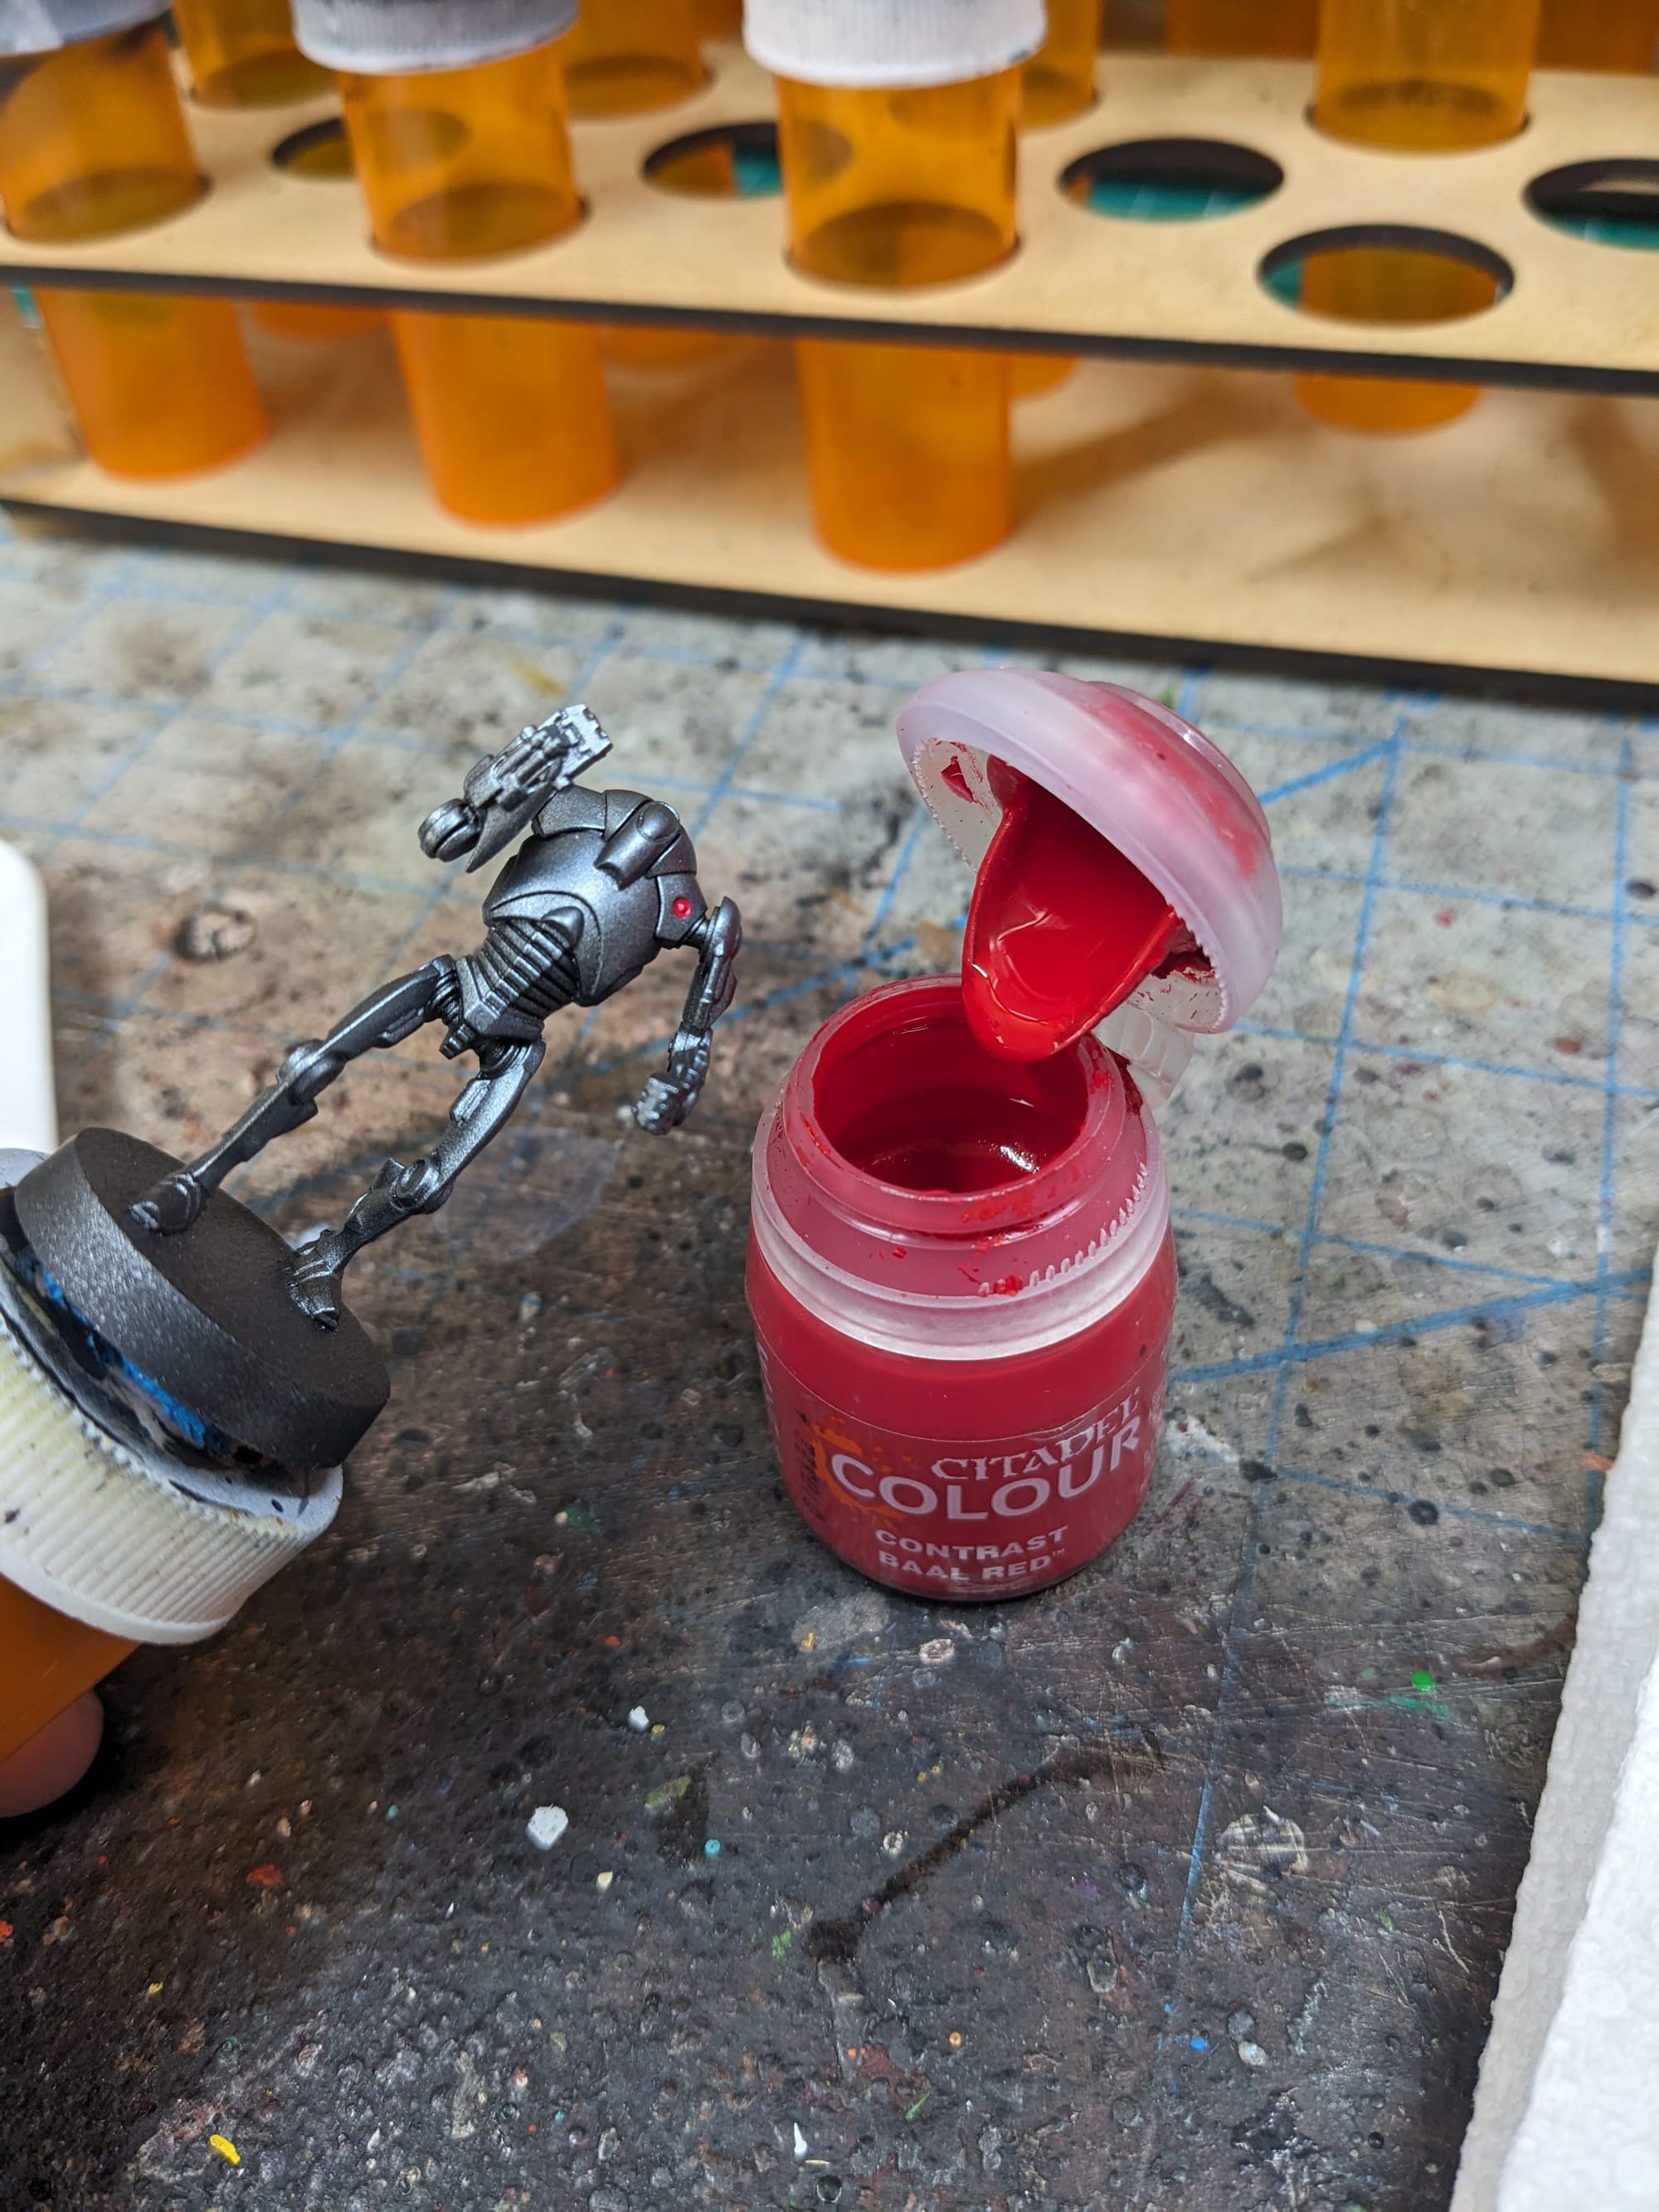

The last stage is to add red in. Since other models use a bright red, like Evil Sunz Scarlet, you can use that for the lighted dot. Another option is to paint the dots white and then apply a bright red contrast paint, like Baal Red, over the white dot. Give's it a little bit more of a glow look.
You can apply this technique to the arm cannon, as well as do some black dry-brushing effects to give the cannon a used look to it. And that's about it!
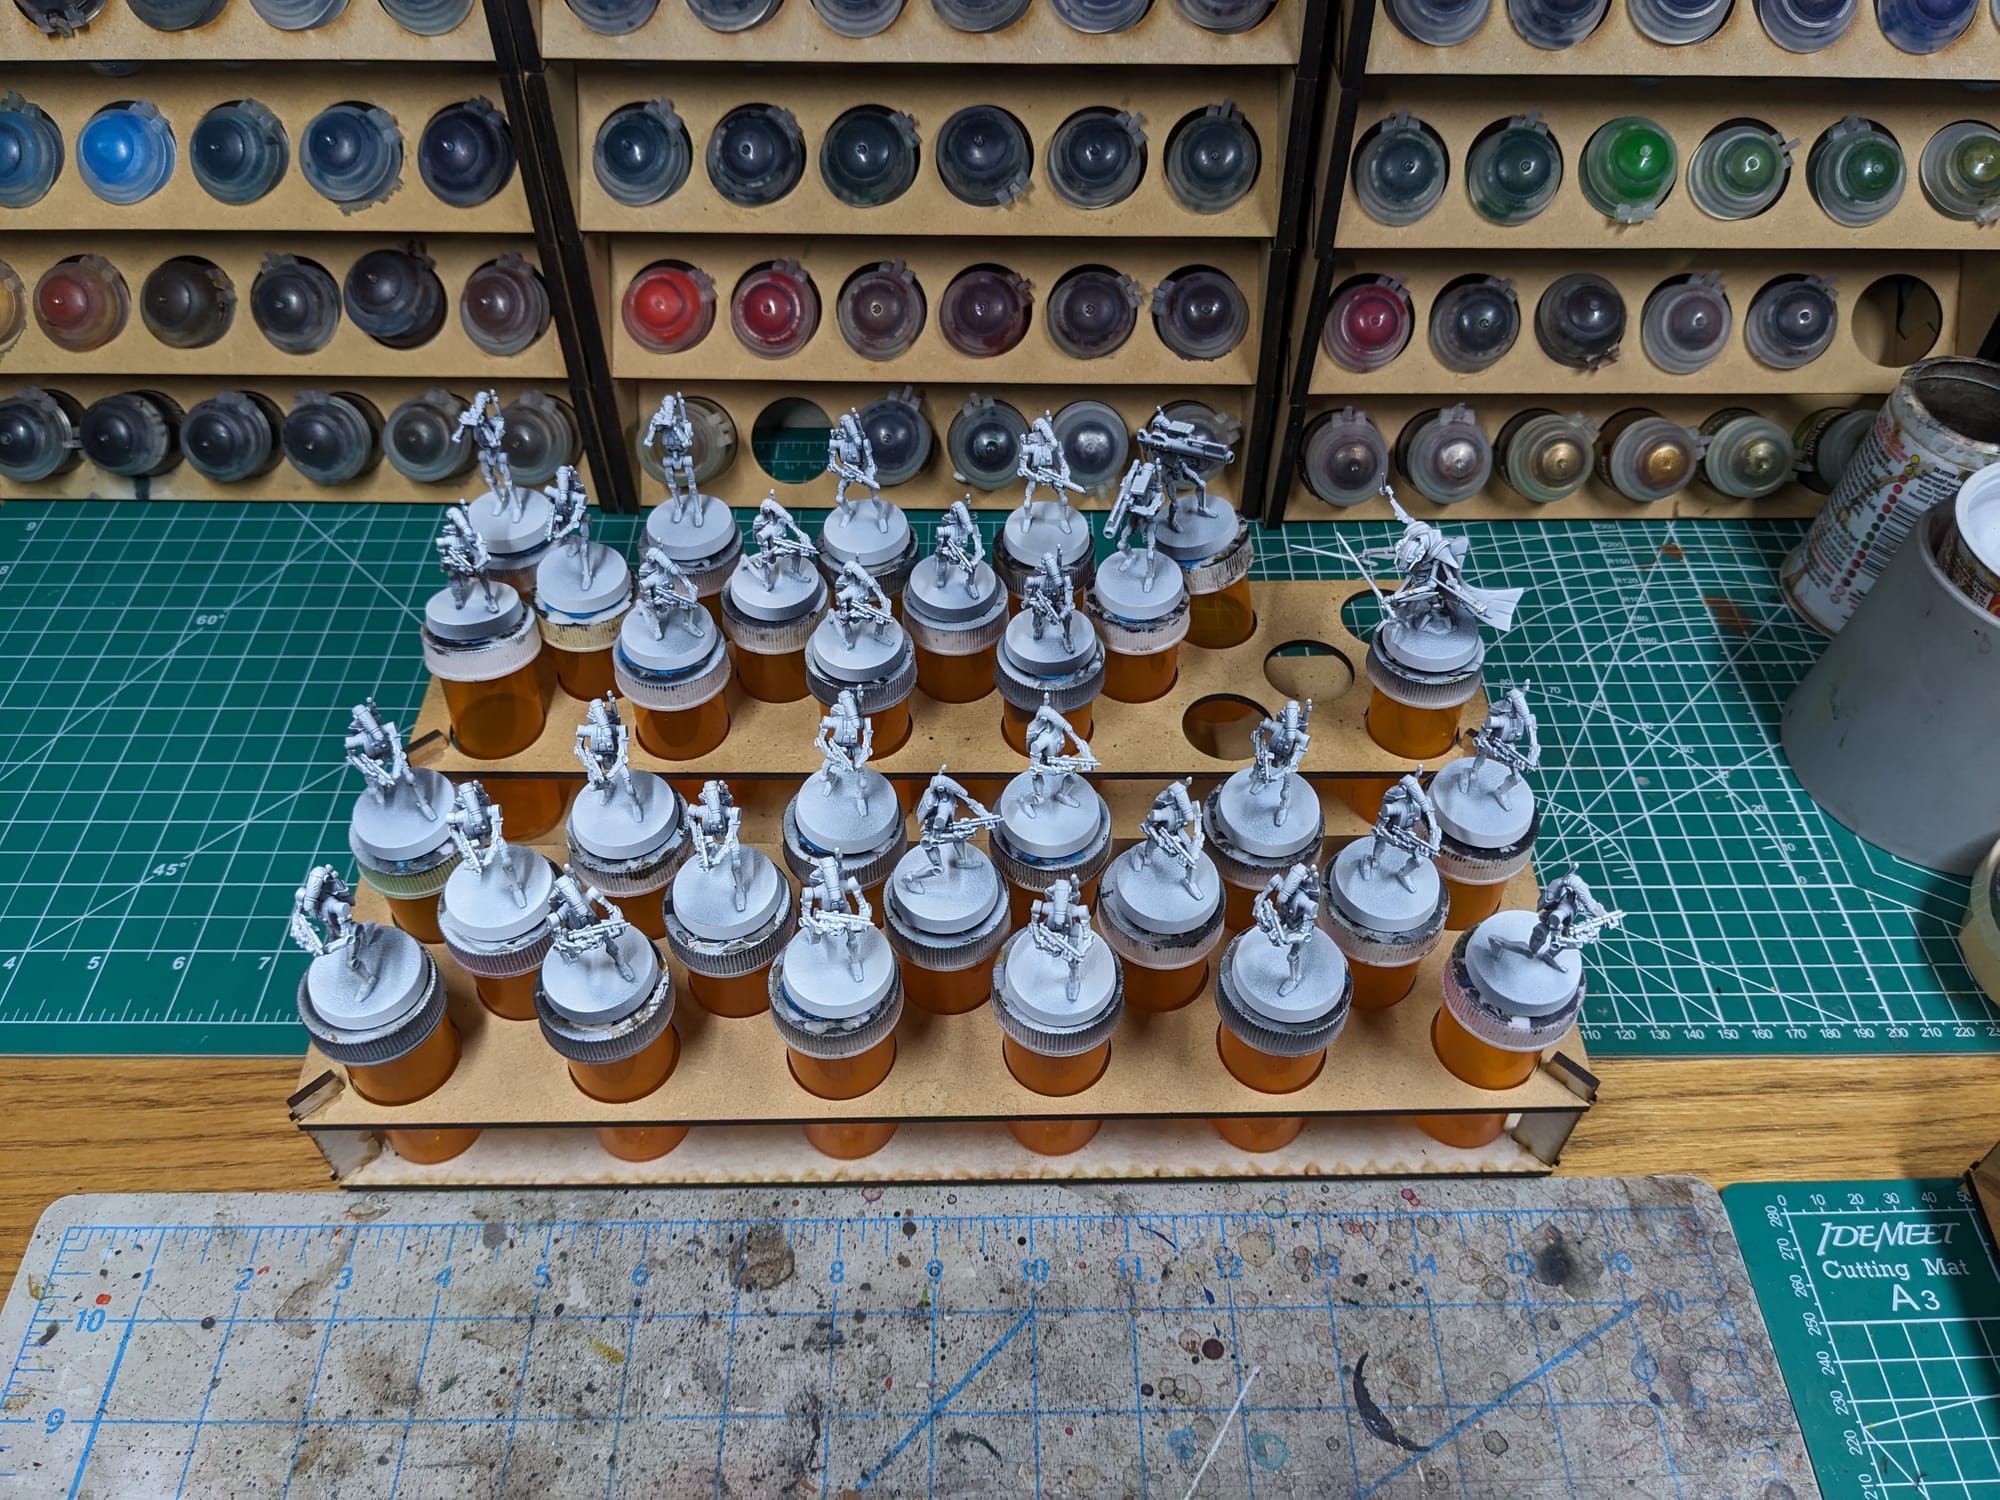
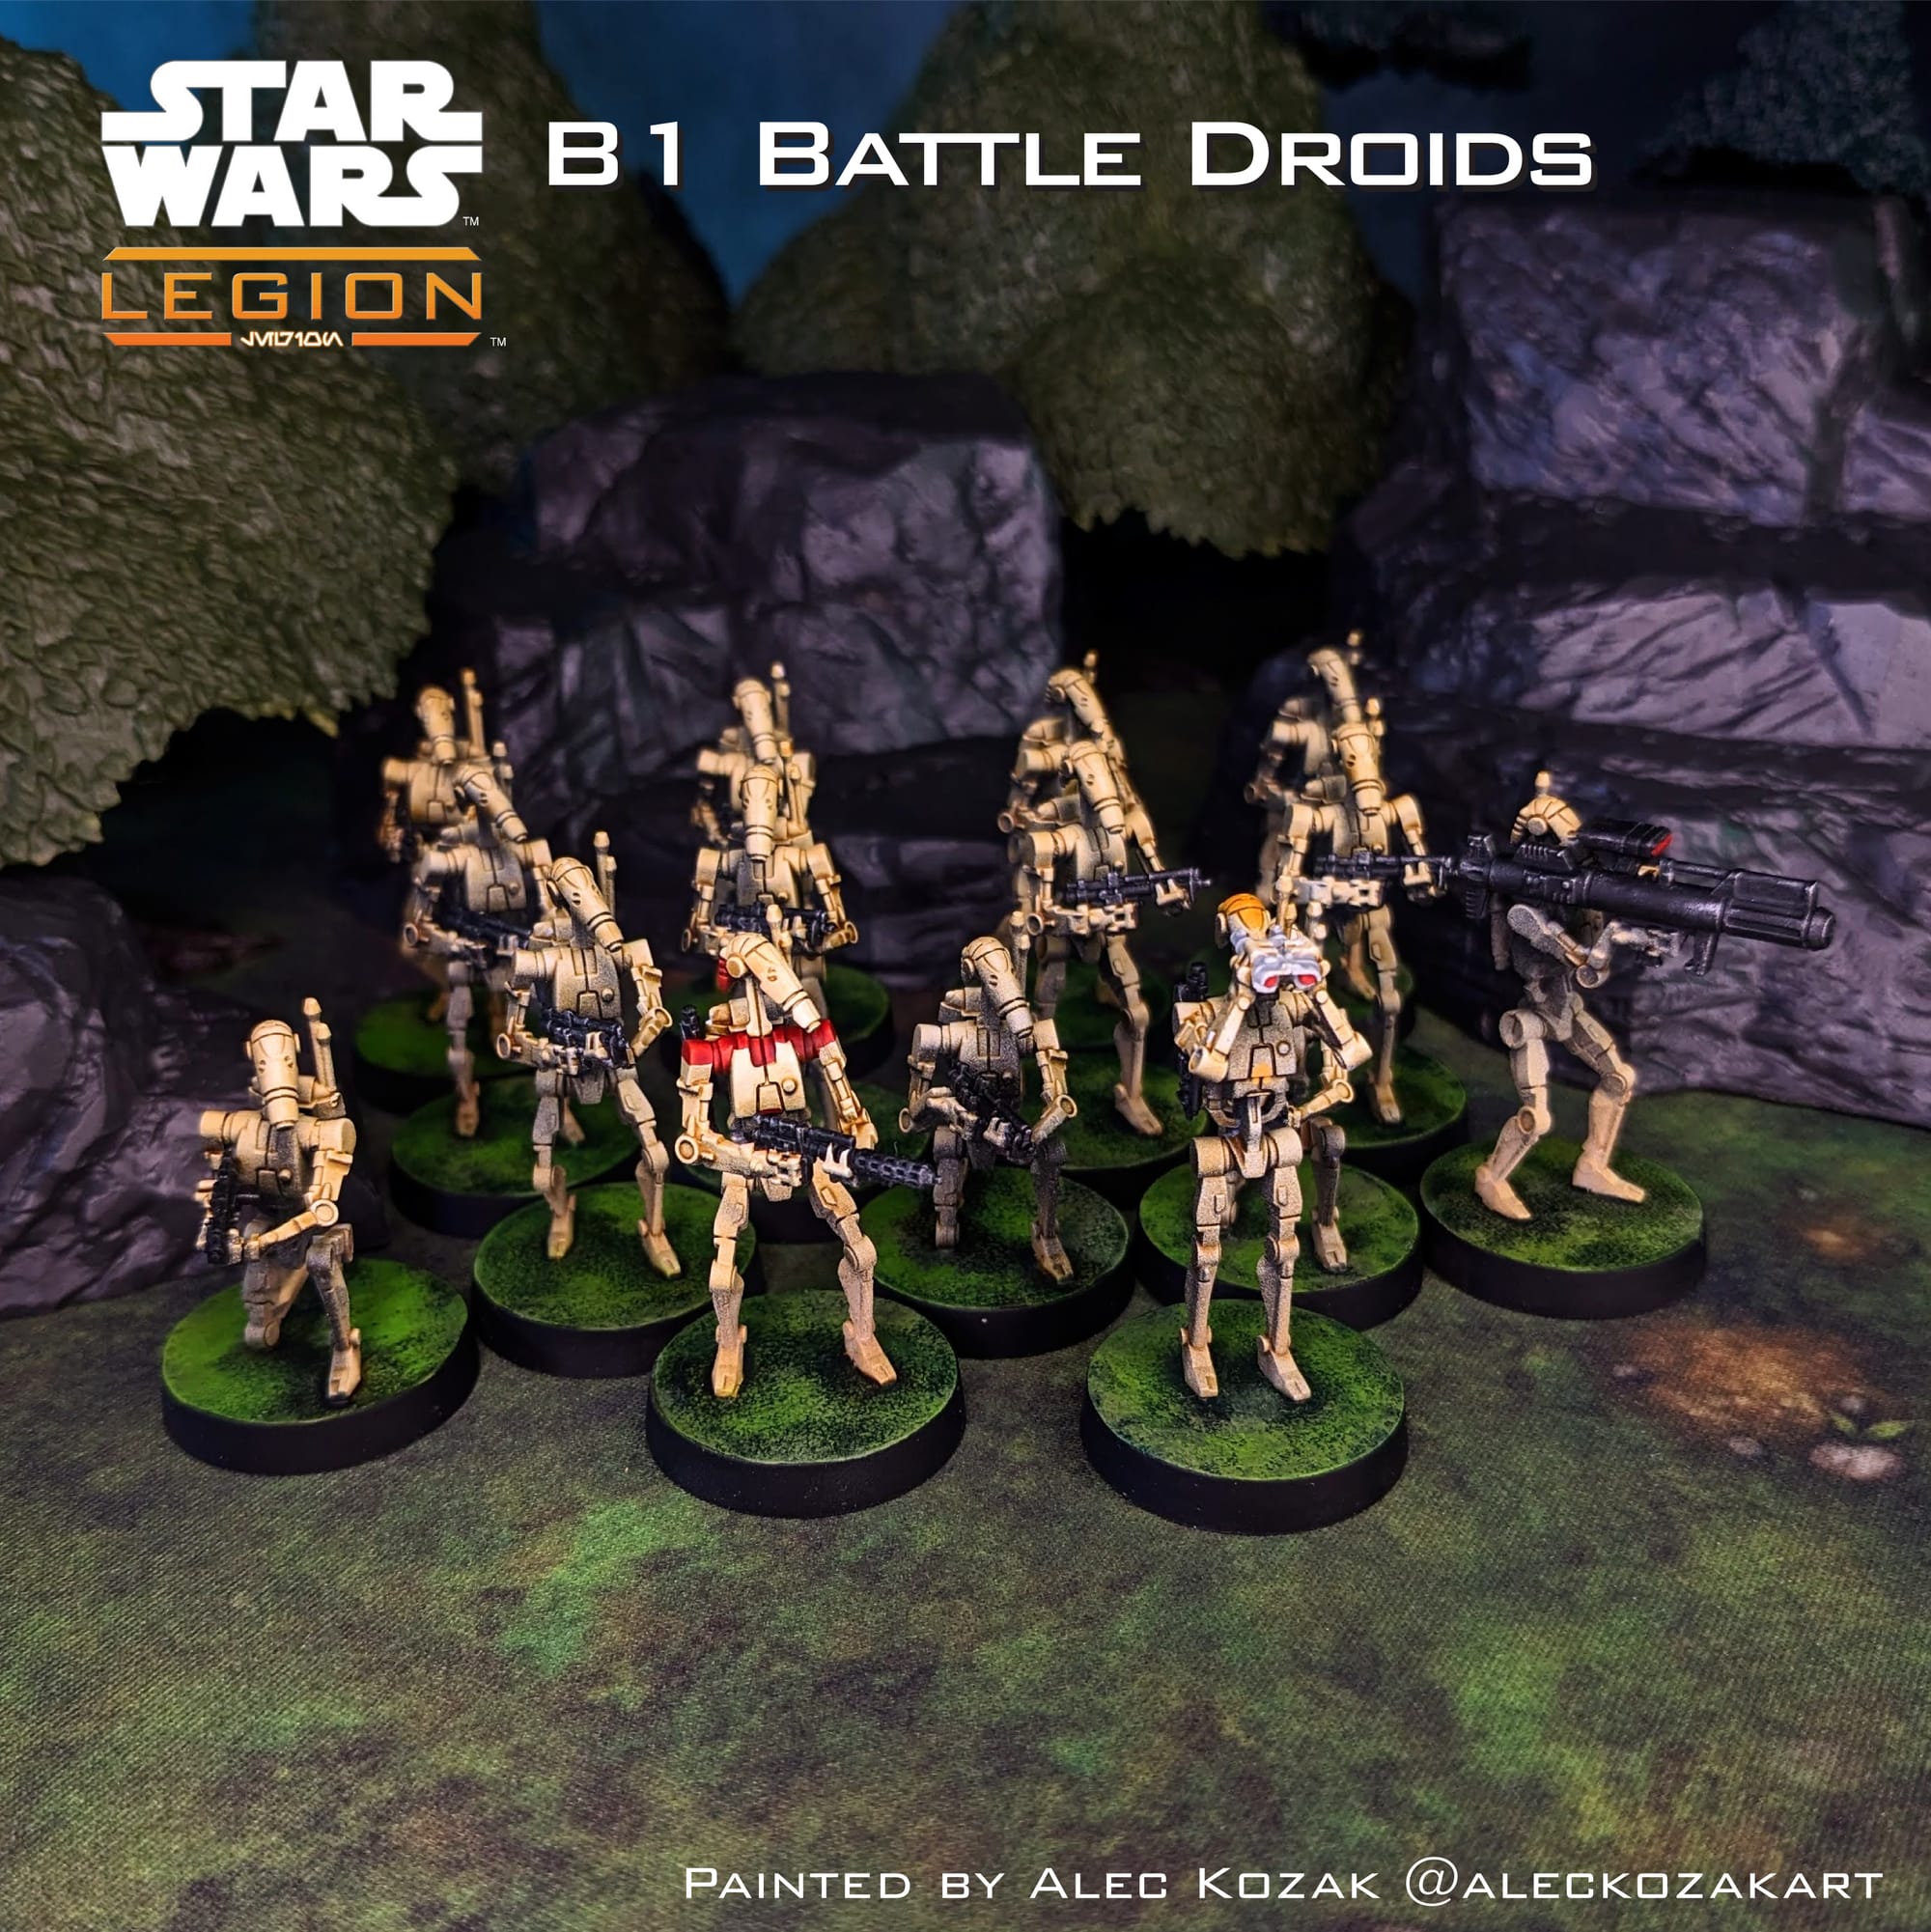
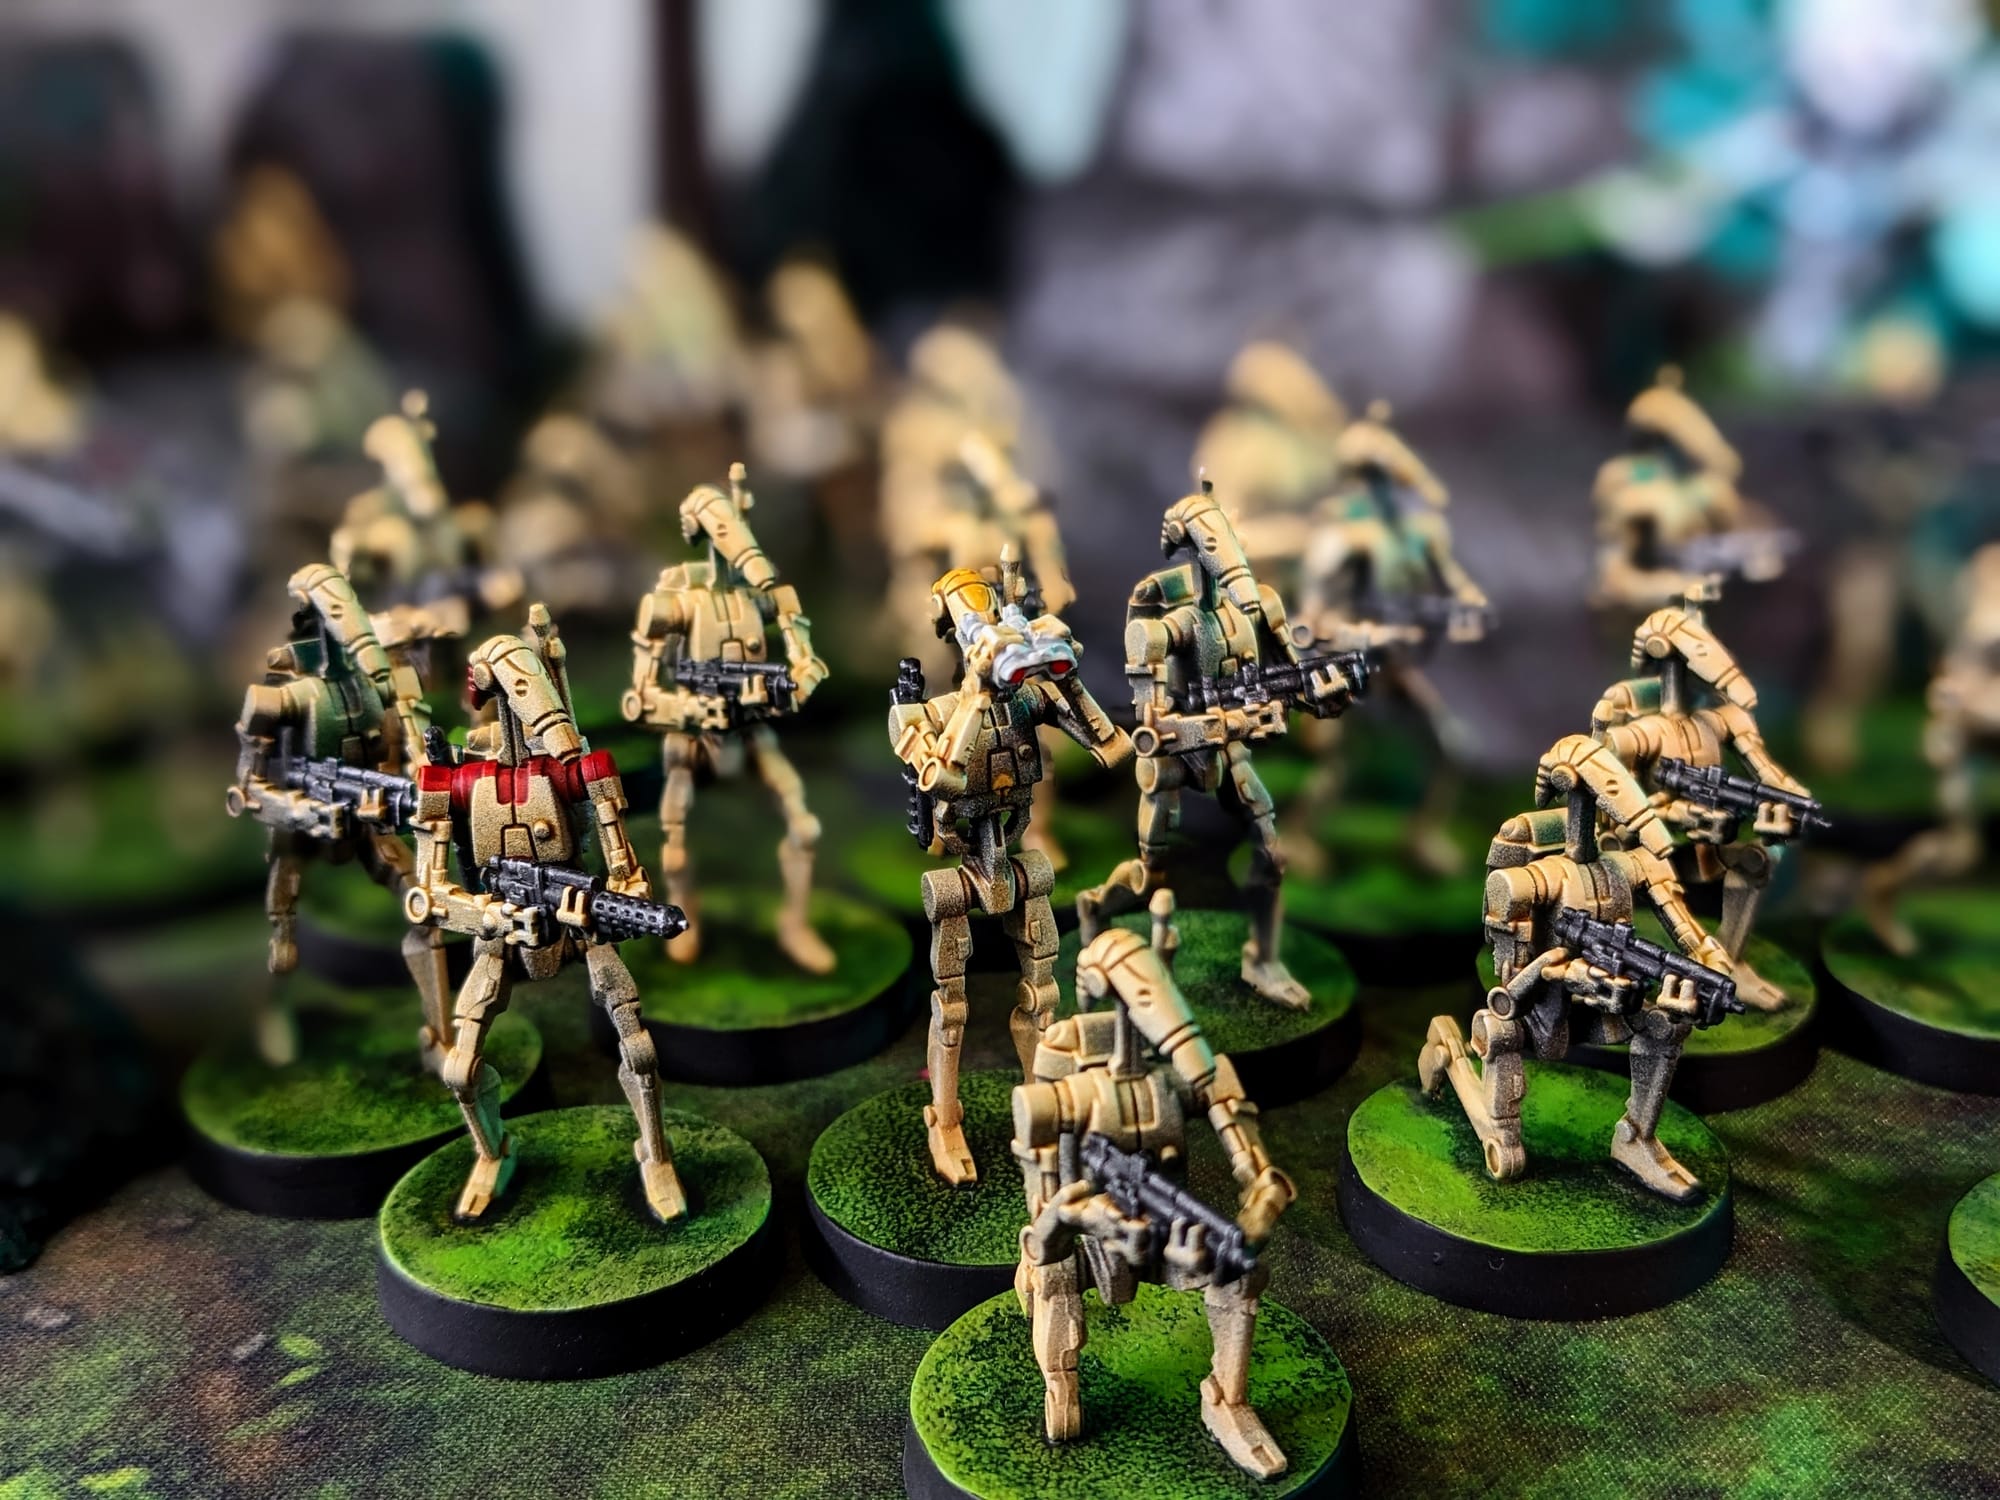
B1 Battle Droids
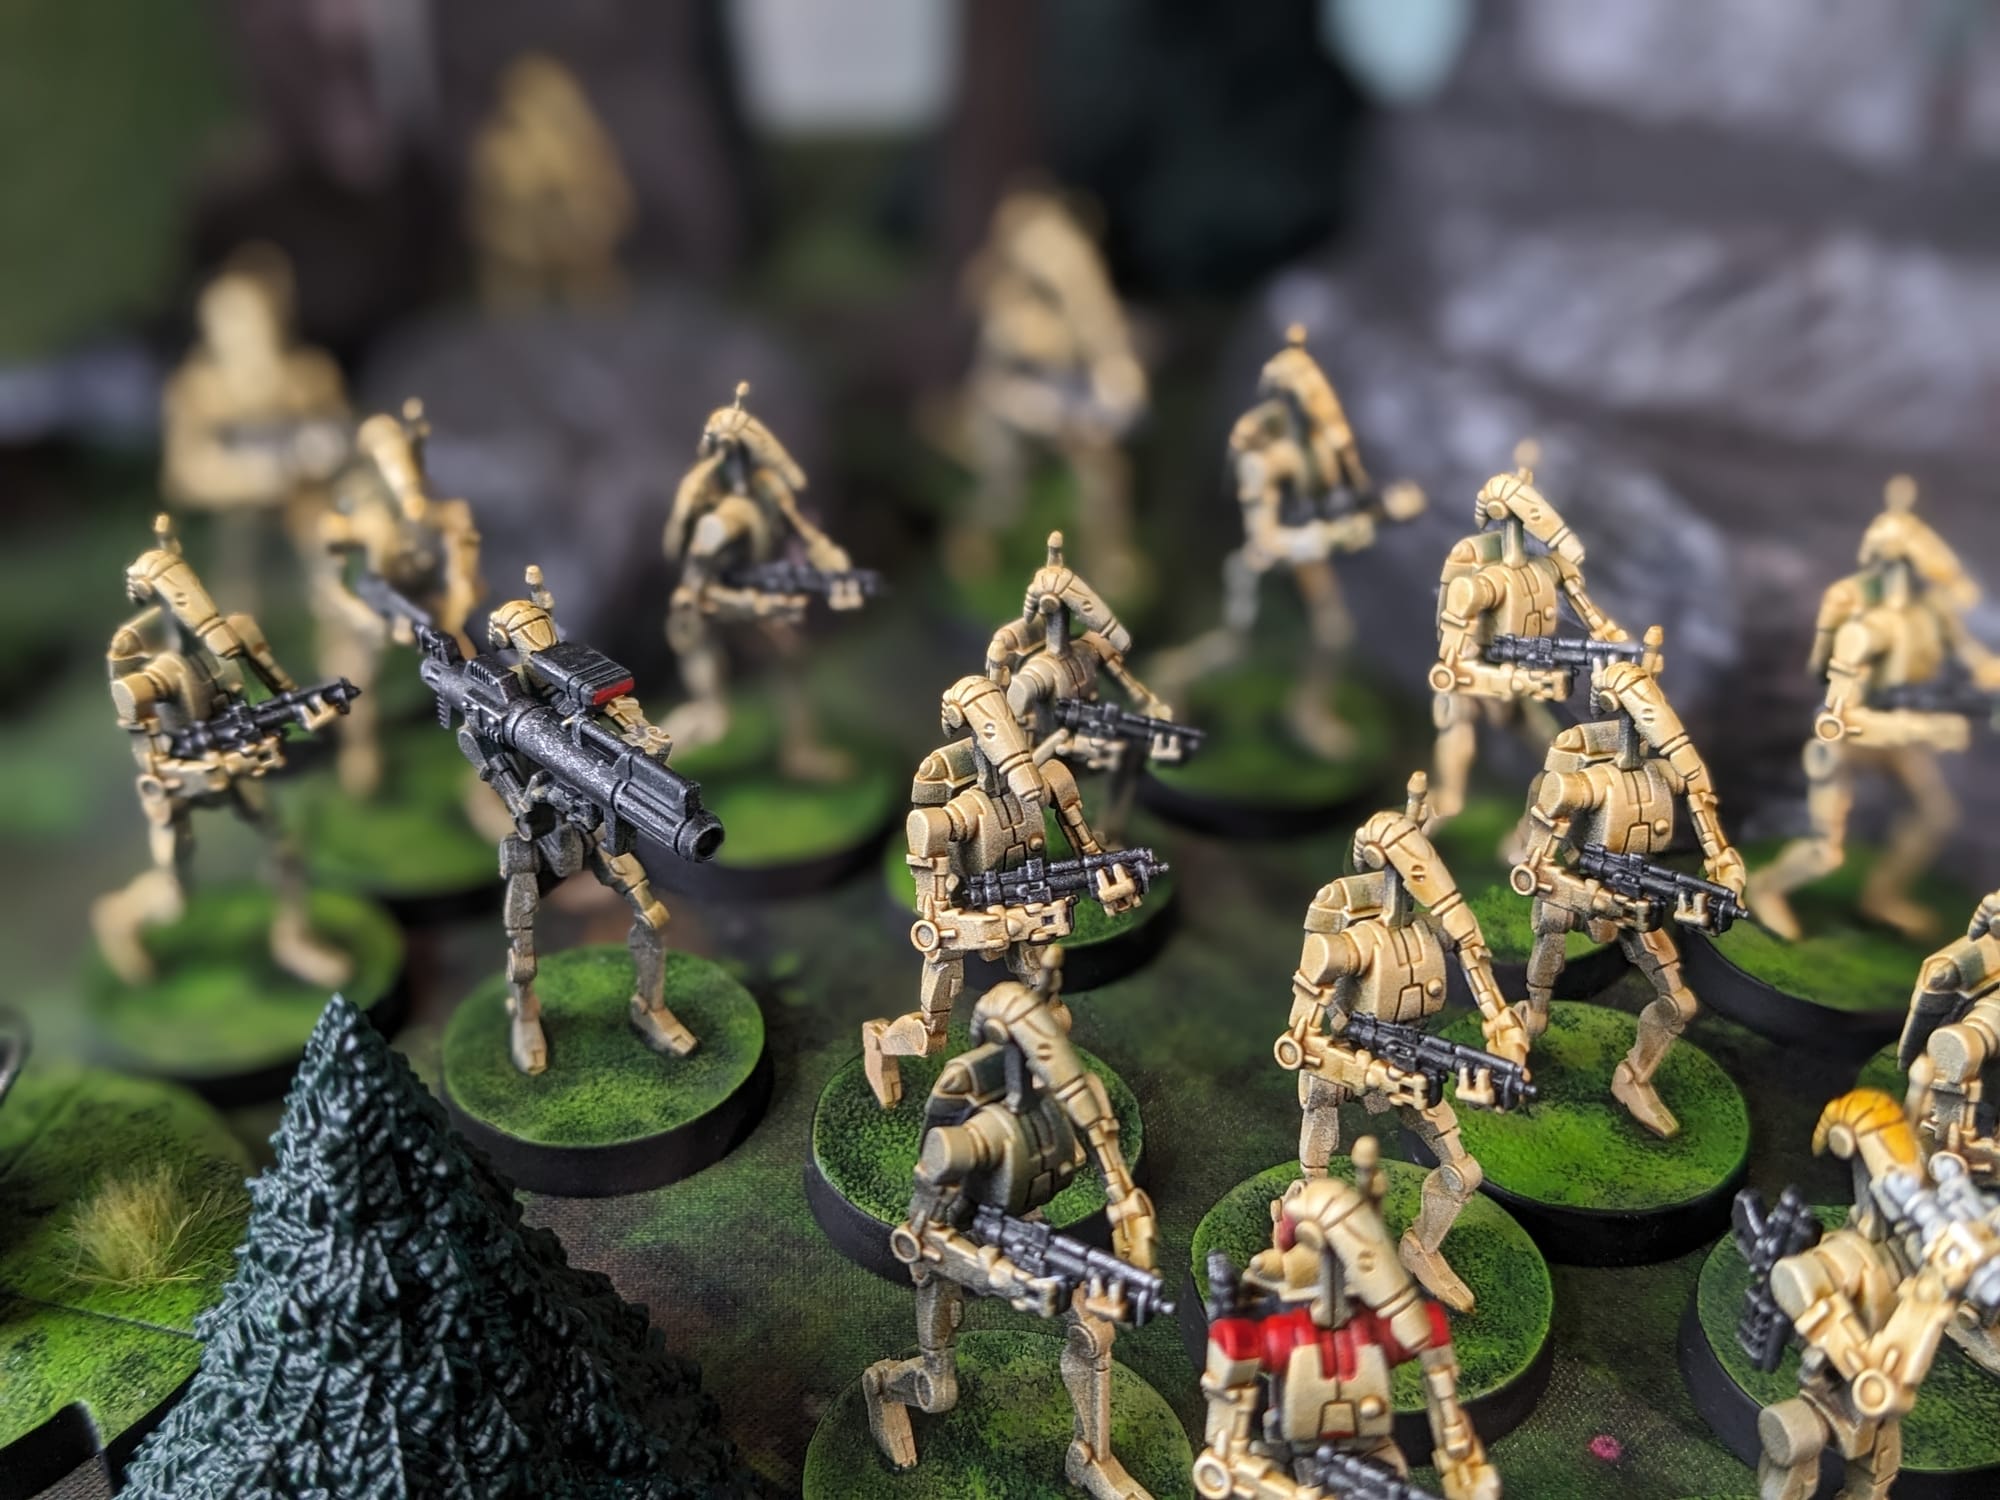
The most time you'll spend on the B1s is assembly. Painting them goes super quick, as Sorastro demonstrated in his video. I pre-mix my contrast paints so I have a bottle ready to go for the next time I inevitably paint up some B1s. I think I got through like two episodes of the Clone Wars (from 2008) painting up the B1s from start to finish.
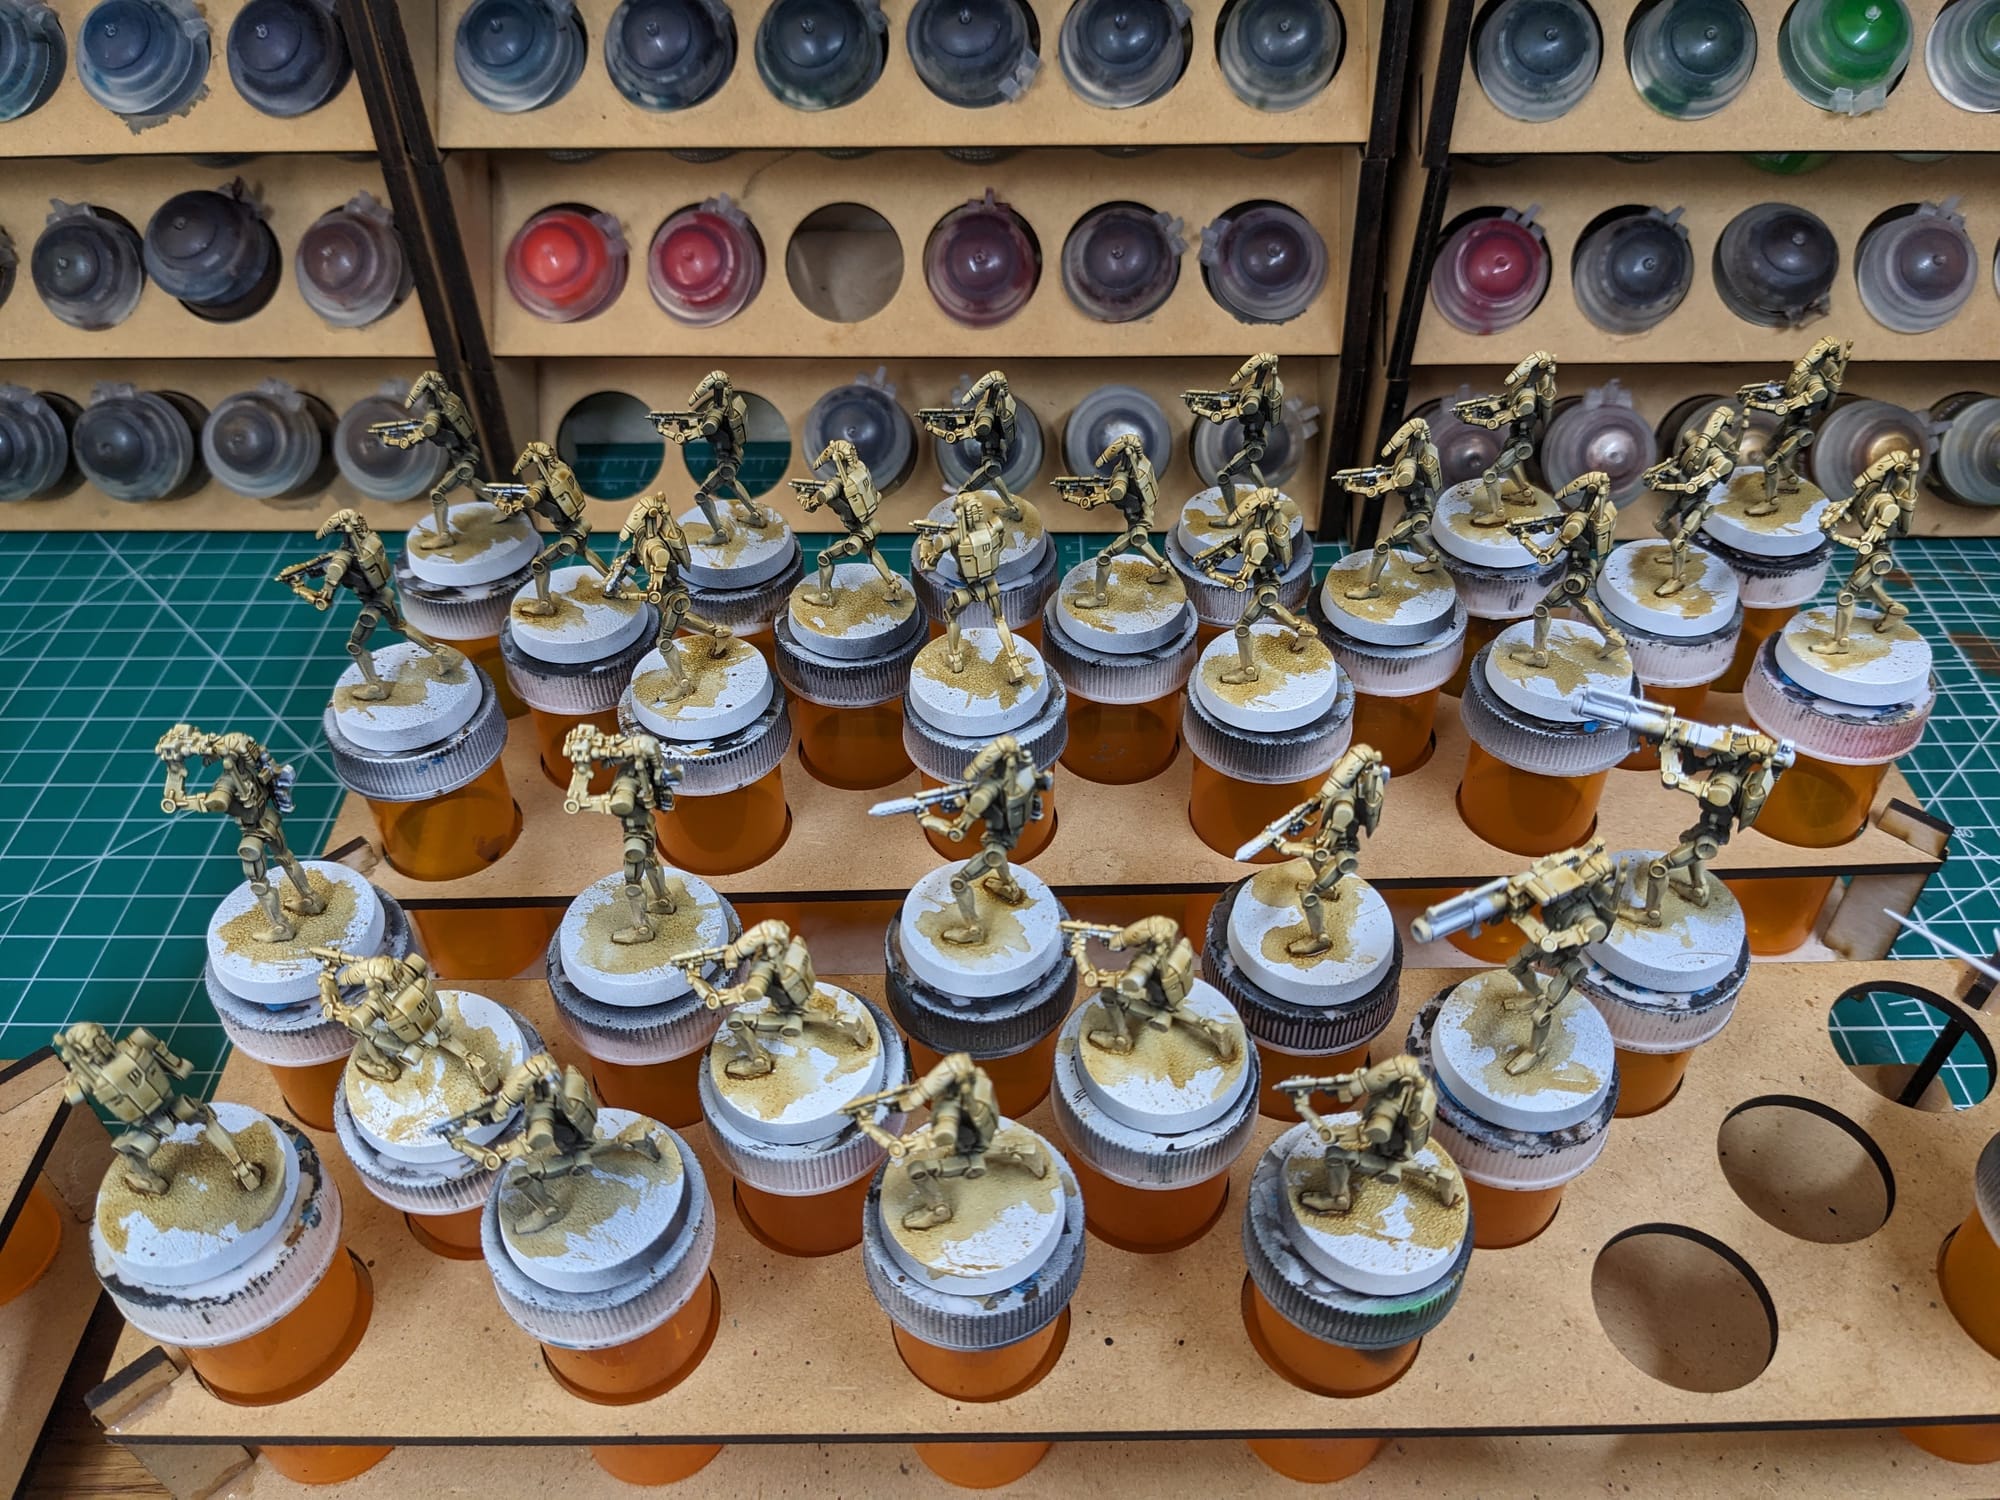
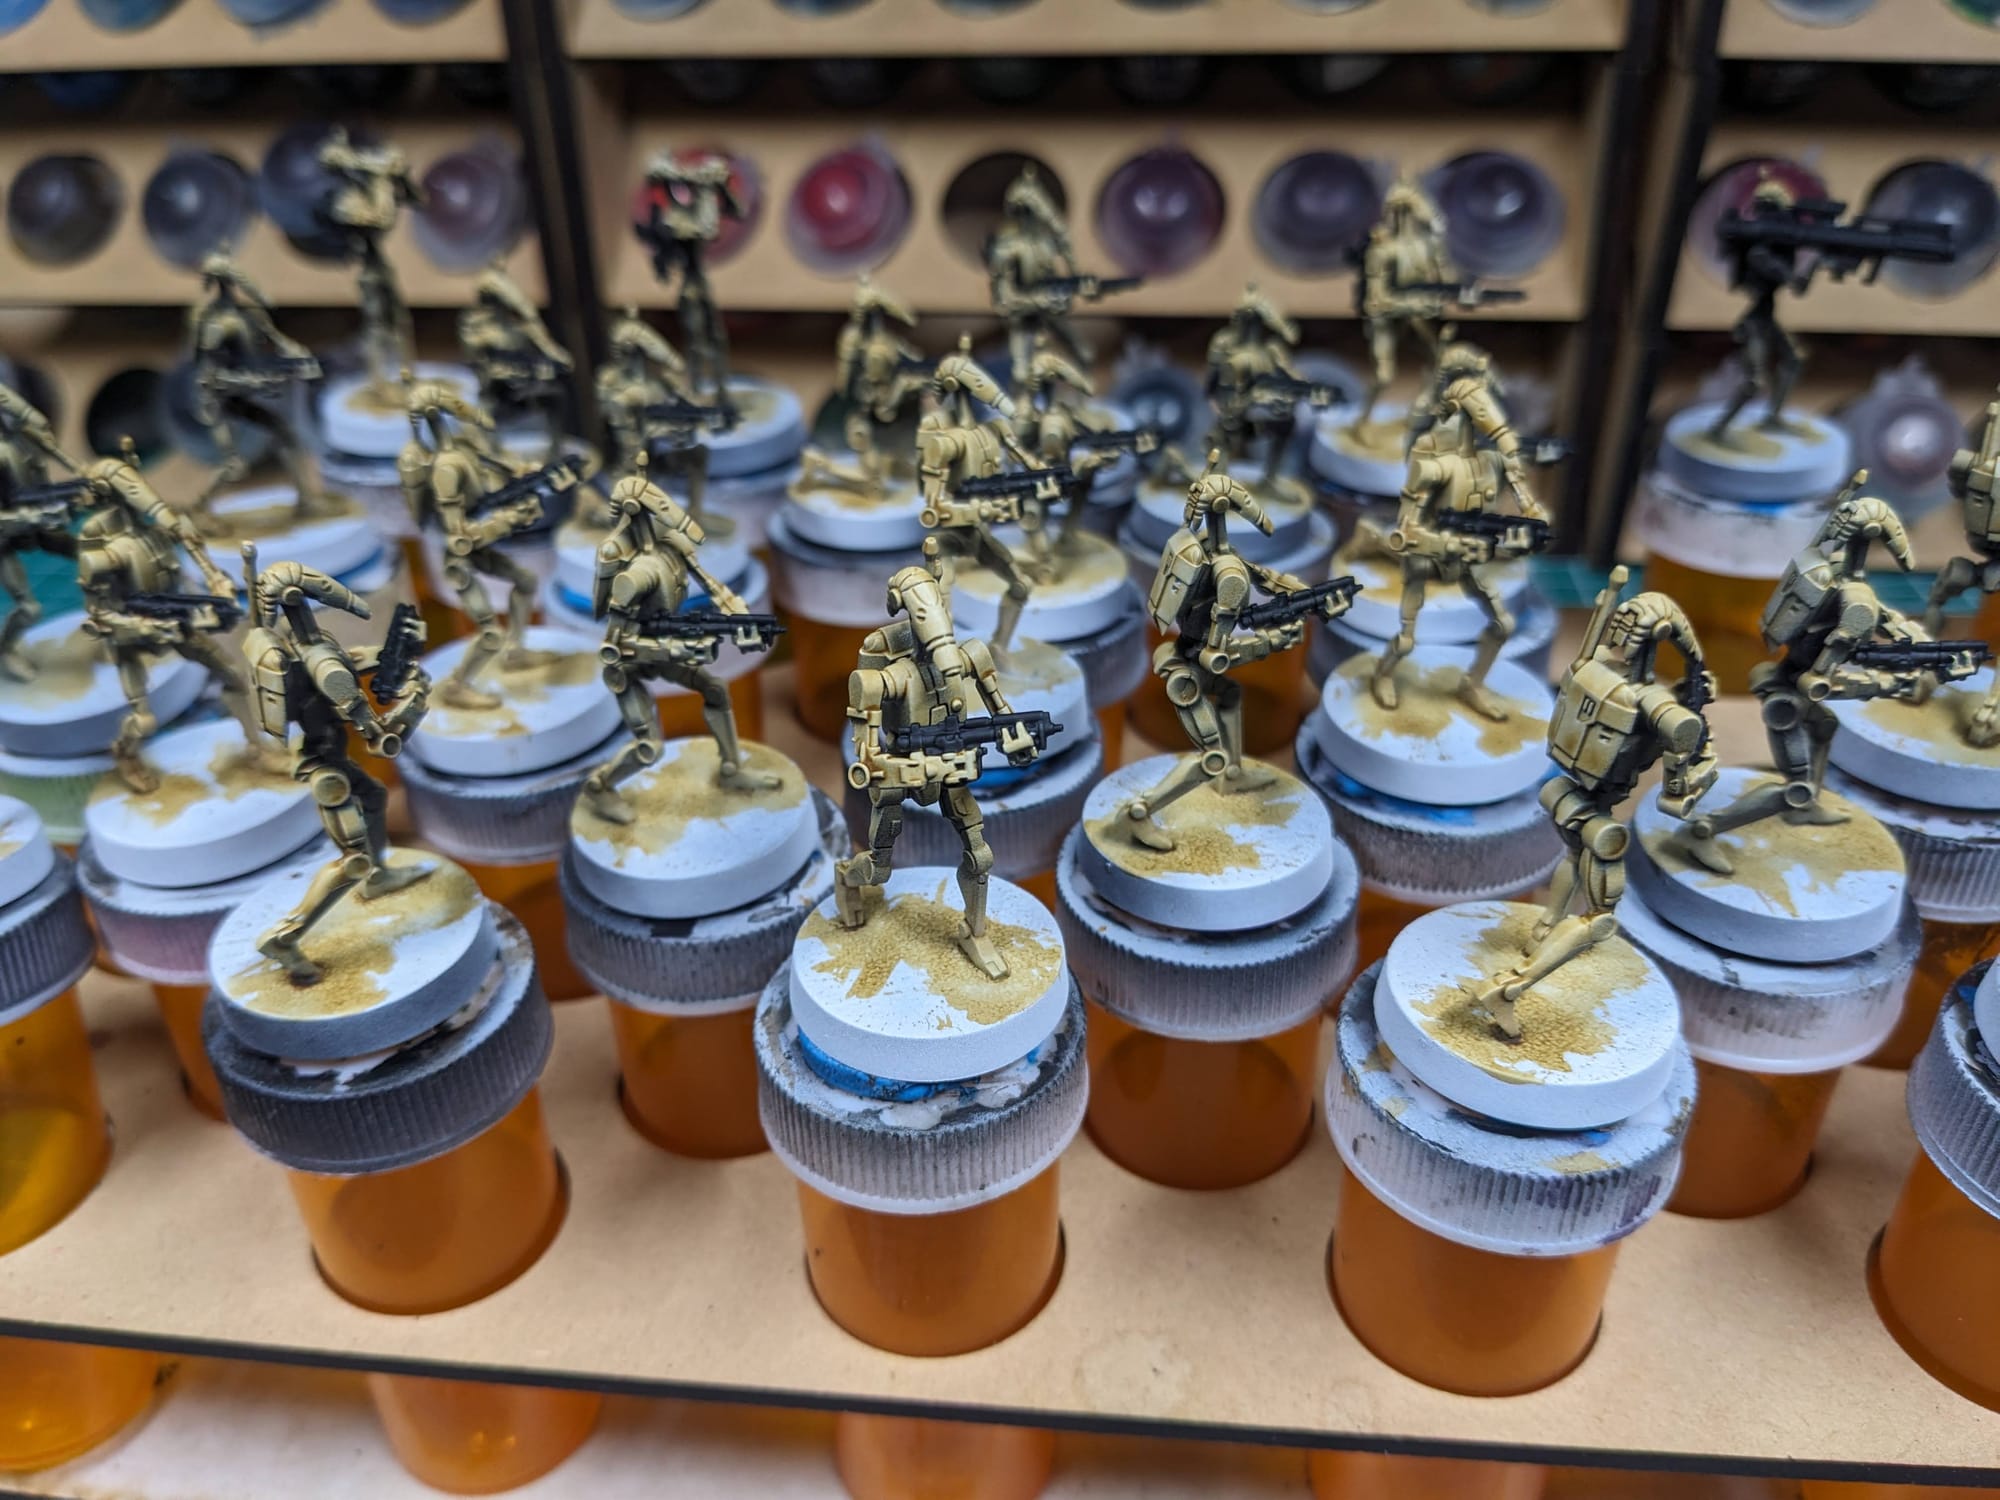
Main body work first, then blasters
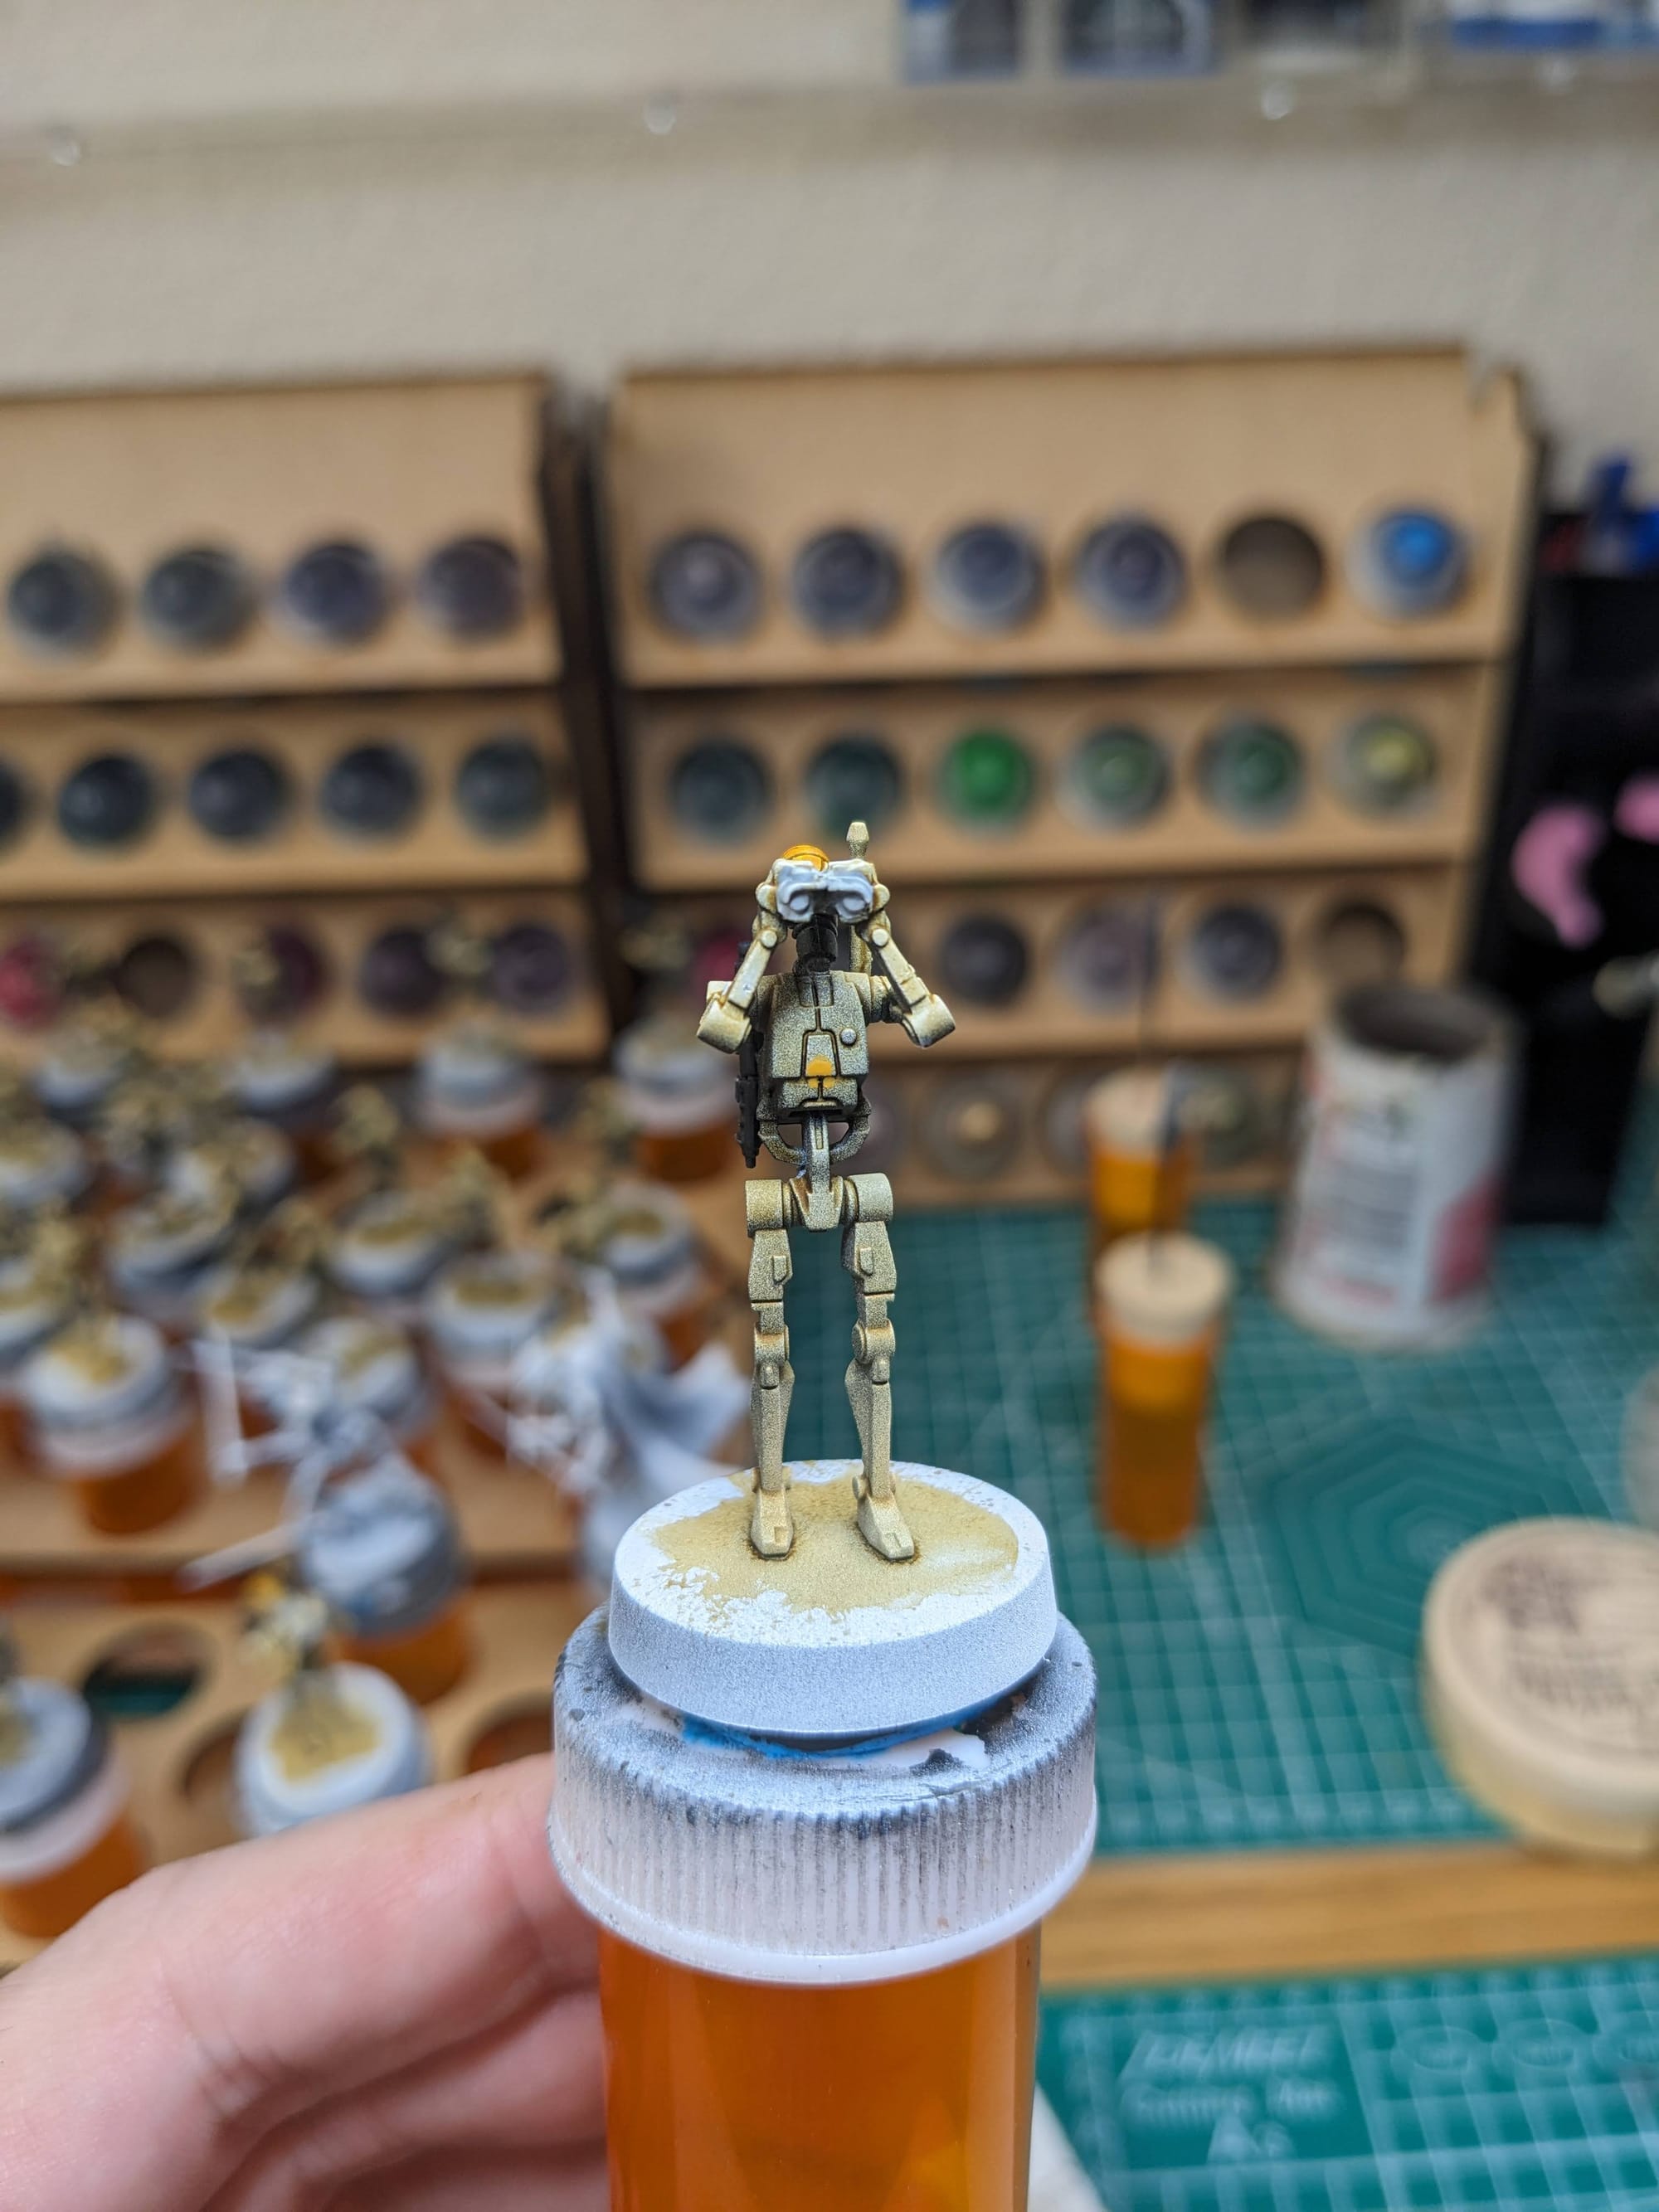
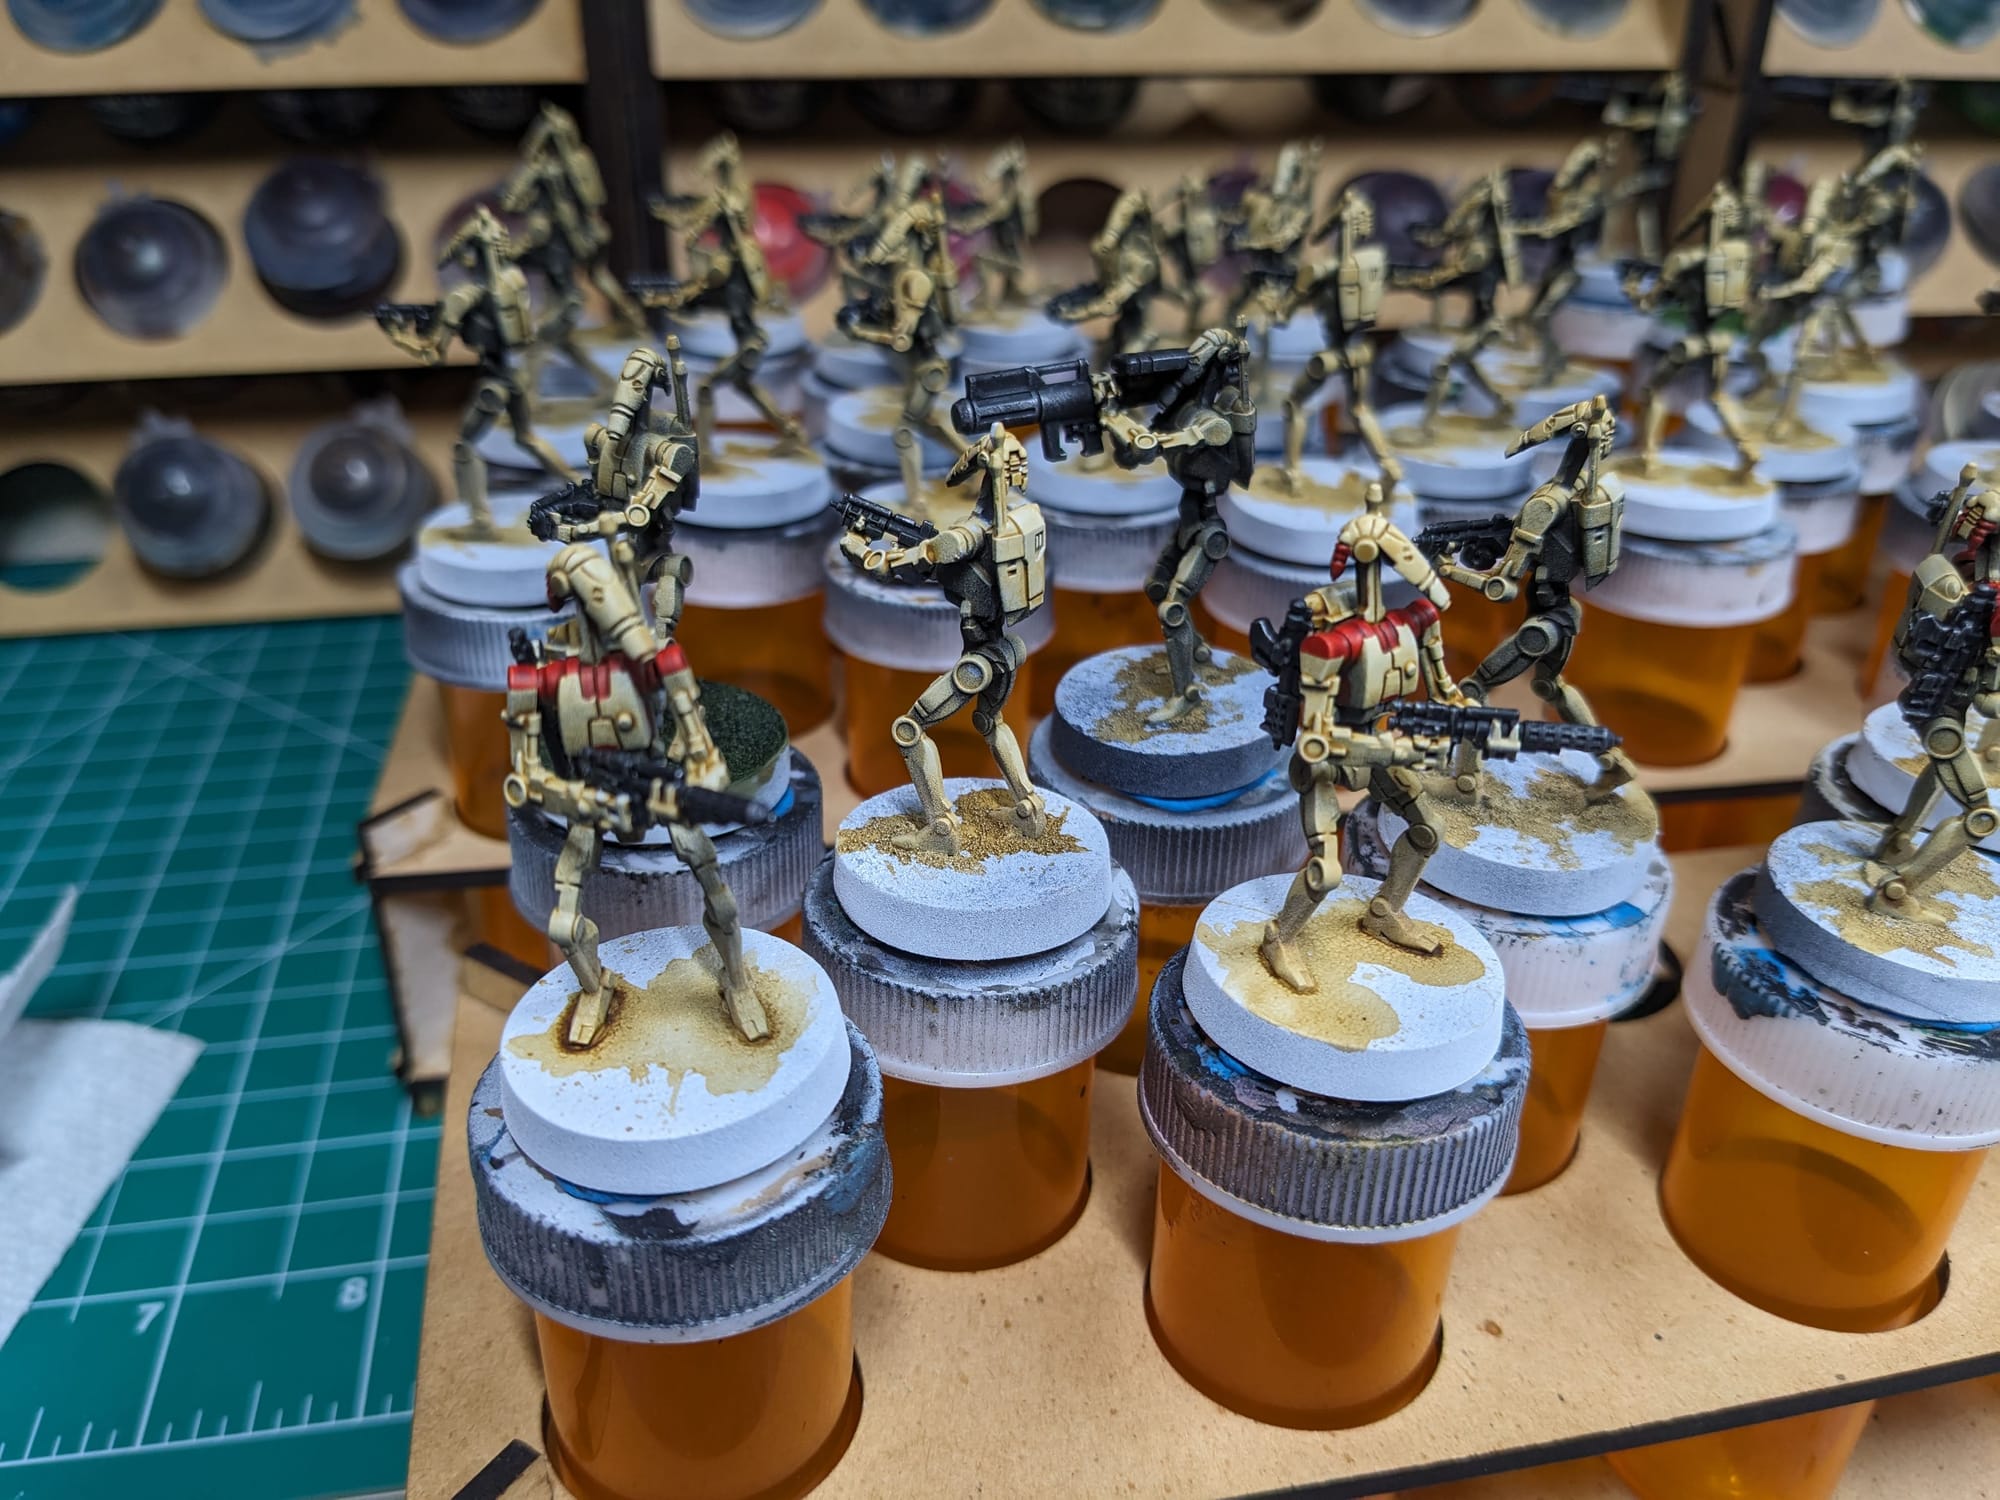
Details for the Officer and security units.
Basing
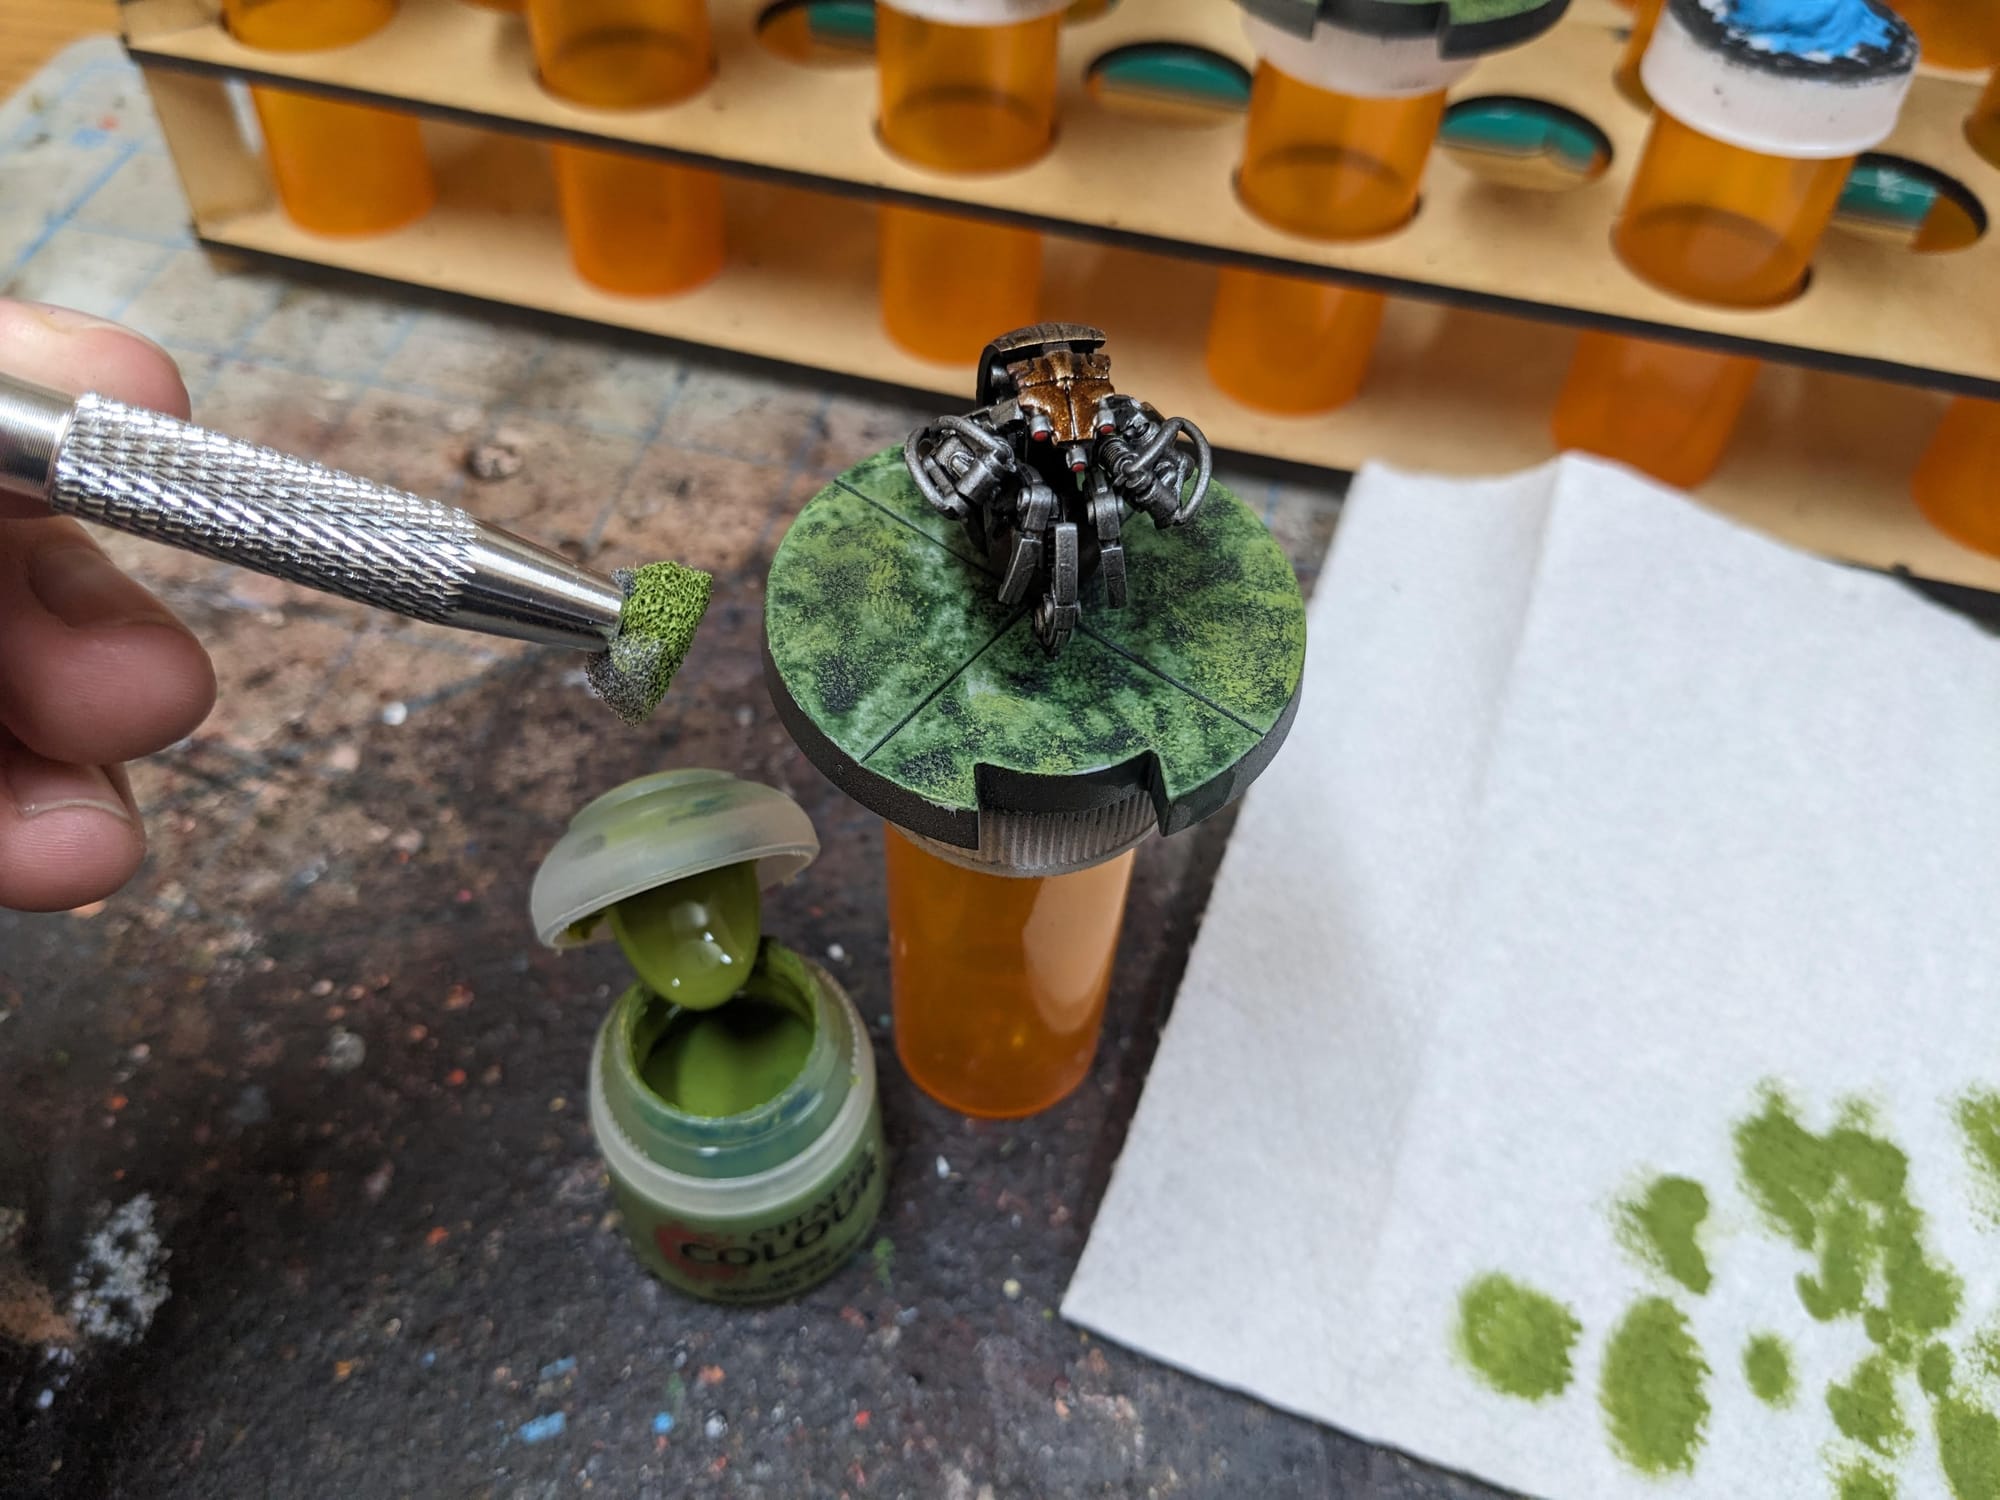
To keep the basing simple, I simply applied three different colors to the base: a contrast green and two different hues of green dry brushing to give some variation to the 'grass' effects. There is a little bit of texture on the bases that helps add some definition, but the larger Destroyer Droid bases still look flat. So, after the sealing* I applied some Army Painter Jungle Tuft grass to add a little bit more to the field.
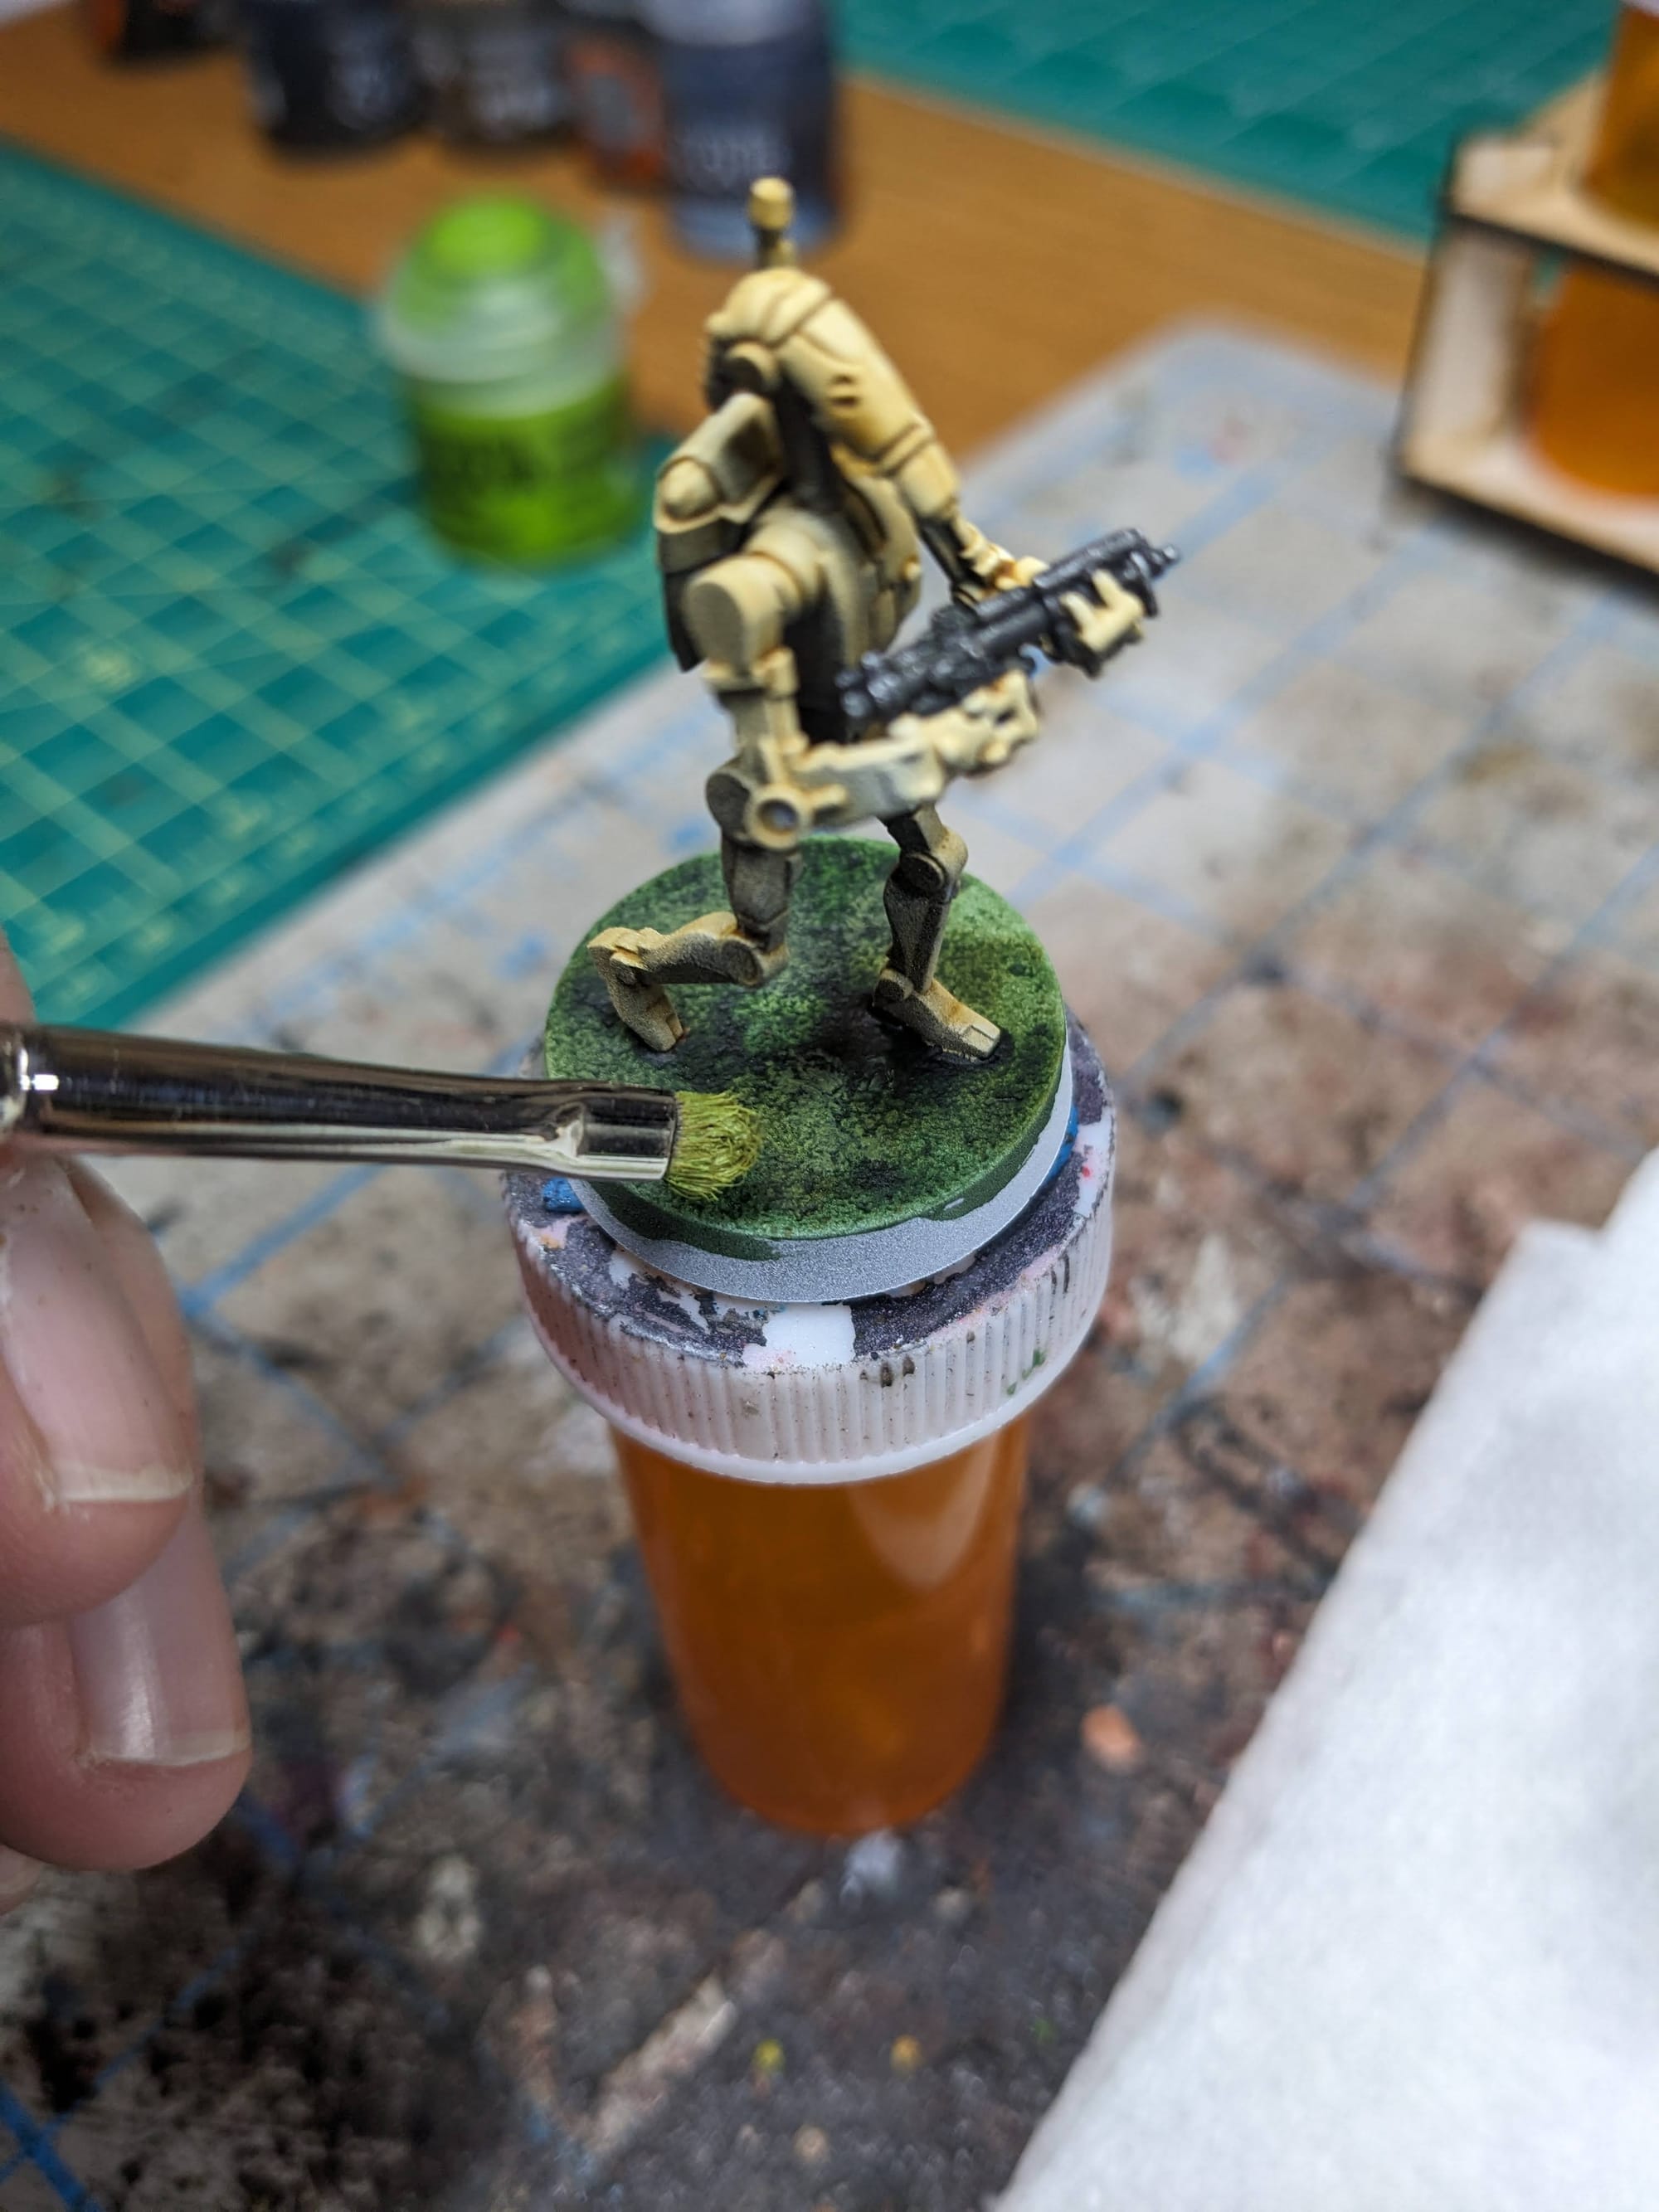
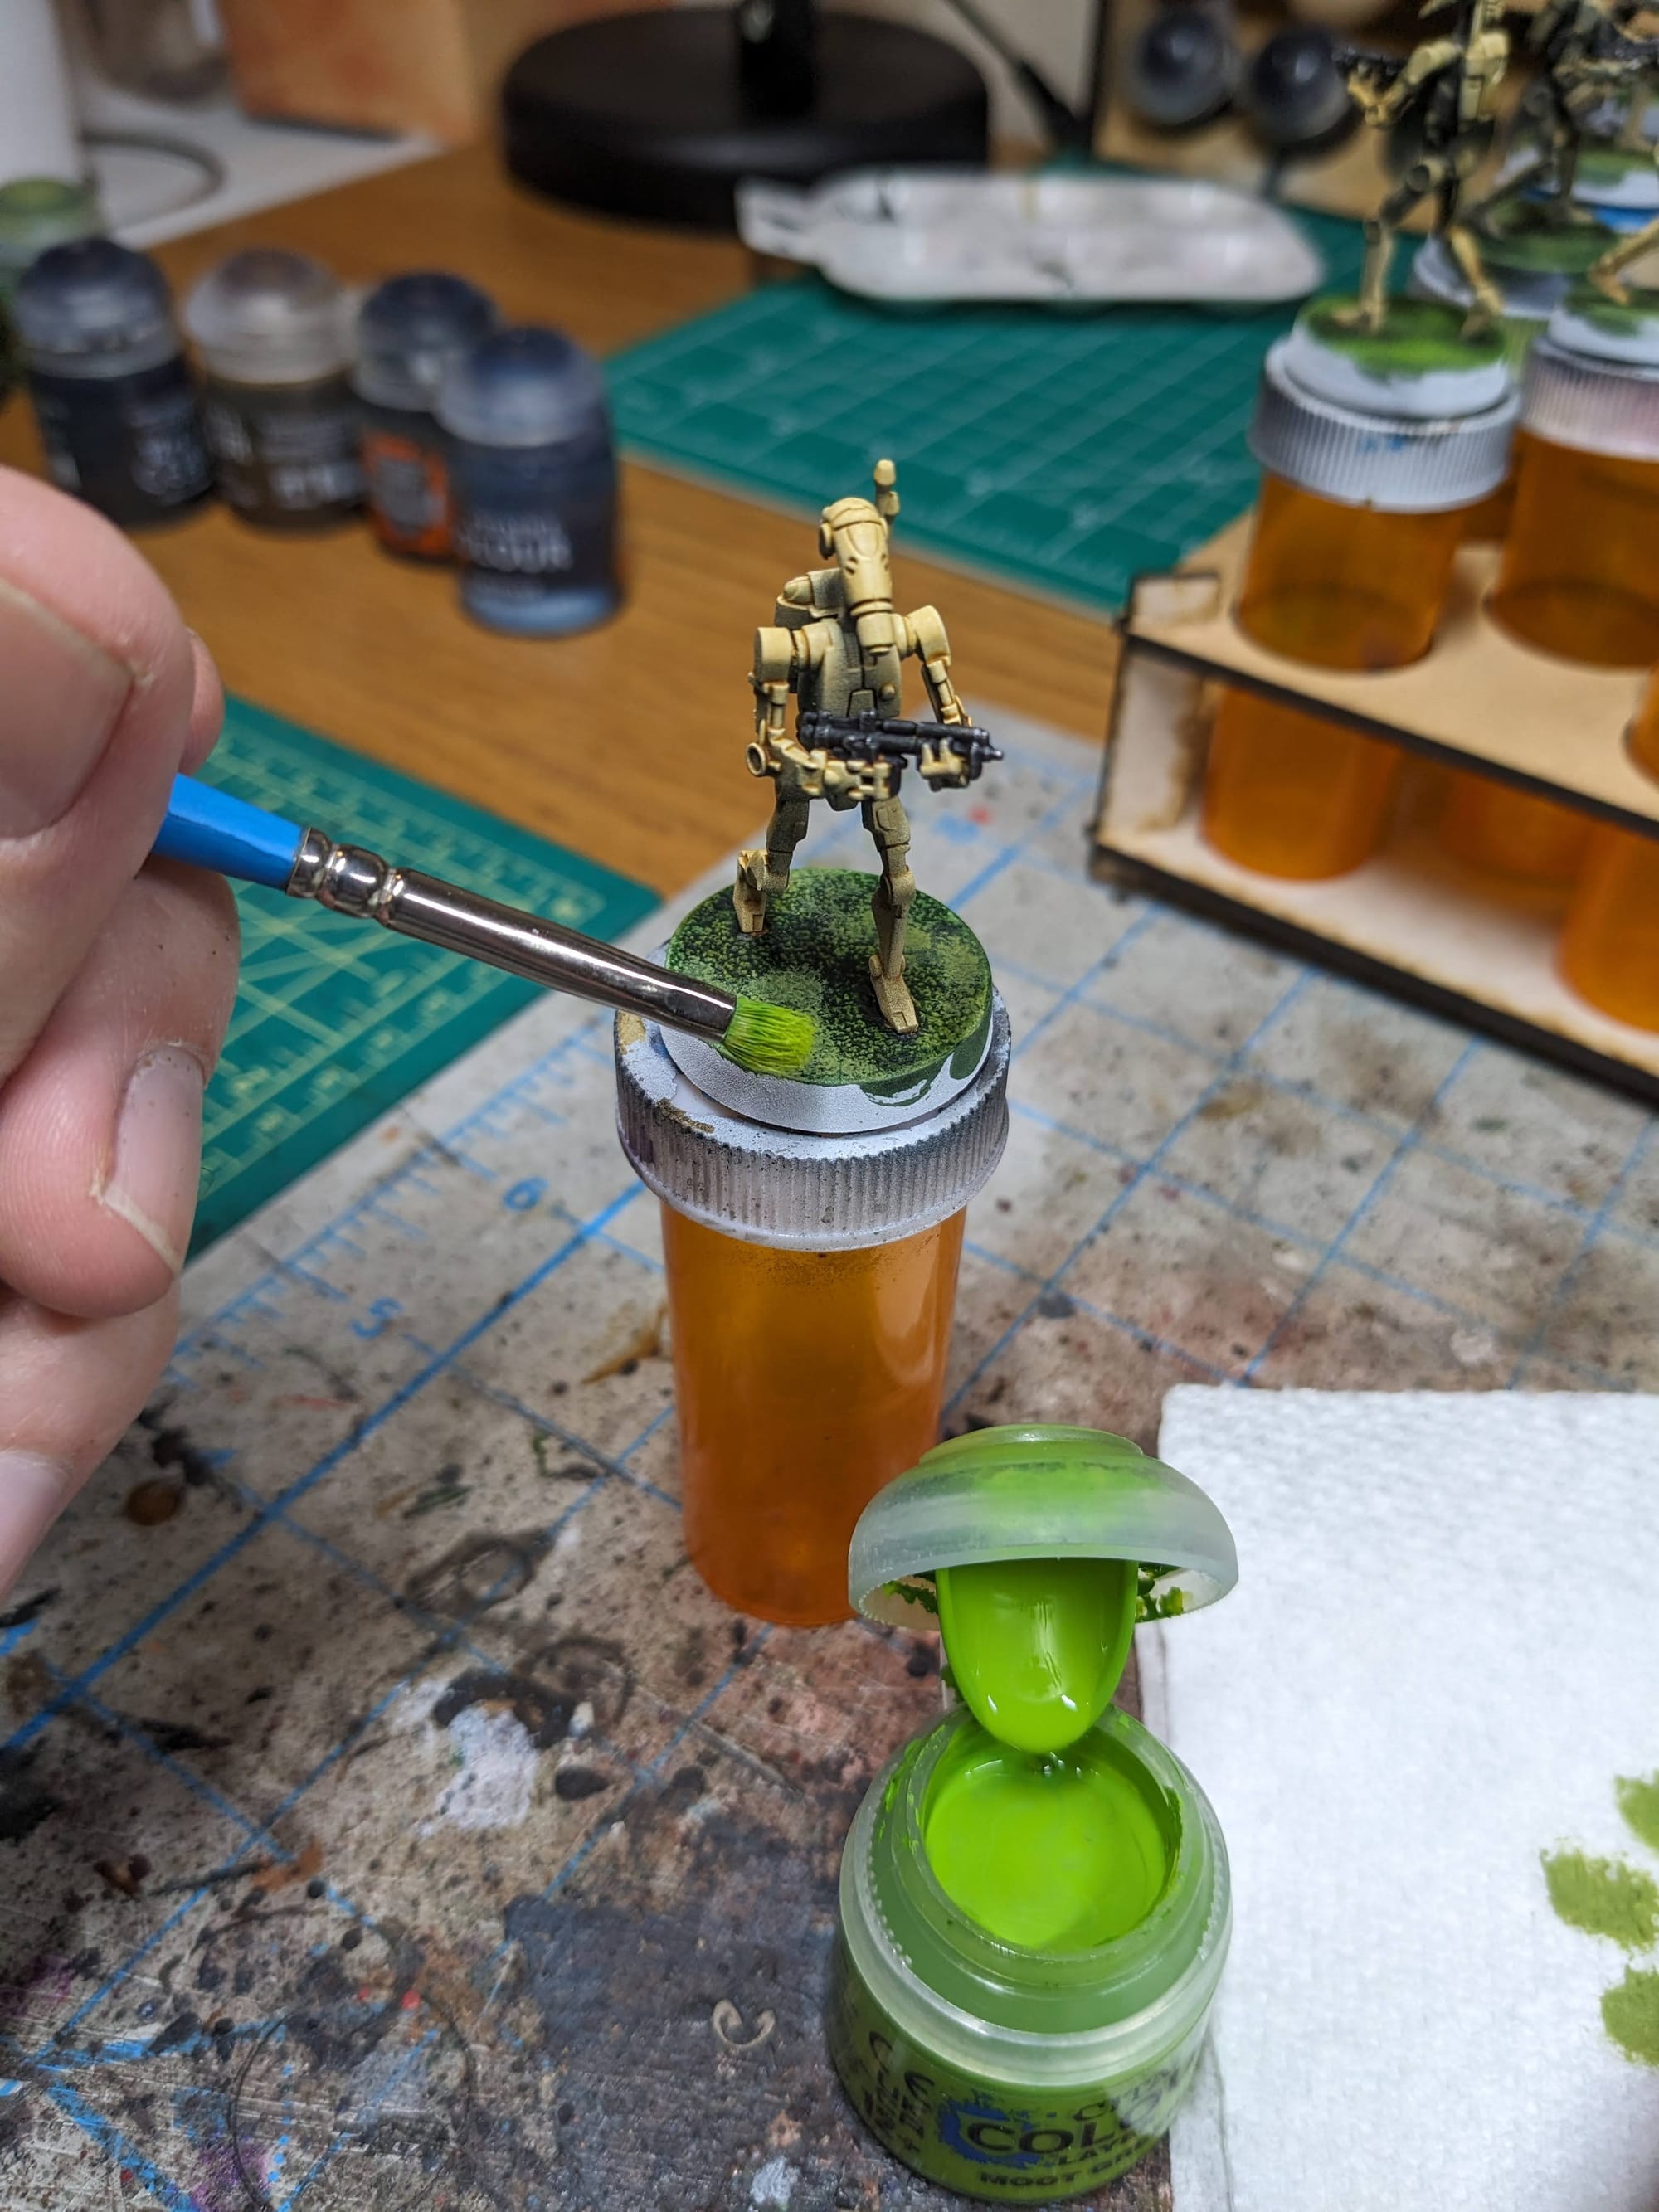
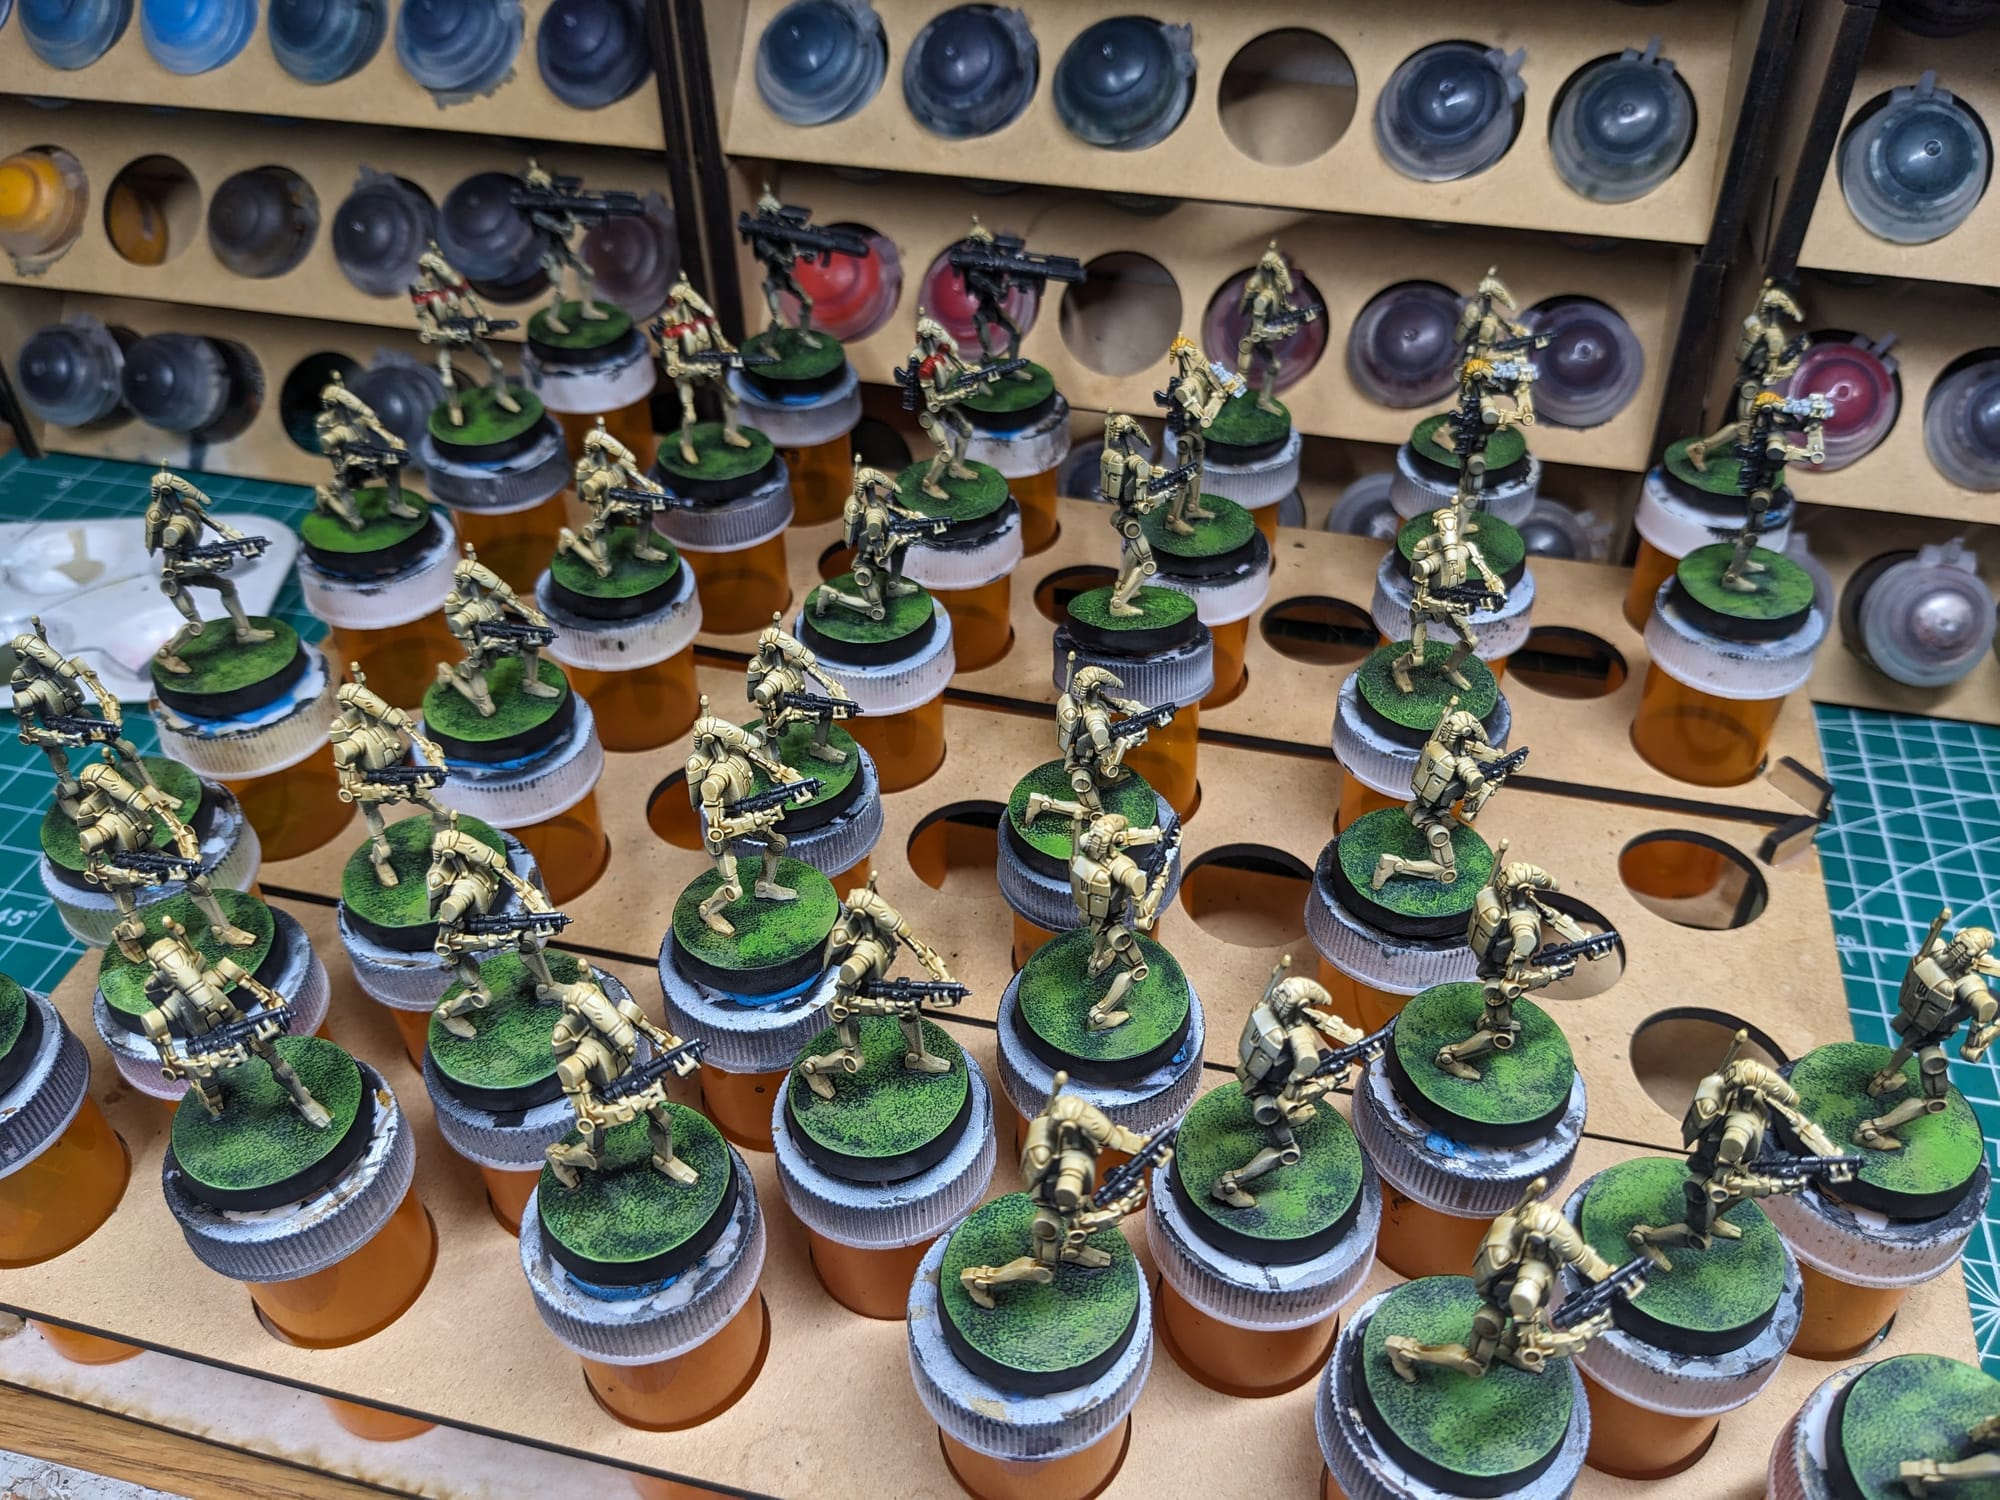
I used the following green paints for the basing: Creed Camo Contrast, Grey Seer (for the silver bases), Orruk Flesh, and Moot Green.
For the Destroyer Droids and B2 Super Battle Droids, I first applied applied a light grey over the silver. From there I can apply the green contrast to the base.
*Sealing — This is really important. If you apply the grass before spraying the clear coat, the spray will attach to the grass like dew drops. Which, arguably, is really cool, but may not be what you're going for. So, make sure you seal up everything first then apply the tufts.
Destroyer Droid Shields - I glued these on after painting them separately and after applying the tufts.
Sealing
As I do with all of the models I paint that I also play, I applied a protective clear coating over the paint. This helps preserve the paint on the model and keeps oils from hands from rubbing off the paint as you continuously touch the models during games. There are many different kinds of clear varnishes to use, but I typically use any matte or anti-shine varnishes, as satin, semi-gloss, and gloss tend to distort the colors of the models (not to mention that most models aren’t supposed to be shiny).
Brands that have been reliable for me are Krylon Matte Clear Spray, Rustoleum Matte Clear Coat, which is slightly glossy, and Testors Dullcote, although the latter can be expensive and difficult to find. For a coat with no shine that really enhances the colors, I use AK Interactive’s Ultra Matte Varnish, applied with an airbrush.
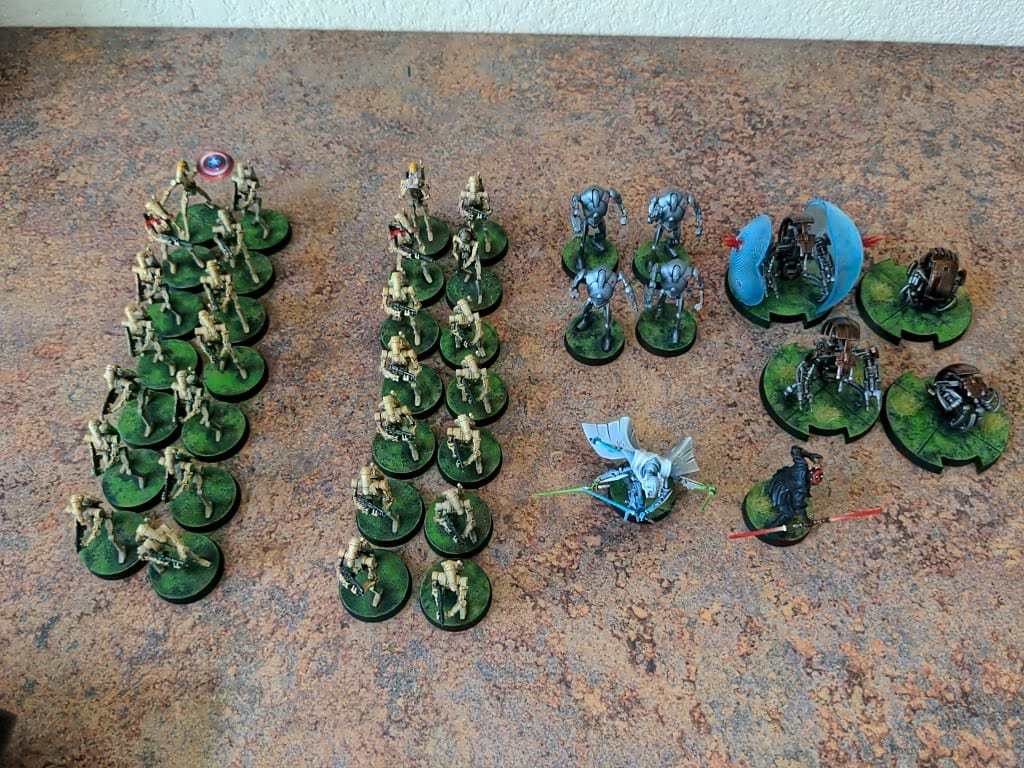
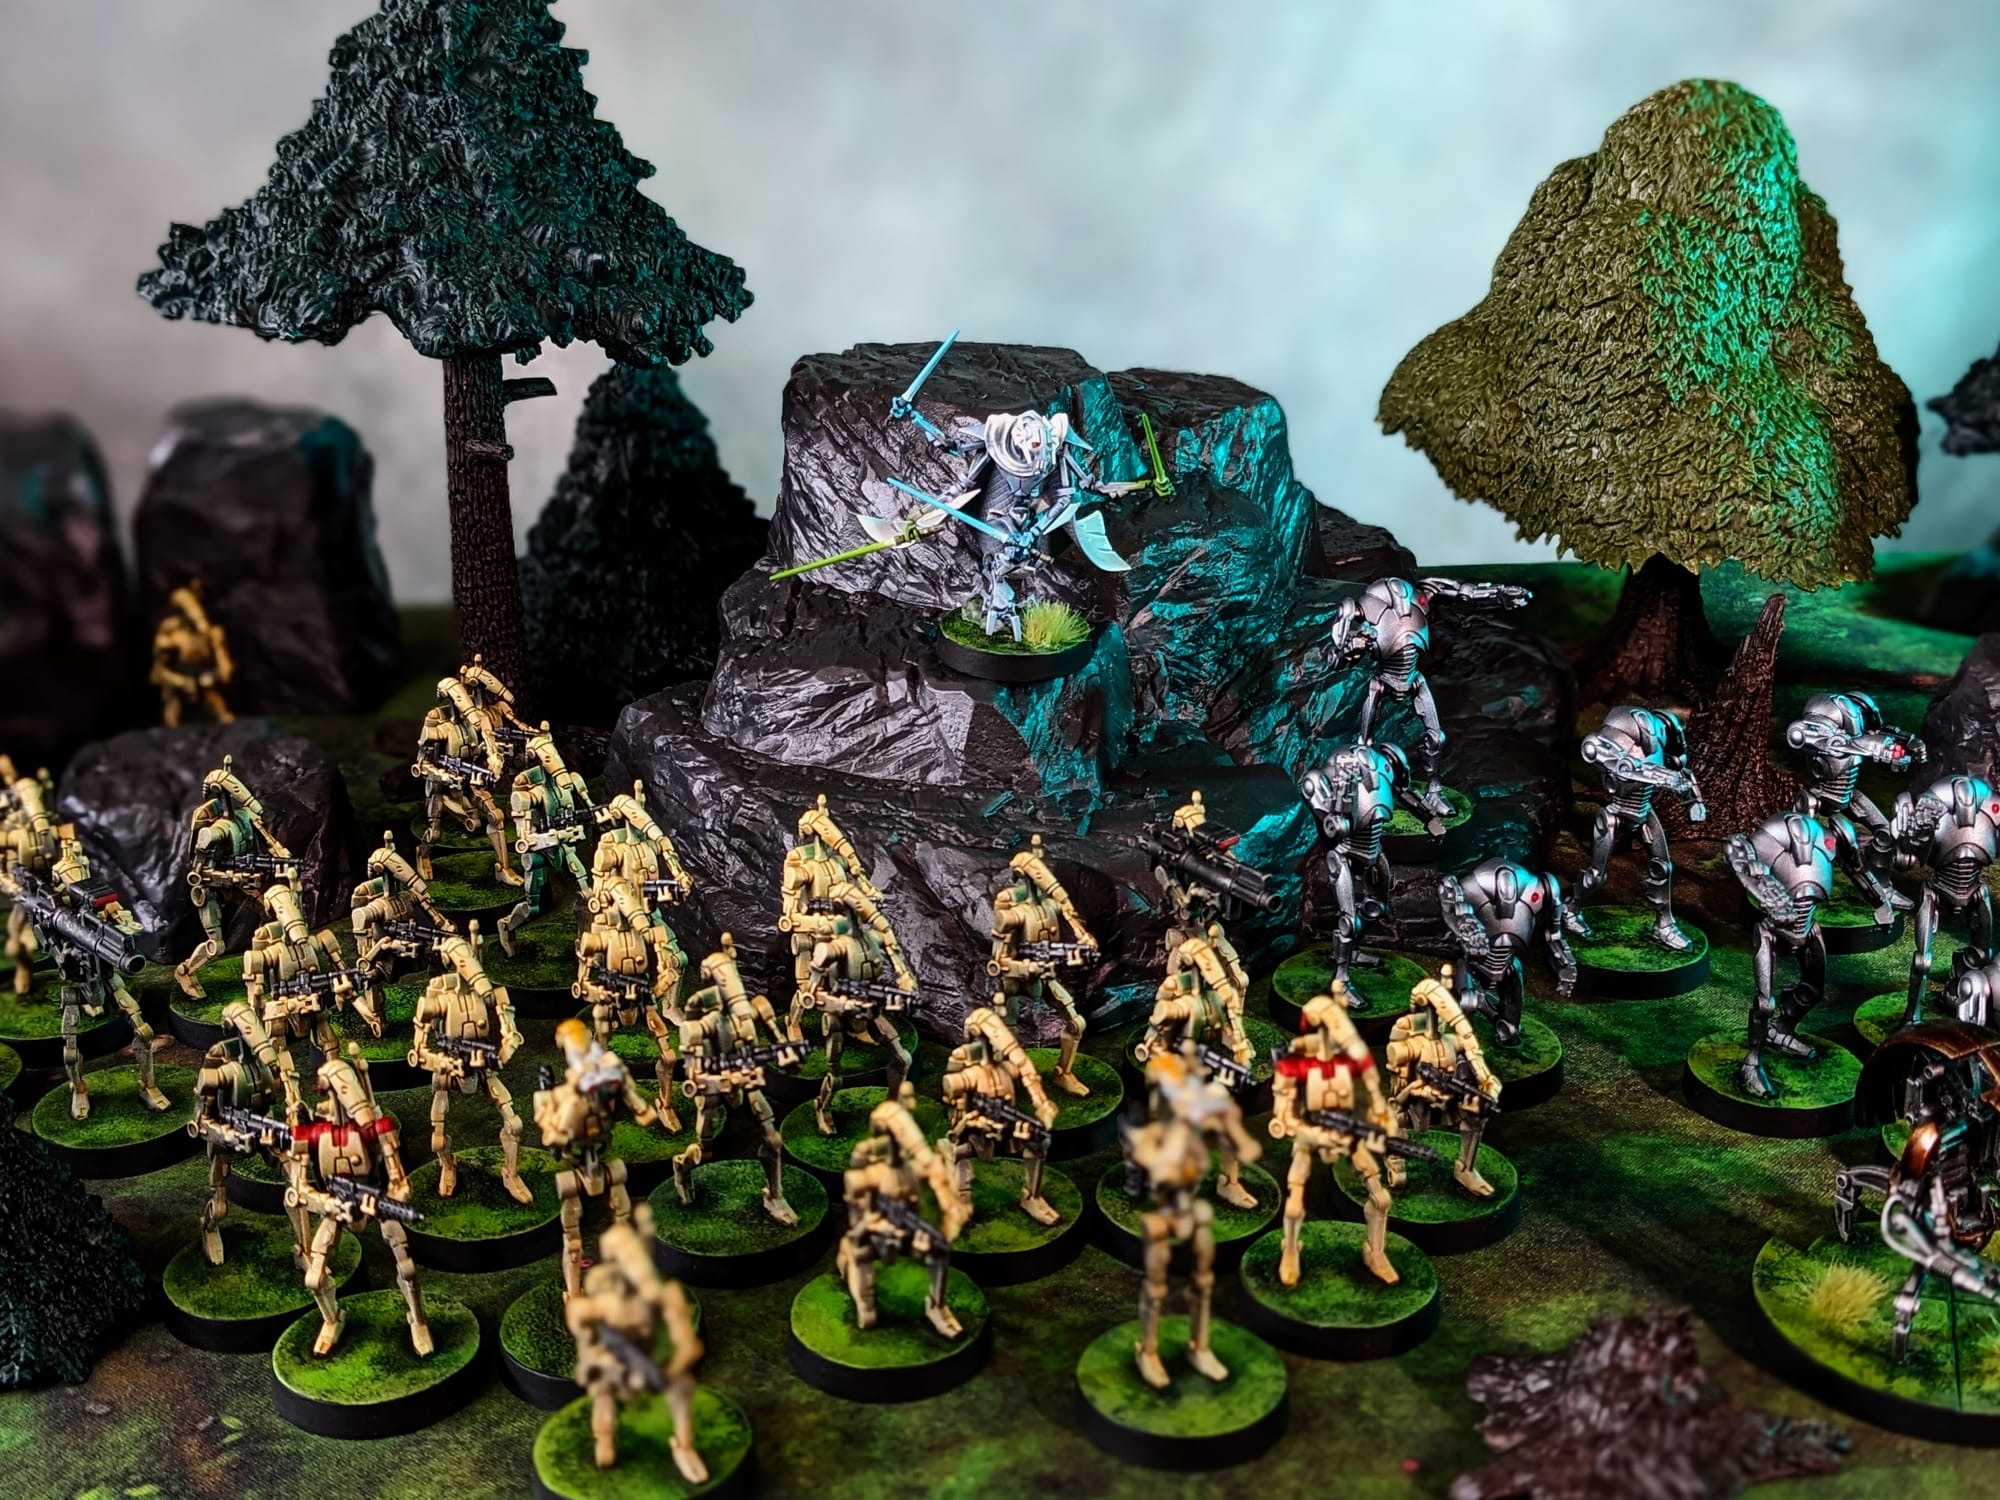
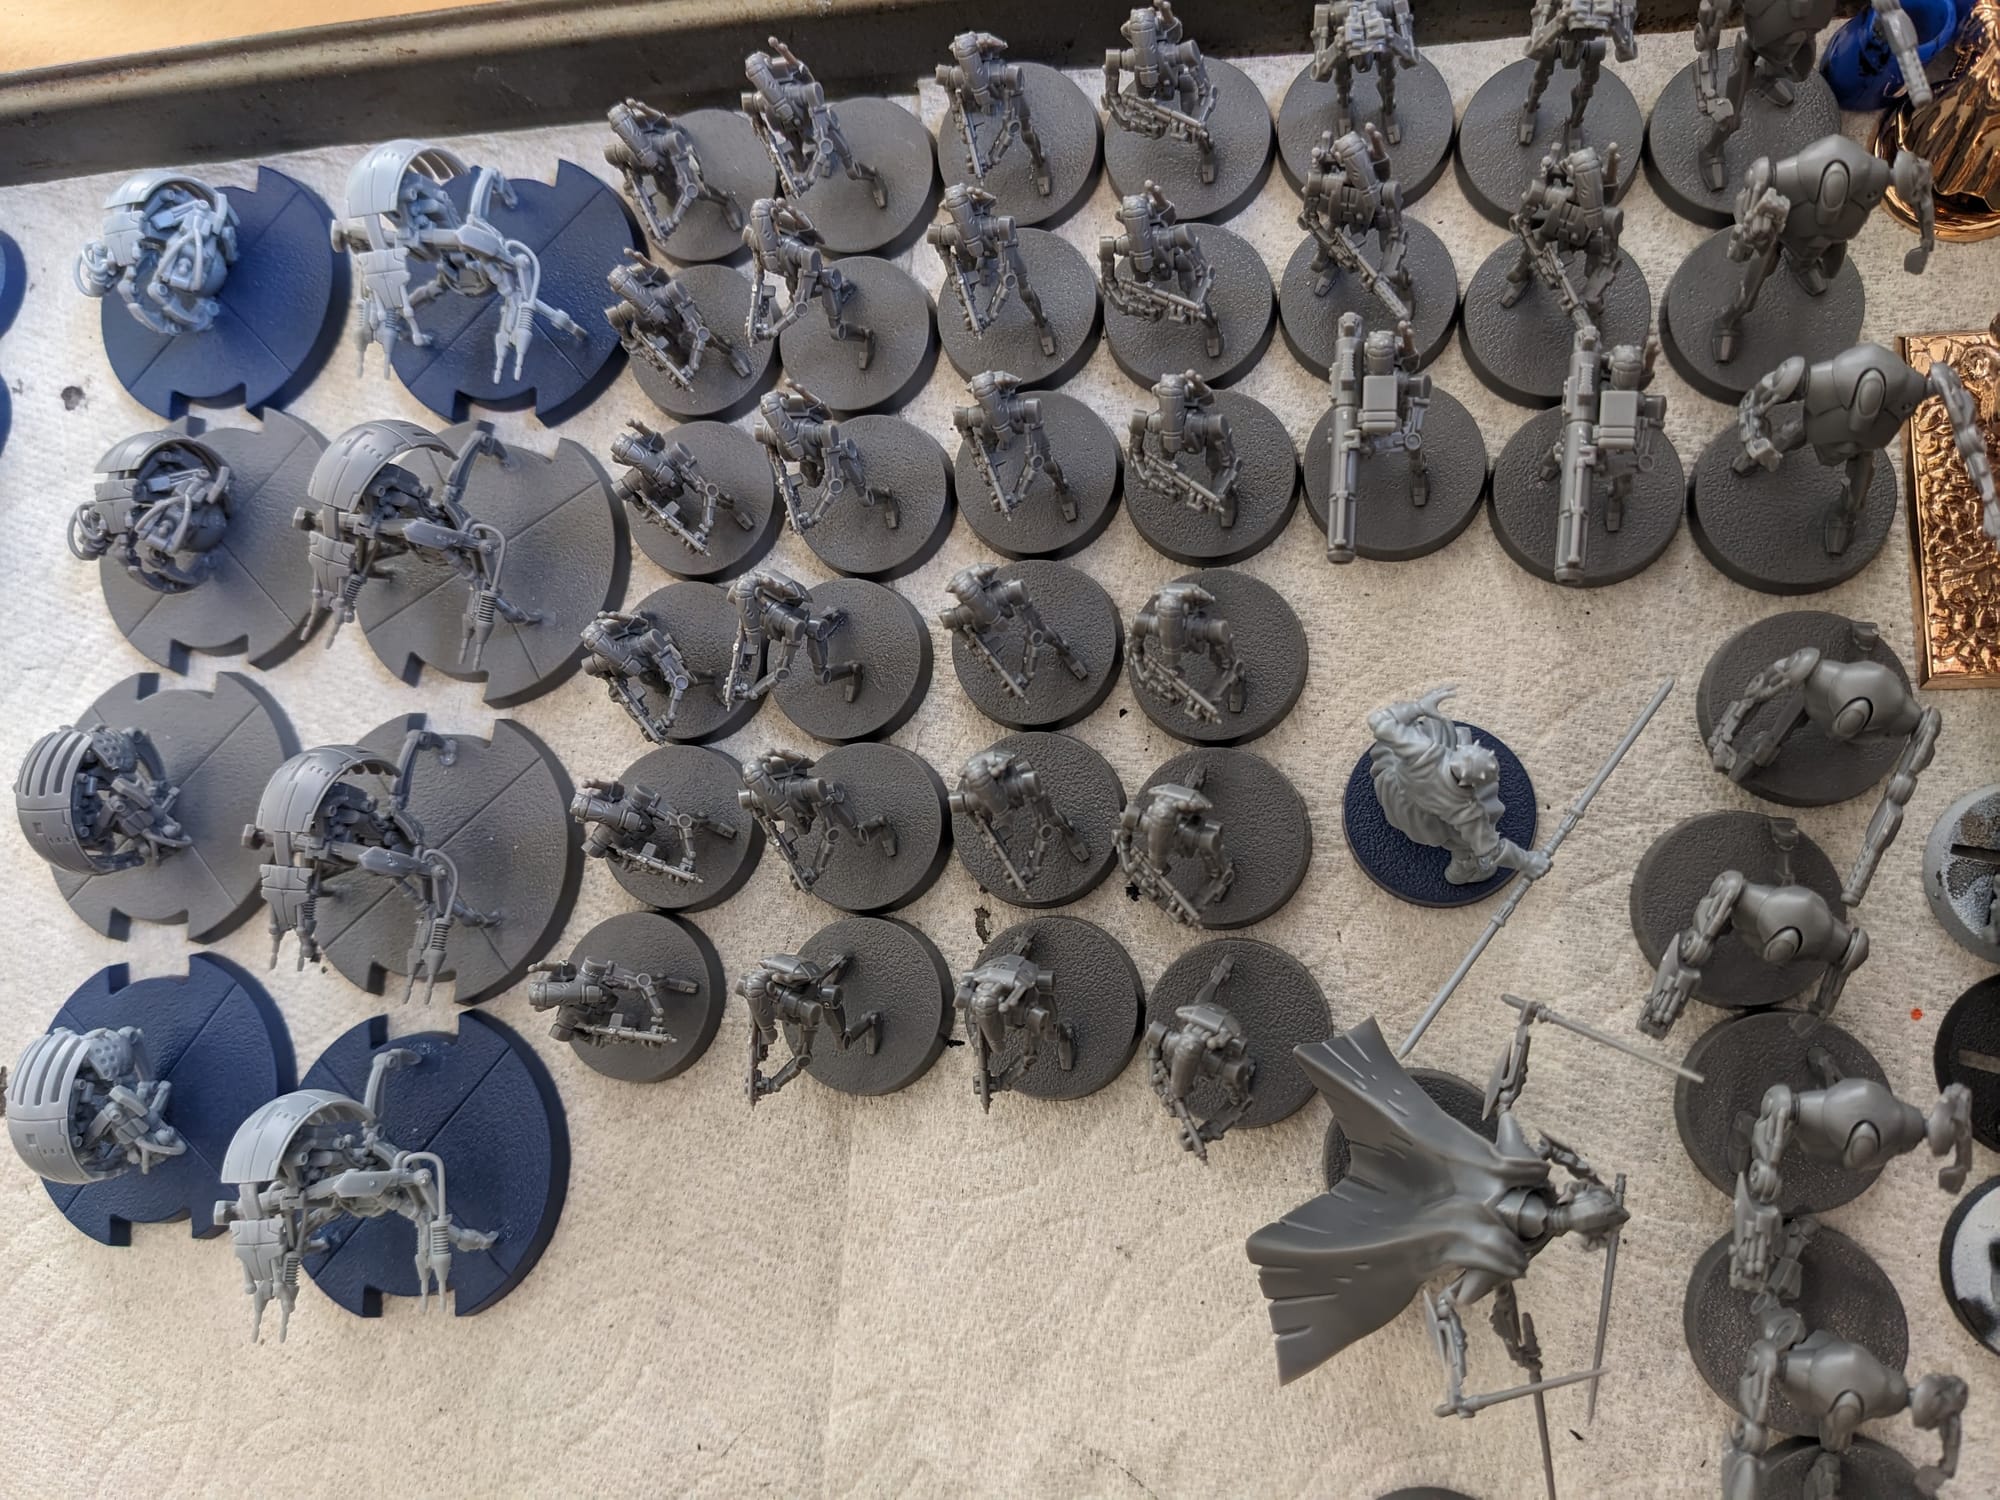
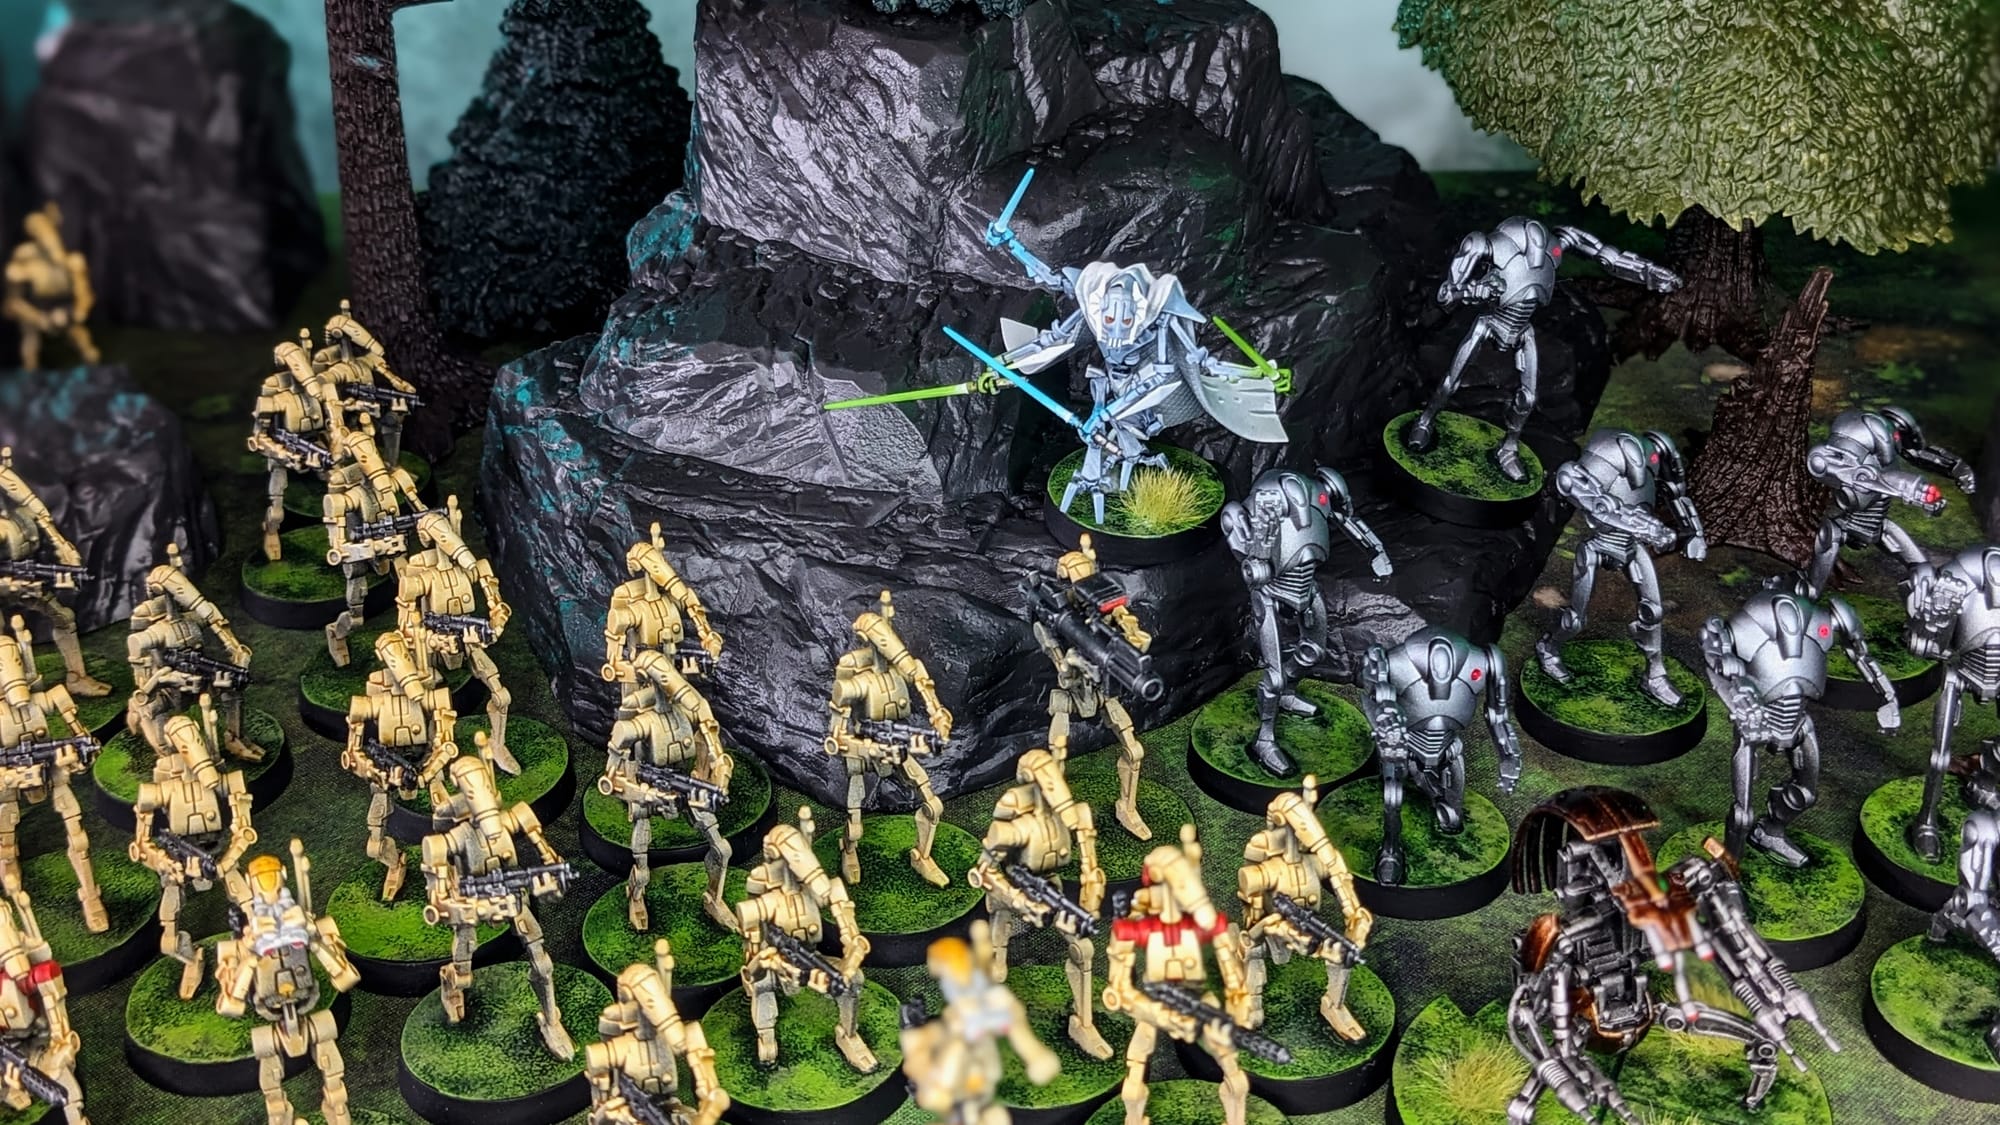
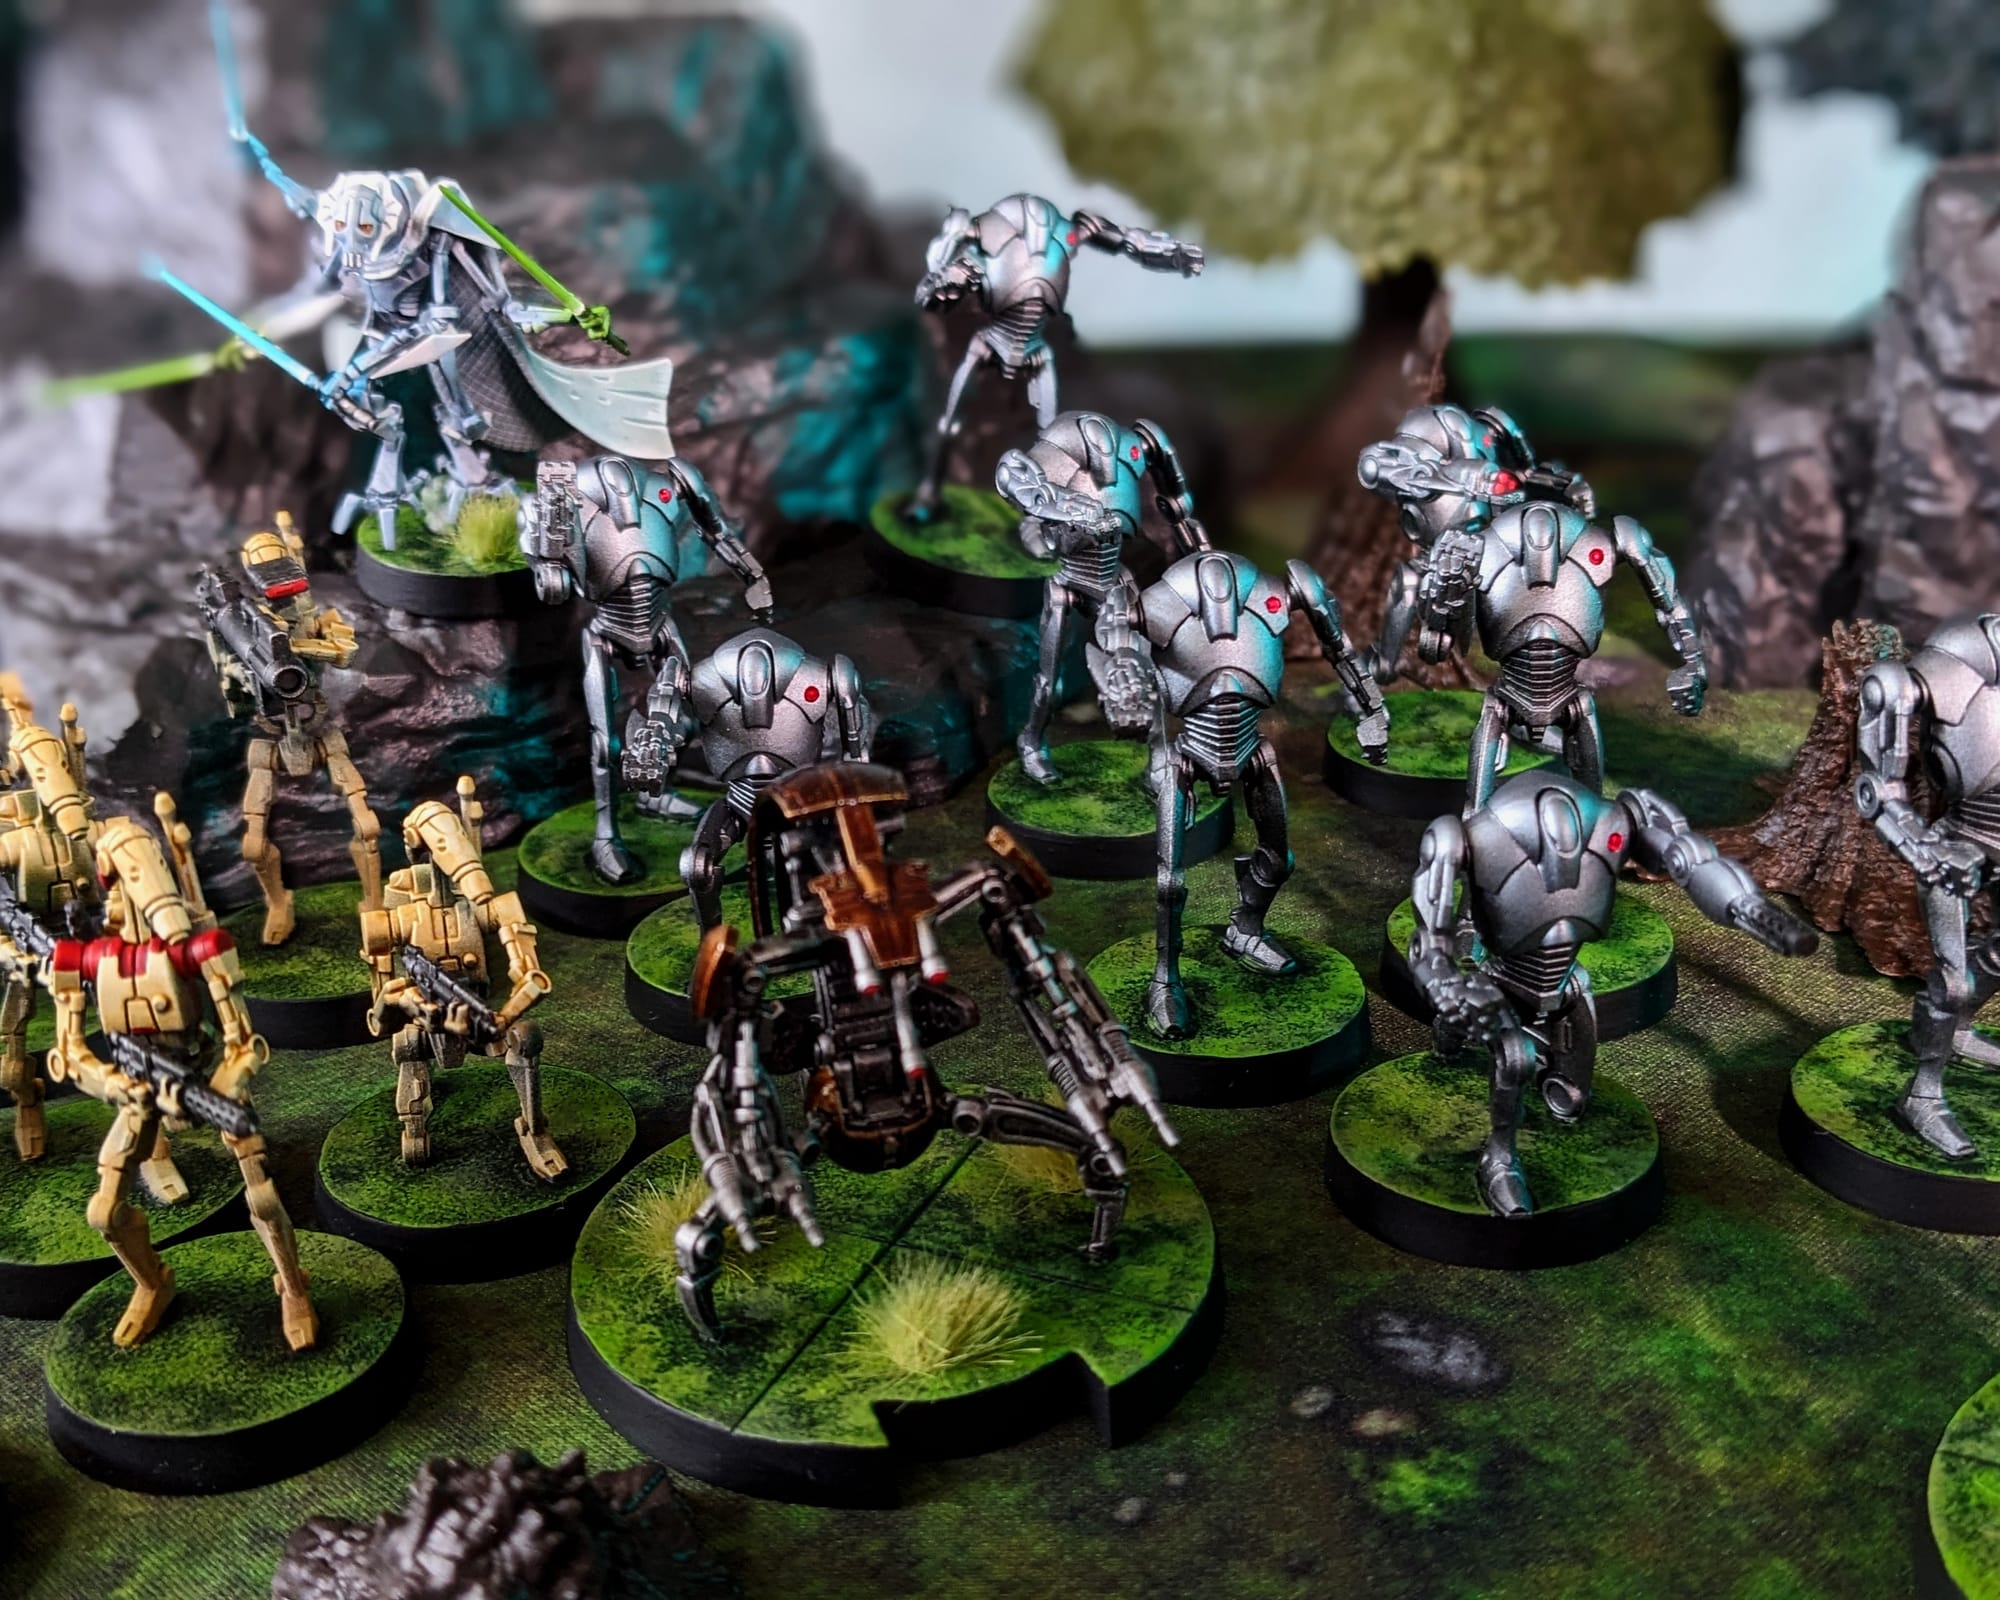
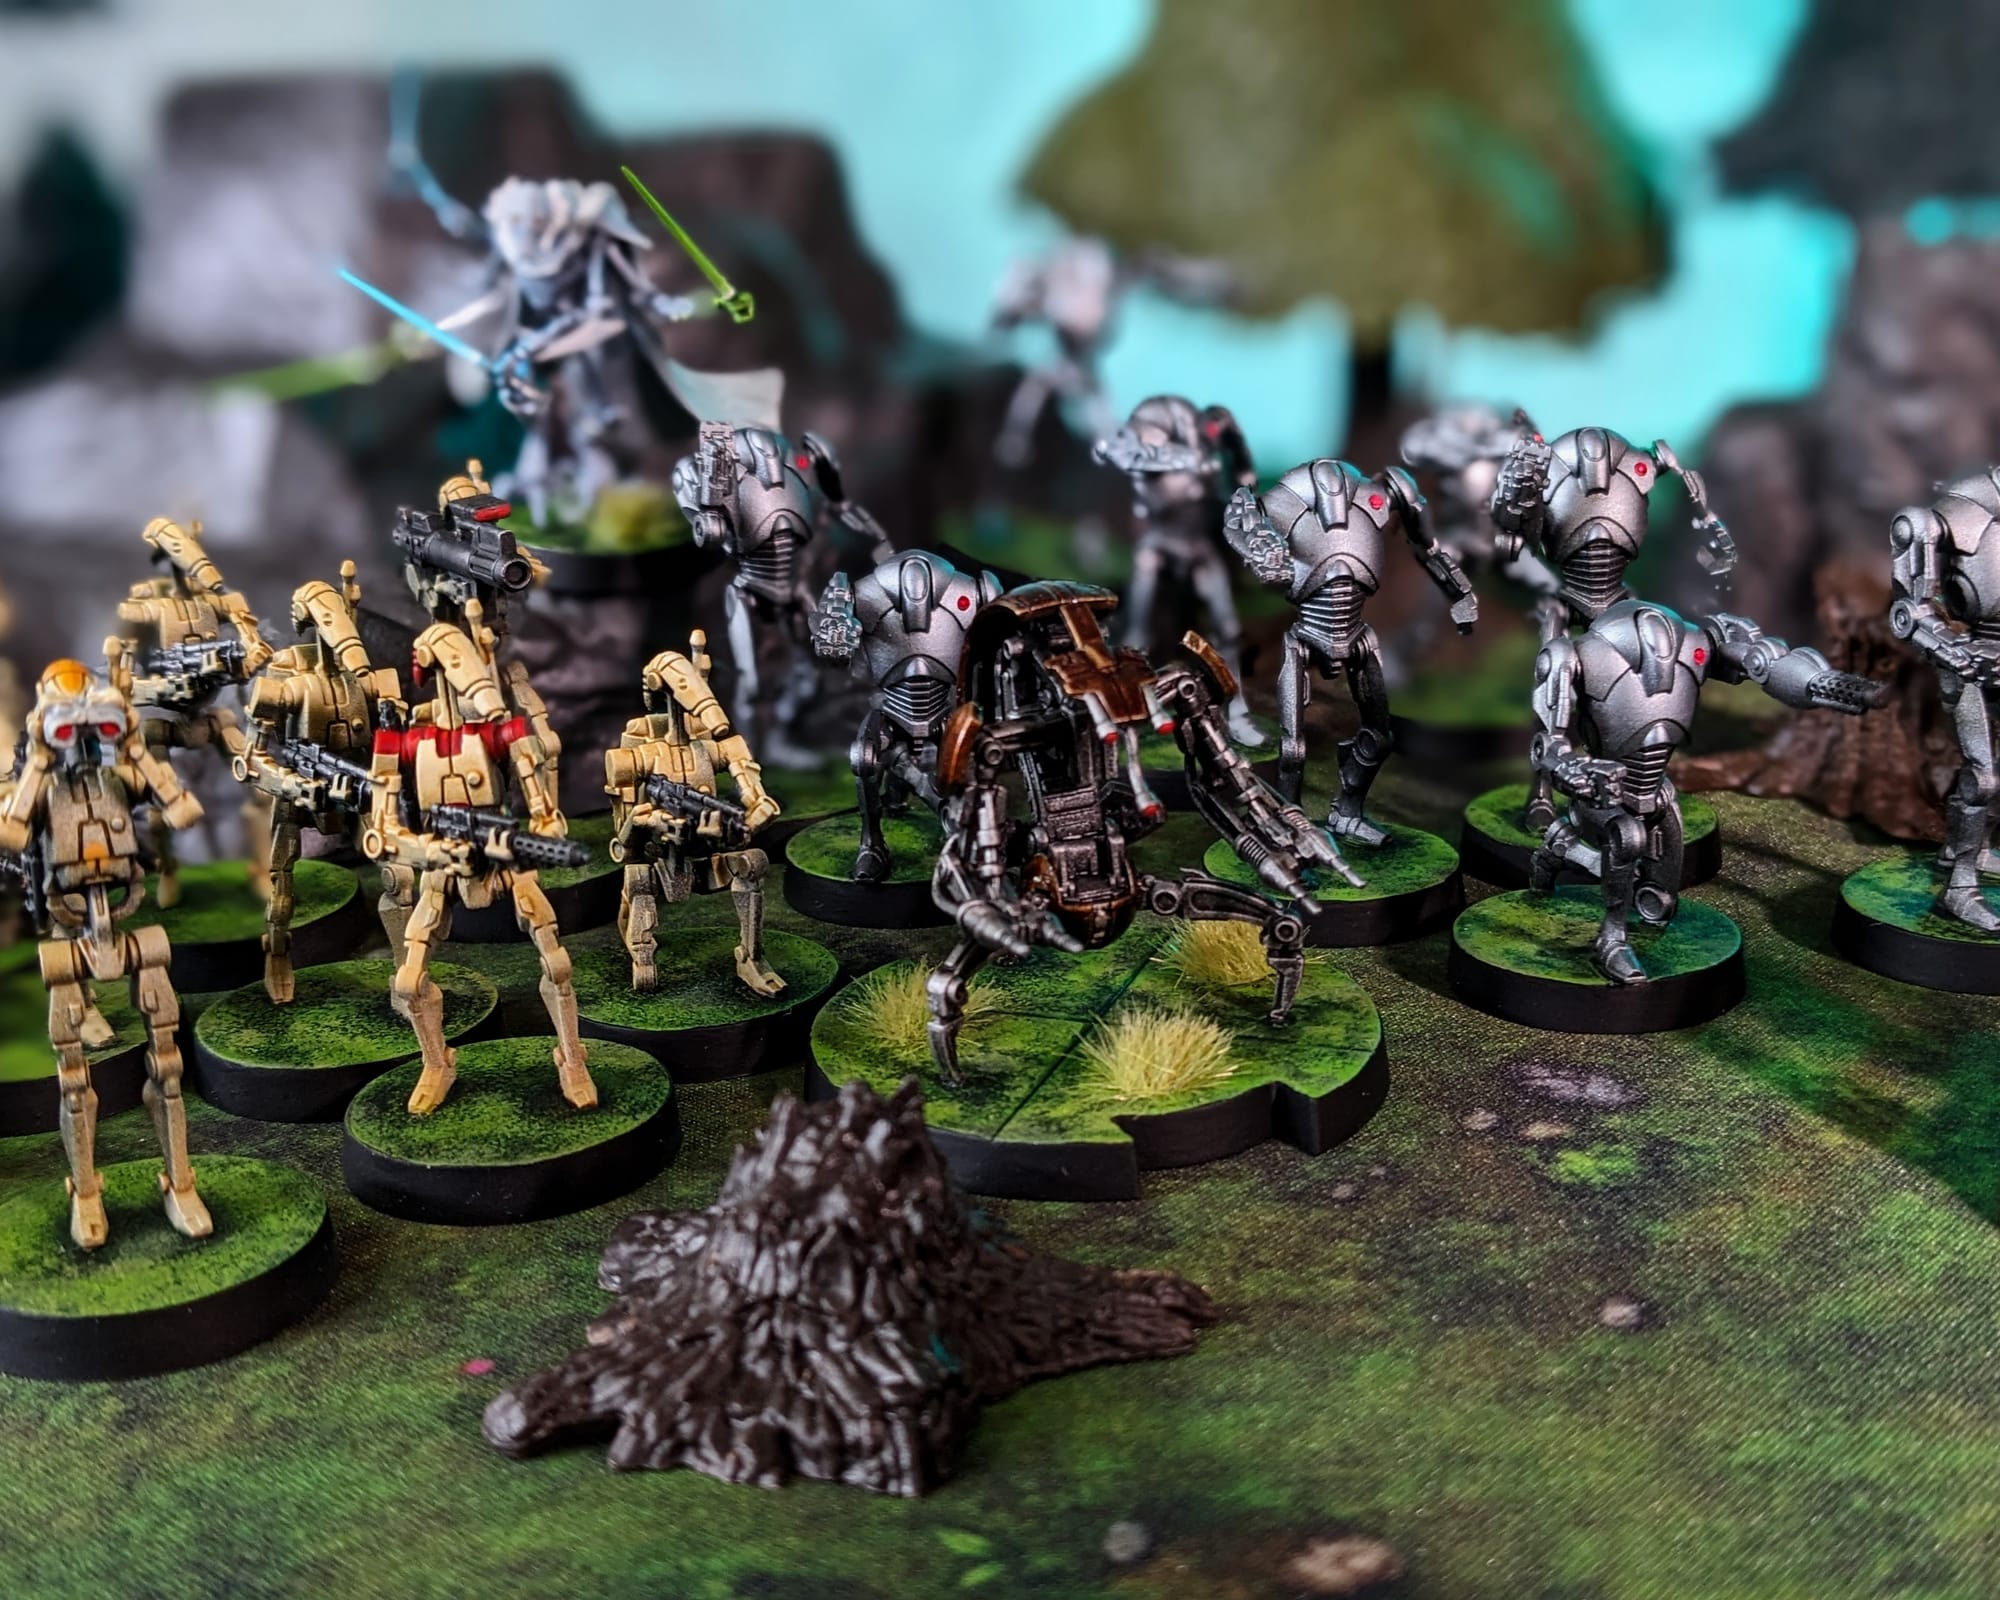
Painted and Ready for Play
Impressions
What I liked
Contrast and speed paints are essential here. It made painting the droids a breeze, and I think I got all of the B1s fully painted within a few hours of work. I am really happy with the bubble effects of the Destroyer Droids, as well as the color scheme for Grievous. I was pleased with how quickly the painting went after how slow the building felt.
What I didn't like
Assembling droids is just not a fun process. They have lots of small parts with small connections points Now, just to be absolutely clear, the new B1 droids are a major improvement from the original FFG ones, but they still have tiny bits to work on. Additionally, the Destroyer Droids just took a while to build, plus they have gaps in their thorax(?) ball part and I wanted to make sure those gaps were filled. Grievous, while certainly a visual improvement to the original model, has the tiniest connection point for his left leg. I am just waiting for the day that snaps off.
What I would do different next time
Basing. I really should have included texture in the assembly stage. I was concerned the sand painted green would have just looked like green sand, but I think with enough green wash and dry brushing it looks more like small meadow flowers and tufts of grass. I will definitely be implementing this into the upcoming droid army models.
Final Assessment
Overall, I am very happy with how quickly this 600 point army came together. I think it was about two weeks in total to get everything built, primed, painted, and sealed. Add in a tank and a wheel bike, and you're basically at a full, 1,000 point army. Yes, I wasn't happy with the outcome of my basing, but it's a simple process that is going to be really easy to replicate. And, most importantly, I now have a droid army I get to play and recreate the battle against the Gungans (just waiting on AMG to make that happen).
Have you painted Star Wars: Legion miniatures yet? Share your work with us!
Don’t forget to subscribe and follow us on Instagram, Bluesky, and YouTube for more Star Wars: Legion reviews and painting guides, as well as more hobby and tabletop news and reviews!