
With a combined experience of over 20 years, we (Randy Gregory and Alec Kozak) have painted a lot of miniatures, ranging from small grots all the way up to epic spacecraft. During that time, we've learned from professionals, painting friends, and our own trials & errors what does and doesn't work for getting a miniature ready to paint, whether it's just for fun or for a competition. We have put together a guide for you based on our painting journey so far, to help make your miniature painting experience more enjoyable and less frustrating.
Preparing Your Models for Painting
Before you get to painting your models, there are a few steps you can take to help make your painting go smooth and fast. Regardless of what miniatures you paint, miniature pieces require a manufacturing process of some kind, whether it's injection mold or SLA printing. However the model is produced, it's important to prepare the model before jumping right into painting, or else you may run into frustrations later during your painting process. After all, a model's surface and connections points don't get hidden with paint; they get accented.
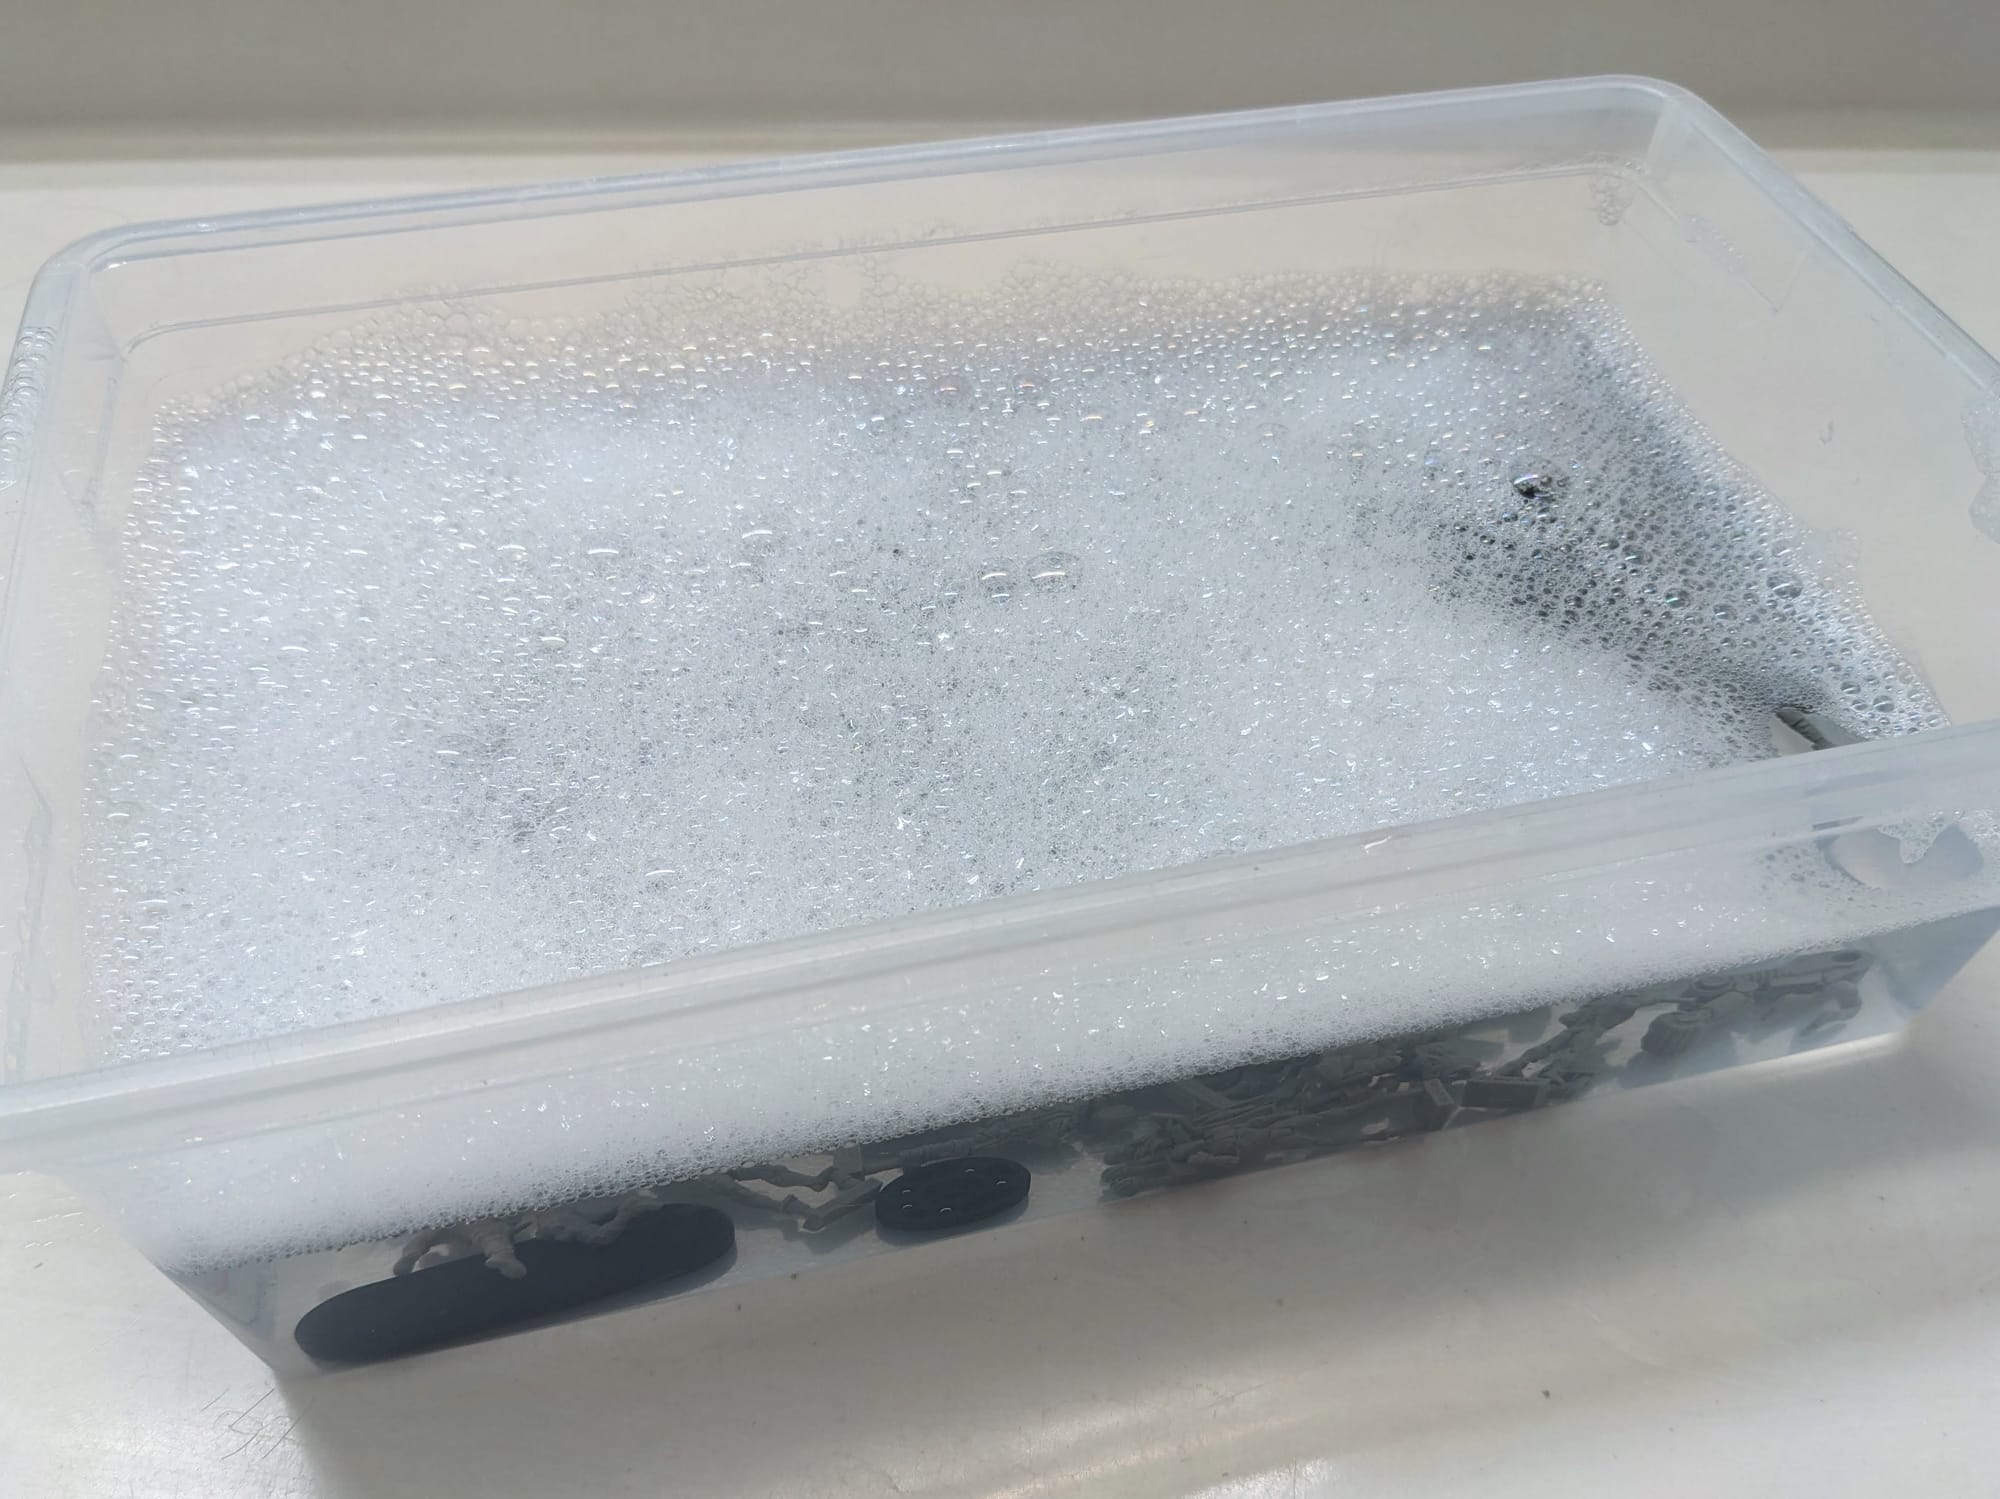
Washing Your Minis
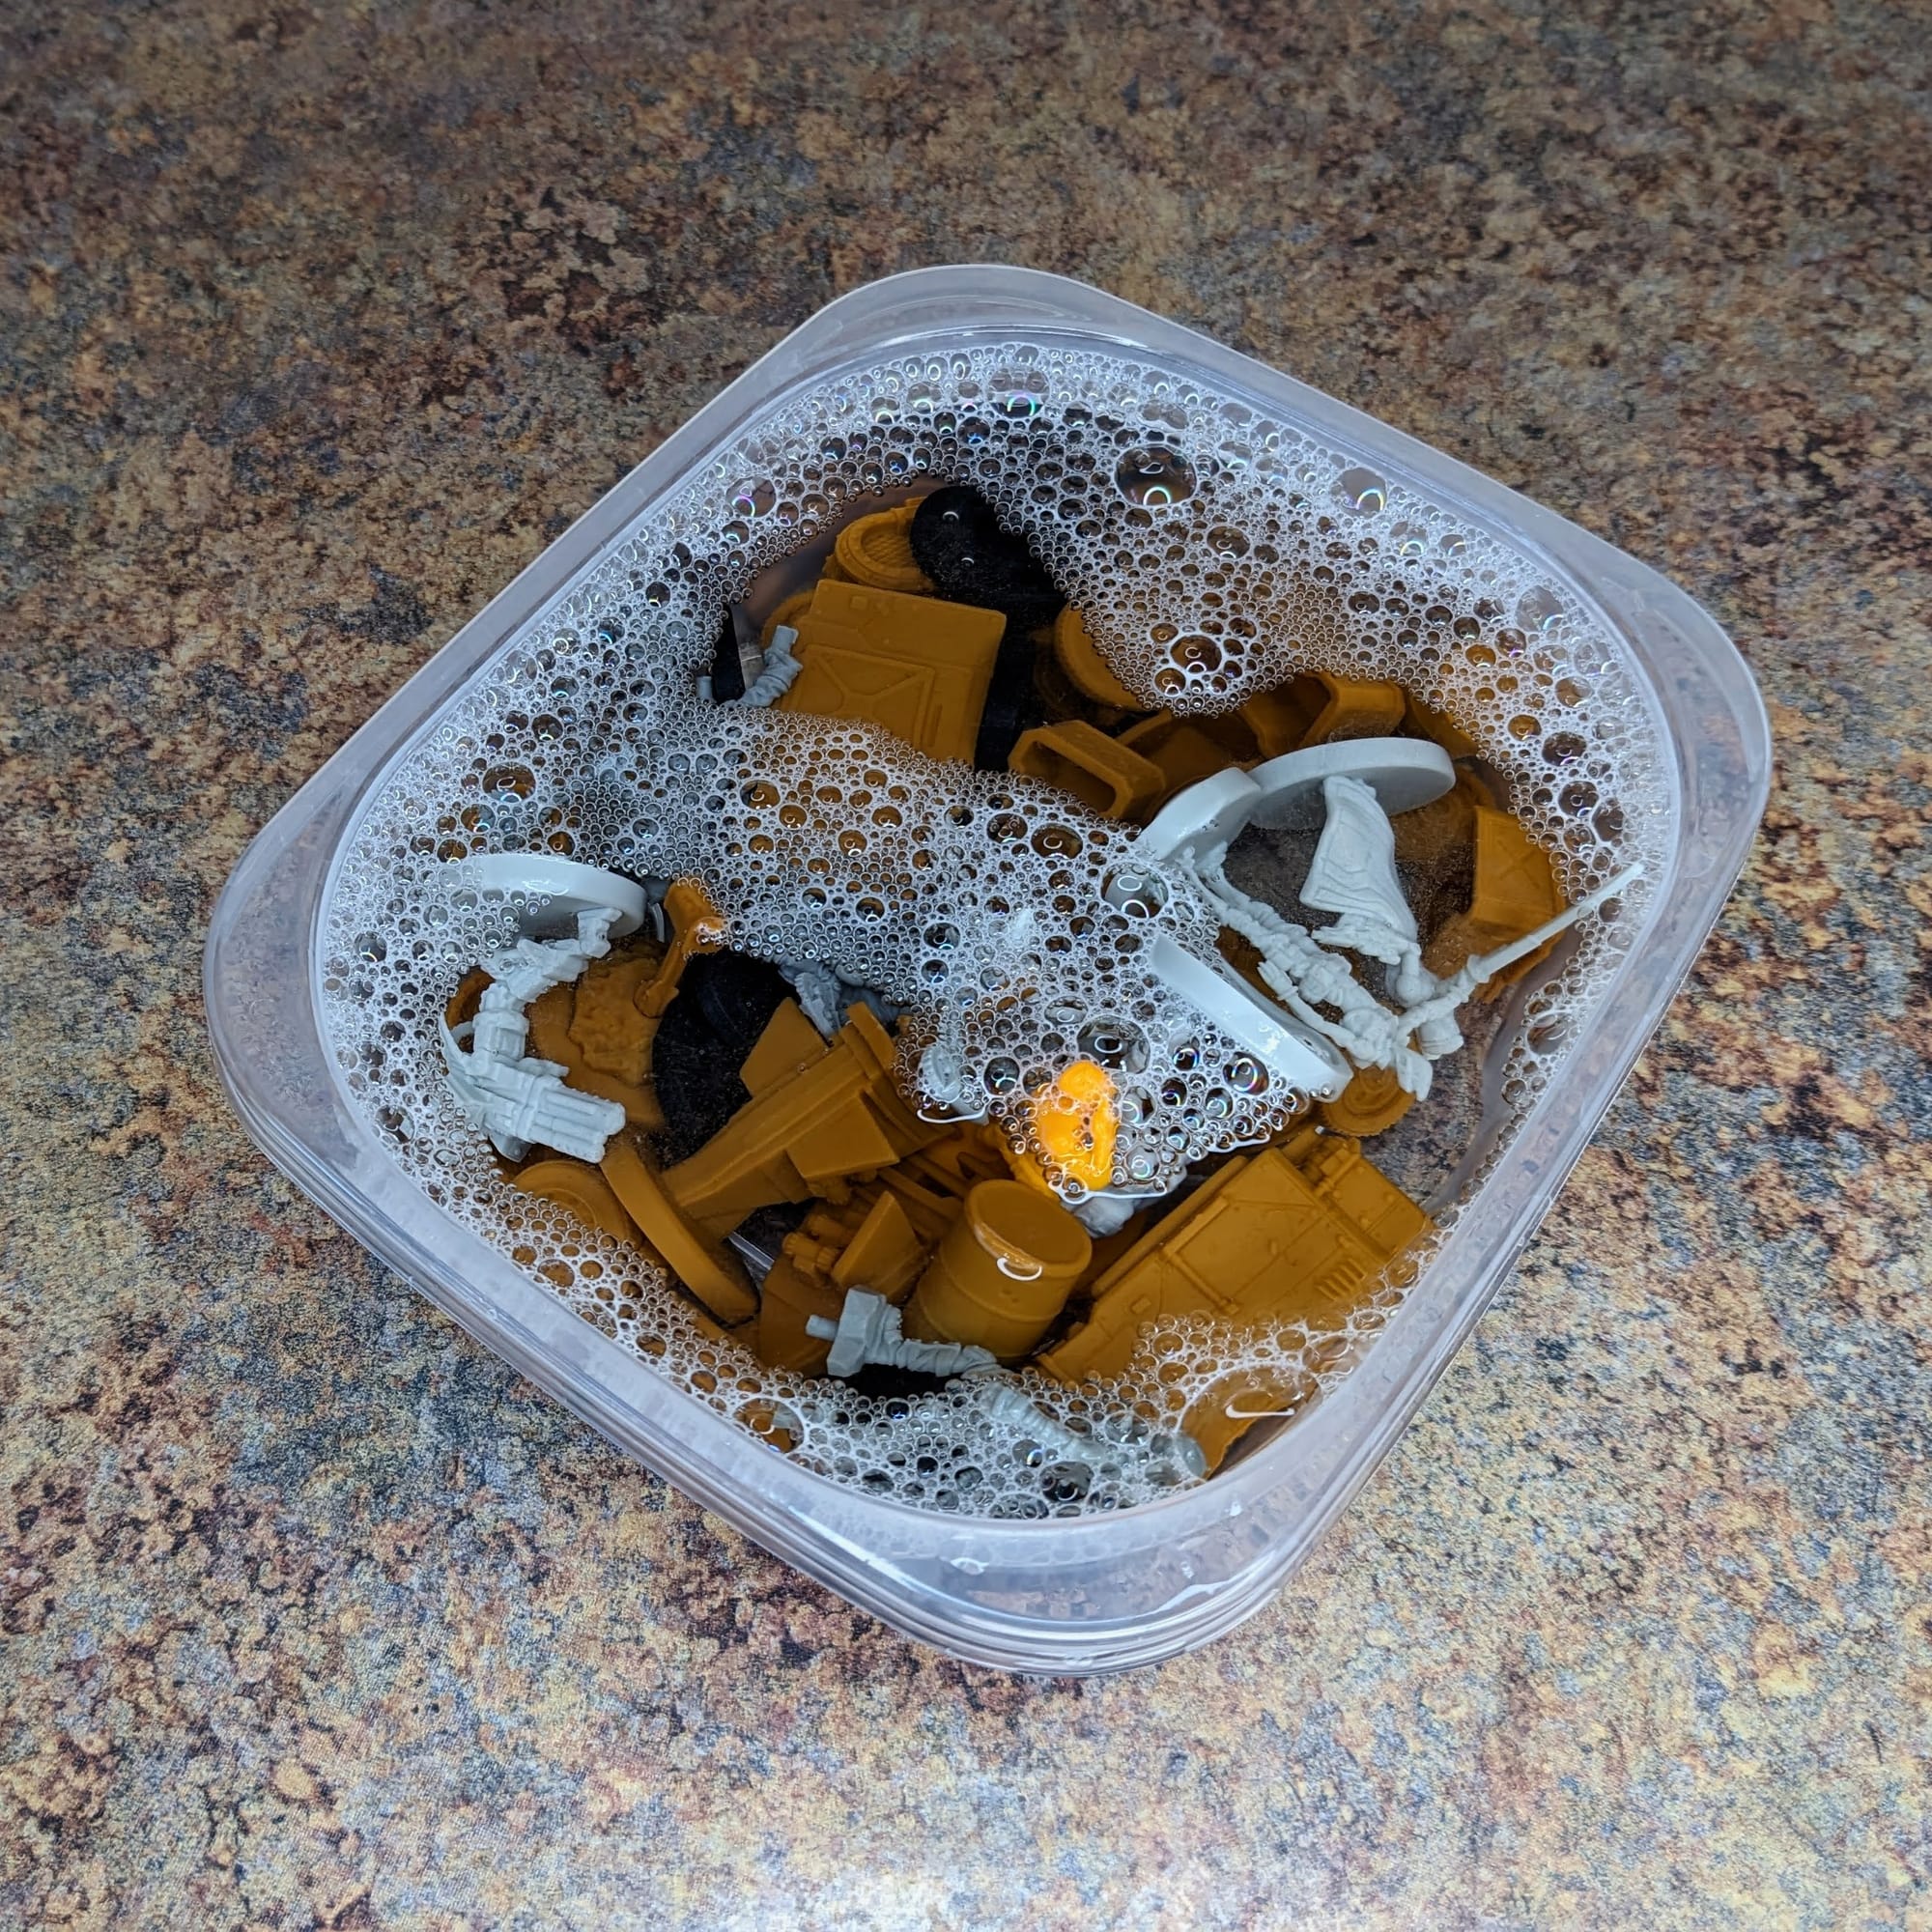
Just needs a rubber ducky
In general, the manufacturing process for most models and miniatures allows companies to produce minis quickly to meet demand. However, the process typically requires a release agent to be used within the mold to pop out the sprues quickly so they don't stick to the inside of the injection mold. Depending on the type of plastic used, models may warp due to rapid heating and cooling, especially if they are single-piece models. Mold lines are always going to be present if they were manufactured with injection molding, so be mindful of that as well.
Release agent chemicals and other manufacturing residue can be easily removed by washing them thoroughly with dish soap and warm water. I have found that single-piece minis or large parts tend to have a greater amount of release agent to them, so I just spend a little more time washing to get them clean.
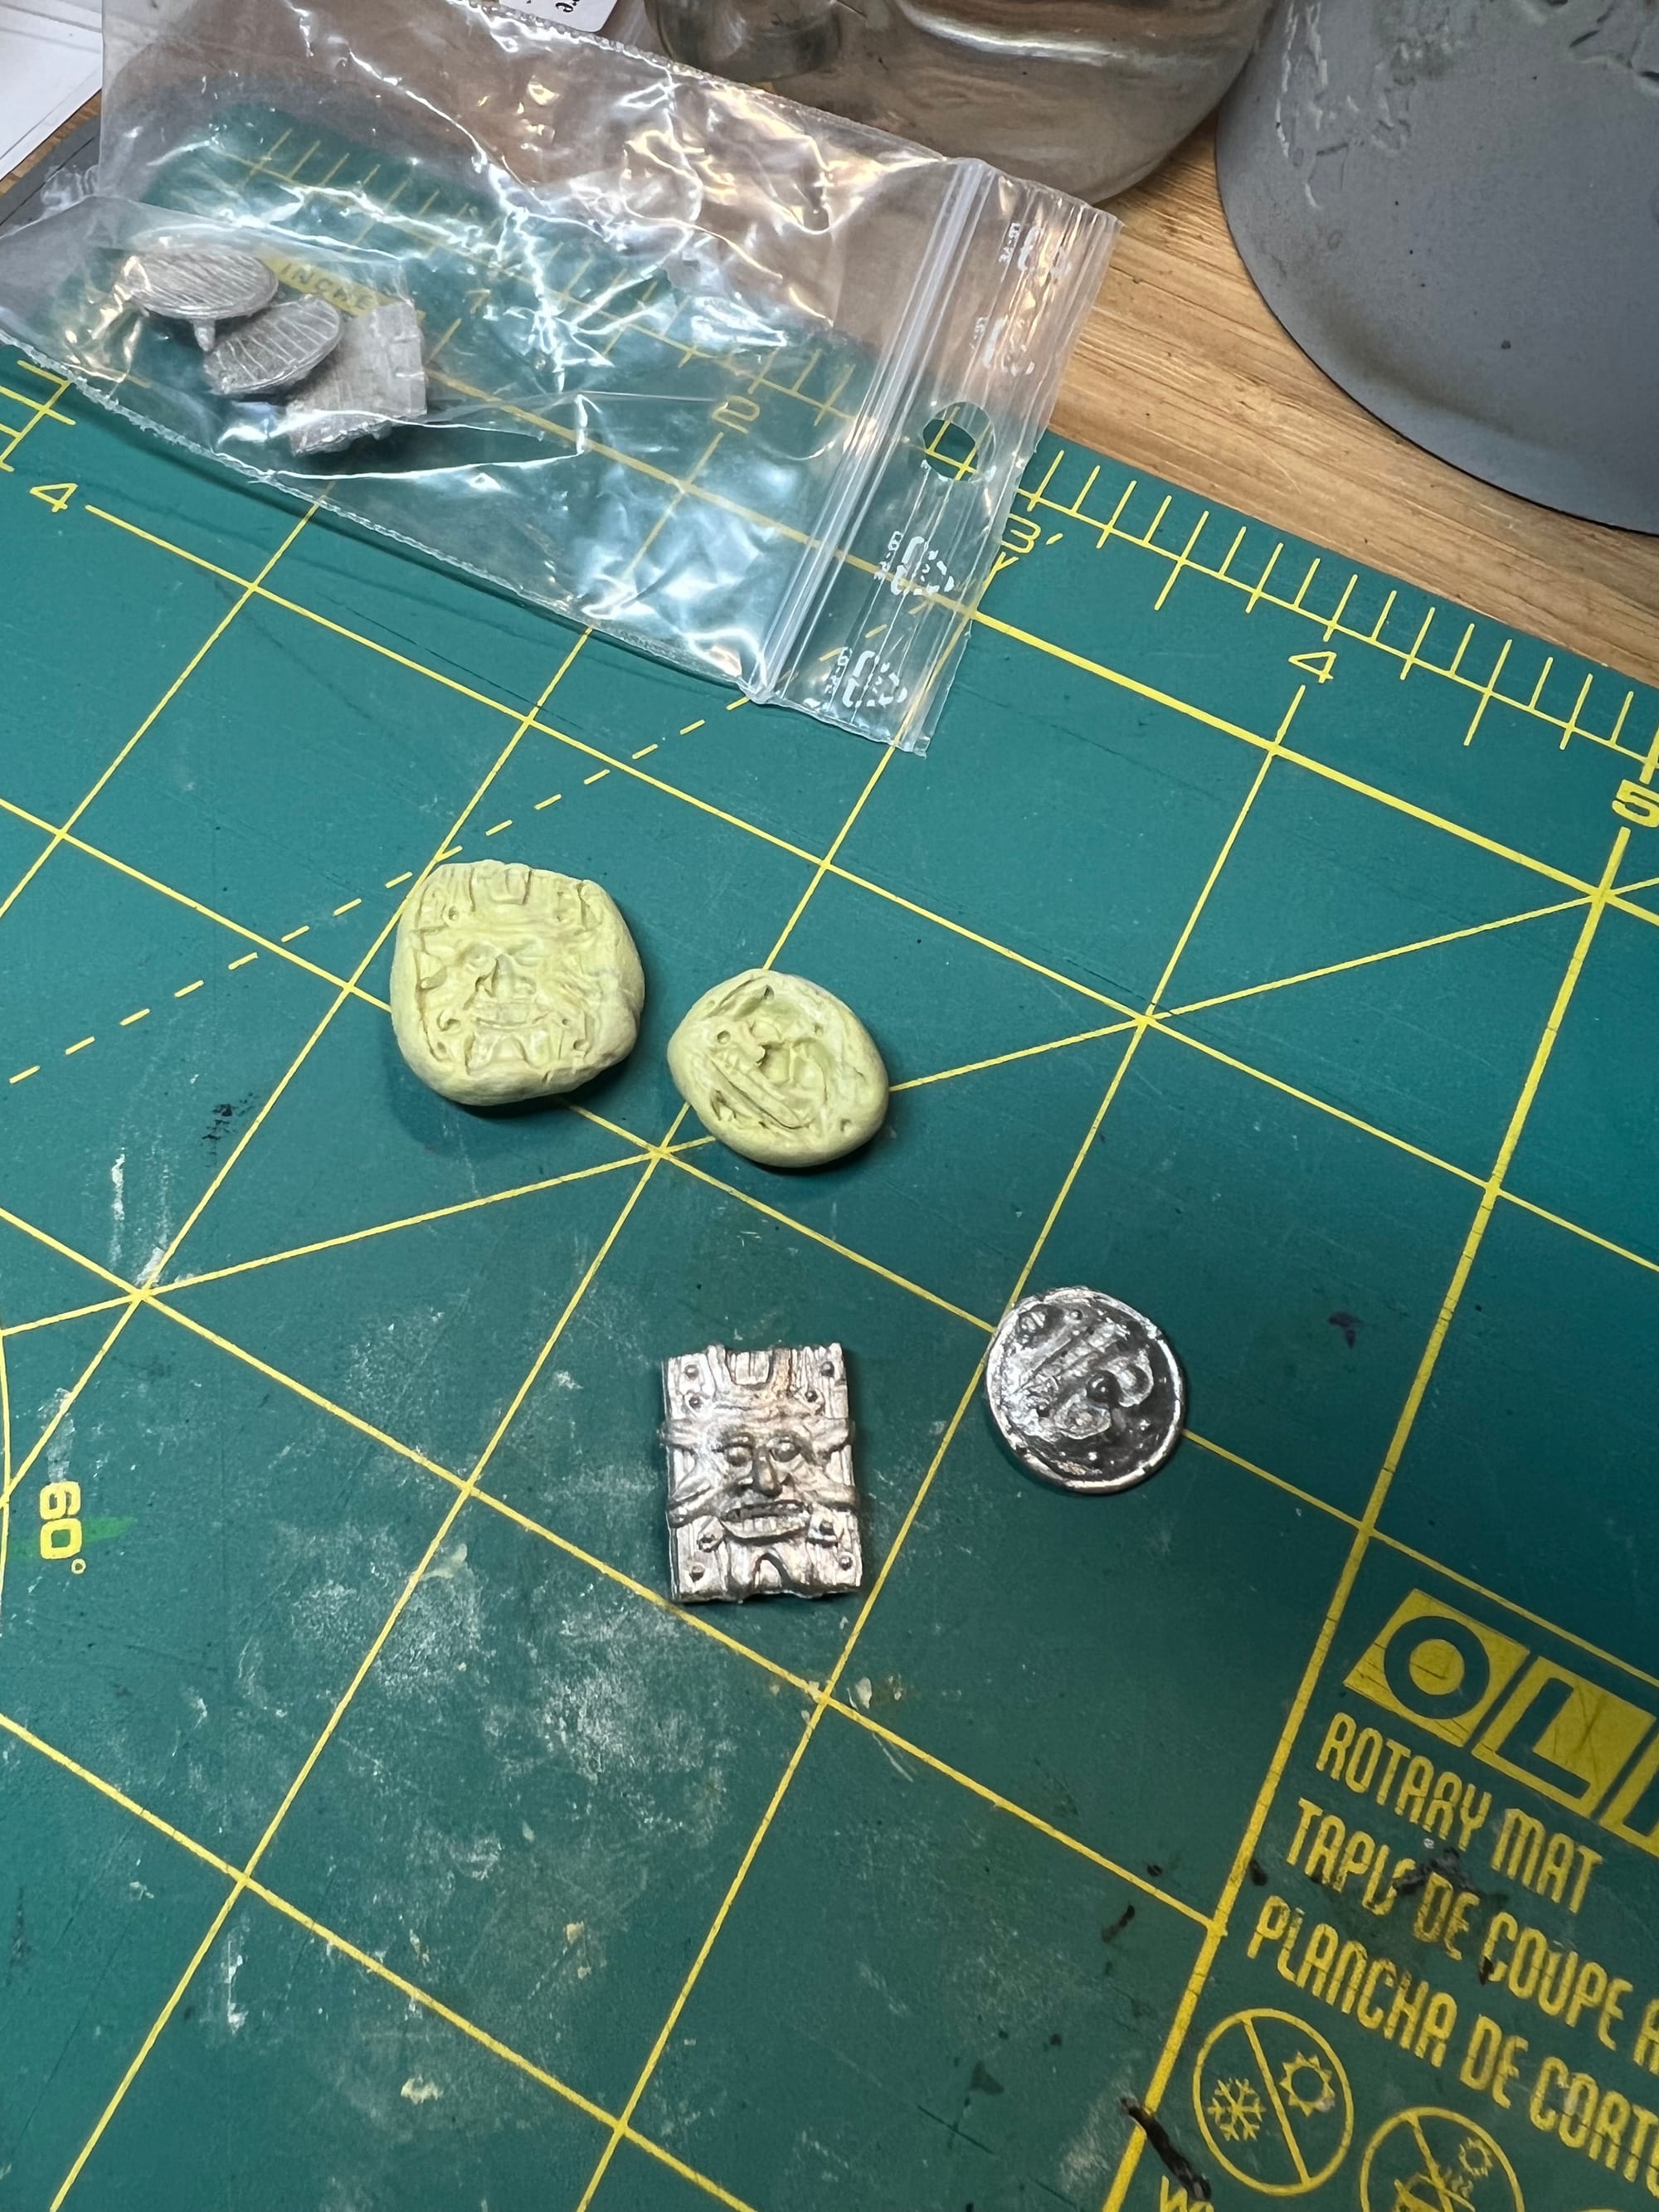
Metal prints may have wax or silicone buried in the nooks and crannies, so you'll want to dig those out before you paint anything.
Removing Sprue Parts and Tines
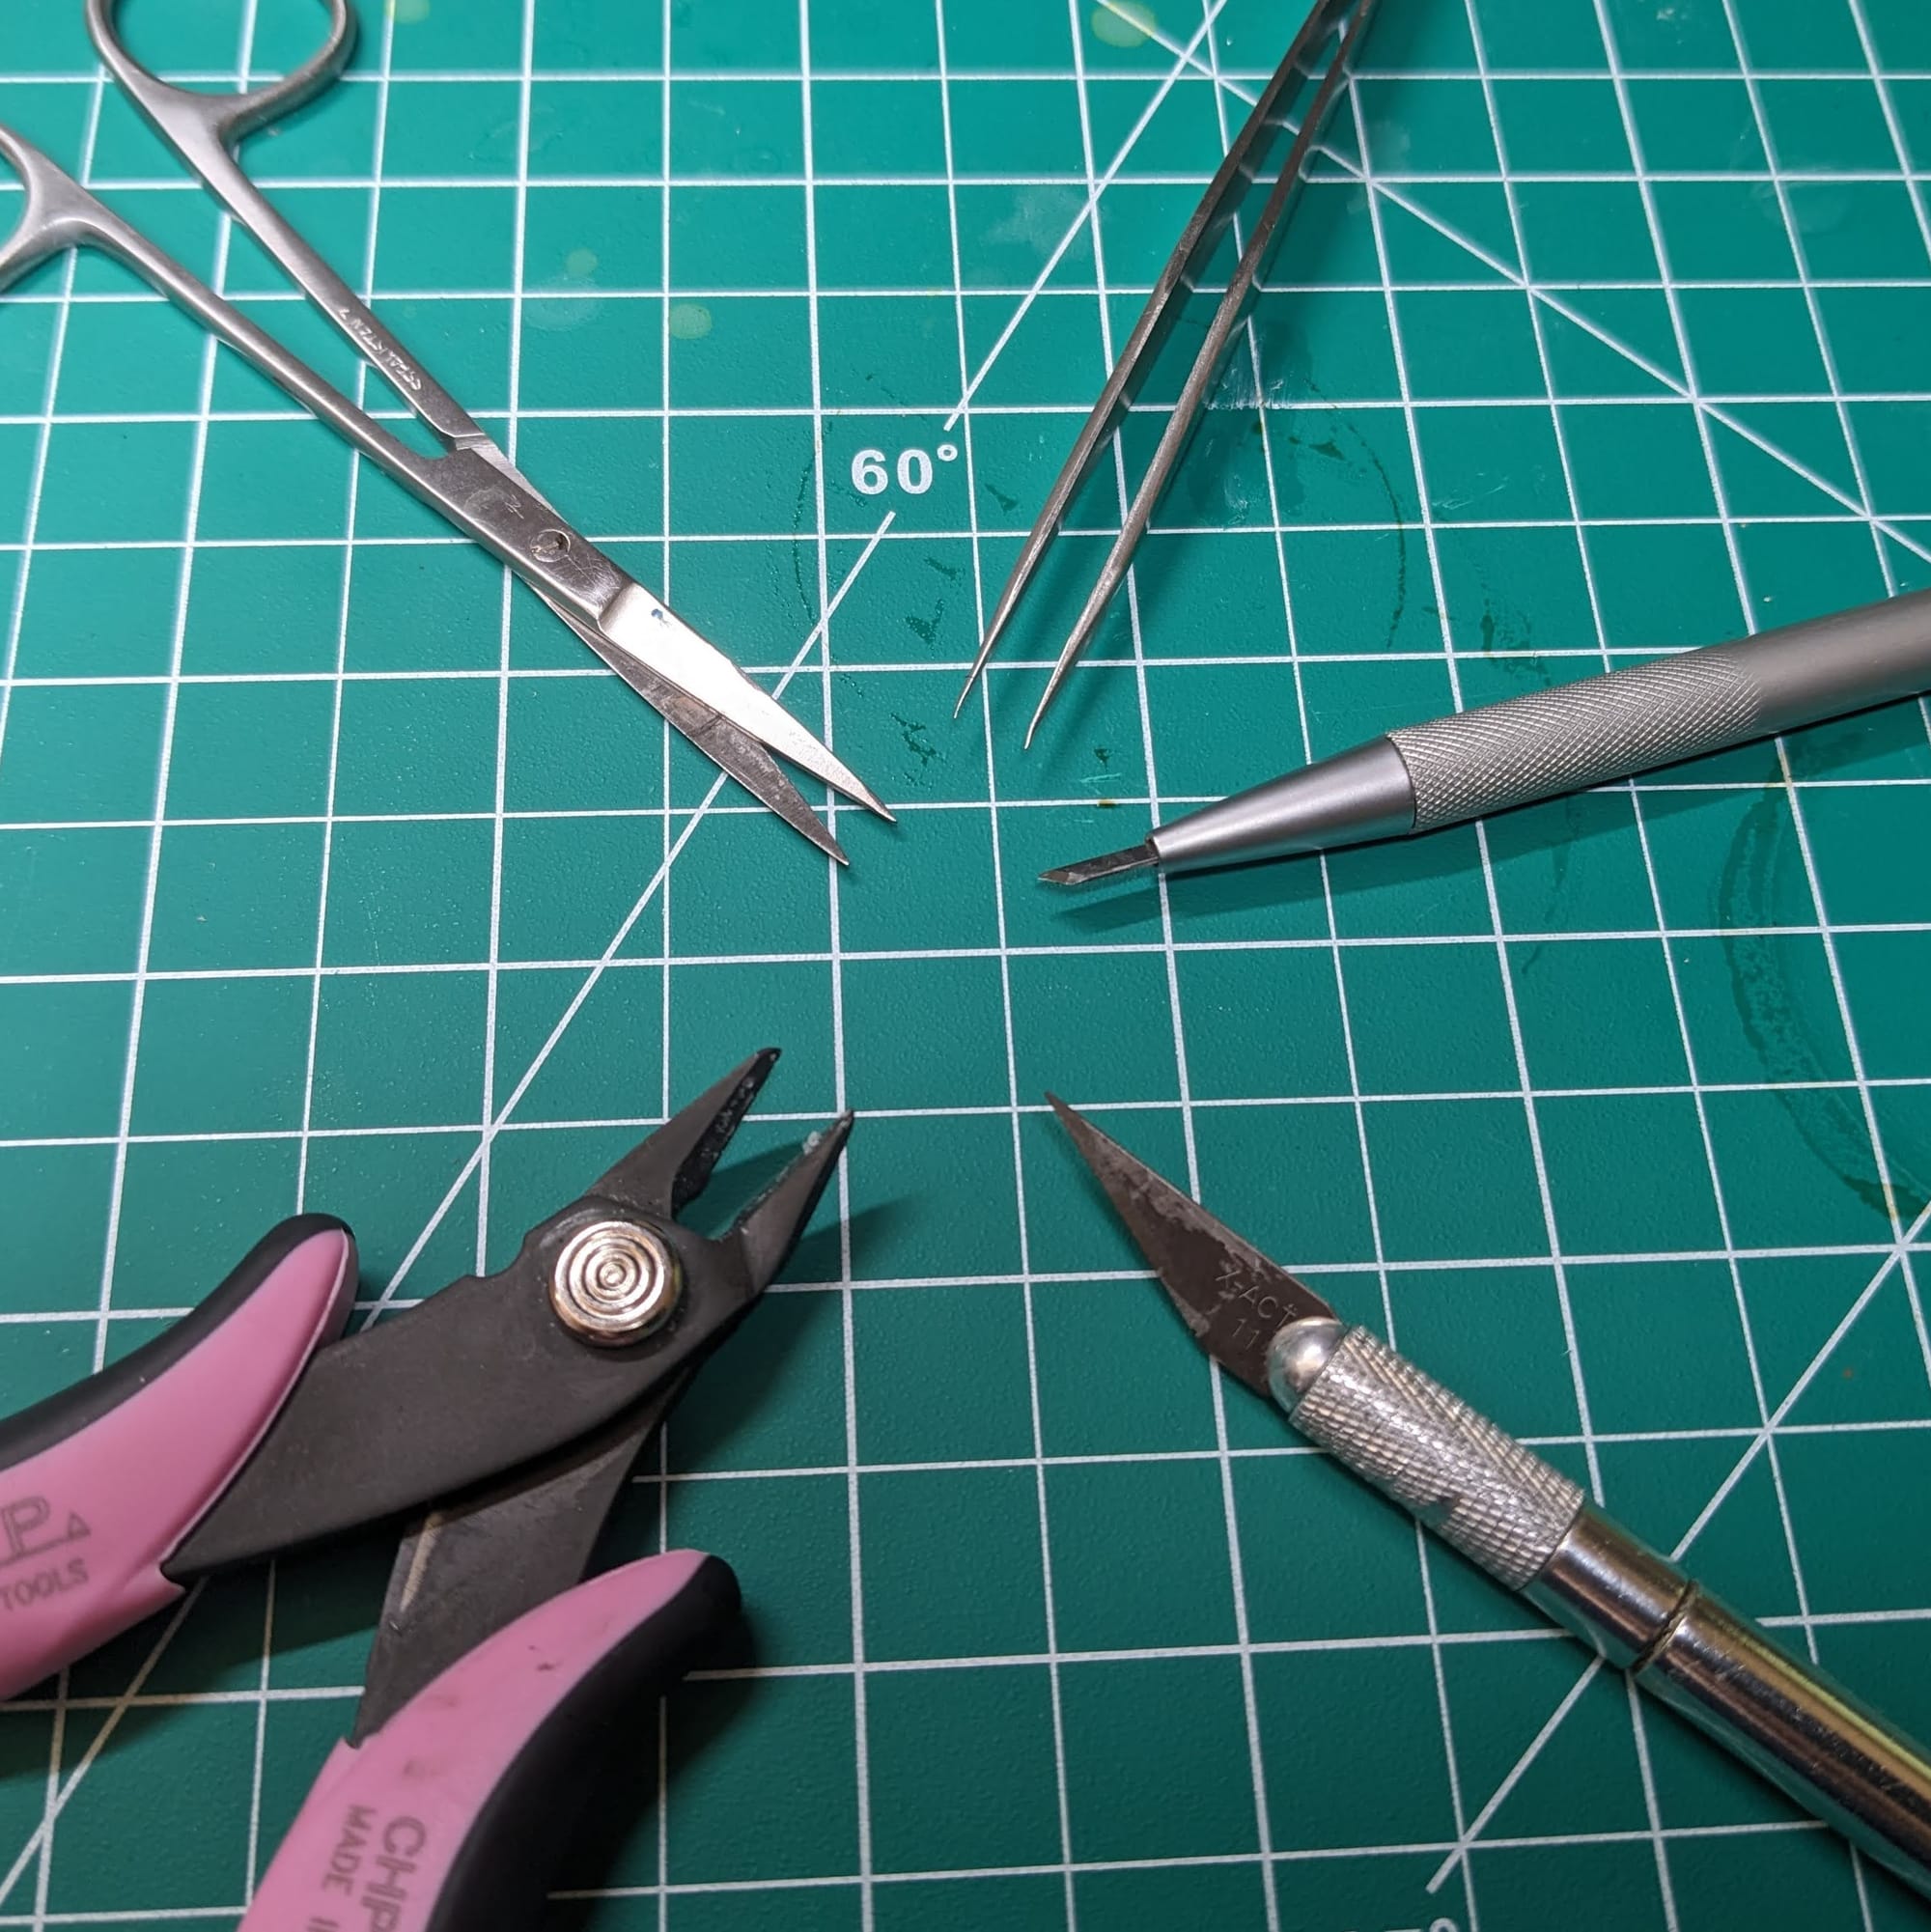
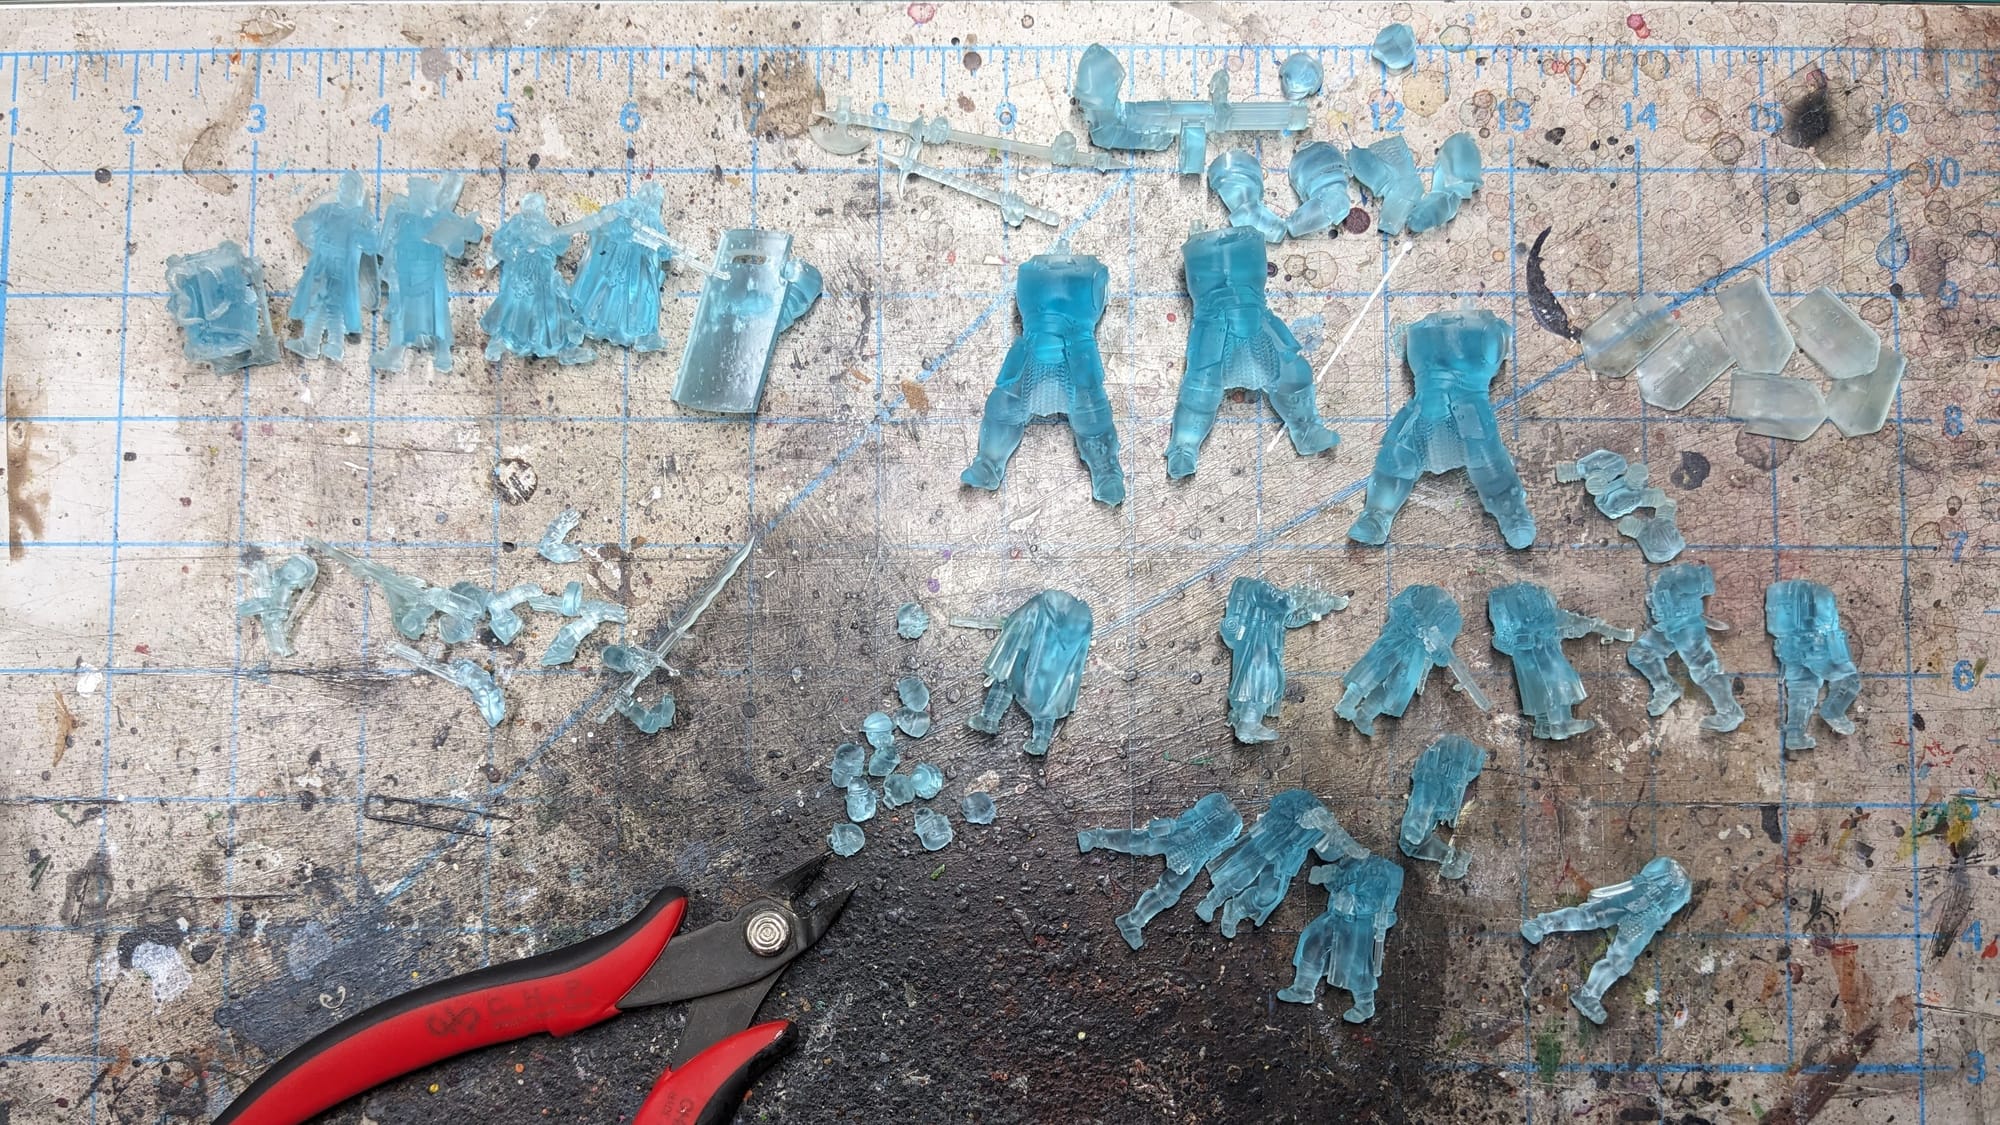
When you clip the parts for your figures off of plastic sprues or metal casting supports (called tines), be sure to use the flat edge of the clipper as close against the part as possible. If using an X-Acto blade, press firmly and straight down onto a protective mat or cutting board to avoid digging into the model. For smaller parts, I recommend using a small blade instead of clippers to avoid pinching and damaging the model part you're trying to remove.
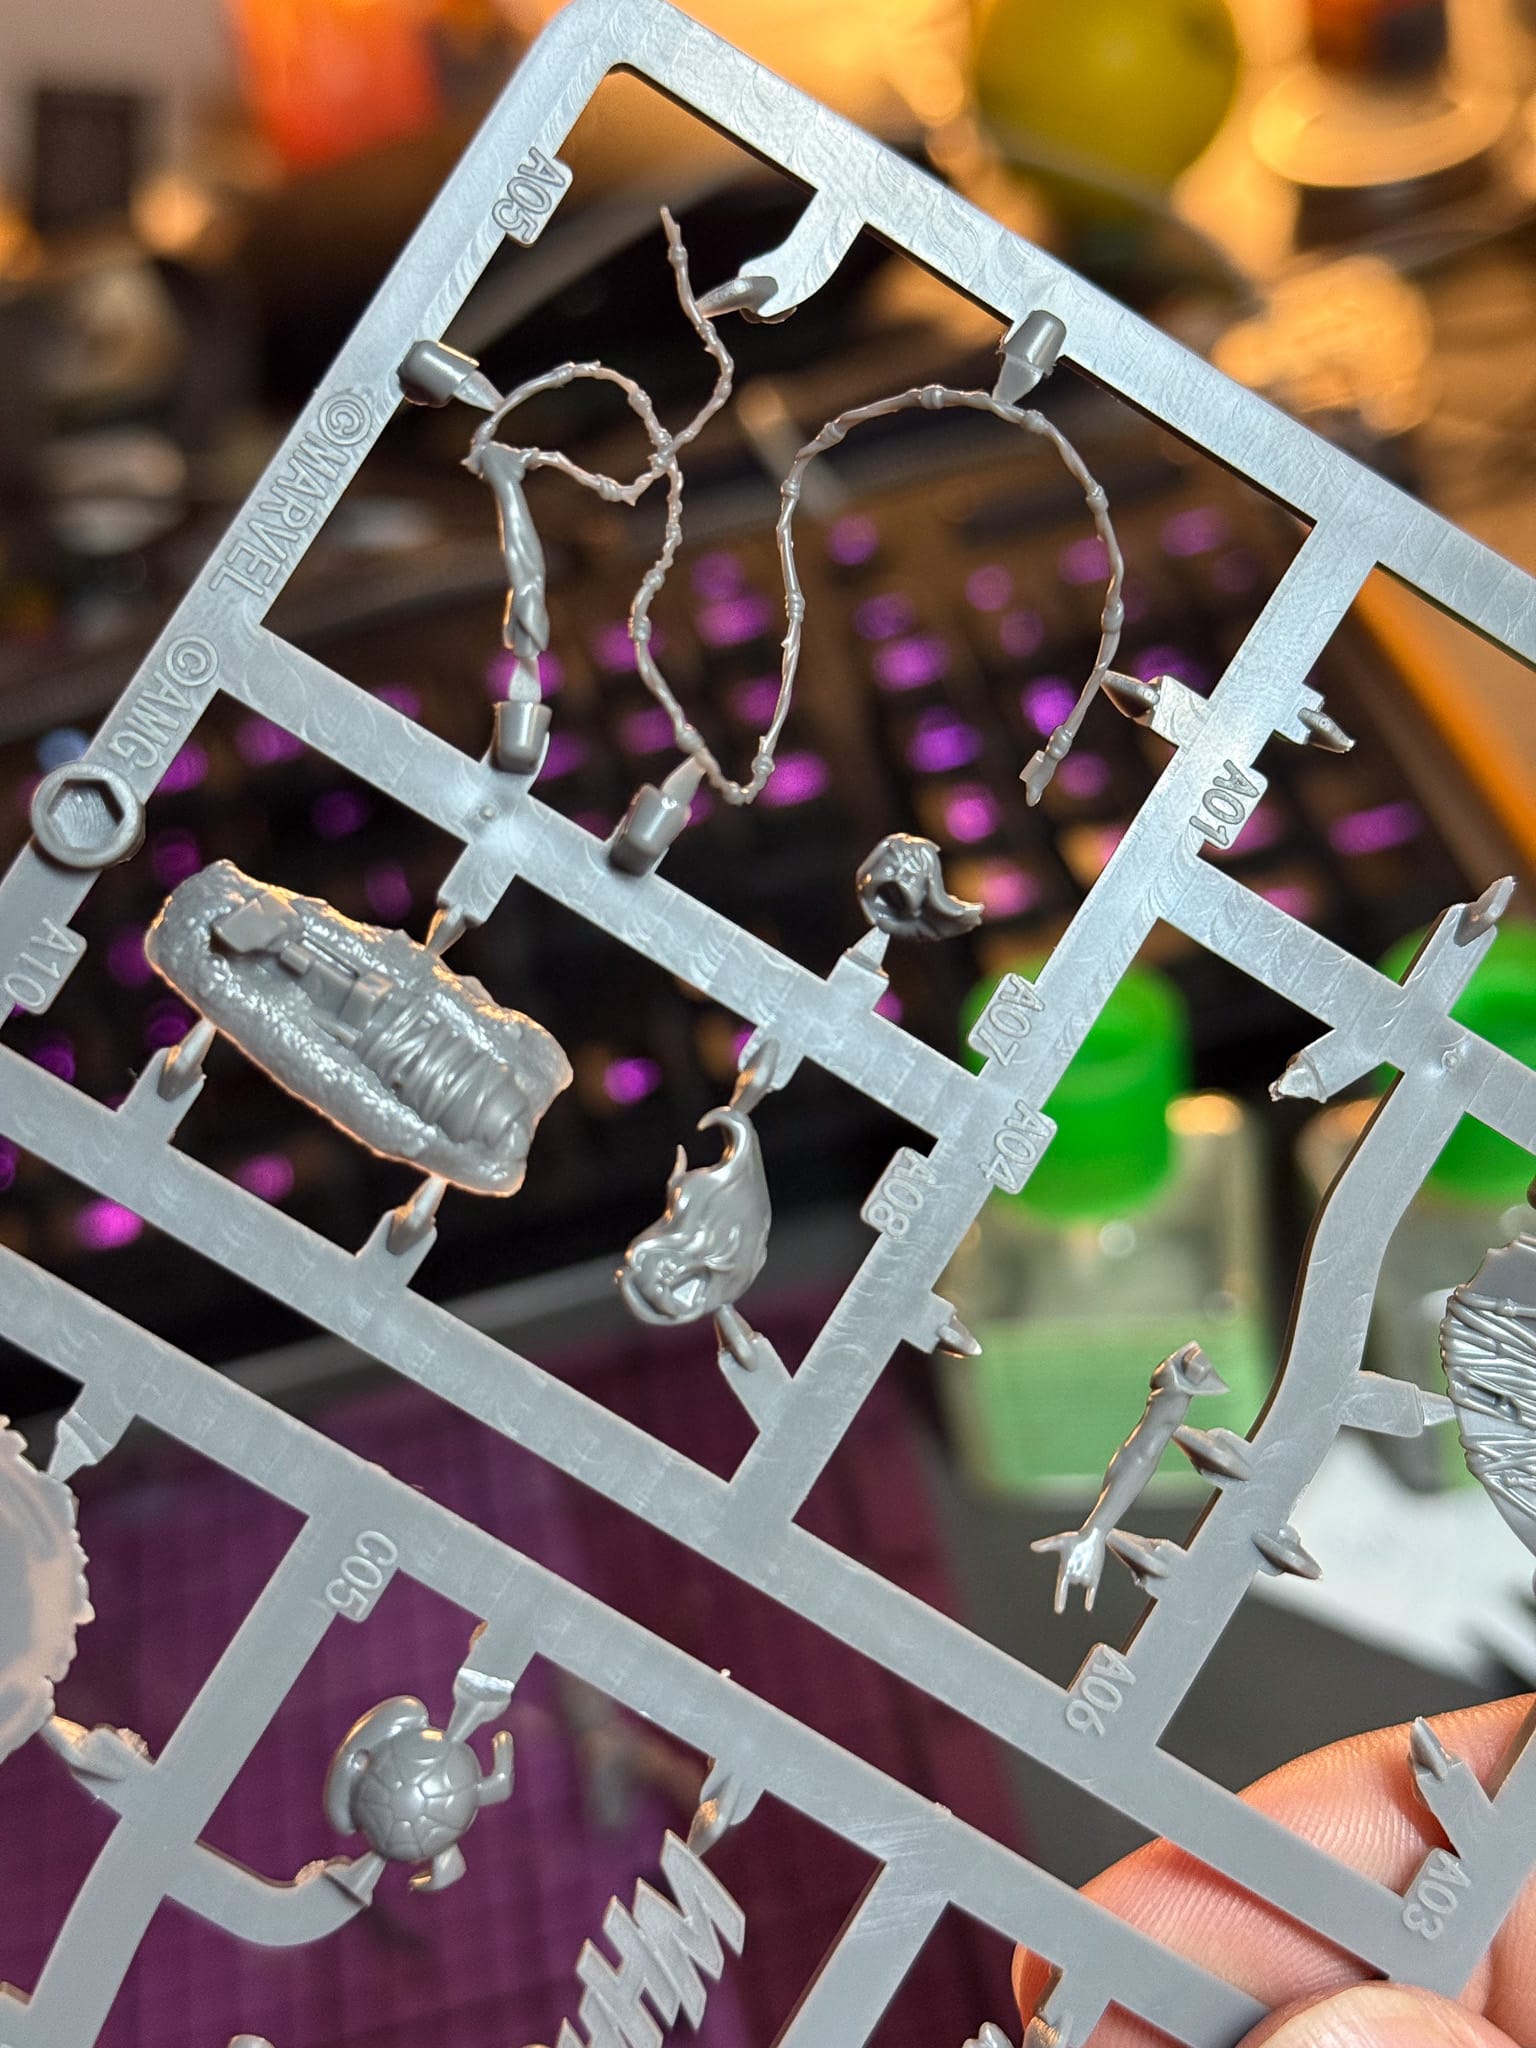
Not all pieces are easy to remove, so if you need to, first clip the gate or branch—the part that connects the model to the big plastic sprue part, called a runner. Especially for rounded pieces, you don't want to clip parts of the model away using the flat end of the clippers, so it's best to clip close and then use a blade to cut away the remaining parts.
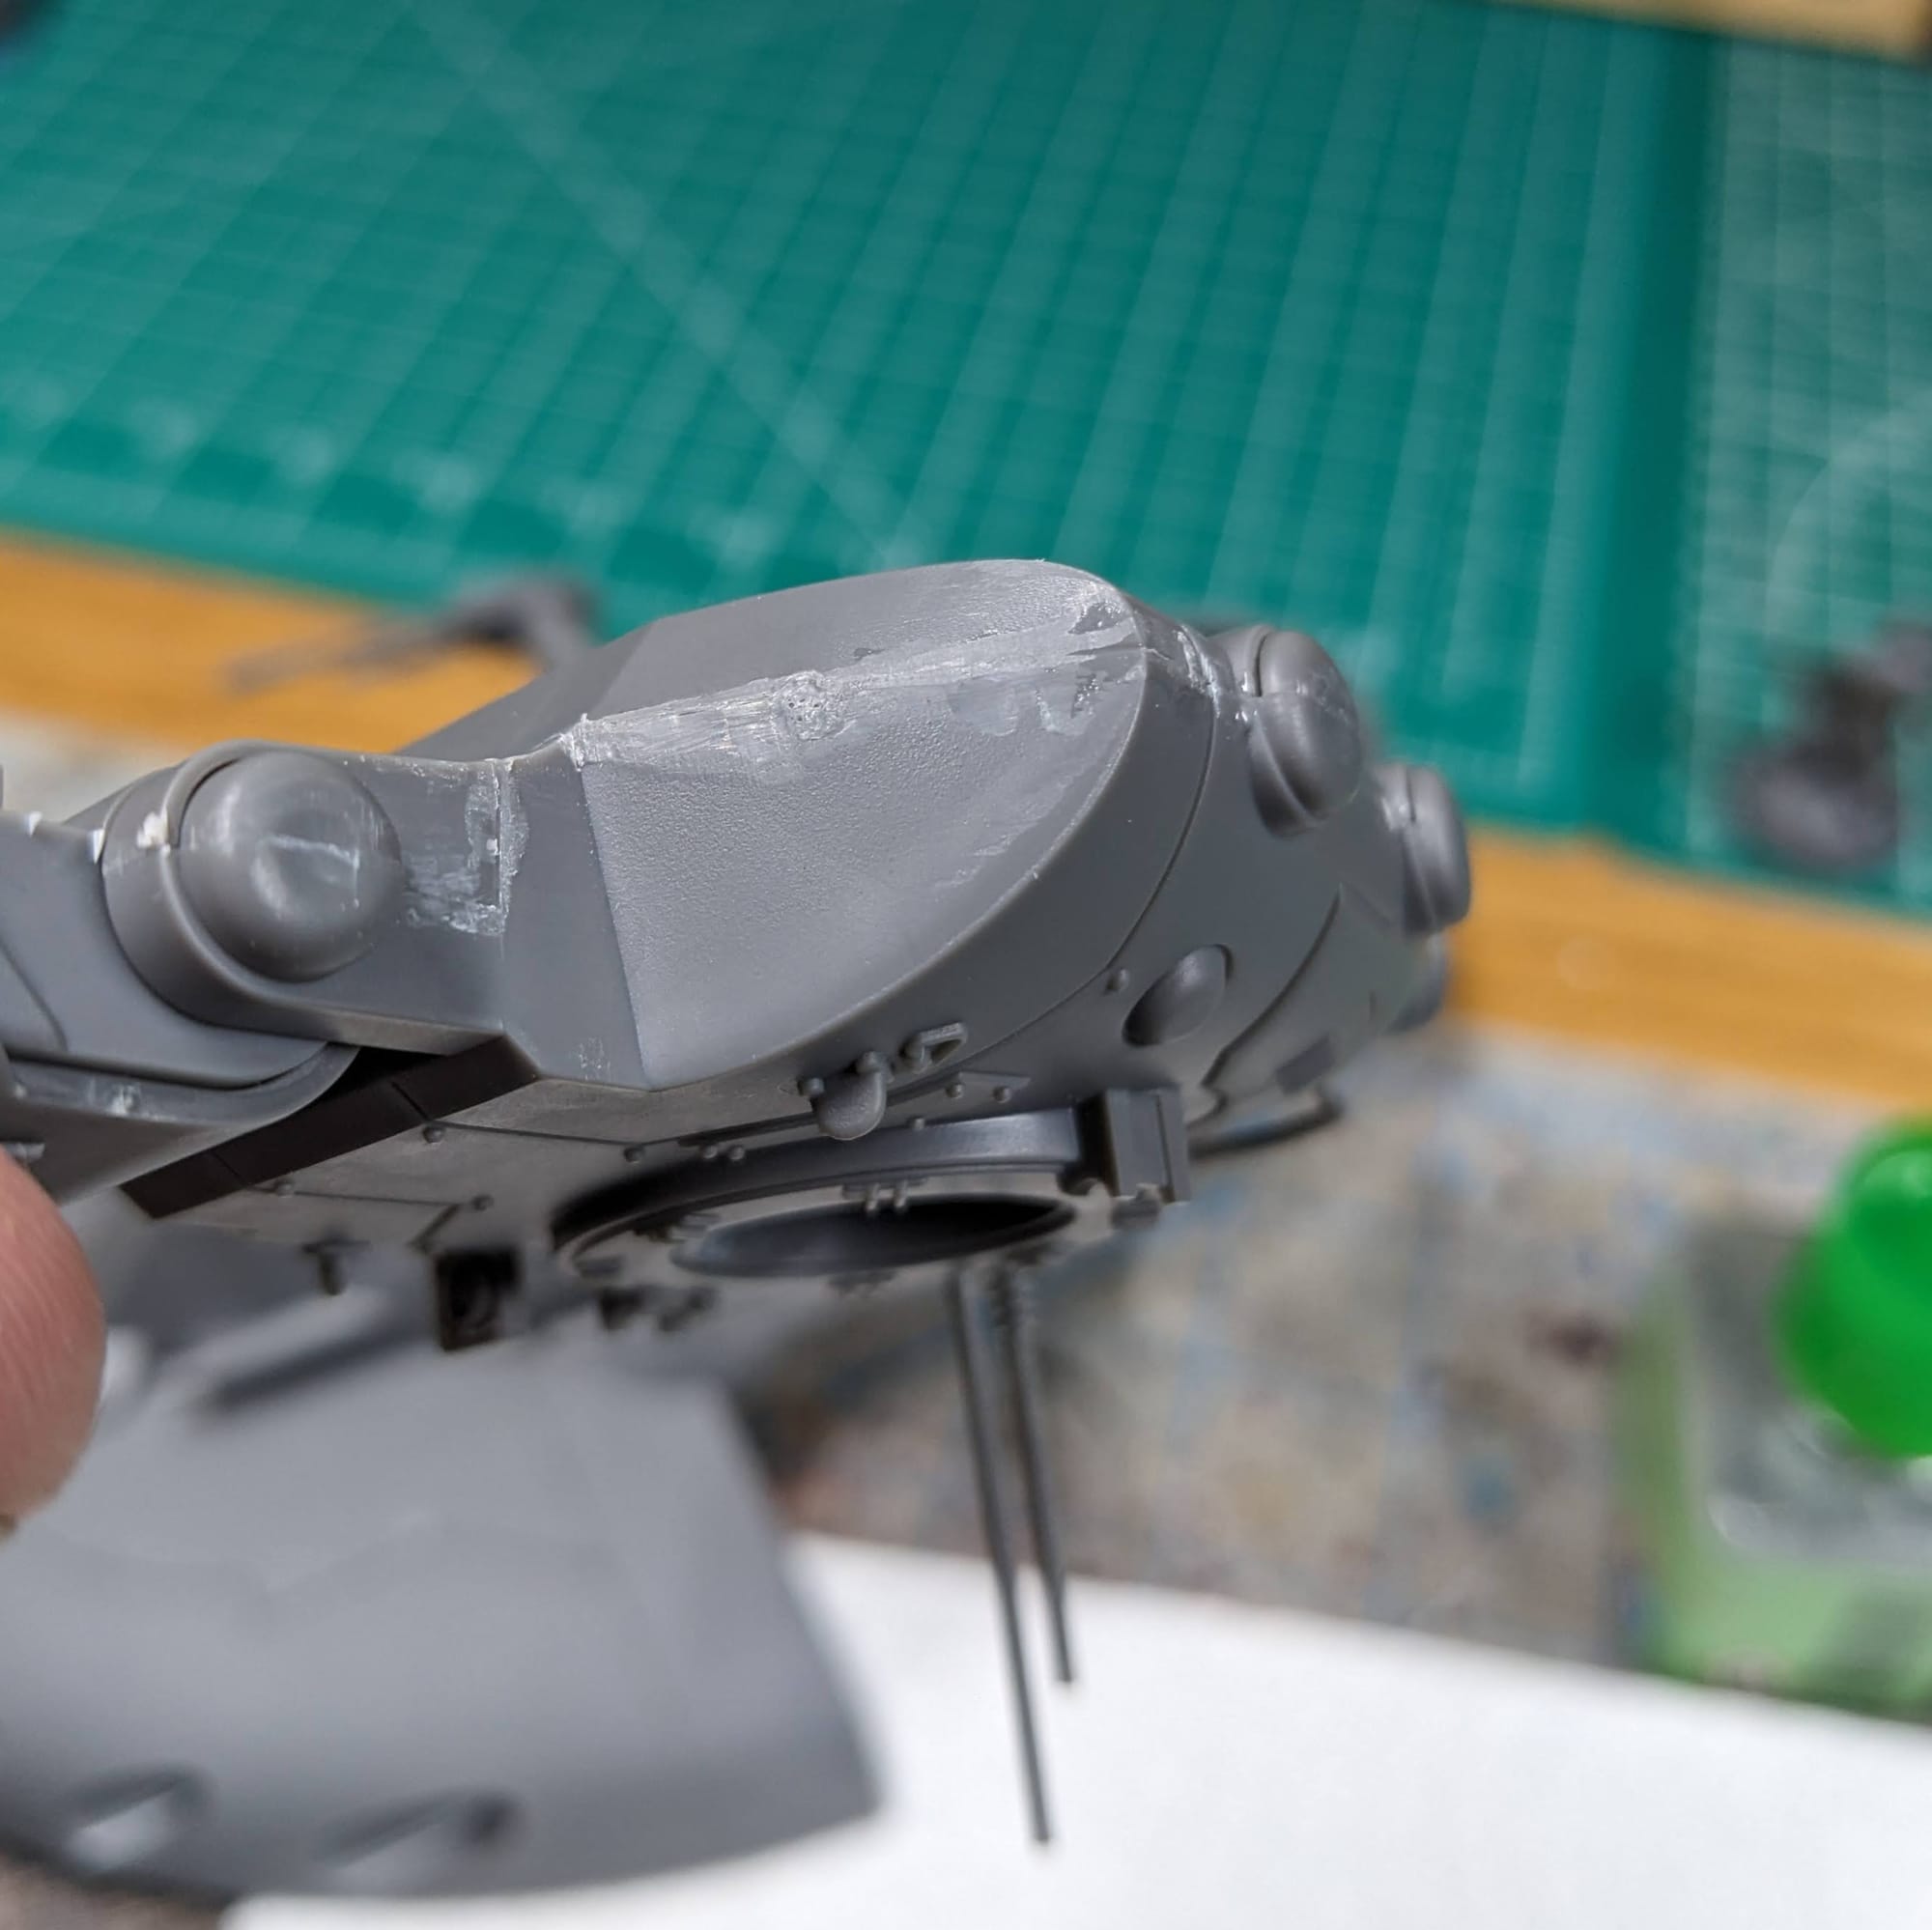
Removing Mold Lines, Flashing, and Resin Support Bumps
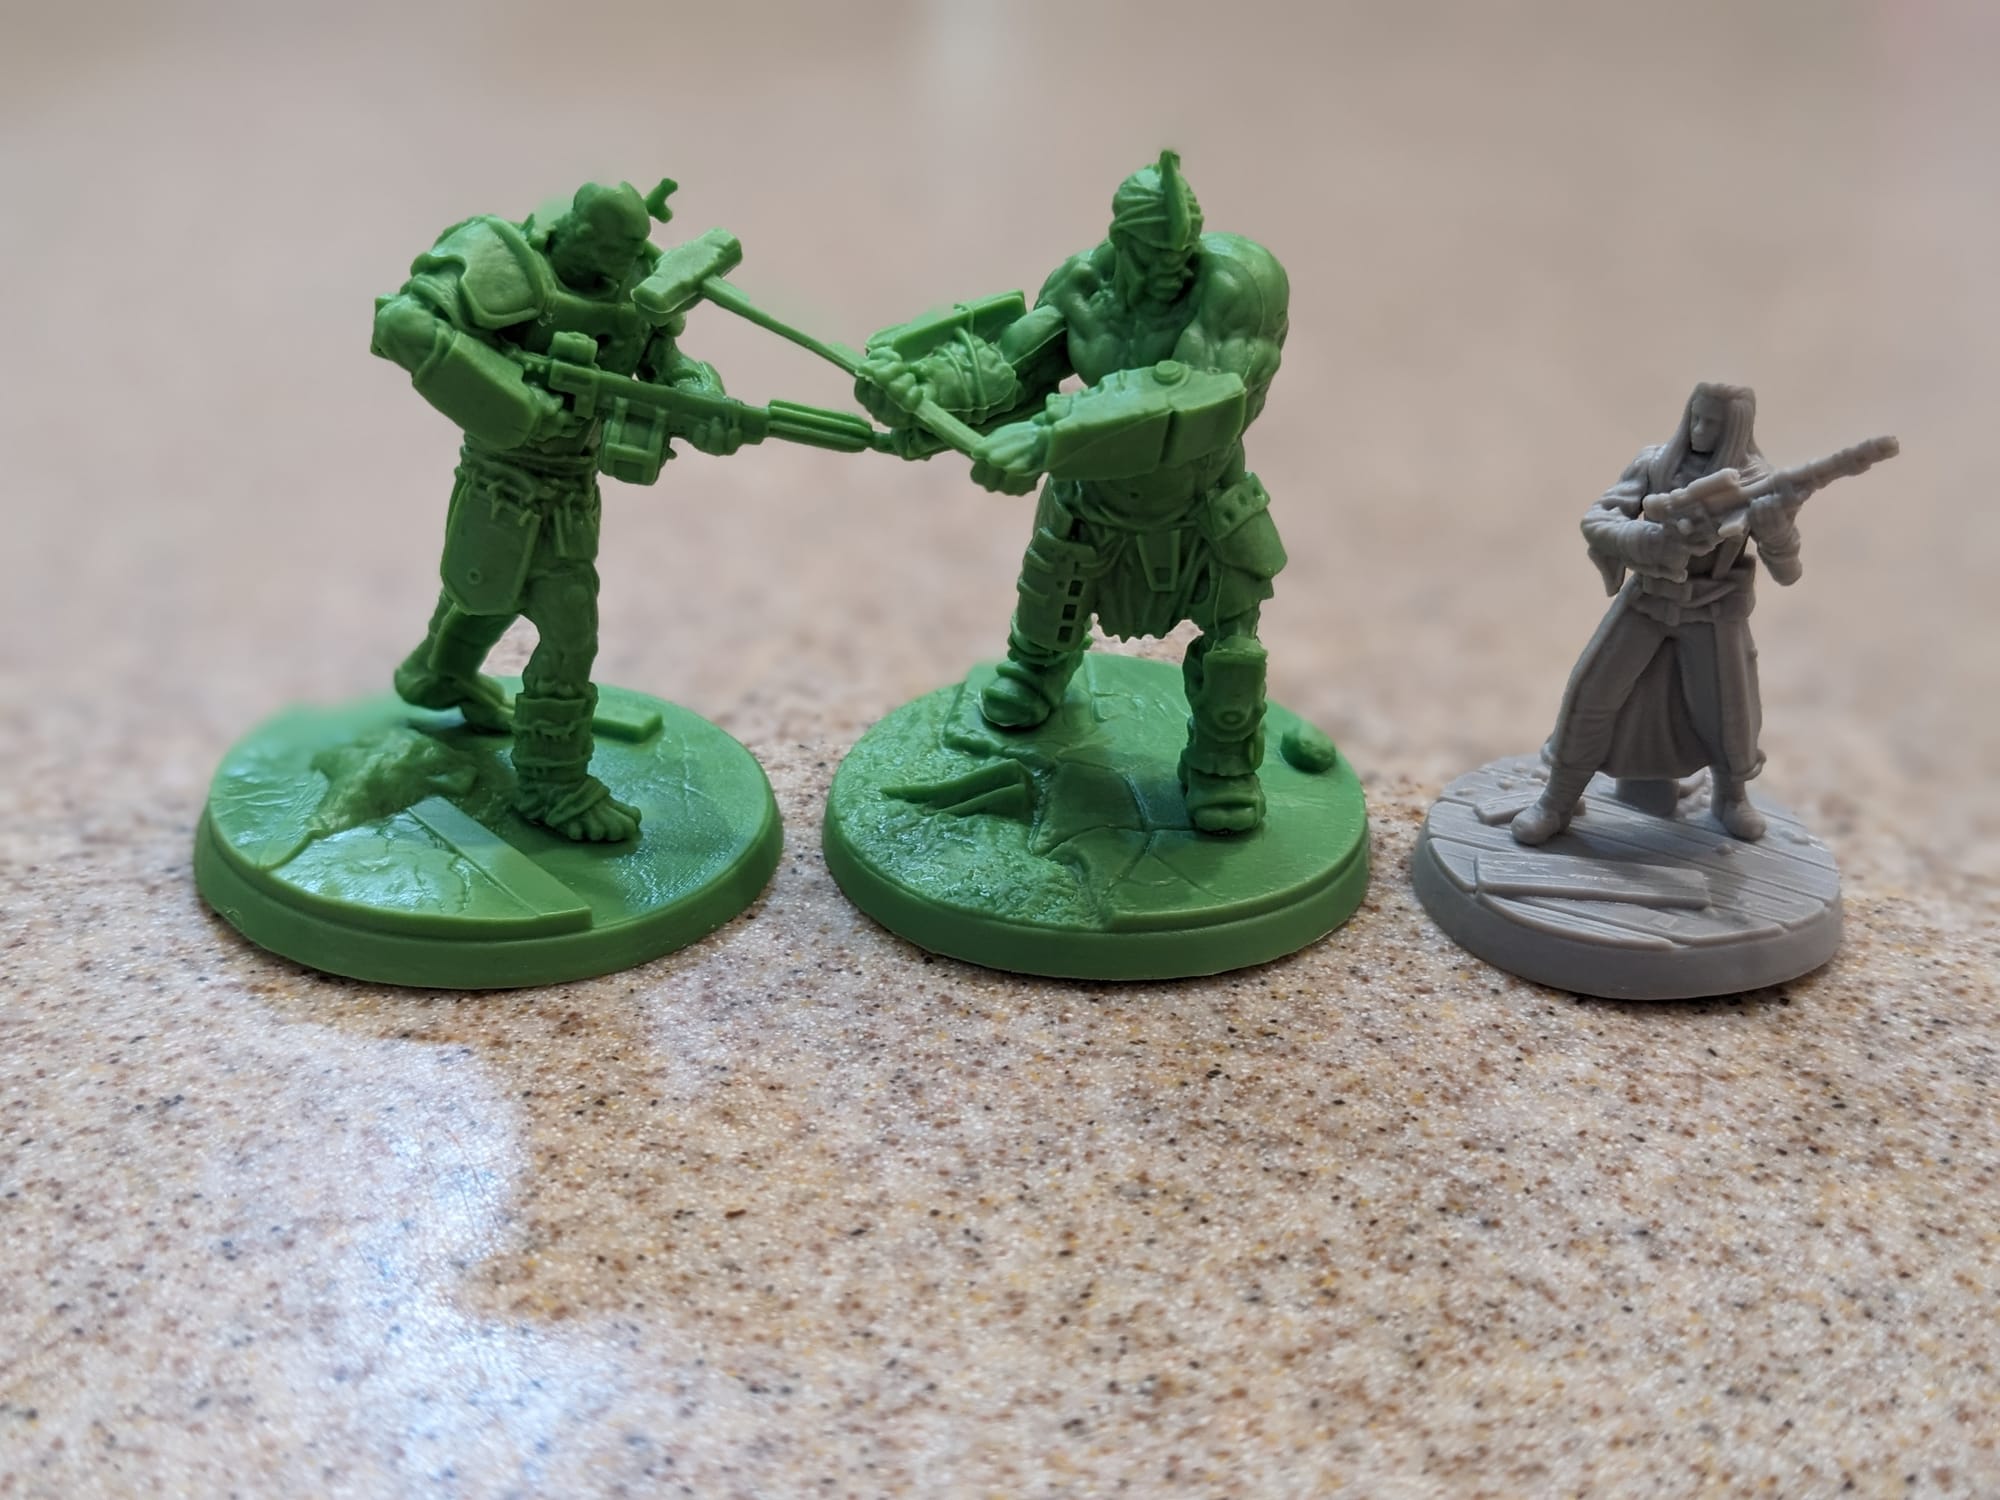
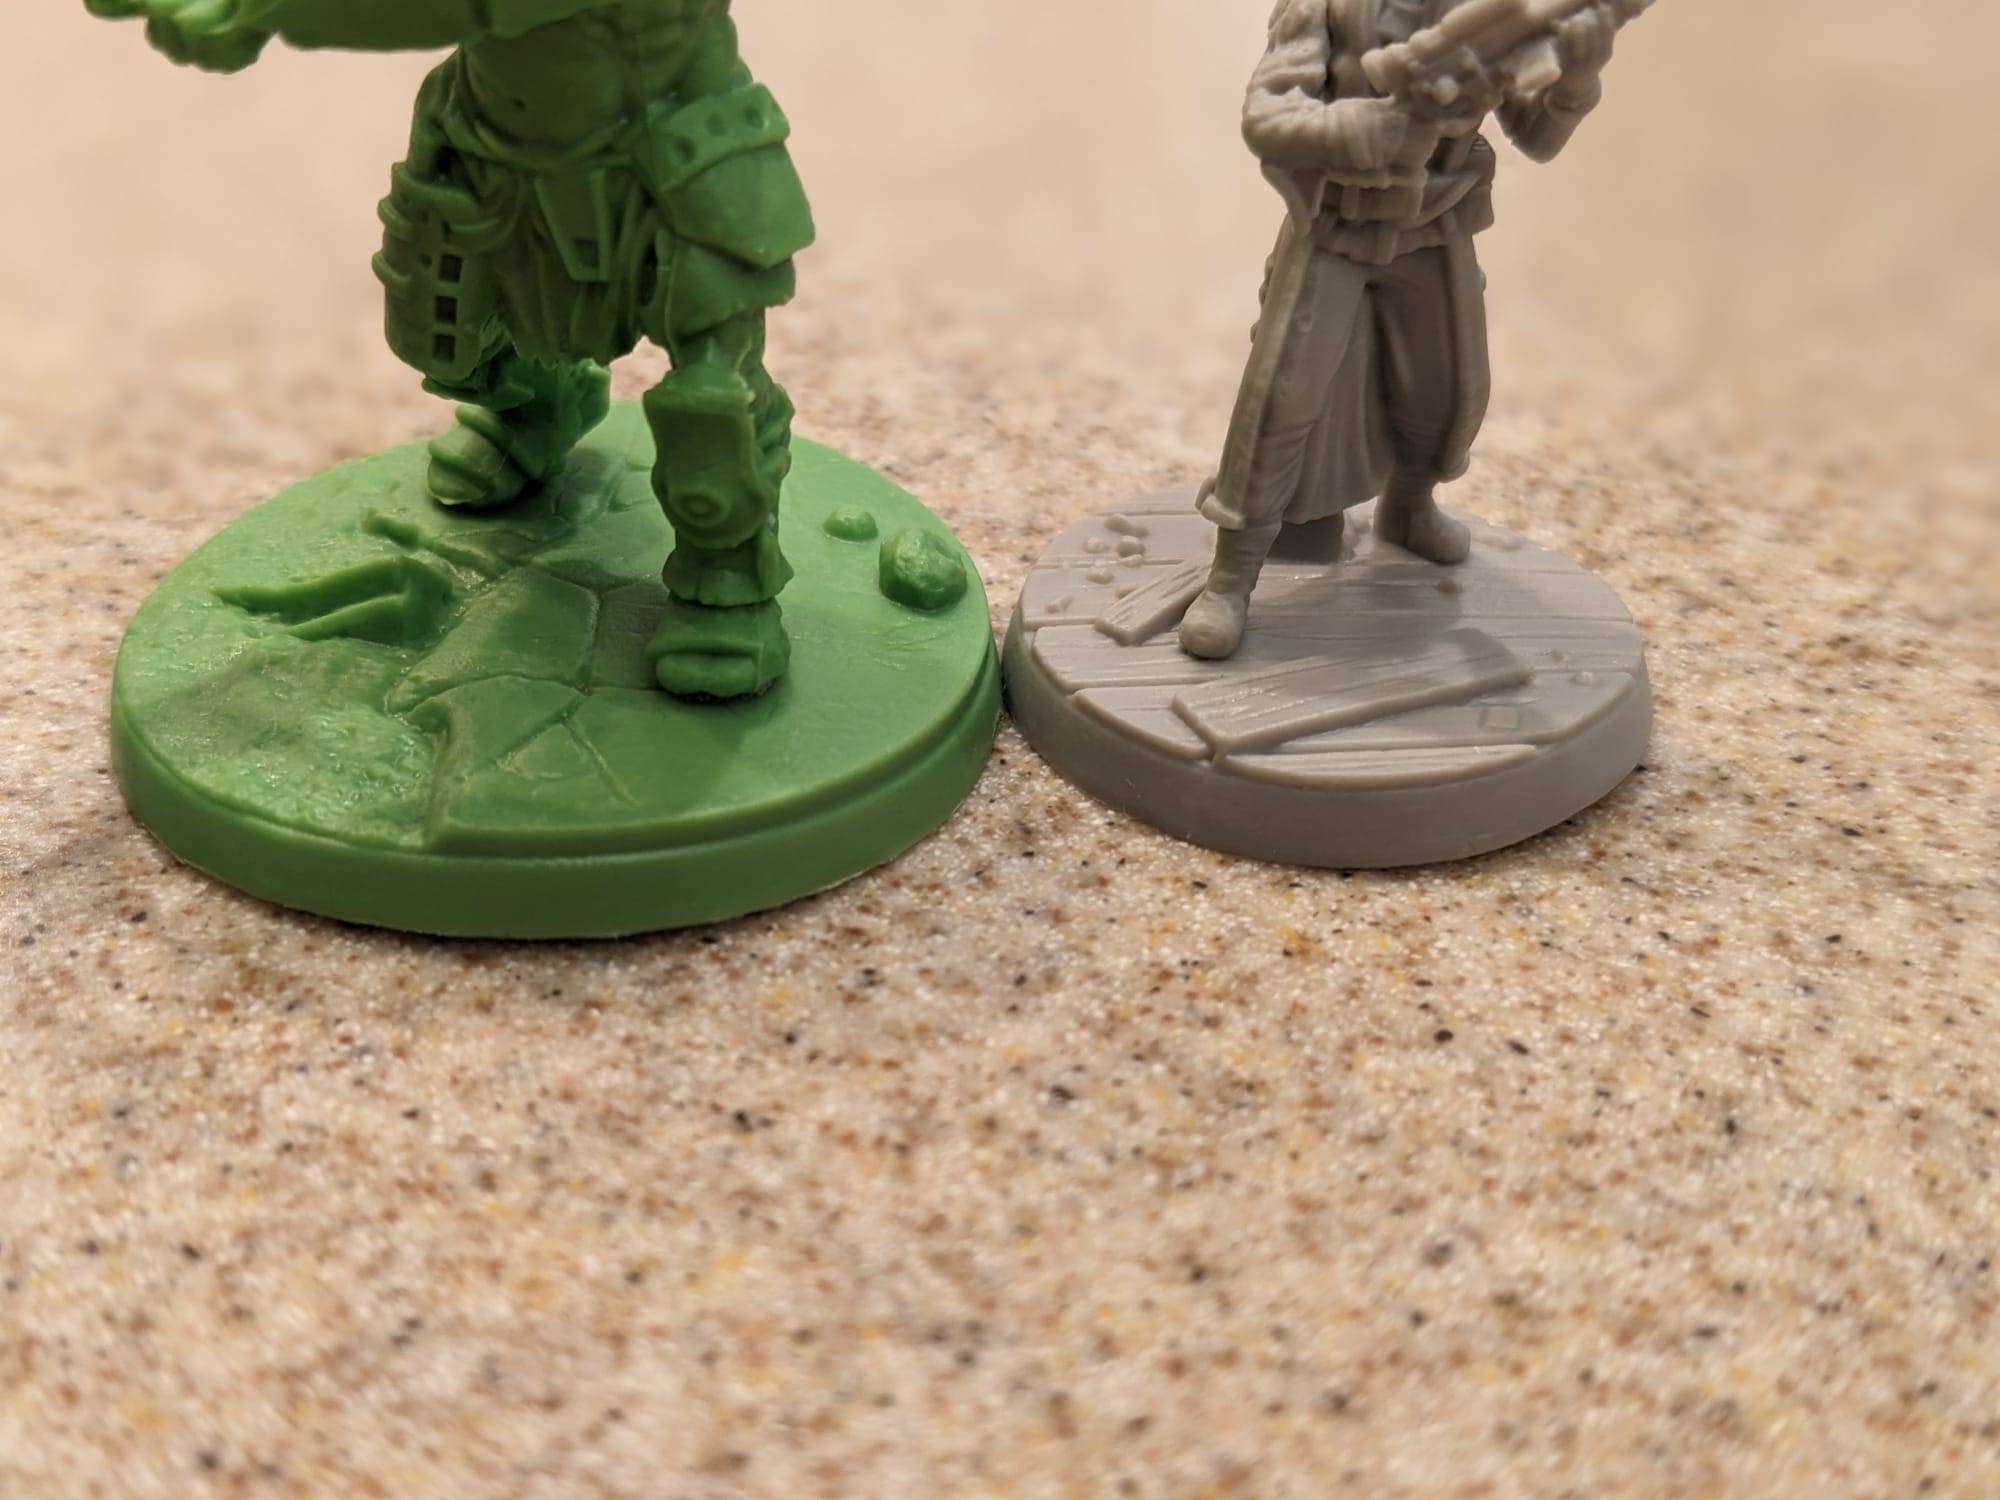
Every manufacturing process leaves some kind of unwanted extra part on the model that you don't want to paint. The mold lines are a result of the manufacturing process, where the two halves of the piece come together. Flashing is a byproduct of pewter miniature casting. Resin support 'bumps' or 'pockmarks' are caused when the supports are removed from the model. By comparison, it is more difficult to clean up soft plastic miniatures' mold lines since they tend to be more pronounced than hard plastic ones.
Regardless of the model you are cleaning up, all of these can be easily removed with an X-Acto blade or mold line remover tool. Just be careful with the sharp blade and be mindful of how hard you’re digging into the miniature; you don’t want to amputate your mini accidentally. Soft plastic can be difficult to clean, so go slow, take your time, and don't press too hard.
Alternatively, take advantage of sanding sticks. These are thin strips of sandpaper that has been glued to a piece of foamcore, which can help you get into small places and edges of models, allowing you to eliminate mold lines, flashing, and support bumps. Use sanding sticks for plastic models. For metal models, you can get a set of metal jeweler's files that can handle all kinds of issues on metal. You'll notice after a lot of use that you should clean the files. Luckily, Blu Tack or other sticky tack can remove all of the sanding material from your tools.
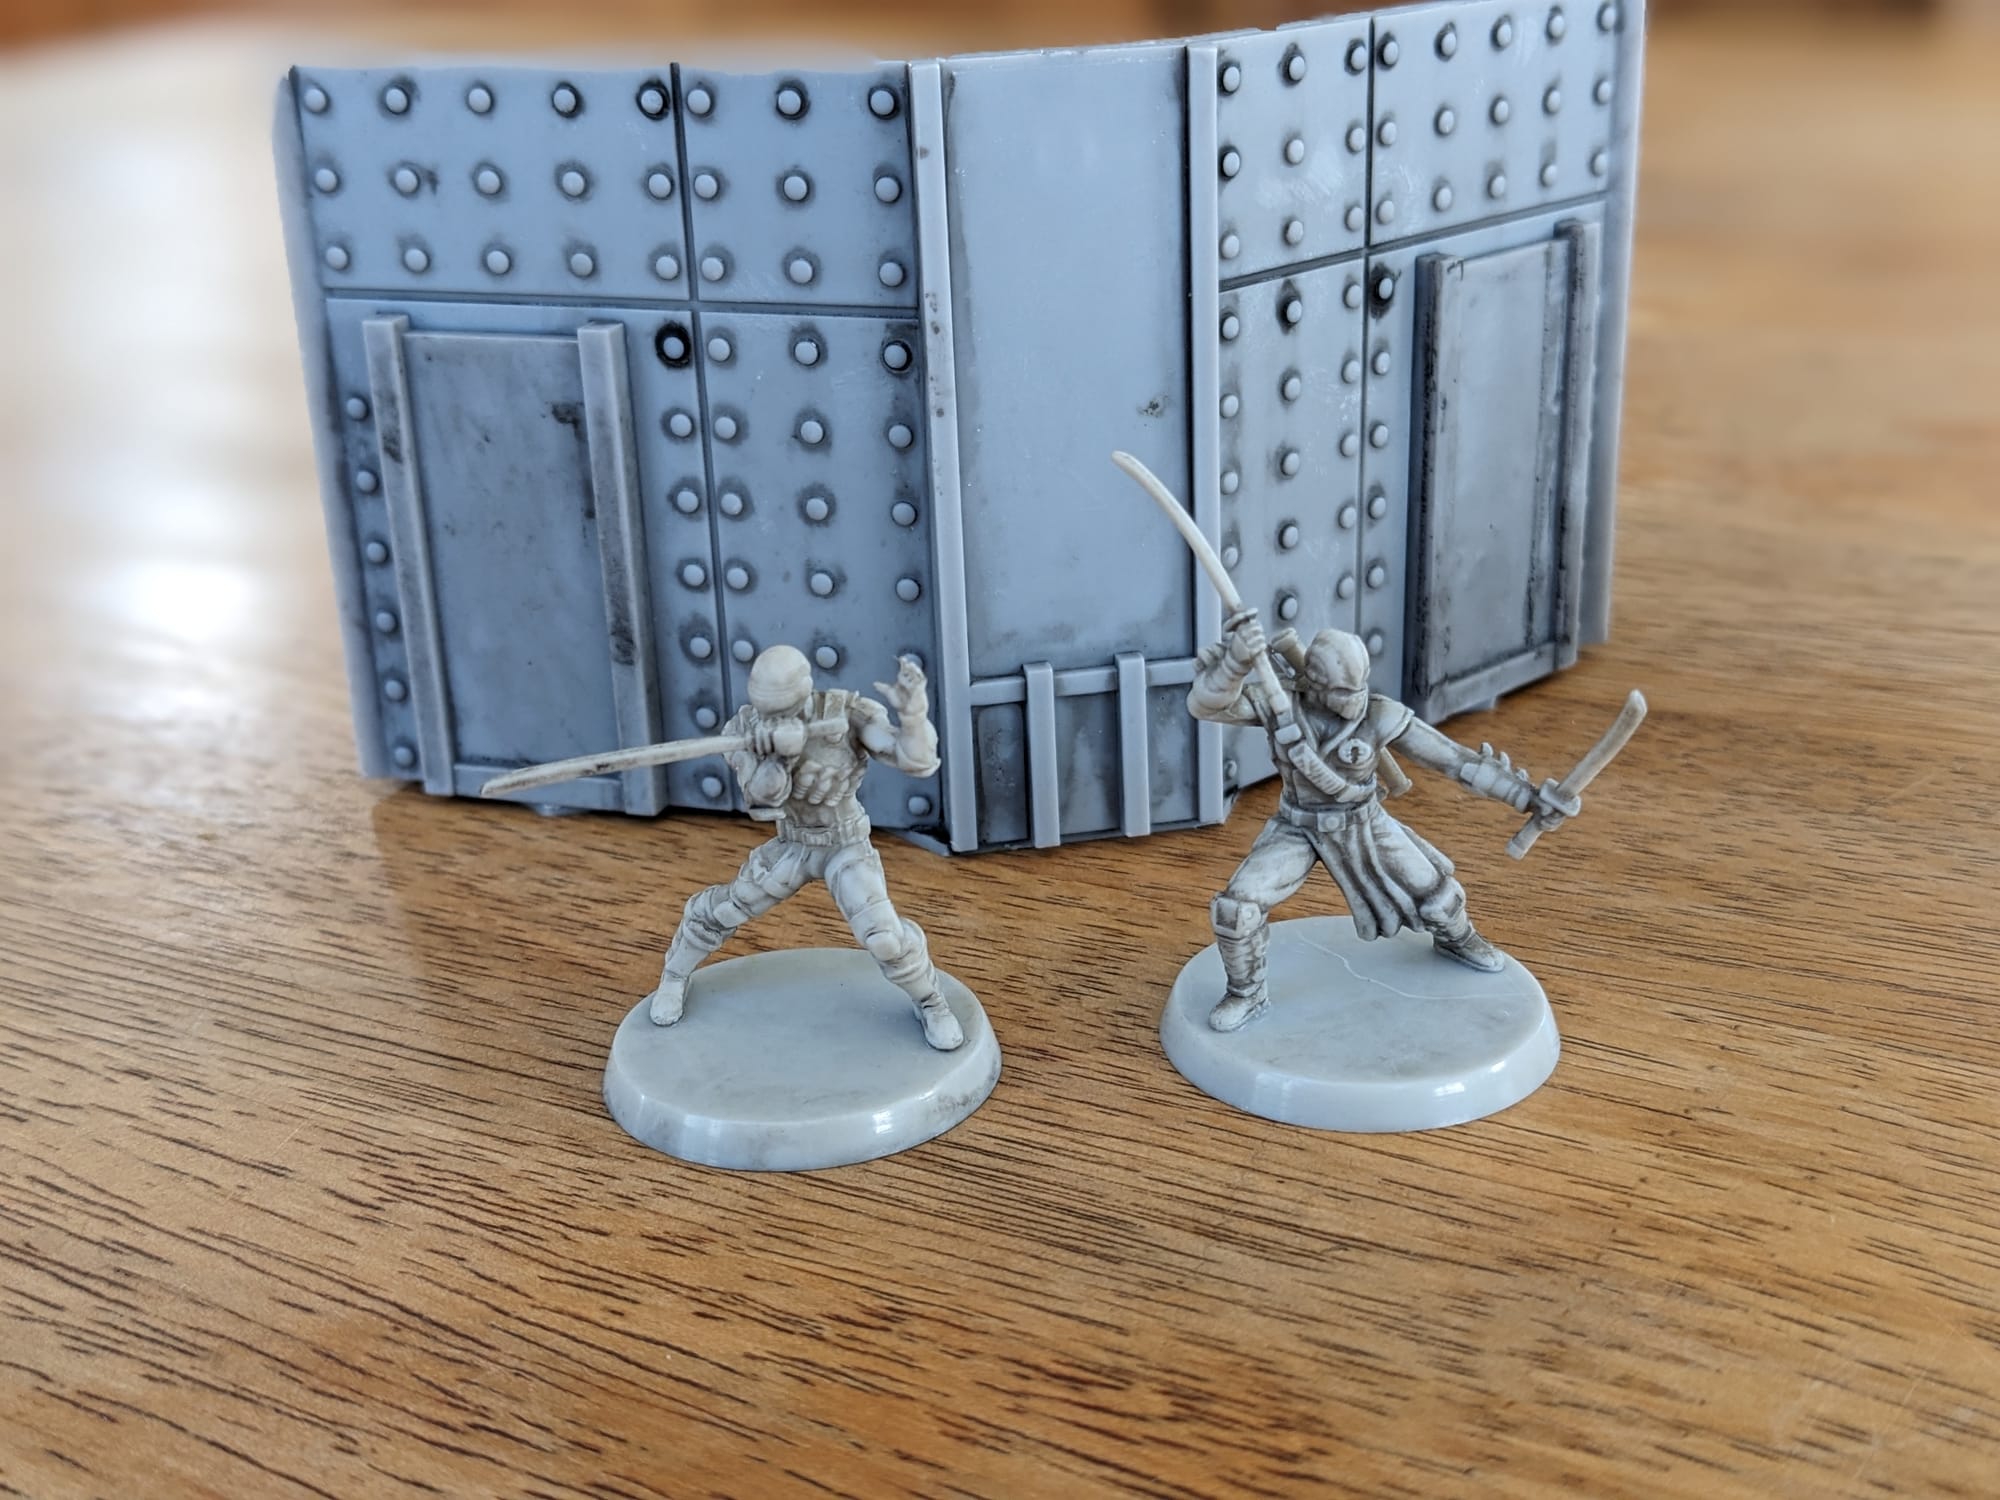
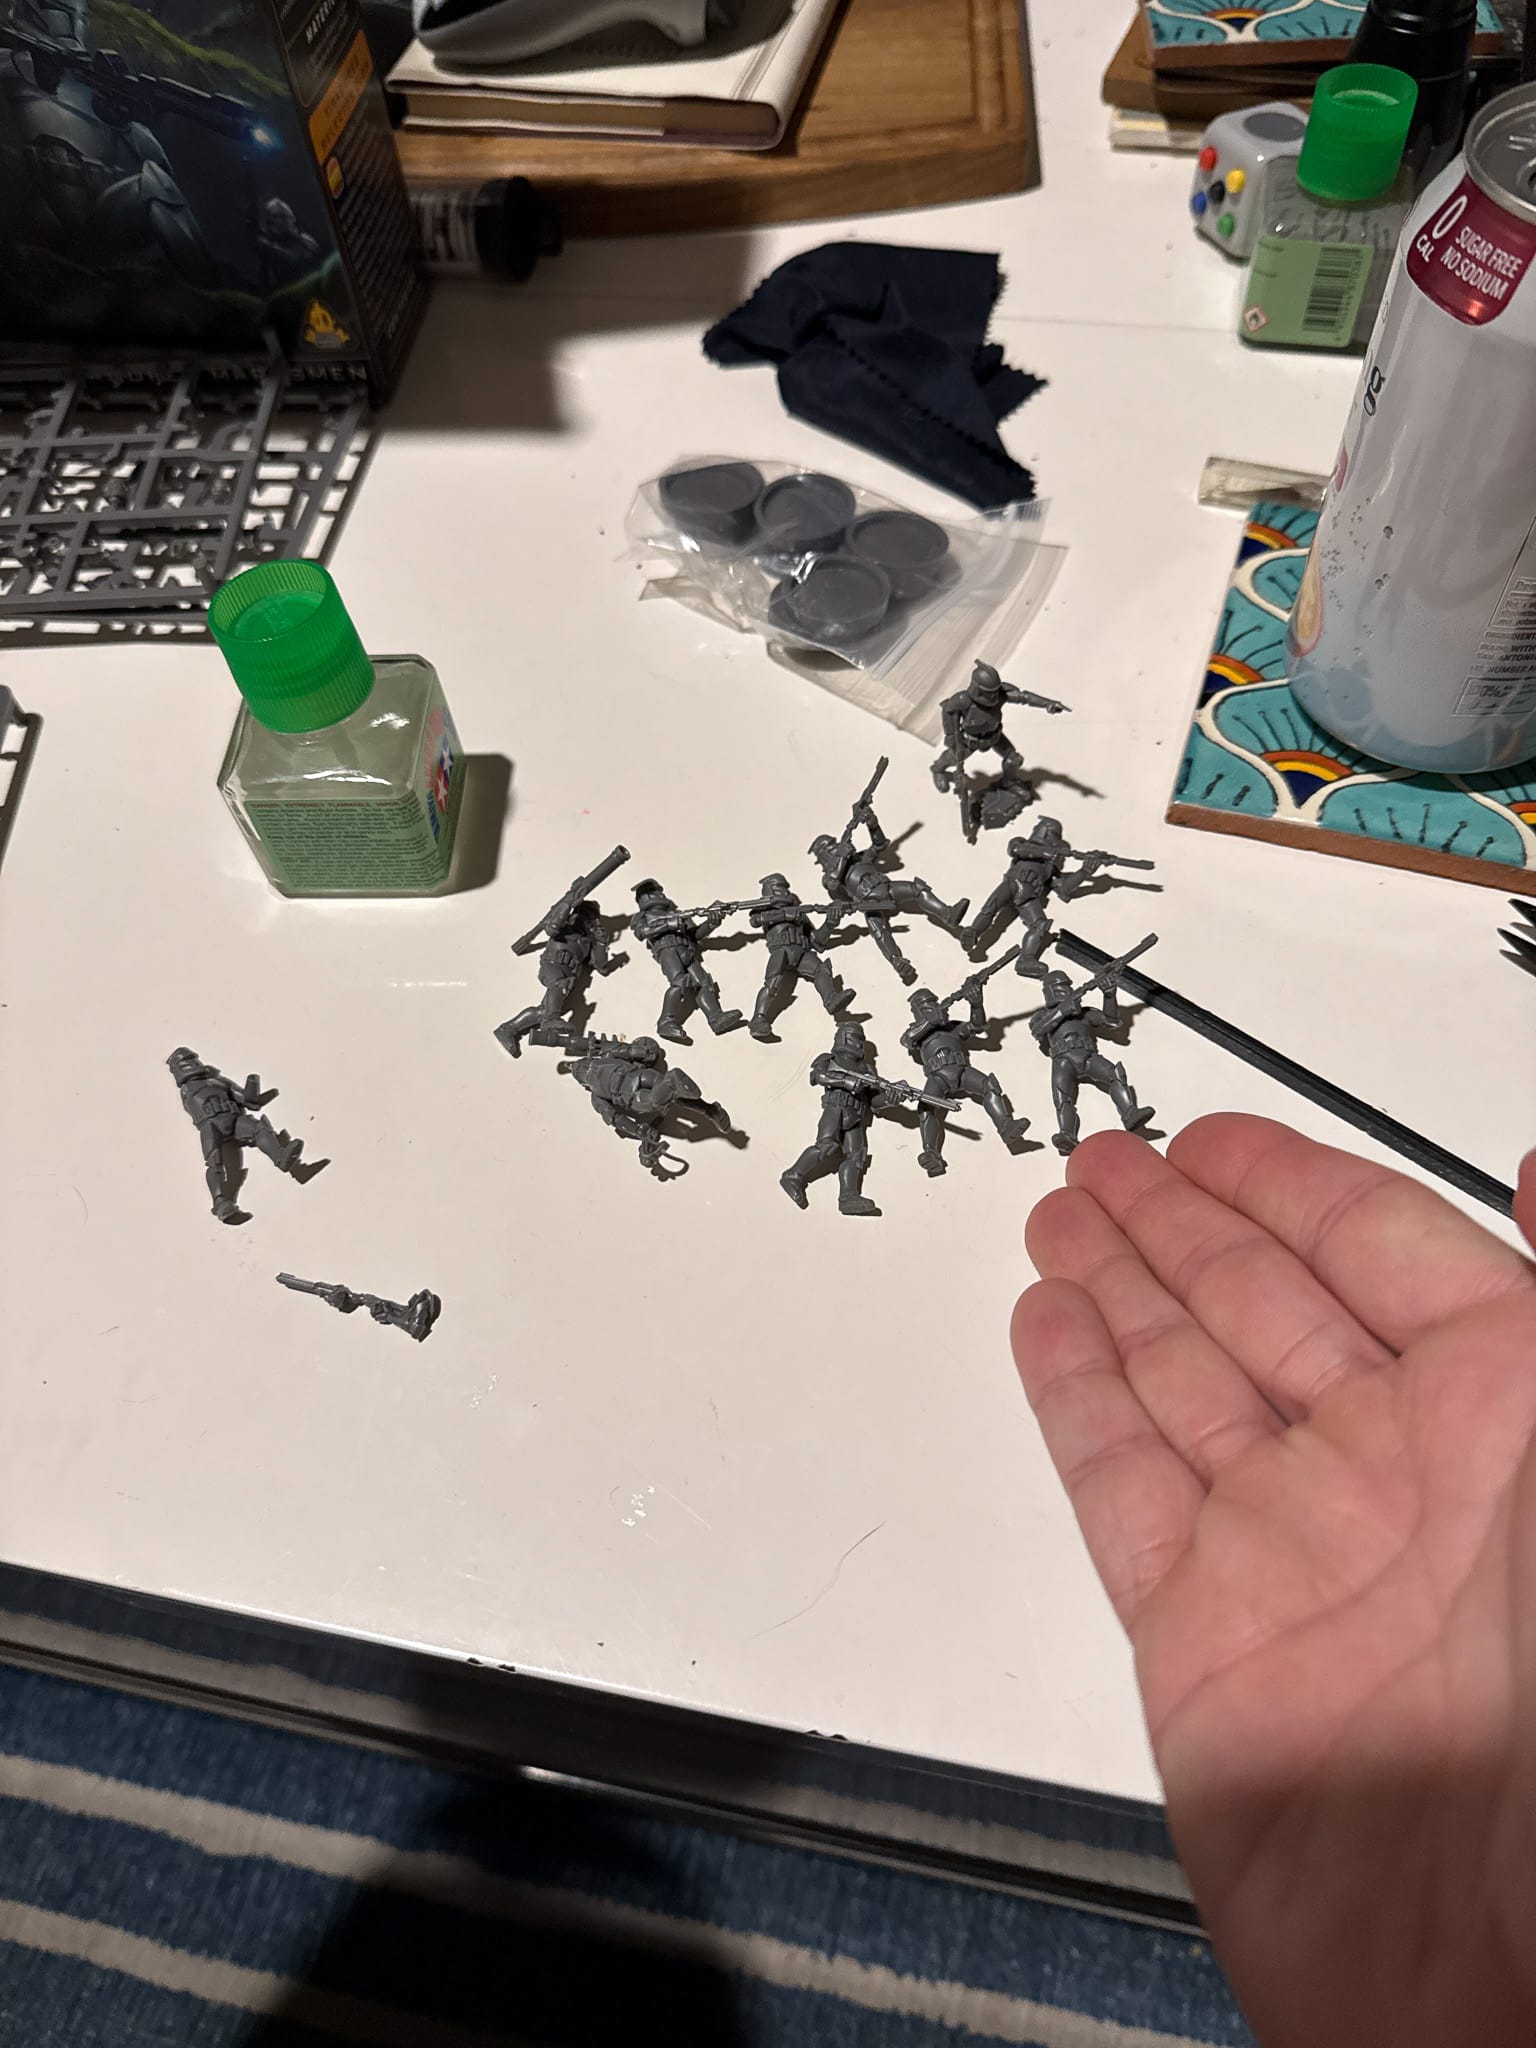
Fixing Your Warped Minis

Fallout: Wasteland Warfare Minis - soft plastic is notorious for warping
The other common malady of single-piece miniatures and long plastic parts is that they tend to warp. Swords or poles can bend every which way, swords can look like whips (or angled for attacking around corners), and bases can arrive looking like potato chips. While it looks funny, it's not what you want to paint. Fortunately, this is a pretty easy fix!

Boil some water and pour it into a coffee cup. Using model pliers or tweezers, submerge your model in the boiled water for 10-15 seconds. Take the model out and then push the model onto a flat surface, like a countertop. Once the water starts to cool, you can use your fingers to tweak the position even further. Once you’re satisfied with the shape of the plastic, submerge your model in a bowl of ice water for about 10-15 seconds, remove it, and place it on a towel to dry.
All better! Except for all the fallout and mutation stuff.
If you’re satisfied with the mini, then let it fully dry before you prime. If it still needs some tweaking, just repeat the process.
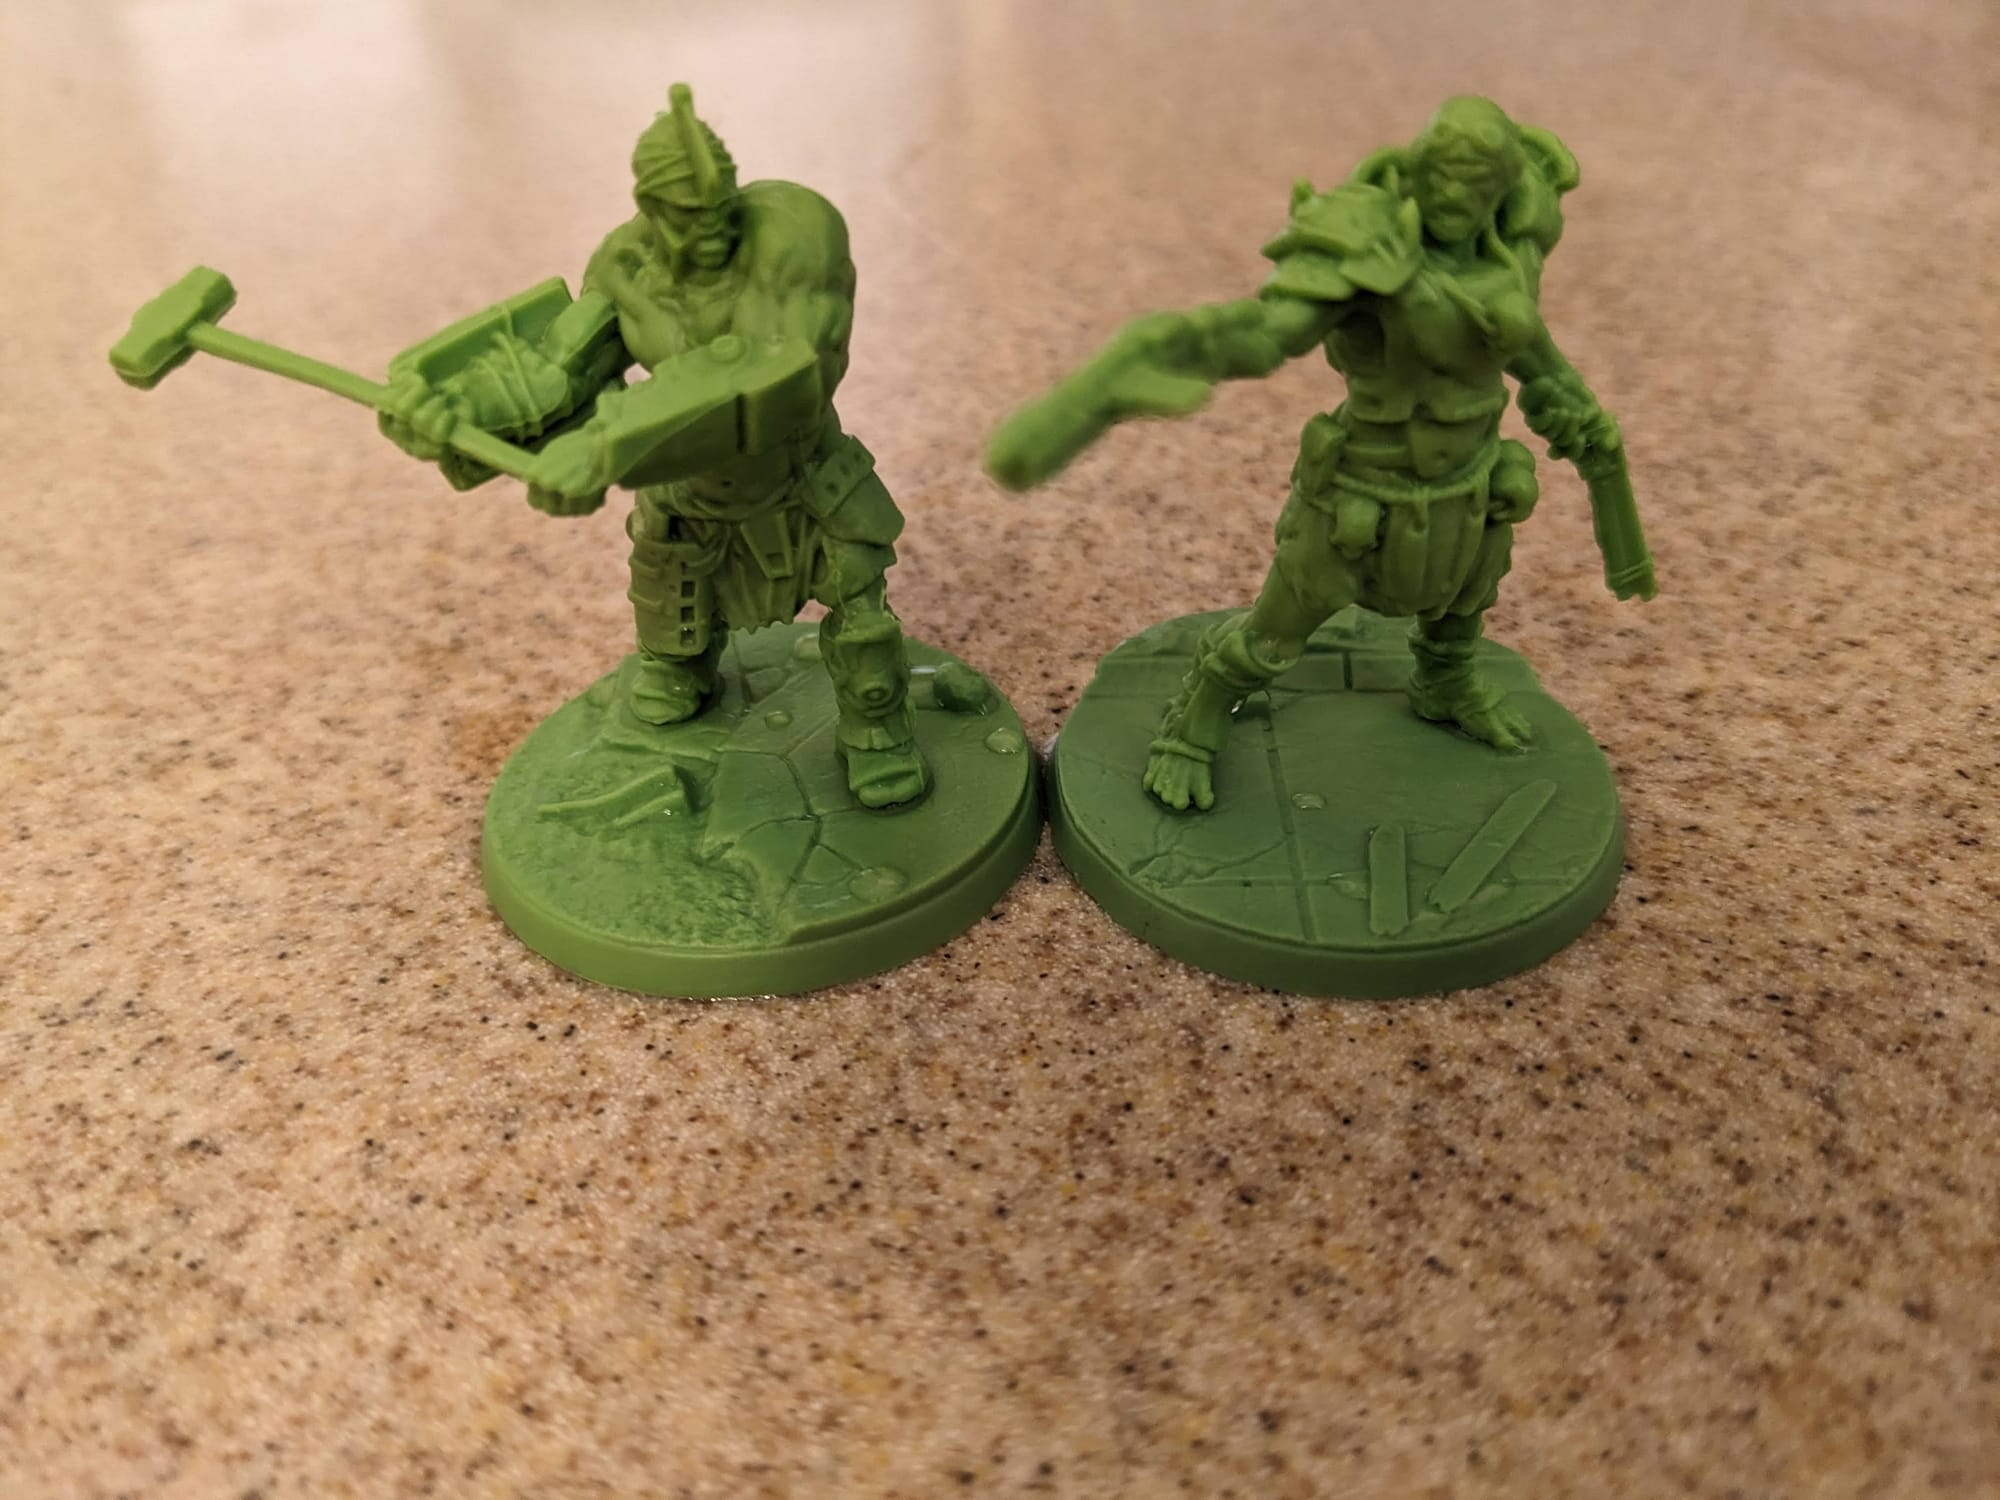
Gluing Your Miniatures
Multi-part figures and models come with instructions. Don't be a hero—use them! Many figure assemblies are rather straightforward, but it’s always best to follow the instructions as they will outline the order in which assembly is important. Sometimes poses or accessories will overlap parts of the figure, so the figure must be assembled in the proper order. Connection points can be small, or may require cleaning before actually gluing. That being said, here are three simple steps to follow to make sure you glue your pieces correctly:
ALWAYS TEST FIT YOUR PIECES BEFORE YOU GLUE.
ALWAYS TEST FIT YOUR PIECES BEFORE YOU GLUE.
ALWAYS TEST FIT YOUR PIECES BEFORE YOU GLUE.
Super glue is pretty permanent, and there’s nothing worse than gluing that arm on the wrong way or forgetting to include a pouch beneath a backpack. Most importantly, sometimes injection molds will not always be perfect (spoiler alert!), resulting in parts not properly fitting together. Gaps can be filled in later, but if a part’s connection point is misshapen or has excess plastic, then you can utilize a file or Xacto knife to trim down the part so it fits. Once you are satisfied that the figure will go together exactly the way it’s supposed to, it’s time to make it permanent with super glue.
Super Glue and You
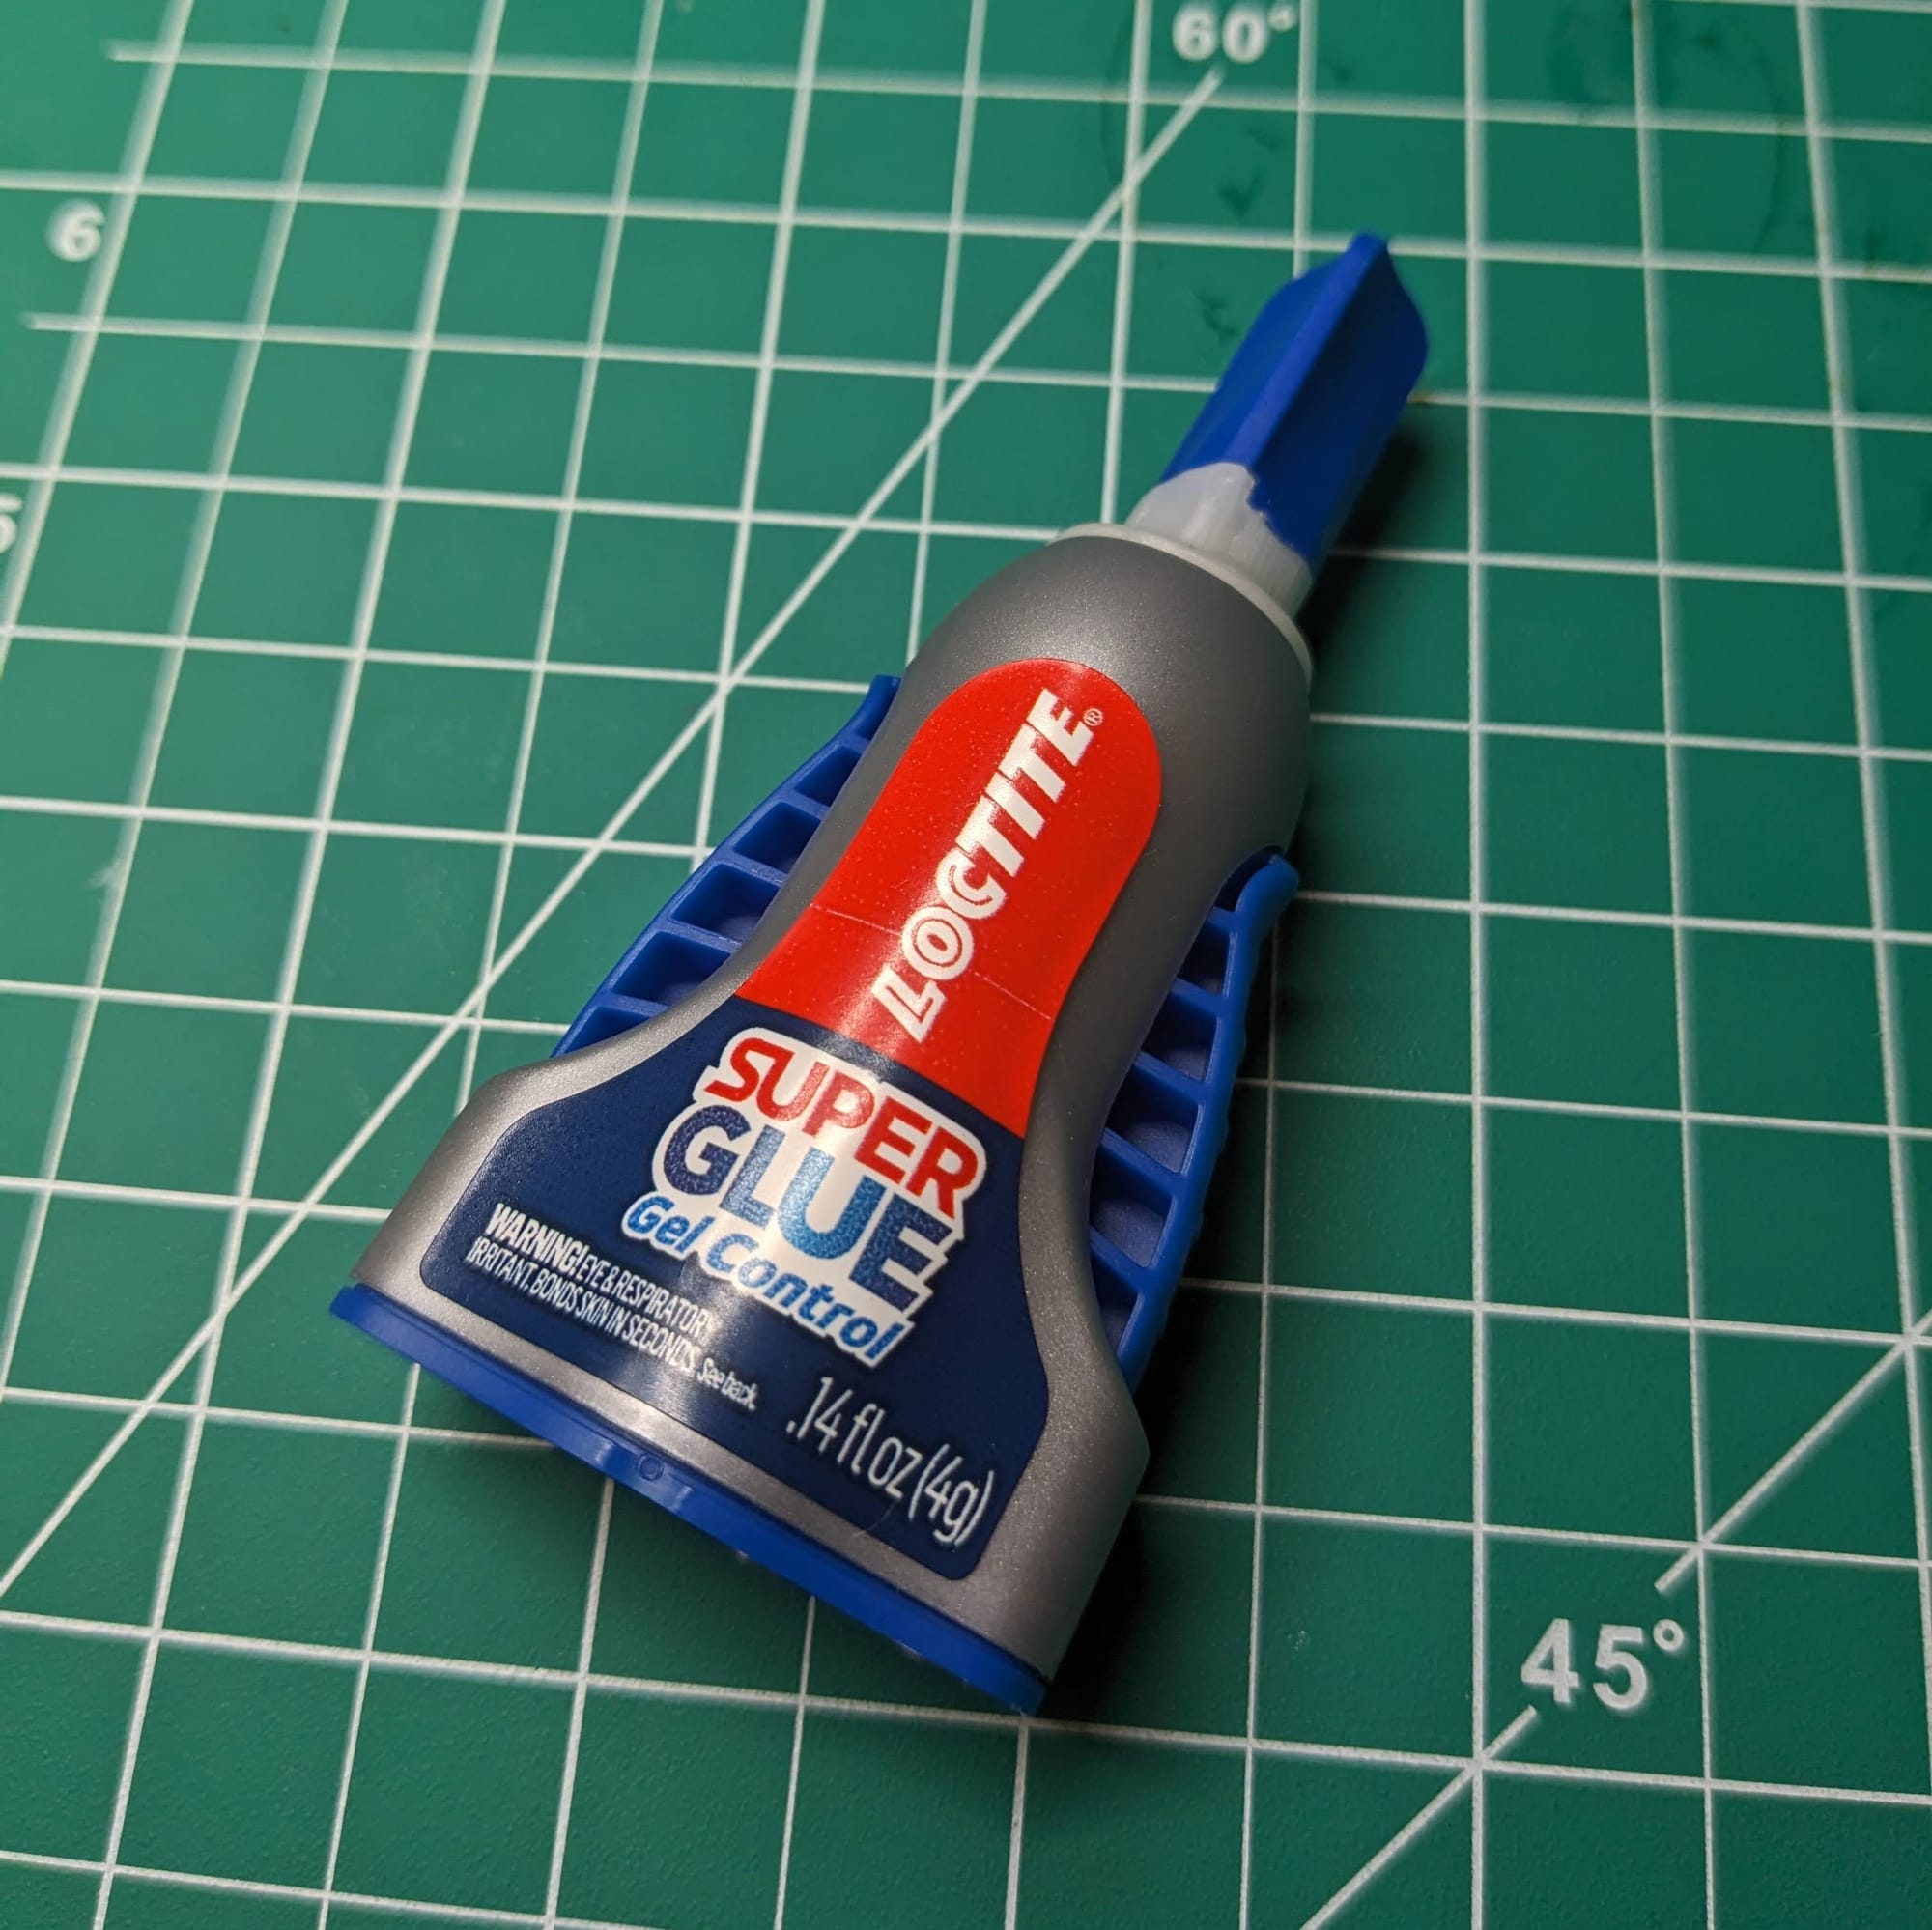
The term ‘Super Glue’ is a genericized term for the fast acting, strong bonding adhesive more specifically known as cyanoacrylic acid (CA). While there are many types of “super glues” out there, it’s important to use the right kind depending on what material the model is made out of.
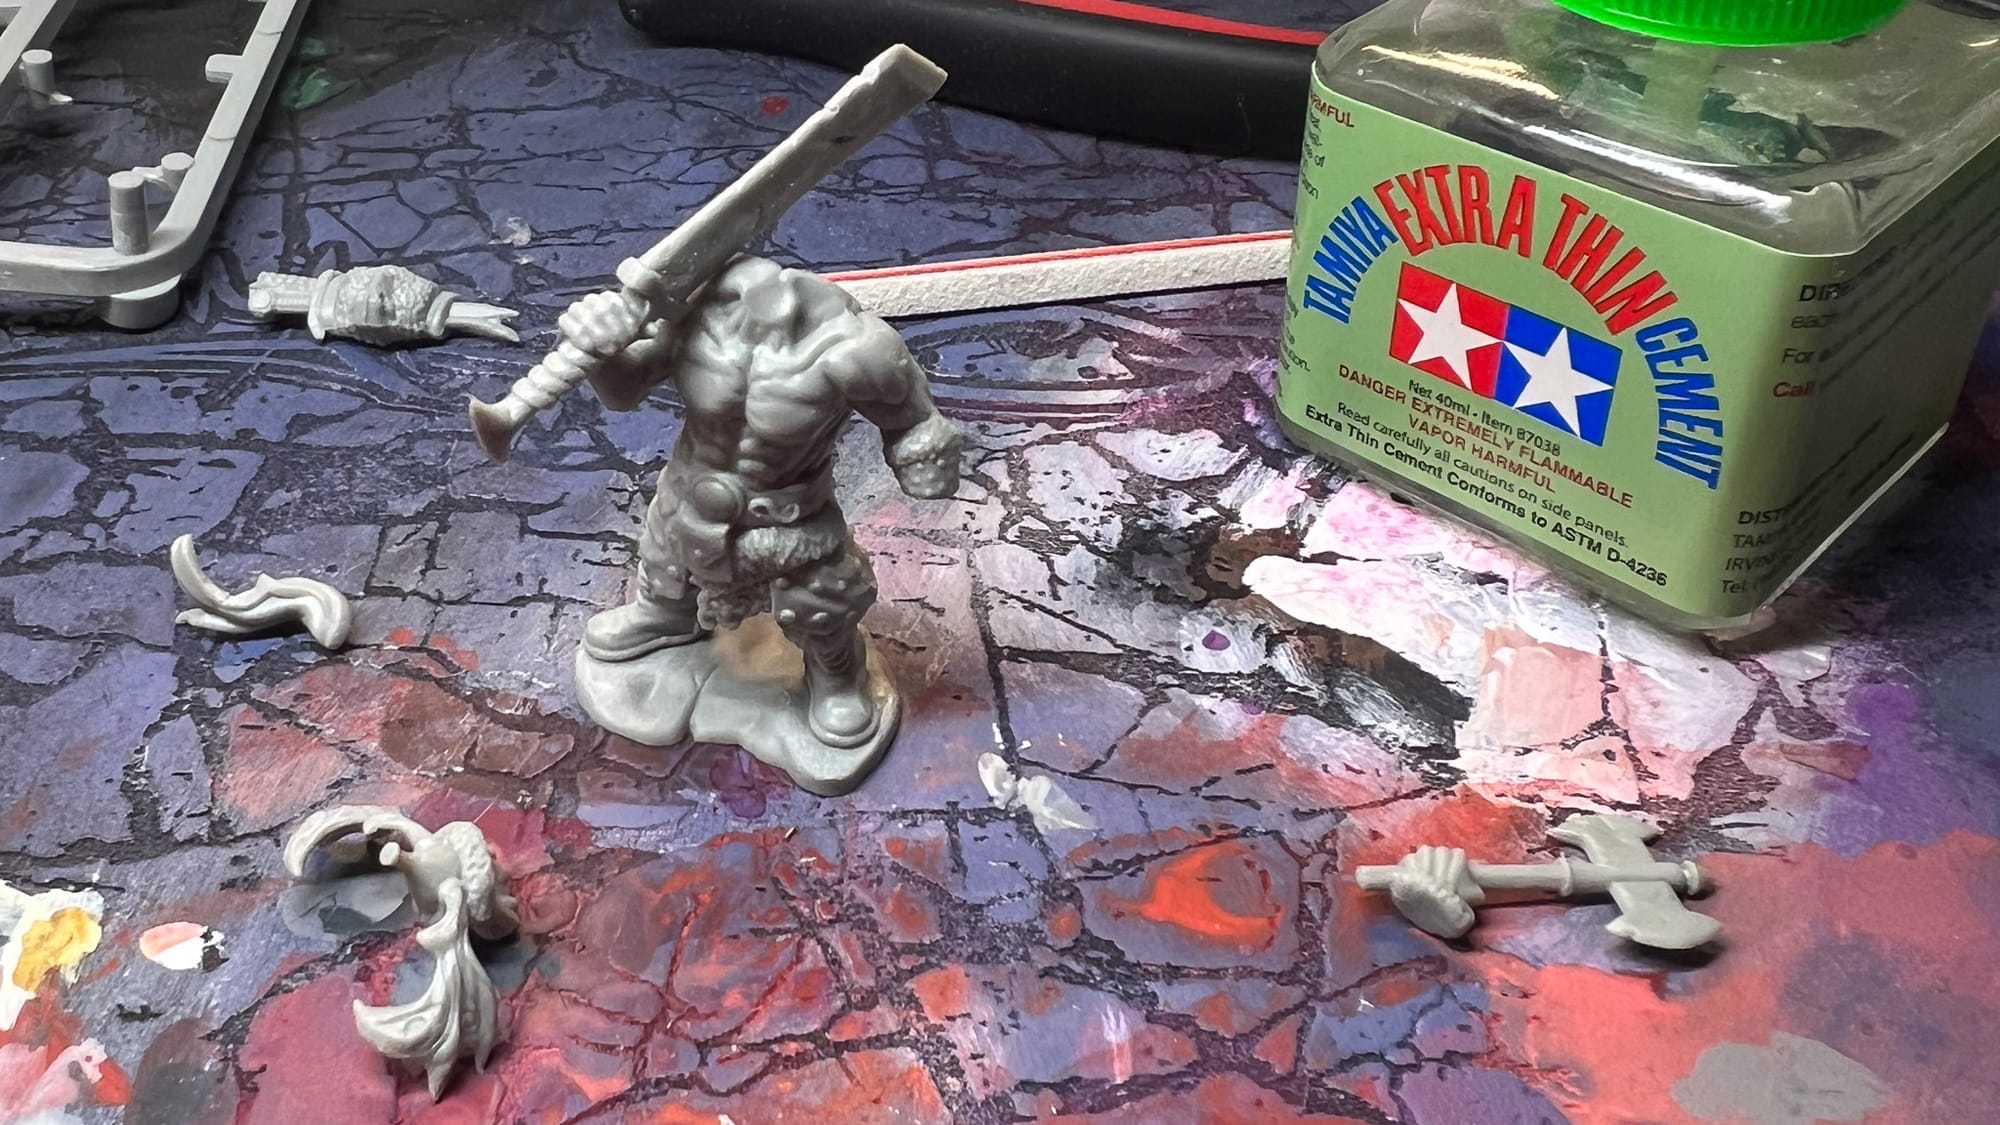
Randy uses primarily Tamiya Extra Thin, but will also use gel glue. Different materials require different glues. Do your research.
Glue for Plastic
Plastic models are typically made of a material called polystyrene. Most miniature models are either ‘hard’ or a ‘soft’ plastic, which has to do with the type of manufacturing process. Generally, hard plastics are capable of creating more detail within the model (usually on sprues), whereas soft plastics are used for injection mold of the complete figure and are more flexible.
Standard model glue is polystyrene cement, which is acetone-based, that actually “fuses” plastic together through a process called polymerization, melting the plastic and then evaporating to form the bond between the two pieces. There are other CA glues that can mildly fuse the plastic pieces together but can also act like an epoxy gap filler. Each glue type will have what materials they work best on, so be sure to review the packaging.
Glue for Resin
Even though resin is a type of plastic, resin models are a bit different in terms of chemical compounds. Standard model glue does not work on resin, so a super glue that bonds well to resin is needed. This can be a gel superglue or even an epoxy glue. Epoxy glue doesn’t fuse the pieces like model glue does, but in fact creates a strong filler bond between two pieces. Unlike the quick fusing of plastic glue, sometimes resin model pieces will need to be clamped together for the bond to take shape.
It is especially important to follow the first step of this post when working with resin. Manufacturing of resin leaves many parts misshapen and always covered in a release agent. Despite these hindrances, the trade off is resin can produce some of the highest level of detail on a model.
Glue for Metal
Although it is less common now, metal miniatures are still in the market in the form of pewter (white metal having been removed from the mass markets due to its lead content). If metal miniatures aren’t a single cast figure, the miniatures can be challenging to assemble, especially if they are mixed with plastic or resin parts. Like resin, using a strong gel superglue or an epoxy is the best option for assembling metal miniatures. In our experience, we have found that we need to drill holes and pin arms/wings/extensions of the body using a small paperclip segment. This helps add stability to the connection point. Whatever you're gluing, be prepared to hold or clamp the pieces together when assembling.
How to Remove Glue from Your Fingers
Inevitably, you will either glue a model to yourself, your fingers together, or one of your nails to the nail bed. Don't worry or panic; here's an easy trick: acetone!
Acetone is a versatile tool for hobbyists. It can be used to remove paint from metal models, it can help create sprue glue, and in the case of super glue, it will dissolve the glue from your fingers. Naturally, we will say if you get super glue anywhere near the eyes, do not use acetone. Please seek professional help for that situation.
Filling Gaps in Your Model
At first, gaps may seem like a minor thing, but when you start actually painting the model, there are few worse feelings than seeing an apparent seam line in a body, or on a cape, or even on the top of a head when you’re done painting.
To fill unintentional gaps in the model, there are a couple of different products that can be used. Putty, such as Milliput (an epoxy putty) or Green Stuff, can be applied to a model, with the excess being wiped away according to the instructions of the kind of putty. Green Stuff is a two-part material composed of colored coded blue and yellow epoxy. When mixed together, the blue and yellow become green, and after a day or so, the green mixture becomes hard. This allows you to sculpt details or new features on a model.
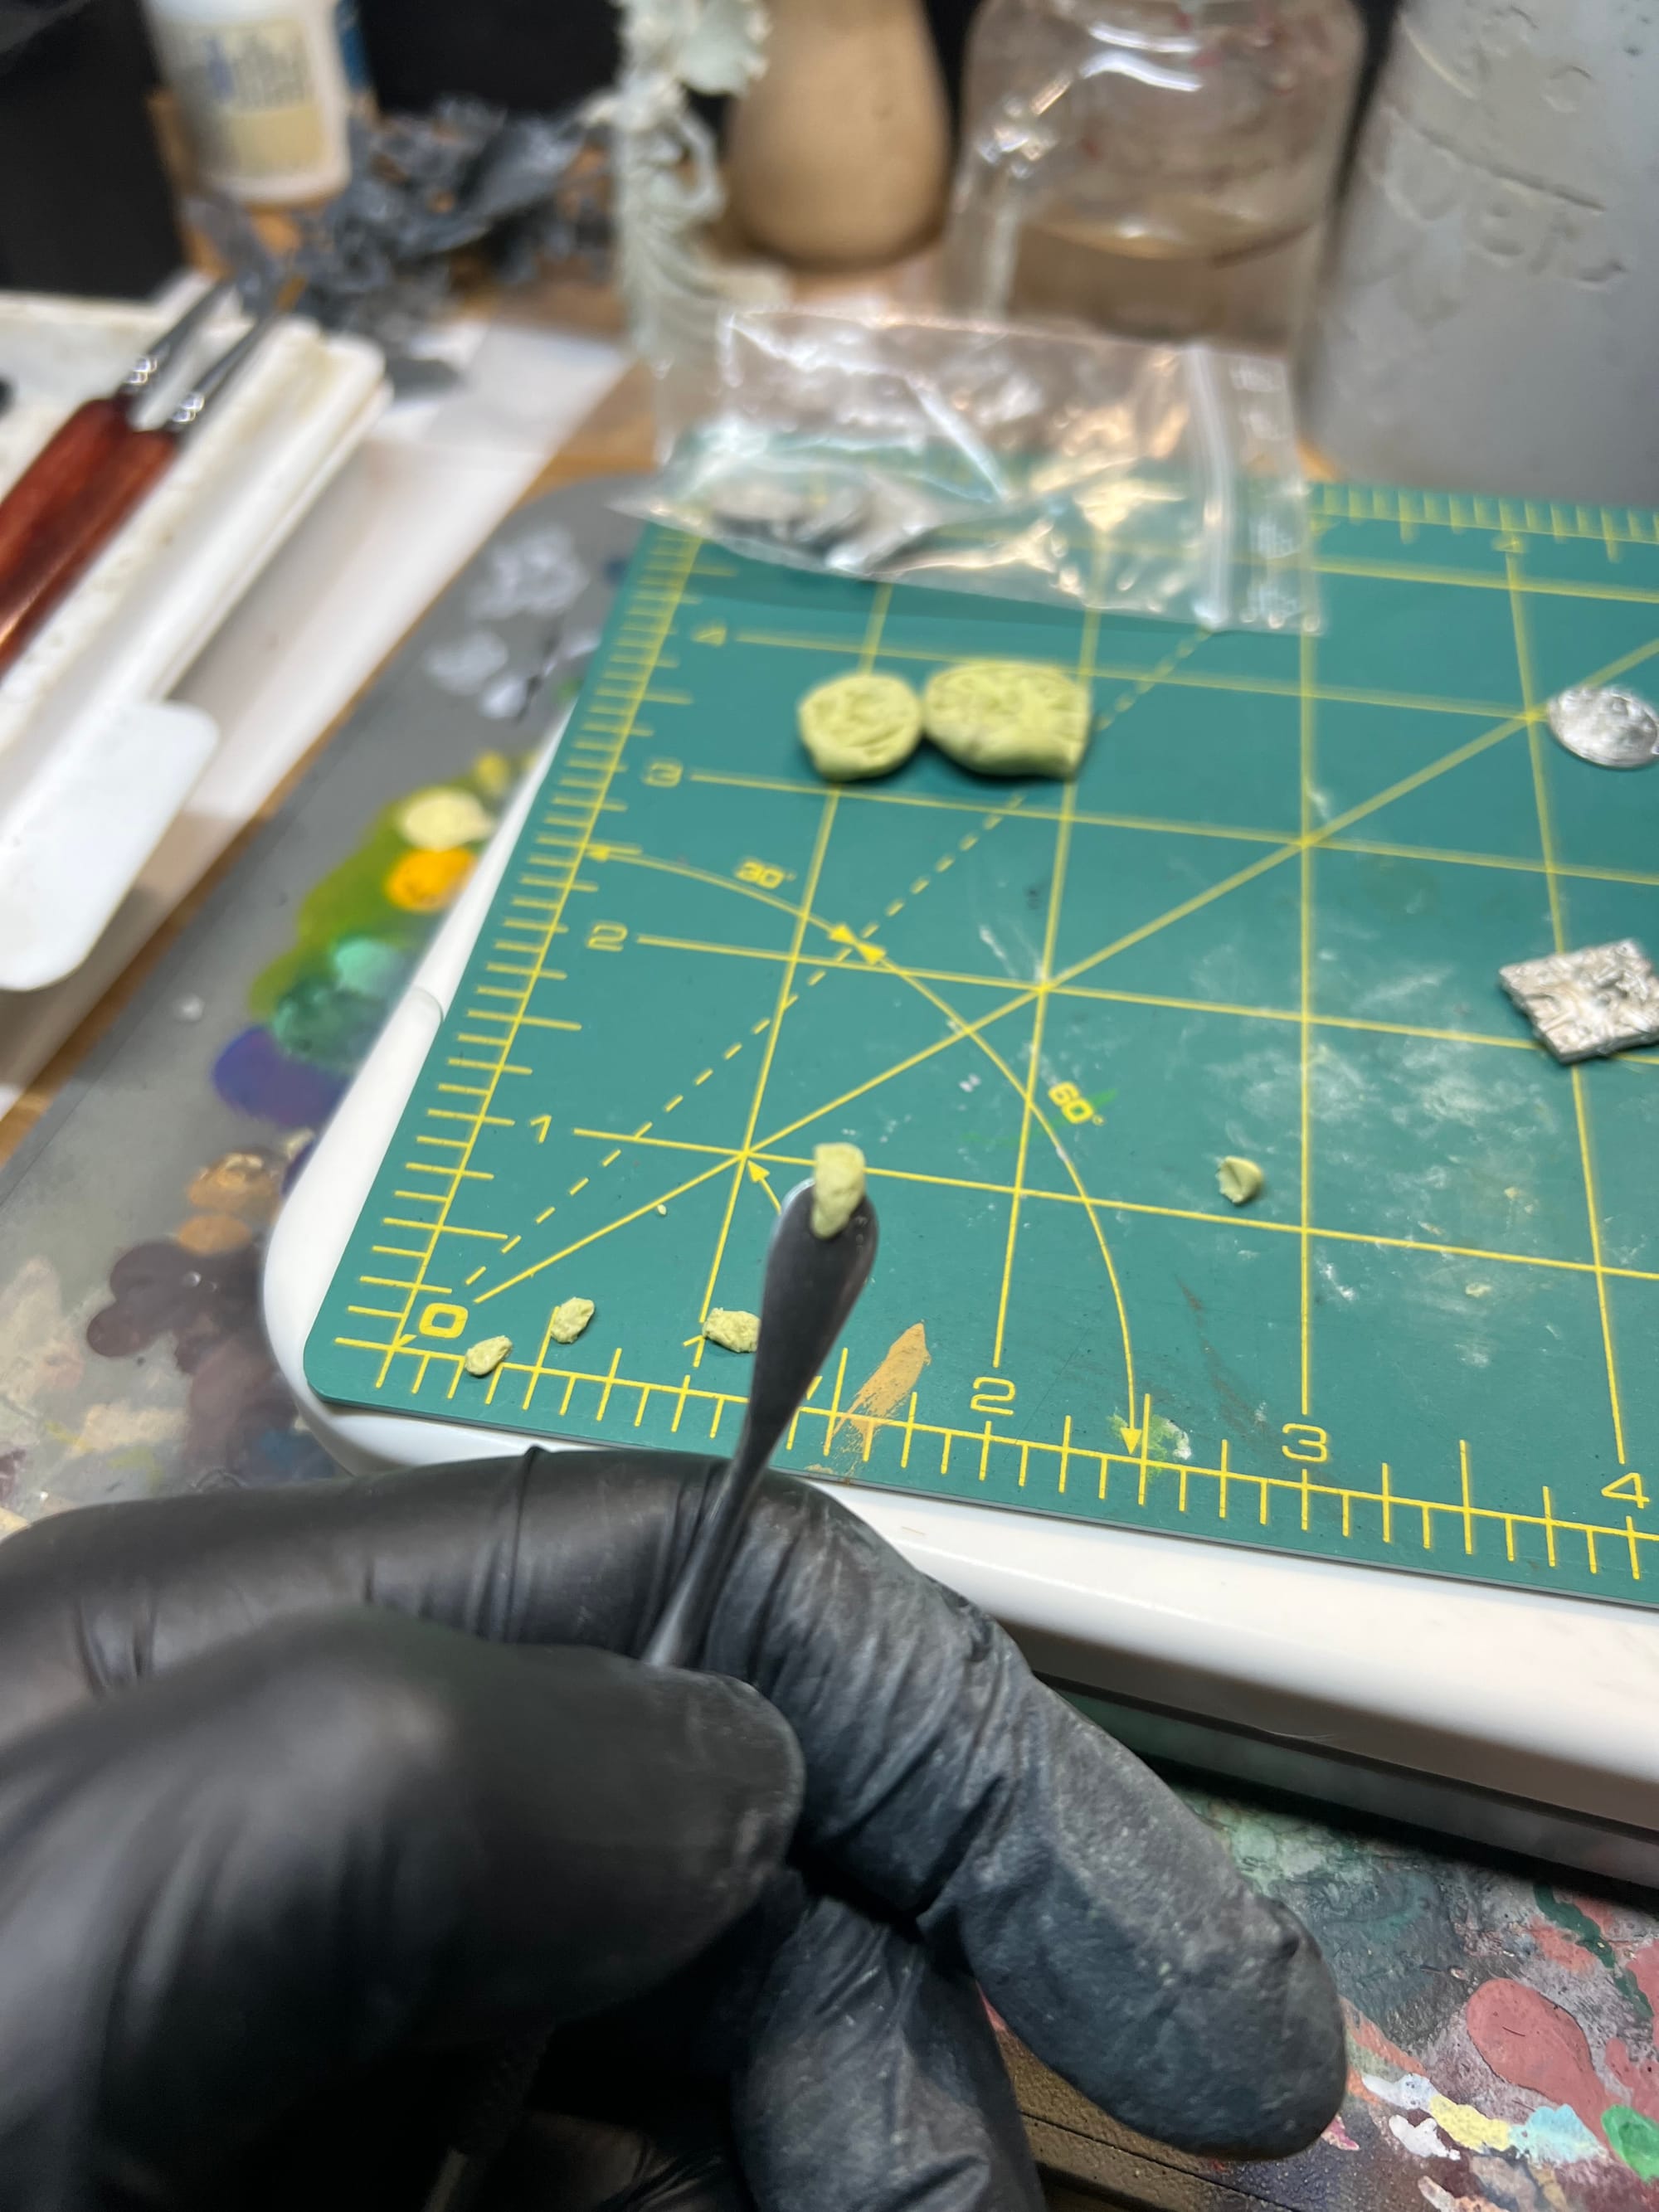
Miliput can be shaped and used to create gaps, texture, even clone materials!
Sprue Goo
Another option for gap filling is to use Sprue Goo. Sprue Goo uses the process of the fusing of plastic by "melting" plastic bits into the liquid solvent cement, like Tamiya Extra Thin Cement. For thin gaps that might not benefit from putty you can use Sprue Goo to fill the gaps.
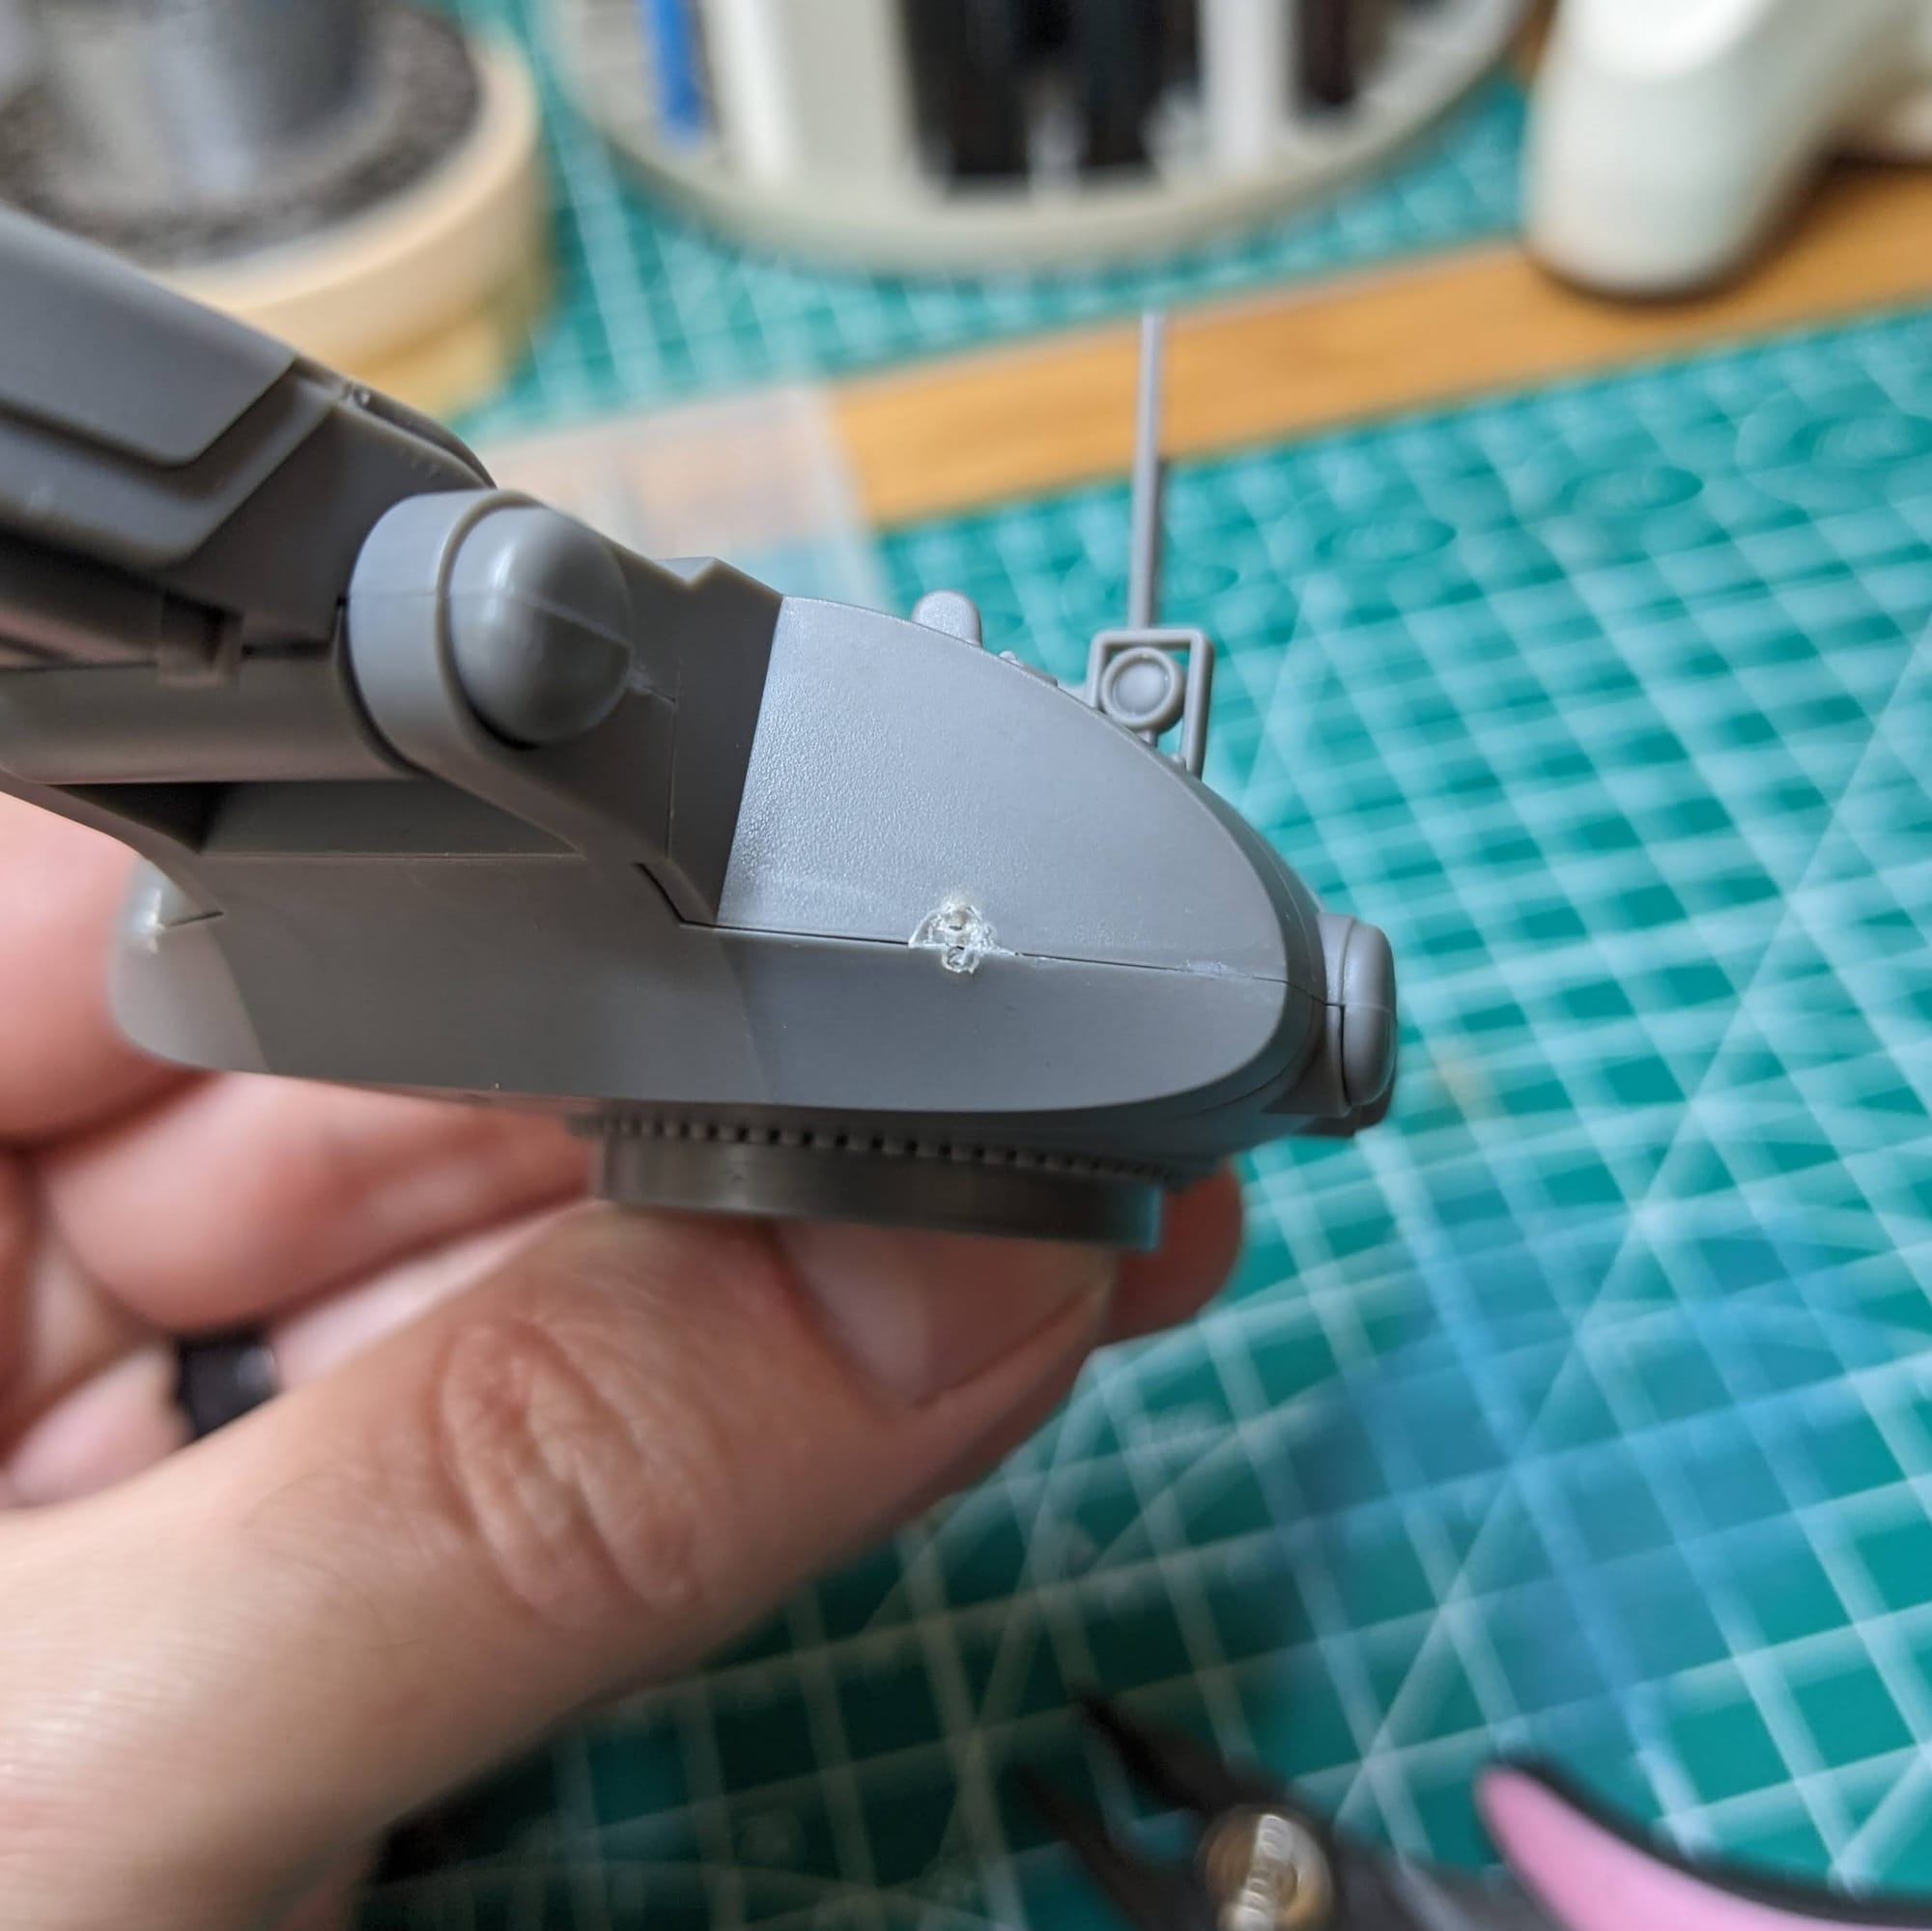
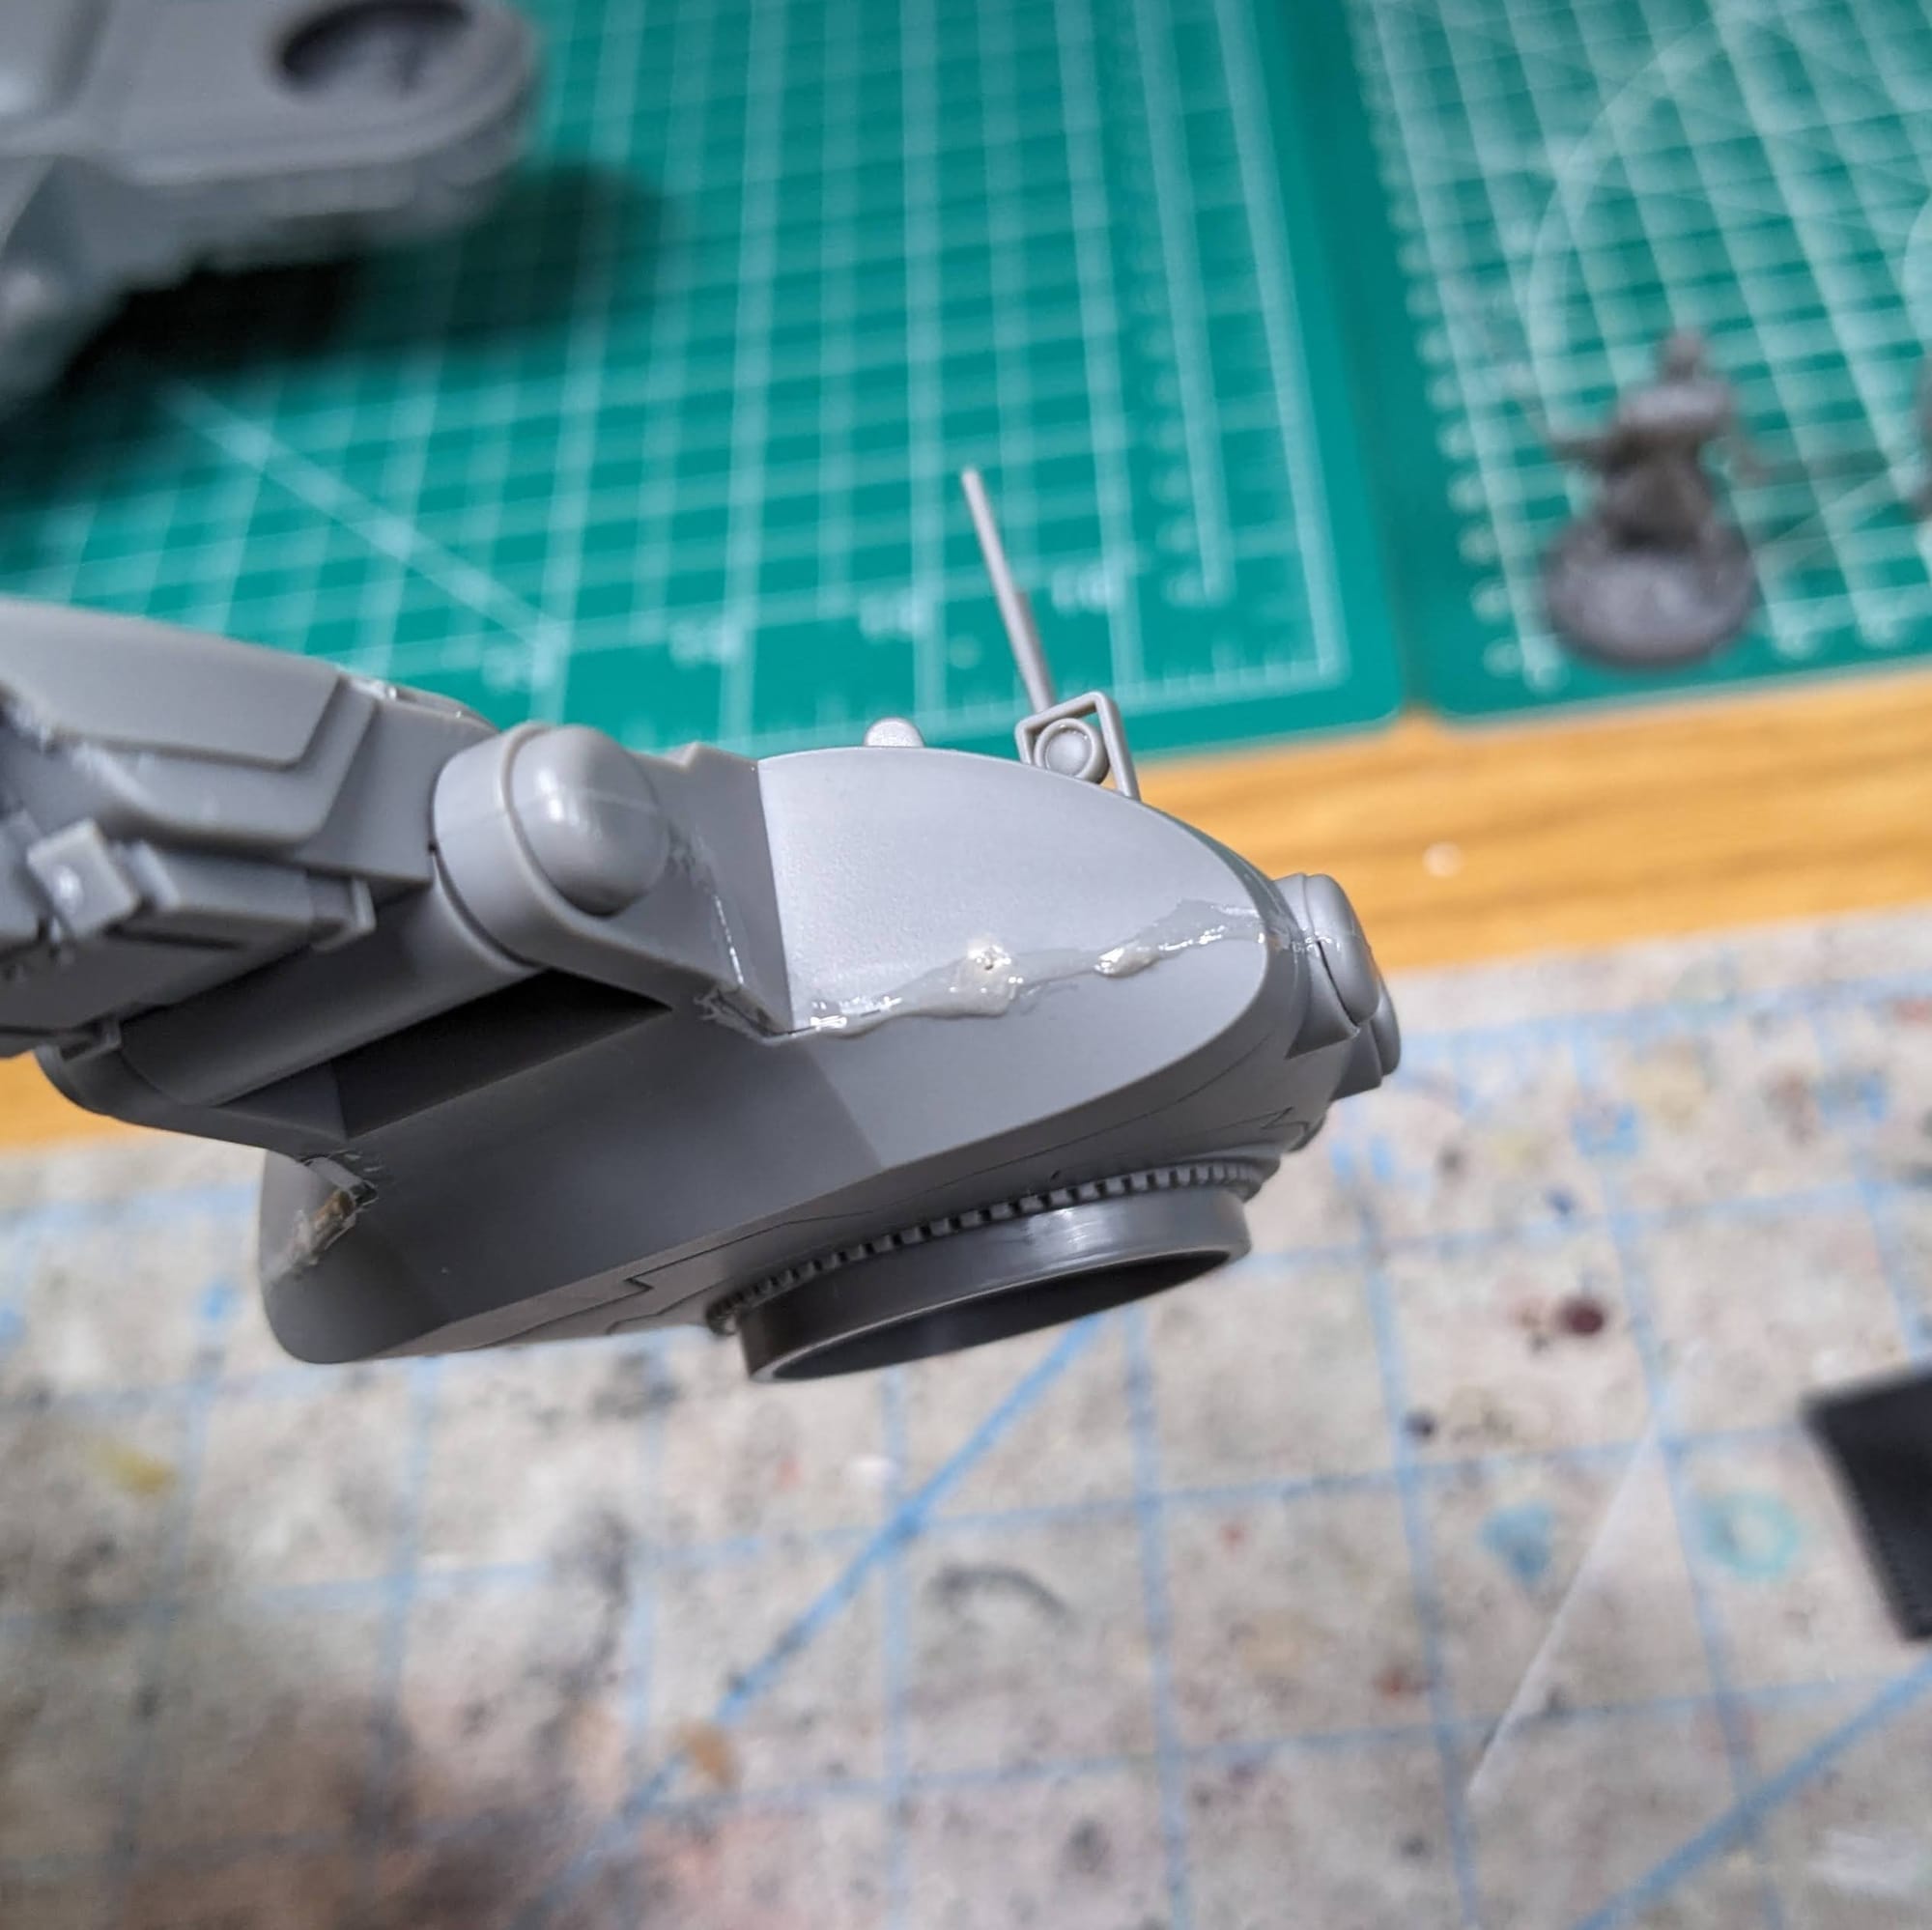
Sprue glue is like working with basic melted plastic, imagine like a welded bond.
Check out this great video from FineScale Modeler on how to make and use Sprue Goo!
Building Models with Sub-Assembly
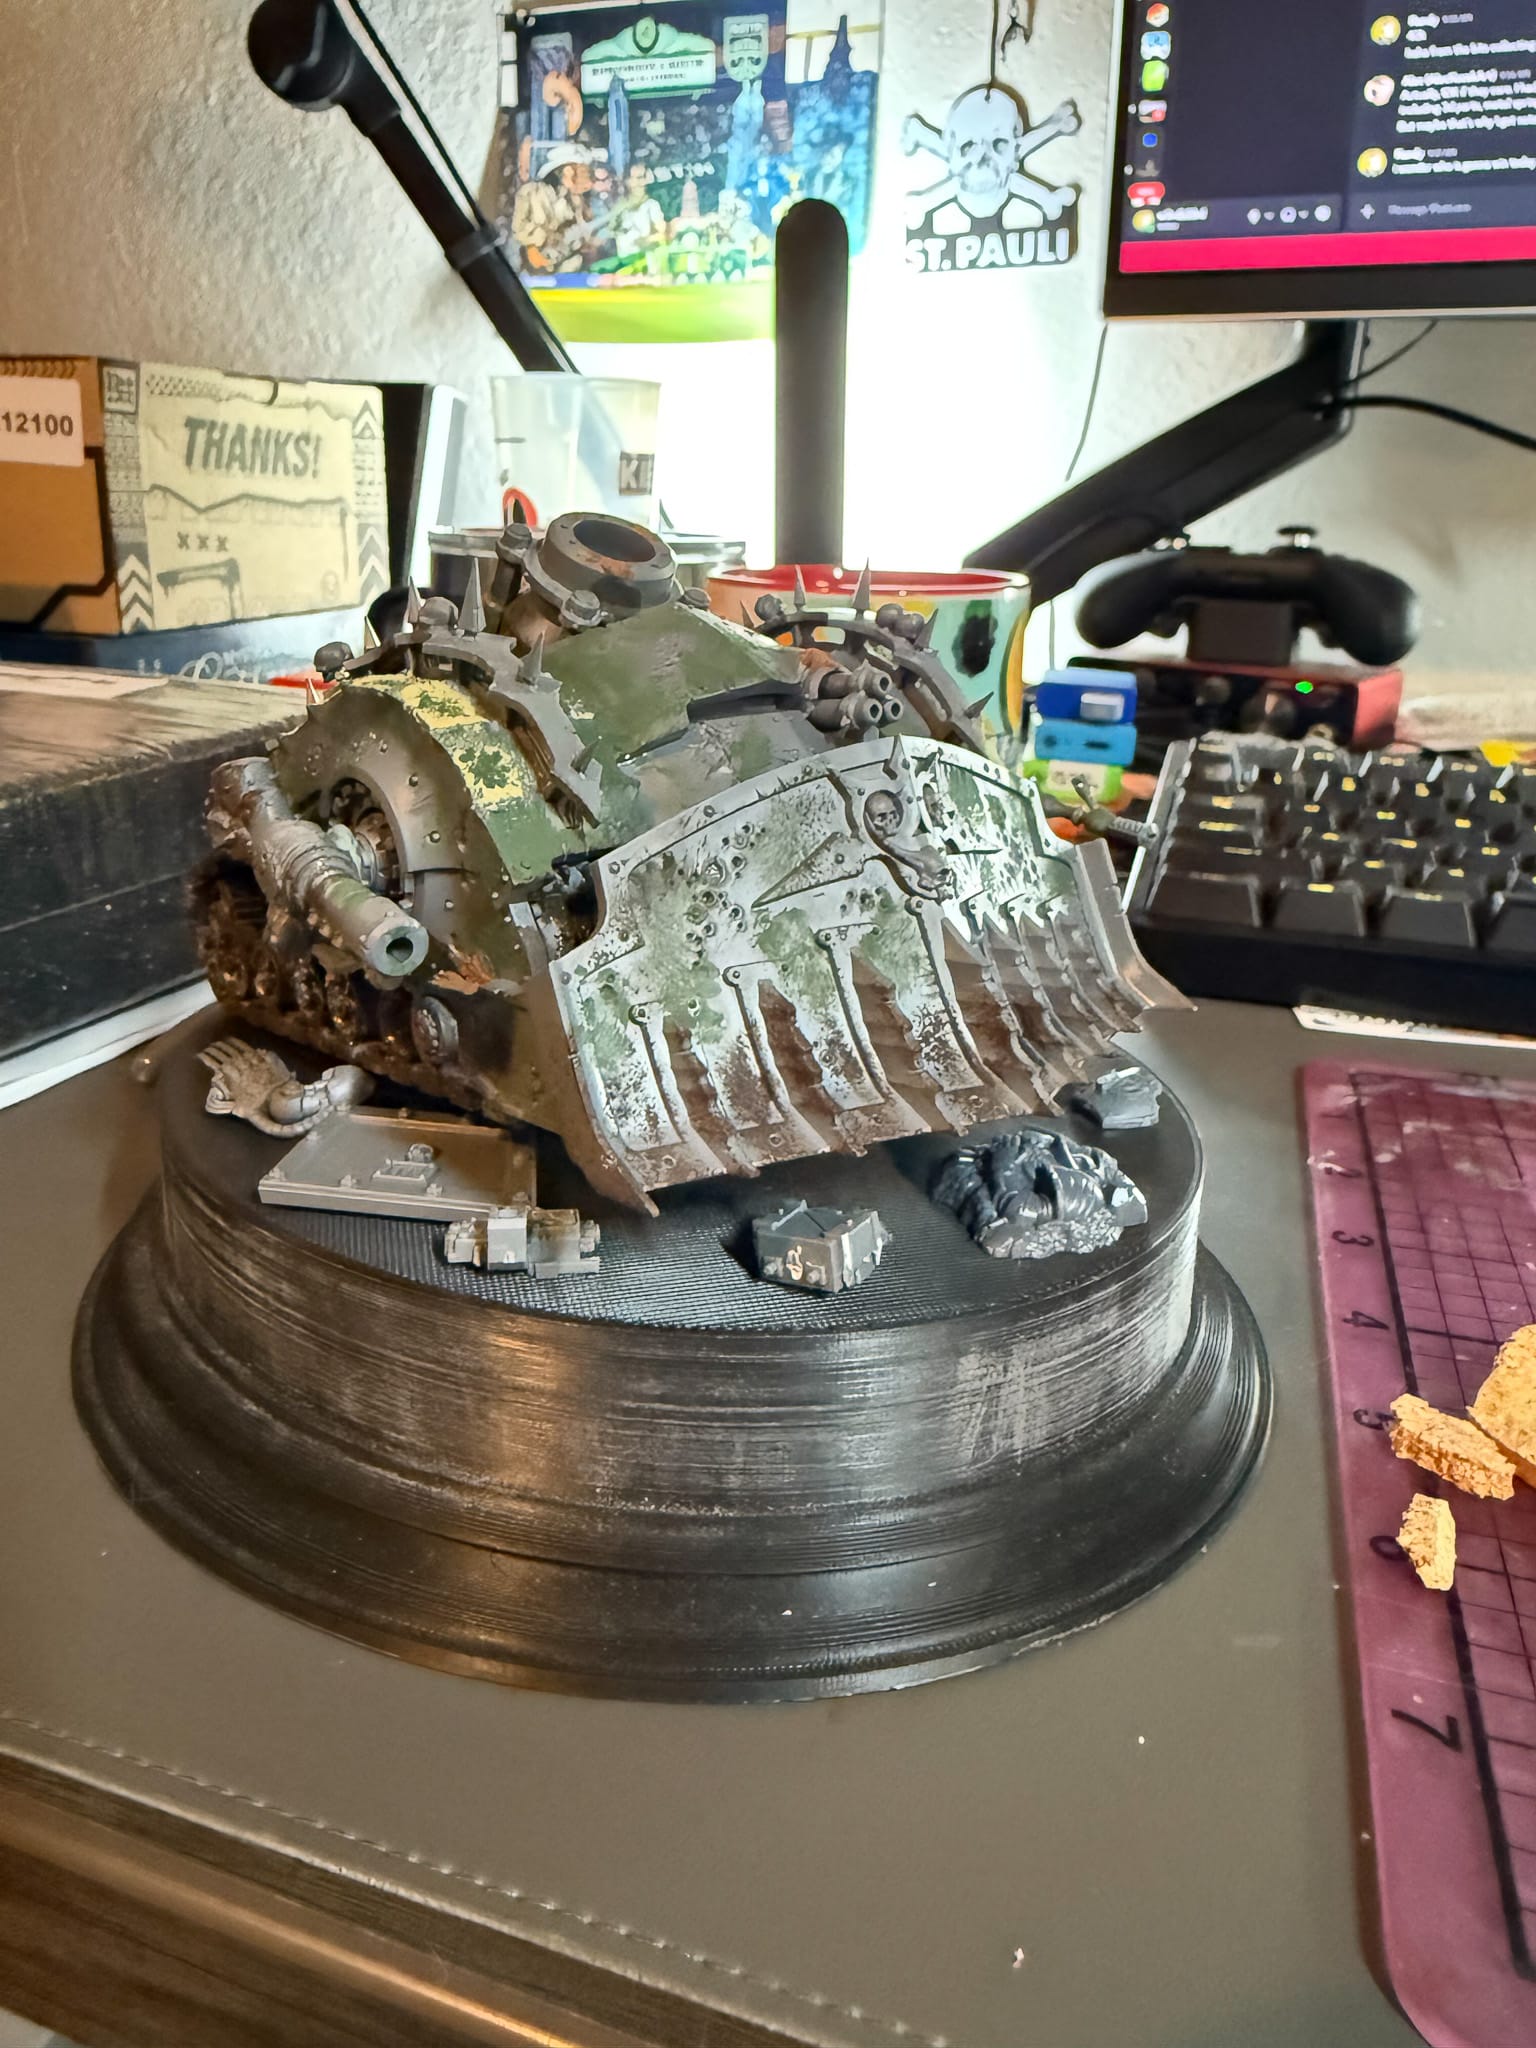
This is a technique wherein you build parts of the model, but don't assemble the parts fully together. If you need to focus on painting a part that would be otherwise obscured by another part of the model if built, sub-assembly can help you paint more effectively and efficiently. Good examples of this would be painting the head of a Space Marine sergeant separate from his power armor, or painting a tank commander separate of a turret, or a pilot separate of his cockpit.
When doing sub-assembly, it's important to leave yourself enough plastic to mount or pin so that, when you do prime everything, you have a part of the model to hold (or affix to putty), which you will remove when you go to assemble everything.
This is a little more advanced of a technique, and it goes contrary to the actual building instructions, but it really does help make painting everything easier.
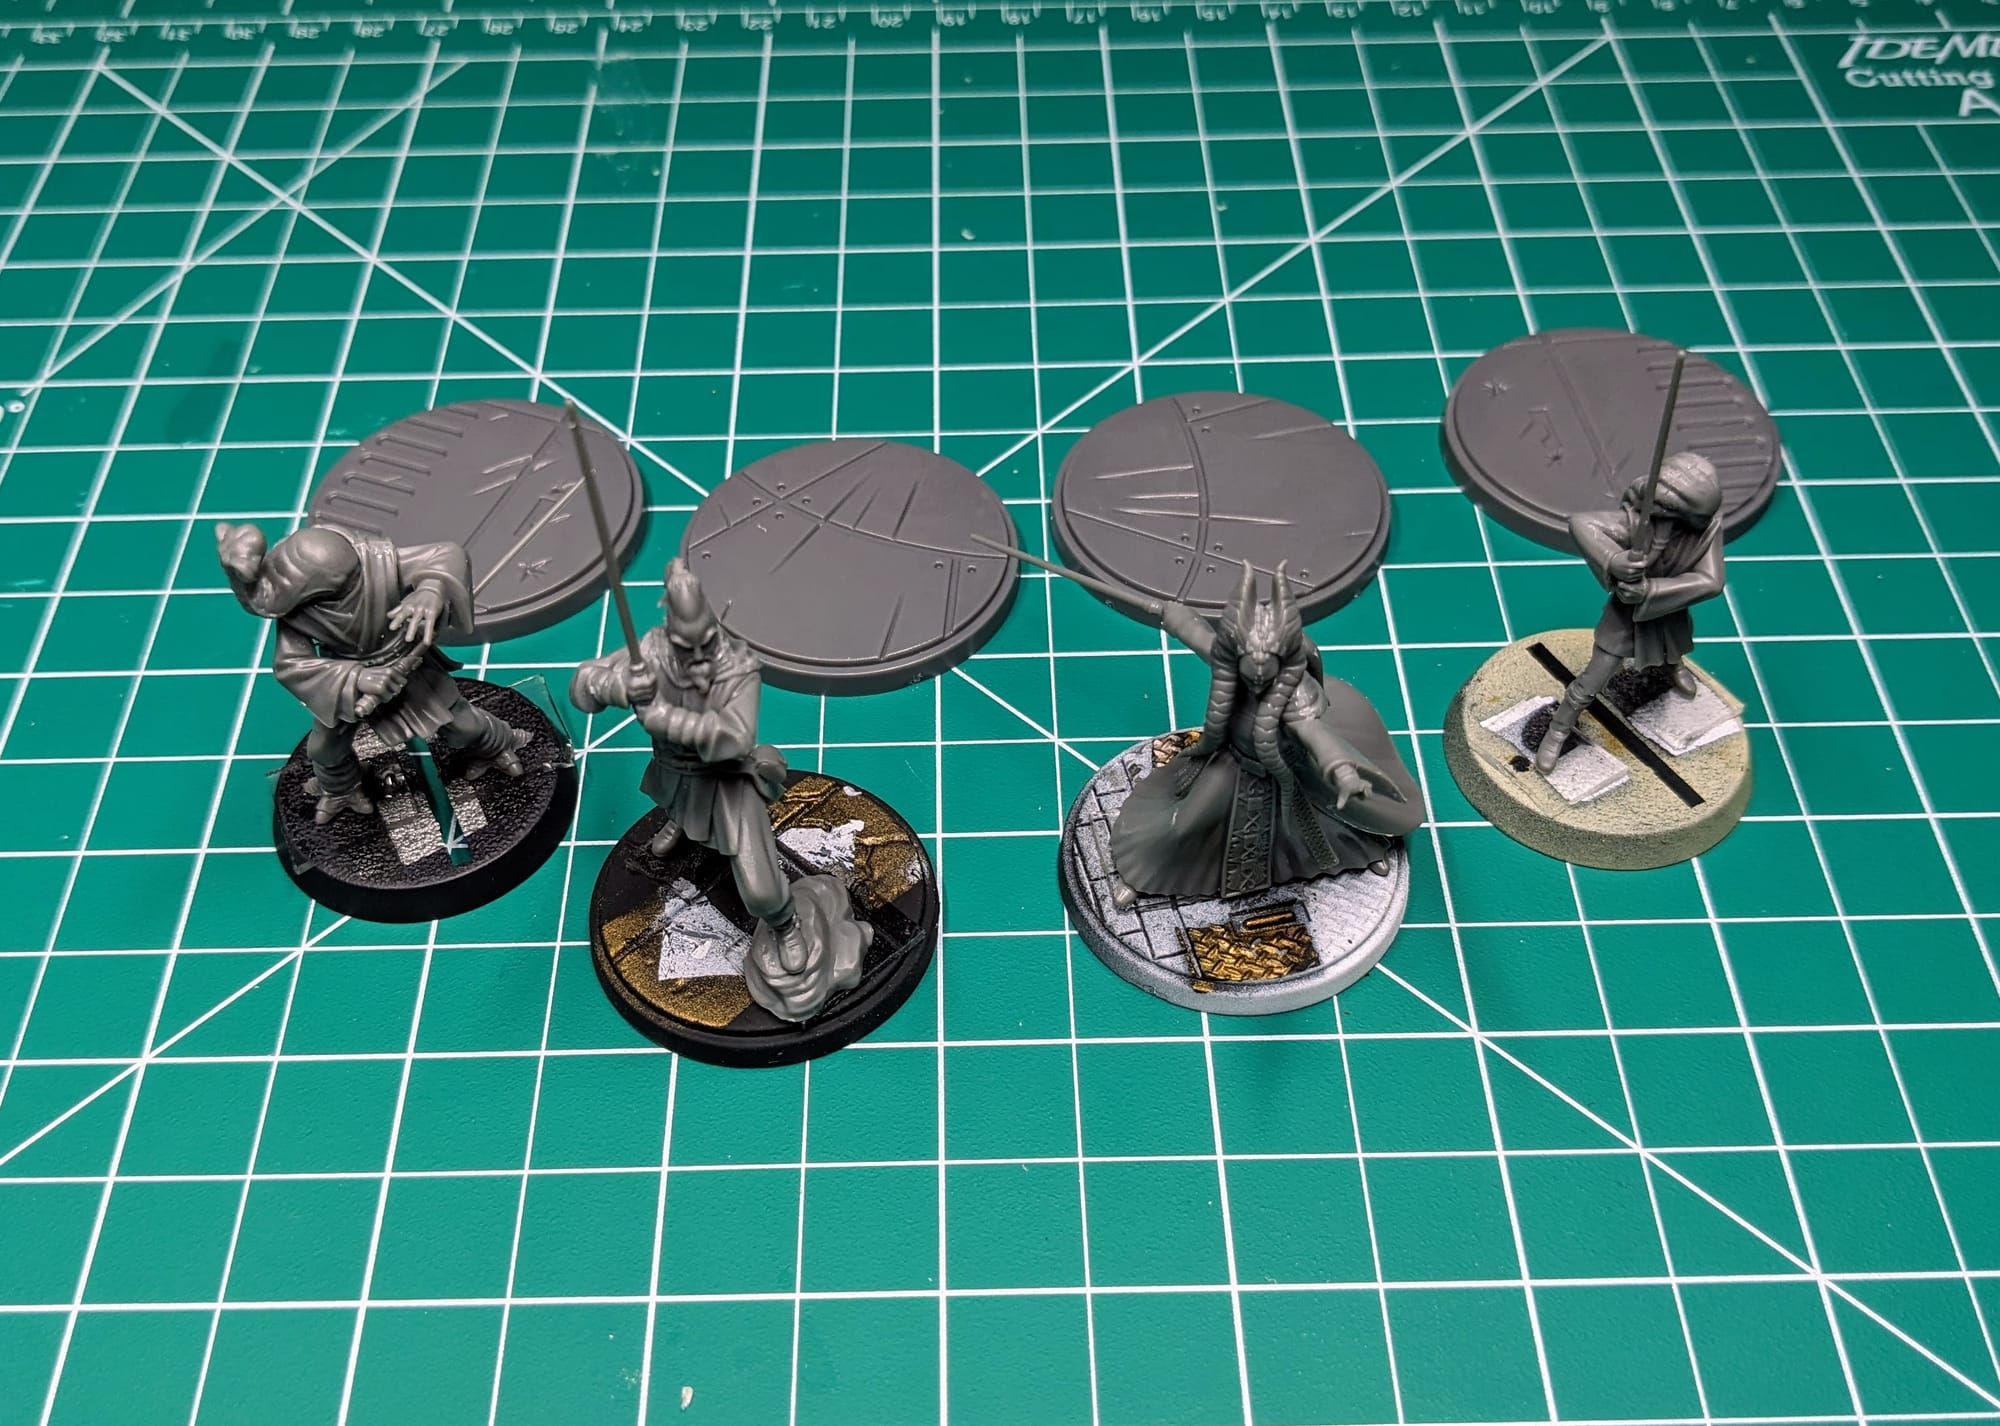
Priming Minis Separate of their Bases
Similar to sub-assembly, and depending on the miniature, I sometimes prime and paint the figures separately from the bases. I use double-sided tape, Gorilla Invisible Hold Mounting Tape, and affix them to extra bases I own. This allows me to quickly and freely paint the bases separately, assembling the model to the base once both are done.
You don't have to do this, but by keeping the model separate from the base, you can use a wide variety of painting techniques and skills to make that base stand out!
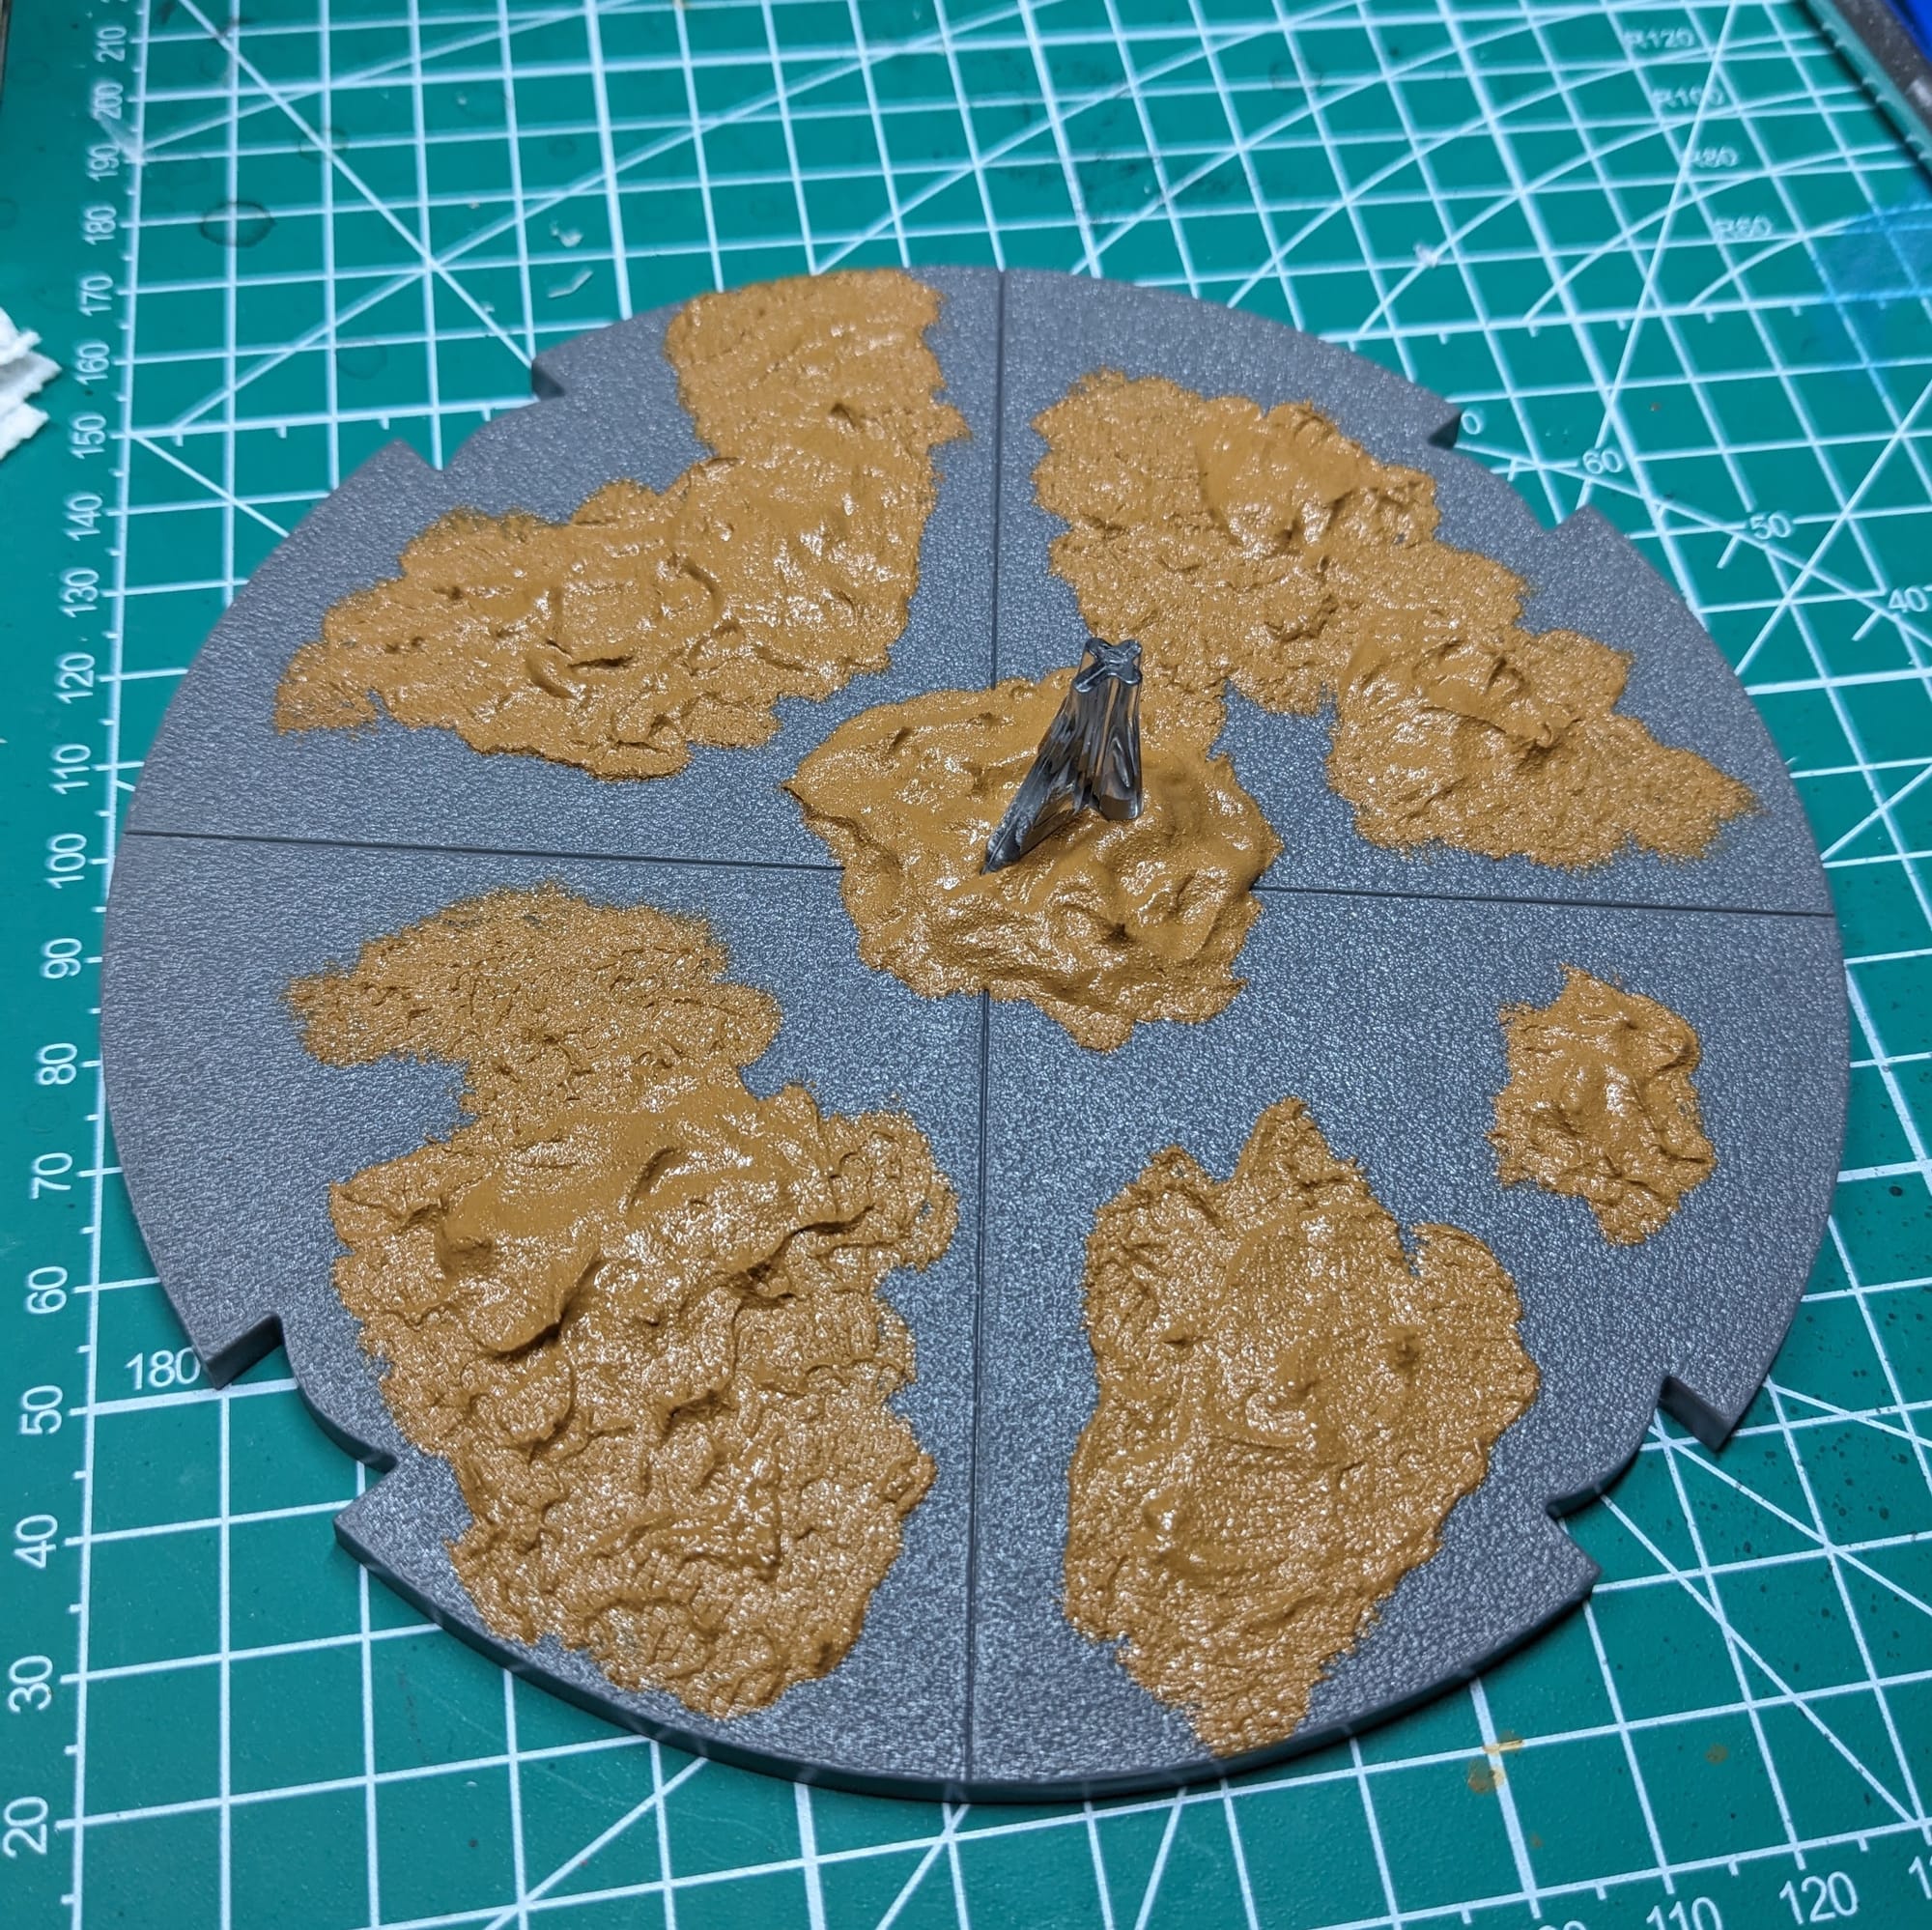
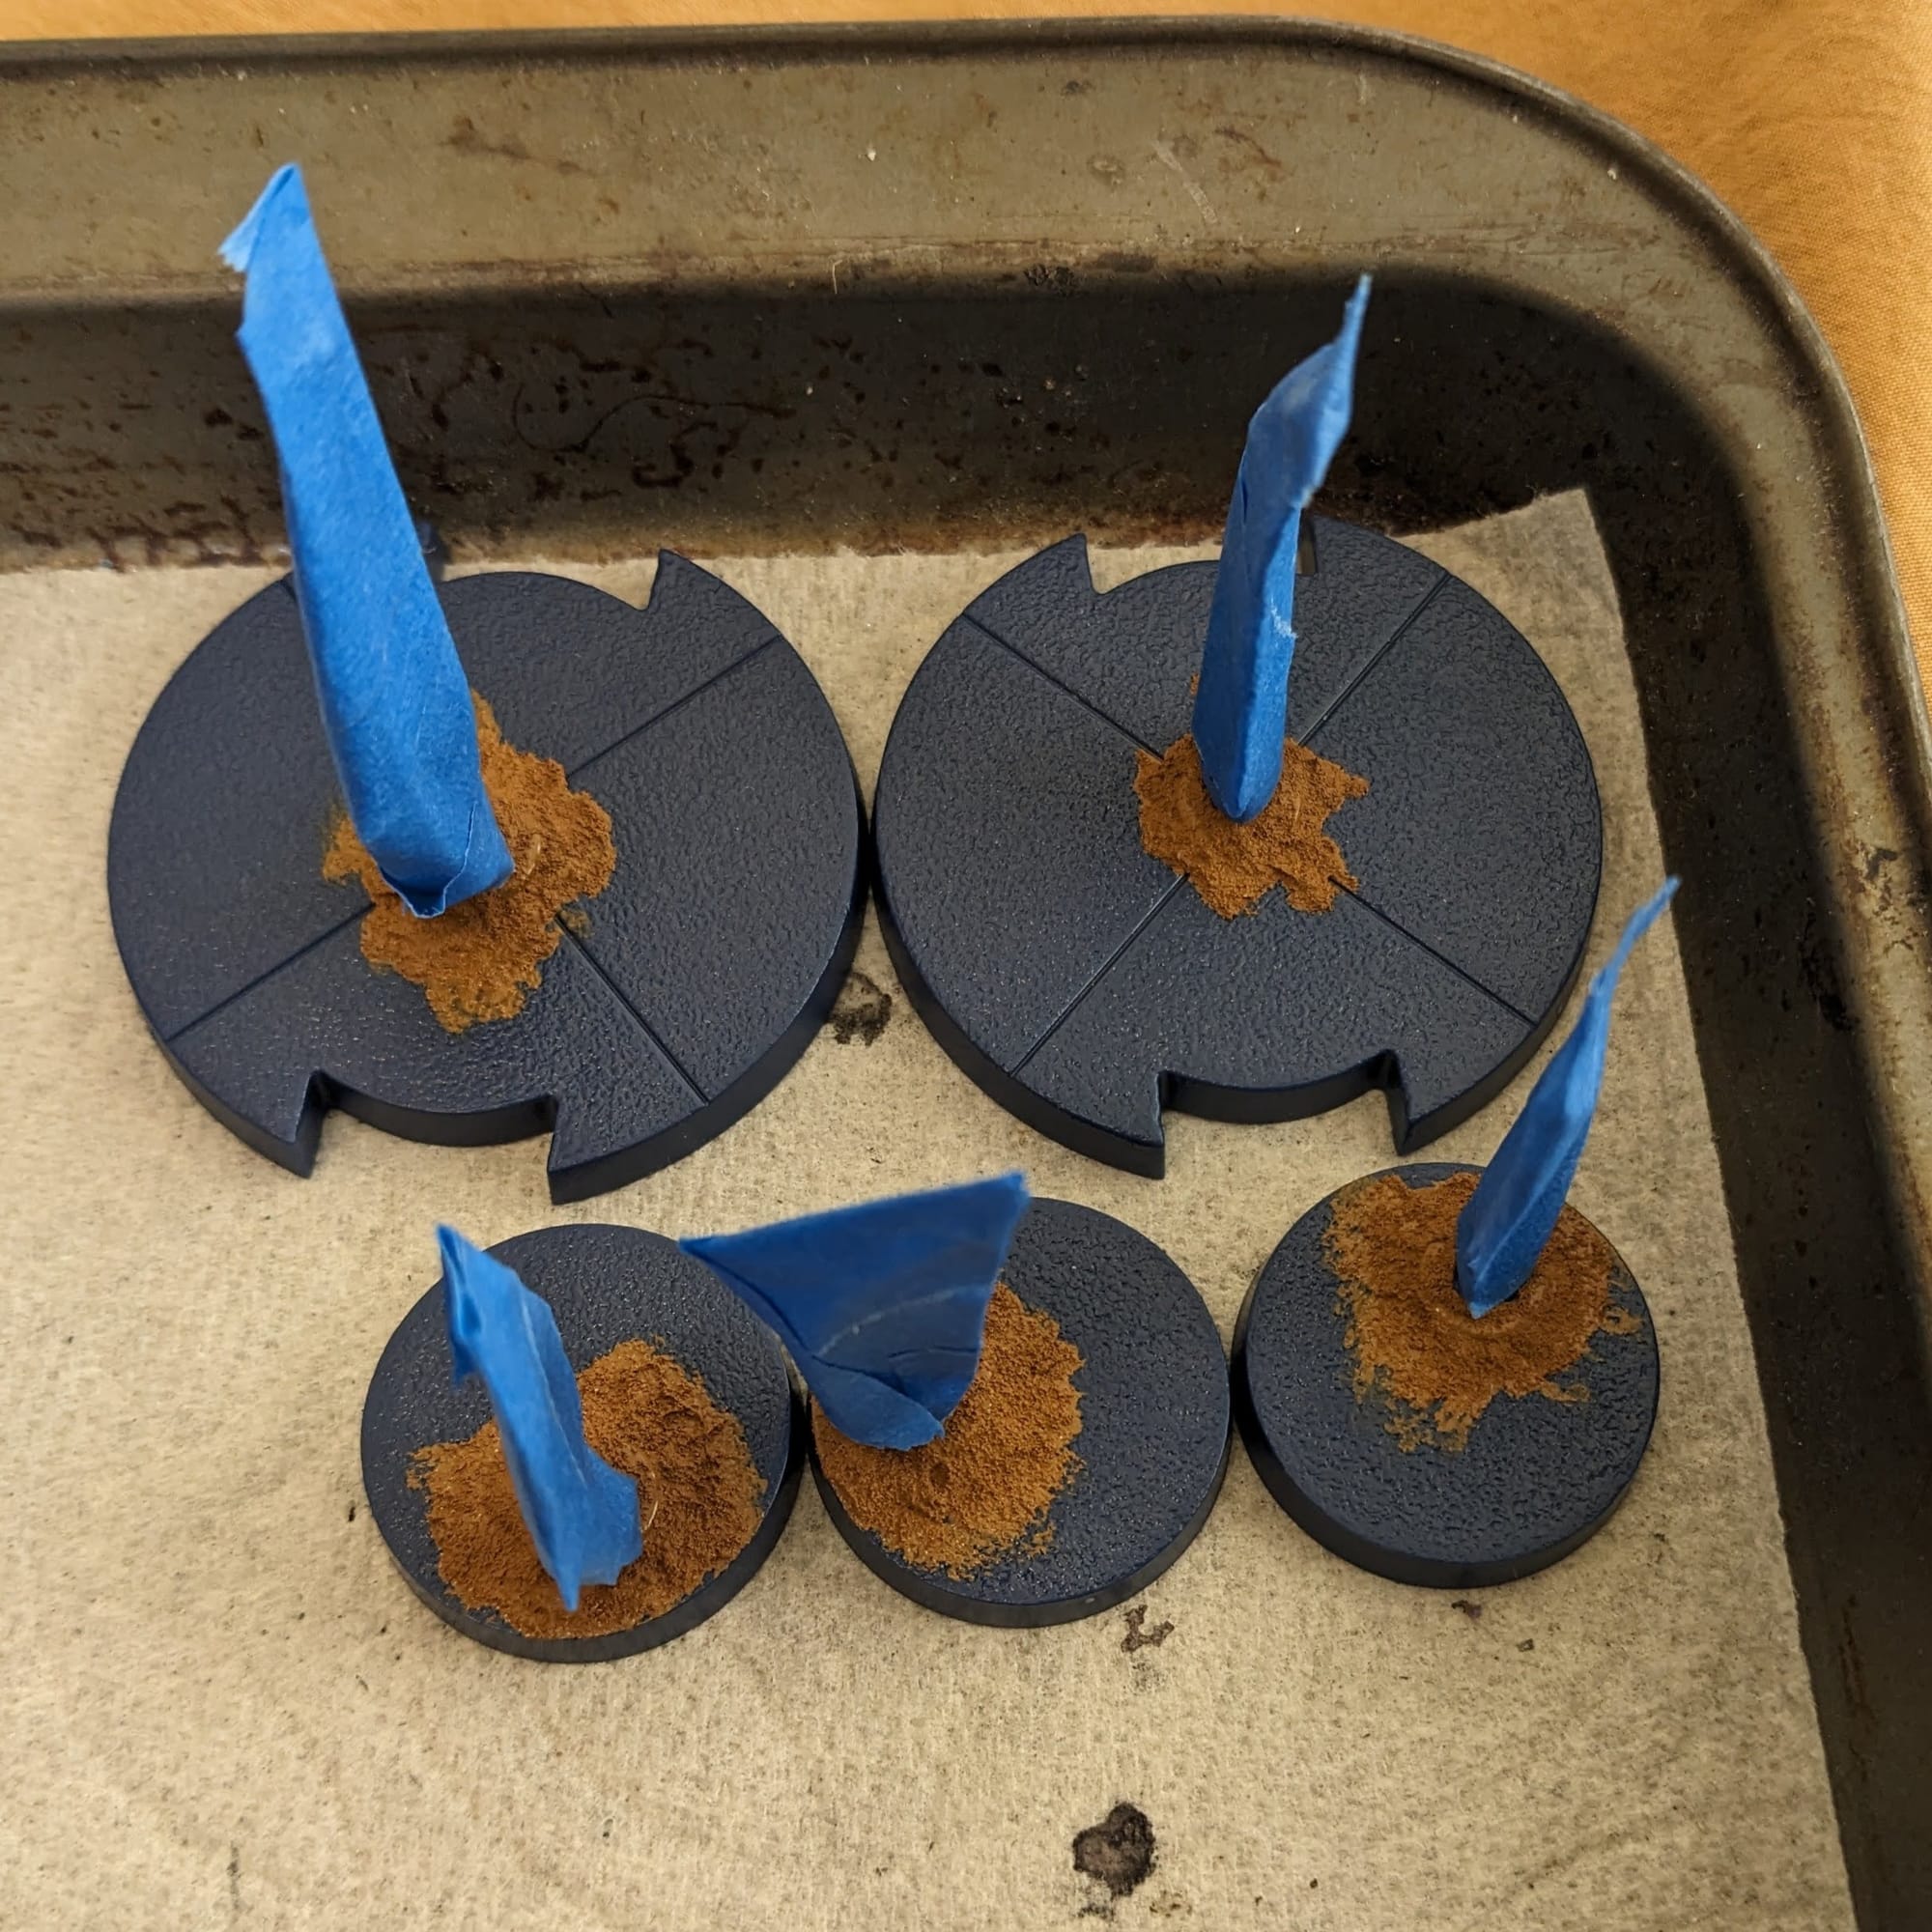
Pre-Priming Basing Application
While not always required, some basing materials for figures are better applied before priming, such as sand, rocks, corkboard, texture paint, etc. Many modern model hobby companies make and sell basing materials that contain paint, which can be applied during the paint process. However, like the materials used to make the model, basing materials like rock and corkboard require a primer to allow paint to better adhere to it.

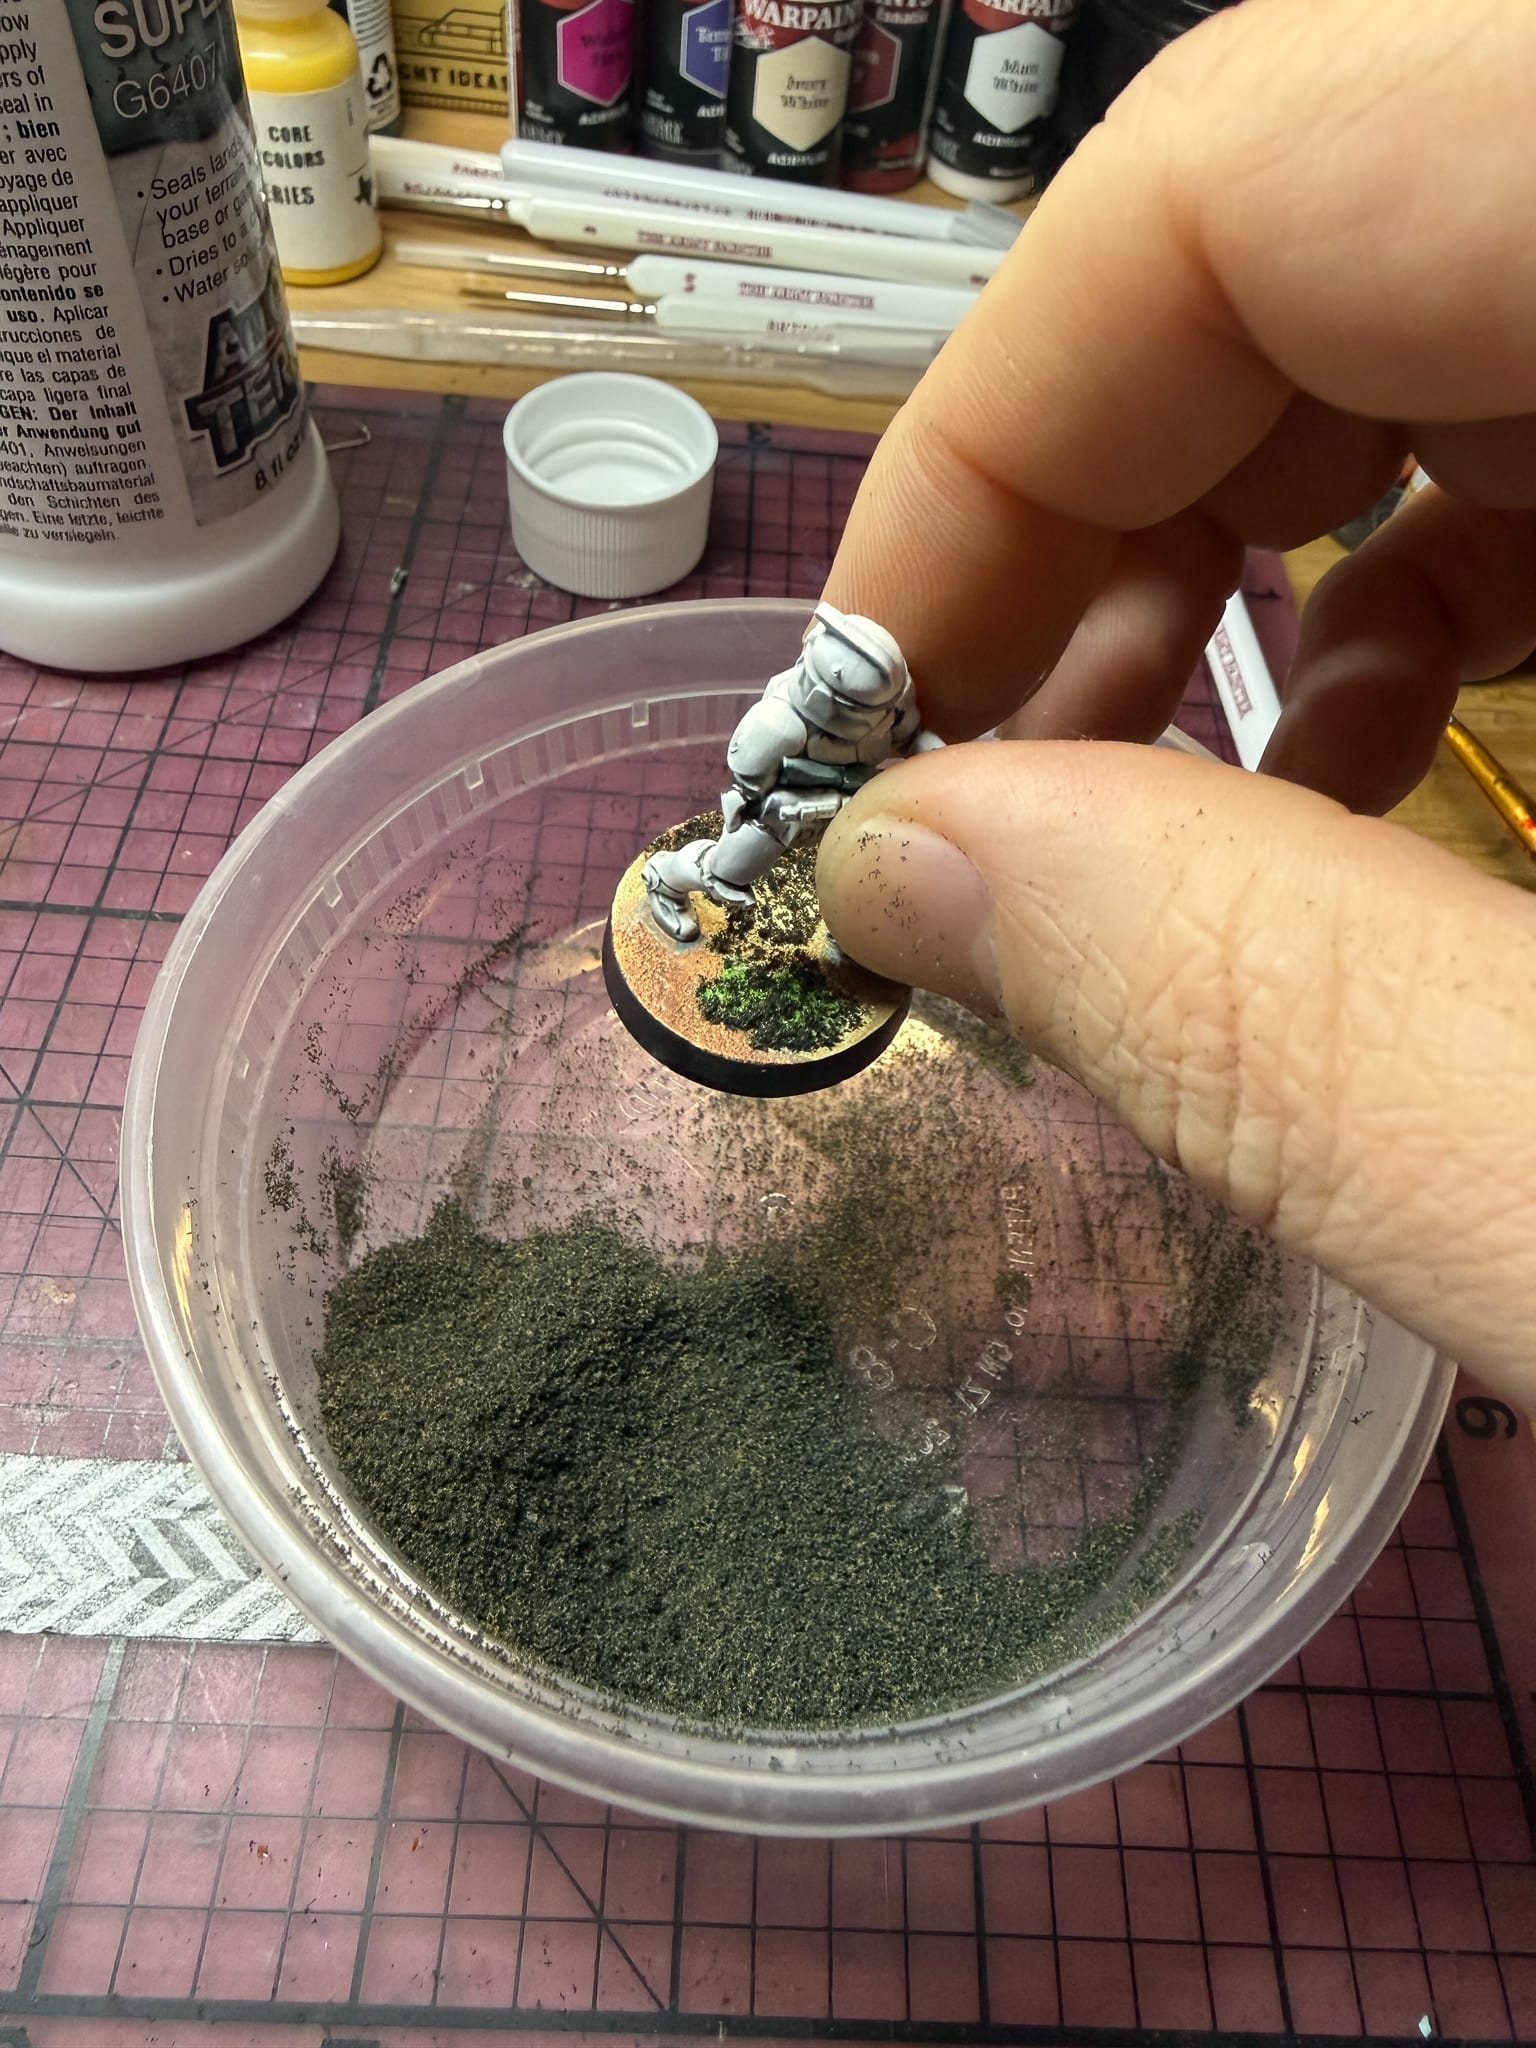
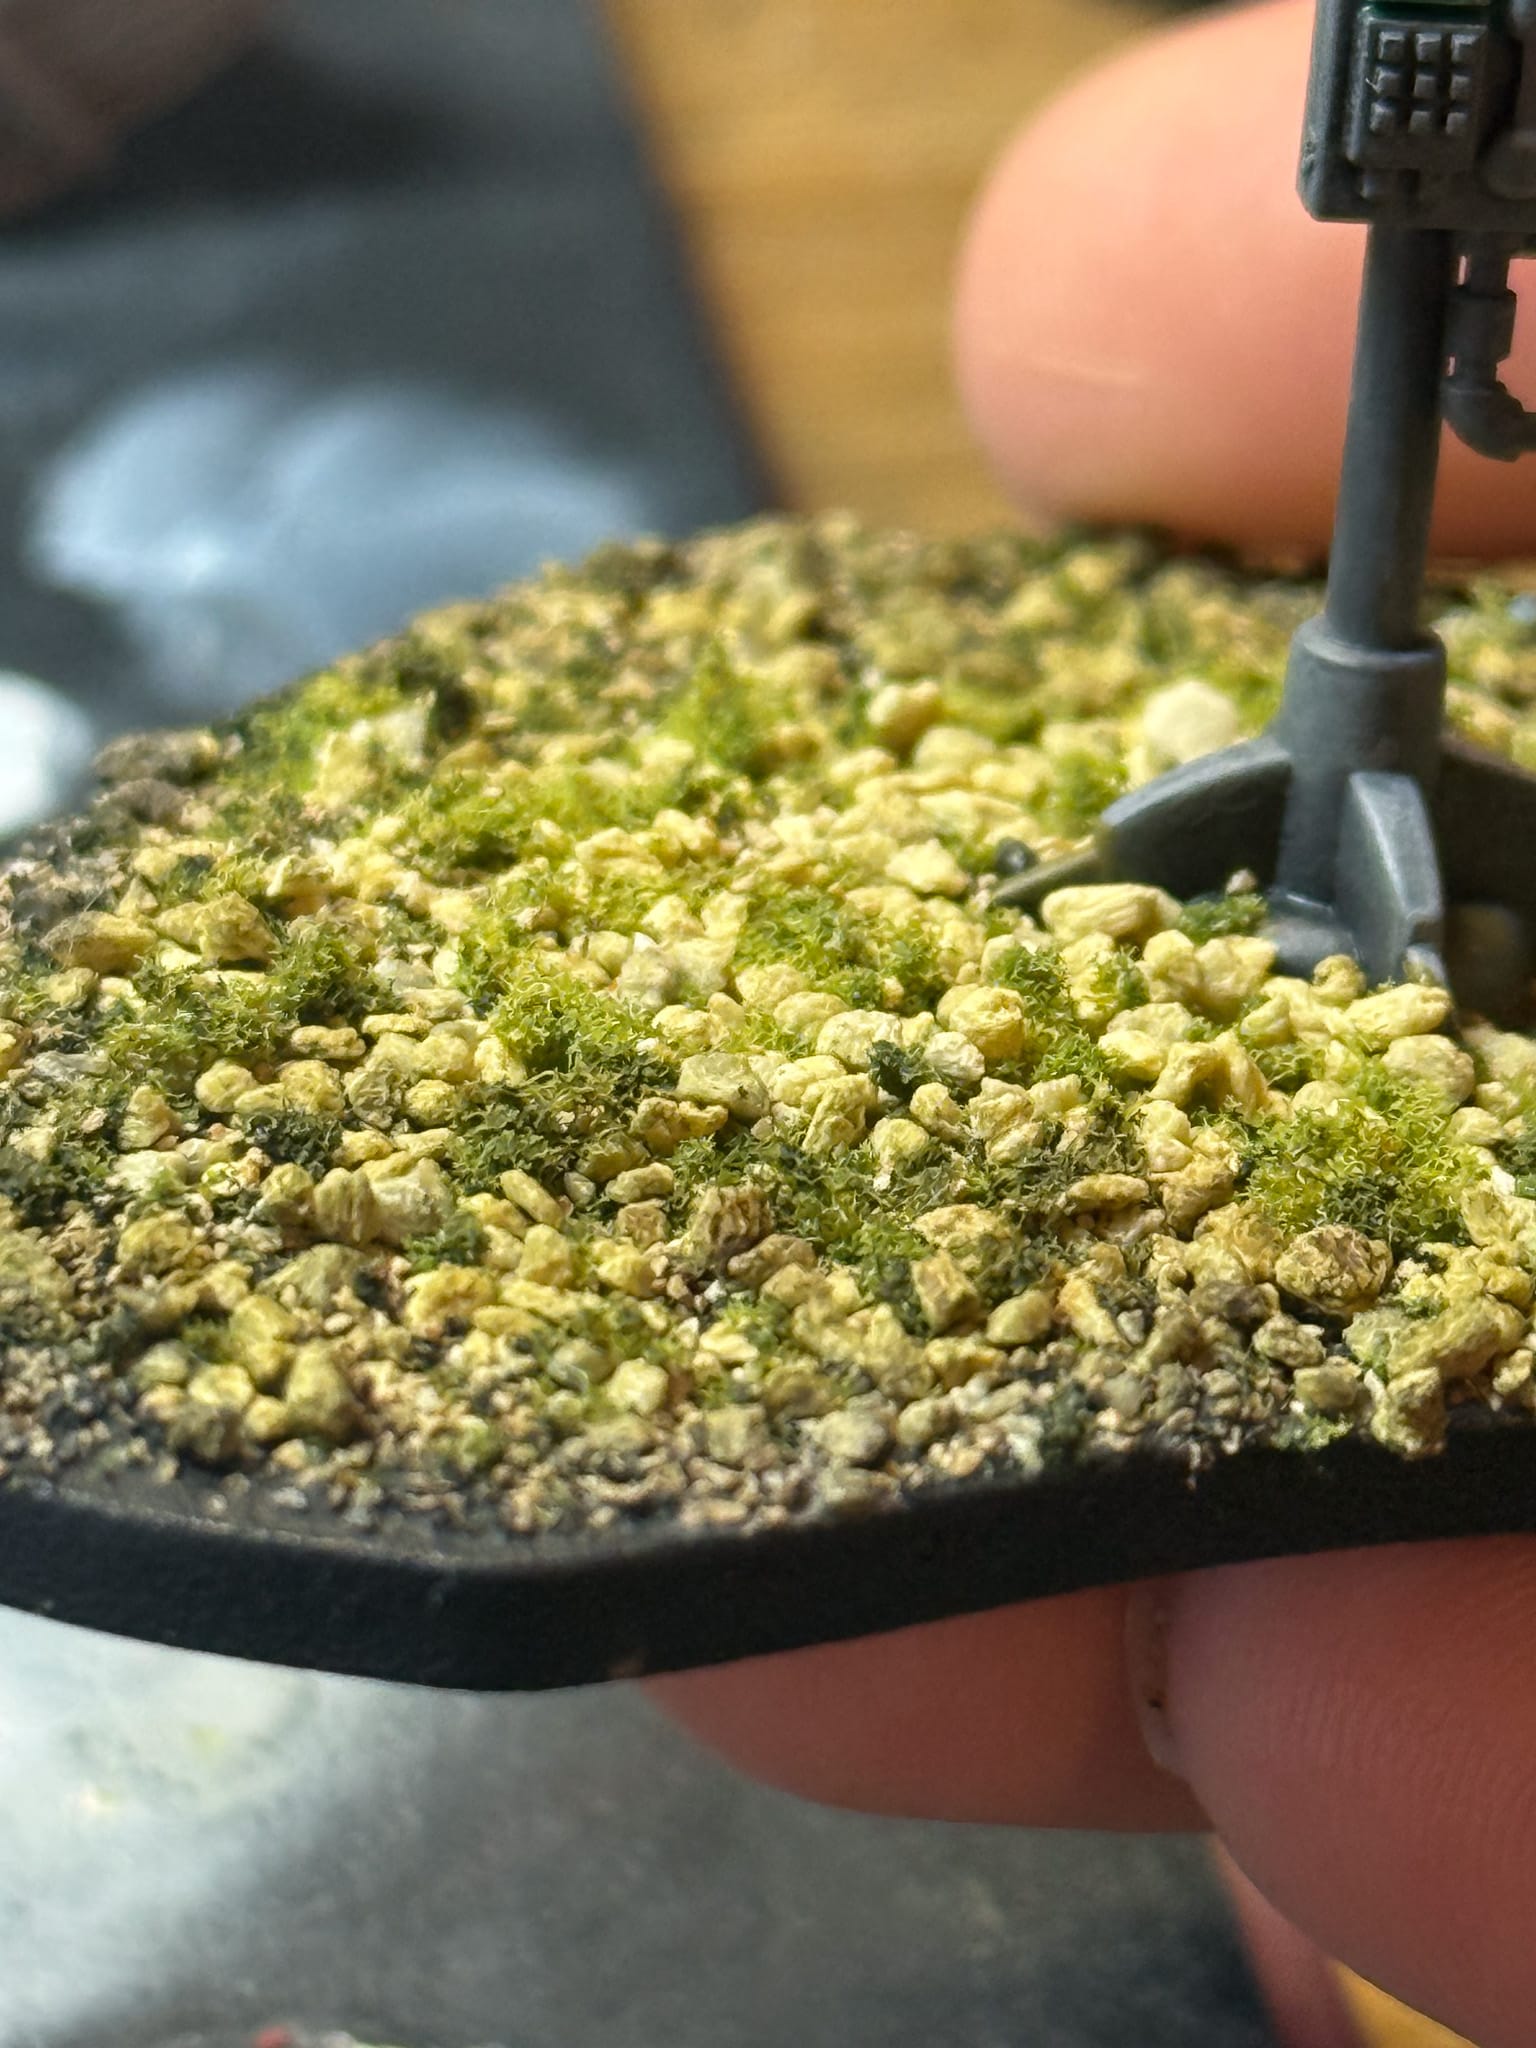
Basing materials can go a long way. You'll see basics like foams, gravels, and exotic materials, like oyster shell.
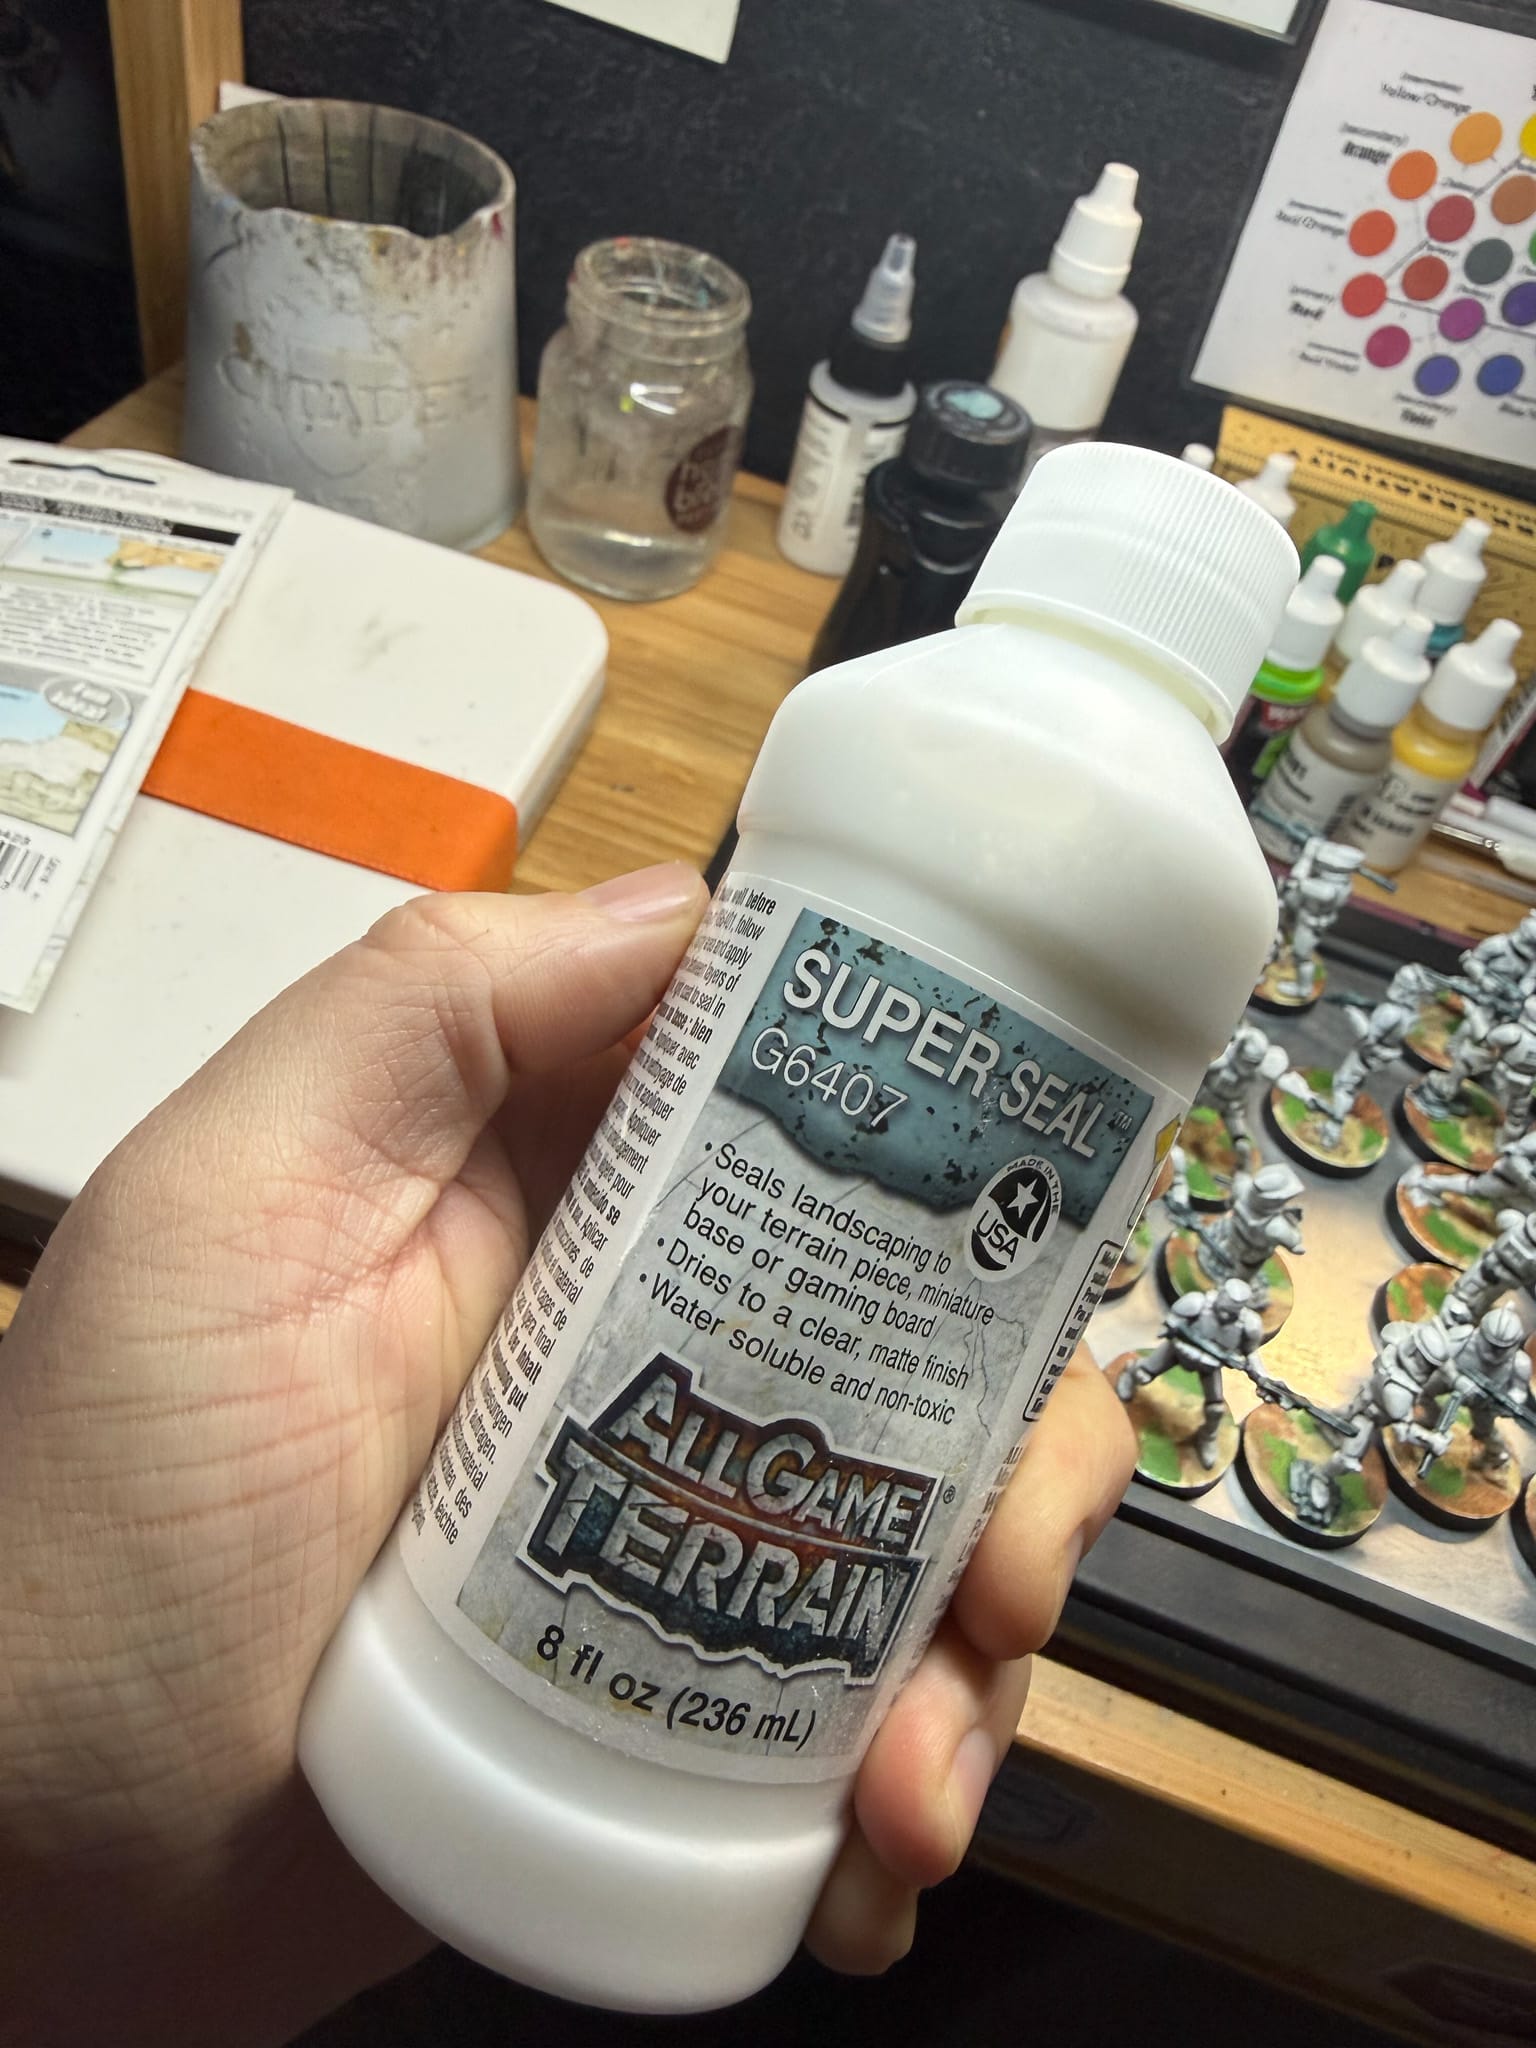
This is a great moment to suggest investing in materials is a great addition to your hobby staples. All Game Terrain makes some excellent materials that Randy covered in a previous review, but using a variety of material just makes for a more interesting texture.
Using a proper glue, be sure to affix basing materials in such a way that they don’t cover or obscure the model. PVA glue (basic Elmer’s glue) can be used to attach sand or other small granules to the base, while CA glue, epoxy, or even a hot glue gun can affix larger elements, such as a small stone or a piece of wood.
It’s important to make sure all of the glue is dried and any excess basing materials are gently brushed off before priming, as otherwise they will fall off later. Primer doesn’t adhere well to non-dry surfaces (or epoxy that has not fully hardened). As a general rule, give your model 24 hours to dry and cure to be ready for priming.
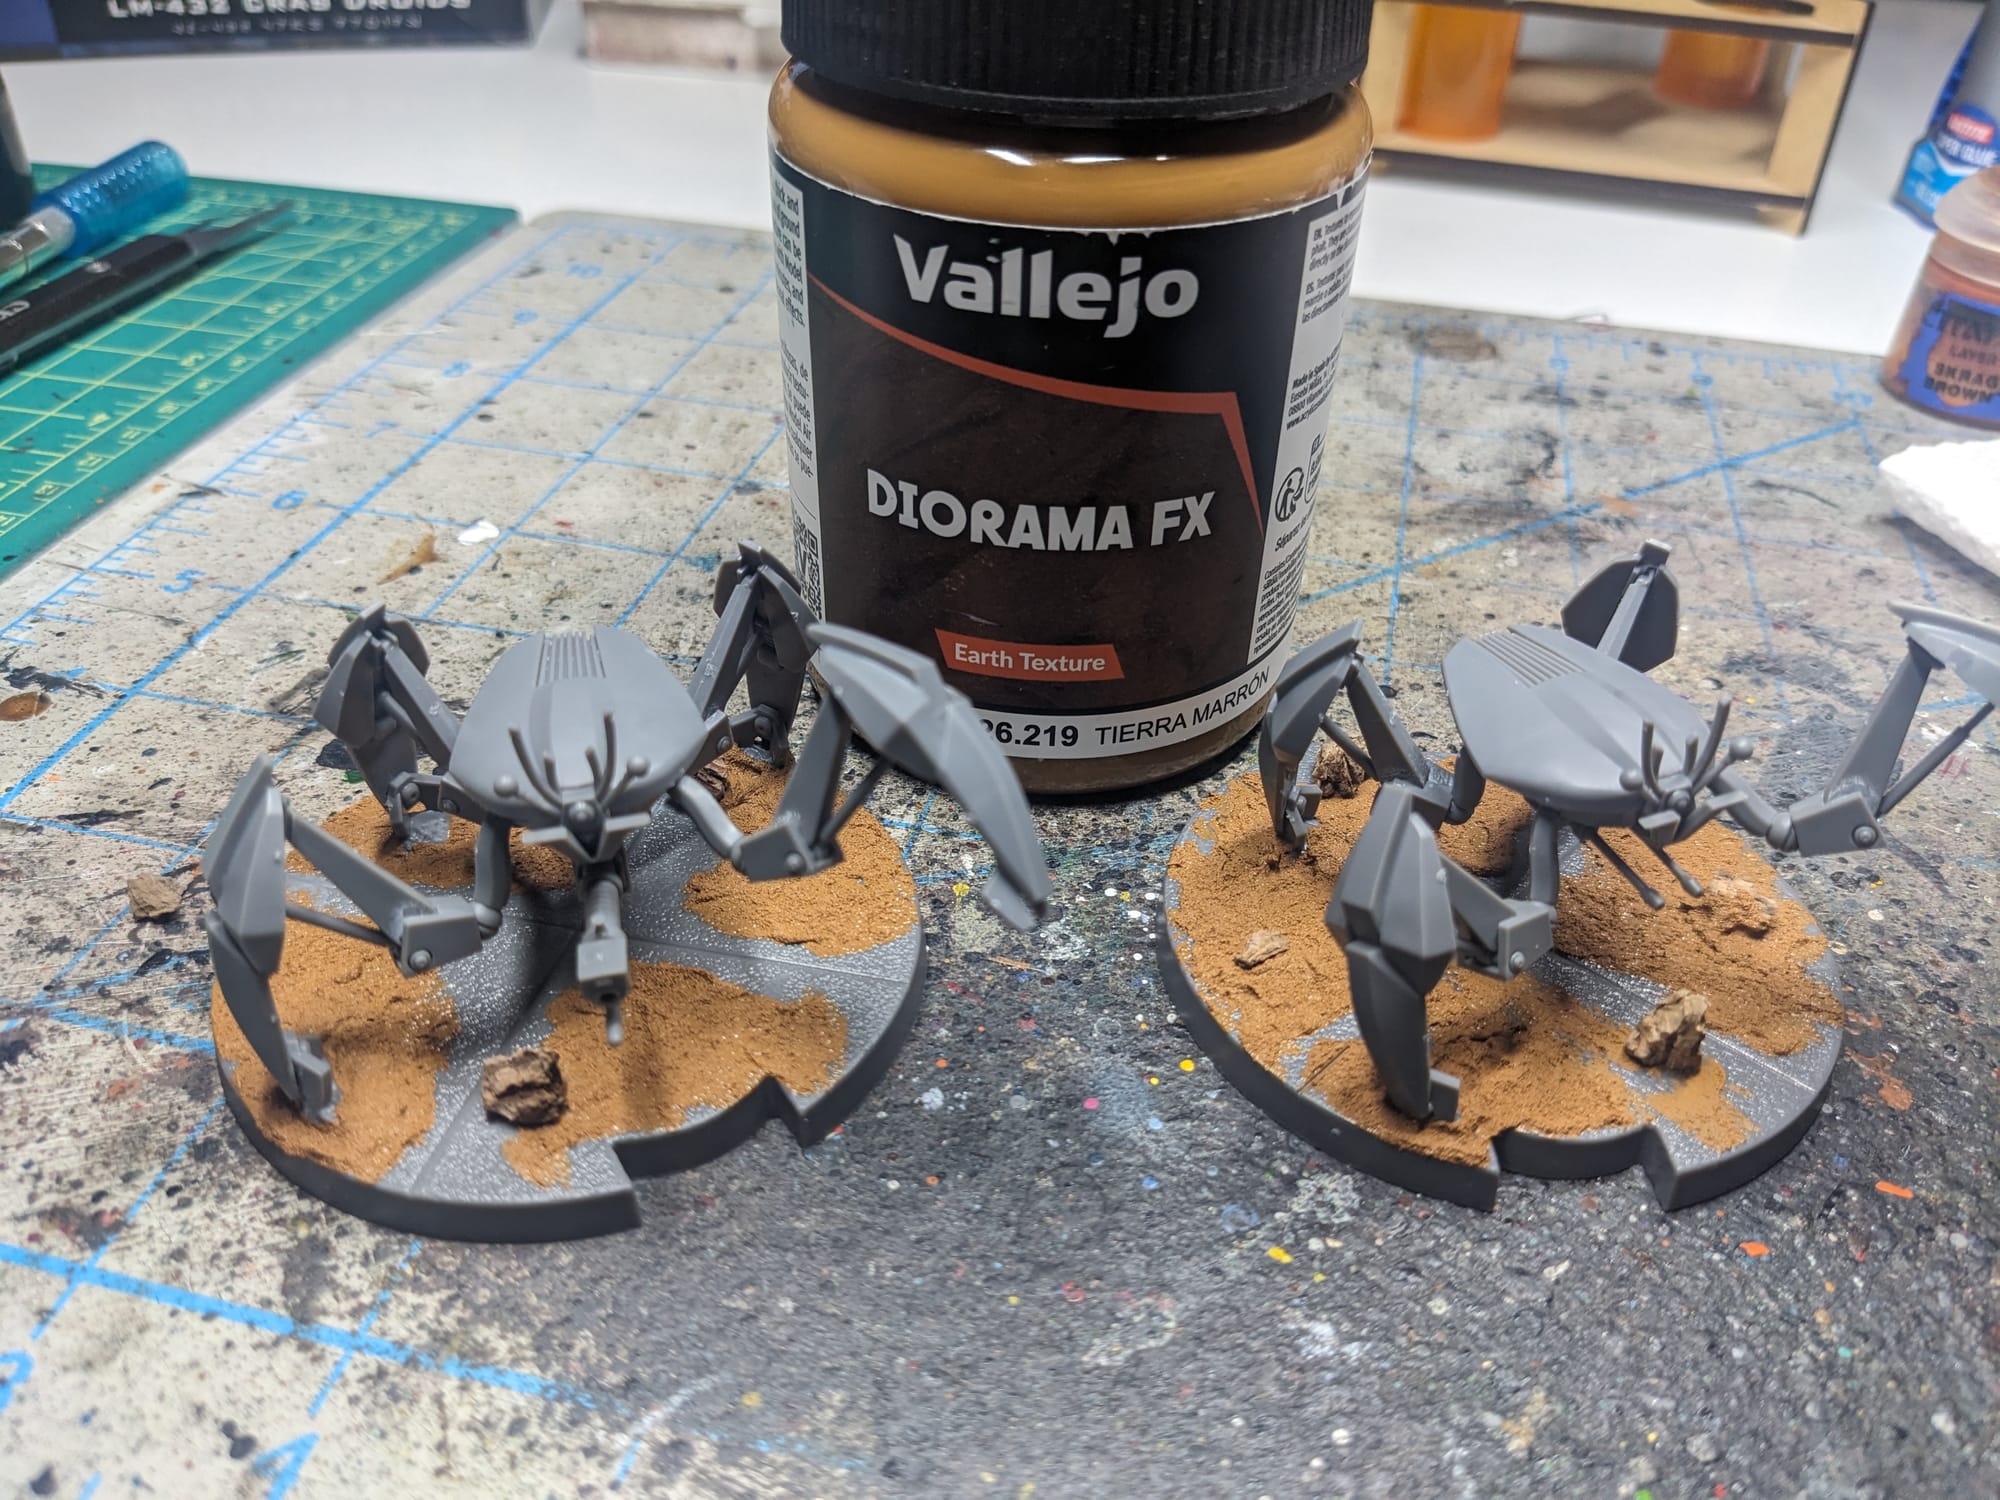
Vallejo Diorama FX Earth Texture Basing Paint
Masking for Priming
A helpful and relatively easy option for clear flight stands clear is to mask them off before priming. Since stability is important for a flight stand or peg to hold up its miniature, typically you'd want to glue that before you paint. However, painting a clear flight stand sort of defeats the point of giving the model that 'flying' or 'hovering' effect. Painters tape, wrapped and weaved around the stand, firmly sealed, keeps the flight stand clear and allows you to paint the base freely!
Magnets
Some models have arms or accessories that offer different game builds. Some game rules require WYSIWIG — What You See Is What You Get. You can by multiple models, but for the rest of us who don't have trees that grow money, we have to be more clever. It's easier in the long run to install the magnets before you do the painting, that way you avoid doing damage to your painting.
Check out Tabletop Battles Tutorial on how to add magnets to your models!
Brushes & Painting Tools
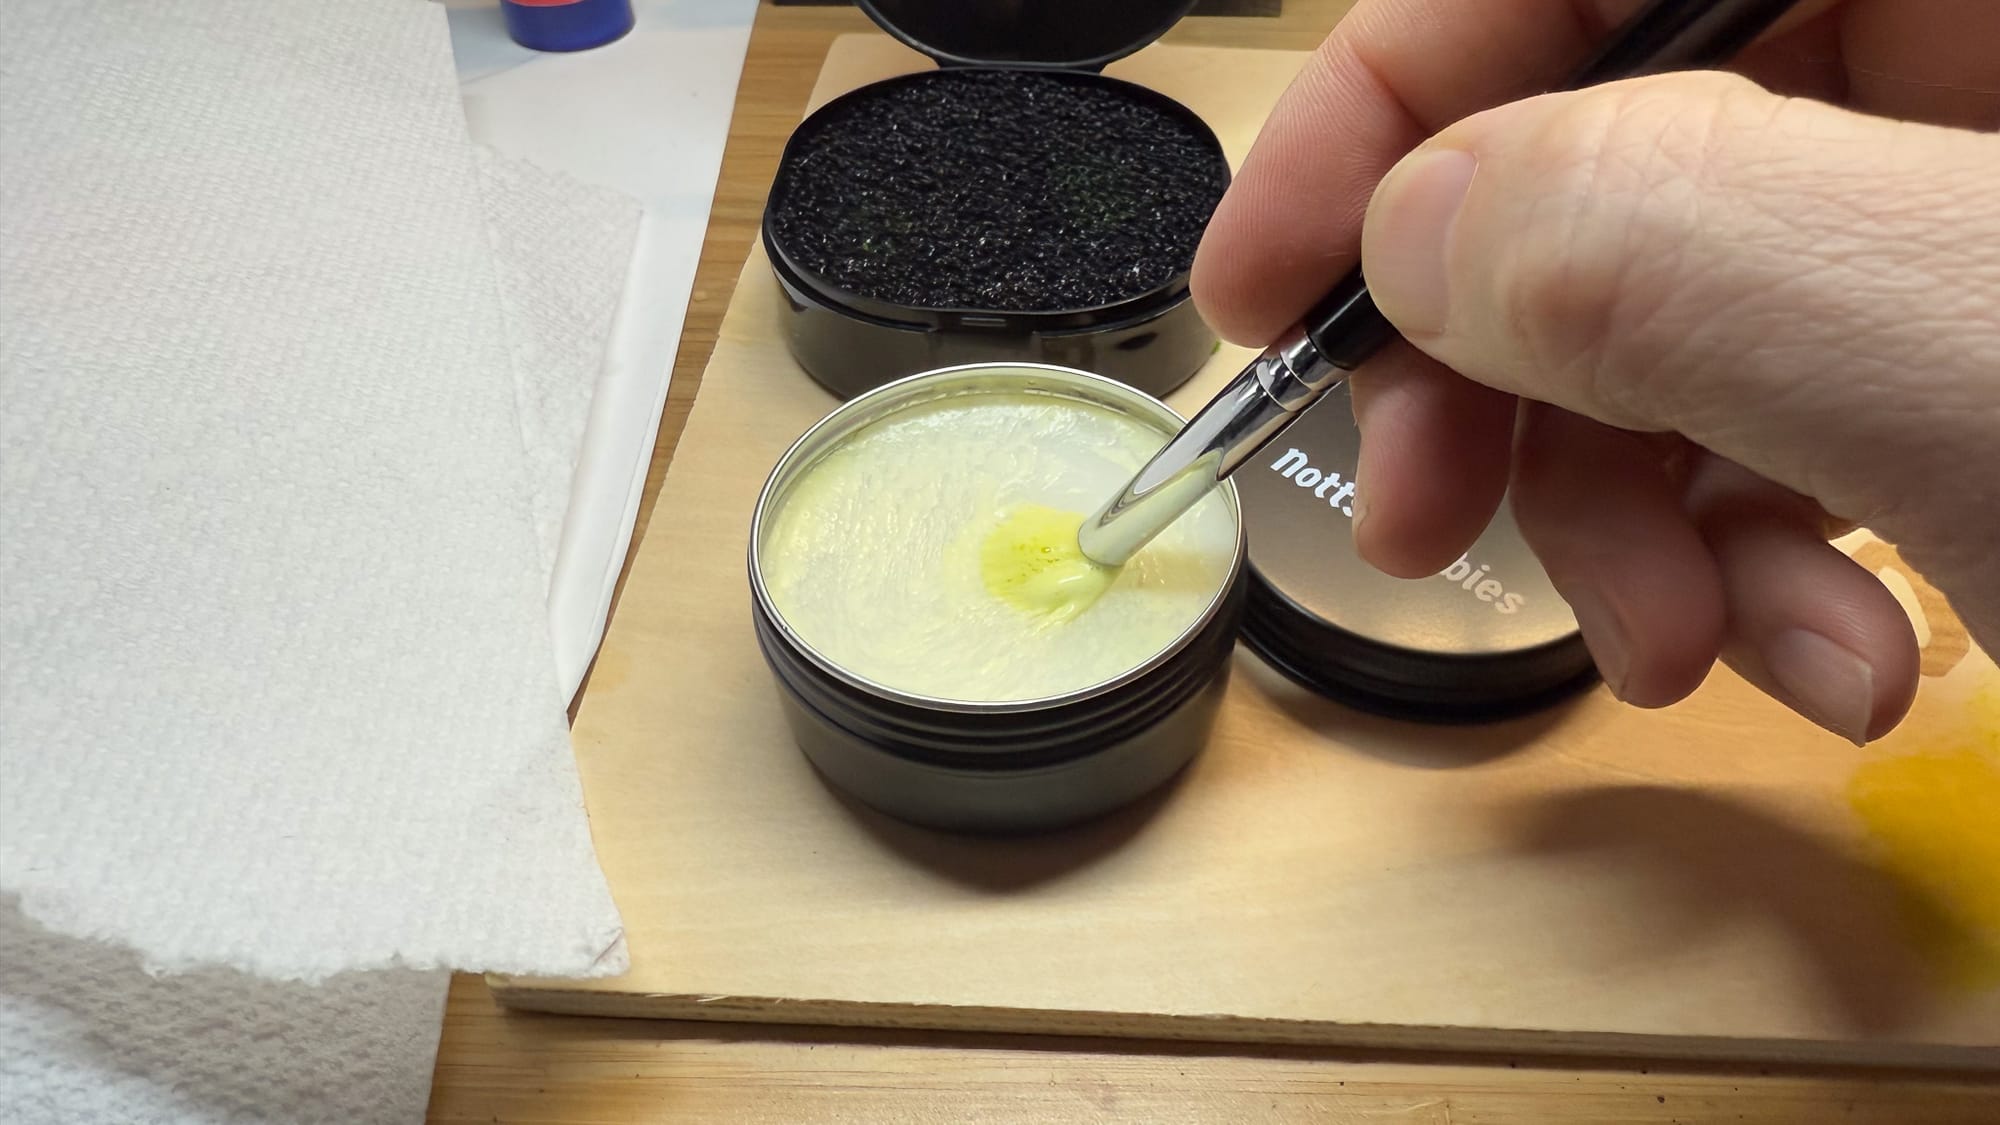
Everyone’s paint collection is different, and there is no ‘right way’ to paint your models. I use a wide variety of paint lines, but the majority of what I use for painting is Monument Hobbies’ Pro Acryl, Games Workshop’s Citadel Paints, and Army Painter’s various paint lines. For Citadel and Army Painter paints, I also make sure to mix in Liquitex Flow-Aid Additive to the paint pots and dropper bottles so that the paints are a little thinner and ready to add right onto my wet pallet or paint tray. Depending on the humidity, Randy will use Golden High Flow Medium which works well in his situation (painting right under an air vent).
Matching Paints & Colors
You don’t need to use the exact paints listed on the box art, and can substitute with the paints and colors you already own from other paint lines. Most of these colors are fairly generic, and I use them for multiple projects. I only recommend going out and buying a new paint or color if you think you’re going to use it for multiple projects in the future. You can use the PaintRack App for color comparisons across the different paint brands out there.
PaintRack App Links
Mixing your own Paint Colors
Something else you can try is mixing your own paint colors. This is more difficult than picking up a bottle of pre-made reddish brown, but learning how colors mix and match and combine is a valuable skill to have in this hobby.
Multiple award-winning artist Marco Frisoni explains this concept better than I will, but if you don't have time, pick up a set of primaries, which would contain Blue, Yellow, White, Black, Red, and Magenta. From those five paints, you can make every color imaginable, in a variety of shades and tints. In the future, we'll write a deep dive on the color wheel and how you can leverage it.
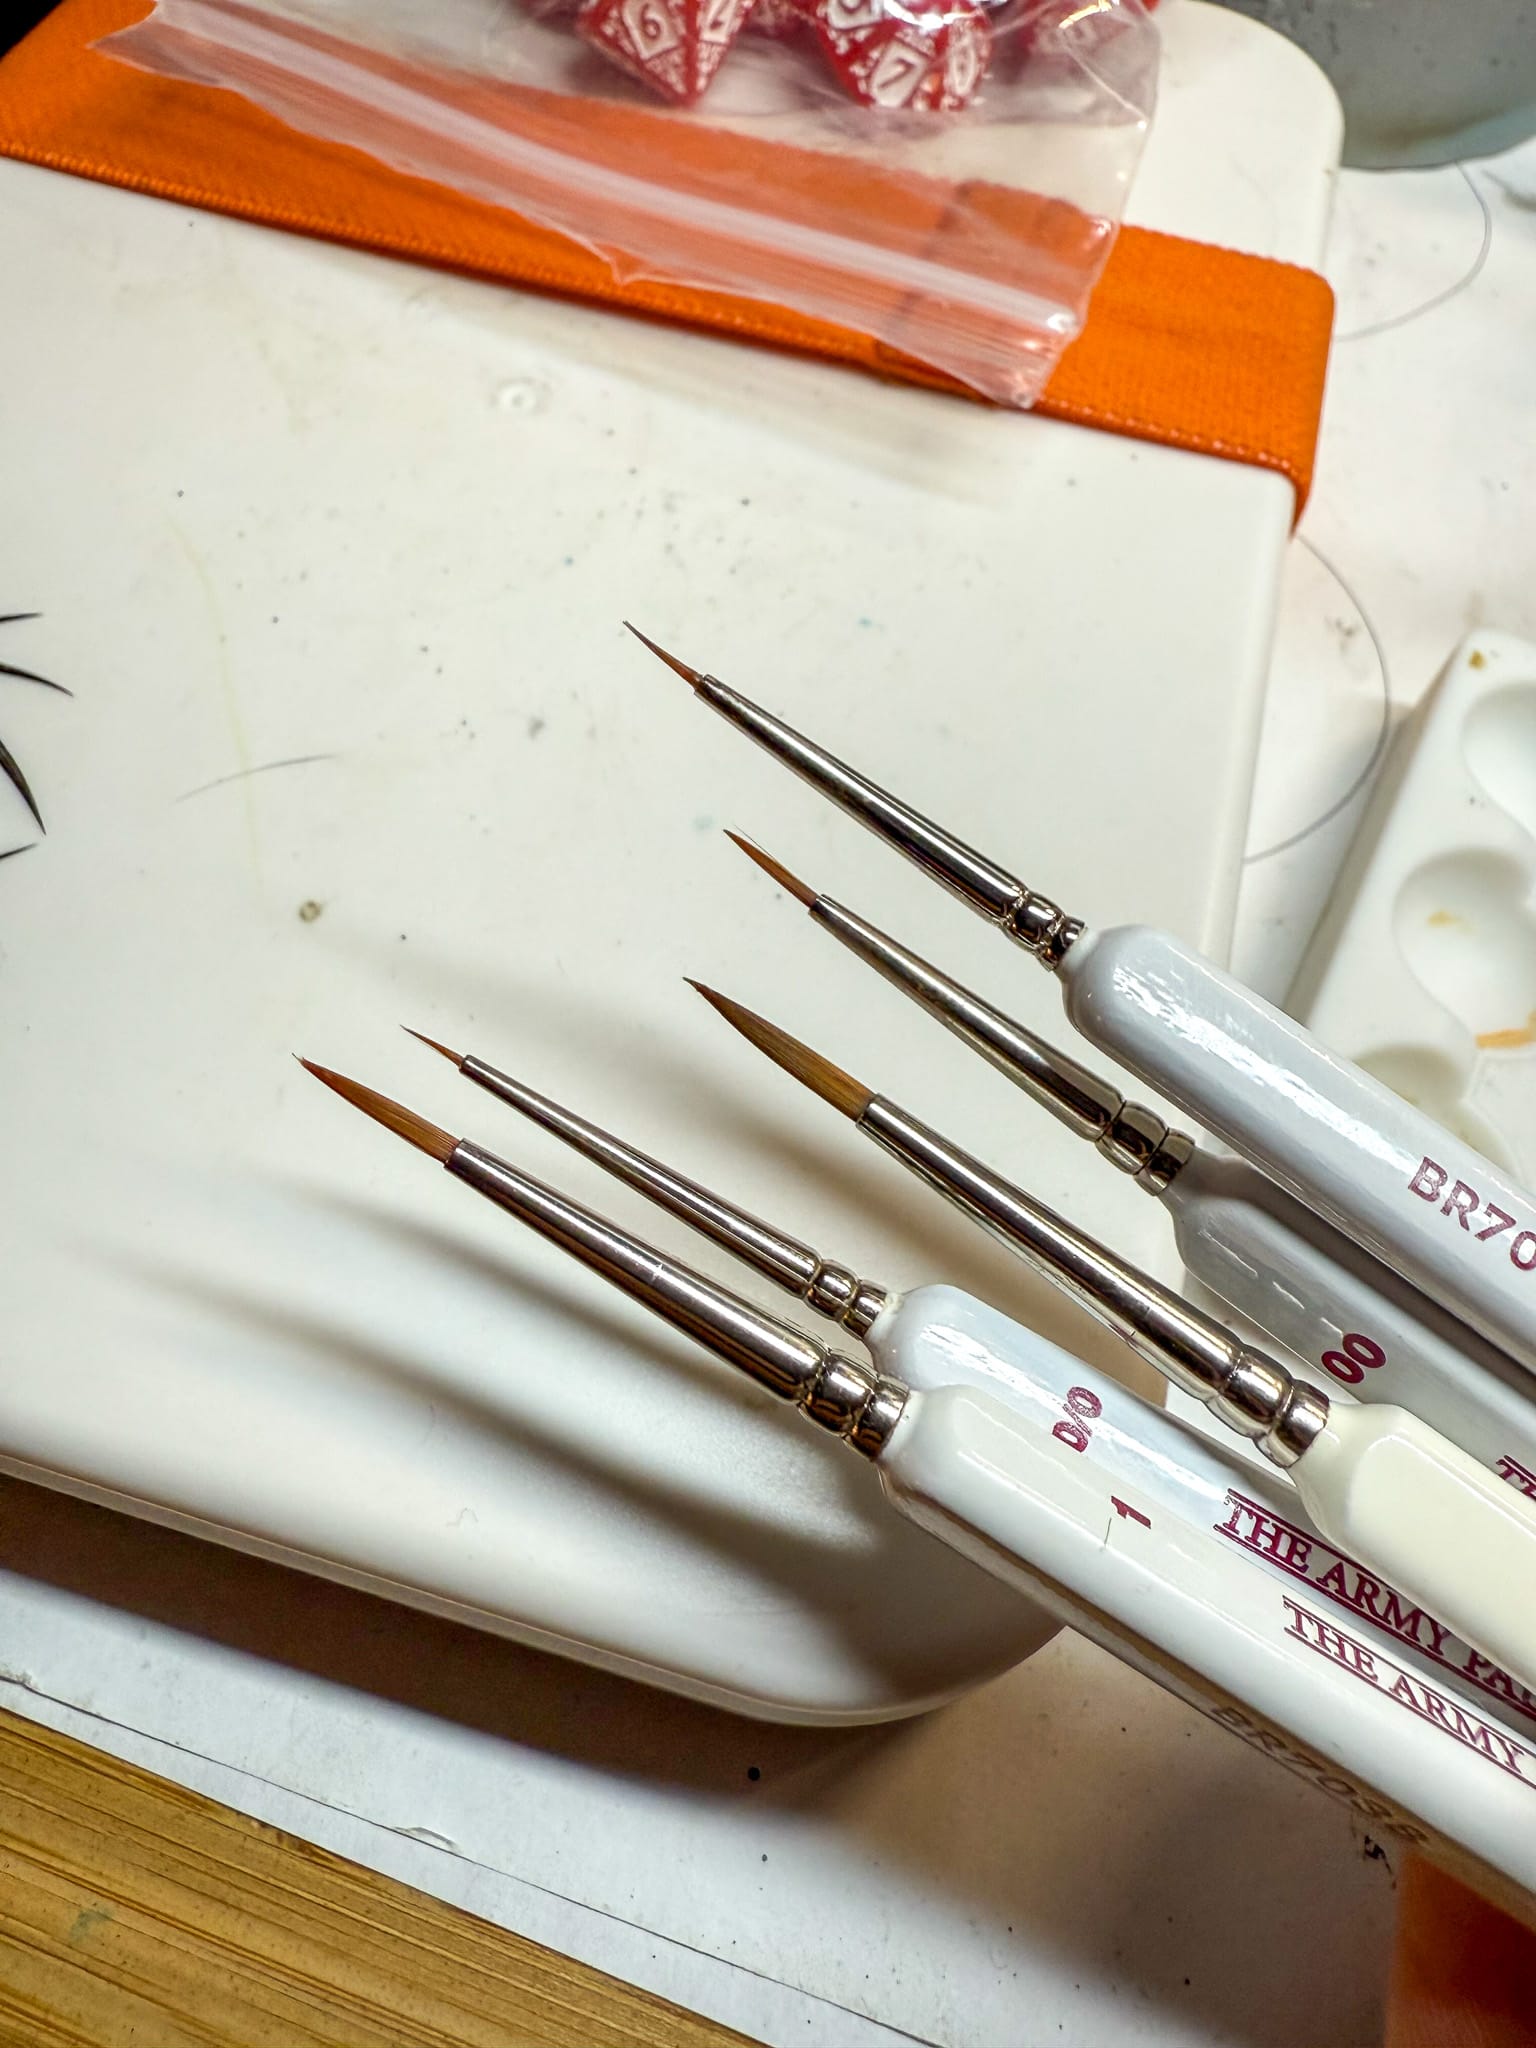
Paint Brushes
Also, invest in a good Hobby soap.
As far as brushes go, any brush brand you’re comfortable painting with is totally fine. If this is your first time painting, I’d encourage you to get a starter model brush pack or a series of different brush sizes (5 being the largest, 00000 being the smallest) so you have different options depending on what you’re painting. You also don’t need the high-end, super expensive brands; most generic brands are excellent to use.
But if you want to get into brushes, there is a wide variety to consider. You will most likely hear about two kinds of brushes. Synthetic and Natural. Synthetic brushes, like the Army Painter Bionic Bristles are excellent for most usecases, from basecoating to layering, usage of metallic paints and washes. Natural fiber brushes, typically referred to as Sable brushes, like these Lethal Shadows Sable tips, are great for finer brush control and detailed work with acrylic or oil paints.
But if you're starting out, don't go dropping big money on Winsor & Newton Series 7 just yet.
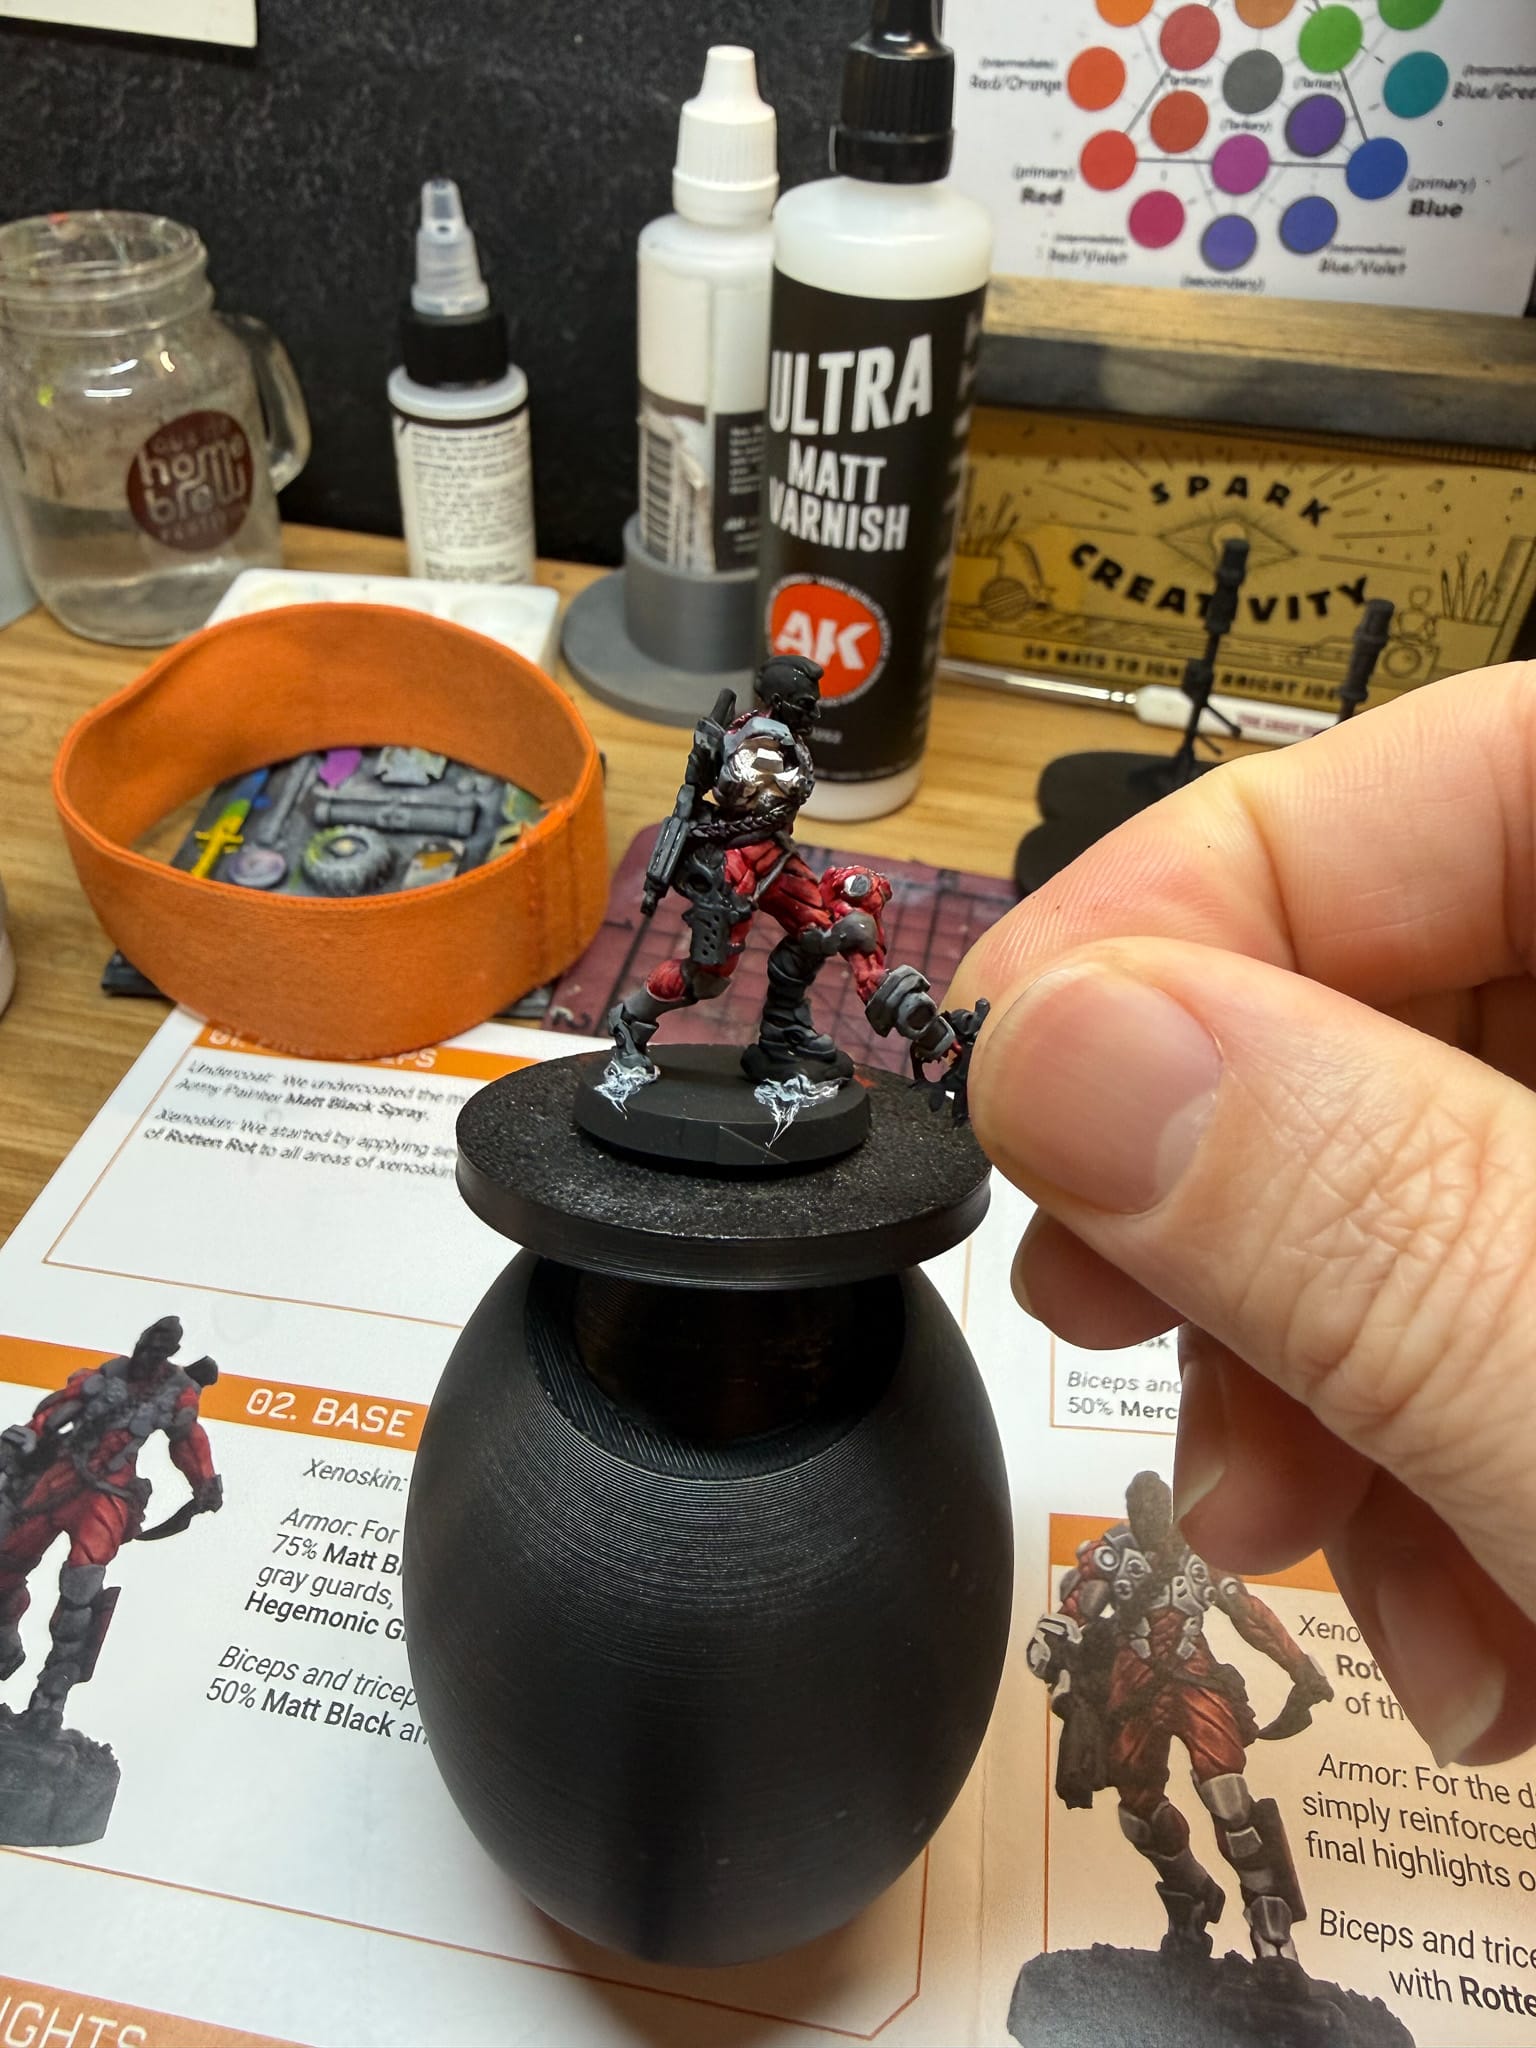
Model Holders
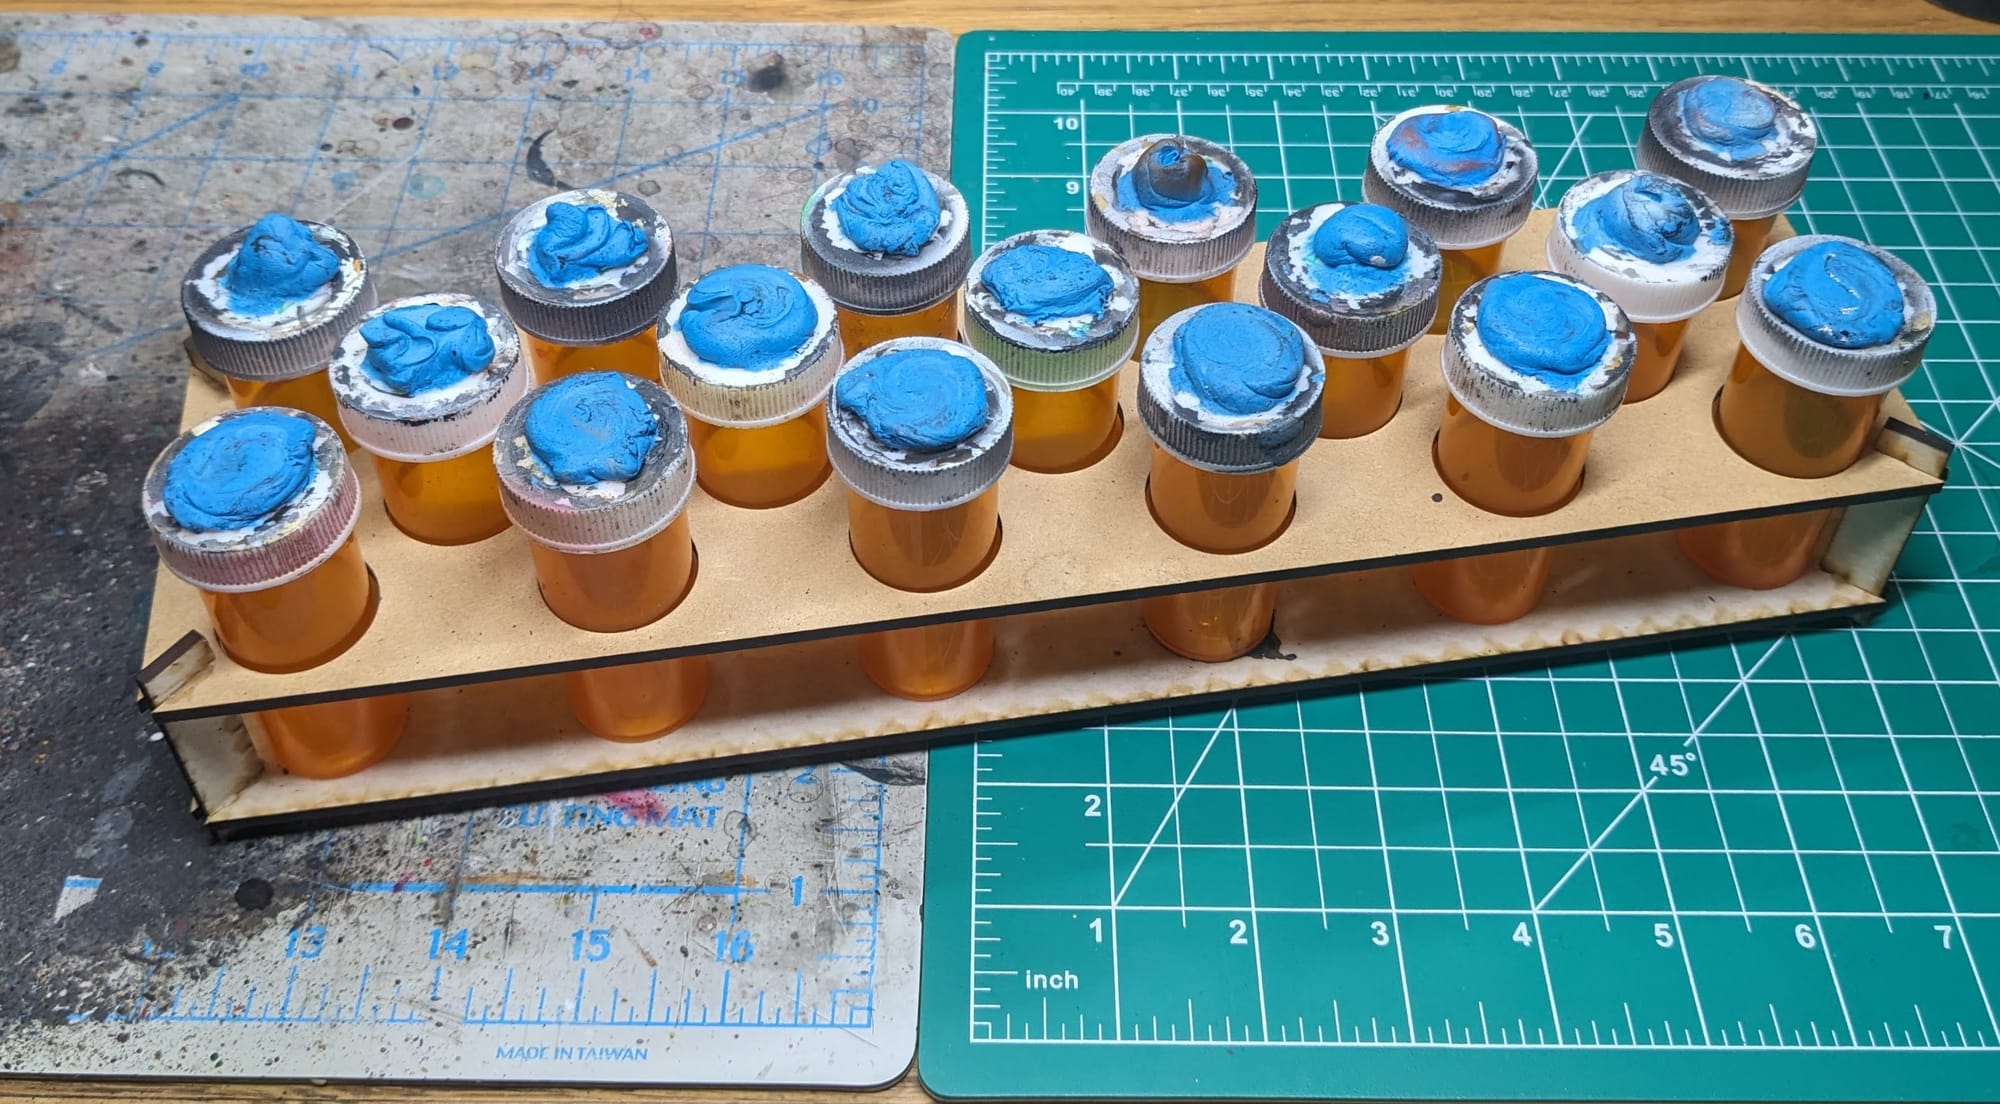
After I finish priming models, I affix them to some large medicine tubes with some double-sided tape or poster tack. There are official miniature holders and handles out there, but I just use these since they’re cheap, and sometimes I need multiple holders for batch painting. Paint holders allow me to easily handle the models so I can turn the models freely to get a good angle to paint certain parts or areas, as well as prevent hand cramping.
Ready for Painting
Once the glue is dried, the mold lines are removed, and the gaps have been filled, you are ready to prime! Go grab a can, shake it to your heart's content, and paint like no one is watching. Unless you're painting on stream. Then someone is watching while you paint.
We hope you found this tutorial useful and helpful. If there are other tips and tricks that you use, let us know! We'd love to hear from you and see how you paint up your miniatures.


