
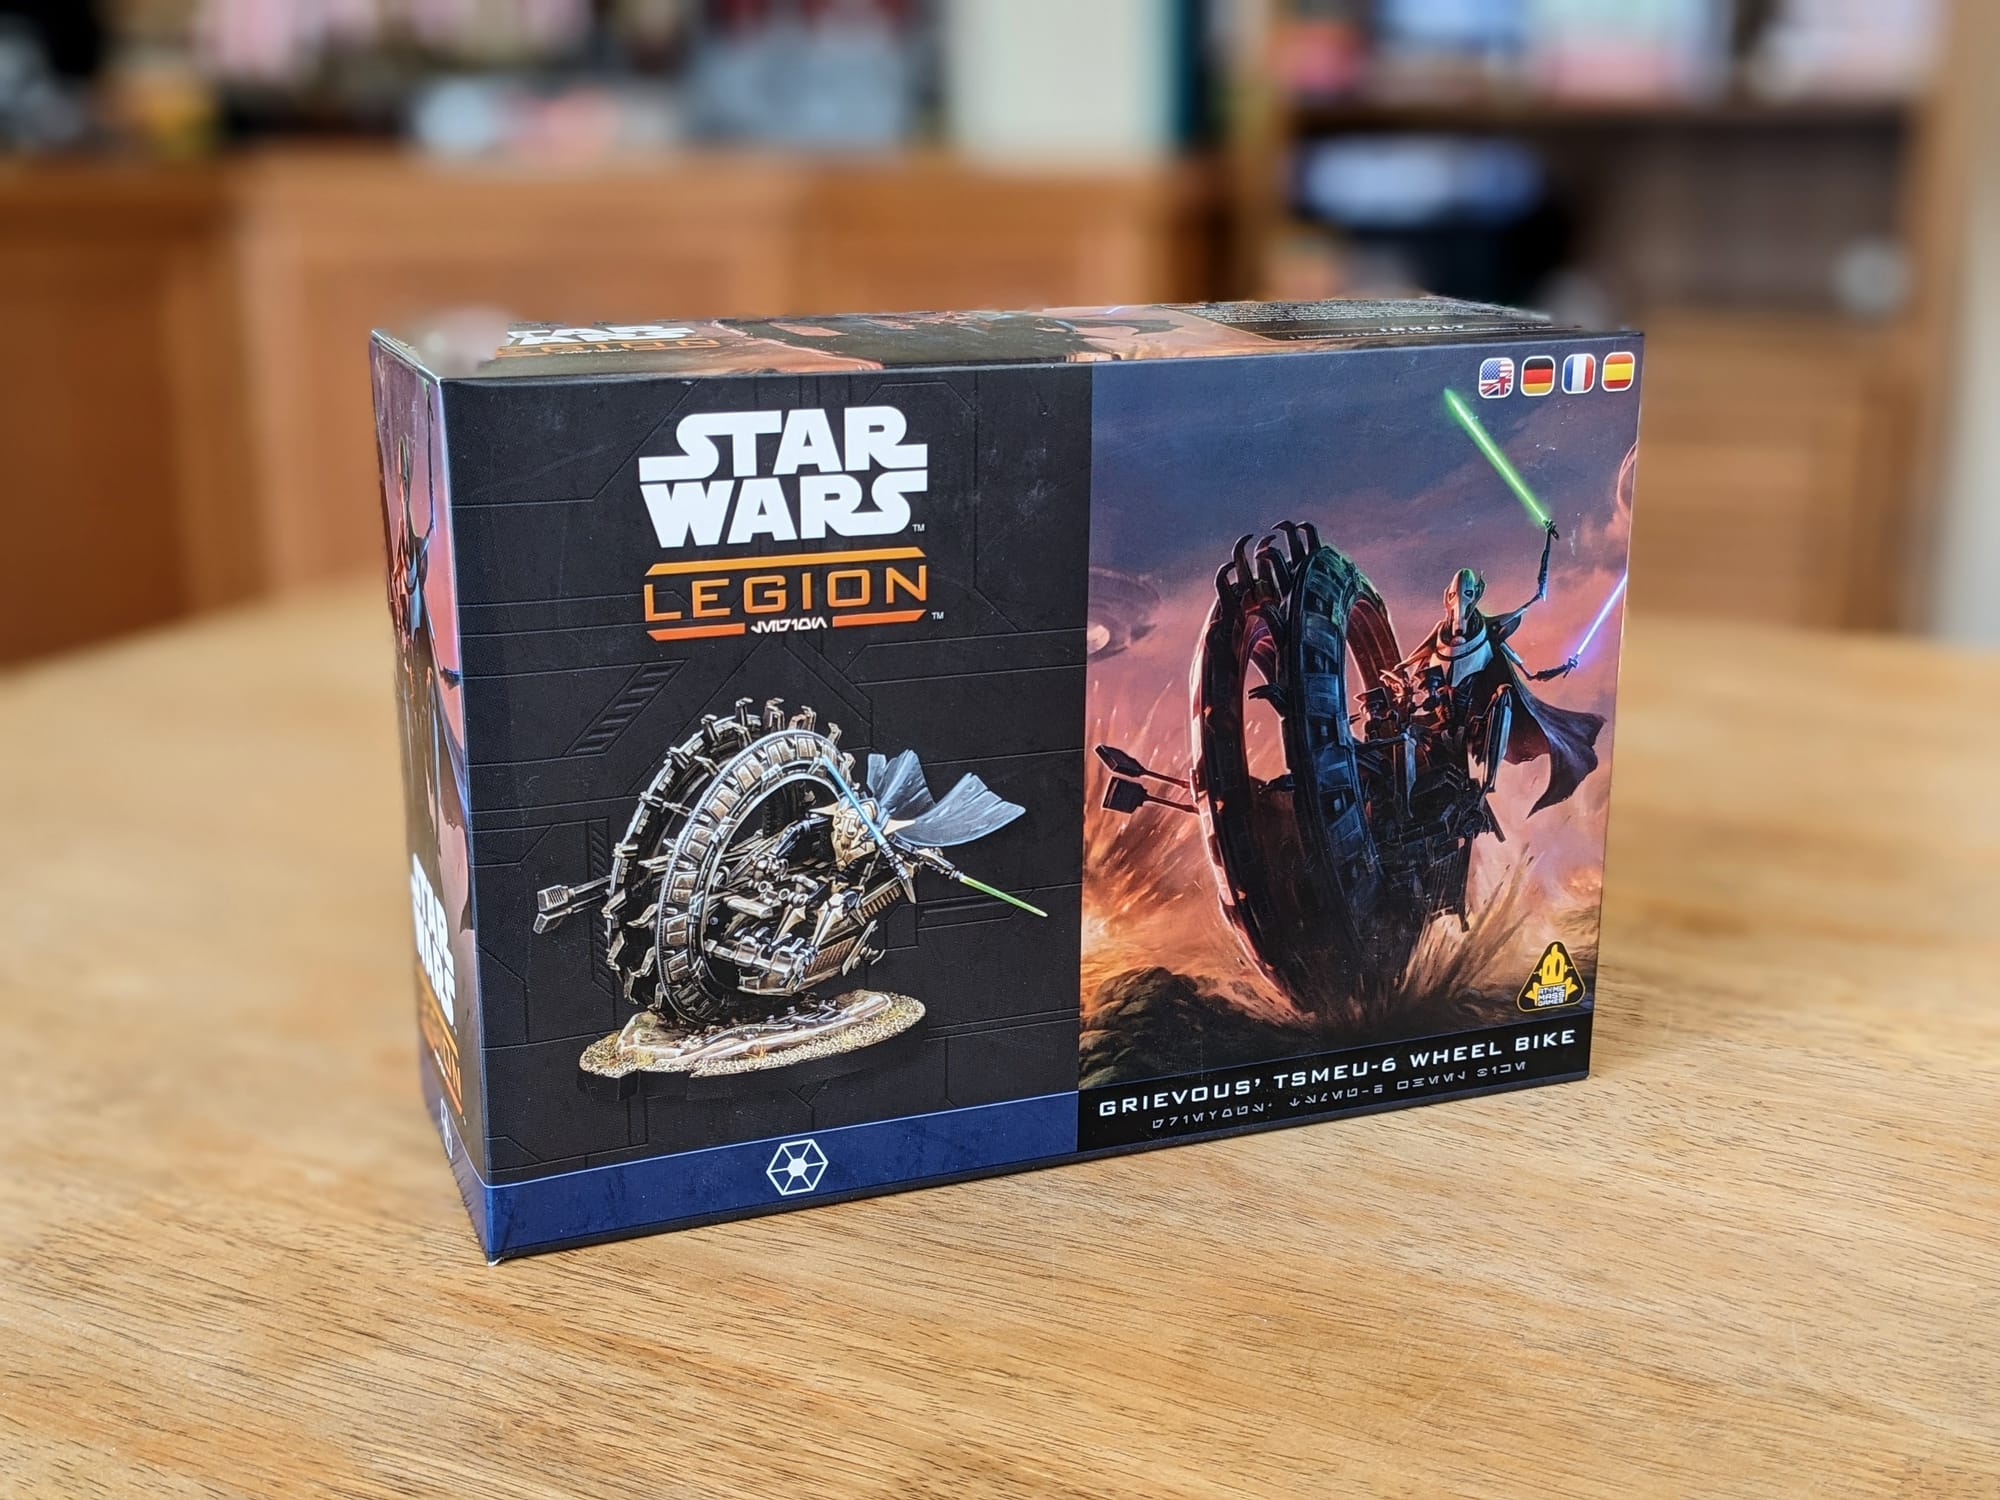
As part of the newest kind of commander for Legion, General Grievous can now lead his forces from a mounted ride, in this case, his TSMEU-6 Wheel Bike. Atomic Mass Games has been systematically rolling out mounted versions of heroes and villains to be added to your Legion armies, including pieces like Han and Luke on Tauntauns. To help bring victory in style to my army from my Separatist Alliance Starter Box, I painted up this Wheel Bike and created this paint guide. It’s an intimidating model, but with a few simple techniques, you can quickly and effectively get this model onto the battlefield.

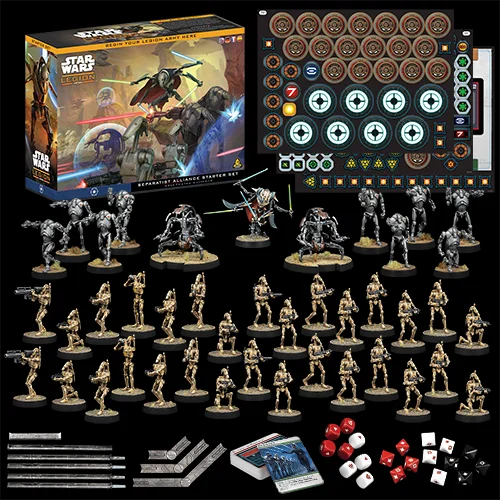
Star Wars: Legion is a tactical miniatures wargame where players assemble and command customized armies from the Star Wars universe and engage in tabletop battles across the galaxy. Players can build, paint, and play troopers, vehicles, and their favorite heroes and villains from the Clone Wars and Galactic Civil War era. The easiest way to get into the game is to choose a starter set of their favorite faction and build out from there! A robust catalogue of expansions offers nearly-unlimited customization and replayability.
Unboxing
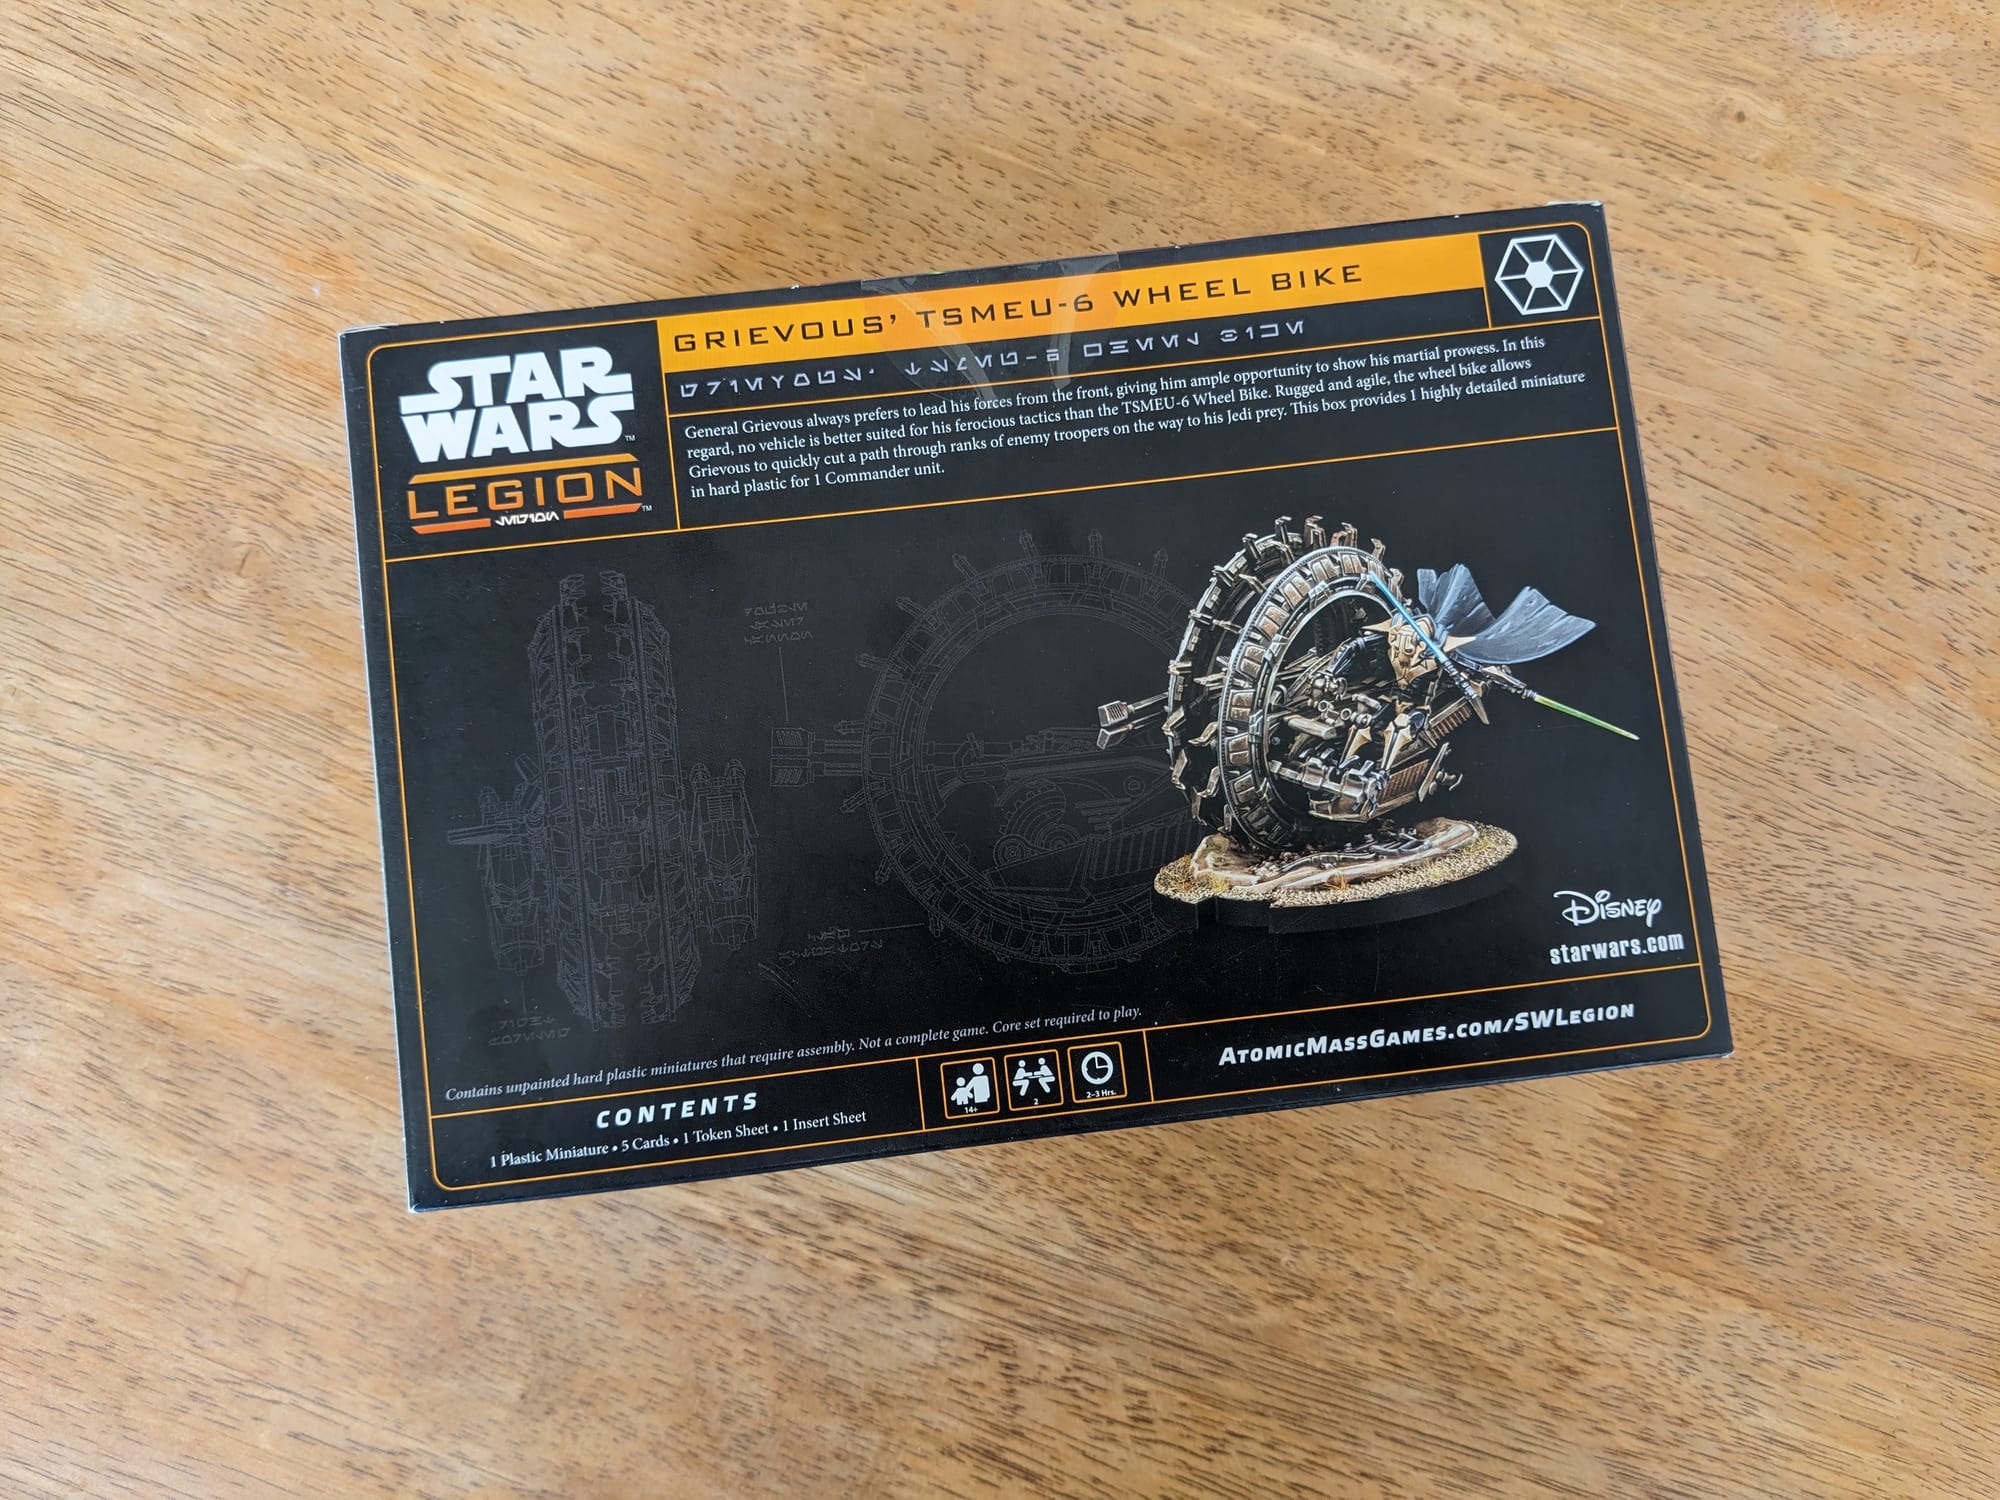
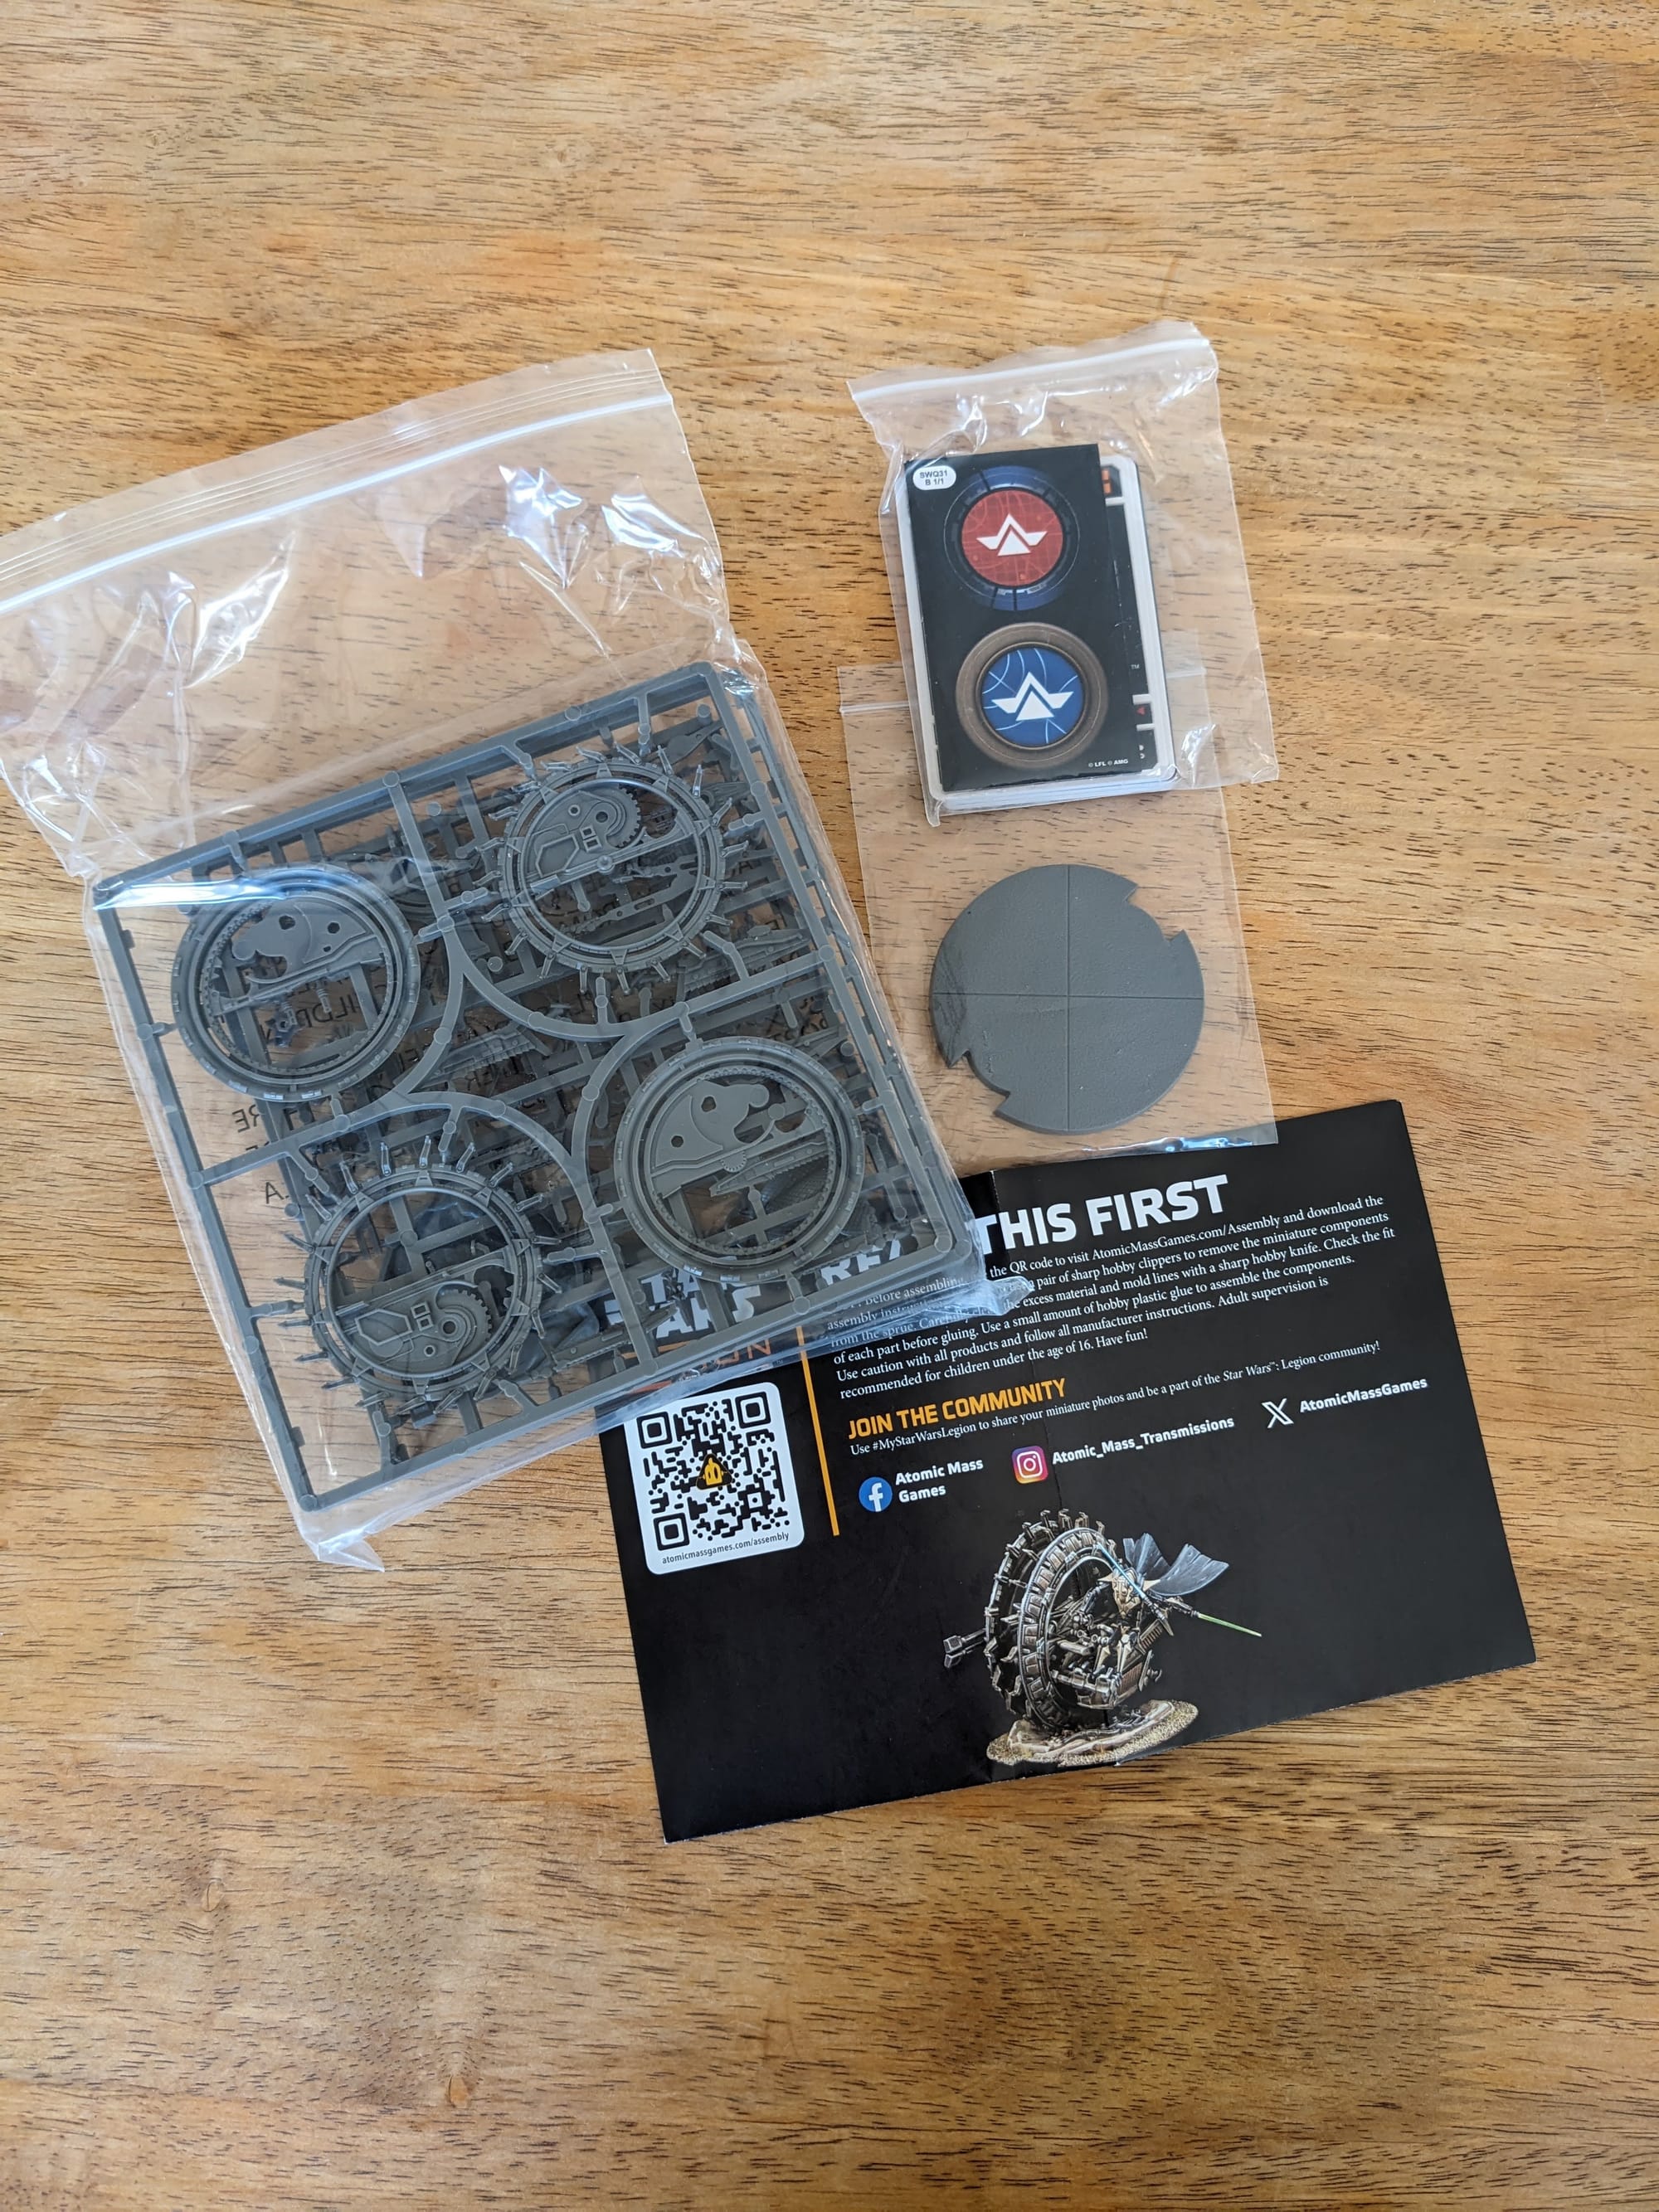
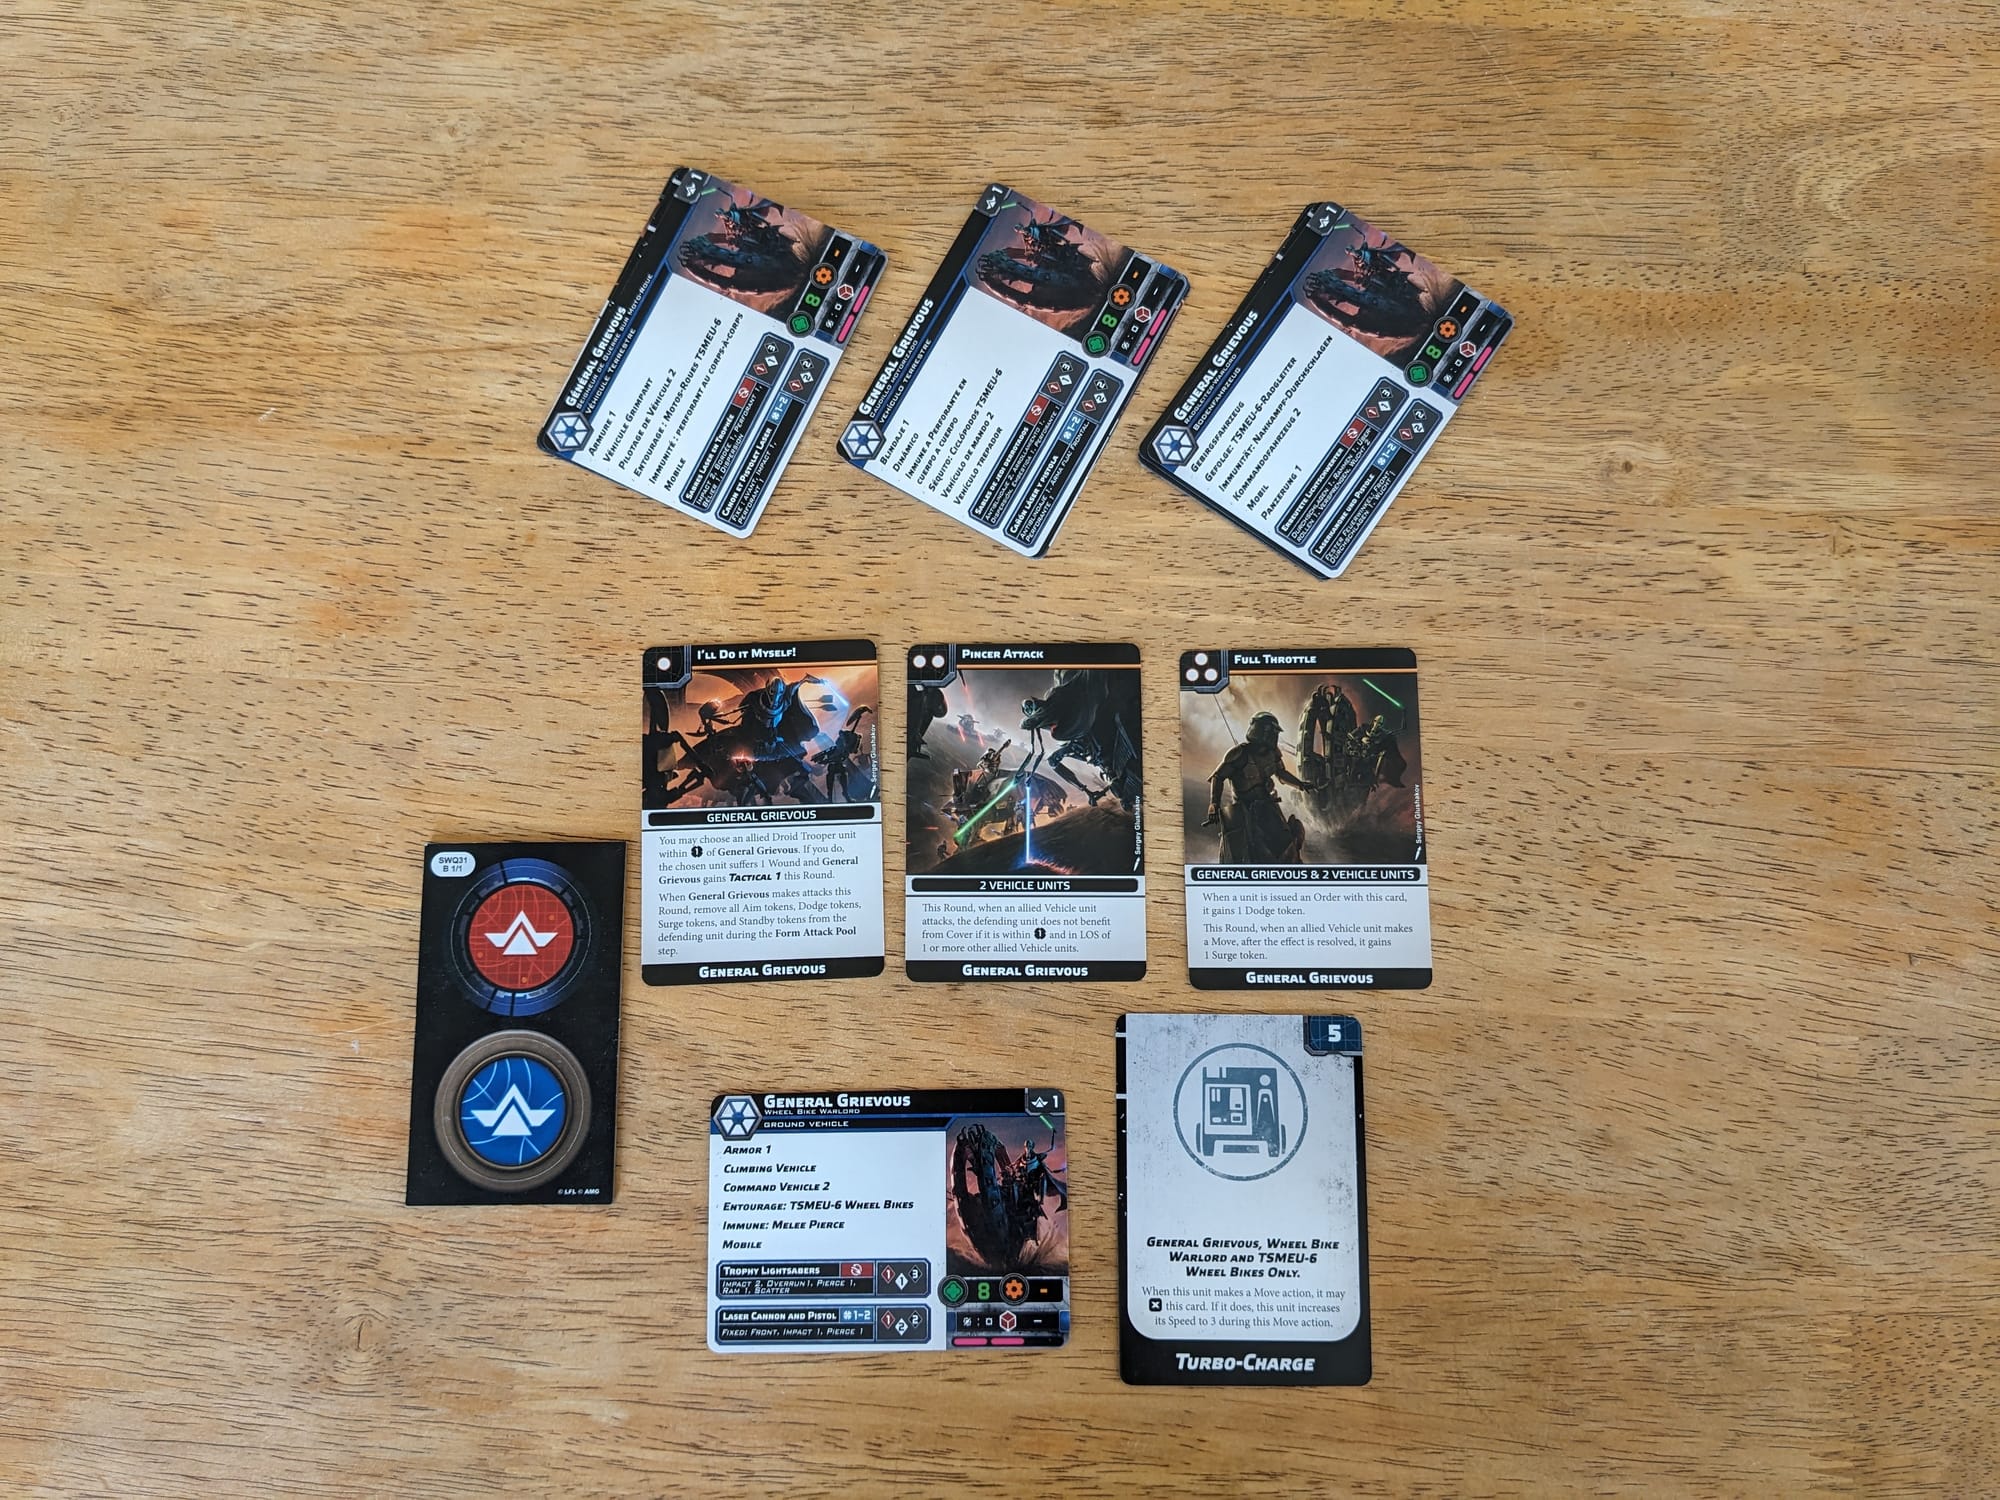
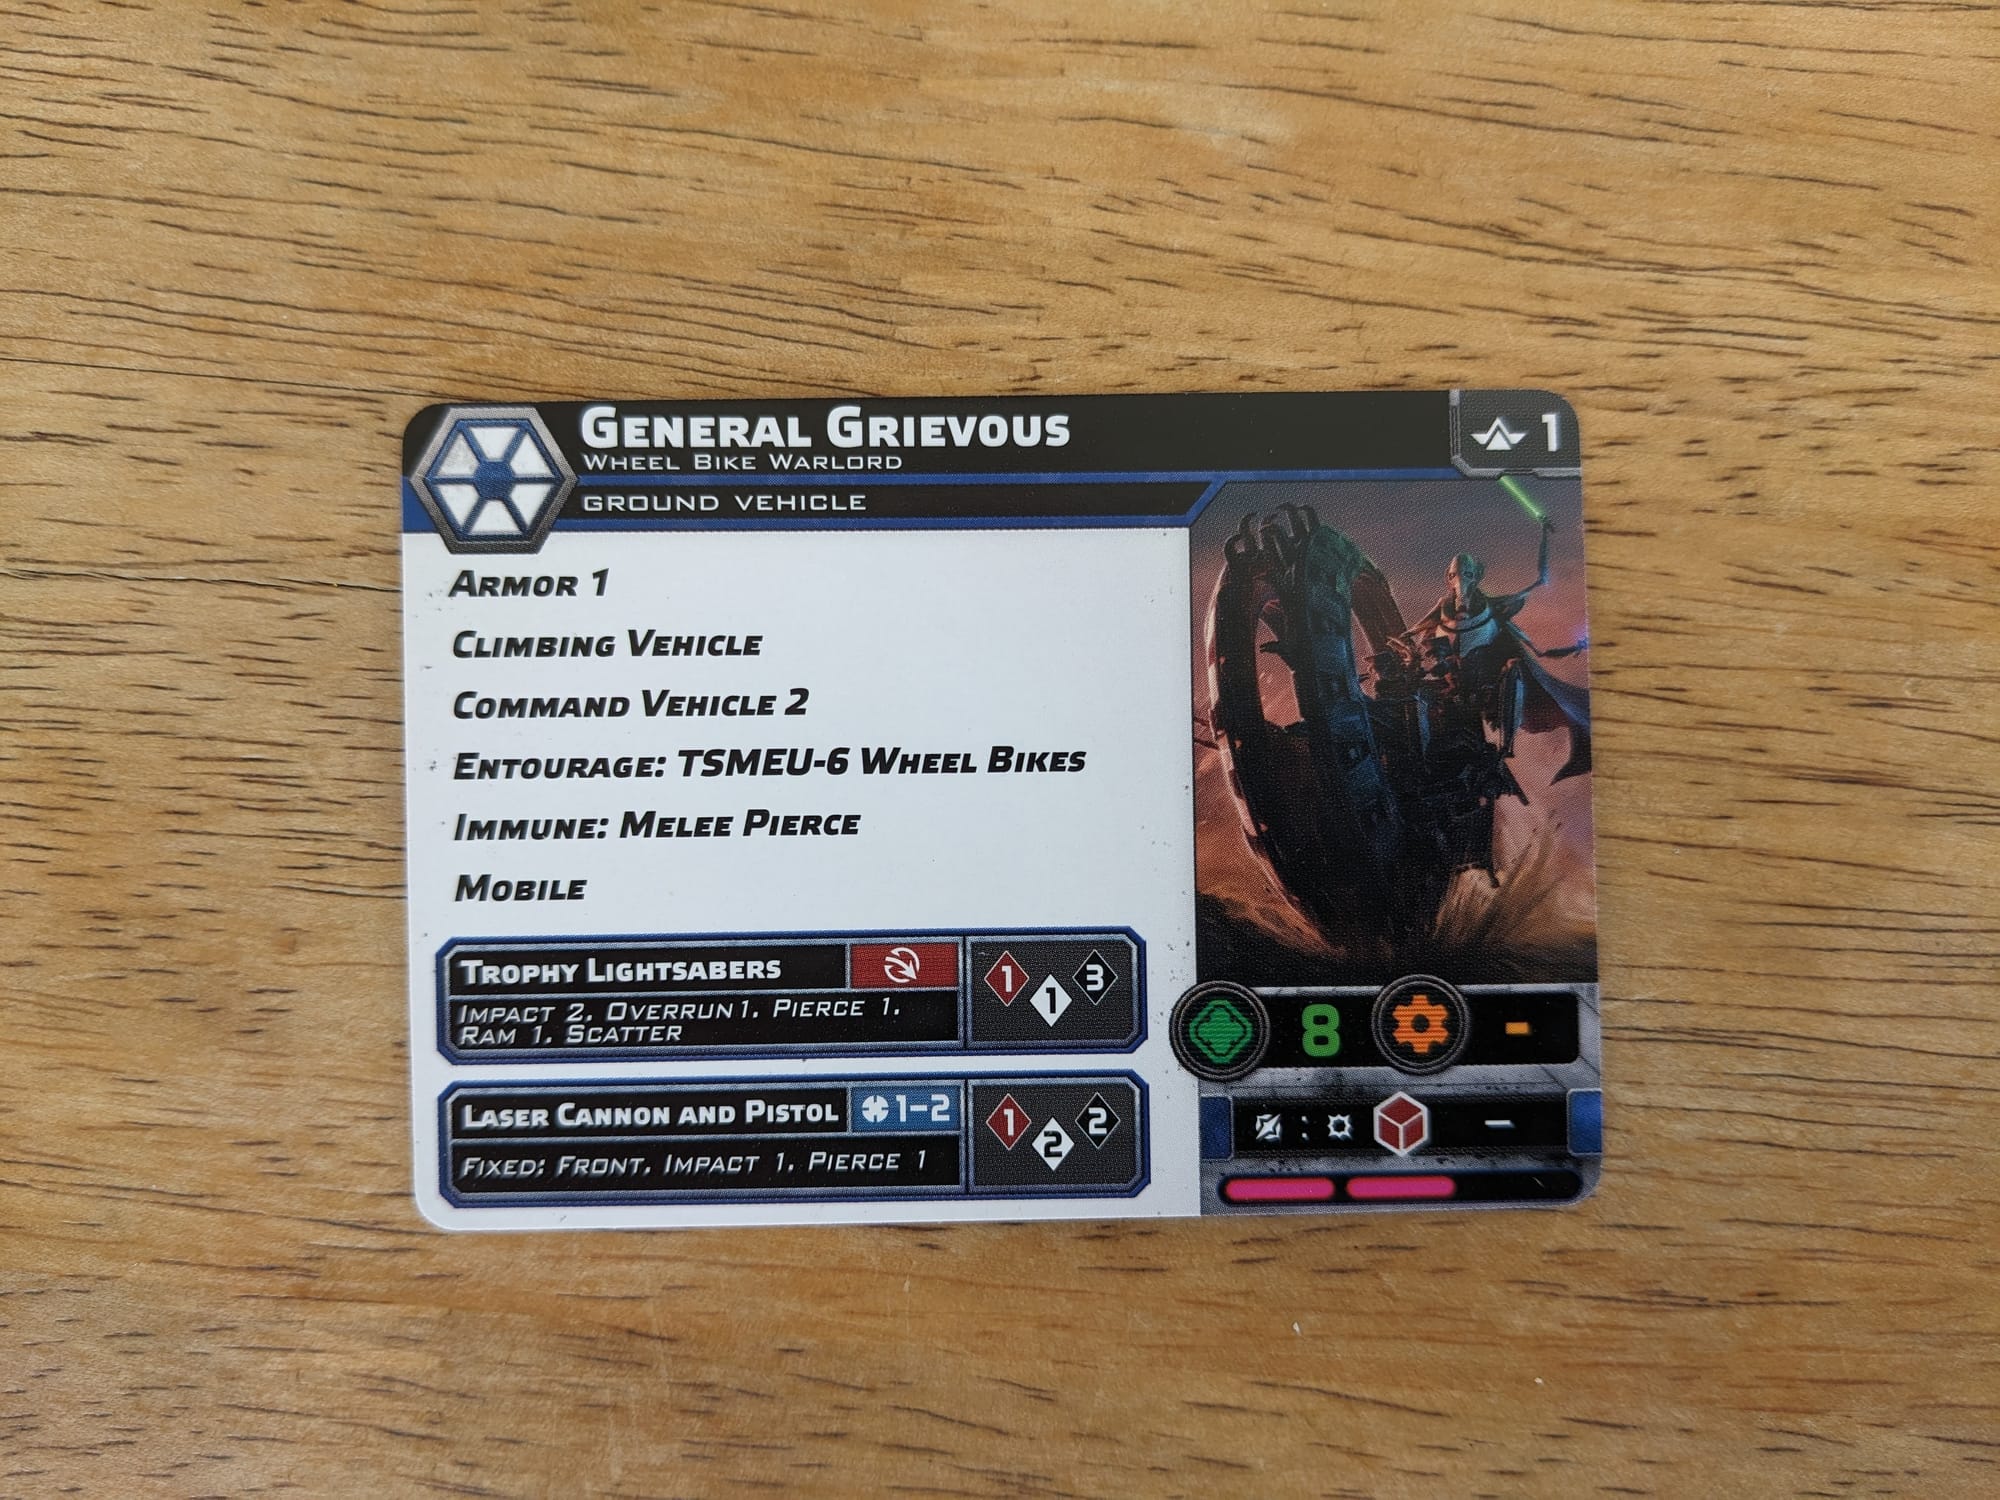
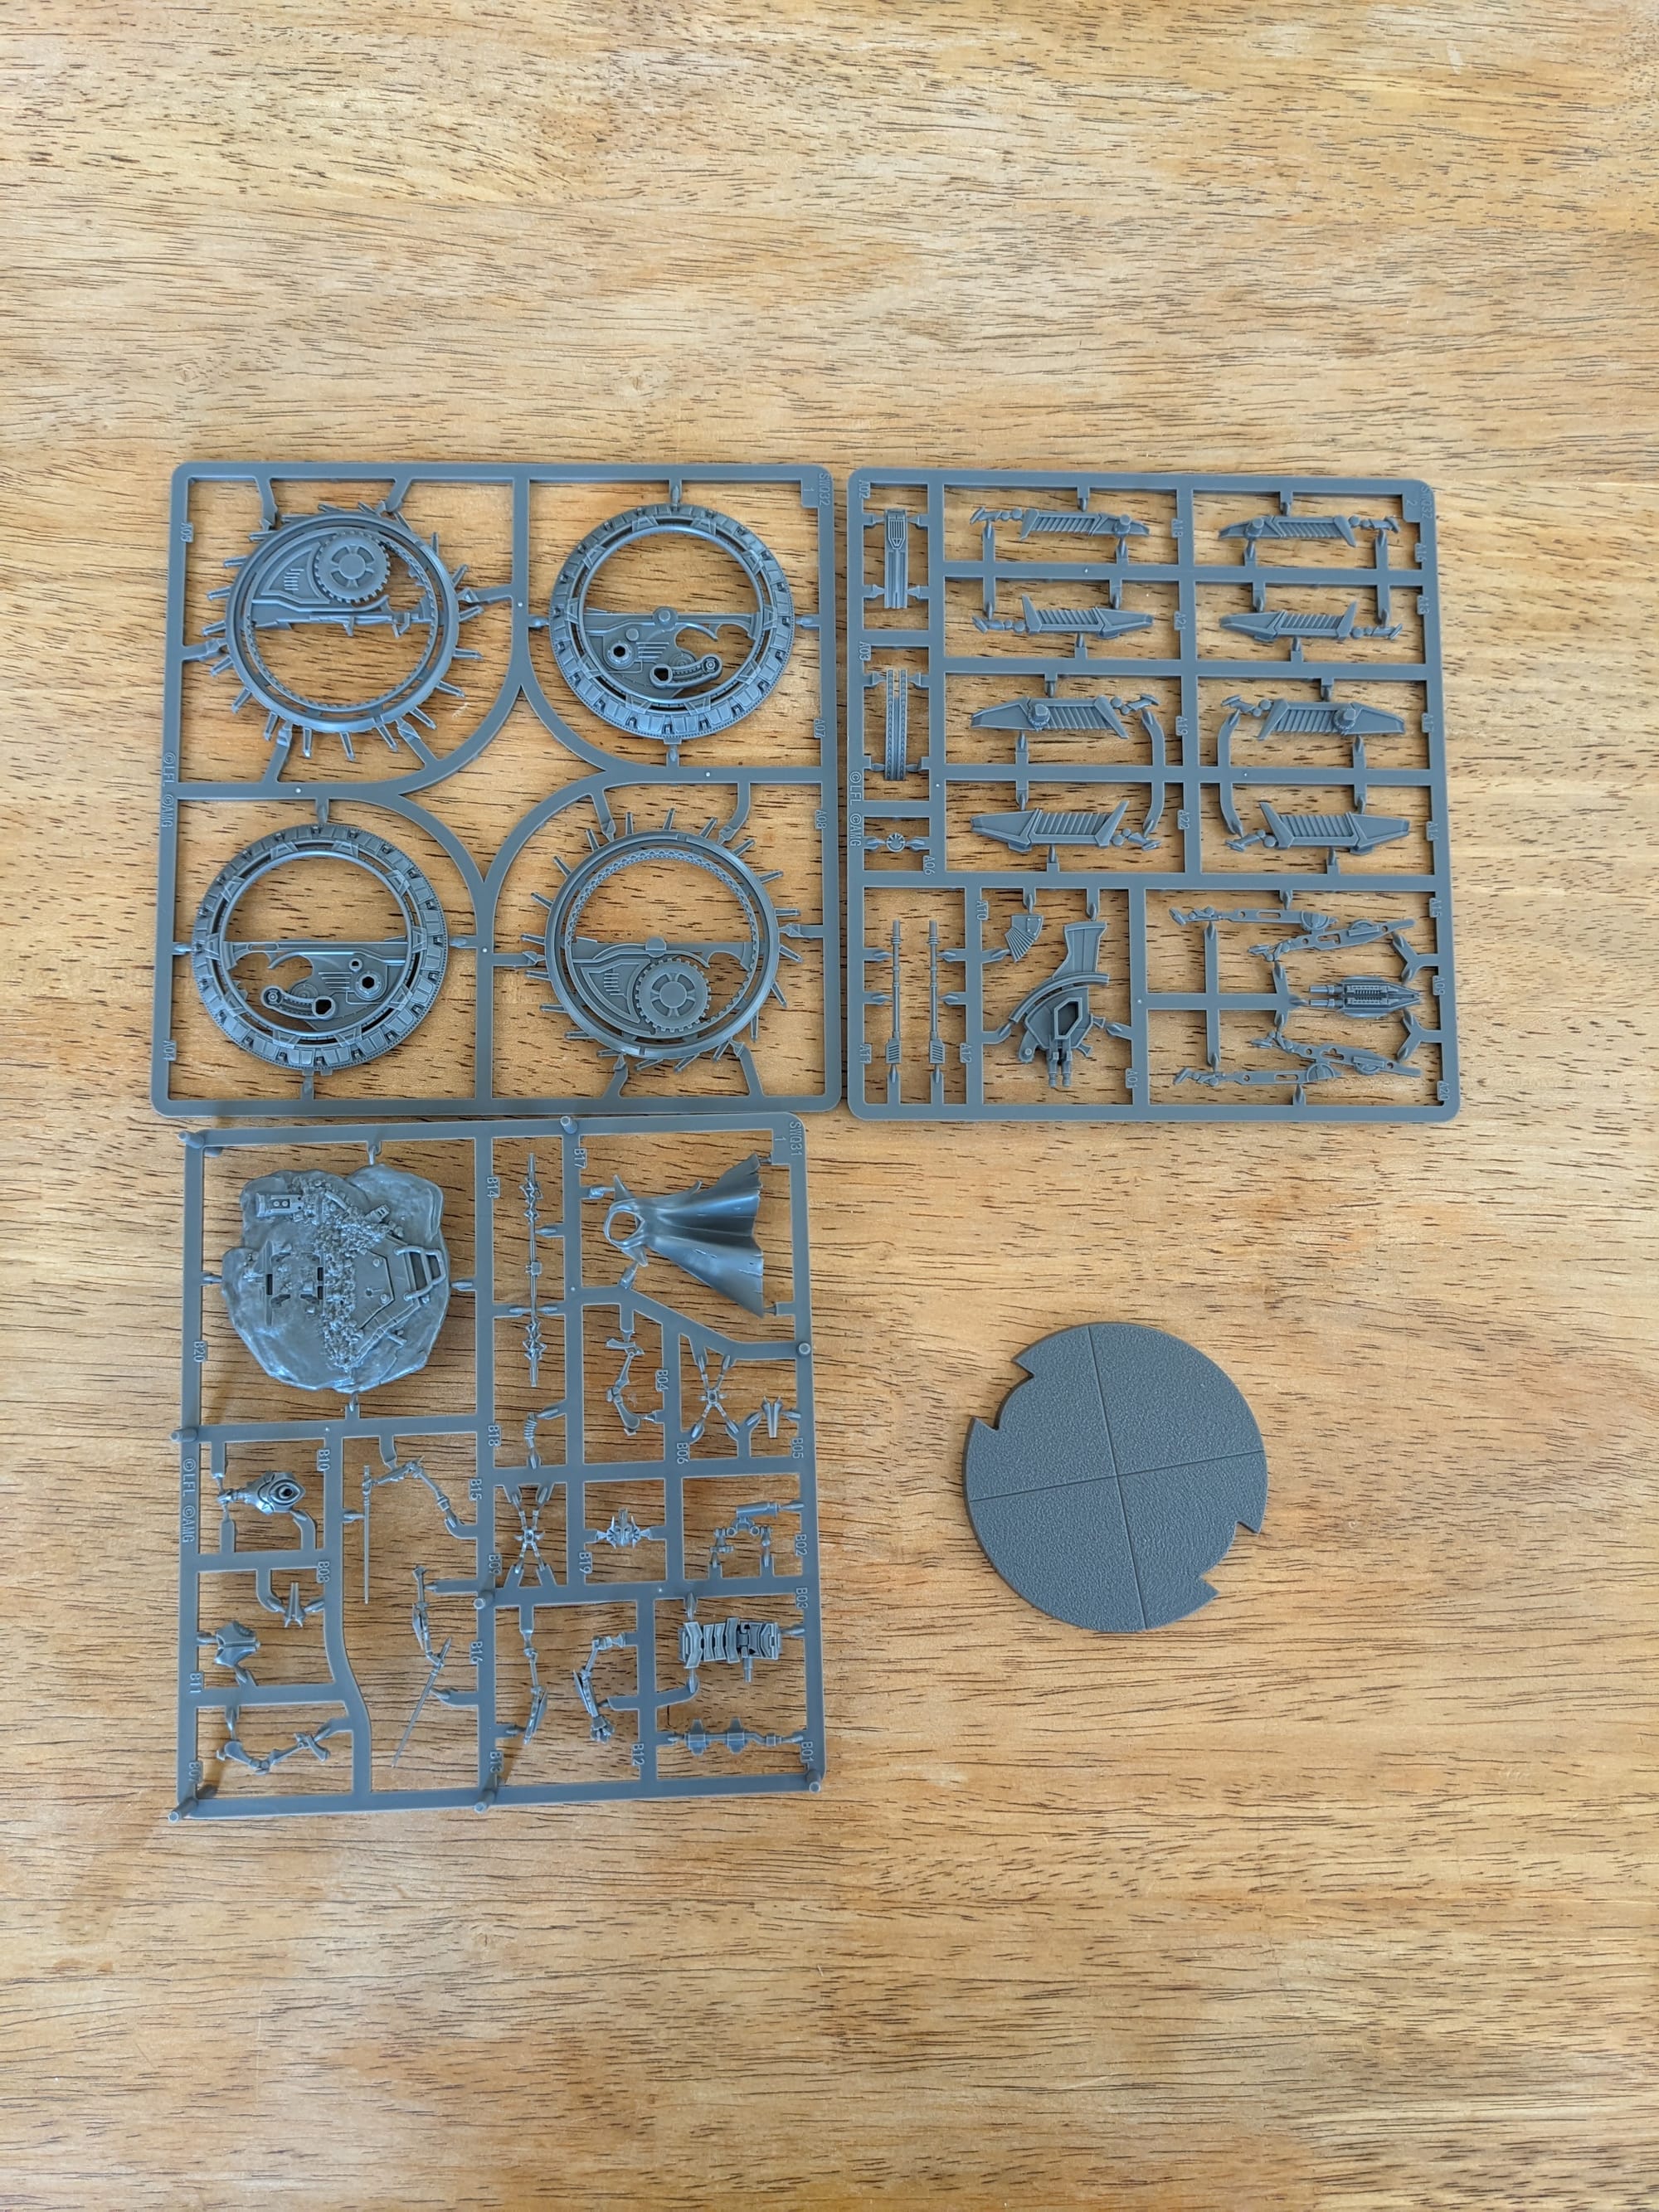
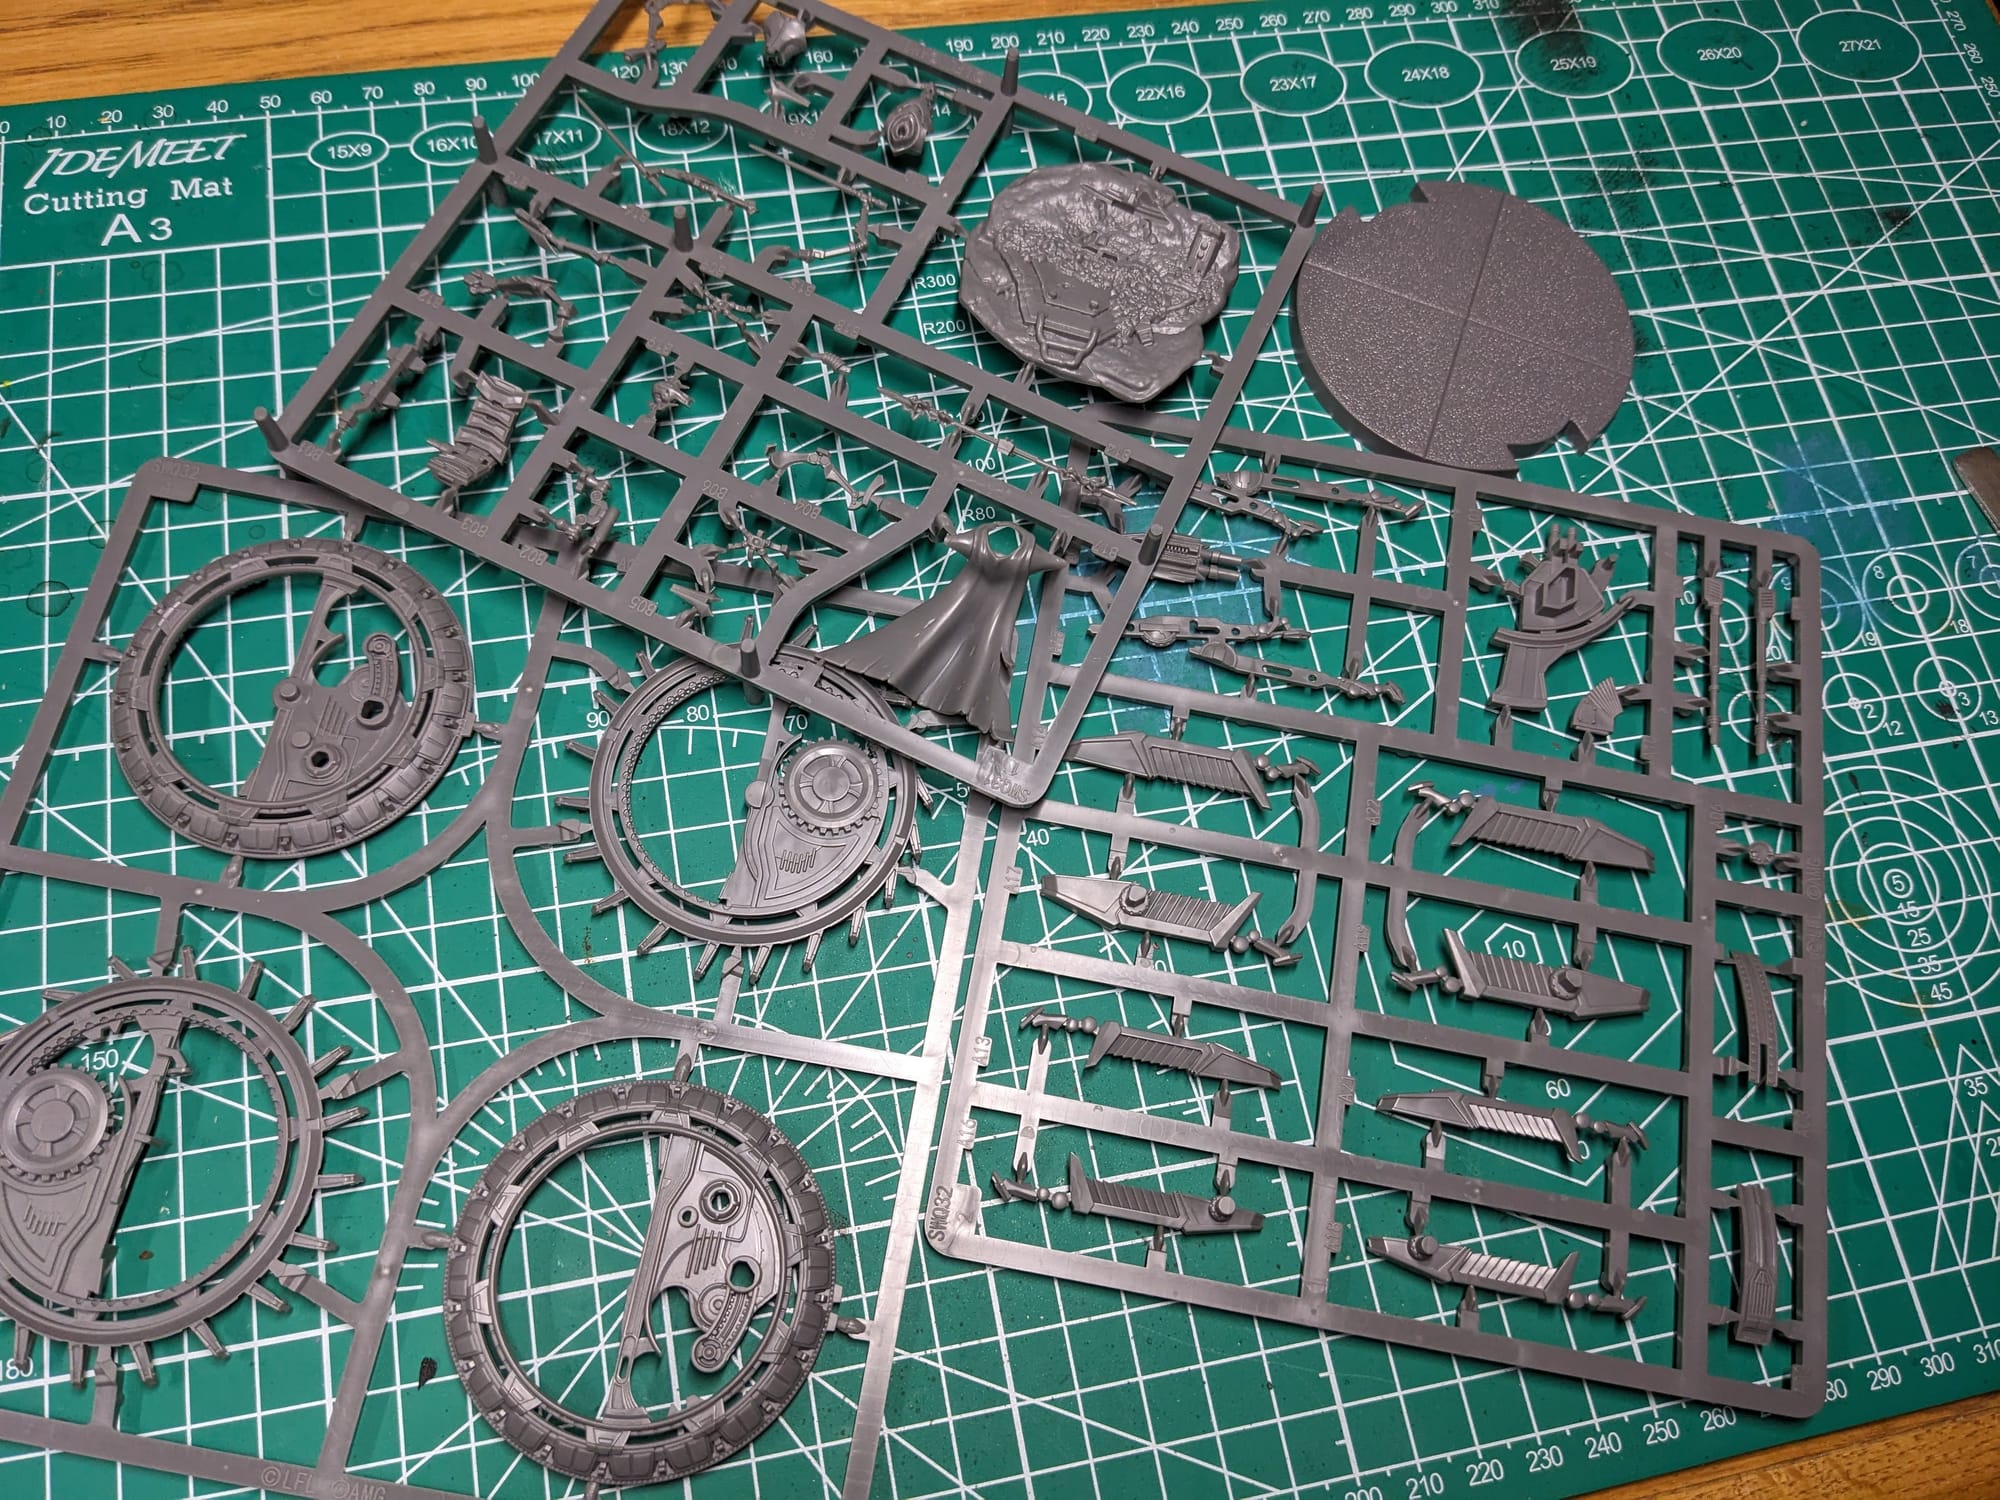
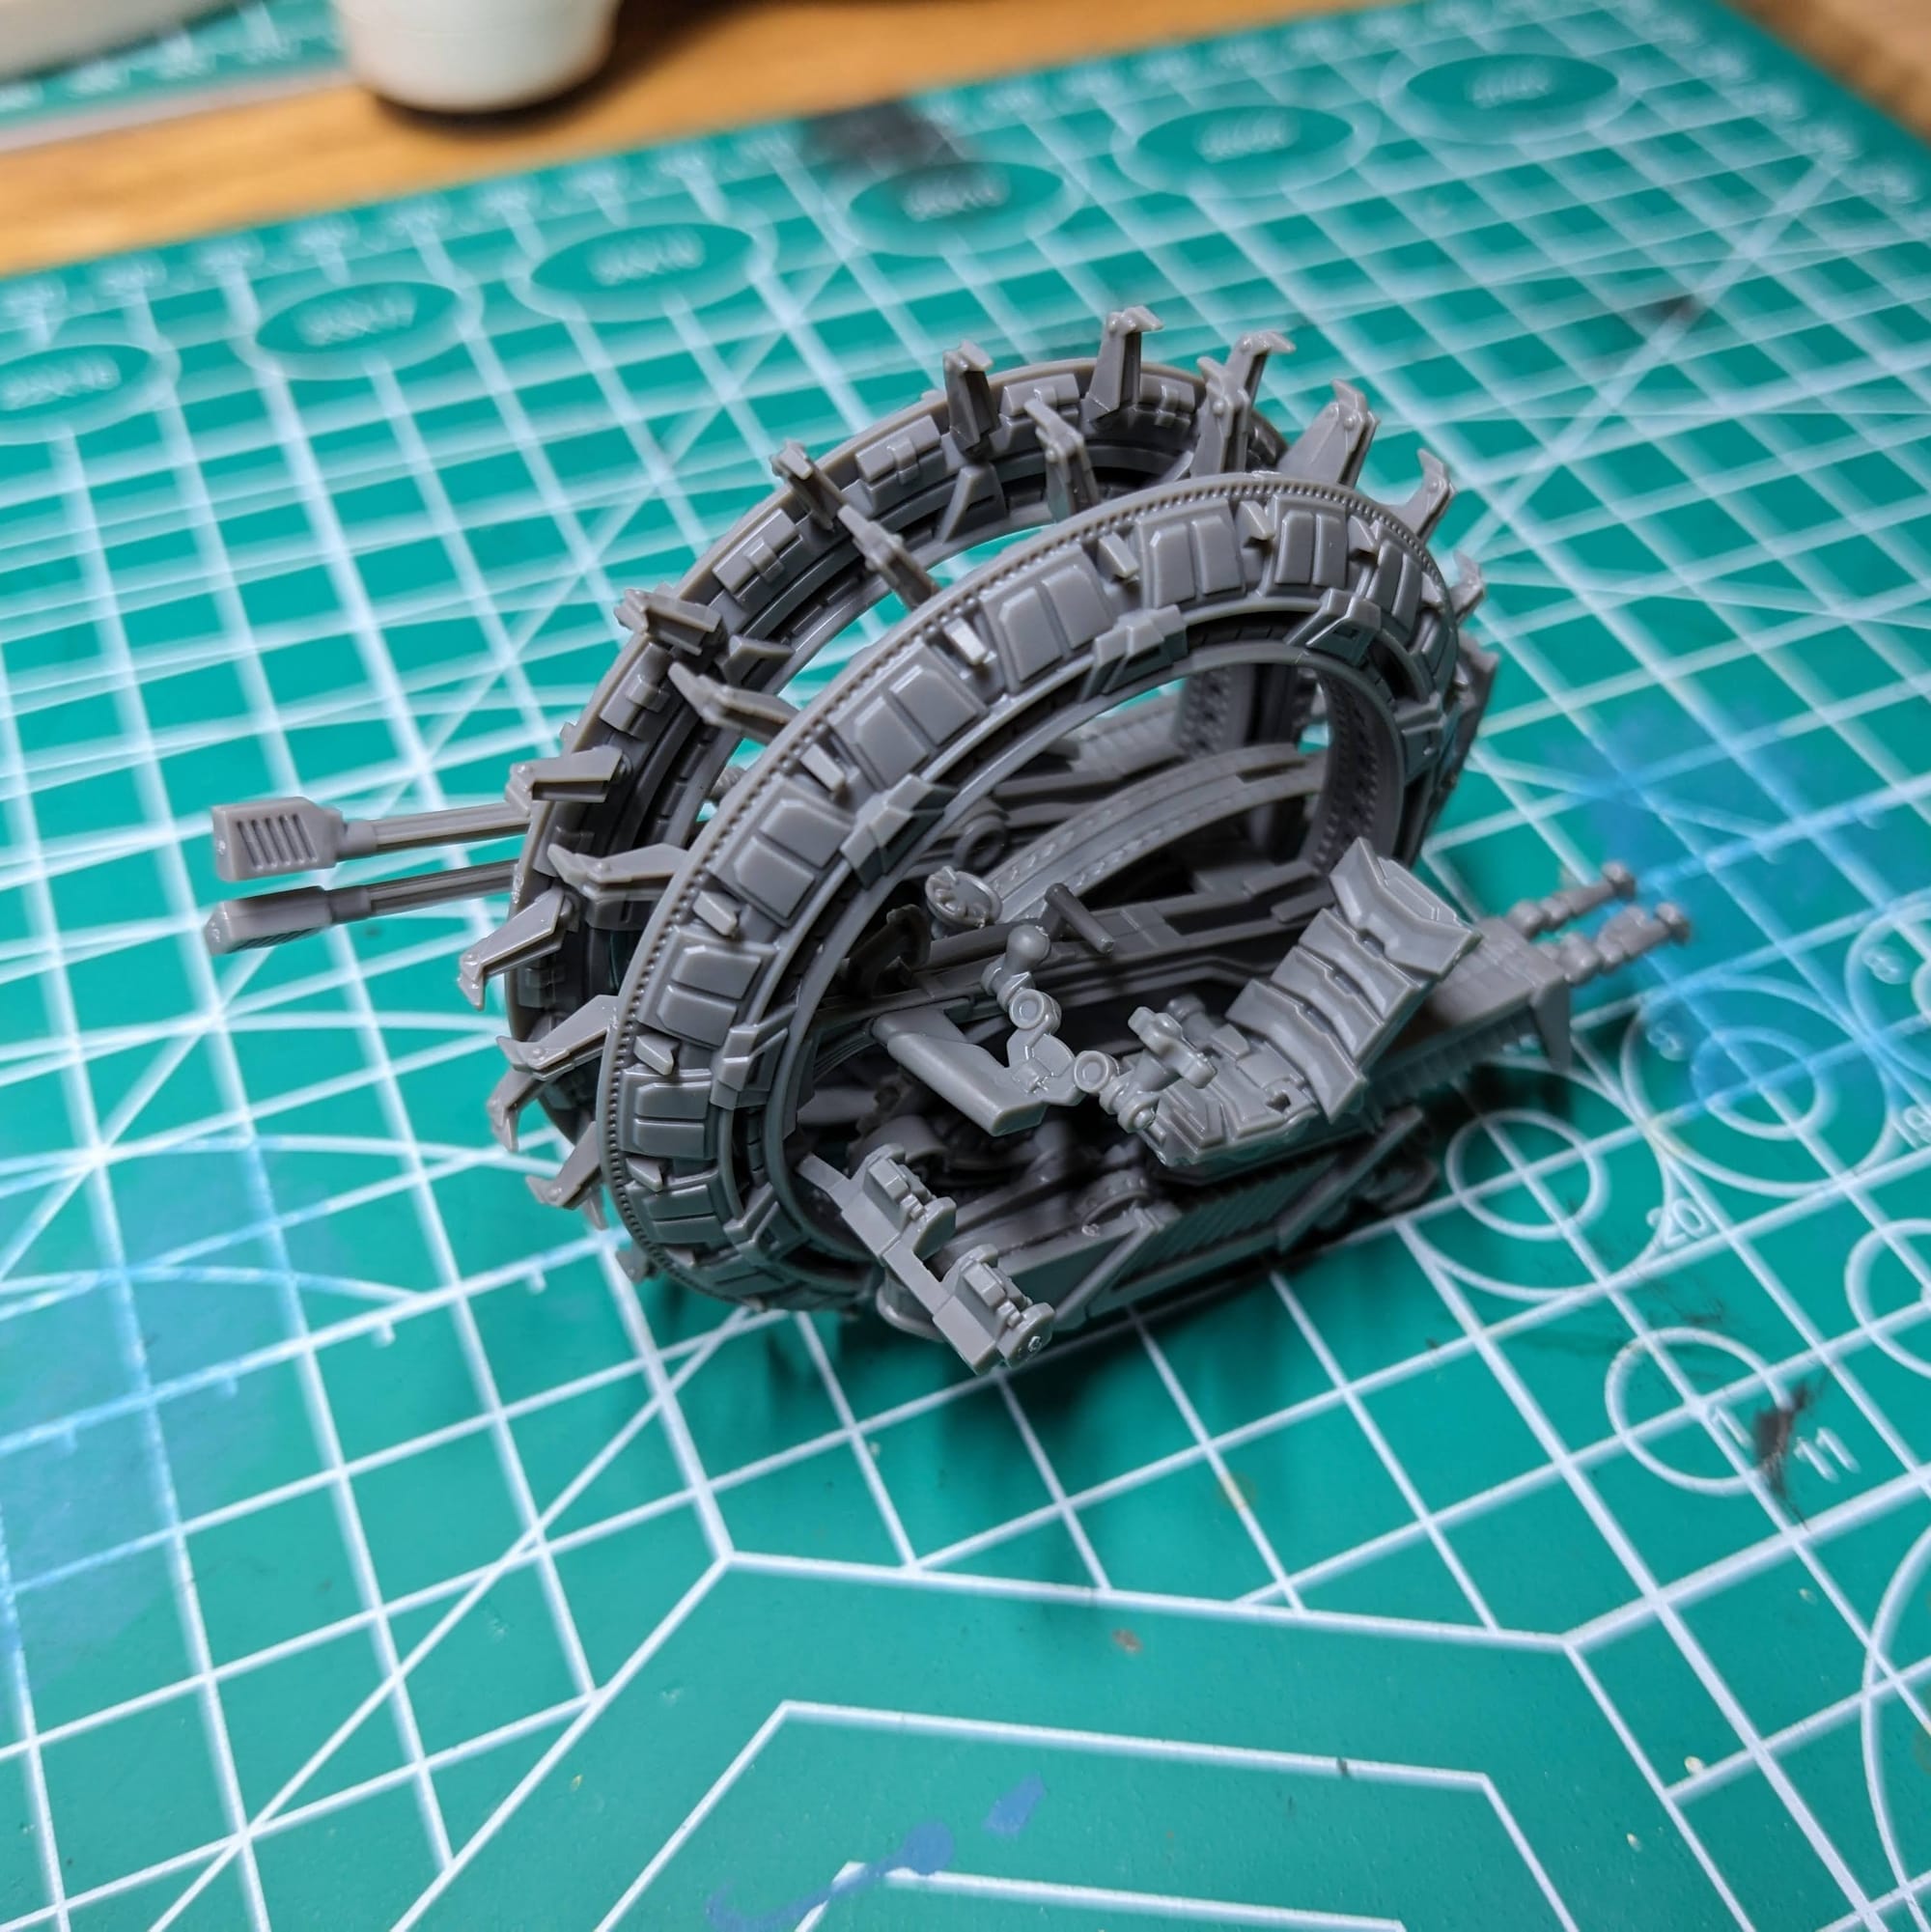
The box includes multiple sprues, for both the wheel bike and General Grievous (whom can have either his lightsabers or the electrostaff) In addition to the unit card, there are three command cards, order tokens (in both CIS and generic styles), and one upgrade card. Like with other expansions, there are four different sets of cards in different languages (English, French, Spanish, and German)

Assembling Your Models
Prepping Your Models & The Tools
GamingTrend has put together a guide for you to follow for how best to clean, cut, and assemble your models, regardless of the game. While the materials for the models may be different between games (plastic, resin, metal, etc.) there are simple techniques you can do to help make your painting experience go that much smoother.
Additionally, if you are new to painting and are not sure what brushes or tools you need, check out the article. This is just a starting place, and every painter has different preferences and recommendations. These are my recommendations based on the last decade or so of painting, and I hope you find them helpful!
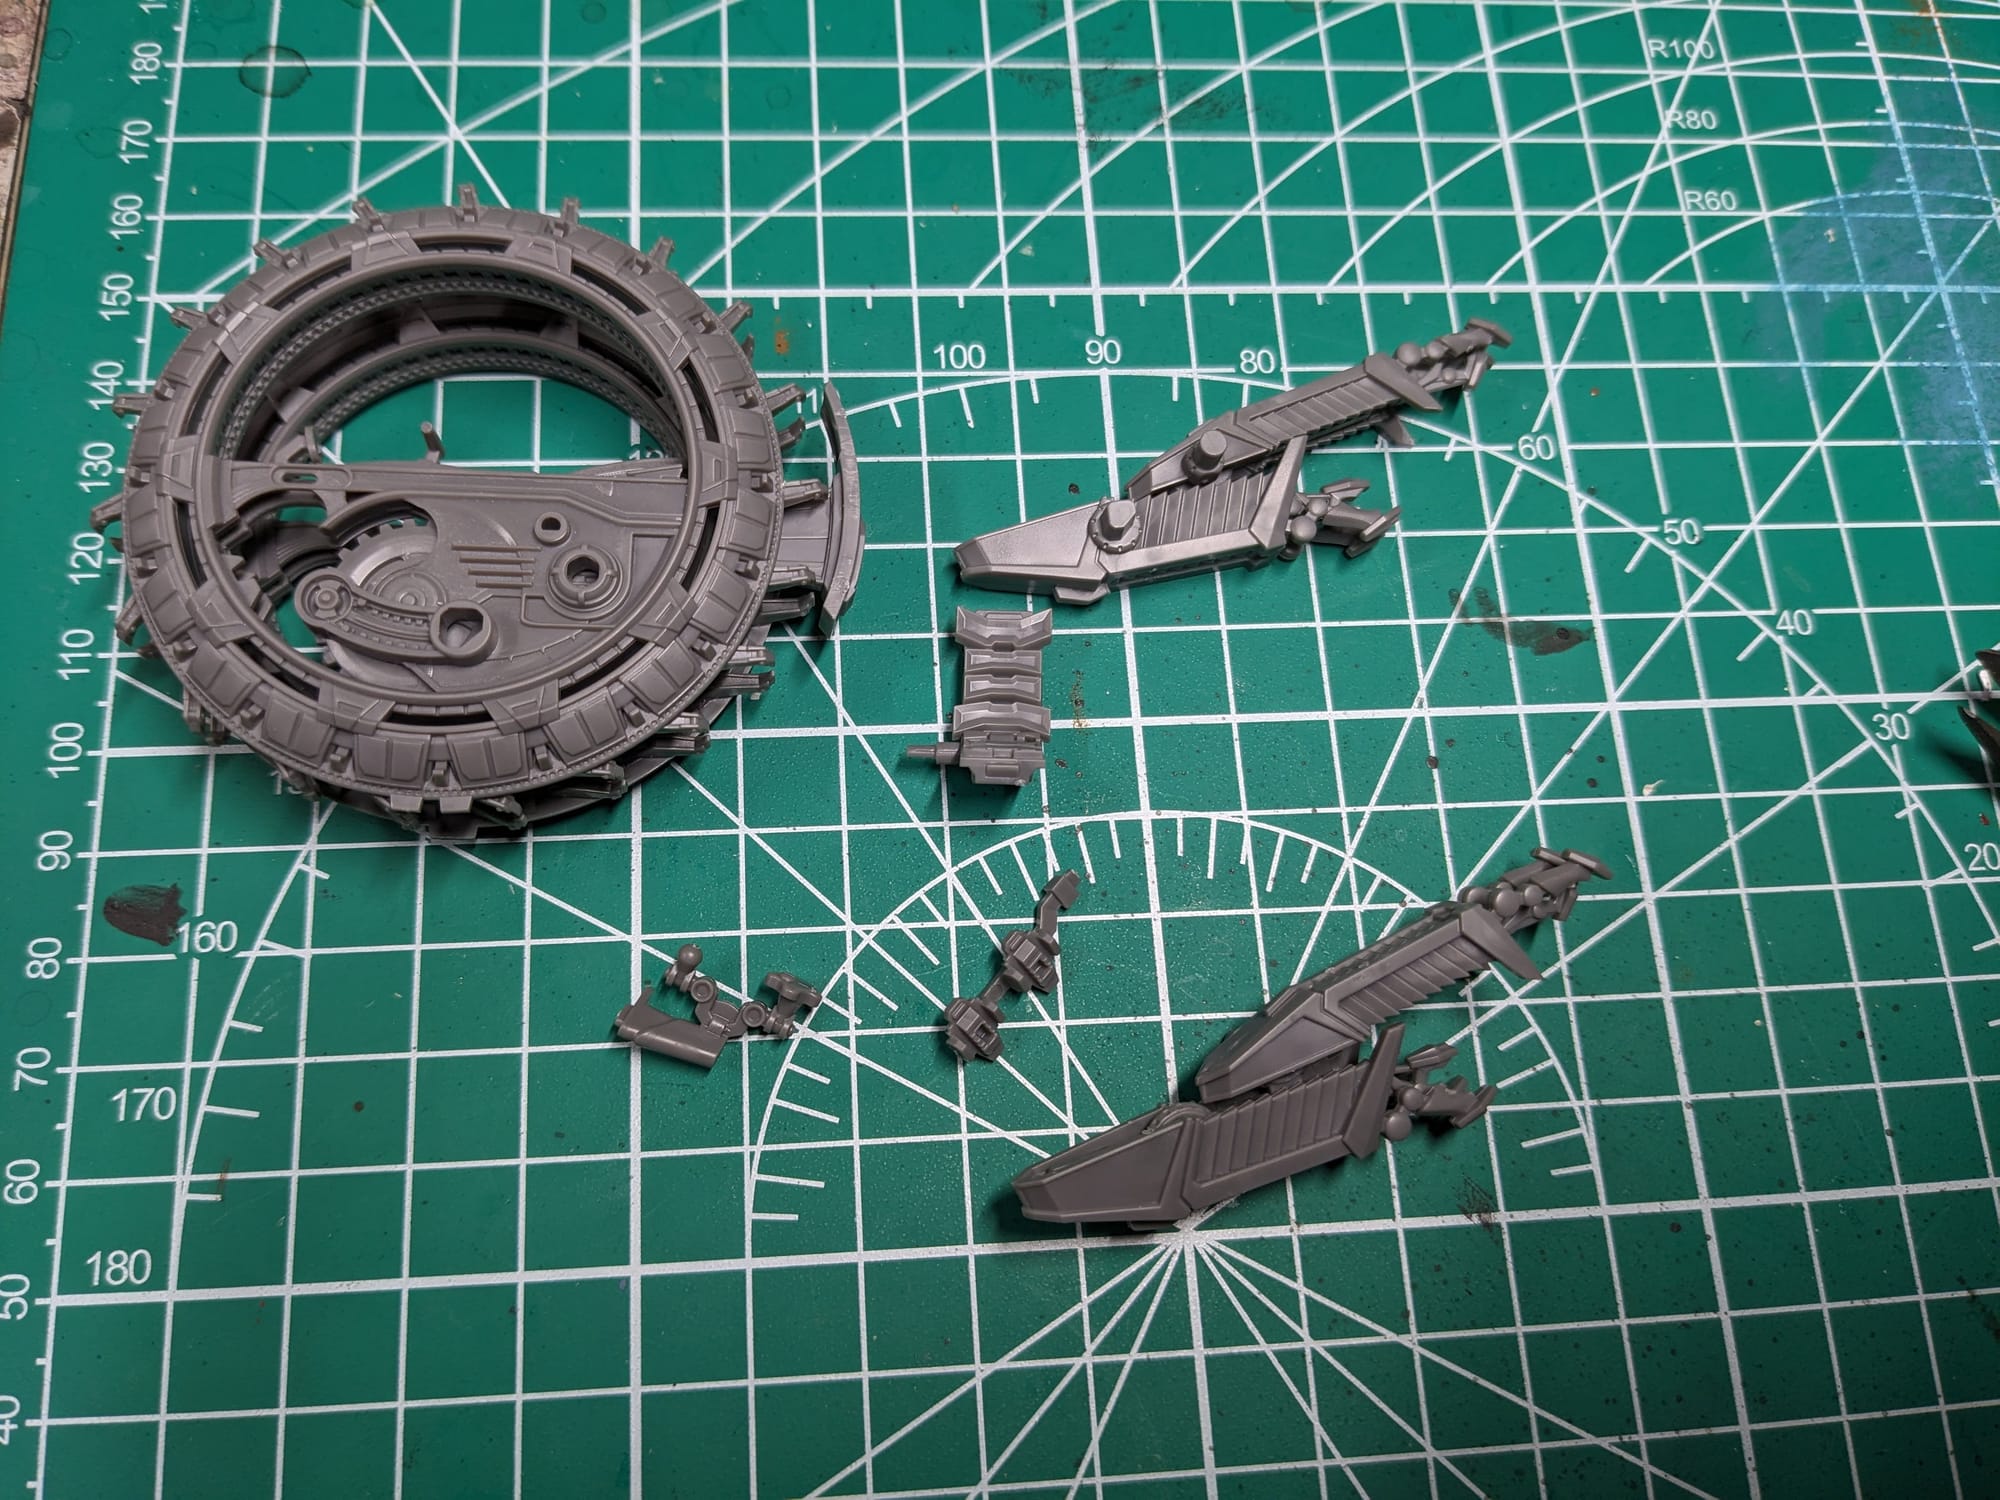
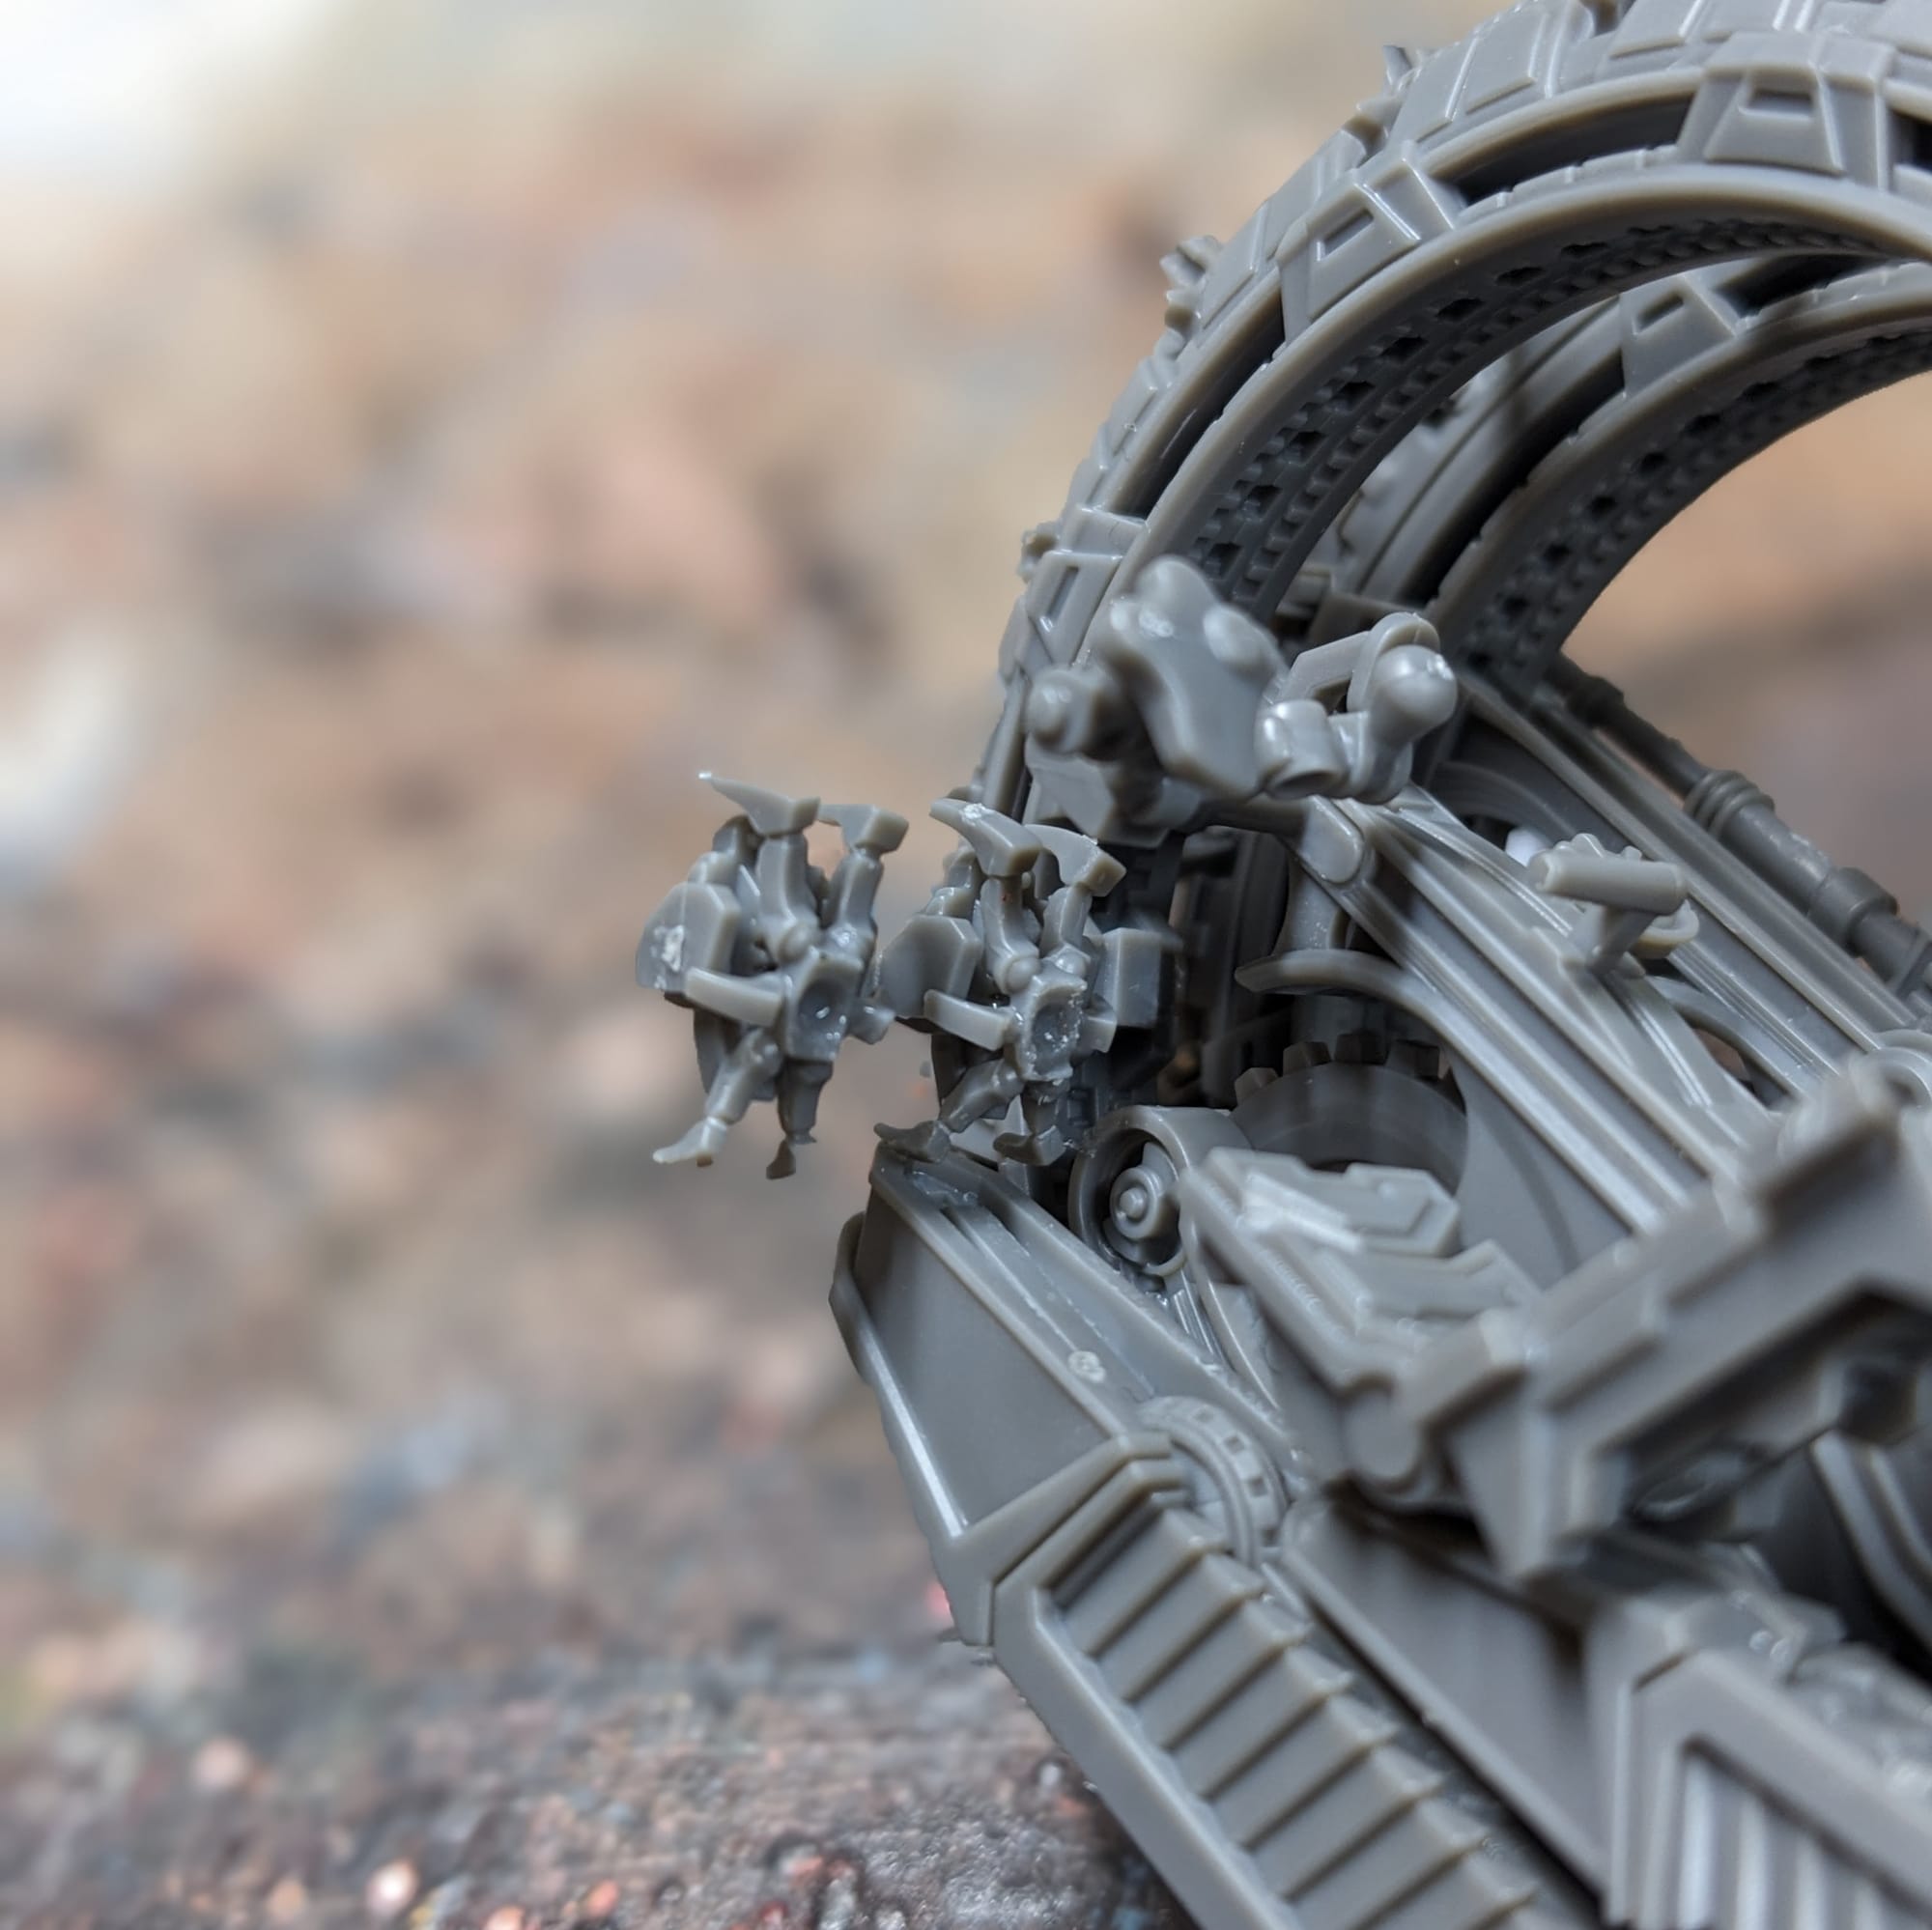
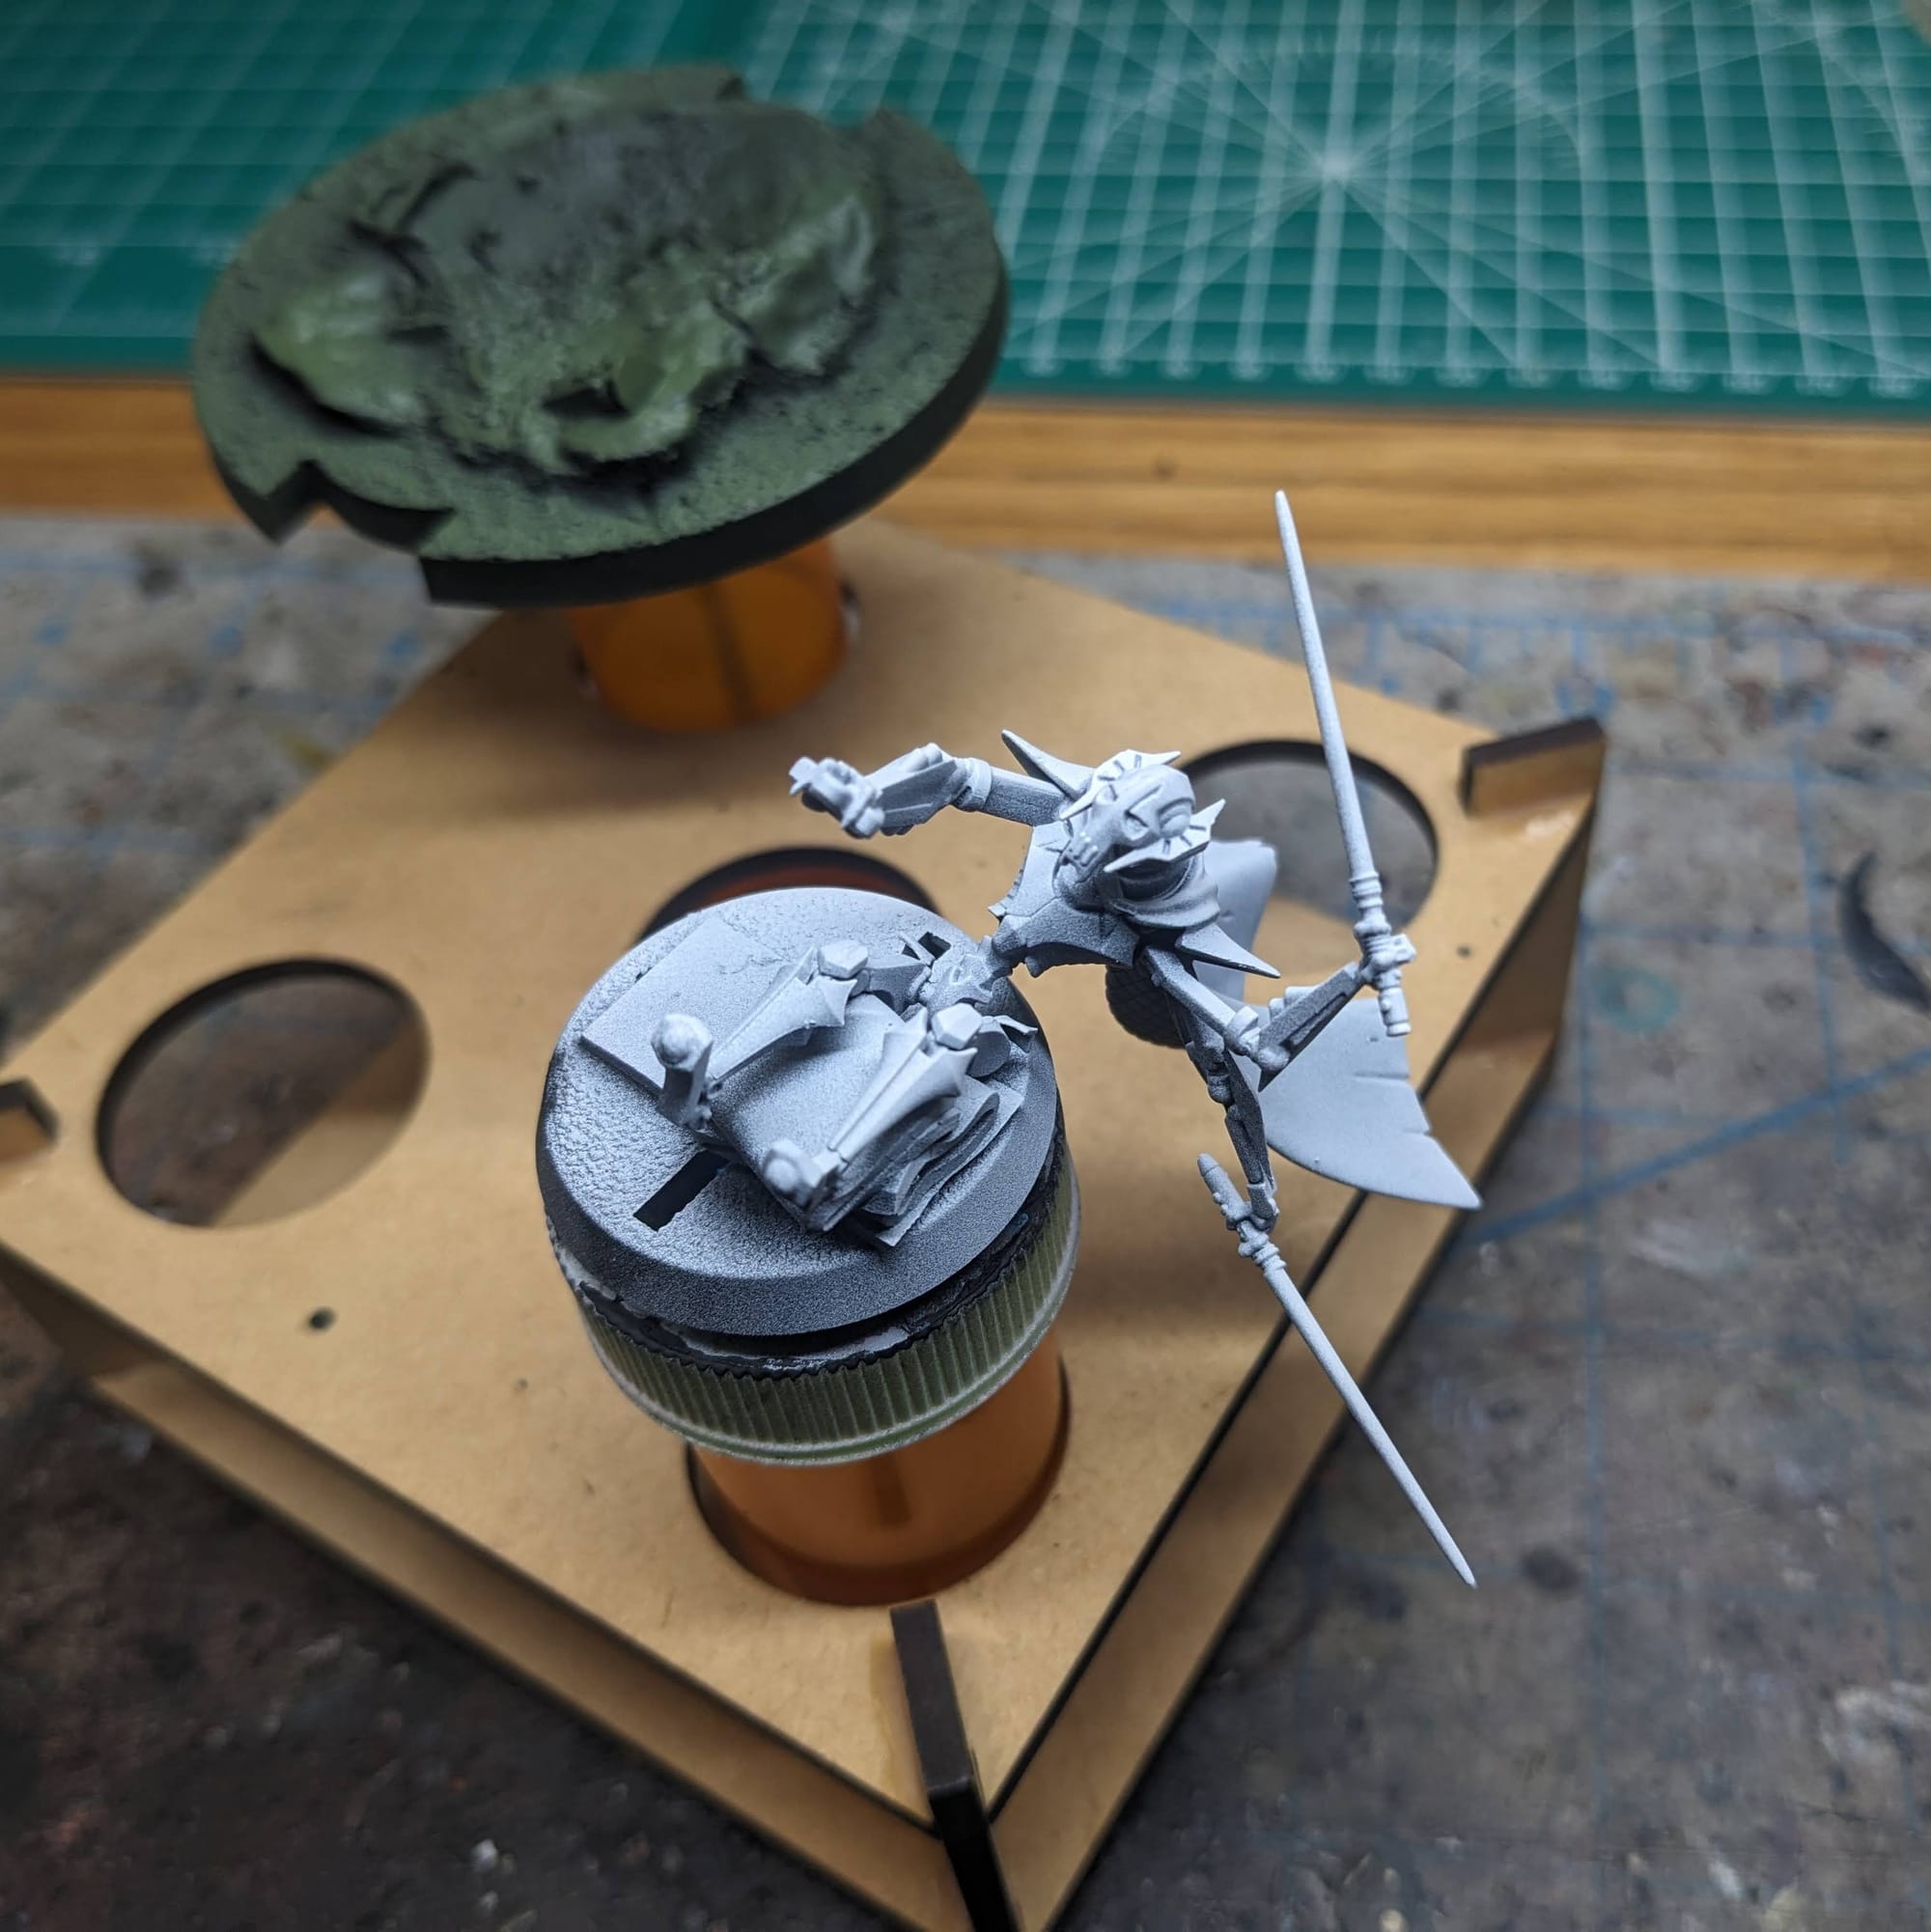
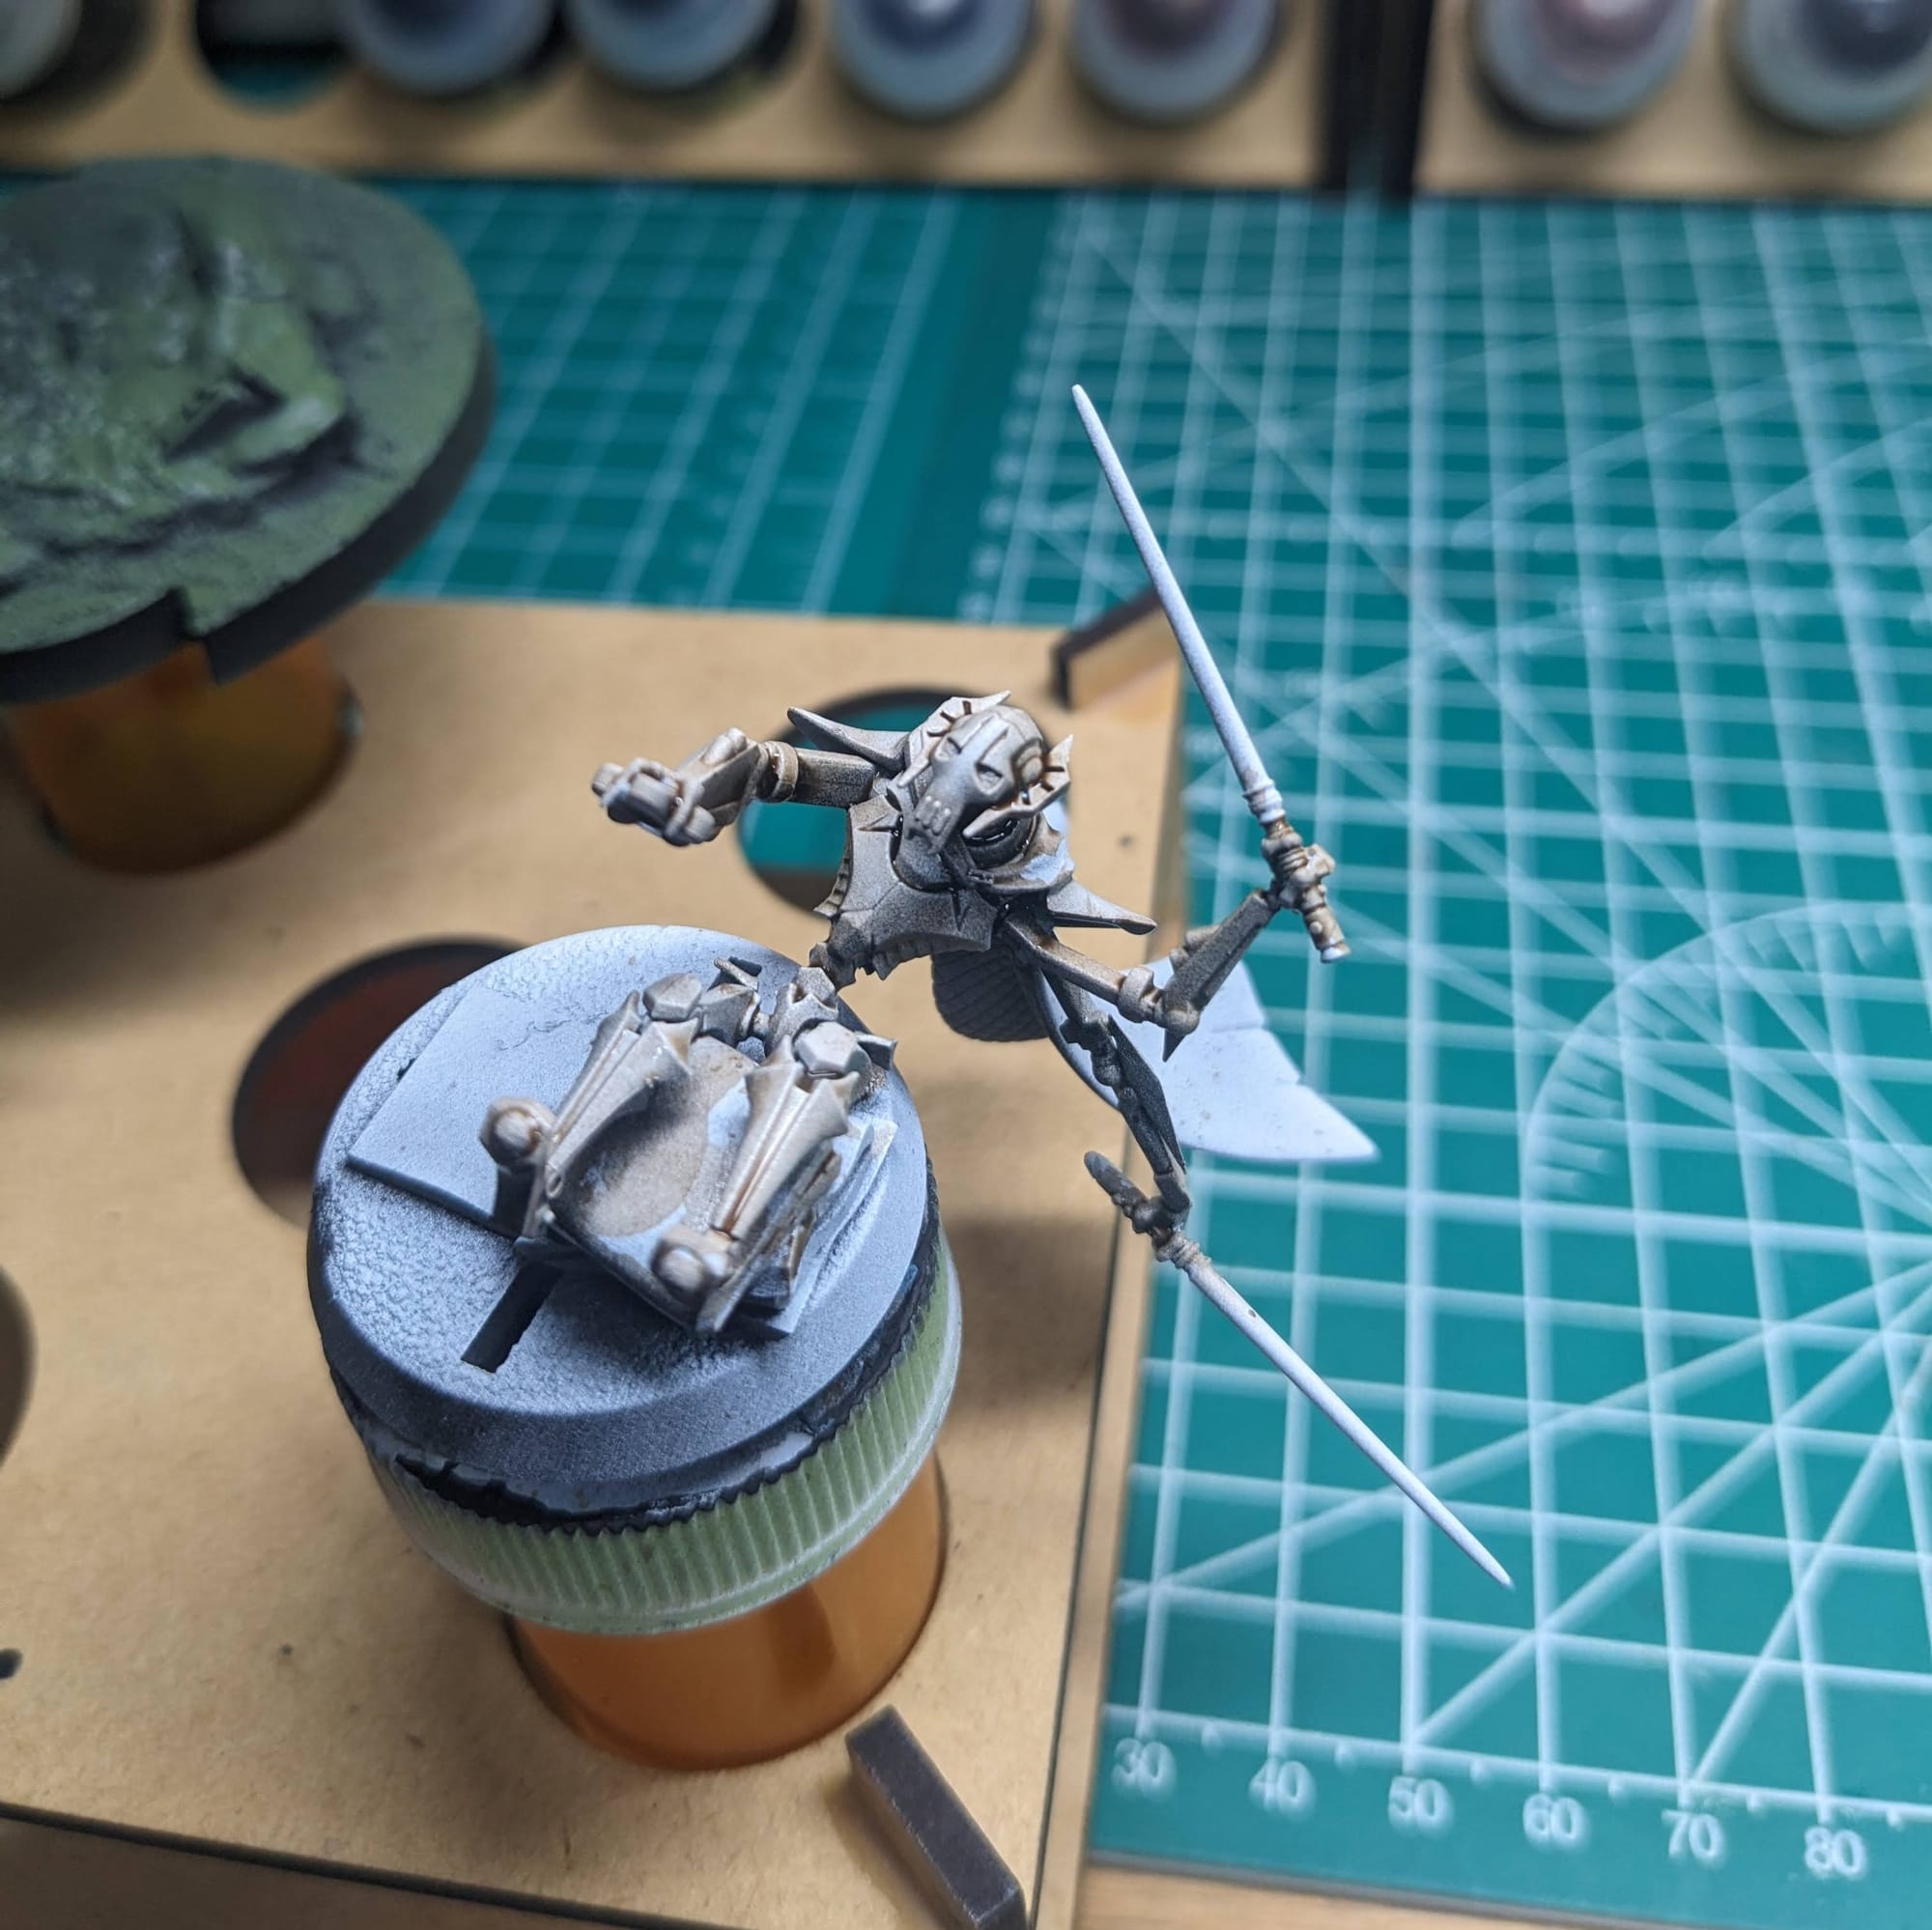
You'll see that I glued Grievous' feet to the wheel, as his ankles are just ball joints and I didn't want them to be misaligned later when I went to reassemble. I applied the basing material before priming so I could prime and paint it as easier.
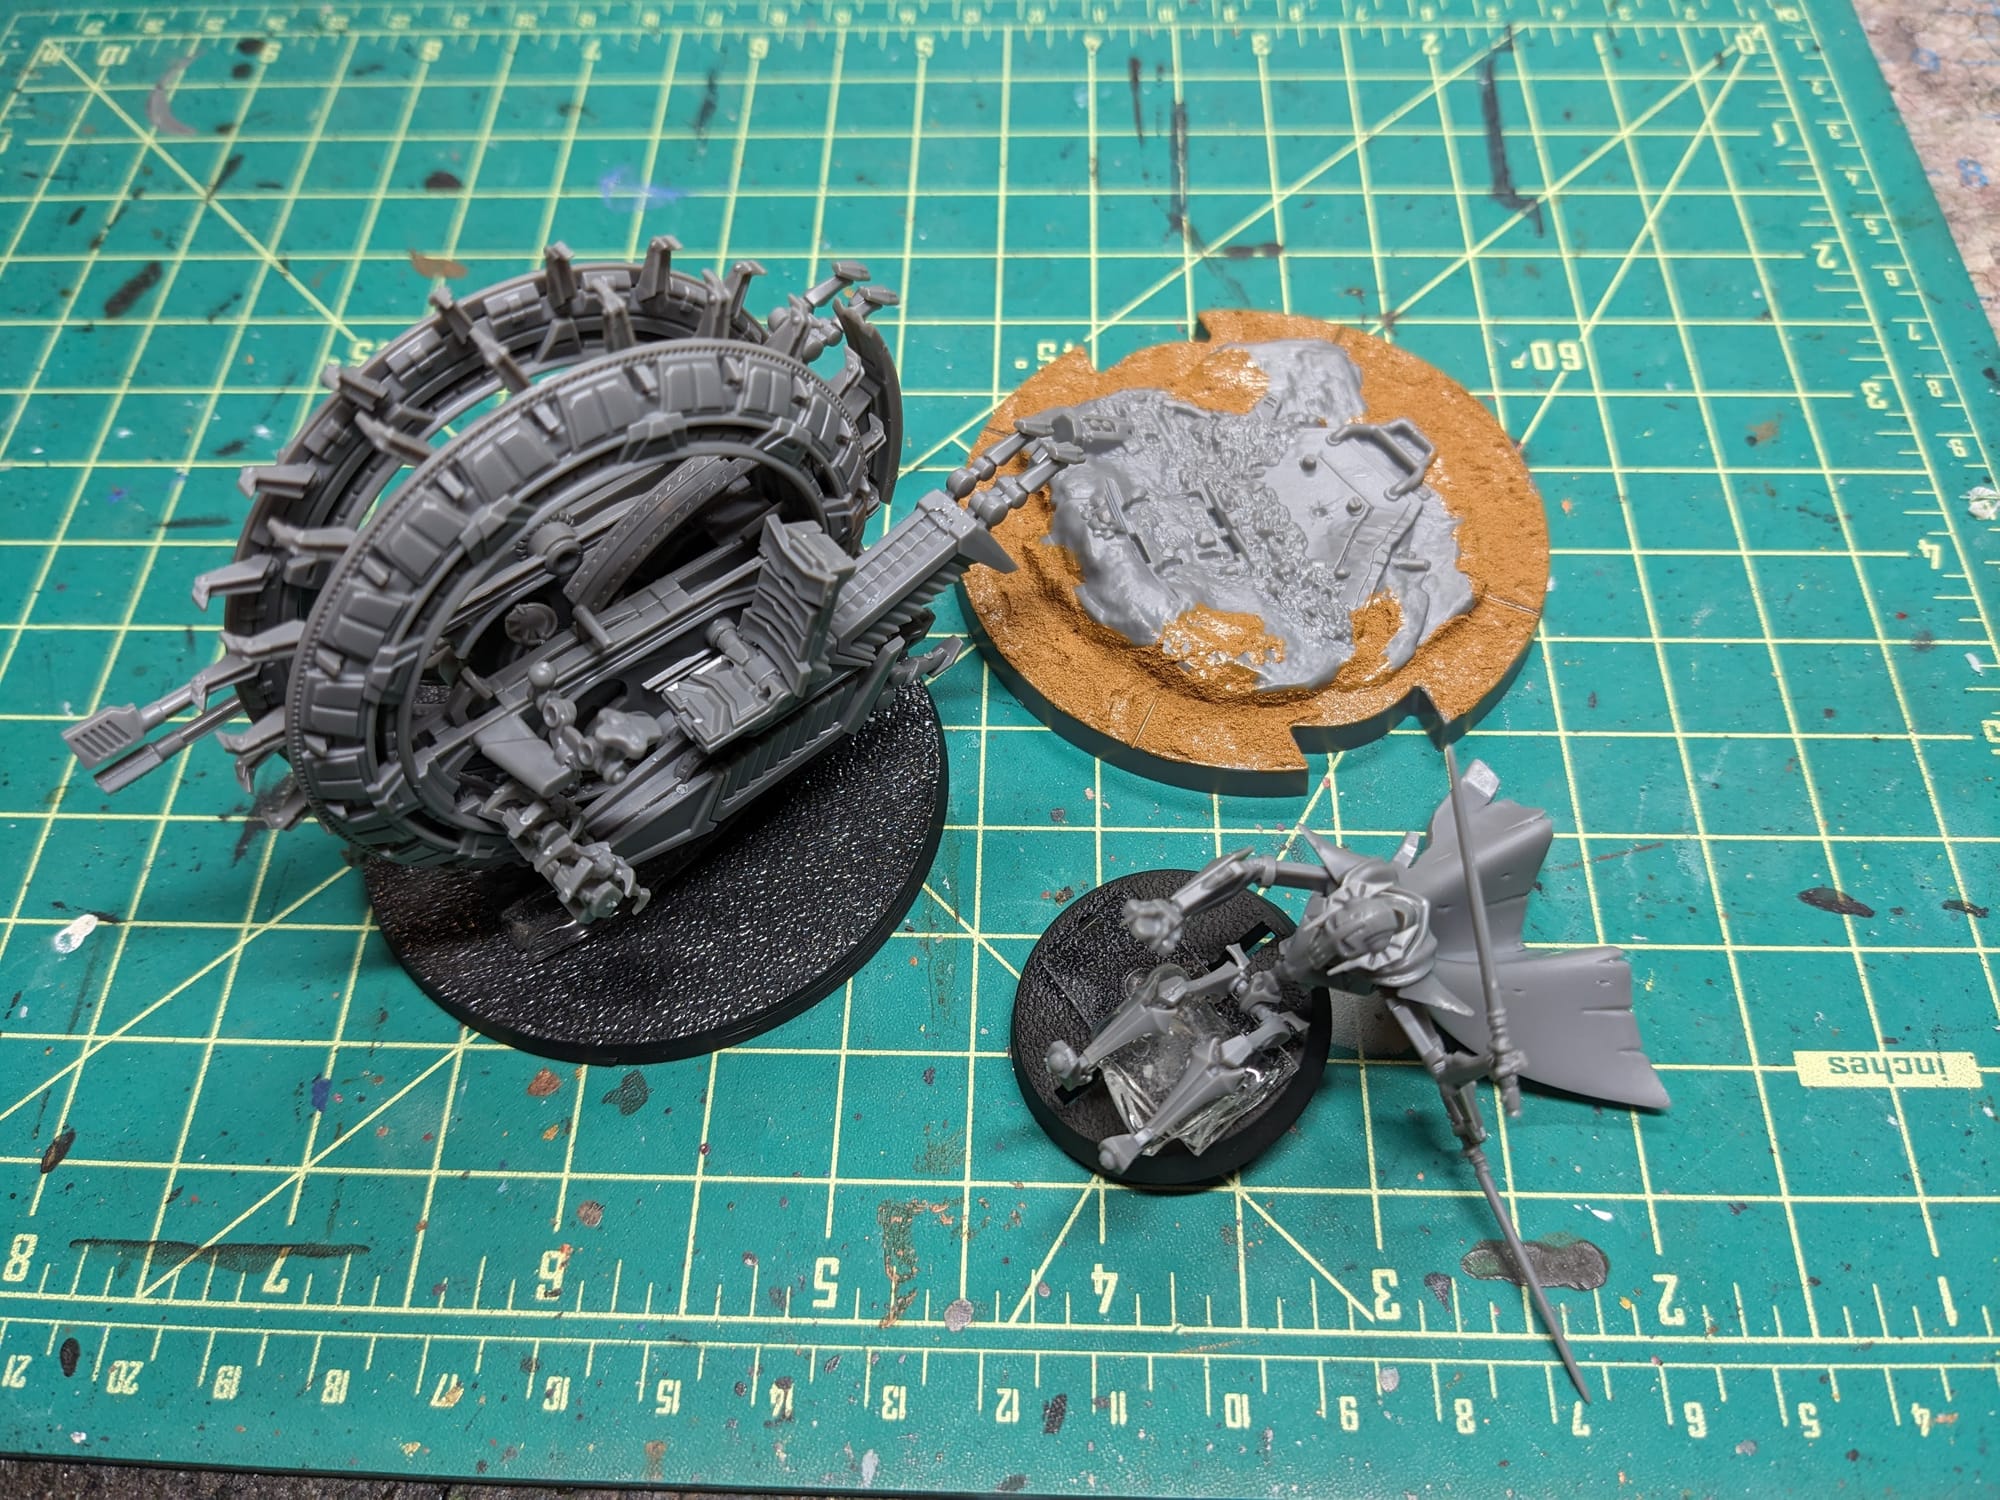
There are some noticeable gaps between plates and pieces throughout the model, especially on the feet/legs of the bike itself. I highly recommend a (very) small dab of sprue goo to fill them in.
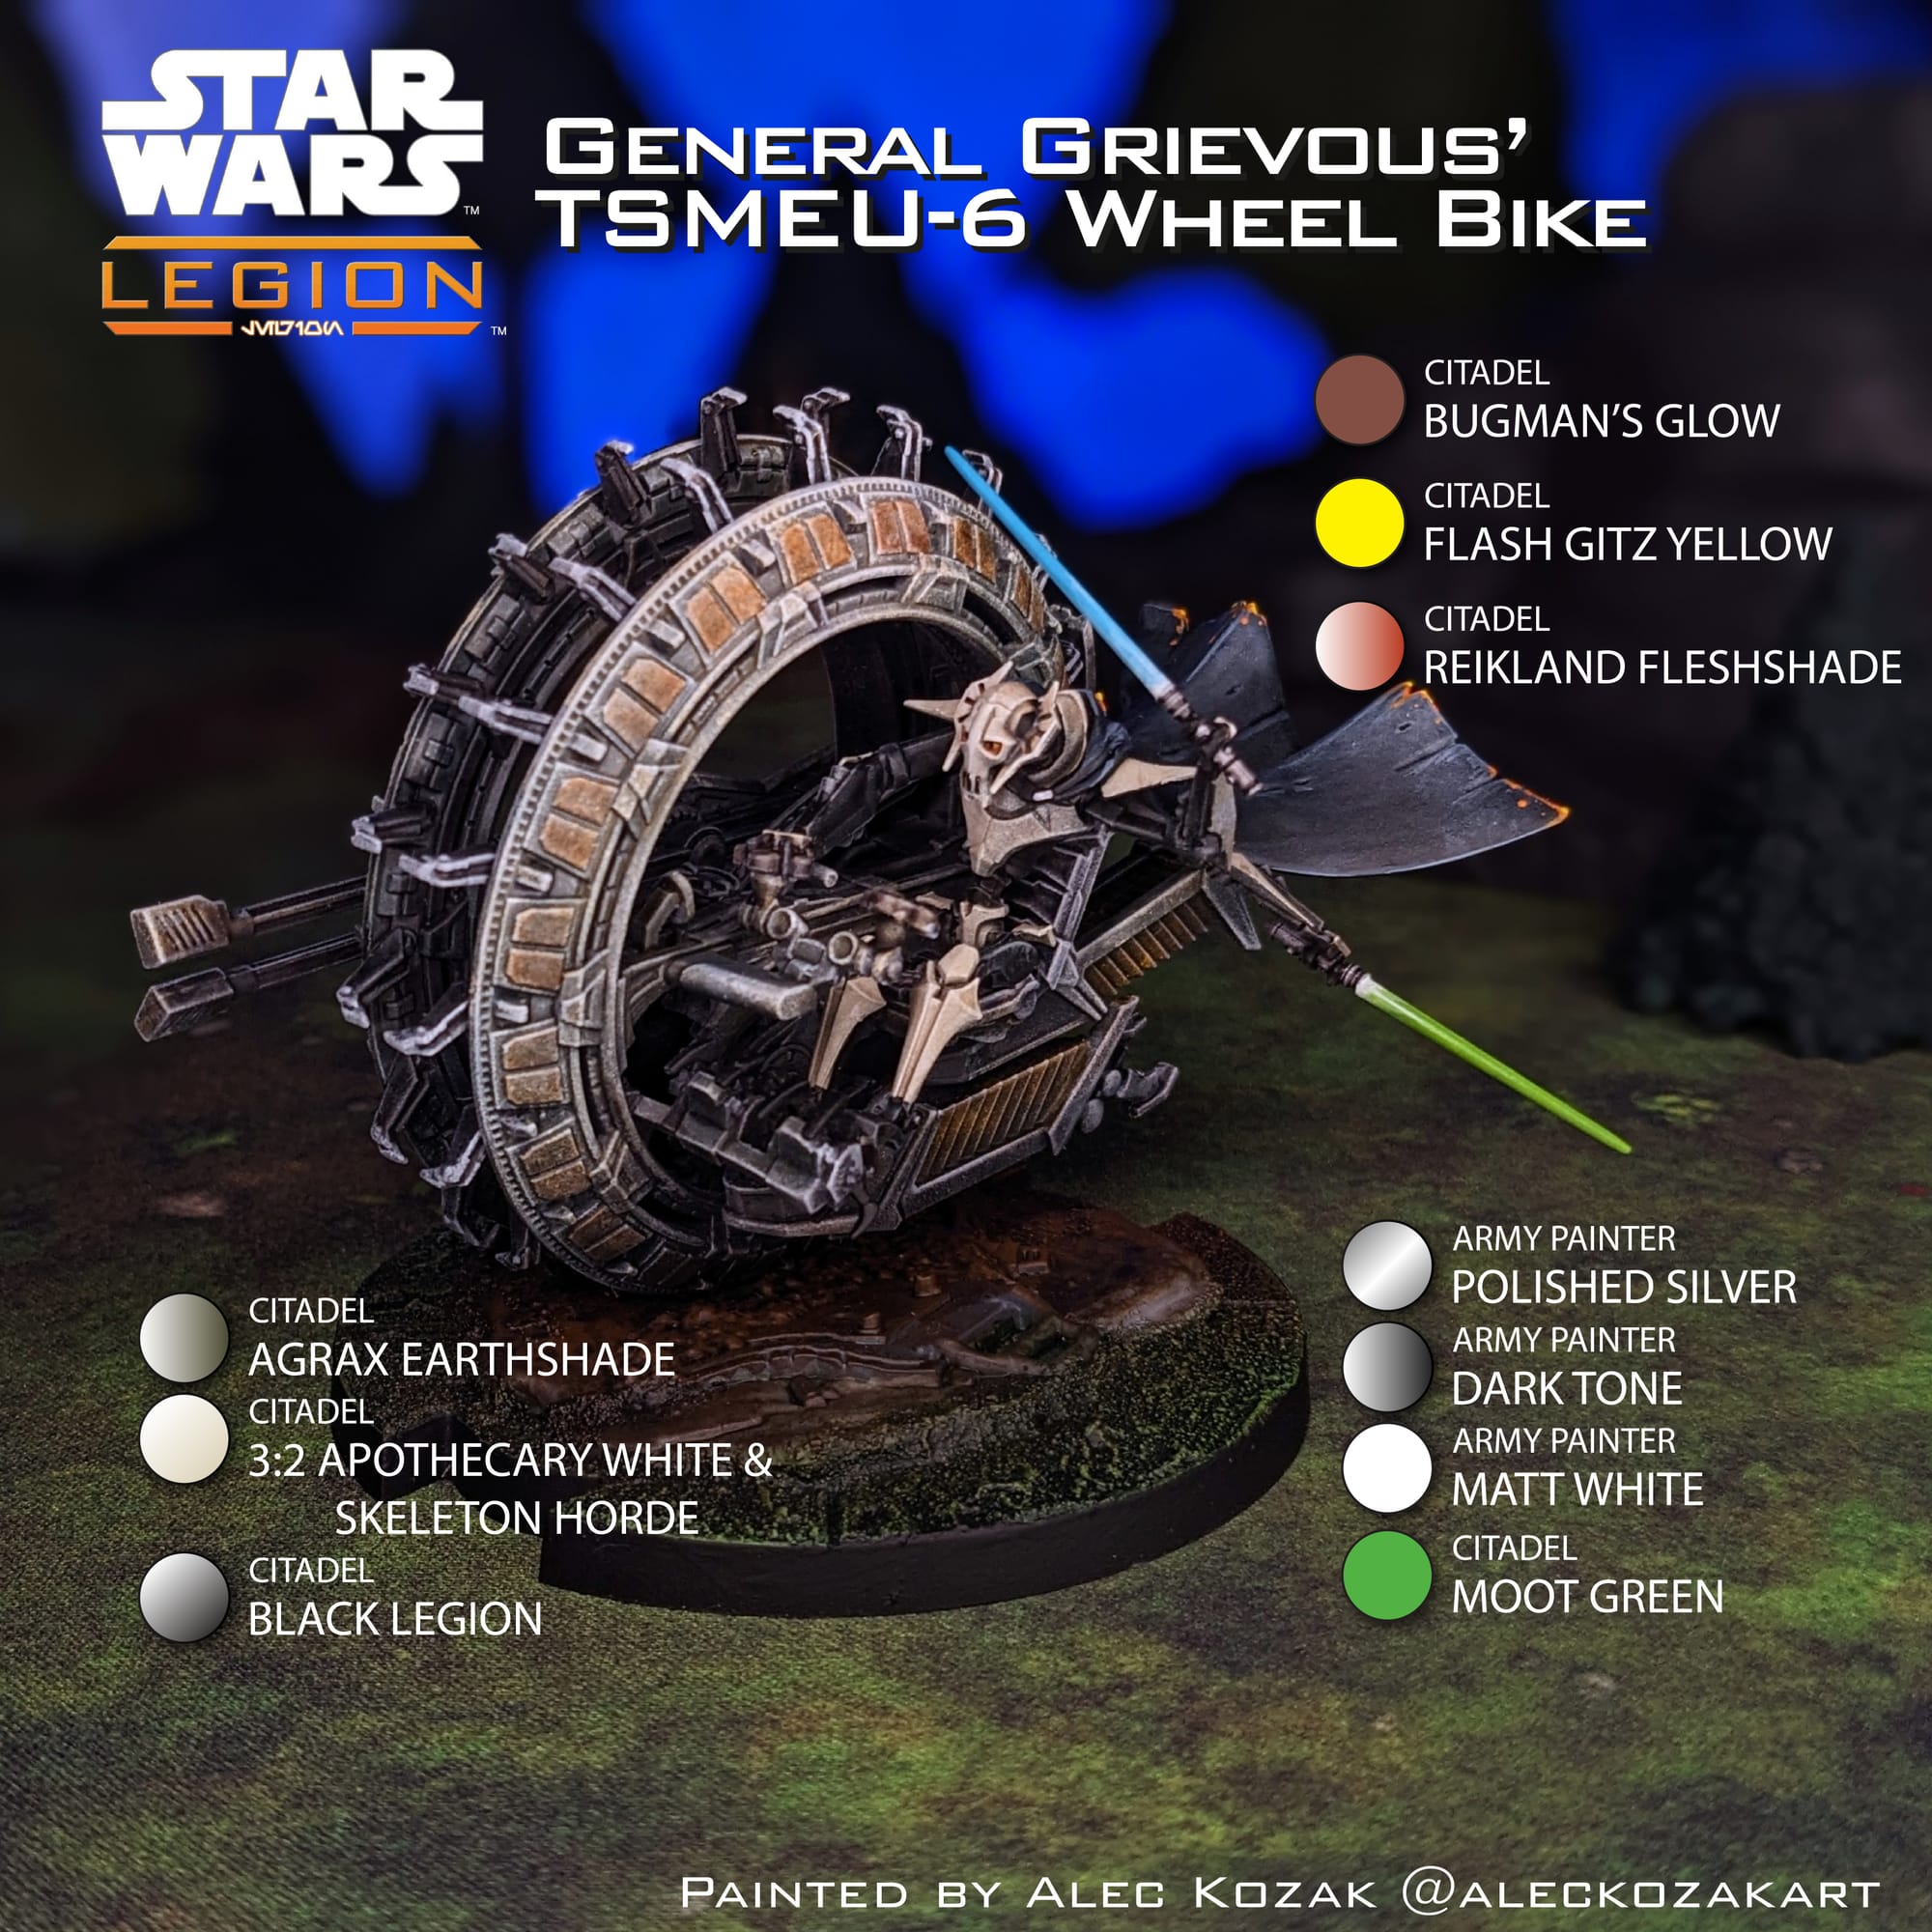
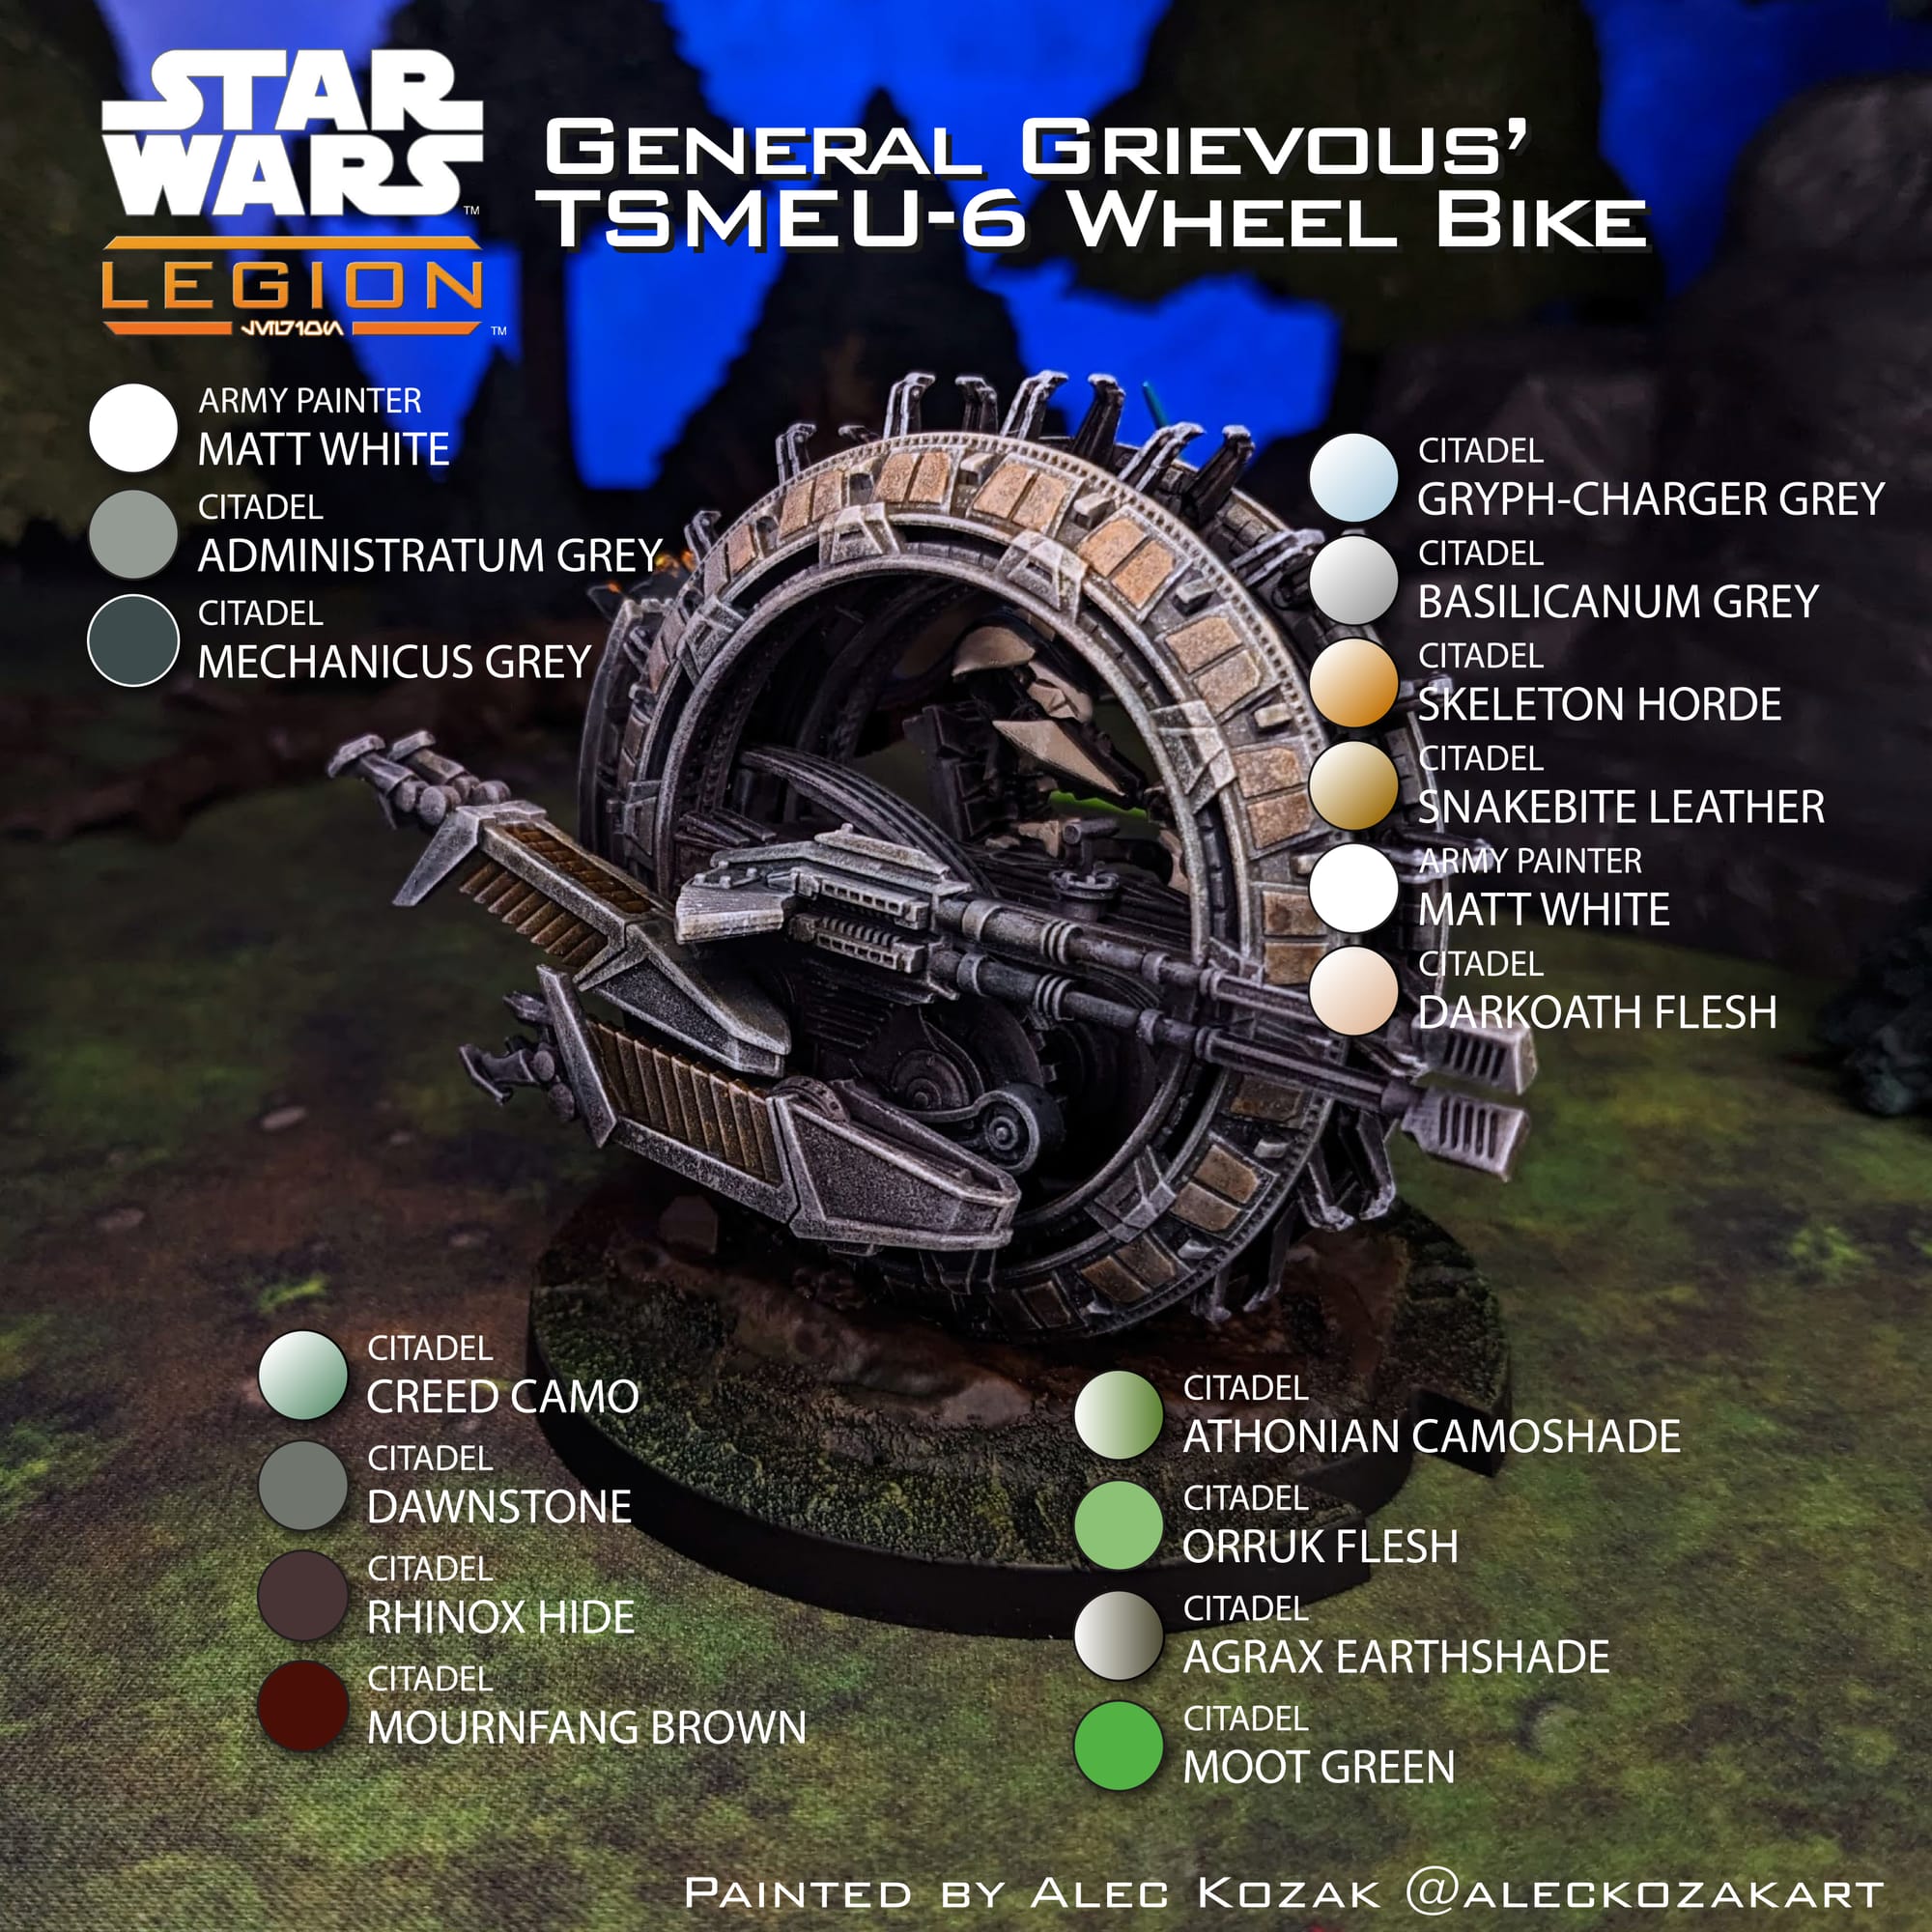
For this tutorial, I have included a visual guide (below) of the paints I used for the miniatures so you have an easily-accessible list to refer to if you need to go shopping. The paints are noted on the picture.
Painting Your Miniatures
The Paint Plan
For pretty much every miniature painting project I do, I start with a plan. Even before putting the primer and paint on a model, I find photo references of the paint schemes and details I am looking for. Most times, this means having a browser window up with different web pages and images next to my painting area, so I can quickly refer to them as I paint. I also come up with a paint plan, choosing what colors I am going to use and what order I apply them in.
A while back, Sorastro Painting put out a video painting guide for the NR-N99 Persuader-Class Tank. Having painted it before using his guide, I felt like it provided a solid foundation for style and technique for how I wanted to paint the Wheel Bike. The circular design with the hard edge details provides a lot of opportunities for drybrushing, sponging, and washes, which allows me to achieve a metallic look very quickly and with not a whole lot of effort. Most importantly, this is all achieved without using actual metallic paints!
Remember that done is better than perfect!
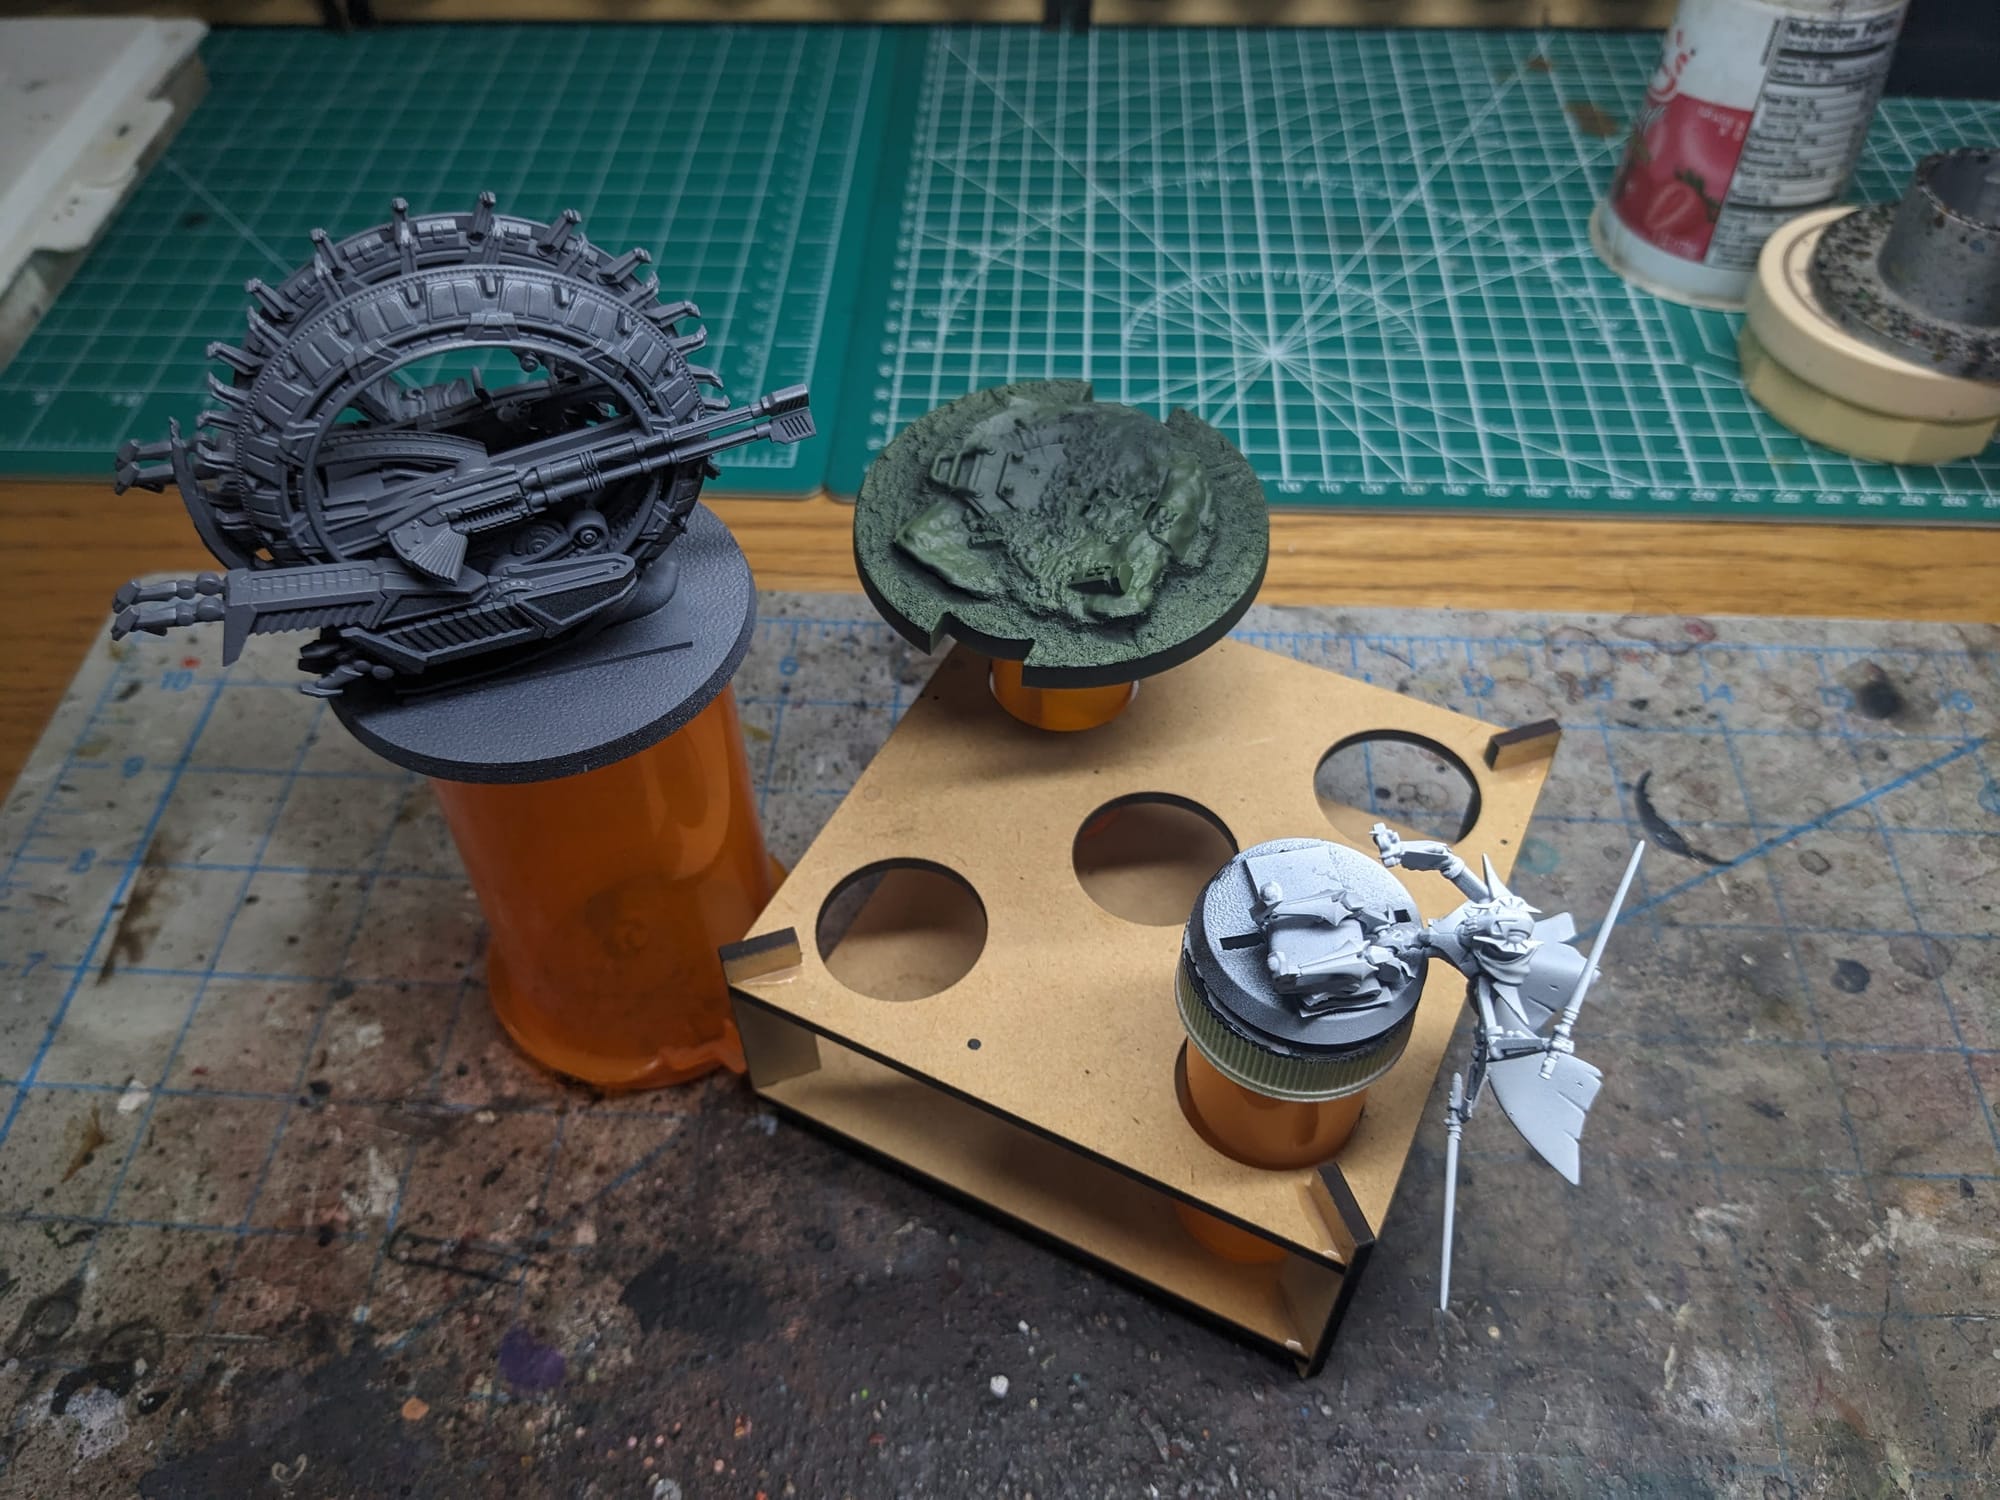
Priming the Models
In general terms, getting the majority of a color for a model applied via a rattle can or airbrush saves a lot of time. For the bike, I primed the bike itself using Rustoleum Flat Black, with a zenithal top coat of Flat Gray. Grievous was primed using Rustoleum Flat Black, with a zenithal top coat of Army Painter Matte White. I also used Army Painter Army Green for the base.
Step-by-Step Painting
TSMEU-6 Wheel Bike
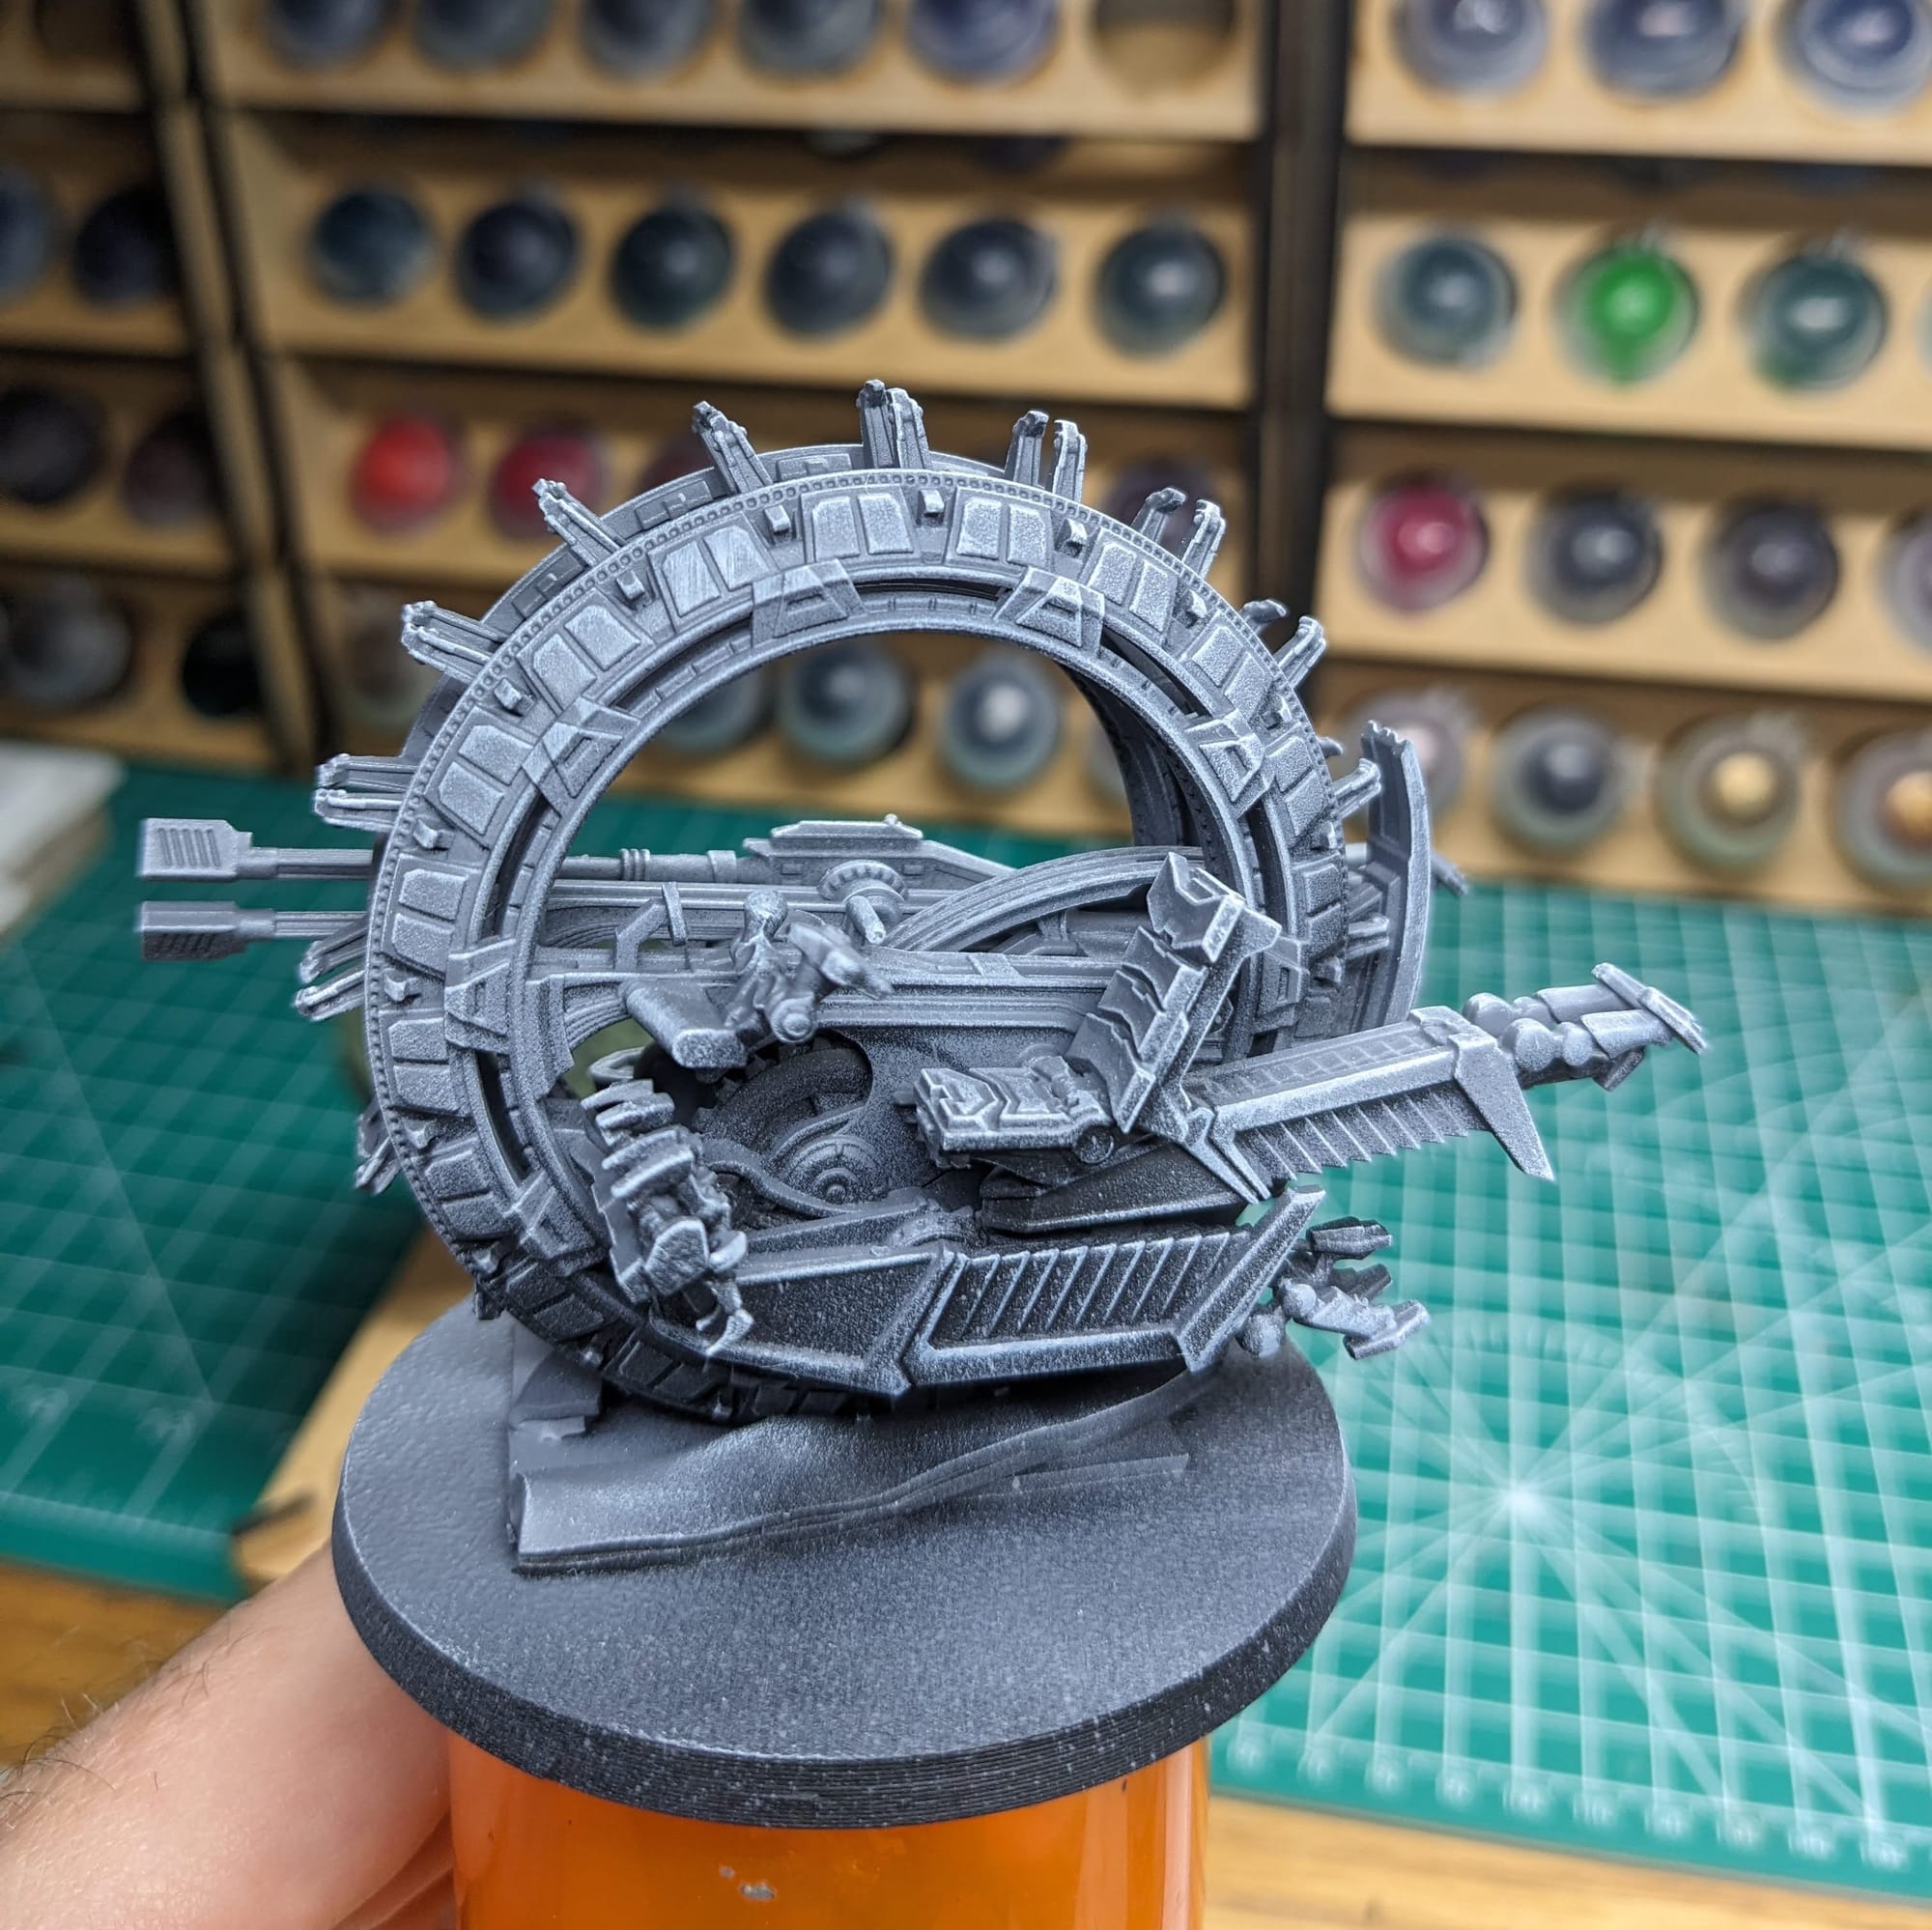
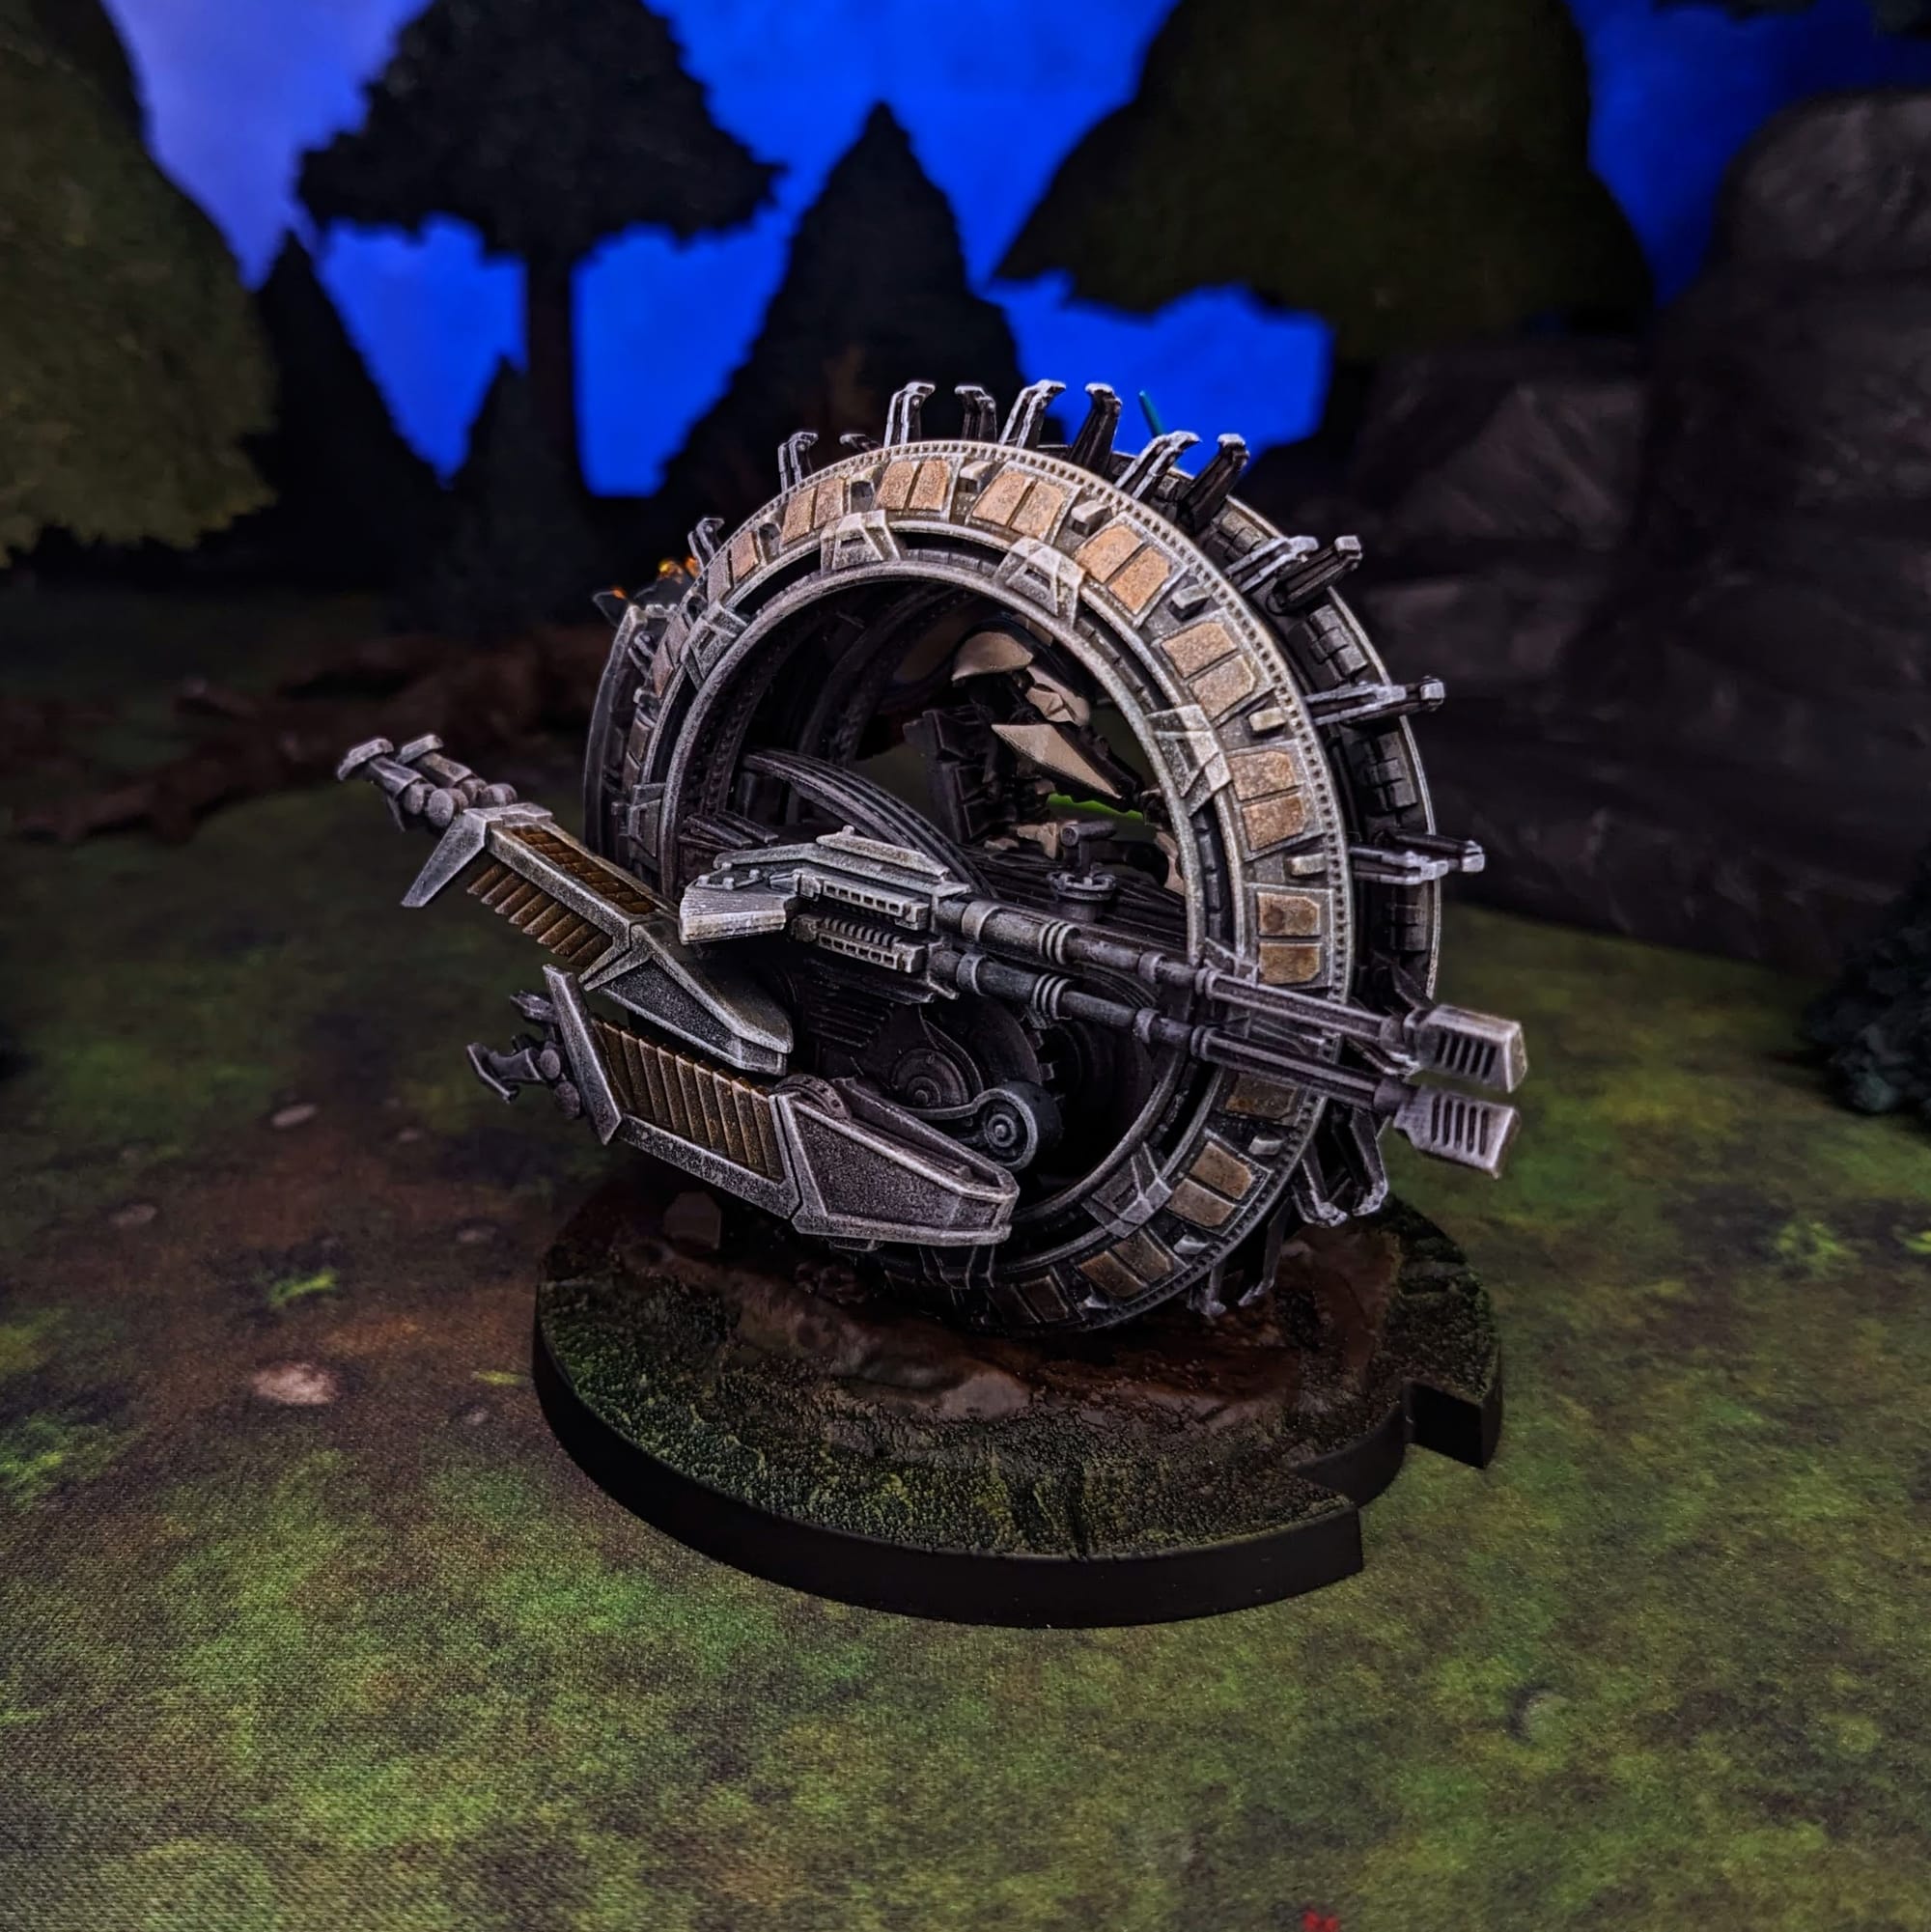
Following with Sorastro's guide, I used a combination of Army Painter Dark Tone, light gray drybrushing, and white sponging to achieve a basic metal effect, which is the undercoating of the model. Even right now it looks like a metal objective, but the addition of other colors helps add more to the metallic look without using actual metallic paints.
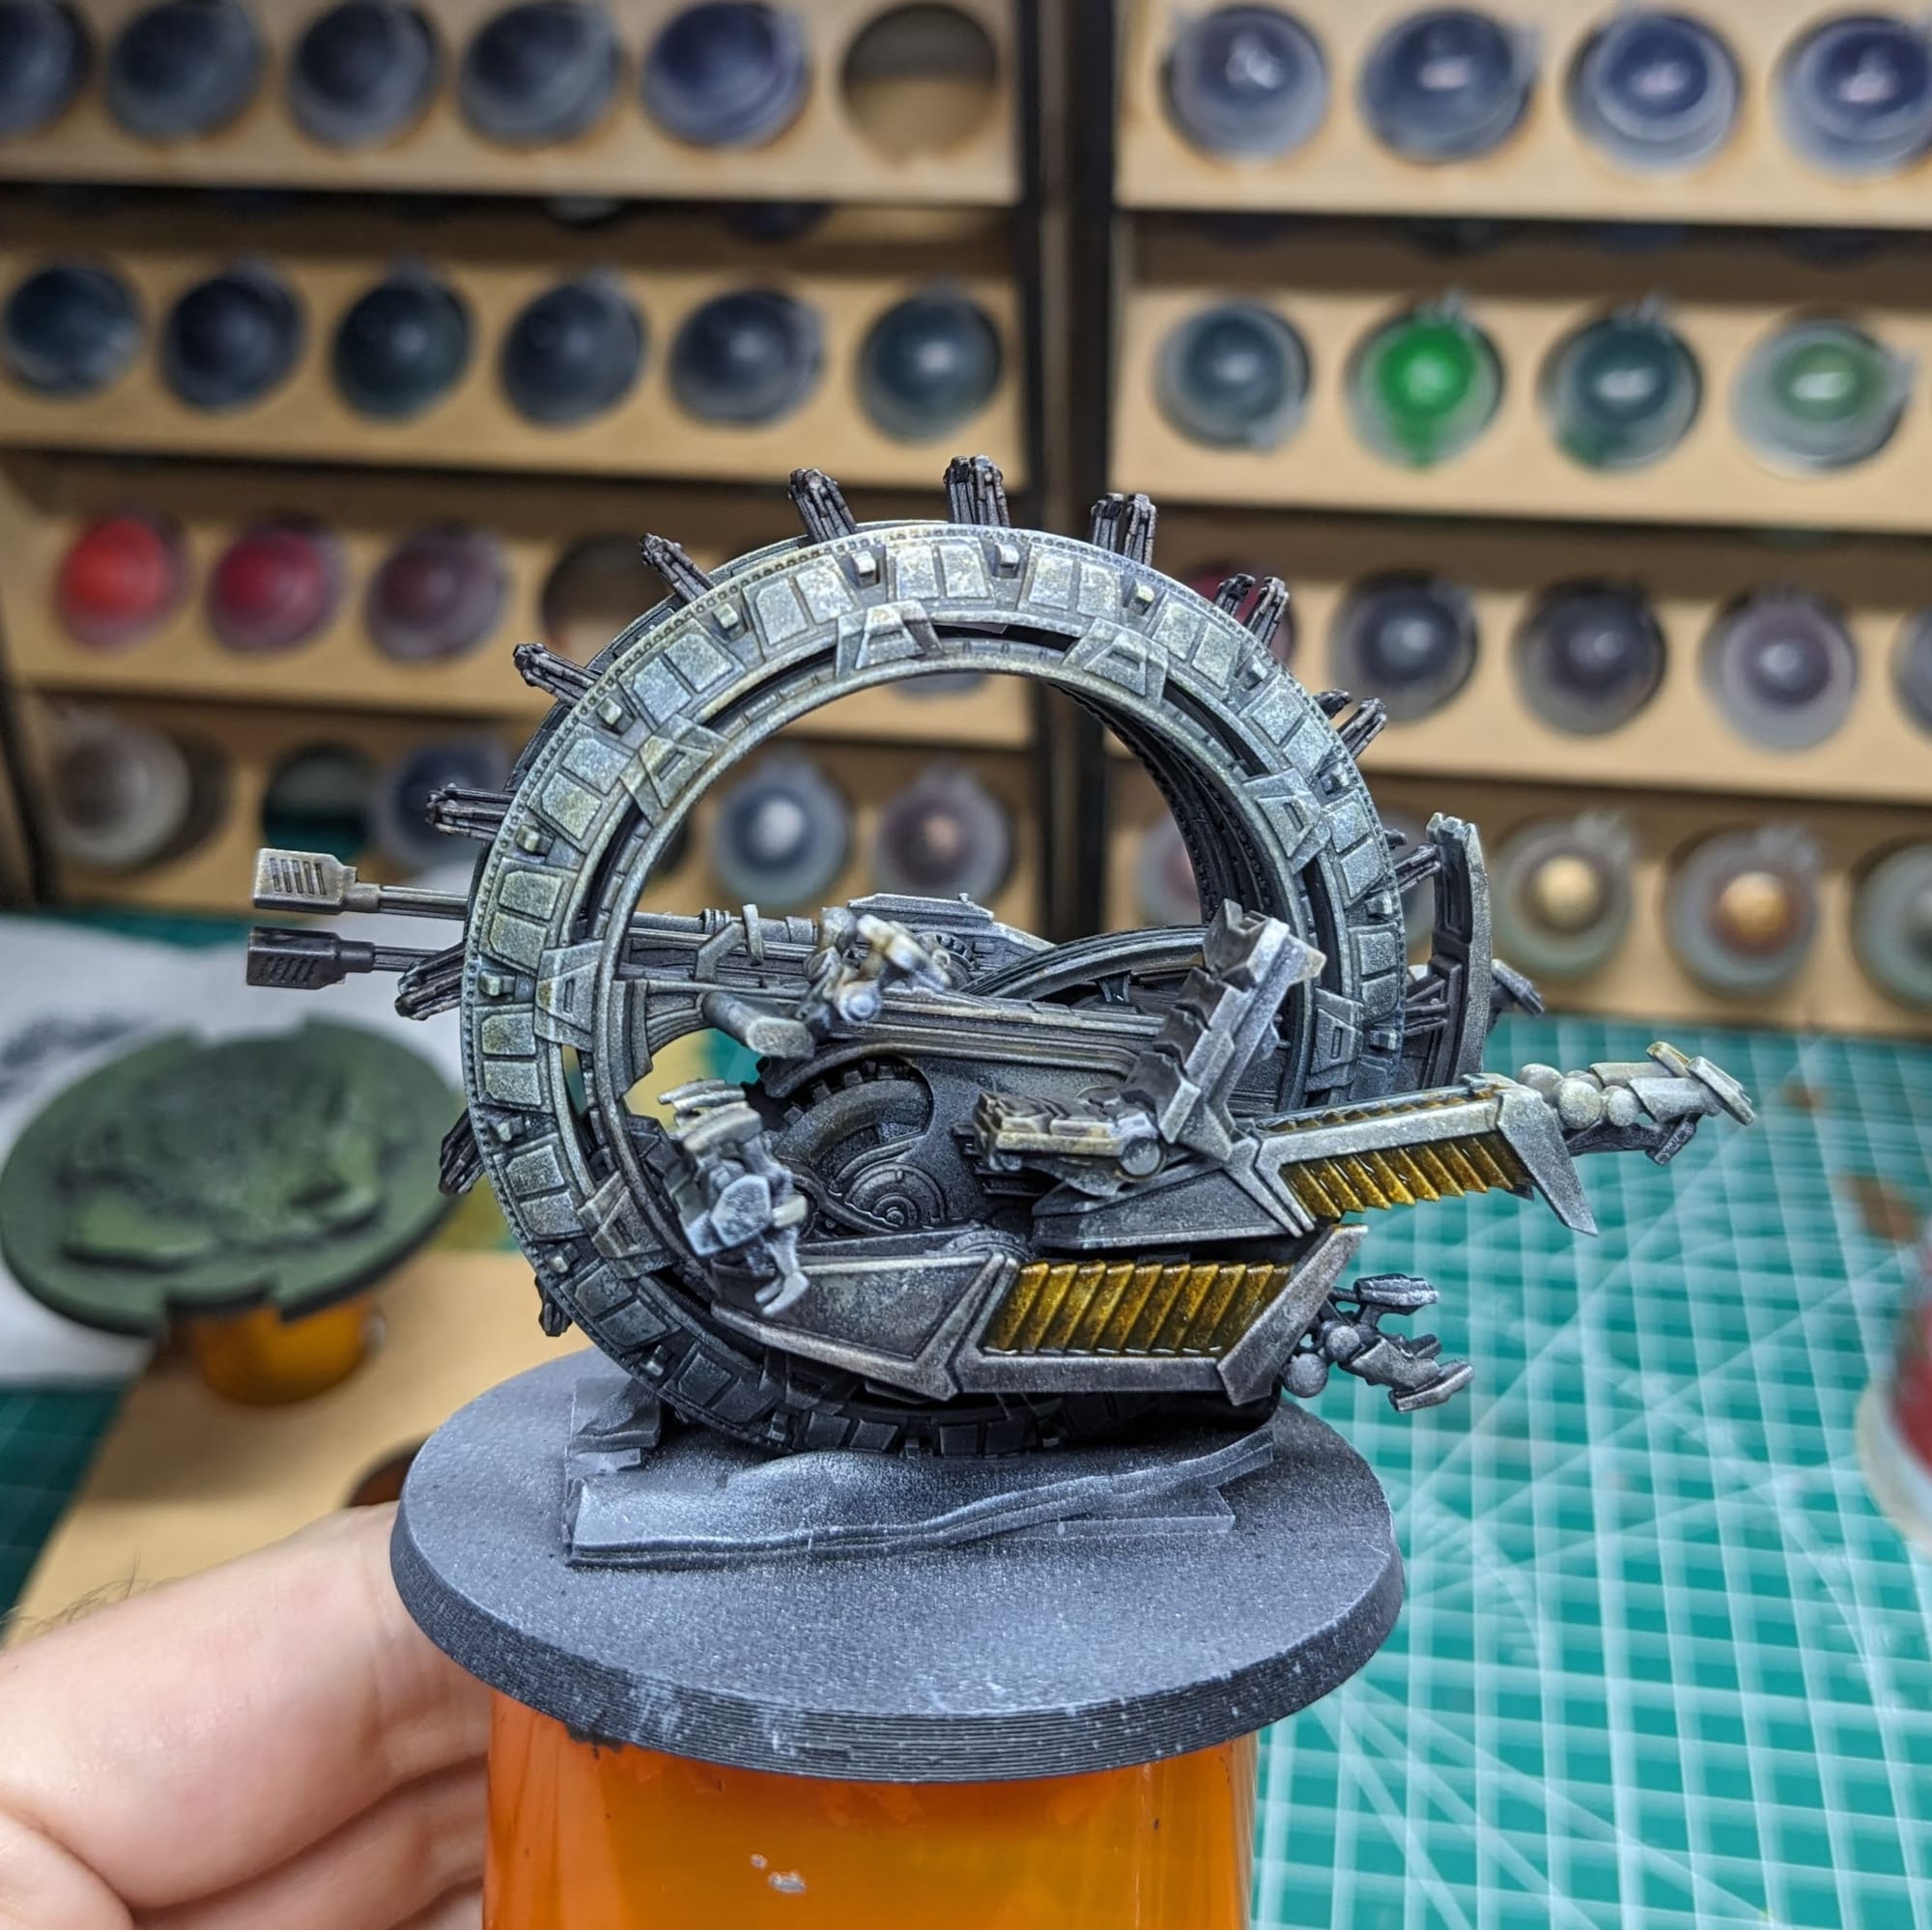
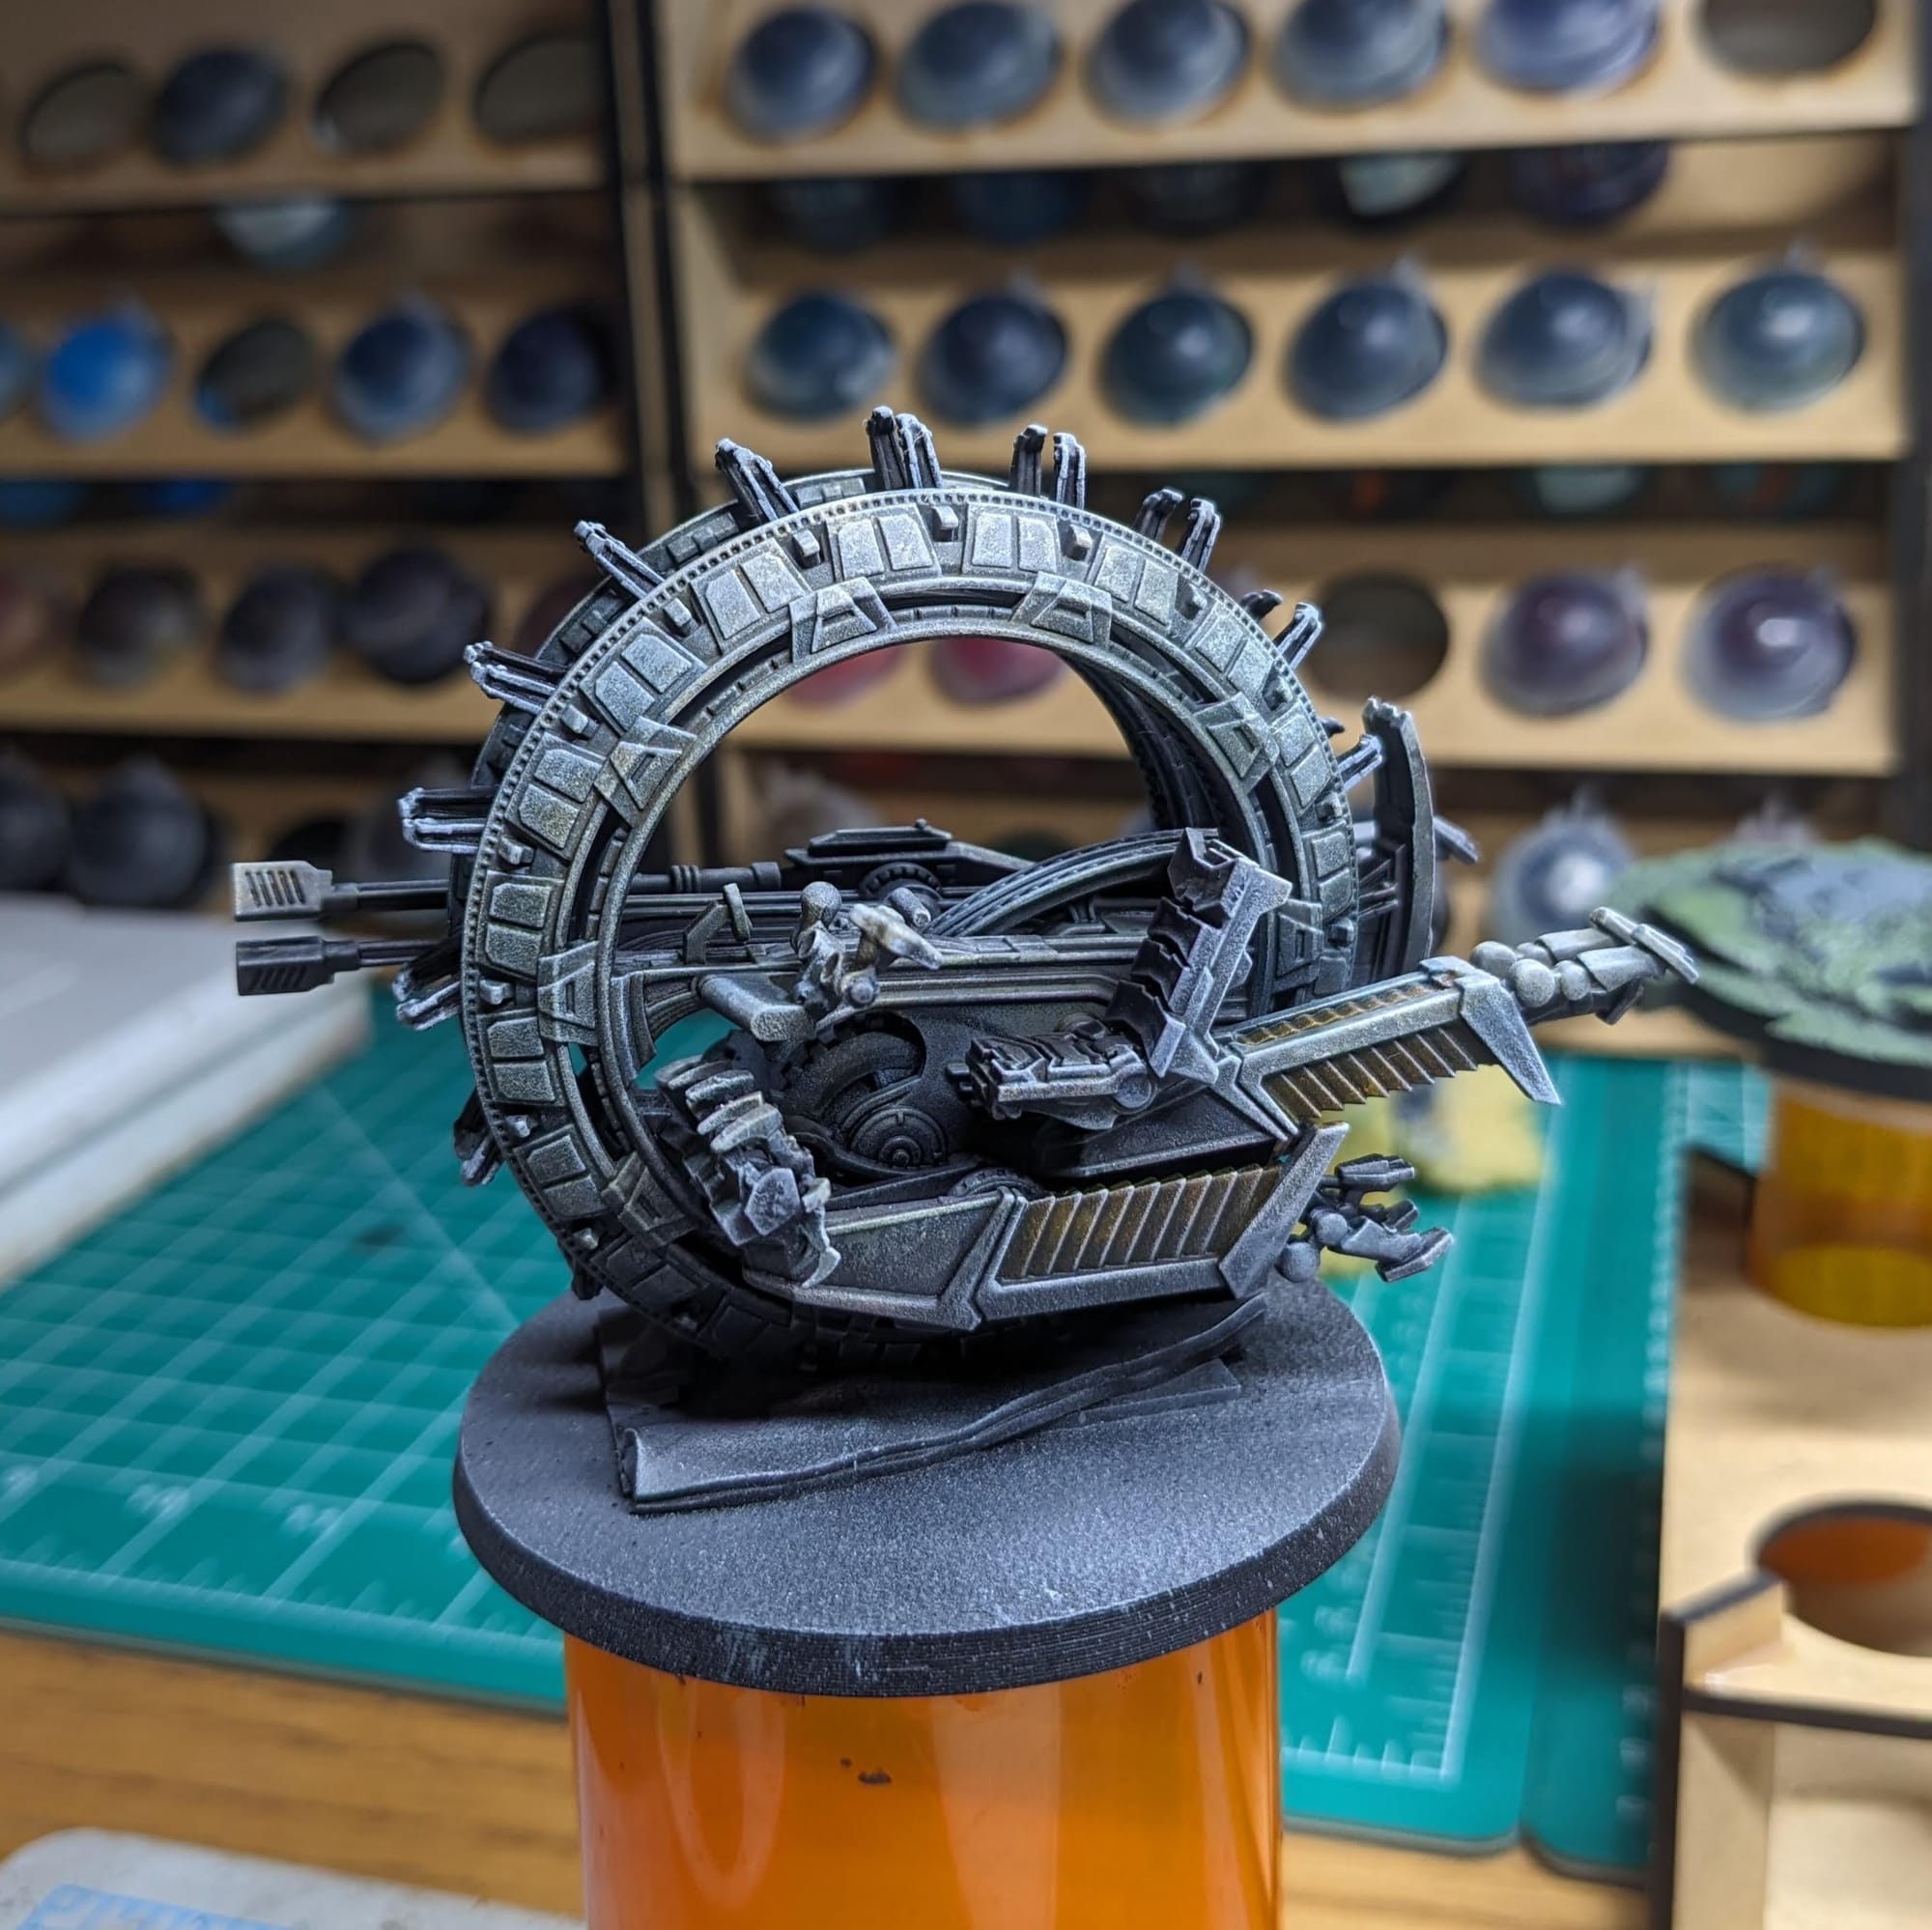

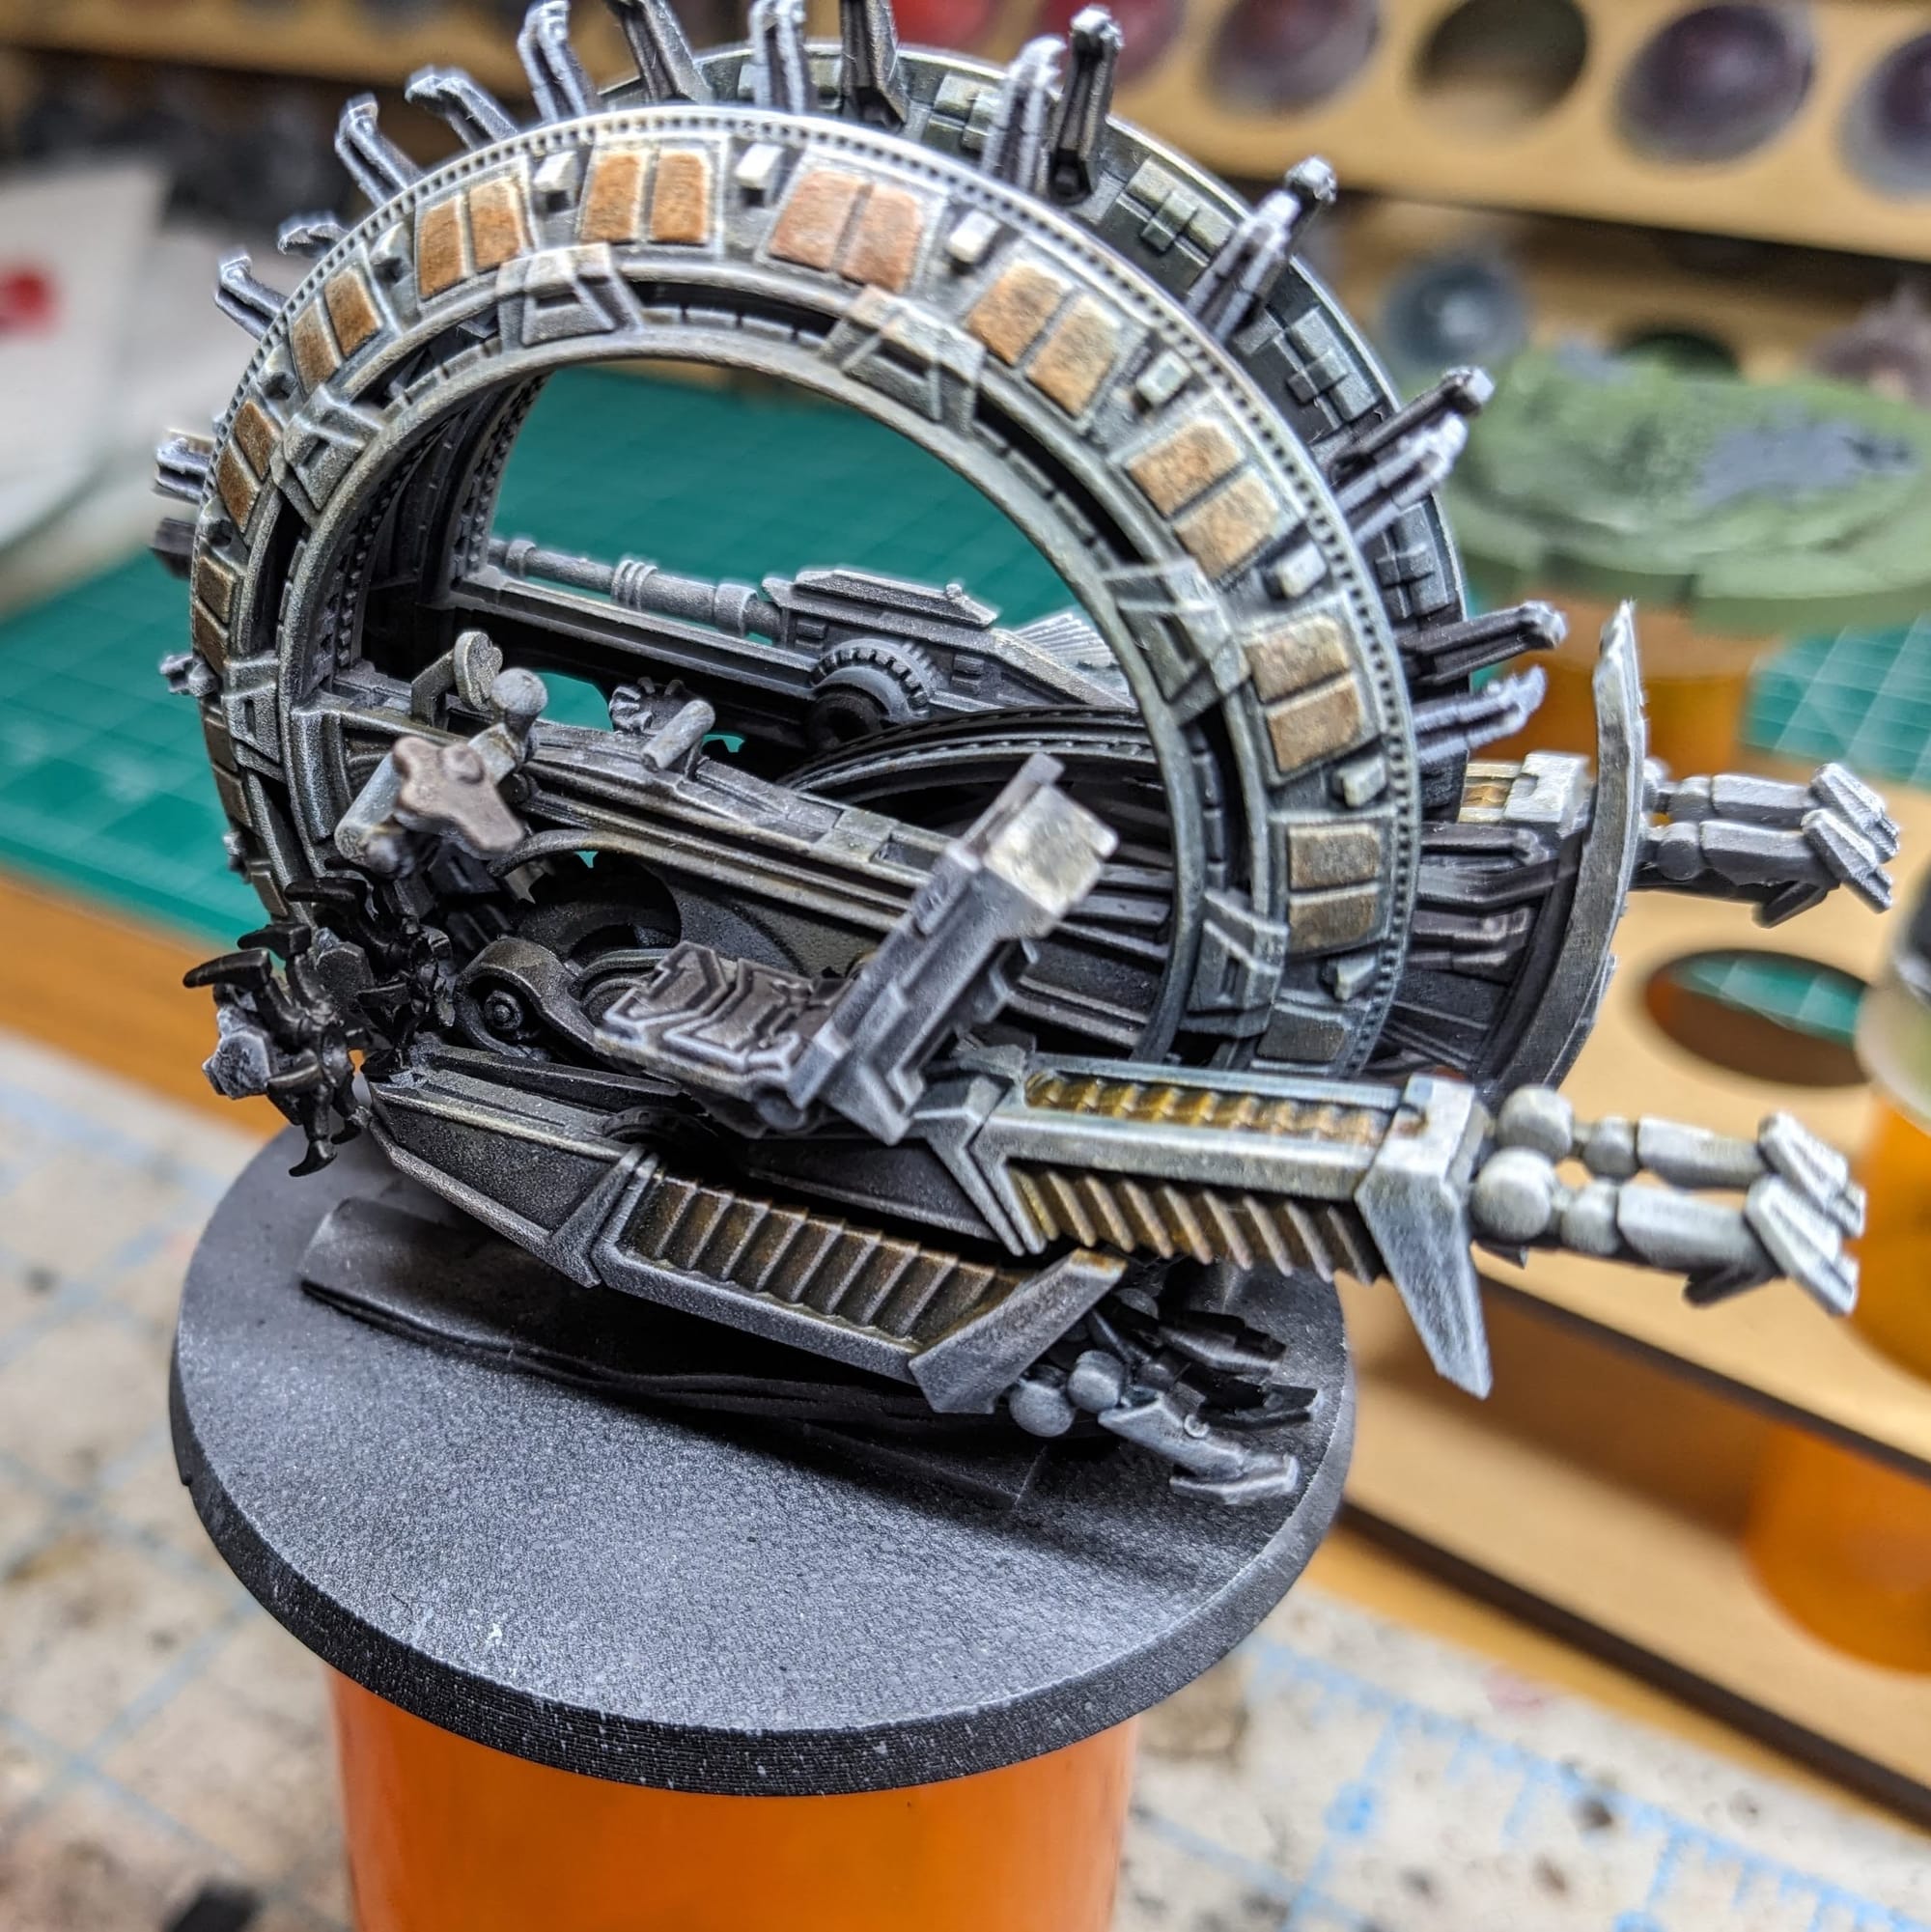
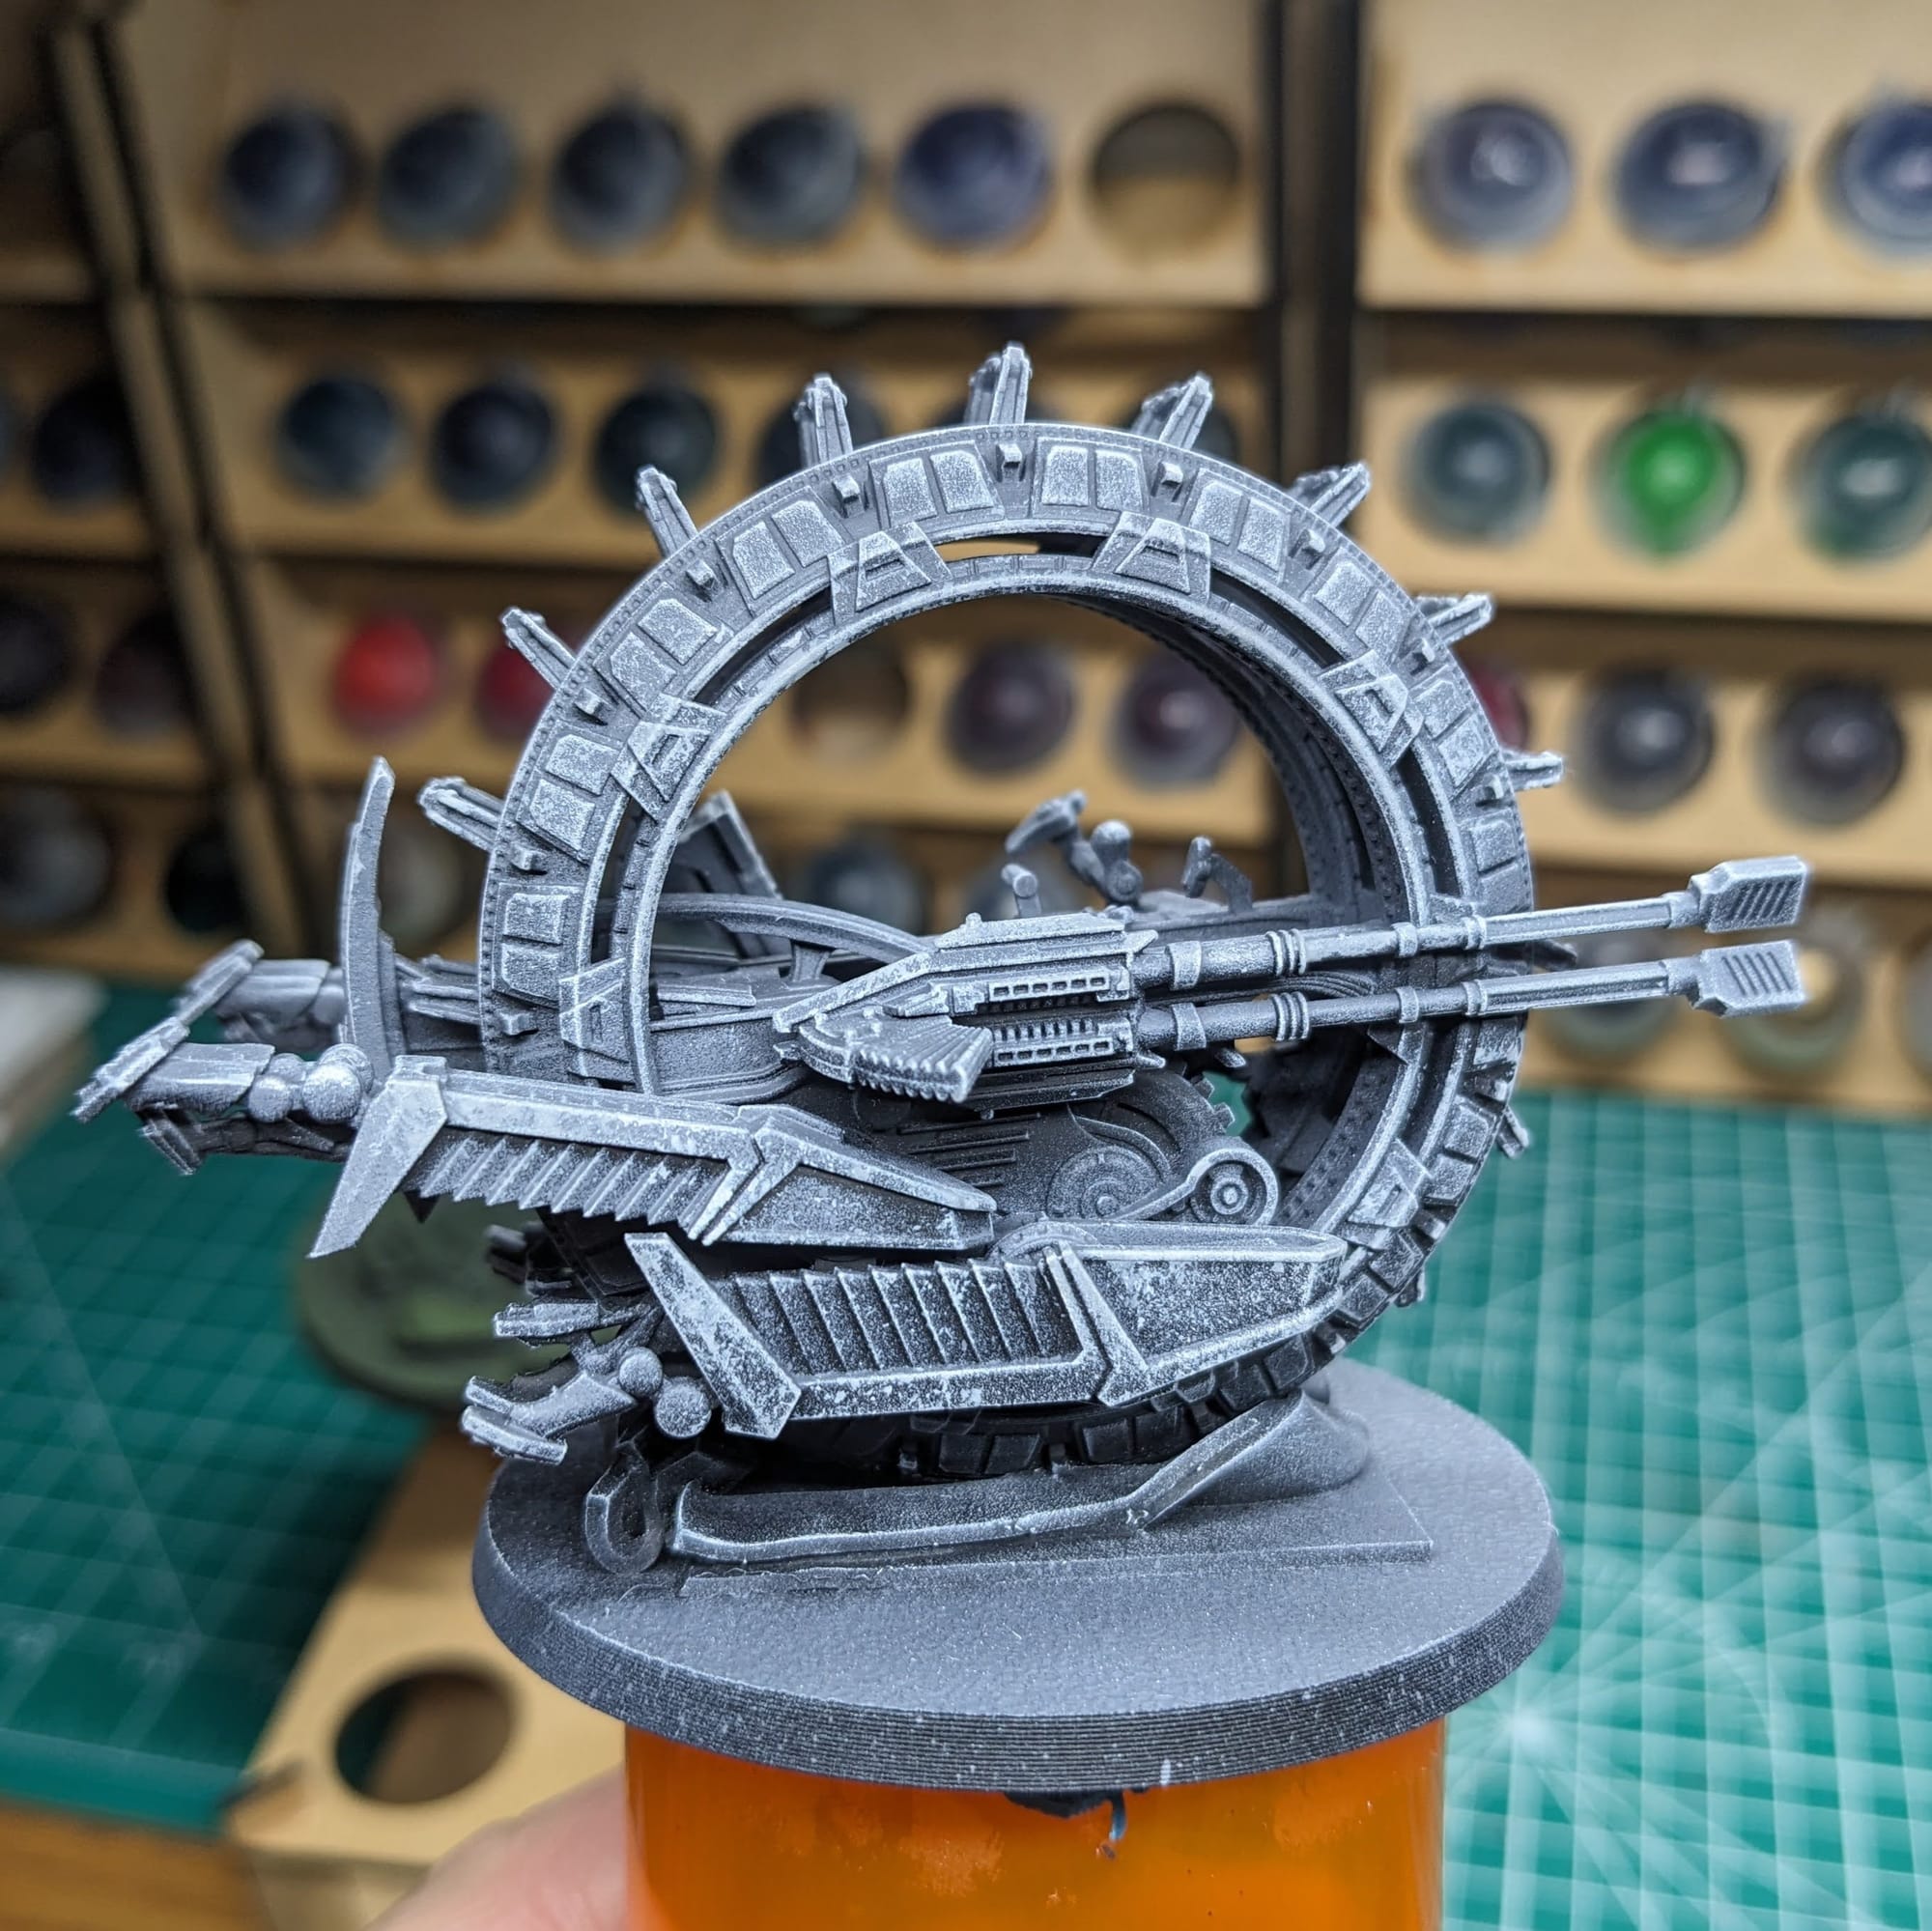
Once I was satsified with the style of the metal across the model, I then followed Sorastro's guide for applying thinned-down Skeleton Horde, Aethermatic Blue, and Basilicanum Grey in a style similar to how he applied to the Persuader tank. A little goes a long way so I used multiple thin coats. Snakebite Leather was used on the ridged areas of the legs. Once I was happy with the colors, I went back over the model with more white drybrushing and sponge stippling. Lastly, I applied Darkoath Flesh to the trapezoids along the edge of the wheel, one by one, to help accent that detail.
On to Grievous!
General Grievous, with his Lightsabers
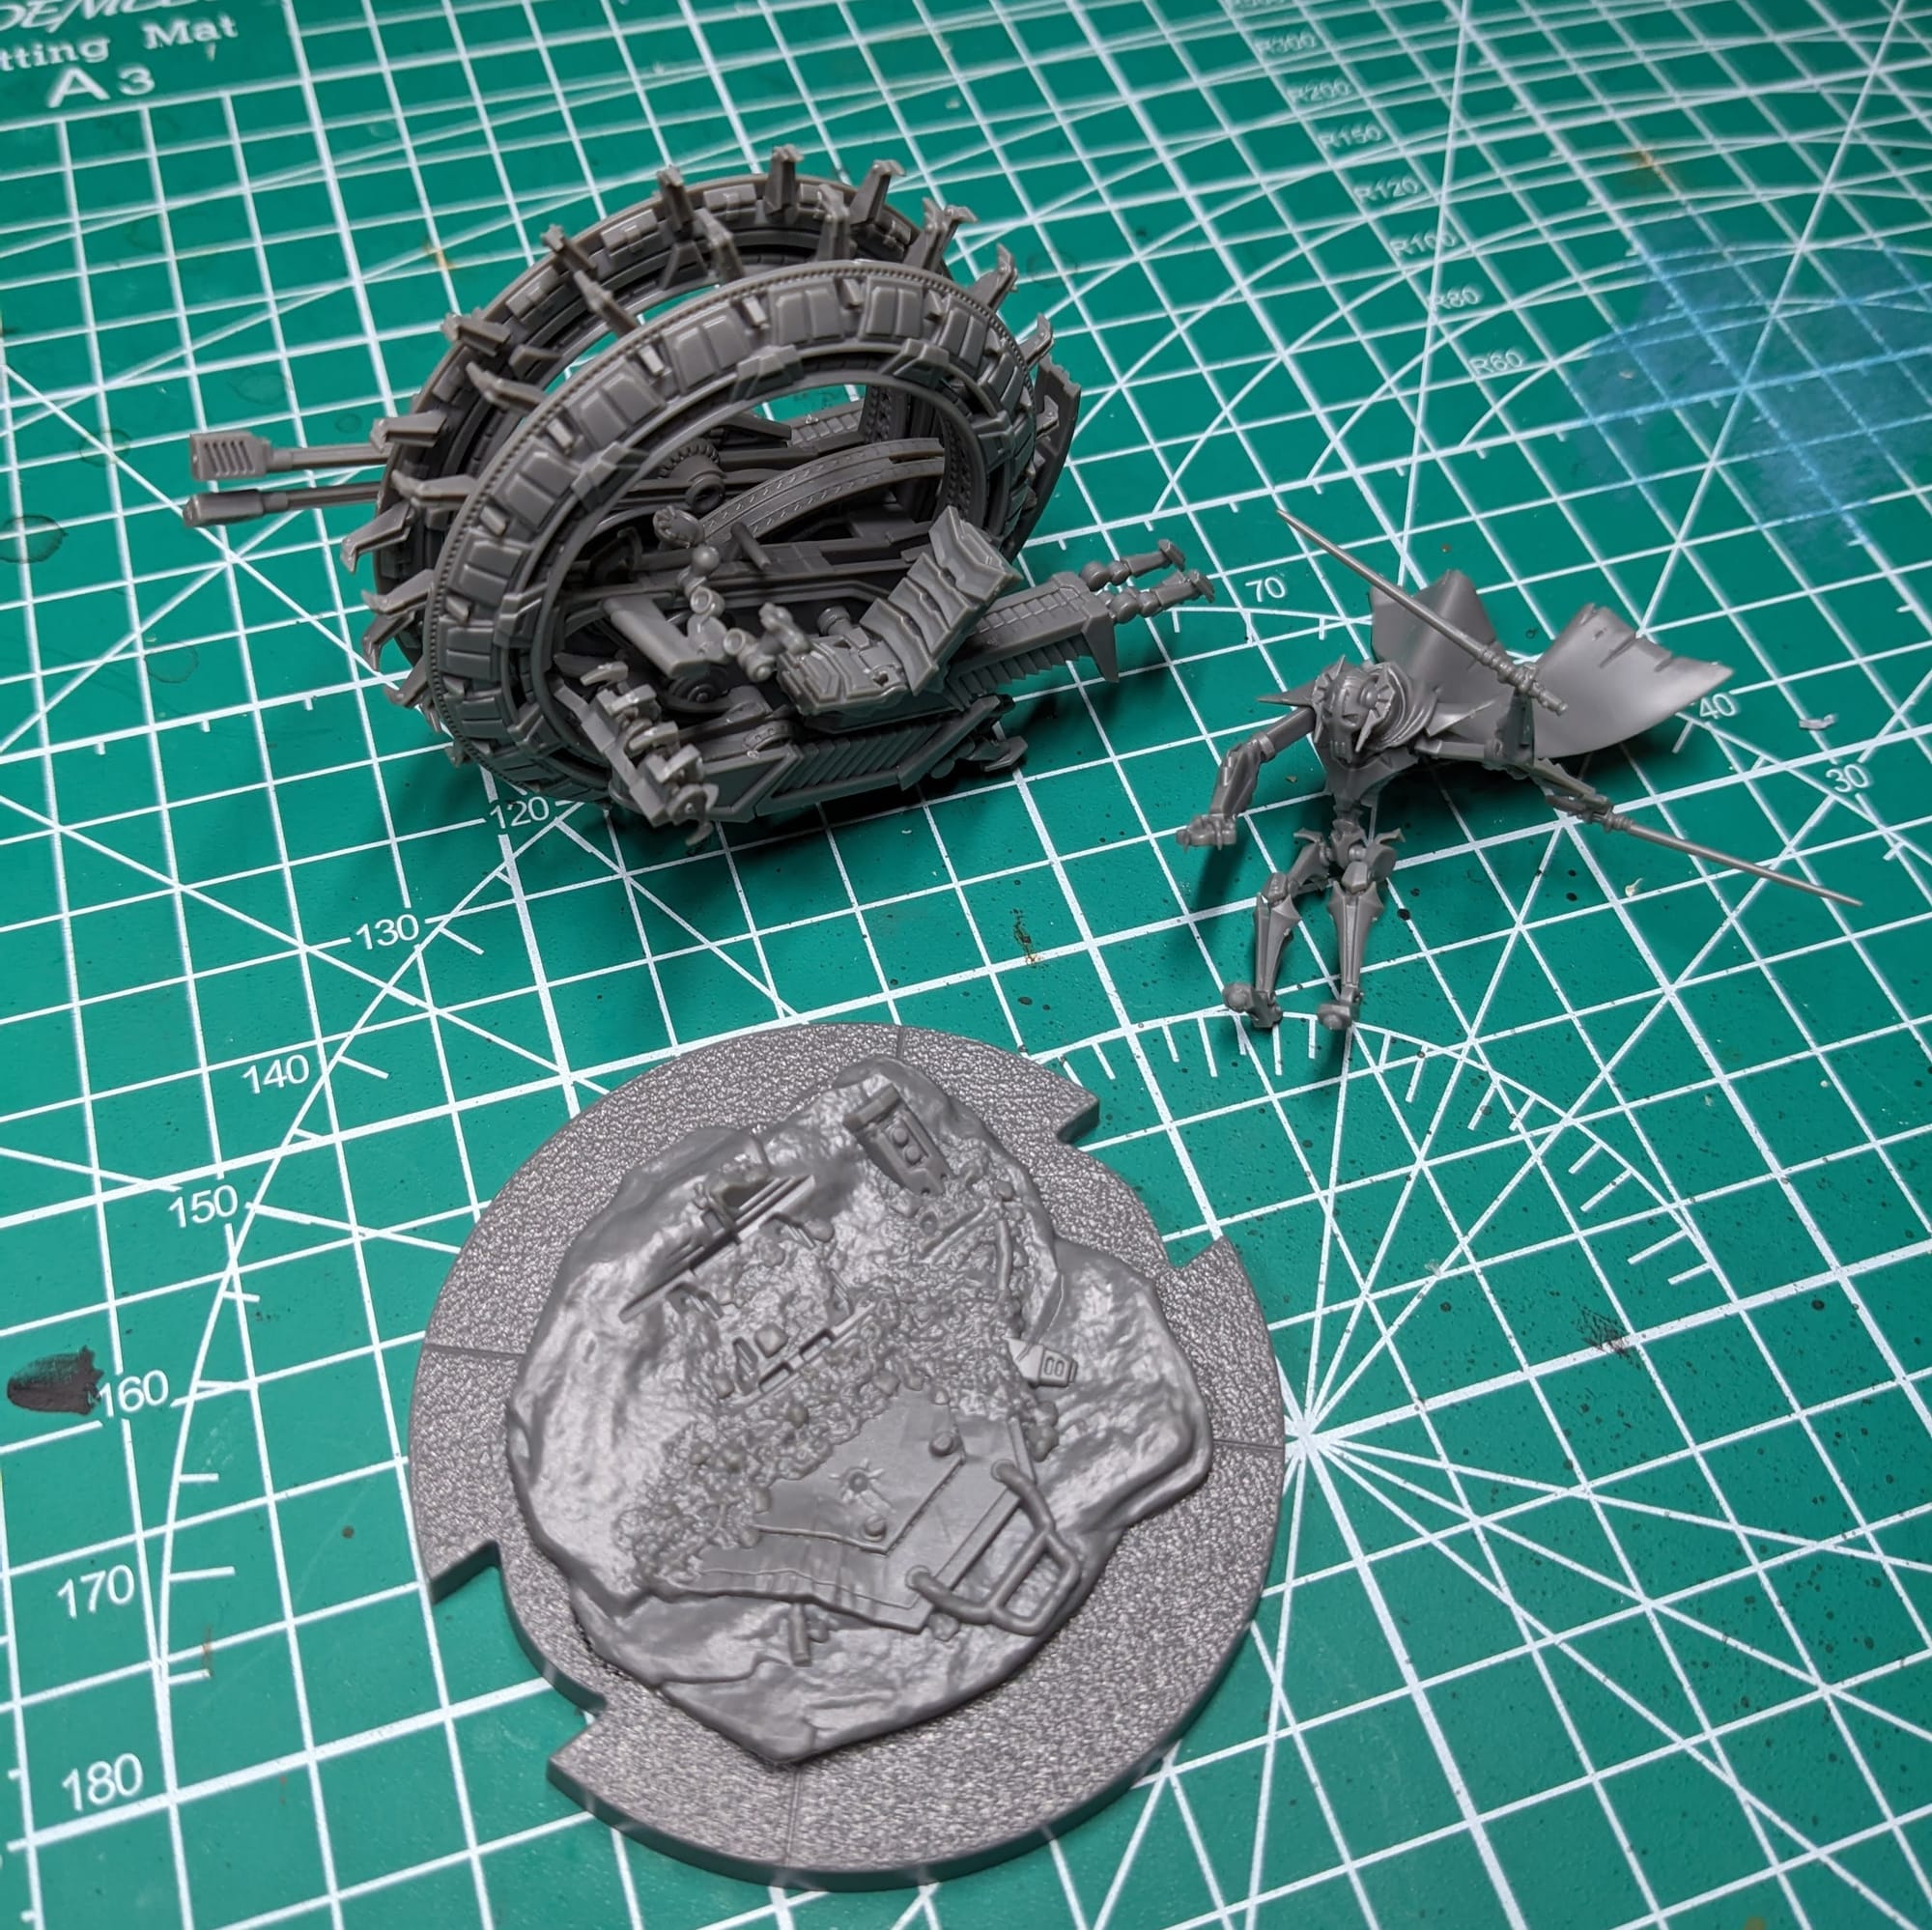
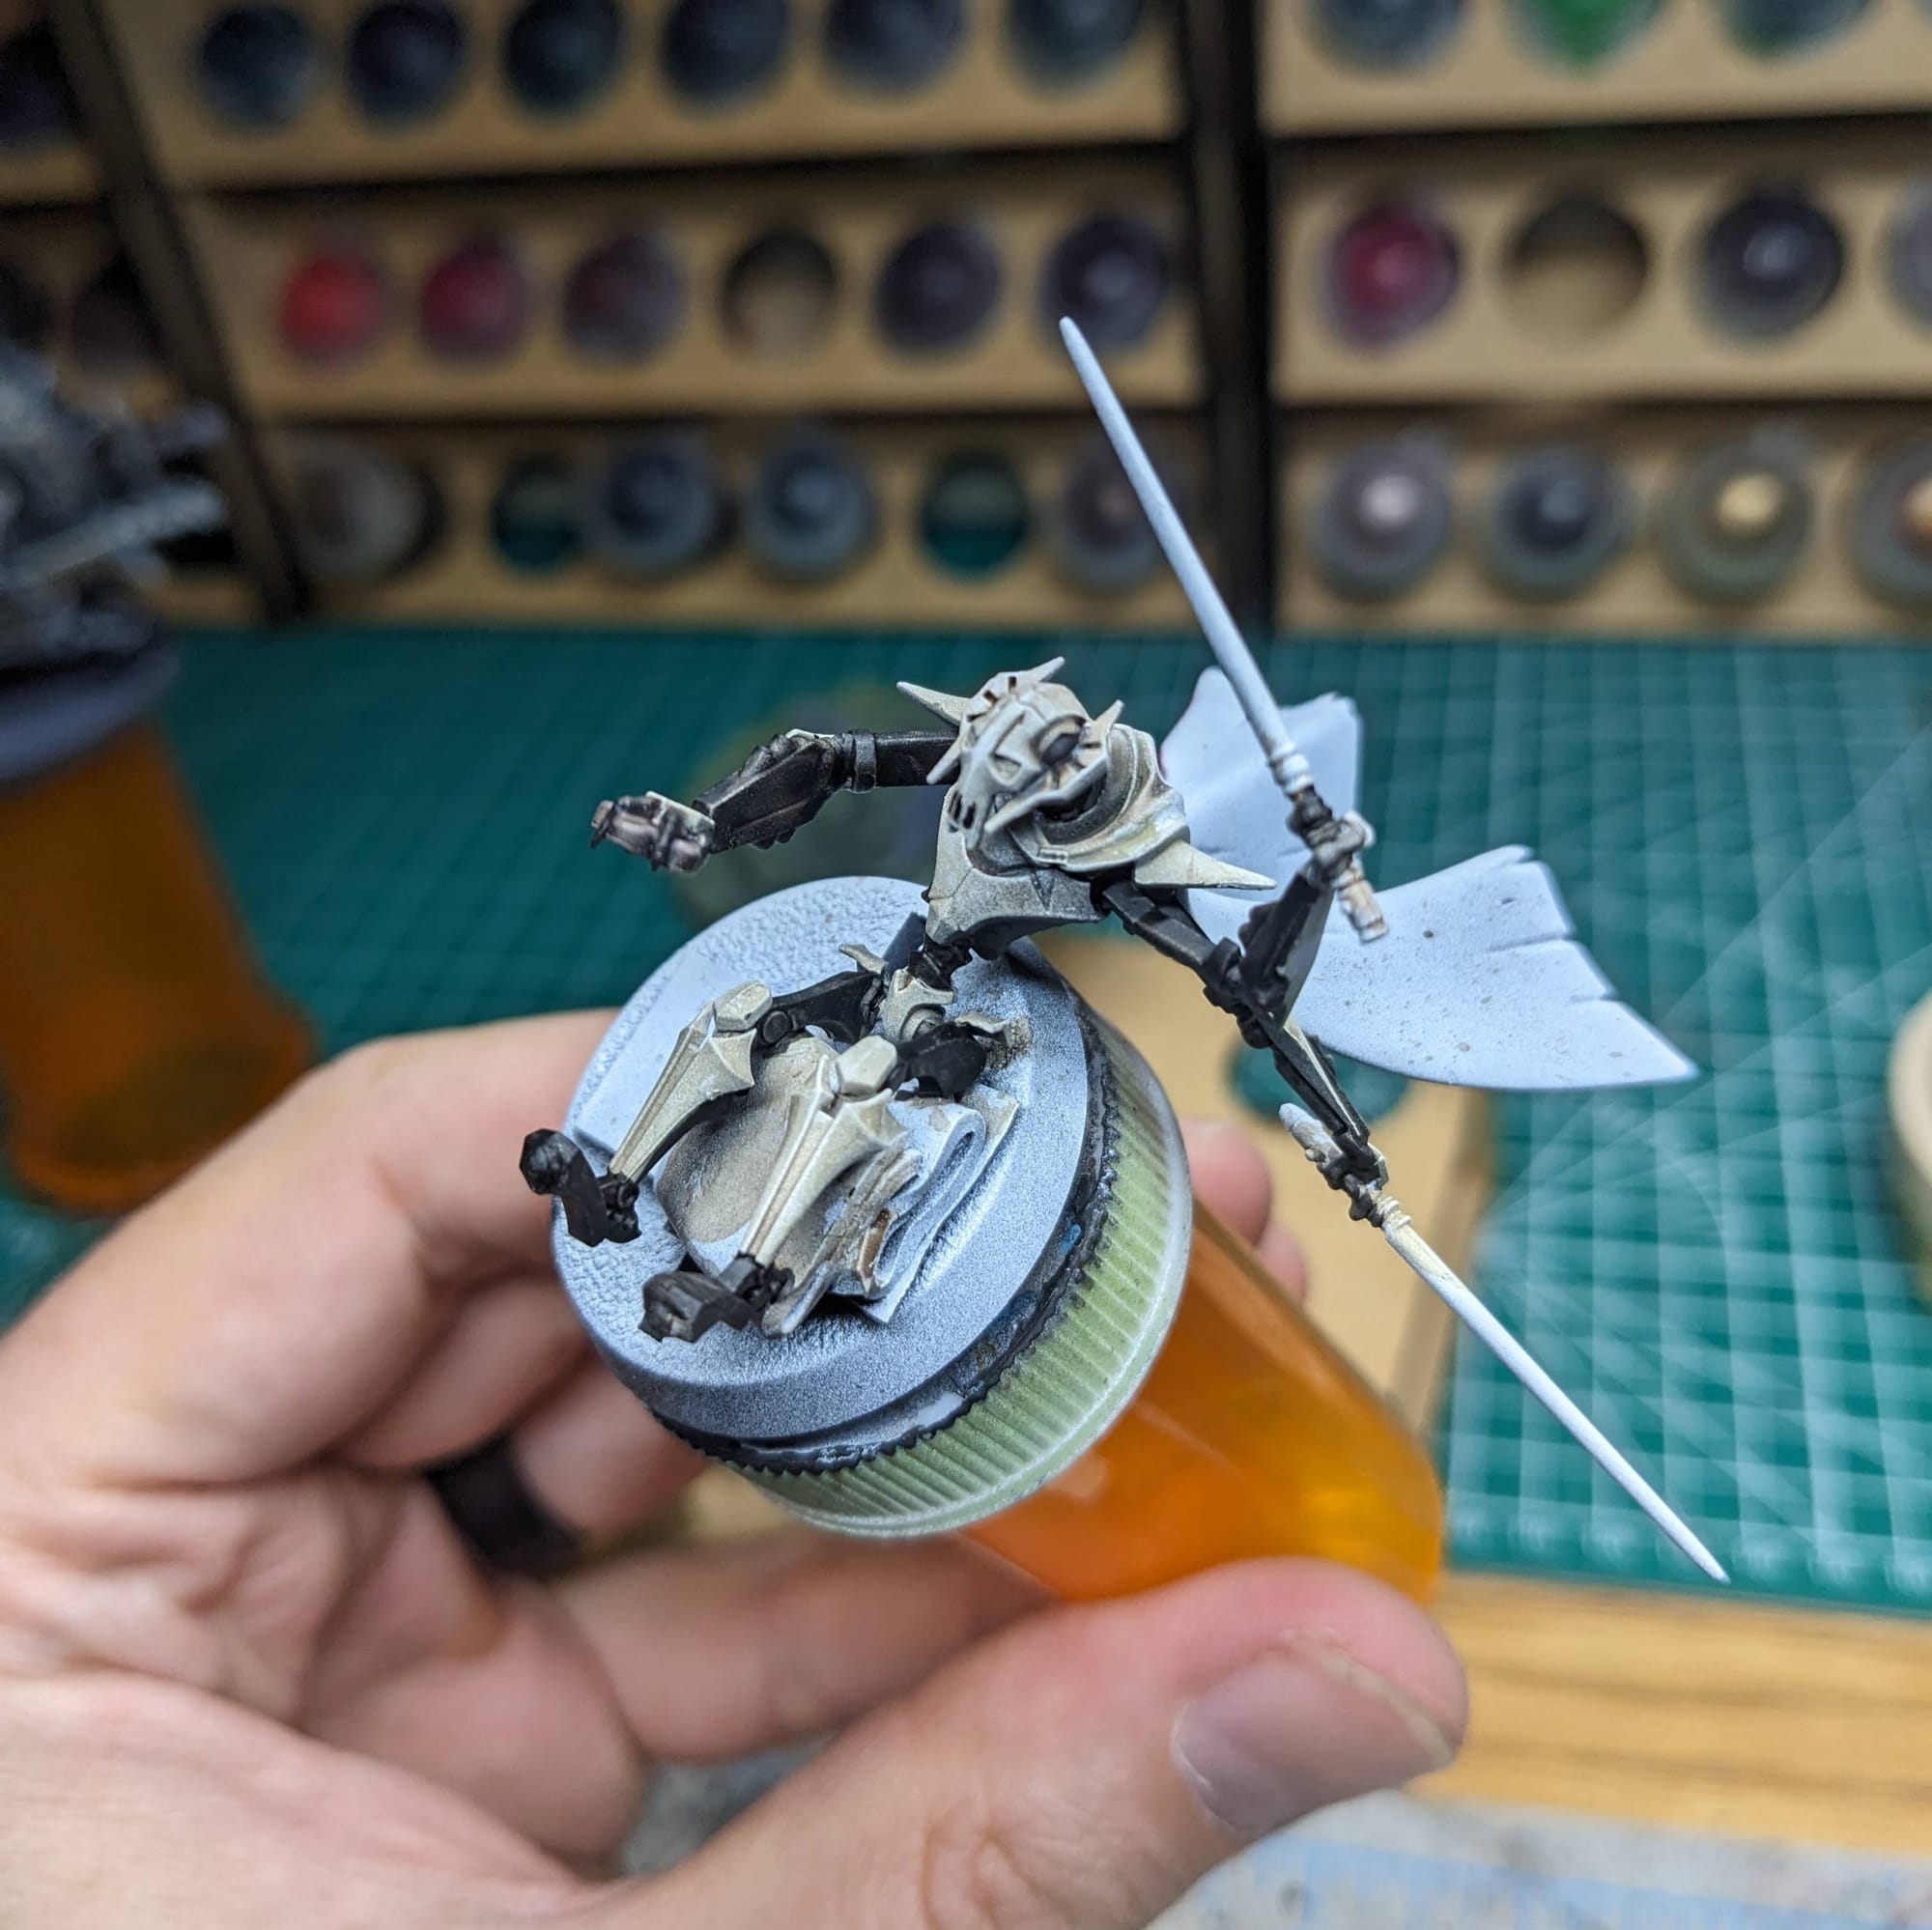
Painting him in sub assembly was difficult, given his pose and spindly nature, but it was a lot easier than painting him attached.
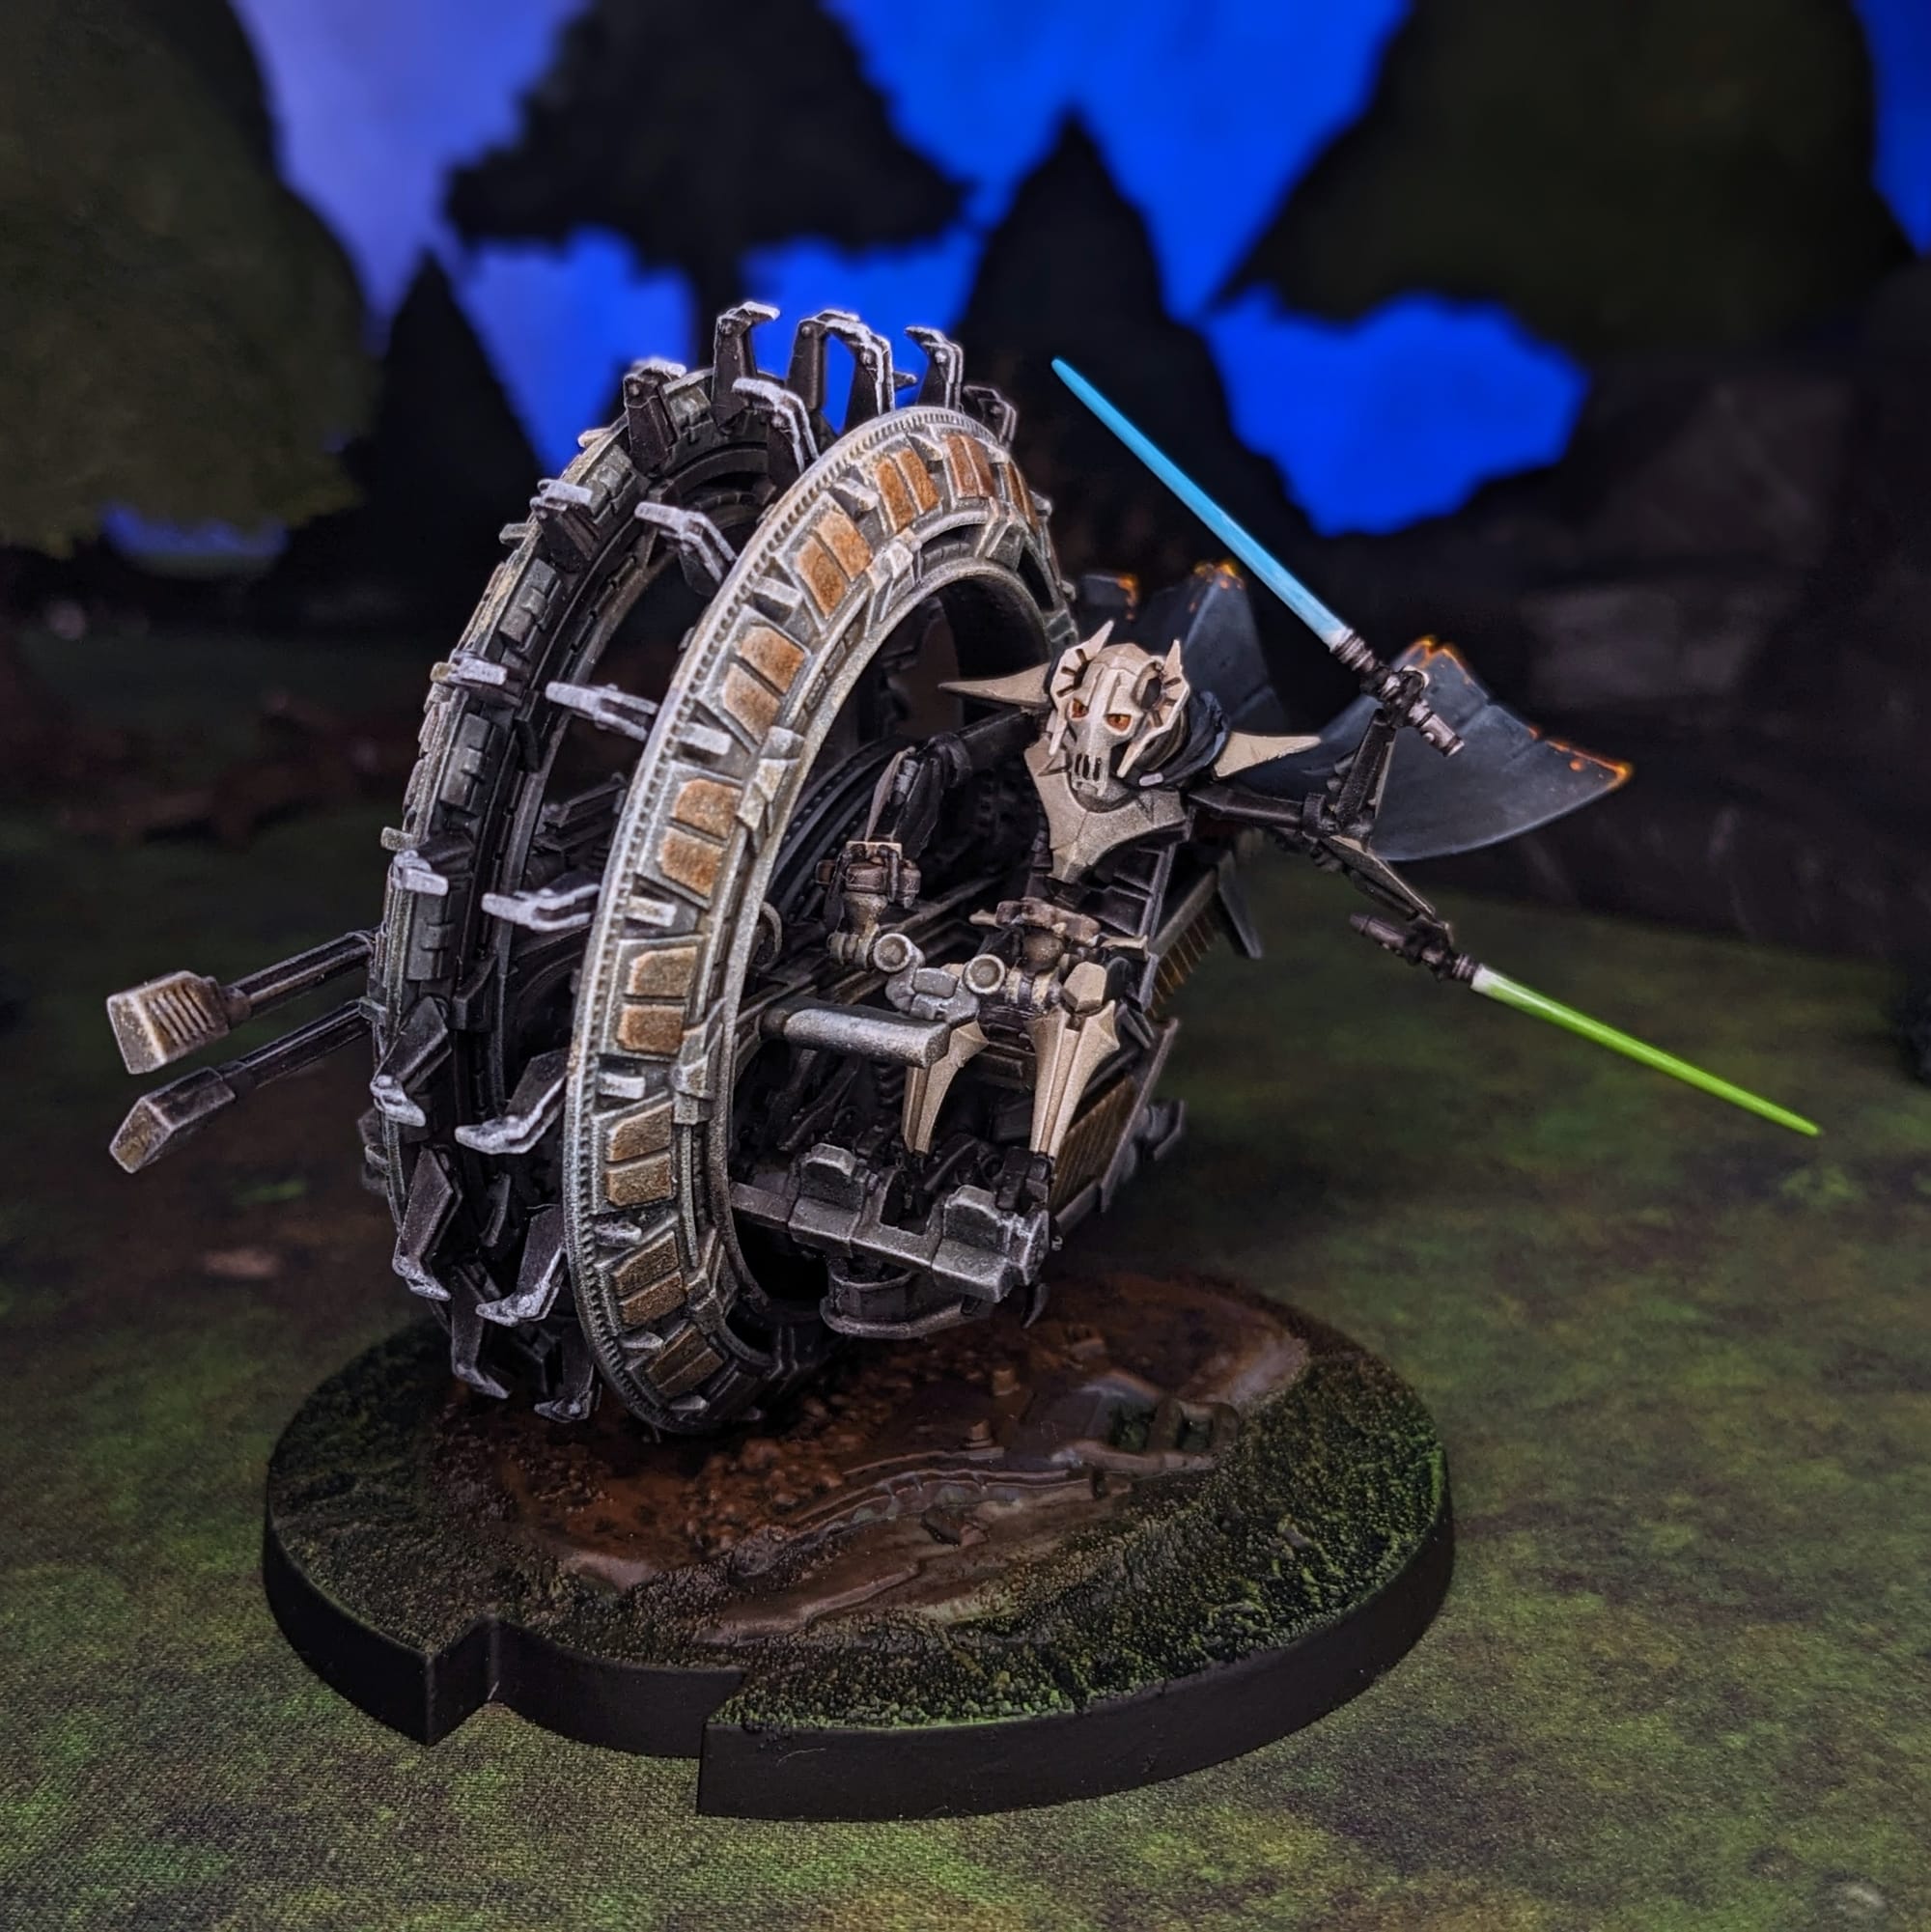
I started with a mixture of Apothecary White and Skeleton Horde for his bone-colored cyborg body. Given the small nature of his sculpt, he didn't need highlighting or anything after the contrast paint was applied.
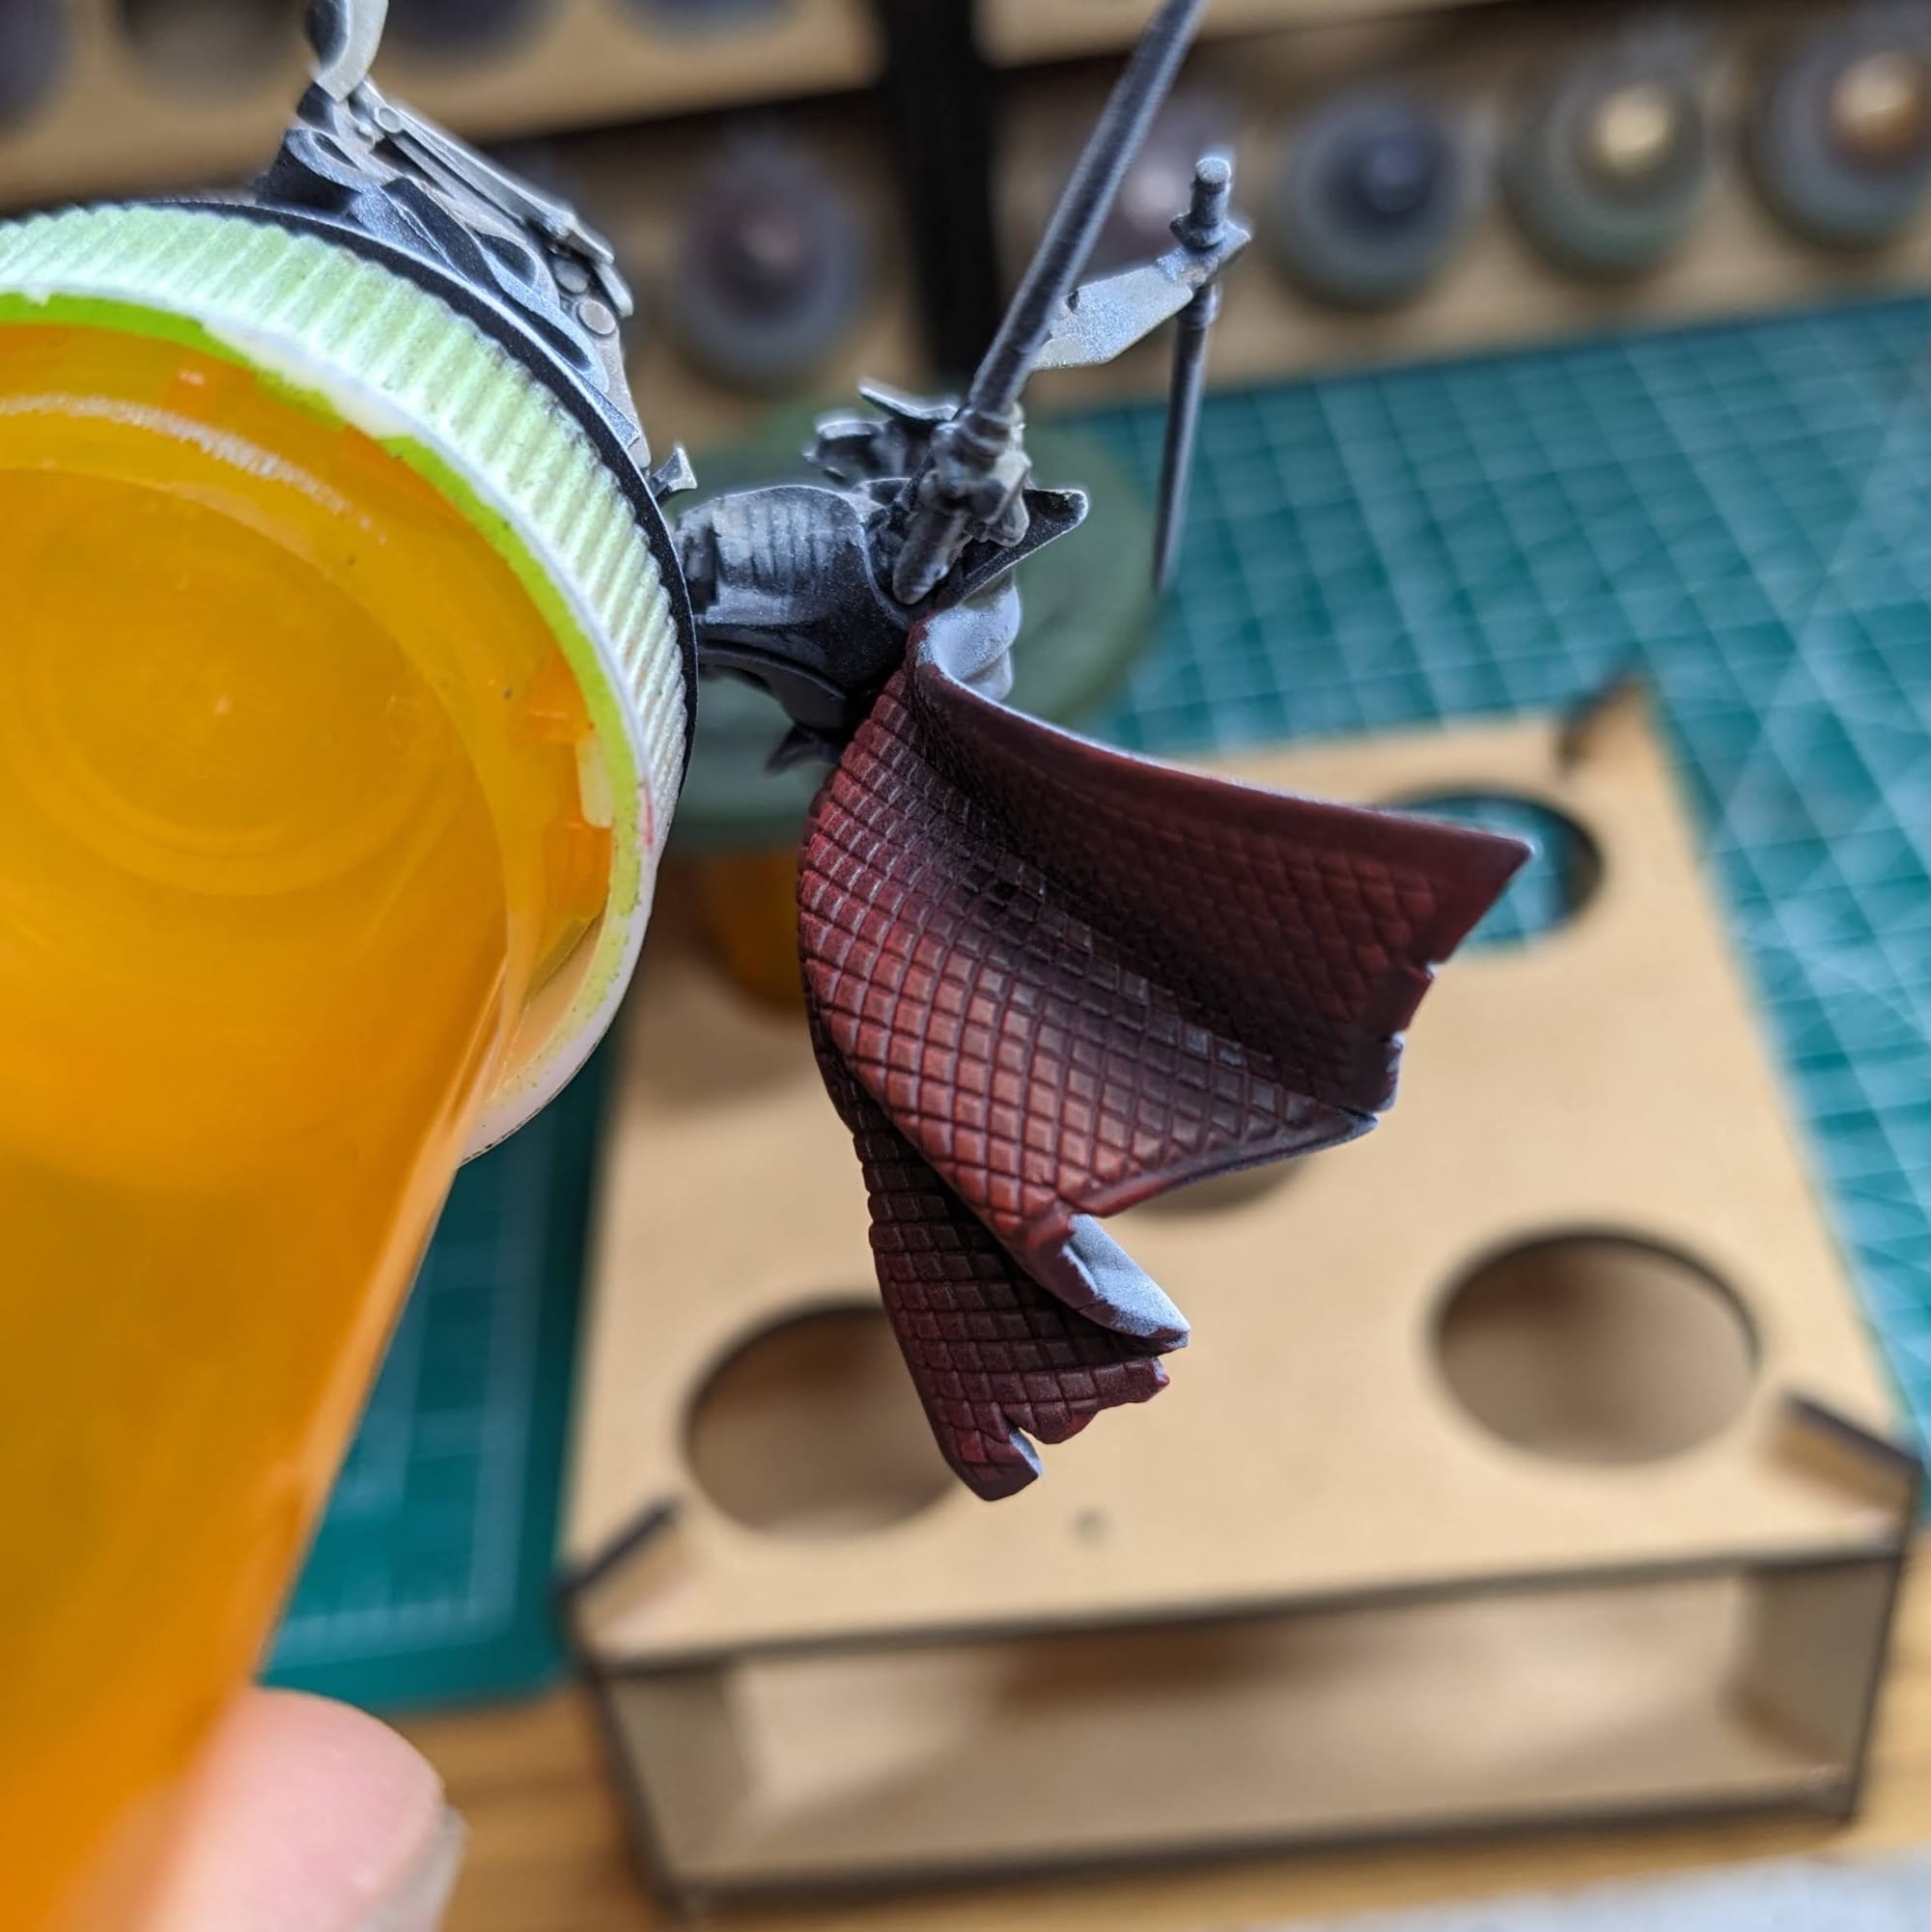
I used Flesh Tearers Red Contrast for the cape, and then used Black Legion for the joints and under armor stuff. I then painted up the eyes, cape, and lightsabers, all of which were easier to do because of sub assembly. I added in some singed edges to the end of the cape to help accent the end of it.
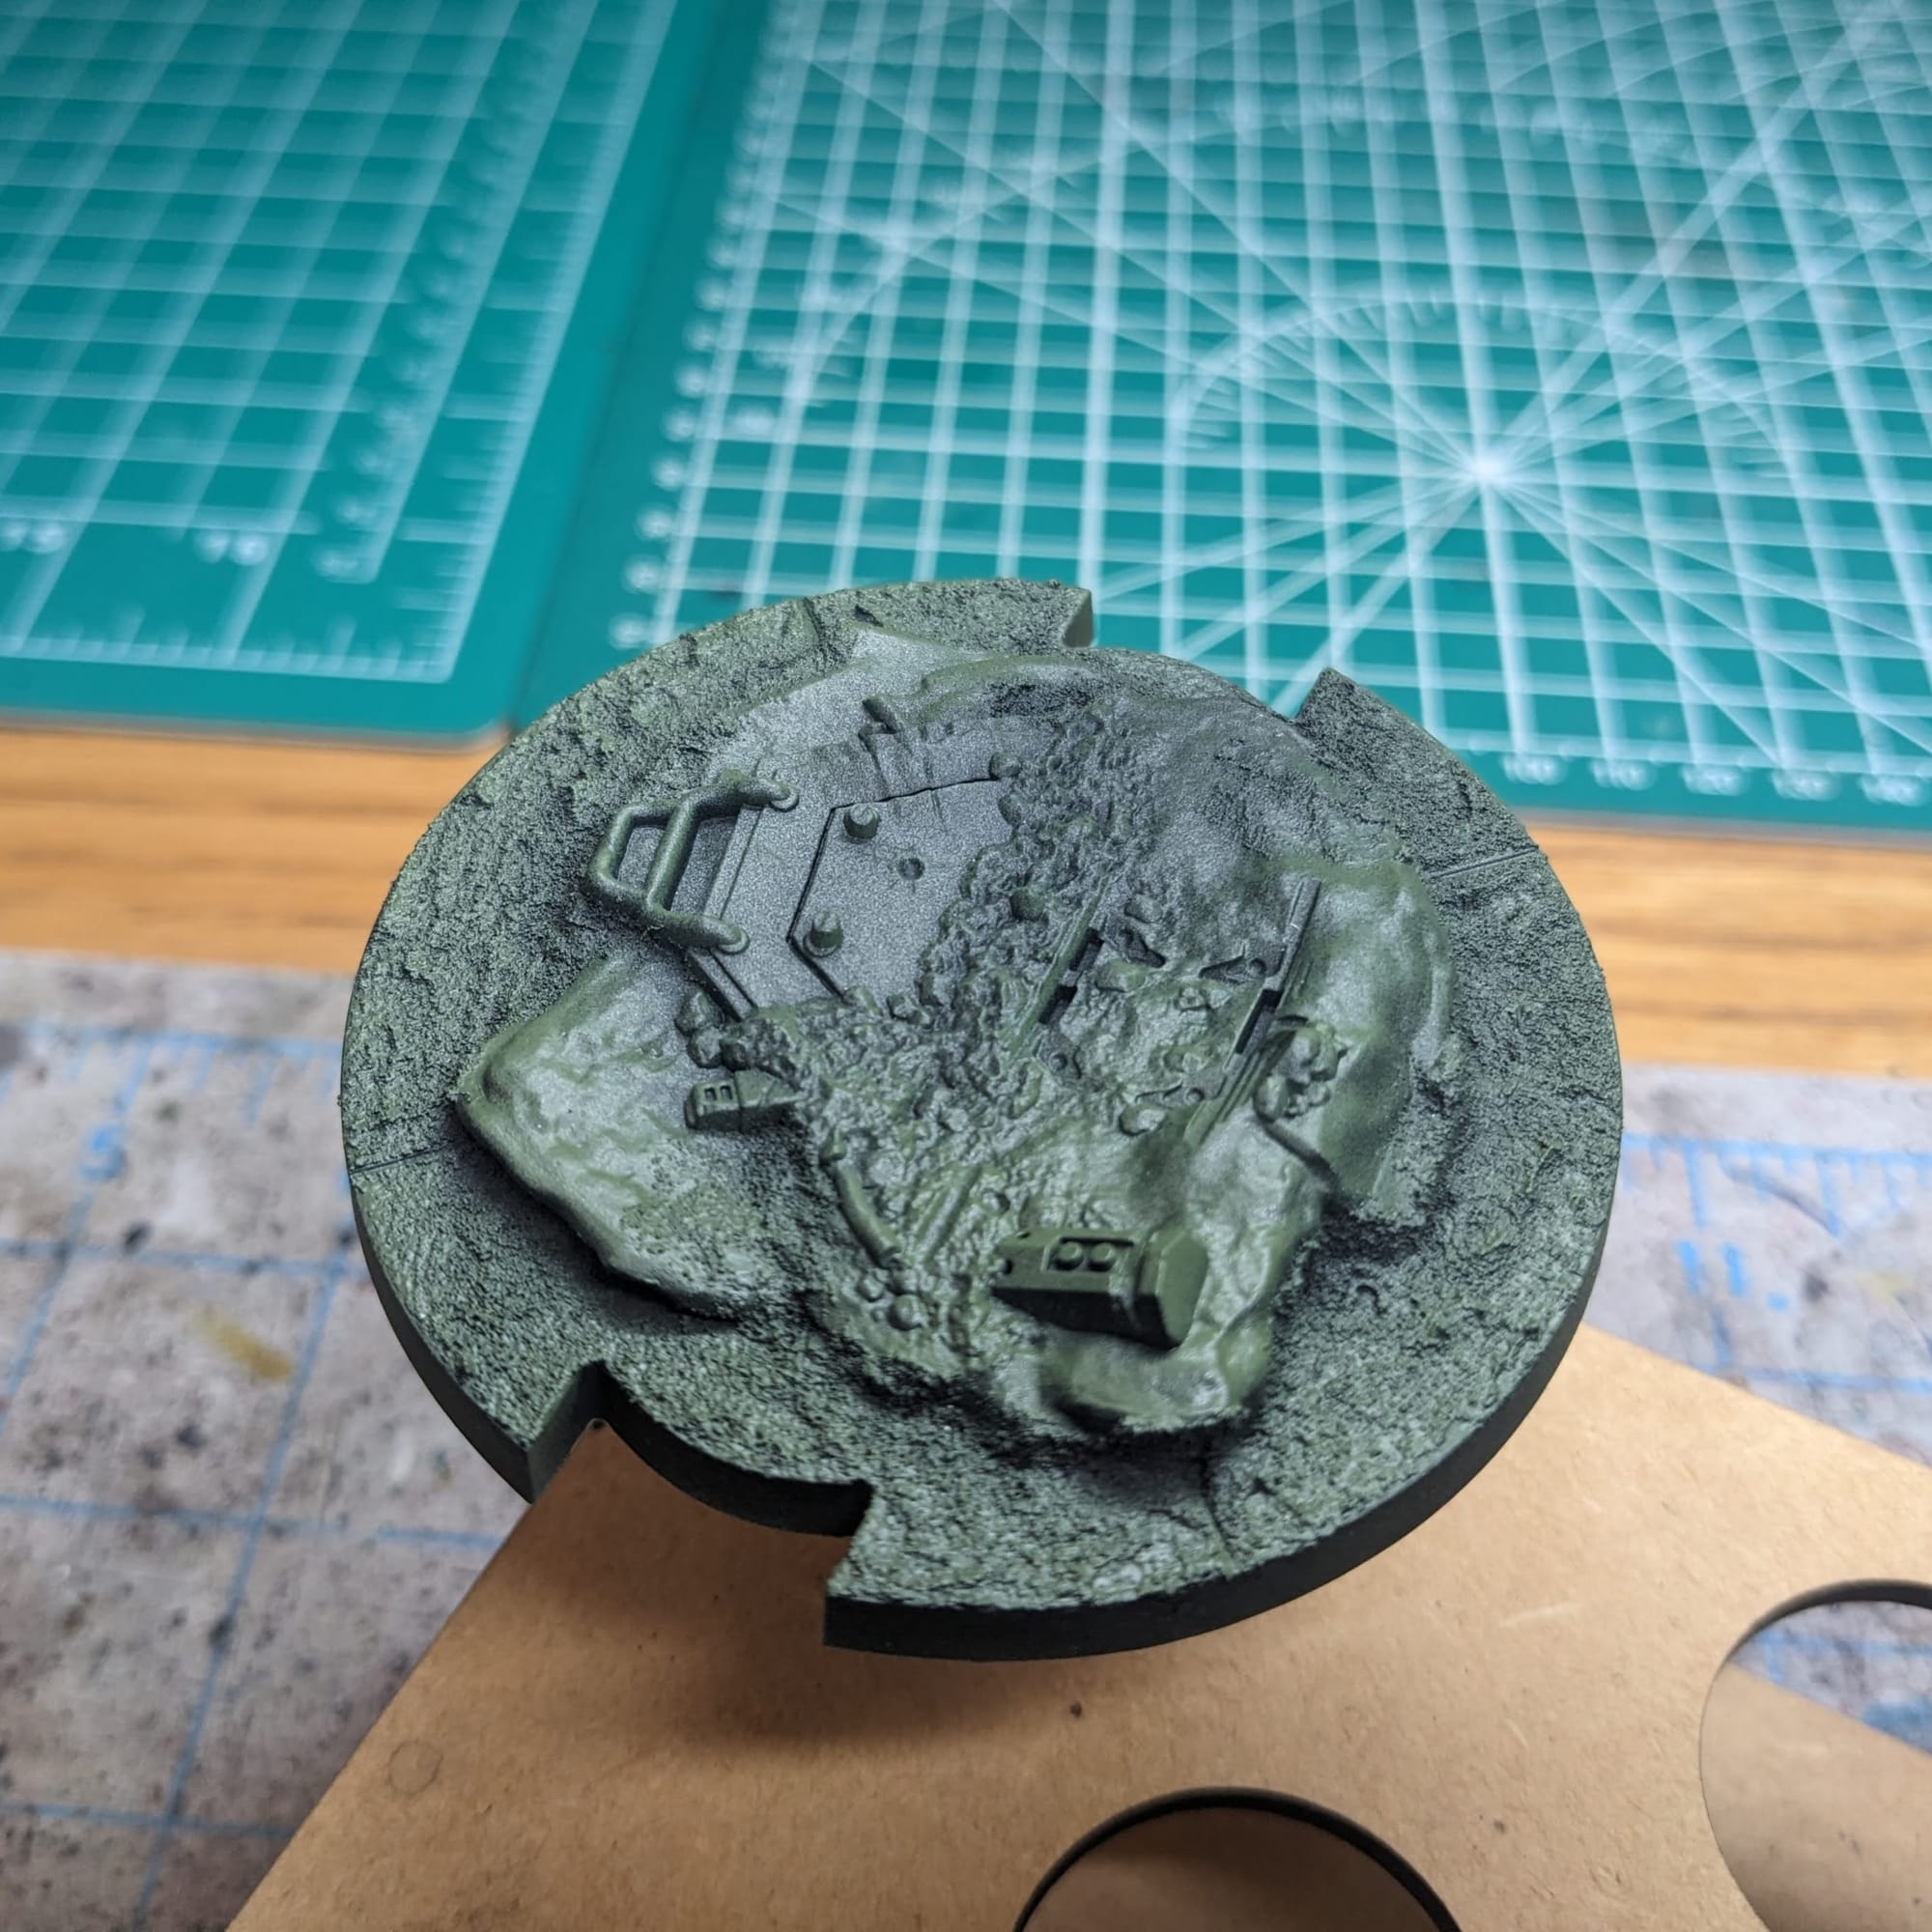
The base is pretty cool. It has some details to it, with some metal bits of some kind and rocks. It also has a nice slotted section that the wheel bike fits into.
After all the paint dried, I then glued everything together and it was ready to roll out!
Basing the Models
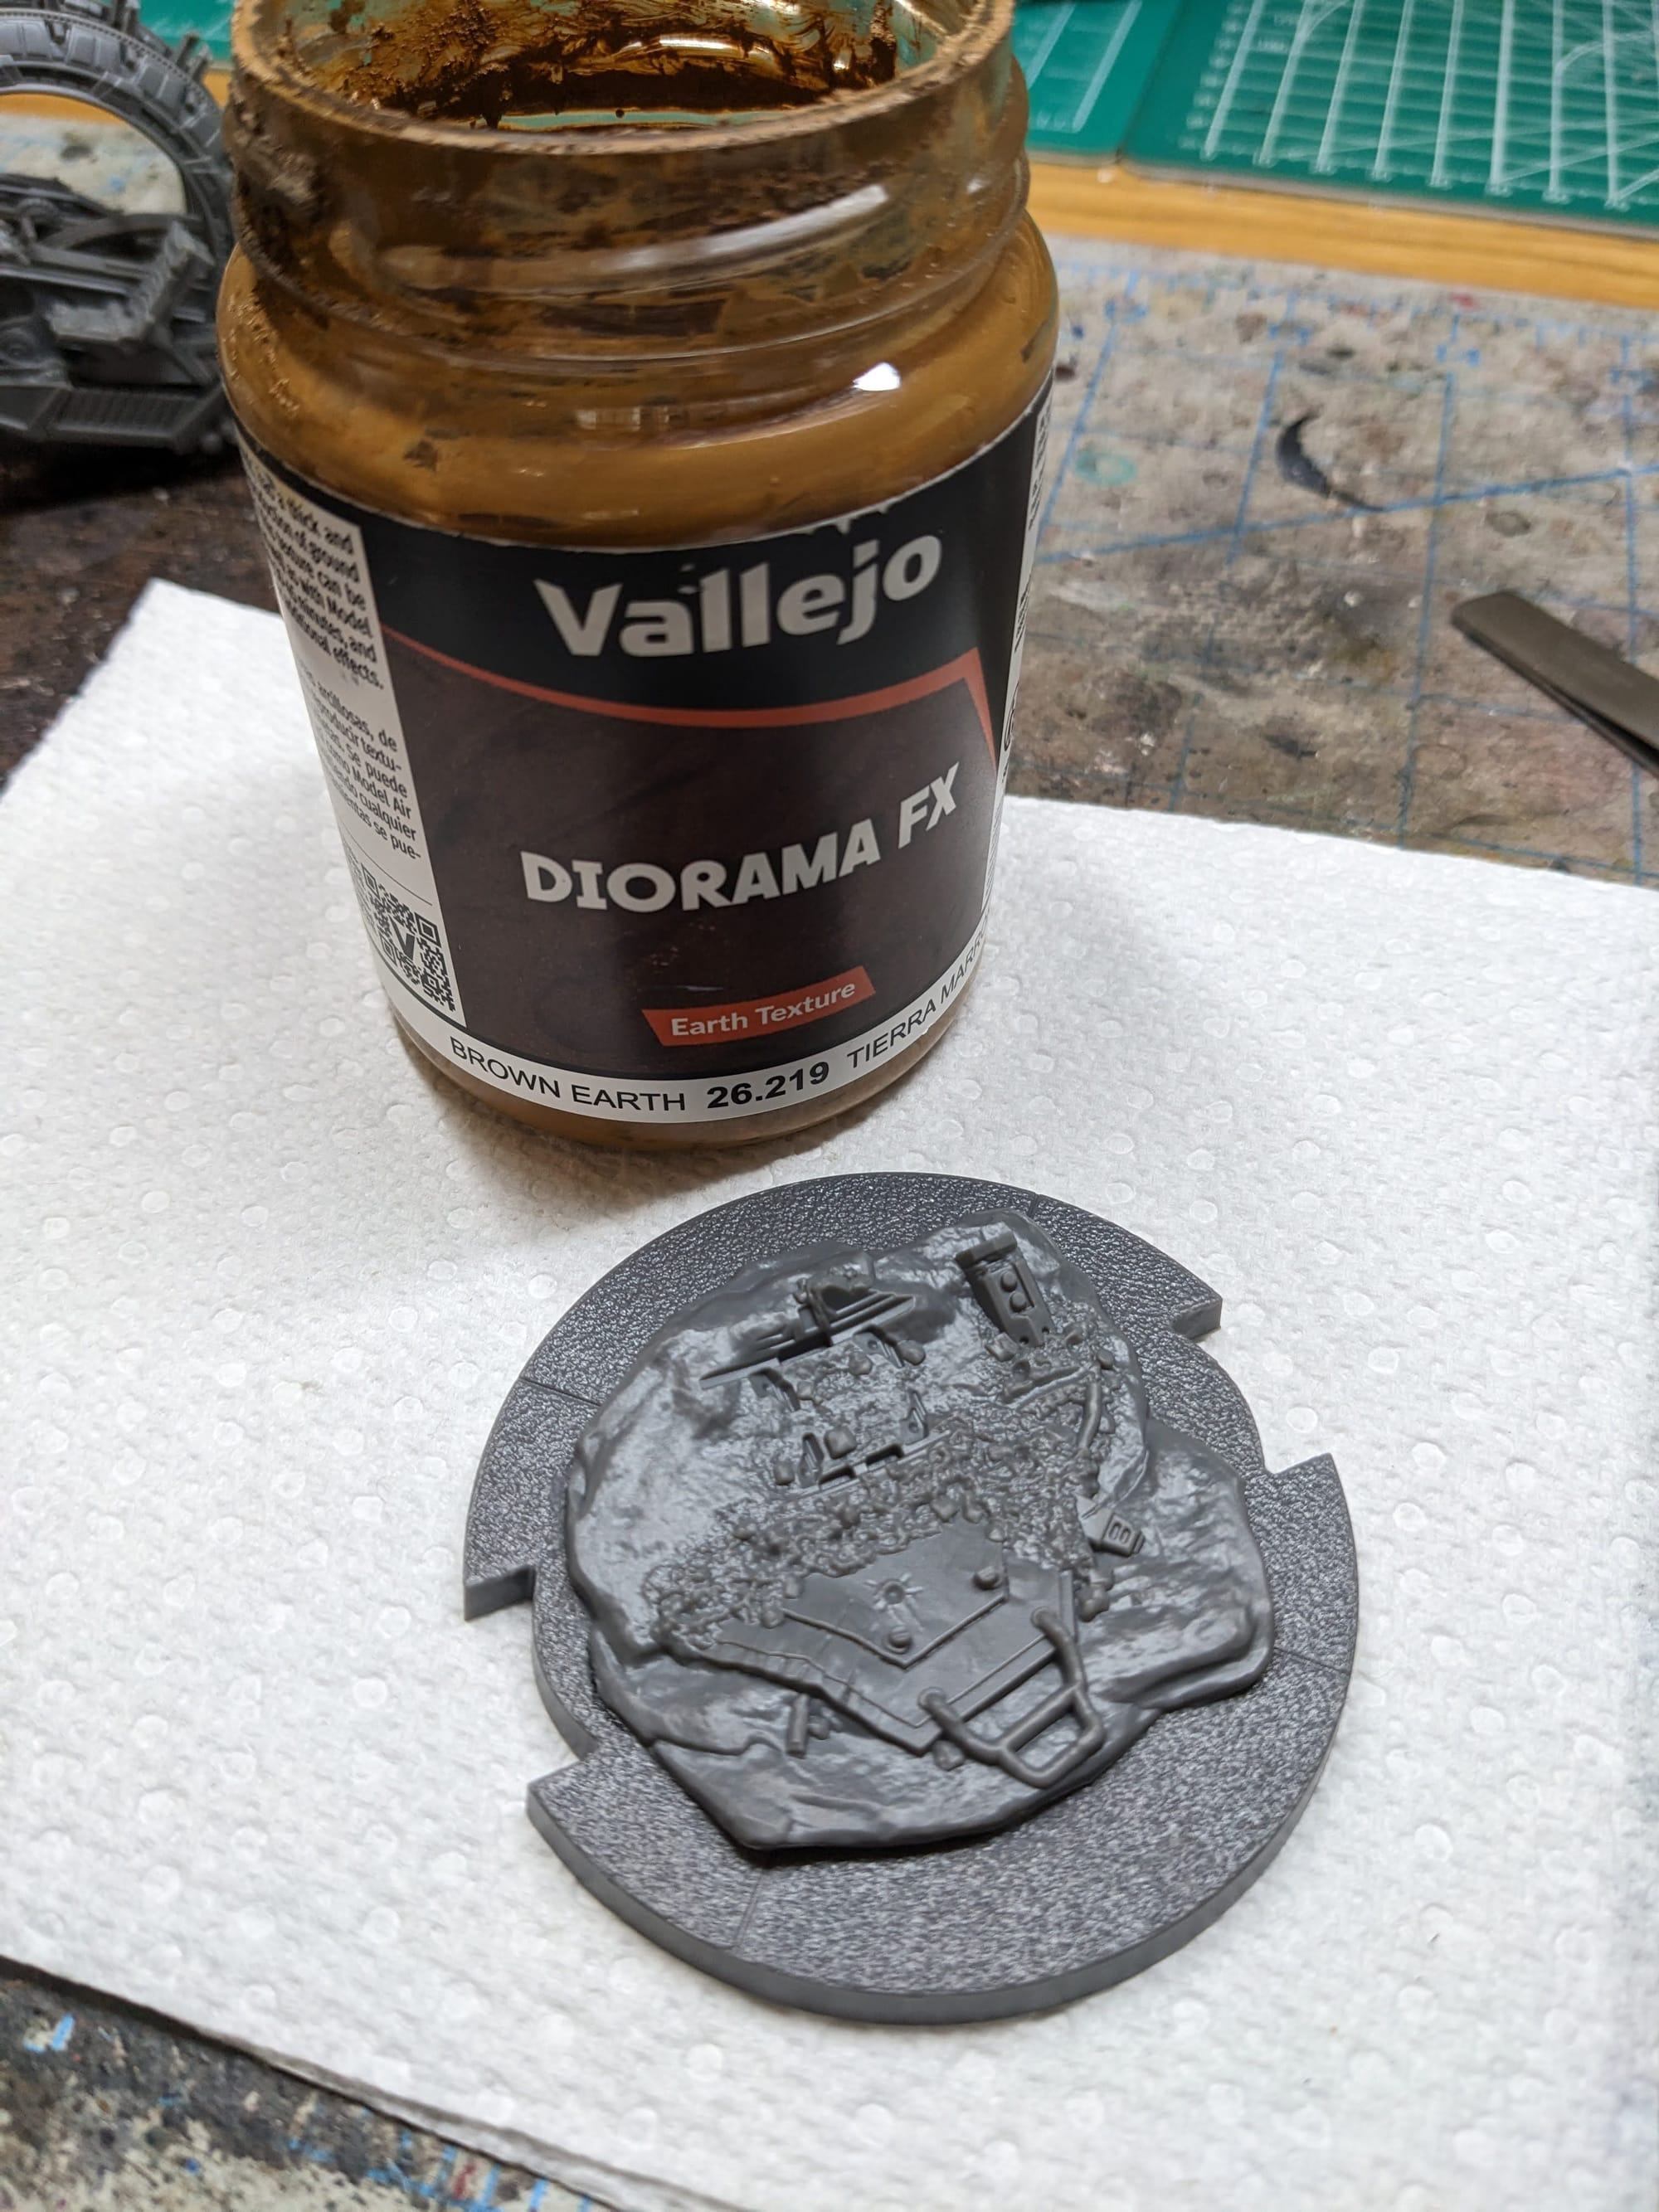
To match the basing I did for the Starter Box, I used a variation of the process to quickly paint up the base. After using Army Painter Army Green primer over the base, which did a majority of the work, I then added spots of Creed Camo to break up the flat spaces and dry-brushed/dabbed Orruk Flesh and then Moot Green.
There are some rocks and some metal debris that I used some brown and grays on. I didn’t want to draw too much attention to the base, so I blended everything together with some brown and green washes.
Sealing Your Models
As I do with all of the models I paint that I also play, I applied a protective clear coating over the paint. This helps preserve the paint on the model and keeps oils from your hands from rubbing off the paint as you continuously touch the models during games. There are many different kinds of clear varnishes to use, but I typically use any matte or anti-shine varnishes, as satin, semi-gloss, and gloss tend to distort the colors of the models (not to mention that most models aren’t supposed to be shiny).
Brands that have been reliable for me are Krylon Matte Clear Spray, Rustoleum Matte Clear Coat, which is slightly glossy, and Testors Dullcote, although the latter can be expensive and difficult to find. For a coat with no shine that really enhances the colors, I use AK Interactive’s Ultra Matte Varnish, applied with an airbrush.
Painted and Ready for Play

Impressions
What Worked
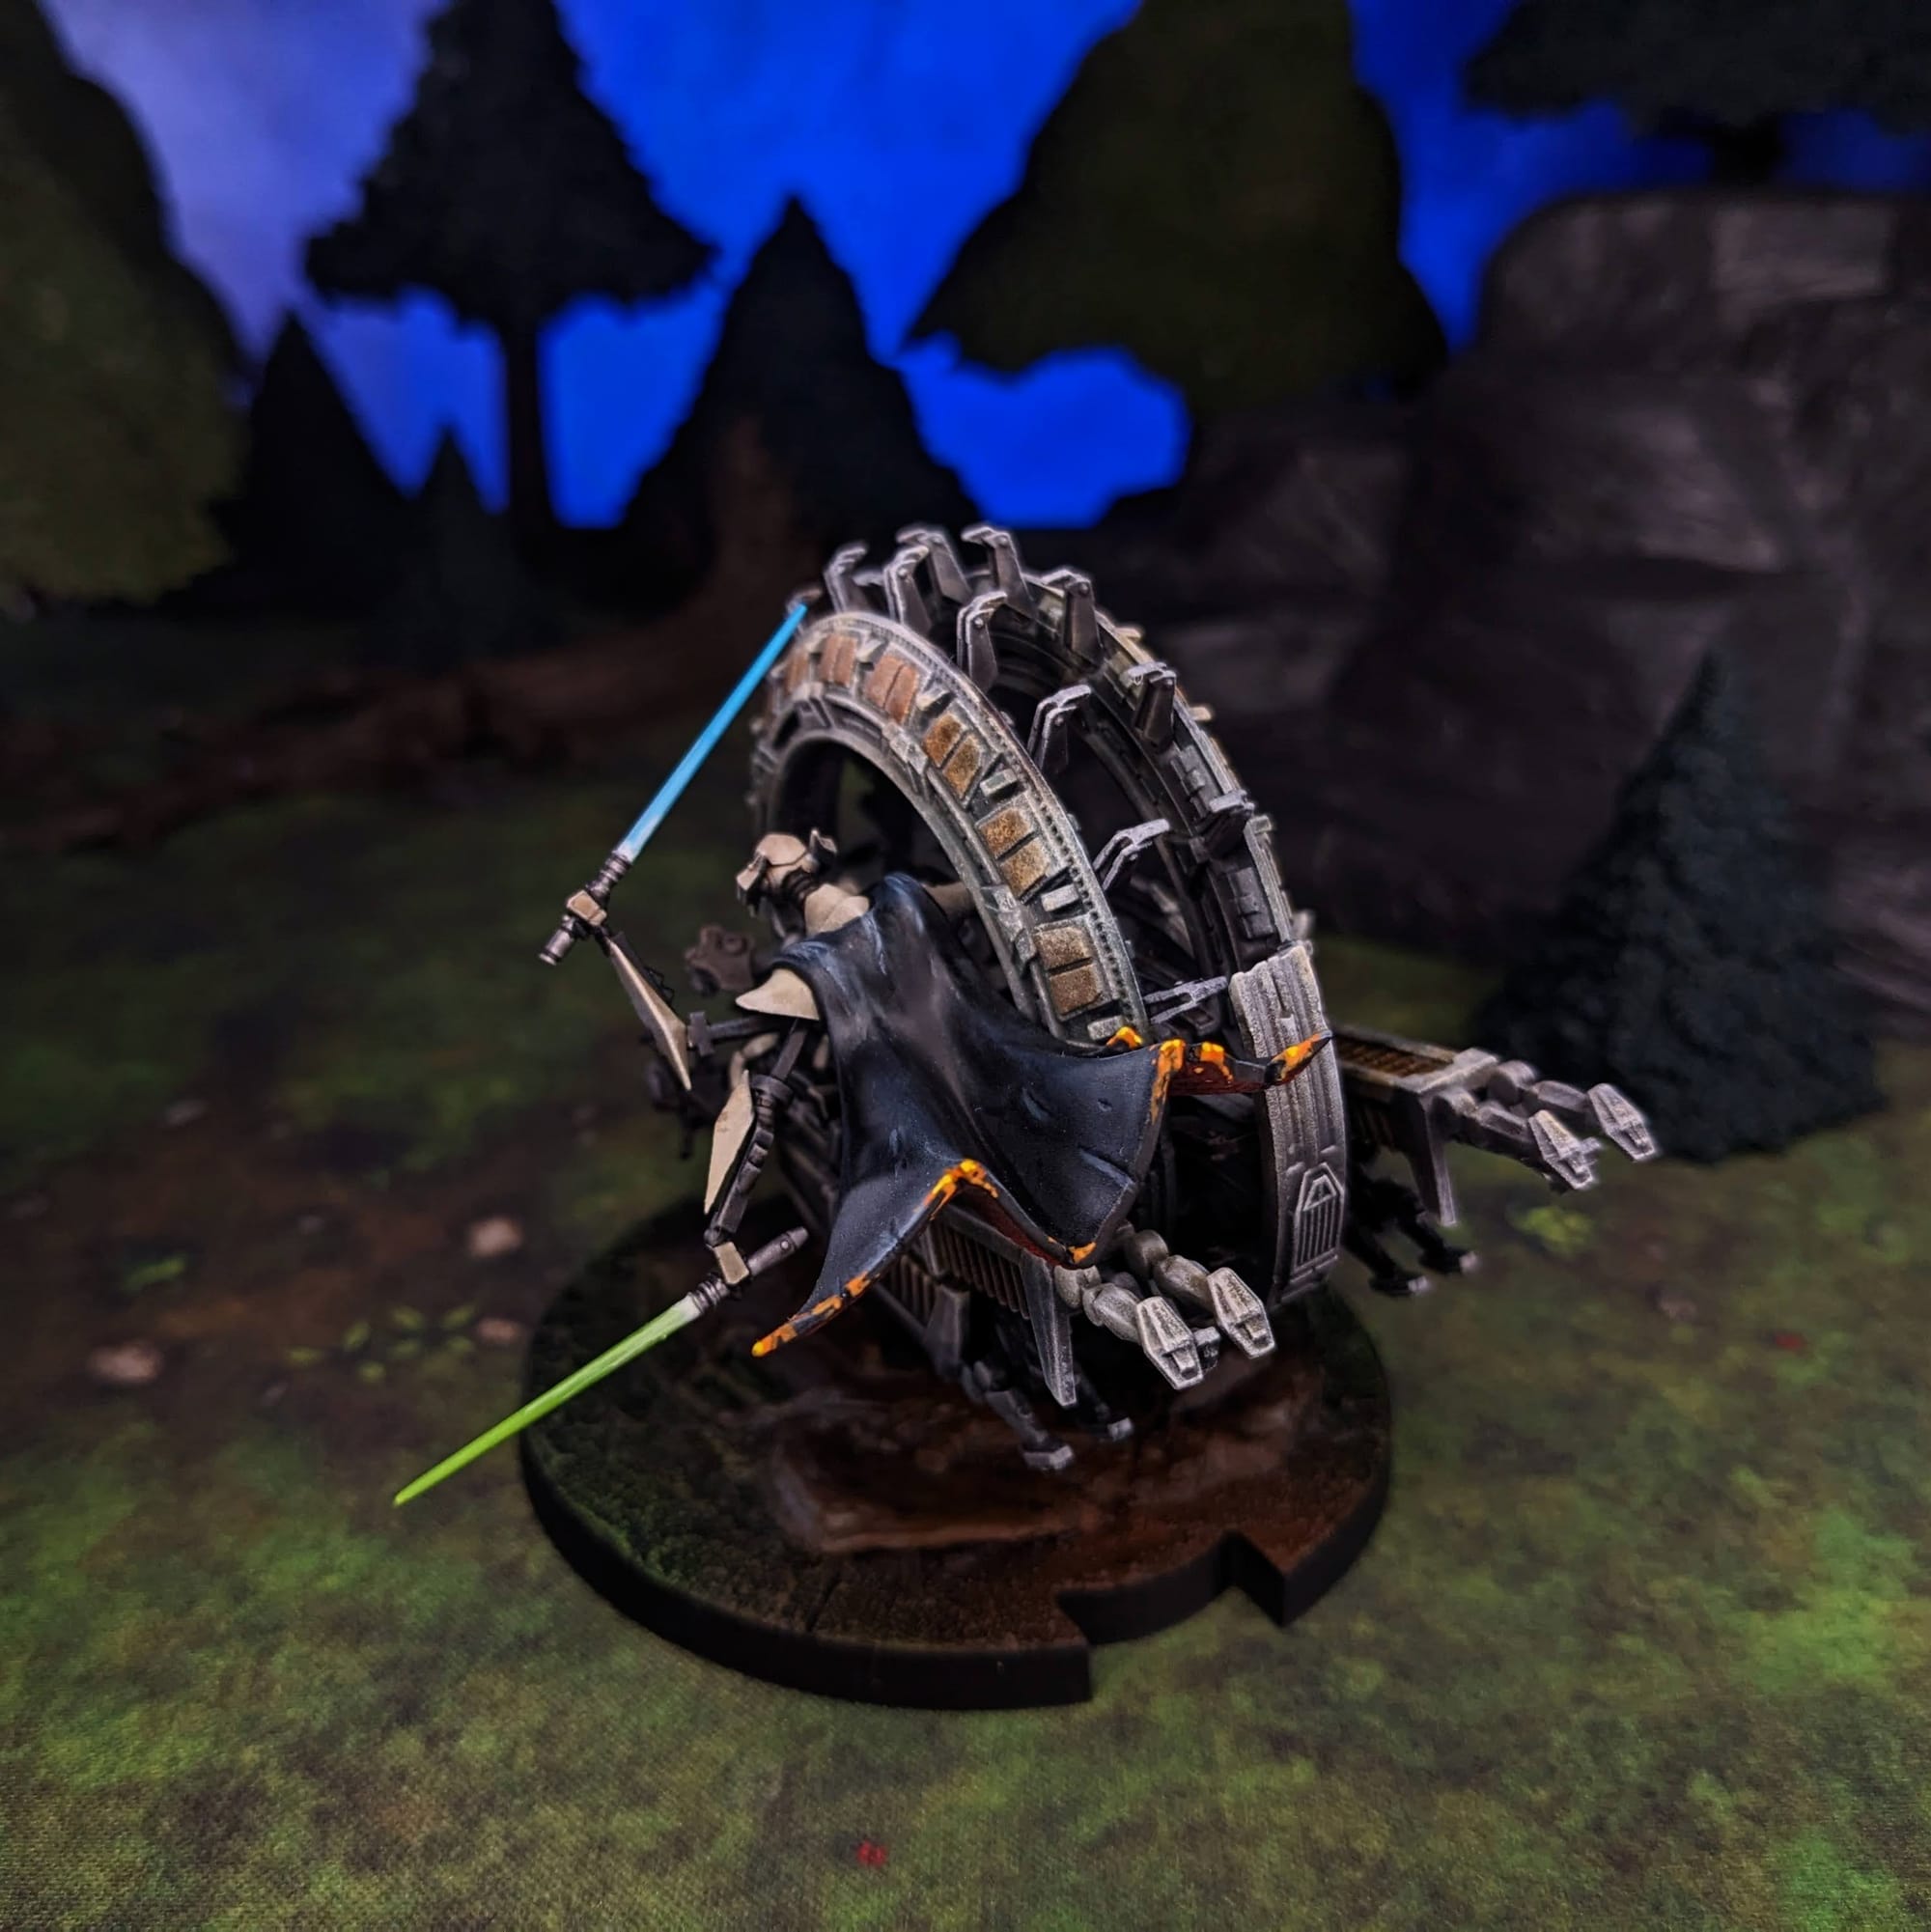
I was incredibly happy with how the metal turned out. I think being flexible and less controlling of the drybrushing and subsequent contrast paint usage allowed for the technique and application to do all the work. The top part of the wheel really pops, and the bottom is shadowed. Additionally, Grievous’s singed cape helps make his model stand out against the dull metal of the wheel.
What Didn’t Work
I feel like I could have spent a little more time on the base. It feels and looks flat, which helps make the model pop more, actually. Obviously, the Wheel Bike wasn’t at the Battle of Naboo, so getting the Clone Wars-era base to match was kind of tough.
What I would do differently next time
In addition to the different base, I would maybe use the electrostaff option, especially if I were building an army with the Magnaguard wheel bikes. Honestly though, this came out great and, once again, I found Sorastro’s guide very useful and helpful
Final Assessment
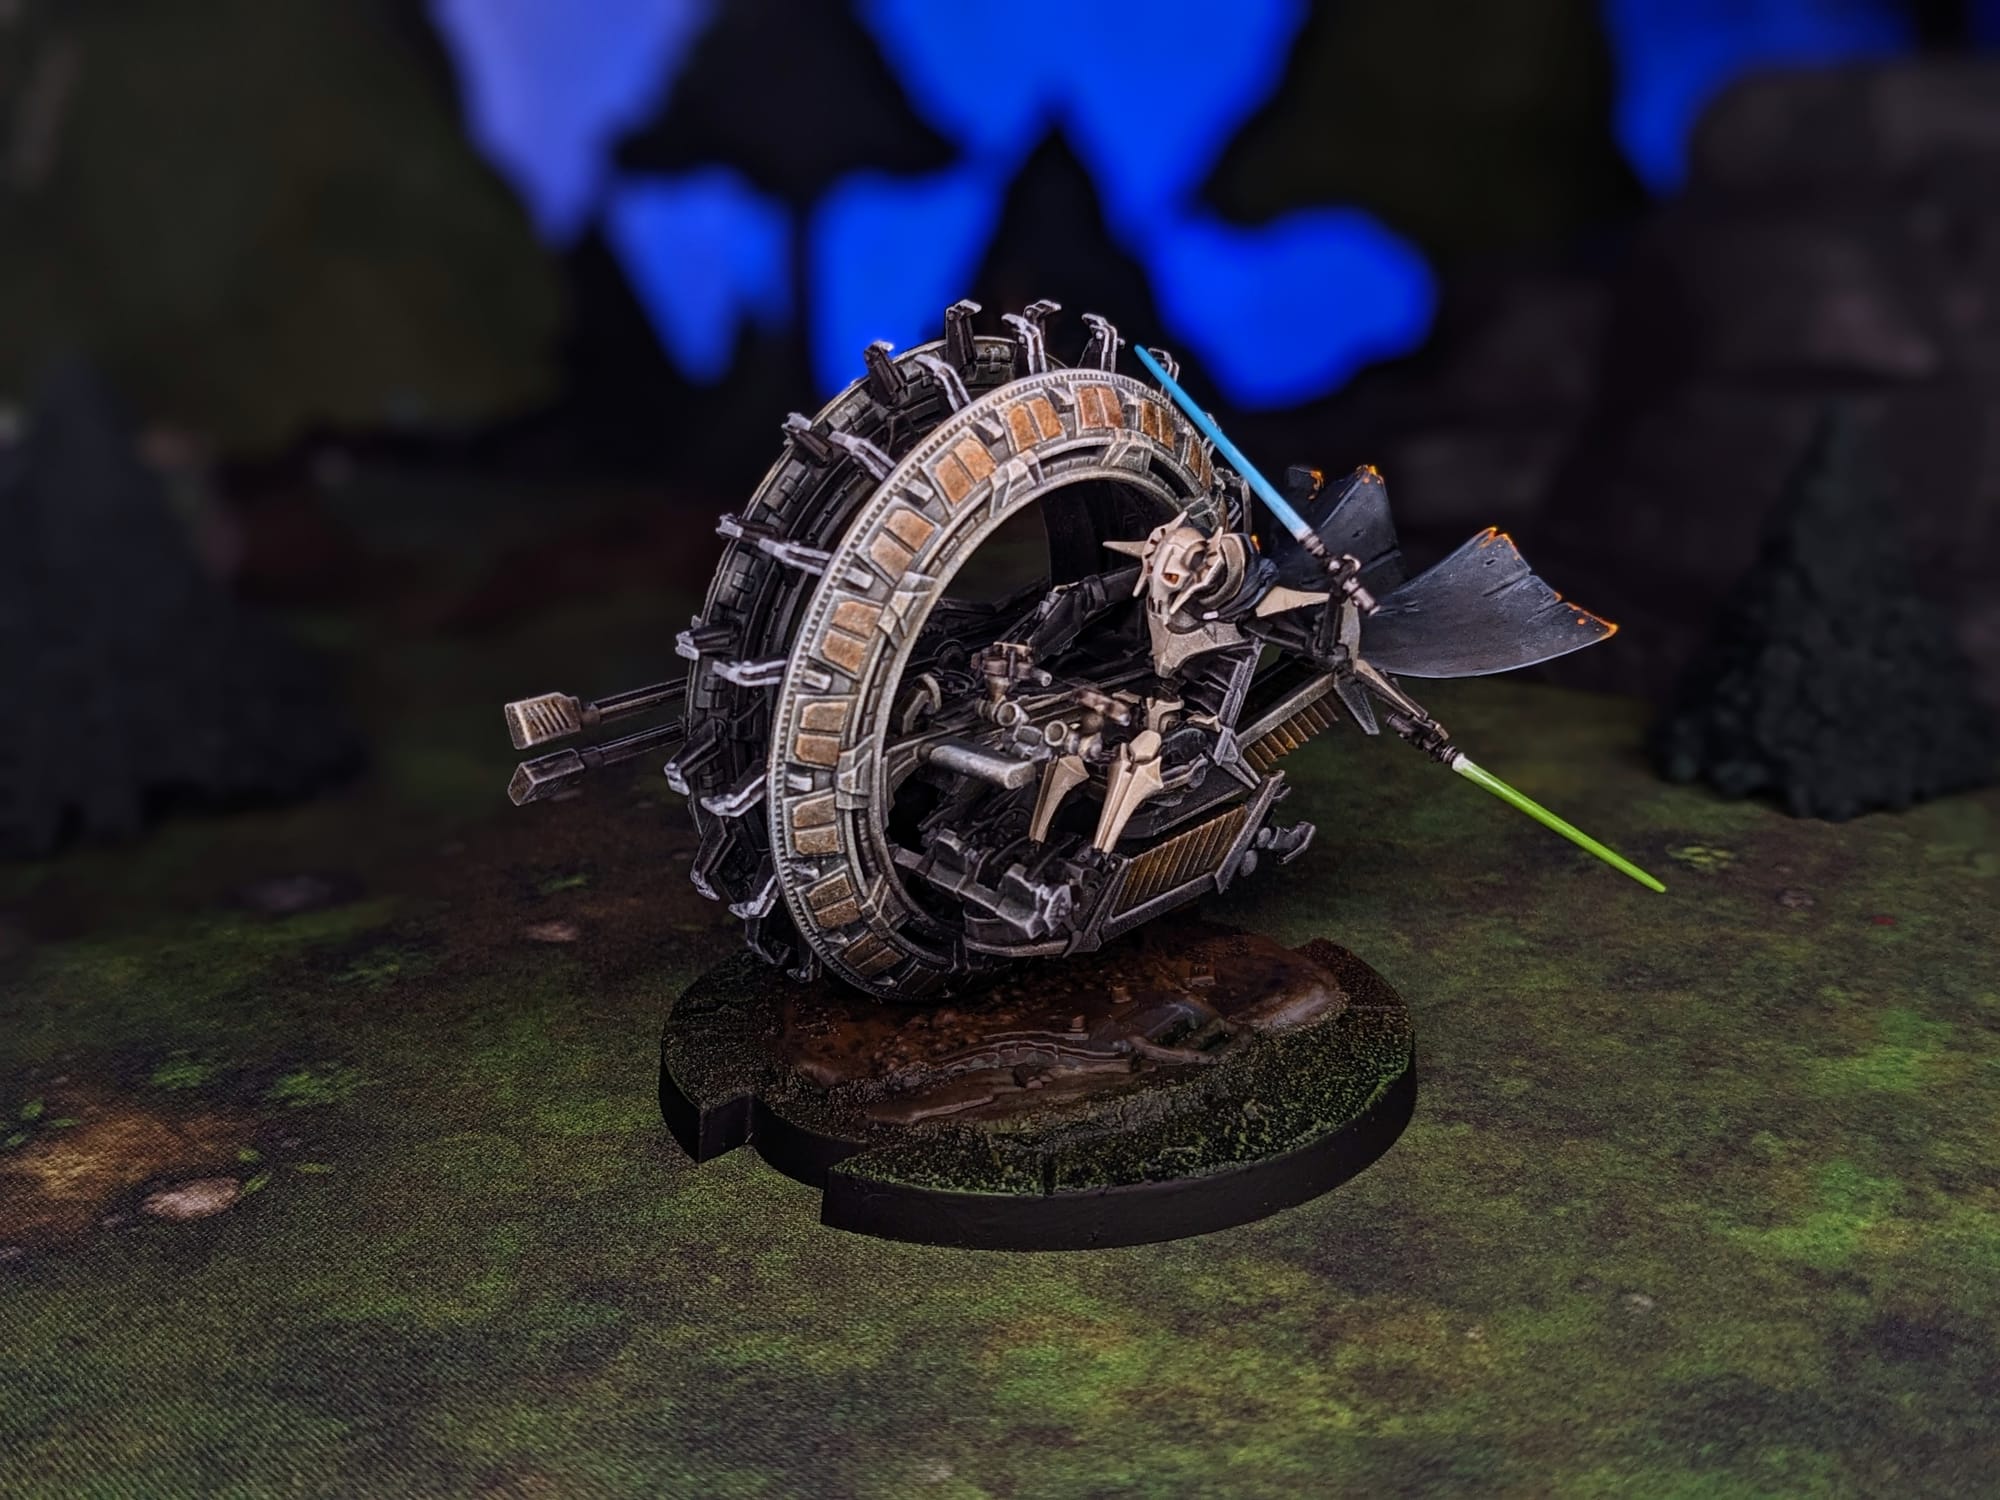
Not only does the model look great and menacing, but it plays like a beast on the table, too. I am excited to have him get more table time, and I am looking forward to painting up the Magnaguard Wheel Bike in the same fashion to bolster my Droid Army!
Have you painted Star Wars: Legion miniatures yet? Share your work with us!
Don’t forget to subscribe and follow us on Instagram, Bluesky, and YouTube for more Star Wars: Legion reviews and painting guides, as well as more hobby and tabletop news and reviews!


