As a child of the 90s, the Sentinels were the ideal villain for the X-Men. Menacing machines that can obliterate our heroes, clad in purples, pinks, and metallics, I was really drawn to their aesthetic, and I want to reflect that in my models.
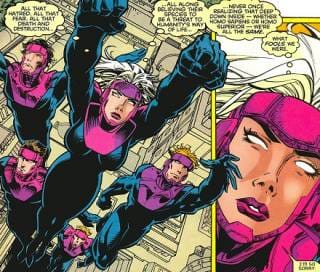
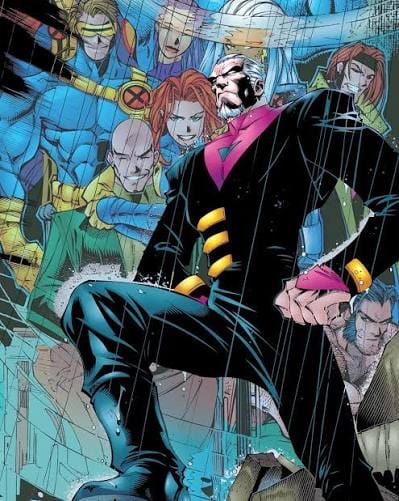
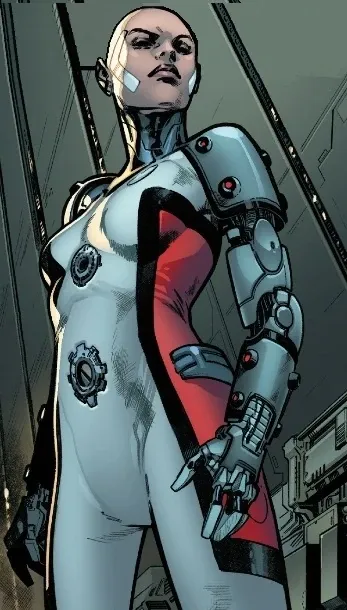
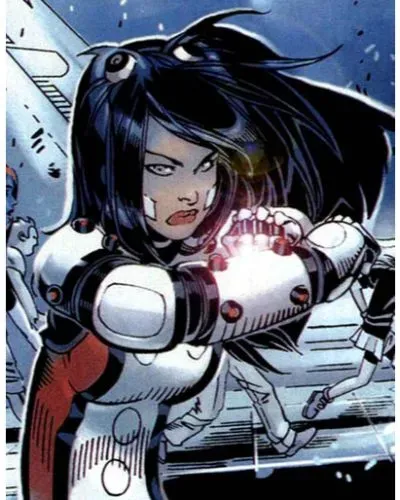
So, as I covered in my unboxing video for Operation Zero Tolerance and the Bastion / Omega Sentinel pack, these are models that would be excellent to have a familiar scheme.
 GAMINGTREND Tabletop
The Plan
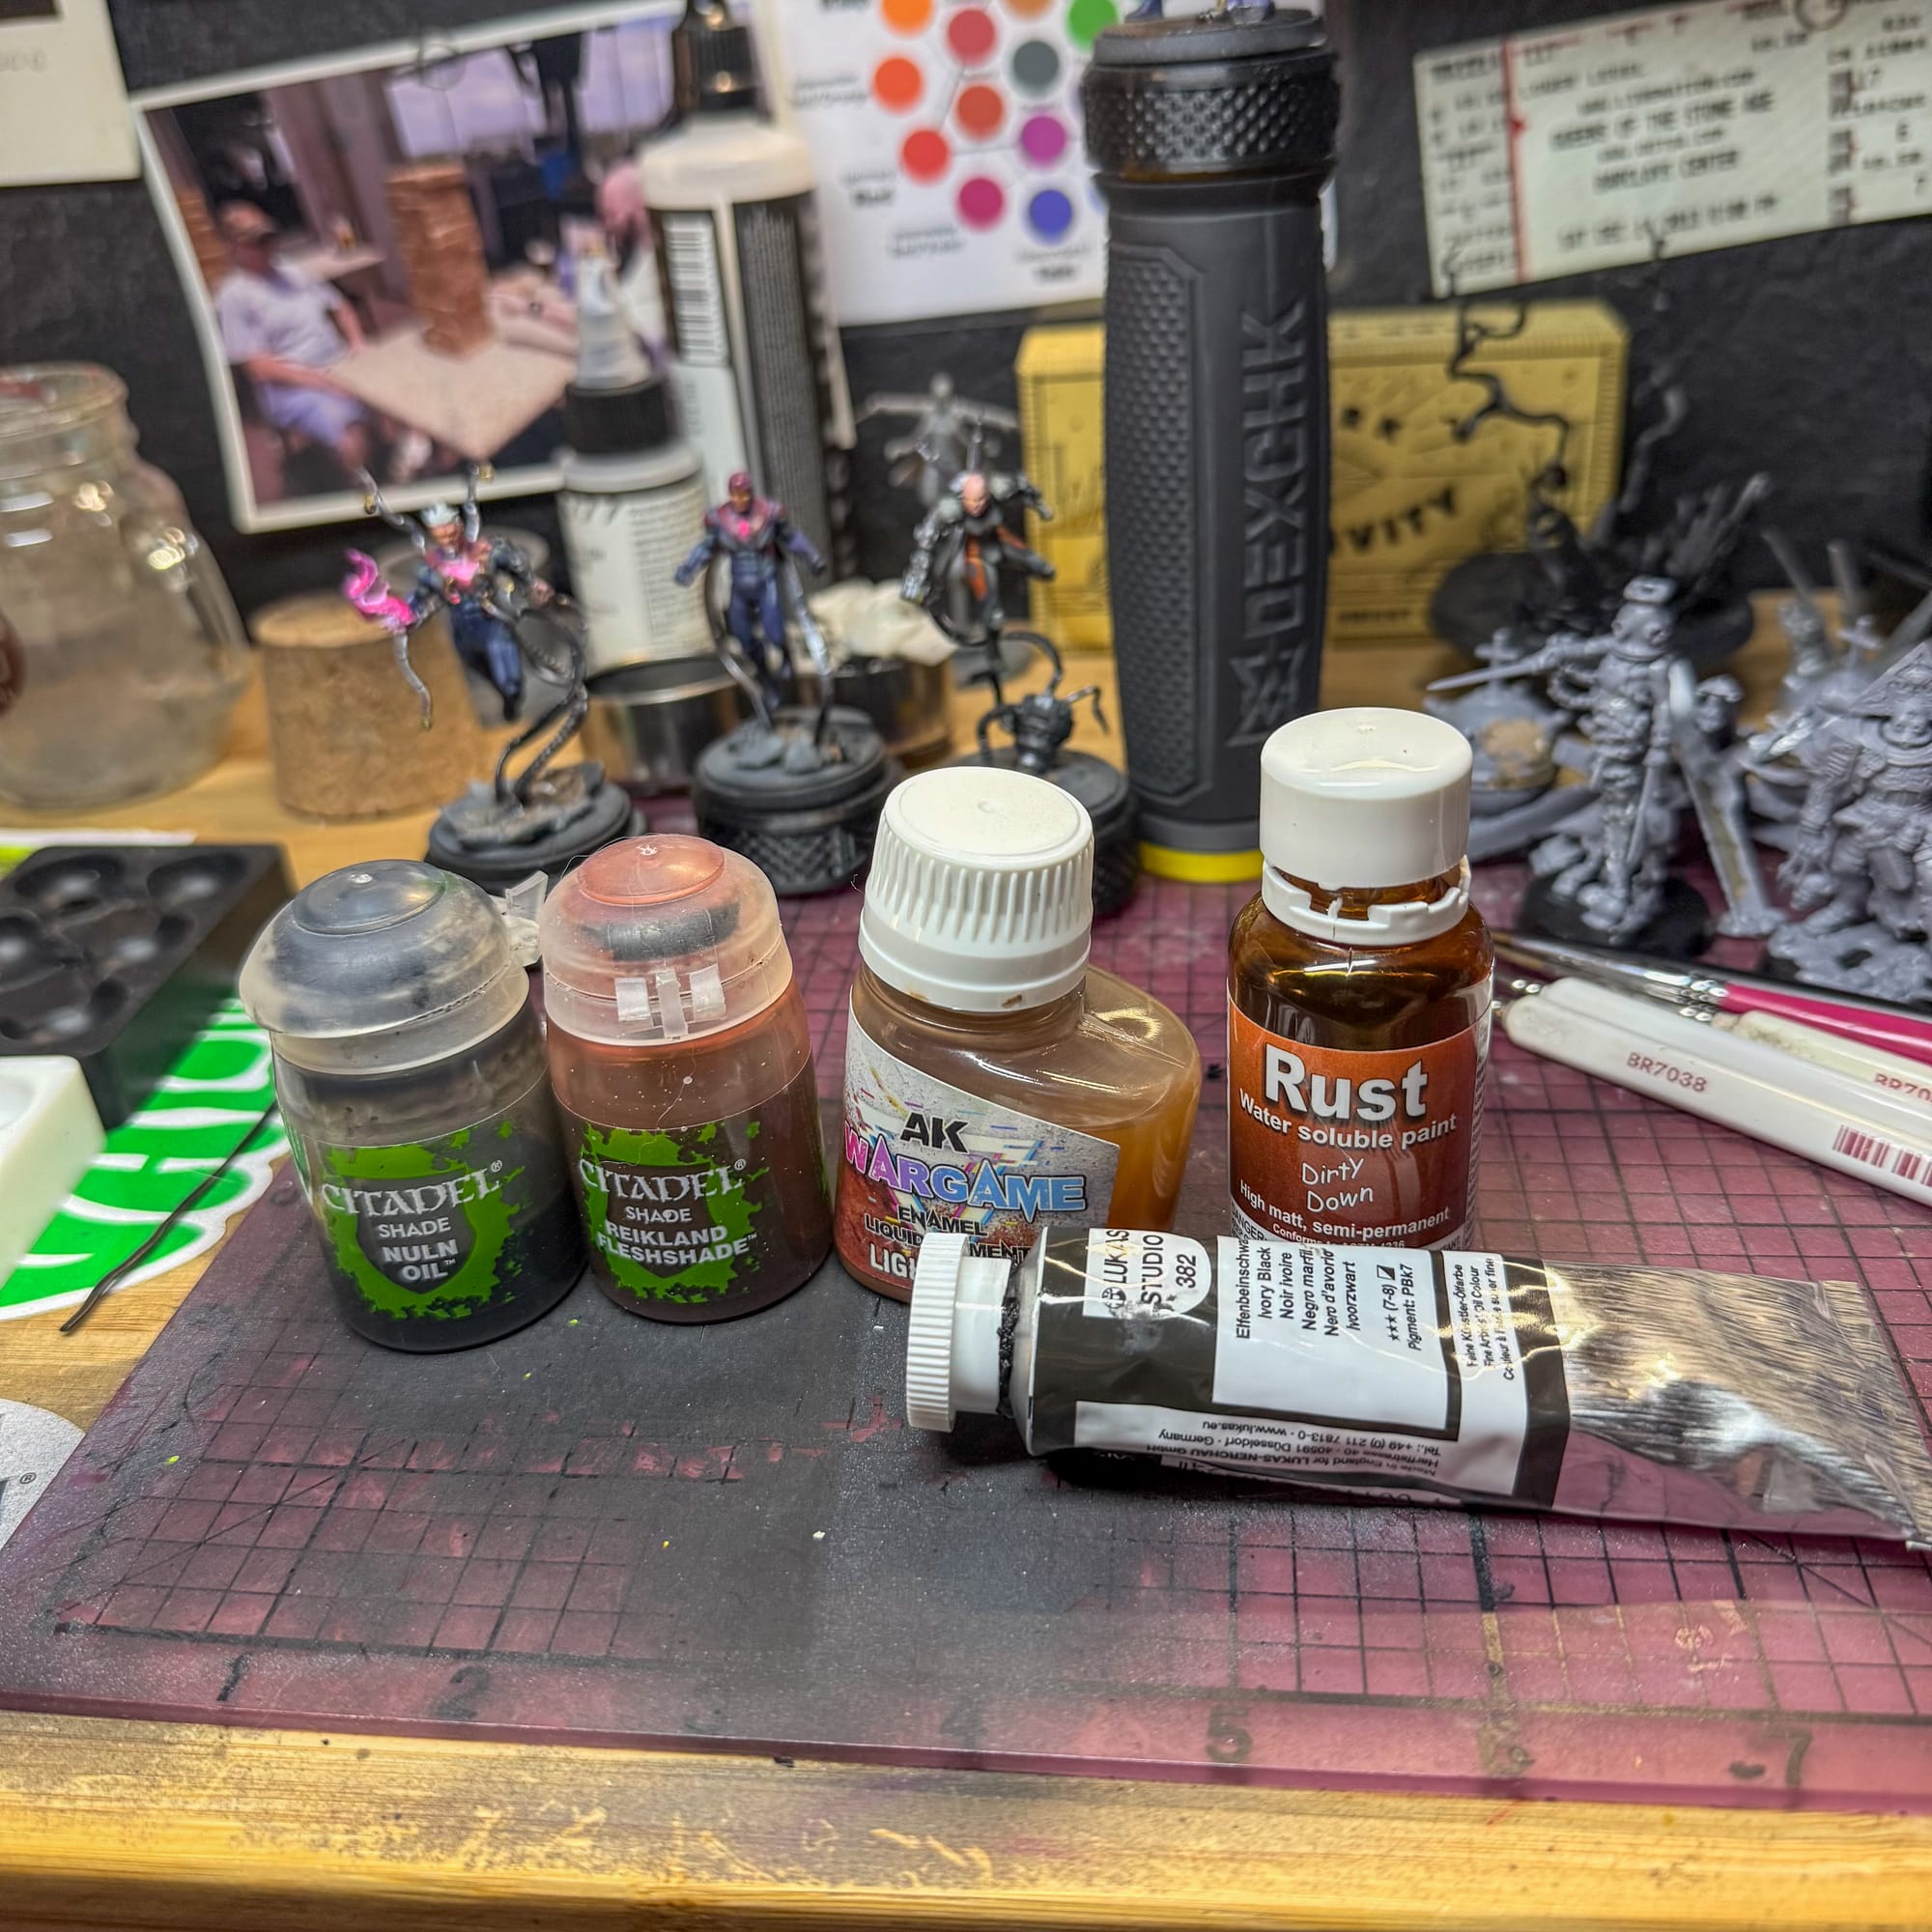
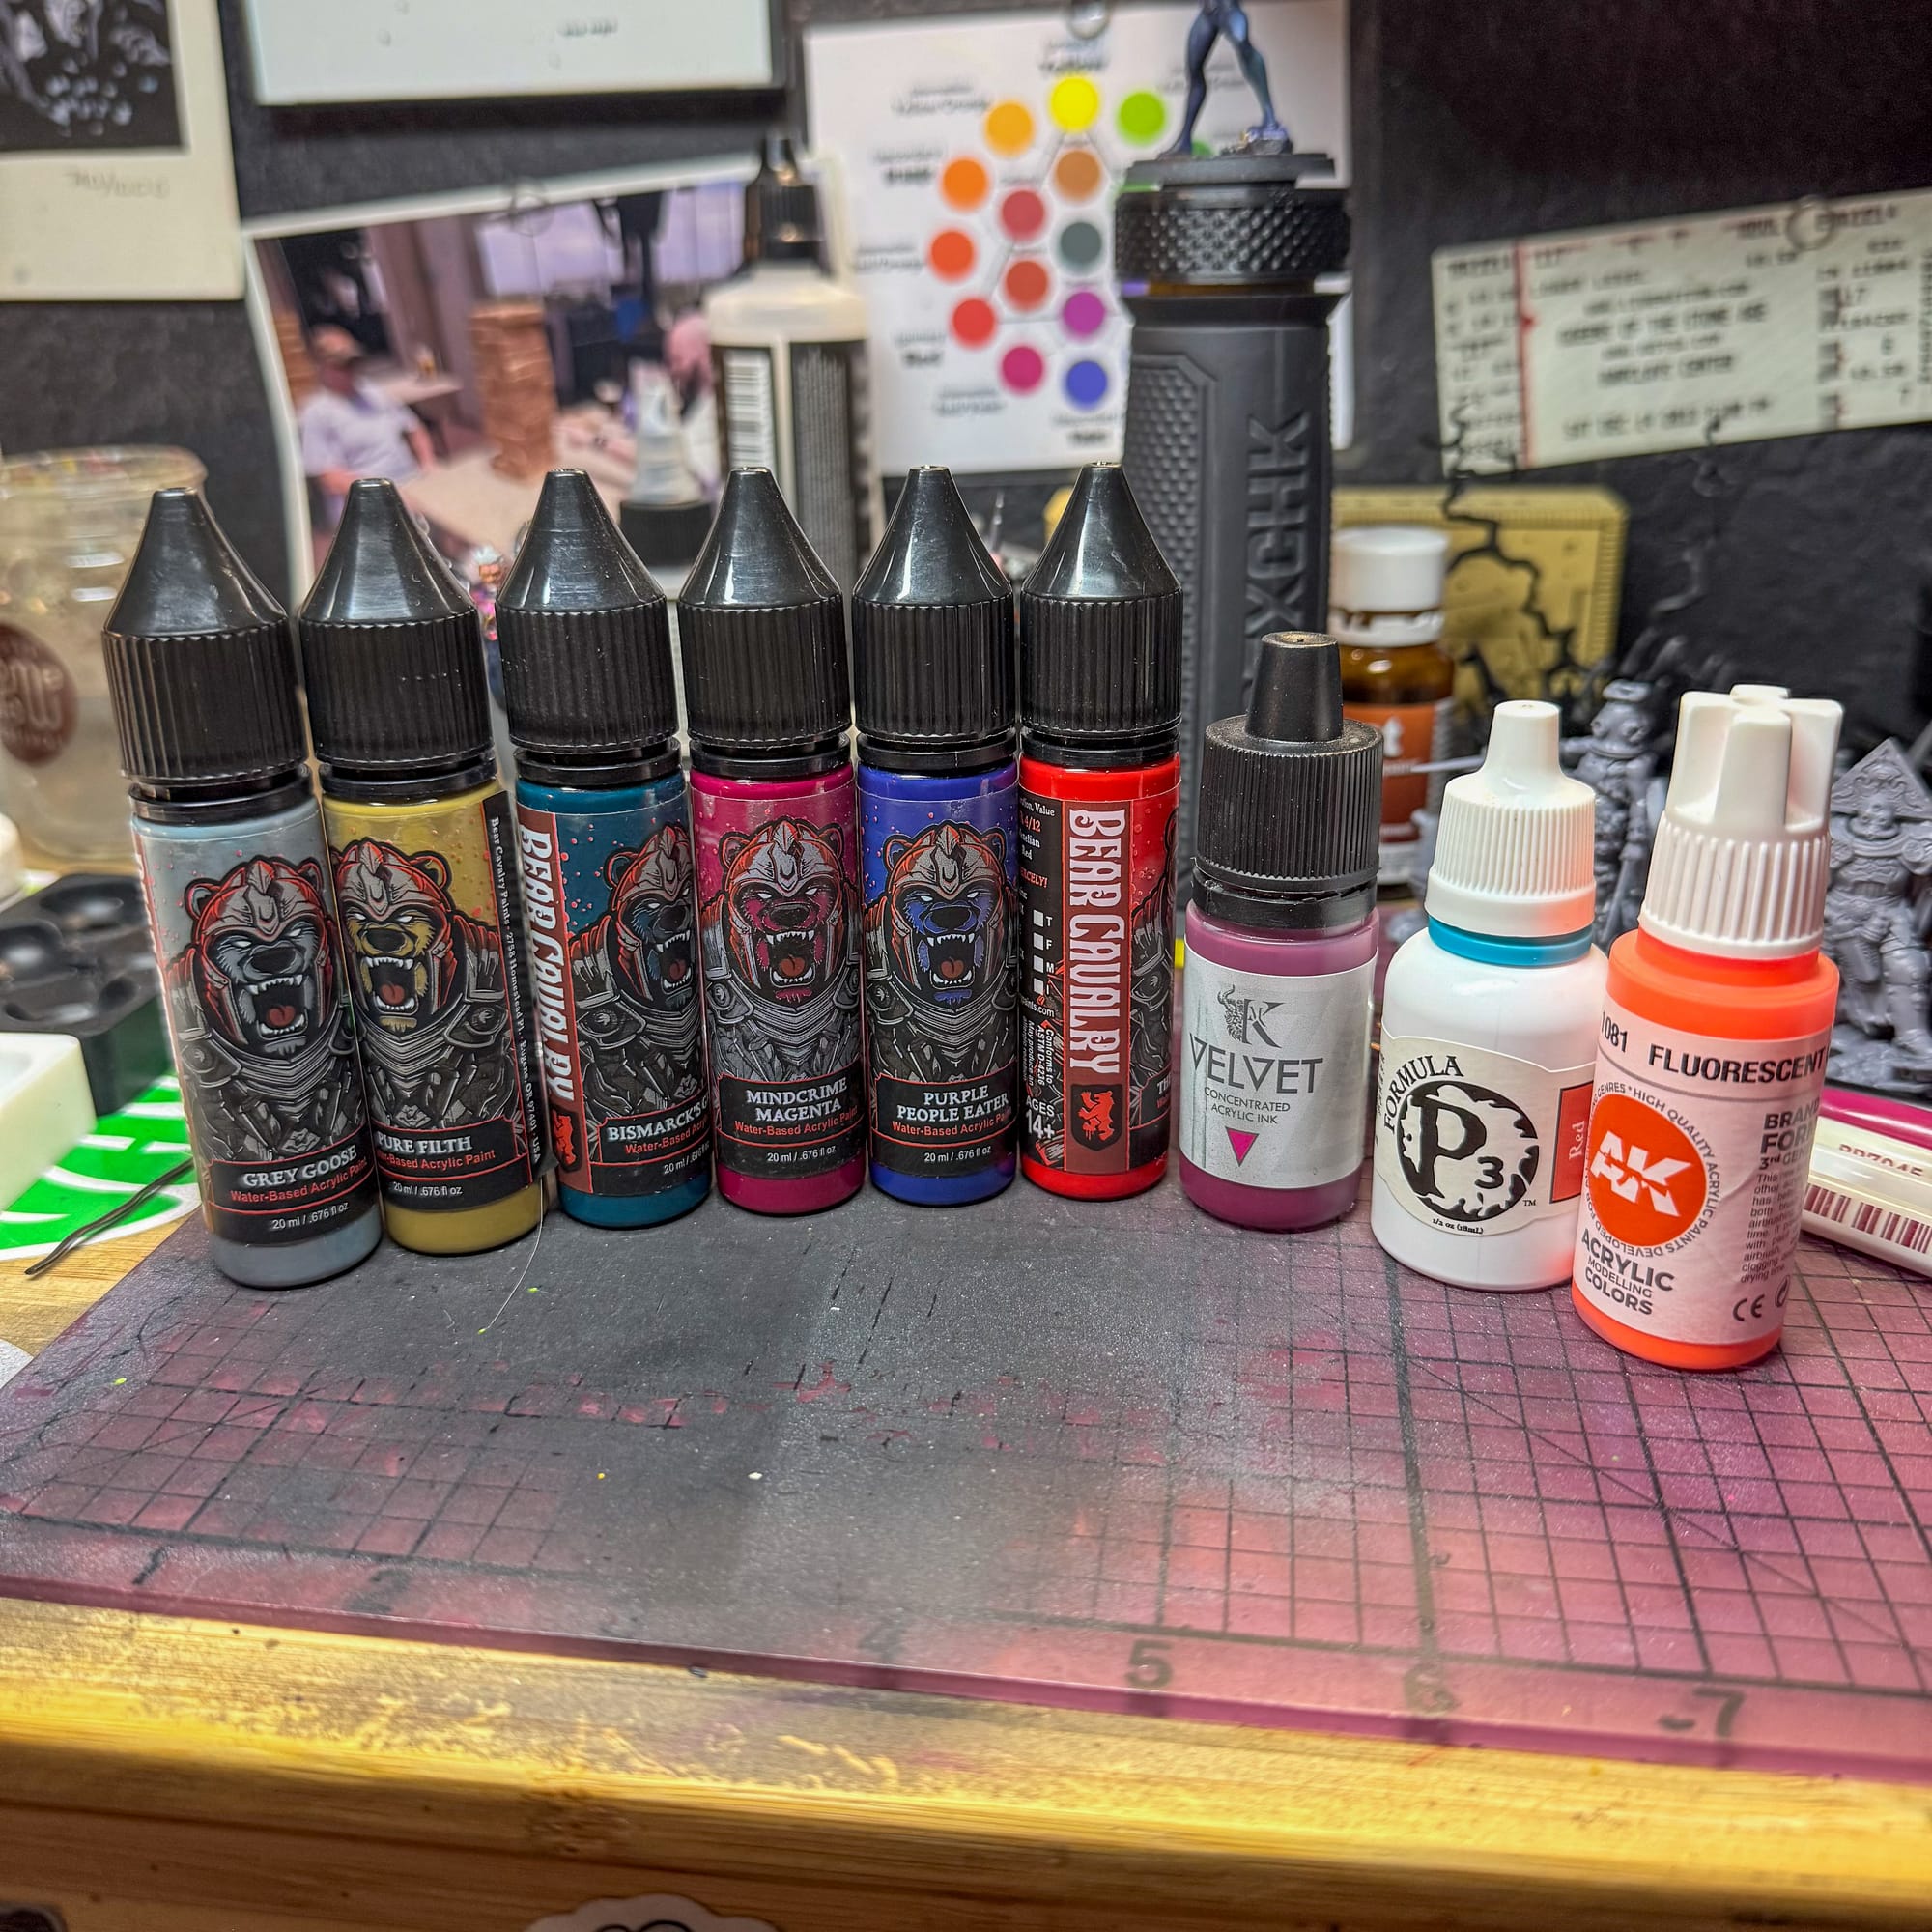
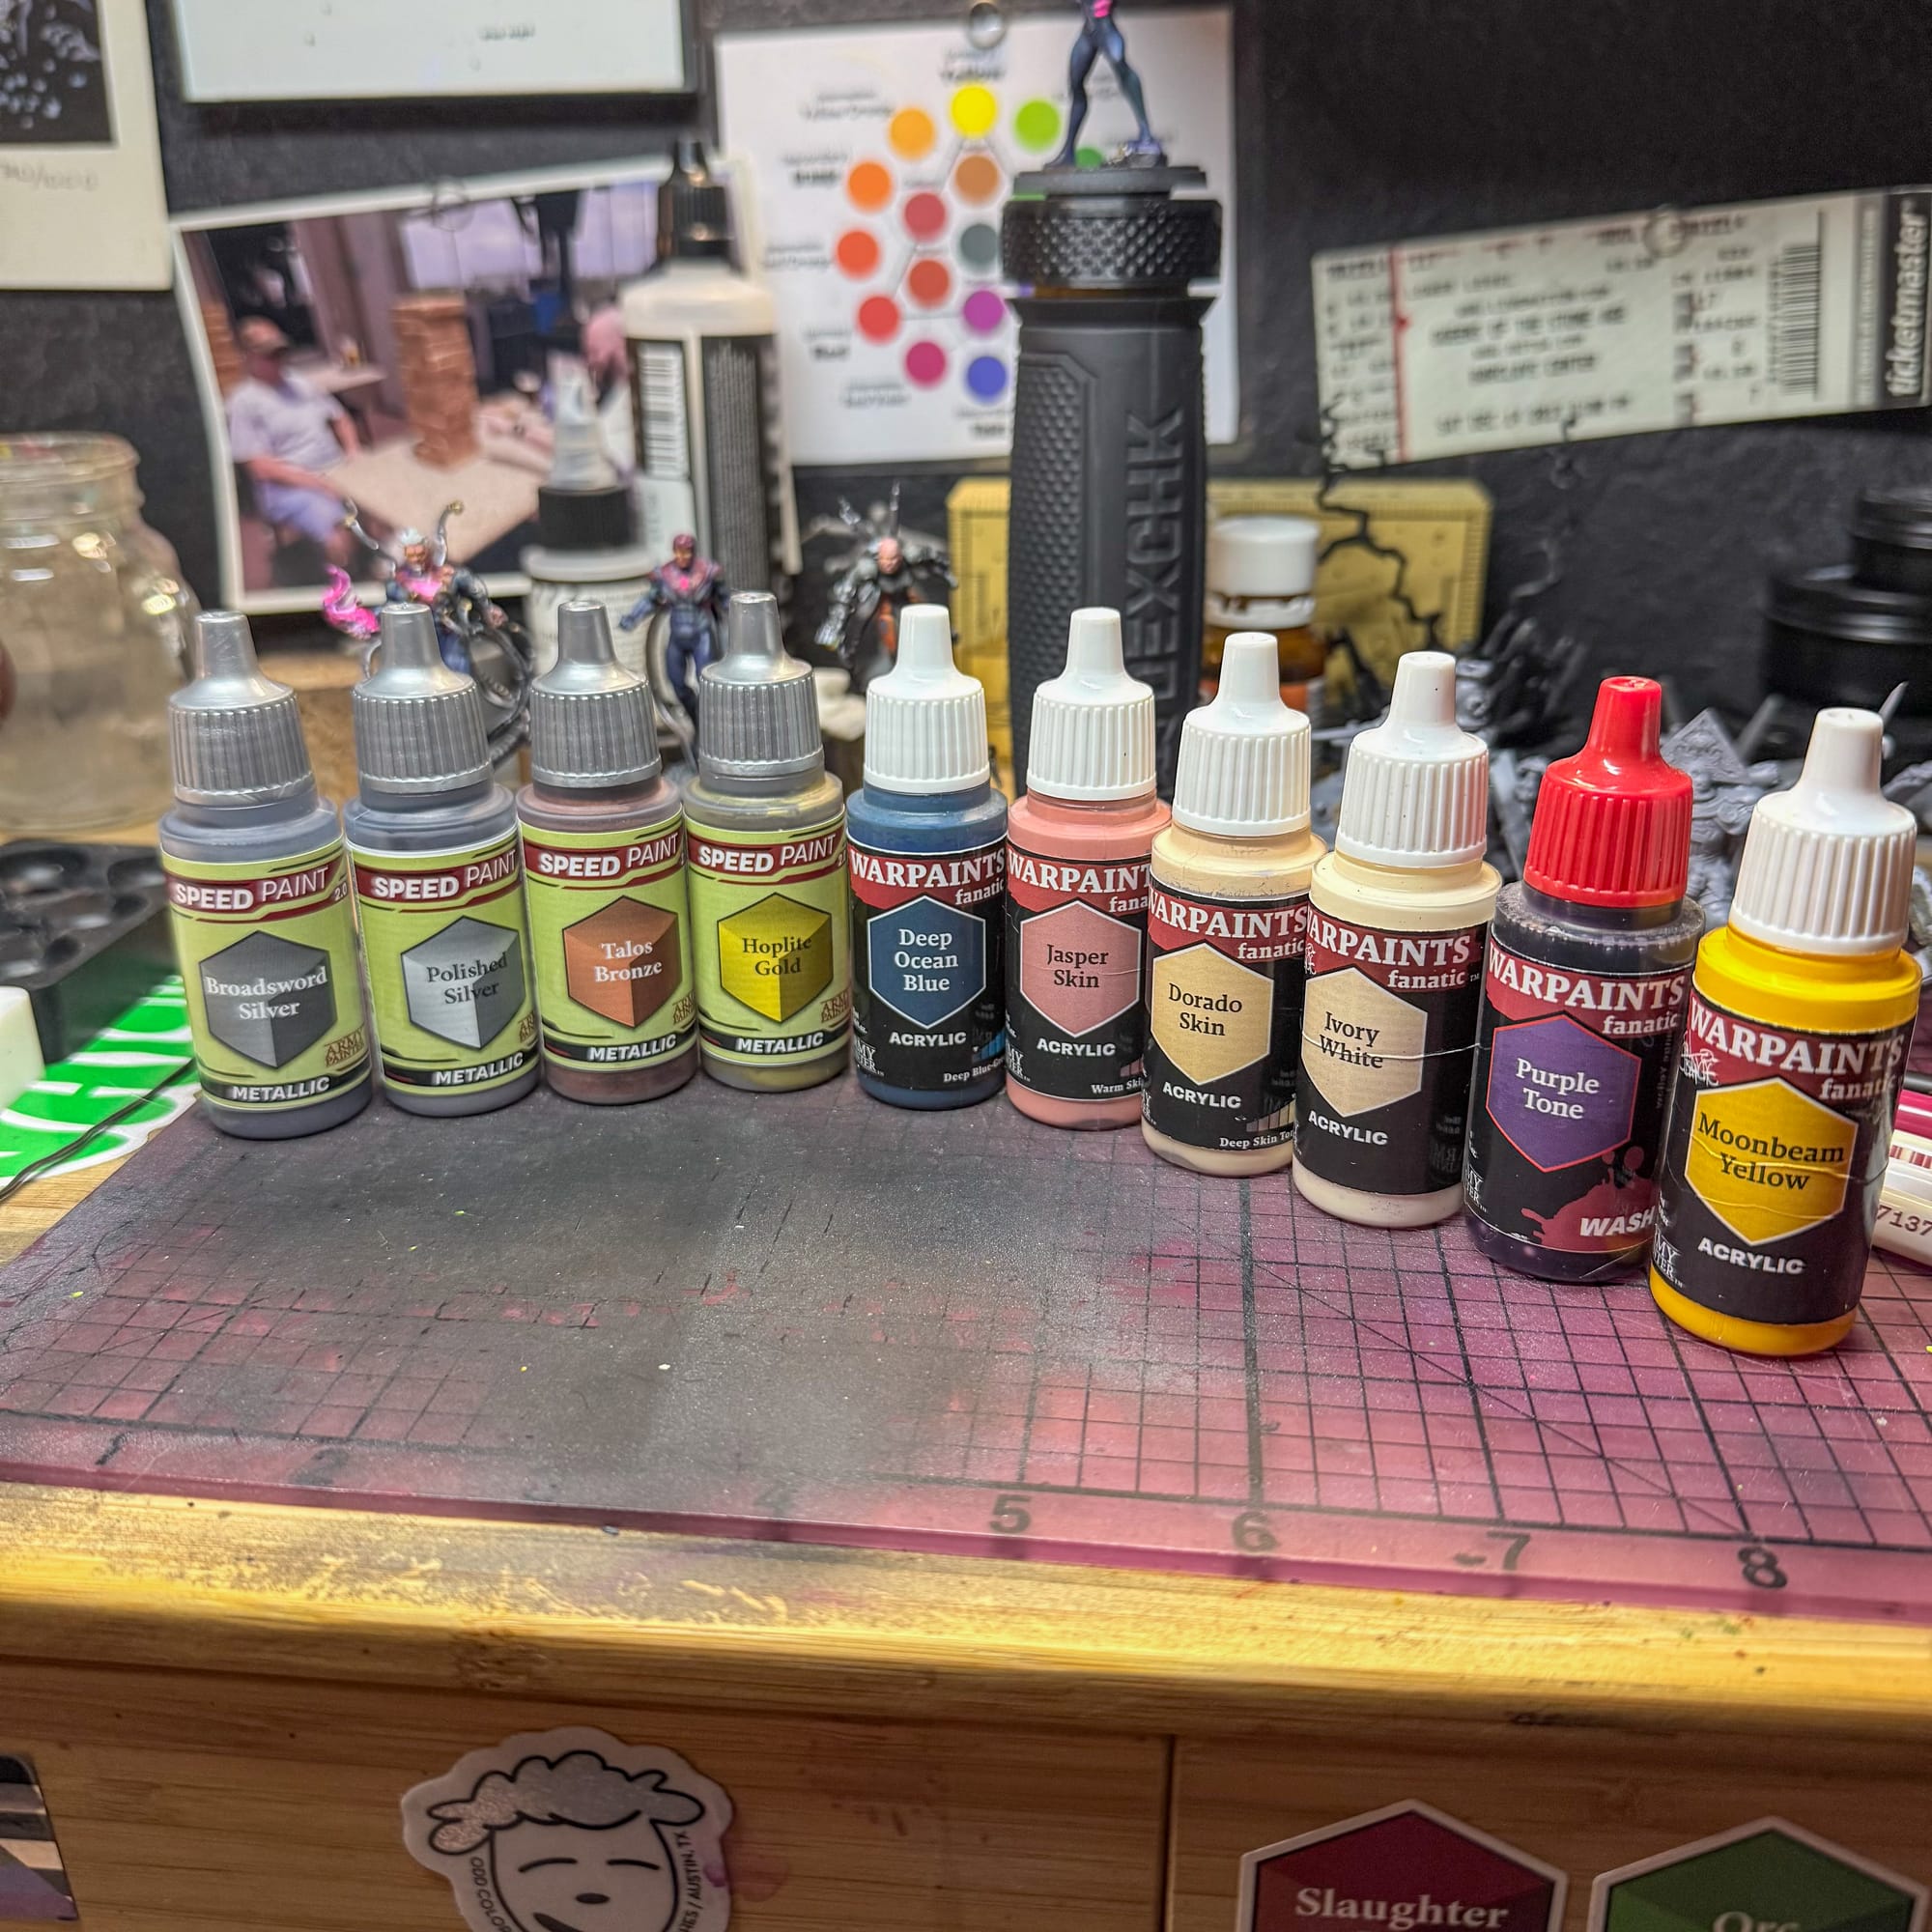
So based on my idea, I chose paints that had some darker tones, like Army Painter’s Deep Ocean Blue, Bismarck’s Grave, and Purple People Eater from Bear Cavalry, while relying on Purple Tone wash, some Magenta and Red Inks from both Kimera and P3. My skin tones will be the basic mix I use from Army Painter, consisting of a base coat of Jasper Skin, moving up into Dorado Skin and Ivory white, while relying on Reikland Fleshshade from Citadel to really hit those shadows.
 Randy Gregory II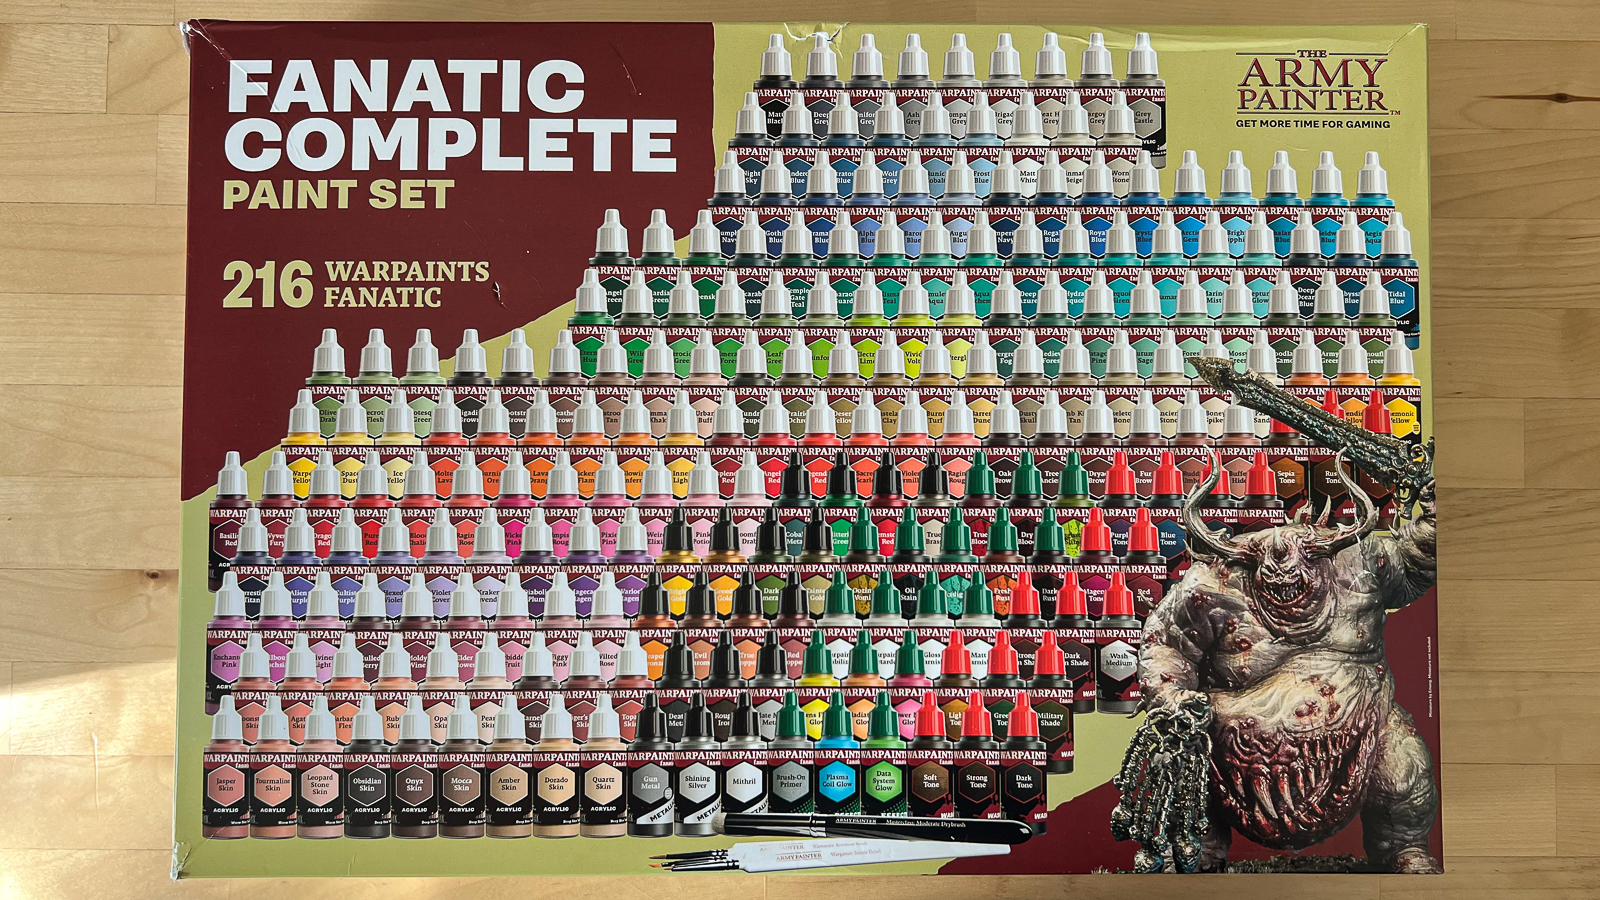
 Randy Gregory II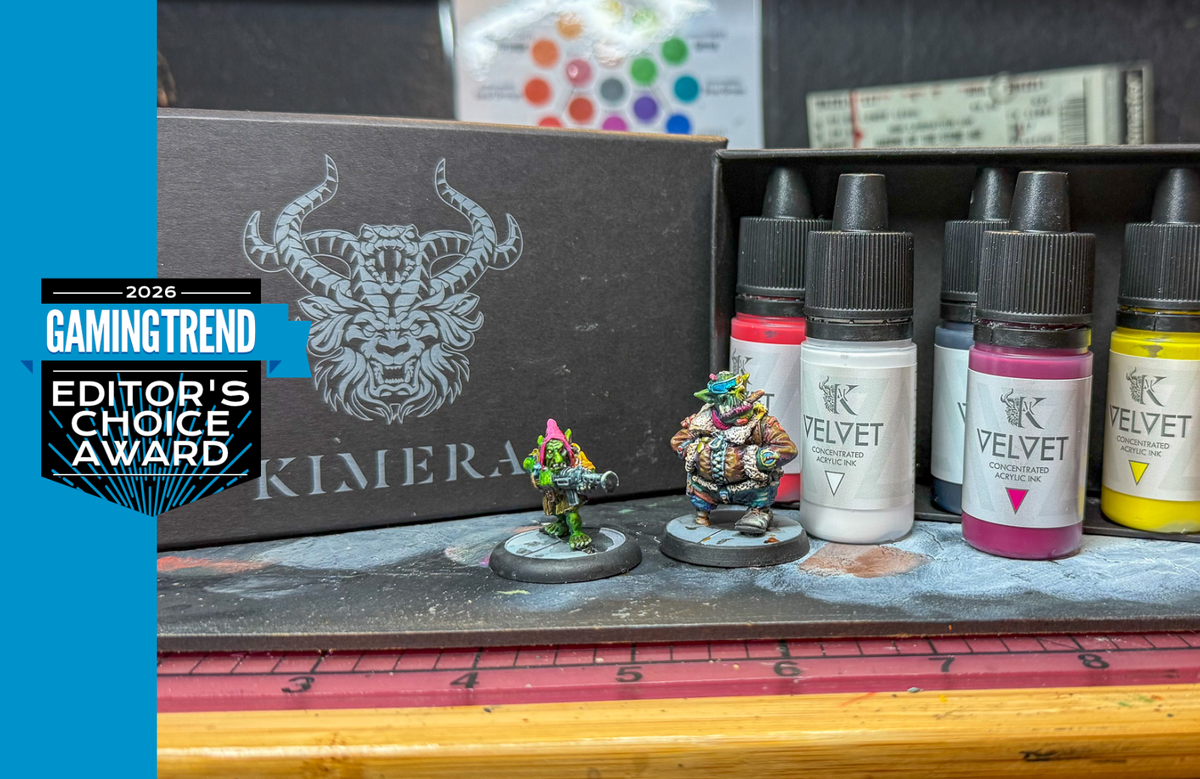
 Randy Gregory II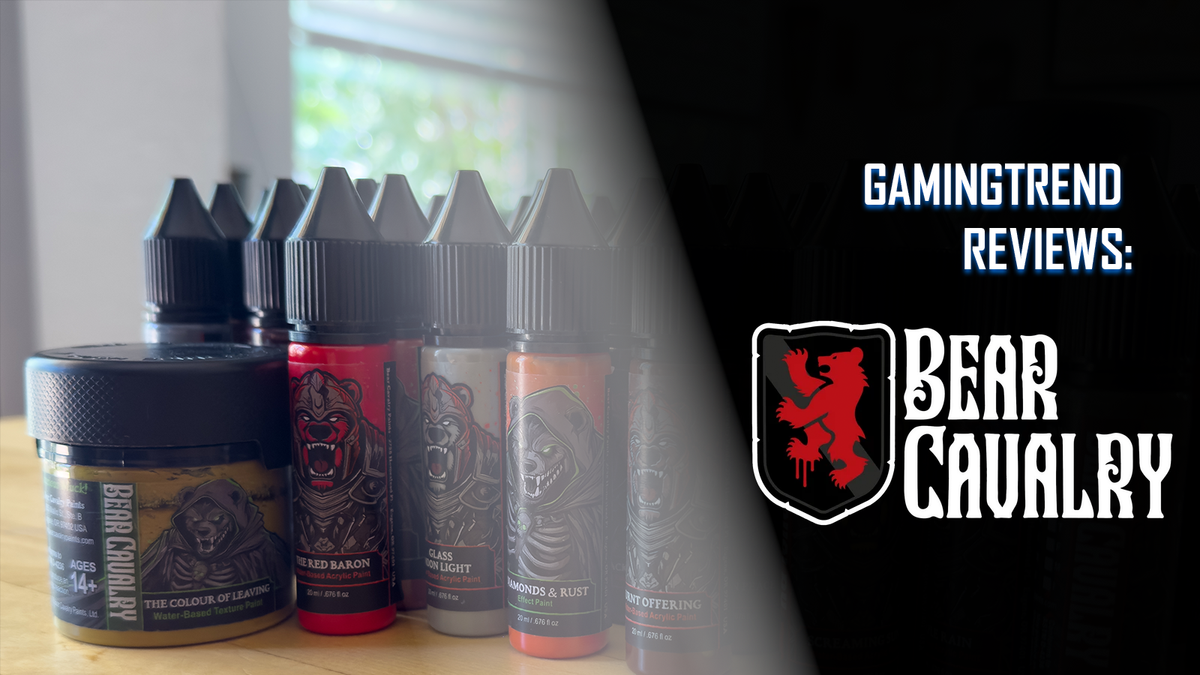
For the highlights, some usual suspects. Yellows and greys will mix up with ivory to build a lot of highlights across the model, and for the shadows, I’ll rely on my base tones to create some clever shadows. For all the metallics, I’m going back to my trusty Speedpaint Metallics, as they provide the best coverage in my experience.
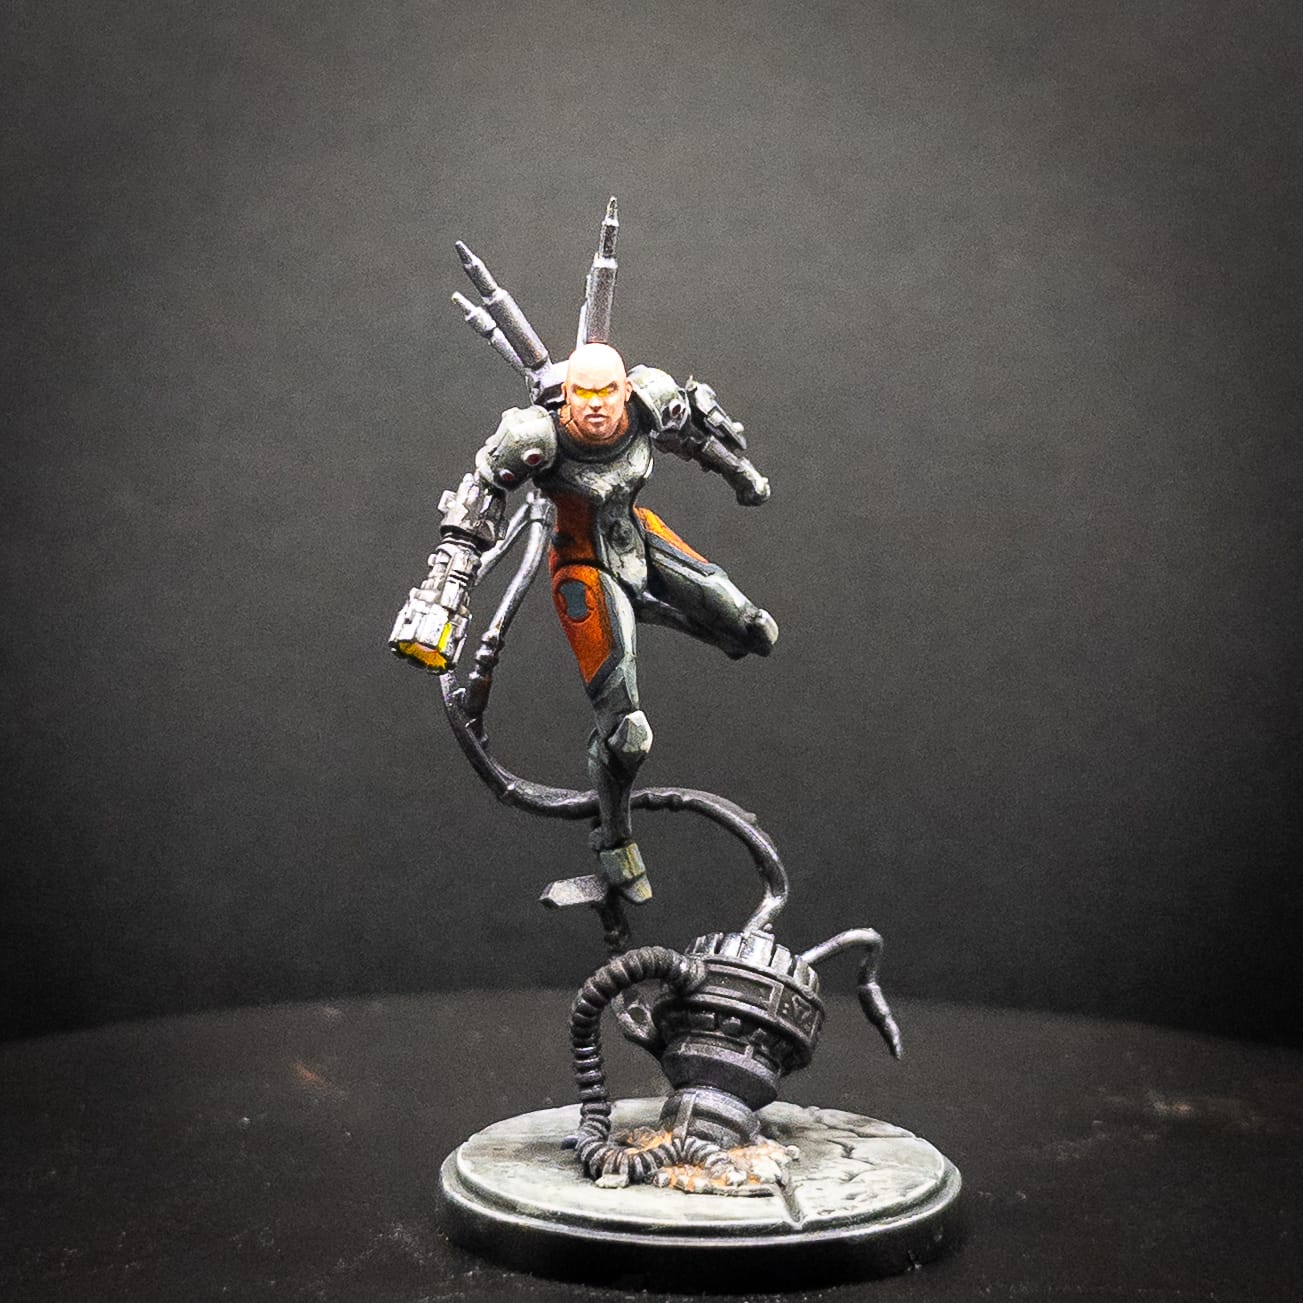
For Omega Sentinel, she’s very different from the rest, so while I’ll keep my greys and yellows to create her base tones, I’m bringing in some reds to help make an orange tone.Lastly, AK Interactive sent over some amazing new fluorescent enamels, so I’ll make heavy use of those to create some major pop in the models.
 Randy Gregory II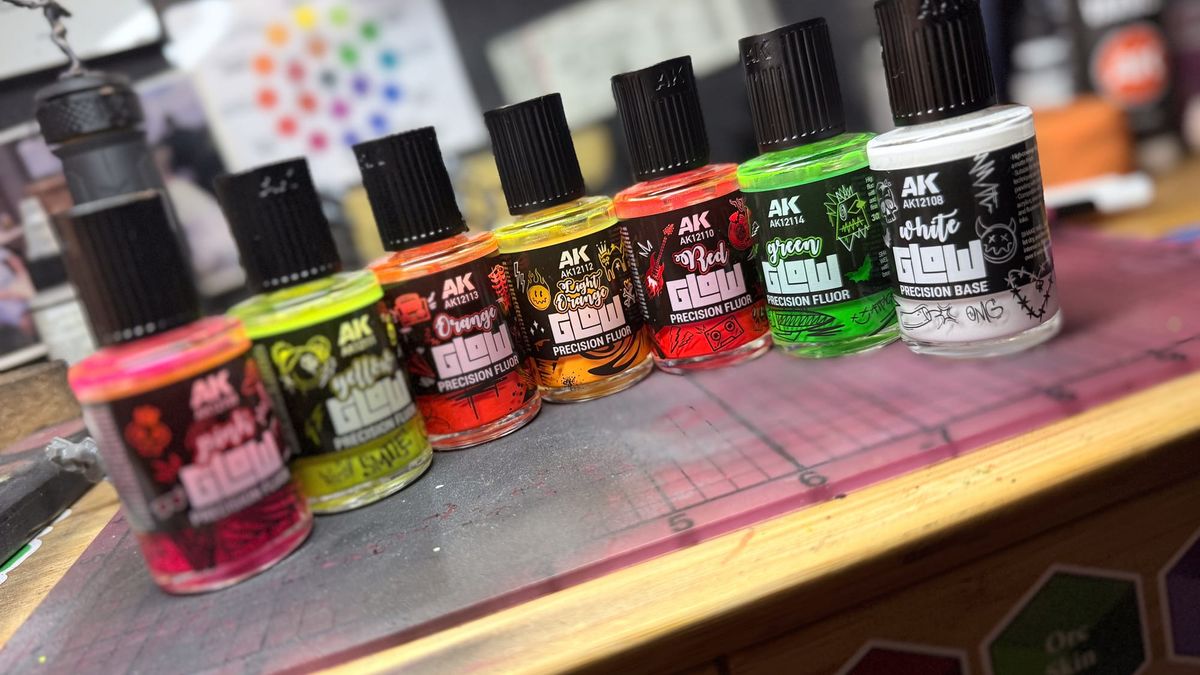
Repetition
Lately in my painting practice, I’ve been focused on creating repeatable behaviors. I have a pretty big backlog, so having some specific practices in mind makes it easier to get through the list.
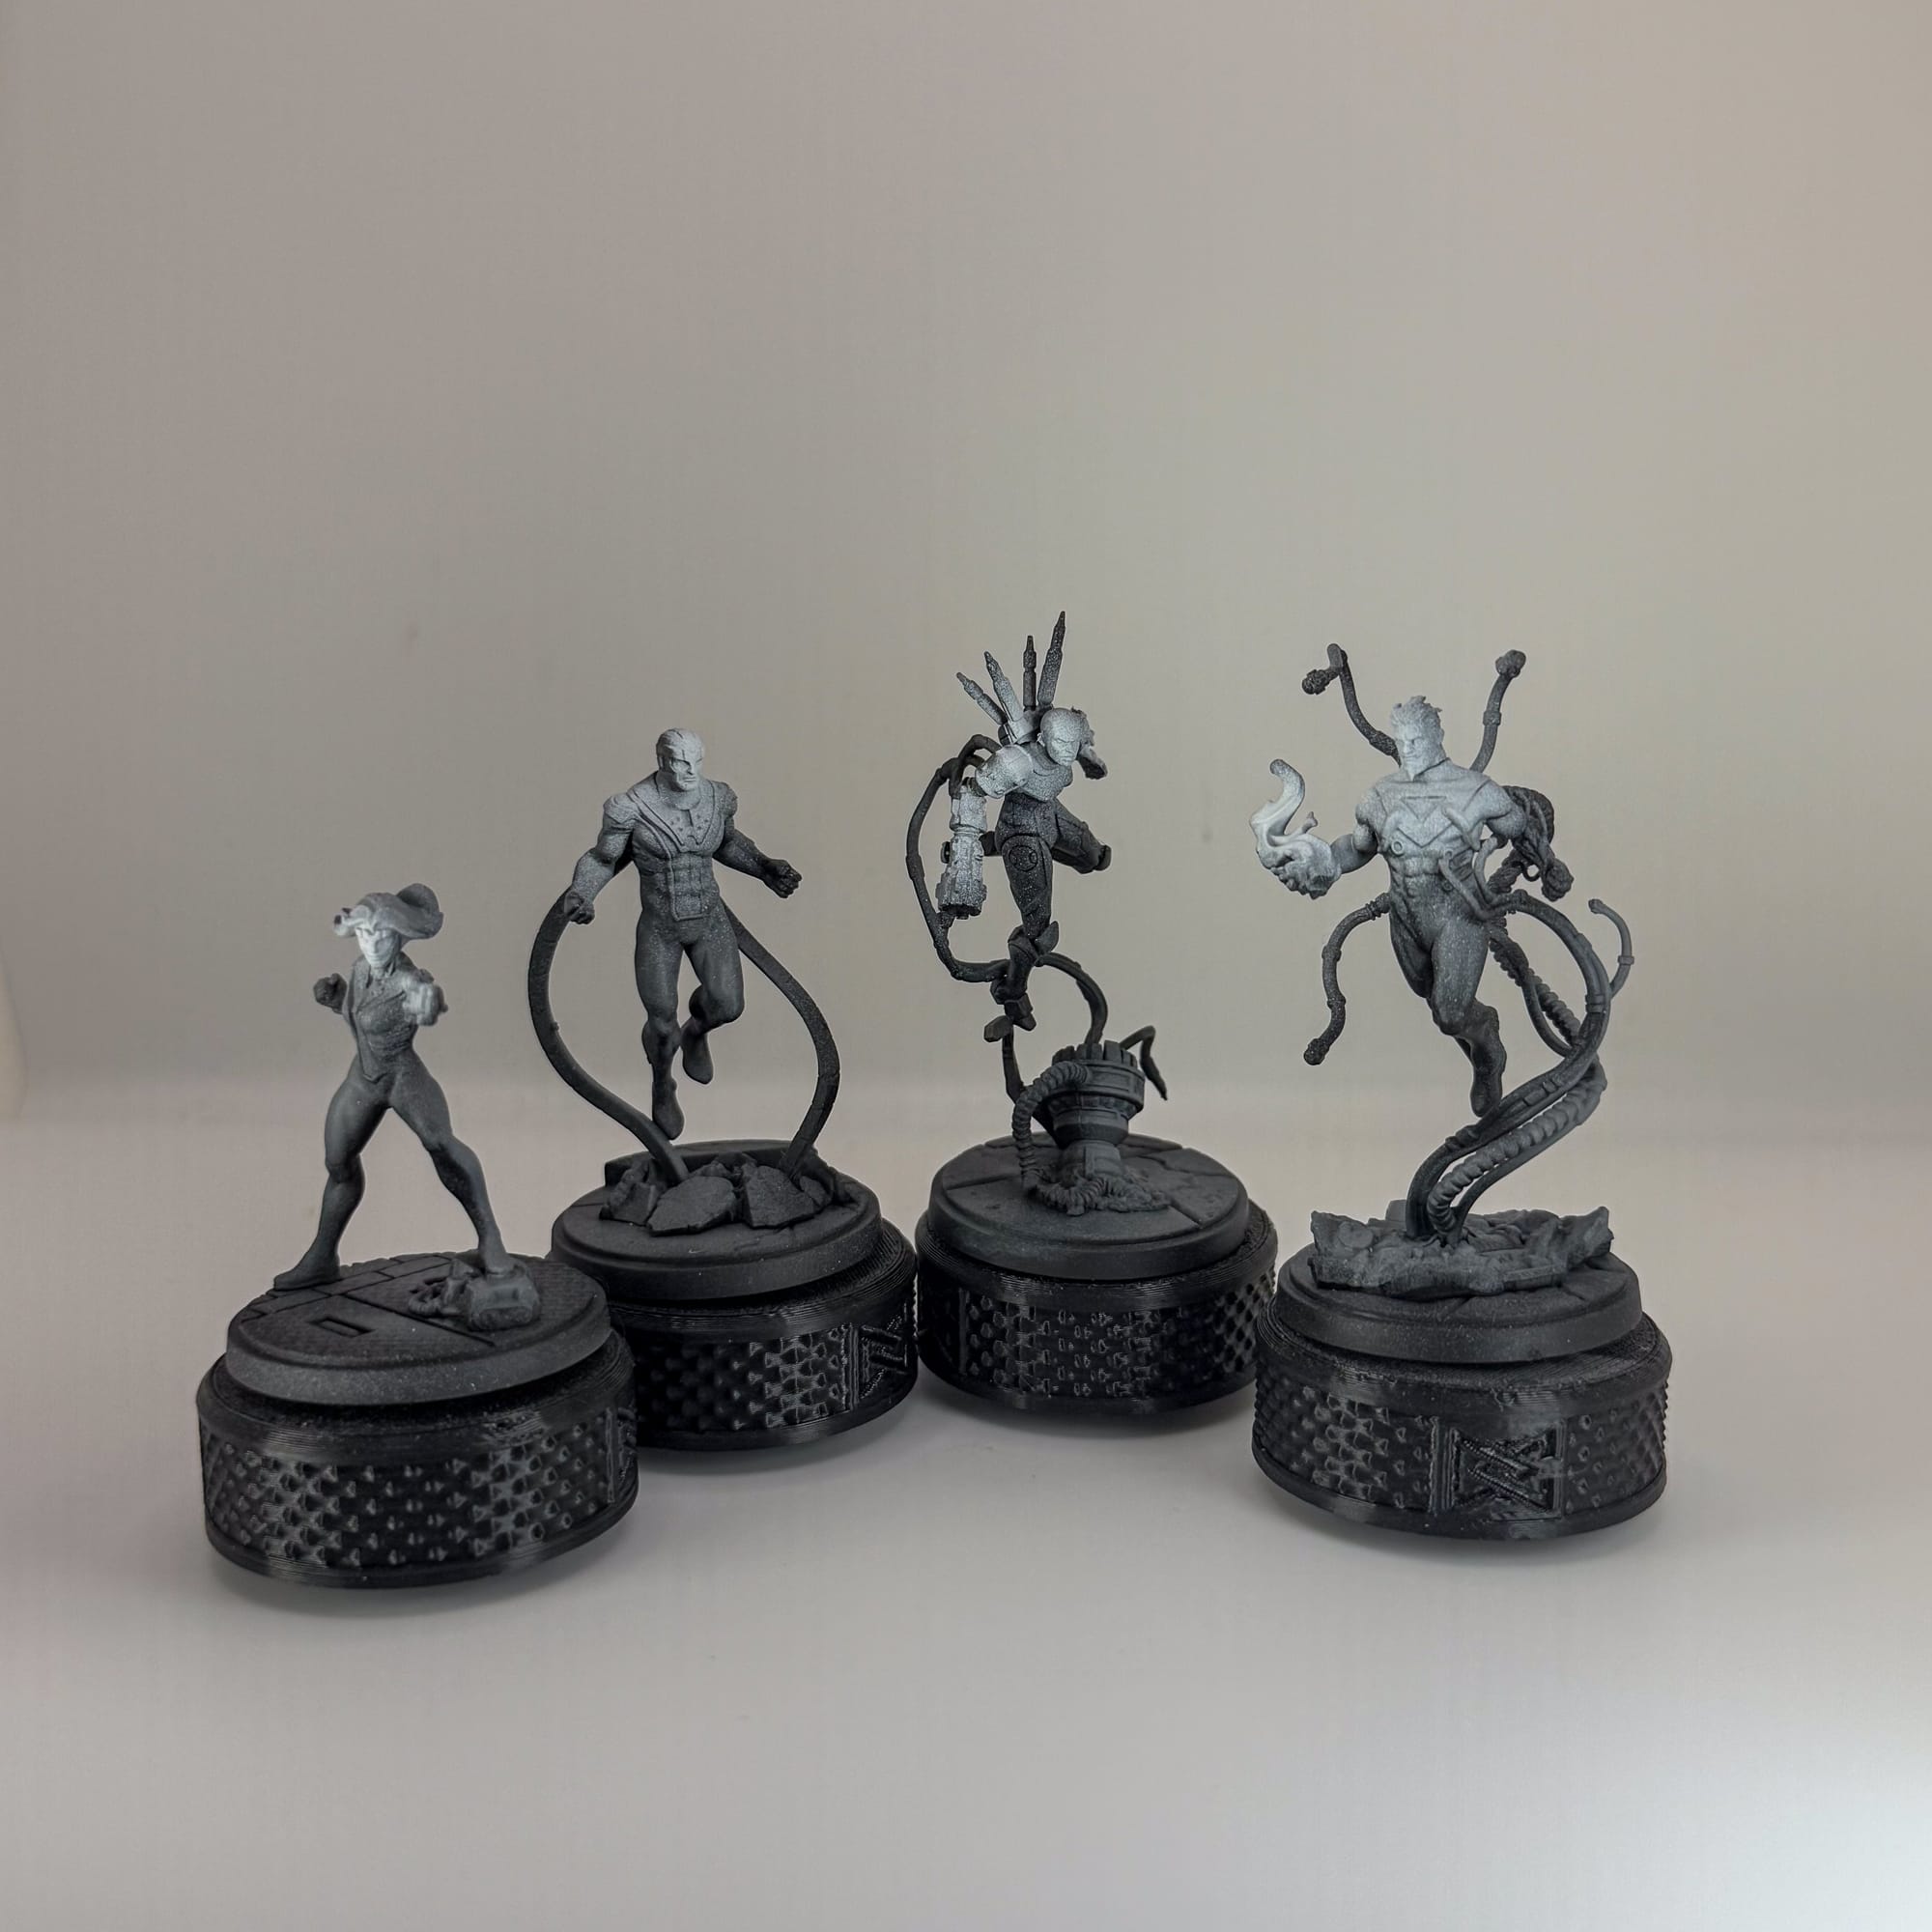
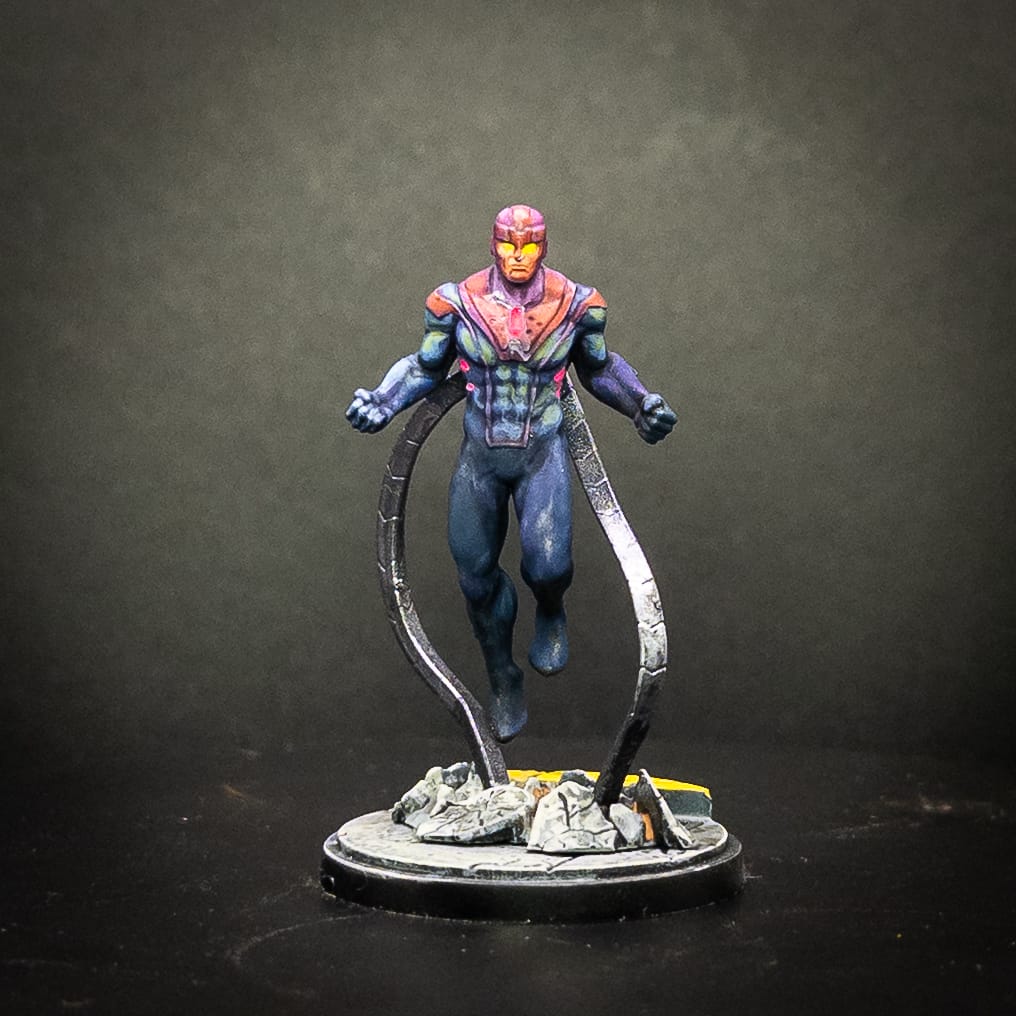
So, for example, with these models today, I went with two: painting 3 models at once, and a concrete recipe (more on that later). For Bastion and the 2 prime sentinels, I used a mixture of Purple People Eater and Deep Ocean Blue to create a deep dark purple. I then slathered it on both models, making sure to be clean about it near the areas where a new color would appear.
I then created my skin tone and placed that, once again, on all 3 models.
By planning out your scheme, it speeds up the process. You can practice this with army building. While each of your models has some unique aspects to them, you can figure out all of the similarities and hit those early on. I first experimented with this painting up Legion, which was a chore, but I found this enjoyable.
During this time, I grabbed Omega Sentinel and slapped the skintone on her too, because why not?
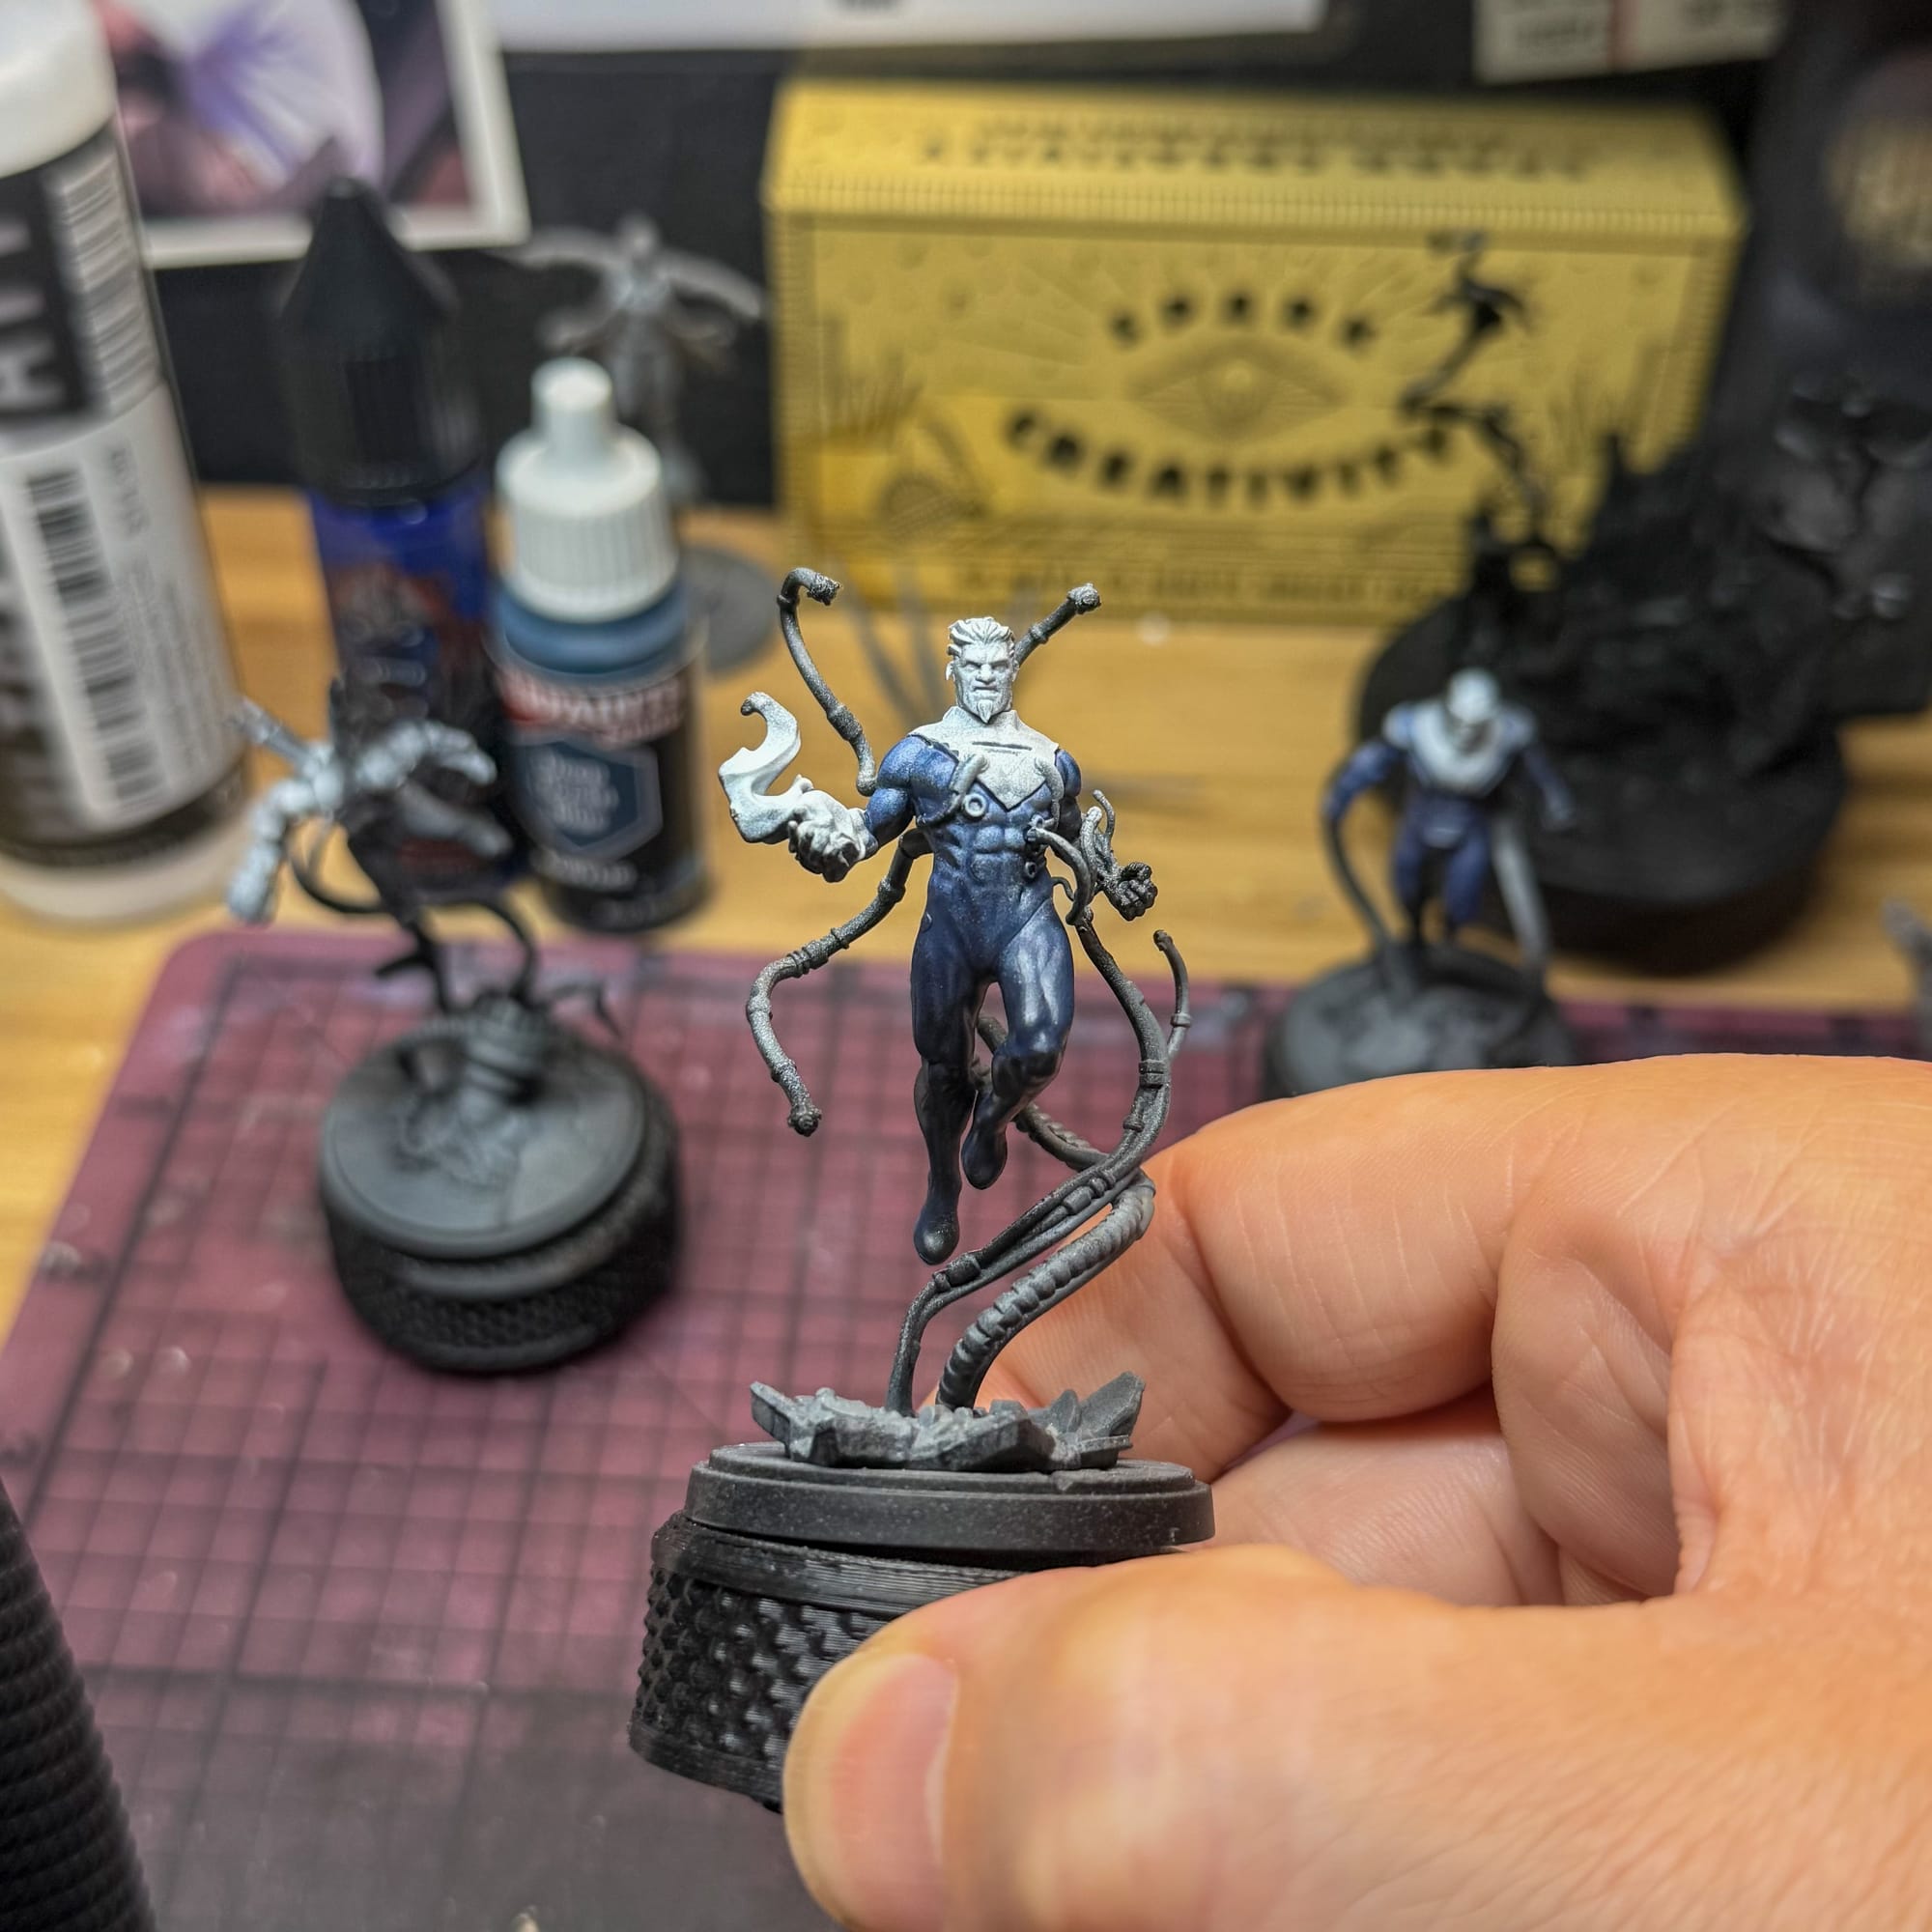
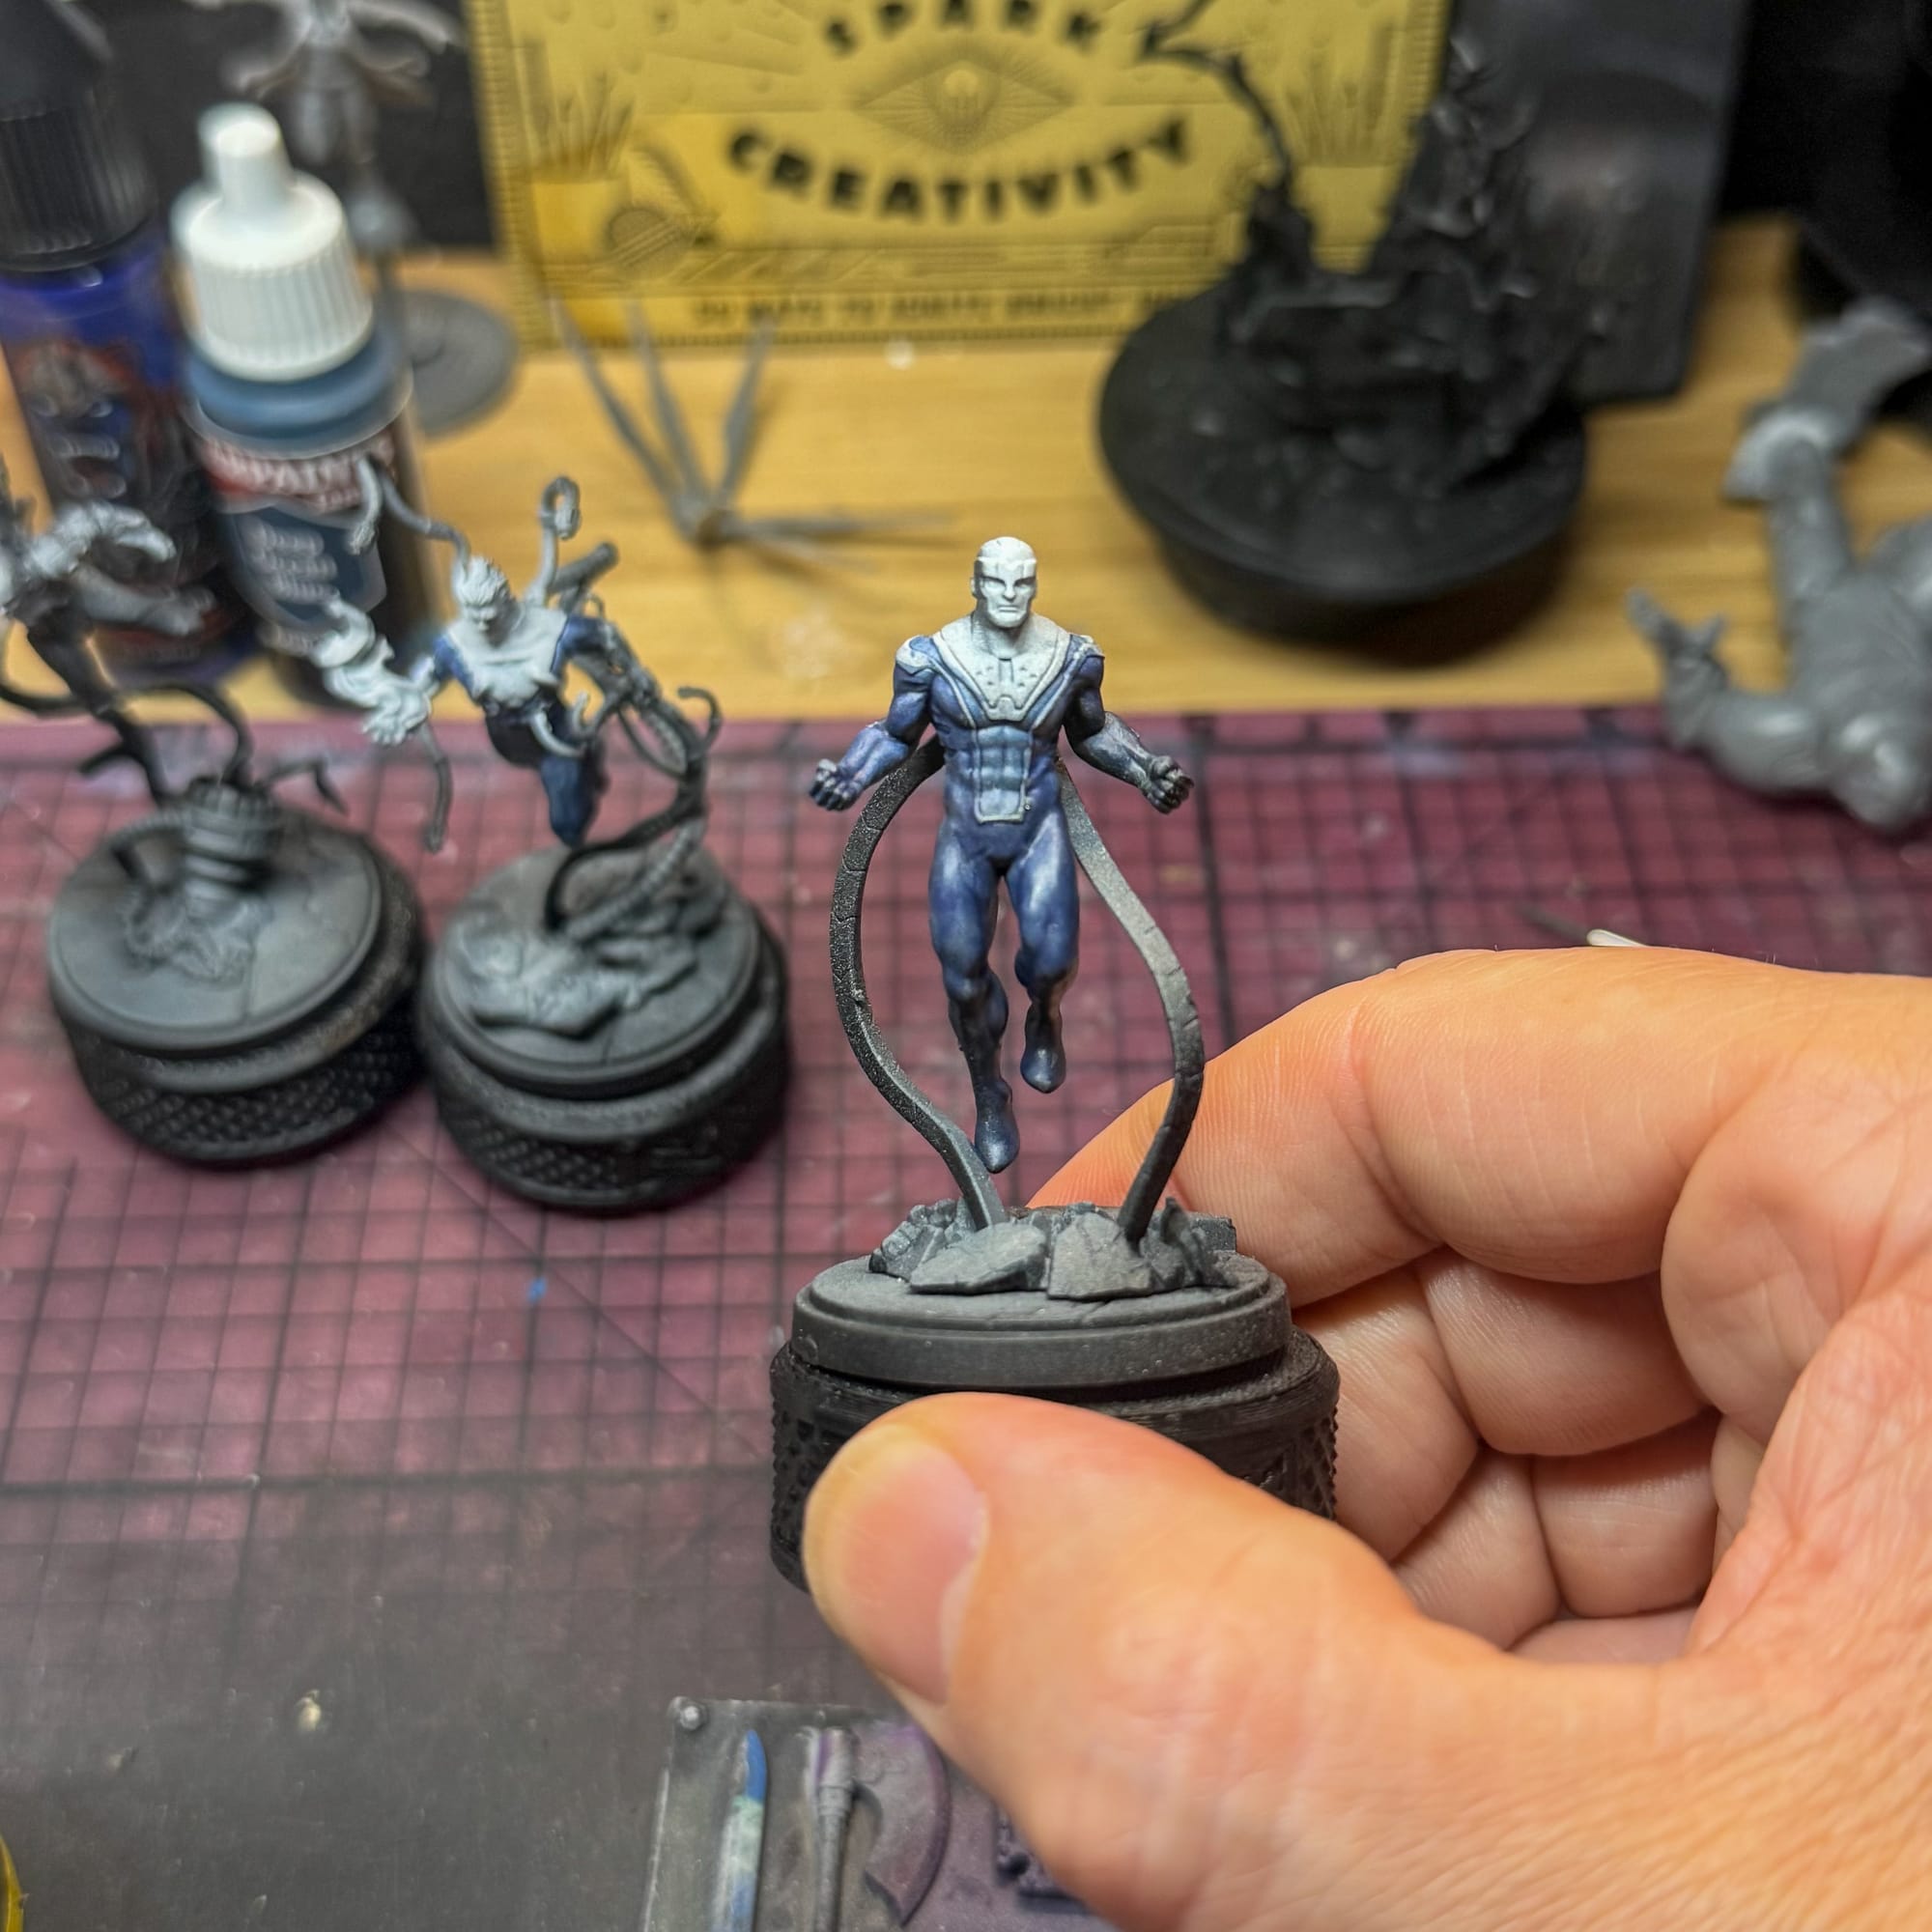
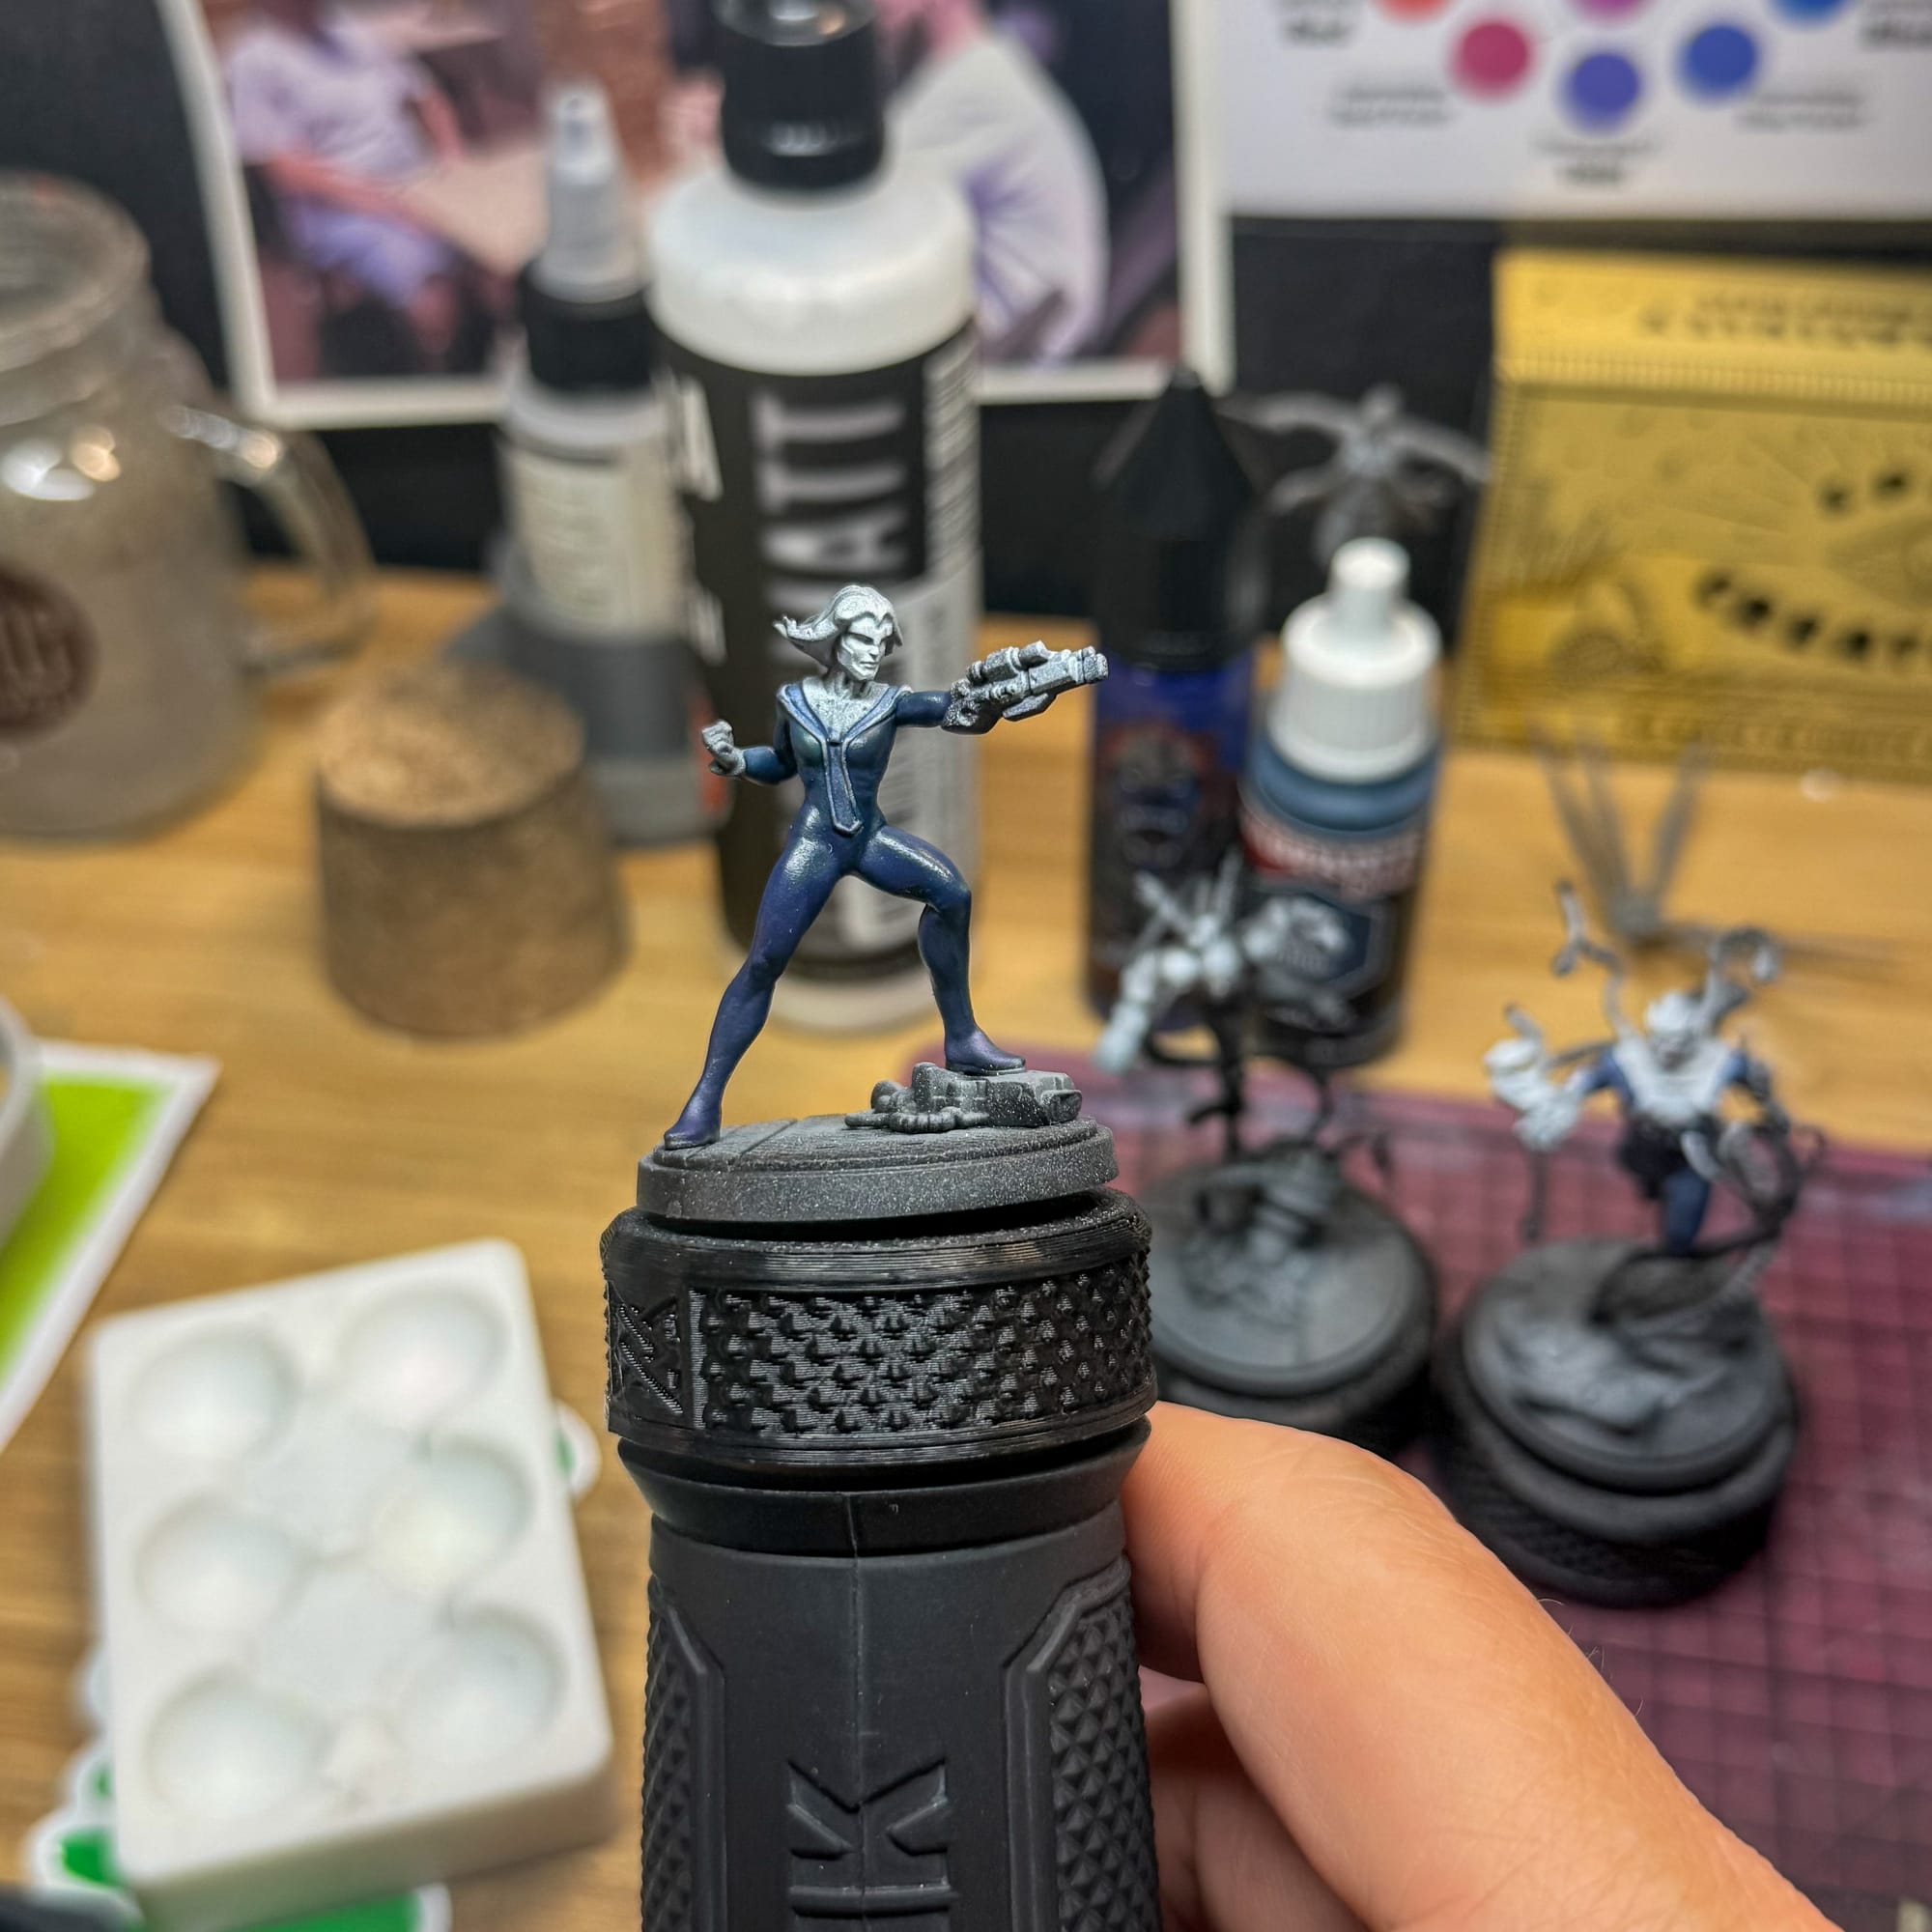
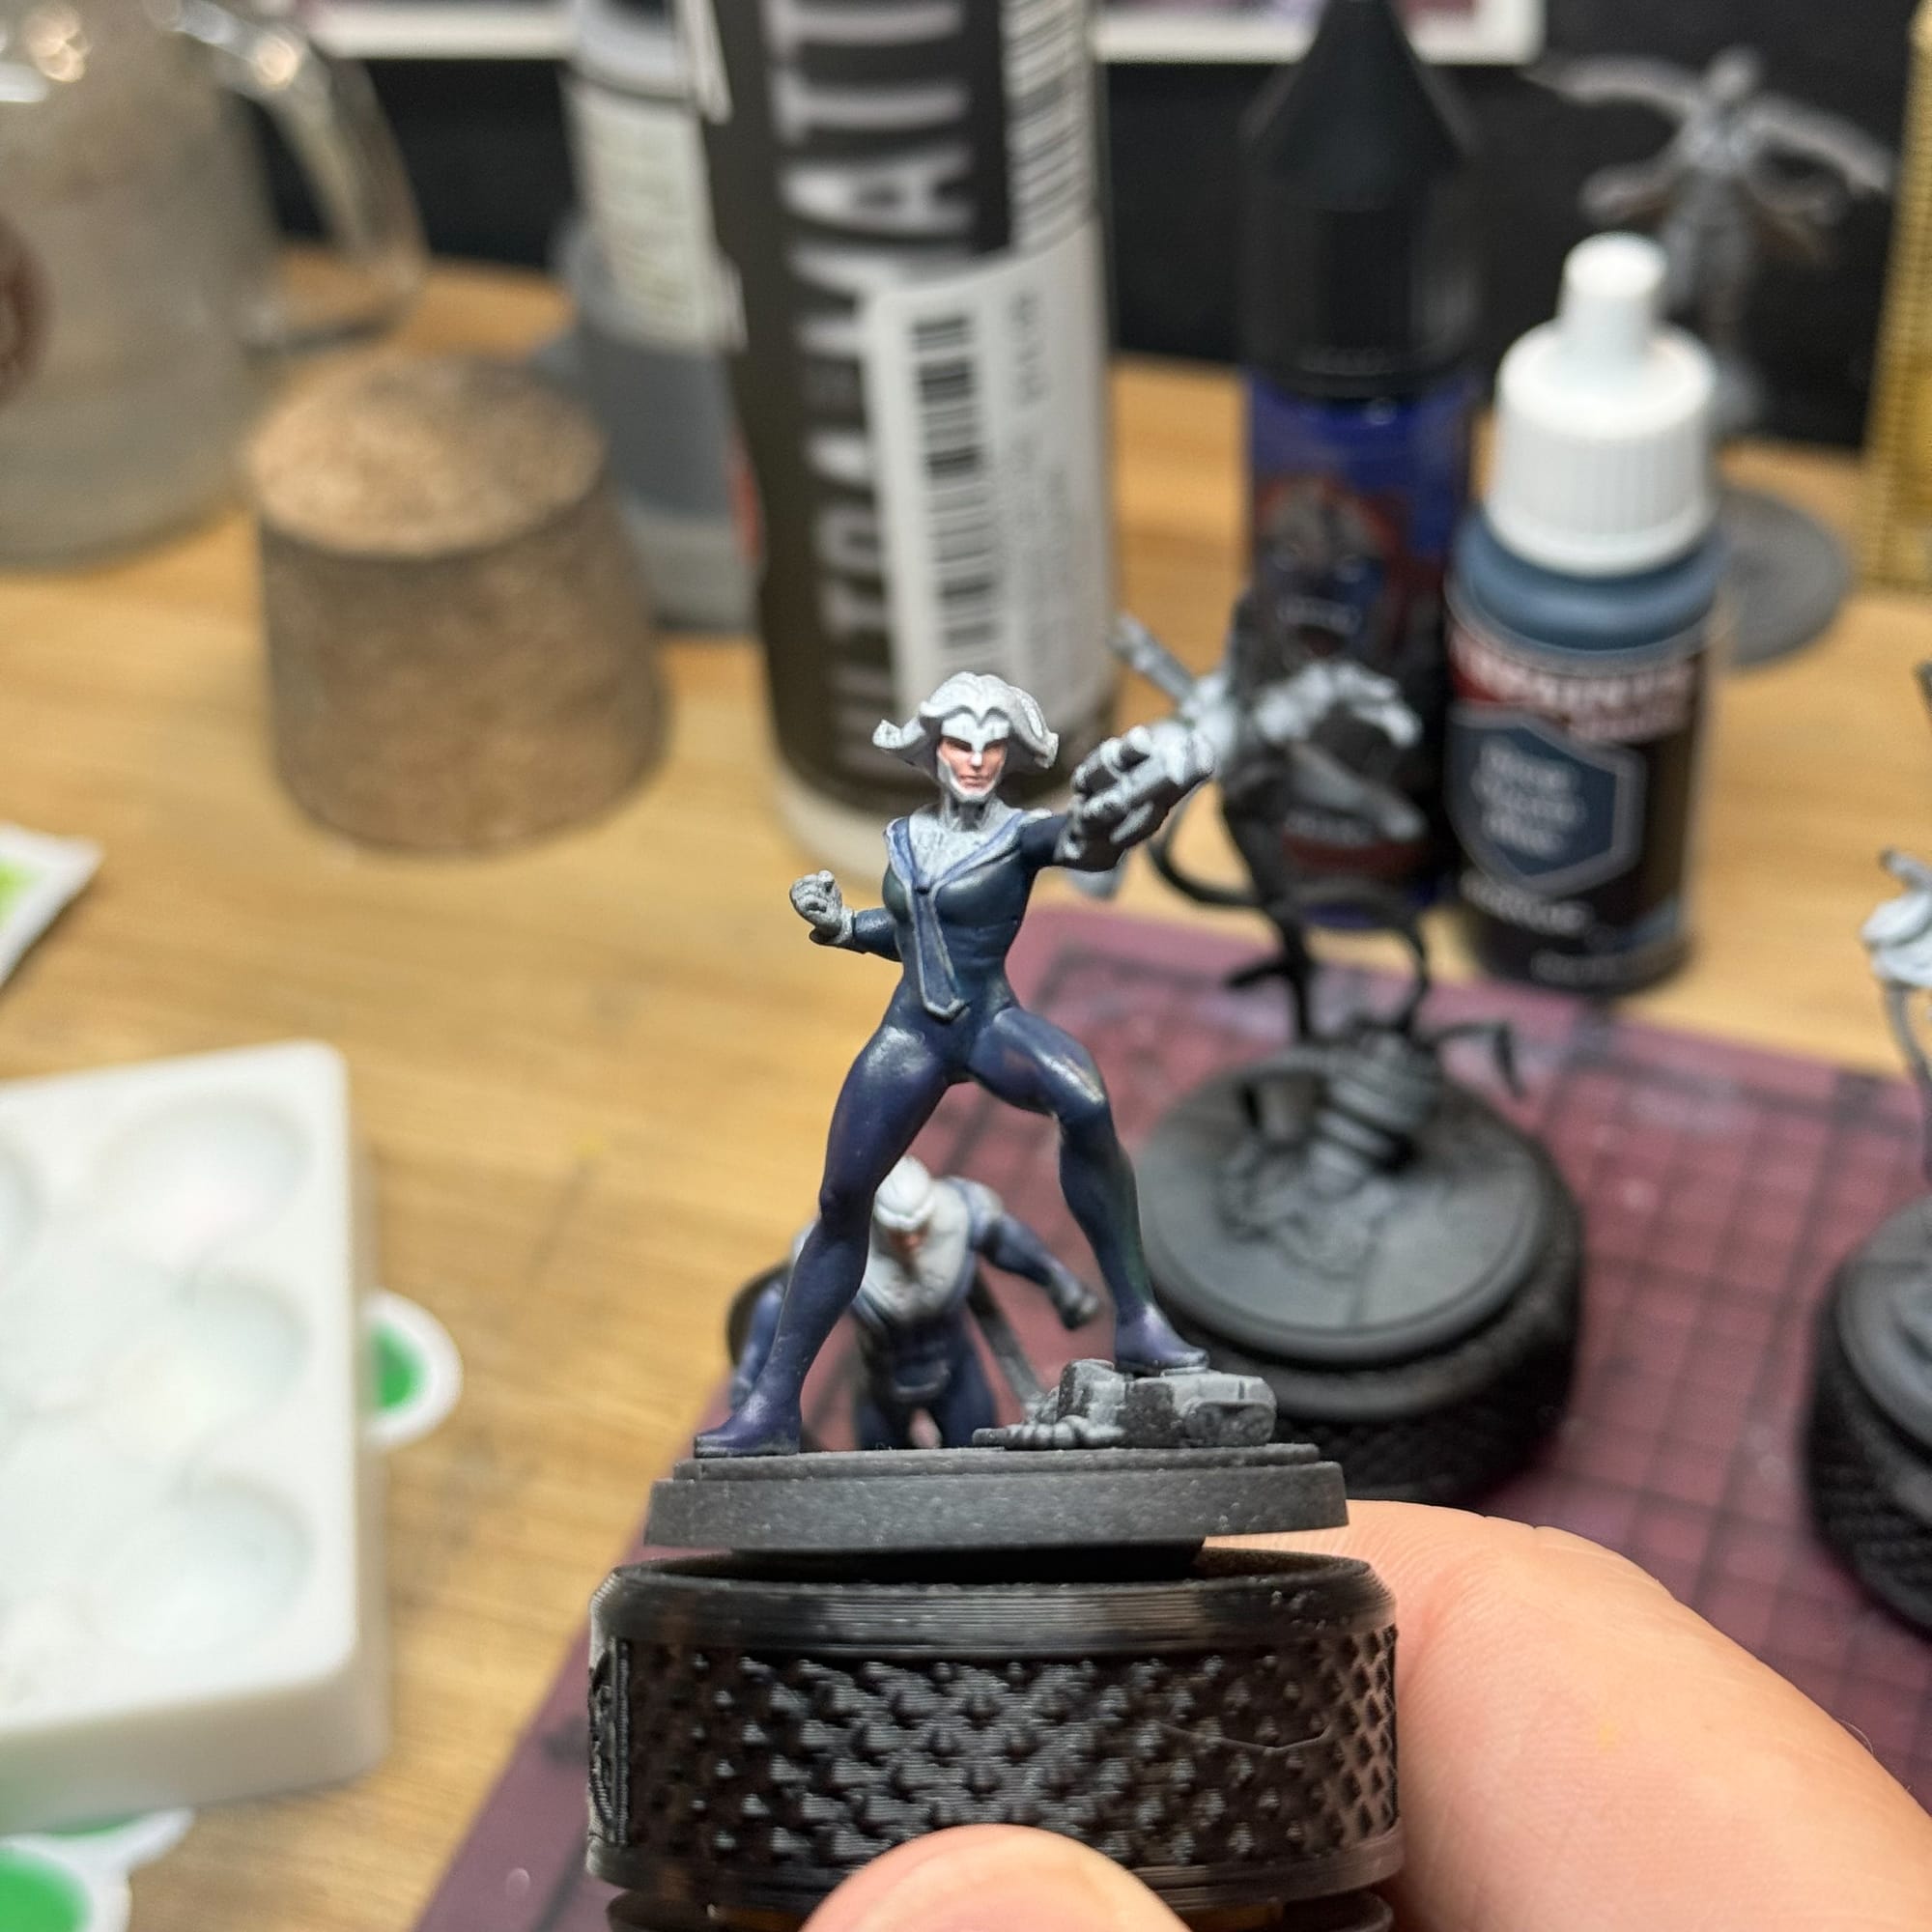
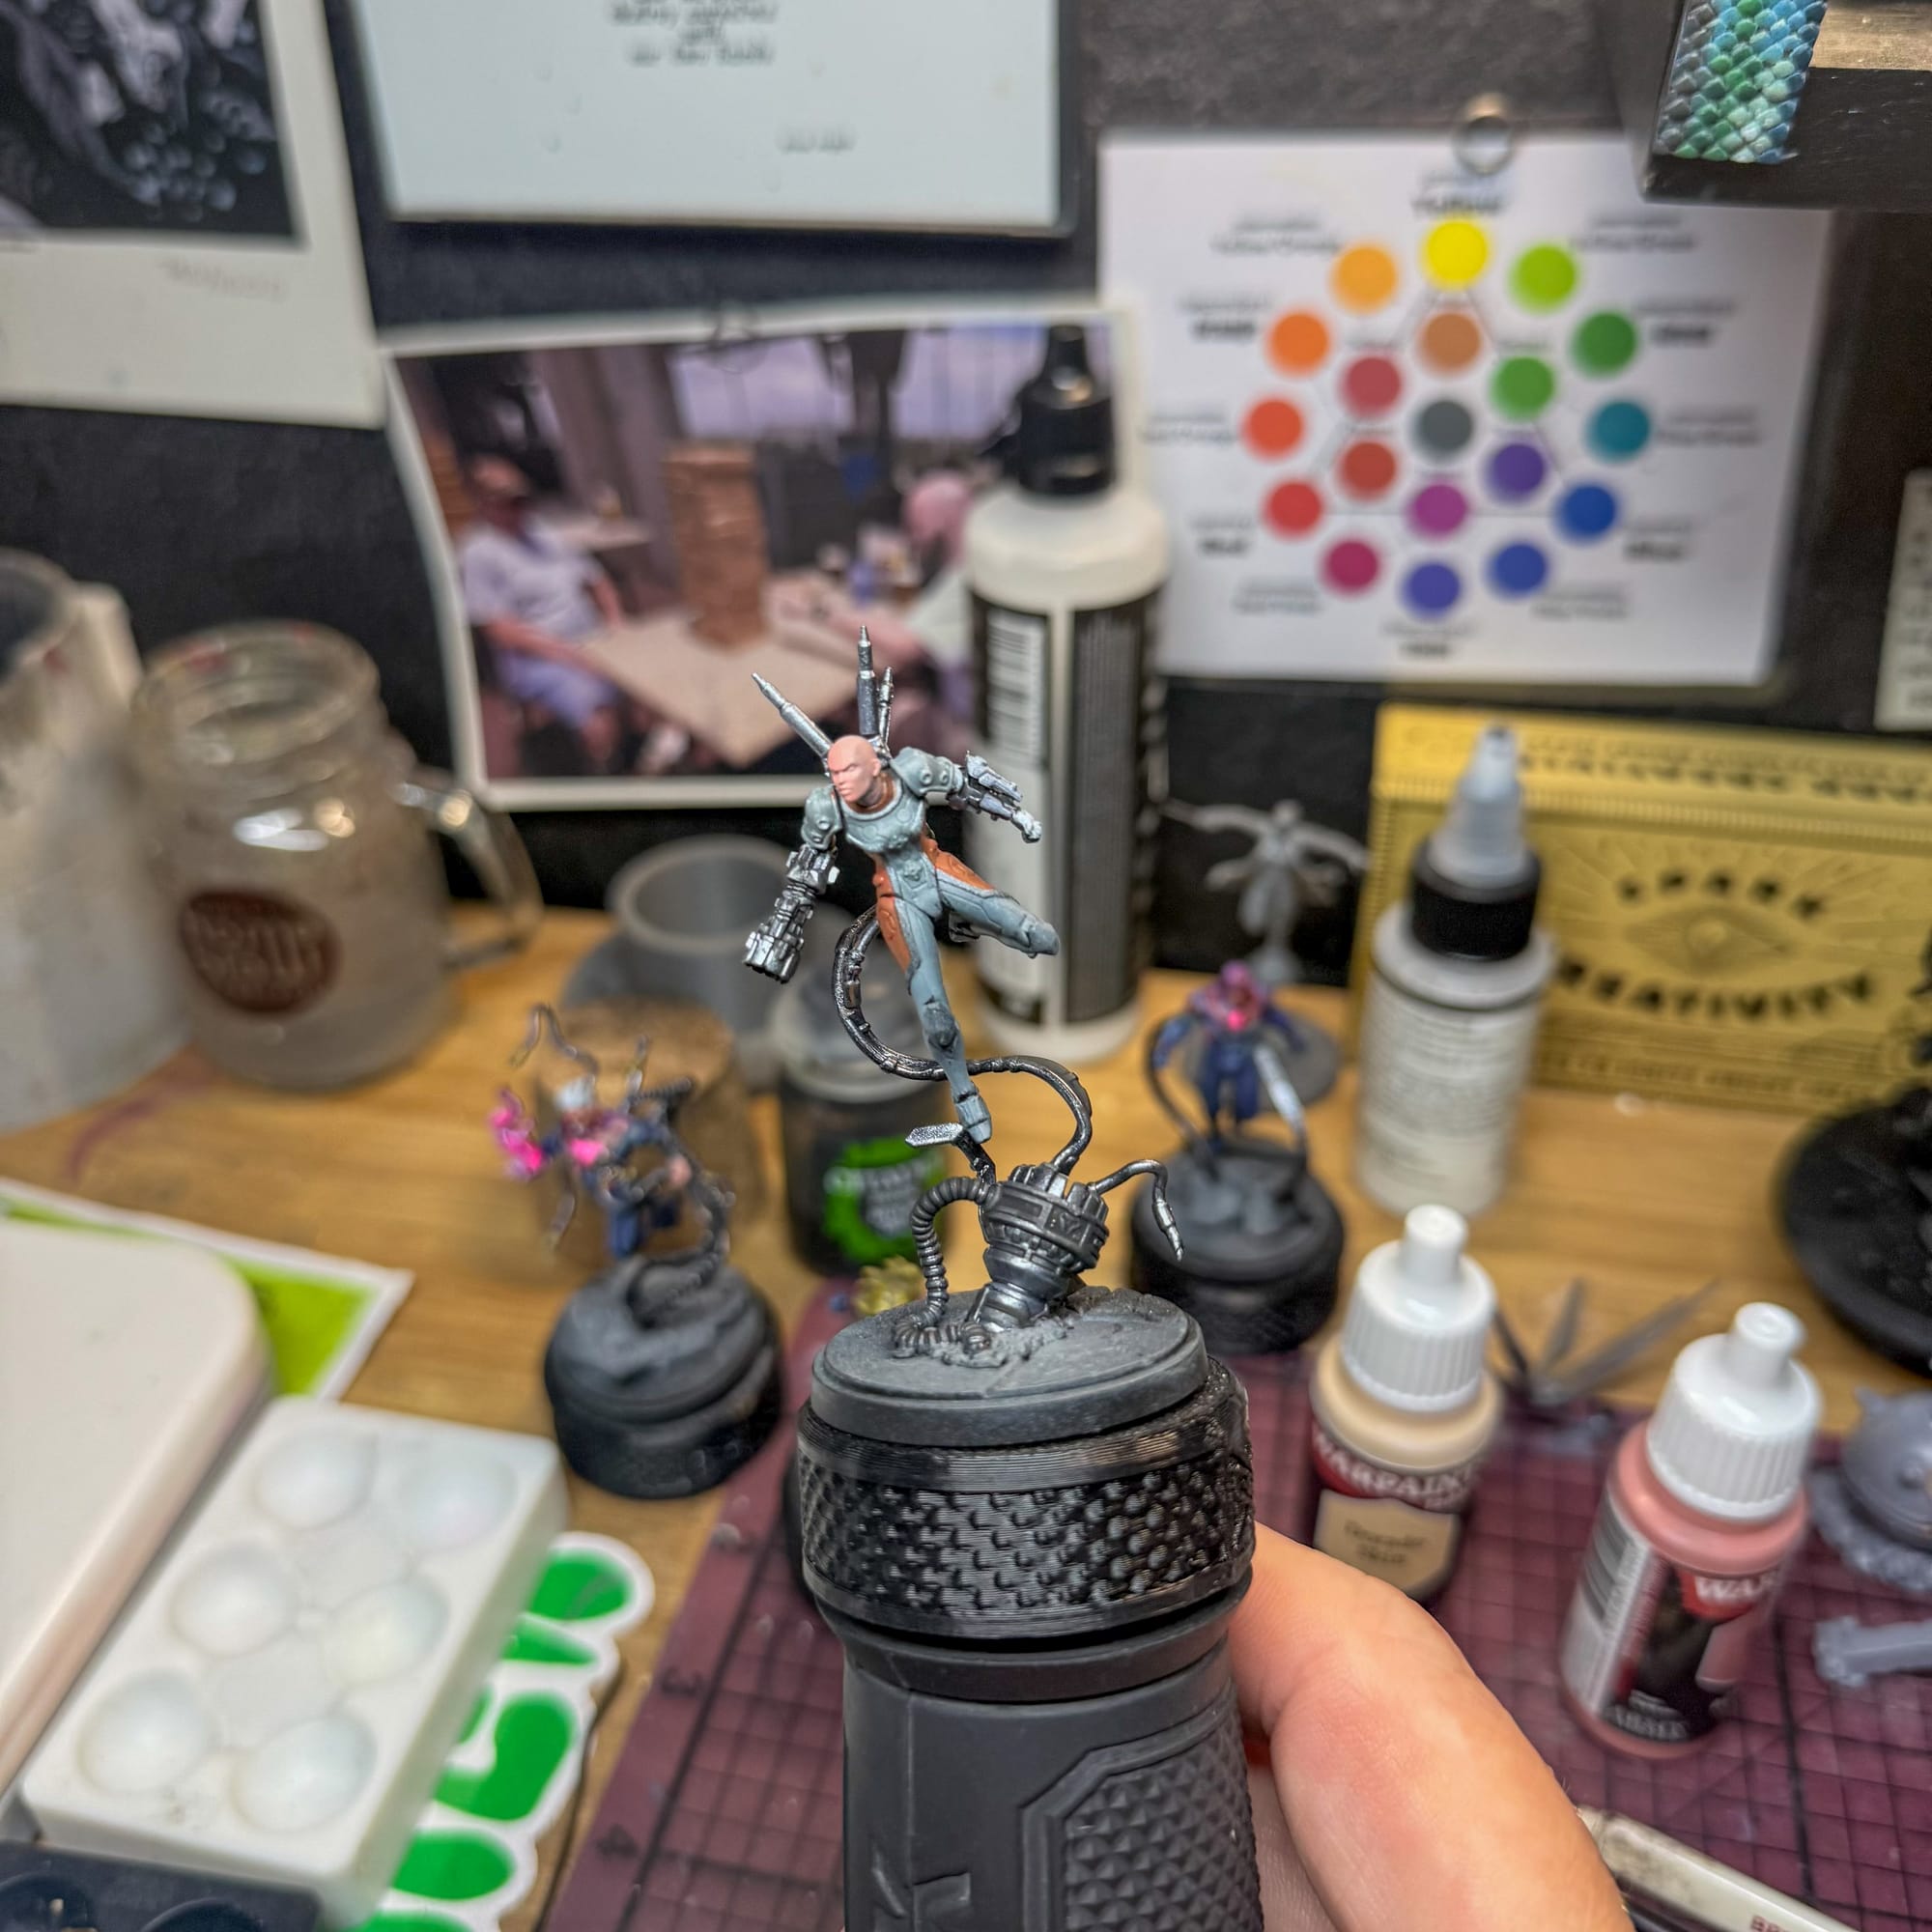
Next came the default purple we all love on a sentinel. I mixed some Pure Filth, a raw sienna color from Bear Cav into the purple mixture, which resulted in a brighter but desaturated purple. I then placed this on the heads and chest regions of each model. My photos aren’t great at showcasing this, and I’ll explain why:The challenge with mixing various paints is the finish. Some paints are matte, some paints are glossy, and because of this, weird effects with light happen. You can normally remedy this at the end of your paint session with a blast of matte varnish, but something I started doing in this session was adding a drop of varnish to your paint mix. It might cause your paint to dry faster on the palette, but it can combat the shine during the sesh.
At this time, I also hit all of the metallics with my basecoat metal, Broadsword Silver. It’s a darker color that allows me to build up from there.
Mids and highlights
I apologize now because I didn’t get enough photos of this because I was having too much fun!
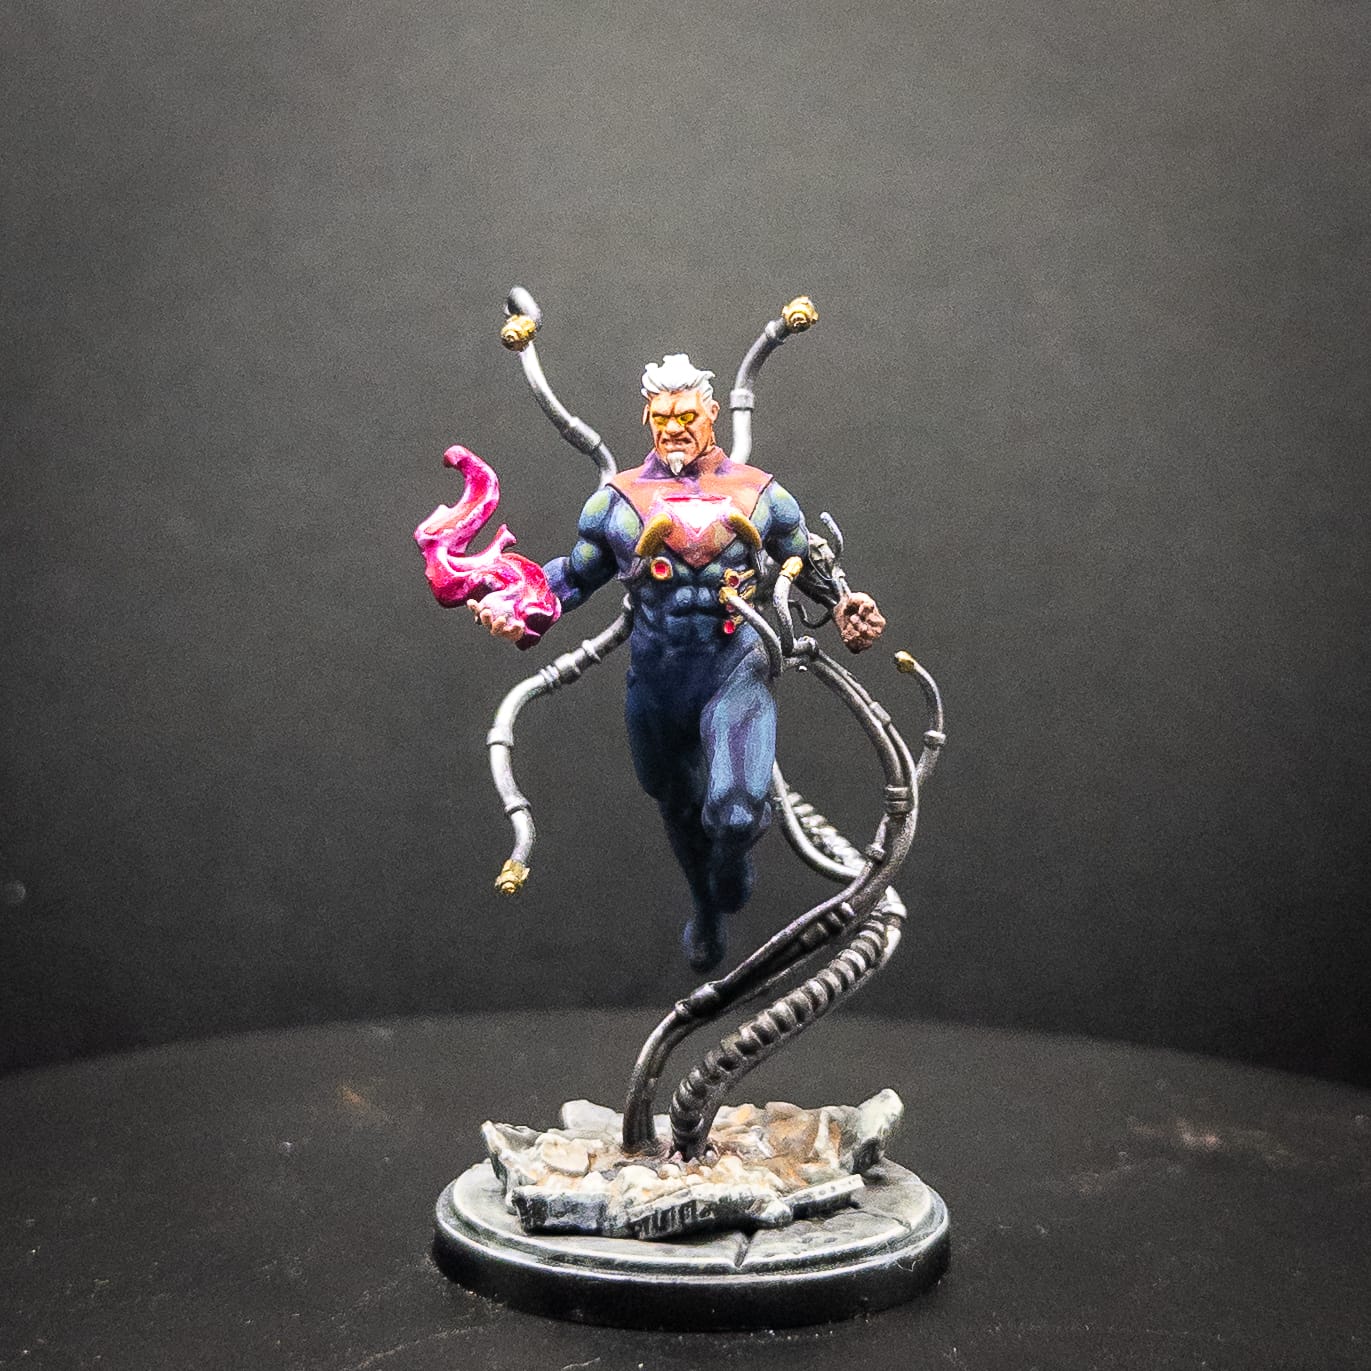
I started mixing in greys and sienna into my basecoat mix and started building up my midtones. In the image of Bastion, you can best see this effect. I focused on each group of muscles, building a natural progression.
Paint a layer, let it dry (switch to another model), then come back and refine. Repeat this process until you are satisfied.
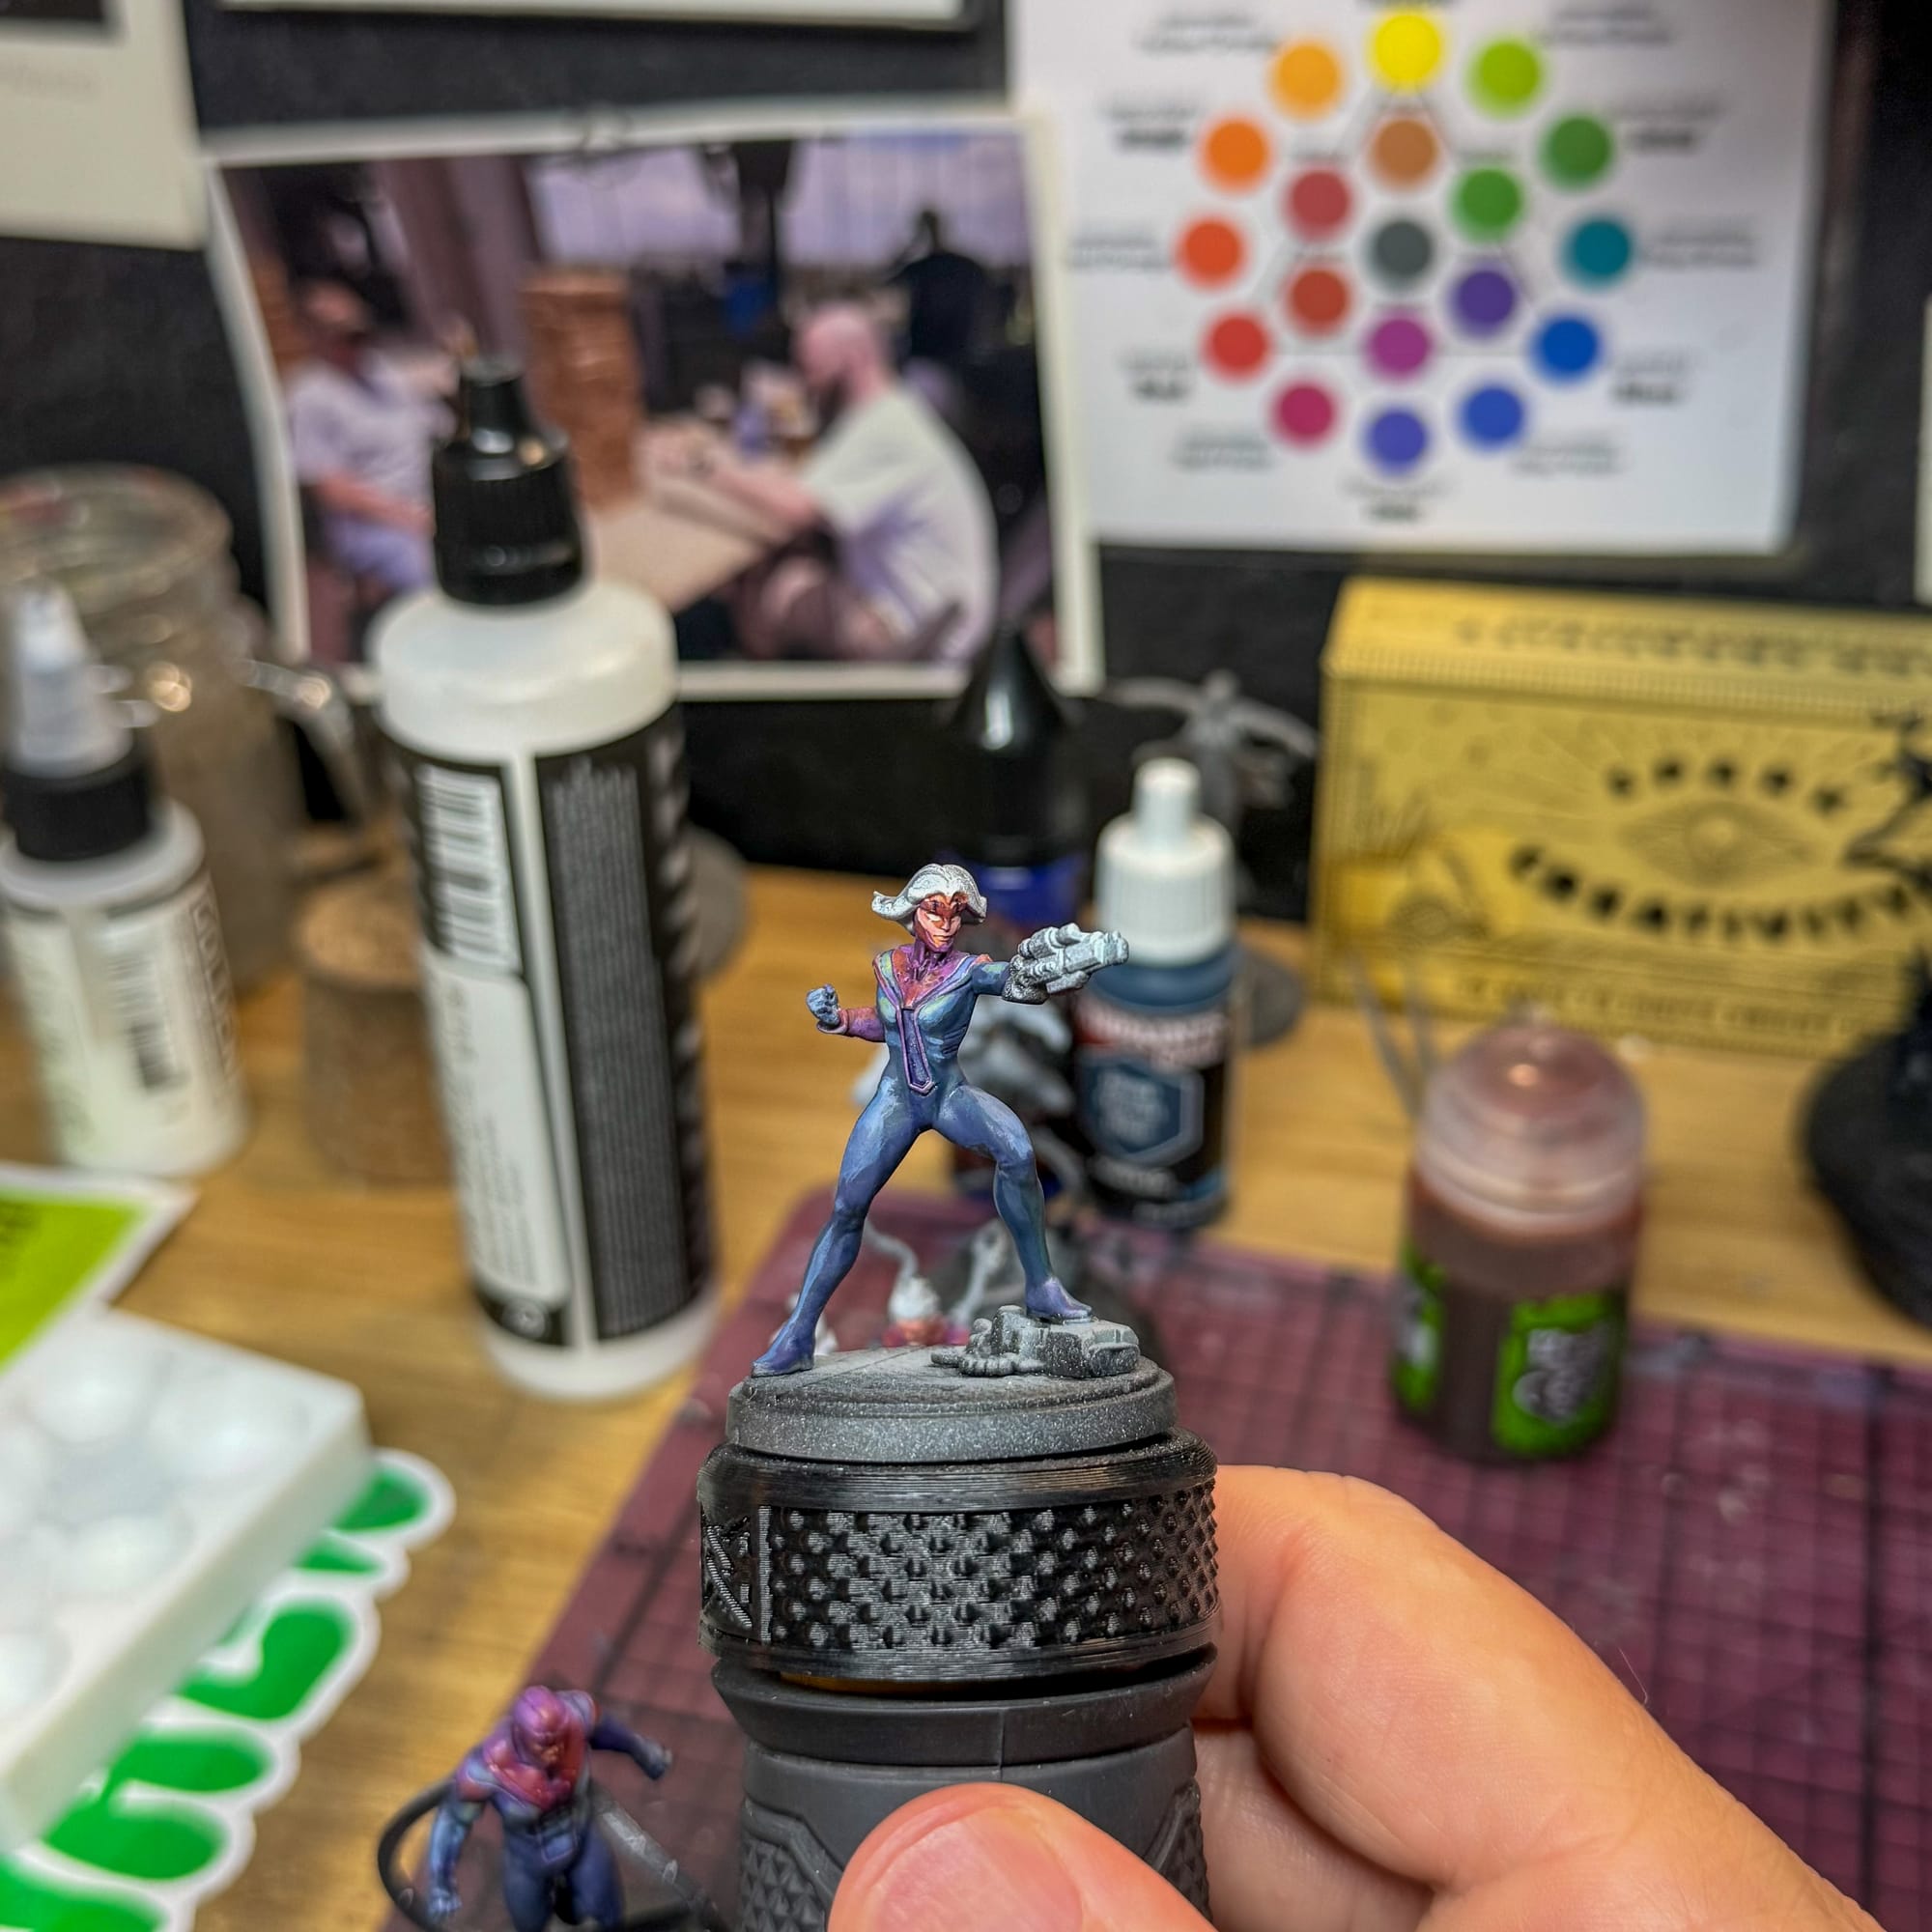
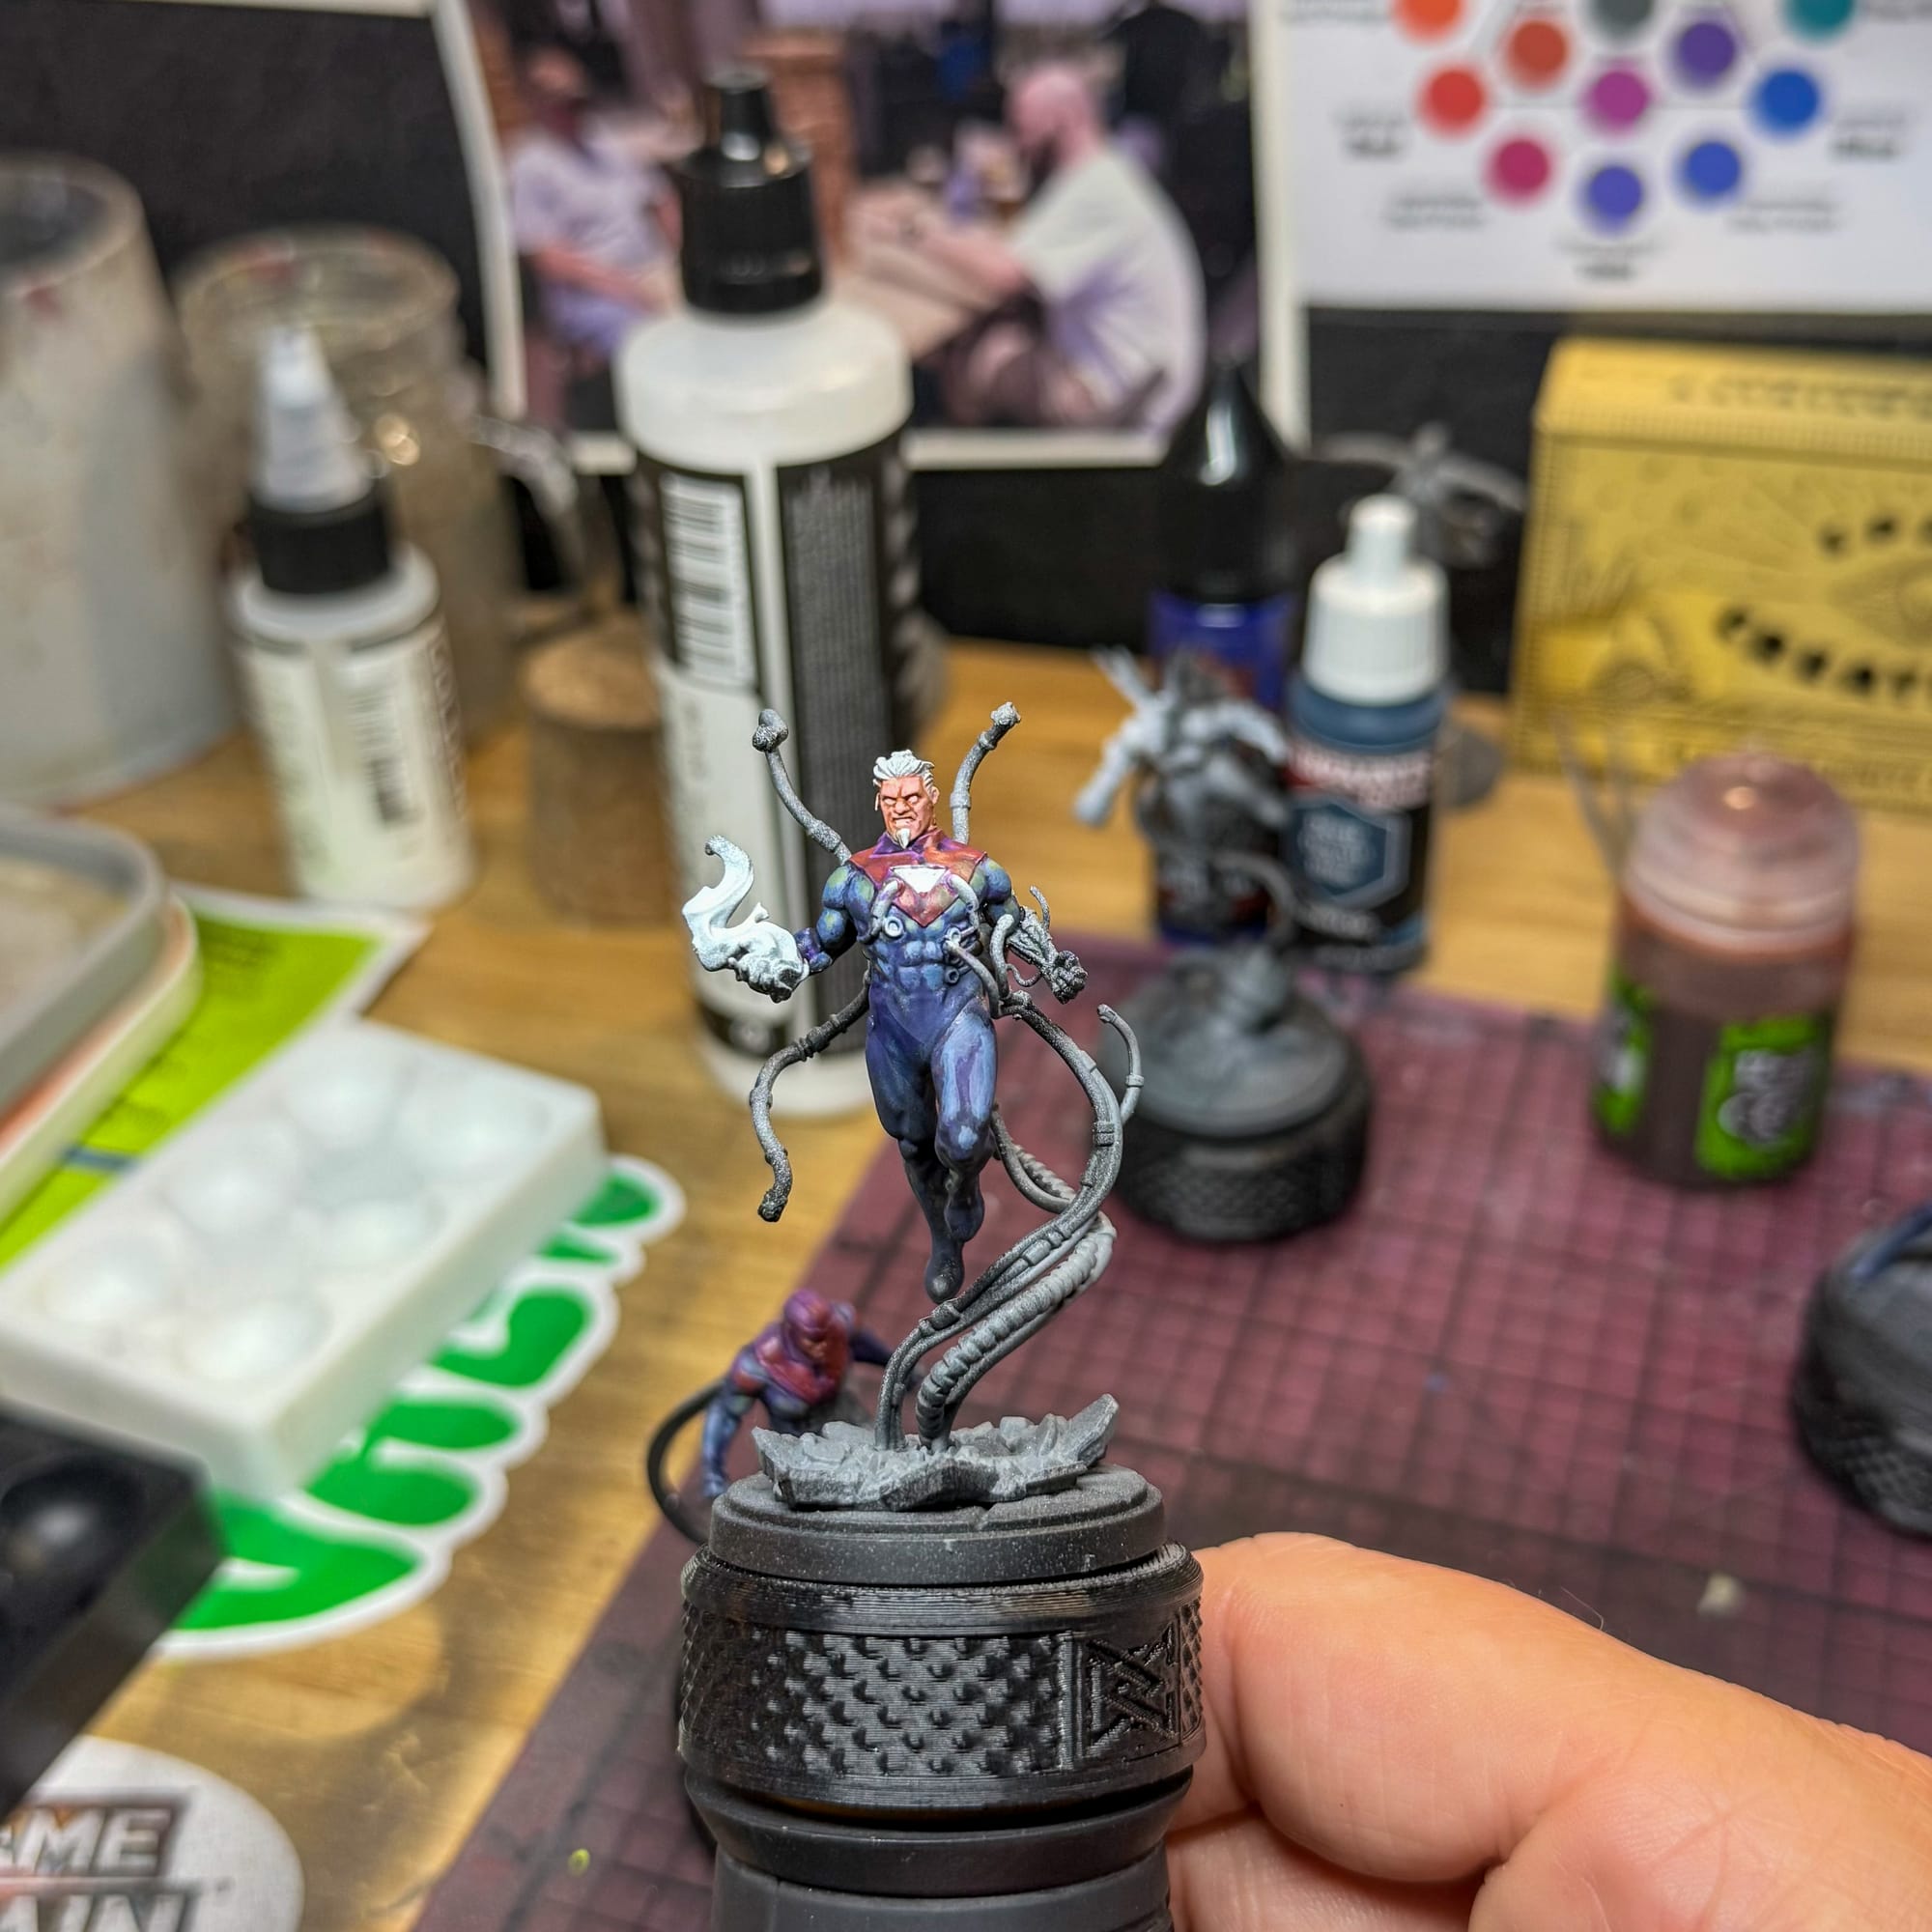
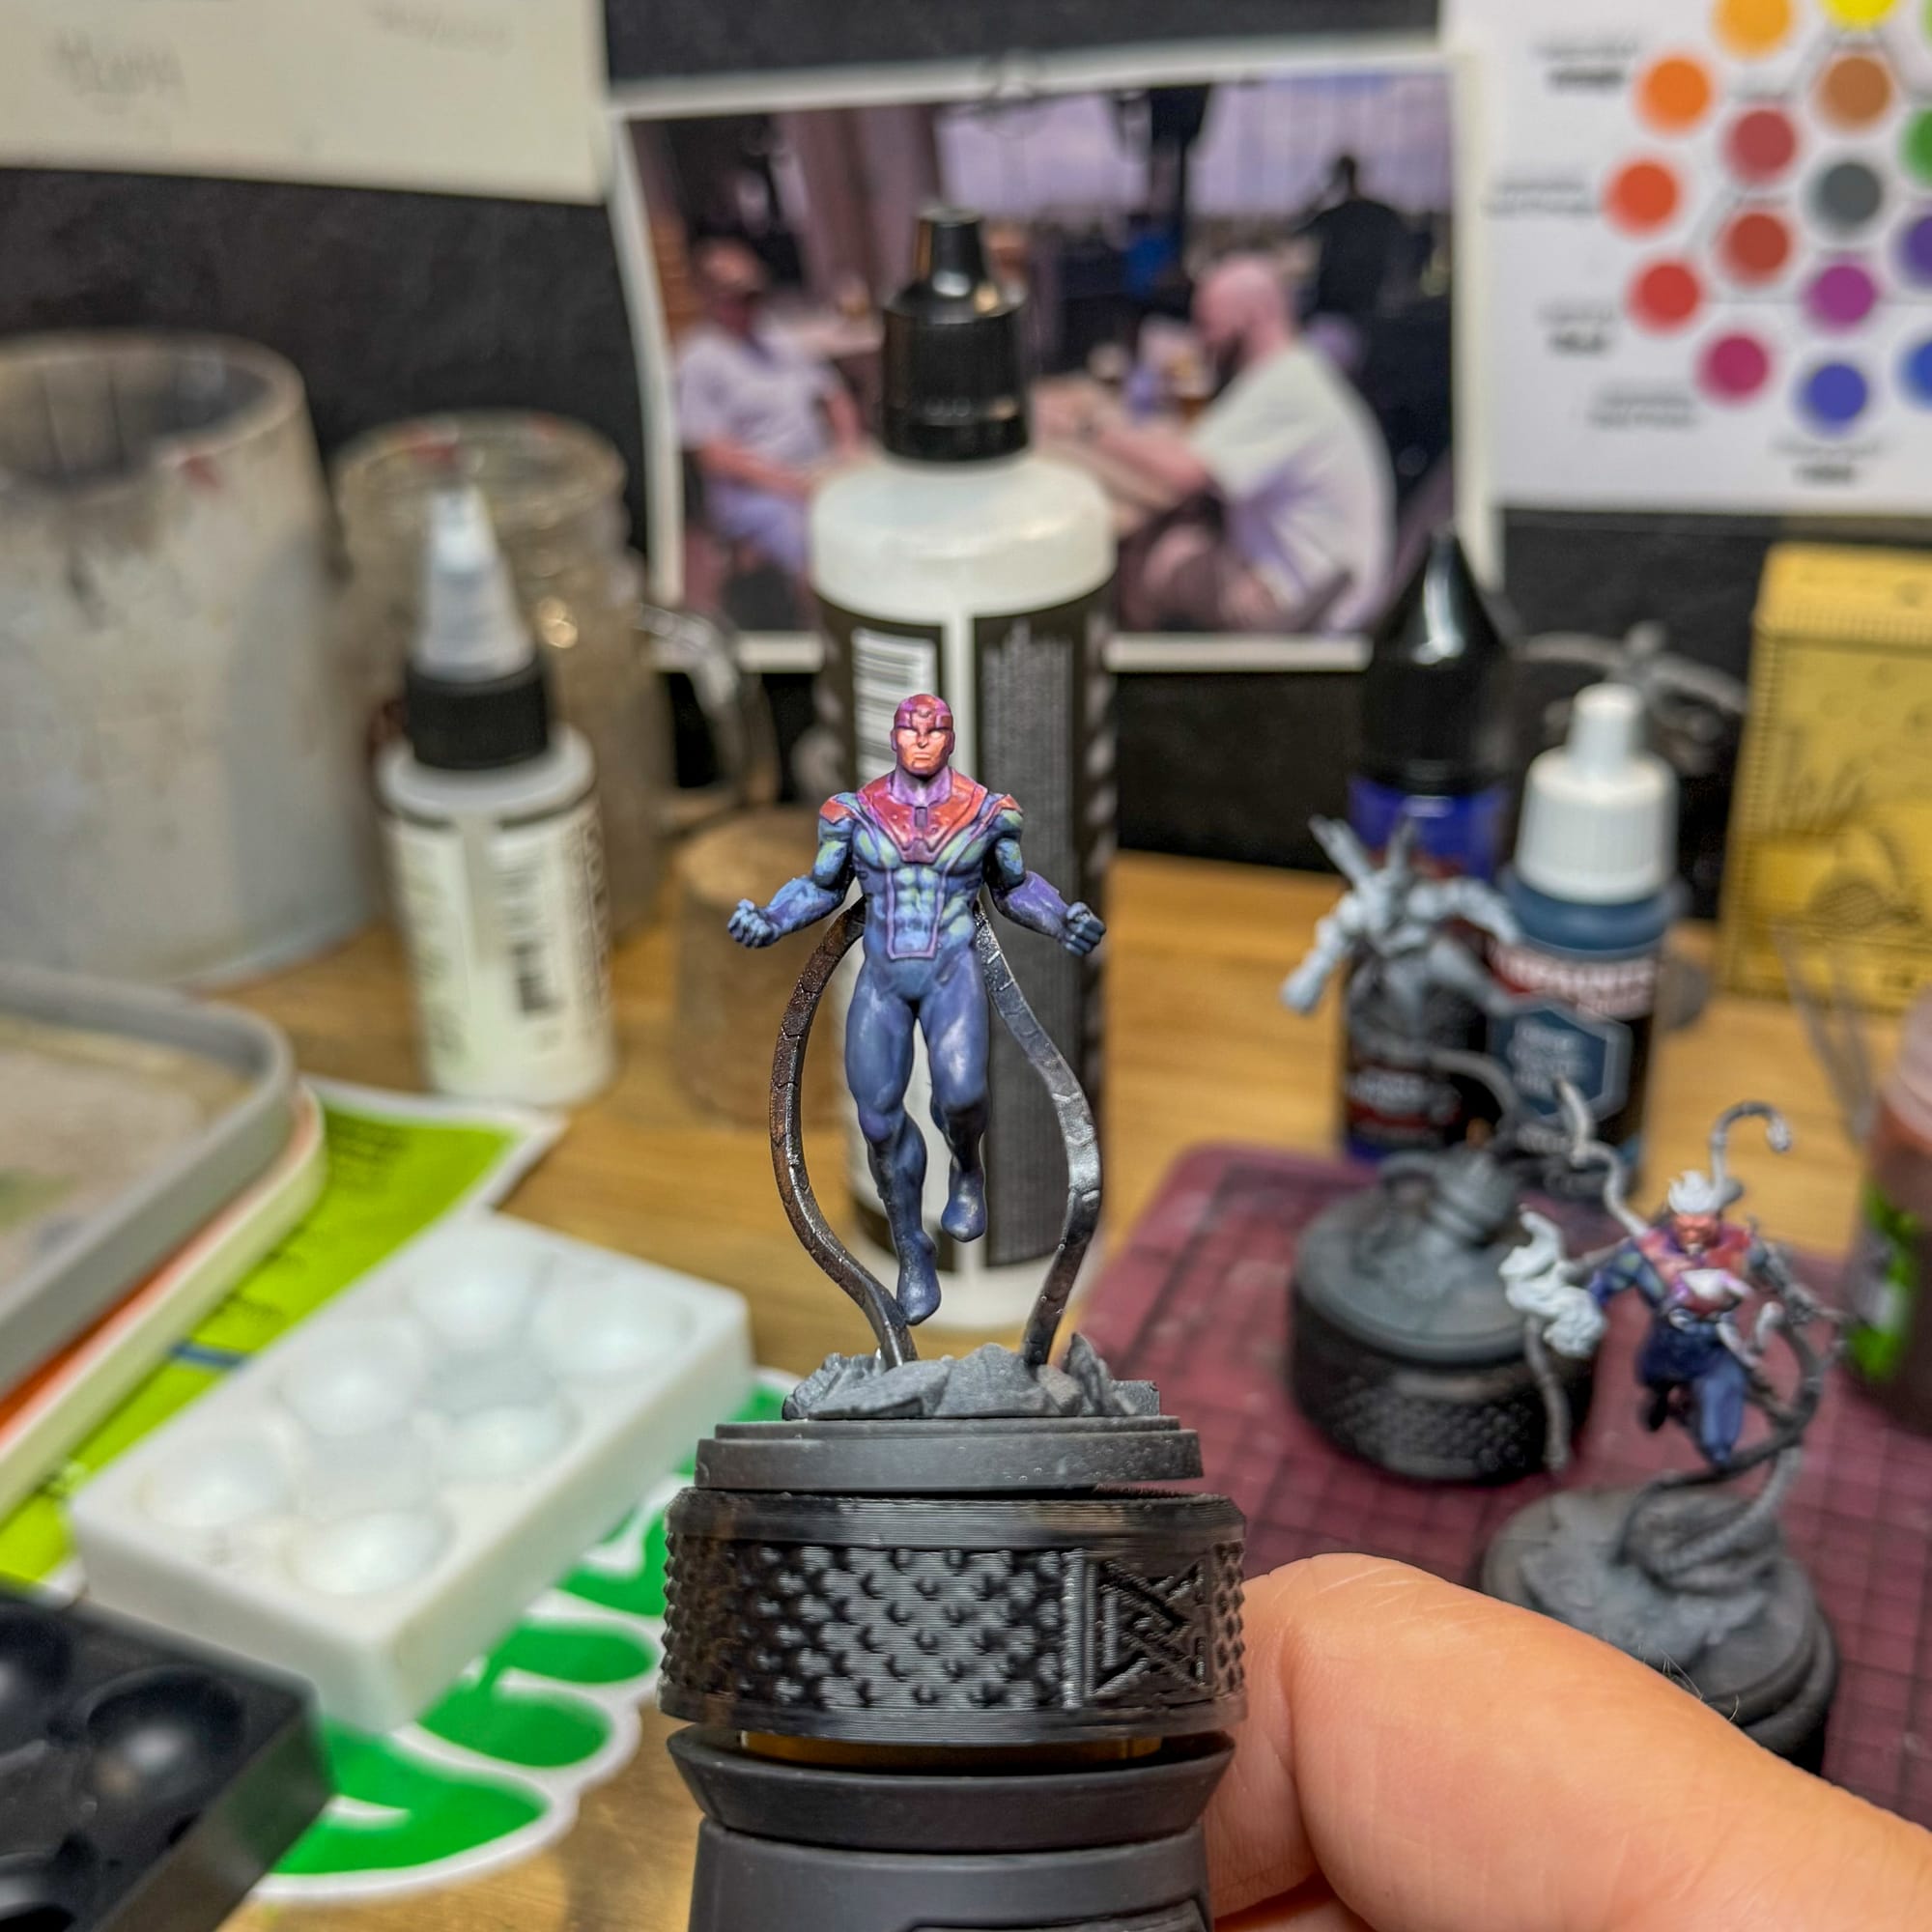
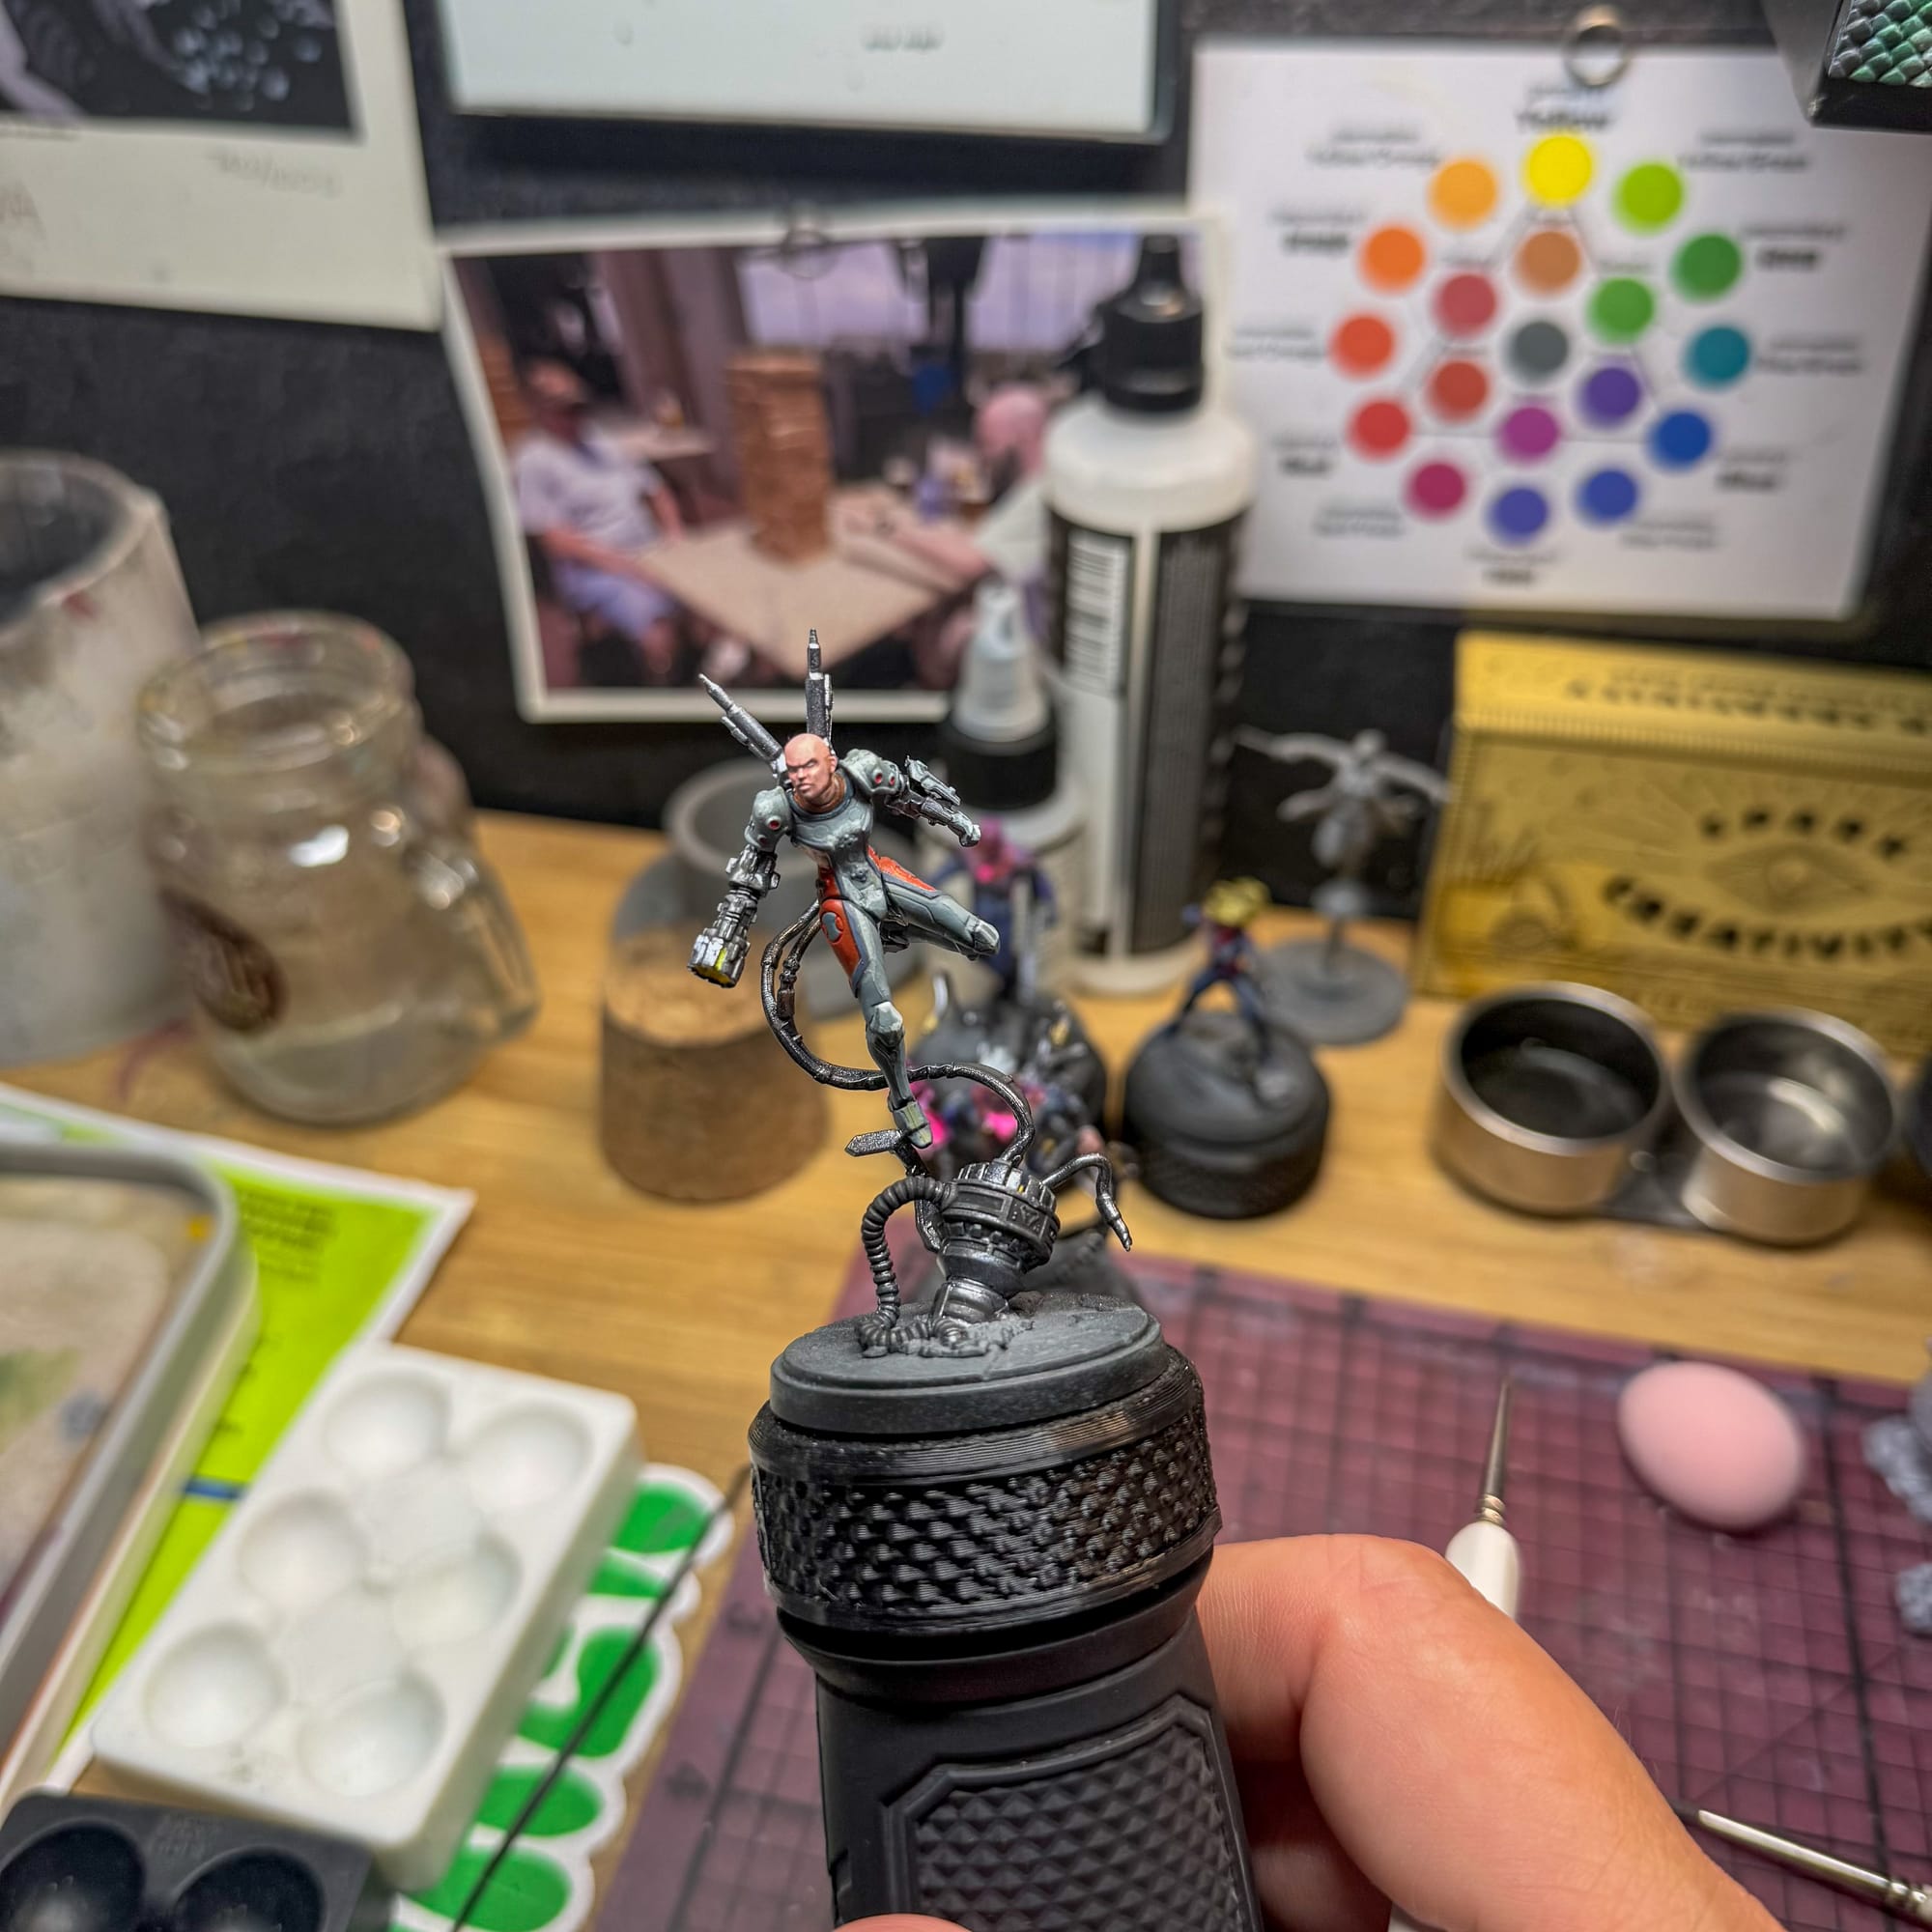
For the magentas on the models, I added in some sienna to the magenta mix. This is going to be slight because the way I’ll pop the magenta will be with a backfill of a purple wash into the magenta recesses.
You can basically work these all the way up to a finishing point.
On Omega Sentinel, I worked up my greys with yellow to call out my highlight points, then I painted over the yellow with an even more desaturated grey. This helps create that illusion that her armor is some kinda future plastic metal shiny thing.
For the orange, I mixed red and yellow together and then boosted the color with a bit of red ink. To really hit that tone, I added just a bit of AK Fluorescent paint to it, which, if used in small portions, can really bump up the brightness.
Repeat until happy.
Finishing touches
At the top of this tutorial, I mentioned the Fluors, so let’s bring them into the mix. In multiple areas on all of these models, you can add in enamel fluorescence to create a huge pop of brightness. I chose the eyes, energy panels, on Omega, the little holes and on Bastion, the mysterious energy in his right hand and the little holes on his body. You really need only one application of the stuff; it’s perfect.
For his hand, I first painted with Kimera Velvet Magenta. Using an ink will help retain any painting done below, which was my initial priming. Then I layered in the enamels, waiting till it dried, then added more.
With enamels, if you end up adding too much, grab some white spirit, dab a brush or sponge, and easily remove the pigment.
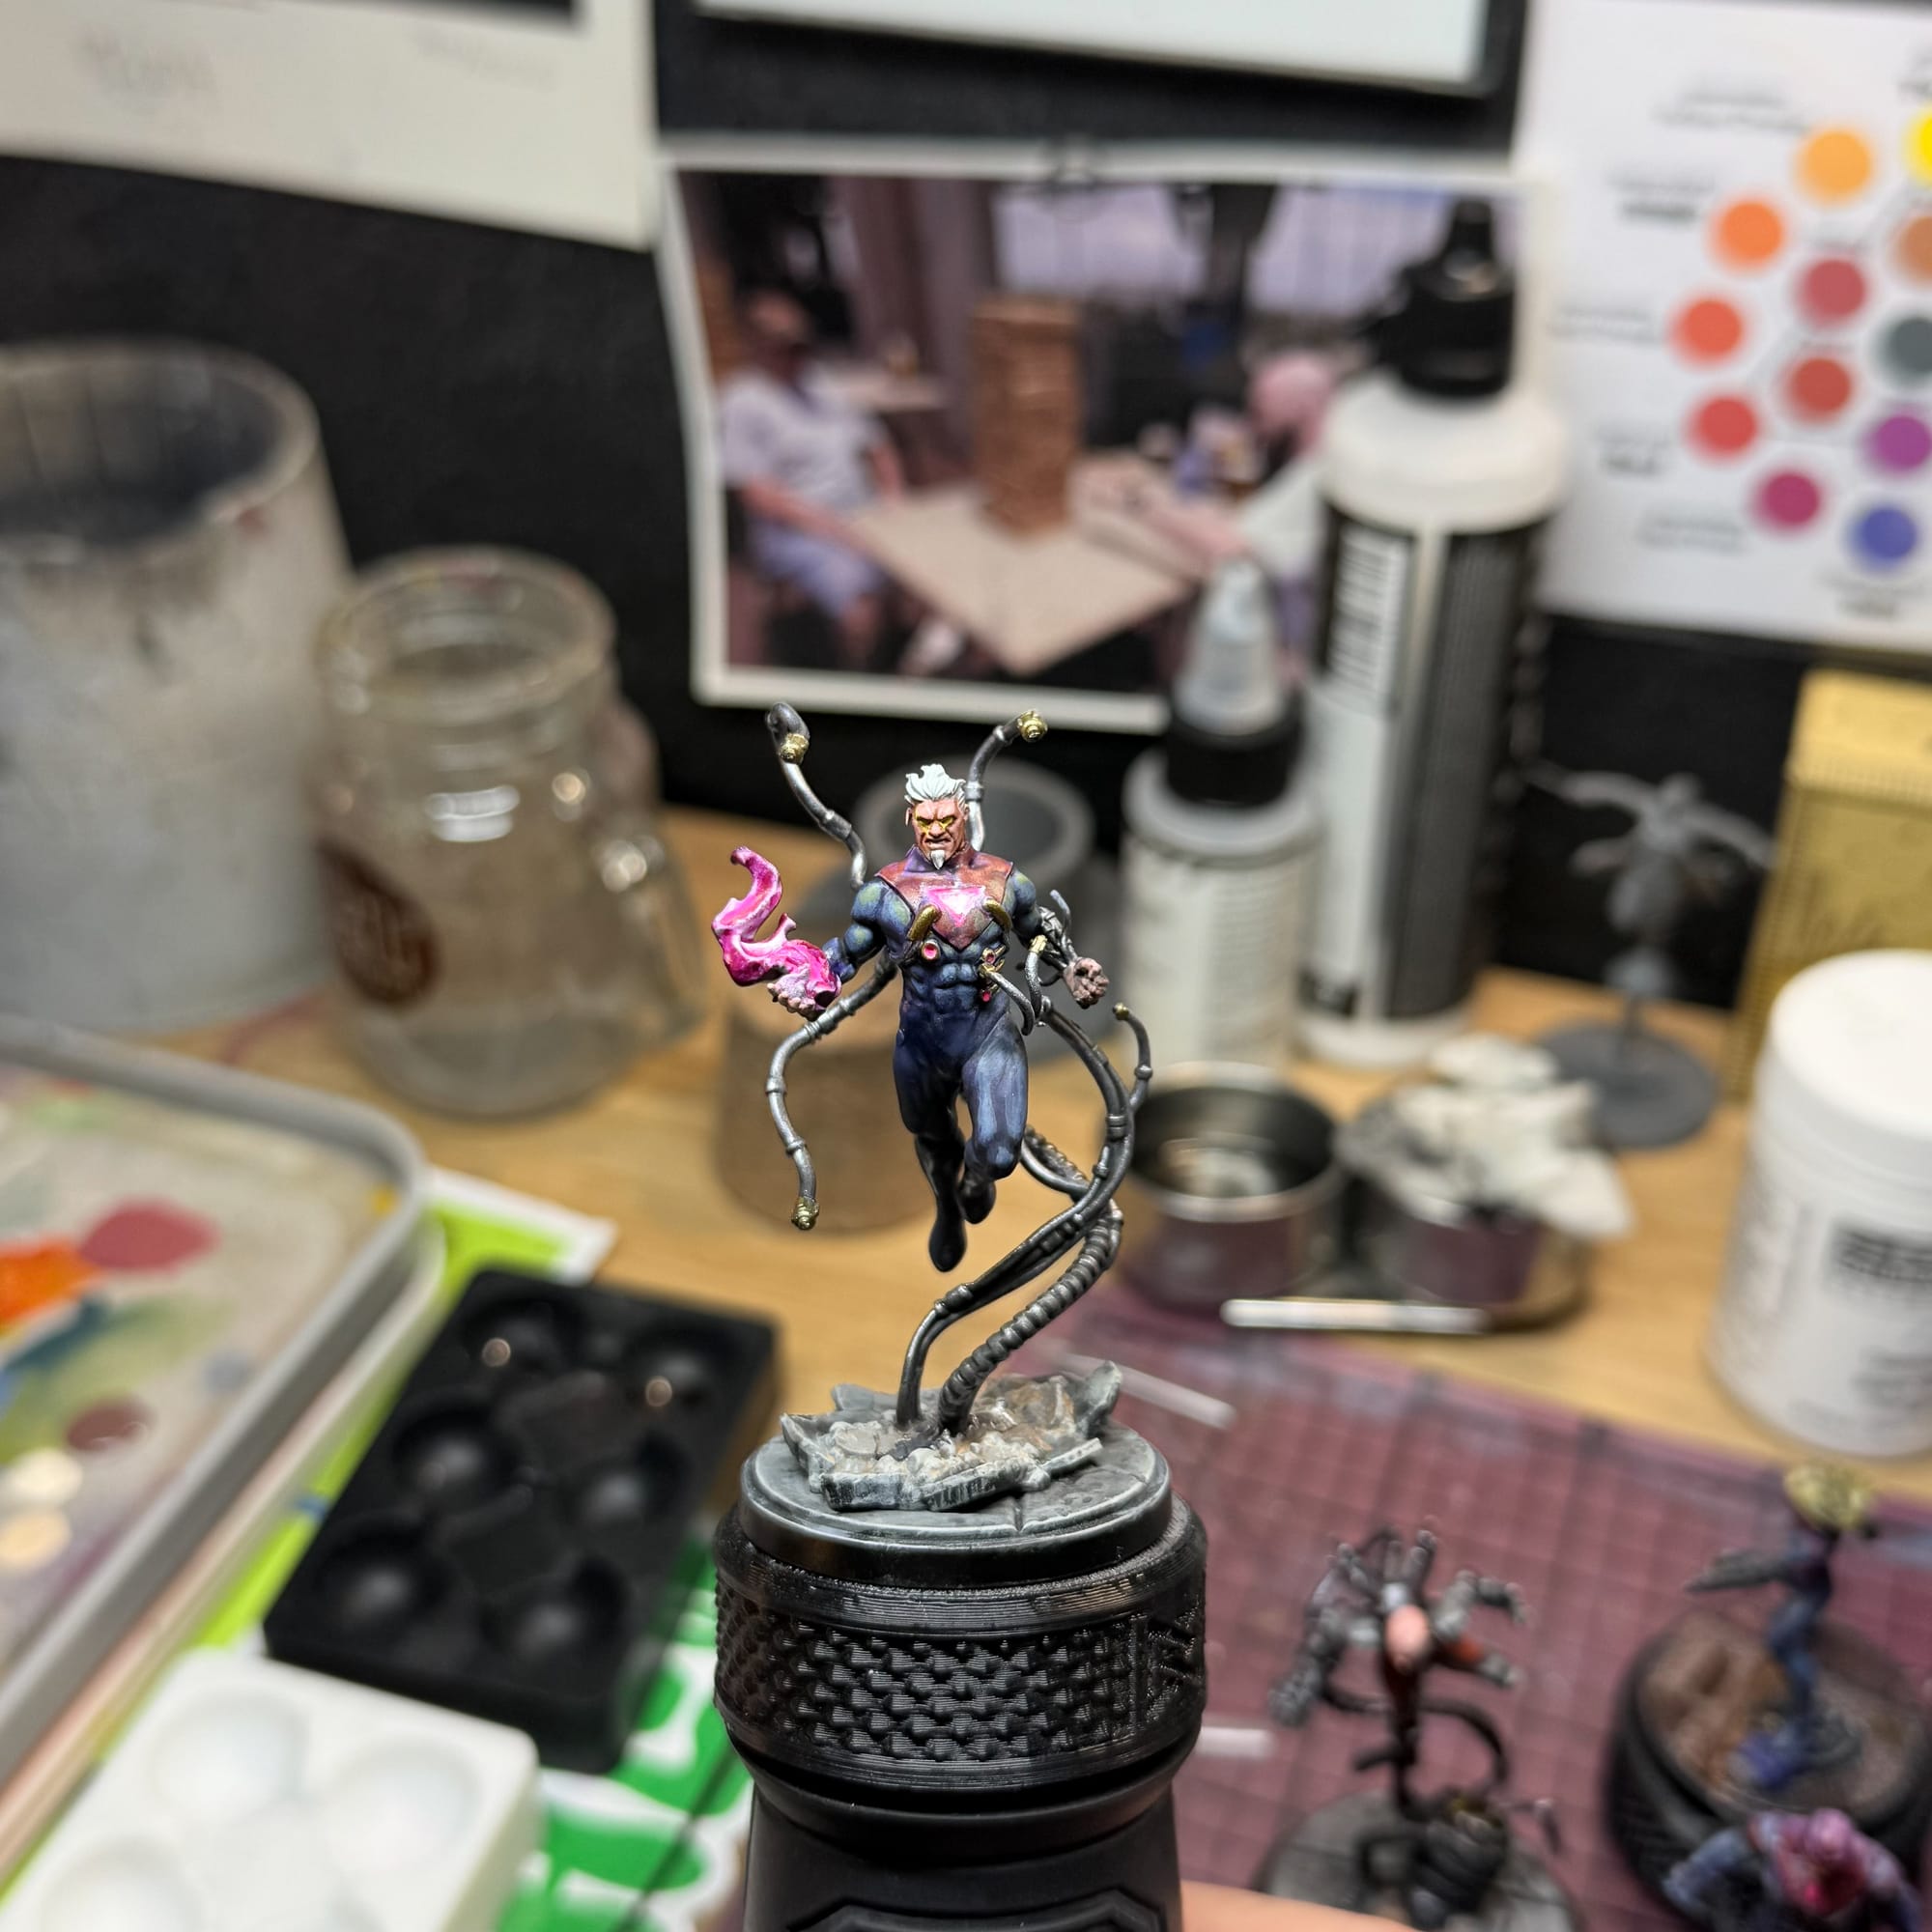
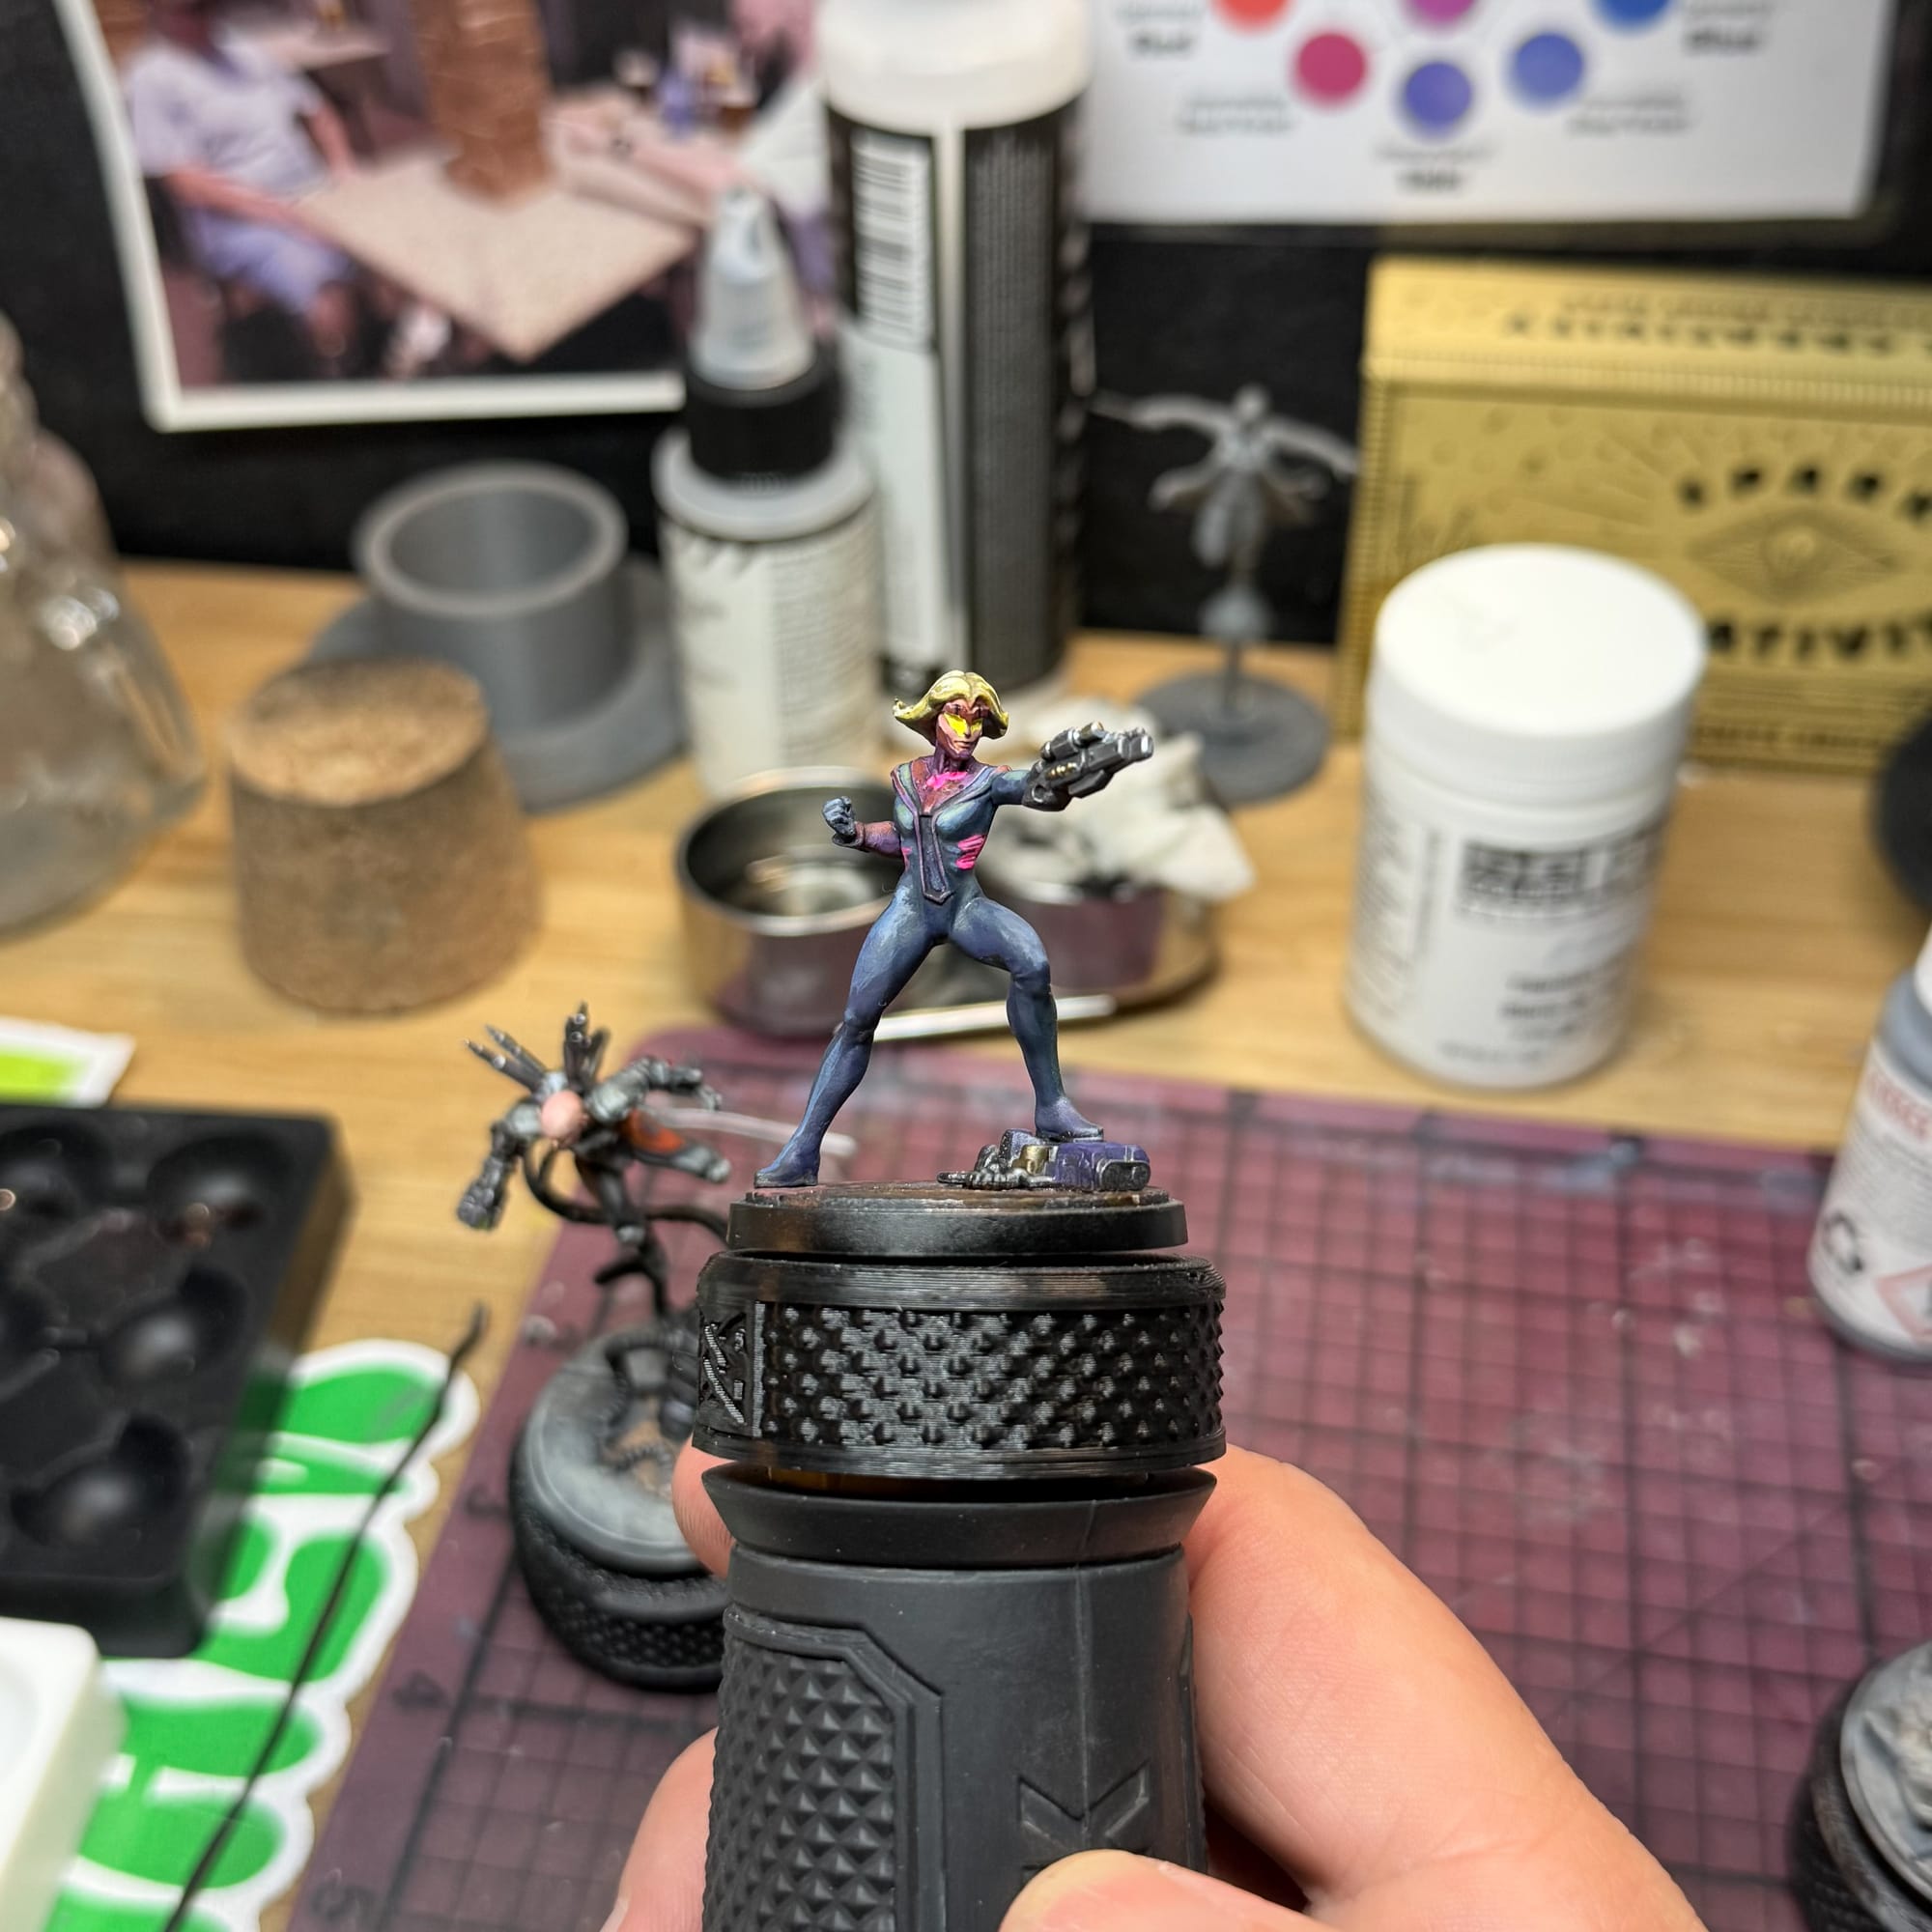
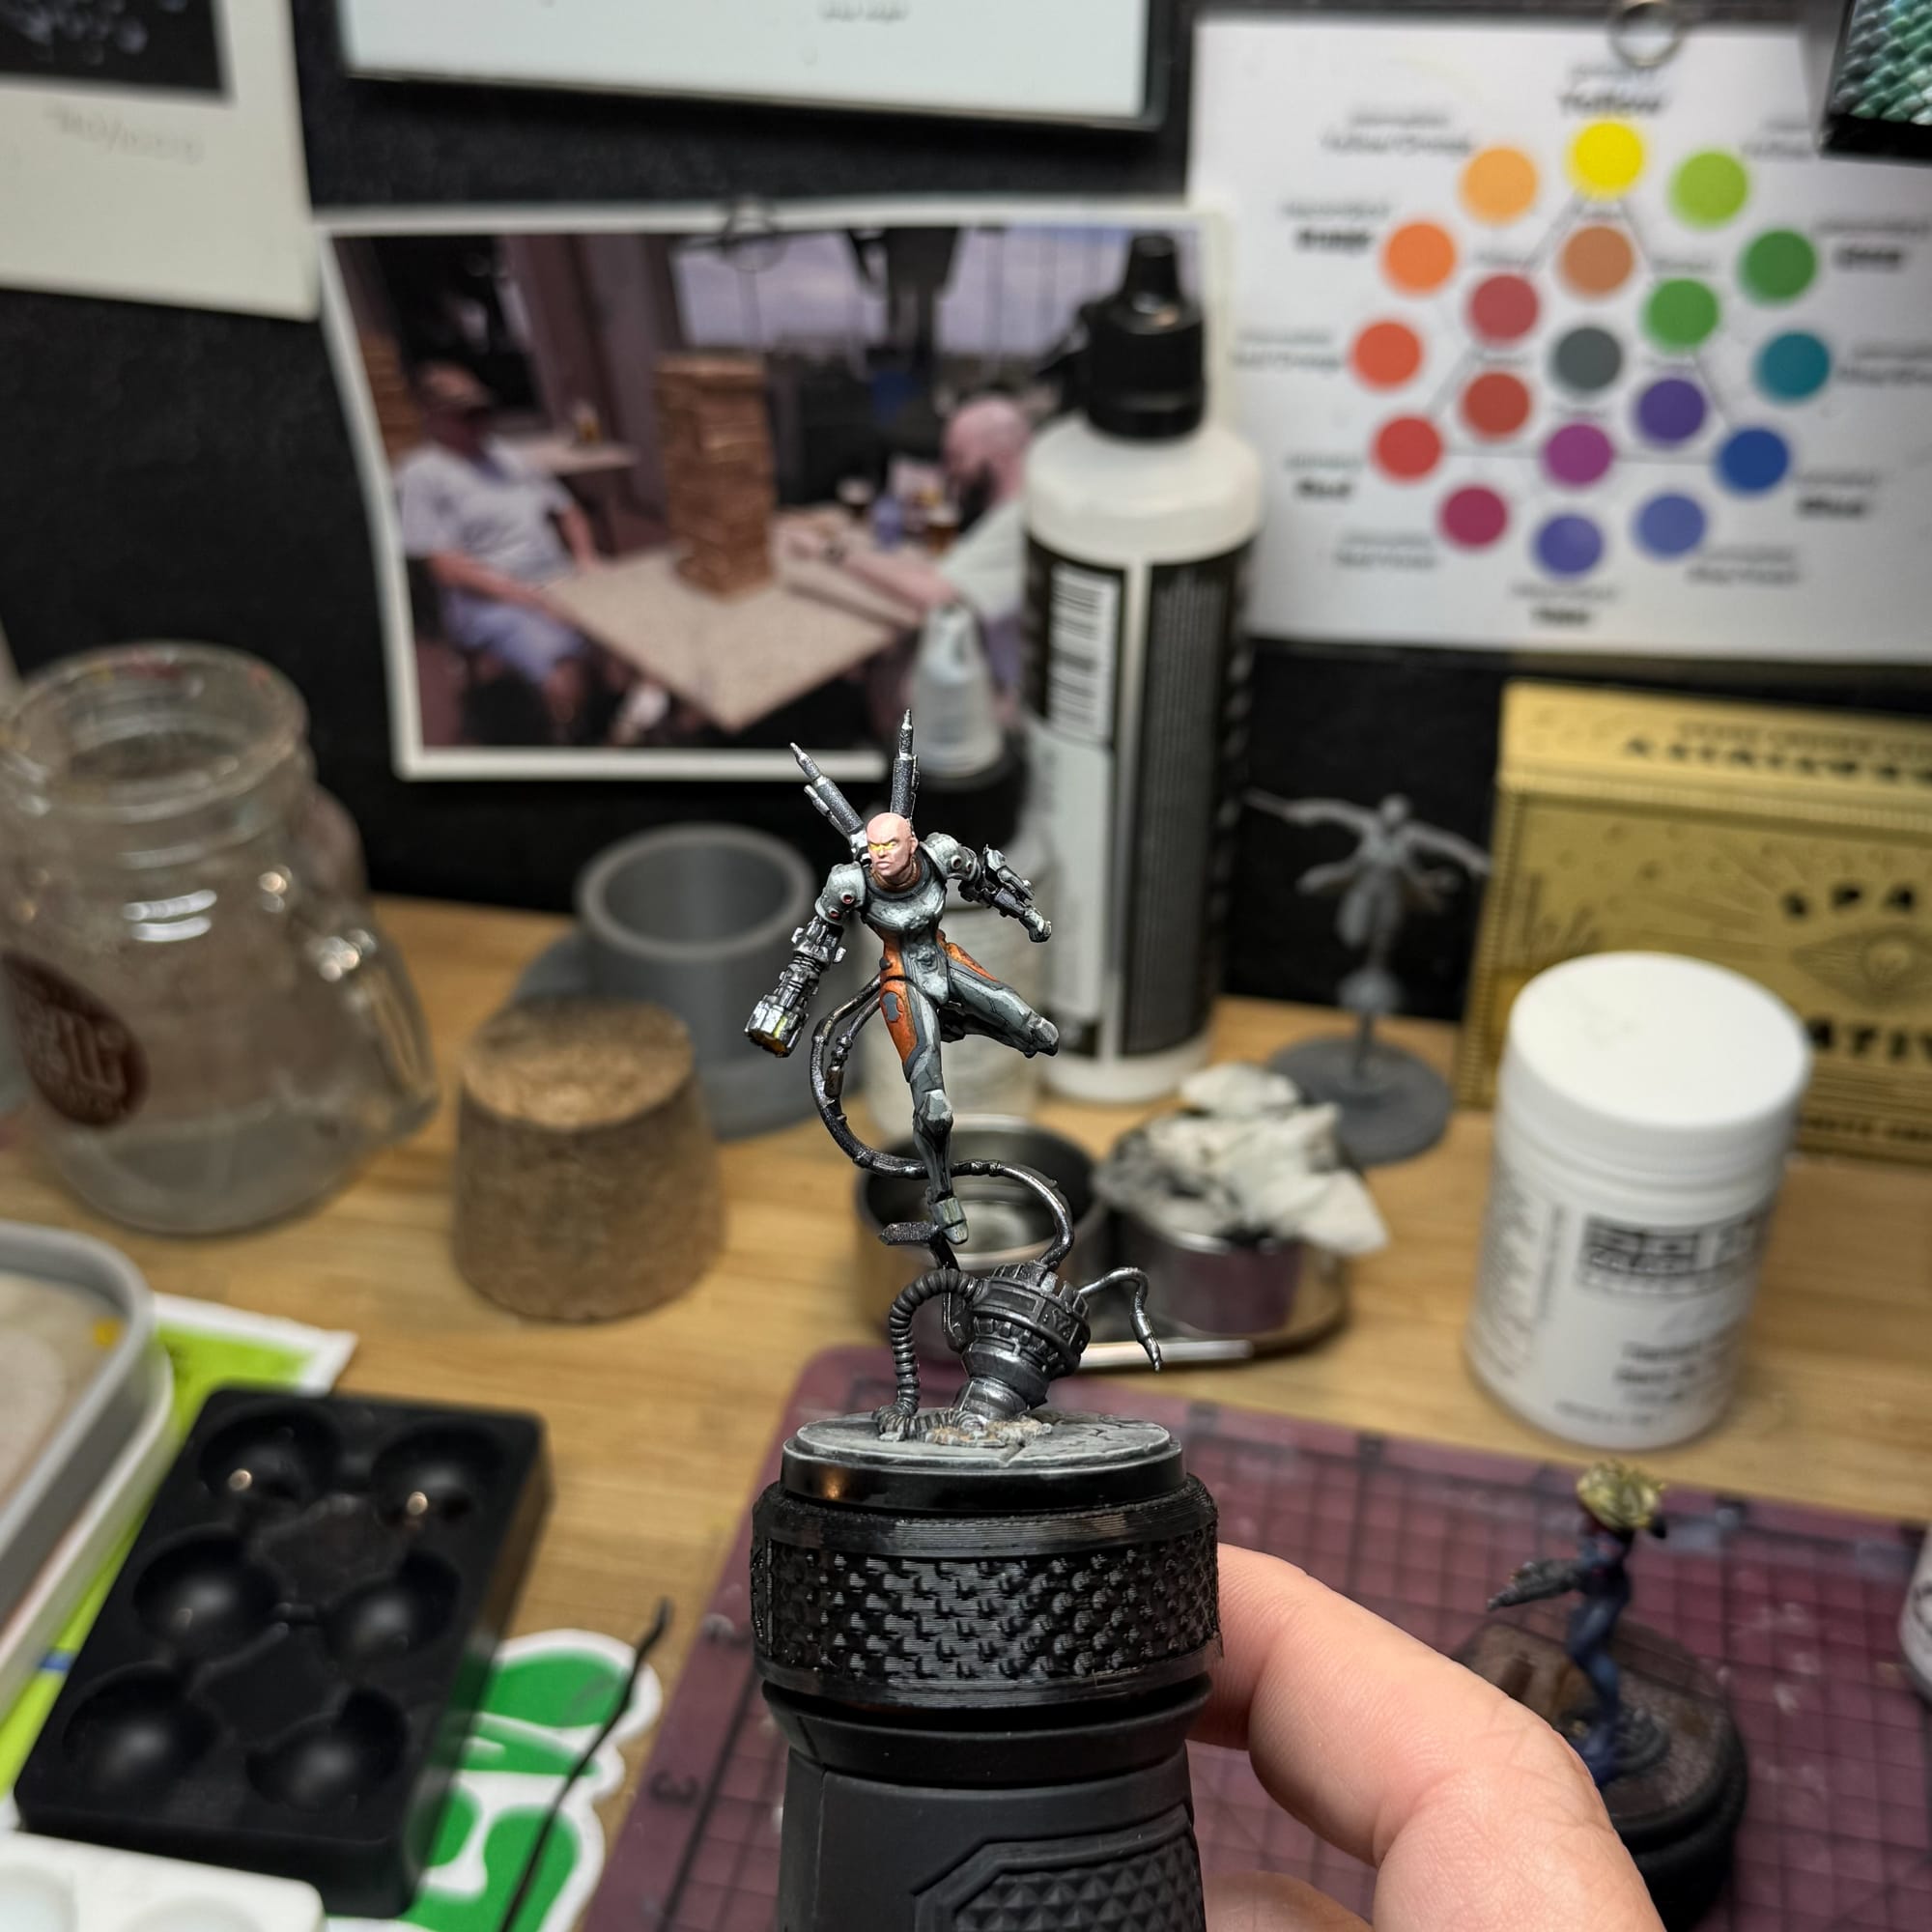
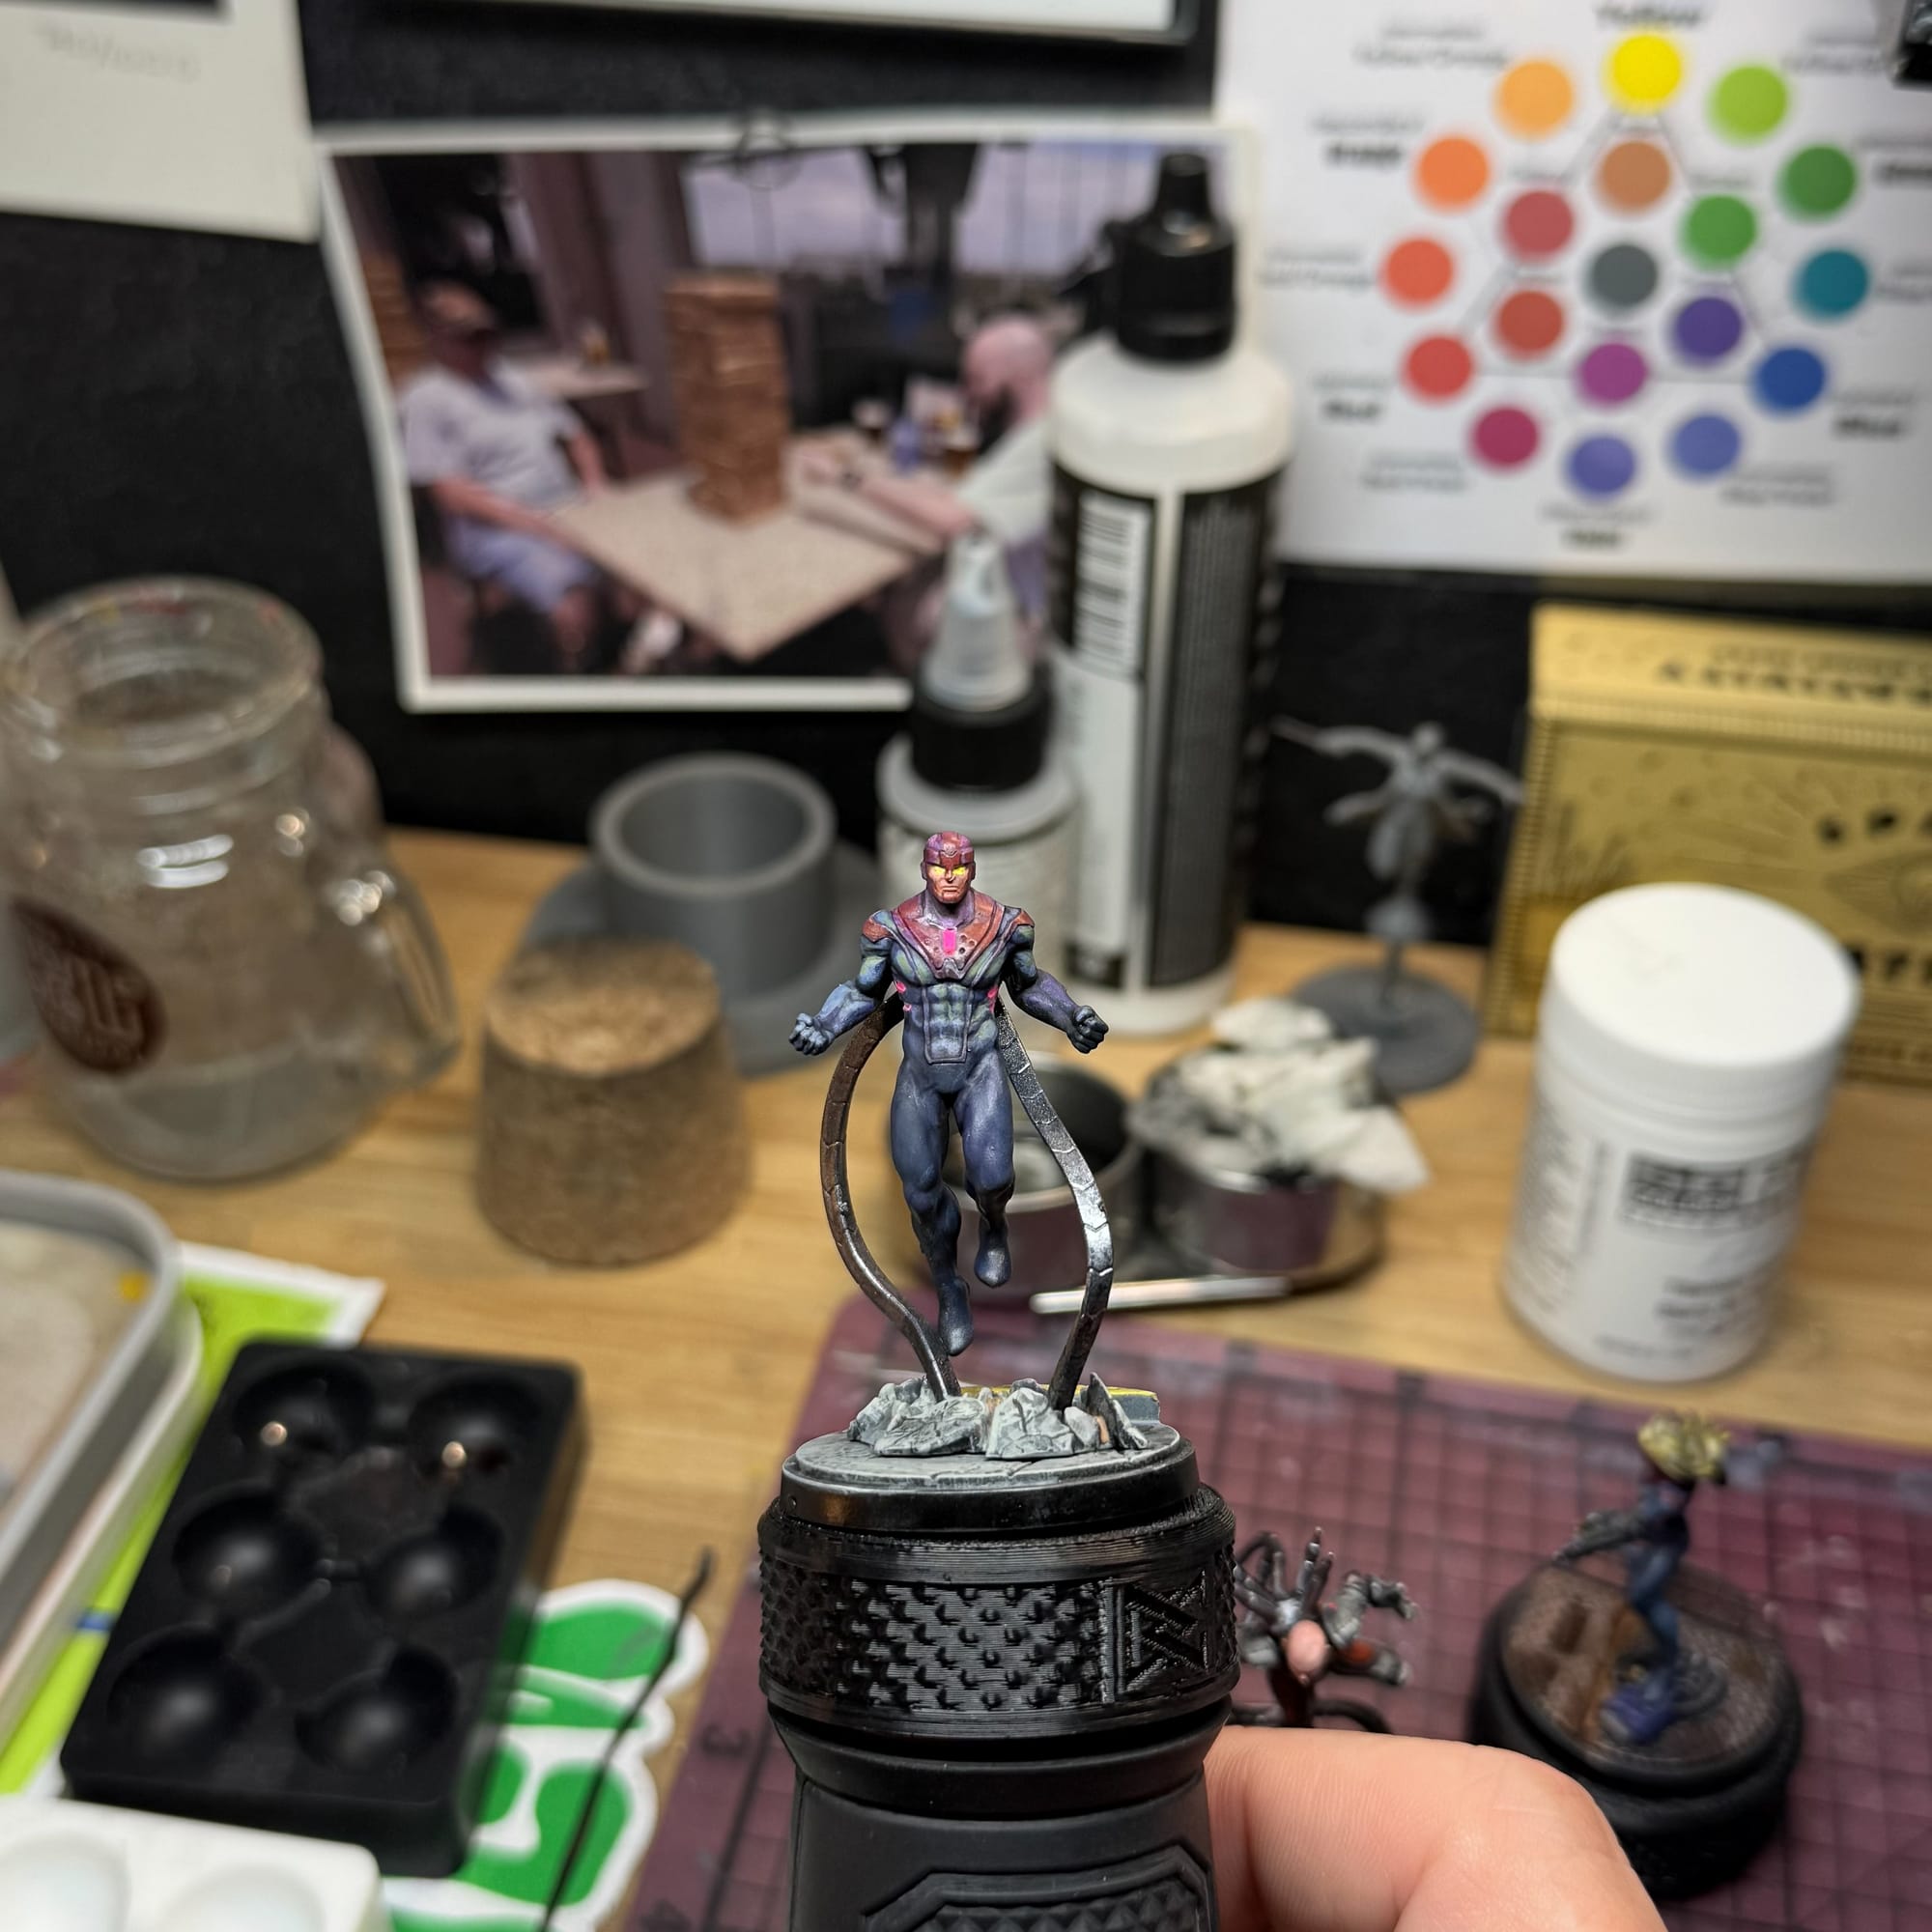
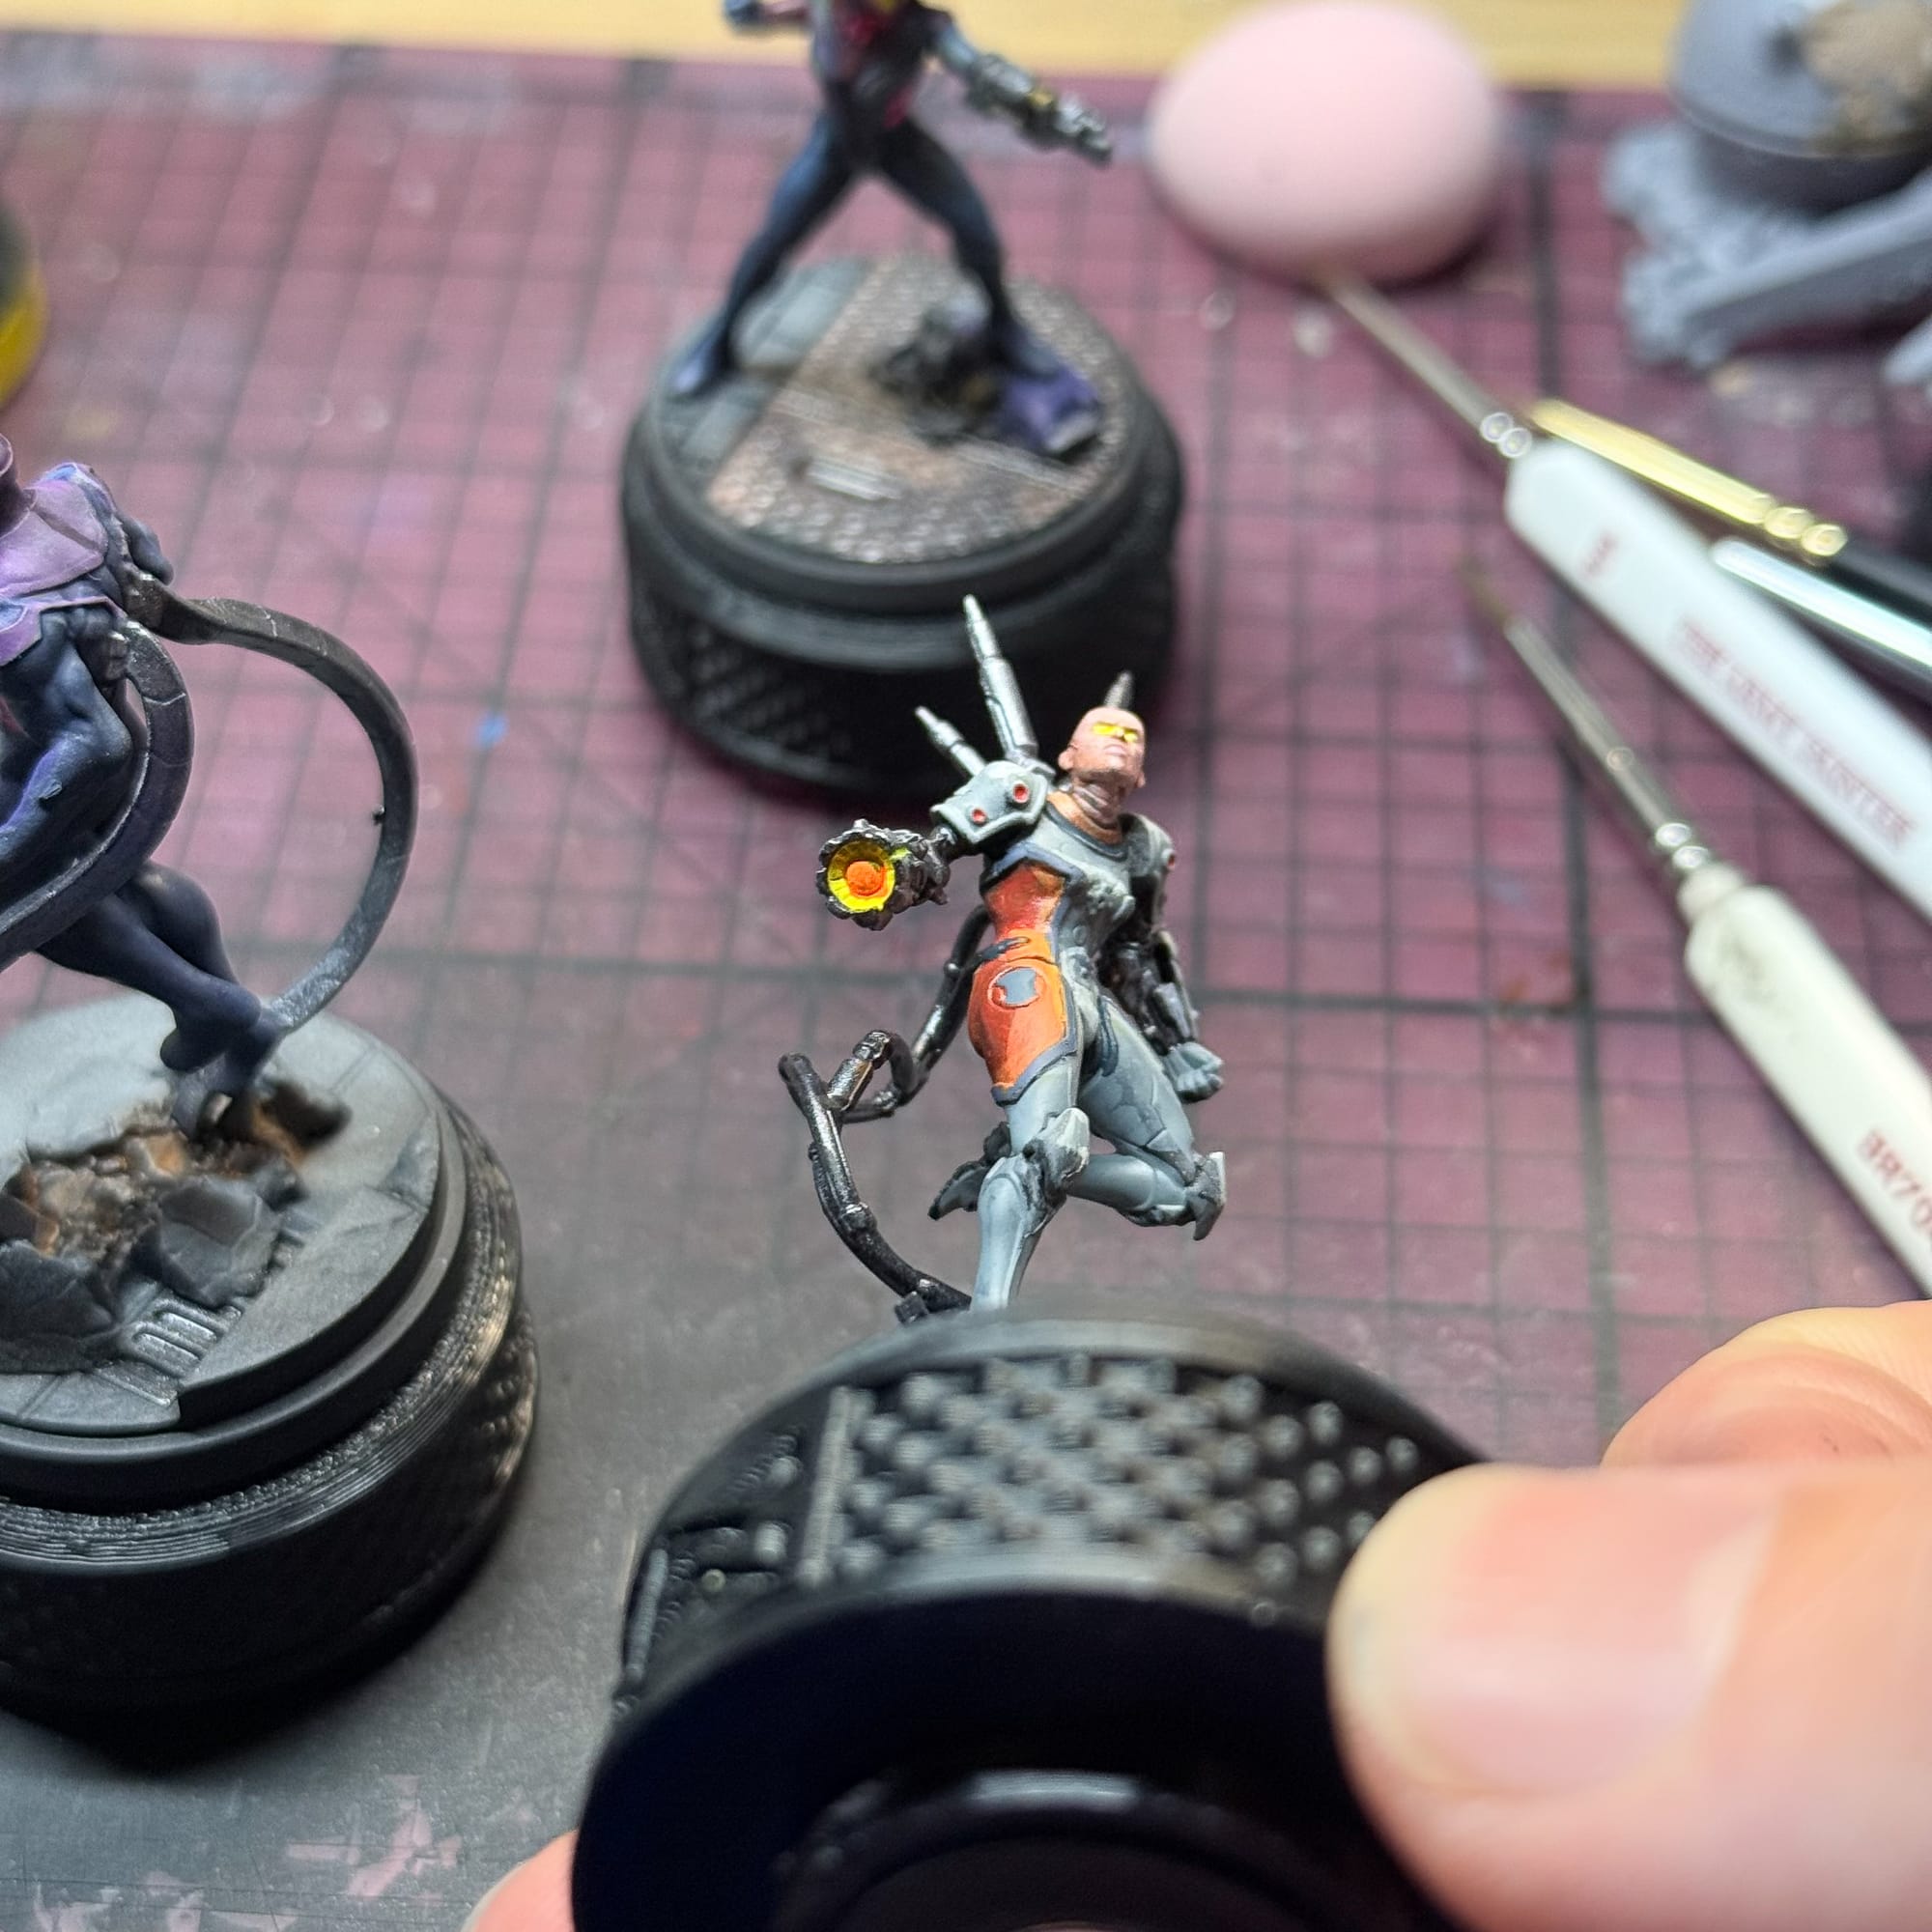
There were also a lot of lines on all of these models because, you know, they’re robots. So on all of the metallics (and Omega Sentinel), I used a Nuln Oil, a classic GW wash. Dries matte, which adds in a lot of great texture.
For Omega’s body, I mixed an oil wash with black oil paint. I slathered it on her body, waited about ten minutes, then removed it with a sponge from all the raised areas. The result darkened the entire body panel, and left a little bit of grease, which I thought was a nice touch.
On Bastion, as a final touch, I took a little bit of white paint and dabbed it into the center panel, to create a great focus point to keep the eyes on the top part of the model and to signify a power core inside of him.
Basing
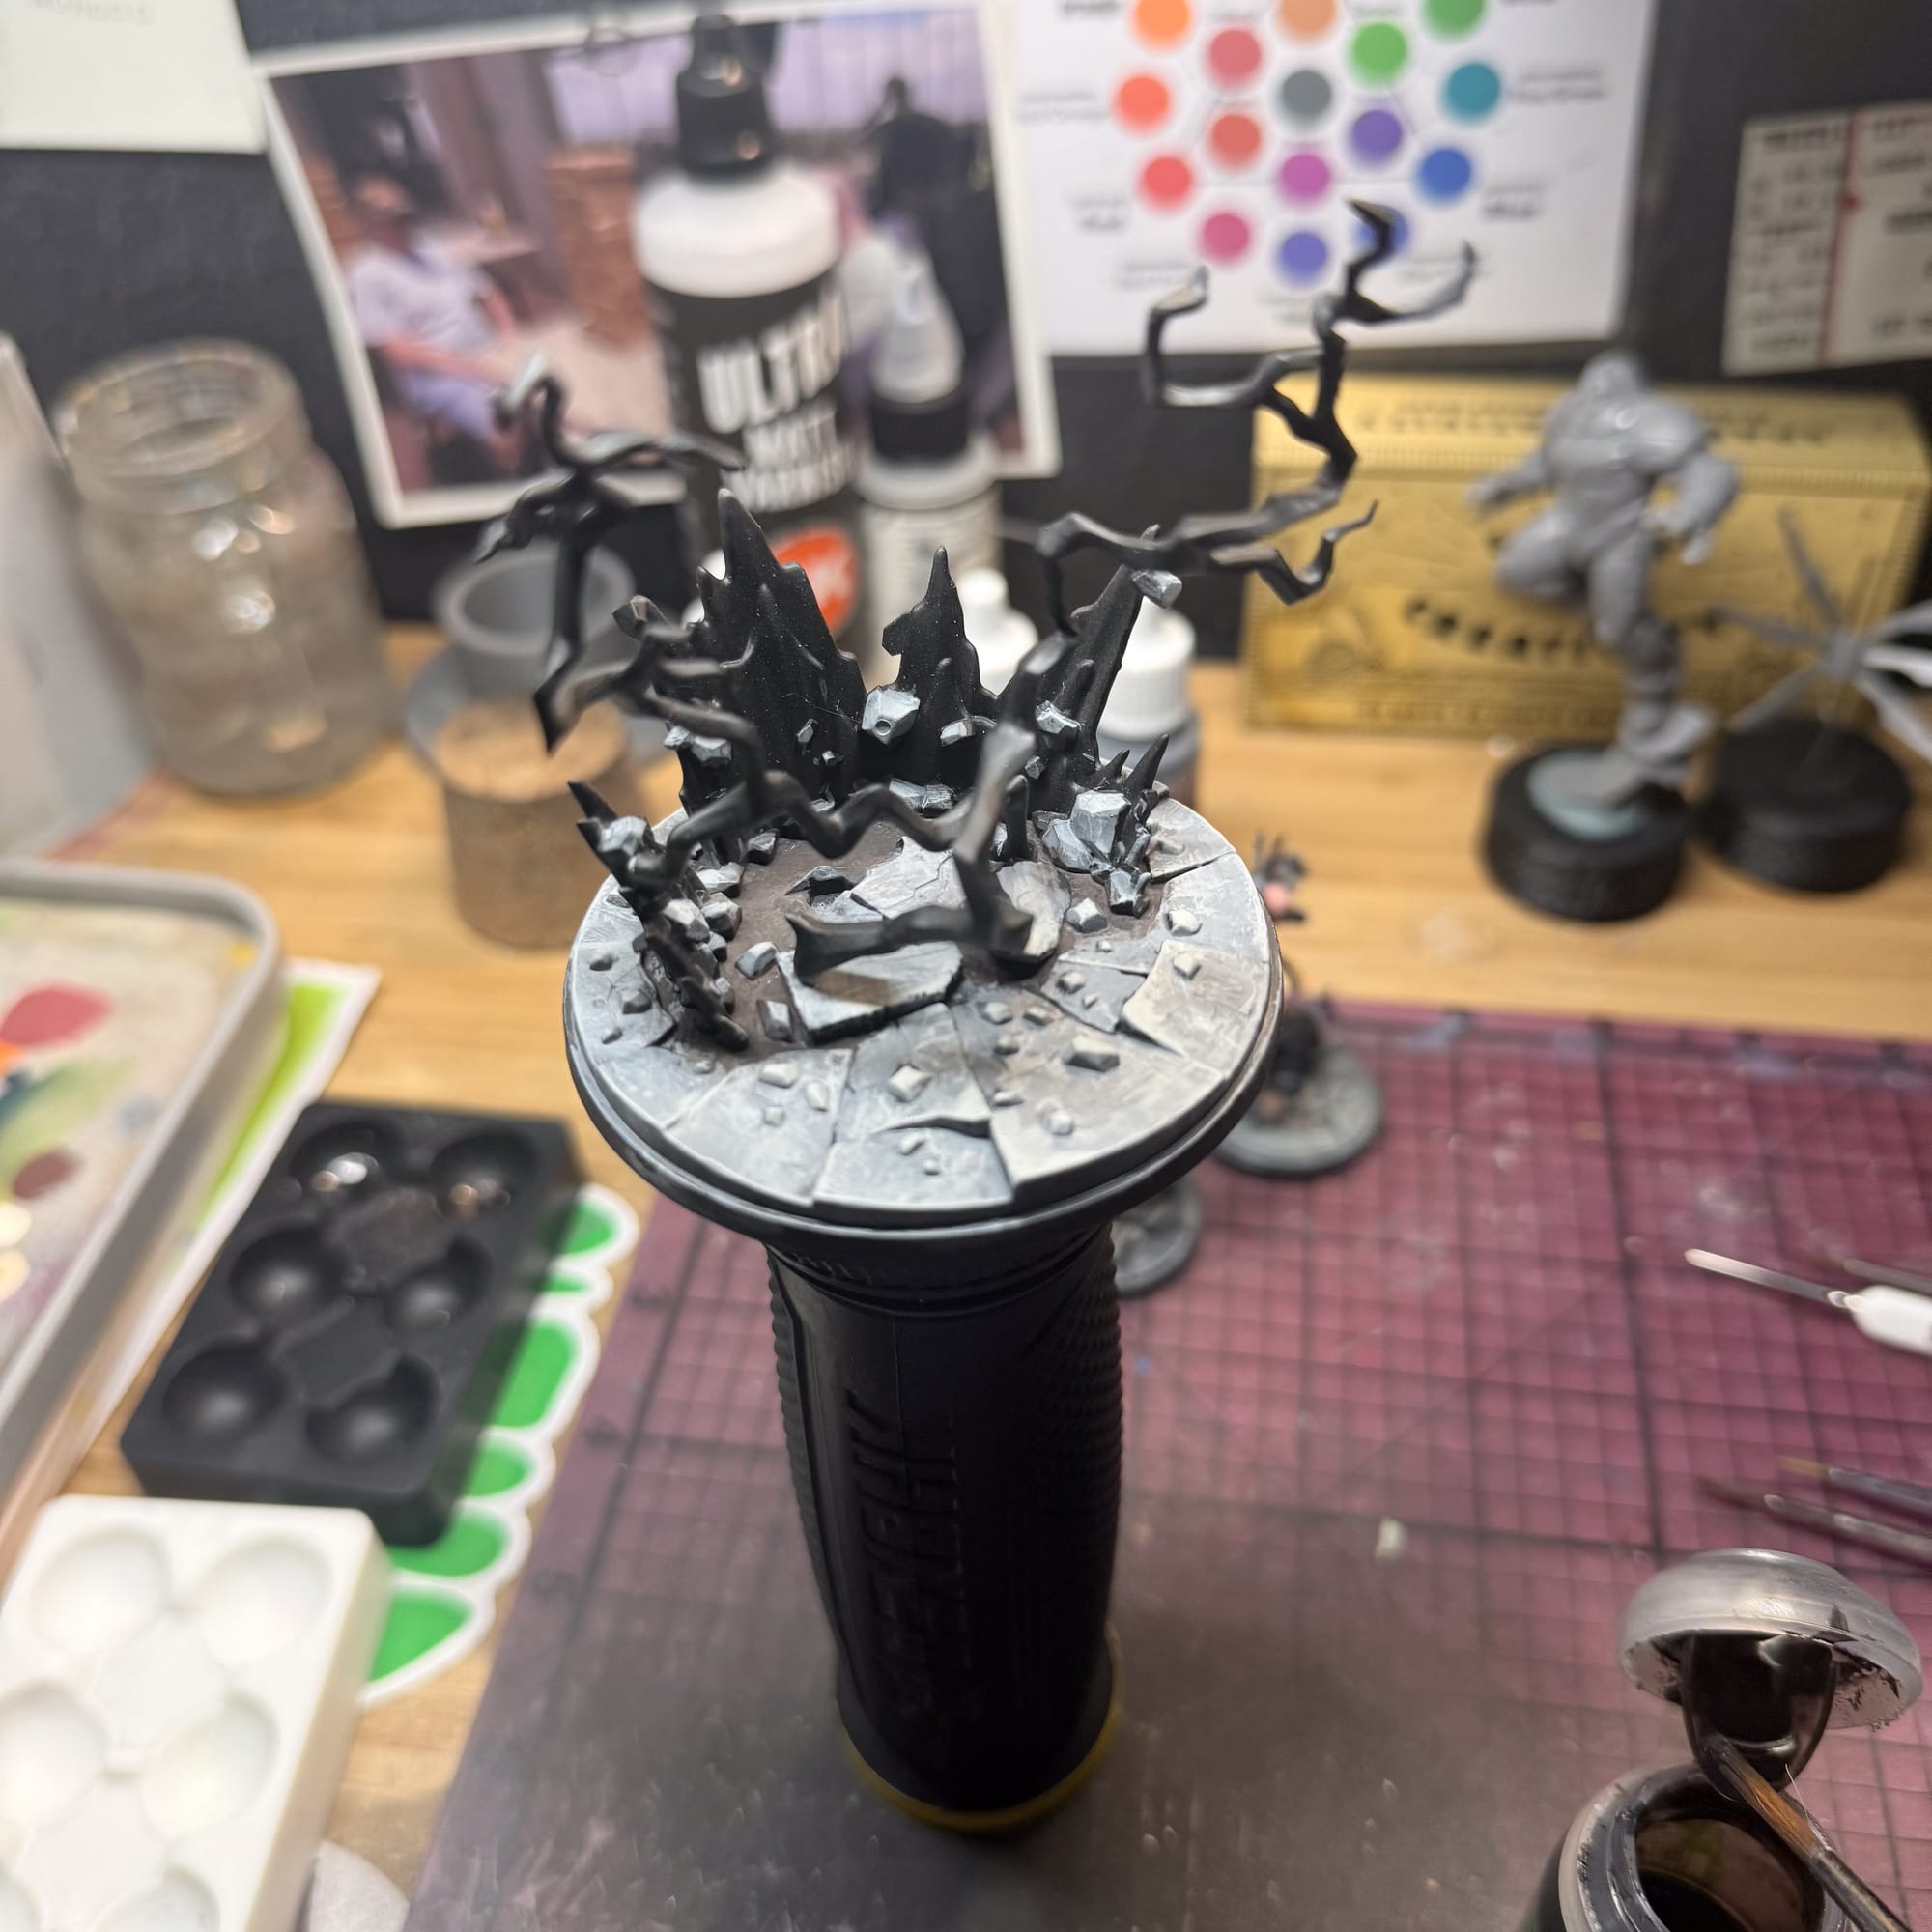
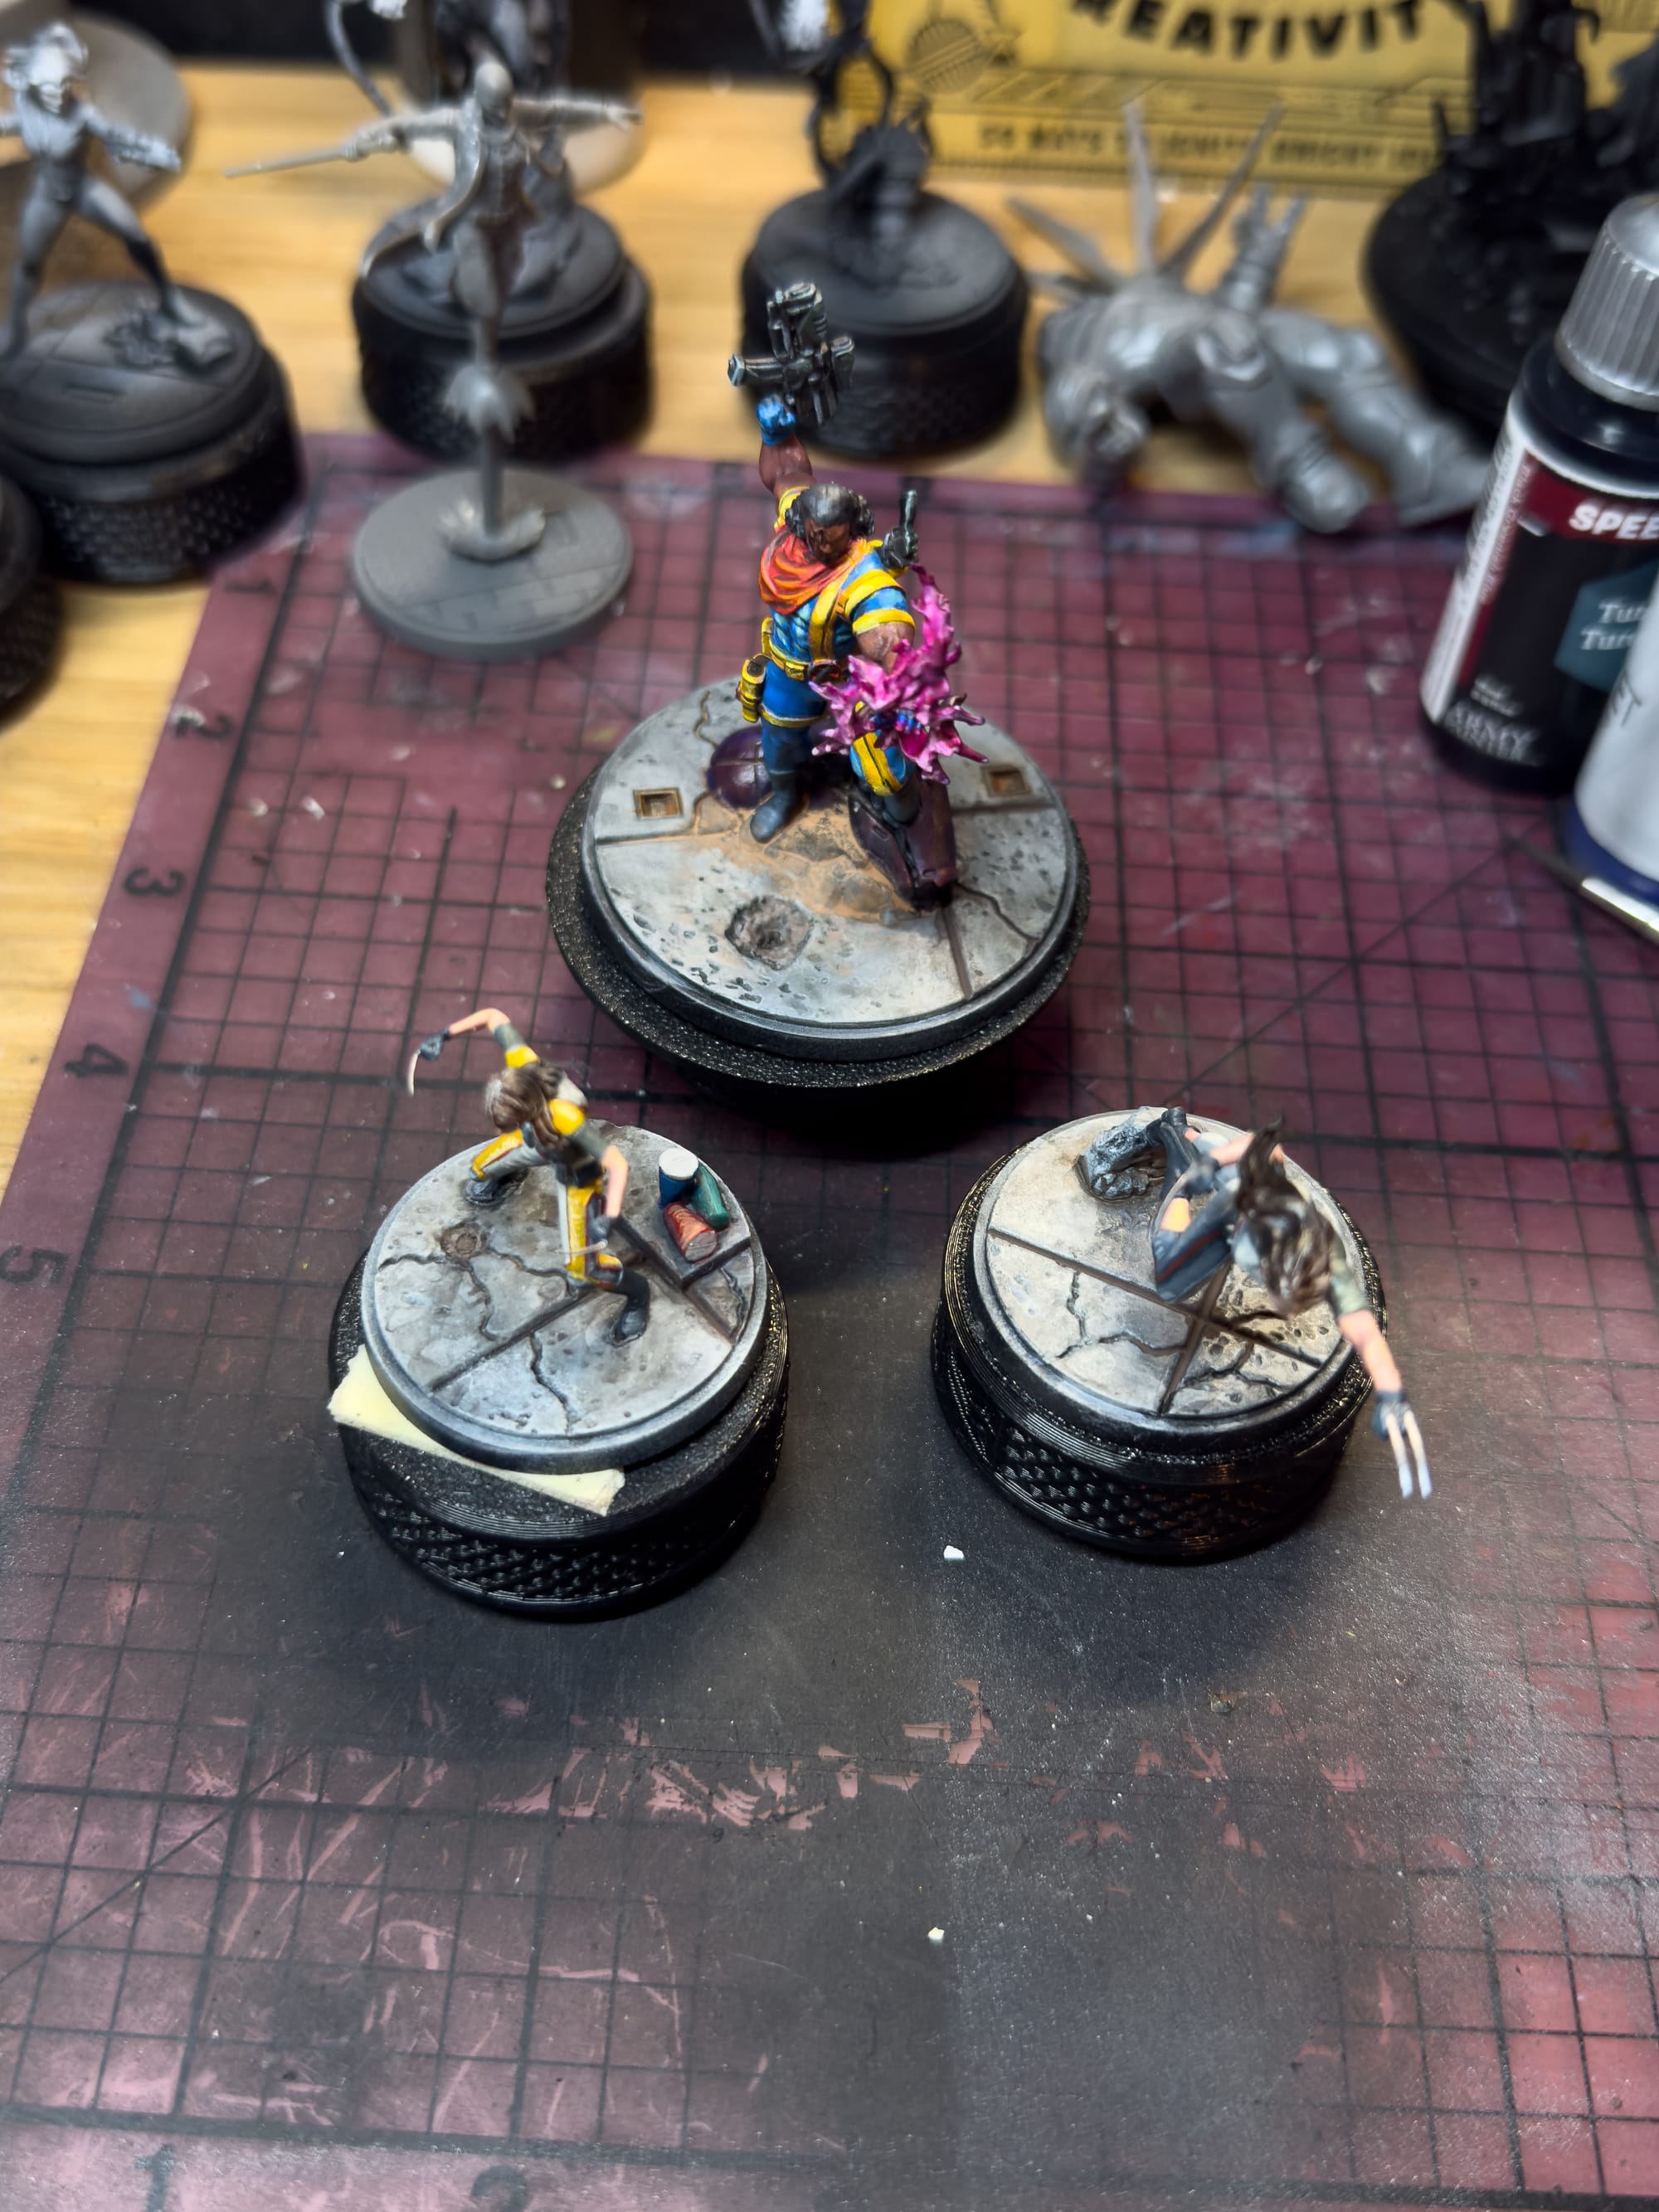
So, I hinted at a concrete recipe. I’ll be posting a video, but for my readers, here’s what I do:
I start with Uniform Grey all over the base, then I drybrush either Worn Stone or Great Hall Grey. I then wash with Nuln Oil, and then refine all of my highlights and mids with a mix of Uniform Grey and Worn Stone. I finalize with little touches of Worn Stone, and I focus on the hero side of the model.
For the dirt, I use AK Interactive’s Wargame Enamel Liquid Pigments. I picked up a few at Adepticon a few years ago, and they’re a cheat code for accurate=looking dirt and dust.
For a curb, I use An AK Interactive Yellow RAL 1003 marker. It’s the actual color used for yellow on roads, which is a fun thing, and it’s super pigmented. If I want, I hit it with some selective Nuln Oil.
Wrap up
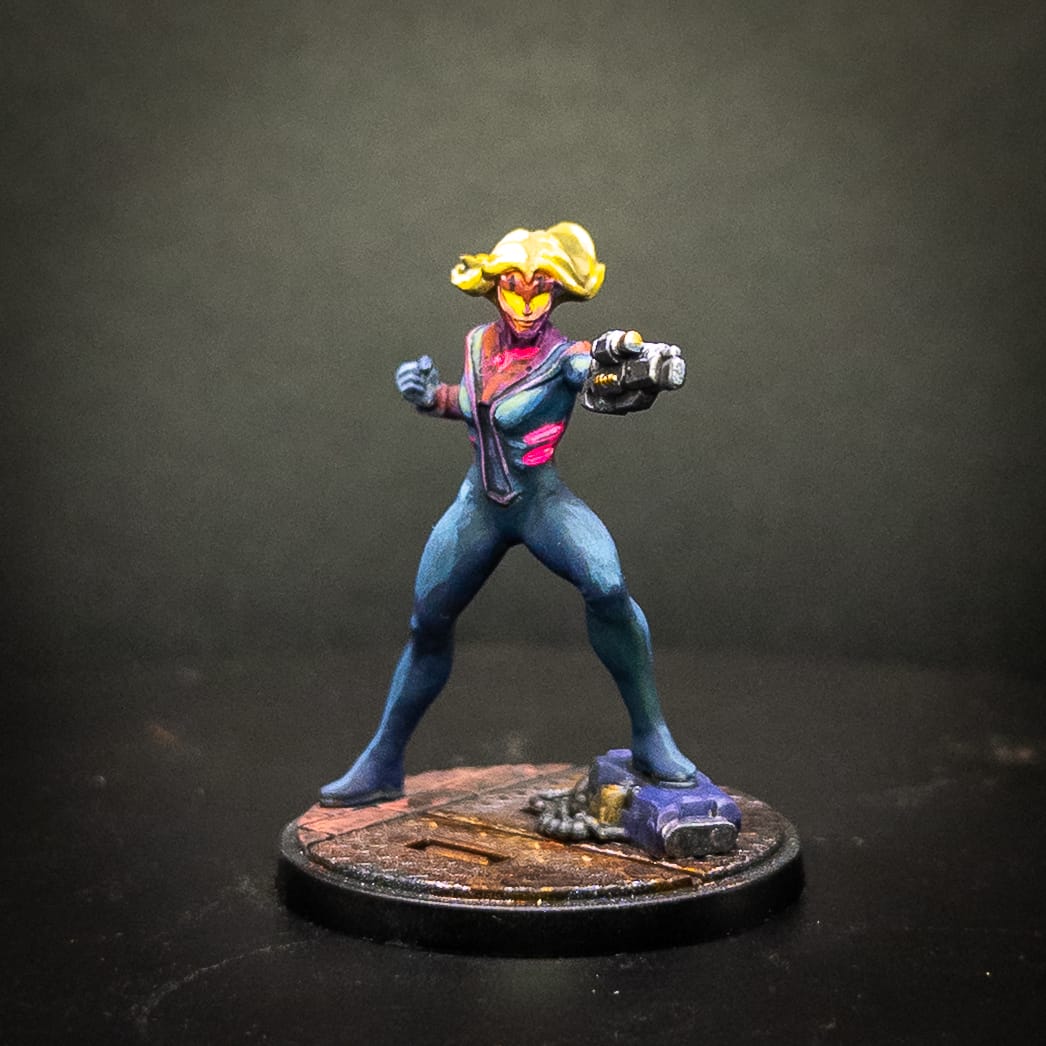
I let these sit on my desk a little longer than usual (sorry, Atomic Mass!) because I went through a slight period of anxiety about these models, but the end result I’m really happy with. And I developed some new skills.
Hopefully this article has inspired you. Hit me up on Instagram if it has.