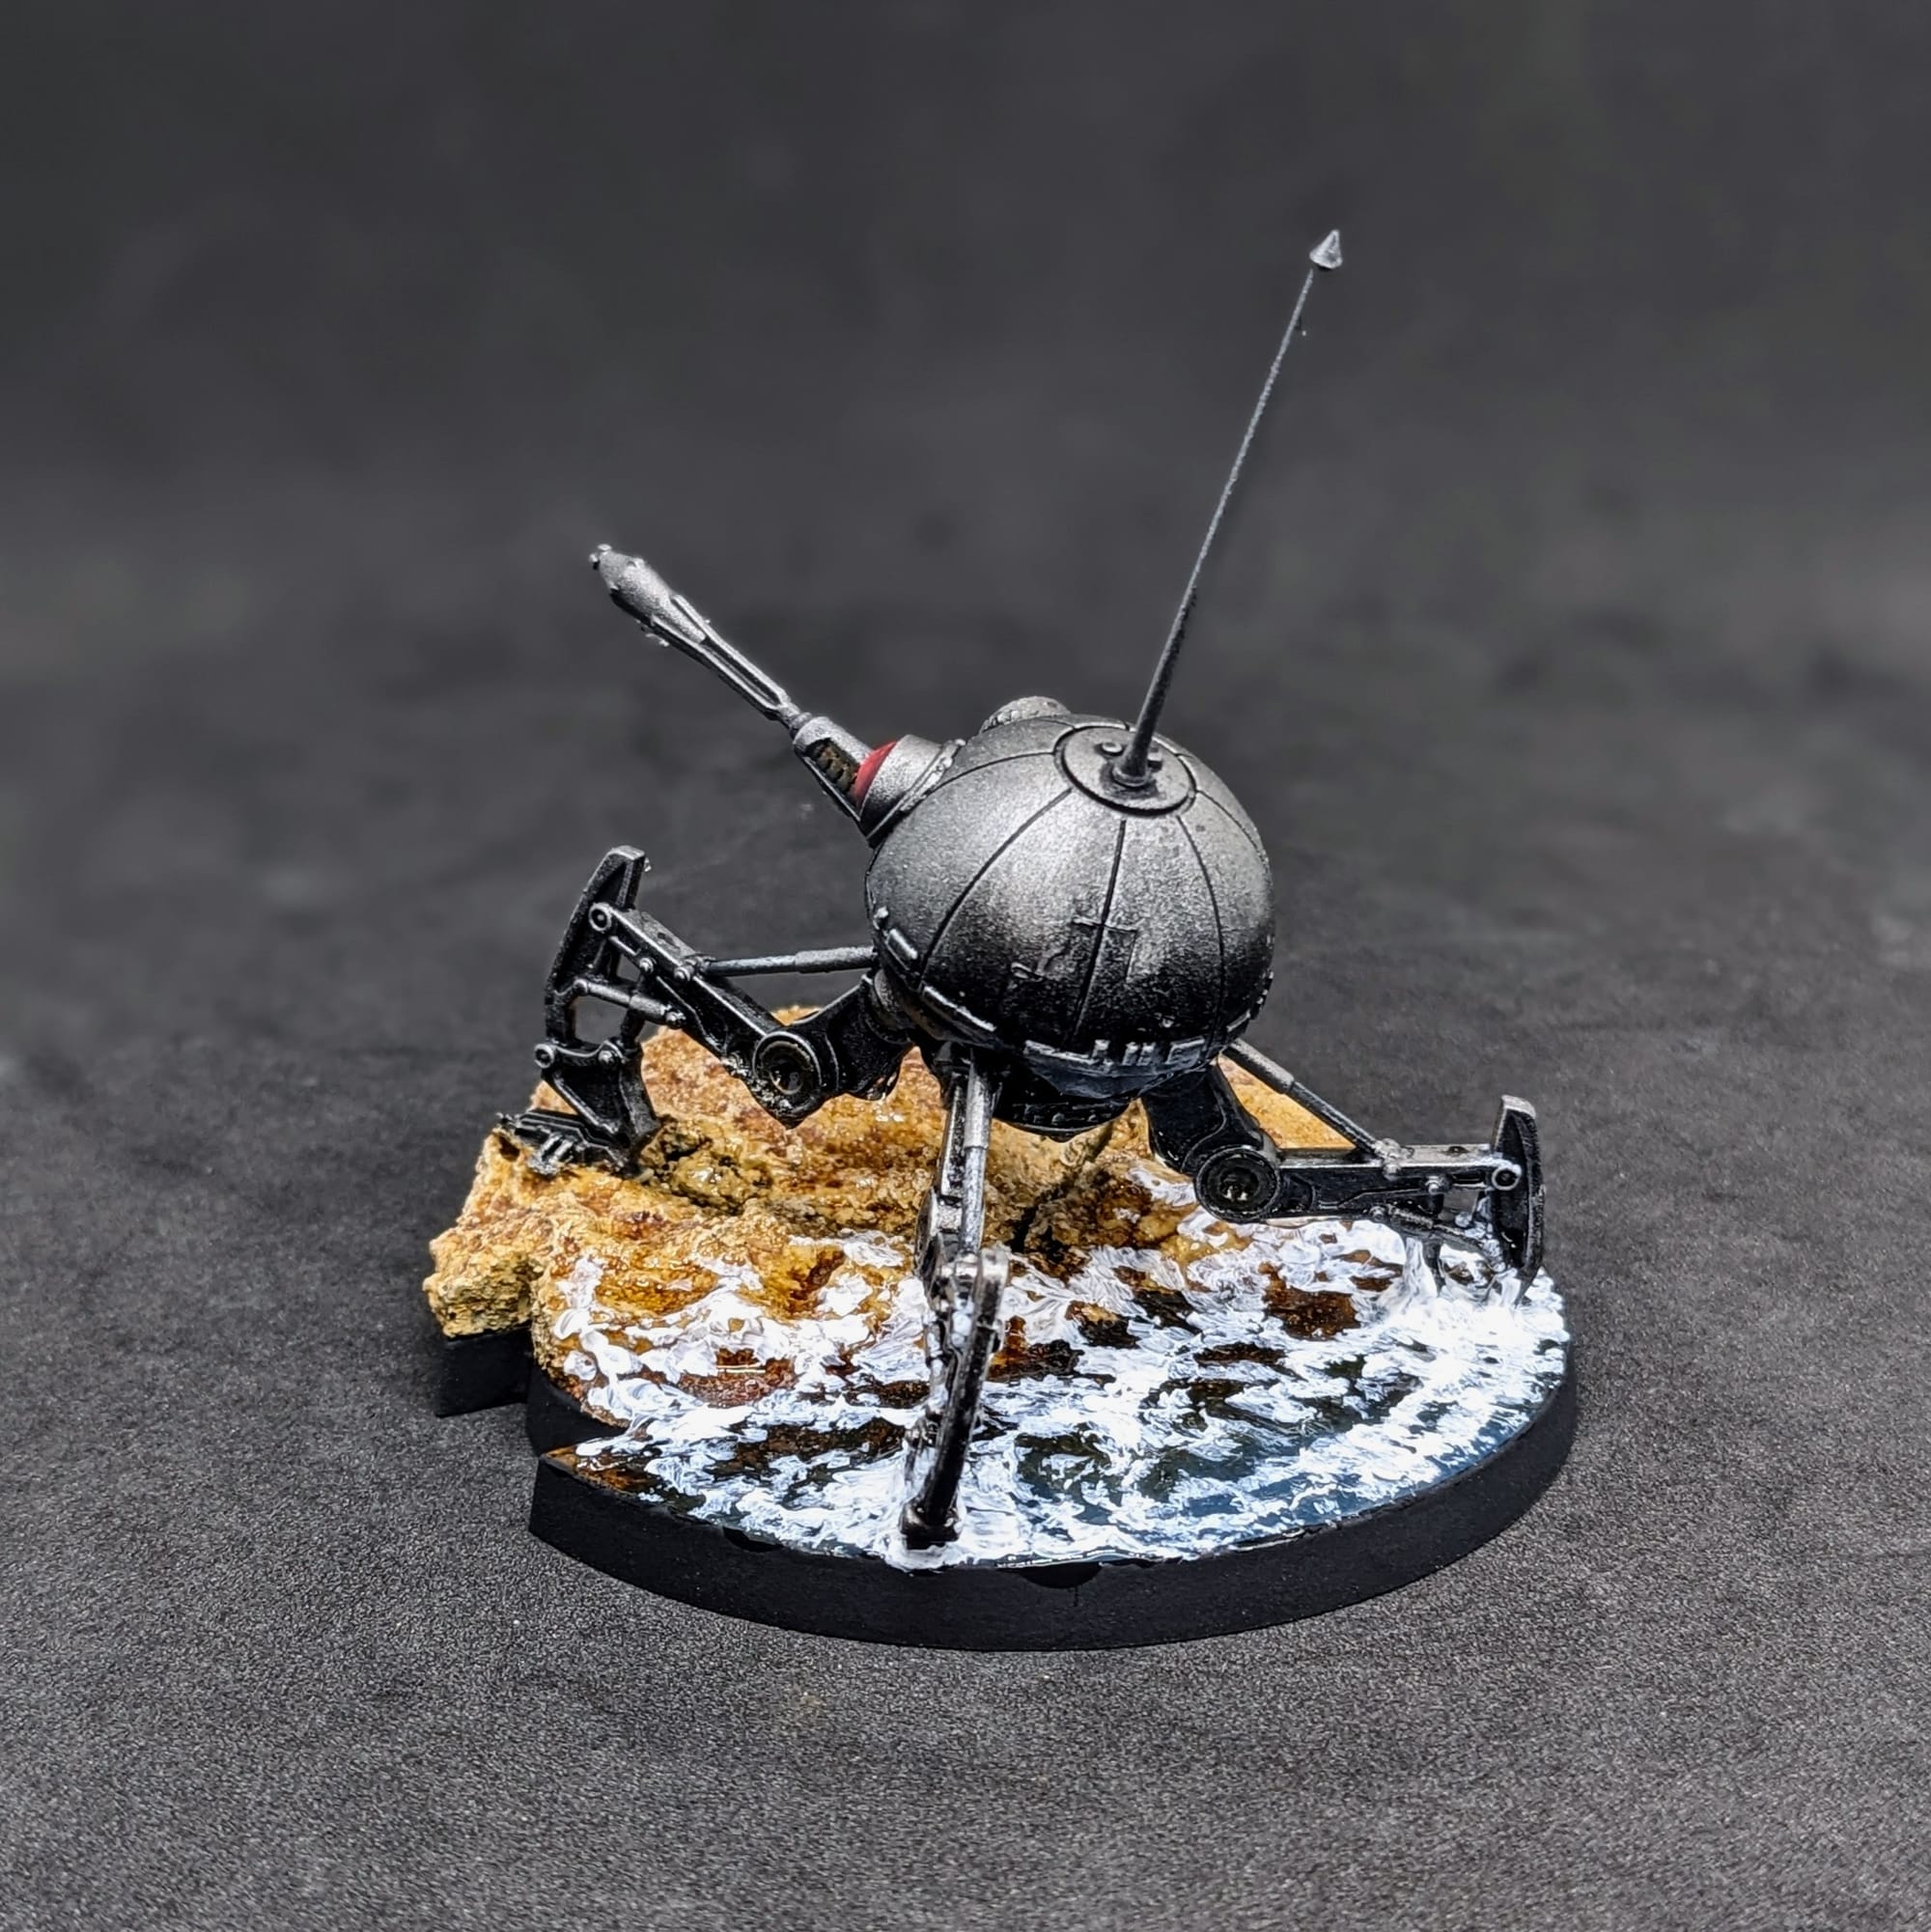
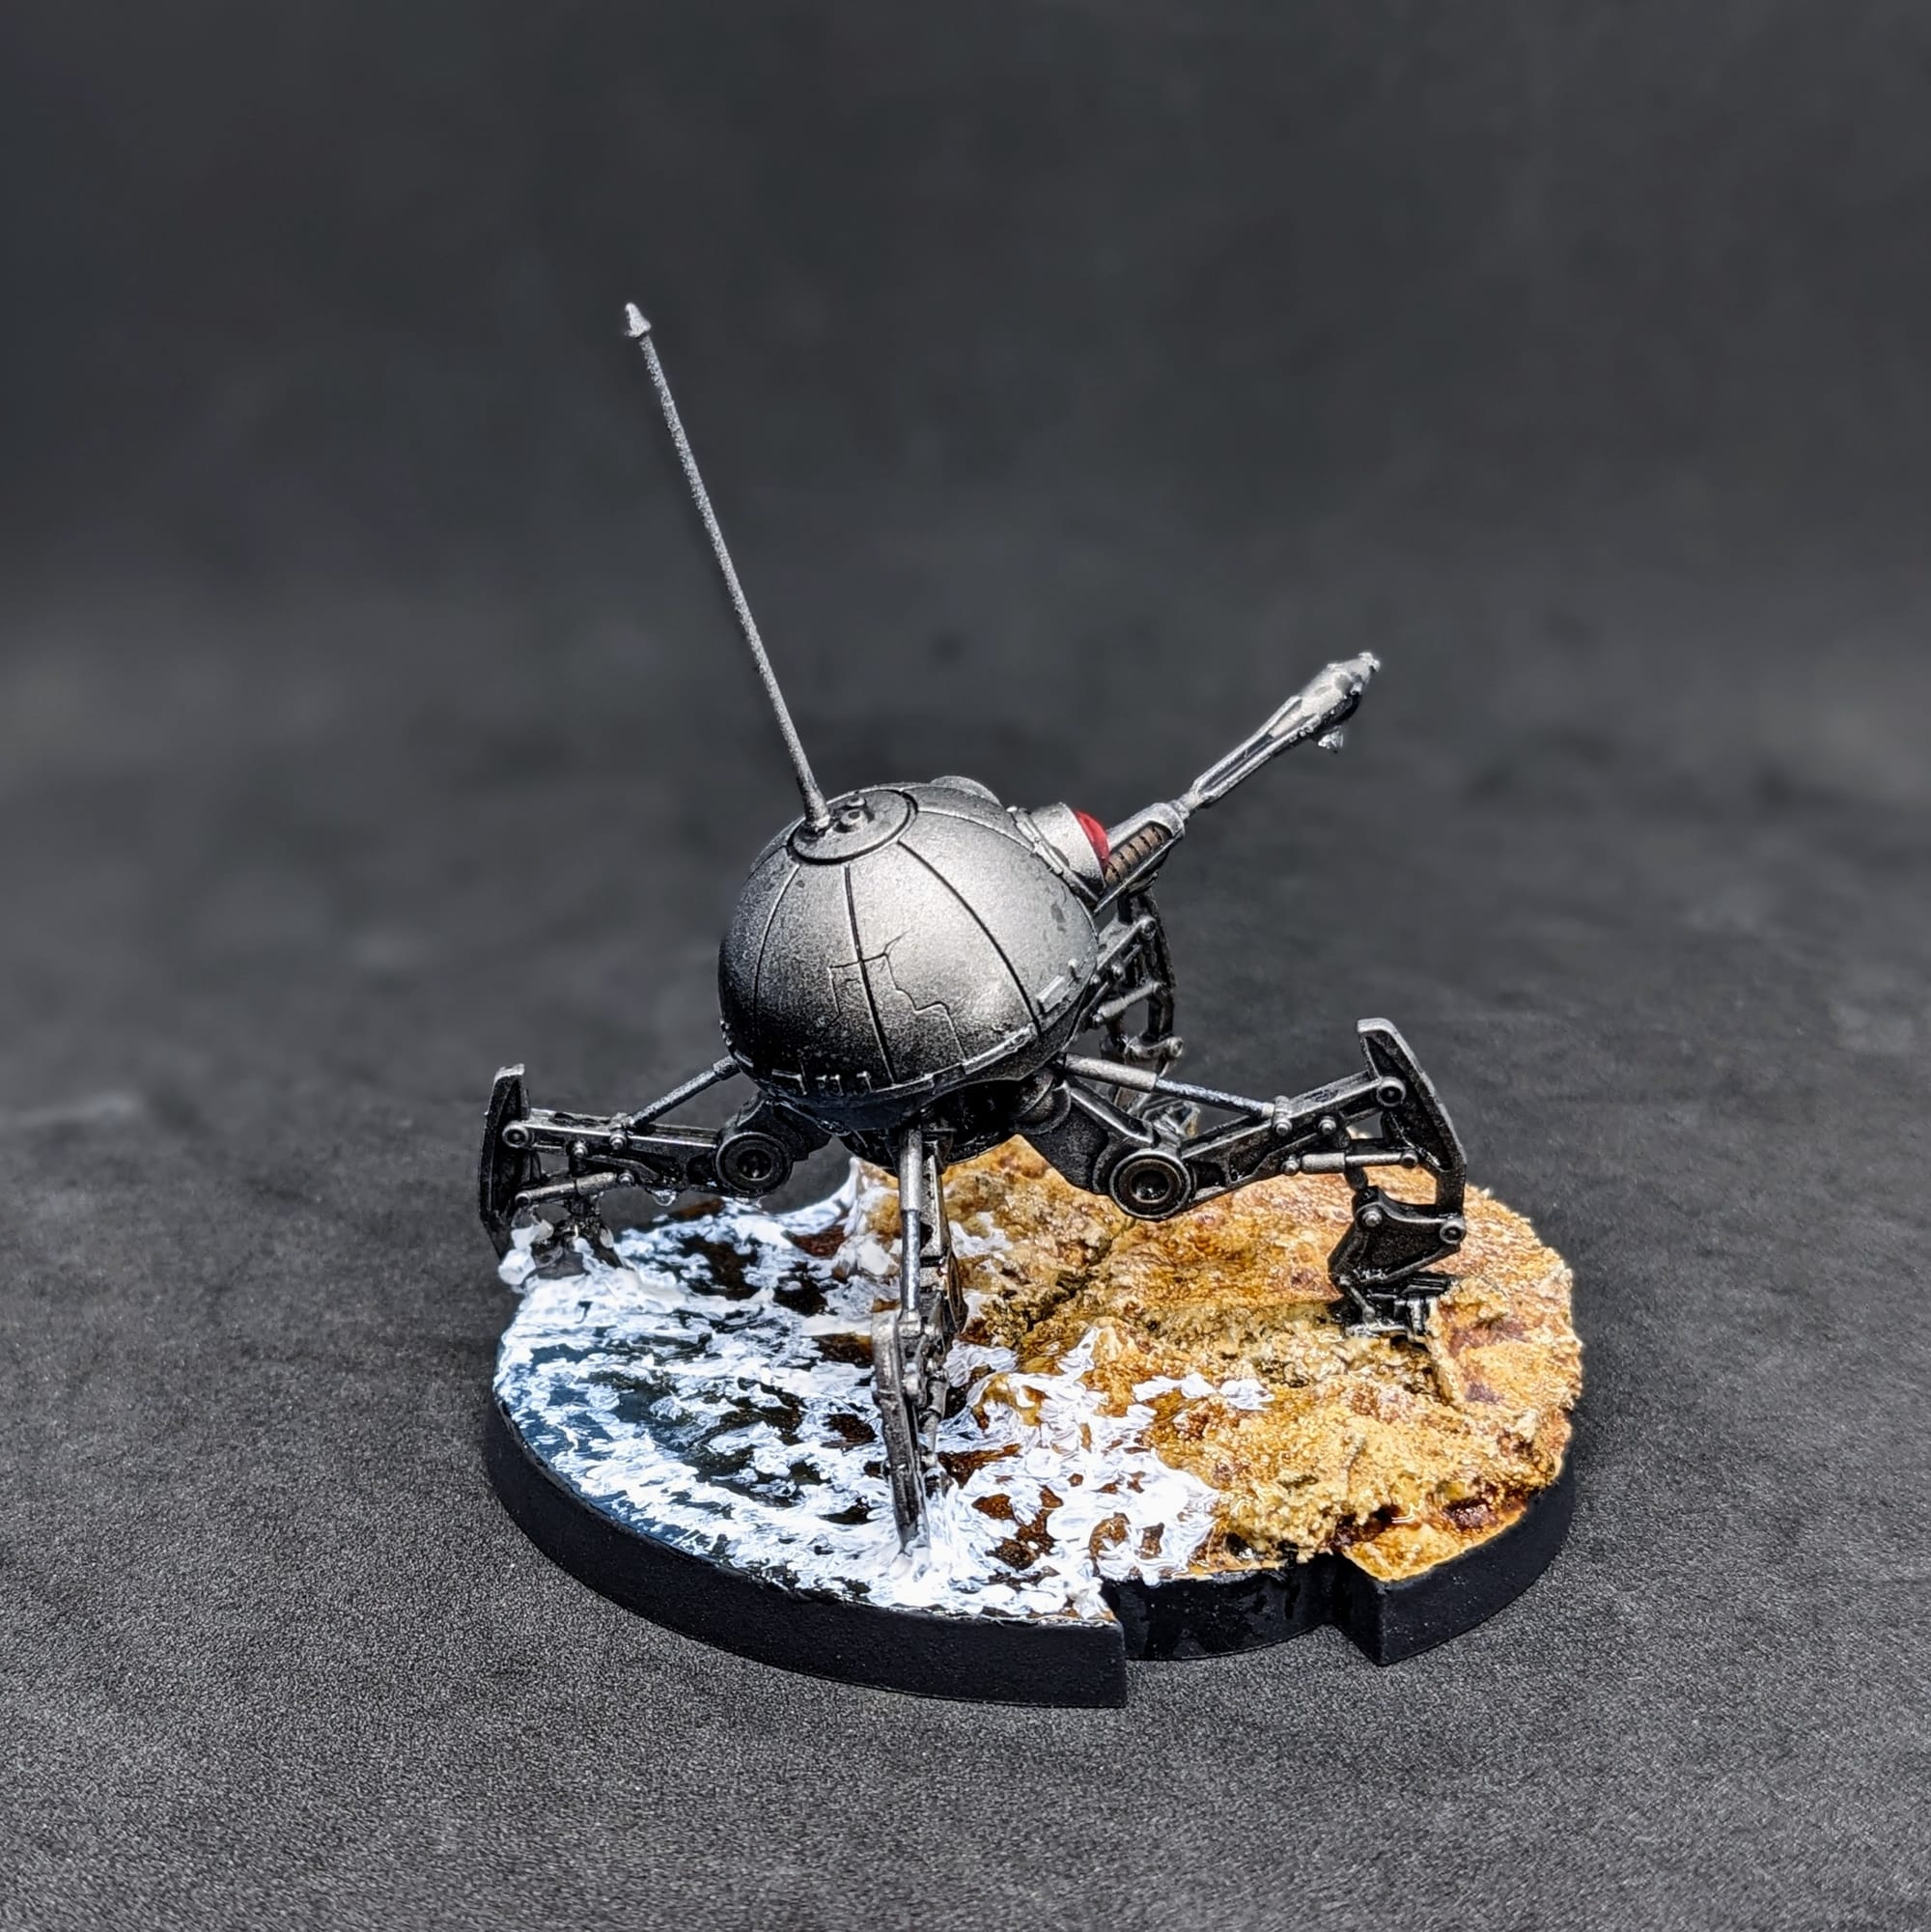
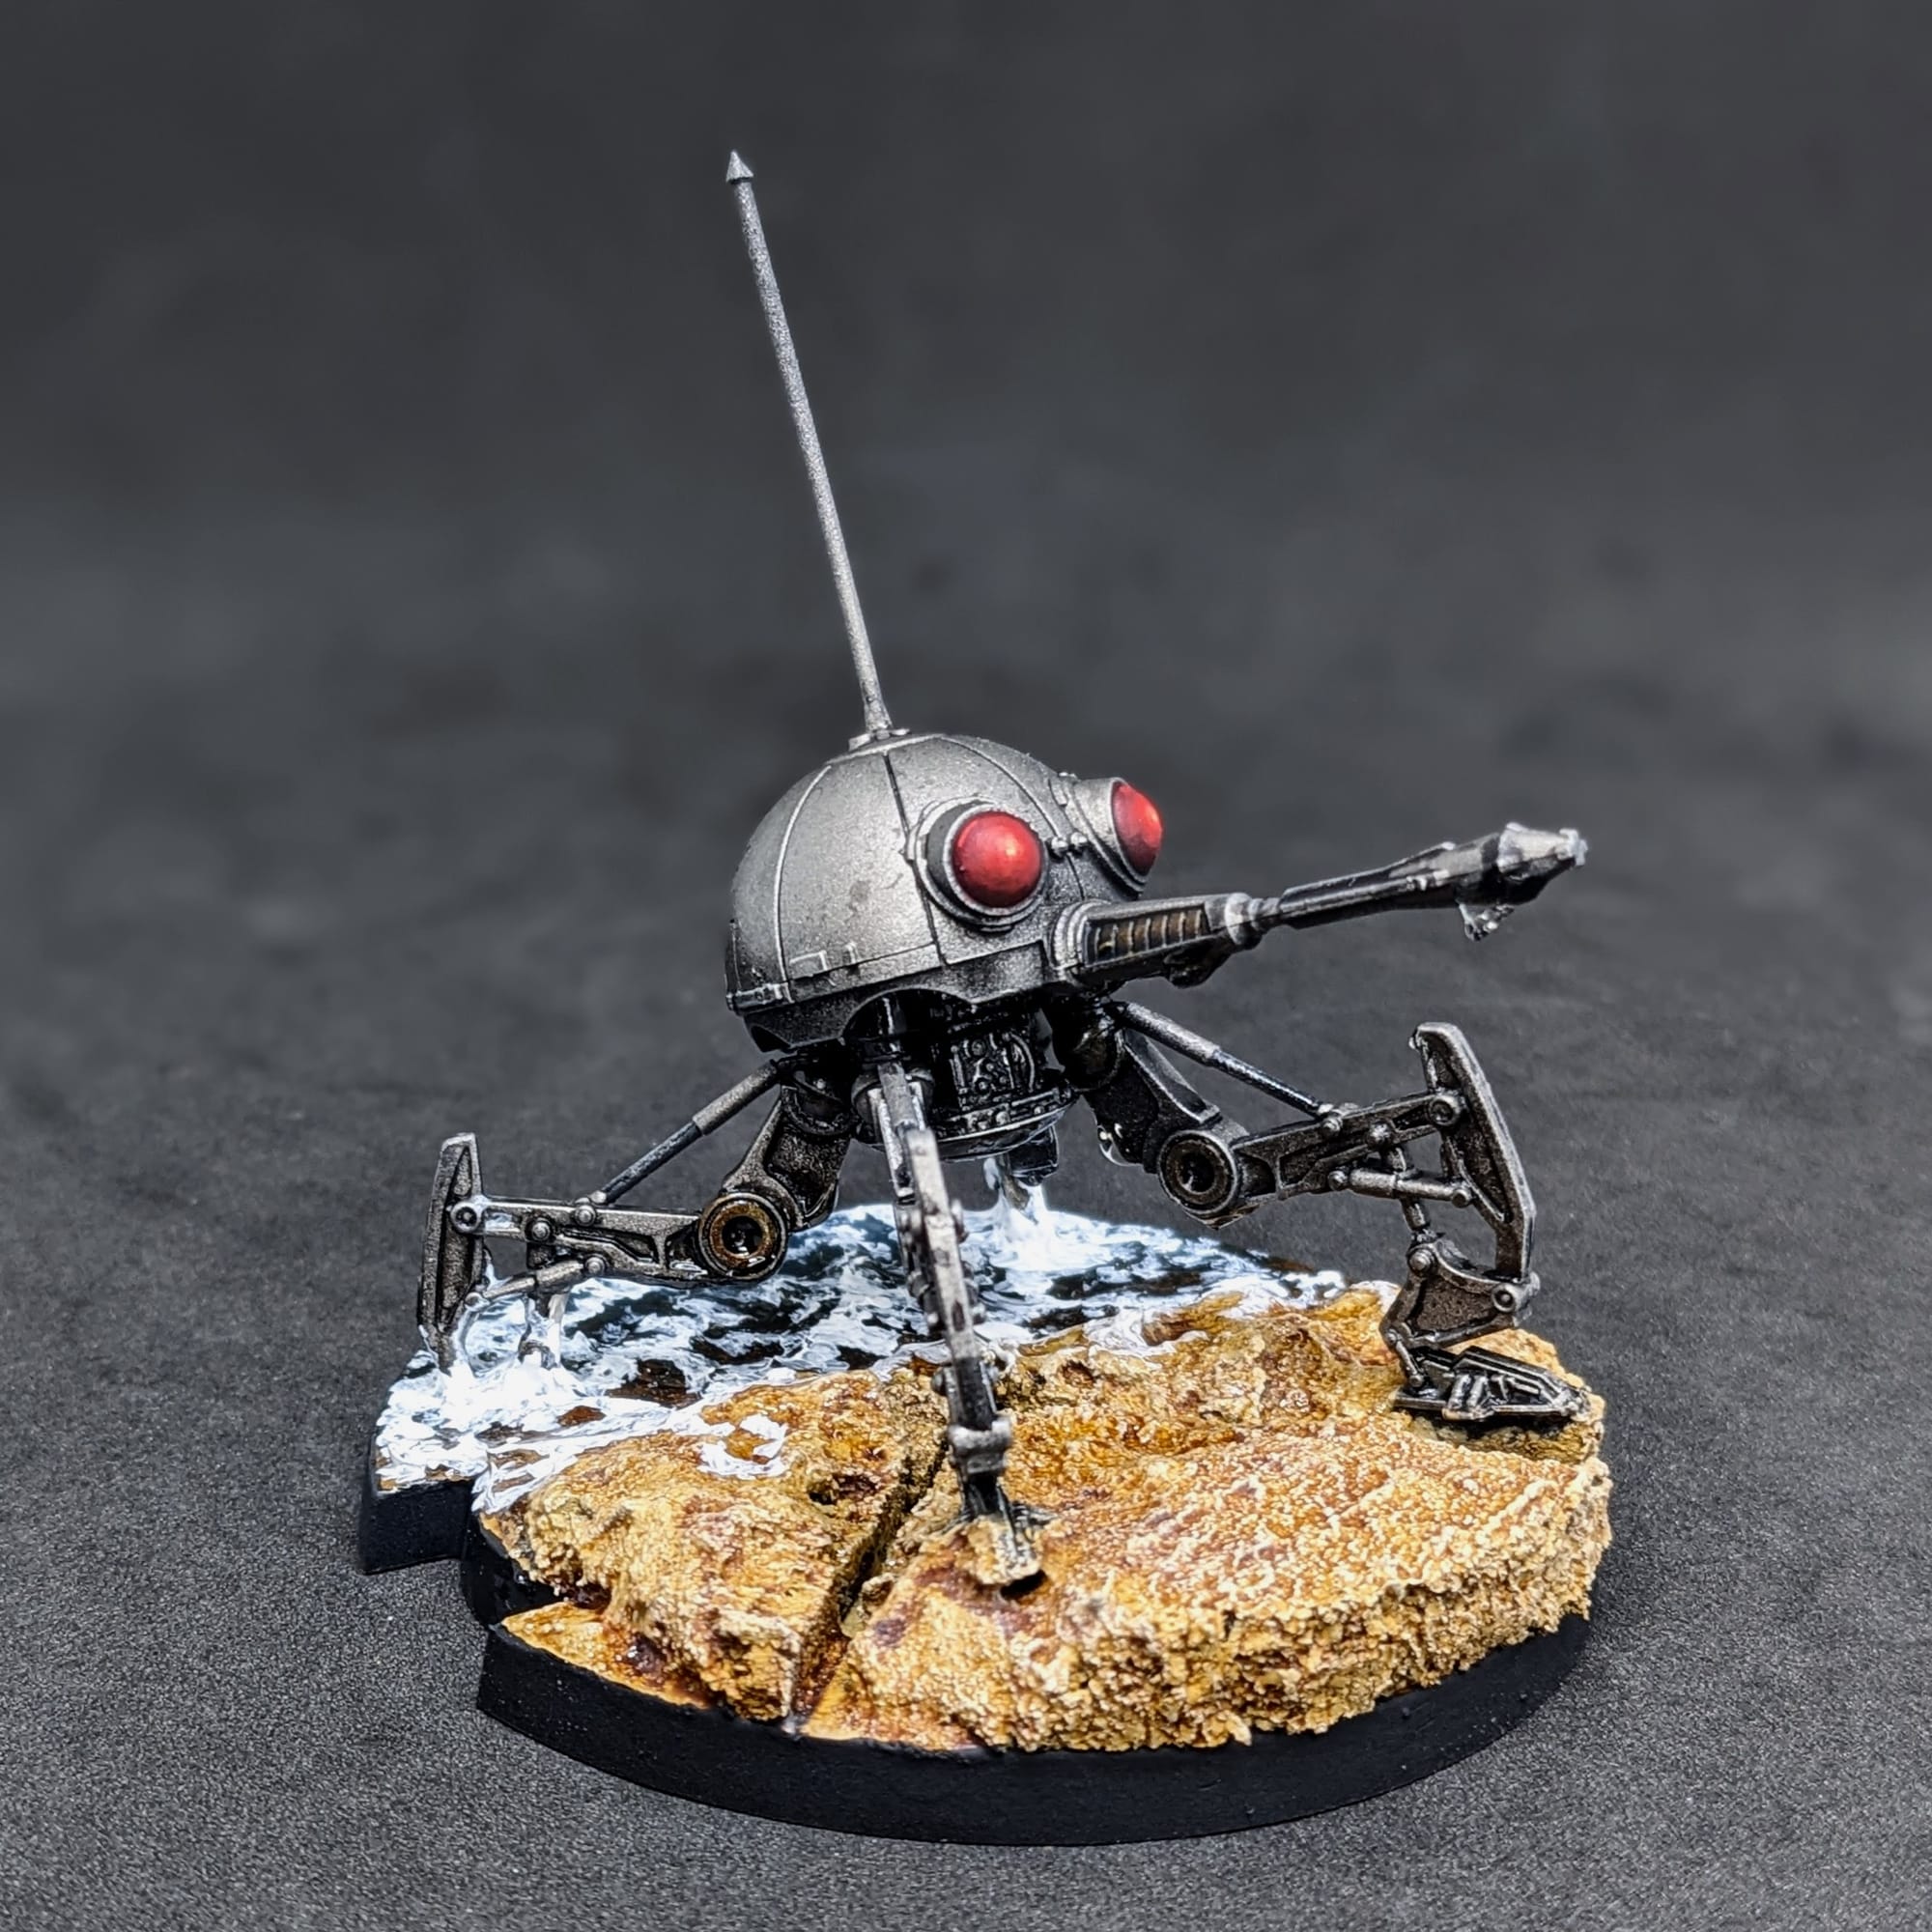
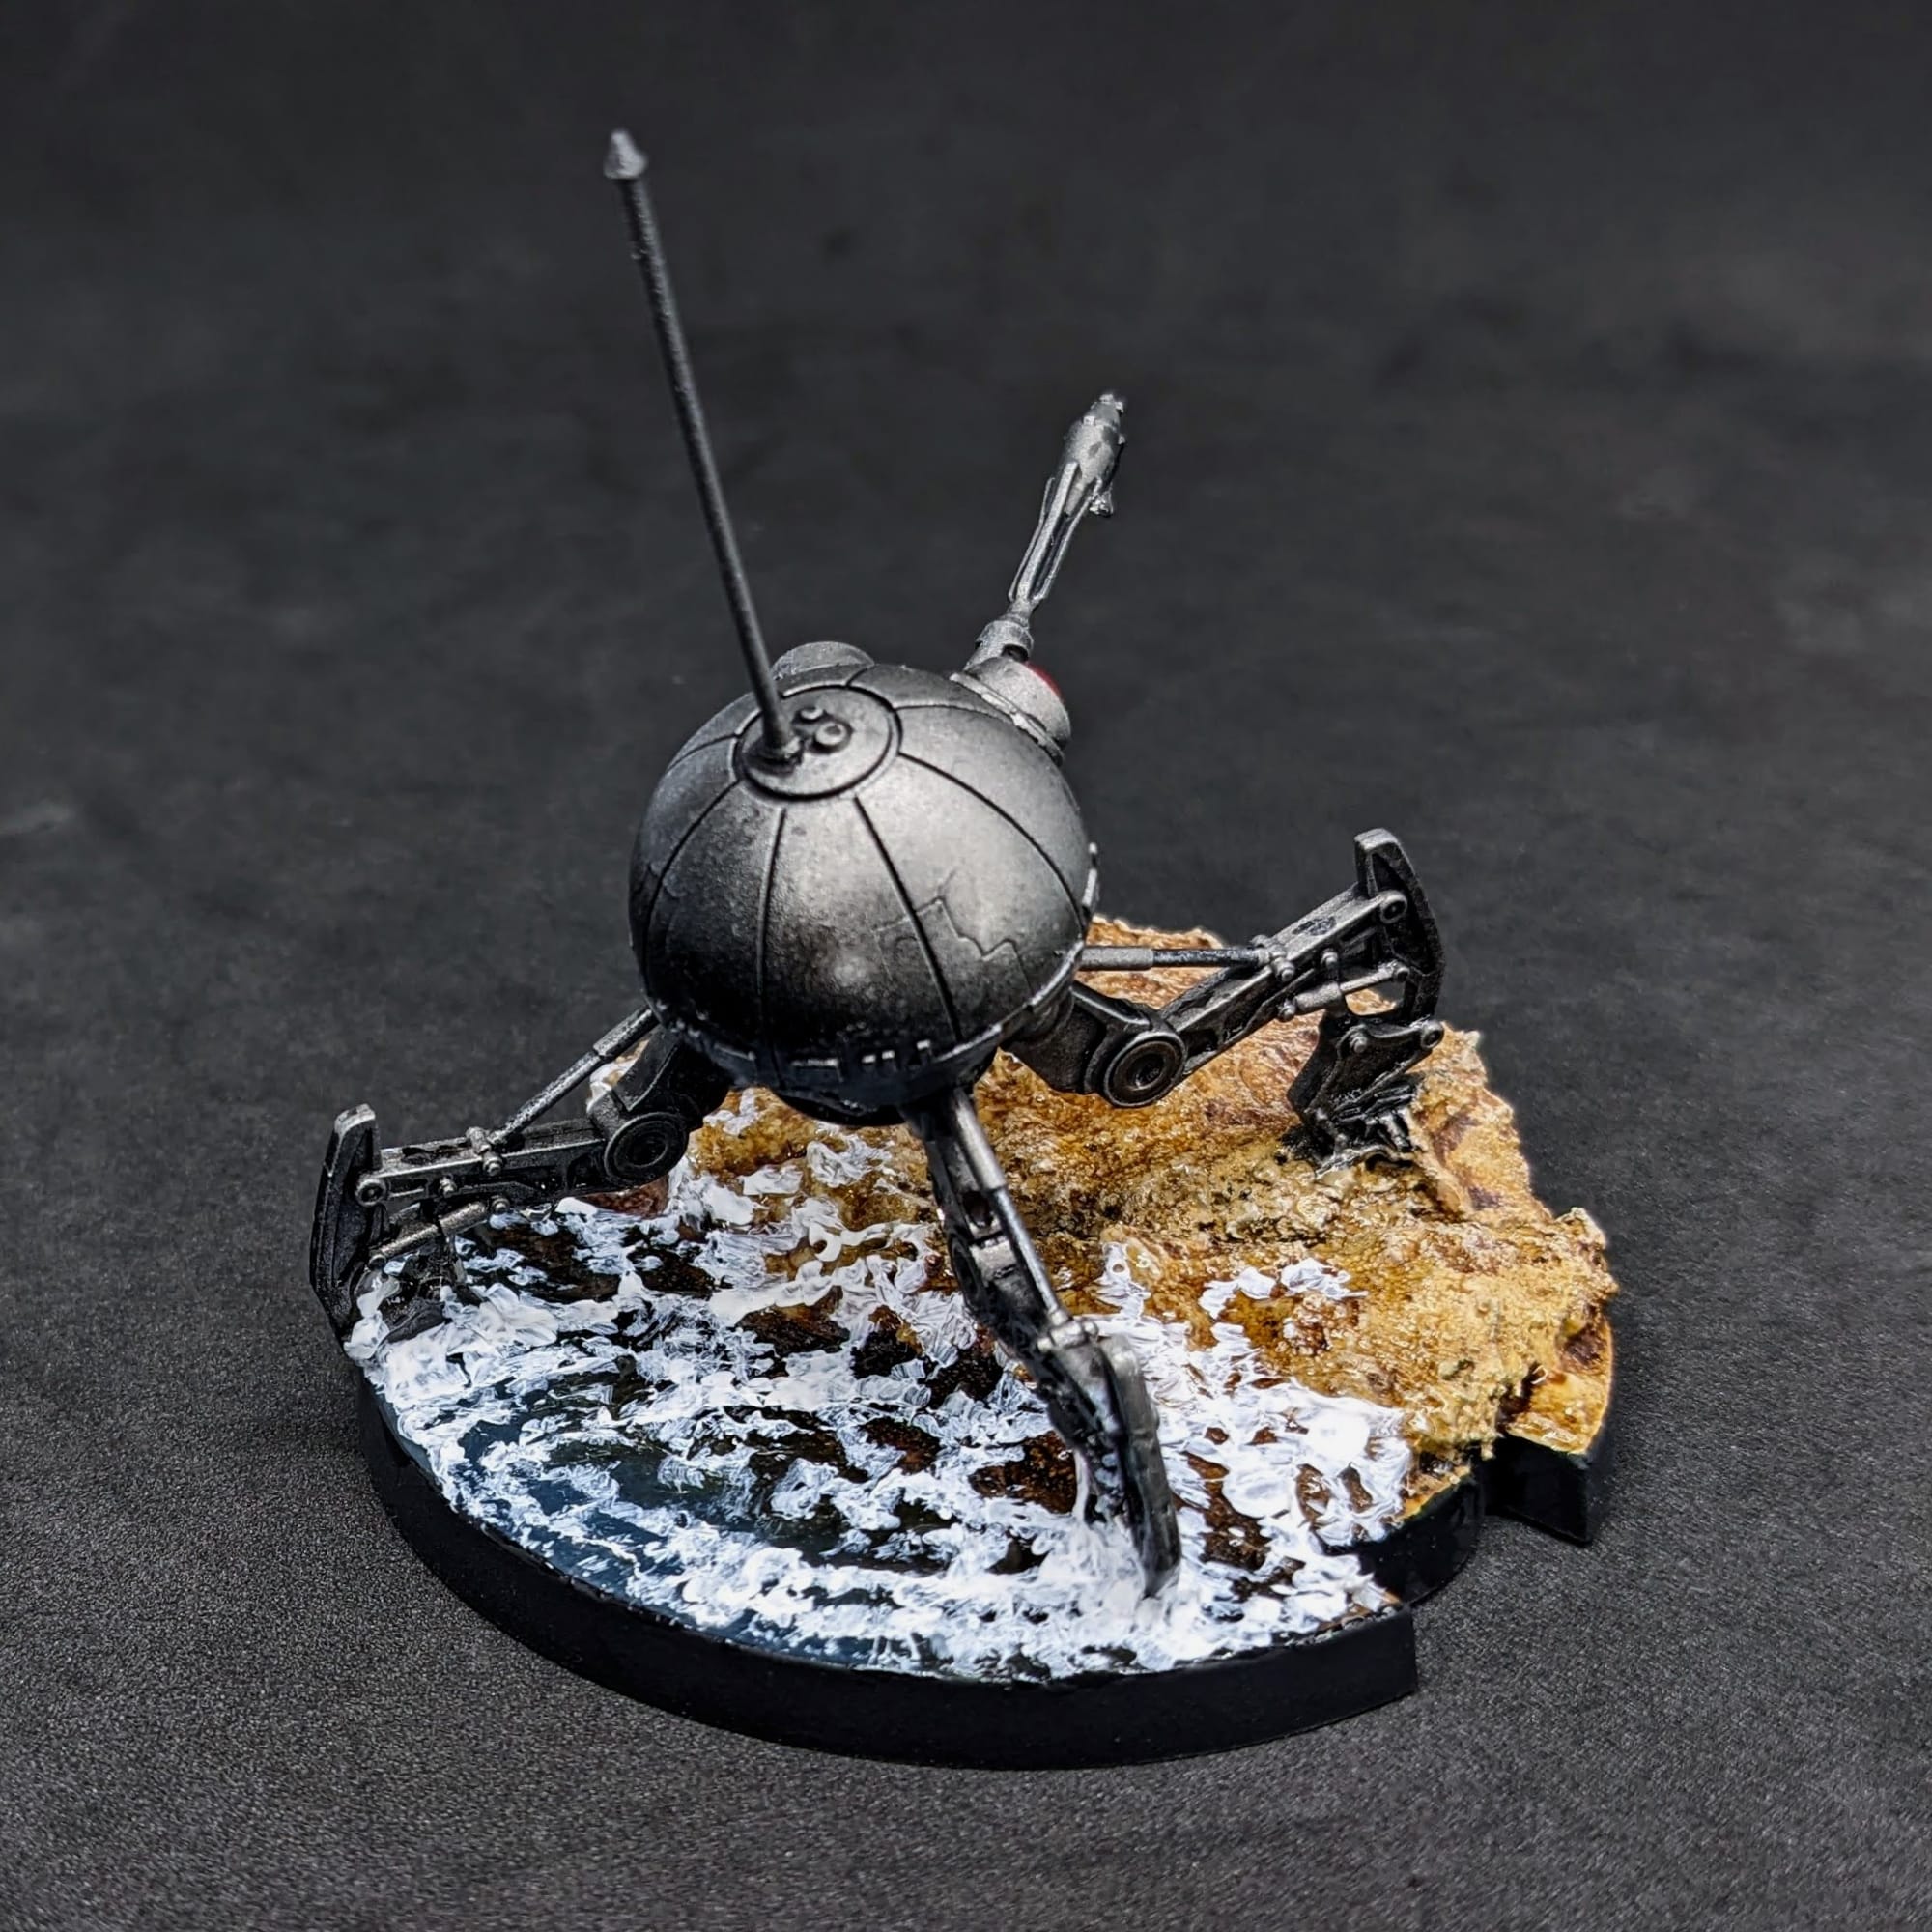
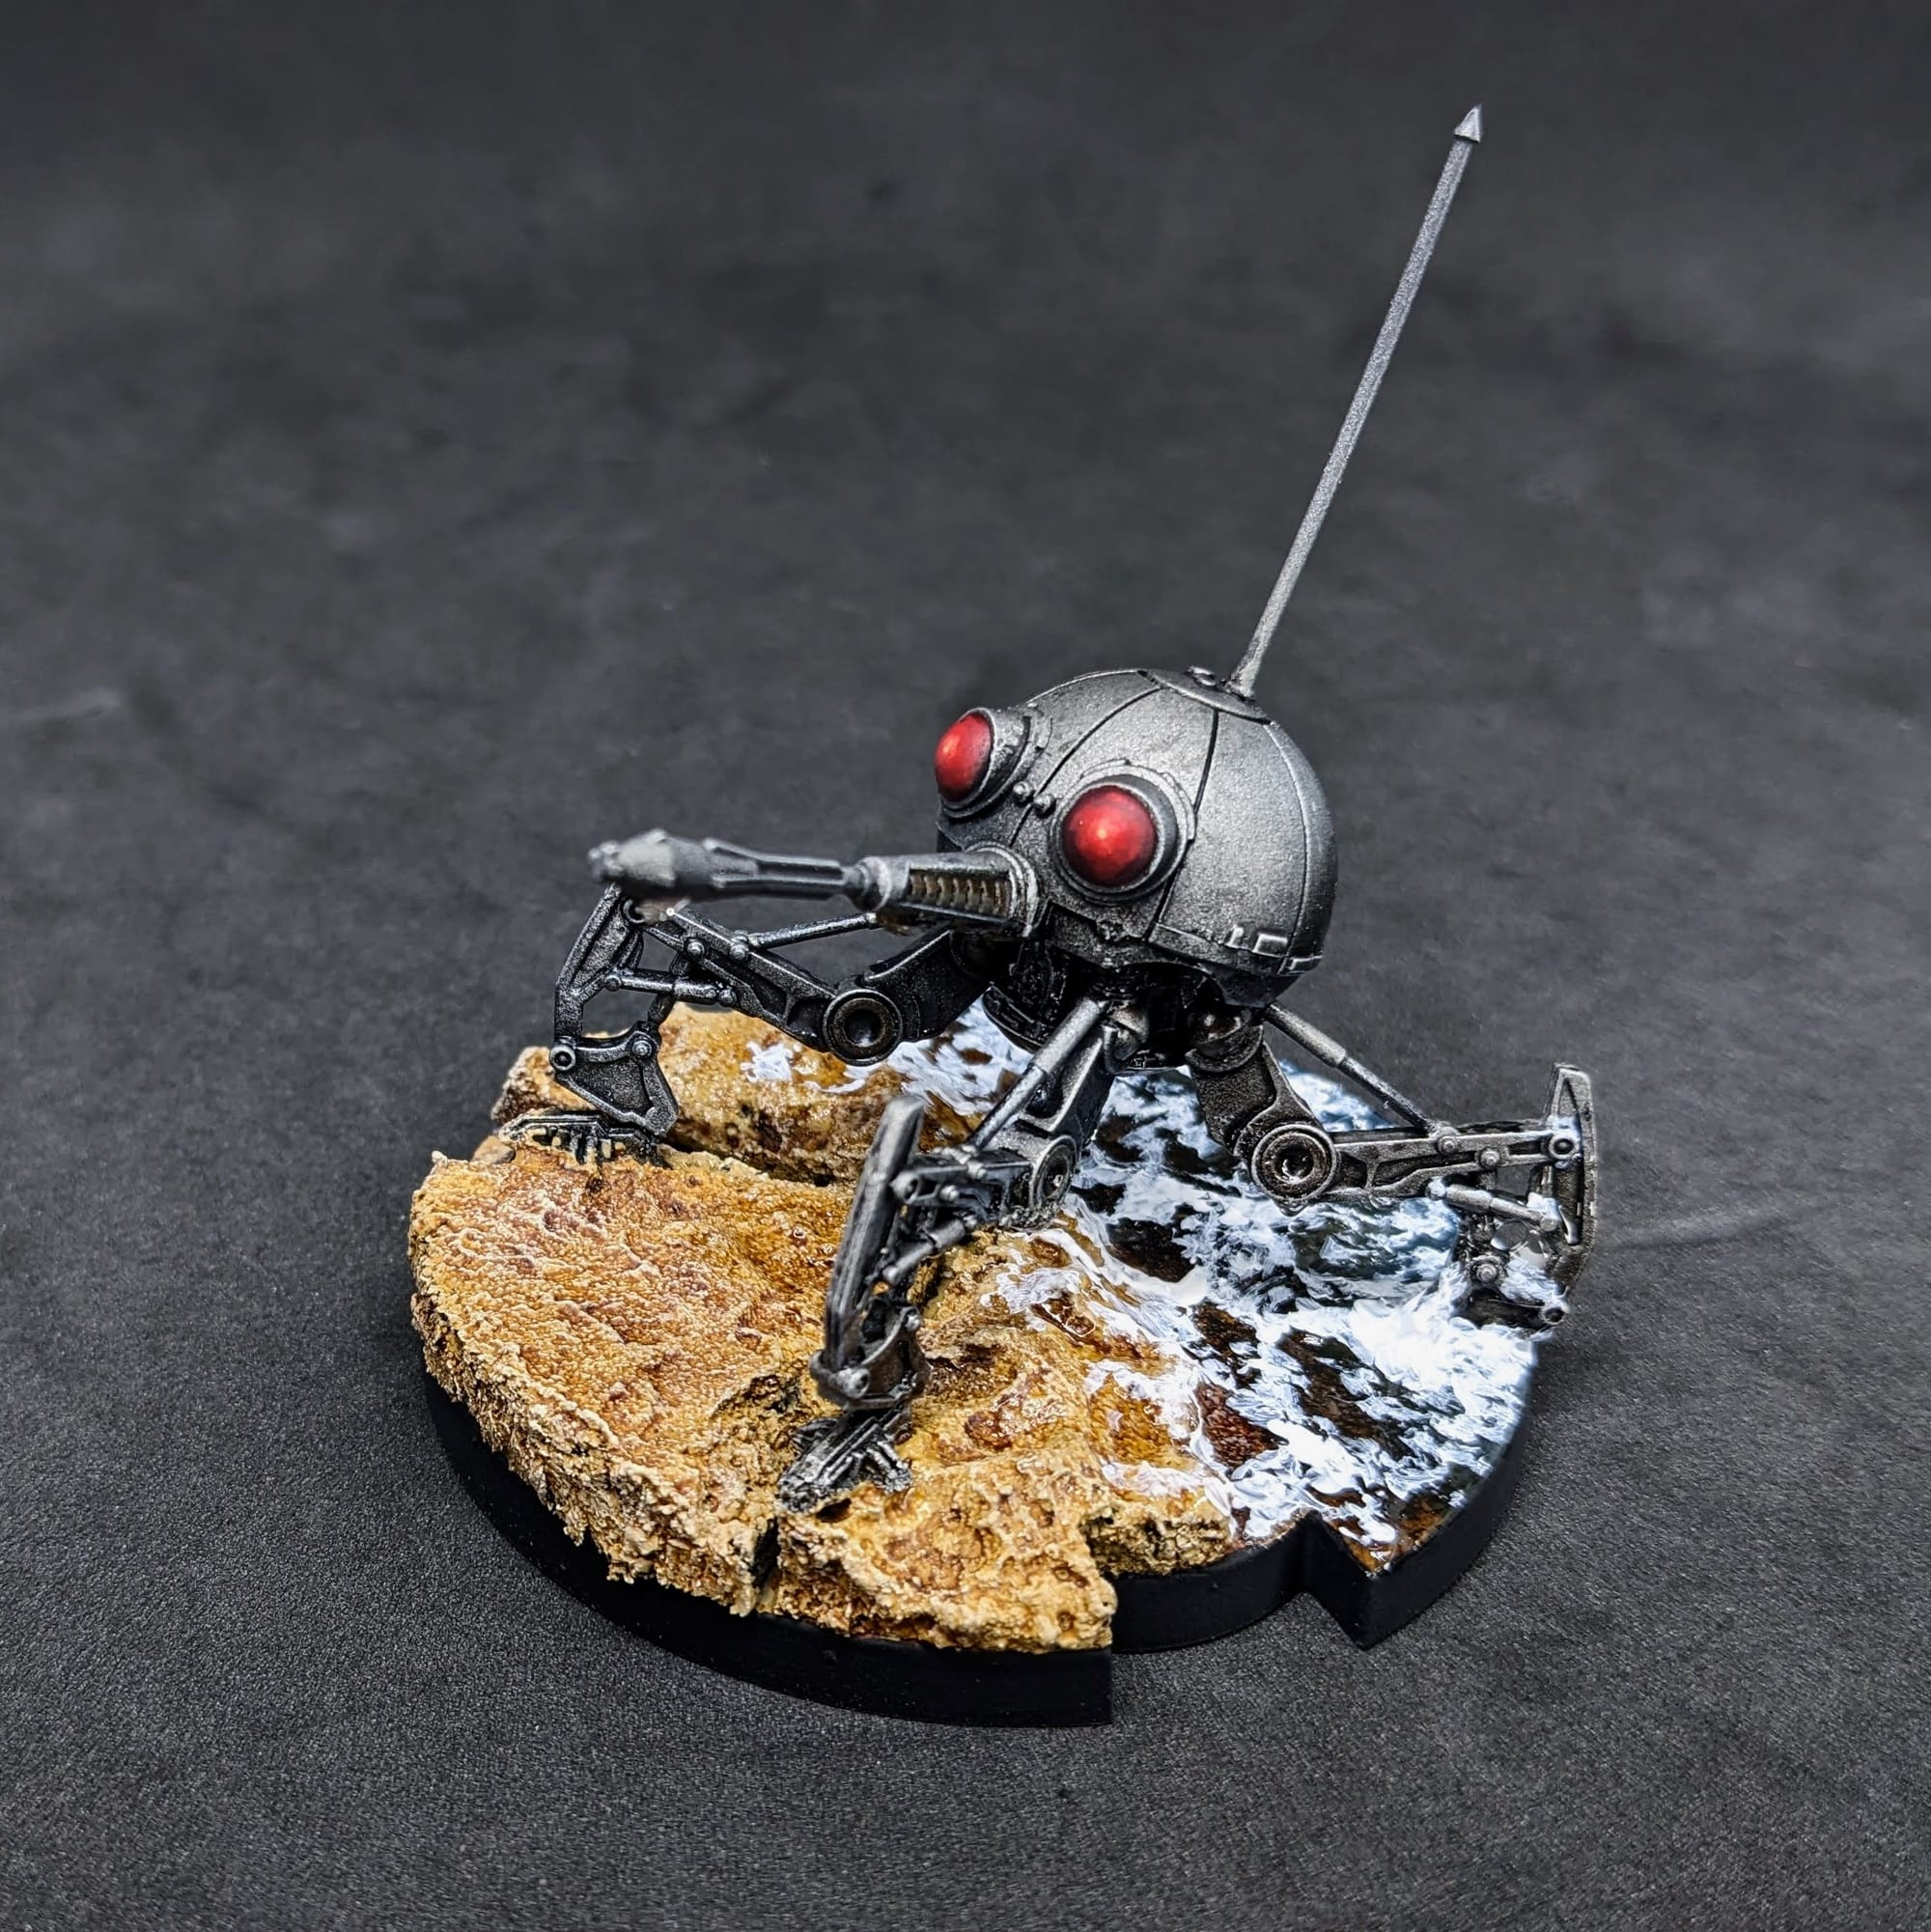
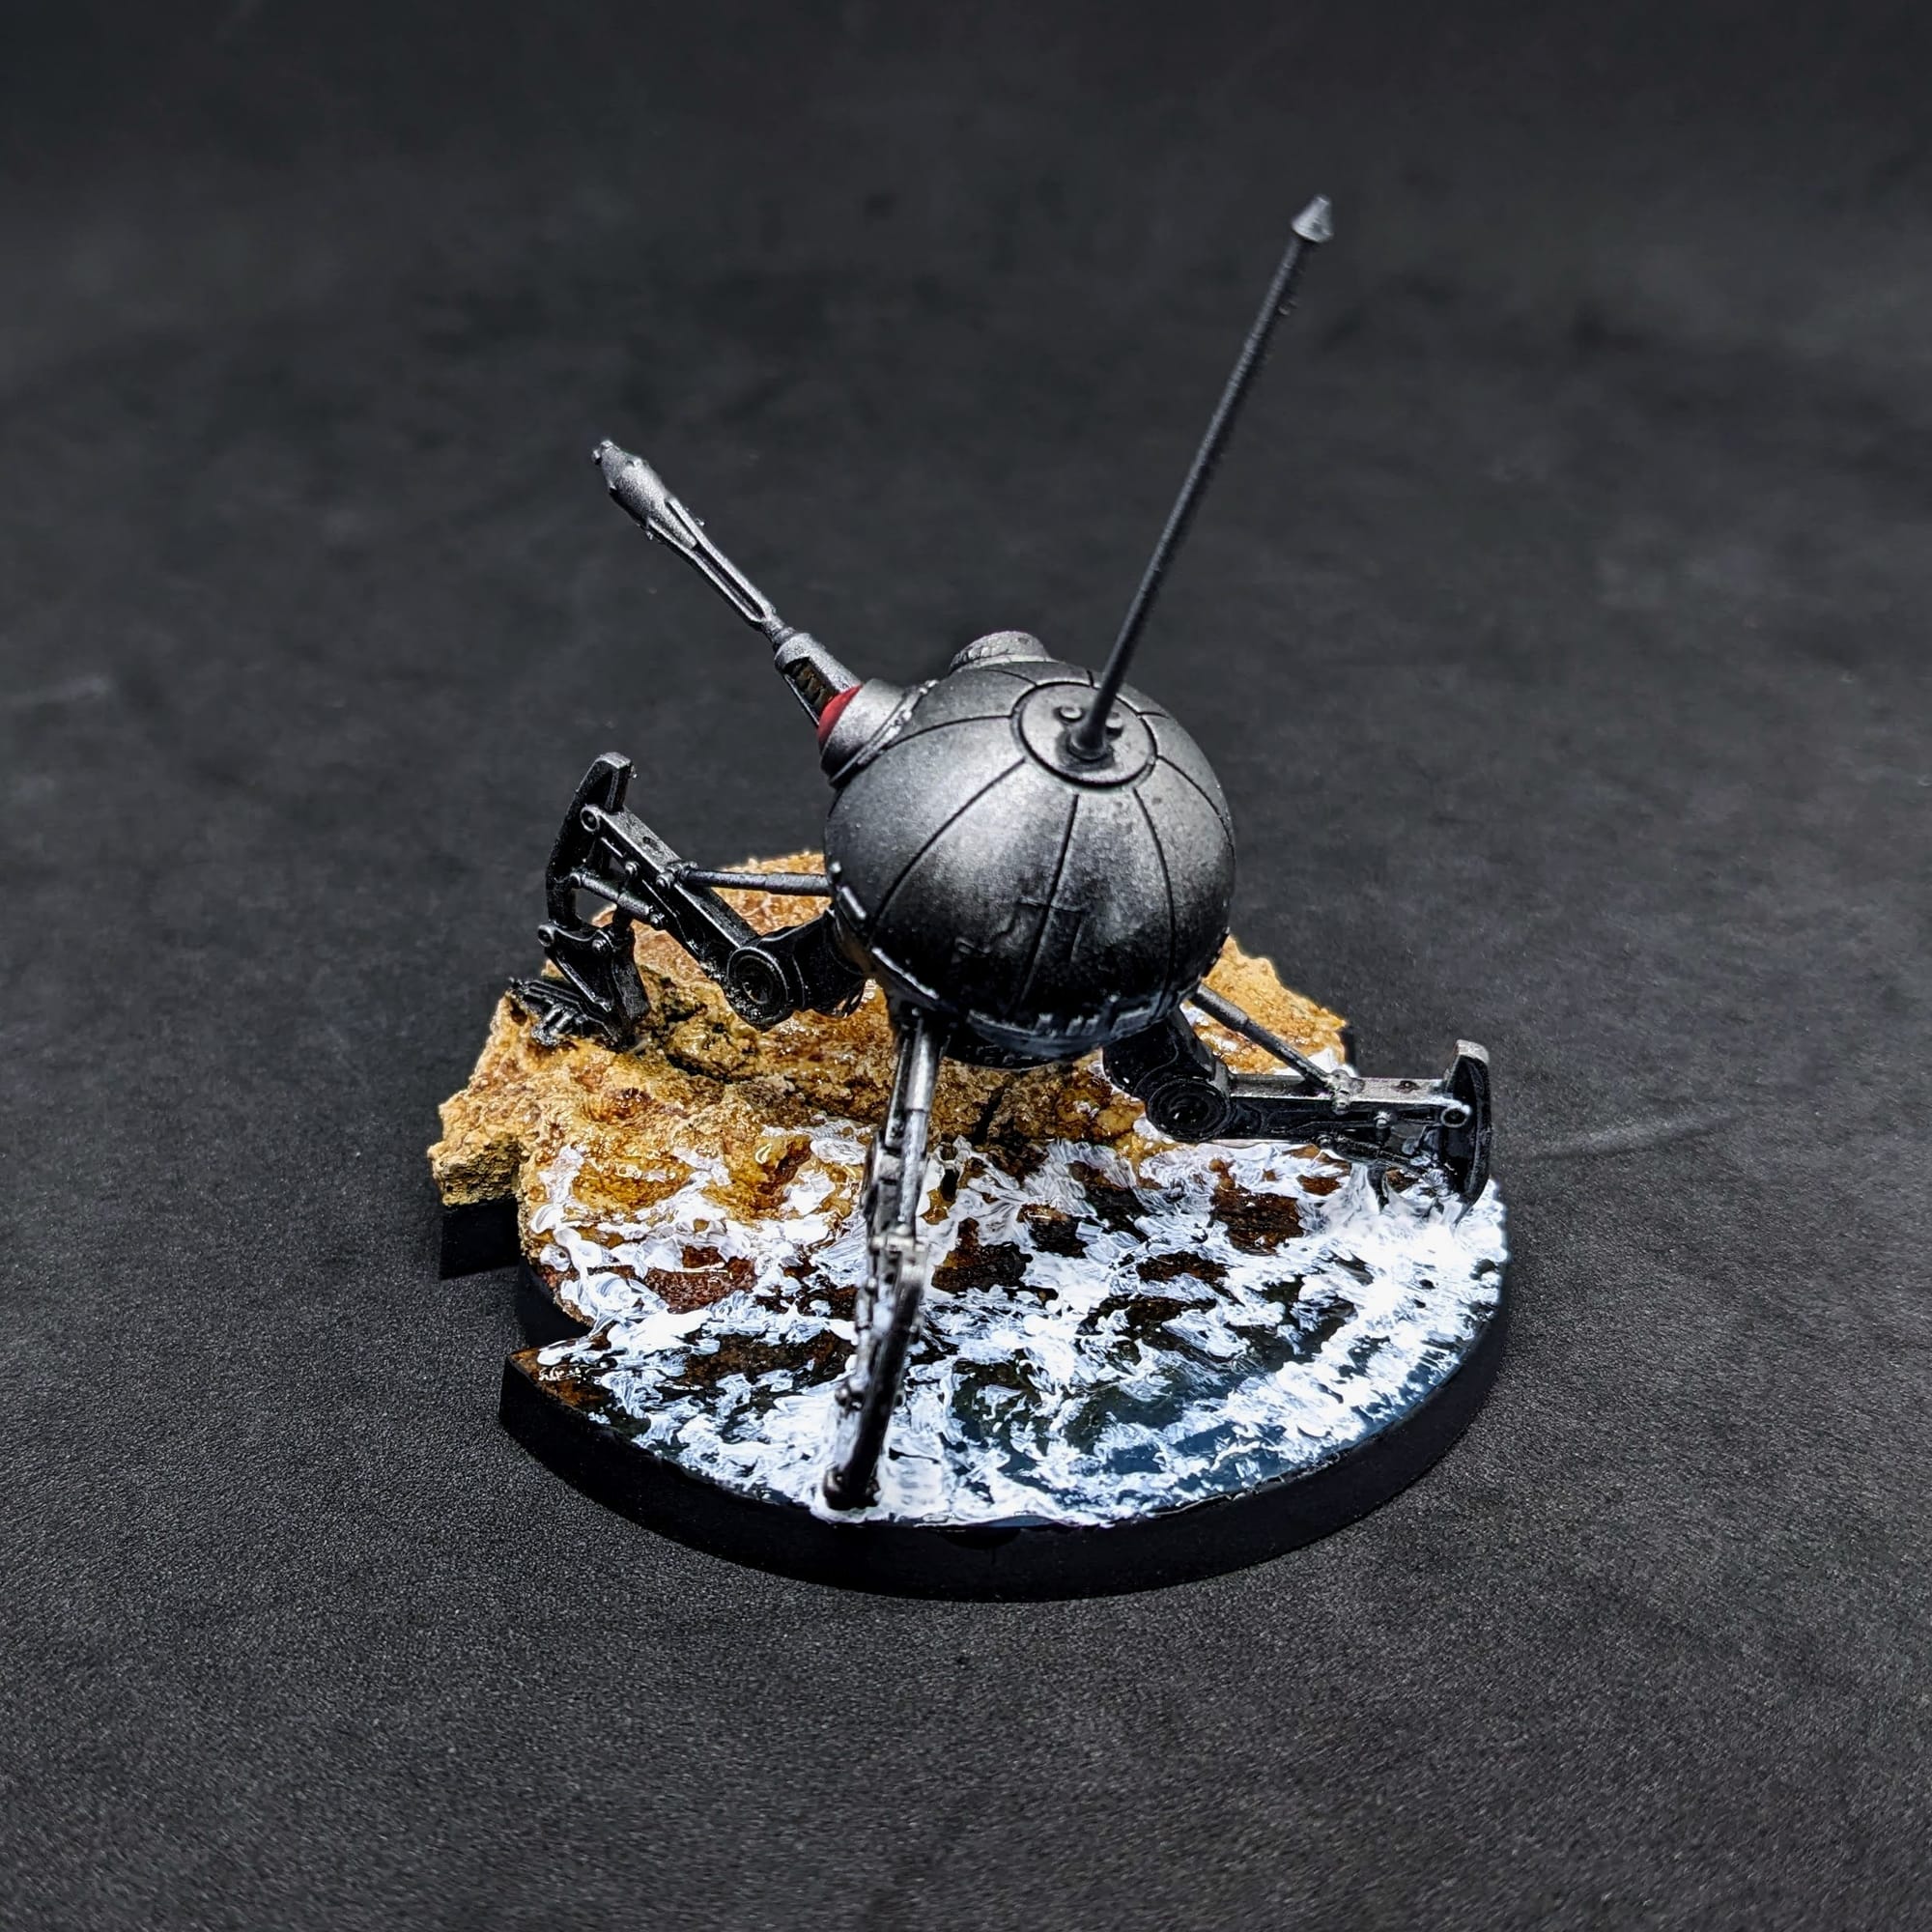
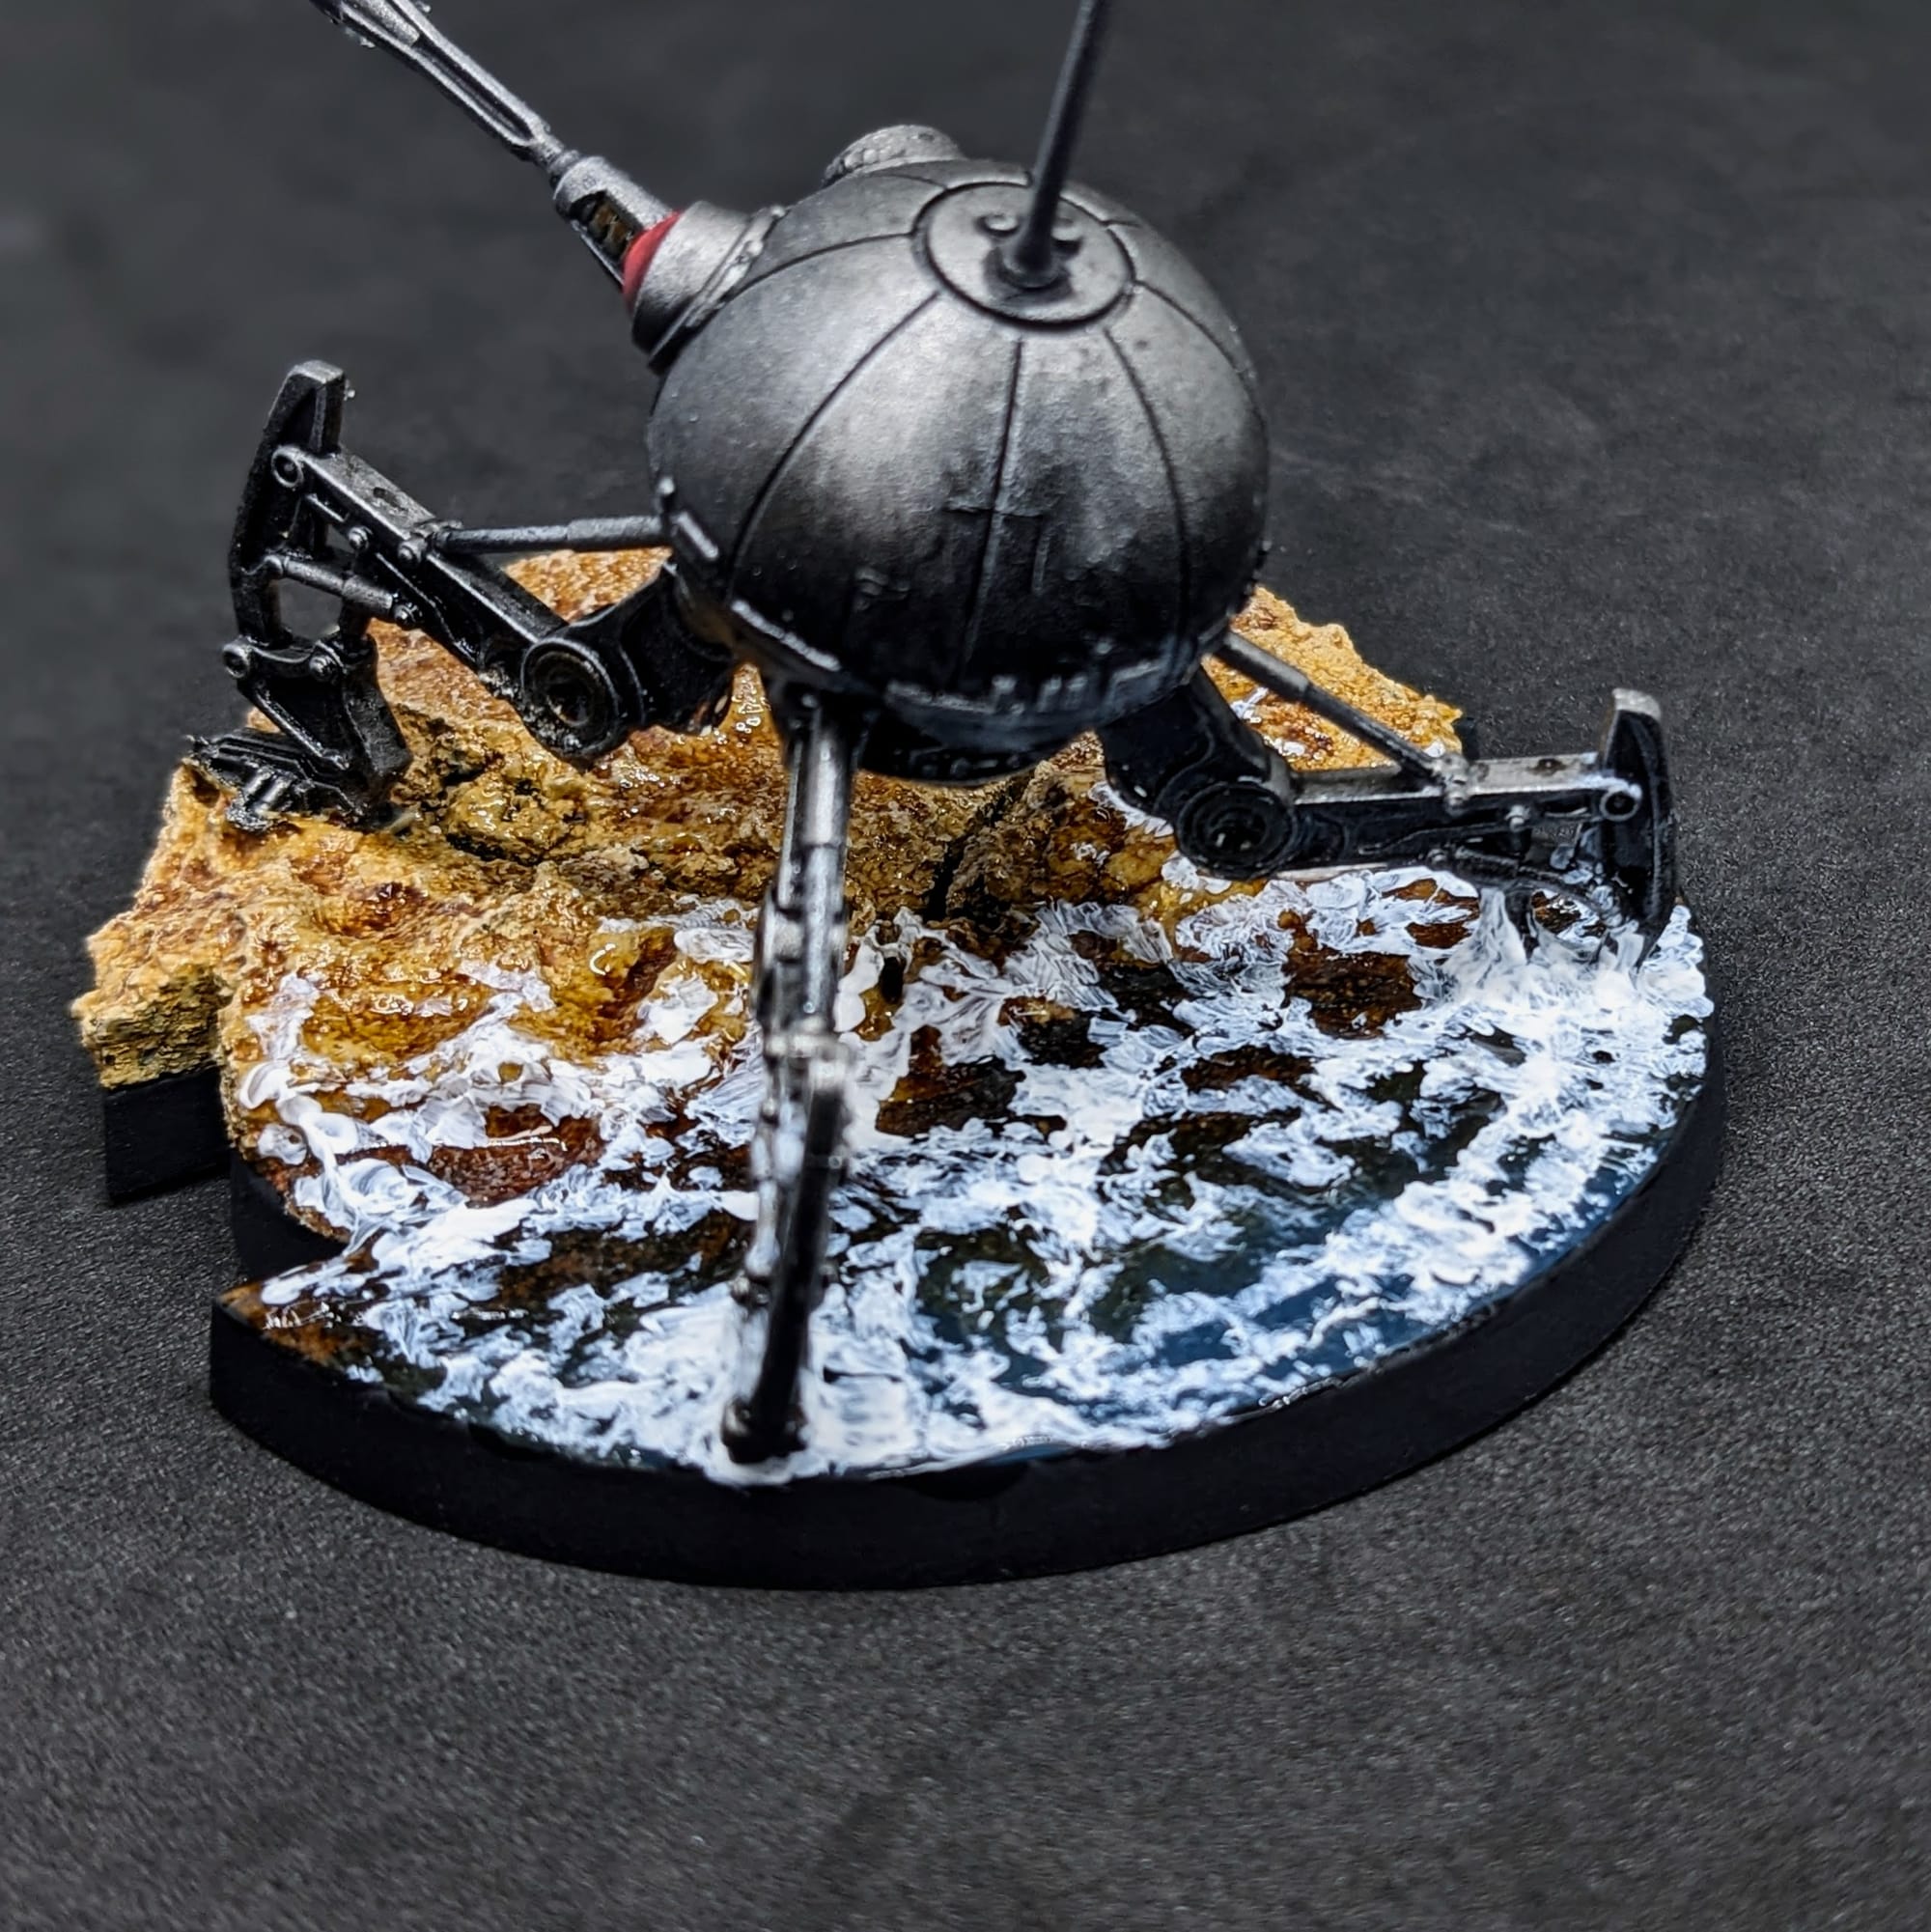
First appearing in the 2002 film Star Wars: Episode II – Attack of the Clones, the DSD1 Dwarf Spider Droid remained a staple combat unit for the Separatist forces throughout the Clone Wars. For me, I always picture the droid rising out of the surf on the beaches of Kashyyyk, and so I wanted to capture that moment on this figure. Using some texture paint, special water effects paint, and some cork board, you, too, can give your Dwarf Spider Droid a little scenic base and make it stand out on the table!
 Asmodee North America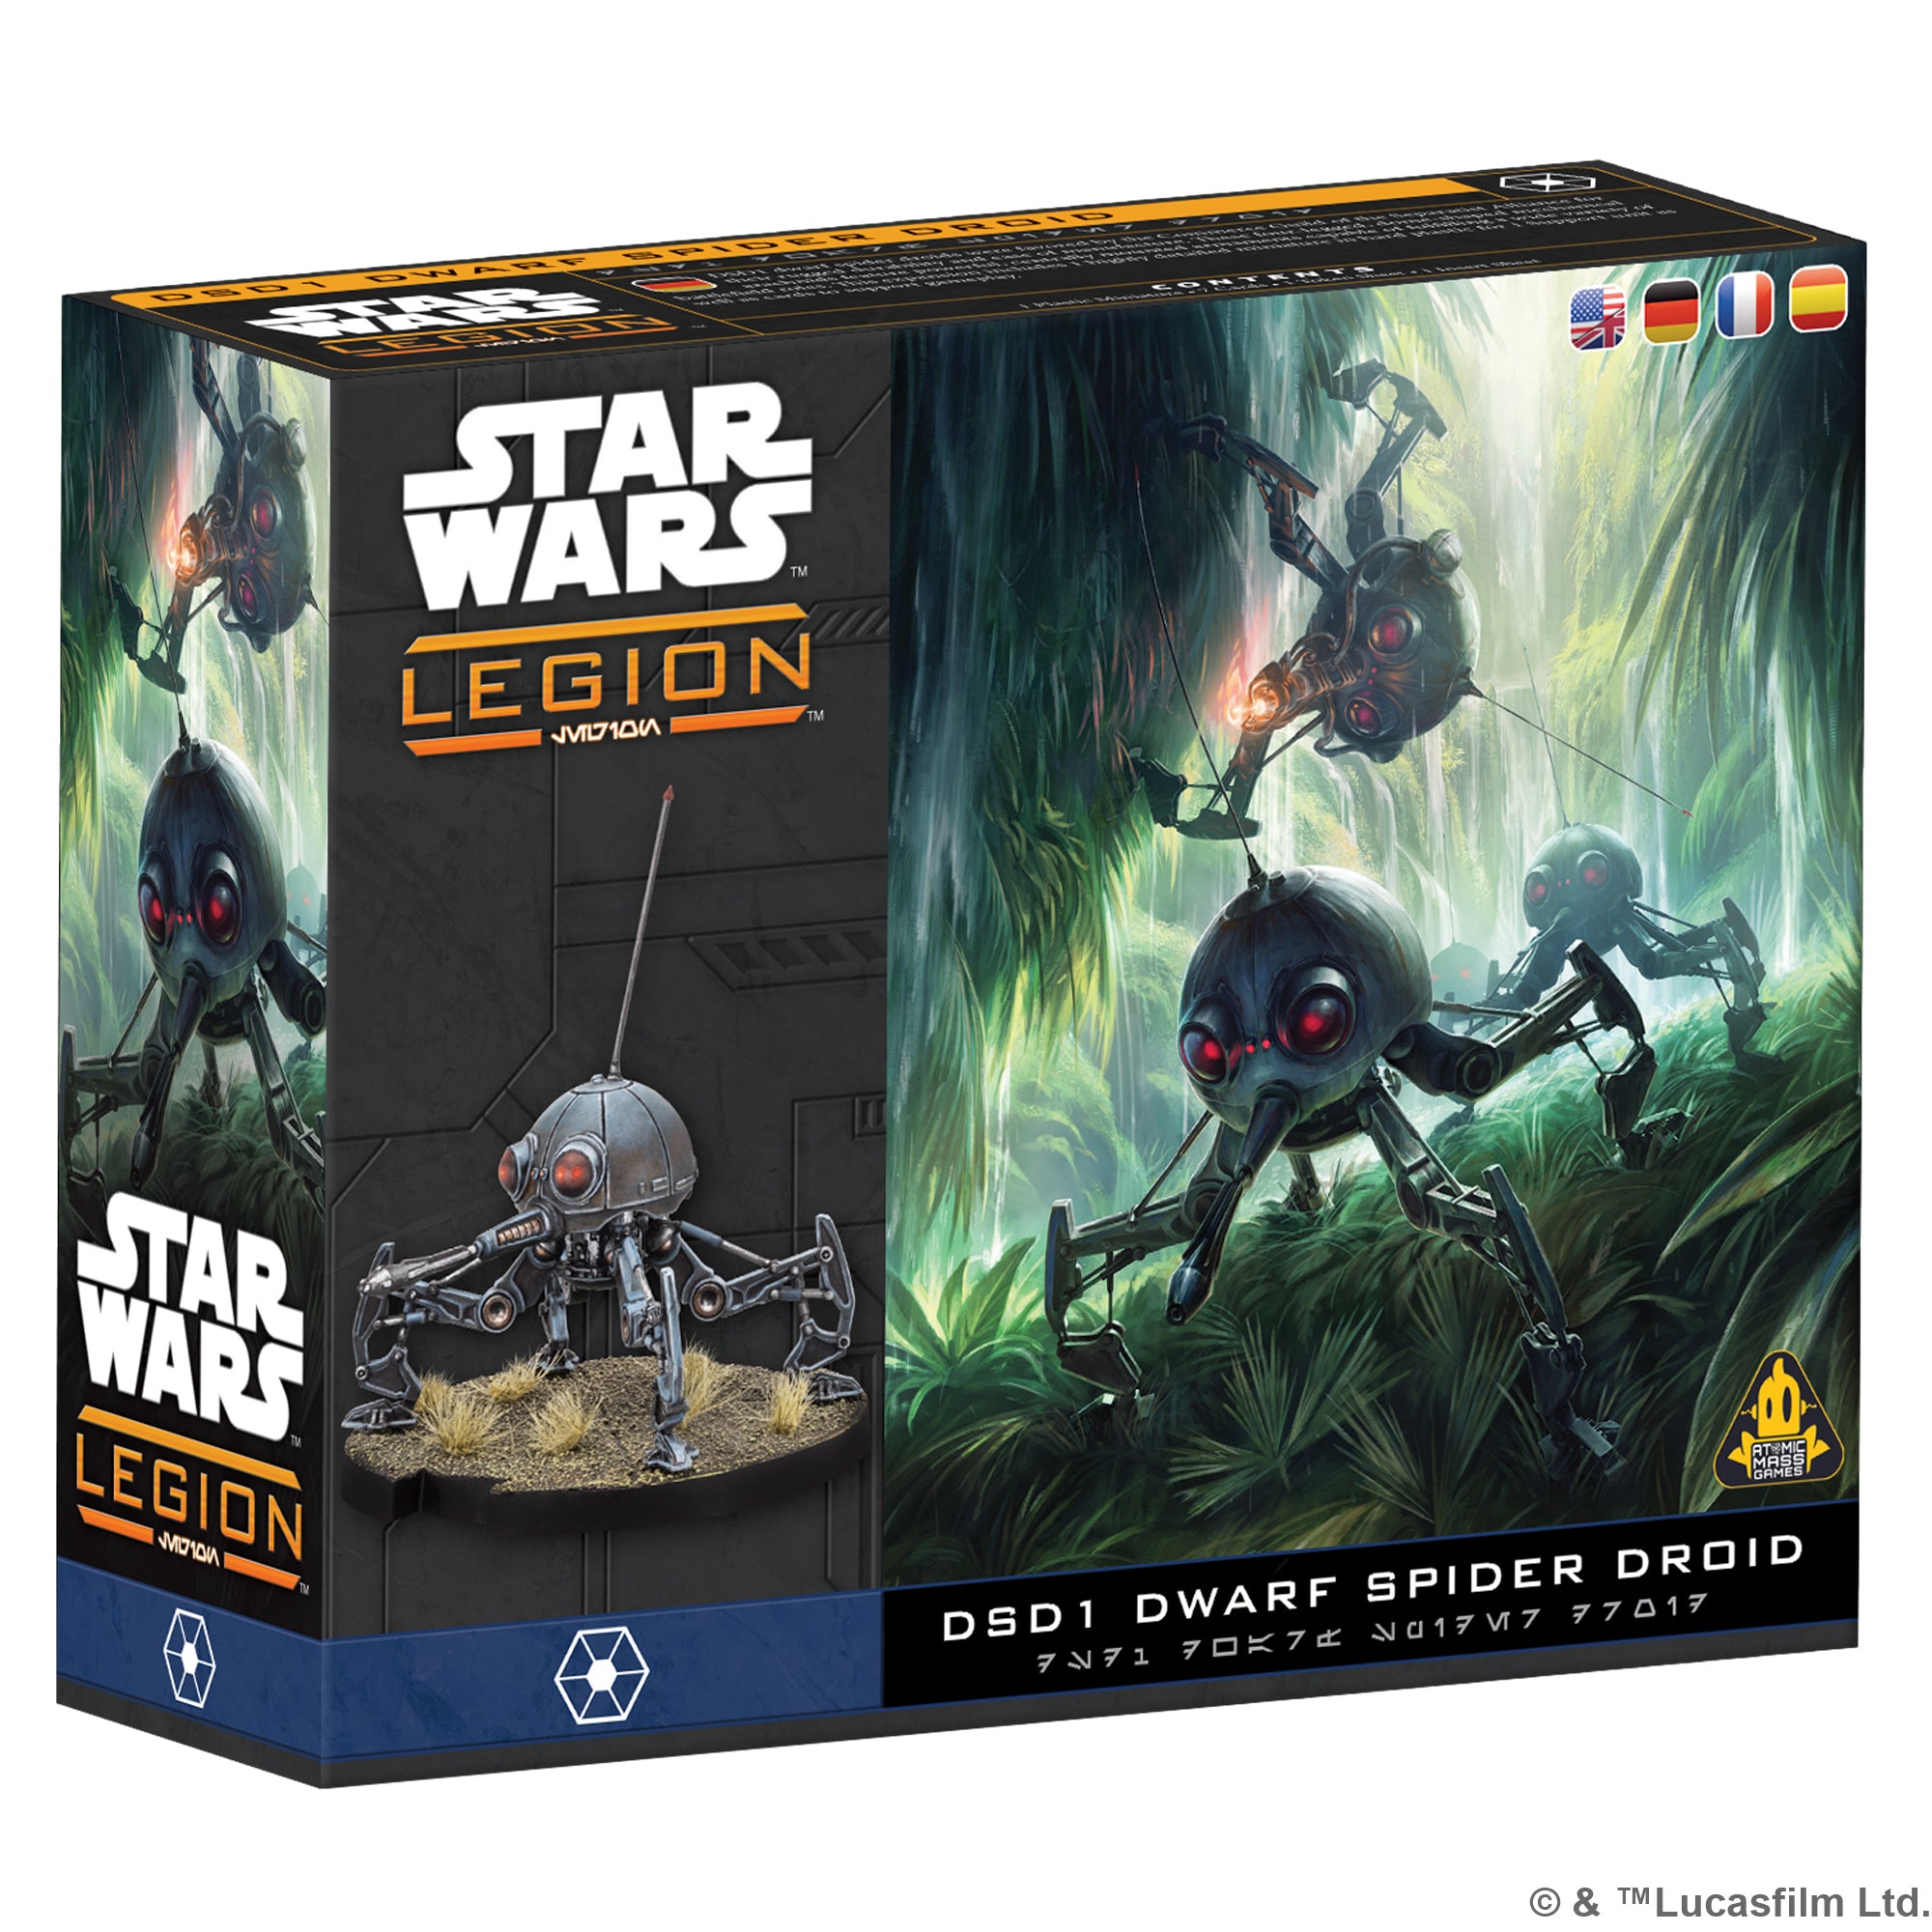
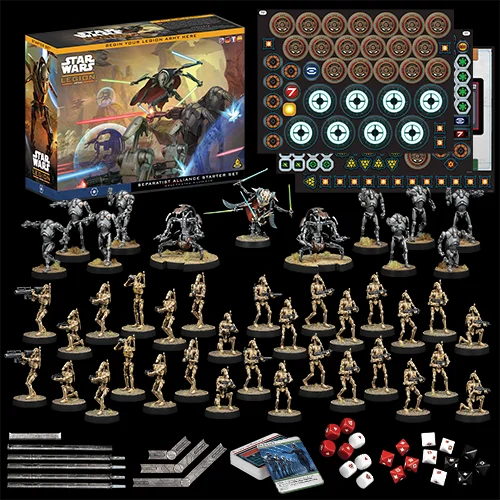
Star Wars: Legion is a tactical miniatures wargame where players assemble and command customized armies from the Star Wars universe and engage in tabletop battles across the galaxy. Players can build, paint, and play troopers, vehicles, and their favorite heroes and villains from the Clone Wars and Galactic Civil War era. The easiest way to get into the game is to choose a starter set of their favorite faction and build out from there! A robust catalogue of expansions offers nearly-unlimited customization and replayability.

Assembling Your Models
Prepping Your Models & The Tools
Our previous review covered the unboxing and building of the contents of the expansion, so for this article, I will be providing a step-by-step guide for how to build and paint this DSD1 Dwarf Spider Droid.
GamingTrend has put together a handy guide for you to follow for how best to clean, clip, and assemble your models, regardless of the game. While the materials for the models may be different between games (plastic, resin, metal, etc.) there are simple techniques you can use to help make your painting experience go that much smoother.
 Alec Kozak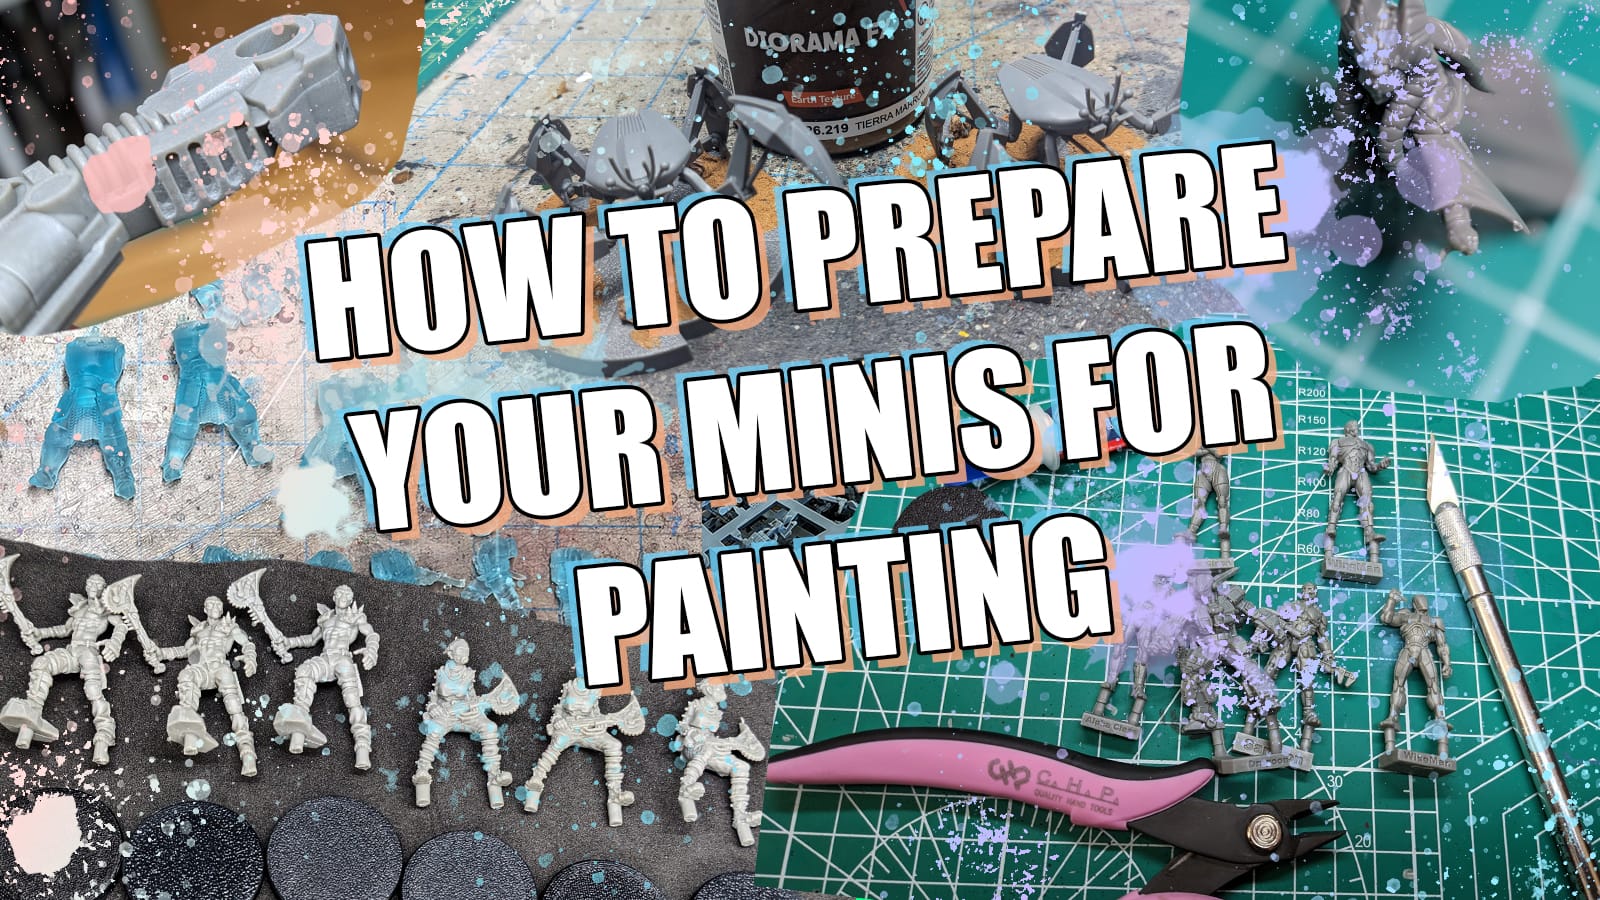
Additionally, if you are new to painting and are not sure what brushes or tools you need, check out the article. This is just a starting place, and every painter has different preferences and recommendations. These are my recommendations based on the last decade or so of painting, and I hope you find them helpful!
For this tutorial, I have included a visual guide (below) of the paints I used for the miniatures so you have an easily accessible list to refer to if you need to go shopping.
Building the droid was done in two parts. I built the head first, and then, without gluing them in, put the legs in the slots. To make sure the feet didn’t cover up any of the firing arc.
Painting Your Miniatures
The Paint Plan
Every miniature painting project I do, I start with a plan. Even before putting the primer and paint on a model, I find photo references of the paint schemes and details I am looking for. Most times, this means having a browser window up with different web pages and images next to my painting area, so I can quickly refer to them as I paint. I also come up with a paint plan, choosing what colors I am going to use and what order I apply them in.
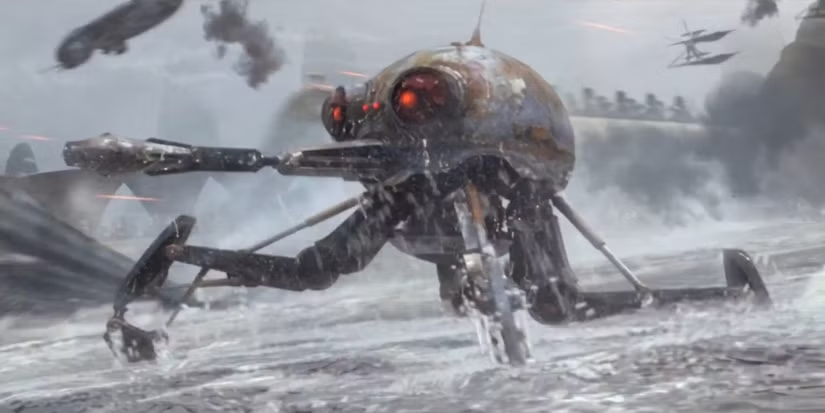
For the Dwarf Spider Droid, I wanted to capture that scene from Star Wars: Episode III Revenge of the Sith, where it emerges out of the water and onto Kachirho Beach on Kashyyyk. To emphasize the emergence from the water, I chose to create a steeper beach and have the rear legs submerged farther in the water.
Remember that done is better than perfect!
Pre-Priming Work: The Beach Basing
To create the inclined beach, I started with some 3/16” thick cork board, which you can get from most hobby stores or online.
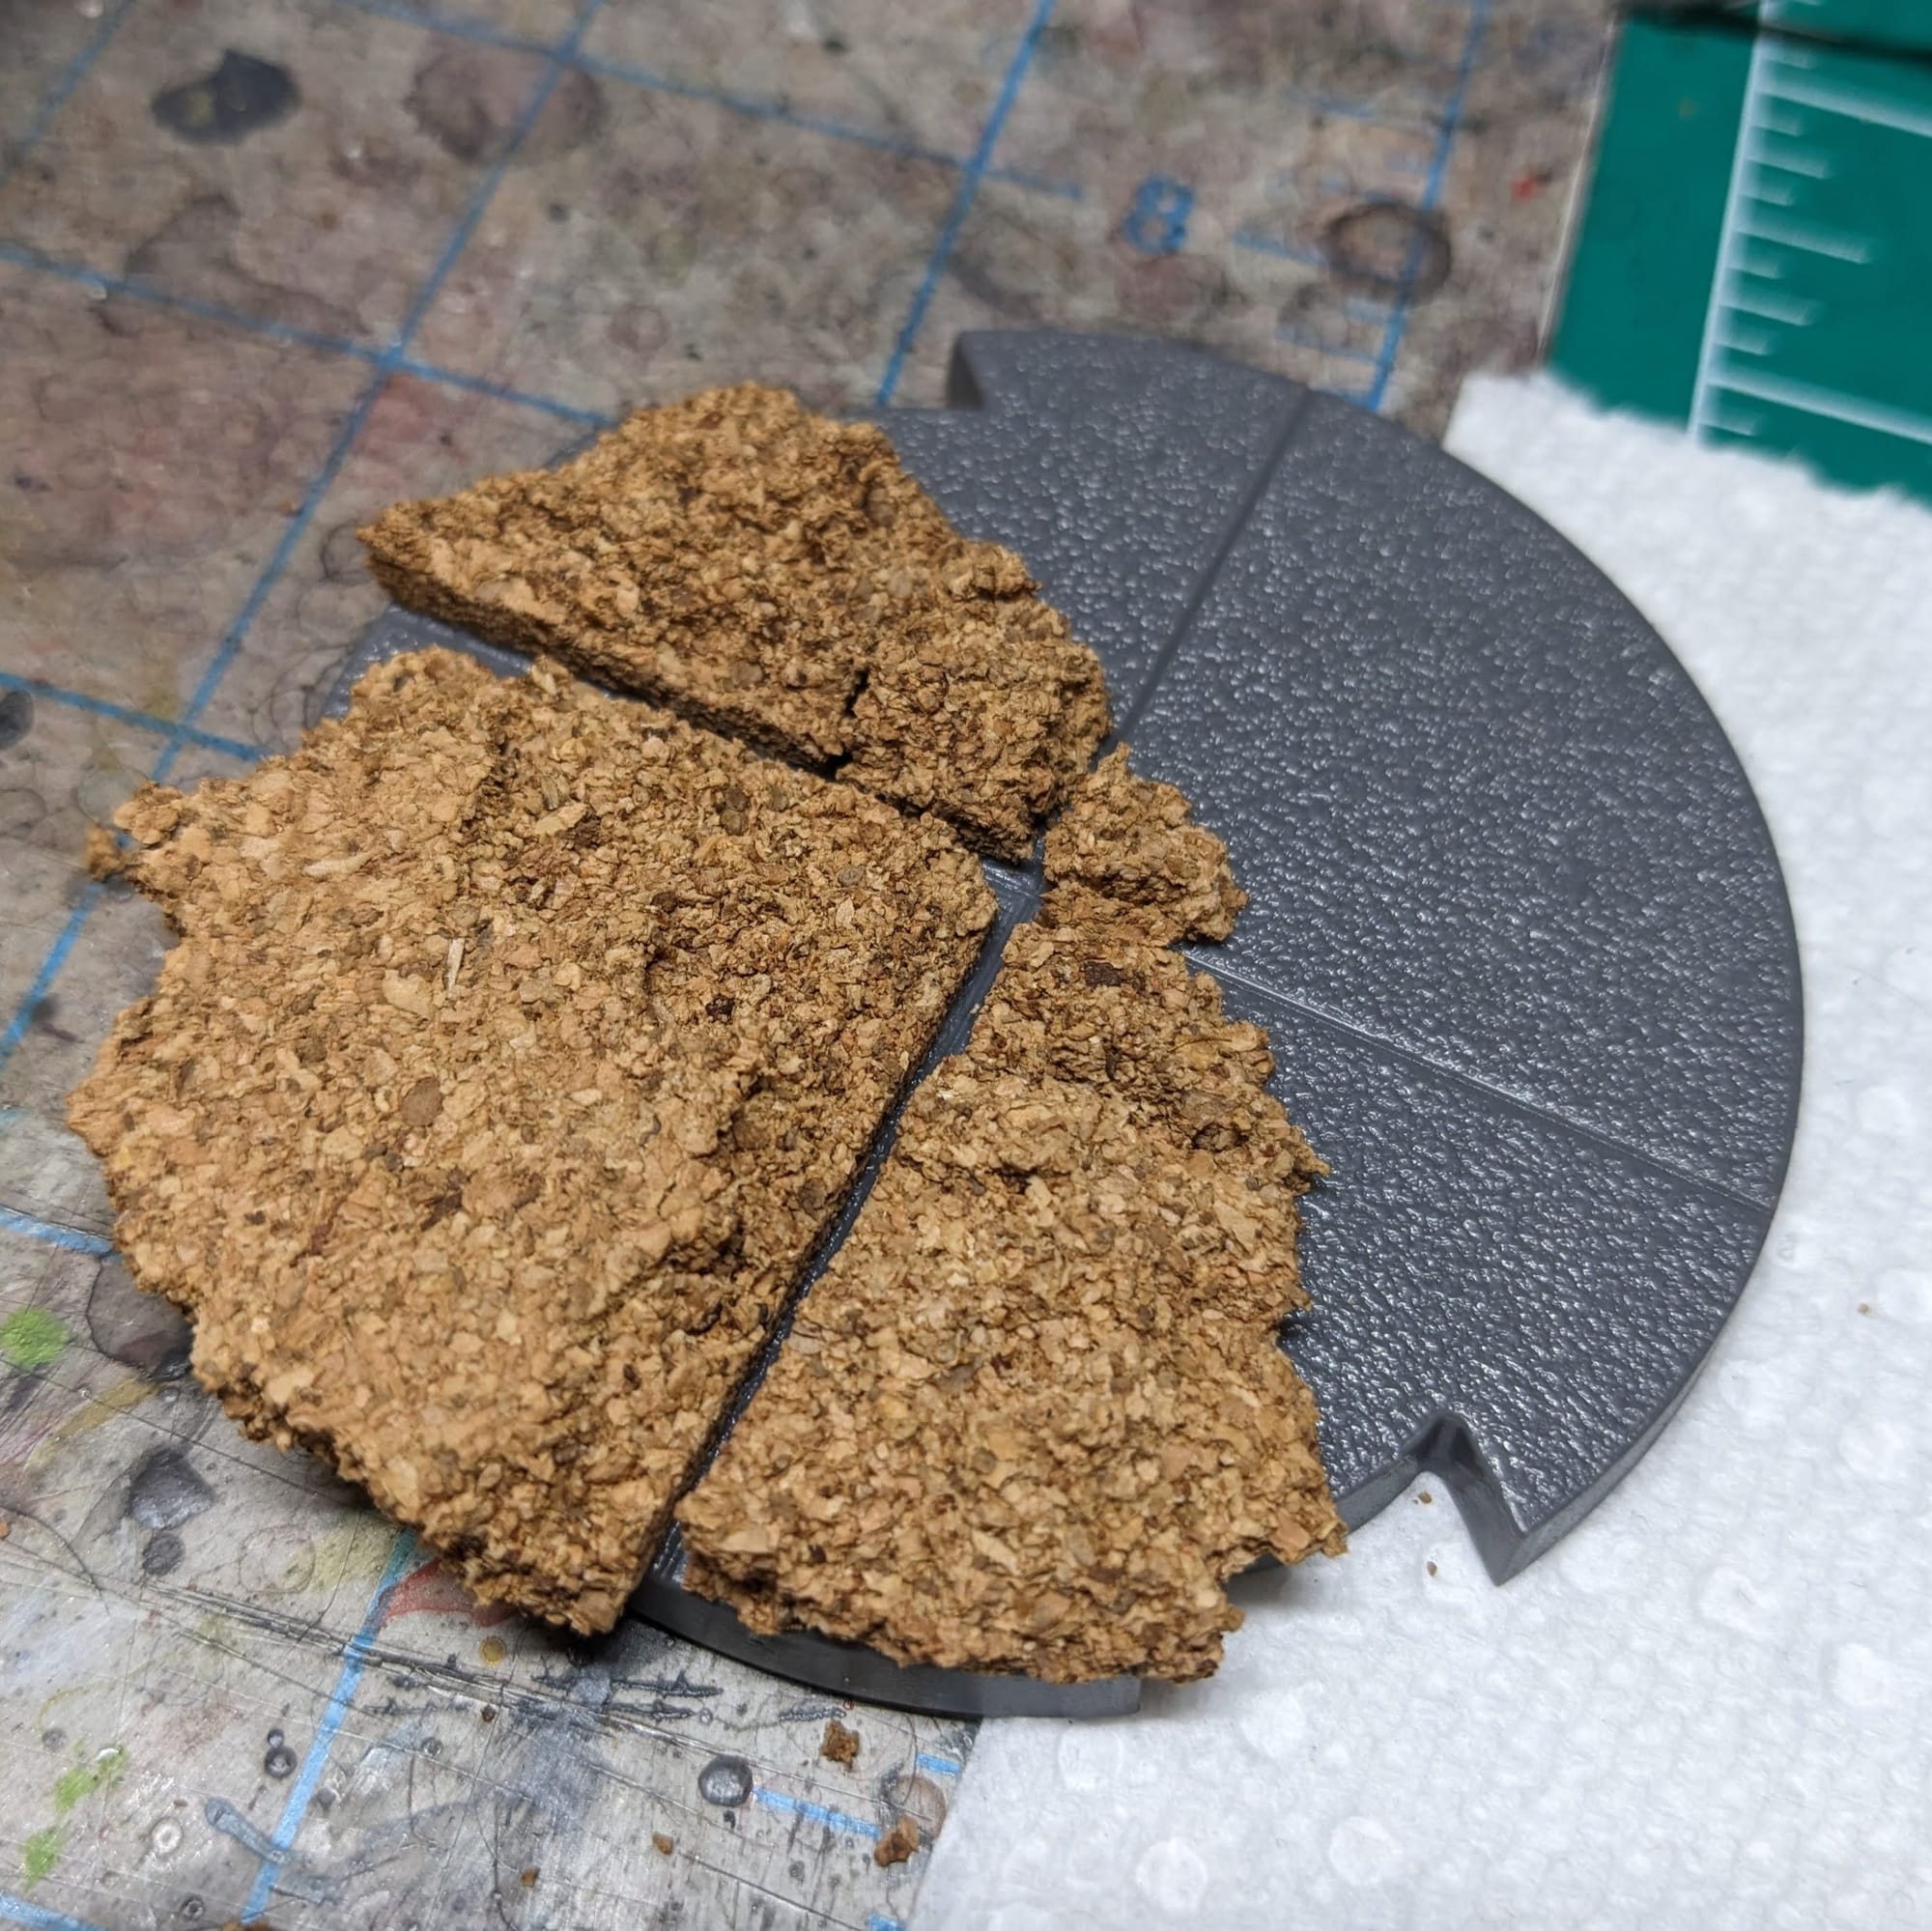
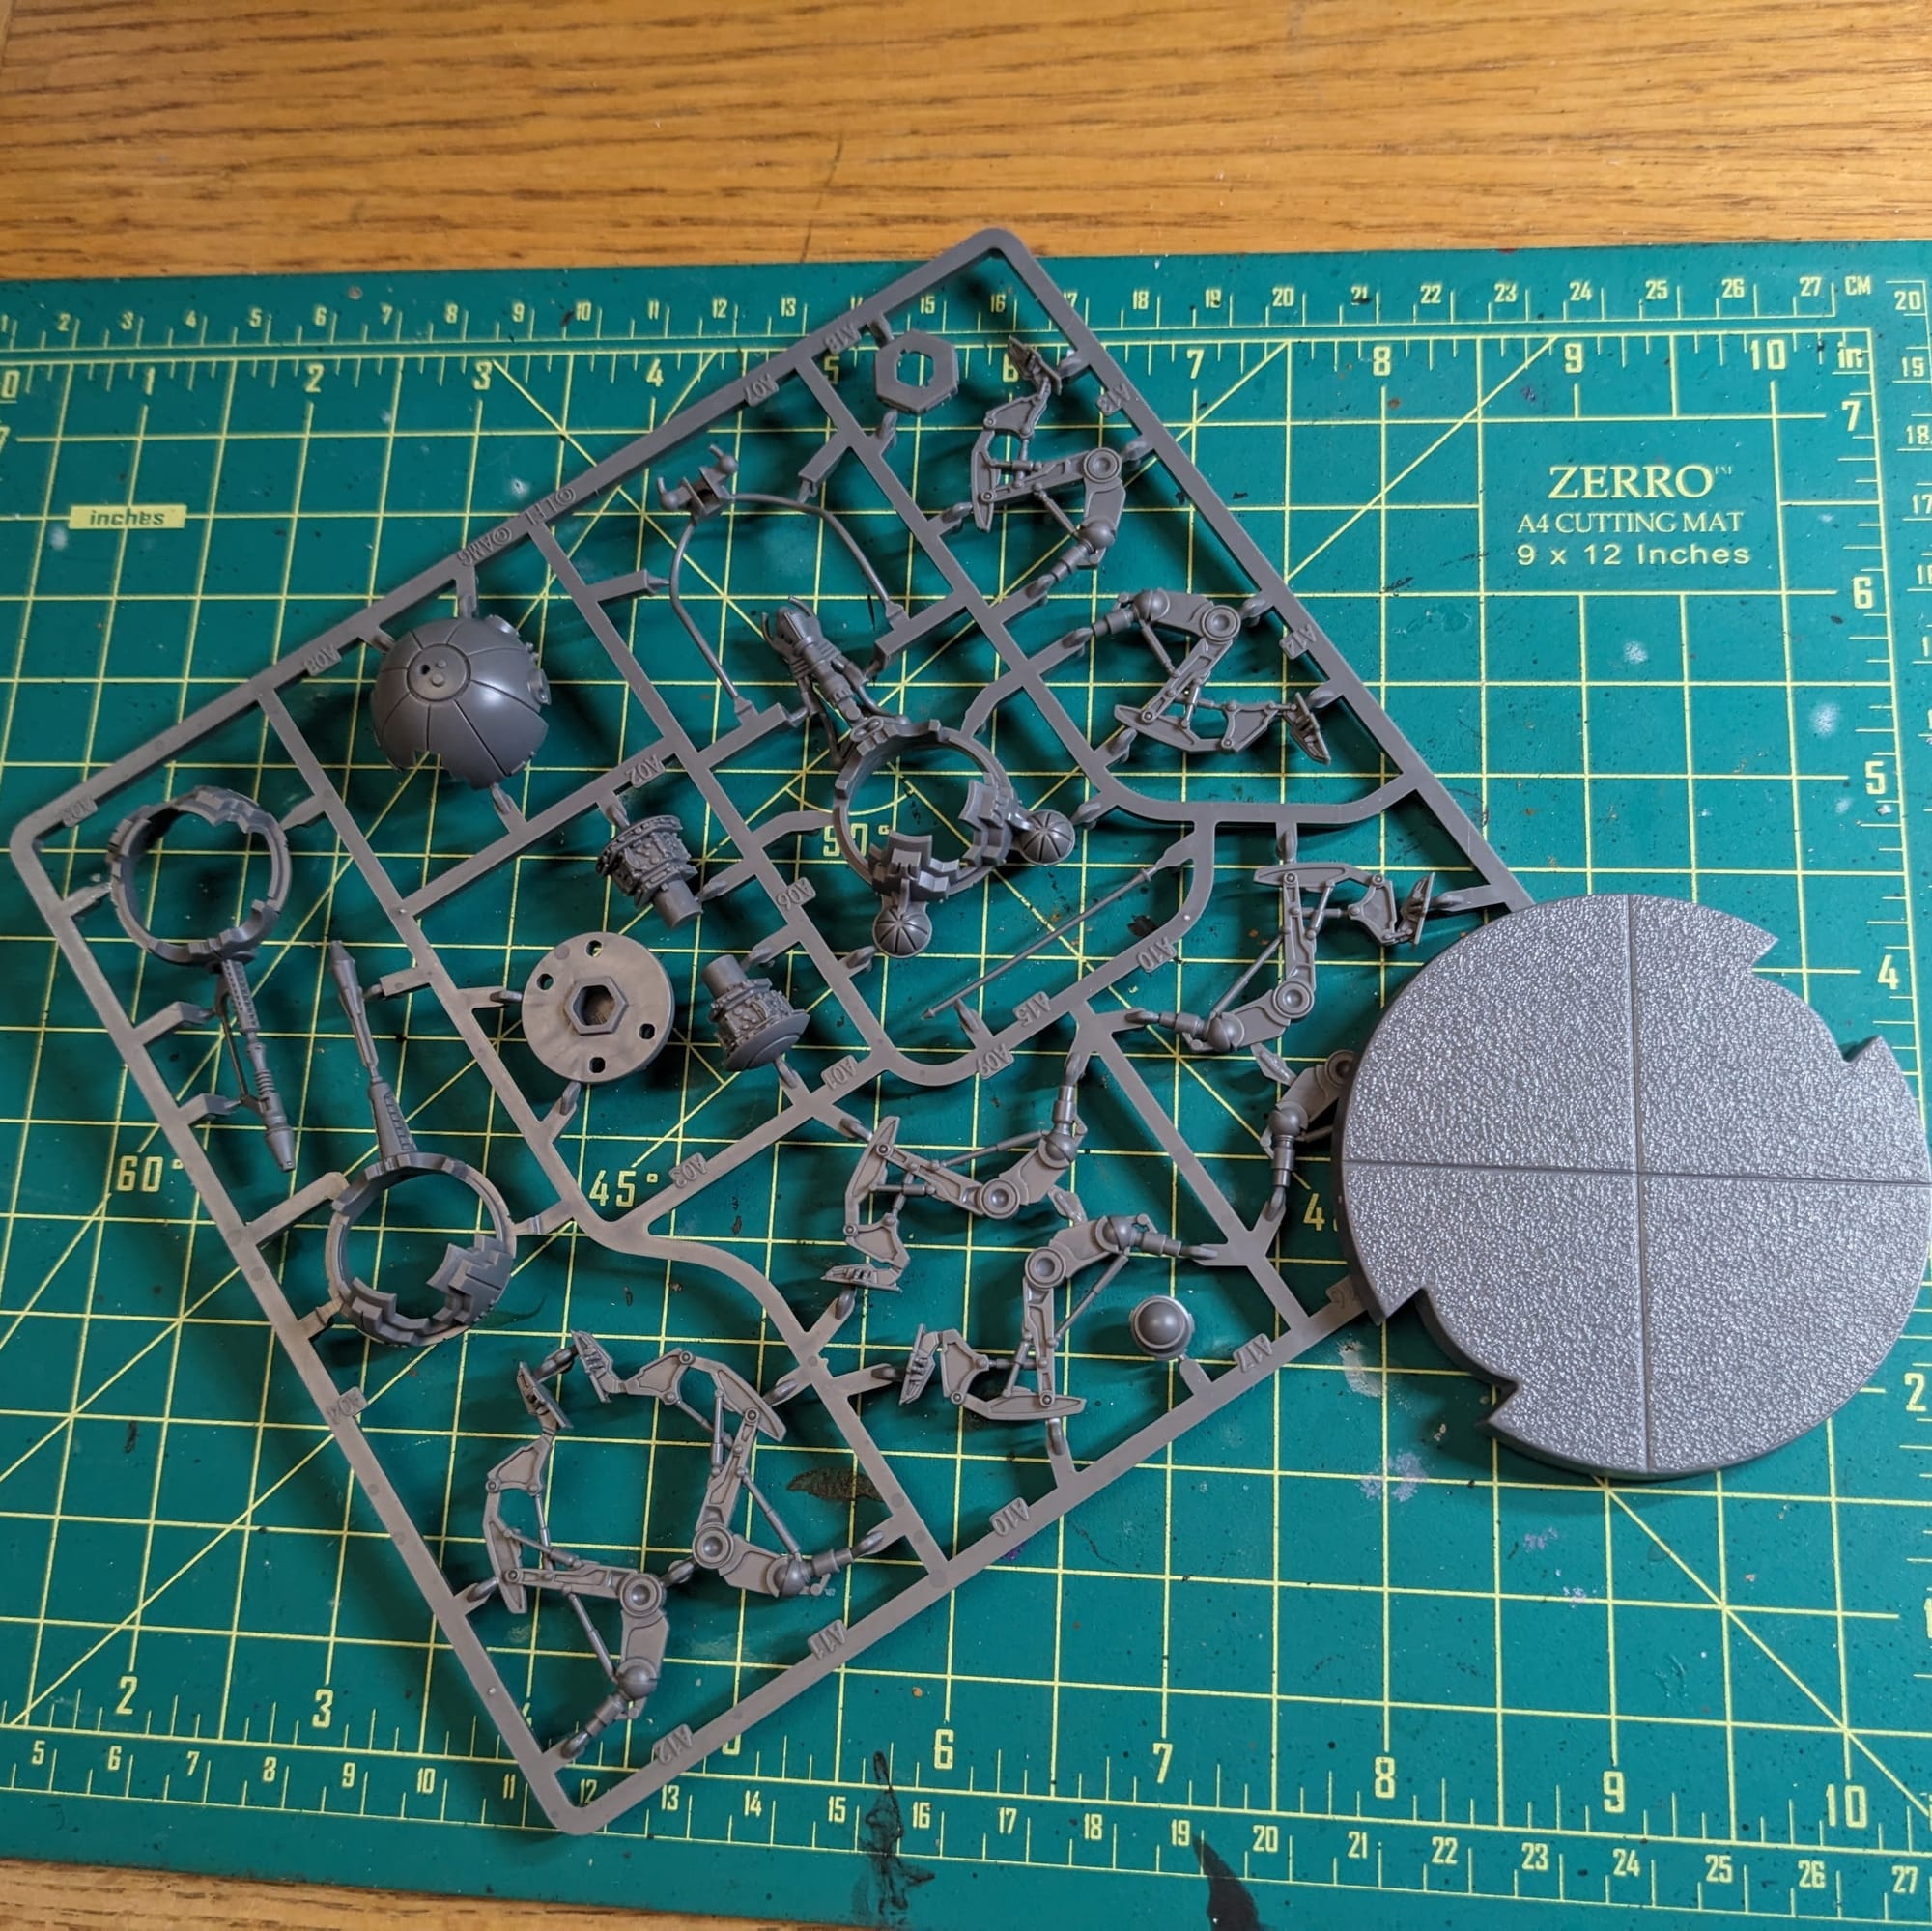
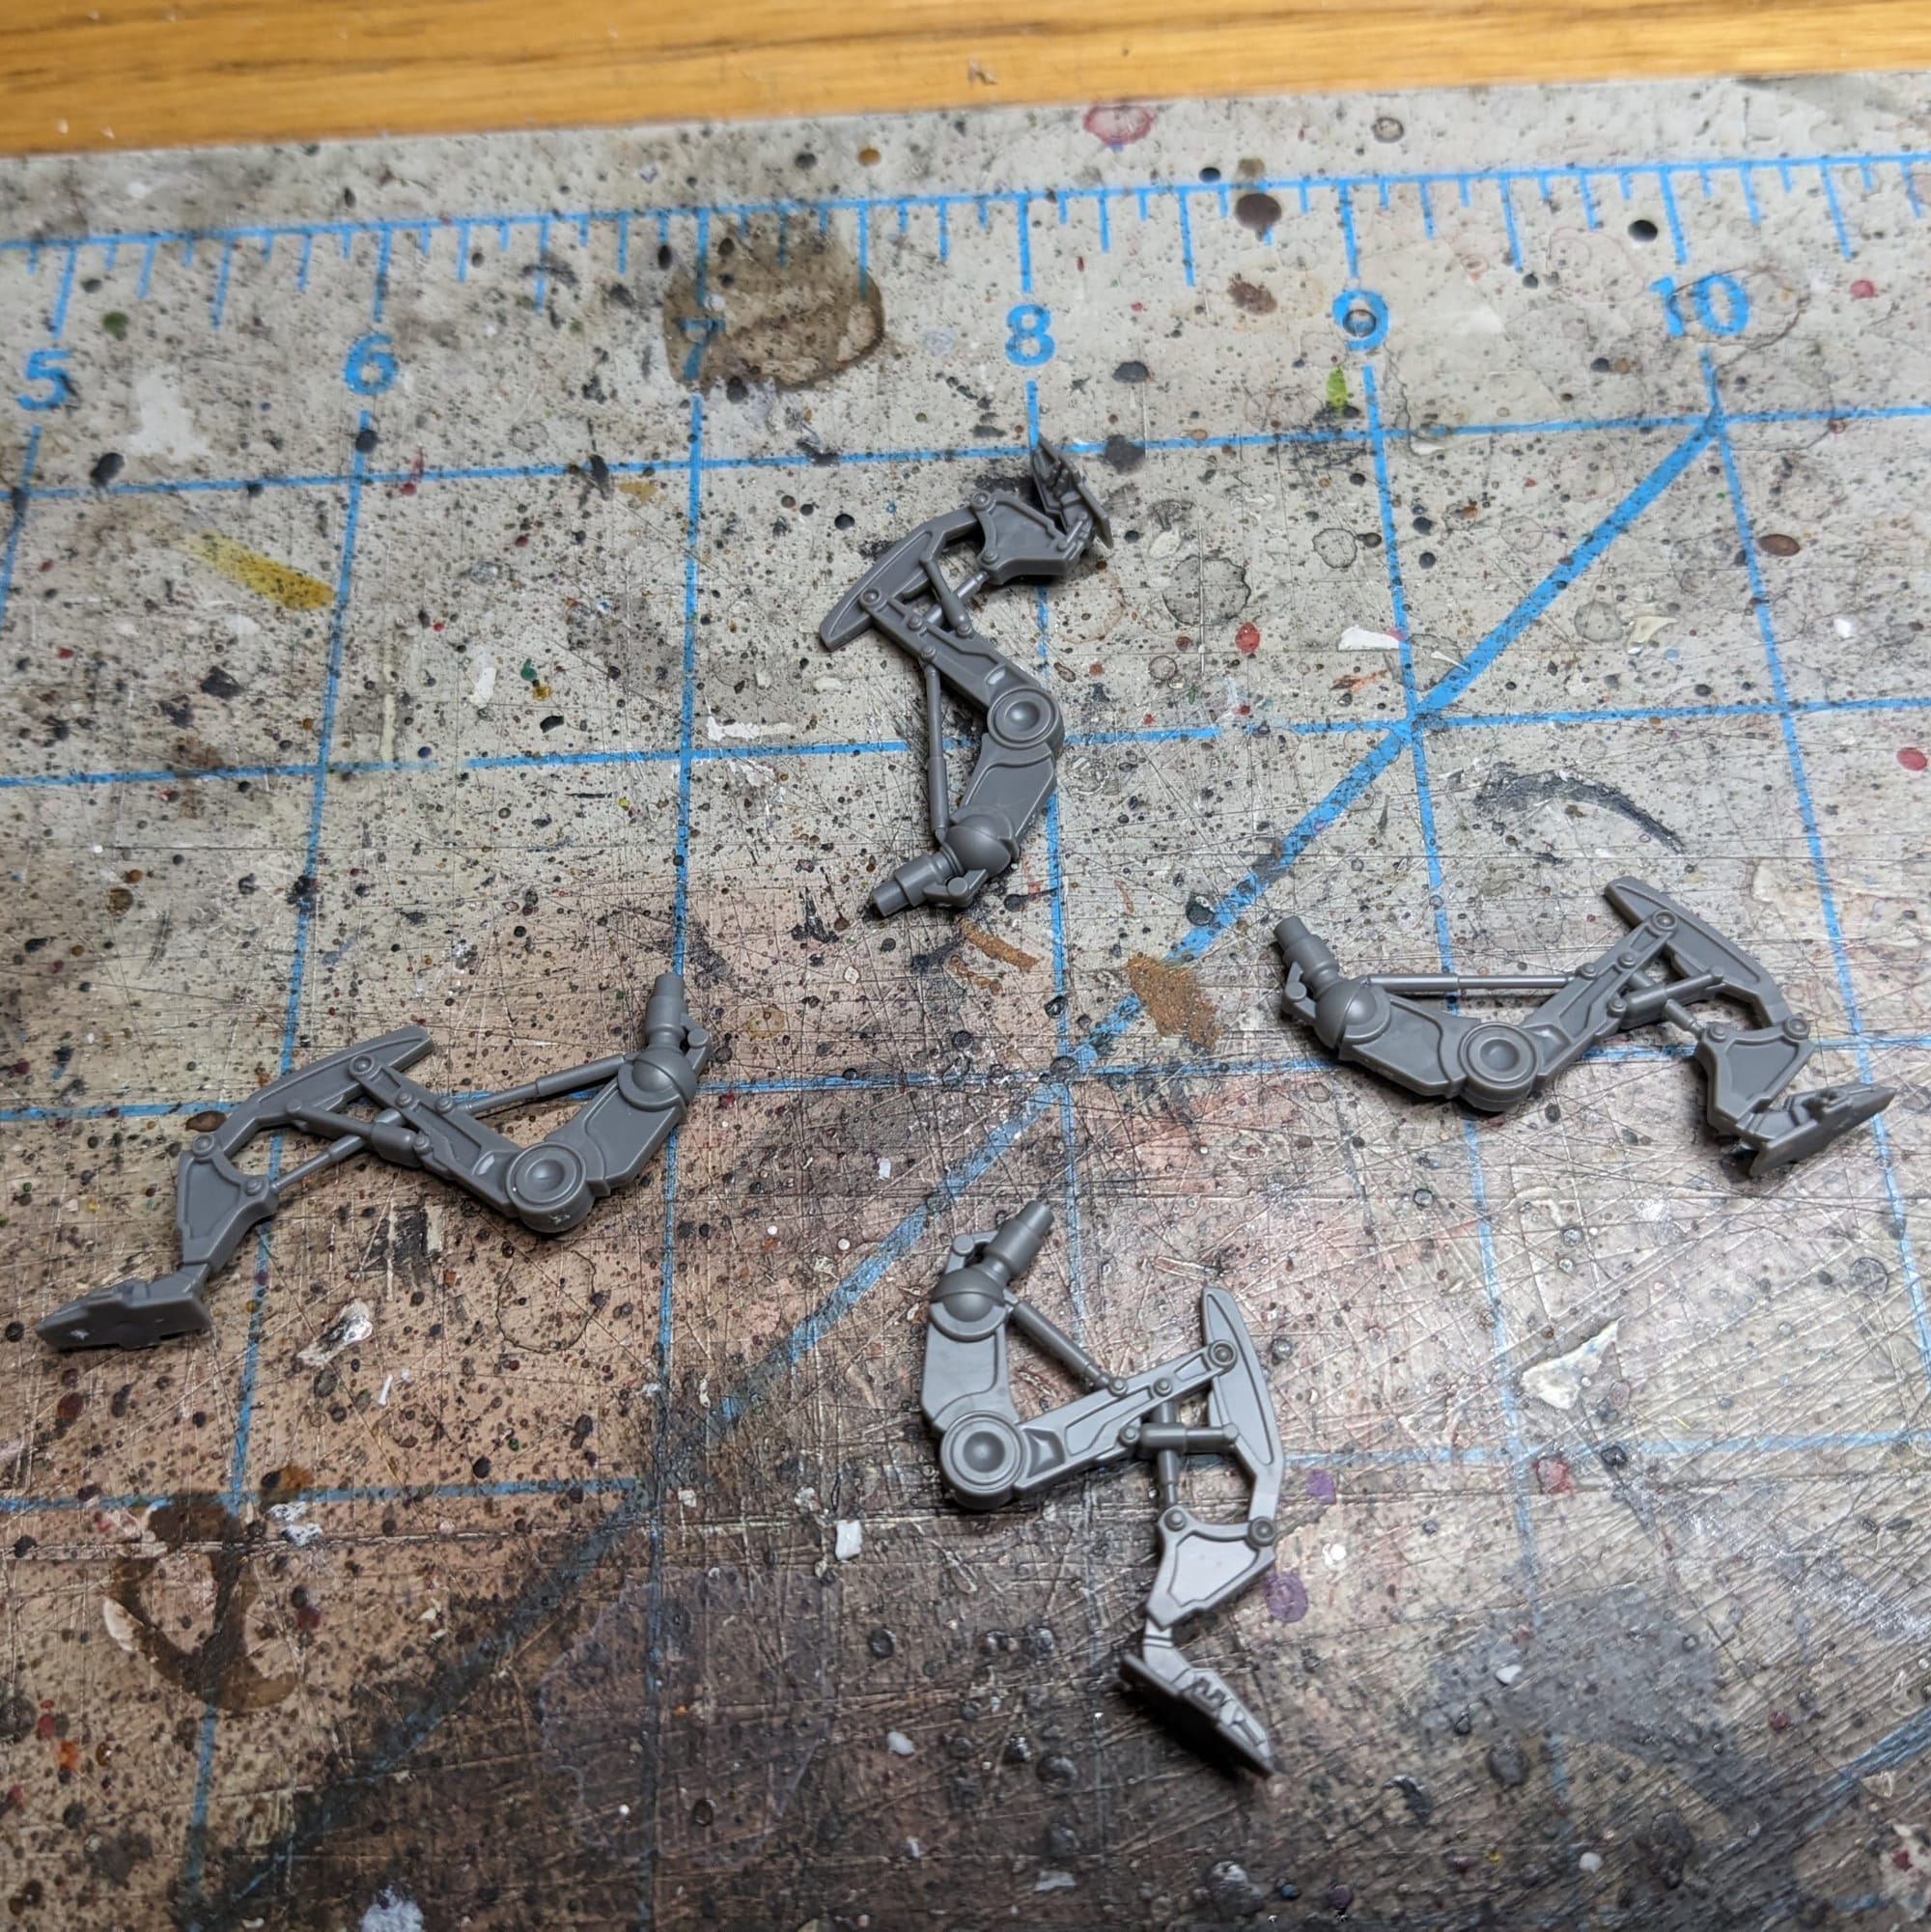
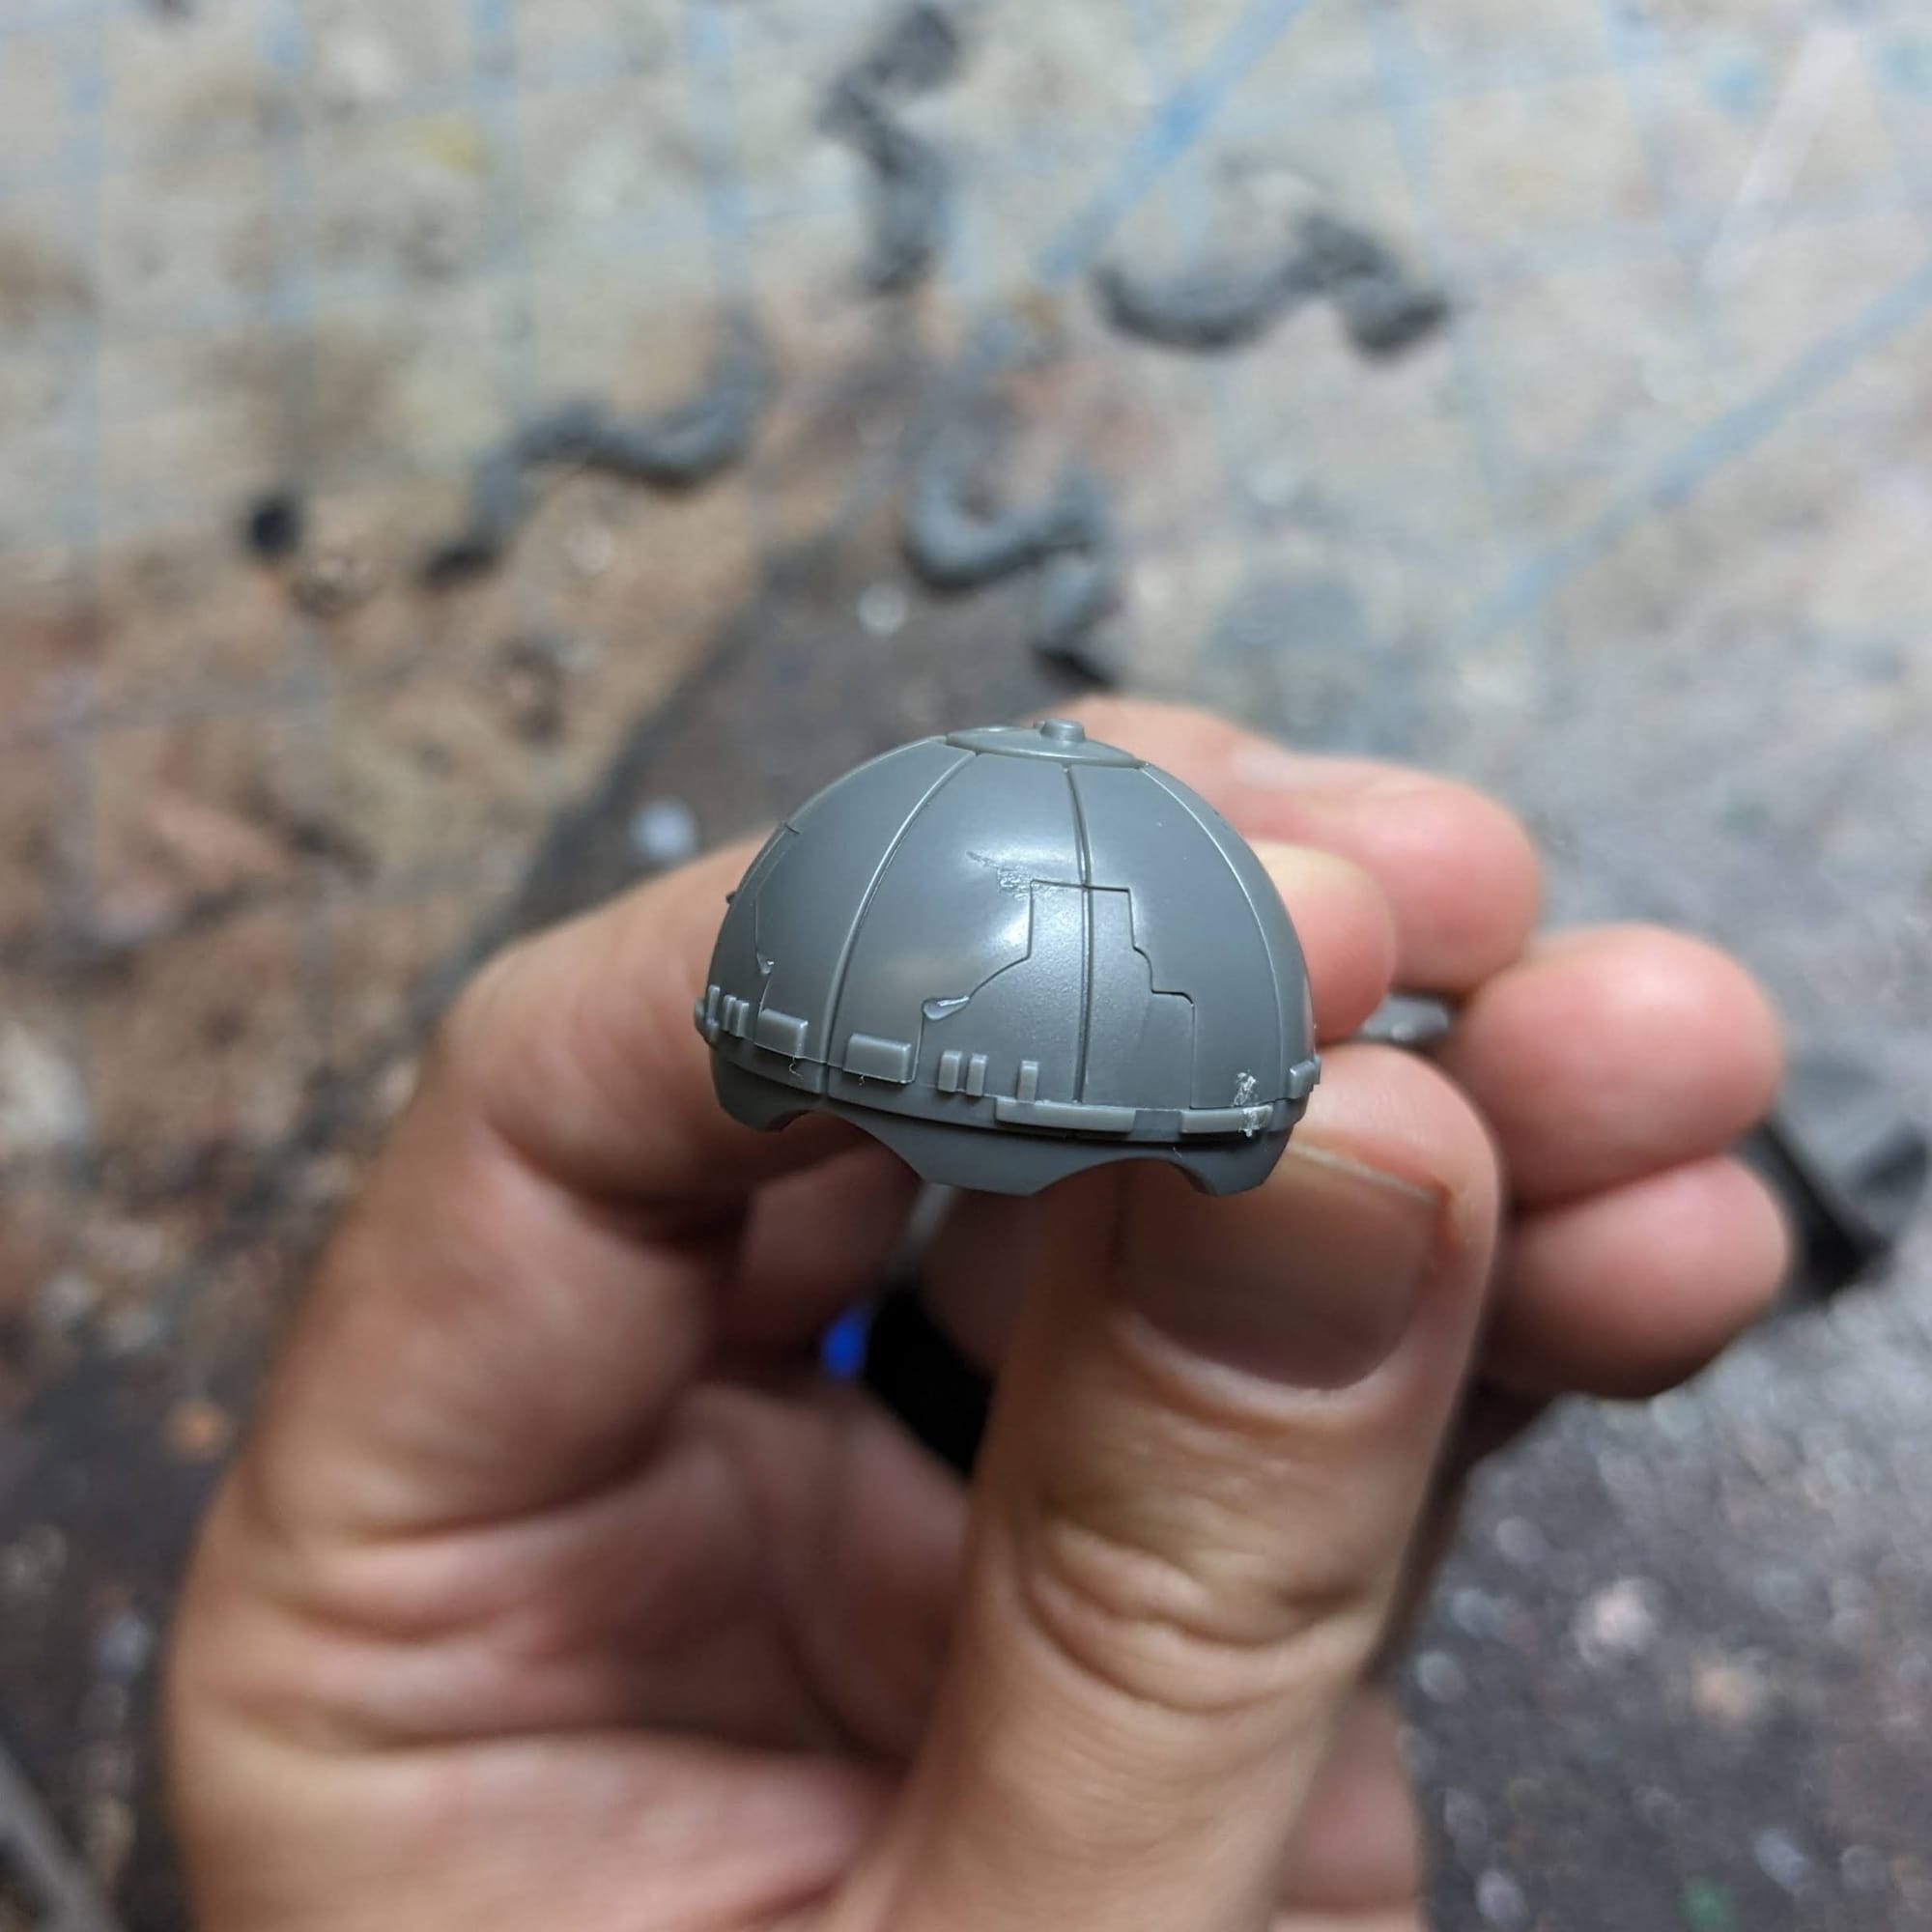
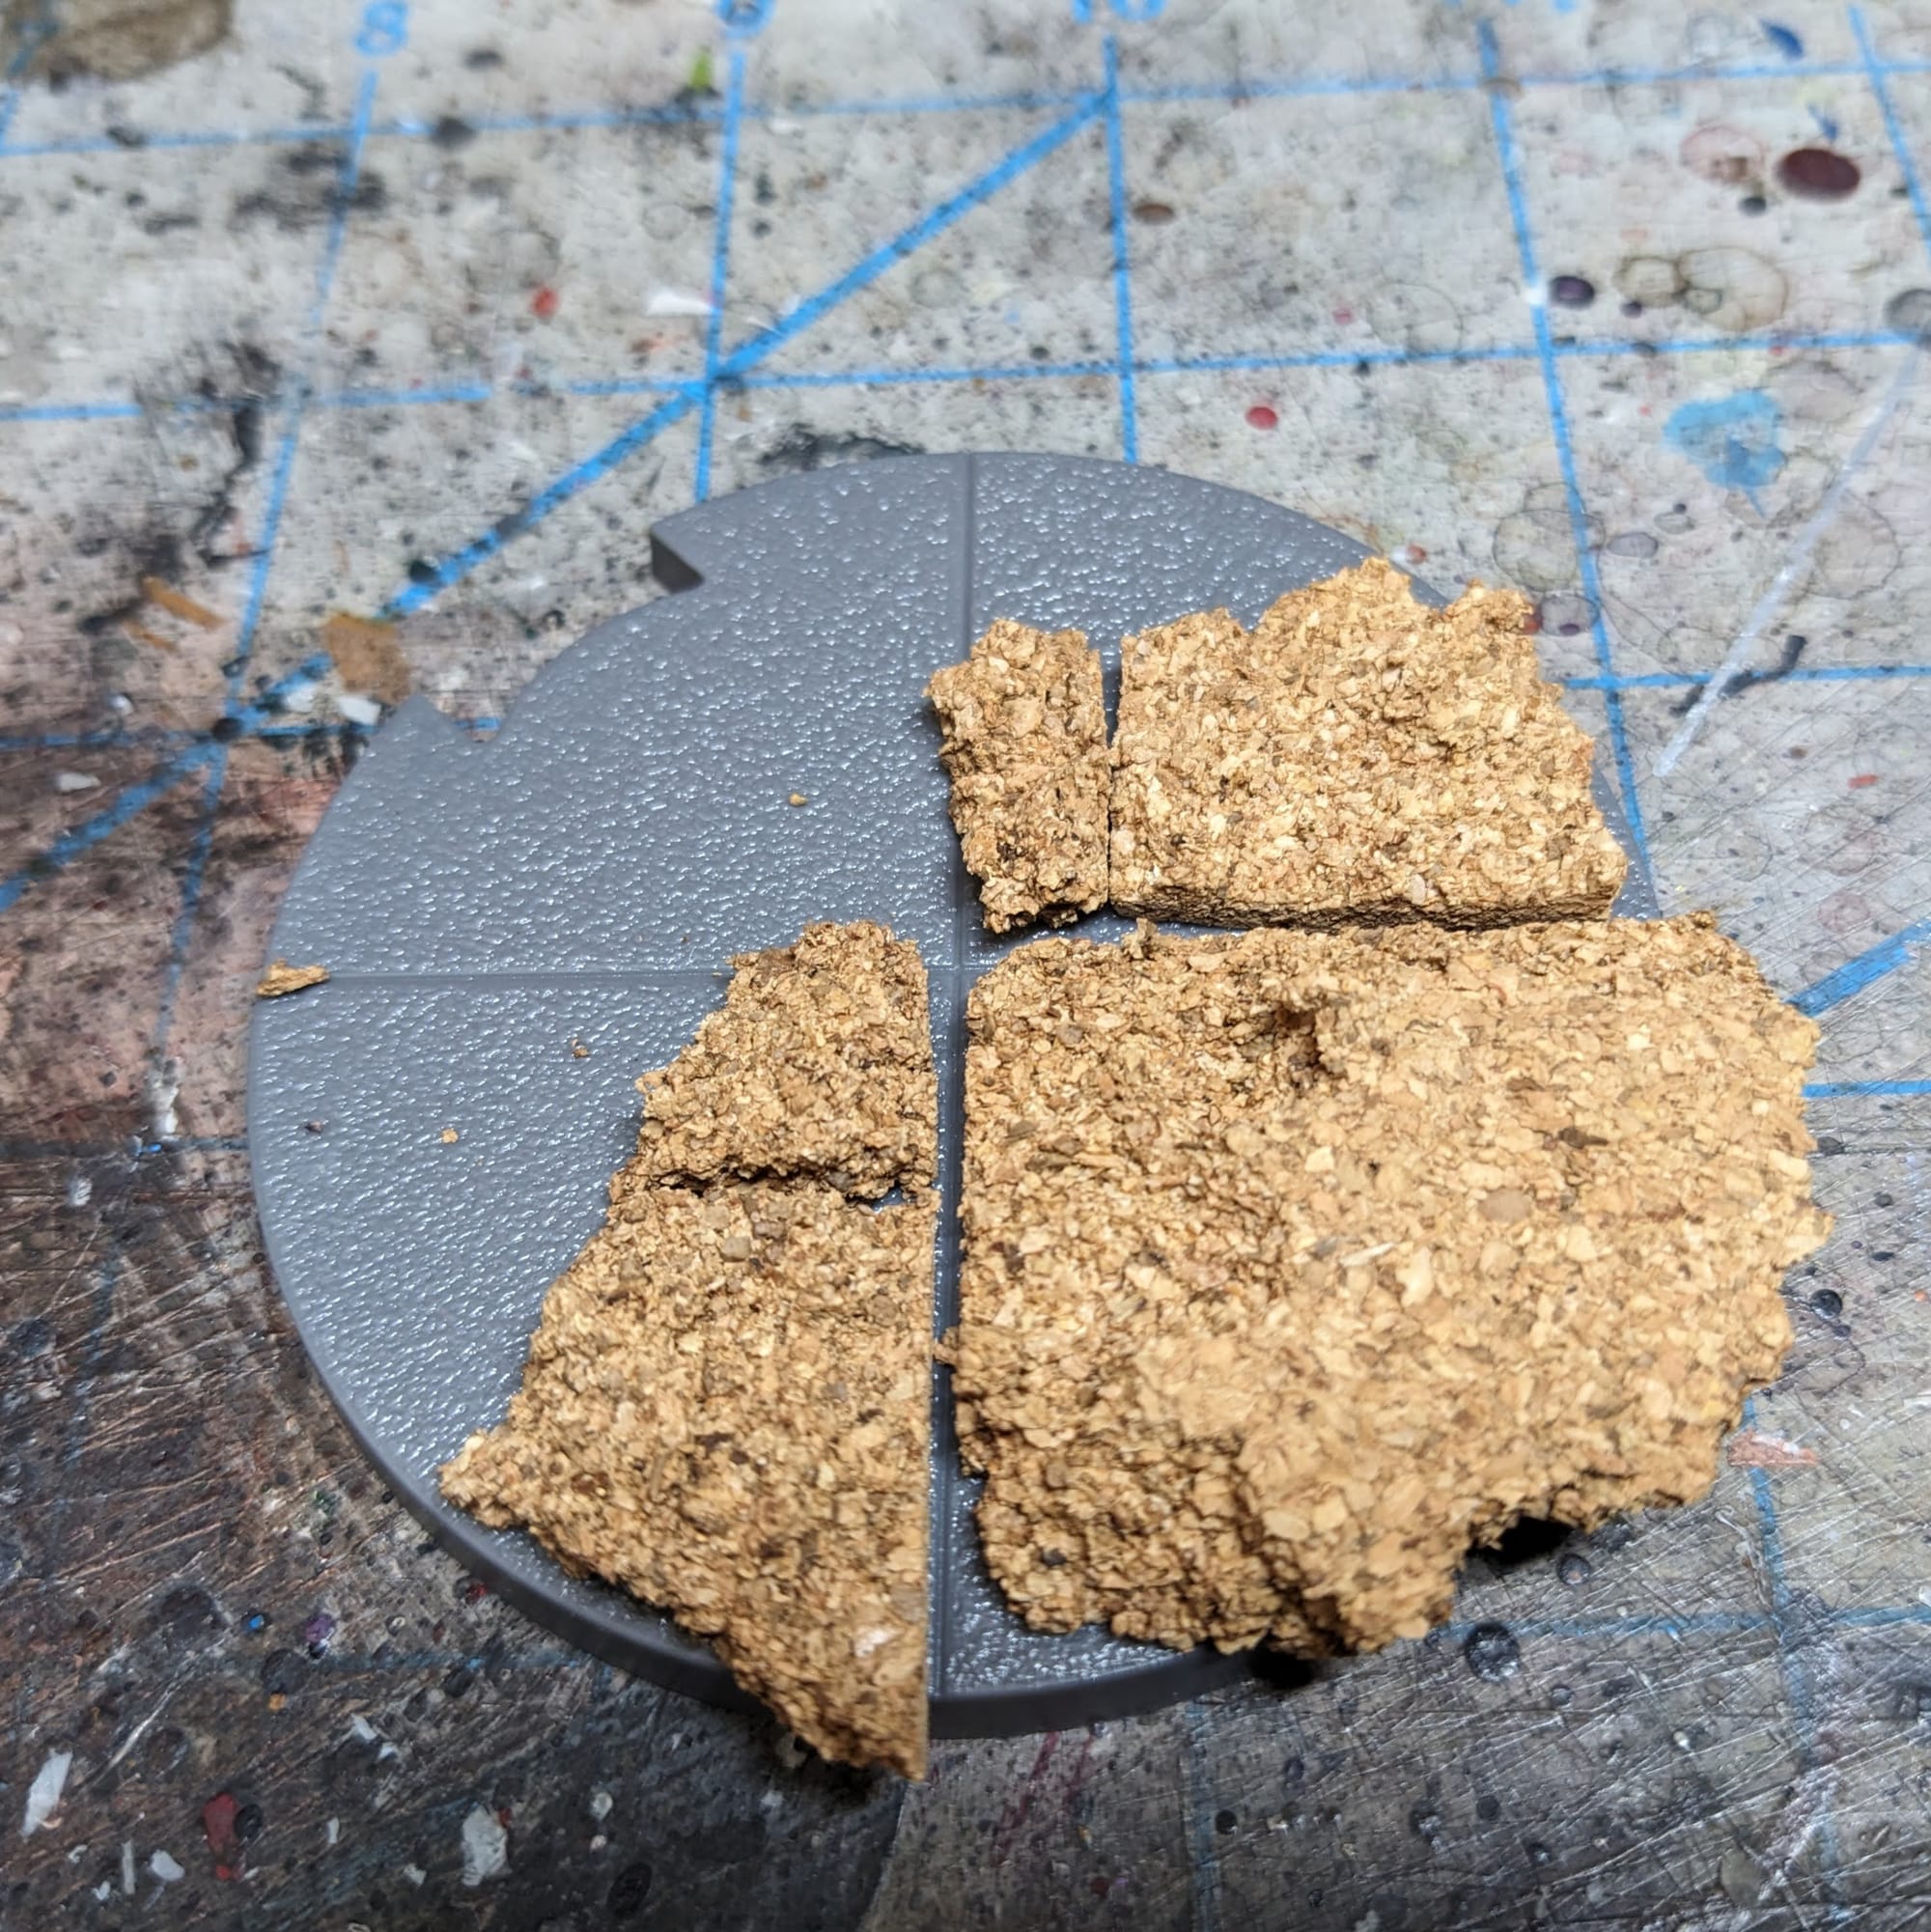
Once I tore off the pieces of cork board and aligned them on the base, I glued them down with super glue. While that was drying, I clipped the back legs to give them the impression of being submerged, making sure that they were only a foot or so below the water since the beach is supposed to have a relatively shallow incline to it.
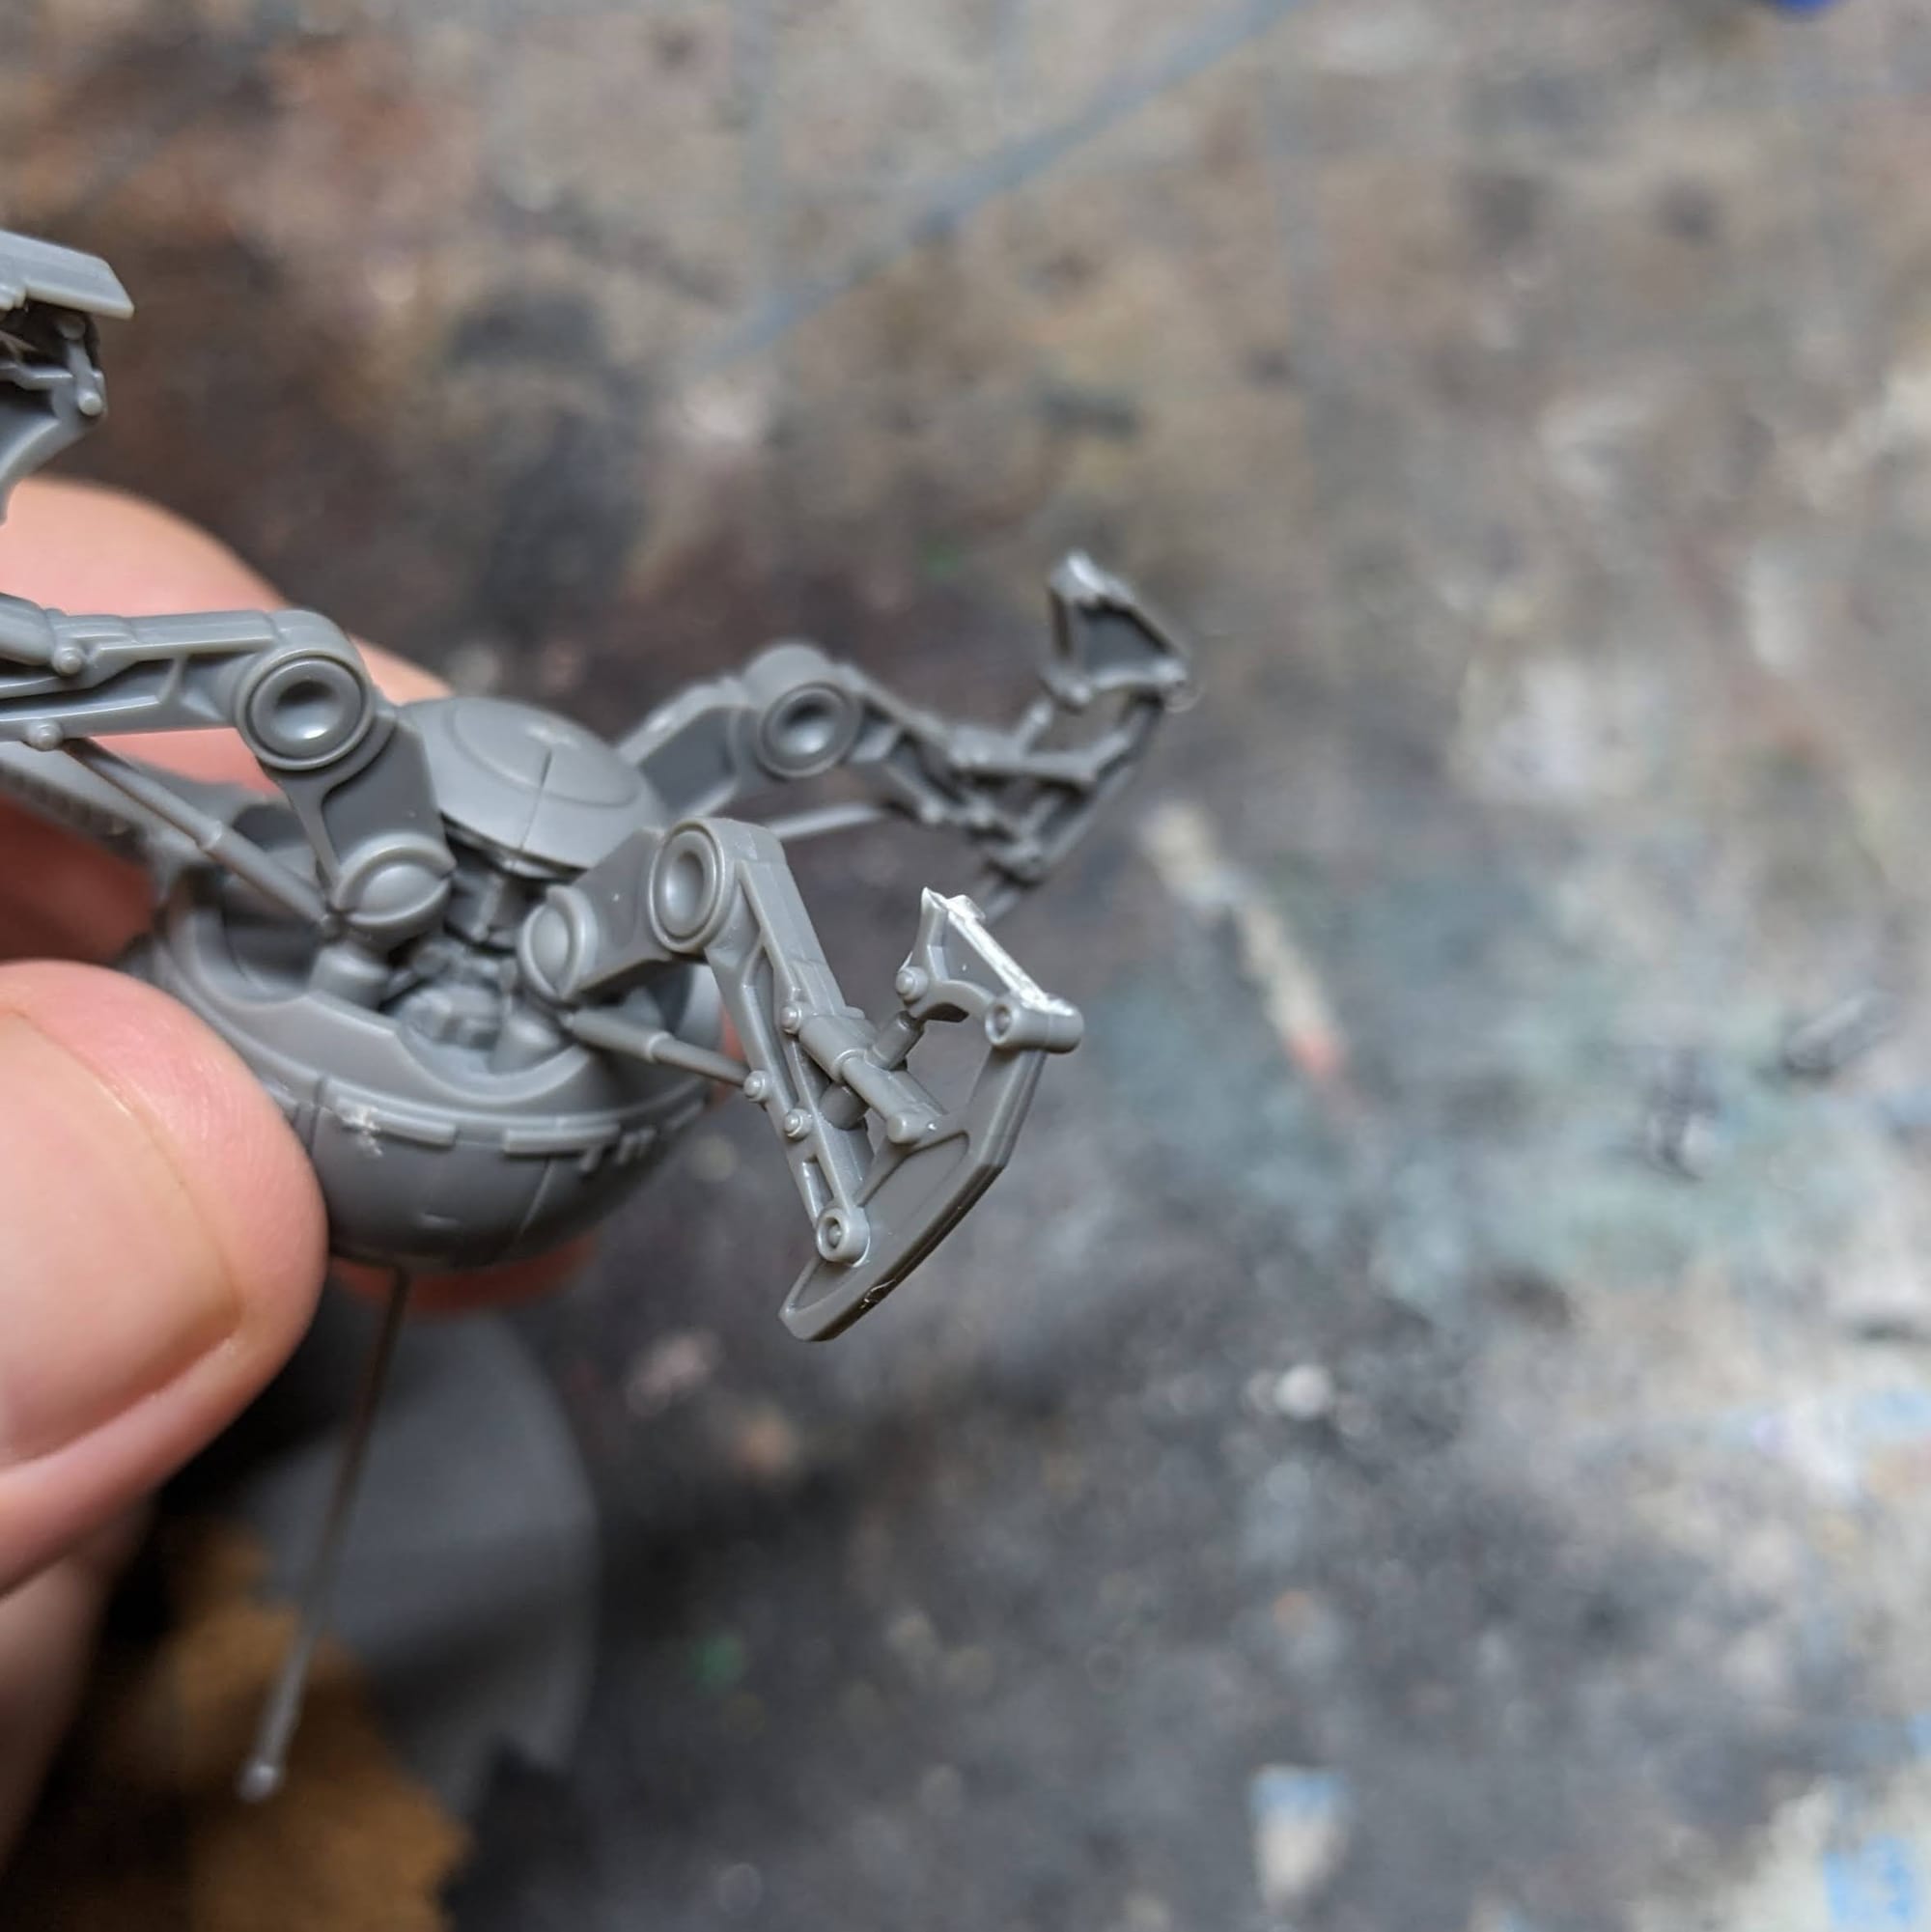
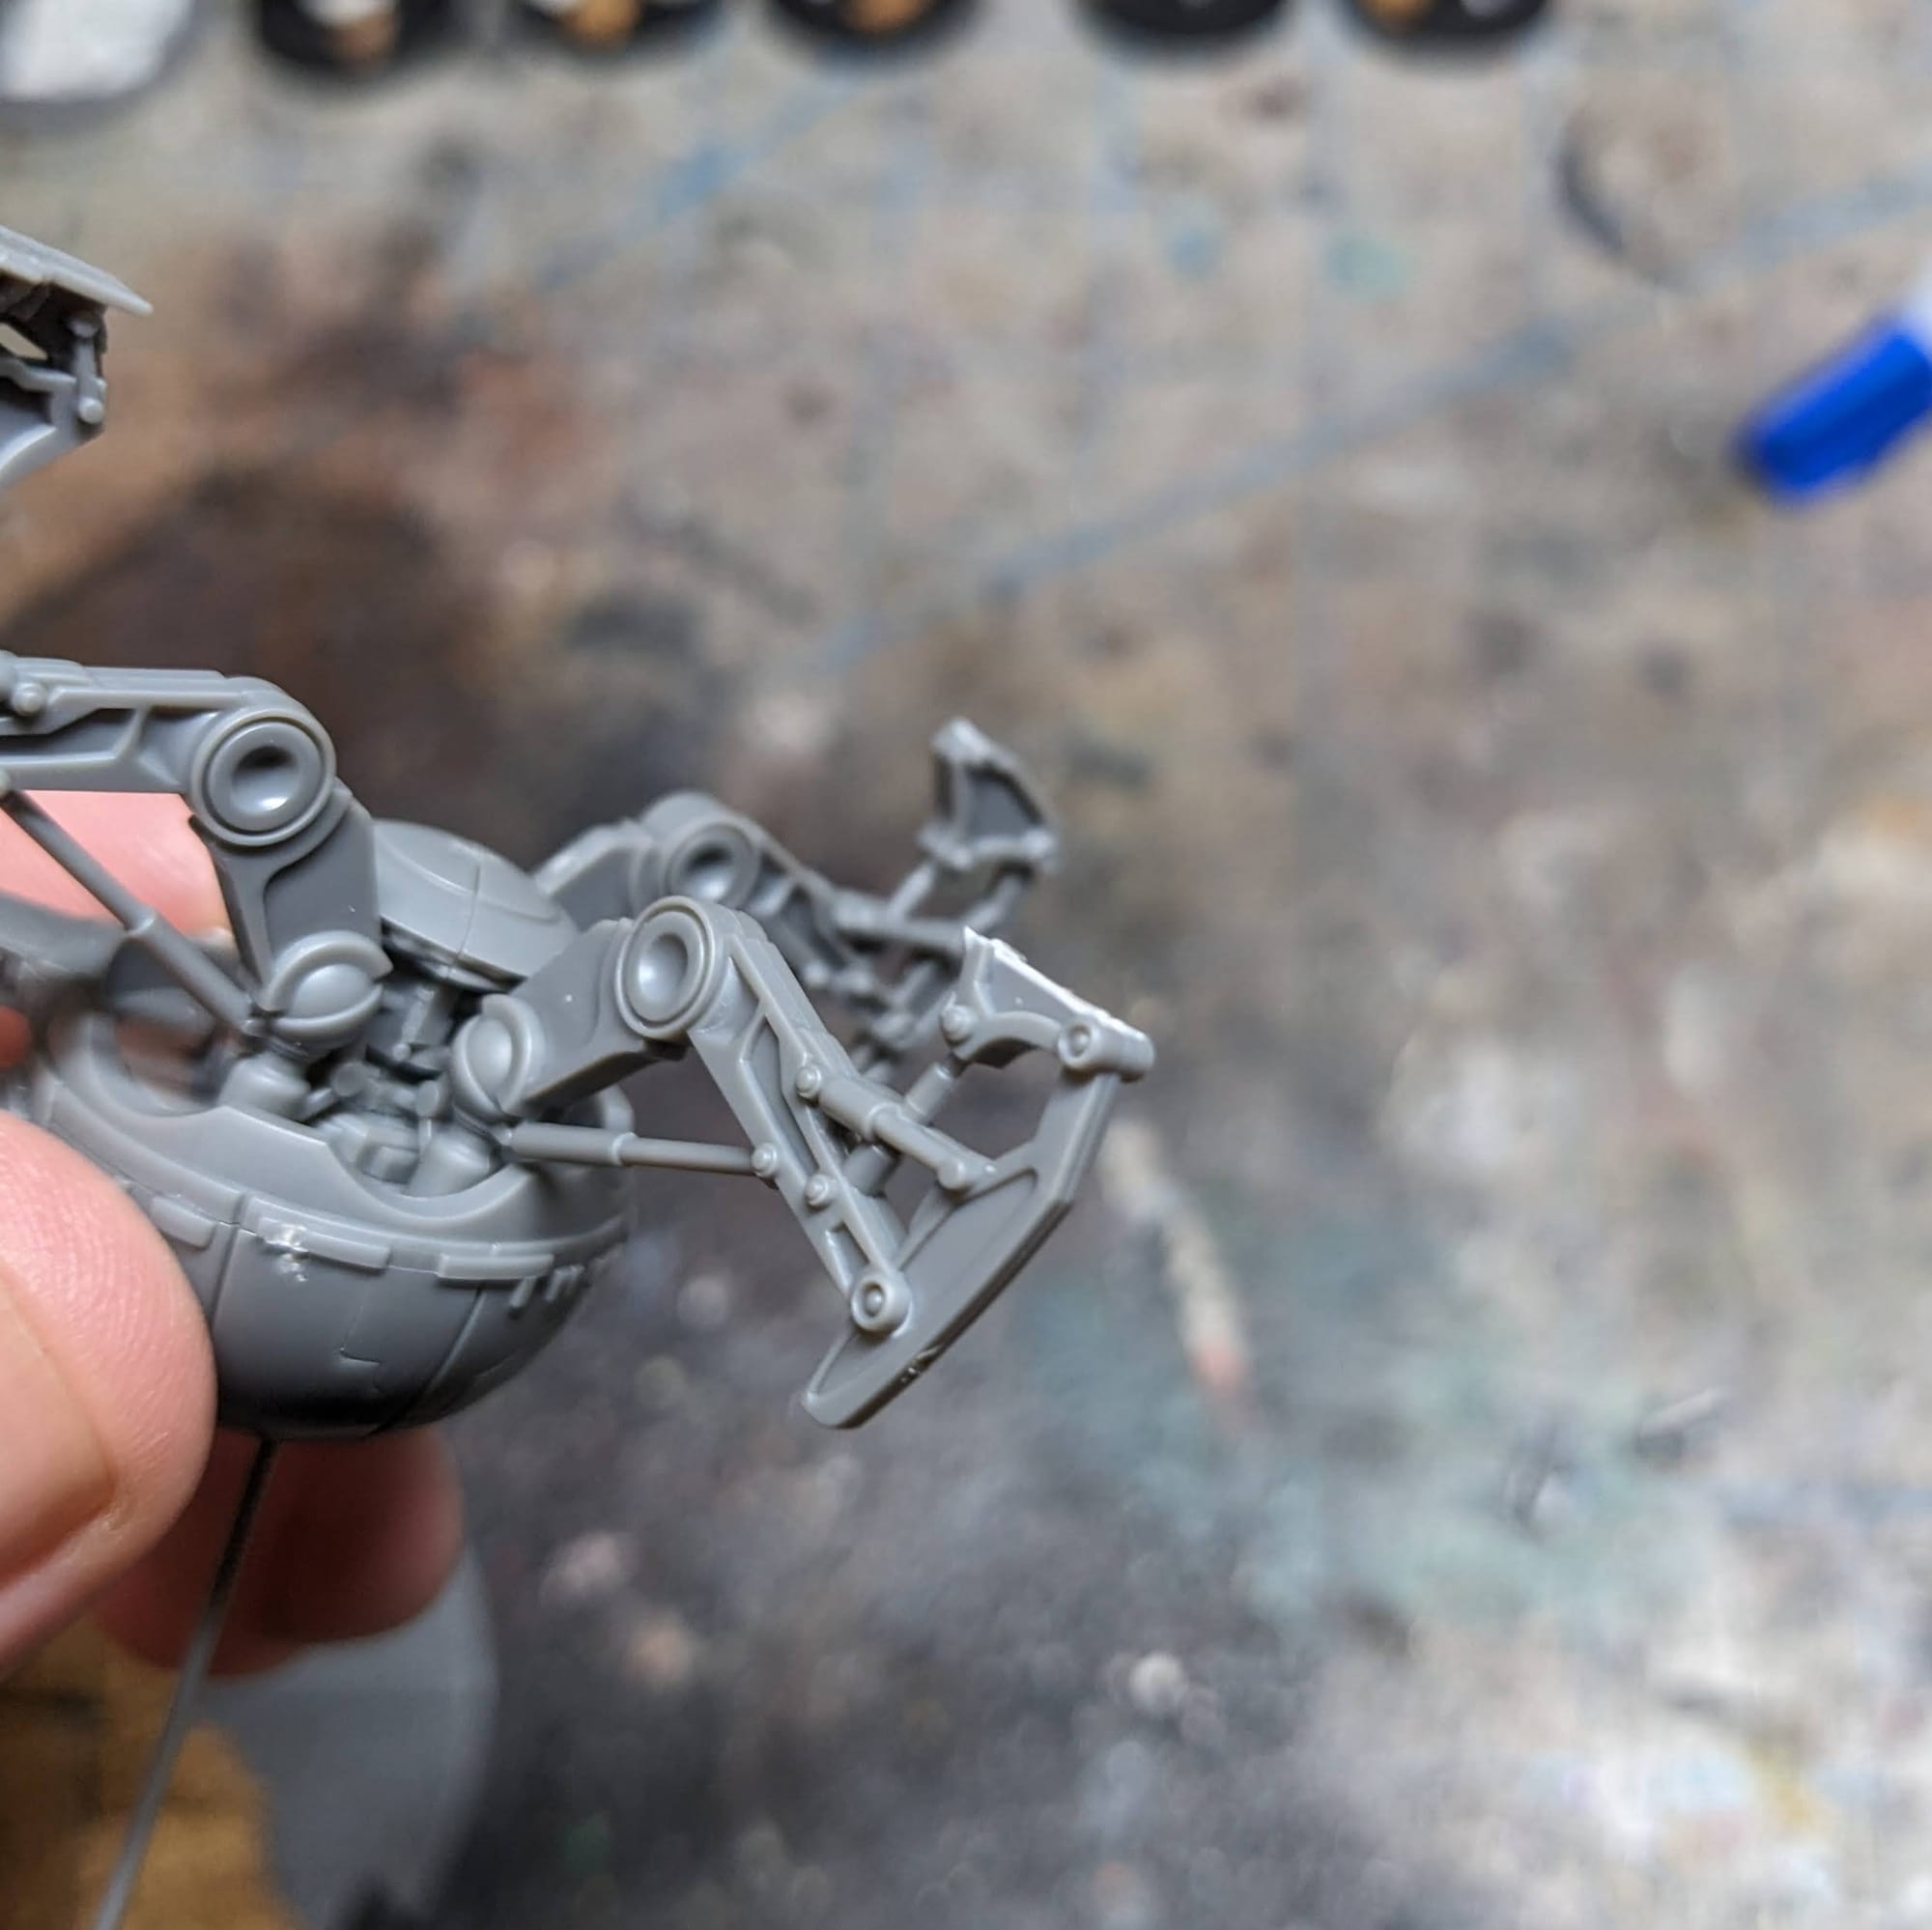
After the beach pieces dried, I started picking away at the cork, whittling it down to an even incline from the plastic base up to the topmost front point. The plastic base will act as the surface of the water.
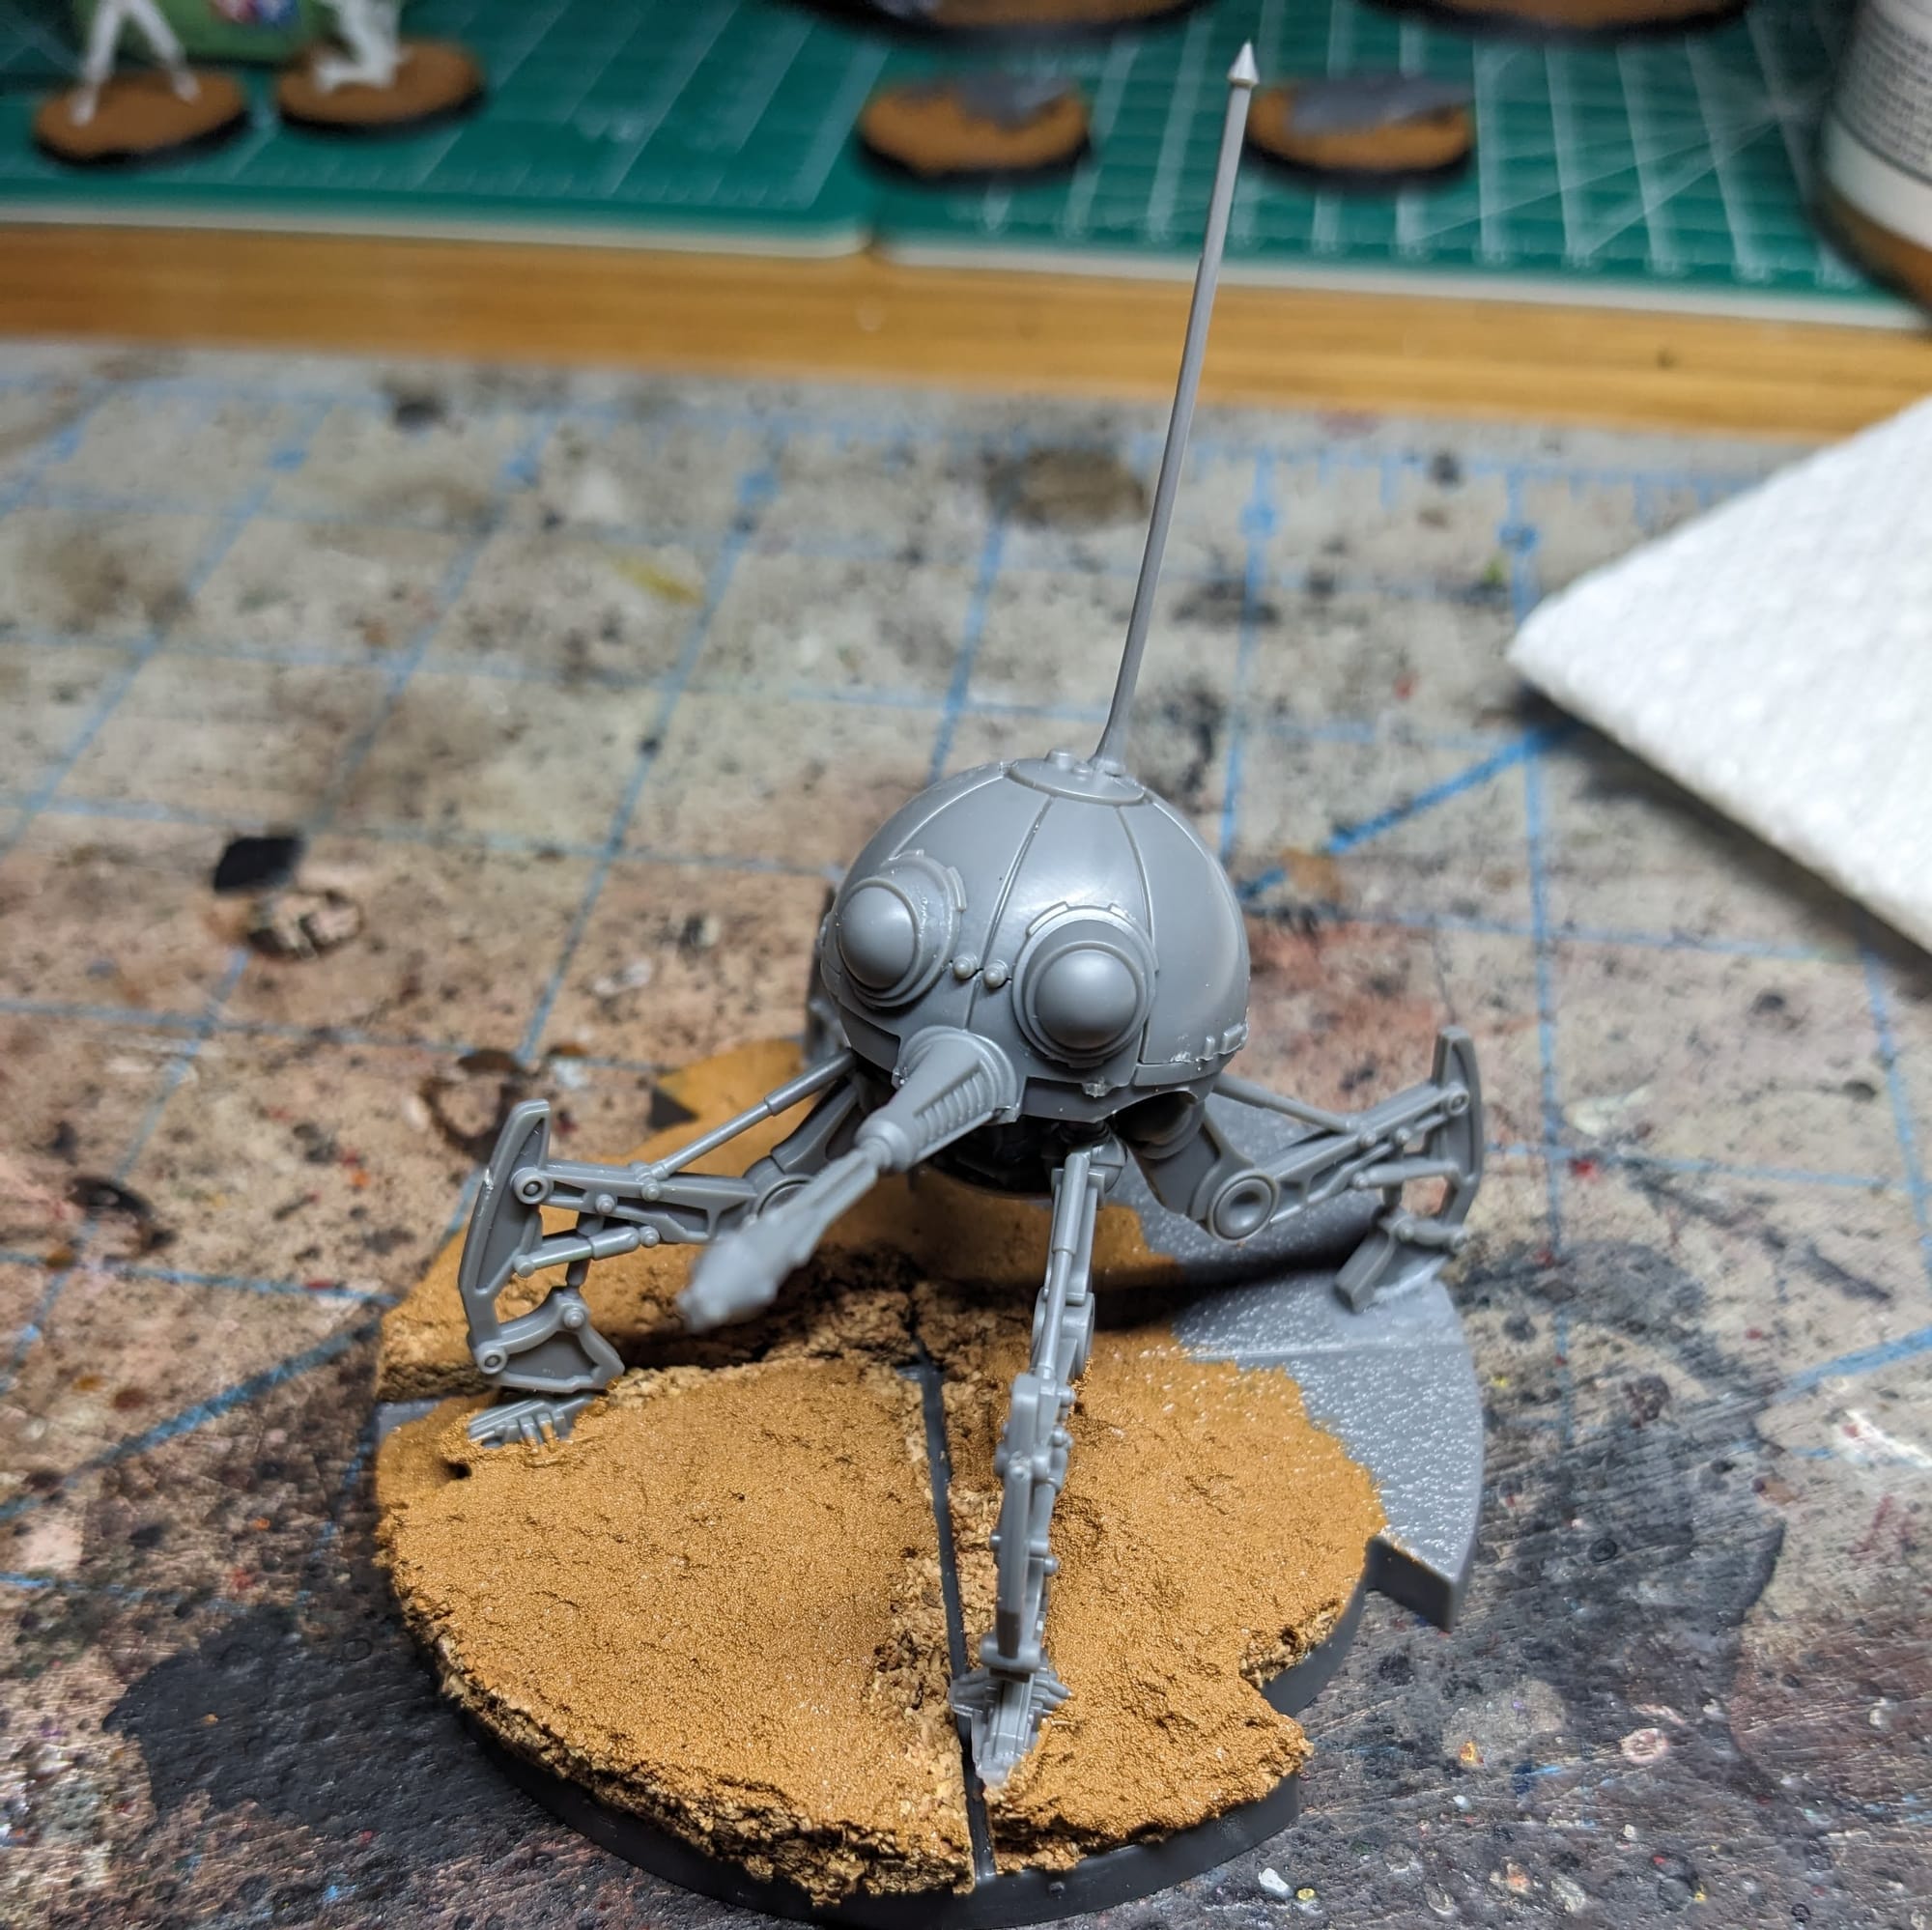
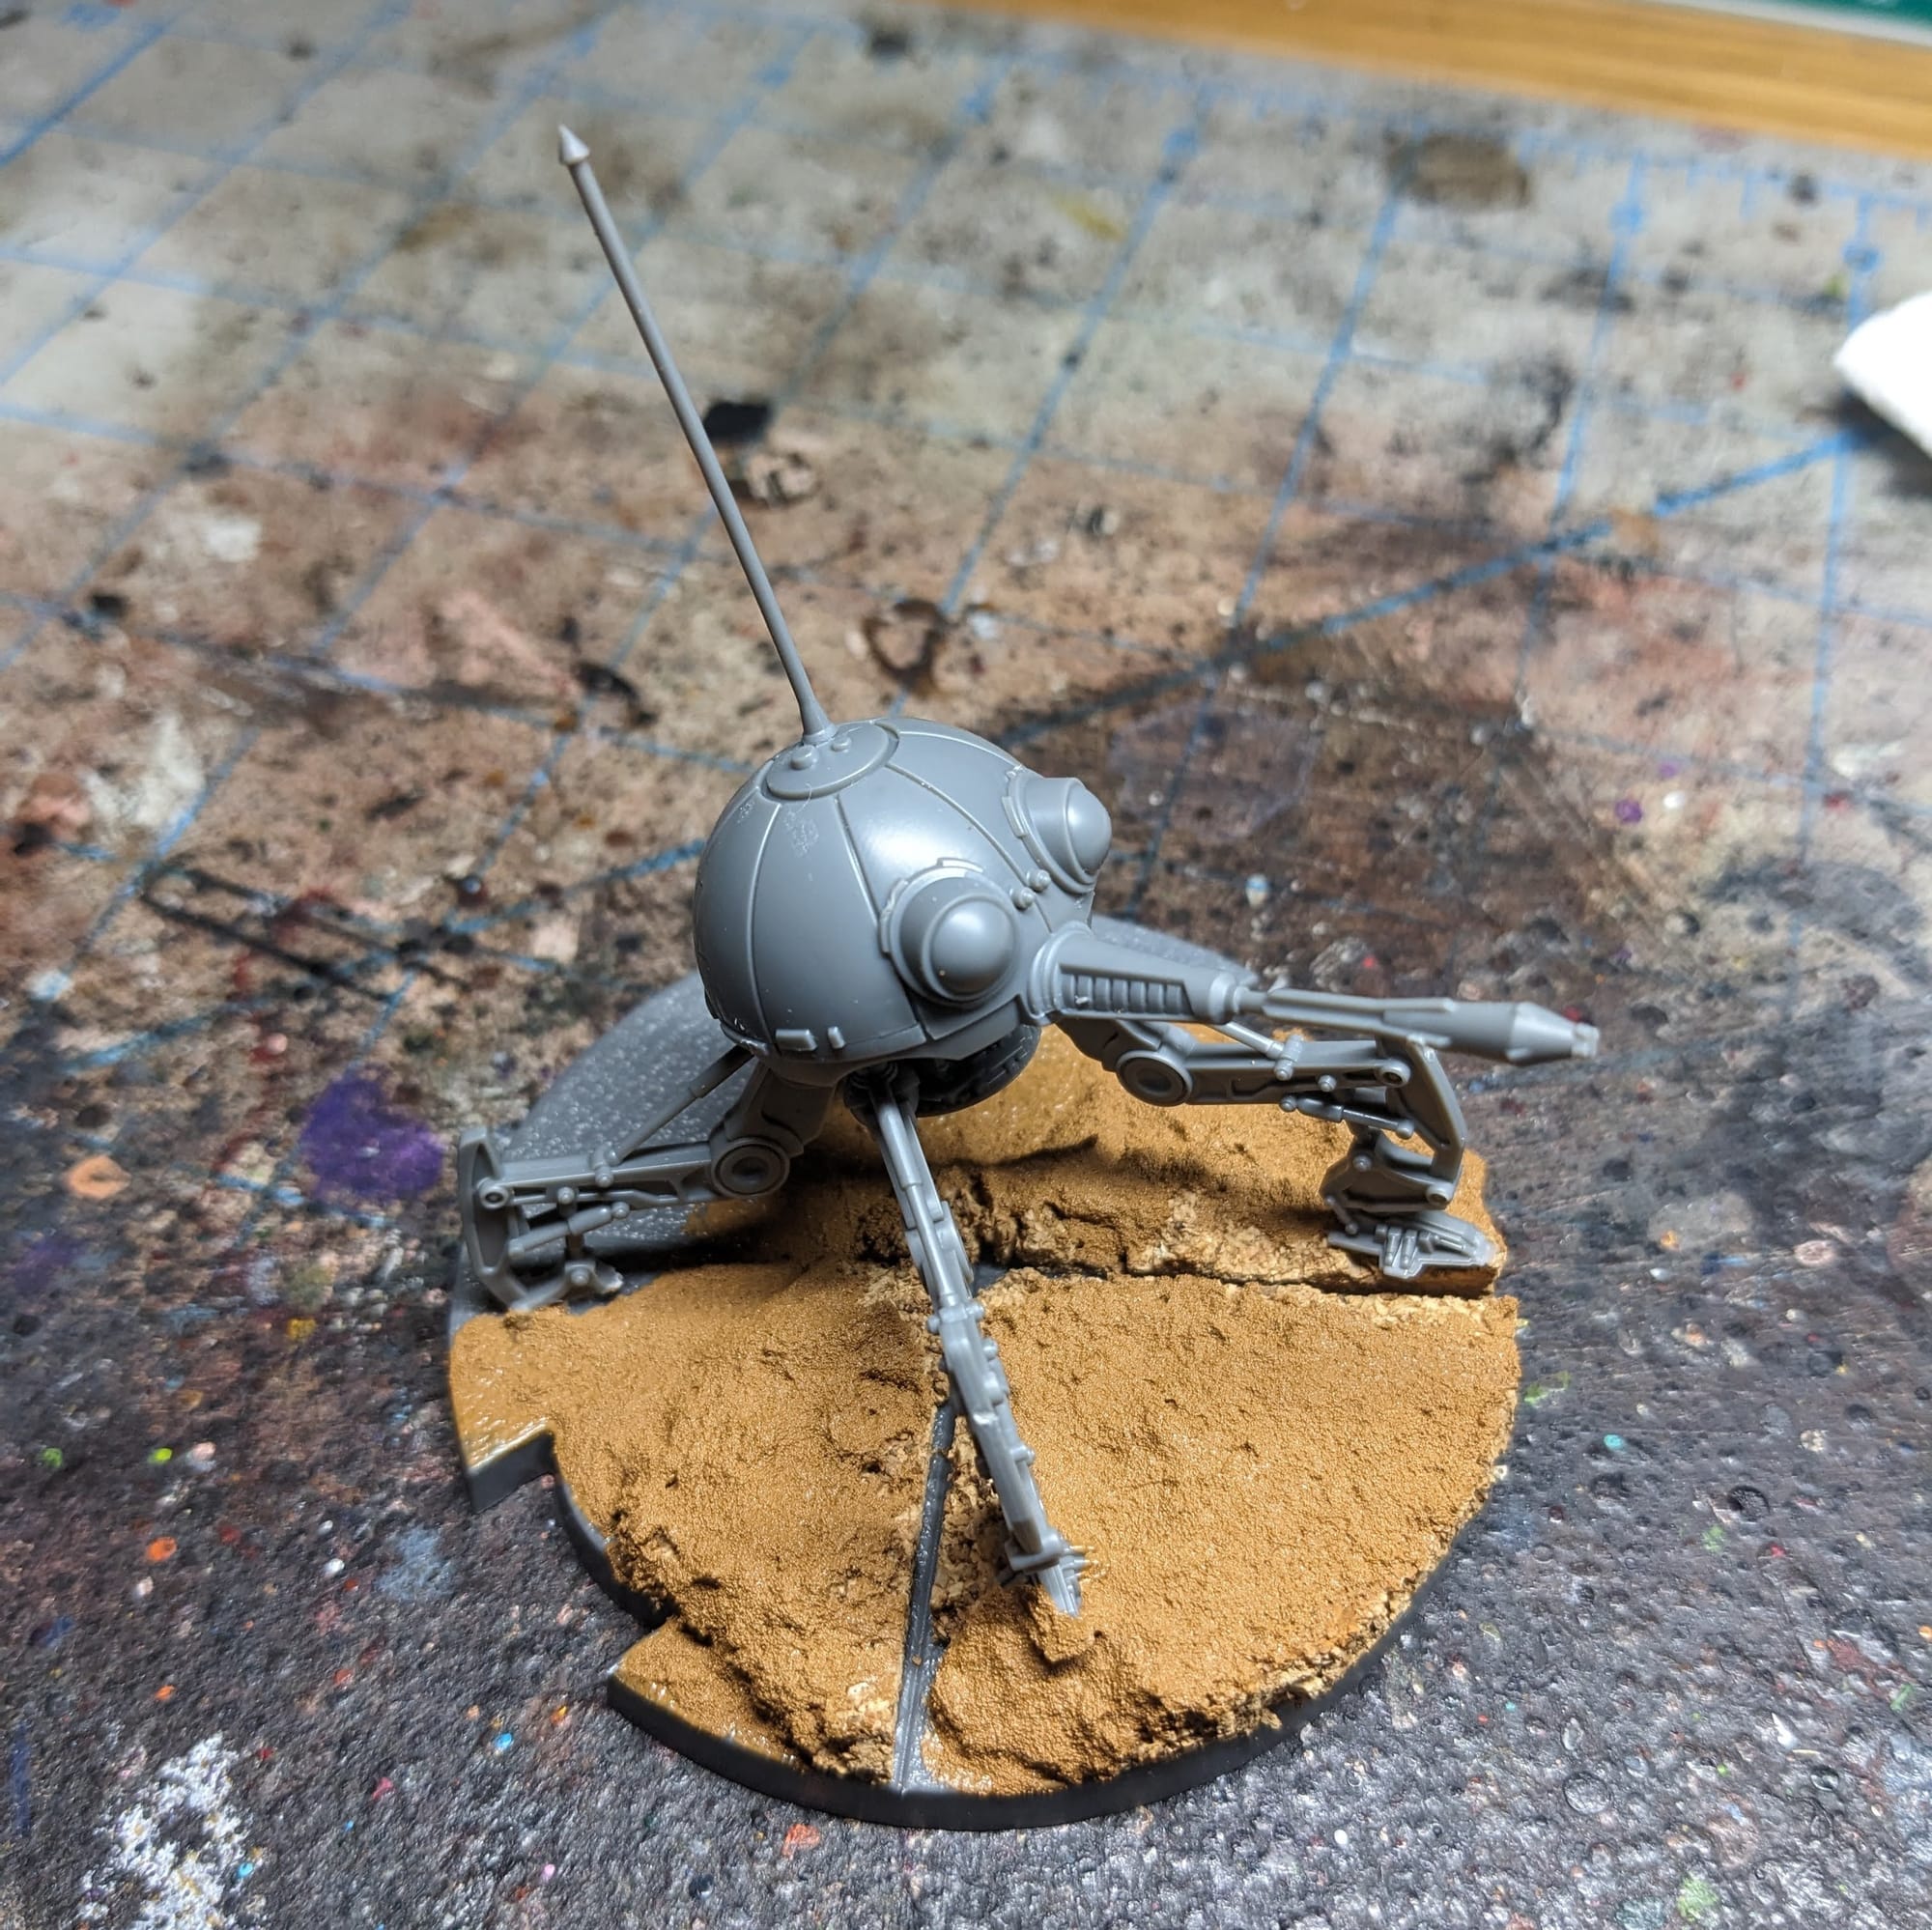
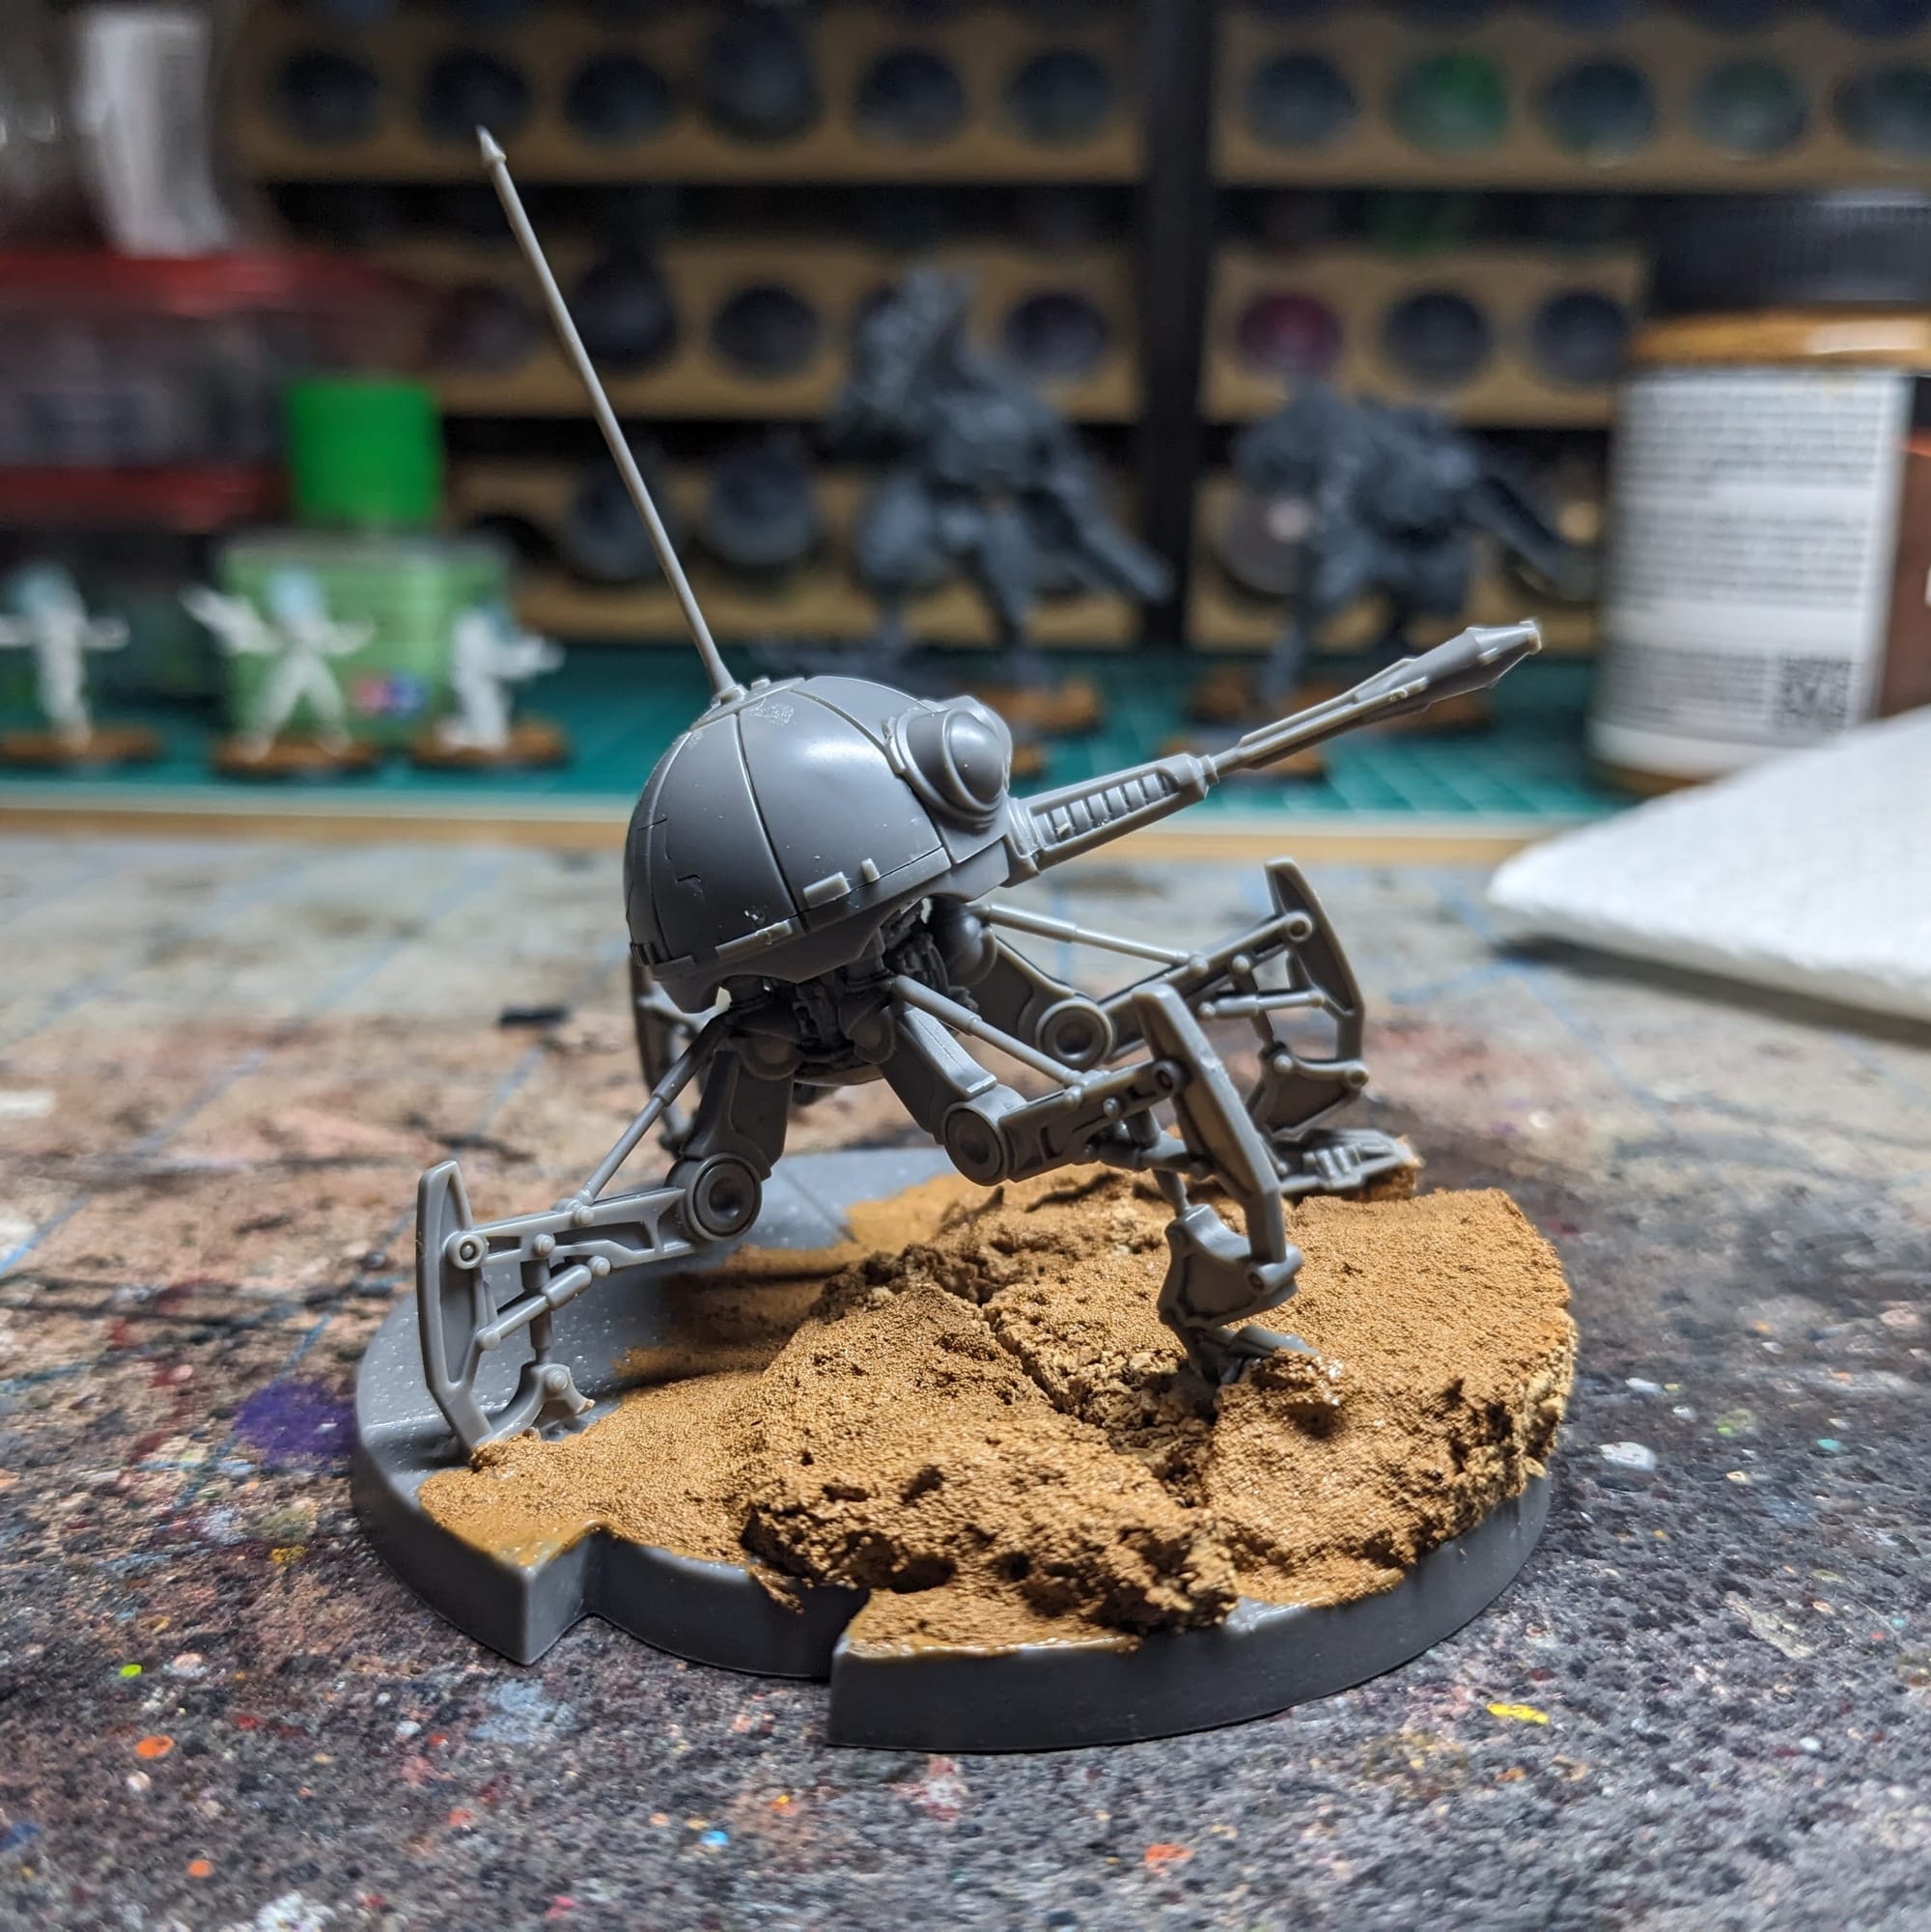
Satisfied with the beach, I glued the droid down and covered the cork with Vallejo Brown Earth to give the basing a more sand-looking texture. Any Texture paint will work here, whether it’s Vallejo or AK or Citadel, this is just what I had on hand.
Priming
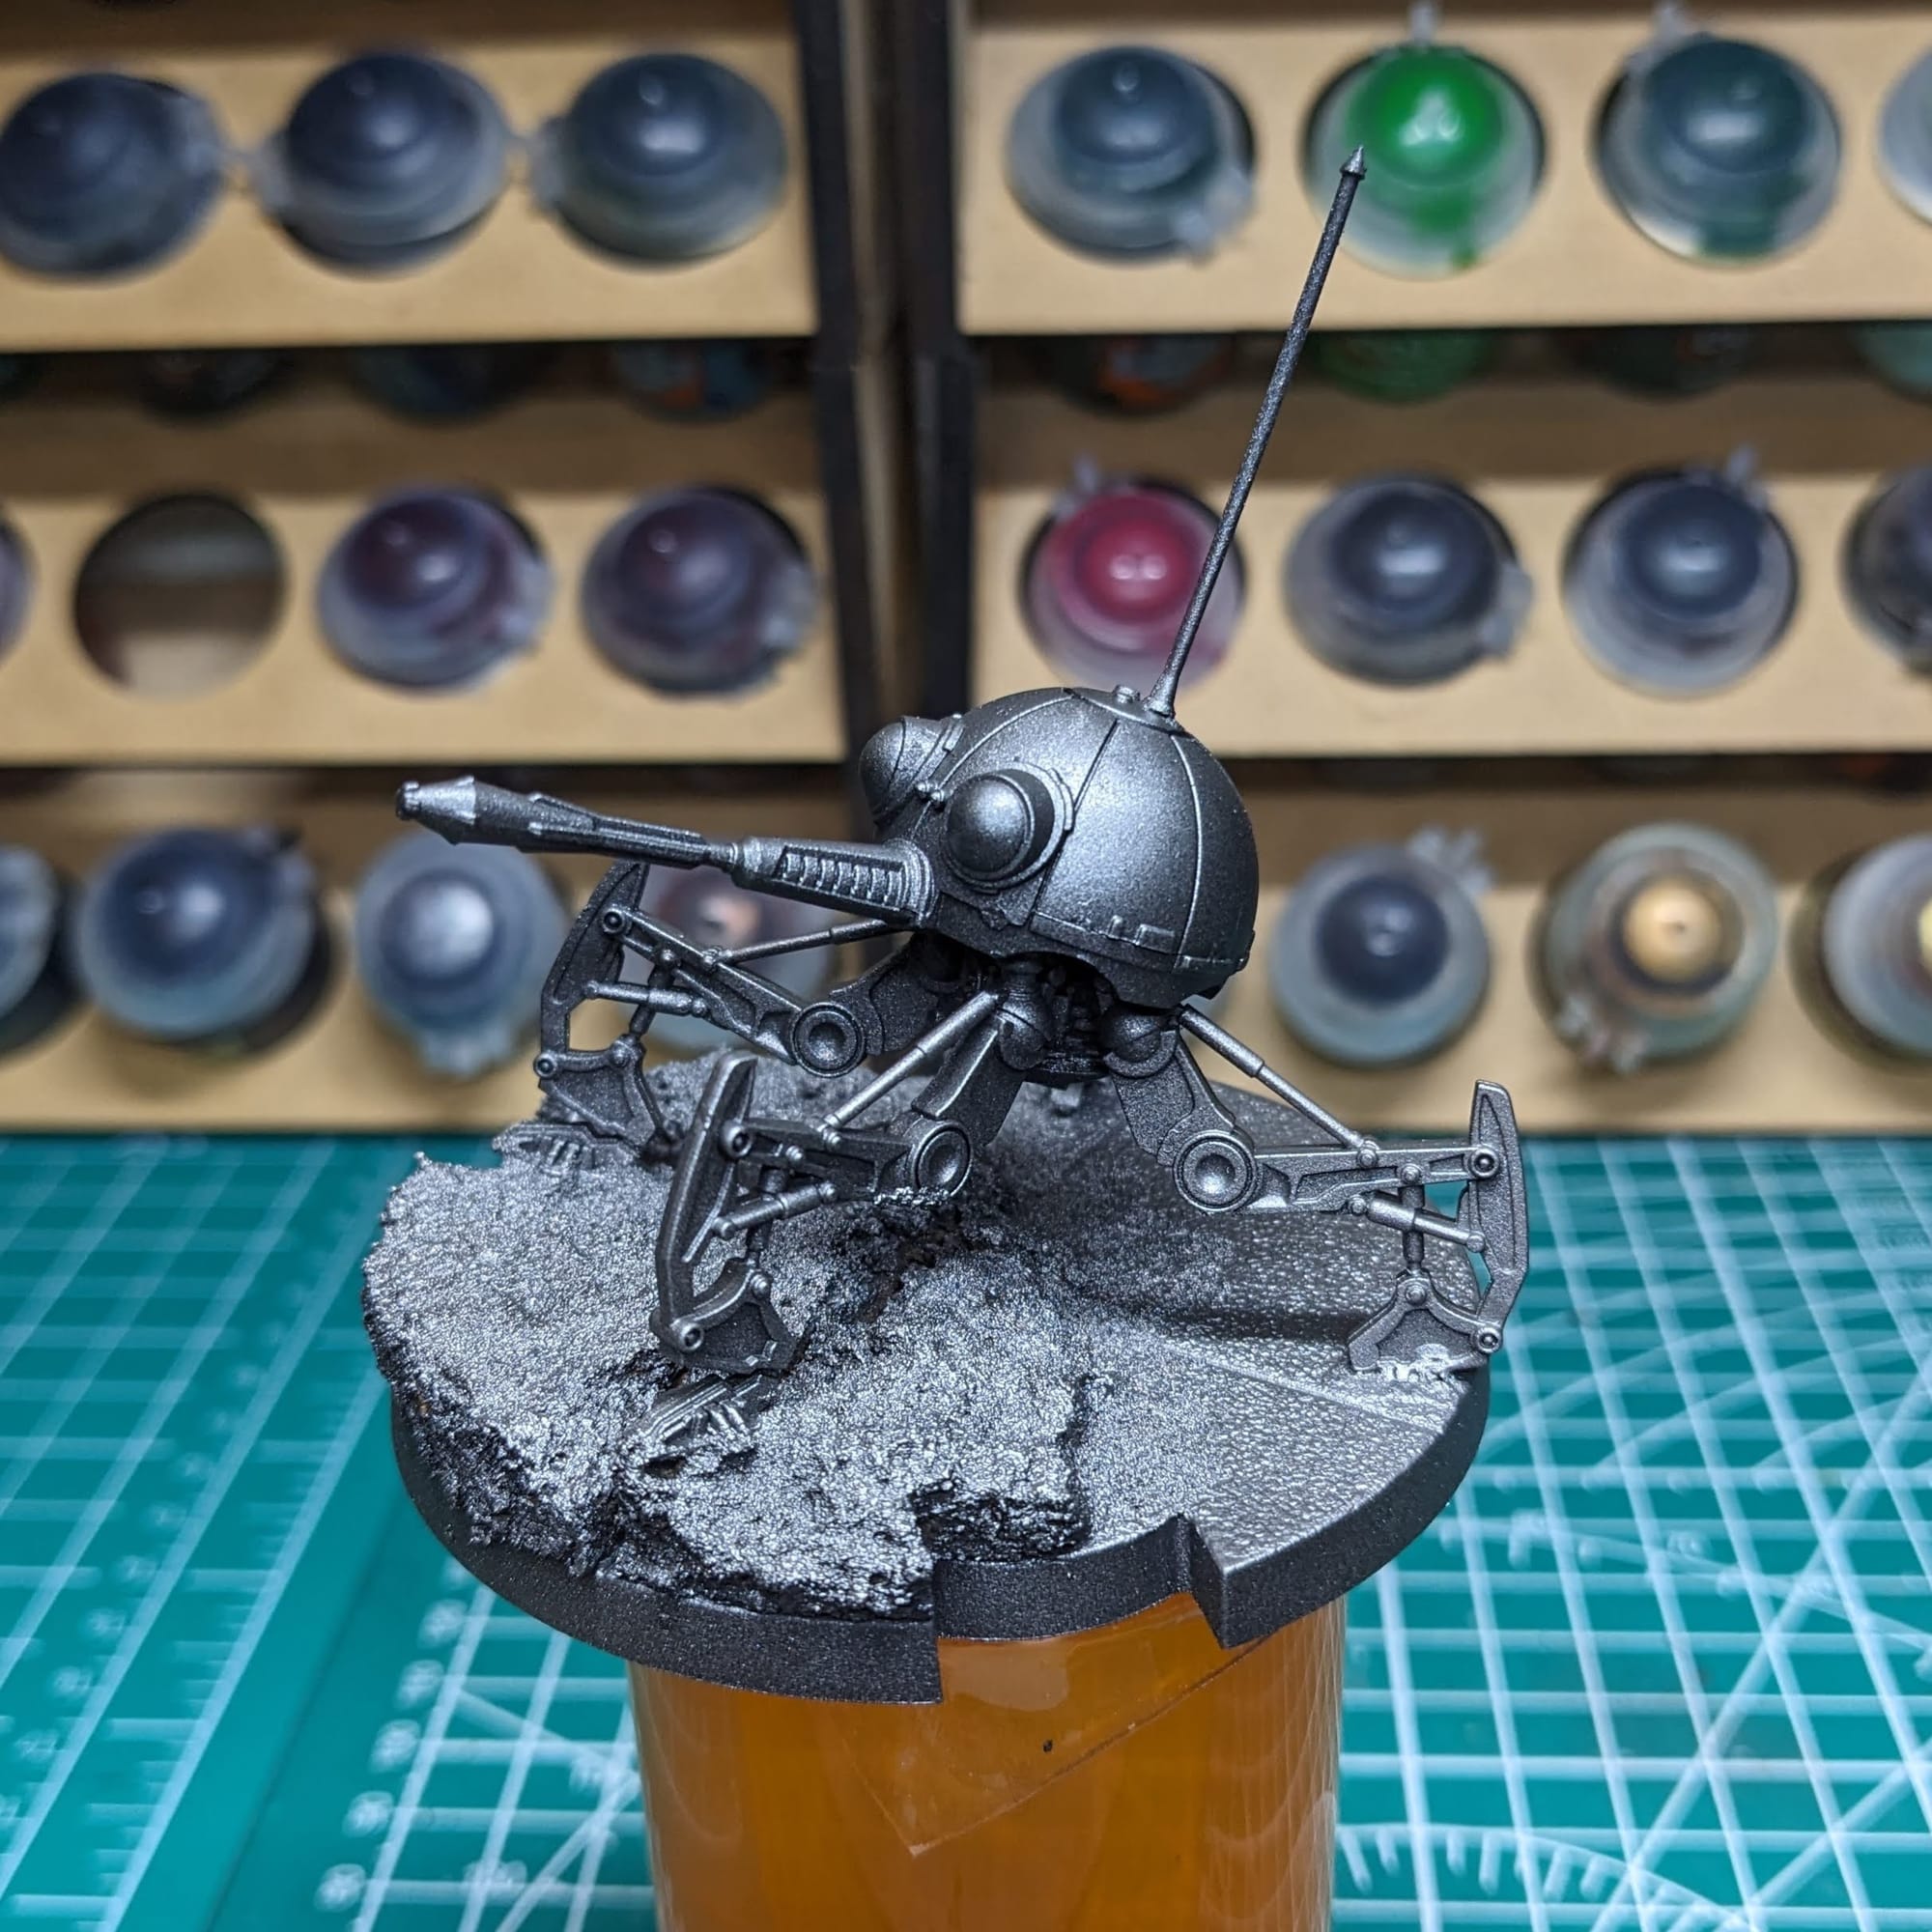
In general terms, getting the majority of a color for a model applied via a rattle can or airbrush saves a lot of time. Typically, I prime all of the figures with a zenithal prime. In this case, I used Rust-Oleum Flat Black Primer and Army Painter Gun Metal. Even though this will cover both the beach and water, these are going to be getting painted up in the proper colors later.
Step-by-Step Painting the DSD1 Dwarf Spider Droid
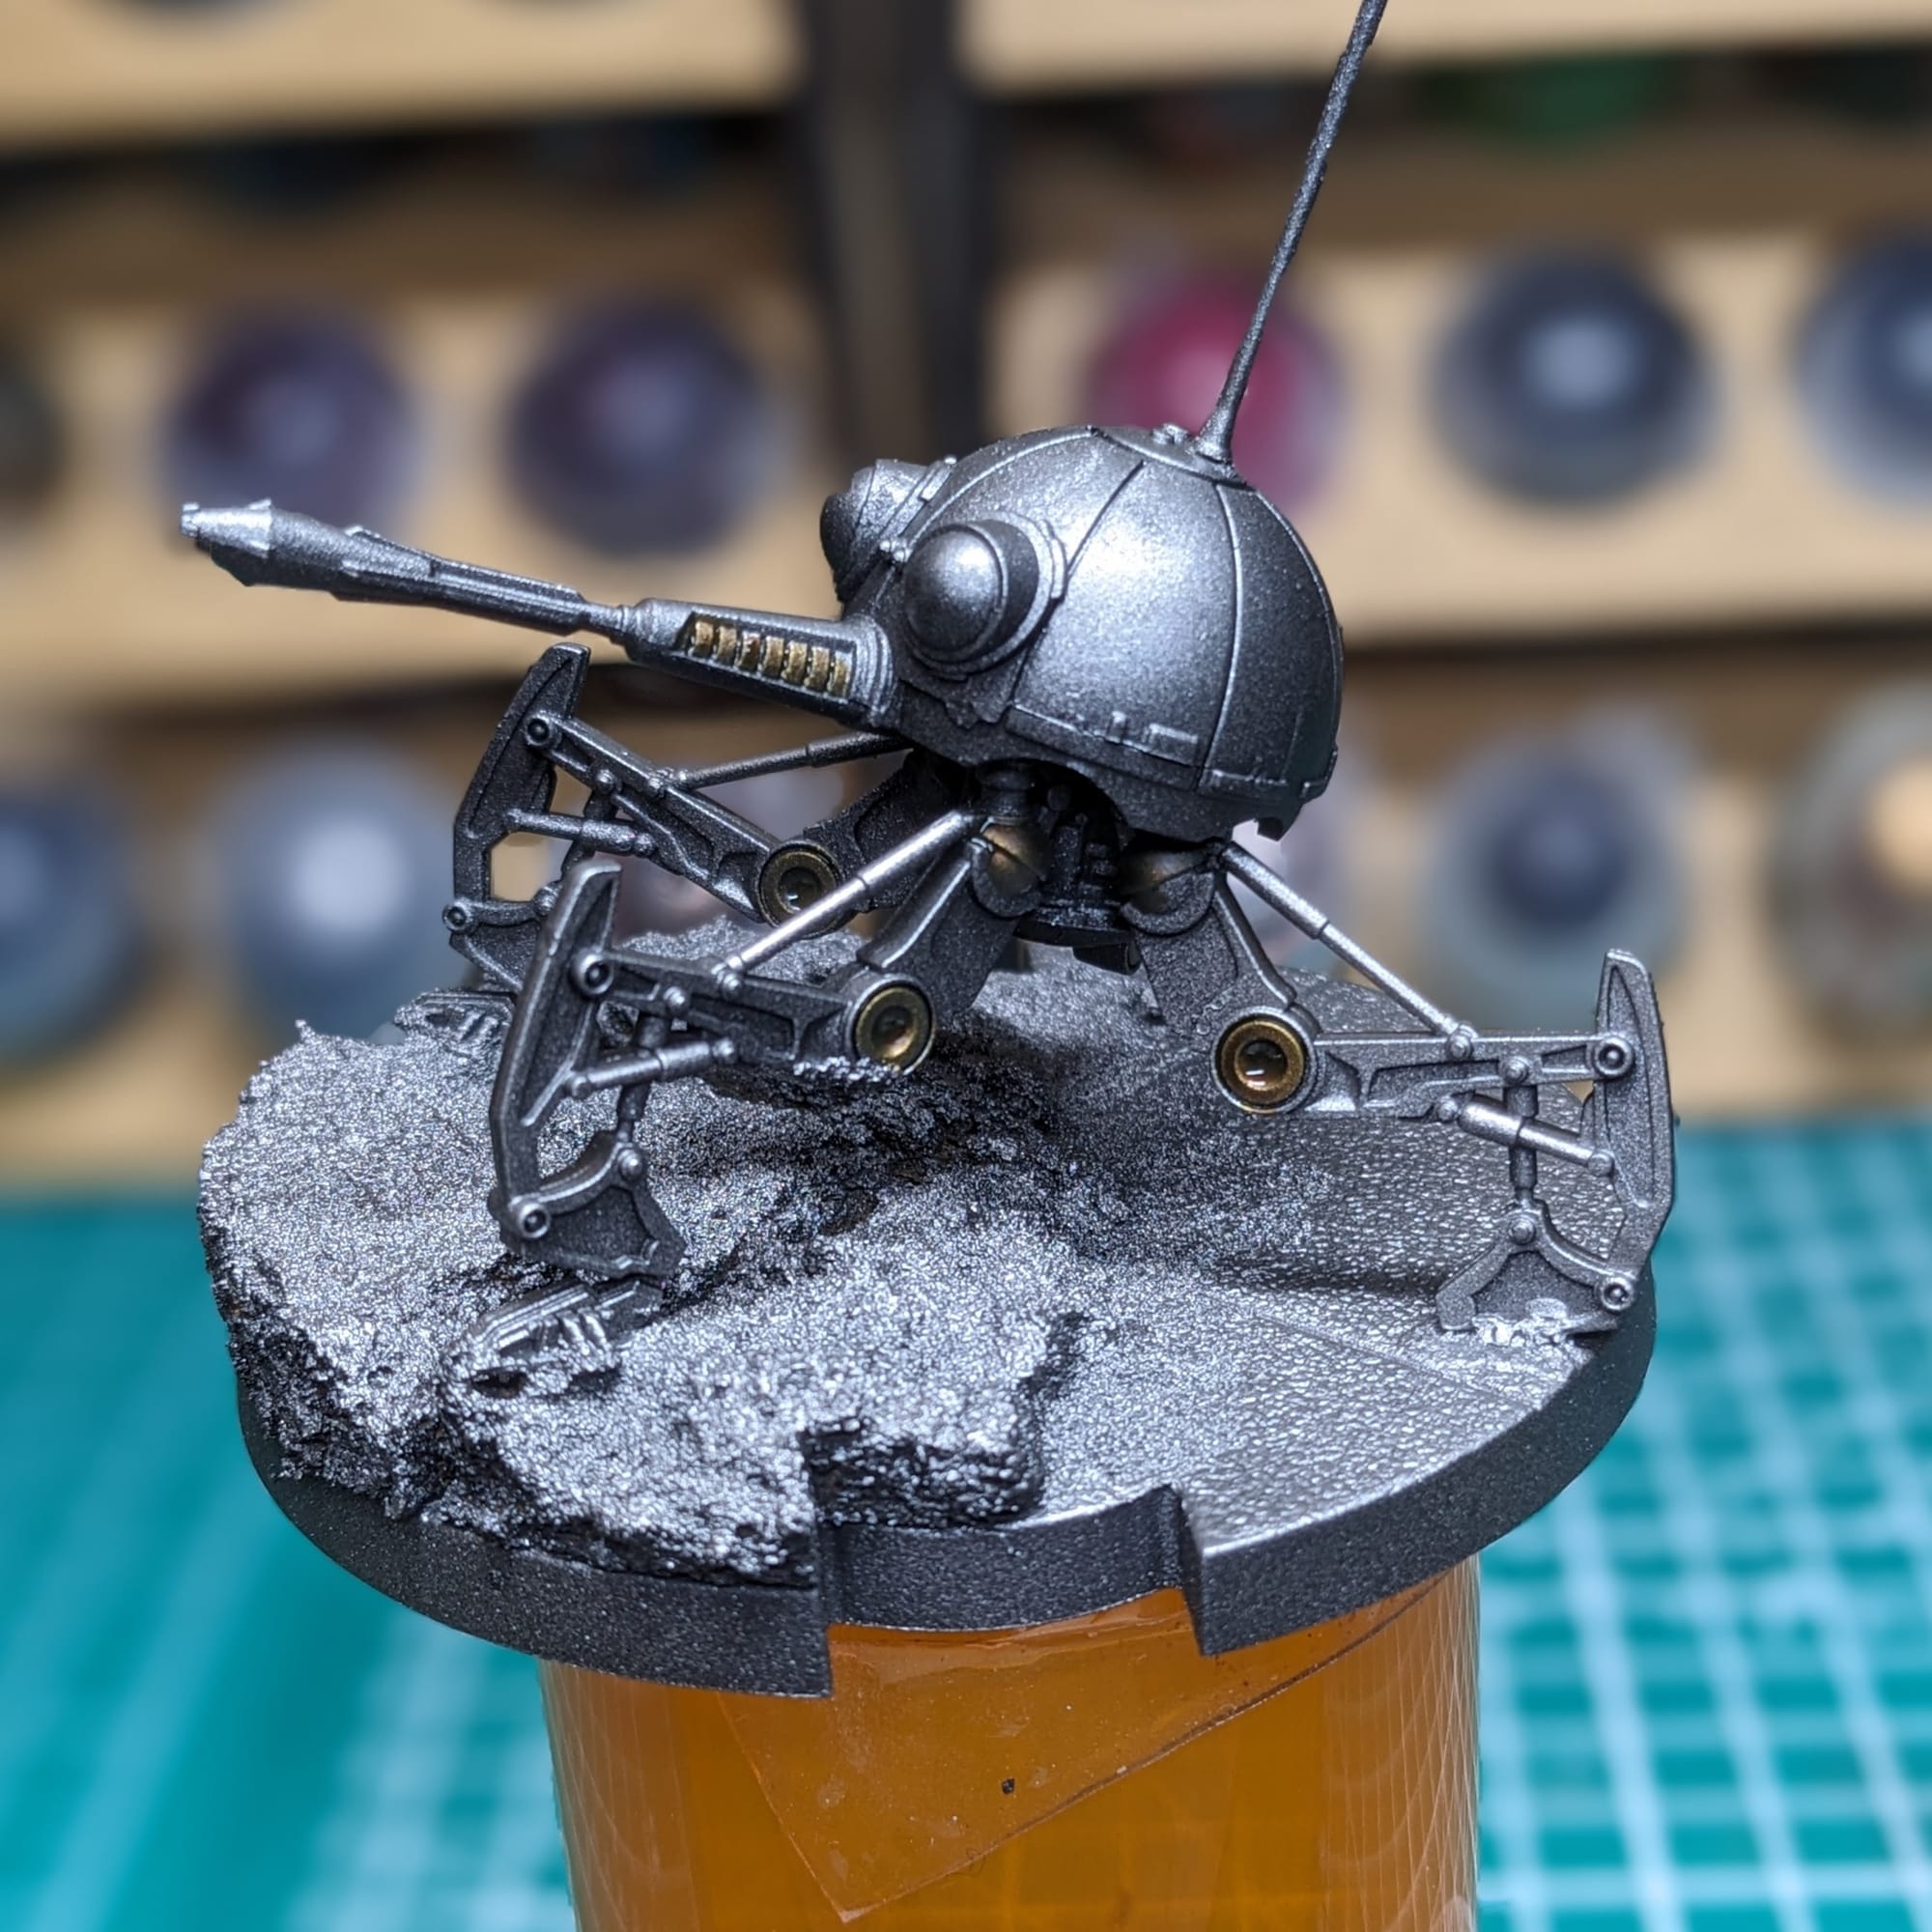
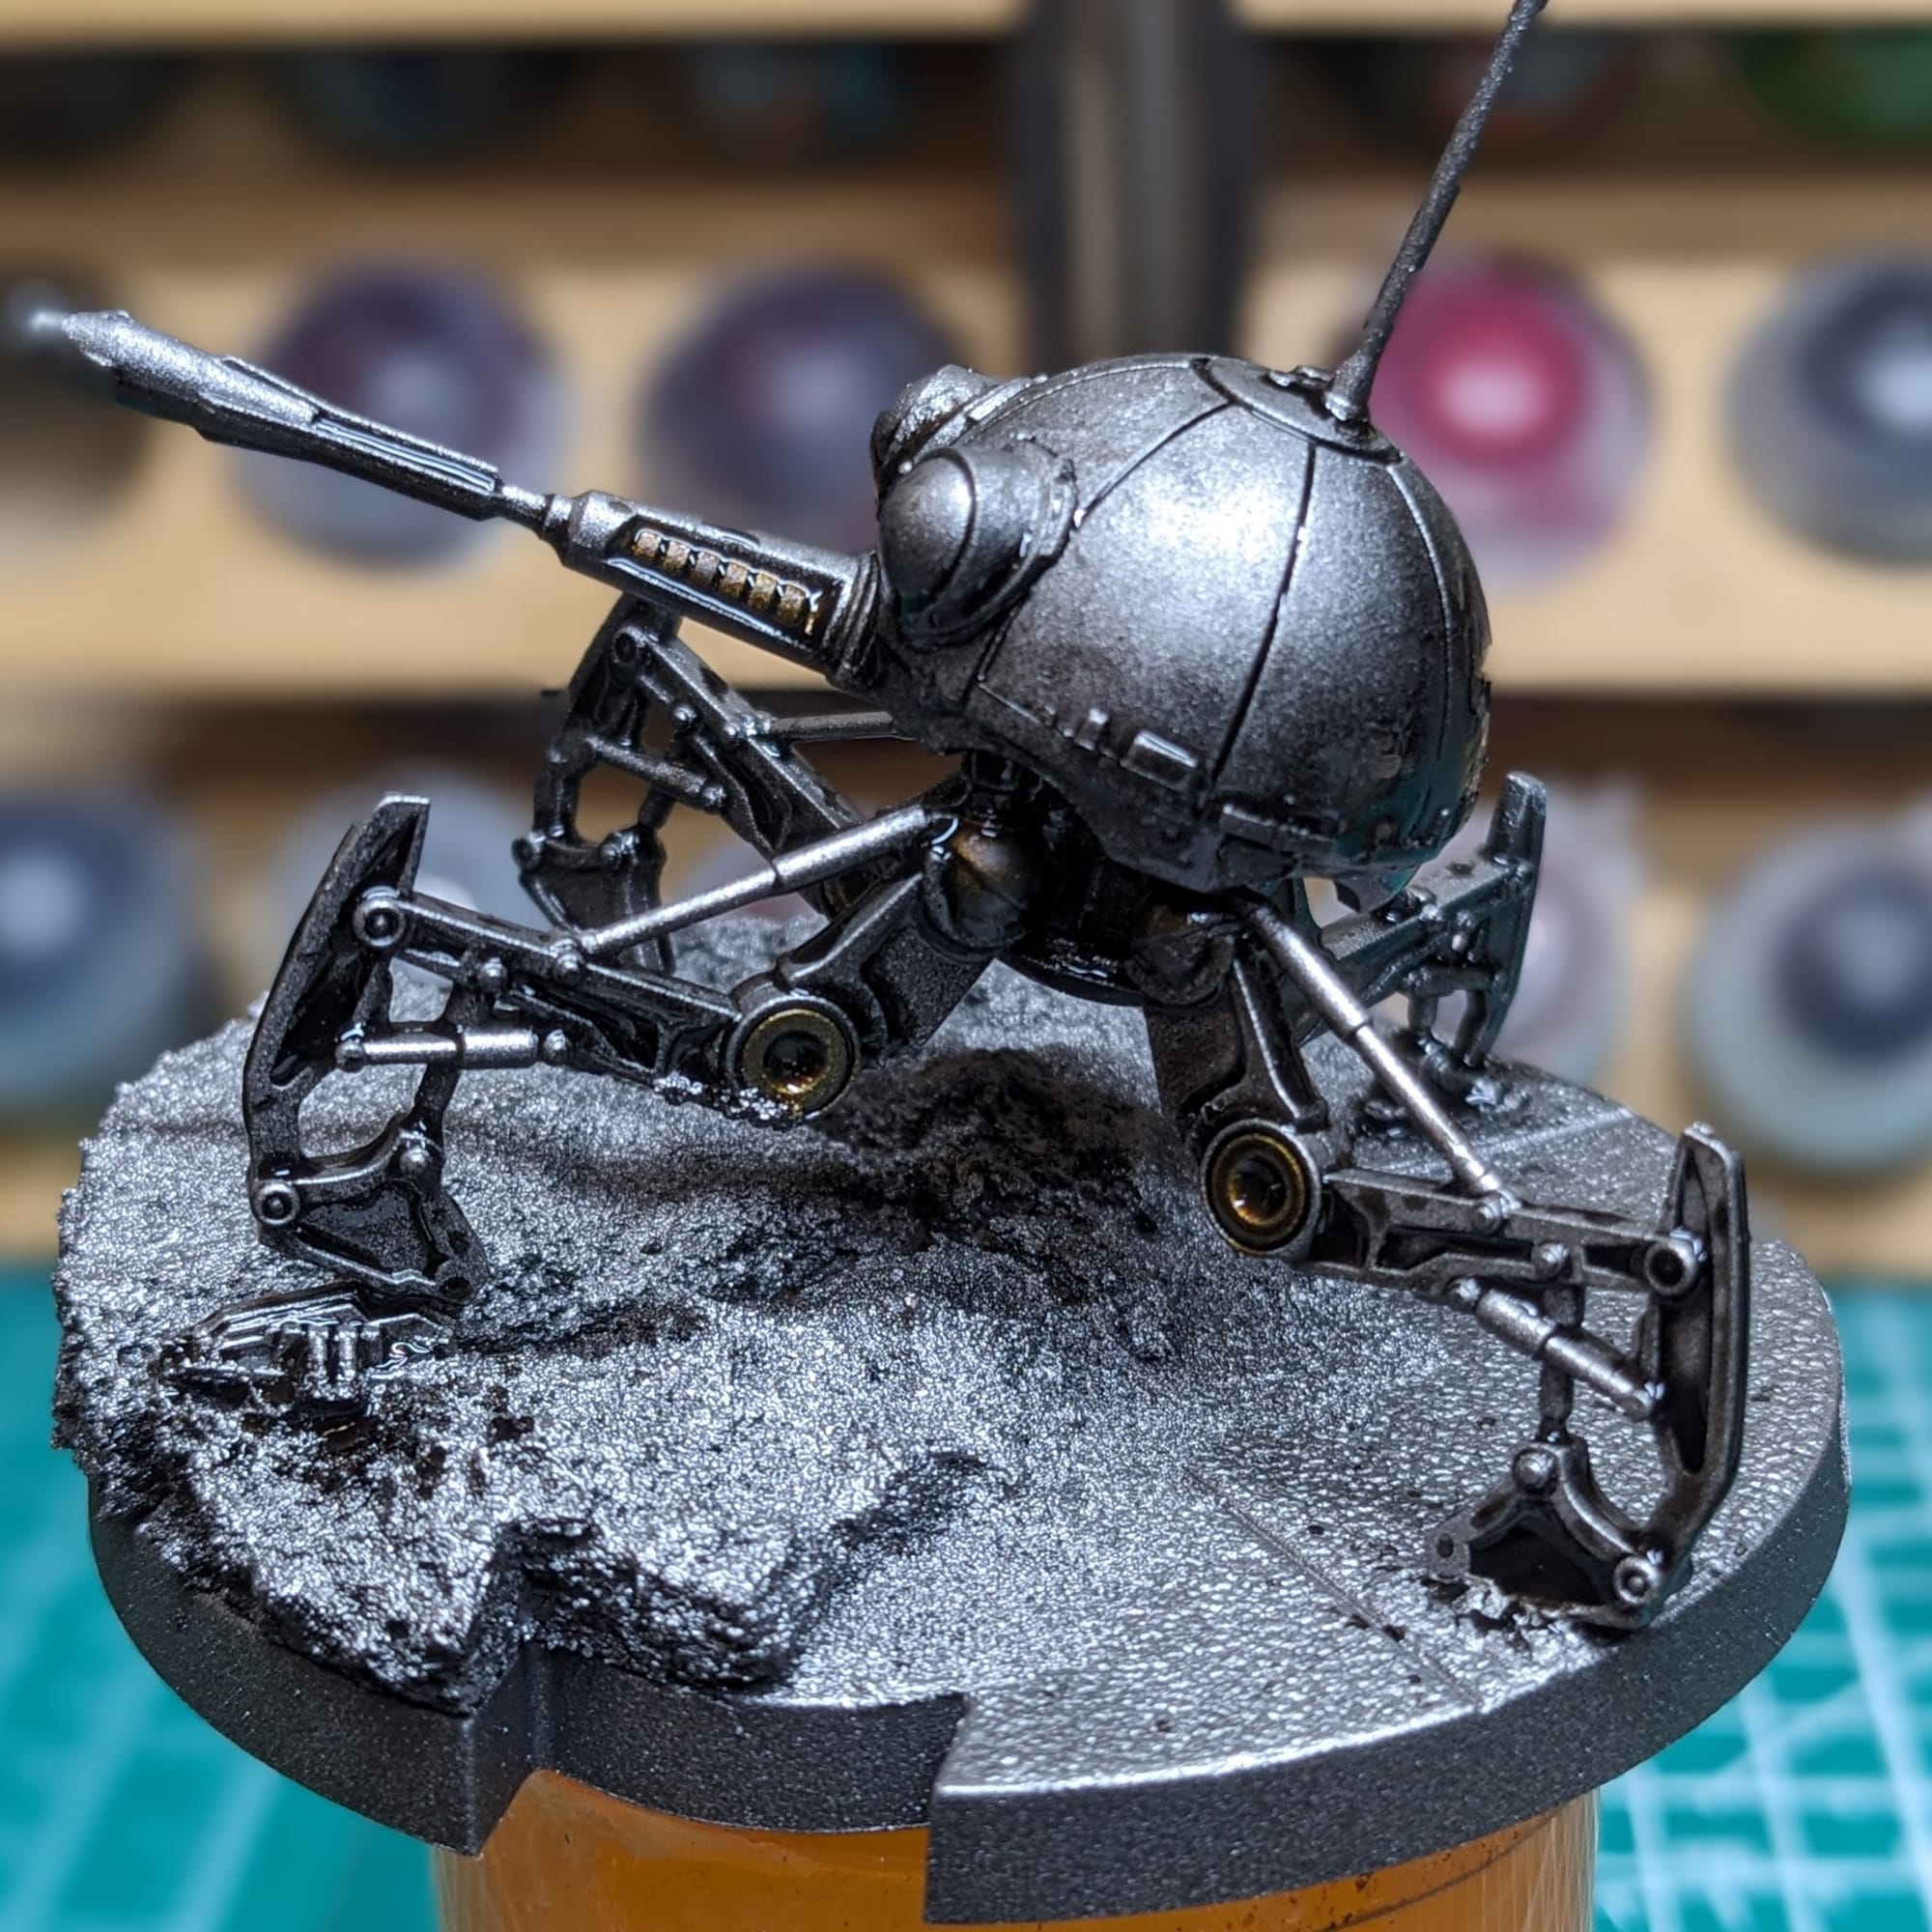
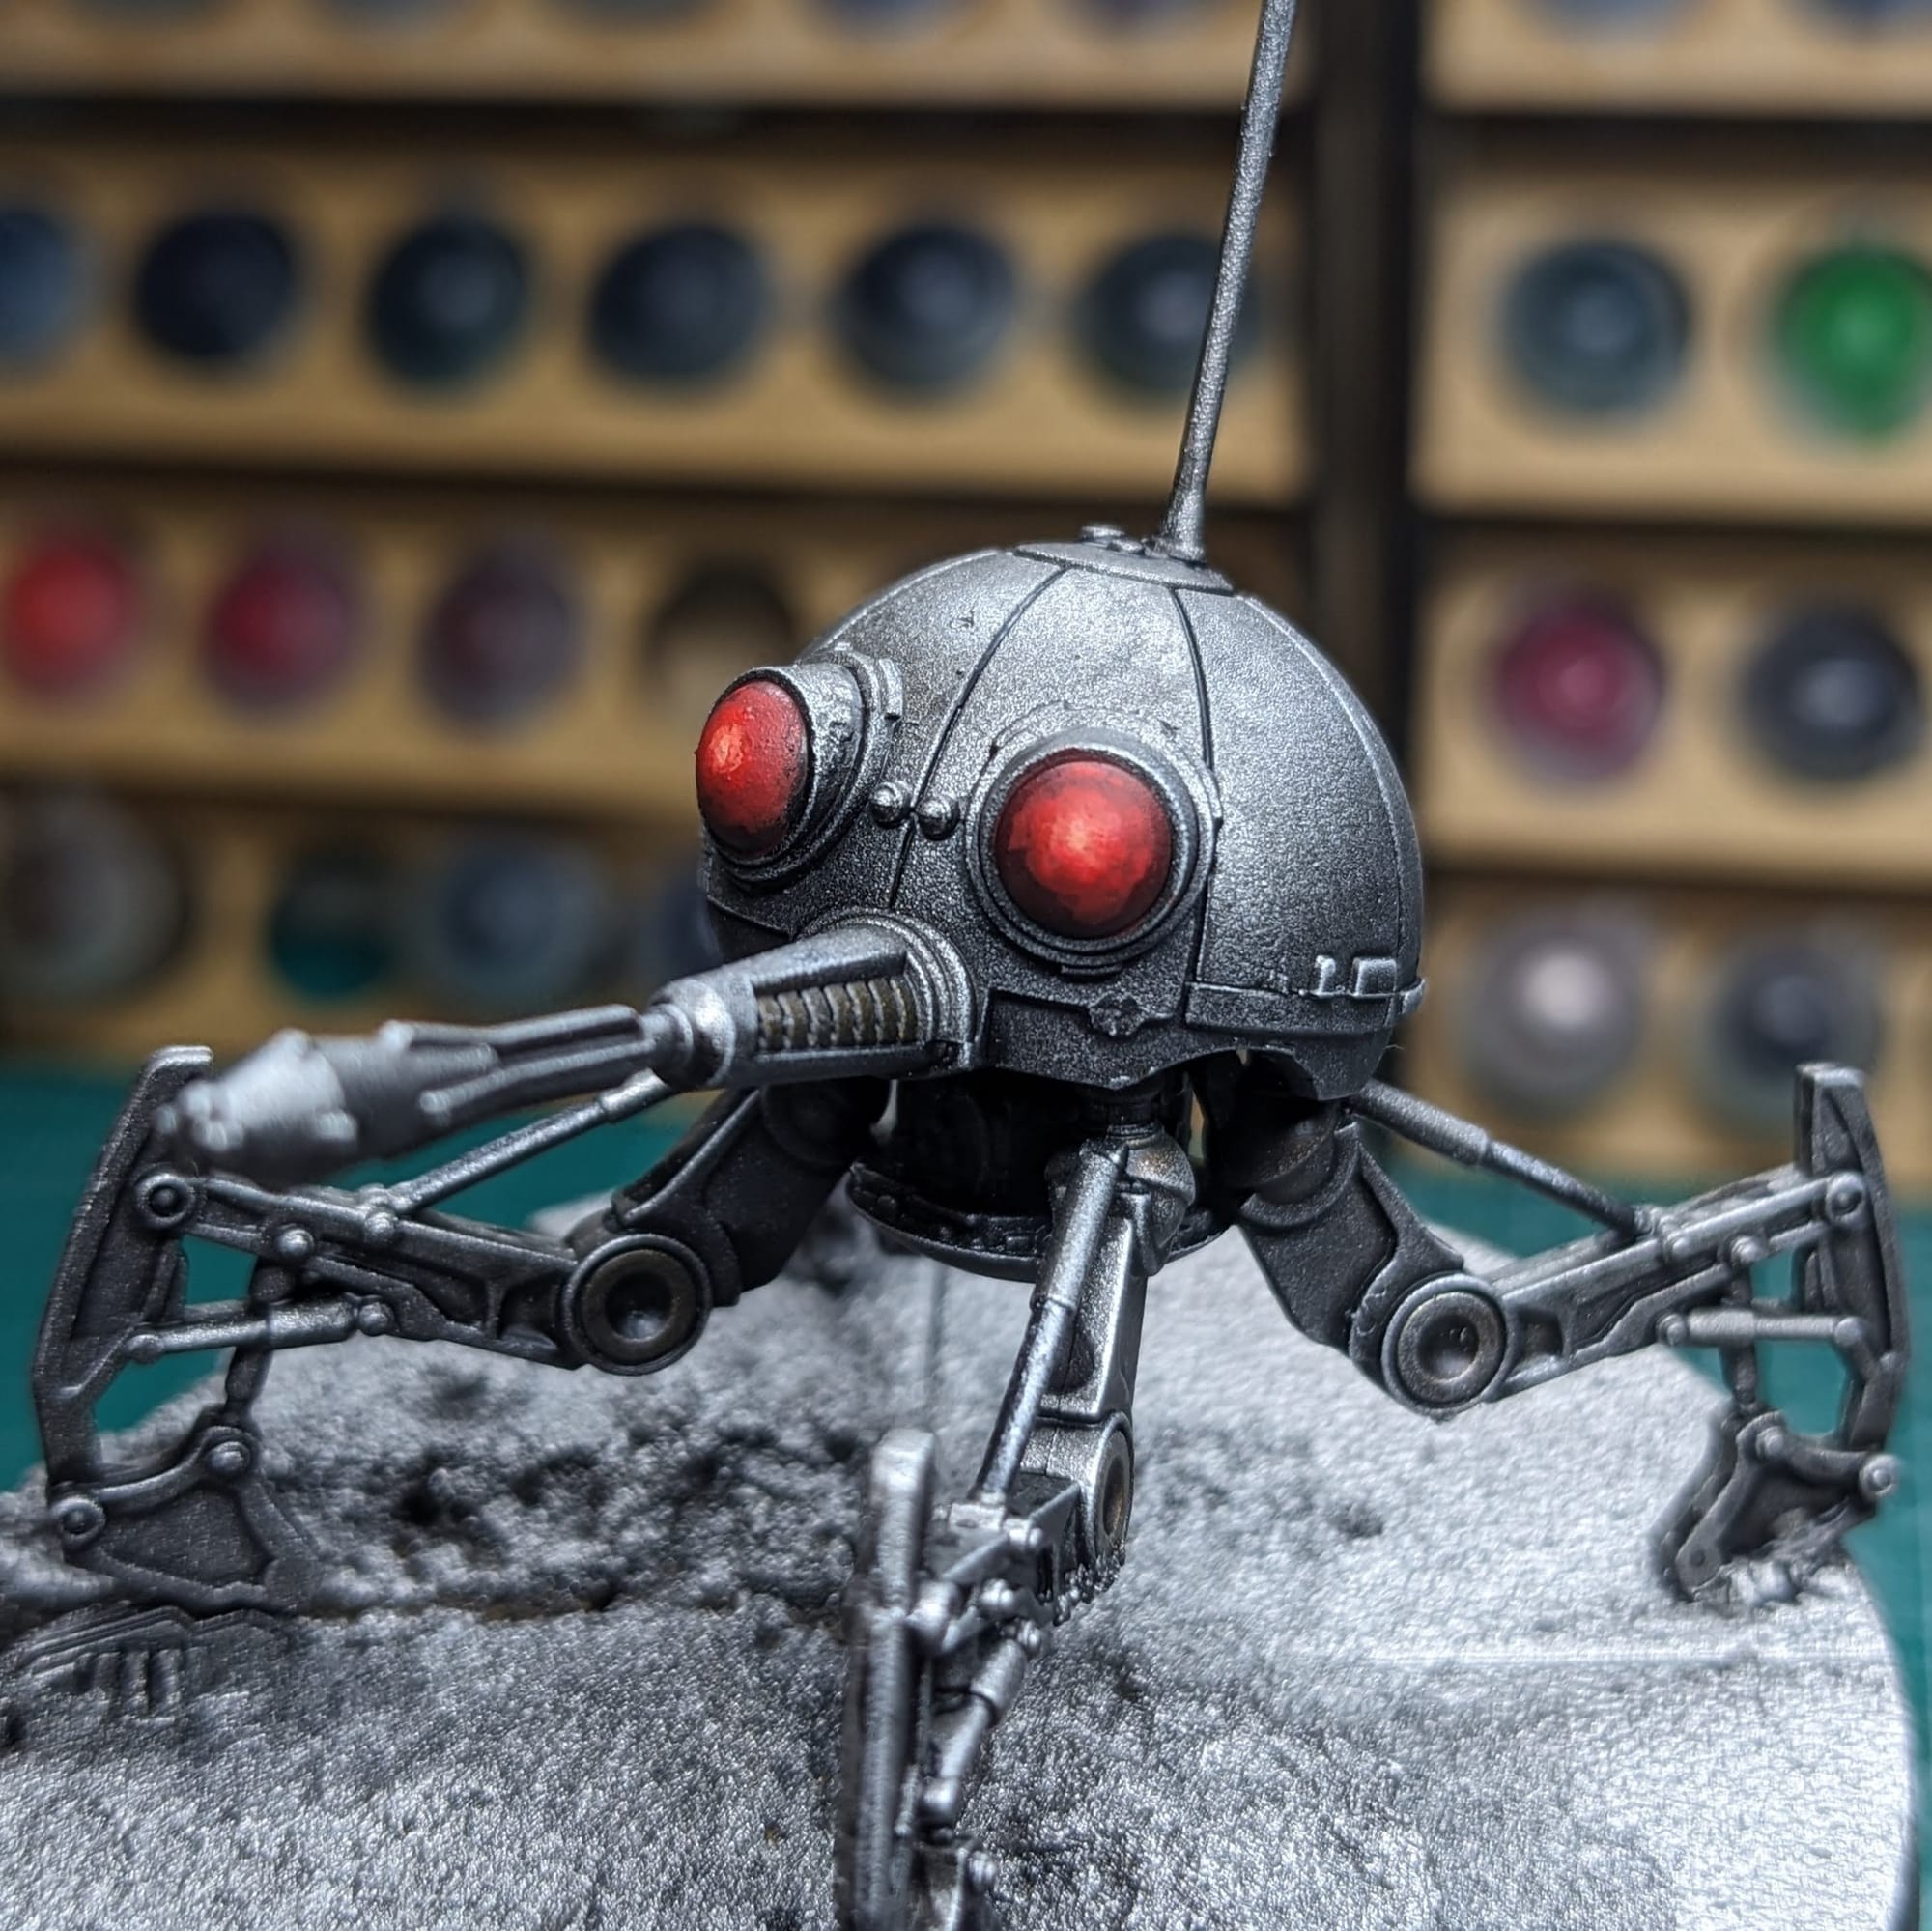
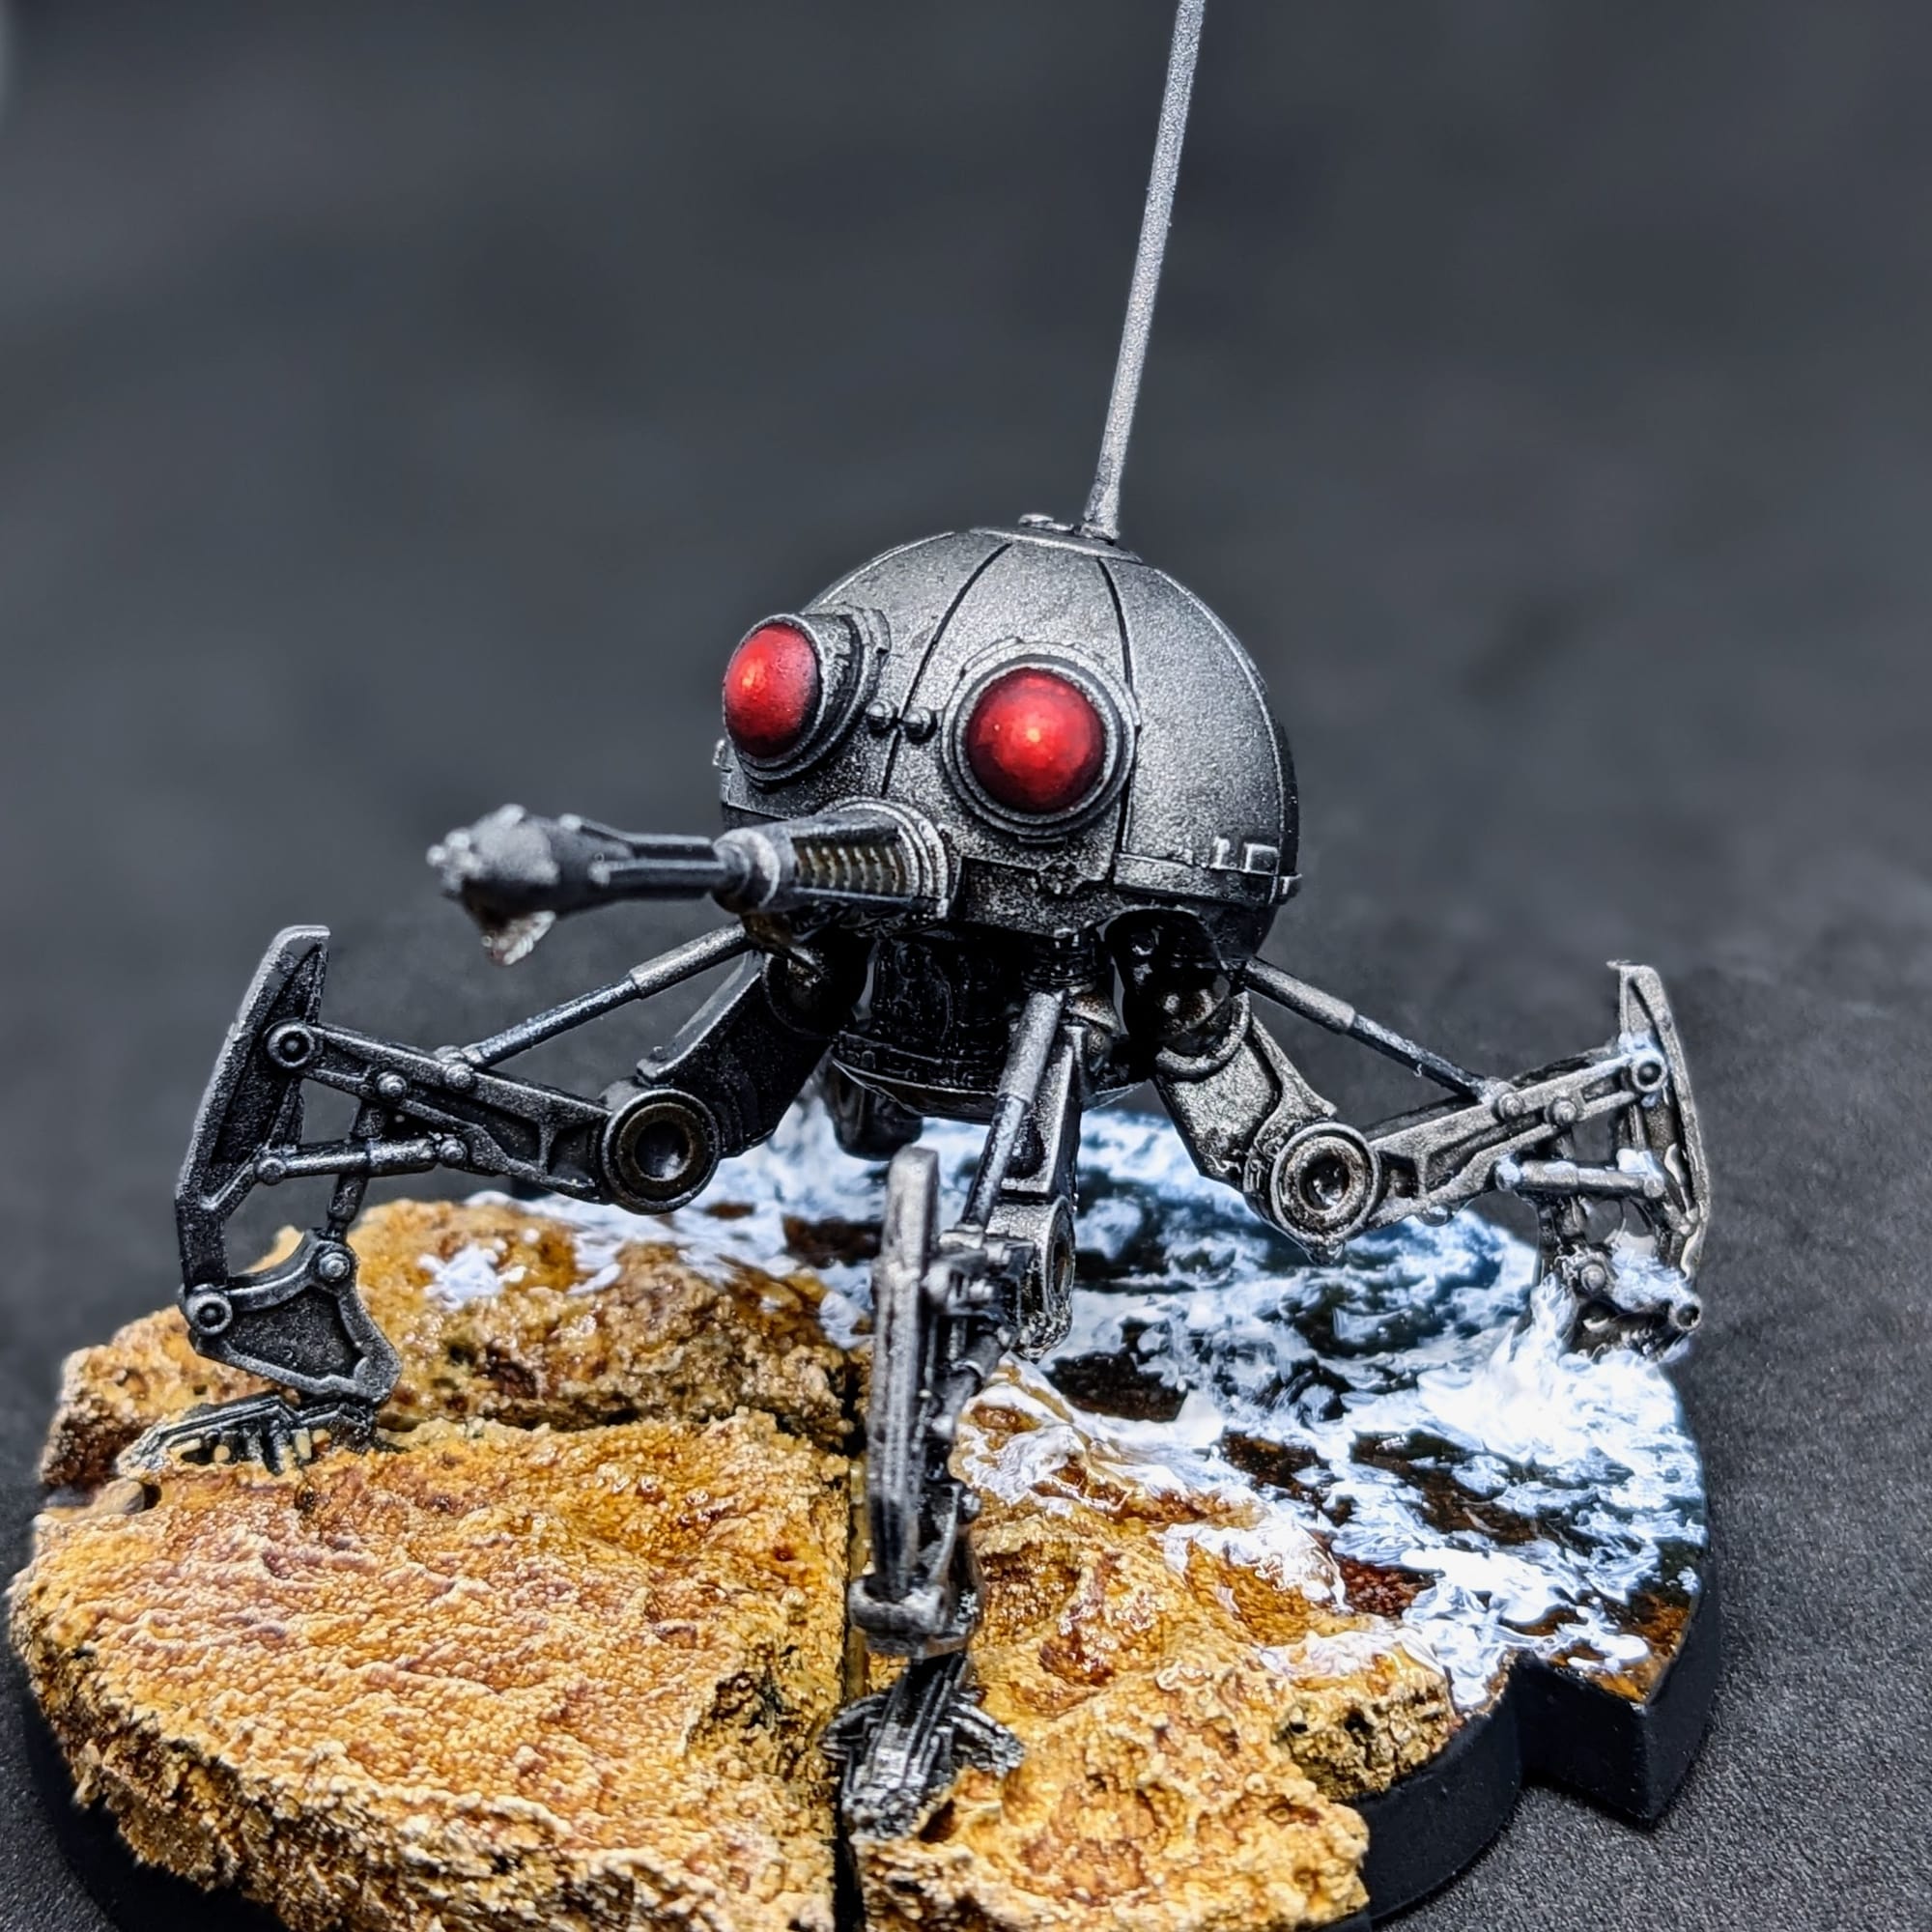
After the primer dried, I applied Citadel Snakebite Leather Contrast to the joints. After that dried, I covered the whole model in Citadel Nuln Oil (or Army Painter Dark Tone), making sure it flowed into the recesses and was removed from the top part of the model. I dry-brushed Citadel Necron Compound over the whole figure, and then painted the eyes, starting with Citadel Flesh Tearers Red, then wet-blending Citadel Mephiston Red, Evil Sunz Scarlet, and Lugganath Orange, the later being used as the brightest center part.
With that, the actually model painting was done and it time to move onto the basing.
Basing Part 1 - The Colors
The technique I used for this basing is very similar to the same process I used for the LM-432 Crab Droid Painting Tutorial I painted previously.
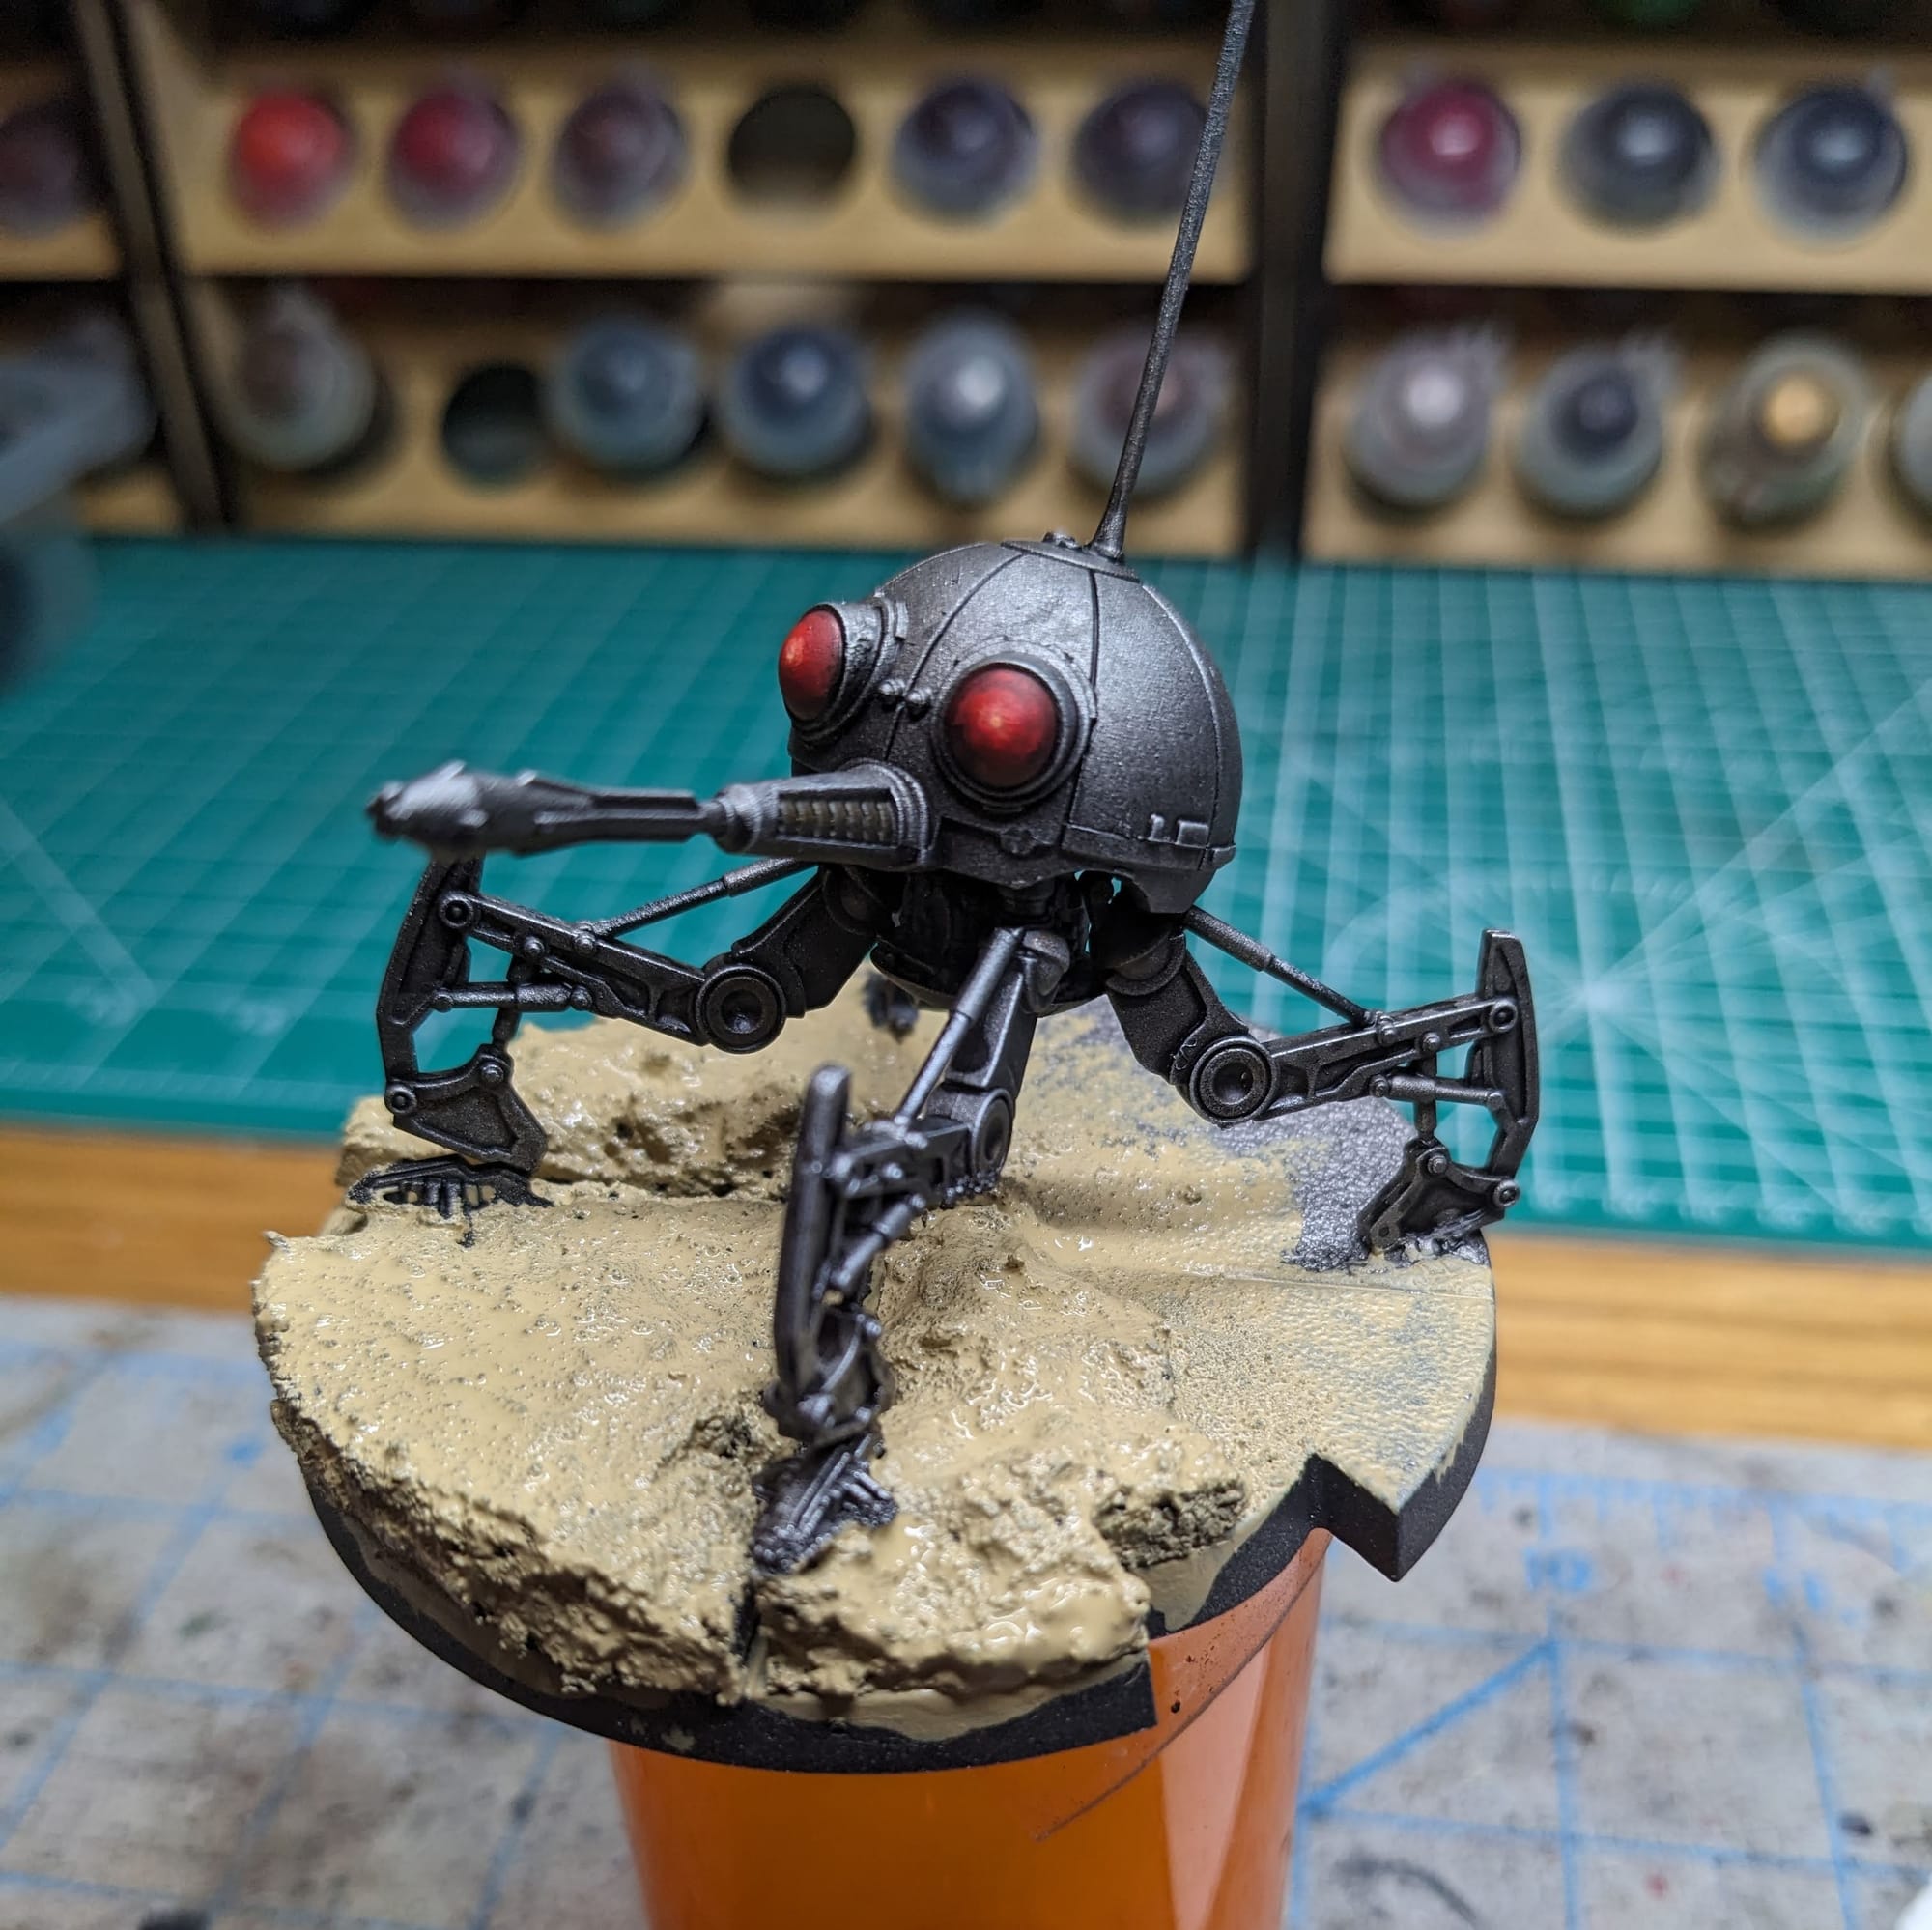
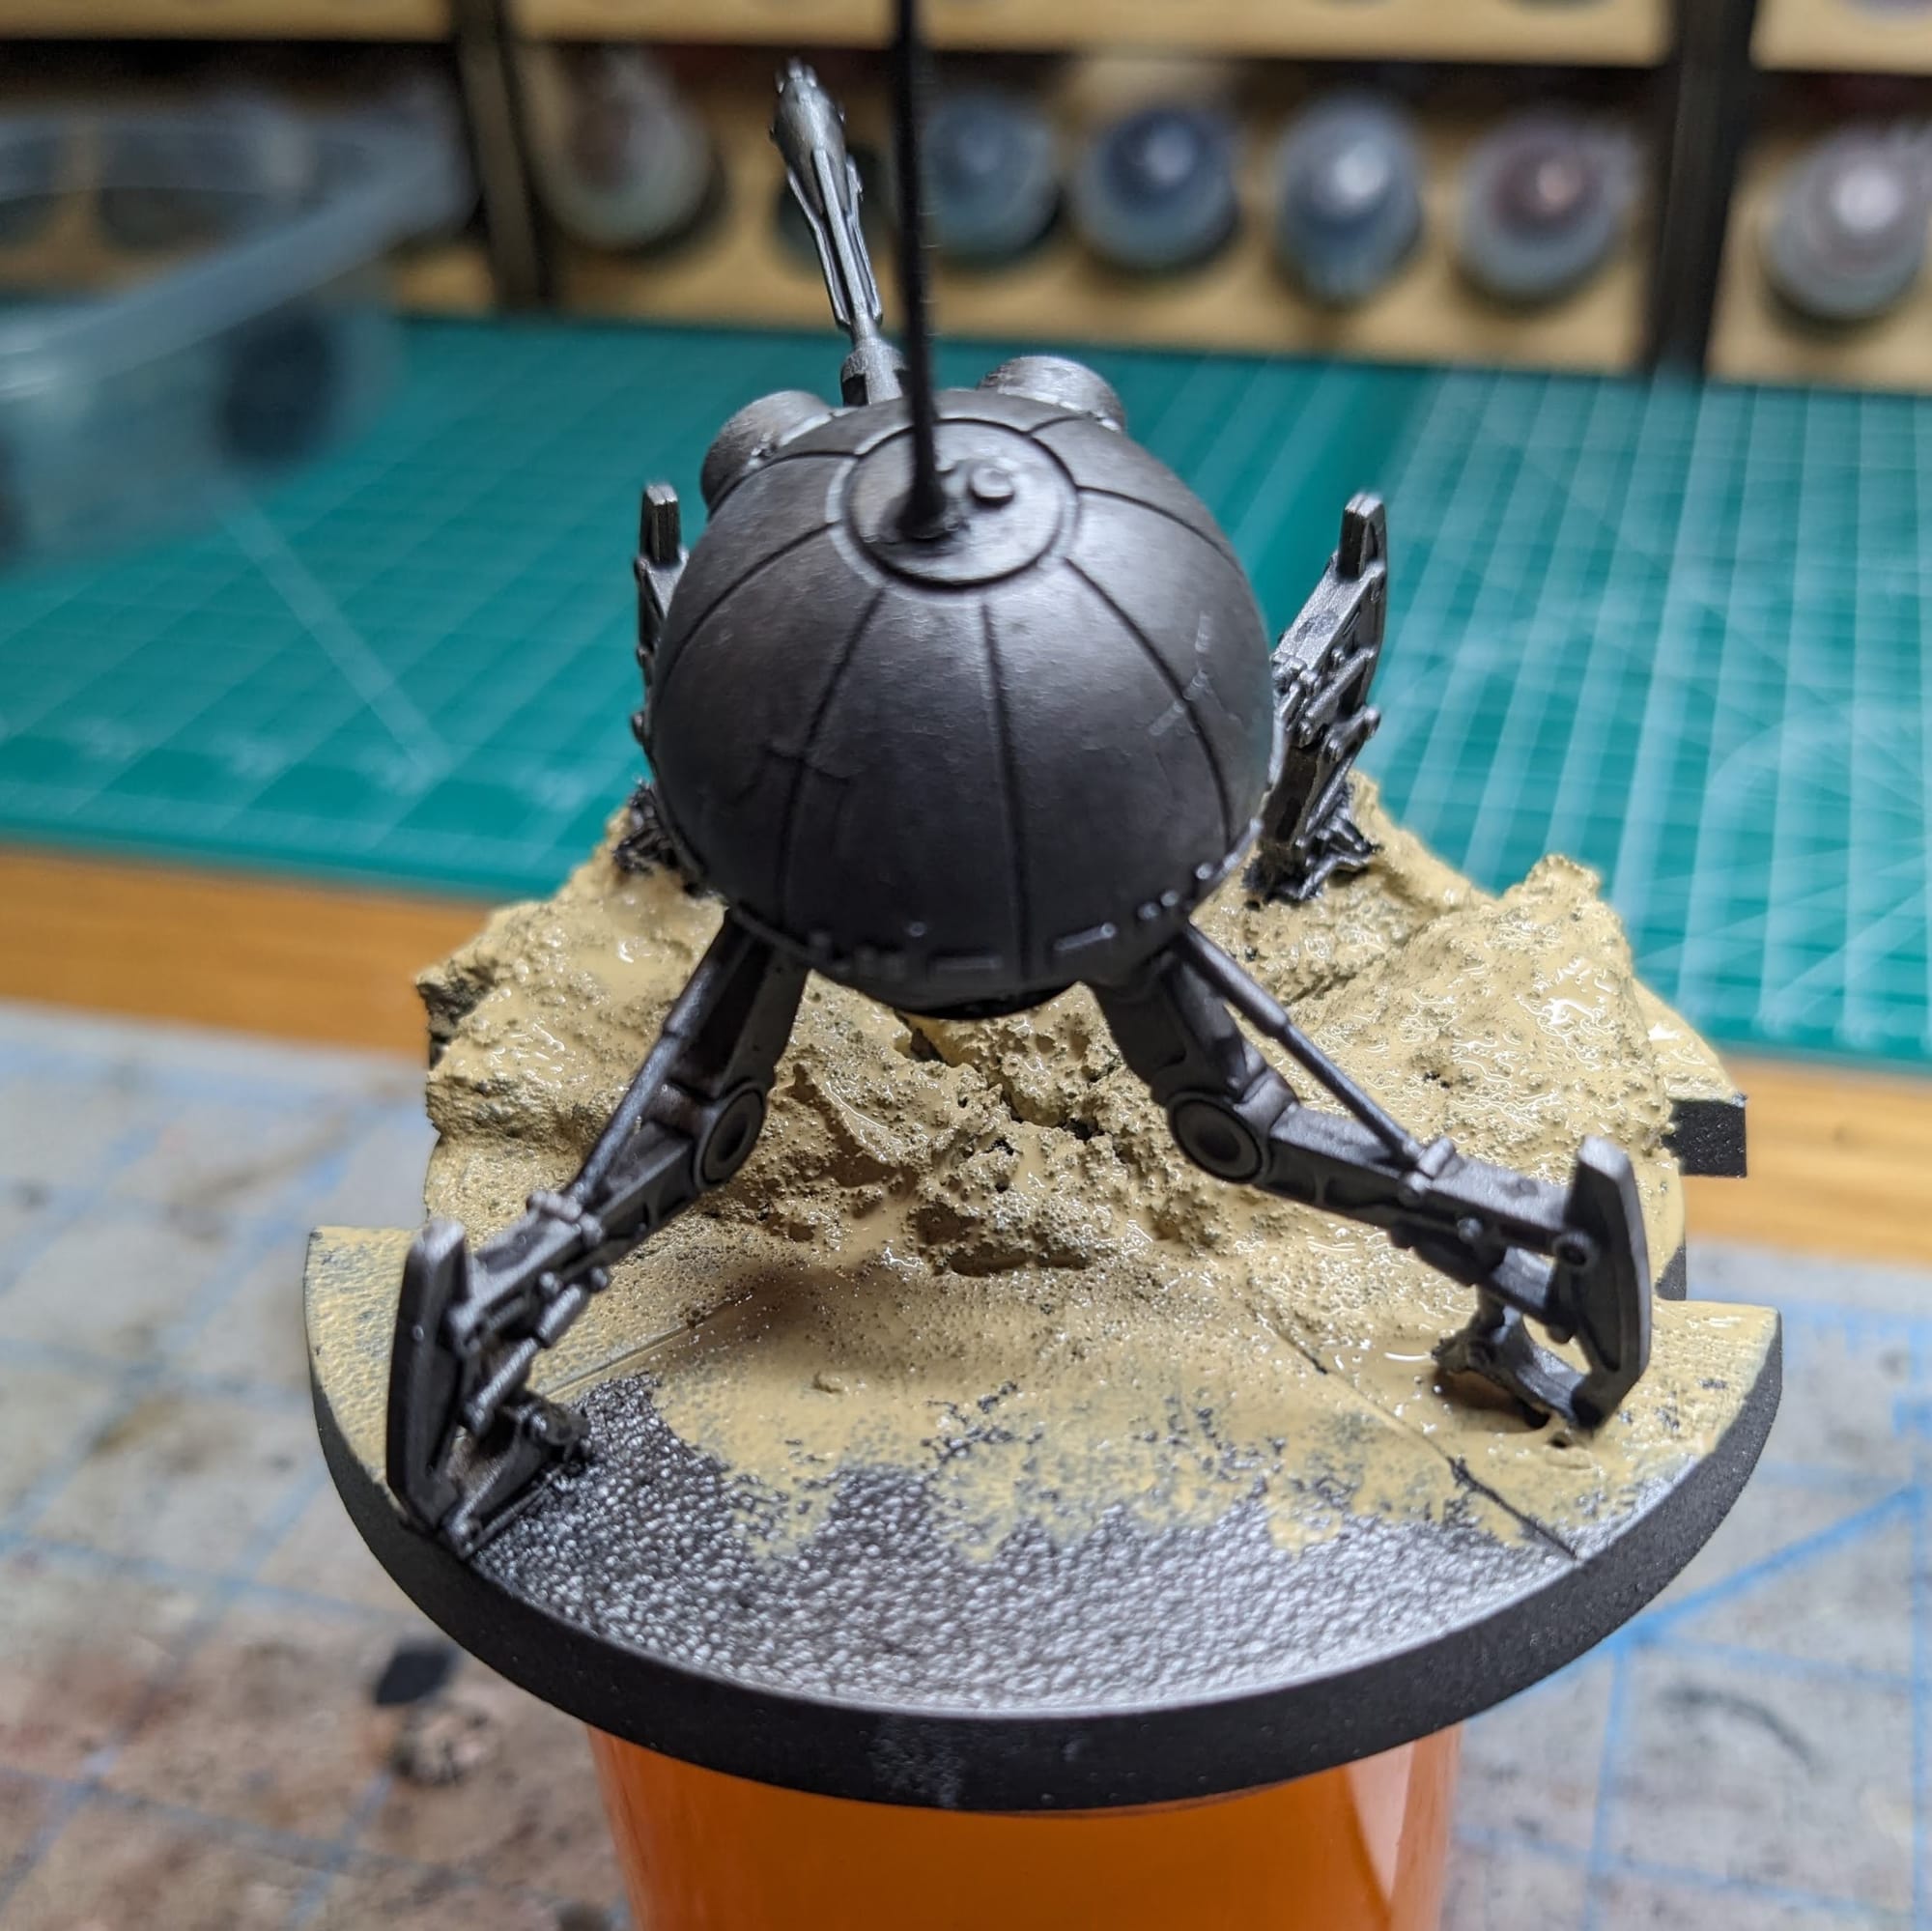
Starting with the sand, I painted all of the sand texture with Citadel Morghast Bone. I was not careful with how it was applied to the base, as it will blend into the water section, but I did make sure to keep it off of the legs.
After that, I used several thinned-down coats of Citadel Dark Reaper to create the "darker water" that it was coming out of. Since this is a shallow beach, I didn't want the water to be deep ocean, but just dark enough that it gave a contrast between the light sand above the water, and the murky sand beneath the waves.
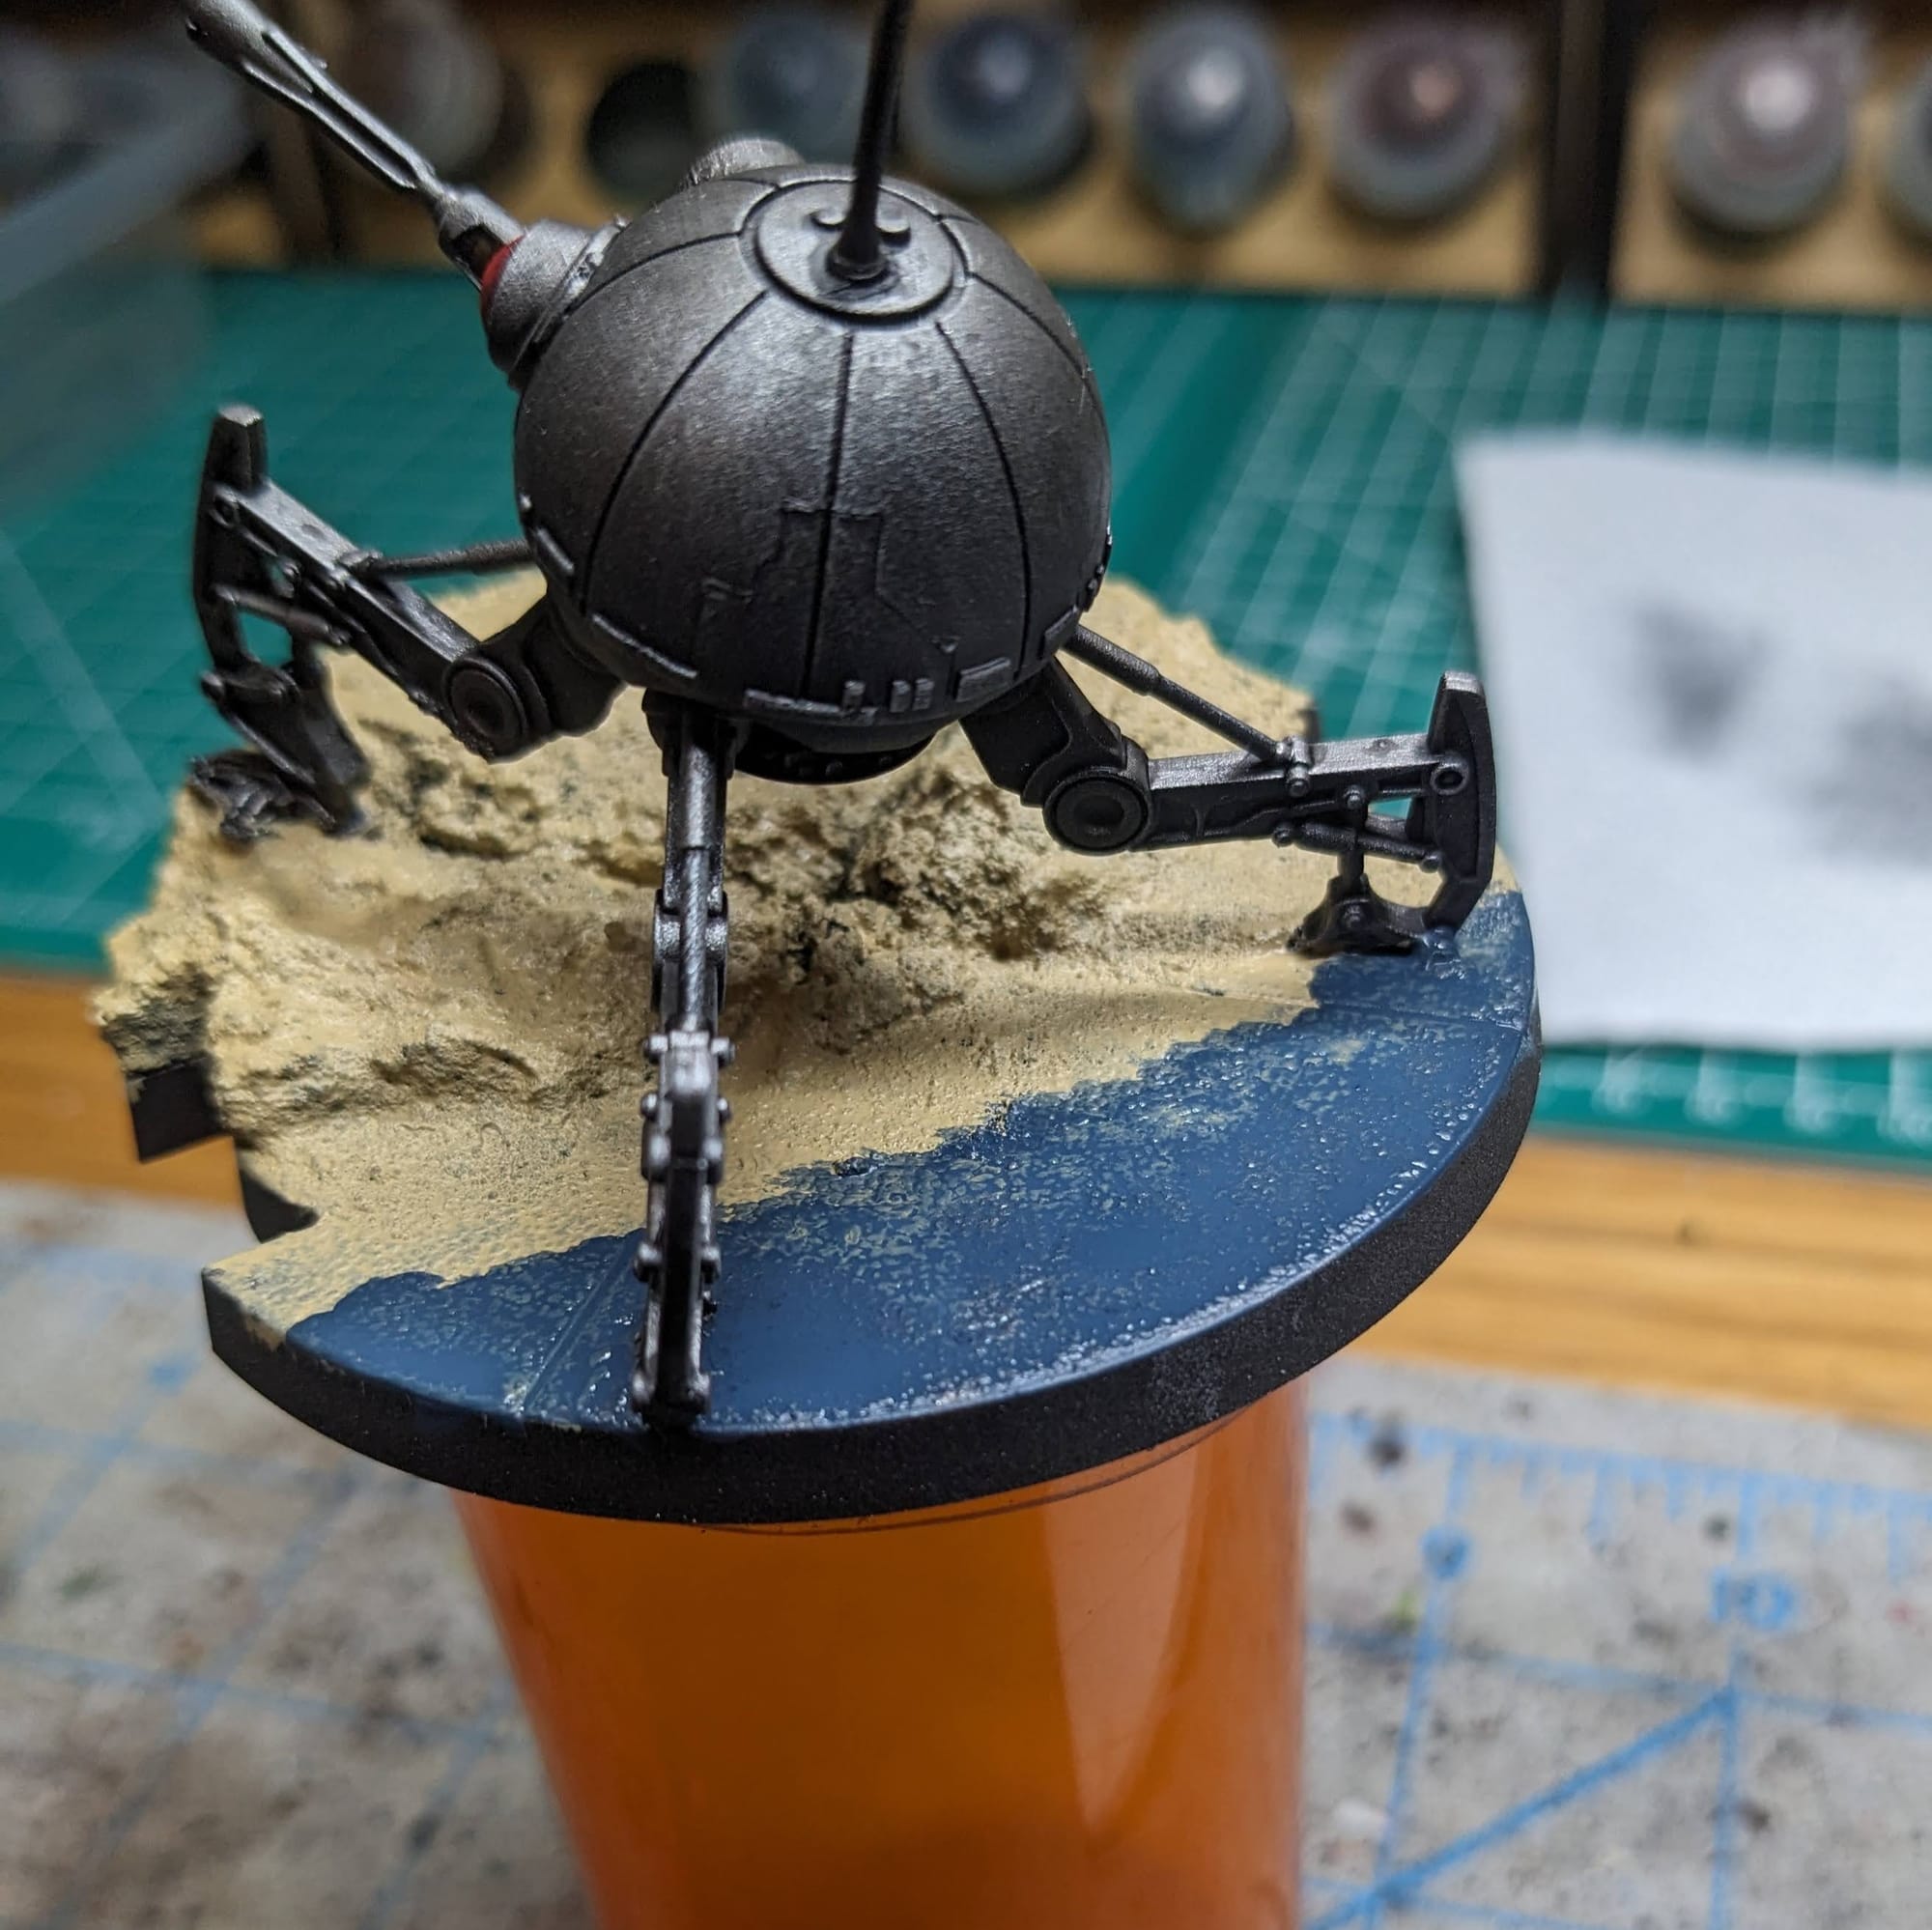
Once that dried, I used Citadel Seraphim Sepia Shade and Garaghak's Sewer Contrast to coat both the sand and the water line, using both Morghast Bone and Dark Reaper to blend more together where the water is breaking onto the shore. To really help with the blending, I used a combination of the Seraphim Sepia and Snakebite Leather to help push the blending between the sand and water more, creating a 'cleaner' transition from sand to brown to blue. Much of this is going to get covered up by water, but I wanted the foundation to be there nonetheless.
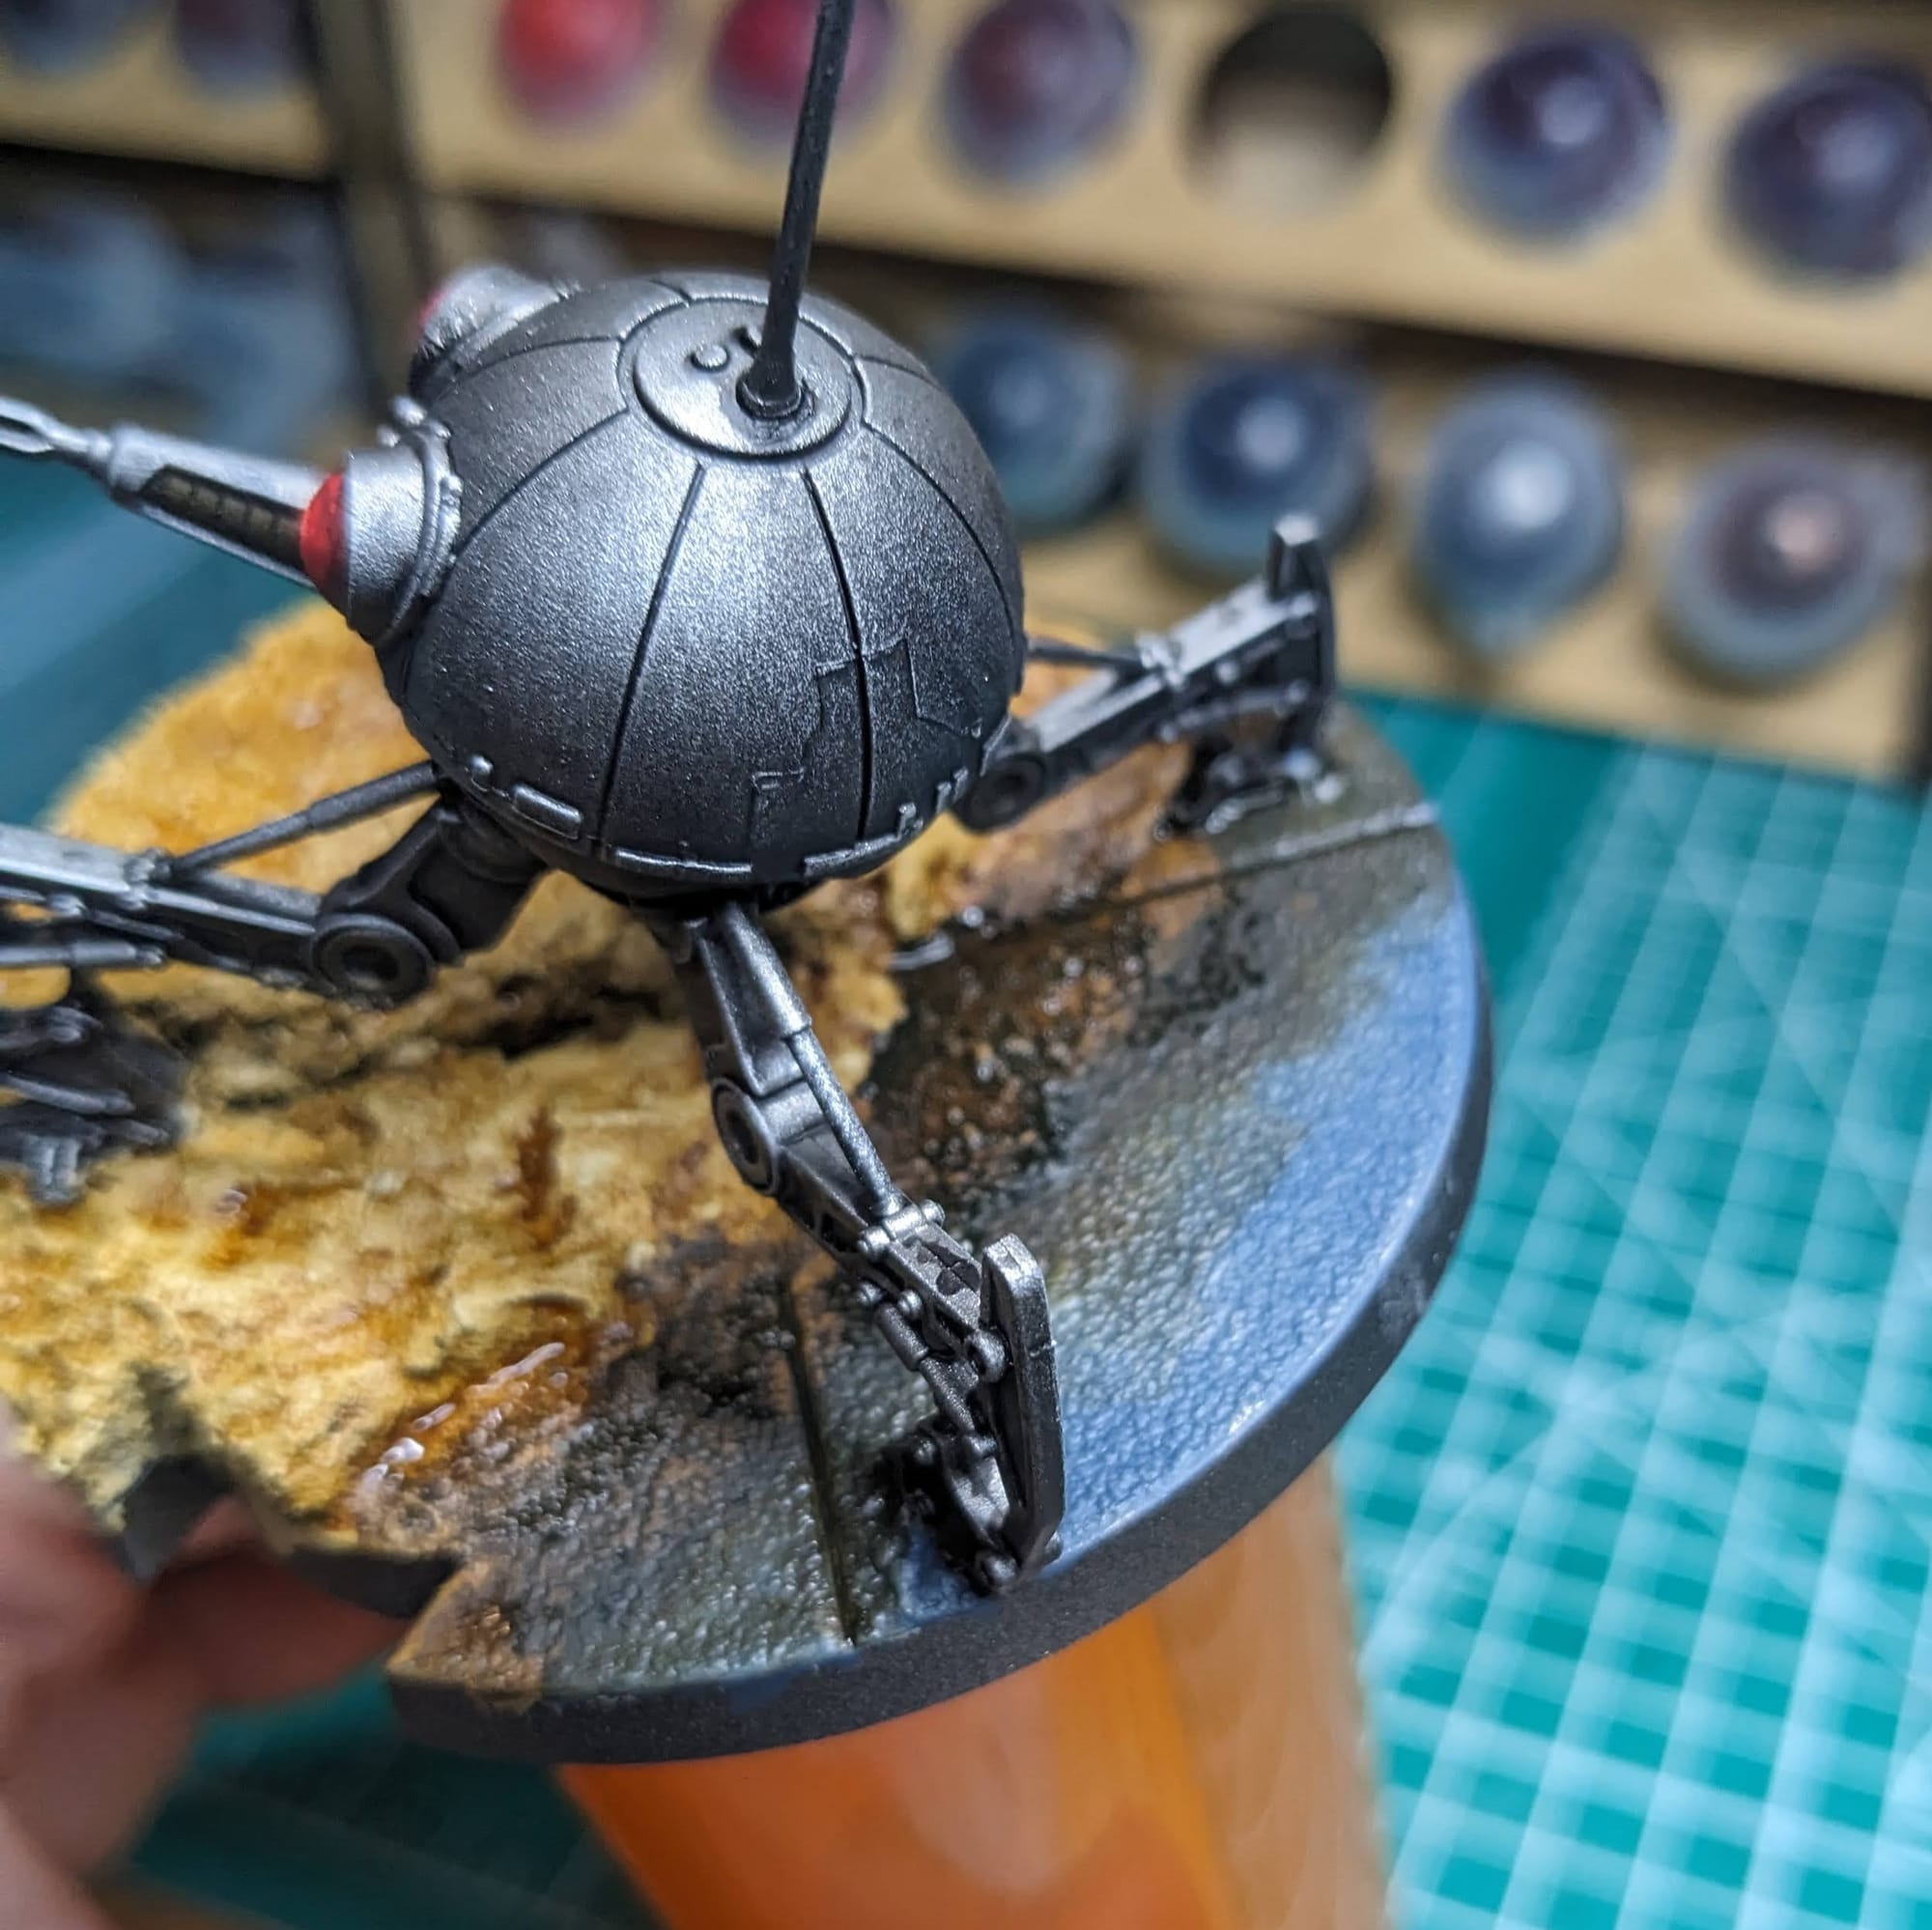
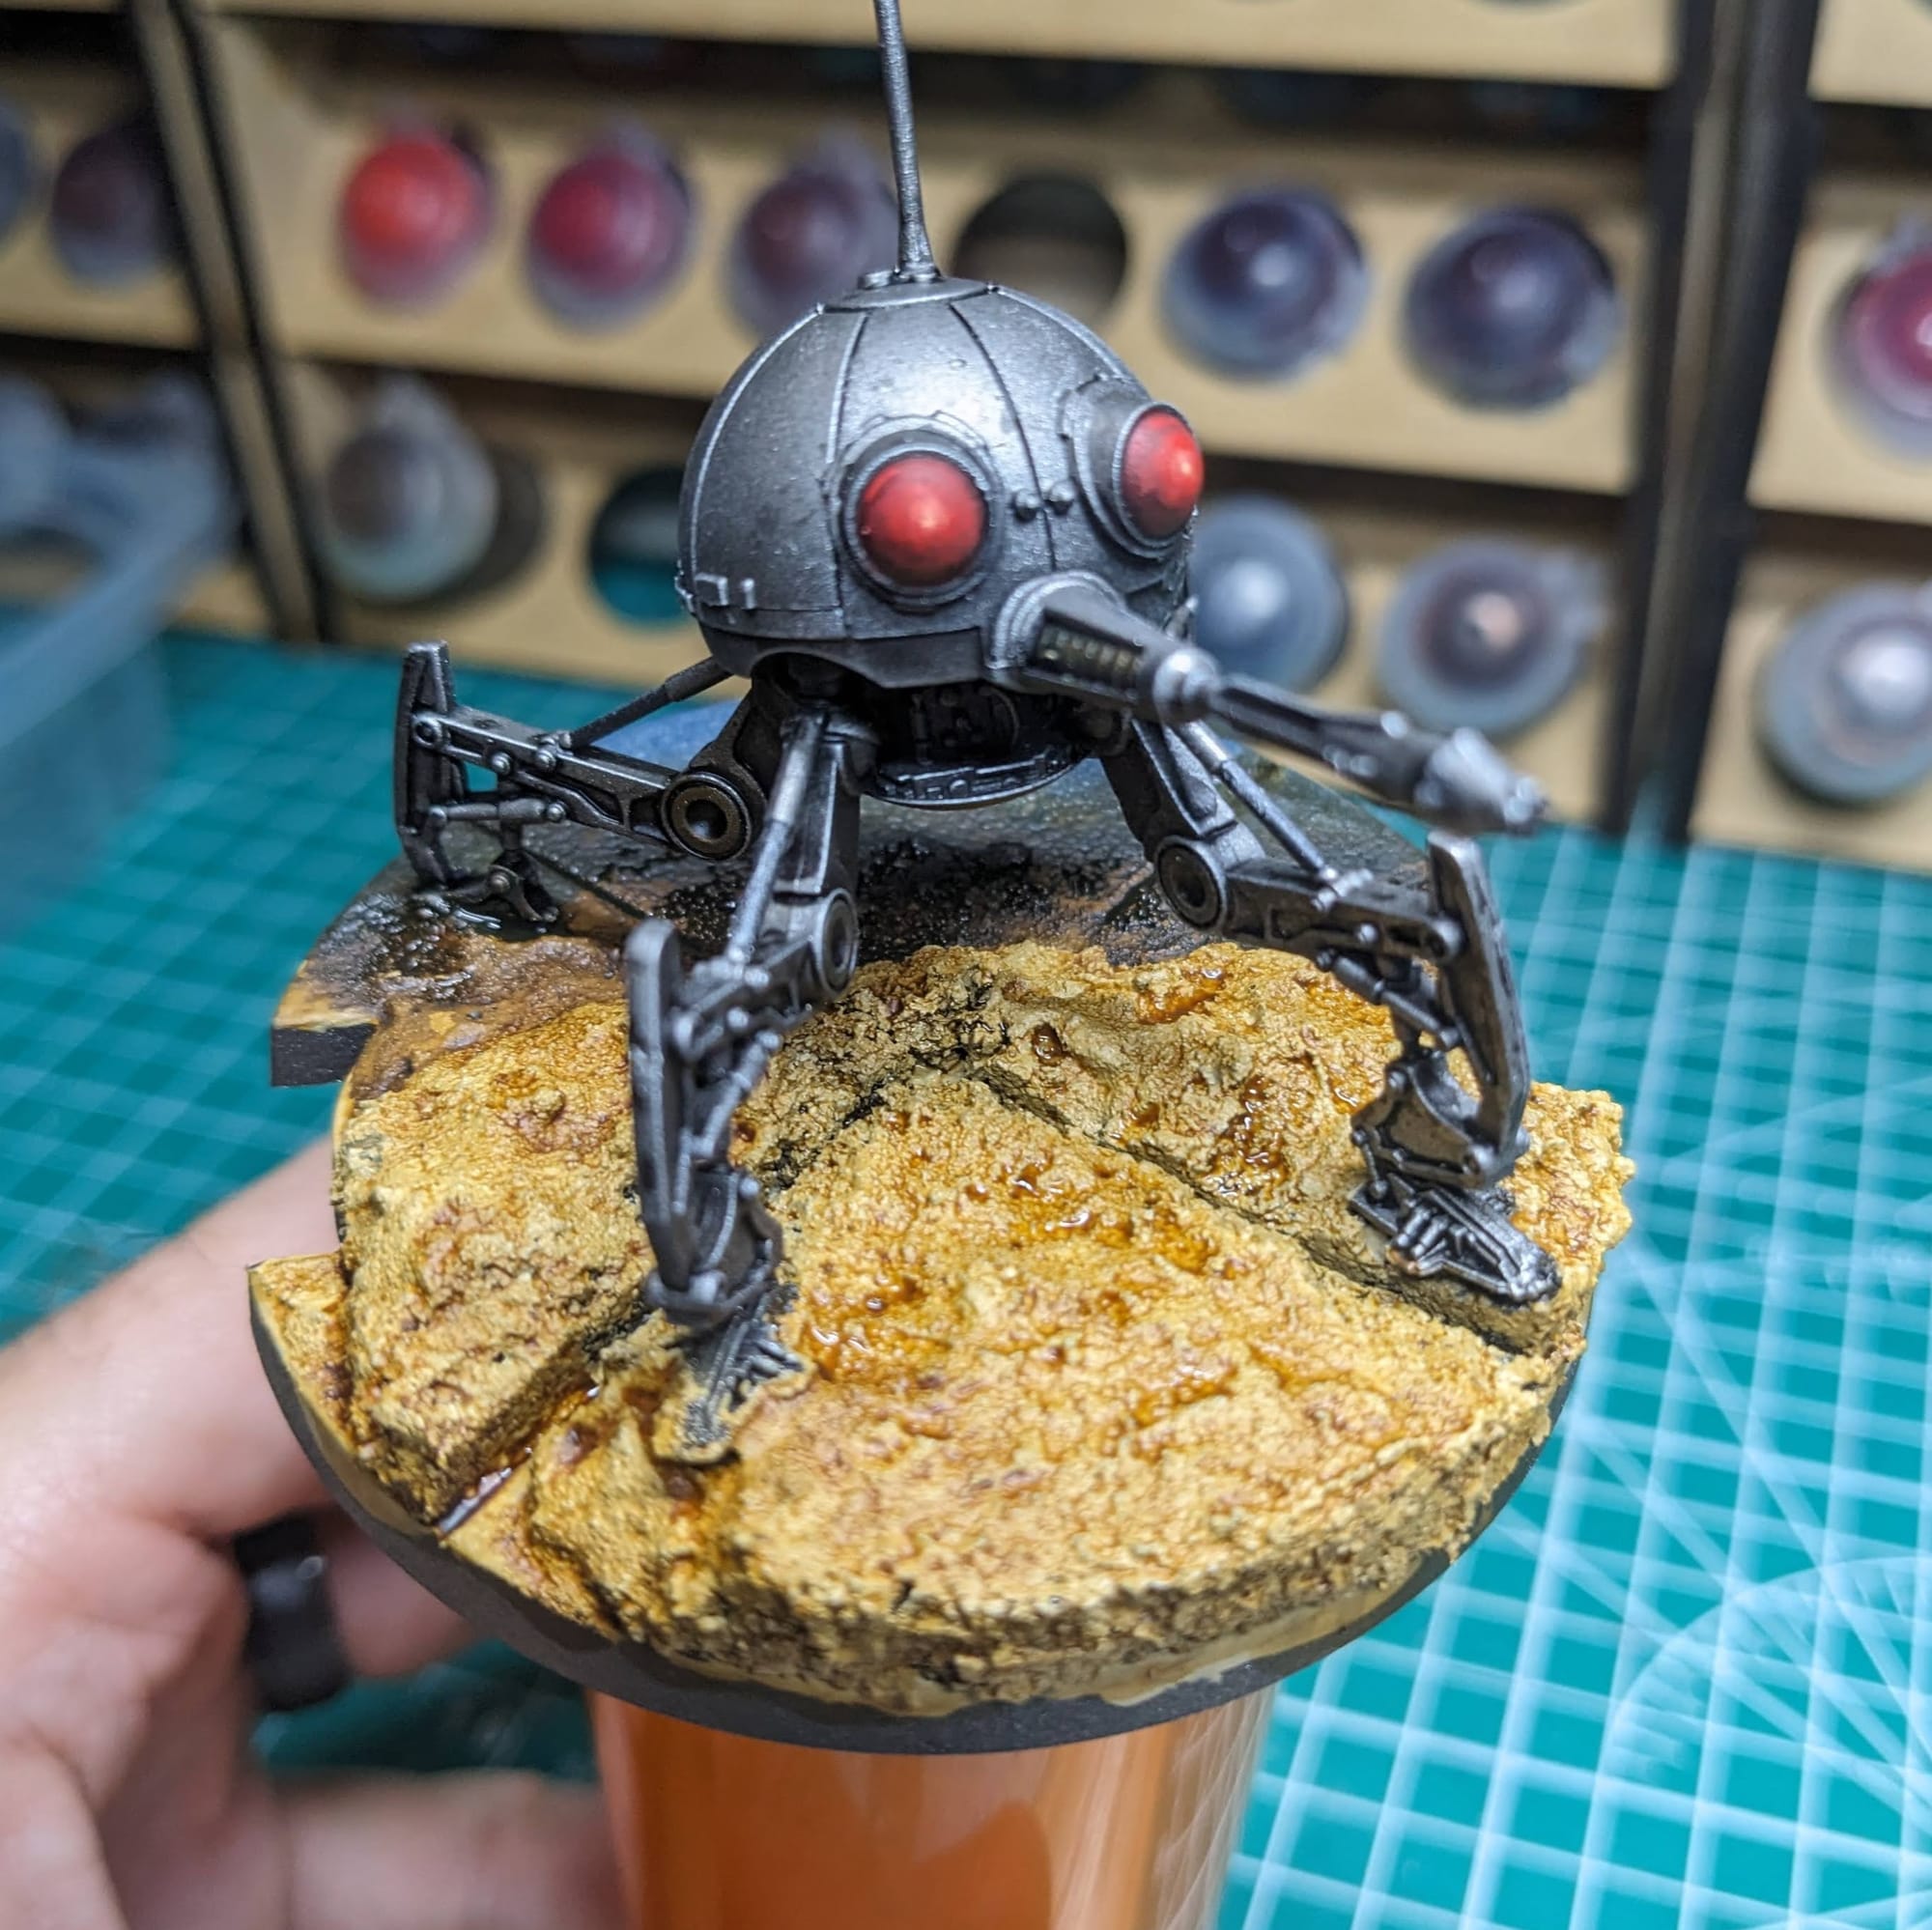
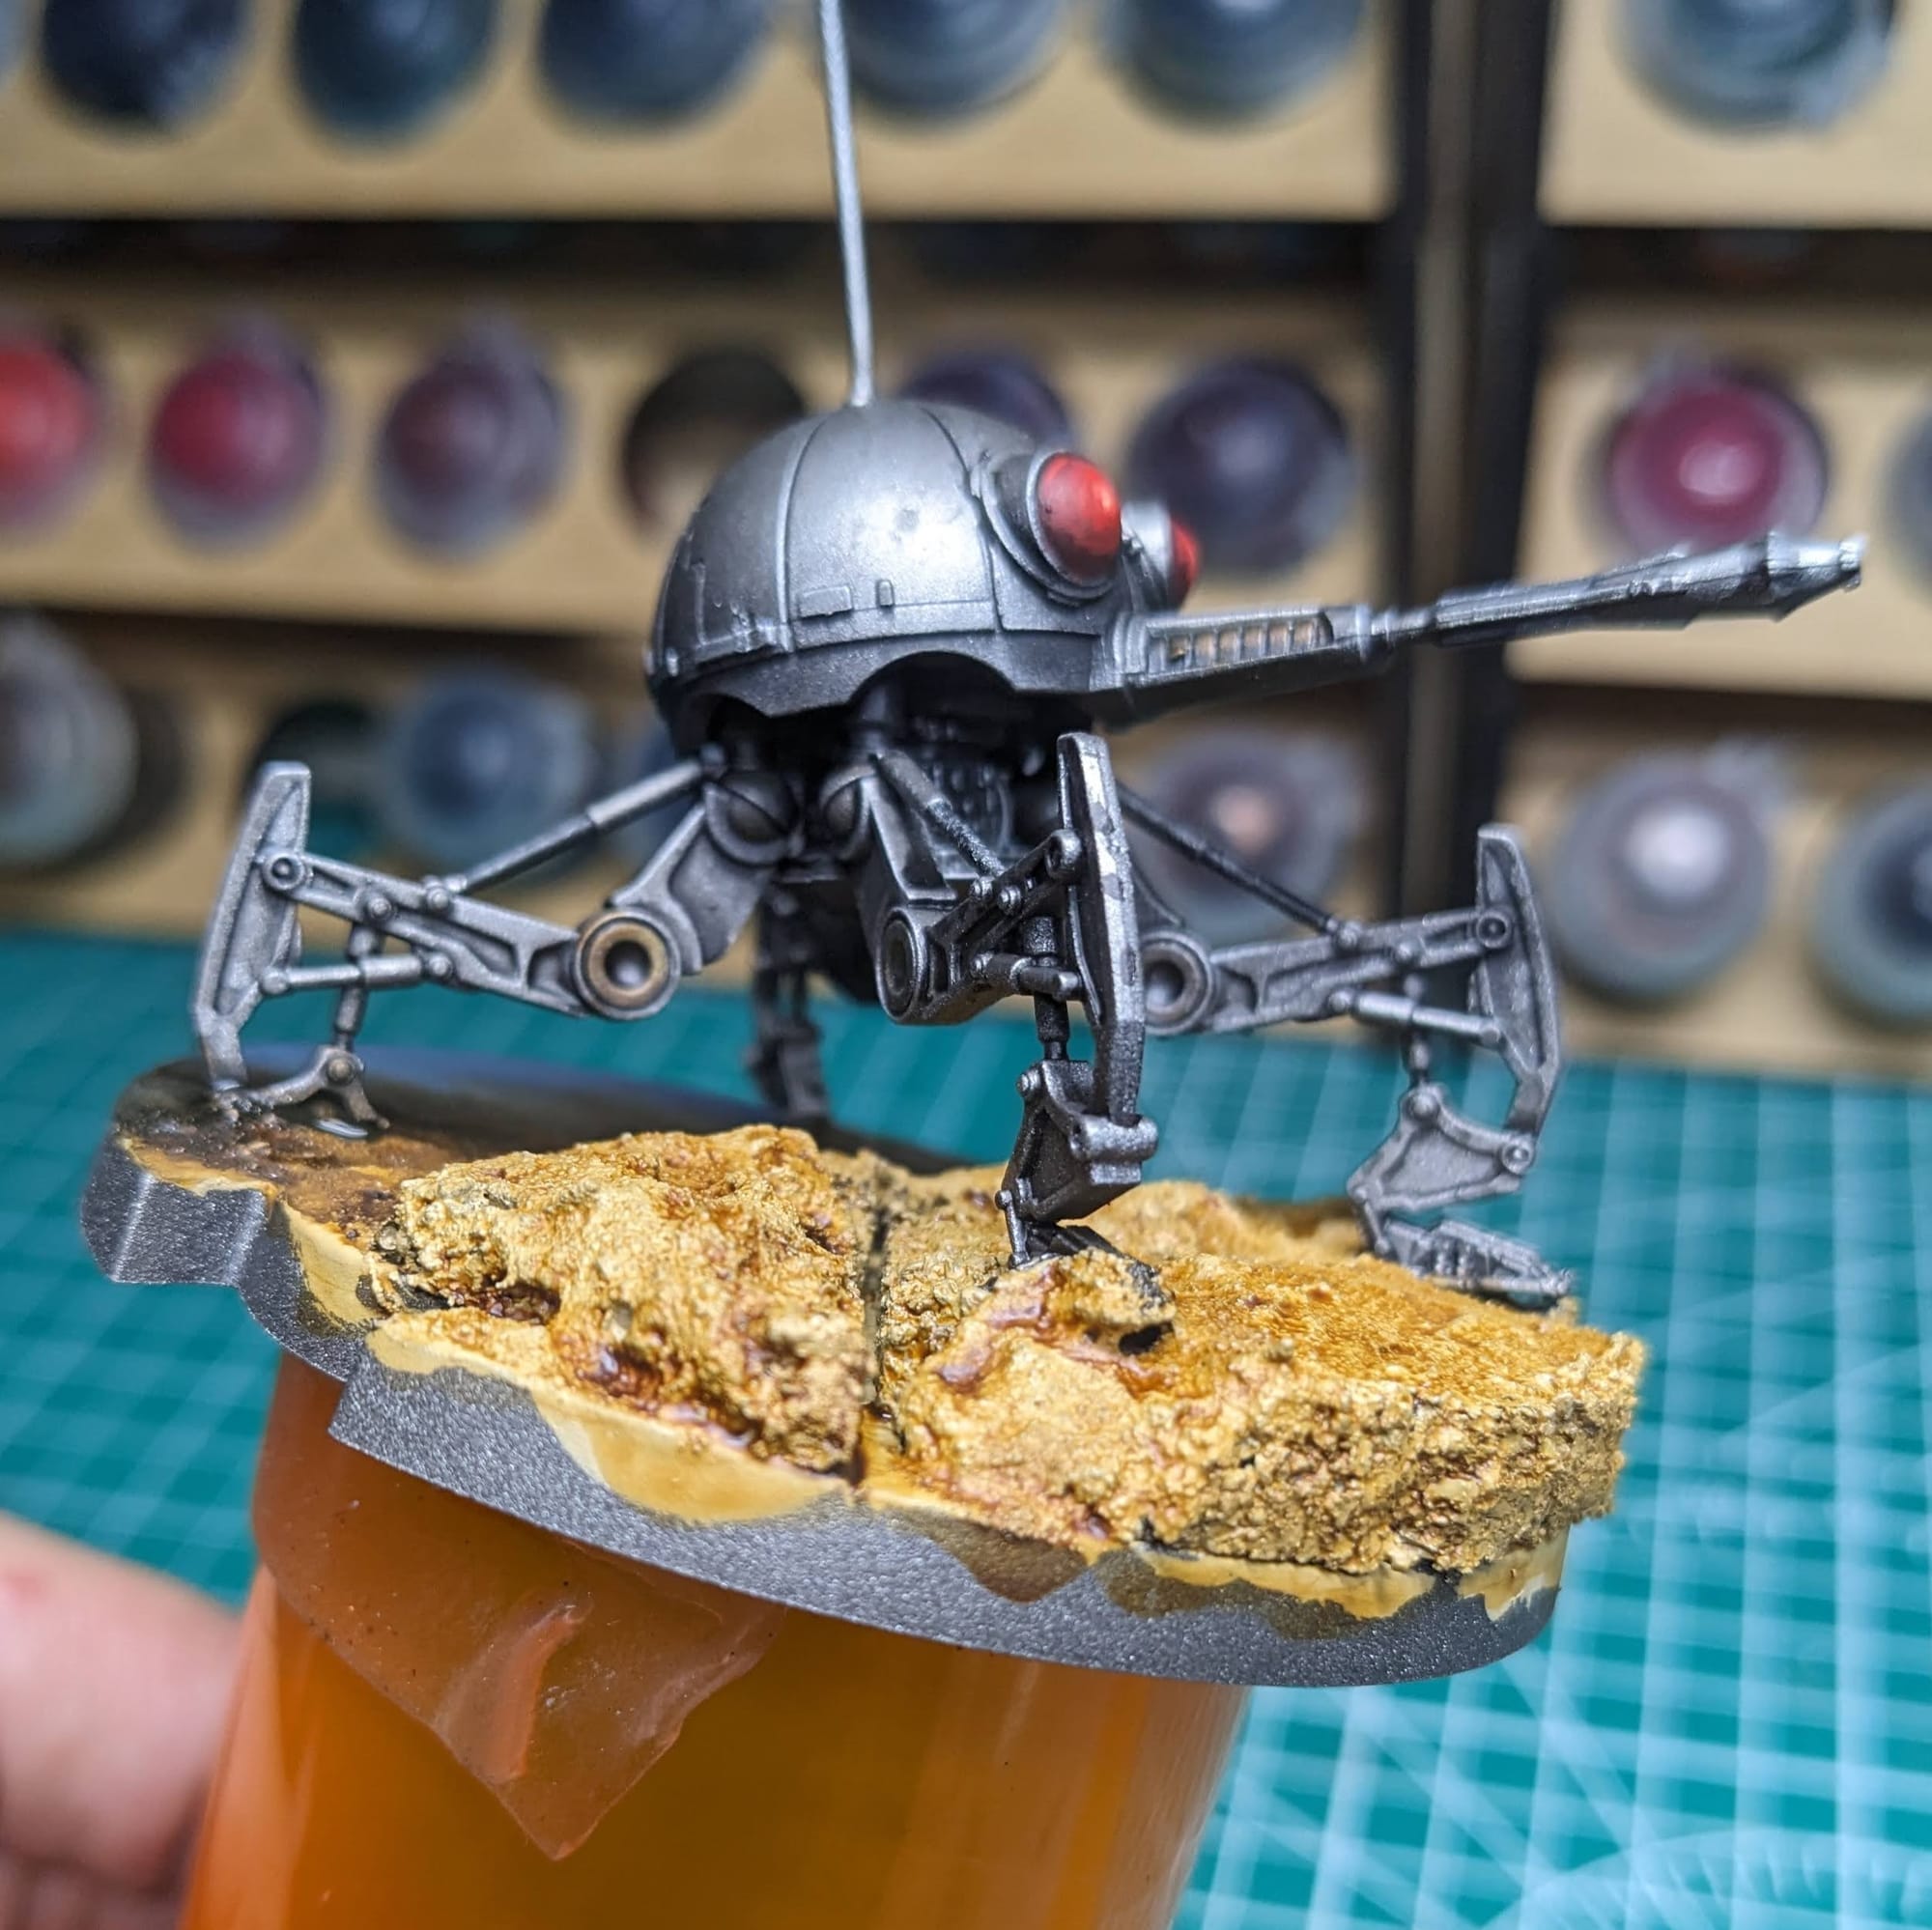
Once that all dried, I applied some Citadel Terminatus Stone Dry paint to the sand to make it a little brighter and to accent the textures further.
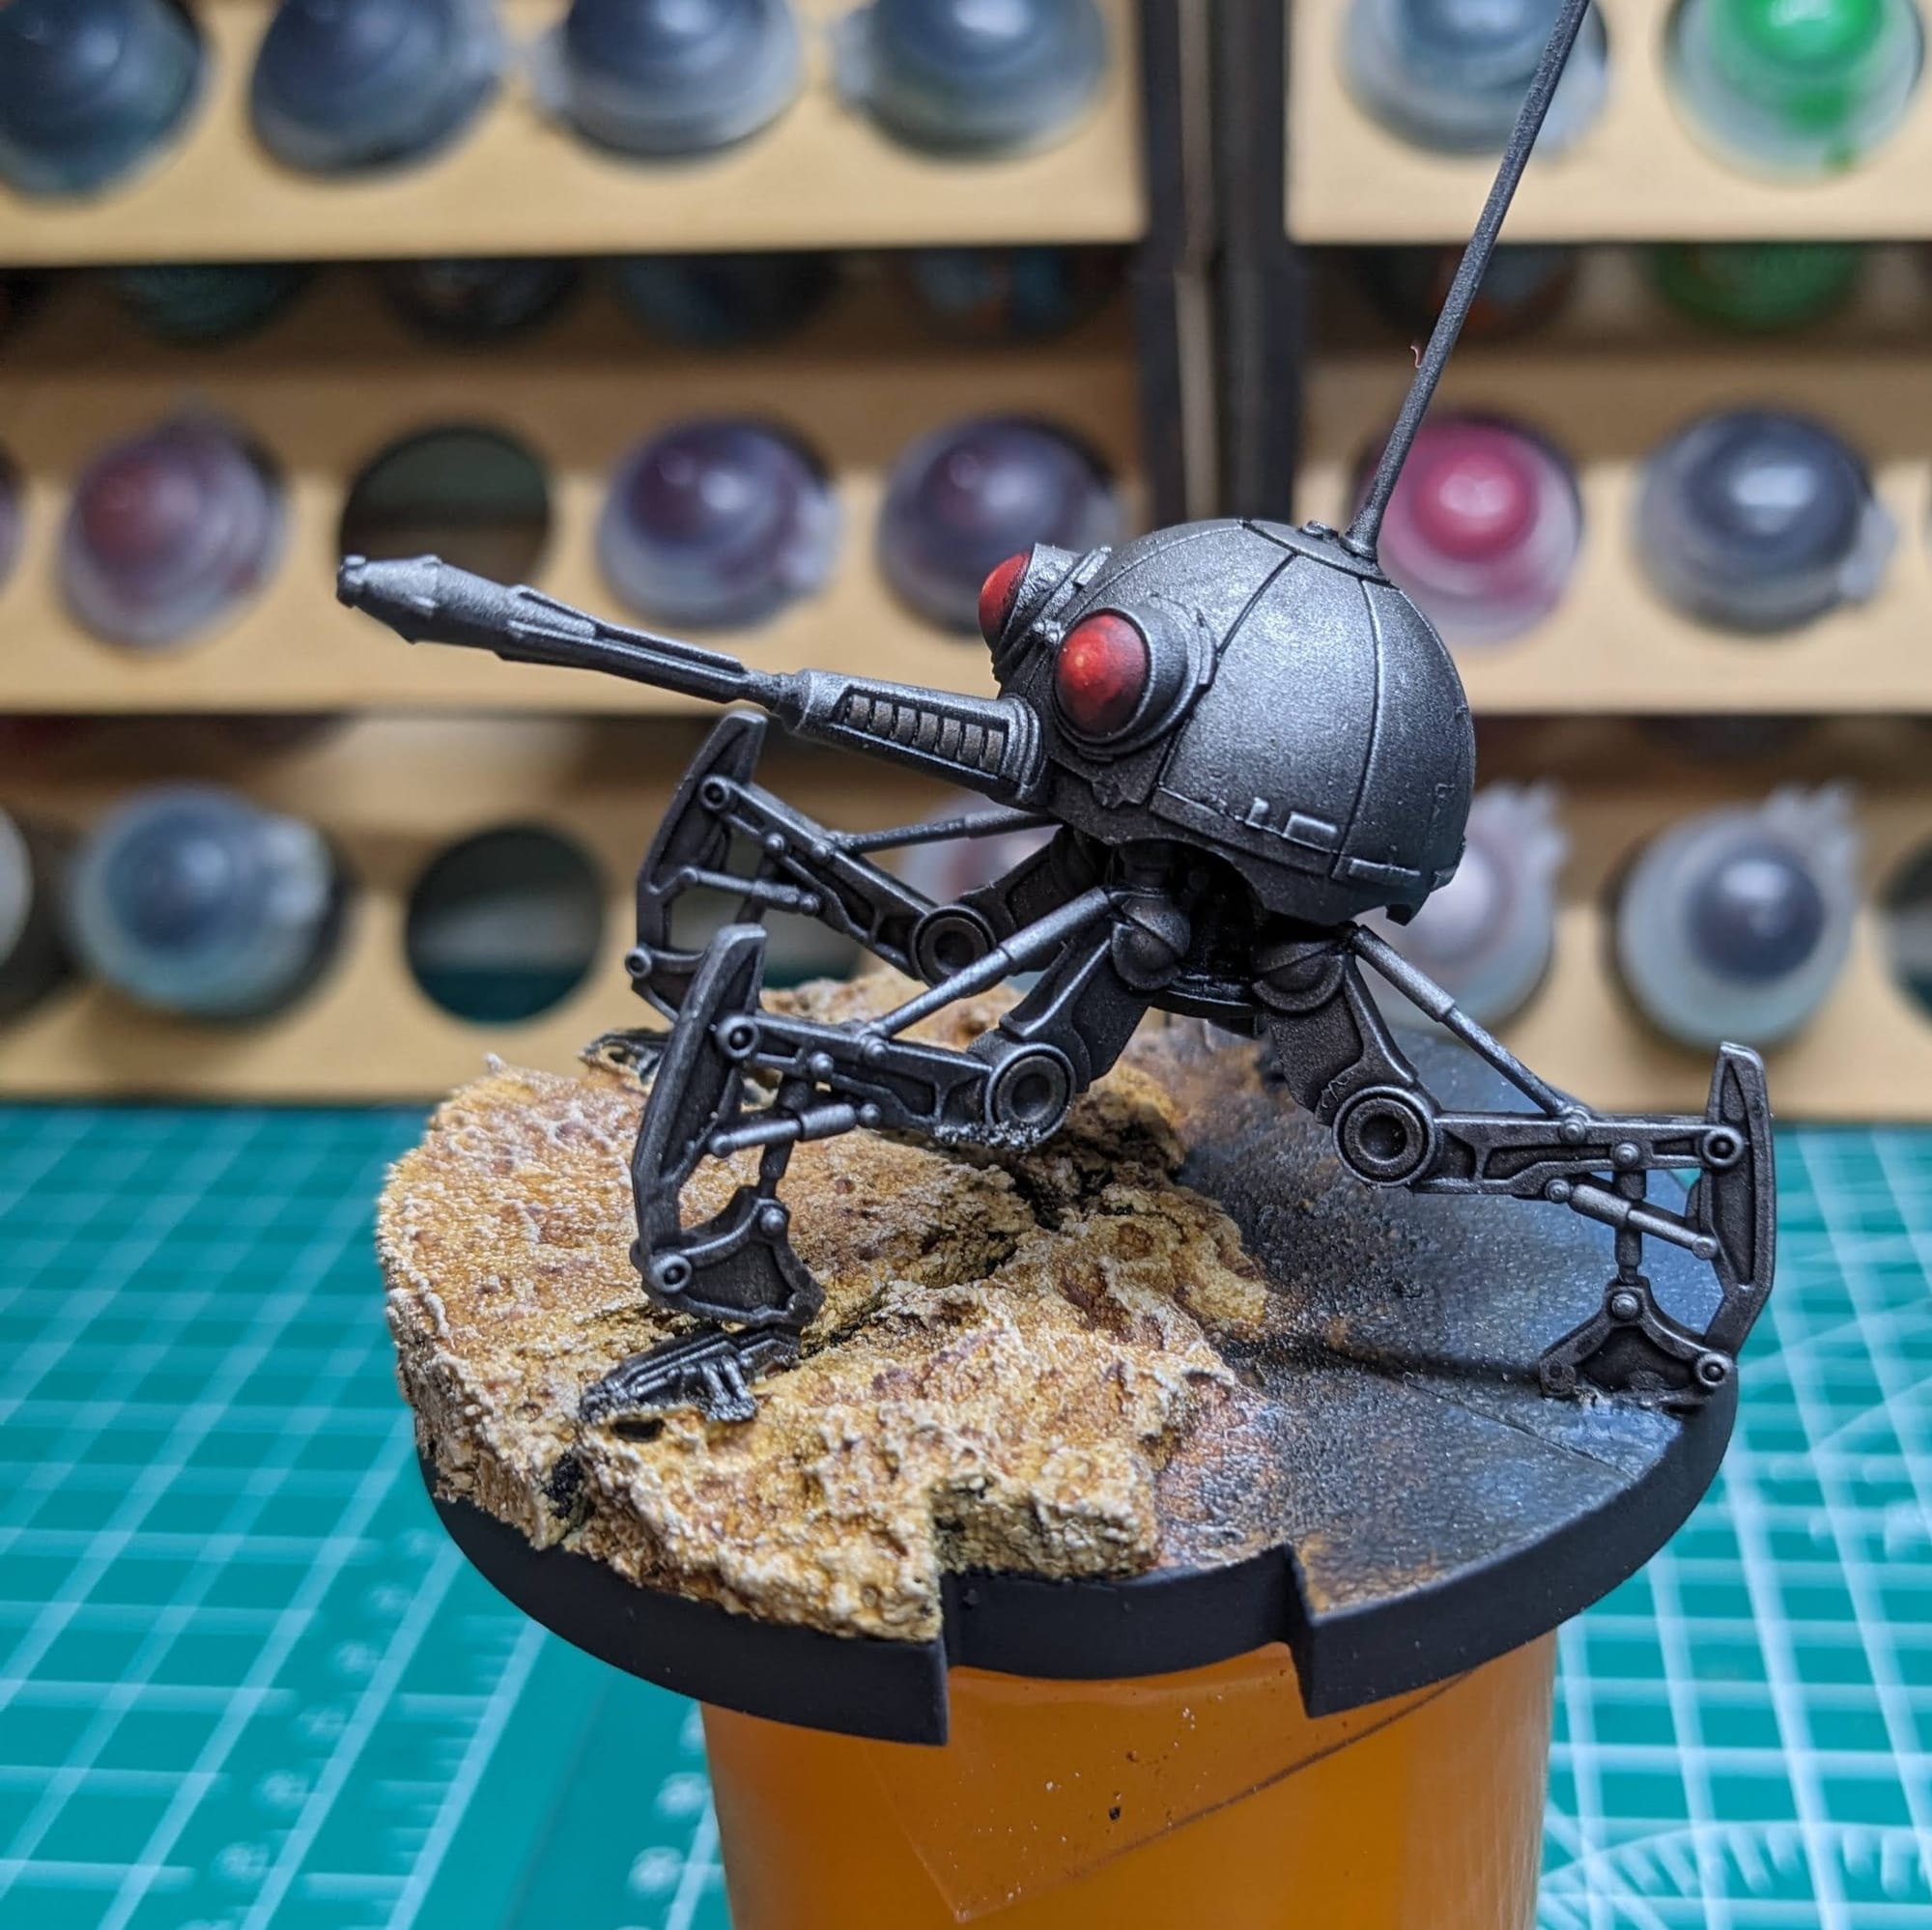
With that, the first stage of basing is done!
Sealing
As I do with all of the models I paint that I also play, I applied a protective clear coating over the paint. This helps preserve the paint on the model and keeps oils from hands from rubbing off the paint as you continuously touch the models during games. There are many different kinds of clear varnishes to use, but I typically use matte or anti-shine varnishes, as satin, semi-gloss, and gloss tend to distort the colors of the models (not to mention that most models aren’t supposed to be shiny).
Brands that have been reliable for me are Krylon Matte Clear Spray, Rust-Oleum Matte Clear Coat, which is slightly glossy, and Testors Dullcote, although the latter can be expensive and difficult to find. For a coat with no shine that really enhances the colors, I use AK Interactive’s Ultra Matte Varnish, applied with an airbrush.
As I typically like to seal my miniatures in a matte clear coat to both protect the model and bring out all of the colors without being impacted by the varnish, I needed to do this before applying the glossy effects of the water. Typically, gloss varnish paints provide a protective coat anyway, but applying the gloss and water effects and then sealing the whole model would cause the gloss to become matte. So, while it is an extra step, it produces a much better outcome for the piece.
Basing Part 2 - The Water Effects
Once the model was sealed, it was time to apply the water effects; the waves crashing upon the shore and water dripping from the droid itself.
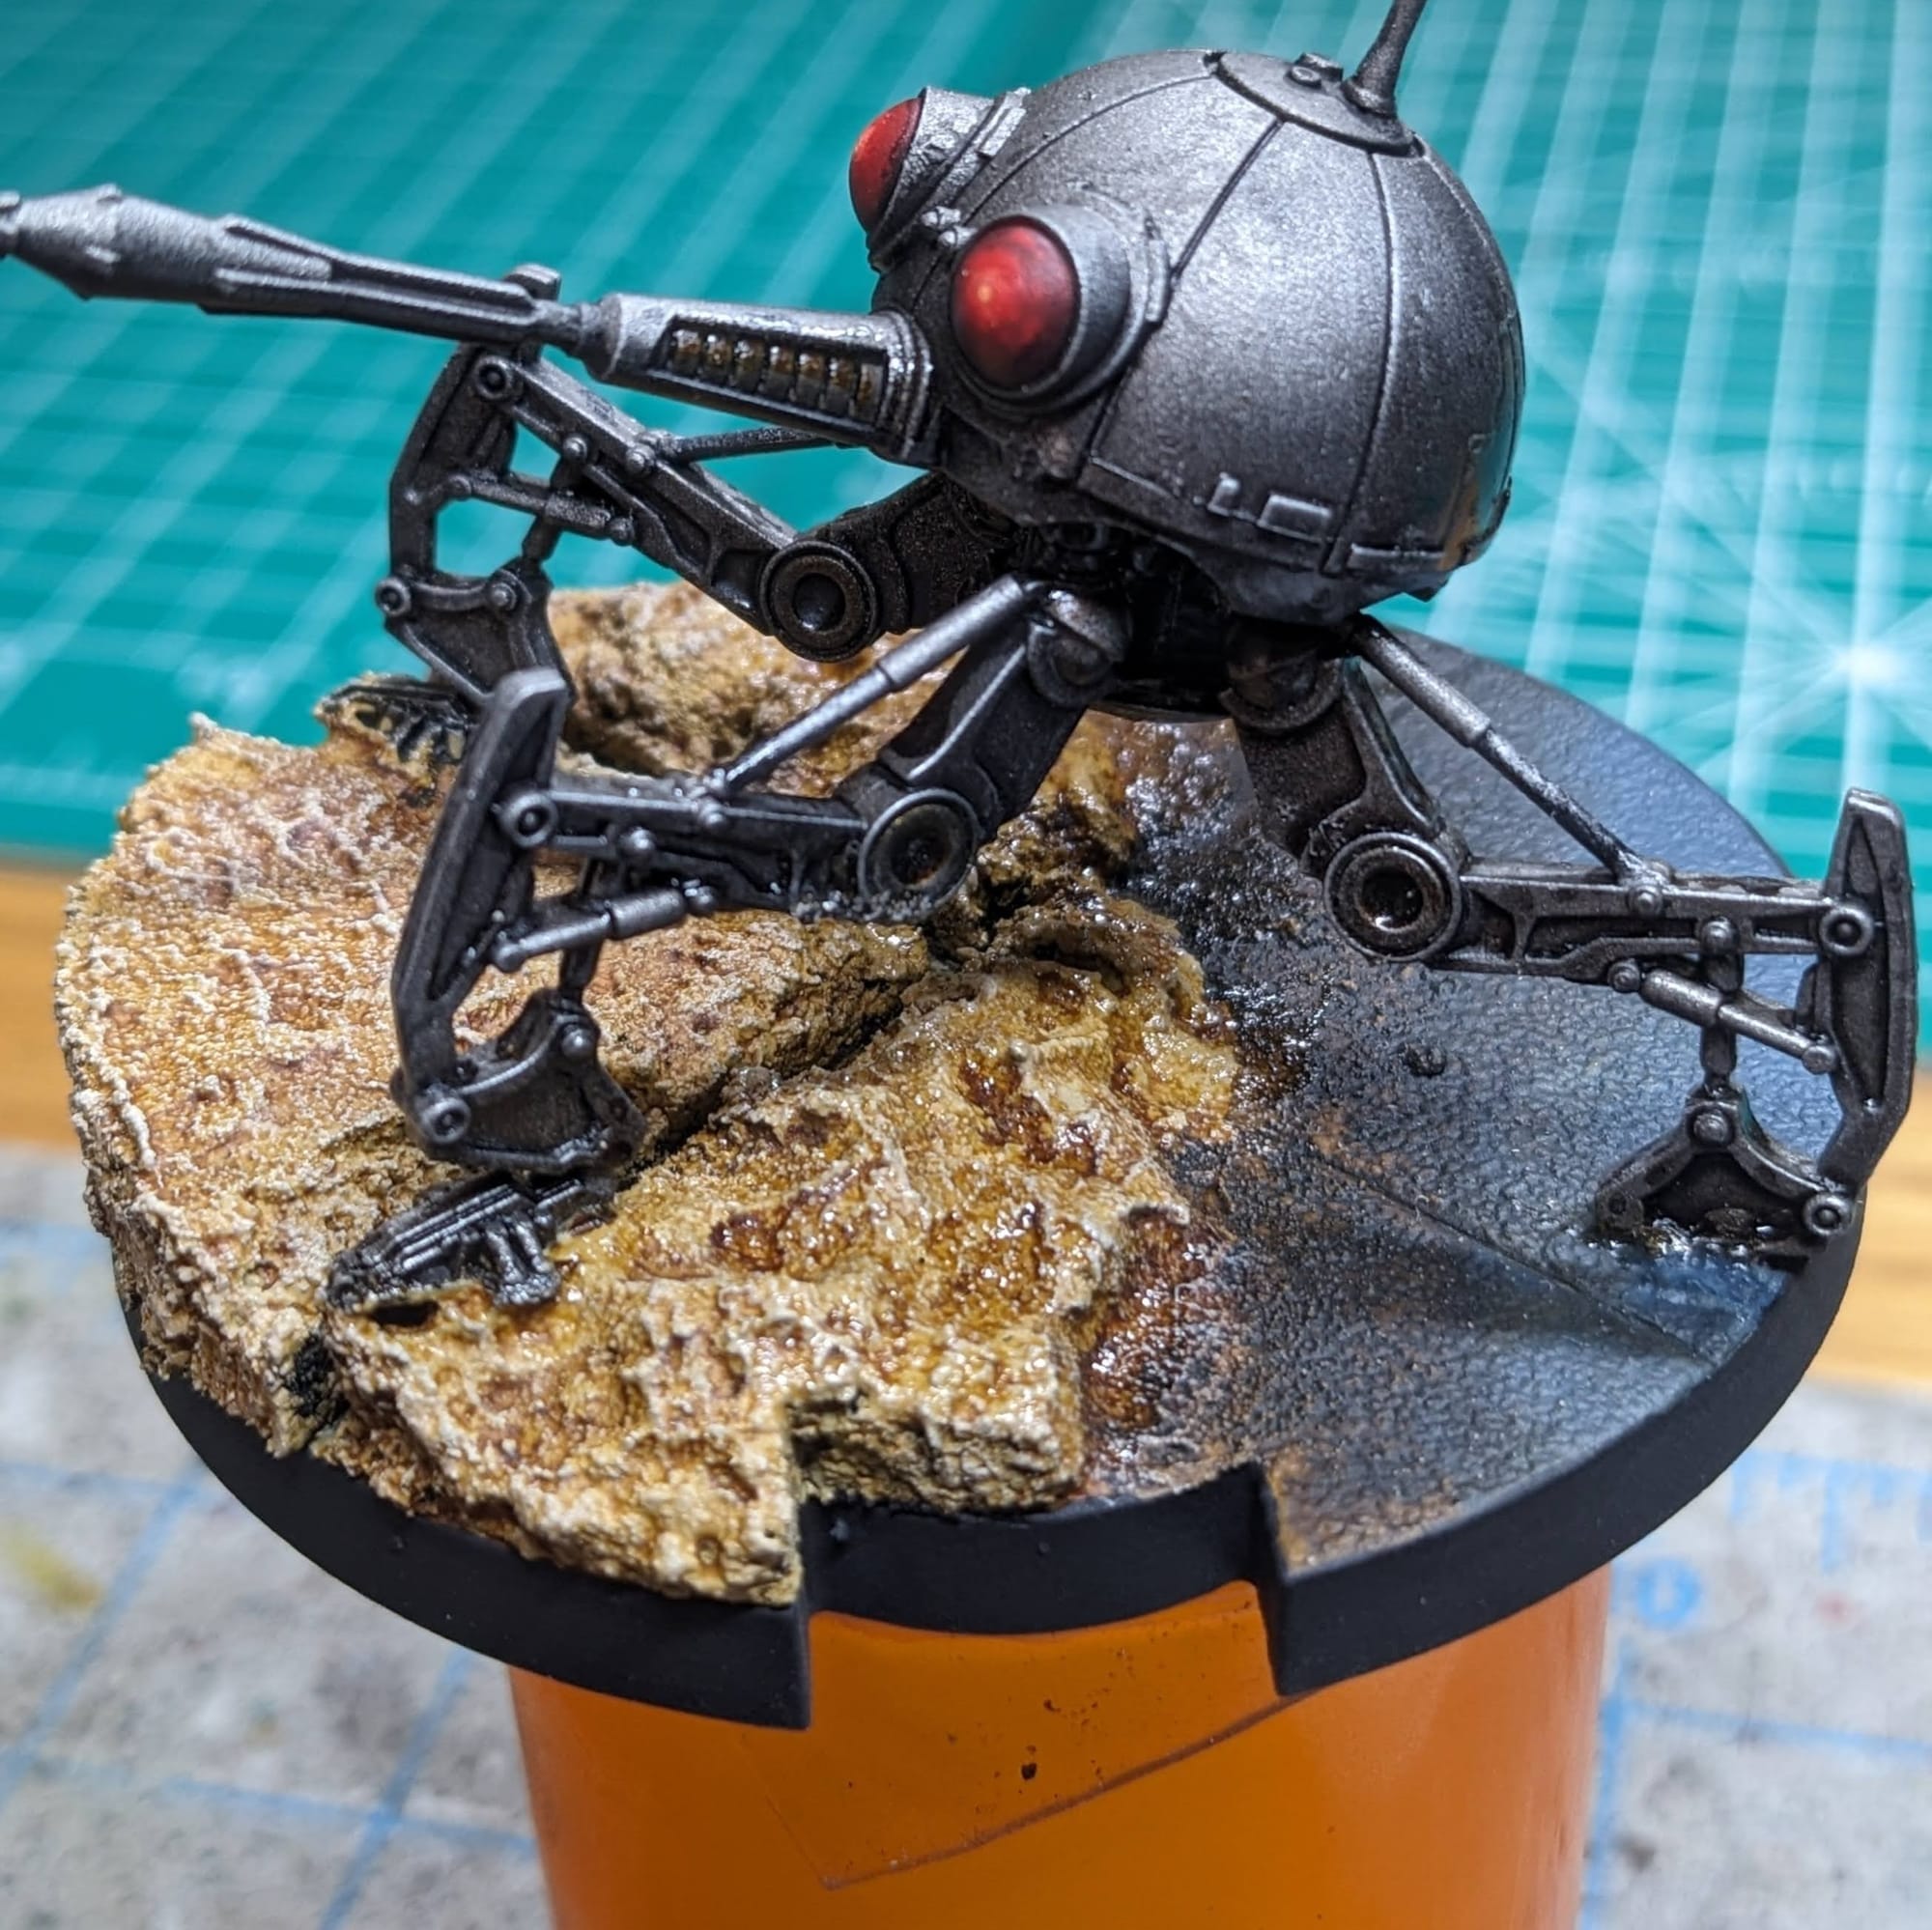
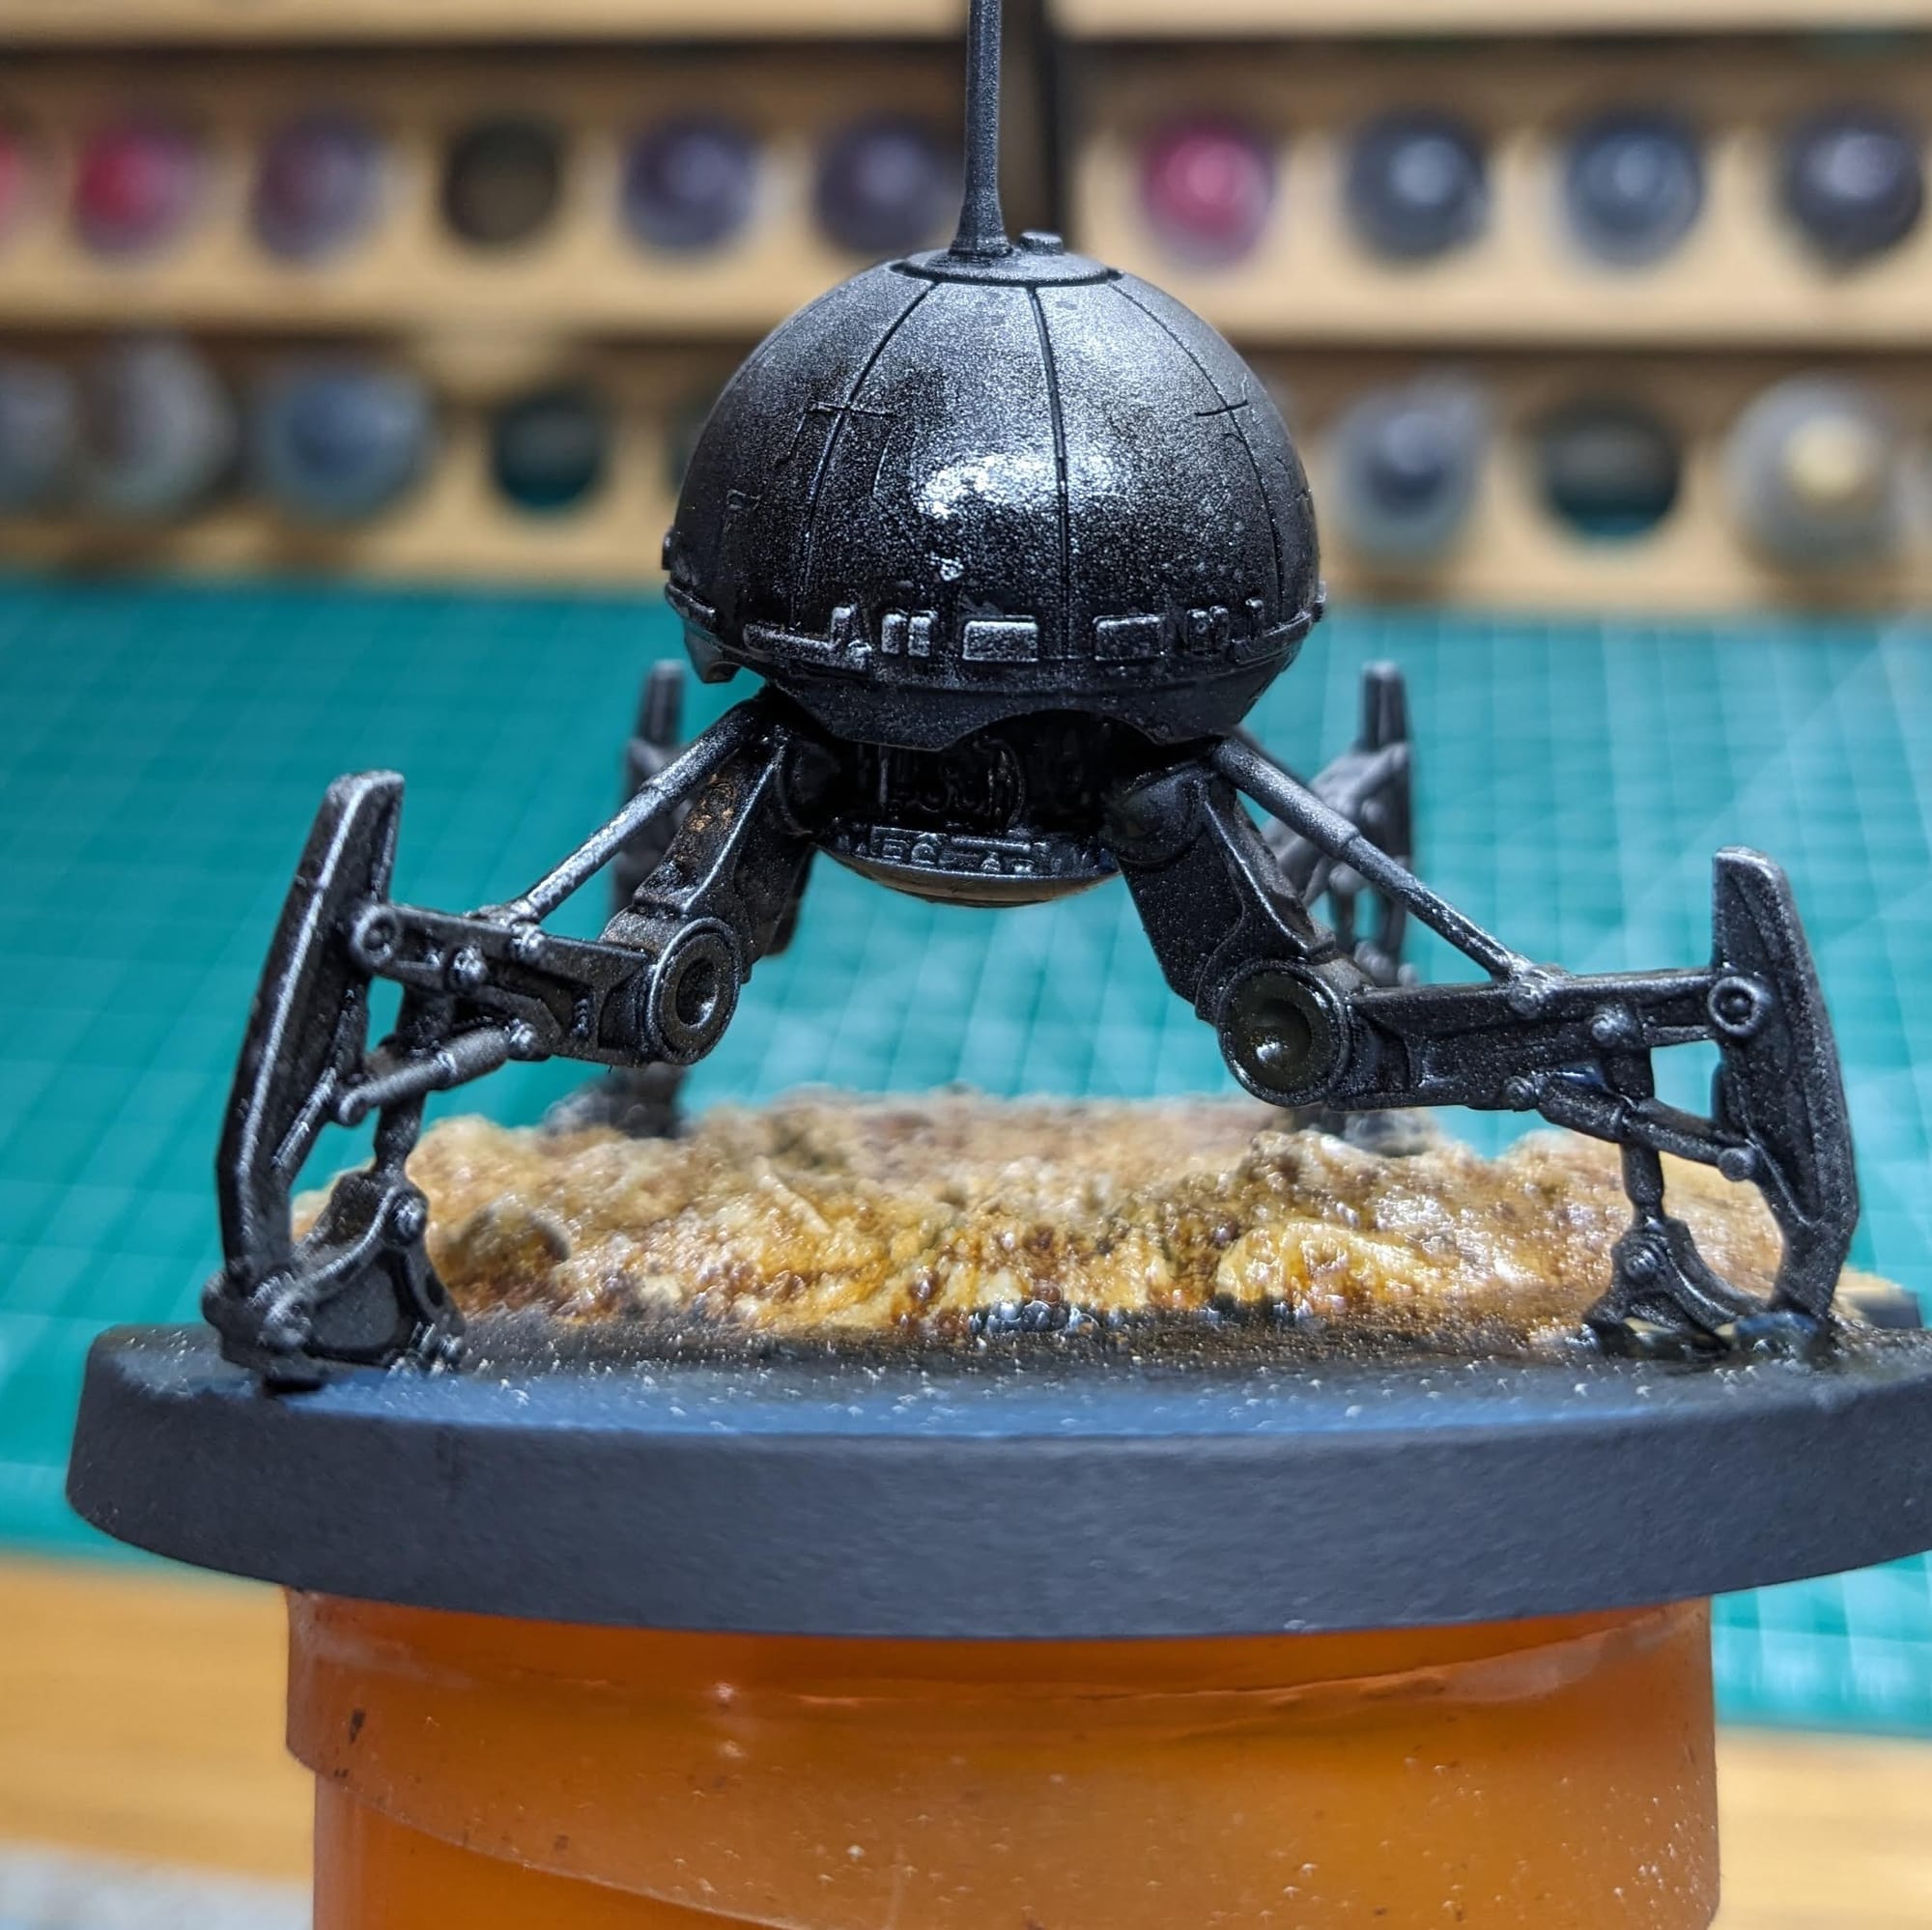
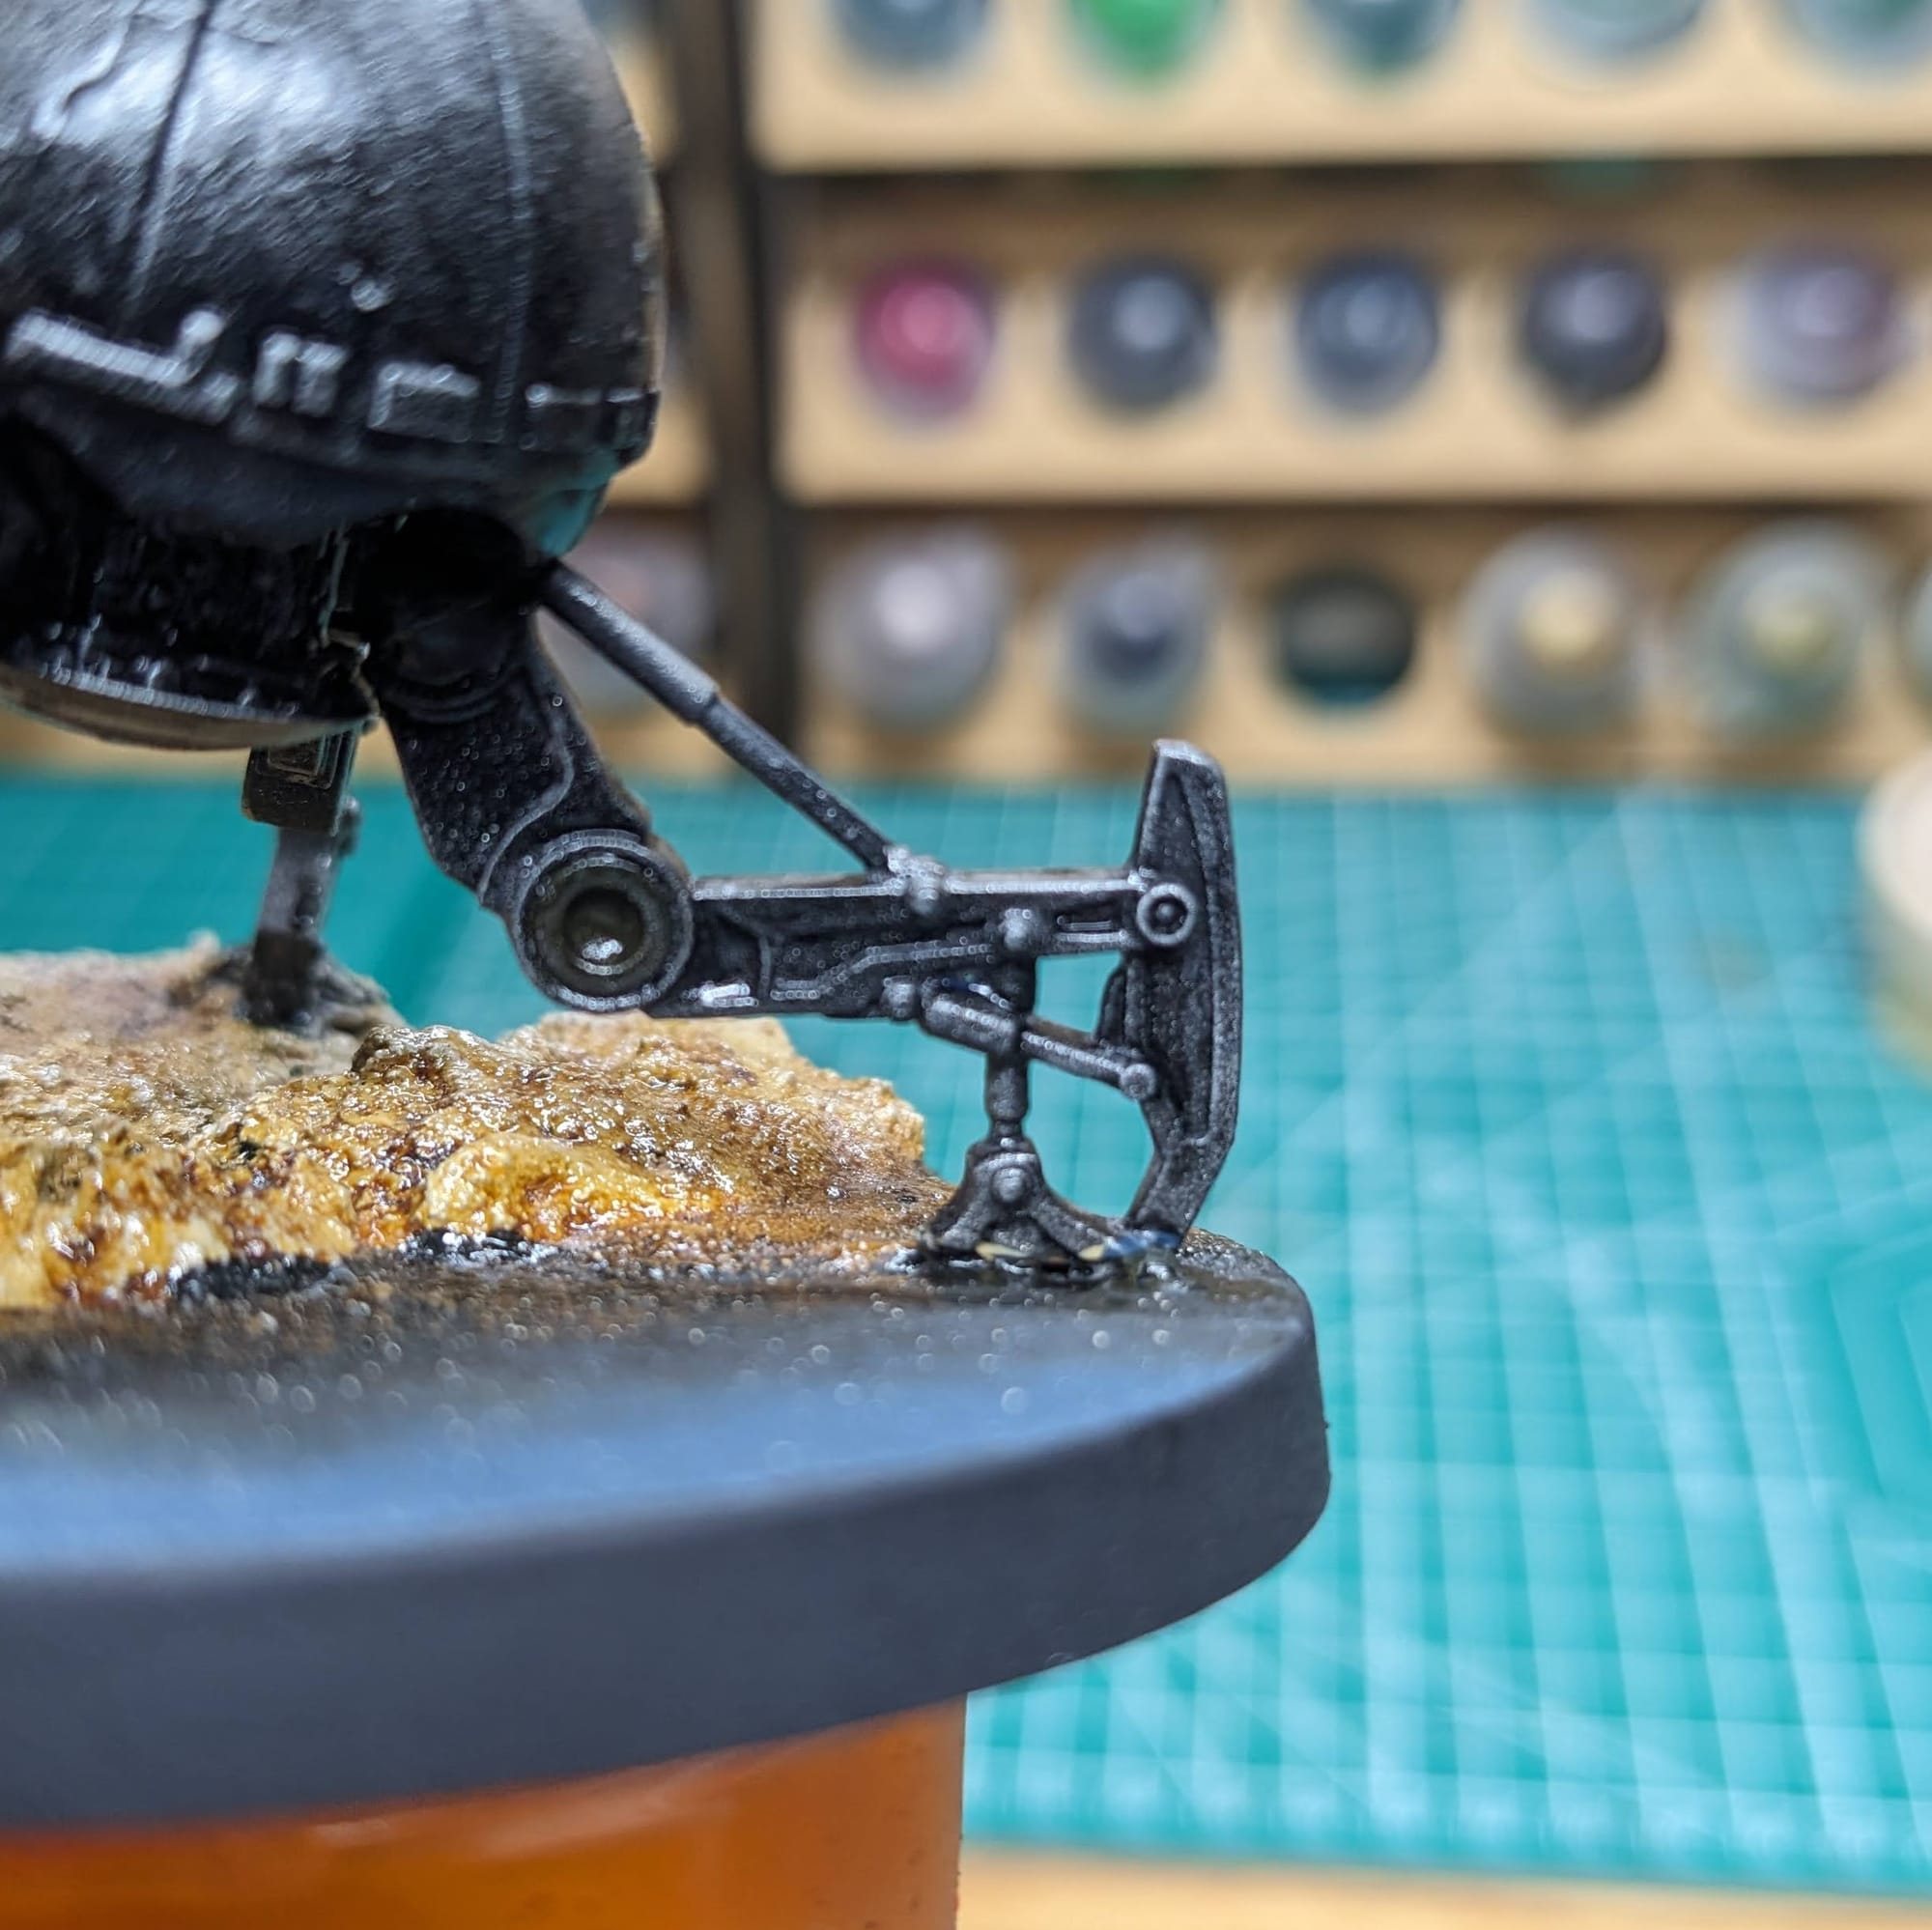
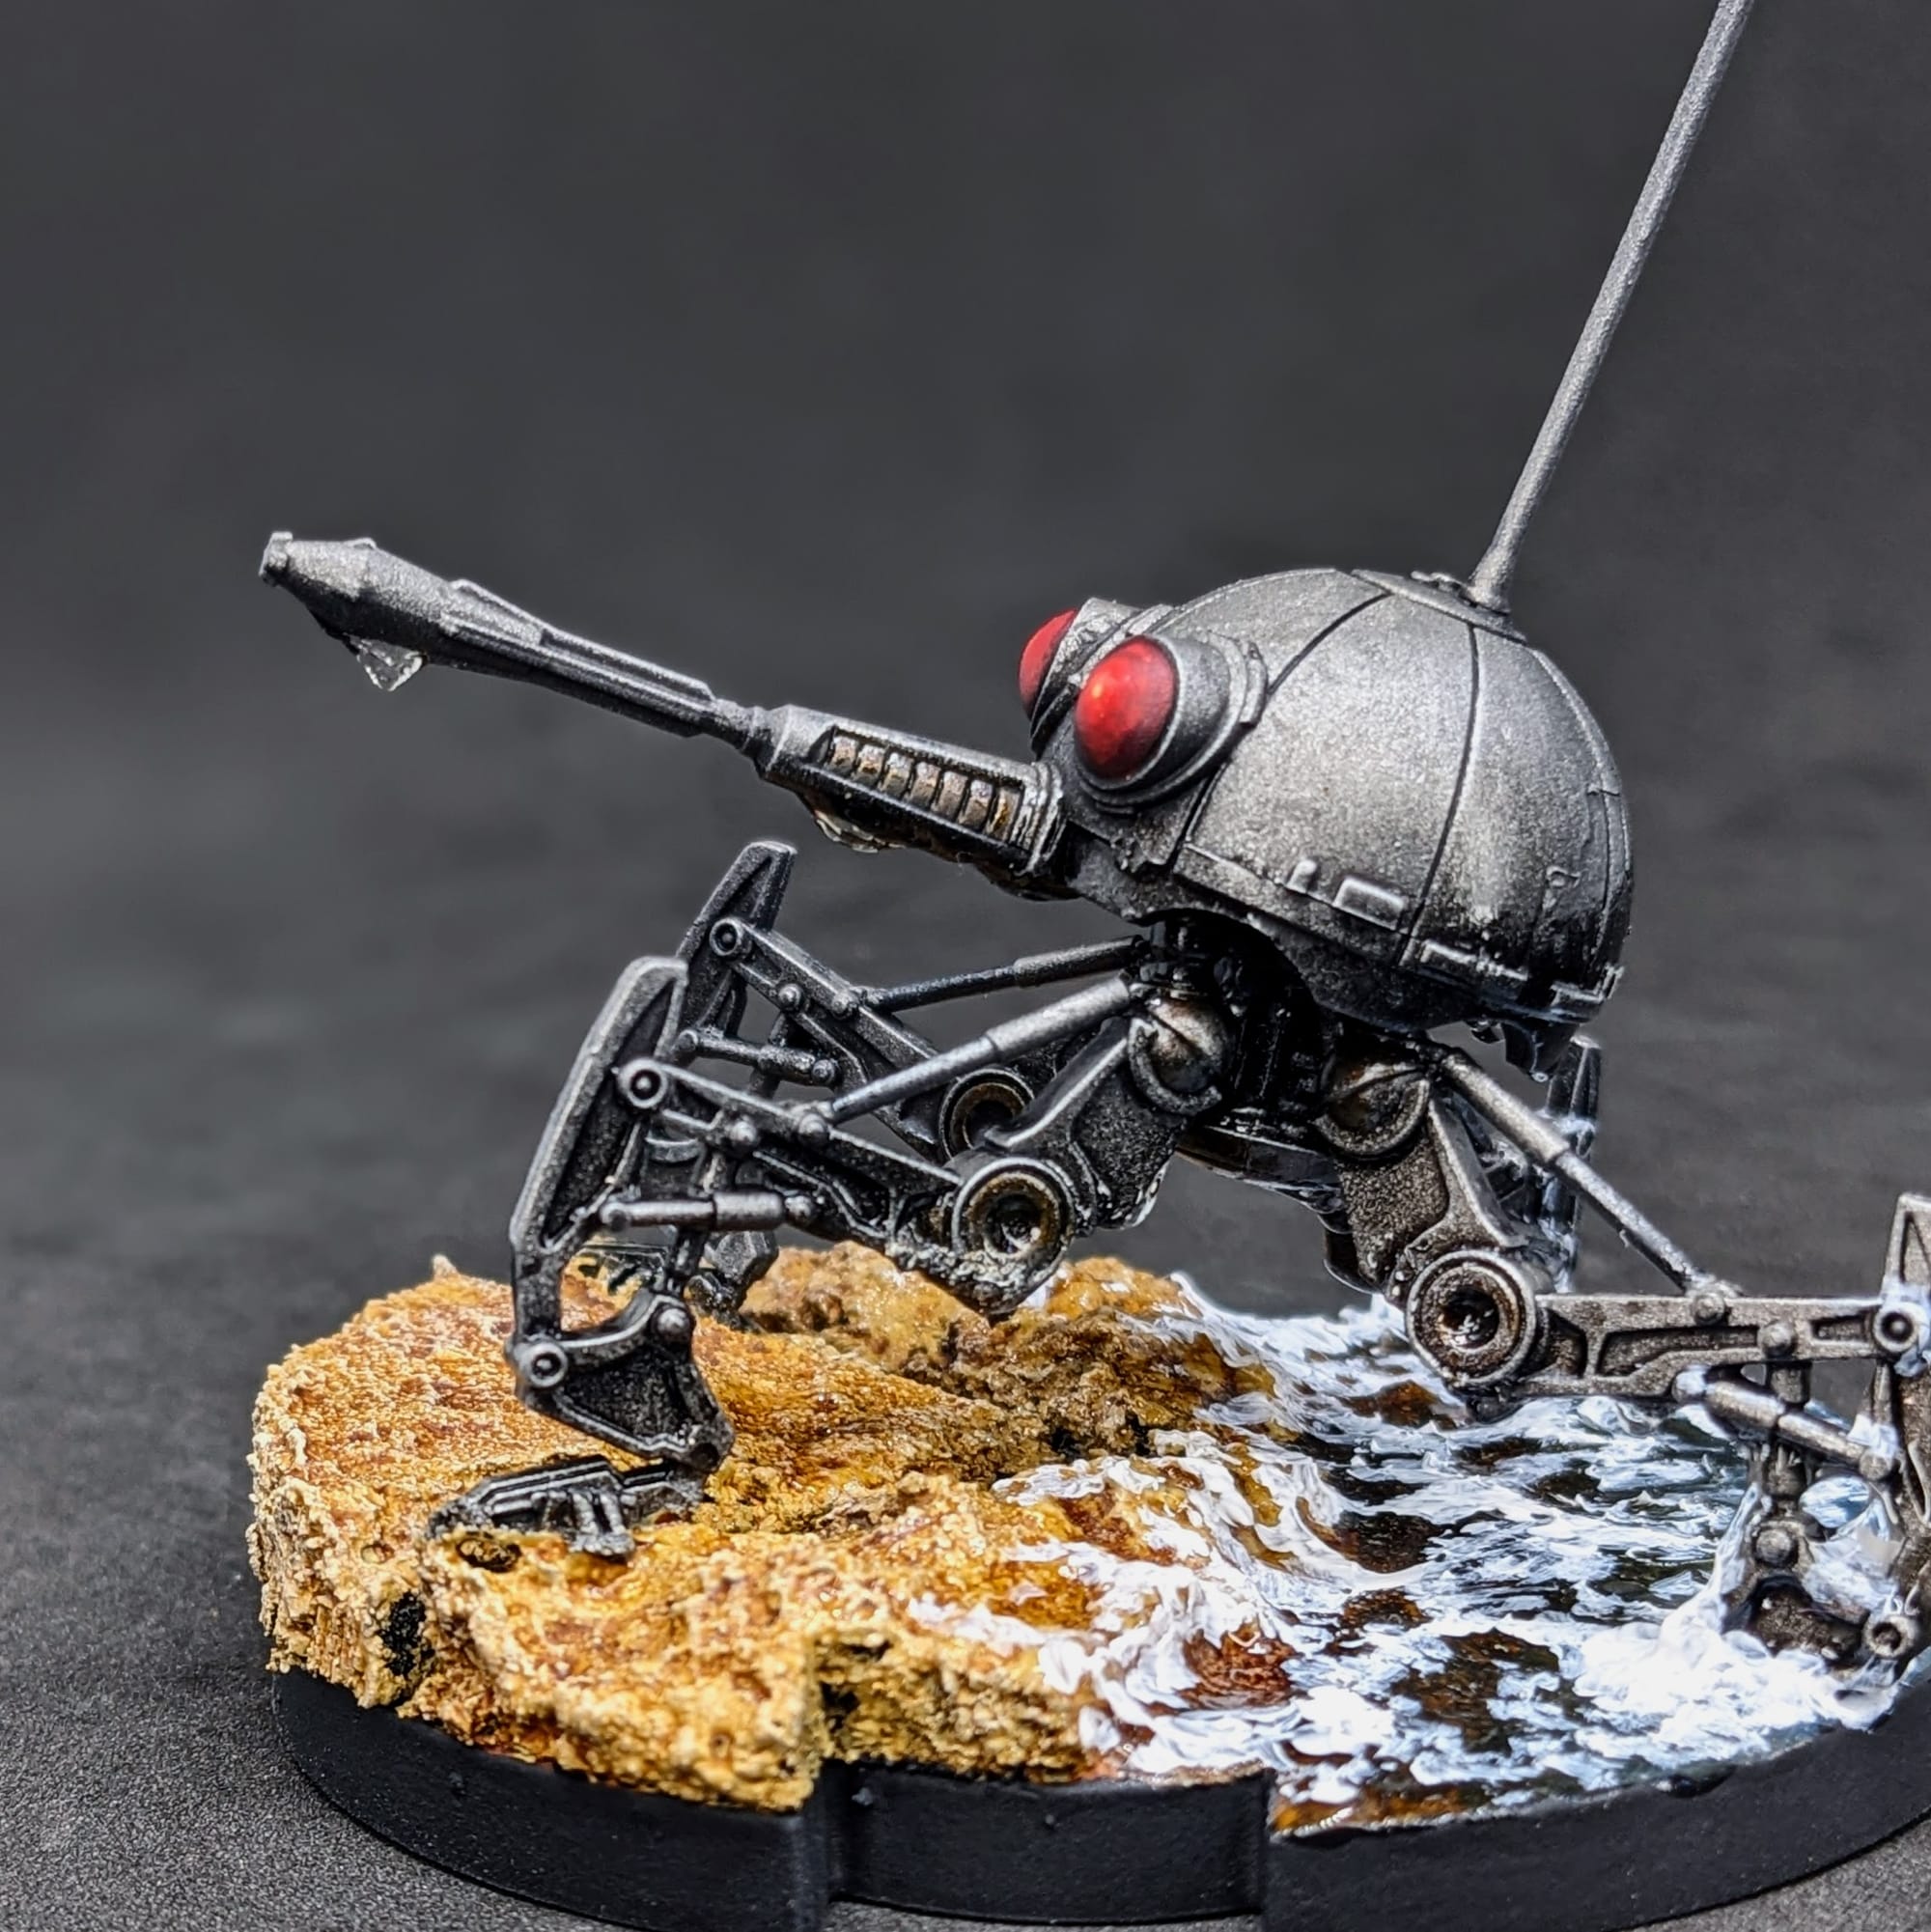
I applied Citadel 'Ardcoat along the shoreline and legs, paying special attention to the underside of the model. After all, the droid is moving out the water, so it should be soaking wet.
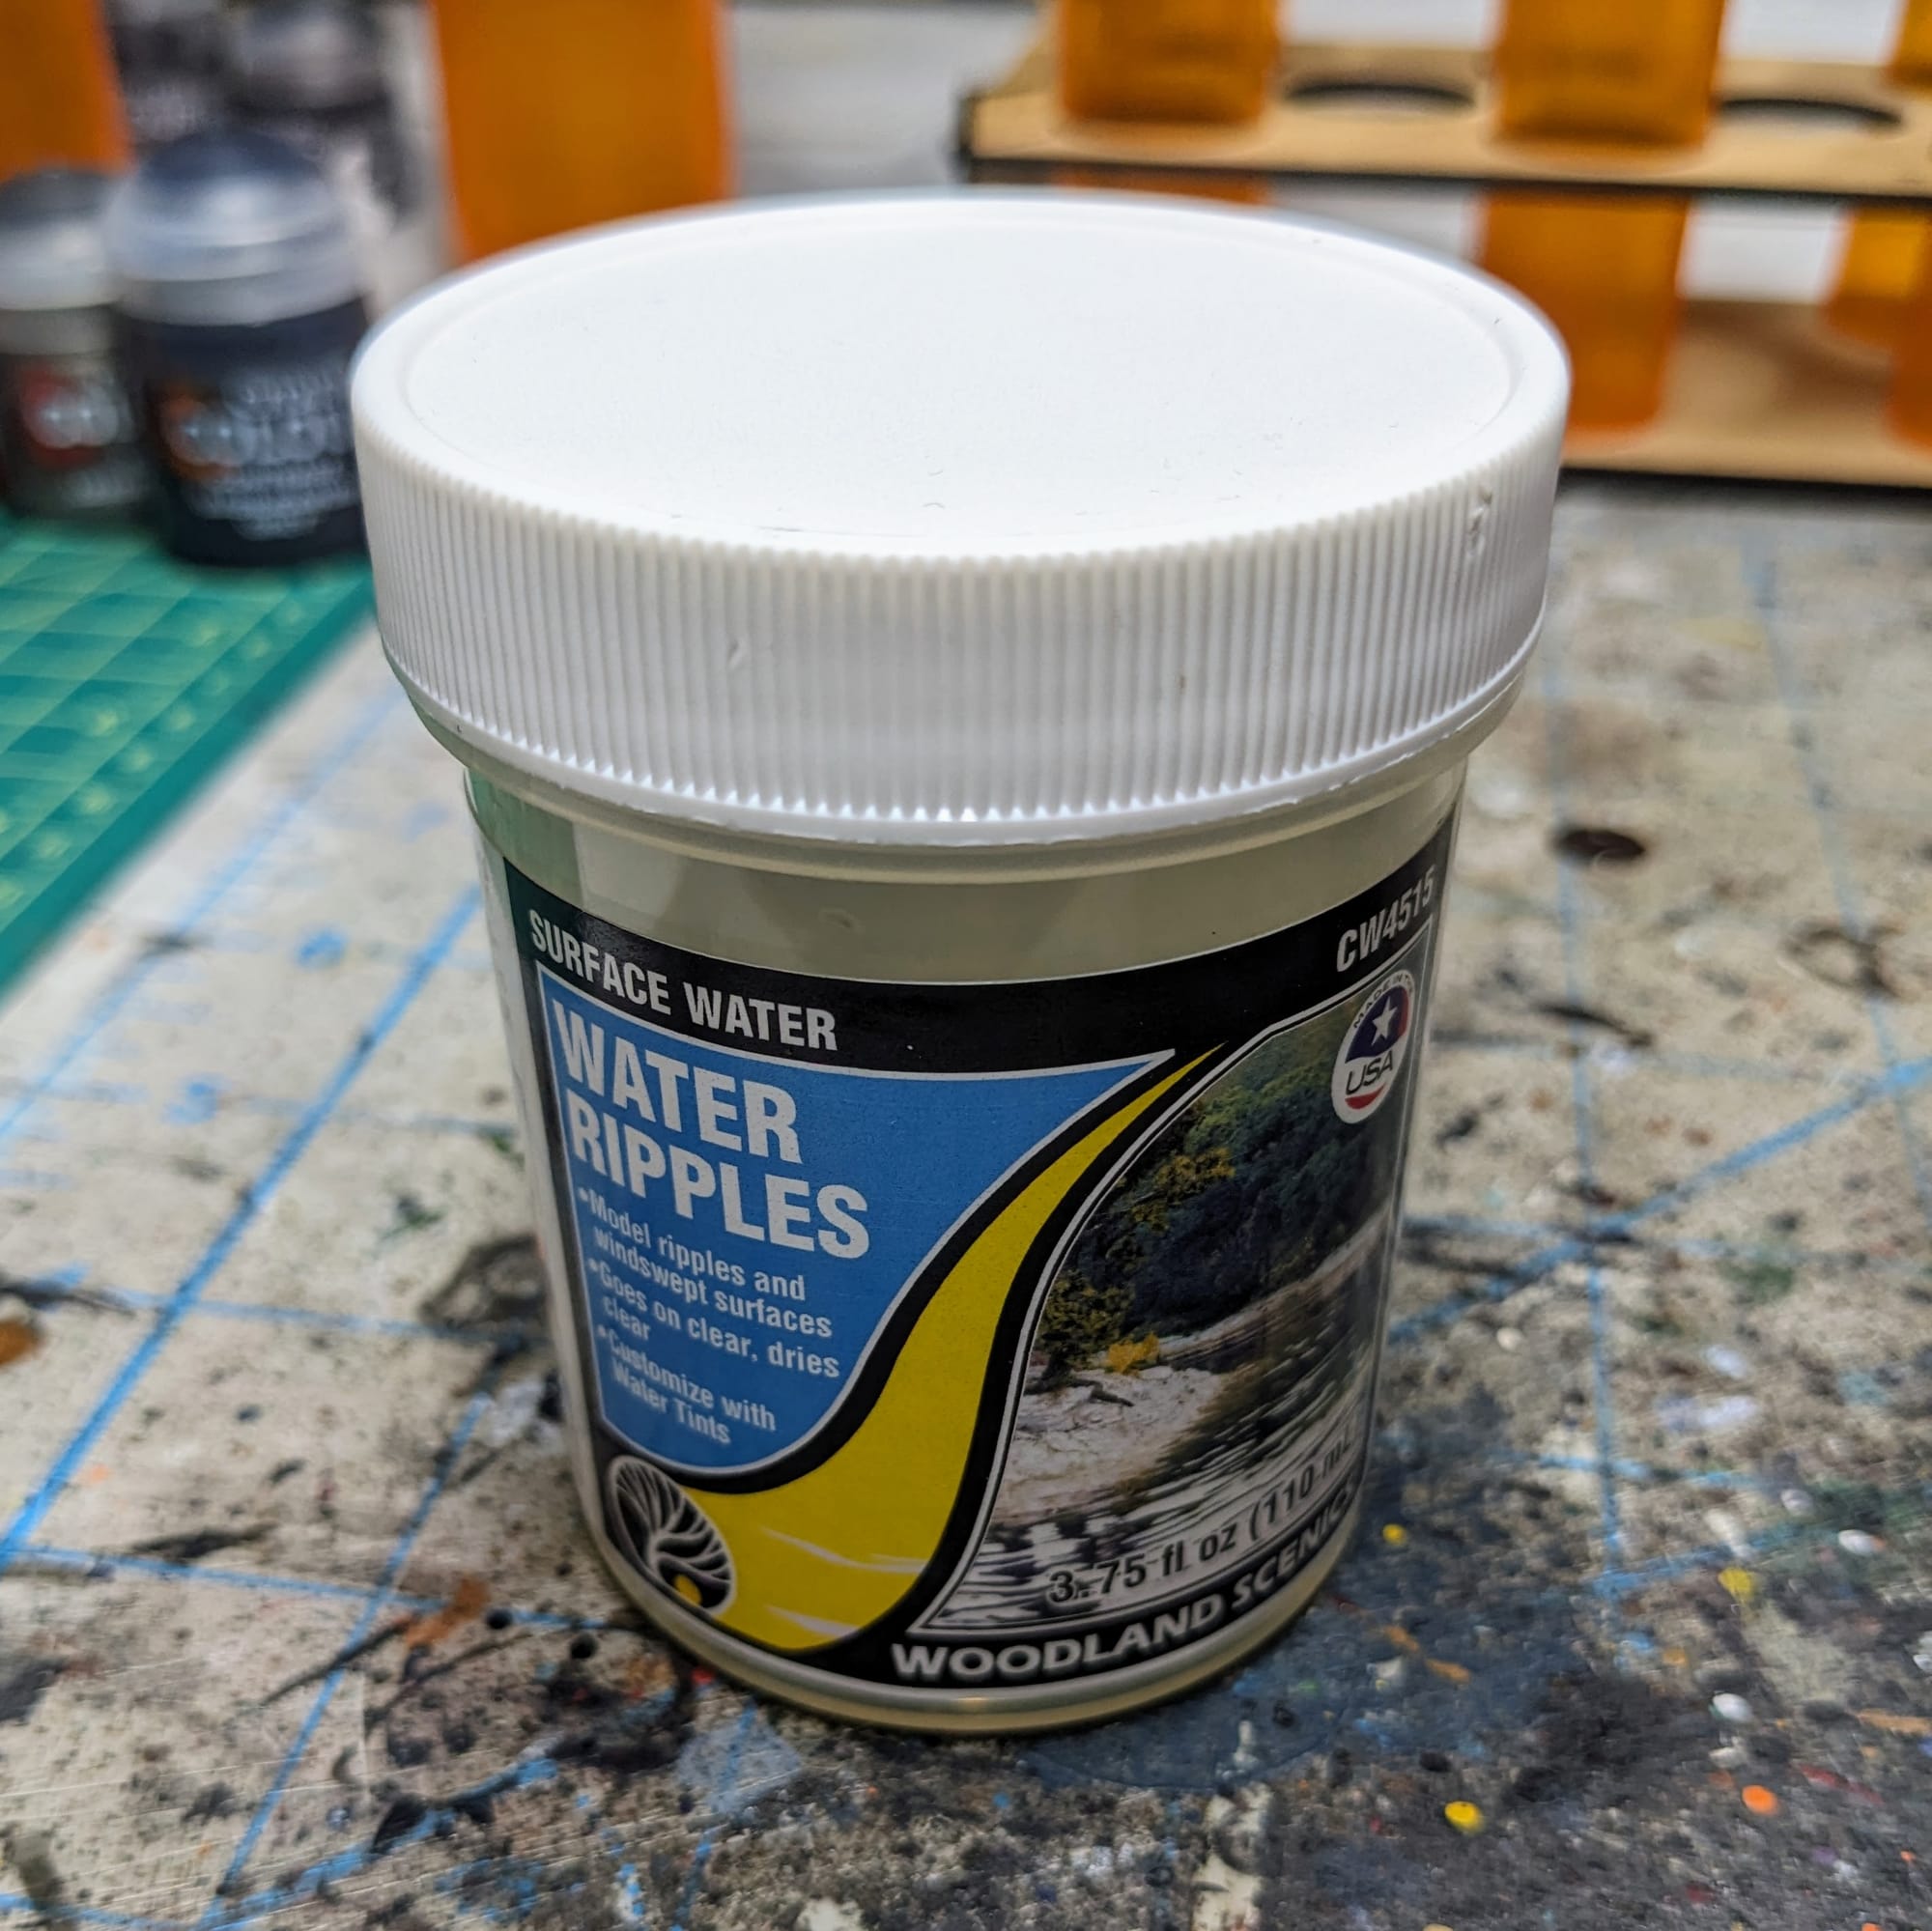
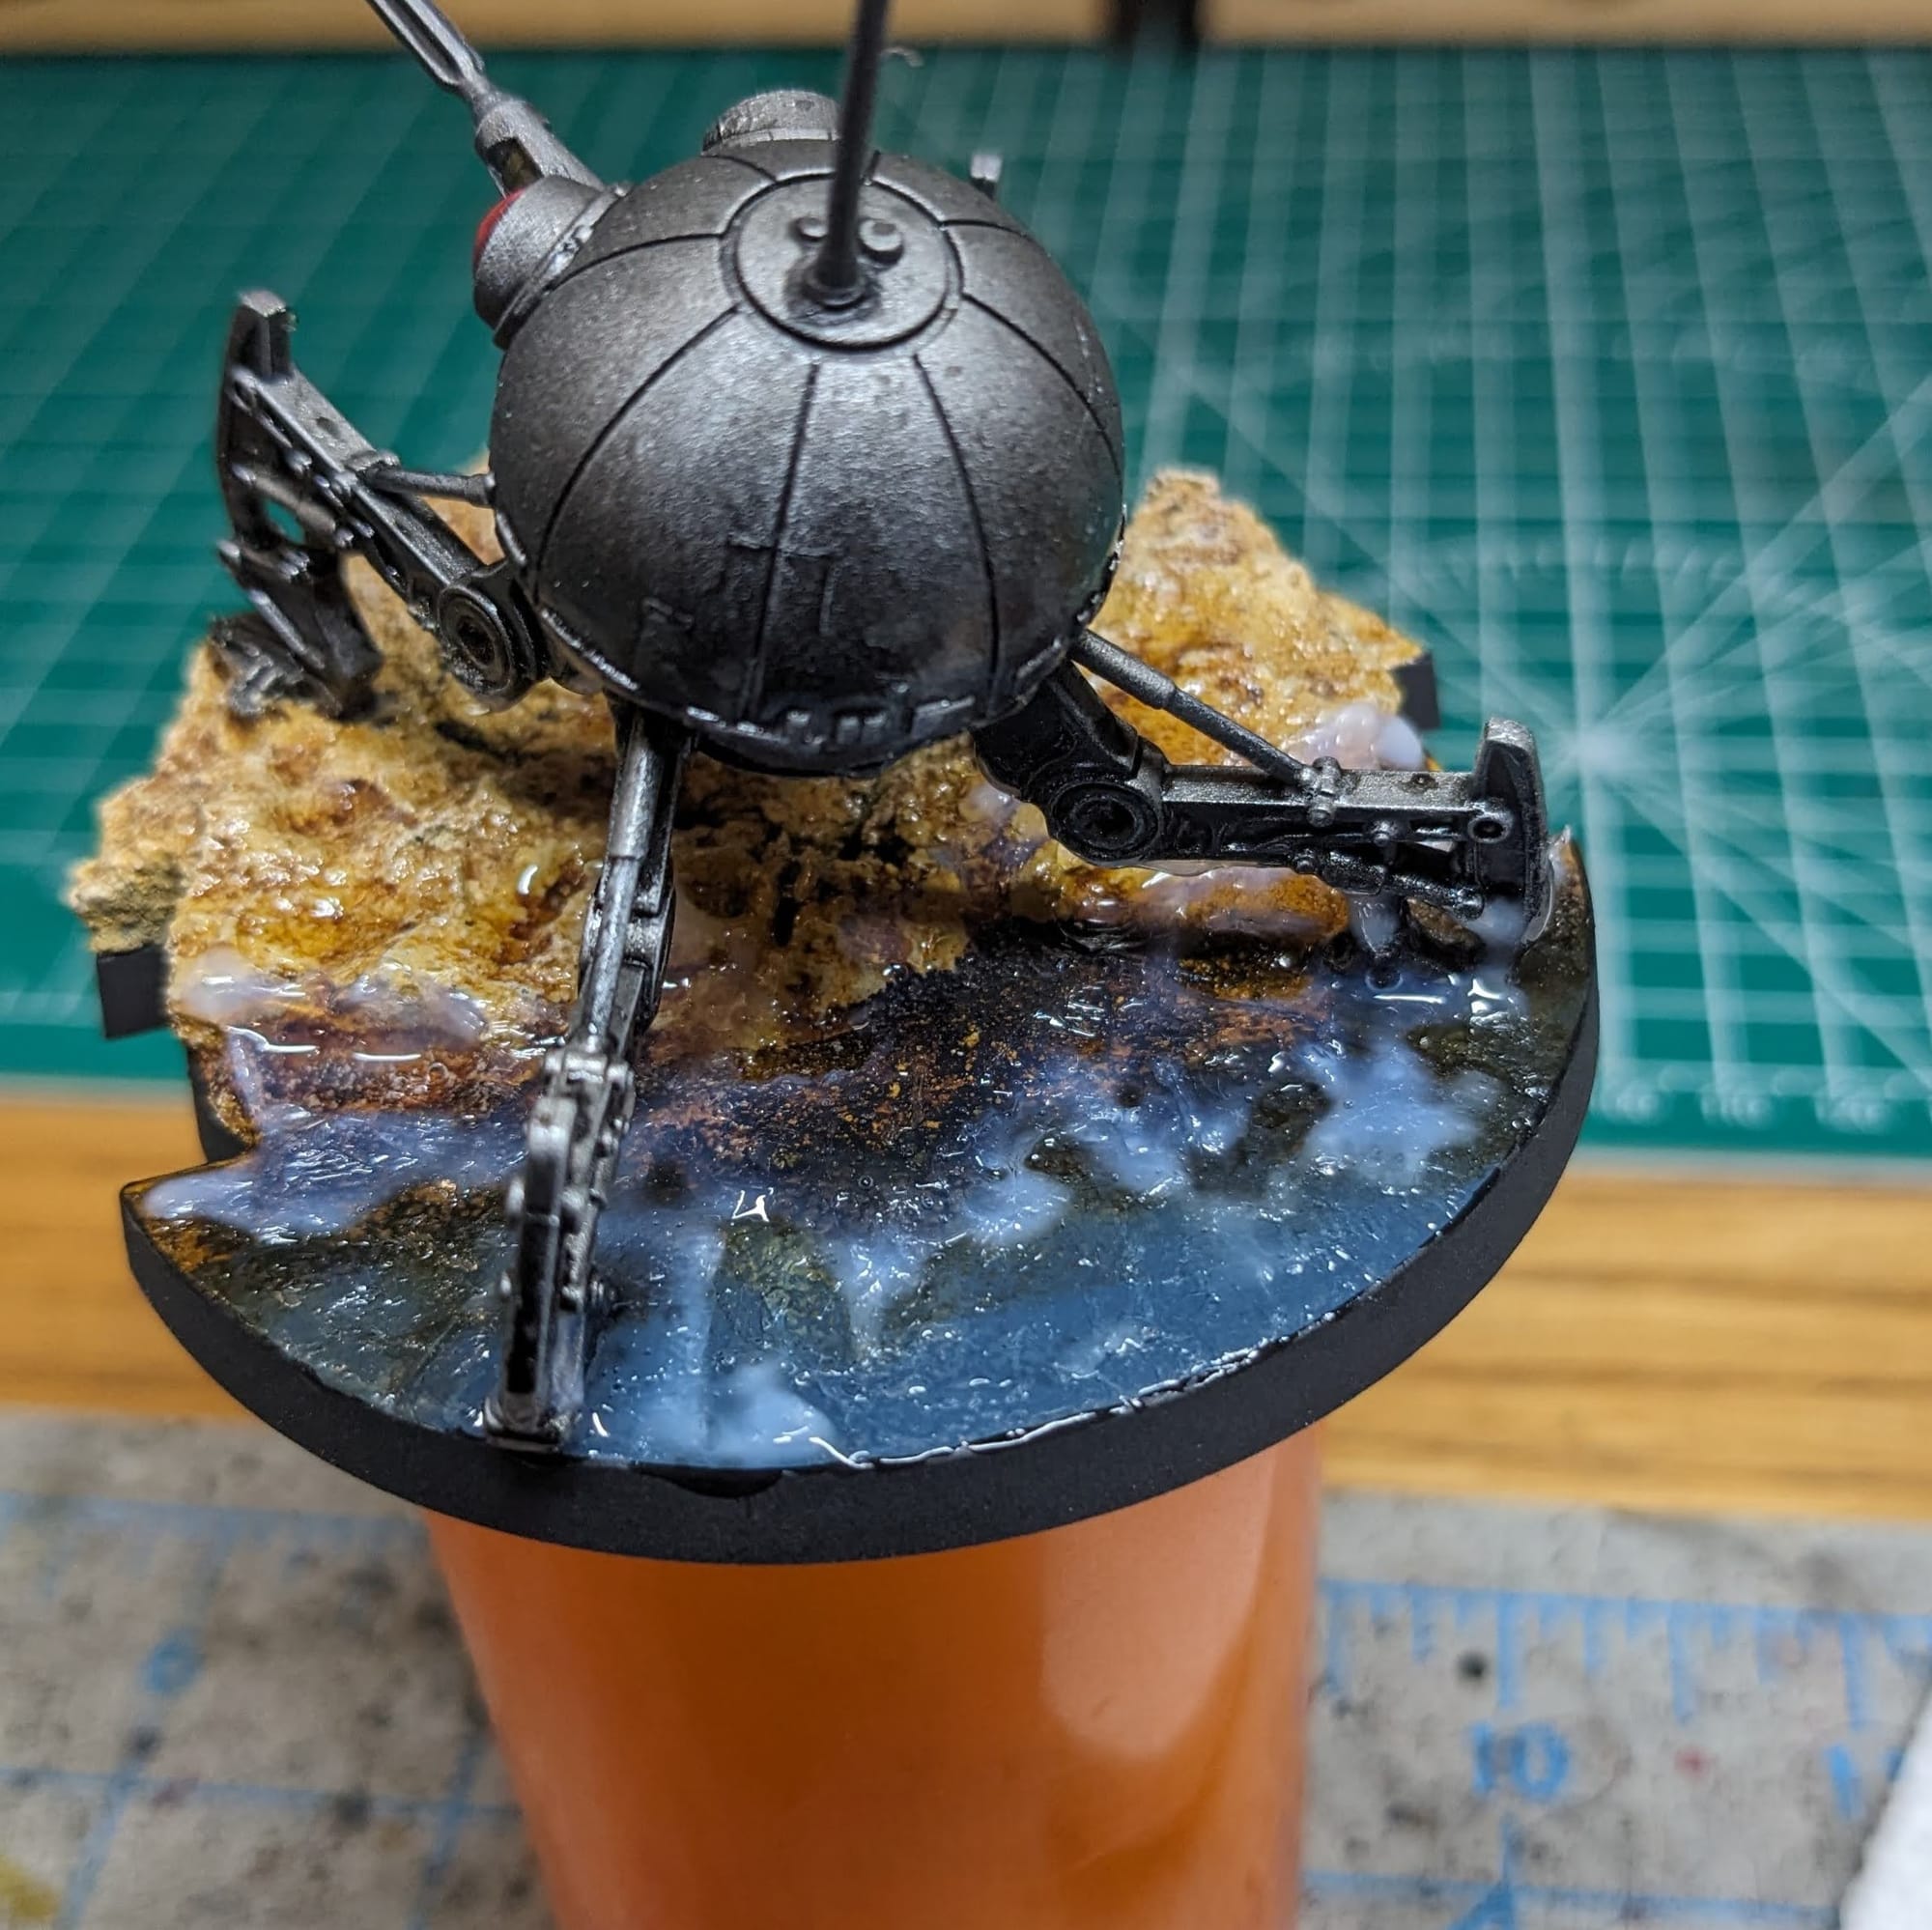
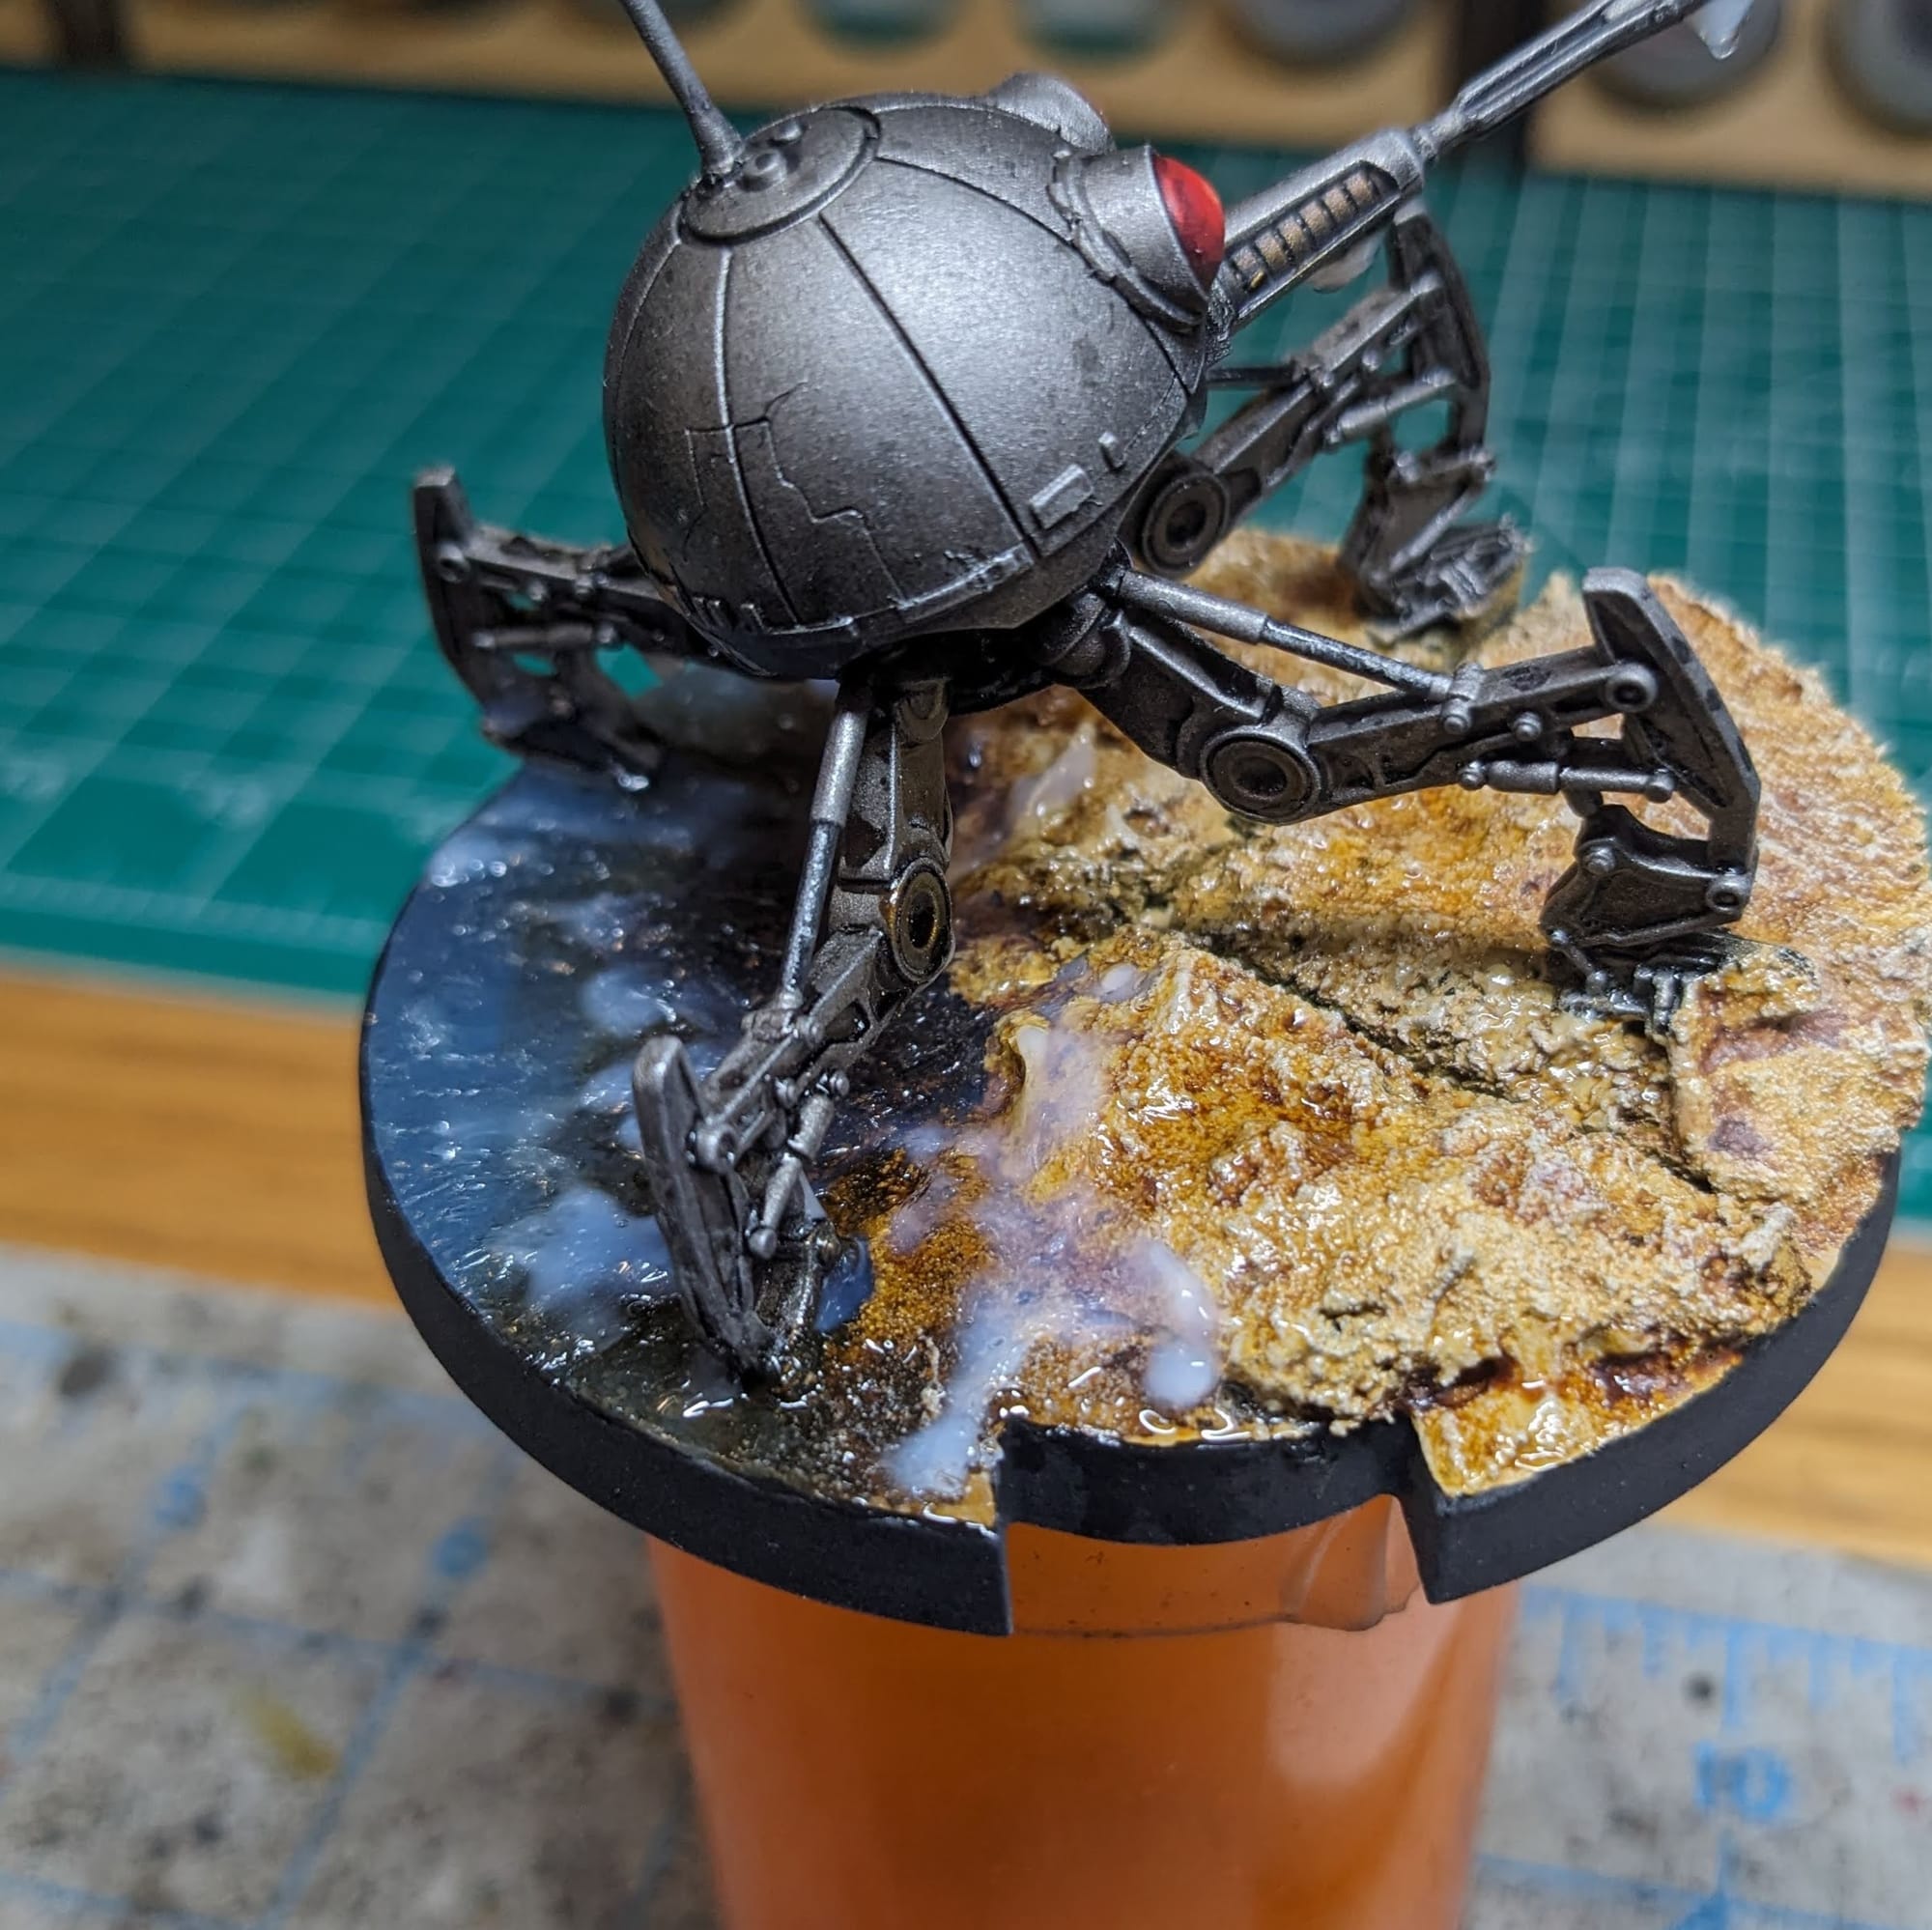
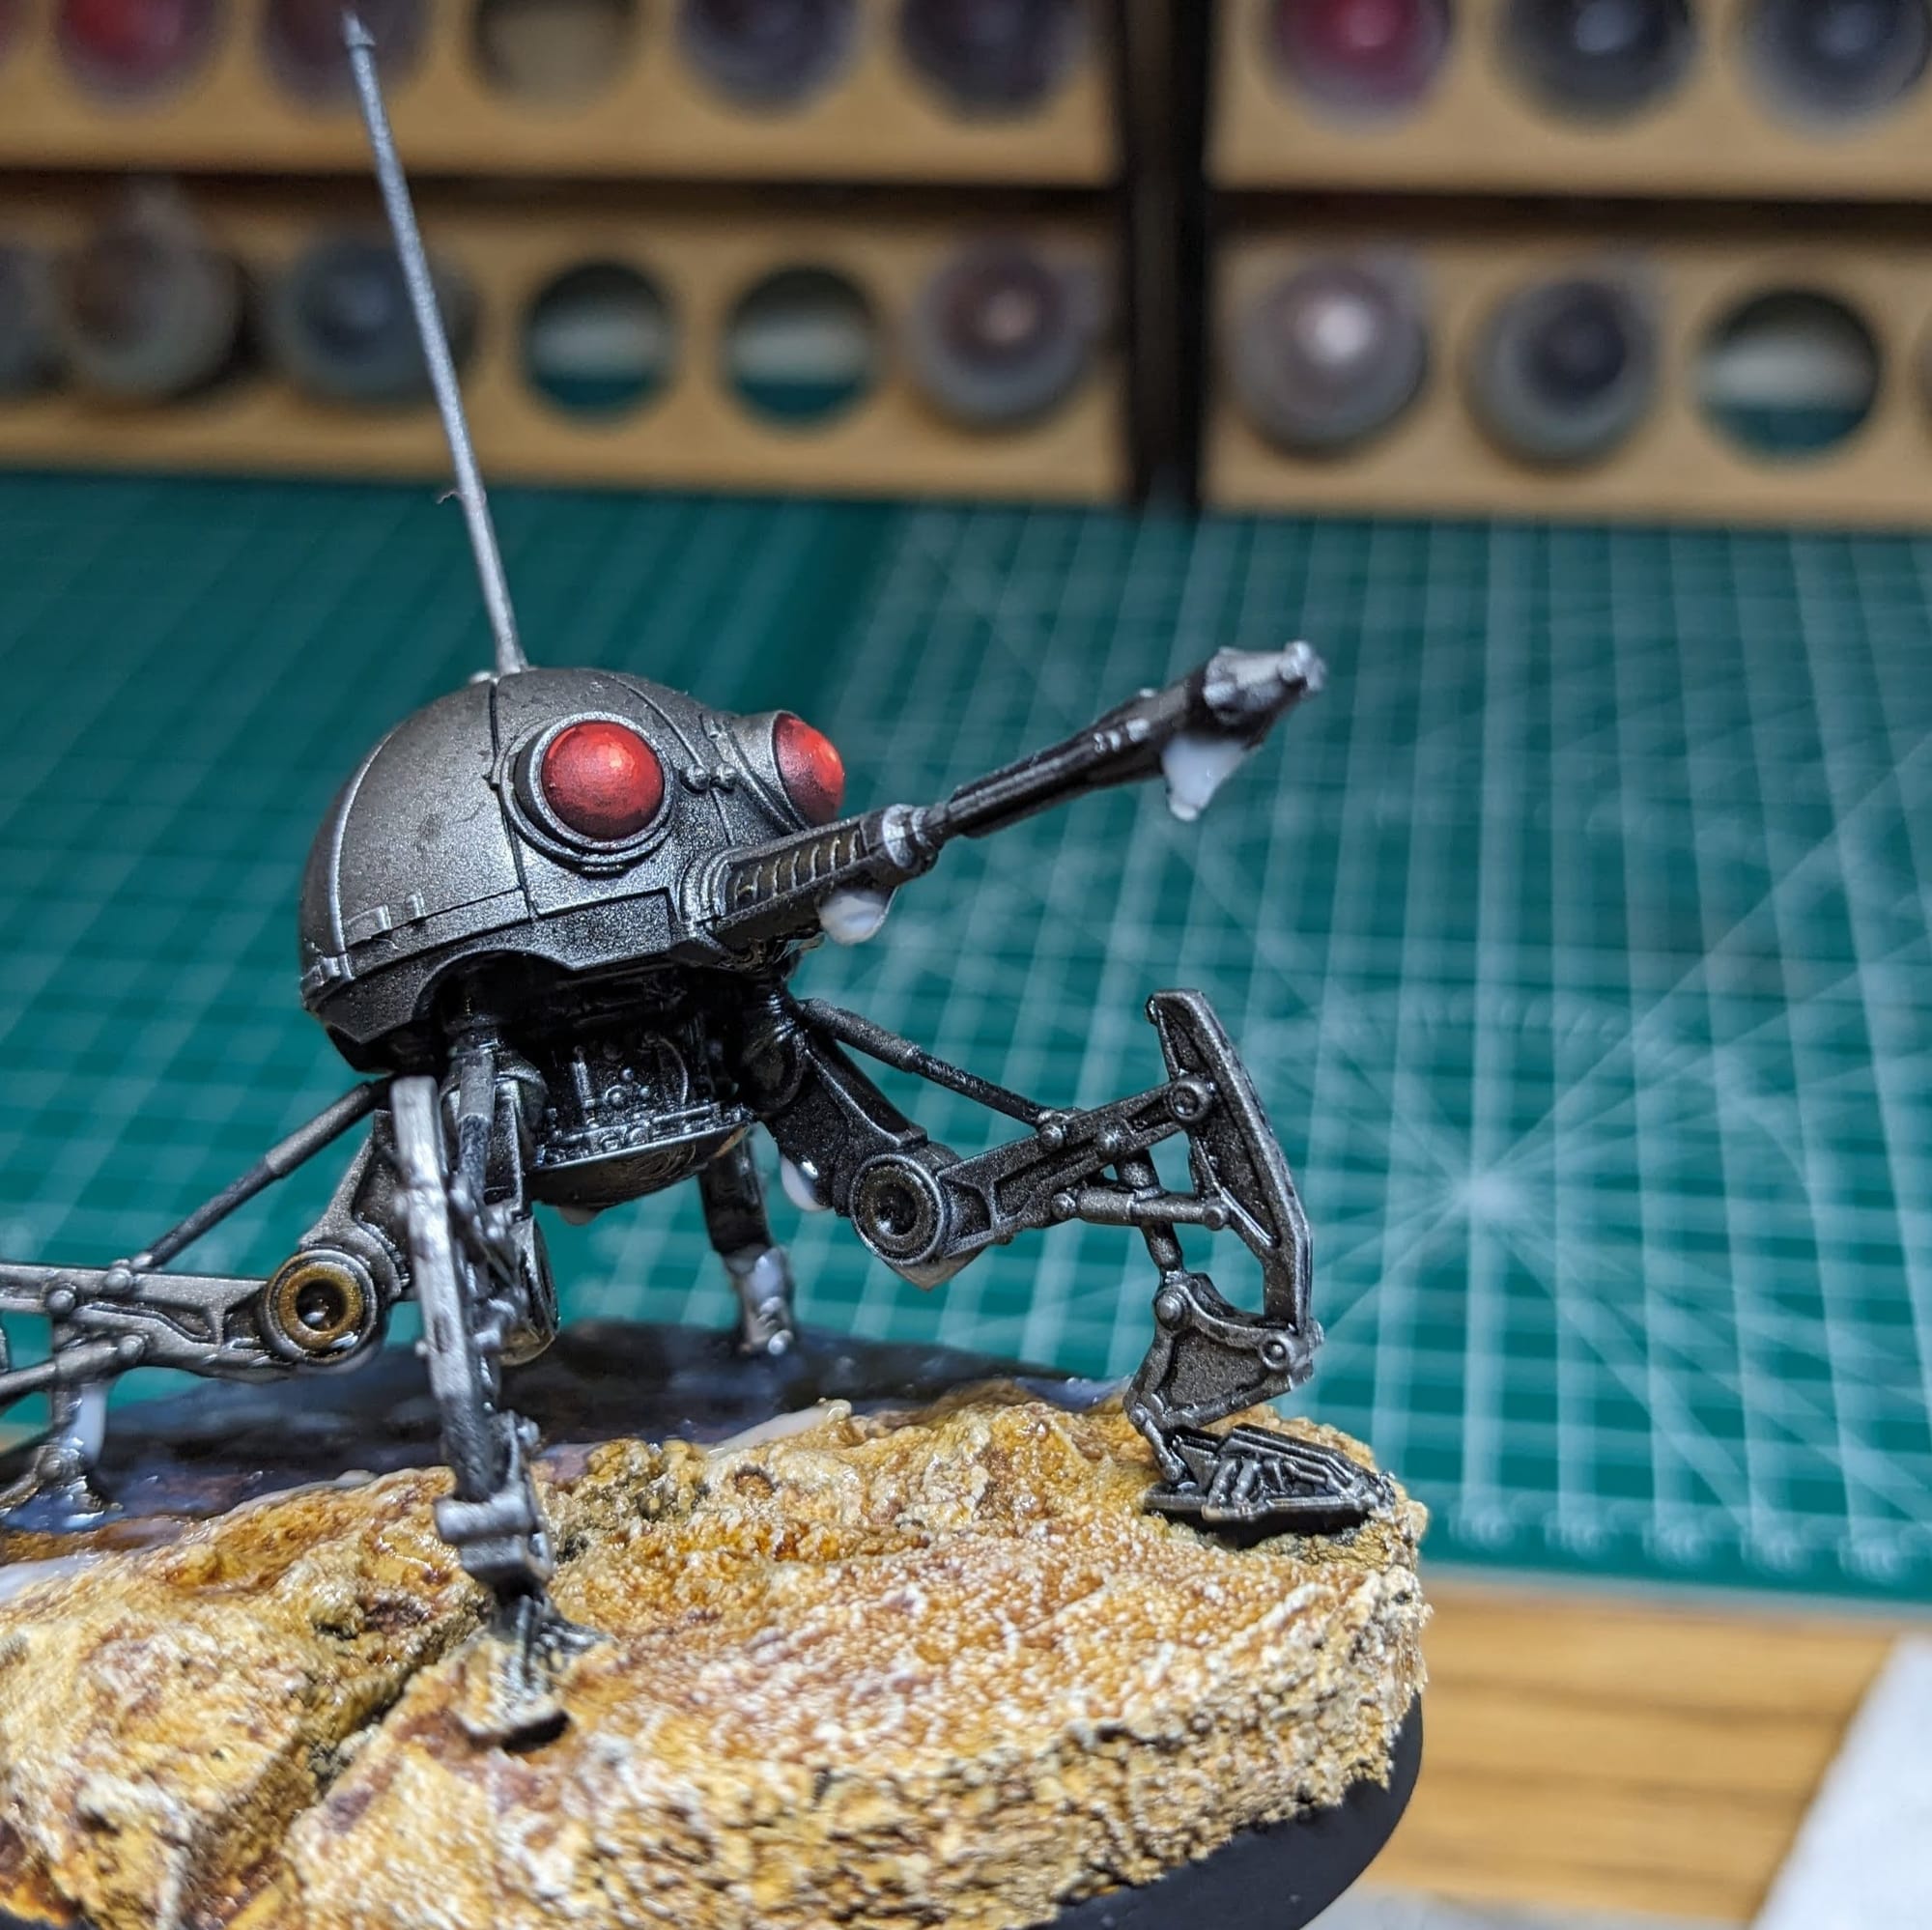
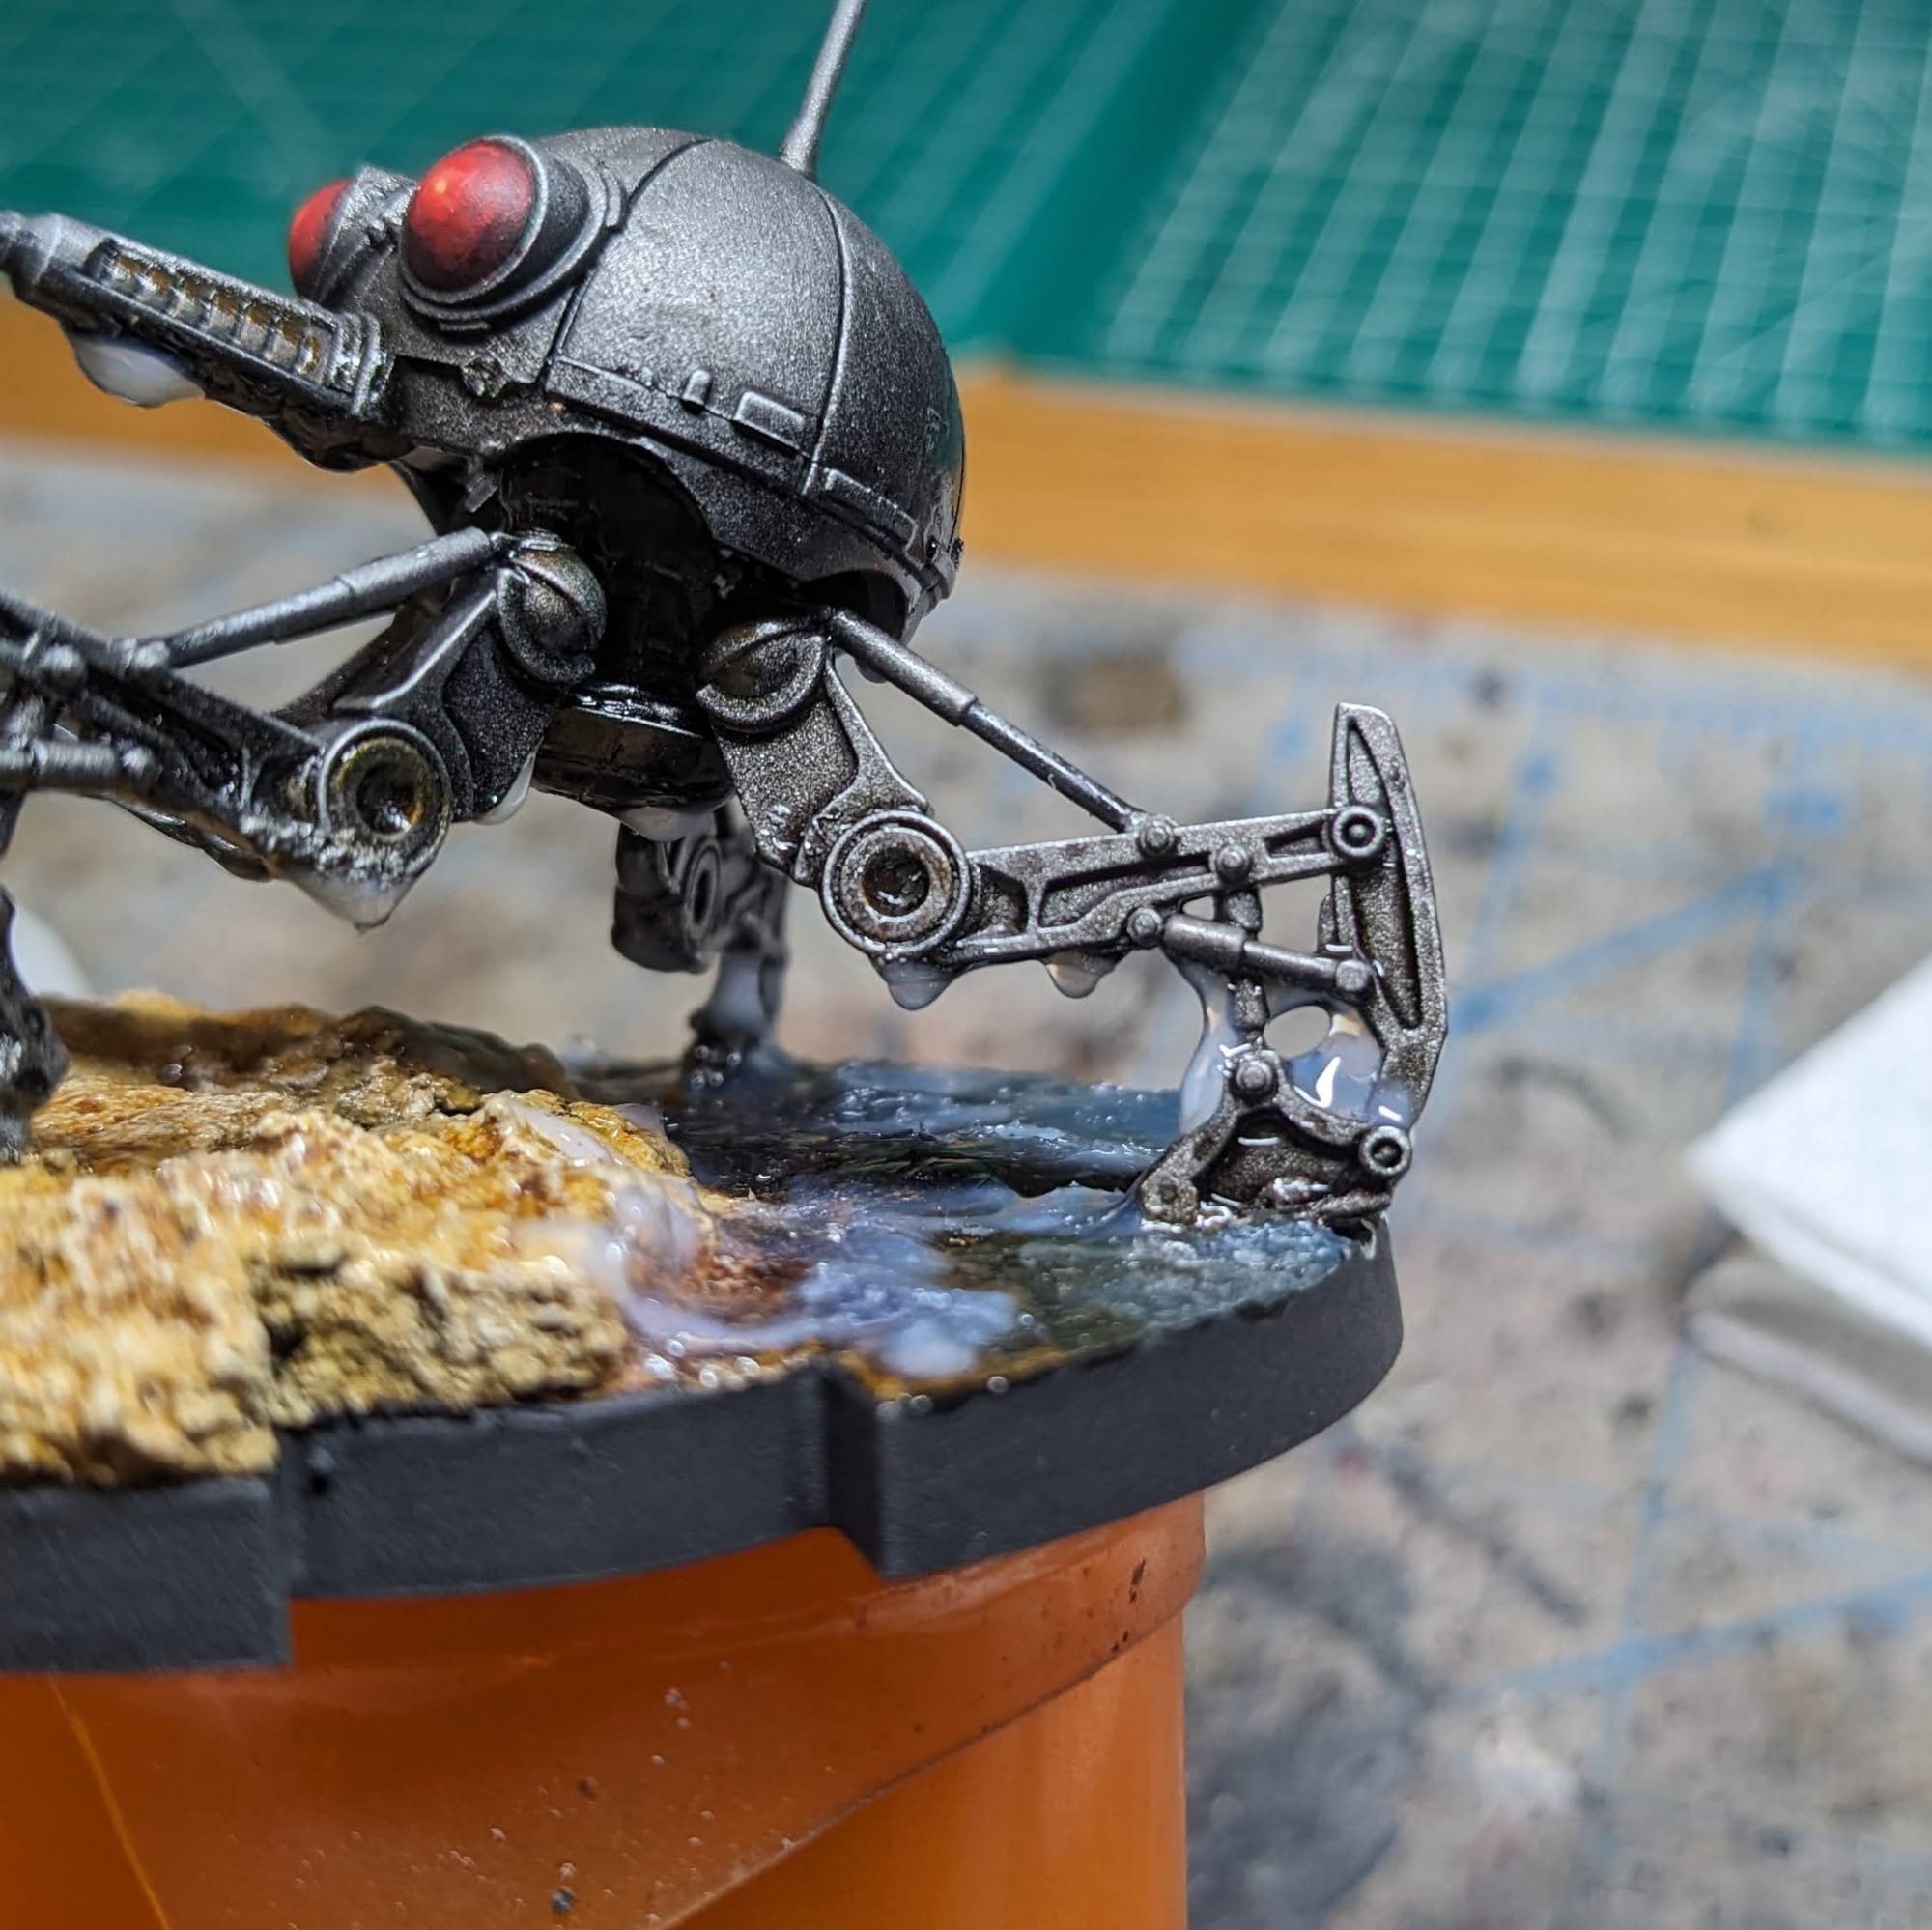
Using Woodland Scenics Surface Water Water Ripples and an old brush, I unevenly applied the water paint on and around the shoreline and deeper water. I applied droplets on the underside the legs and and cannon to give the appearance of pooled water. After about 5 minutes of letting it dry, I used the brush to push the congealed effects around more to help create more 'rippling' effects, per the instructions. Once the opacity disappeared and the water turned fully translucent, that meant it was completely dry and ready for the last step.
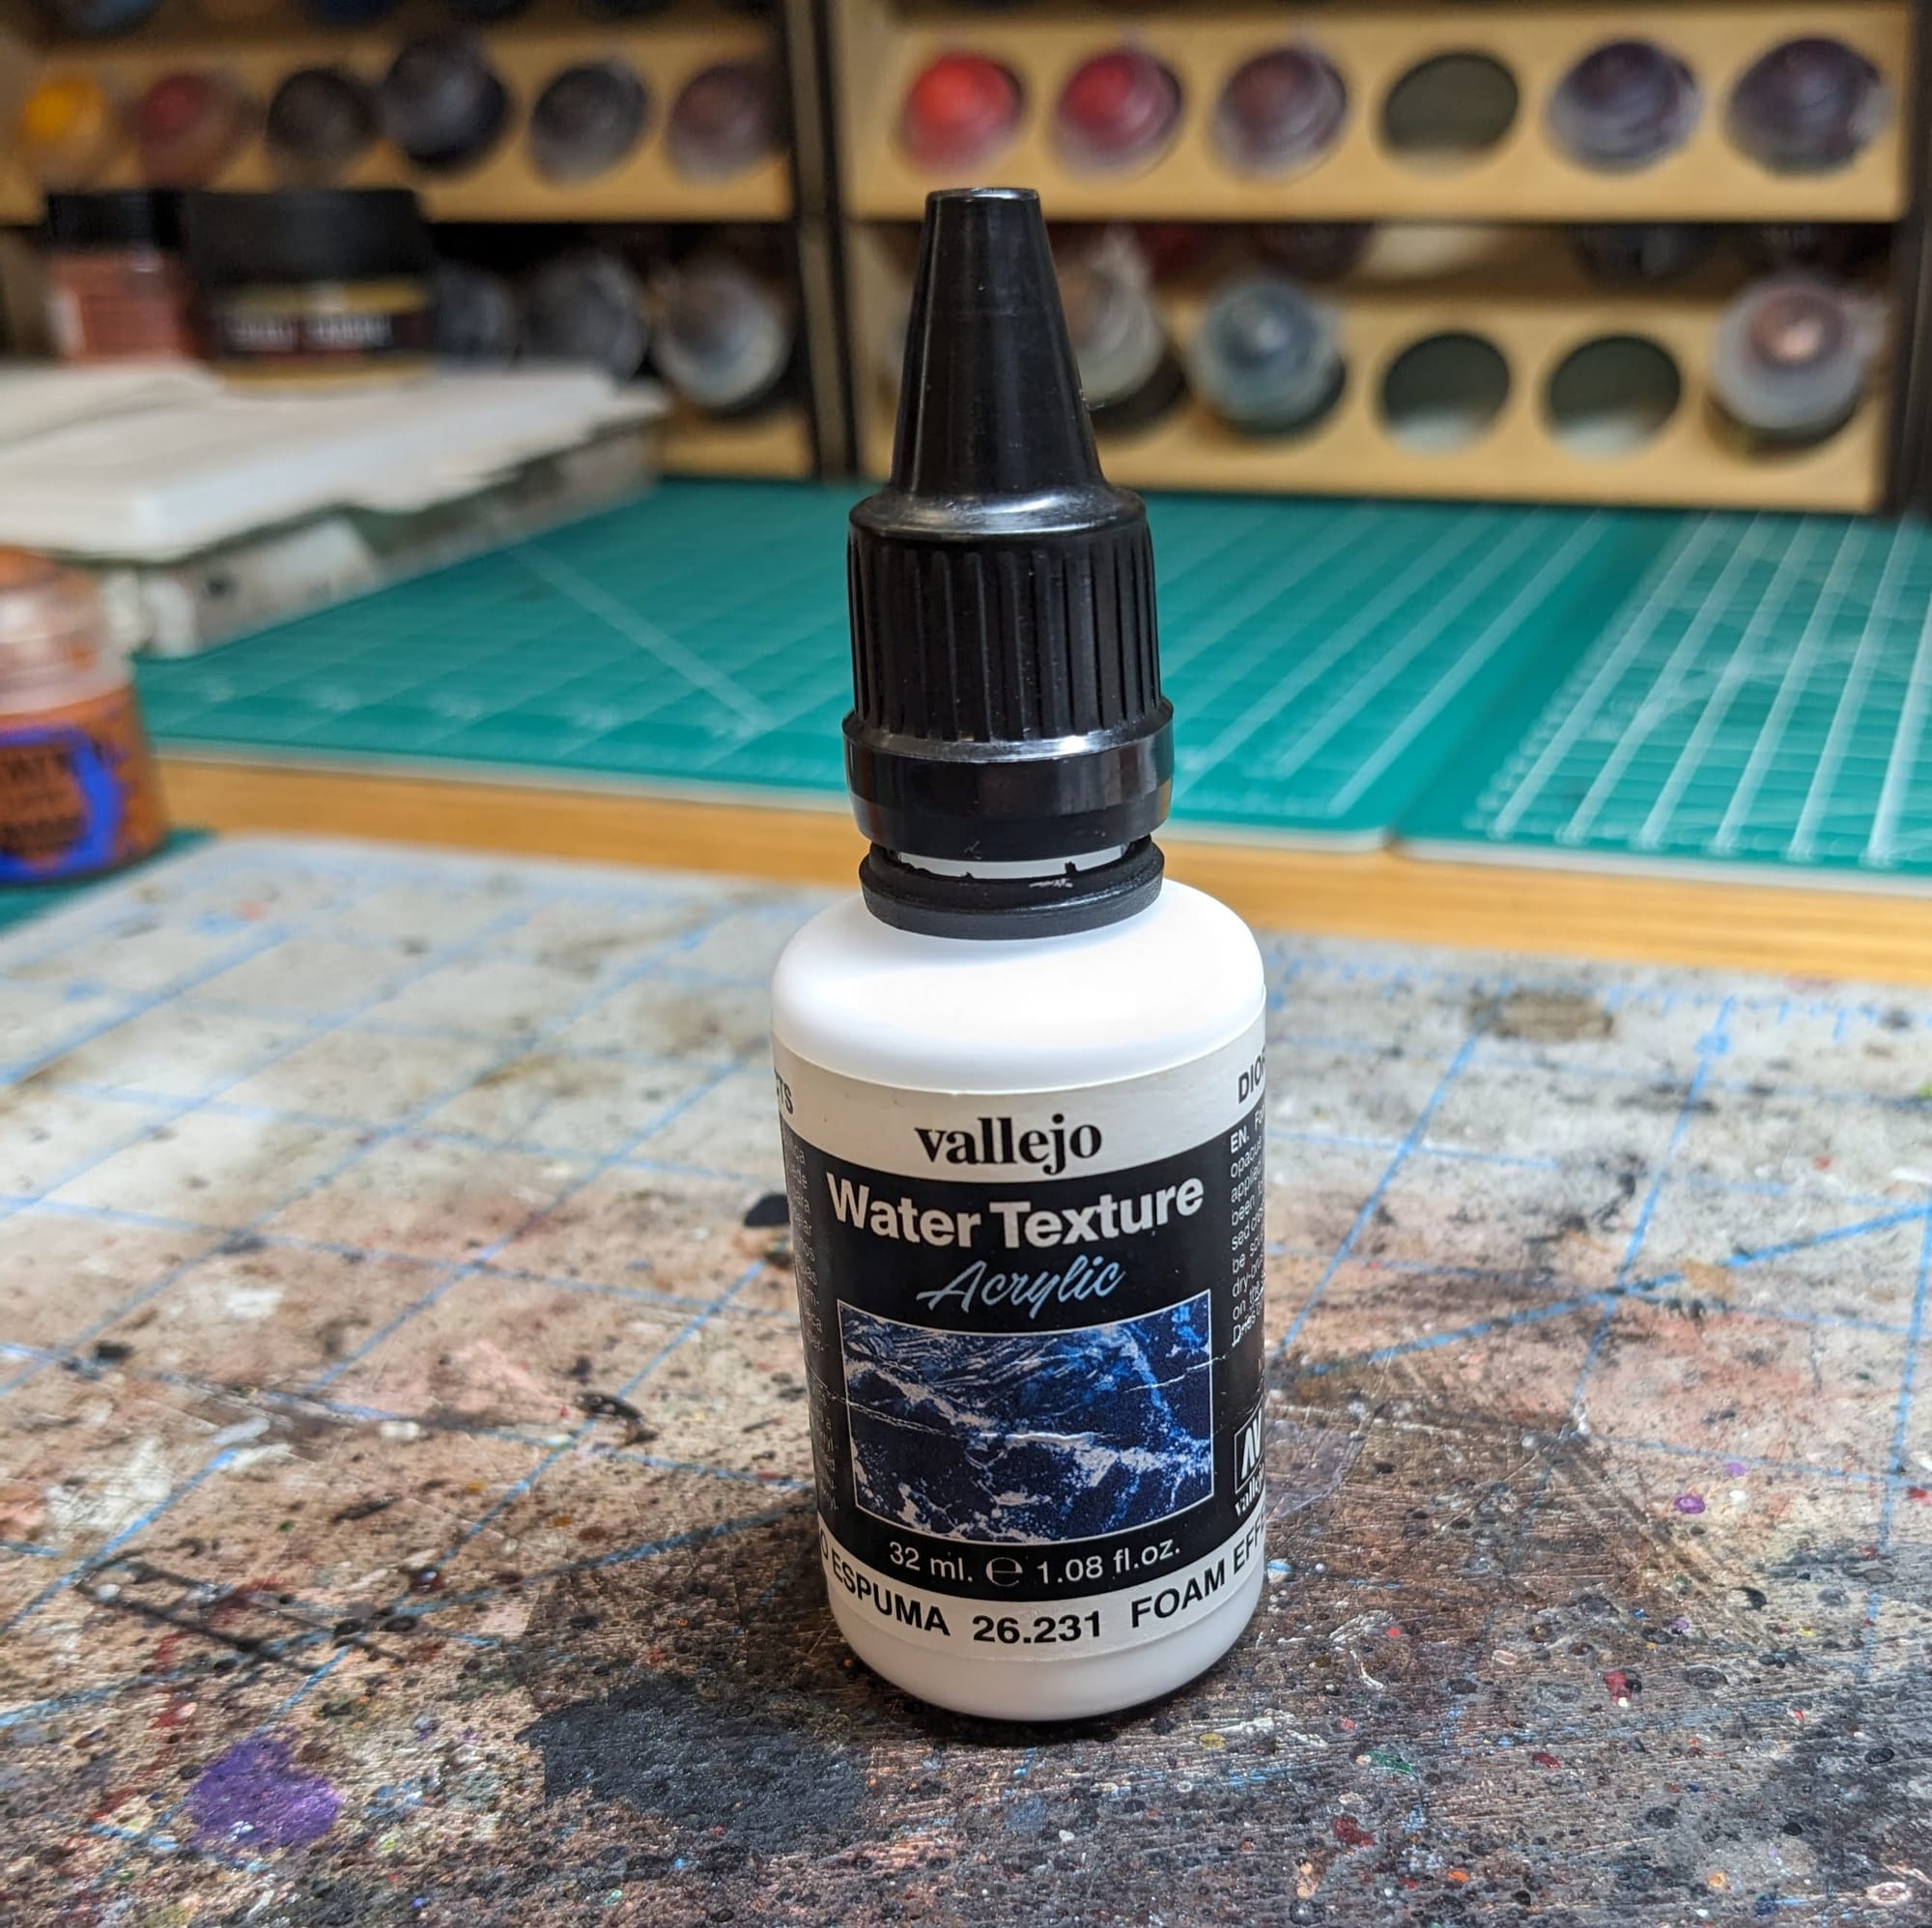
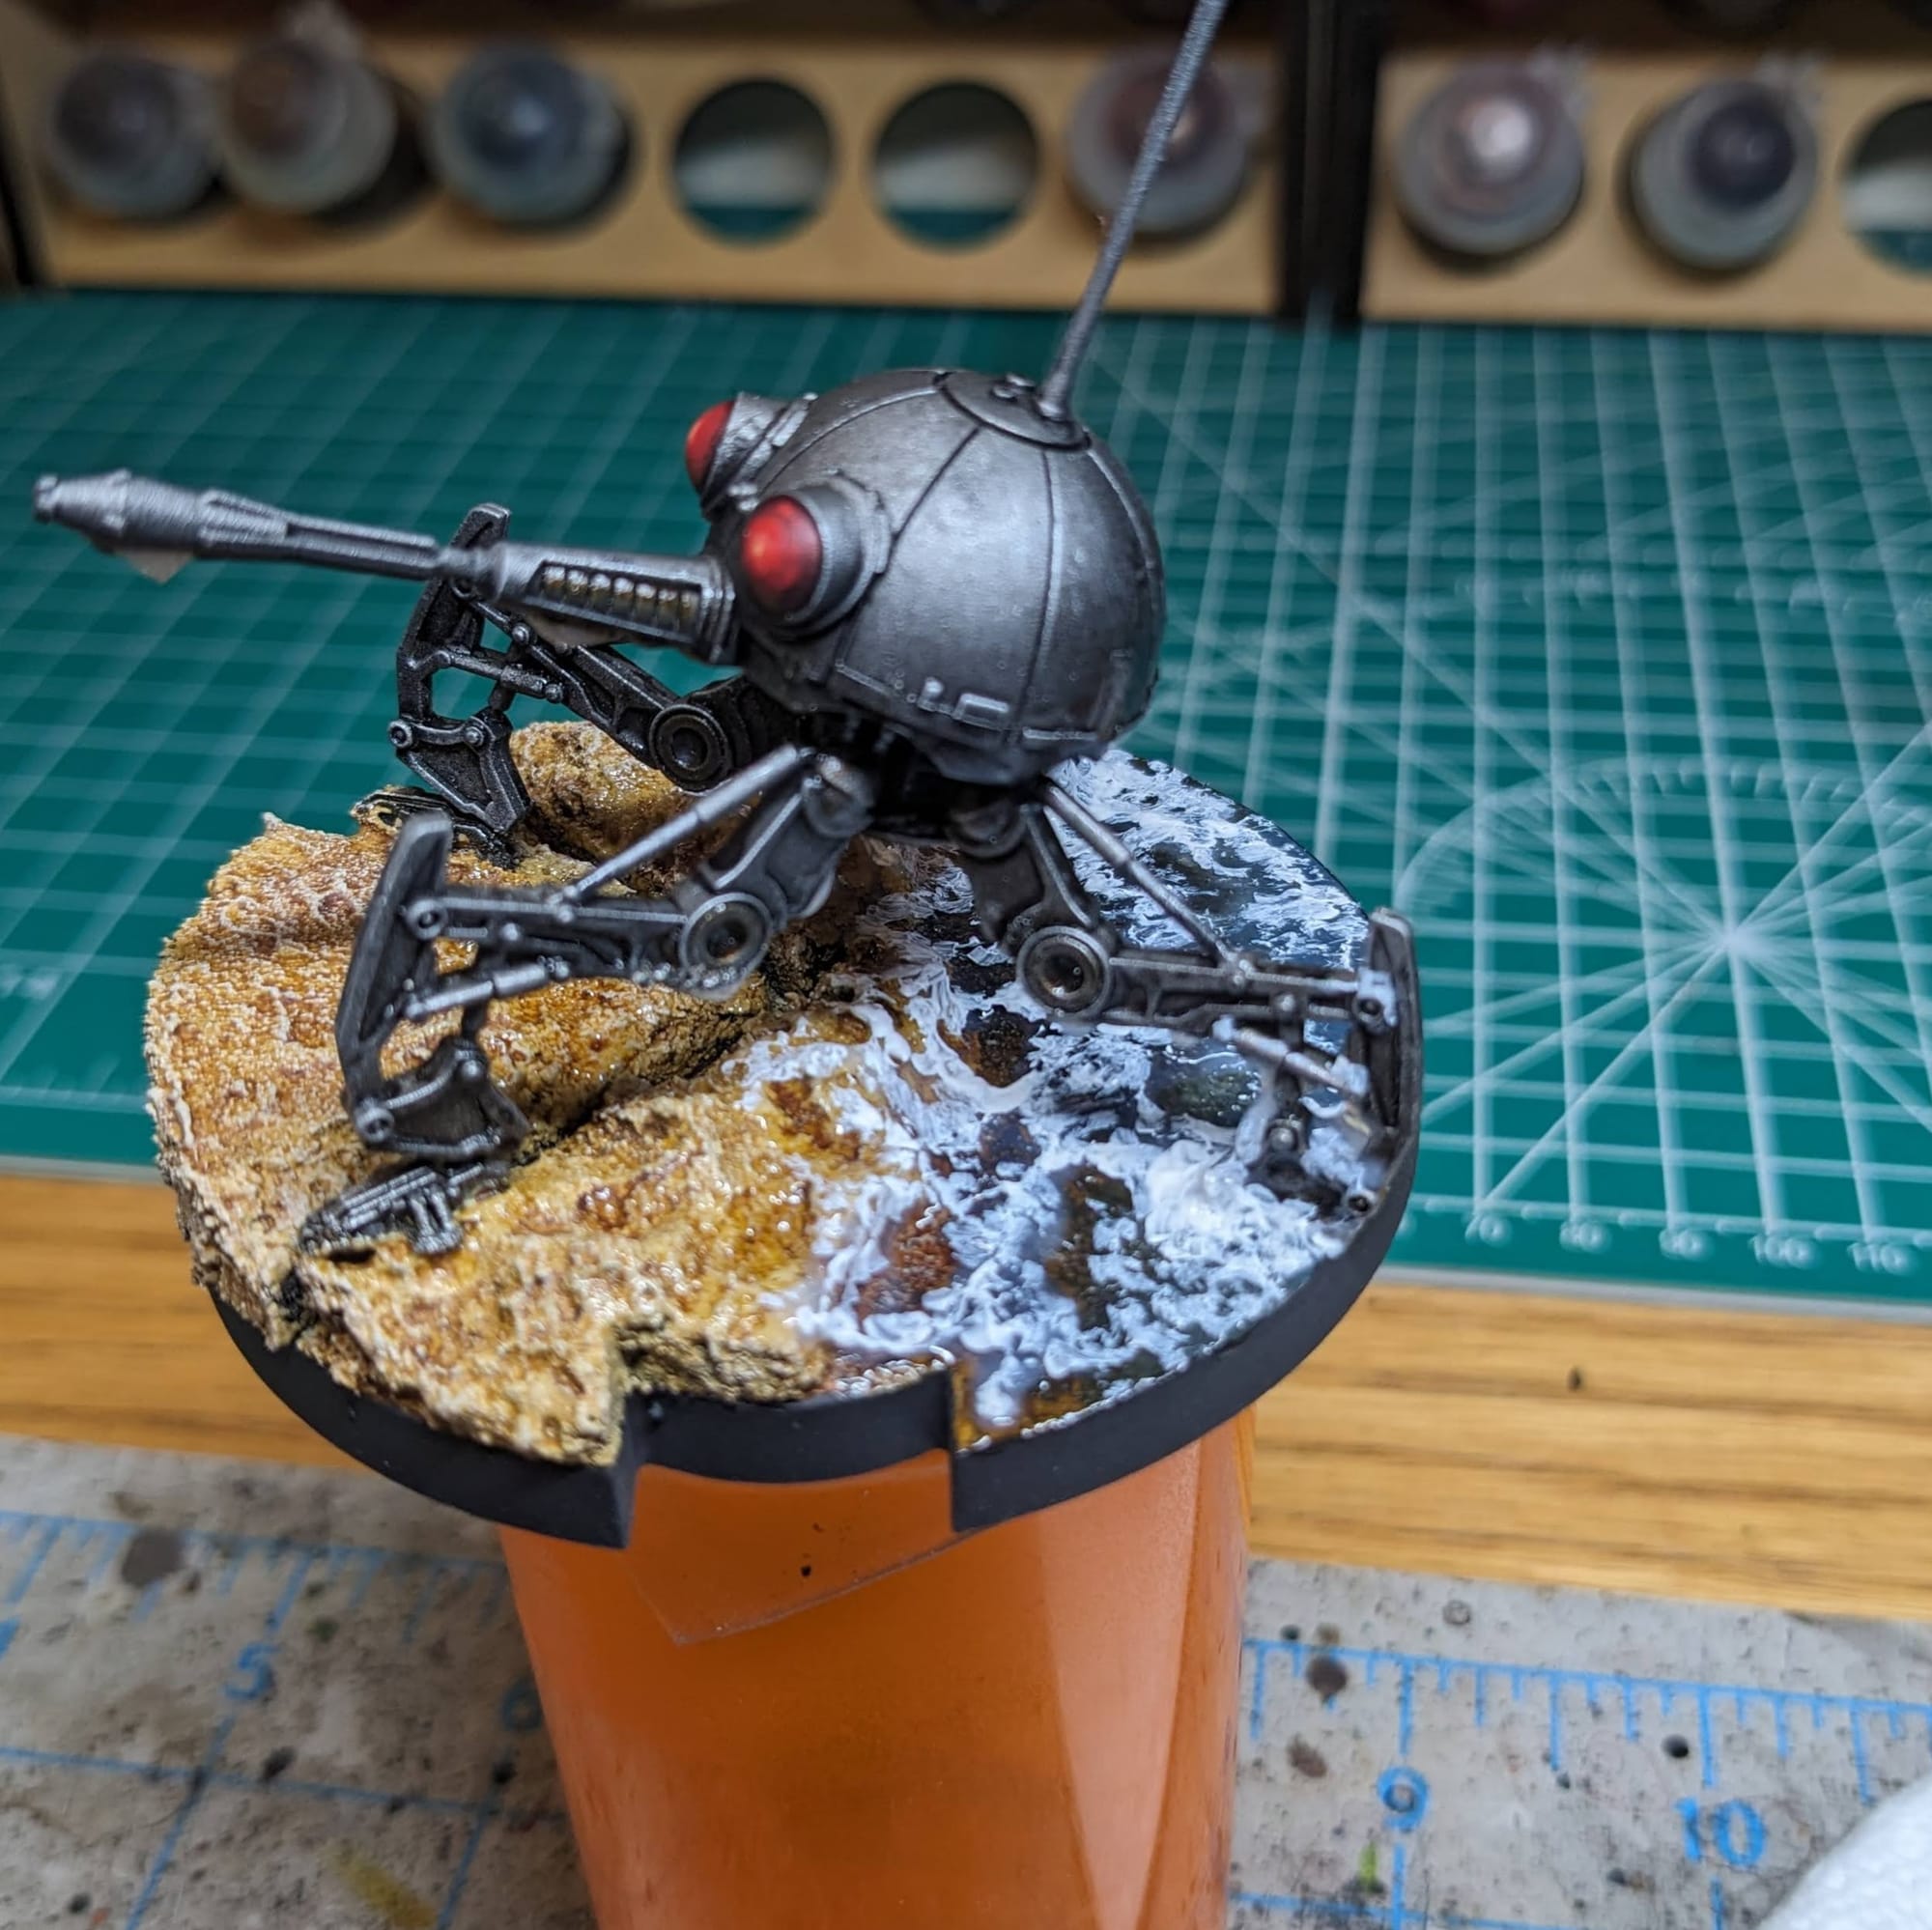
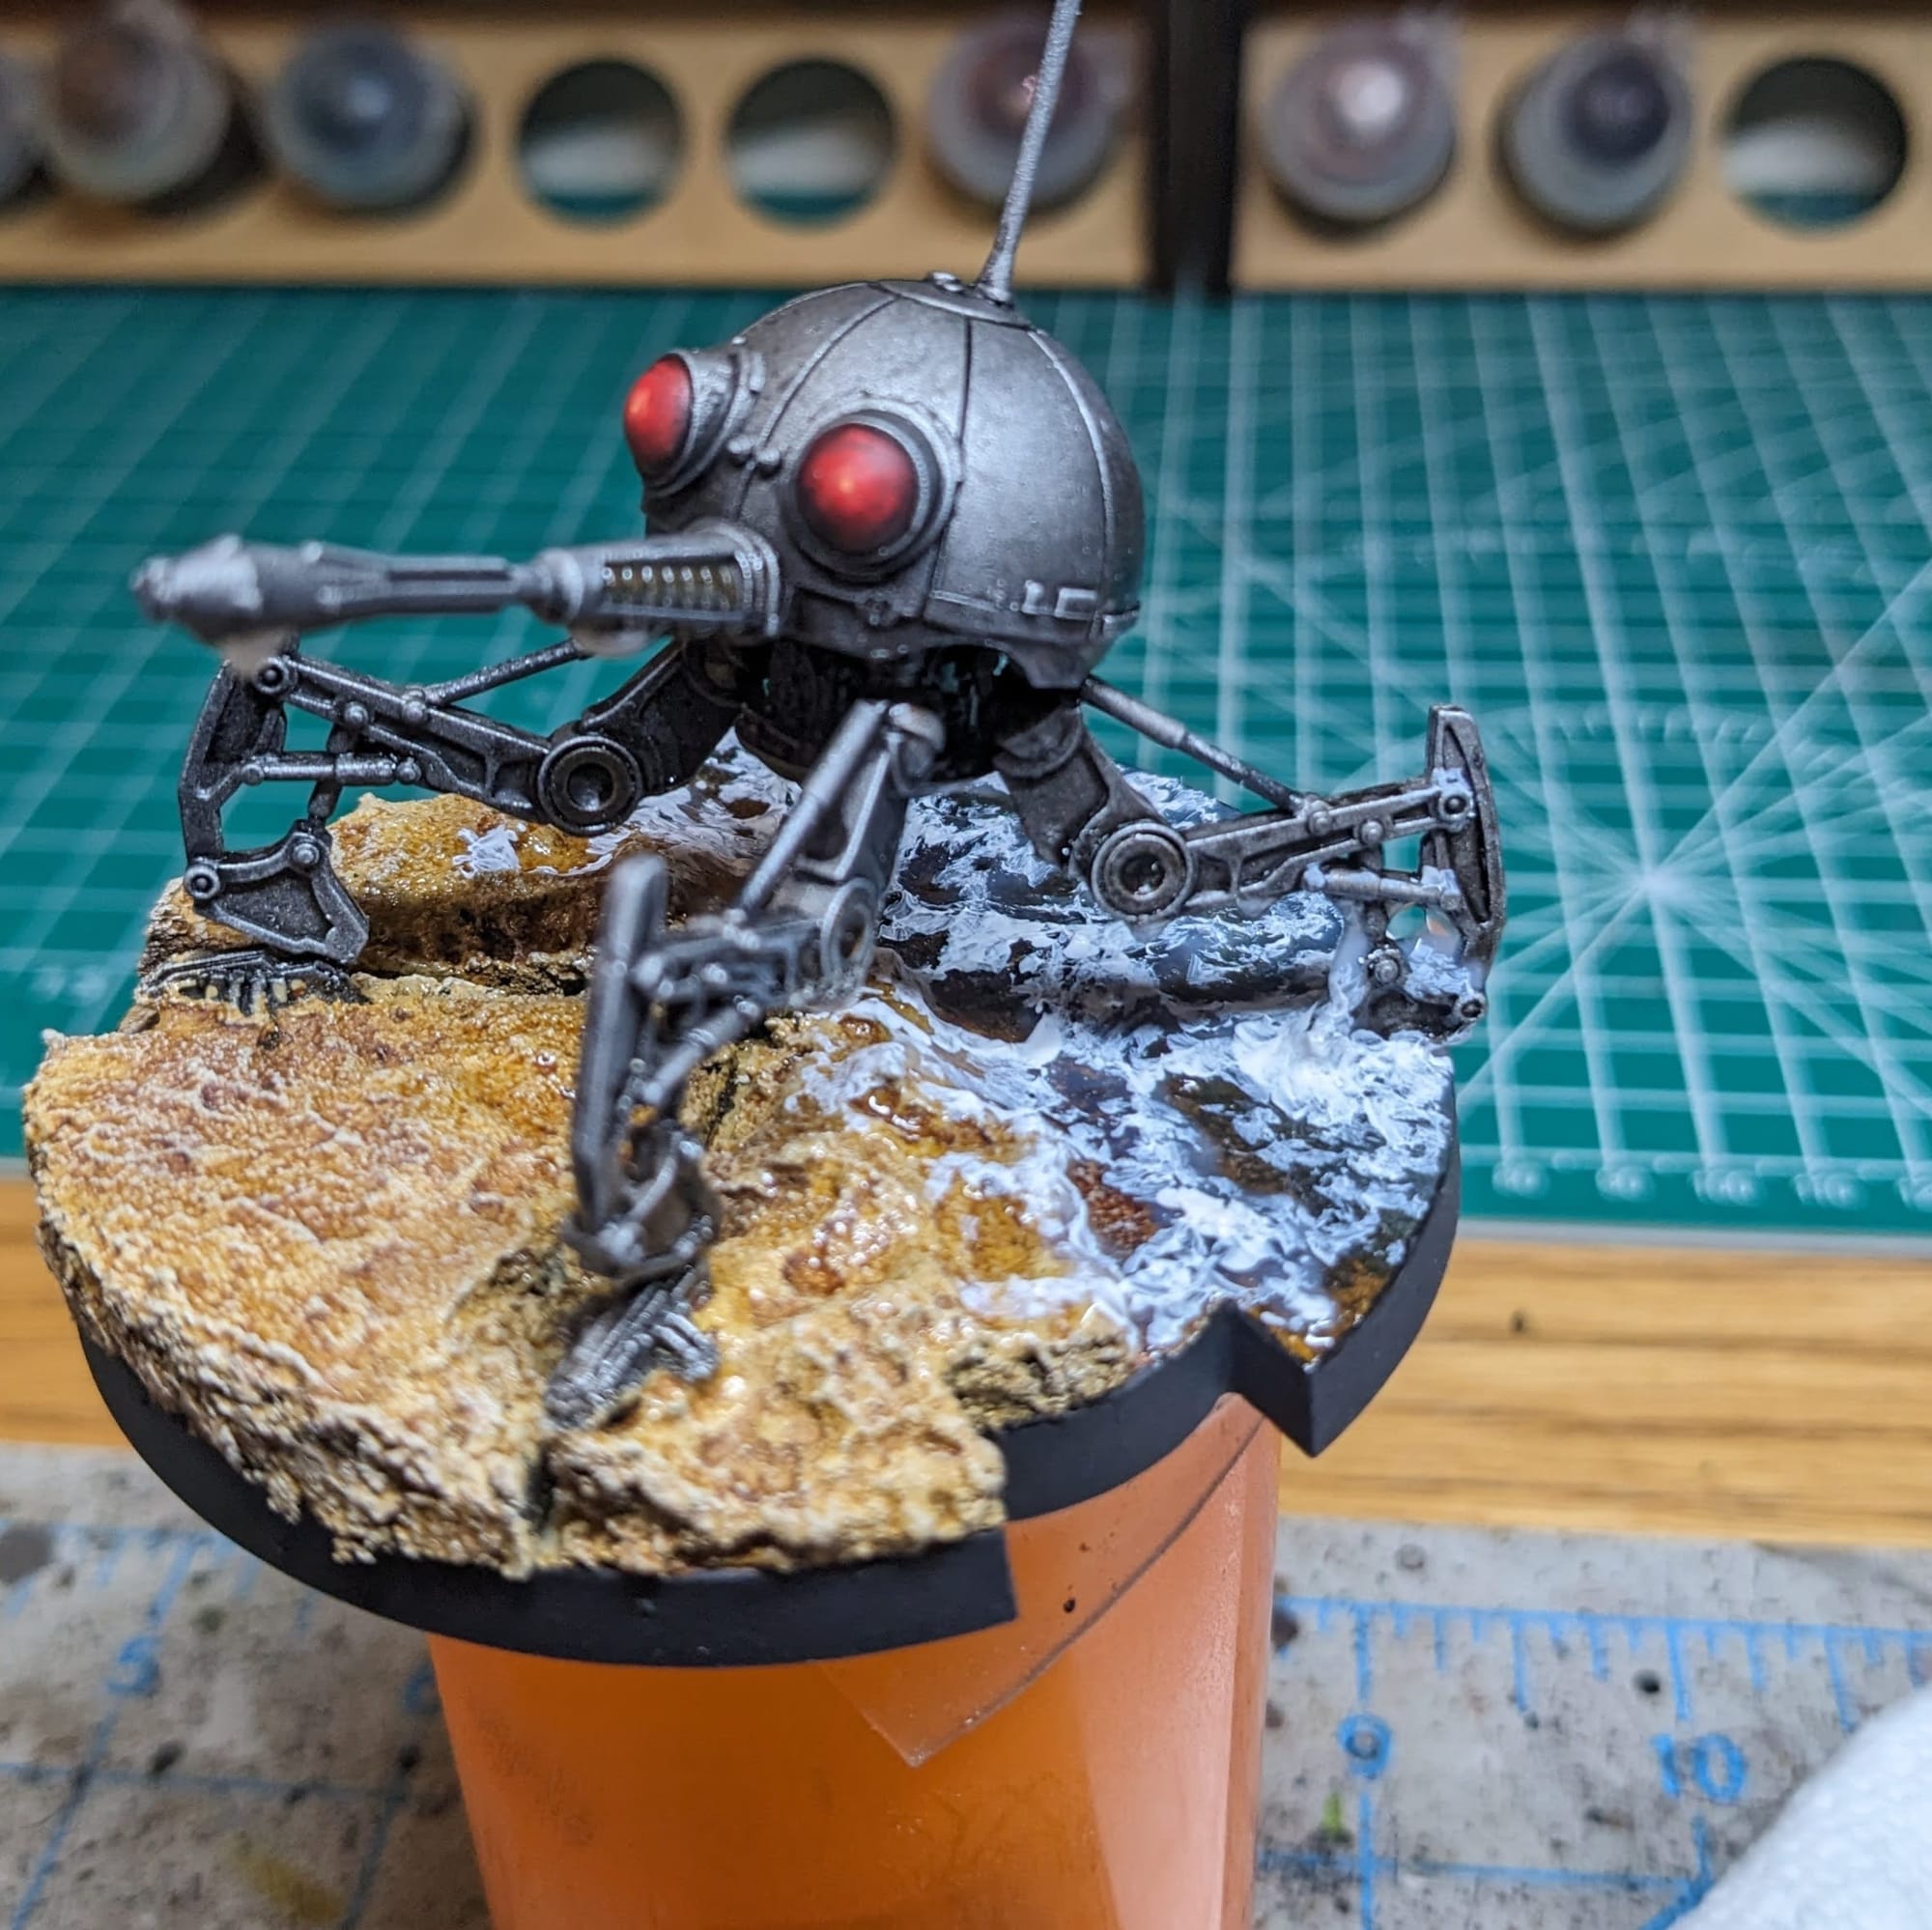
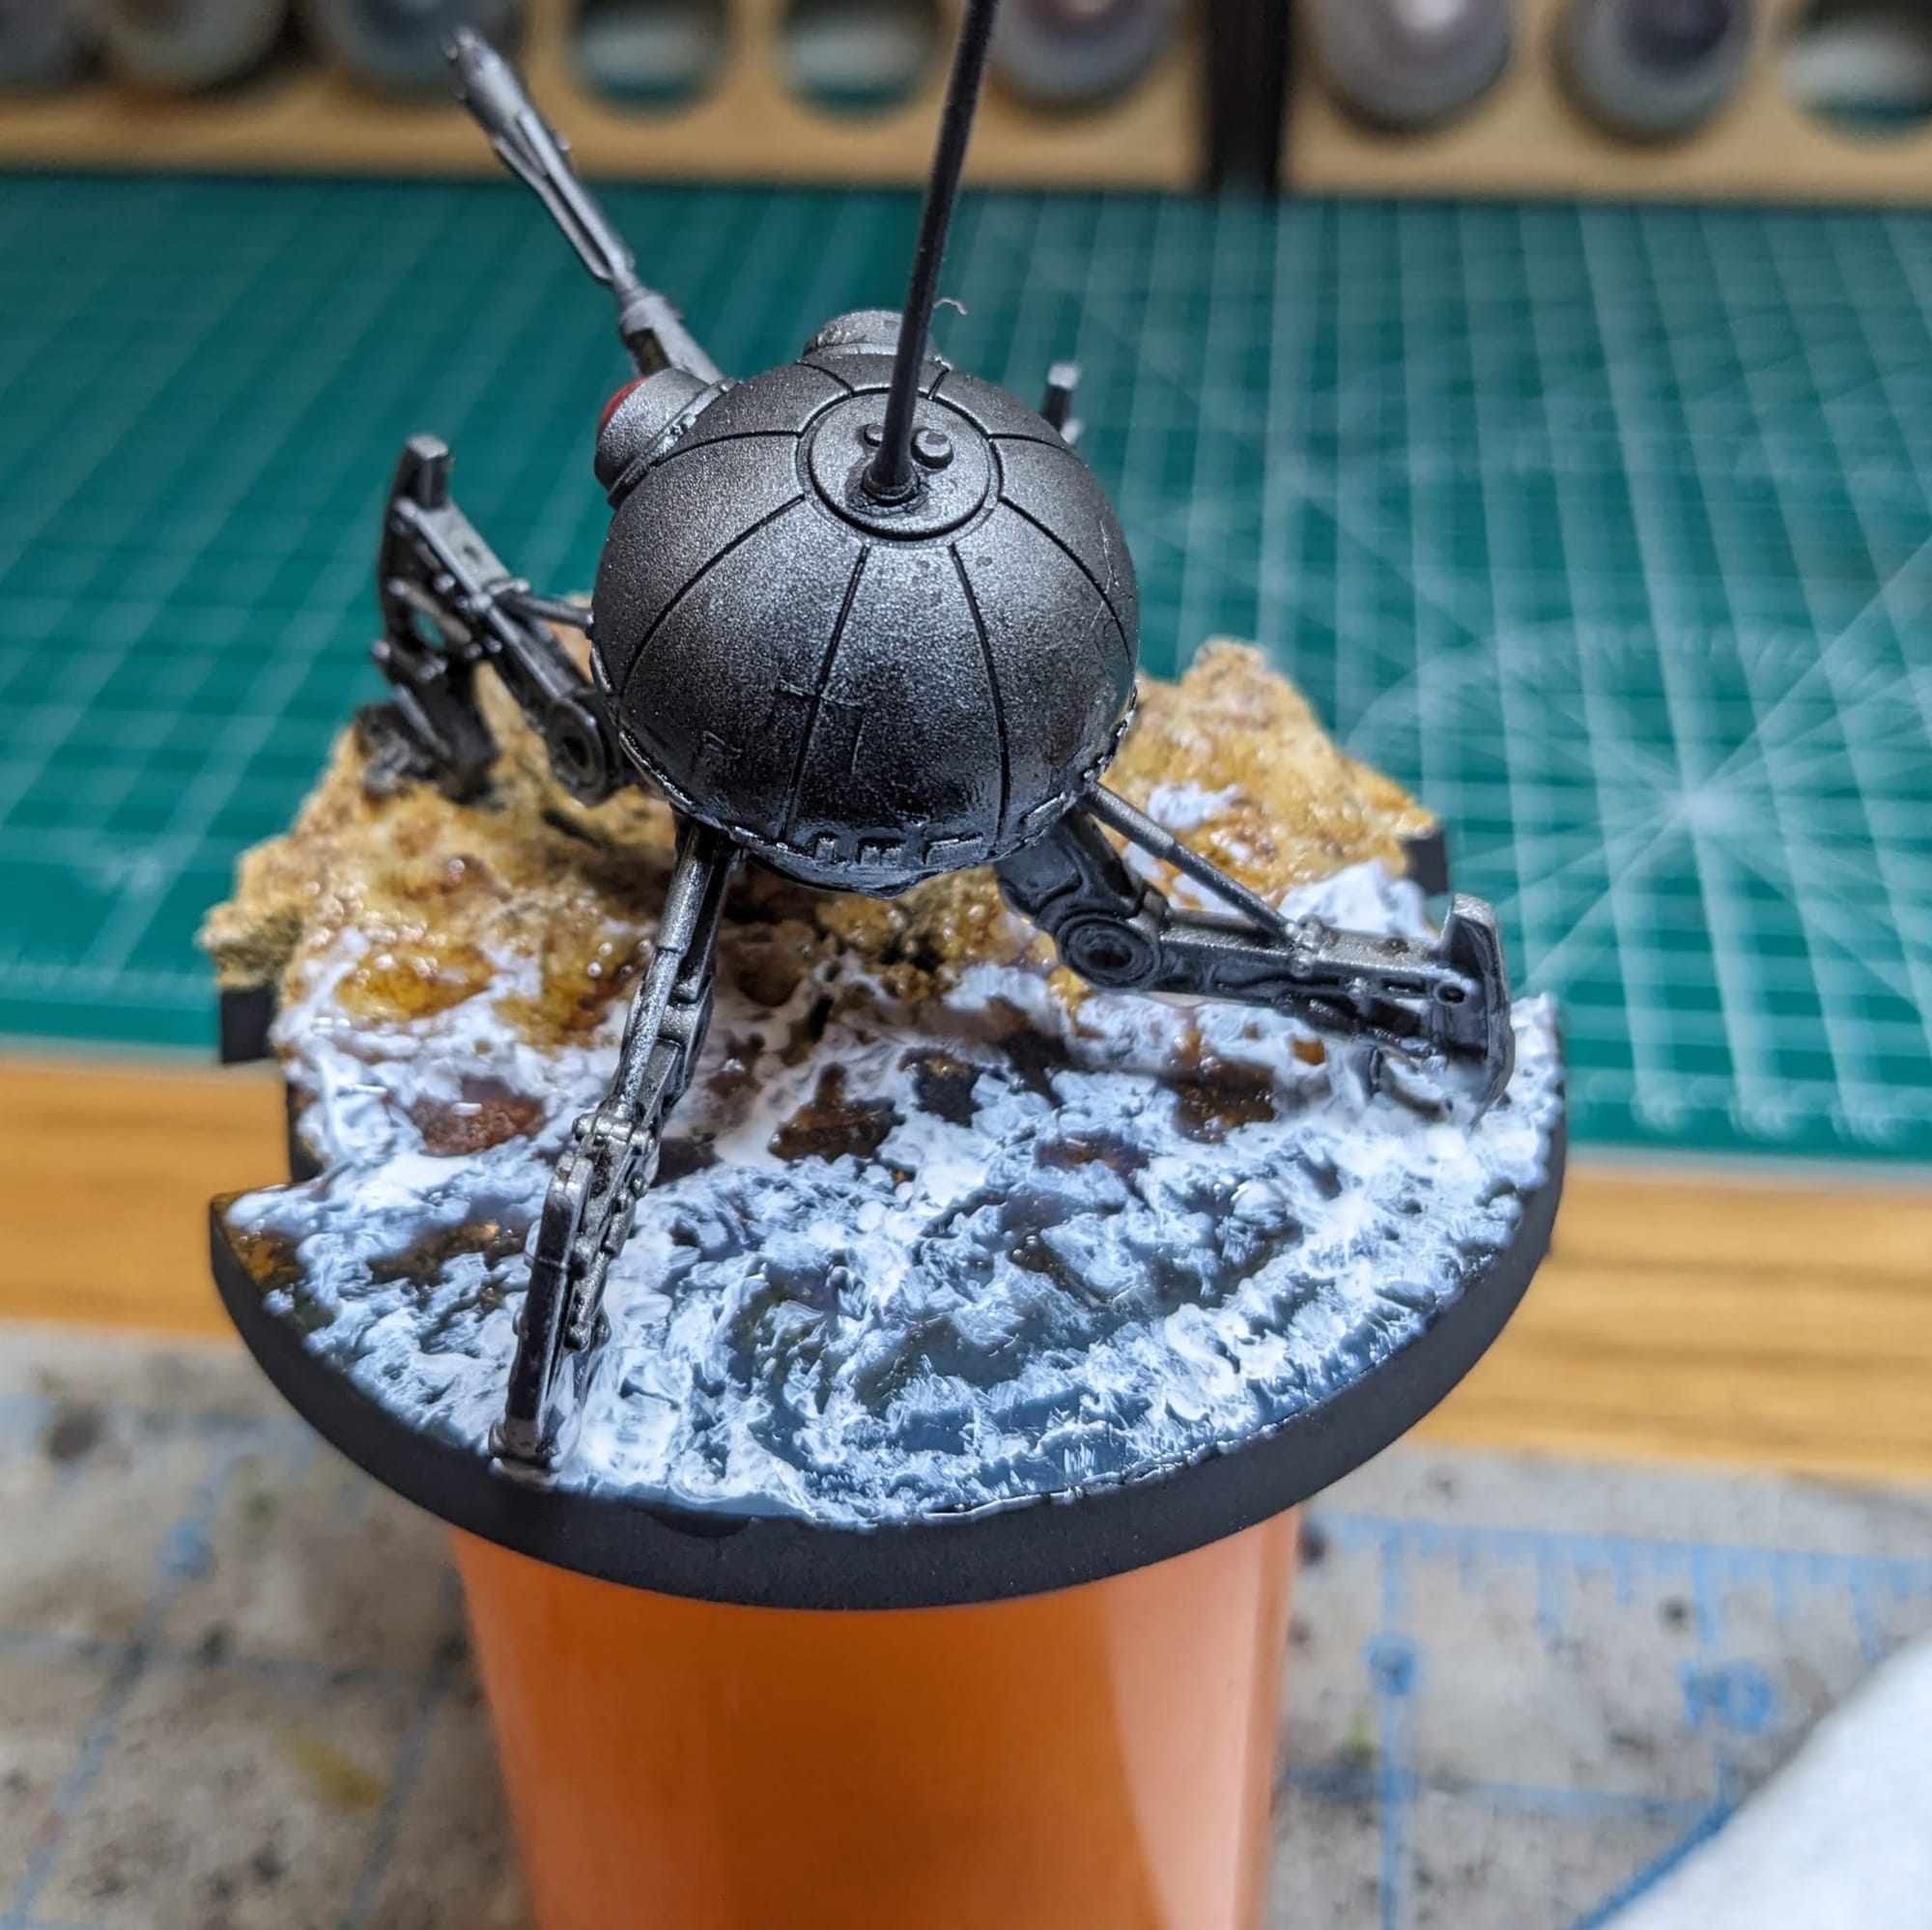
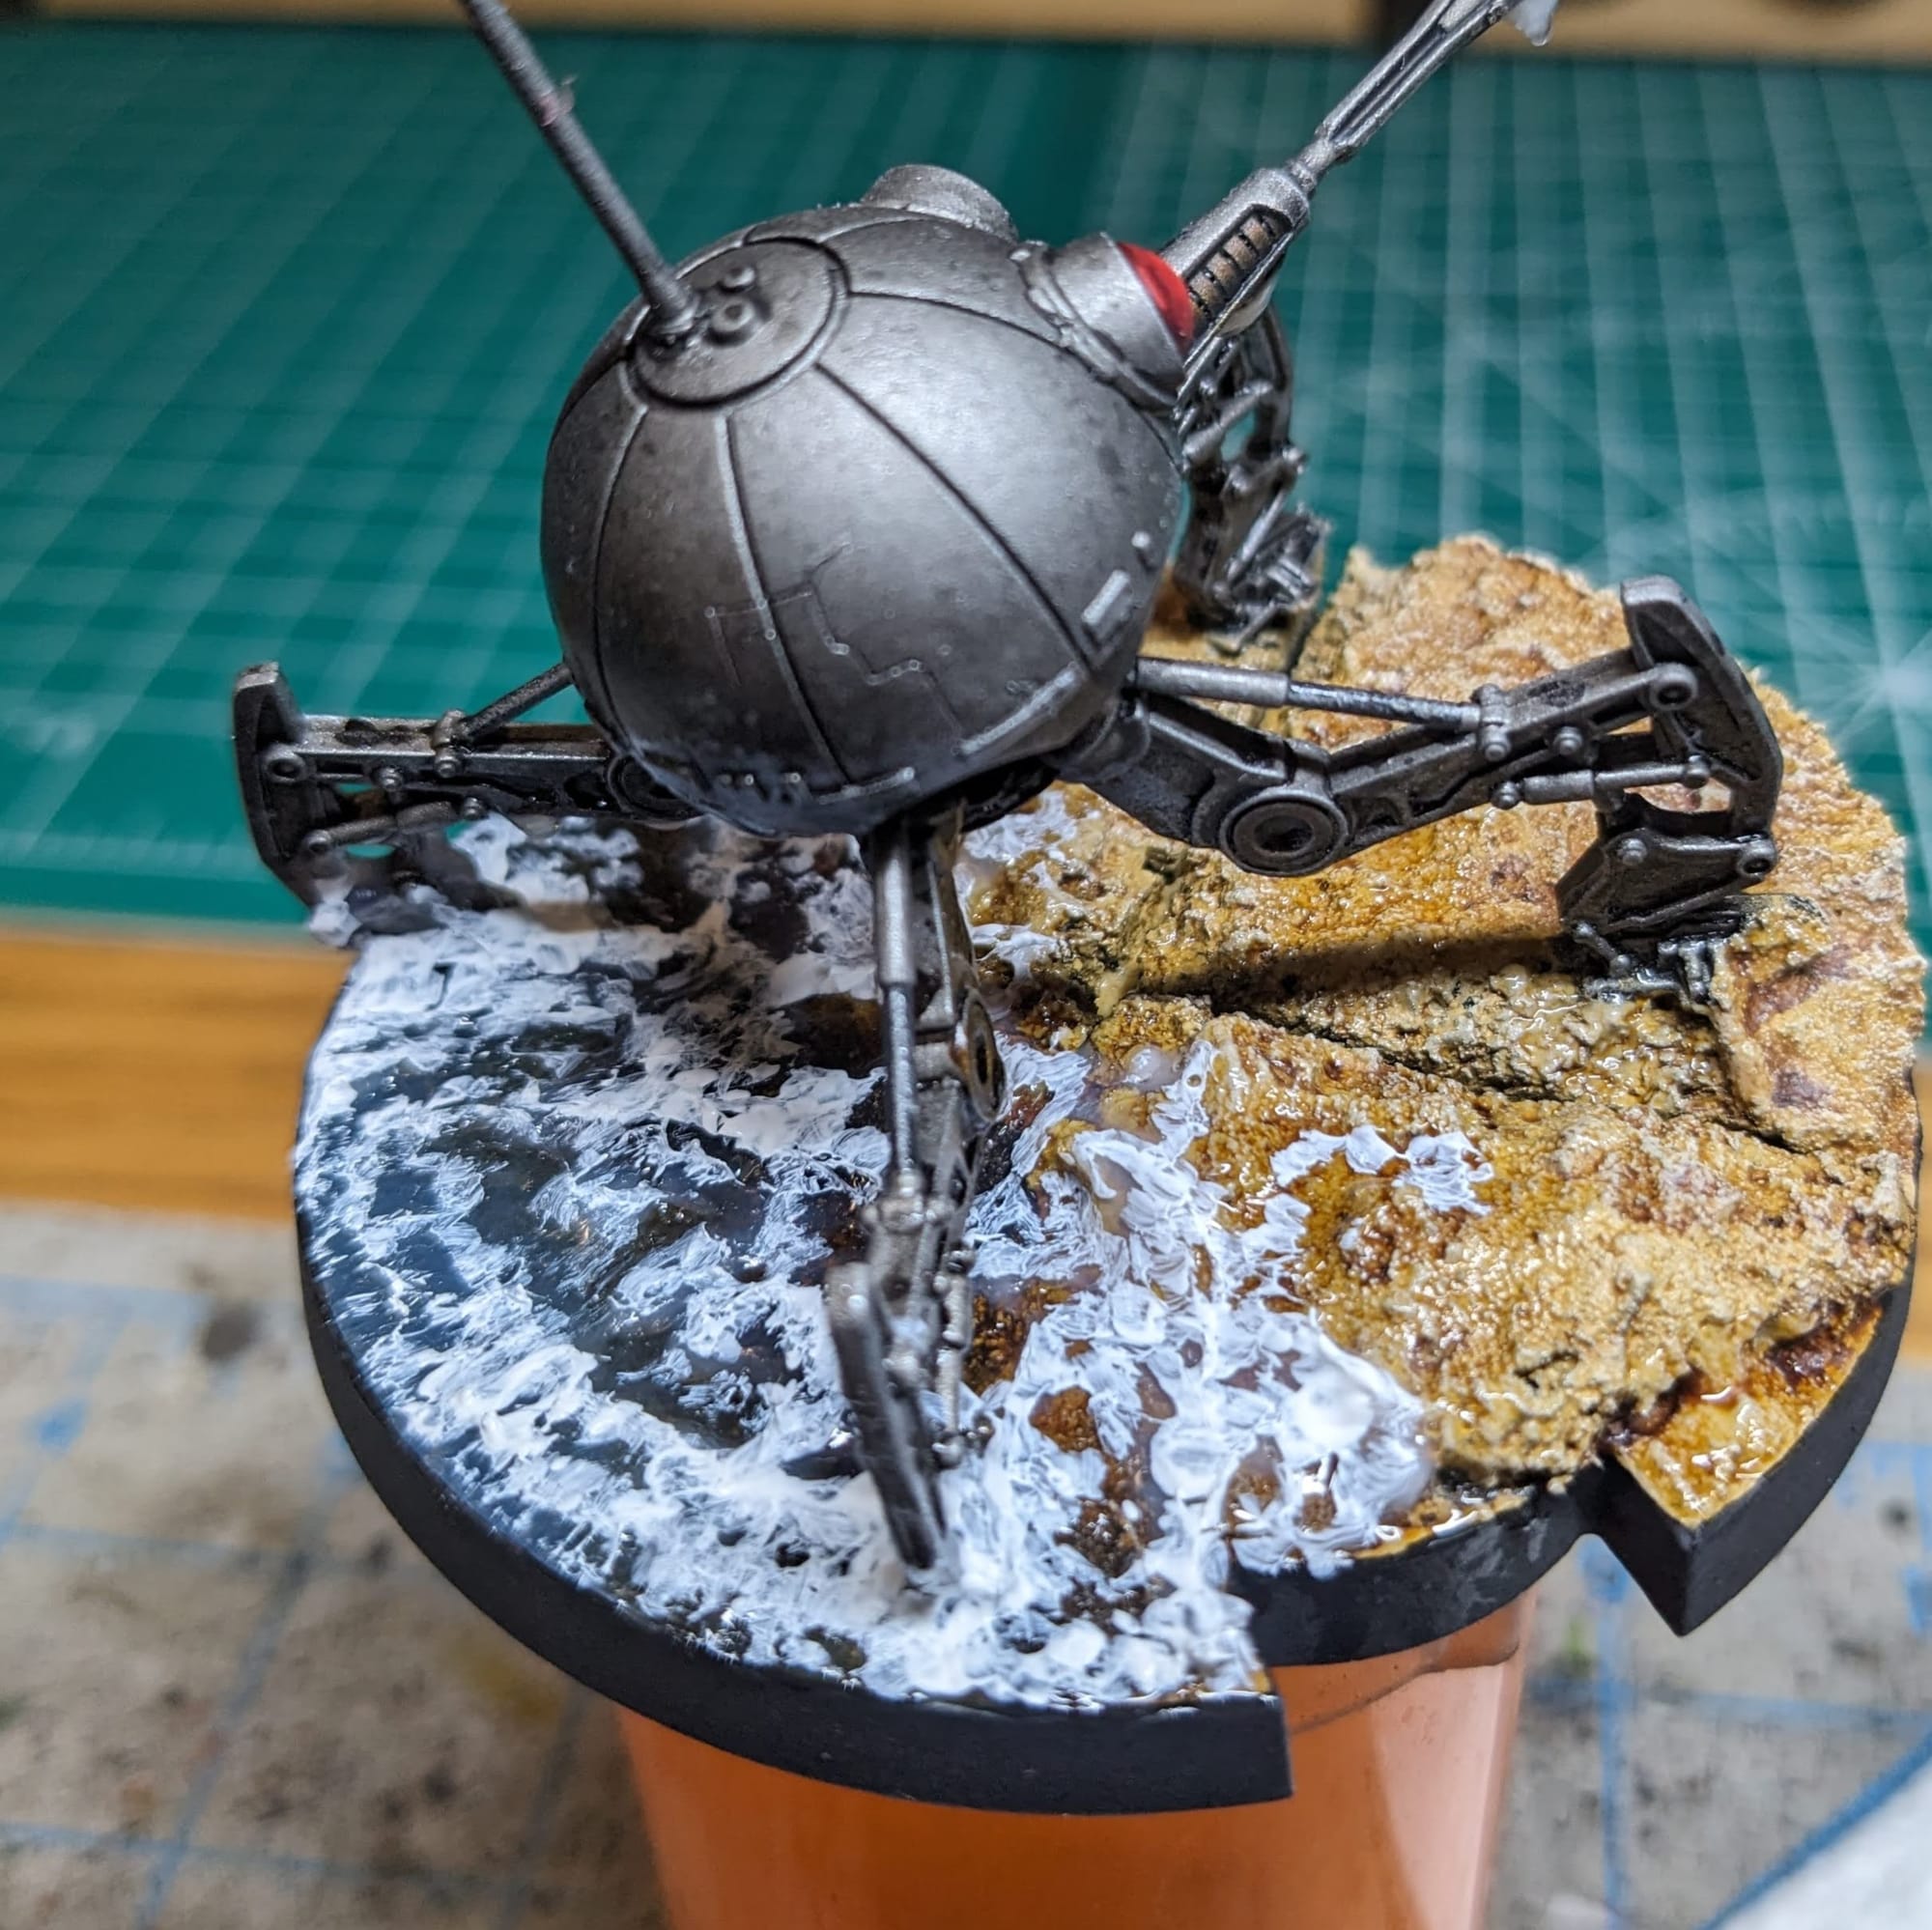
The last detail was to apply the water foam and wave crests using Vallejo Water Texture Foam Effect (Now called Vallejo FX Foam/Snow). Admittedly, any viscous white paint will work here, I just had this on hand. Using another used brush, I applied the paint in uneven strokes atop the peak of the water and along the sand where the water would likely be foaming. I did a couple of passes, but didn't want to over do it, and made sure that the brush strokes covered the legs and were in the same direction of the water movement.
With that, it's finished!
Painted and Ready for Play
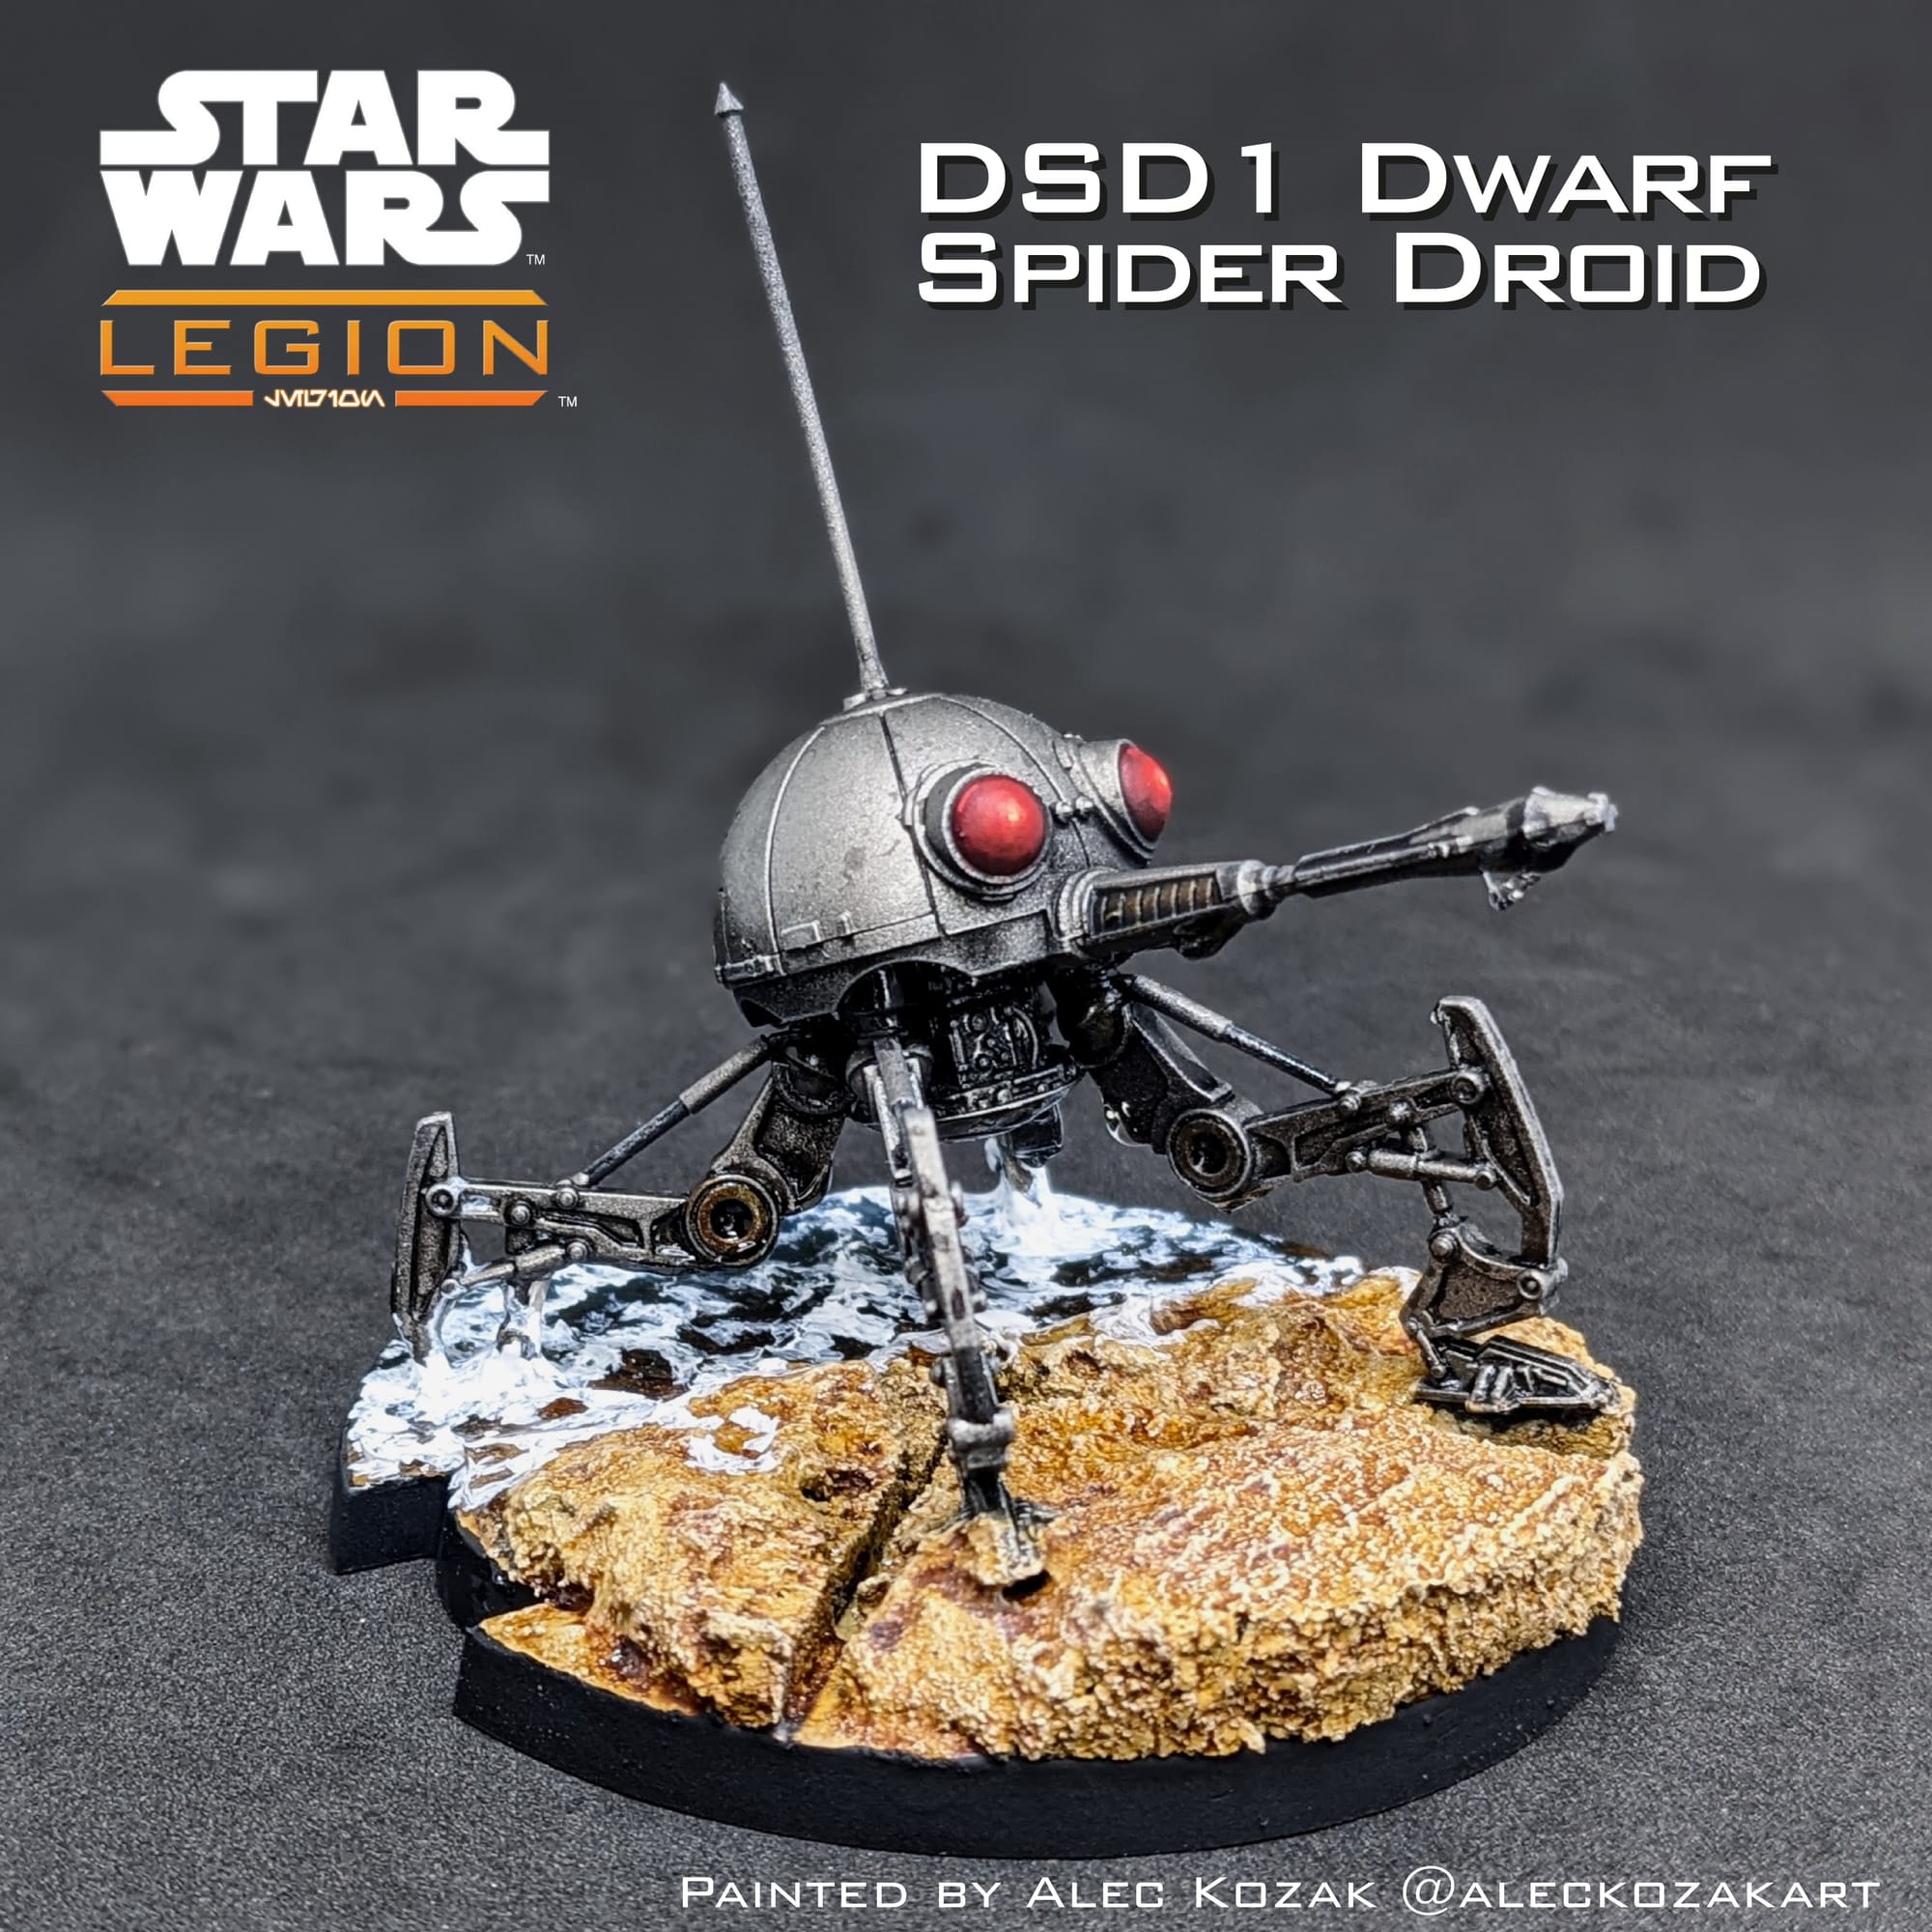
Paints Used for DSD1 Dwarf Spider Droid
In application order:
- Priming - Rust-Oleum Flat Black, Army Painter Gun Metal
- DSD1 Dwarf Spider Droid - Citadel Snakebite Leather Contrast, Army Painter Dark Tone -or- Citadel Nuln Oil, Citadel Necron Compound, Citadel Flesh Tearer Contrast, Citadel Mephiston Red, Citadel Evil Sunz Scarlet, Citadel Lugganath Orange.
- Beach Basing - Citadel Morghast Bone, Citadel Dark Reaper, Citadel Seraphim Sepia, Citadel Garaghak's Sewer, Citadel Terminatus Stone, Citadel 'Ardcoat, Woodland Scenics Surface Water Ripples, Vallejo Diorama Effects Water Foam Paint (Vallejo FX Foam/Snow.)
Impressions
What I liked
Because this droid is easy to paint and has a relatively simple design, it allows for some creativity to be had with it. Whether it’s storming a beach, or climbing over boulders, or maybe just rusted up due to the harsh planet it’s on, the Dwarf Spider’s flexible build design provides a lot of latitude for custom building.
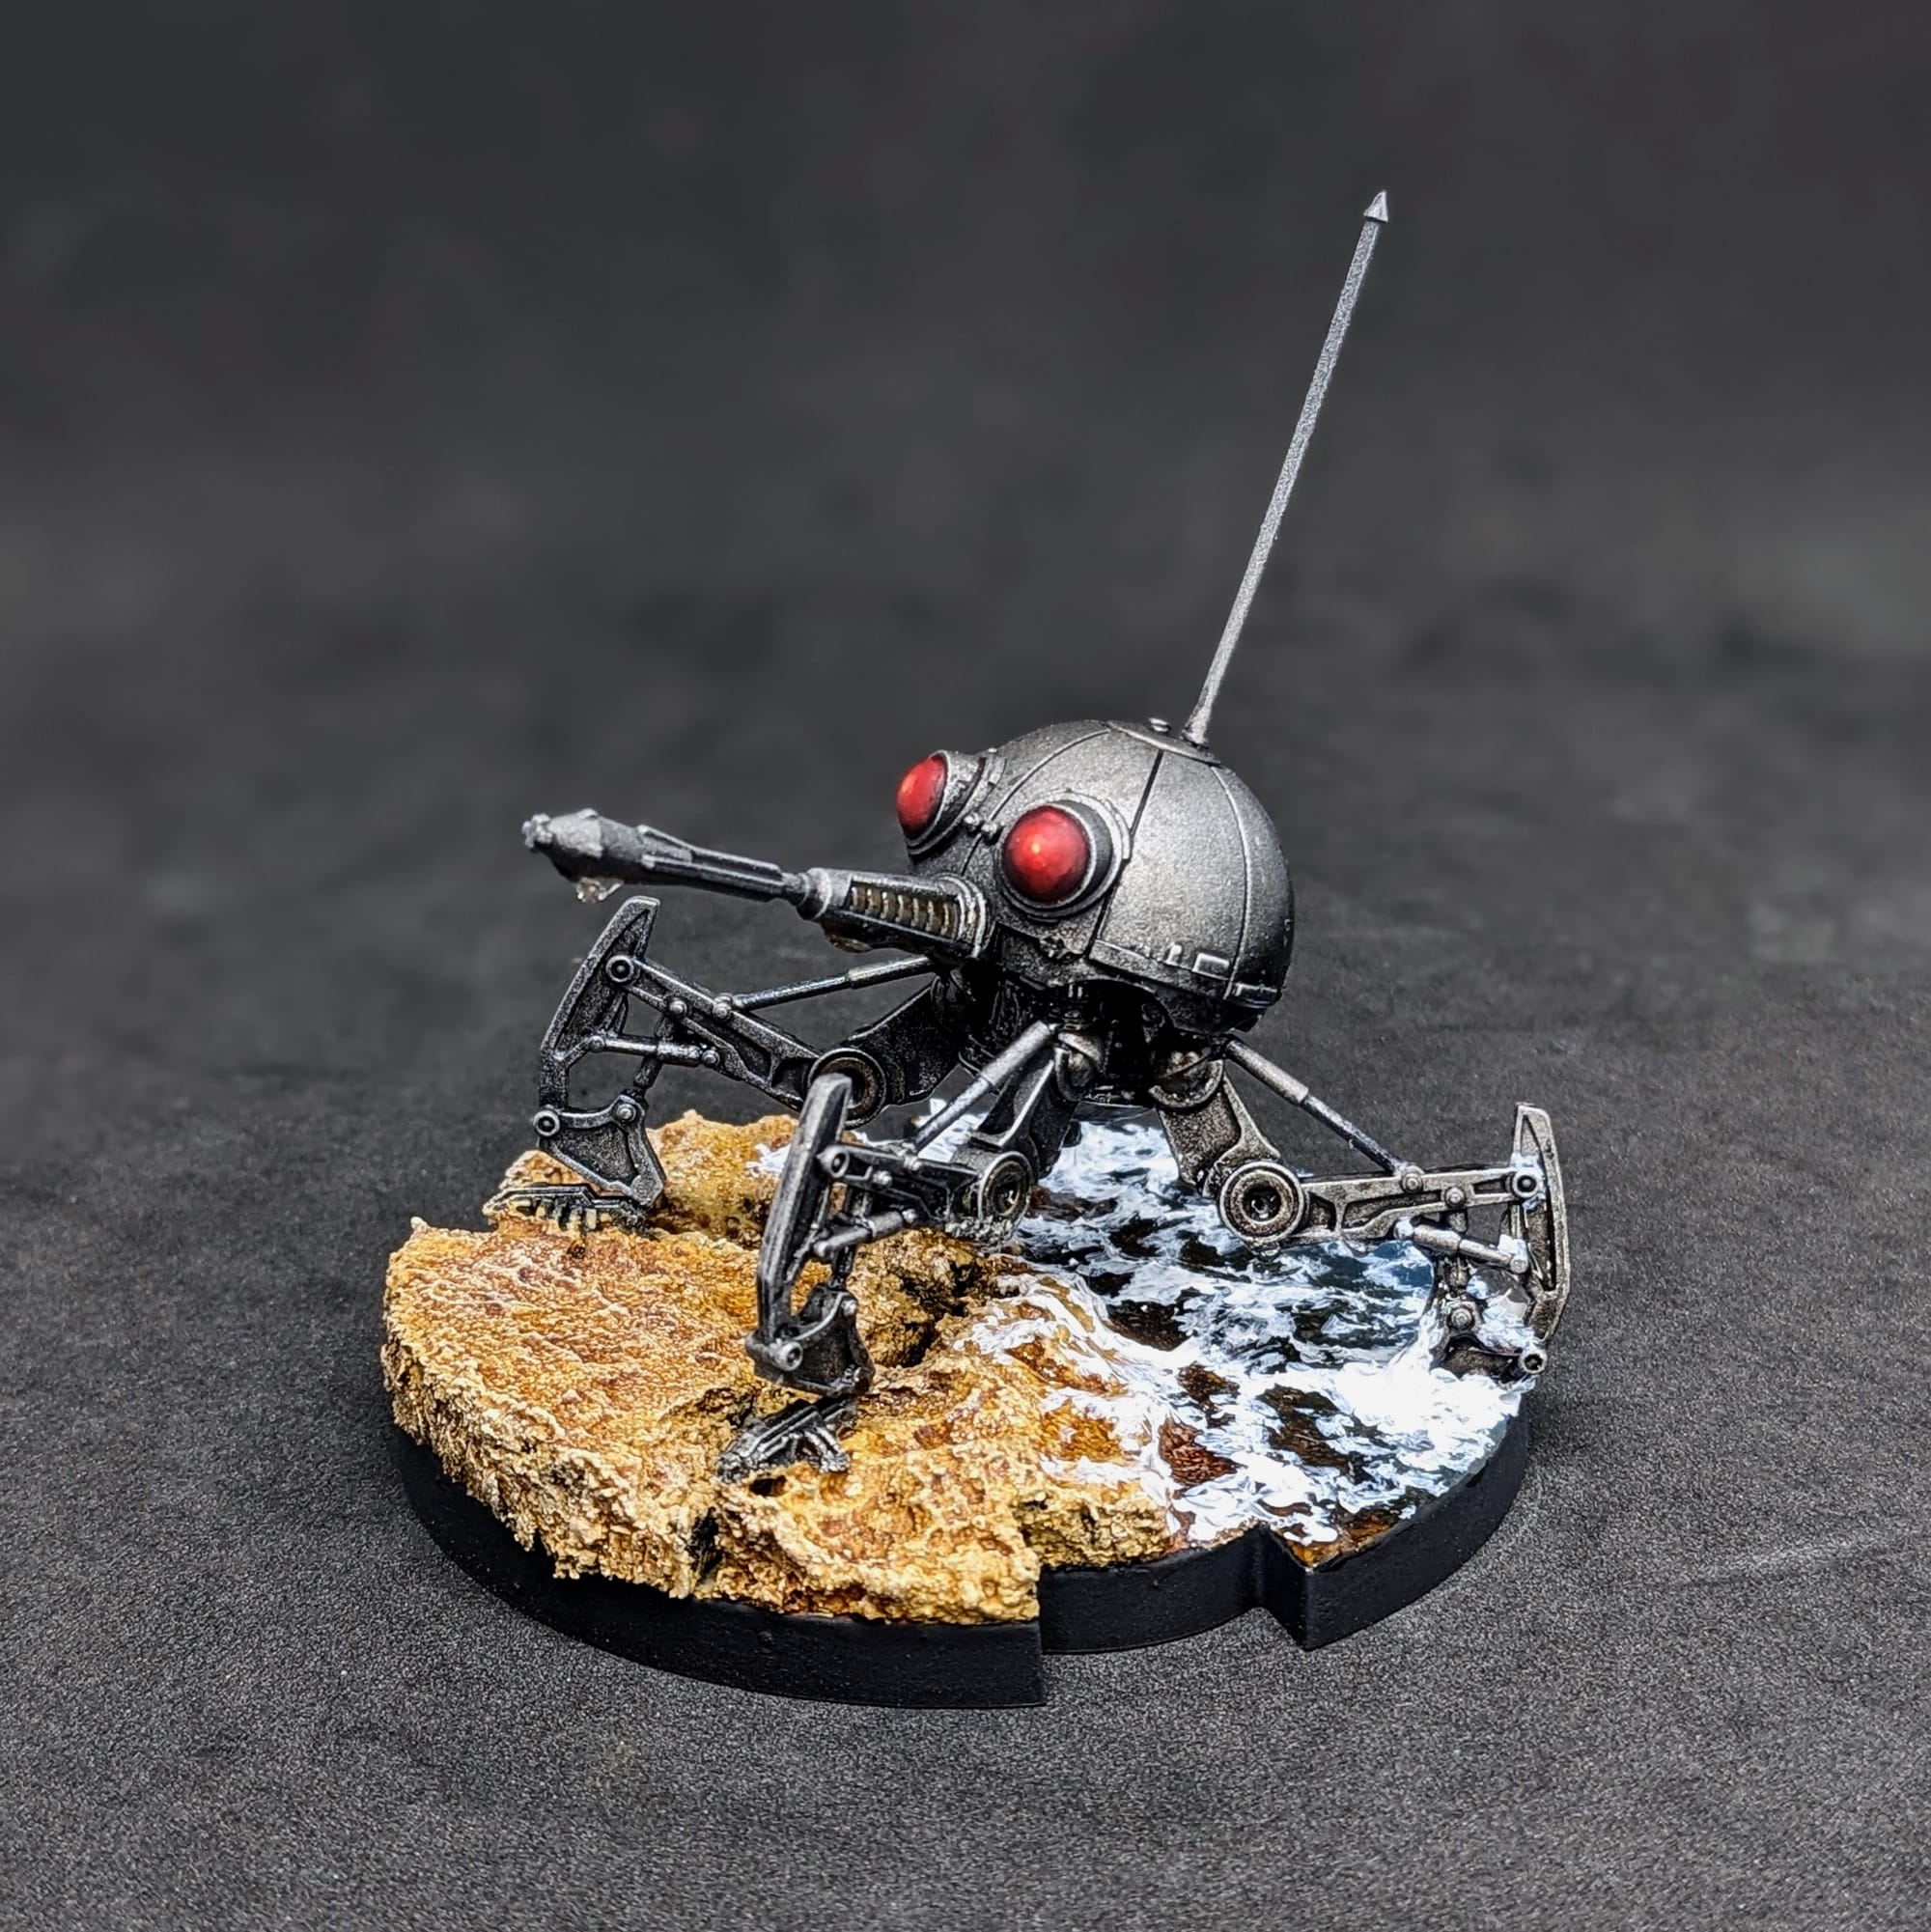
Overall, I am very happy with how the beach turned out and how it fits well into the final design. The water effects worked nicely through the model, and the crashing water gives an otherwise static model more movement to it.
What I didn't like
I wasn’t paying enough attention to the final layout and should have angled the head down a little more so that it was more parallel with the beach angle. With this pose, it looks like it’s shooting up into a far-off bunker or tree, and not necessarily at the defenders right in front of it. It’s a small detail, but it still bugs me.
What I would do differently next time
In addition to the head rotation, I think next time I will add some small coastal rocks, or even some seaweed, to give it a rocky beach look. Otherwise, I am really happy with the final design!
Final Assessment
Despite the simple design of the DSD1 Dwarf Spider Droid, the final outcome of it storming a beach was achieved. The model is, fortunately, really easy to build and paint, and so I was able to spend more time on the basing scene, with the beach and water effects. When possible, I like to use the water effects. I can't wait to see this on the table for some games!
Have you painted Star Wars: Legion miniatures yet? Share your work with us!
Don’t forget to subscribe and follow us on Instagram, Bluesky, and YouTube for more Star Wars: Legion reviews and painting guides, as well as more hobby and tabletop news and reviews!