Sometimes, a model demands more of you as an artist. Advanced techniques, more time, that something extra. You are re-rendering all of the details that a sculptor had brought to life, and you are truly filling it in with details and color that didn’t exist because a model is a blank canvas with a lot of cool angles.
Marvel Crisis Protocol has a few models that really speak to me when it comes to pushing myself further, and I want to share that process with you. Over the course of this article, I will discuss advanced techniques that I used to render Nimrod, the elite hunter of mutants. Let's dive in.
Assembly
So for most models, and especially Marvel Crisis Protocol models, I tend to focus on building the entire model, which is totally fine on many occasions. I have had a few over time where I feel like I caused problems for myself, like when I painted Medusa for the Inhuman’s affiliation, because her body had parts mostly unreachable by a brush or even an airbrush once attached to the hair.
Nimrod is a more complicated model, but once you have a plan, it’s easy. I kept the body, backpiece, and base all separate because once put together, you’ll lose the ability to reach all of the unique parts.
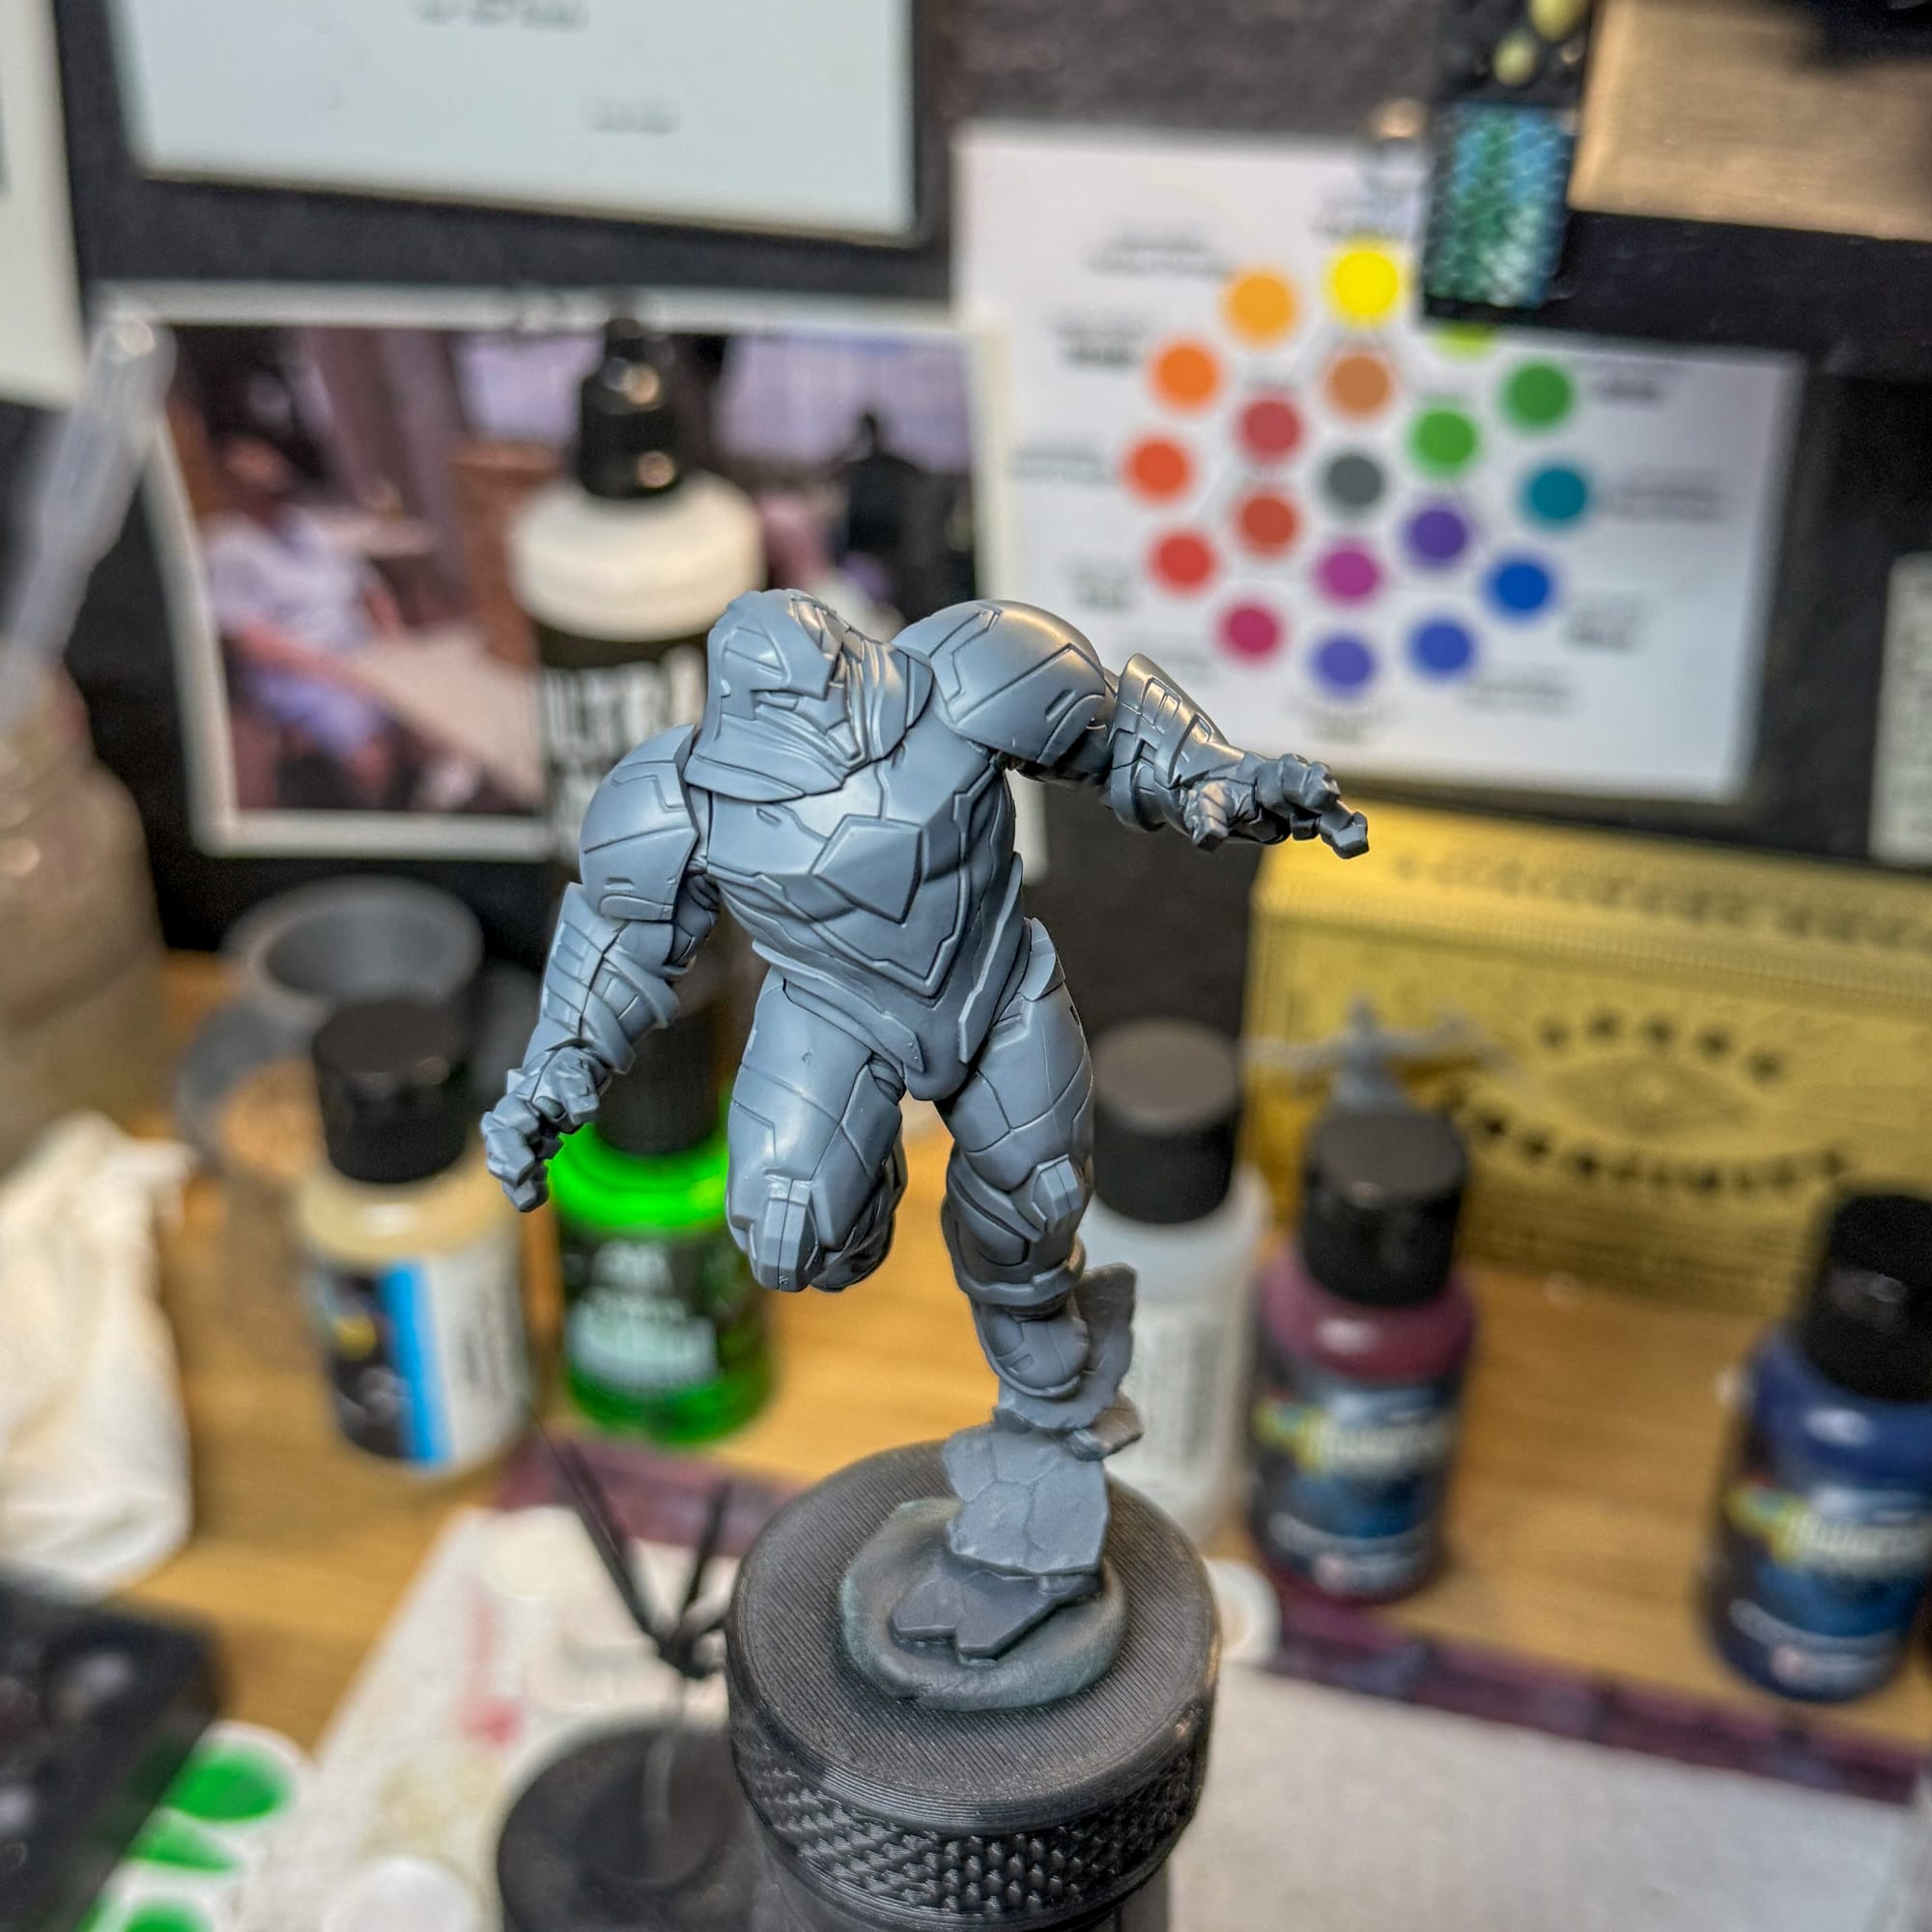
When working with pieces, you’ll want to take some special precautions. The backpack I attached to my DEXCHK handle with a pin, which was a piece of paperclip superglued to the plastic. Don’t worry, it’ll snap off easily, and you’ll be fine. For the body, I used A LOT of mounting putty. Call it blue stuff, white stuff, poster tack…I’ve combined a lot of them together into a custom mix. Holds pieces really well, and keeps the body attached.
I also sanded down all of the sprue parts that stuck out, which is a common thing on all MCP models. I use a bag of sanding stick samples I got off of Amazon years ago.
 Randy Gregory II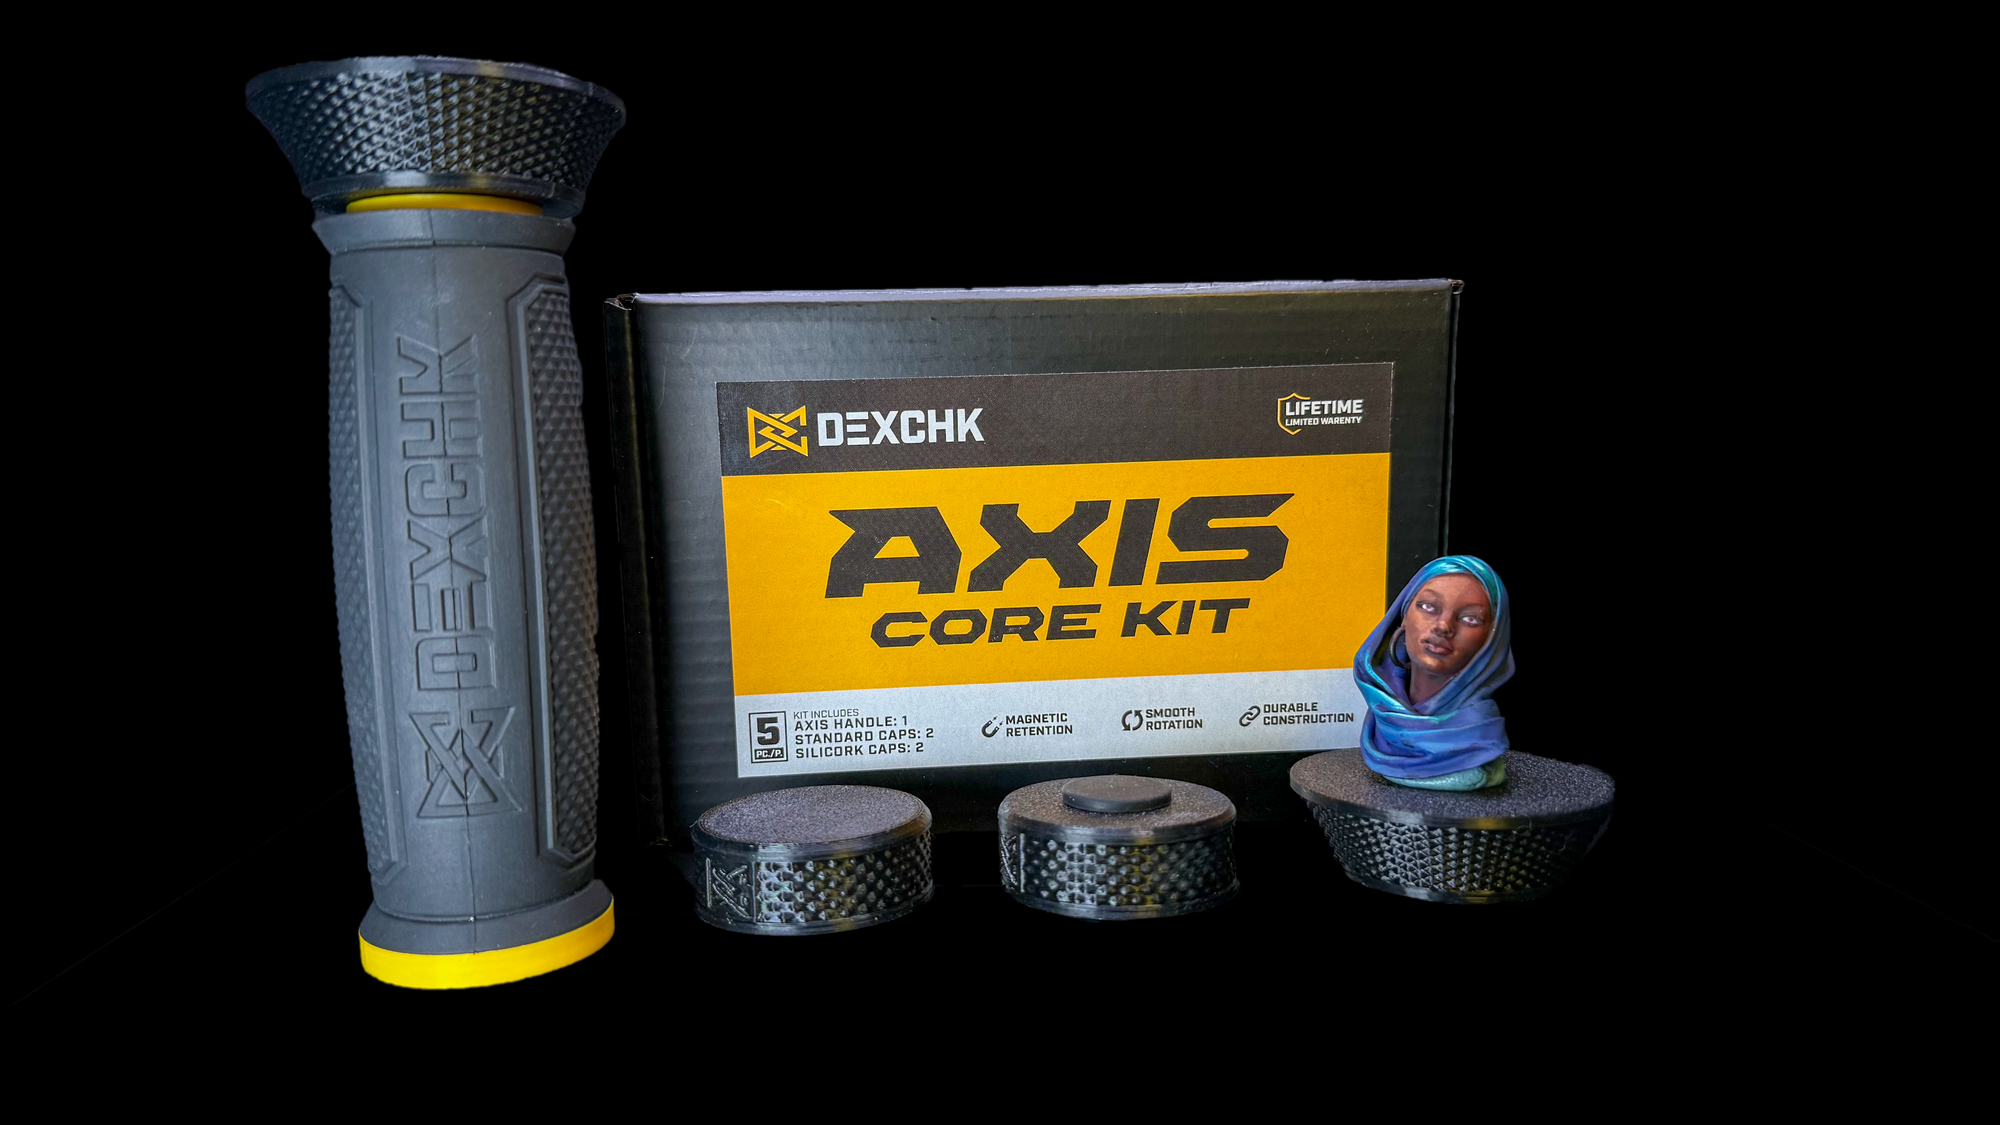
Airbrushing
Getting into painting, I wanted to start with the airbrush. Nimrod is a model that is mostly white or gray, so you can do a bit of simple painting with the airbrush. Iwata sent us the Eclipse and the NuWorlds paint, which were excellent for this purpose.
I mixed the black and white paints in a 50/50 ratio, which gave me a basic gray. From this, I can either dial it down or up to white or black quite easily. Now, you won’t be able to paint the whole model this way, but on a model like Nimrod, you’ll get a very long way.
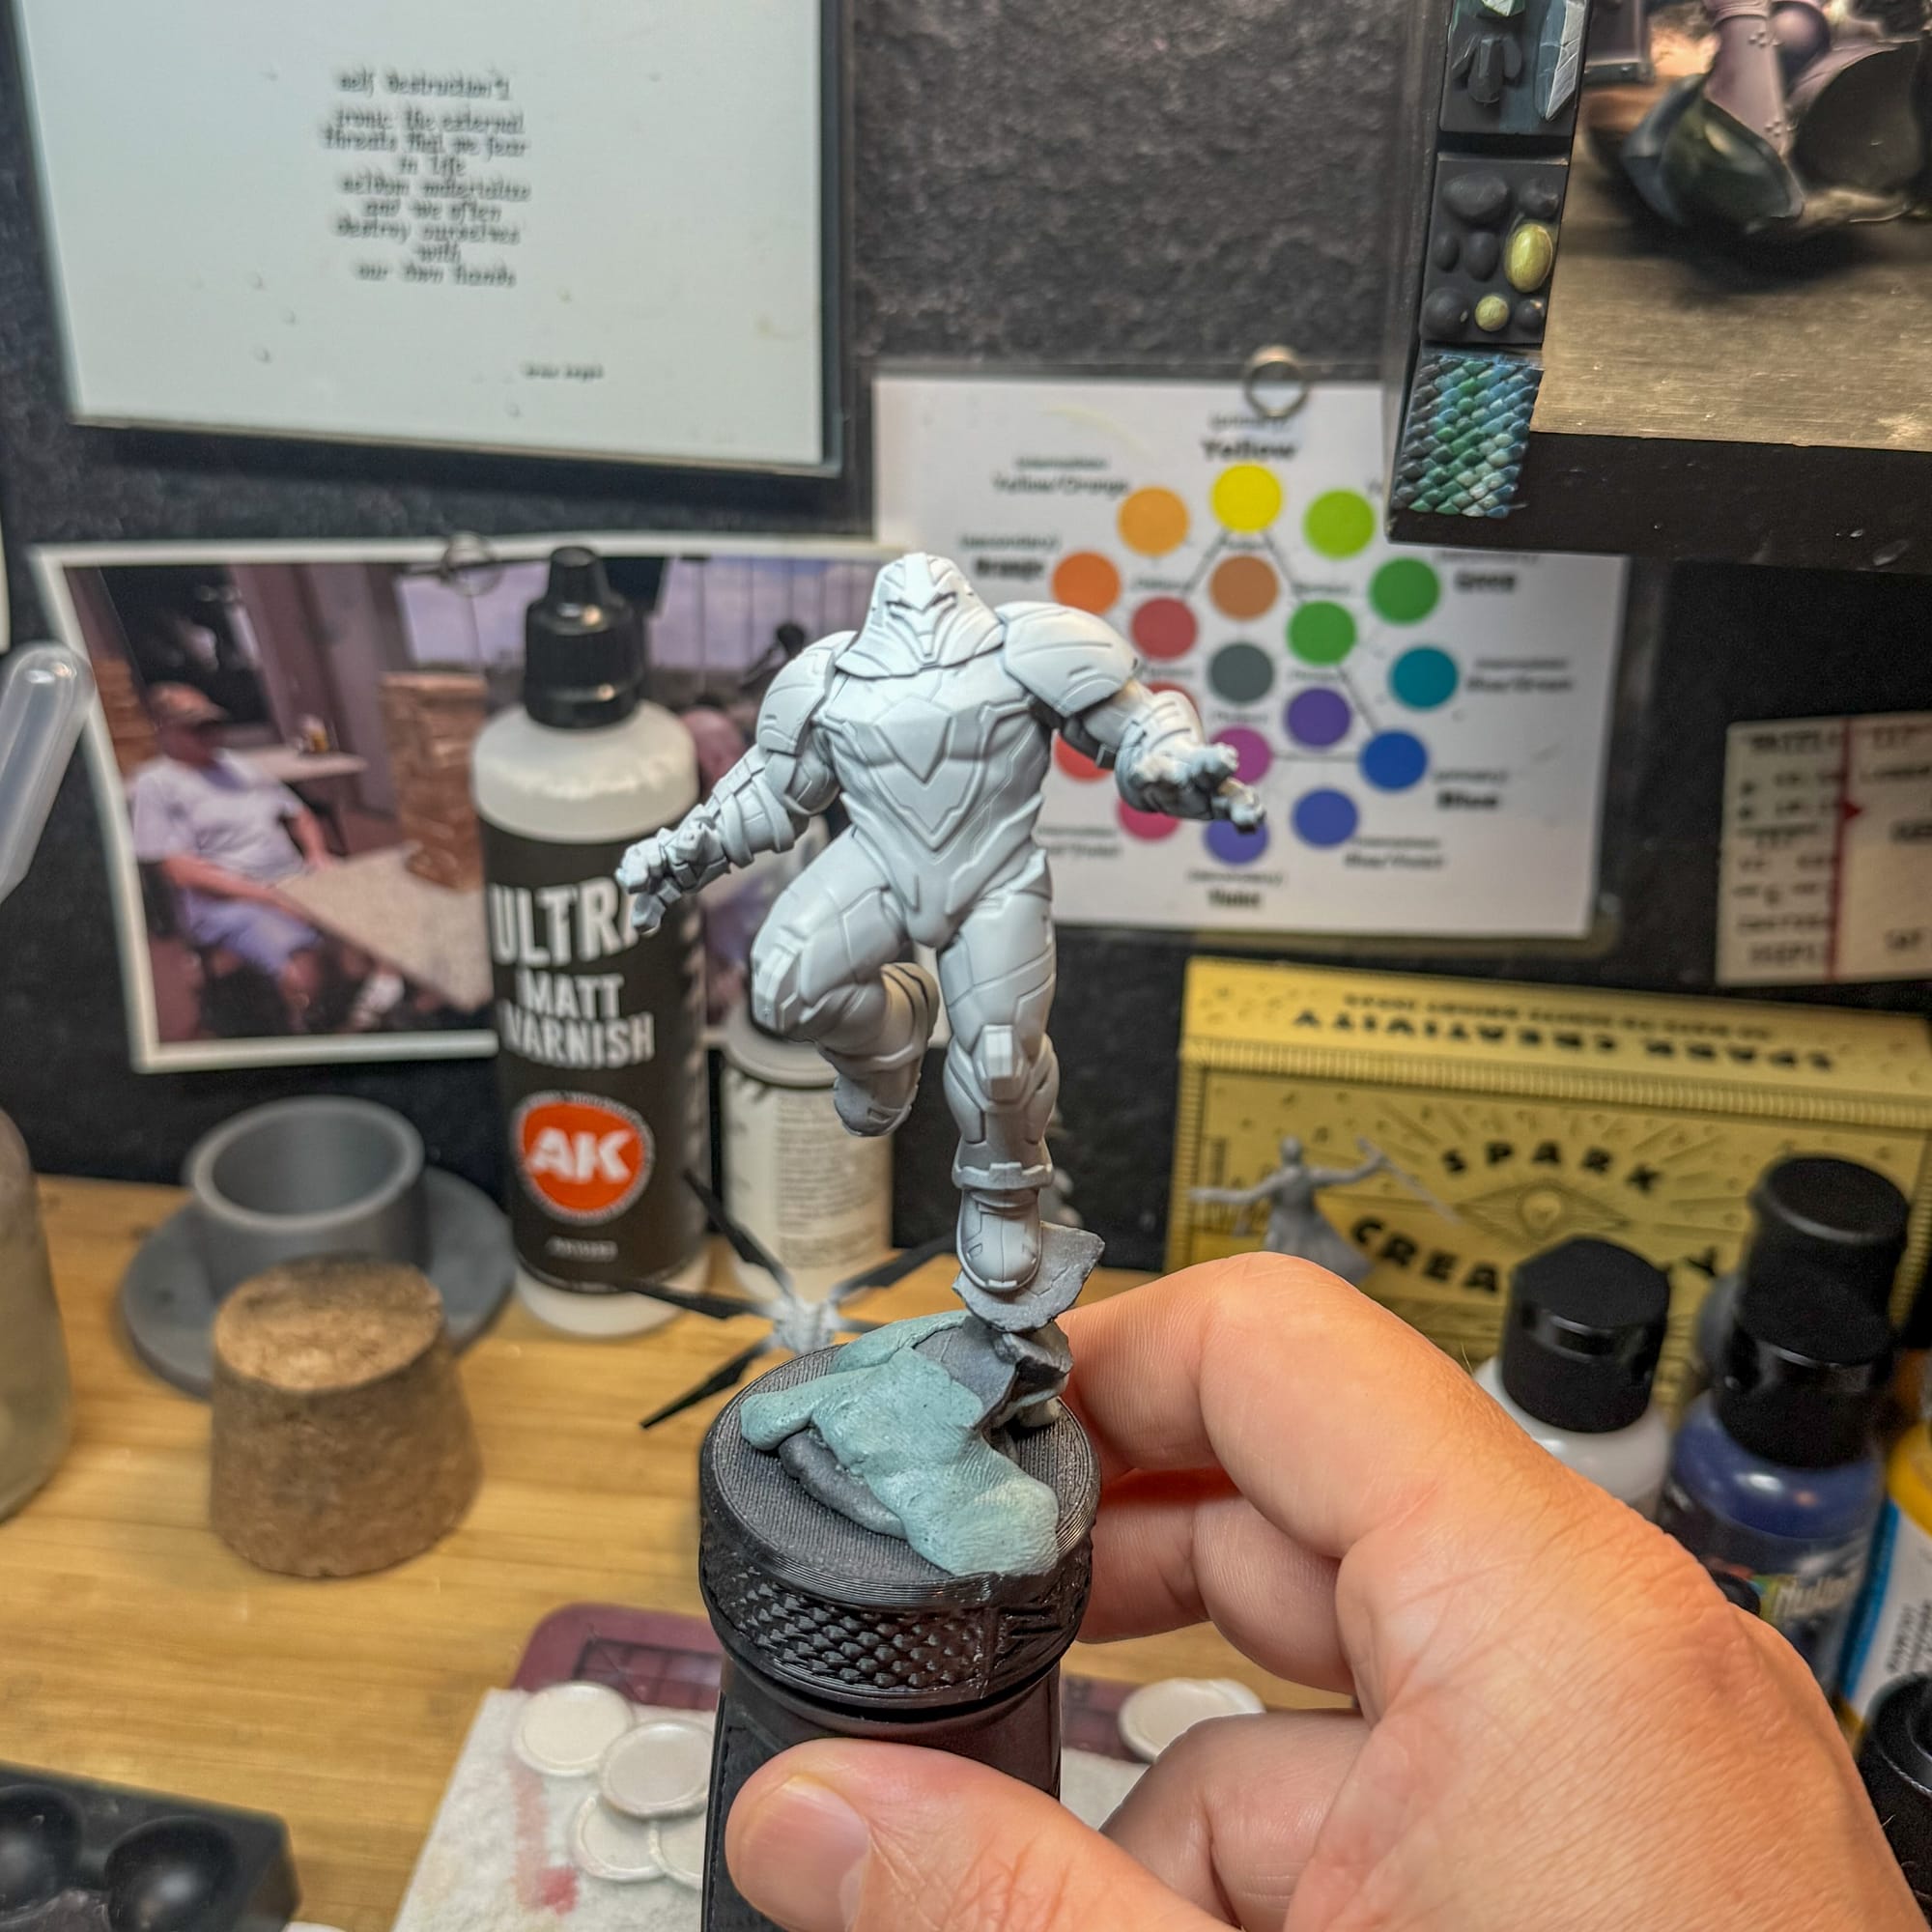
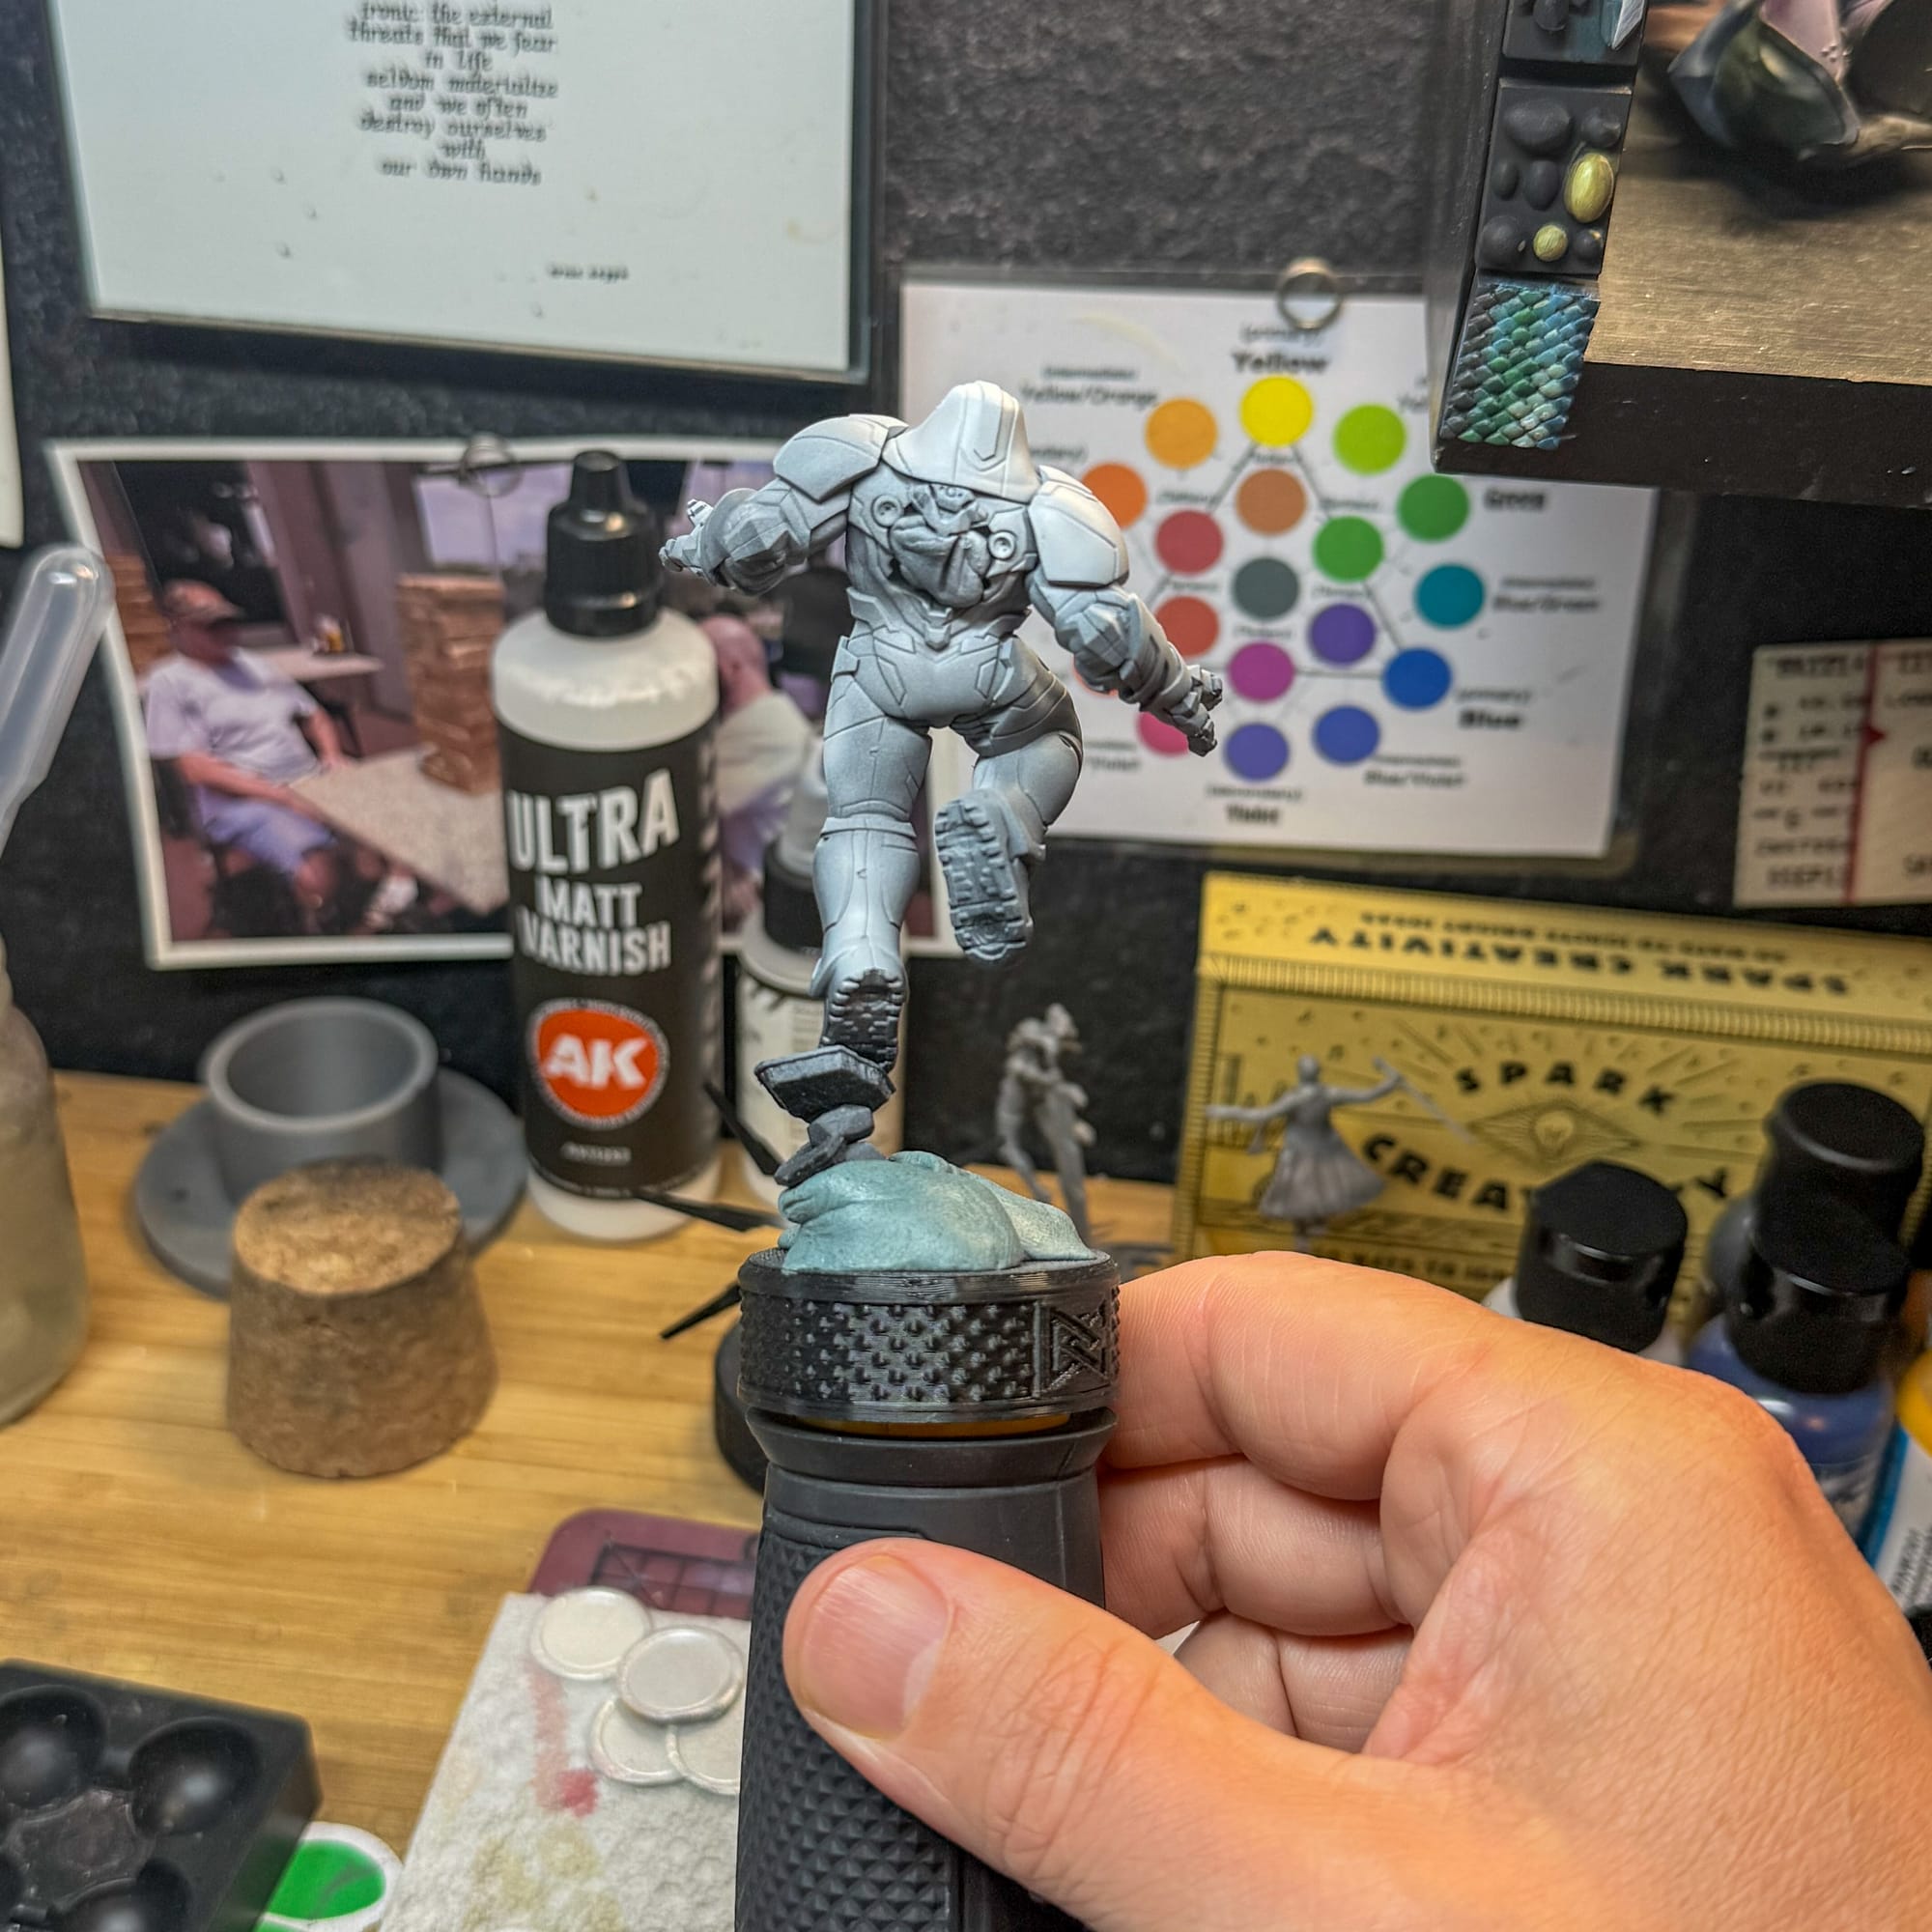
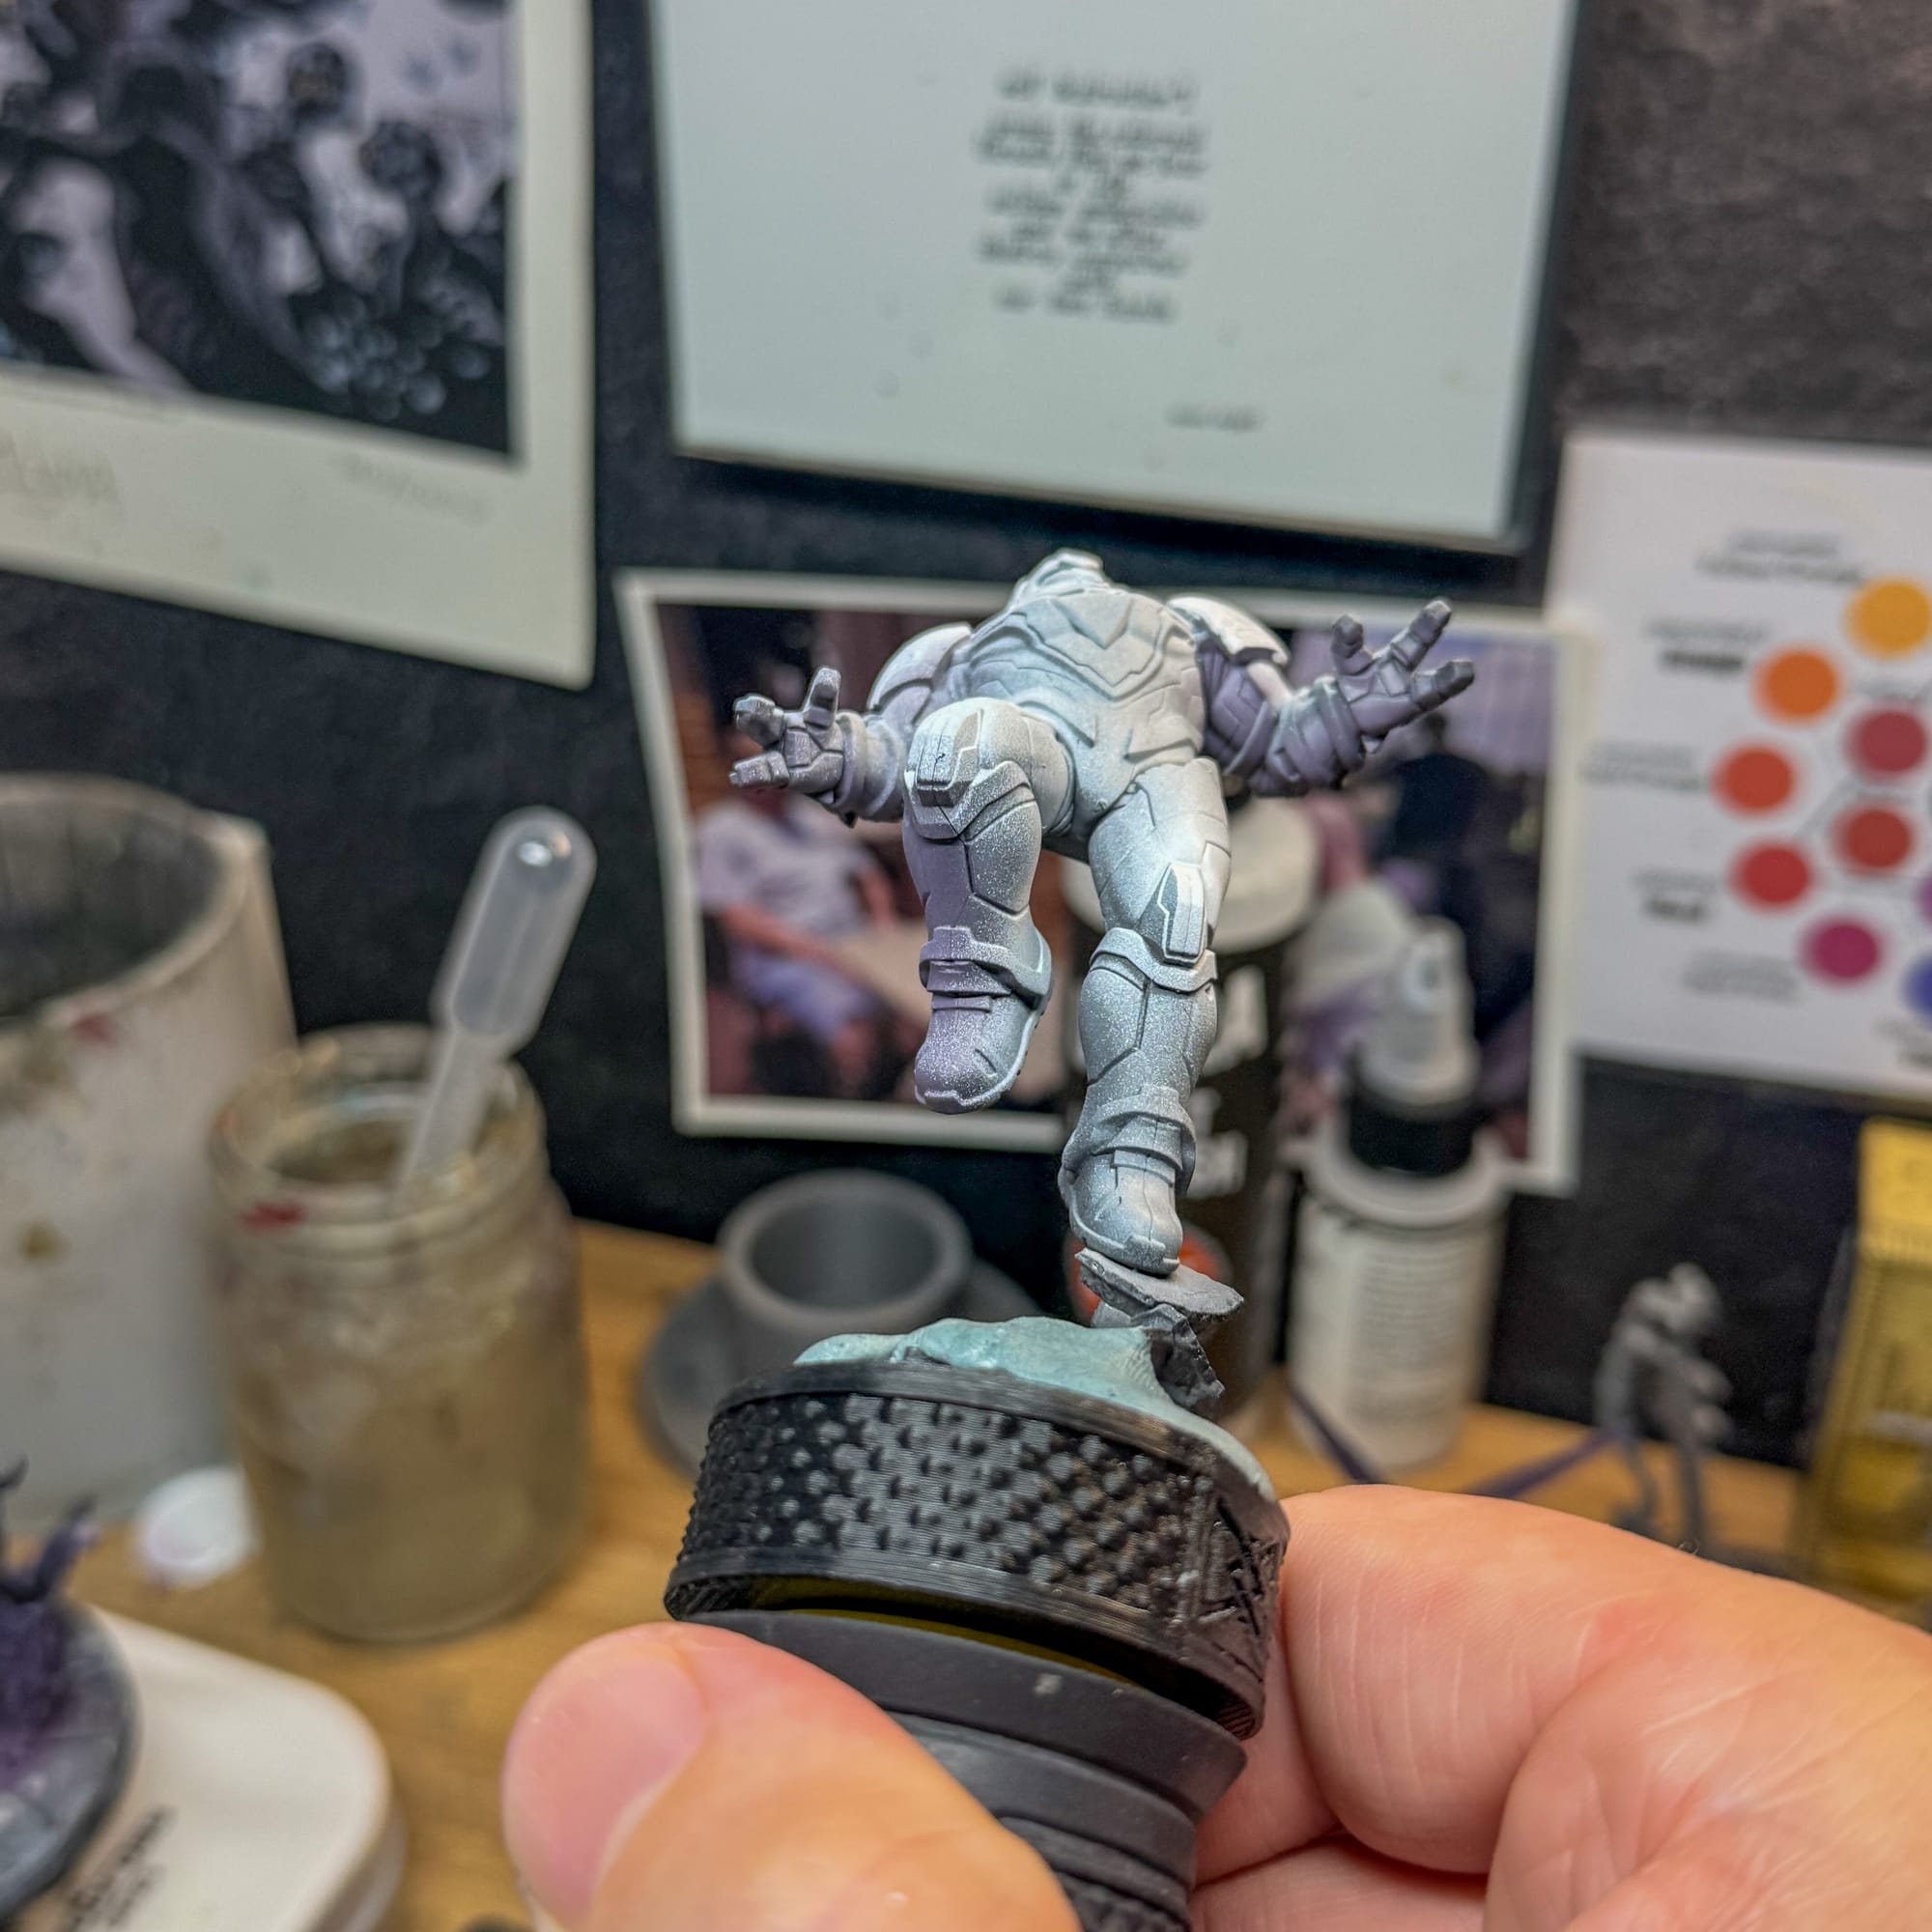
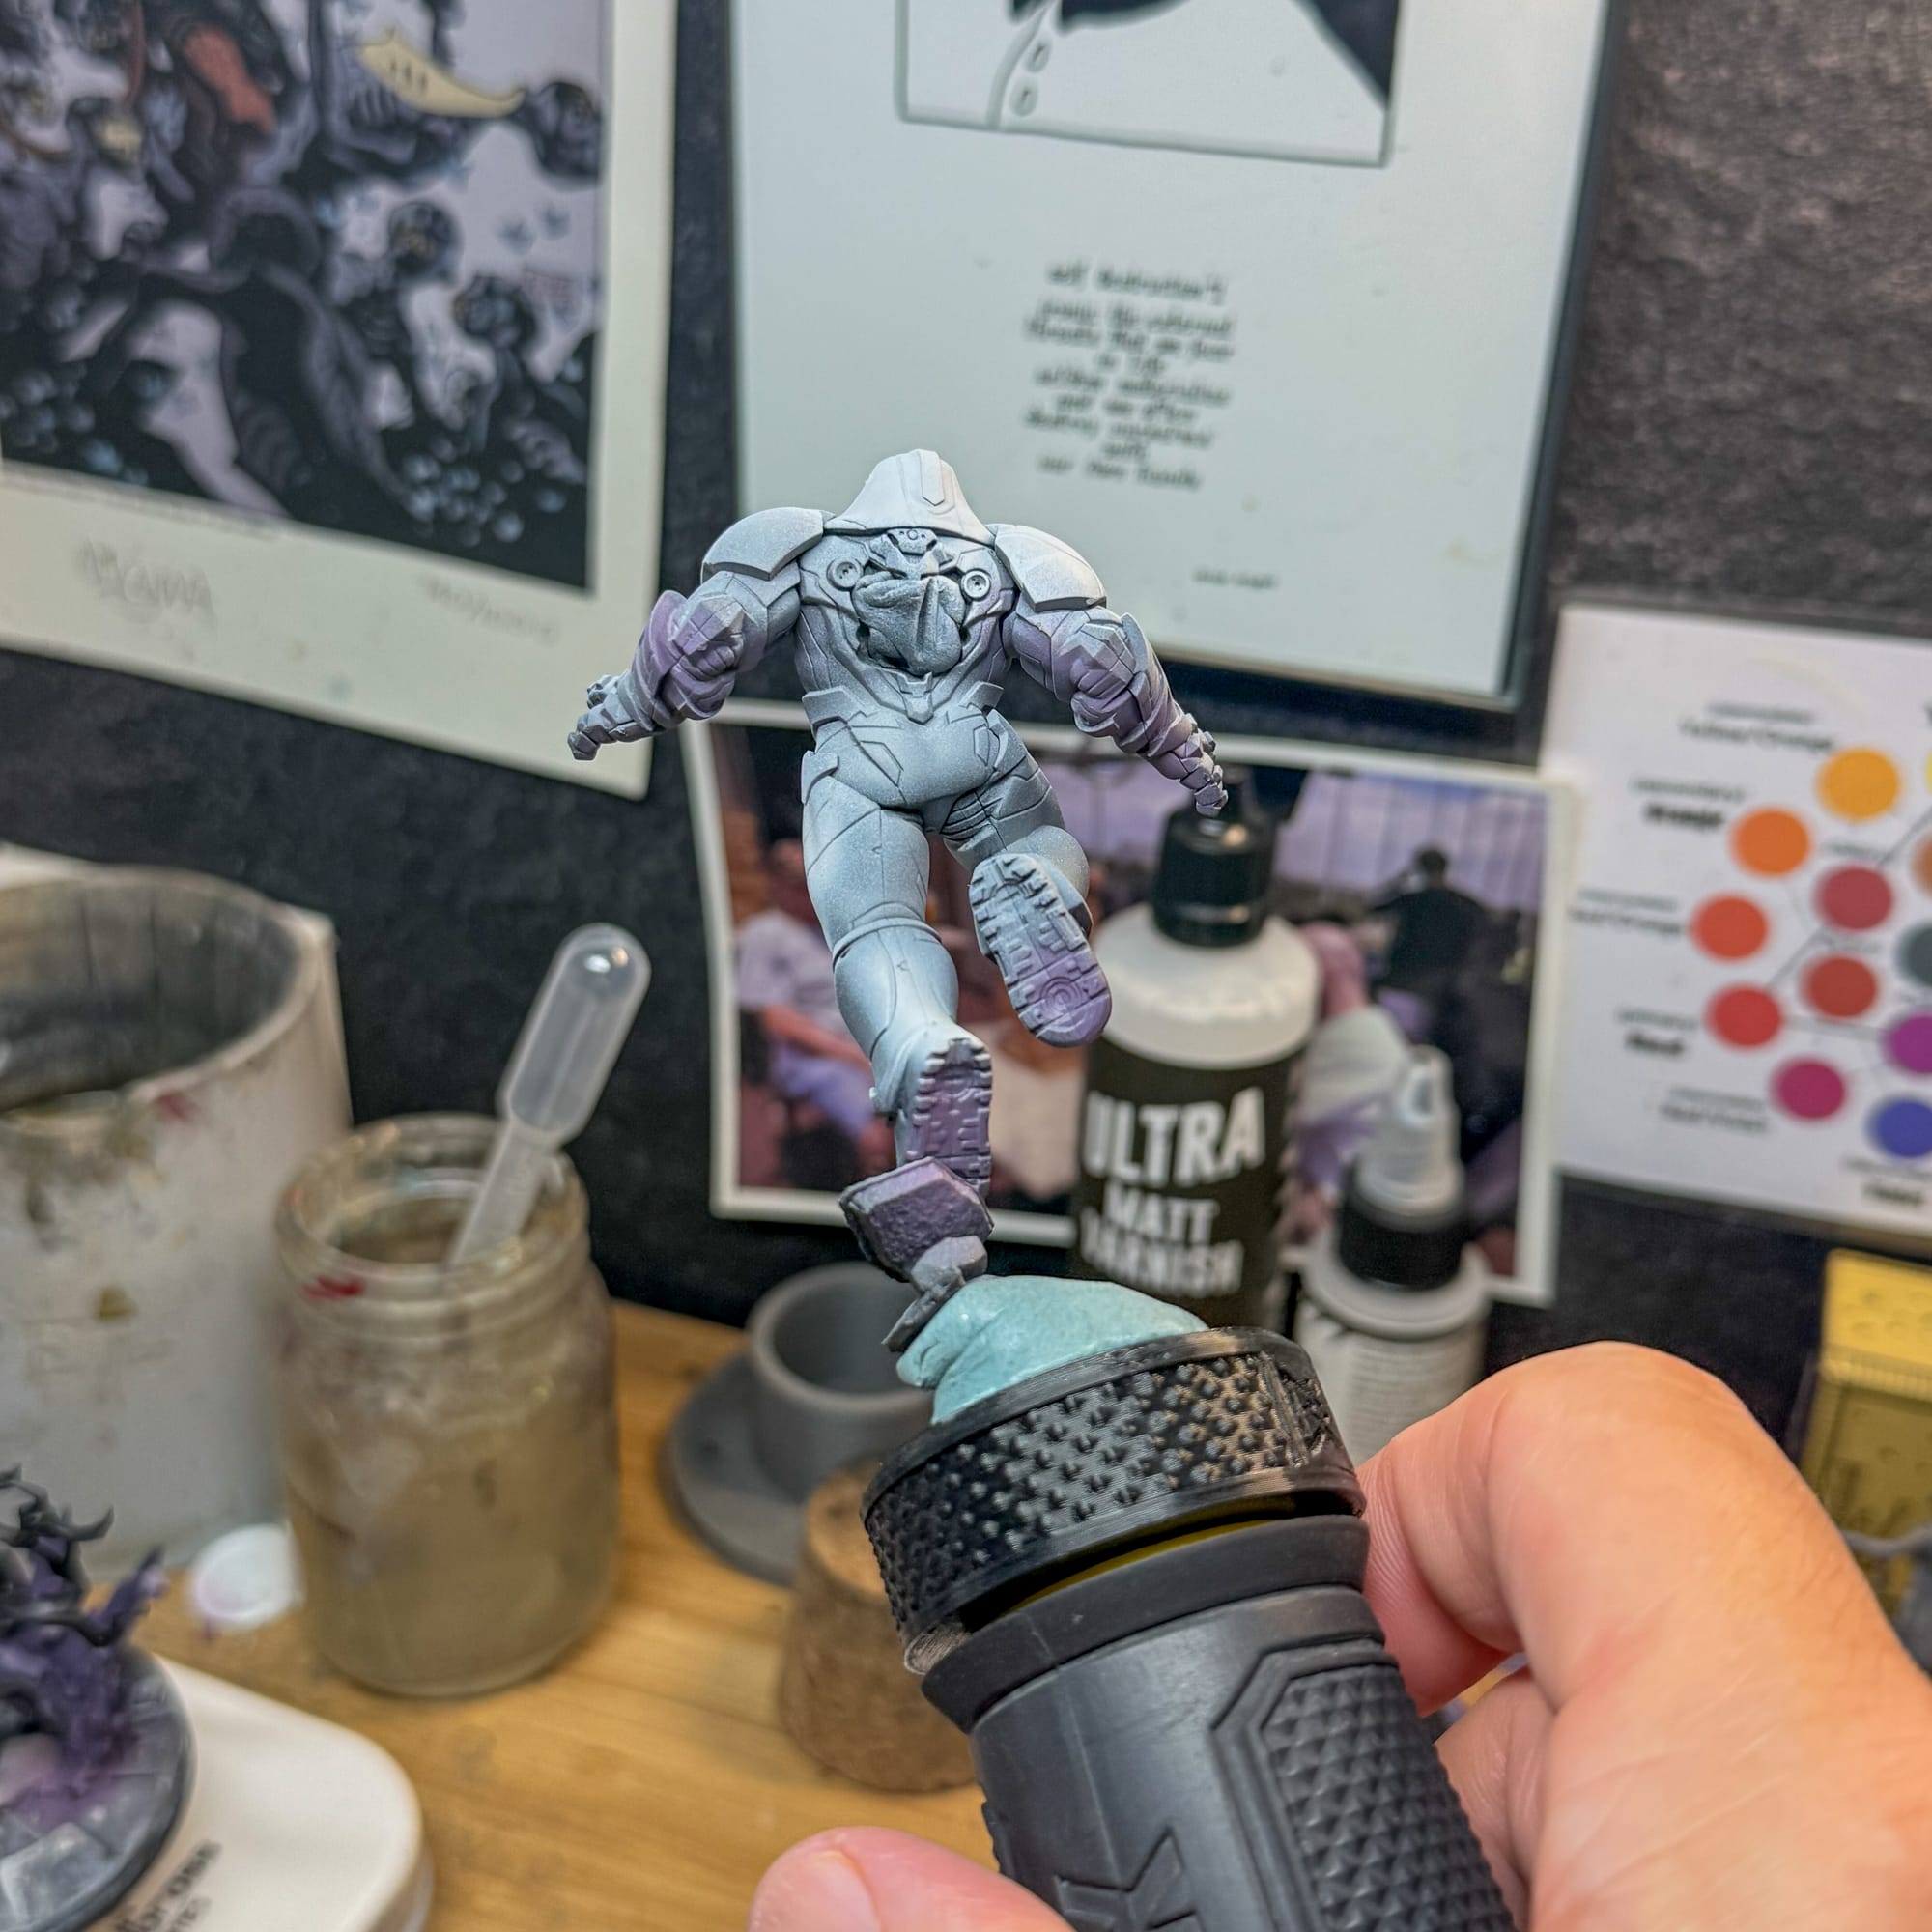
Airbrush is a cheat code to establish value easily
Basically, I added more white to where I wanted the eyes to land, which is going to be the top of the model, the chest, and the shoulders. I also picked out the top of the left knee to have my maximum highlights. This, coincidentally, is my lighting plan for the model. Remember, when painting up a piece, you want to pick specific areas for the eyes to land, and the airbrush makes it so easy to actually hit that plan, which I’ll refine later with the layering step.
On the base and the backpack, I made a pink by taking white and red and working with drops of paint until I hit a basic magenta tone. This gave me once again an overall tone I could get to violet or bright pink easily. By adding in a bit more red and blue, violet.
Also, airbrushing can get you very good blending results, as the paint is very thin and when blasted through the Eclipse, it’s awesome.
I use 2 drops of Vallejo Flow Improver in my airbrush, and the NuWorlds paint is formulated for an airbrush, so no thinner required. And it’s paint that requires no primer, so this whole experience was sped up.
 Randy Gregory II
 Randy Gregory II
Enamels
I’ve reviewed a lot of AK Interactive’s enamel products, and most recently, they sent me their Glow Fluorescants, which I’ll discuss in further detail below (spoiler, I love them), but I wanted to bring up Paneliner. Paneliner is a specific product from AK which is a thinned down enamel that flows effortlessly into the lines on a model. Typically used in scale models, it’s perfect on planes, tanks, and automobiles.
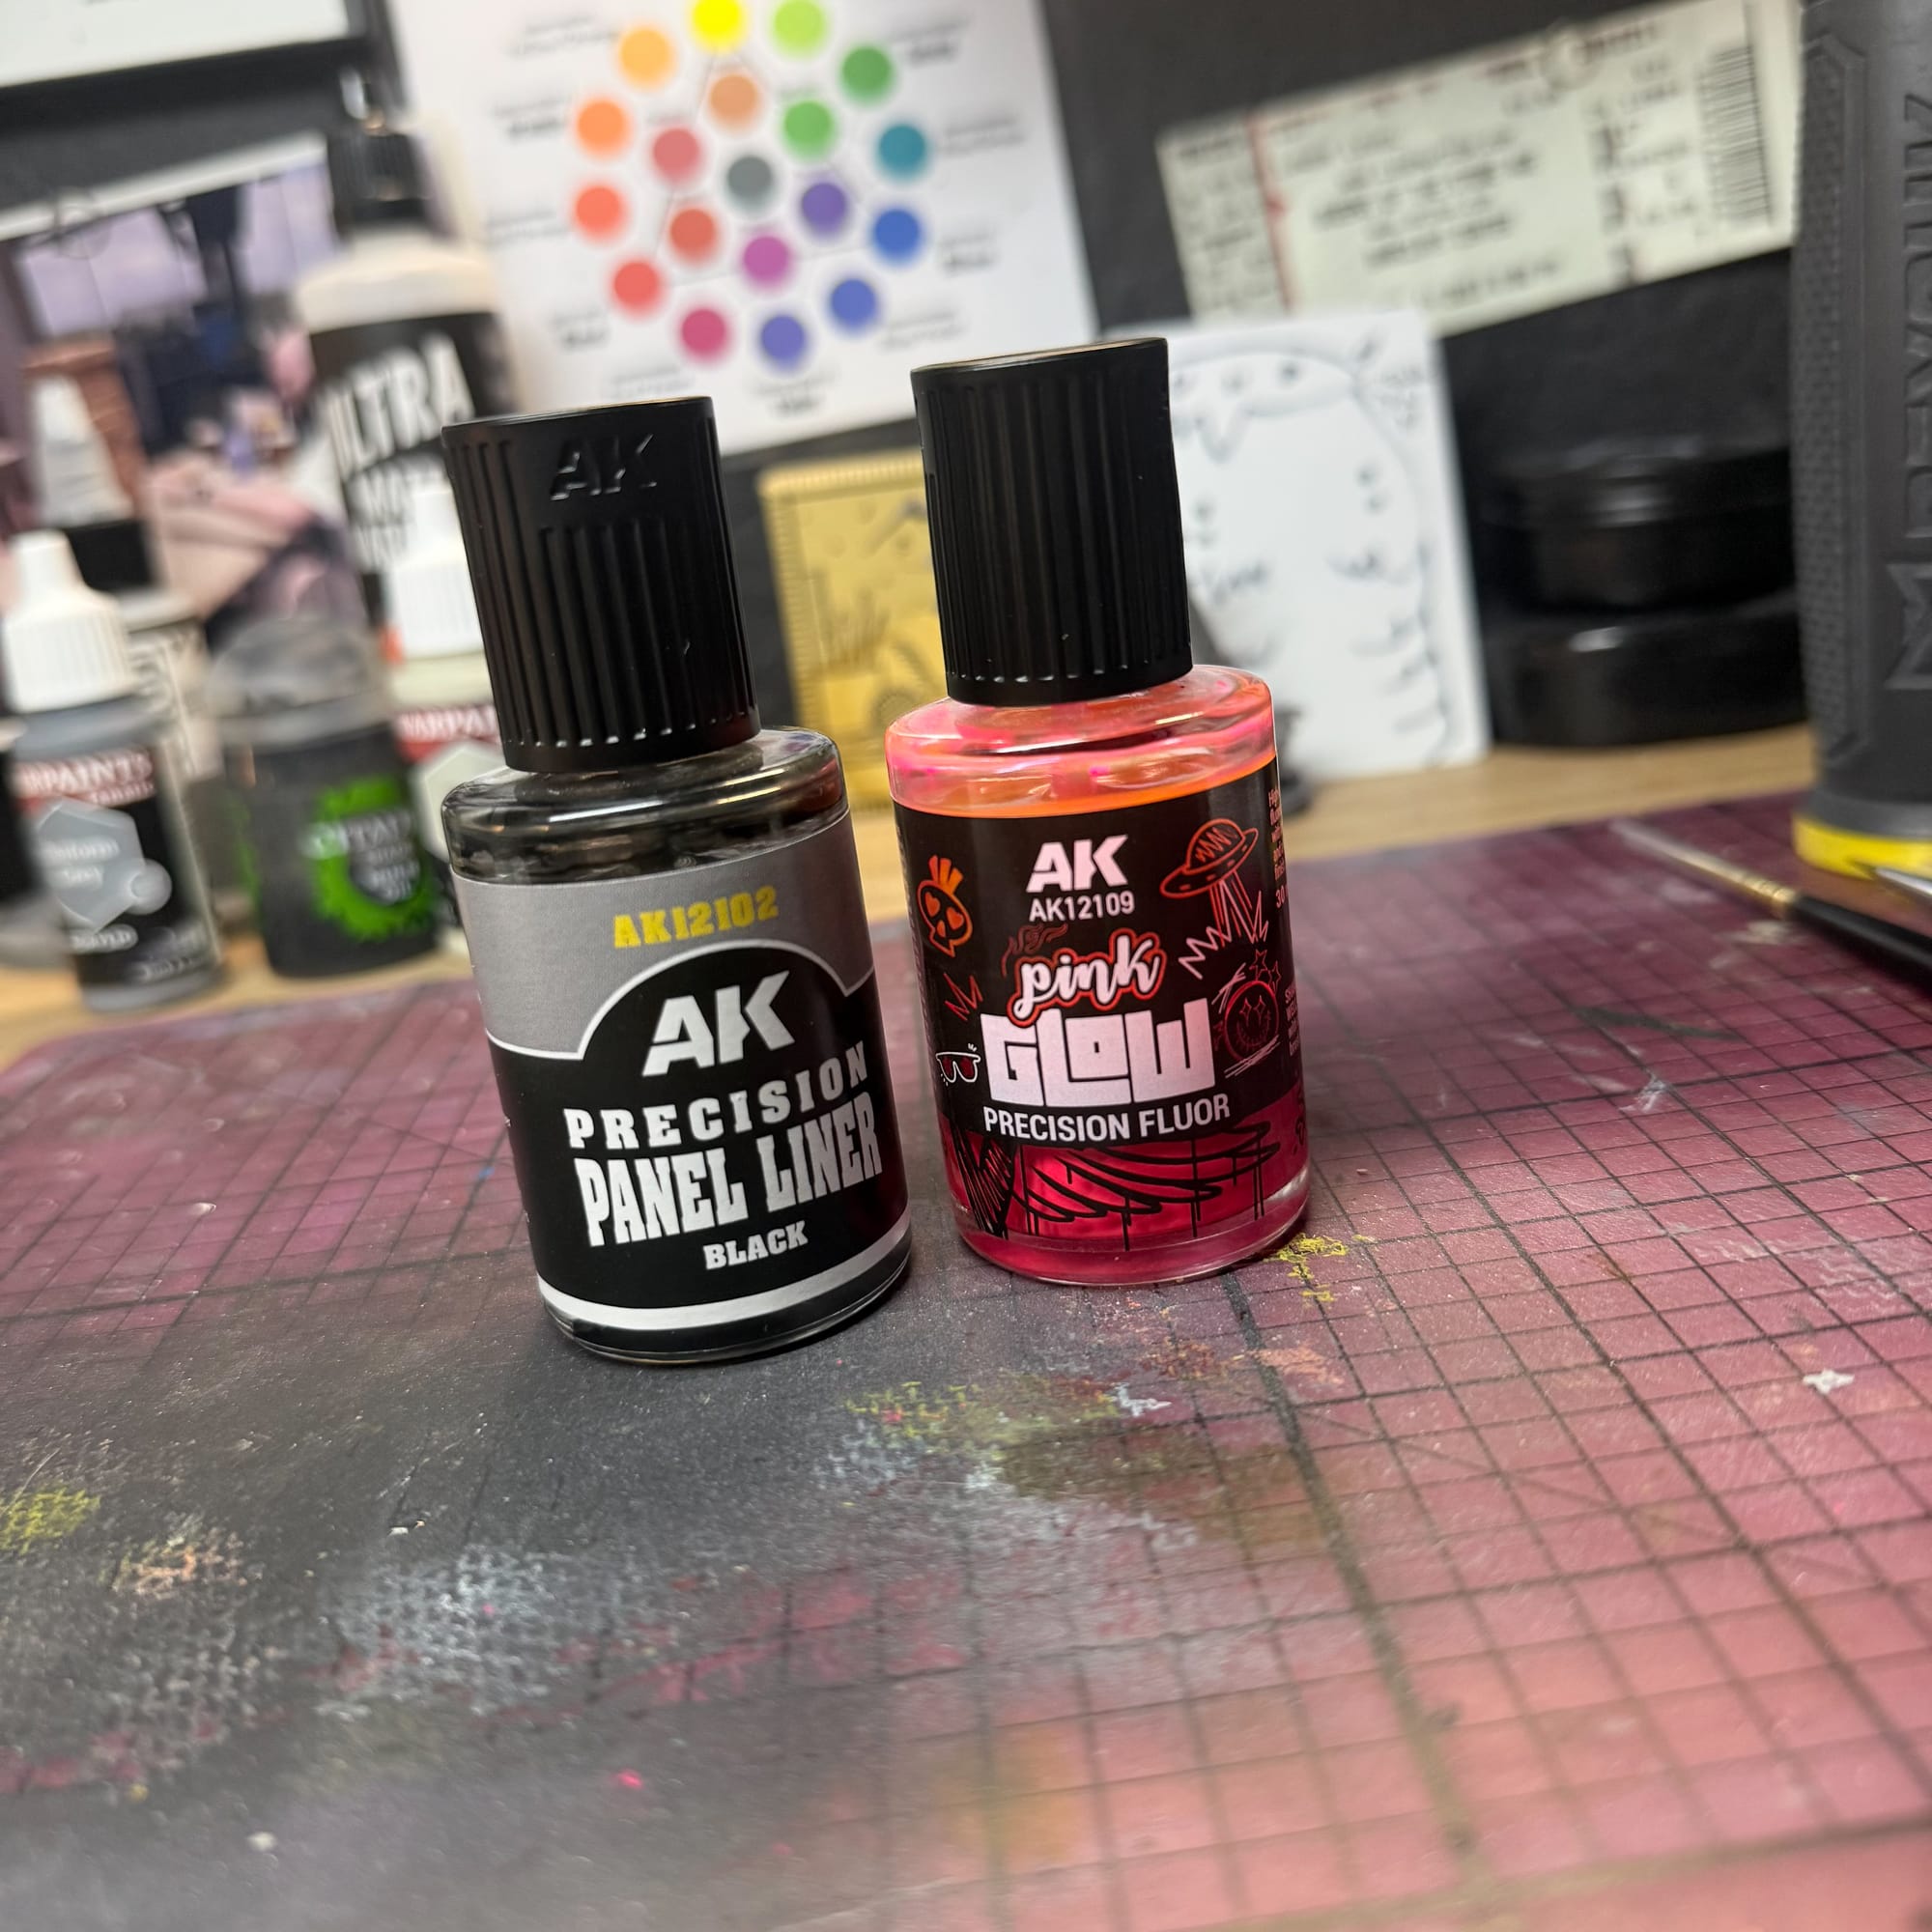
On gaming models, it can get messy quick, but Nimrod was designed with lines and channels throughout, which really helped with my task. Shout out to the sculptors at Atomic Mass Games.
When you get messy with enamels, use an old brush or a makeup sponge/cotton swab dipped in white spirit, which will clean up the mess.
Panelliner is an incredible product for this purpose.
 Randy Gregory II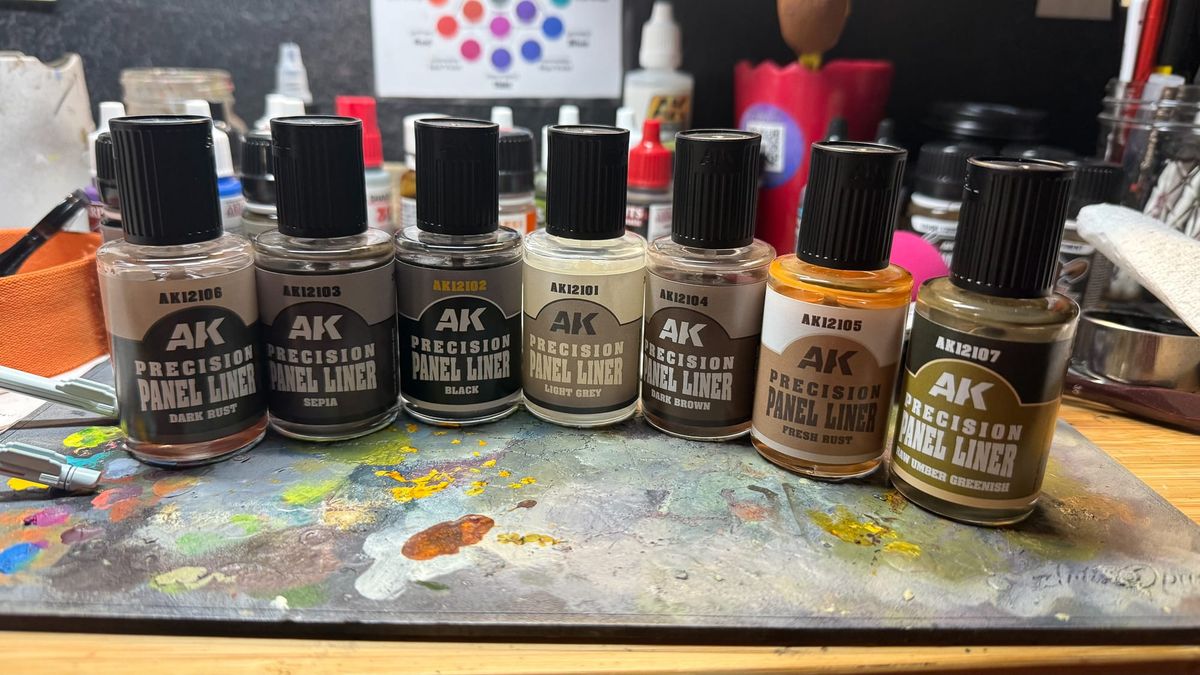
Layering
So, let’s get into some traditional painting techniques! Layering will happen in several different passes. In this case, I’m going to use a lot of inks.
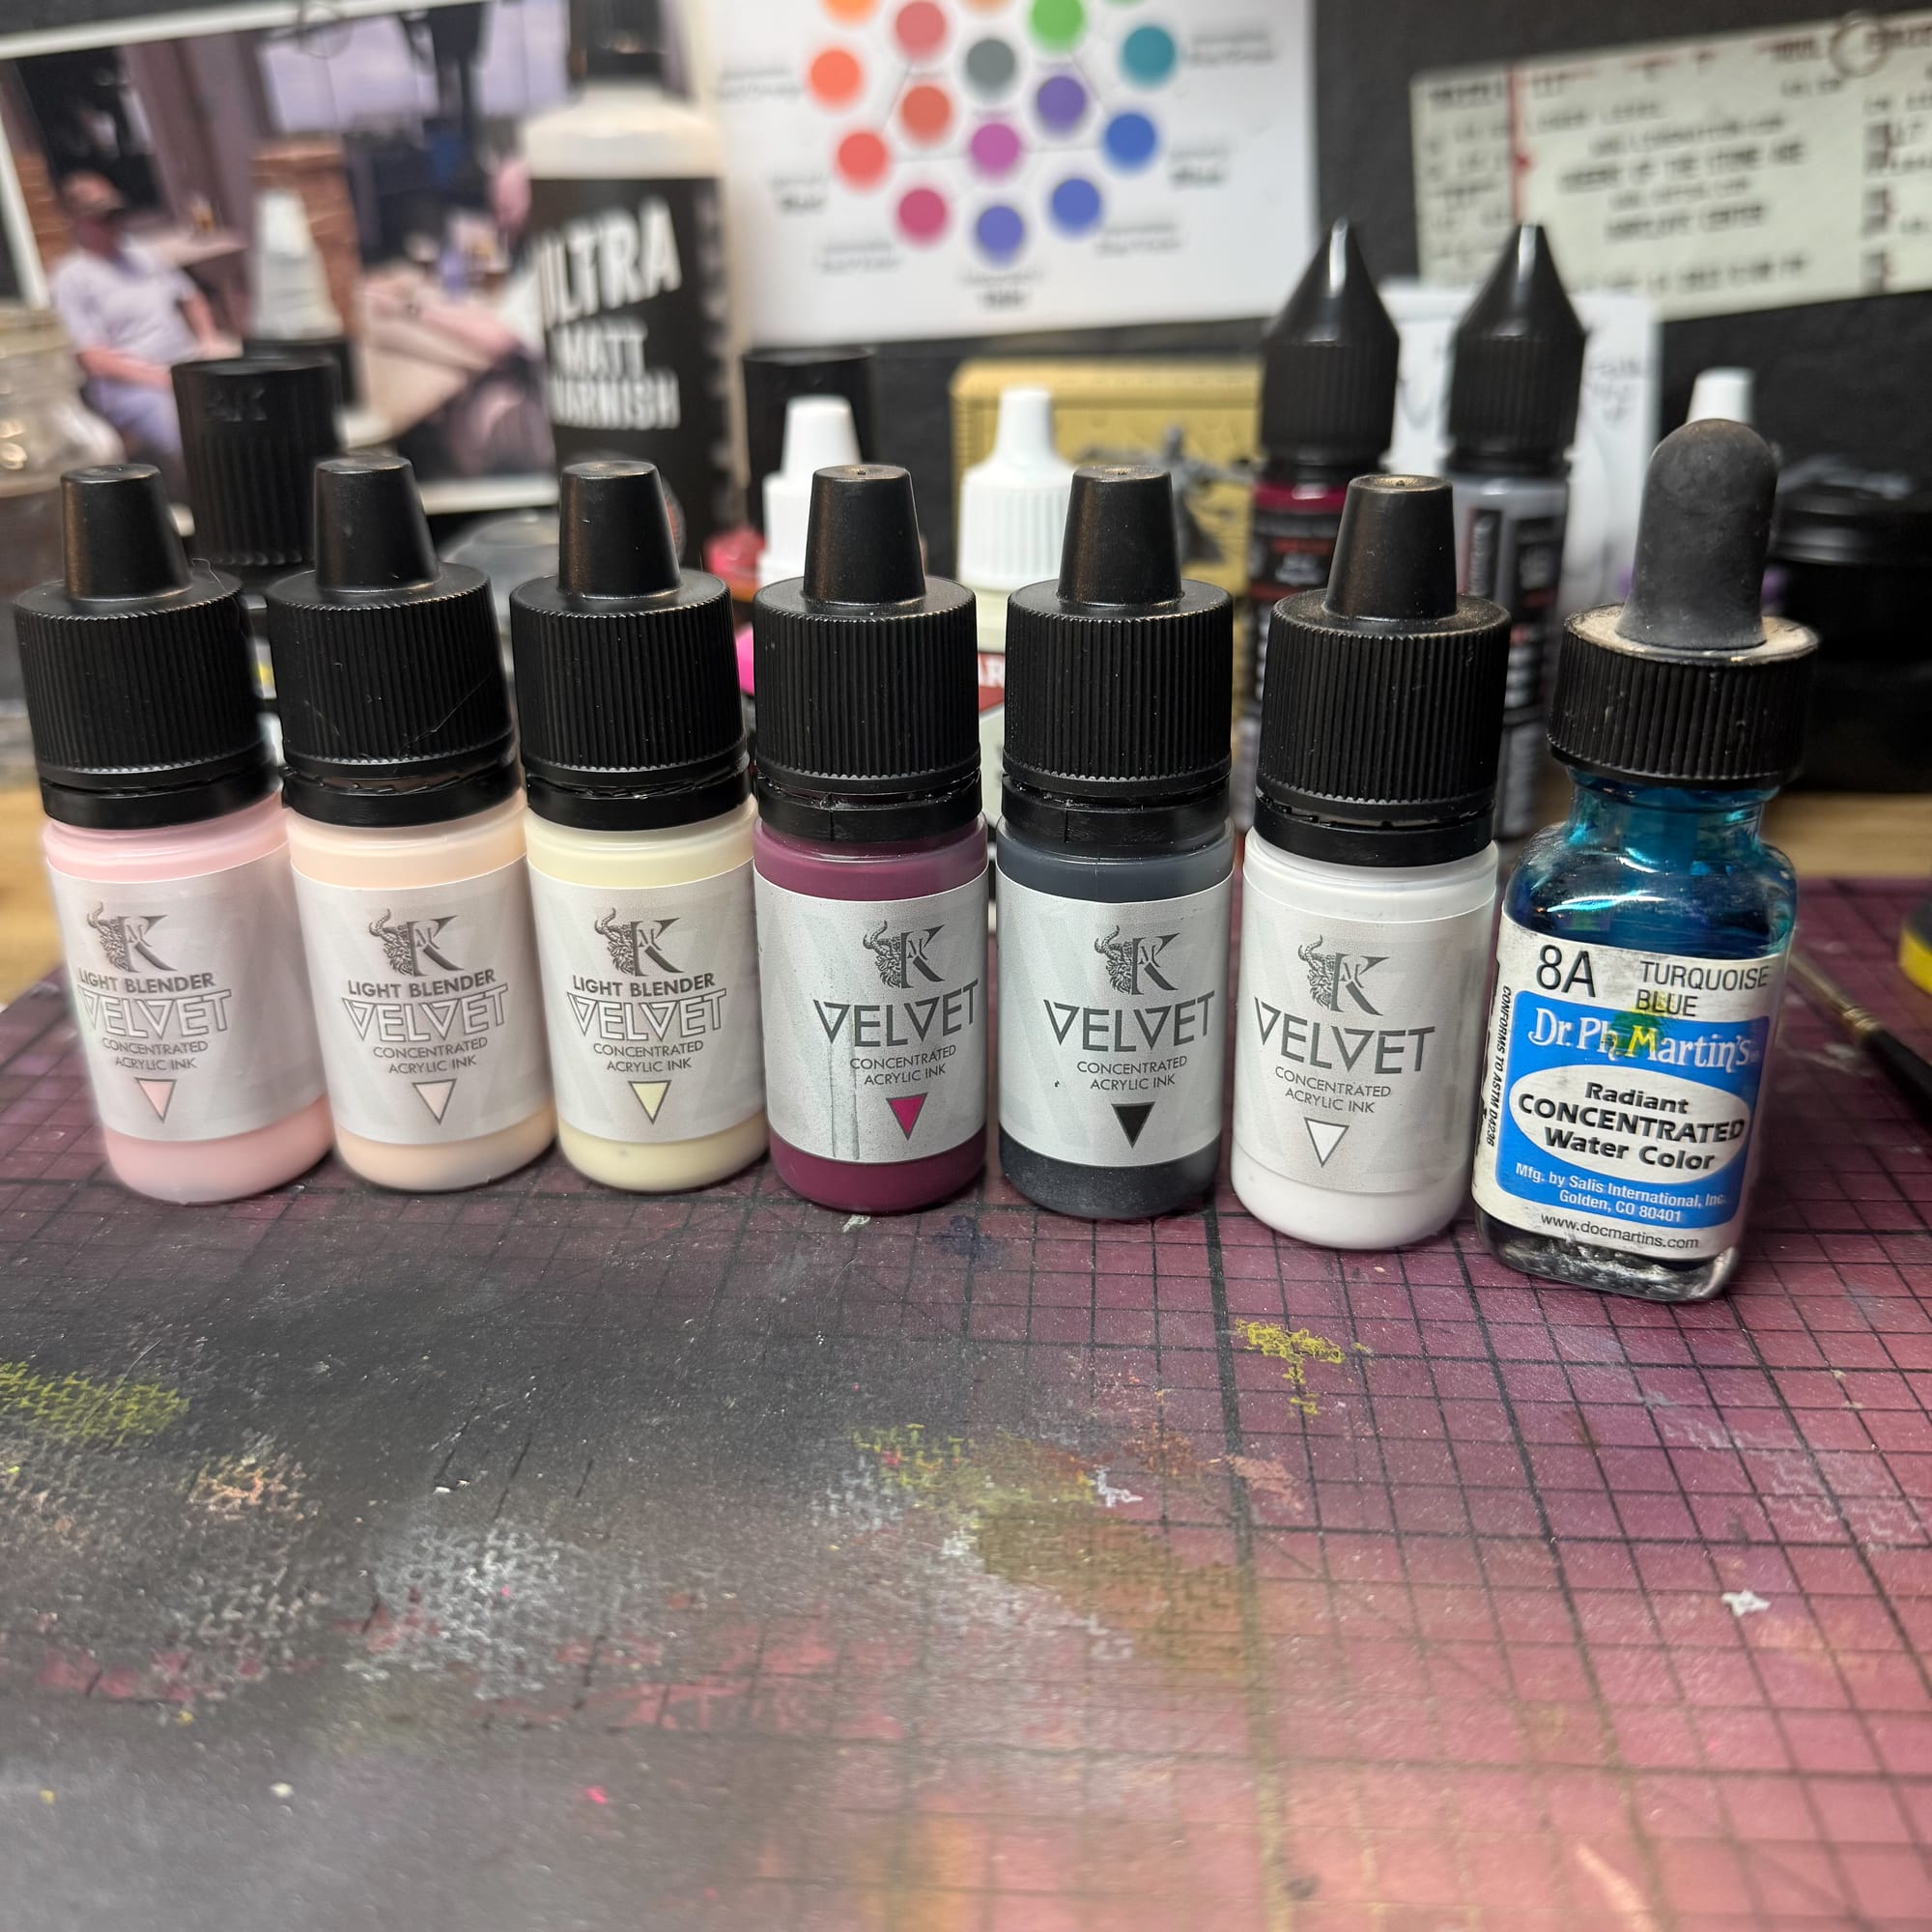
Because I did so much with the airbrushing, these Kimera Velvets and Kimera Light Blenders will enhance many of the bright areas I want to keep, and the darker colors will help create the grays and shadows. Naturally, all of the magenta paint will help create richer tones I previously established.
However, the Kimera paints are mainly inks, which means they won’t have a lot of body to them, though the Velvets are not as thin as the random jar of Turquoise Blue ink I found (literally found in a box at work).
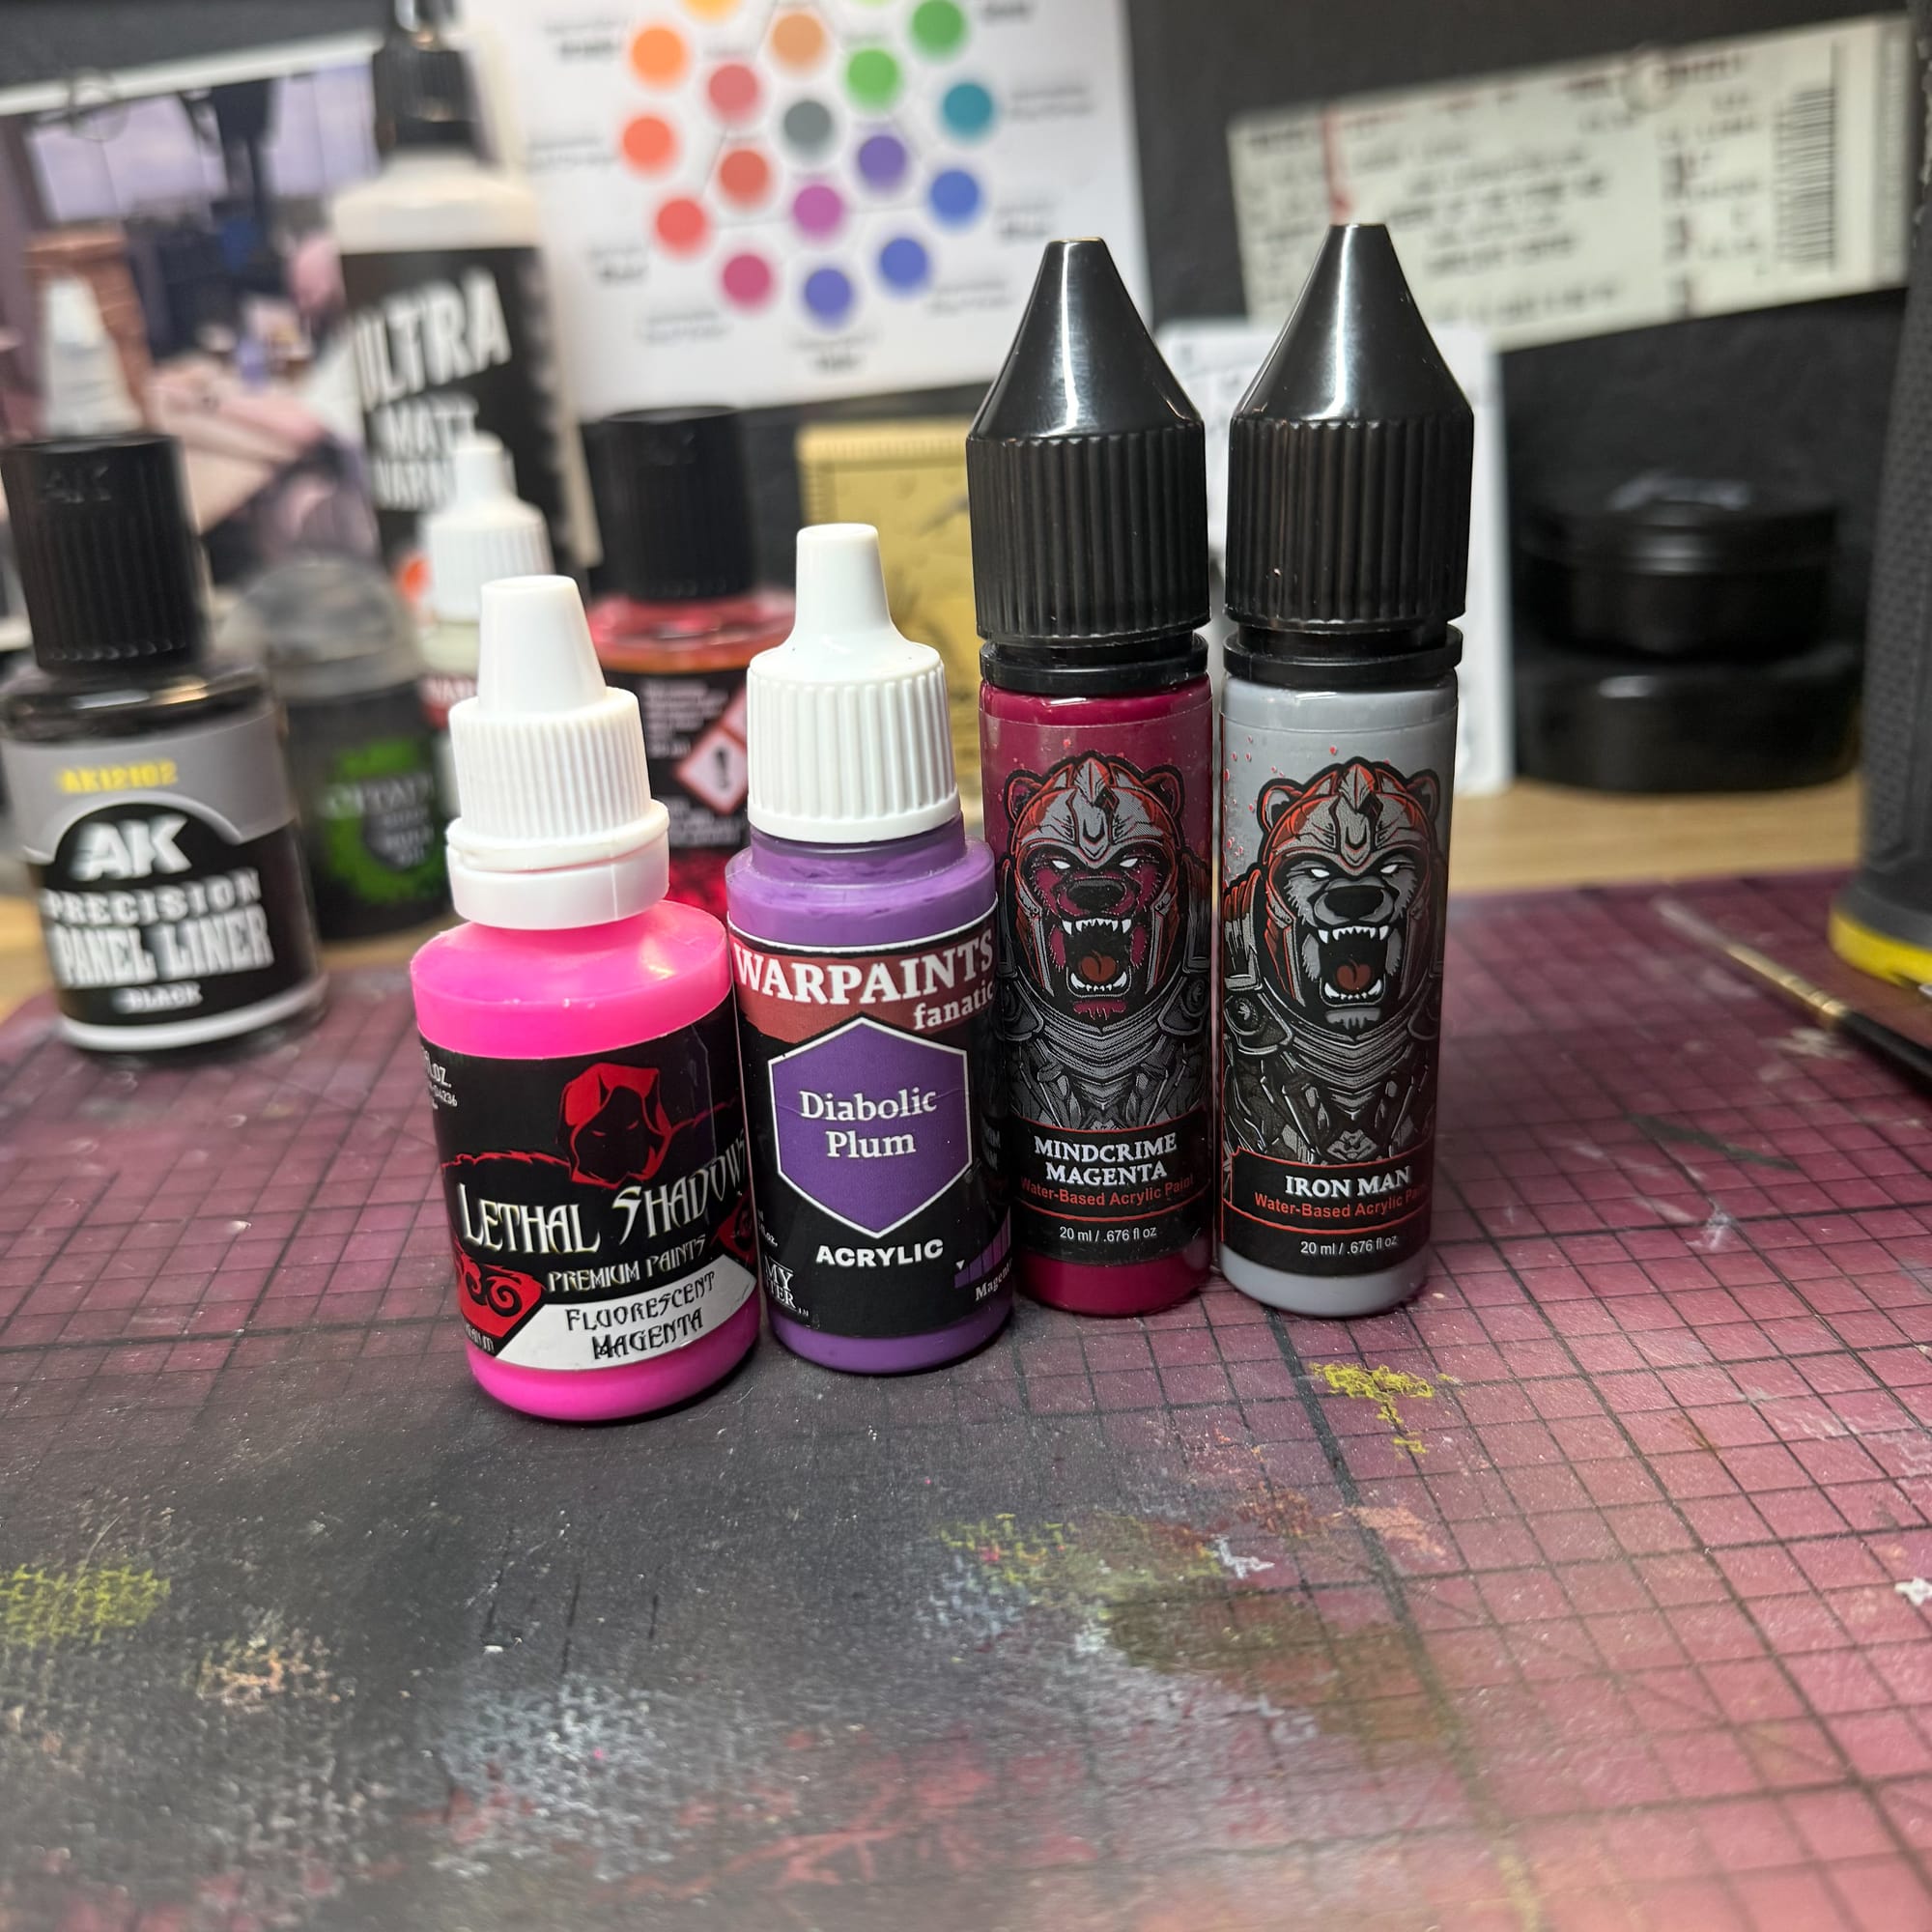
Body will come from the Warpaint Diabolic Plum and the Bear Cavalry Iron Man and Mindcrime Magenta.
As for technique, I worked in thin layers and kept my lighting plan in mind. If you recall, I wanted to ensure certain areas are brighter than others, even though all of this model is mostly white tones.
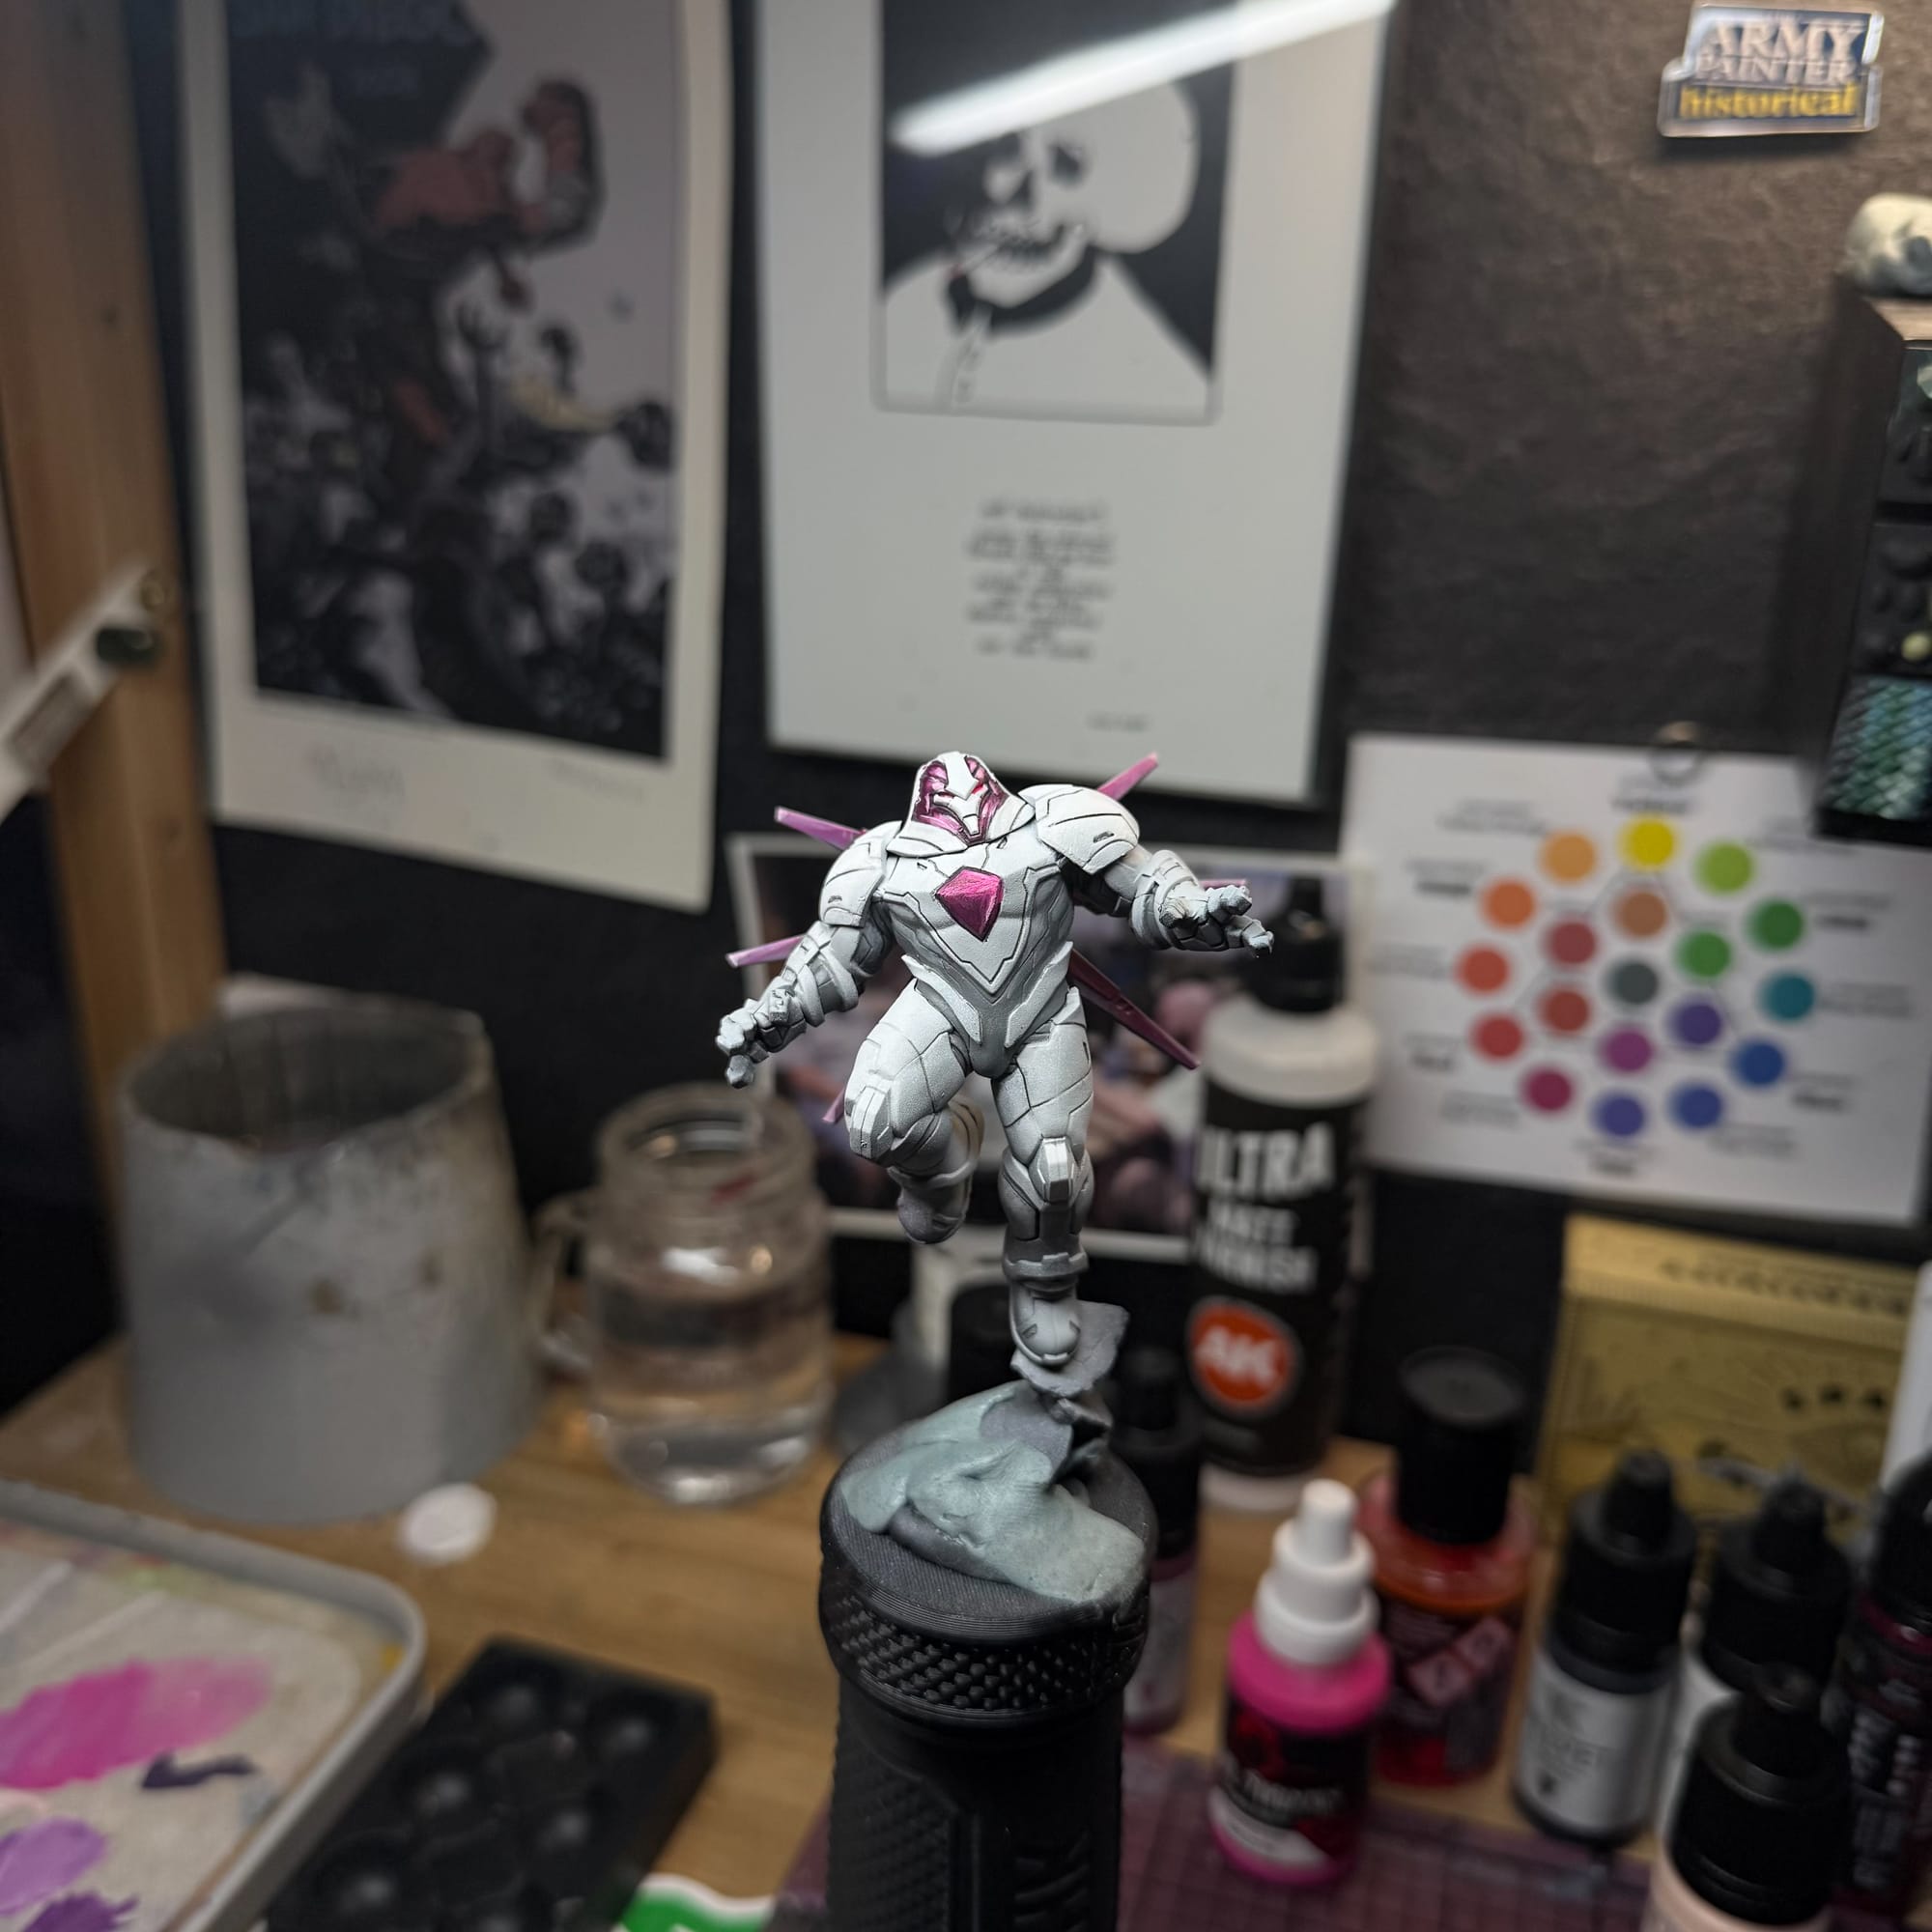
For color tone and depth, keep the lighting in mind and think about where light will hit. On the chest, you have the top of the chest, which has a very defined line, and then a bump where the pectorals on the model exist (do sentinels even have muscles…nevermind). There is a shadow there you might not think about. So on the chest, you have 3 defined areas where you will need to paint and consider how light interacts with each section.
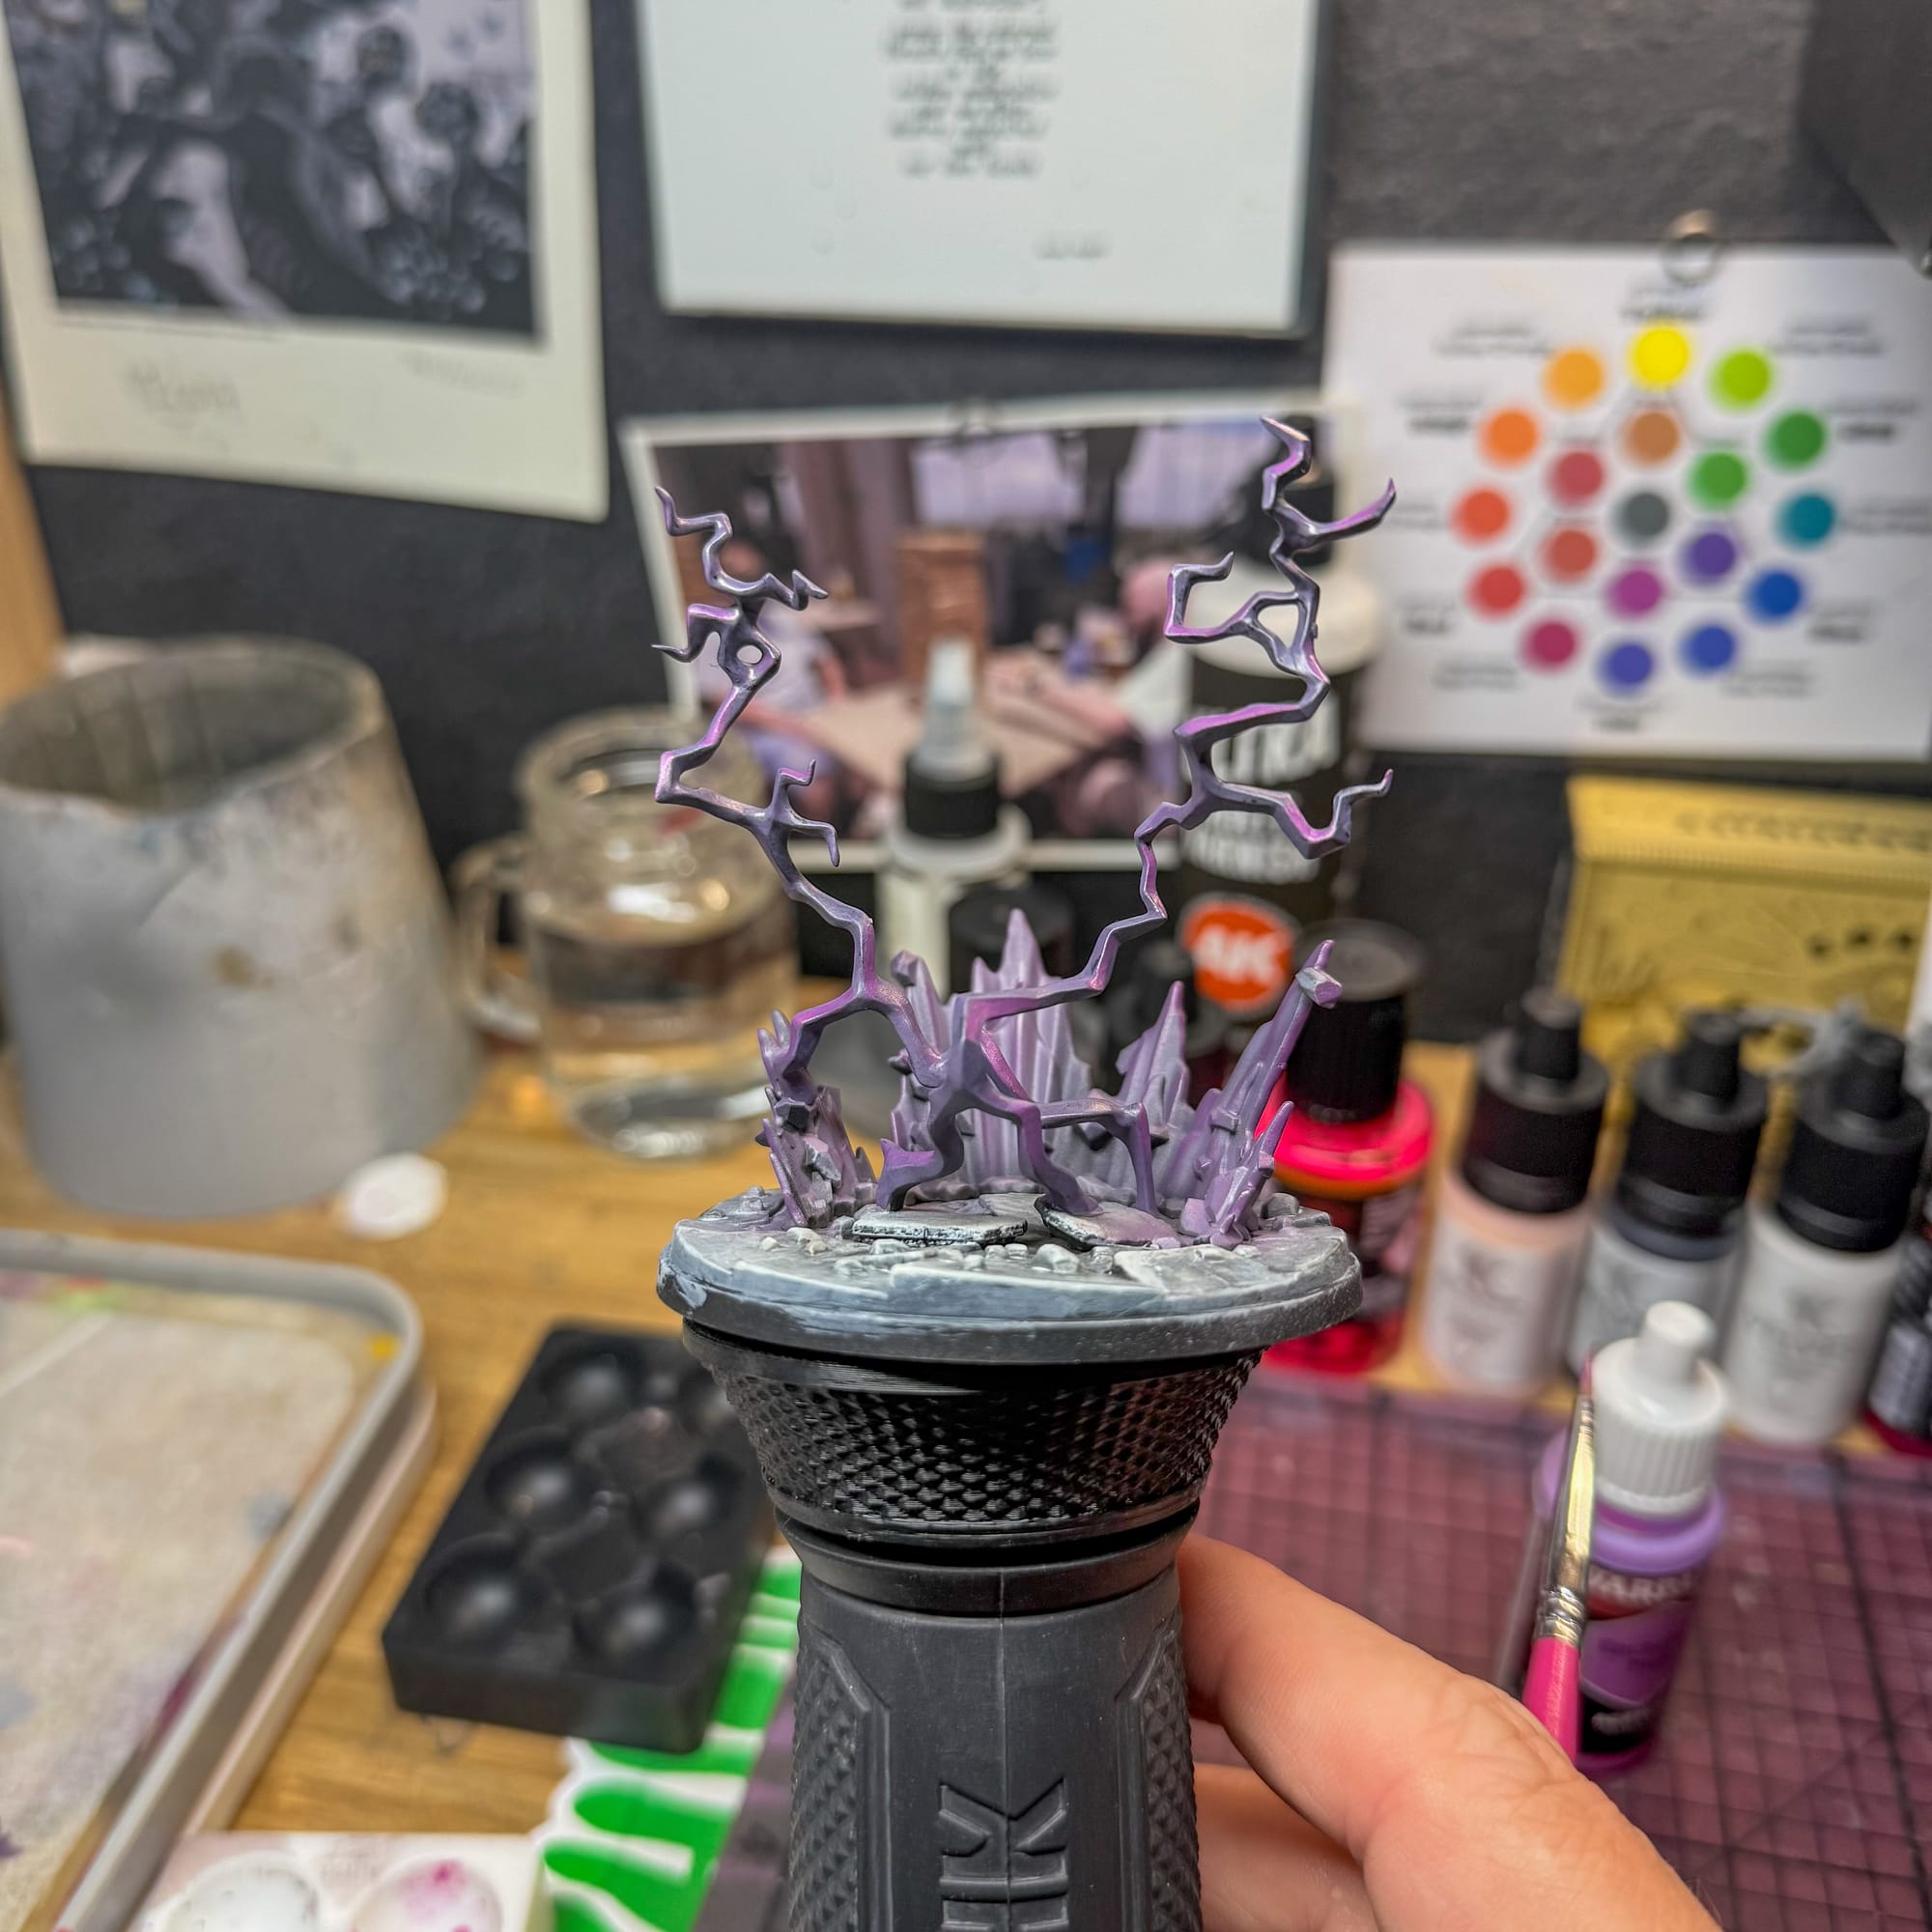
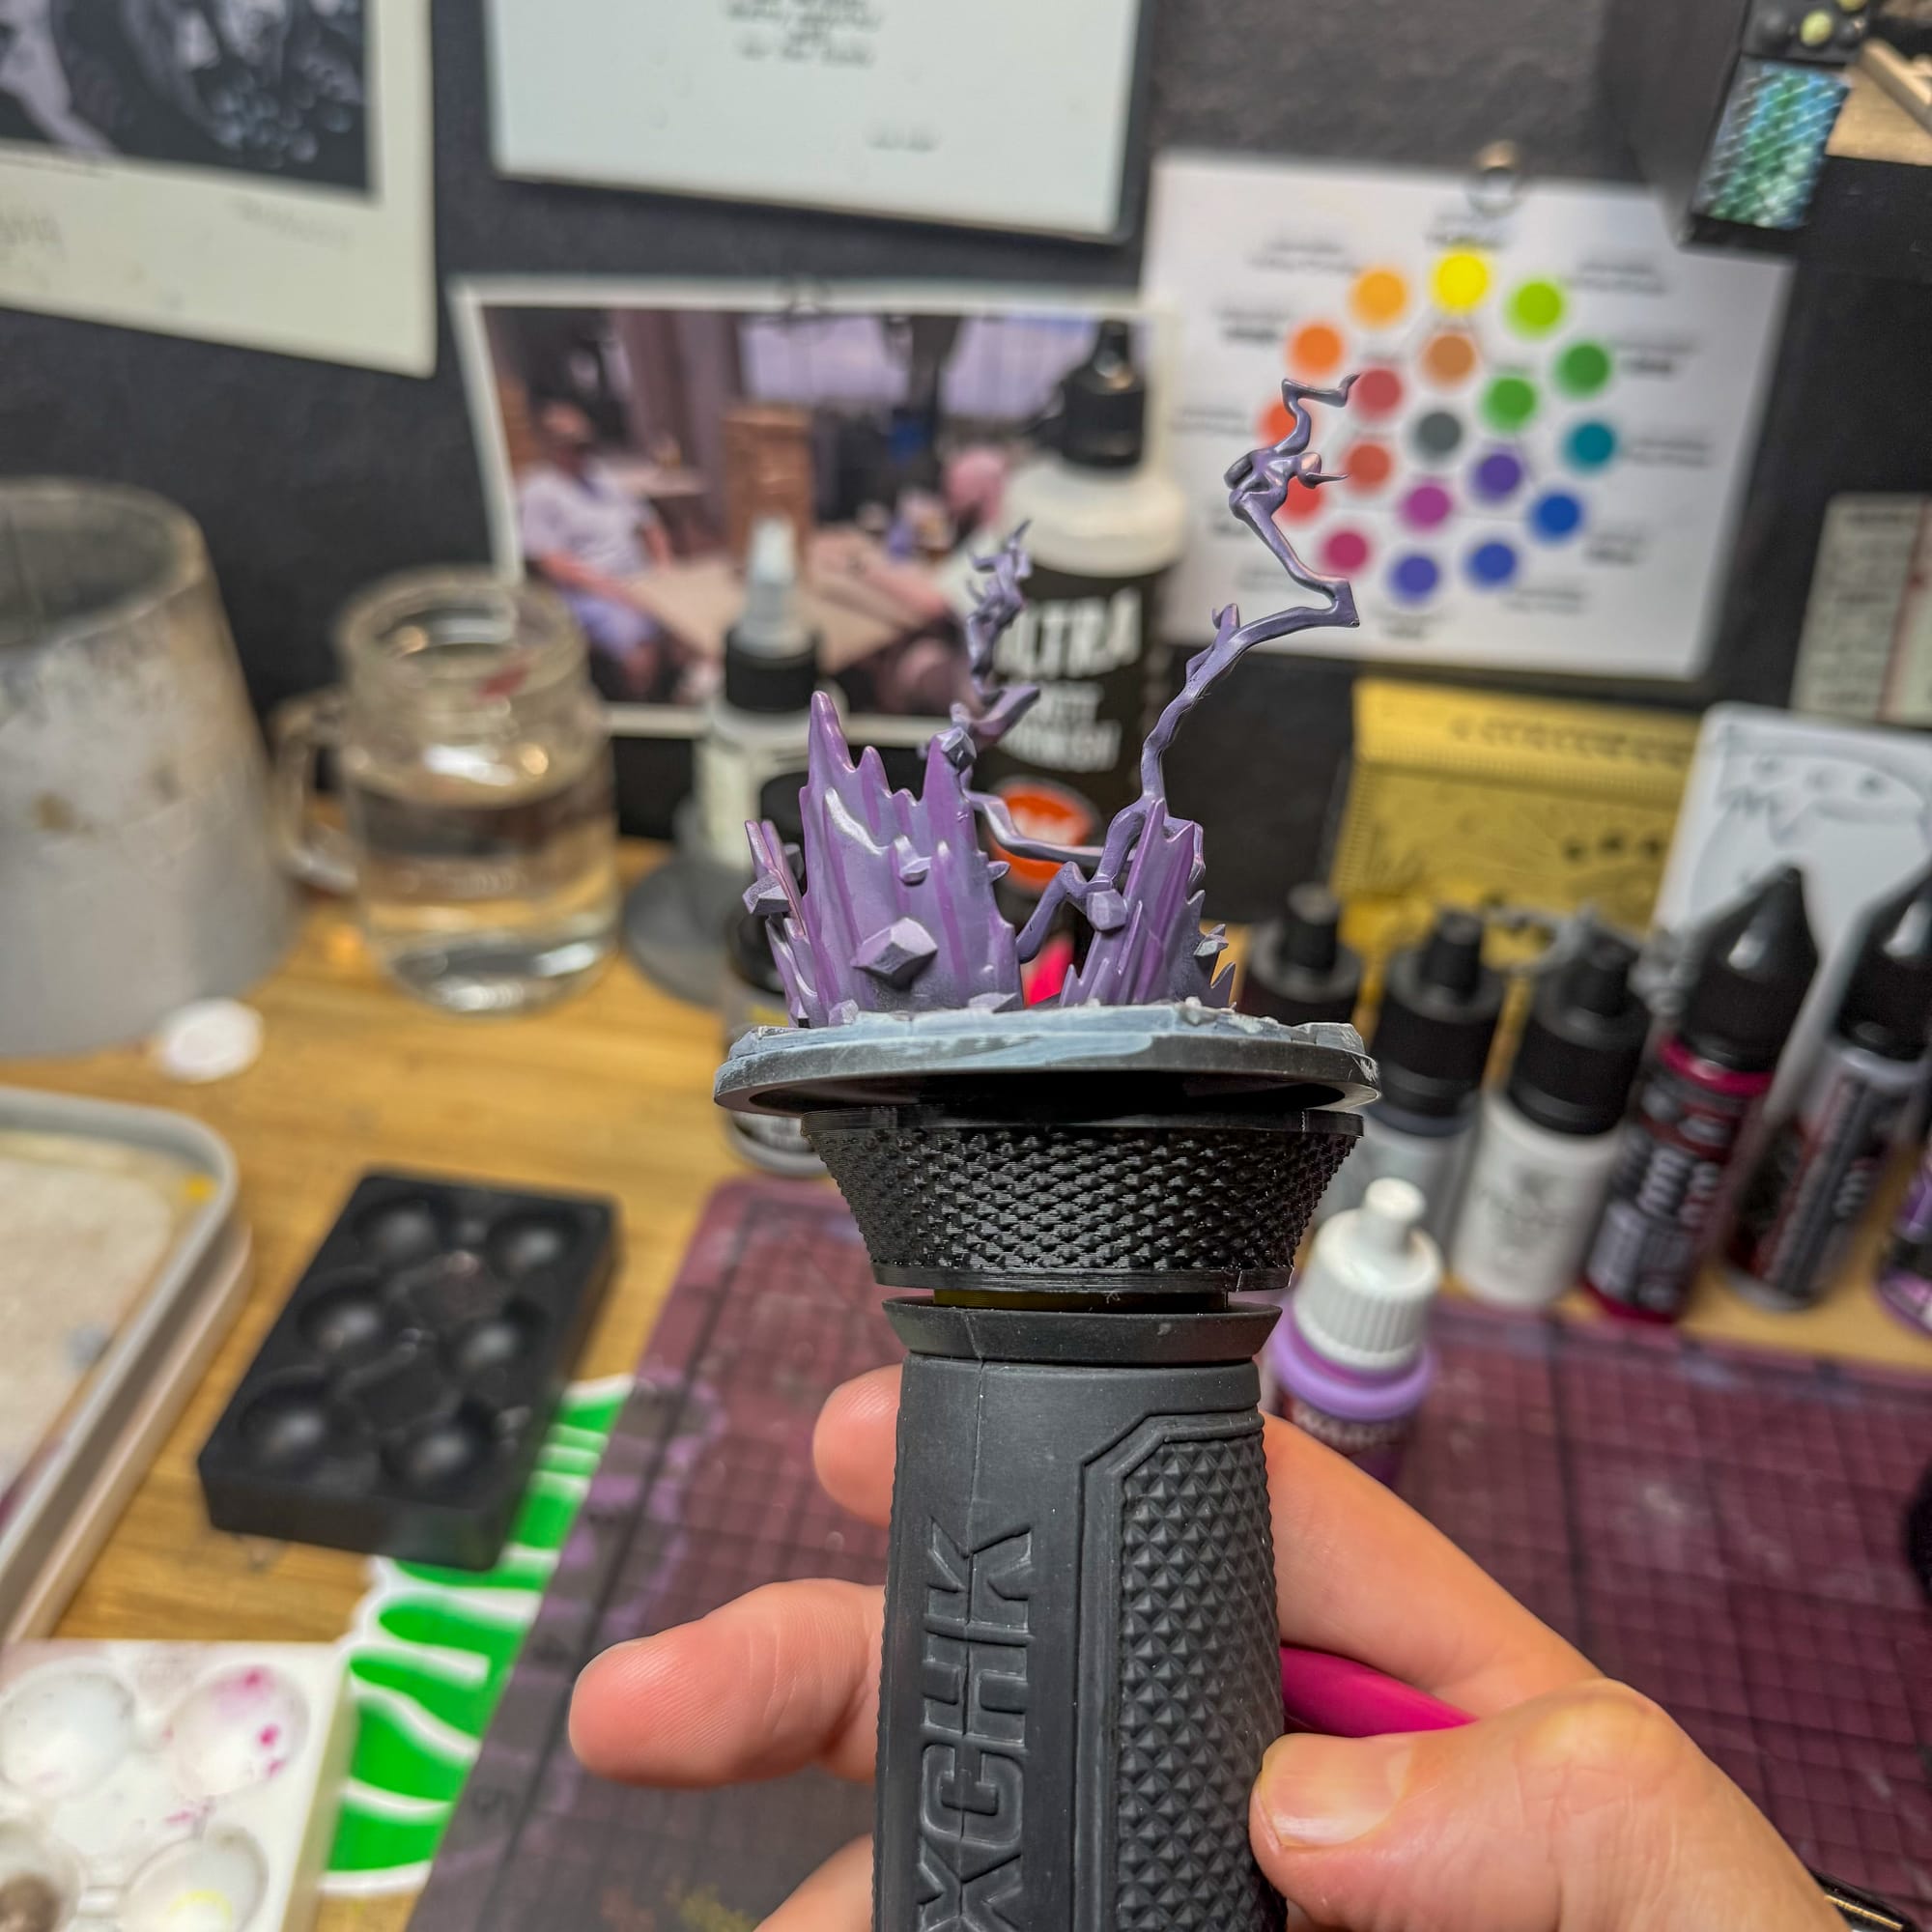
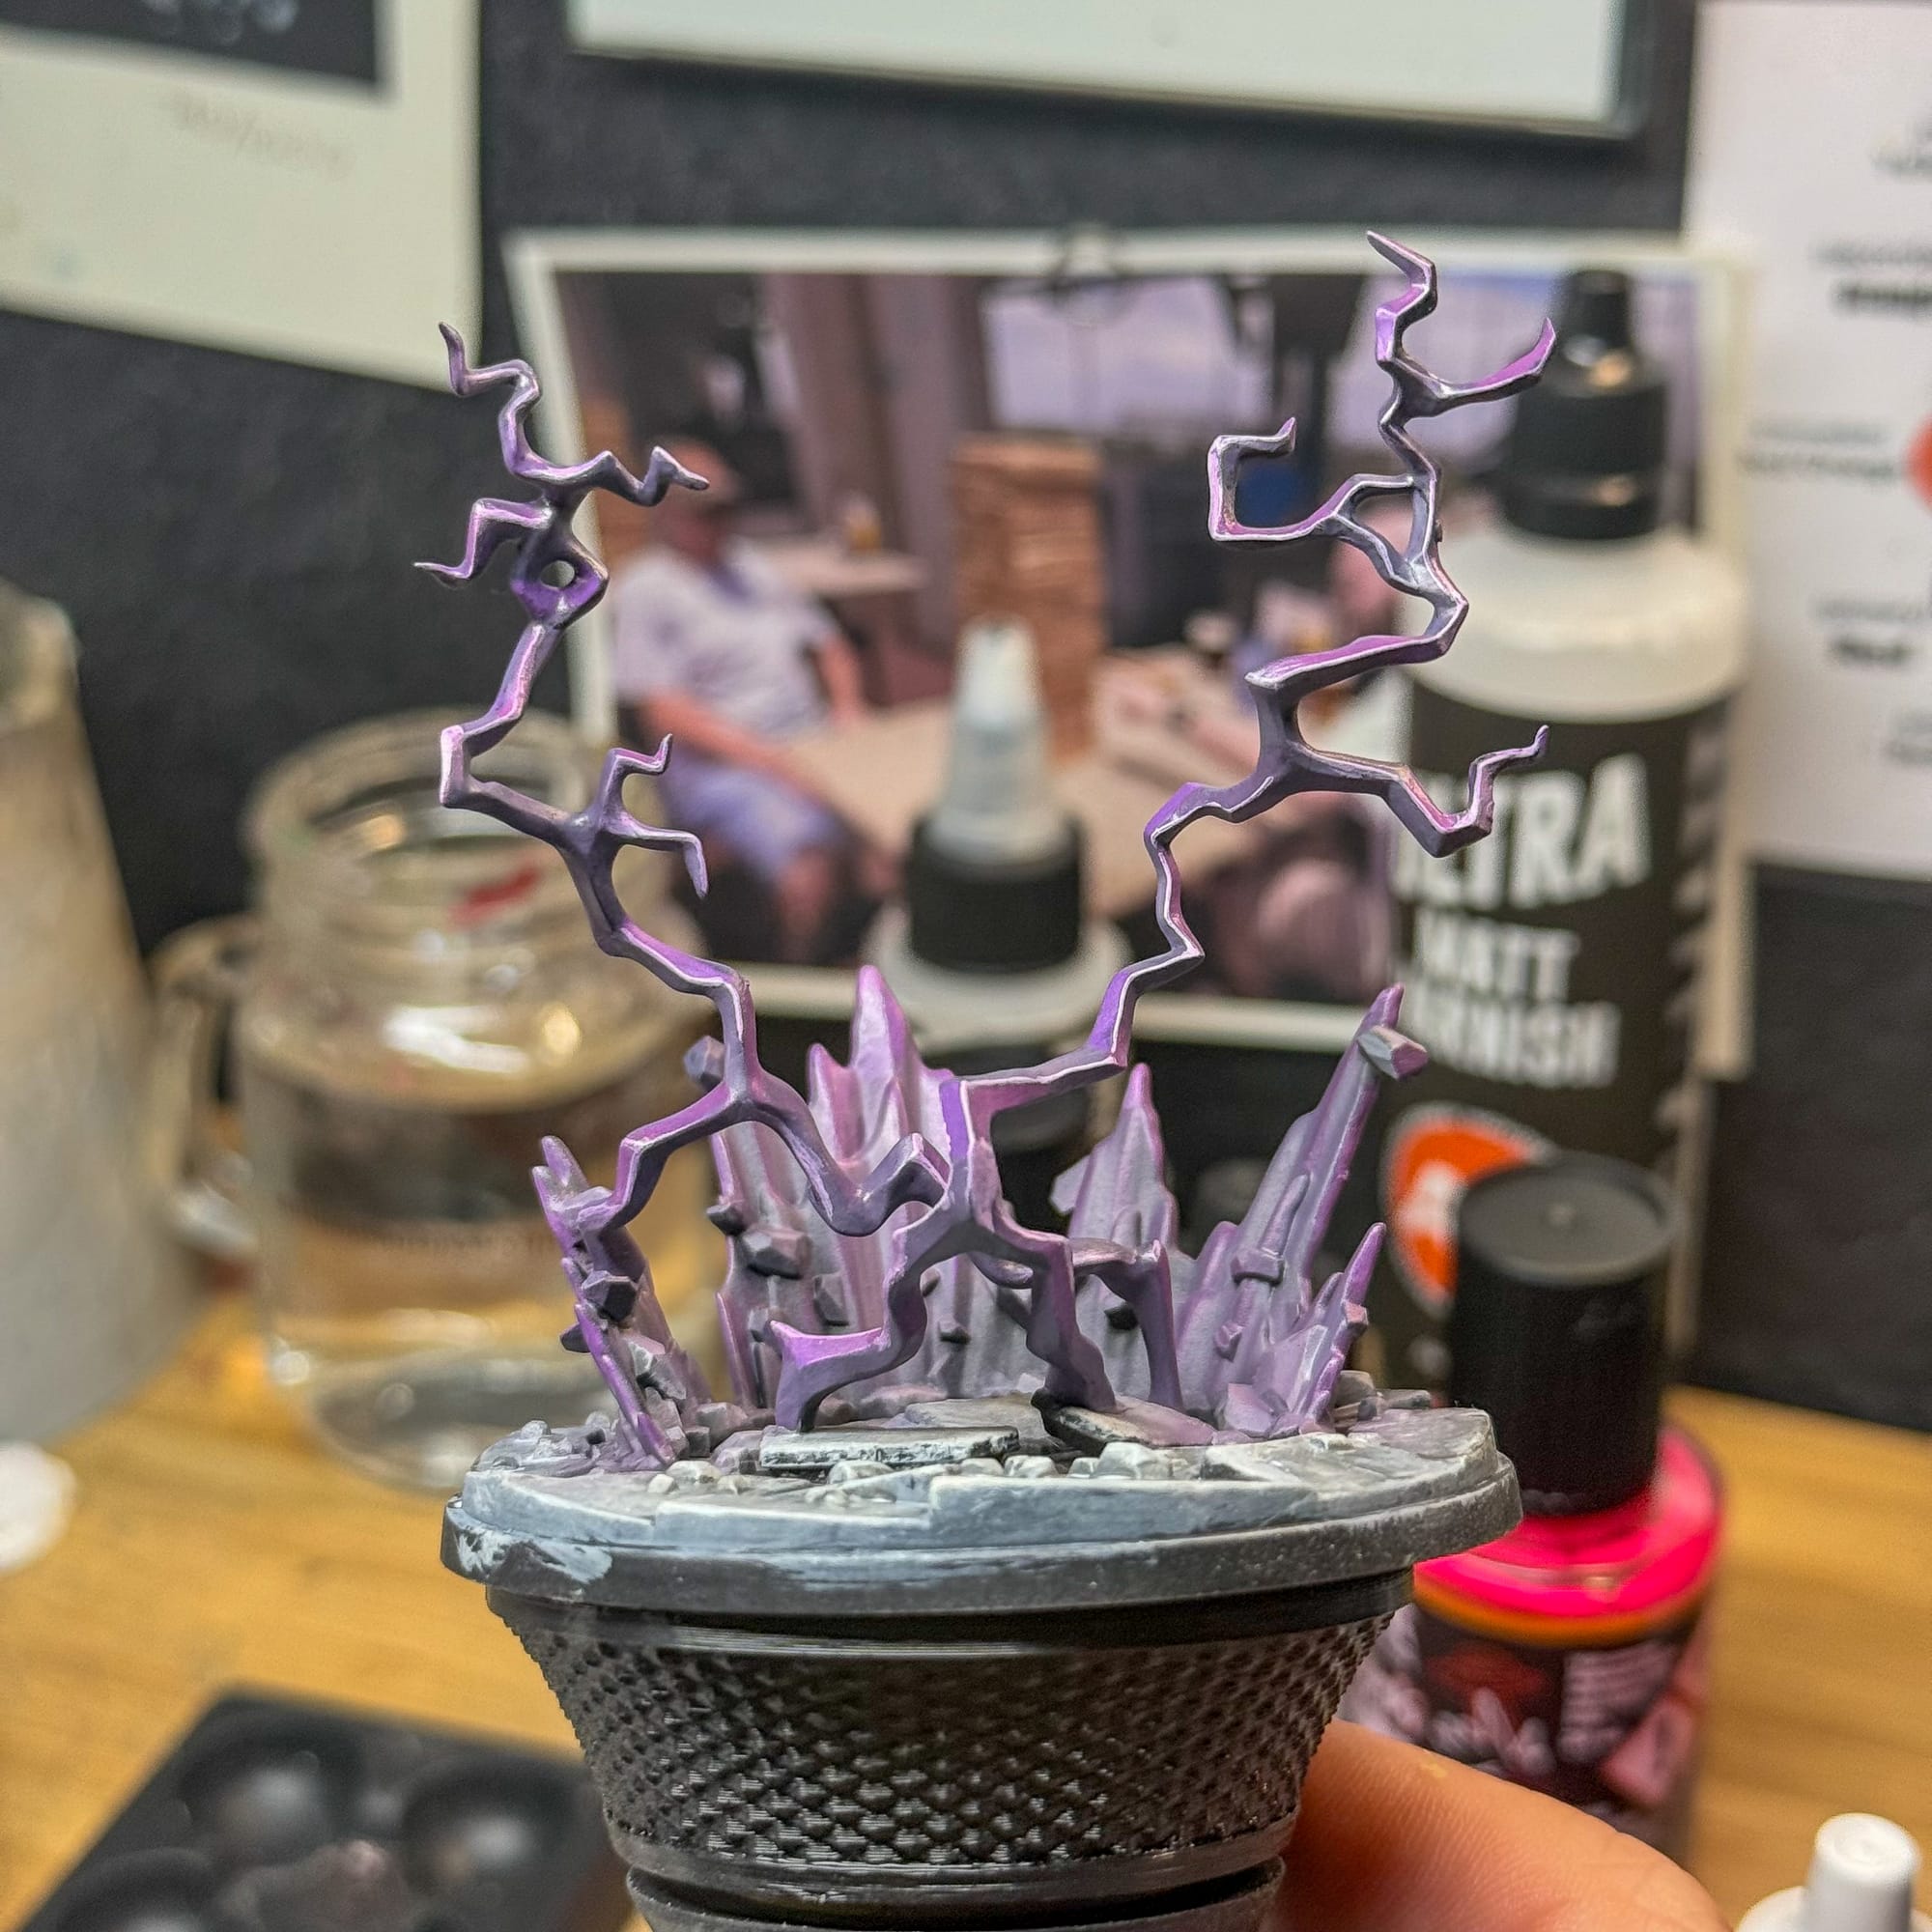
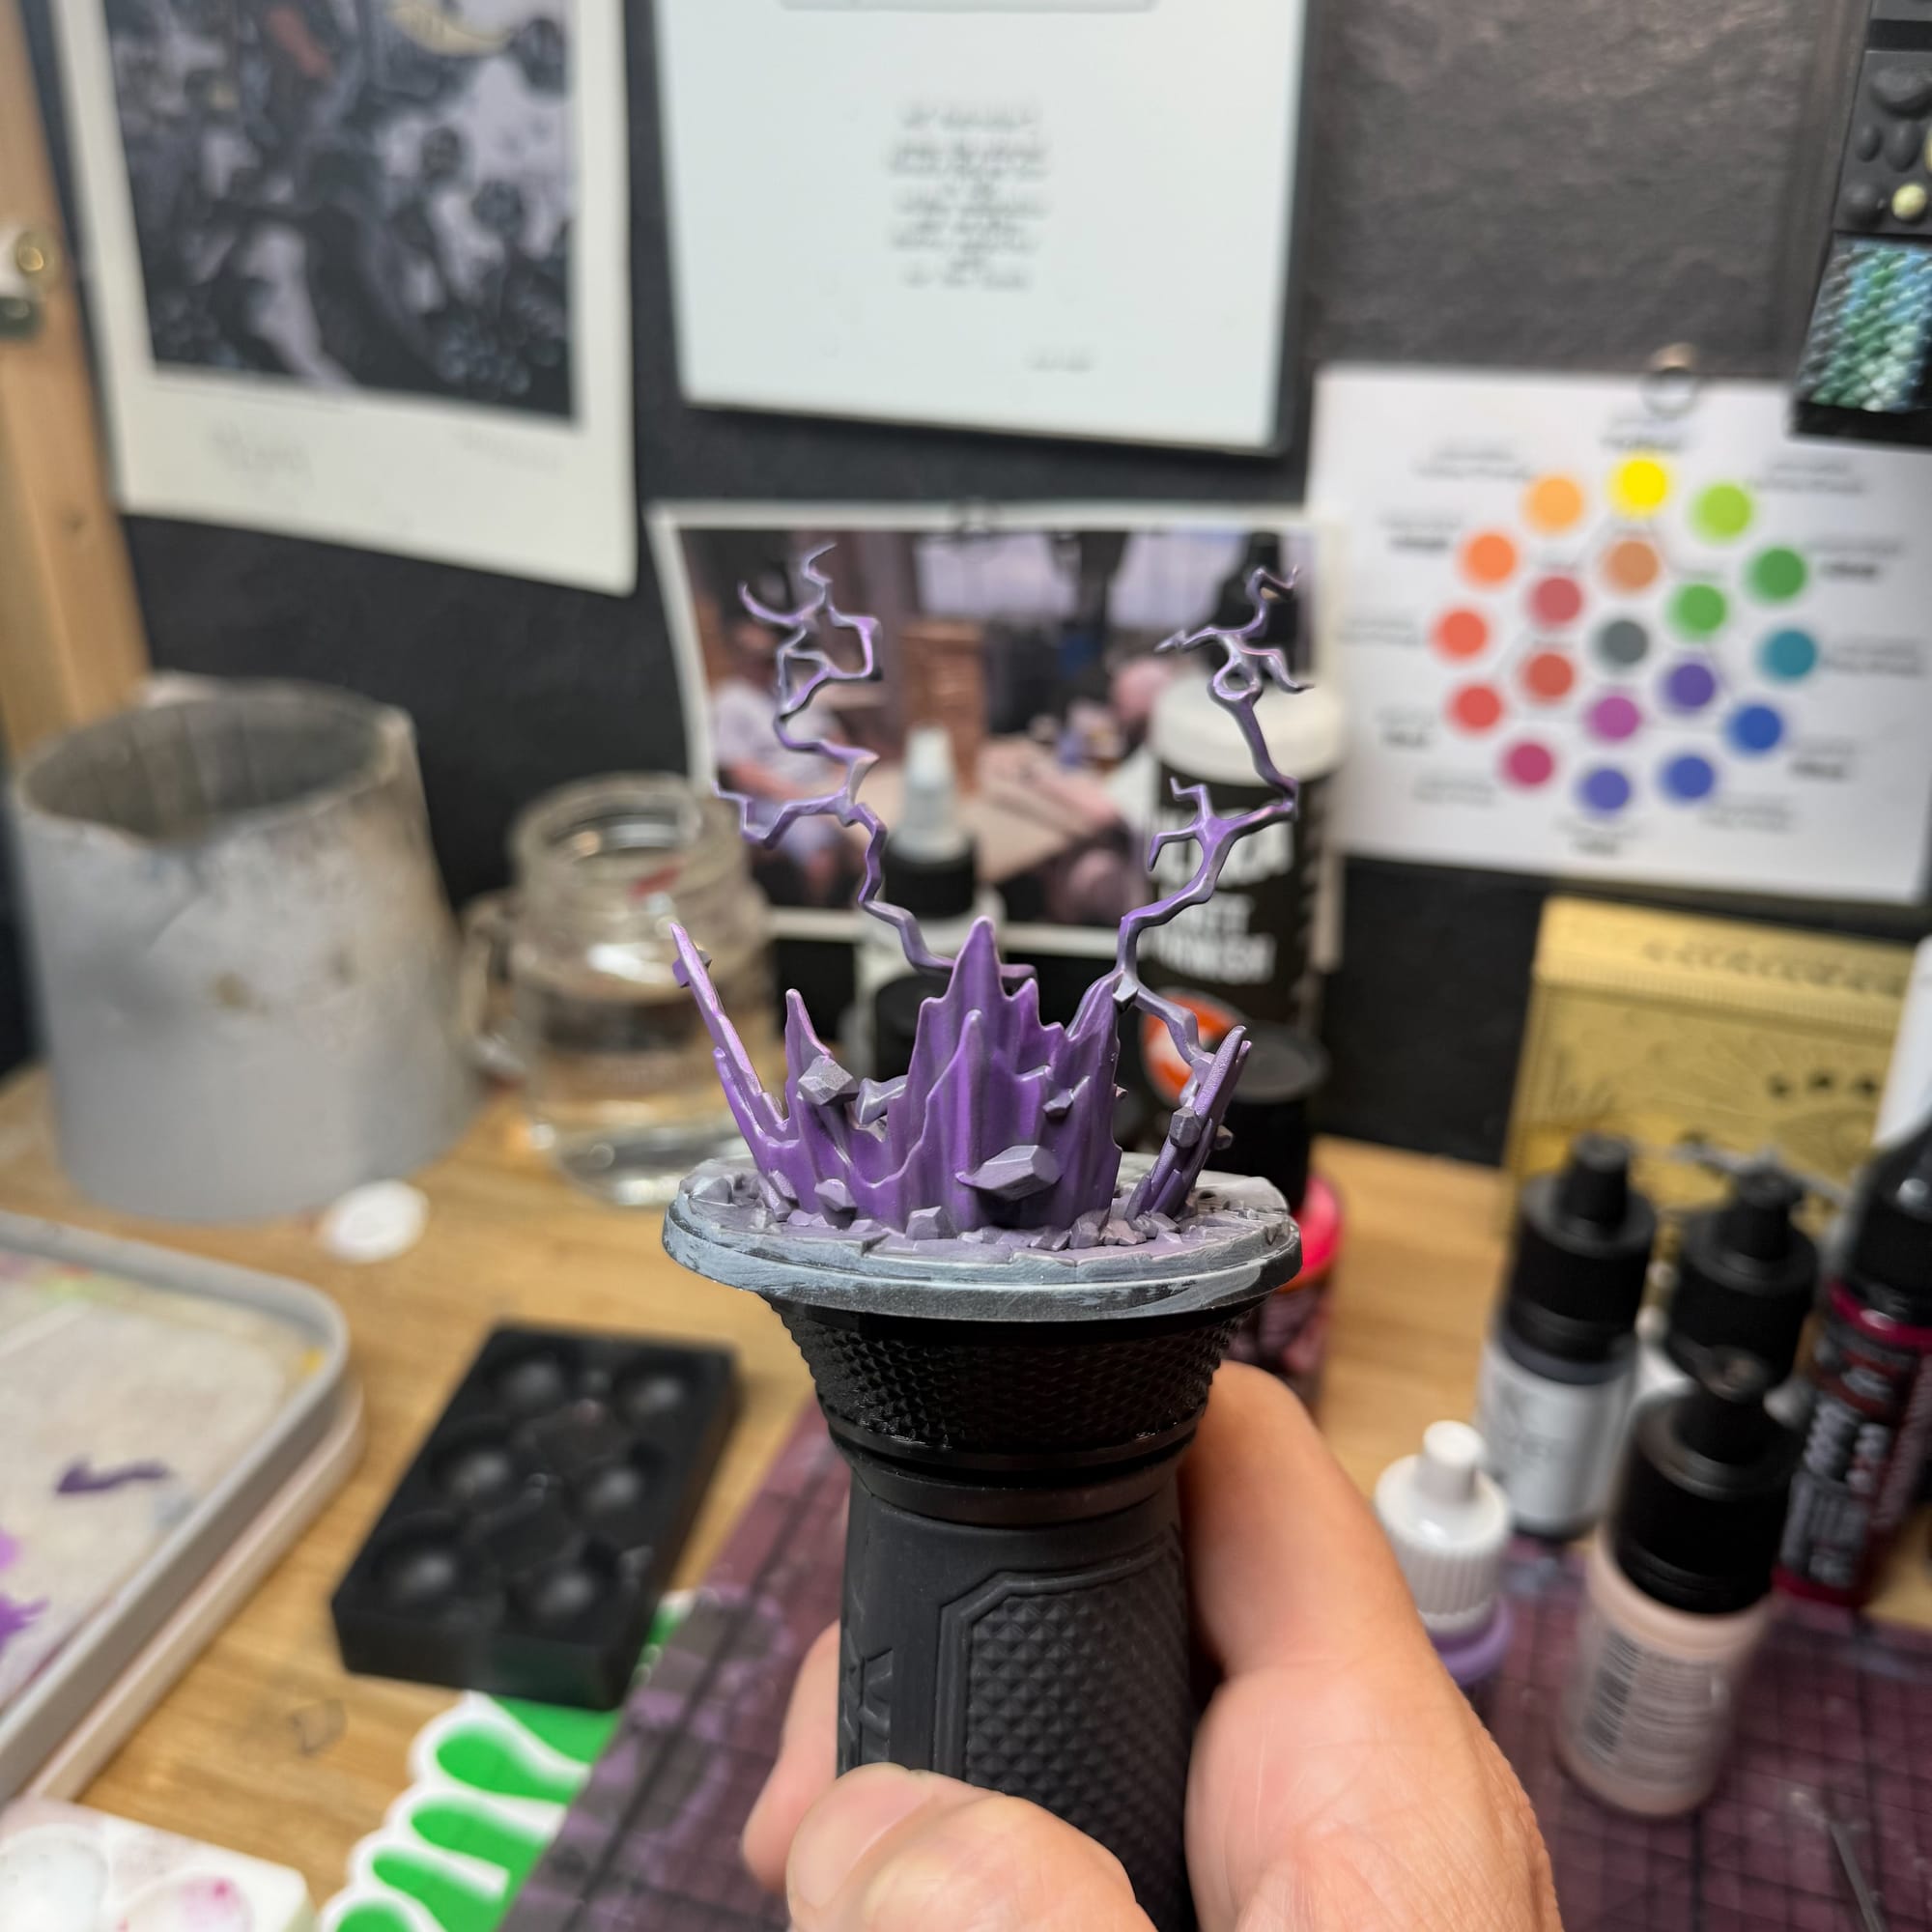
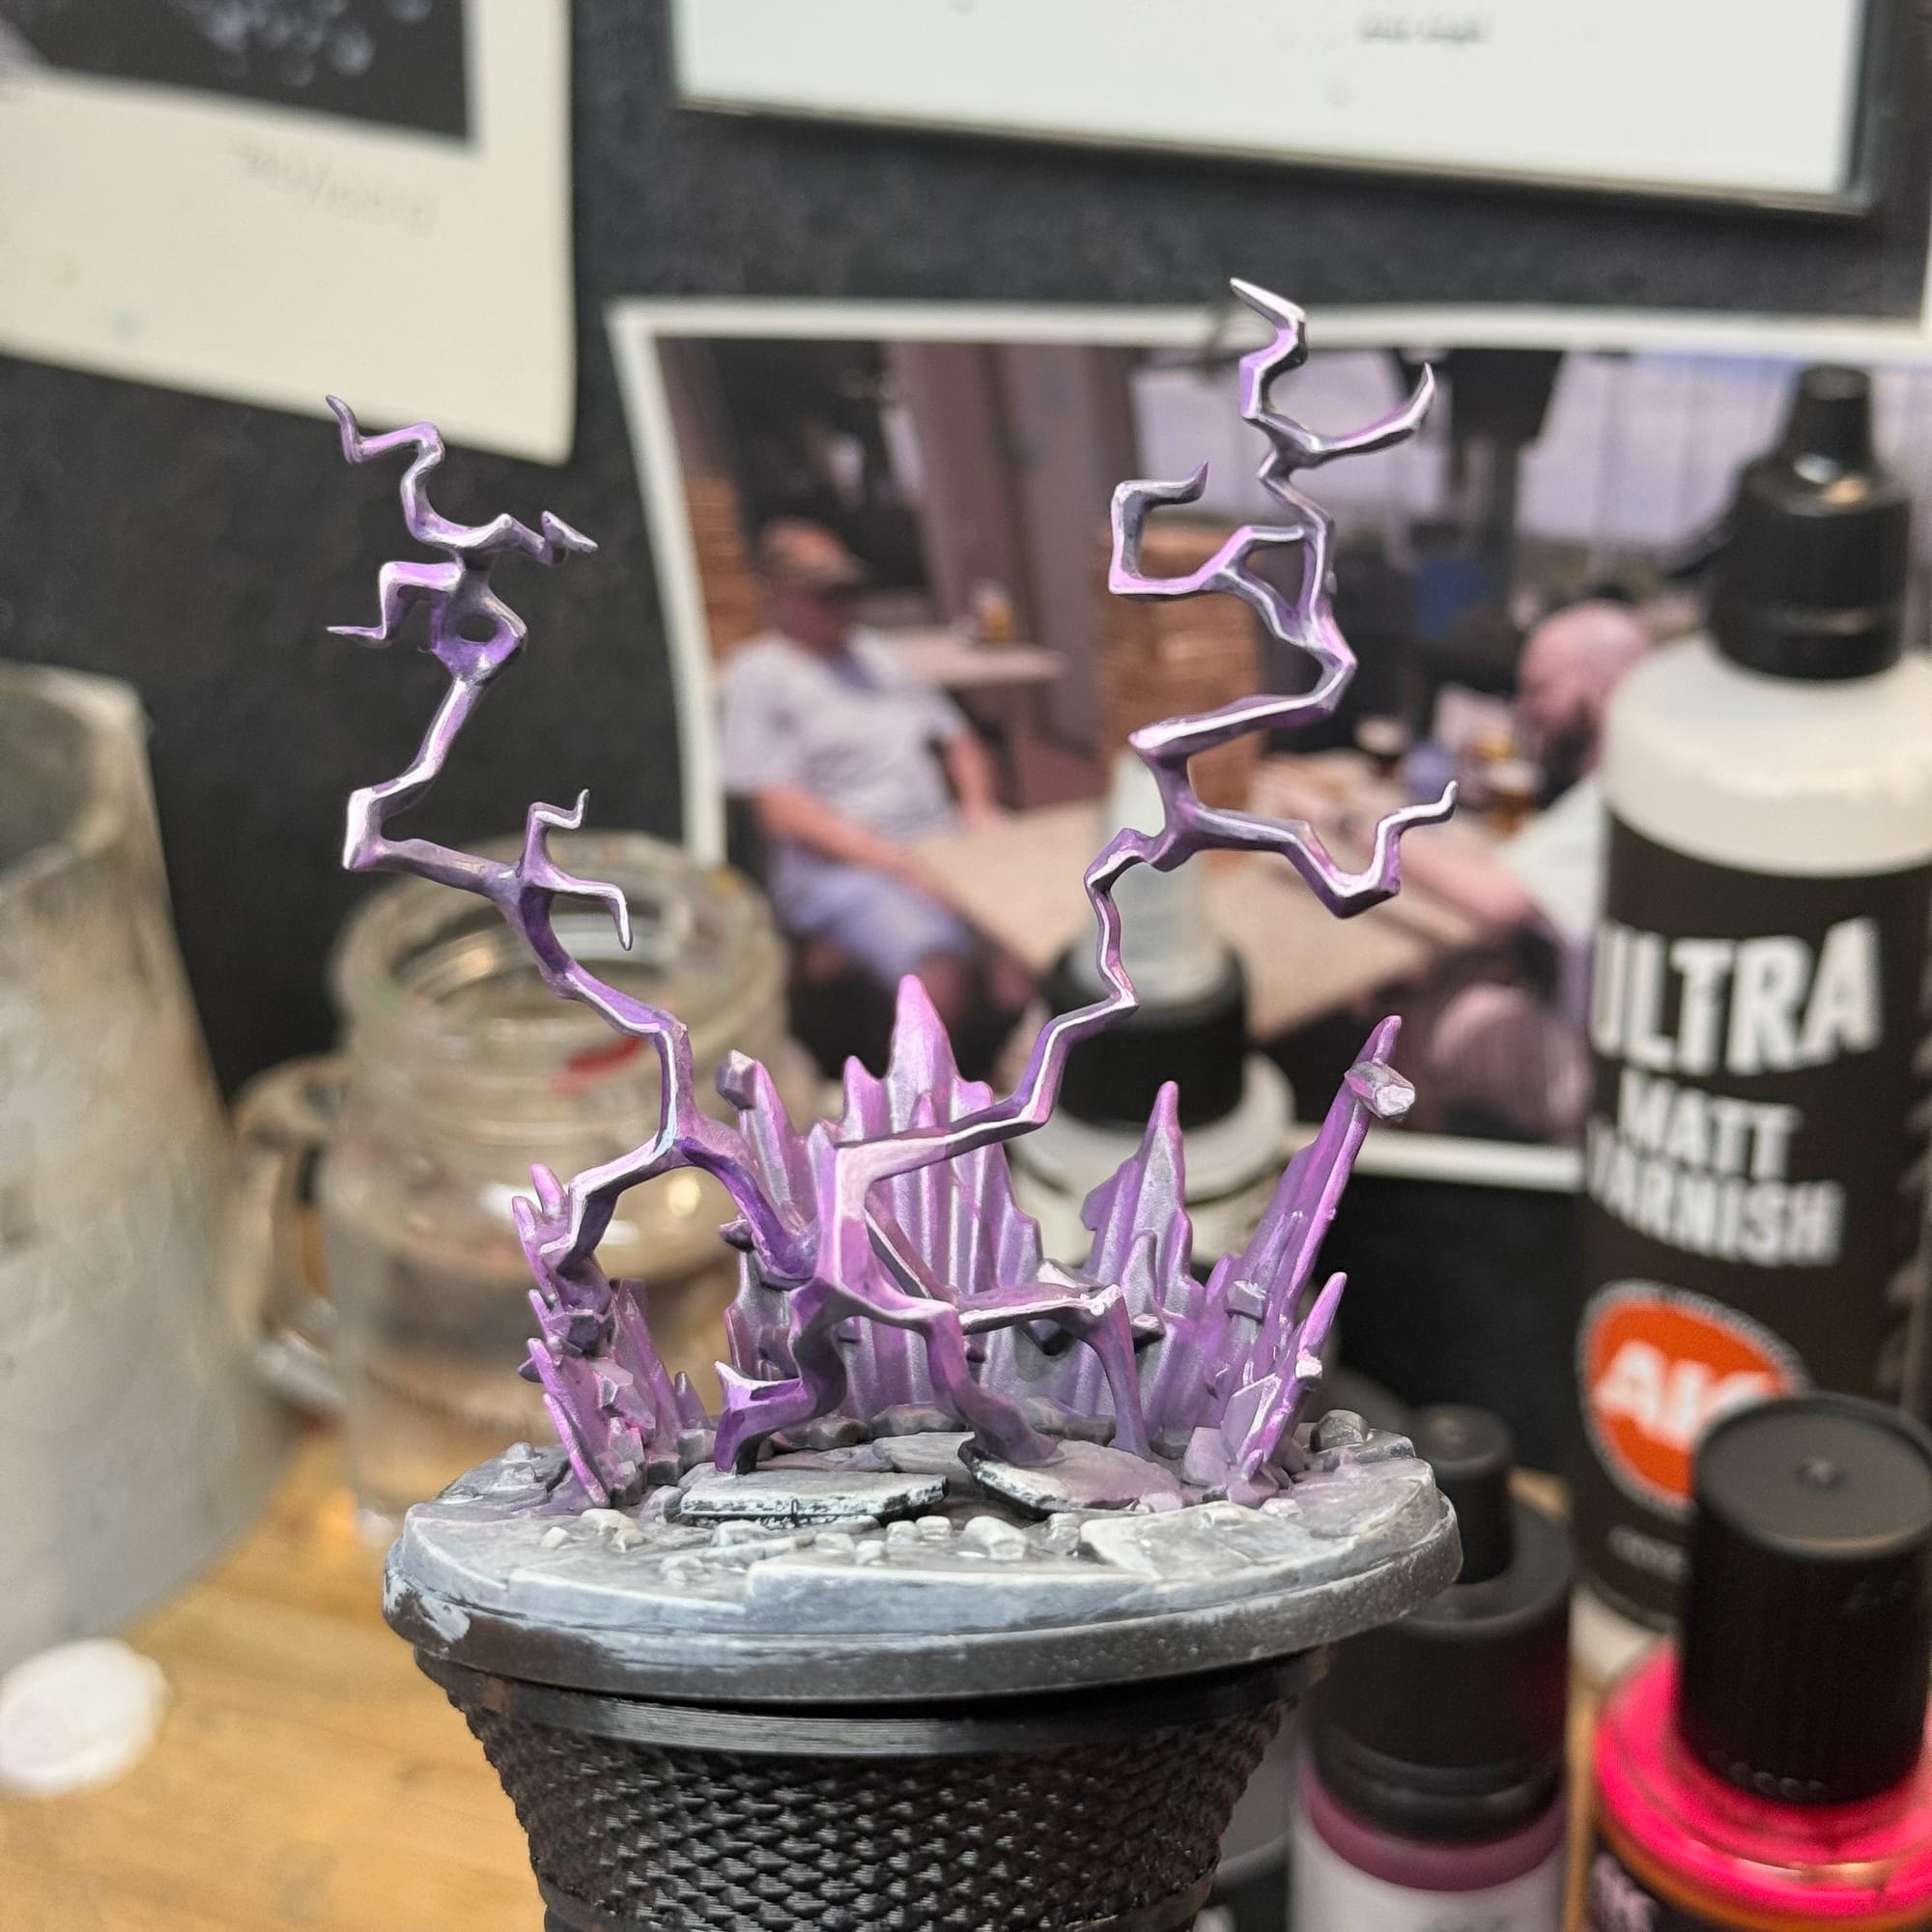
Keeping this philosophy in mind, you’ll unlock deeper tones and more visually interesting areas of the model. The backpack has these layers as well. Both the interior and the blades. The interior followed the same light/white plan and then the blades had some additional edge highlighting (which is taking a bright paint and only hitting the edge).
For the magenta, you’ll notice that I started dark. This was also a big decision that I may do differently next time, but I’ll discuss why in the “Clean Up” section.
 Alec Kozak
Fluorescent Paint
Earlier, I had mentioned AK Interactive’s Glow fluors. They are enamels that, when dry, are exceptionally matte. As I’m still experimenting with them, I found that they are excellent for the eyes of futuristic sentinel models, along with providing a massive boost of brightness on the feet of Nimrod, but fluors aren’t just for single uses.
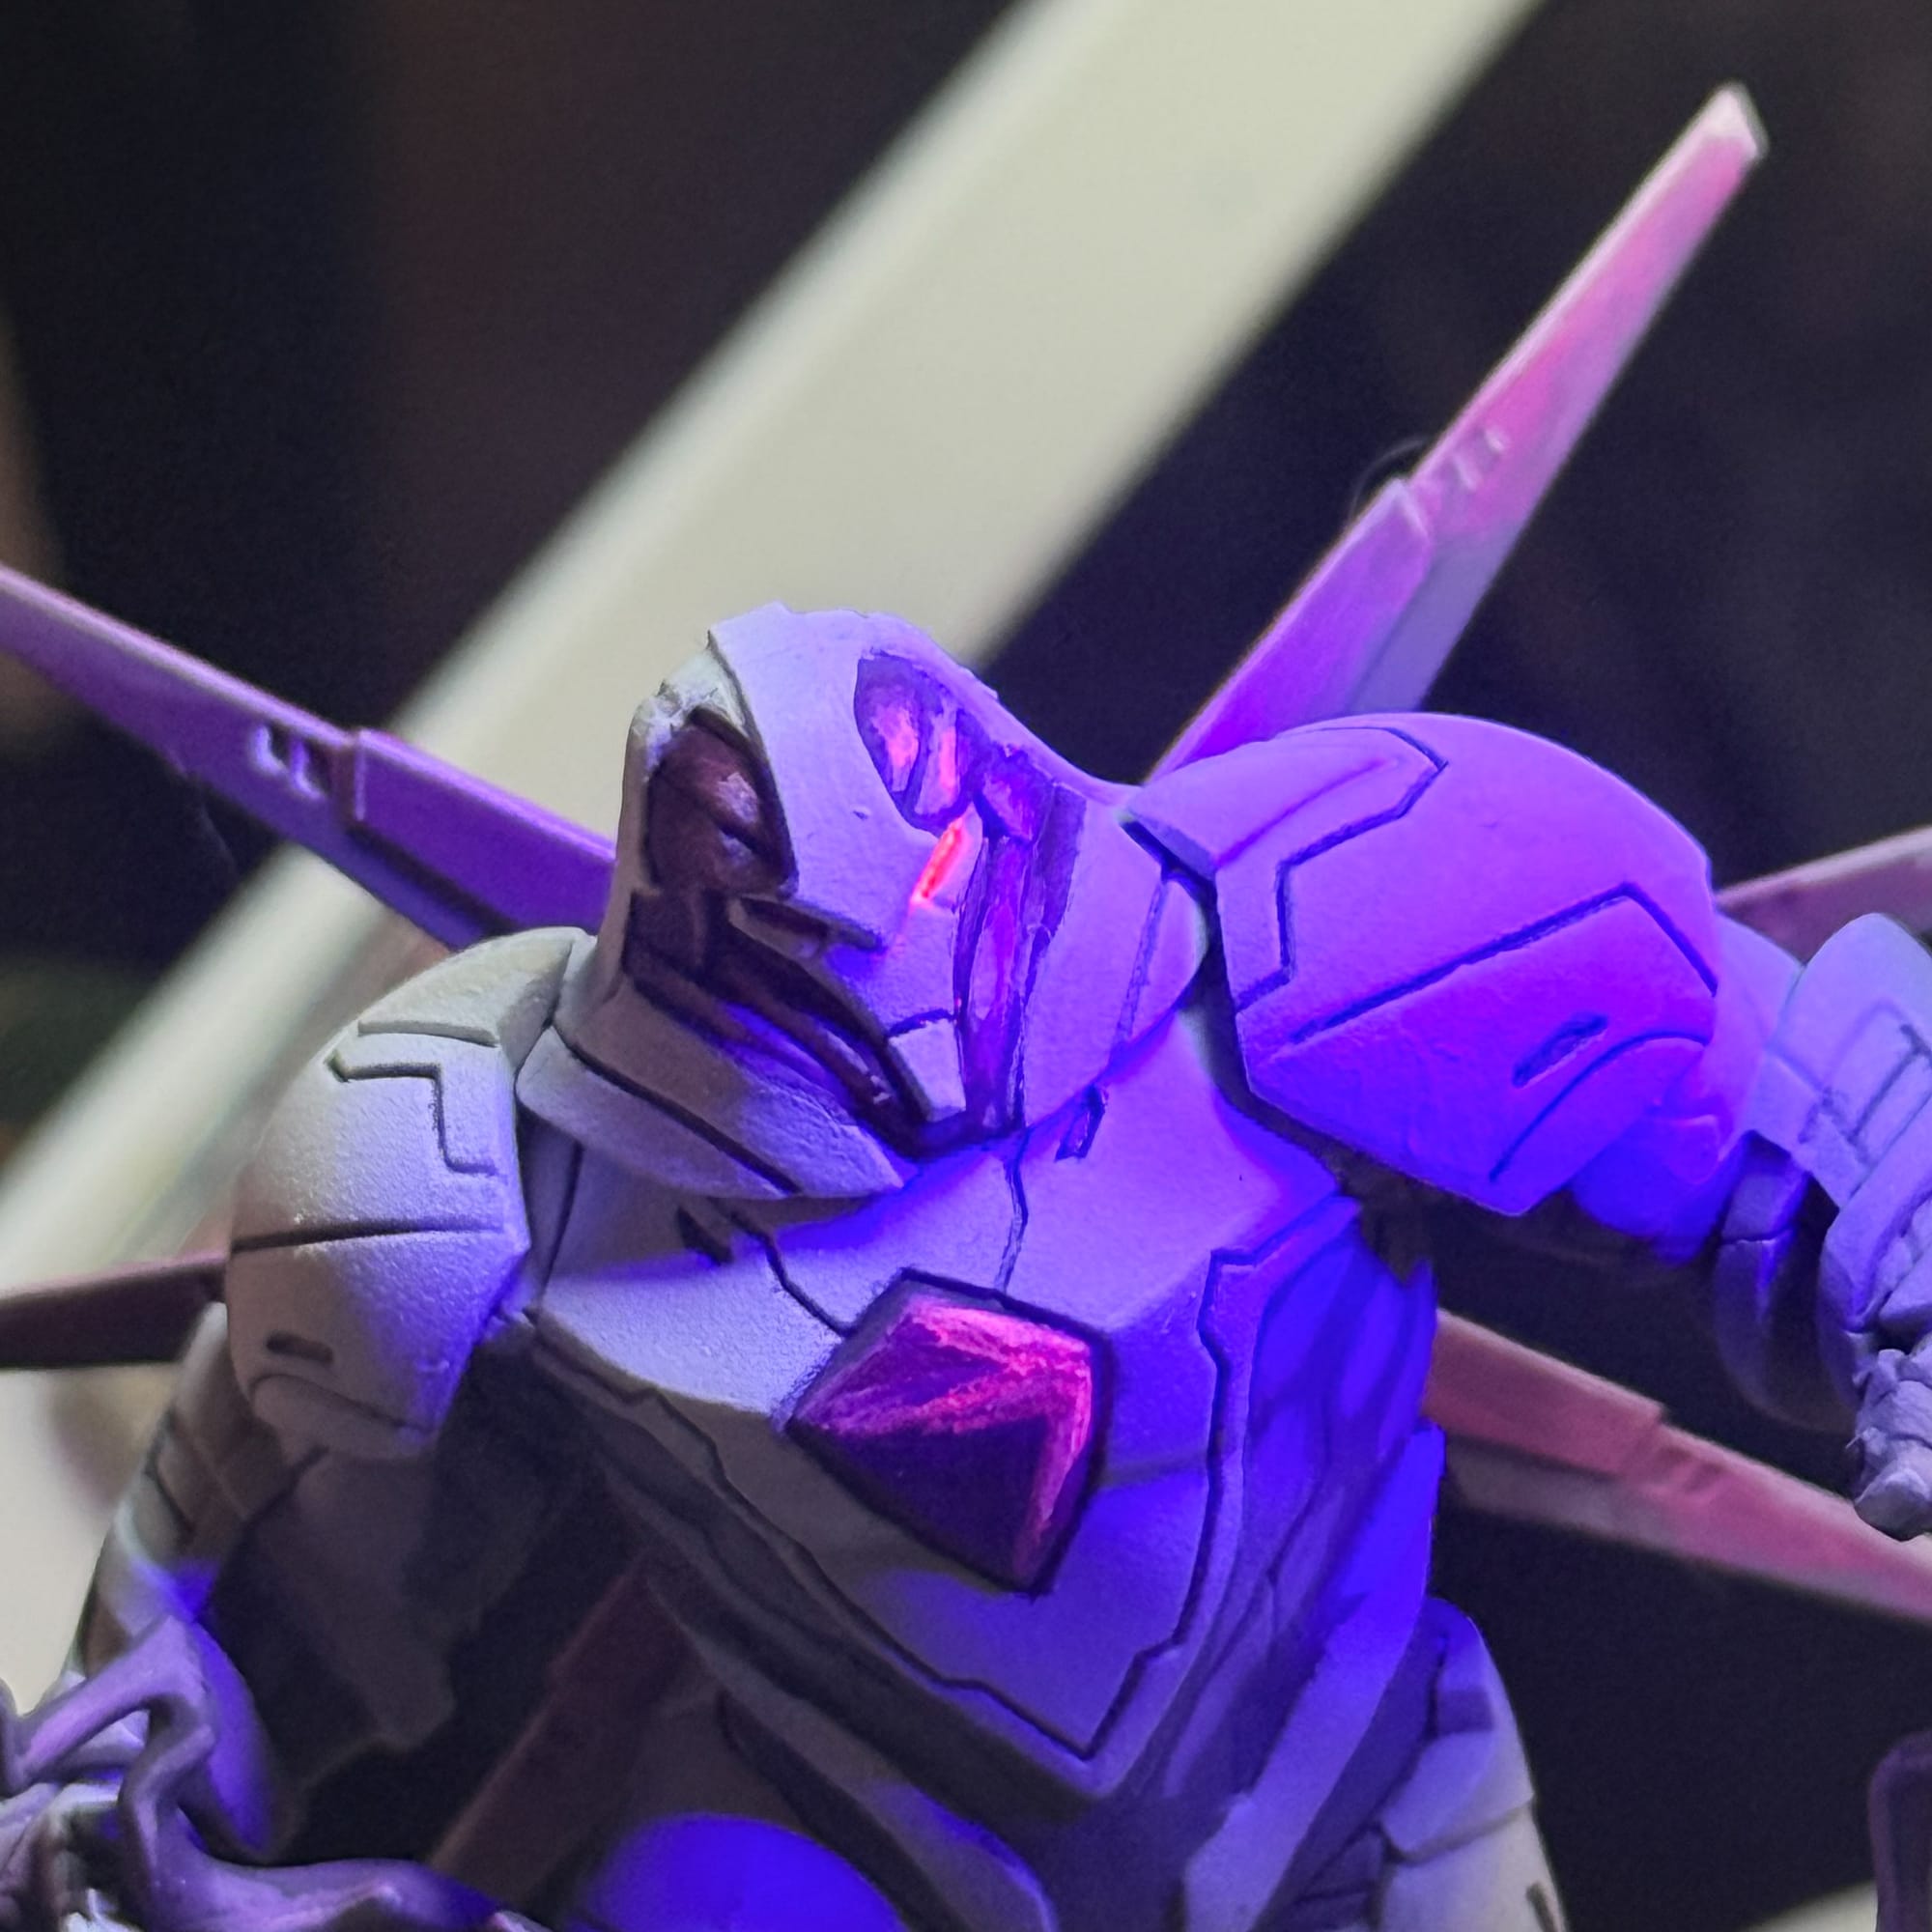
I have a set of paint from Lethal Shadows that are bright and thick, and the way I like to use them is to bump up similar colors, in this case, the magenta that I was using for the chest of Nimrod alongside the energy explosion from the base of the model. You do this by simply adding some of the fluor into your normal paint mix. Keep in mind that if you’re looking for a specific effect when a blacklight hits the model, you’ll see a streaky mess. But if not, what you get is a beautiful boost in tone.
Nimrod’s gem, the energy explosion, and the top right of his face got this additional boost.
 Randy Gregory II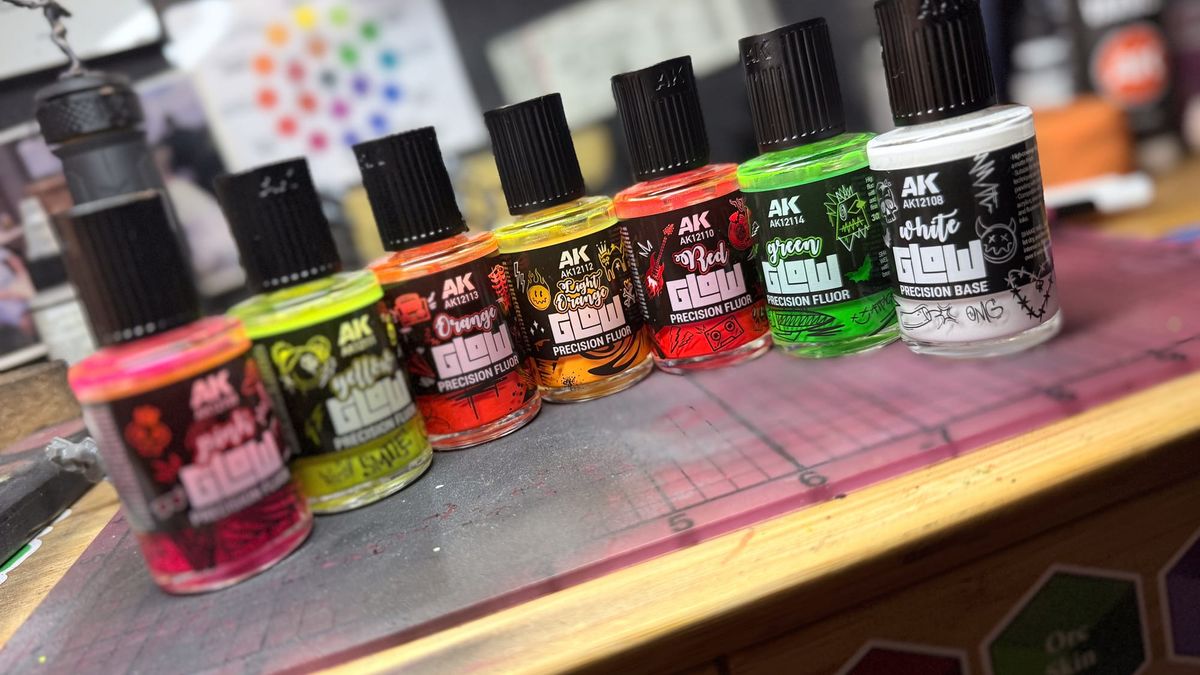
Clean Up
At this point, if I’m honest, the model is solid. You have a piece that will look incredible on the table, but we want to push things a little further.
Coming back through with a heavy body white paint from Golden, I covered up areas where I may have slipped some magenta on the model. A paint with more body will help you in these situations, but use a small brush and use thin layers.
I also came through with some of the Kimera Light Blenders to hit the very tops of Nimrod. While you might think that having white paint is enough, remember, white isn’t a color; it’s a desaturation. The blender brings back that brightness and tone, which does a better job of creating a white tone that feels brighter. You wouldn’t tell unless you were holding the model.
Now, final assembly. Putting the whole model together in this painted state is both rewarding and very nerve-wracking. I realized now that I may have misplaced one of the basing lightning bolts, but I had an idea in mind of what to do.
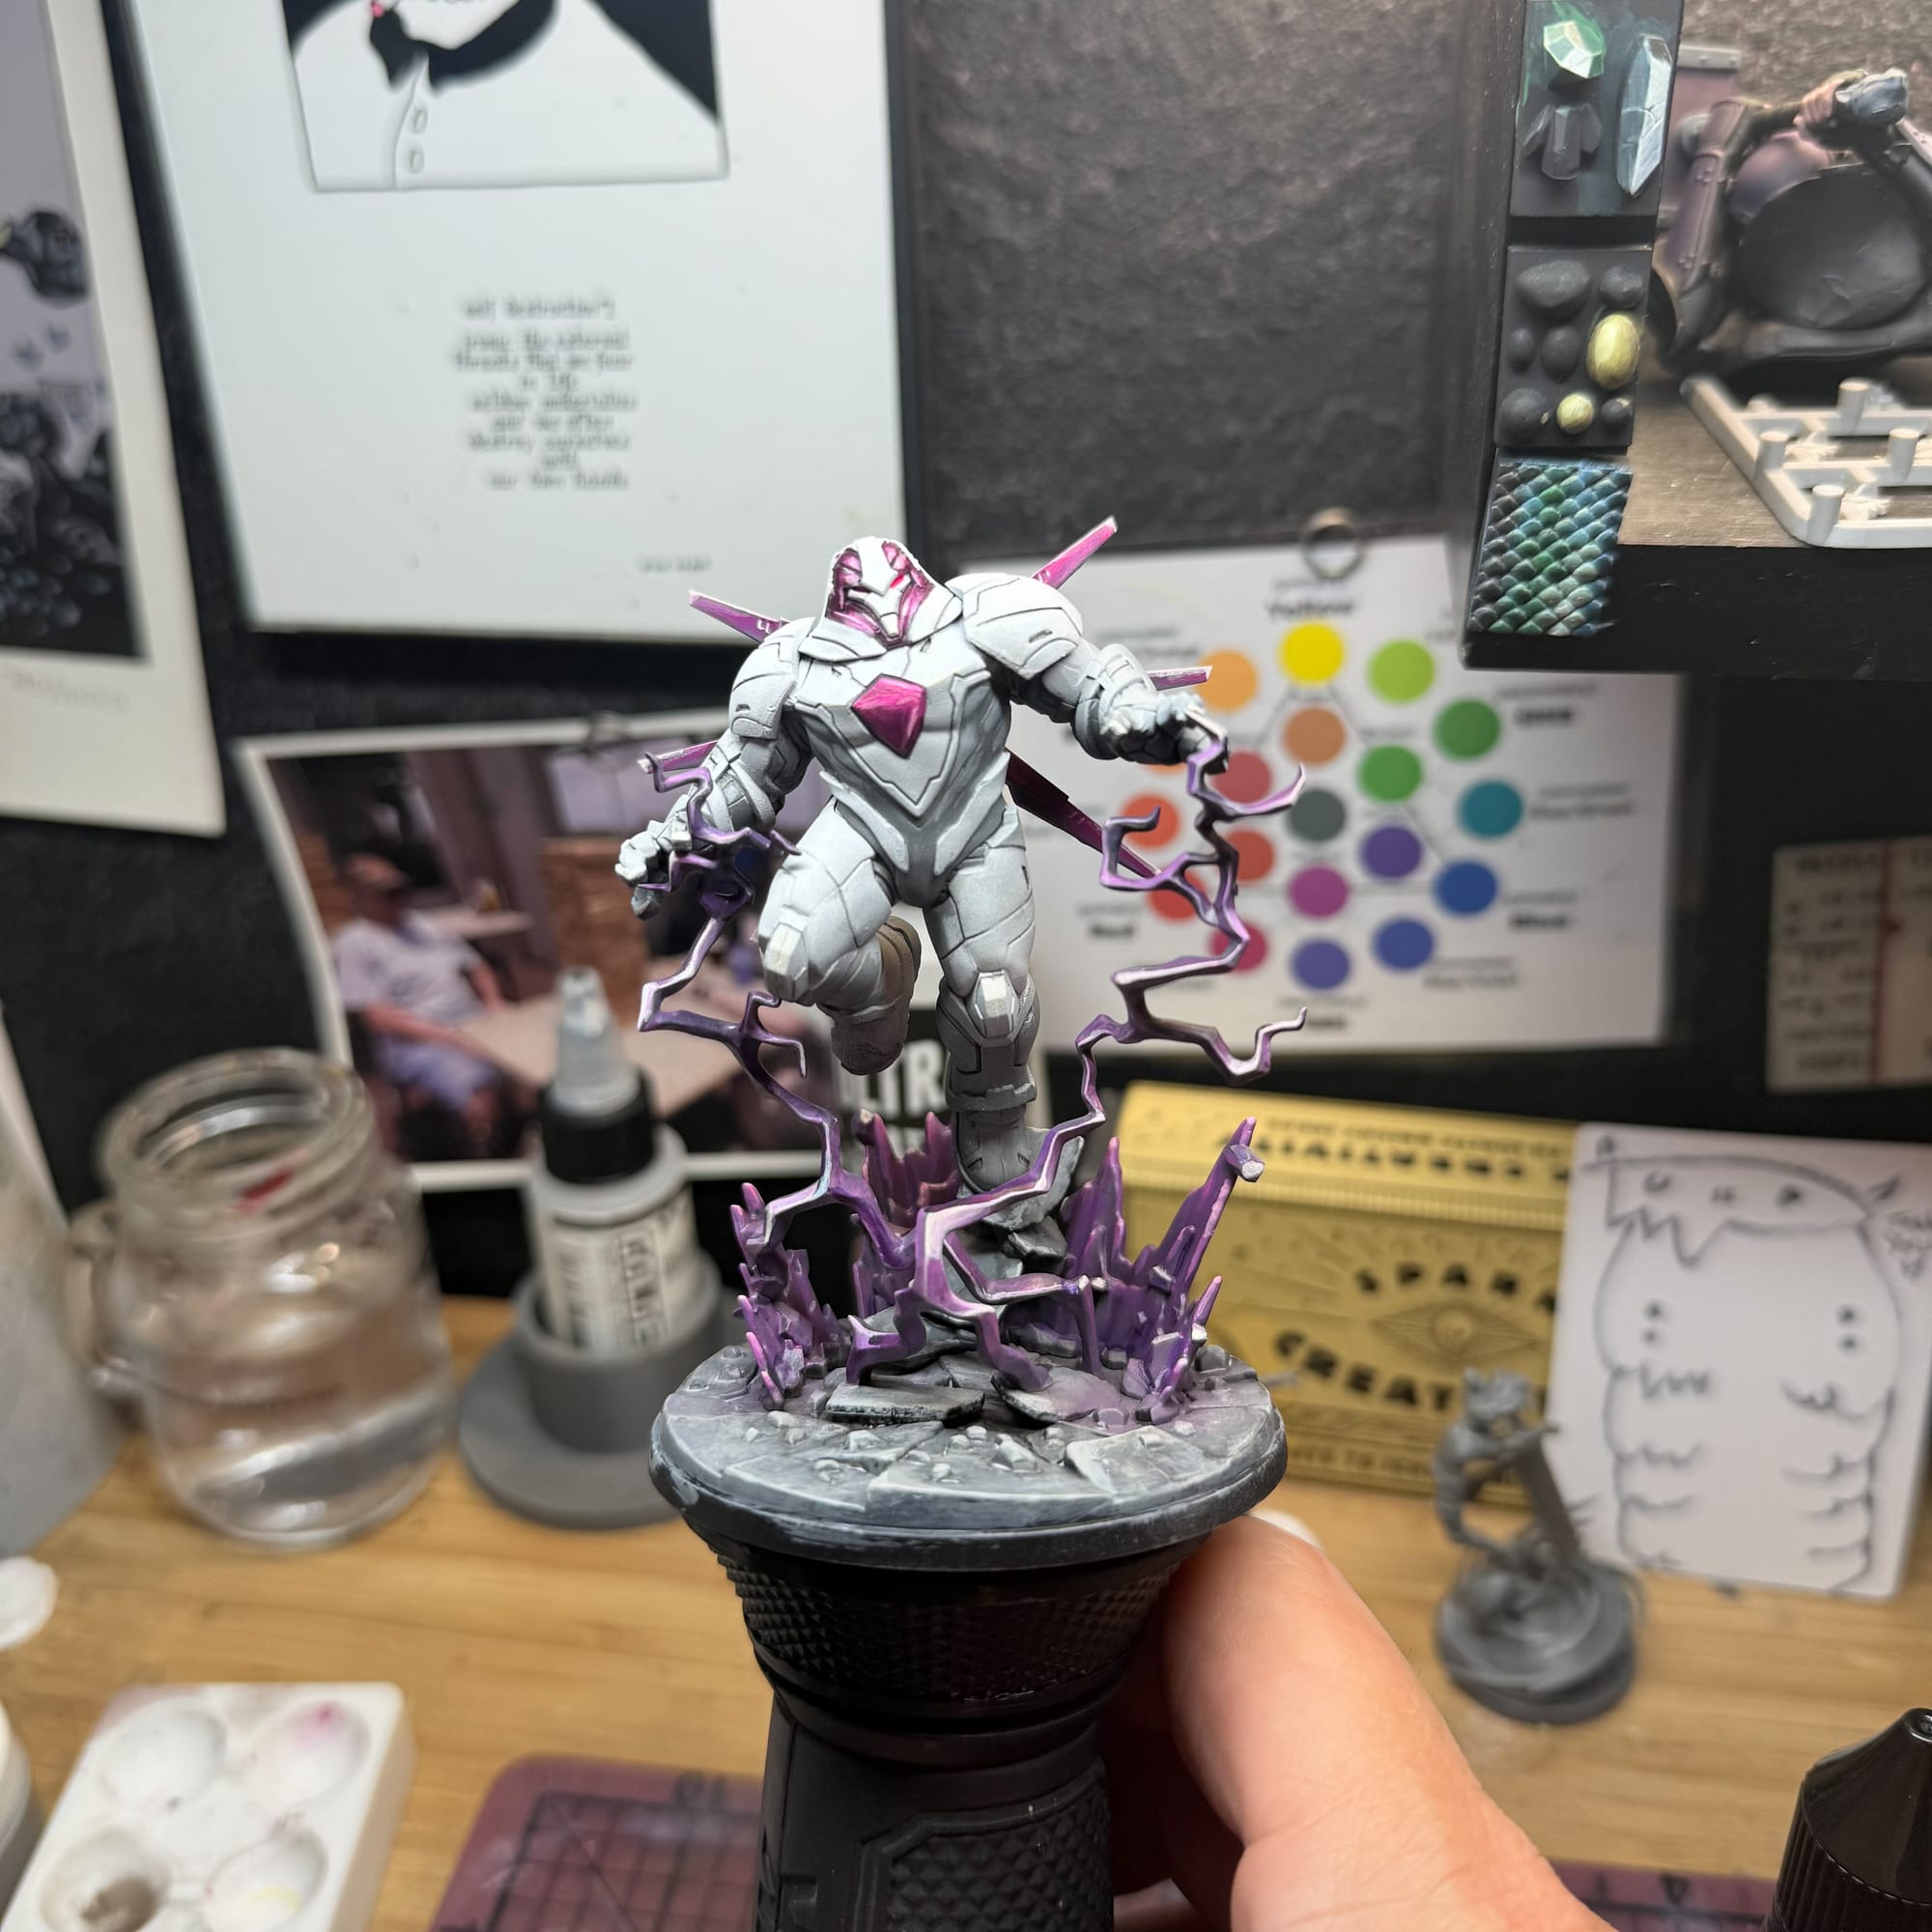
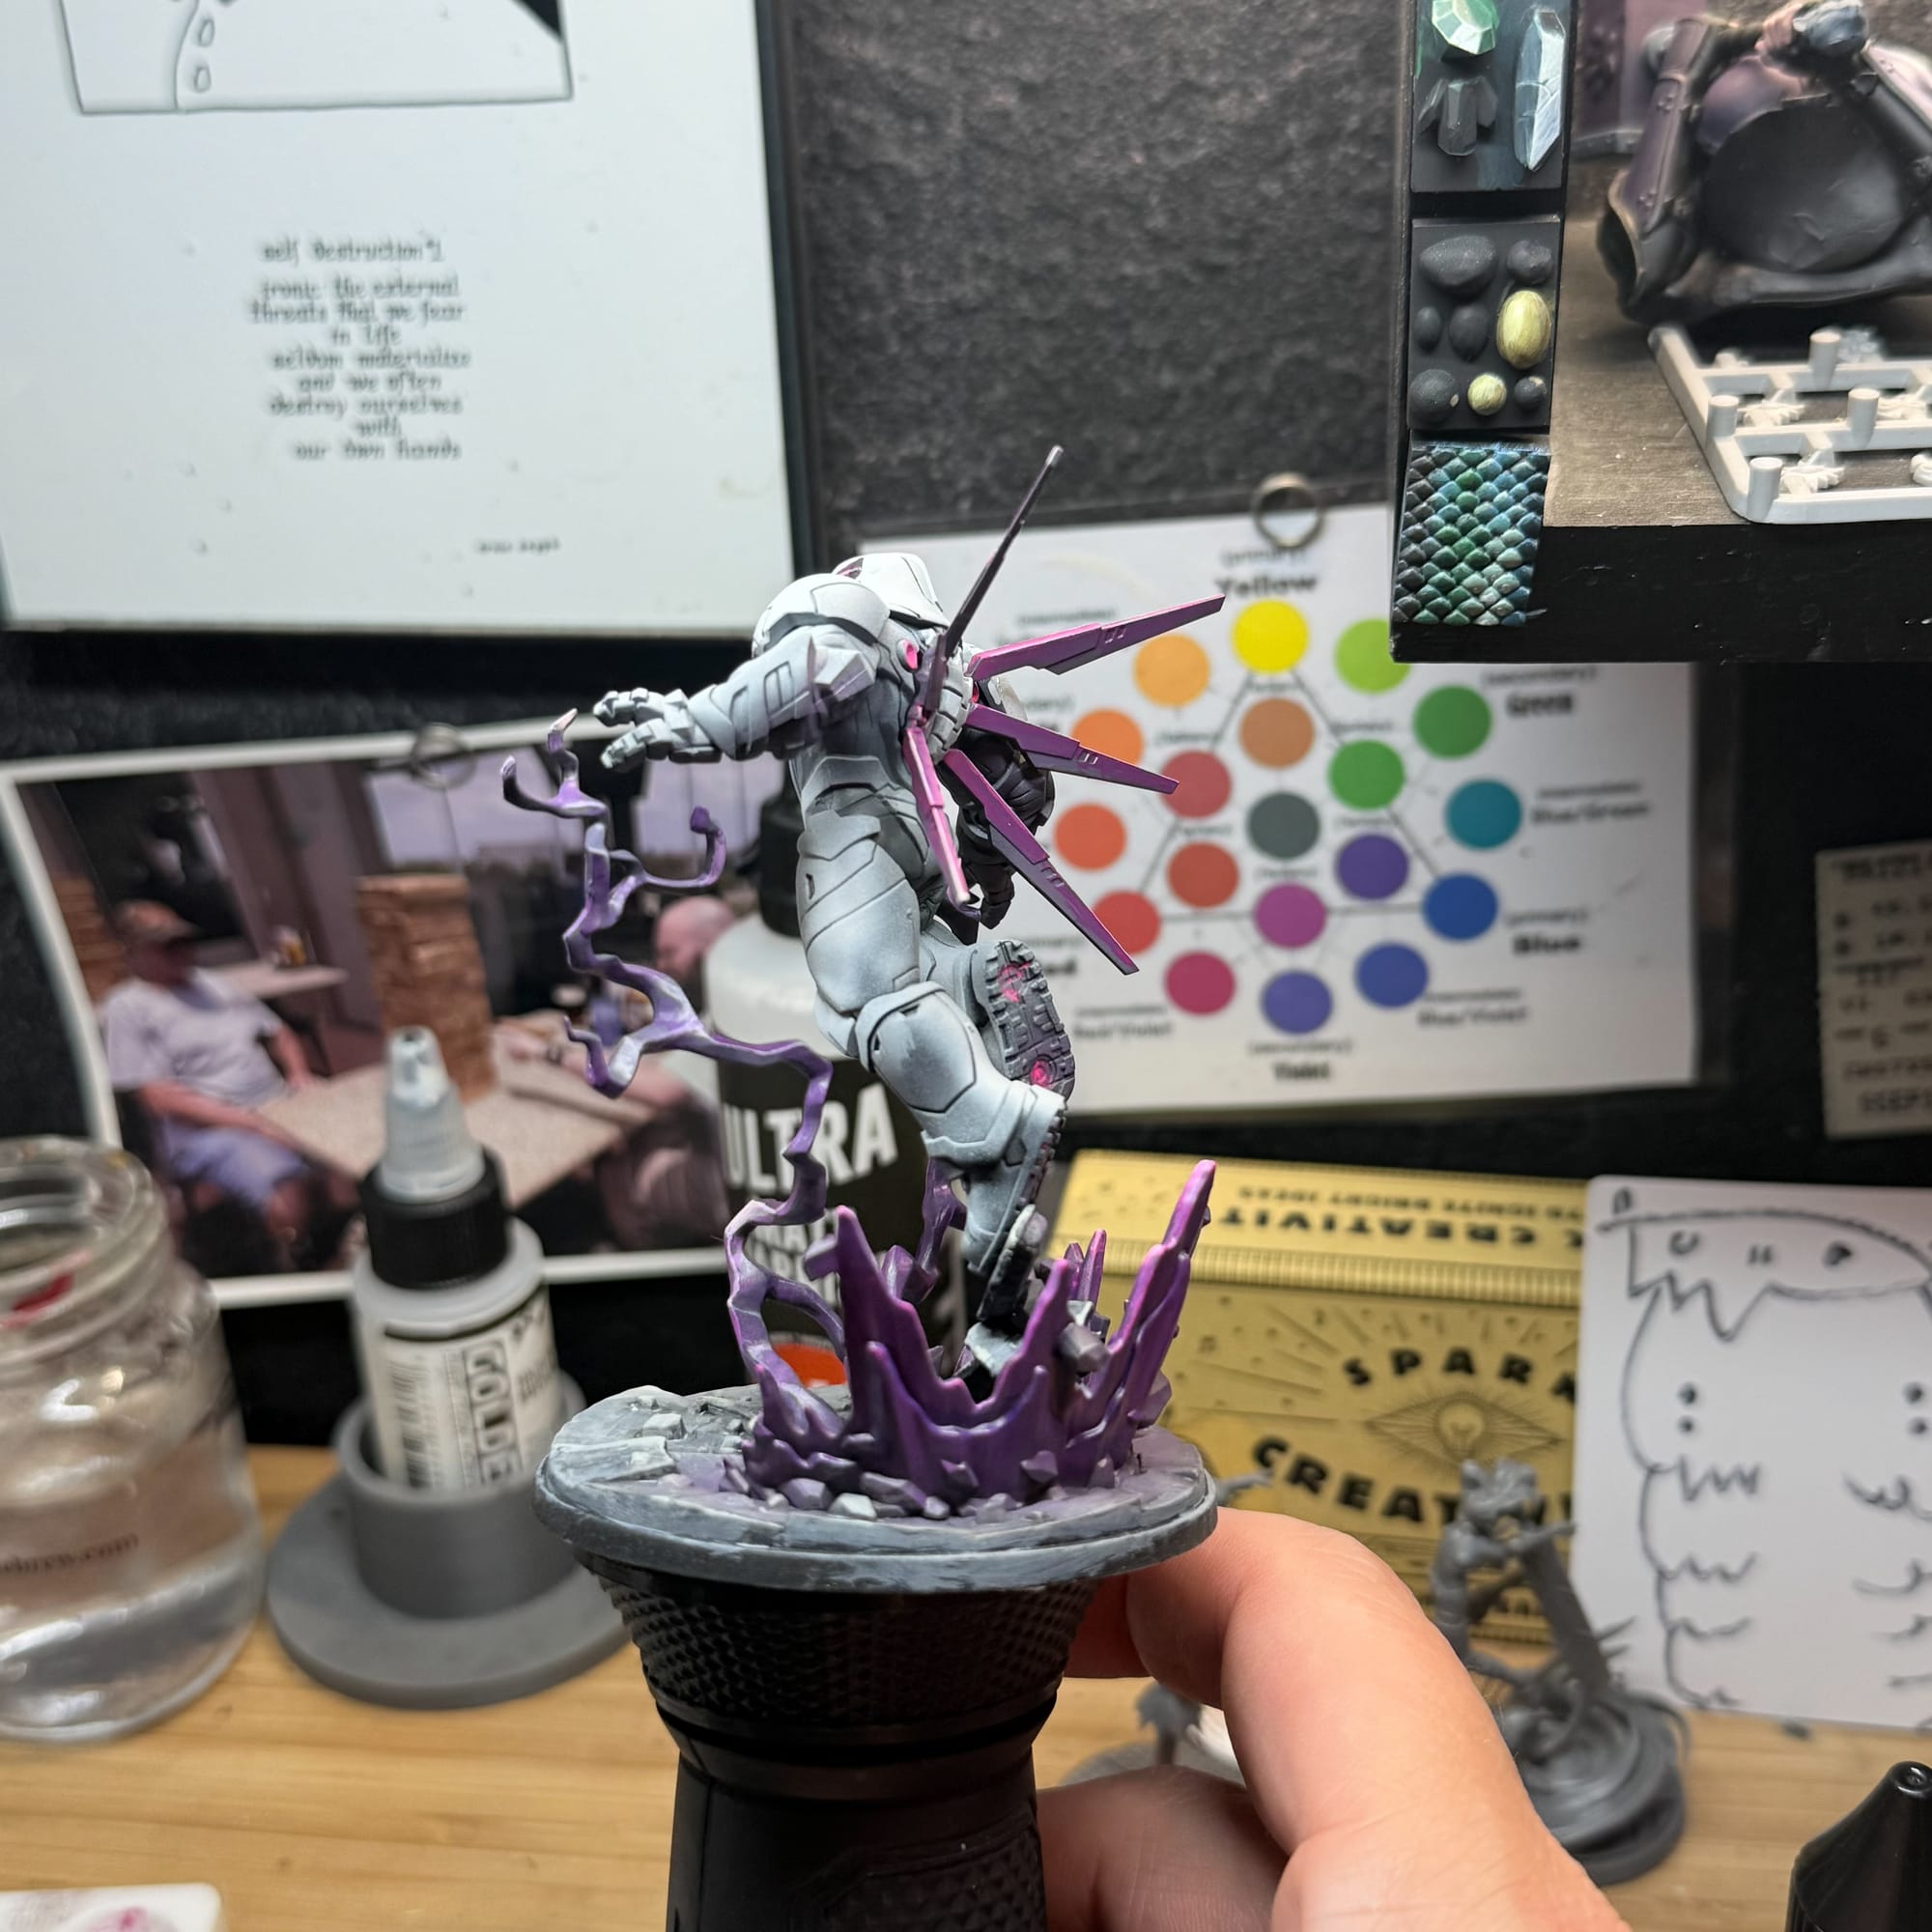
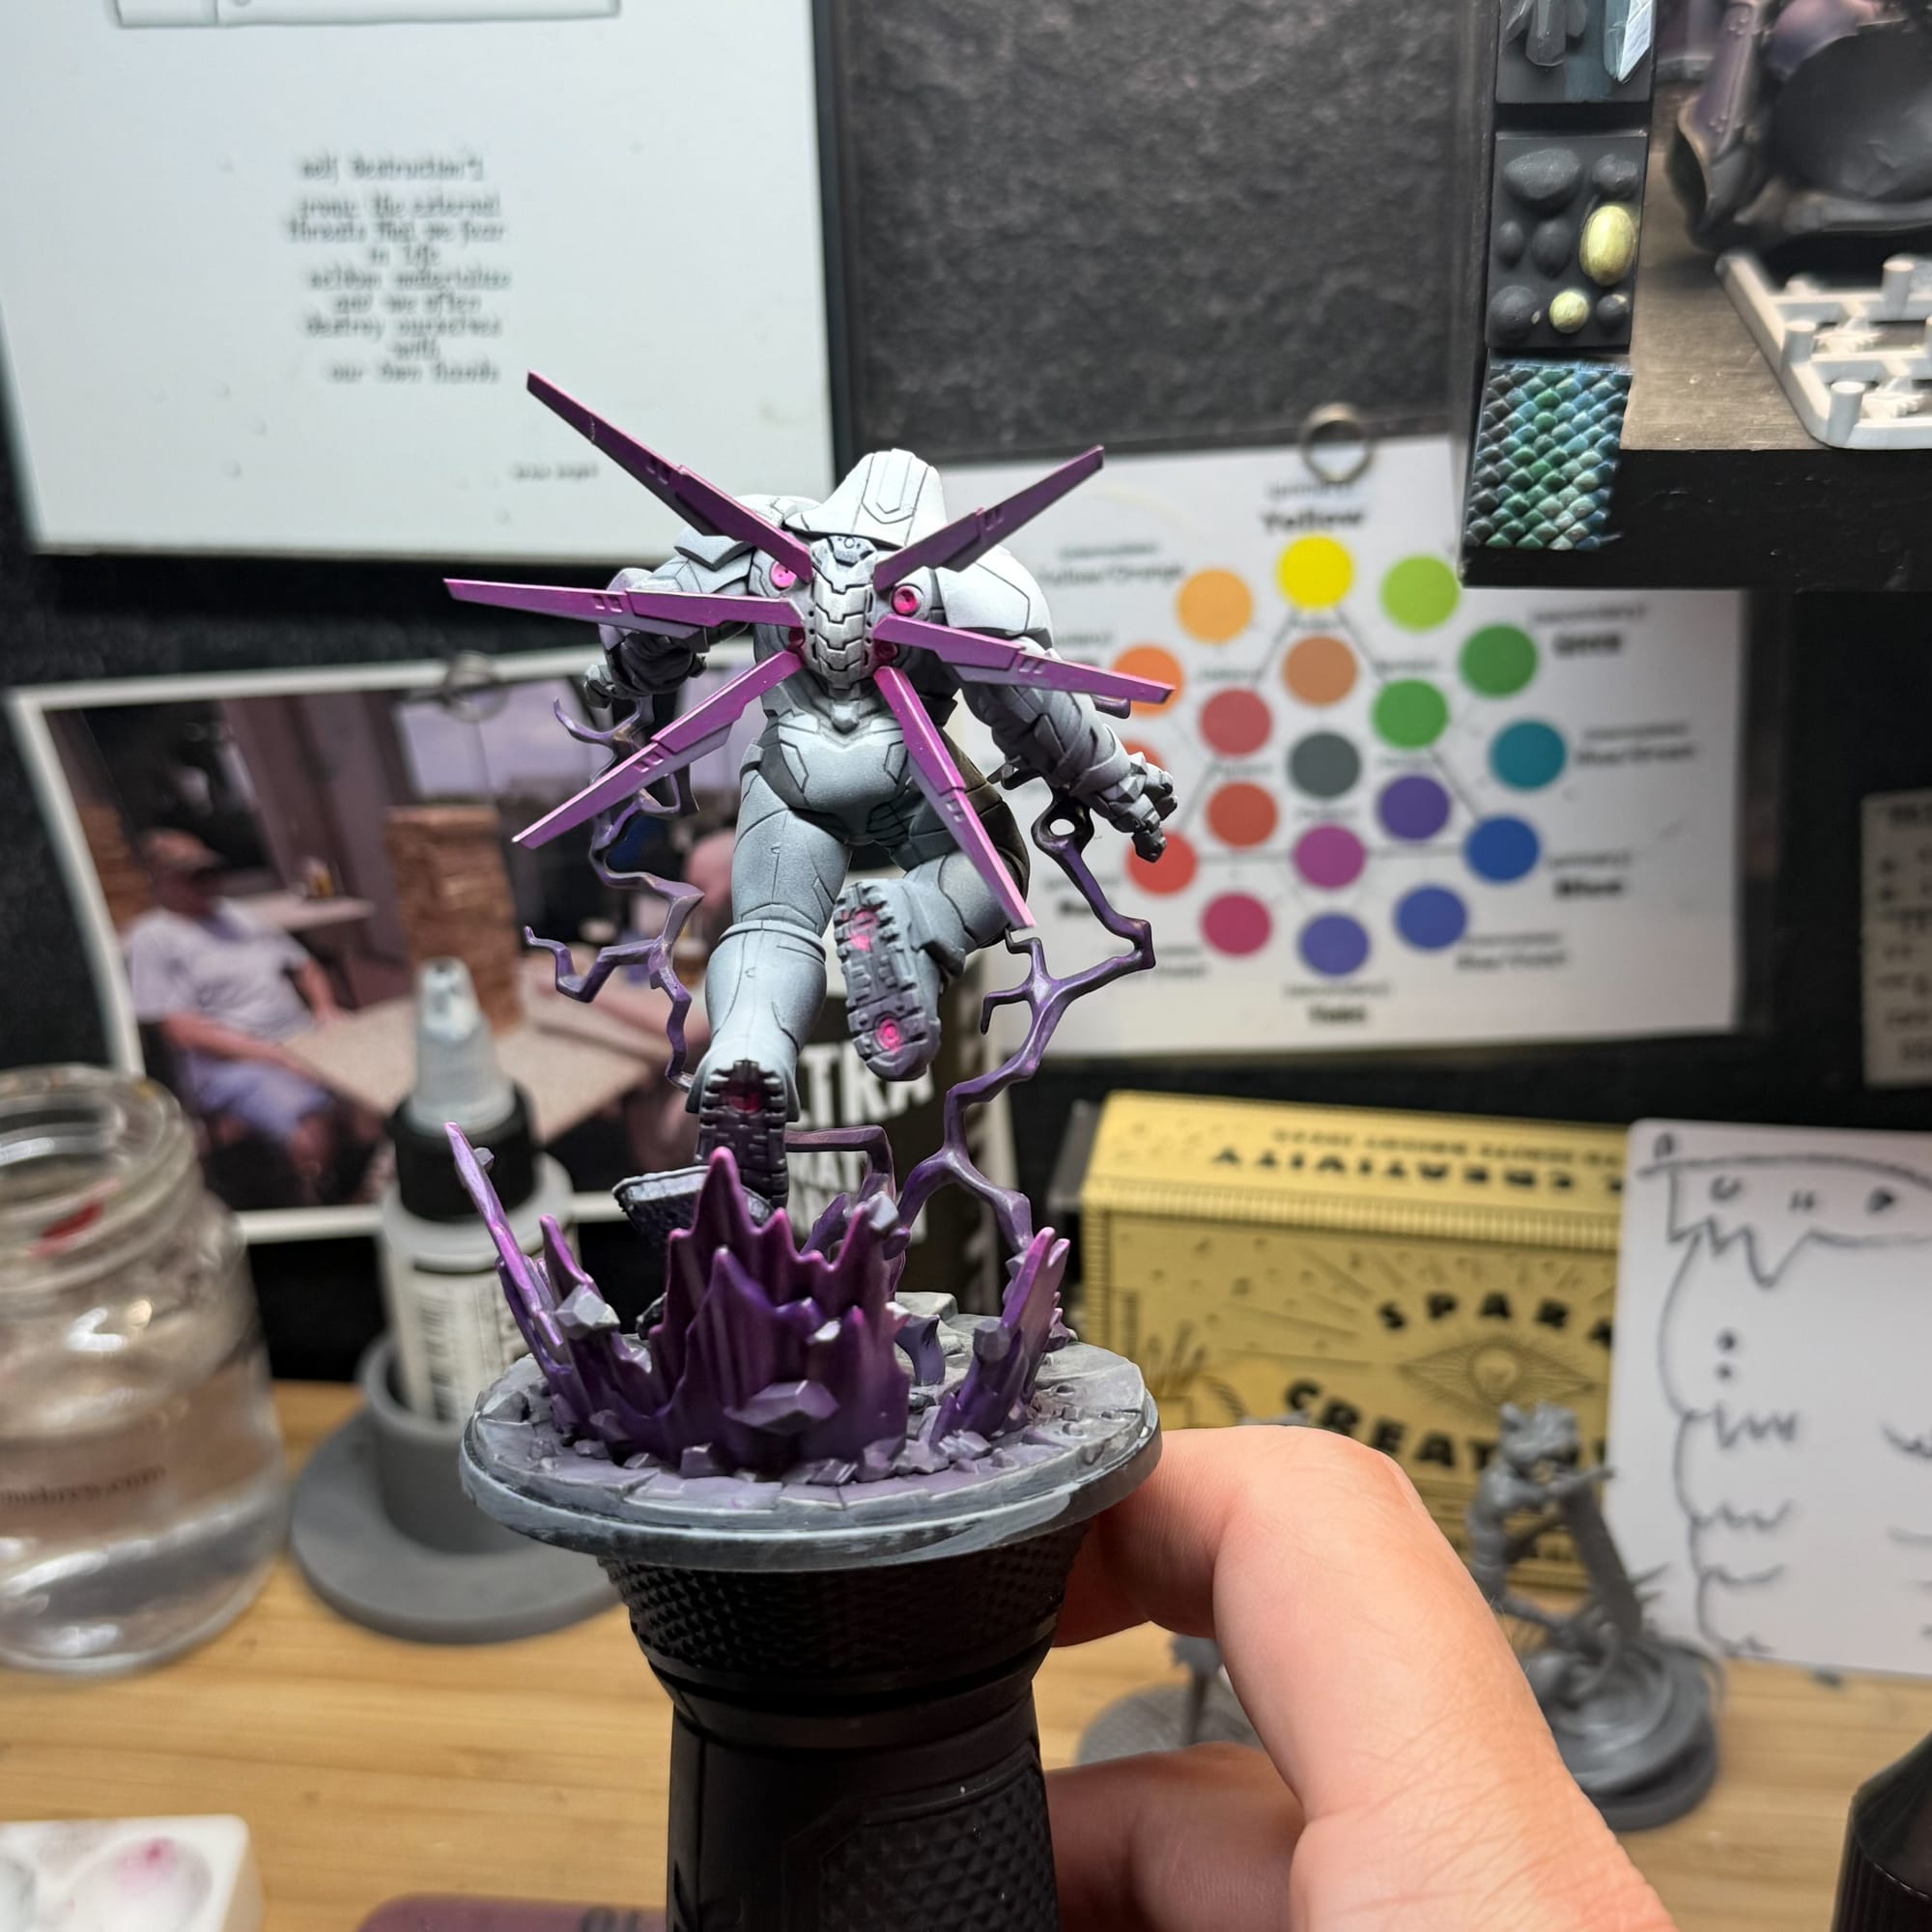
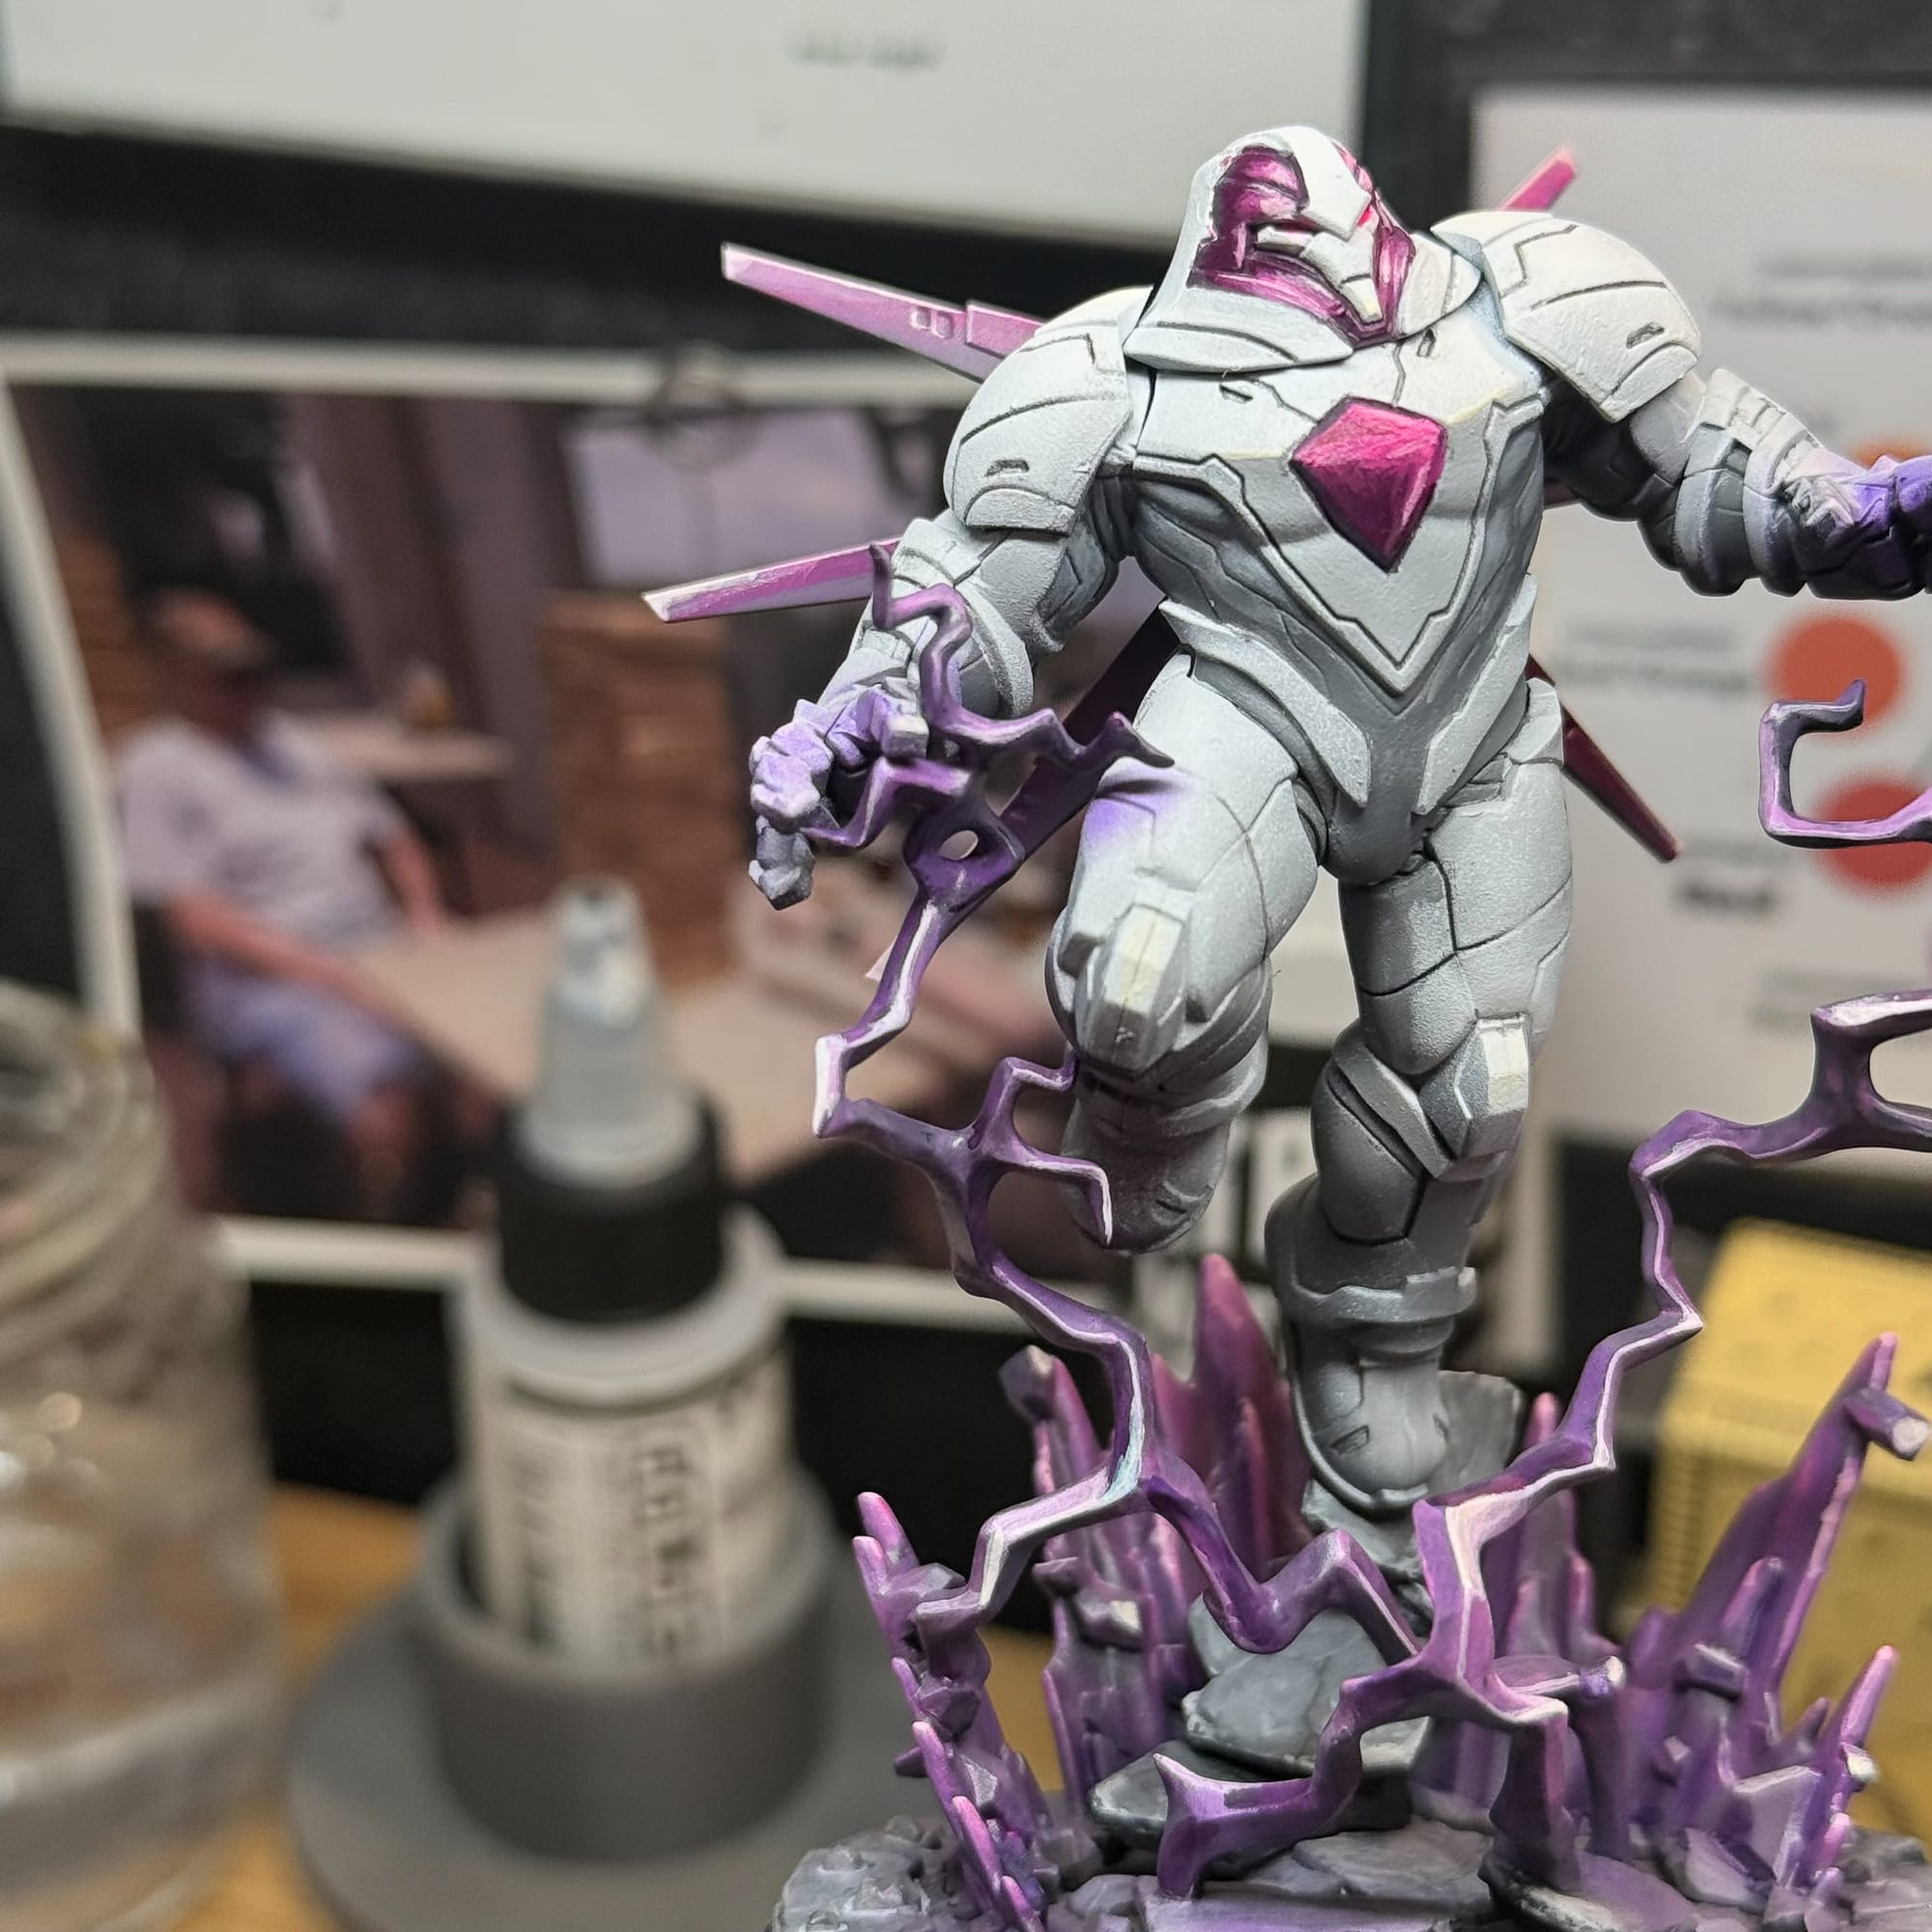
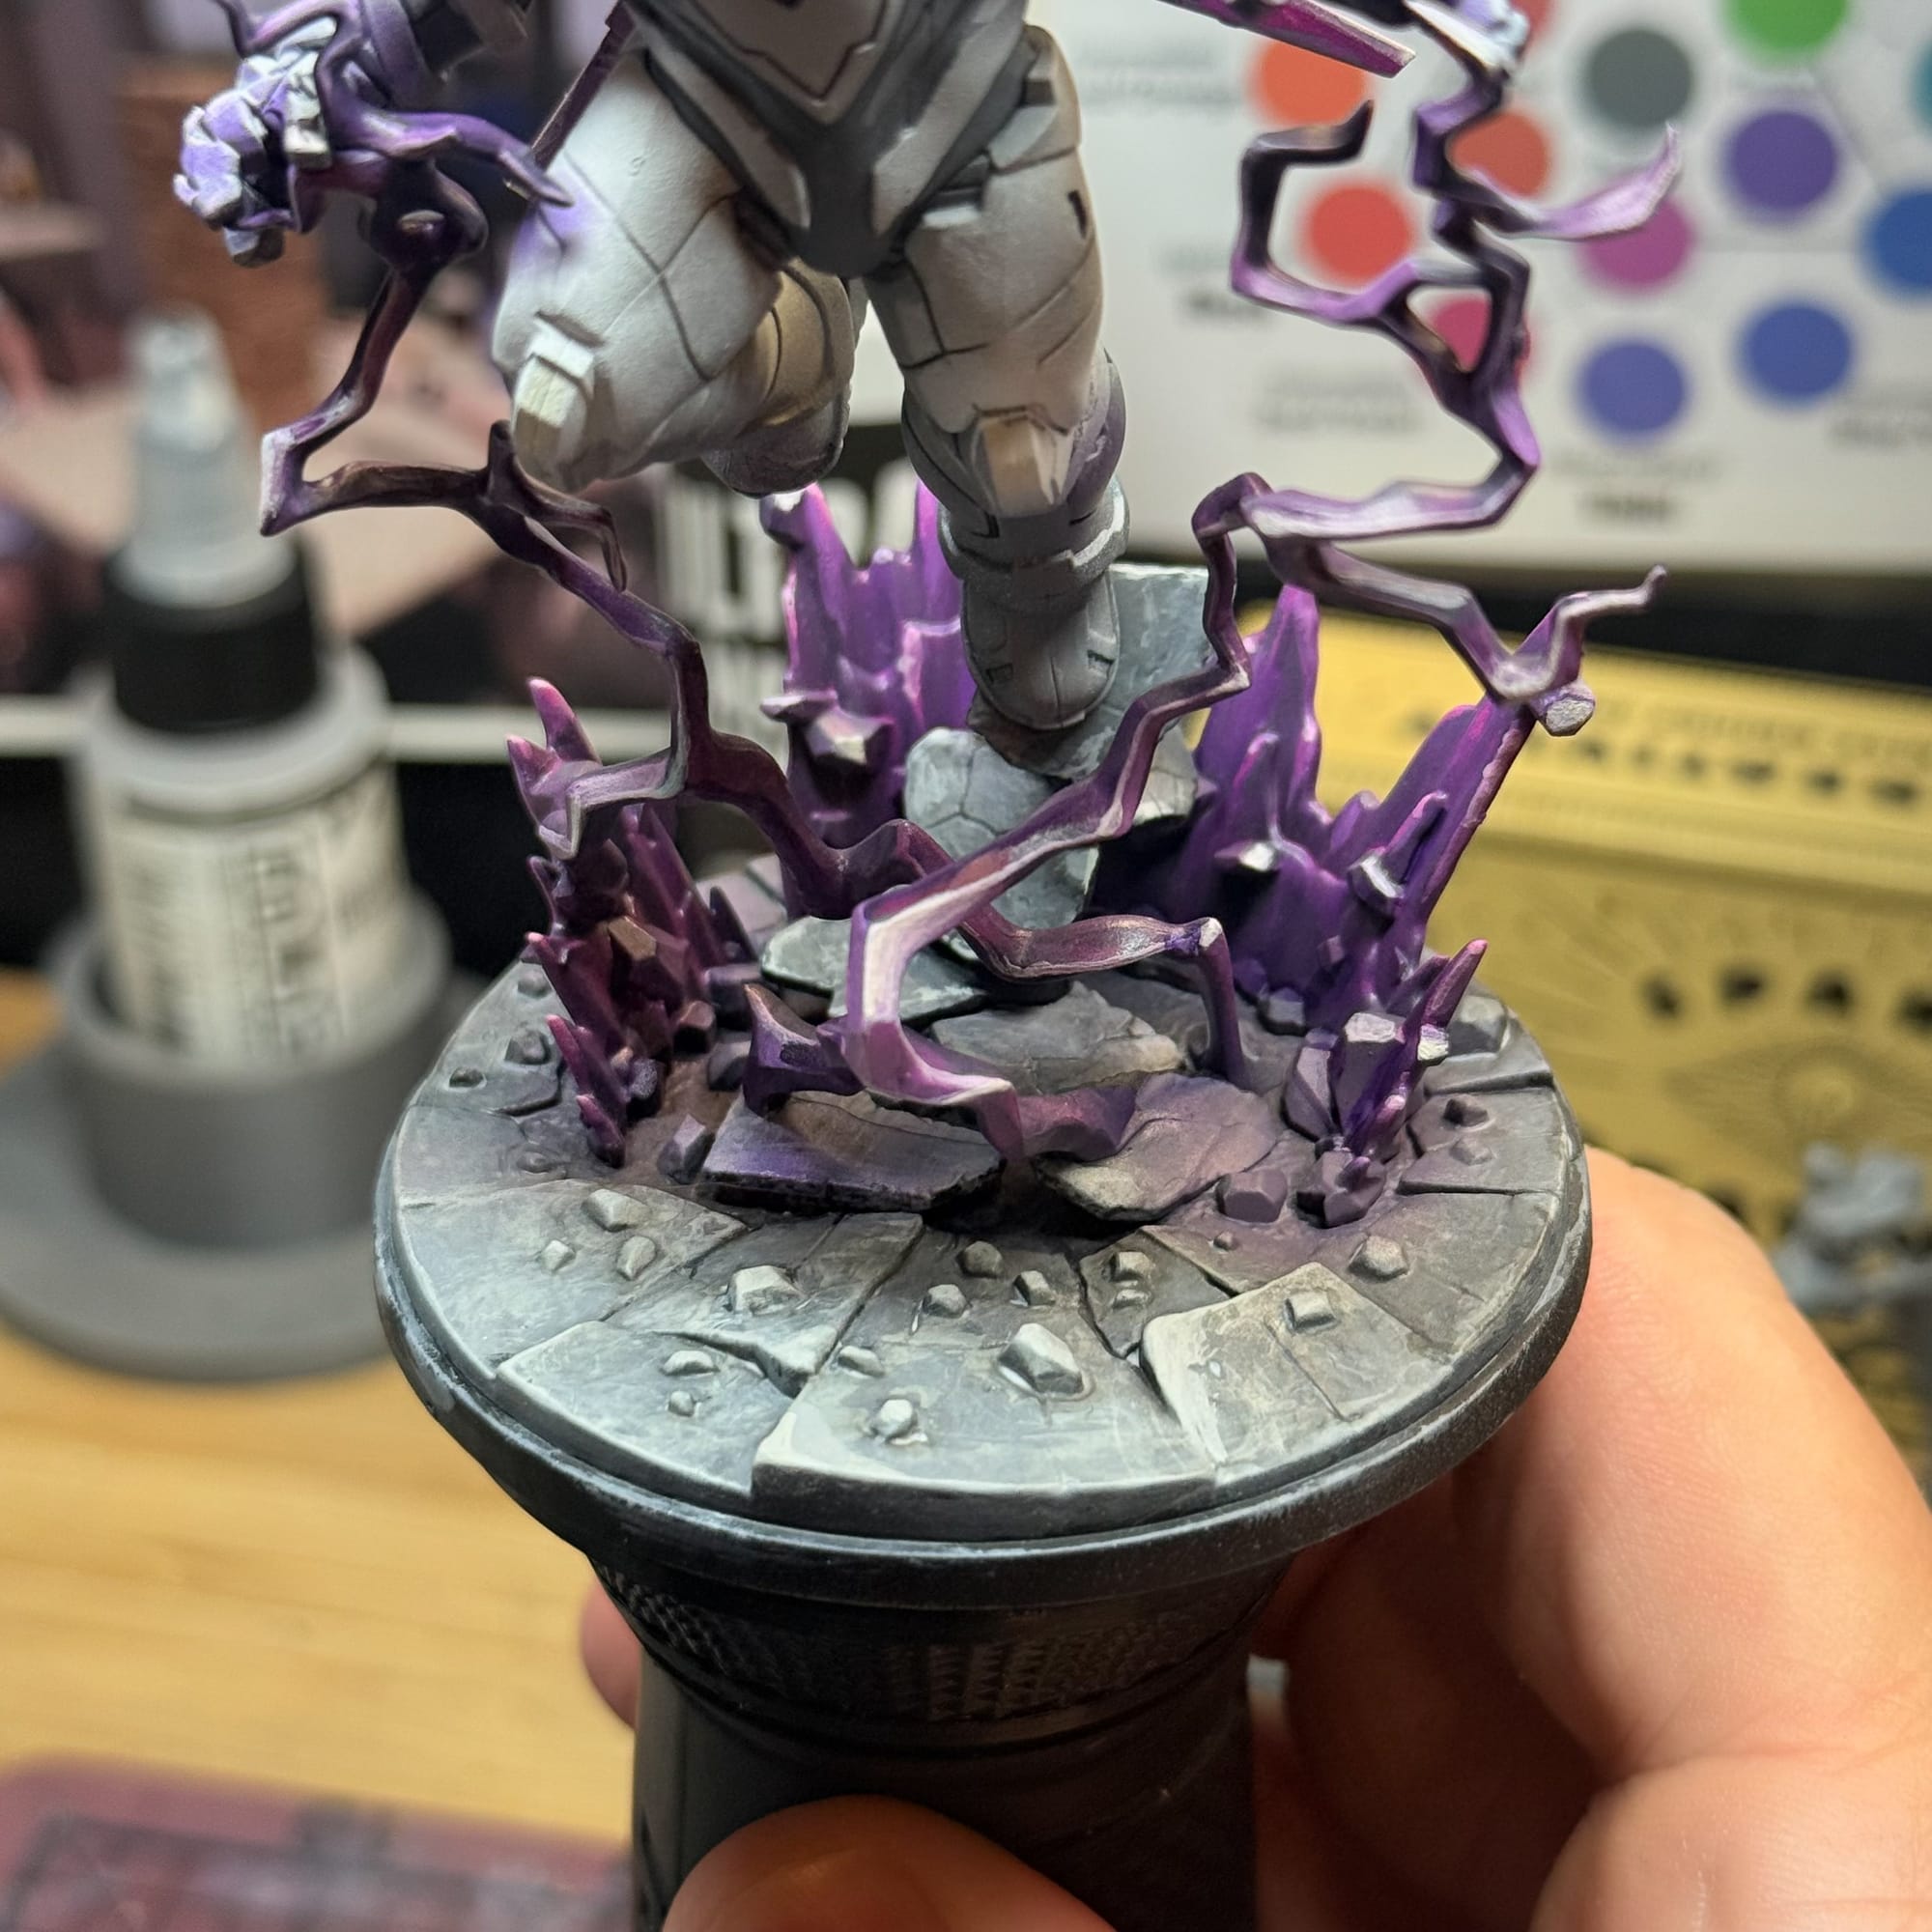
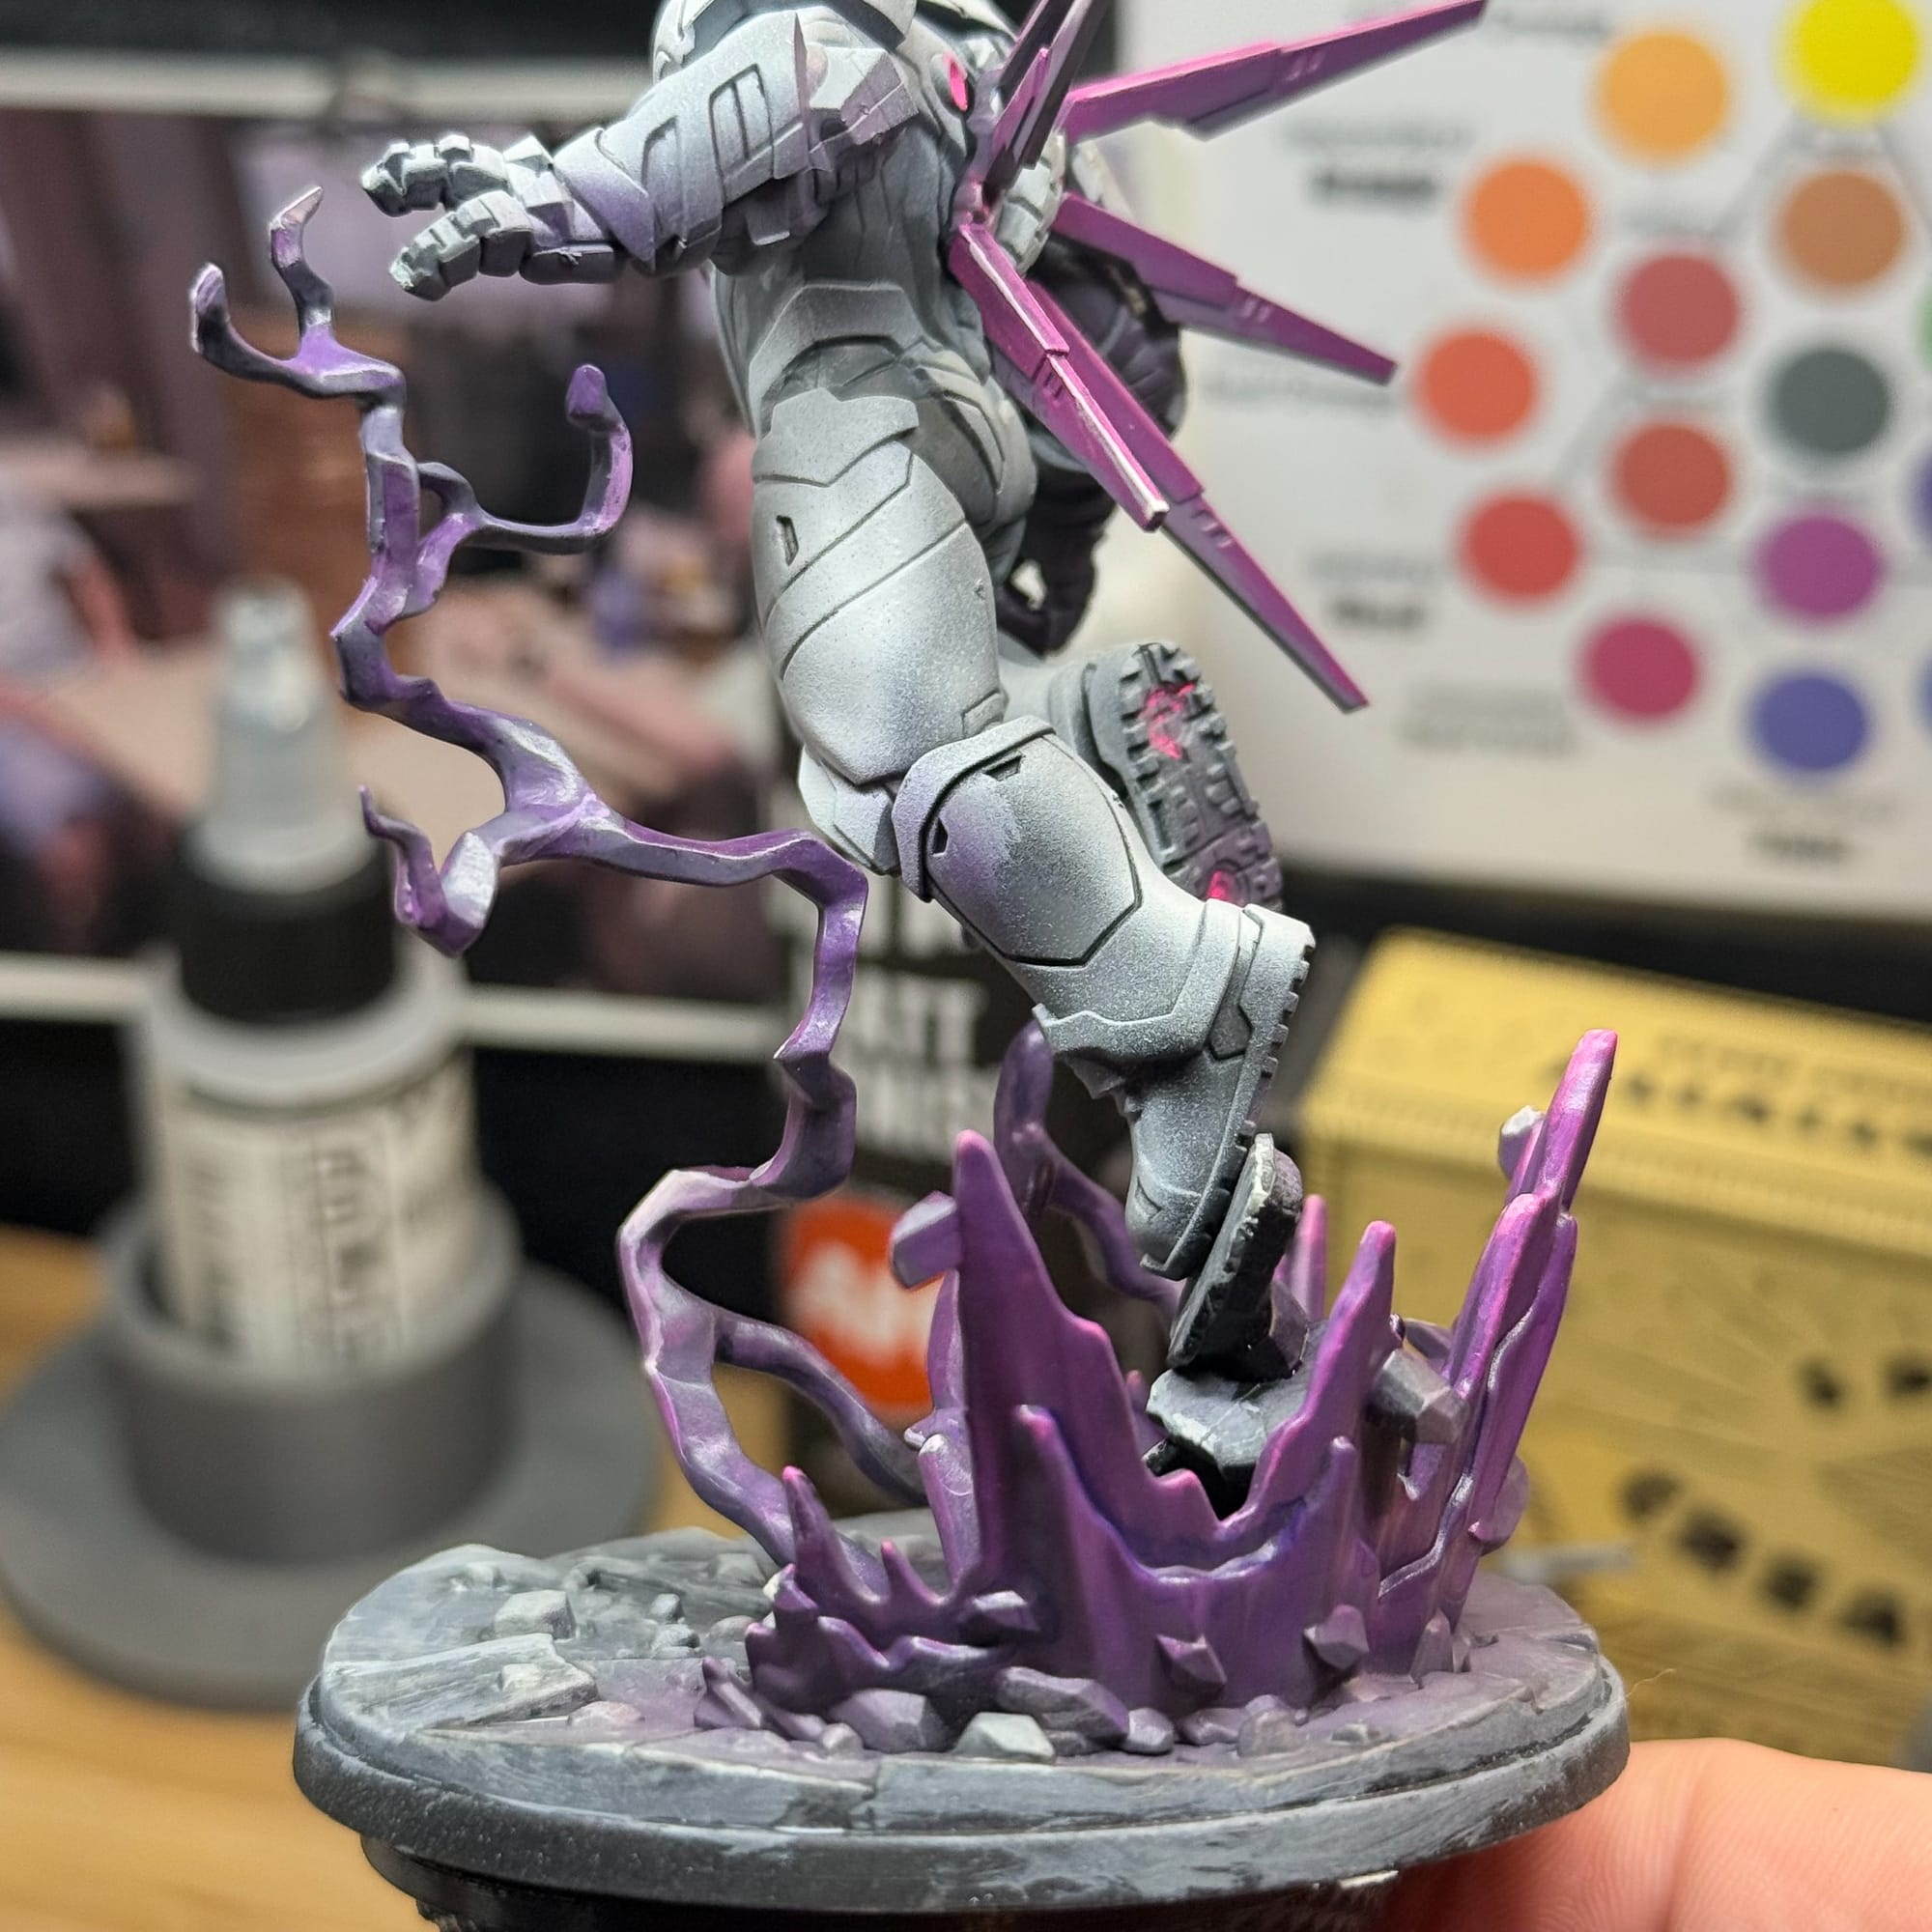
Picking up the airbrush again, I loaded it up with the Kimera paint and made a slick pink and purple, and blasted areas where the lightning was touching. This adds an object source lighting effect and just genuinely adds a new level of cool to the model. I also did a little bit of this on the basing, but to be fair, I could have done more.
And that’s what brings me to the final point of this tutorial…you decide what you’re happy with. I had decided this piece was going to be for my Sentinel Affiliation, not for a Display or Competitive Piece at the start of the project, so I felt comfortable calling it quits.
If I had wanted to, I wouldn’t have needed to do the panel lining, which did take close to an hour, or the airbrushing, or even used all of the basing elements, or skipped the fluors…but I wanted to push a gaming piece as far as I felt comfortable doing.
So my challenge to you is to identify what your level is, and stick to it. Too many times as artists we leave gray models on the shelf because we’re worried about “ruining” it, and the reality is that you’re shortchanging yourself of a great learning opportunity.
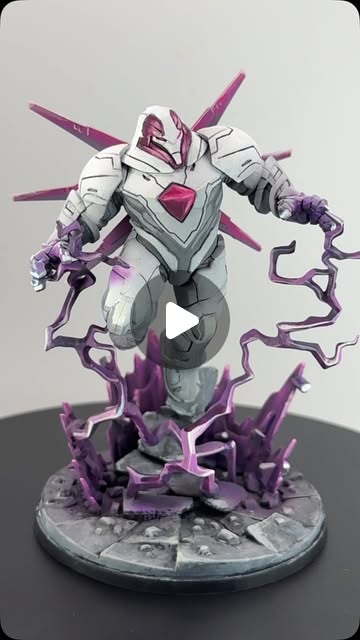
During this time with Nimrod, I challenged myself to mix a lot of techniques I’ve practiced on separate models, and to use a lot of airbrush, which was a little scary, but I emerged so much more confident in my skill, and it has shown. As of this publication, my reel showcasing Nimrod is up to 1,984 views and gave me 5 new followers…that’s HUGE and feels great.

 Asmodee USA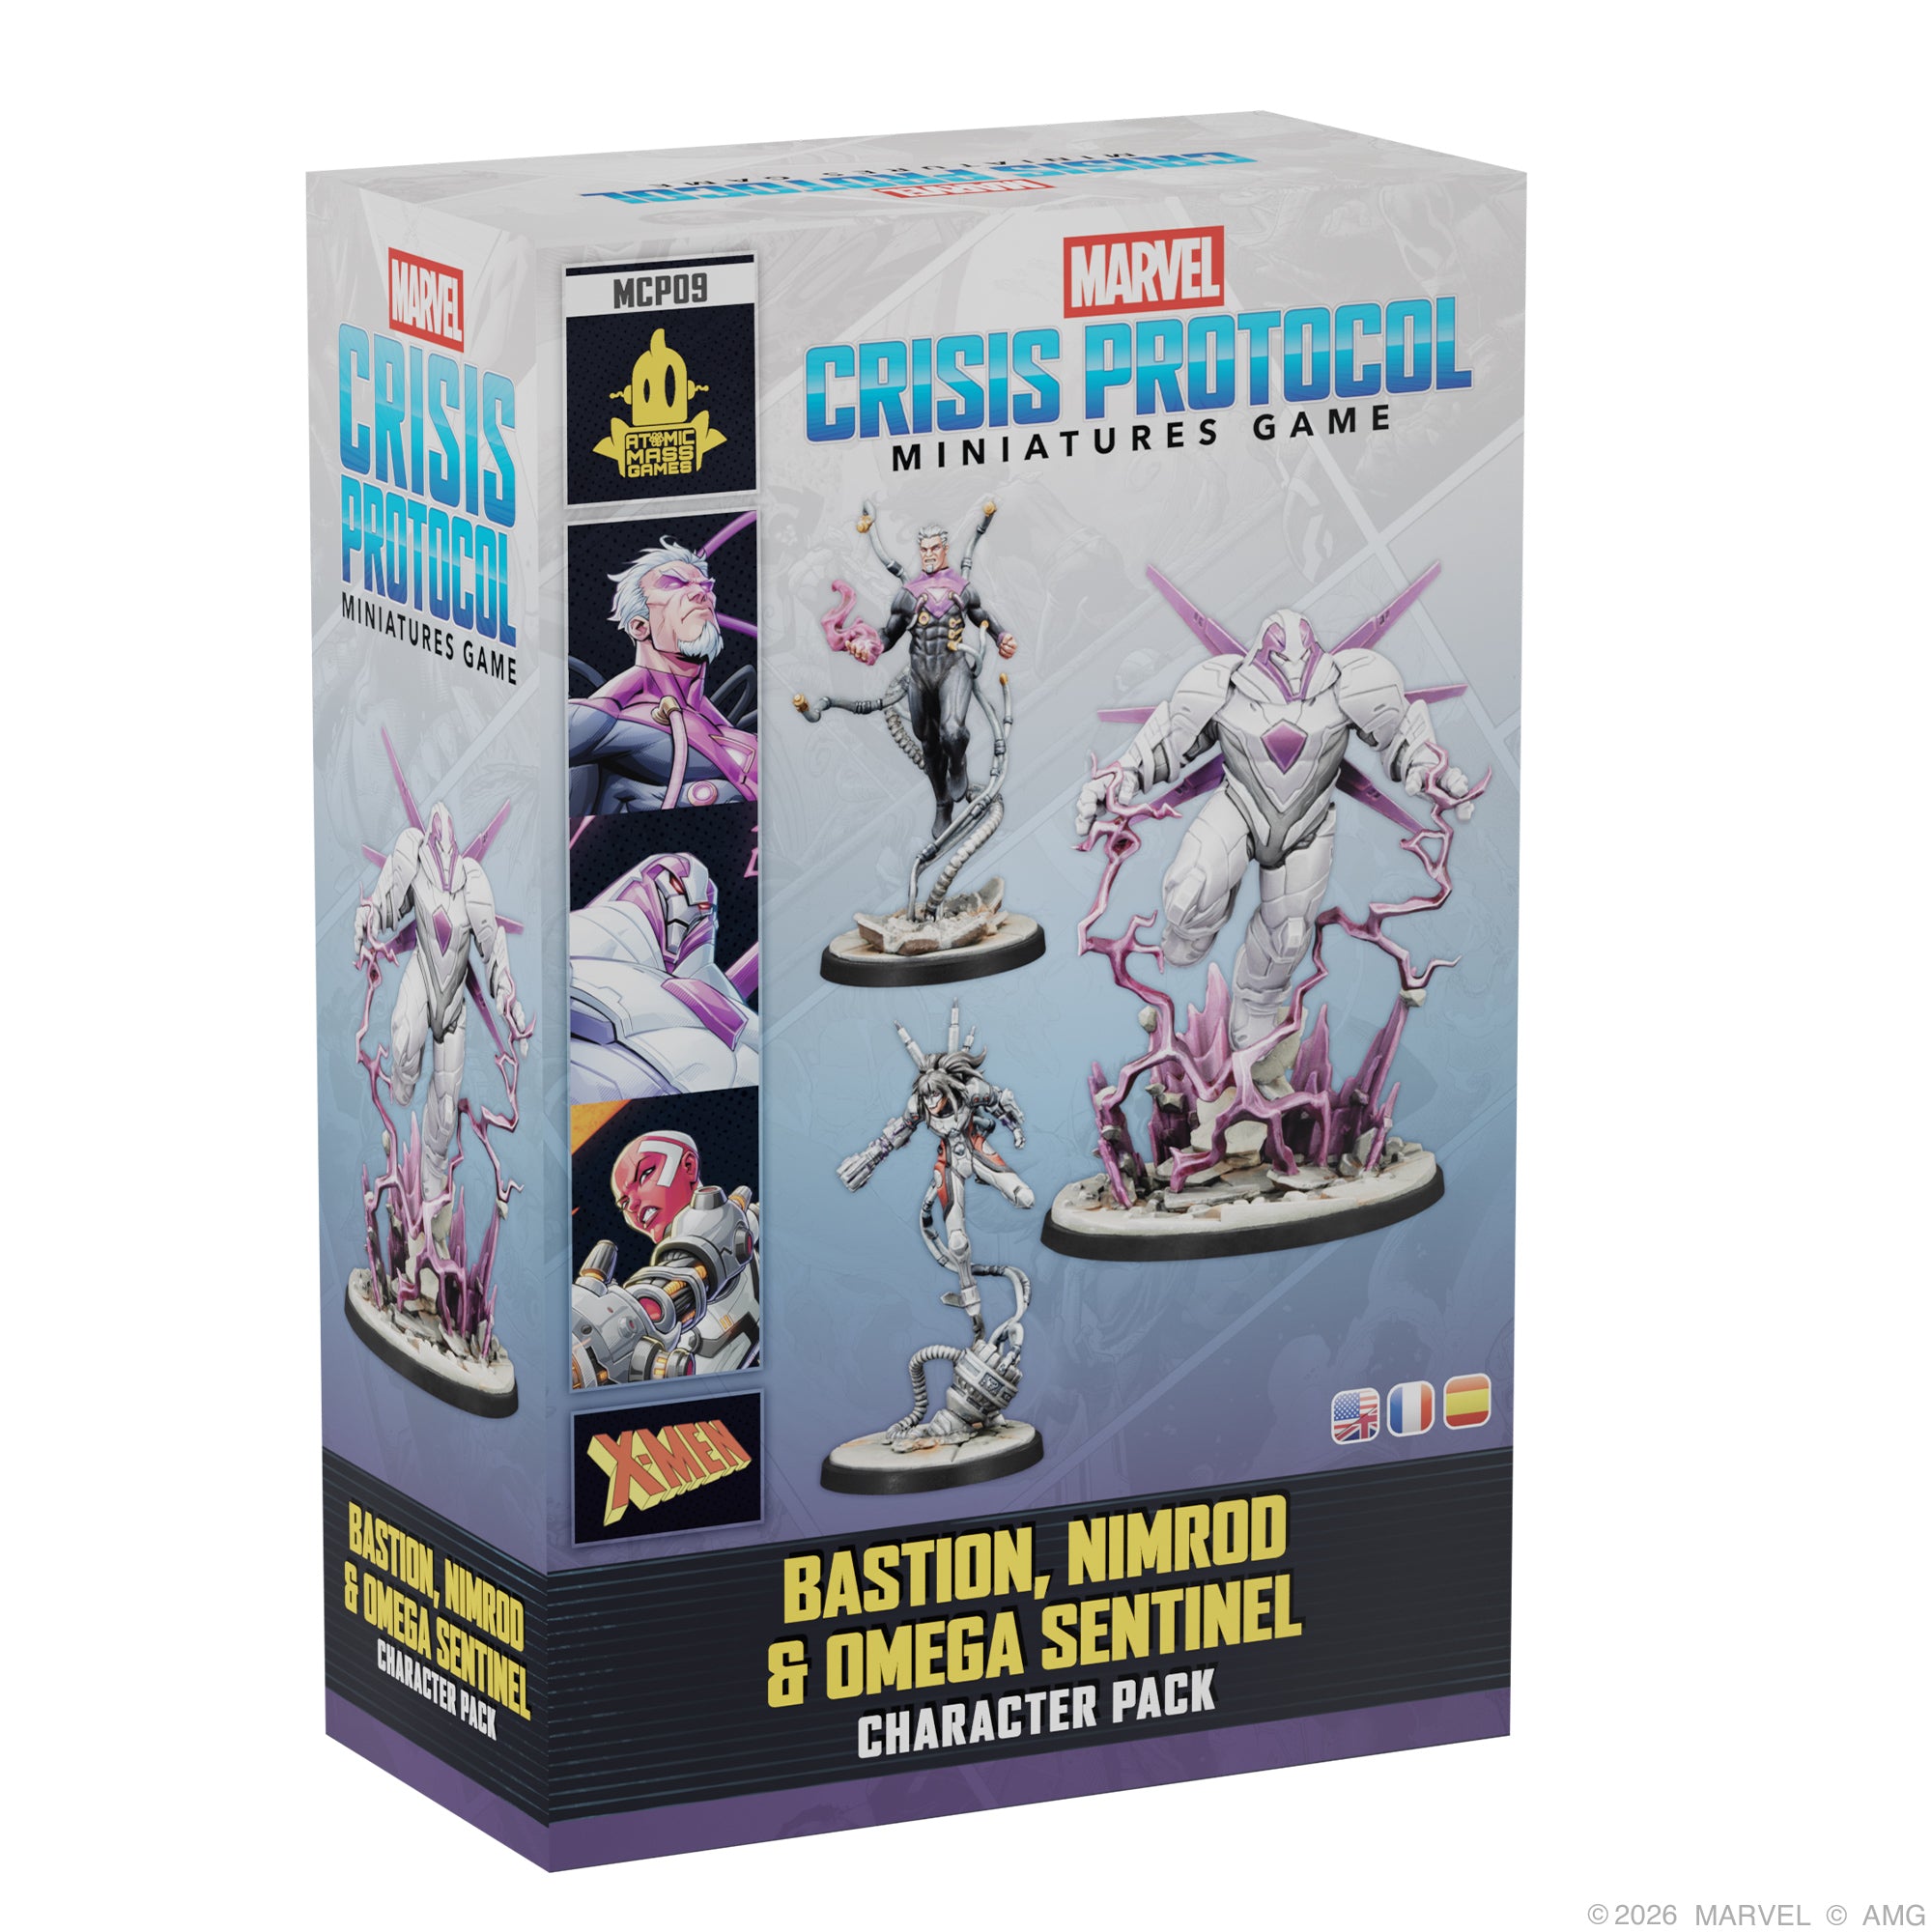
In the end, we have a finished model. This took me quite a few sessions, split up during my job, filming for Gaming Trend, and life itself. For you, do what you can to achieve a look you like. Over the course of this project, I had to remind myself that the model wasn’t meant for competition. If it was, I would have inserted a whole section on filing down model lines, building a custom plinth, filling gaps. But if this article gets good traction, I will happily discuss those subjects down the road.
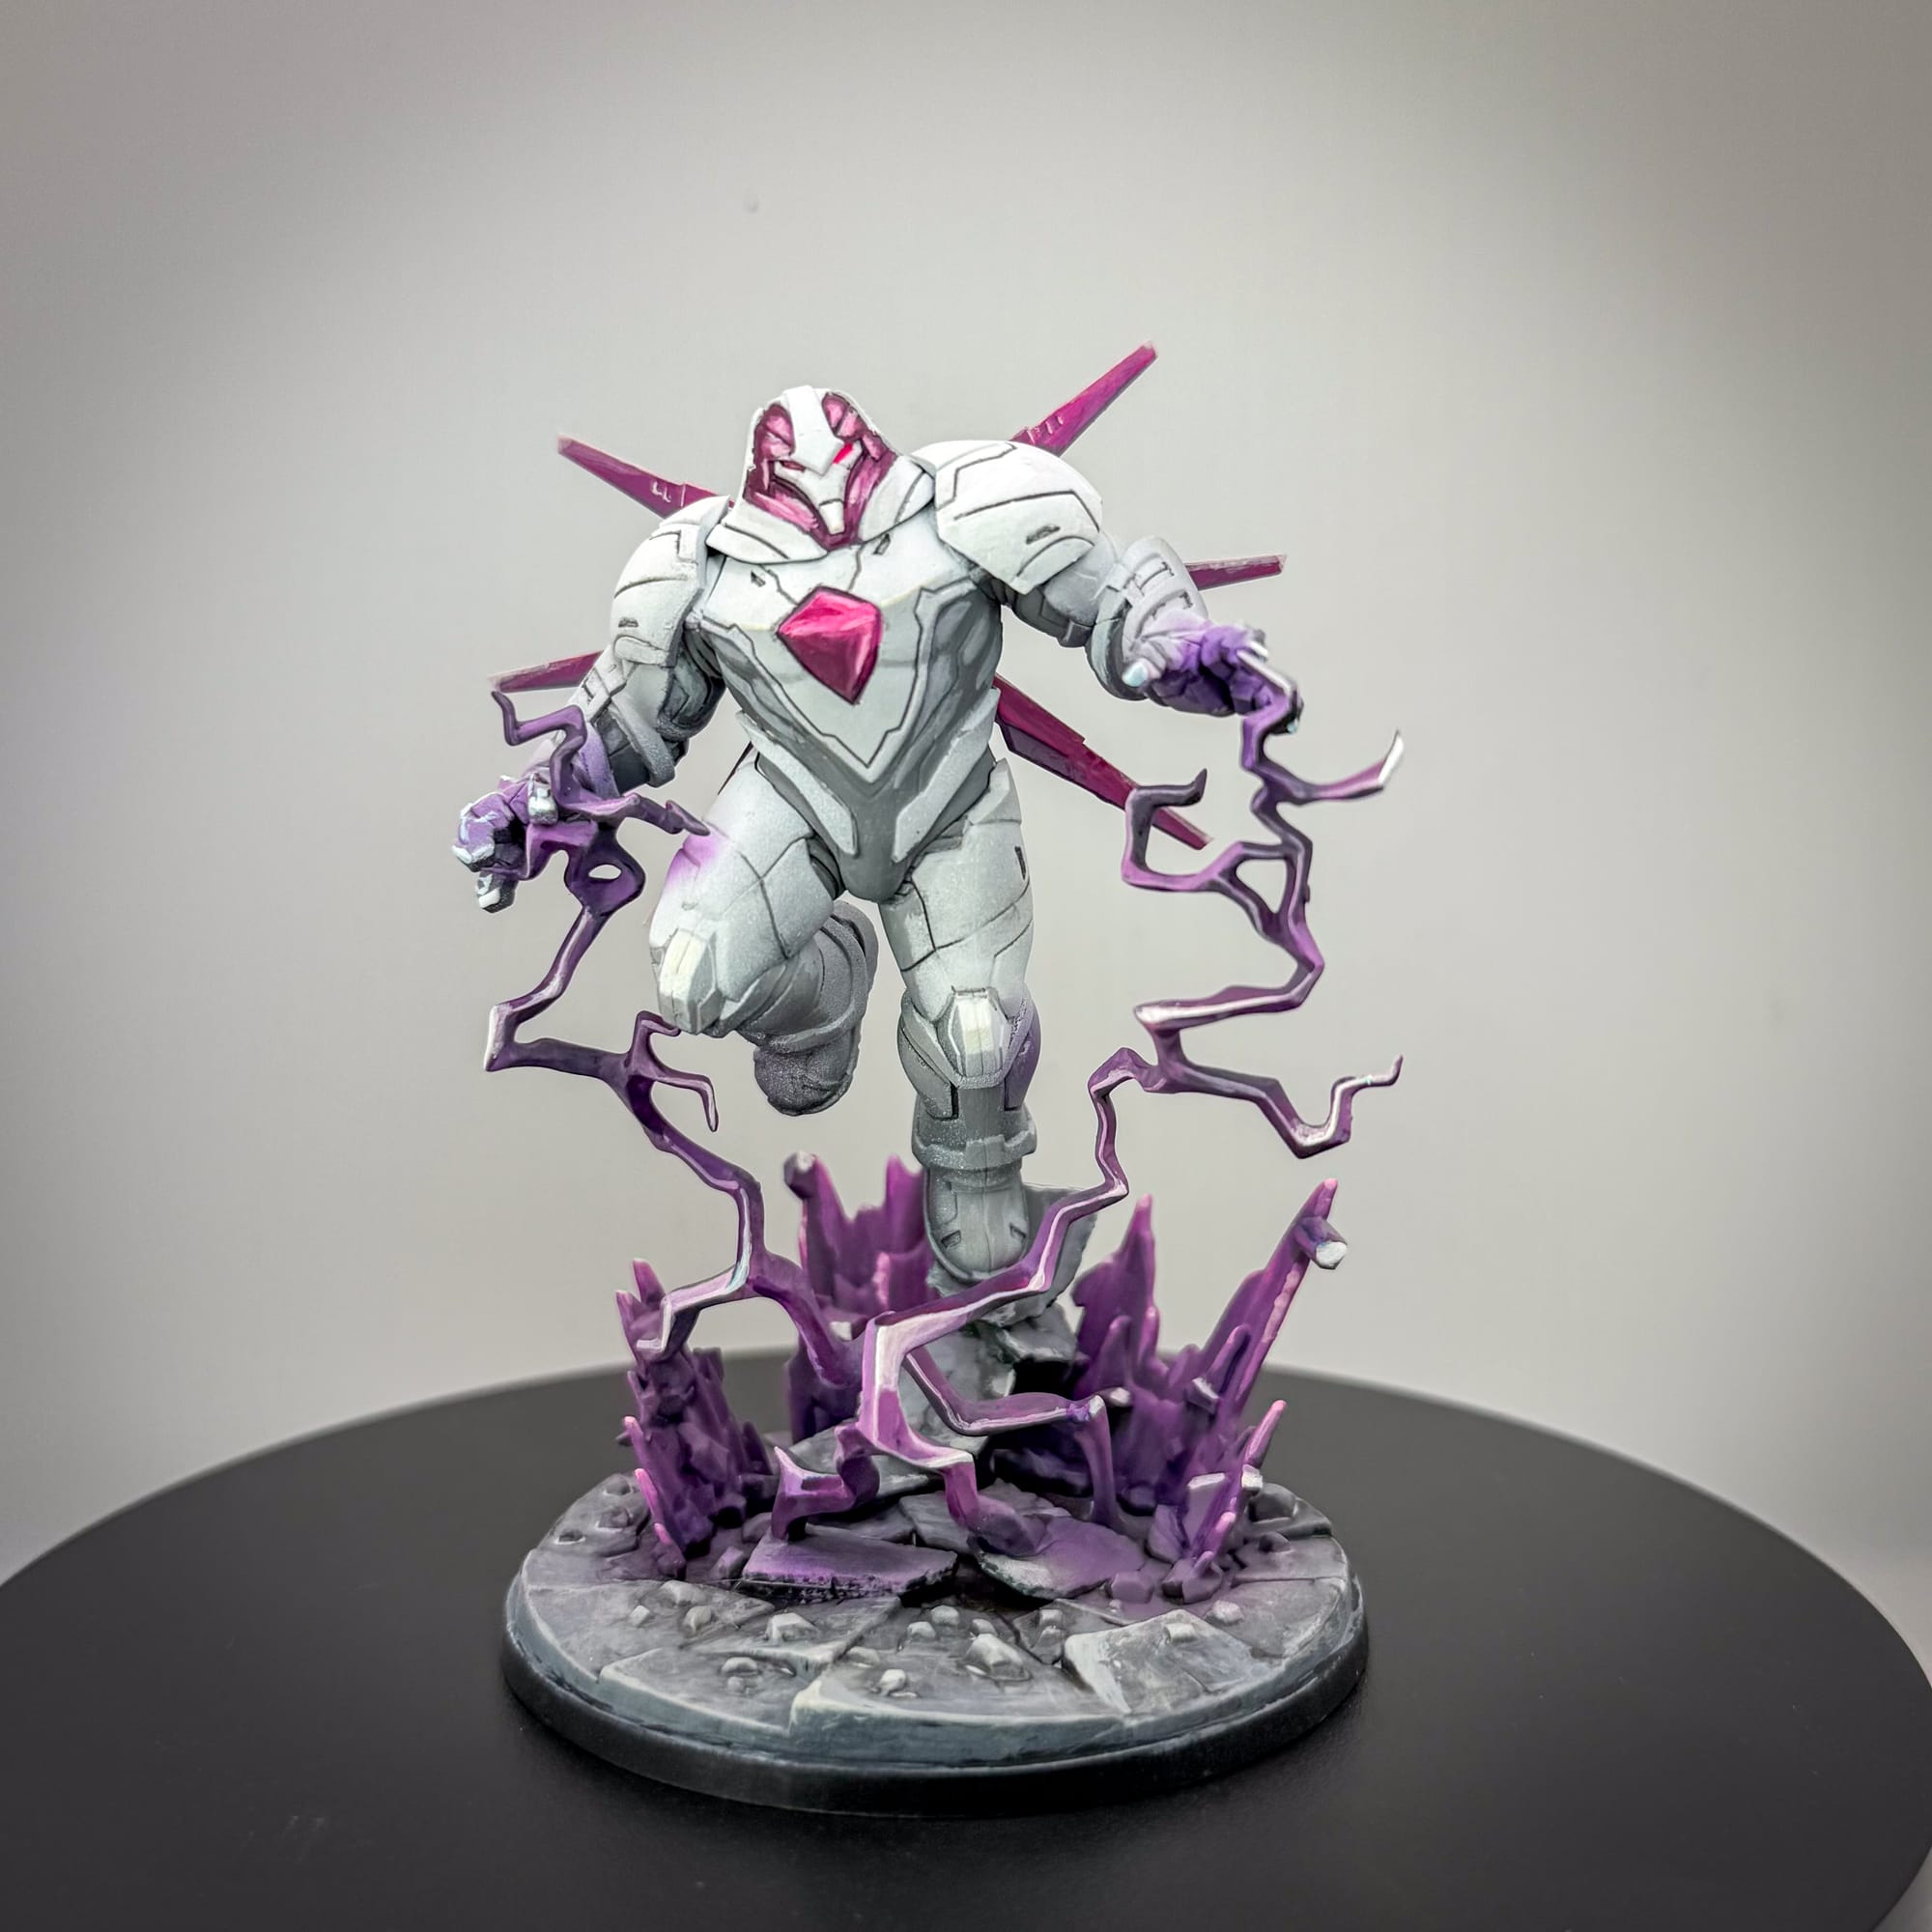
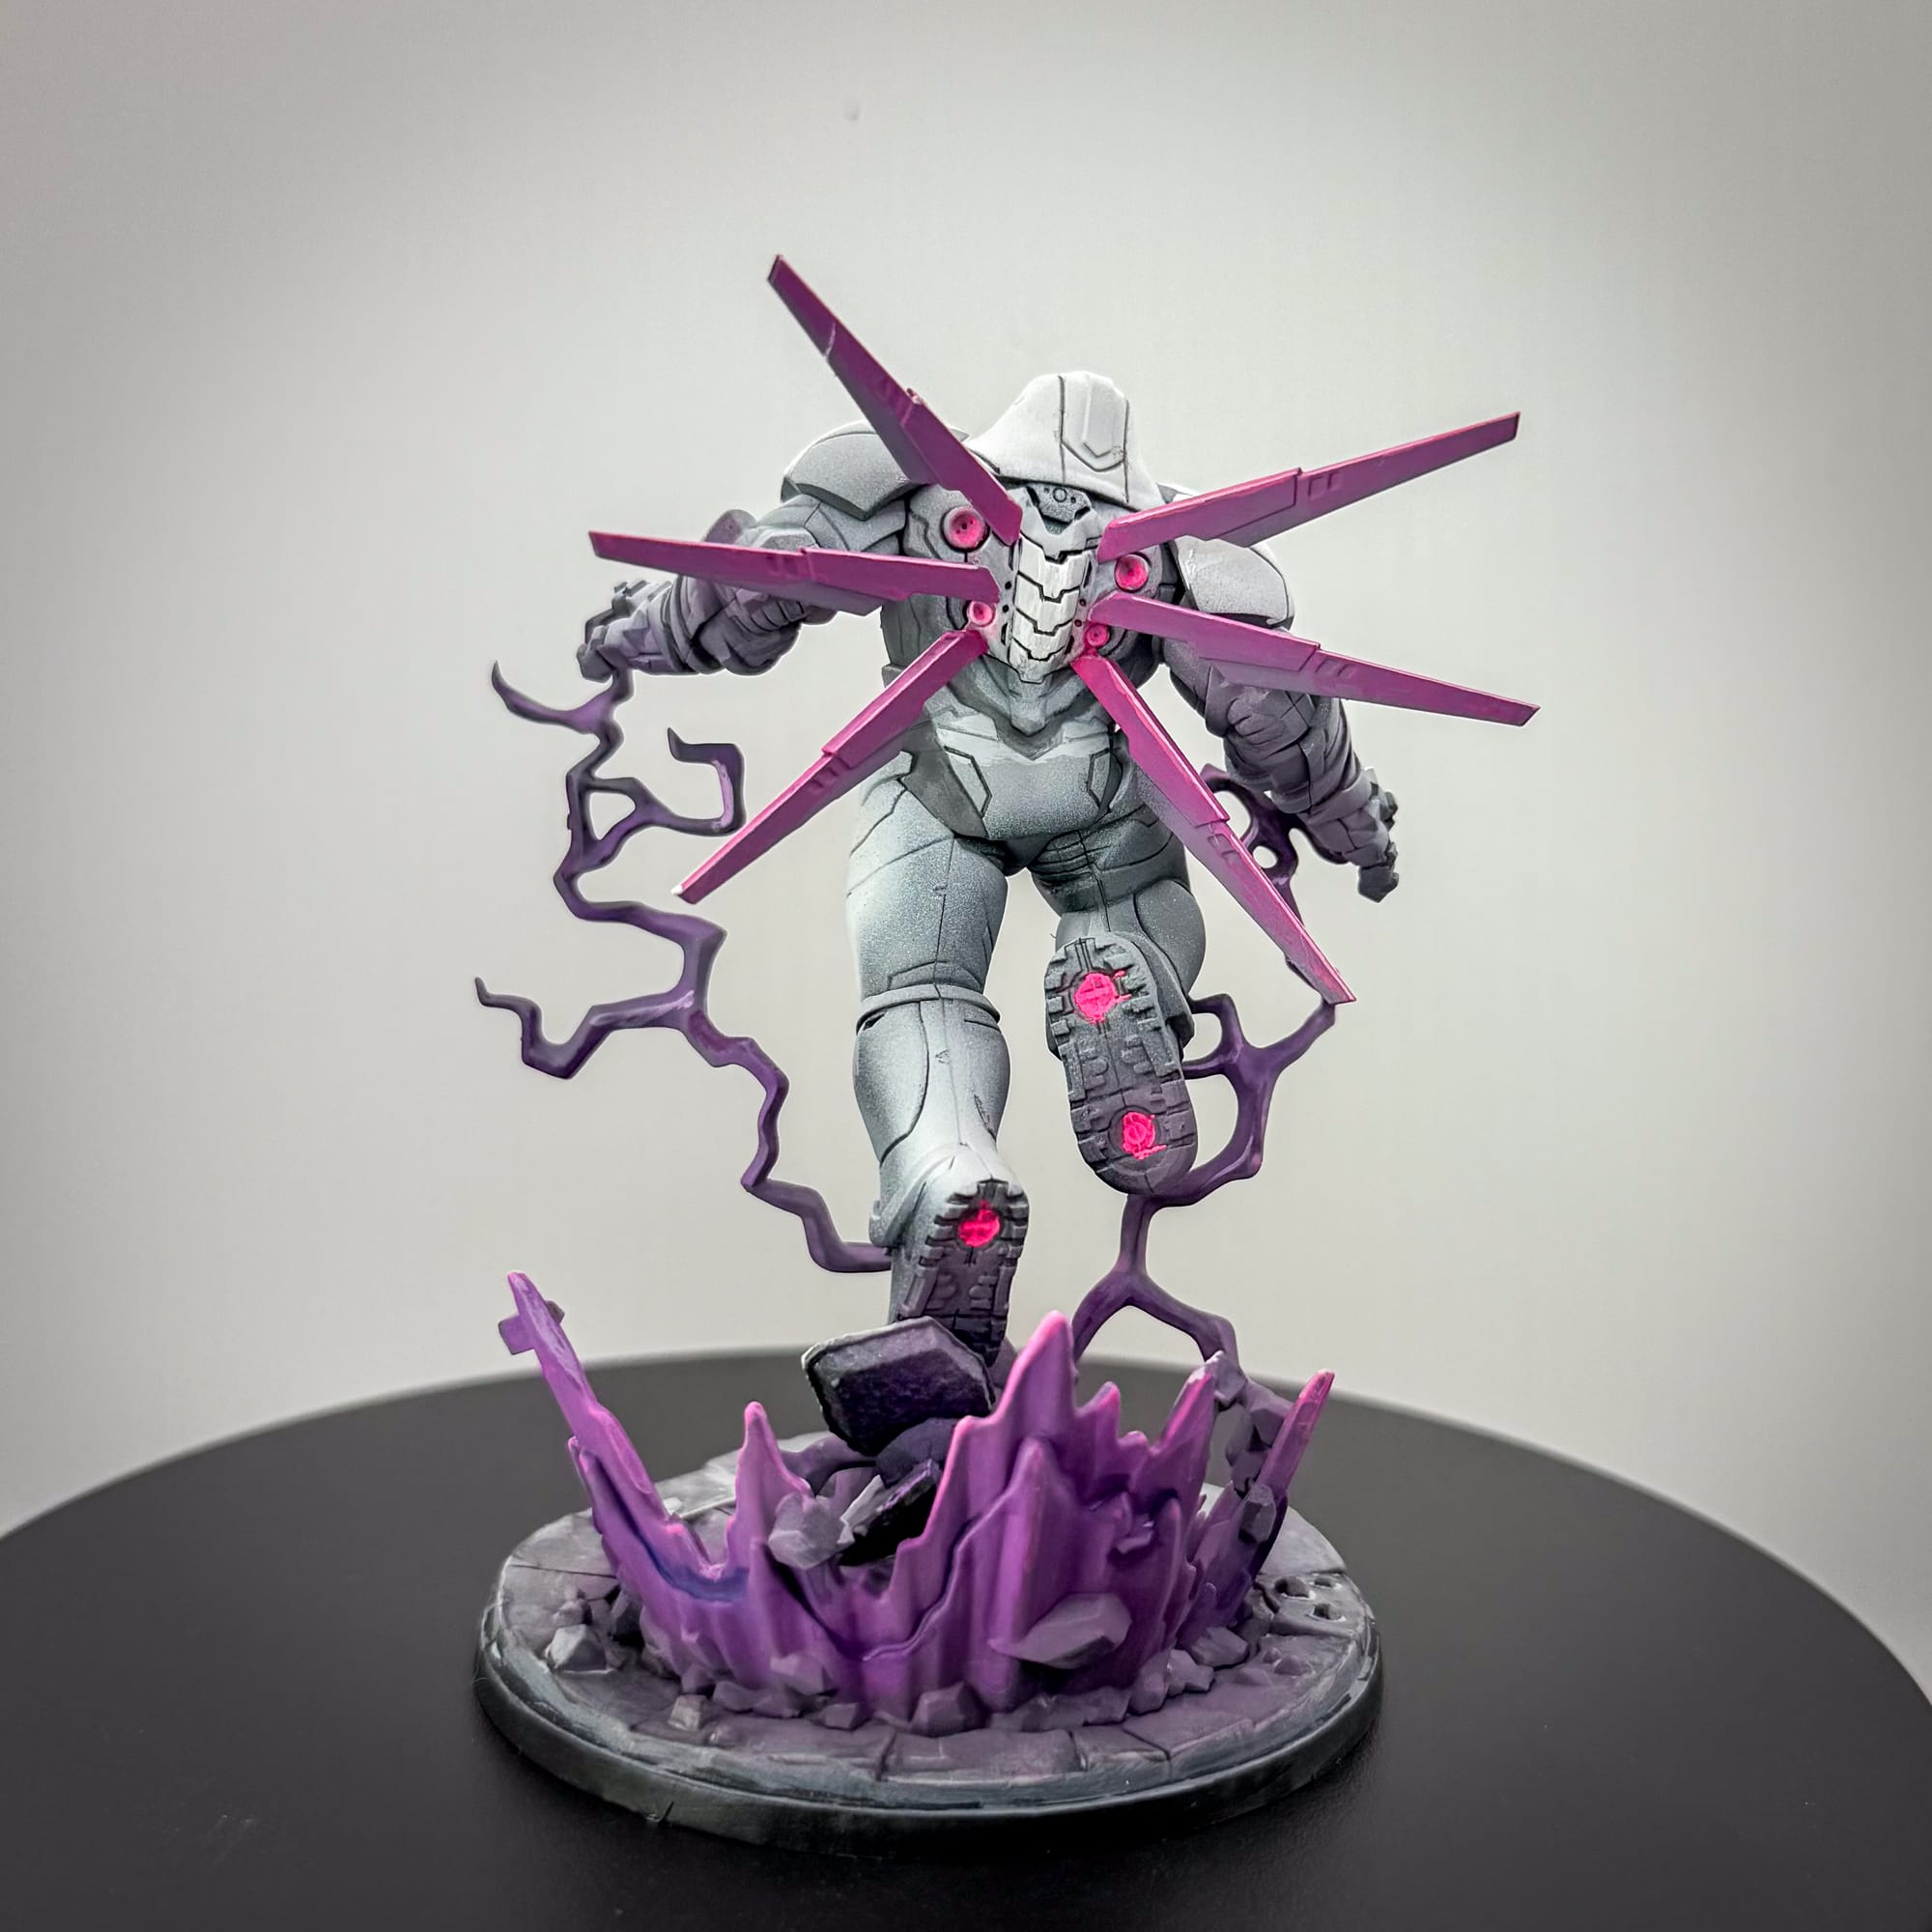
Thanks for getting to the bottom, and we’ll see you in the next one.