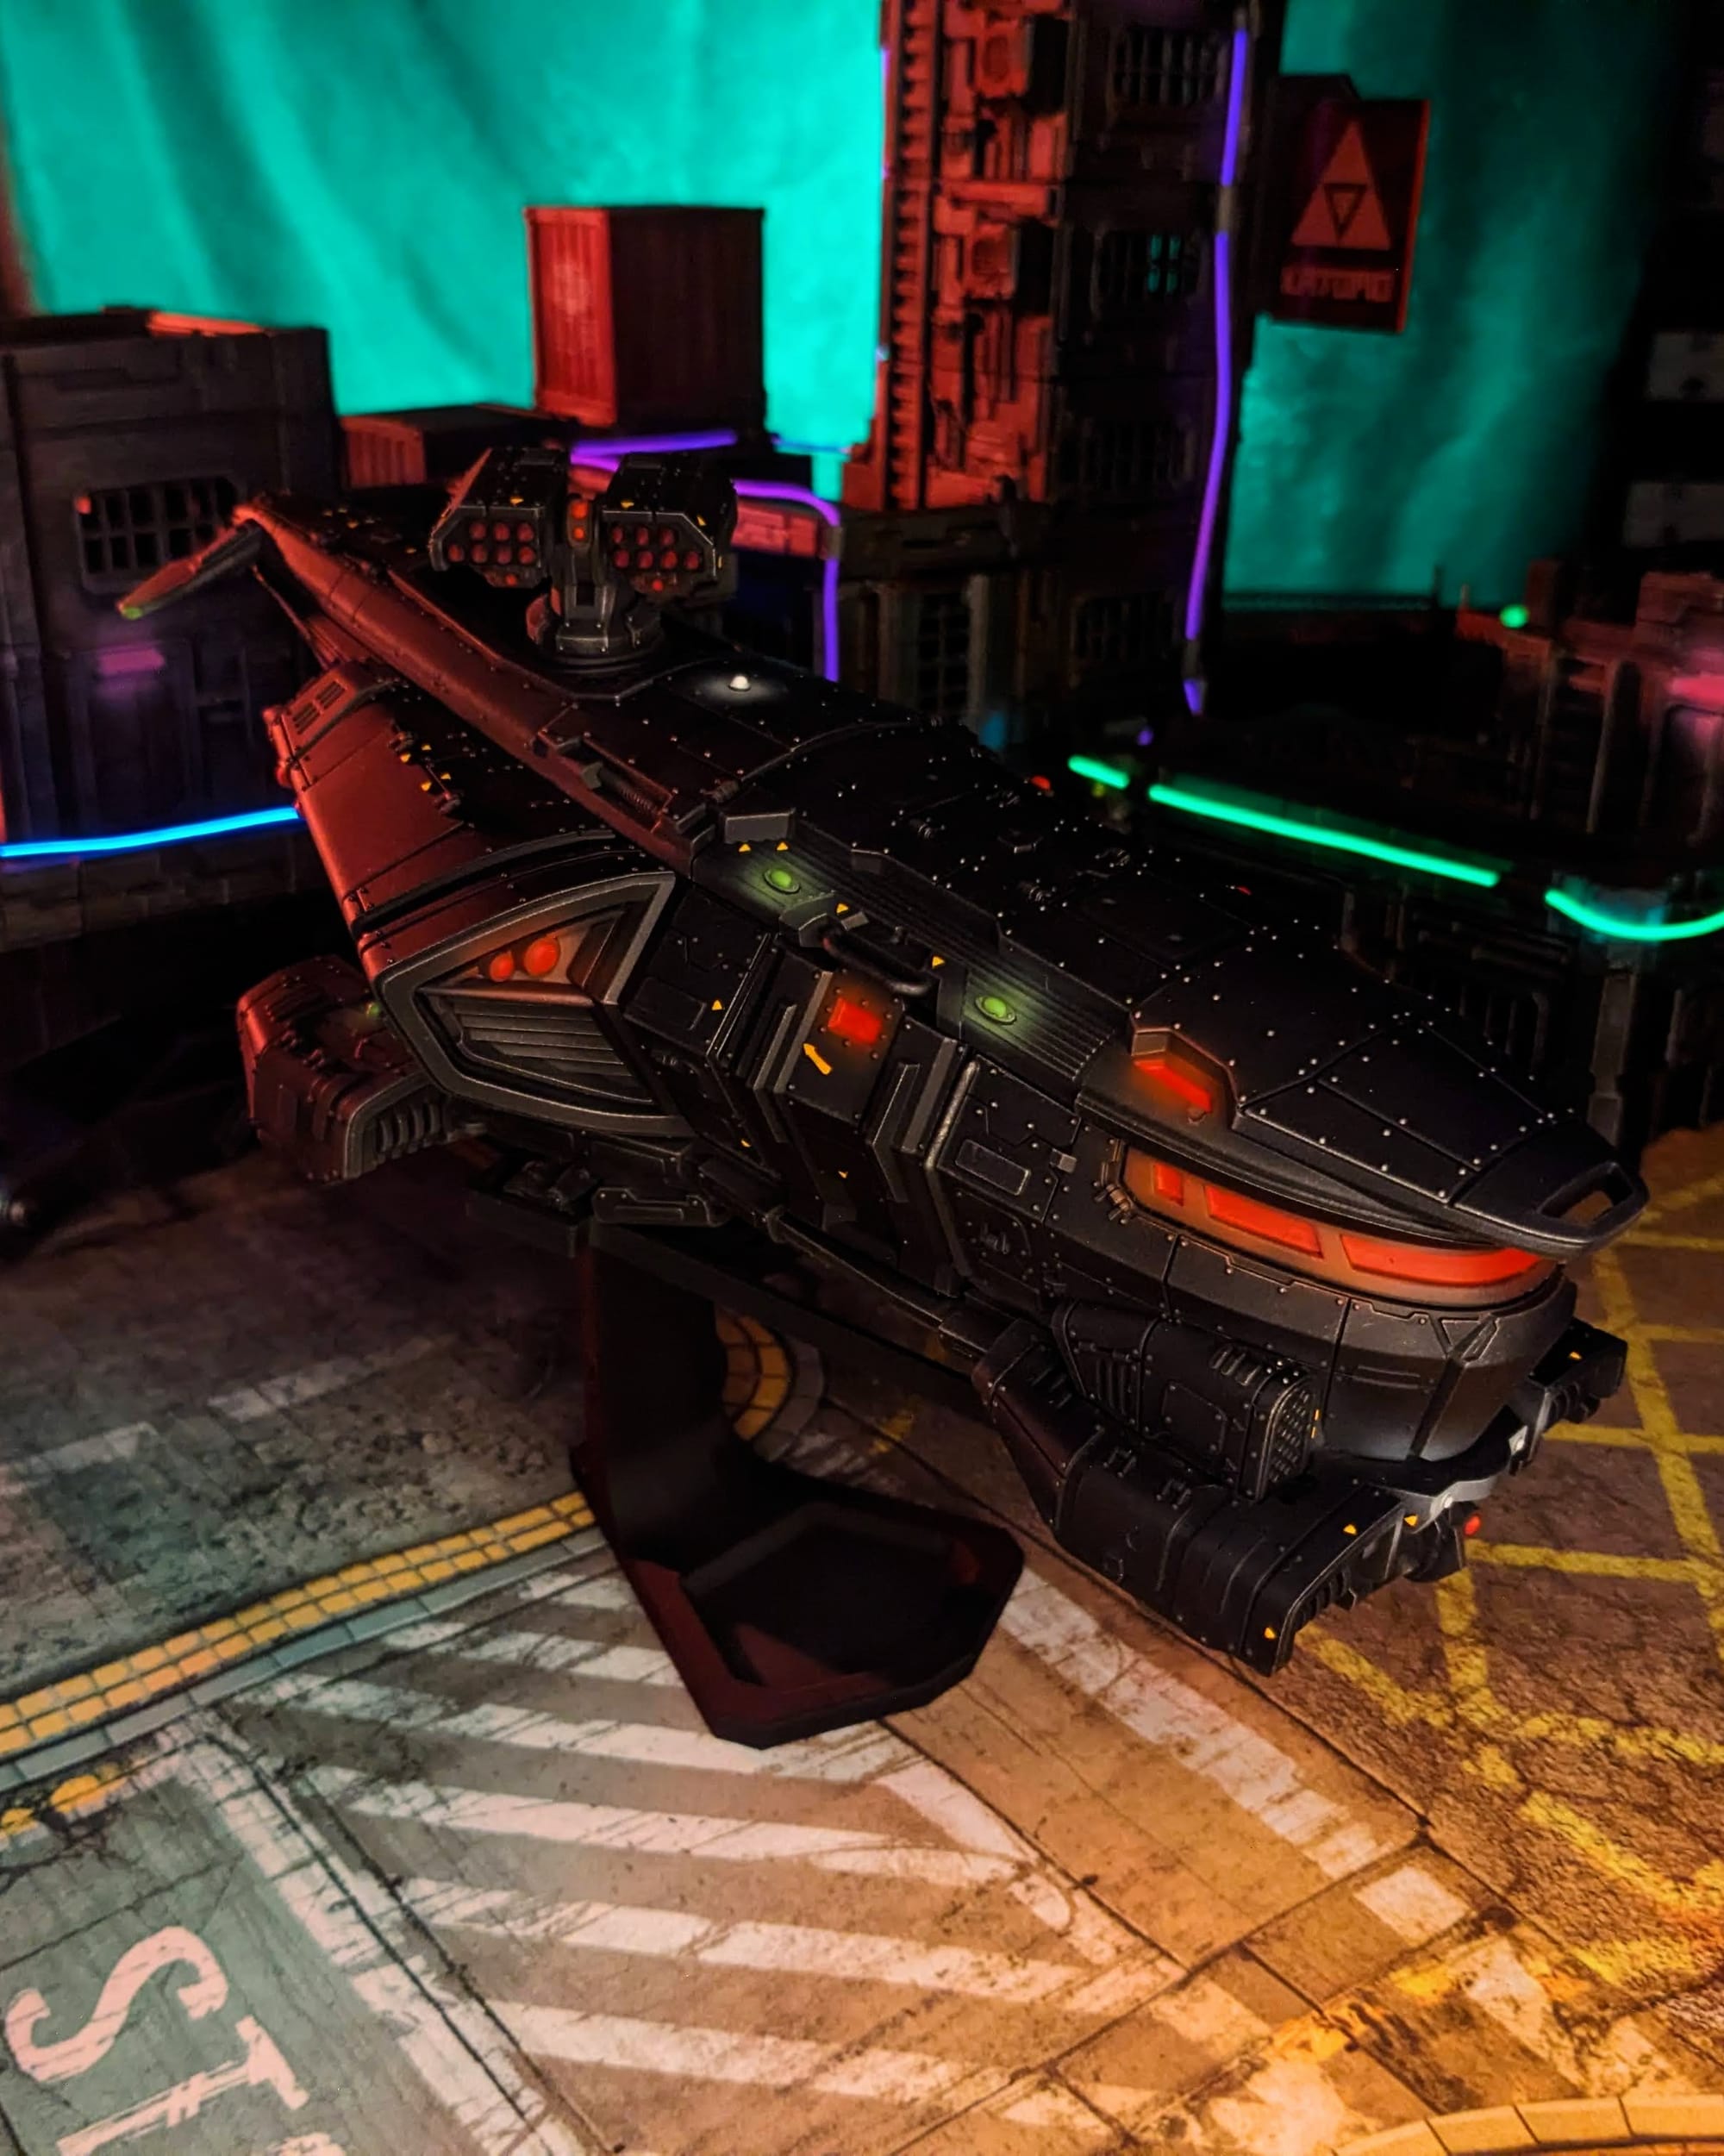
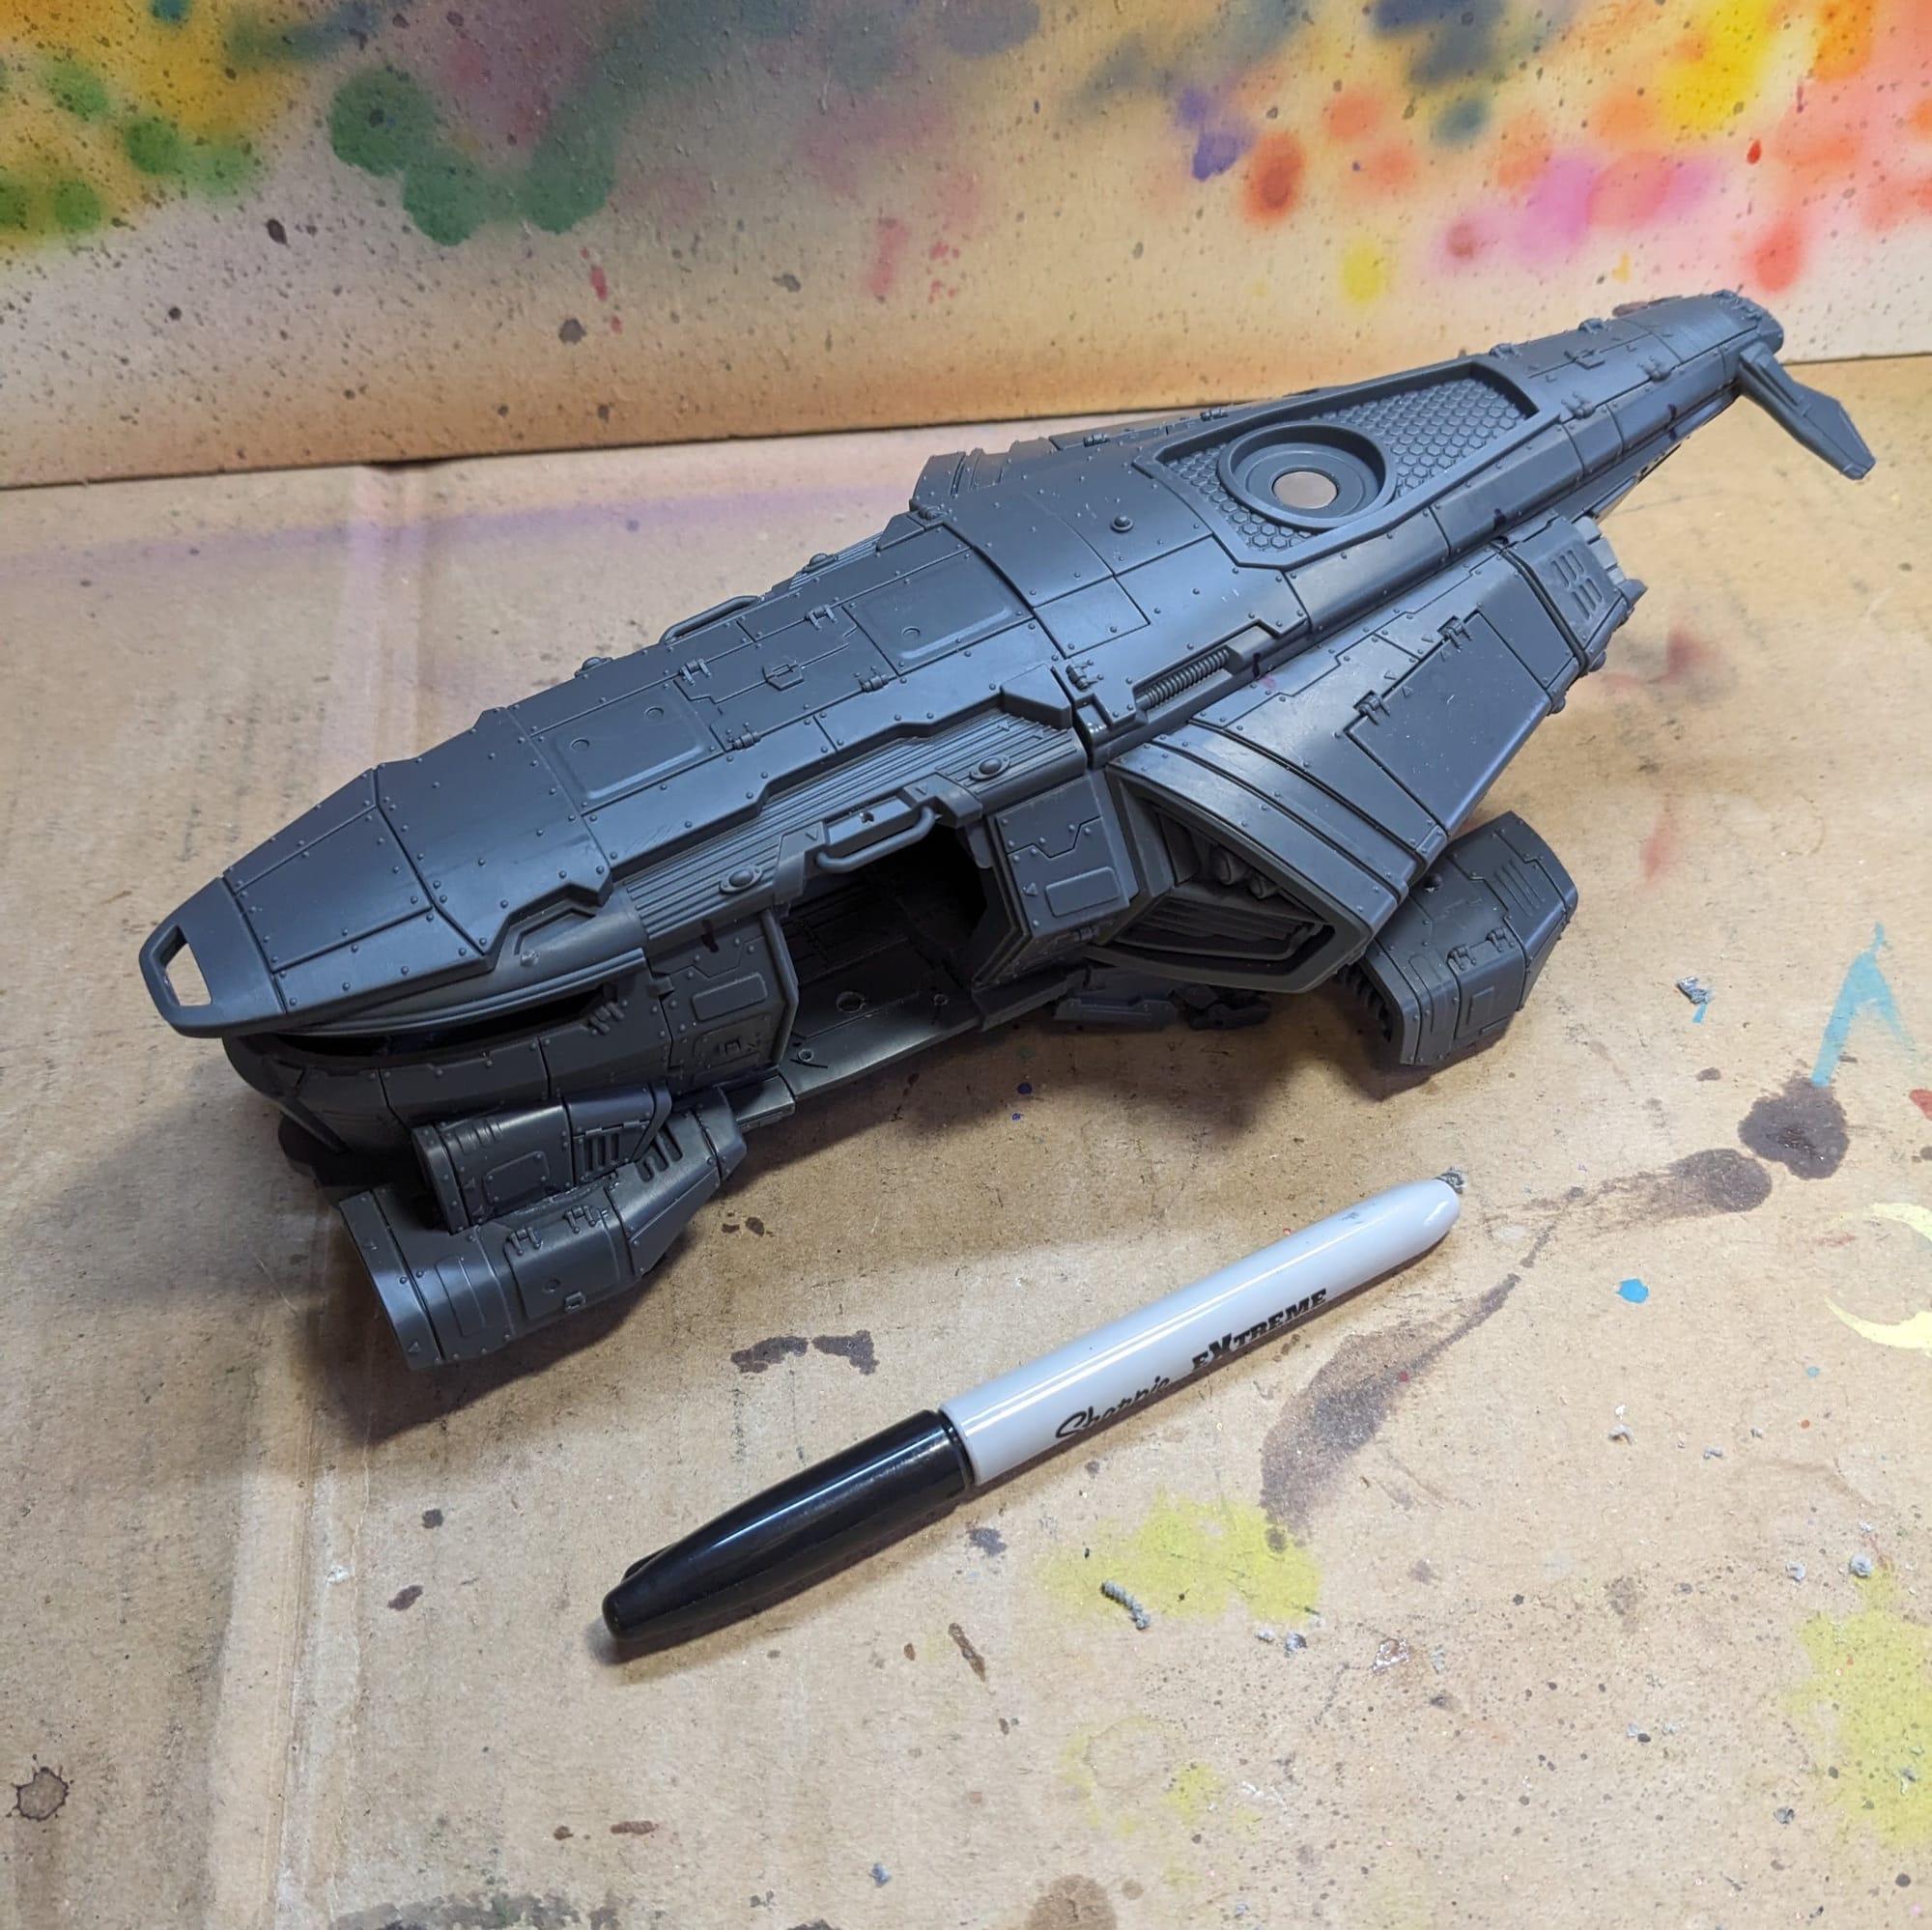
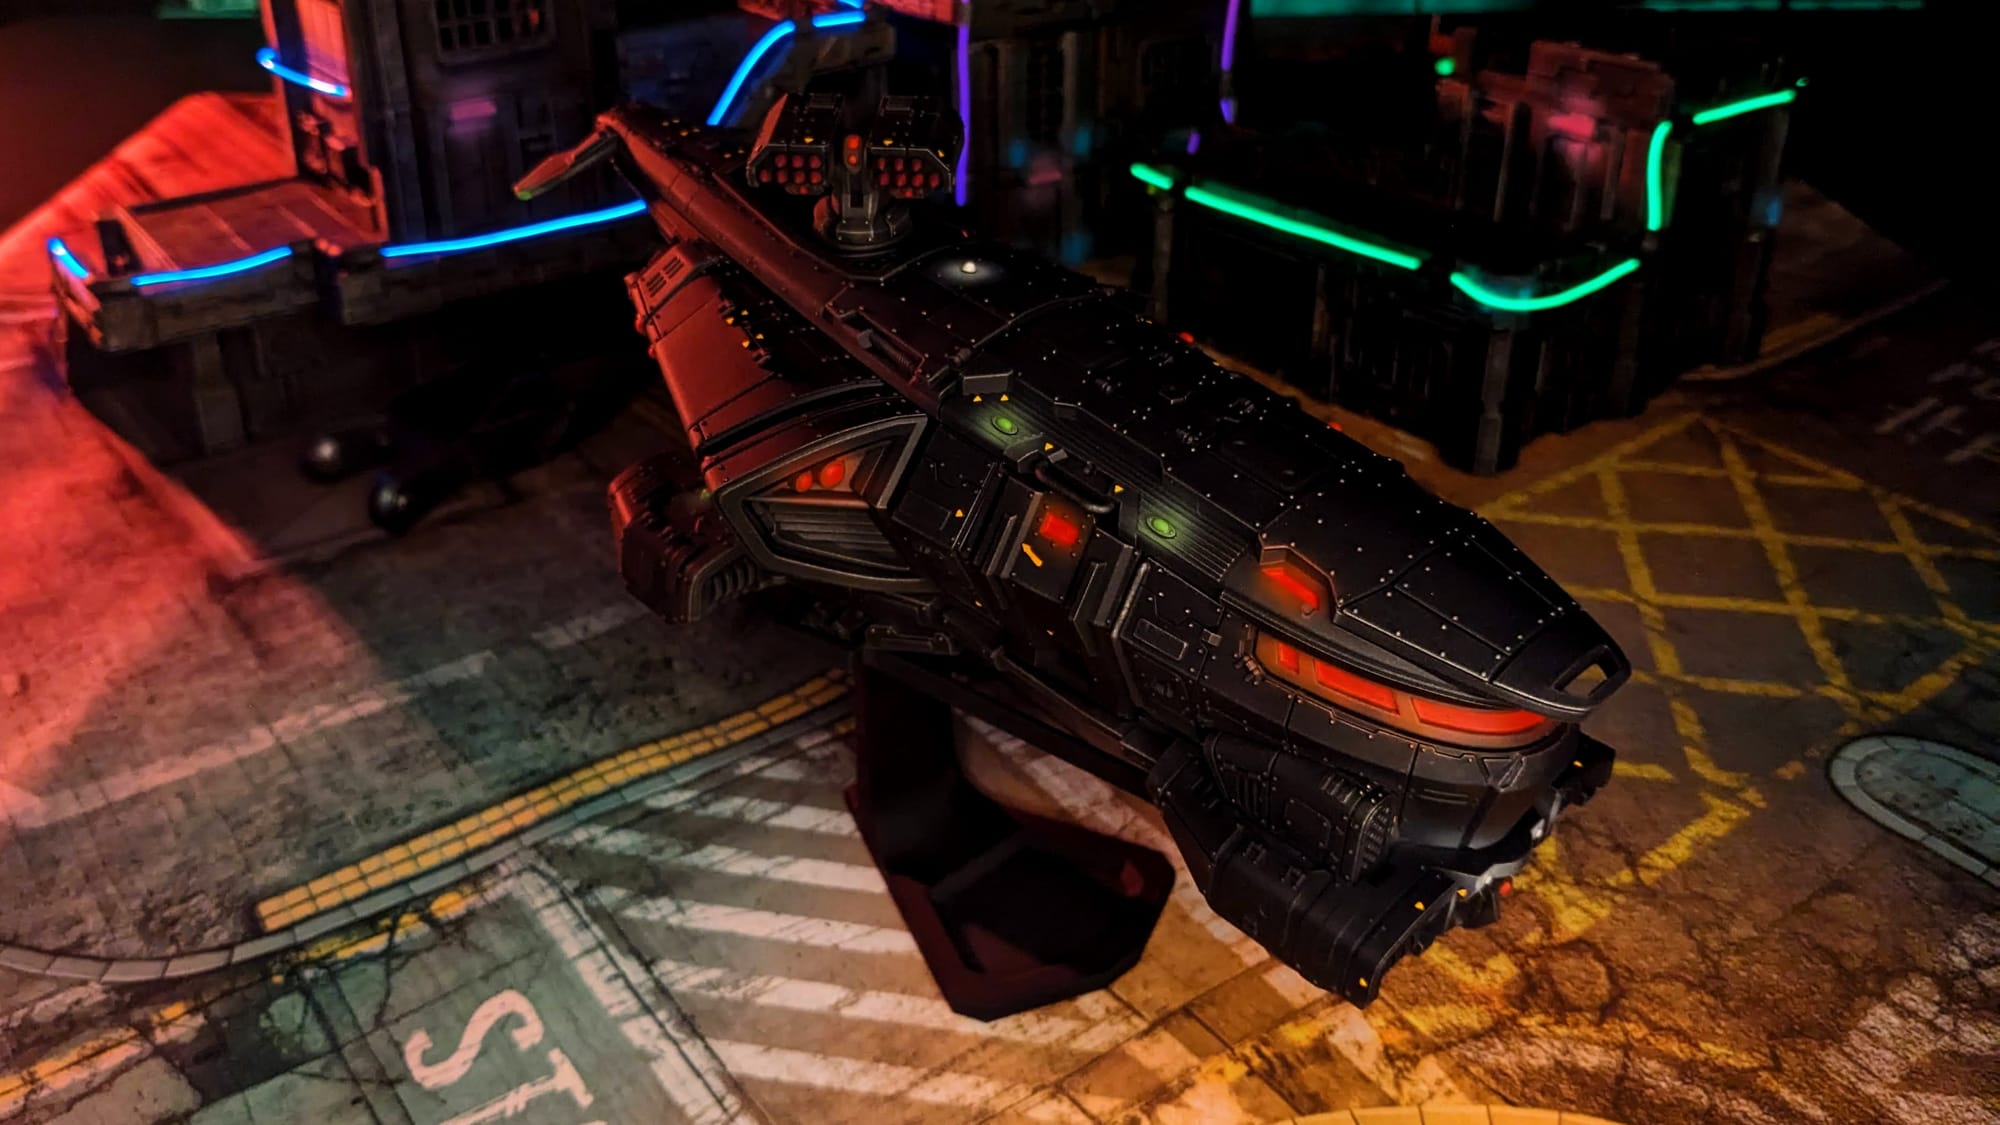
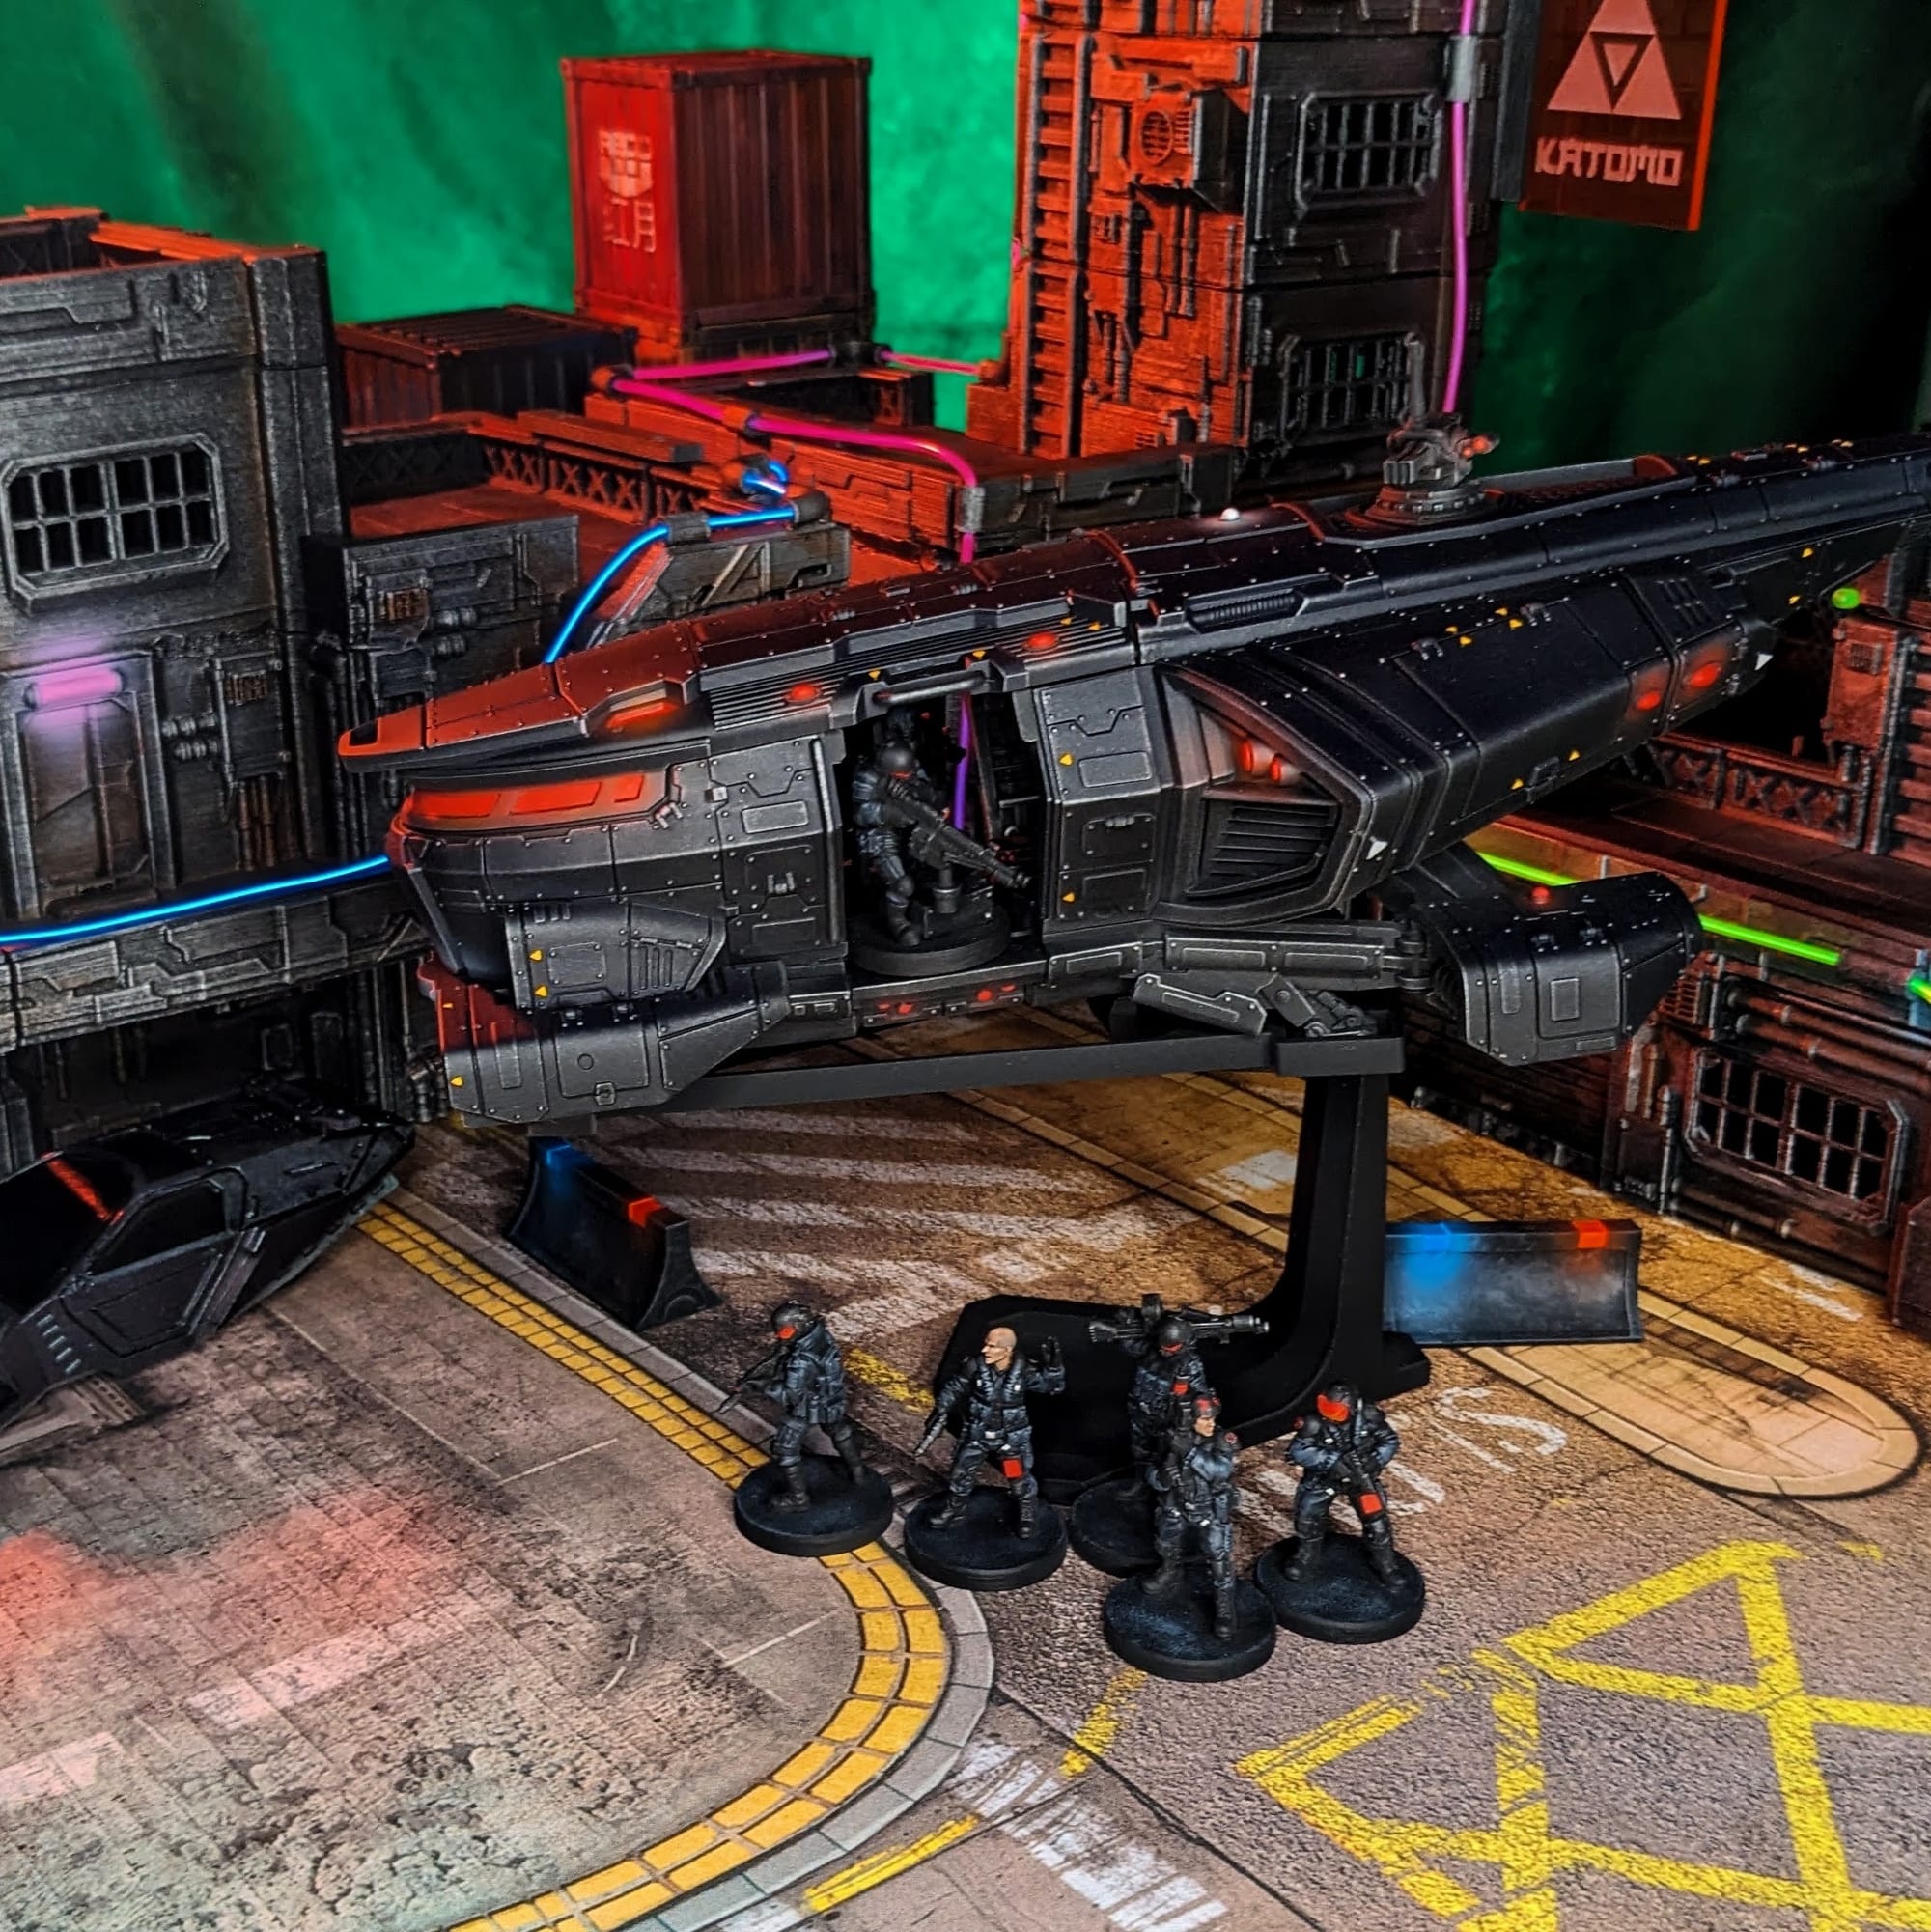
The Zetatech Herakles rules the skies of Night City, controlling the neon-soaked streets below. The largest Cyberpunk Red: Combat Zone miniature to date, measuring over 274mm (10.8 inches), the model offers both a high-end game changer for hobby and gameplay. Accompanying the behemoth are the Zetech Herakles Crew Expansion and two expansion packs for the ship itself; The Door Gunners and Forward Mounts. Whether you are using it for a MedEvac, or a Scout Transport (with a cycle rack!), or just a transport for up to eight models, this is an imposing model that is a centerpiece for any game table.
 Monster Fight Club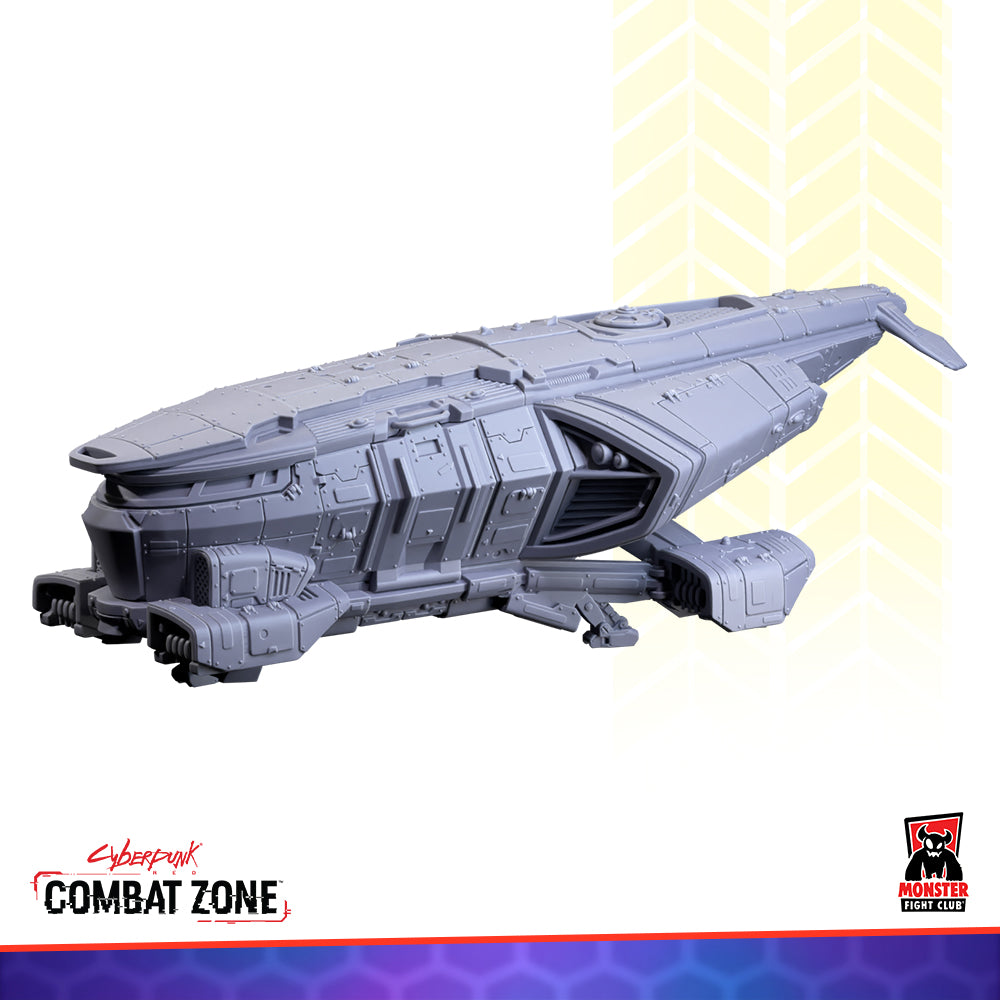
 Monster Fight Club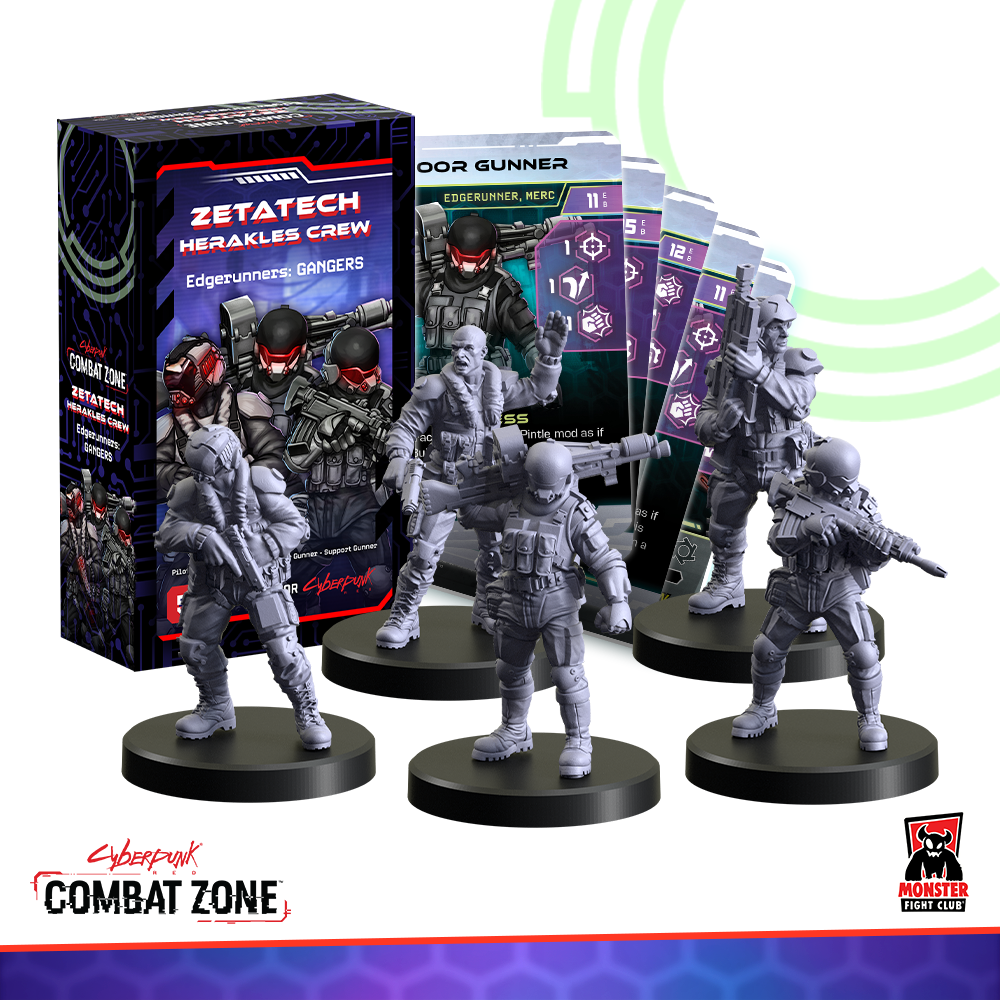
Cyberpunk Red: Combat Zone is a fast-paced, miniature skirmish game from Monster Fight Club. Set in the high-tech dystopia of the Cyberpunk RPG universe created by Mike Pondsmith, Cyberpunk Red: Combat Zone opens up a new way for players to create stories and combat in the universe. Crafted by veteran tabletop game creators, Combat Zone uses the [RE]action Dice System for organic, free-flowing gameplay interactions; no rounds, no turns—the game just goes!
Unboxing the Zetatech Herakles and Crew
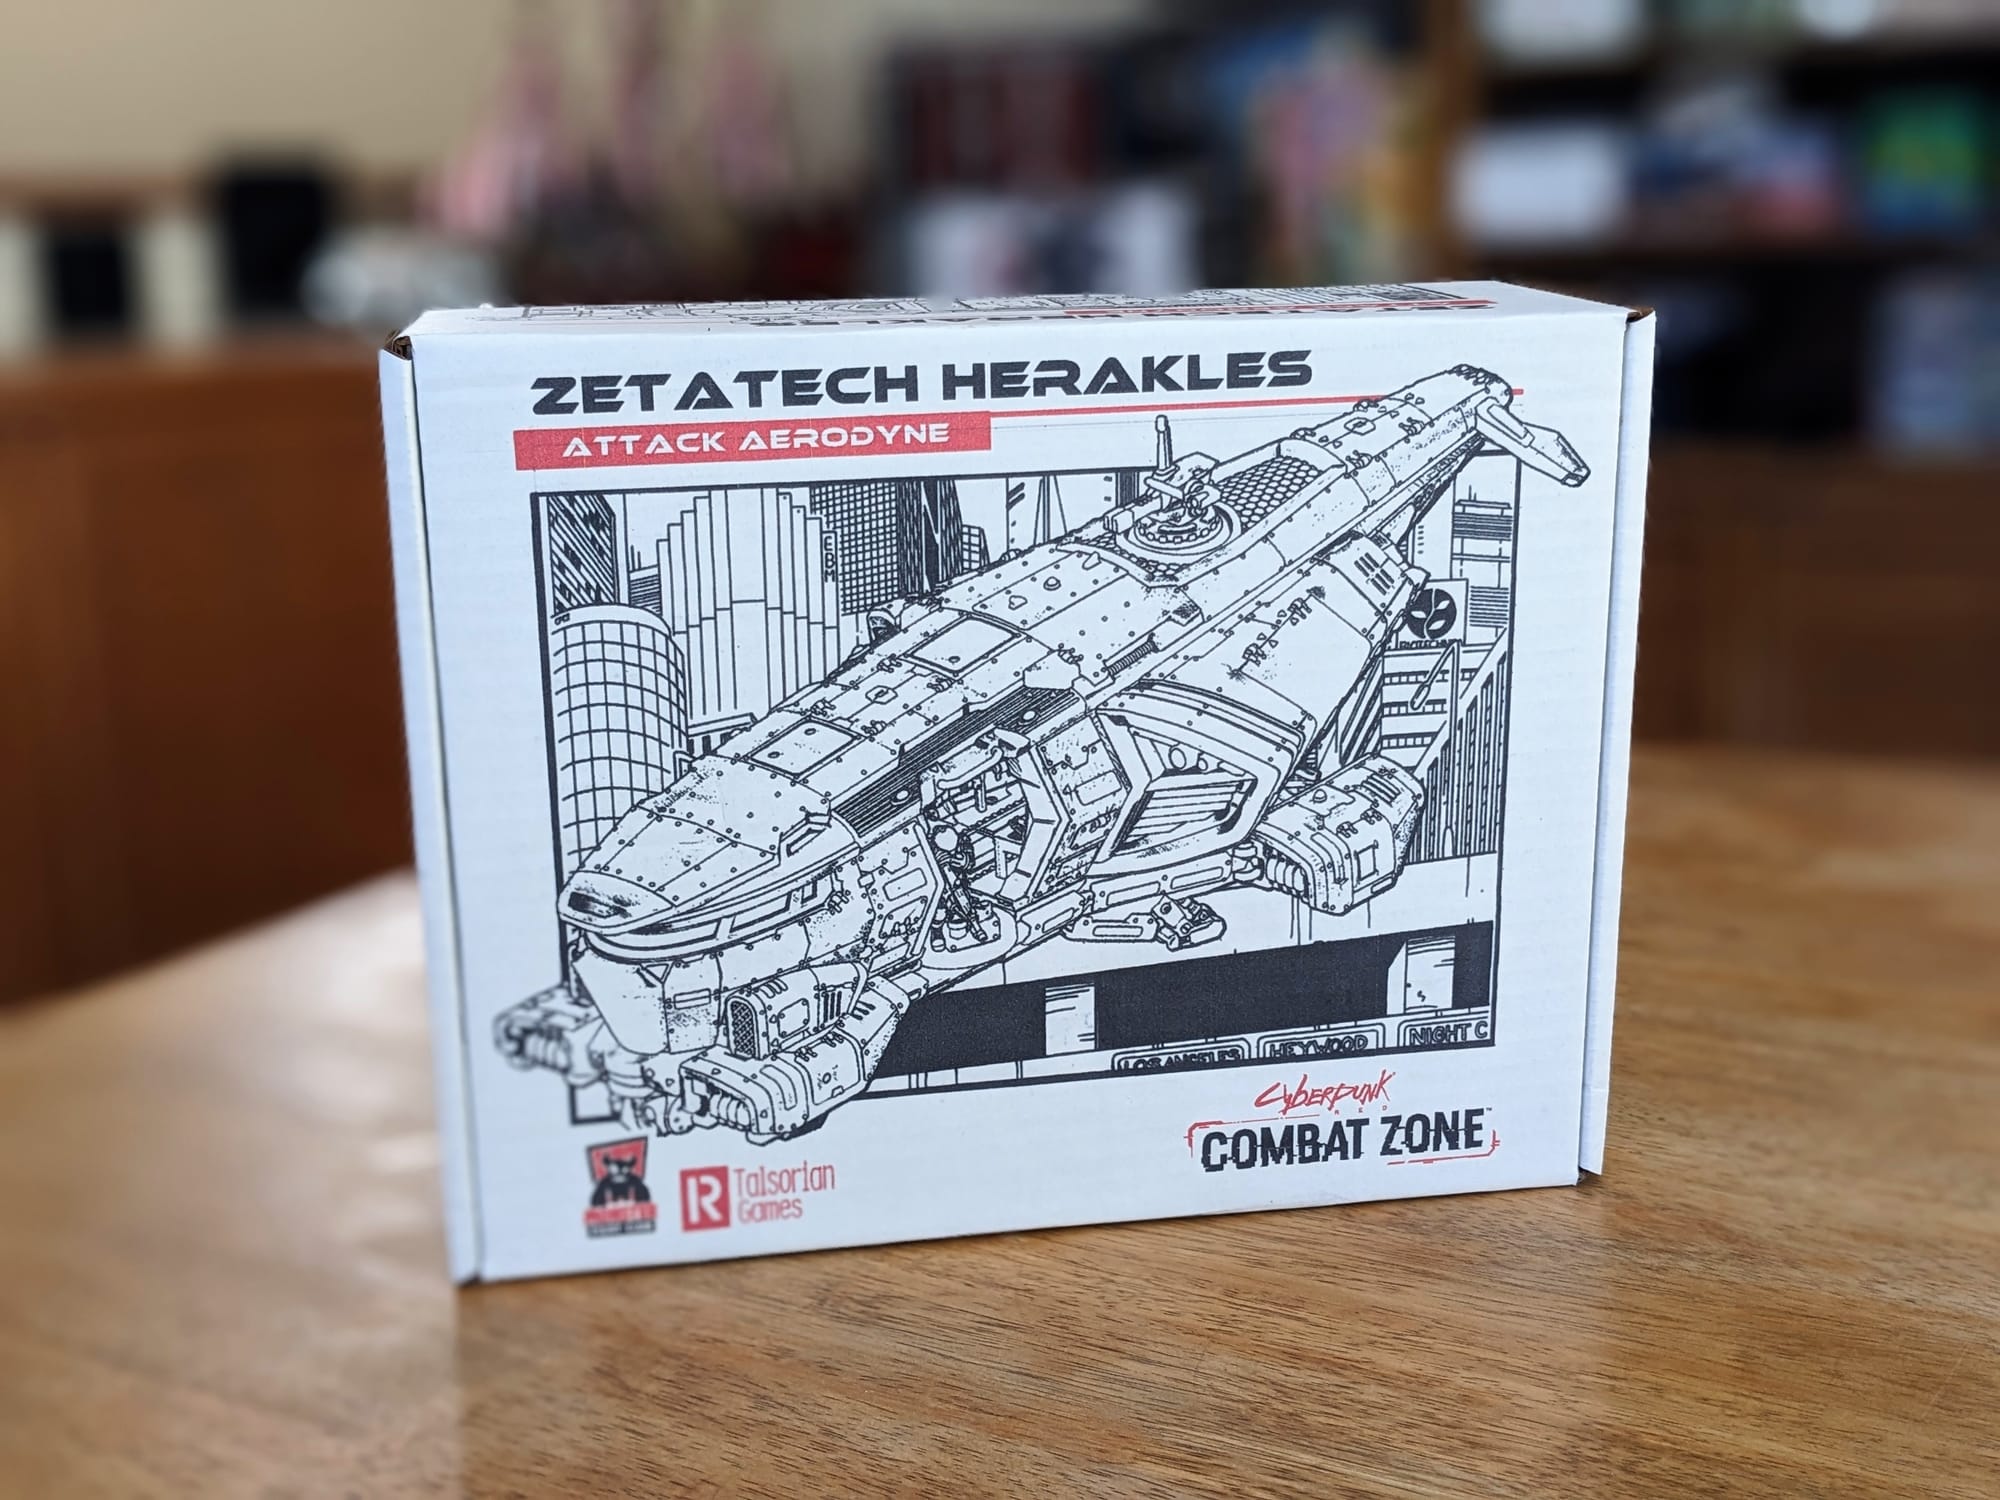
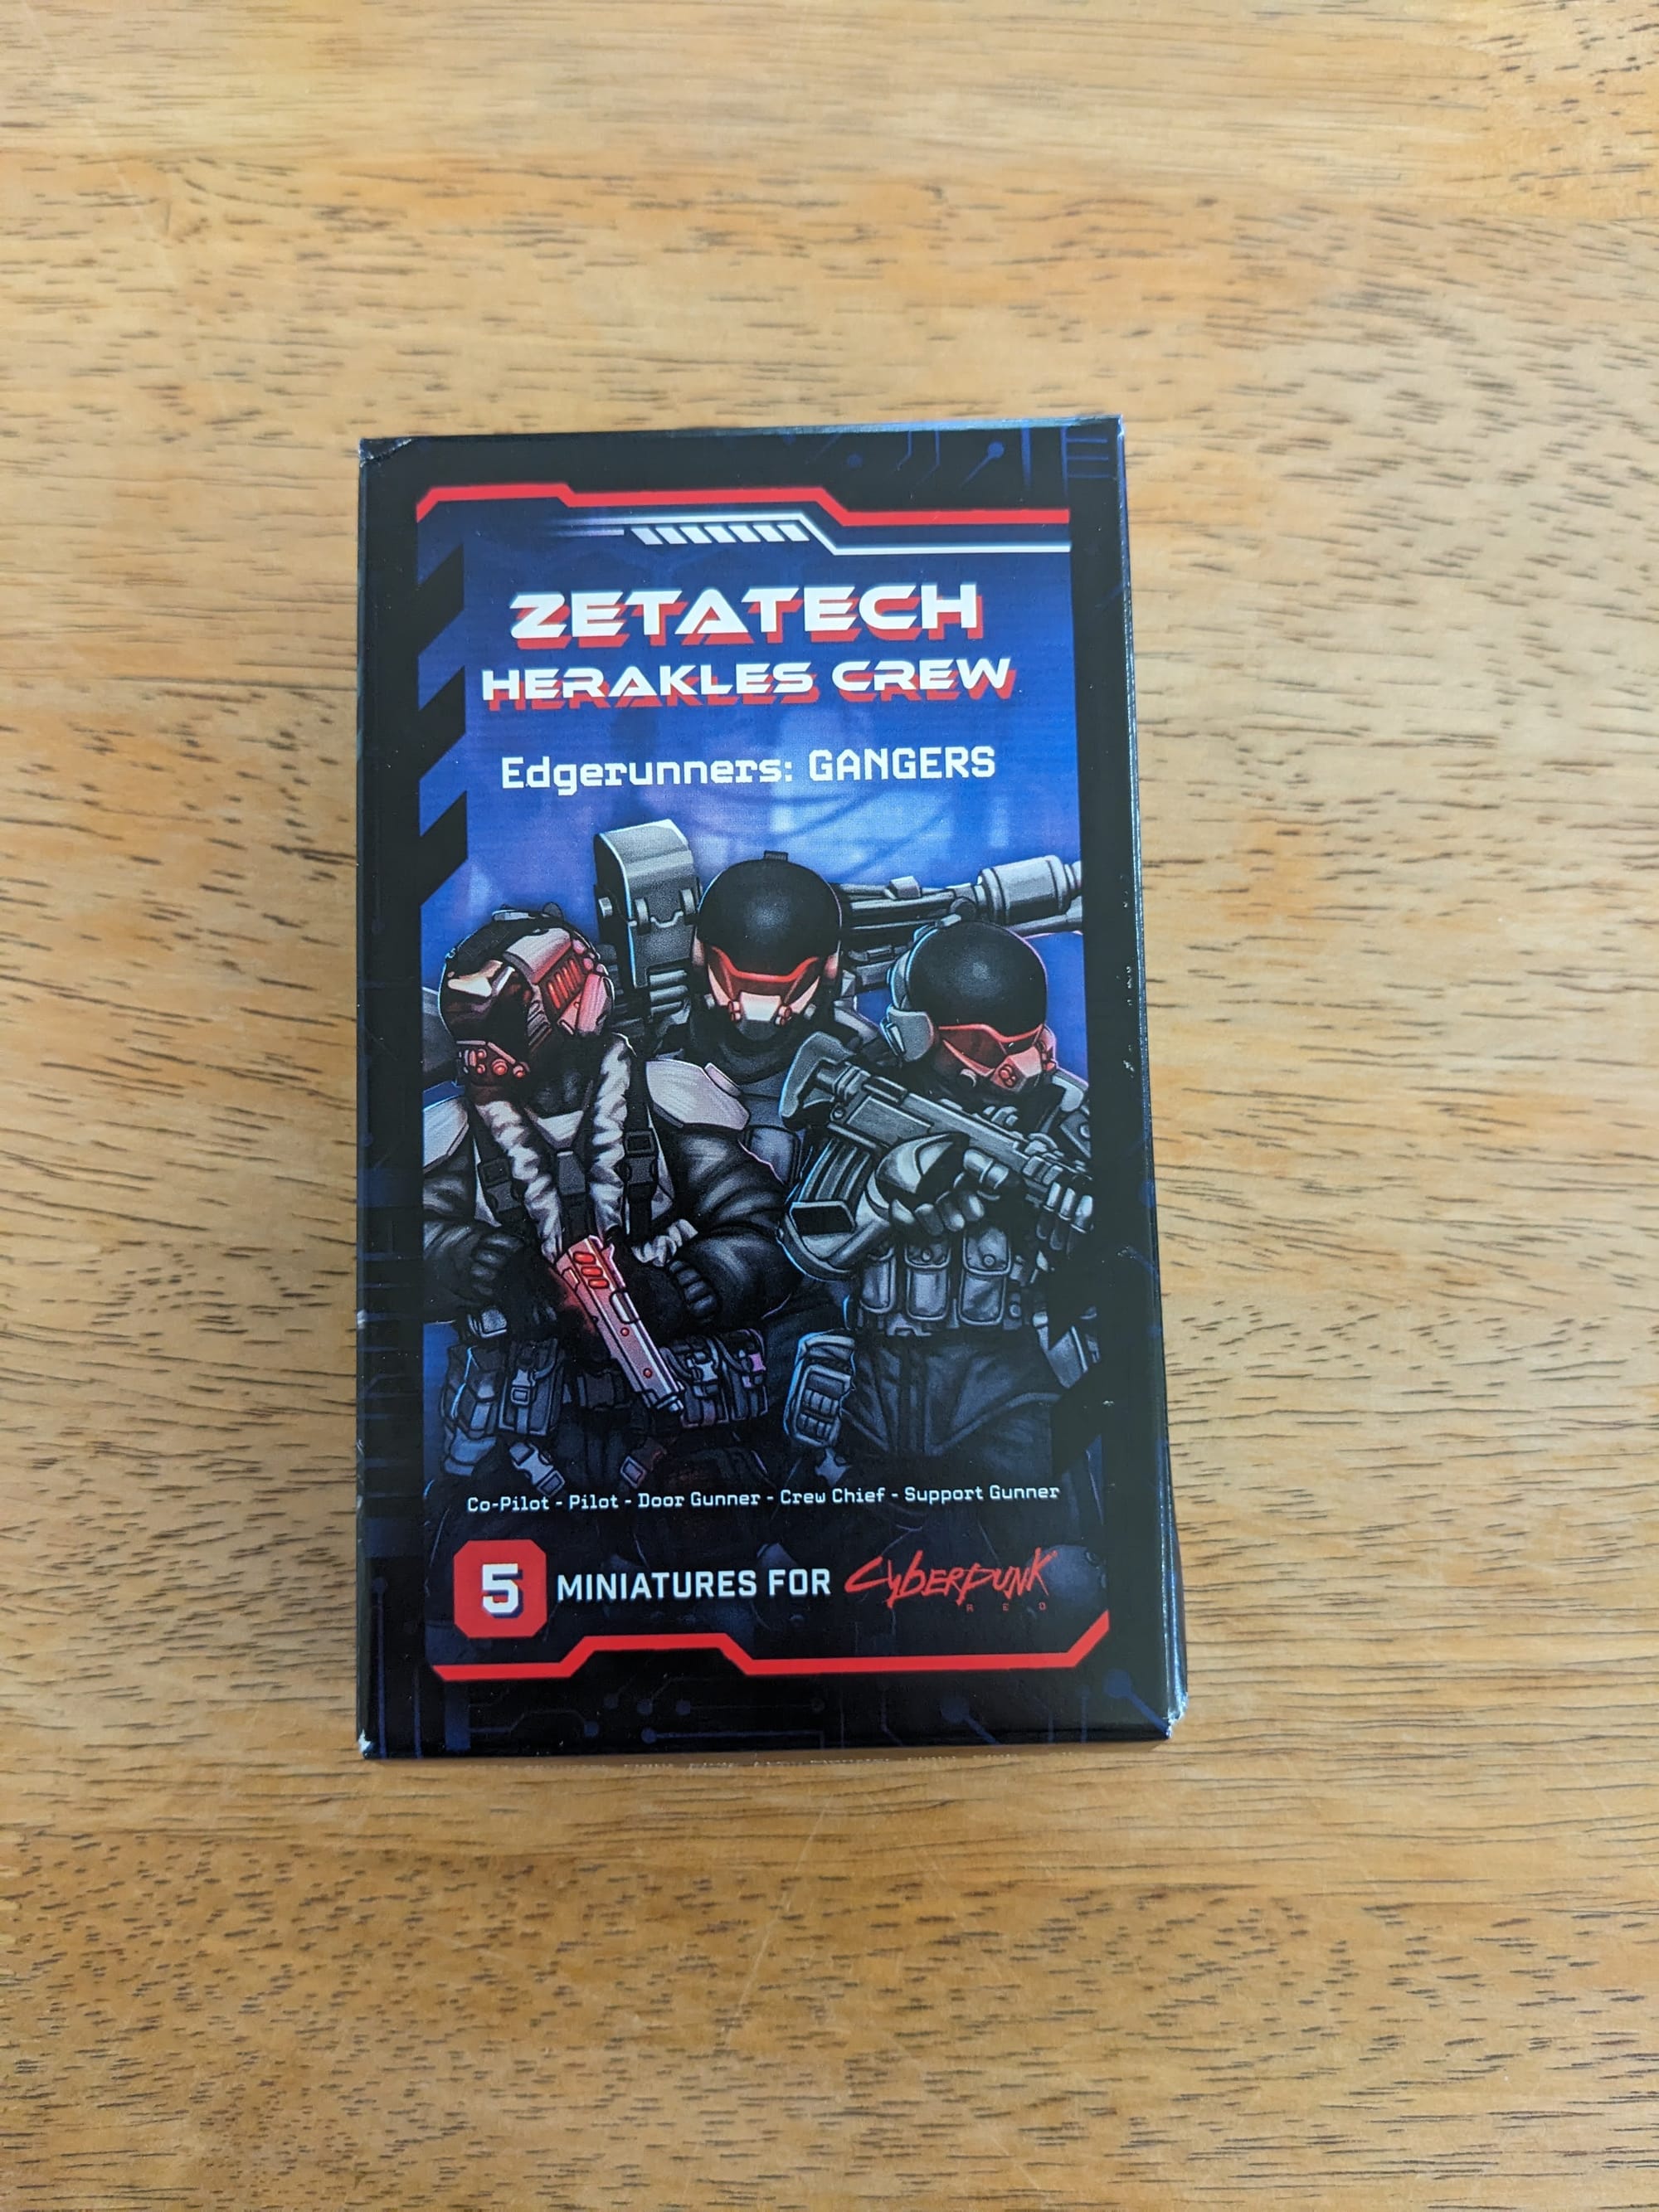
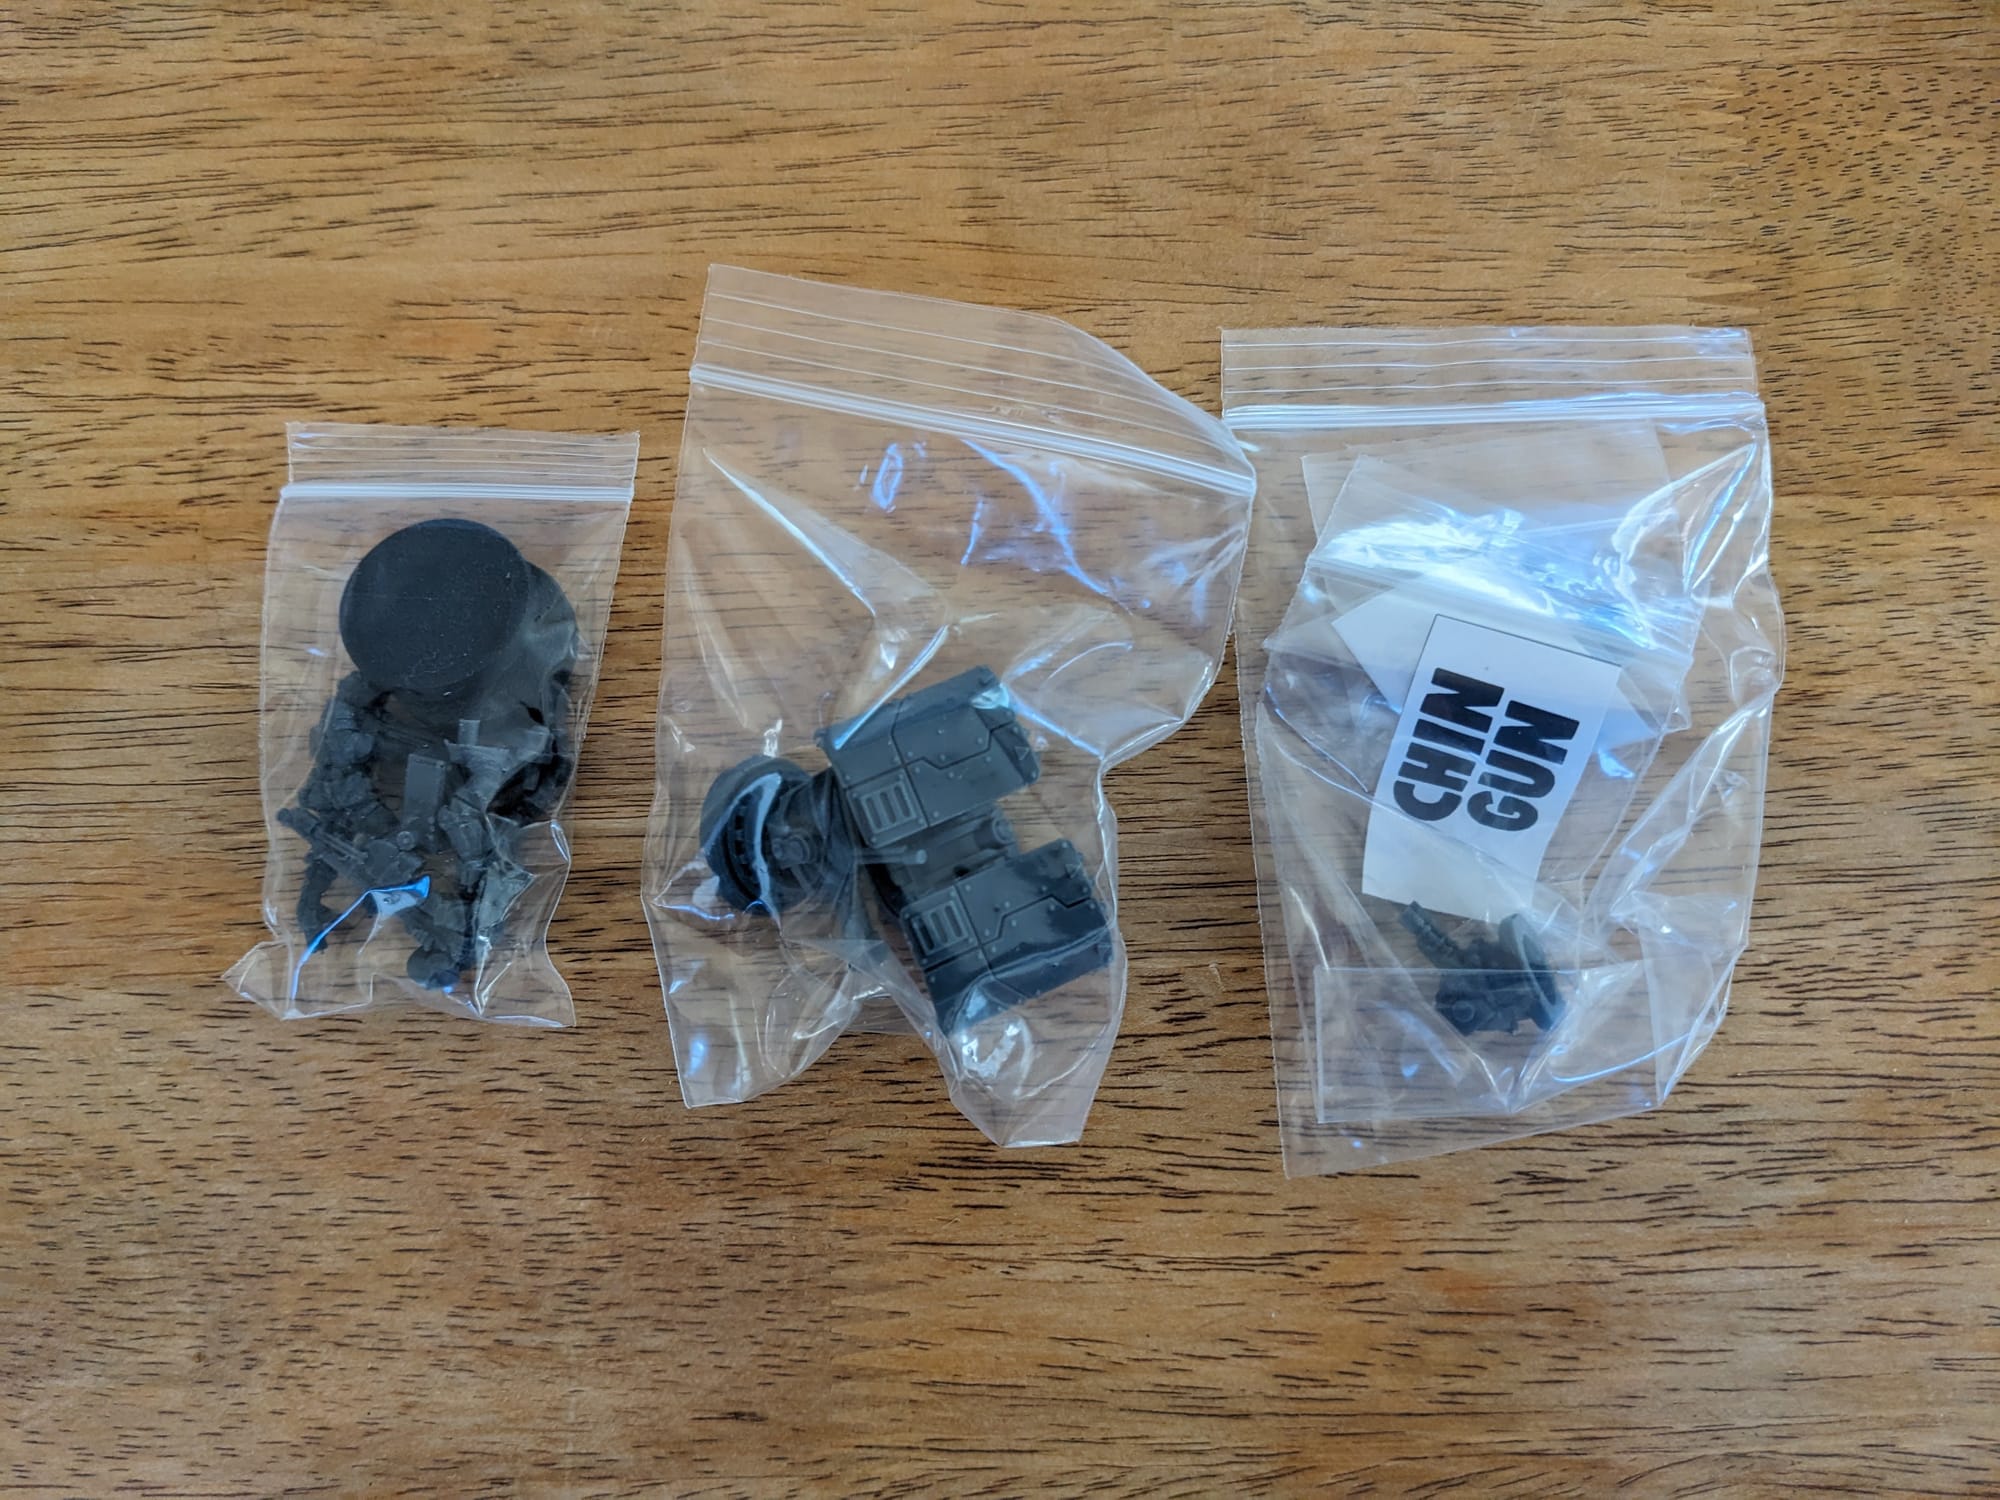
Zetatech Herakles Attack Aerodyne, Crew, Door Gunners, and additional Nose Mounts
Zetatech Herakles Attack Aerodyne Unboxing
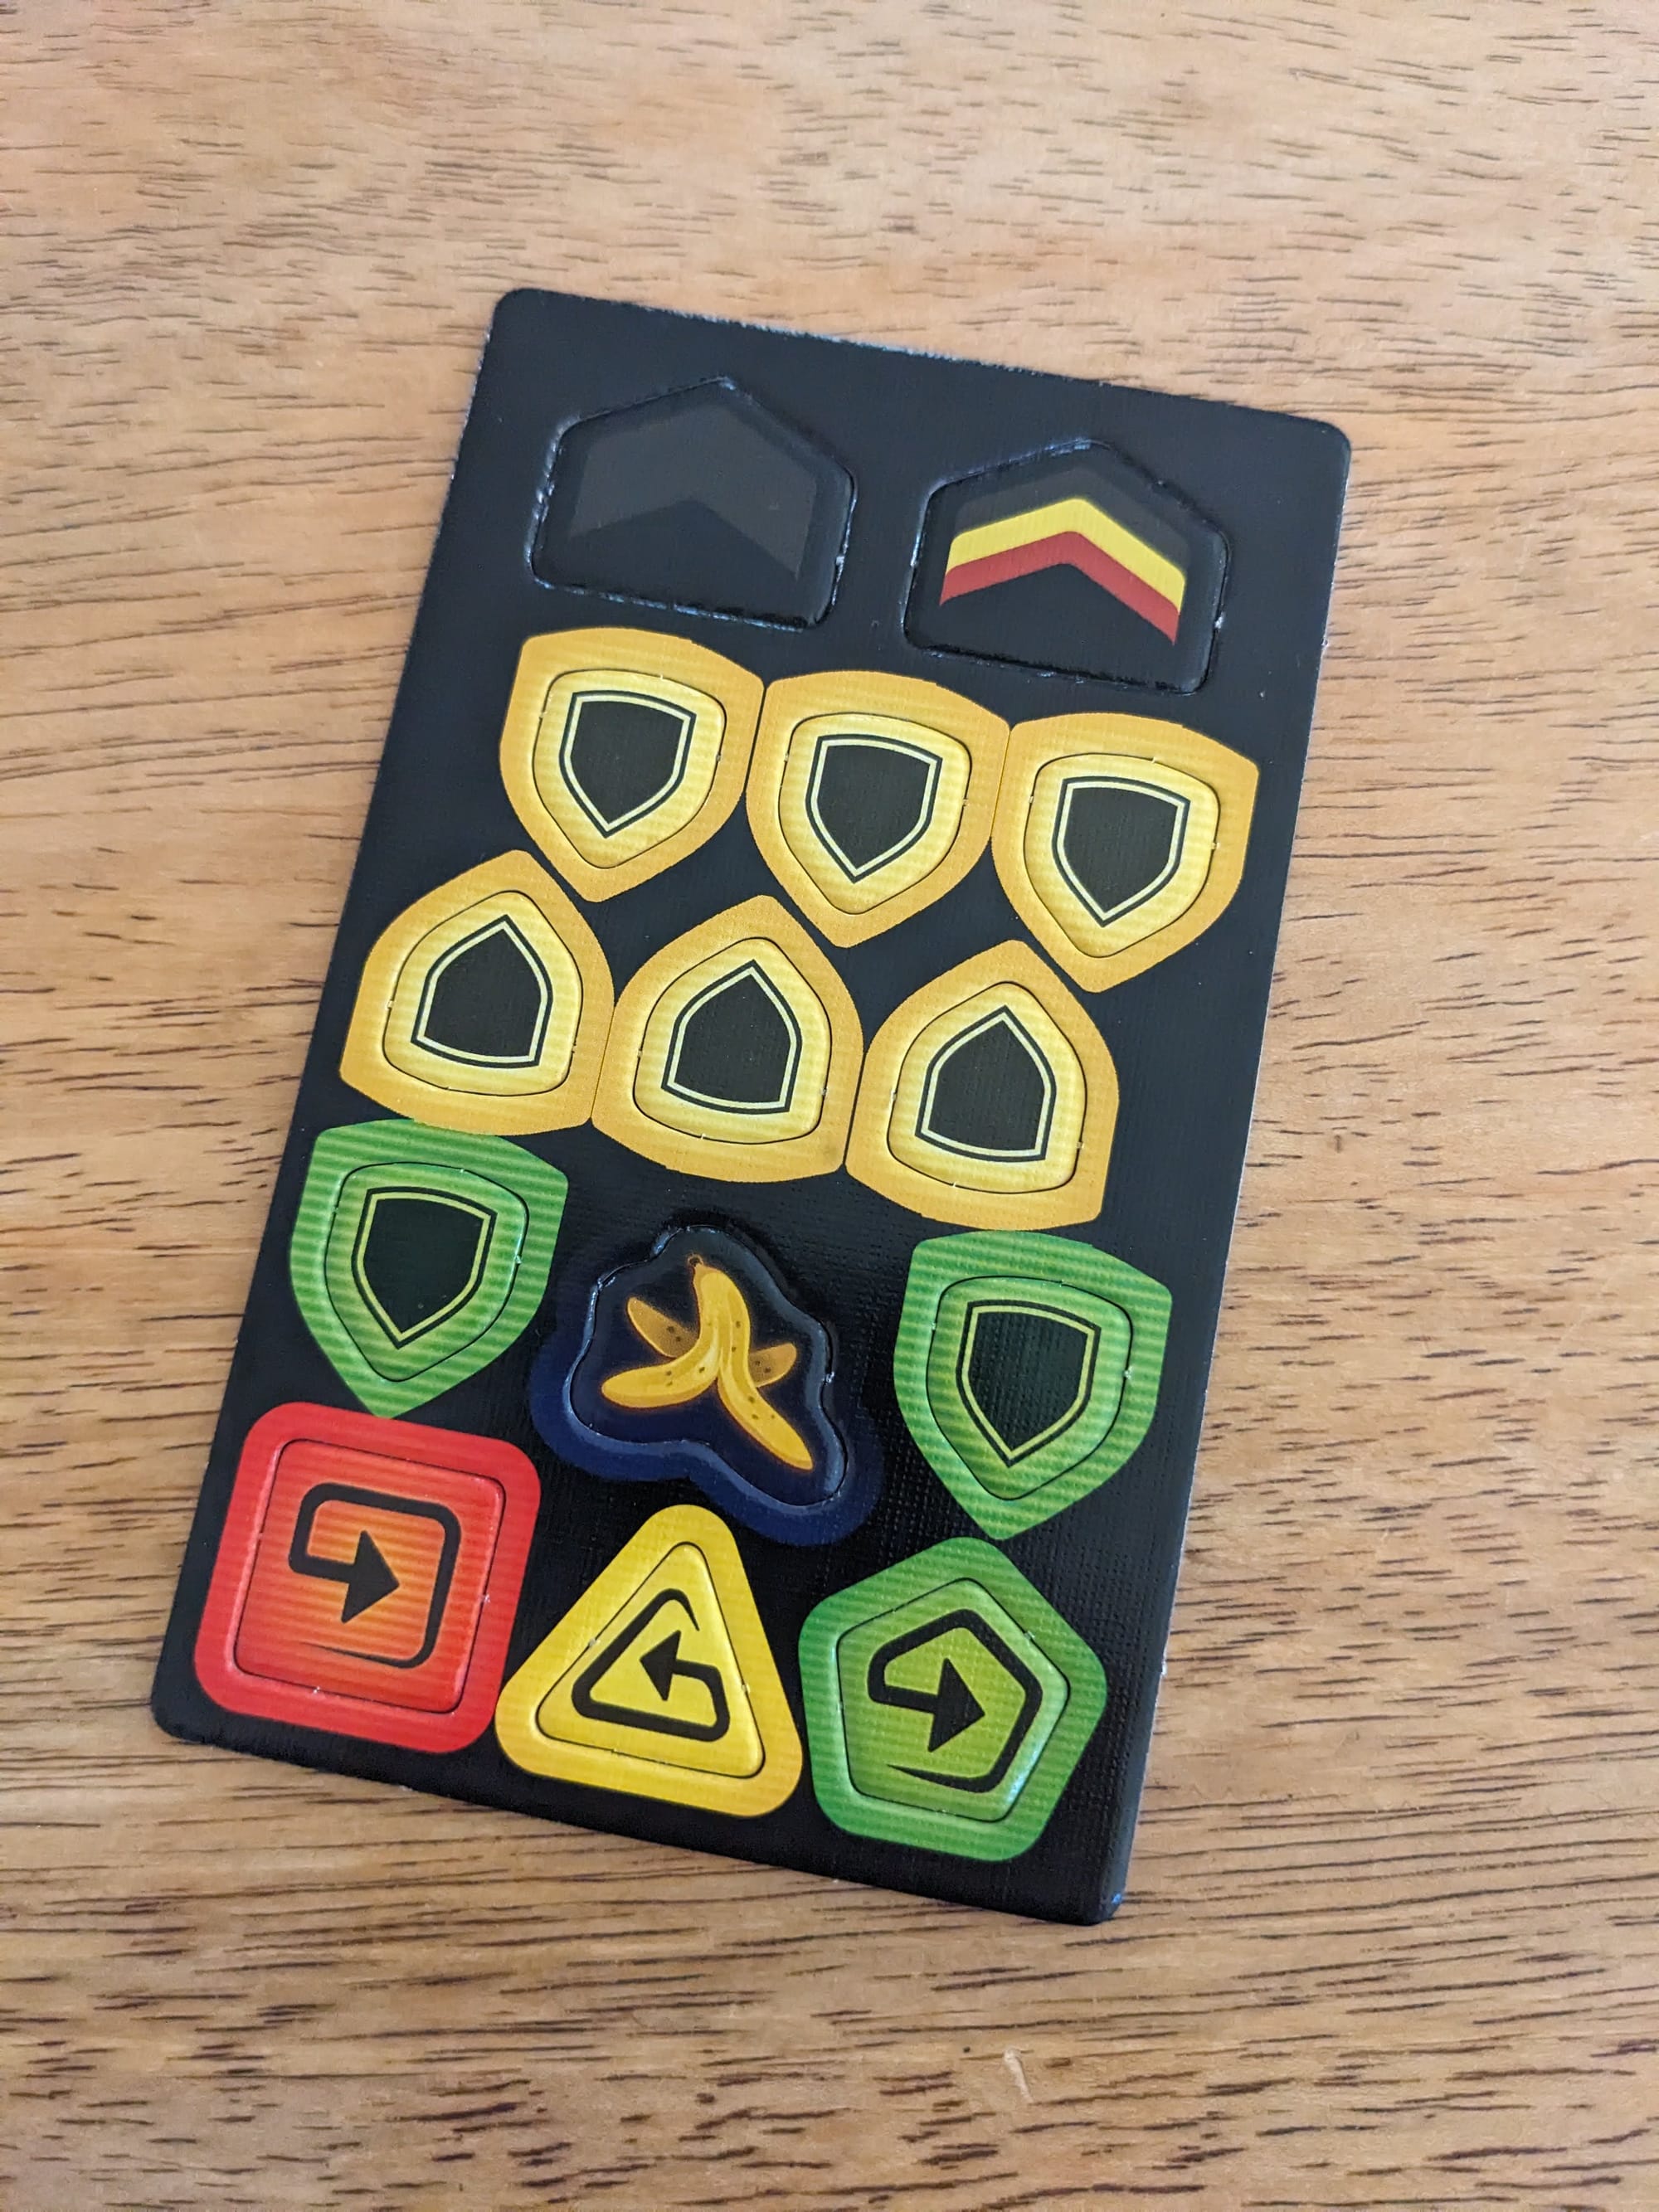
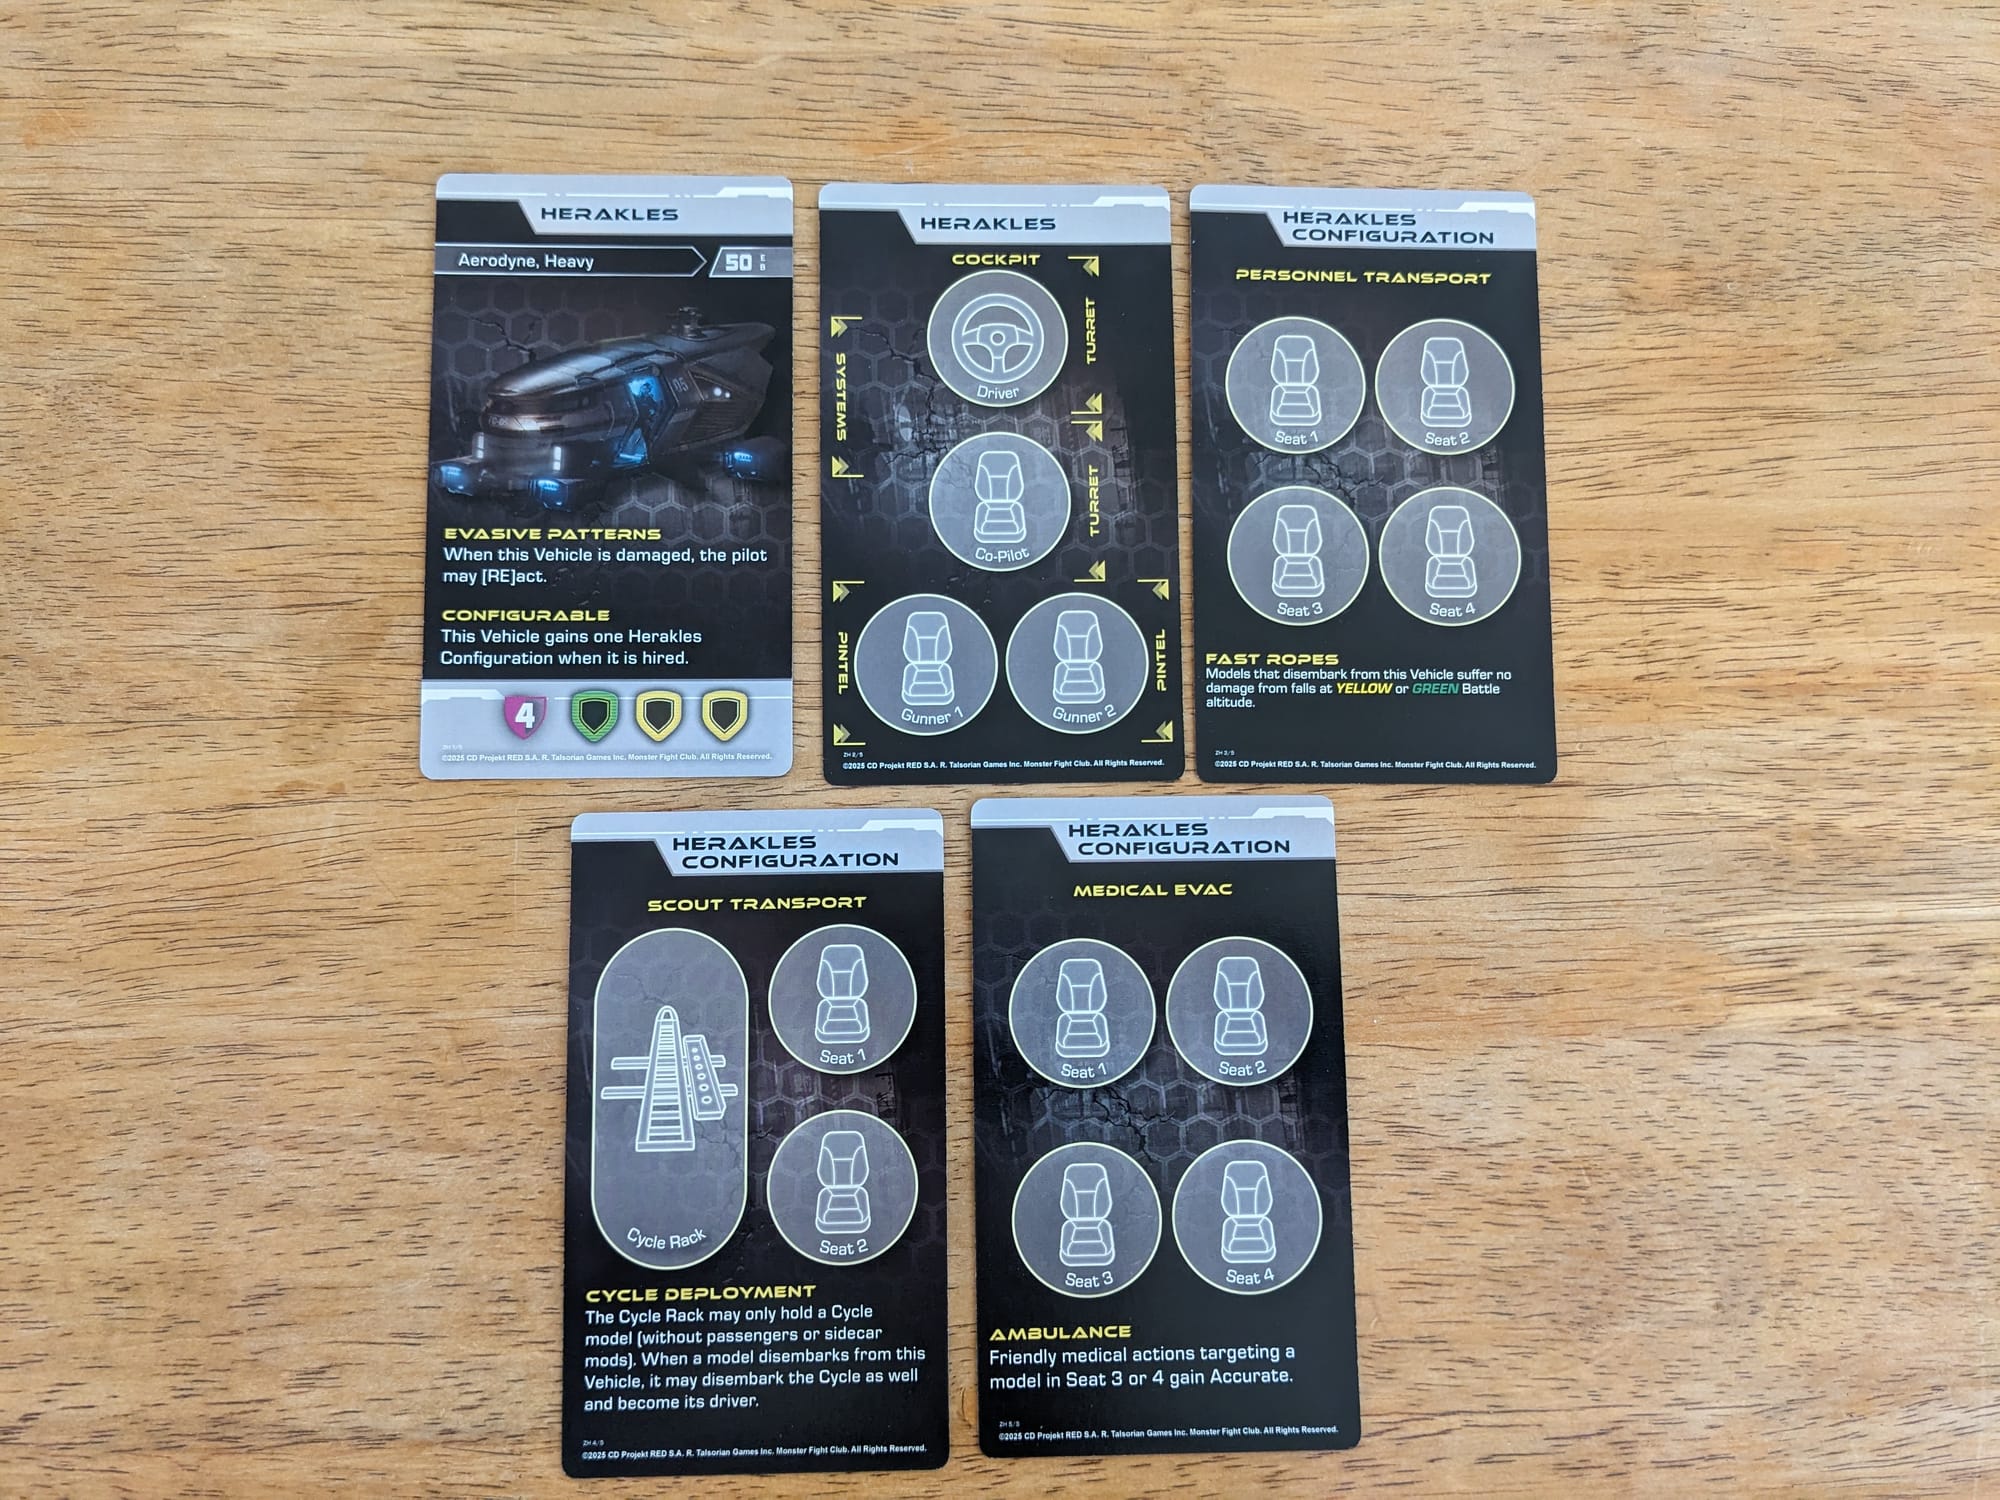
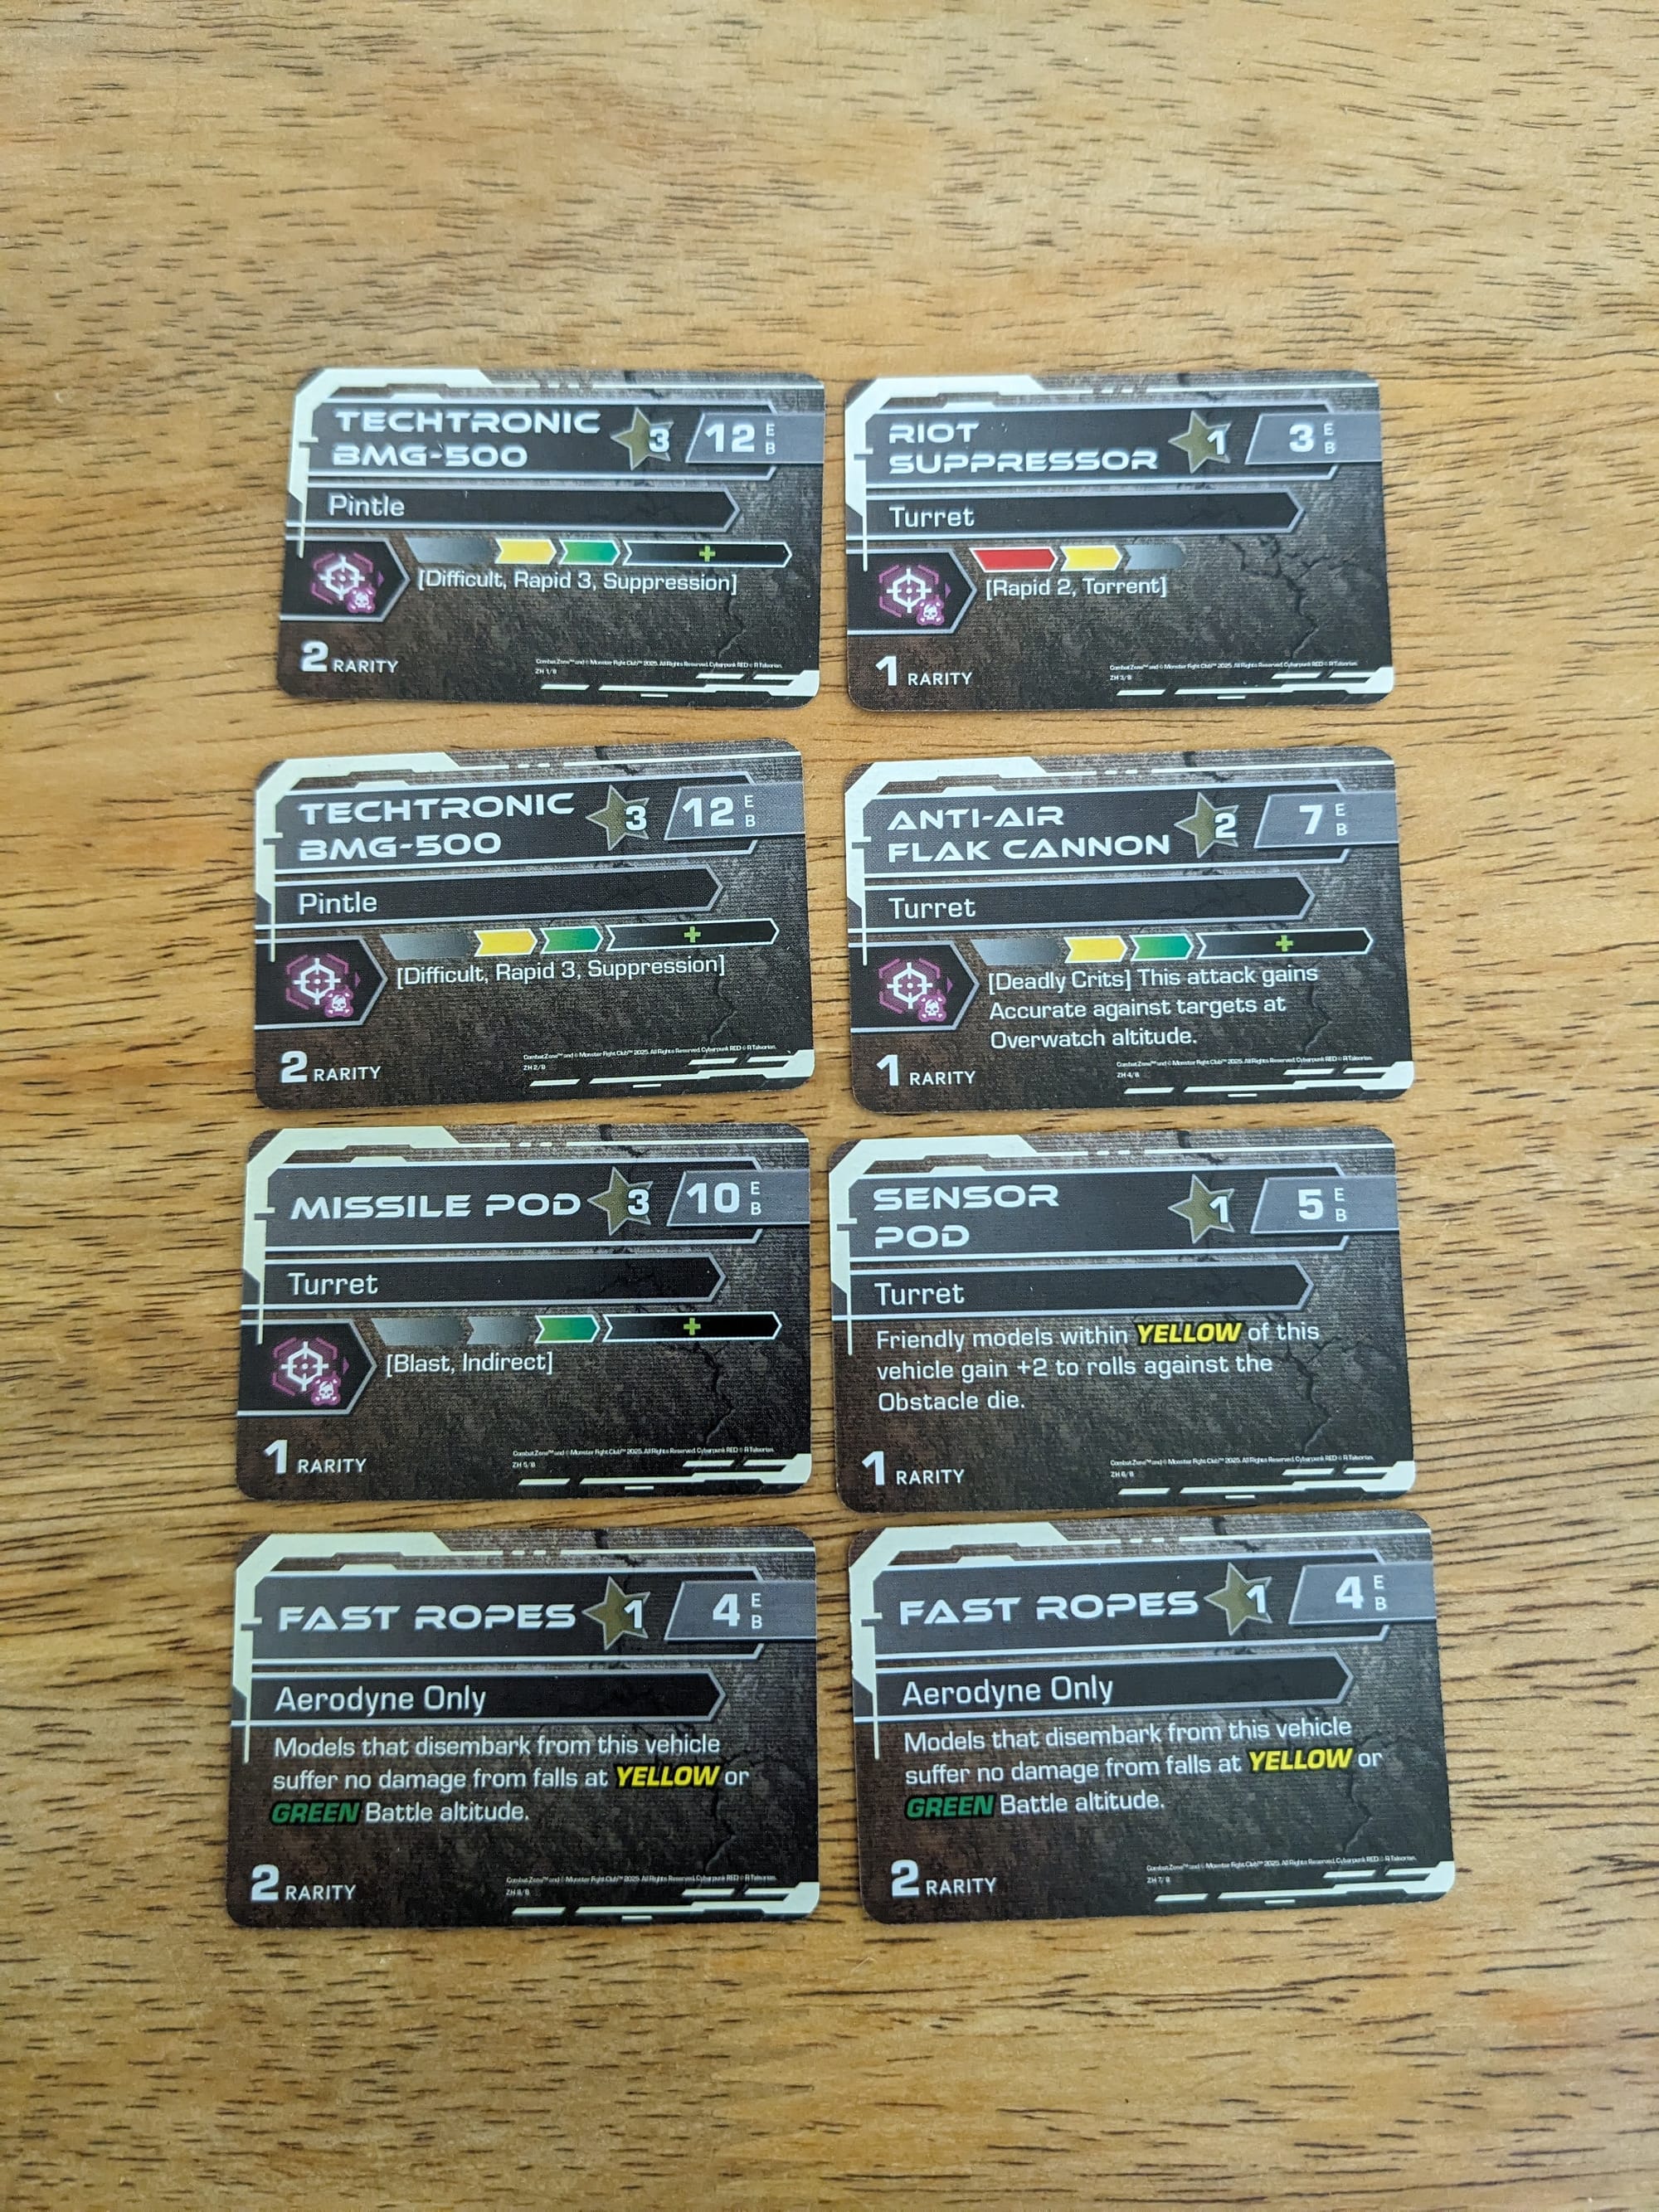
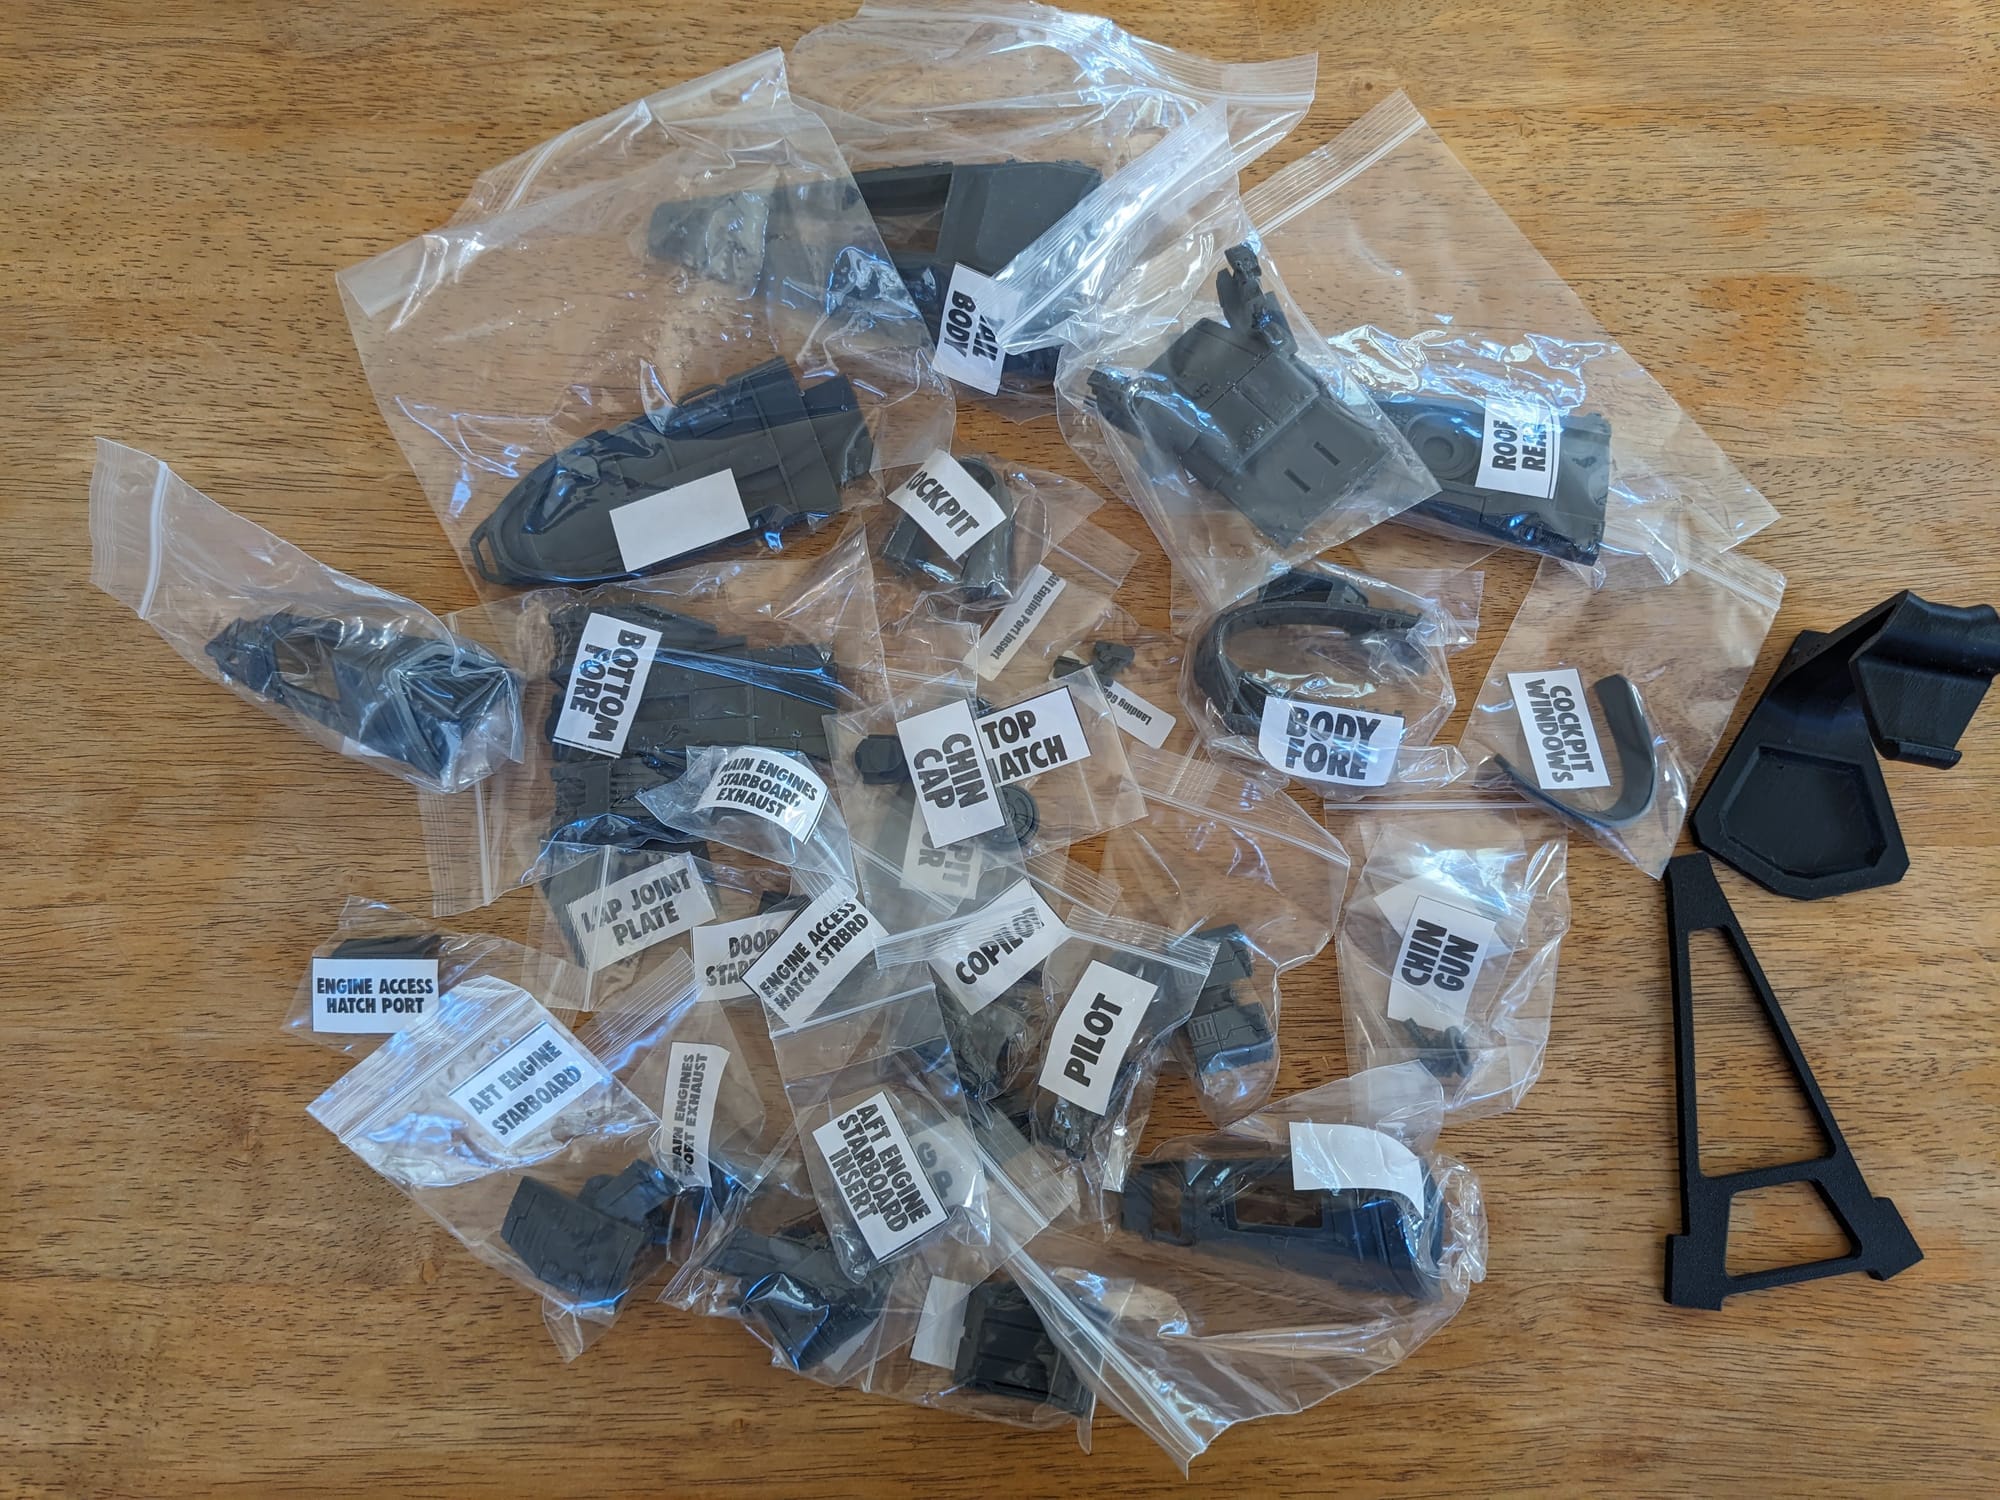
The Zetatech Herakles Attack Aerodyne box has a lot of pieces. Fortunately, every single baggy comes with a label of what it is! Unlike other mainstream companies, Monster Fight Club 3D prints most of their models using a proprietary house blend, so they’re not on a typical sprue that you’d expect. It is highly recommended that you follow the instructions for building (link below). In addition to the parts, the box includes: Plastic Landing Zone marker, Large Flight Base, Vehicle Token Sheet, 5x Tarot-sized Vehicle Cards, 8x Mini-American-sized Vehicle Mod Cards, and 2x Water Transfer Decal Sheets.
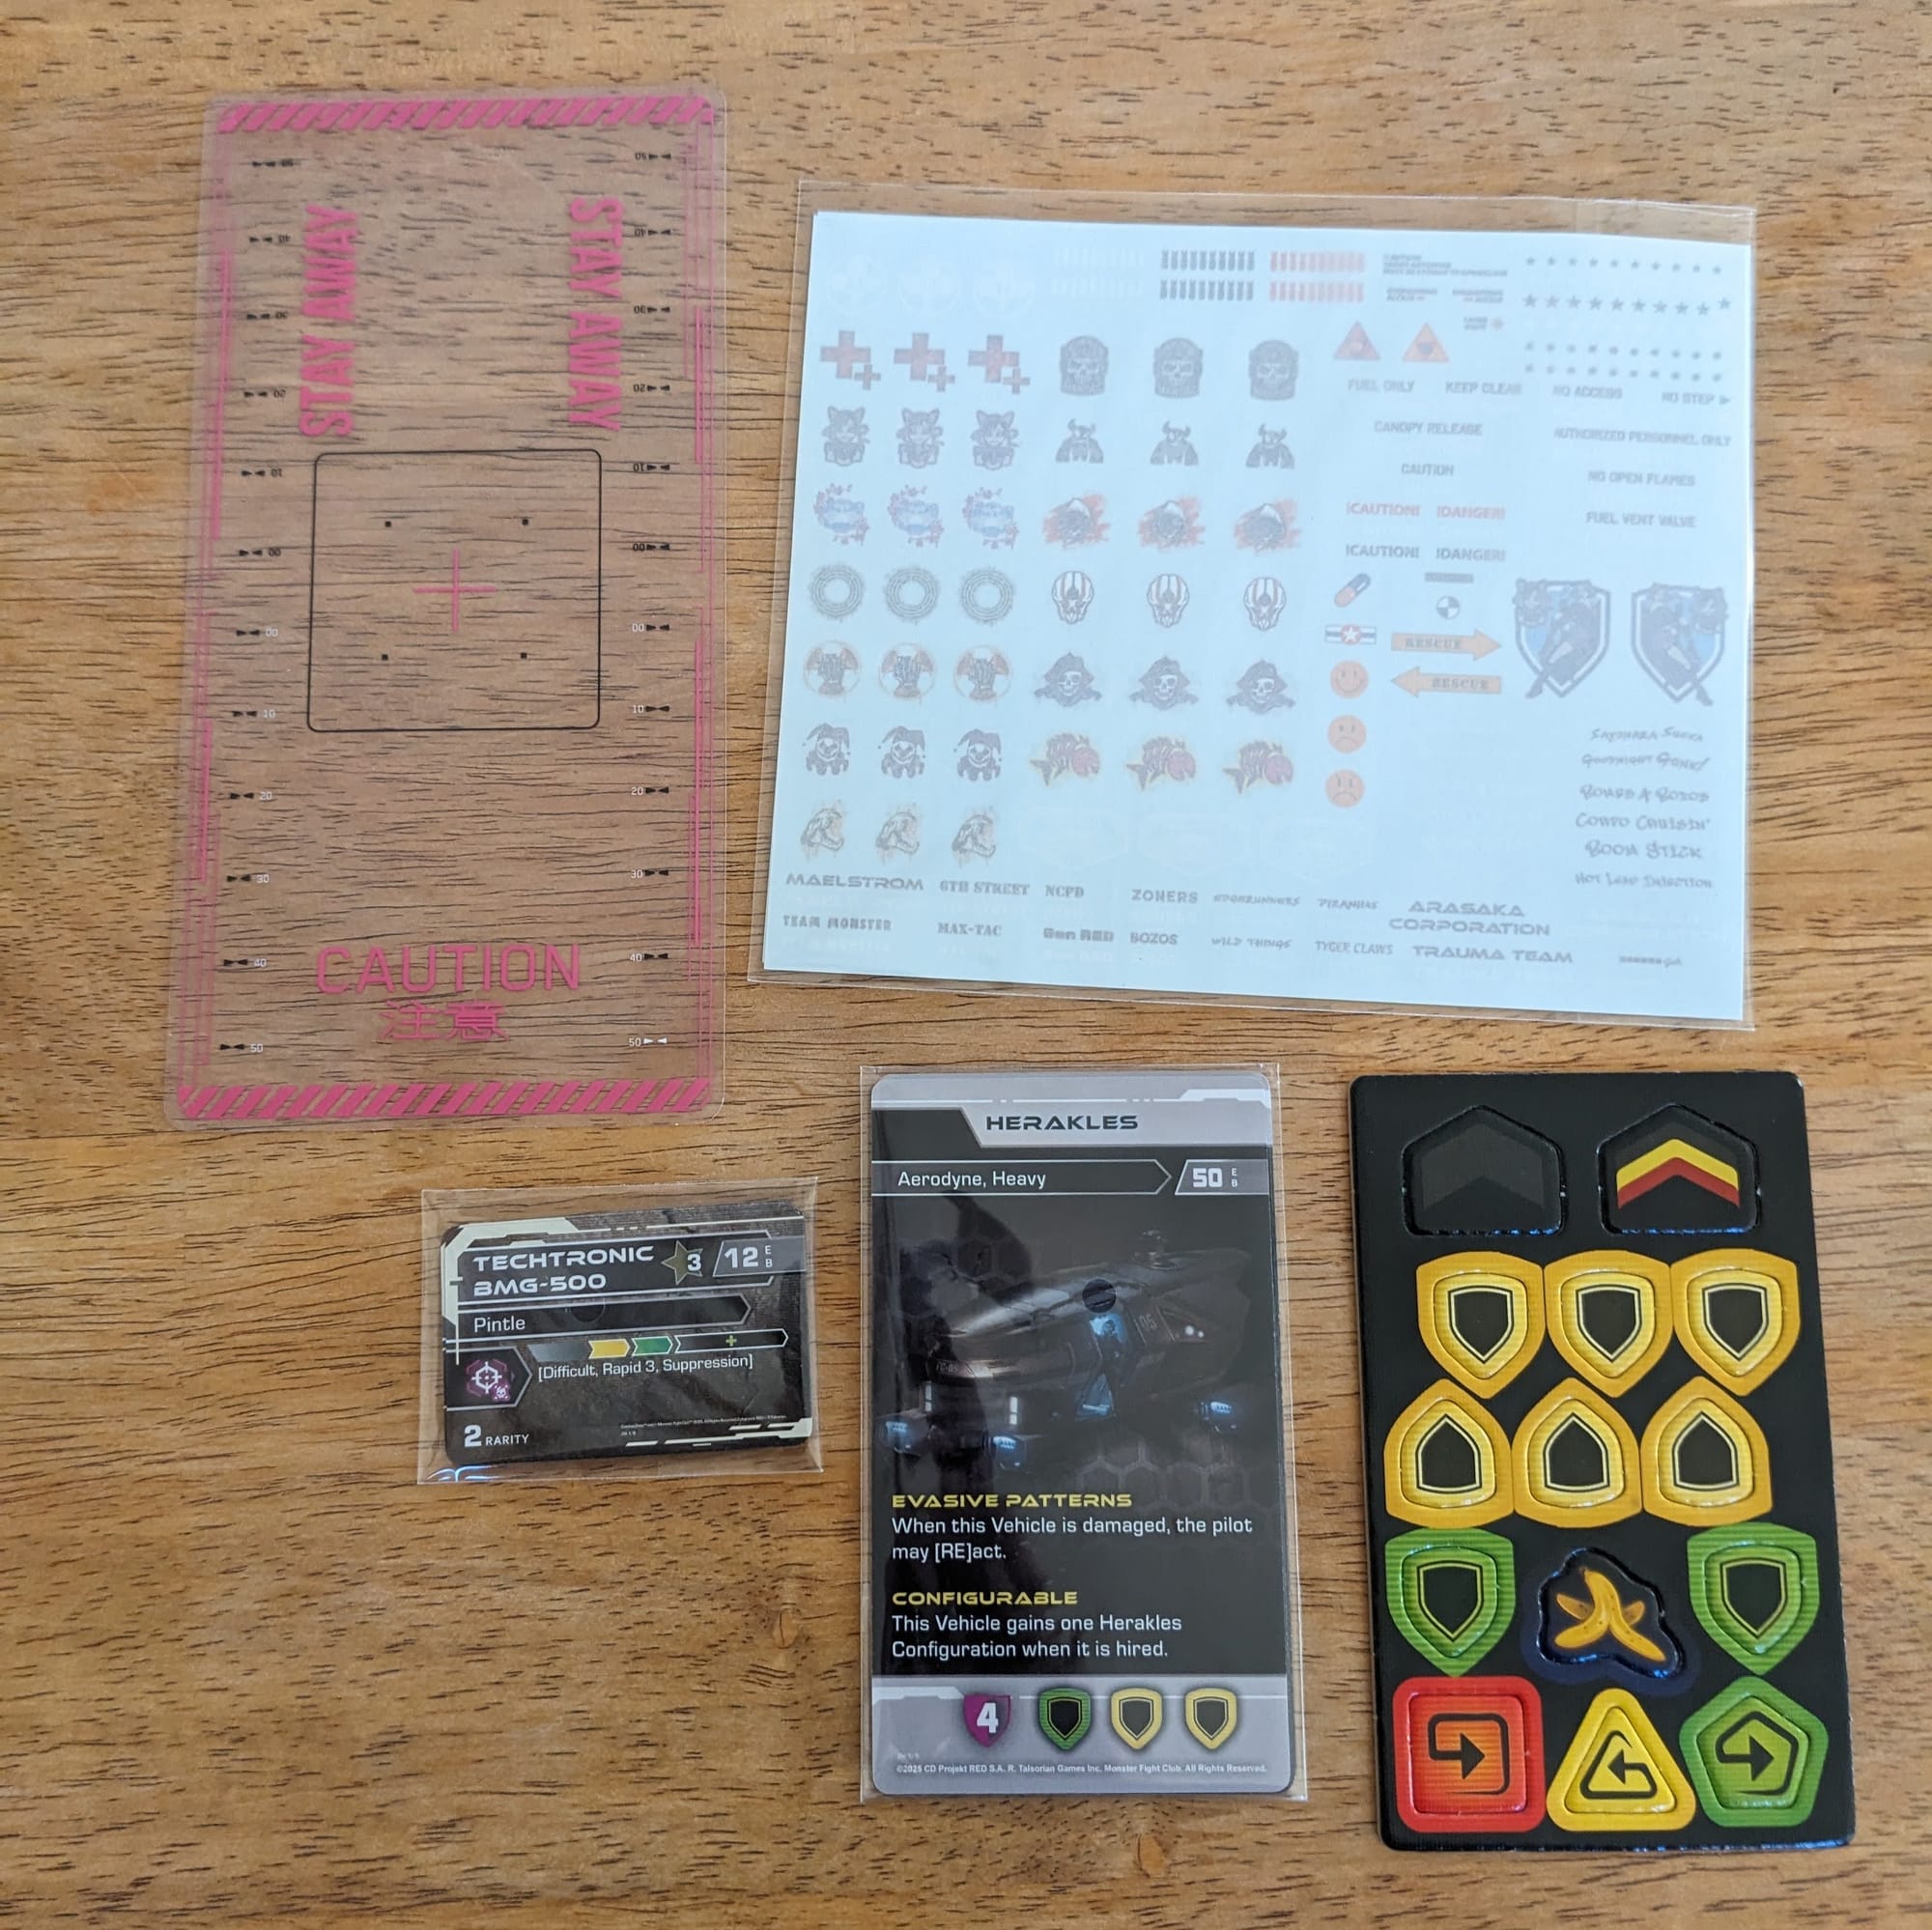
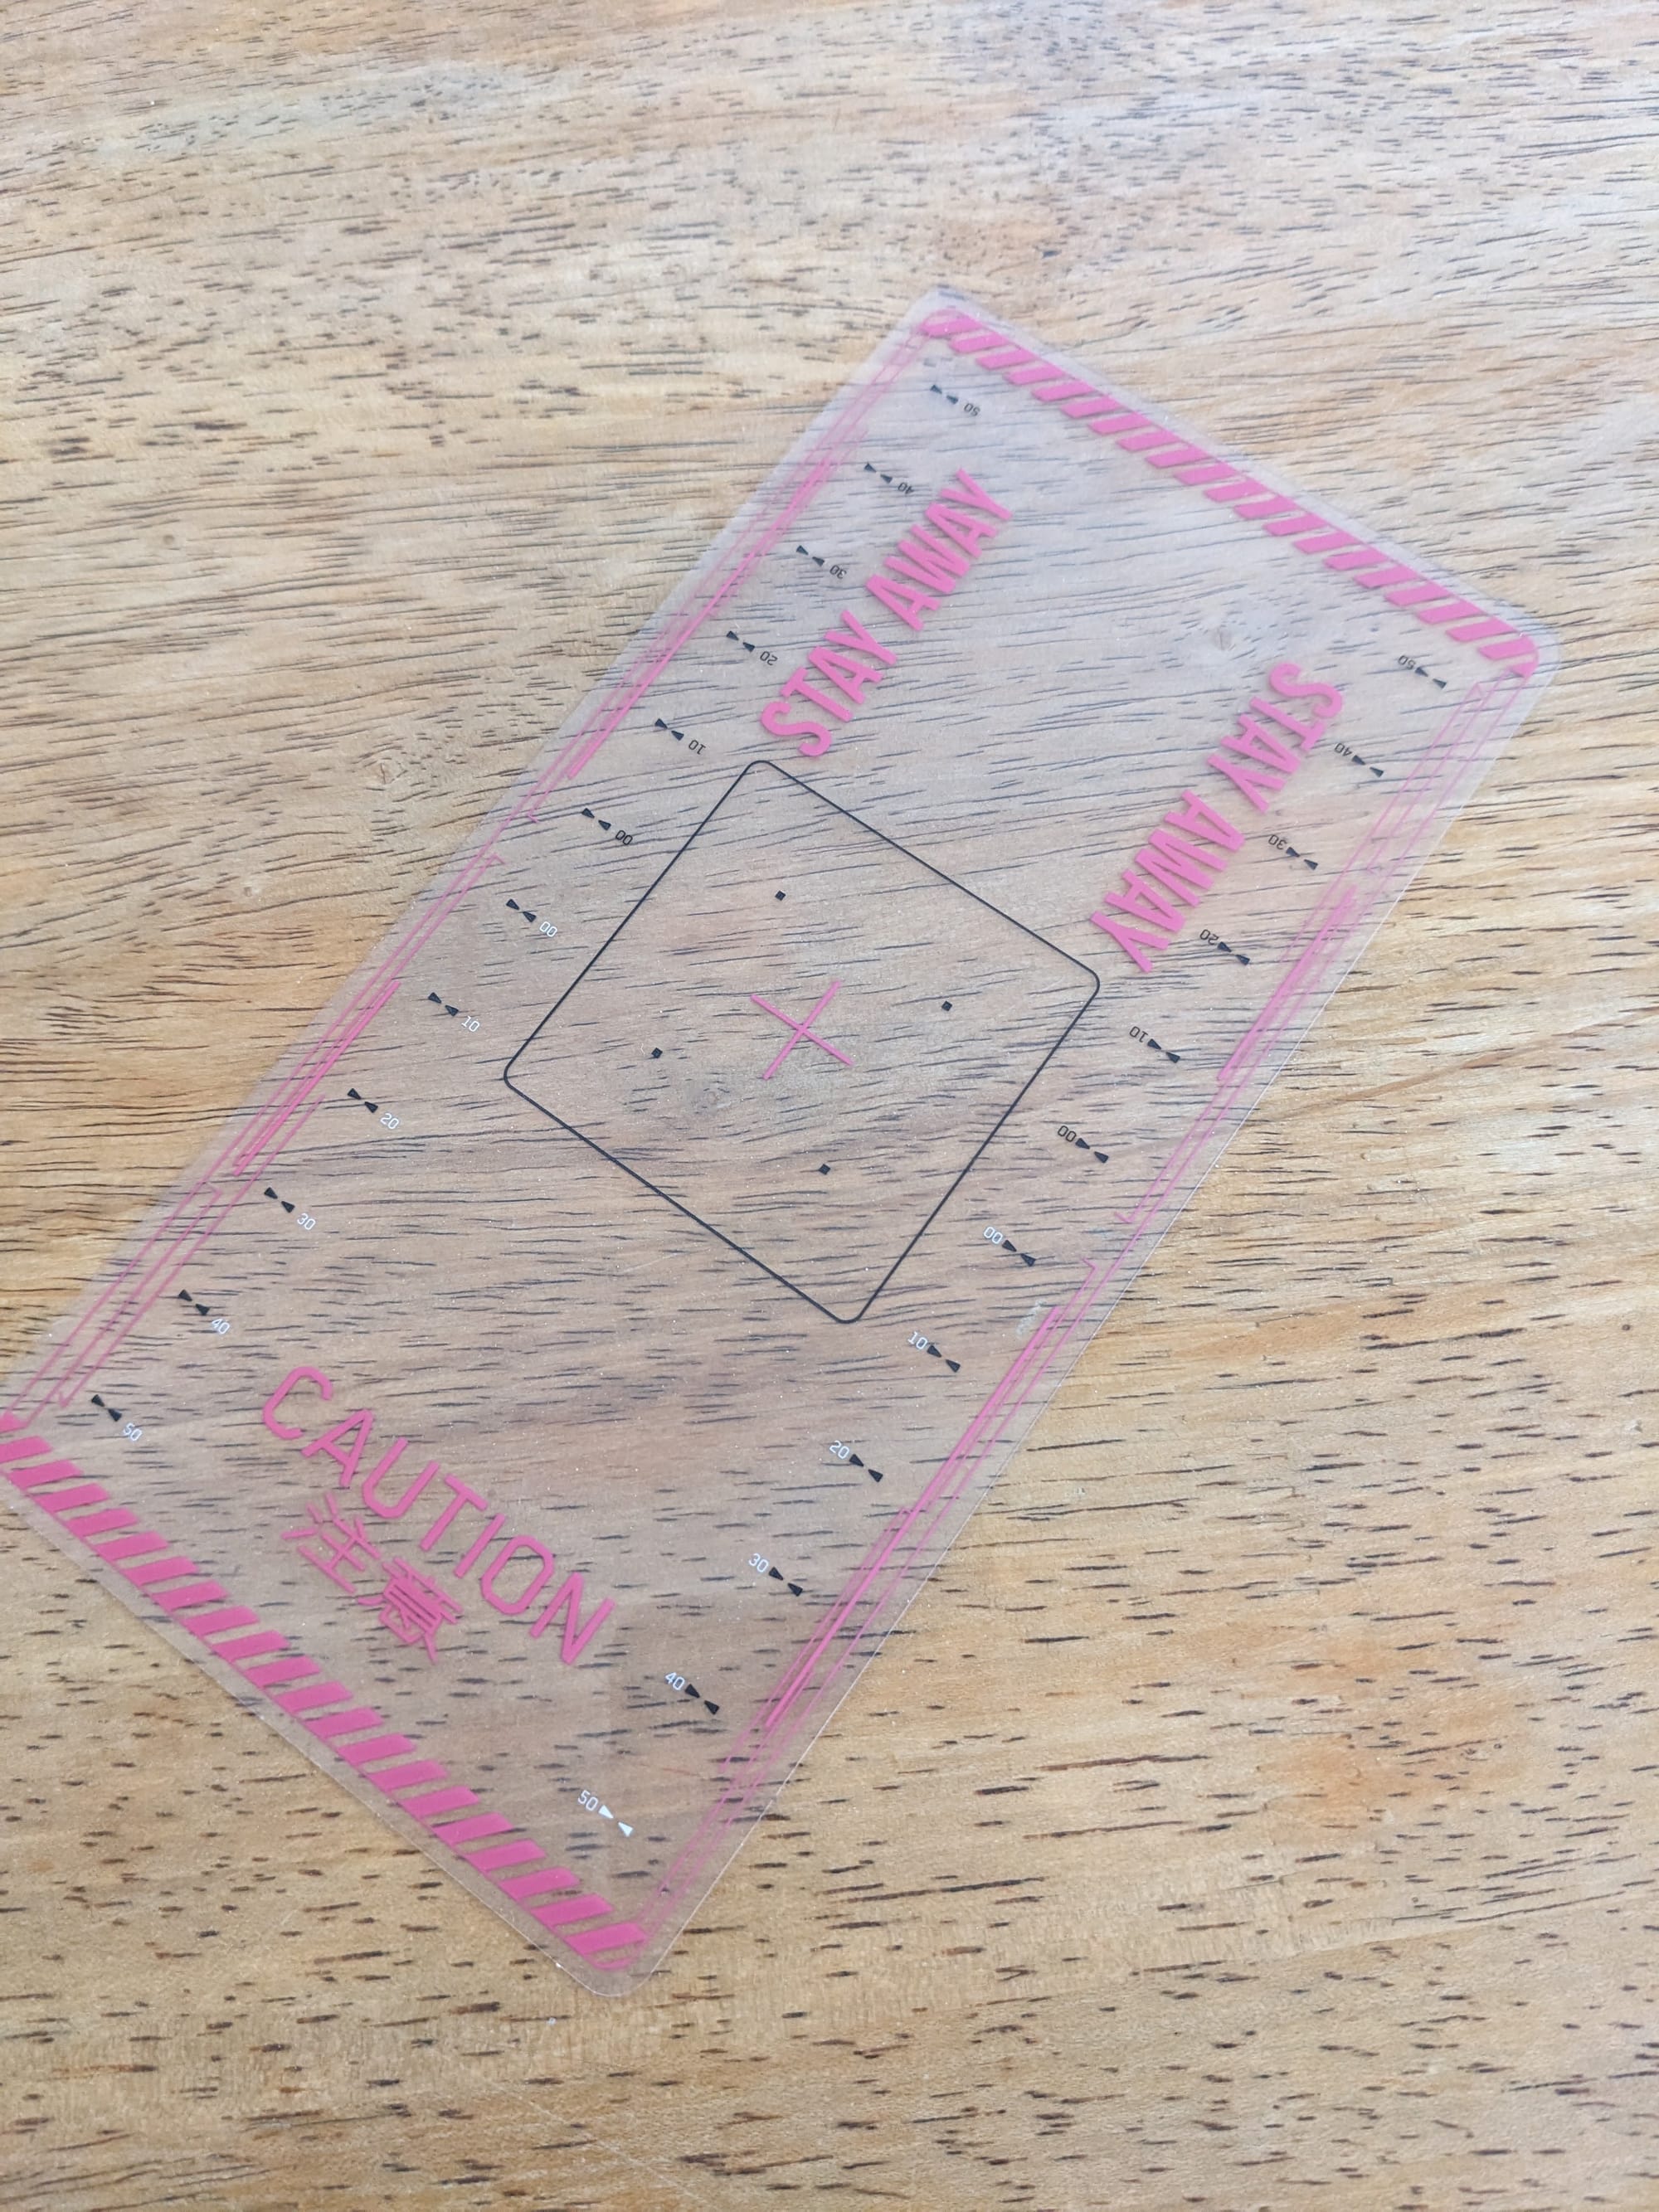
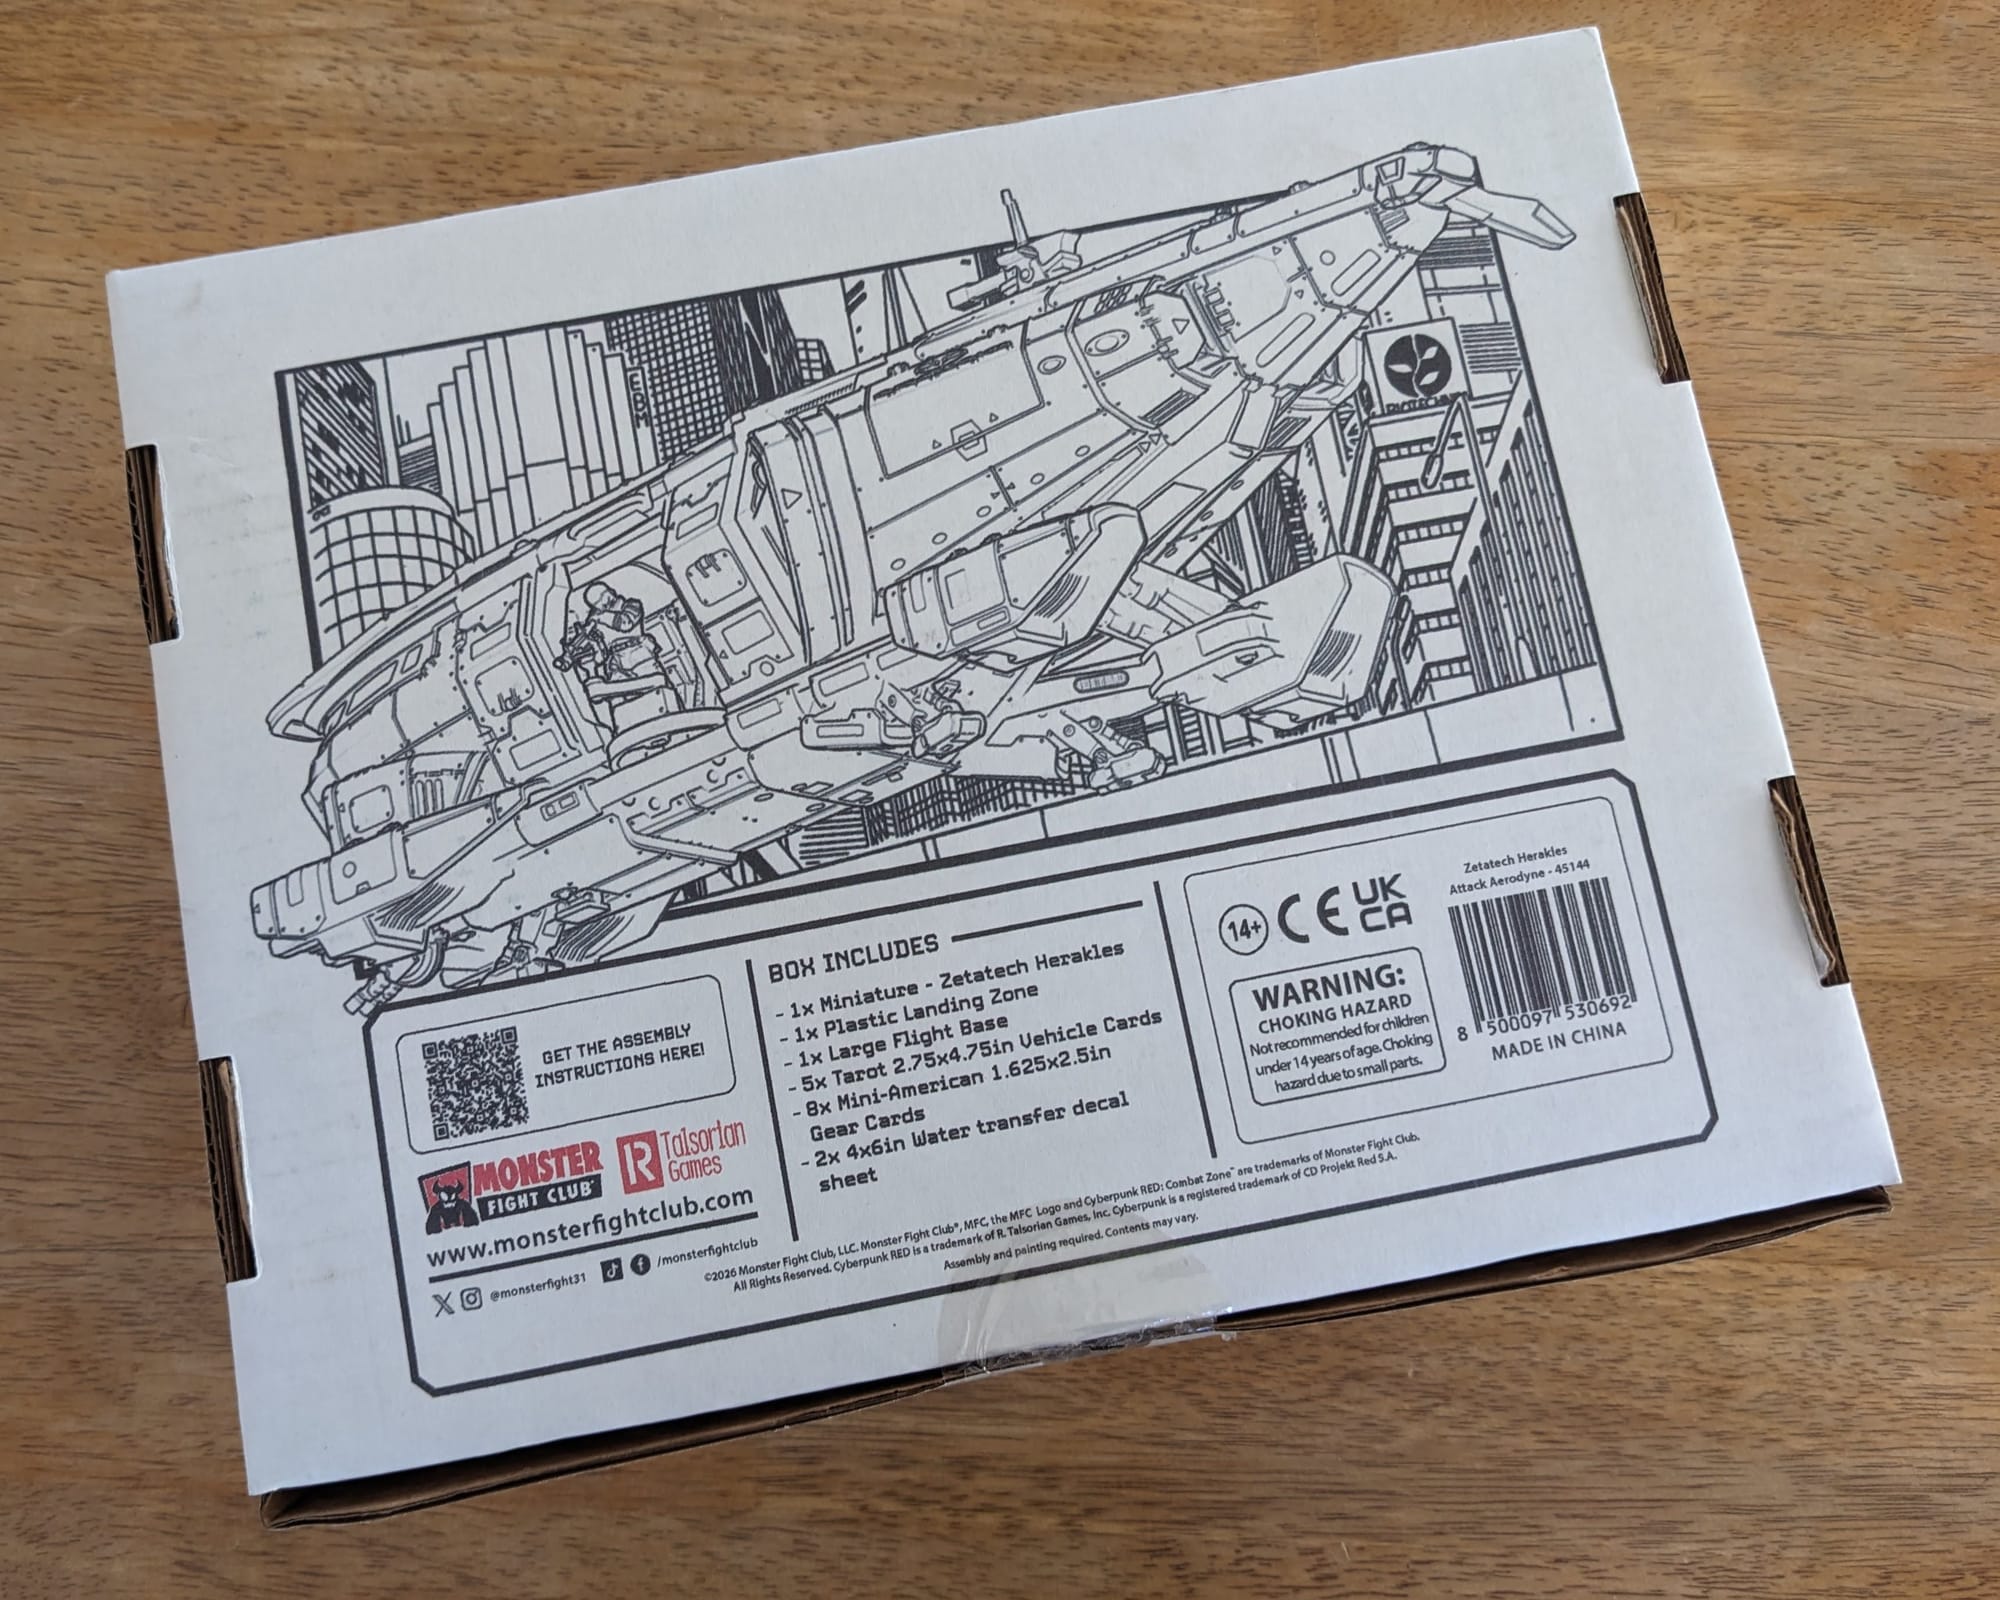
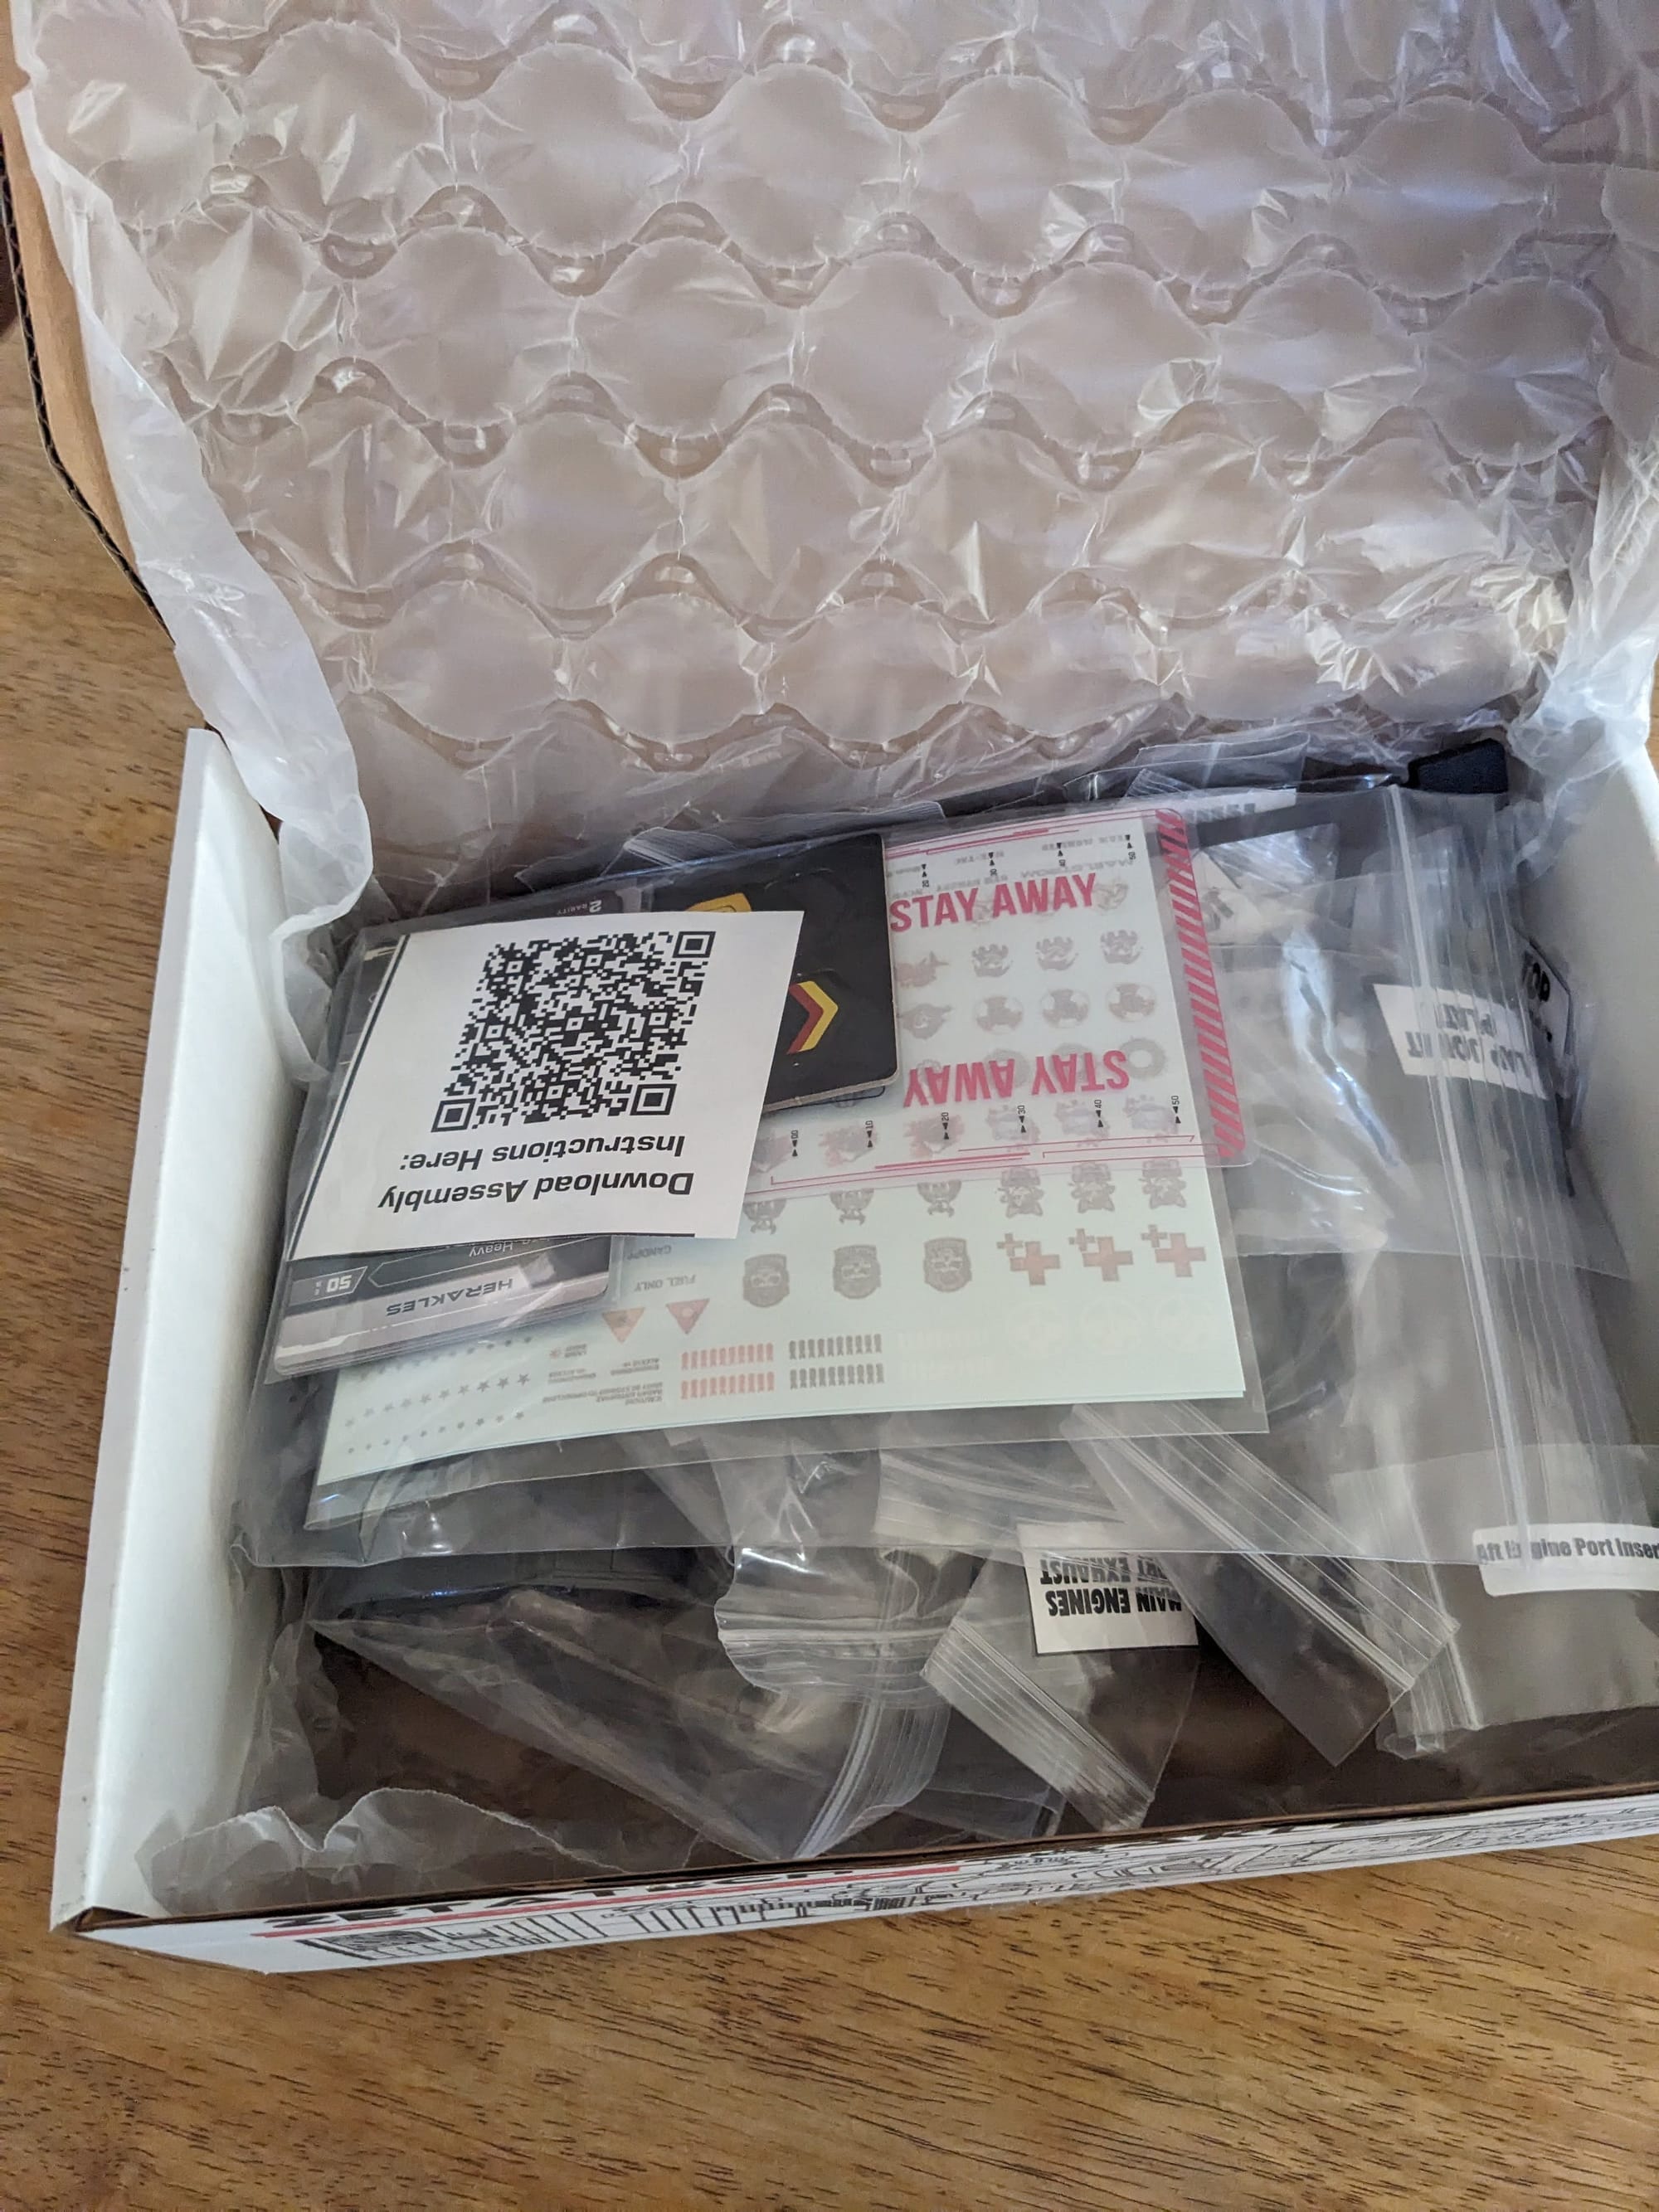
Note: The box does not come with printed instructions. You have to create an account on Monster Fight Club's website to purchase (for $0.00) and download them. While you're there, check out all of their free scenarios and rules and get them, too!
 Monster Fight Club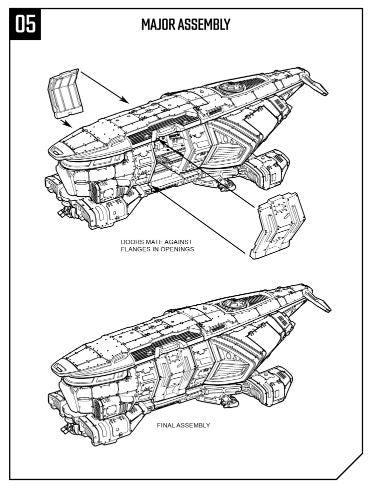
Also provided for the build for the dropship were two Door gunners and Forward Mounts (sold separately).
 Monster Fight Club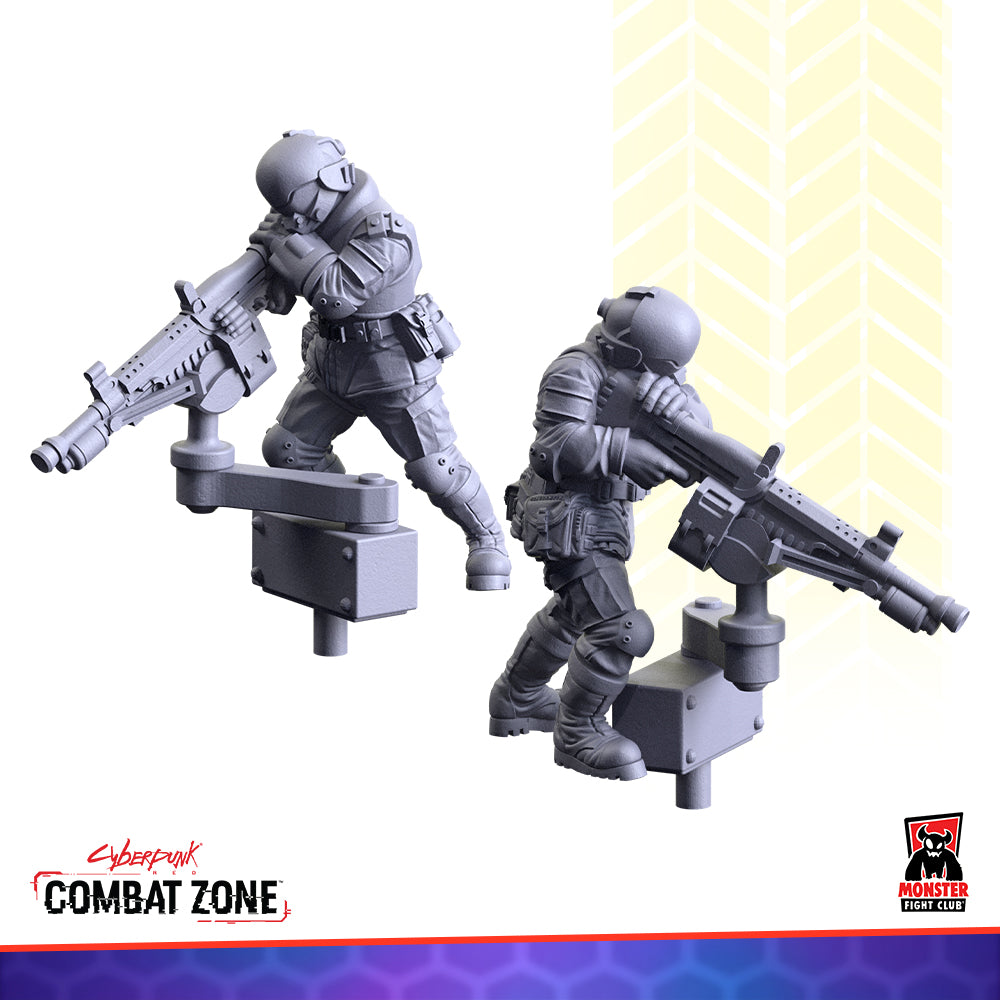
 Monster Fight Club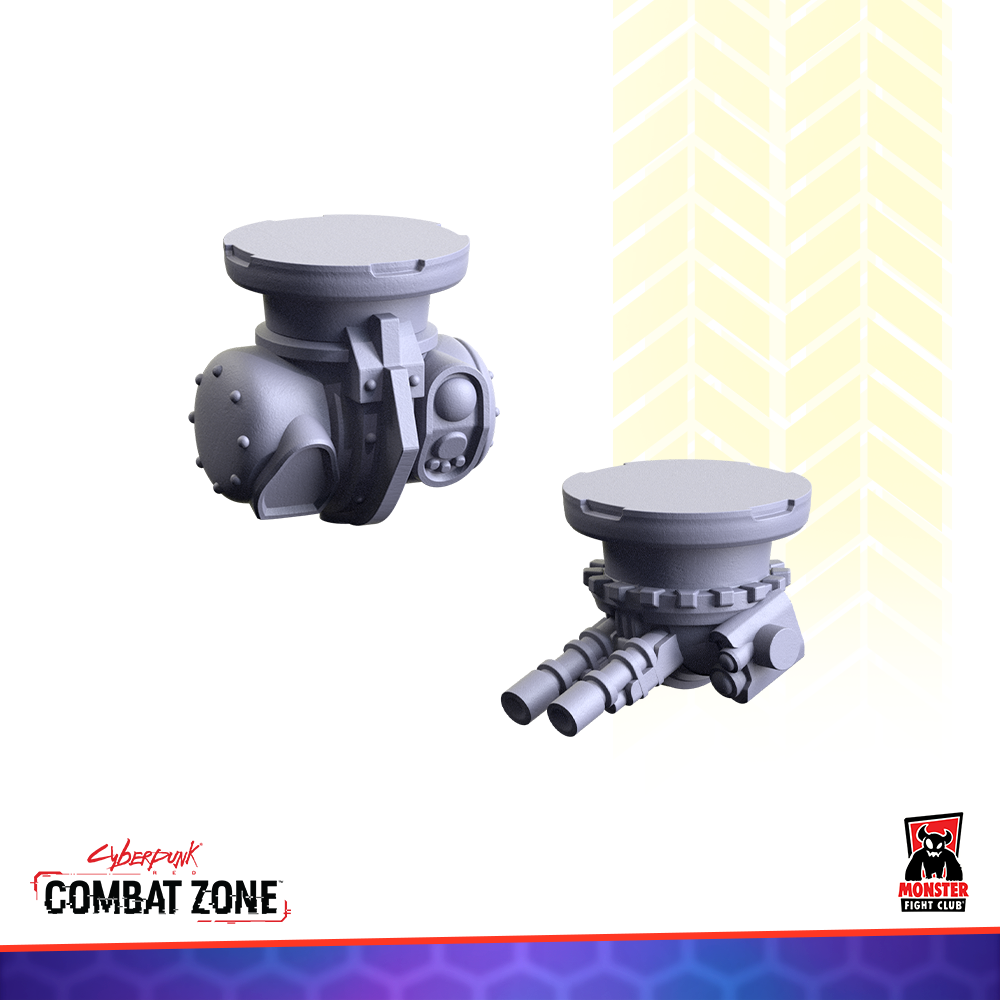
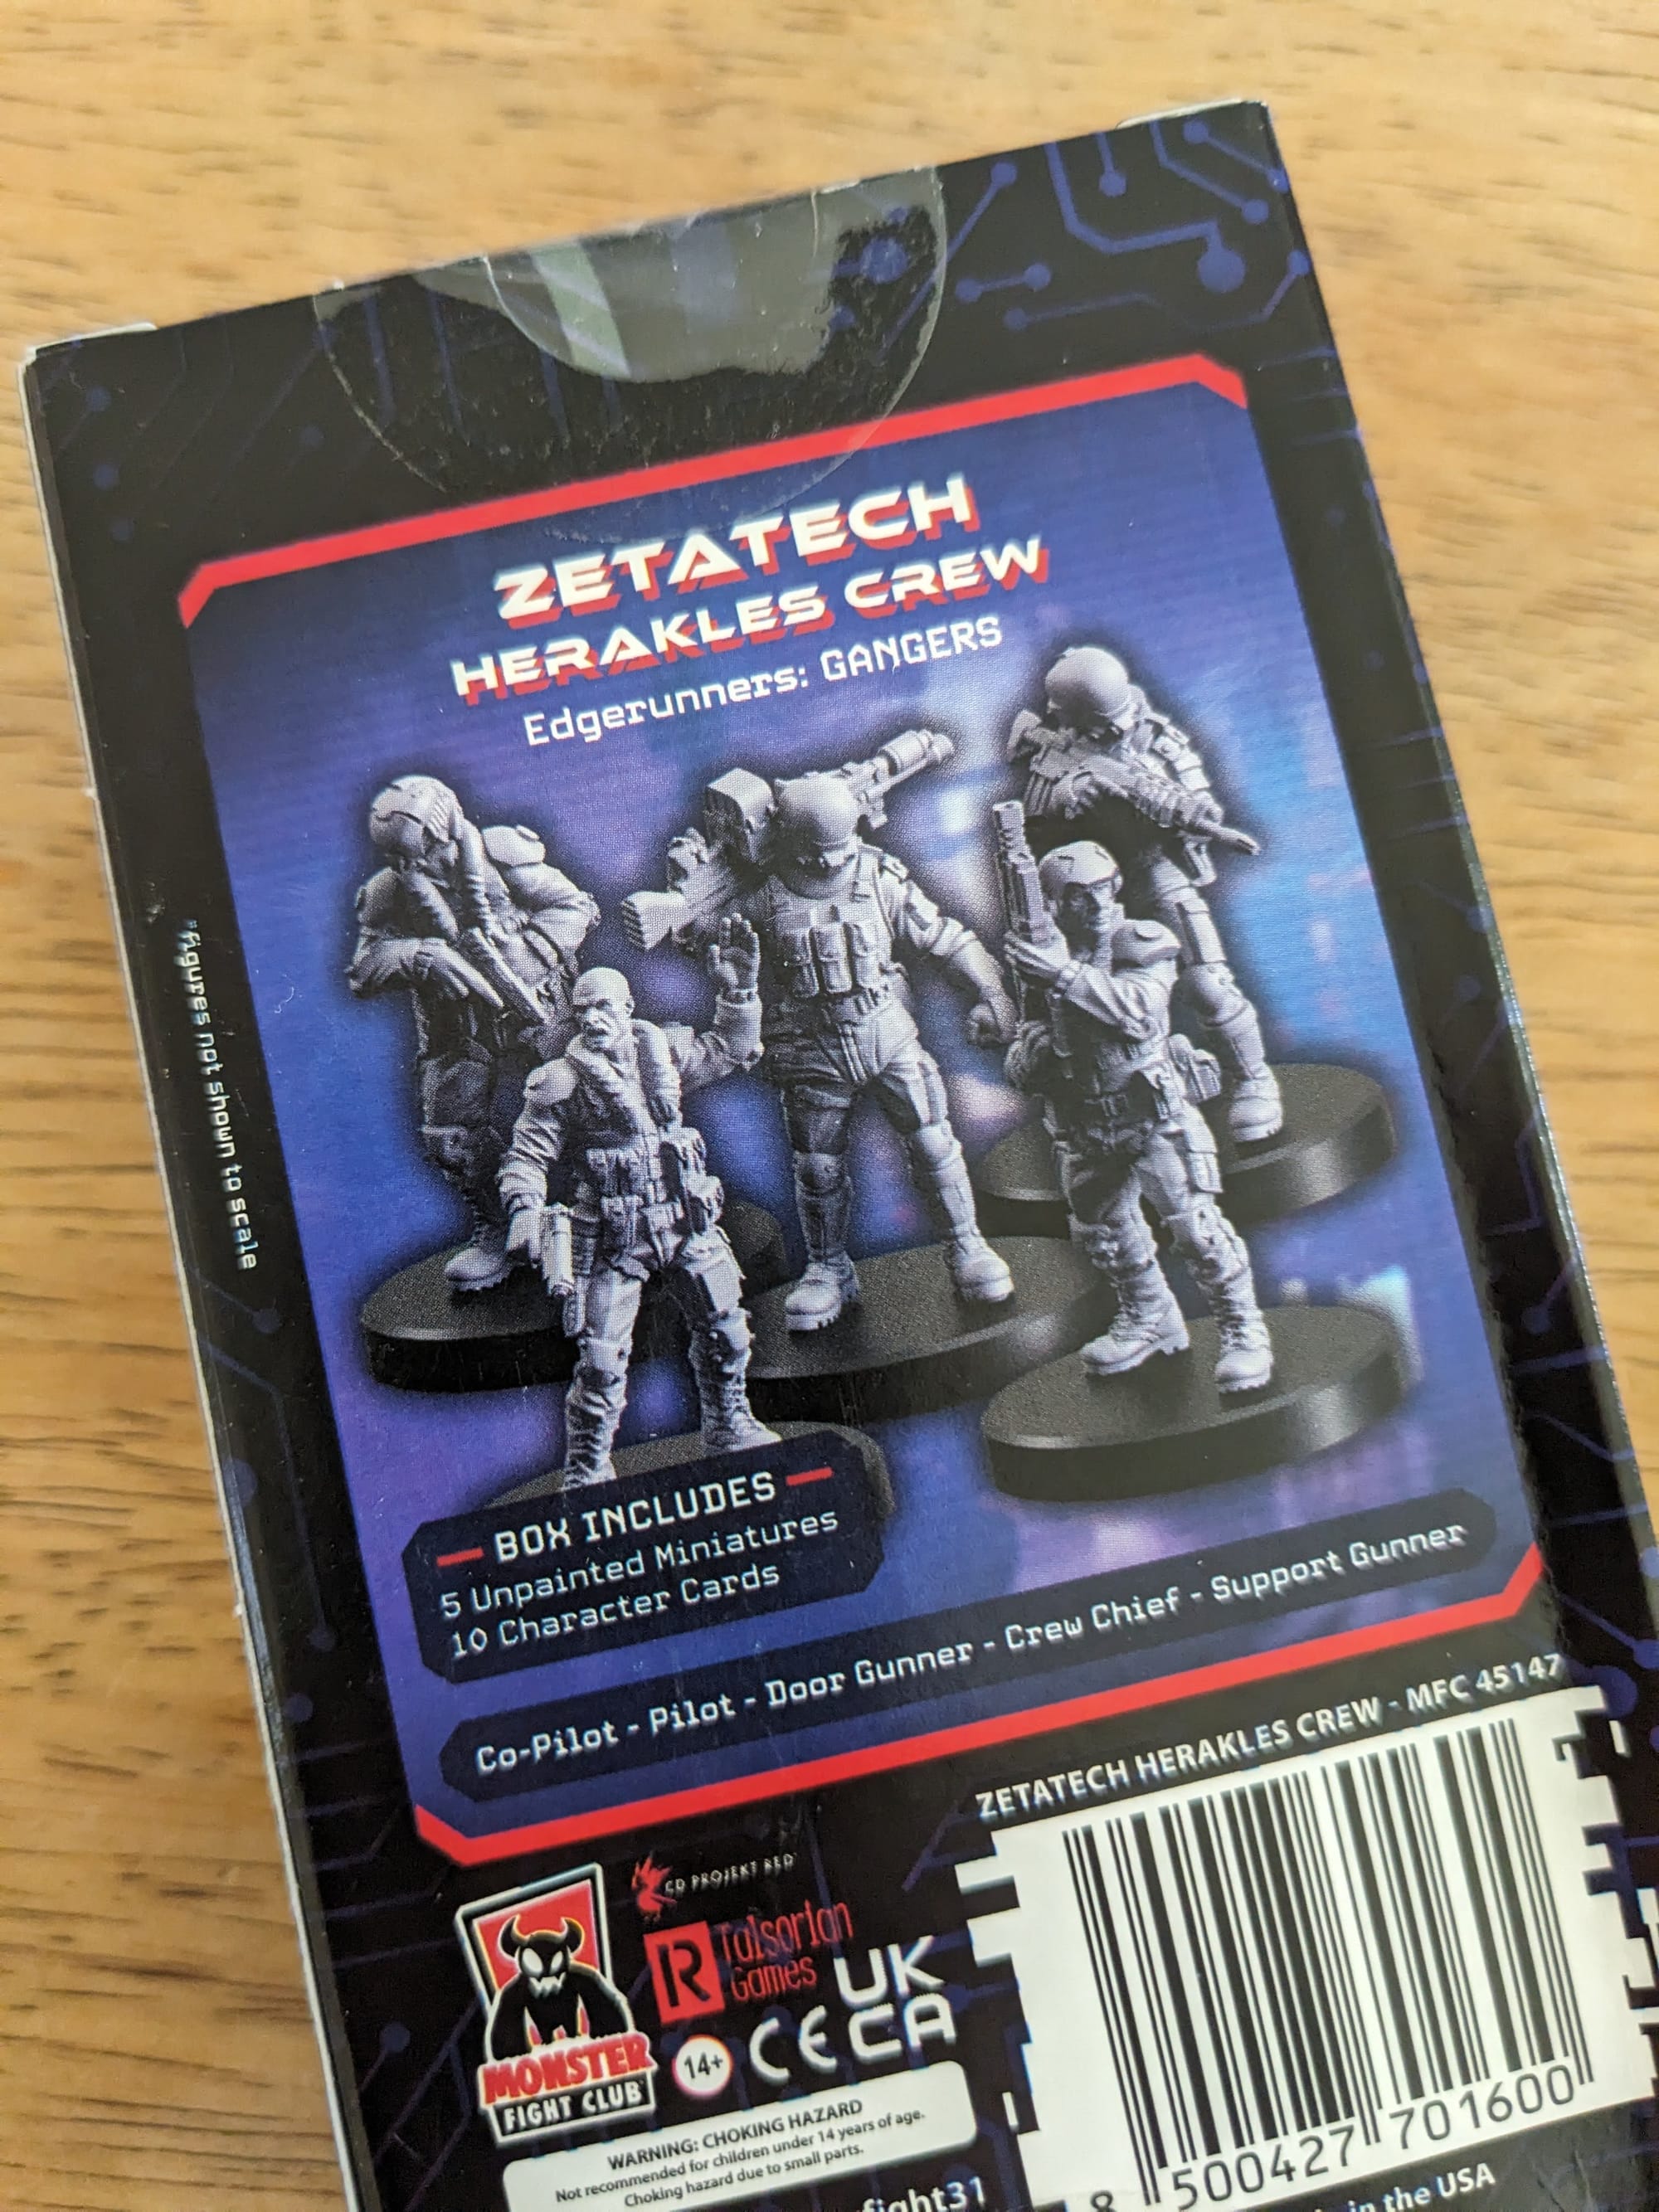
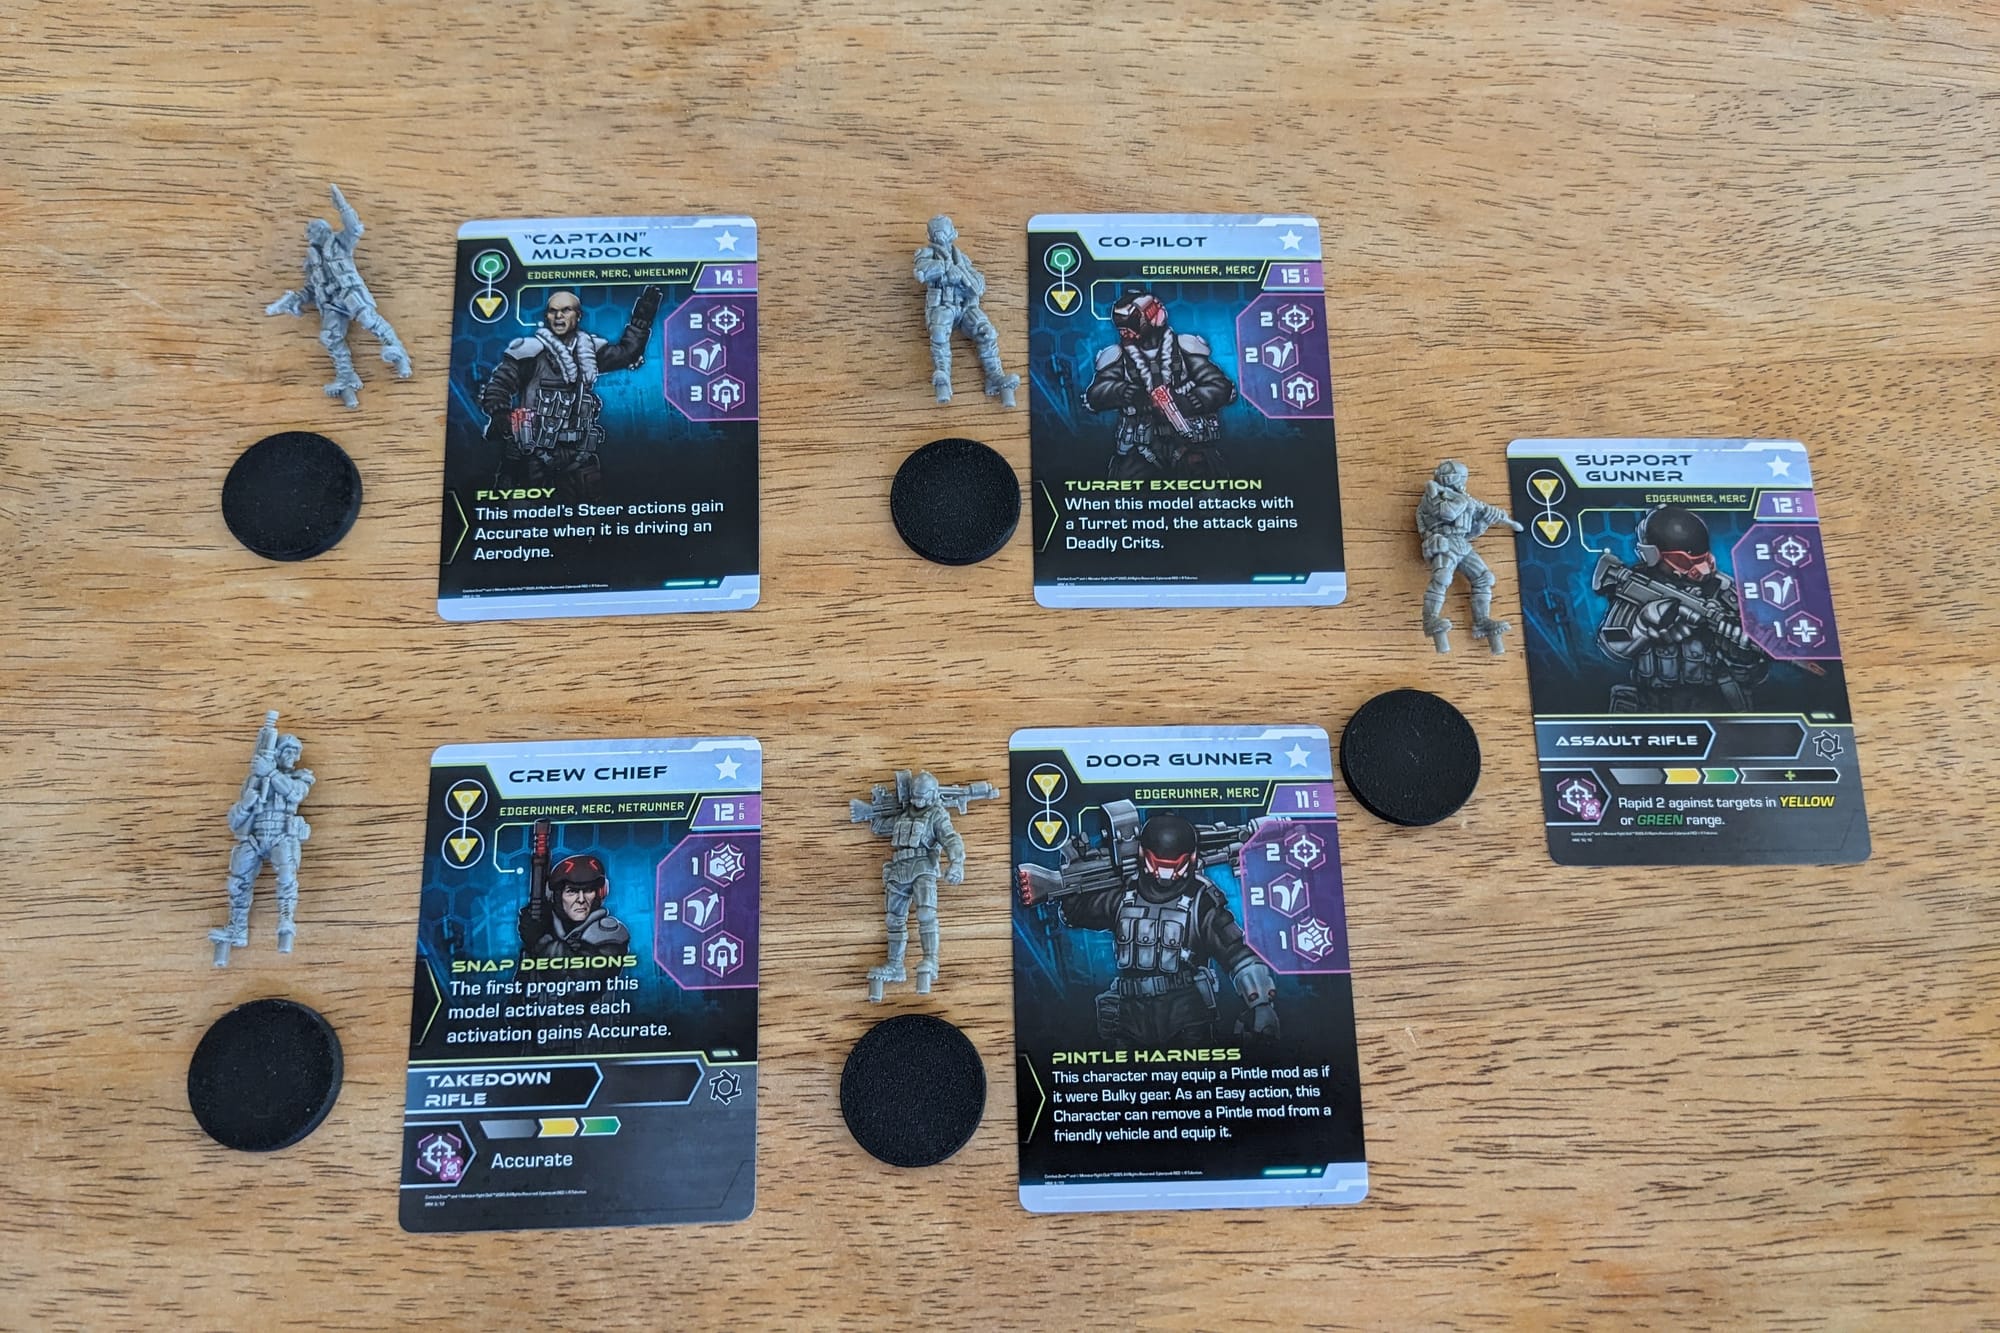
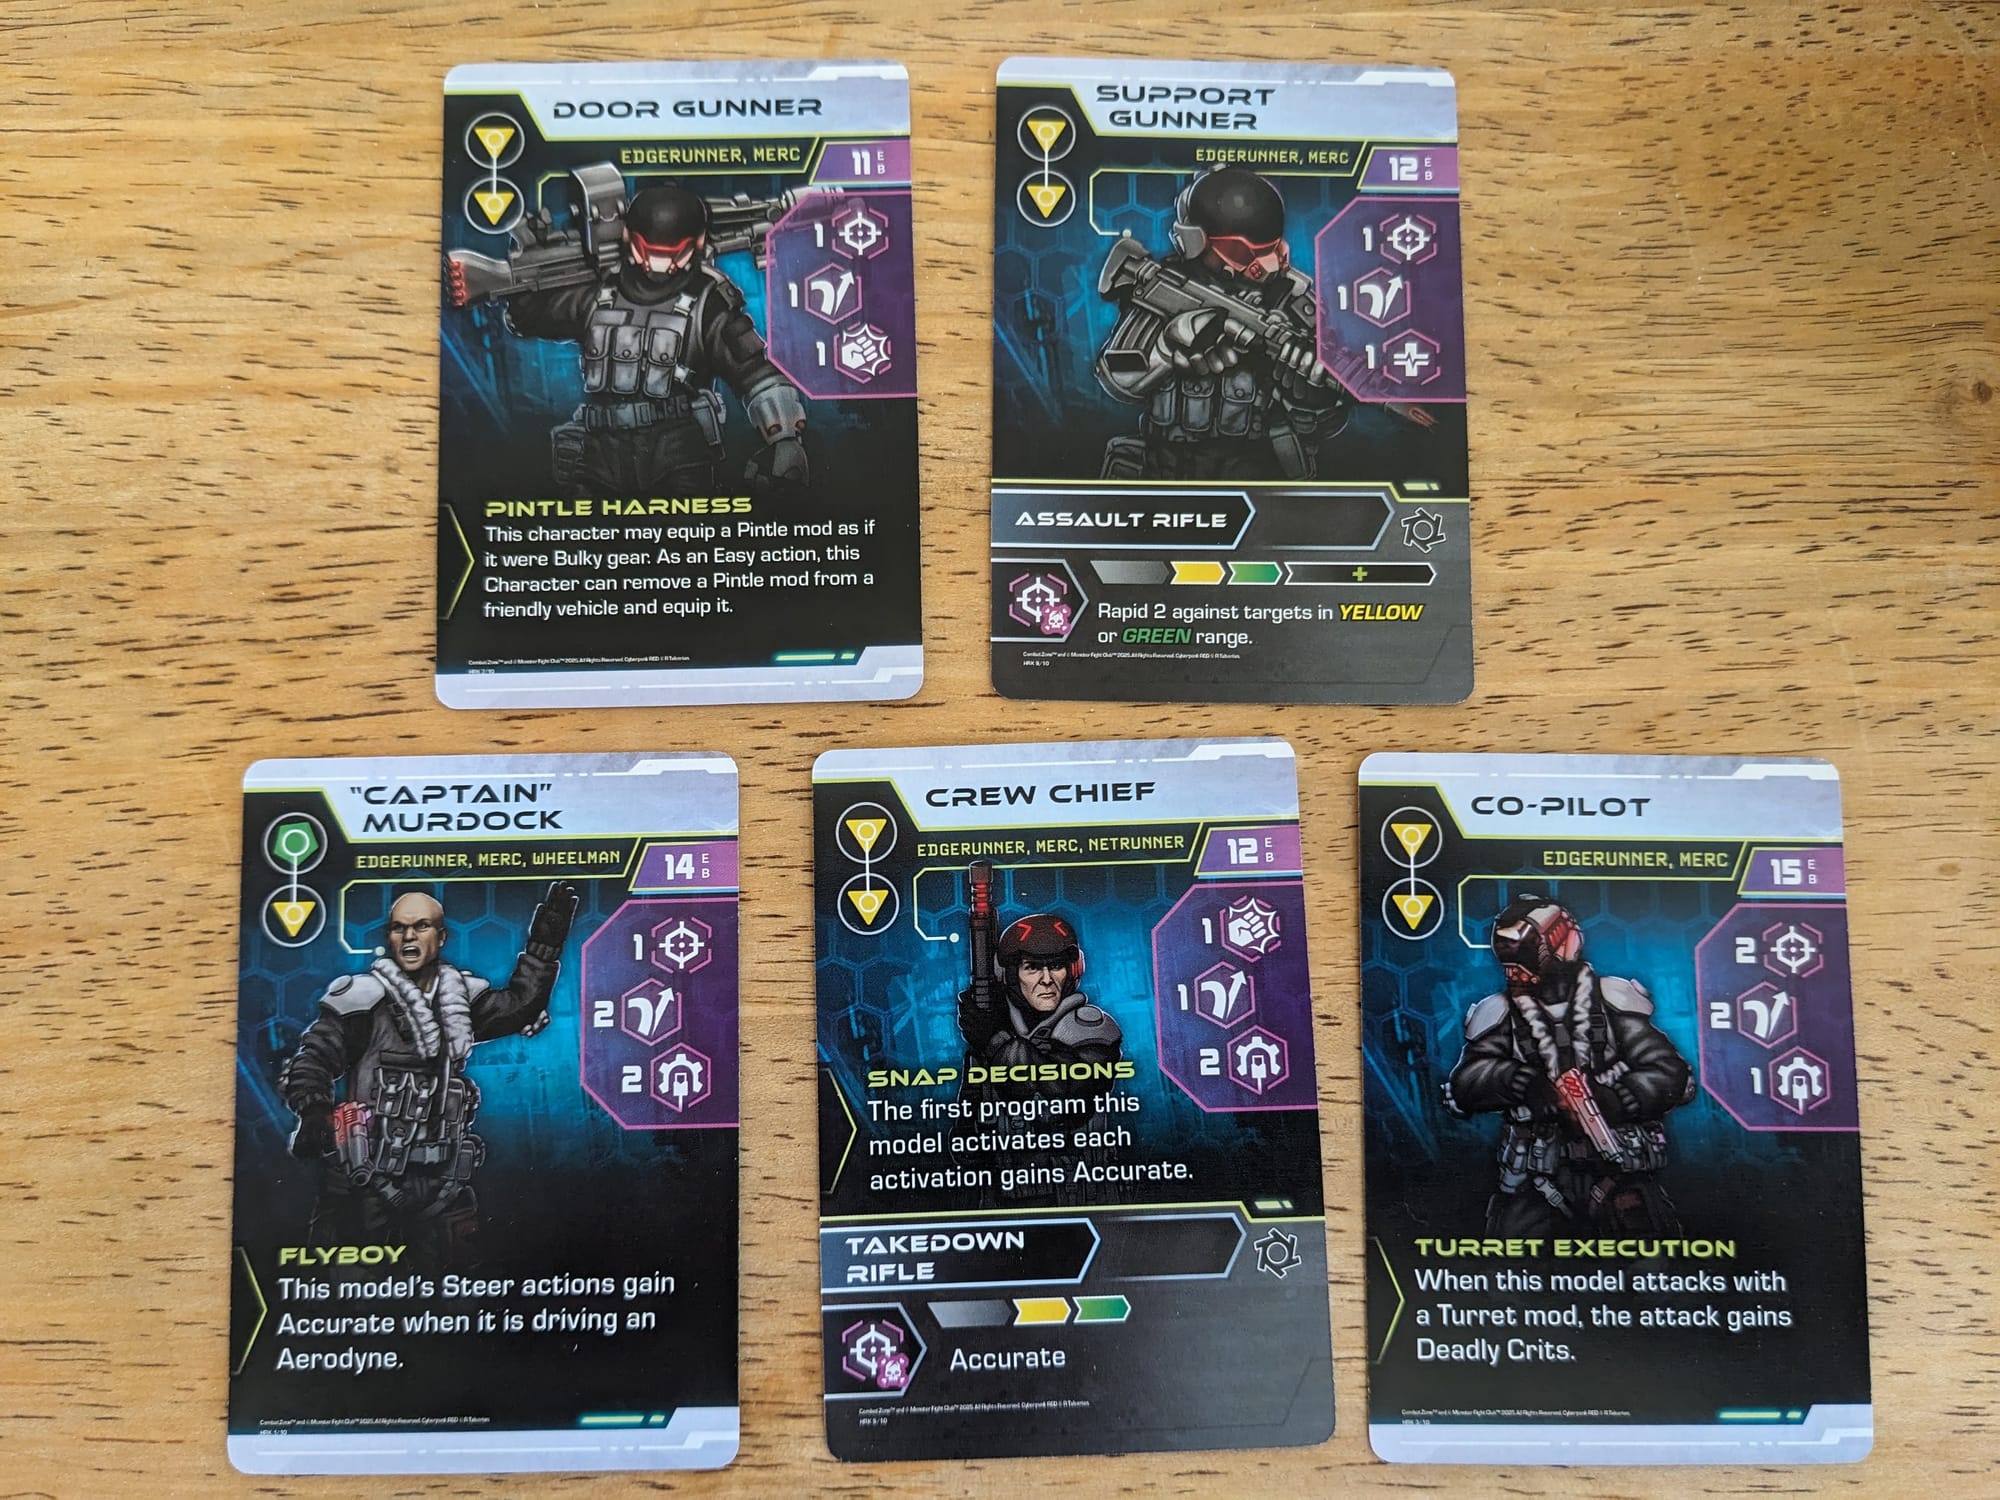
Zetatech Herakles Crew Unboxing
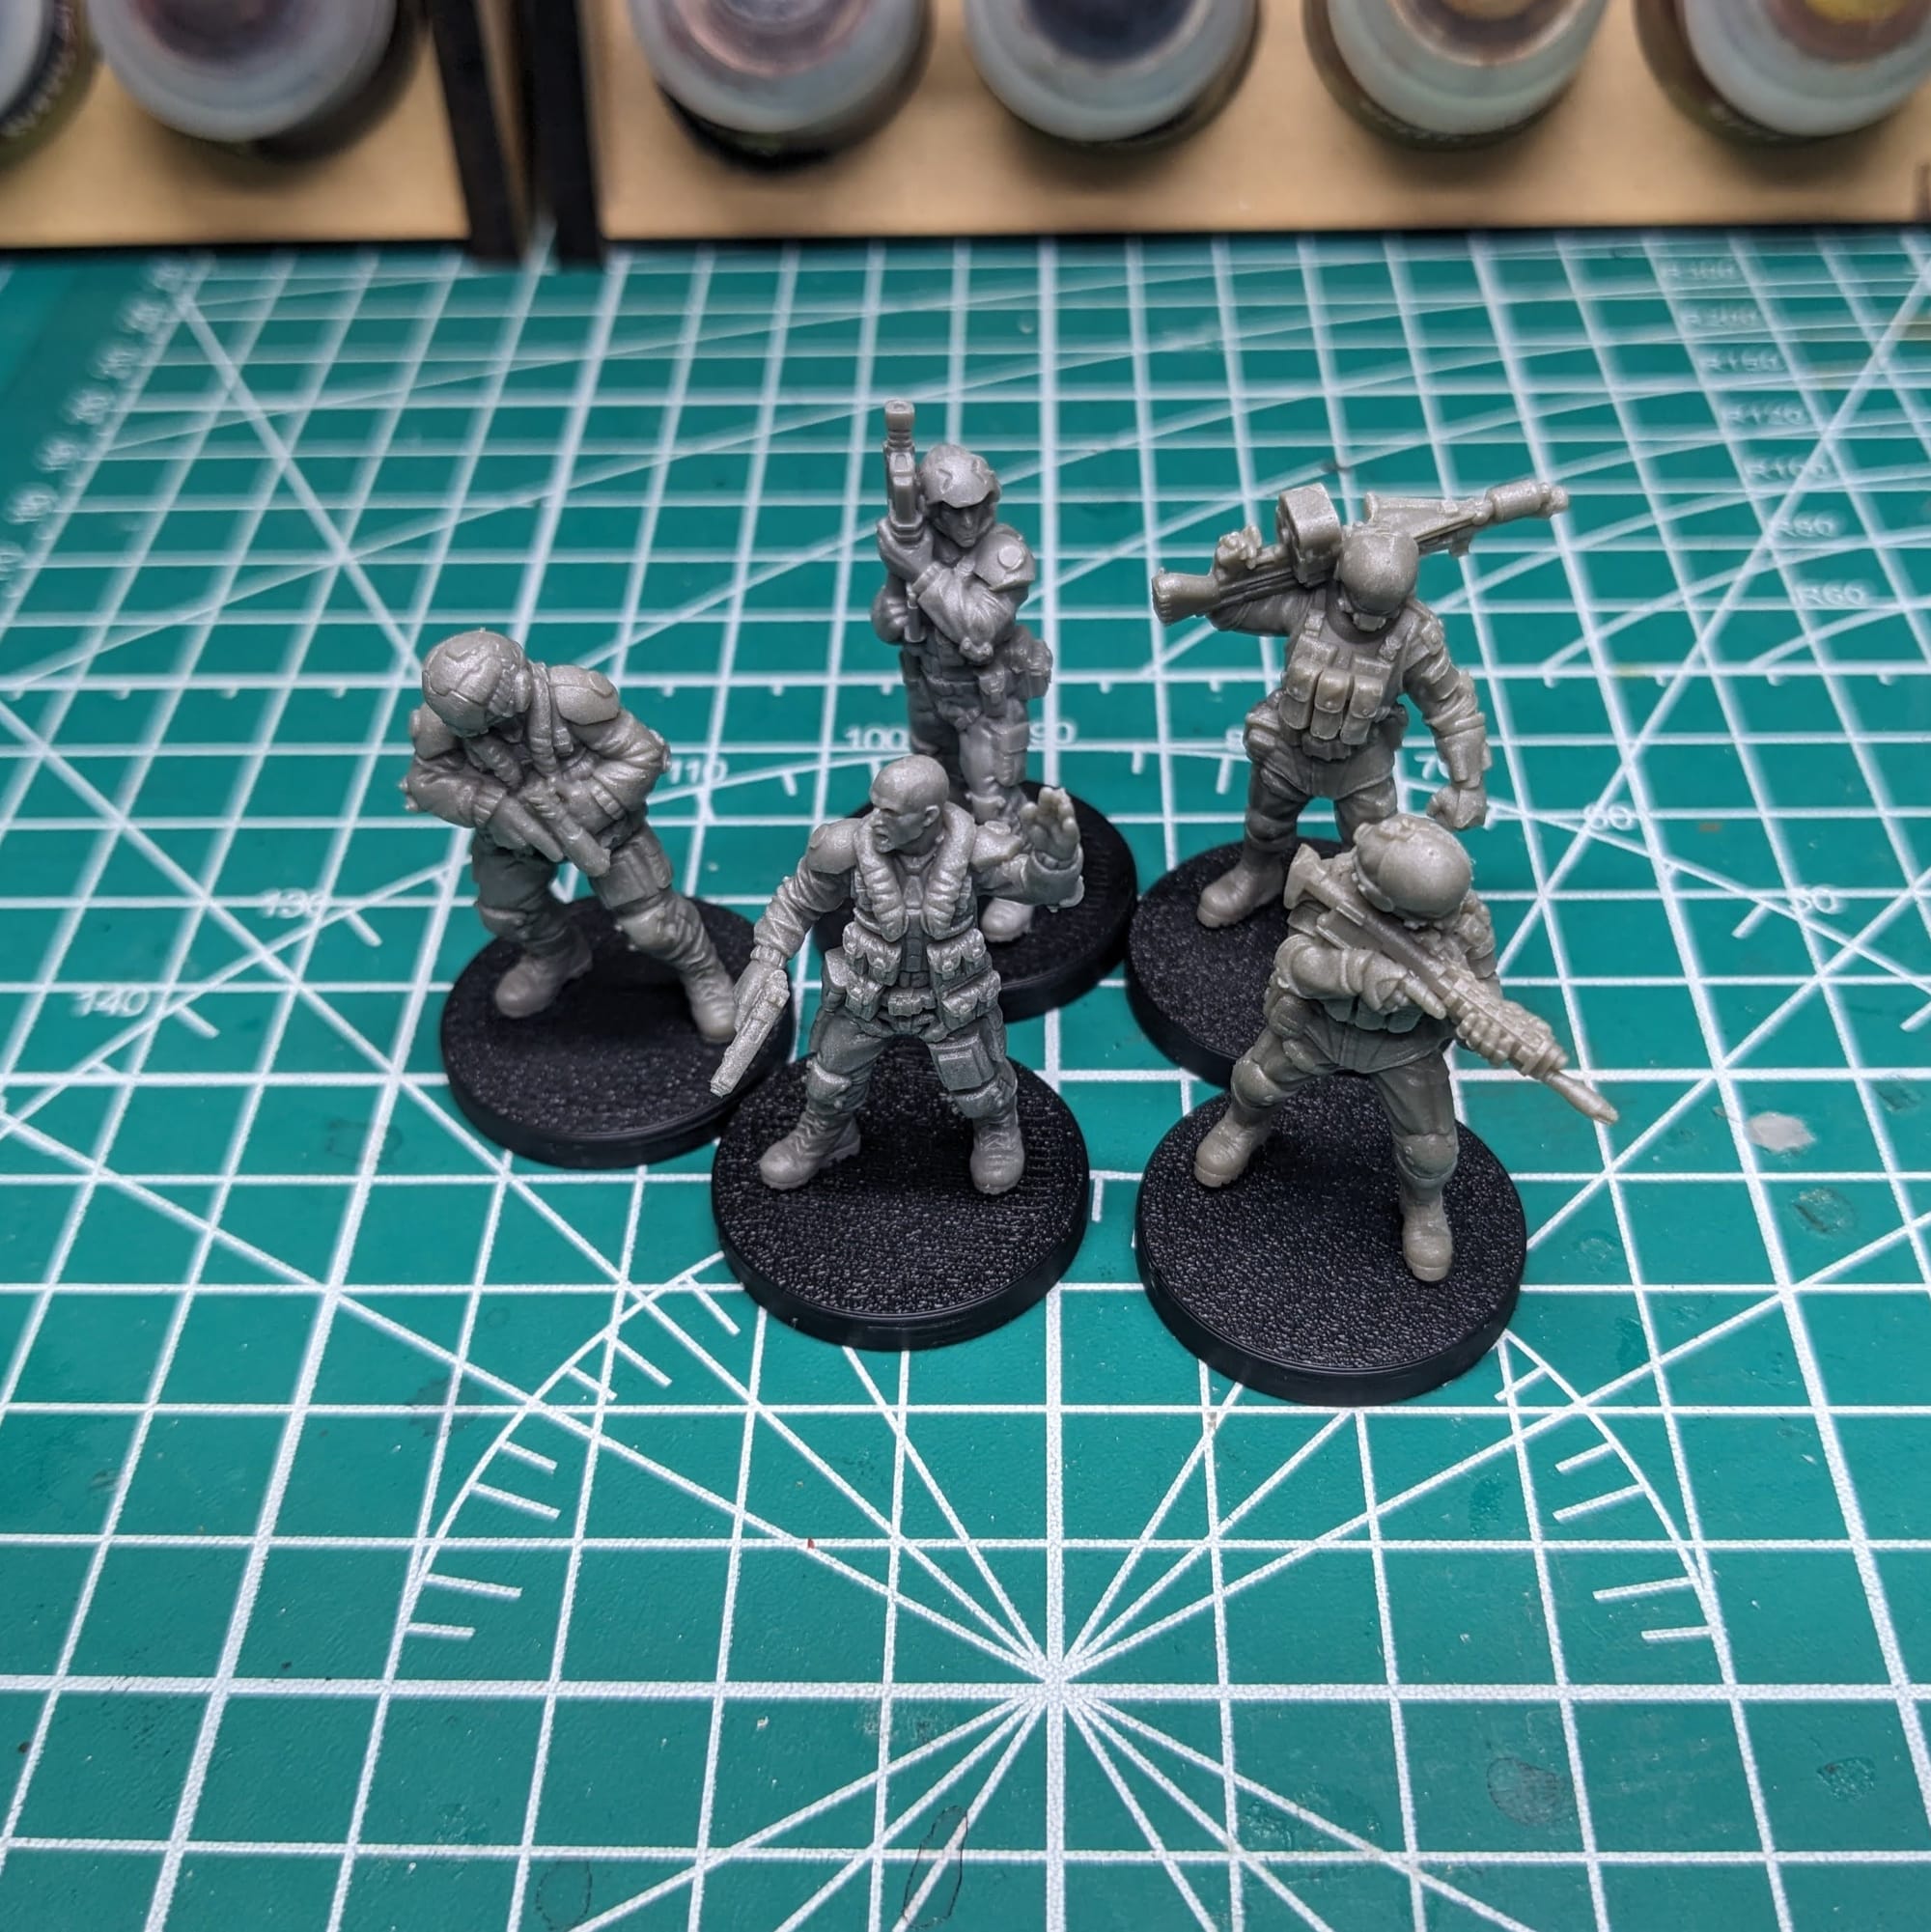
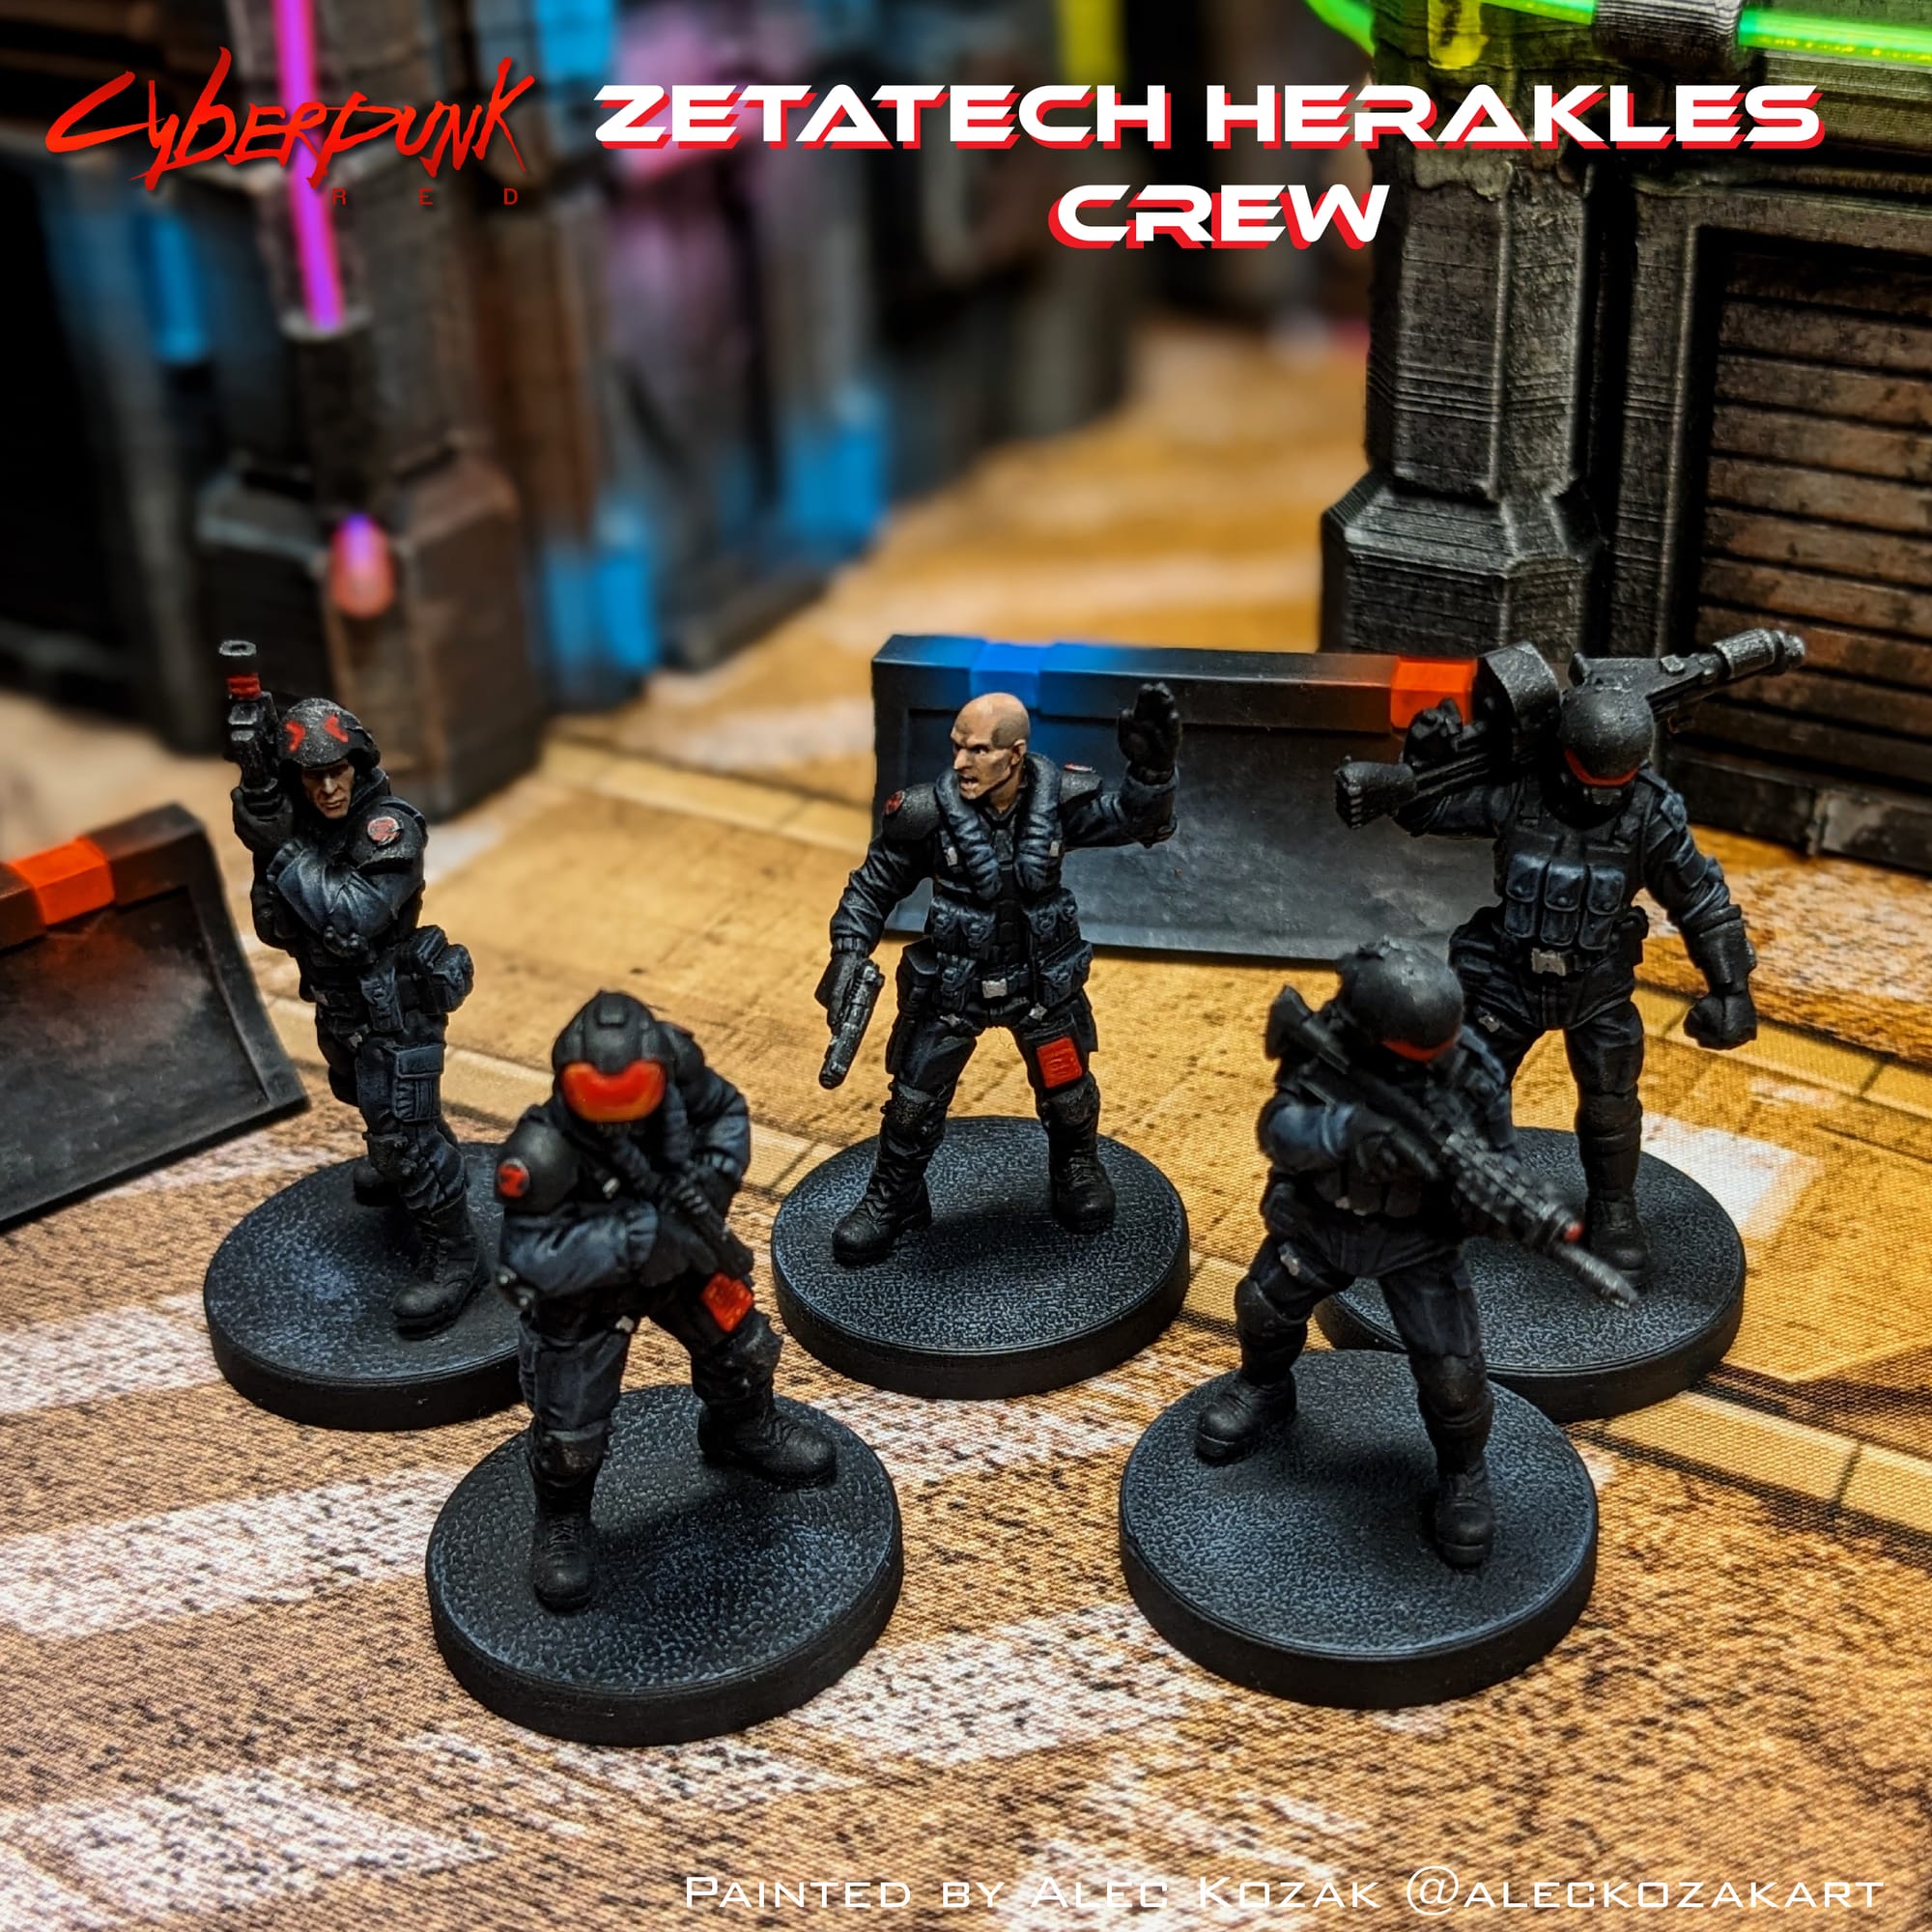
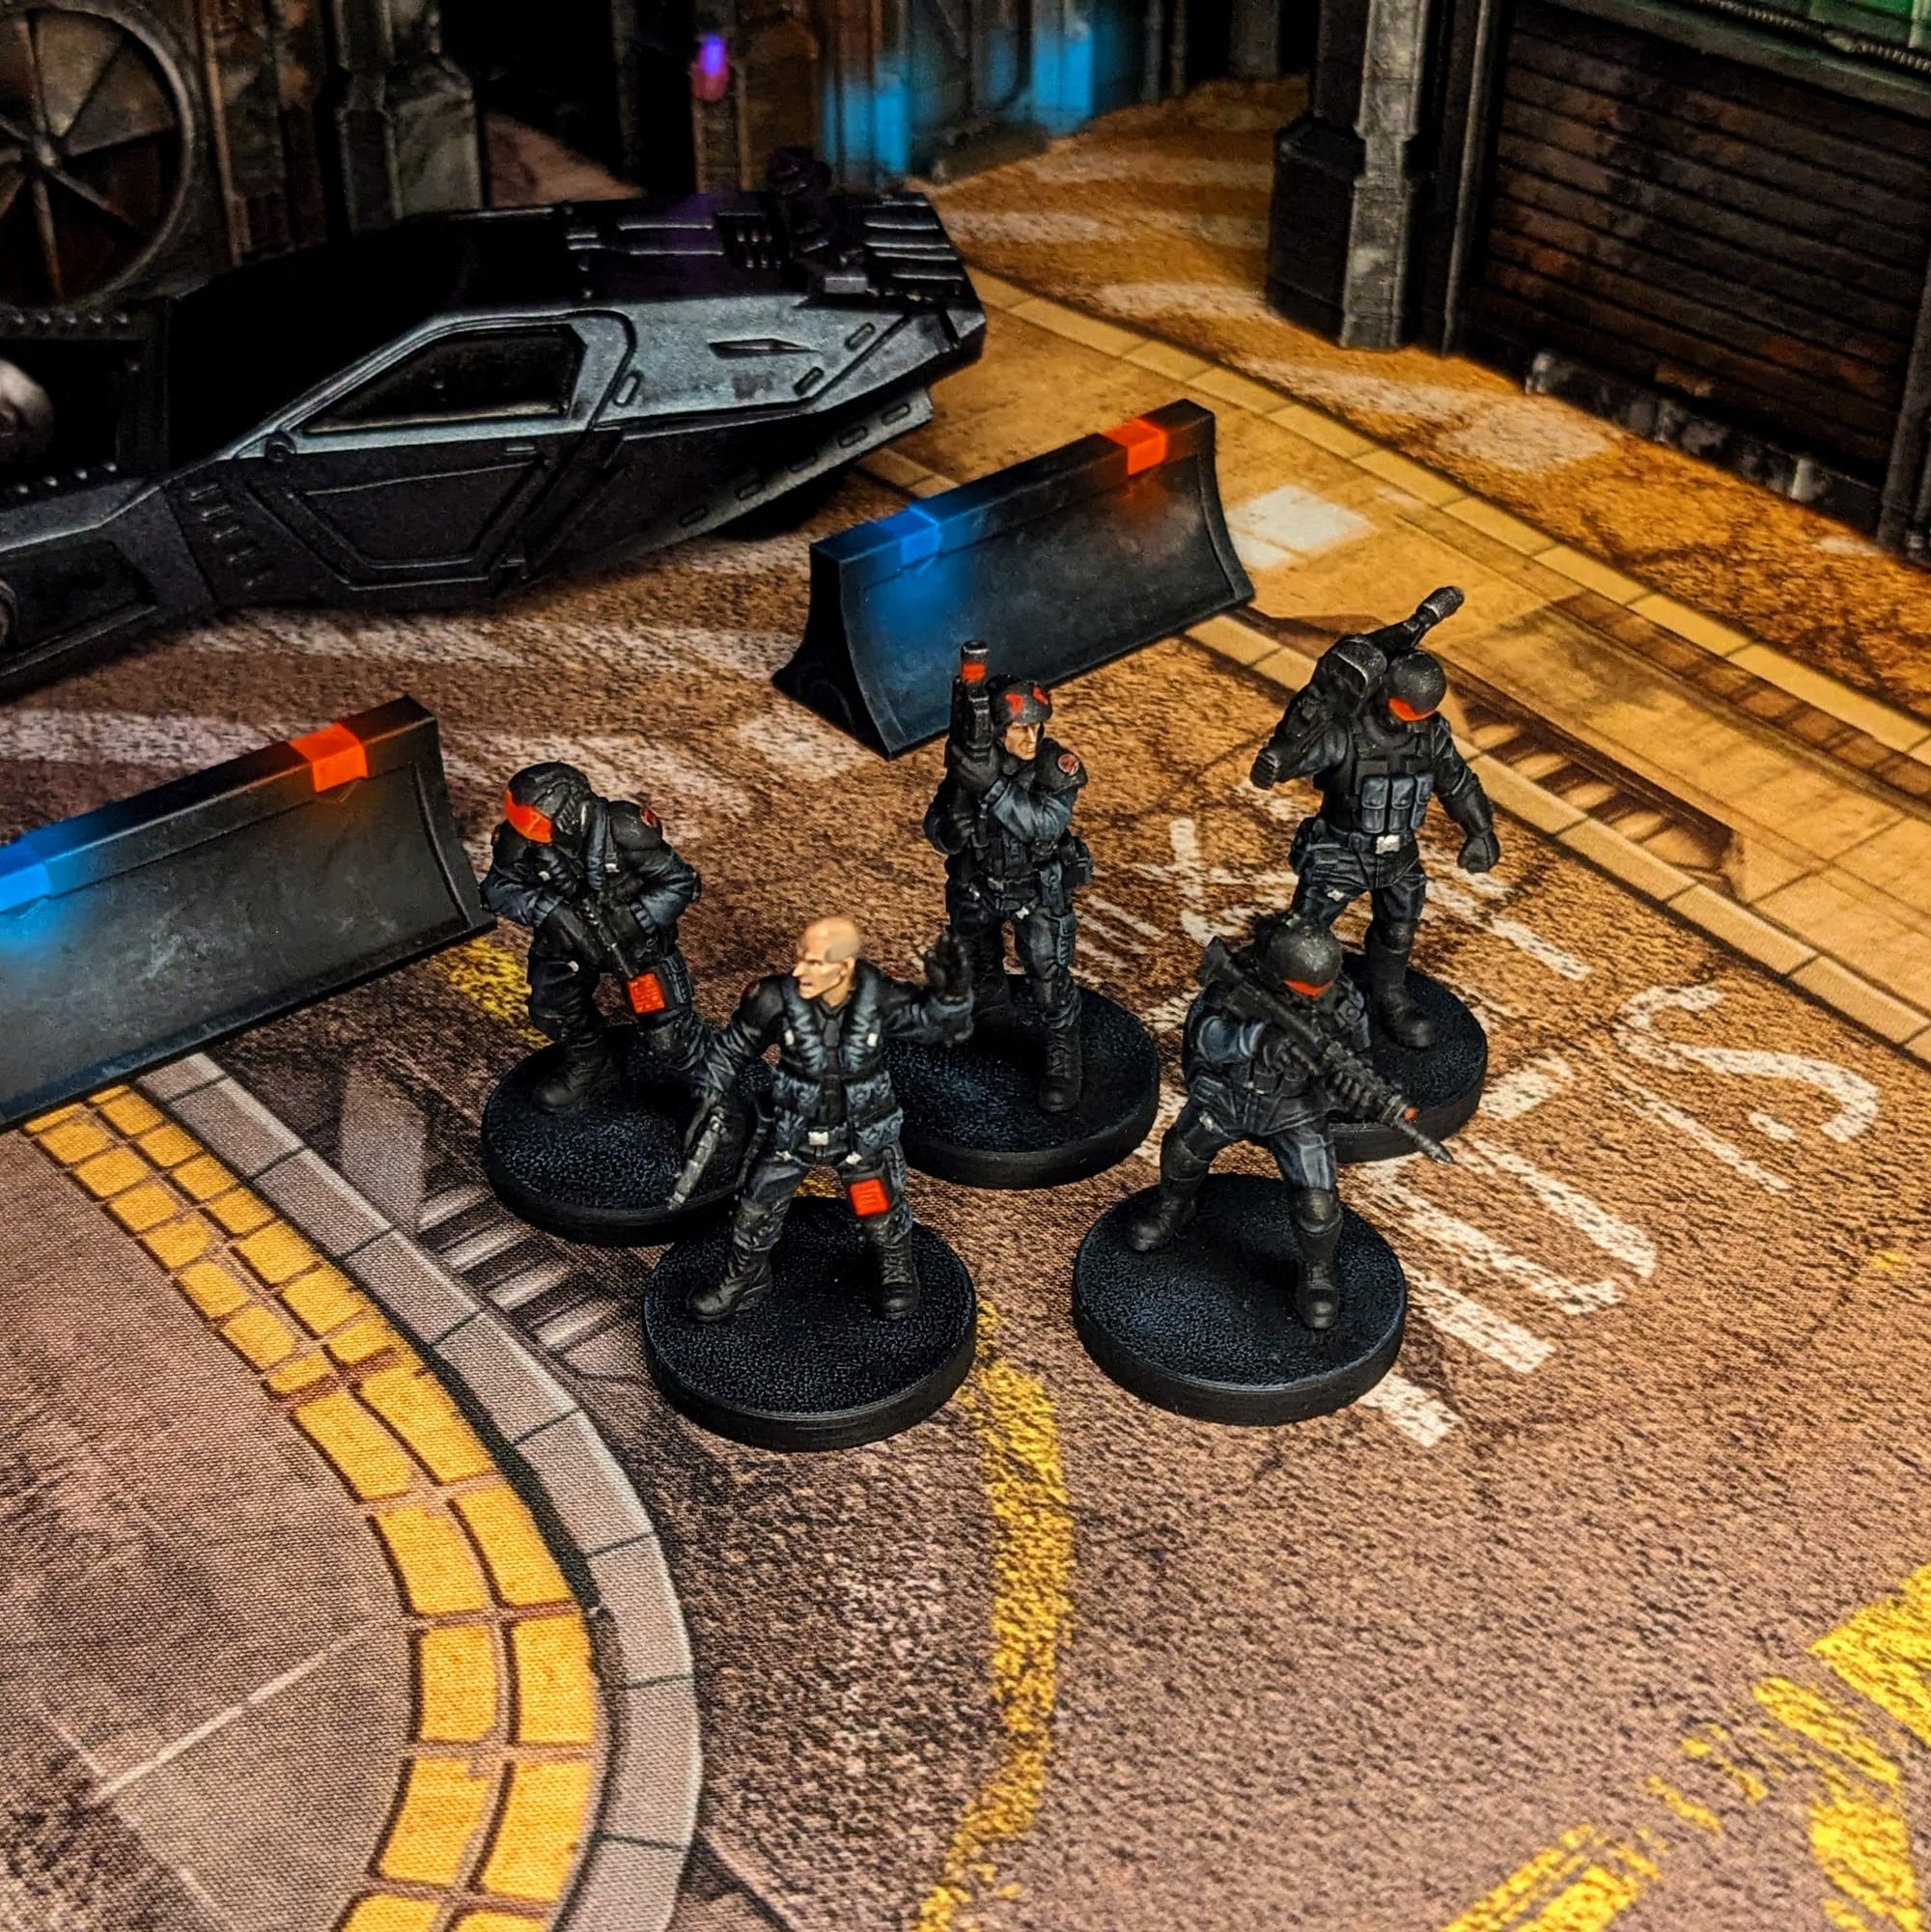
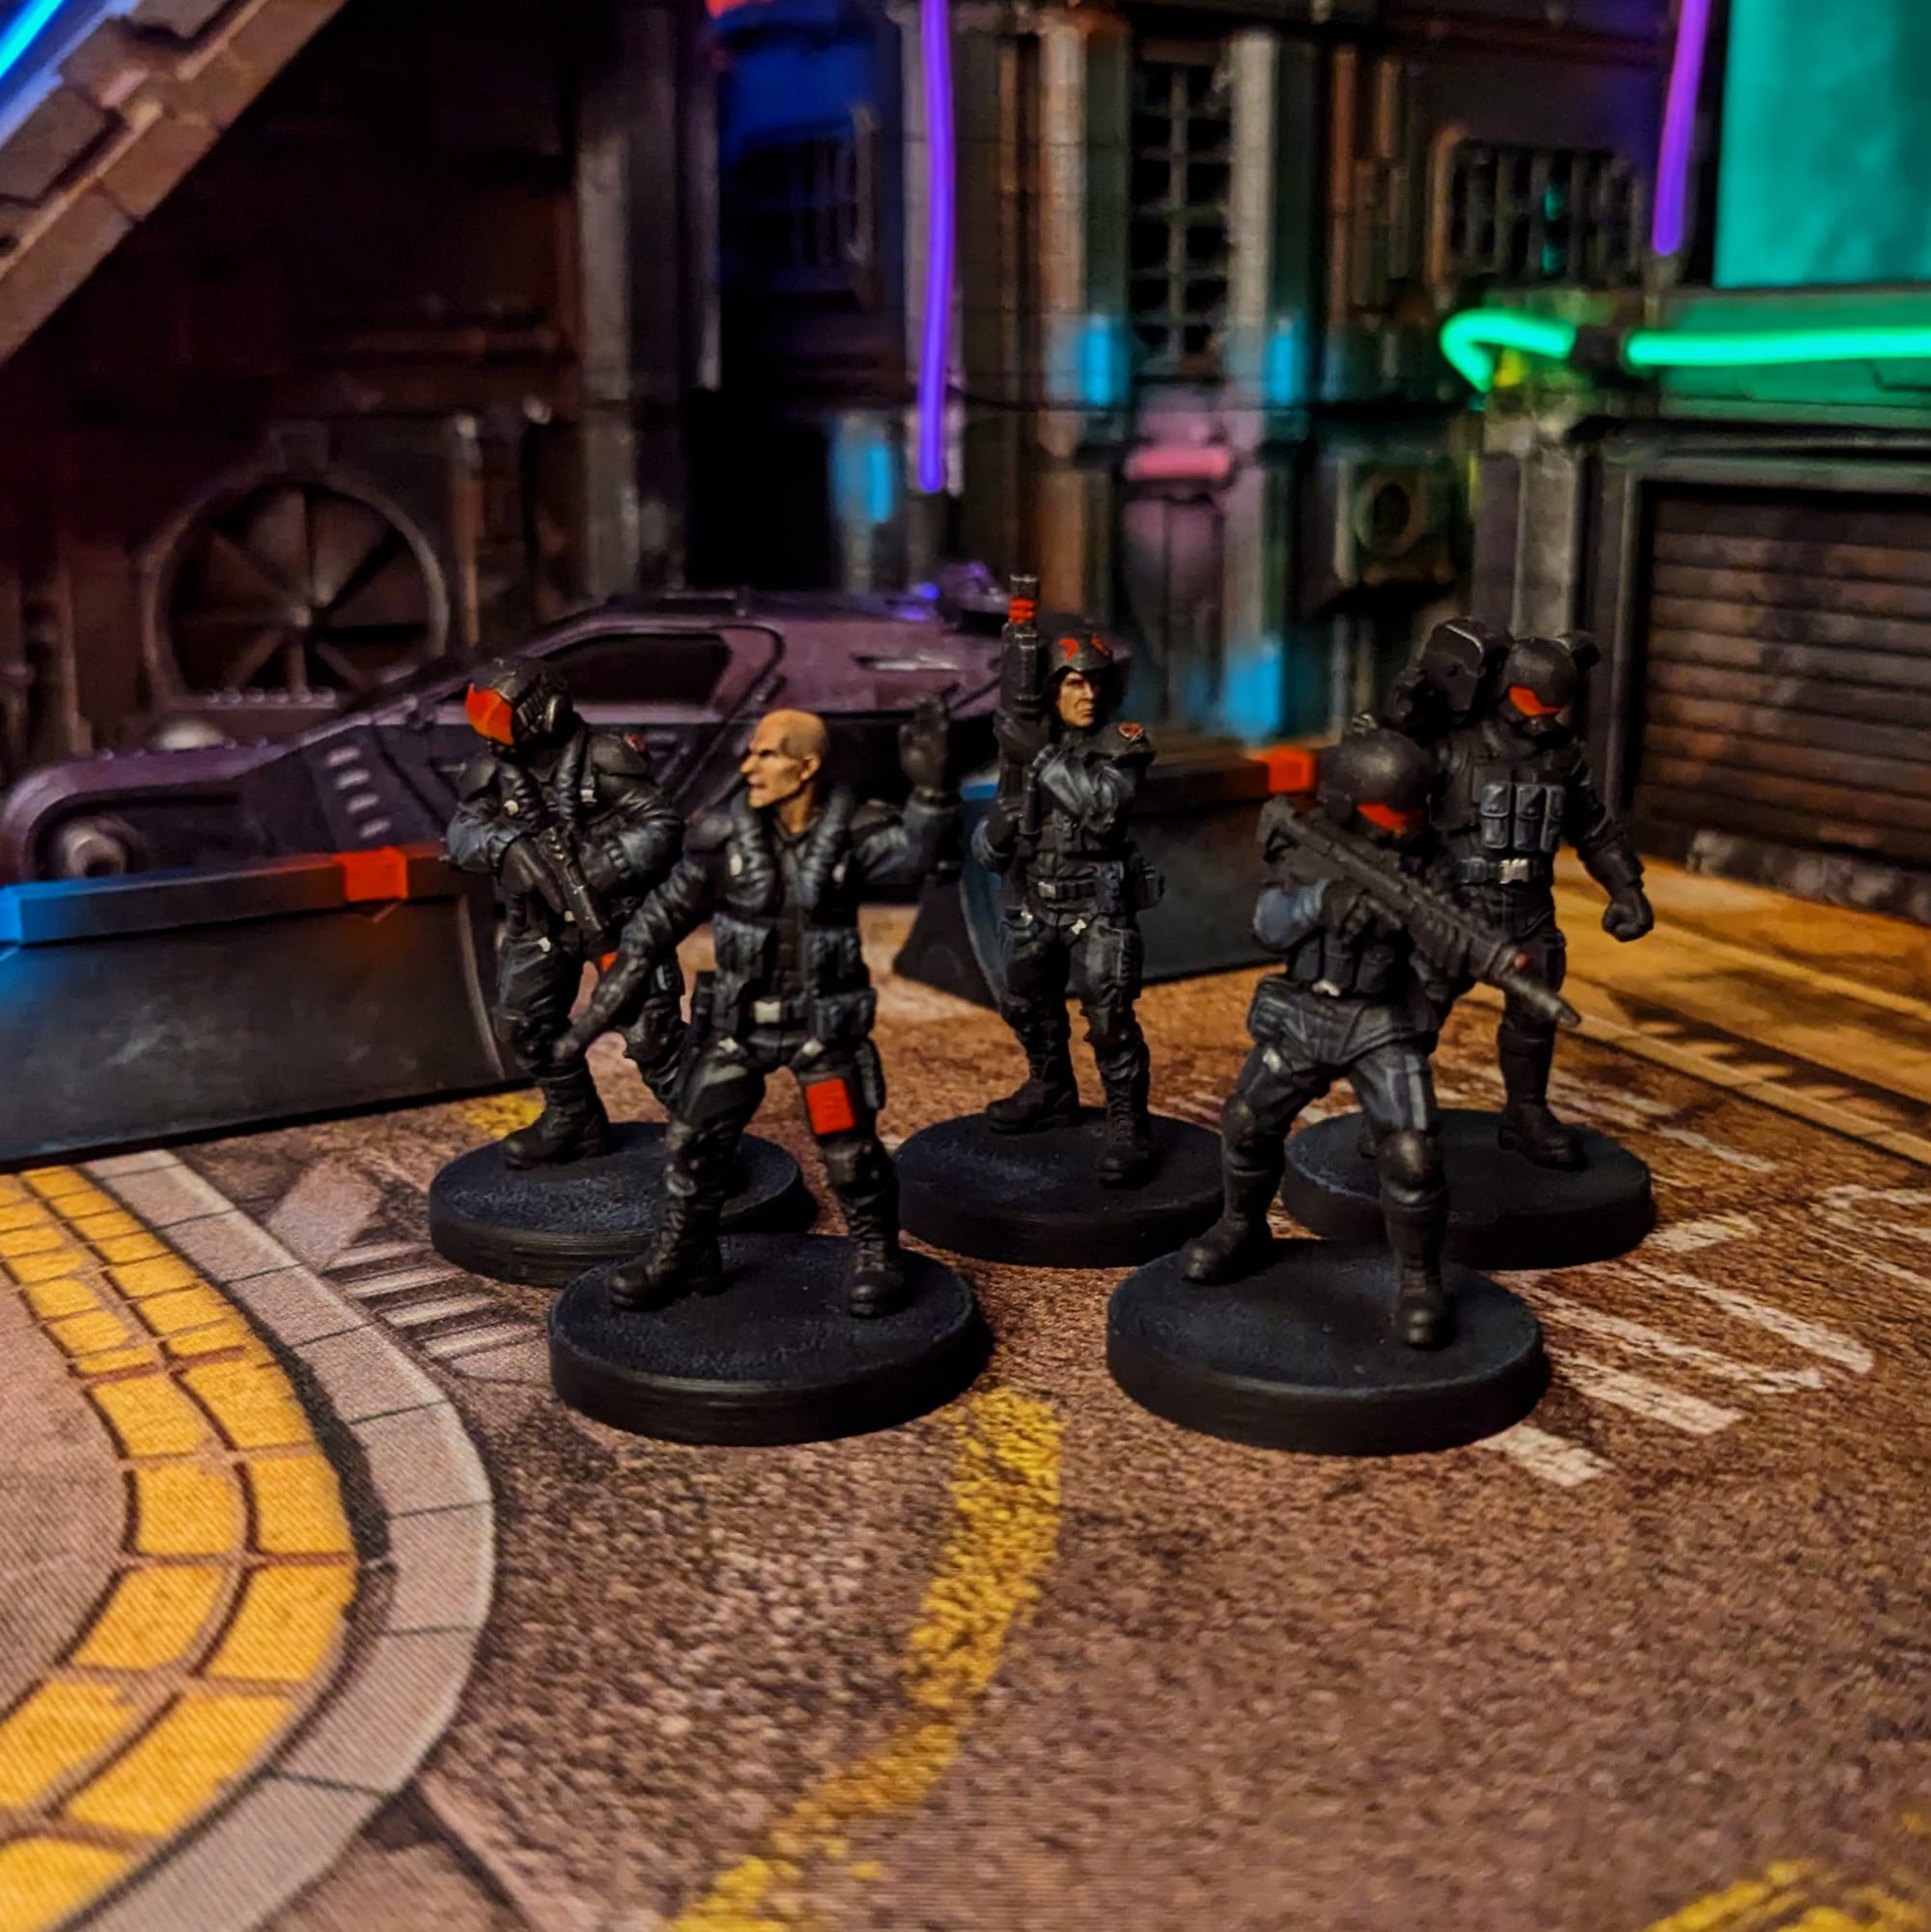
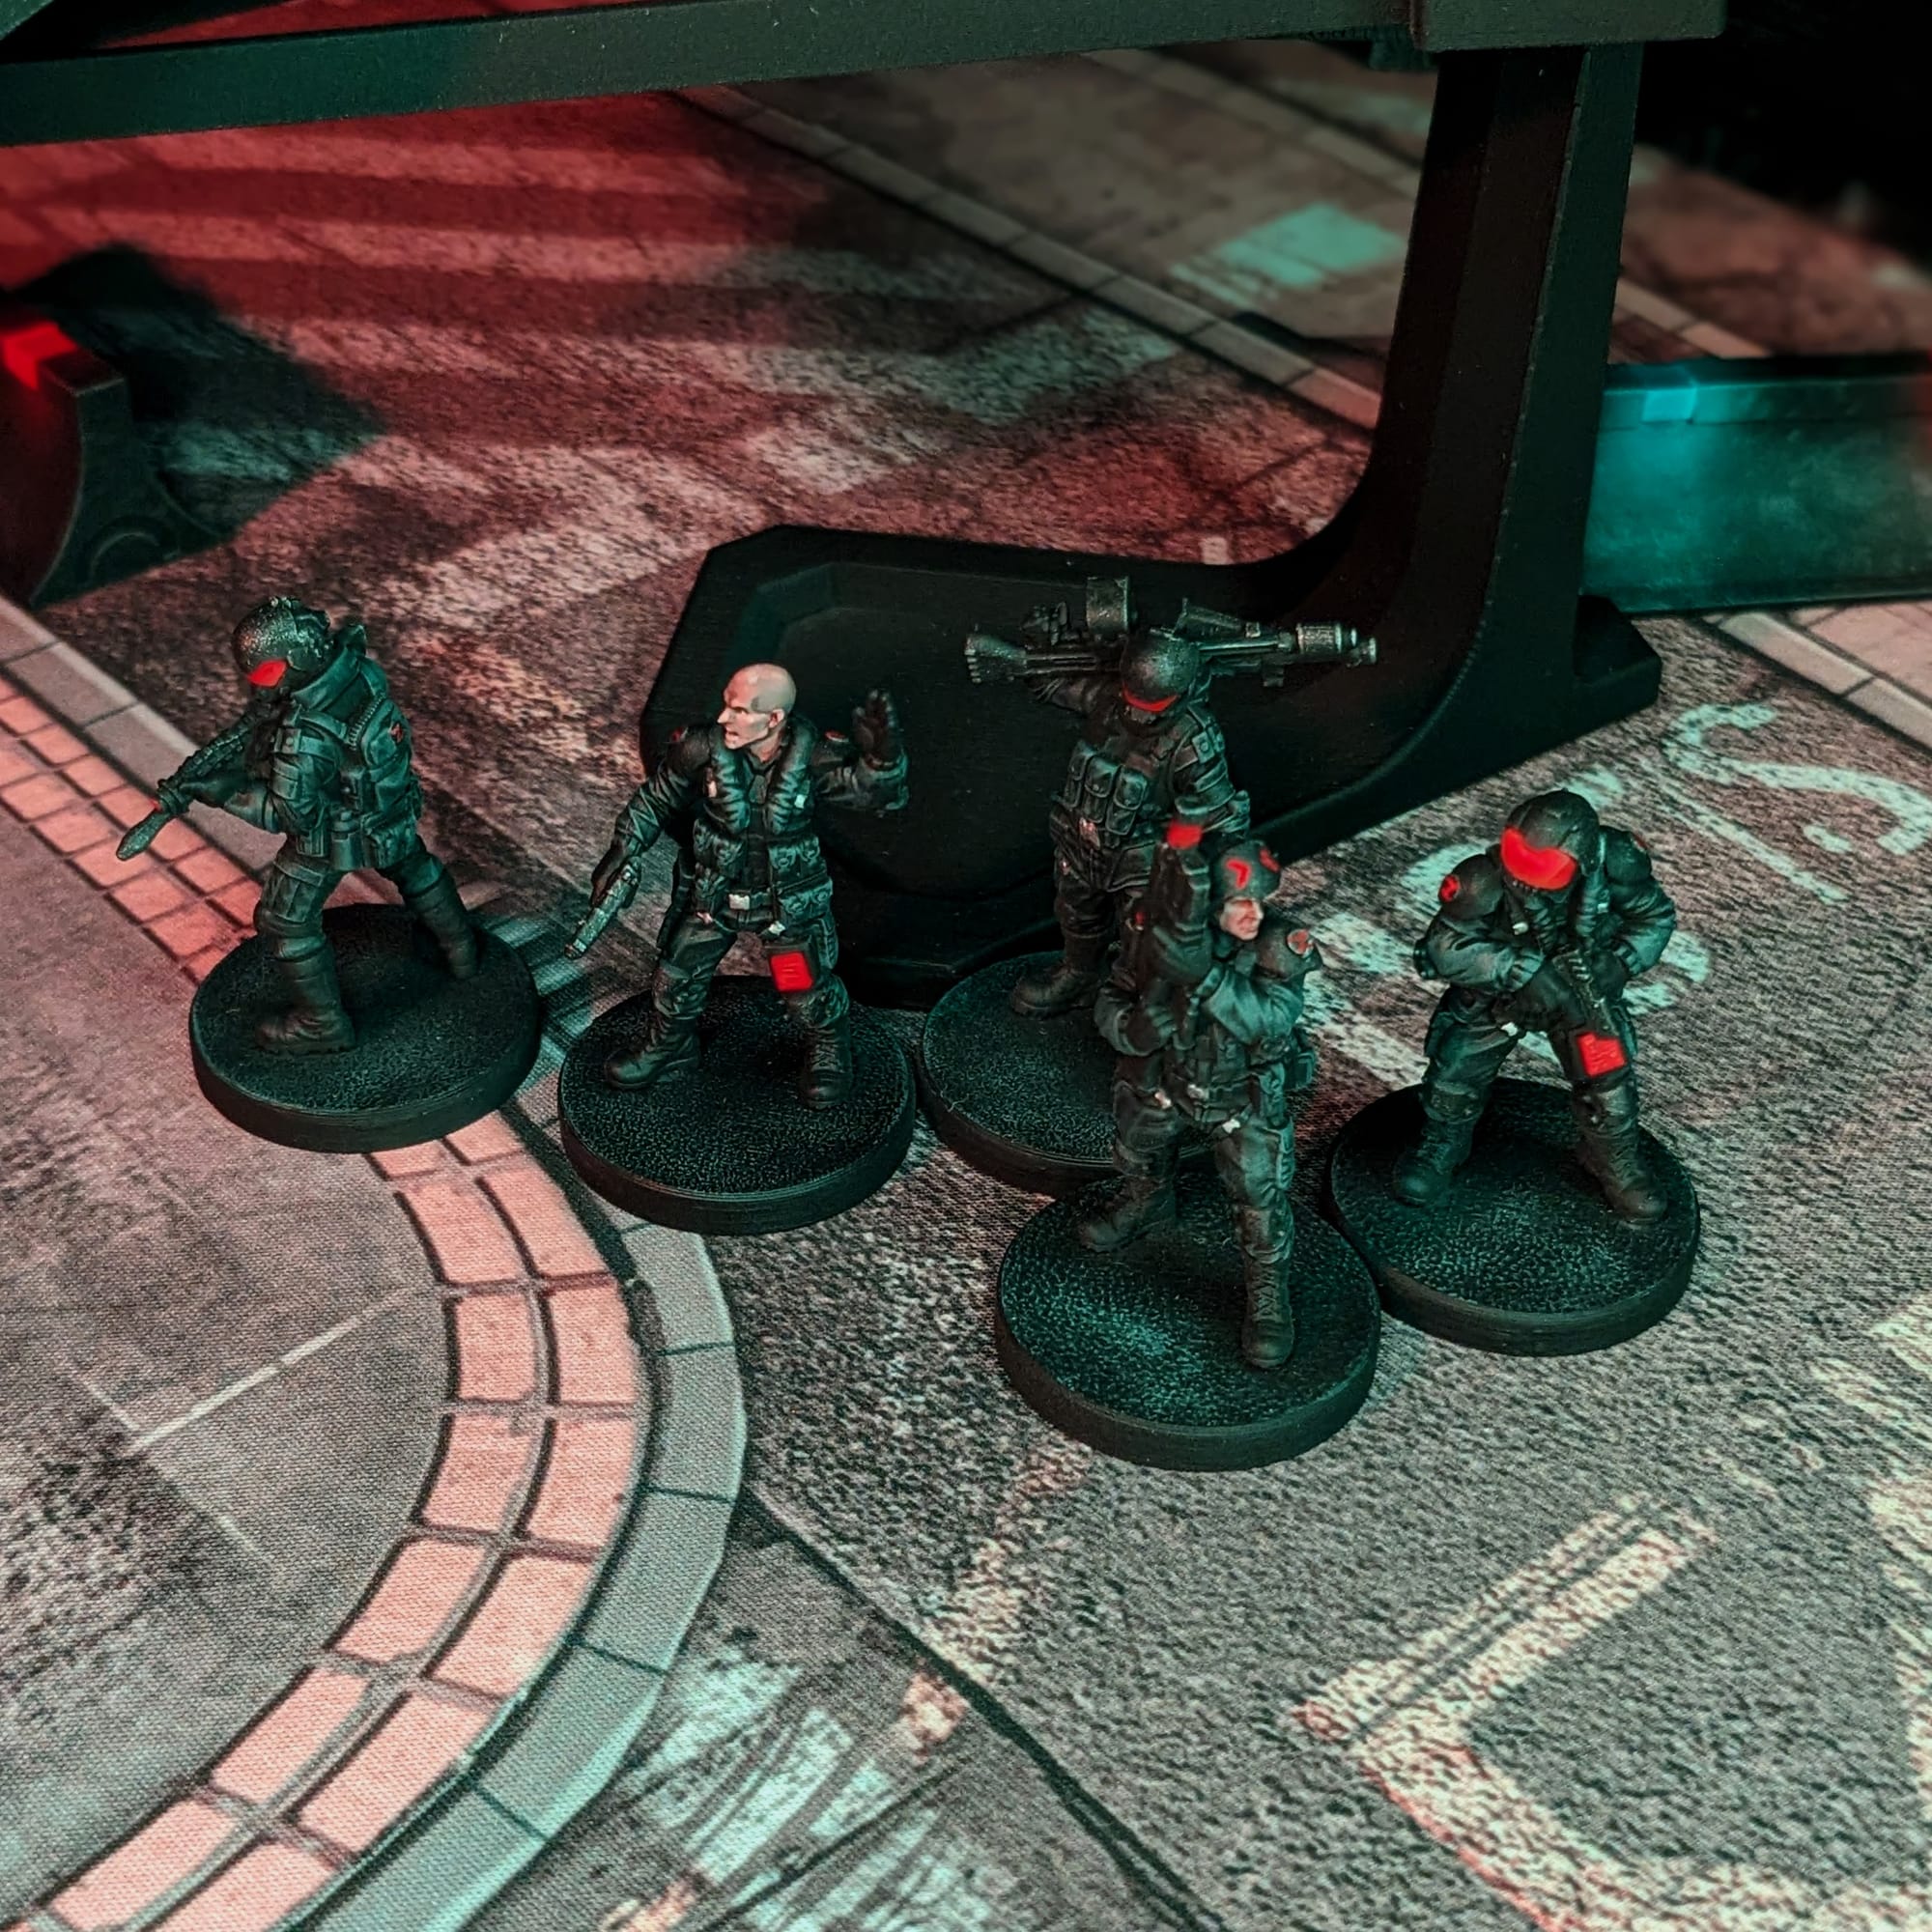
The Zetatech Herakles Crew Box is a perfect pairing for the dropship. Built to work directly alongside the Herakles Aerodyne, each model of the crew in the expansion brings something to the table and your gang. The box includes five miniatures and ten character cards.
Assembling Your Models
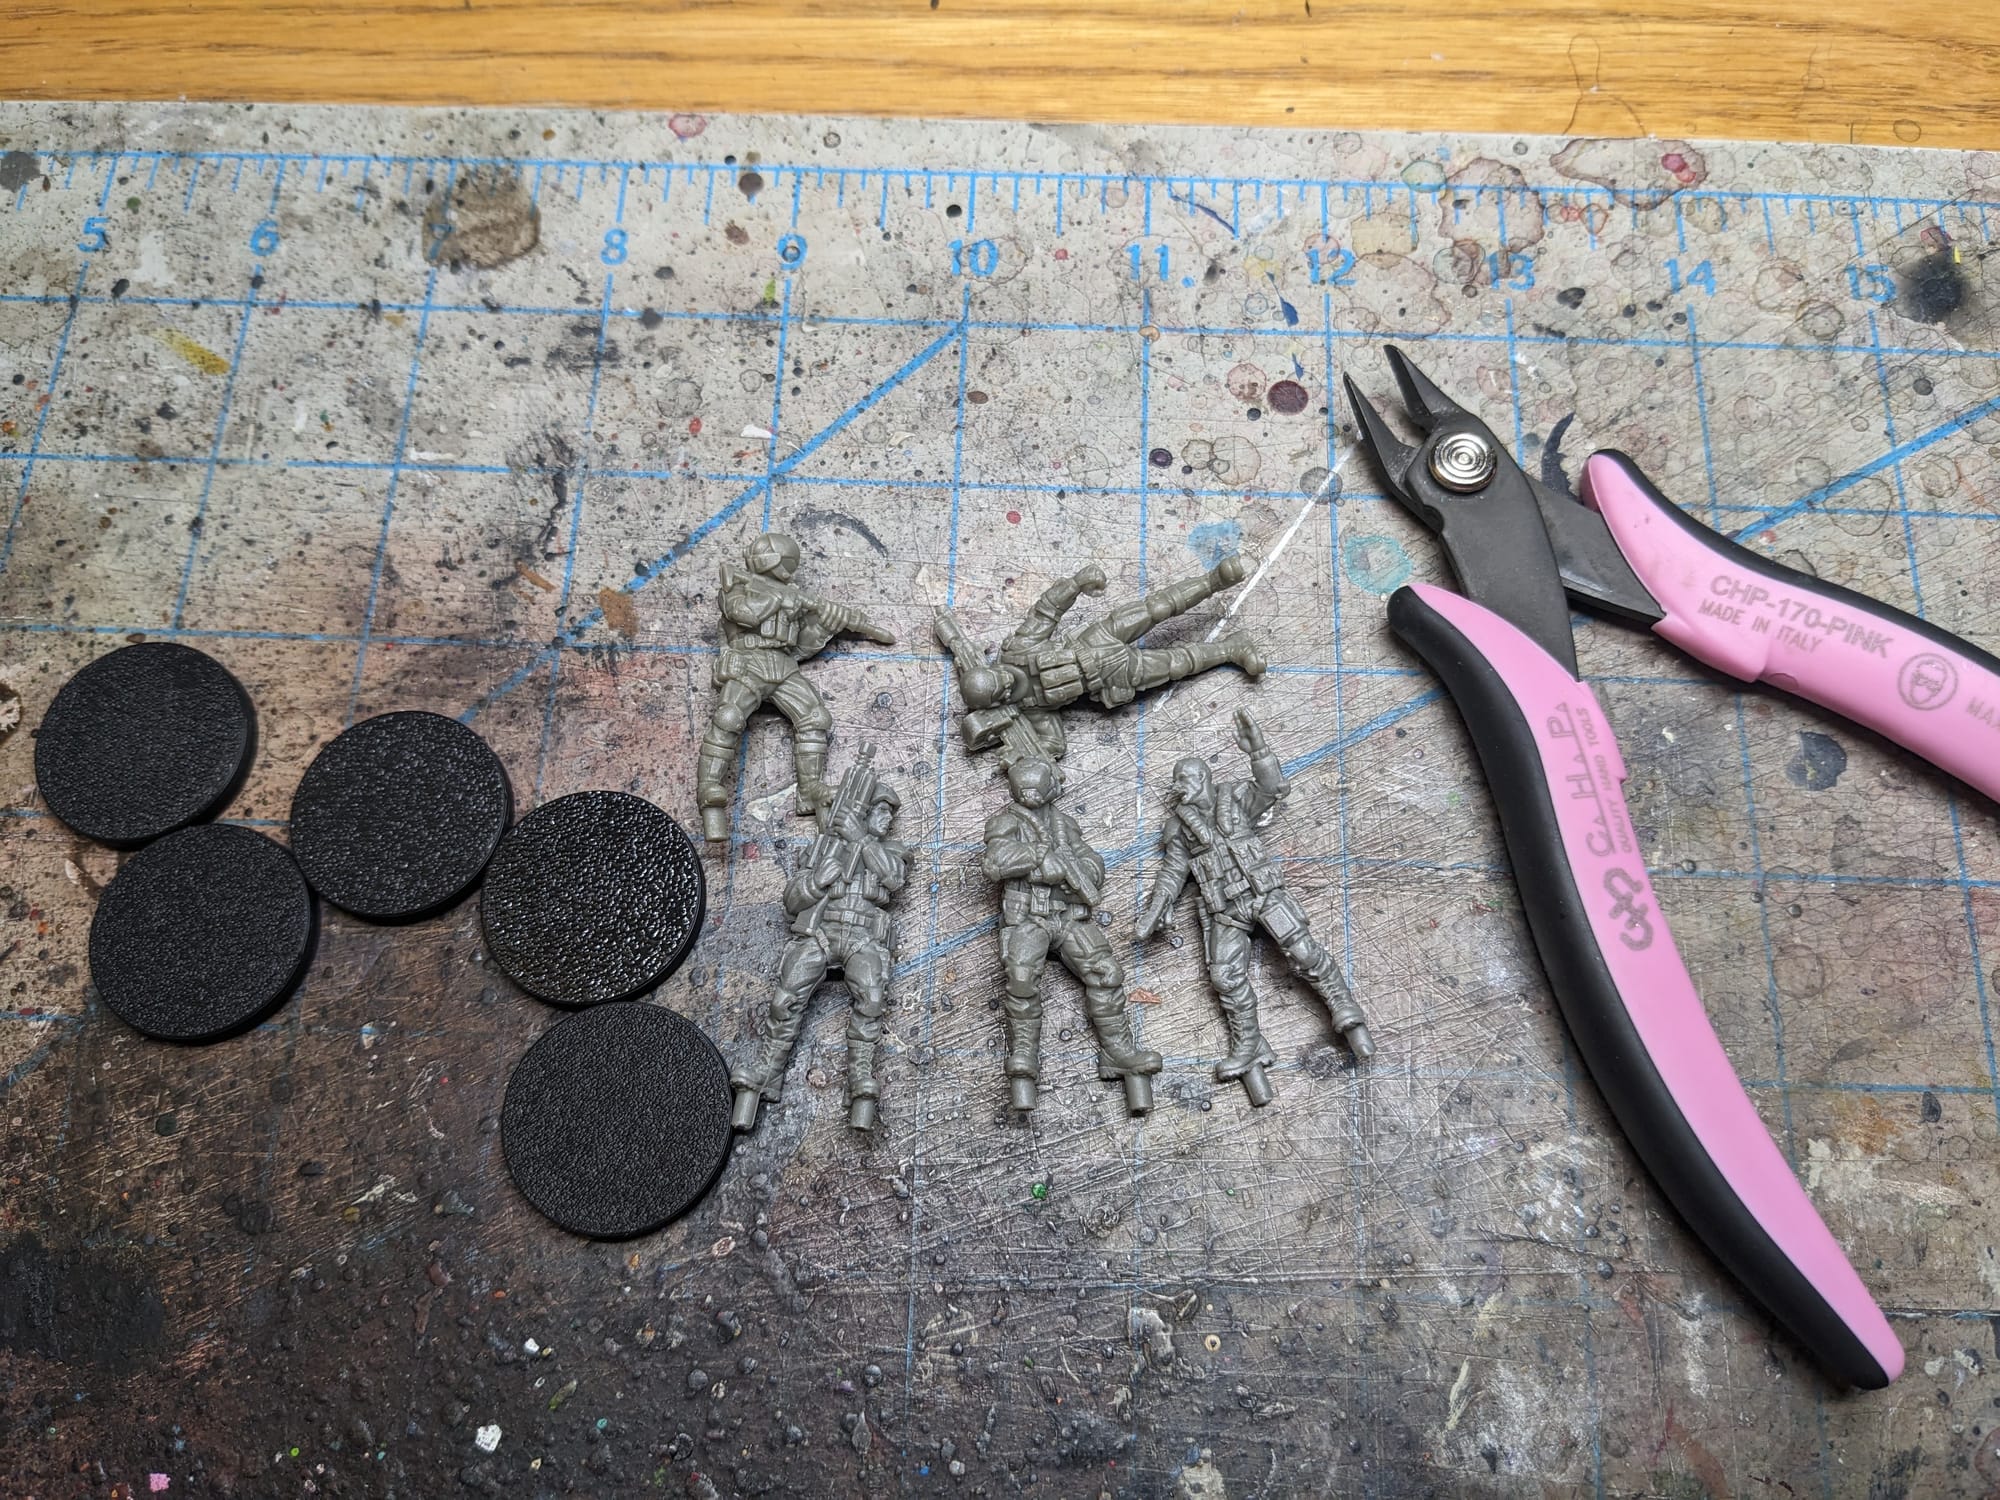
Prepping Your Models & The Tools
GamingTrend has put together a handy guide for you to follow for how best to clean, clip, and assemble your models, regardless of the game. While the materials for the models may be different between games (plastic, resin, metal, etc.) there are simple techniques you can do to help make your painting experience go that much smoother.
 Alec Kozak
Additionally, if you are new to painting and are not sure what brushes or tools you need, check out the article. This is just a starting place, and every painter has different preferences and recommendations. These are my recommendations based on the last decade or so of painting, and I hope you find them helpful!
For this tutorial, I have included a visual guide (below) of the paints I used for the miniatures so you have an easily accessible list to refer to if you need to go shopping. Many paints are used for multiple figures, so a single bottle of each will be more than enough.
Building the Zetatech Crew and Dropship gunners is really simple; just glue the single-mold figures to the base.
Building the Zetatech Herakles Attack Aerodyne
The Dropship is an entirely different beast. This model is heavy. The included flight stand, which seems bulky and awkward, is actually cleverly designed and does an excellent job of holding it aloft.
Warped Resin and How to Fix It
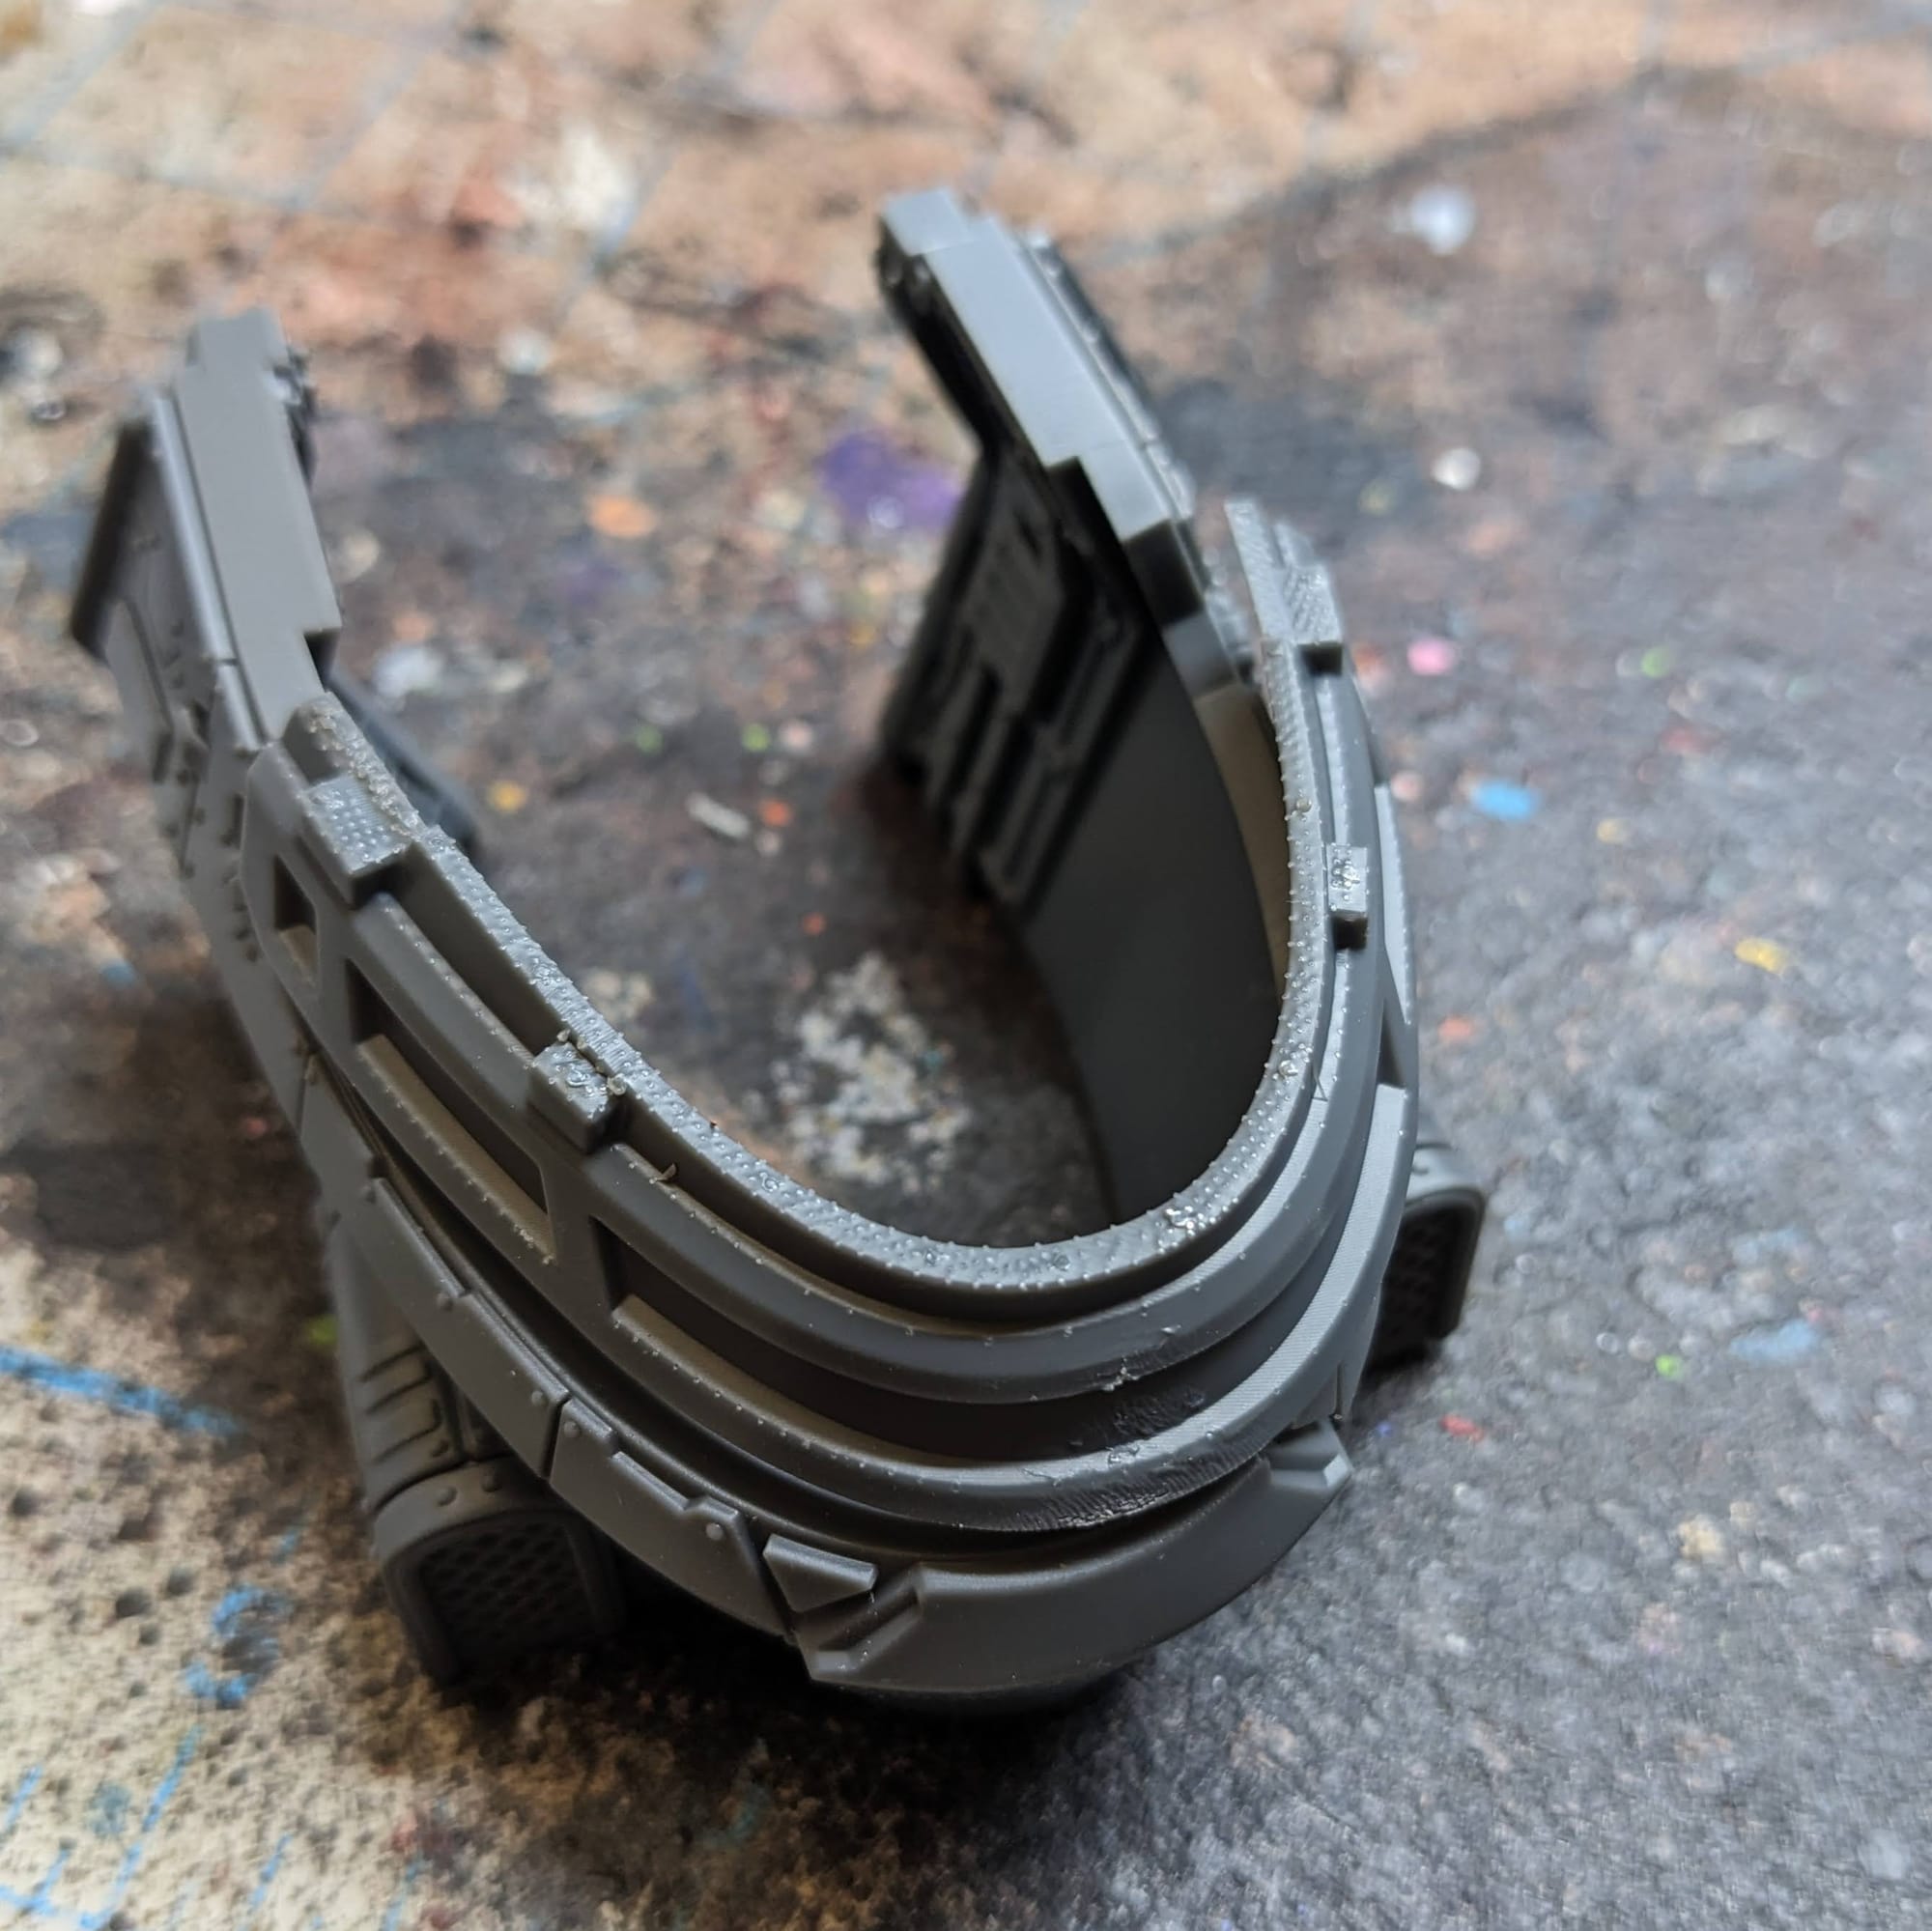
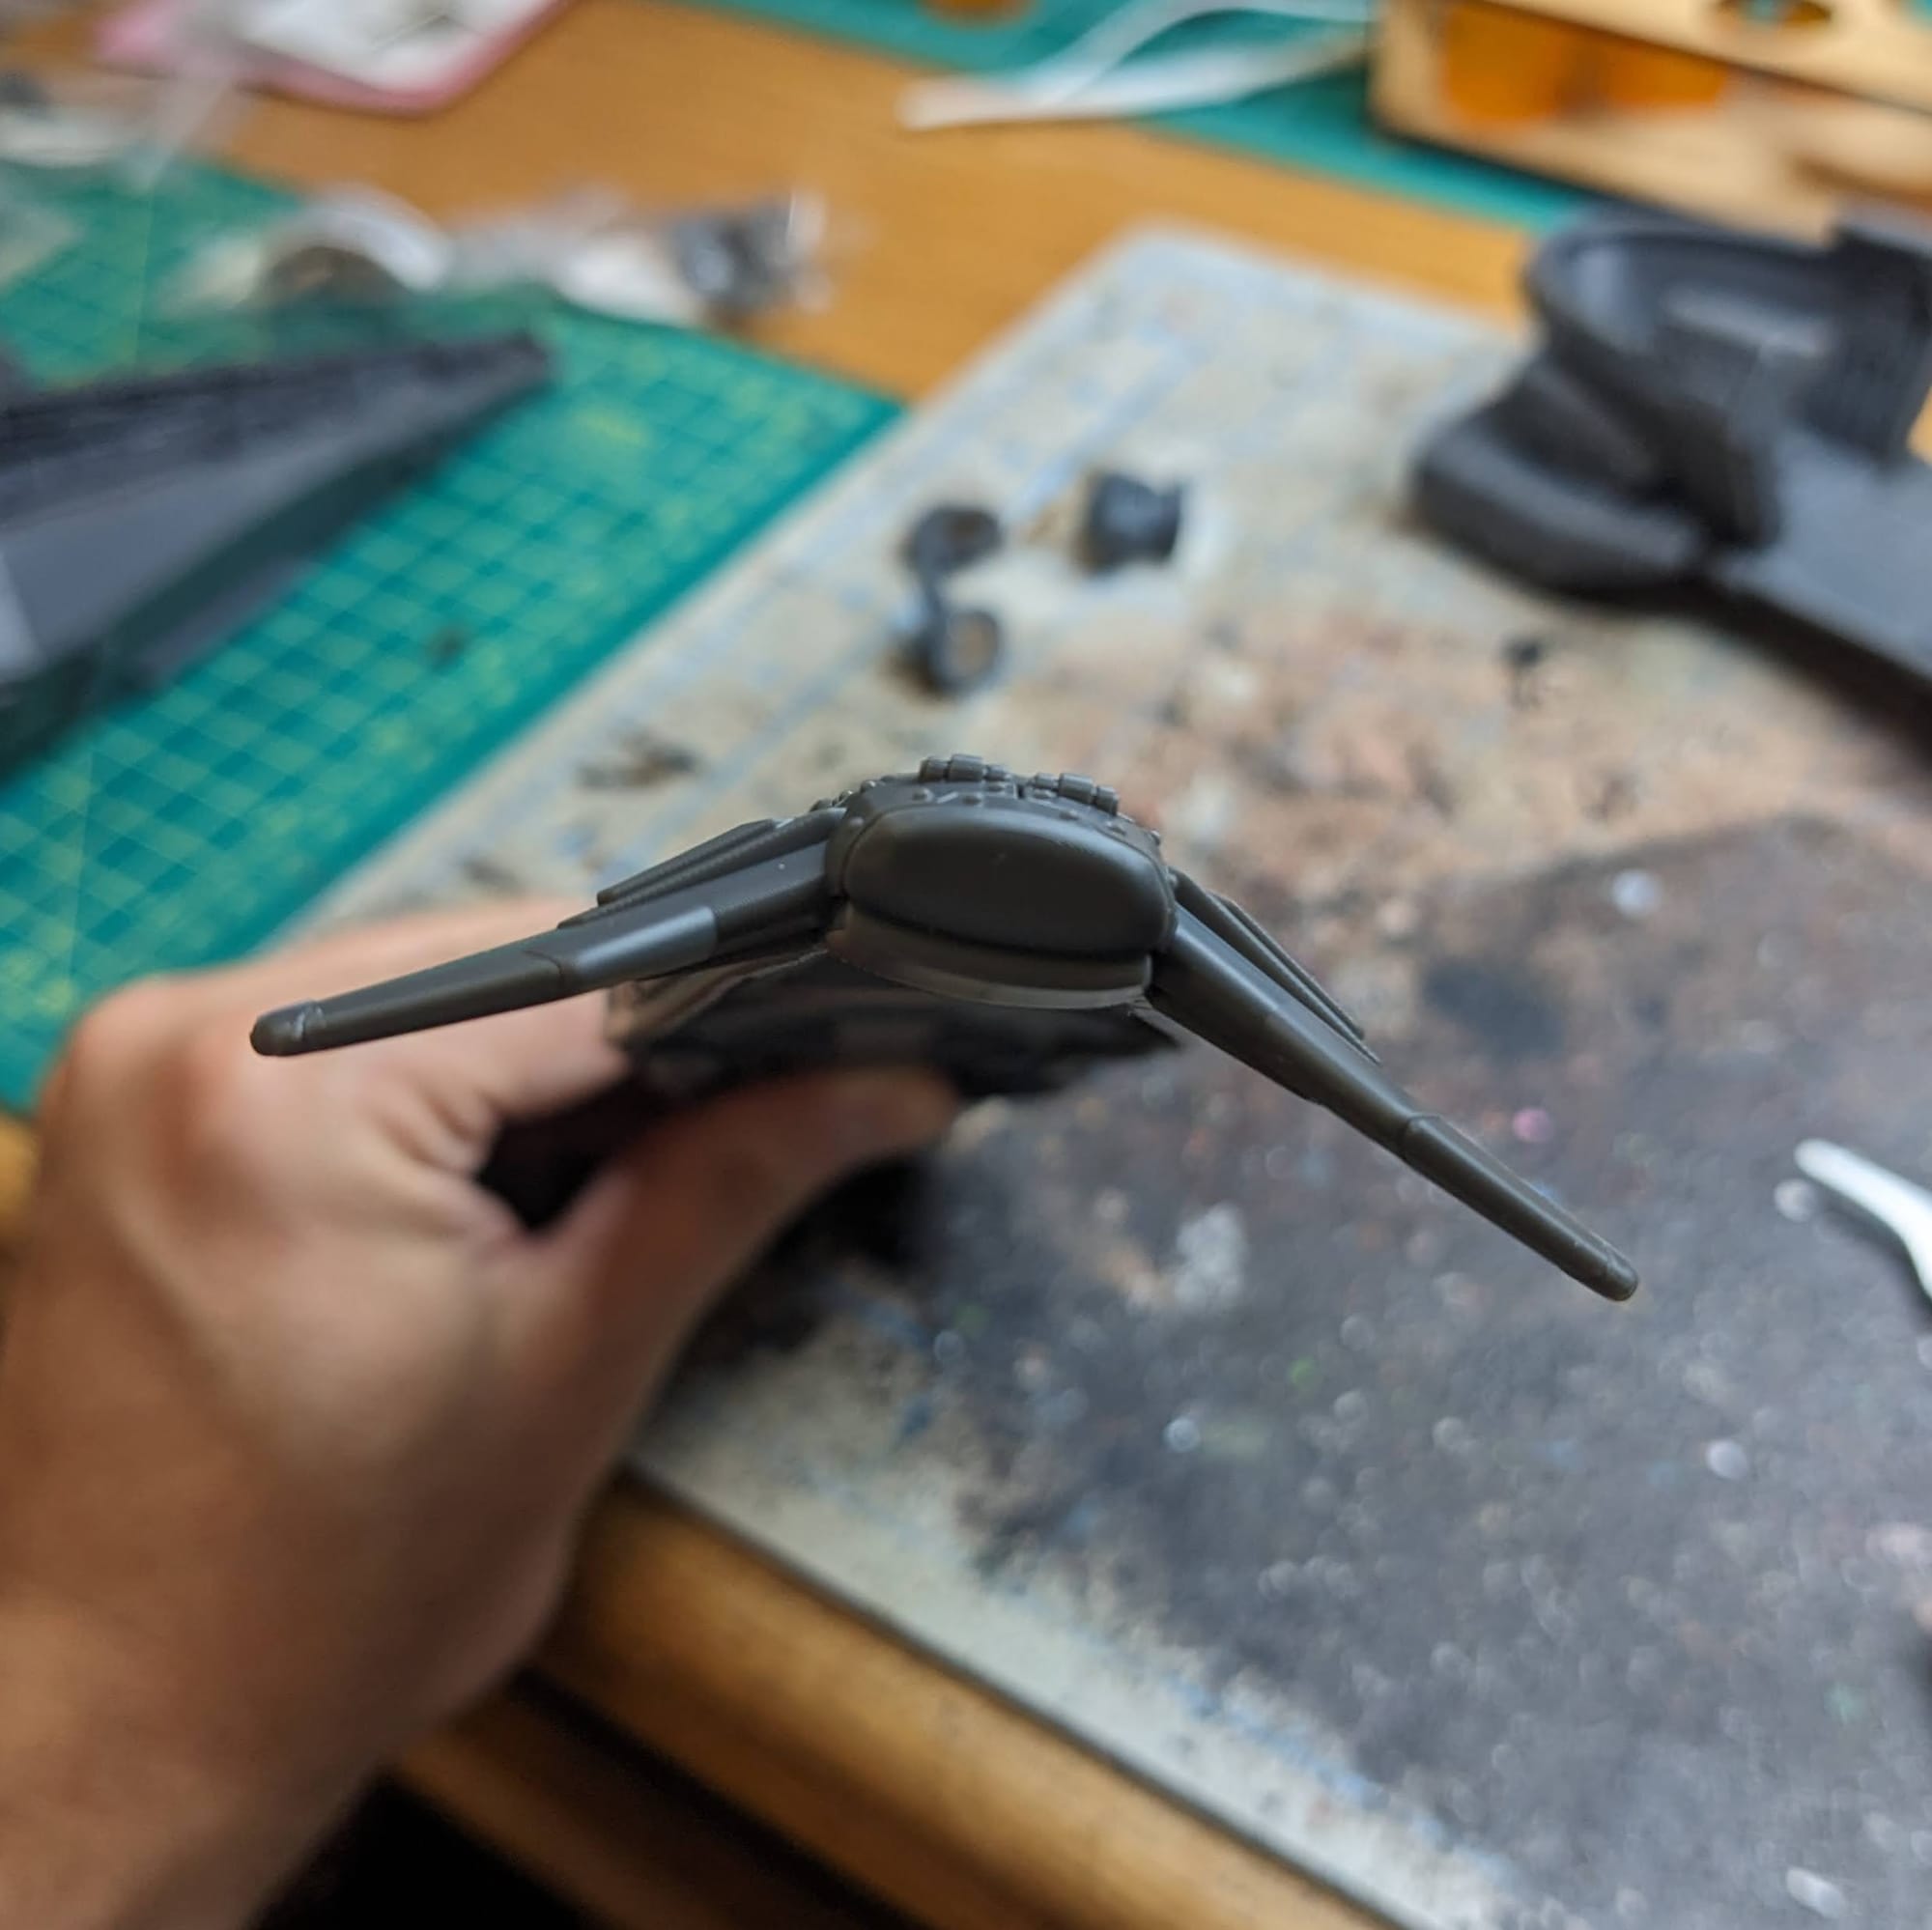
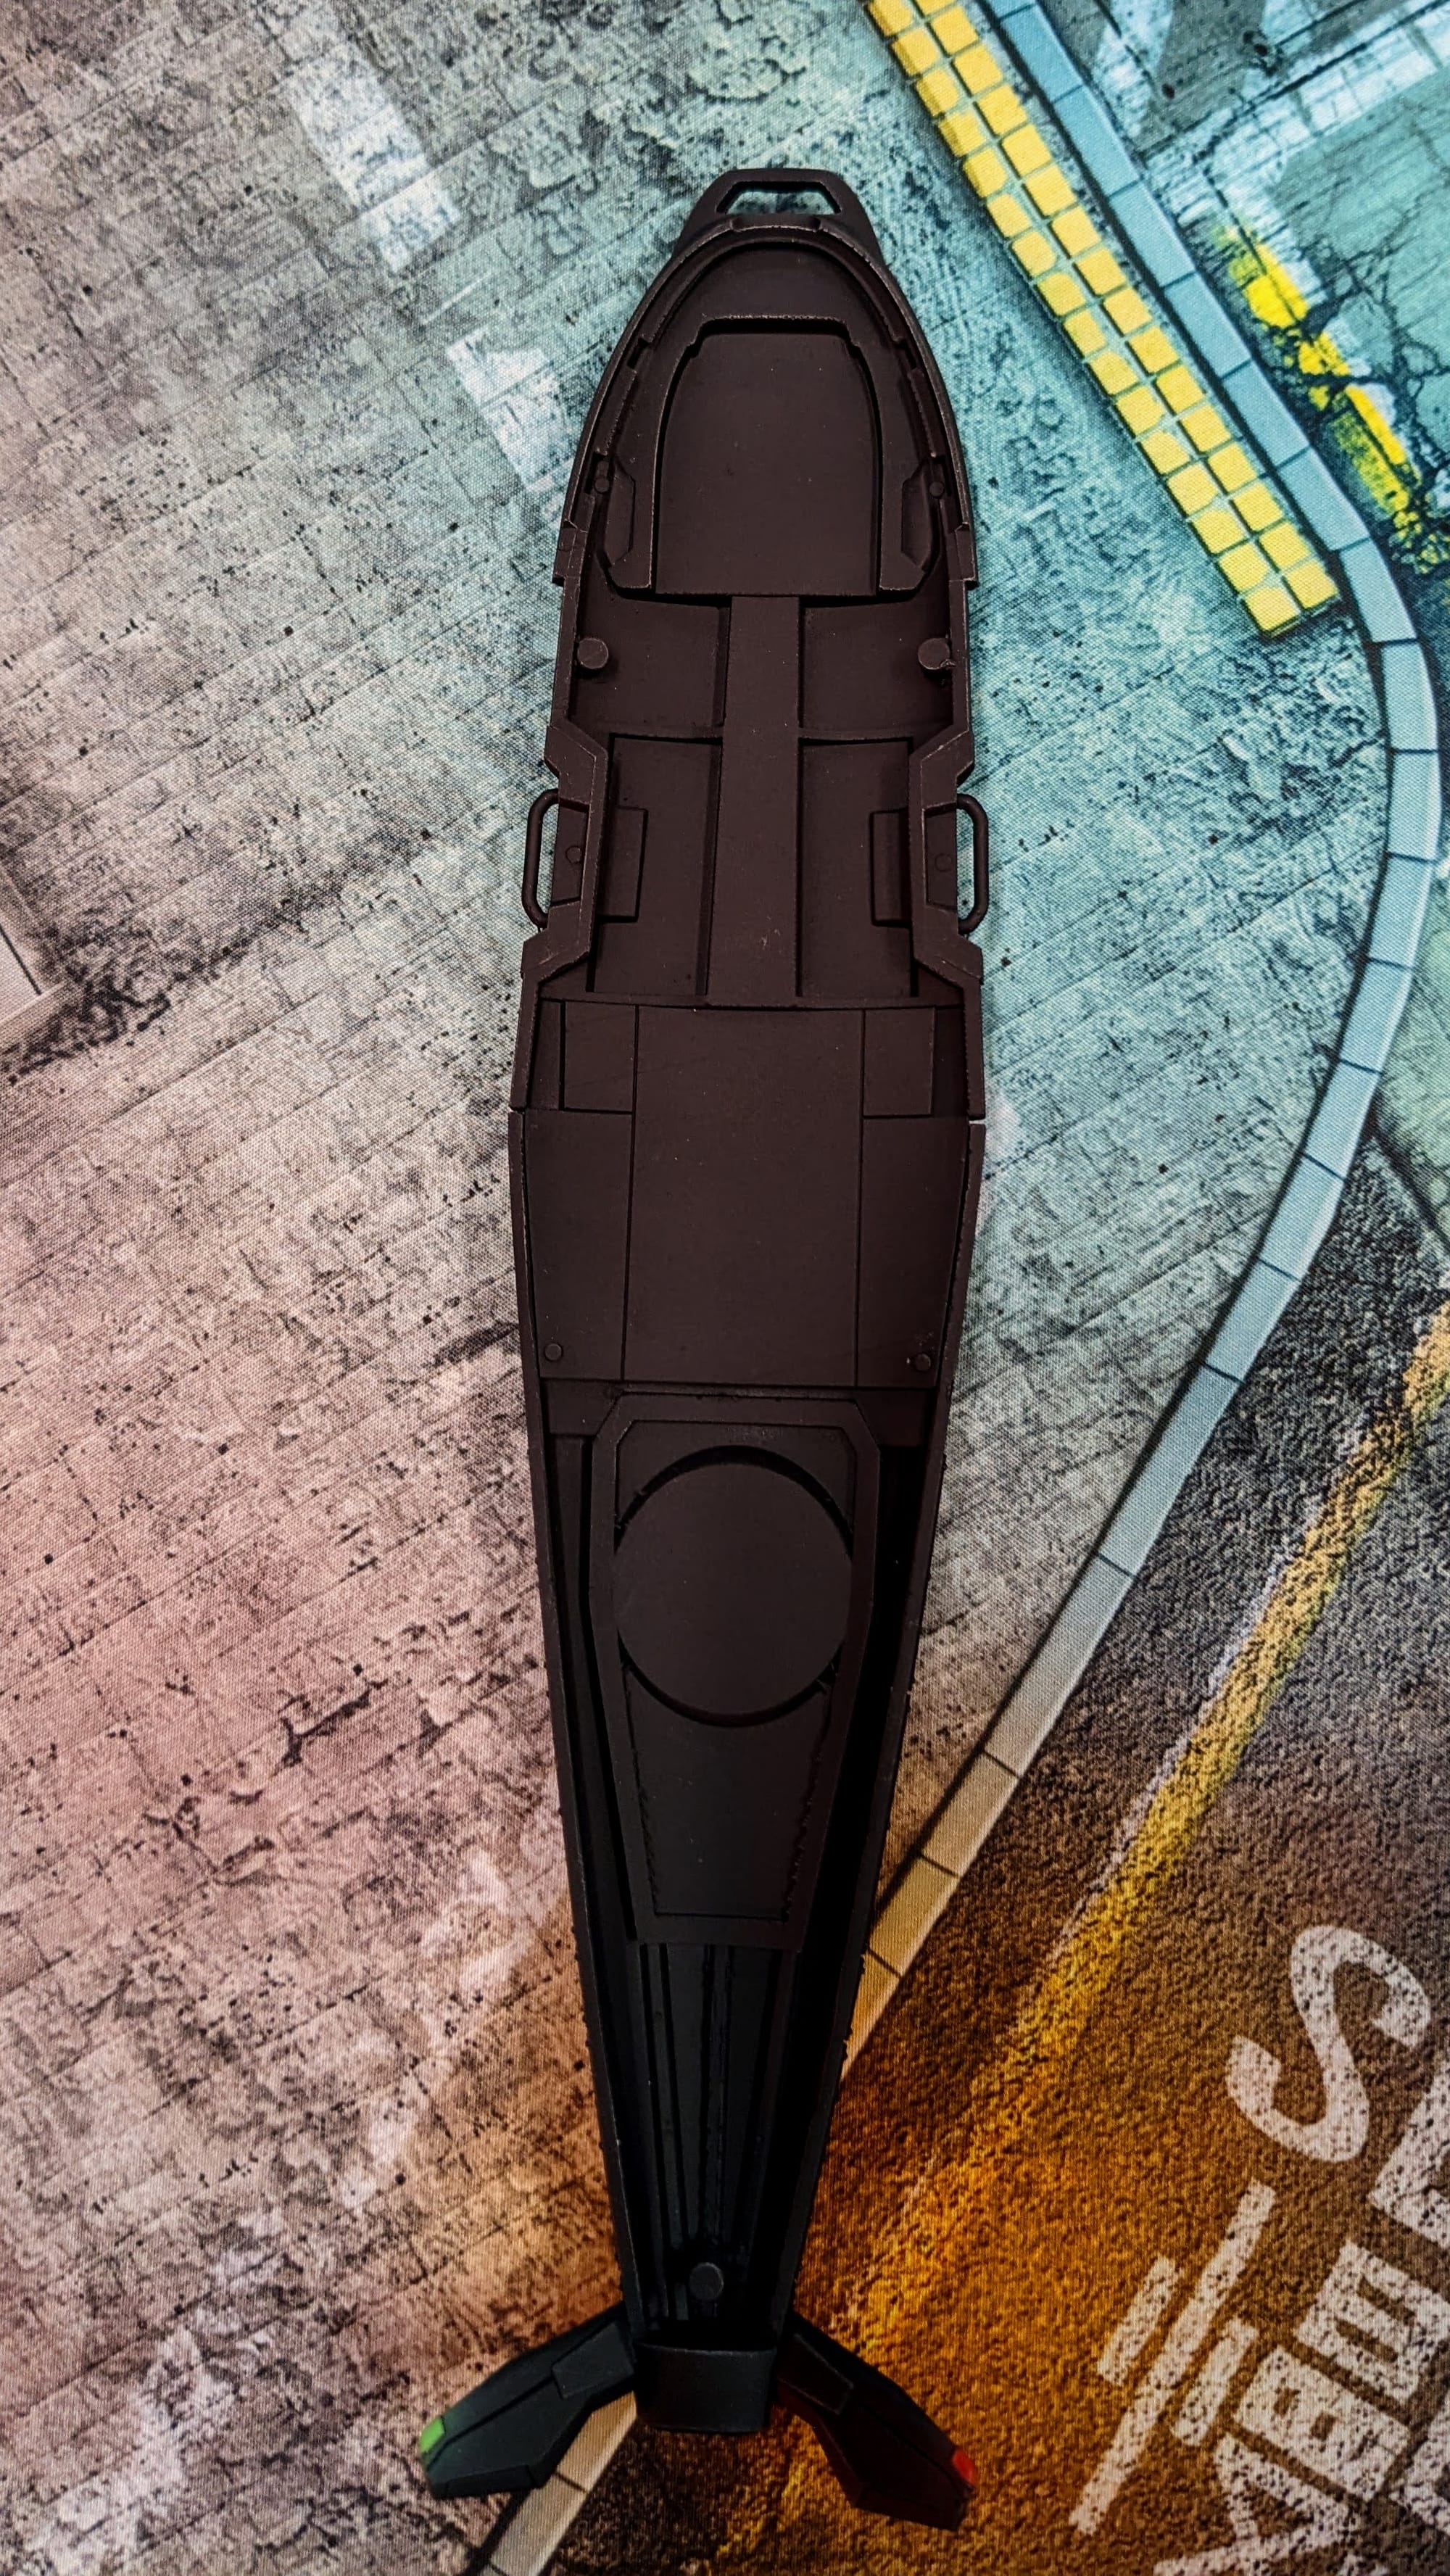
Before installing the magnets, I needed to re-warp the resin to get it to the proper shapes. The tail especially was pretty bad. Using the boiling water technique, I submerged the tail into the water and then, using rubber bands, bound the tail to the fuselage so I could get the proper fit on it, and then just dunked the whole thing in a bucket of ice water. It cleaned up great and fit perfectly. I also had to fix one of the door gunner’s barrels using this same process.
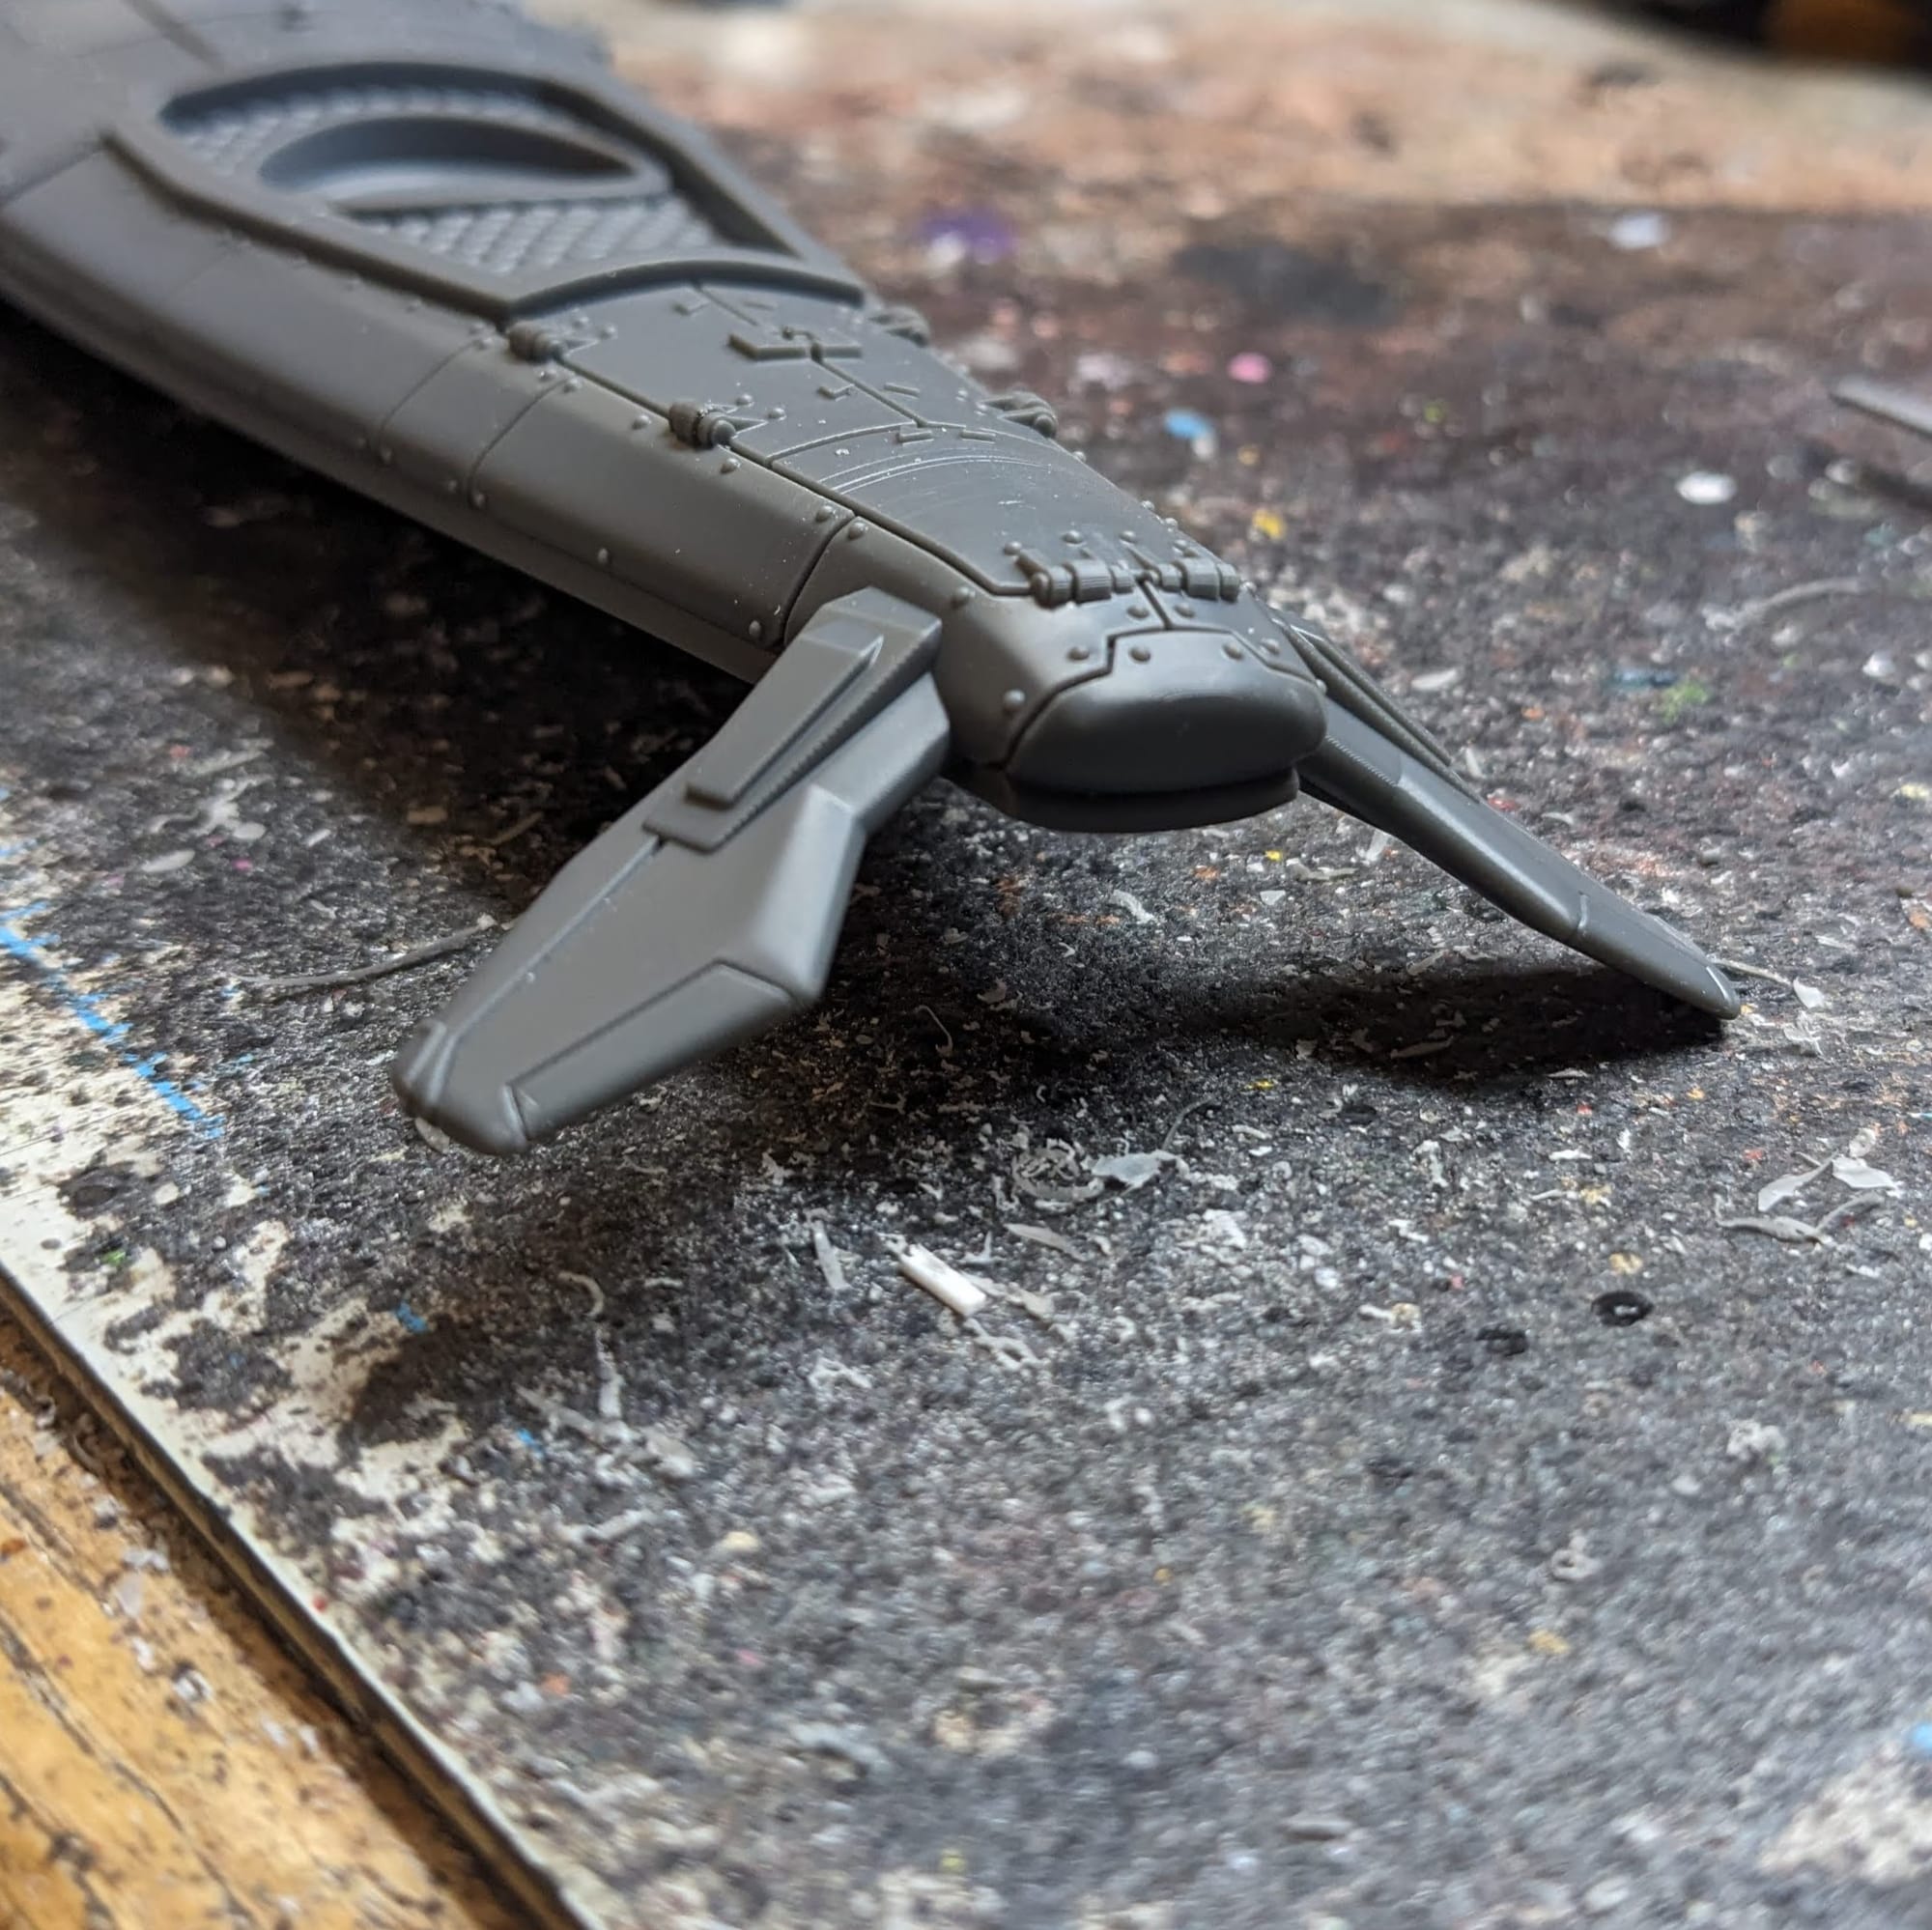
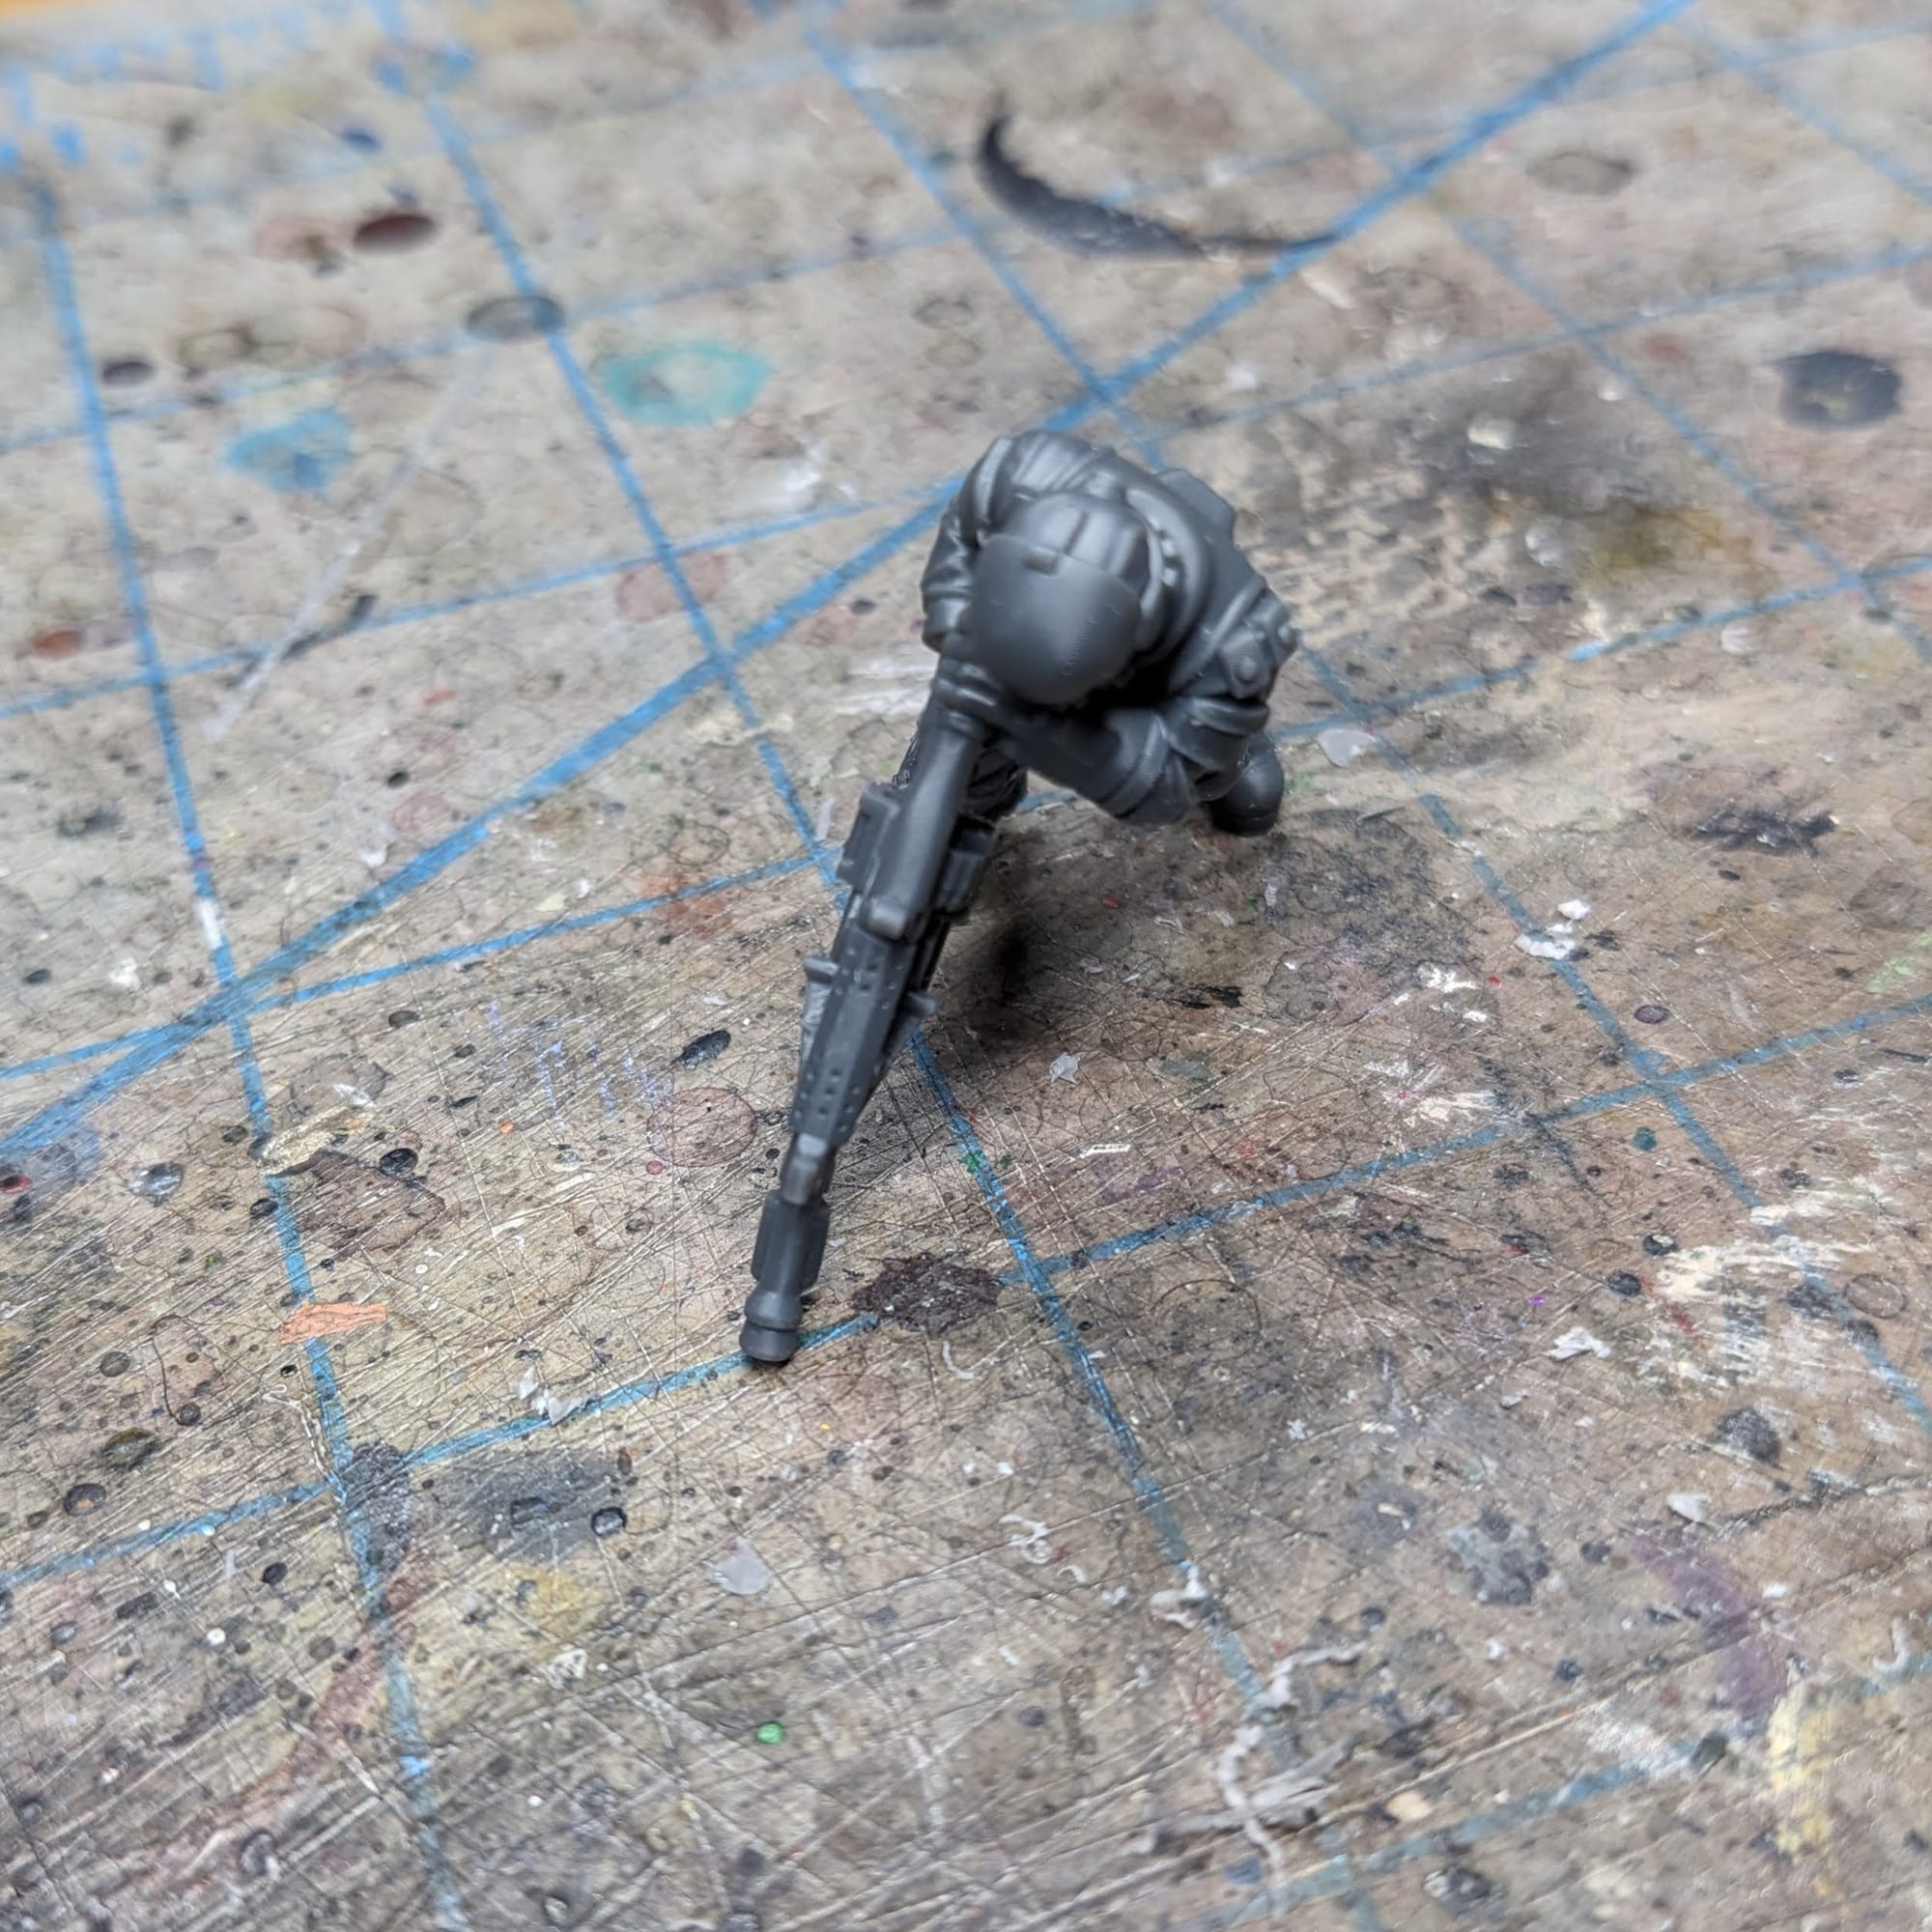
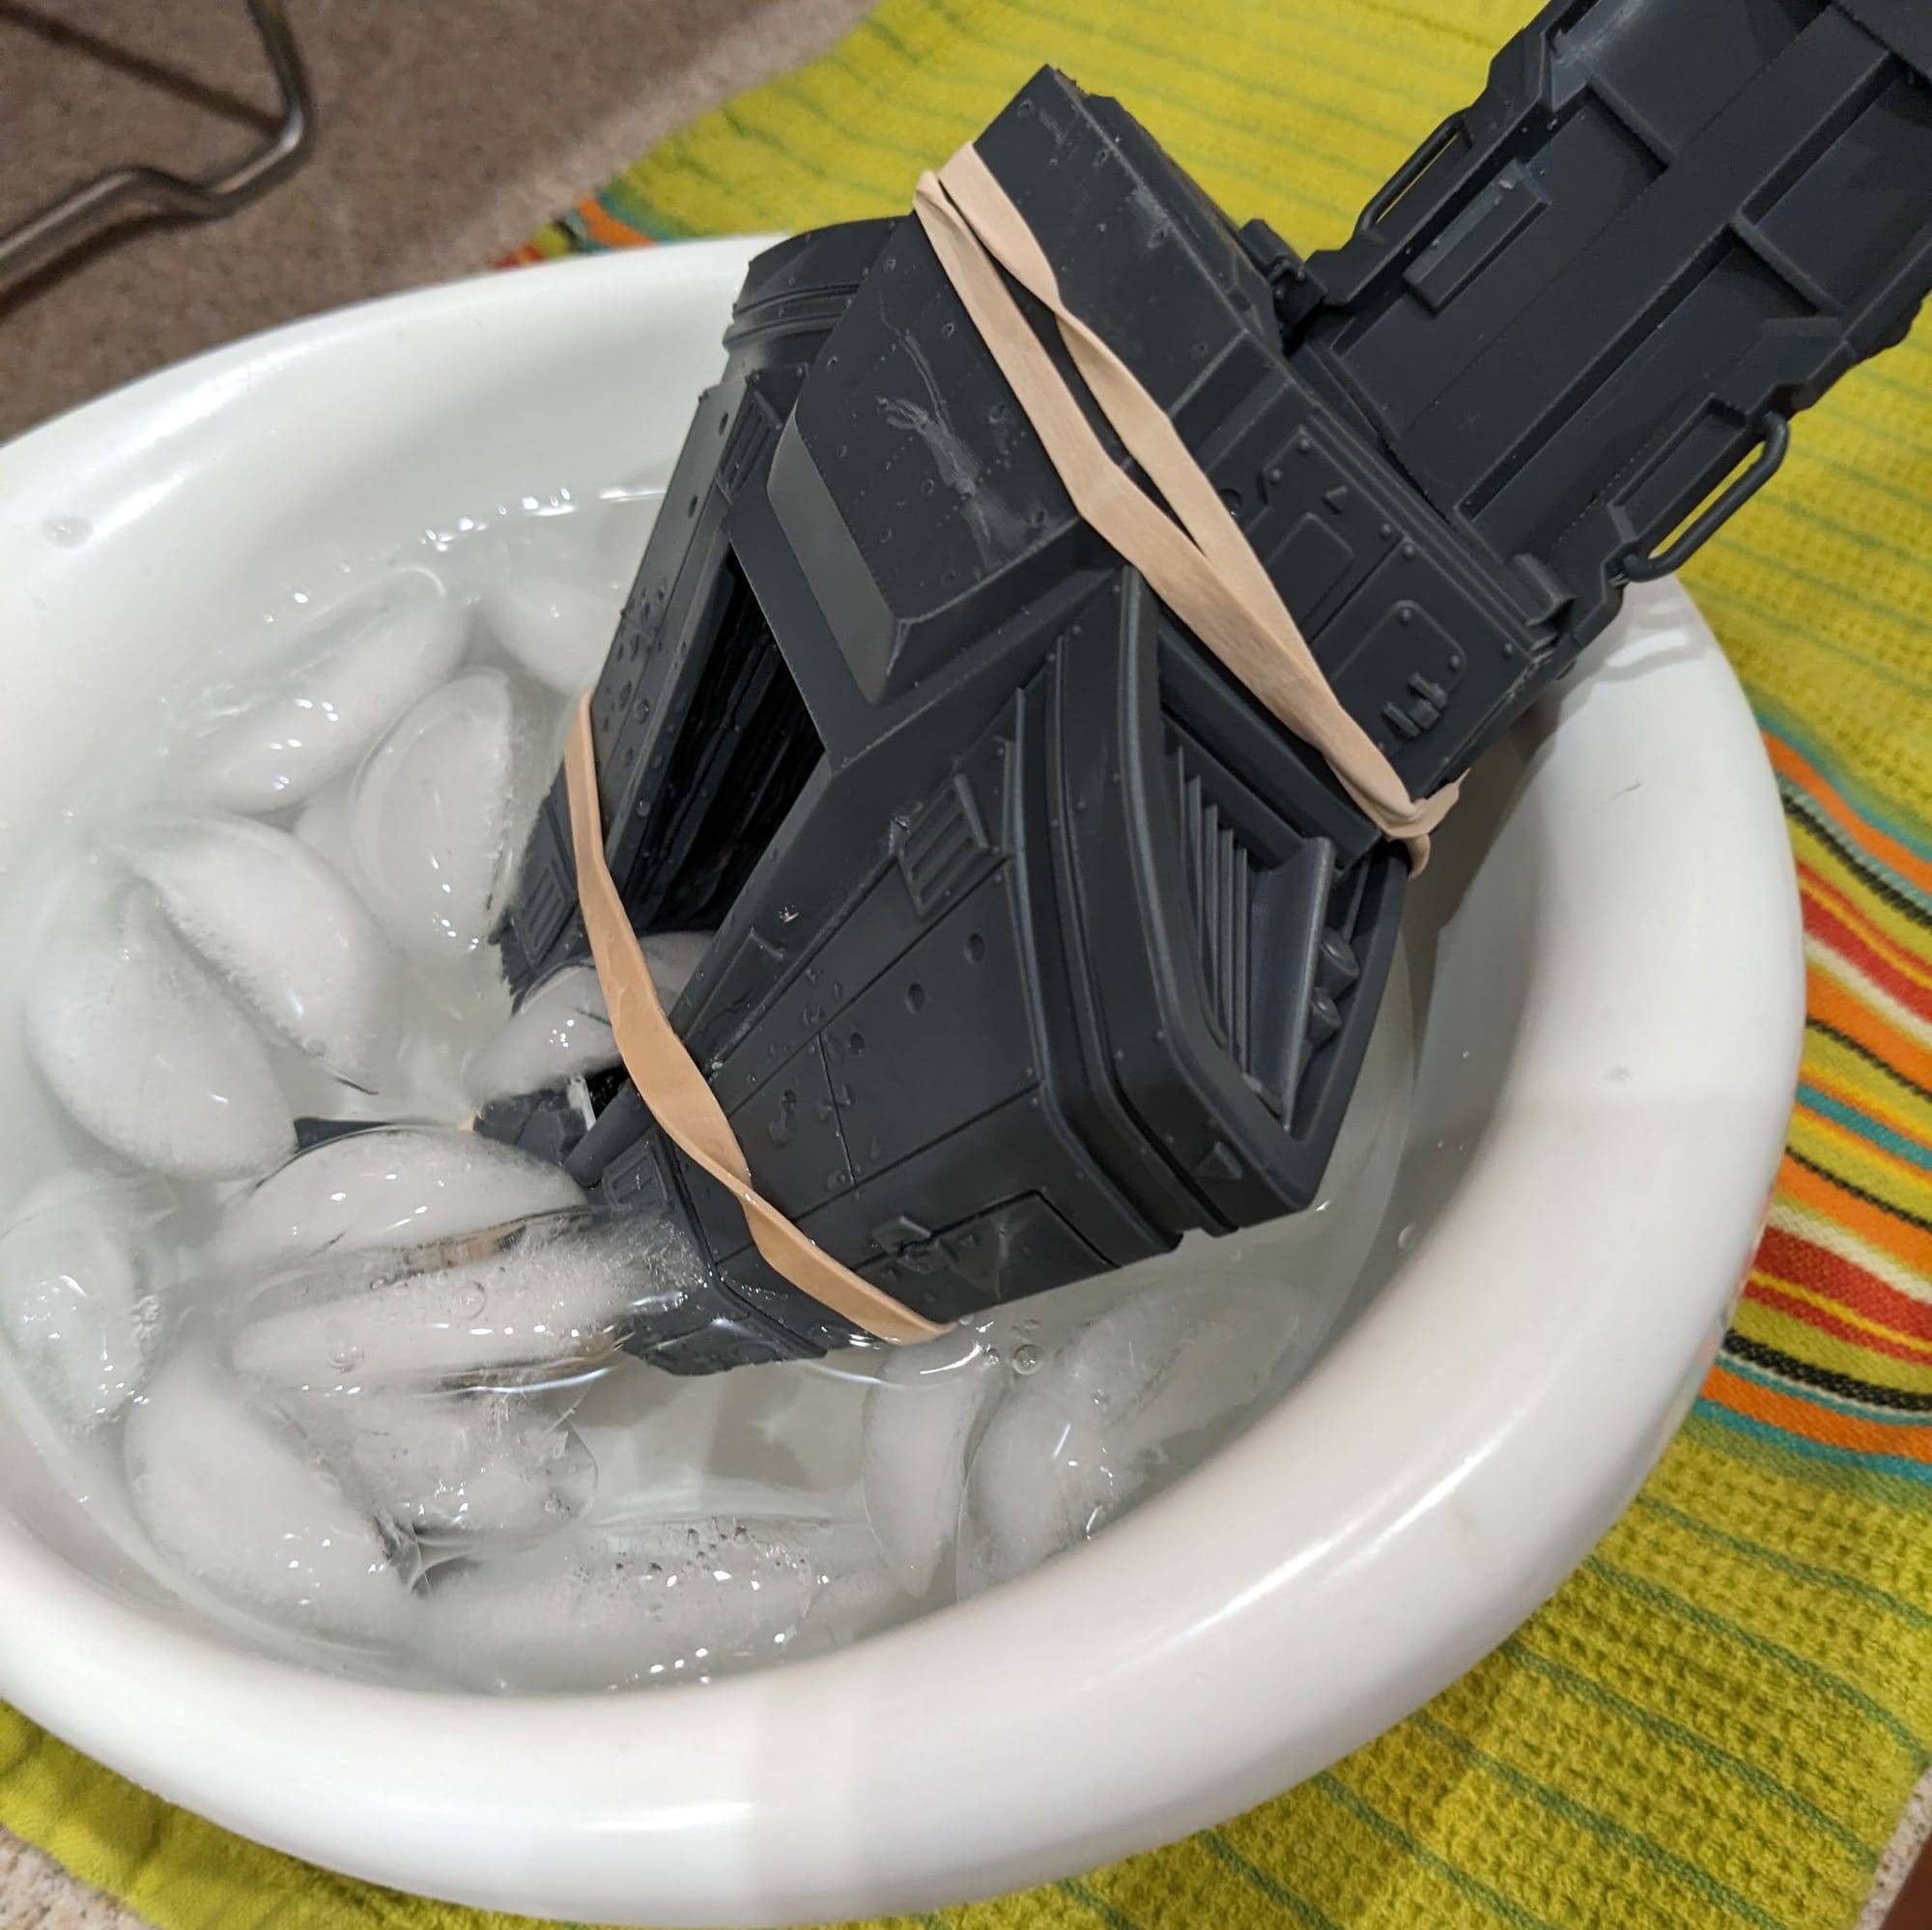
Lots of warping
Magnetizing the Herakles Dropship
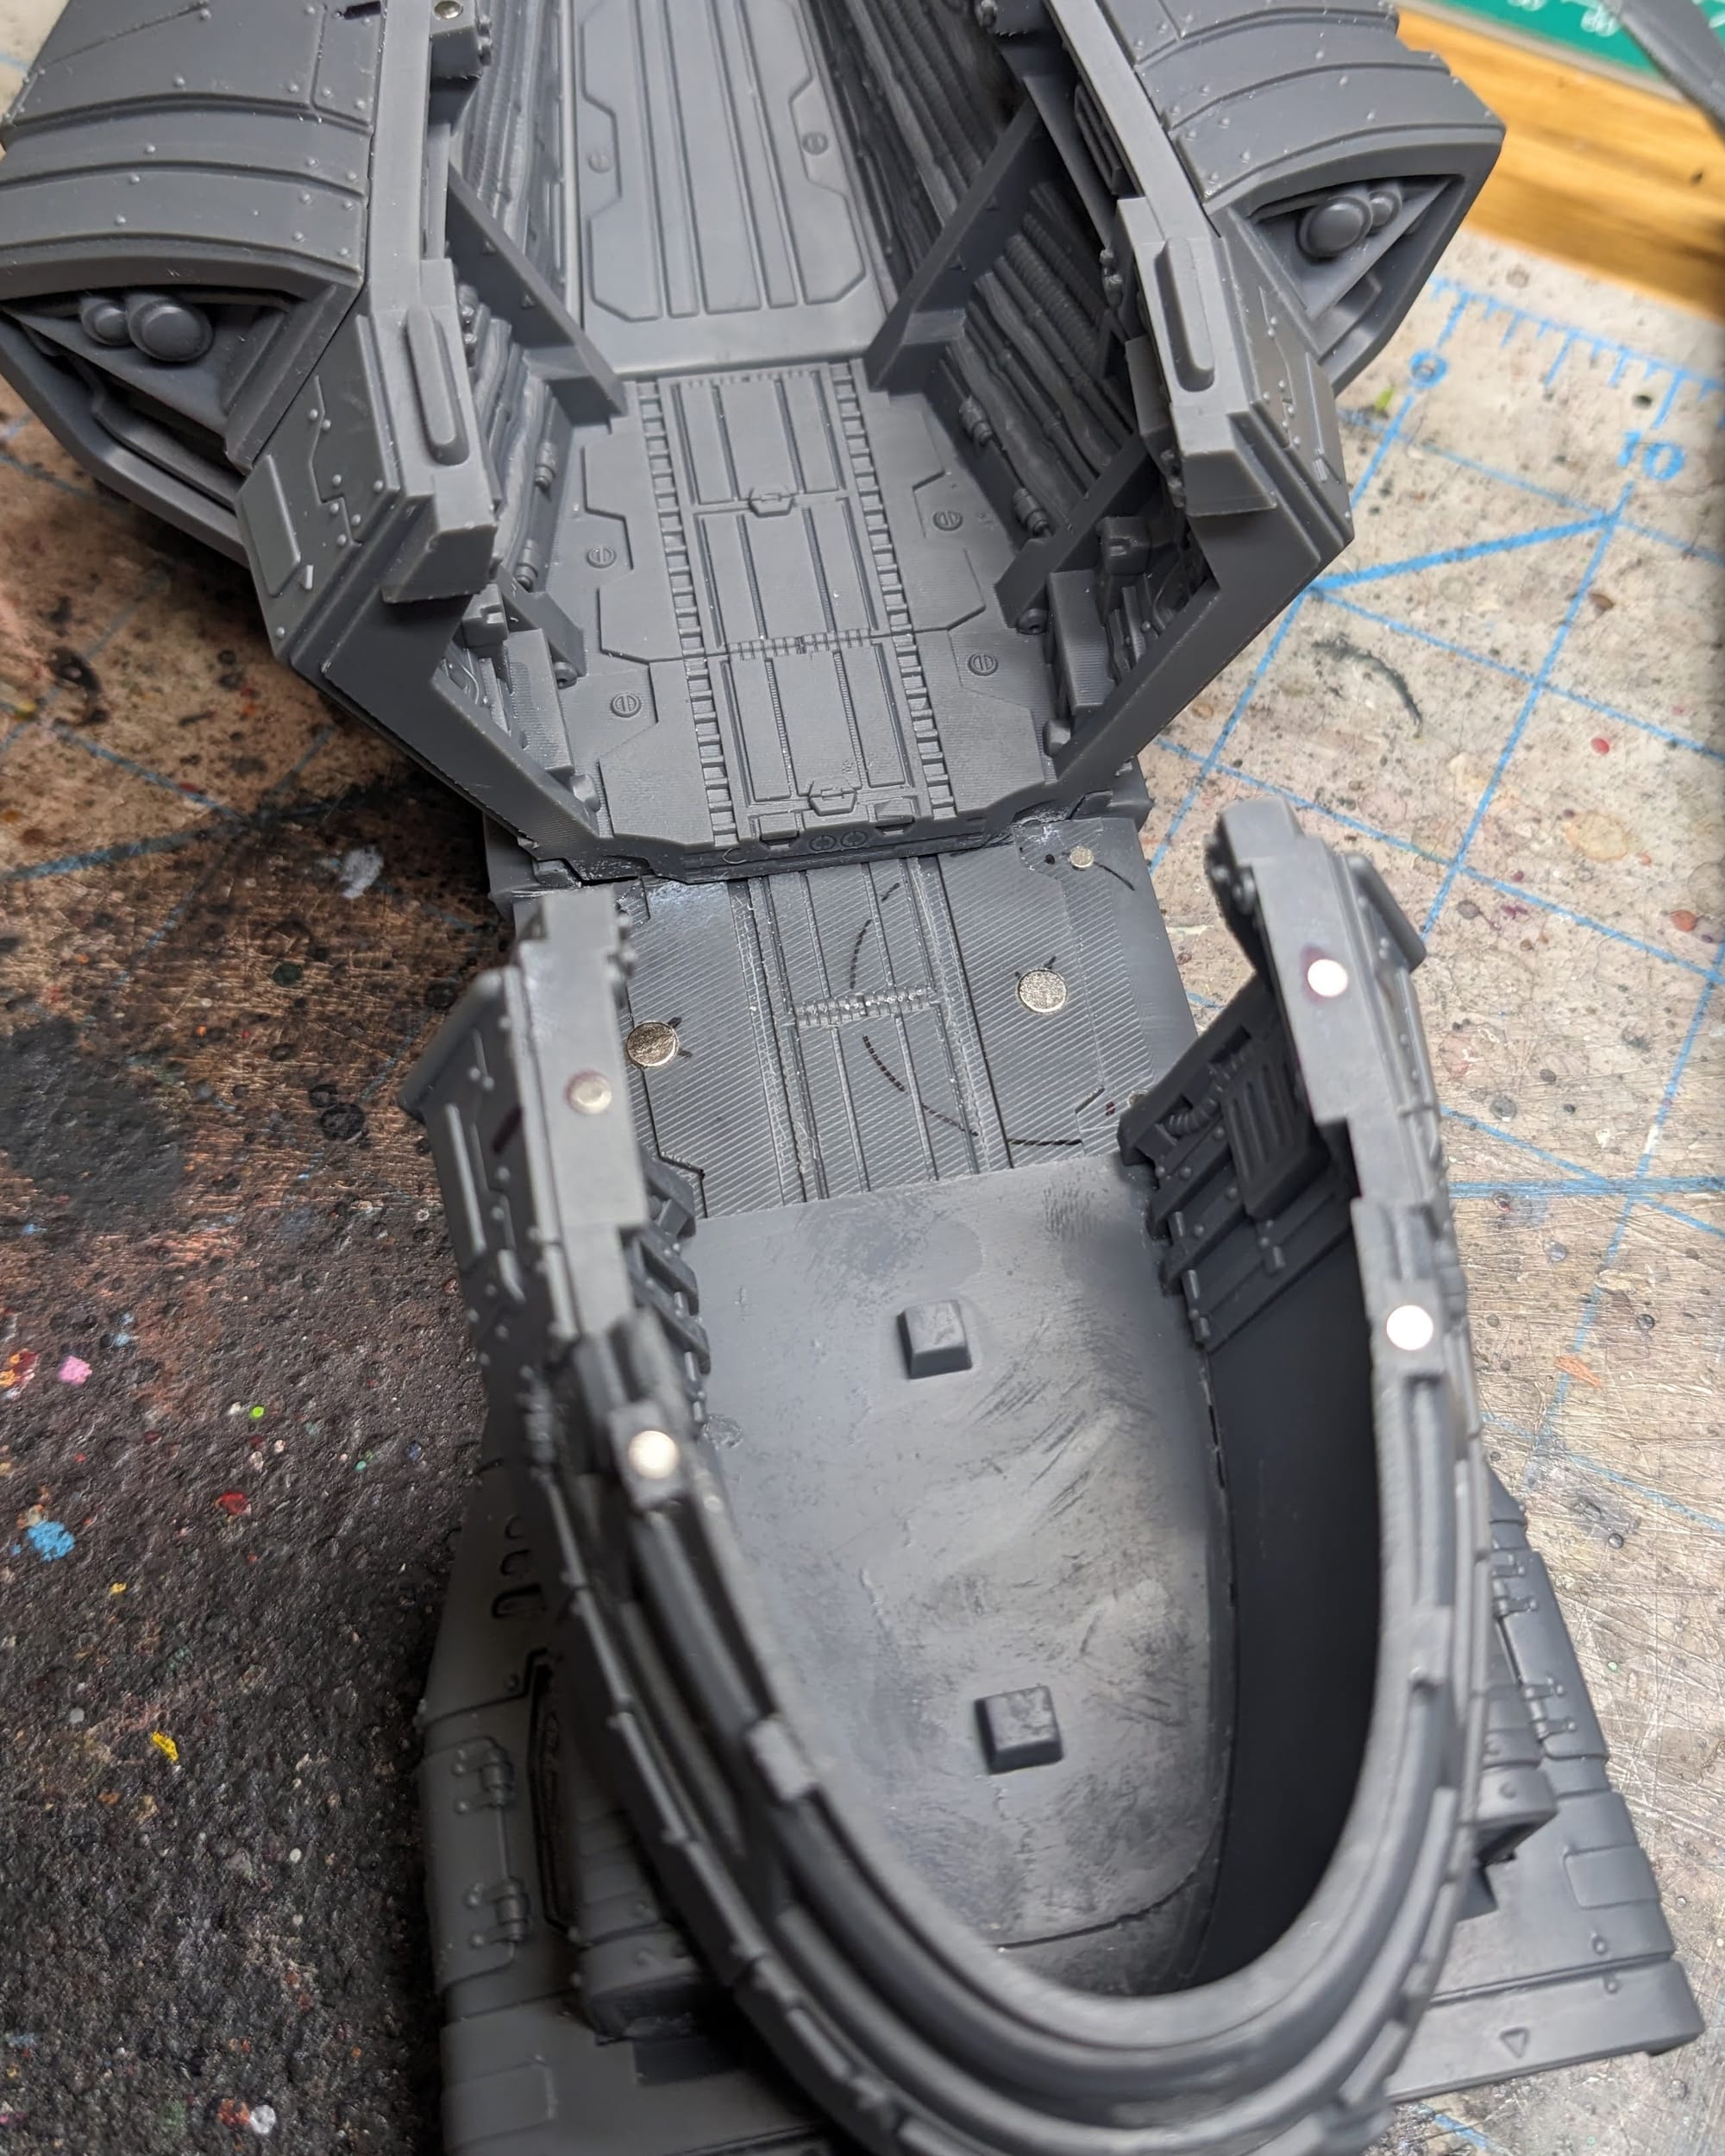
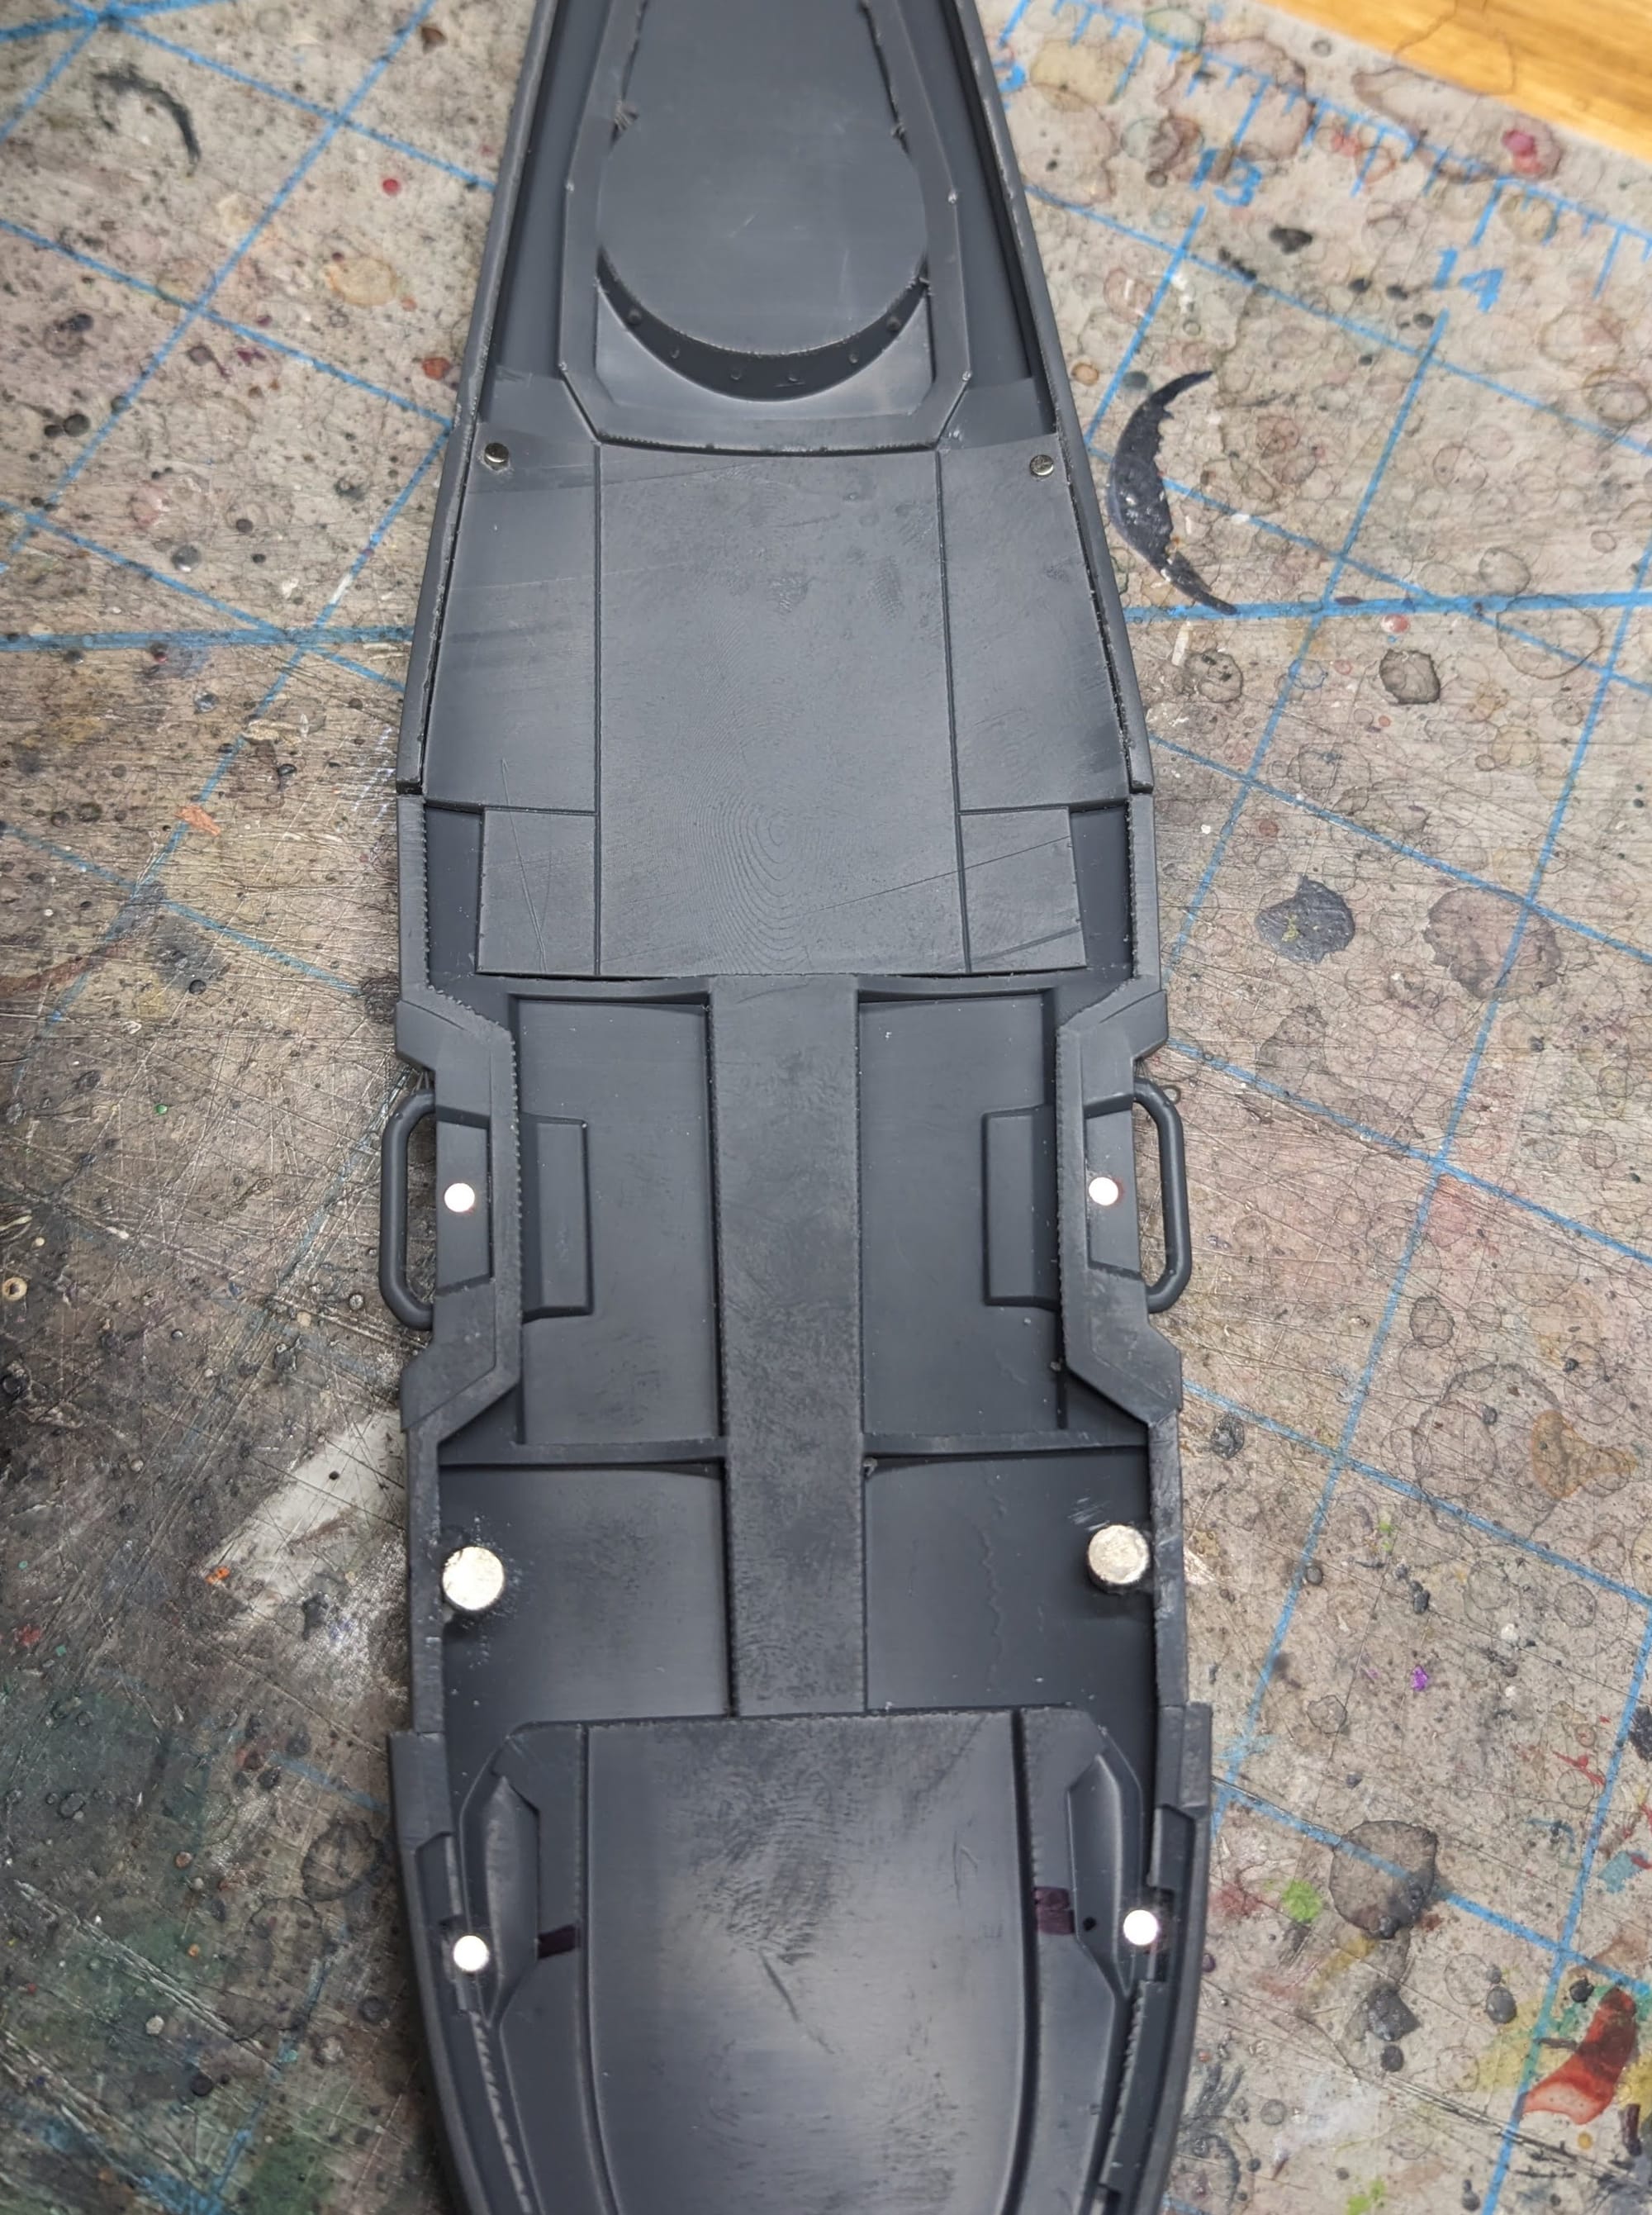
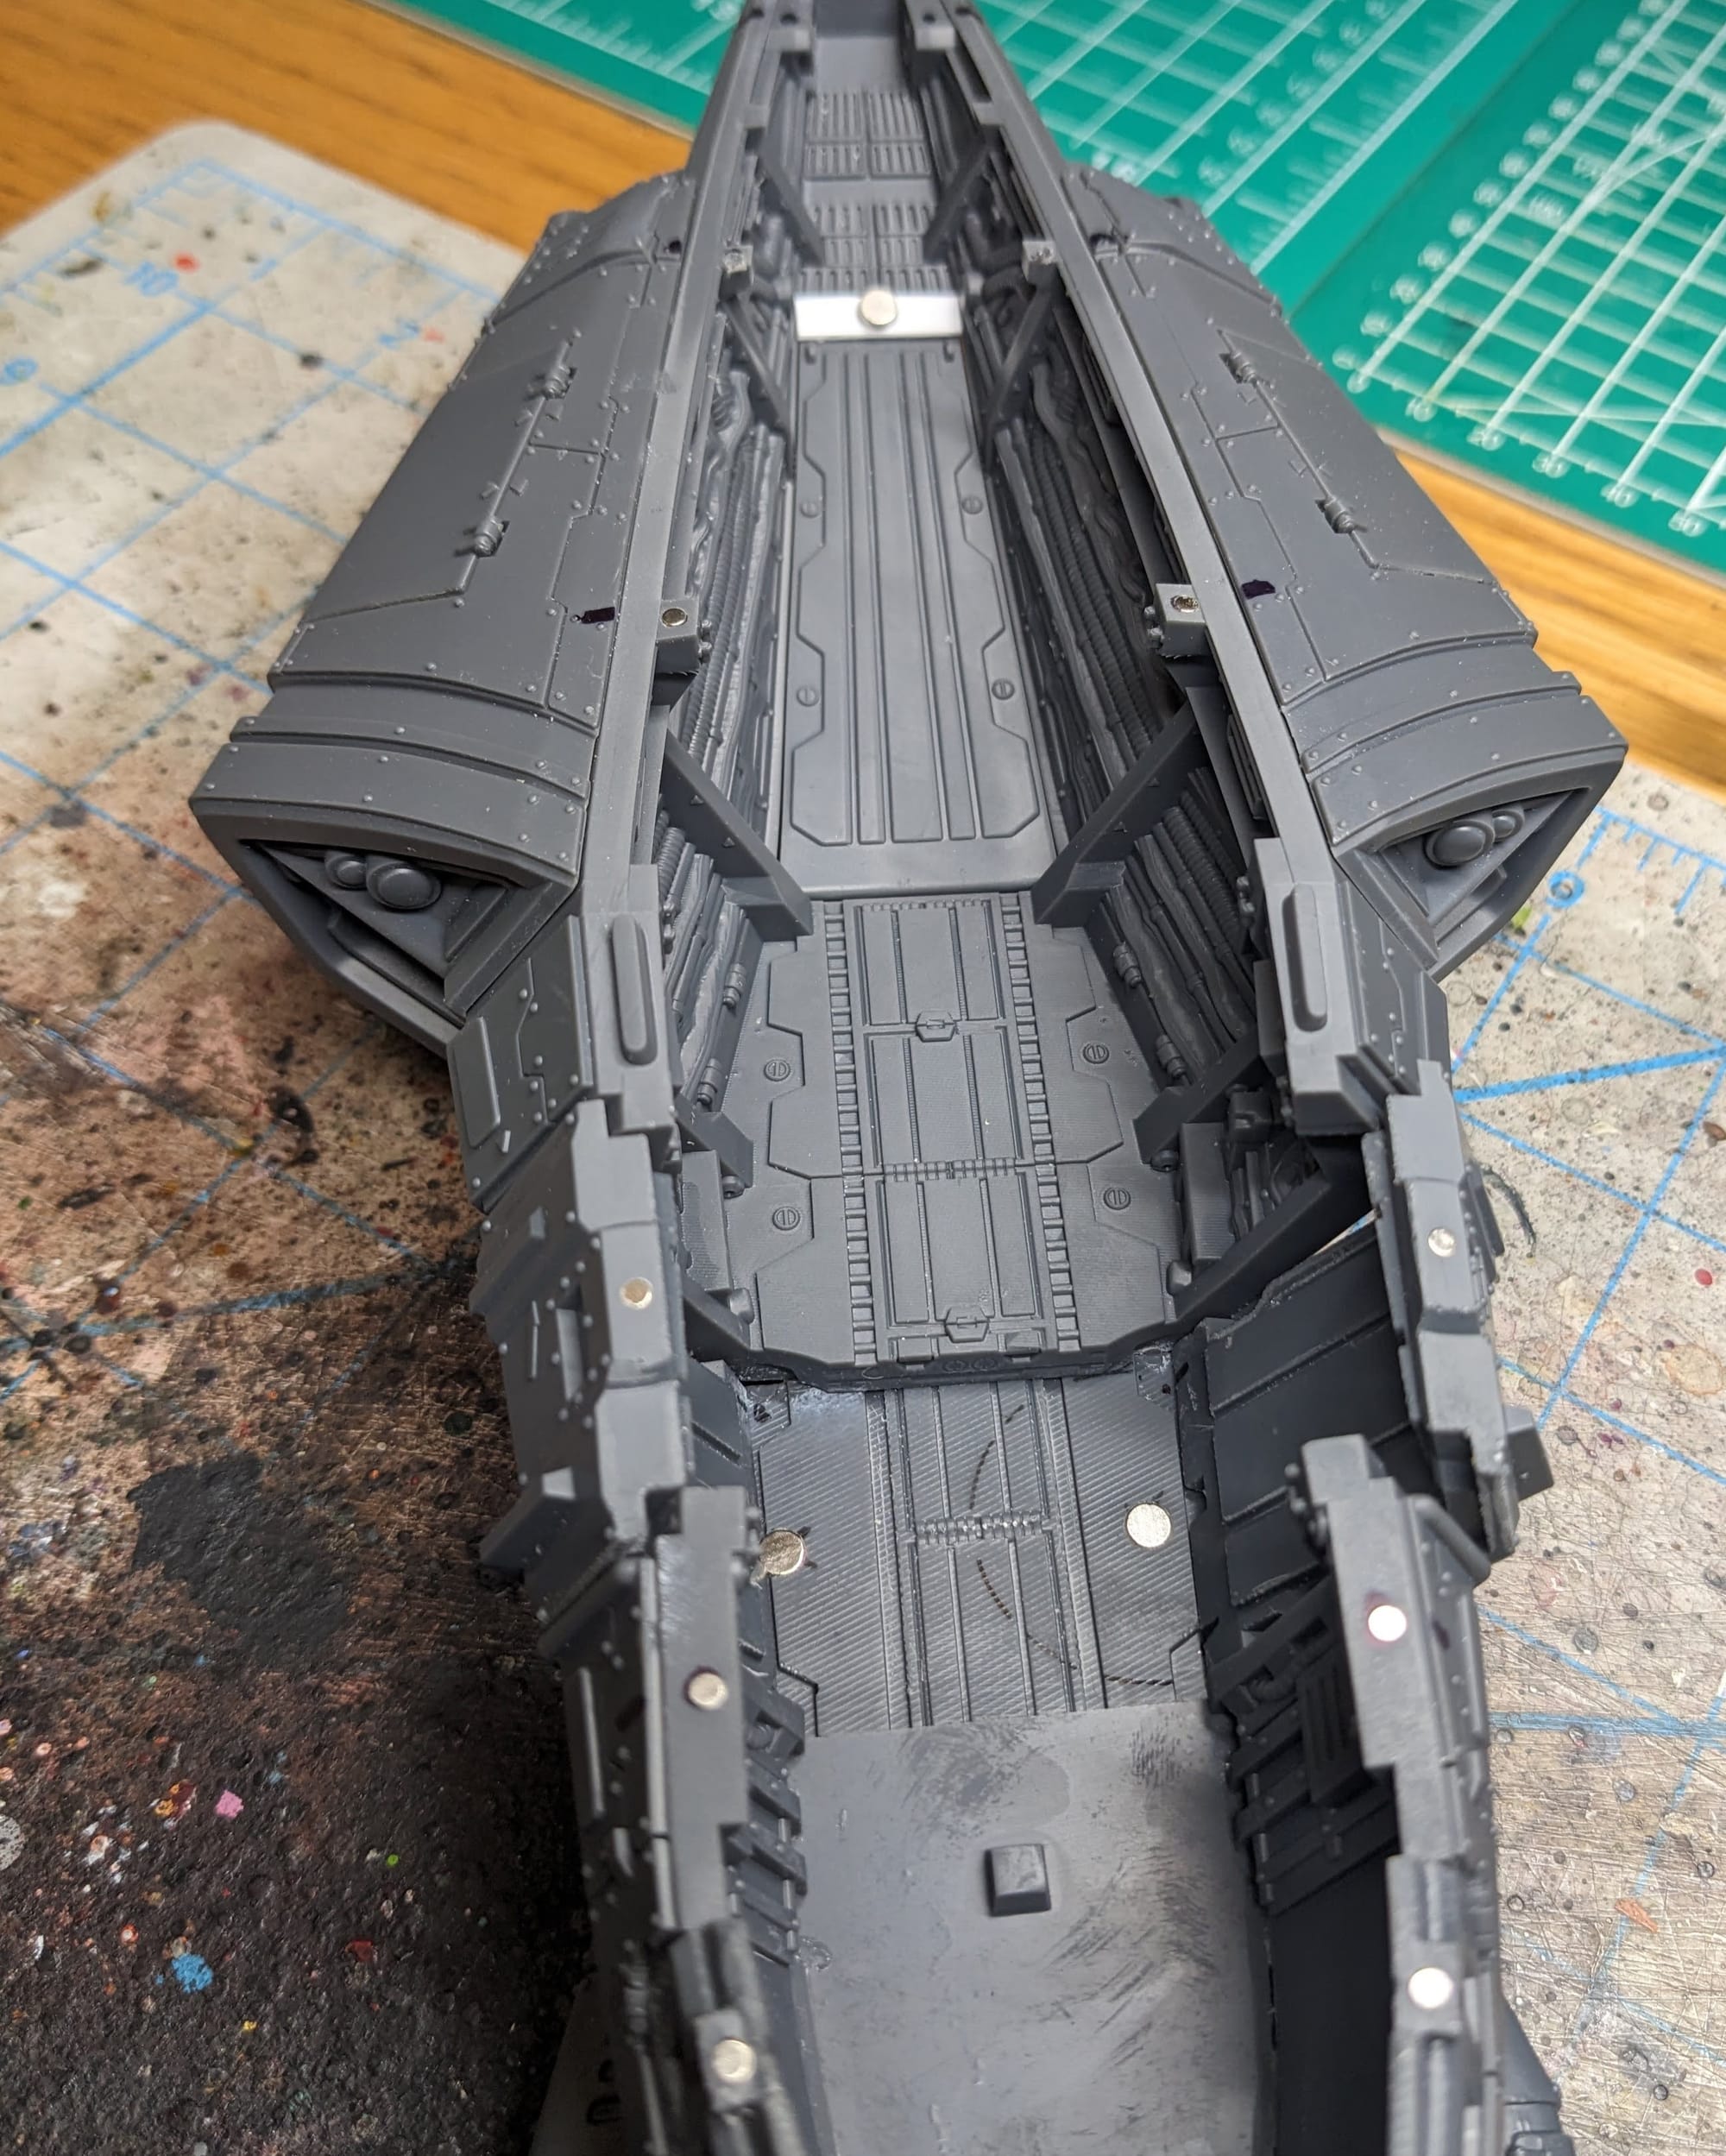
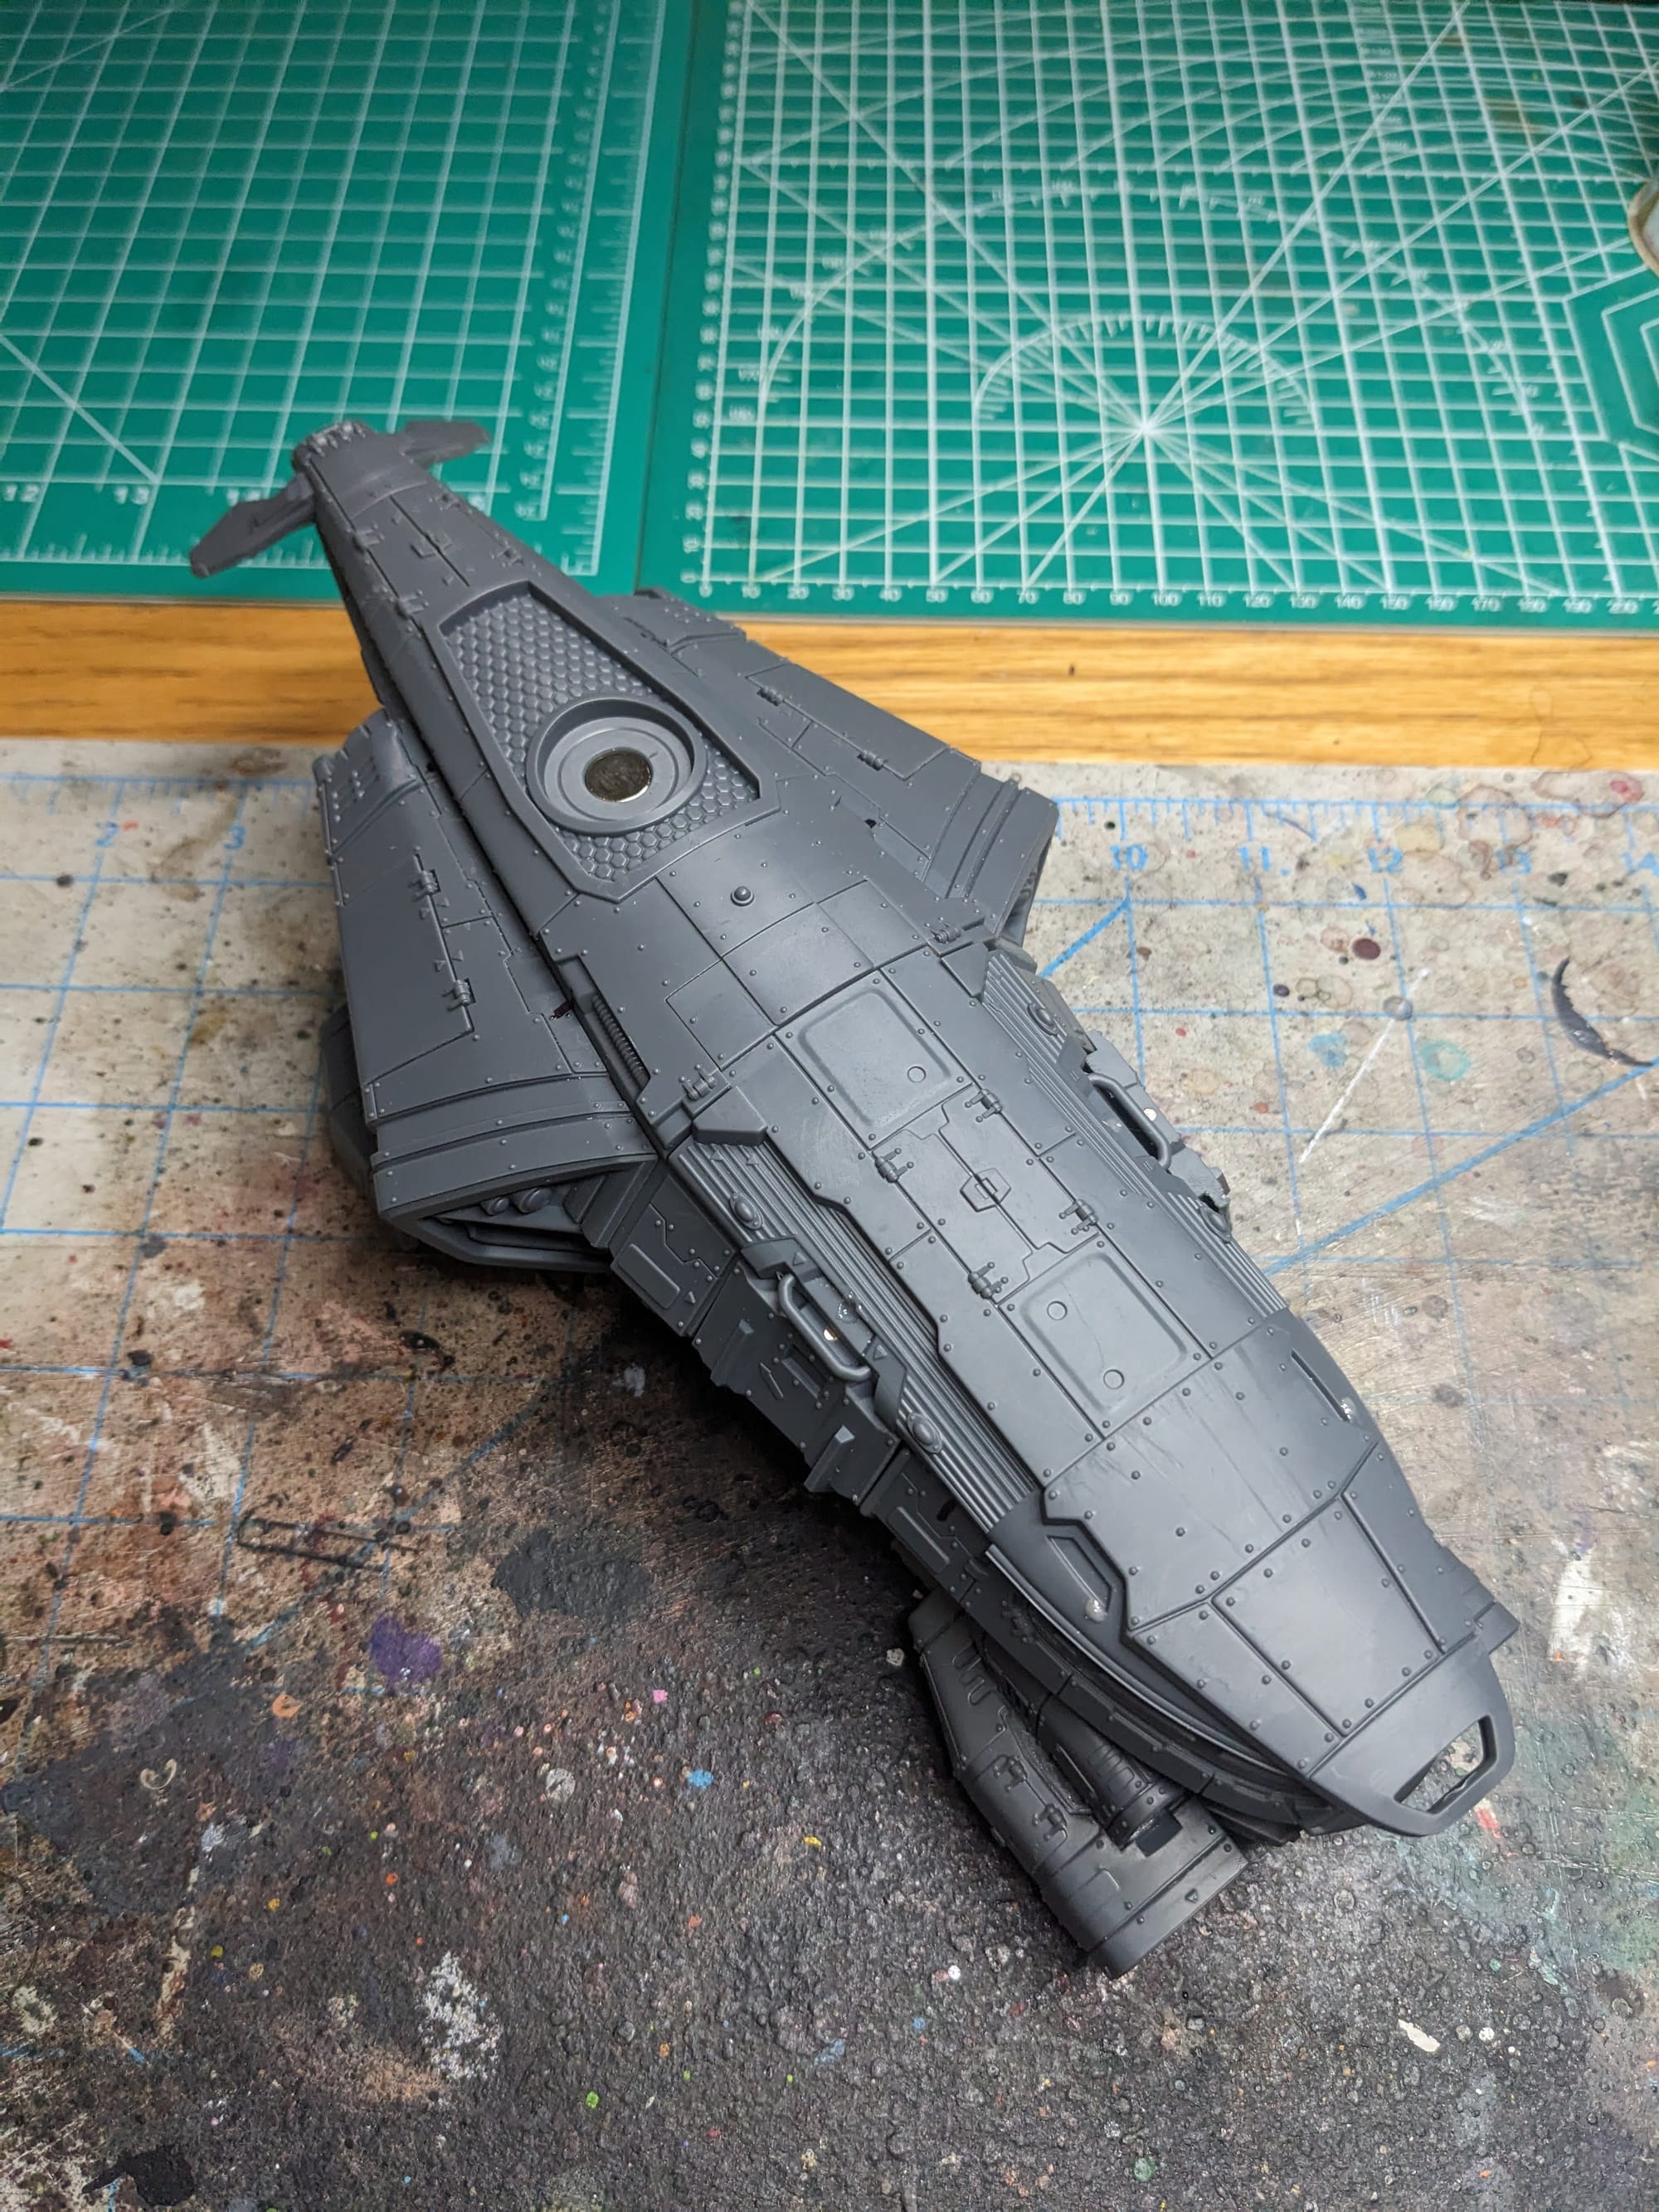
After cleaning up all of the parts and doing some of the assembly, I started marking out where I wanted to put magnets. First and foremost is that I wanted the roof removable so I could look inside and see the details. In addition to that, I wanted to magnetize the door gunners and the three doors: the two side doors and rear ramp. Lastly, with all of the different nose and dorsal turret options, I wanted to magnetize the slots of them so I could do a swap. This isn’t for WYSIWYG (What You See Is What You Get) purposes, but just because if I am in for a penny with magnetizing, I’m in for a pound. I marked the areas I planned to drill with Sharpie, doing my best to line up parts like the door and figures, so that the magnets could align as closely as possible.
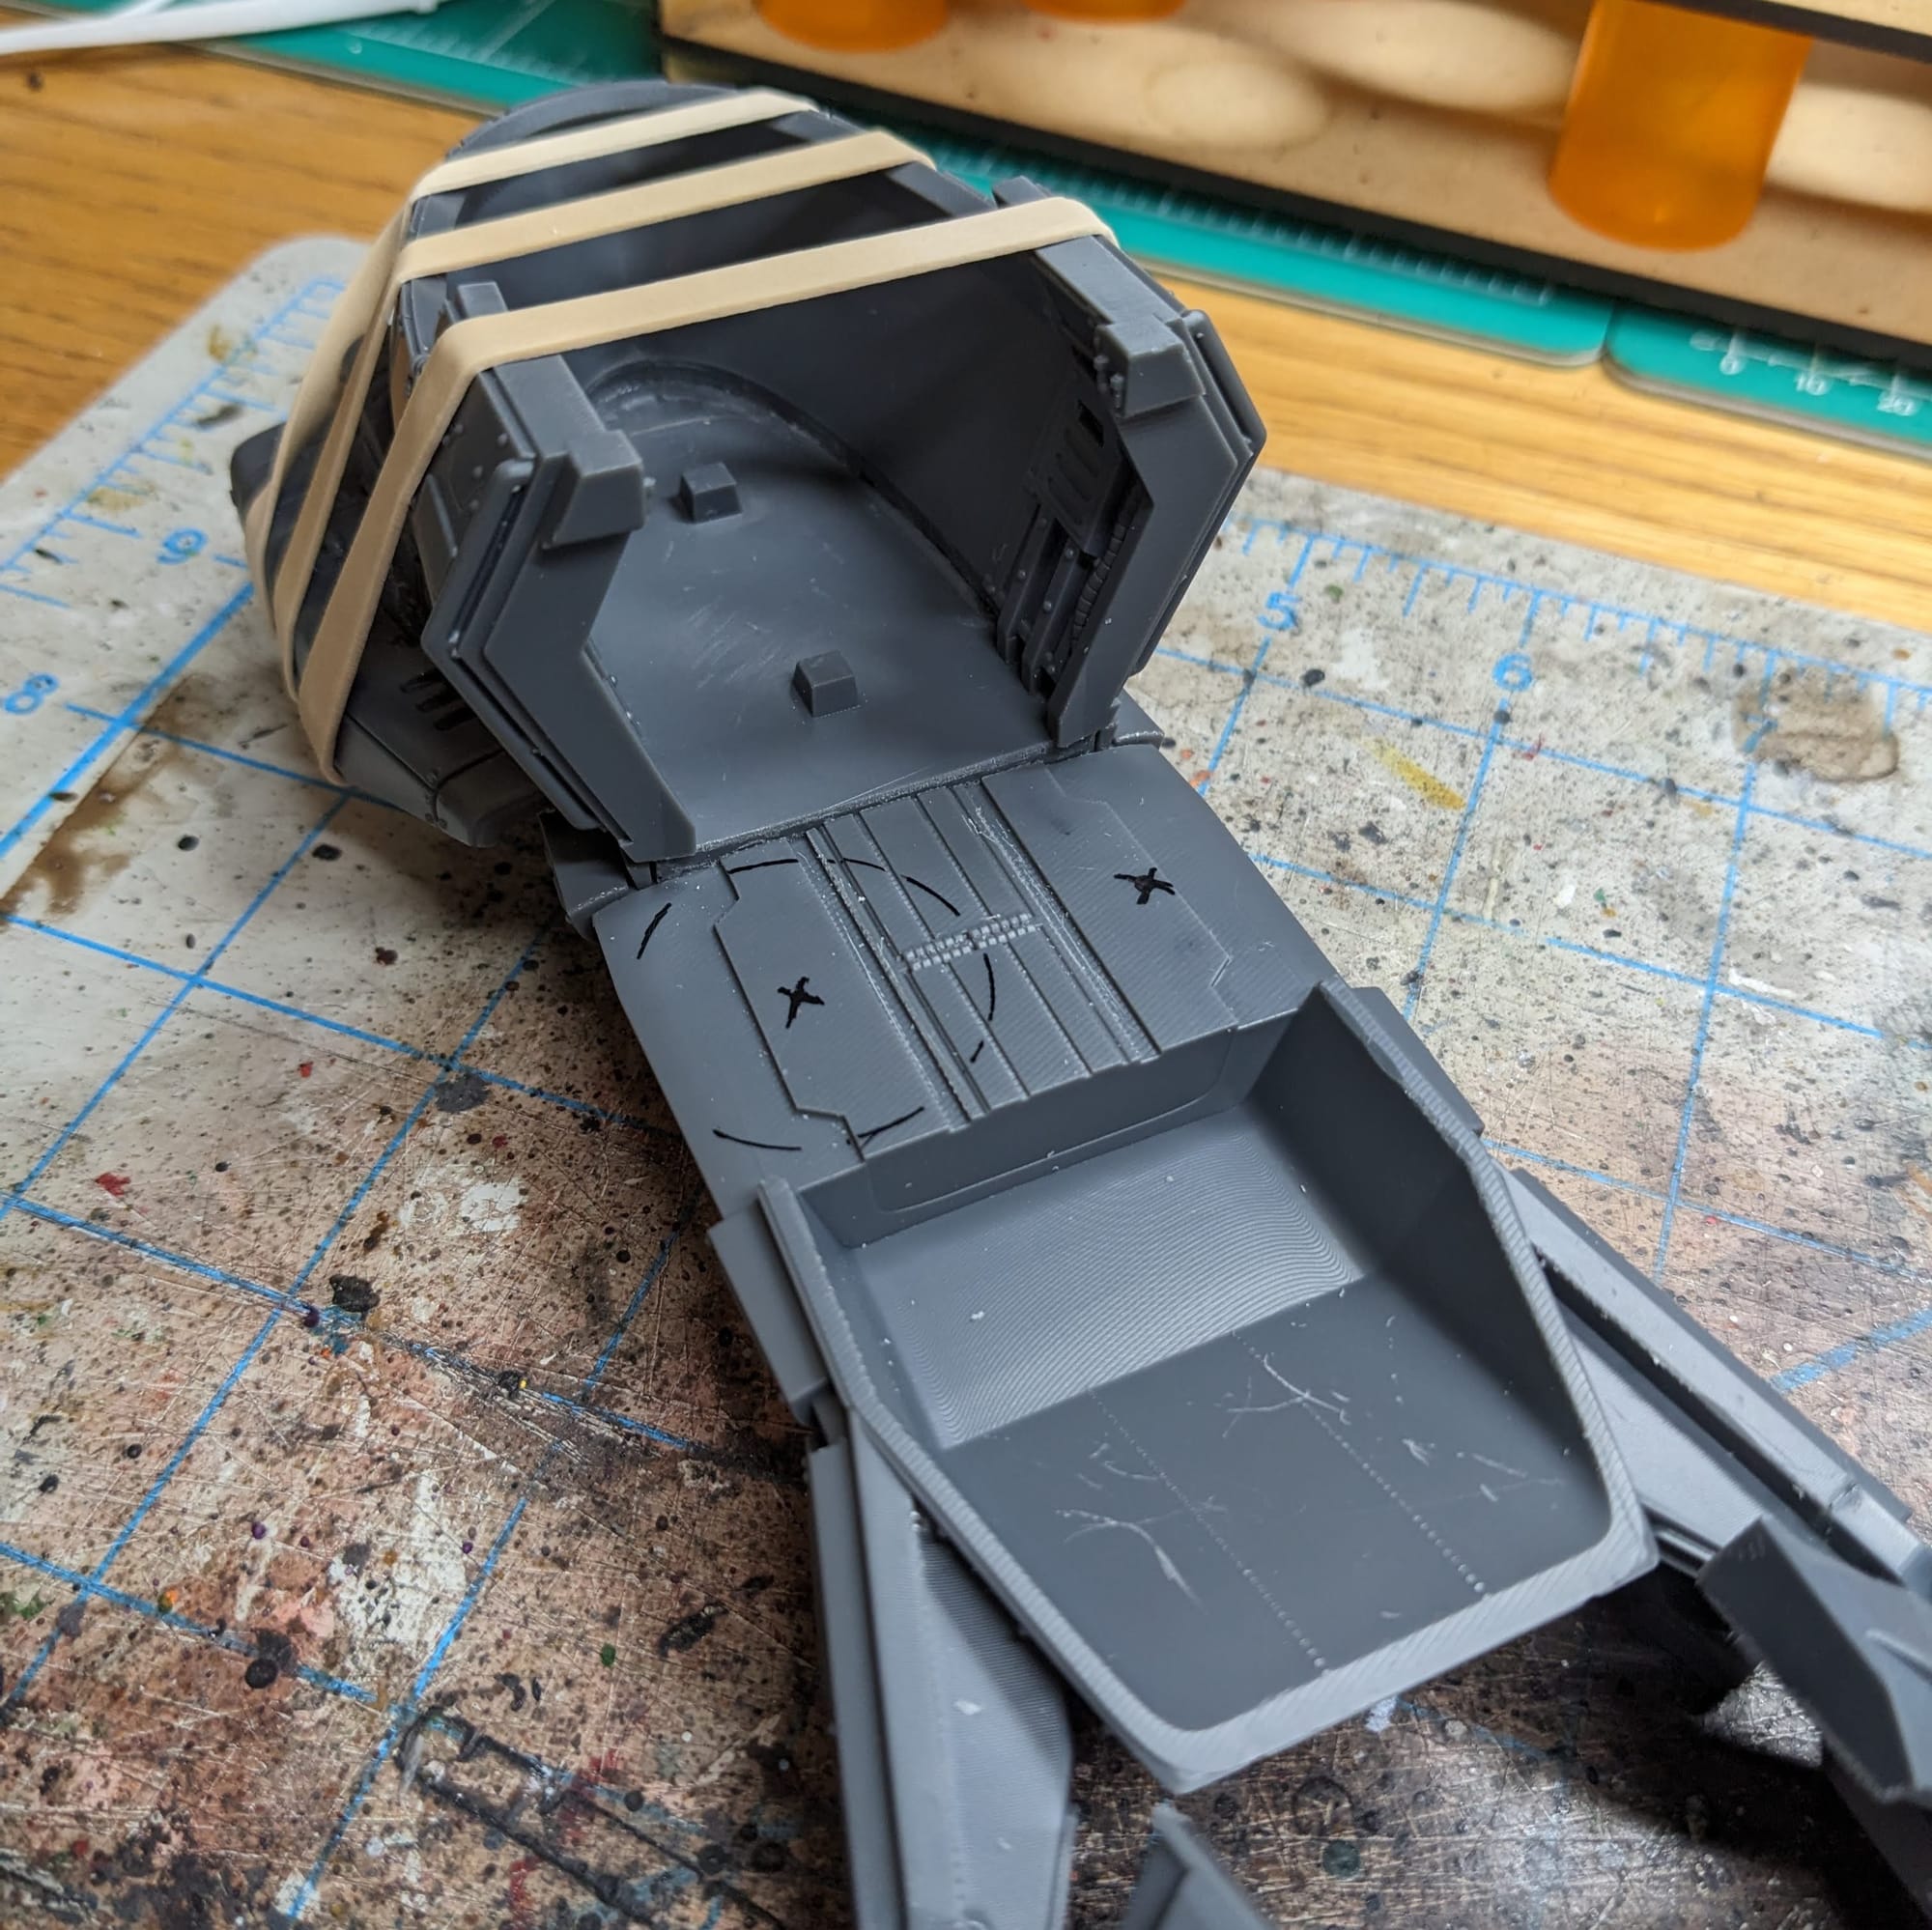
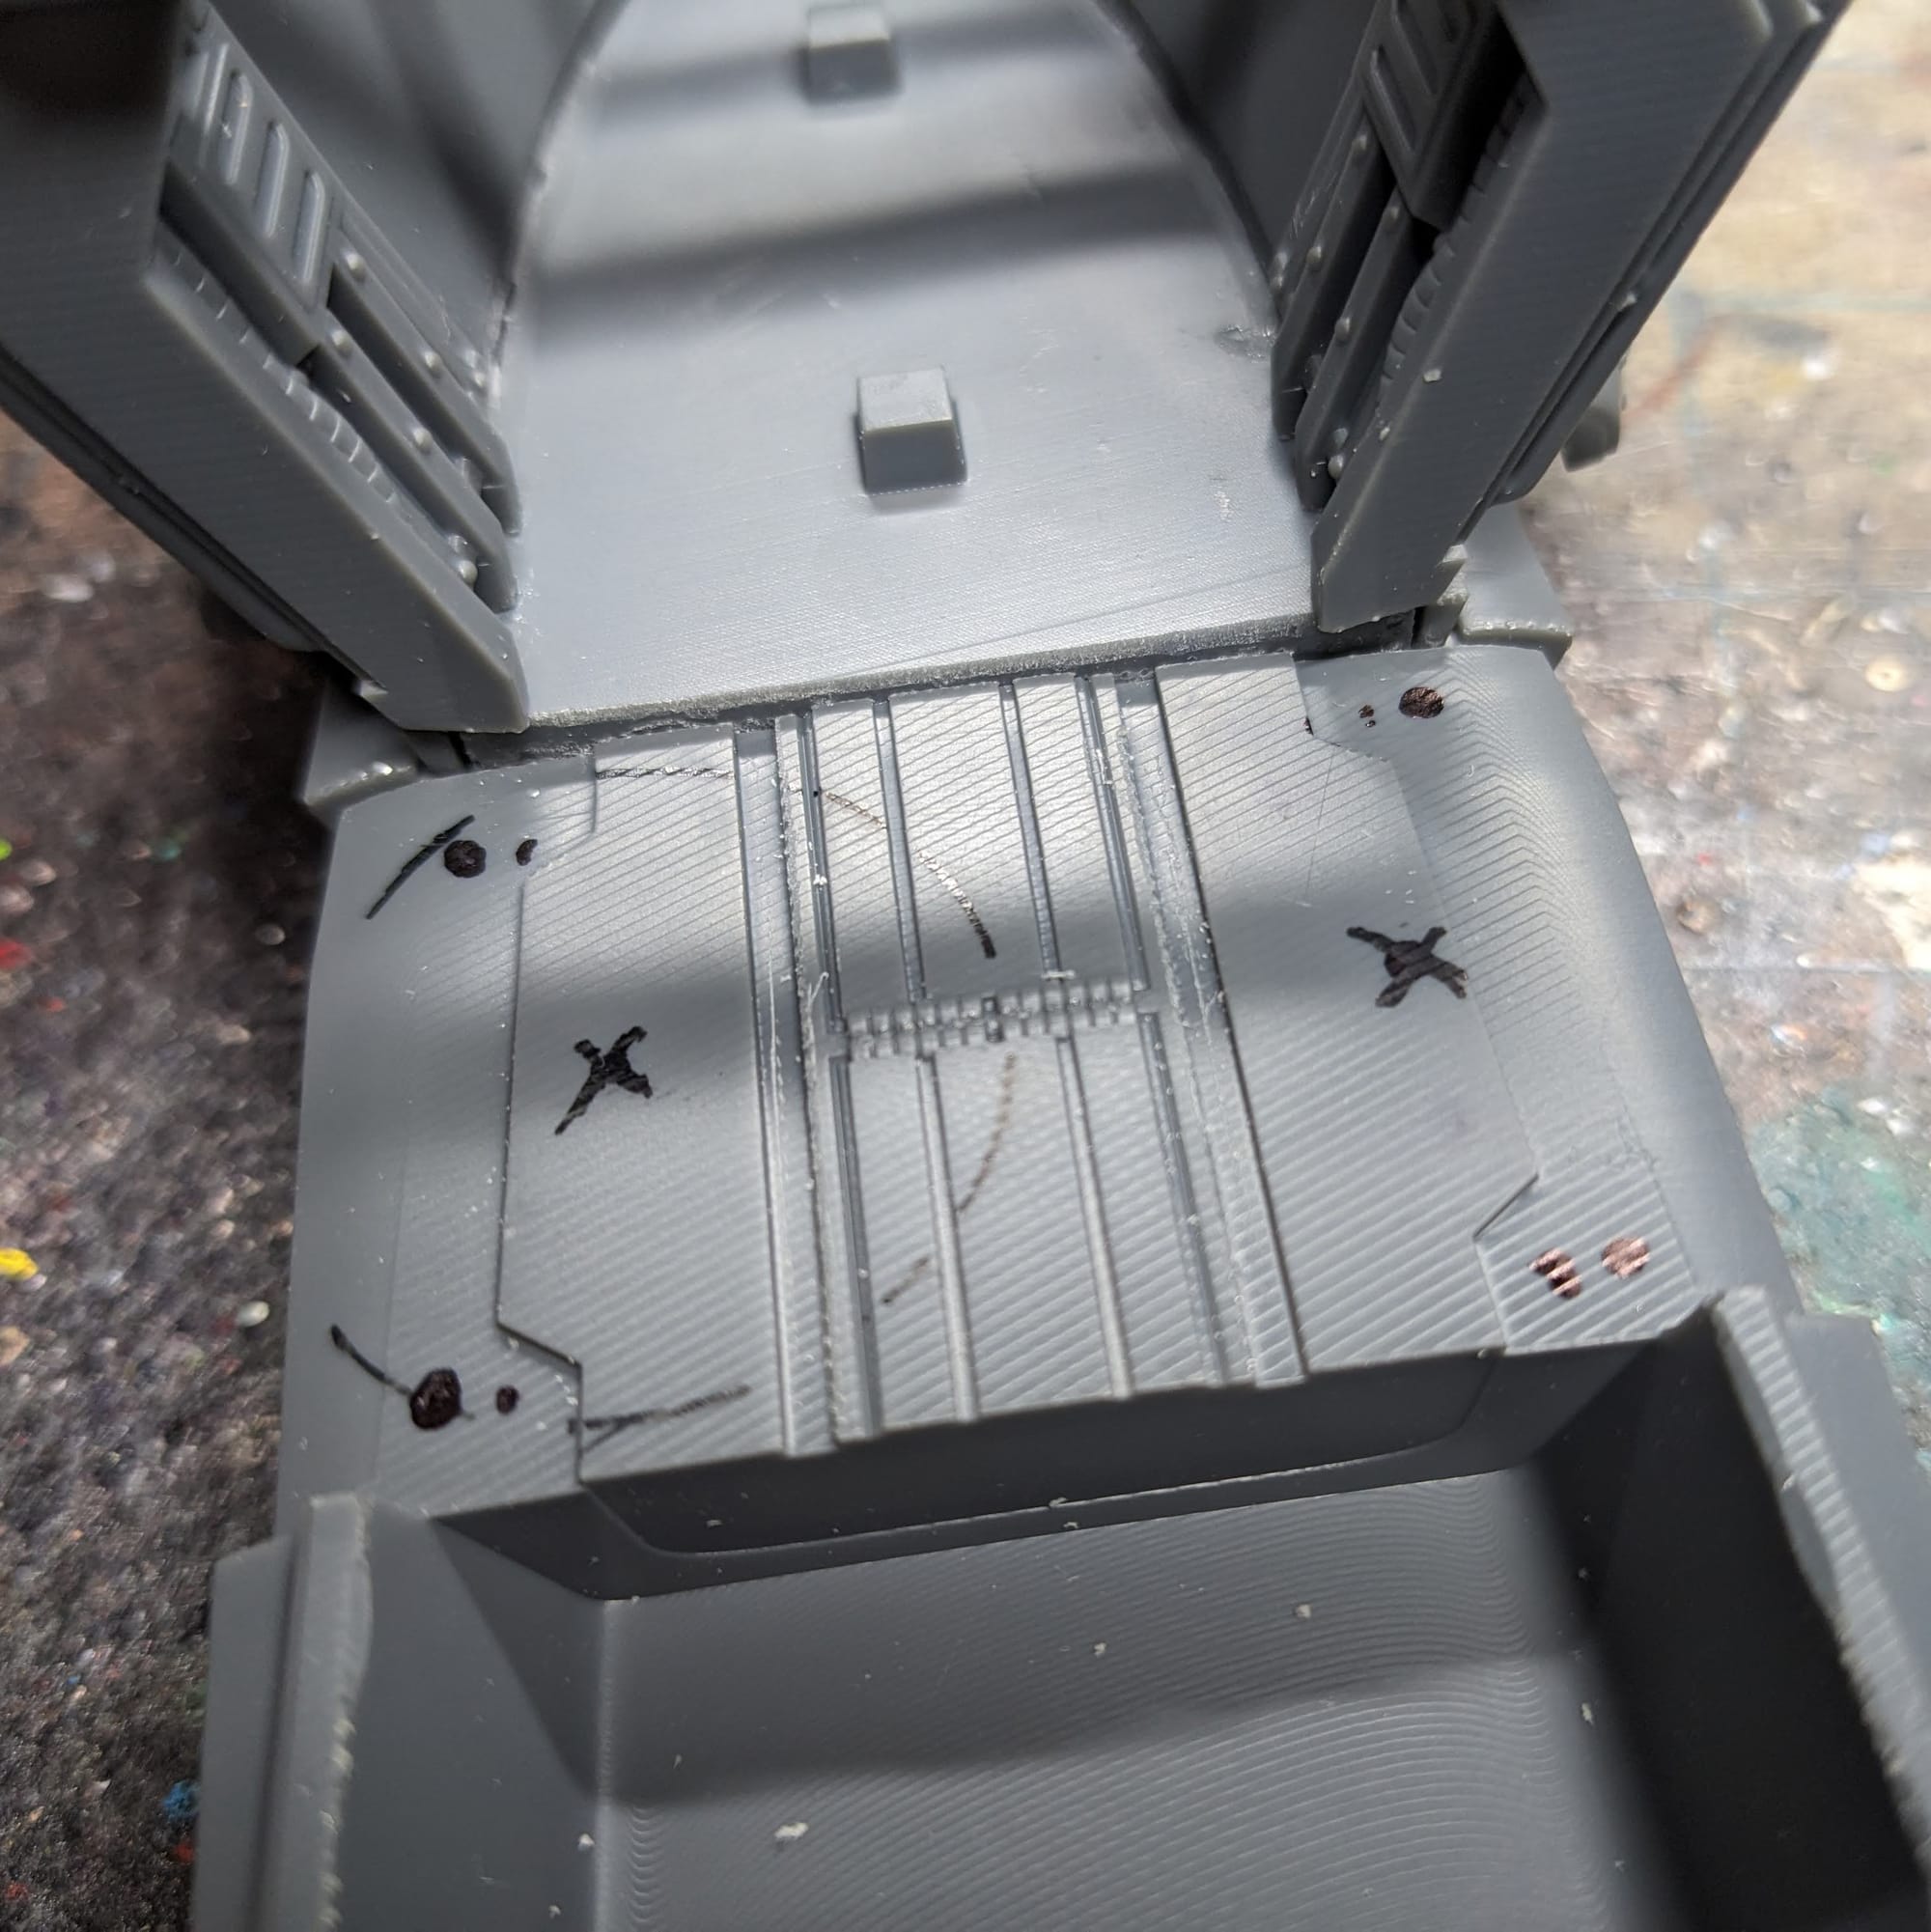
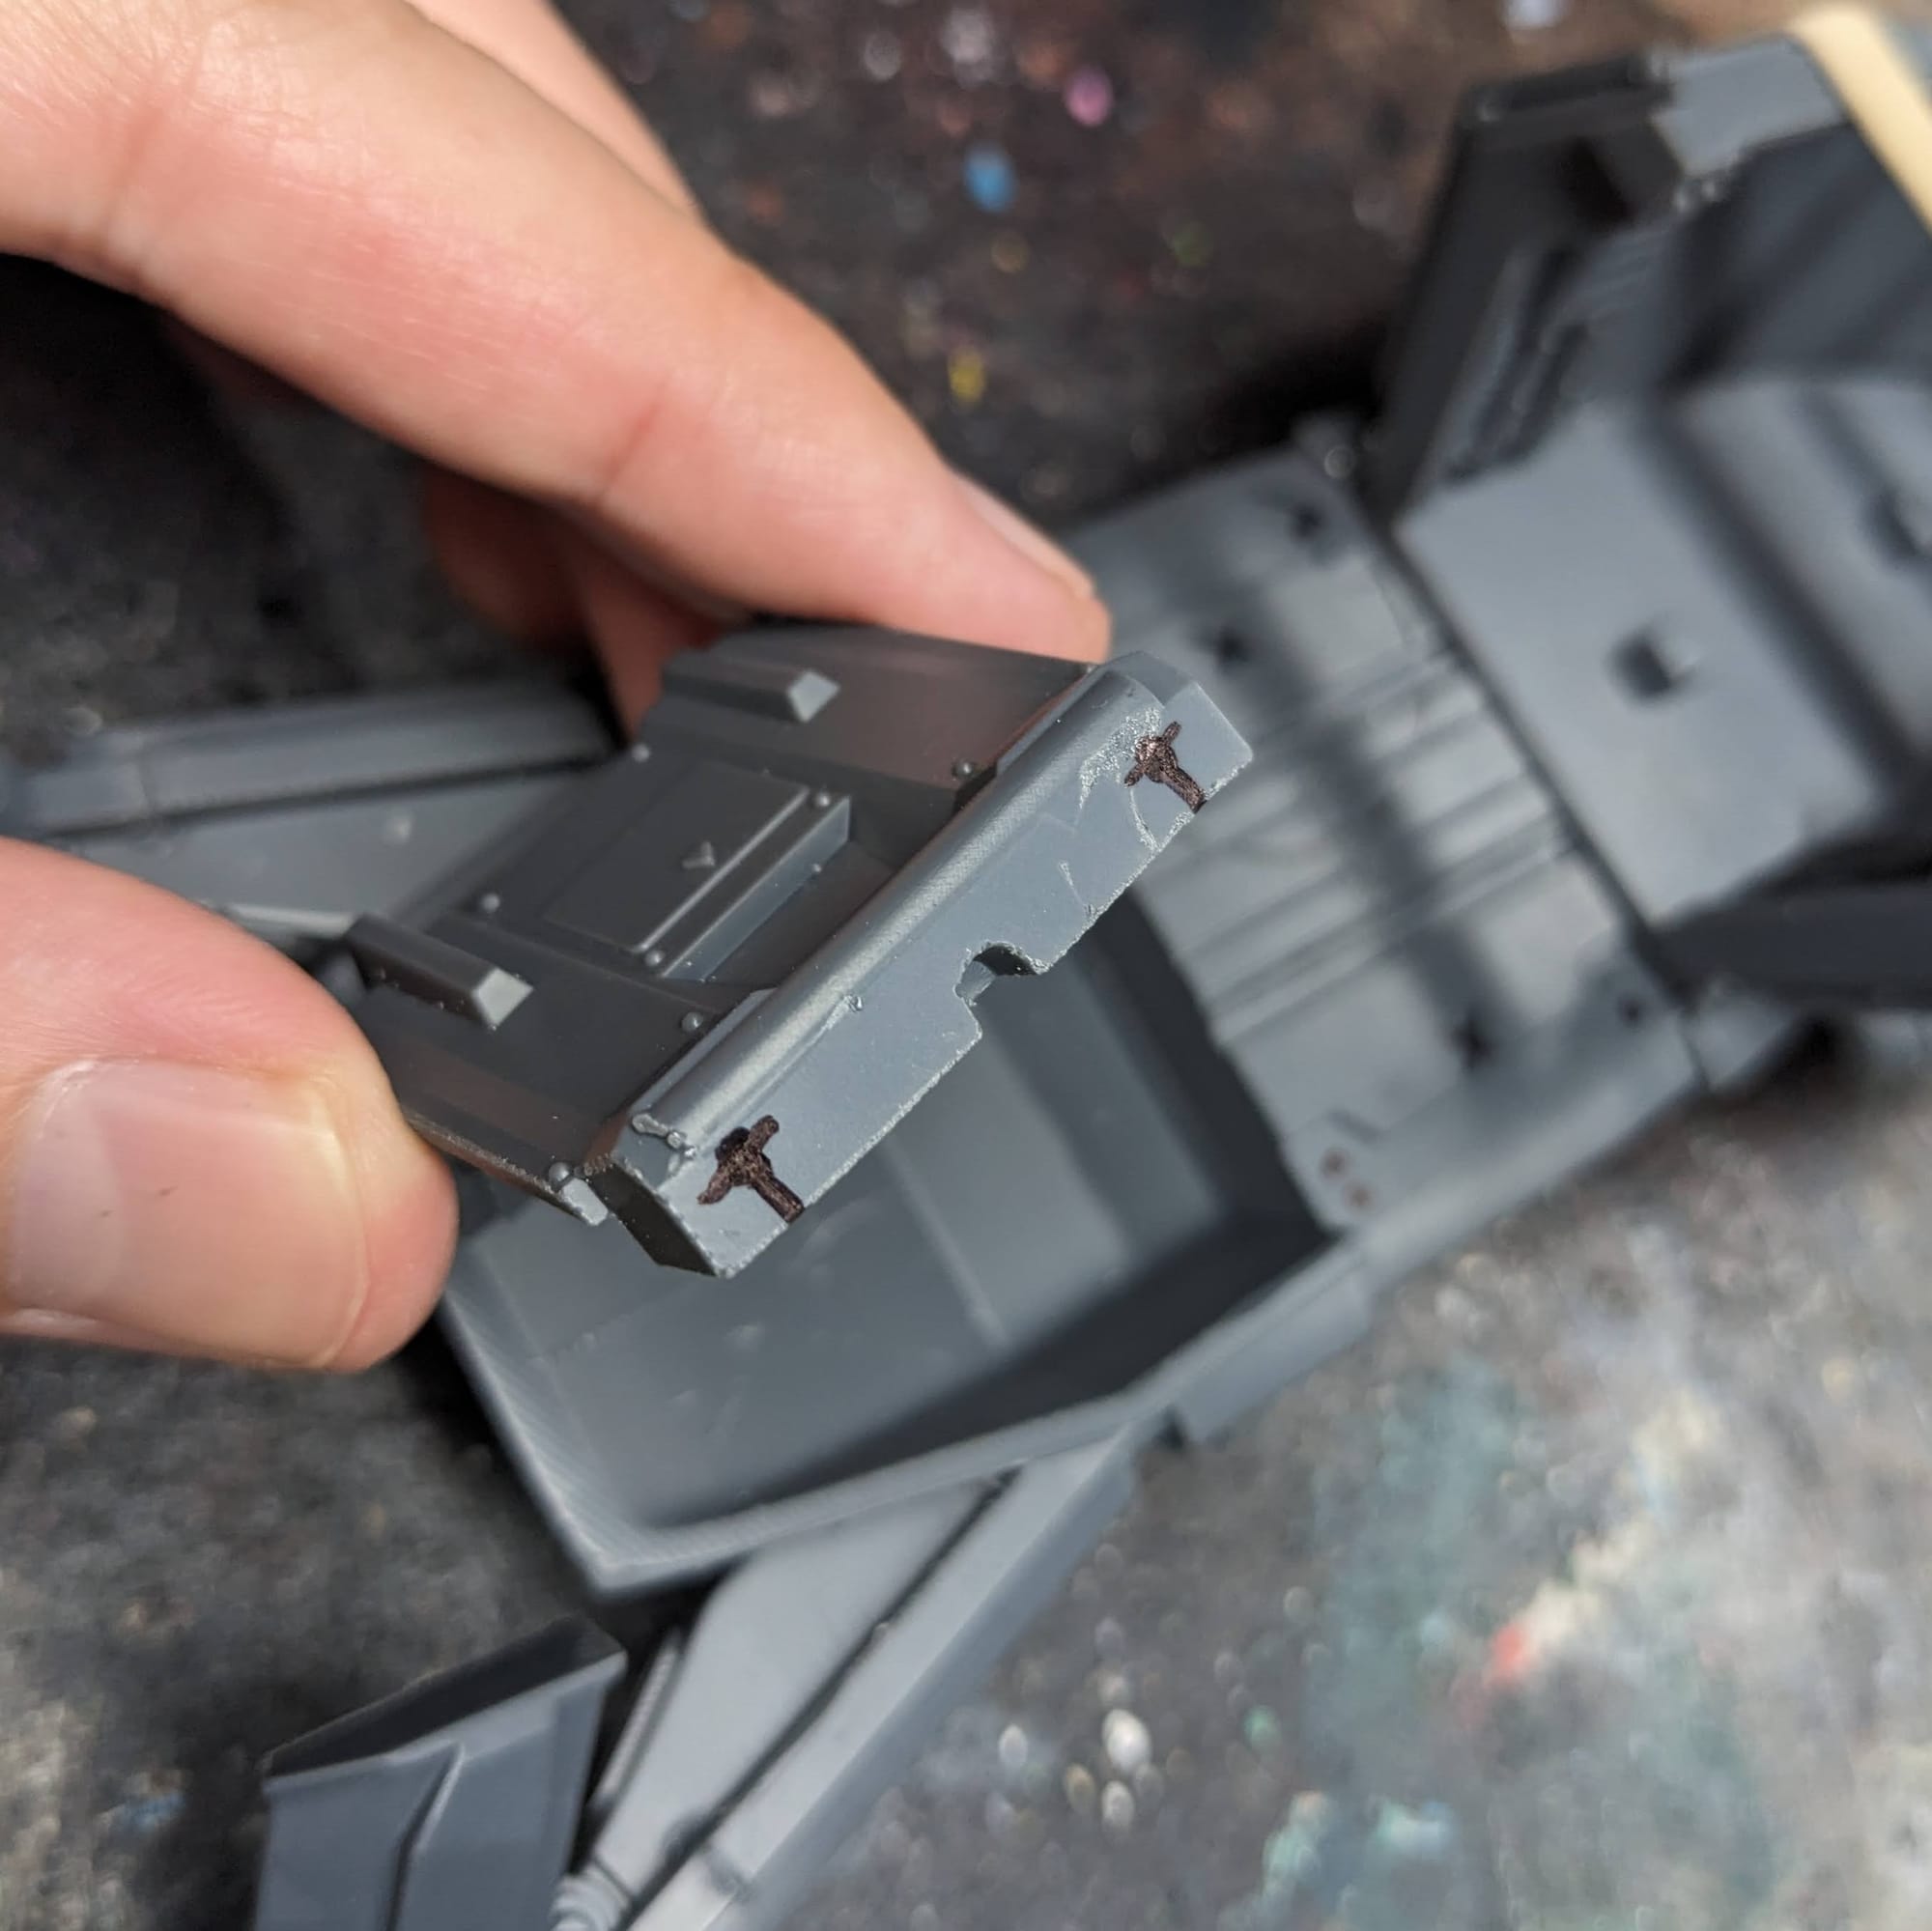
Here are the size of magnets I used and for which parts:
- 10x2mm - Dorsal guns, nose guns, and bases of Door Gunners.
- 4x3mm - Roof for Side doors, rear ramp (oh ship), tail section (on top and bottom parts)
- 2x2mm - Everything else, including the rear ramp, doors, and roof section.
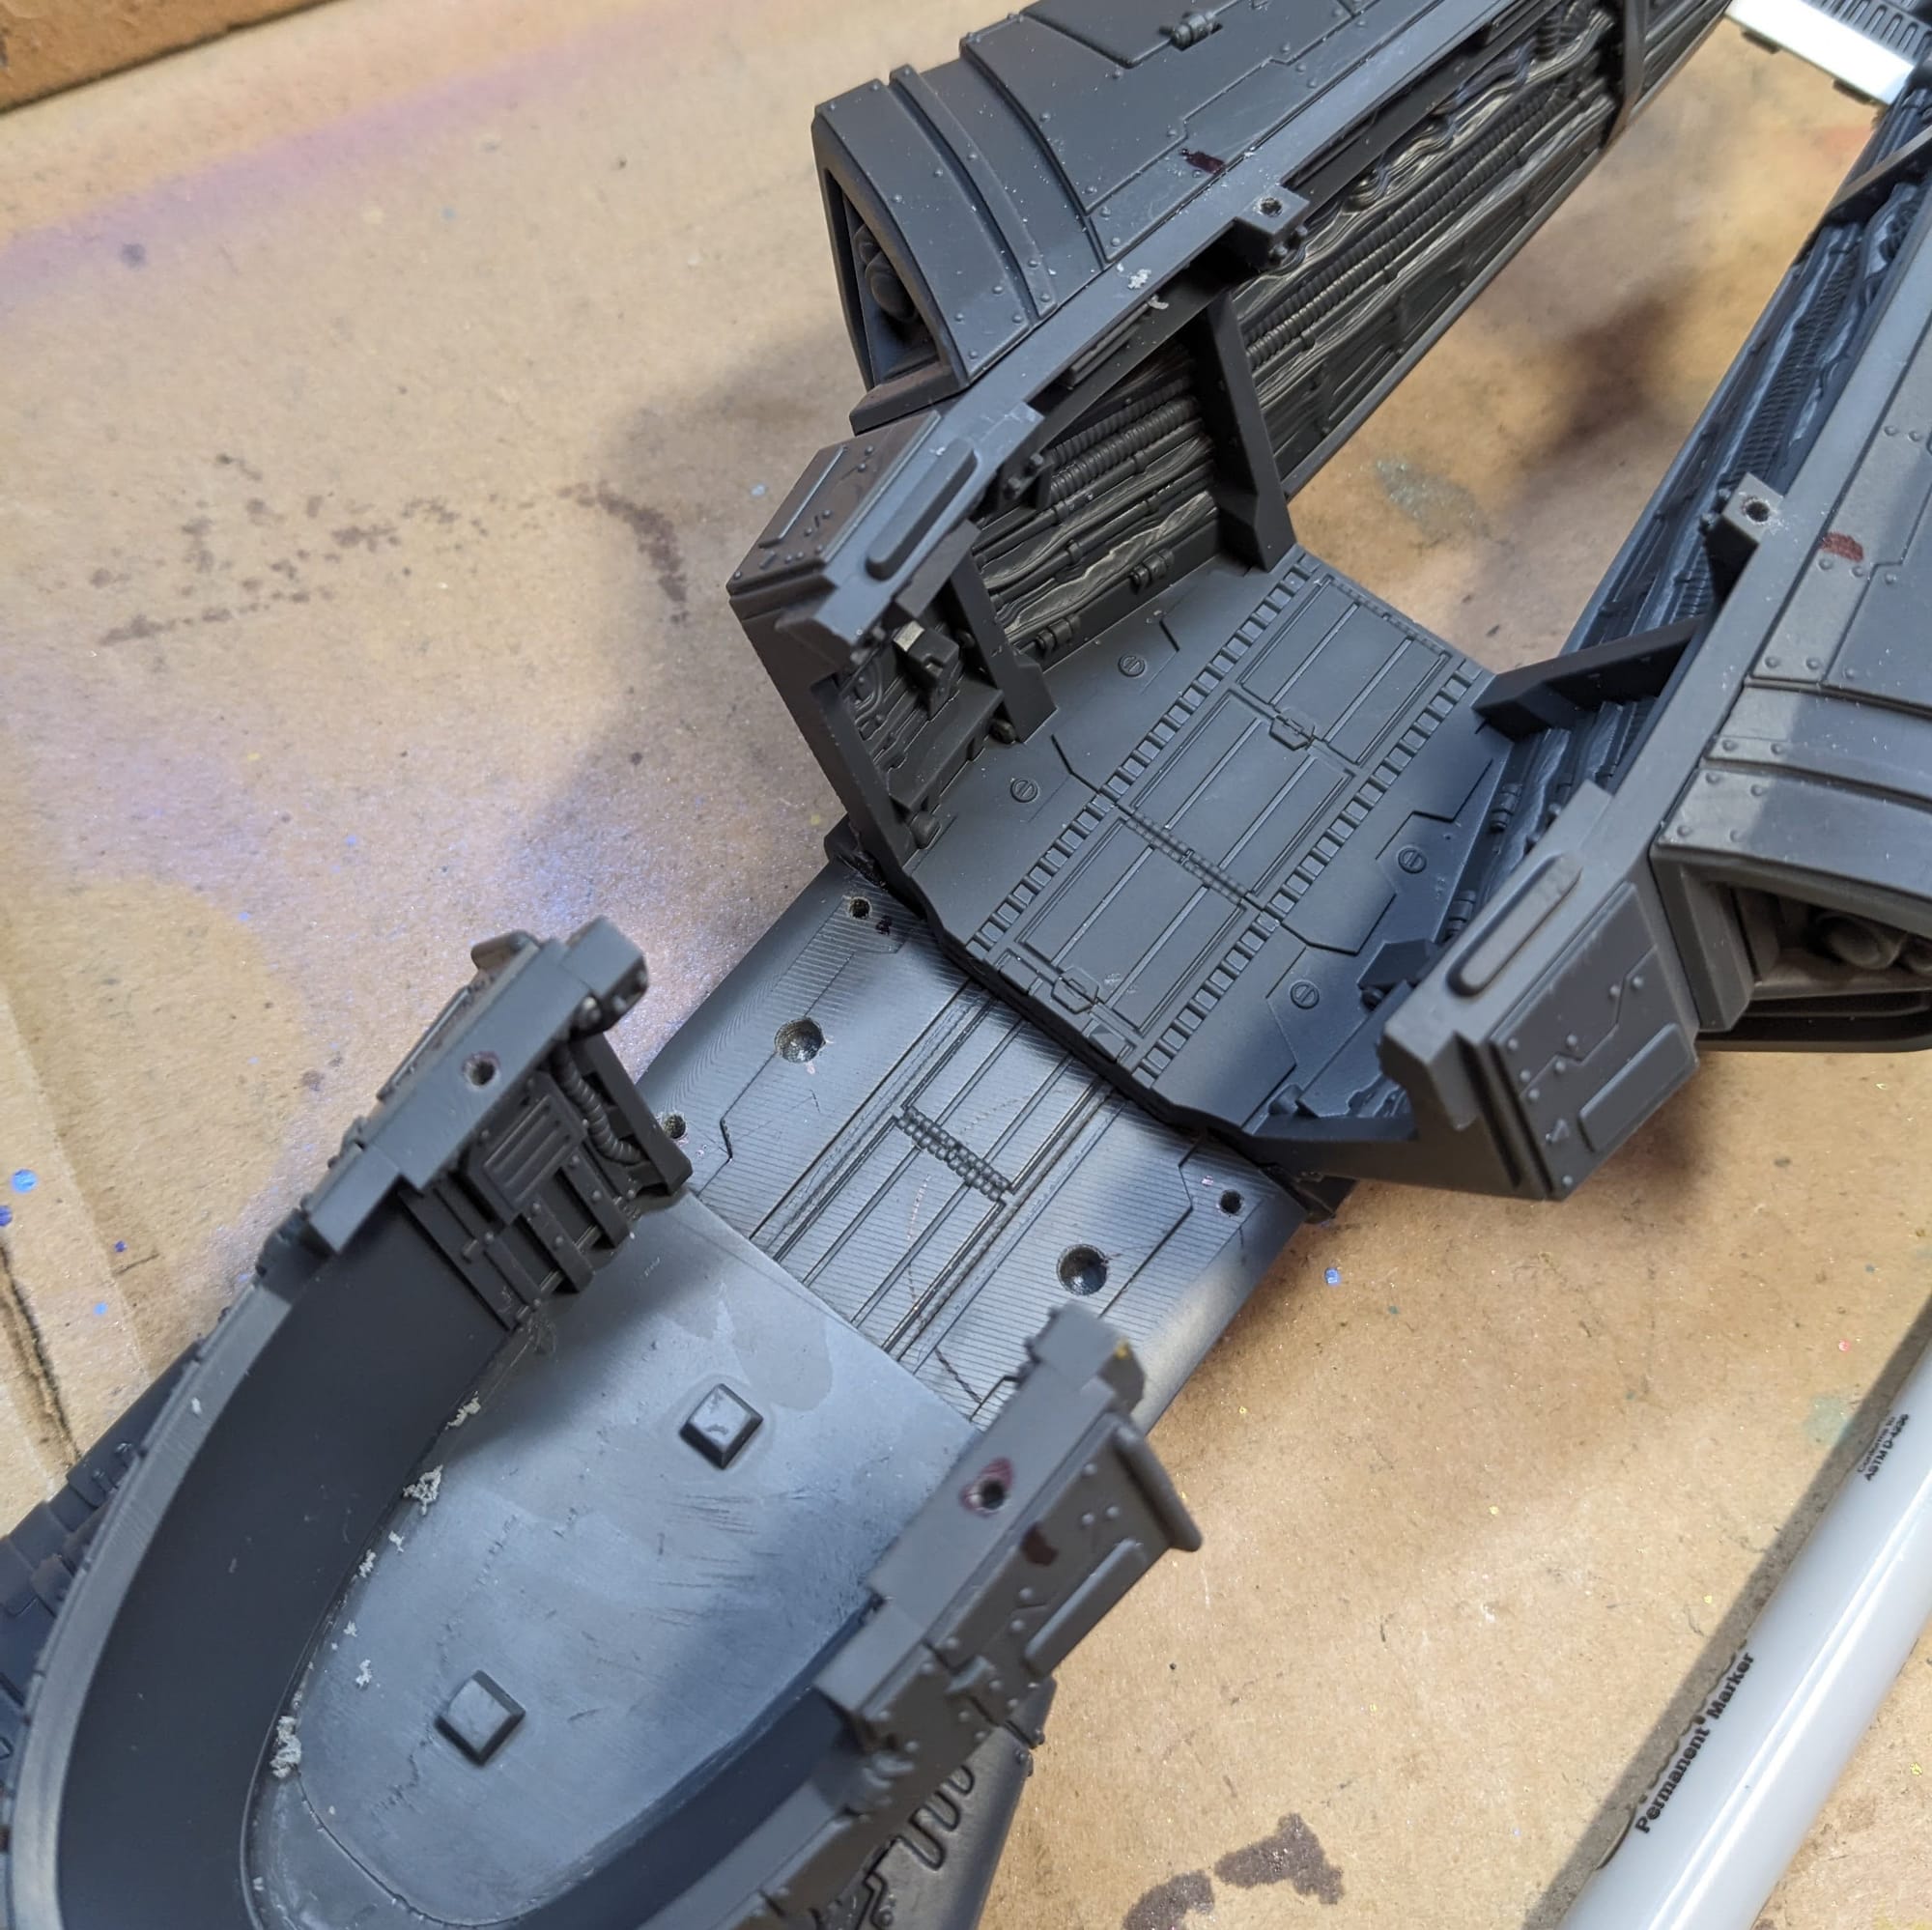
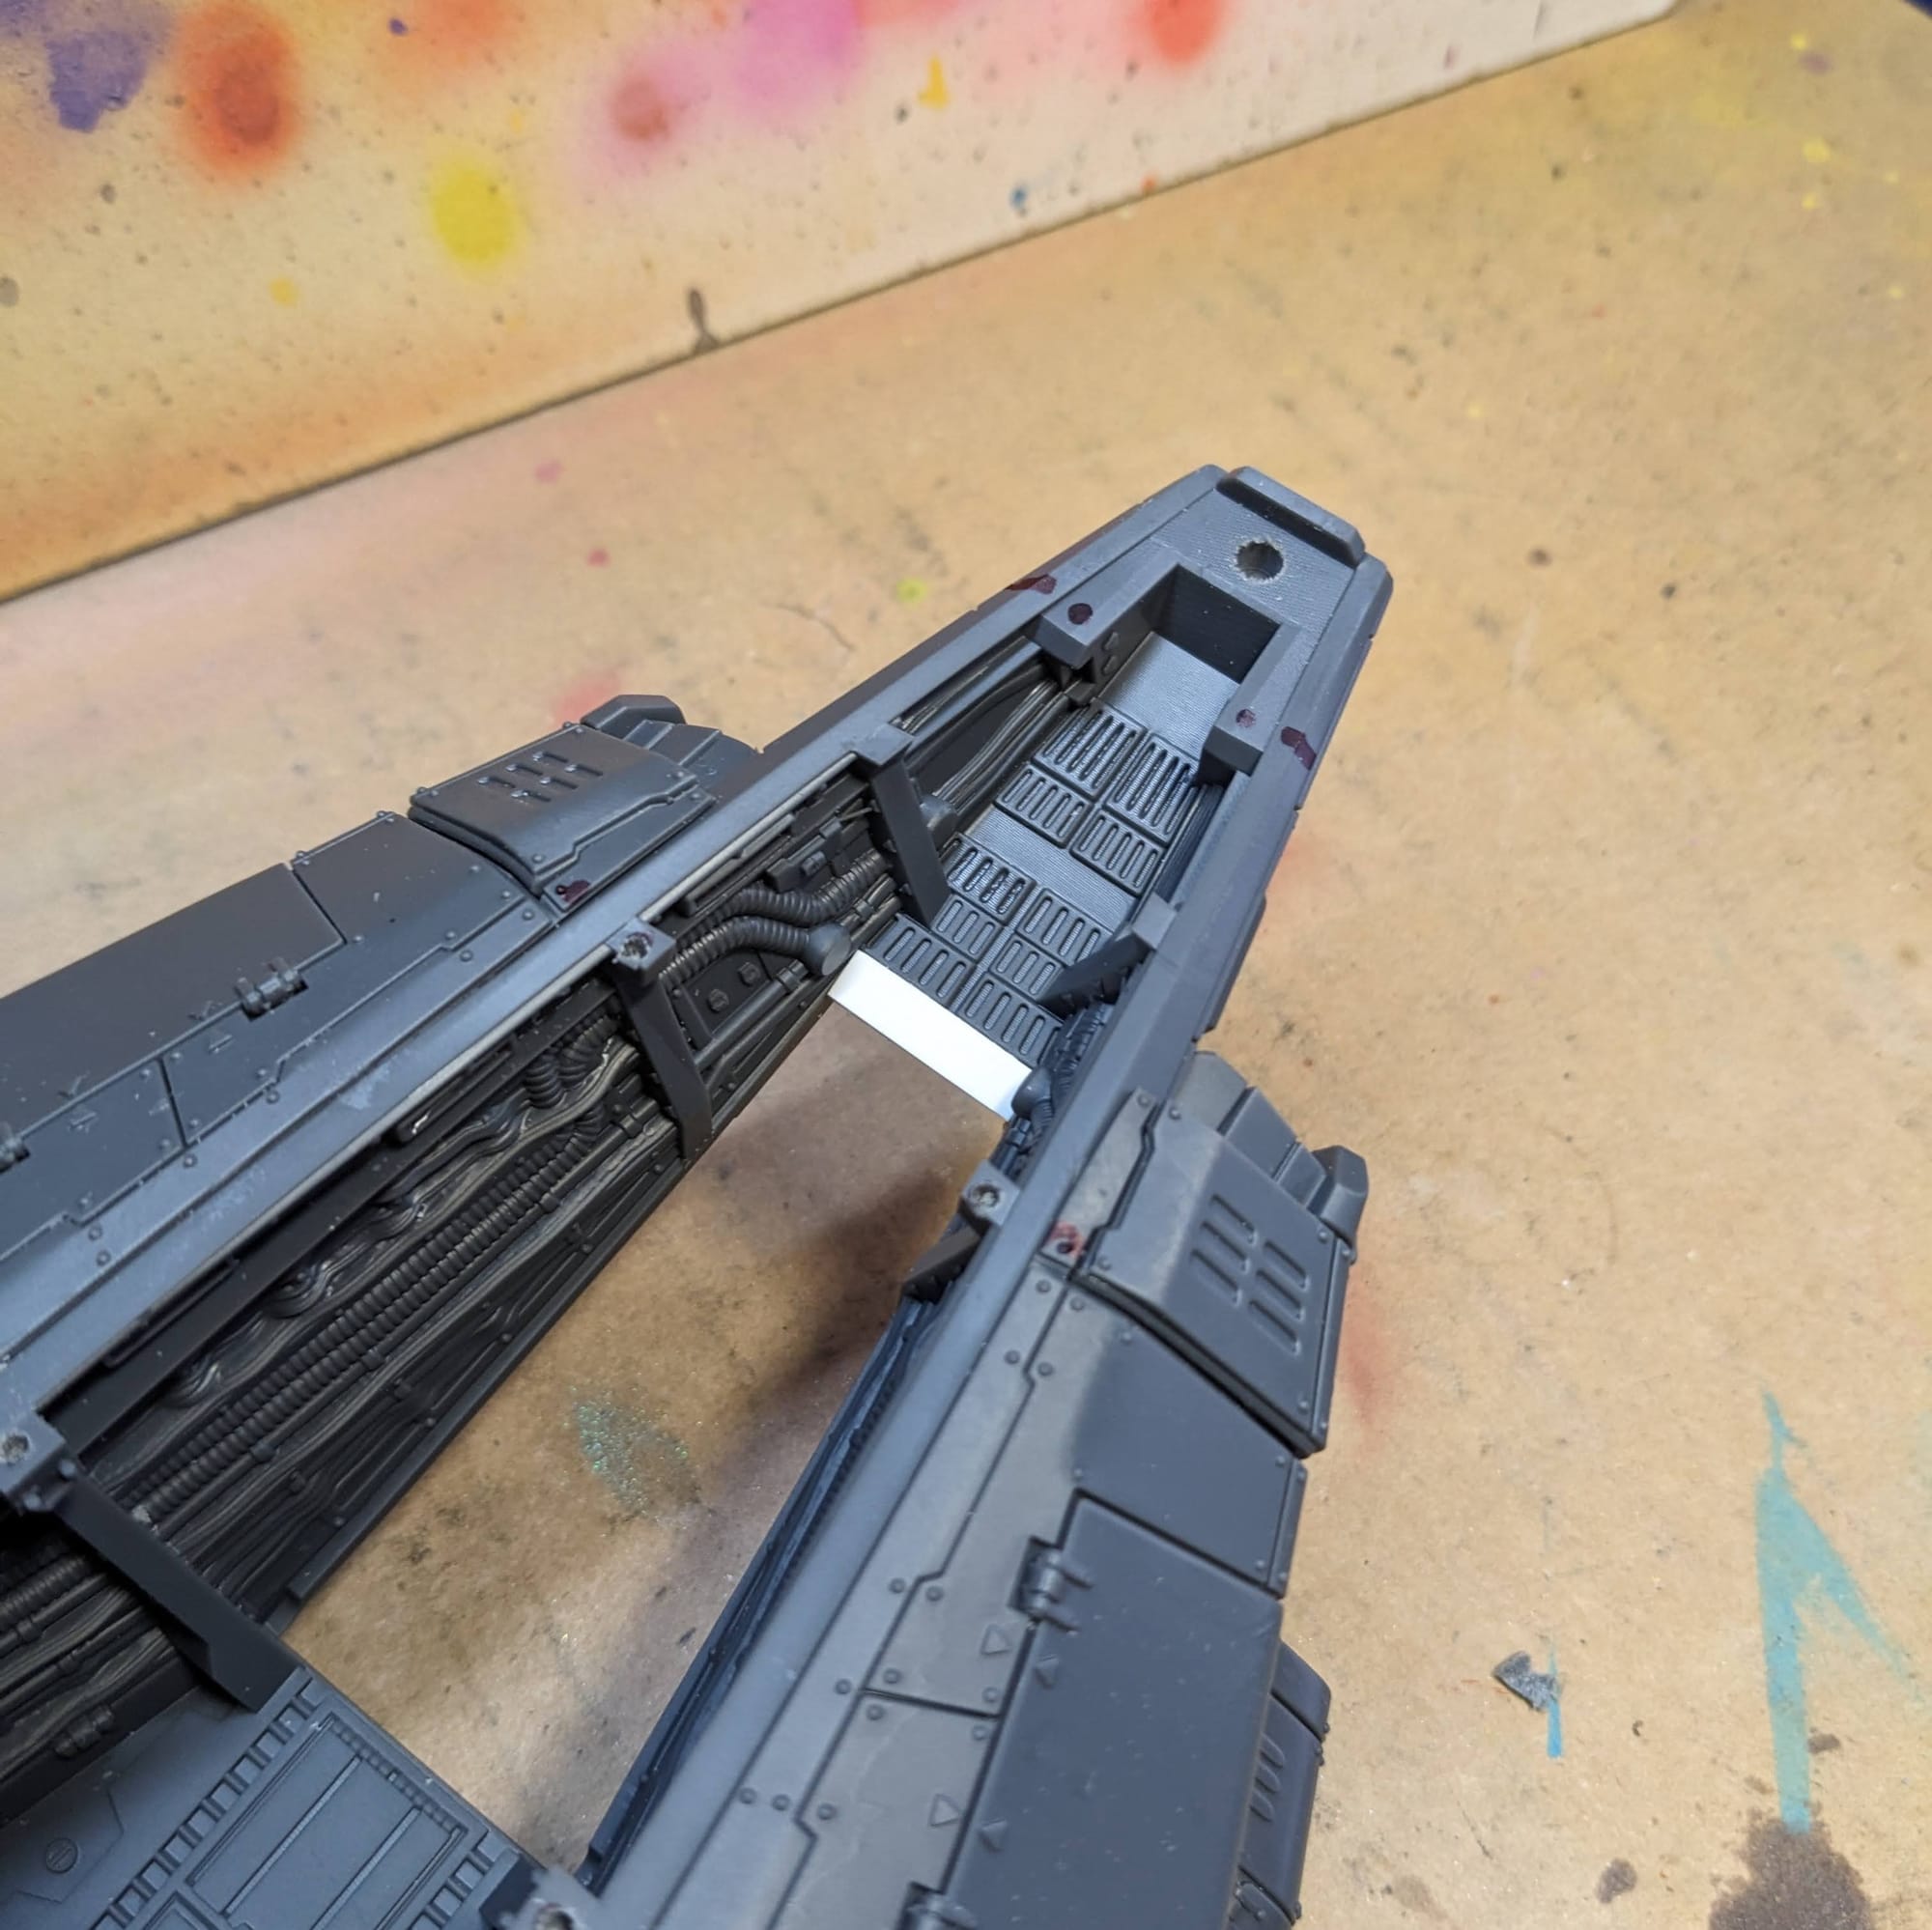
These are just recommended sizes, but they gave me the best Gauss for the size. The roof especially needed more magnetizing support, since I didn’t want it to warp again and fall off when moving it. To secure the rear door, I added a small bit of plasticard over the tip of the ramp, which allowed me to affix a magnet. The plastic was thin enough that it didn’t affect the magnet in the ramp. The tail required two magnets stacked to reach the fuselage magnet, and it lined up perfectly. I used just the tiniest bit of glue on each slot, which kept the magnets in place.
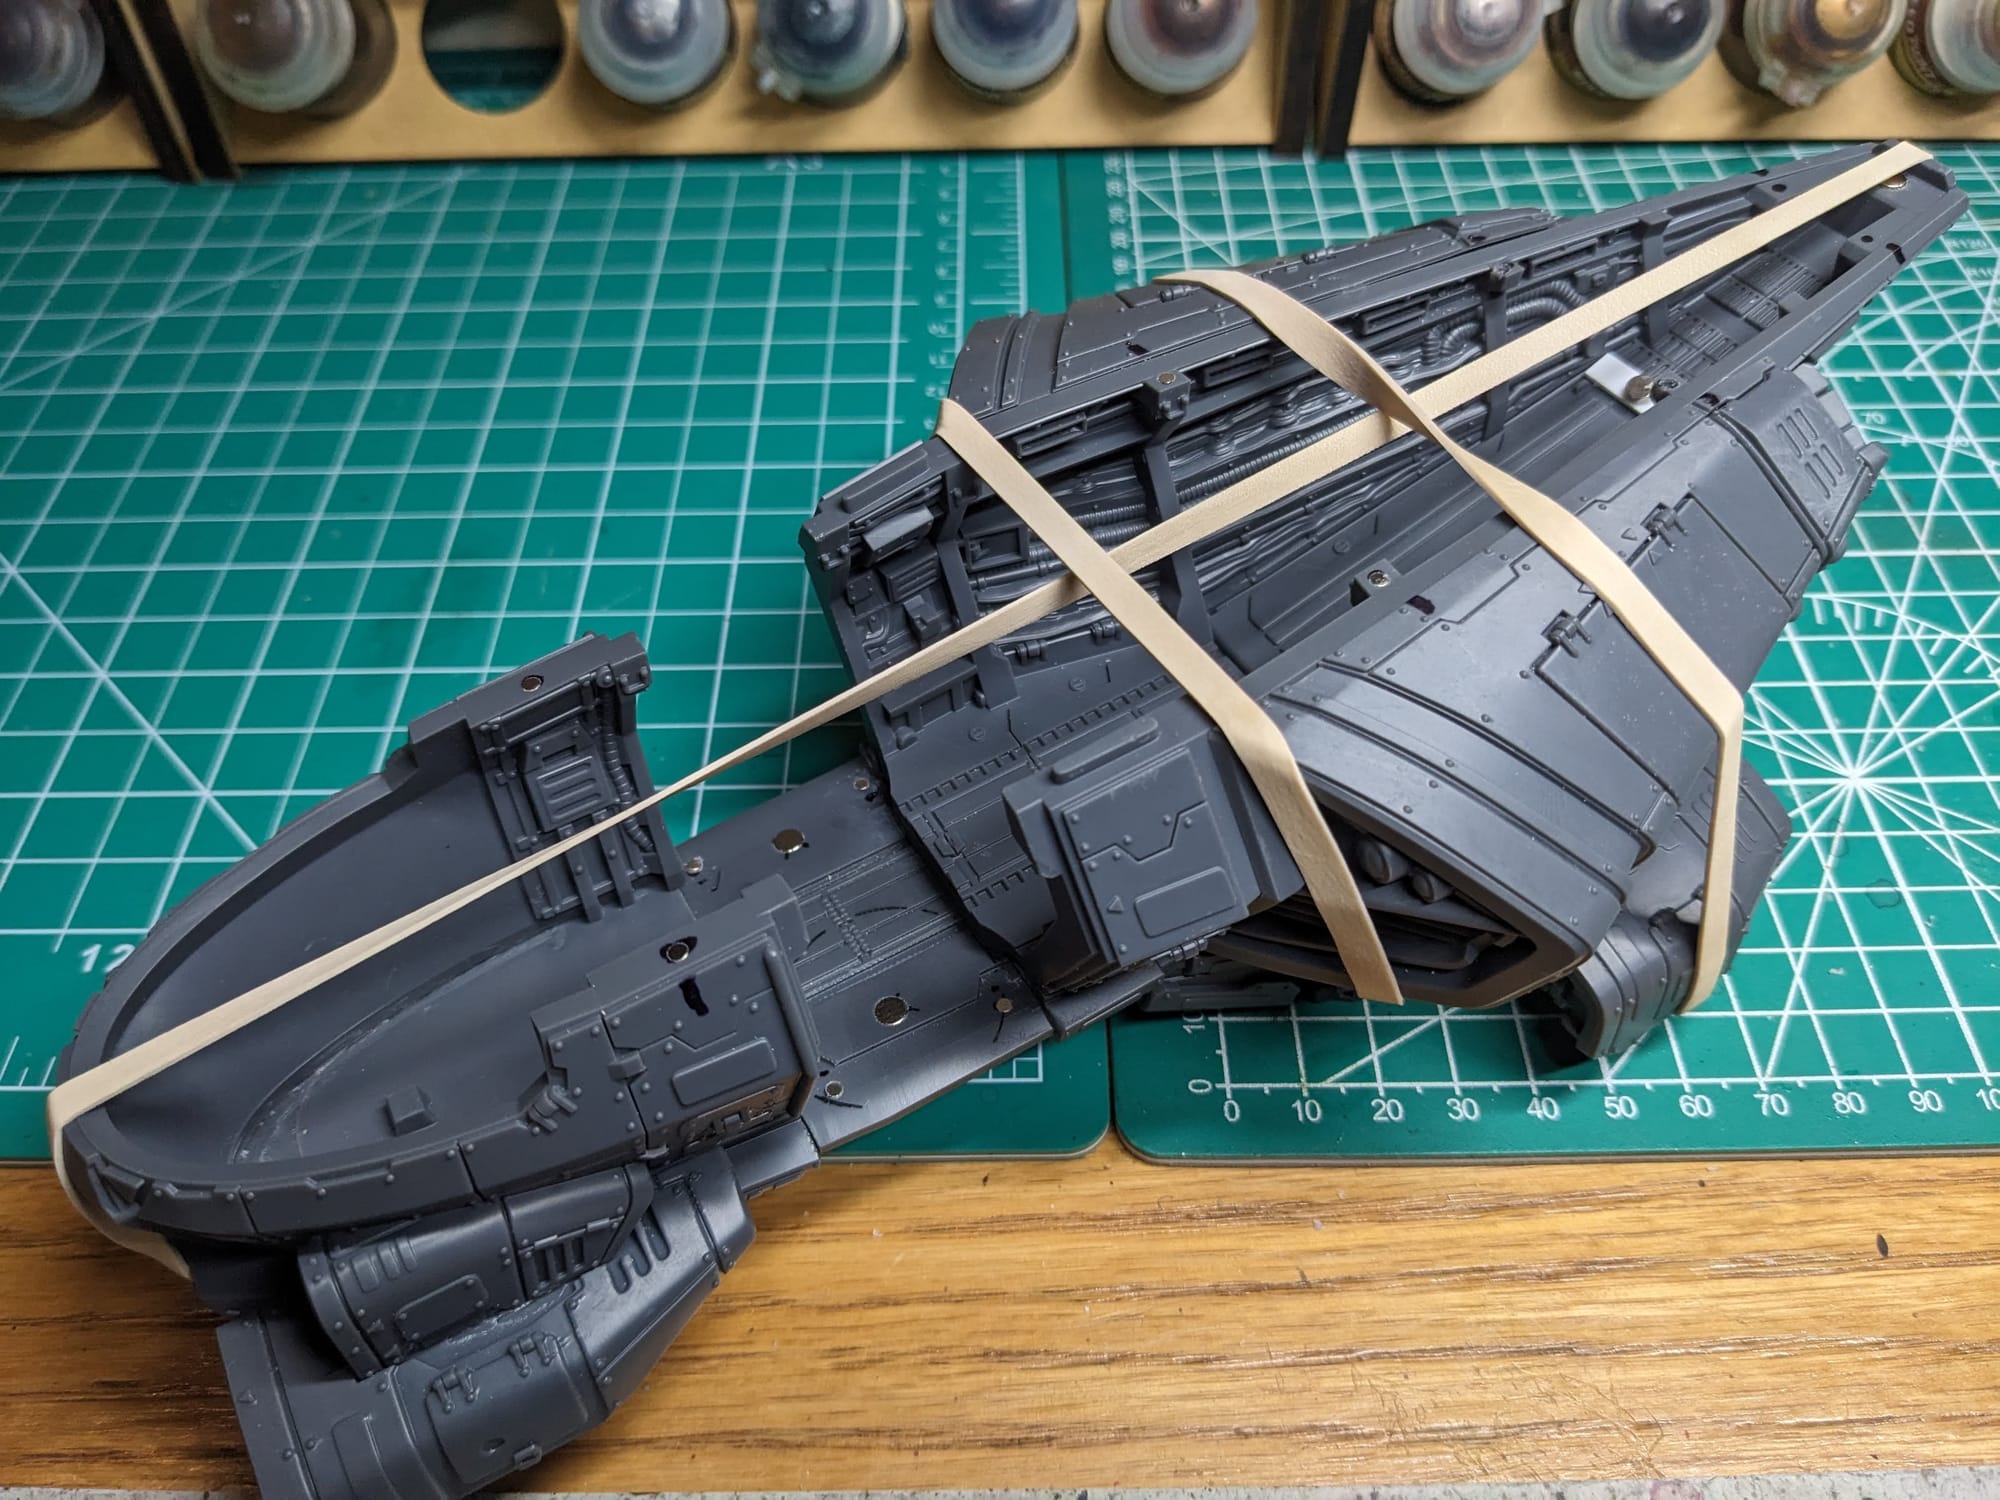
For the assembly, and to make sure it all stayed together, I used rubber bands to stabilize the glue. I let all of the glue overnight.
After drilling the magnet holes, I added the smallest bit of super glue to each slots, and then glued magnets under the bases for the dorsal weapons, nose weapons, and door gunners.
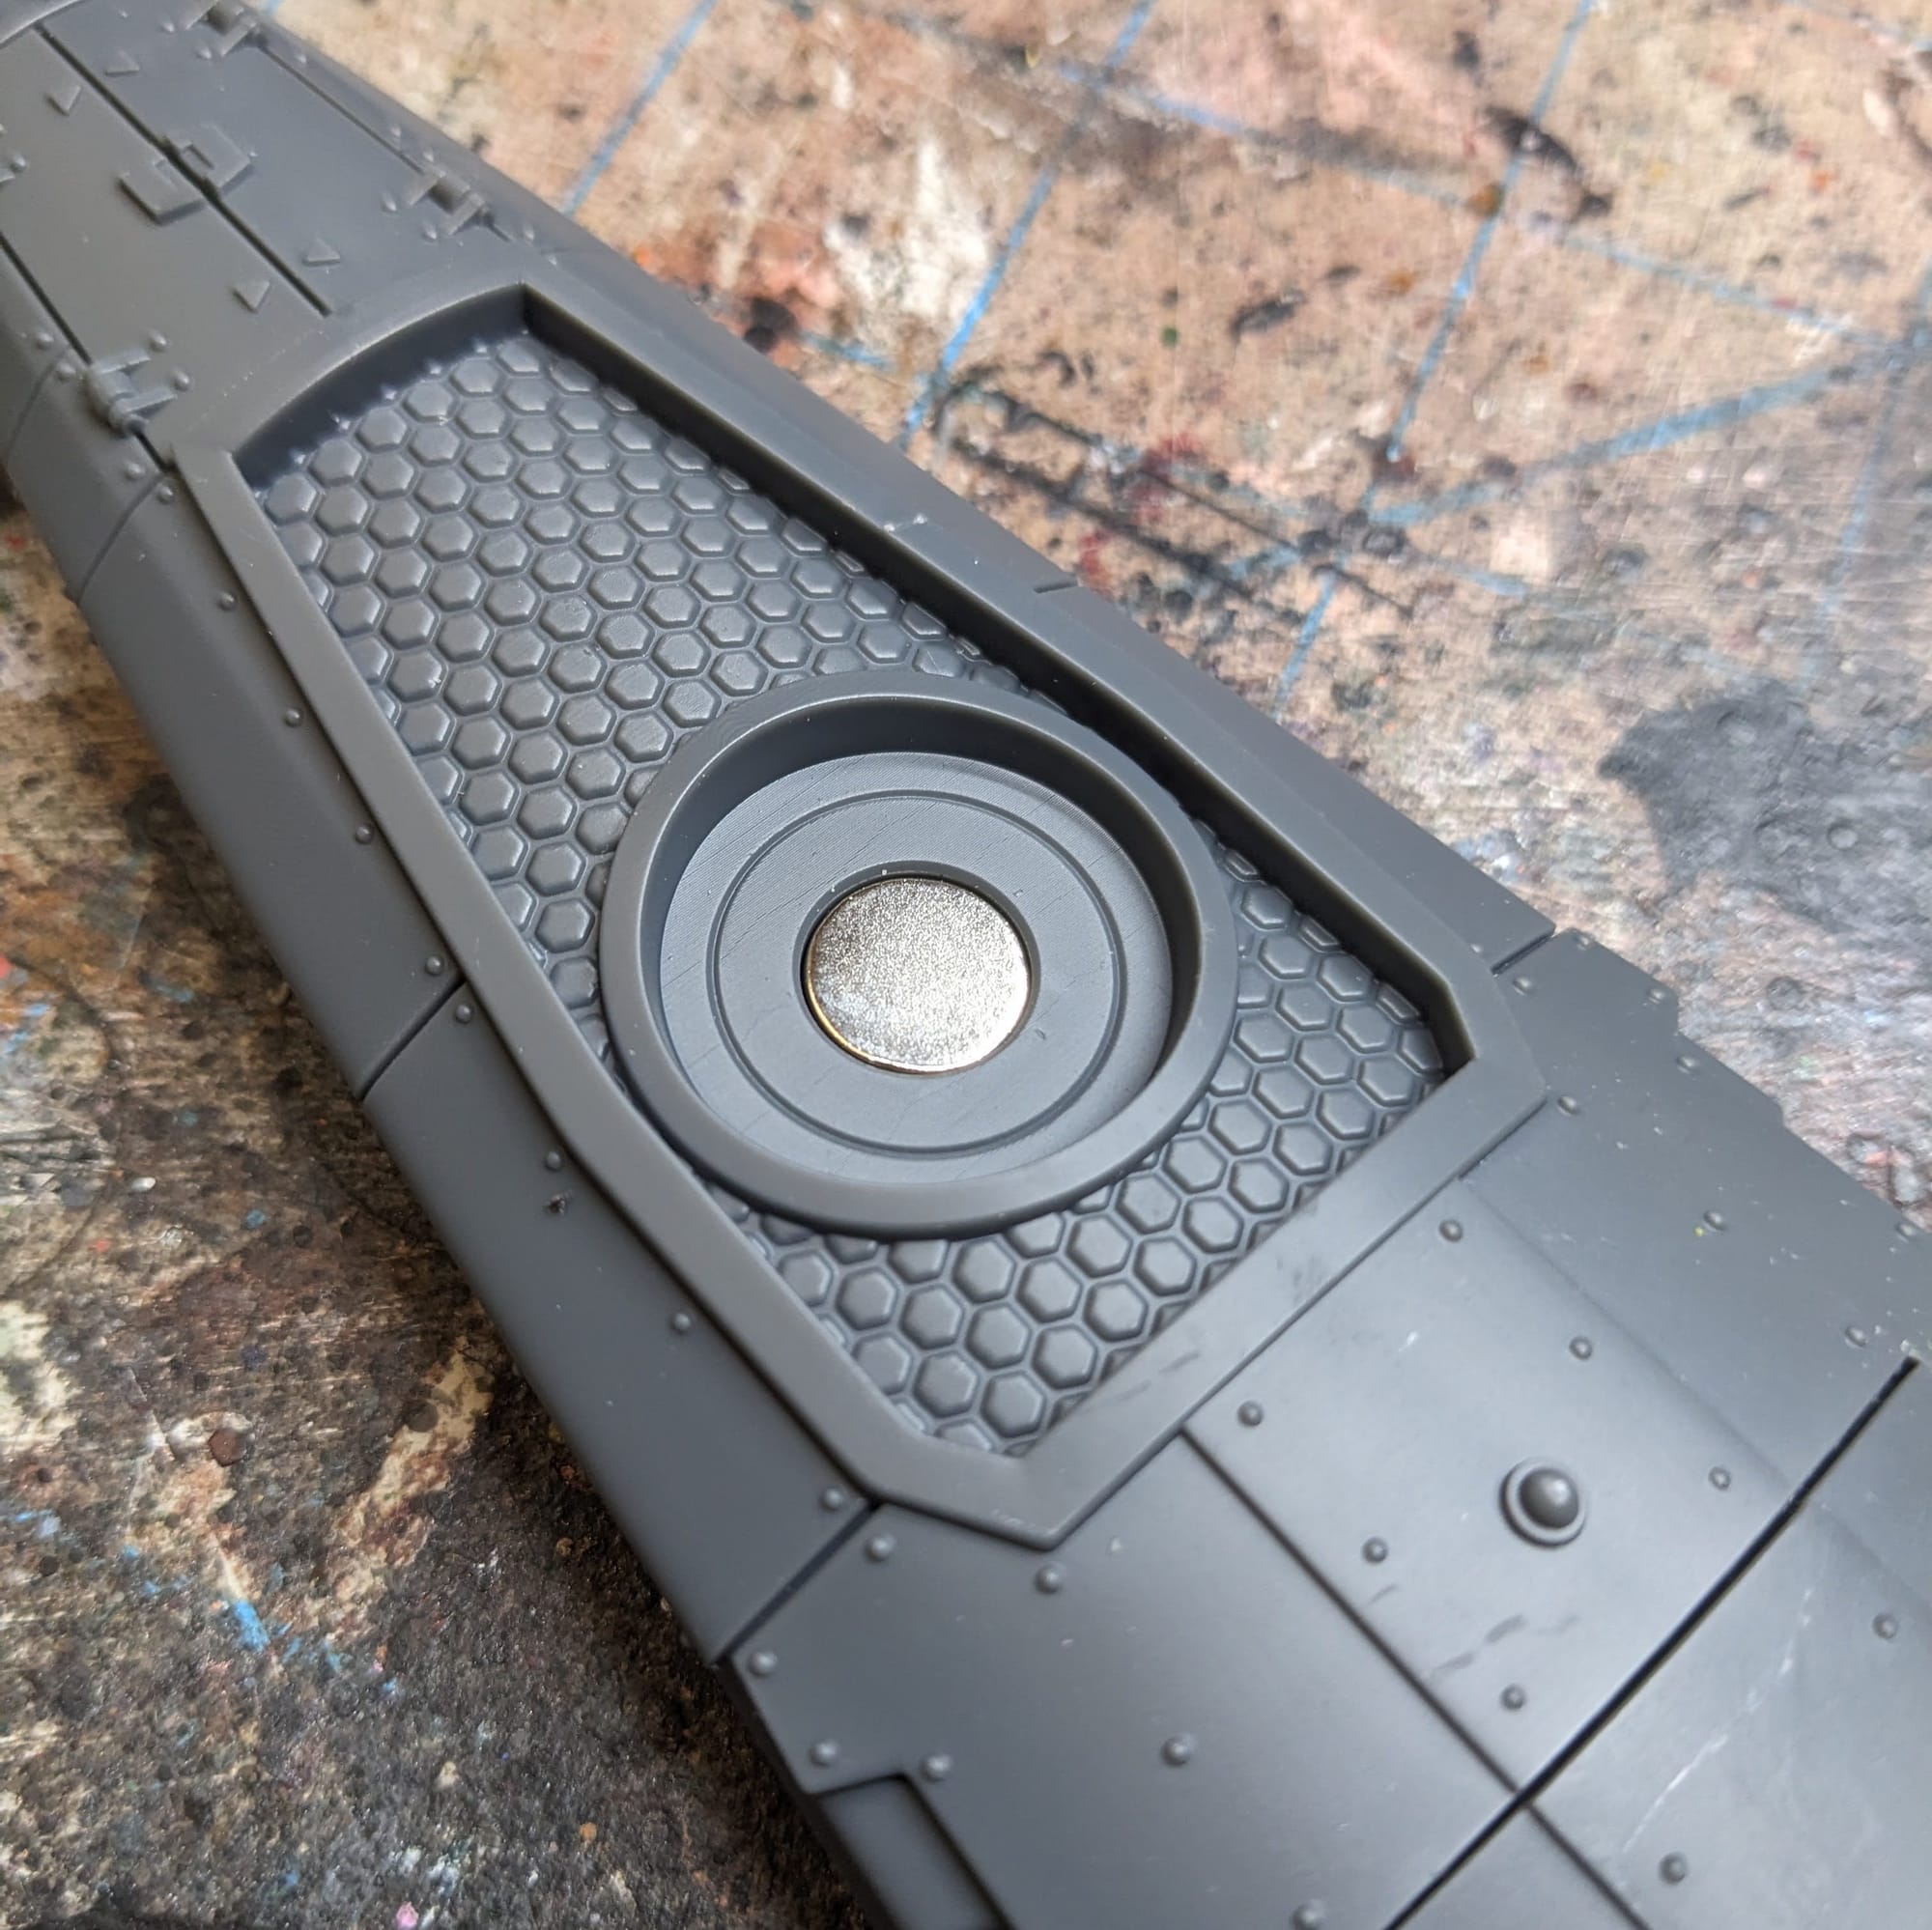
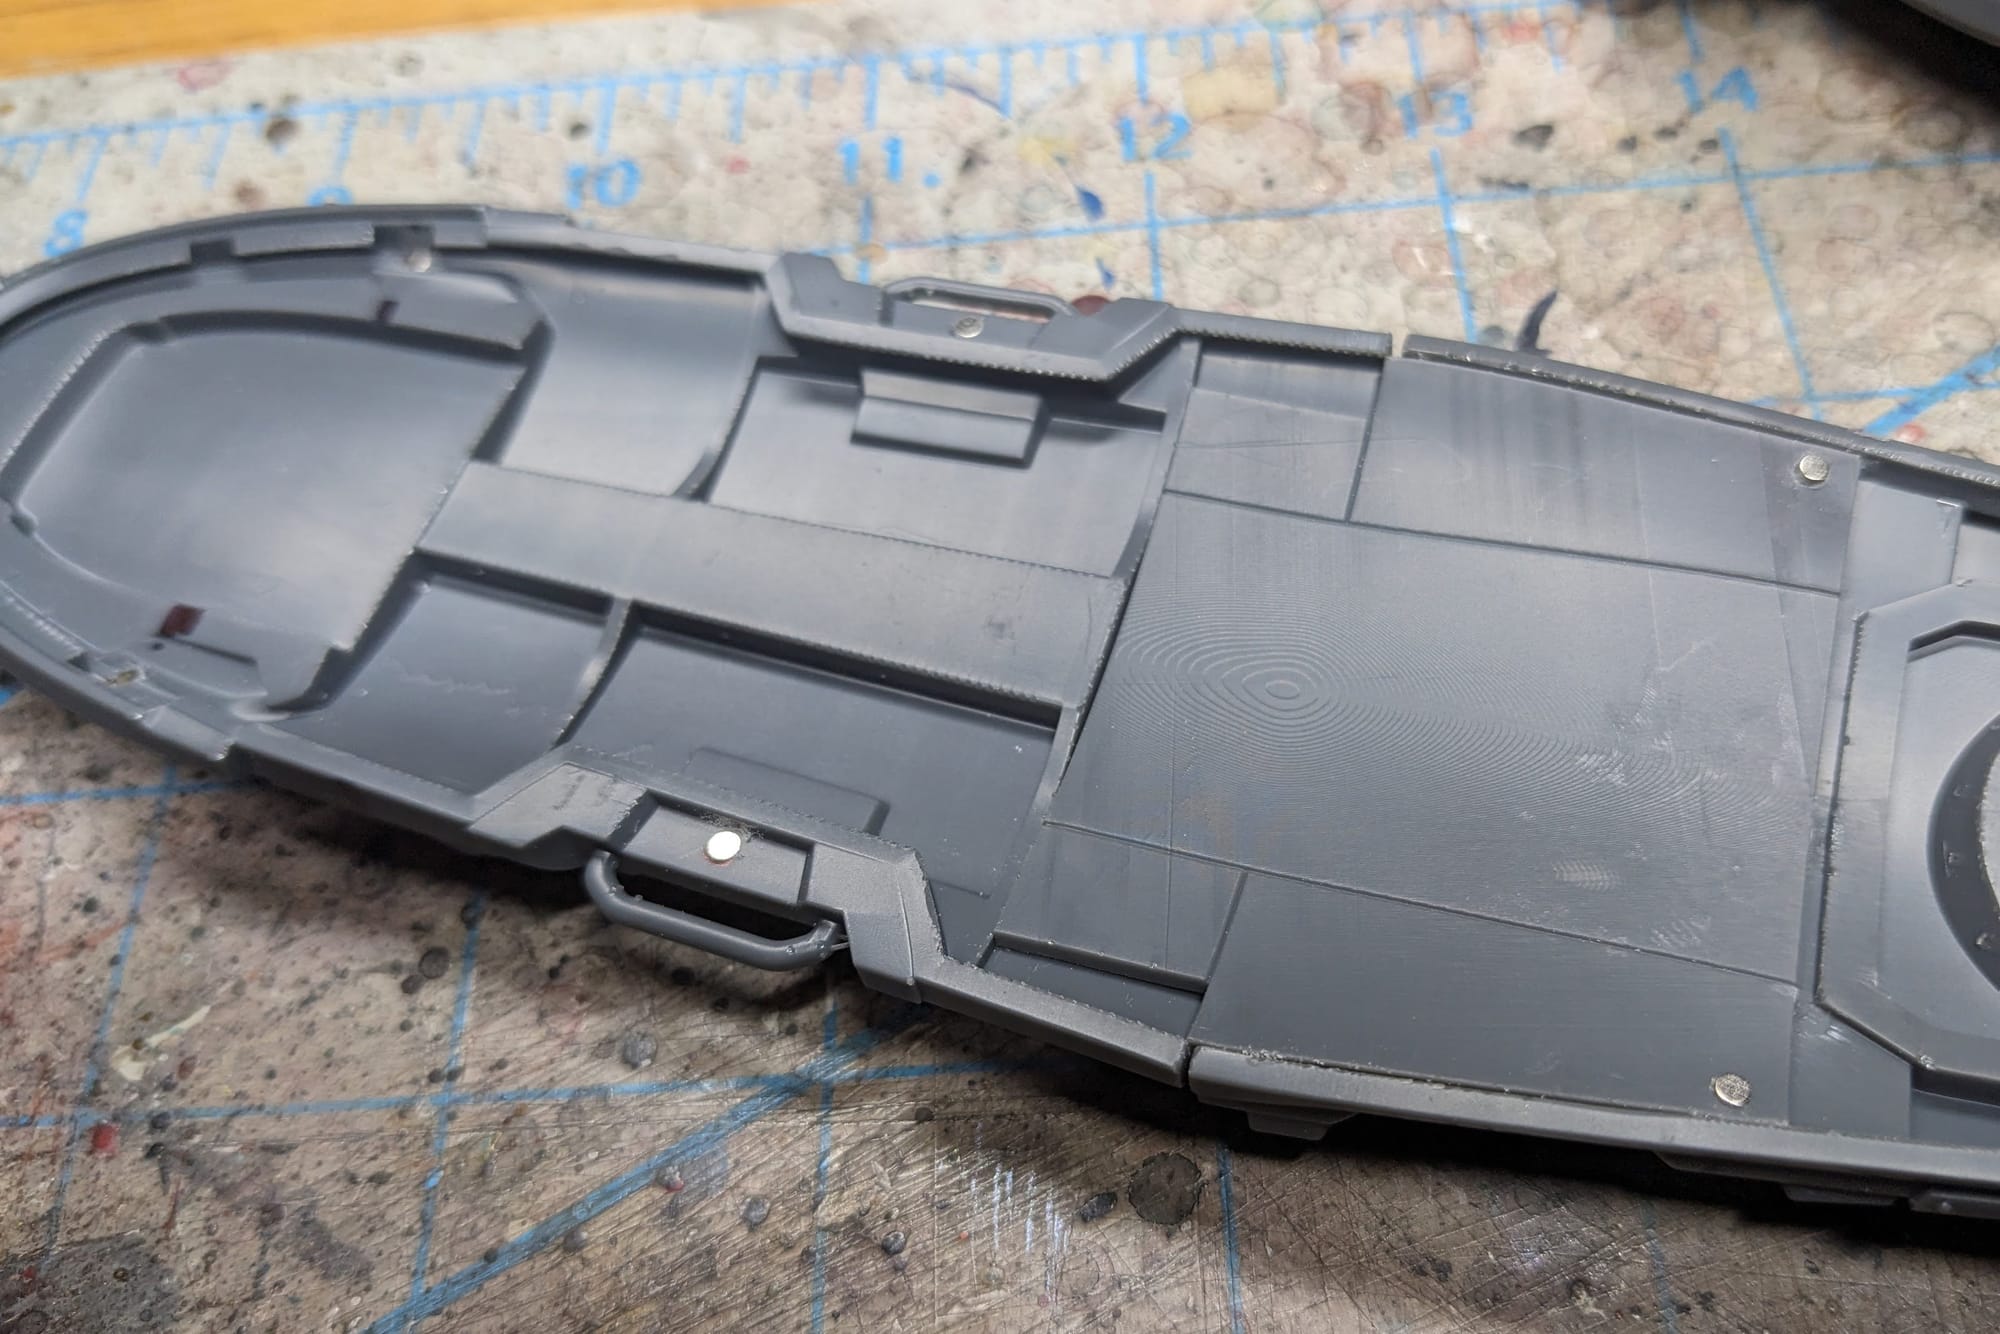
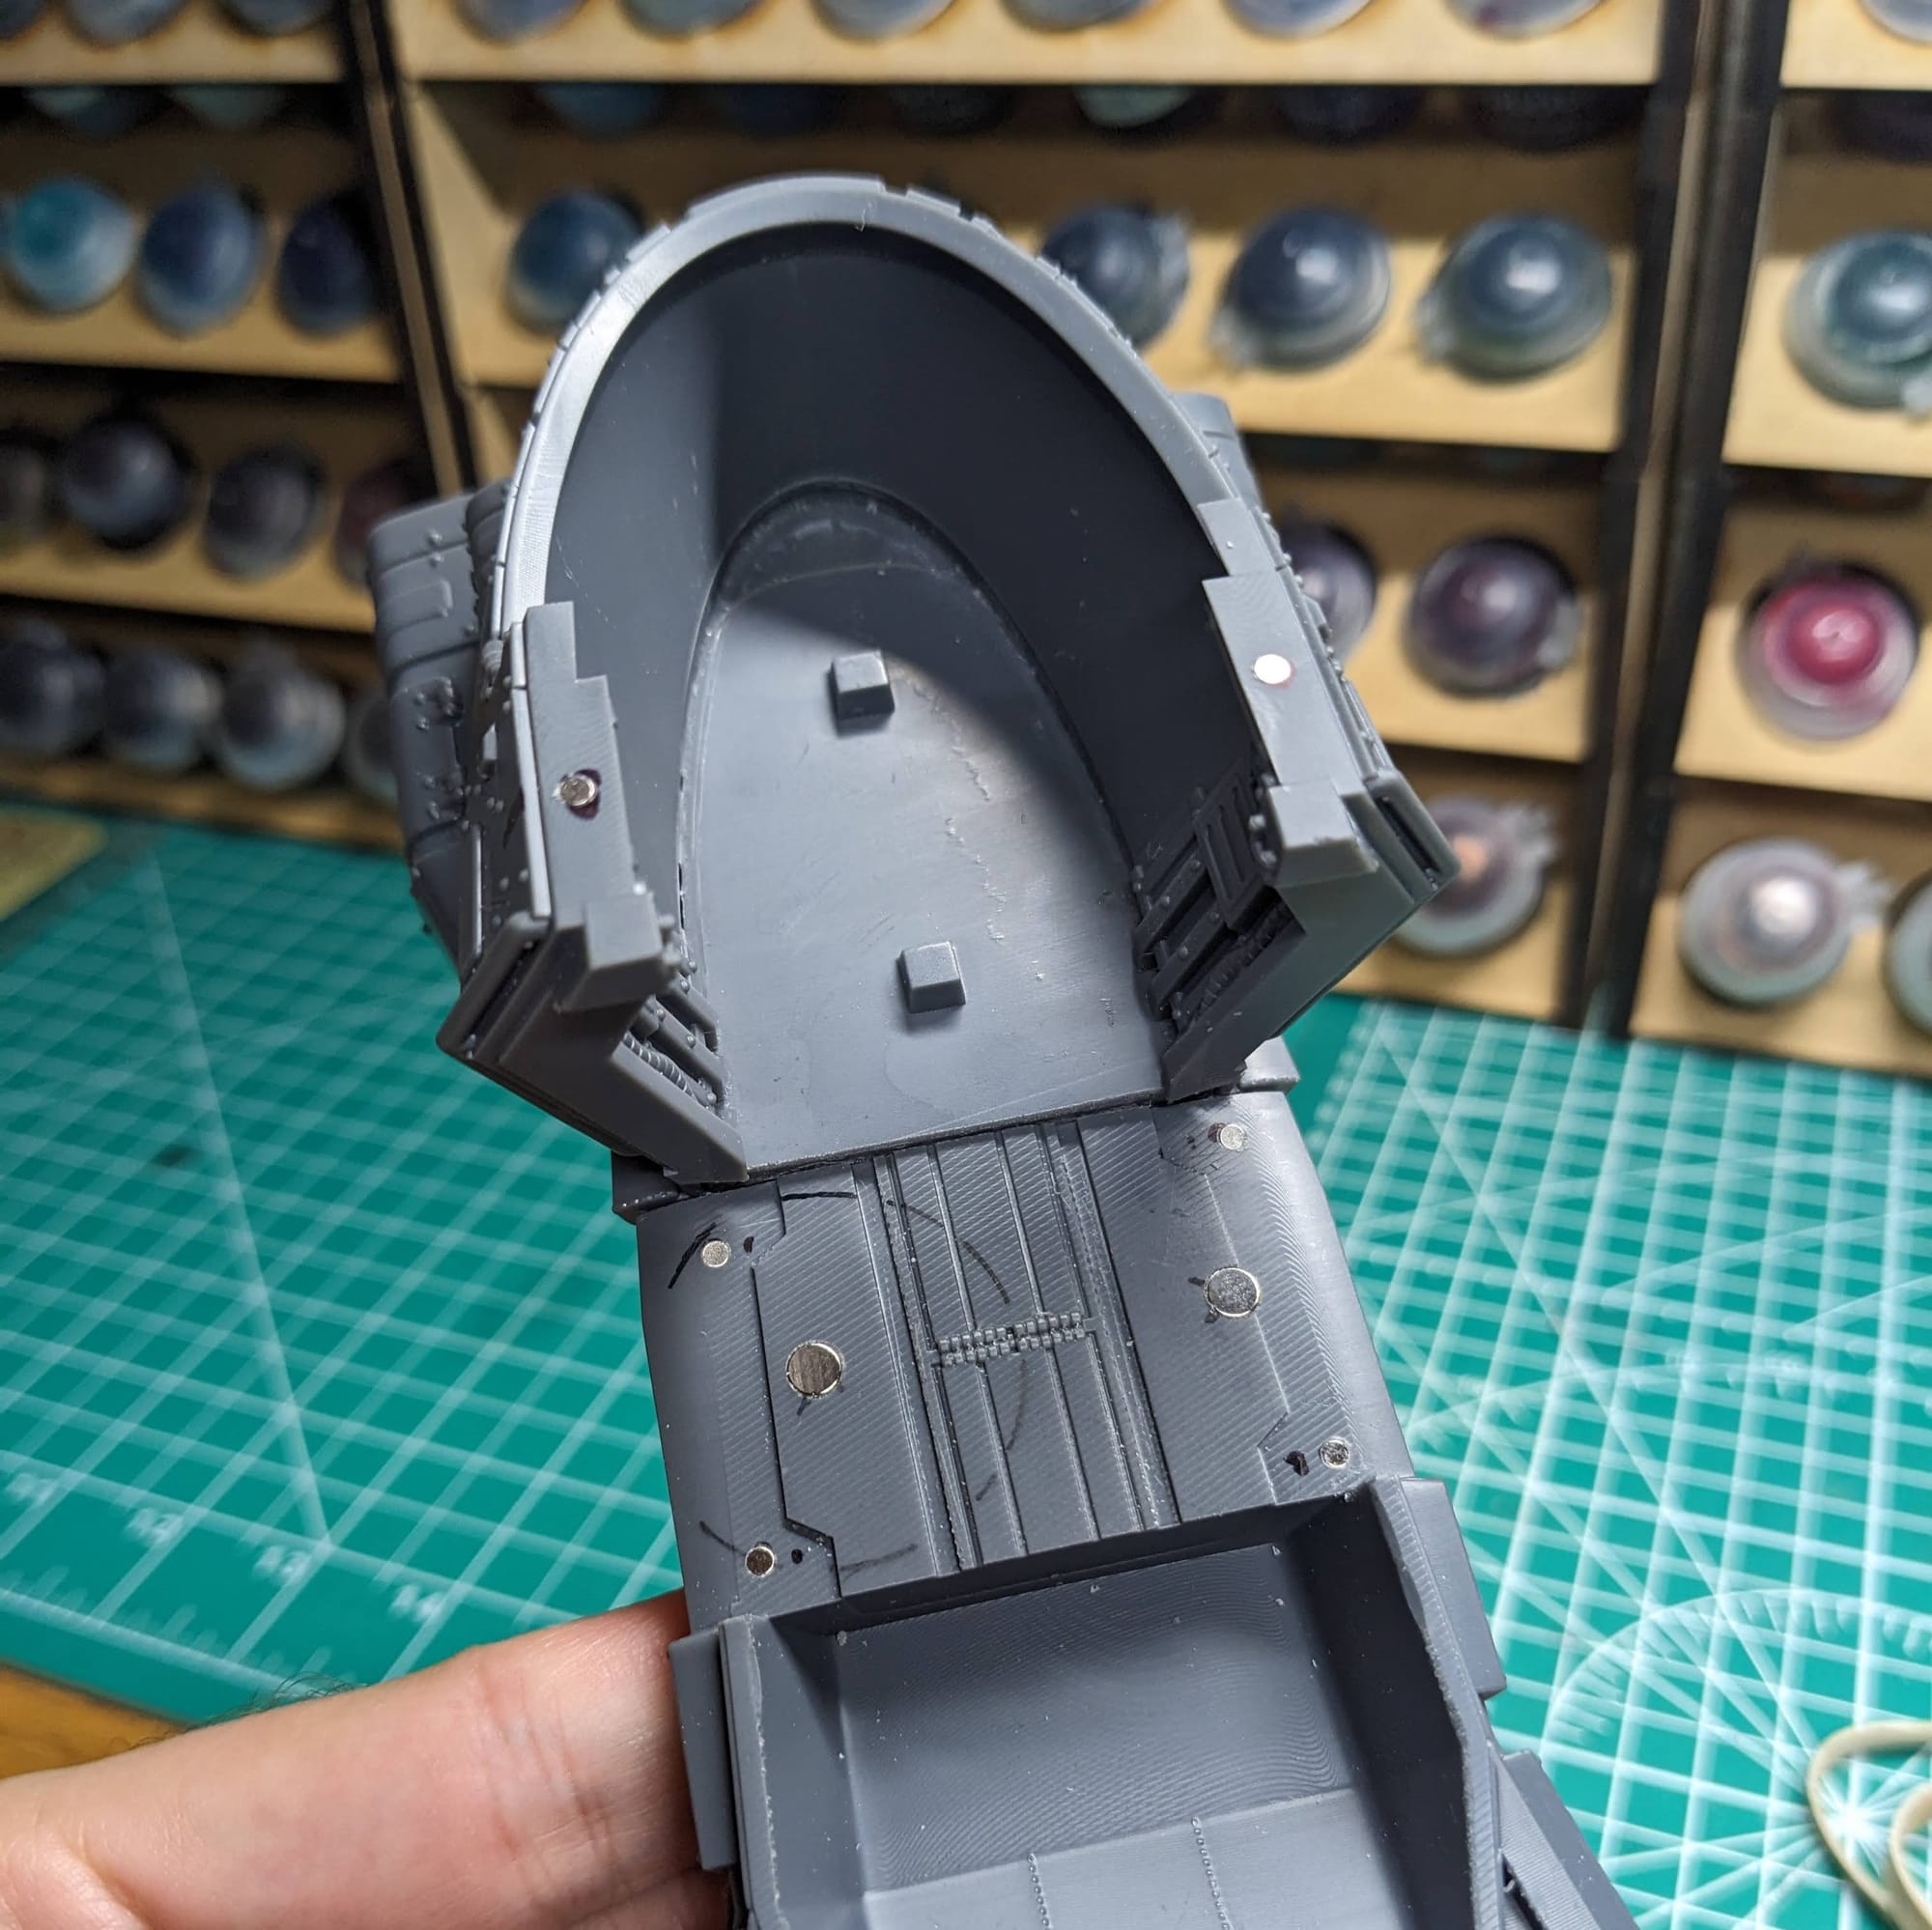
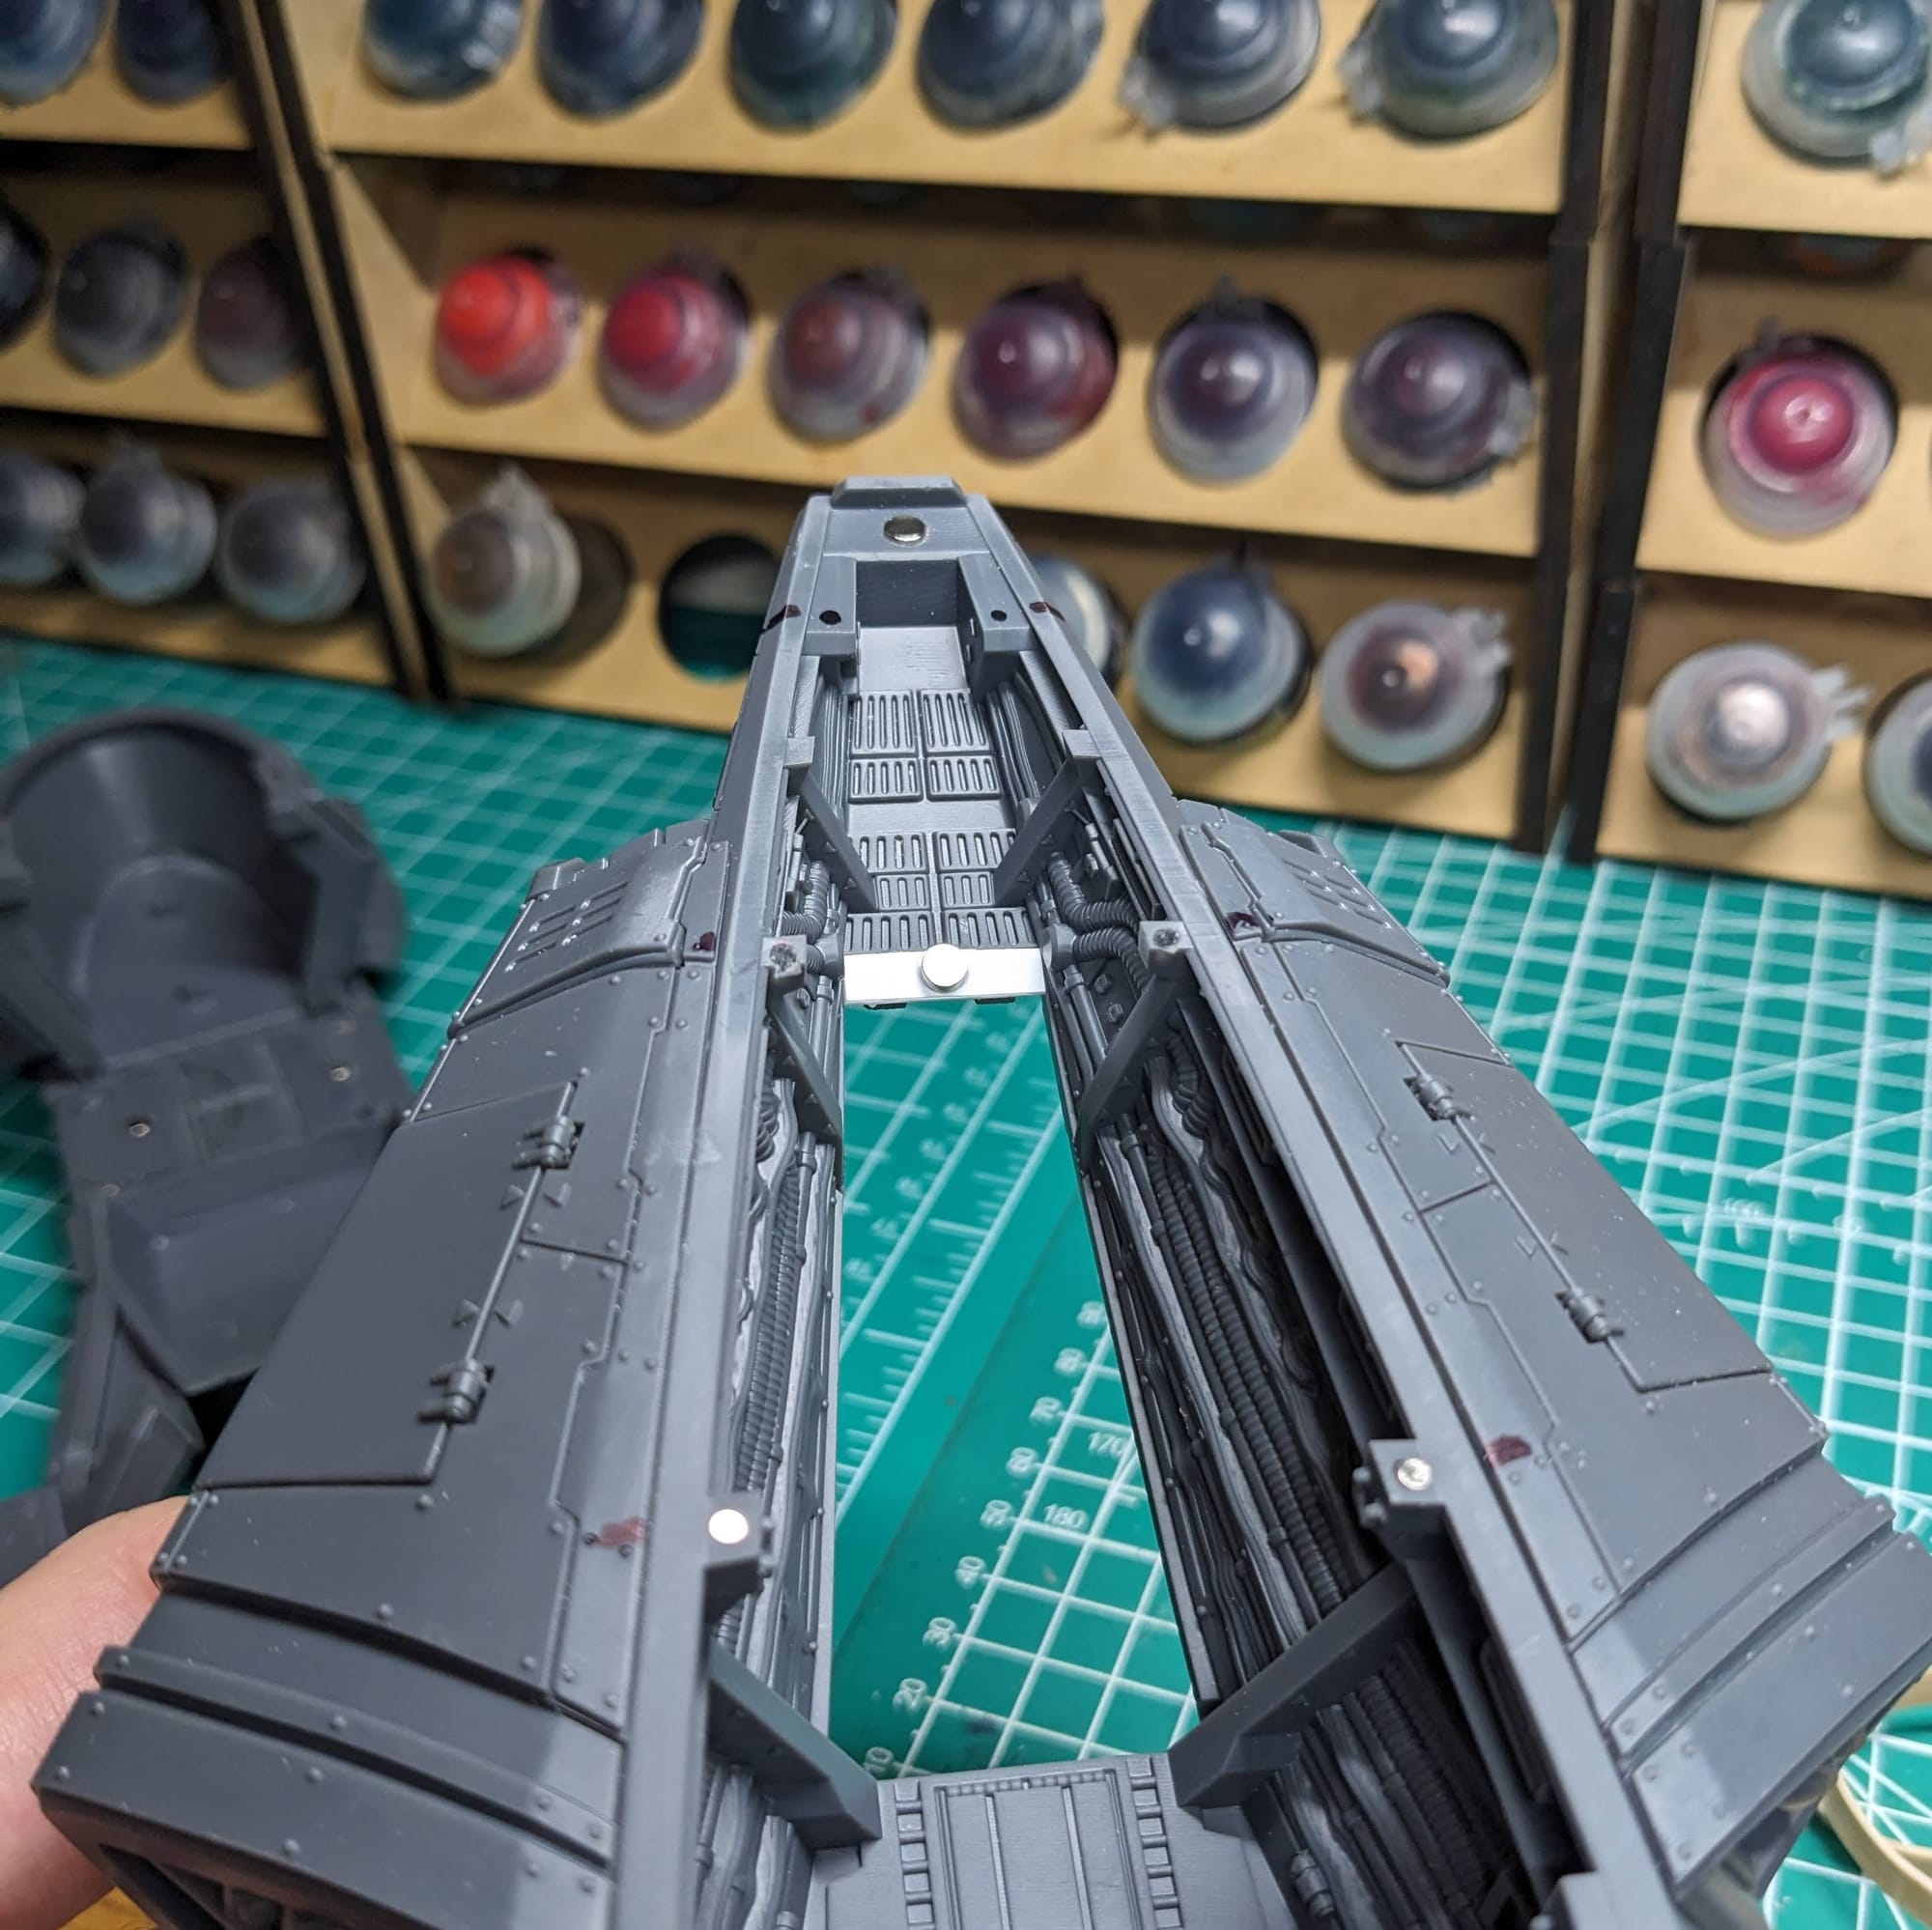
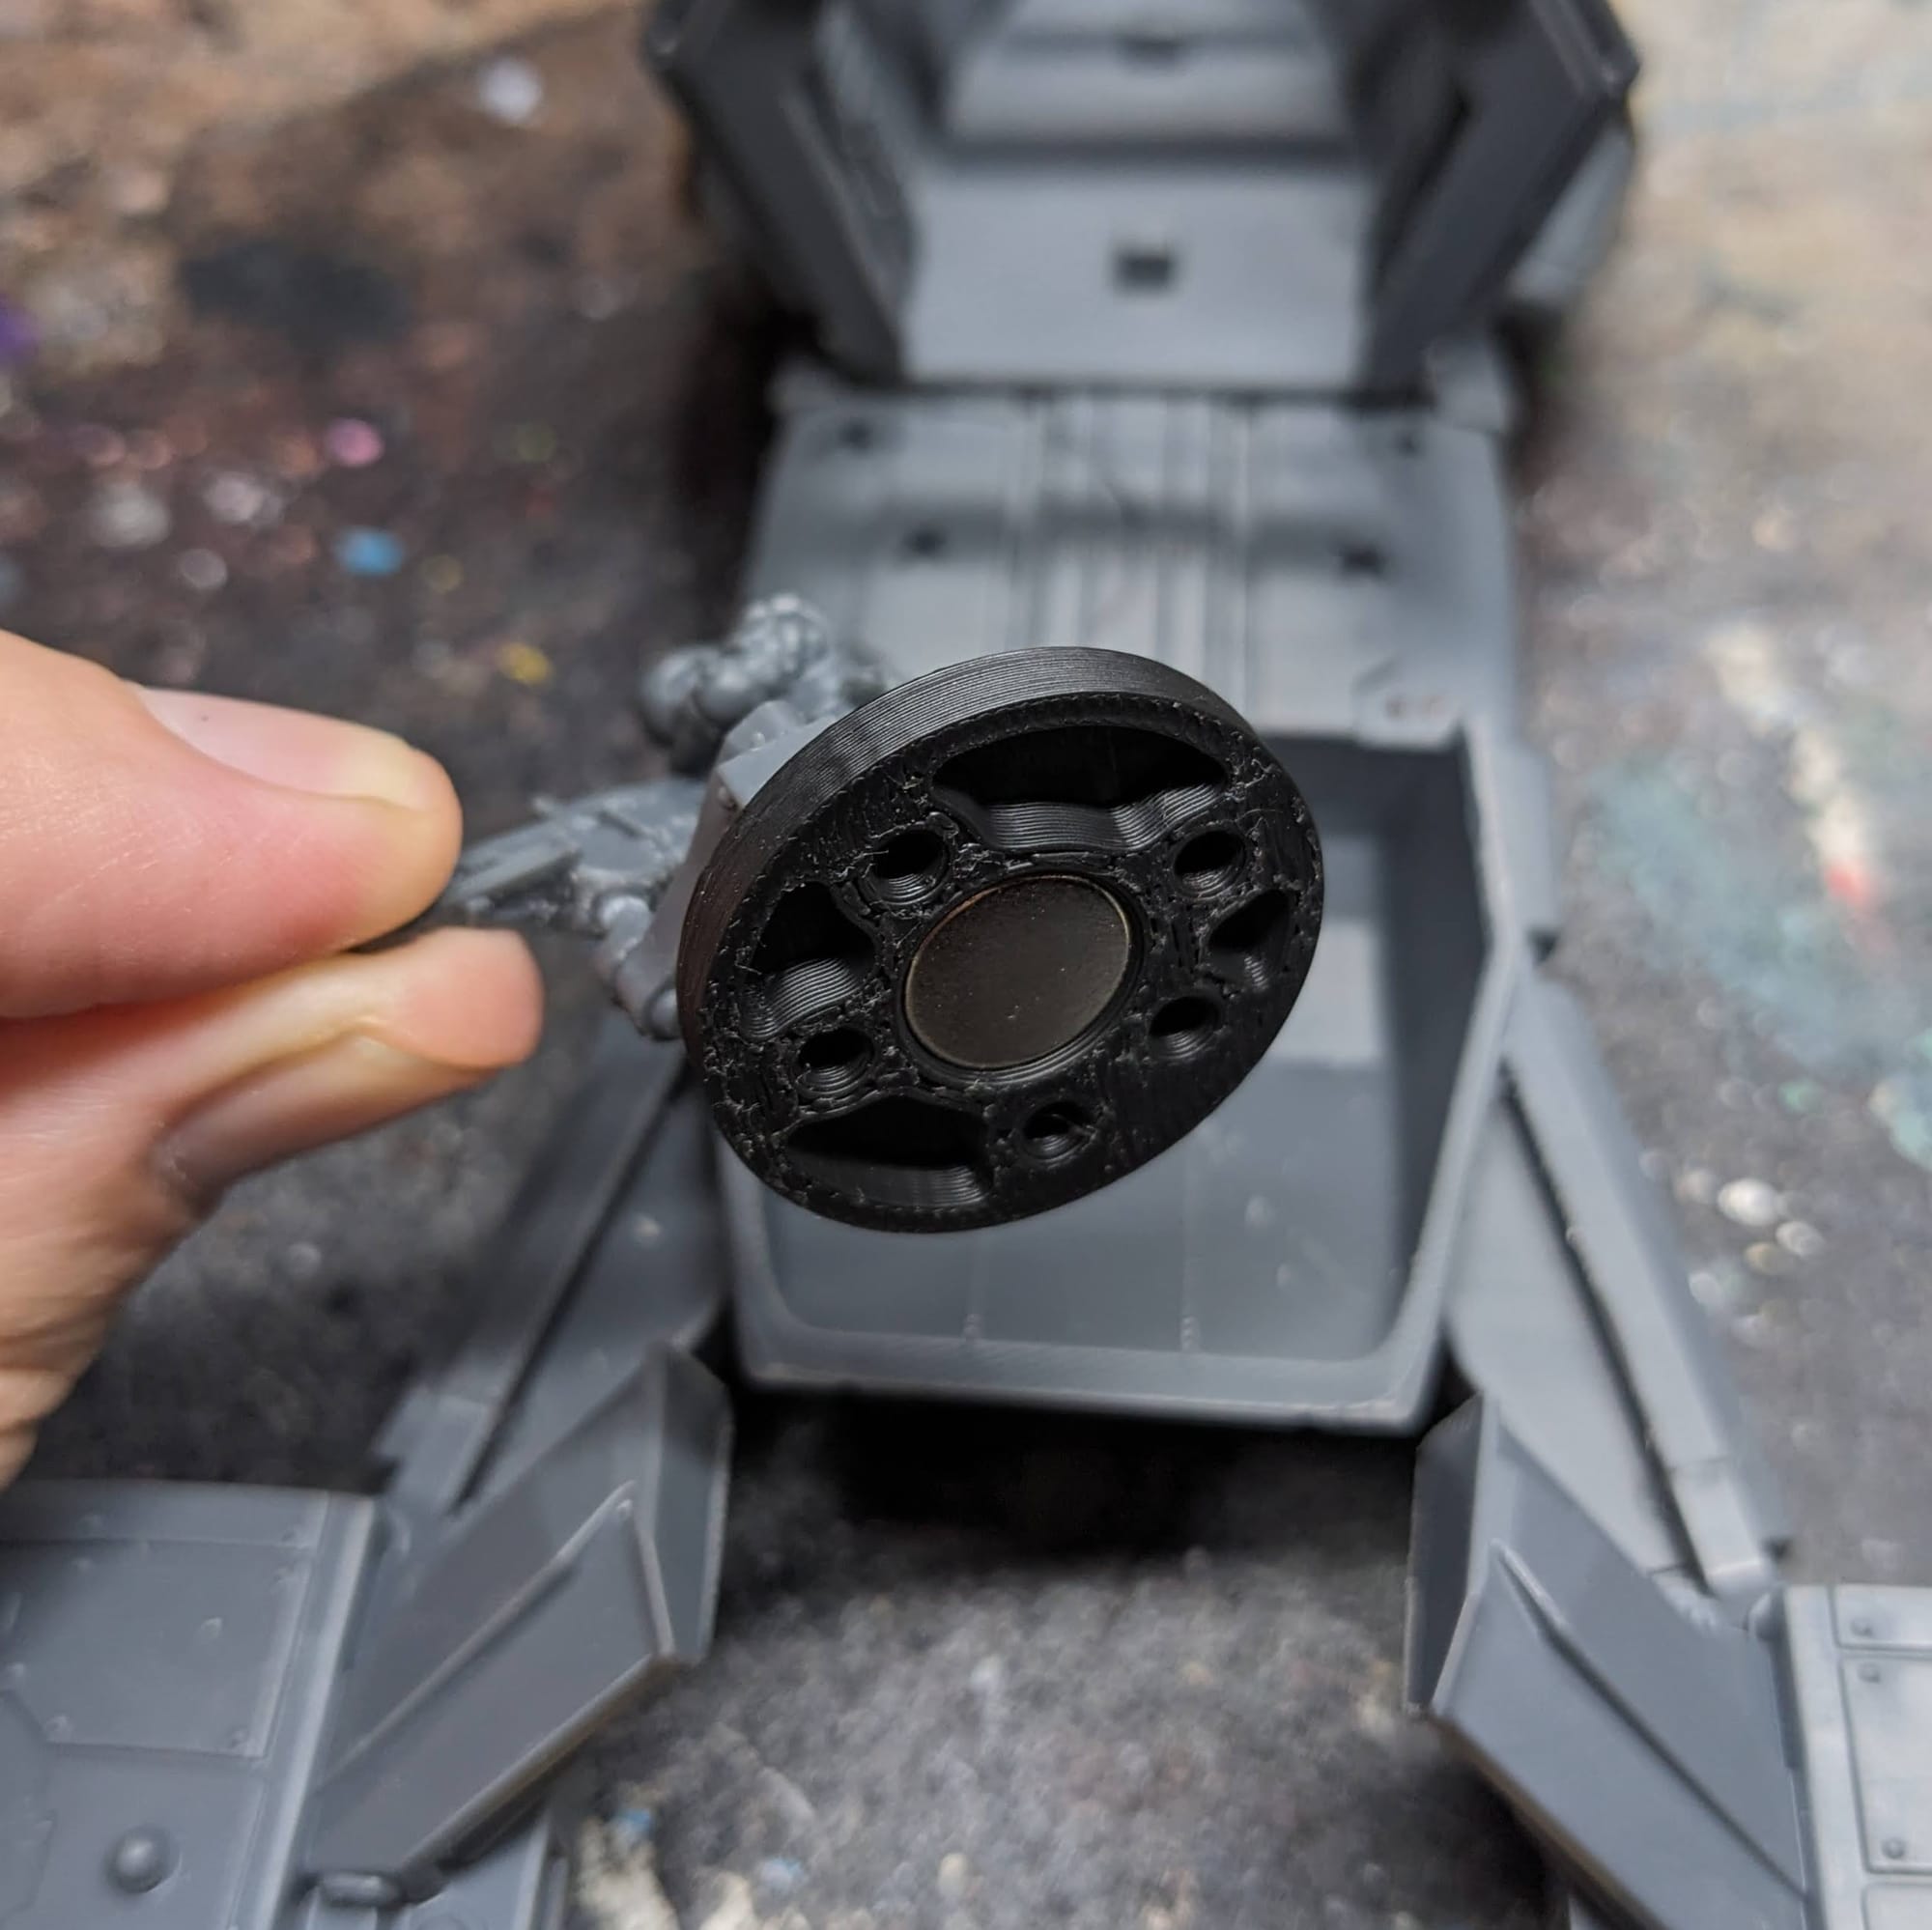
With the subassembly, I left the flight console and two pilots unglued. I placed them in there to see how it would all look as
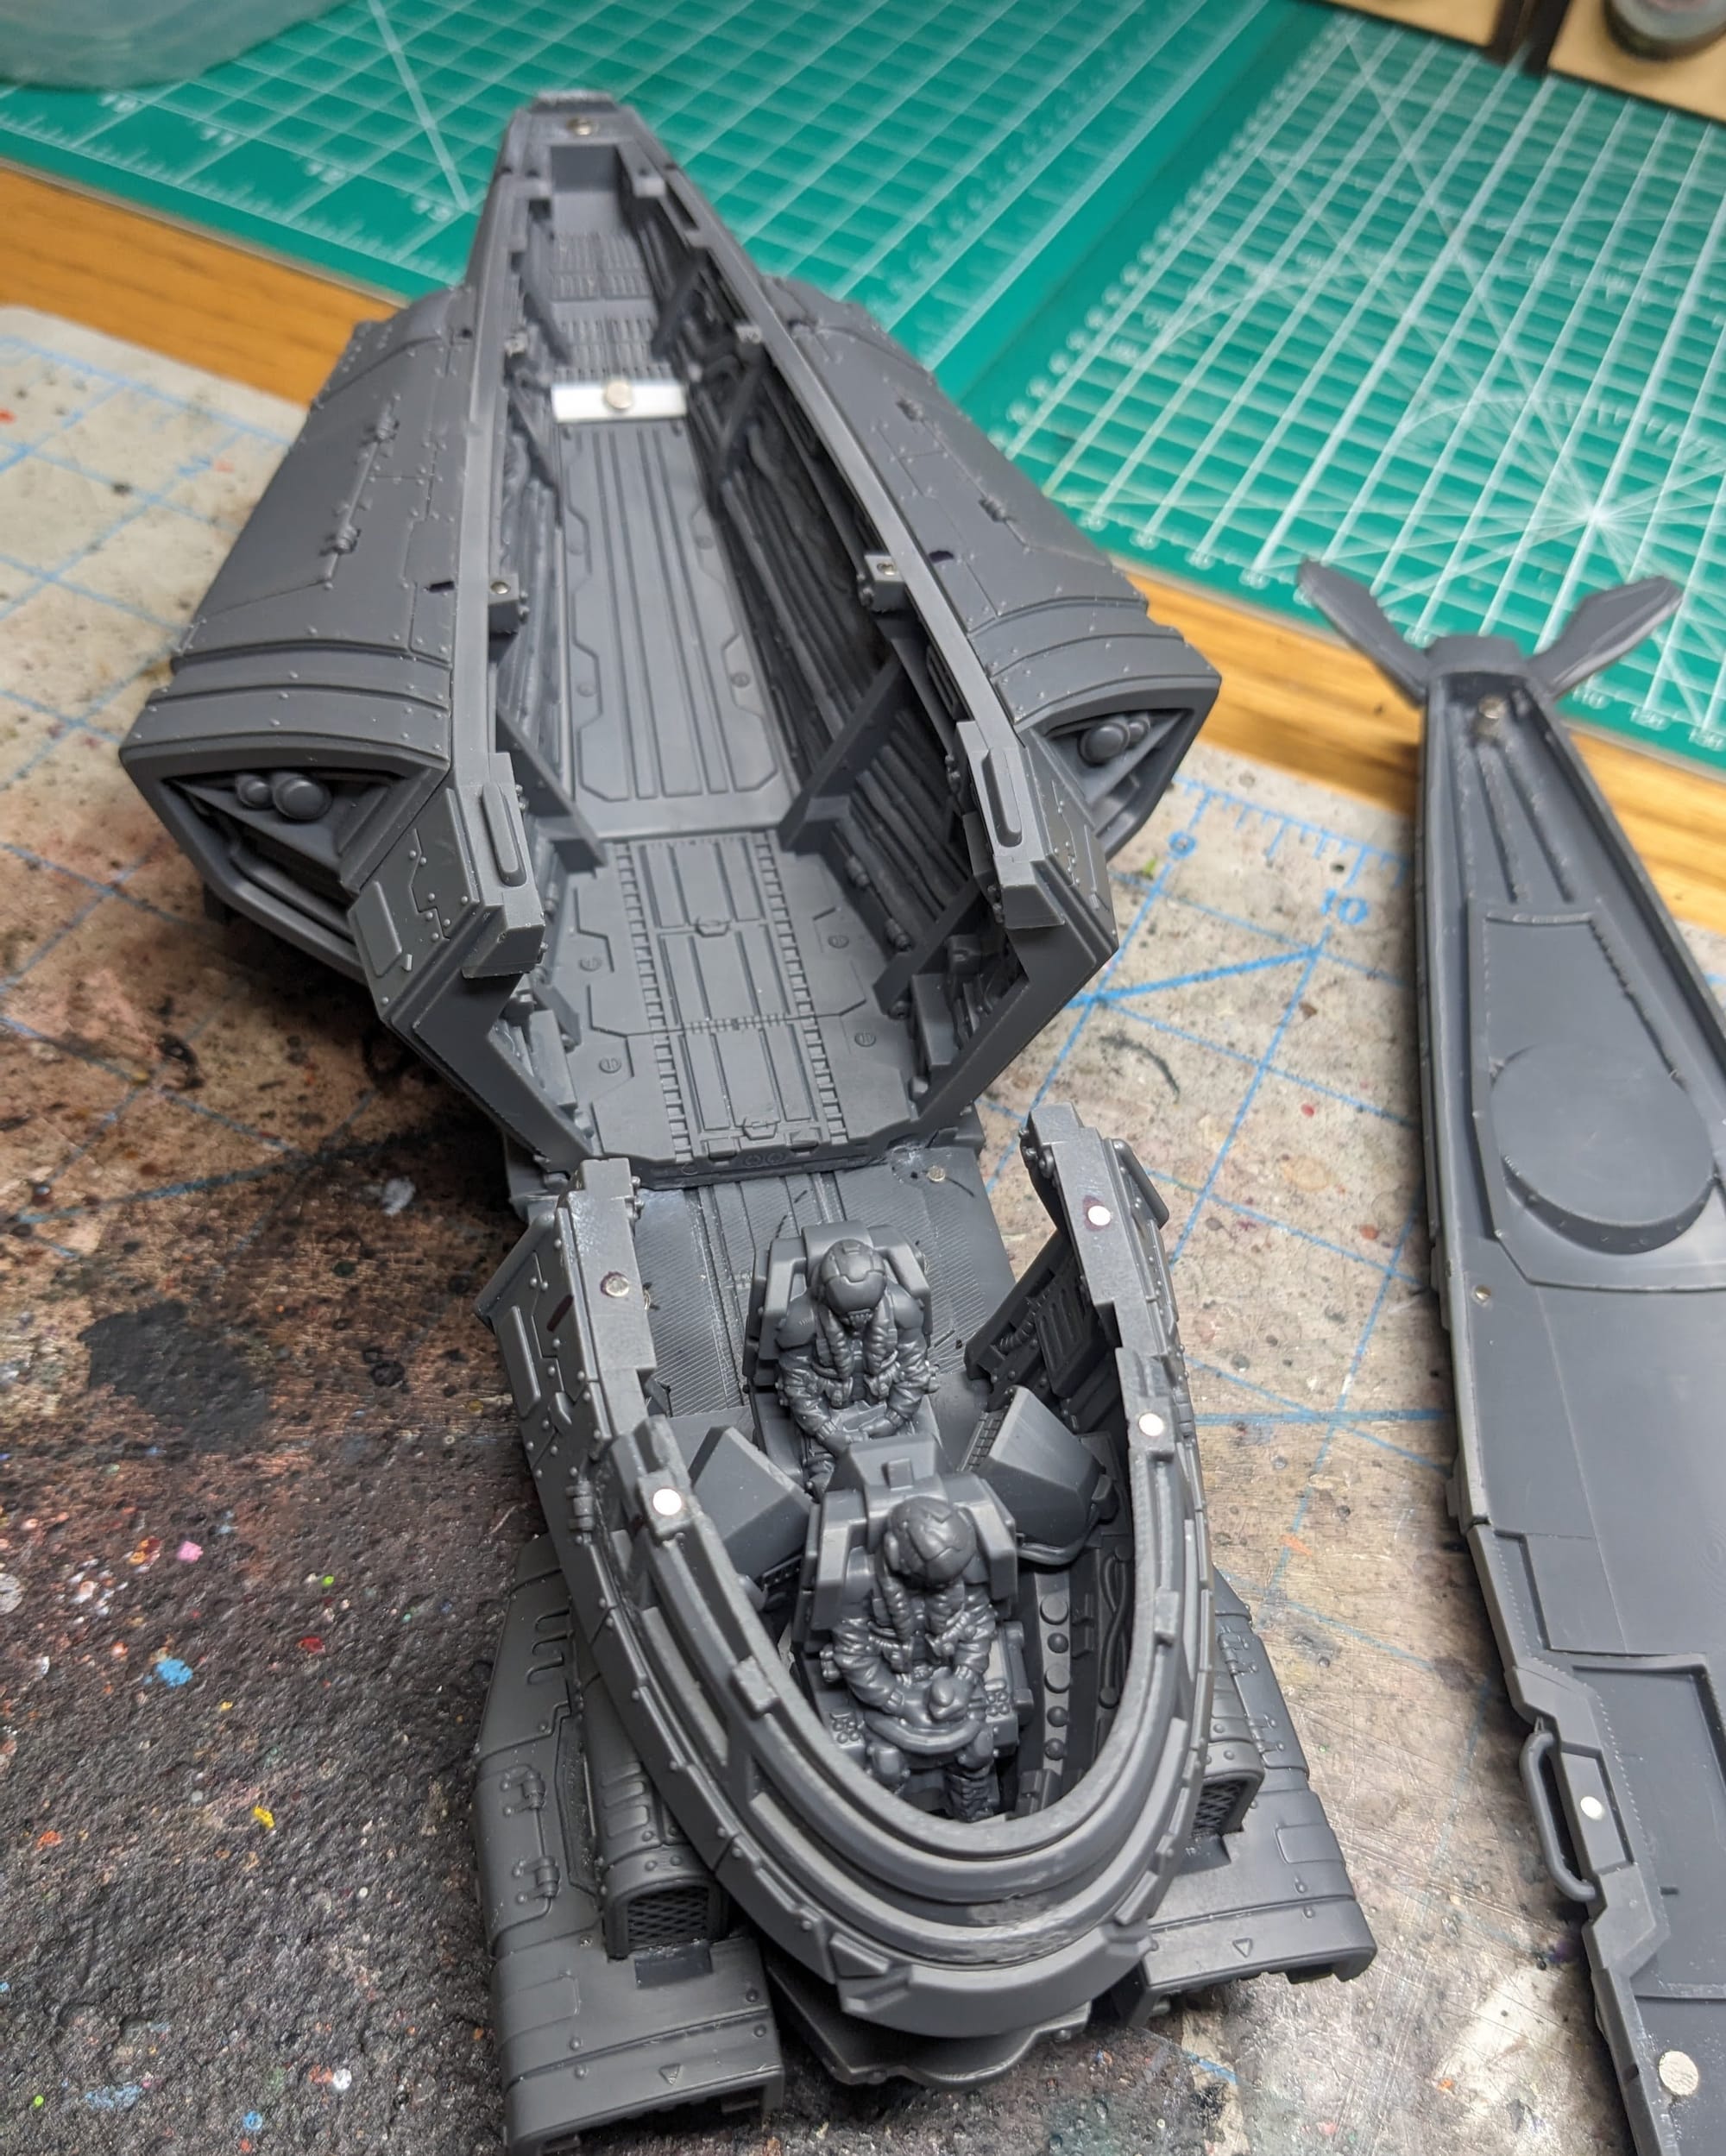
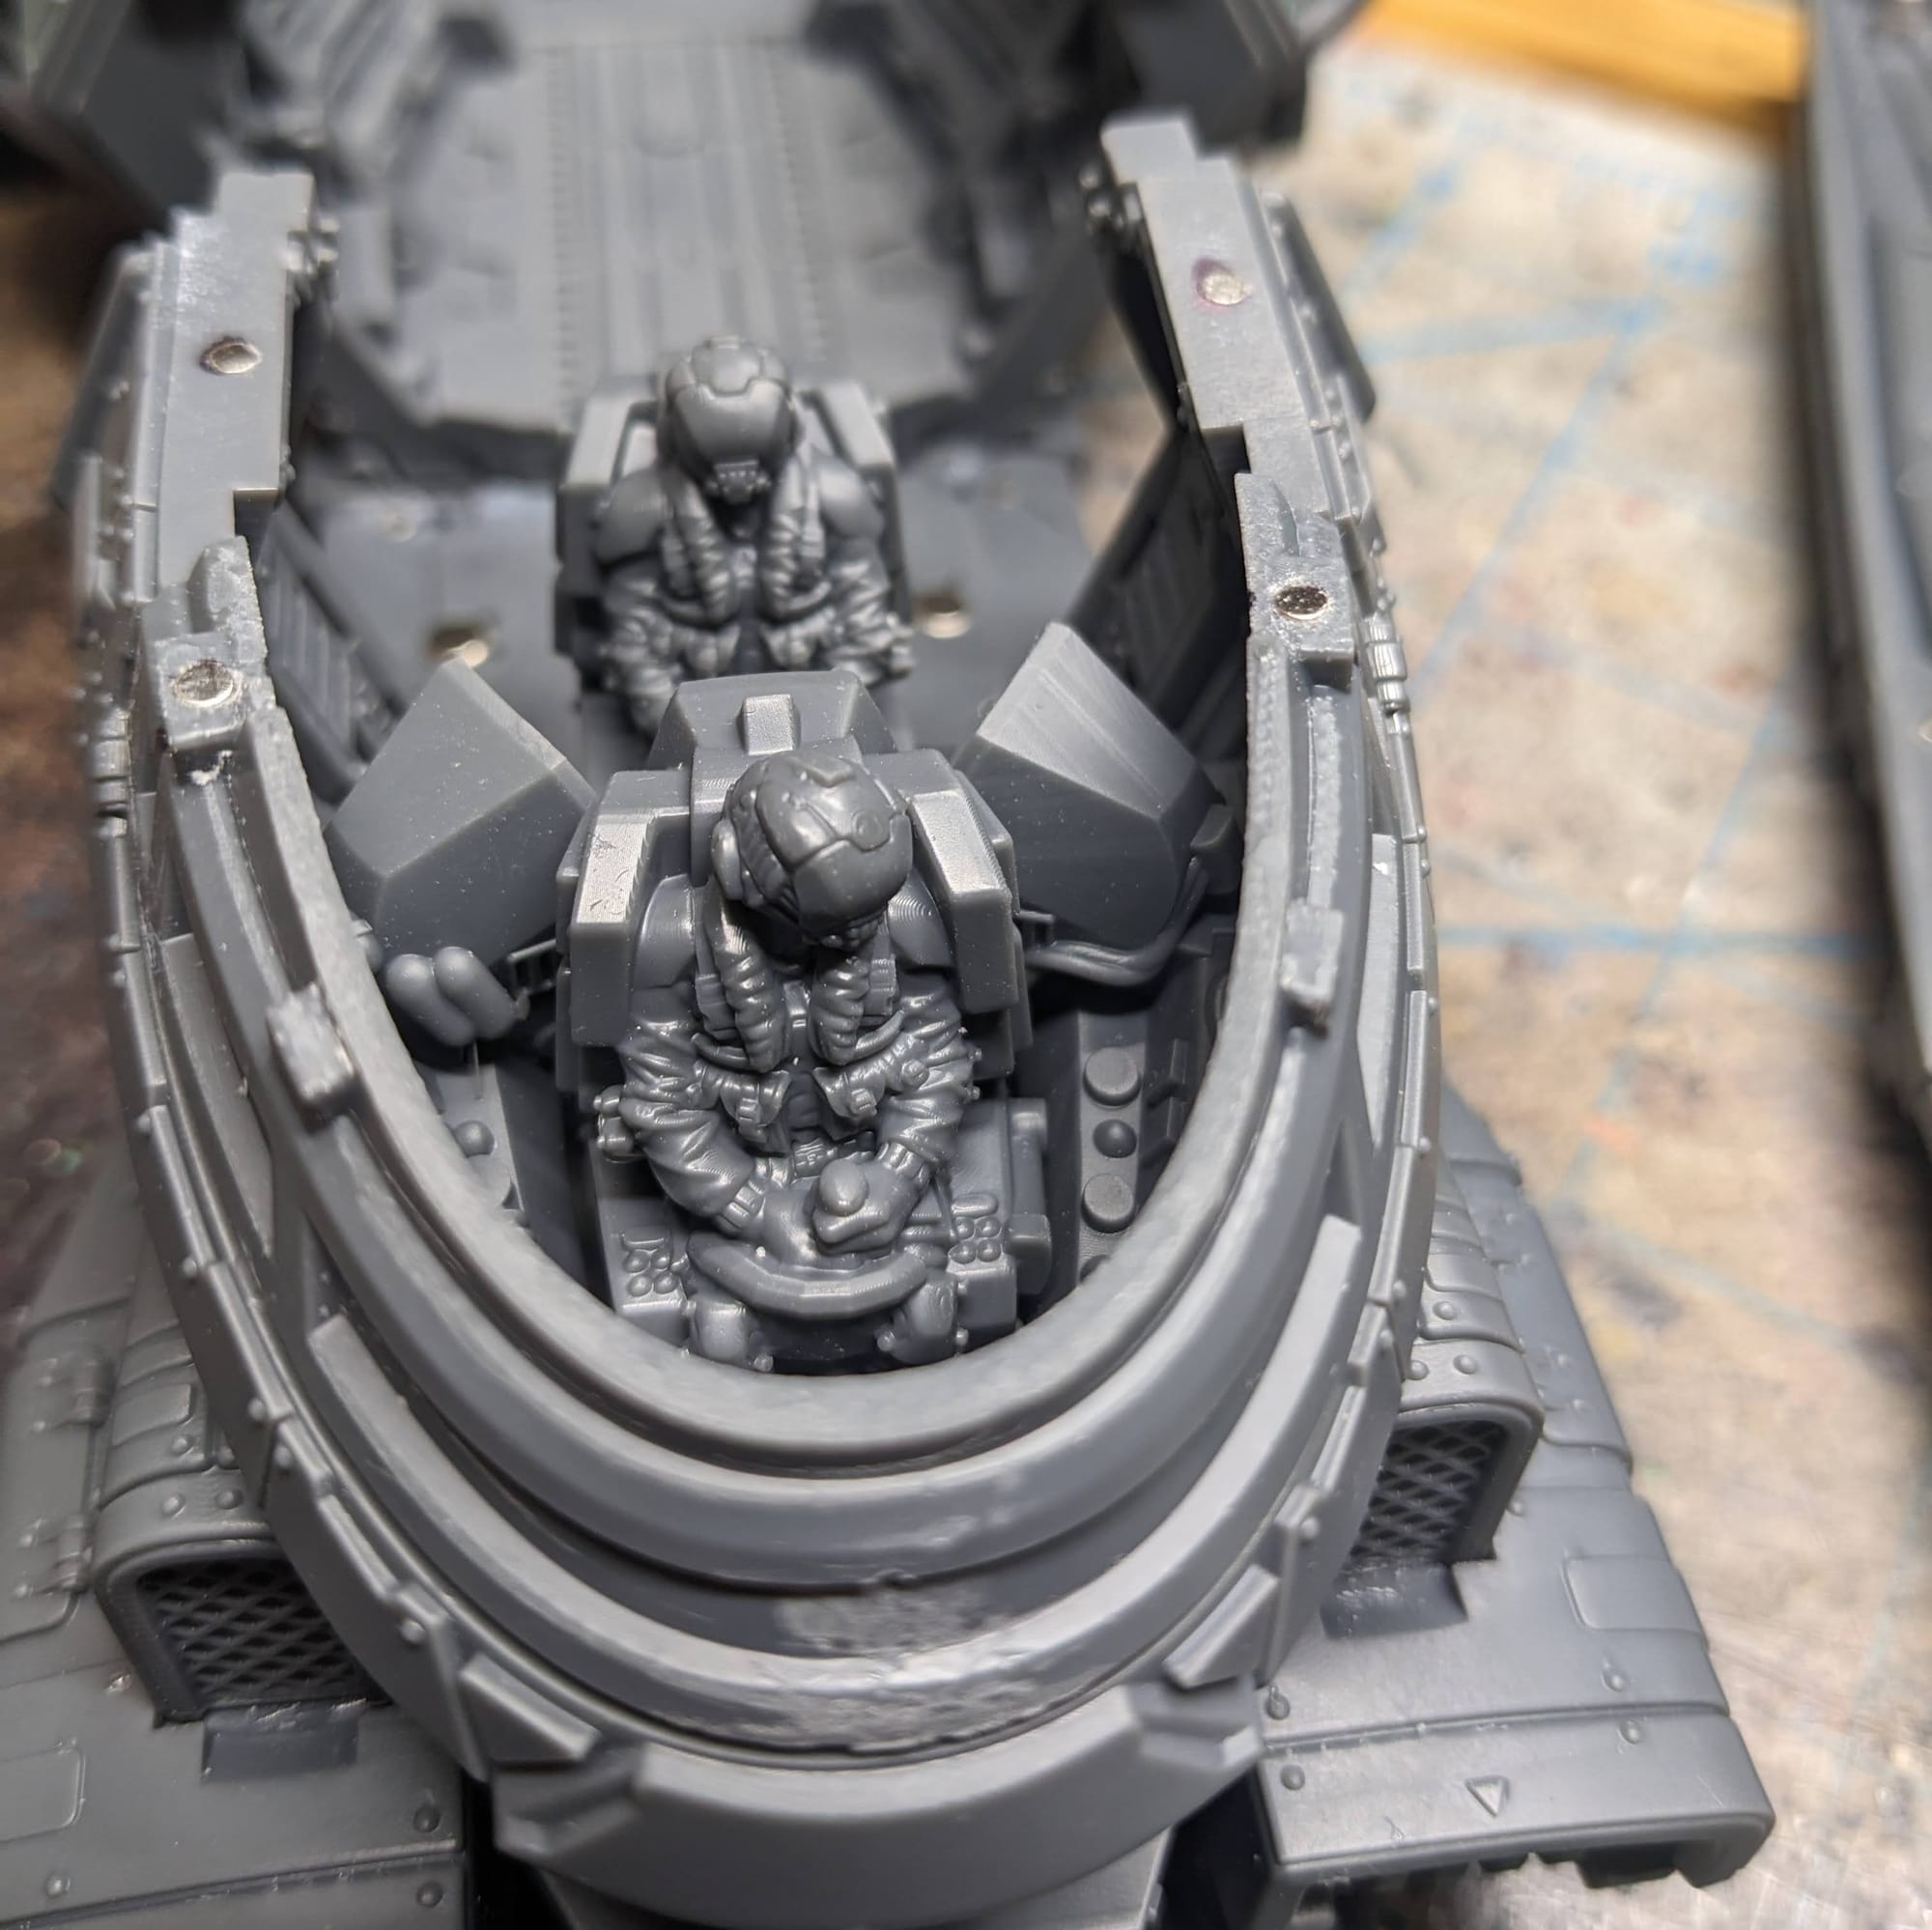
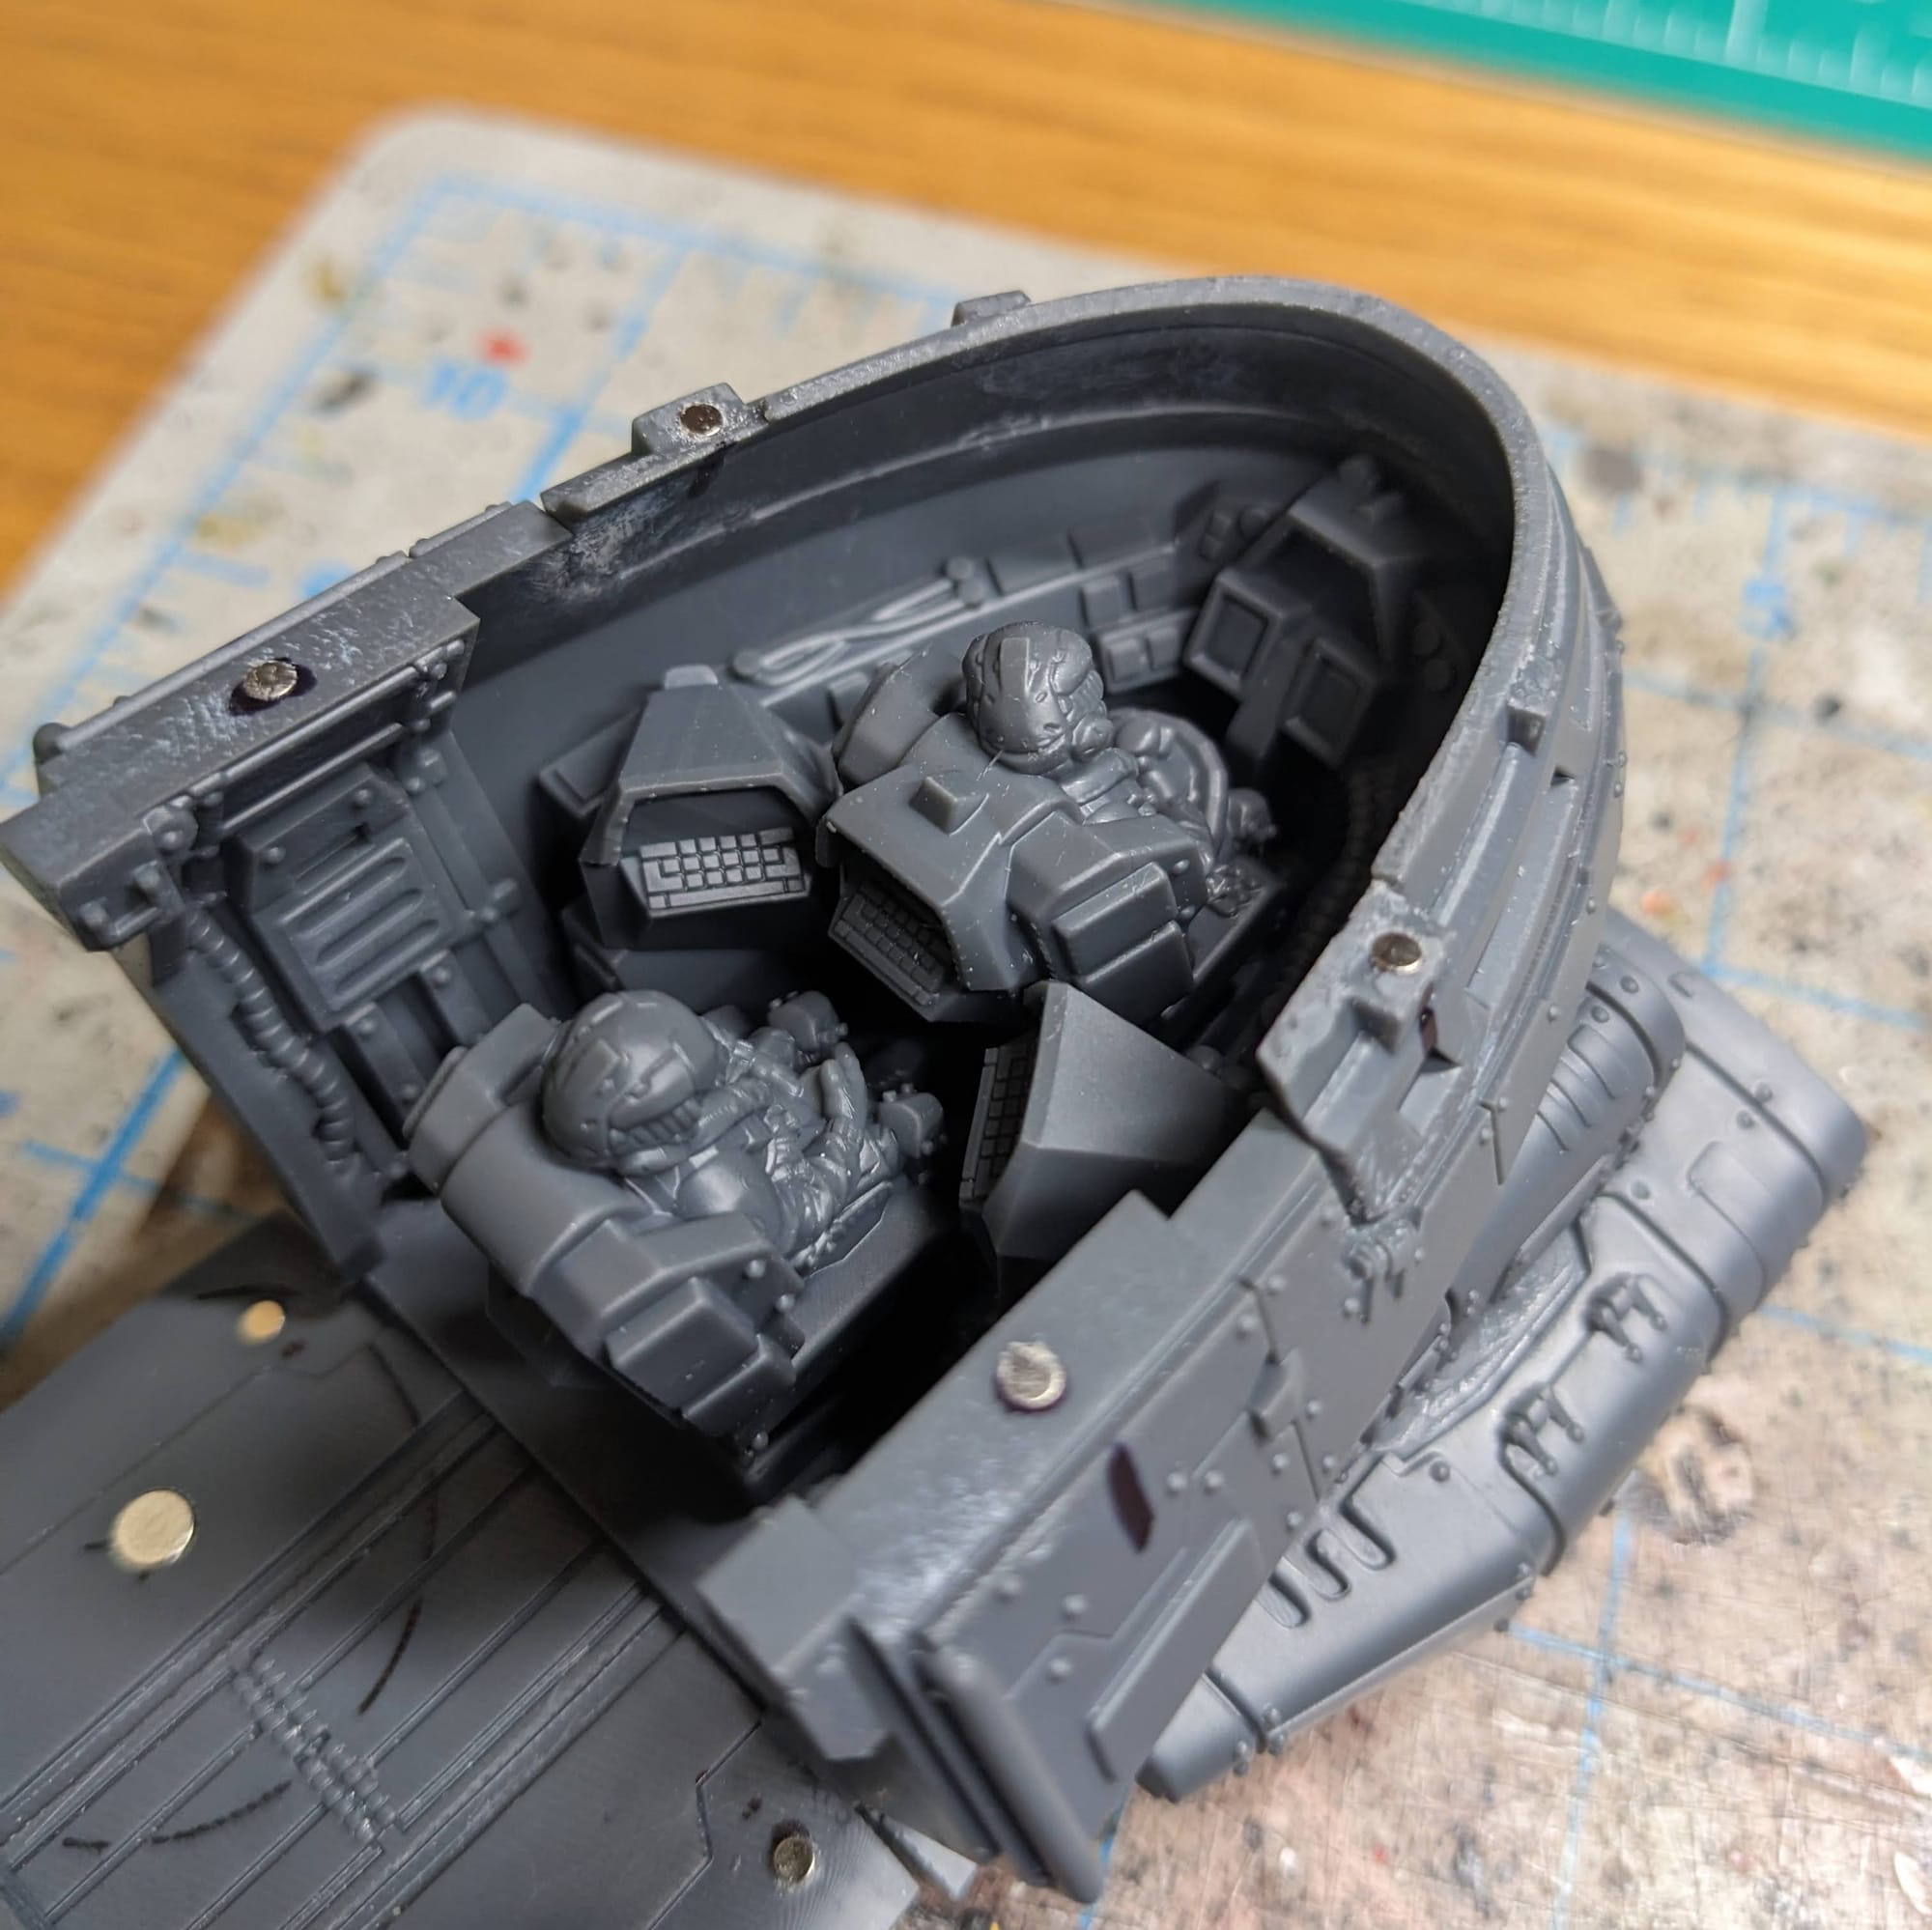
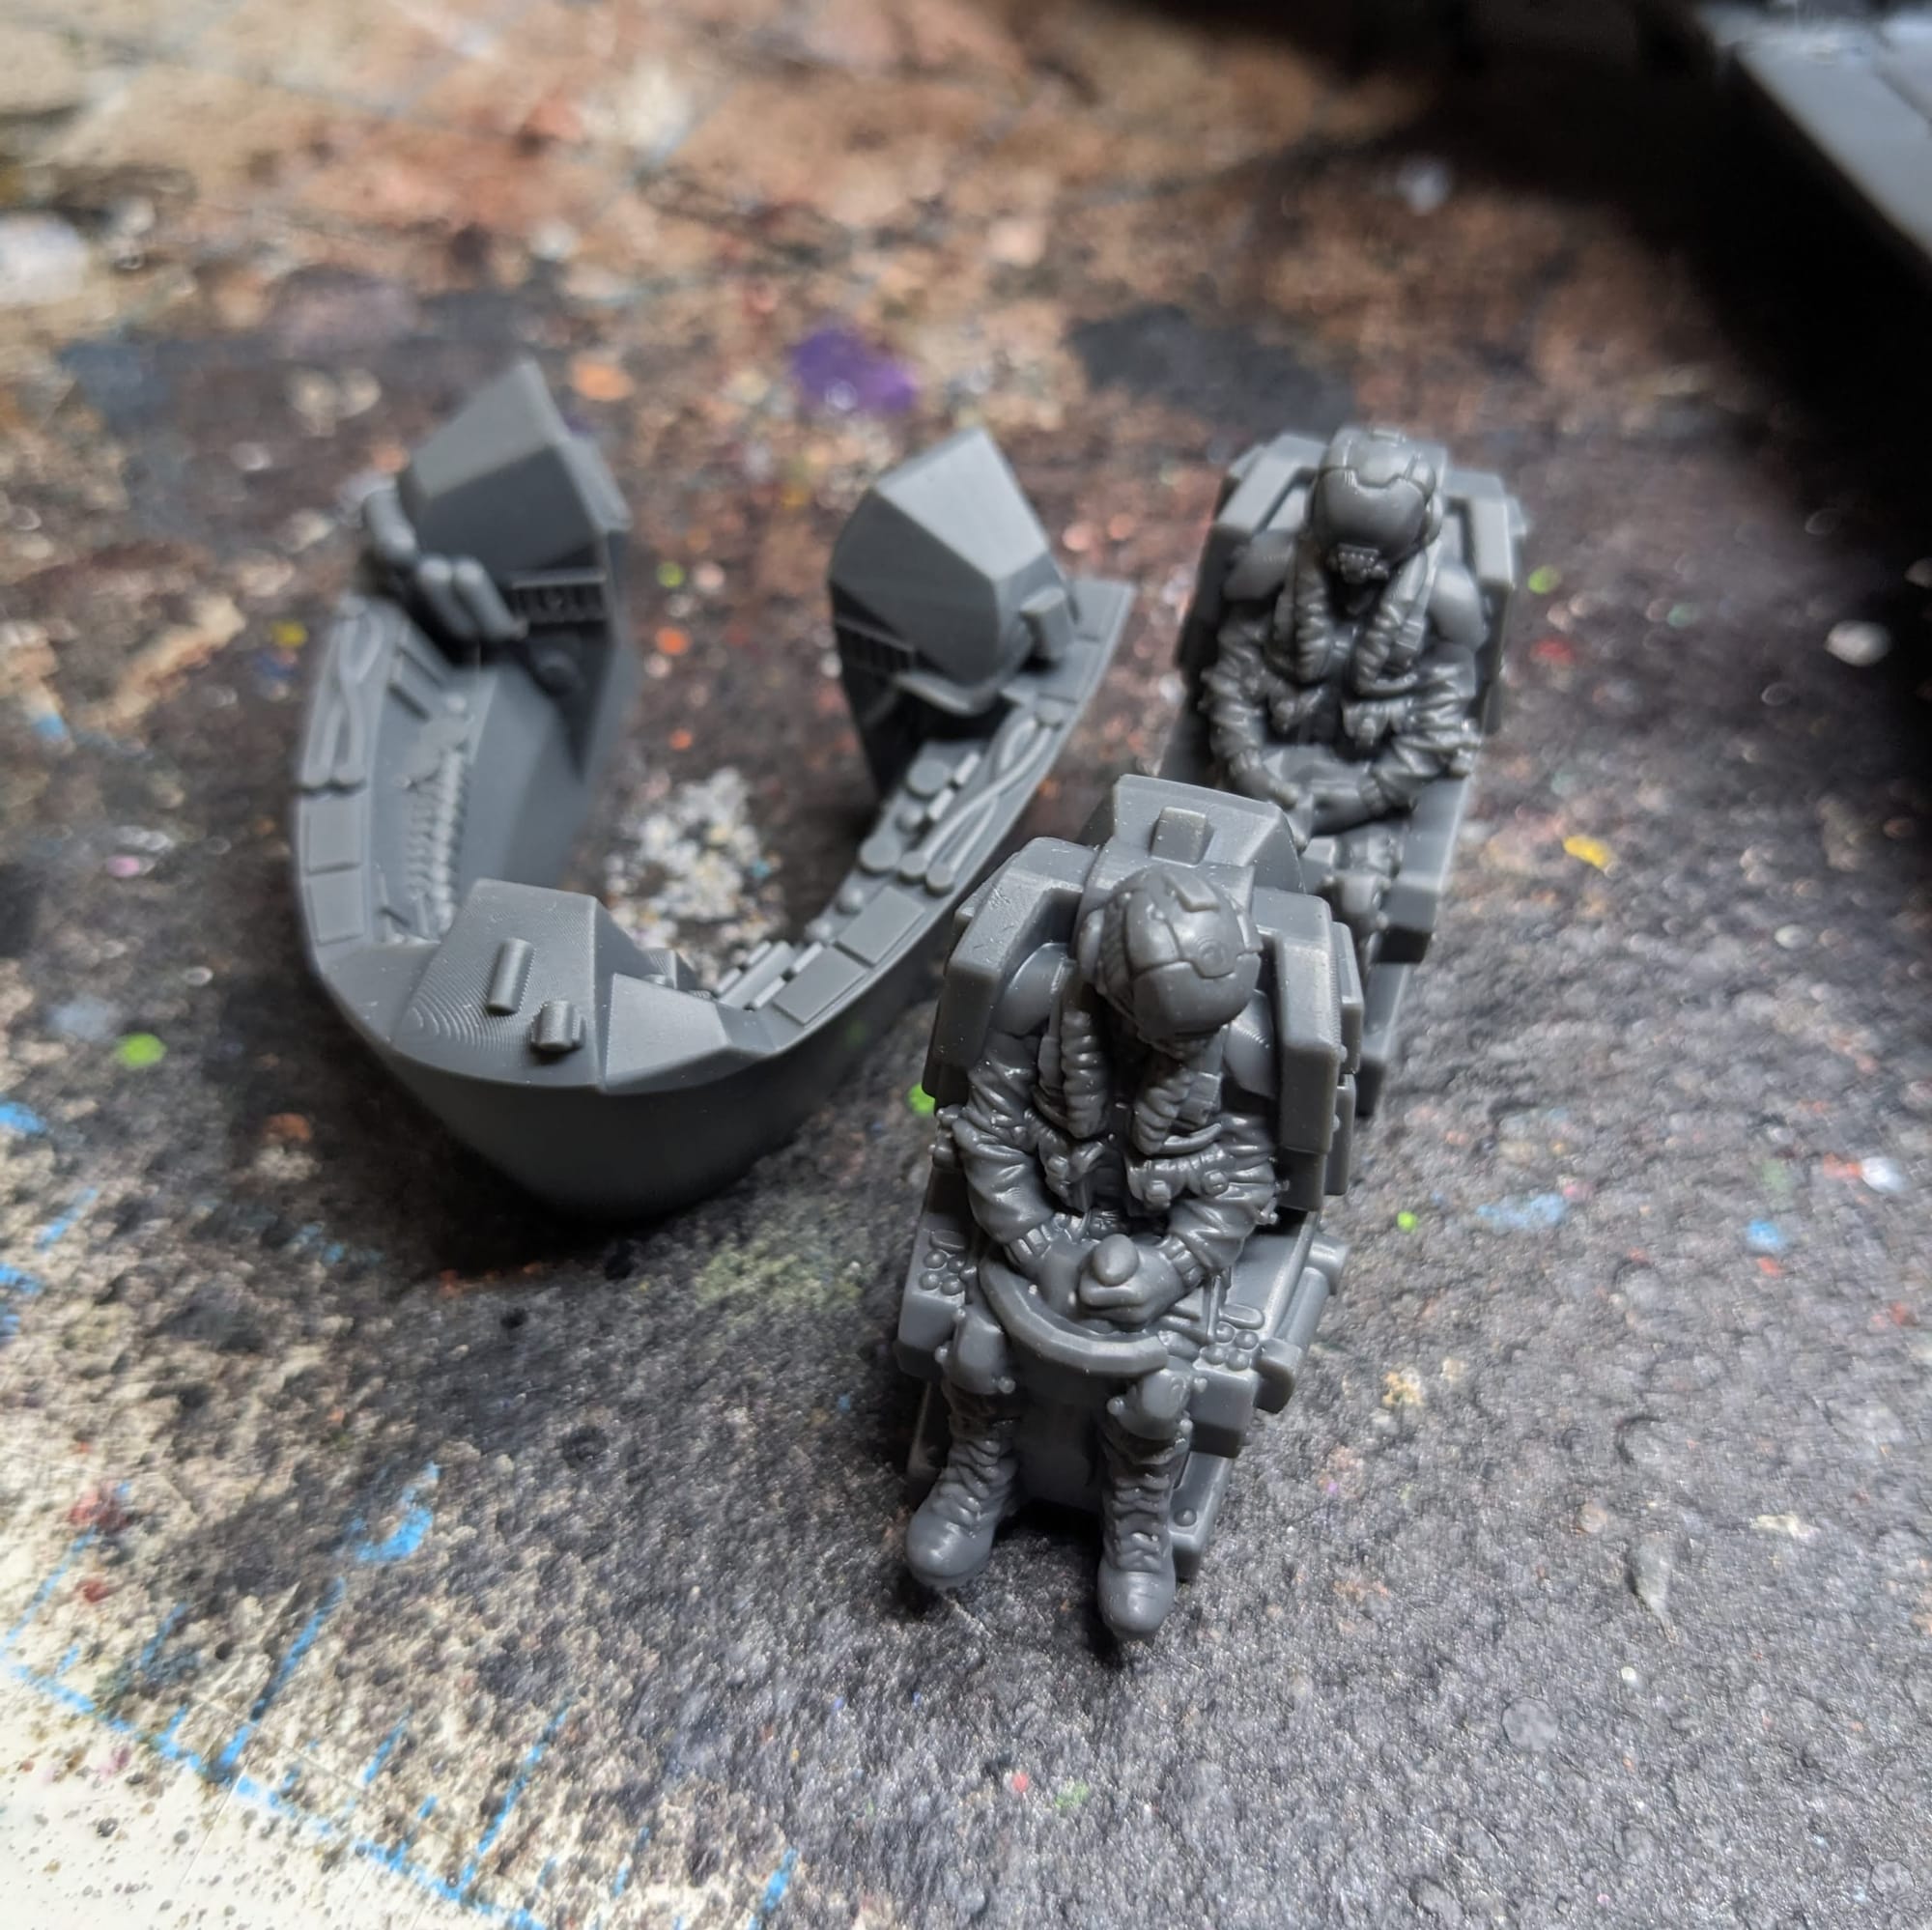
With all the paint prep done and ready to go, it was time to get to painting!
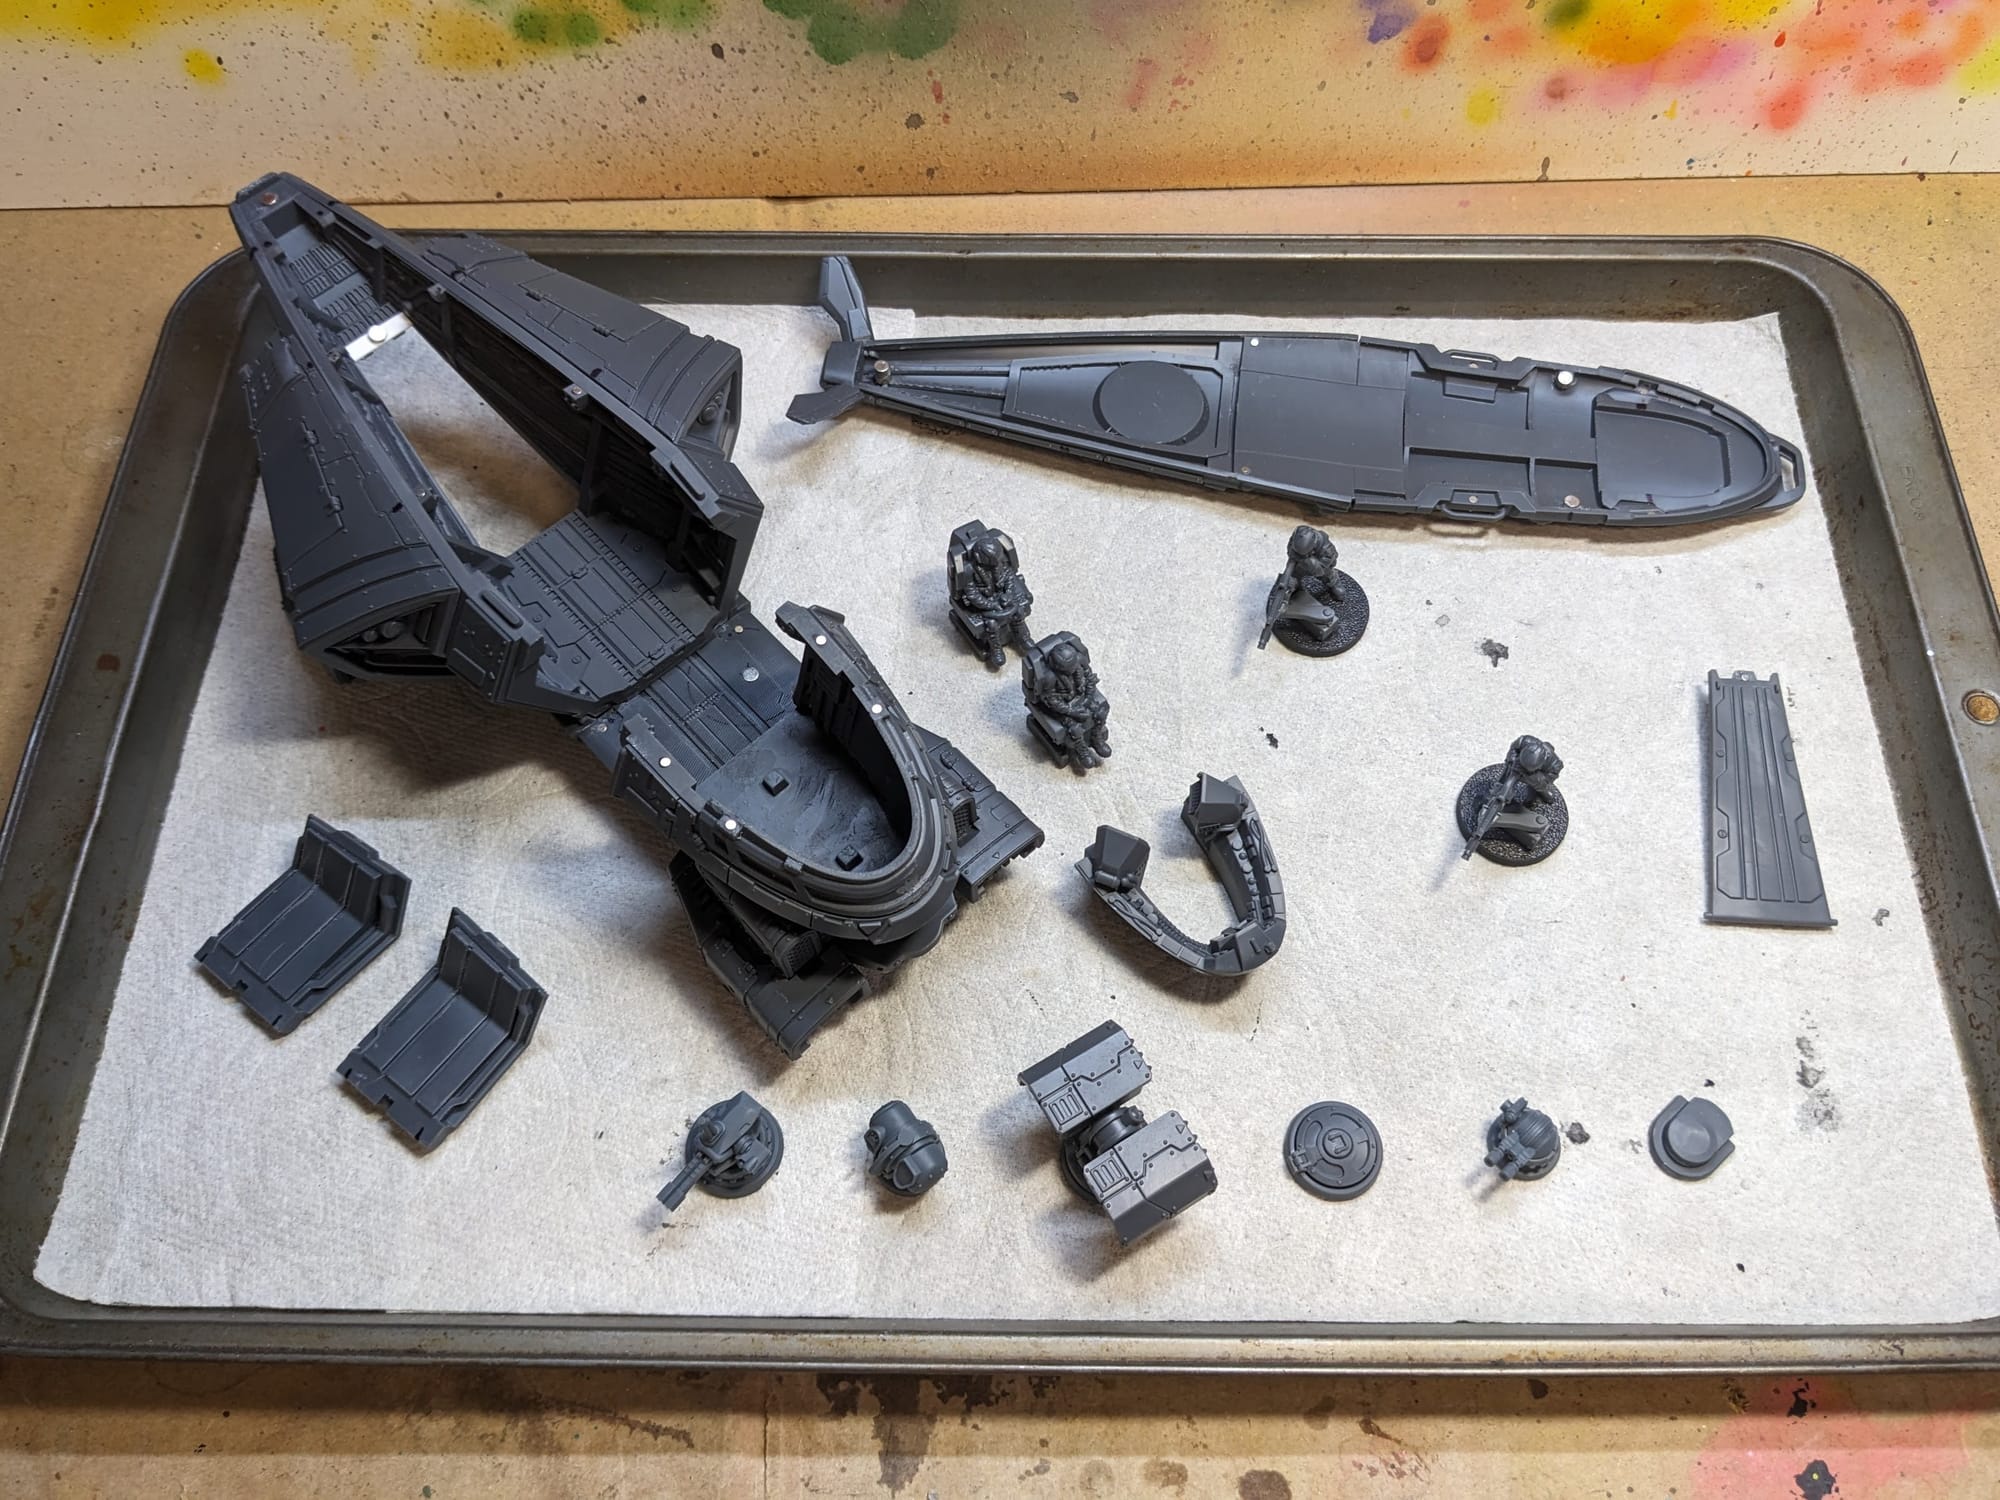
Painting Your Miniatures
The Paint Plan
Every miniature painting project I do I start with a plan. Even before putting the primer and paint on a model, I find photo references of the paint schemes and details I am looking for. Most times, this means having a browser window up with different web pages and images next to my painting area, so I can quickly refer to them as I paint. I also come up with a paint plan, choosing what colors I am going to use and what order I apply them in.
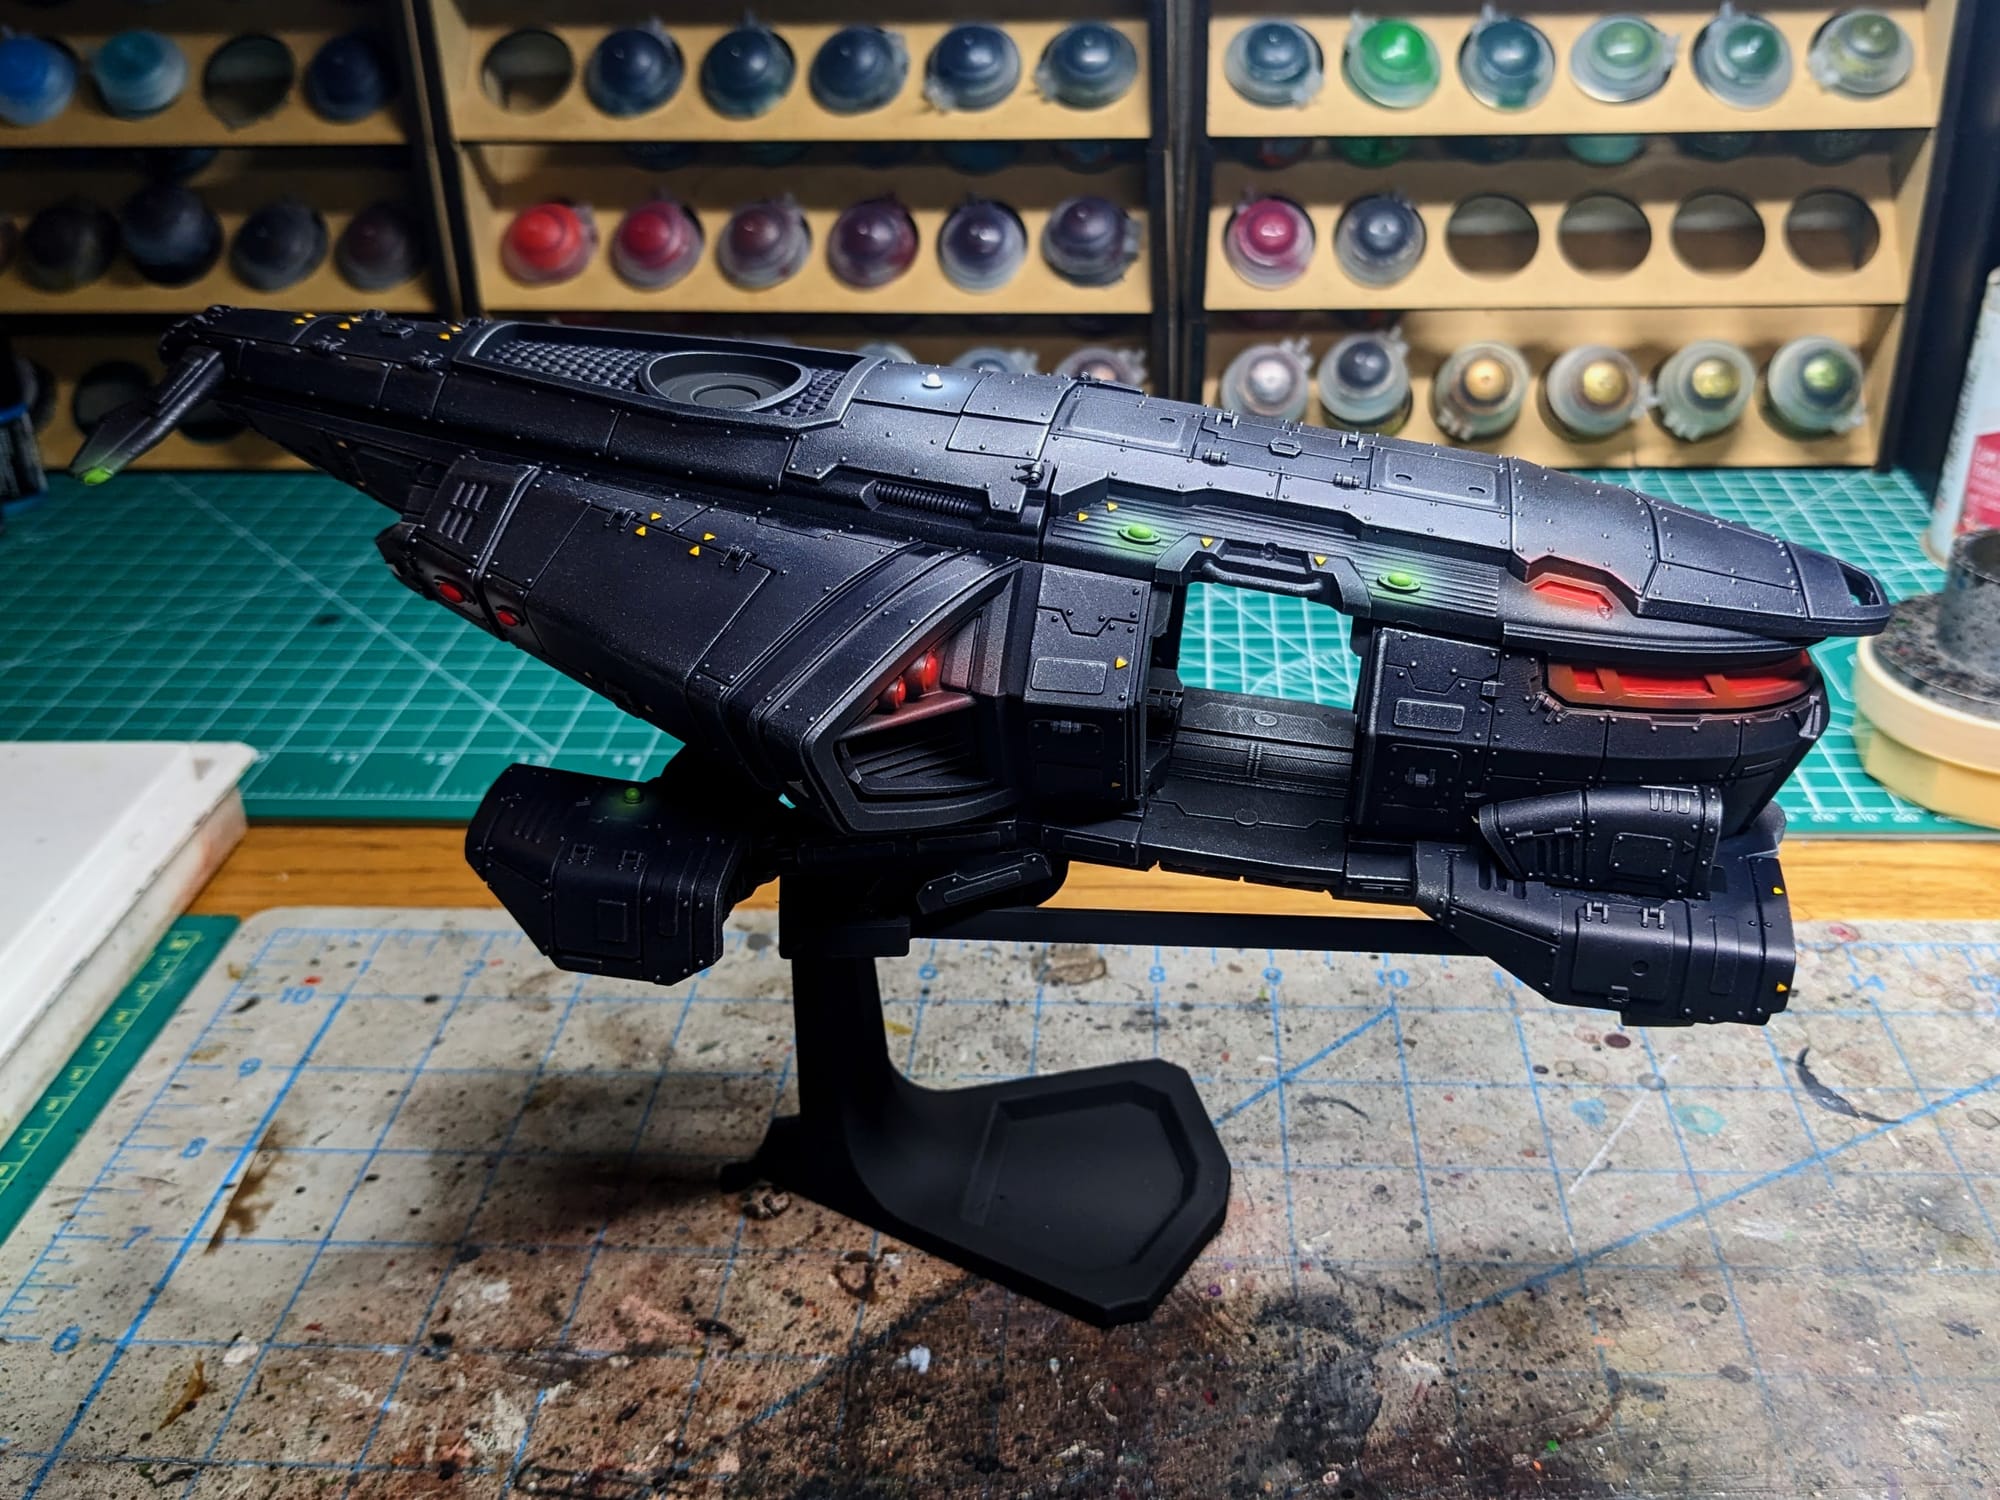
In the case of these models, the goal was two things: black and OSL (object source lighting). Using an airbrush, I was able to complete about 95% of the project.
Remember that done is better than perfect!
Priming
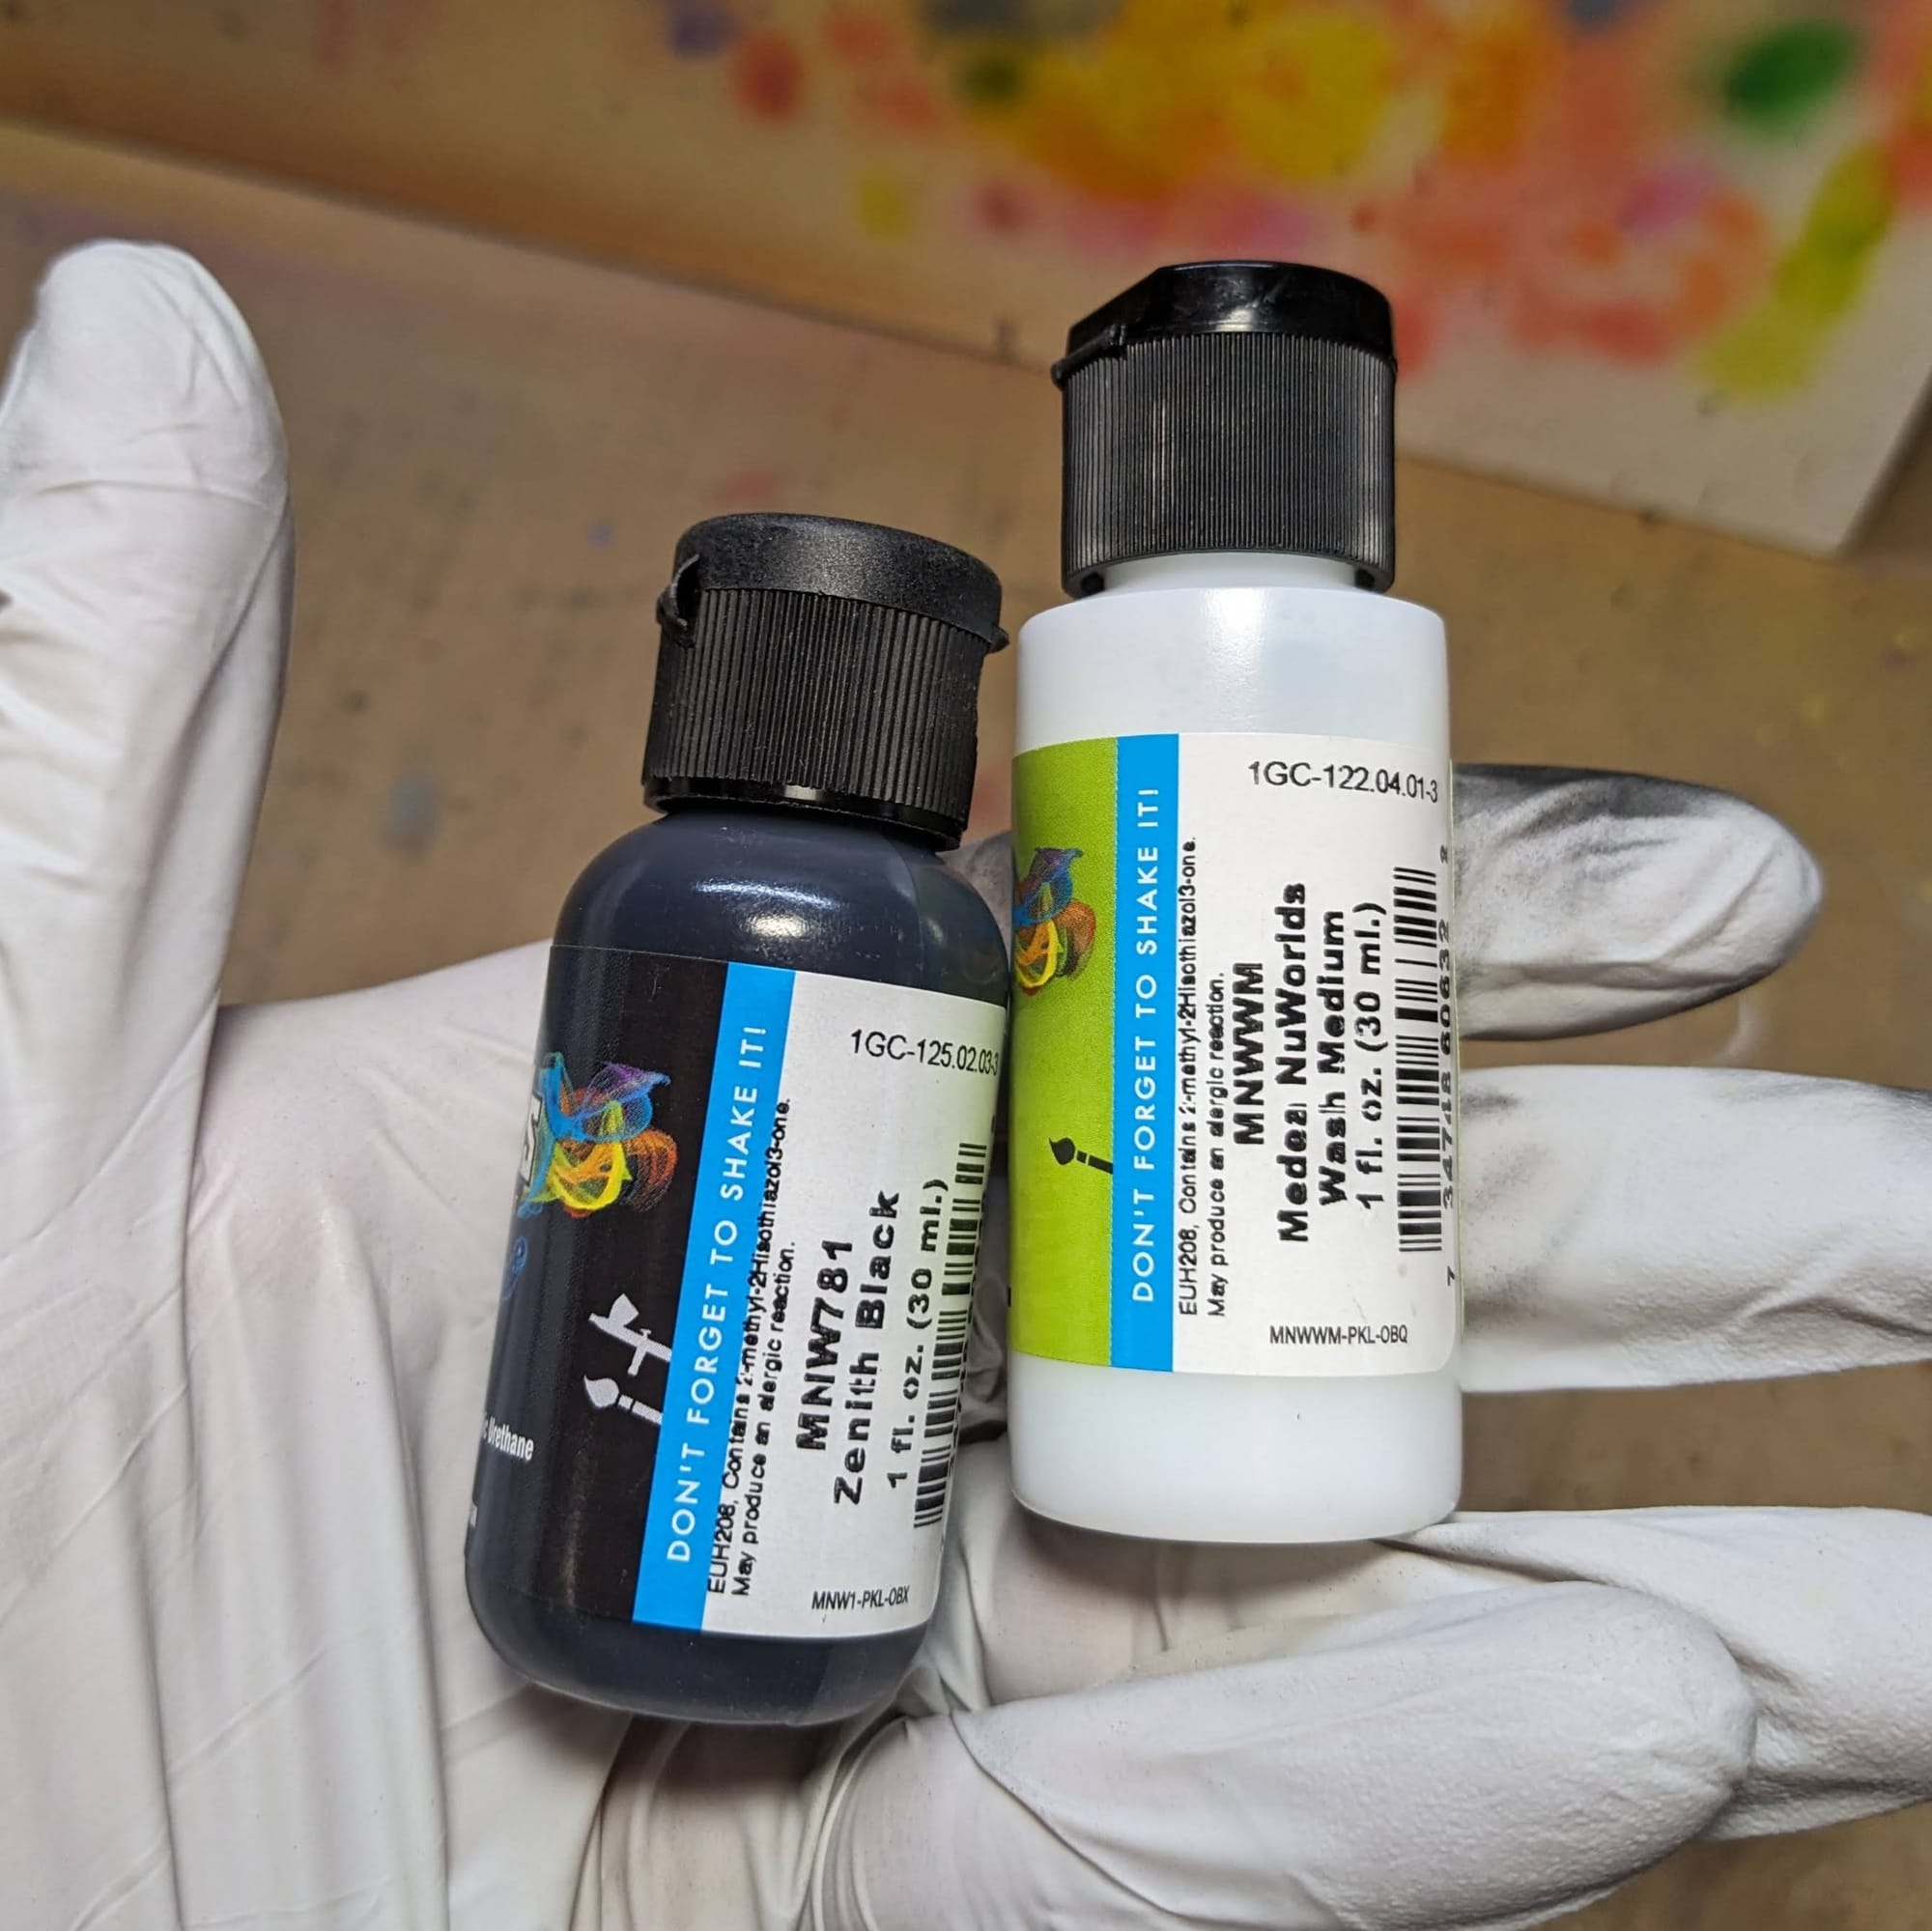
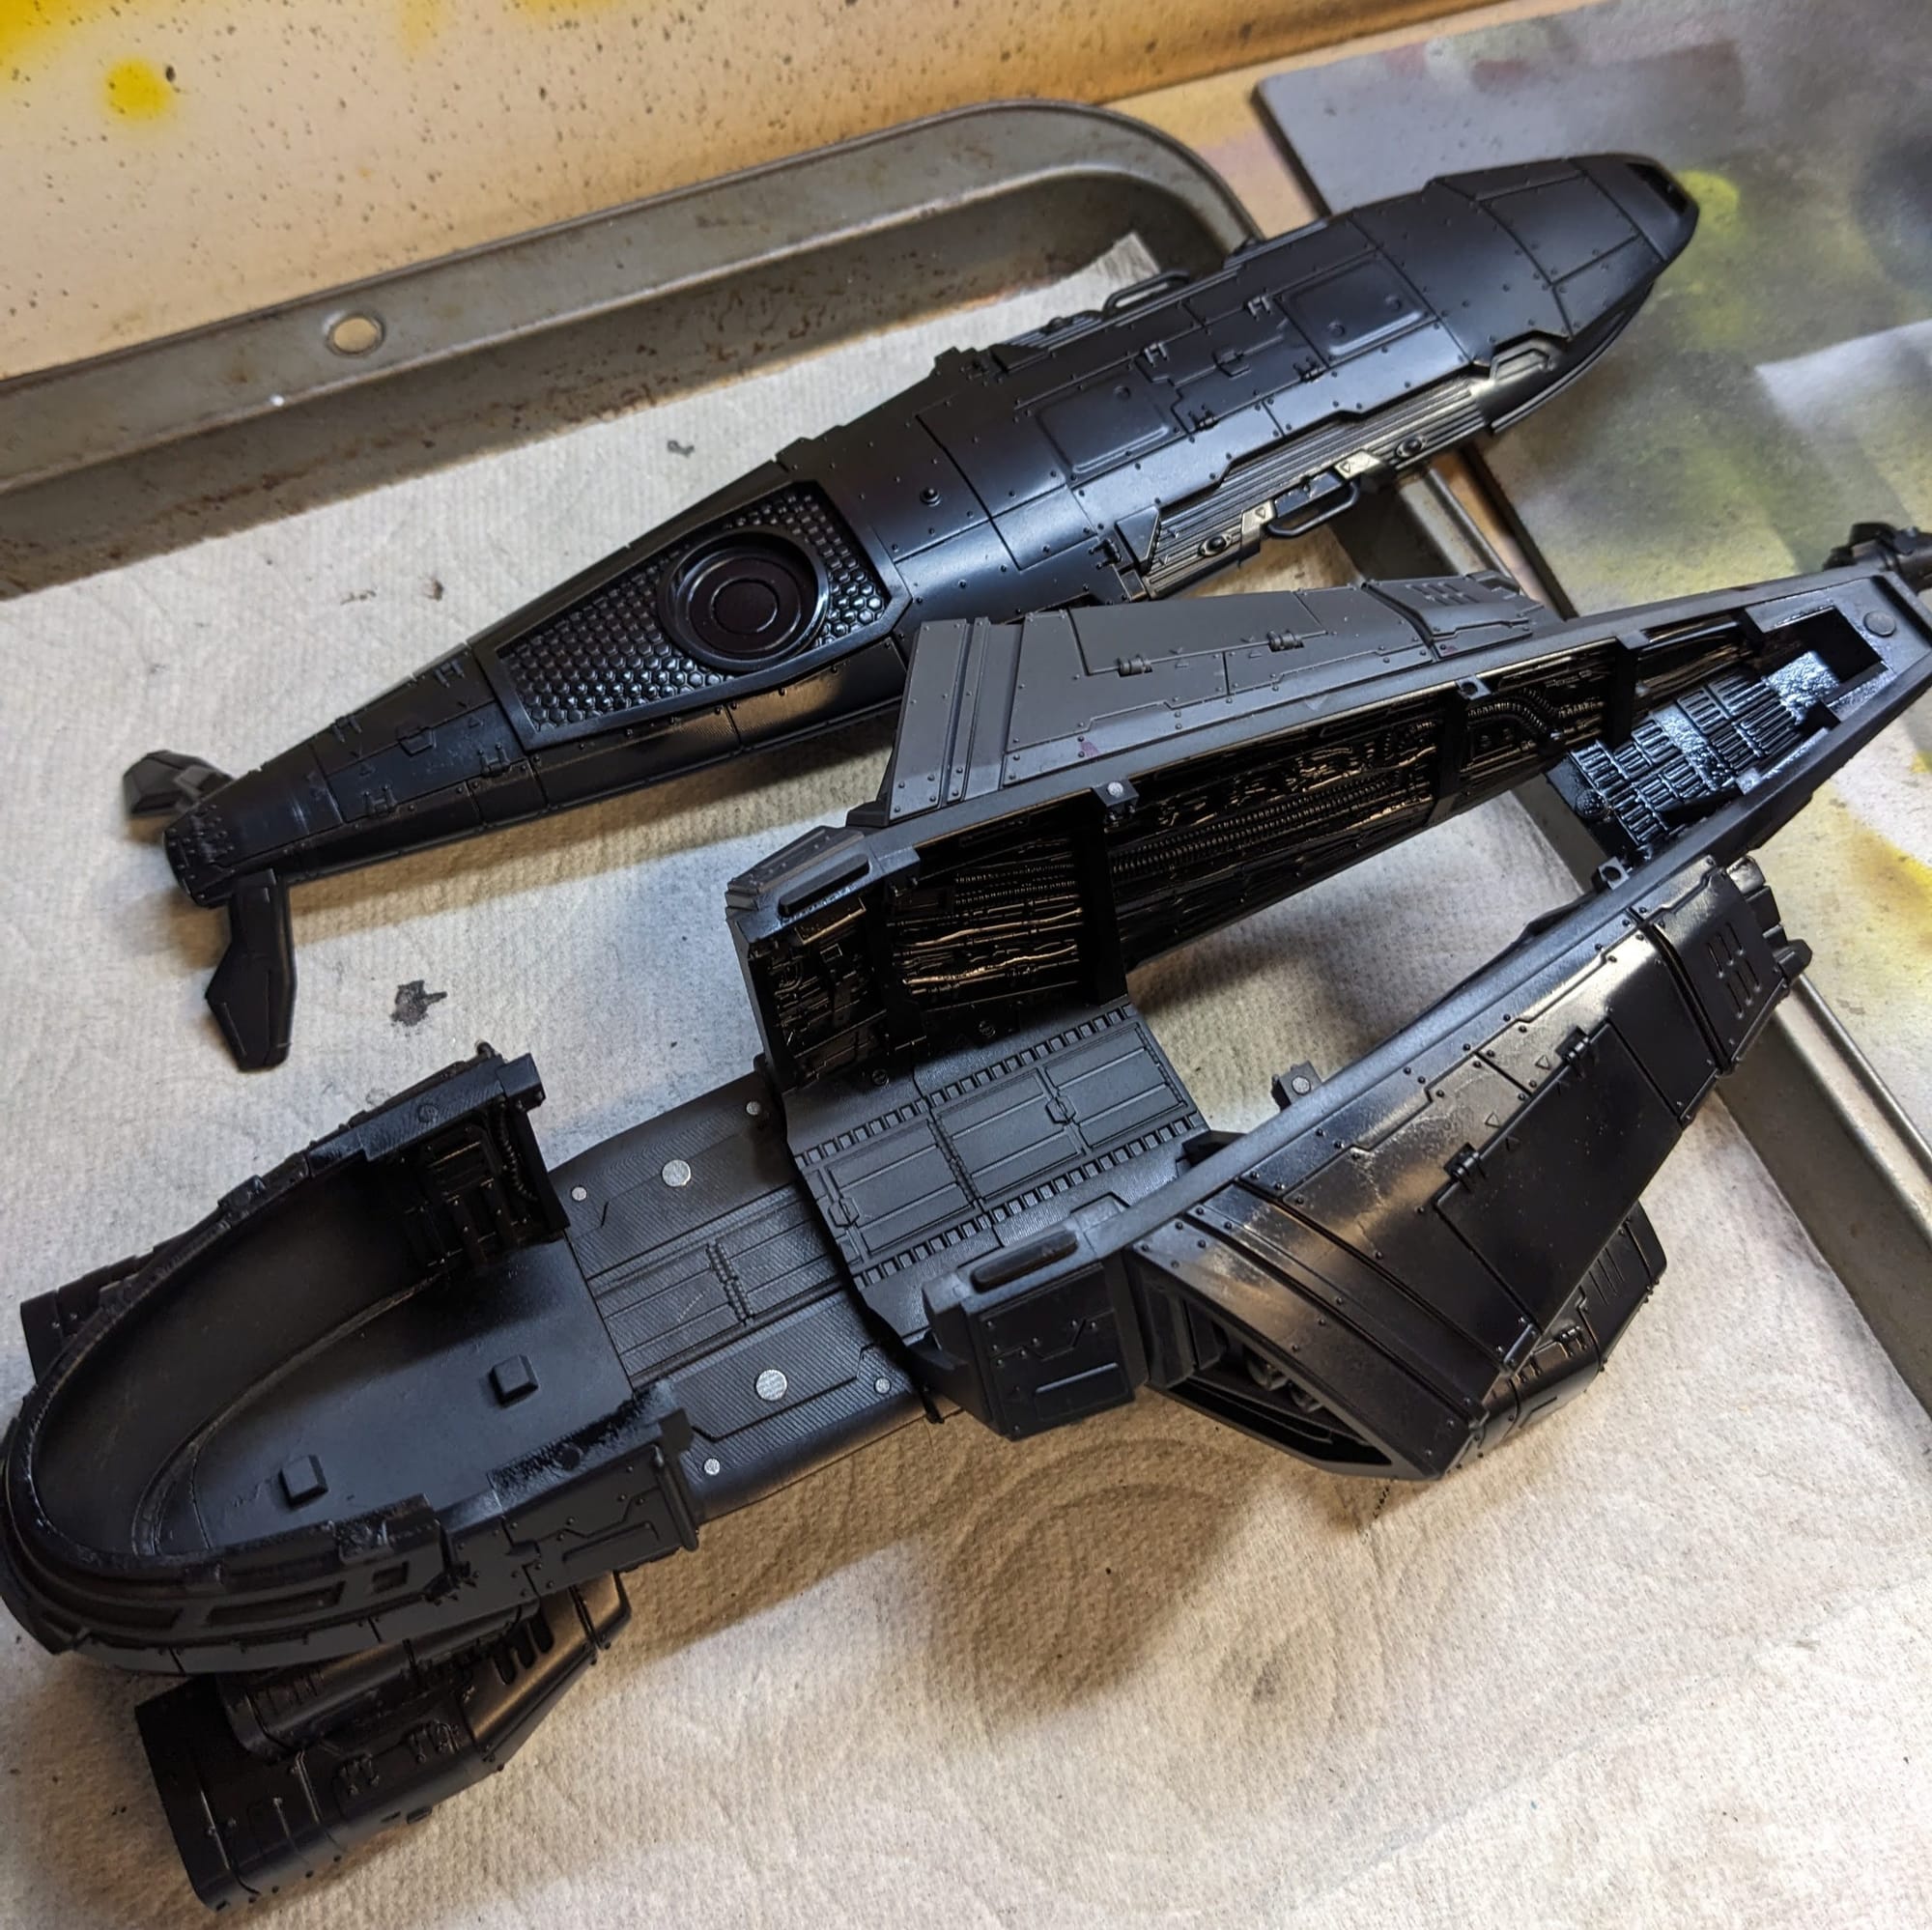
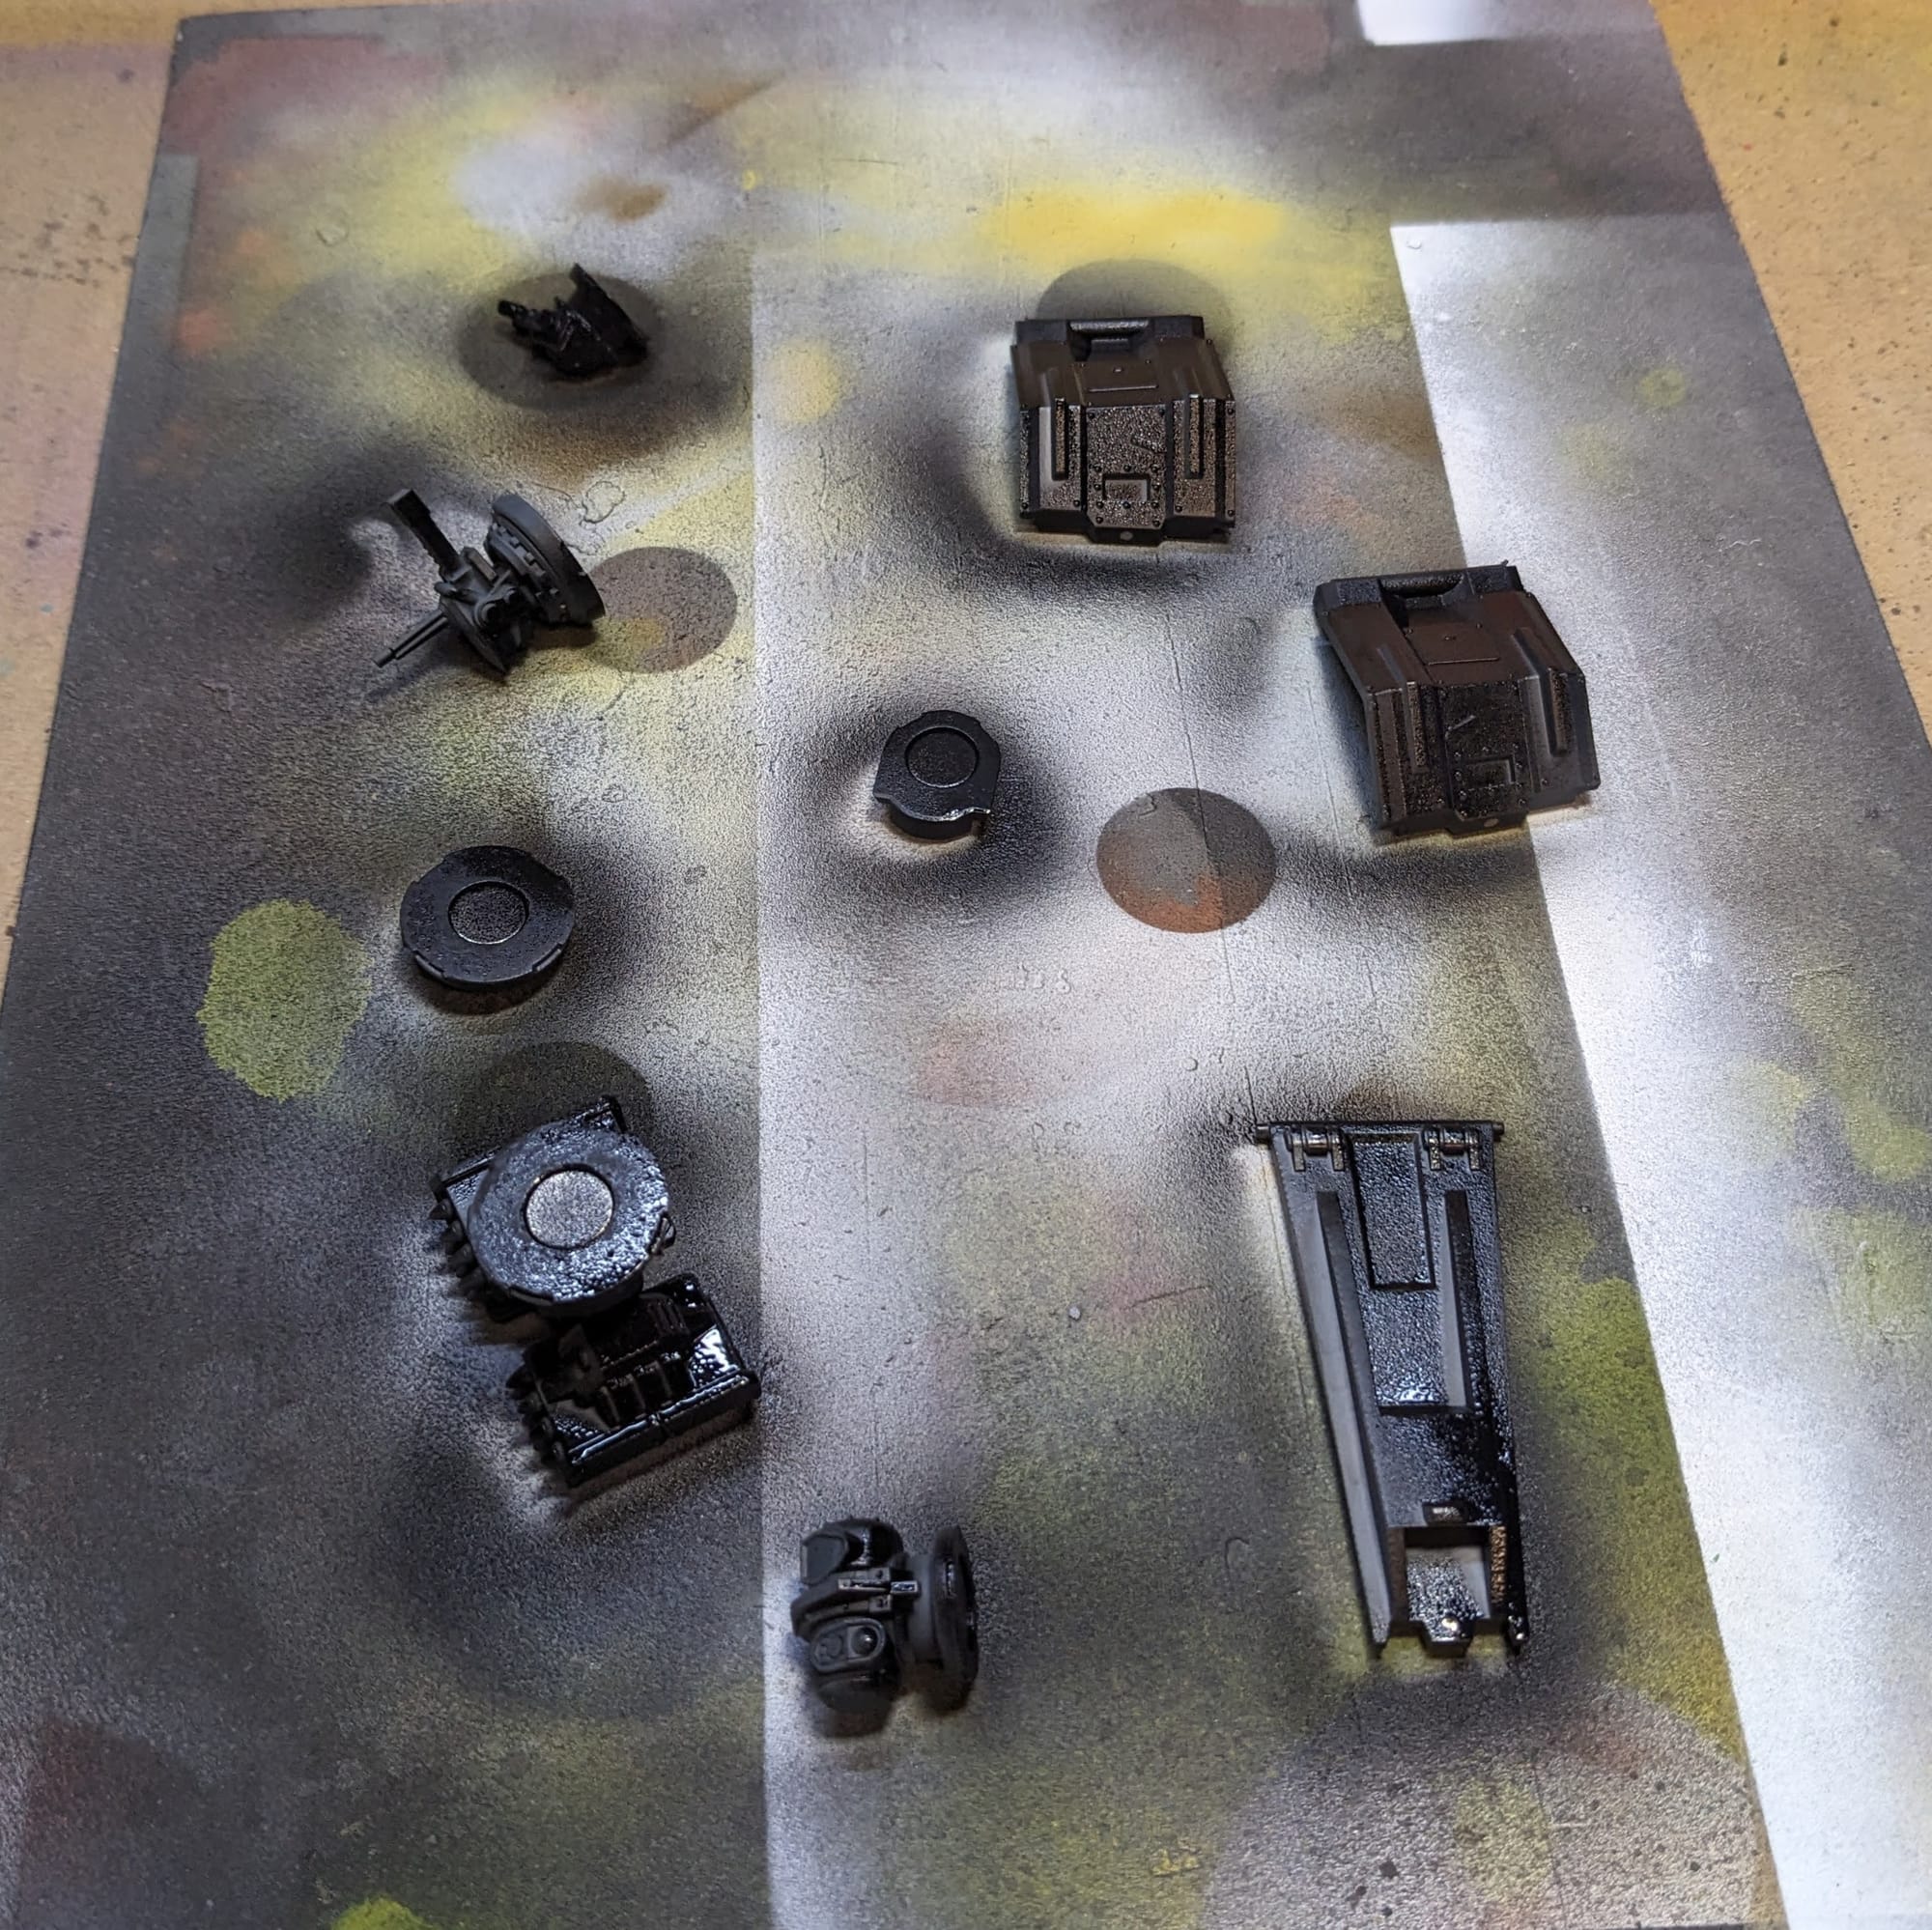
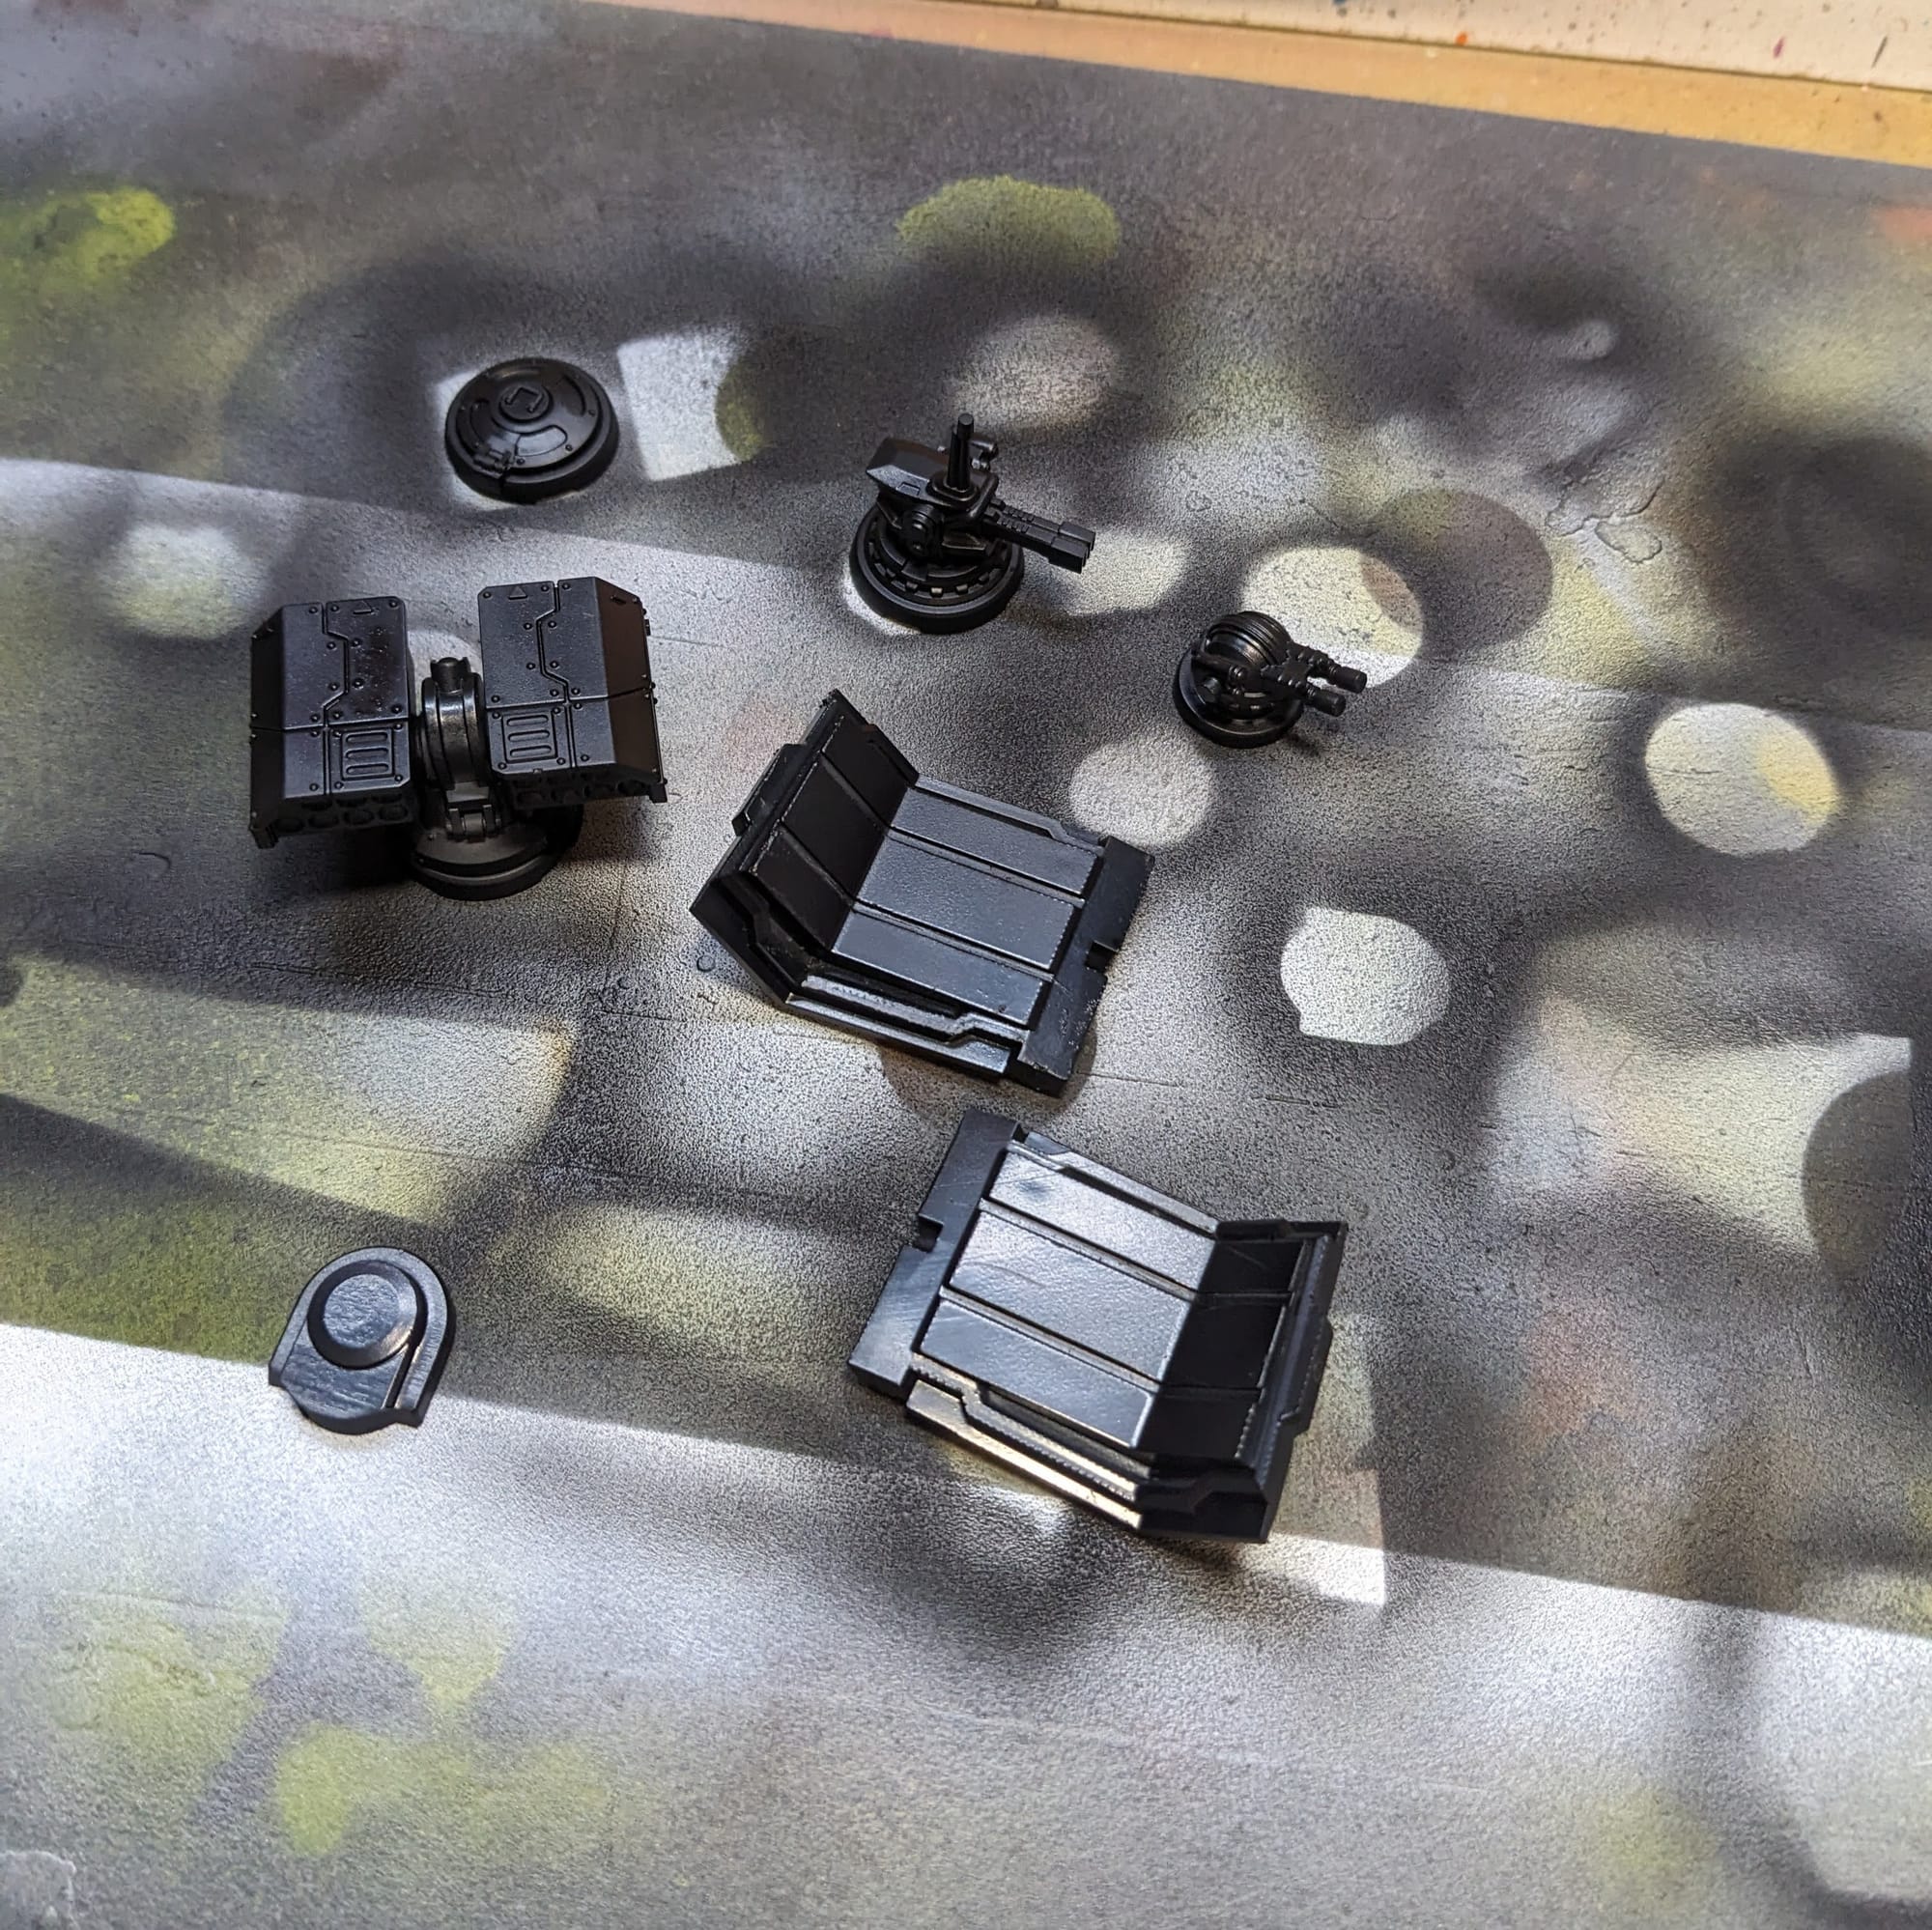
In general terms, getting the majority of a color for a model applied via a rattle can or airbrush saves a lot of time. Typically, I prime all of the figures with a zenithal prime. In this case, however, I wanted to utilize Iwata-Medea’s new NuWorlds Airbrush paint. Marketed as a “prime ready” air paint, it can be applied directly to the model as a primer coat, allowing the model to be quickly painted up.


Soon, you can check GamingTrend’s full review of the Iwata Airbrush and NuWorld’s paints, so don’t forget to follow us!
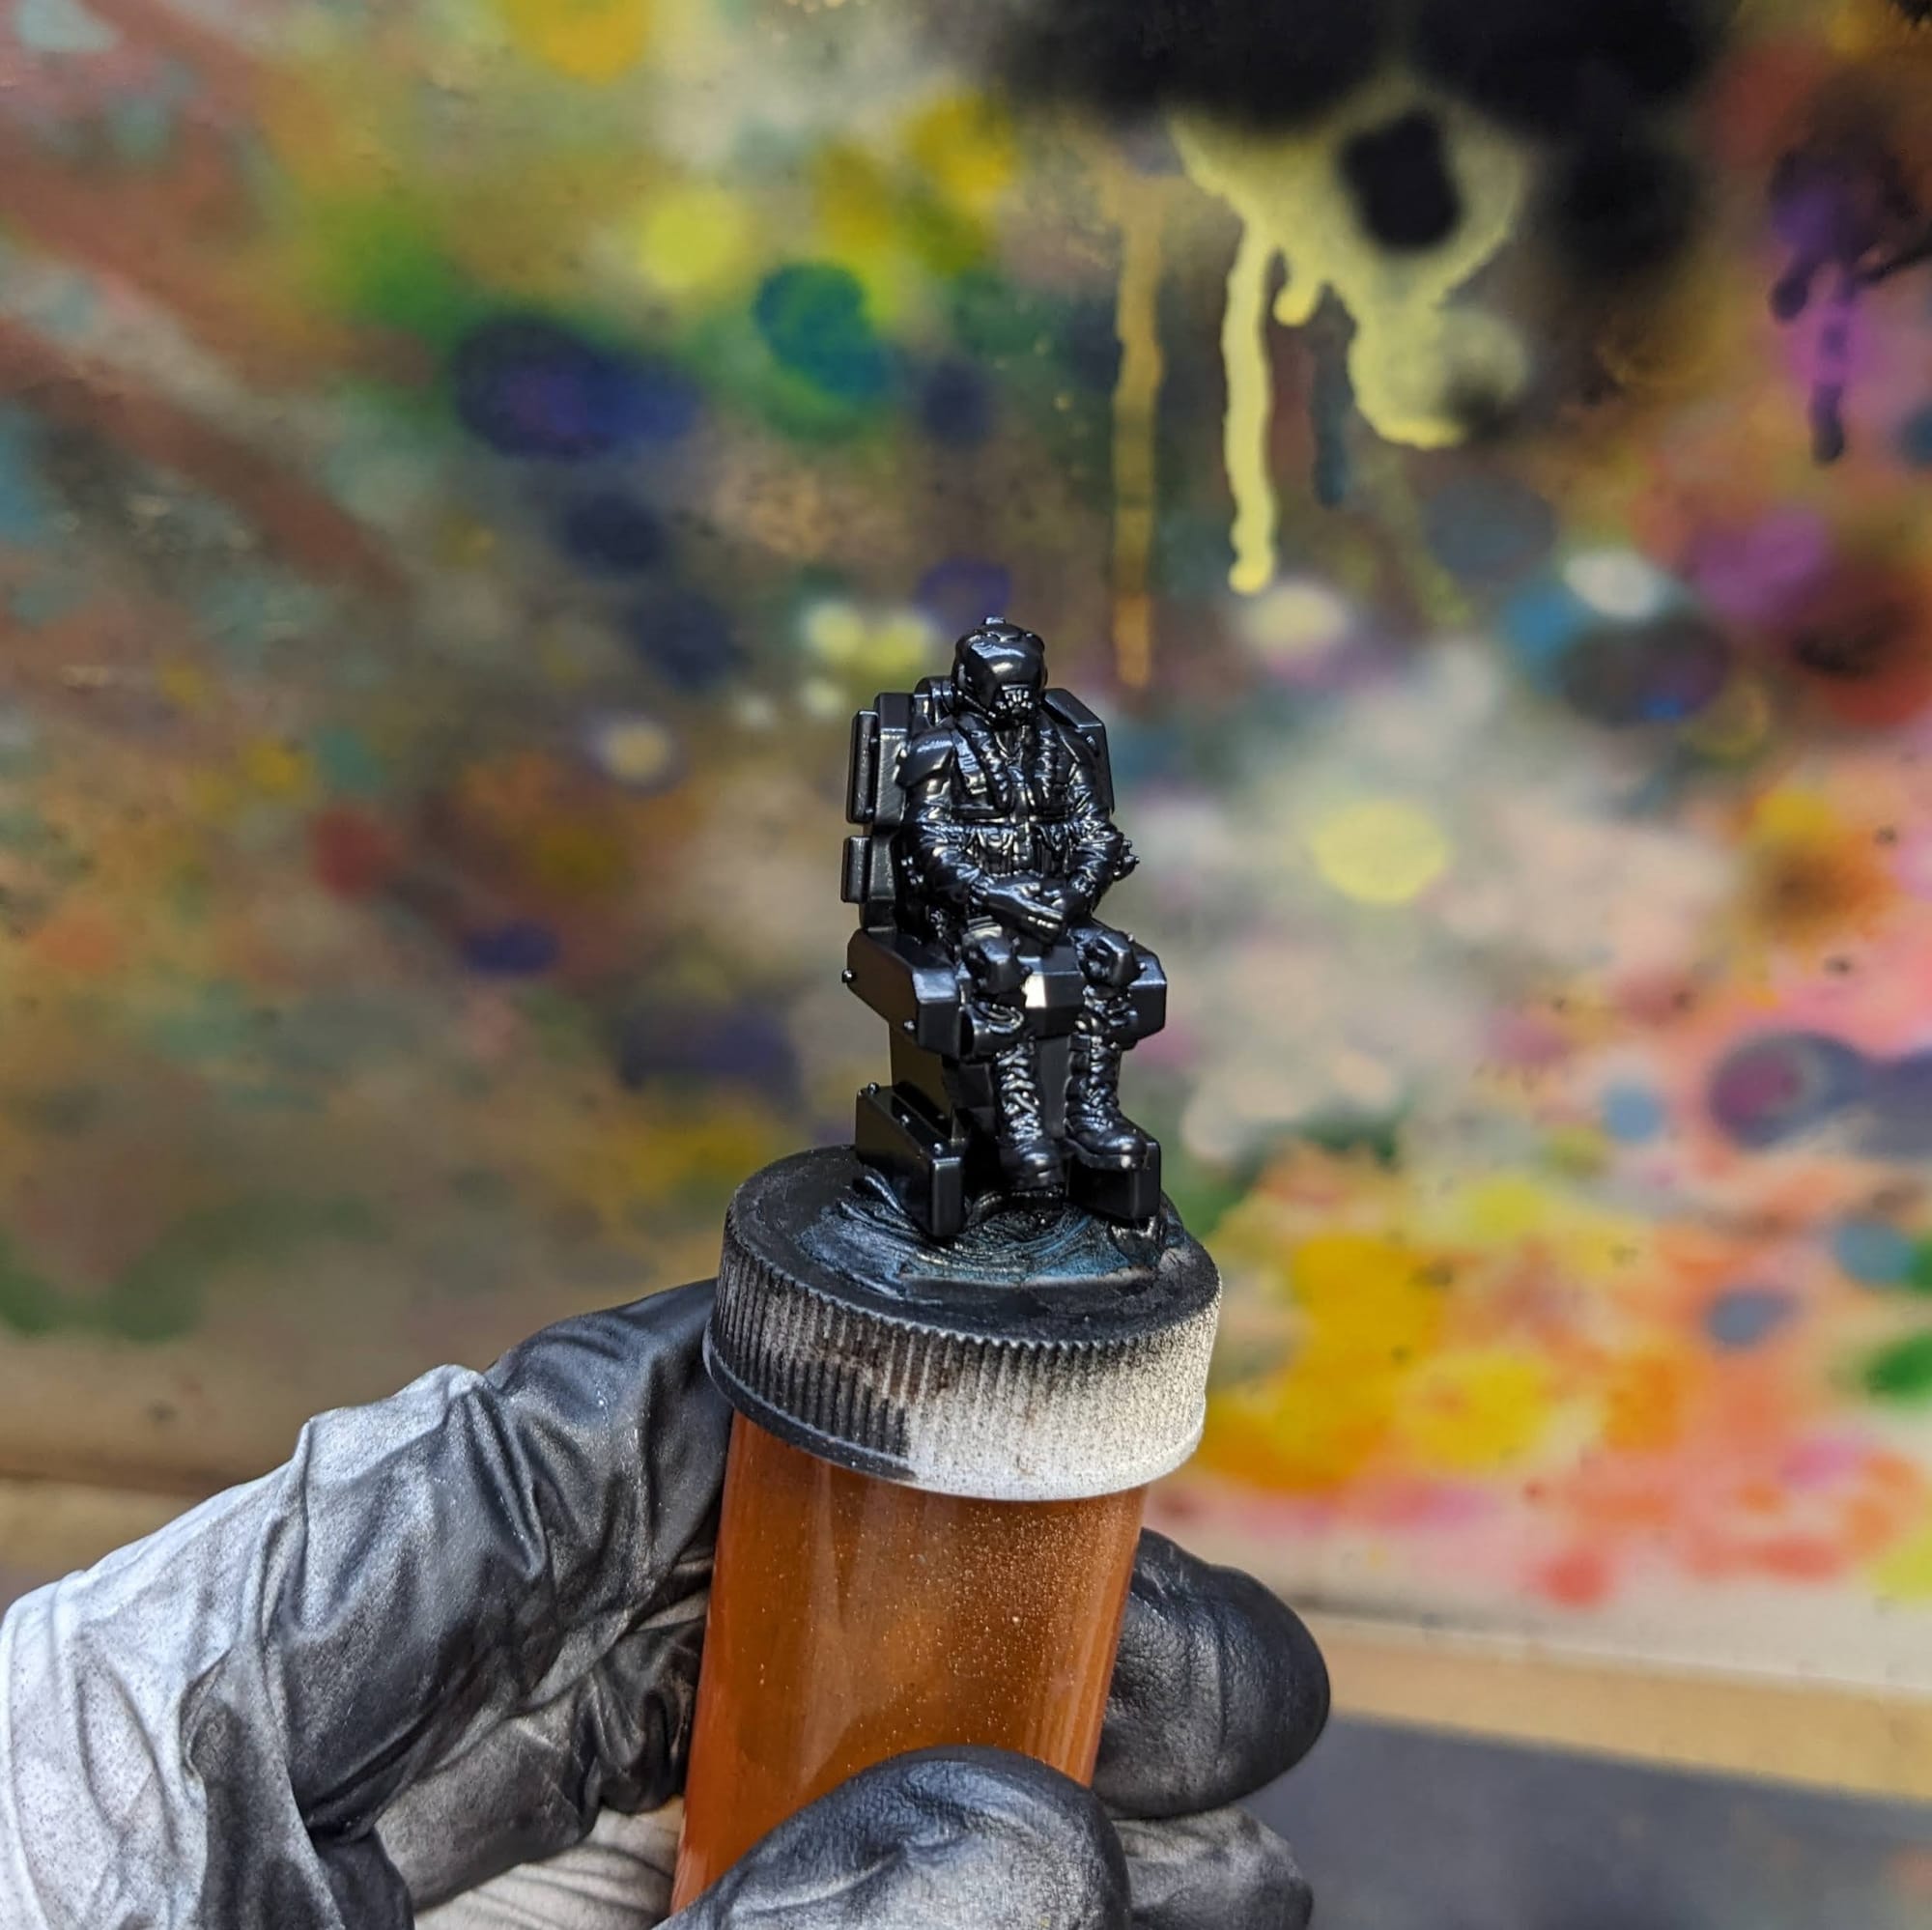
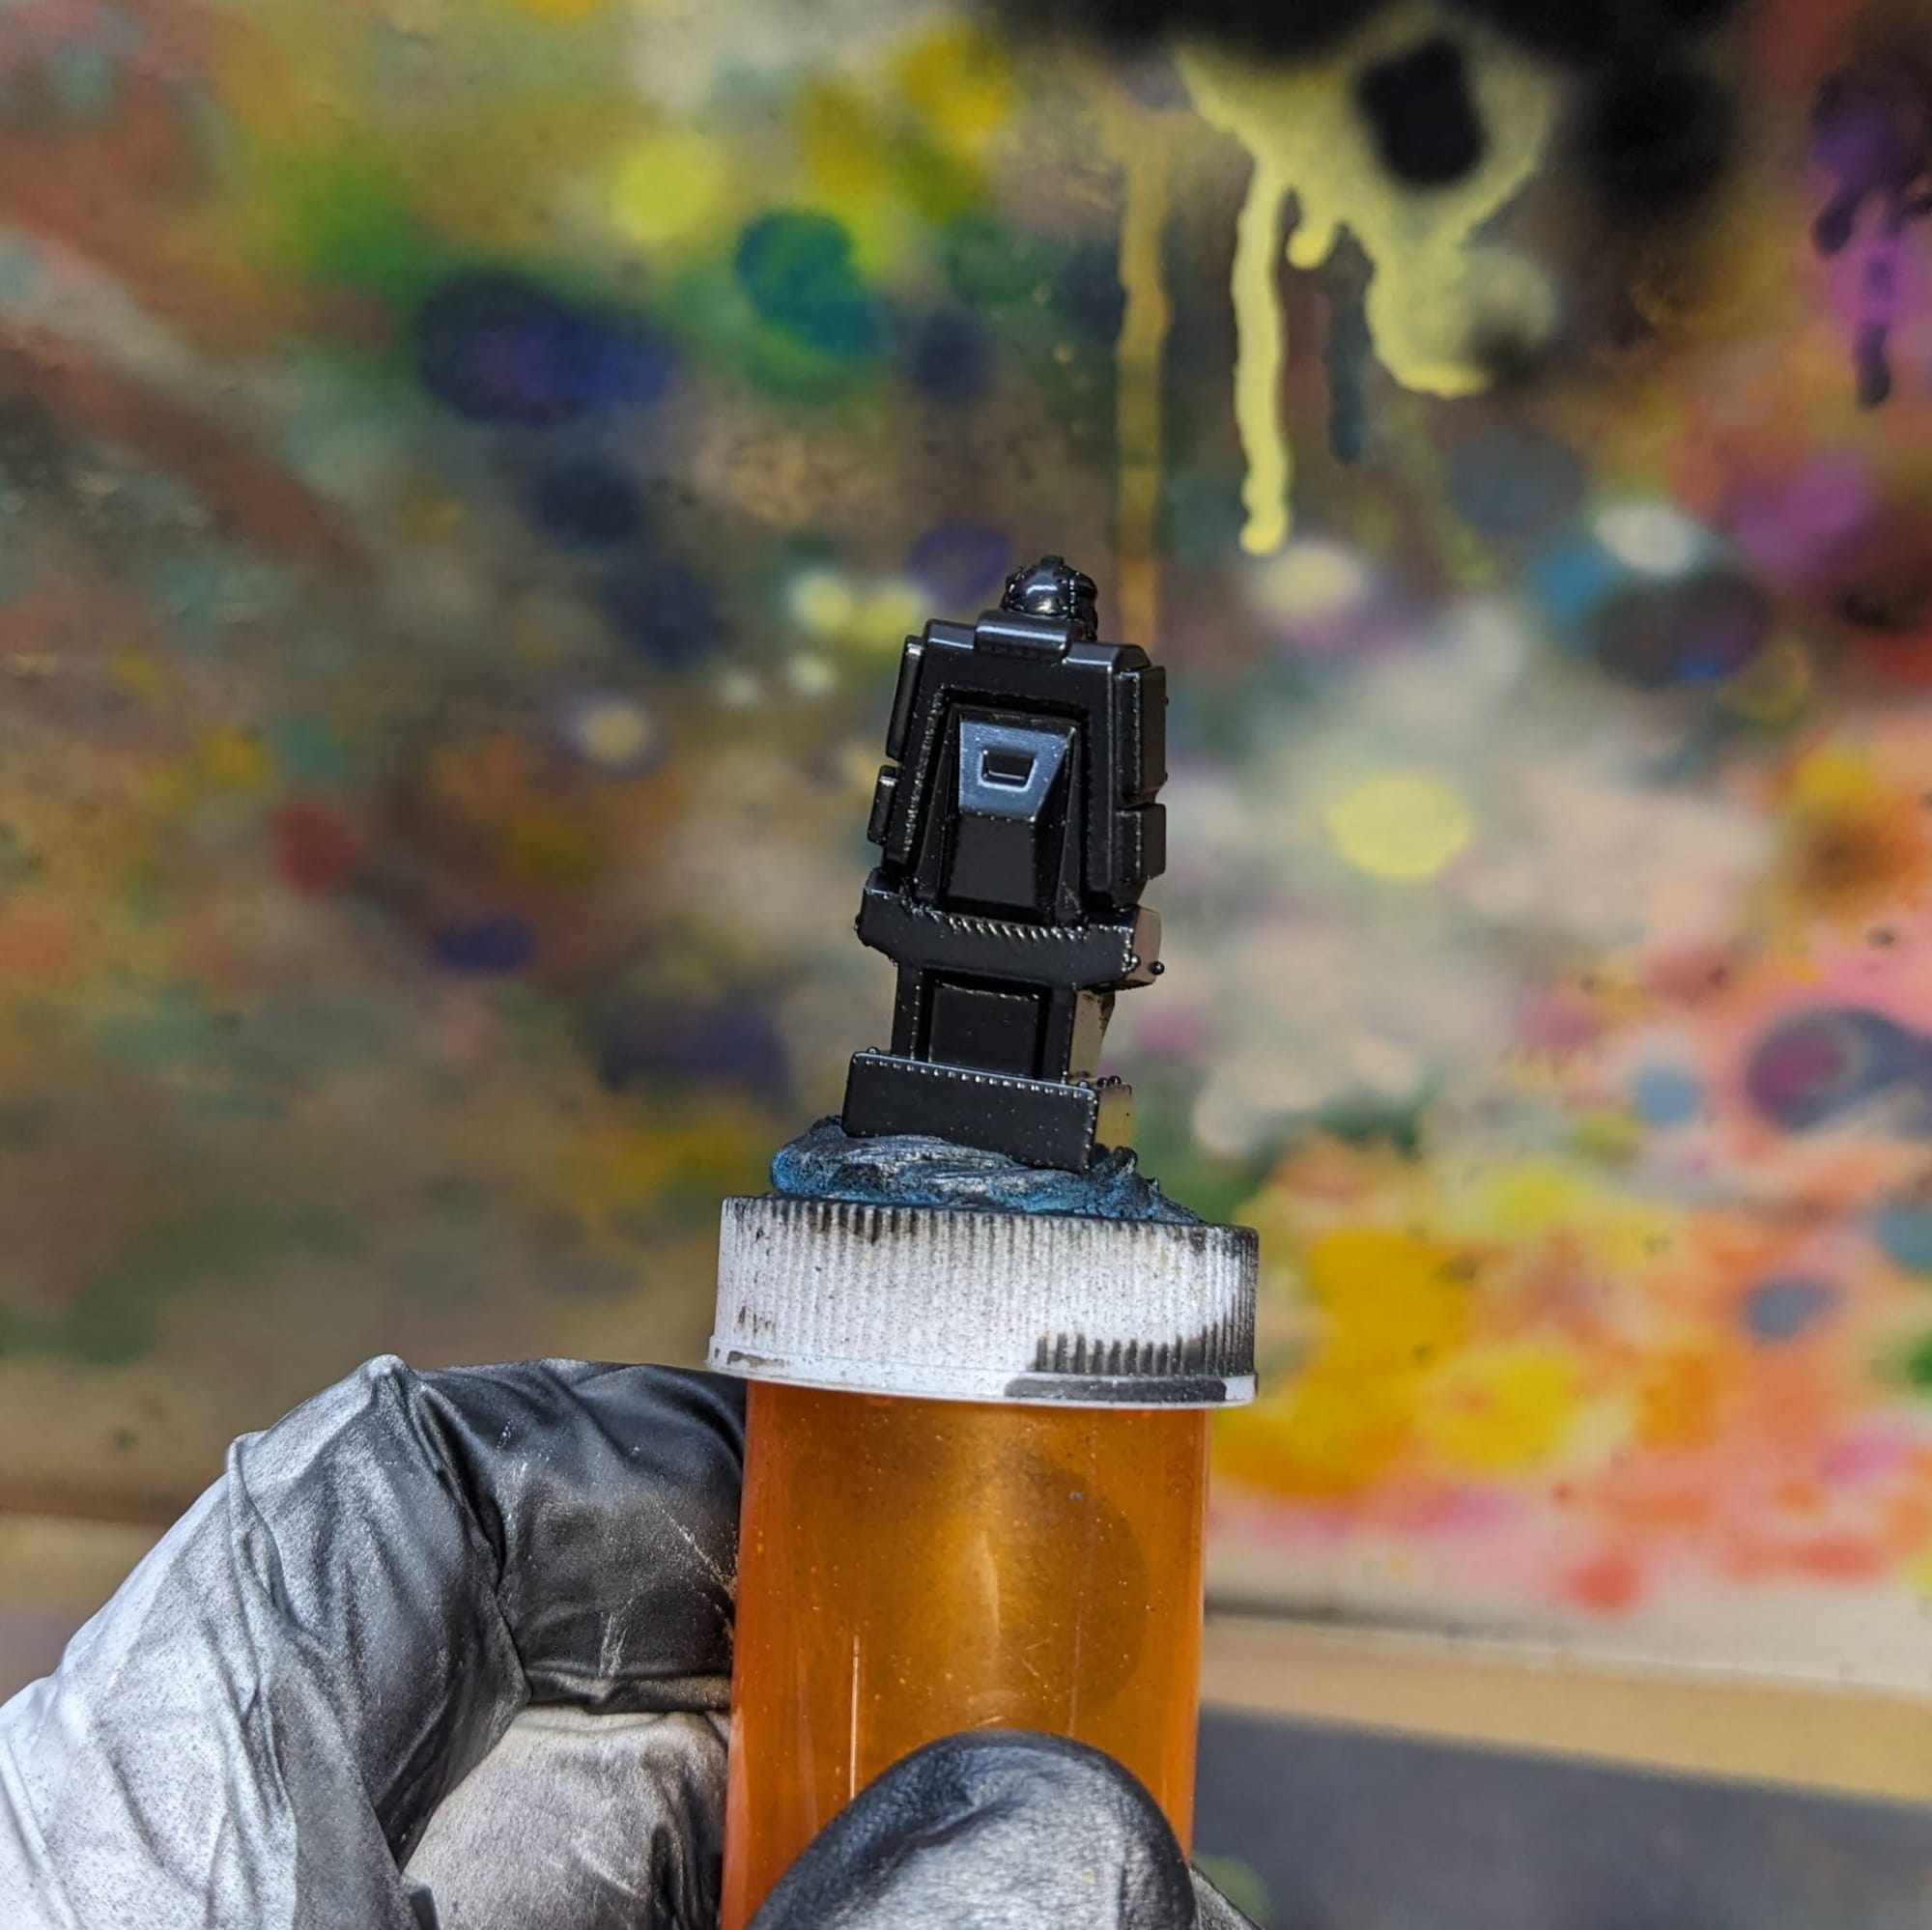
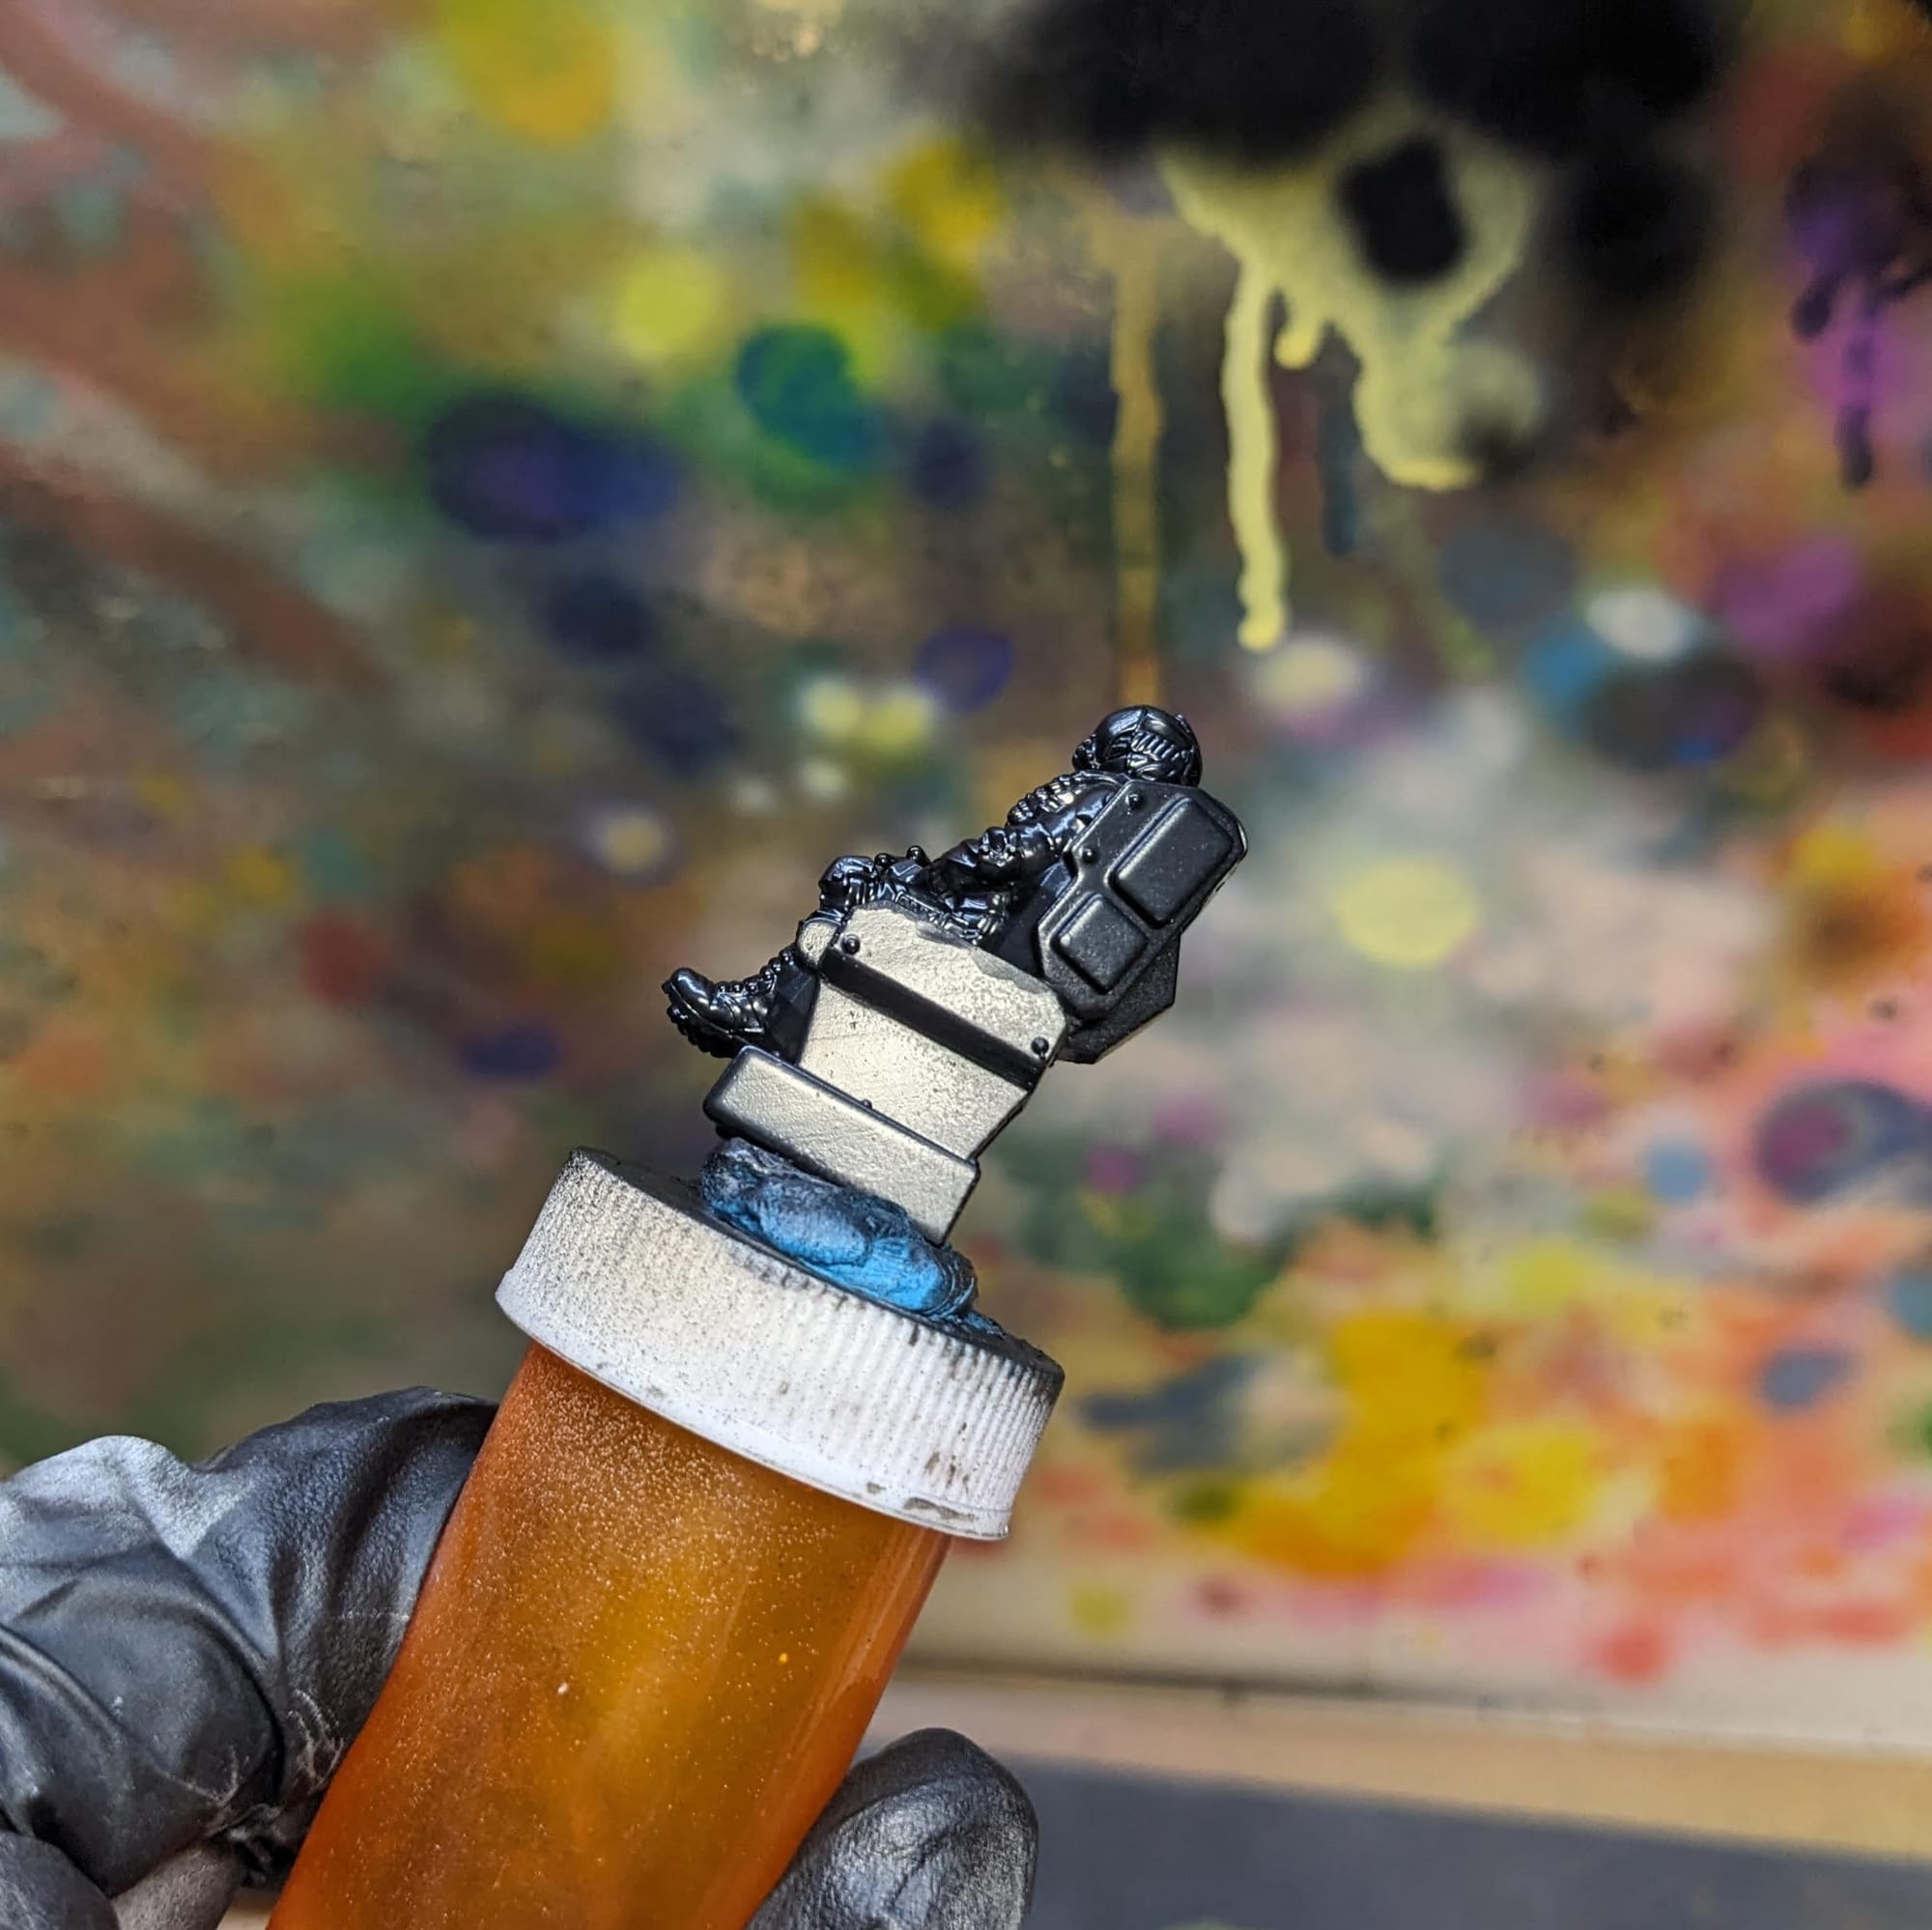
Step-by-Step Painting the Zetatech Herakles
Zetatech Herakles Painting
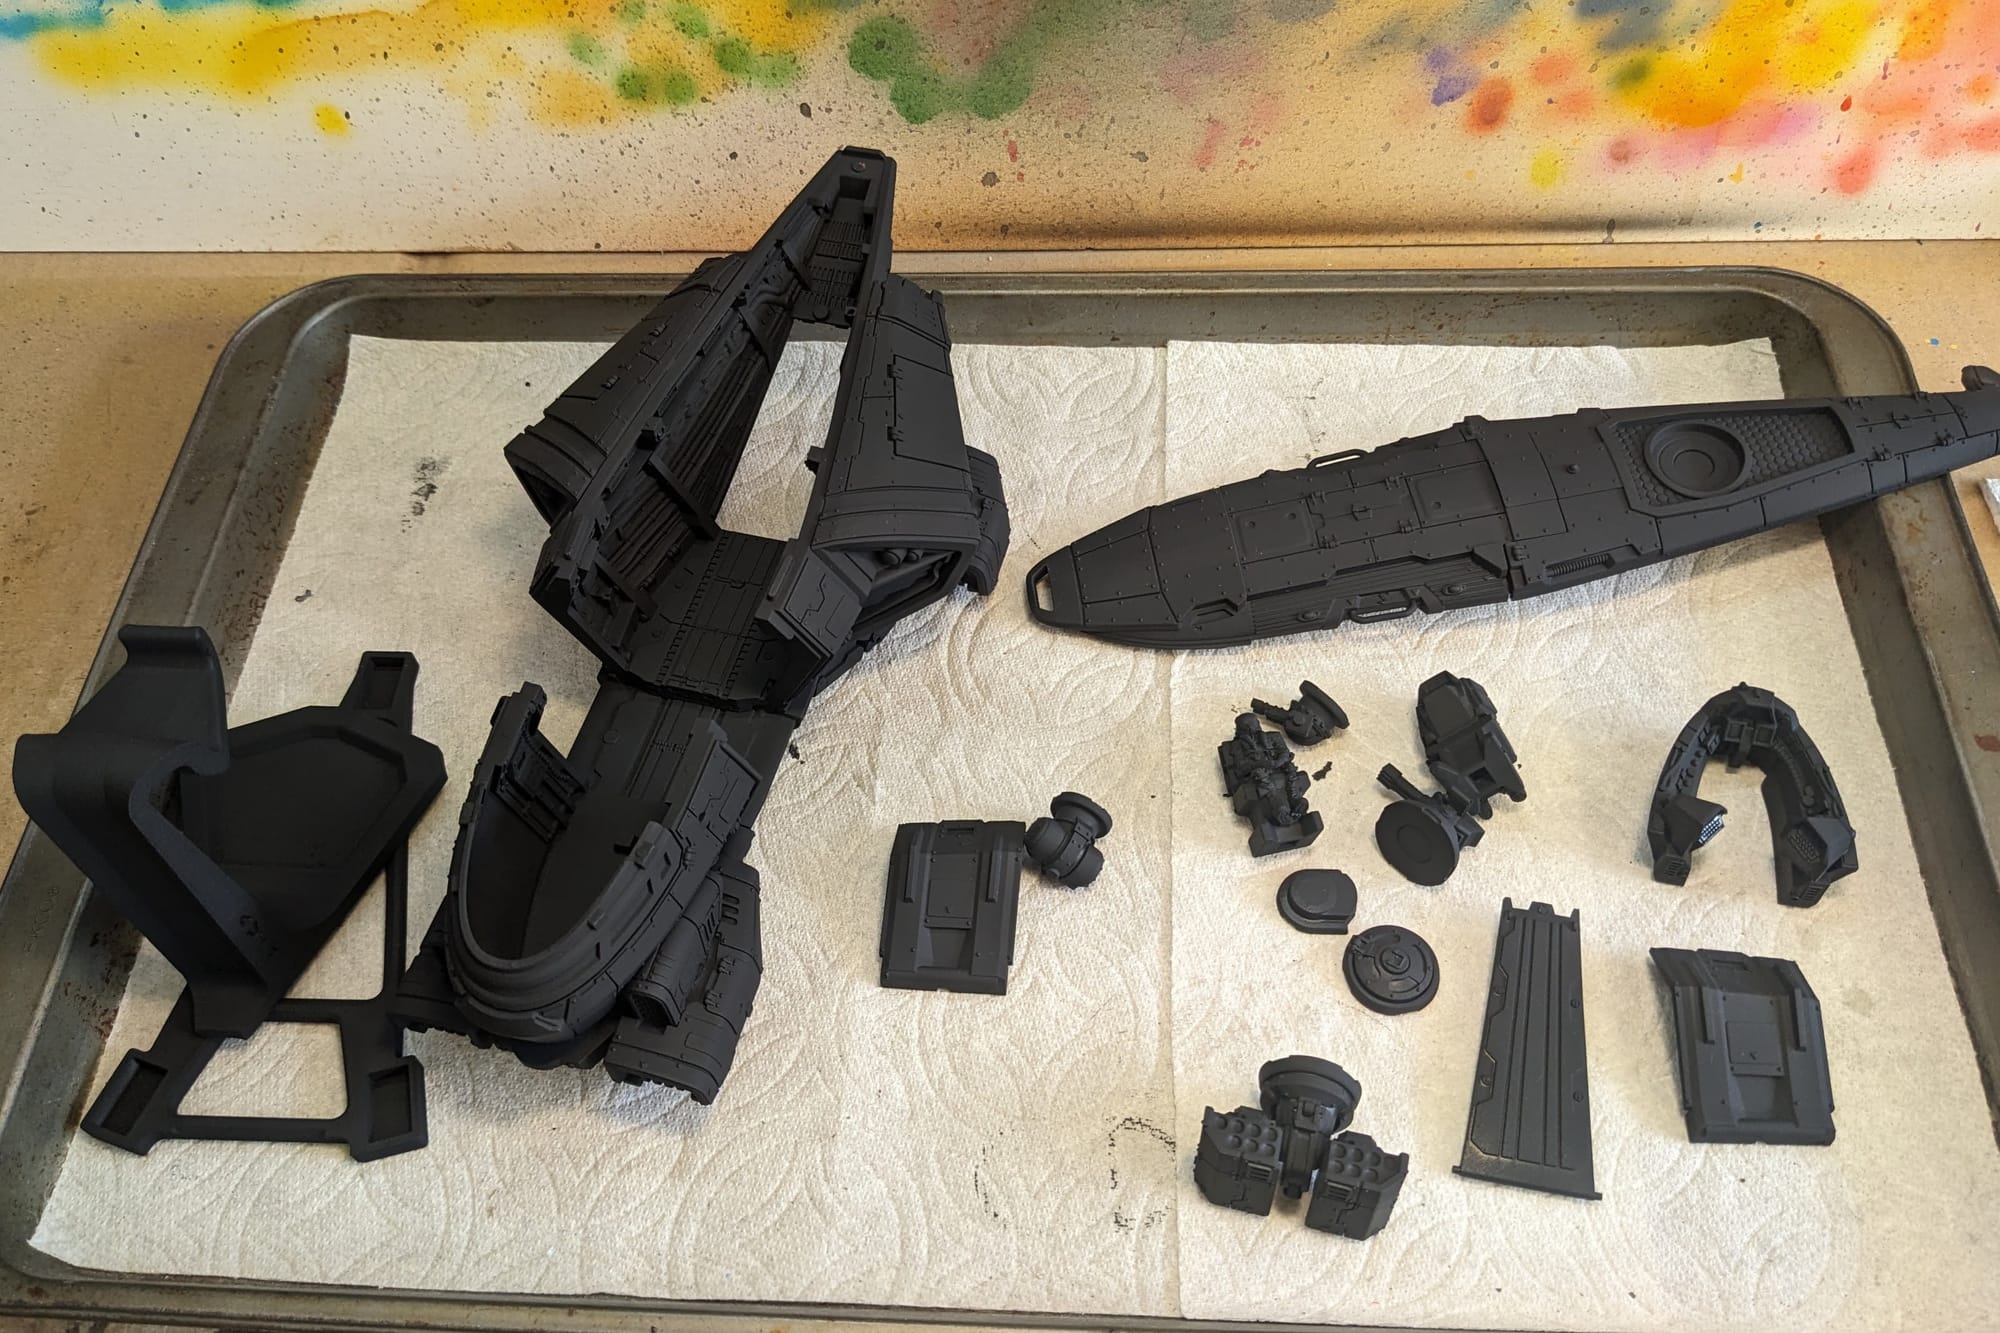
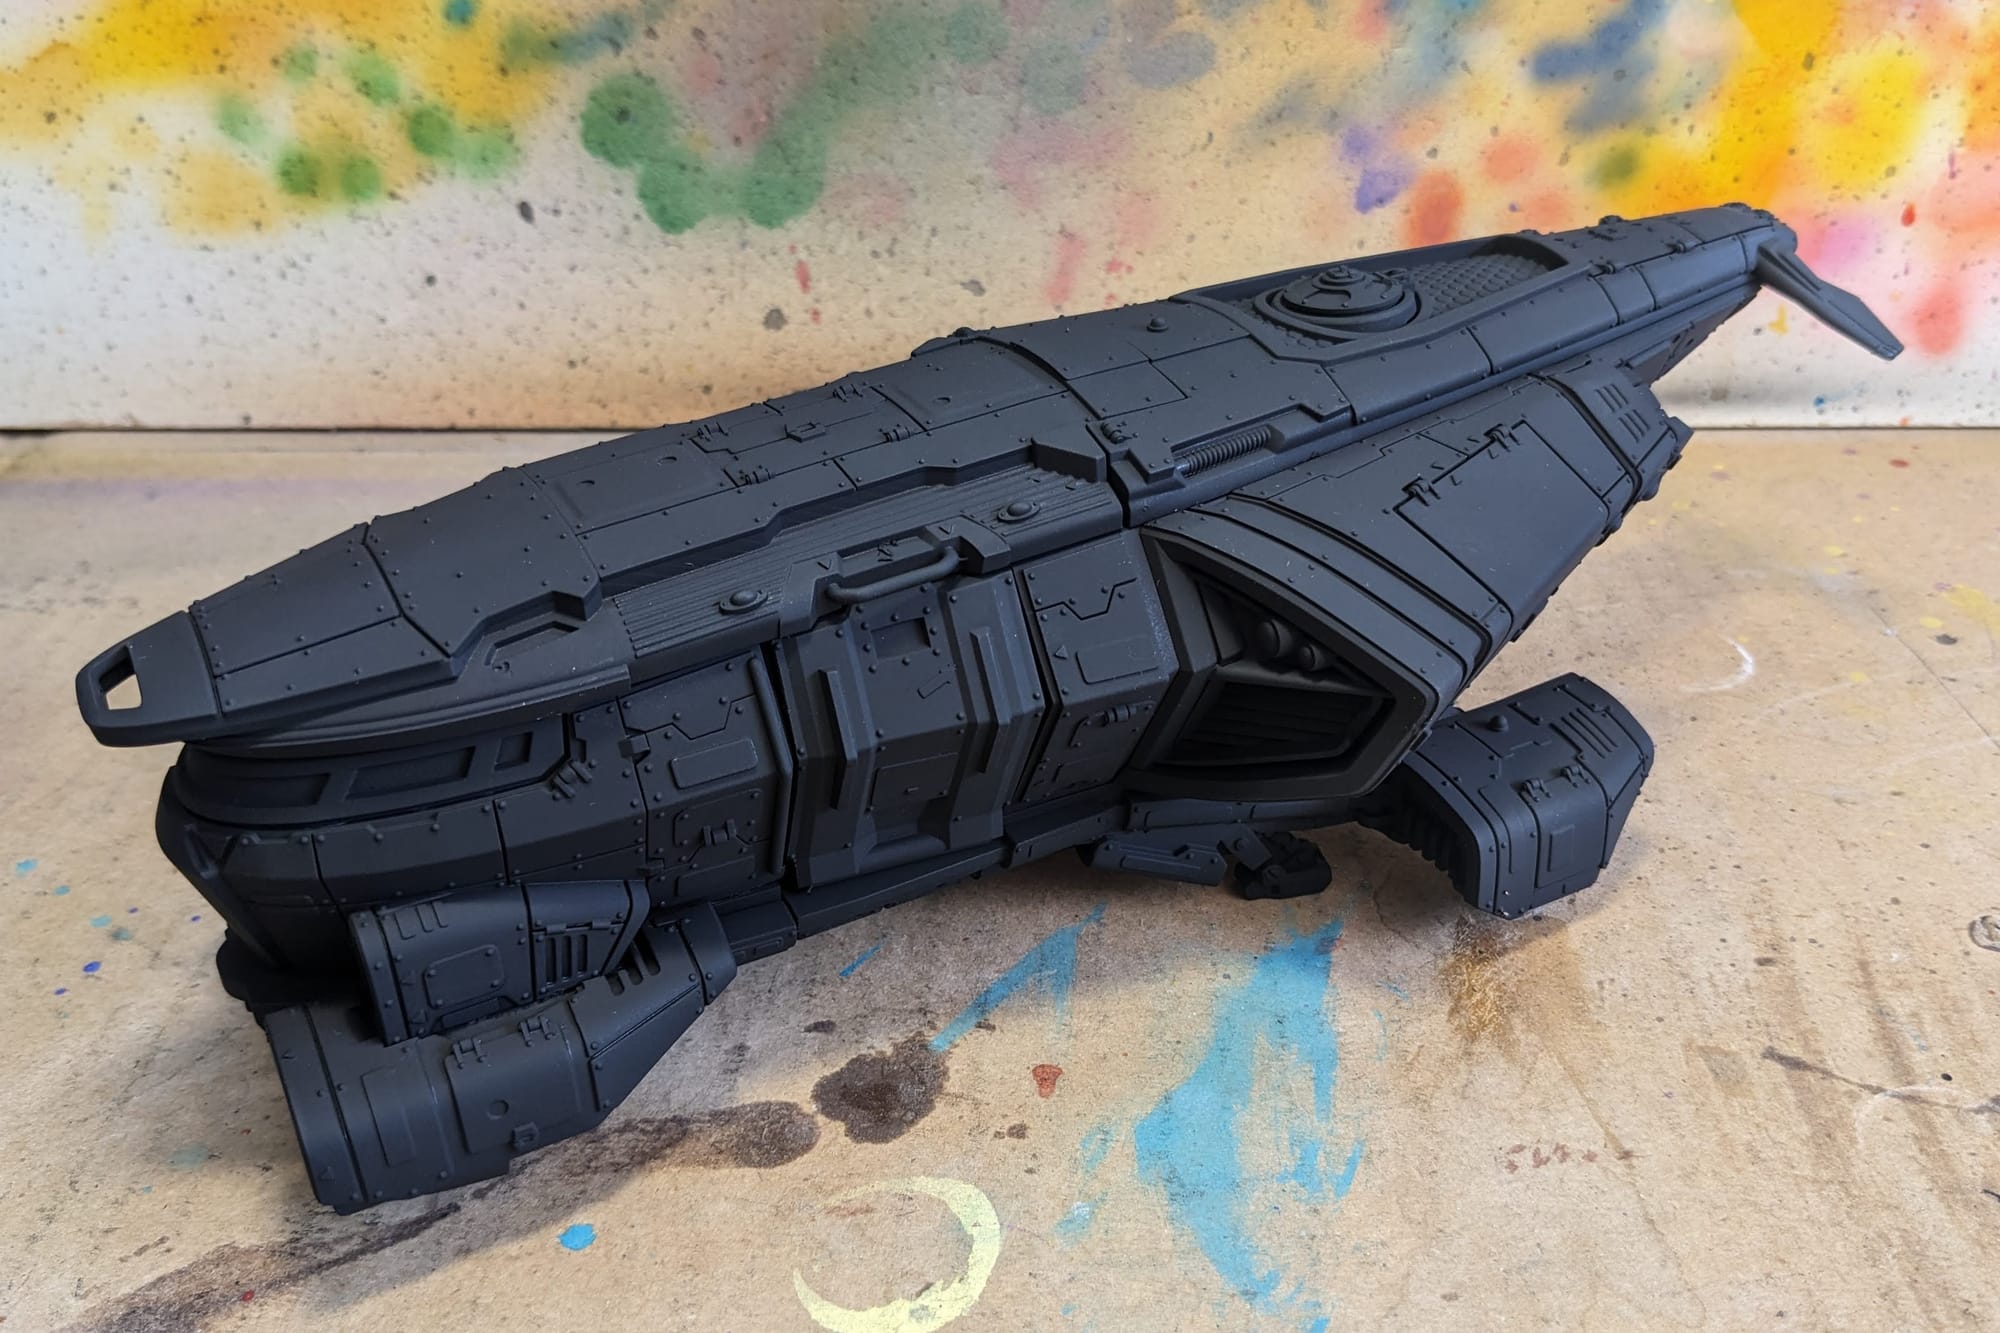
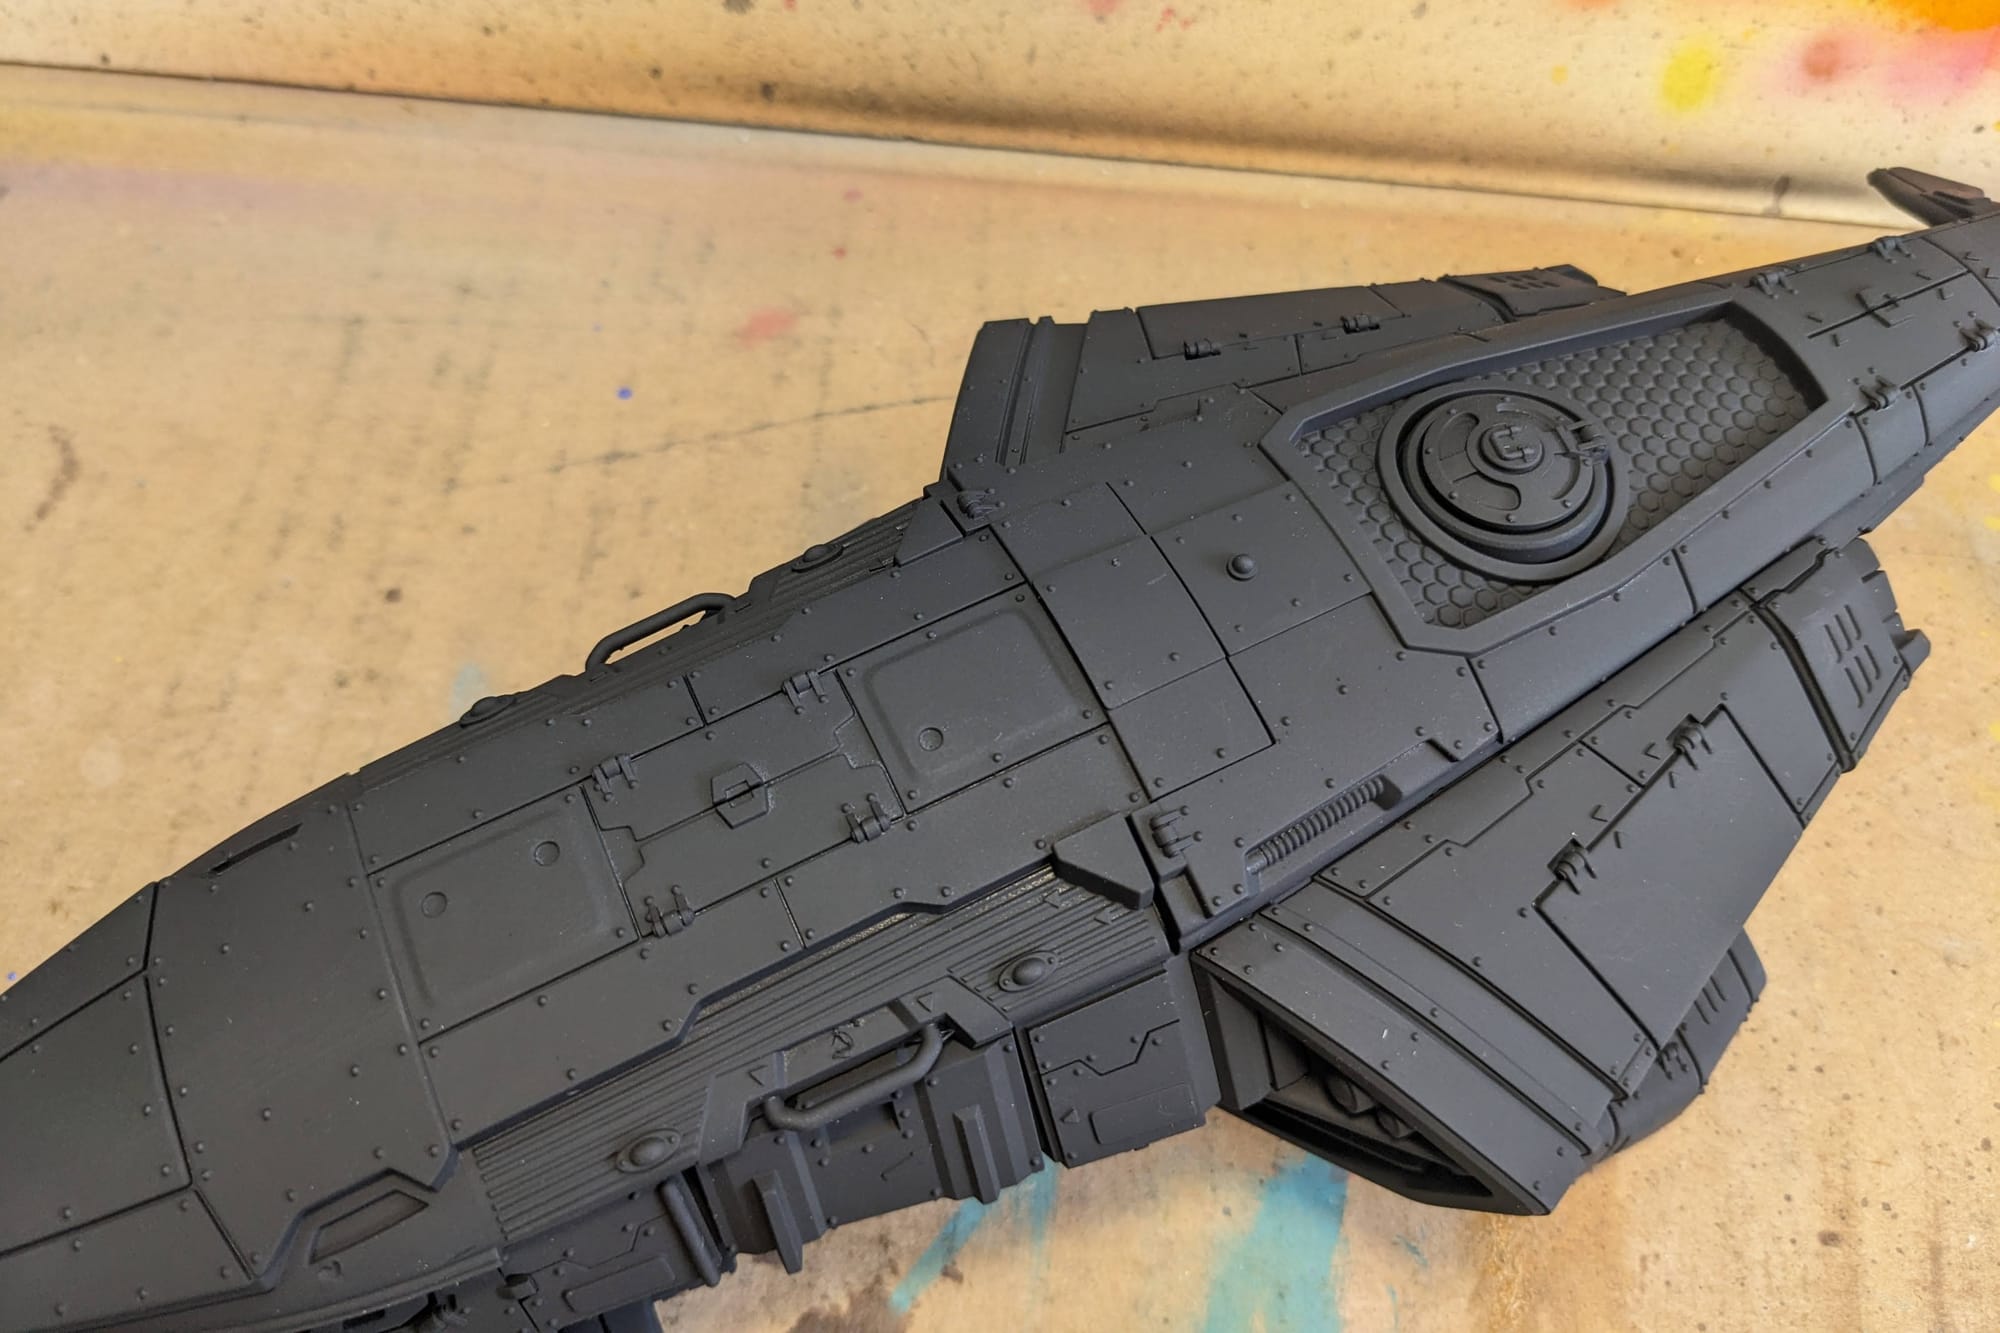
Once everything was primed in black, I was ready to jump into the painting. Because of all of the prep work done, with subassembly and magnetizing ahead of the painting, the actually painting should go quickly, especially with the airbrush.
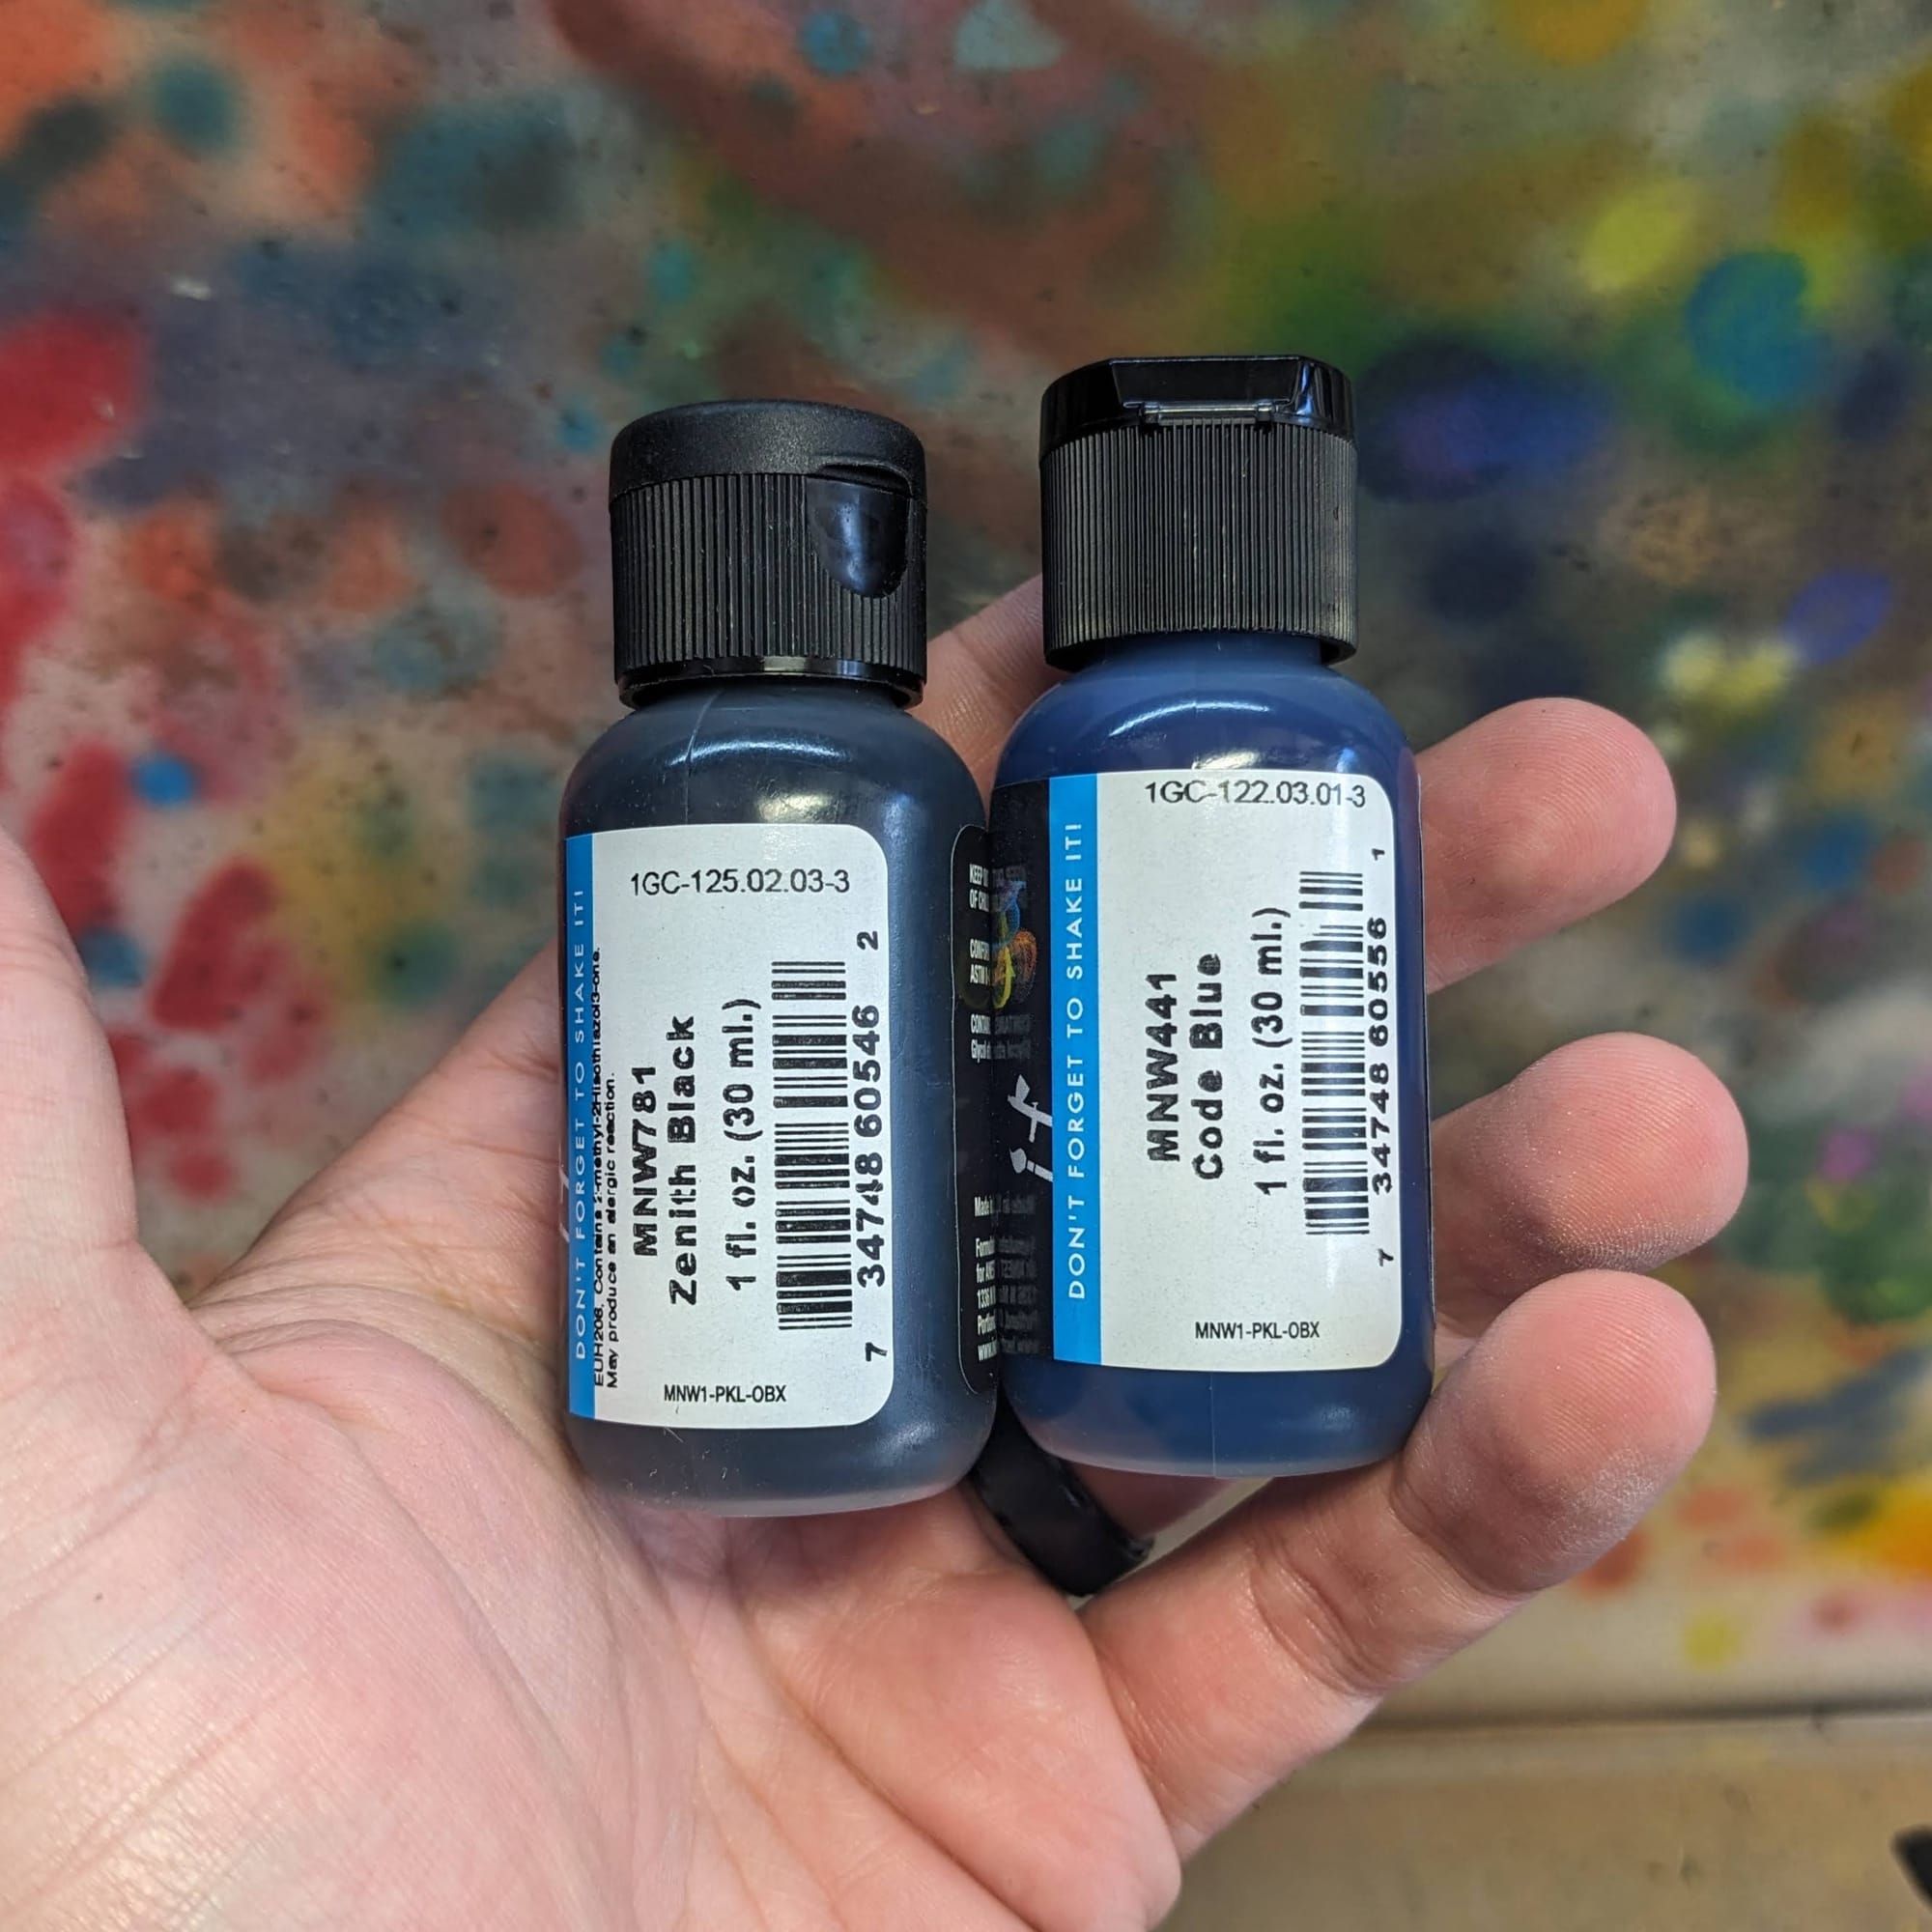
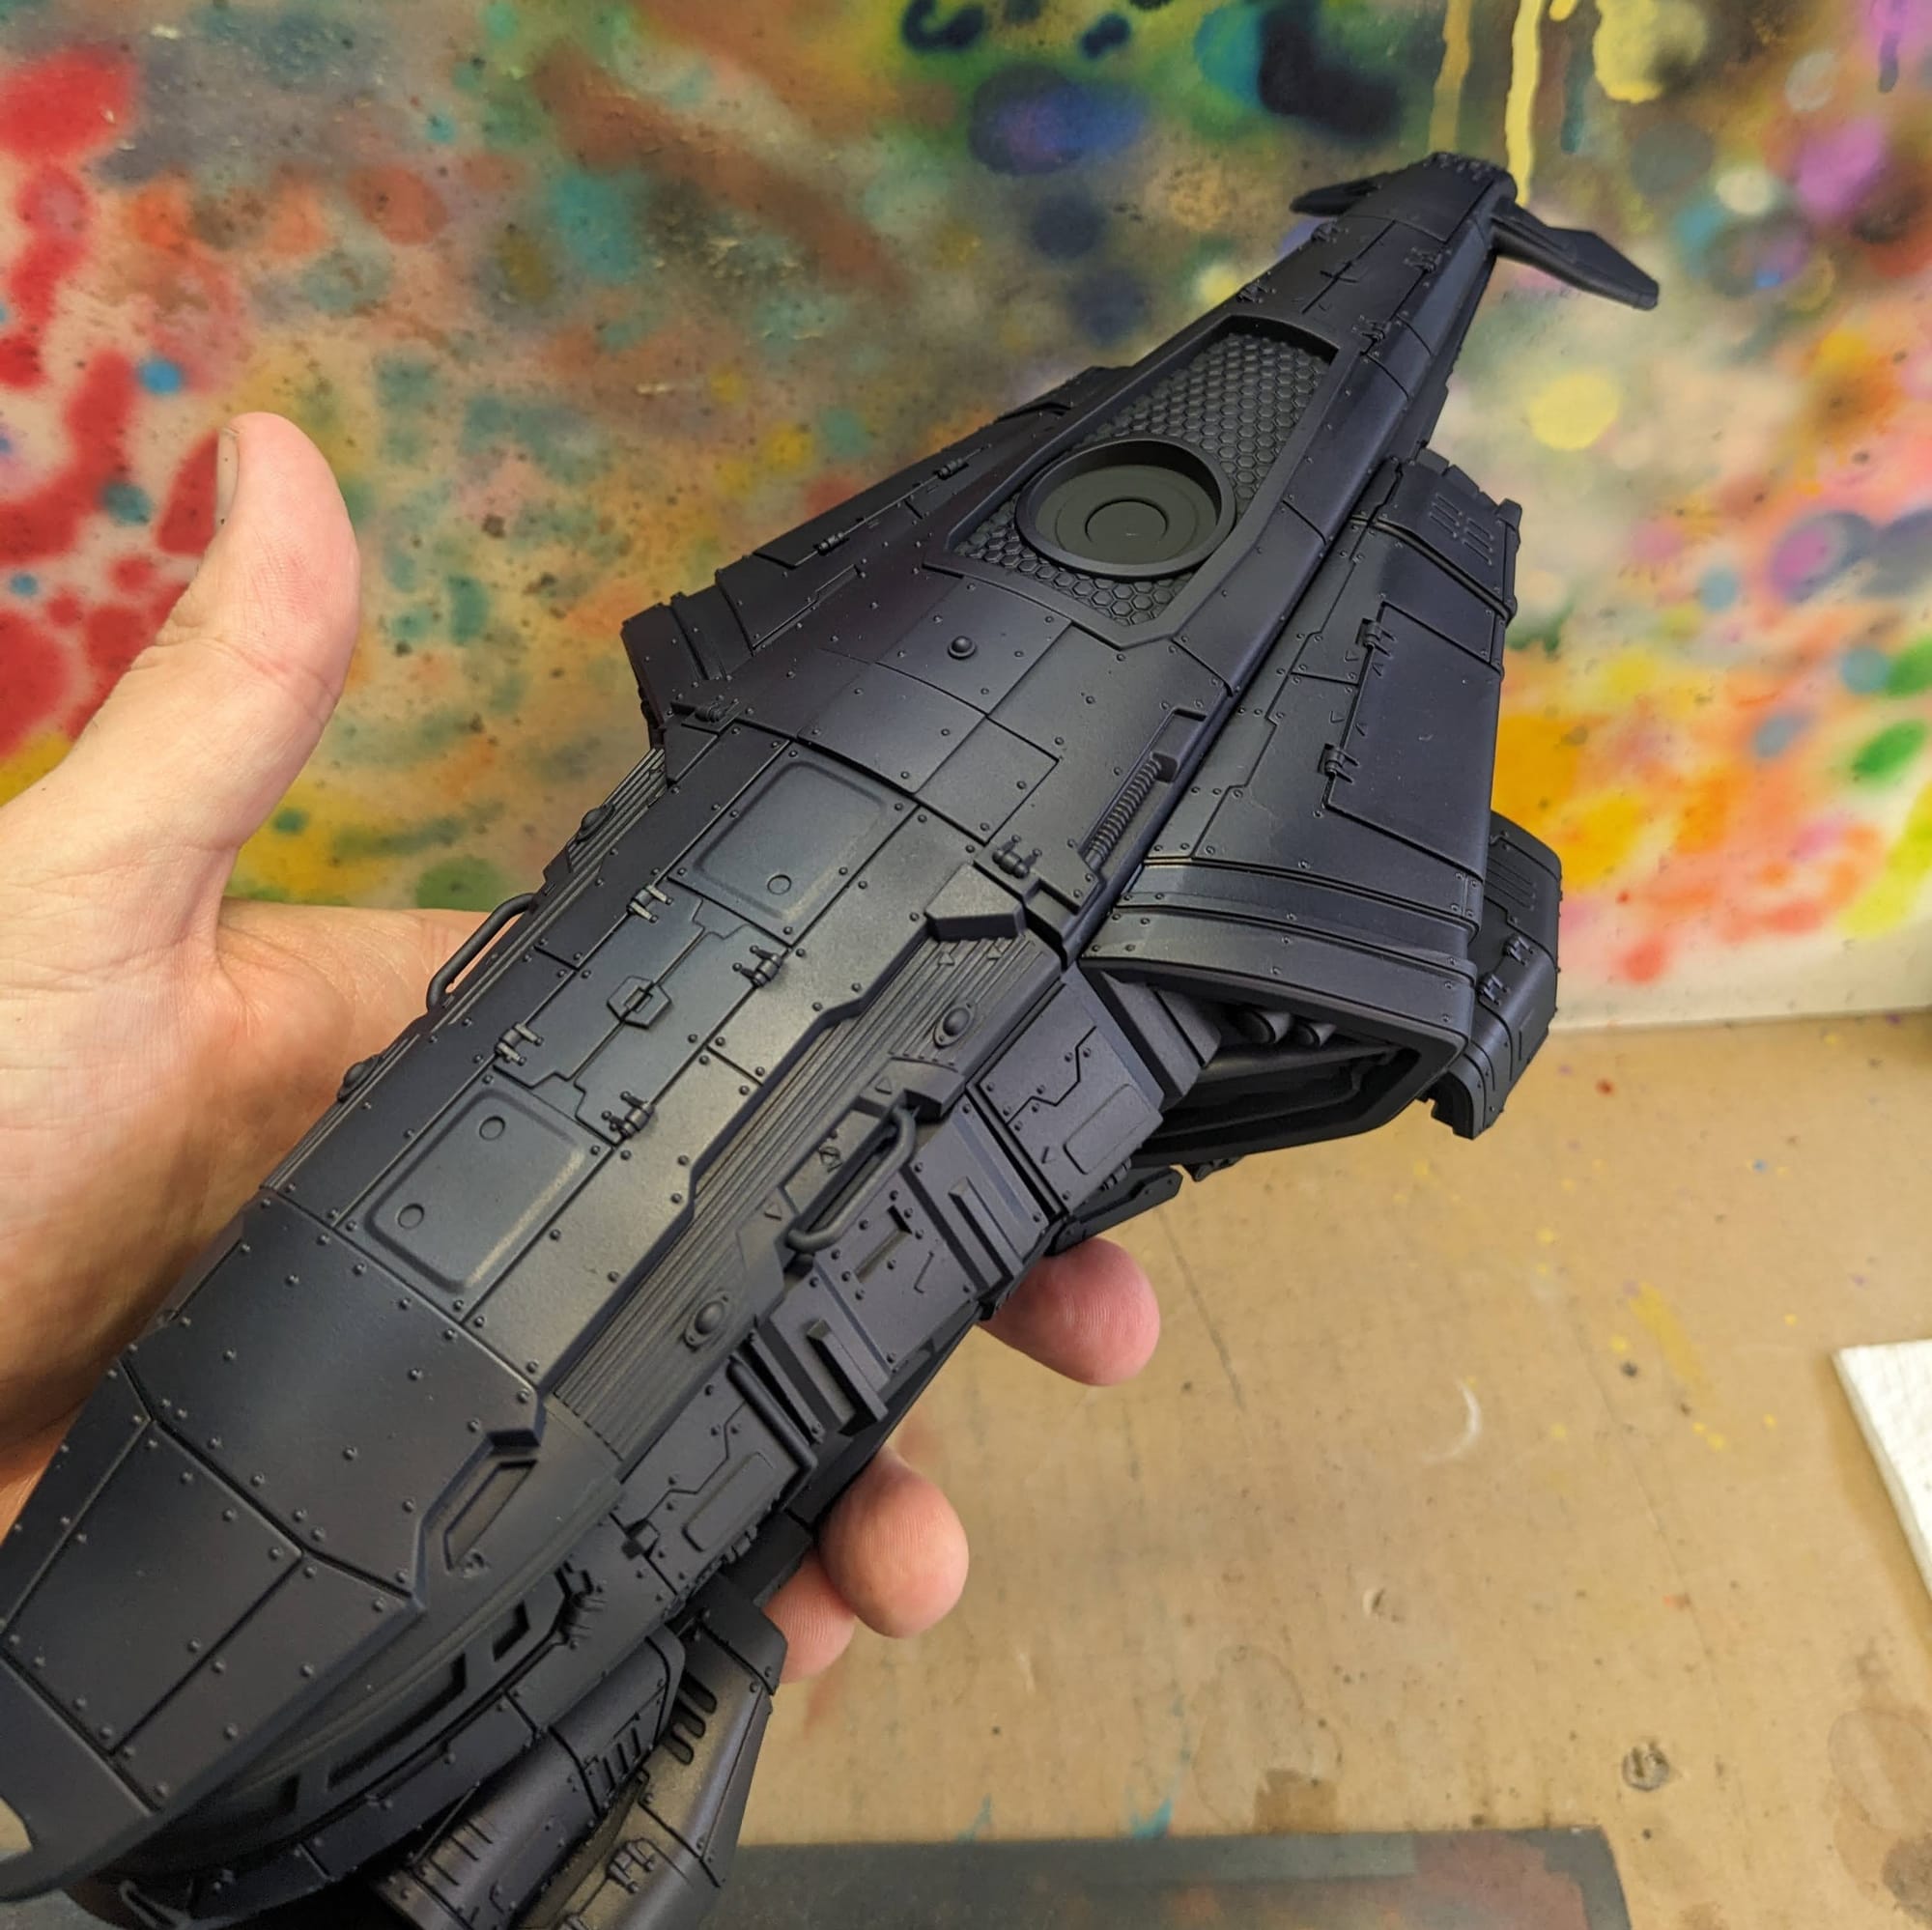
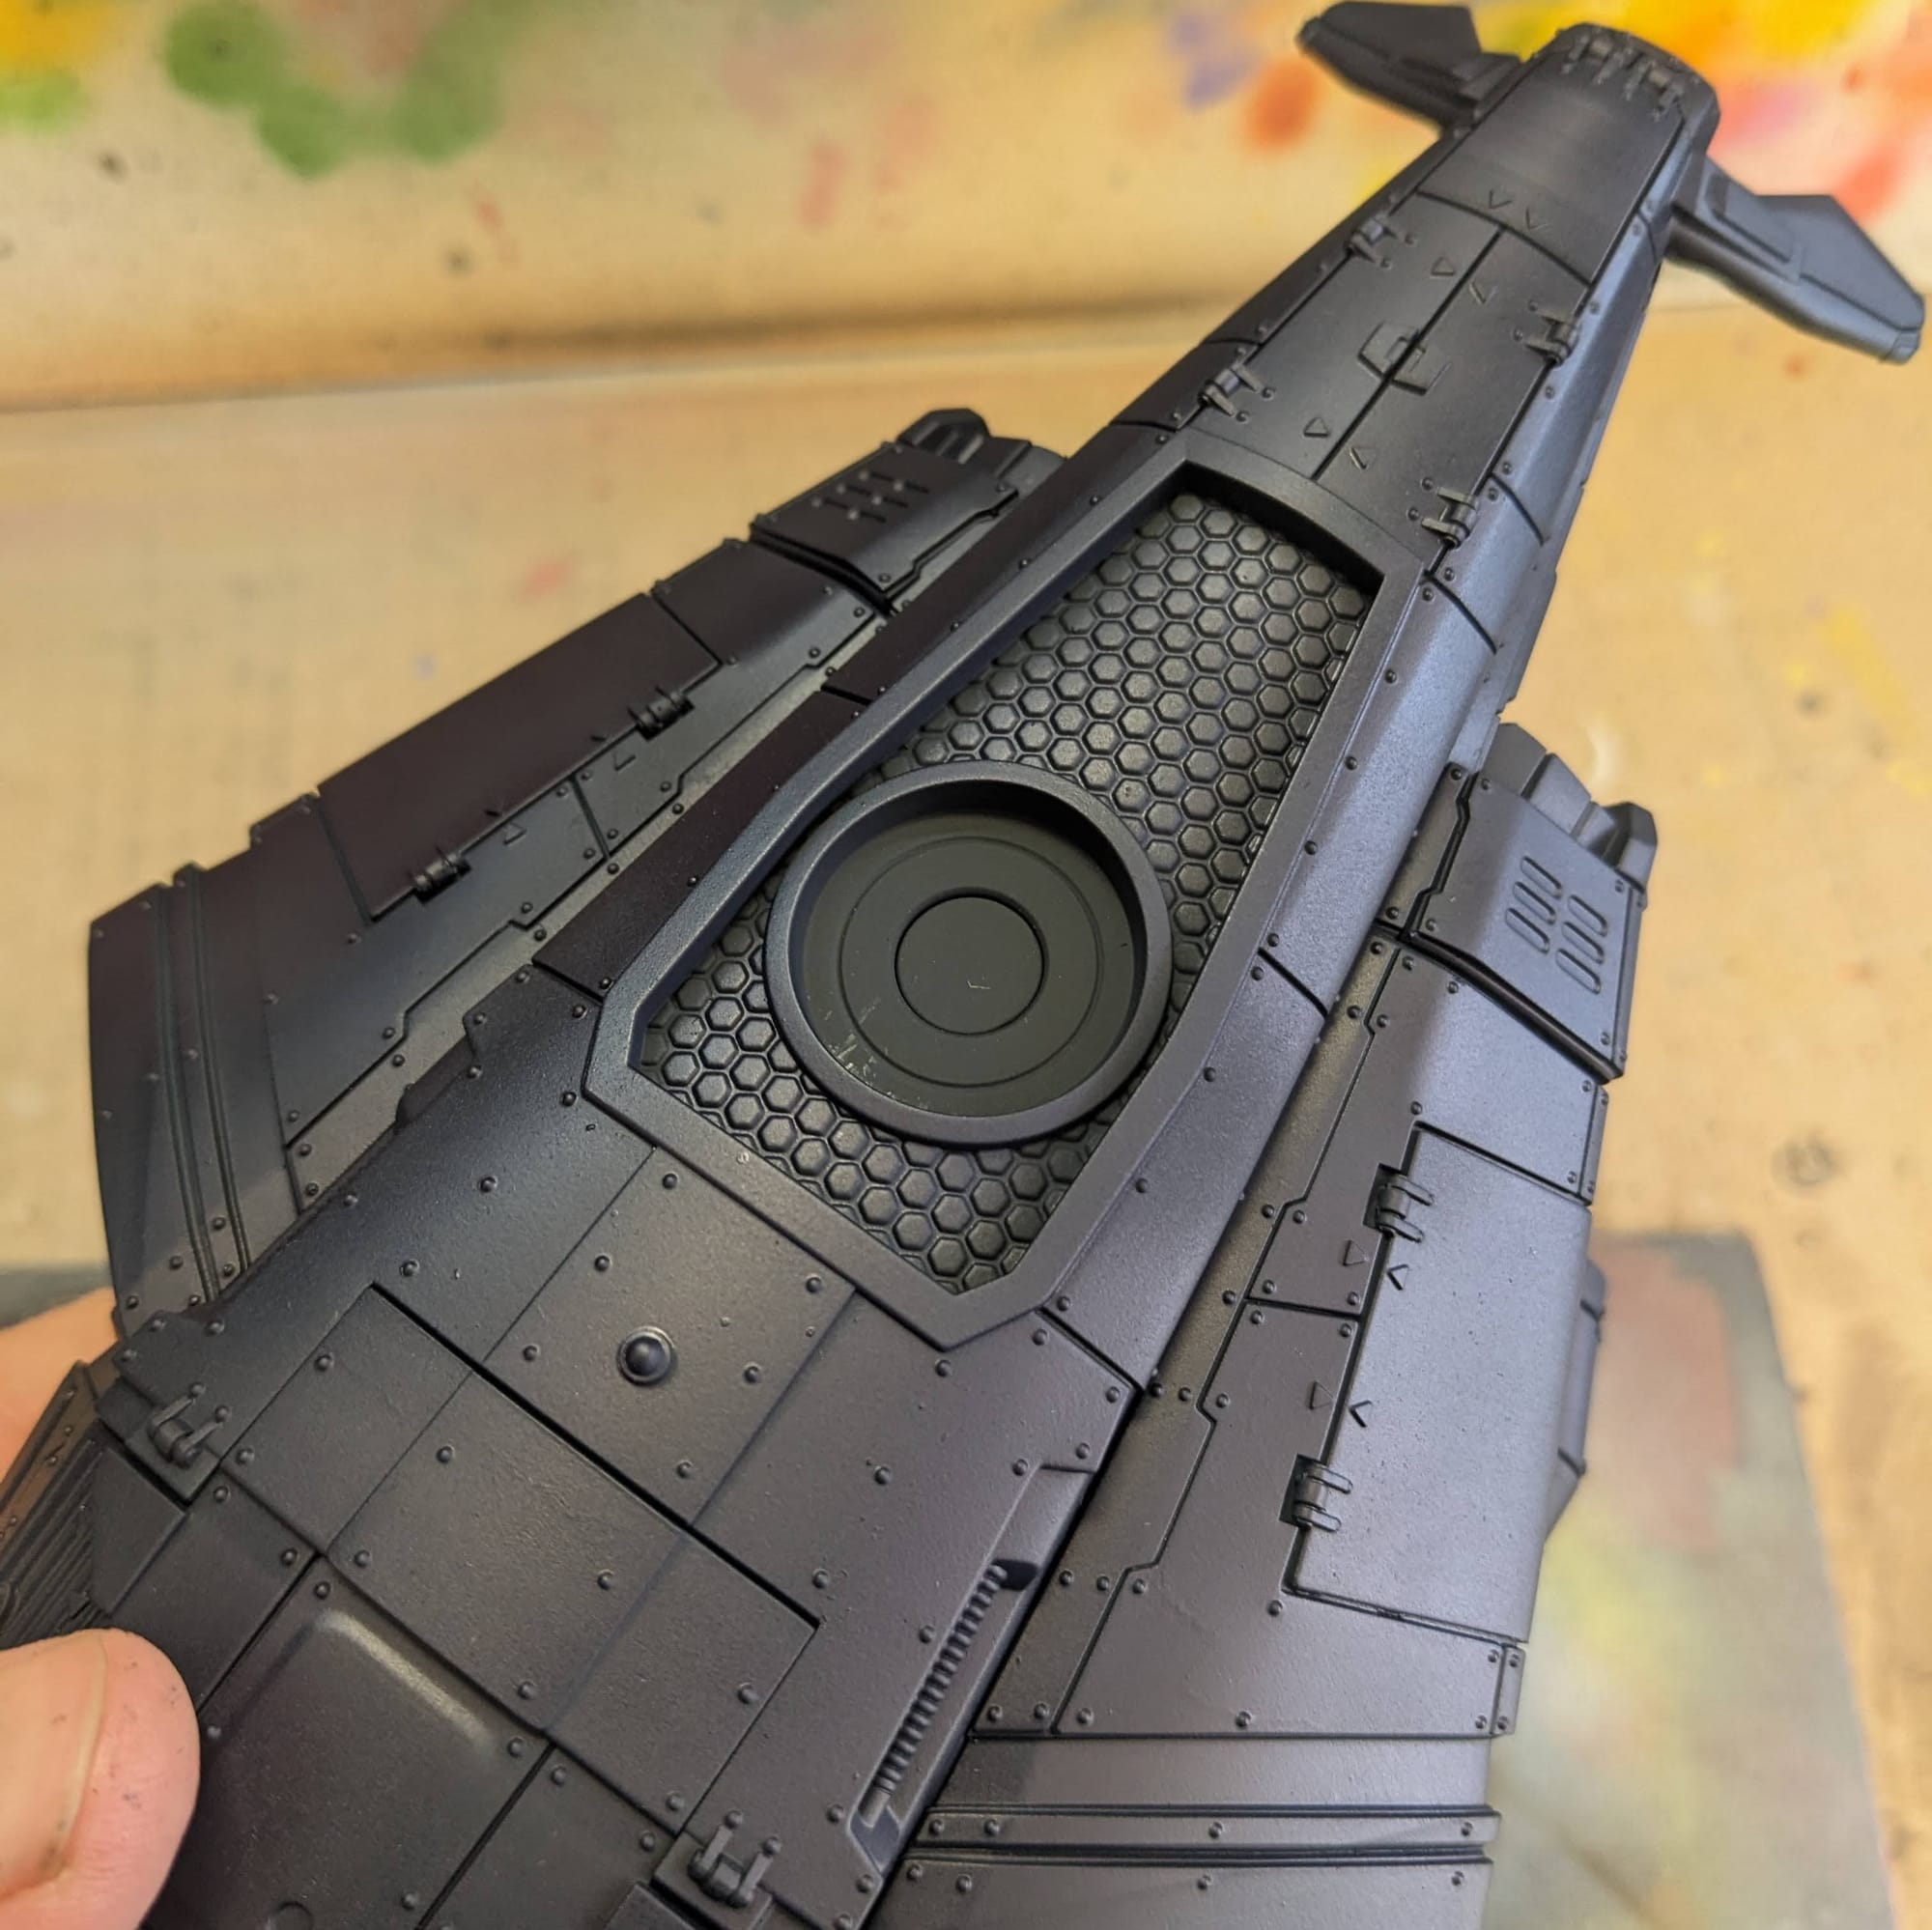
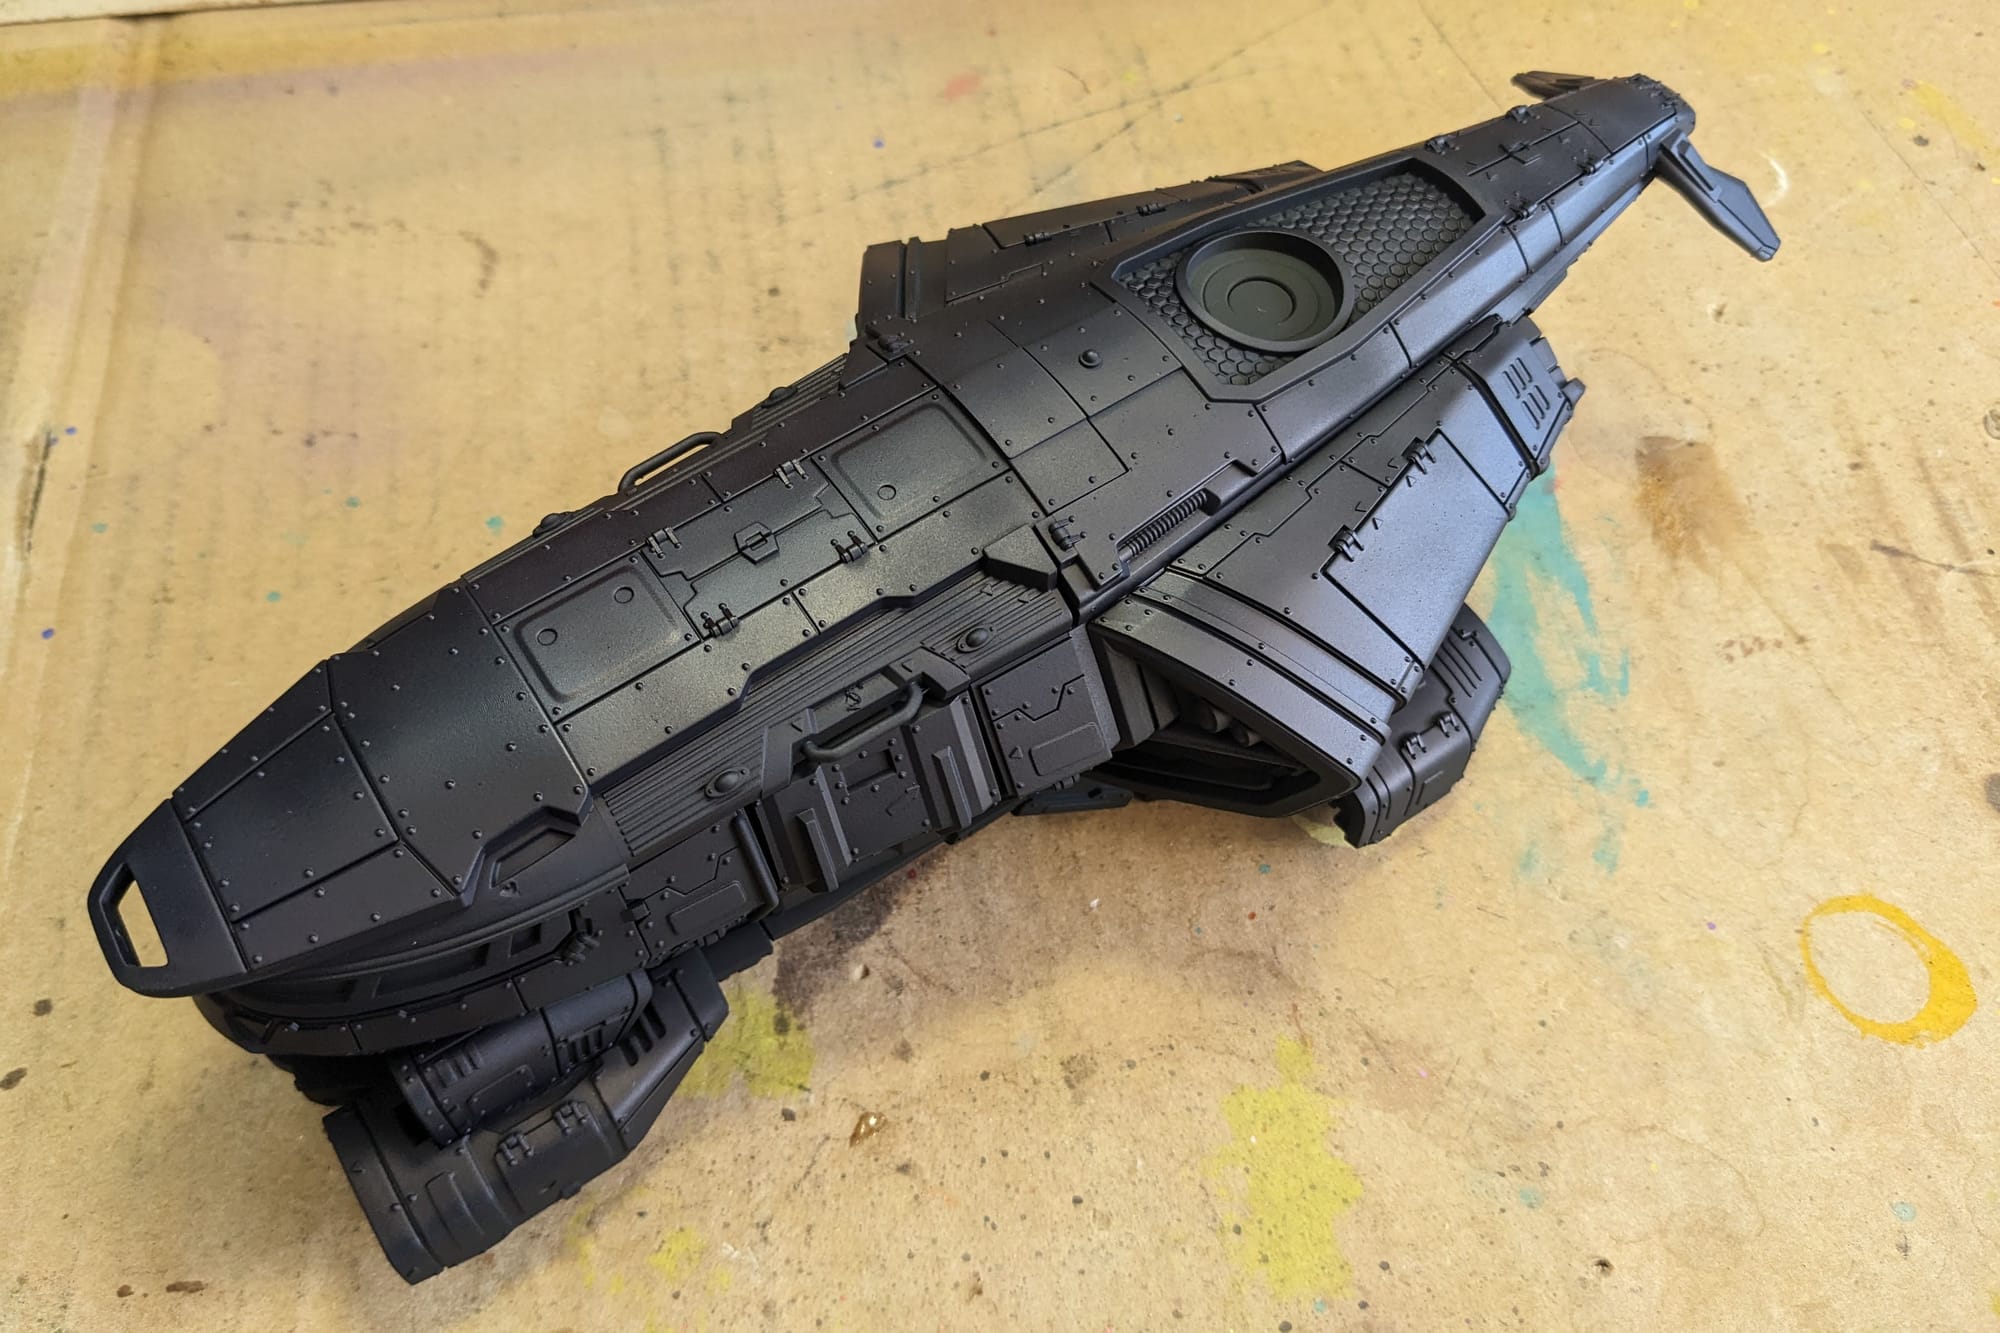
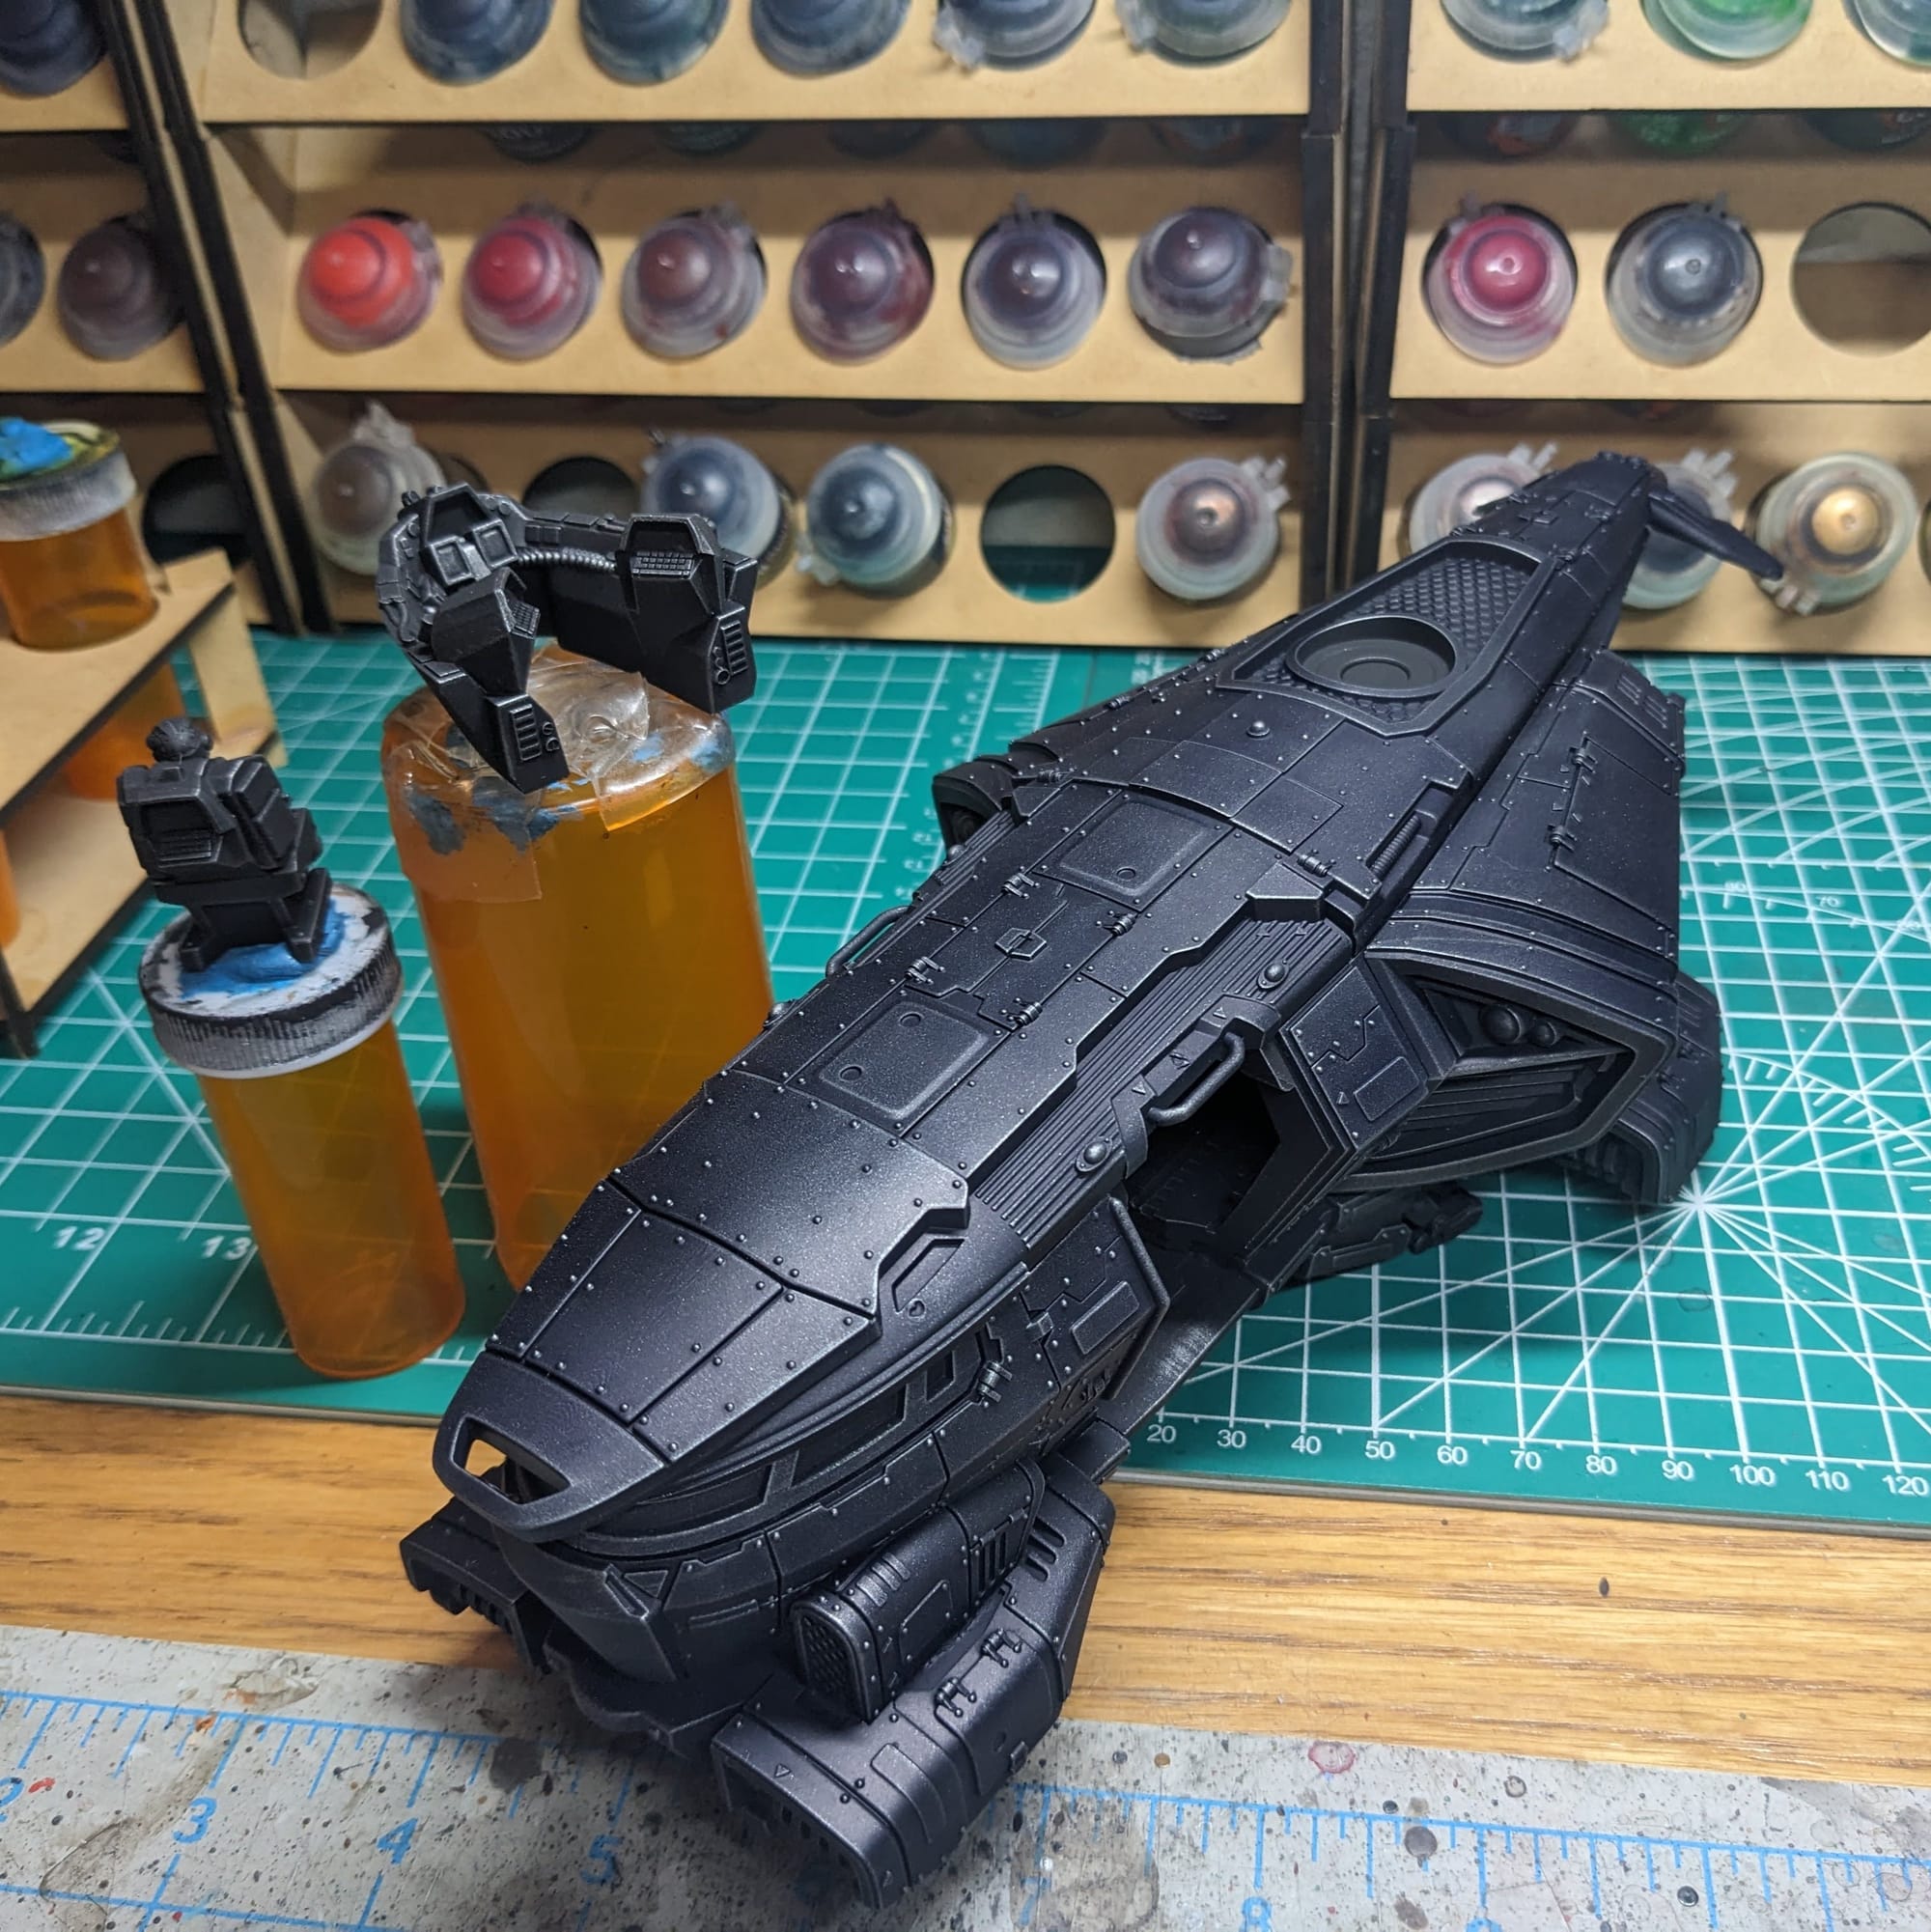
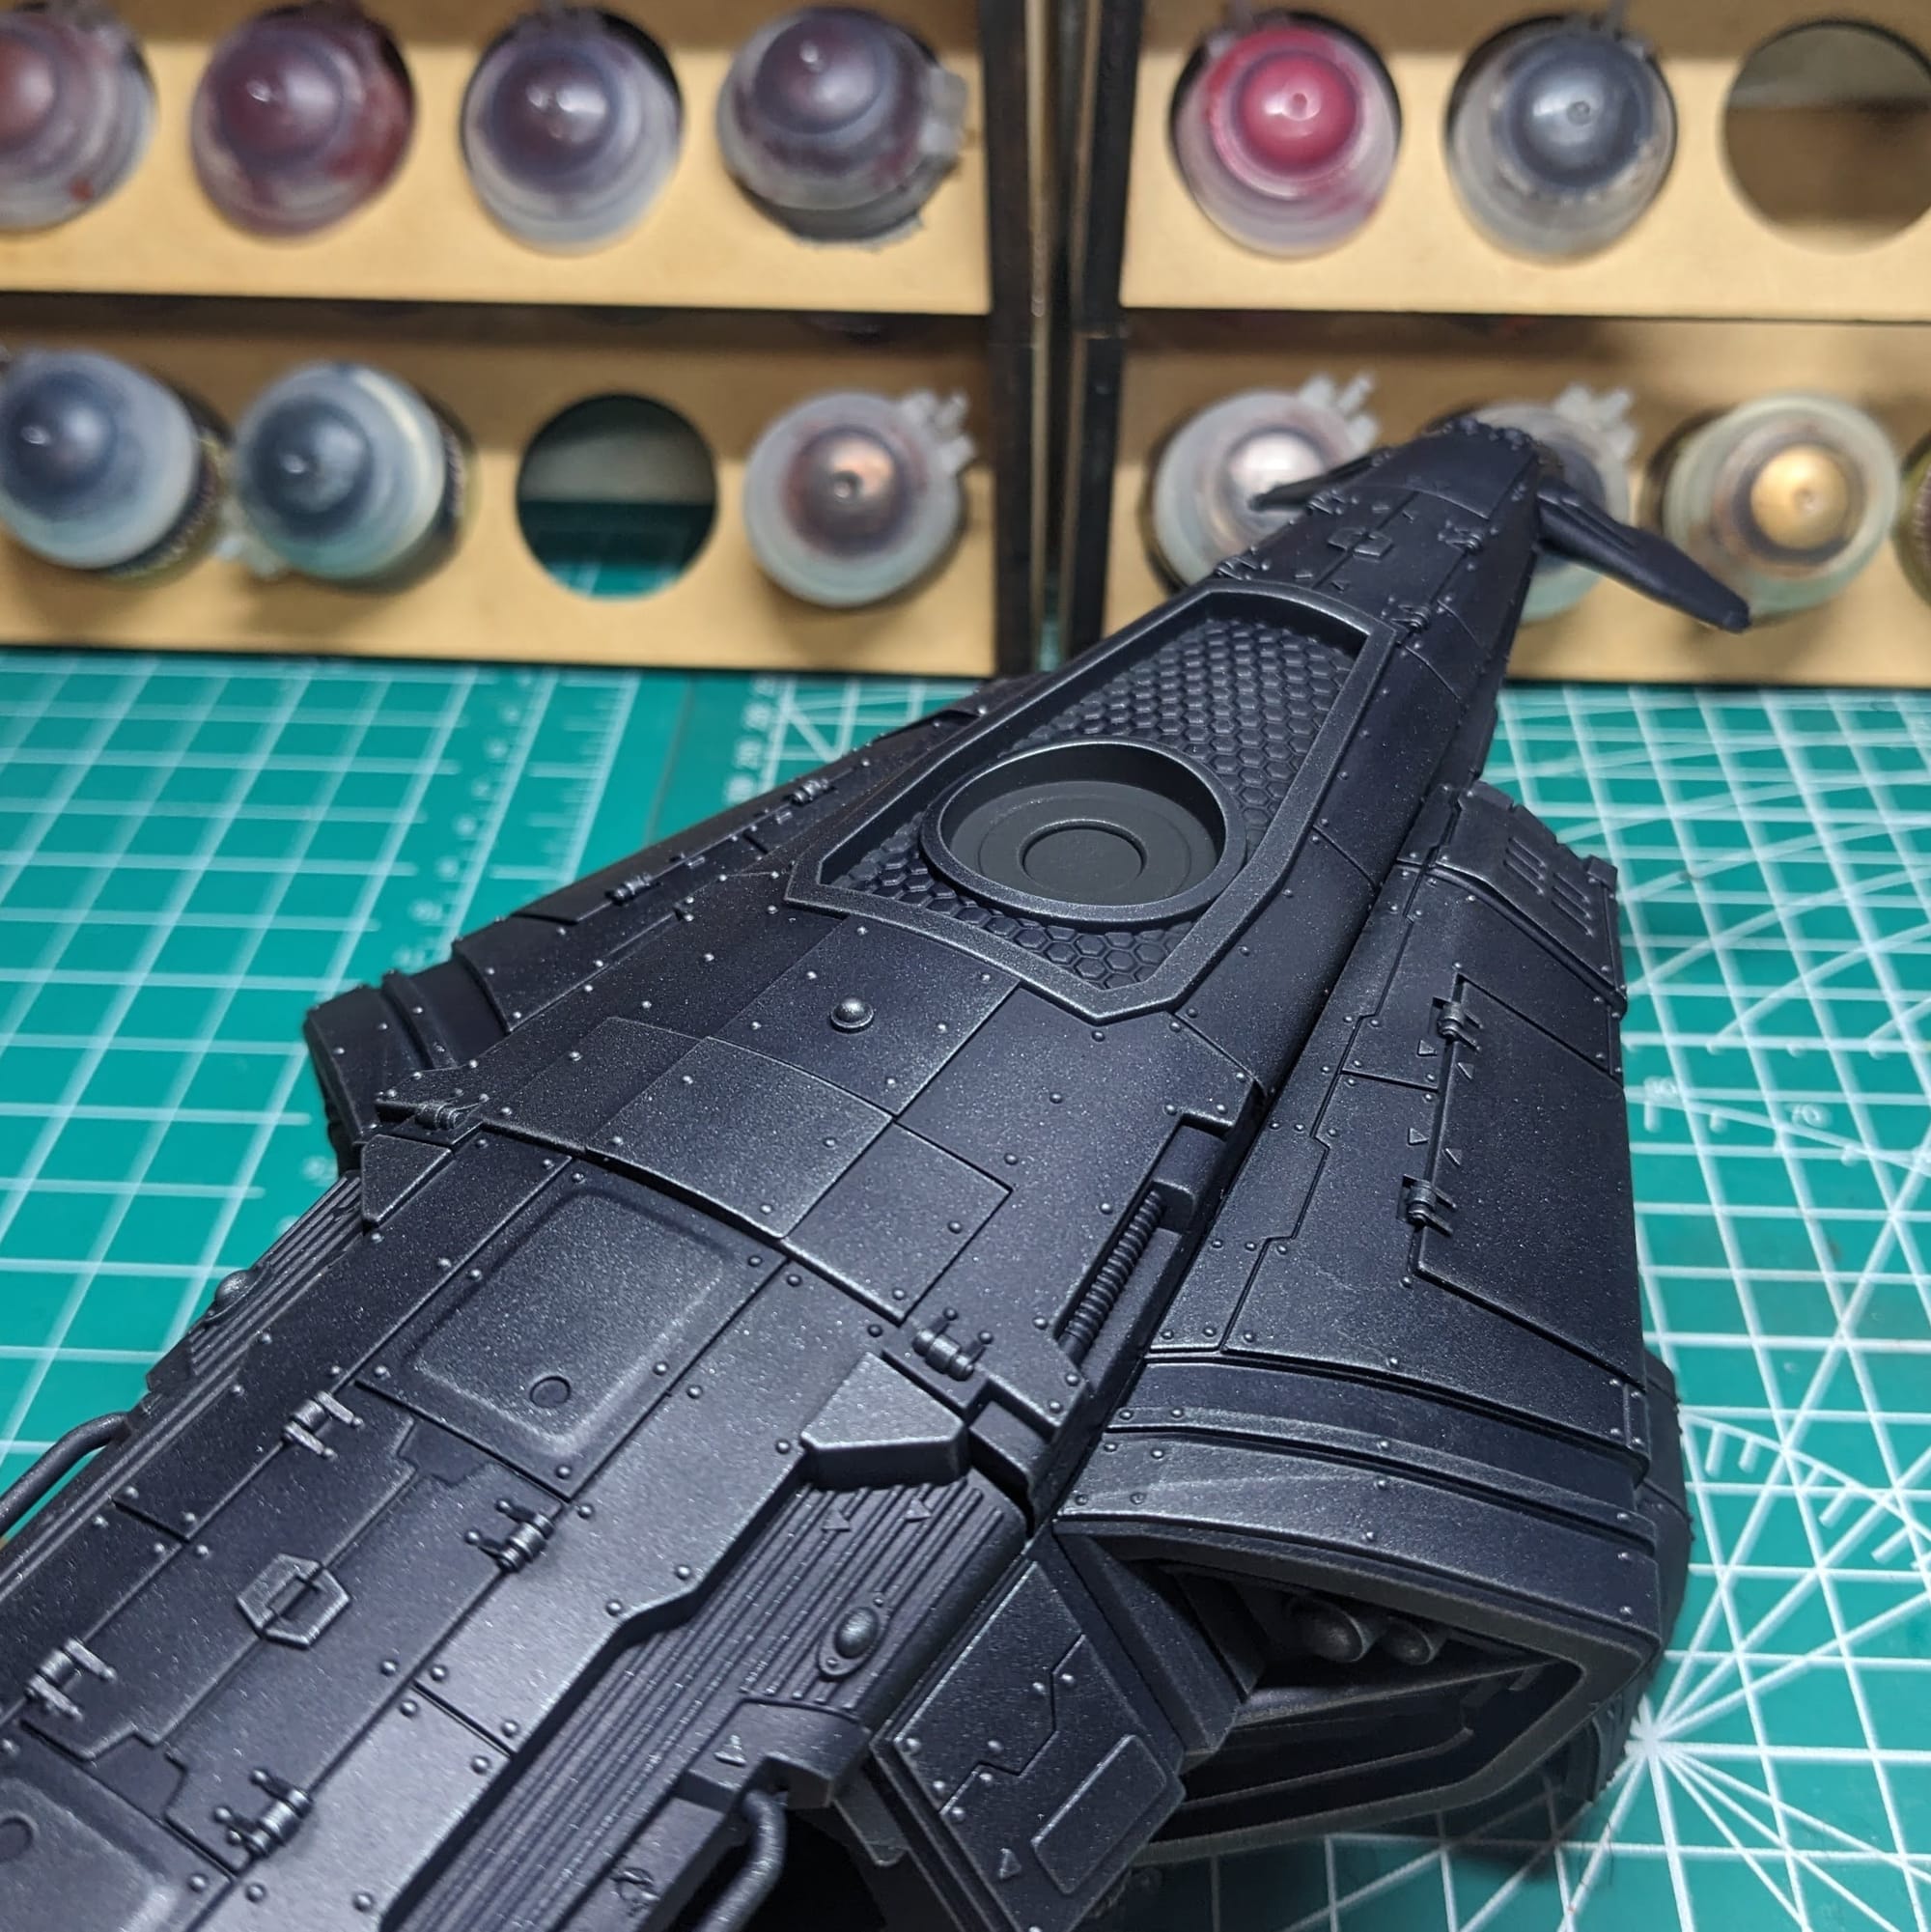
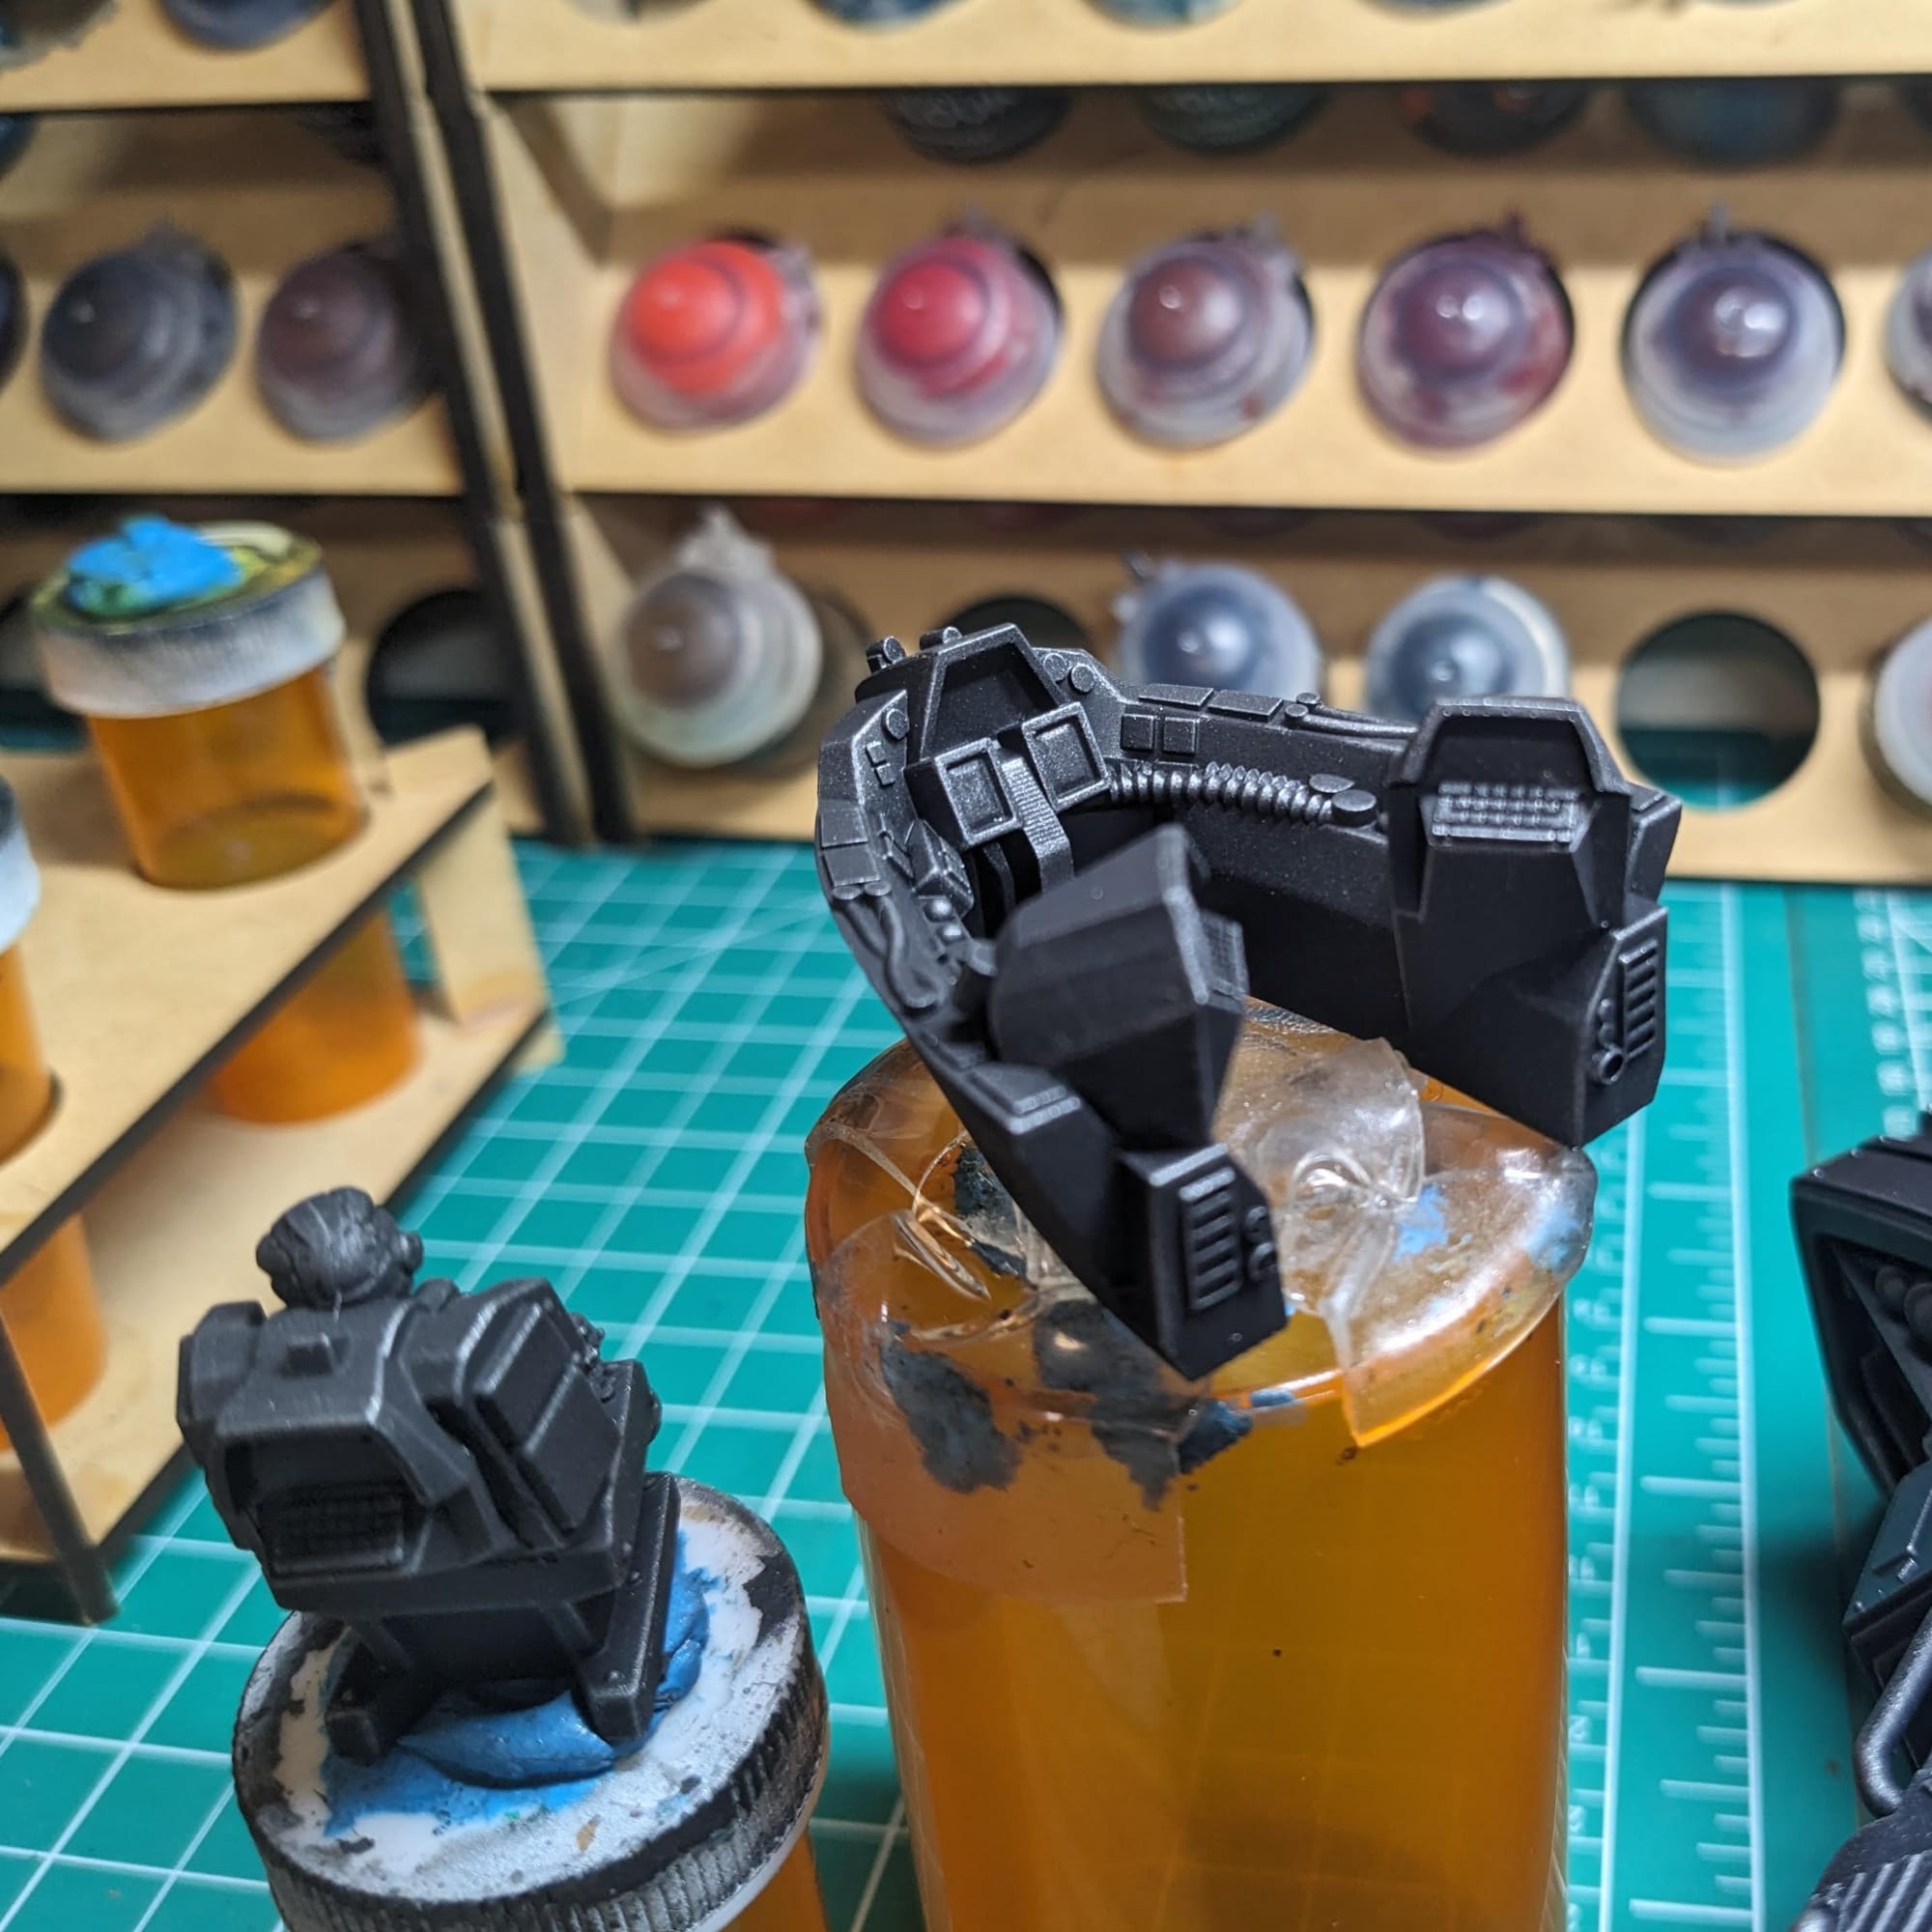
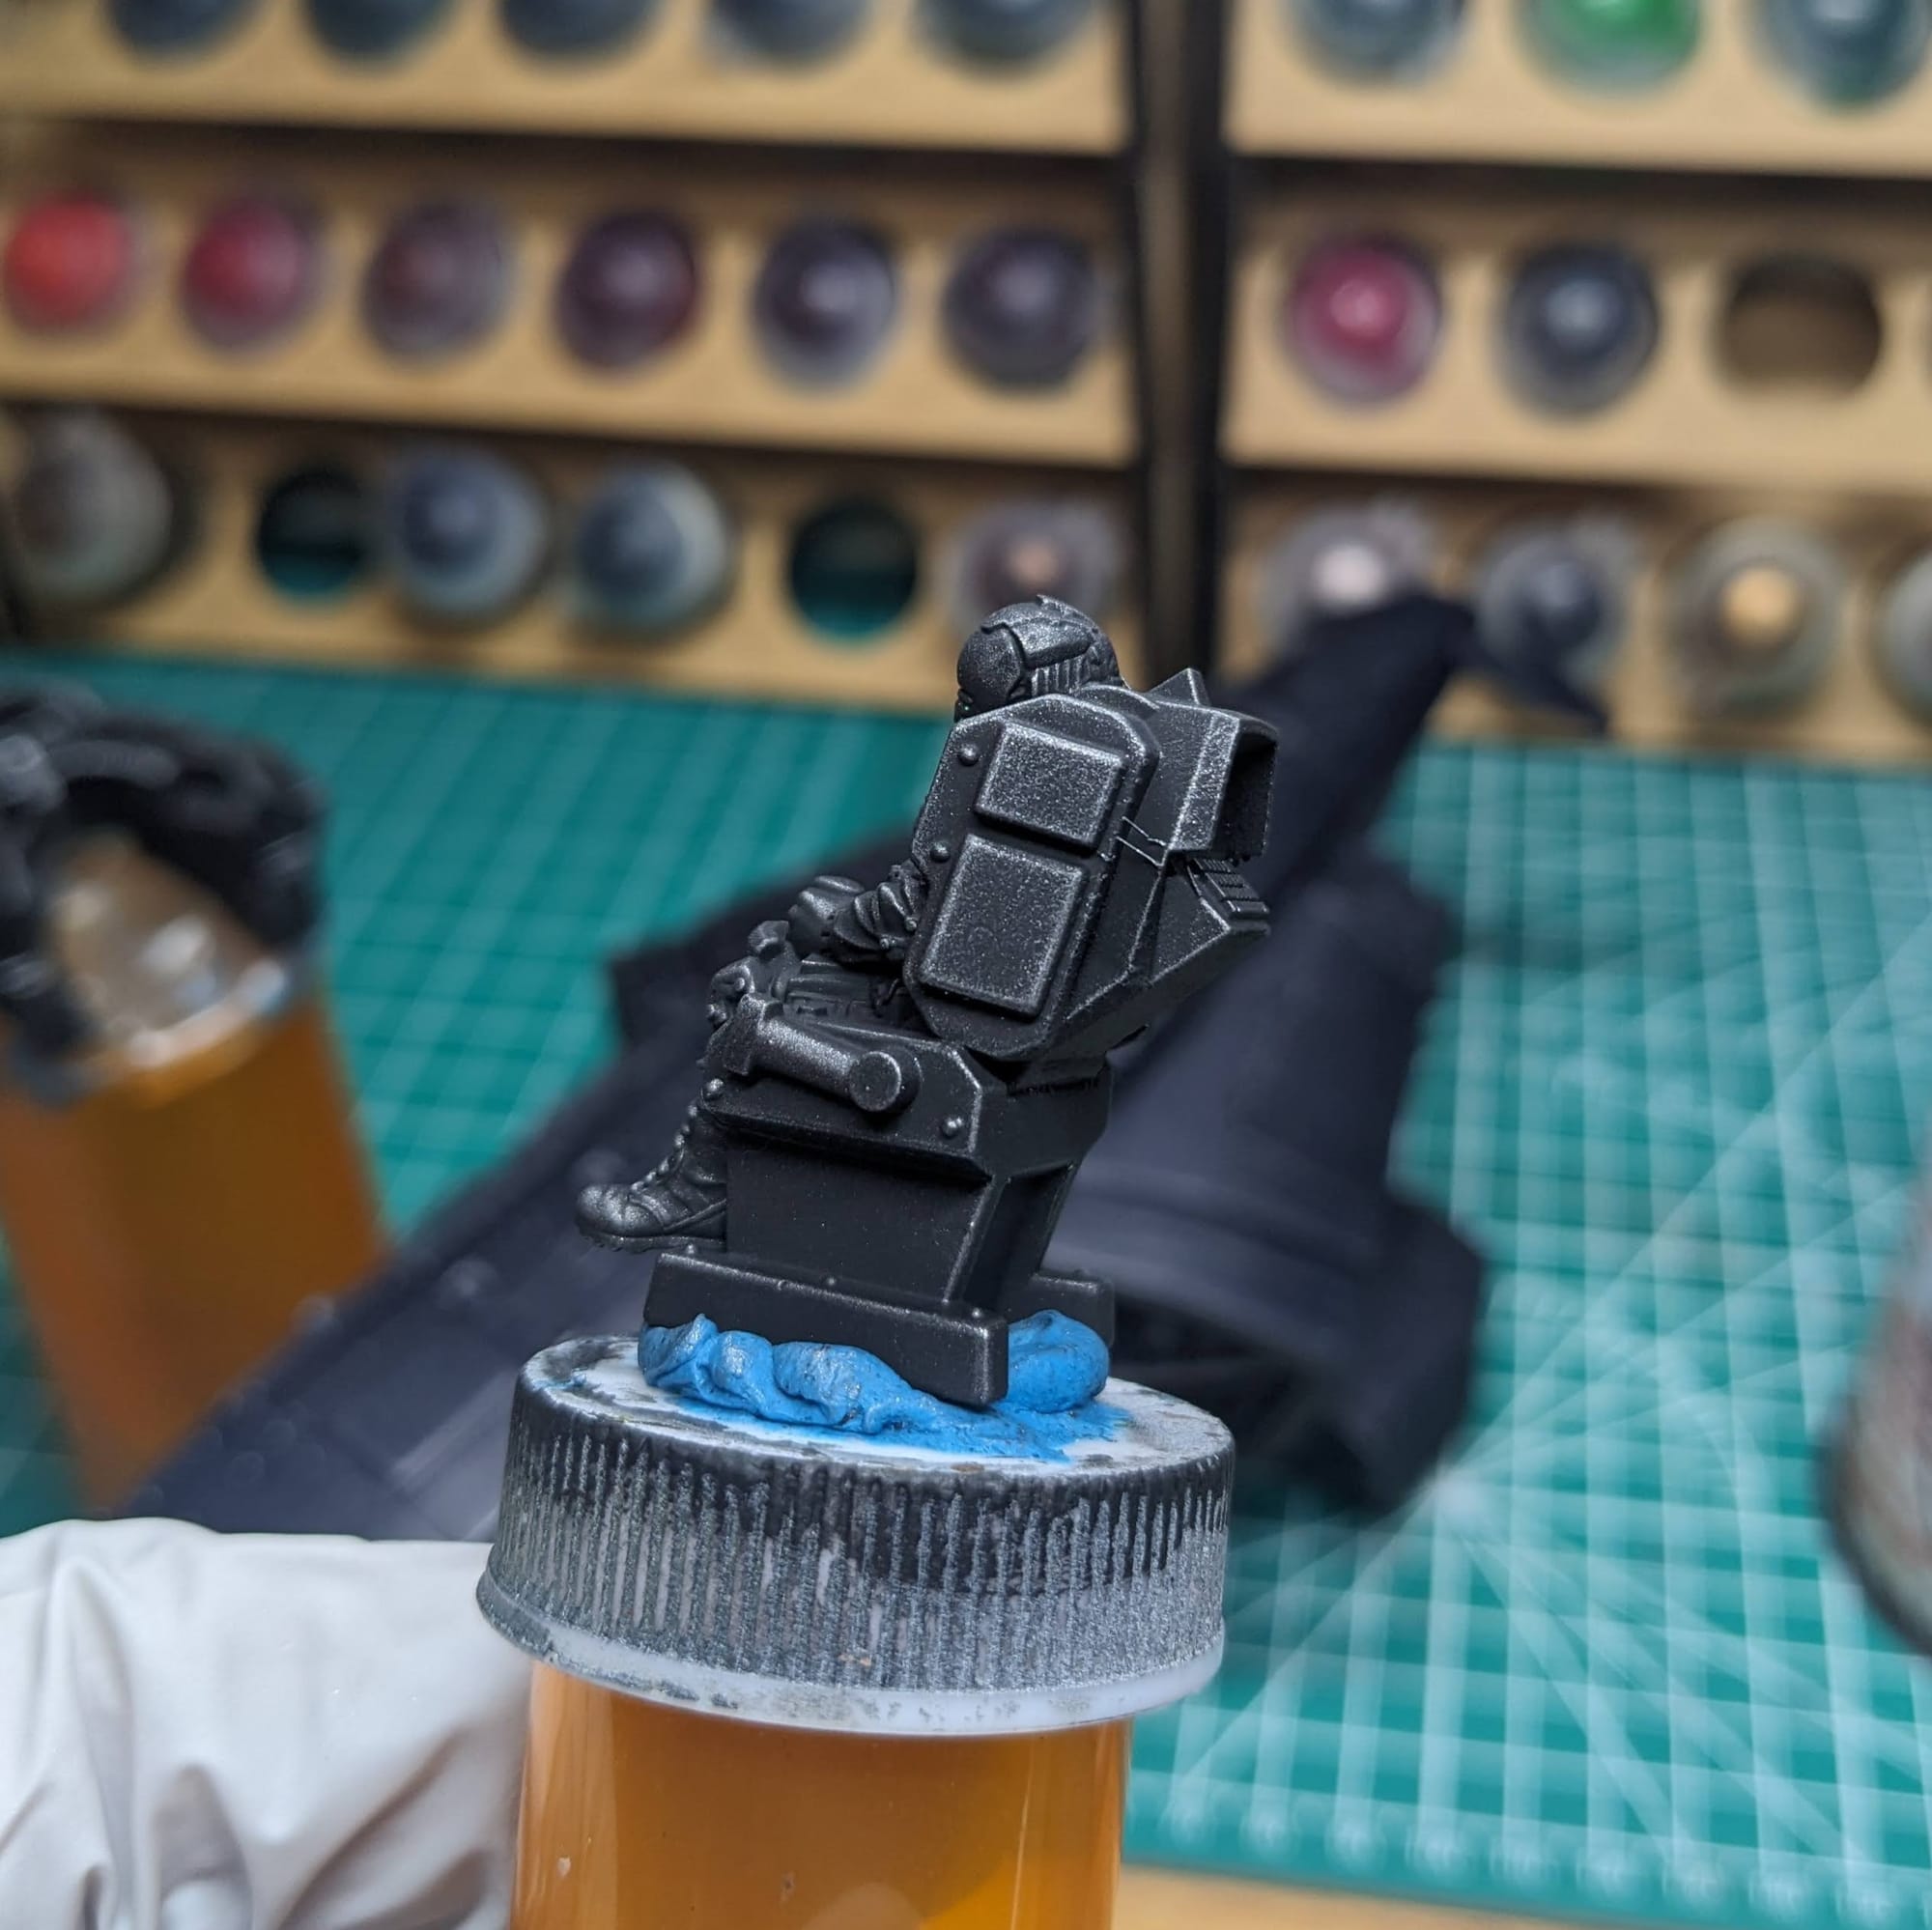
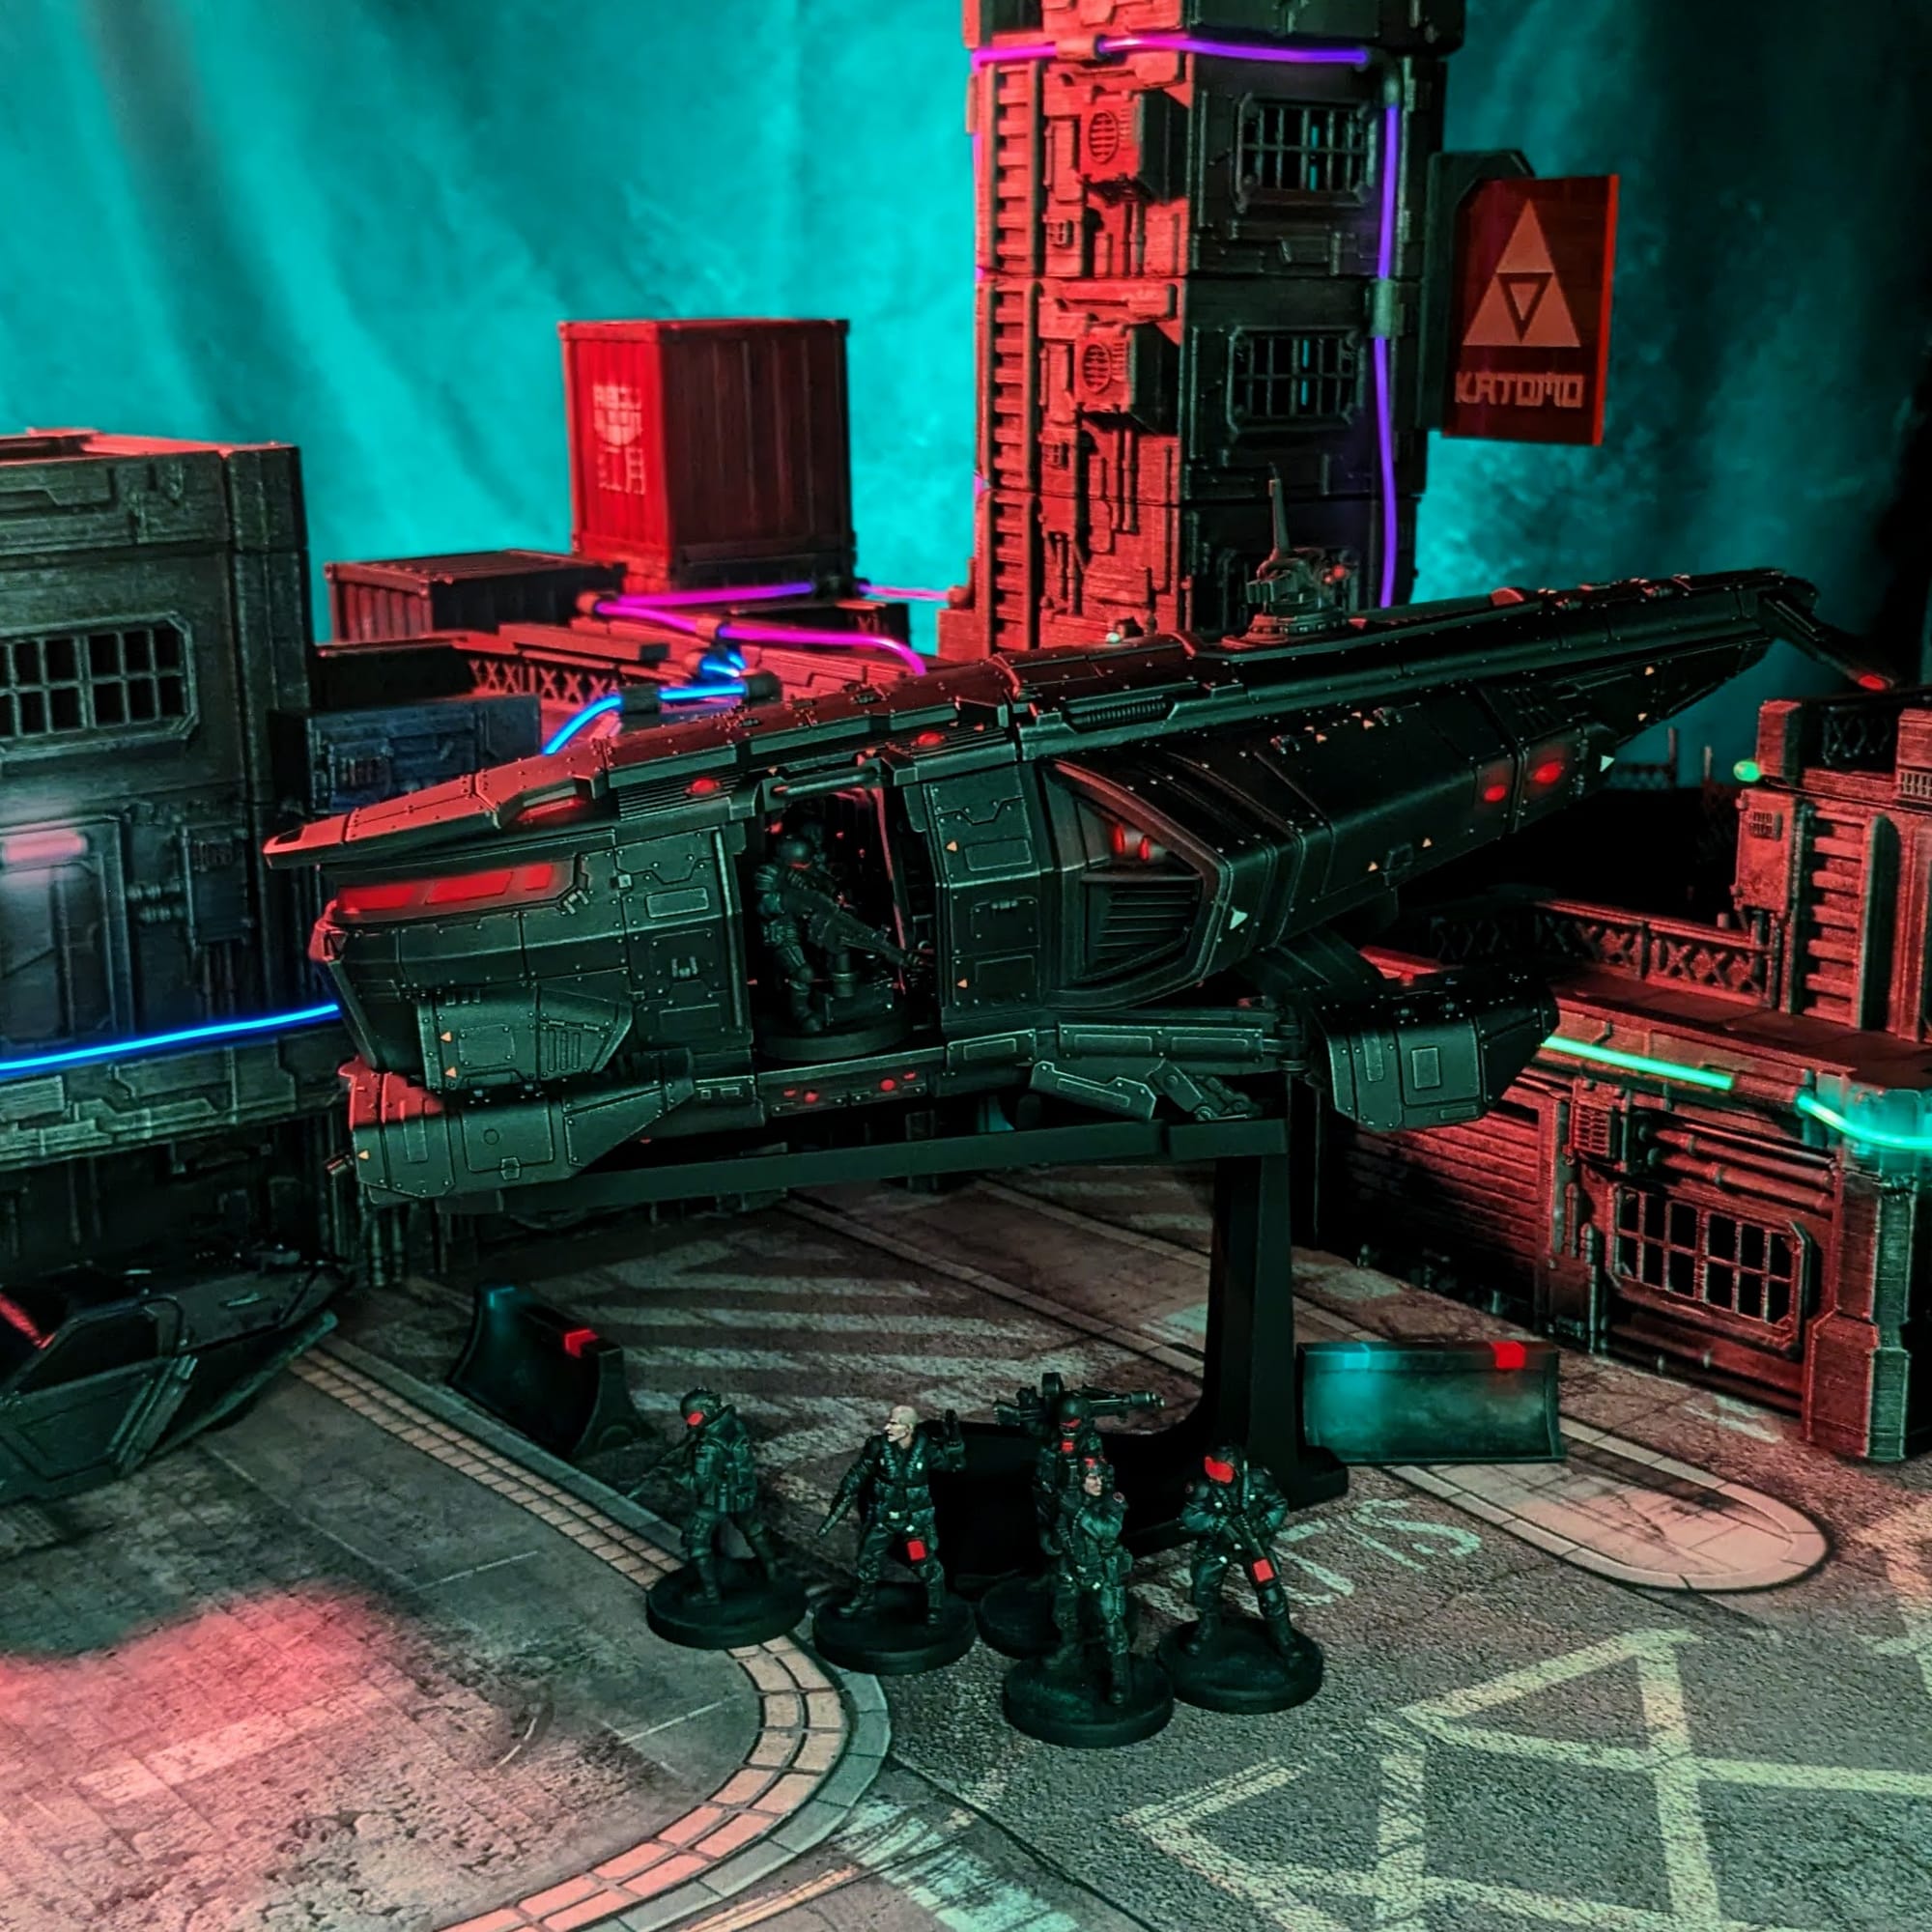
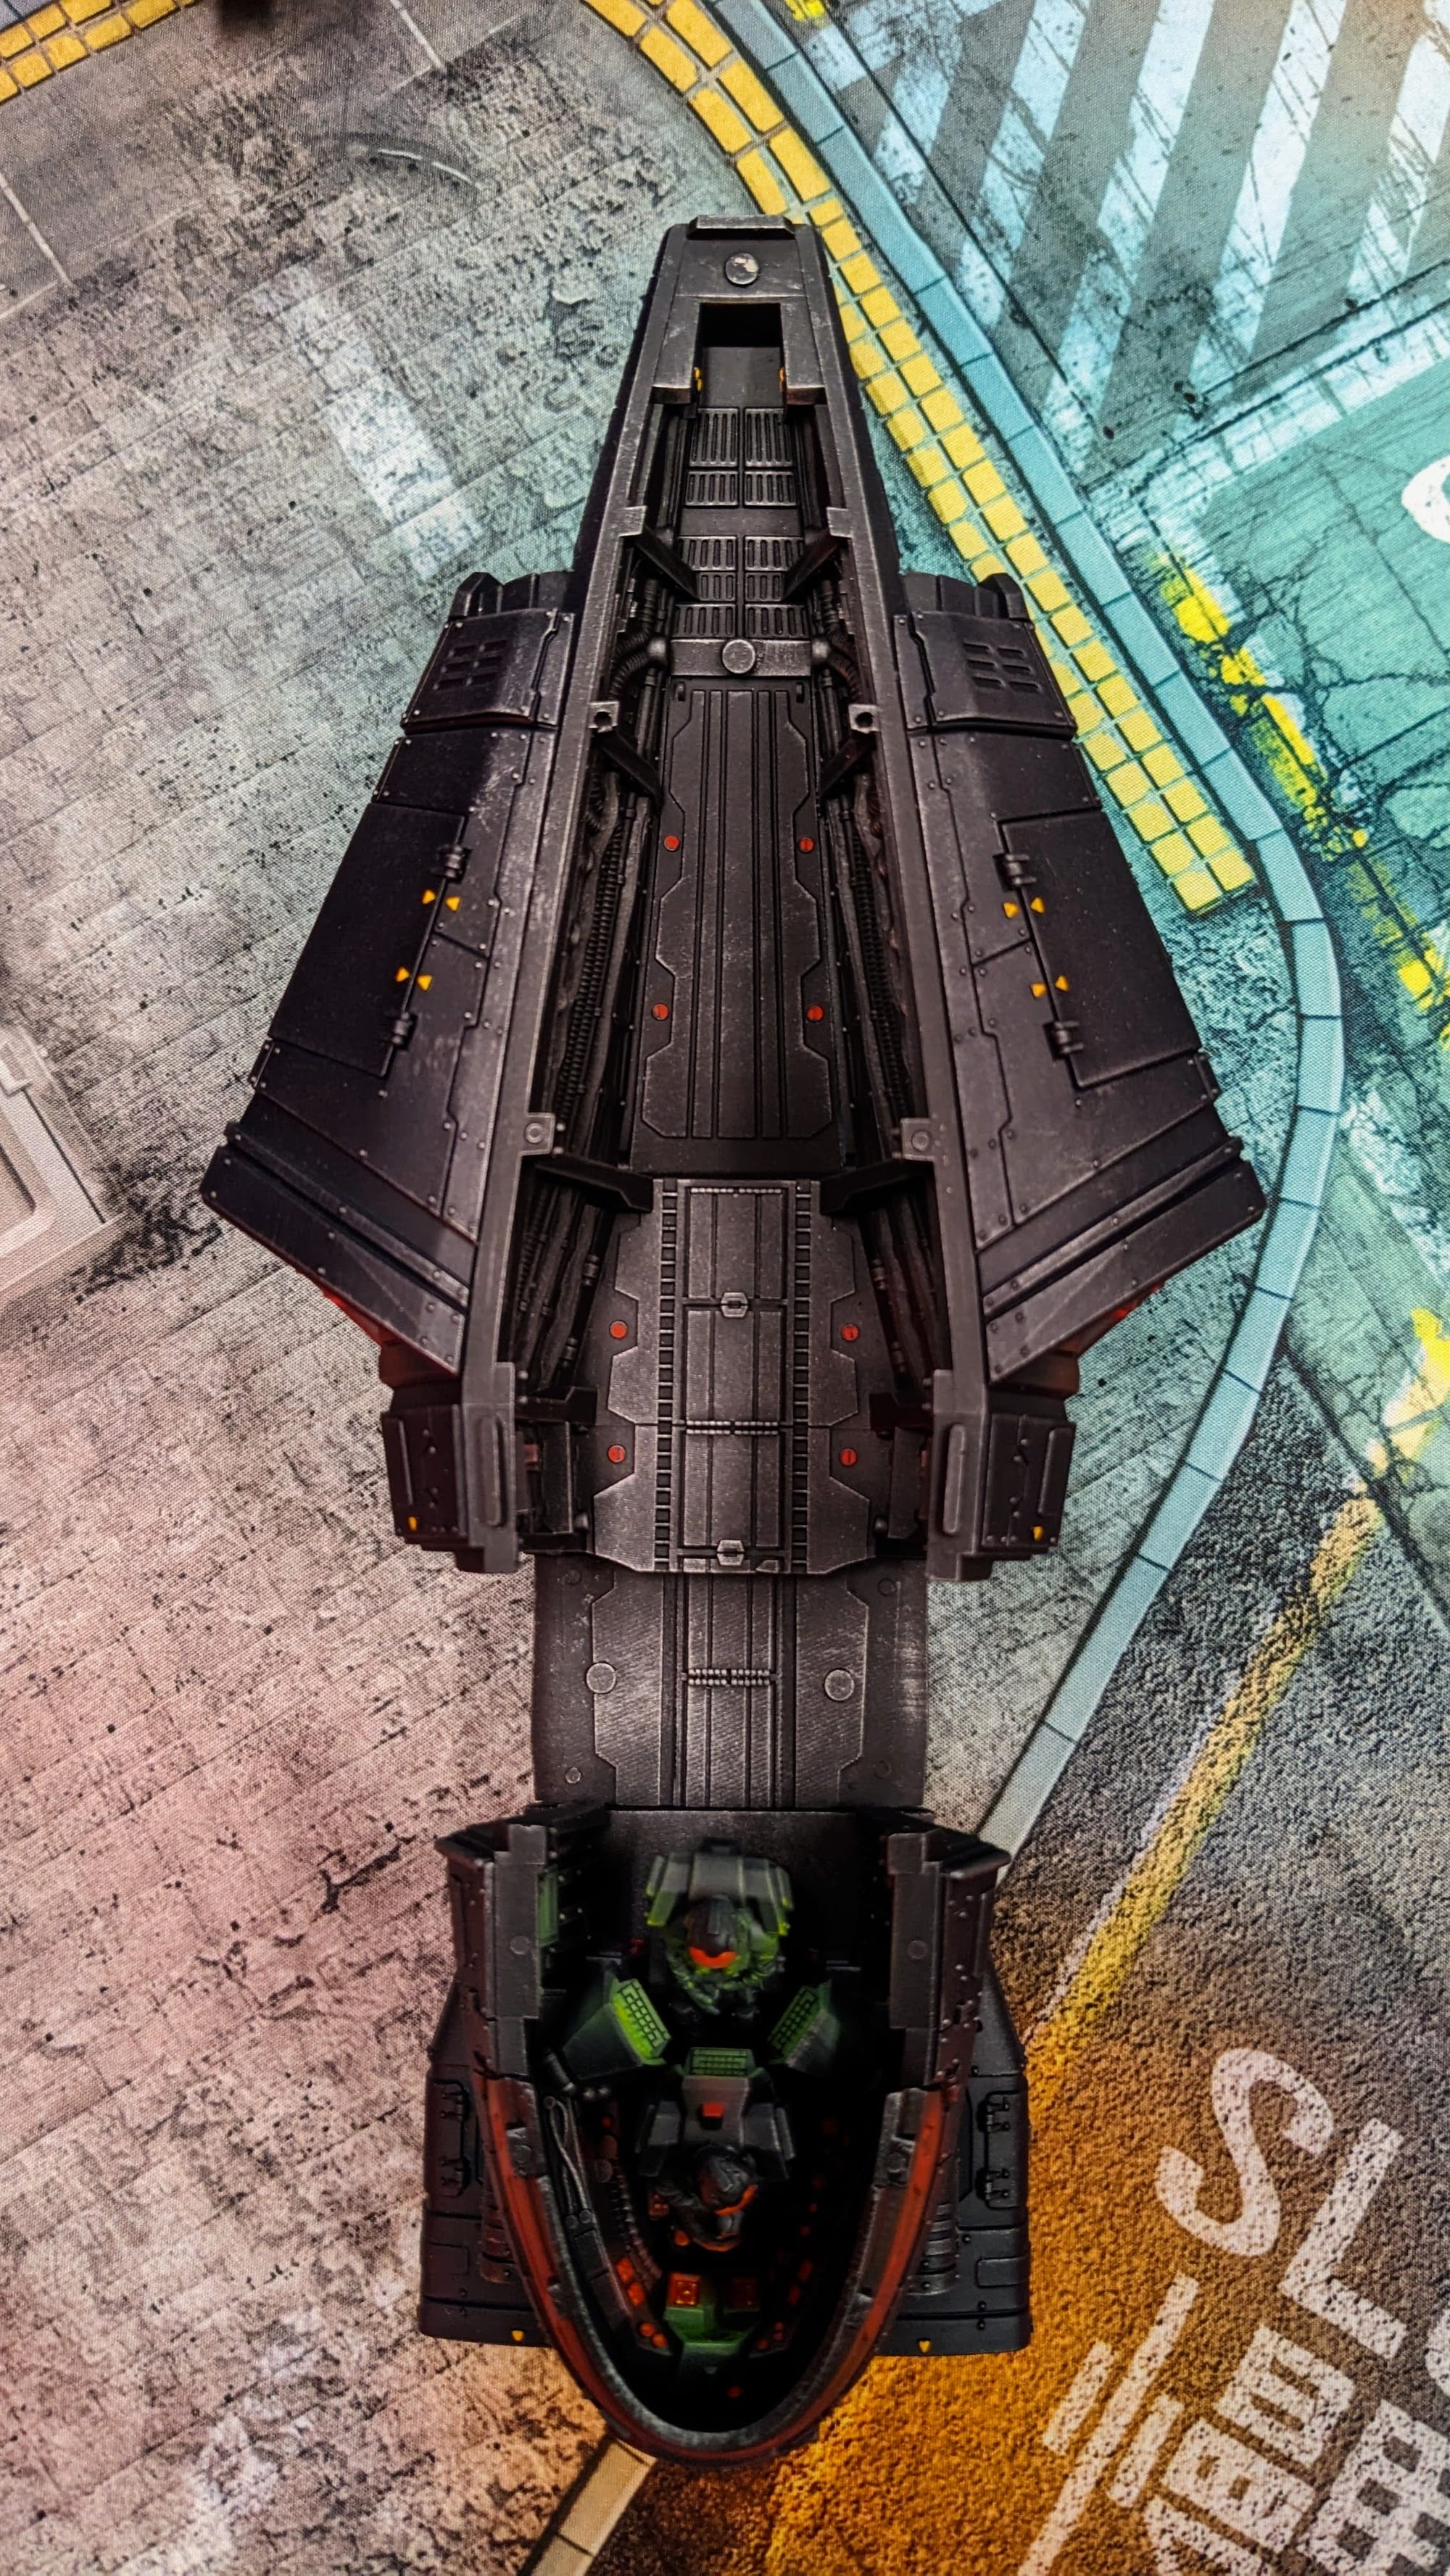
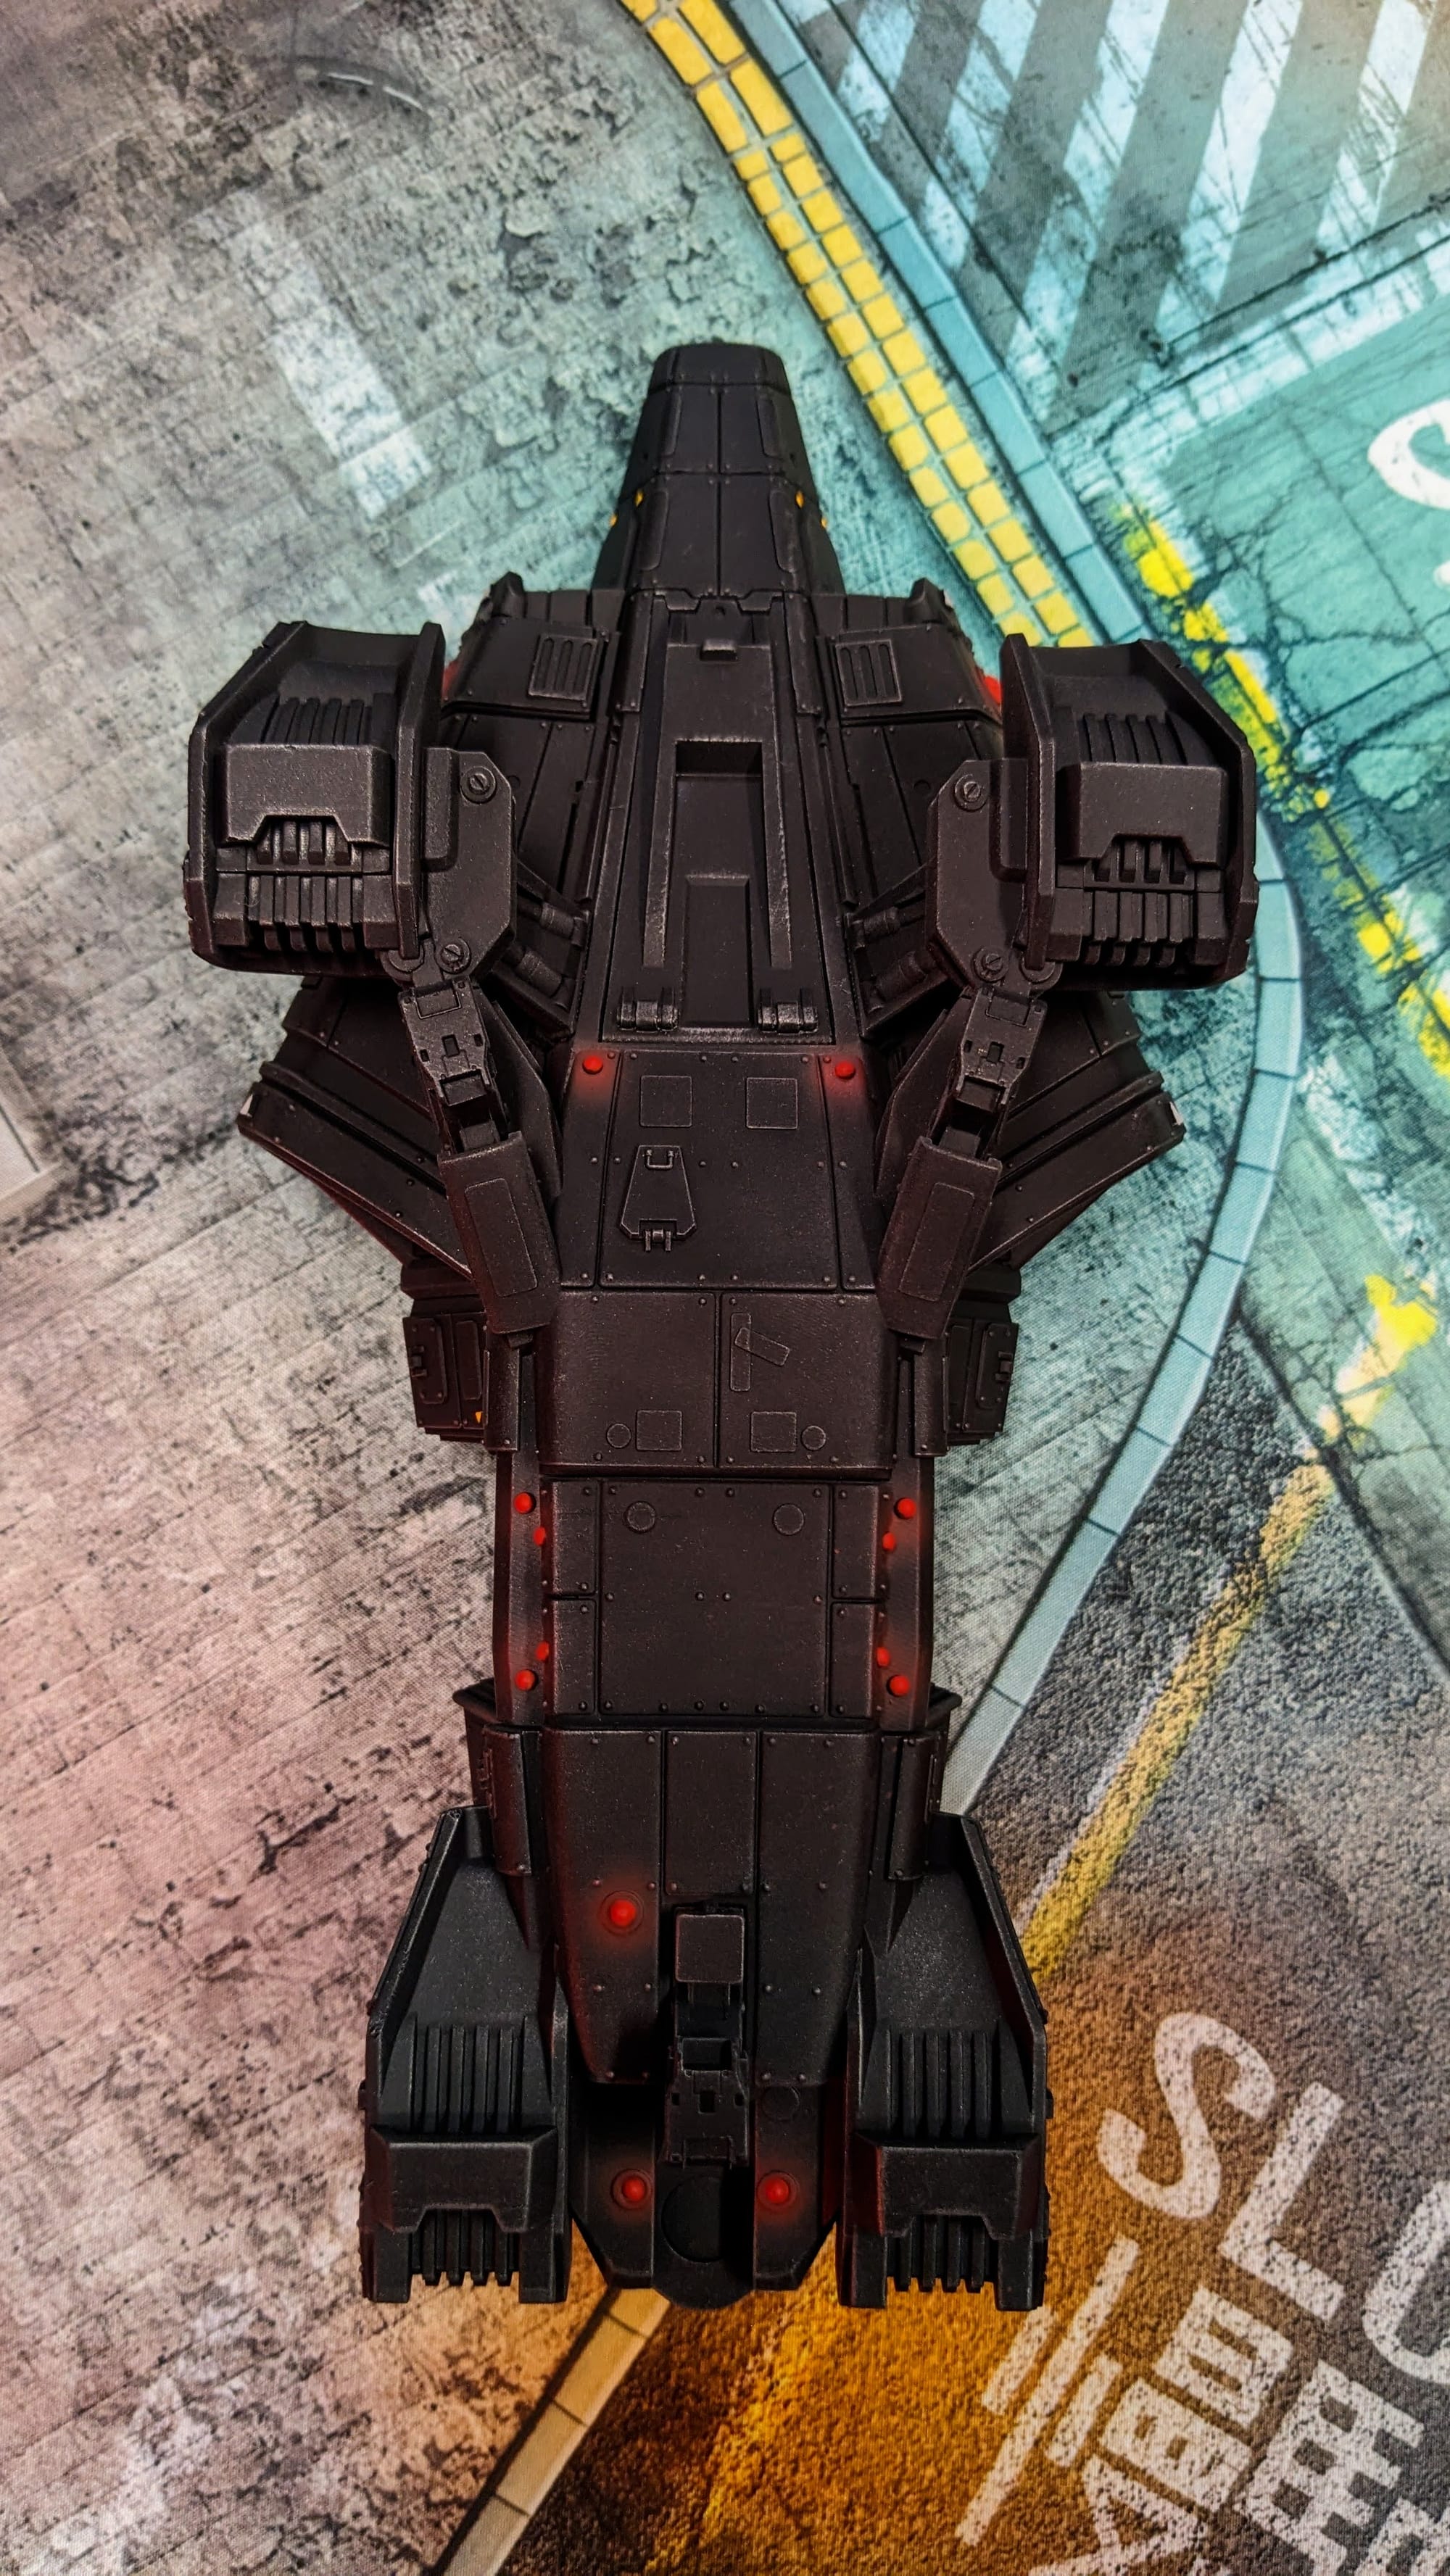
Even though I want to keep the Herakles black, I also wanted to add just a little variation in tone for the model. Using a 1:1 Zenith Black and Code Blue, I airbrushed a zenithal of the mixture over the top. To help maintain consistency of the color throughout the whole model, I attached the doors and roof to be in its "assembled" state. It's subtle, especially in the warm light photos, but it provided just enough variation to remove the flatness.
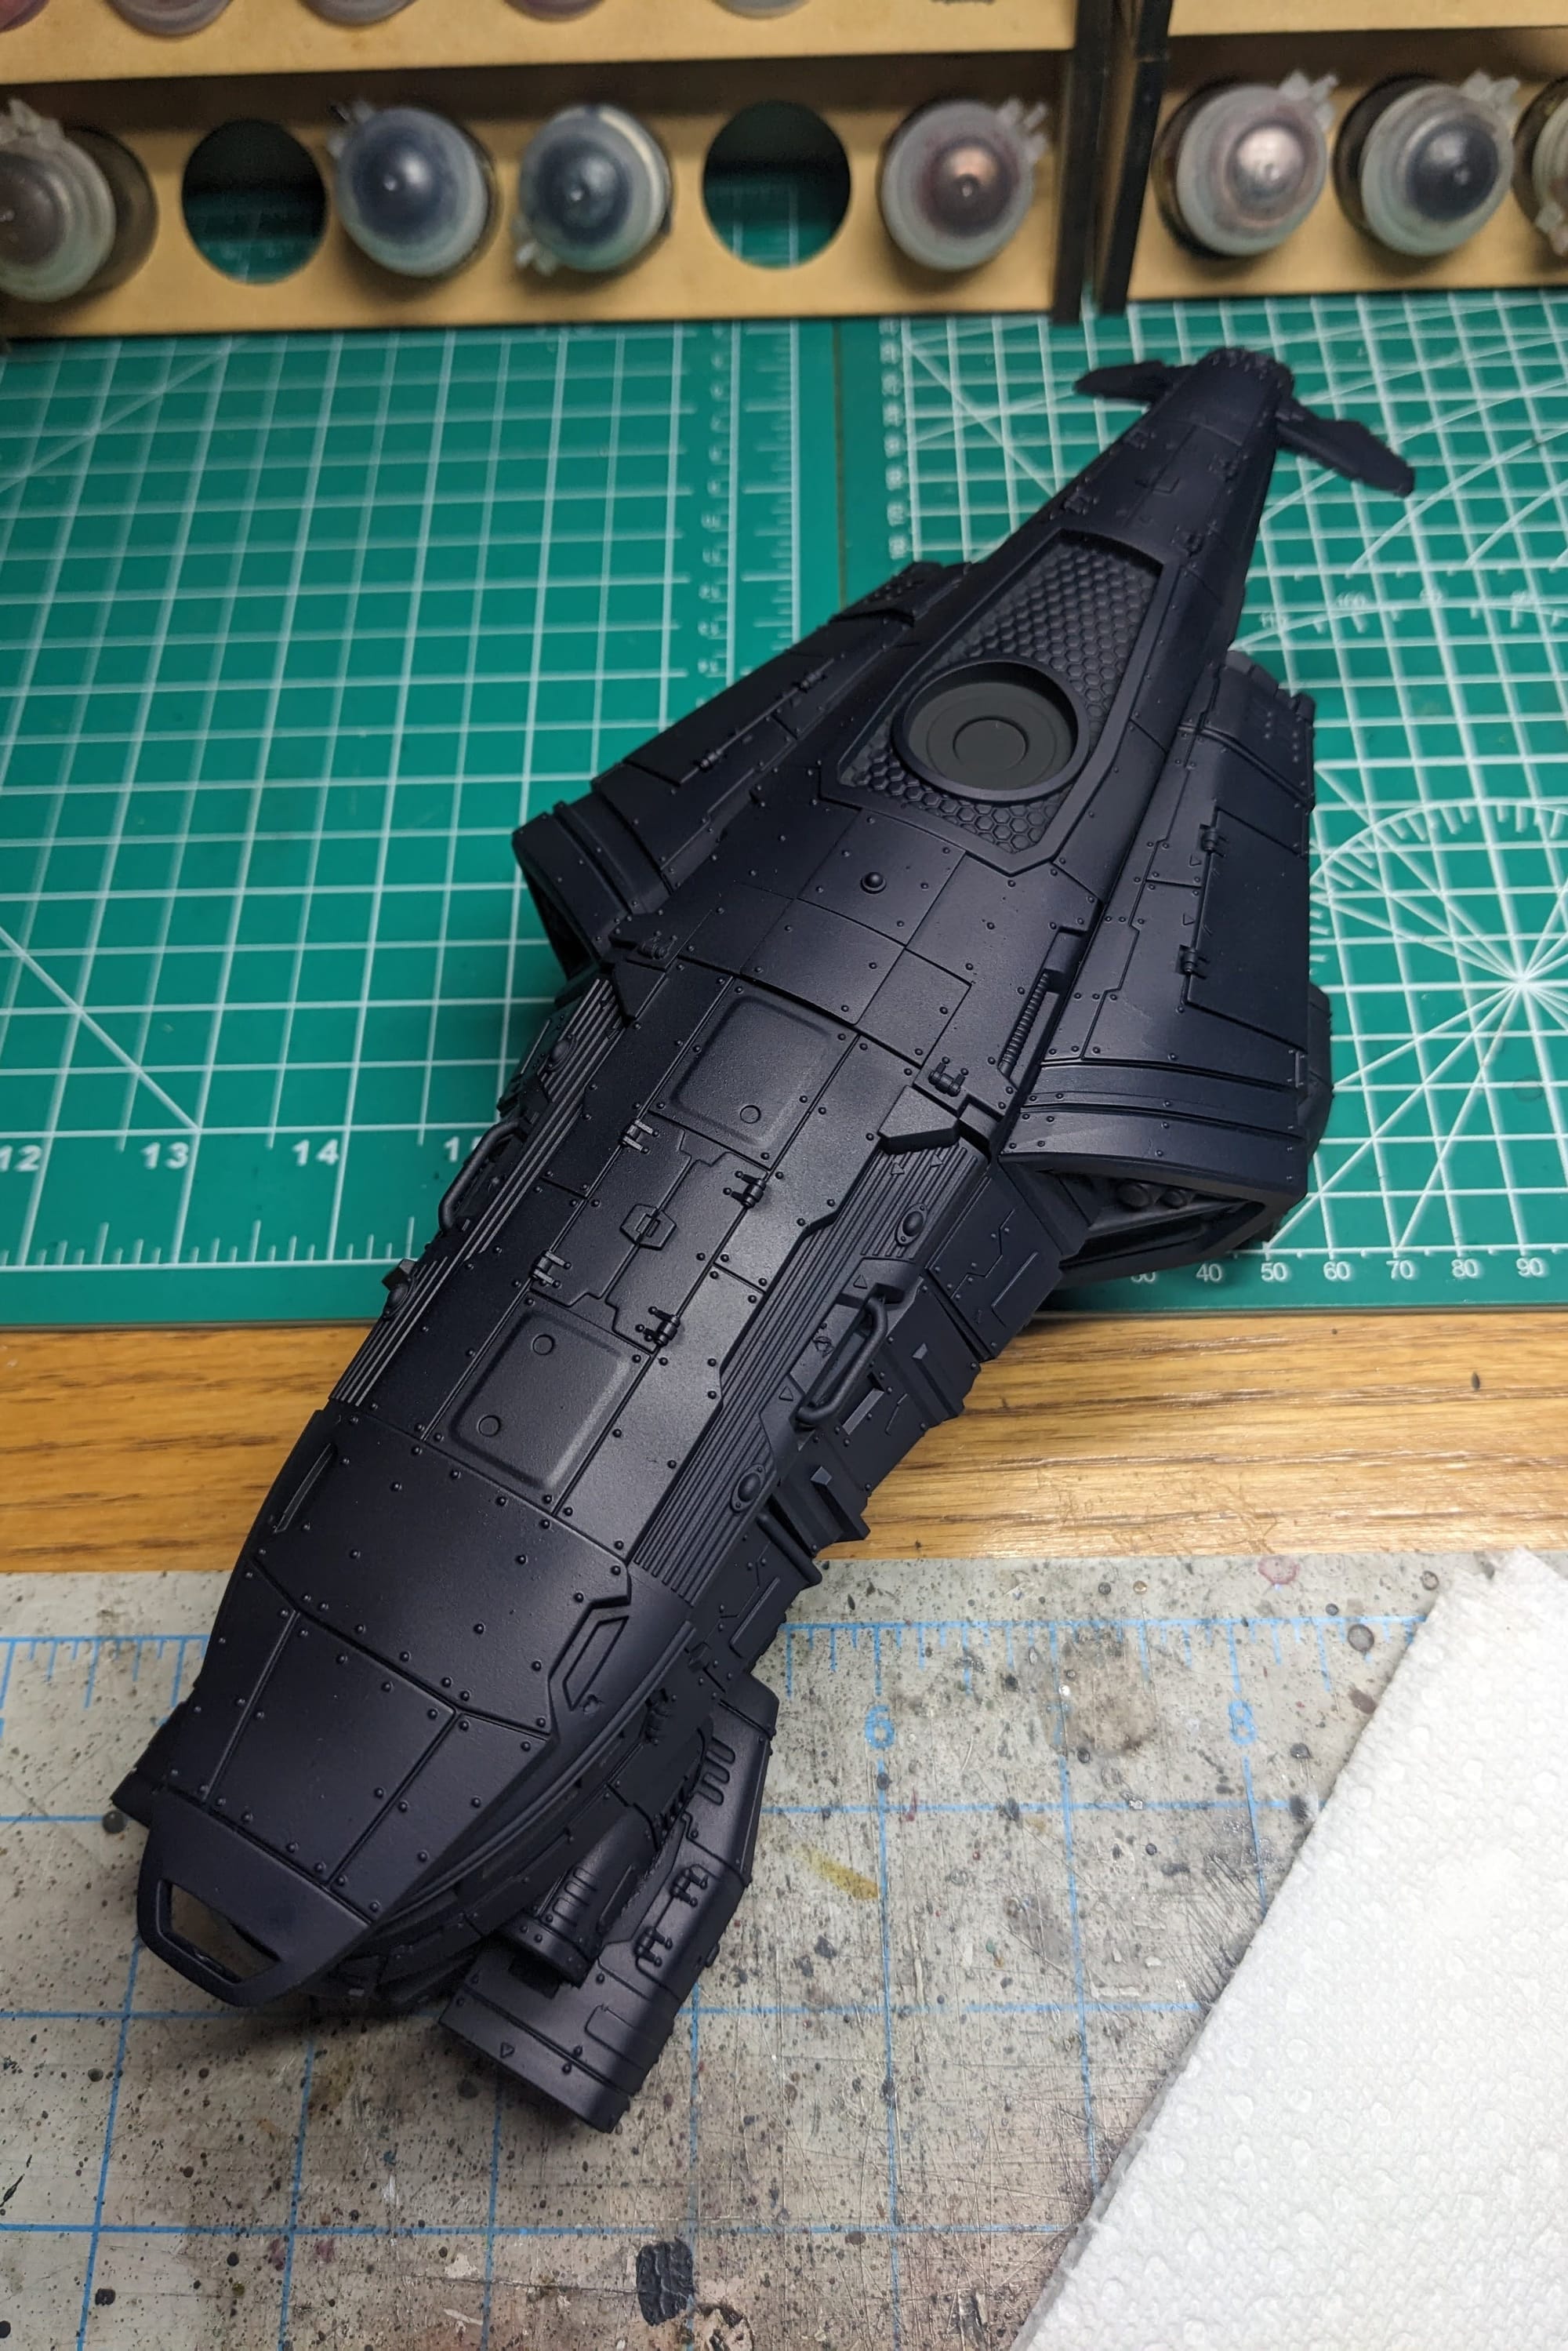
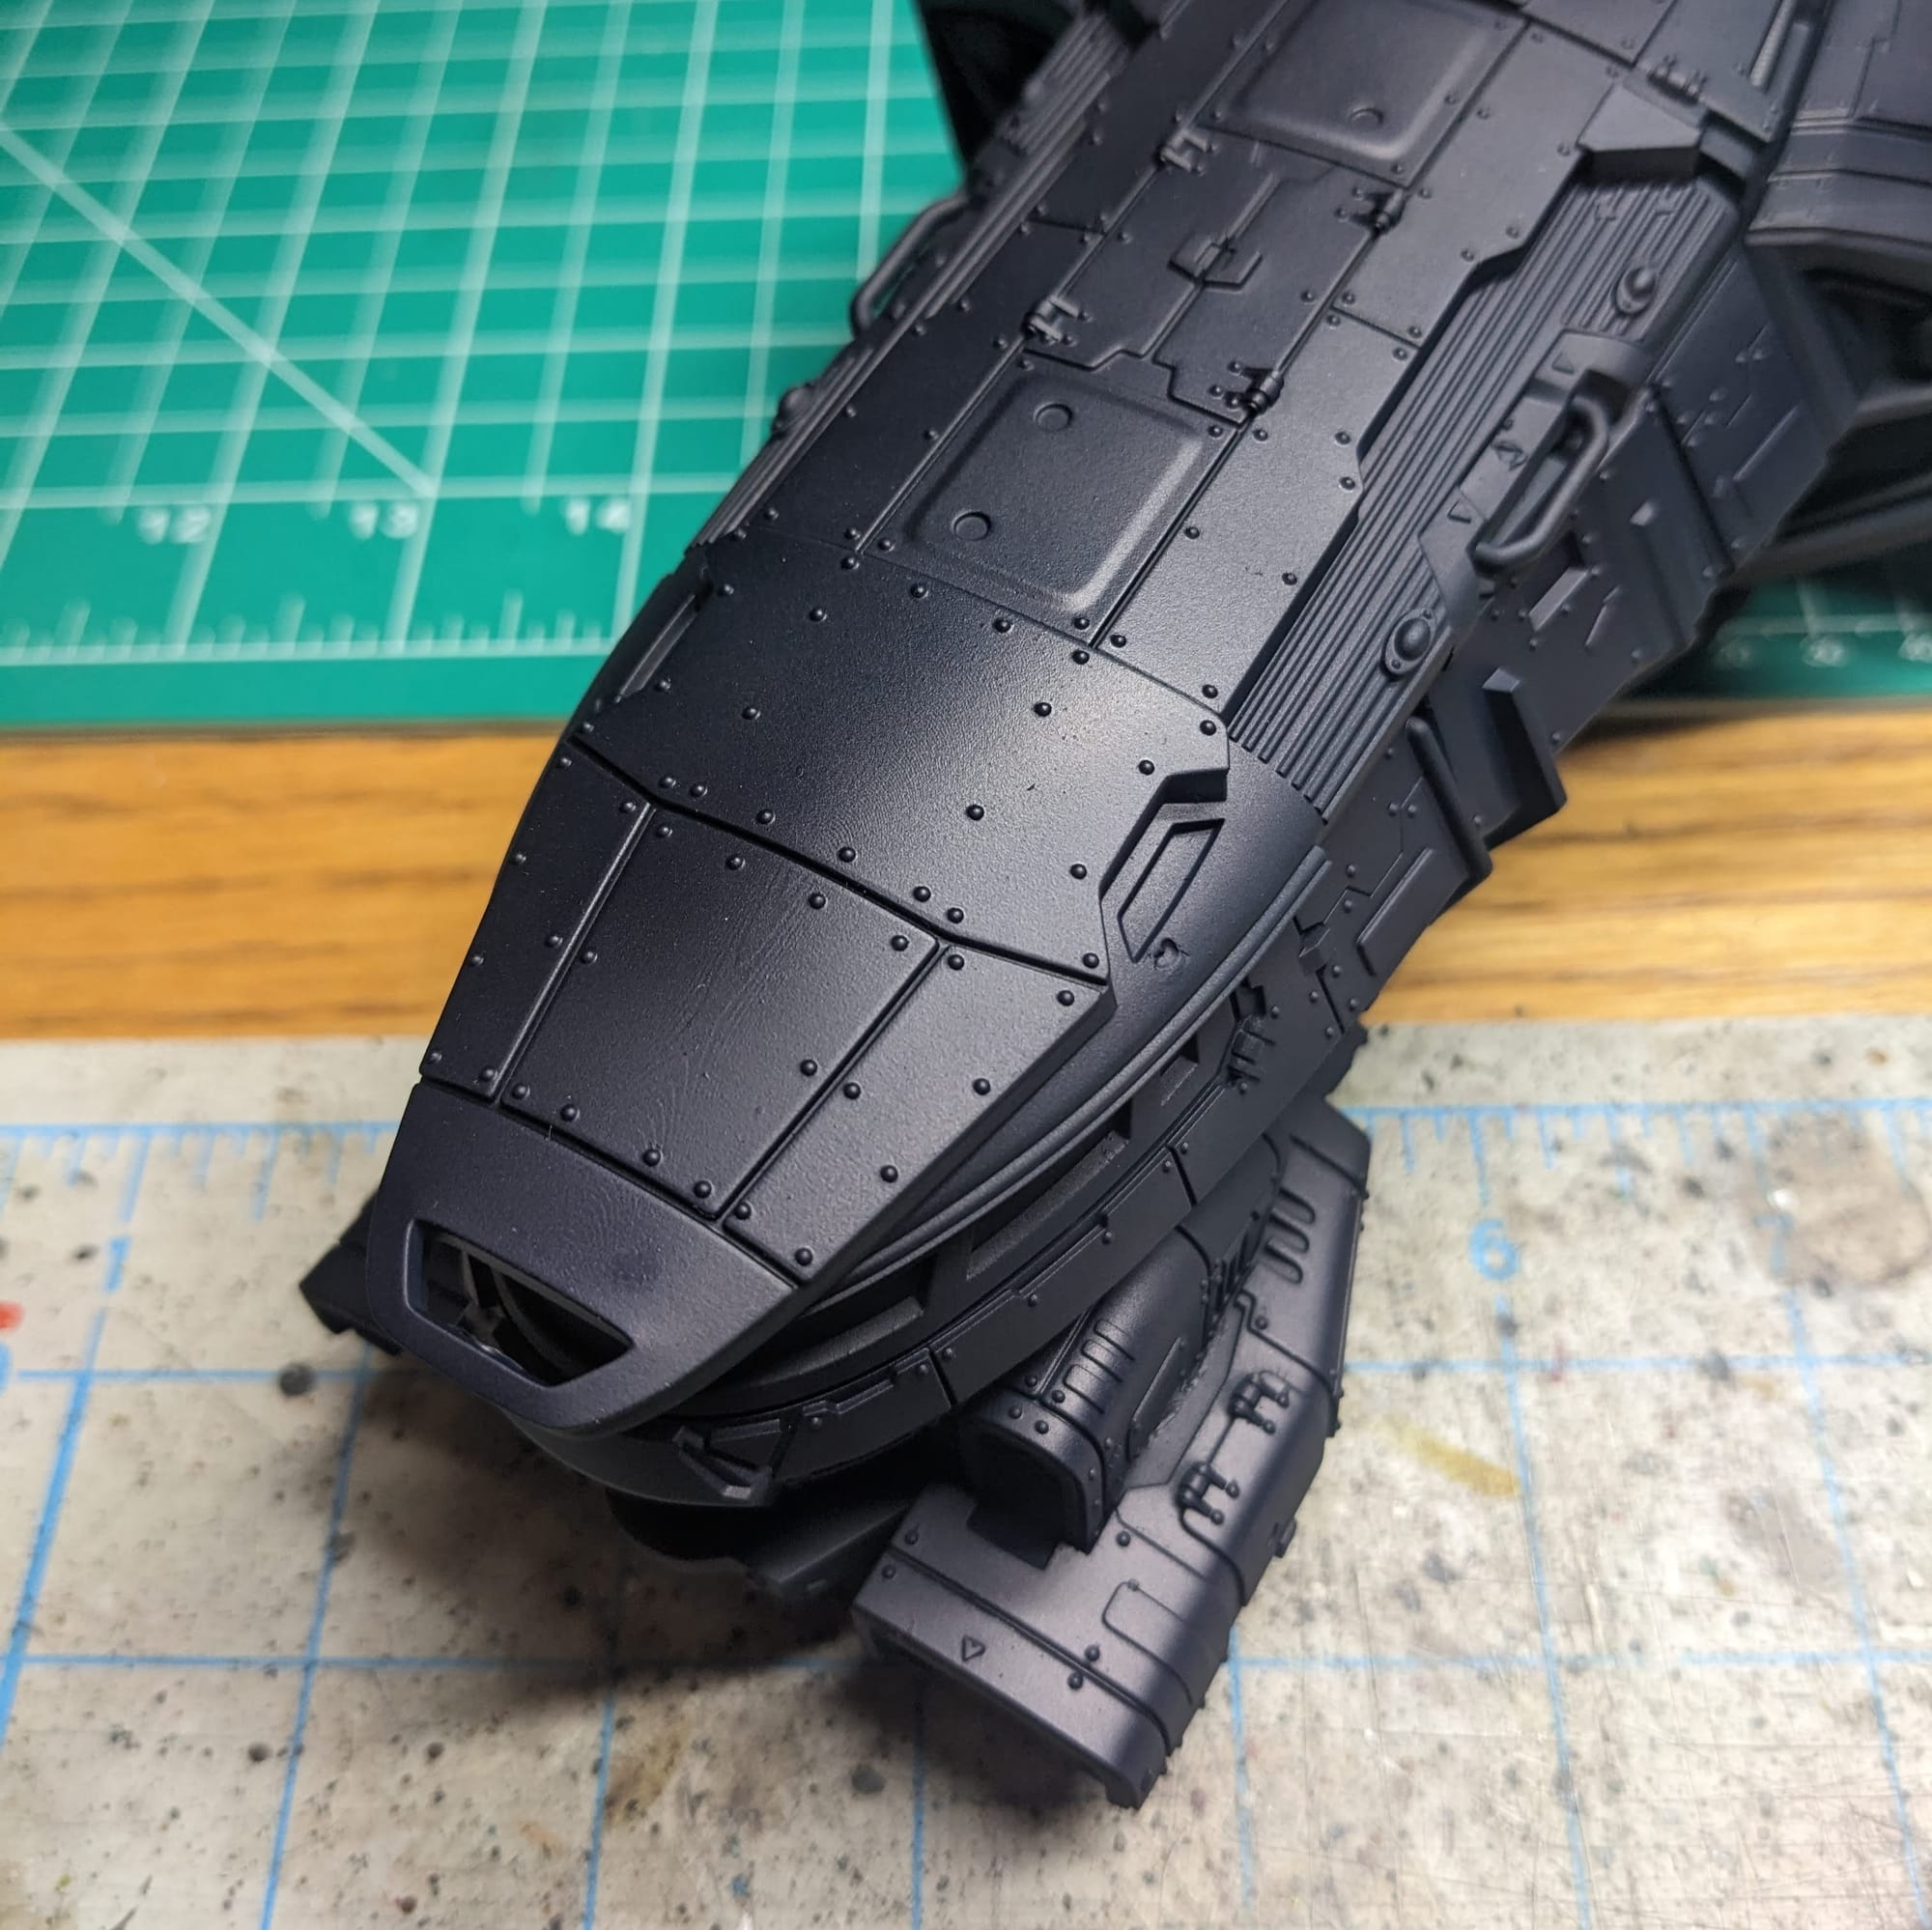
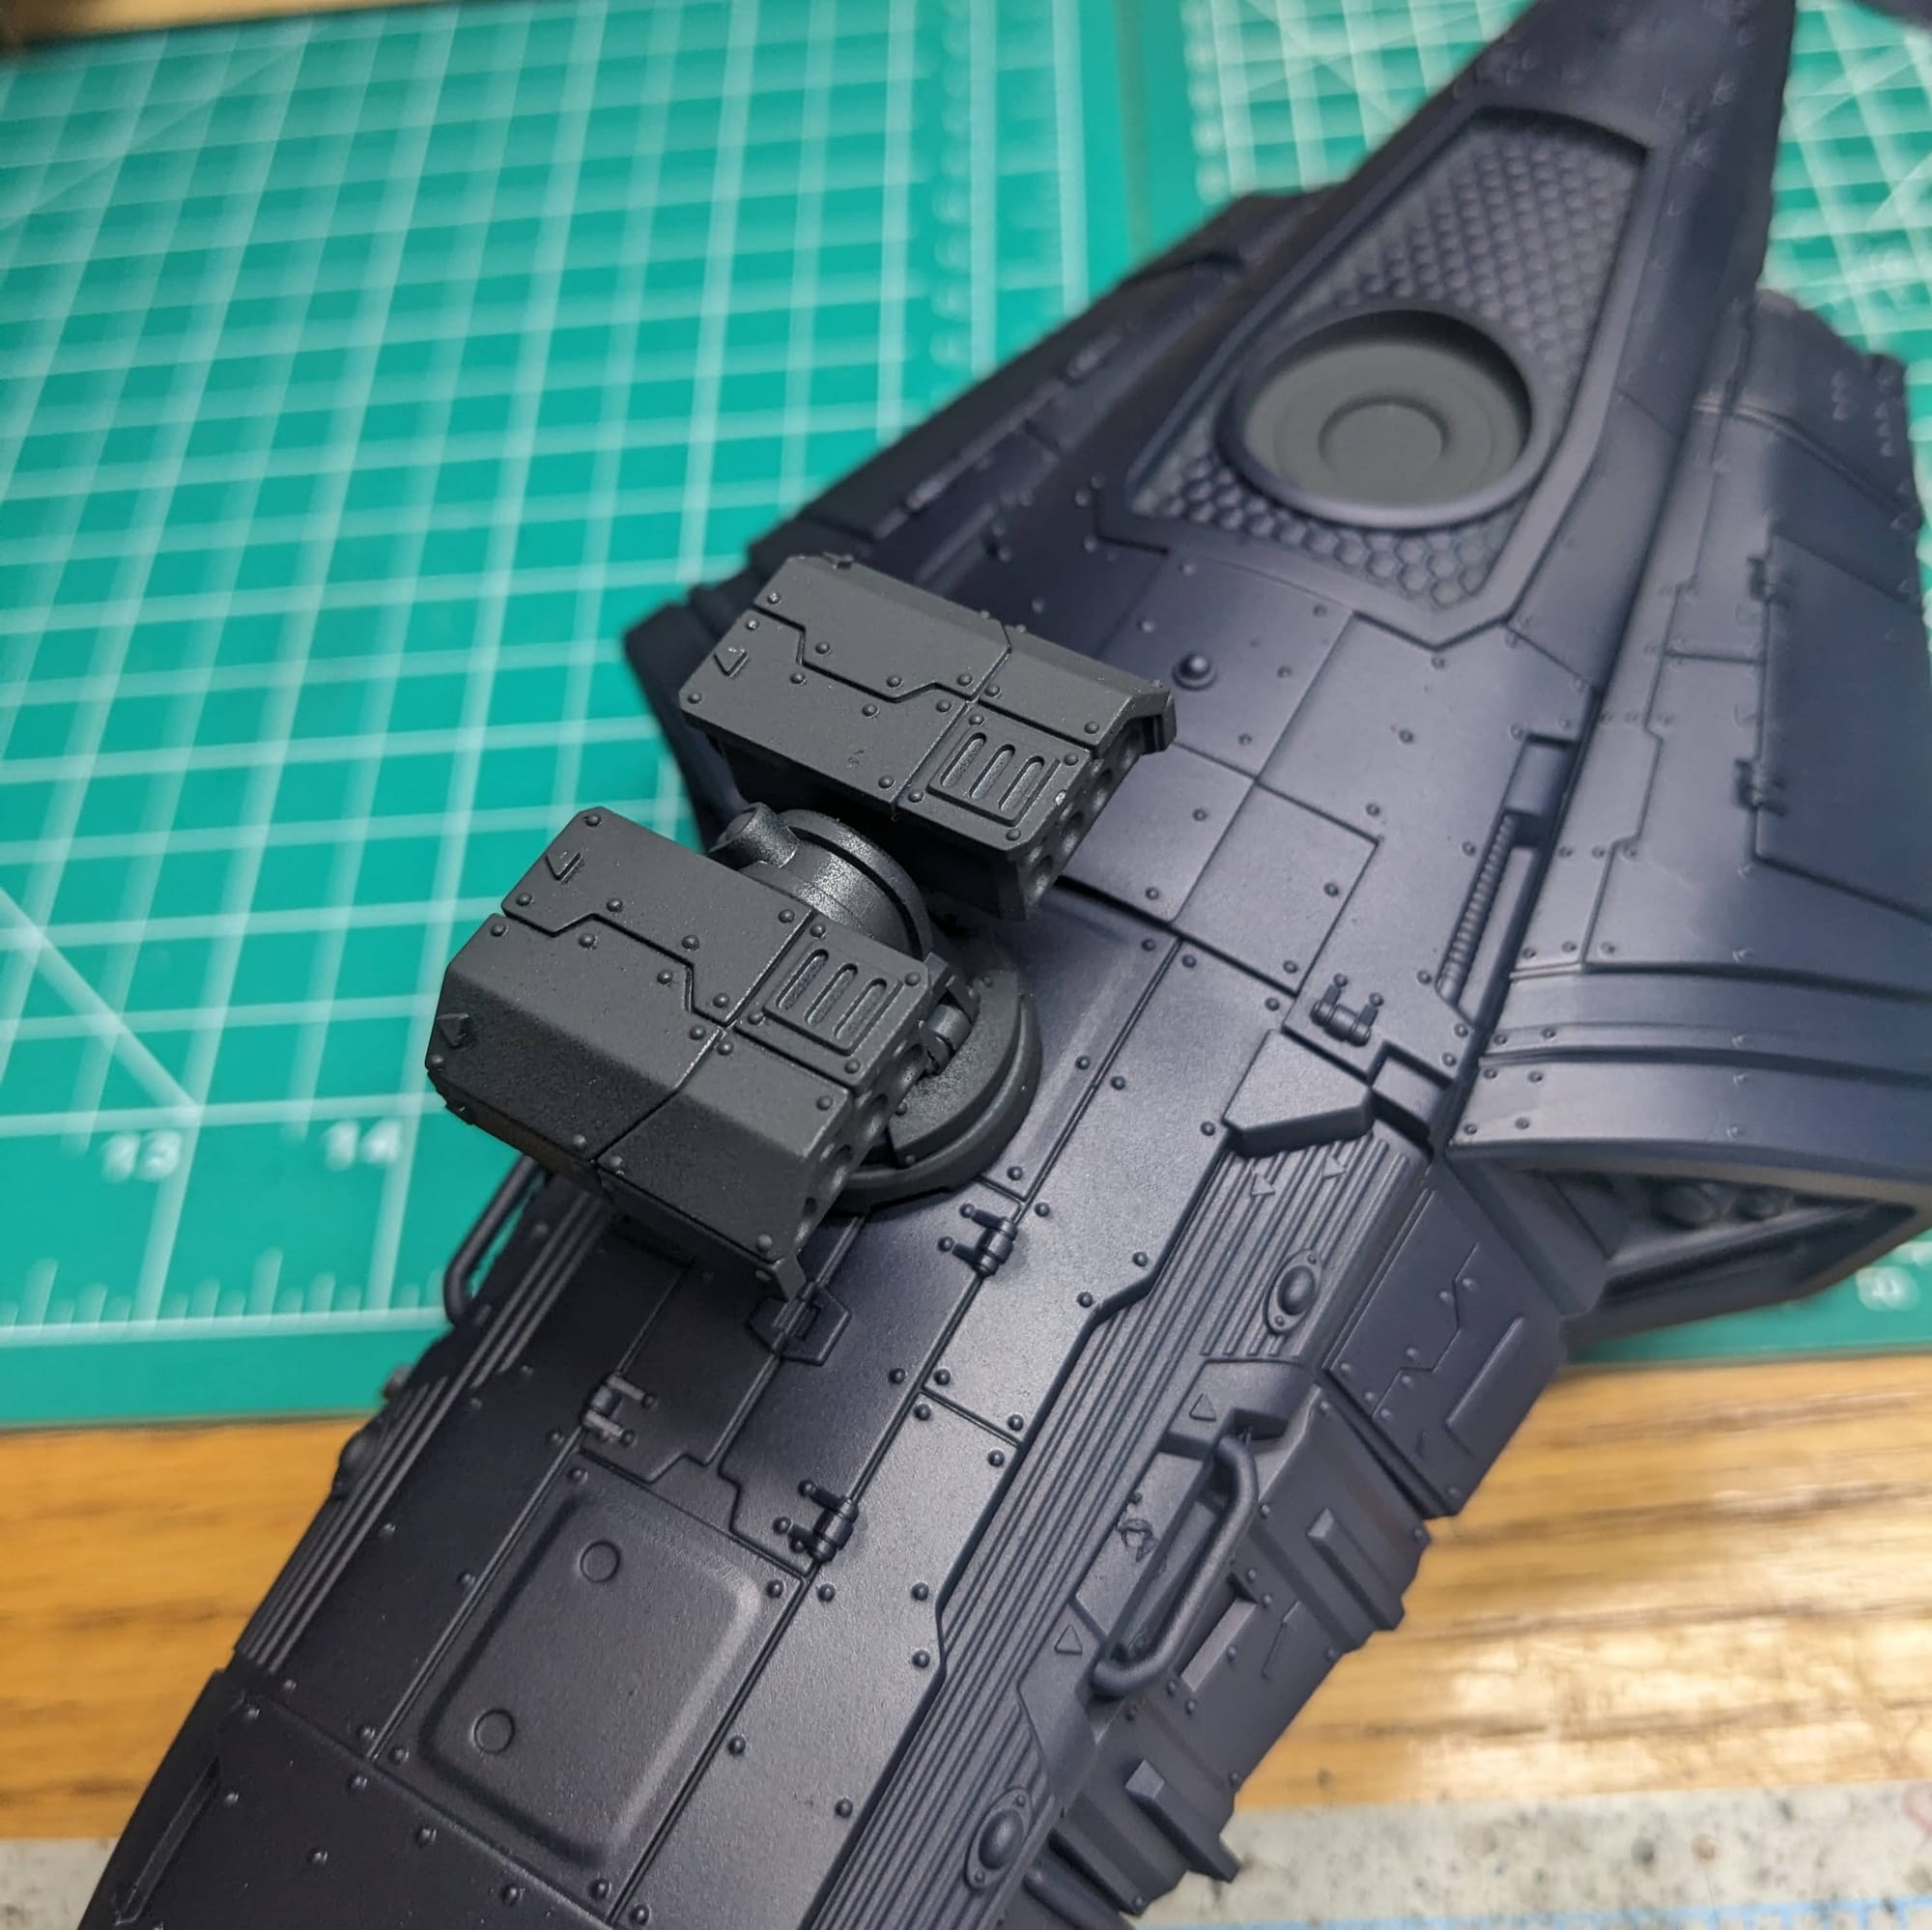
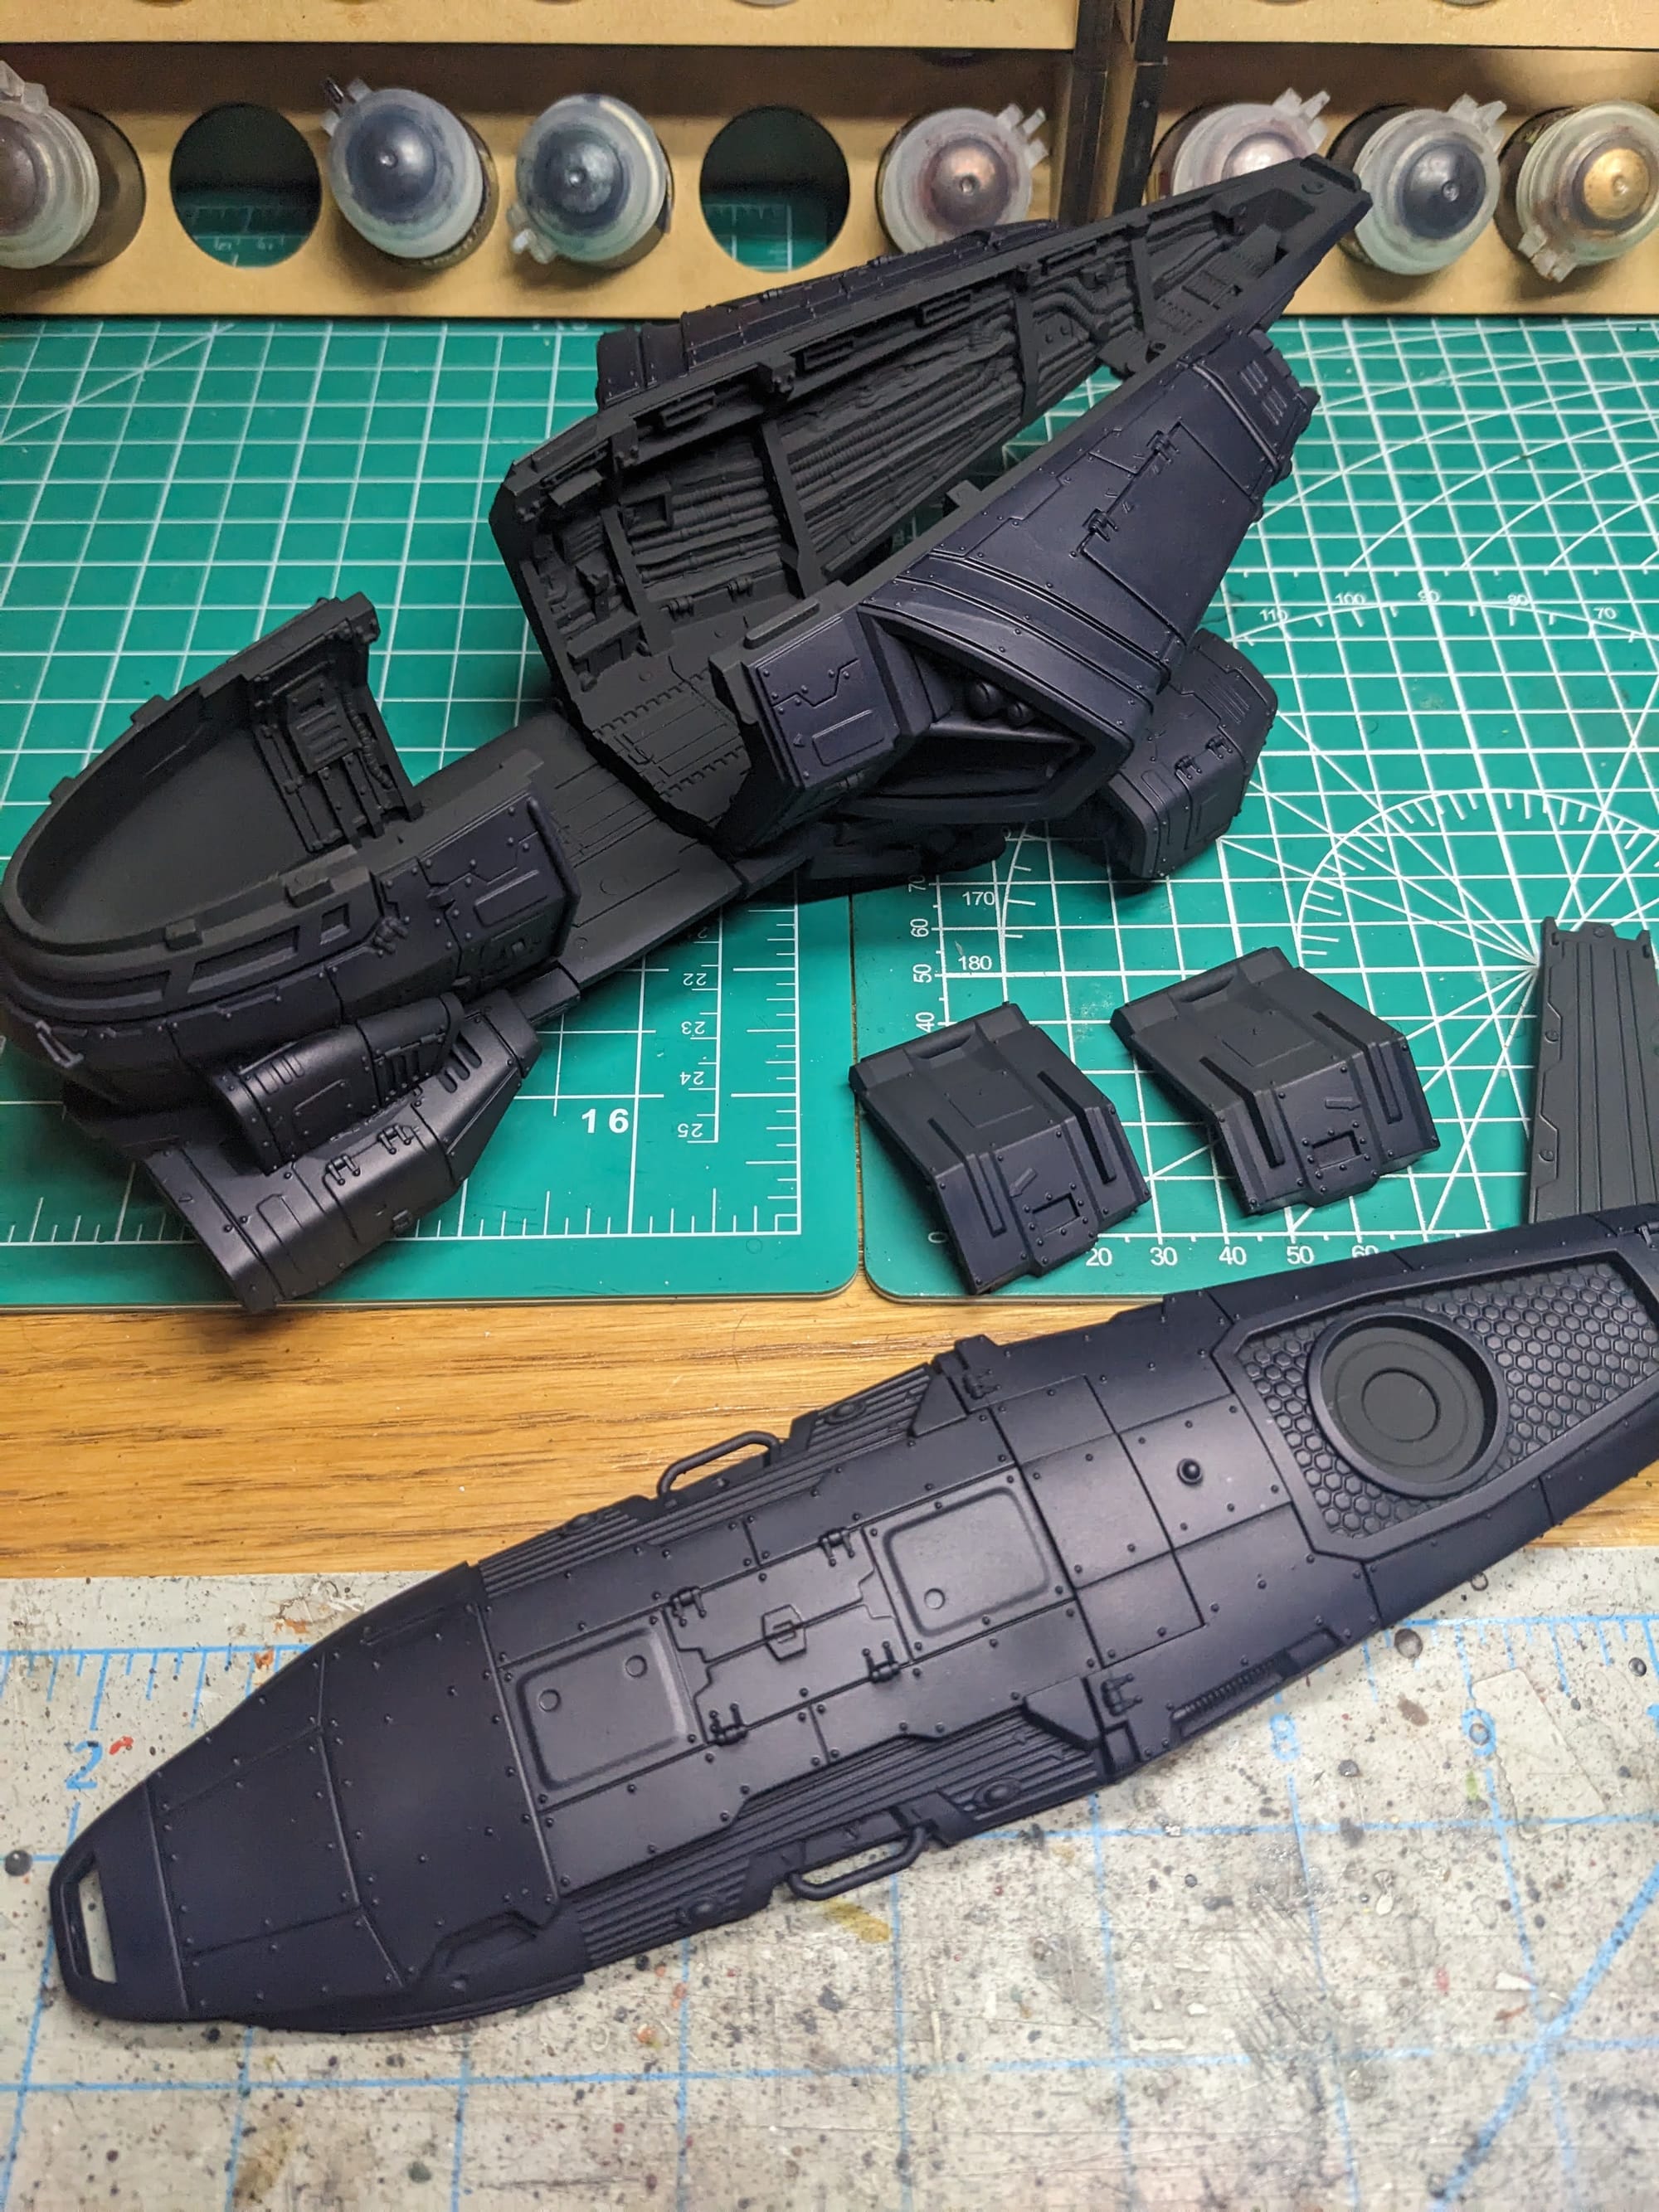
The flat black guns and interior standout against the dark blue dorsal side and engines.
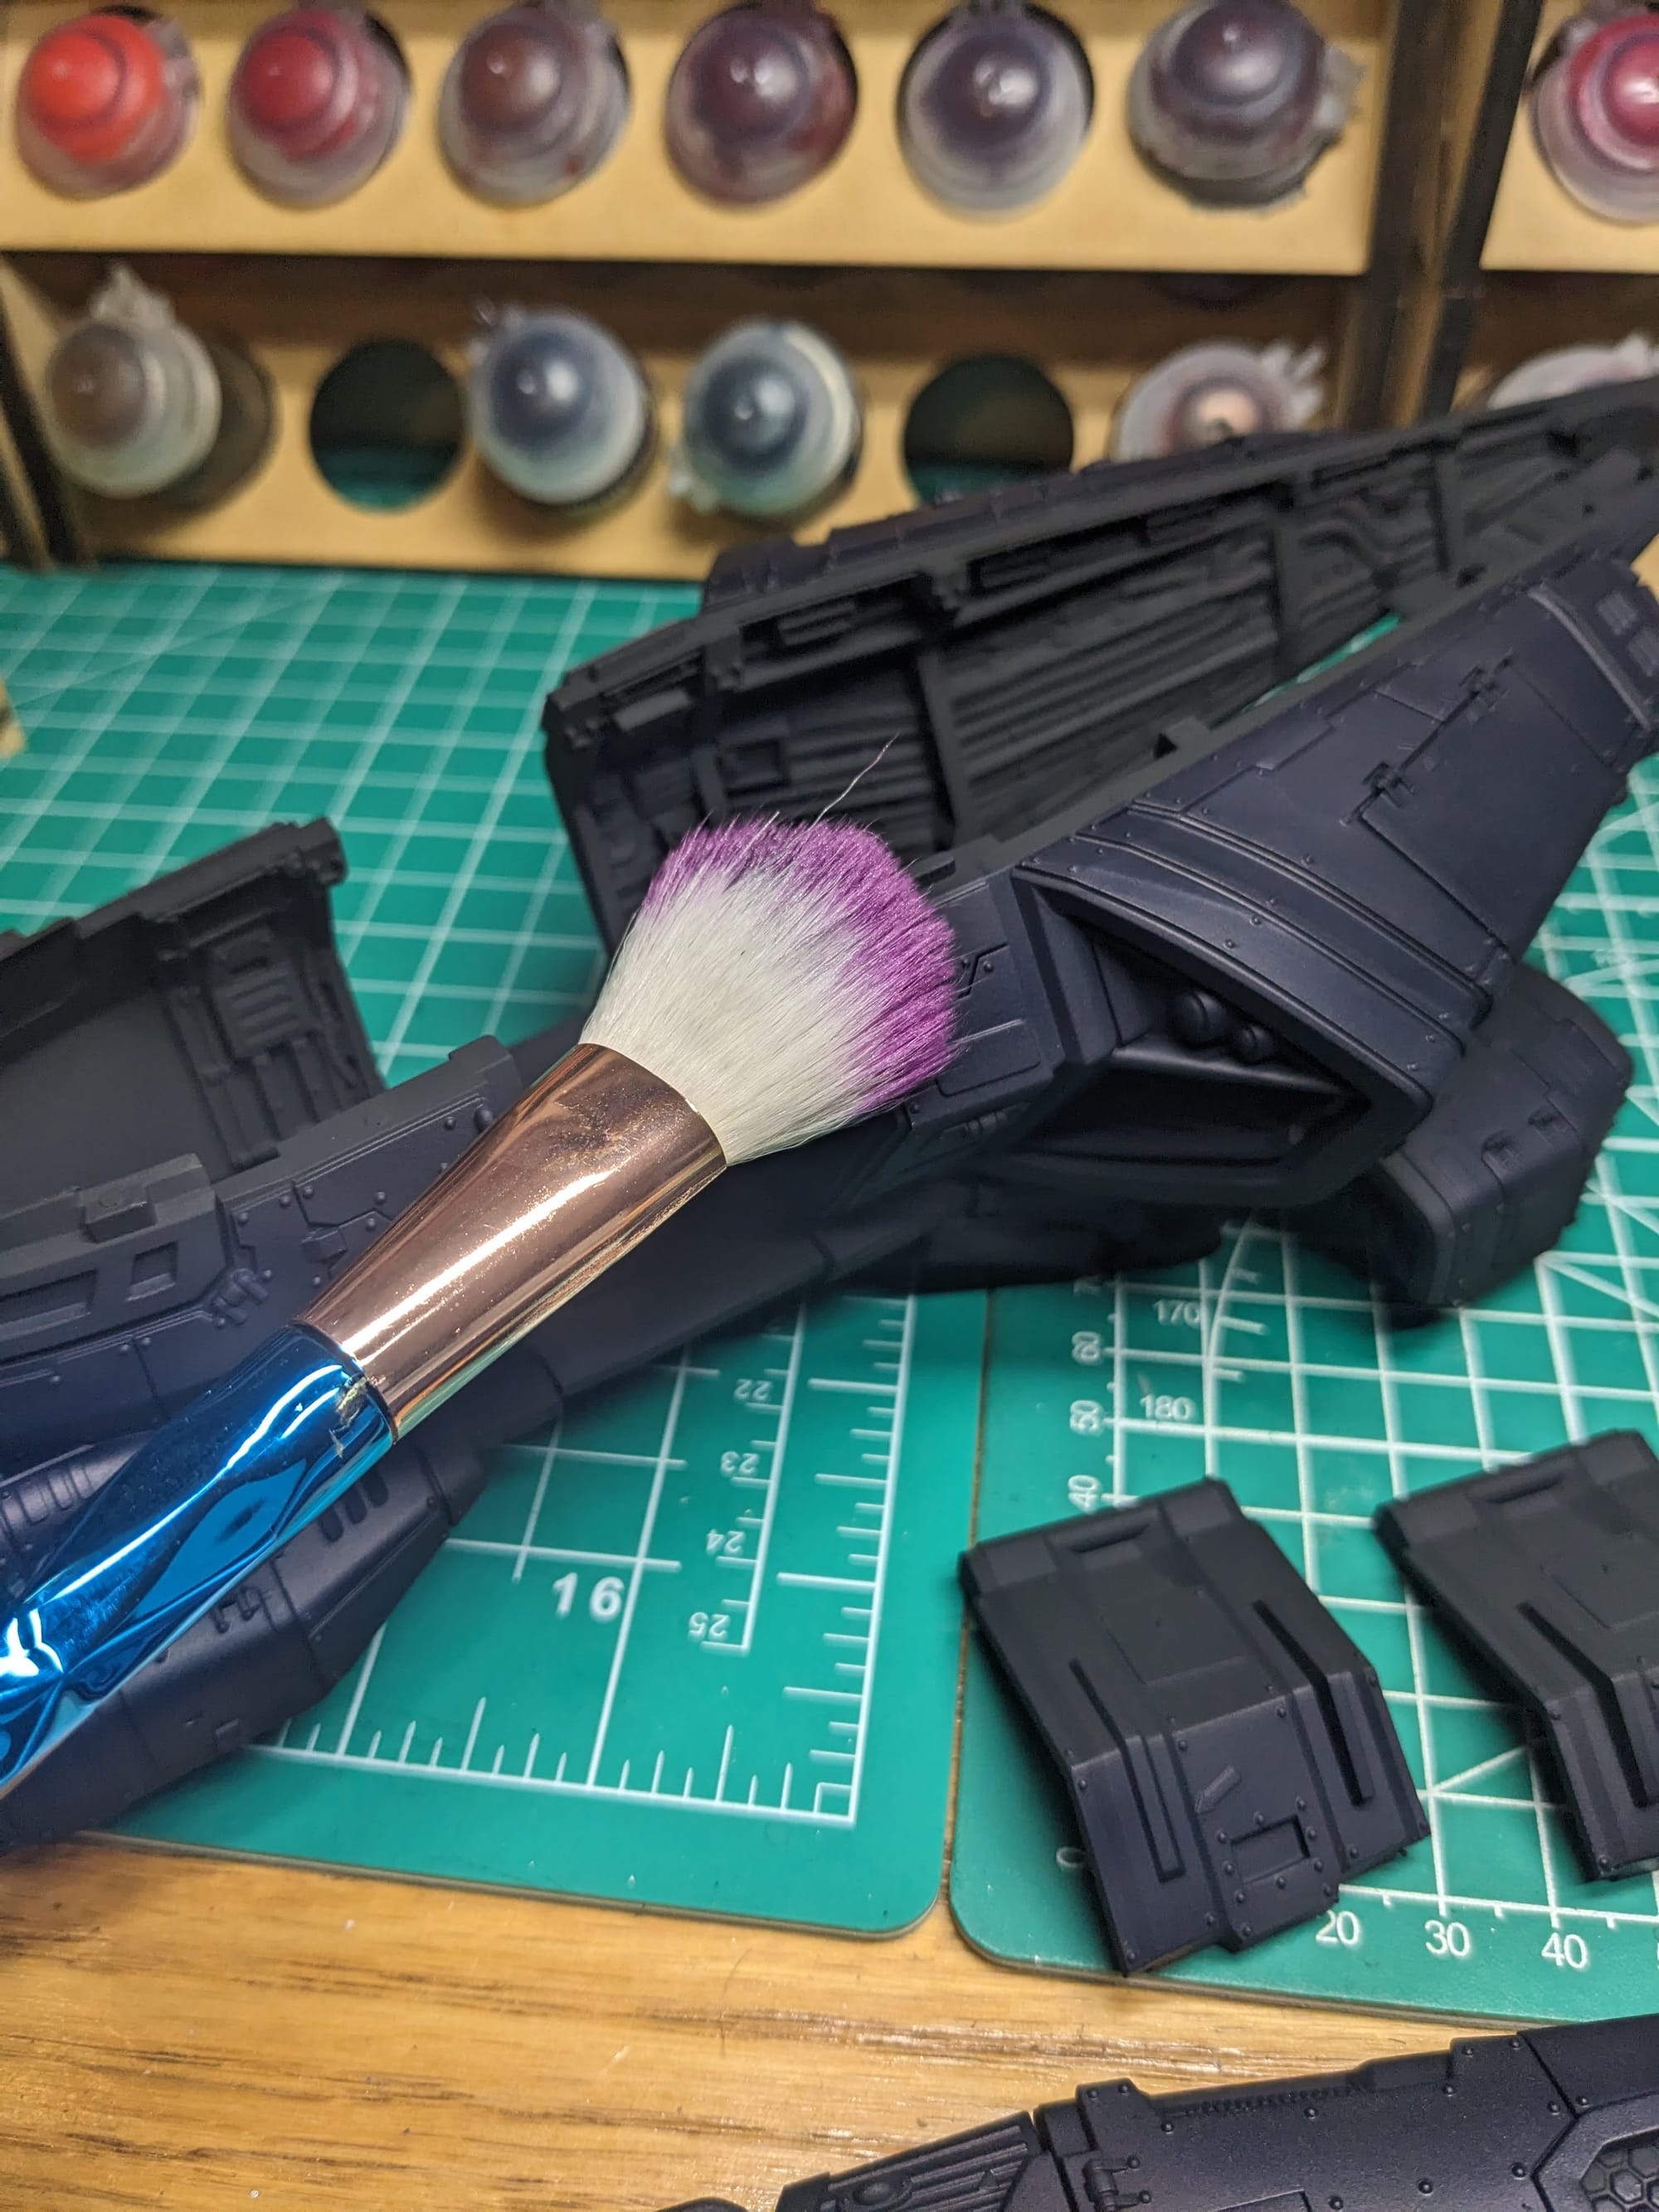
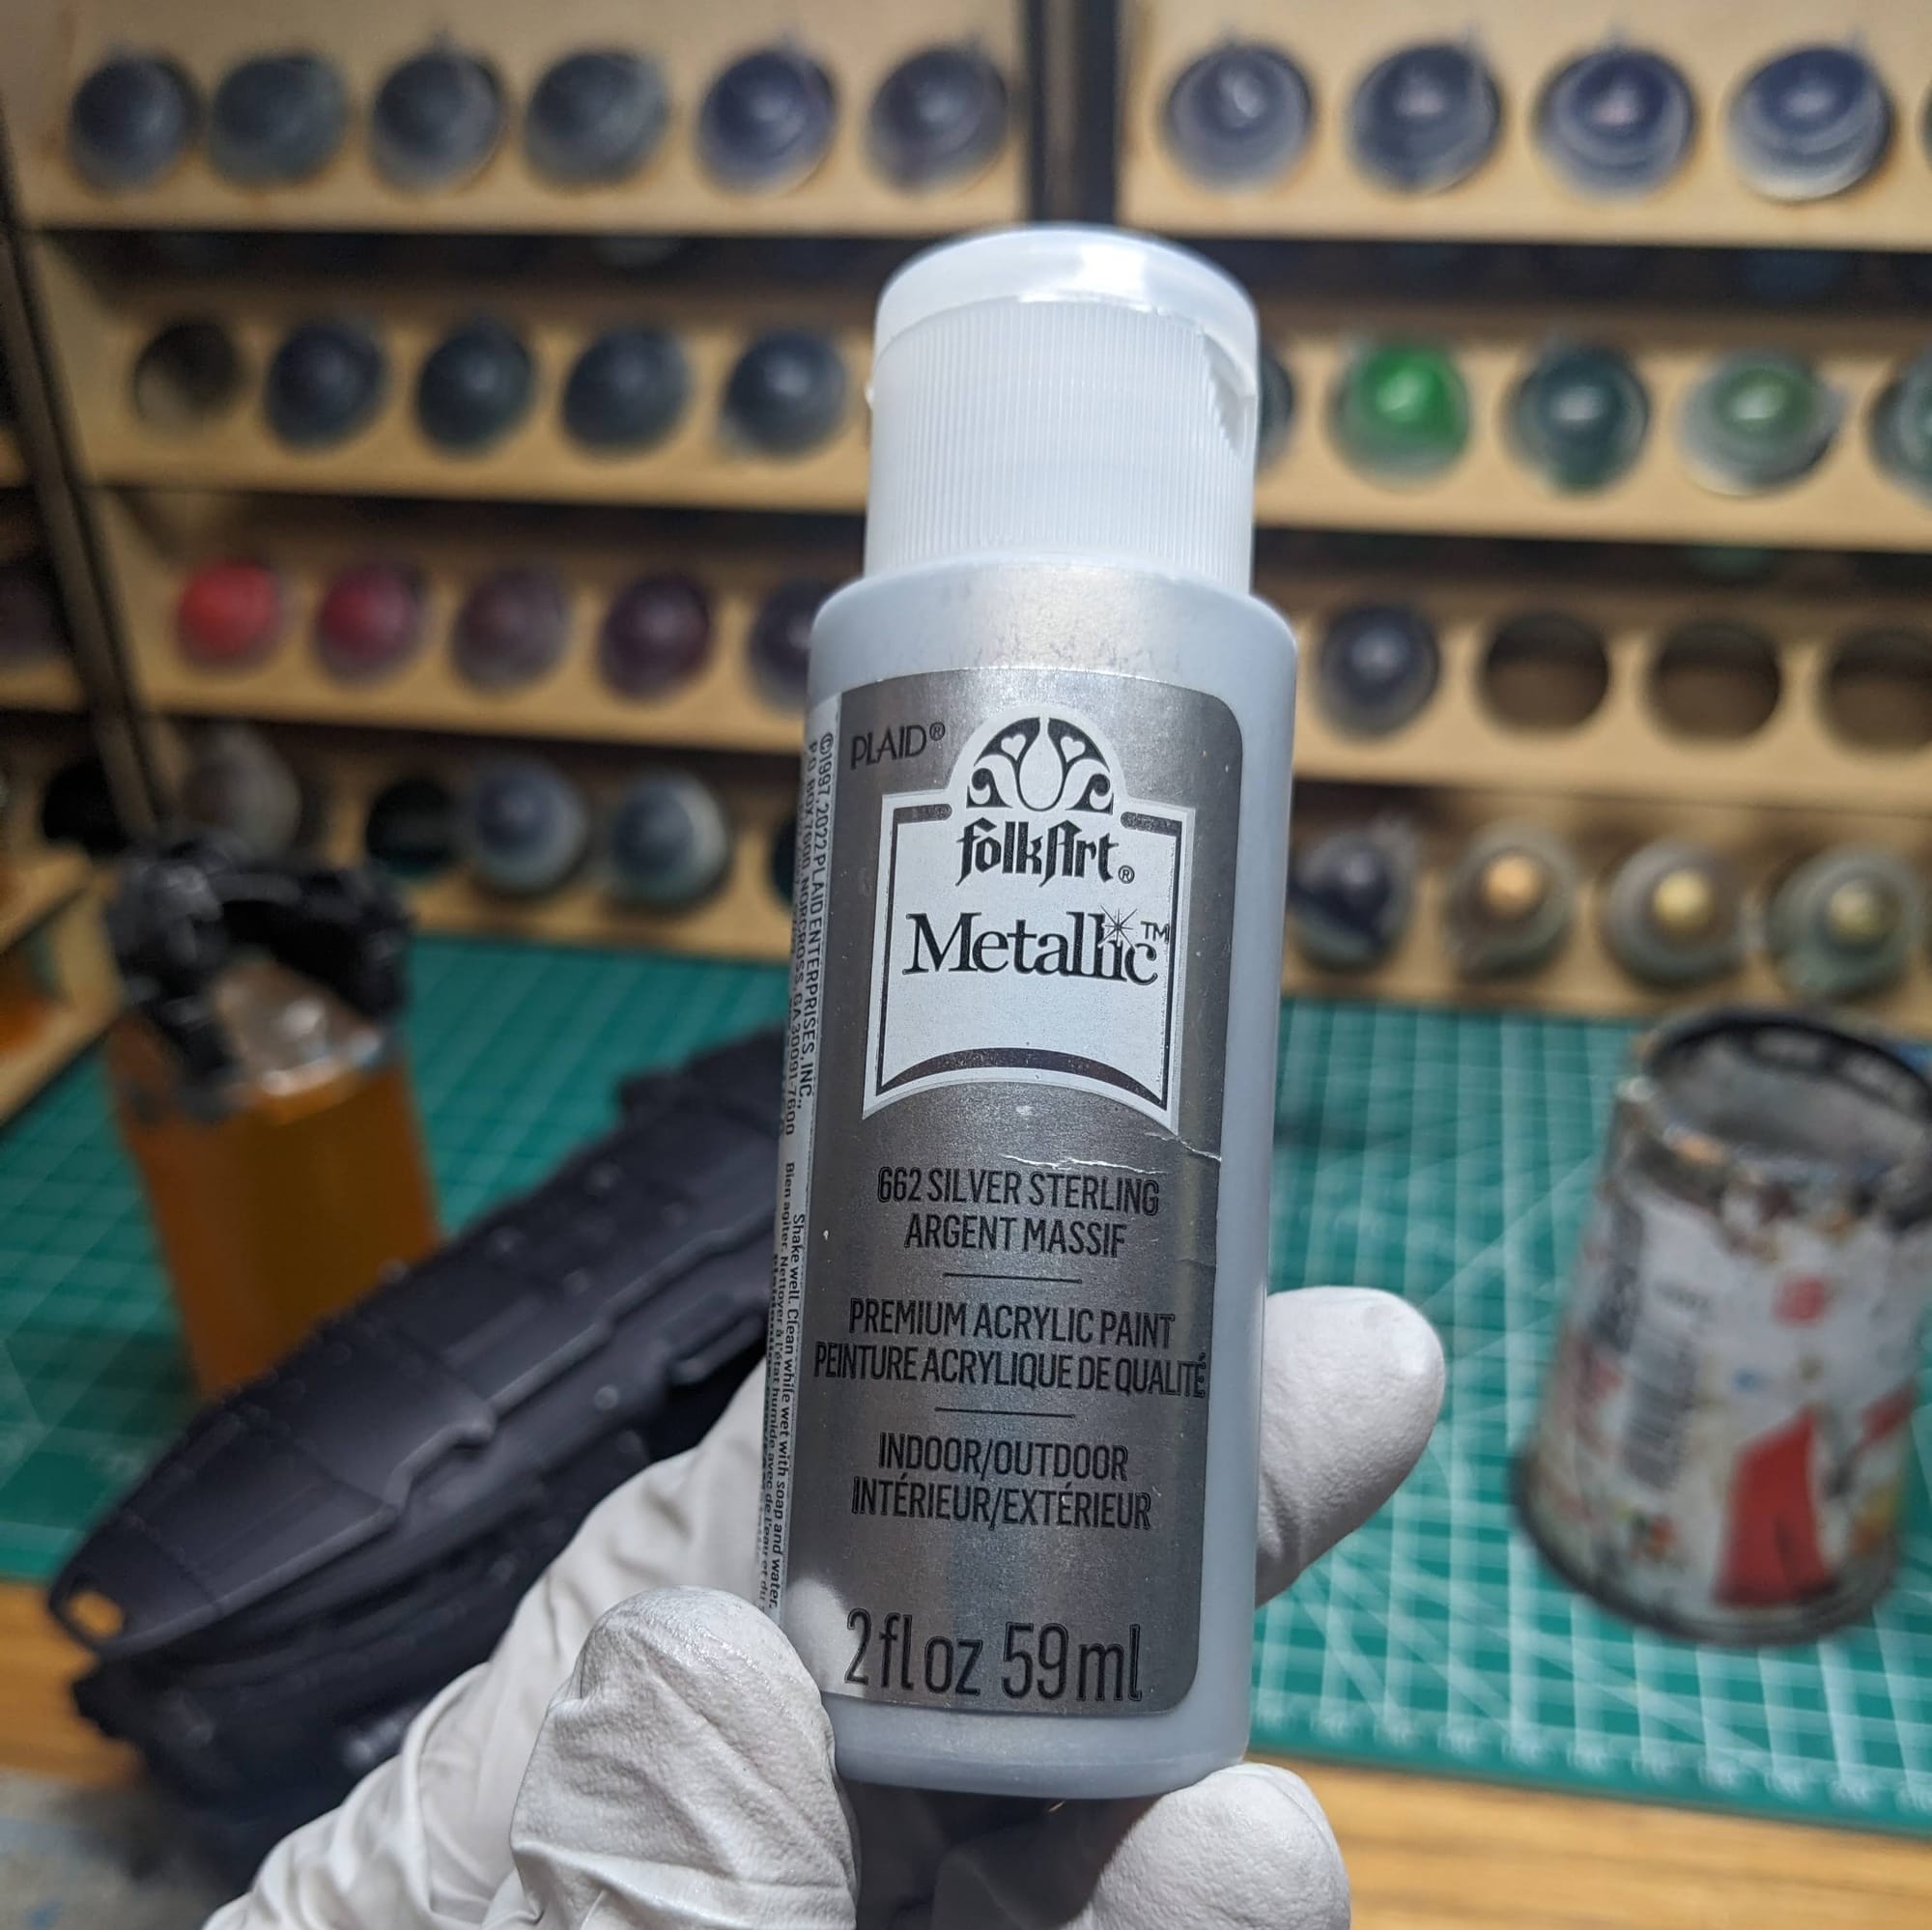
Next, I lightly dry brushed silver all over. A little silver, especially against a black palette, goes a long way. I used a big brush and also (gasp)... CRAFT PAINT!!! I actually use FolkArt Metallic 662 Silver Sterling for much of my terrain, as I use a lot of silver for metal terrain bits. For dry brushing, really any light silver will do, such as Citadel Necron Compund. Since I used silver in volume, the Folkart is far more economical. I went over the entirety of the model, weapons, pilots, and dashboard evenly, which accented all of the hard edges.
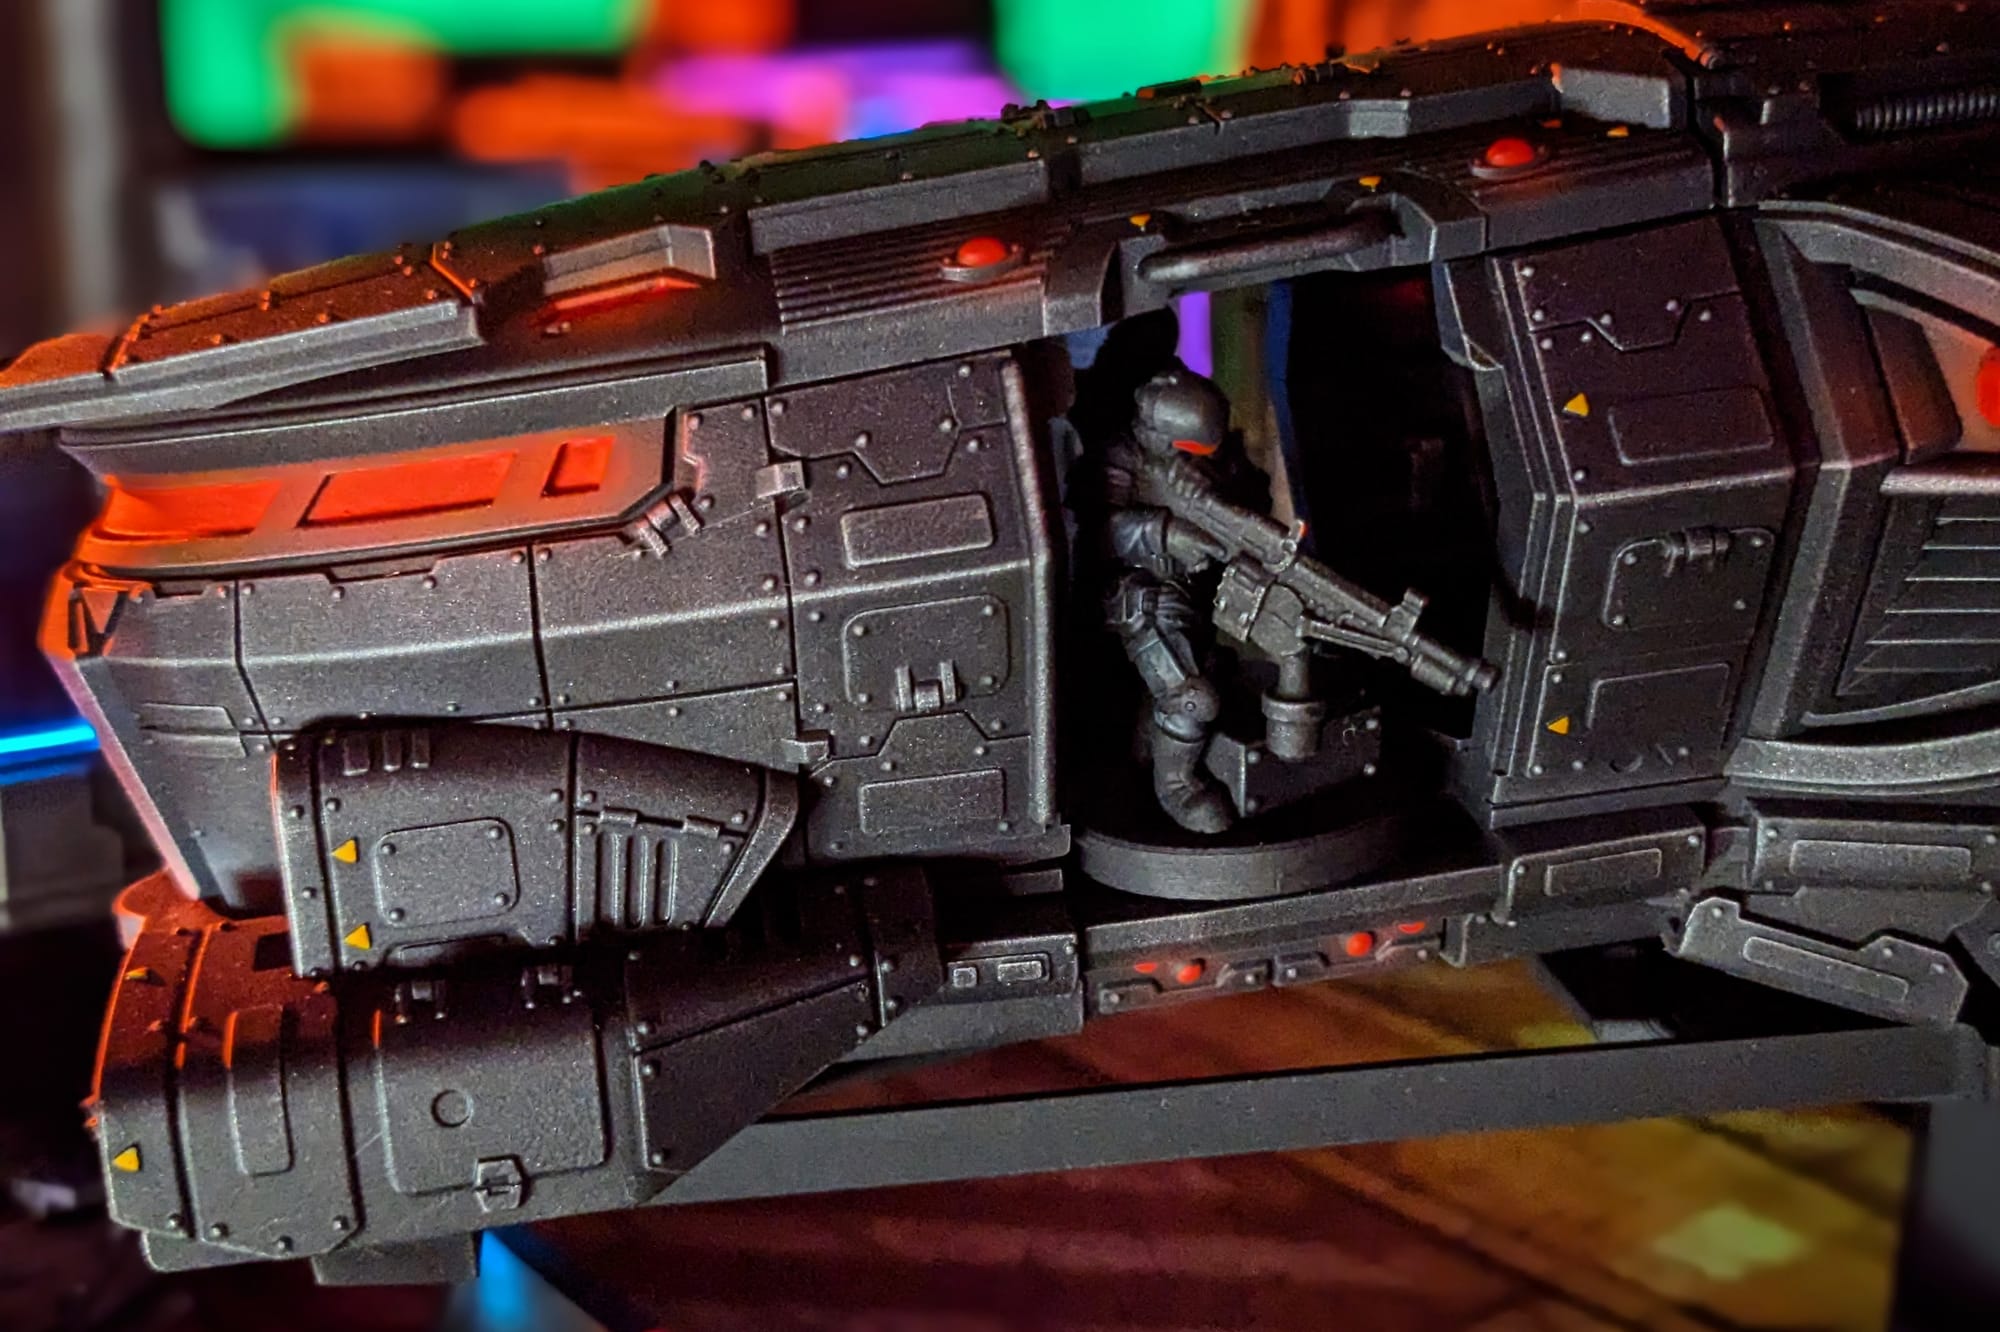
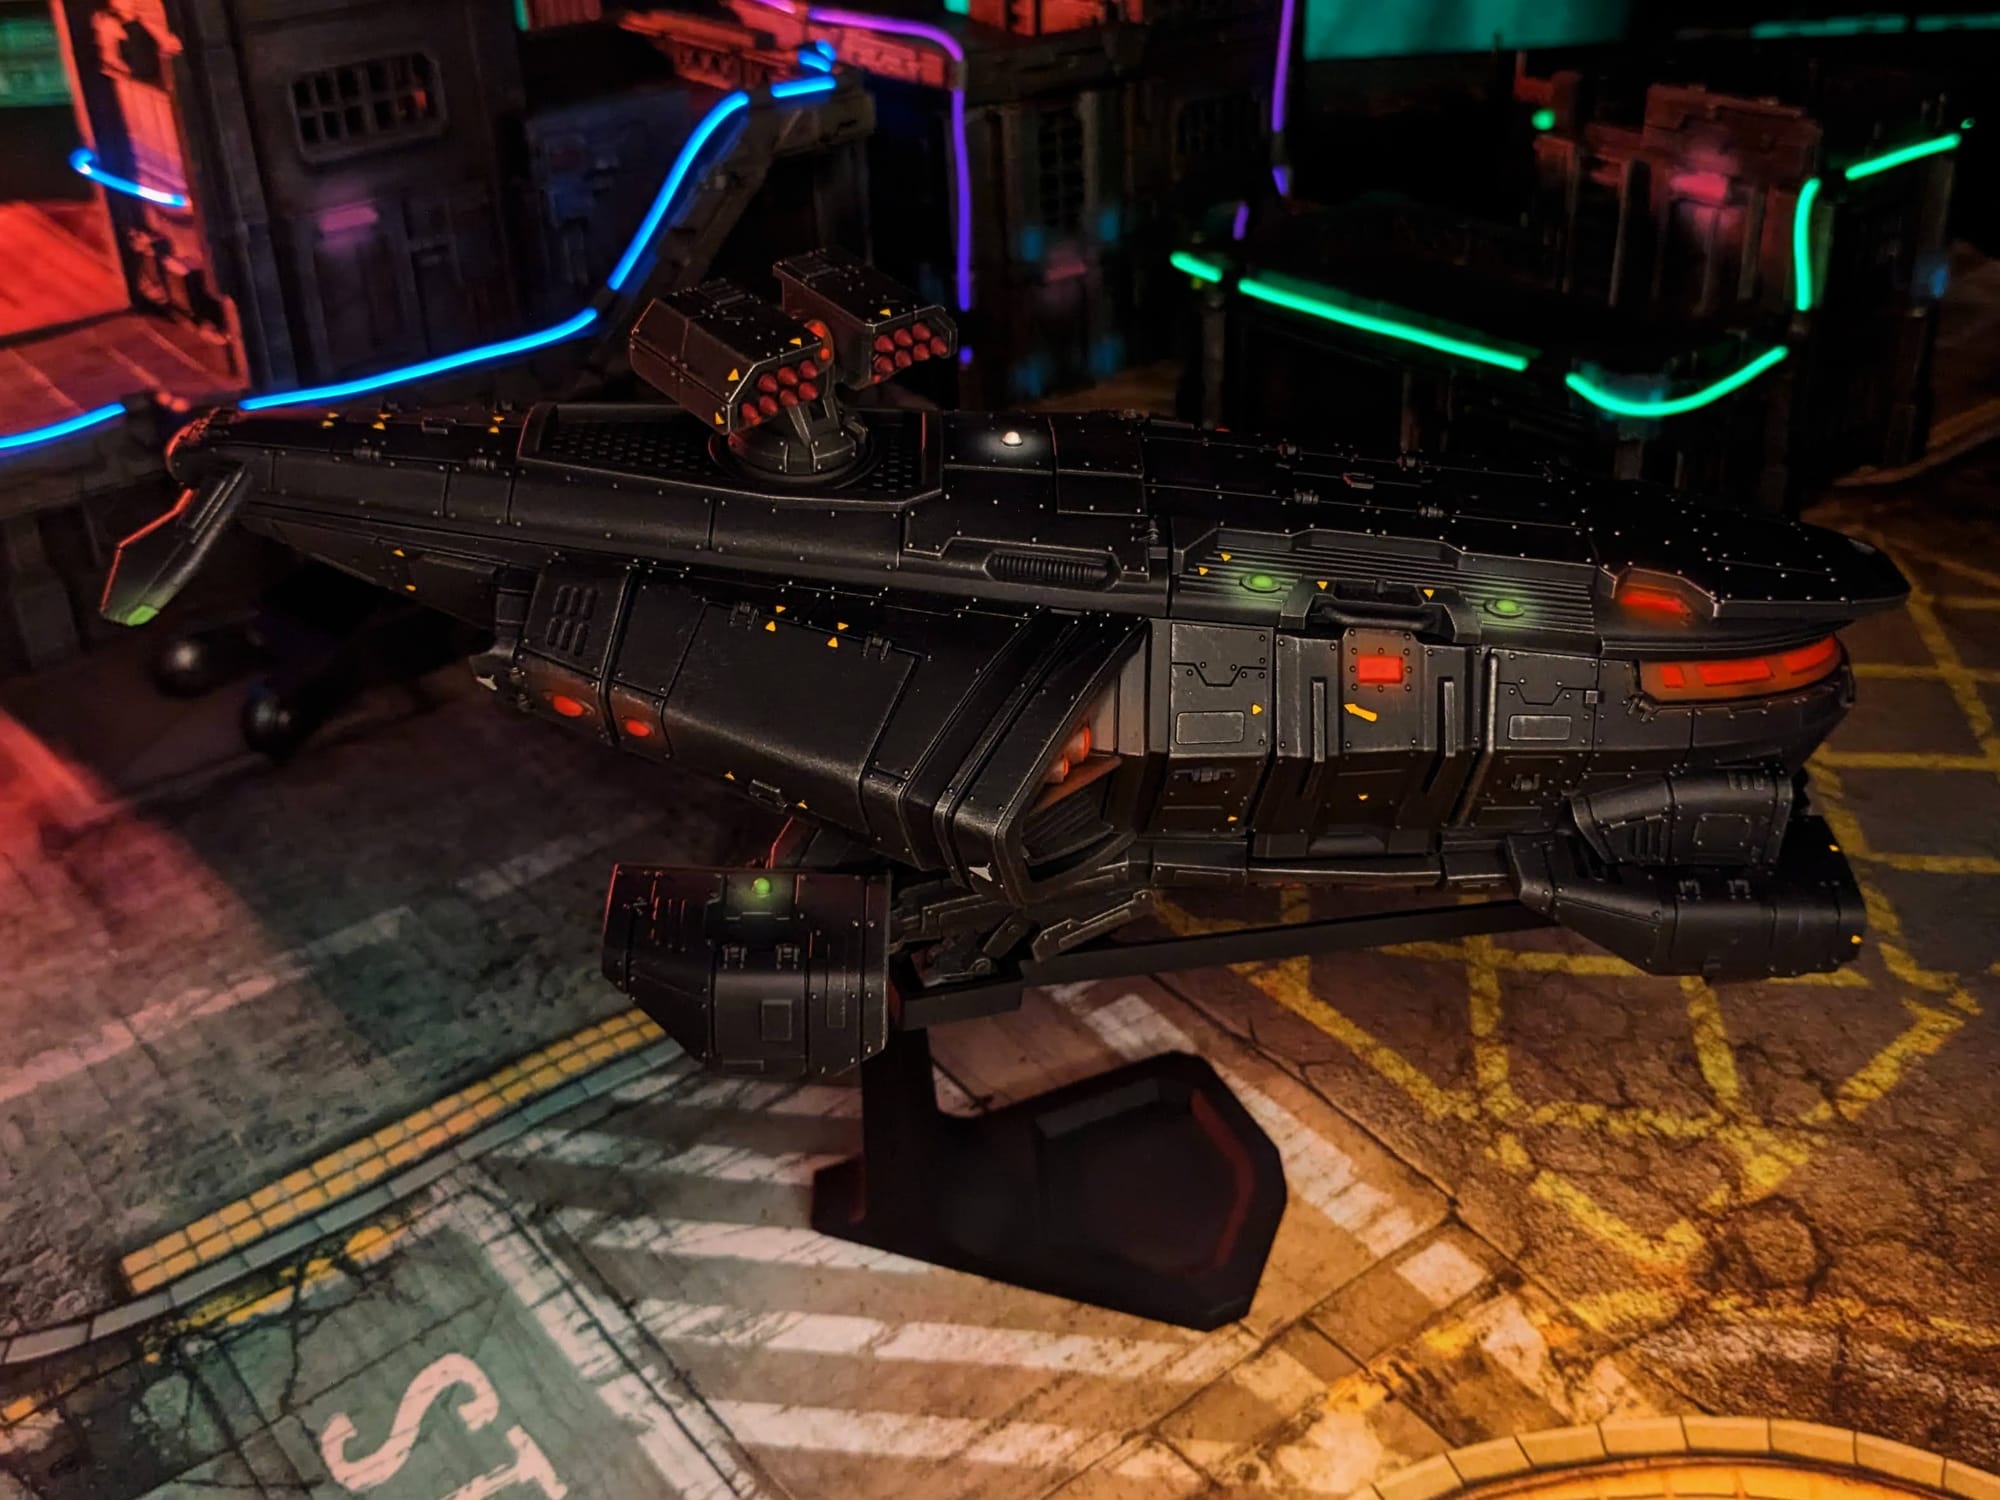
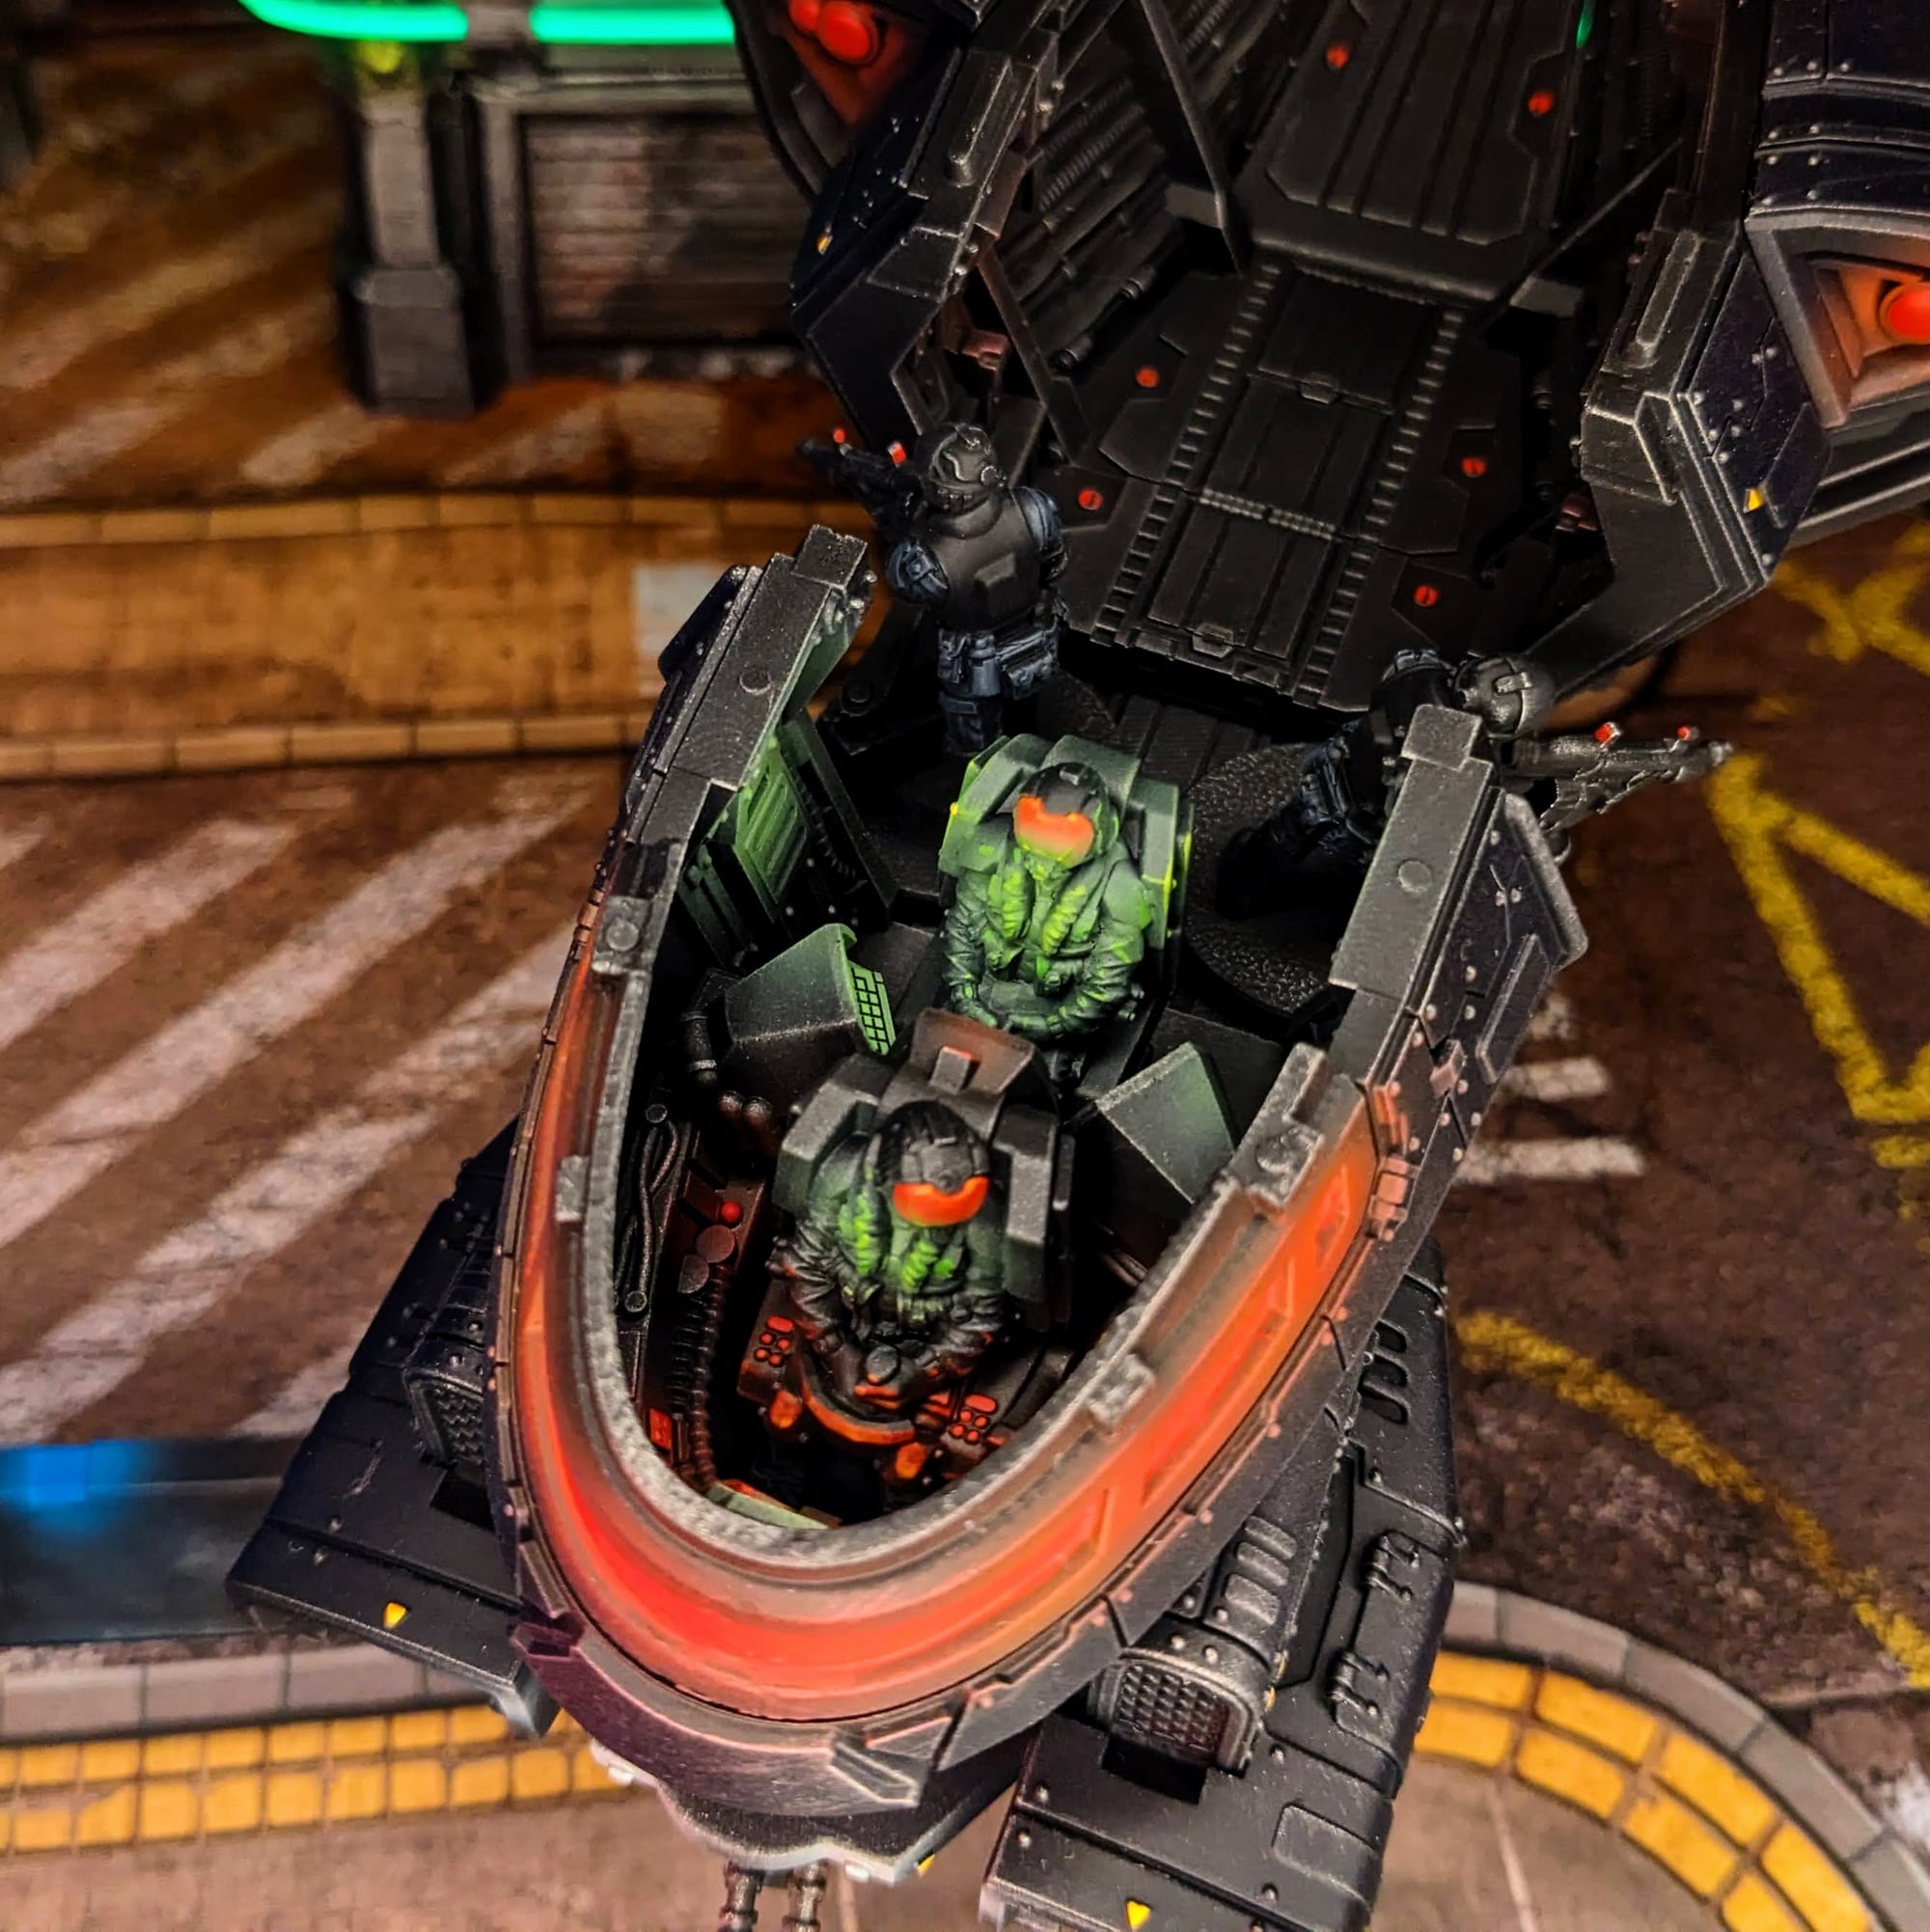
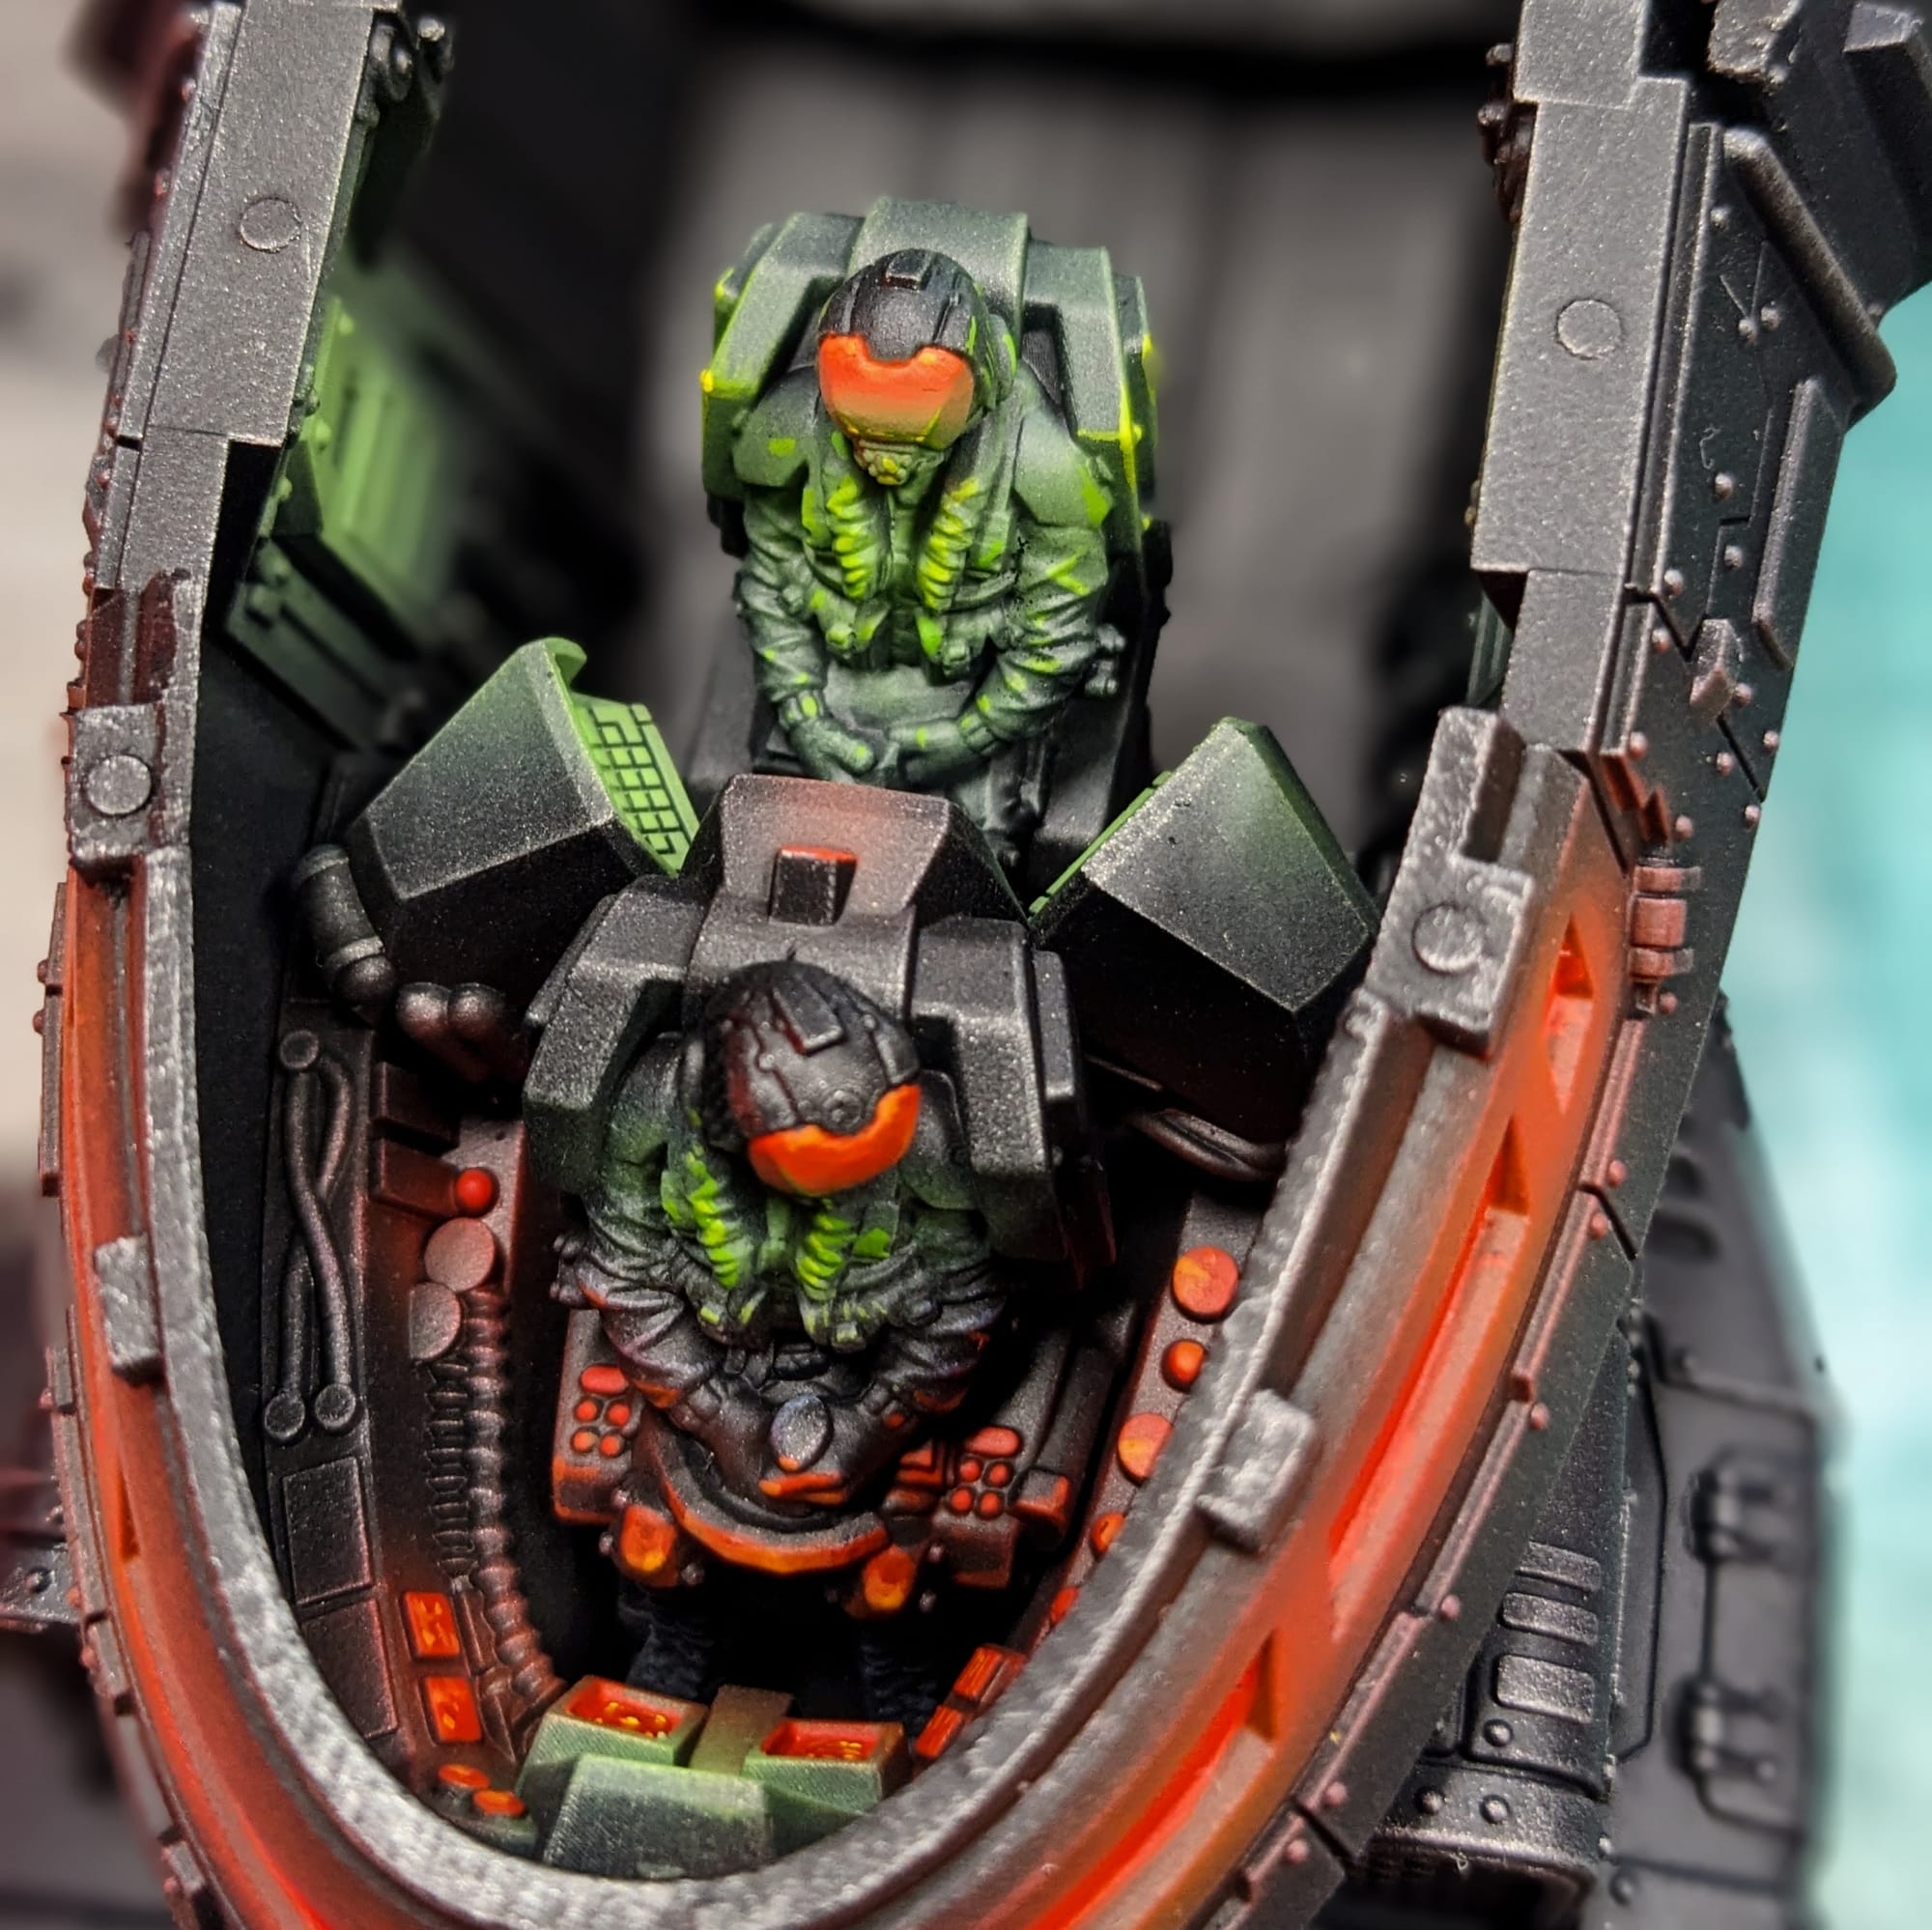
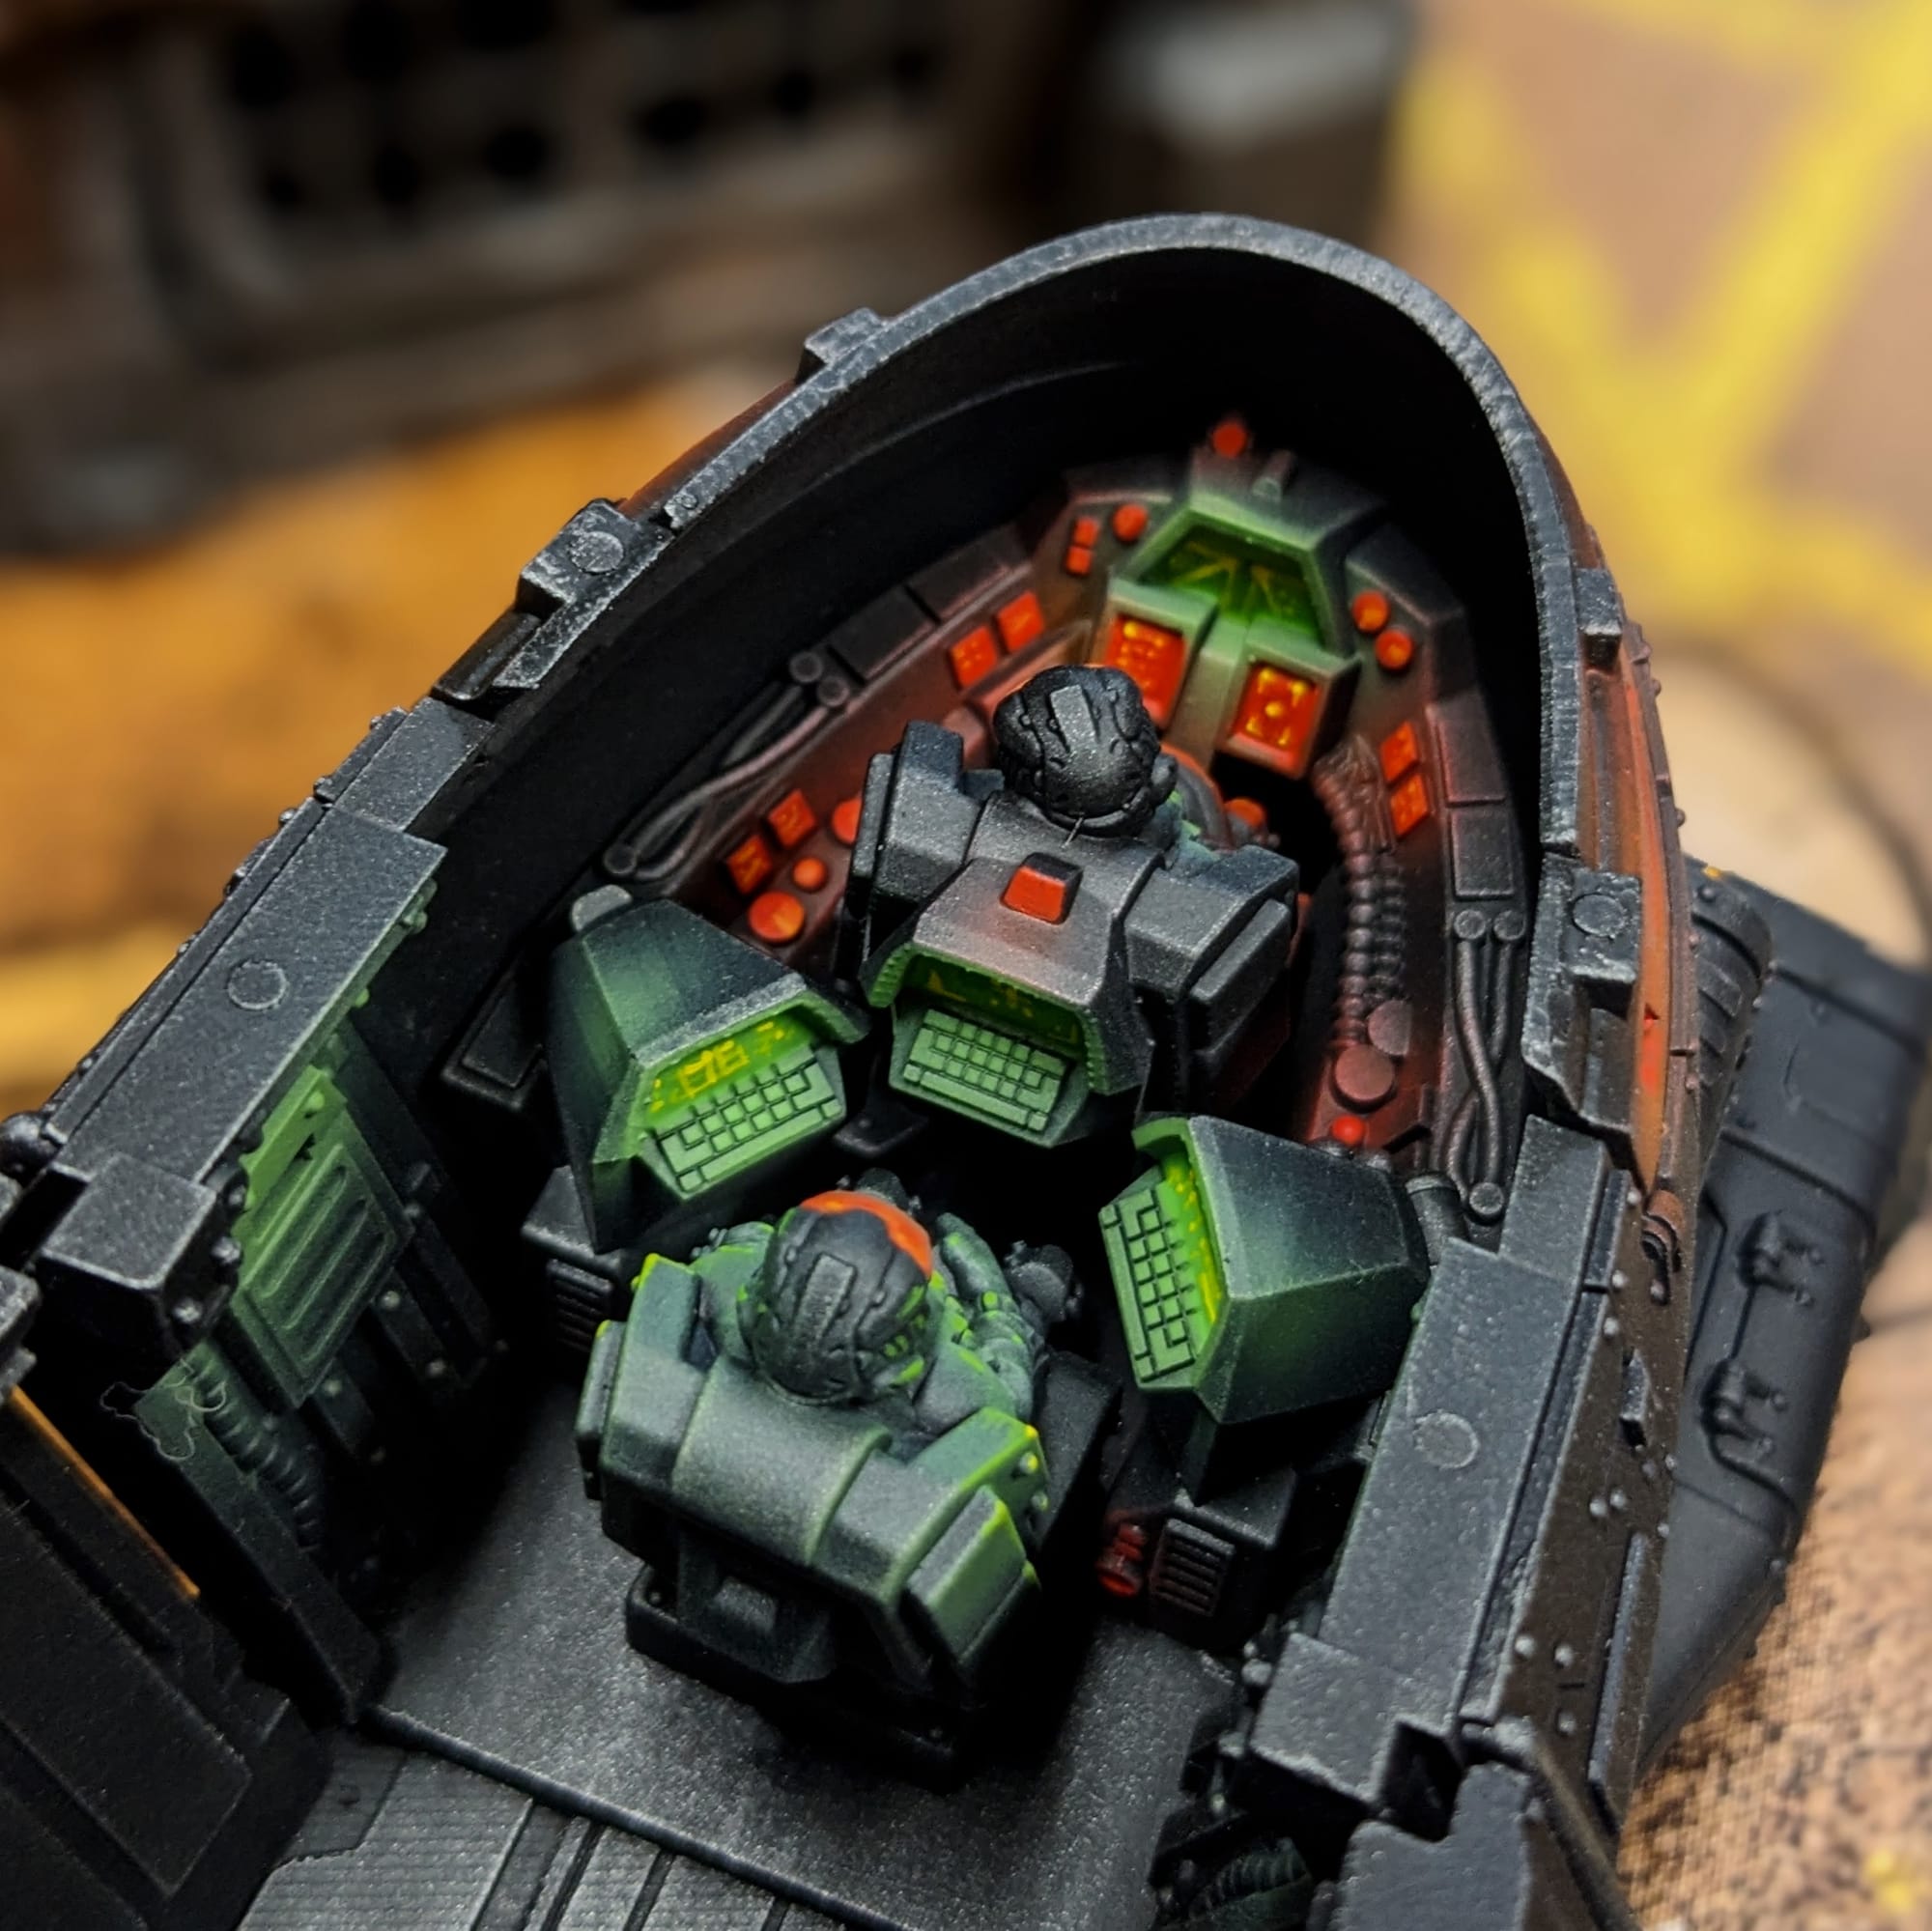
Next, it was on to the colors, of which there were few. Since it's supposed to be a military vehicle, I wanted to emphasize its daunting persona with red lights. Additionally, since it's an aerial craft, I decided to utilize the red & green navigation light arrangement you find on modern aircraft. The interior cockpit, which has the most detail, would be a combination of red and green control panels and lights, much like you'd find on an attack helicopter, or submarine, or AC-130 gunship in any action movie.
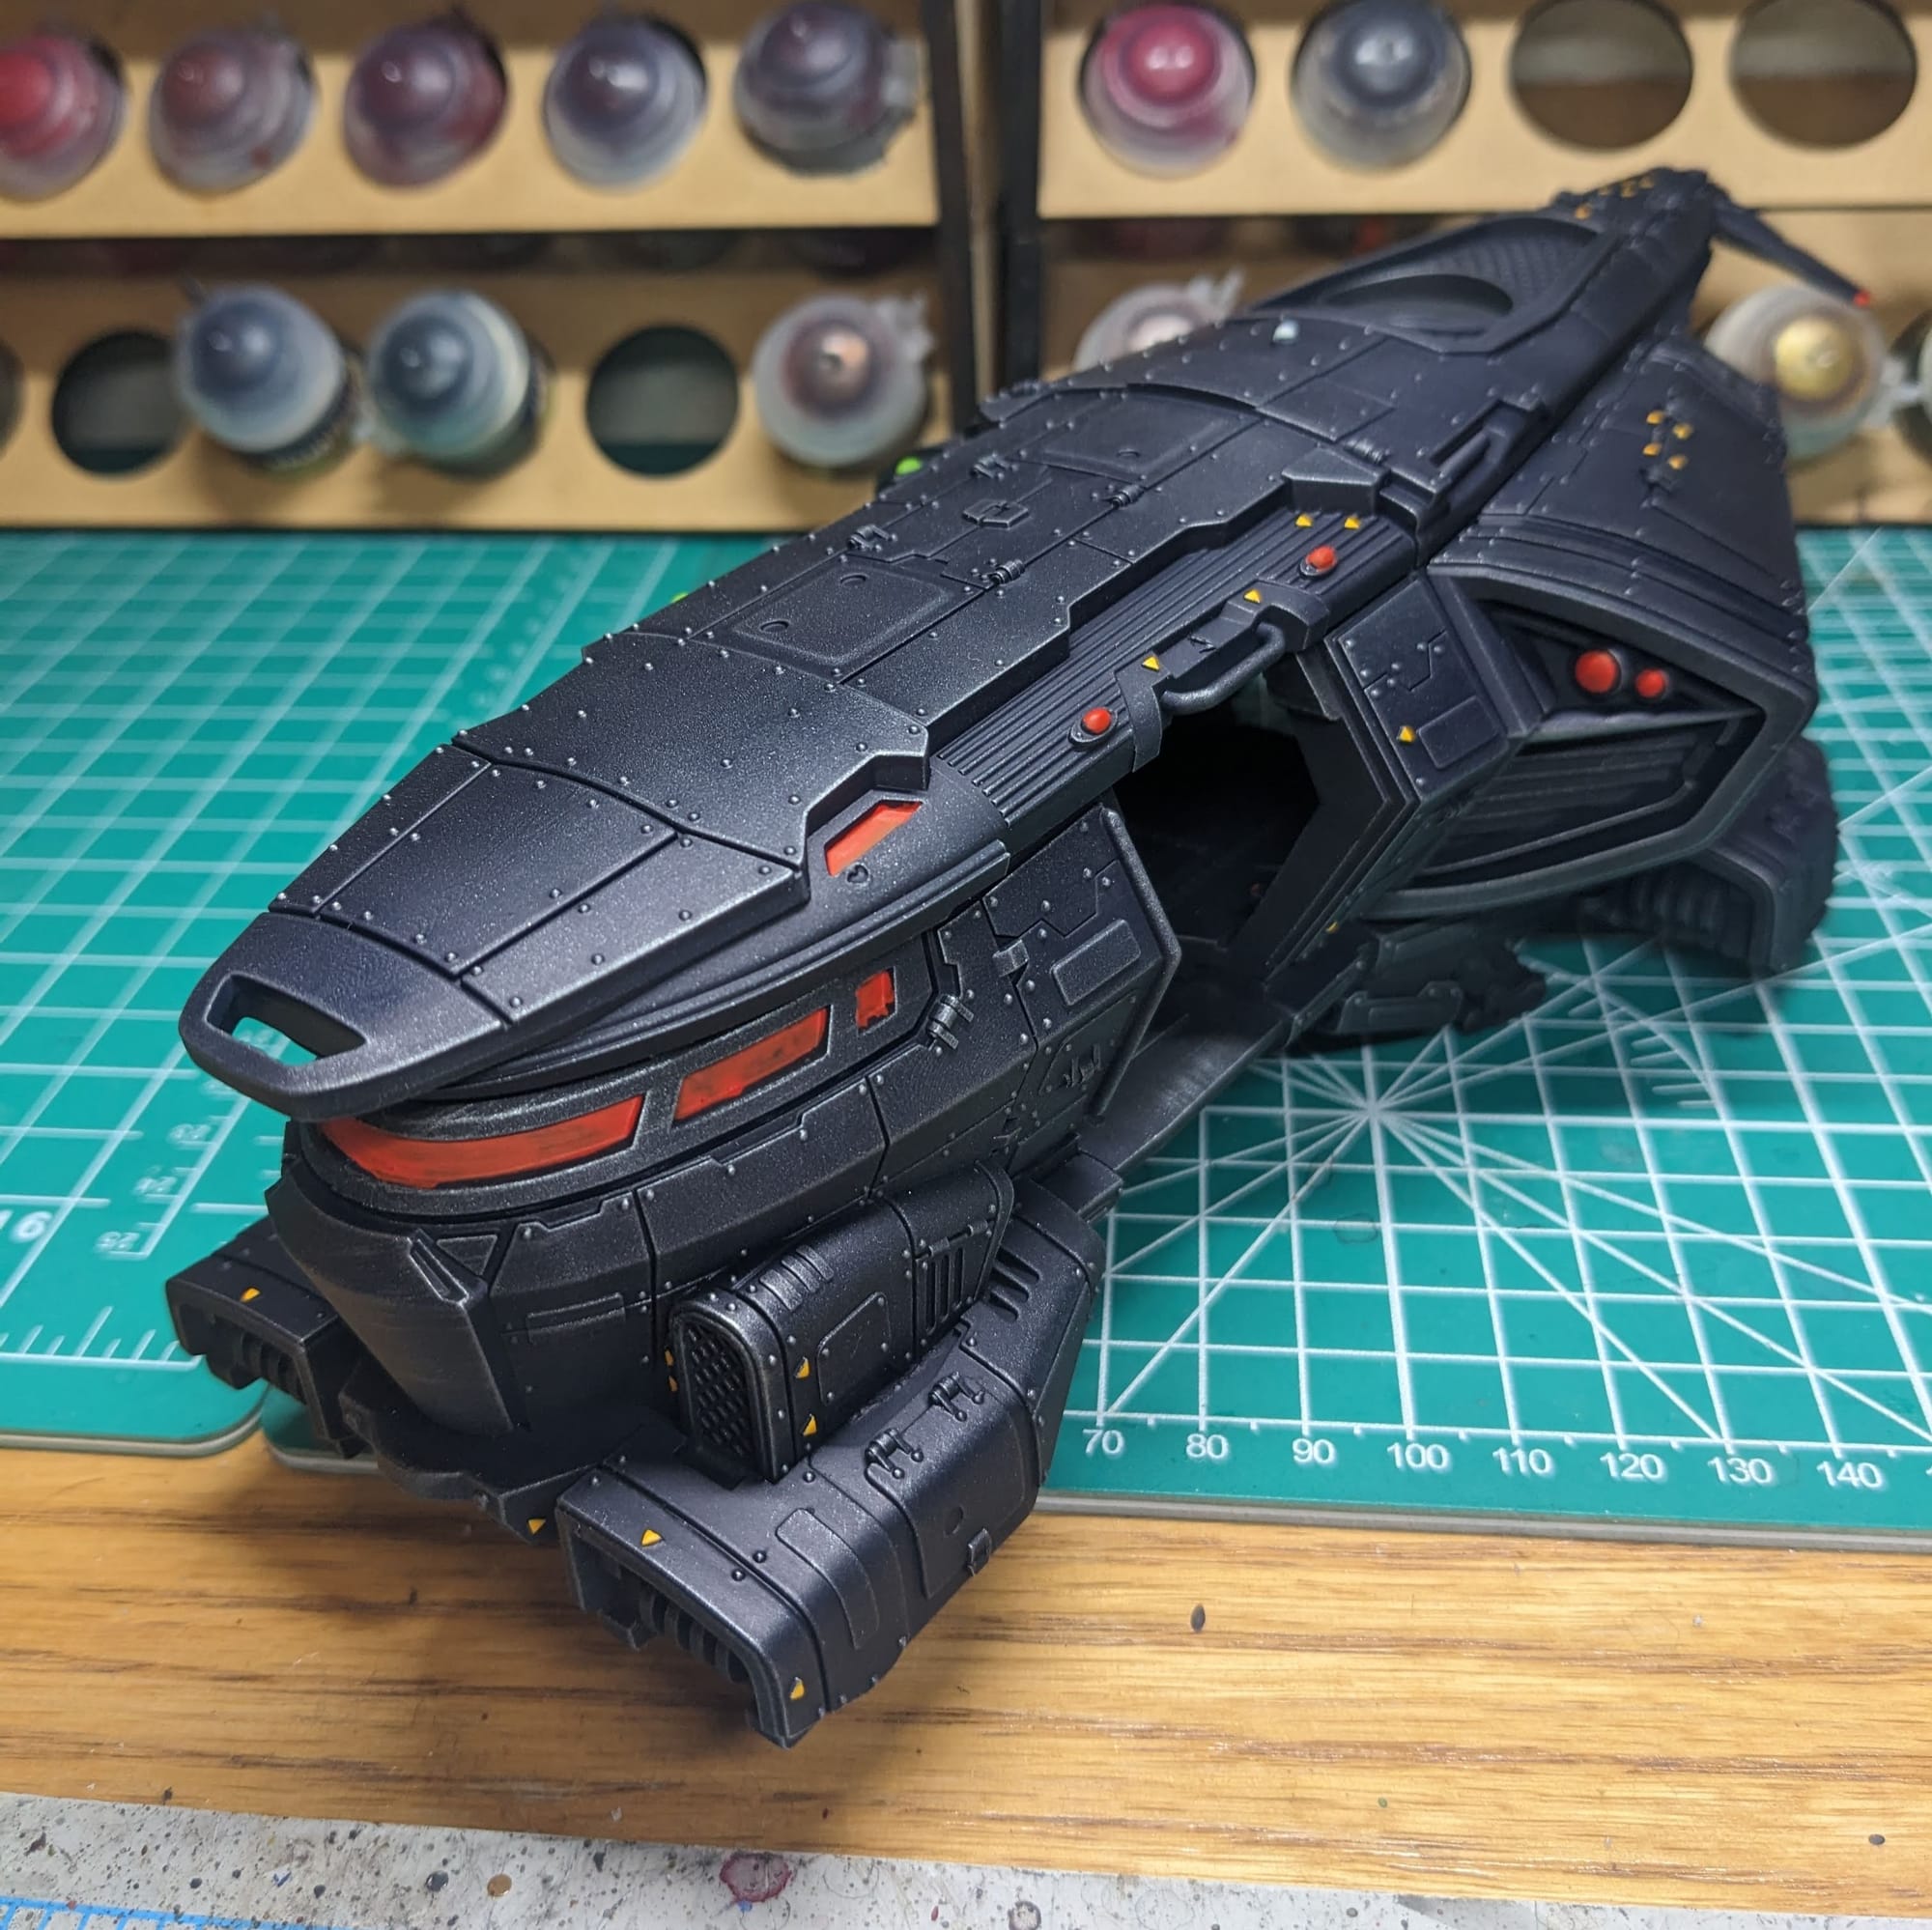
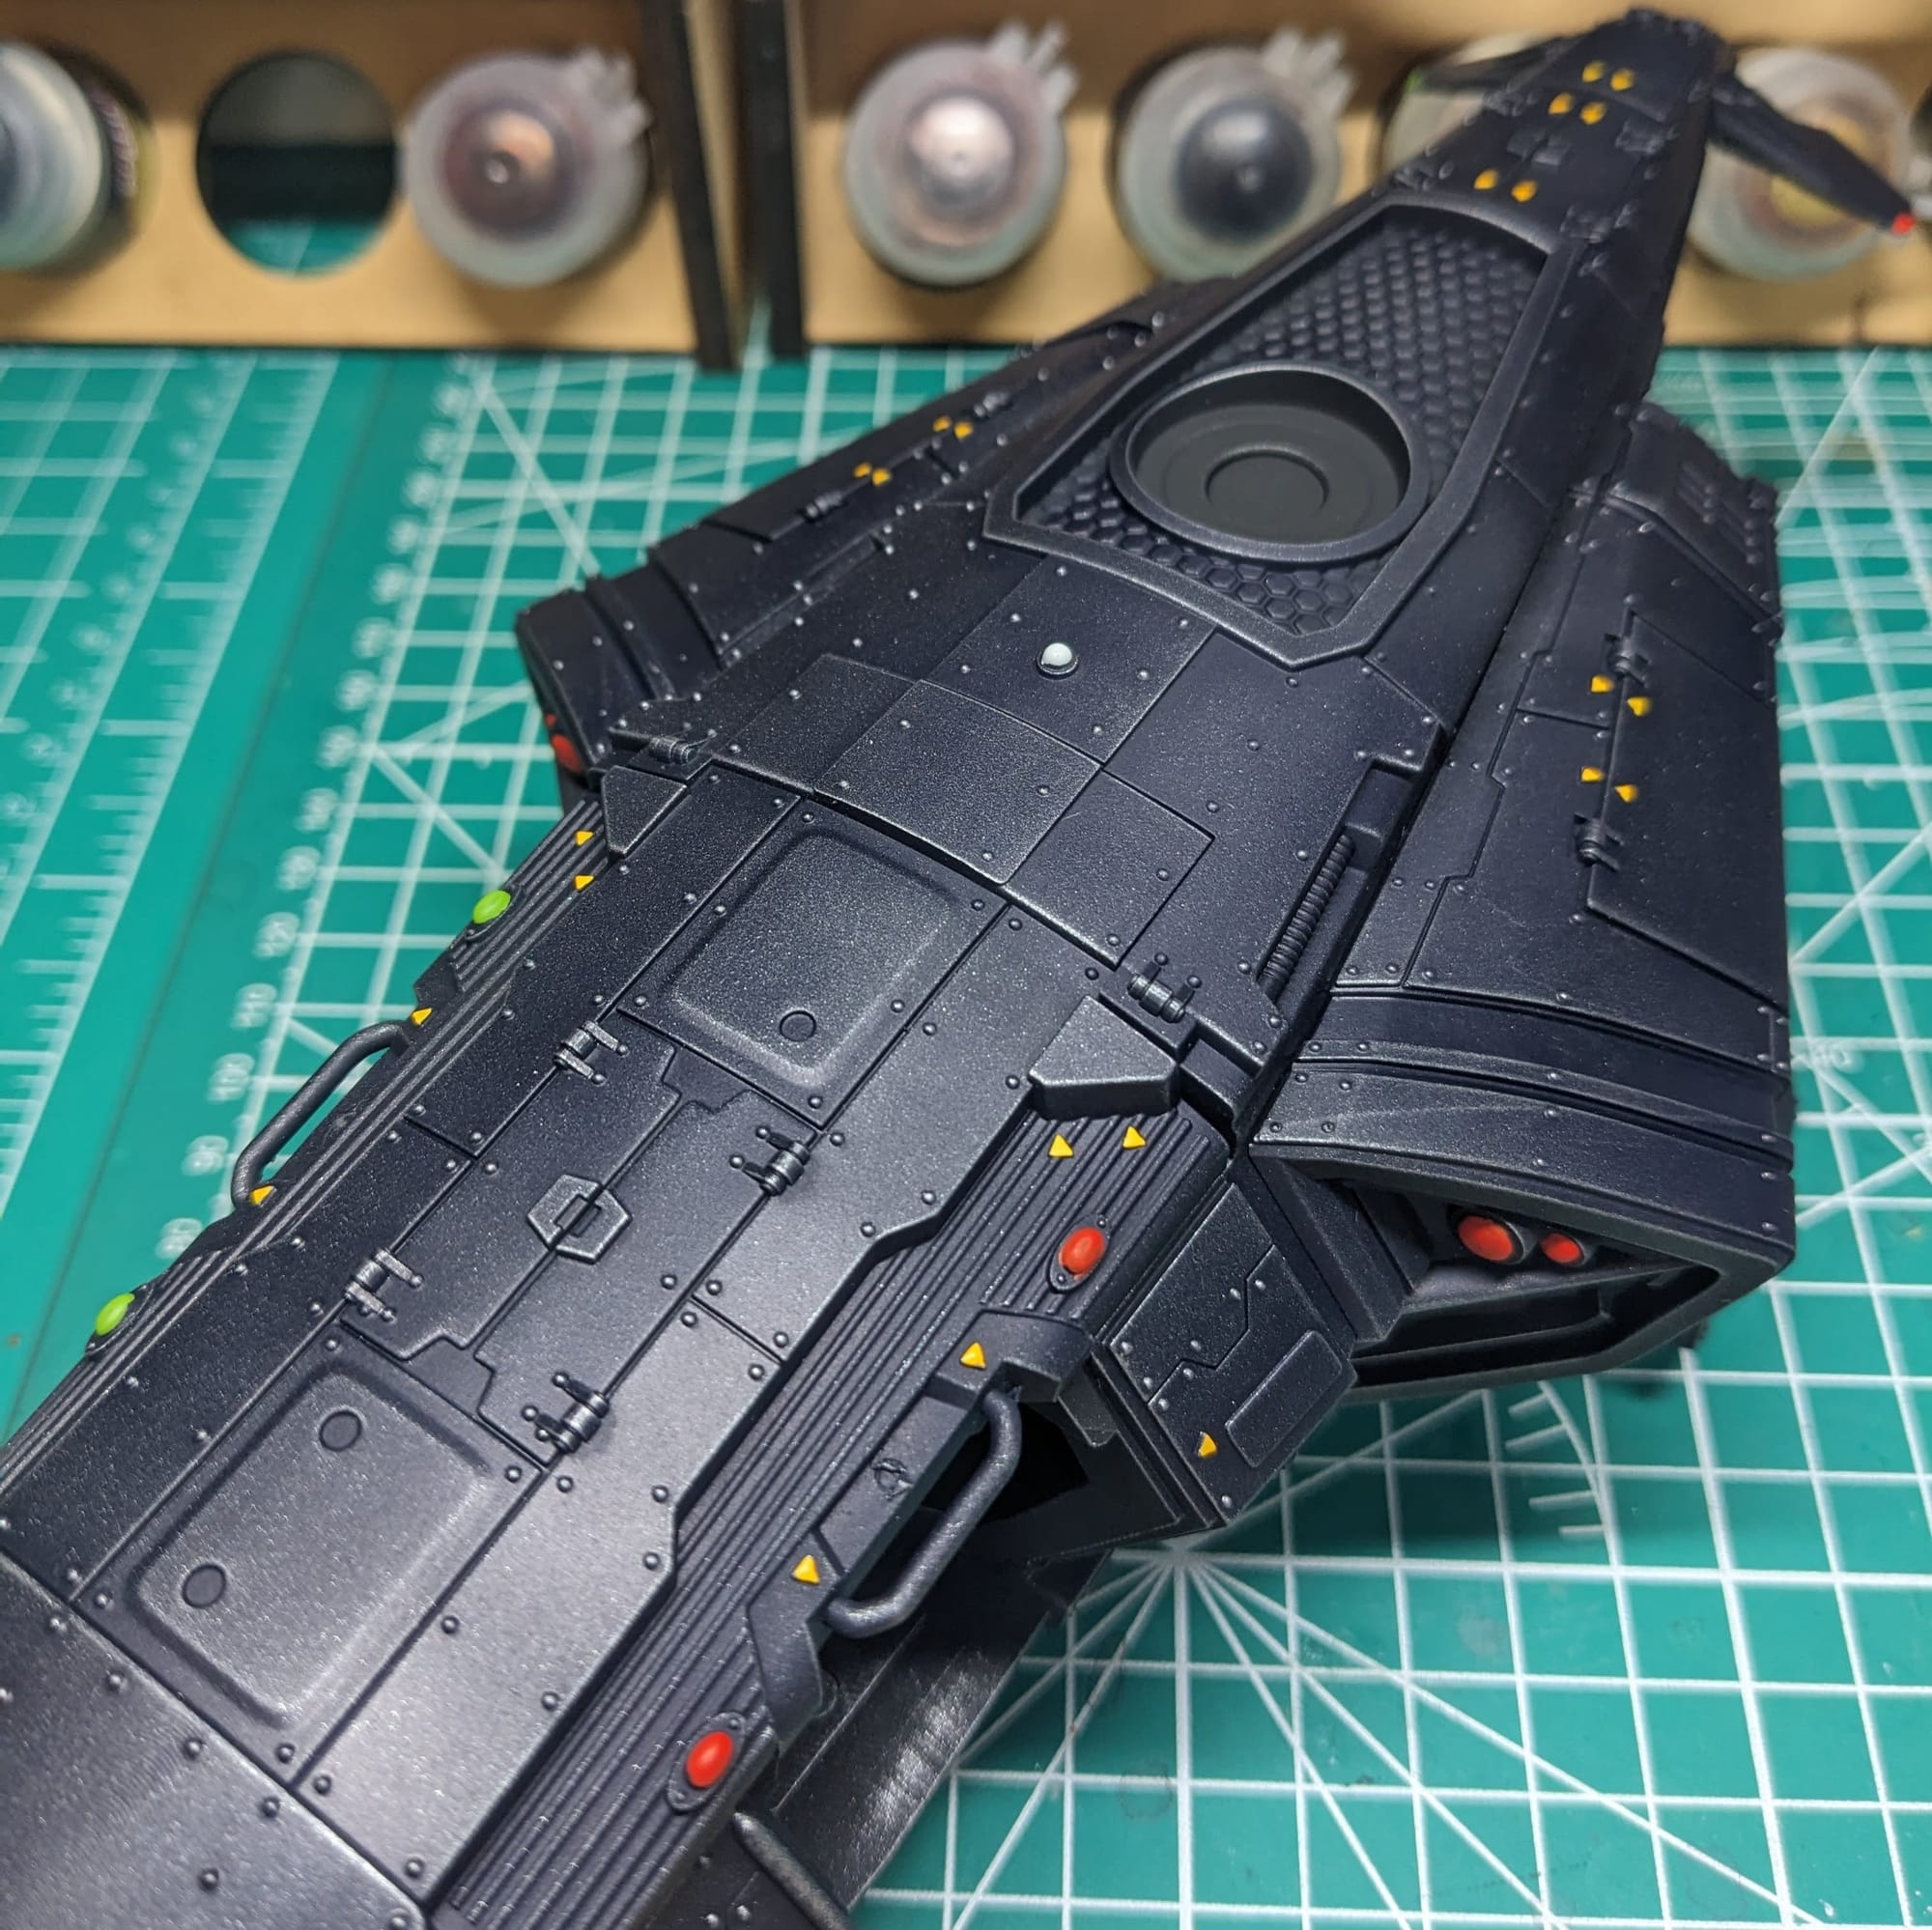
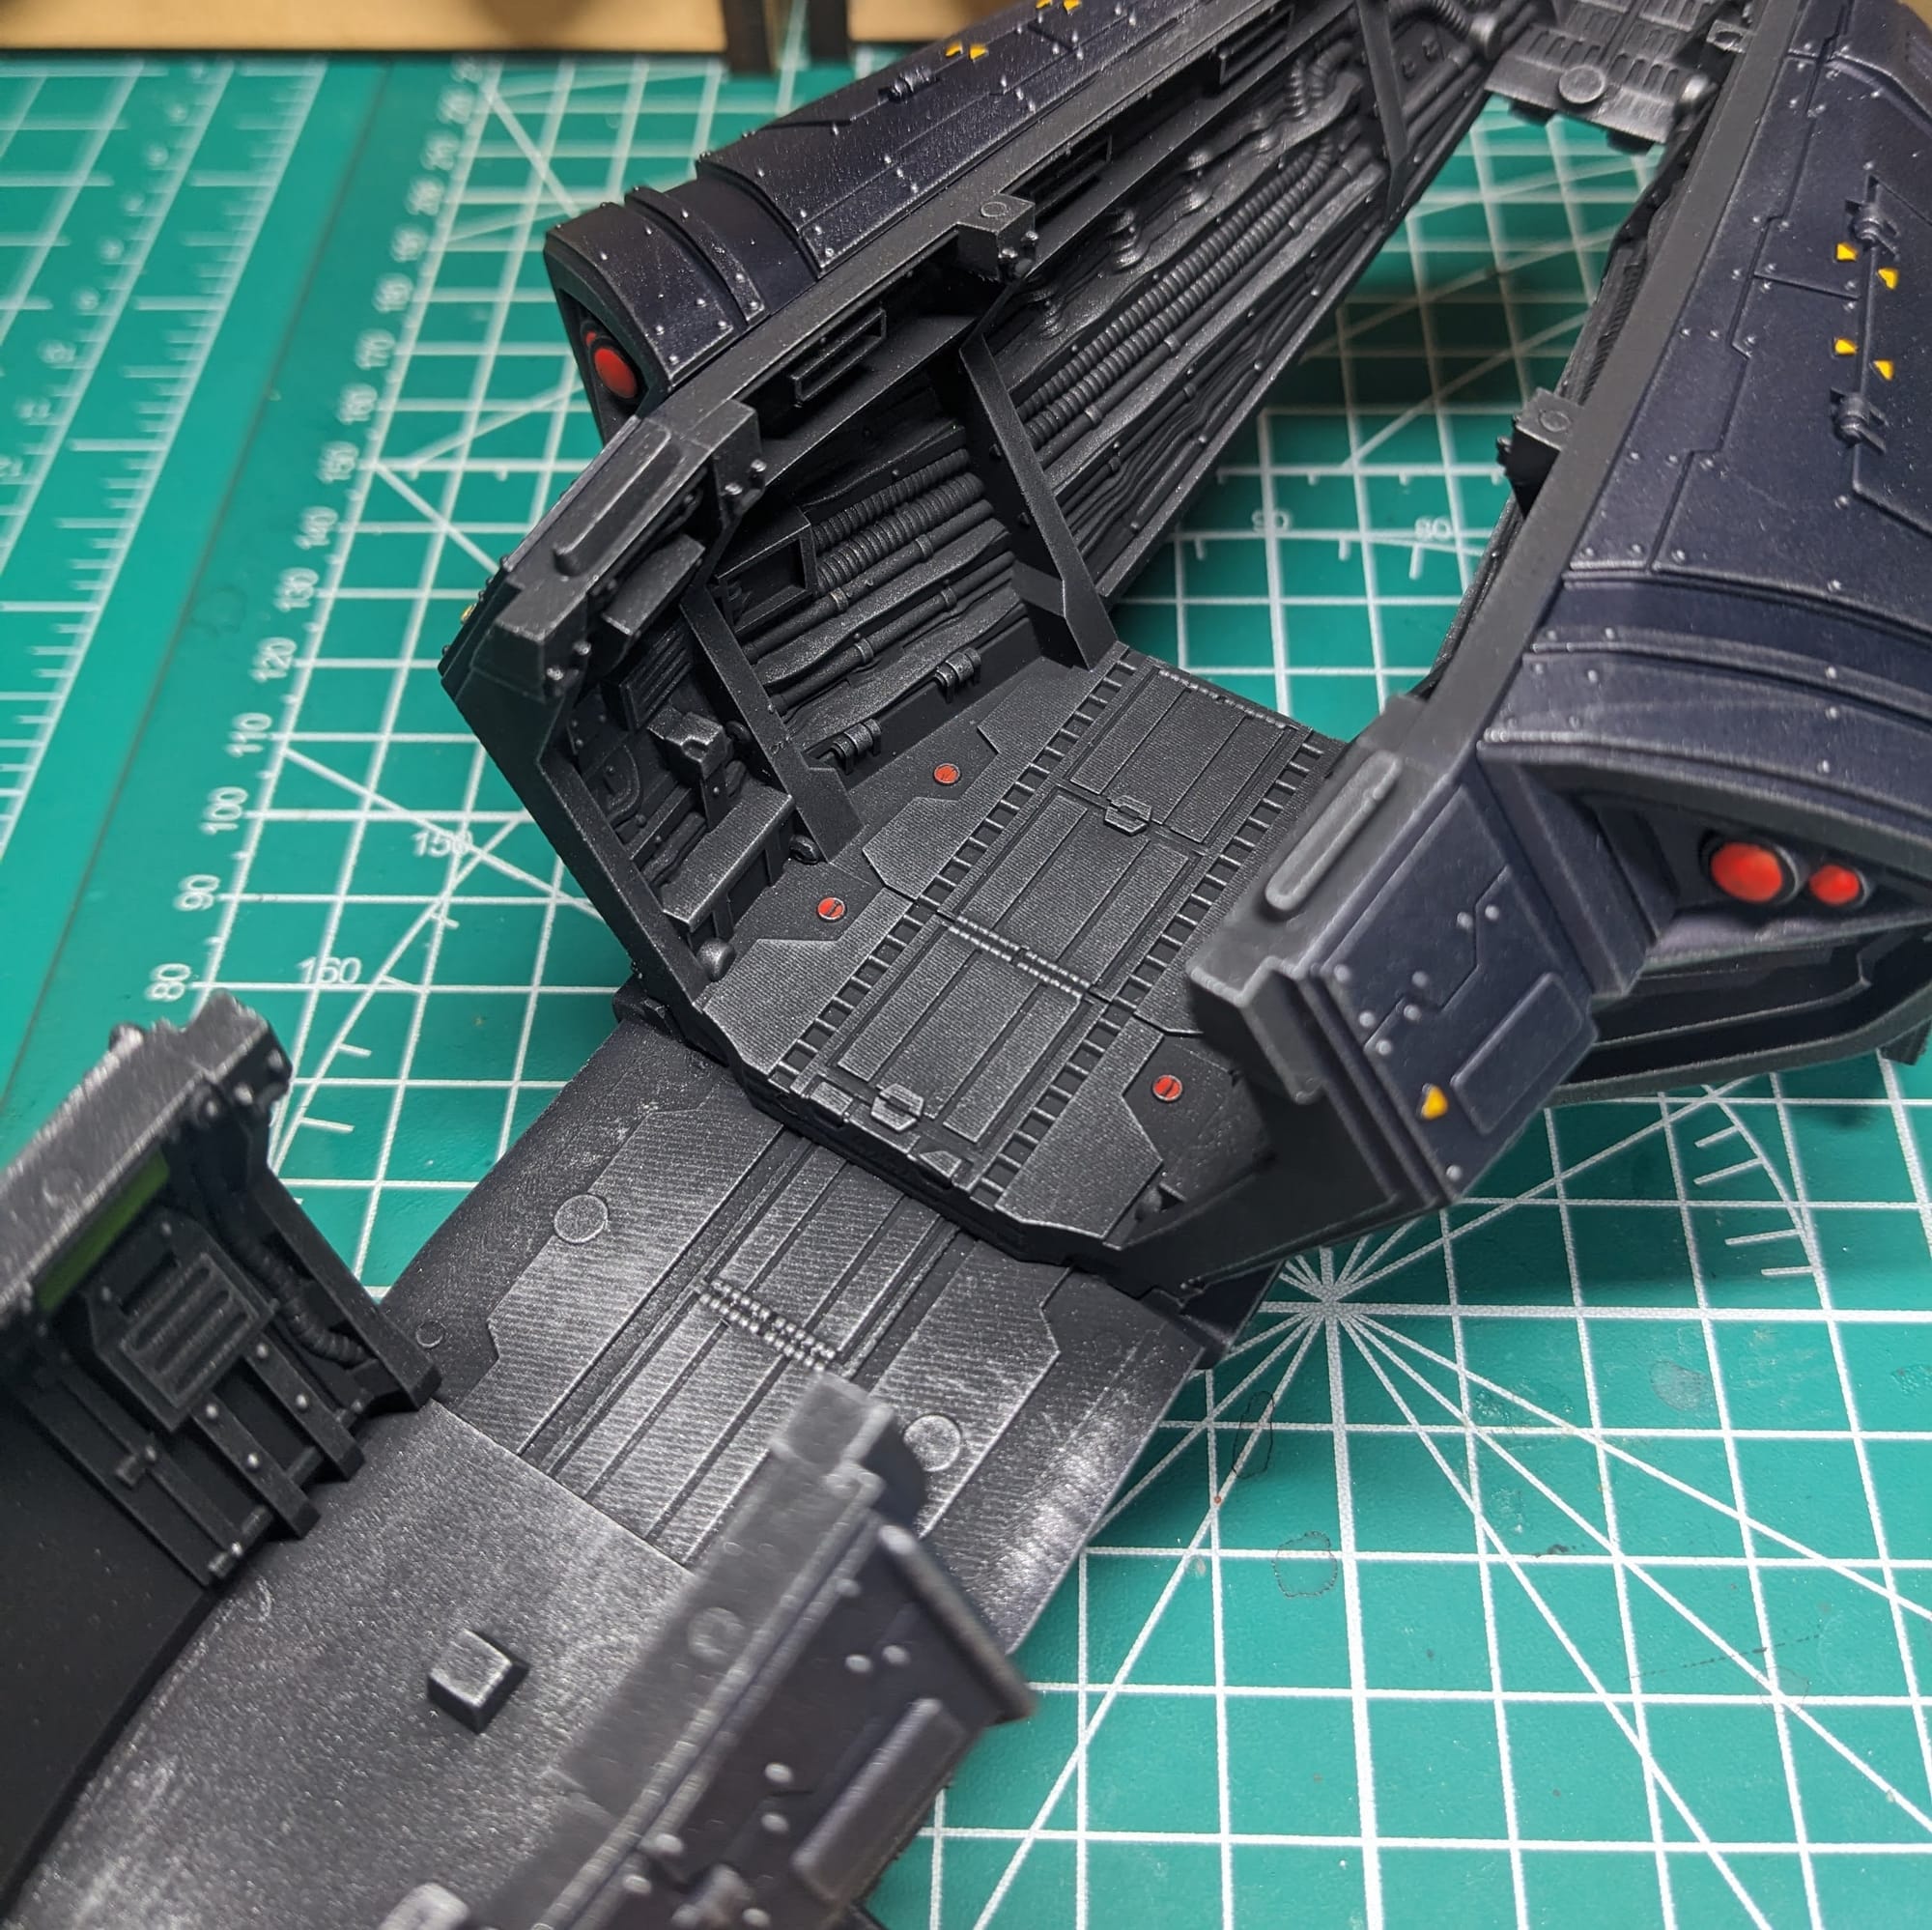
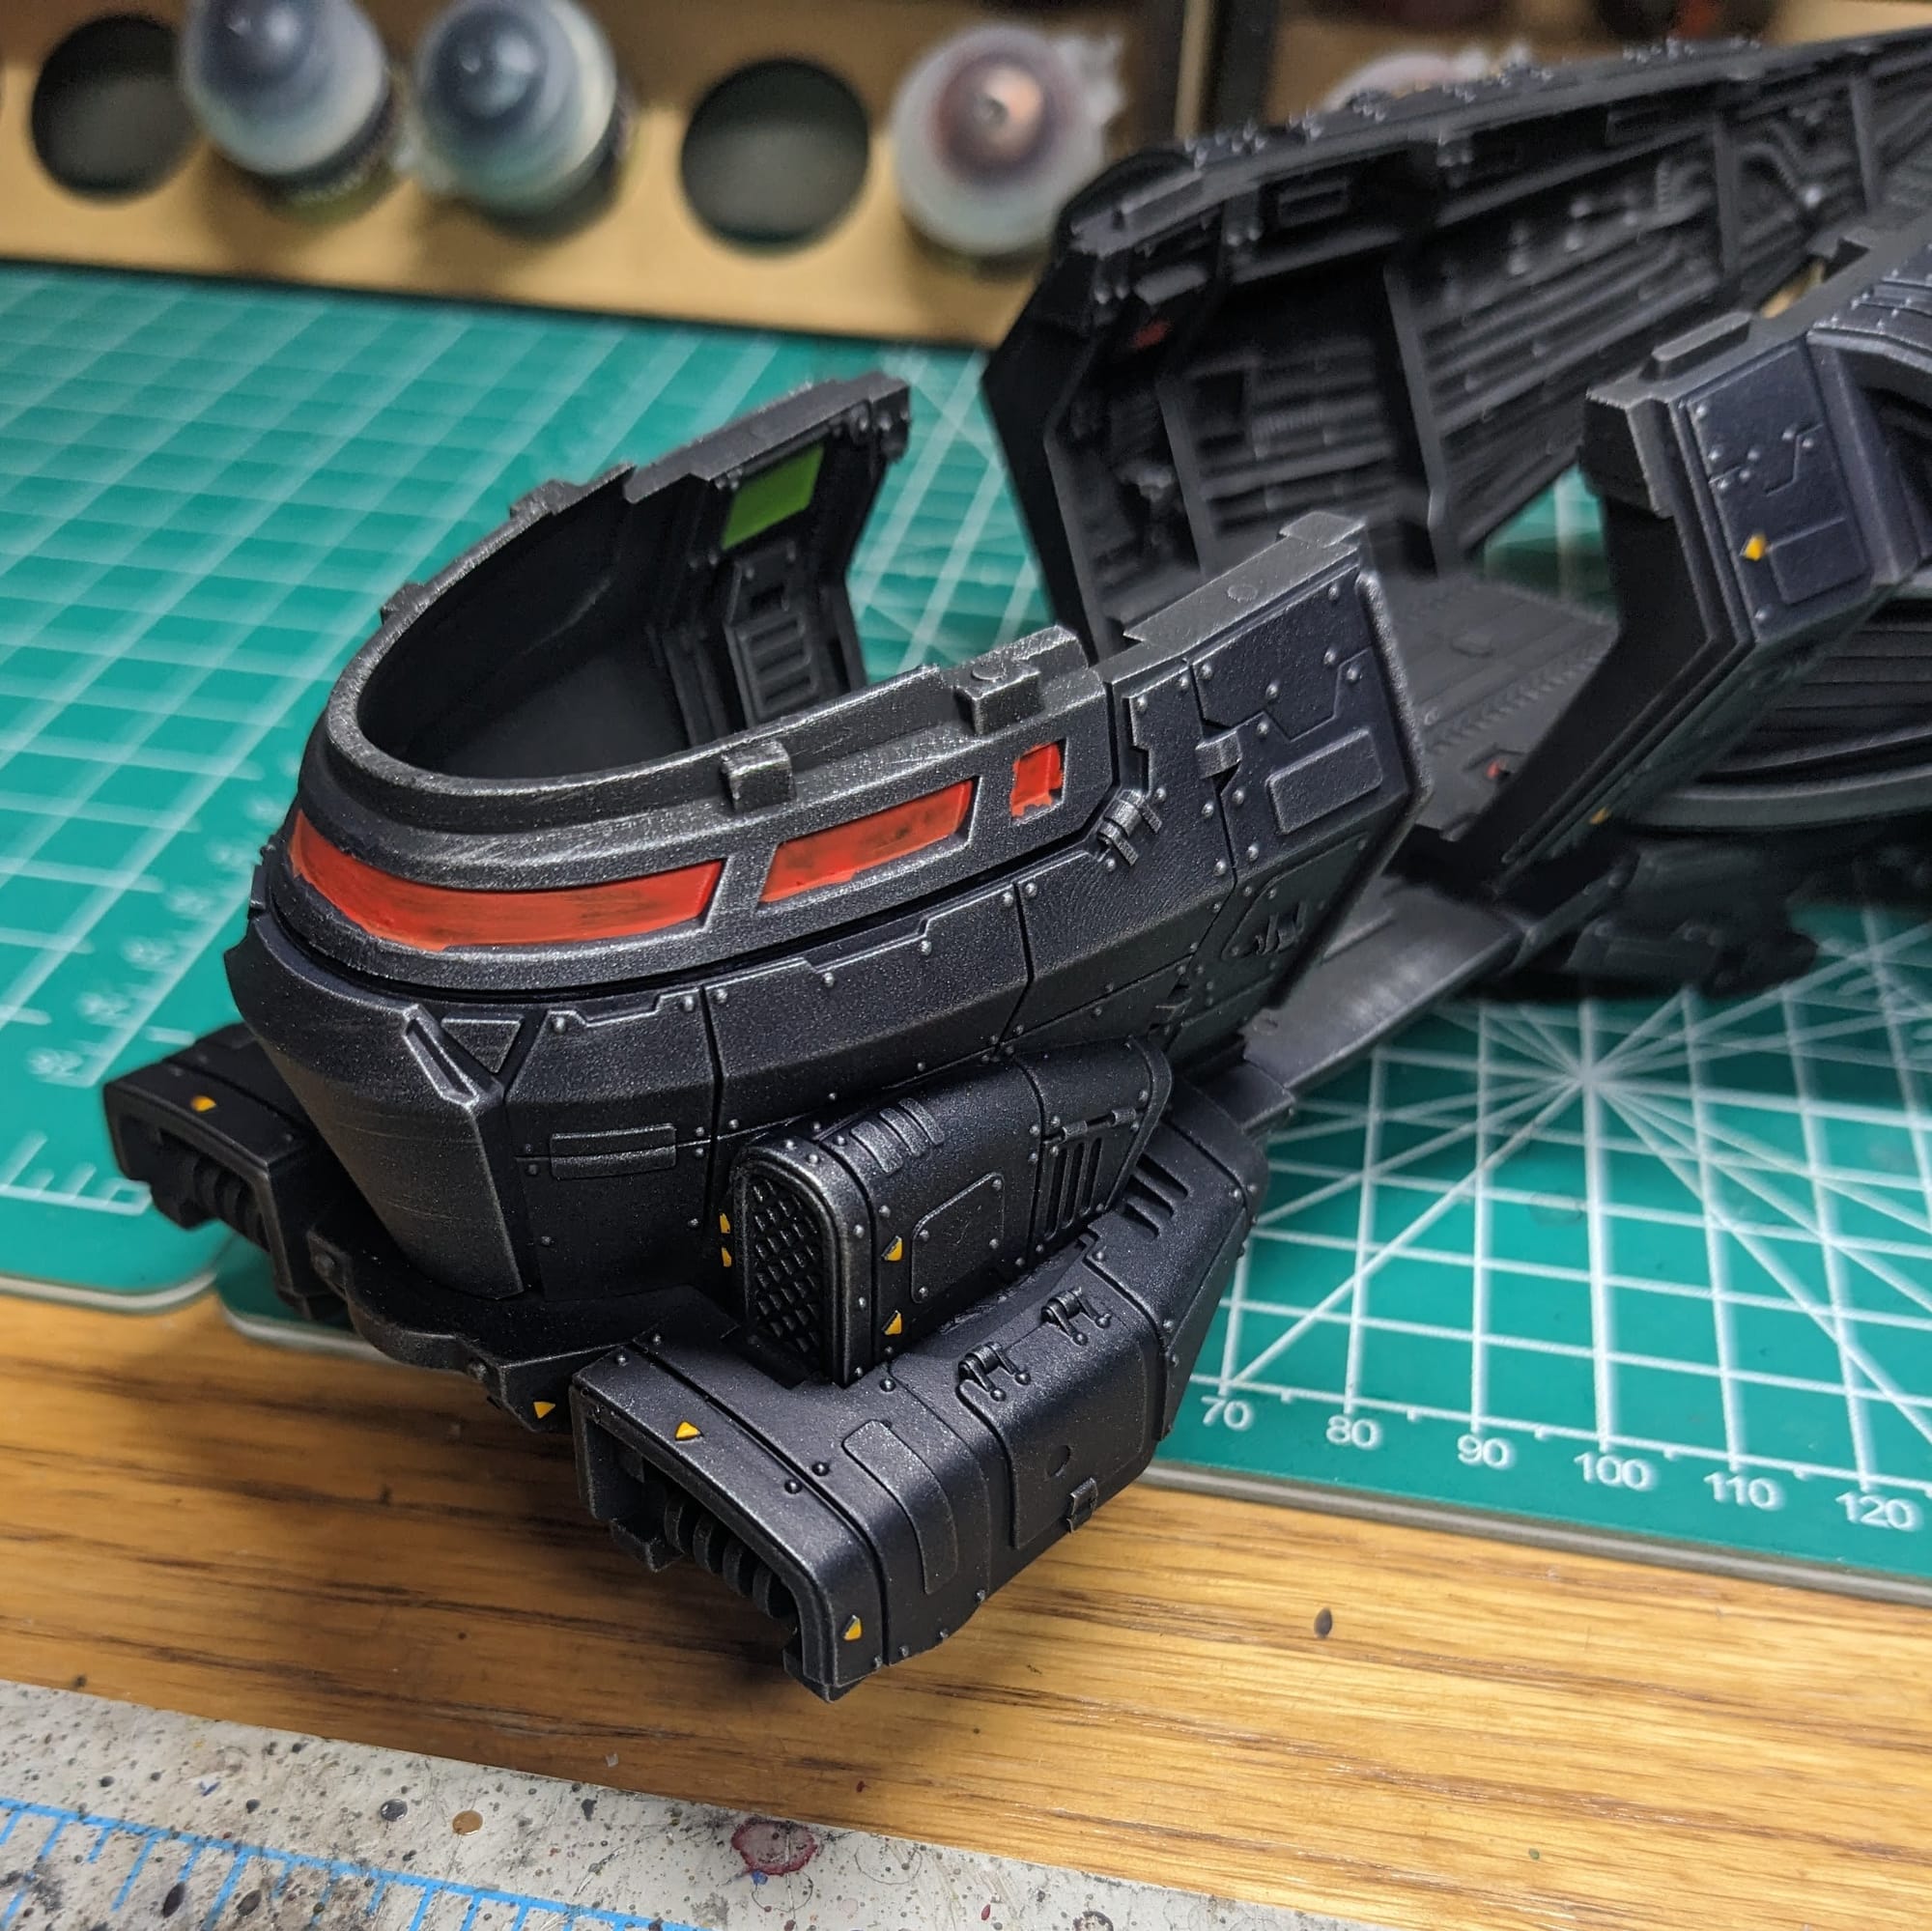
I started with painting the lights and cockpit, both interior and exterior, knowing that those would be running lights (pun intended) for the airbrush OSL (object-source lighting) I would use later.
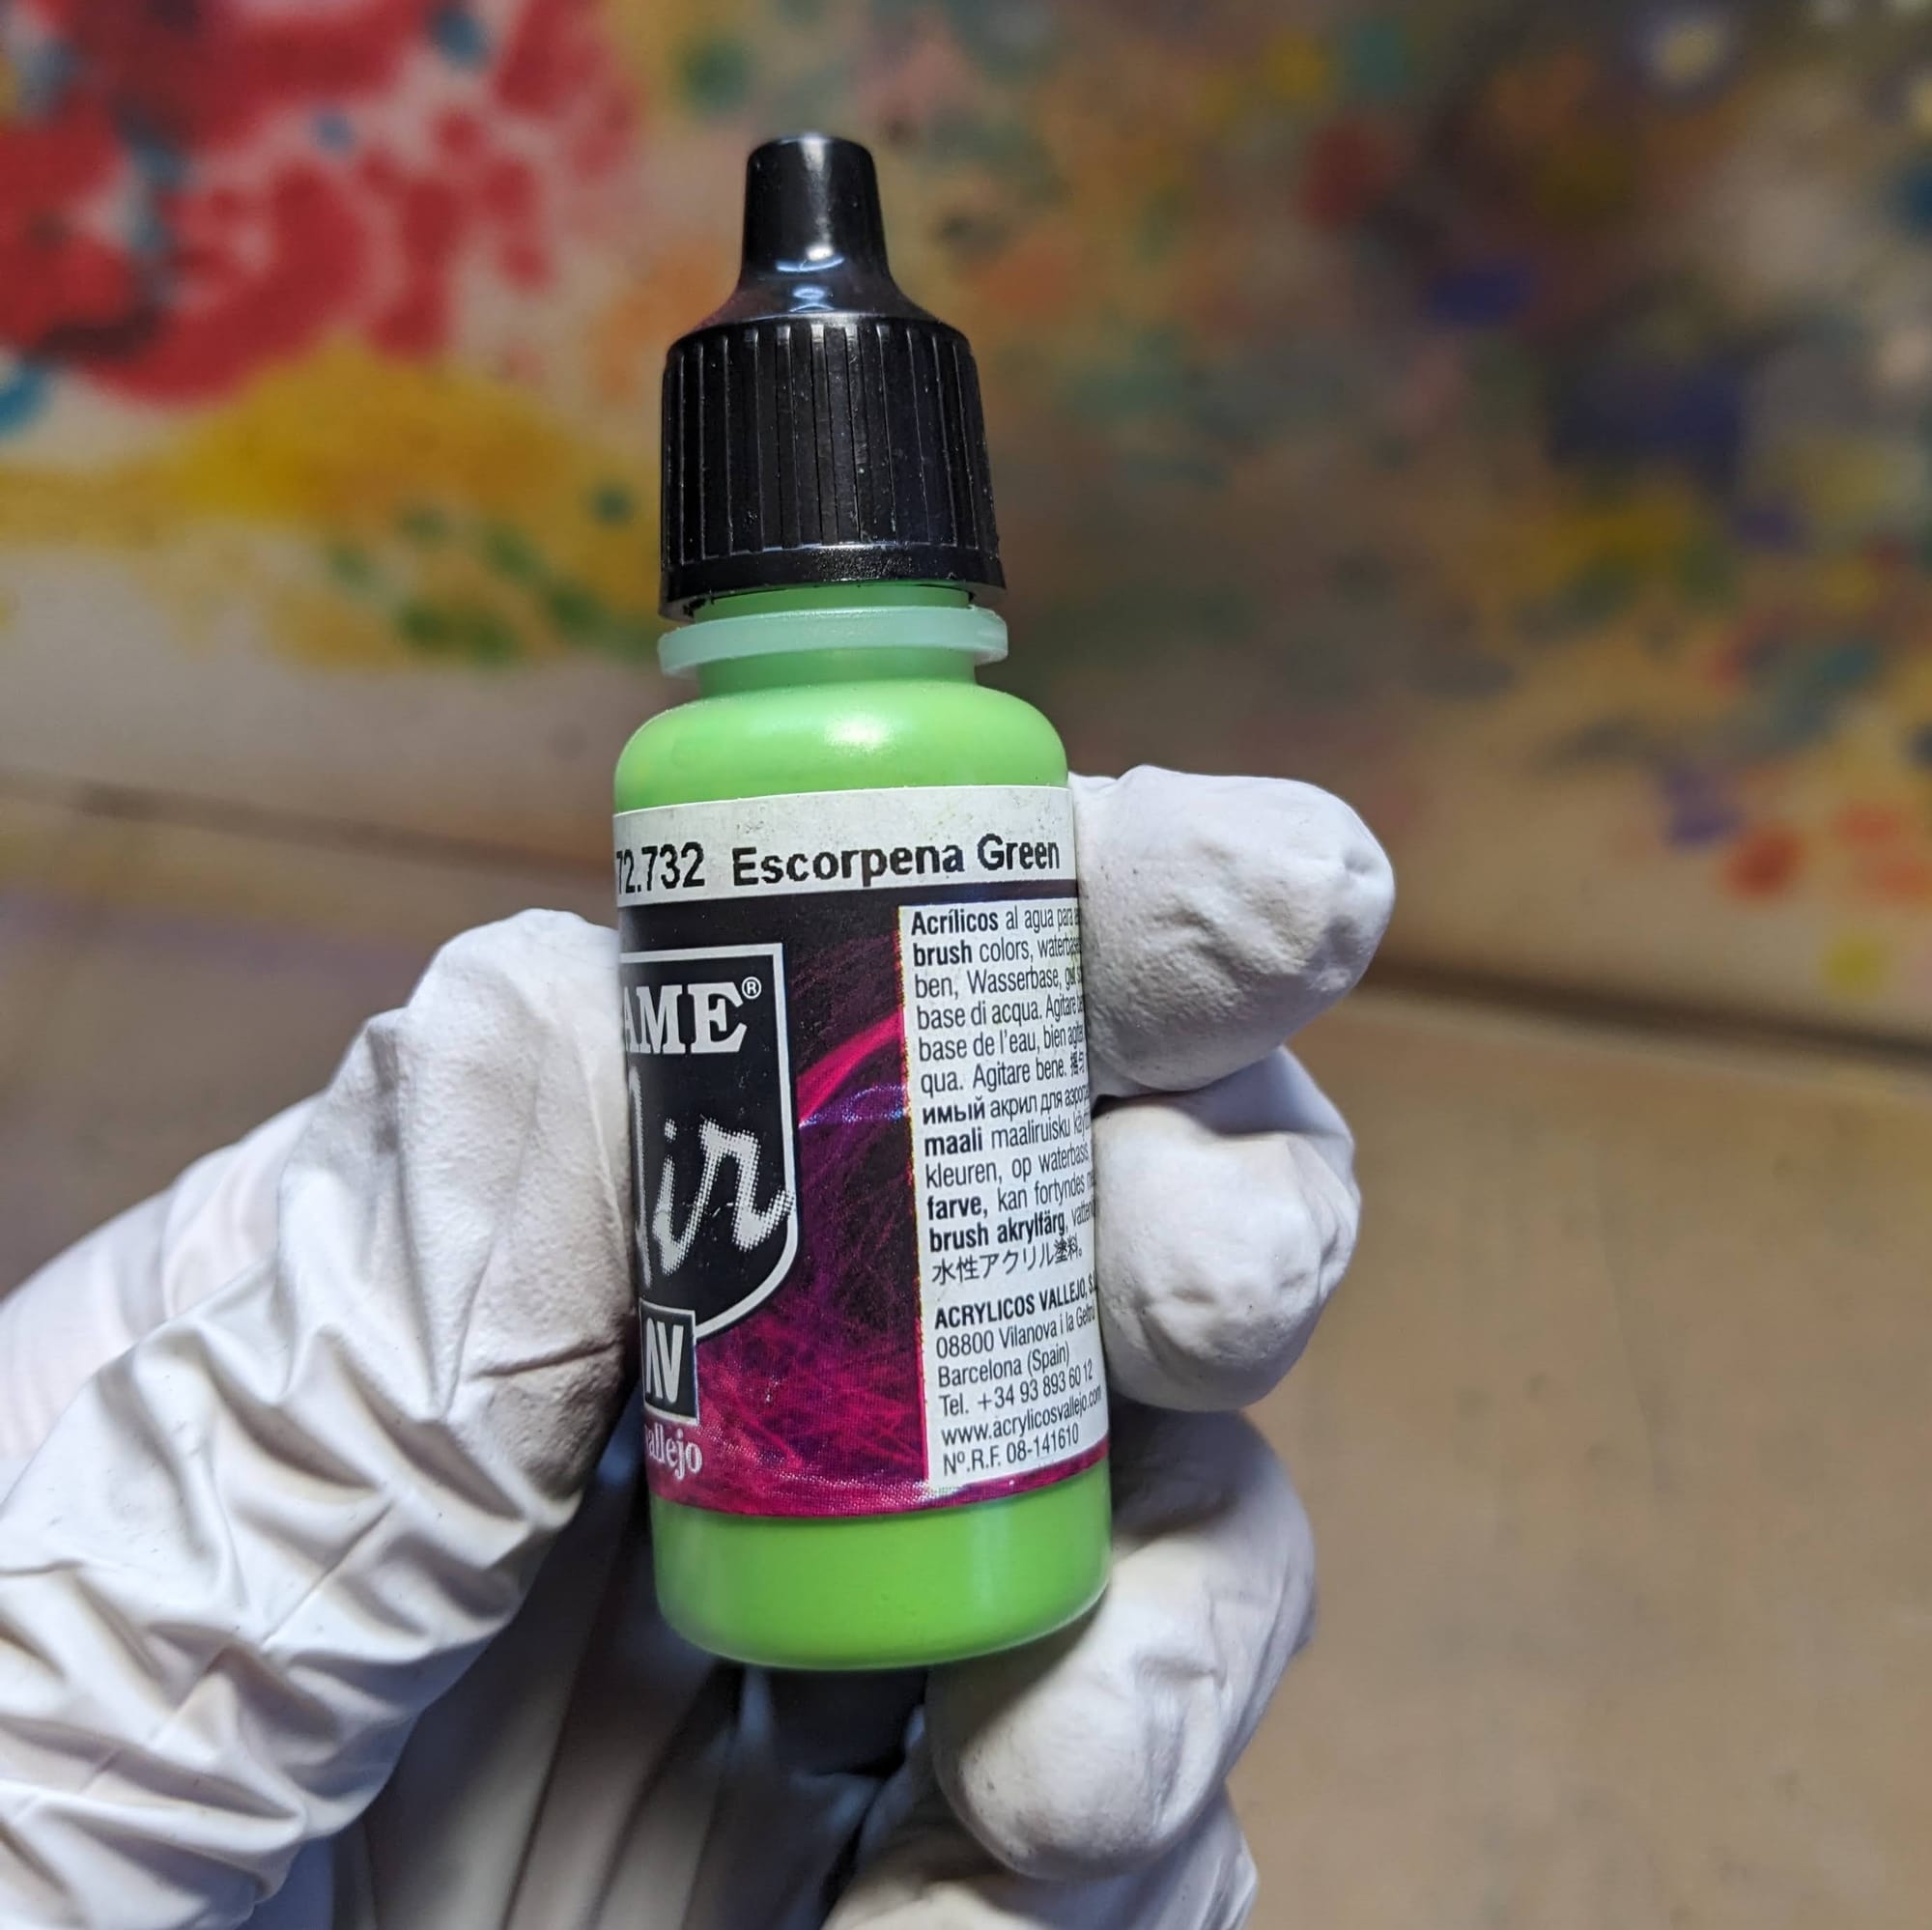
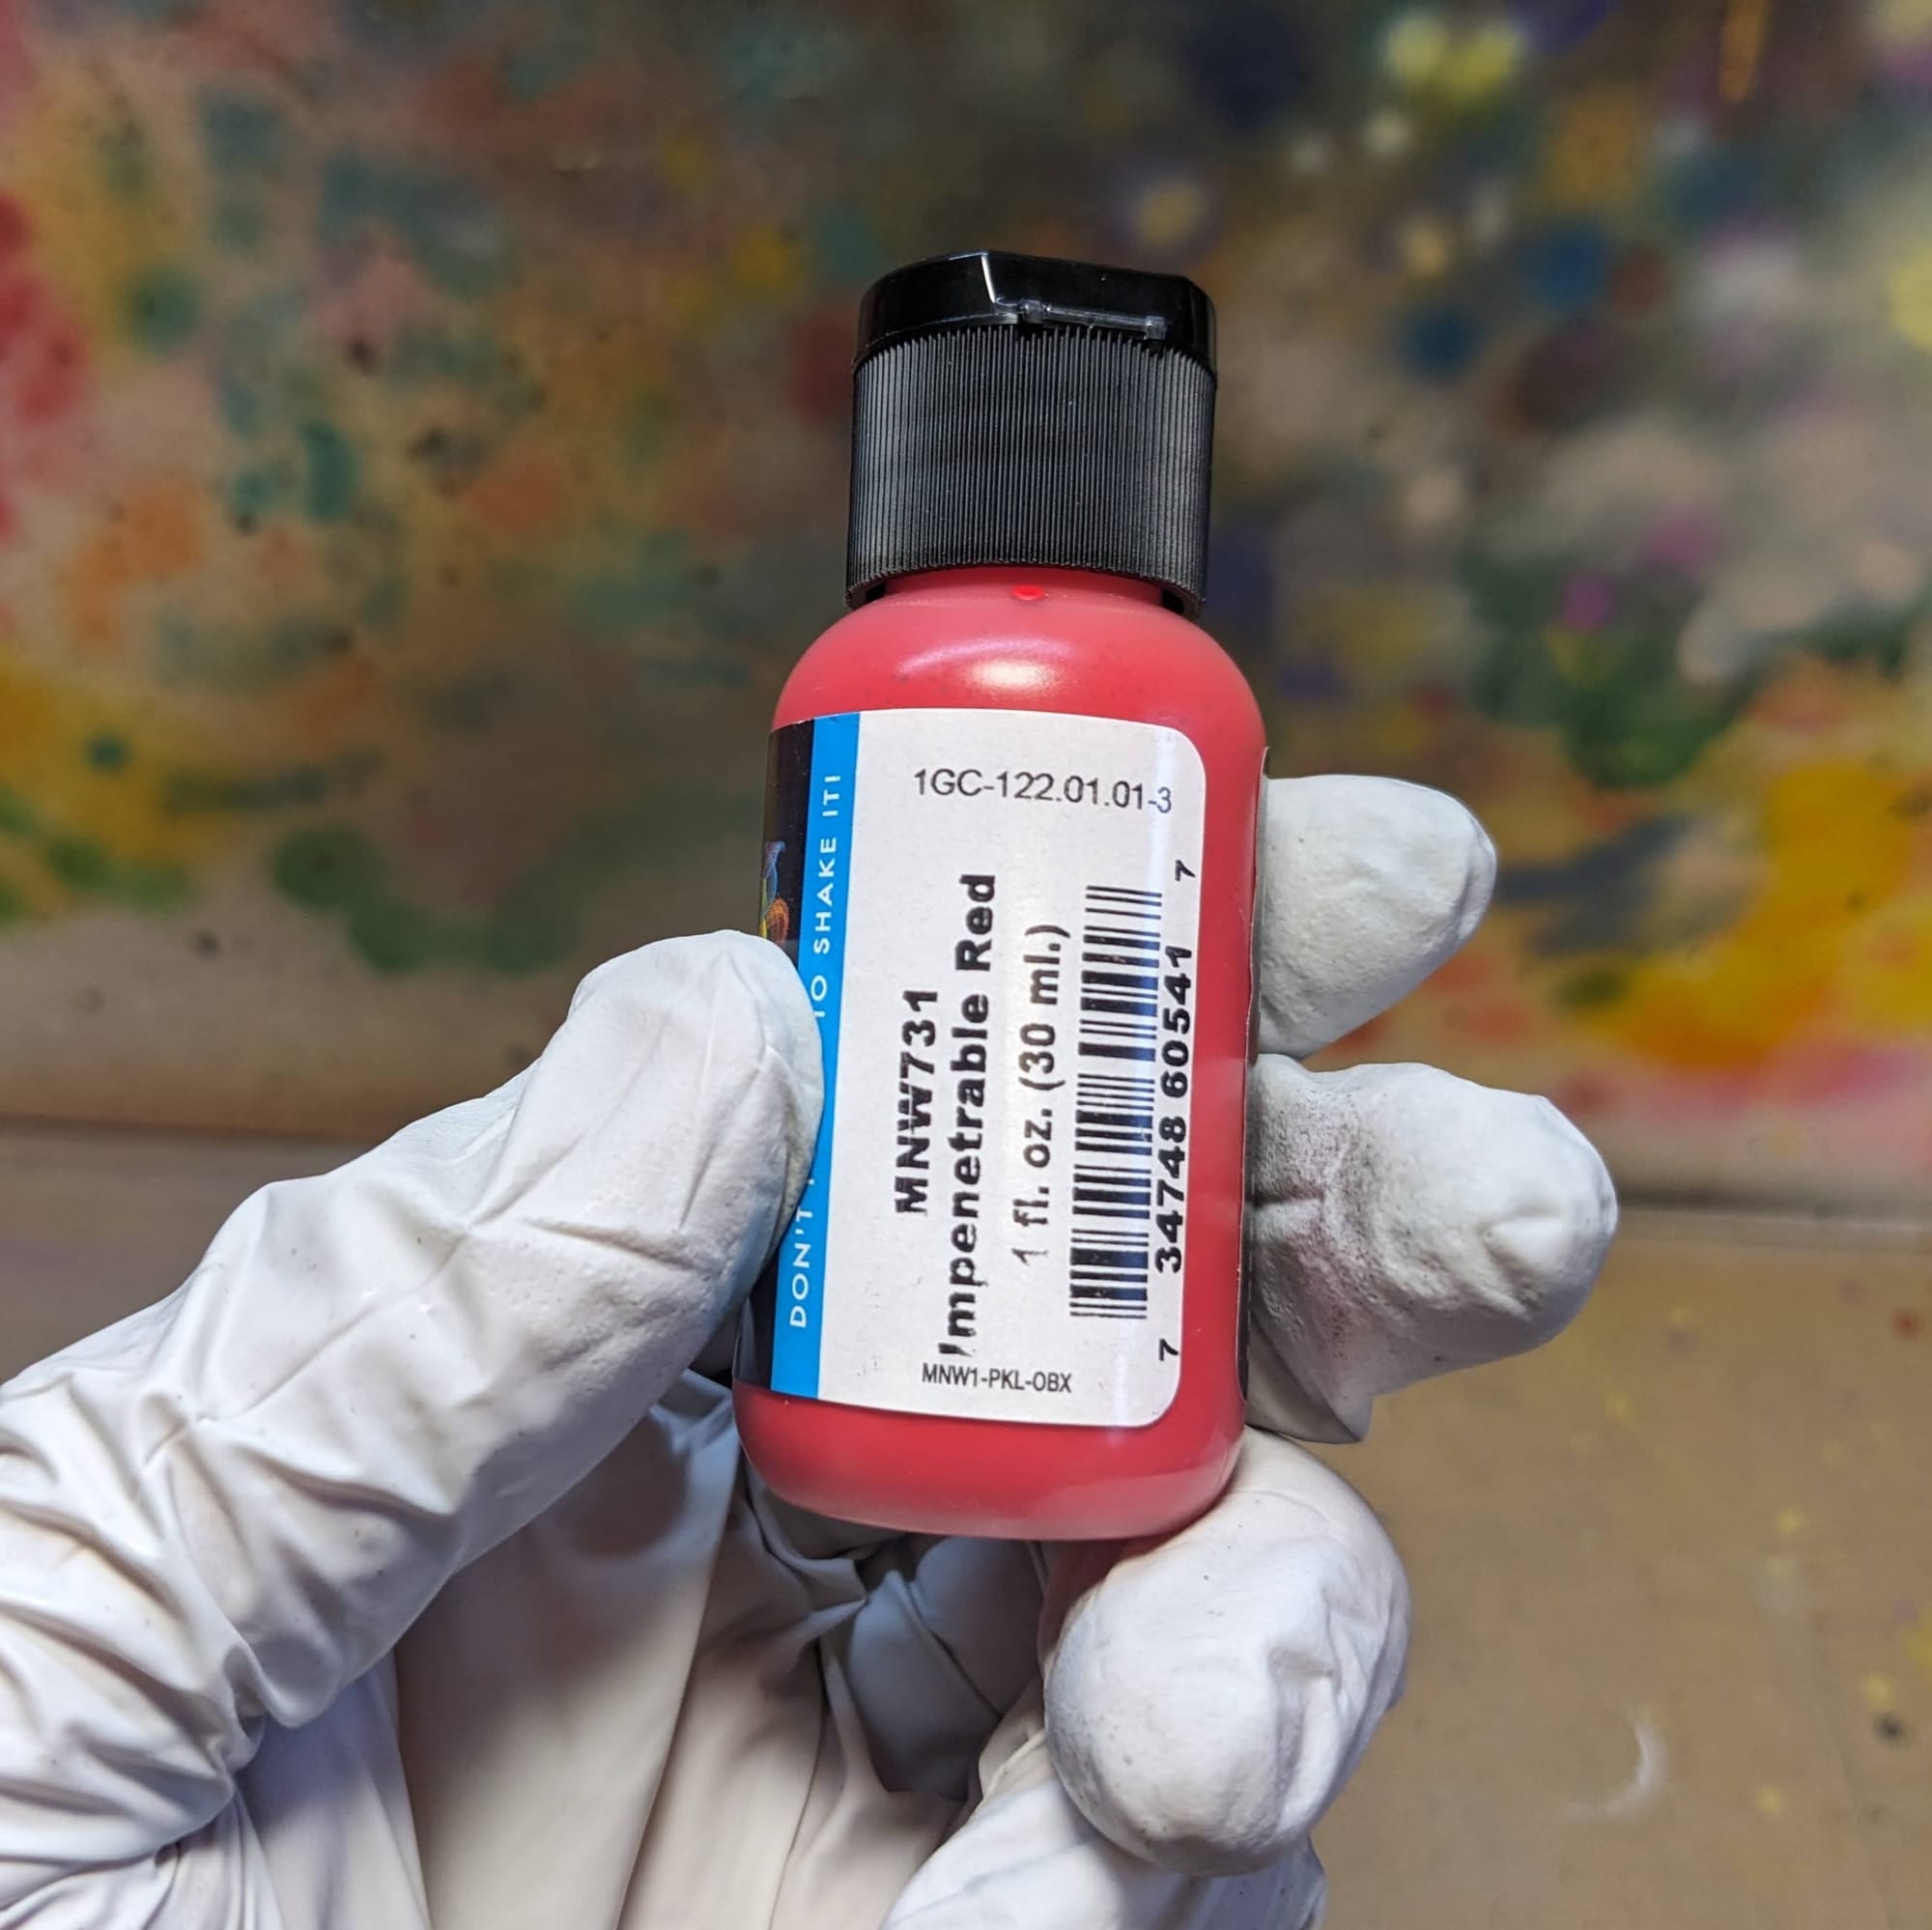
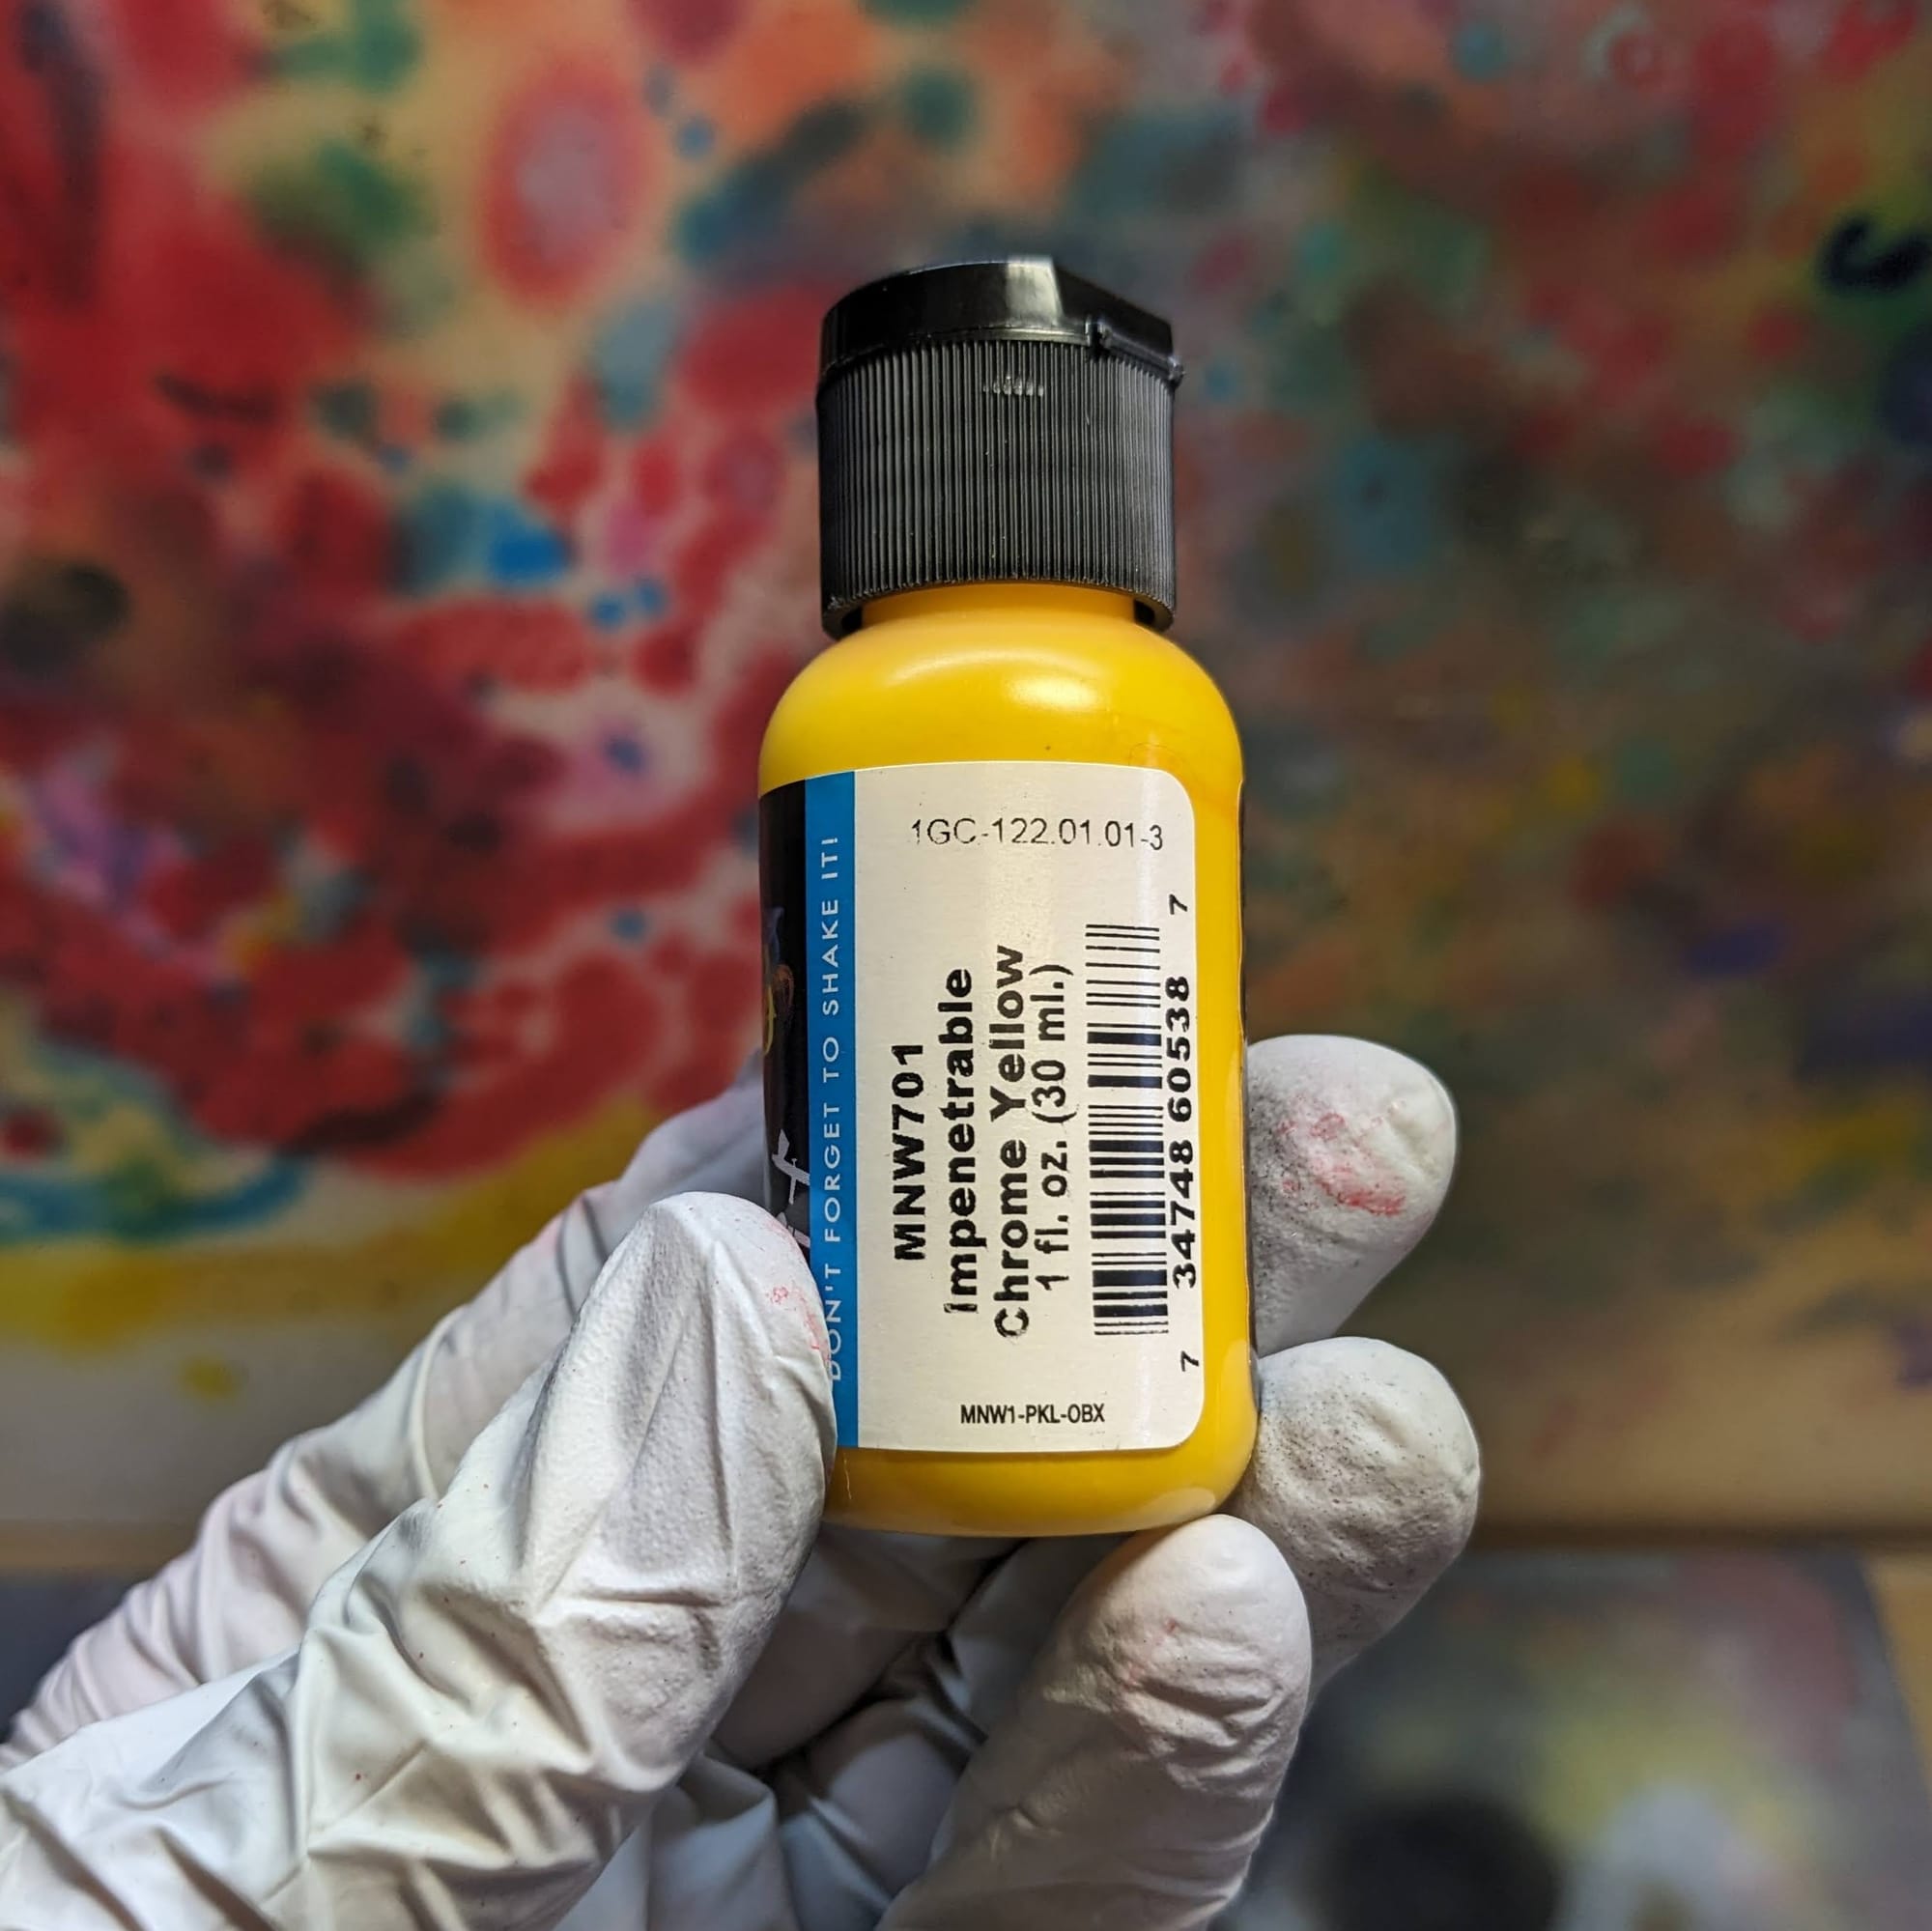
Once the lights were painted, I went back to the airbrush. For the green, I used Vallejo Game Air 72.732 Escorpena Green. For the red, I started with the NuWorlds Impenetrable Red. Then, for any of thew red "glass" I add a couple of drops of yellow to give them a more orange look to them. I didn't want to go too orange, but i wanted to differentiate the red of the glass from the red of the lights and weapon optics. For the white on the dorsal, I used just a small spot of the NuWorlds Zenith White.
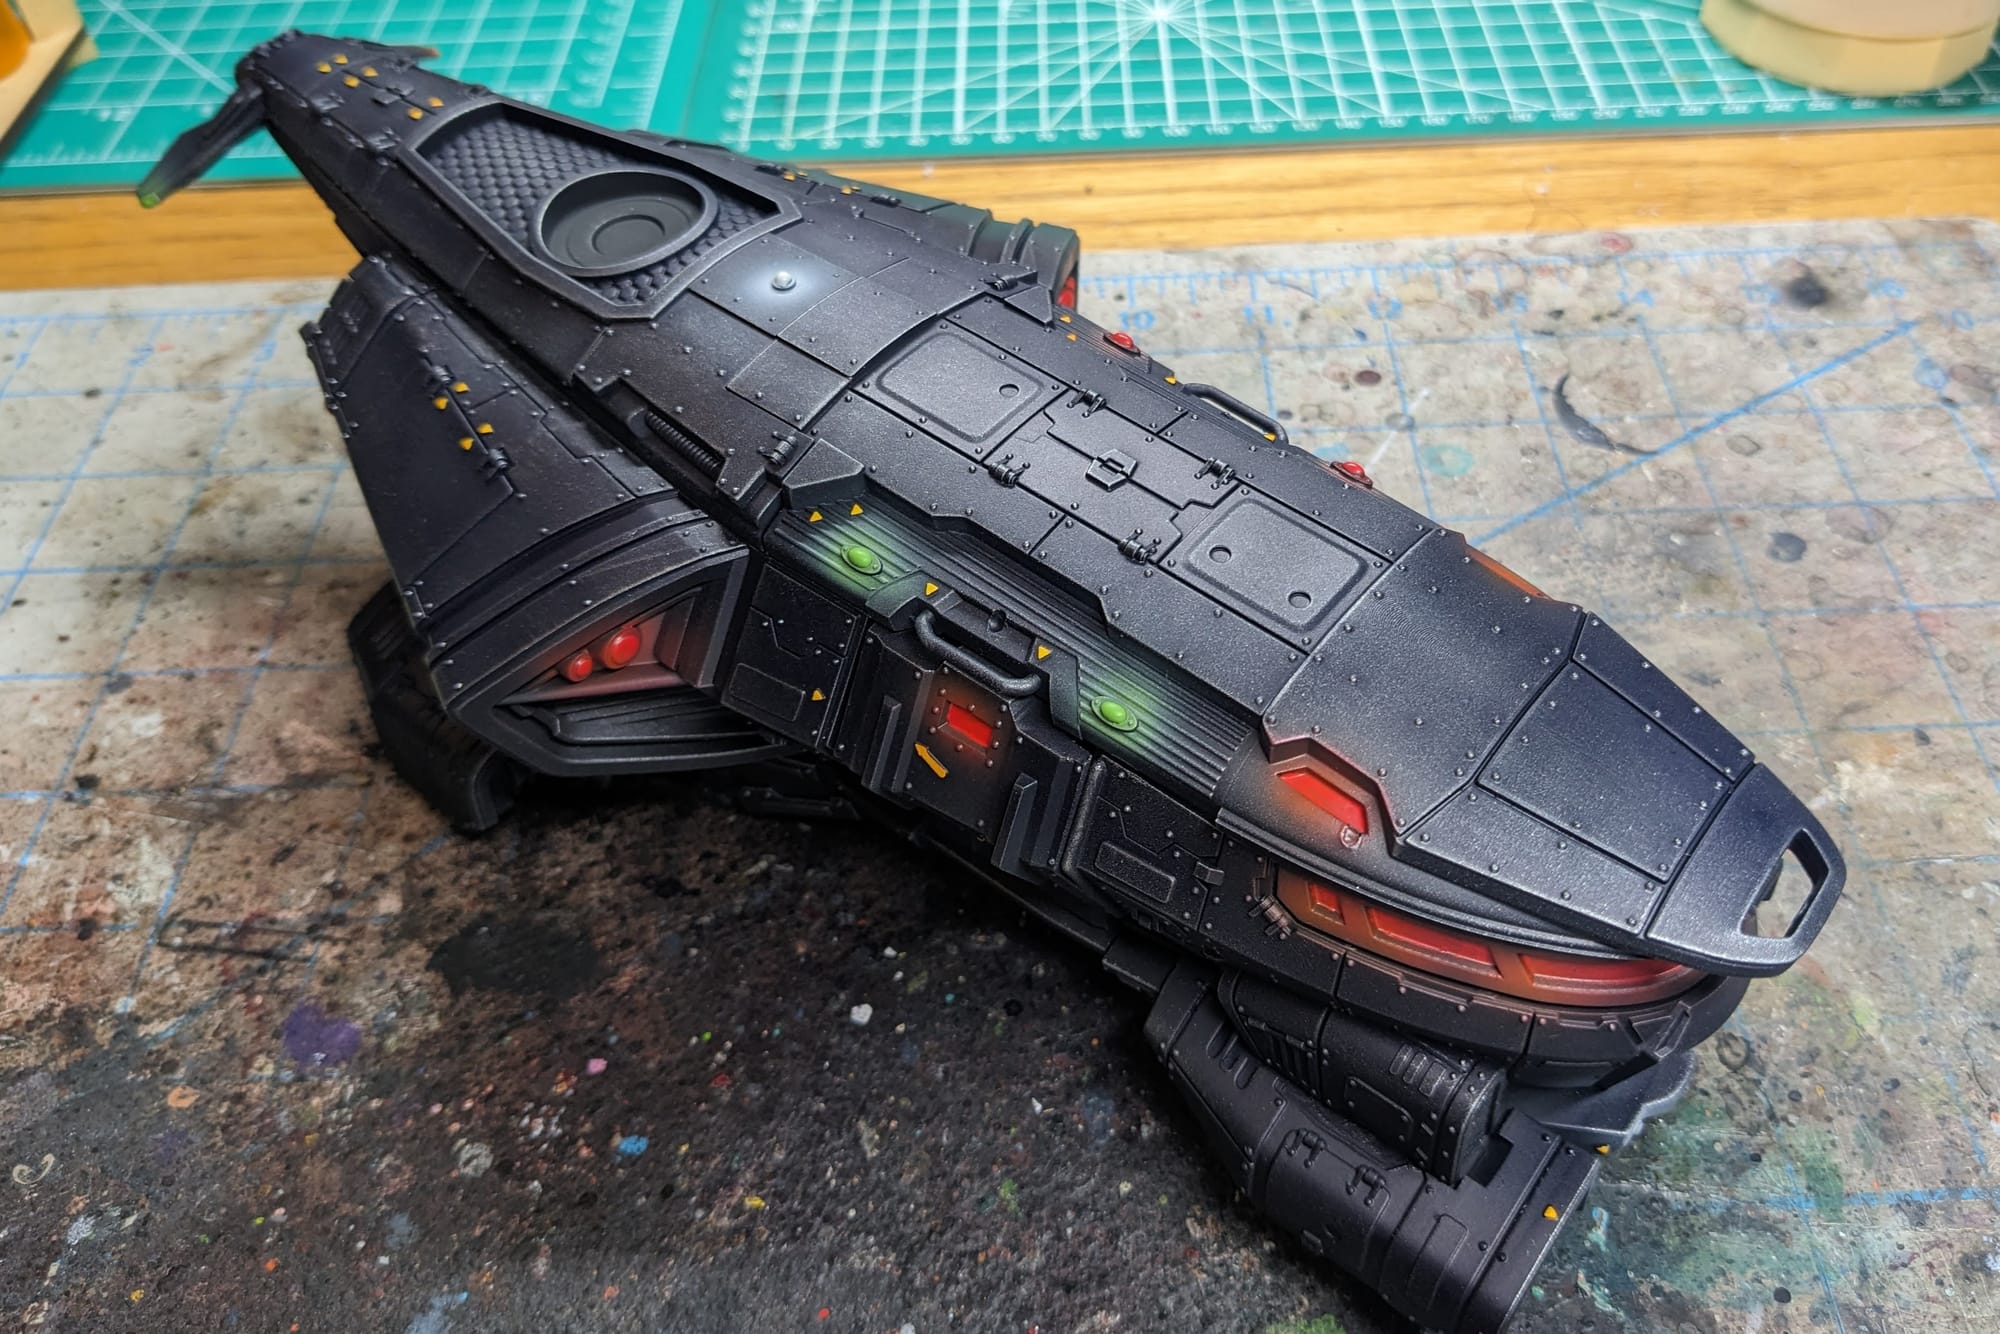
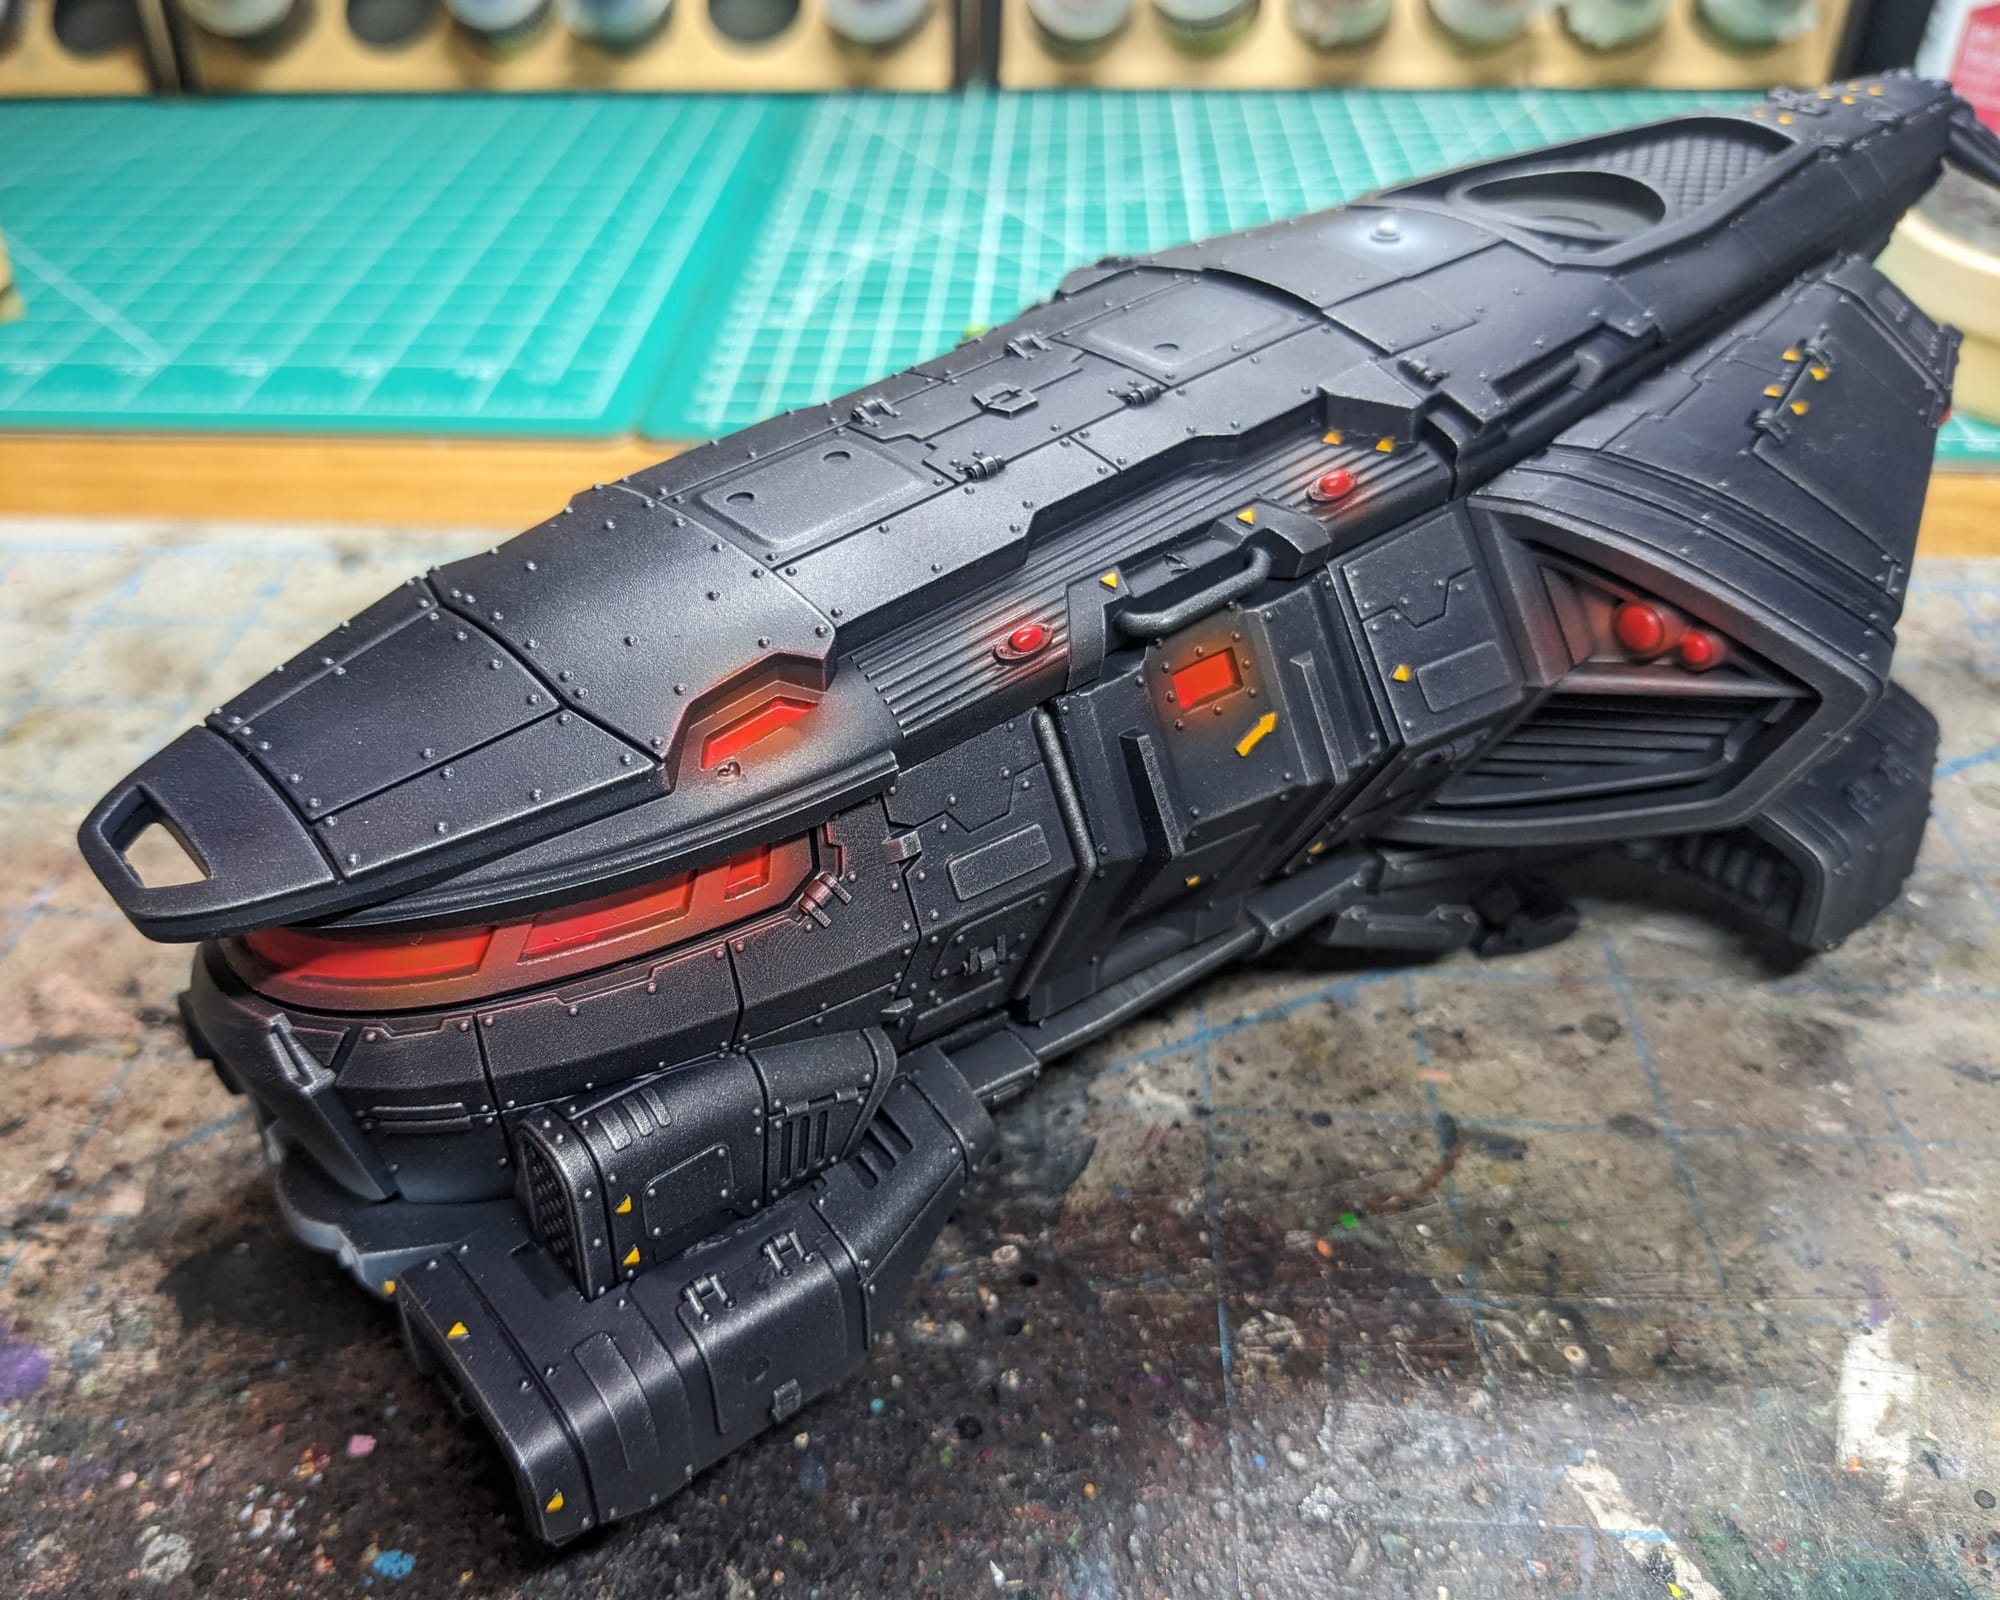
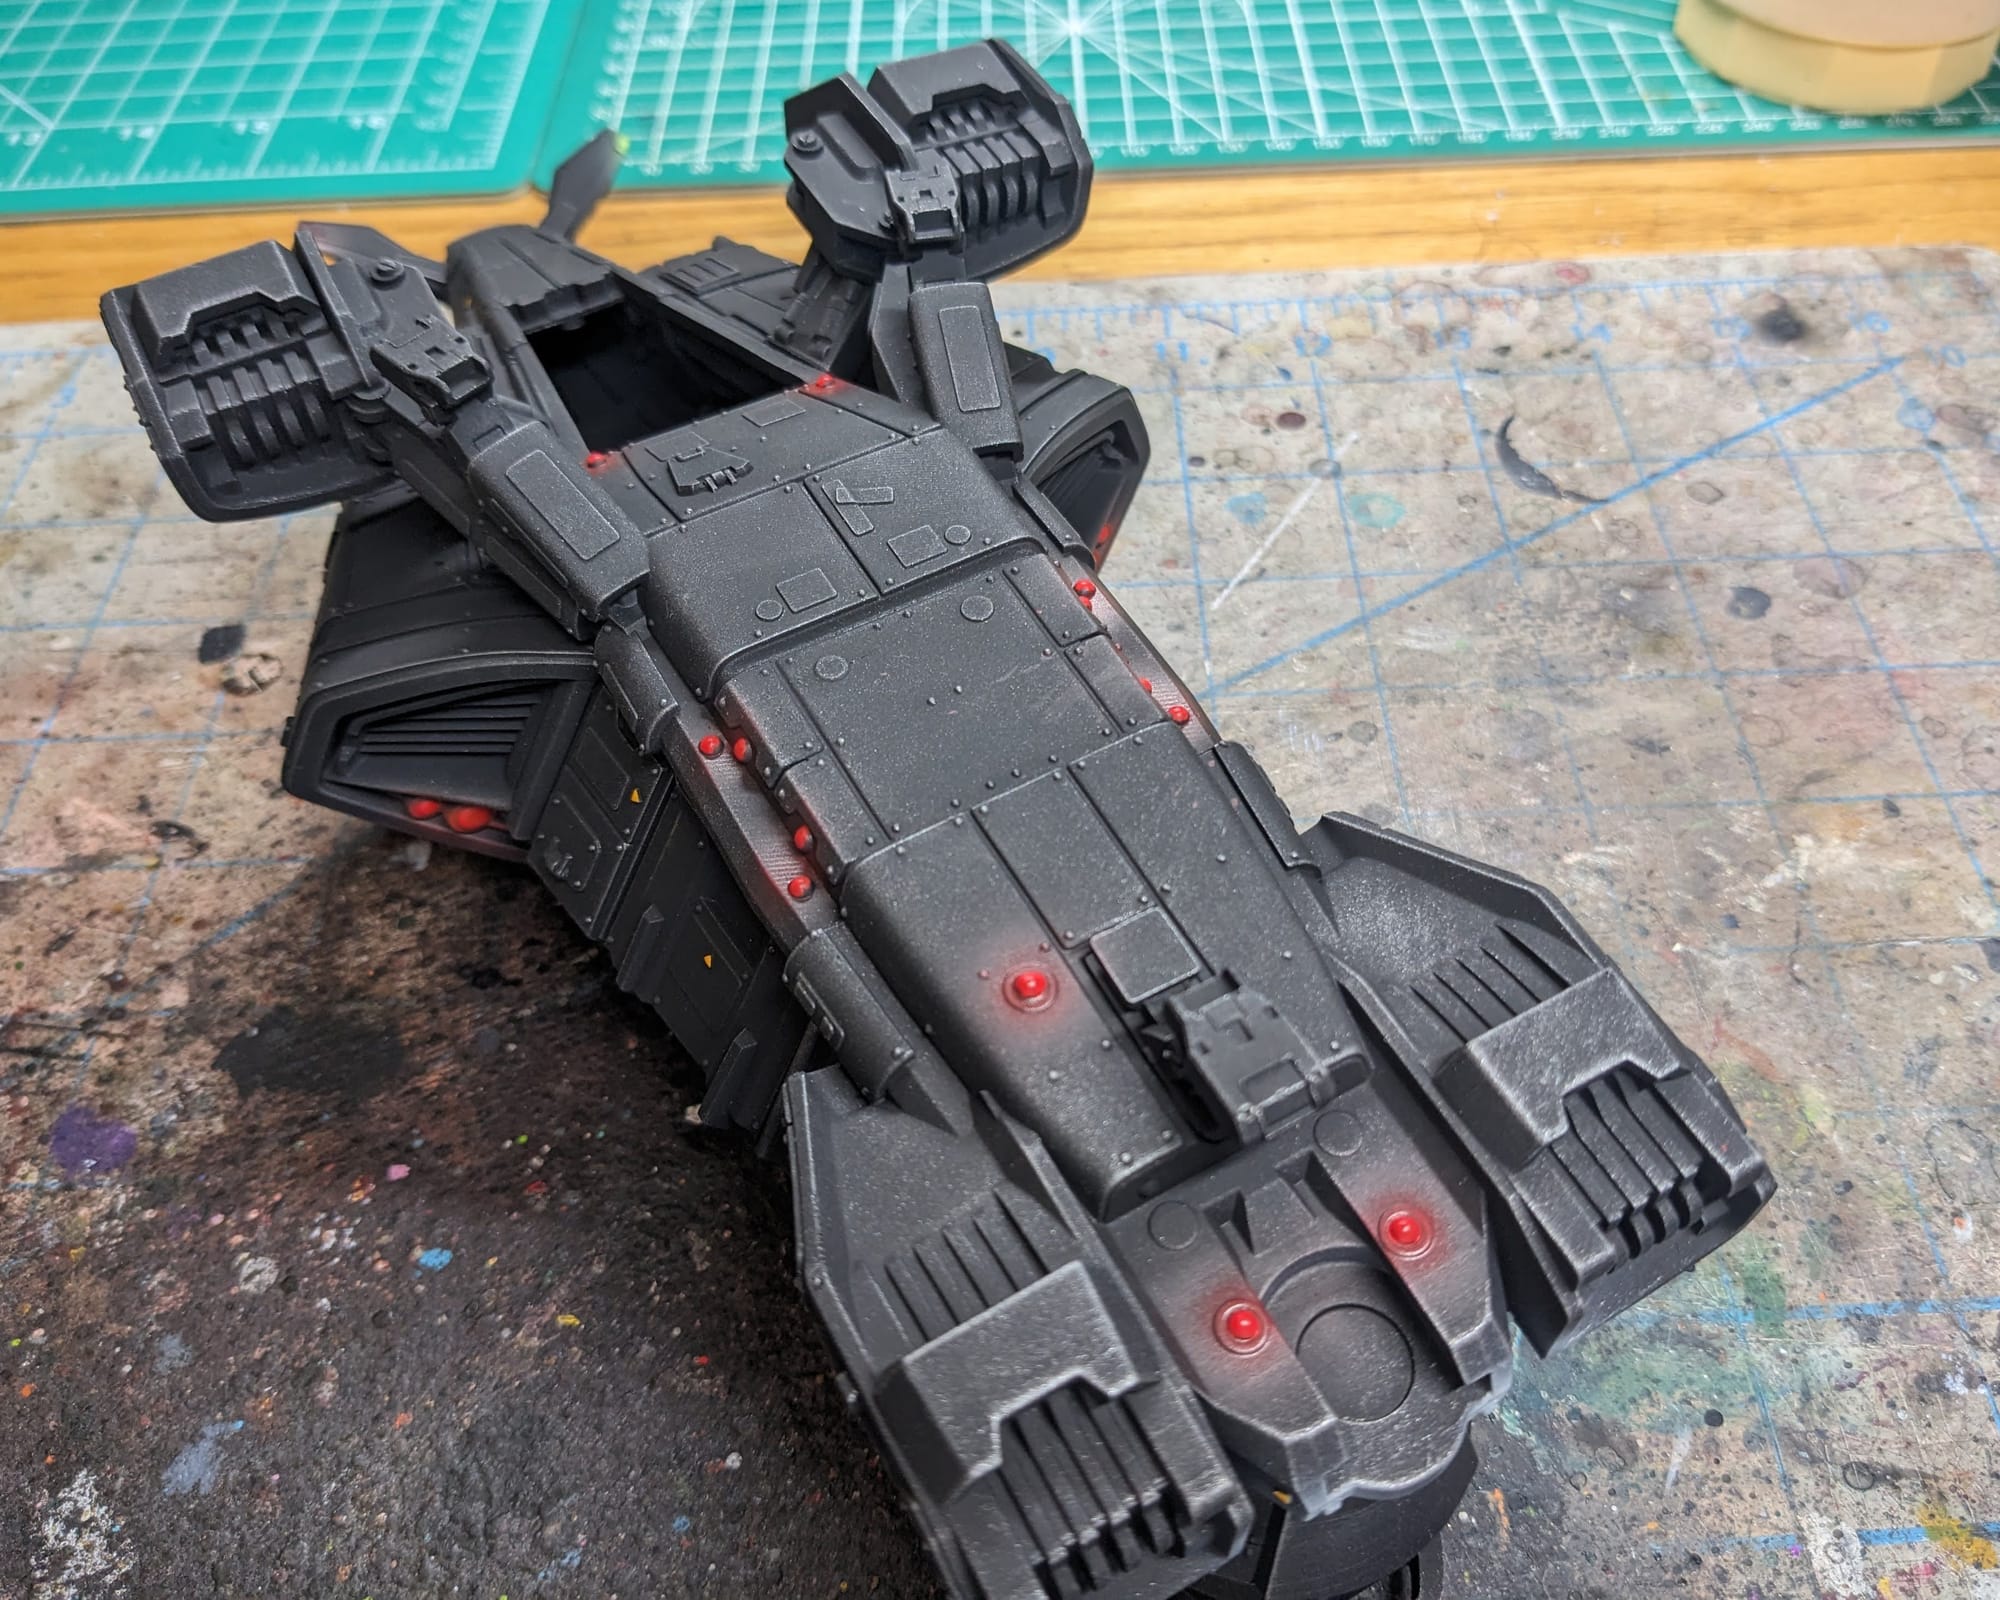
There are small ventral lights on the underside of the craft
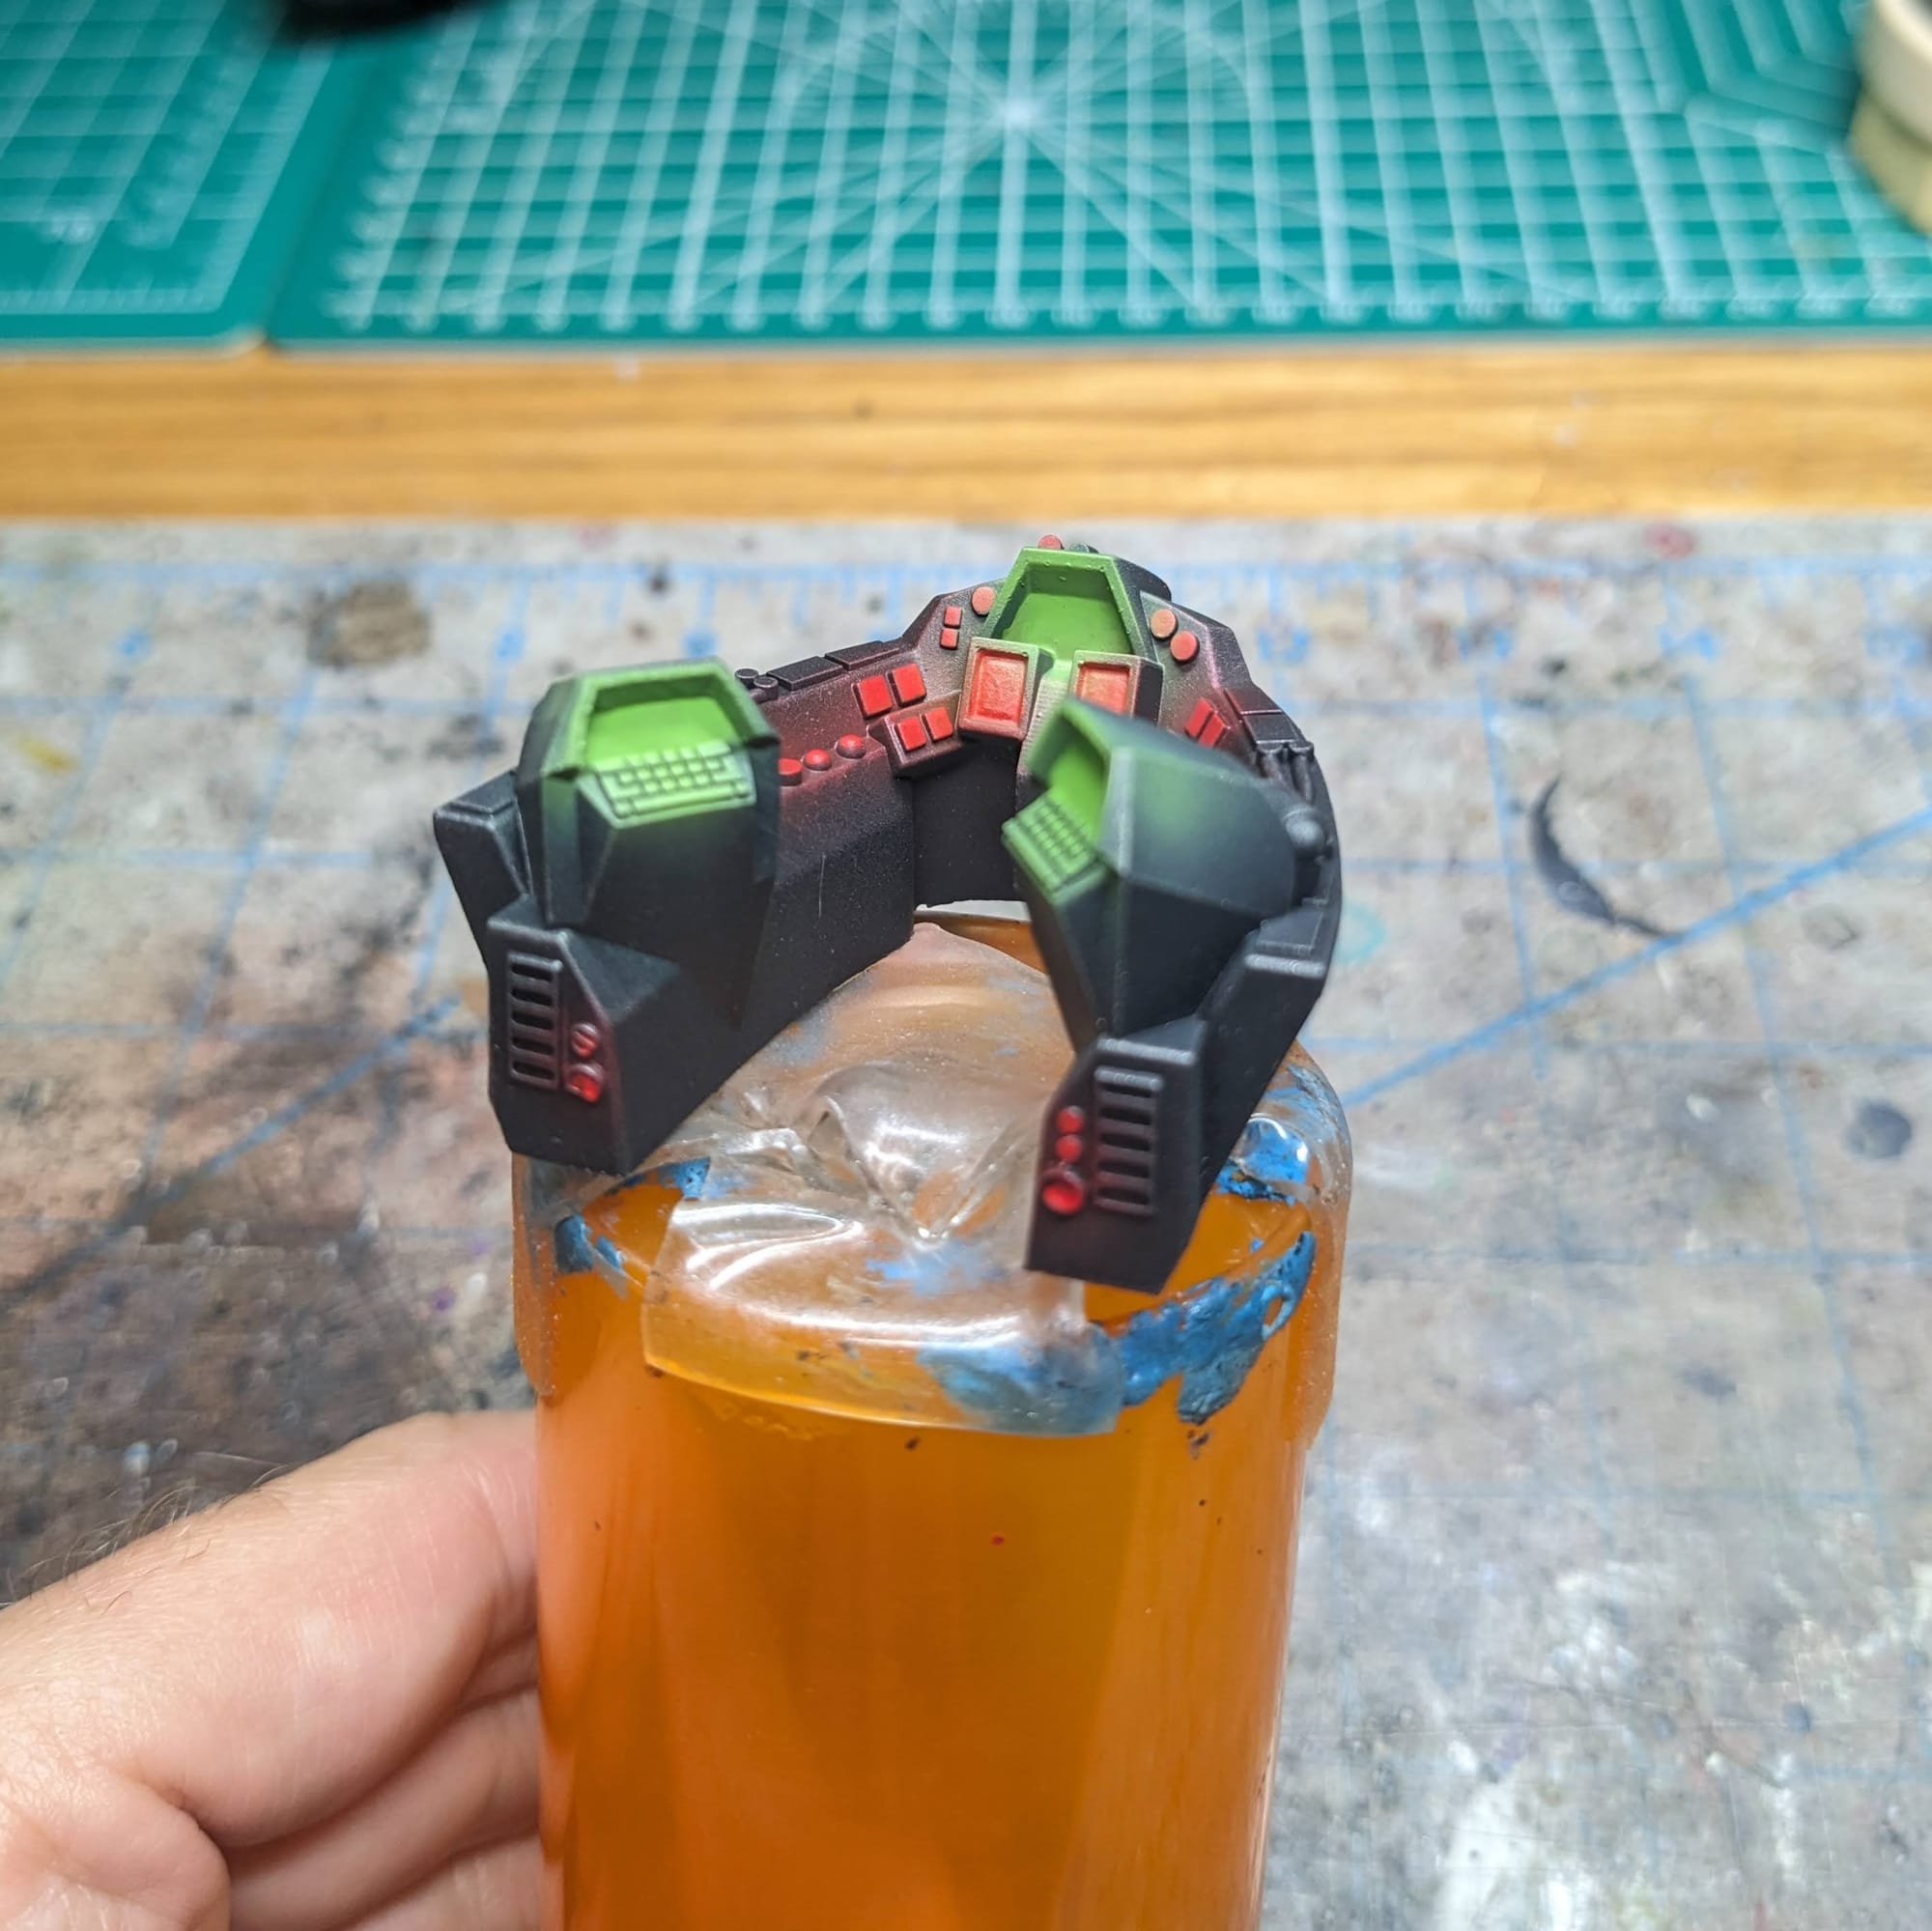
The consoles, both on the horseshoe-shaped control panel and the back of the chair, have a mixture of red and green on them. Here, I dialed down the airbrush nozzle spray to just the smallest diameter, giving me more control to help avoid coloring the wrong section.
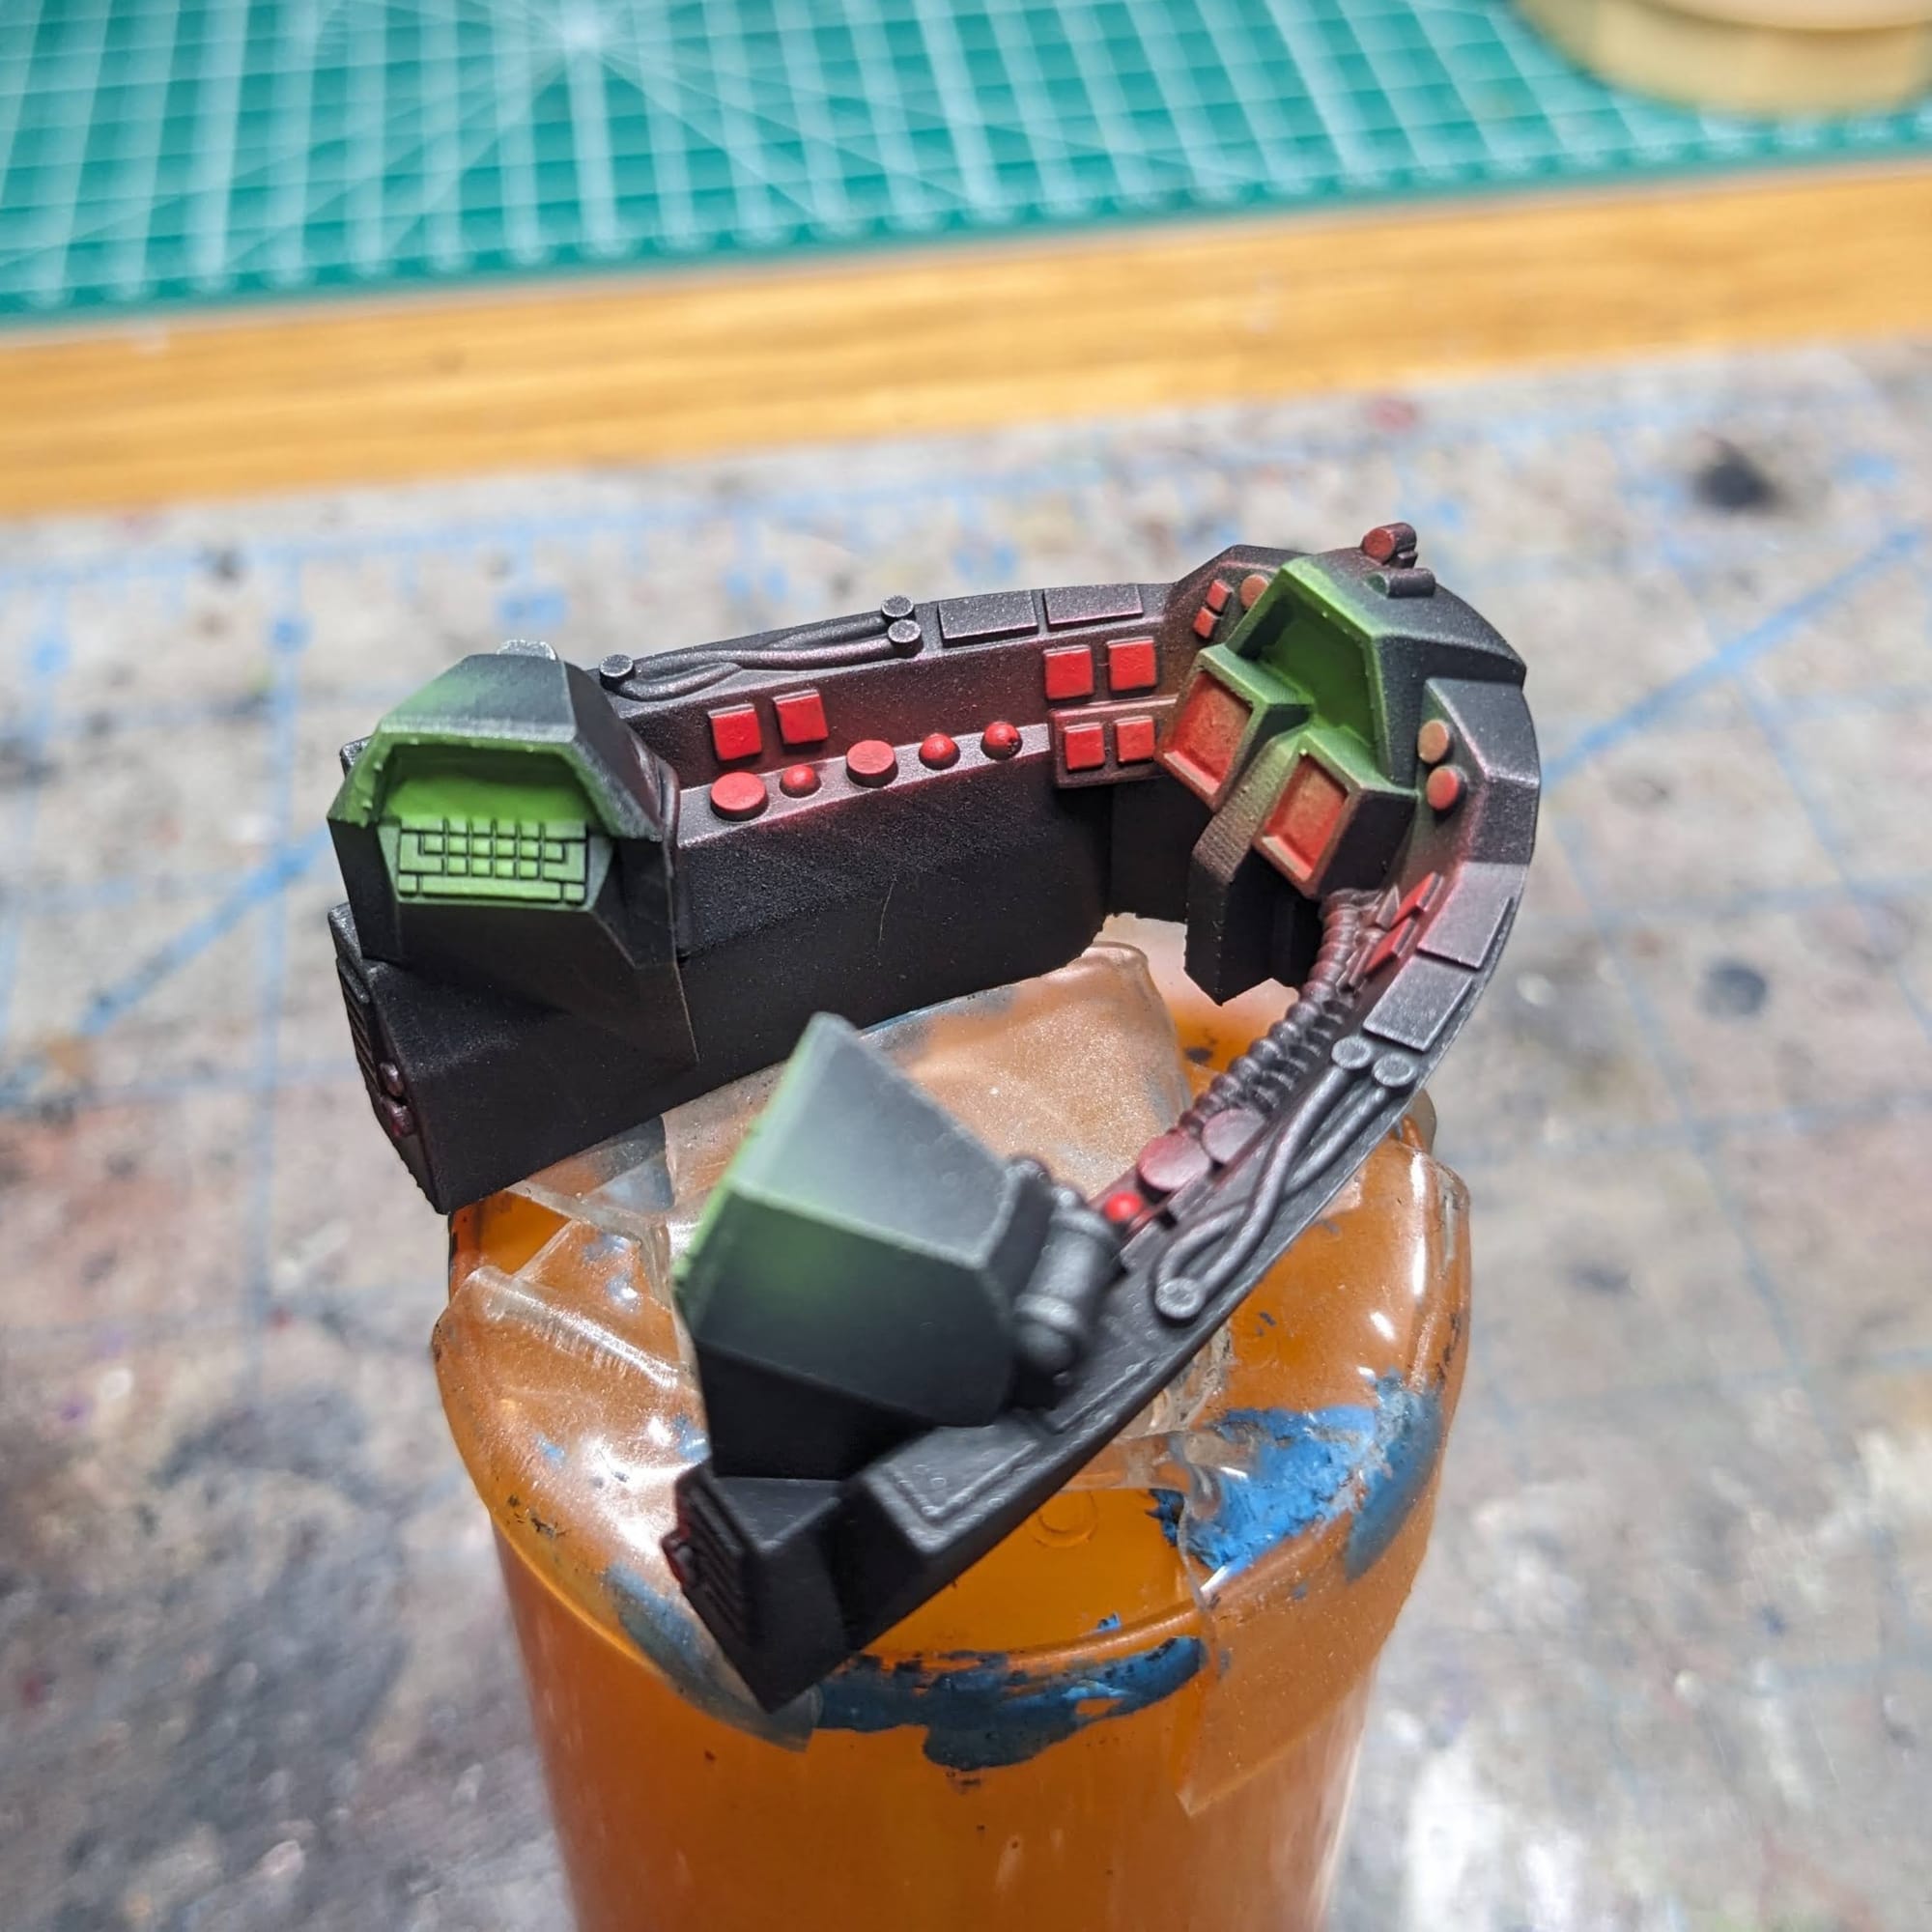
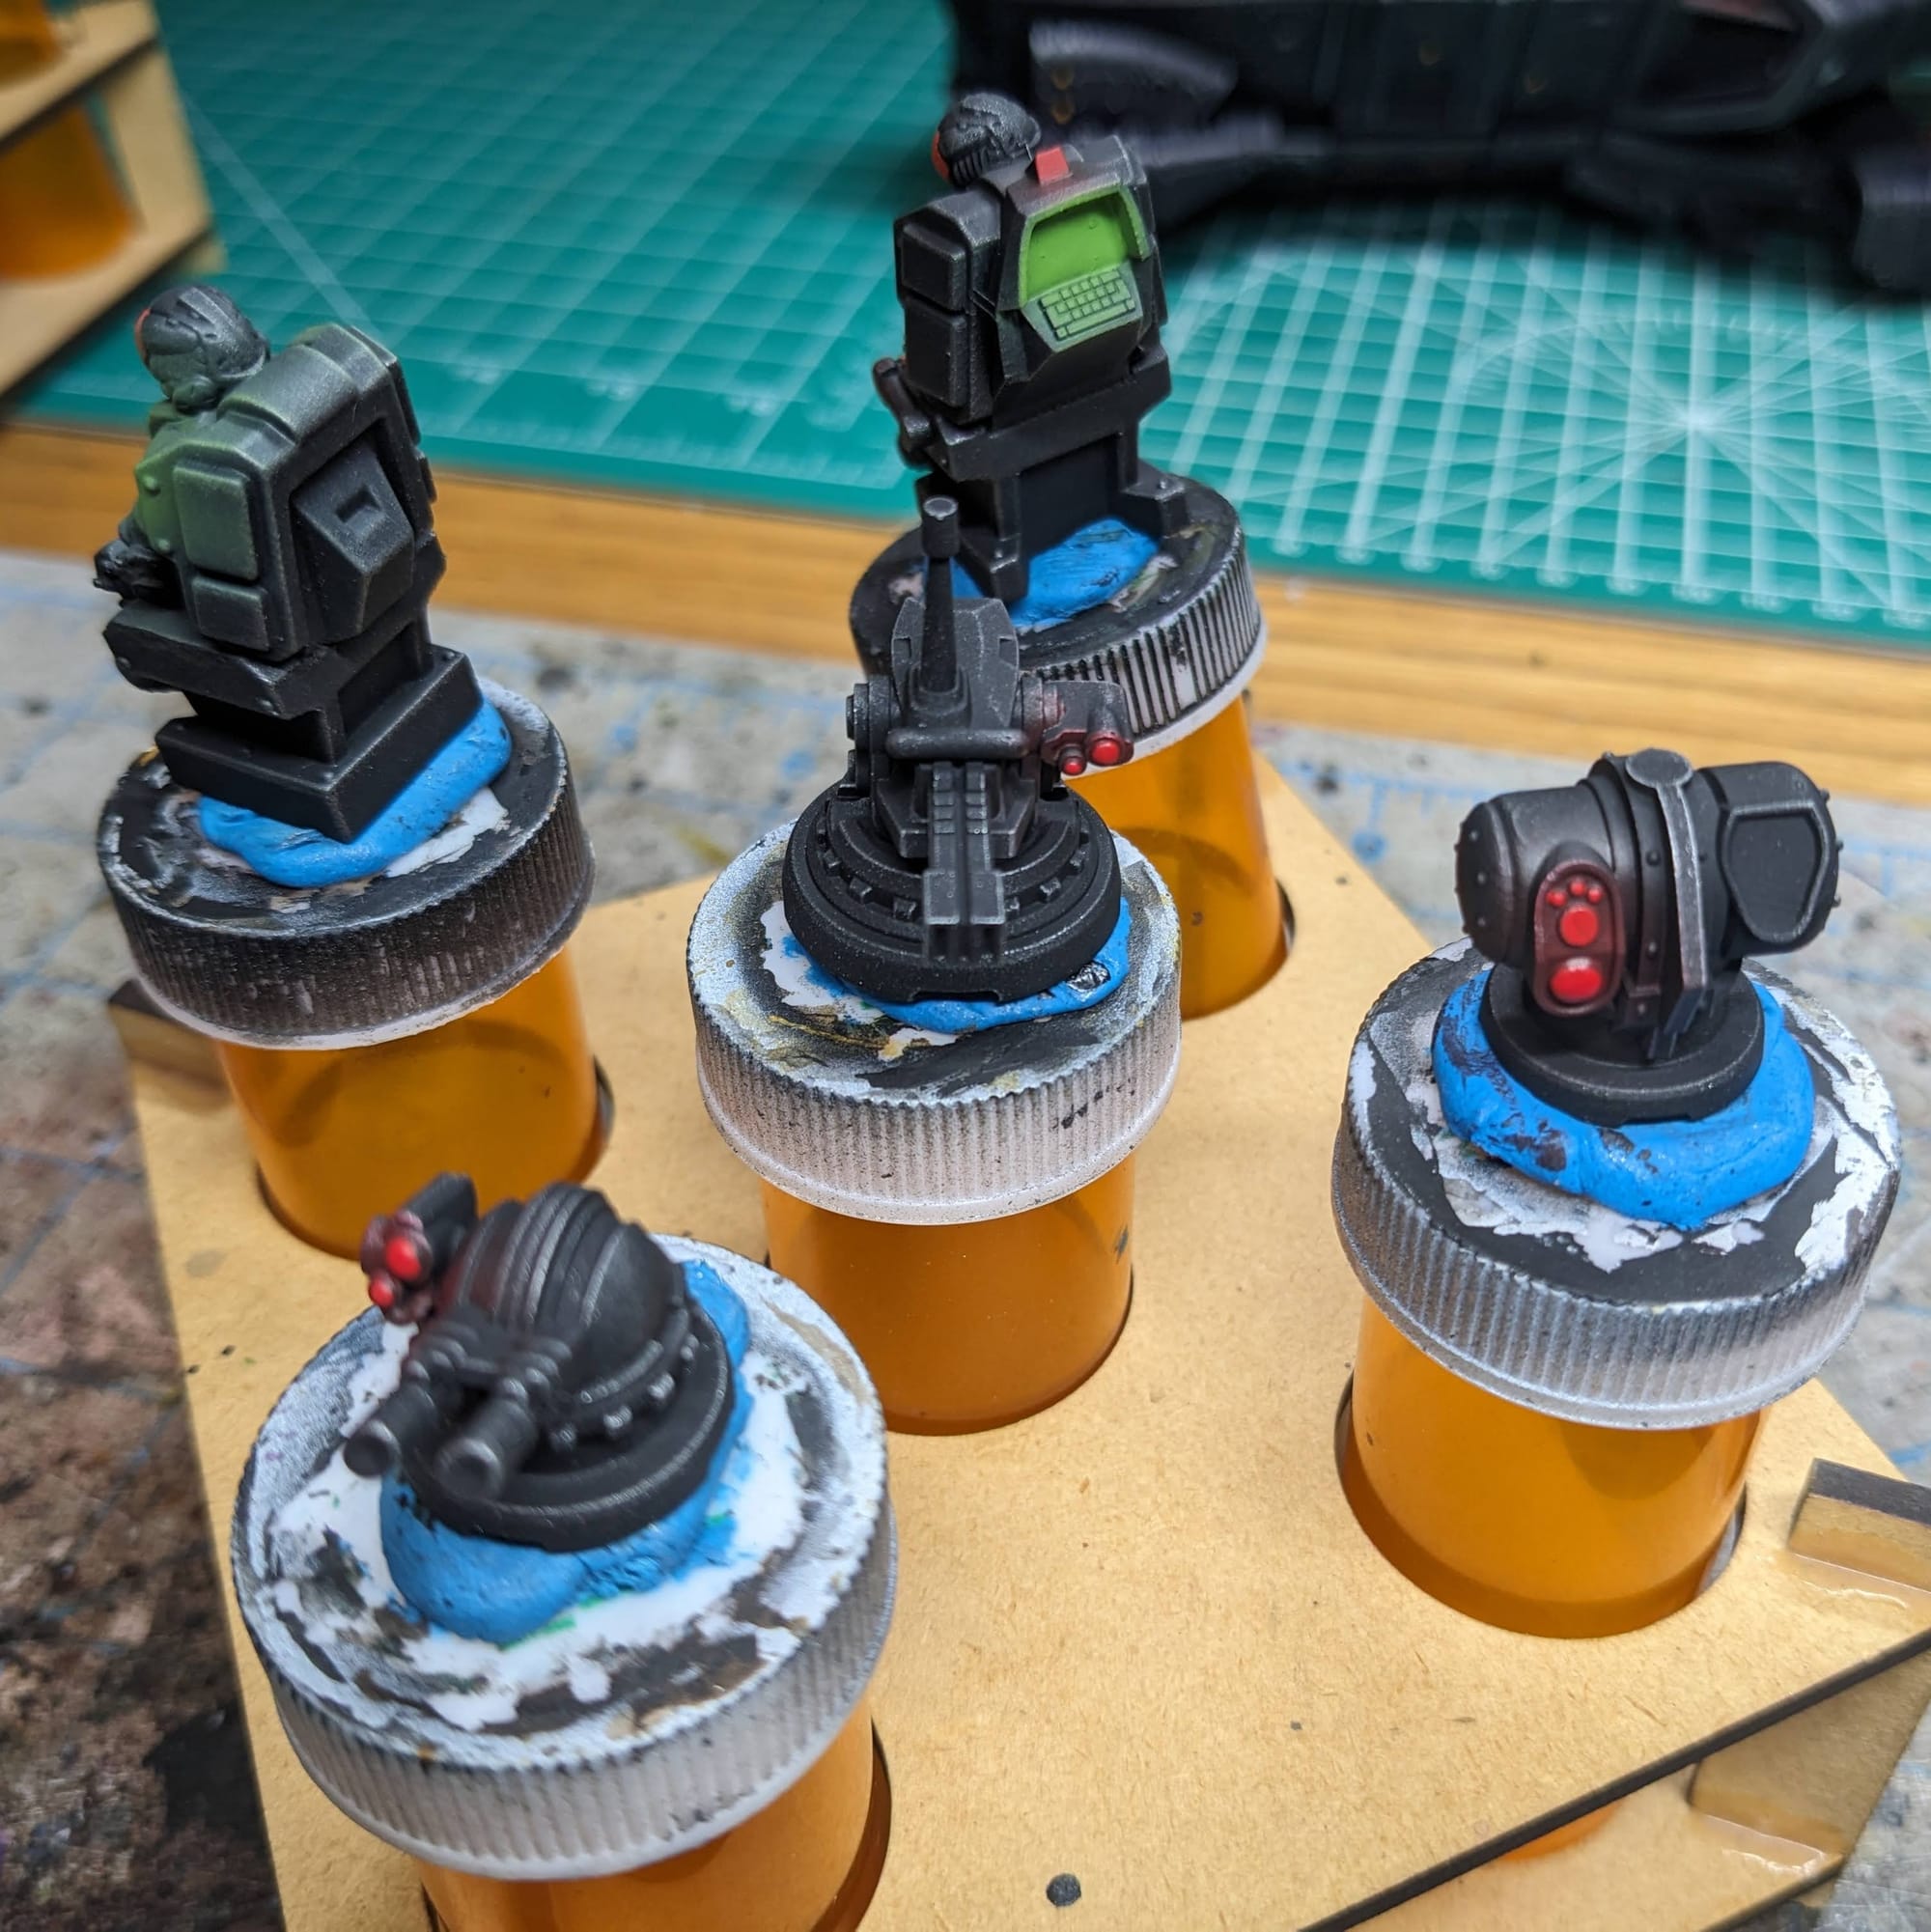
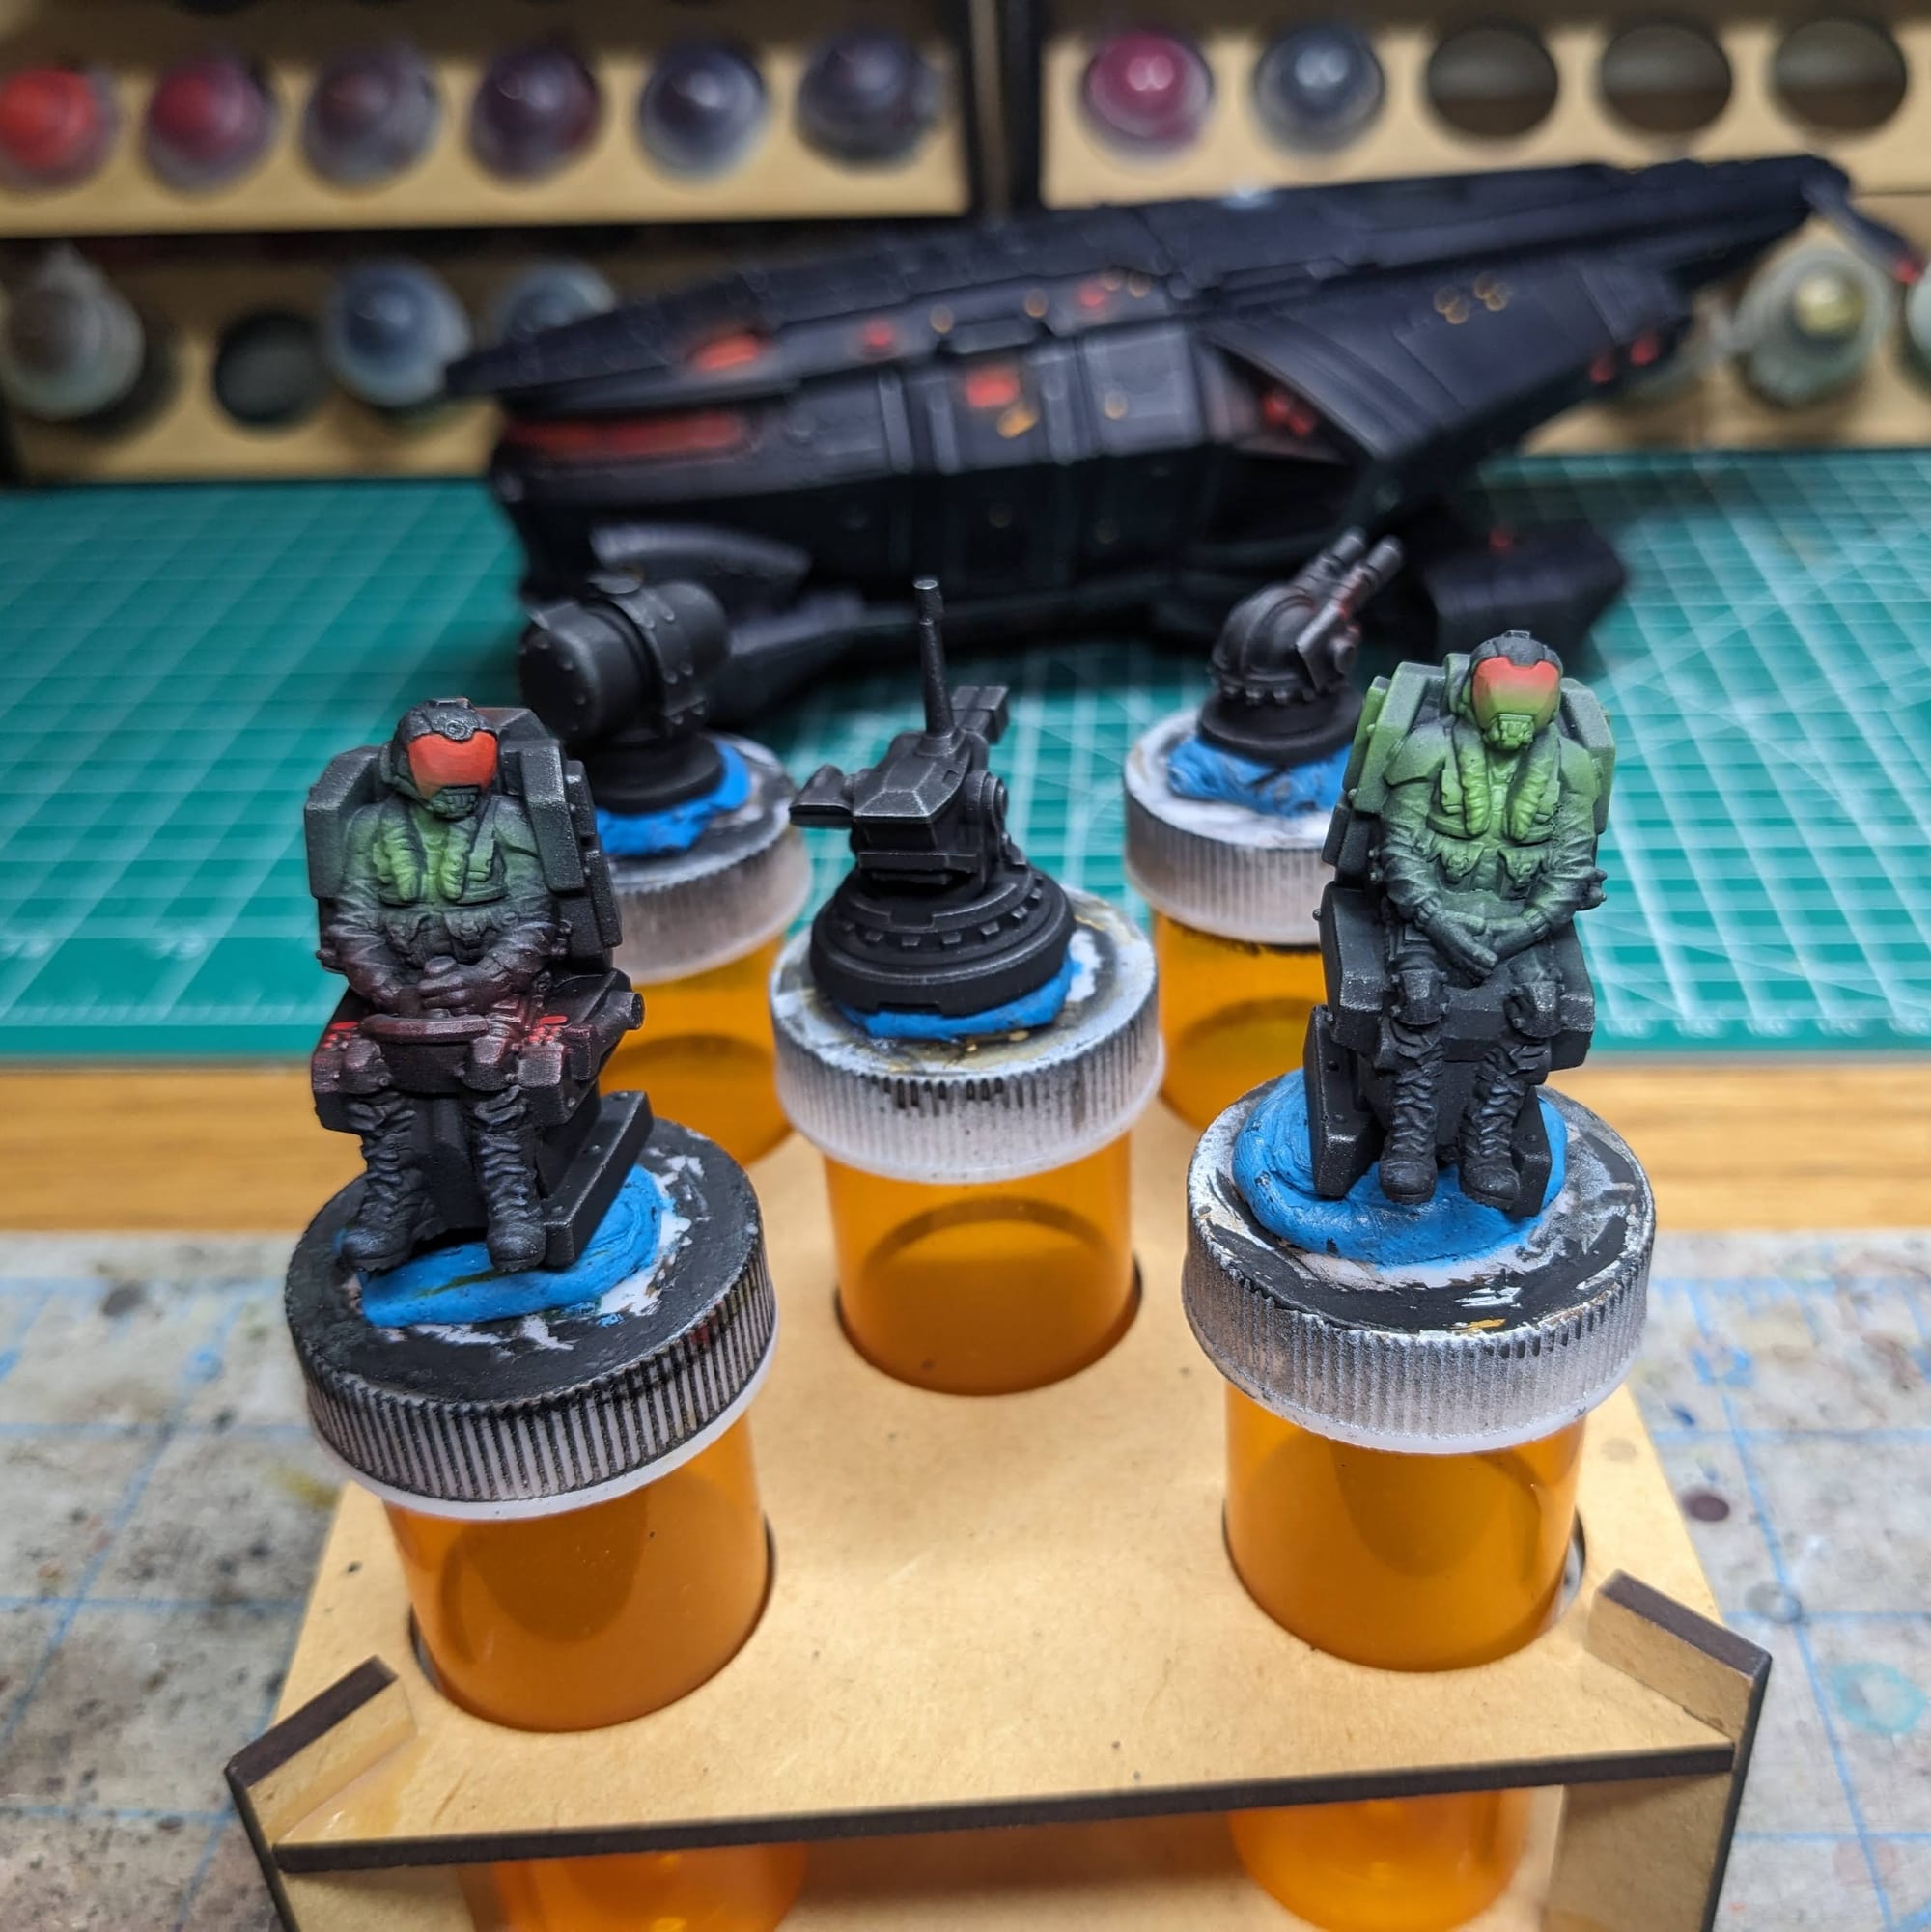
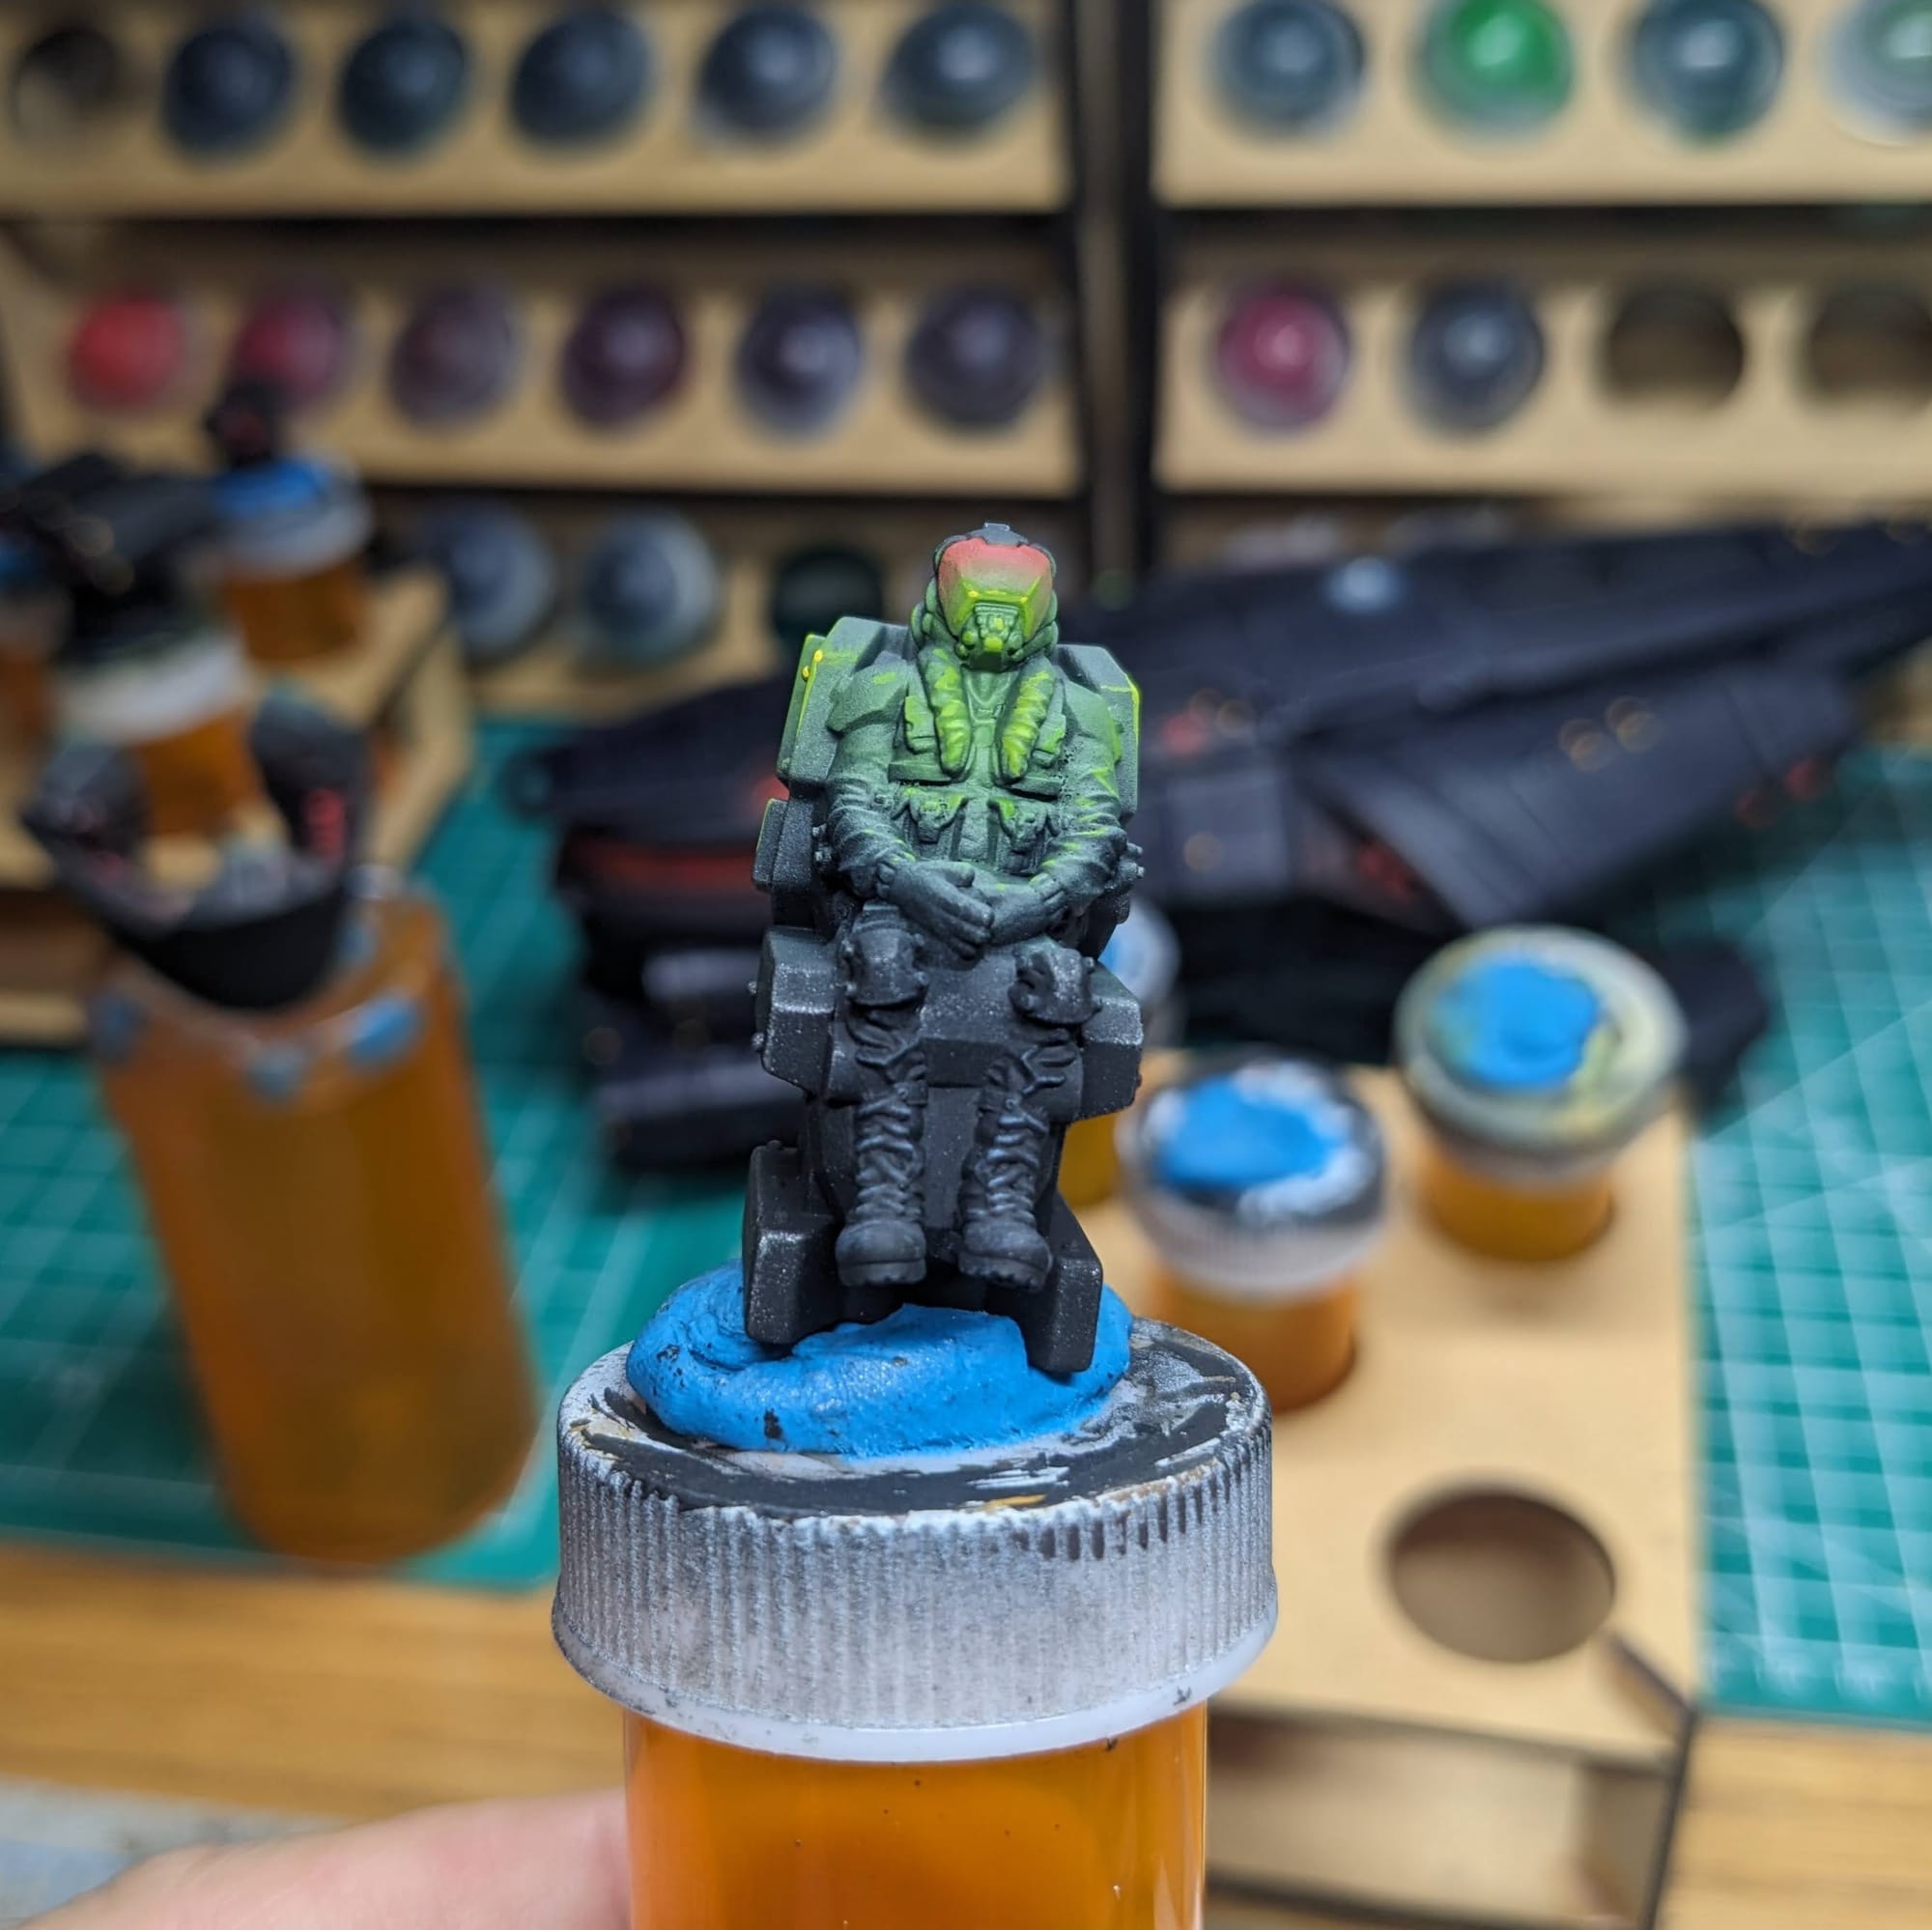
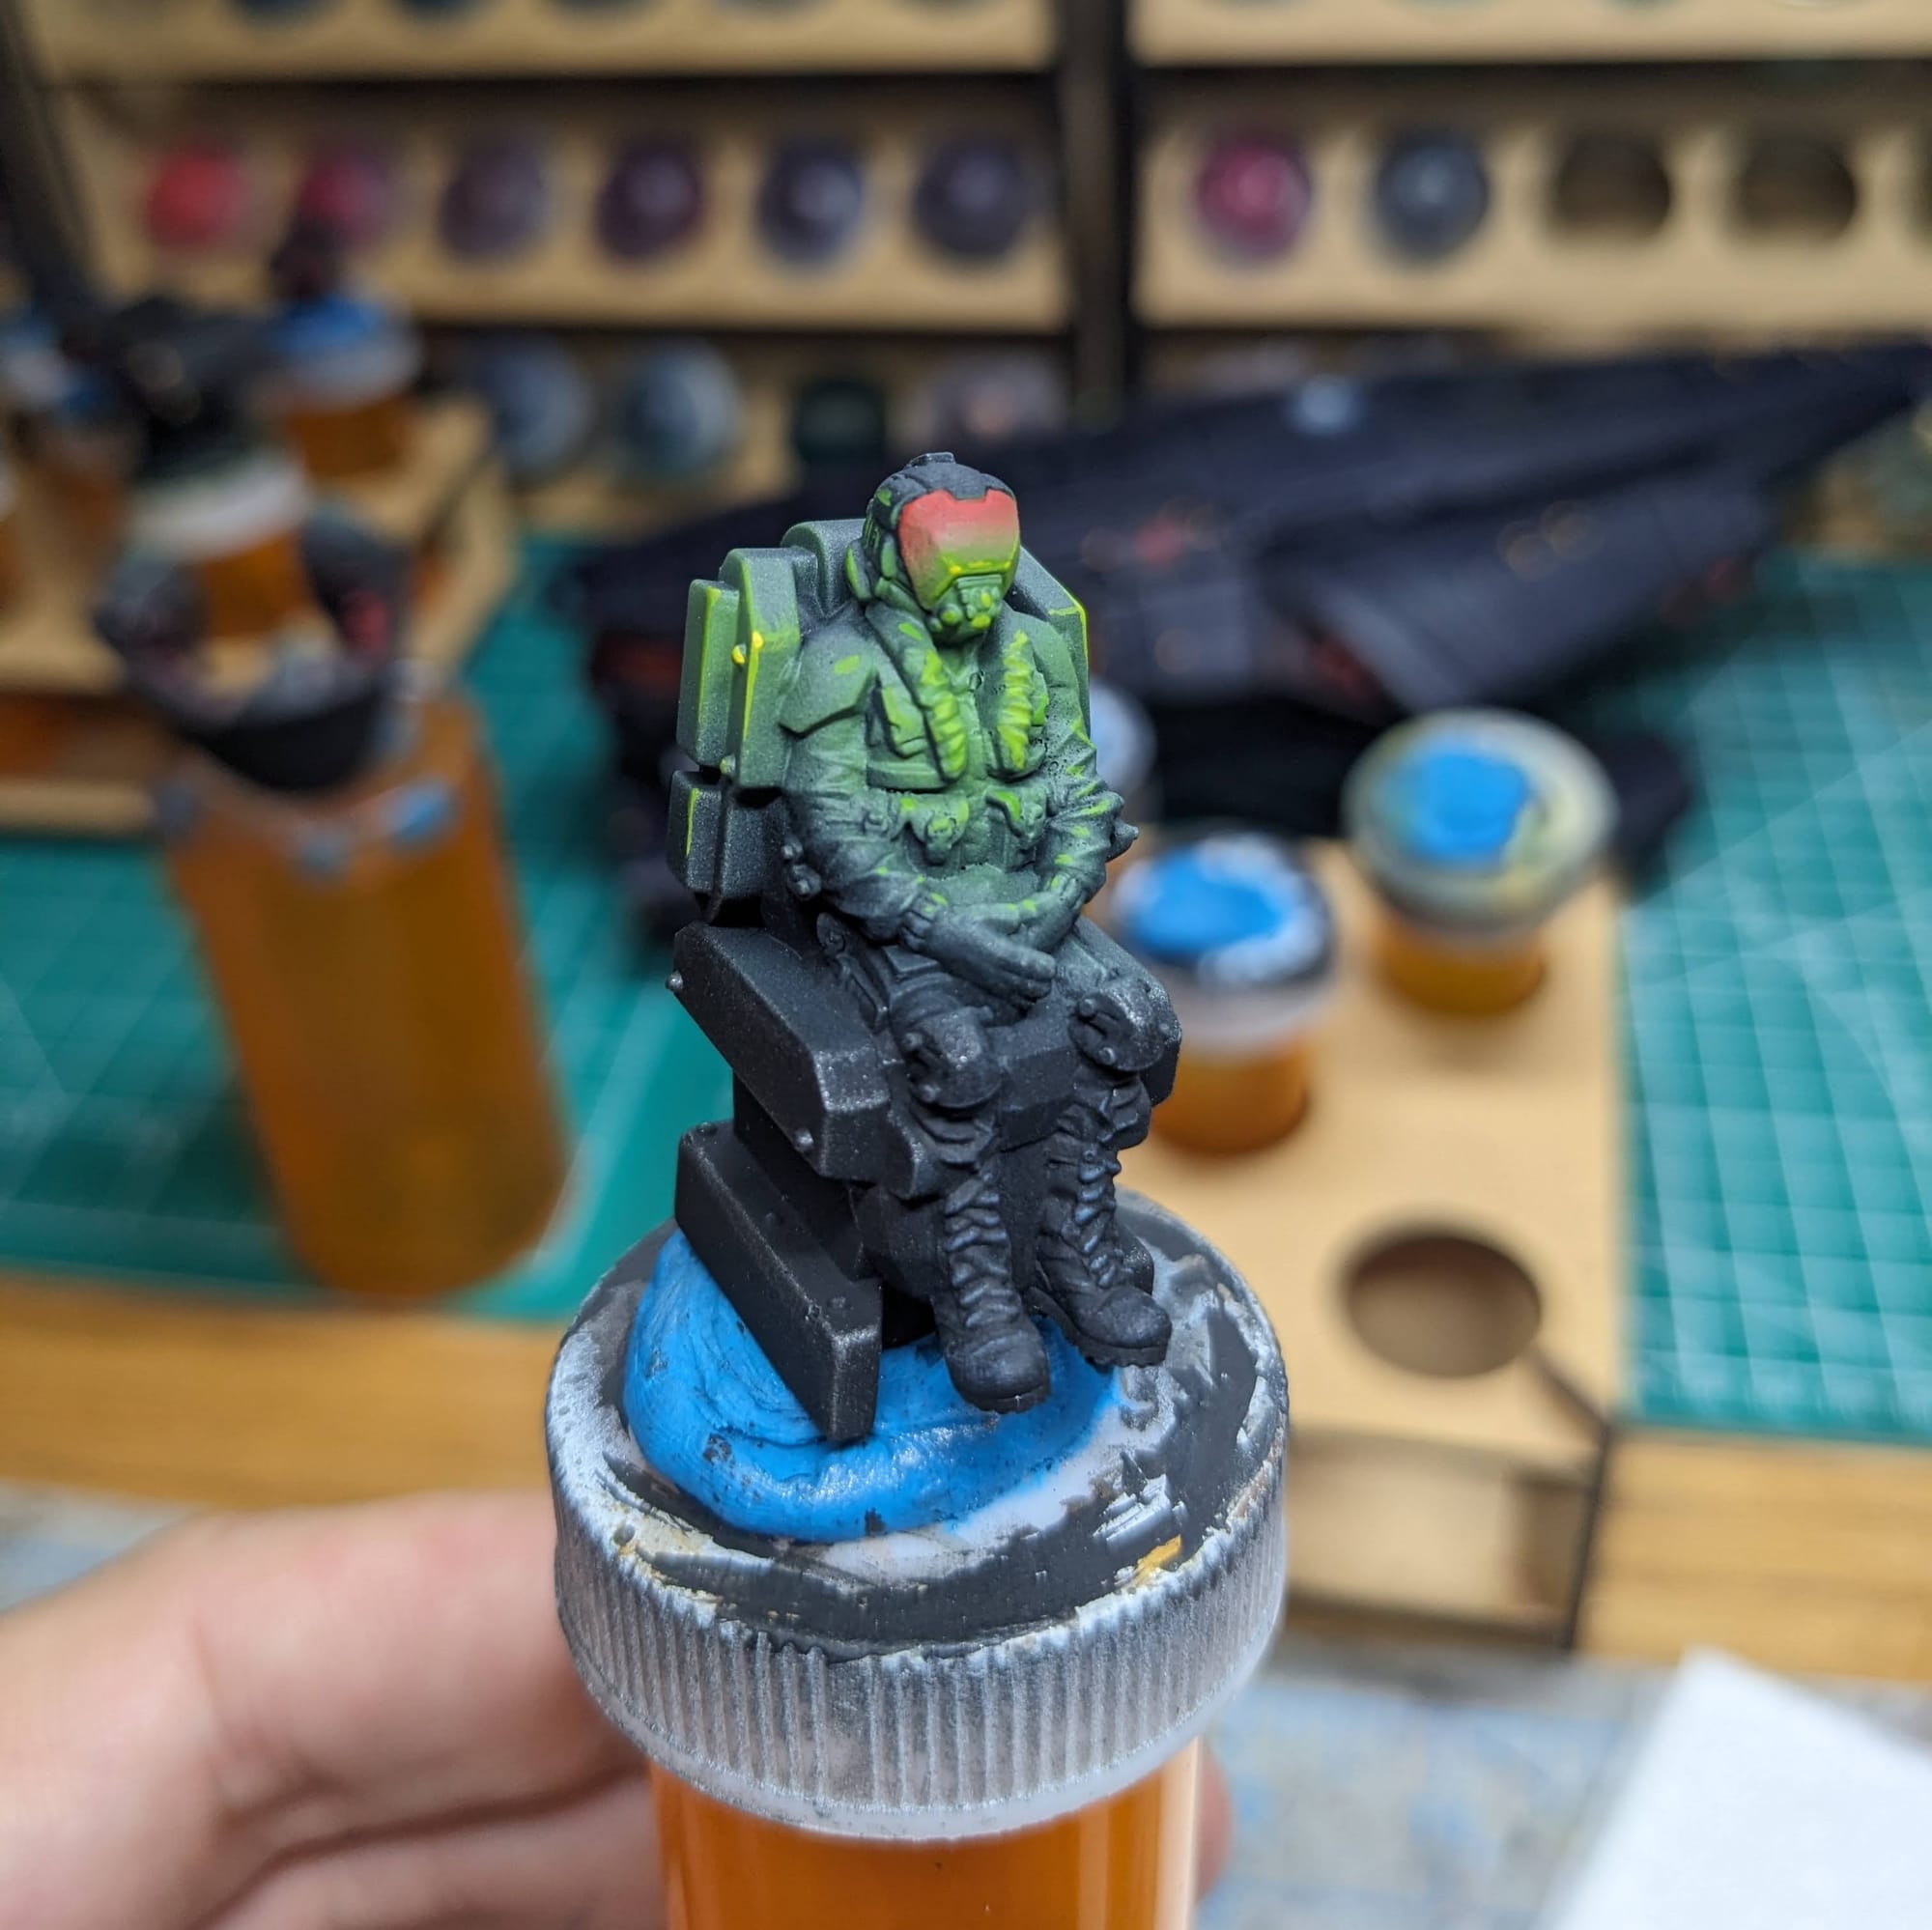
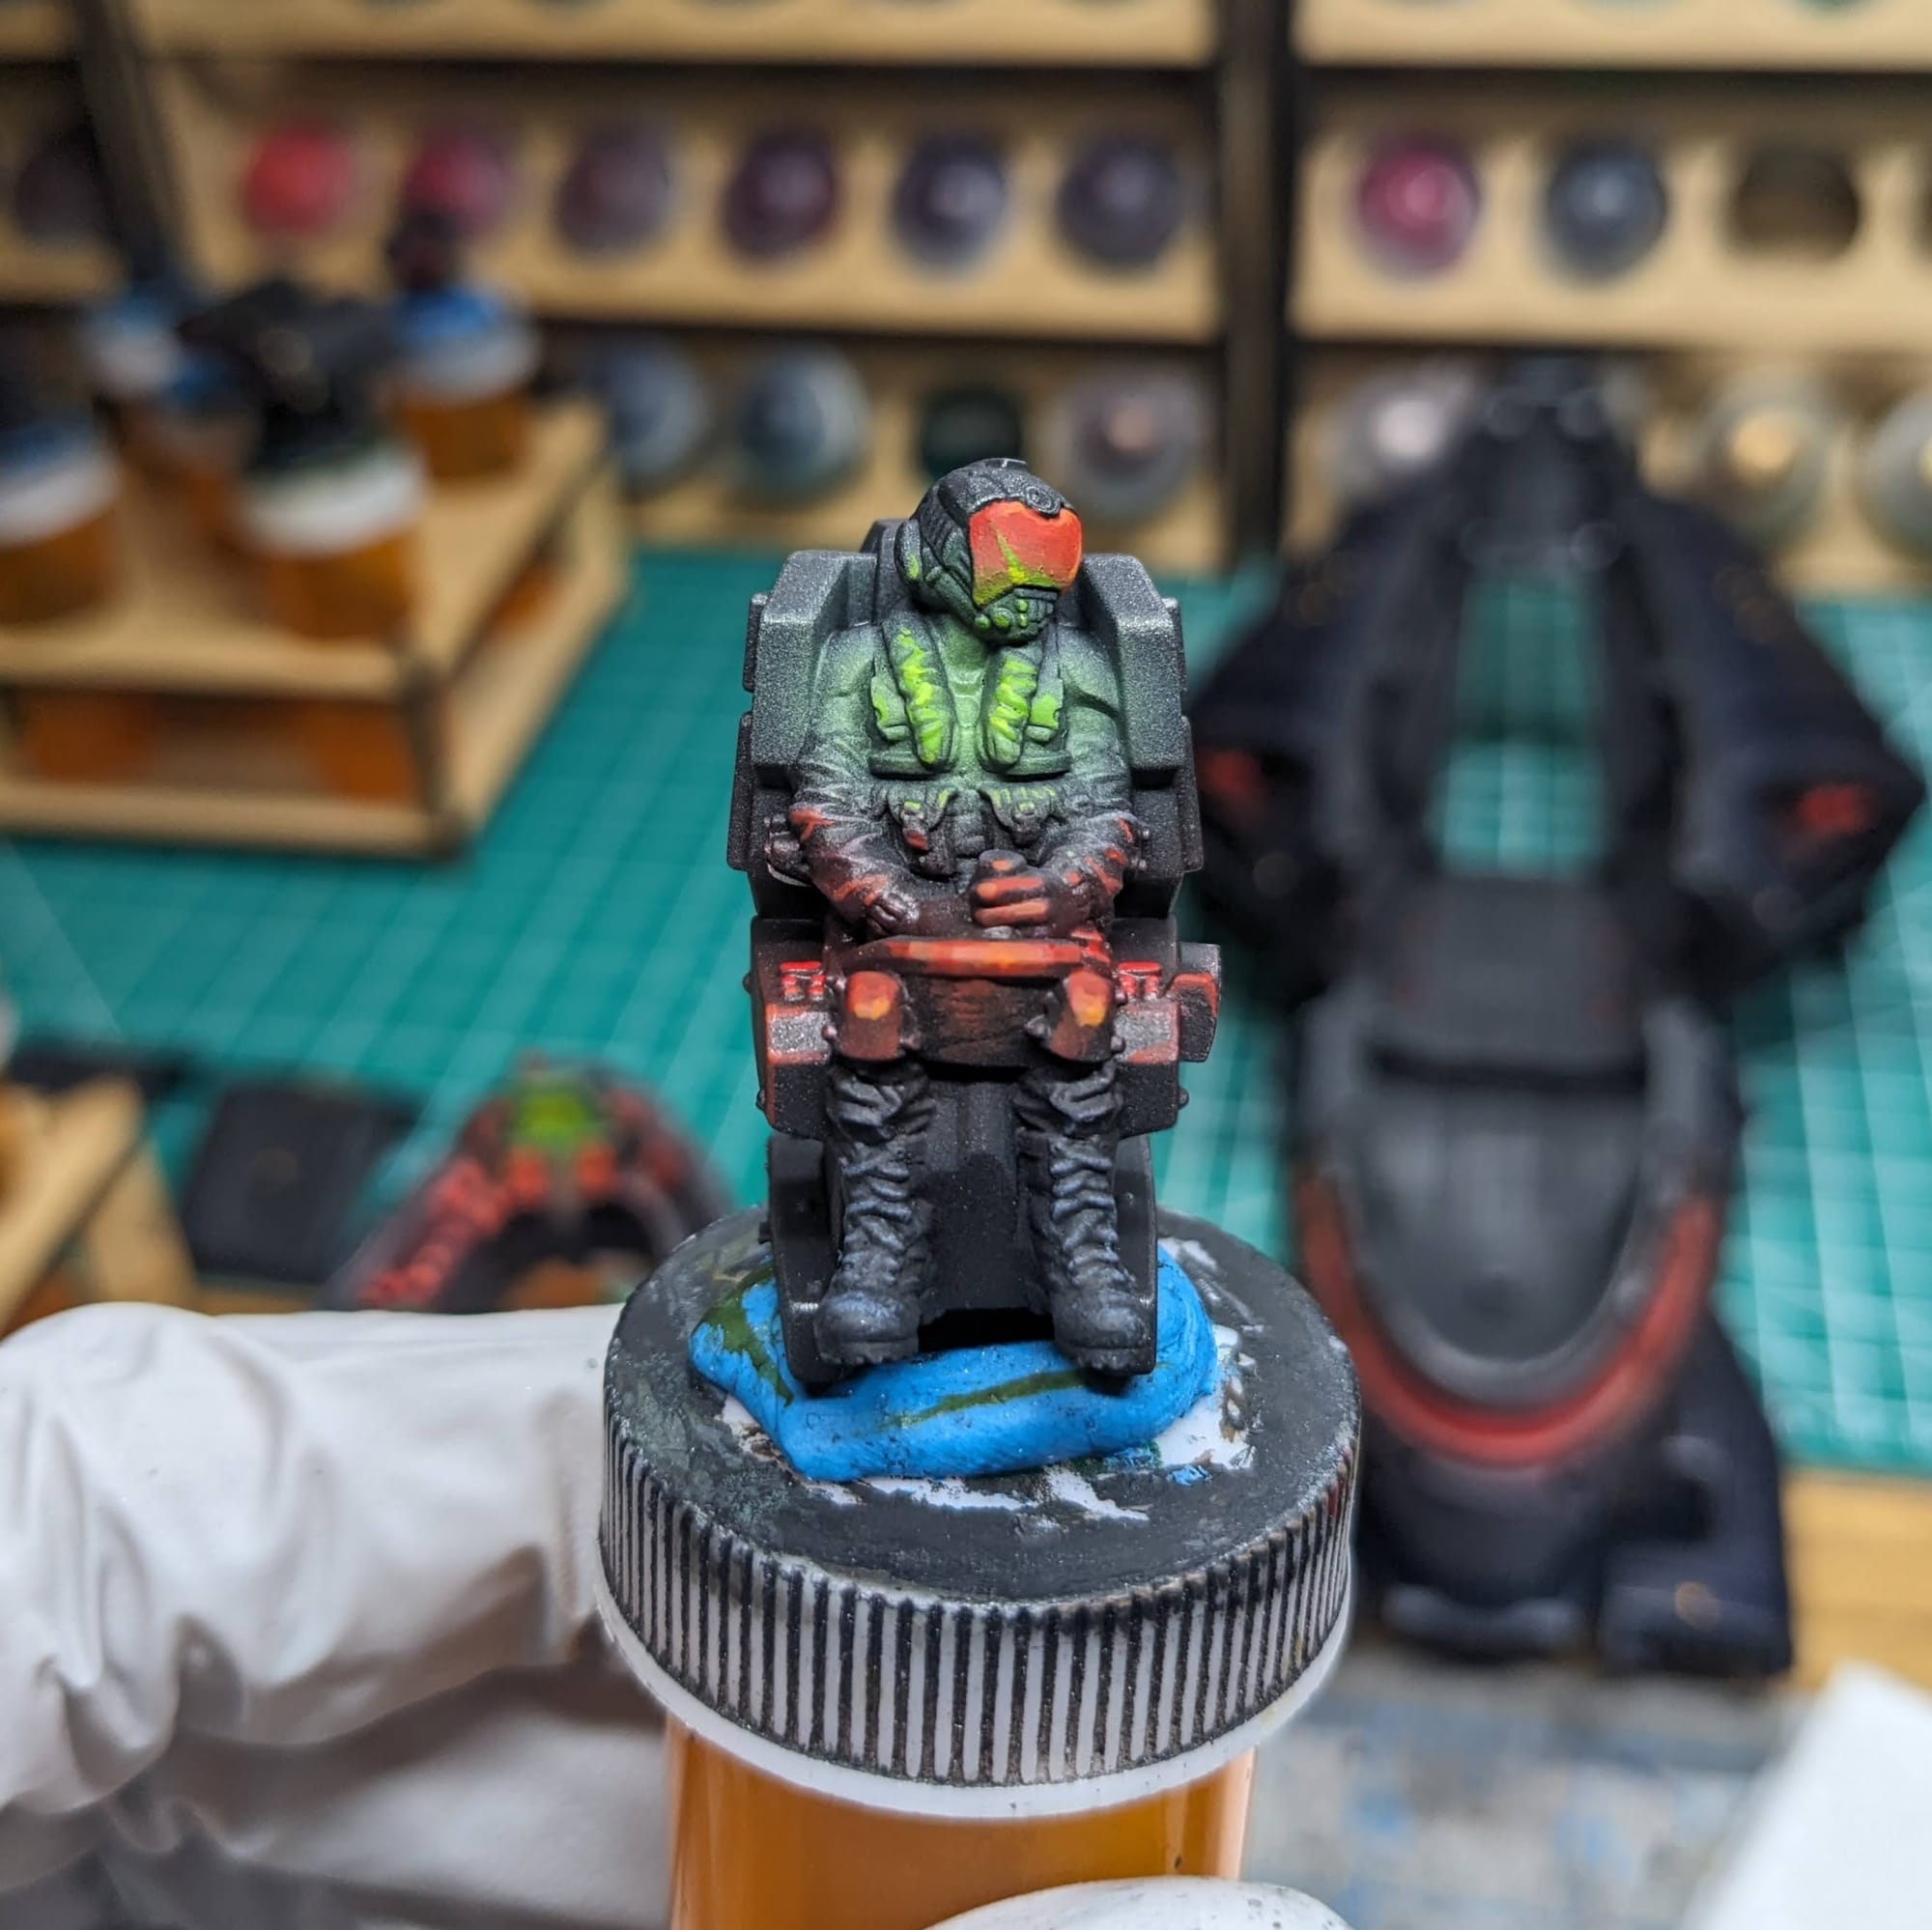
Unlike the navigation lights and control panels, the pilots themselves don't have any light source on them, but they are sitting right at the source of many panels. So, using the same red and green, I airbrushed , approximately, where the console lights would be glowing onto them.
Painting the Details
At this point, this model is basically done and ready to for play. However, I wanted to add some finer details to the console screens and helmet visors. Are they going to be noticed in a game easily? Probably not. Did I have fun painting little easter eggs in? Absolutely.
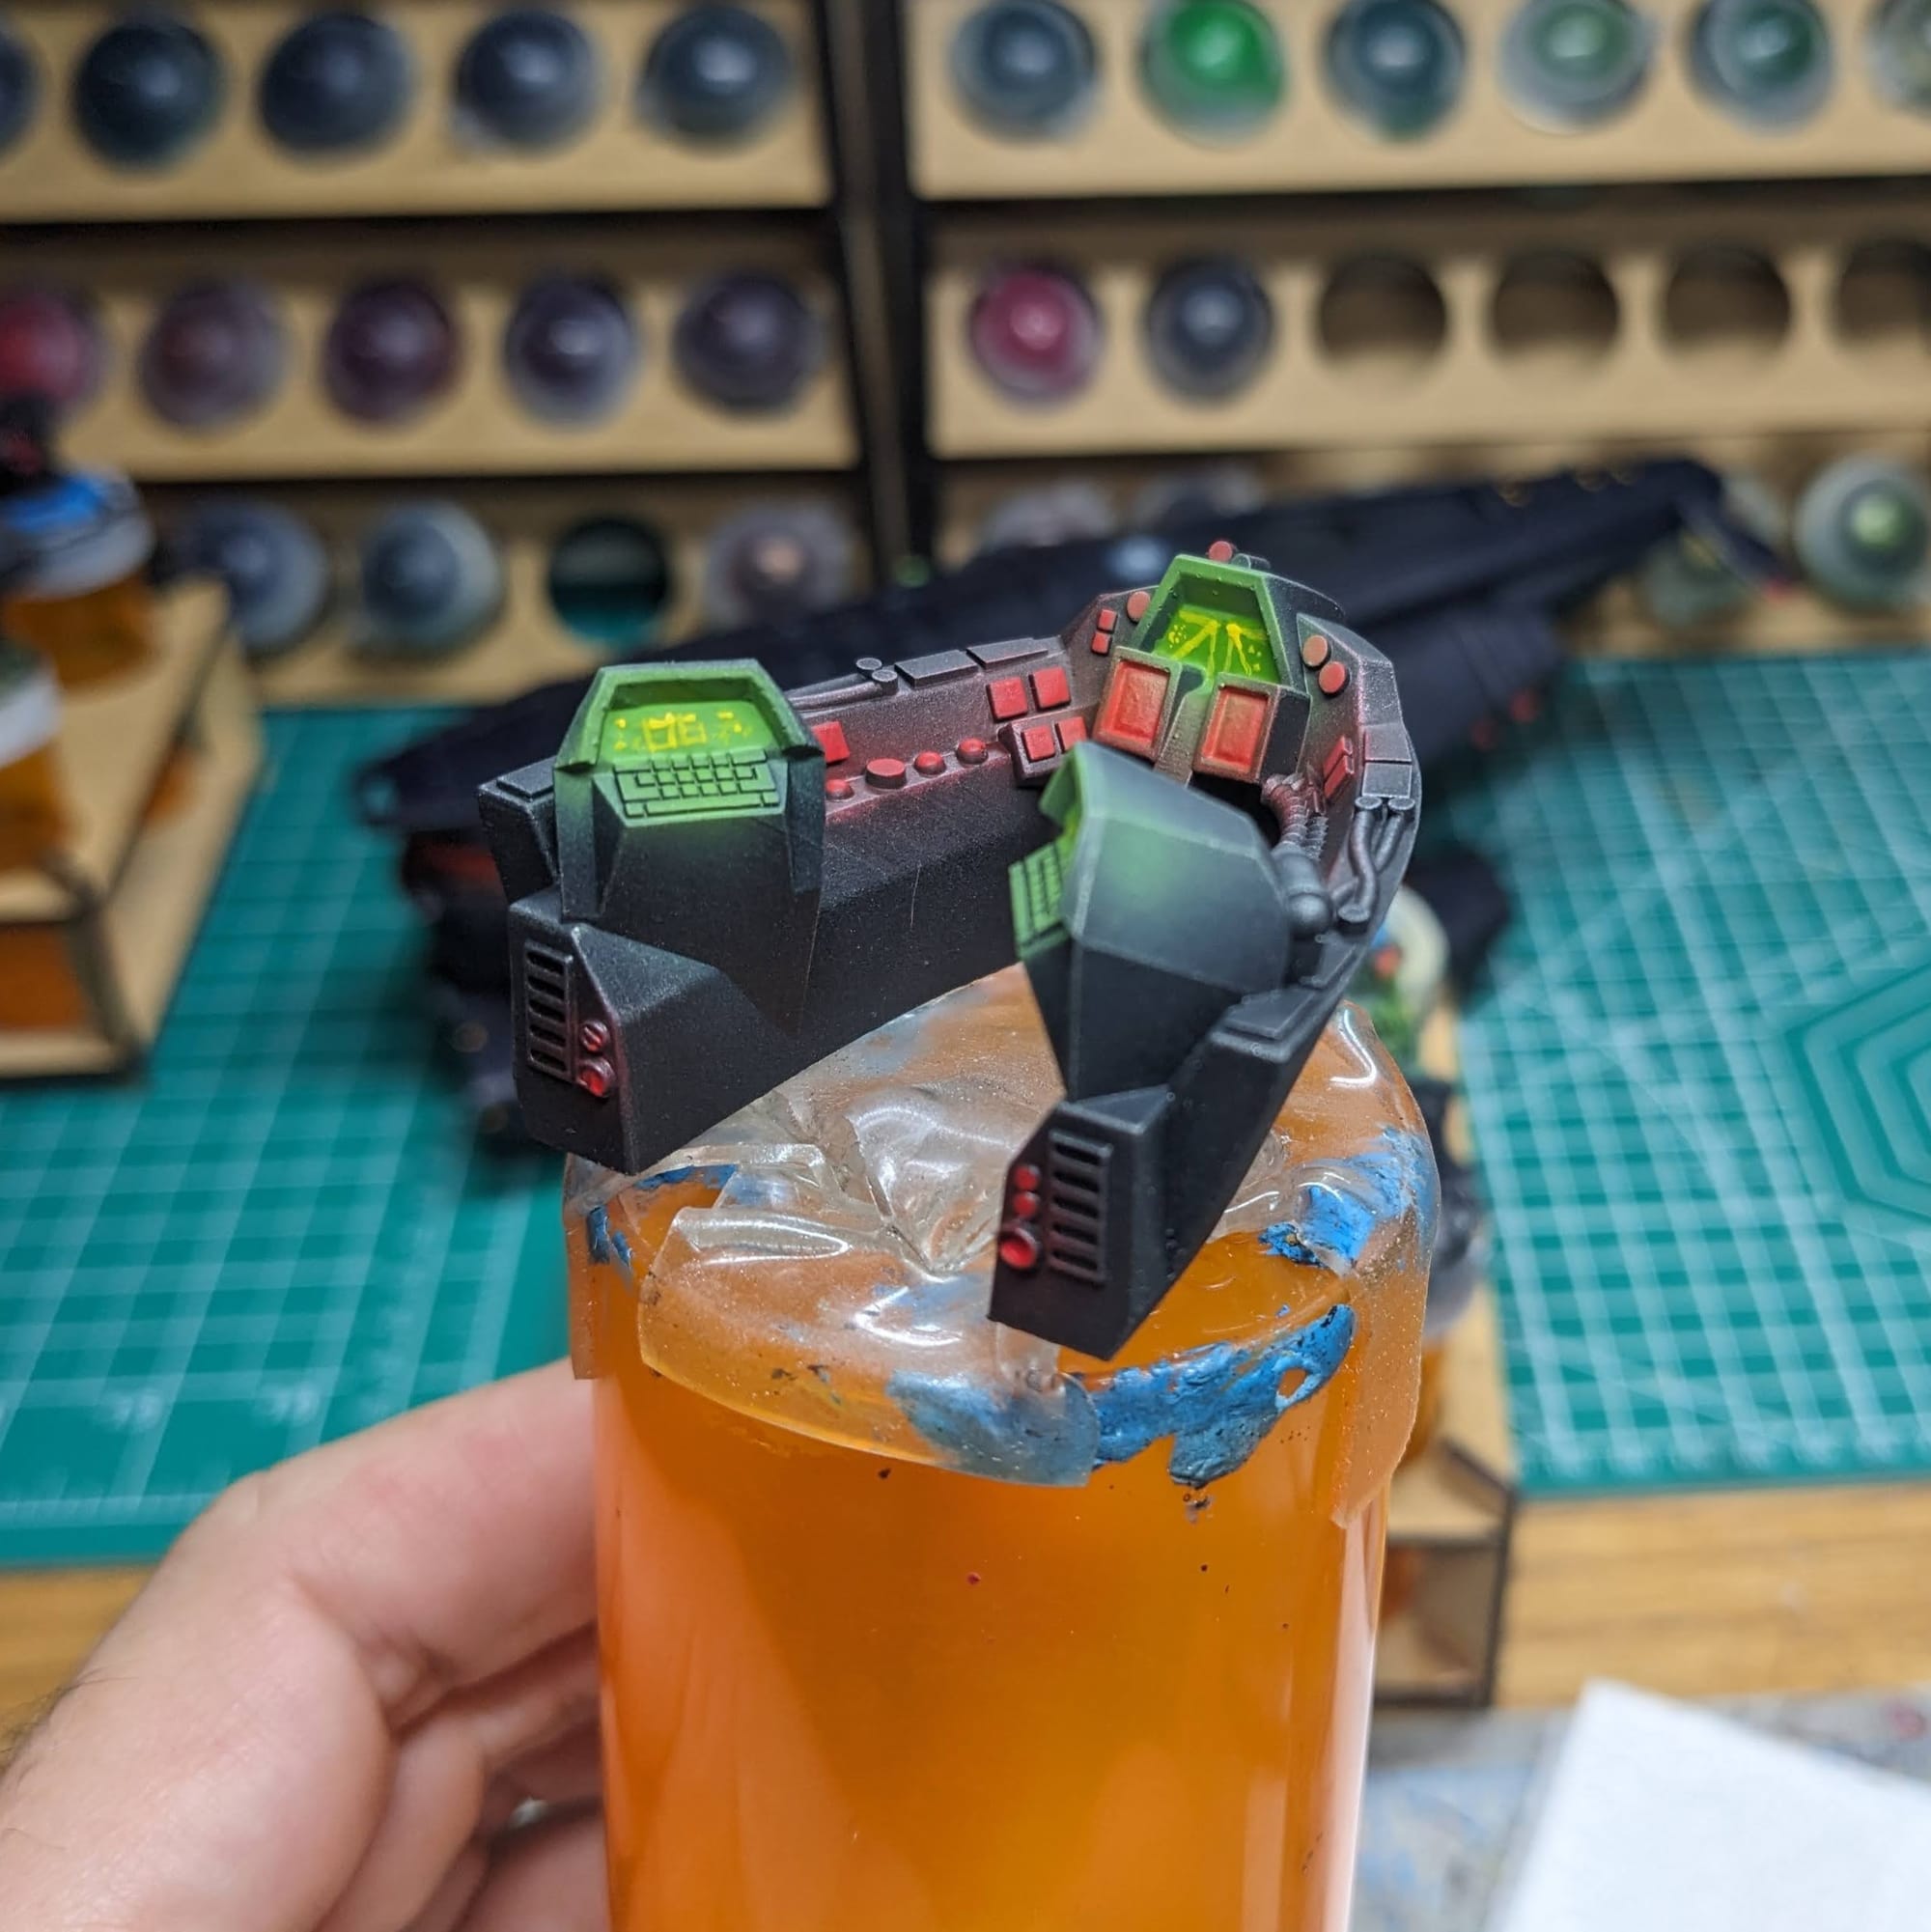
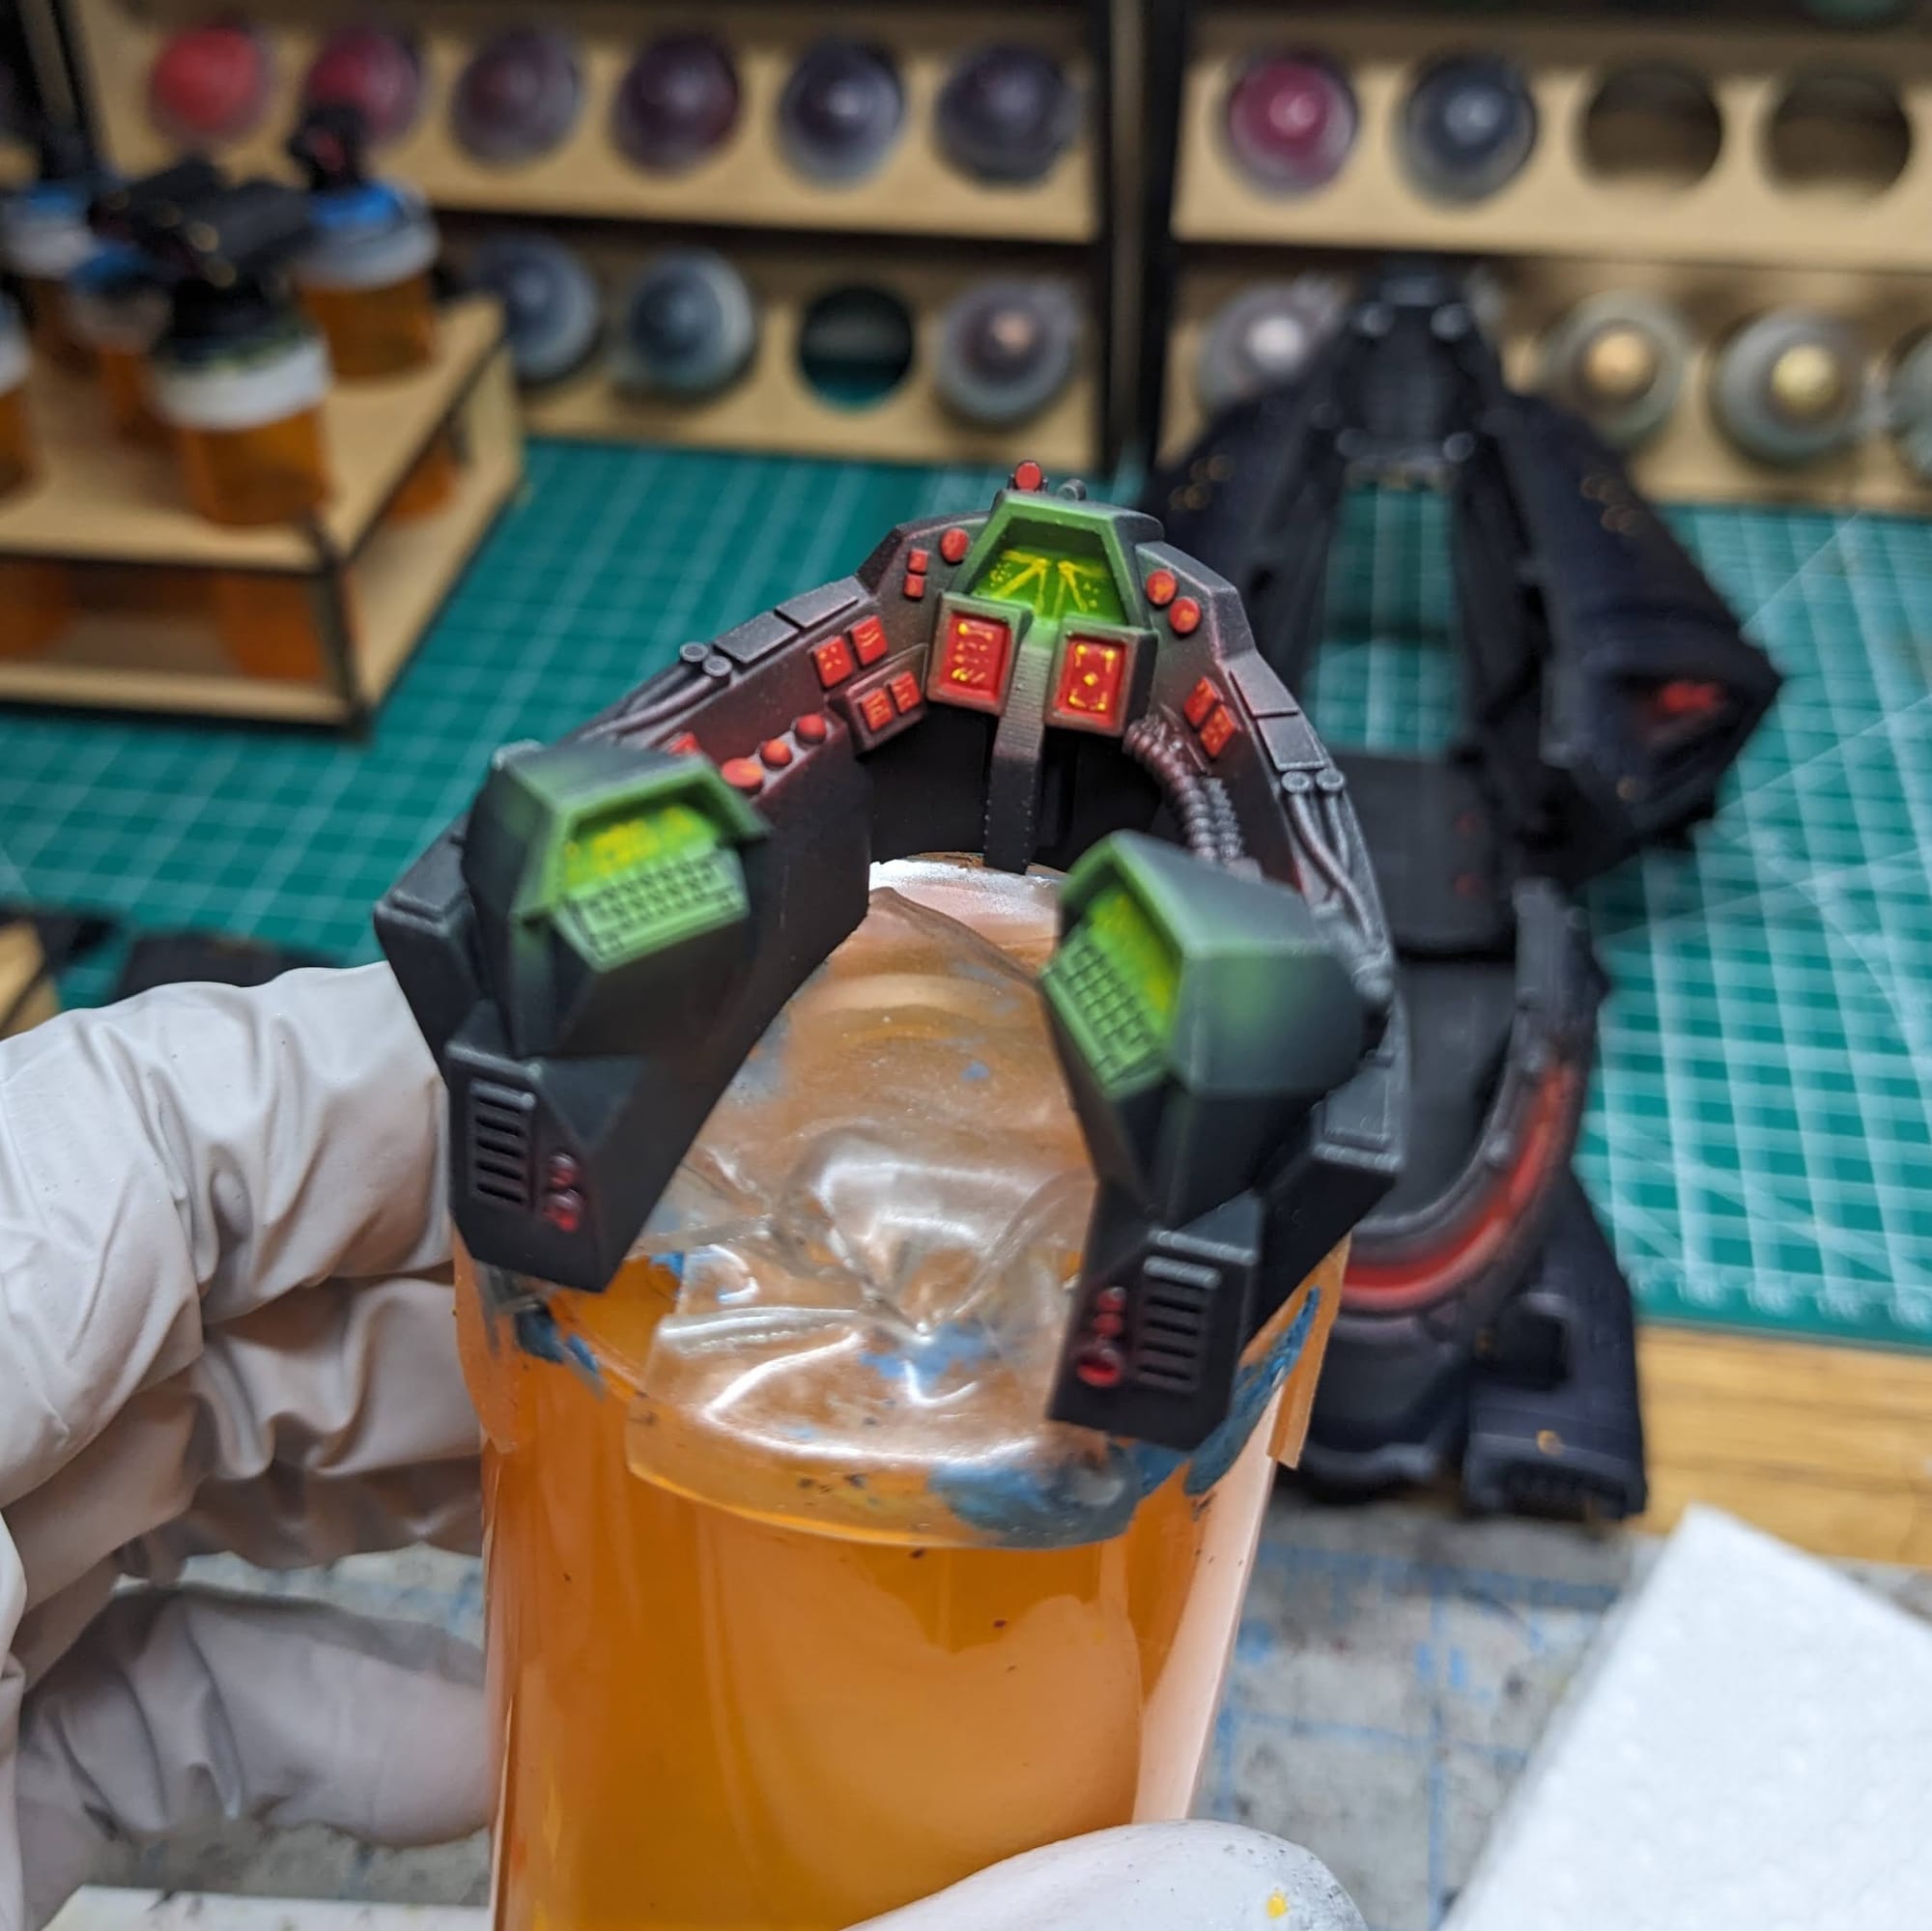
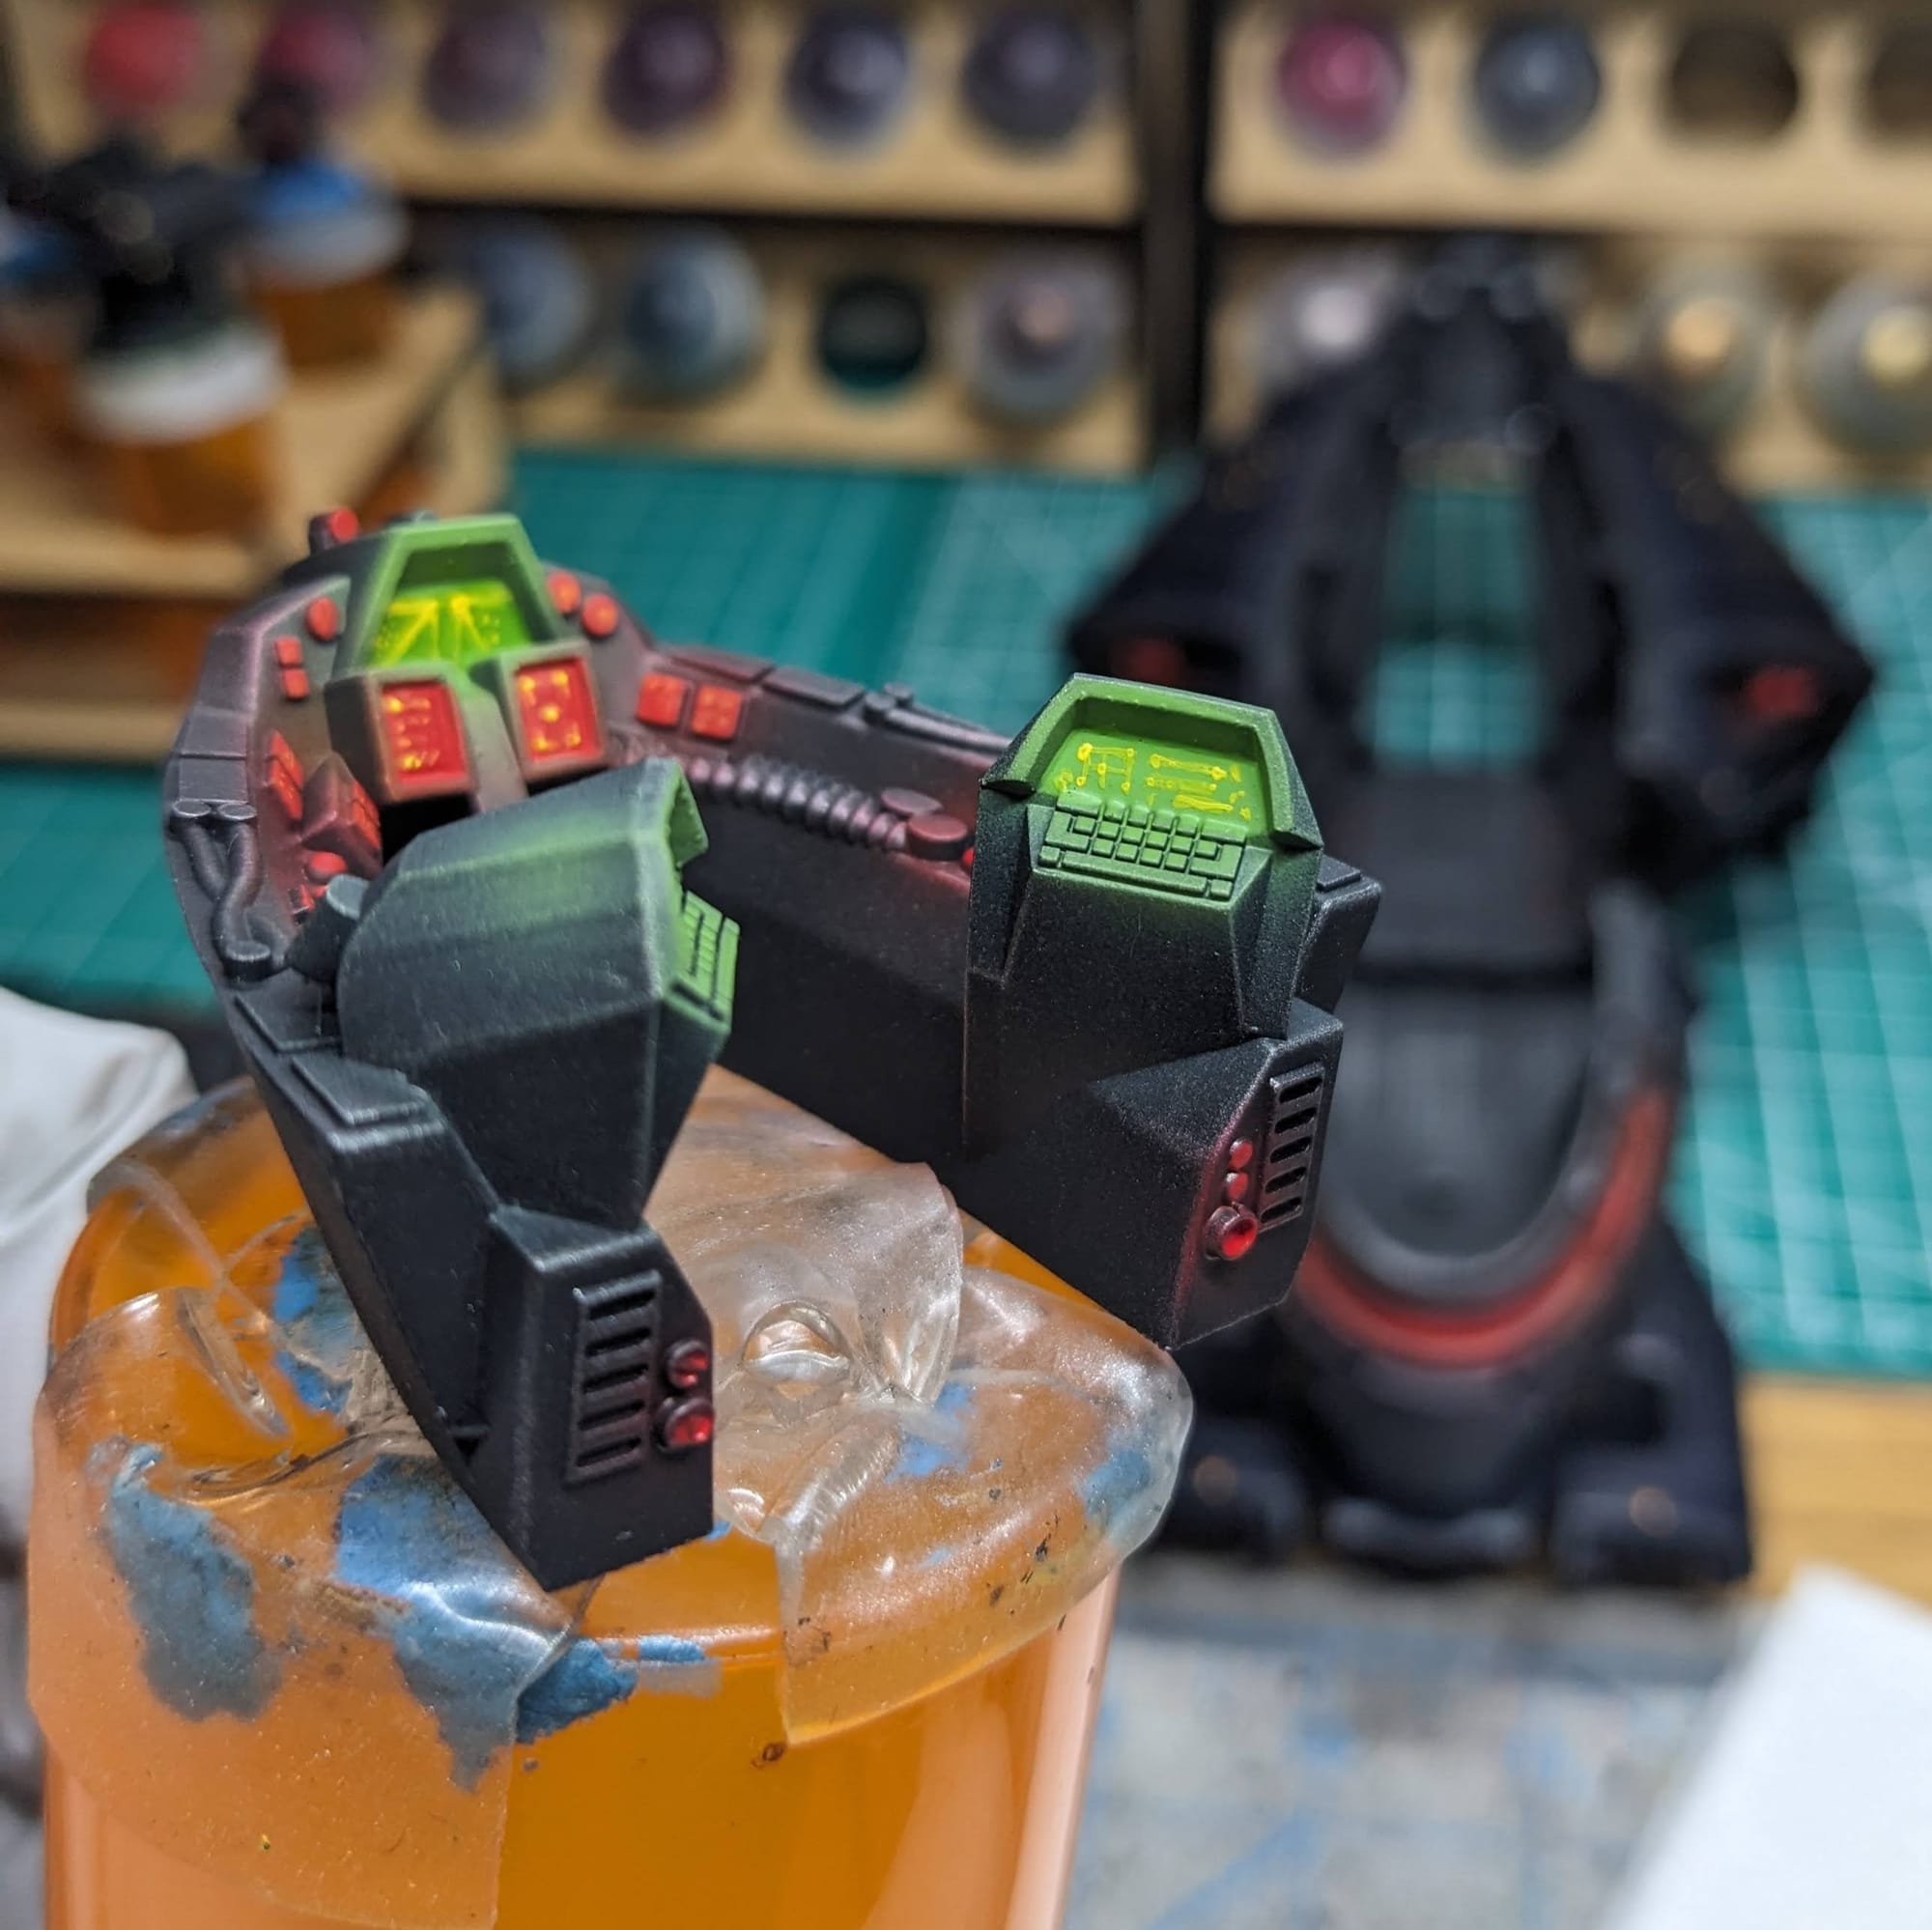
Using Citadel Moot Green and Phalanx Yellow, I hand painted "text" on the screen, navigation, some crosshairs, and Pong on the green screens. On the red screens, I used Citadel's Evil Sunz Scarlet and Fire Dragon Bright. In this case, Yellow and Orange, for Green and red respectively, help mimic screen illumination without looking odd.
On the pilots, using a wet palette, I used those same colors to highlight up where the airbrushed colors where, using some glazing techniques to capture light reflecting off of the hard edge of the helmet visor, clothing wrinkles, and control stick.
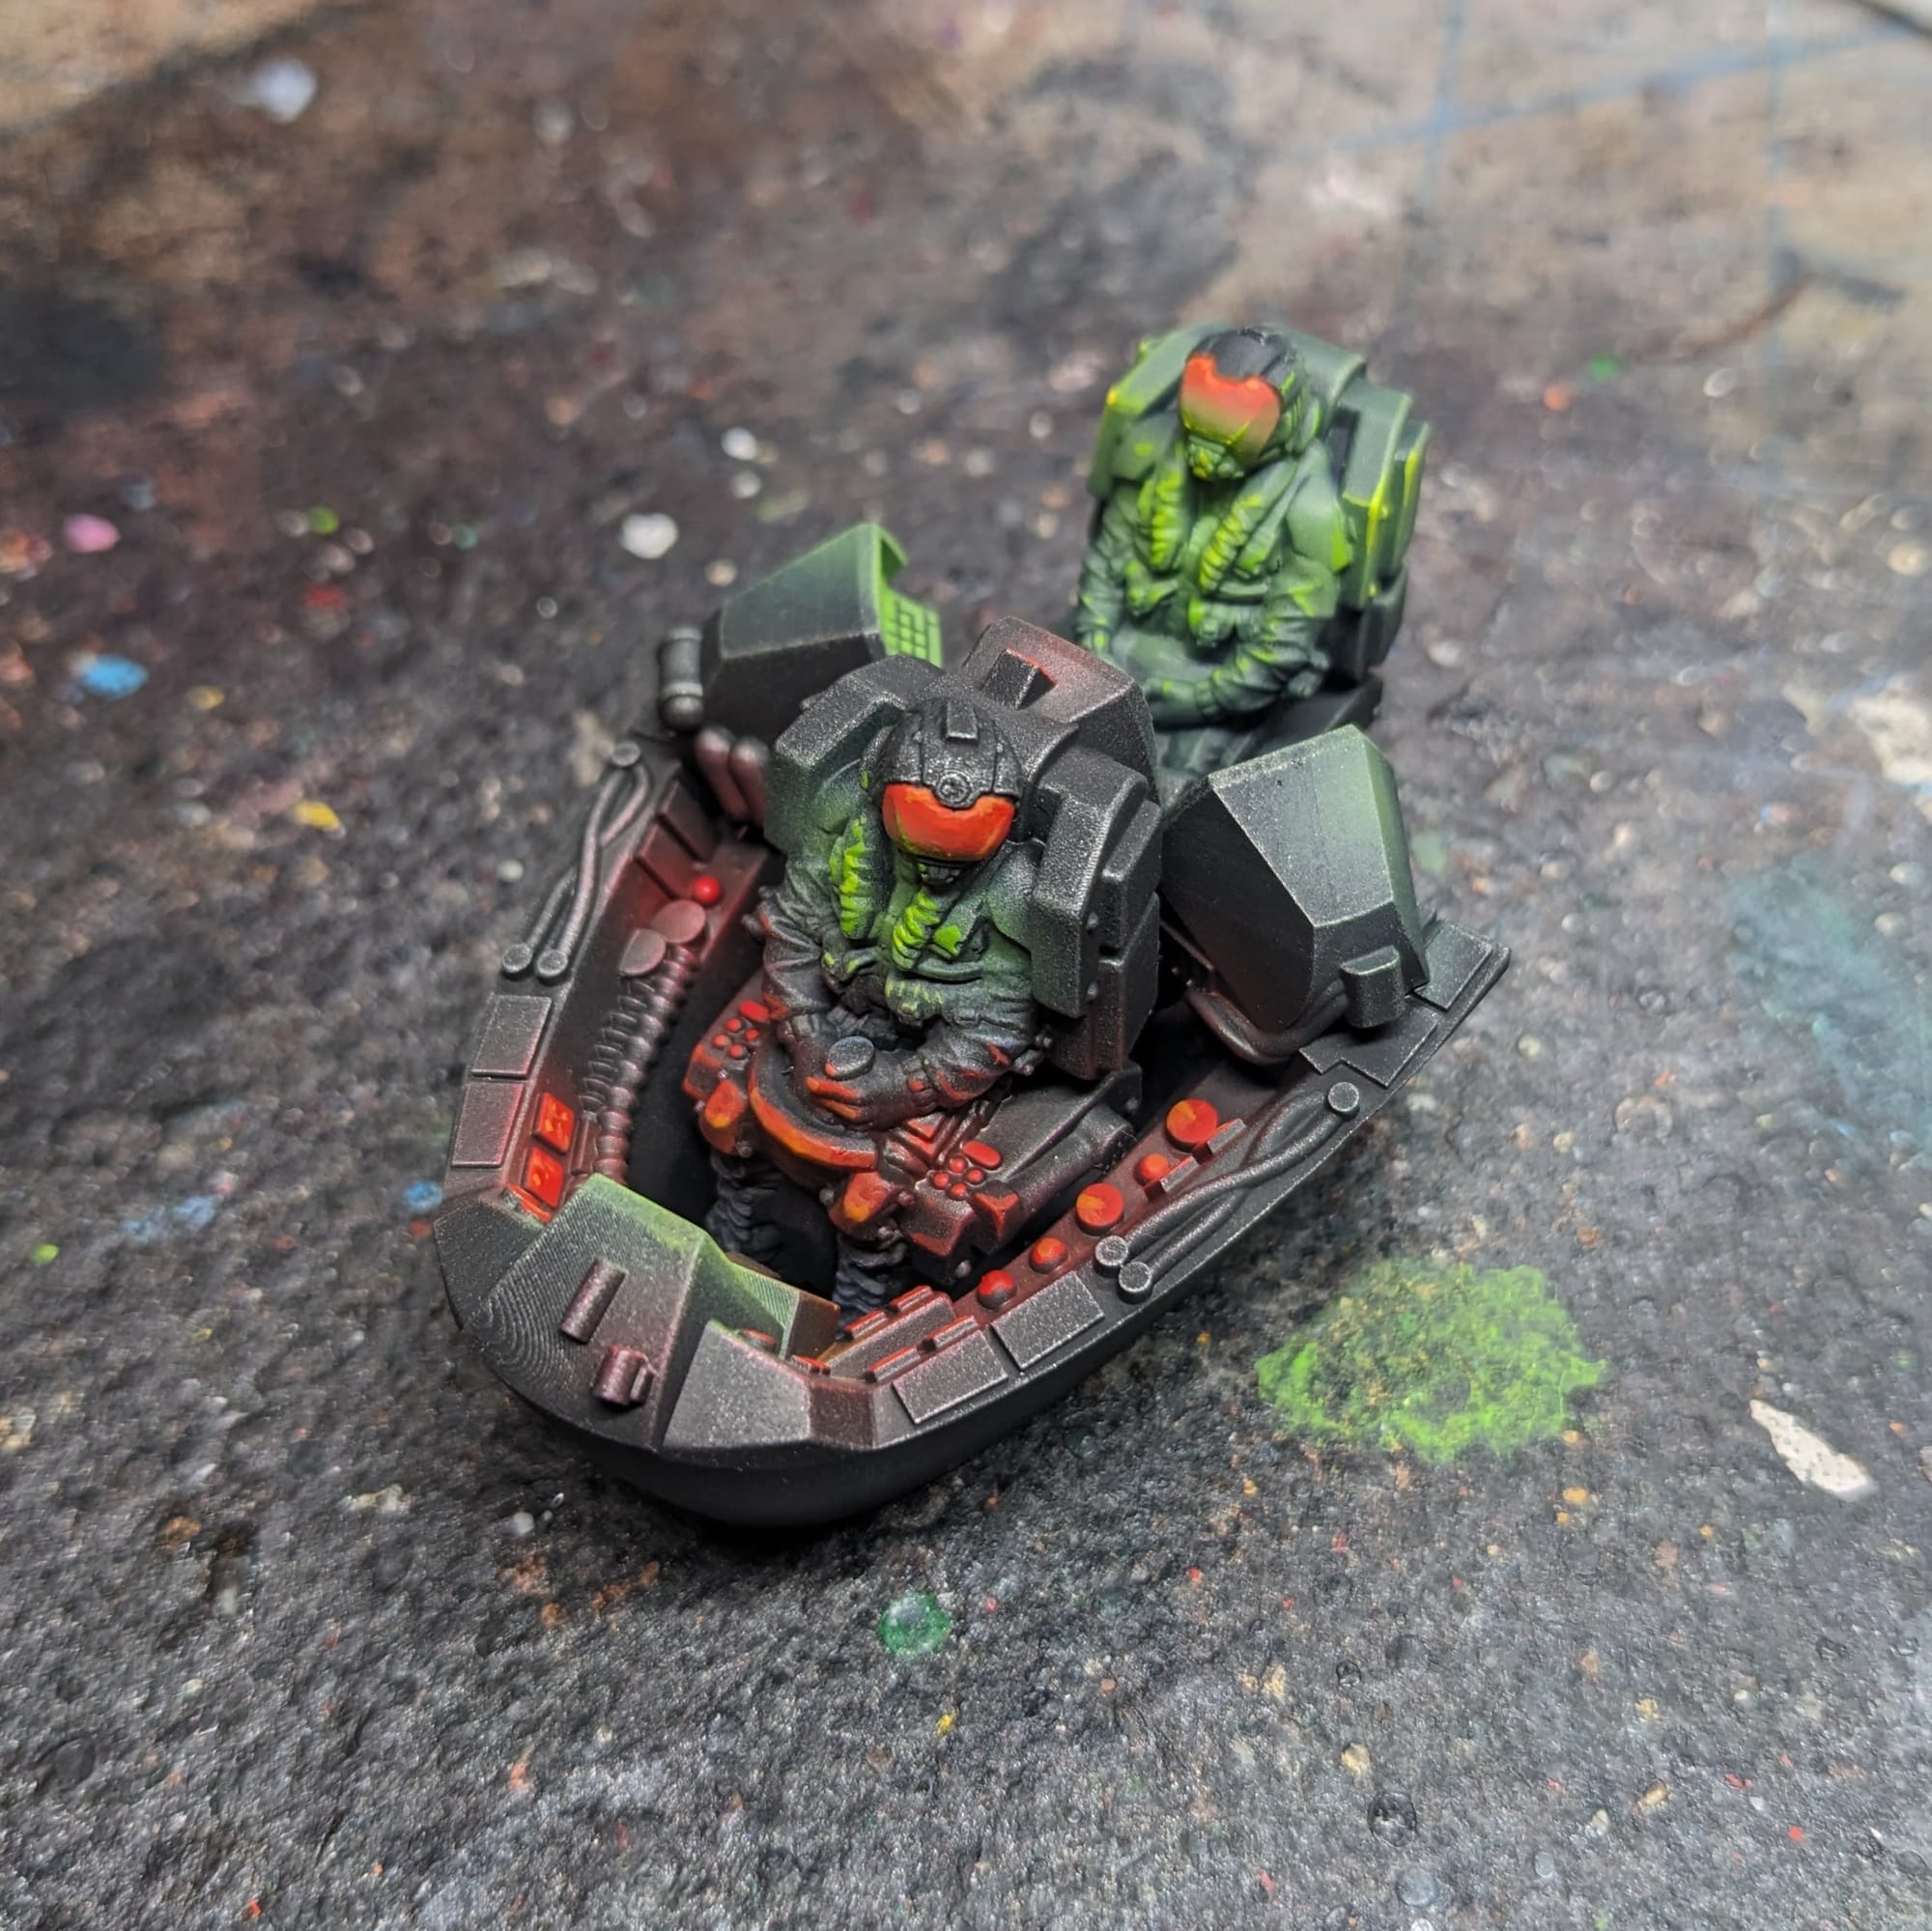
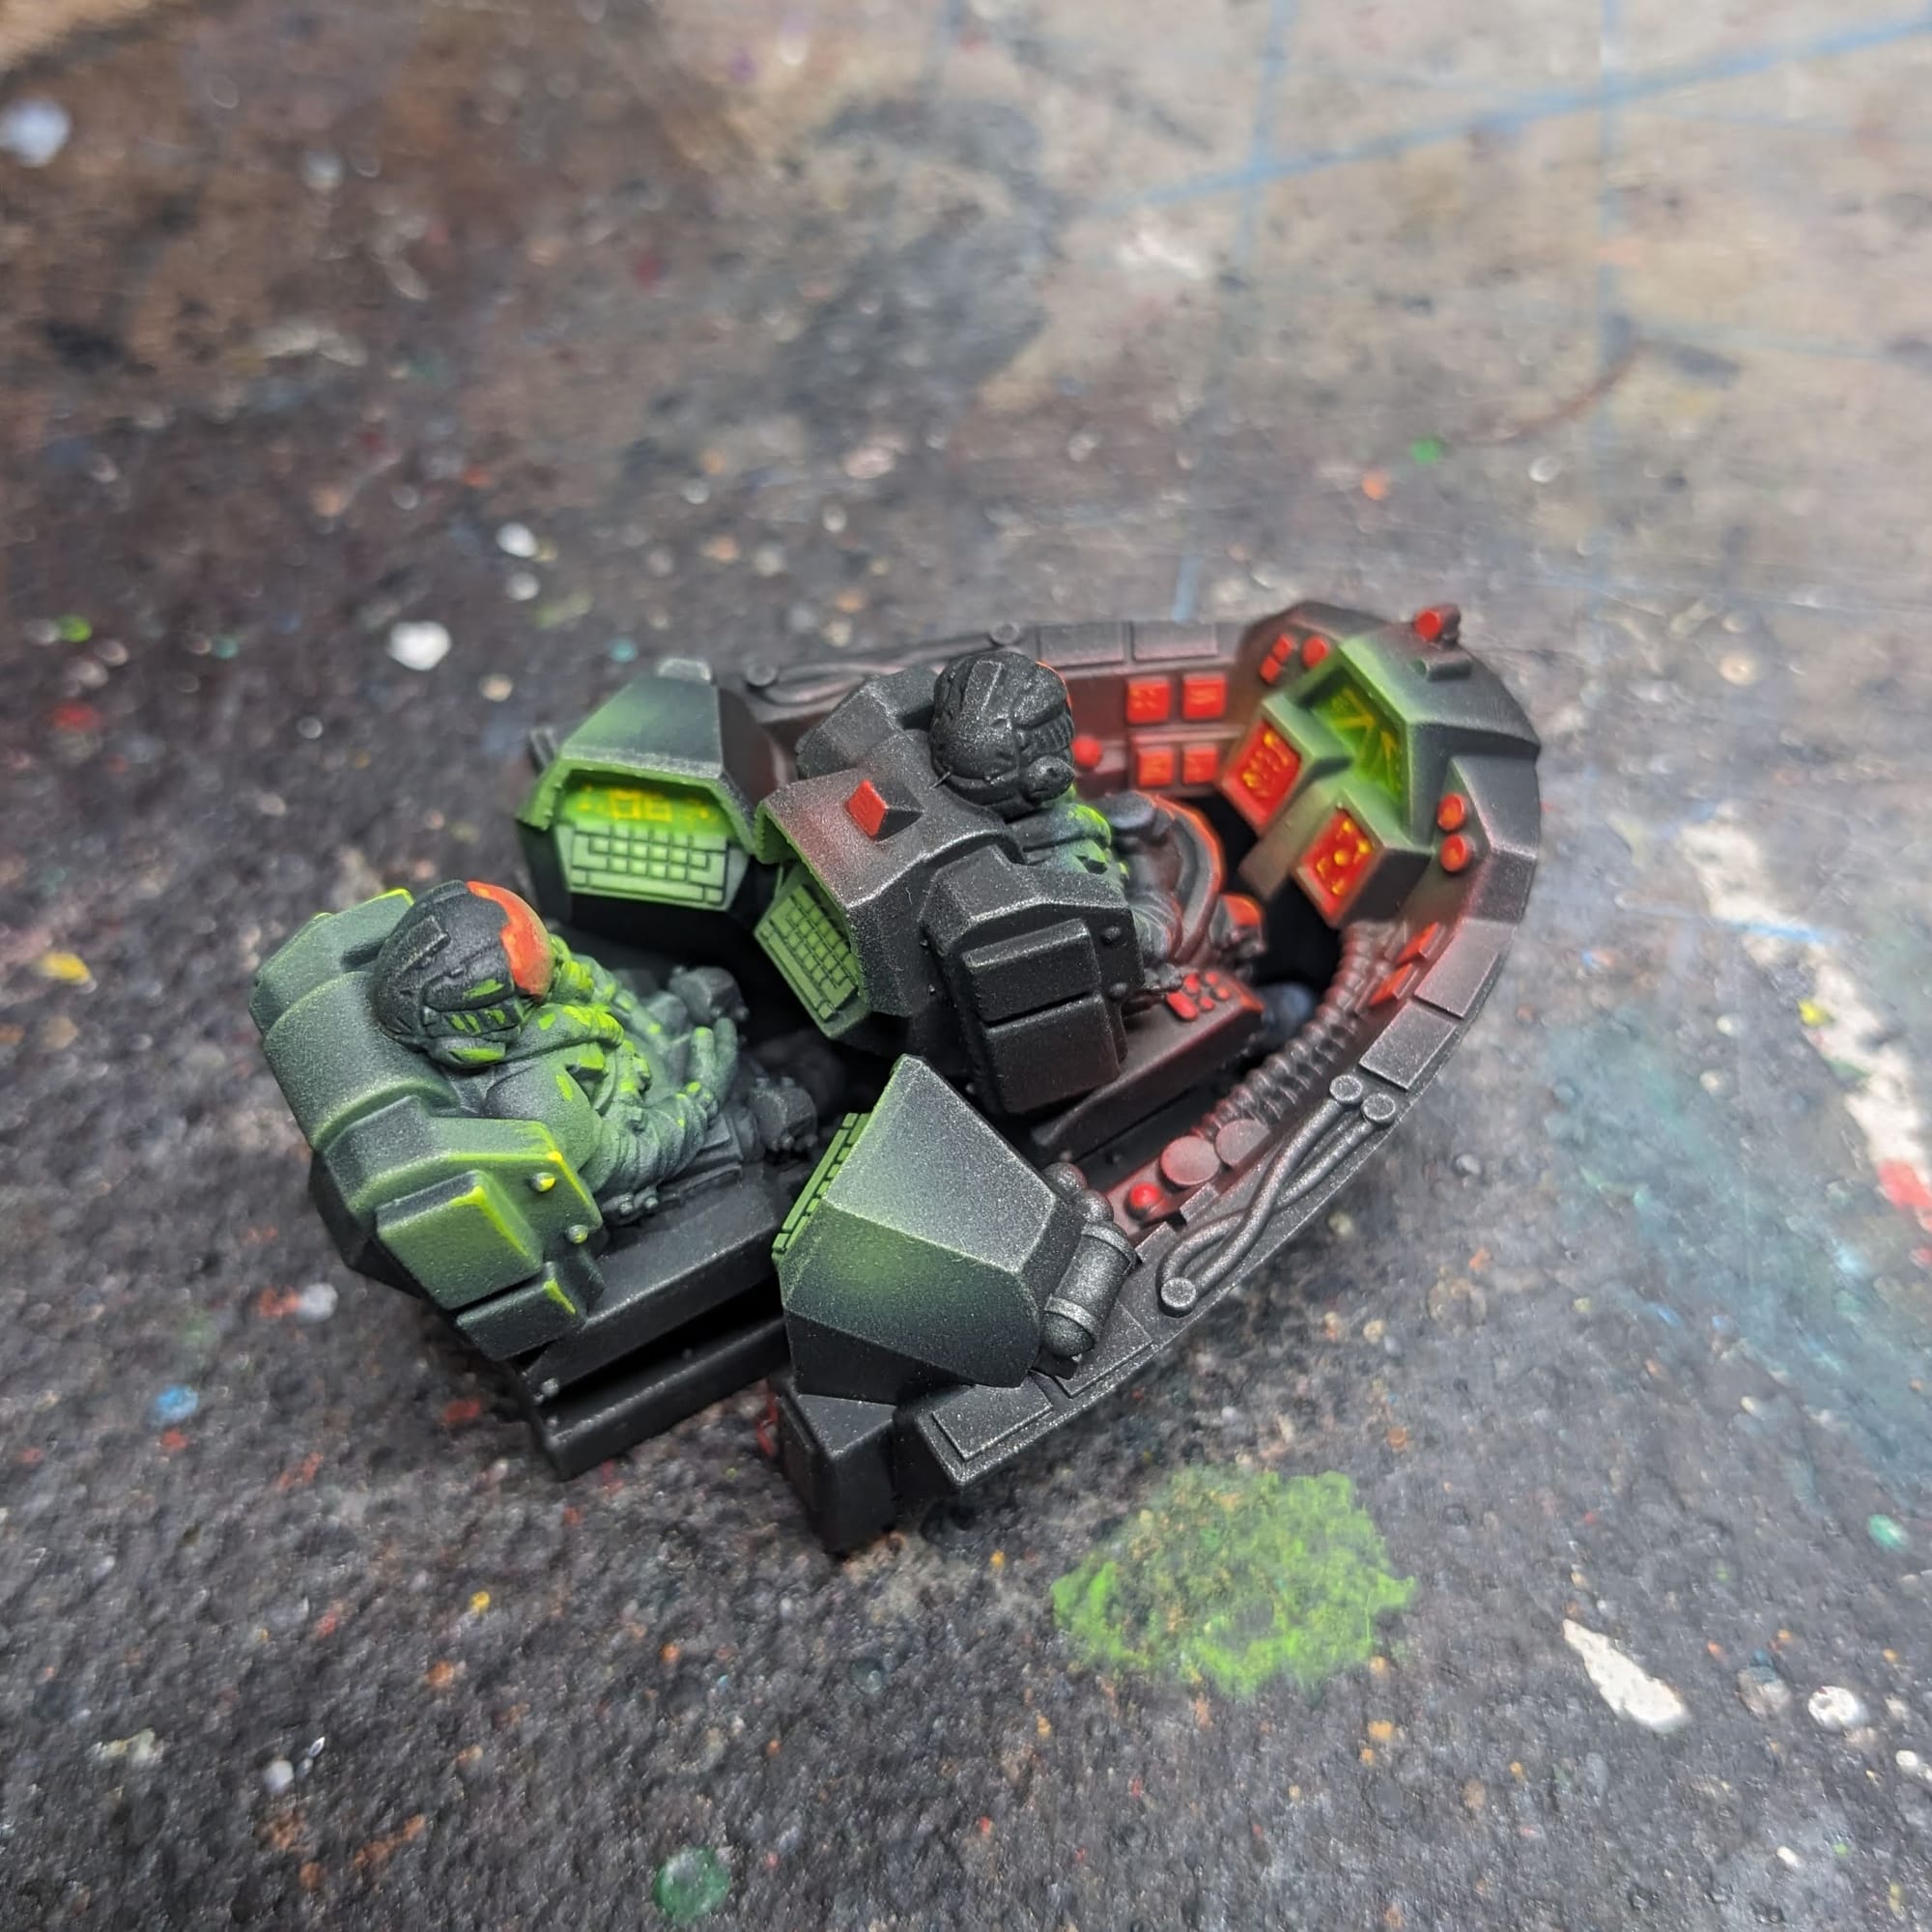
Oh good! My eyeballing of the airbrush OSL lined up!
I should have checked the alignment before committing to the airbrush on the pilots, but fortunately I got lucky. Once I was happy with the details on the consoles and OSL, I was ready to commit to gluing them in place.
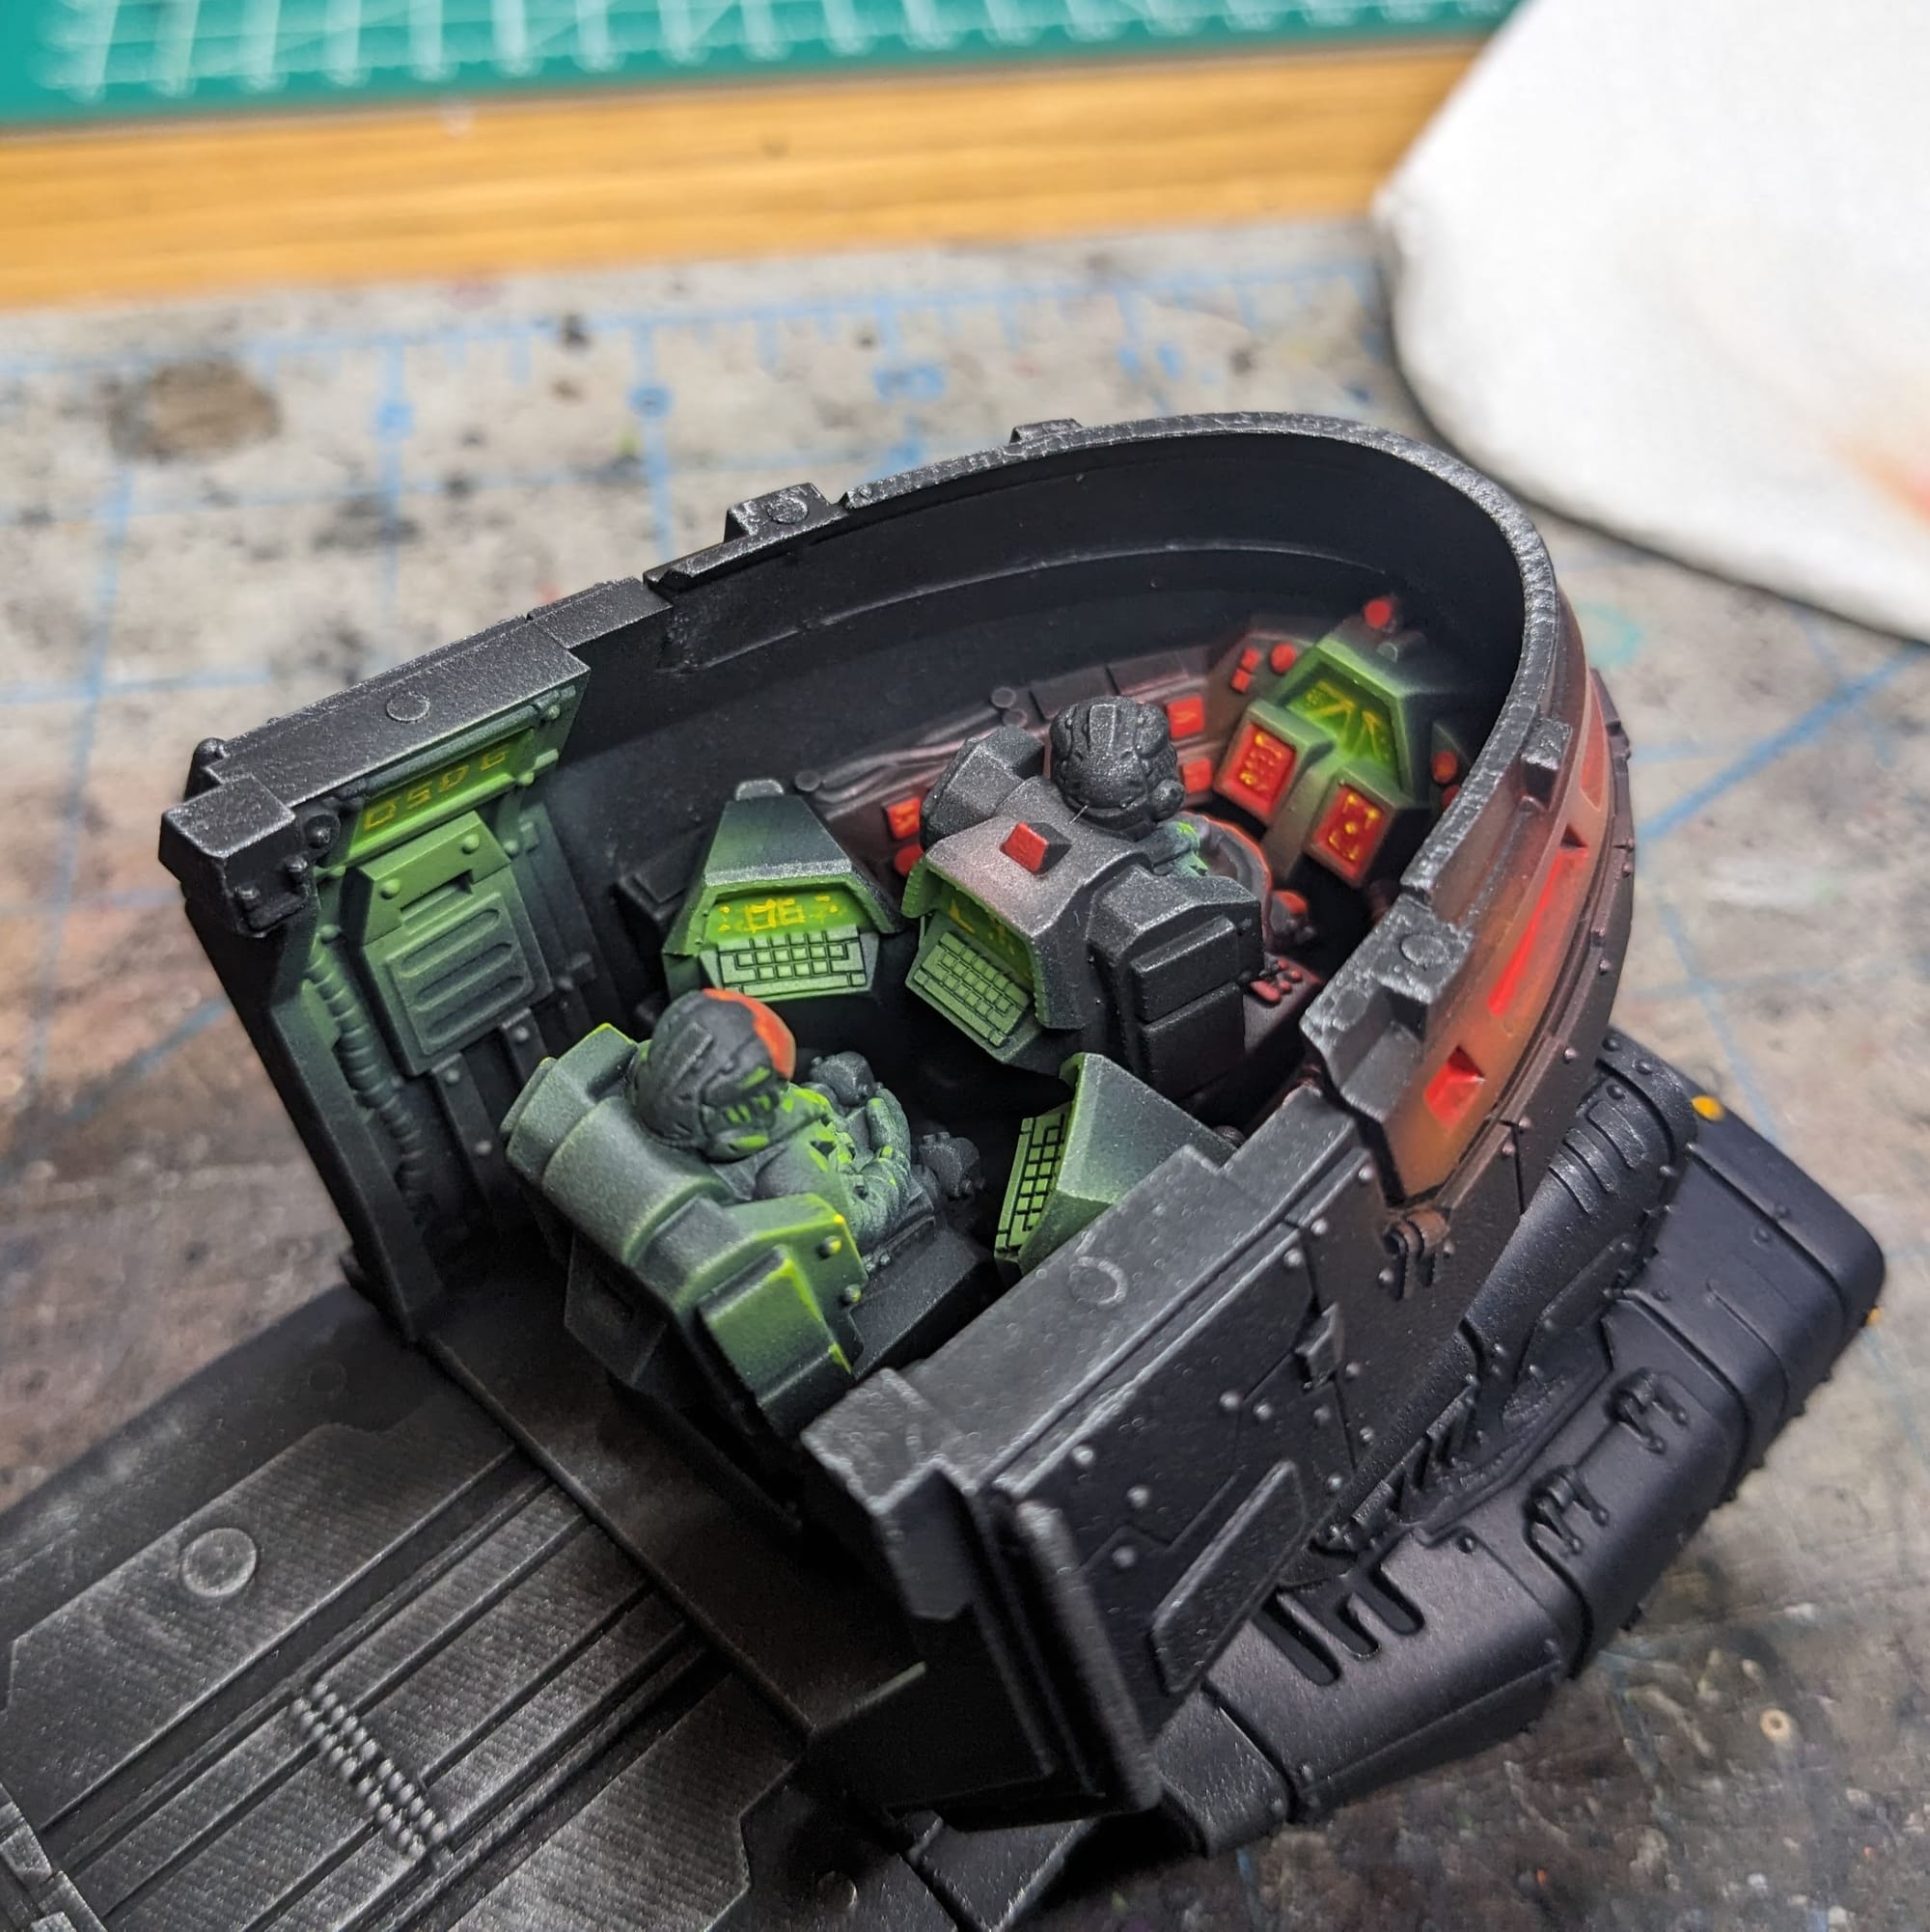
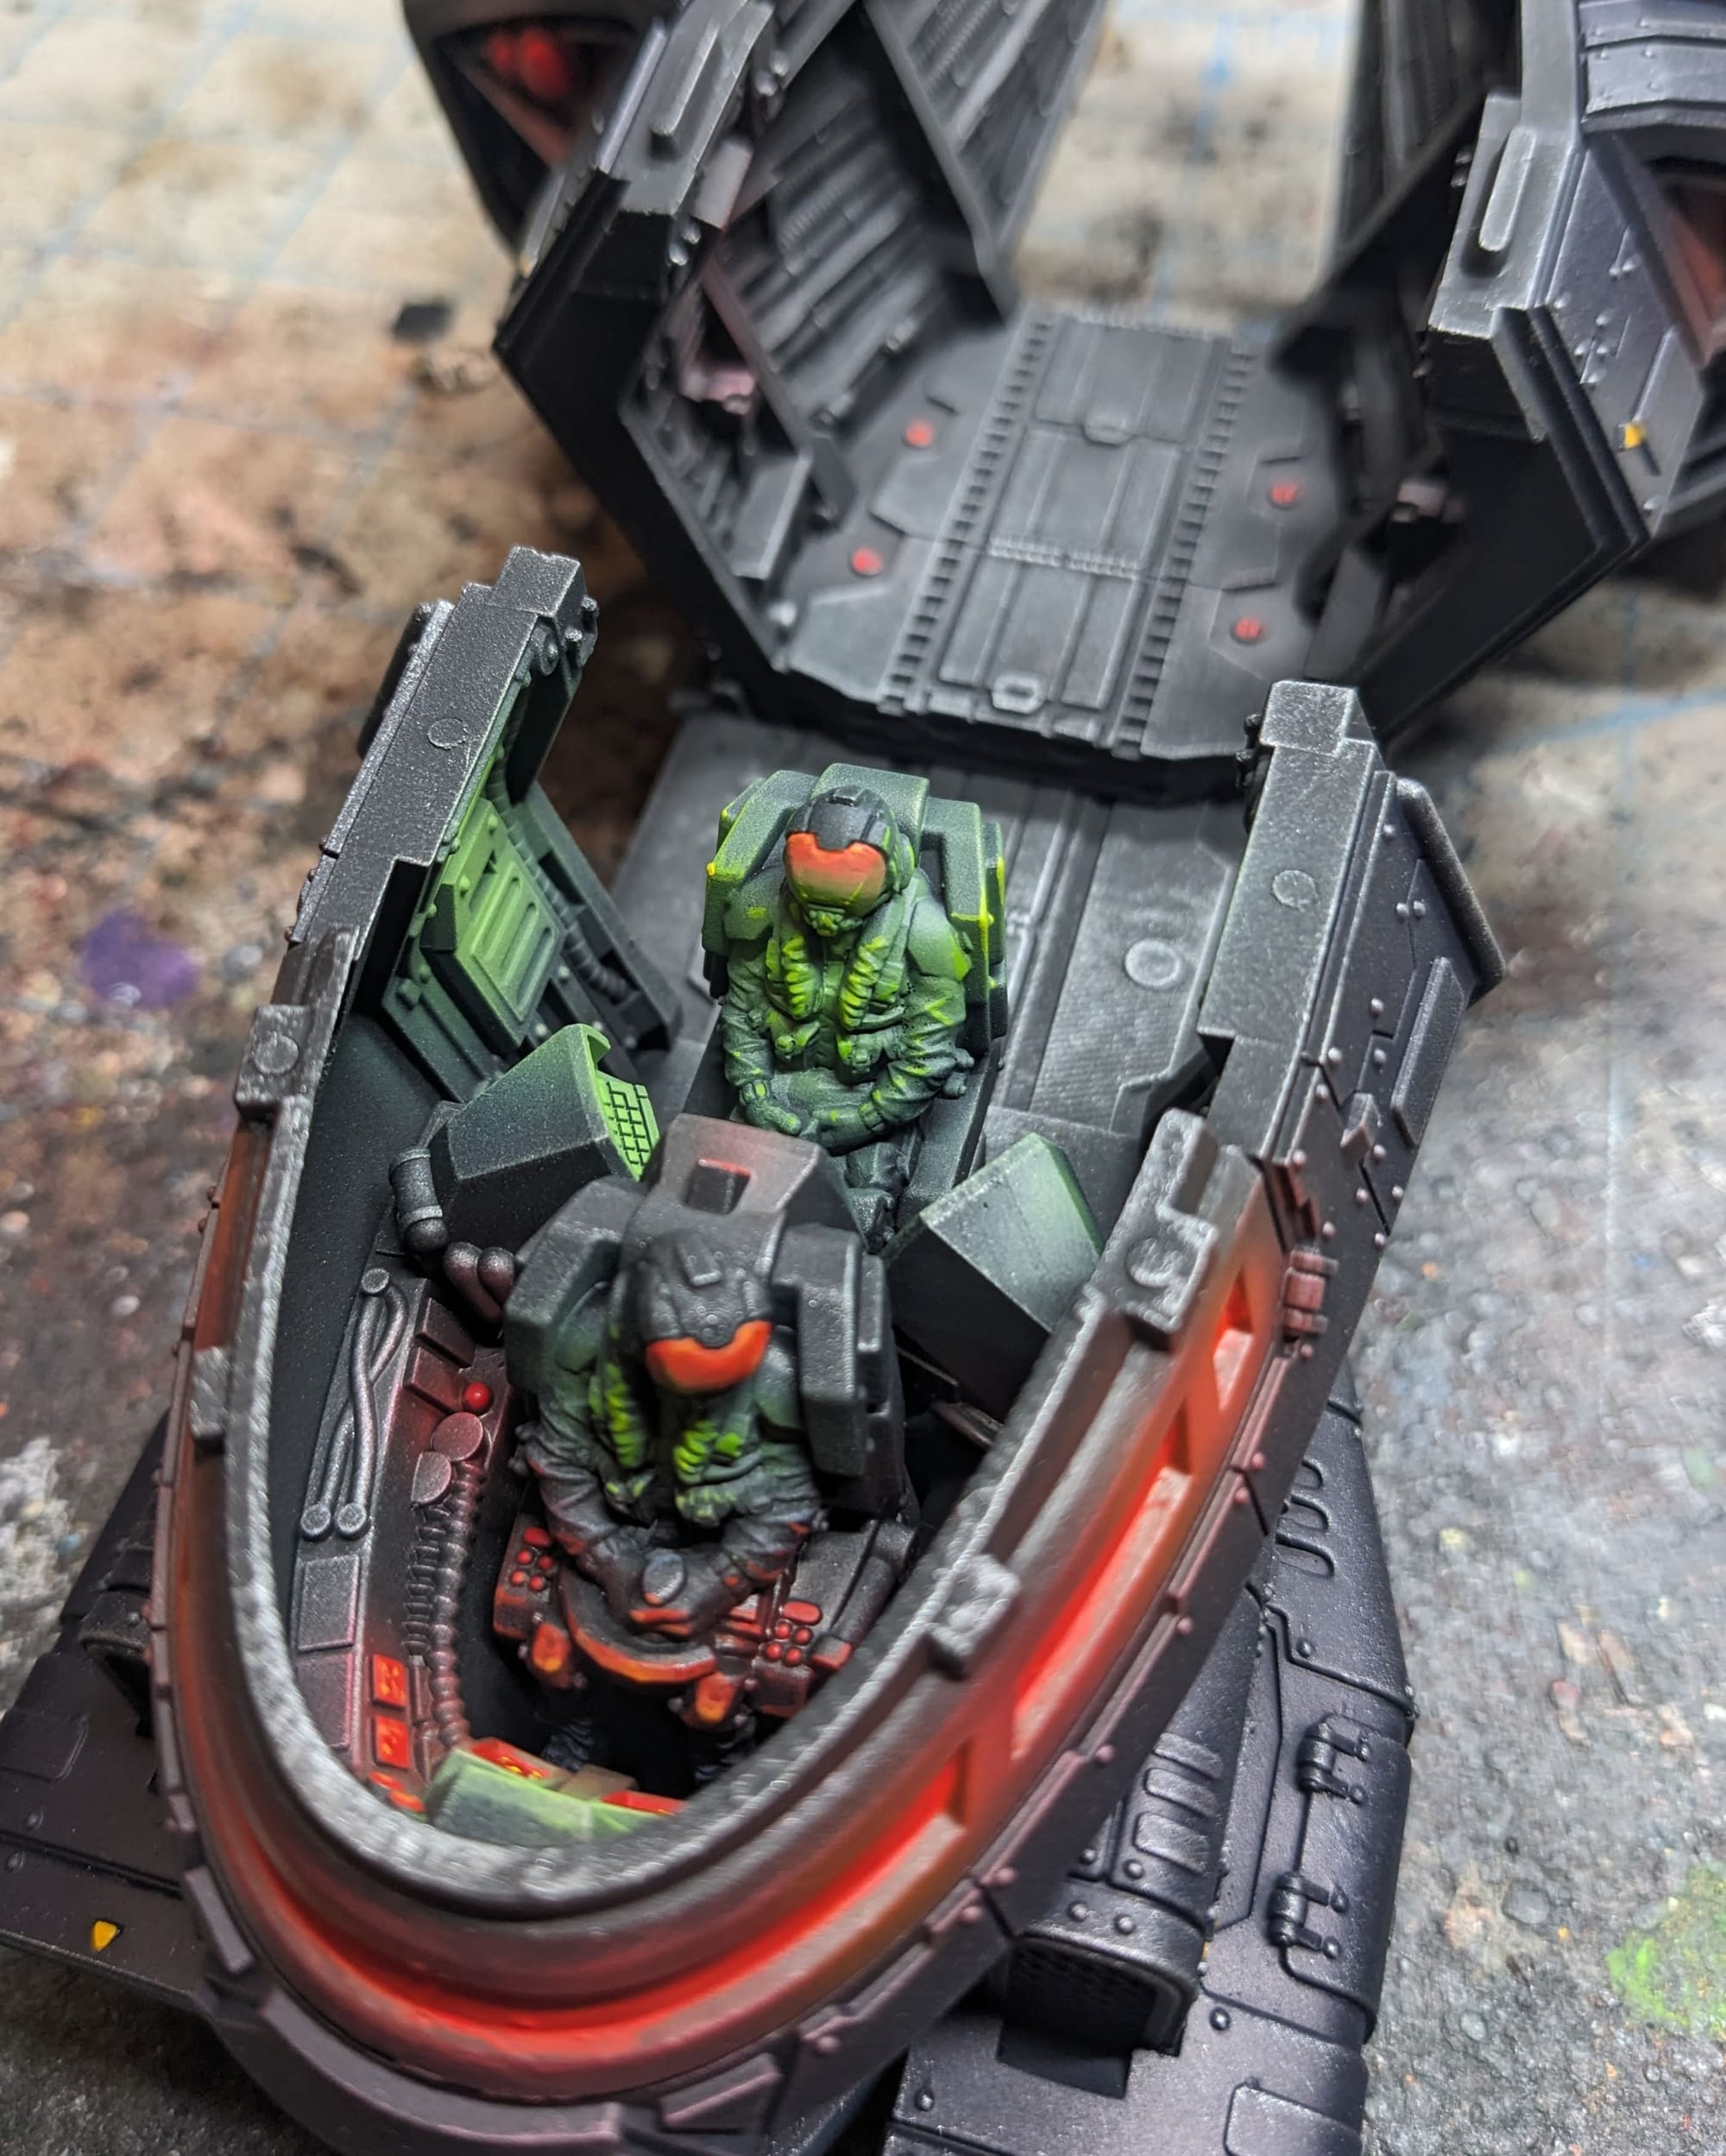
Guaranteed they're blasting "Long Tall Sally" by Little Richard in there.
Painting those details and getting the OSL in would have been impossible without subassembly. Yes, it's great to build everything all at once, but taking a step back during assembly and giving yourself more freedom and flexibility for painting pays off bigger in the end.
And so with that, it was now onto painting the crew and gunners!
Zetatech Crew and Gunners Painting
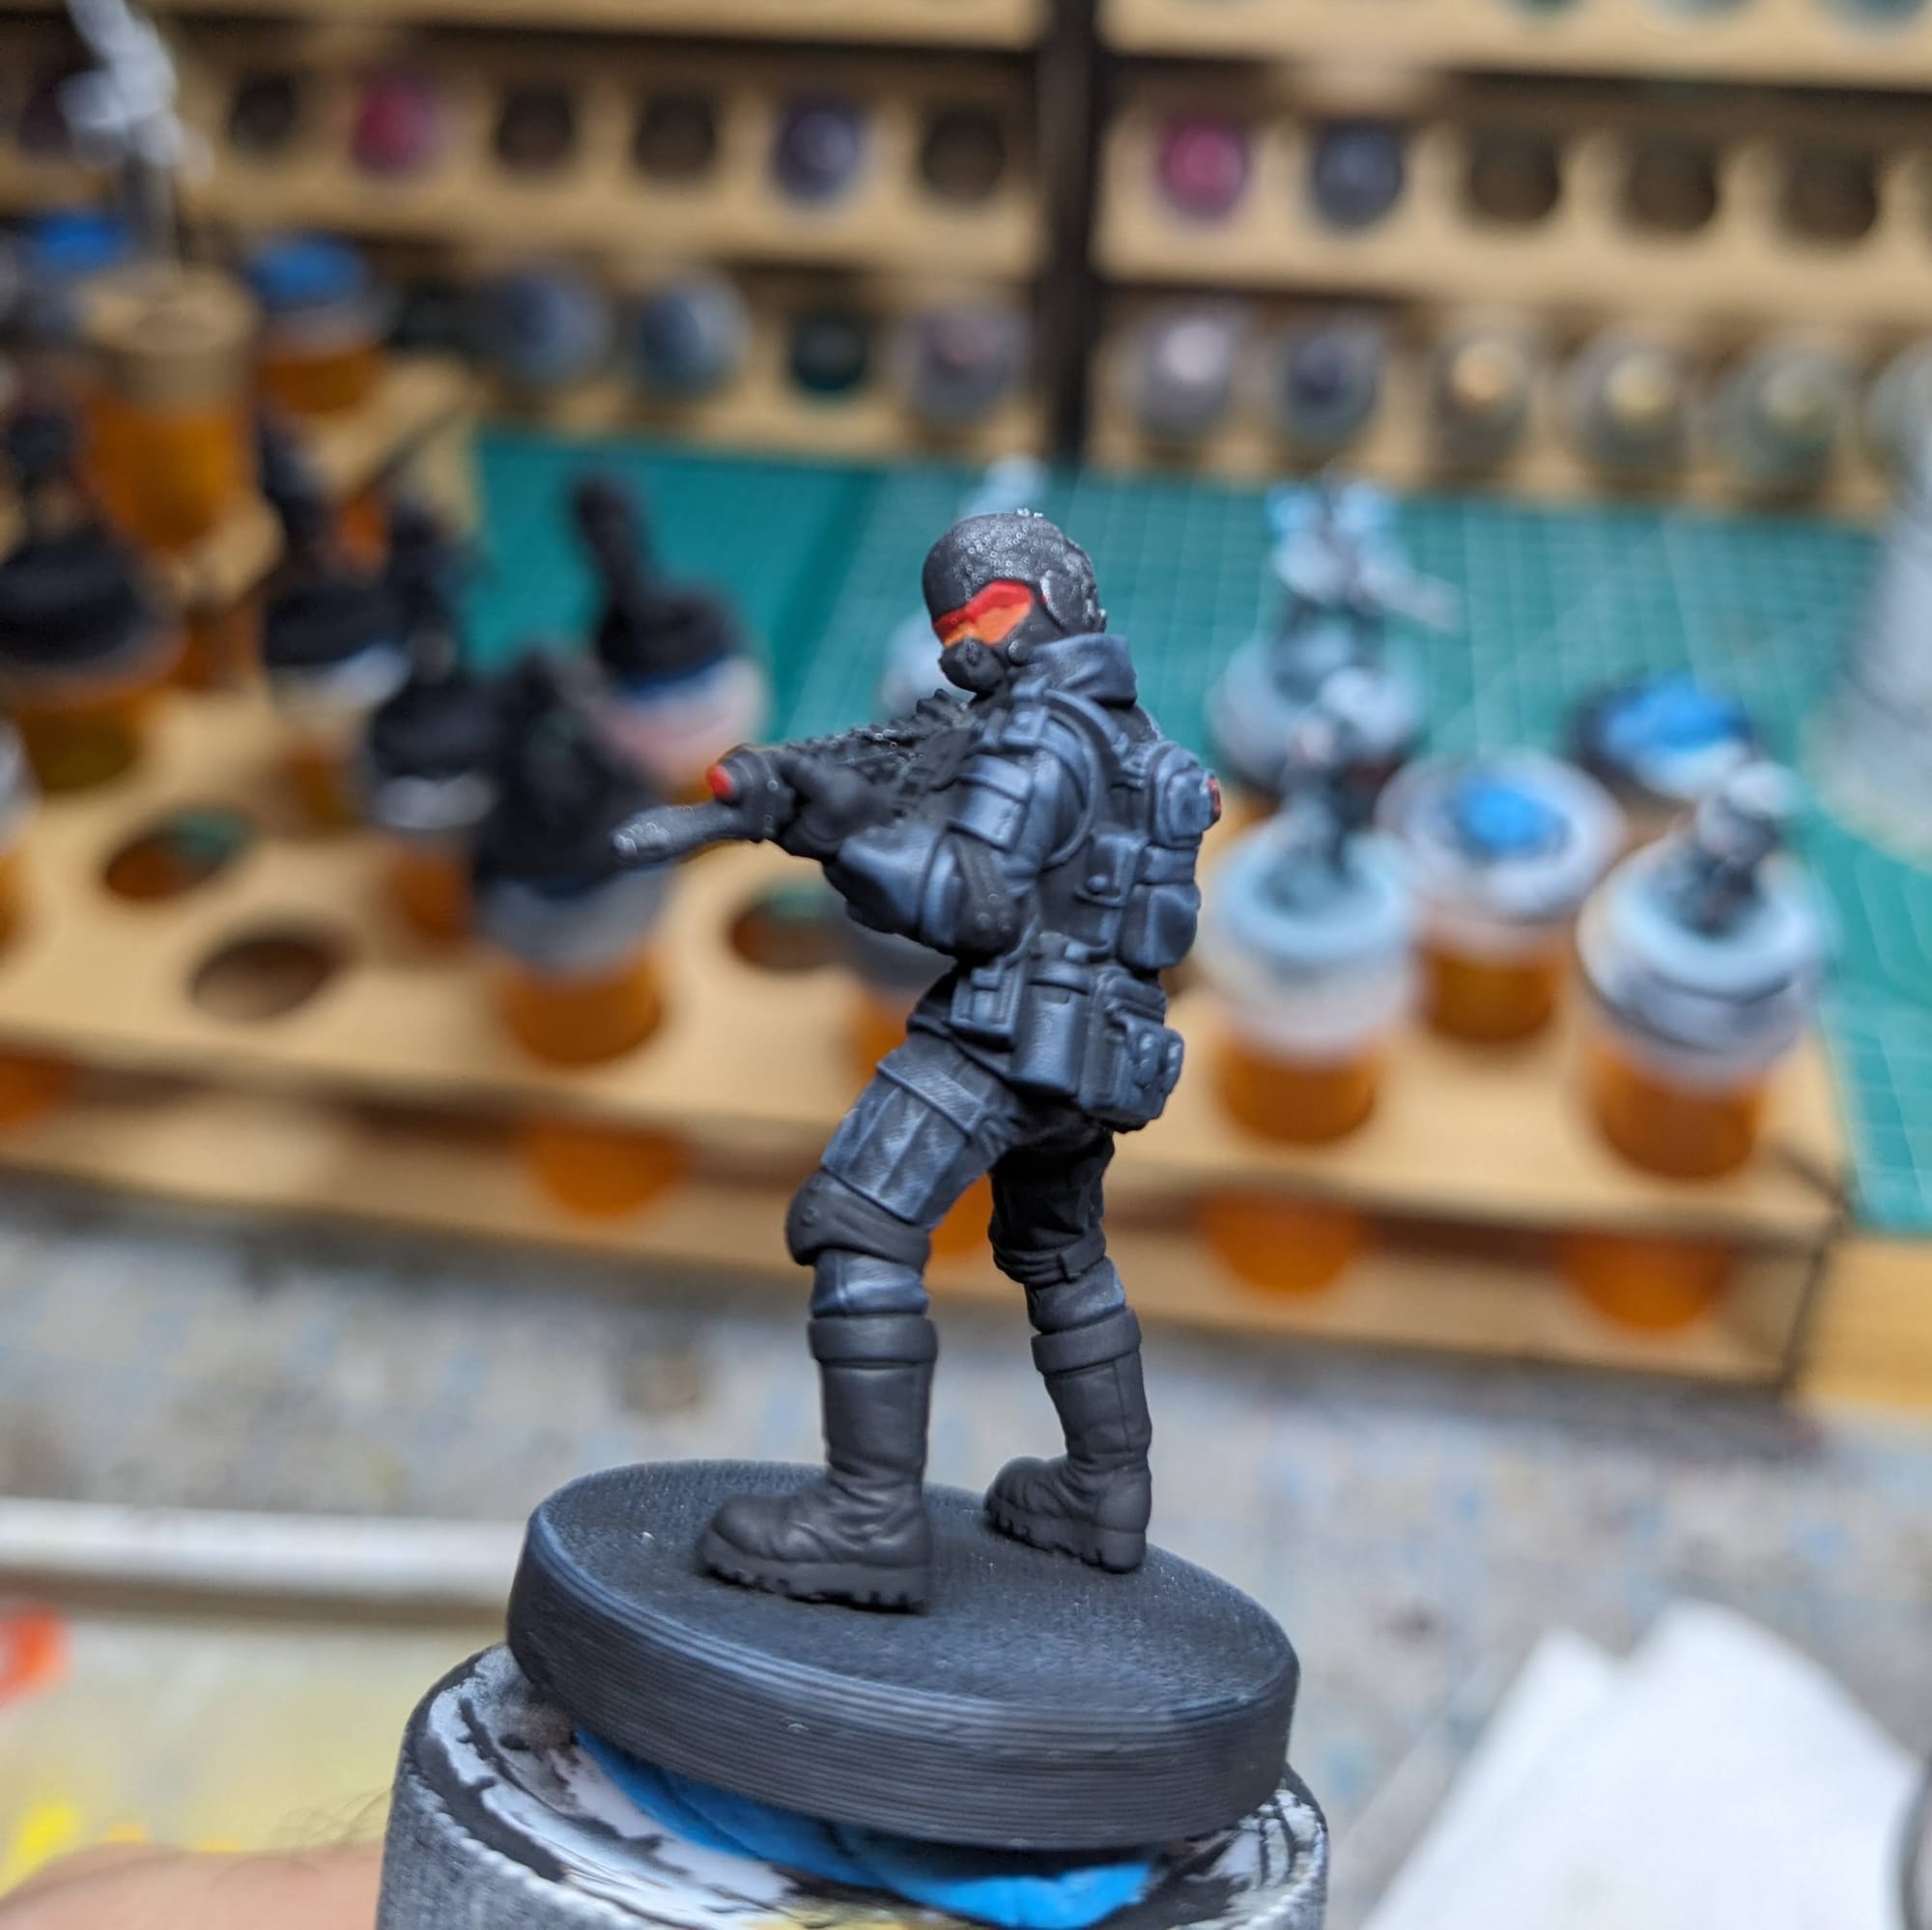
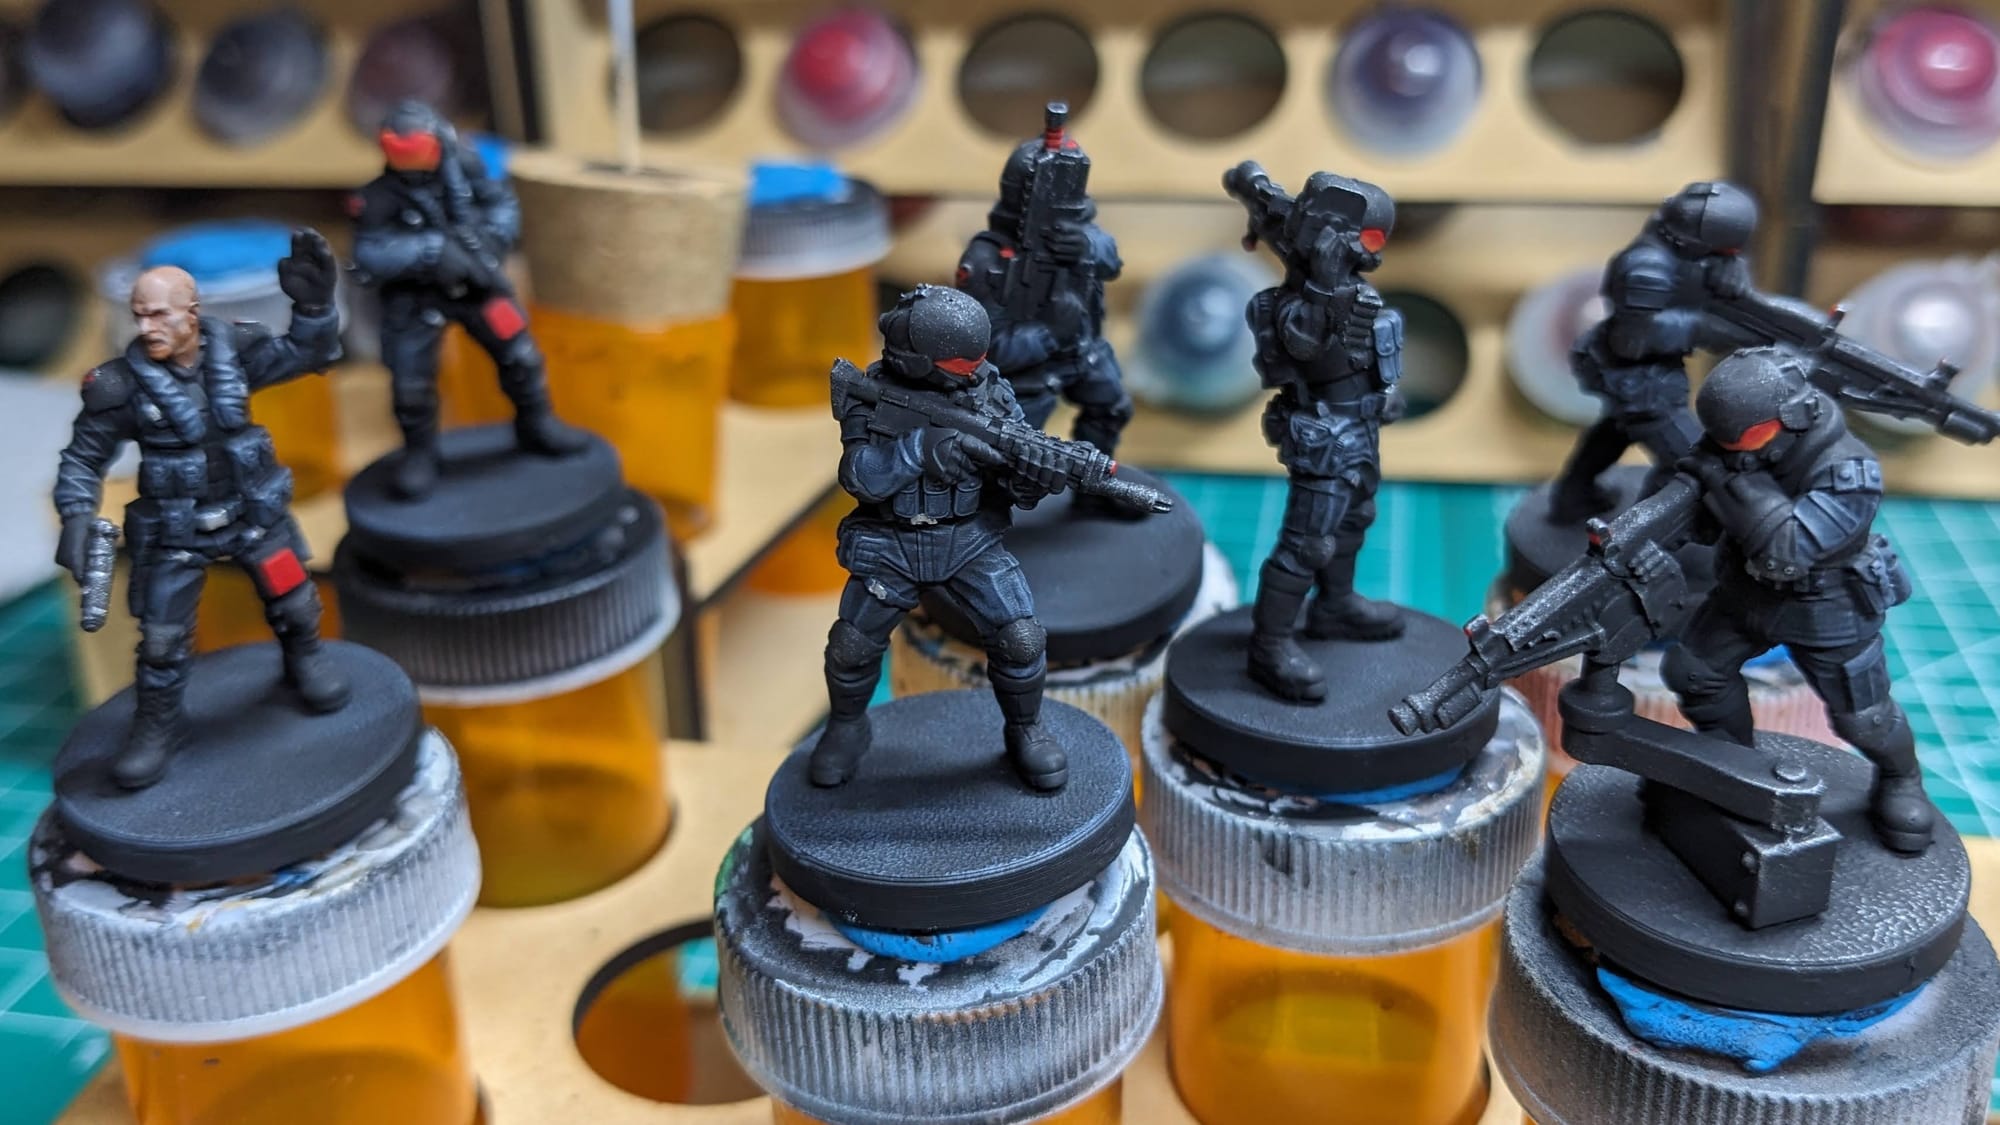
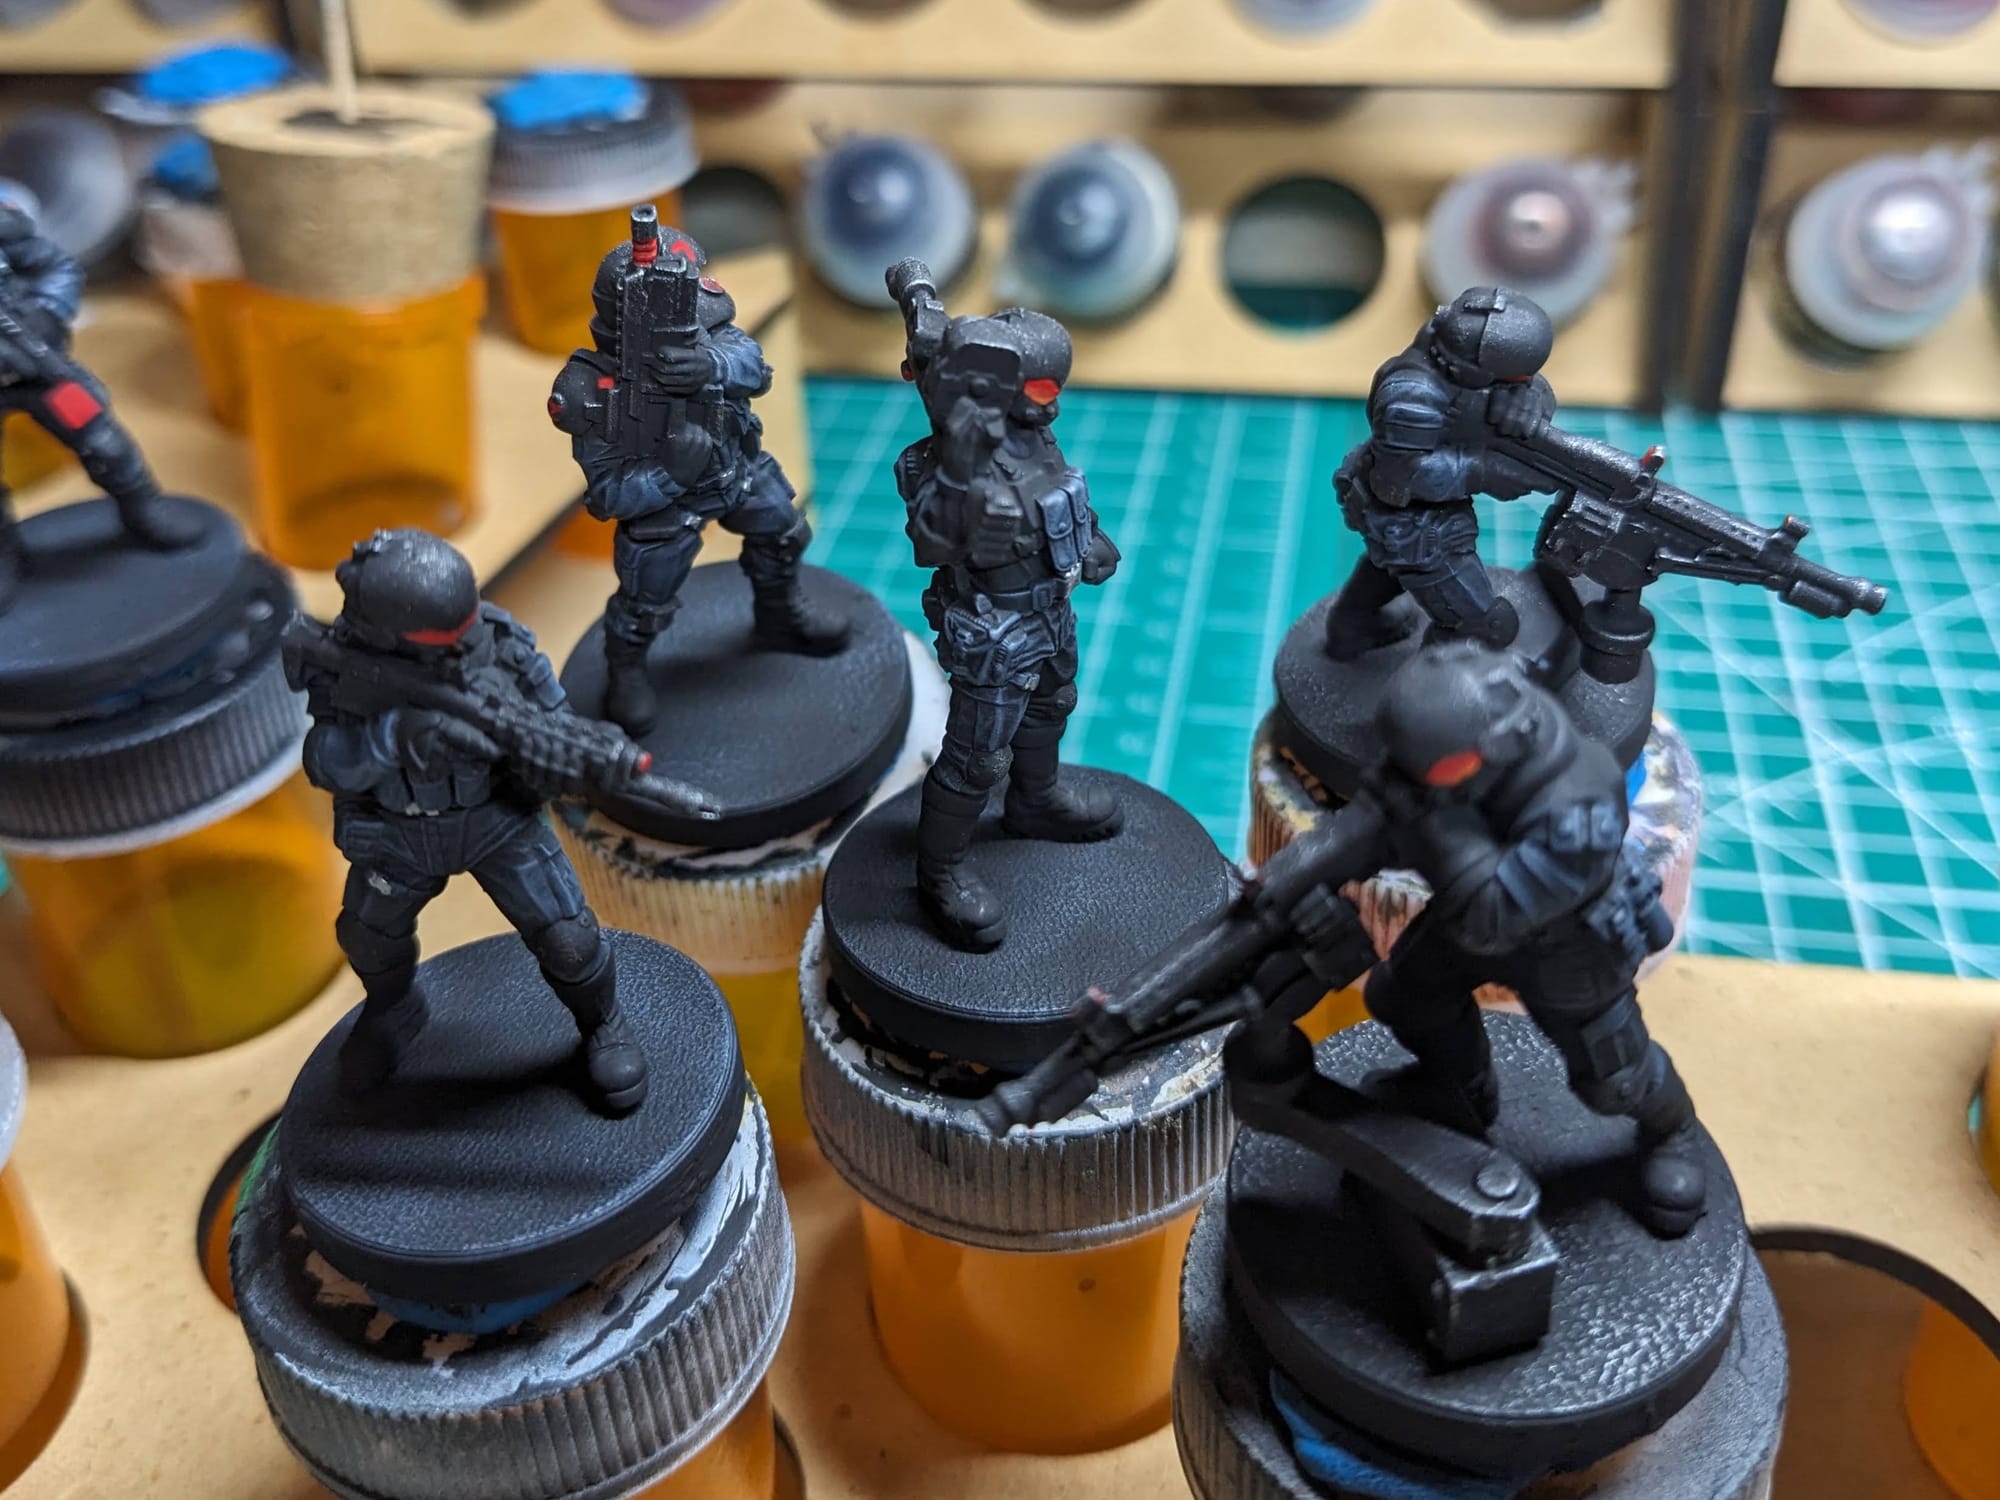
Similar to the the Herakles, the crew and gunners were primed black, ready for dry brushing right away.
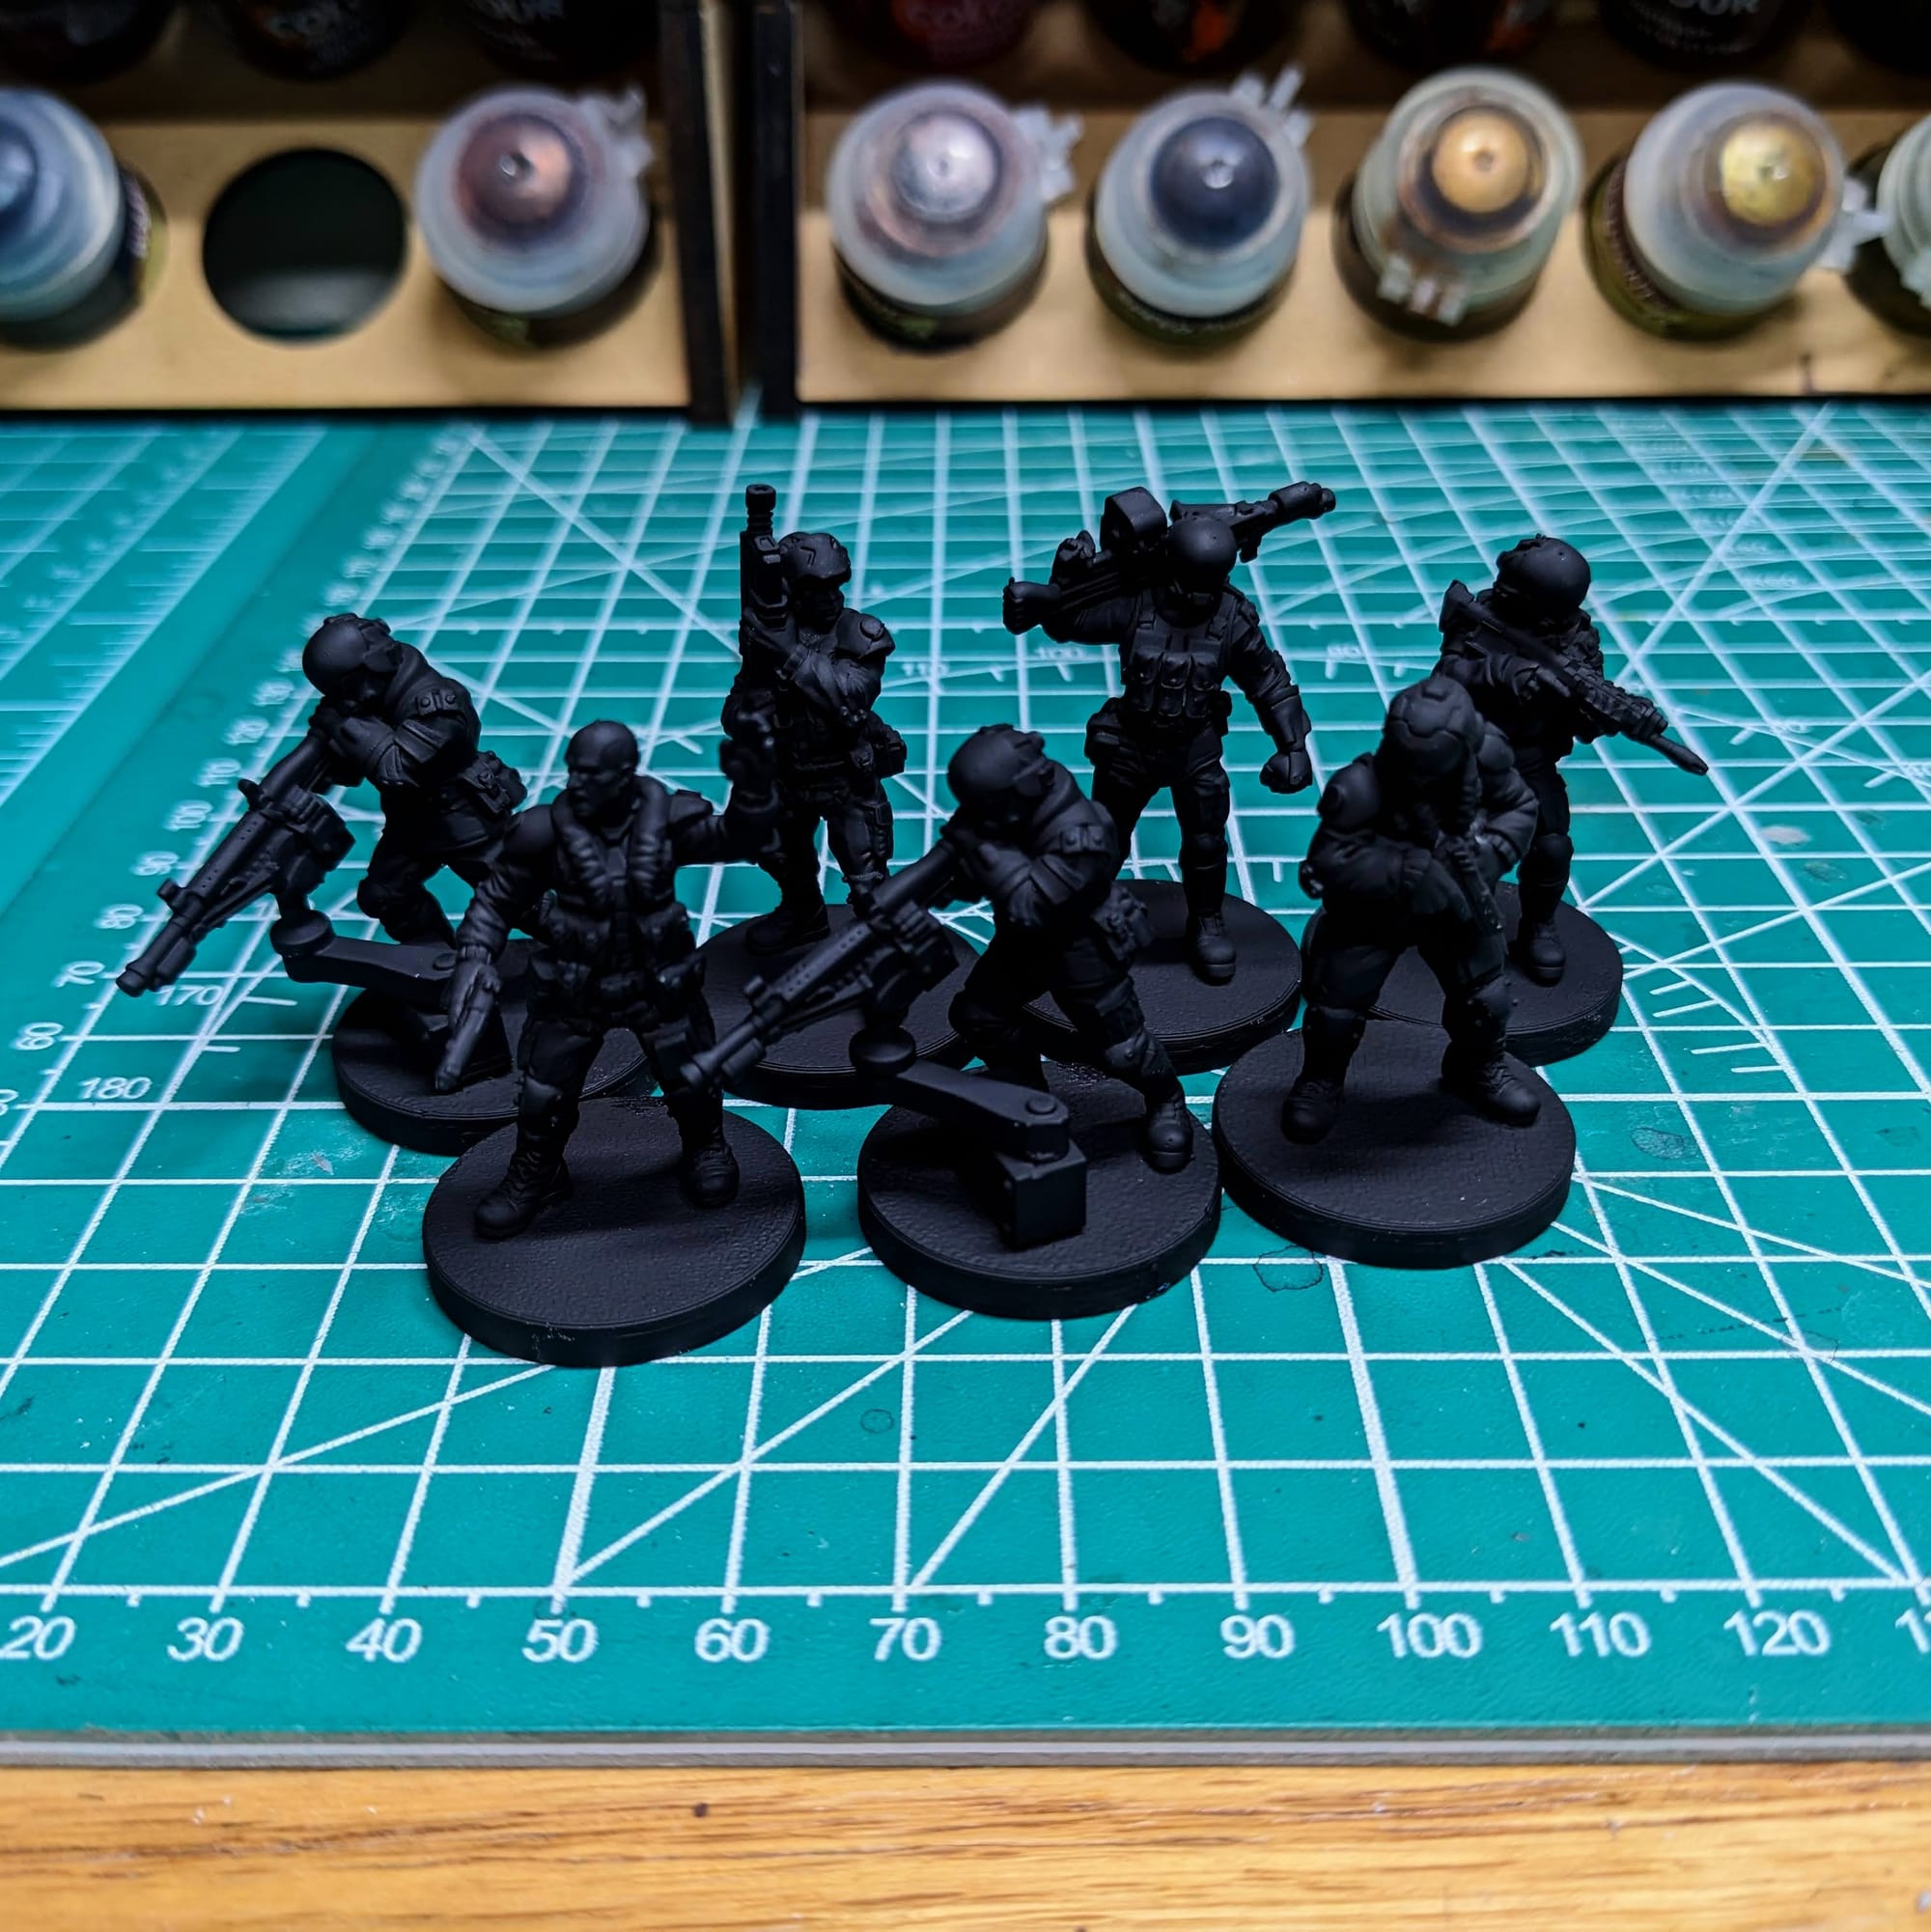
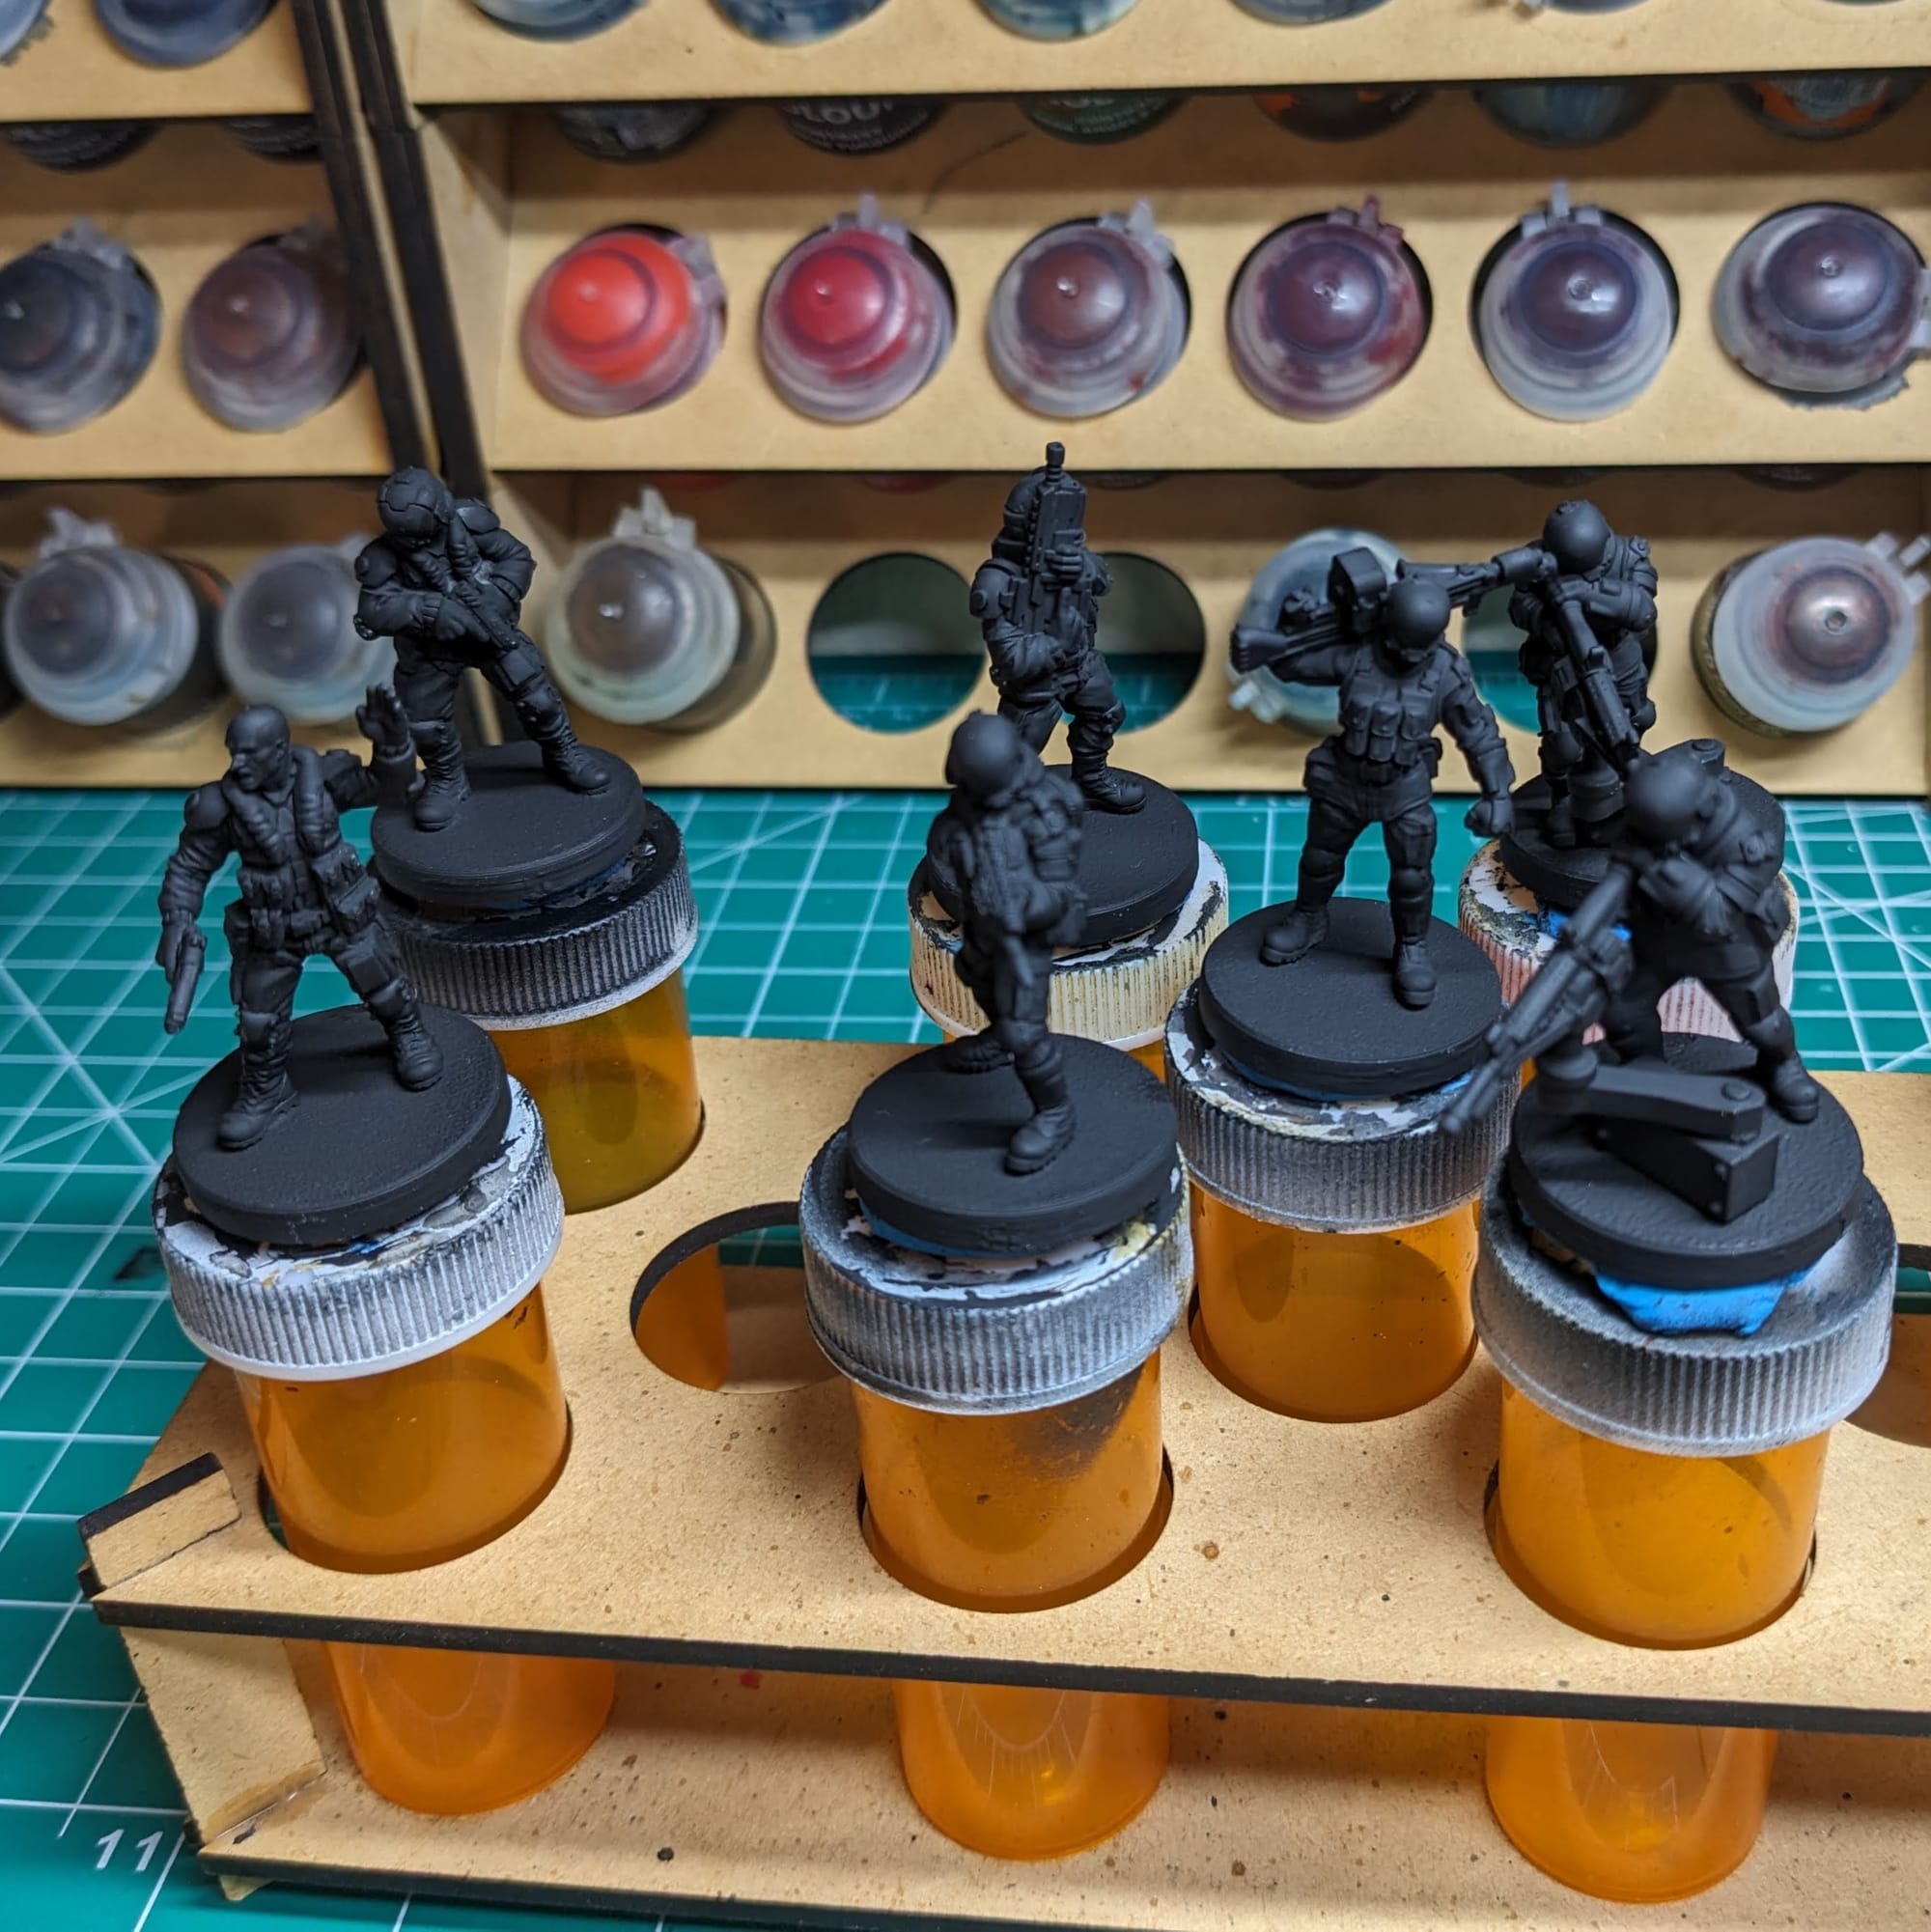
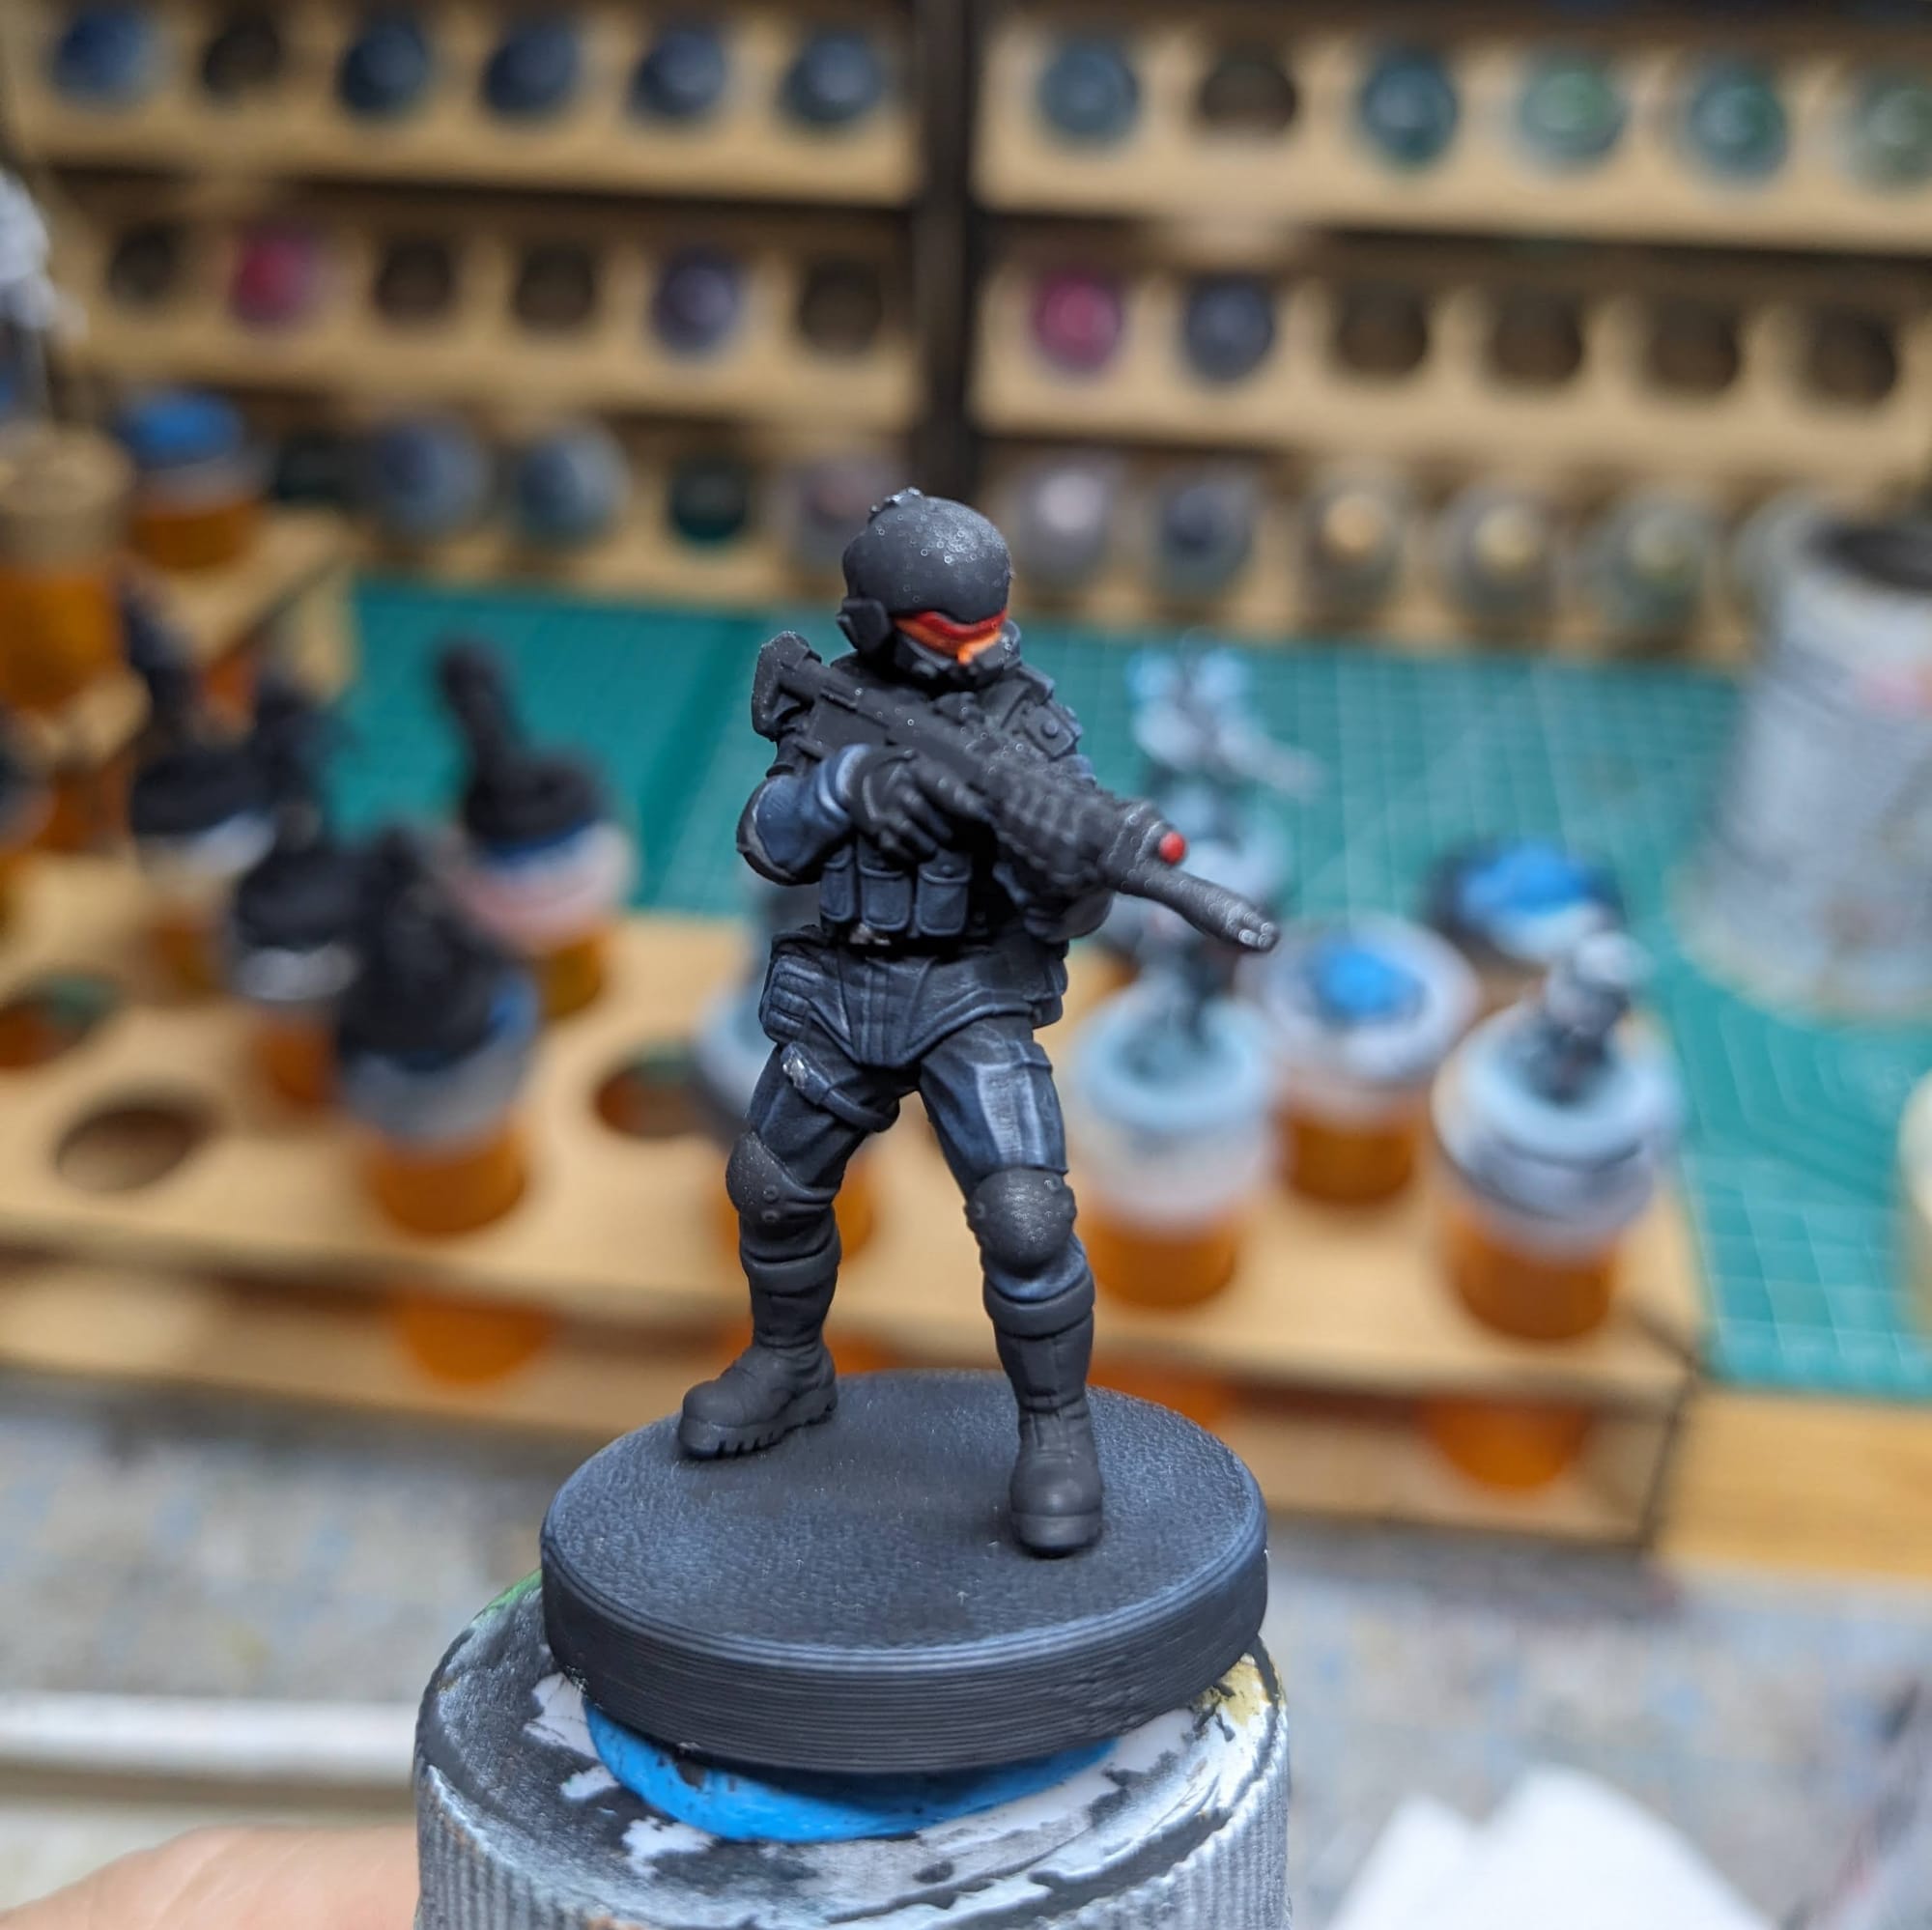
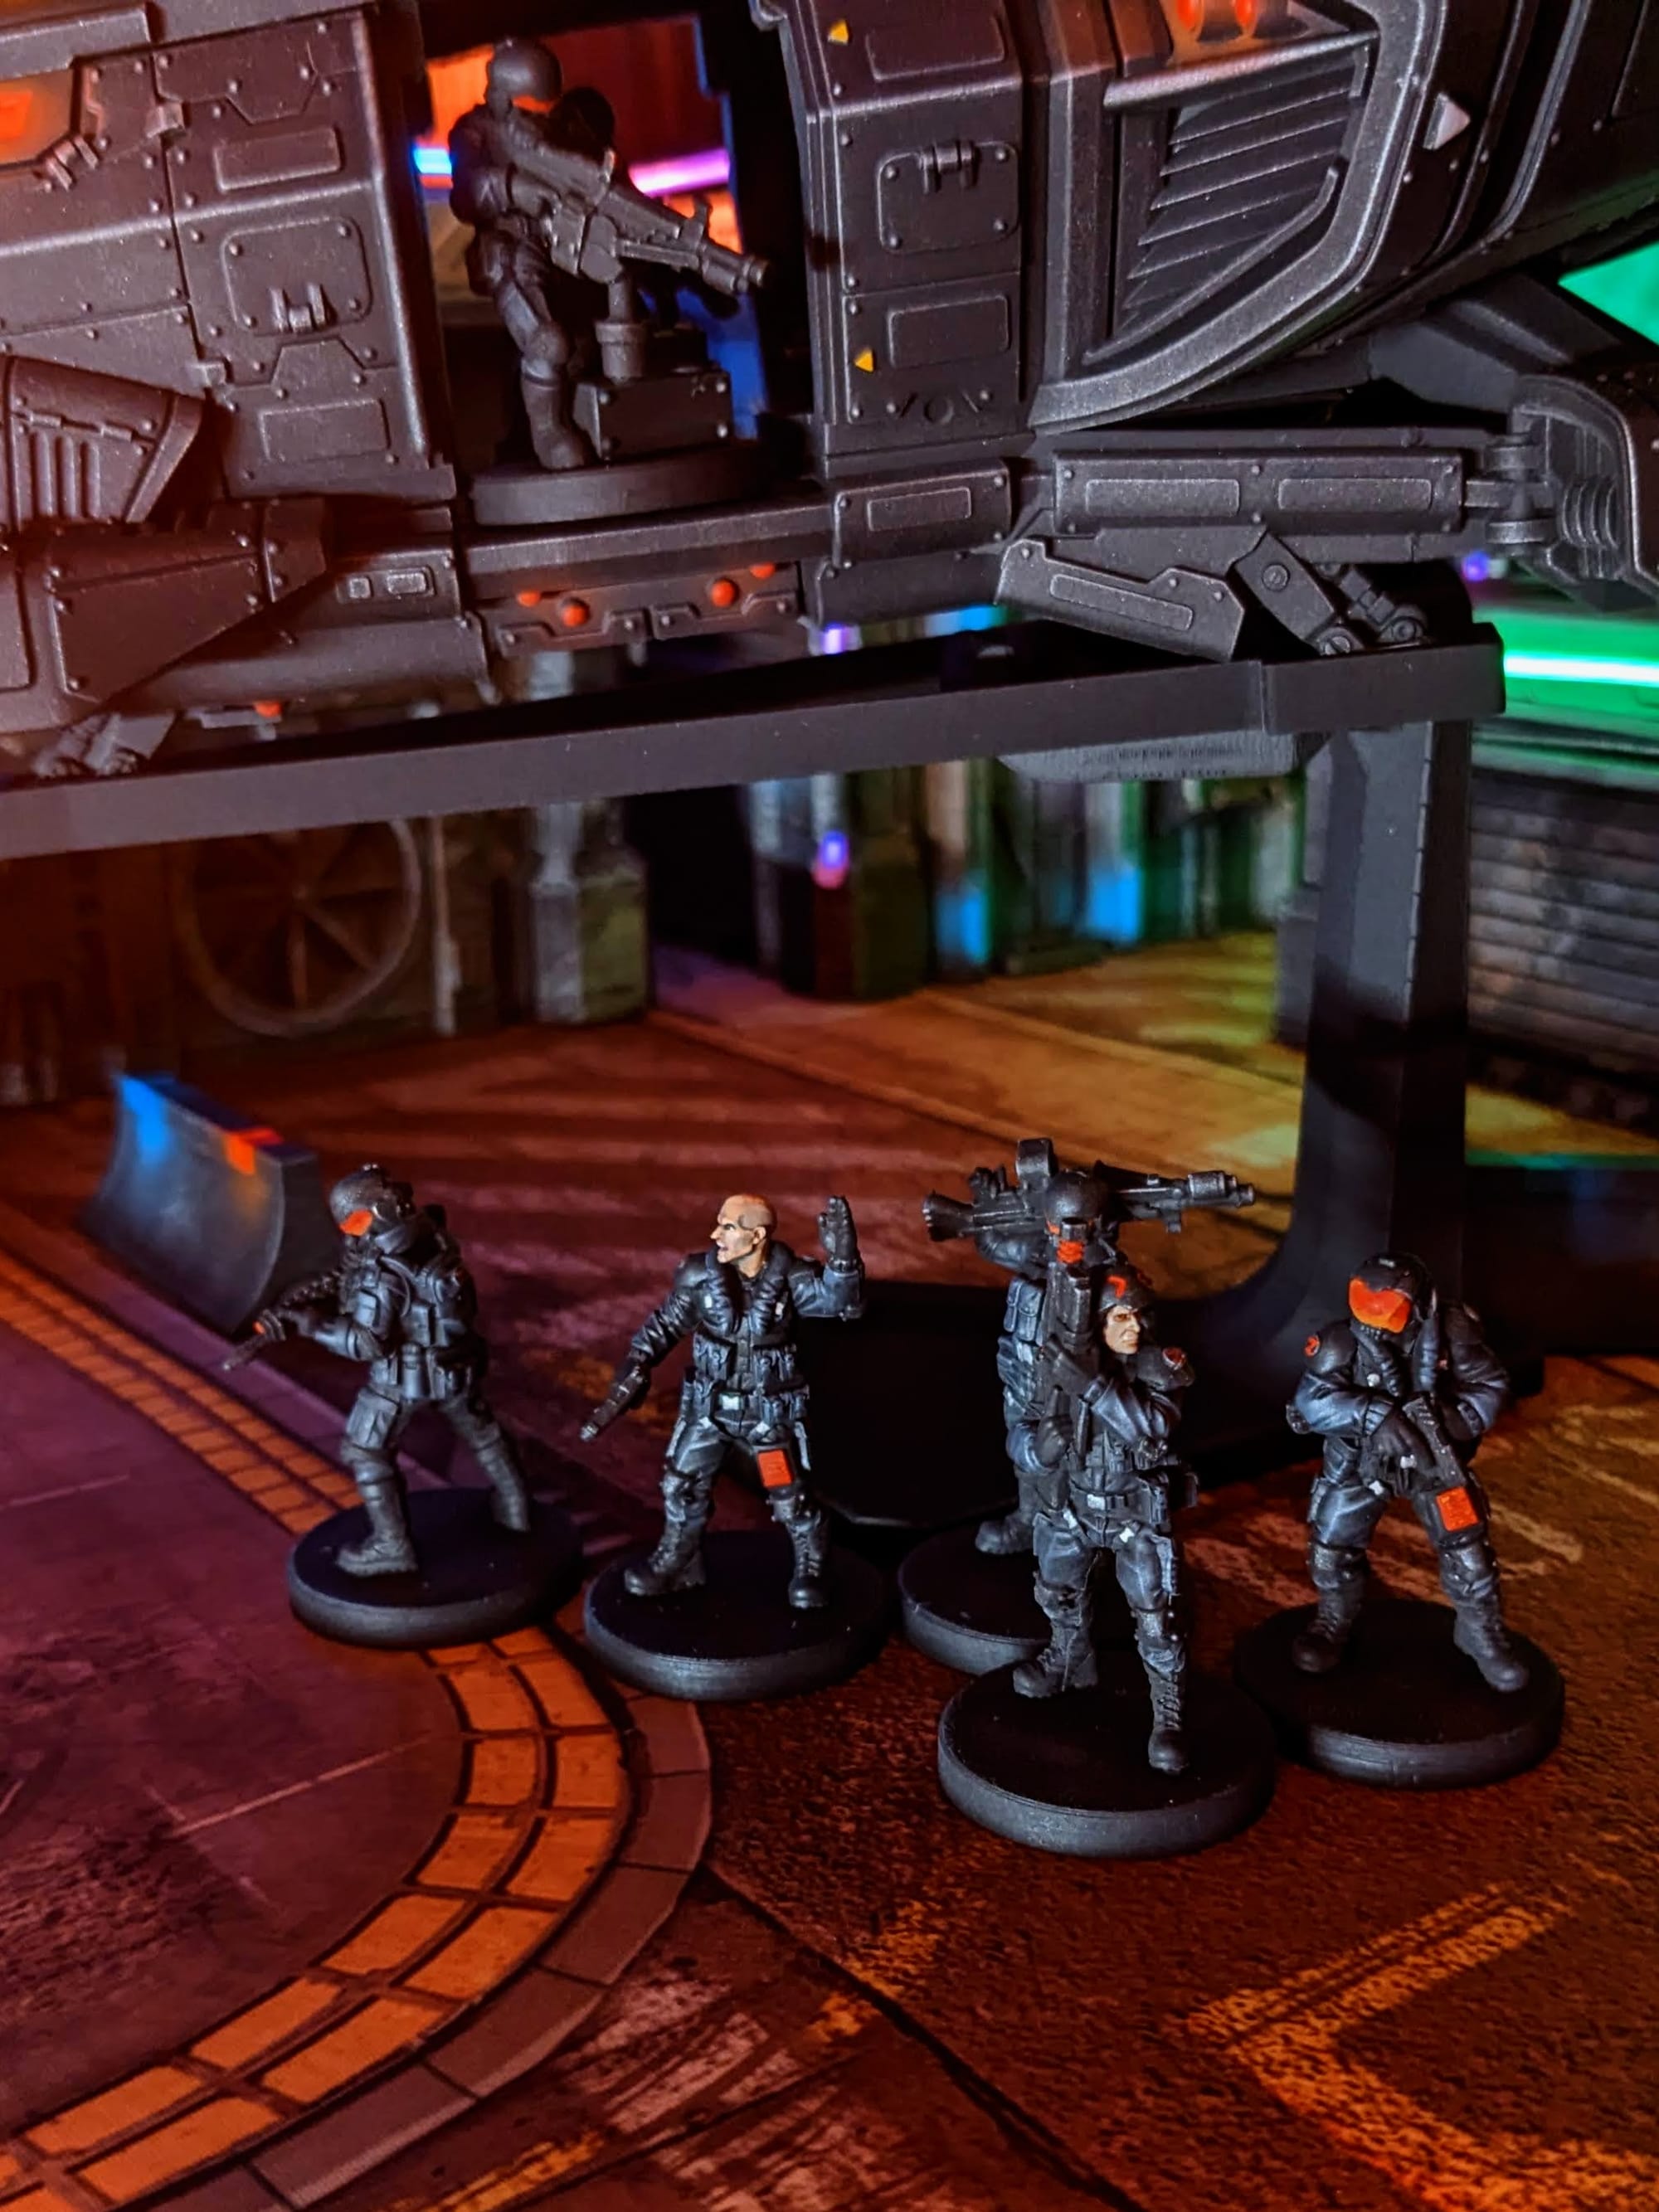
I started with dry brushing Monument Hobbies Slate Gray over all of the pieces. After that, for Captain Murdock, I painted his head with Citadel Rakarth Flesh and washed it with Guilliman Flesh Contrast . For the armor, boots, vests, etc. I went back over the models with SoFlat Matte Black, which allowed for the cloth to pop a little more. I dry brushed just the smallest bit of silver on the helmets, guns, and elbow/knee pads, and used Citadel Runefang Steel for the buckles. Lastly, I used Monument Hobbies Pyrrole Red (Citadel Evil Sunz works here, too) for the visors and scopes. If you want to do a more detailed face like I did for Murdock, you use a combination of Citadel Skavenblight Dinge, Cadian Flesh Tone, and Pallid Witch Flesh for your shadow, mid-tone, and highlight.
And with that, they're ready to board the Herakles!
Basing
To keep in theme with the previous Cyberpunk Red: Combat Zone minis I have painted, I wanted to keep the basing basic. The 3D printed texture on the base is pretty close to asphalt or grimy concrete, so I just did a little bit of dry-brushing of Citadel Stormfang, although any gray or dark blue would work here. You can also add in road markings, or designs from a warehouse or loading zone, or even just leave it black. You can also apply texture paints if you want. More often than not I do the basing at the very end because of the mess you make from the actual painting.
Sealing
As I do with all of the models I paint that I also play, I applied a protective clear coating over the paint. This helps preserve the paint on the model and keeps oils from hands from rubbing off the paint as you continuously touch the models during games. There are many different kinds of clear varnishes to use, but I typically use matte or anti-shine varnishes, as satin, semi-gloss, and gloss tend to distort the colors of the models (not to mention that most models aren’t supposed to be shiny).
Brands that have been reliable for me are Krylon Matte Clear Spray, Rustoleum Matte Clear Coat, which is slightly glossy, and Testors Dullcote, although the latter can be expensive and difficult to find. For a coat with no shine that really enhances the colors, I use AK Interactive’s Ultra Matte Varnish, applied with an airbrush.
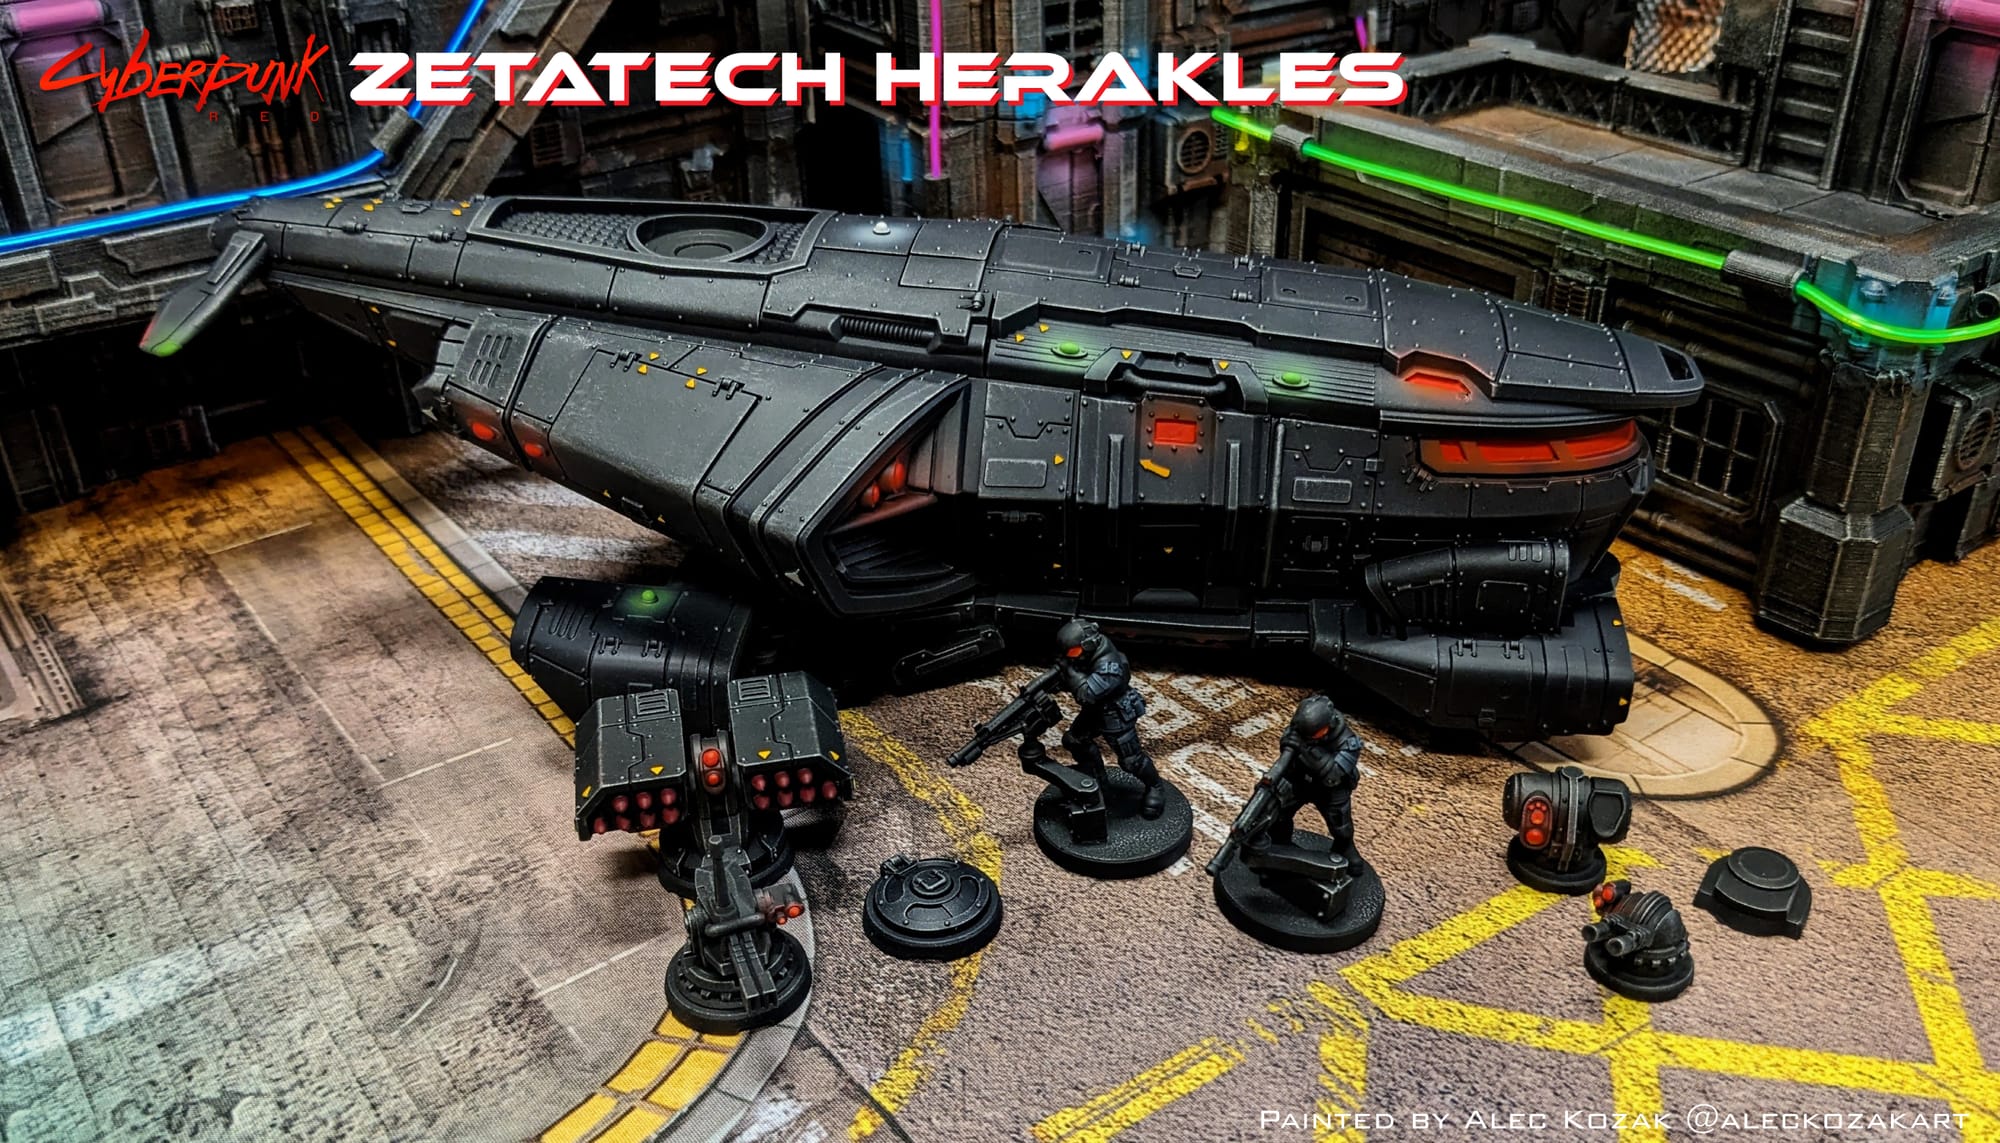
Painted and Ready for Play
Paints Used for Zetatech Herakles and Crew:
In application order:
- Zetatech Herakles - 1:1 NuWorlds Zenith Black and Code Blue, FolkArt Metallic 662 Silver Sterling, Lights (Citadel Moot Green, Monument Hobbies Pyrrole Red, Citadel Ulthuan White), Arrows (Monument Hobbies Golden Yellow), Airbrush OSL (Vallejo Game Air 72.732 Escorpena Green, NuWorlds Impenetrable Red & Chrome Yellow, NuWorlds Zenith White), Green Console Light Text (Citadel Moot Green and Phalanx Yellow), Red Console Light (Citadel Evil Sunz Scarlet and Fire Dragon Bright).
- Crew - Monument Hobbies Slate Grey, Skin (Citadel Rakarth Flesh, Guilliman Flesh Contrast), OPTIONAL Skin (Skavenblight Dinge, Cadian Flesh Tone, and Pallid Witch Flesh), Golden SoFlat Black, Citadel Necron Compound, Citadel Runefang Steel, Monument Hobbies Pyrrole Red (or Citadel Evil Sunz Scarlet).
Impressions
What I liked
This dropship is a crown jewel in my Cyberpunk collection, and likely for my miniature collection as a whole. The airbrush paint and subsequent OSL really helped make it pop. Very little paint and color go a long way – Definitely less is more. By far, the interior cockpit stands out above the rest. This piece can also double as a terrain piece or objective, which could make for some fun scenarios. It paints up very quickly, and I would say that most of my time was spent prepping the model by cleaning it and adding magnets.
Also, the fact that each baggy had a label on it told me that MFC hand-packed everything. Not only is that a lot of work, but it shows a lot of care for making sure the model has all the pieces. In an age of automation, it is nice to see a personal touch to games.
What I didn't like
The instructions to fully assemble and lack of flexibility for keeping the build open or closed could create some frustration for people. With the price tag for the model ($160 USD), not being able to see the totally cool interior seems like a miss. To build this model and show the interior requires some more advanced techniques, which might be intimidating for new players, but I highly recommend doing this.
What I would do differently next time
The building took the most amount of time. Now that I know what I am doing with magnet application, I think the build would go faster. Additionally, if I had to paint this again, I would probably do like a MedEvac version with white, teal, and red. I would customize the interior to look more like an ambulance as opposed to a C-130. If someone was inclined enough, there is enough space on the underside of the roof piece to add LED lights and a small battery pack.
Final Assessment
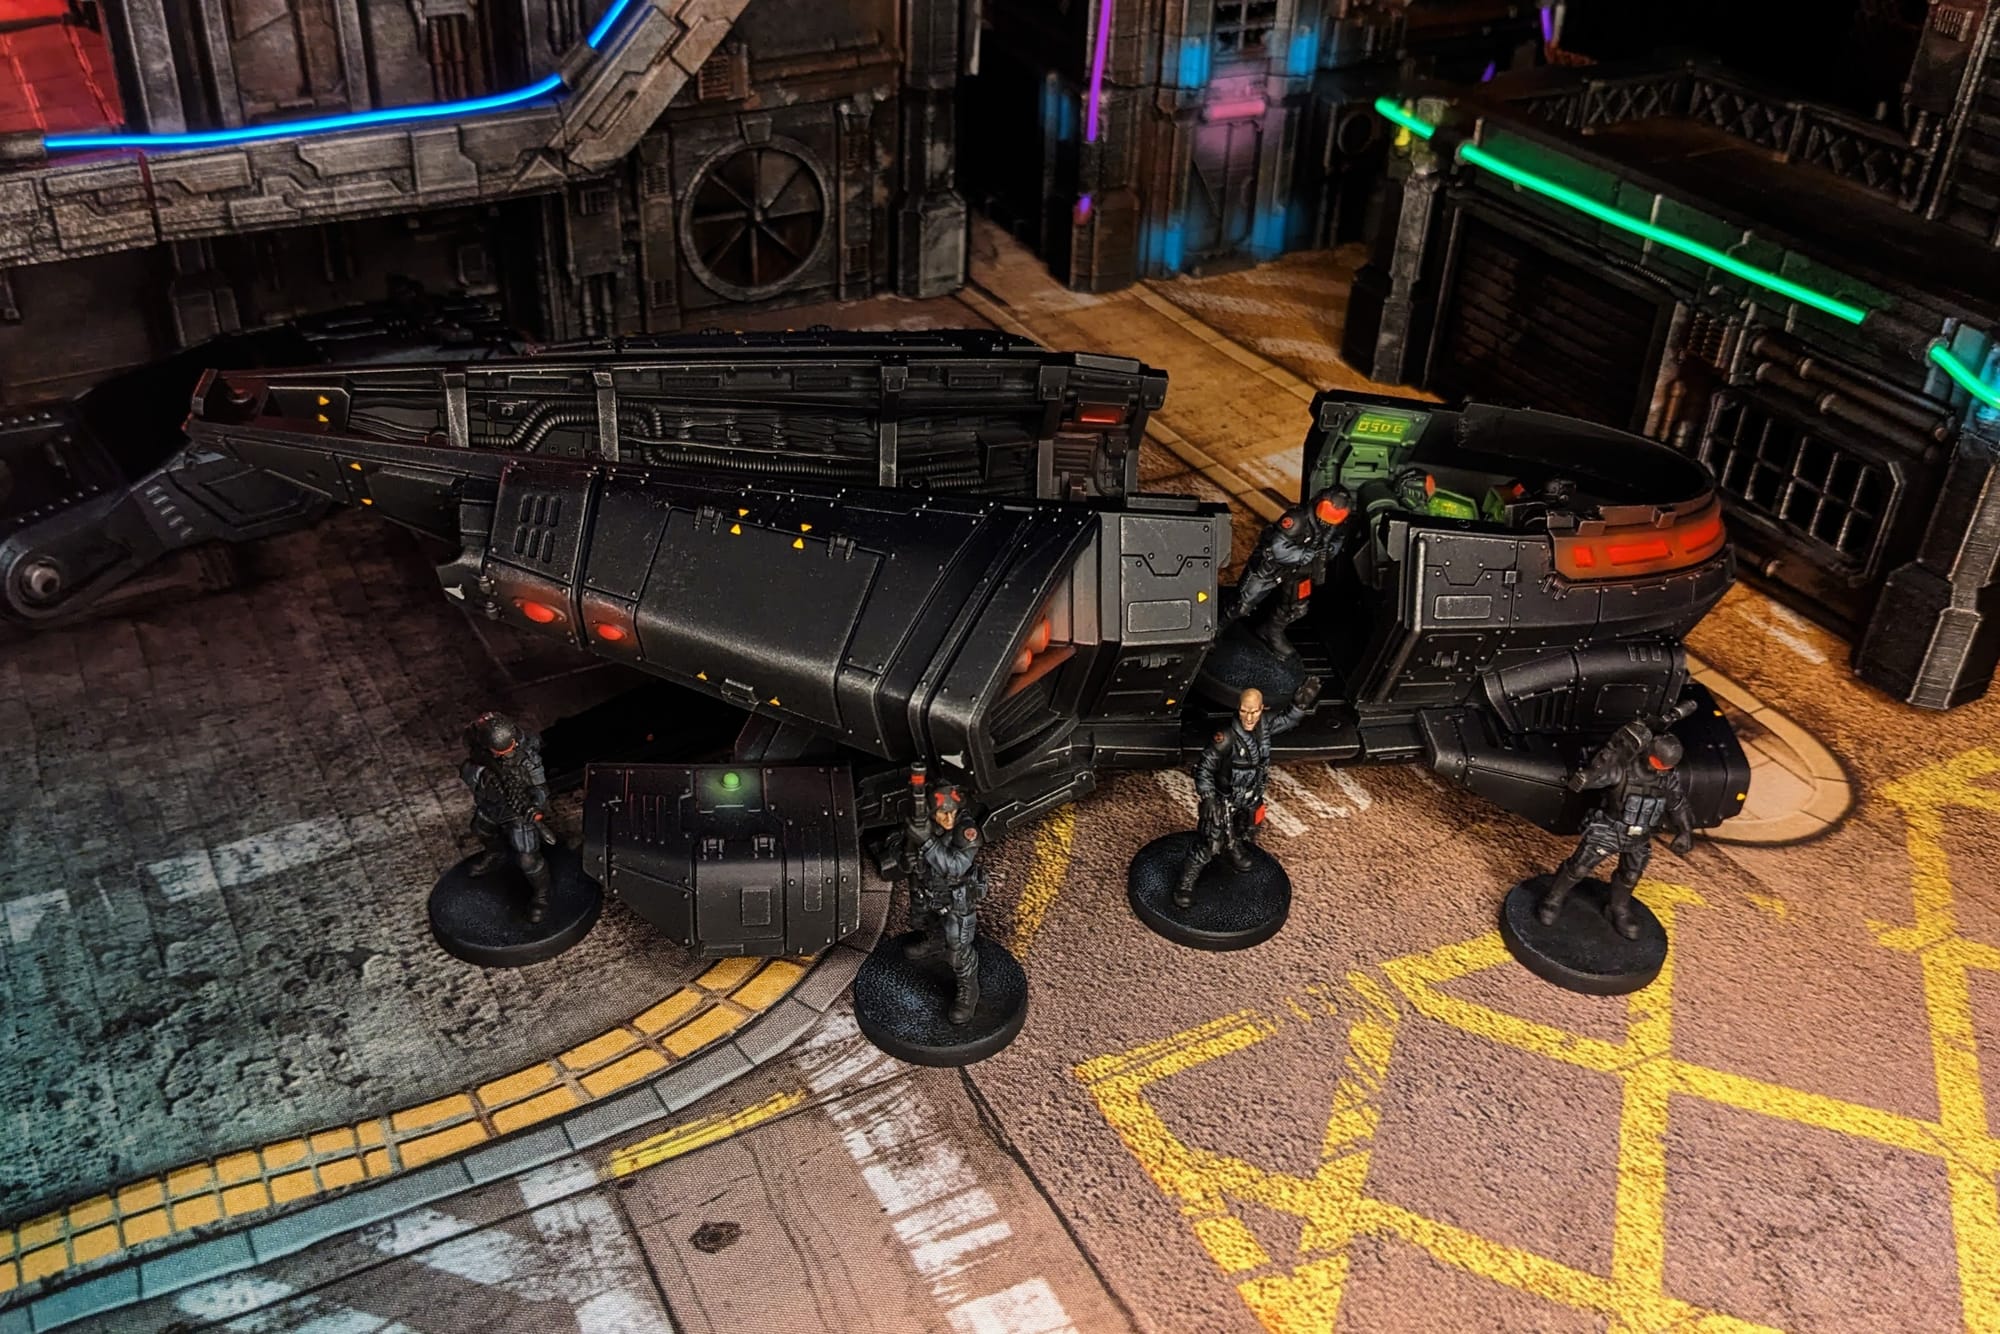
I cannot overstate how excited I was to paint this piece, and now I get to put it on the table. It looks so cool, and really is a towering beast to behold. You’re getting a lot of hobby hours out of this and, hopefully, a lot of game time for the price tag. It’s one of MFC’s more ambitious models, and is an achievement to build and paint for Cyberpunk Red: Combat Zone players. If you’re looking to ramp up your tabletop and painting games, then look no further (up?) than the Herakles.
Have you painted your Cyberpunk Red: Combat Zone miniatures yet? Share your work with us!
Don’t forget to subscribe and follow us on Instagram, Bluesky, and YouTube for more Cyberpunk Red: Combat Zone reviews and painting guides, as well as more hobby and tabletop news and reviews!