Like a lot of people, I am not confident in my painting skills, and that drives me to put projects off and have large gaps of time where I don’t paint at all. All the while, the gray plastic pile of shame grows and grows. It’s not like I can stop buying cool minis…
Well, to combat those feelings of self-doubt and get some cool models to the table, I have decided to start sharing my painting journey with you, dear reader. These guides will be basic techniques, since that is all I know. Anyone should be able to follow along and achieve similar results. Perhaps one day we will progress together to more advanced things, but for now, let’s see how a few base coats and speed paint can come together to finish up a game-ready miniature. Grab a brush and some paints and join me as I learn to paint.
Today, I am painting Falco from the Cyberpunk Edgerunners game by our friends at Monster Fight Club. They were kind enough to send us the core box and miniatures to go along with the starter gangs.
Step 1: Prep
Since this model is a resin casting, I gave it a good scrub in some soapy water to make sure there was no residue left over from the casting process. That can cause issues with the paint adhering or reacting weirdly. After it dried, I used an X-Acto knife to cut off the most egregious mold lines, but I think I still missed a few. Ideally, you'd go over the mold lines again with a sanding sponge or something similar to really clean it up, but I just can't be bothered for a game piece. Close enough is good enough for me.
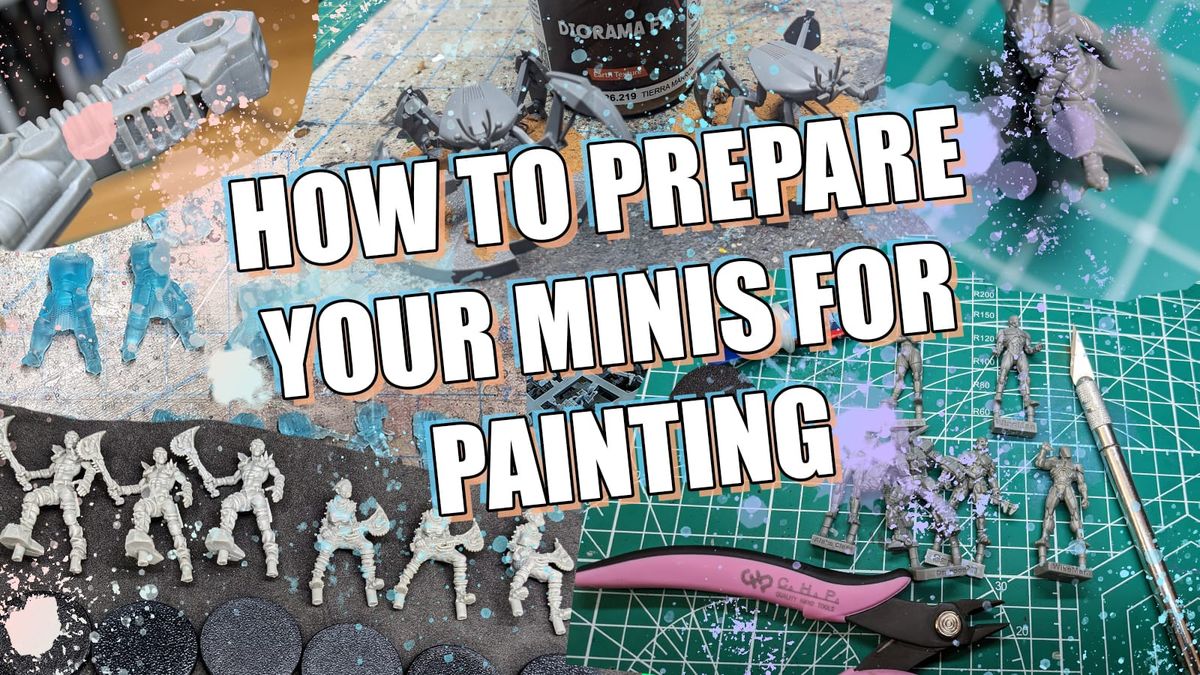
We've put together a handy guide for properly prepping models that will set you up for a great paint job. Jump over to that article and come back when you're ready to paint!
 Alec Kozak
Step 2: Priming
I primed this model with Vallejo Airbrush Primers. I bought a Badger airbrush years ago that I never learned how to properly use, and it caused me nothing but headaches with clogs and air leaks every time I tried to use it. I finally spent a few hours properly cleaning it out and learning how it all works to discover that I had a clog in the bypass air channels around the nozzle. All that to say, I now know how to use it and enjoy priming models with it. If you don’t own an airbrush, a rattle can works just fine; I just prefer the control of the airbrush and not having to wait for good weather outside.
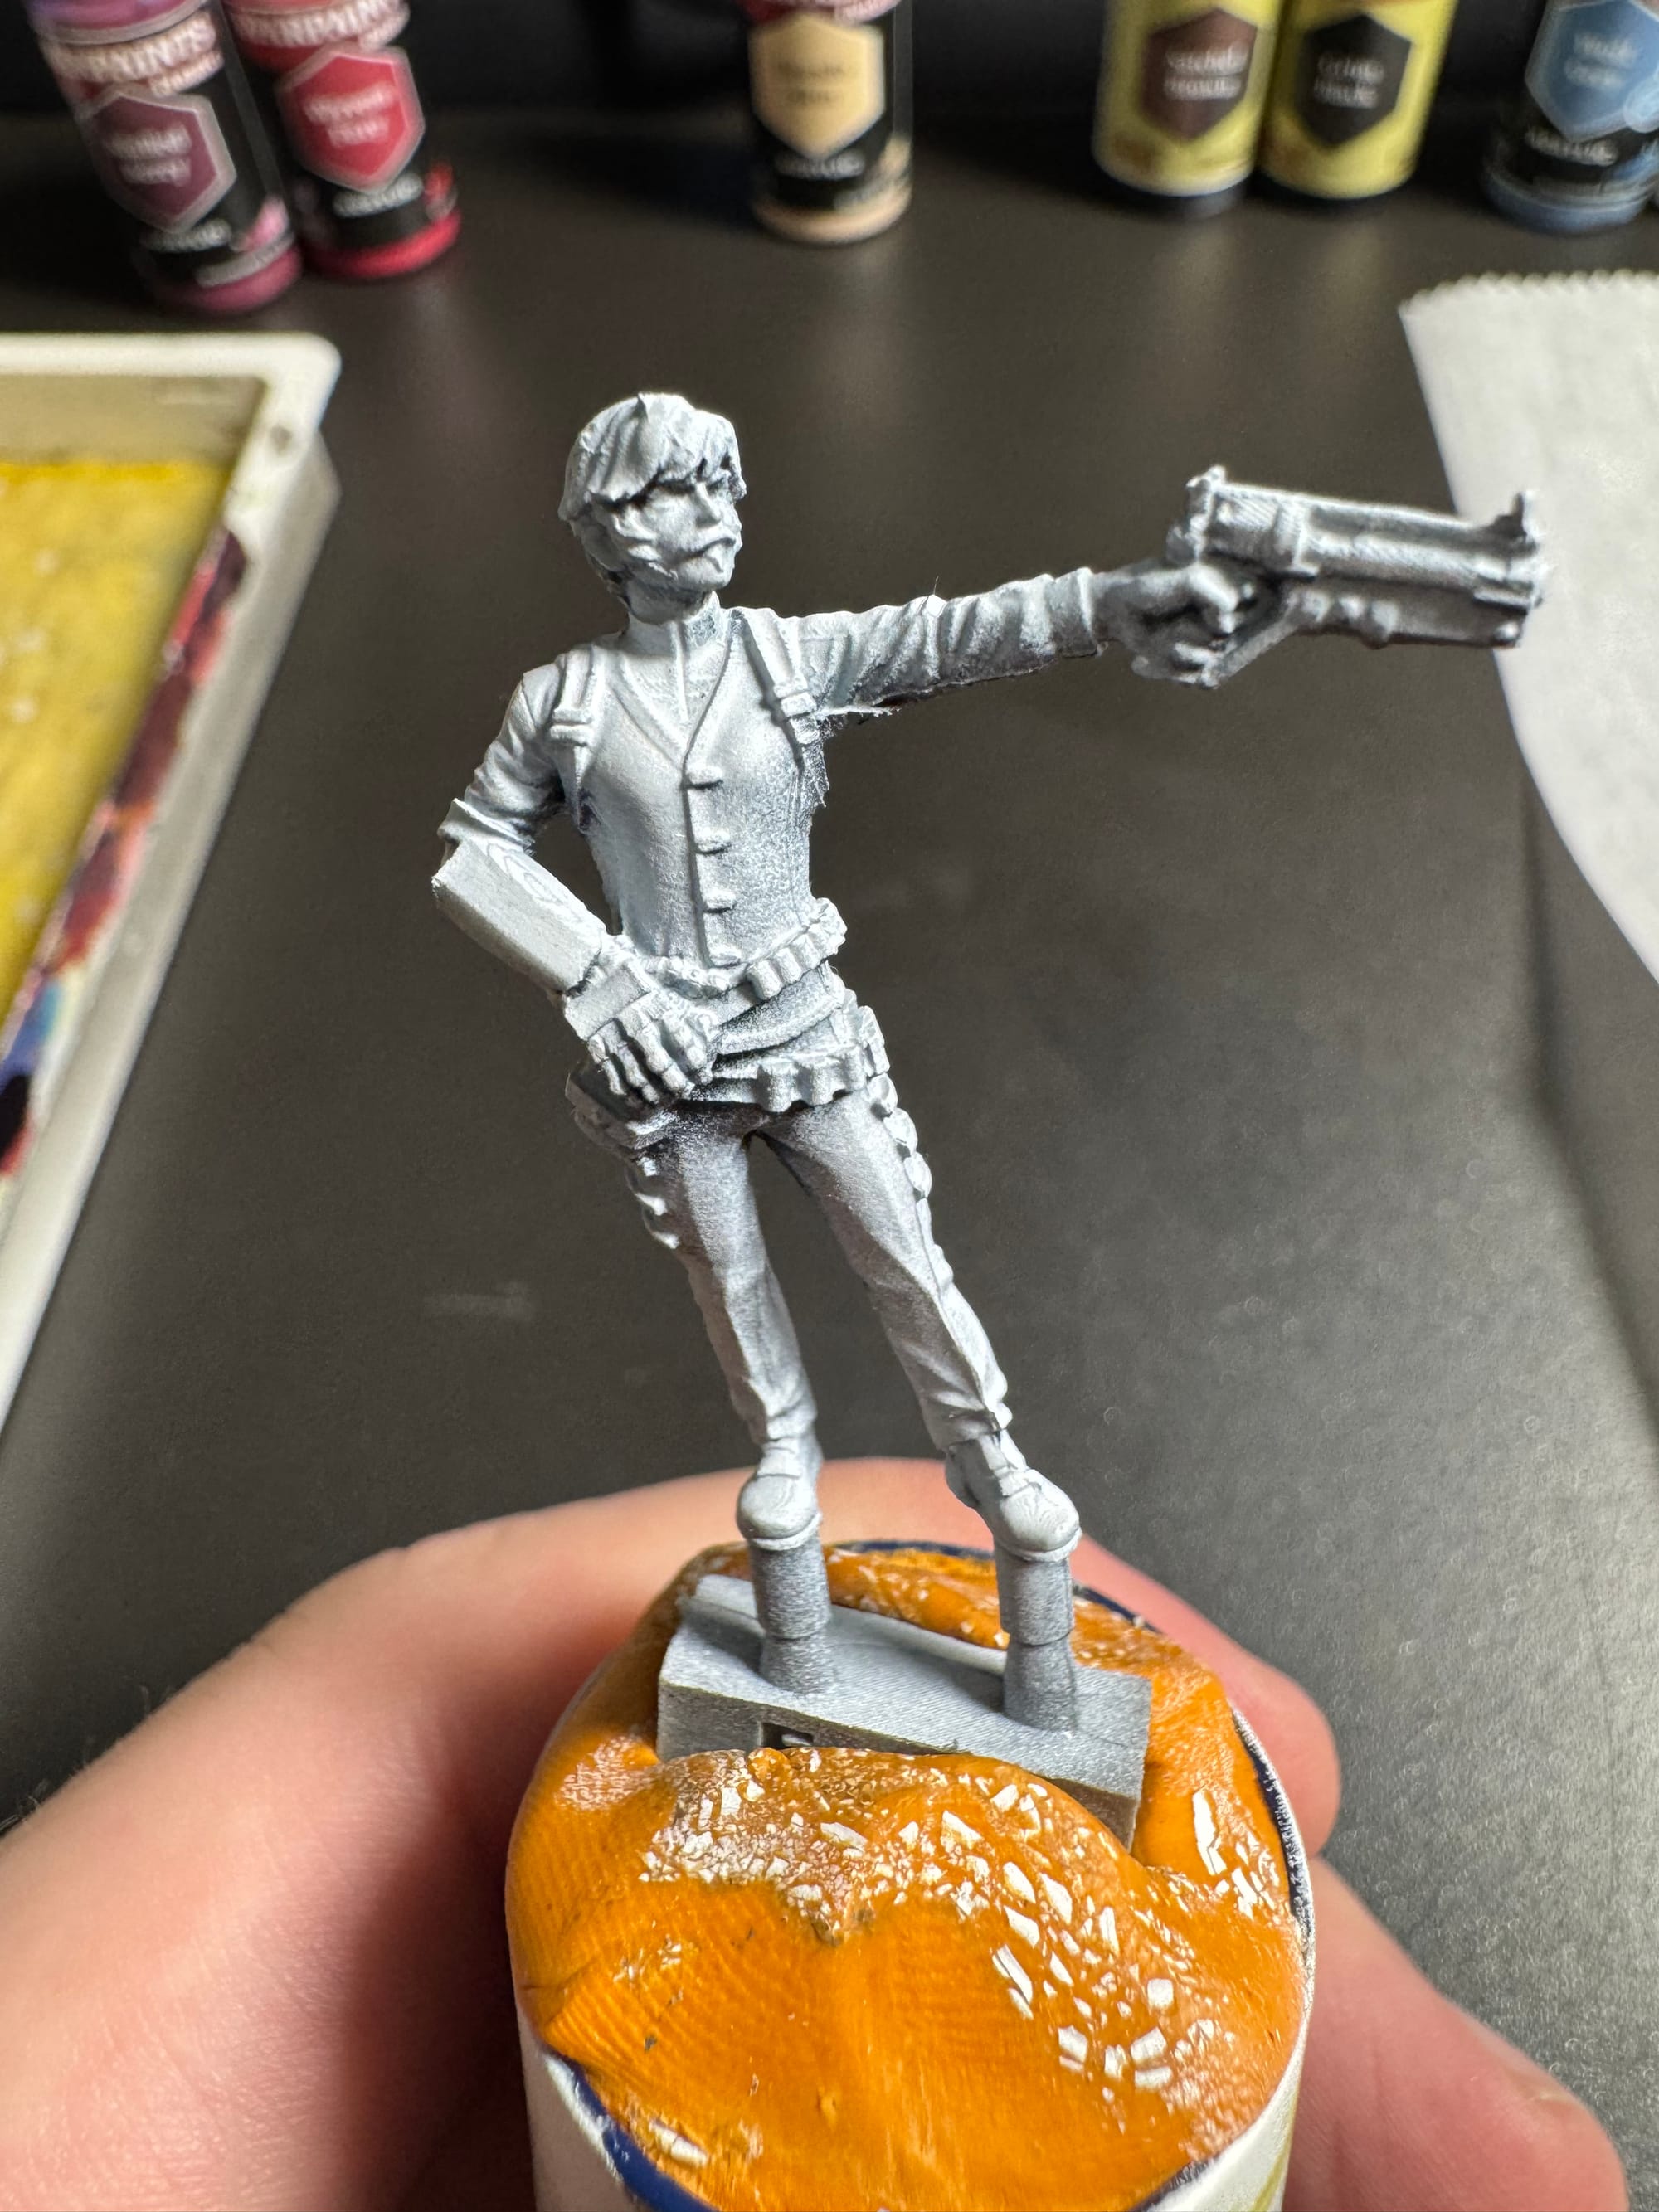
I was going for a zenithal highlight to give my speed paints a boost, but the white coat covered a bit more than I planned for. Zenithal highlighting is just doing a darker color all over the model and then a lighter color from just the angle you want light to come from. I go for a general top down light source; we aren’t getting fancy with it yet. Because Falco is pretty small and slim, the white highlight kind of hits everywhere. Oh well.
Step 3: The Shirt
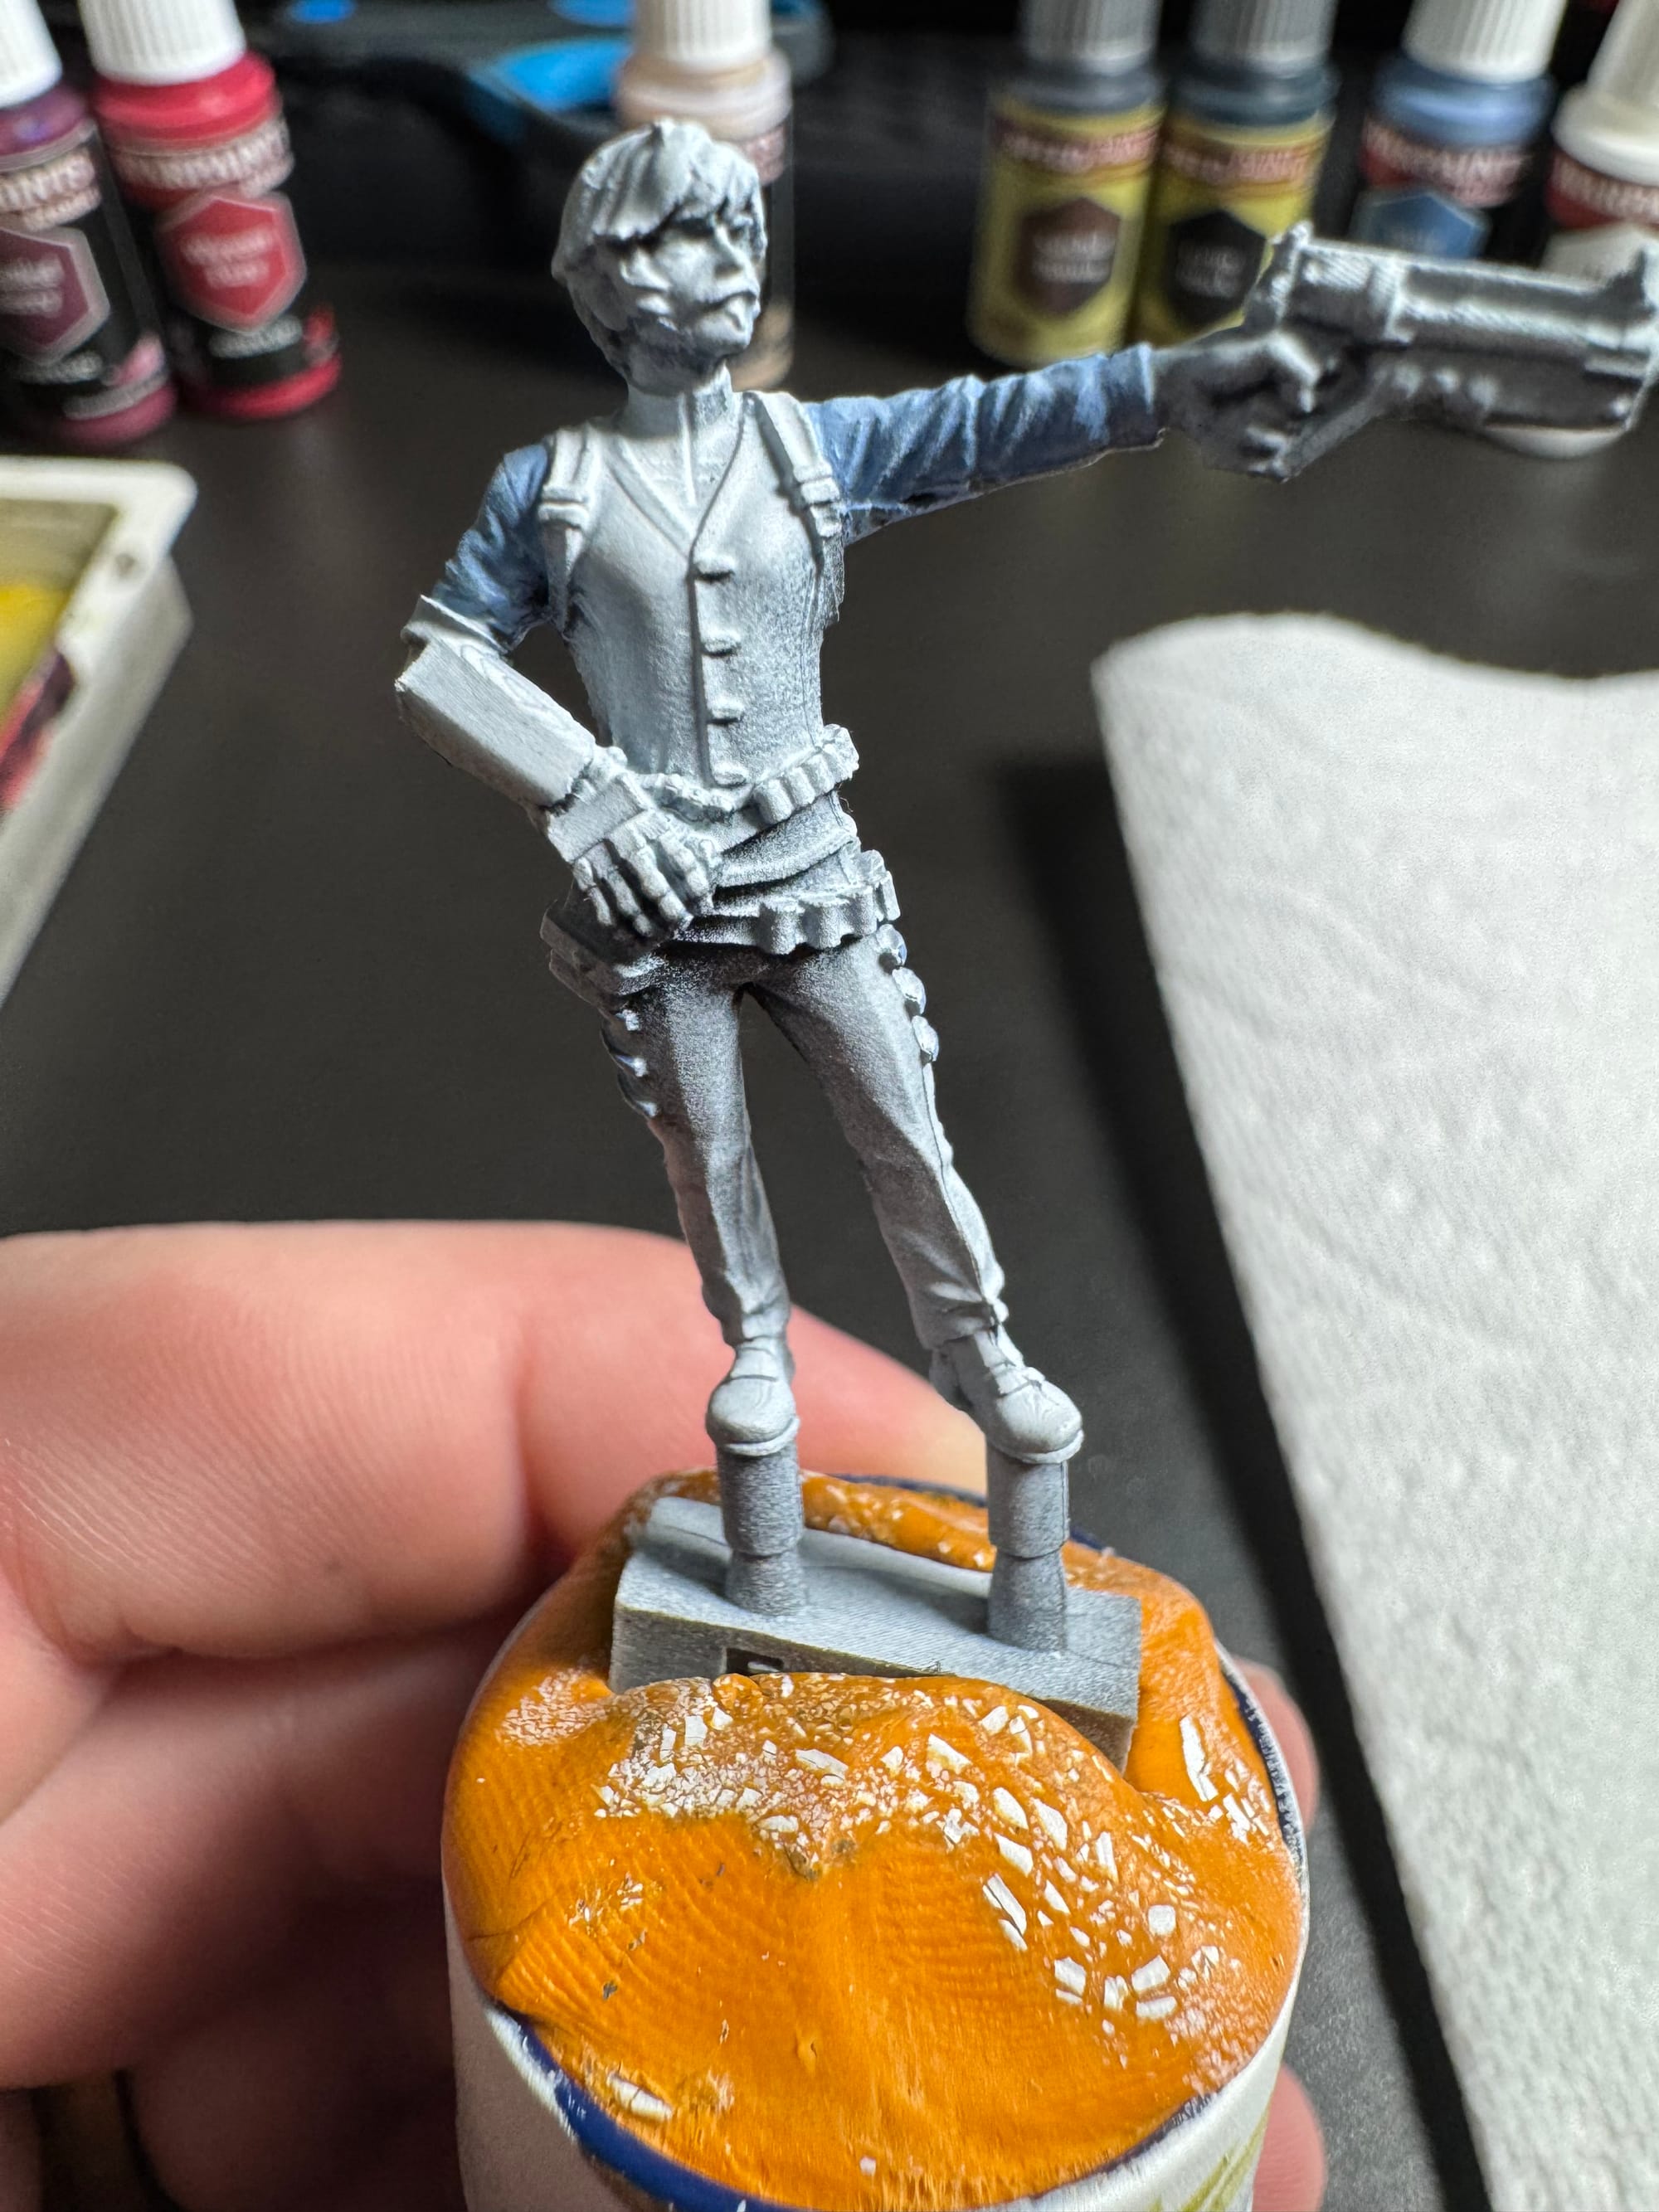
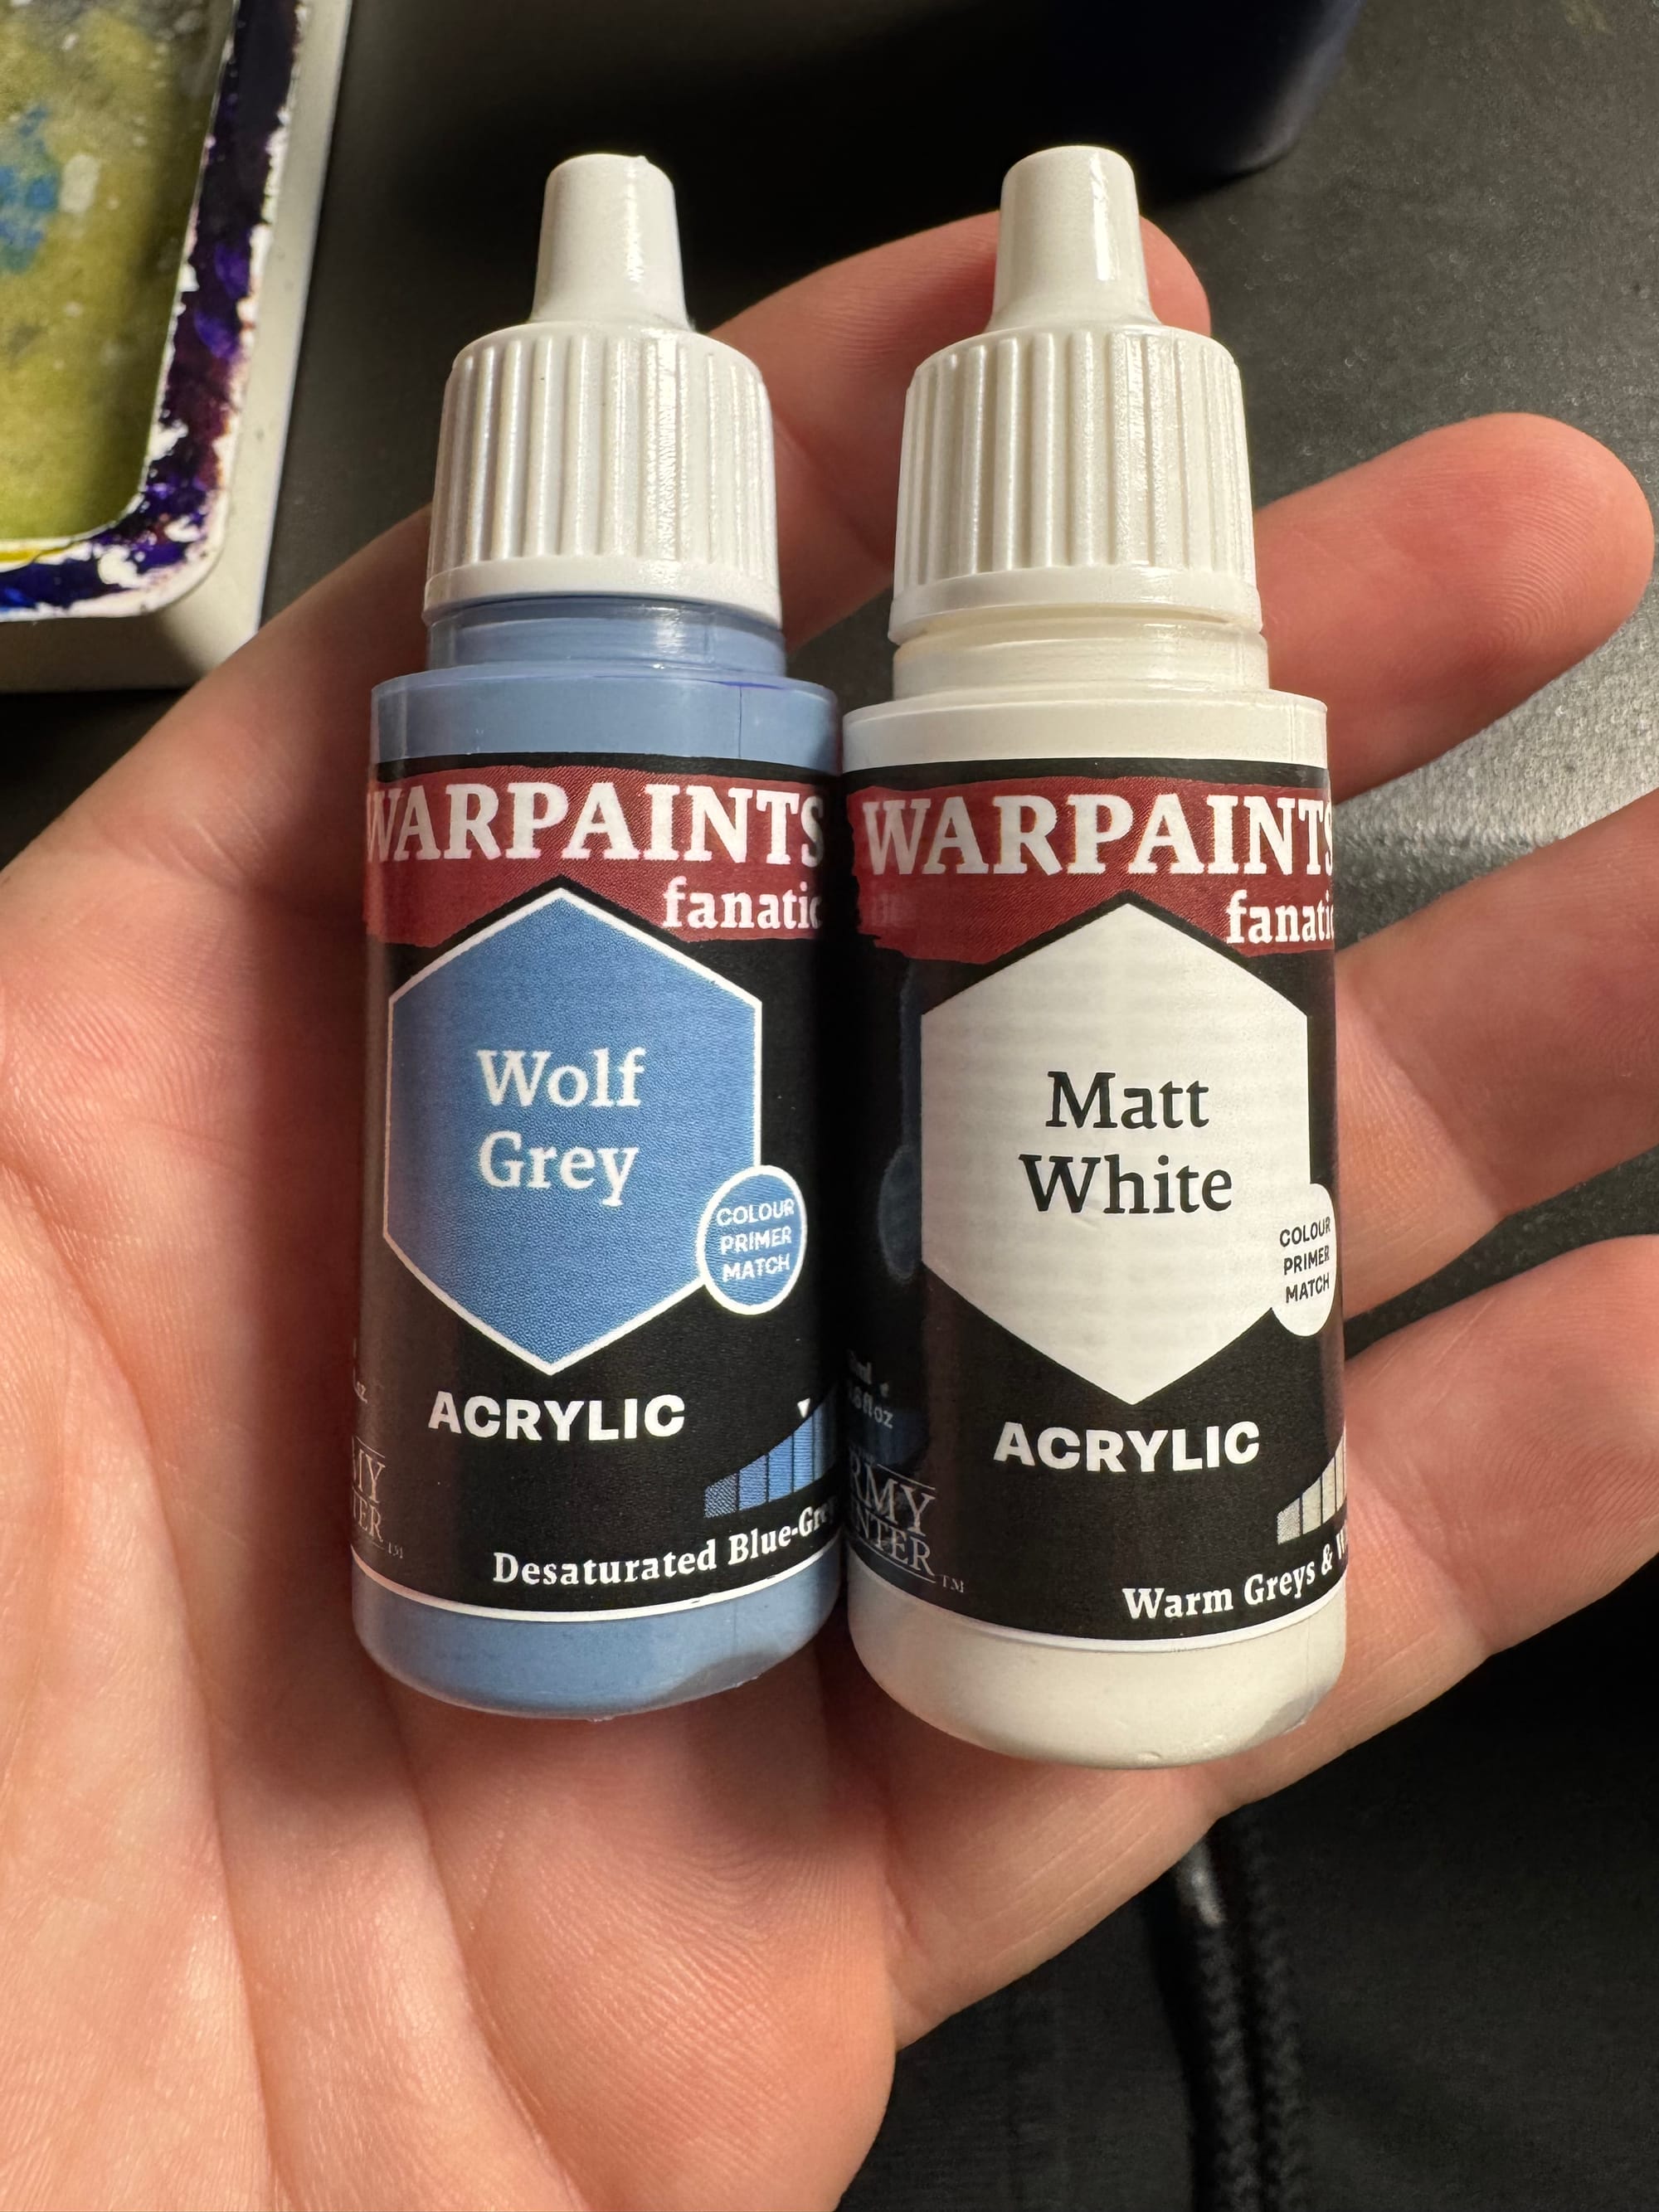
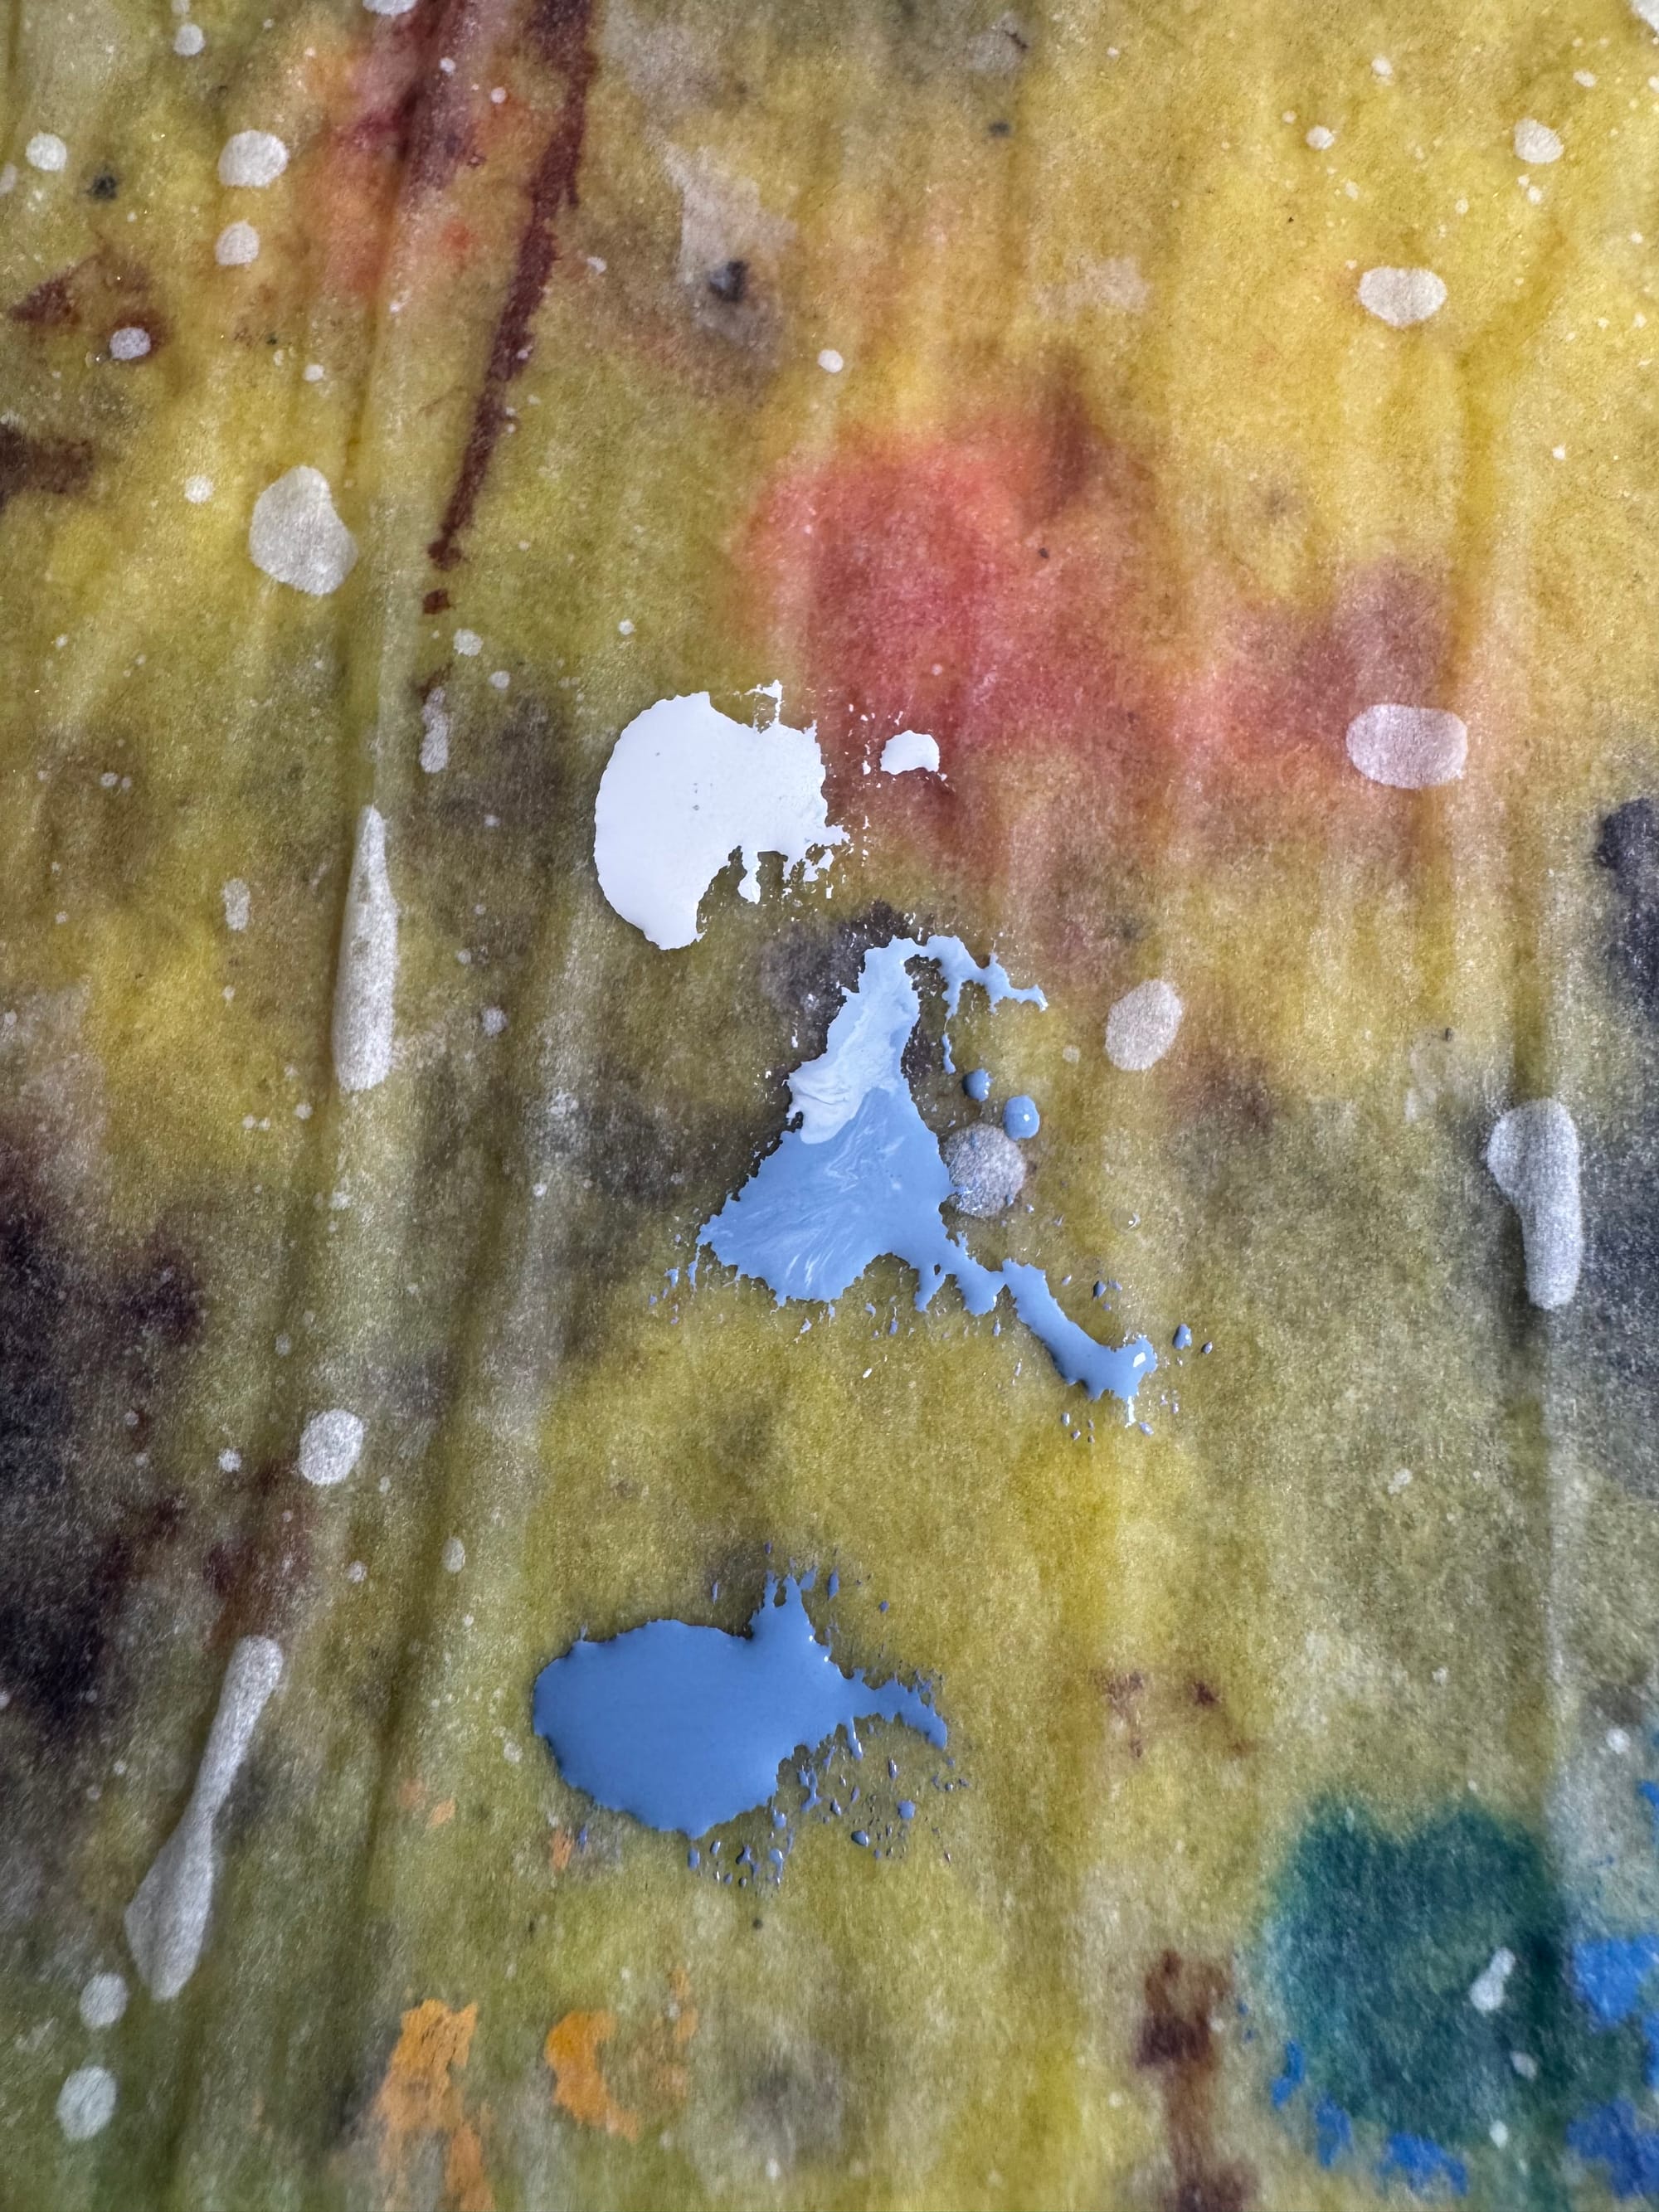
I chose to paint the shirt next. I figured if I accidentally got some paint on the vest or gun belt, it would easier to cover up since those would be darker colors rather than the other way around. I went for a blue-grey color for the shirt.
I started with painting the undersides of the arms and then about halfway around the arms with Wolf Grey. I tried to follow my zenithal highlight as a map here, but the effect is very subtle. I then mixed in some Matt White to paint the top surfaces of the arms so that the tops appeared a bit lighter. Finally, I added some more Matt White and highlighted just the top surfaces of the folds in the cloth. This model is so small that it’s very hard to even notice these highlights. I think next time I either need to make the highlights much bolder or just not bother. What would you do?
Step 4: The Vest
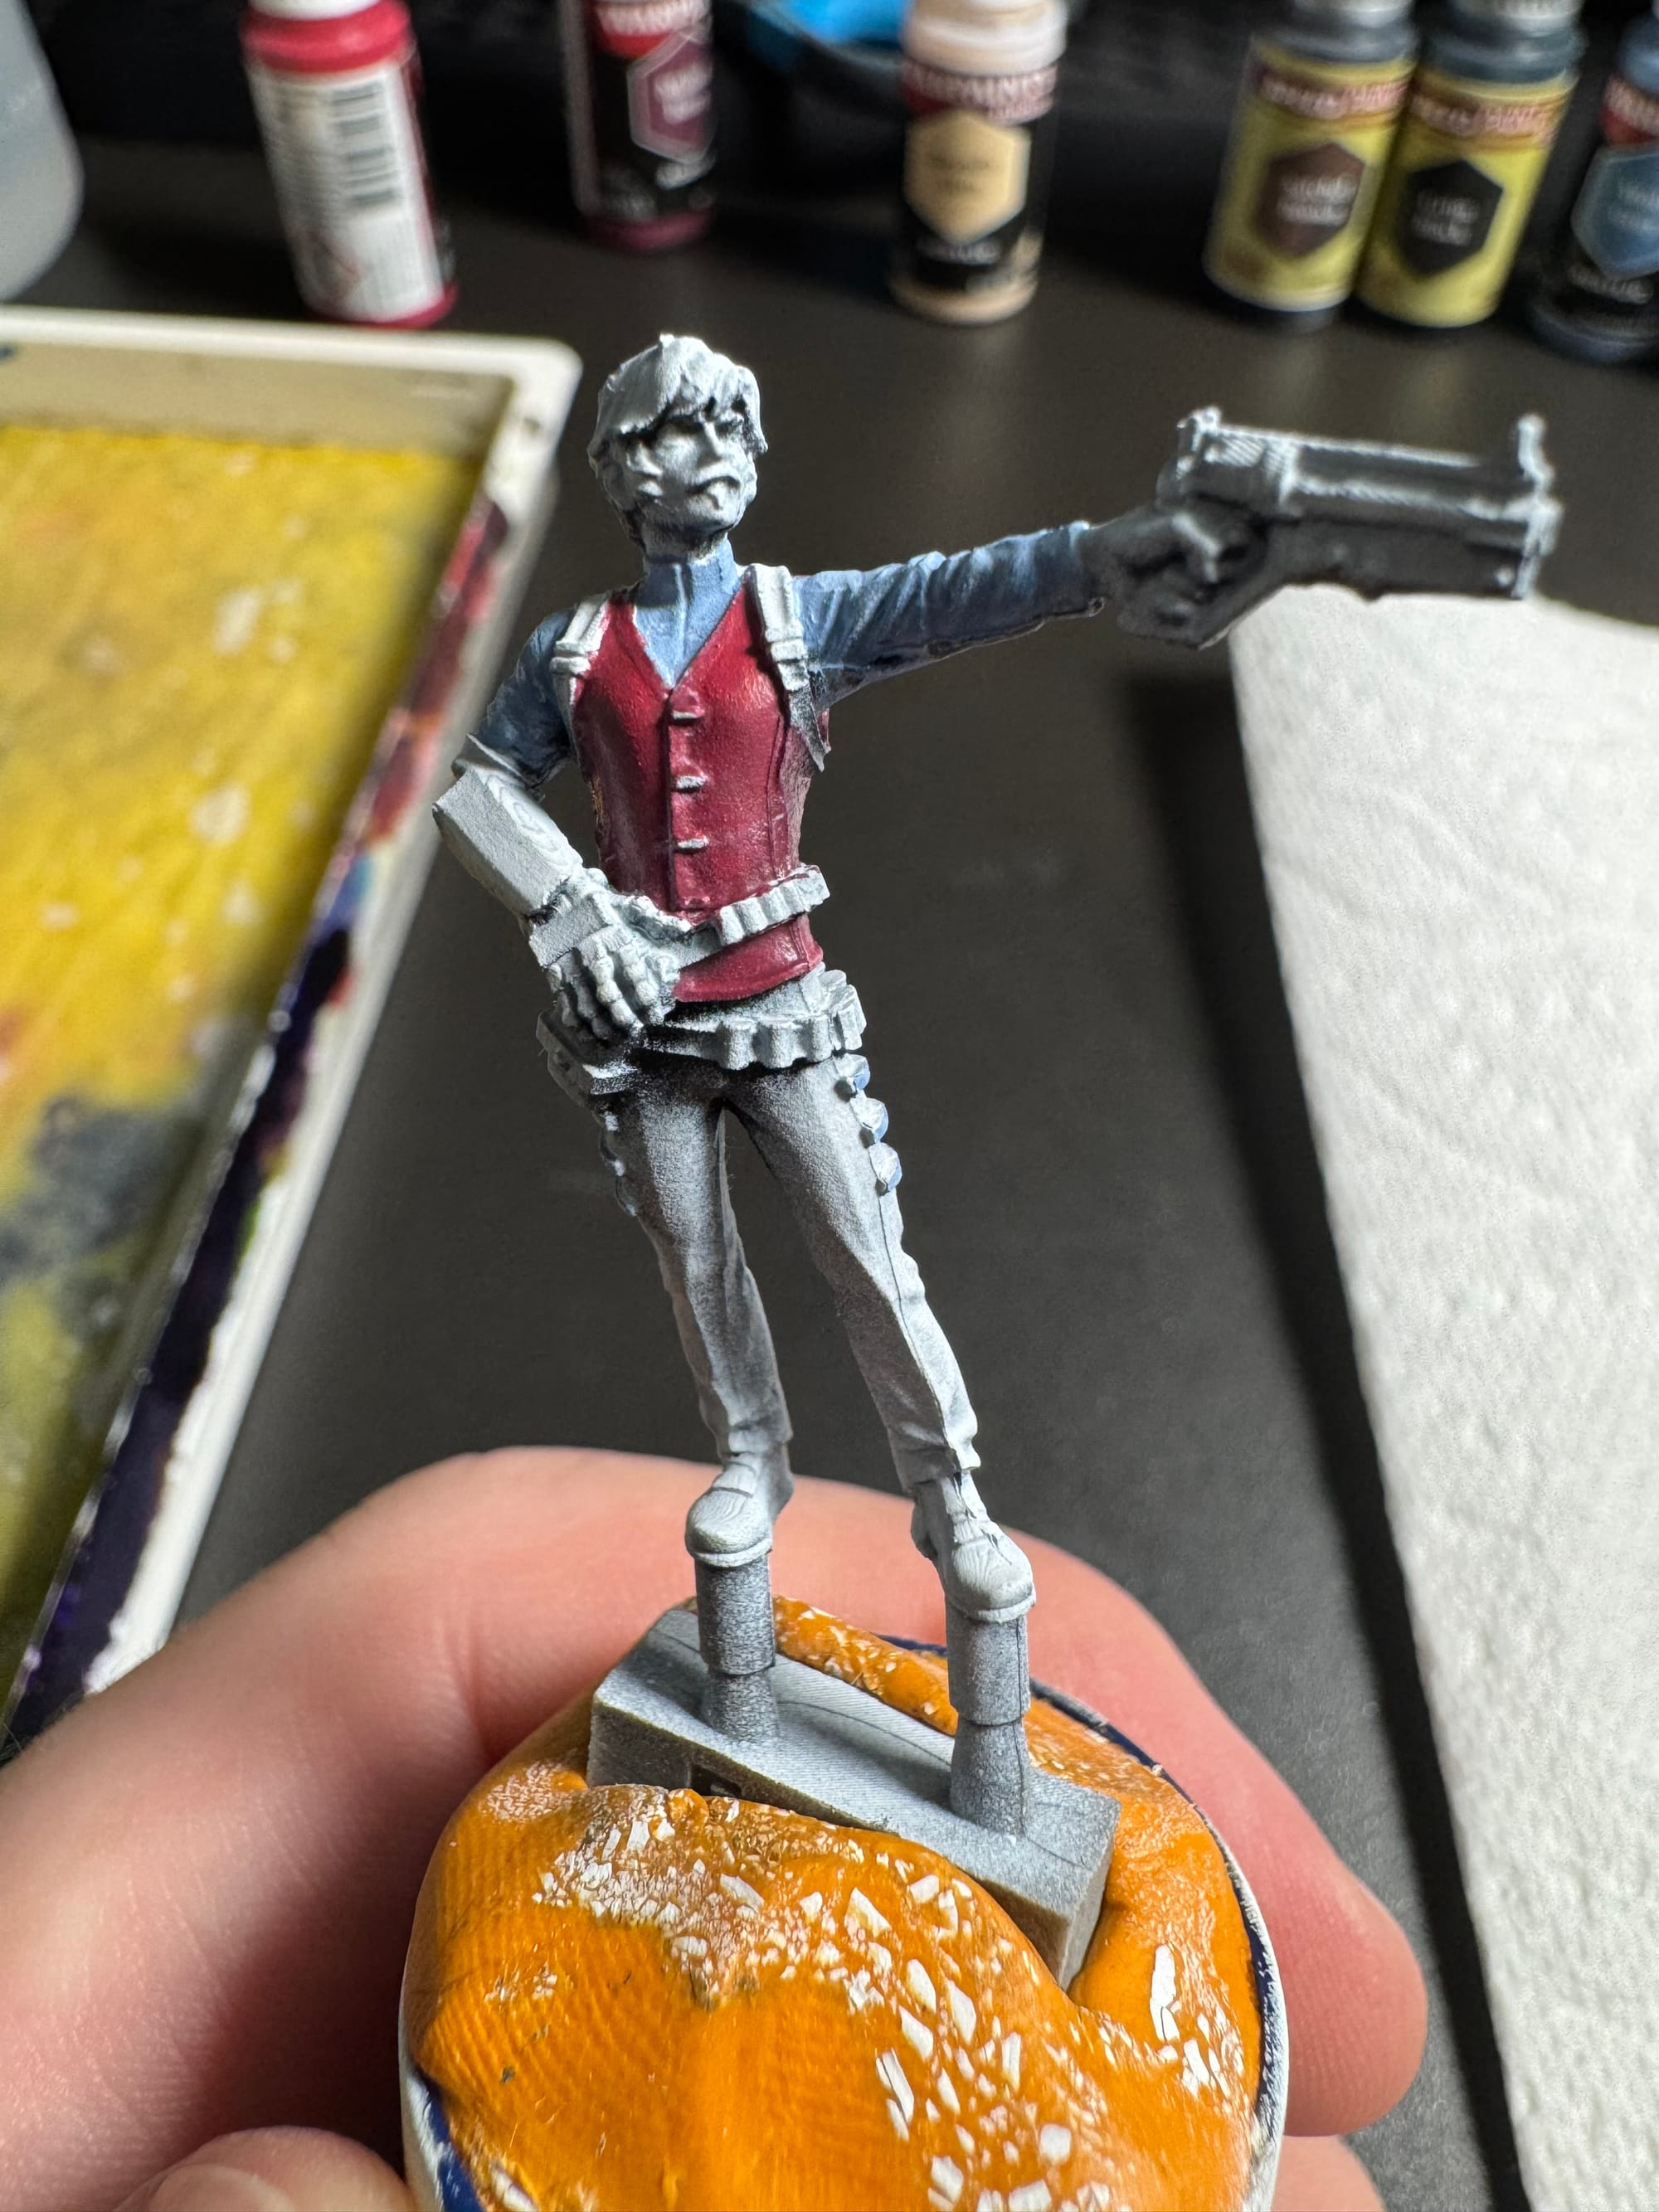
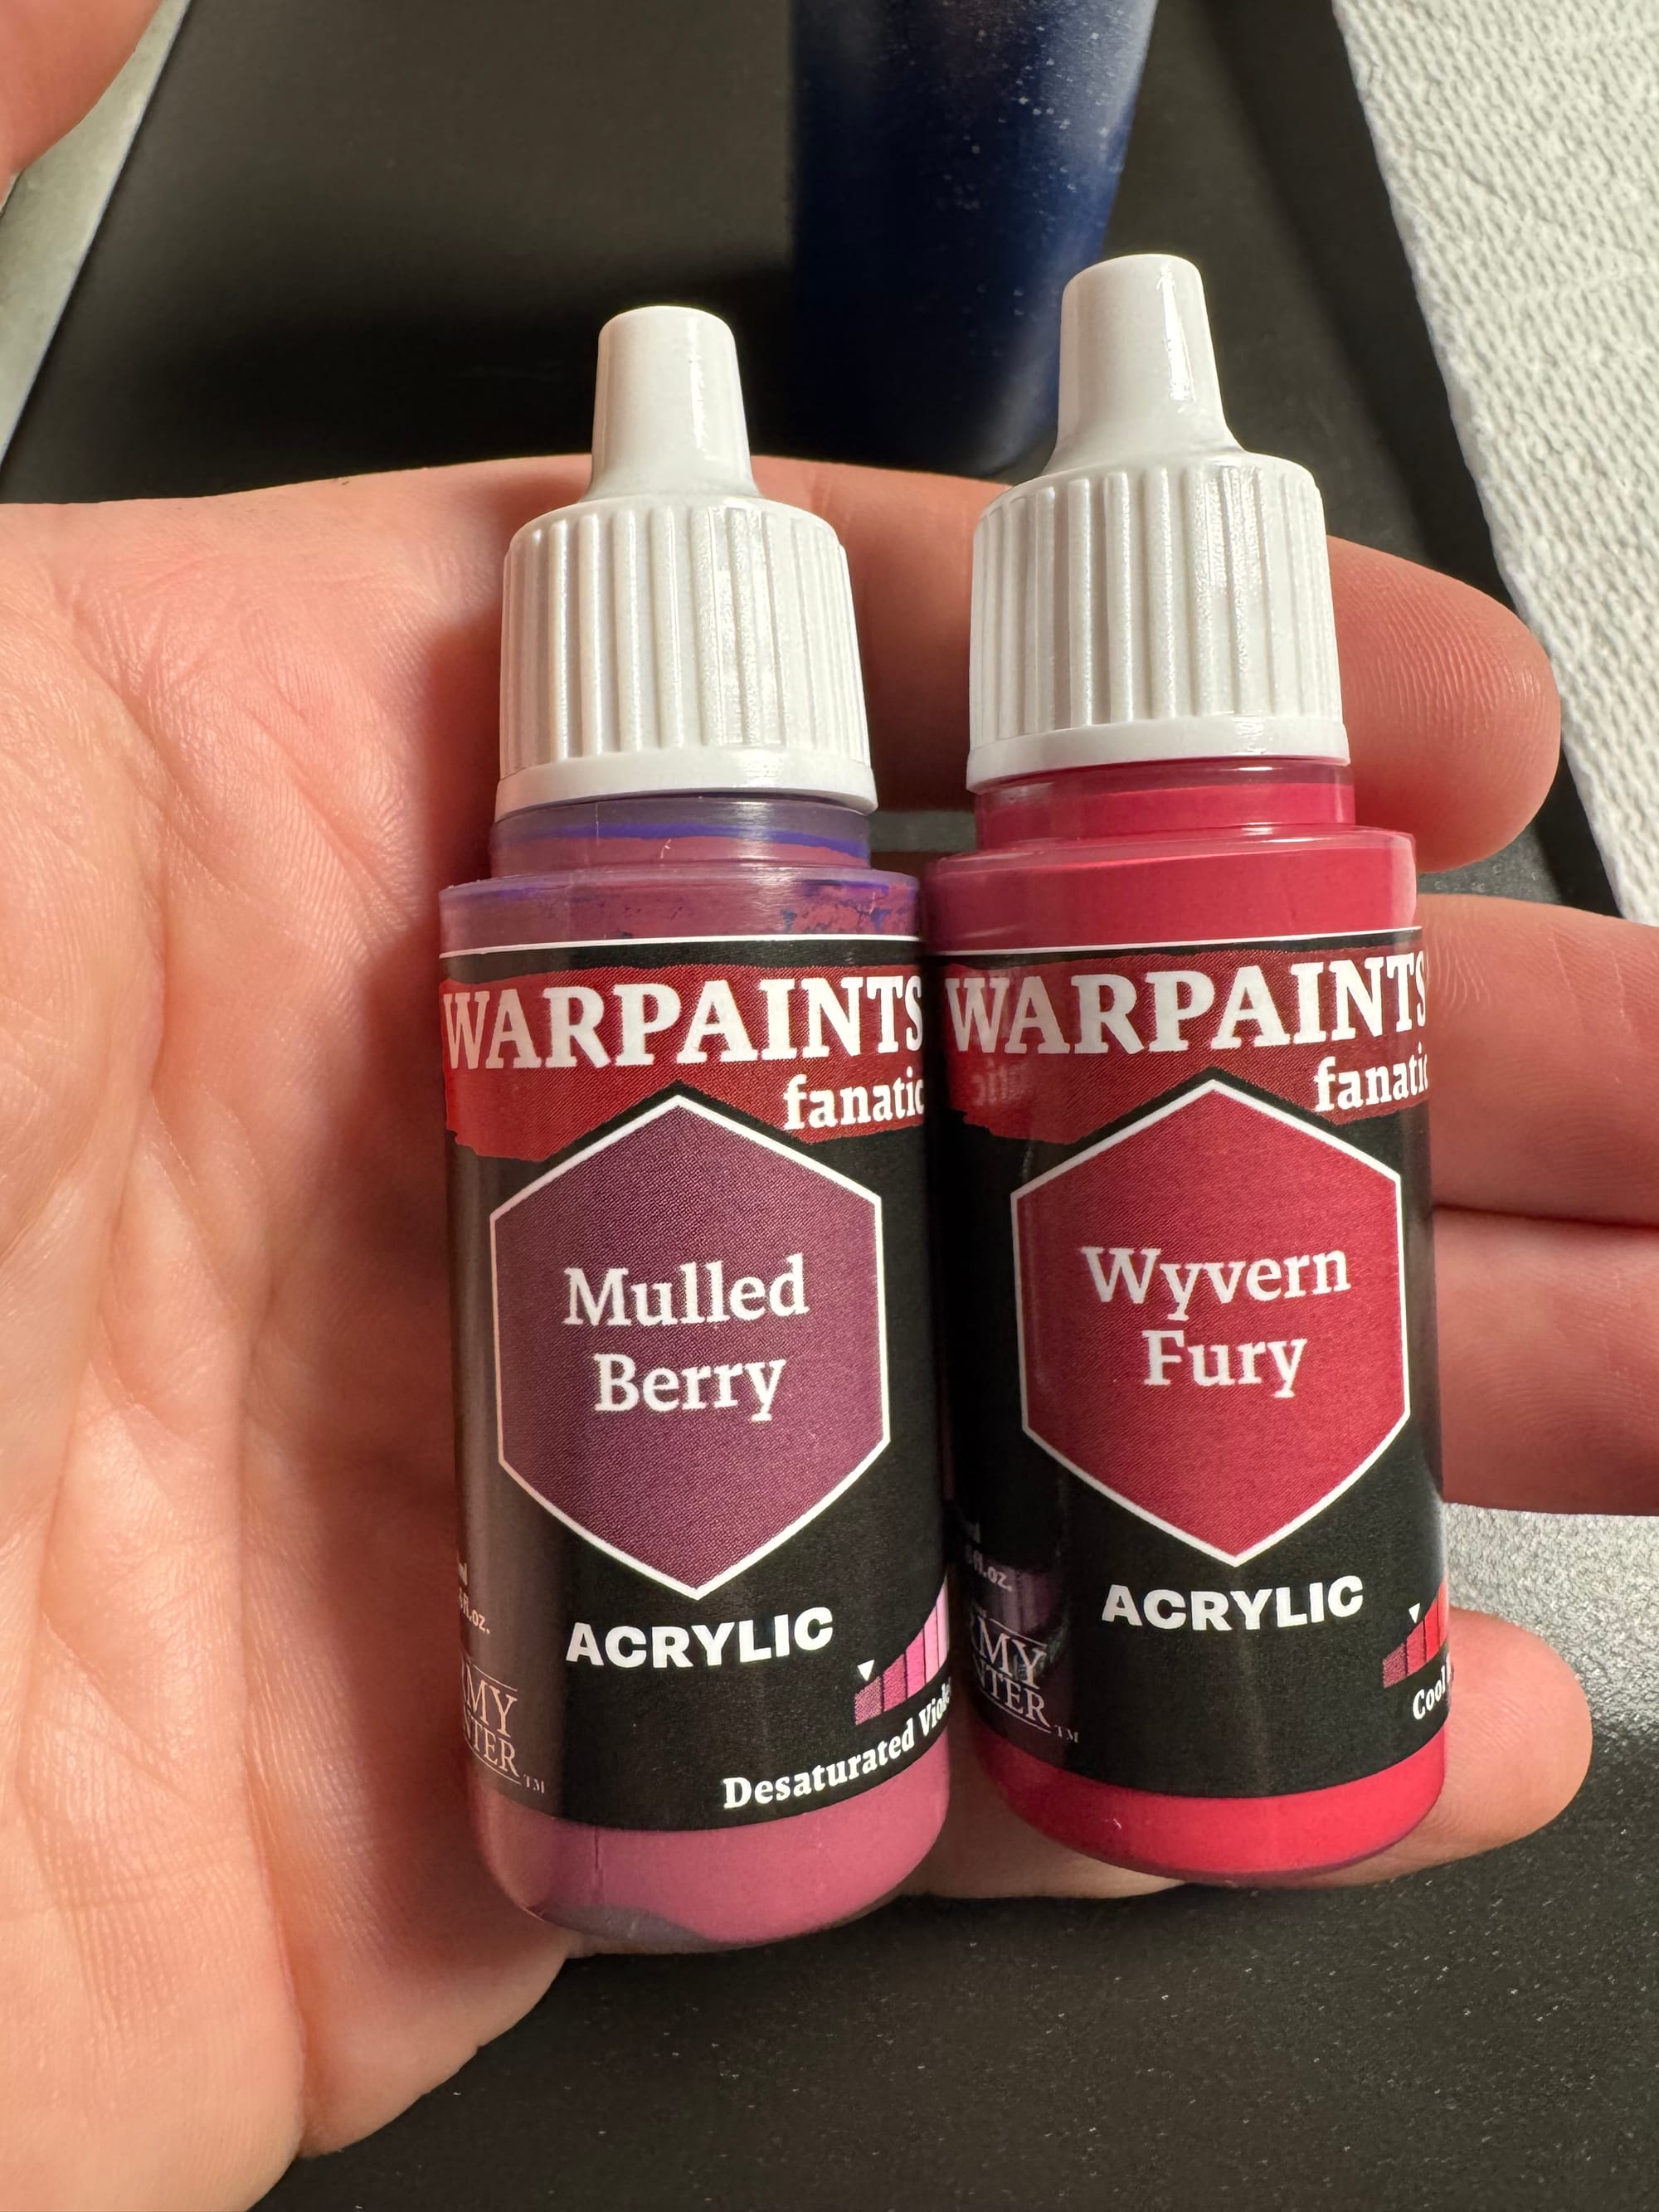
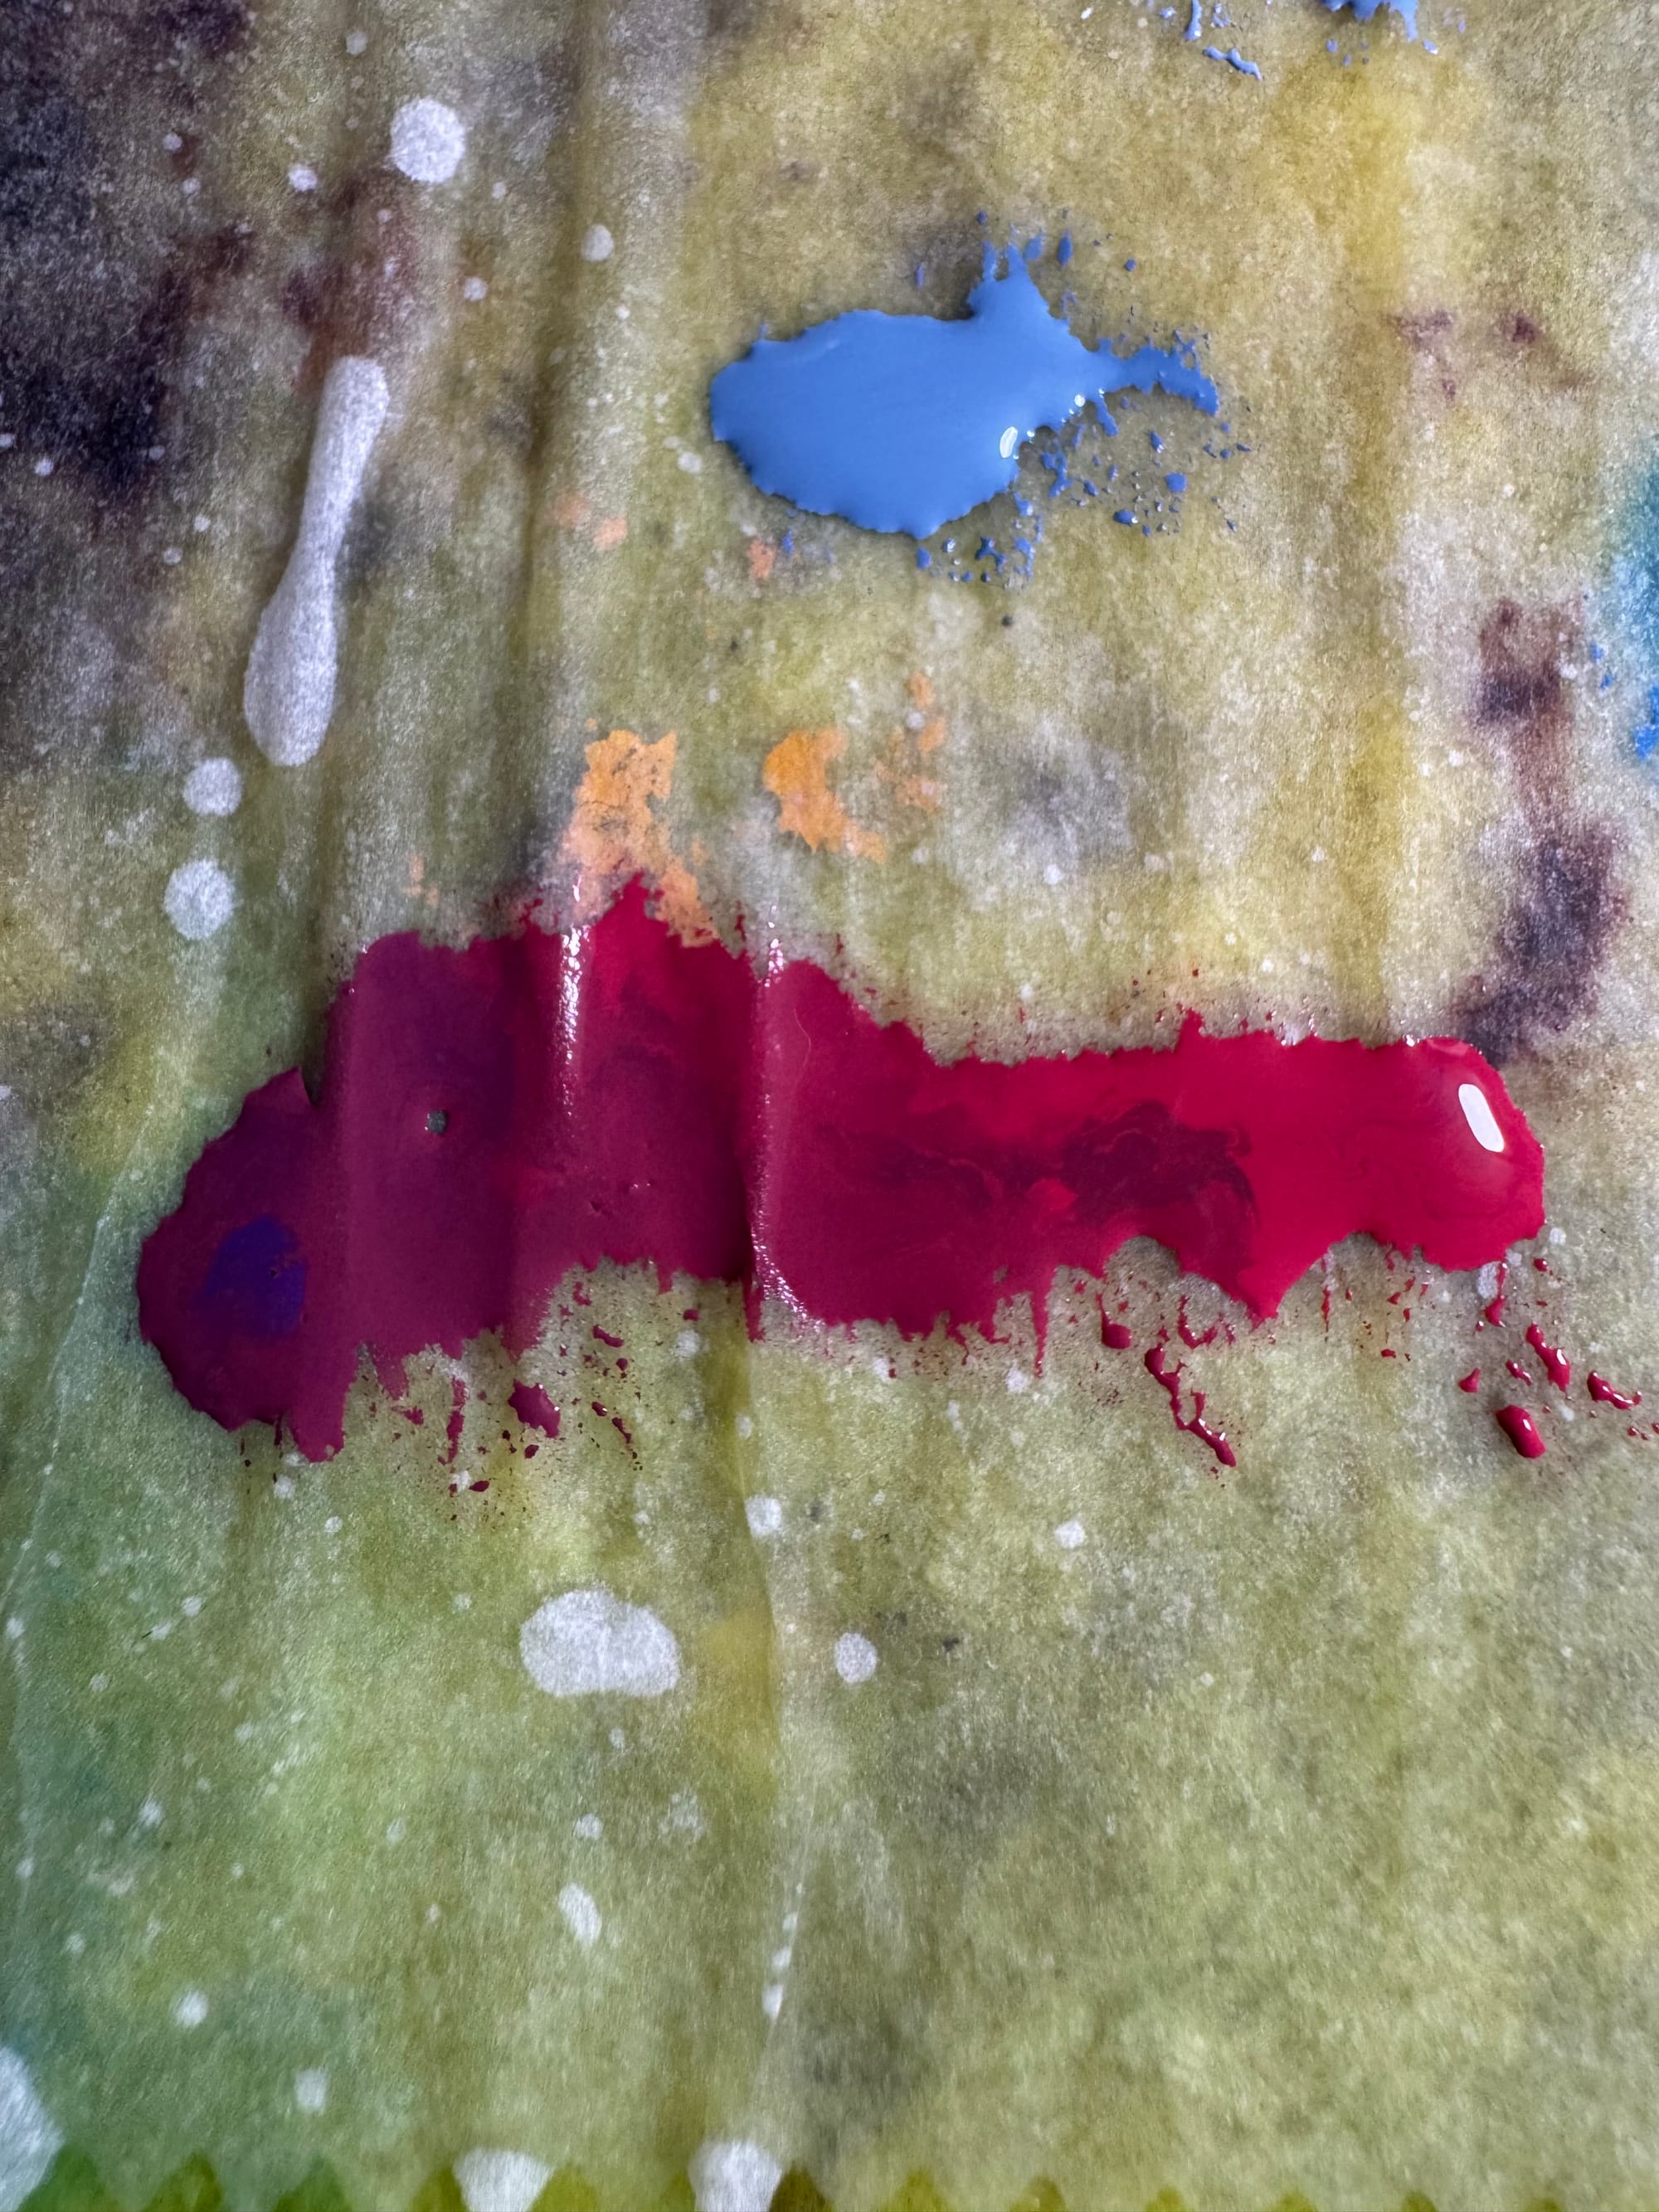
For the vest, I used Mulled Berry as the base coat and then built up a few layers of highlights by mixing in progressively more Wyvern Fury. Trying to imitate any kind of specific texture is well beyond my skills at the point, so I went for “yeah, it looks like clothes”. Again, the highlights are pretty subtle here.
Step 5: Time for Skin
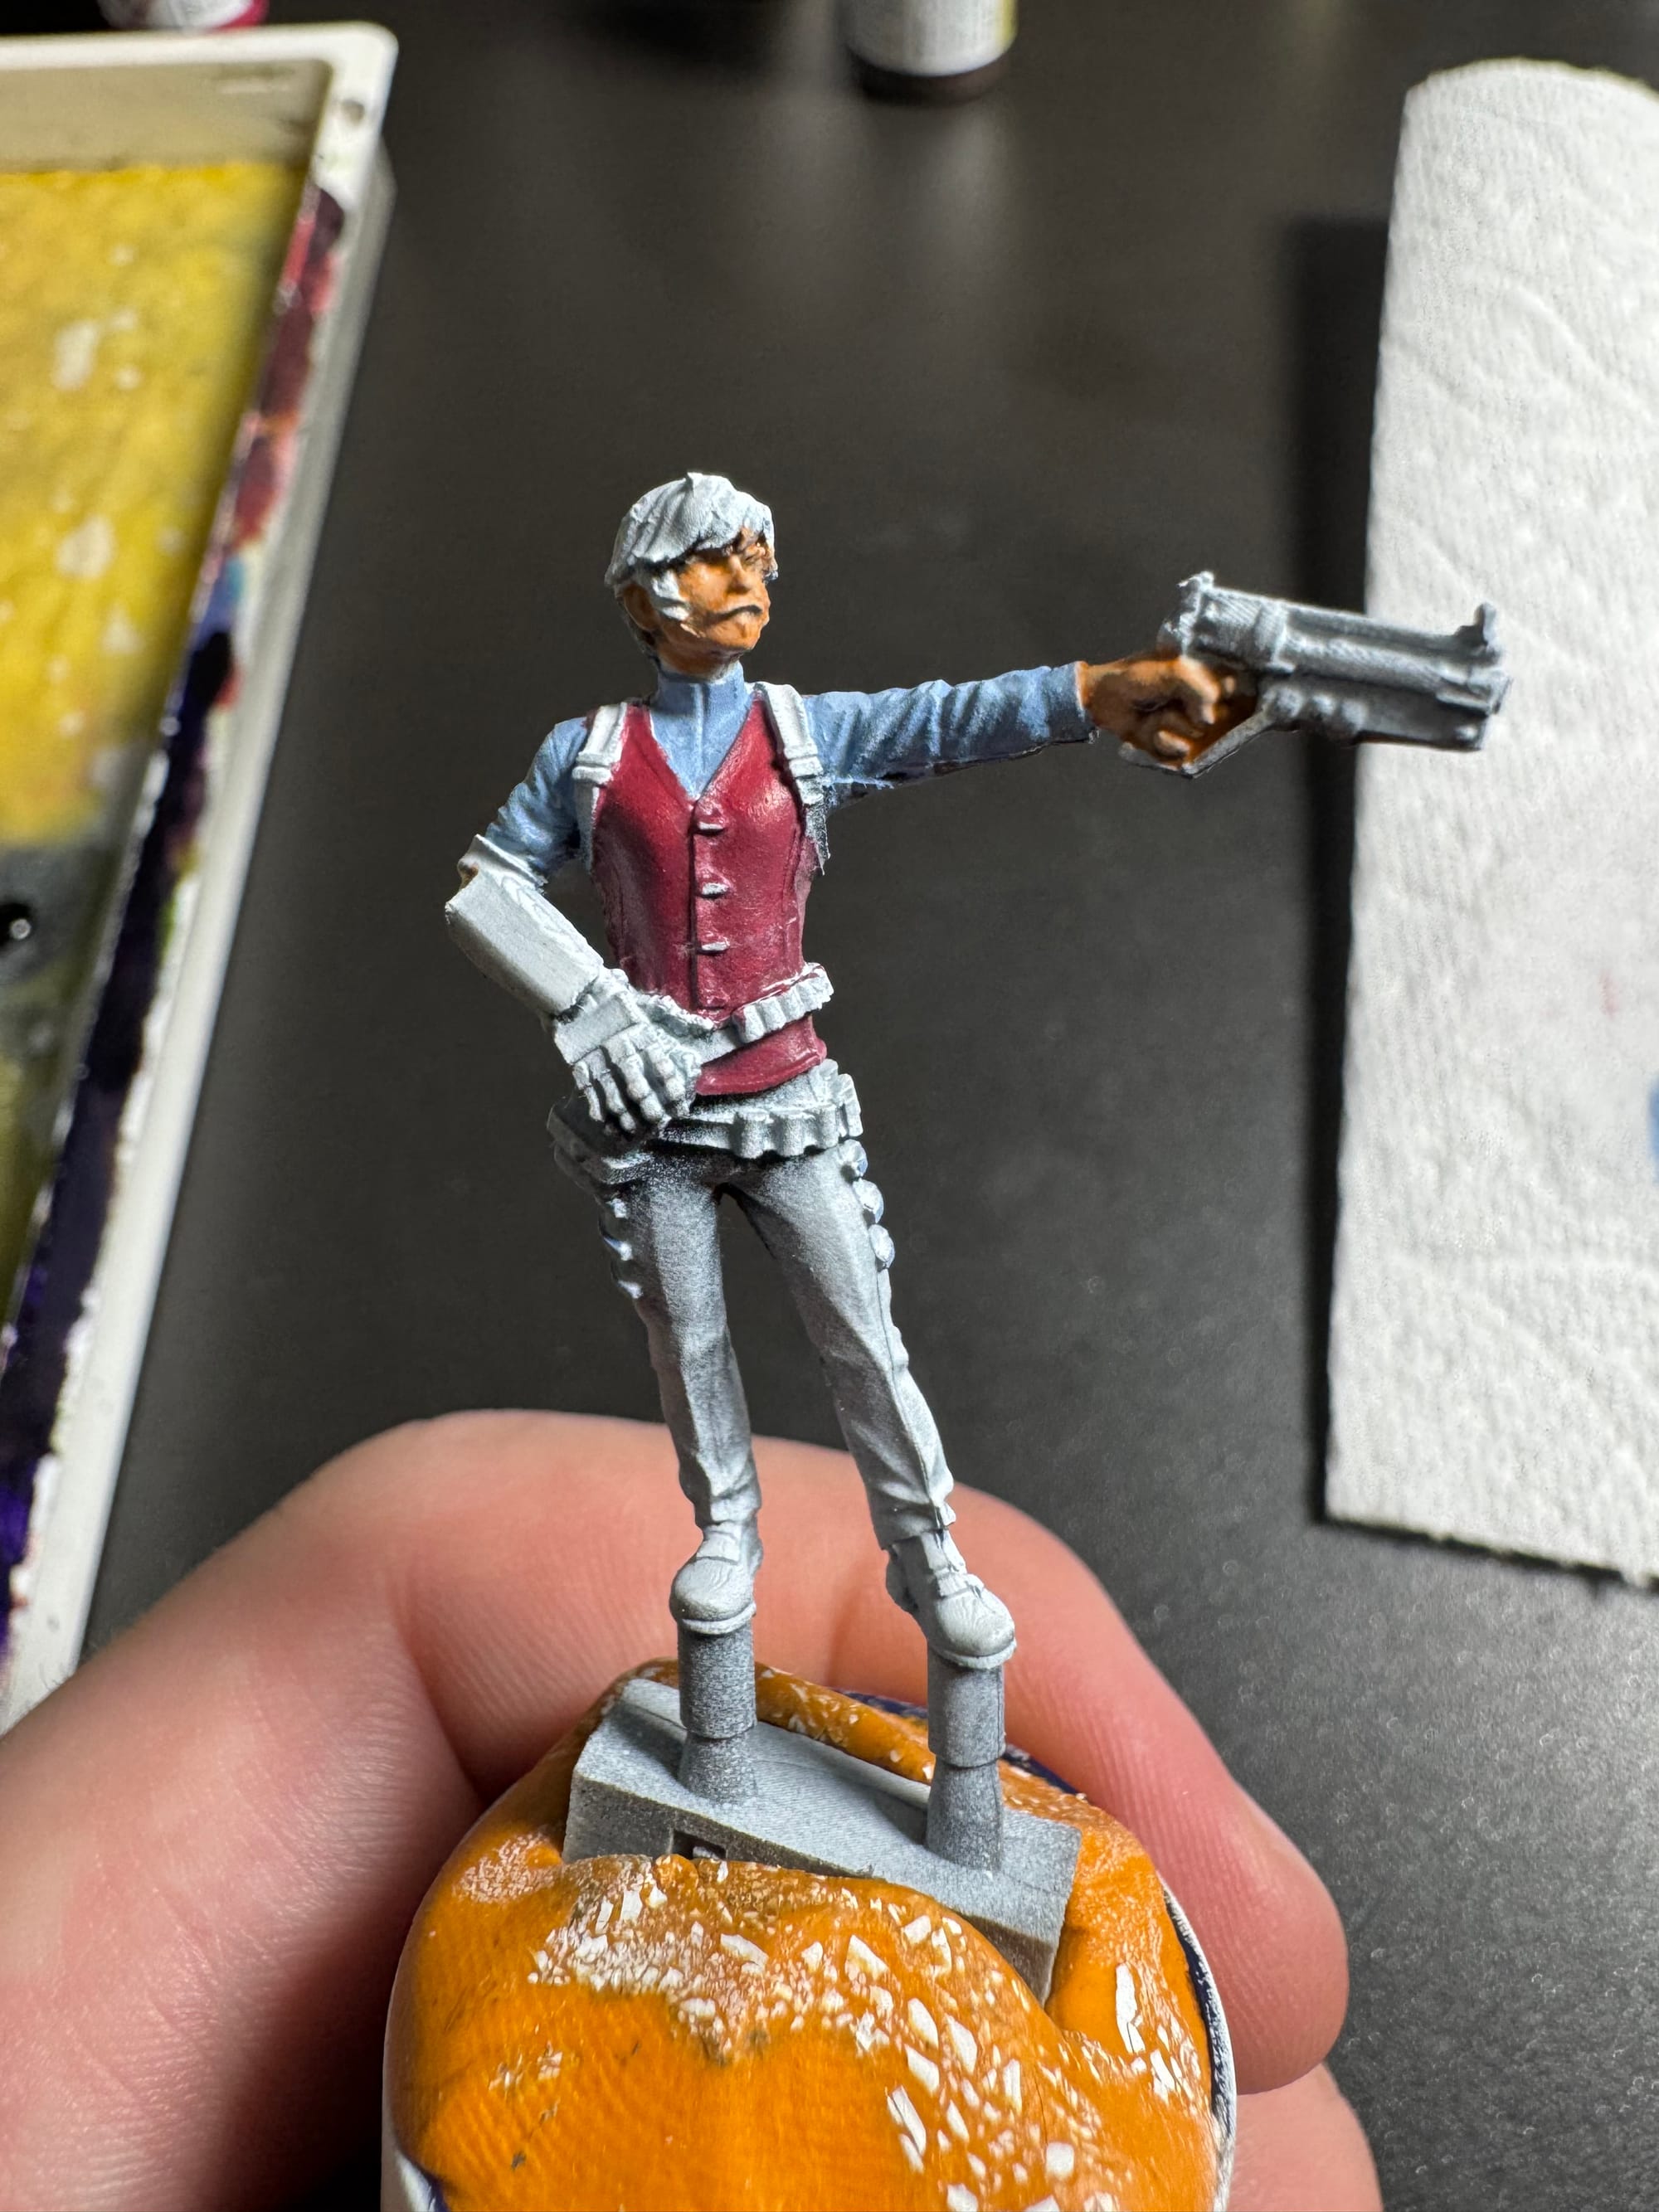
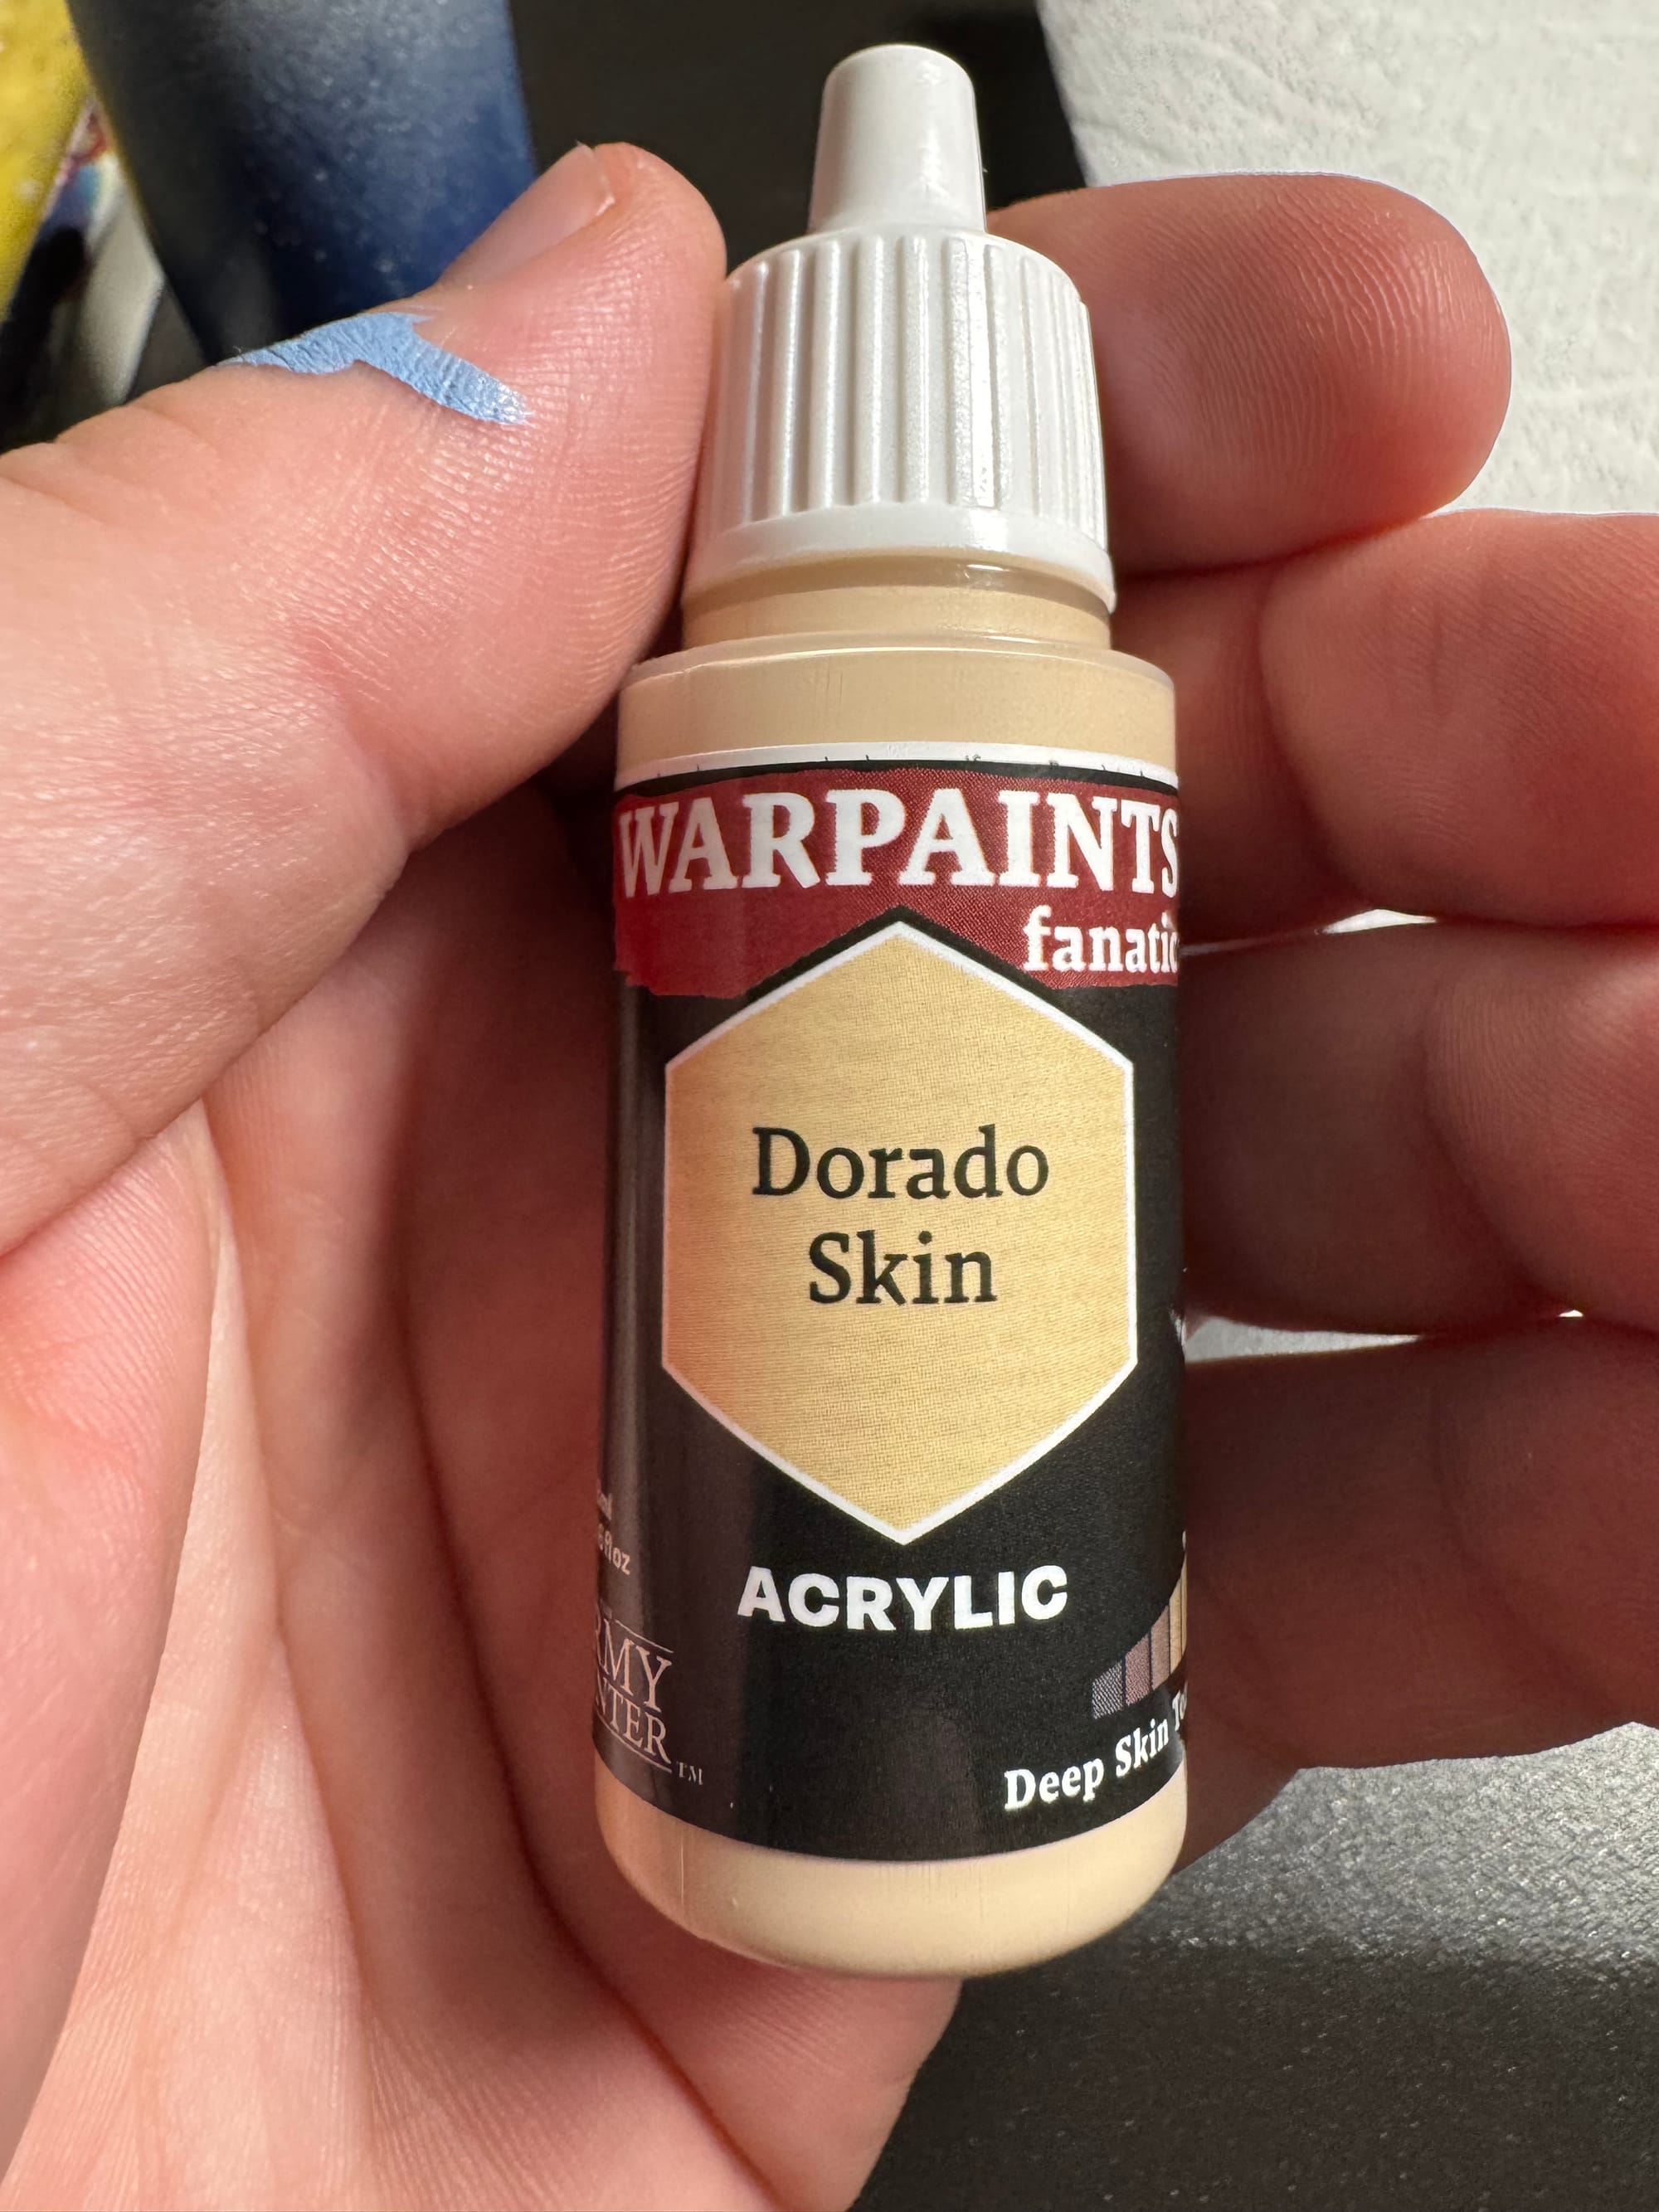
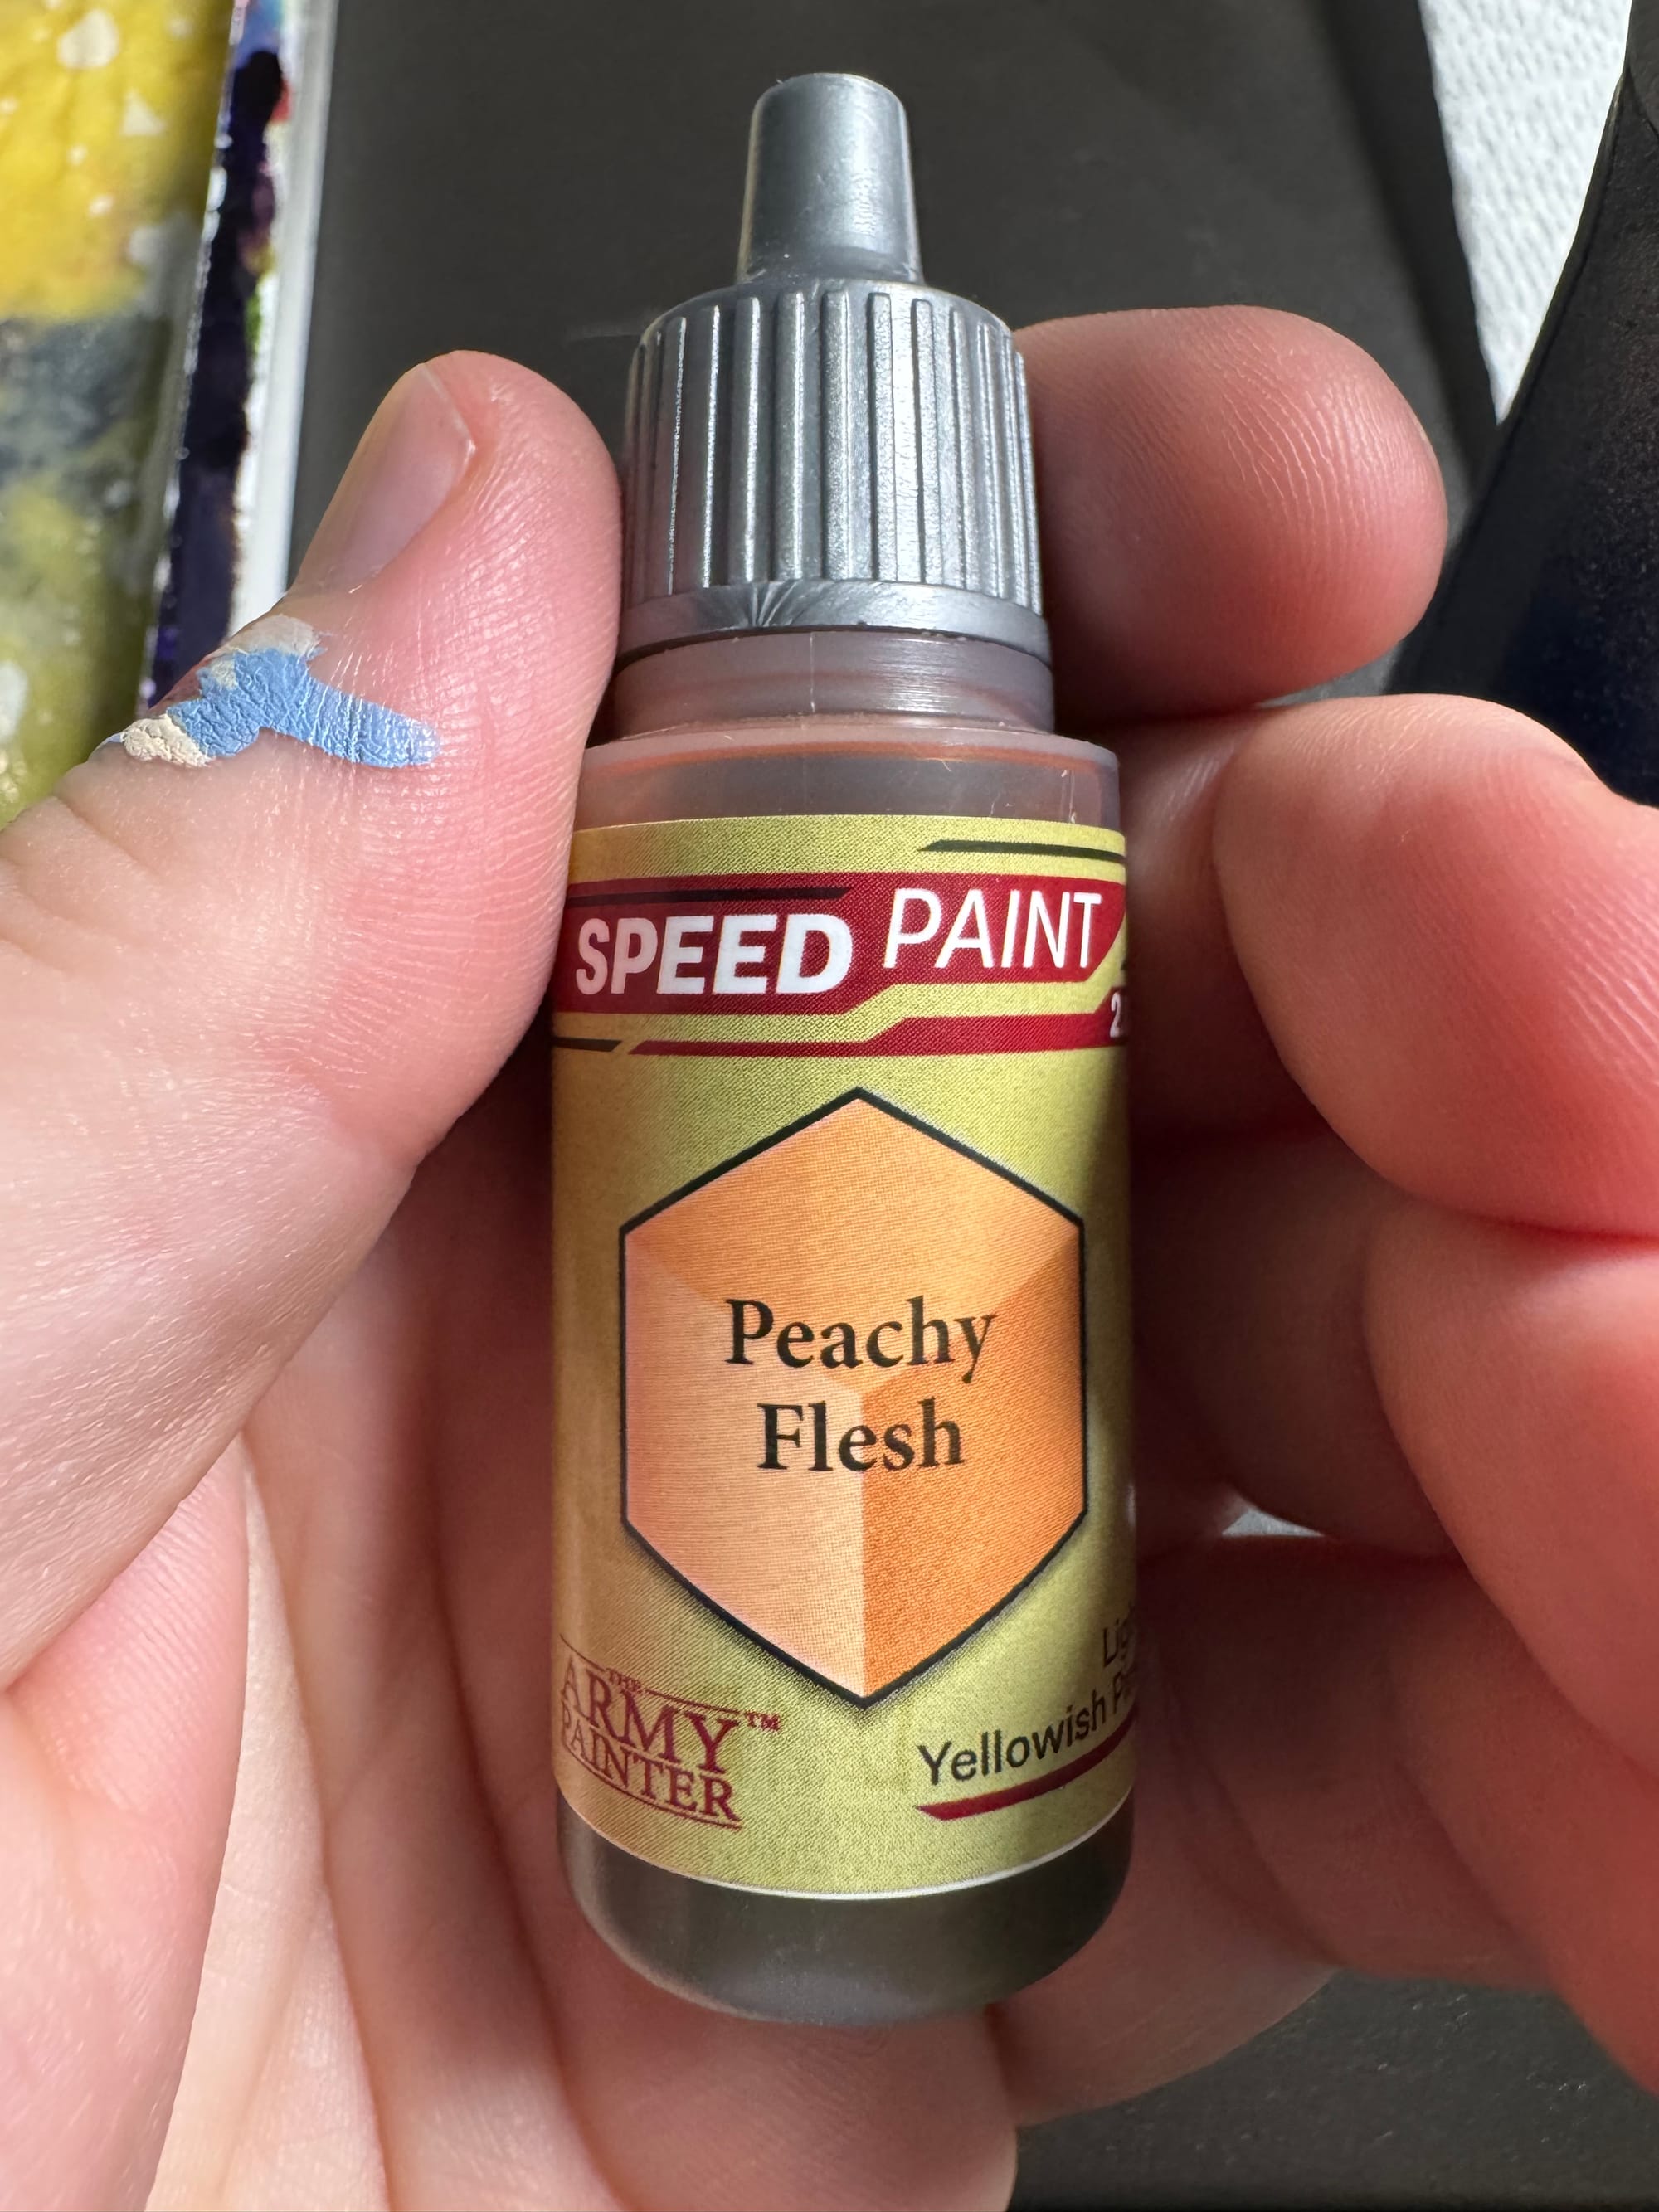
Yeah, that’s right, we skipped the pants and went to the skin. Do I have a reason for that? Not at all. I started out with some Dorado Skin. This is a pretty pale color and made our friend Falco here look a bit sickly. I followed that up with a coat of Peachy Flesh speed paint, and that brought him to life a bit. Did I highlight the skin at all? Uh no. Did I mention this guy is tiny?
Step 6: Leather Stuff
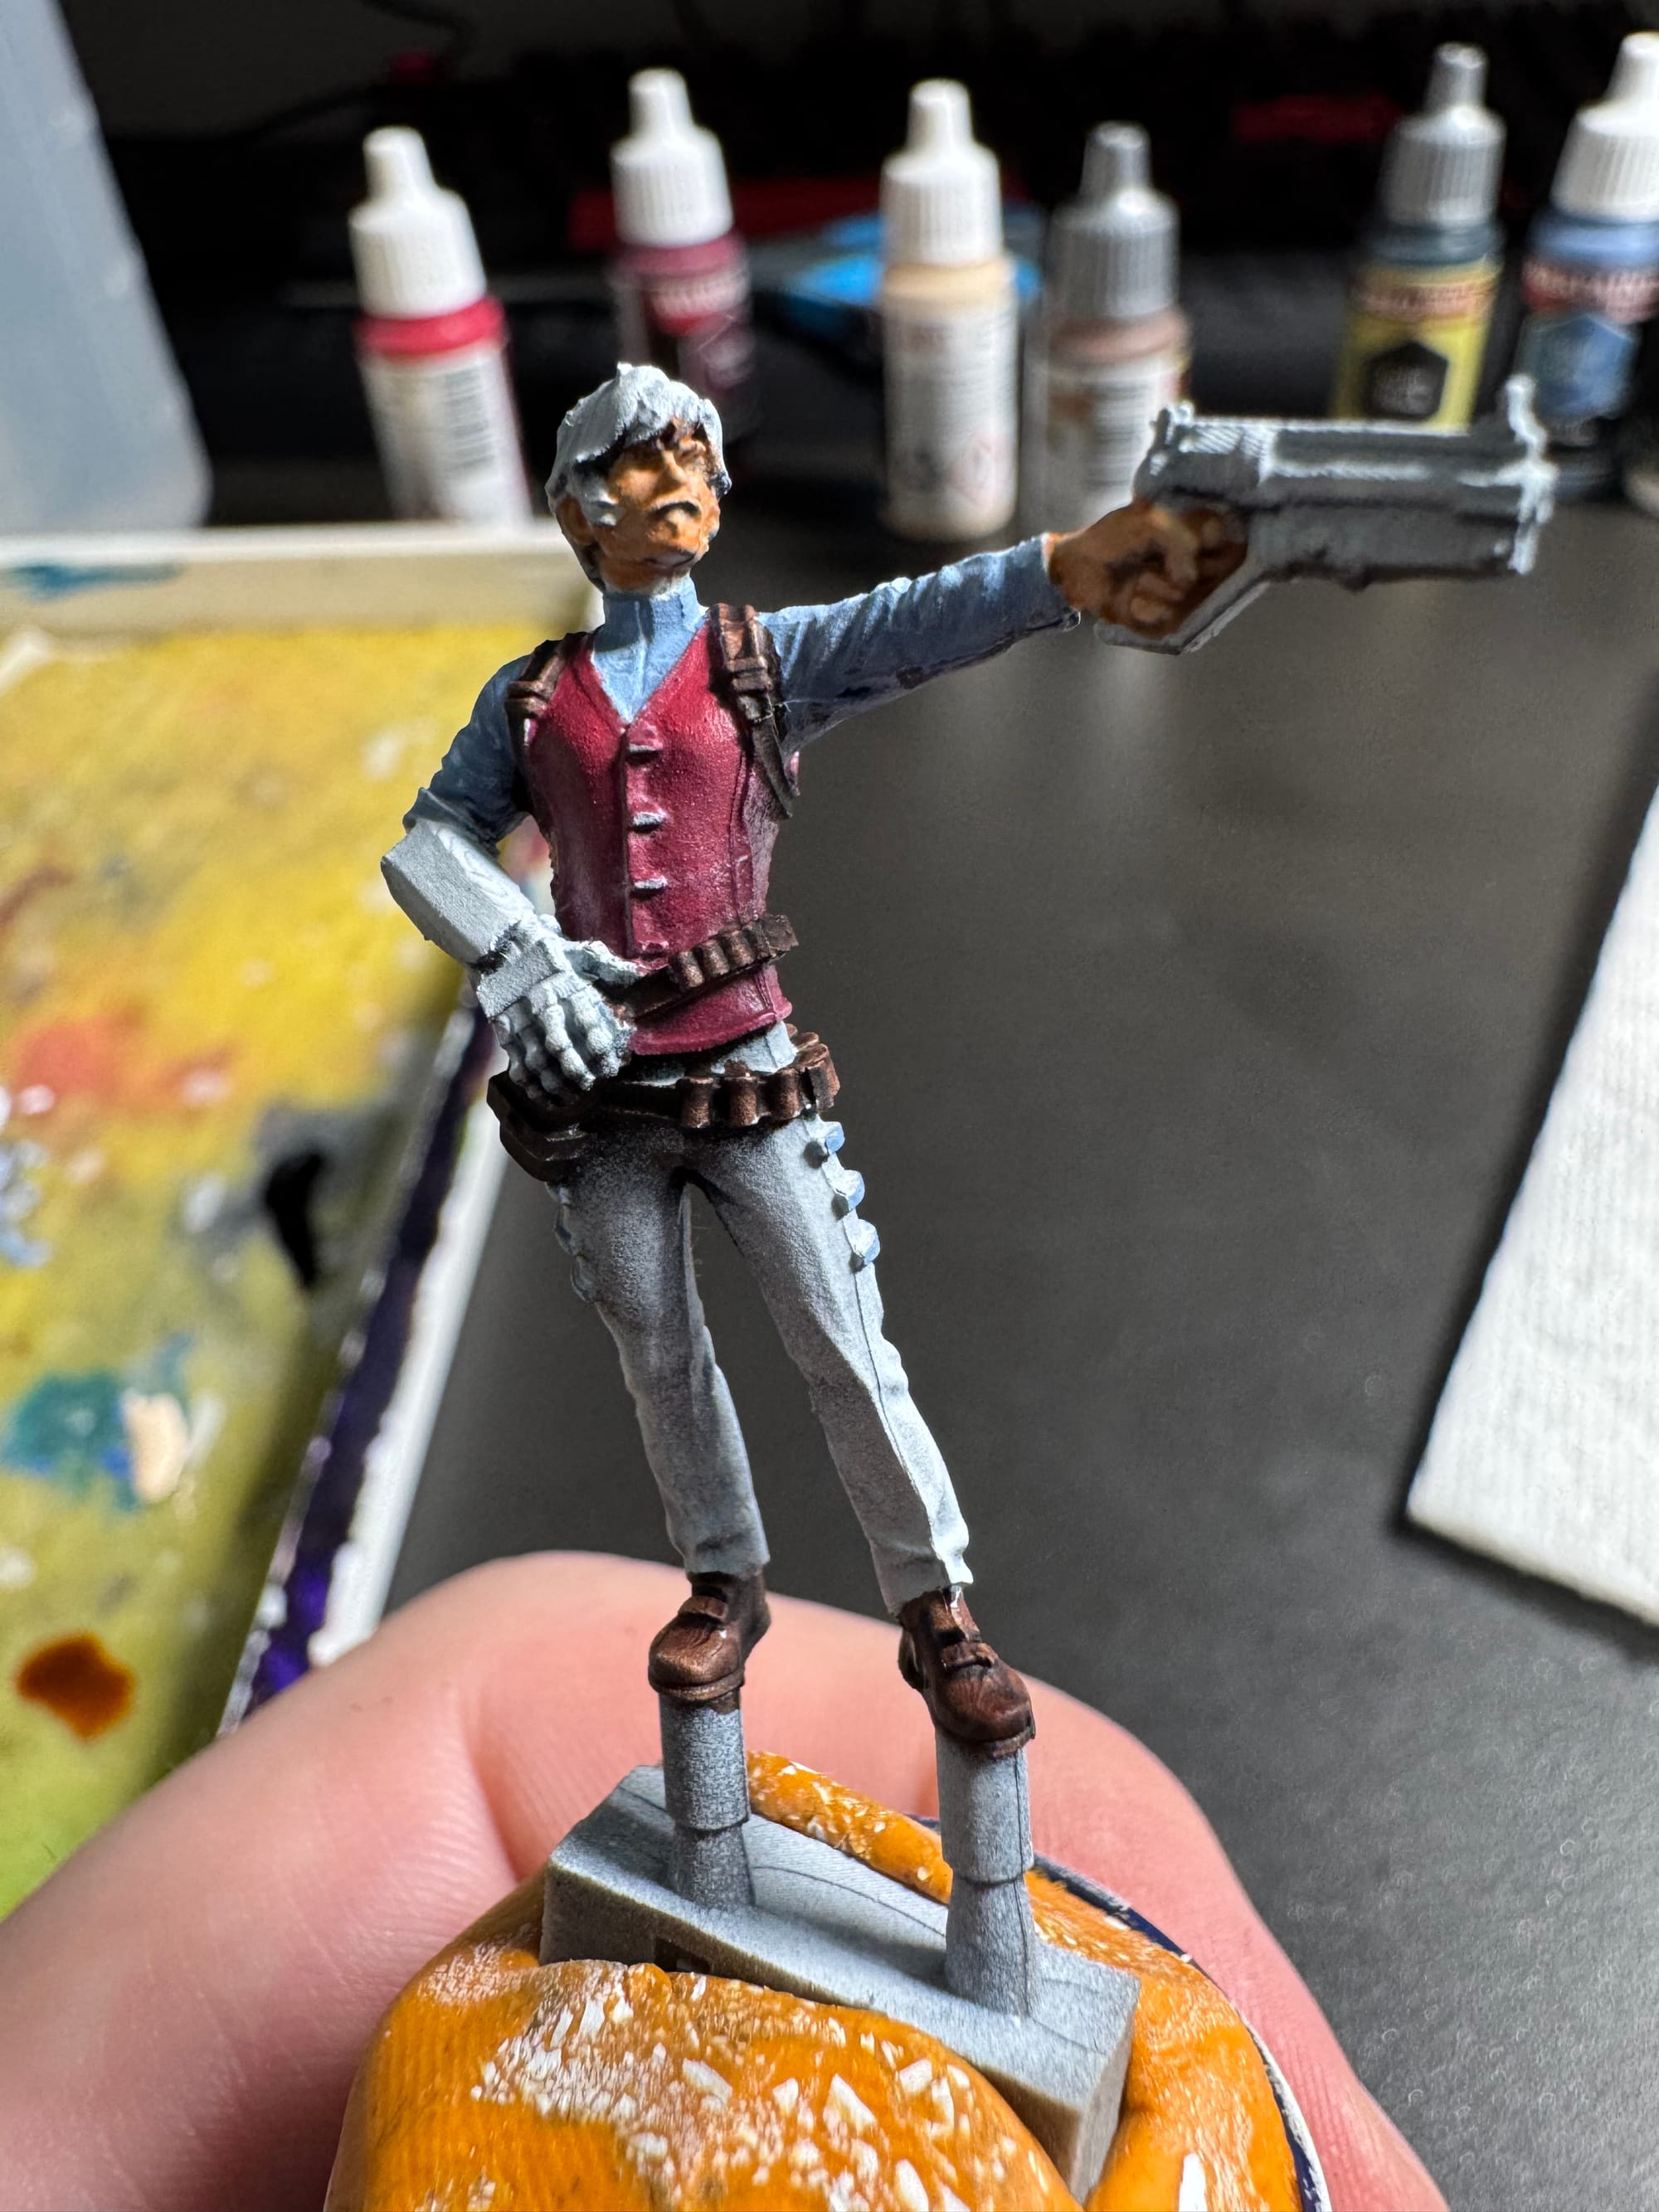
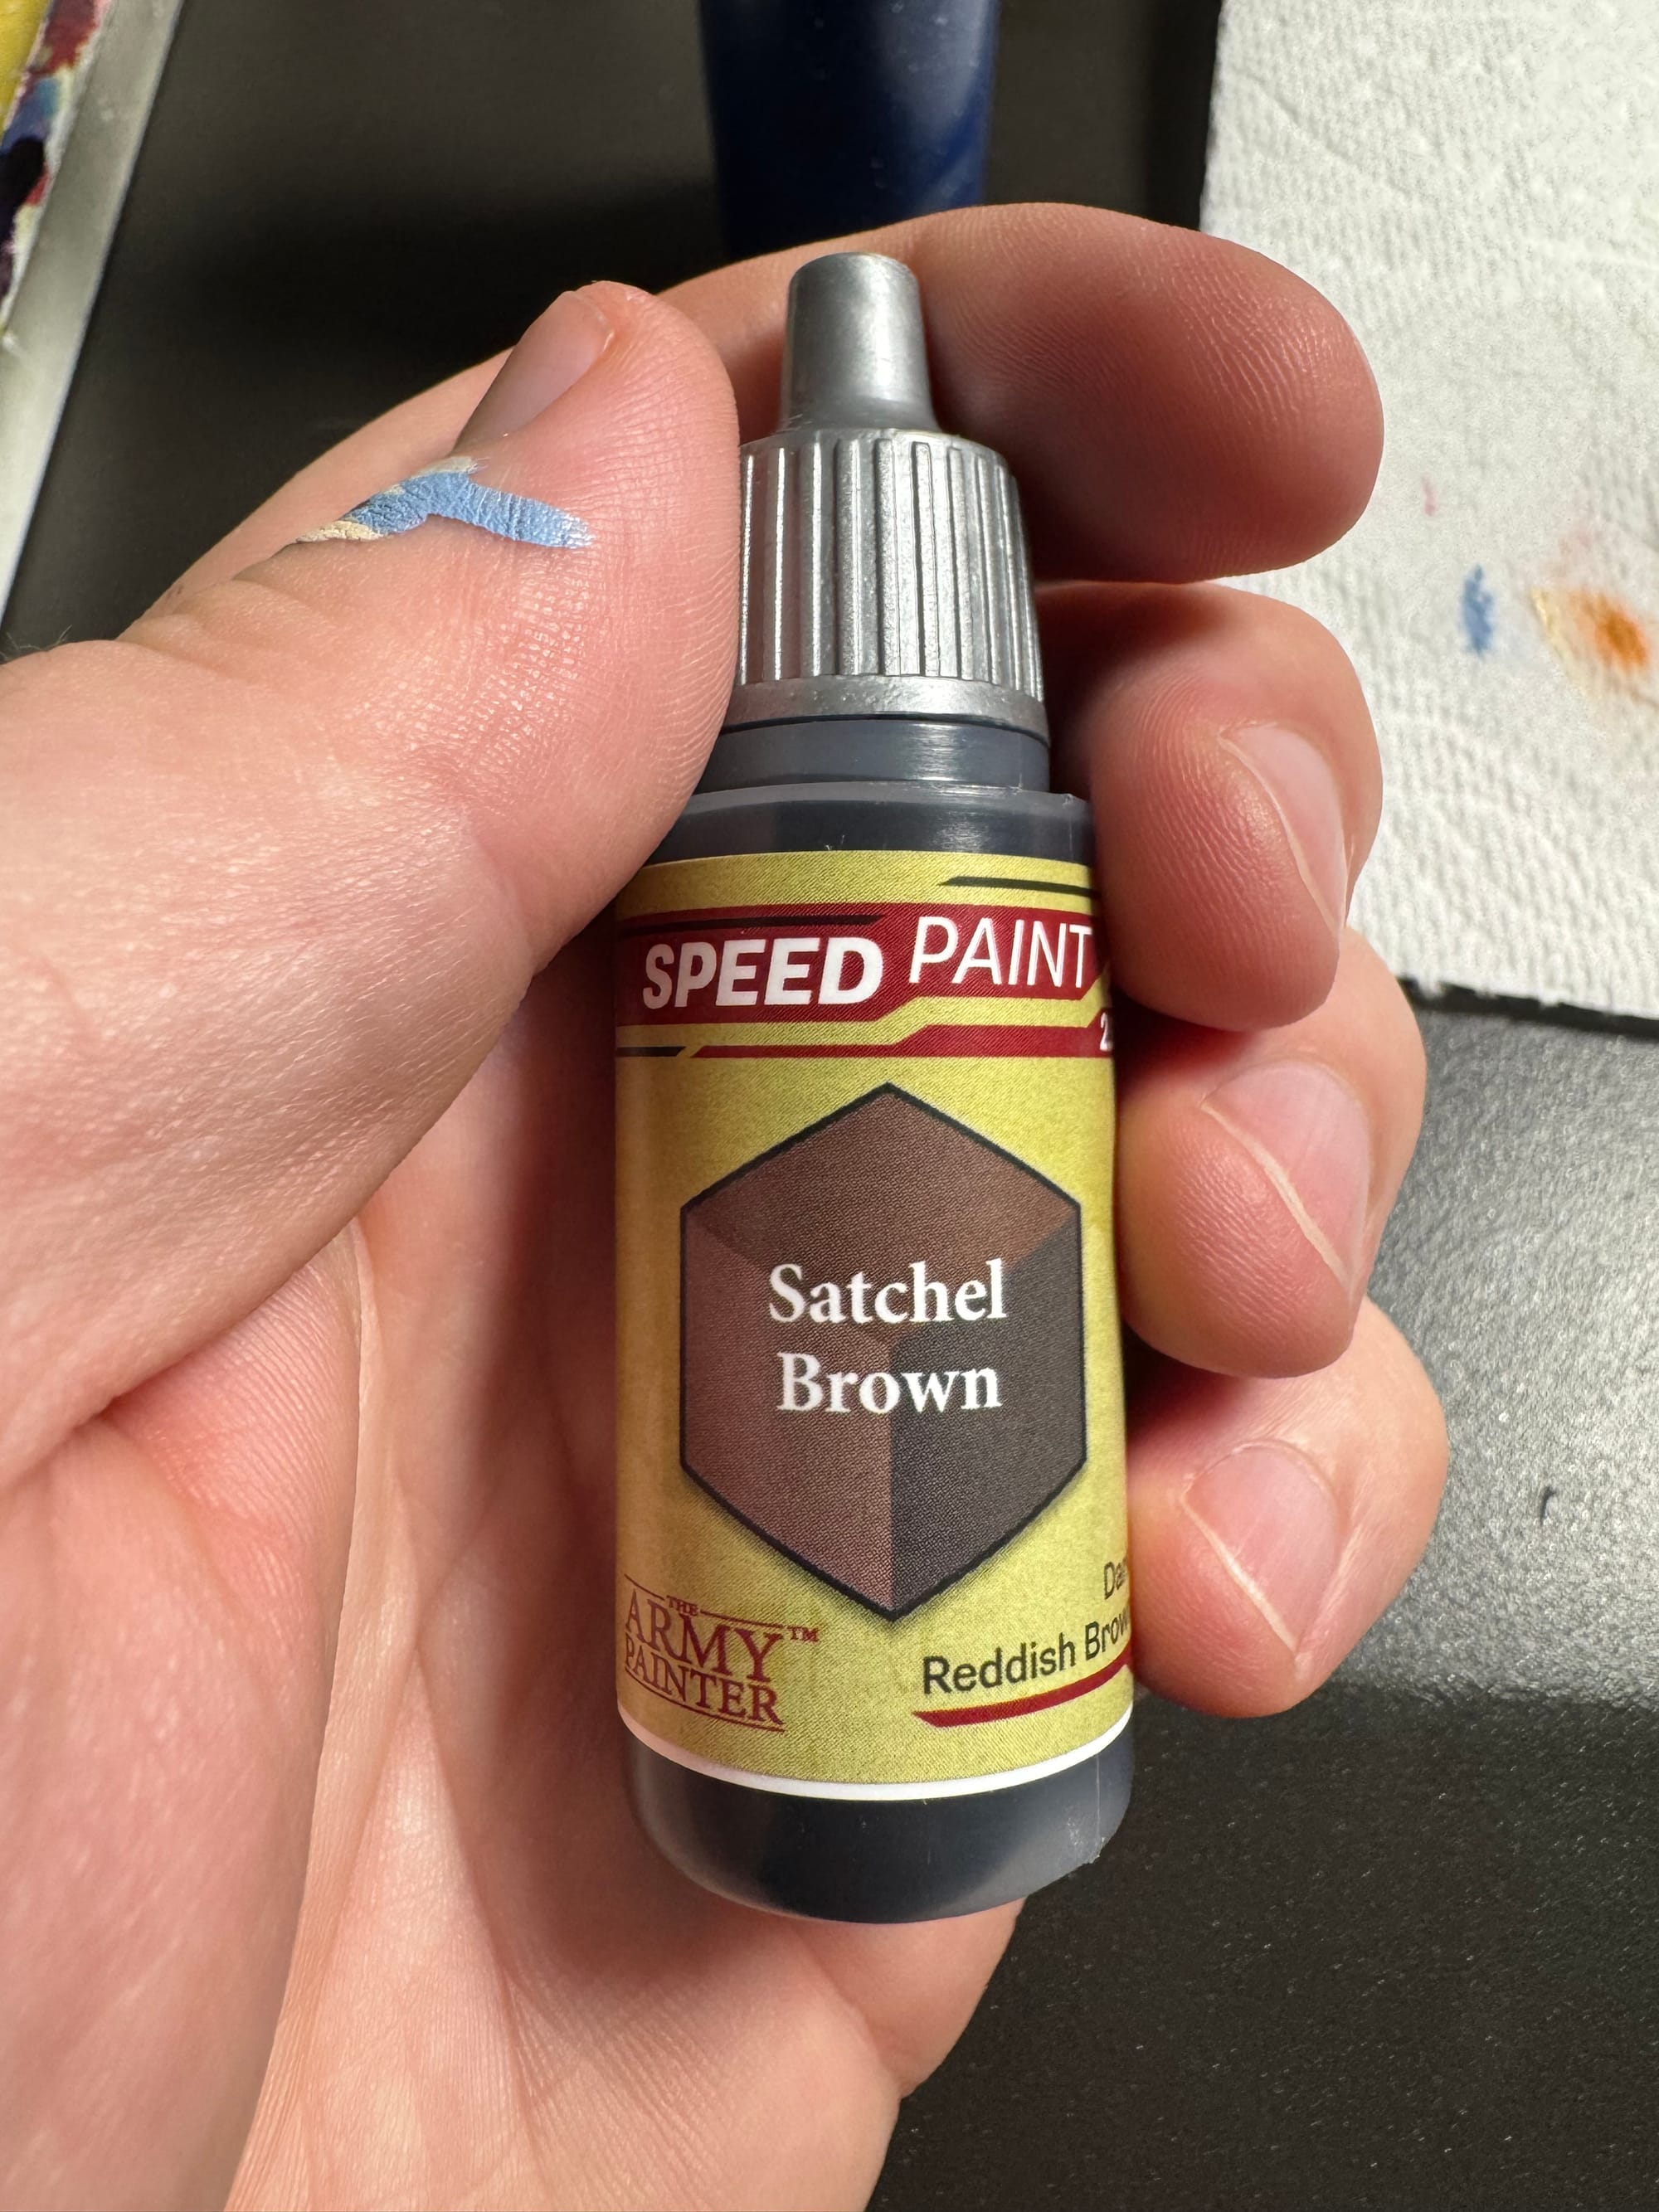
Stop worrying about the pants; we’re getting there. I decided the boots would be leather and also the same leather as the gun belts. Army Painter has done me the favor of making a speed paint called Satchel Brown that makes quick work of leather bits. Slap that on, and you’re done.
Step 7: Hairy Gun Pants
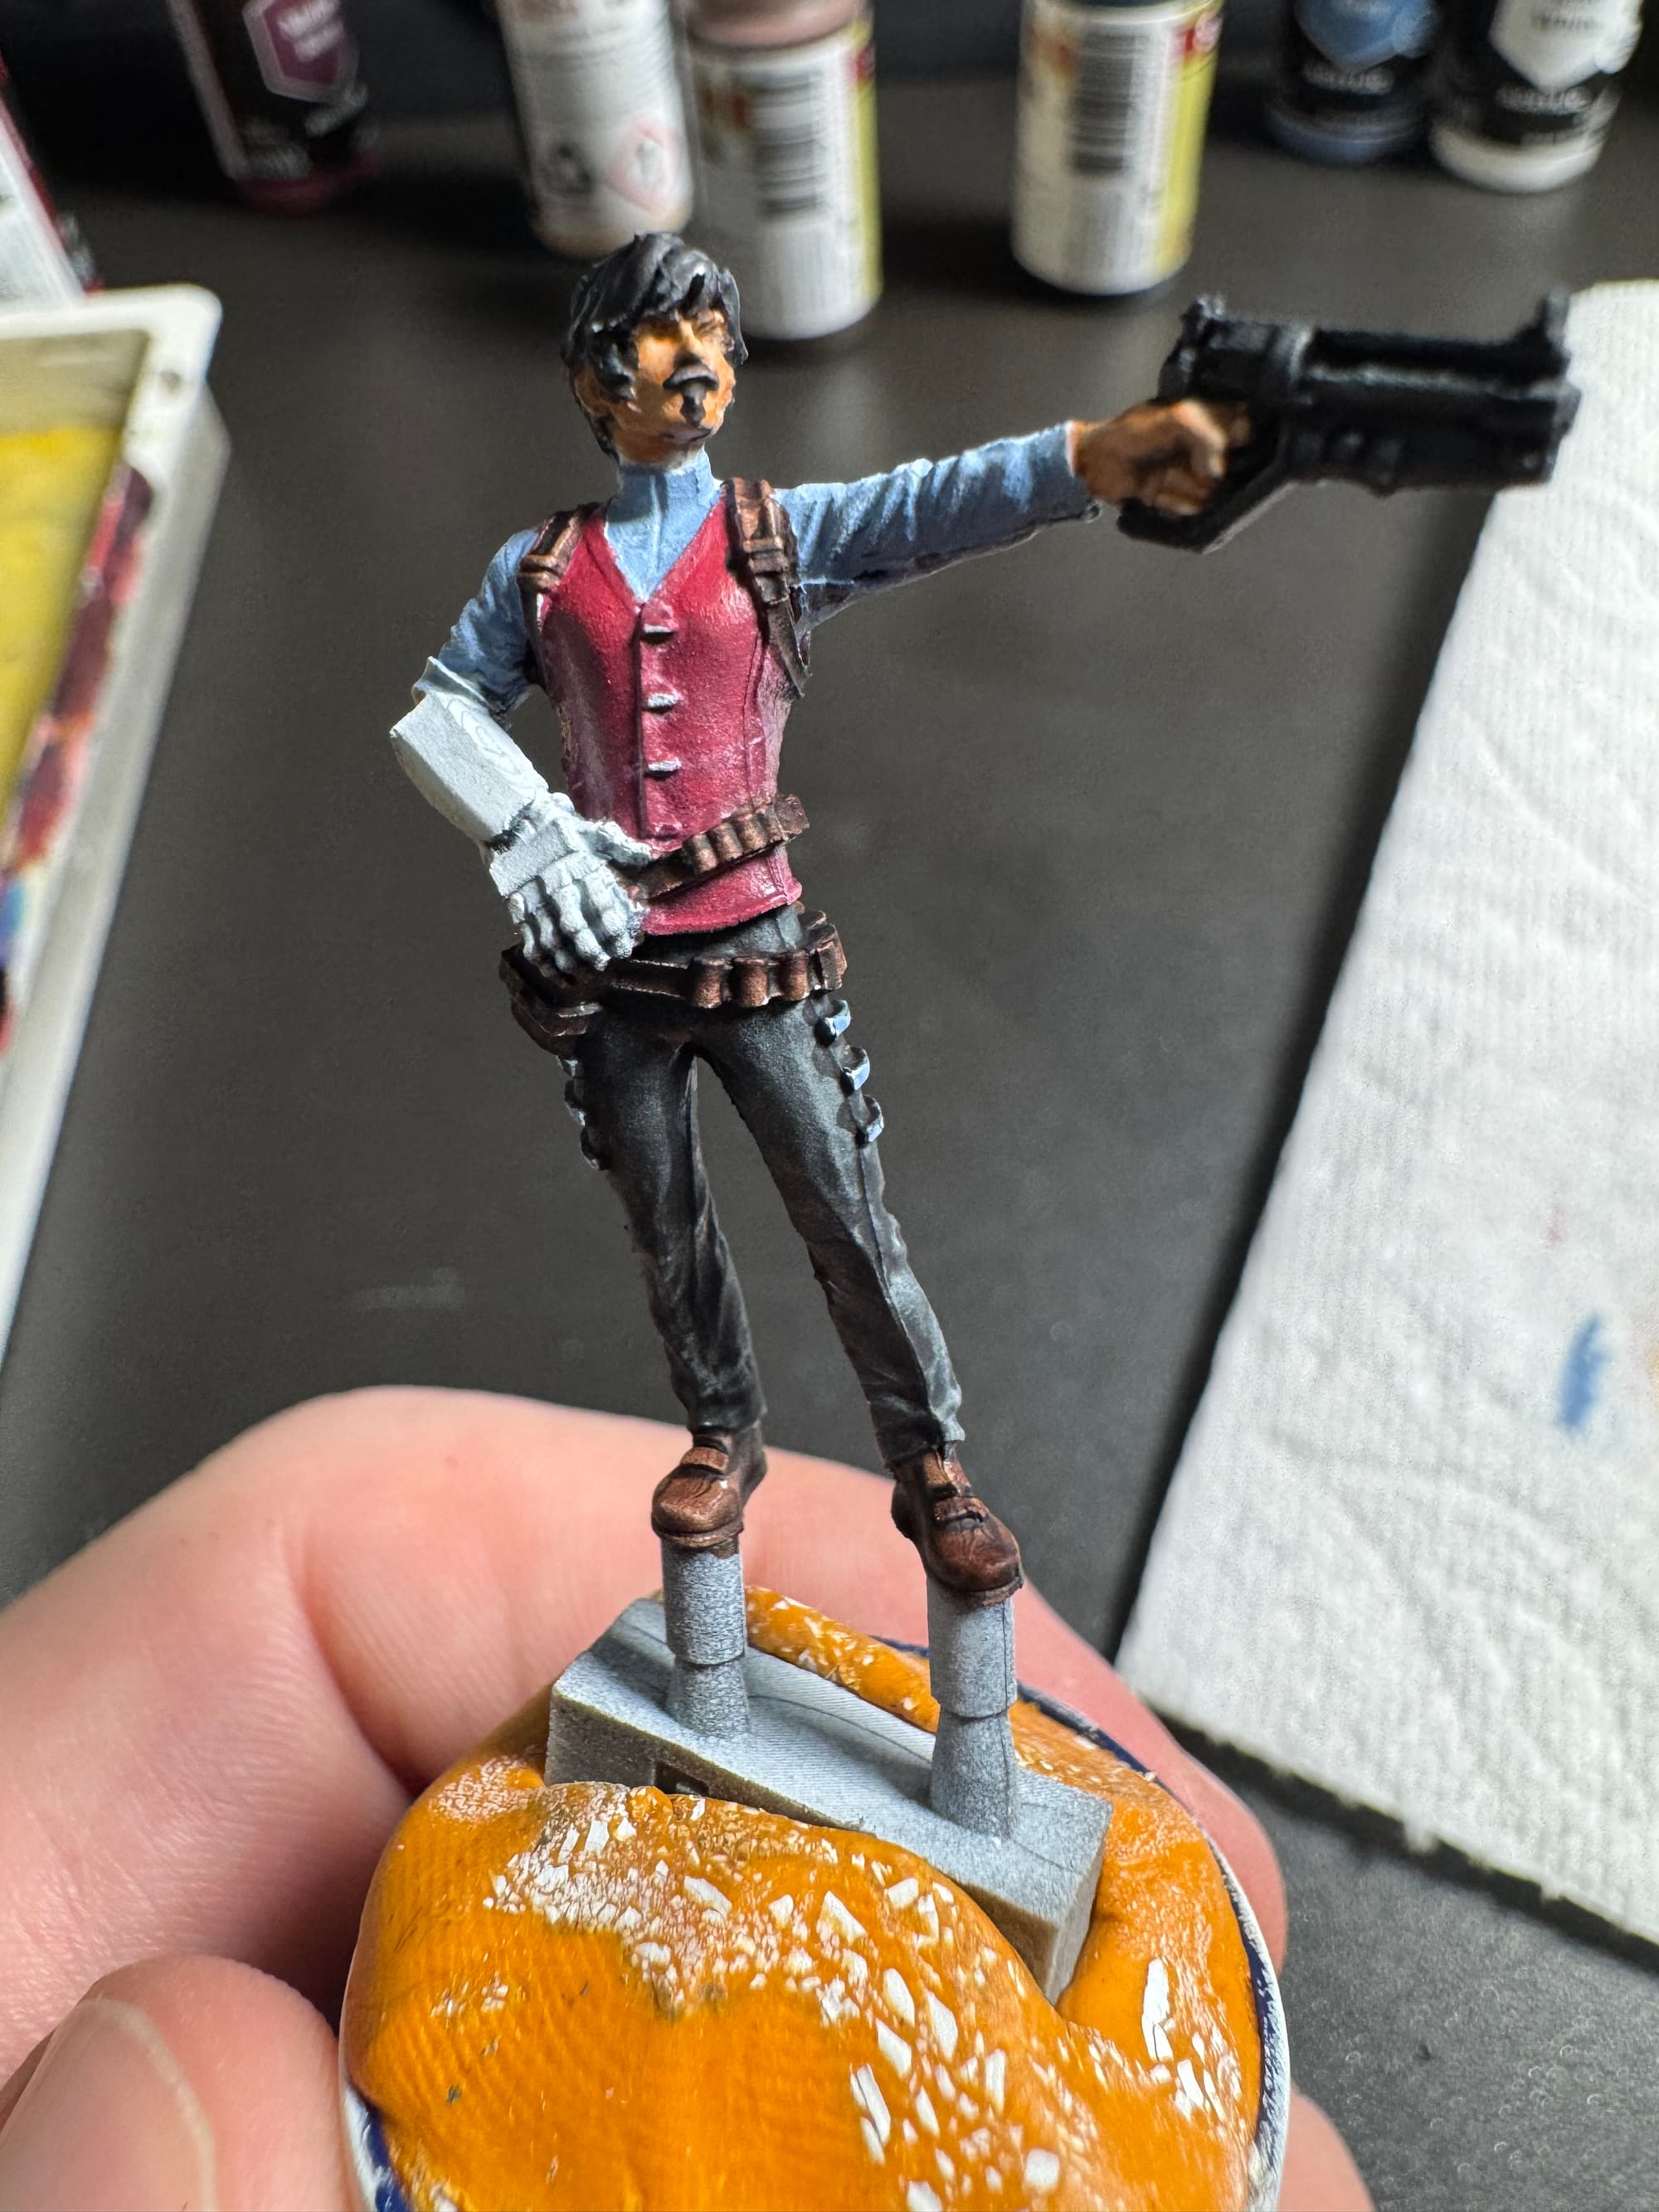
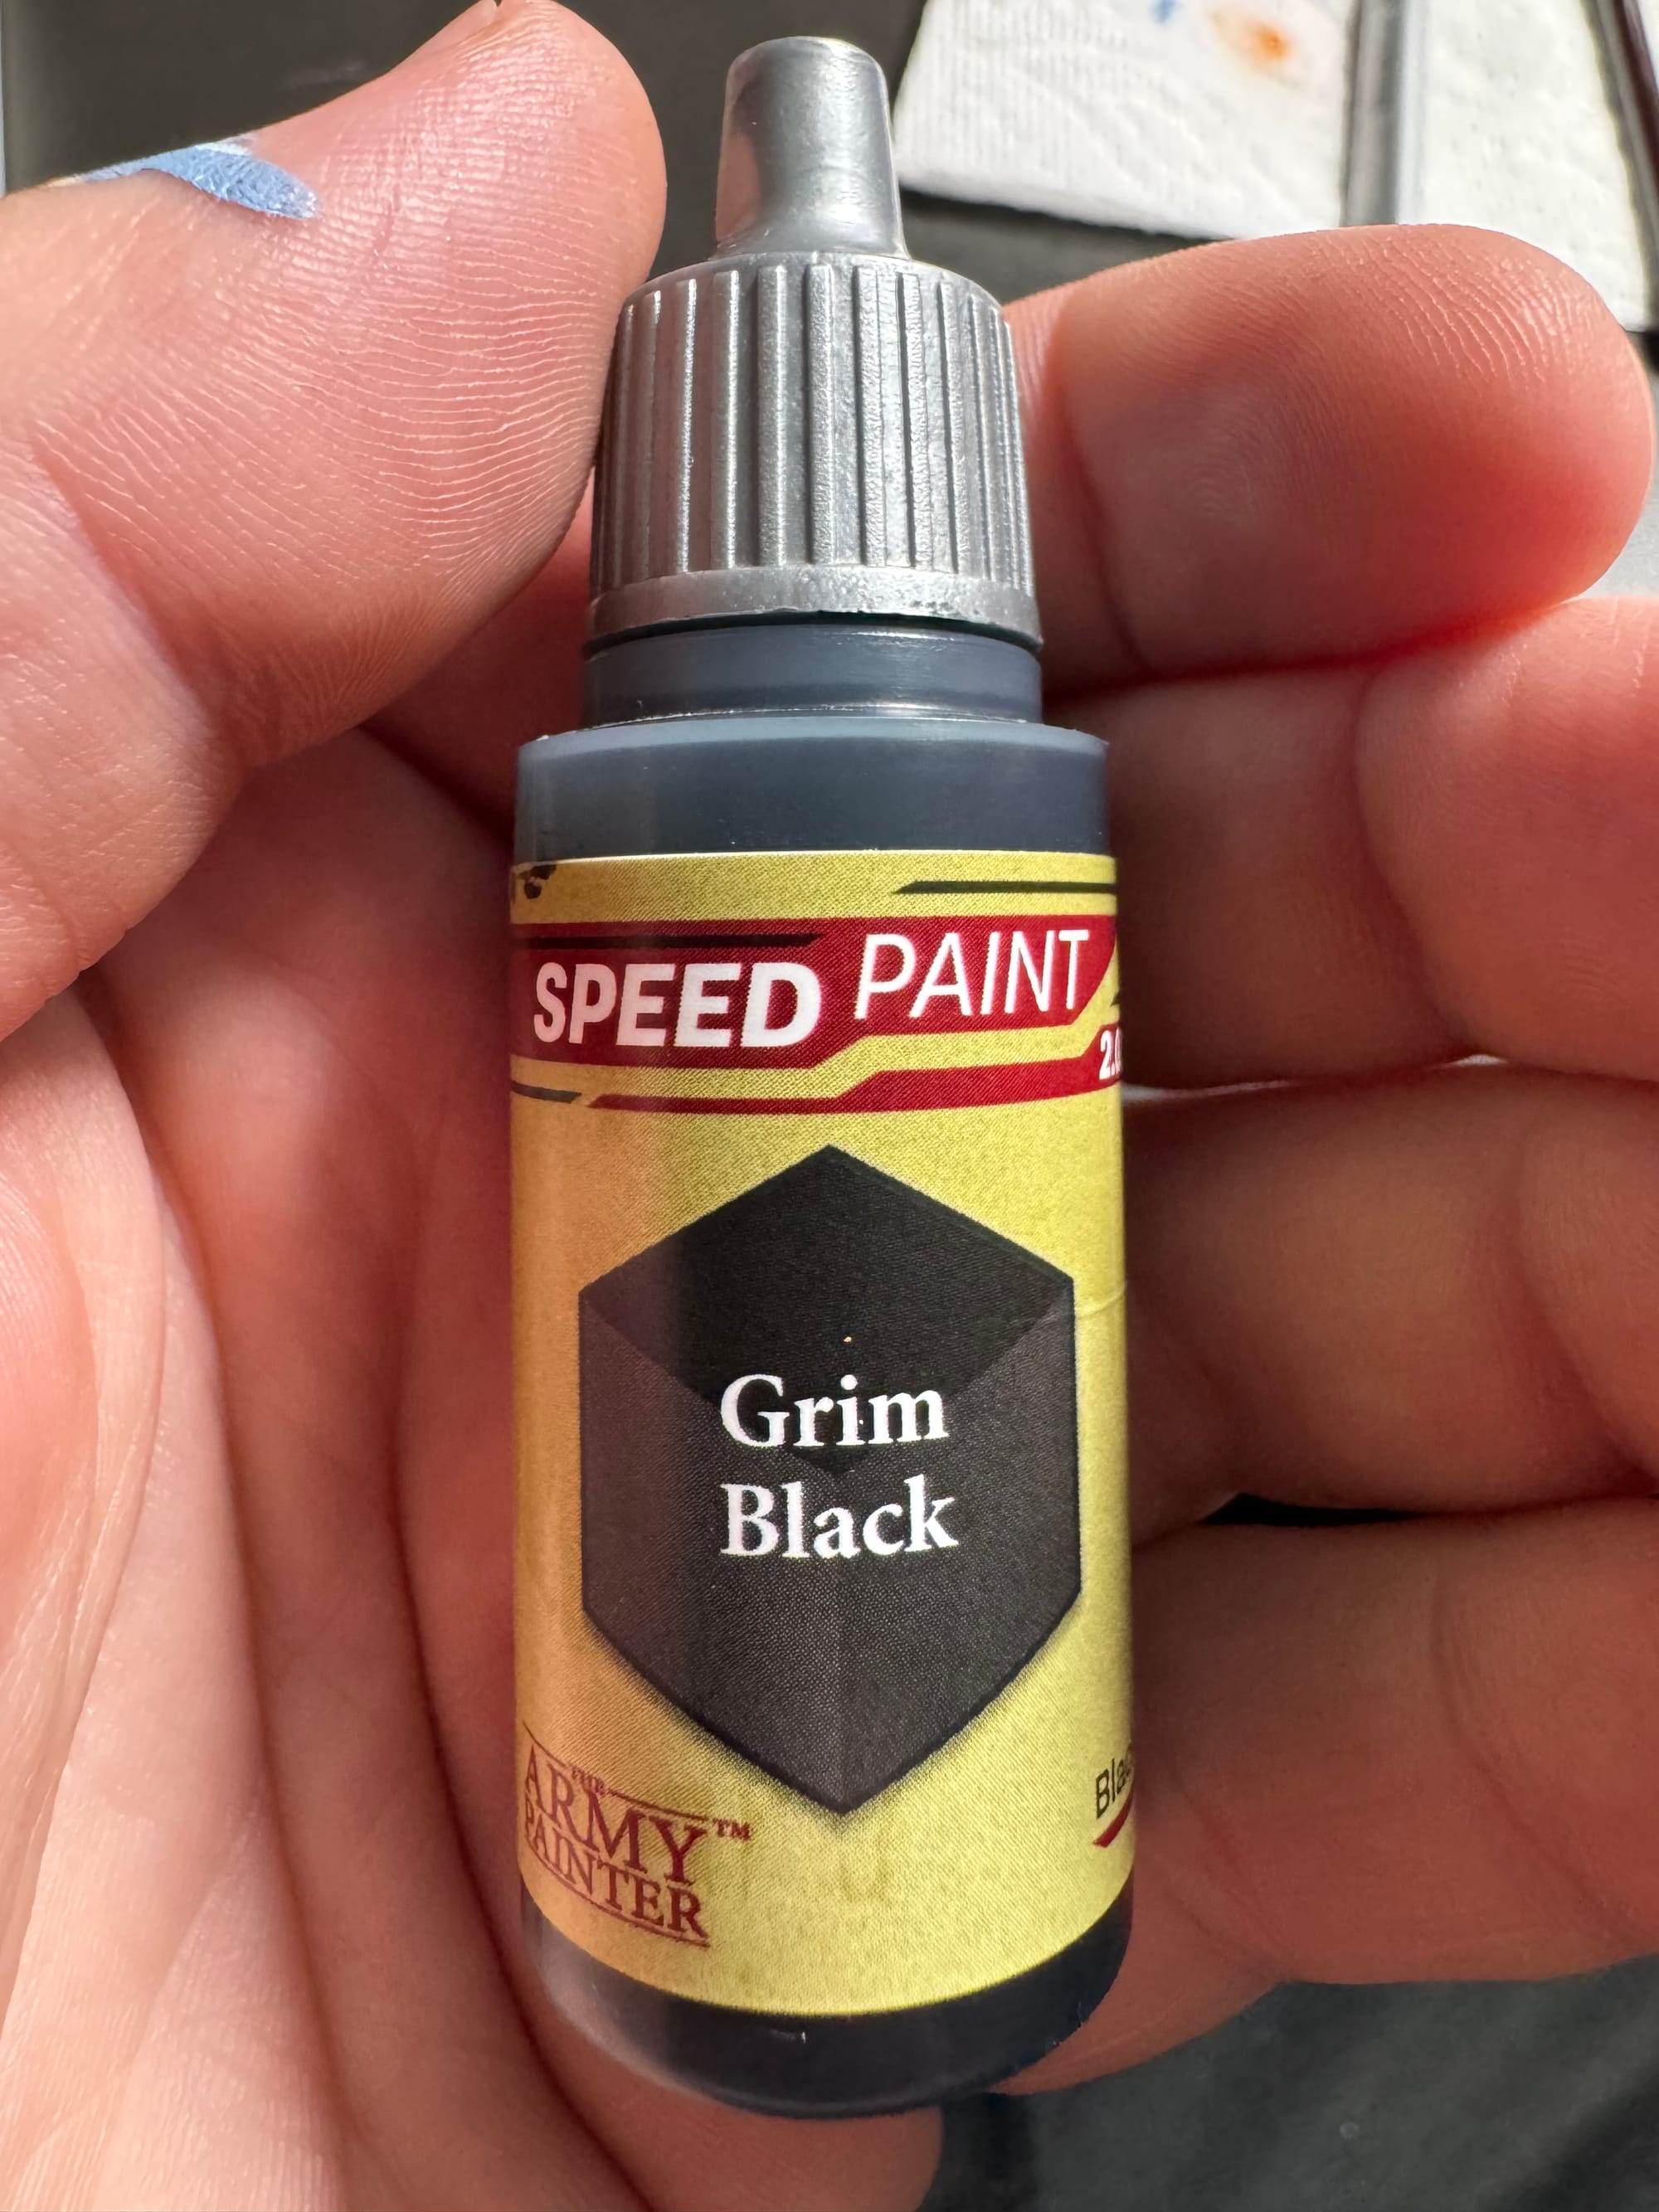
Yes, I painted the gun, hair, and pants at the same time with the same color. Grim Black speed paint seems to work well for all areas. The larger areas on the legs allowed the speed paint to thin out nicely and provide some free highlights. Speed paint probably wasn’t the best choice for the super small facial hair details, but I went for it anyway. It spread a bit onto the face, but let’s be real, from table distance you can’t tell.
Step 8: Shiny Metal Stuff
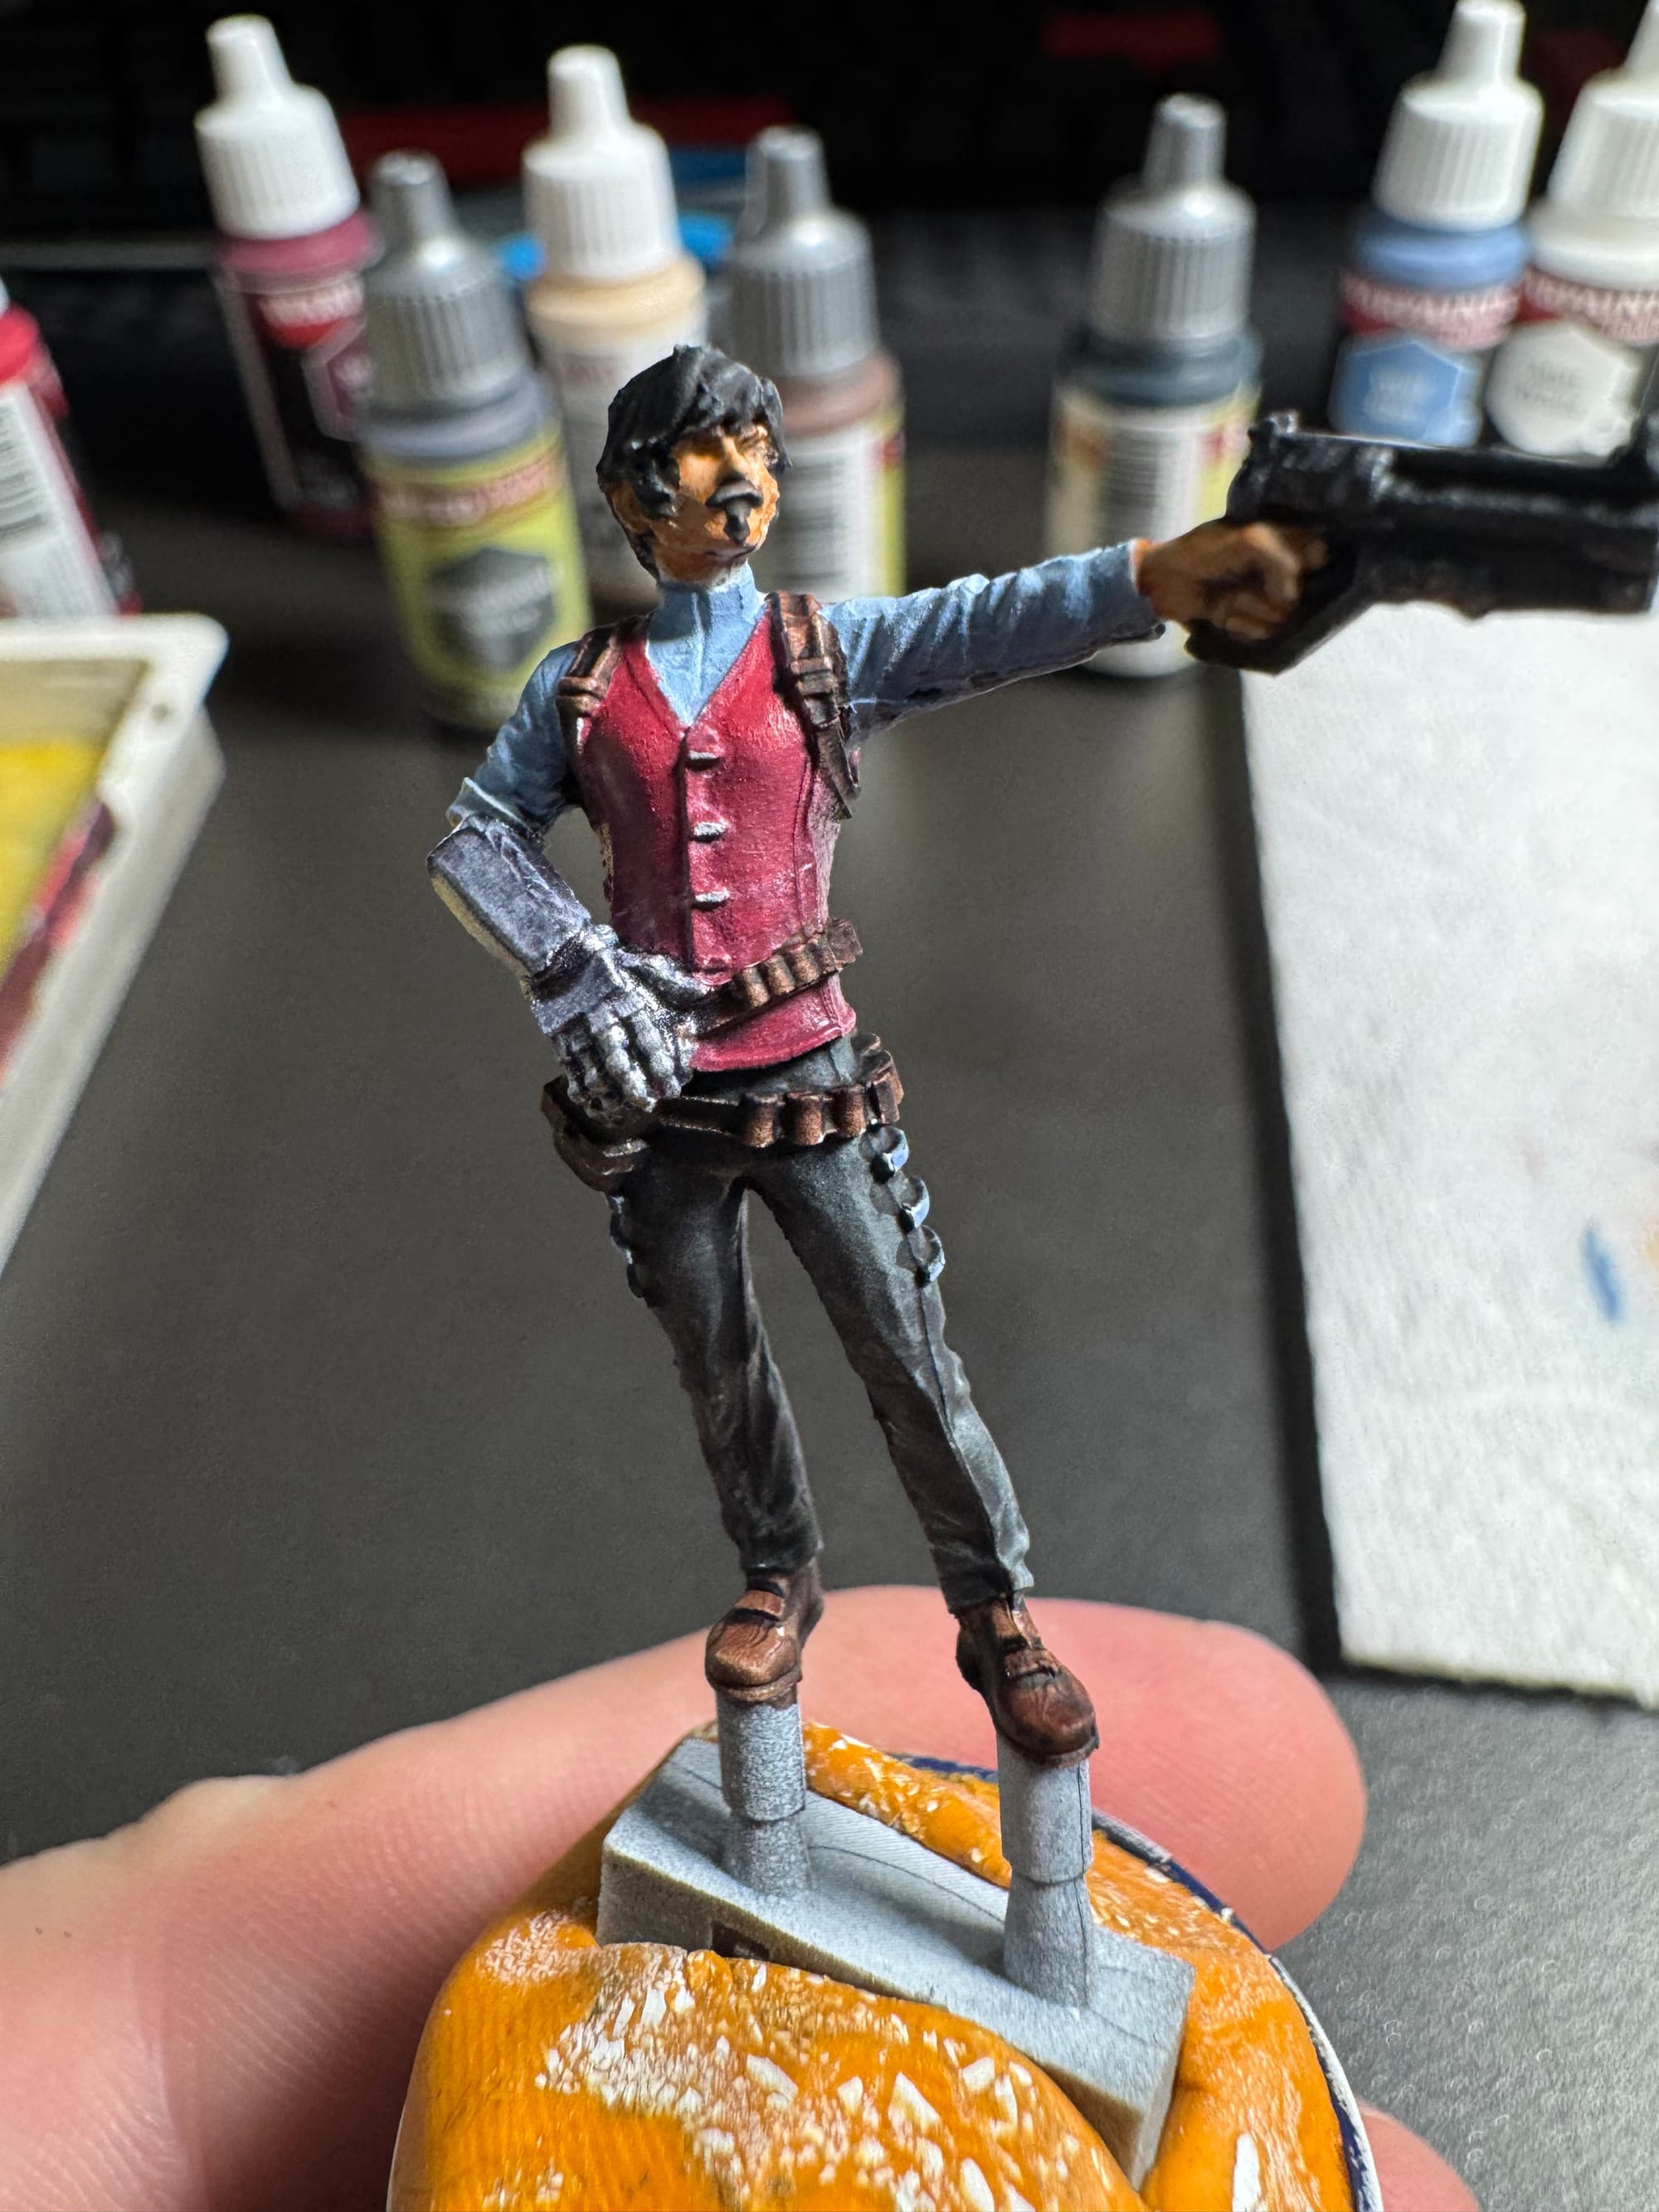
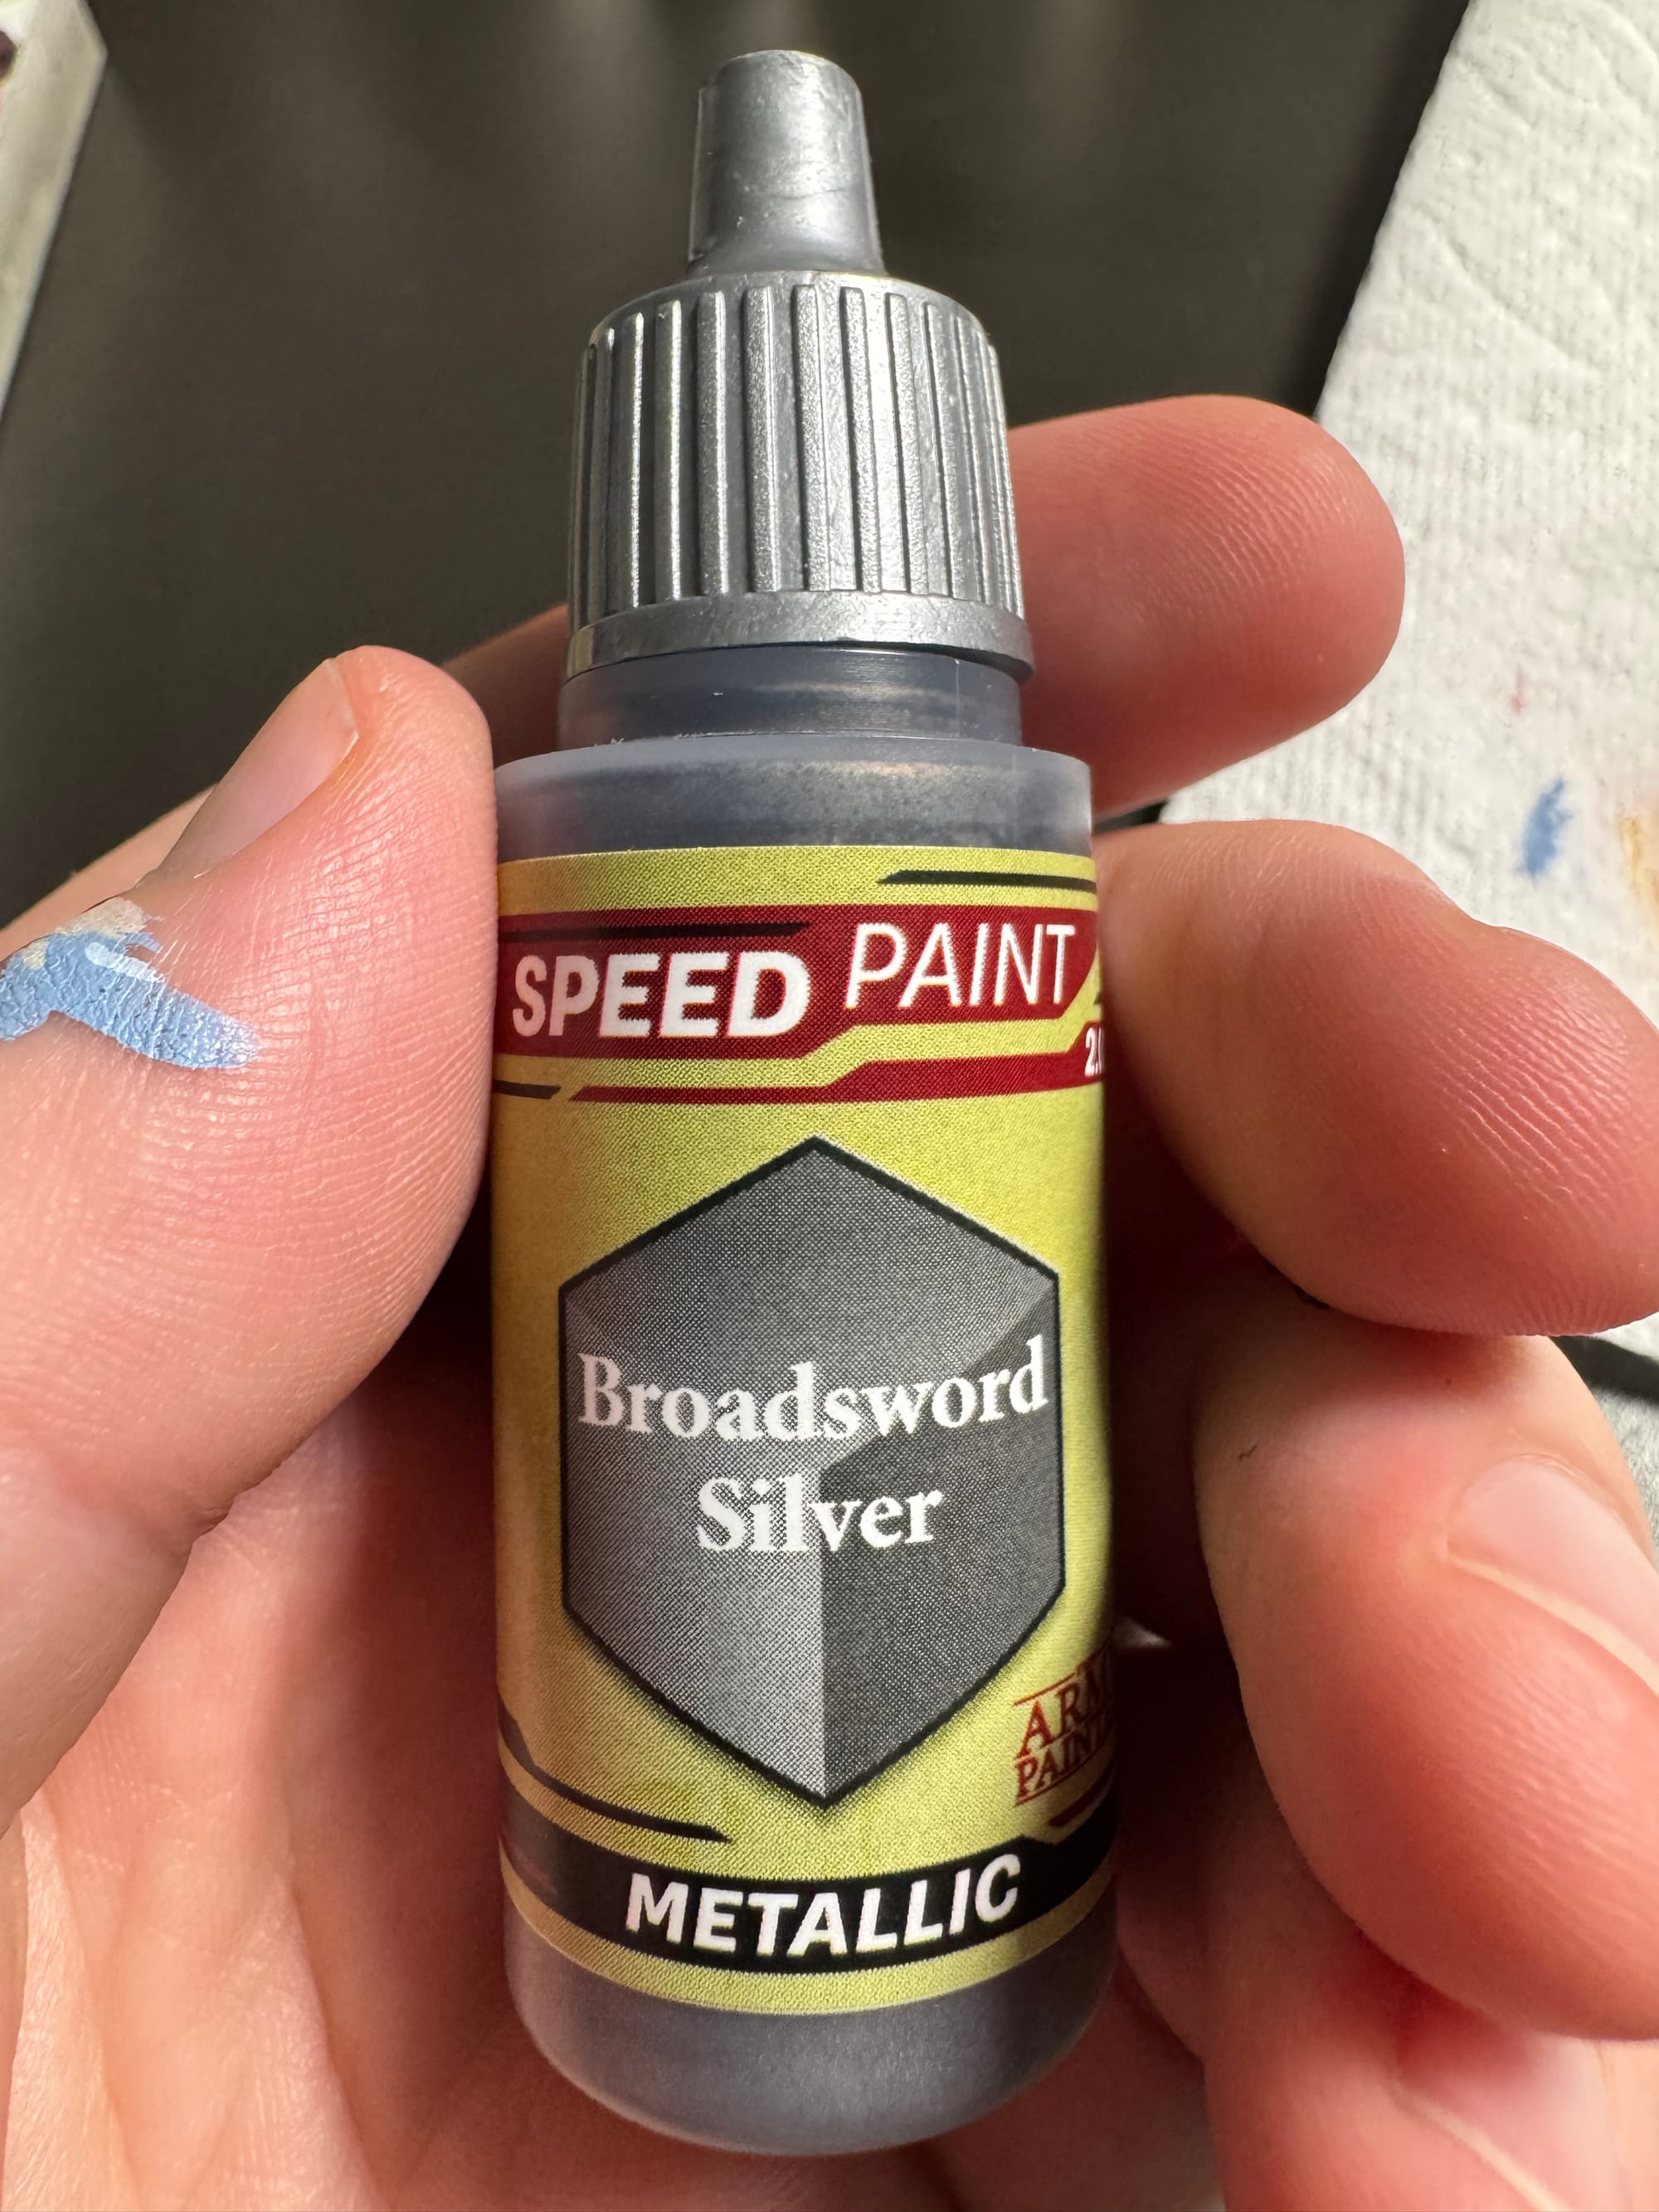
We’re not getting to NMM in the first guide. For the robot arm, I slapped on some Broadsword Silver speed paint. I hit some of the high points on the gun with this as well to give it a bit of shine compared to the pants since they were the same color. I totally planned that all along.
Step 9: Big Finish
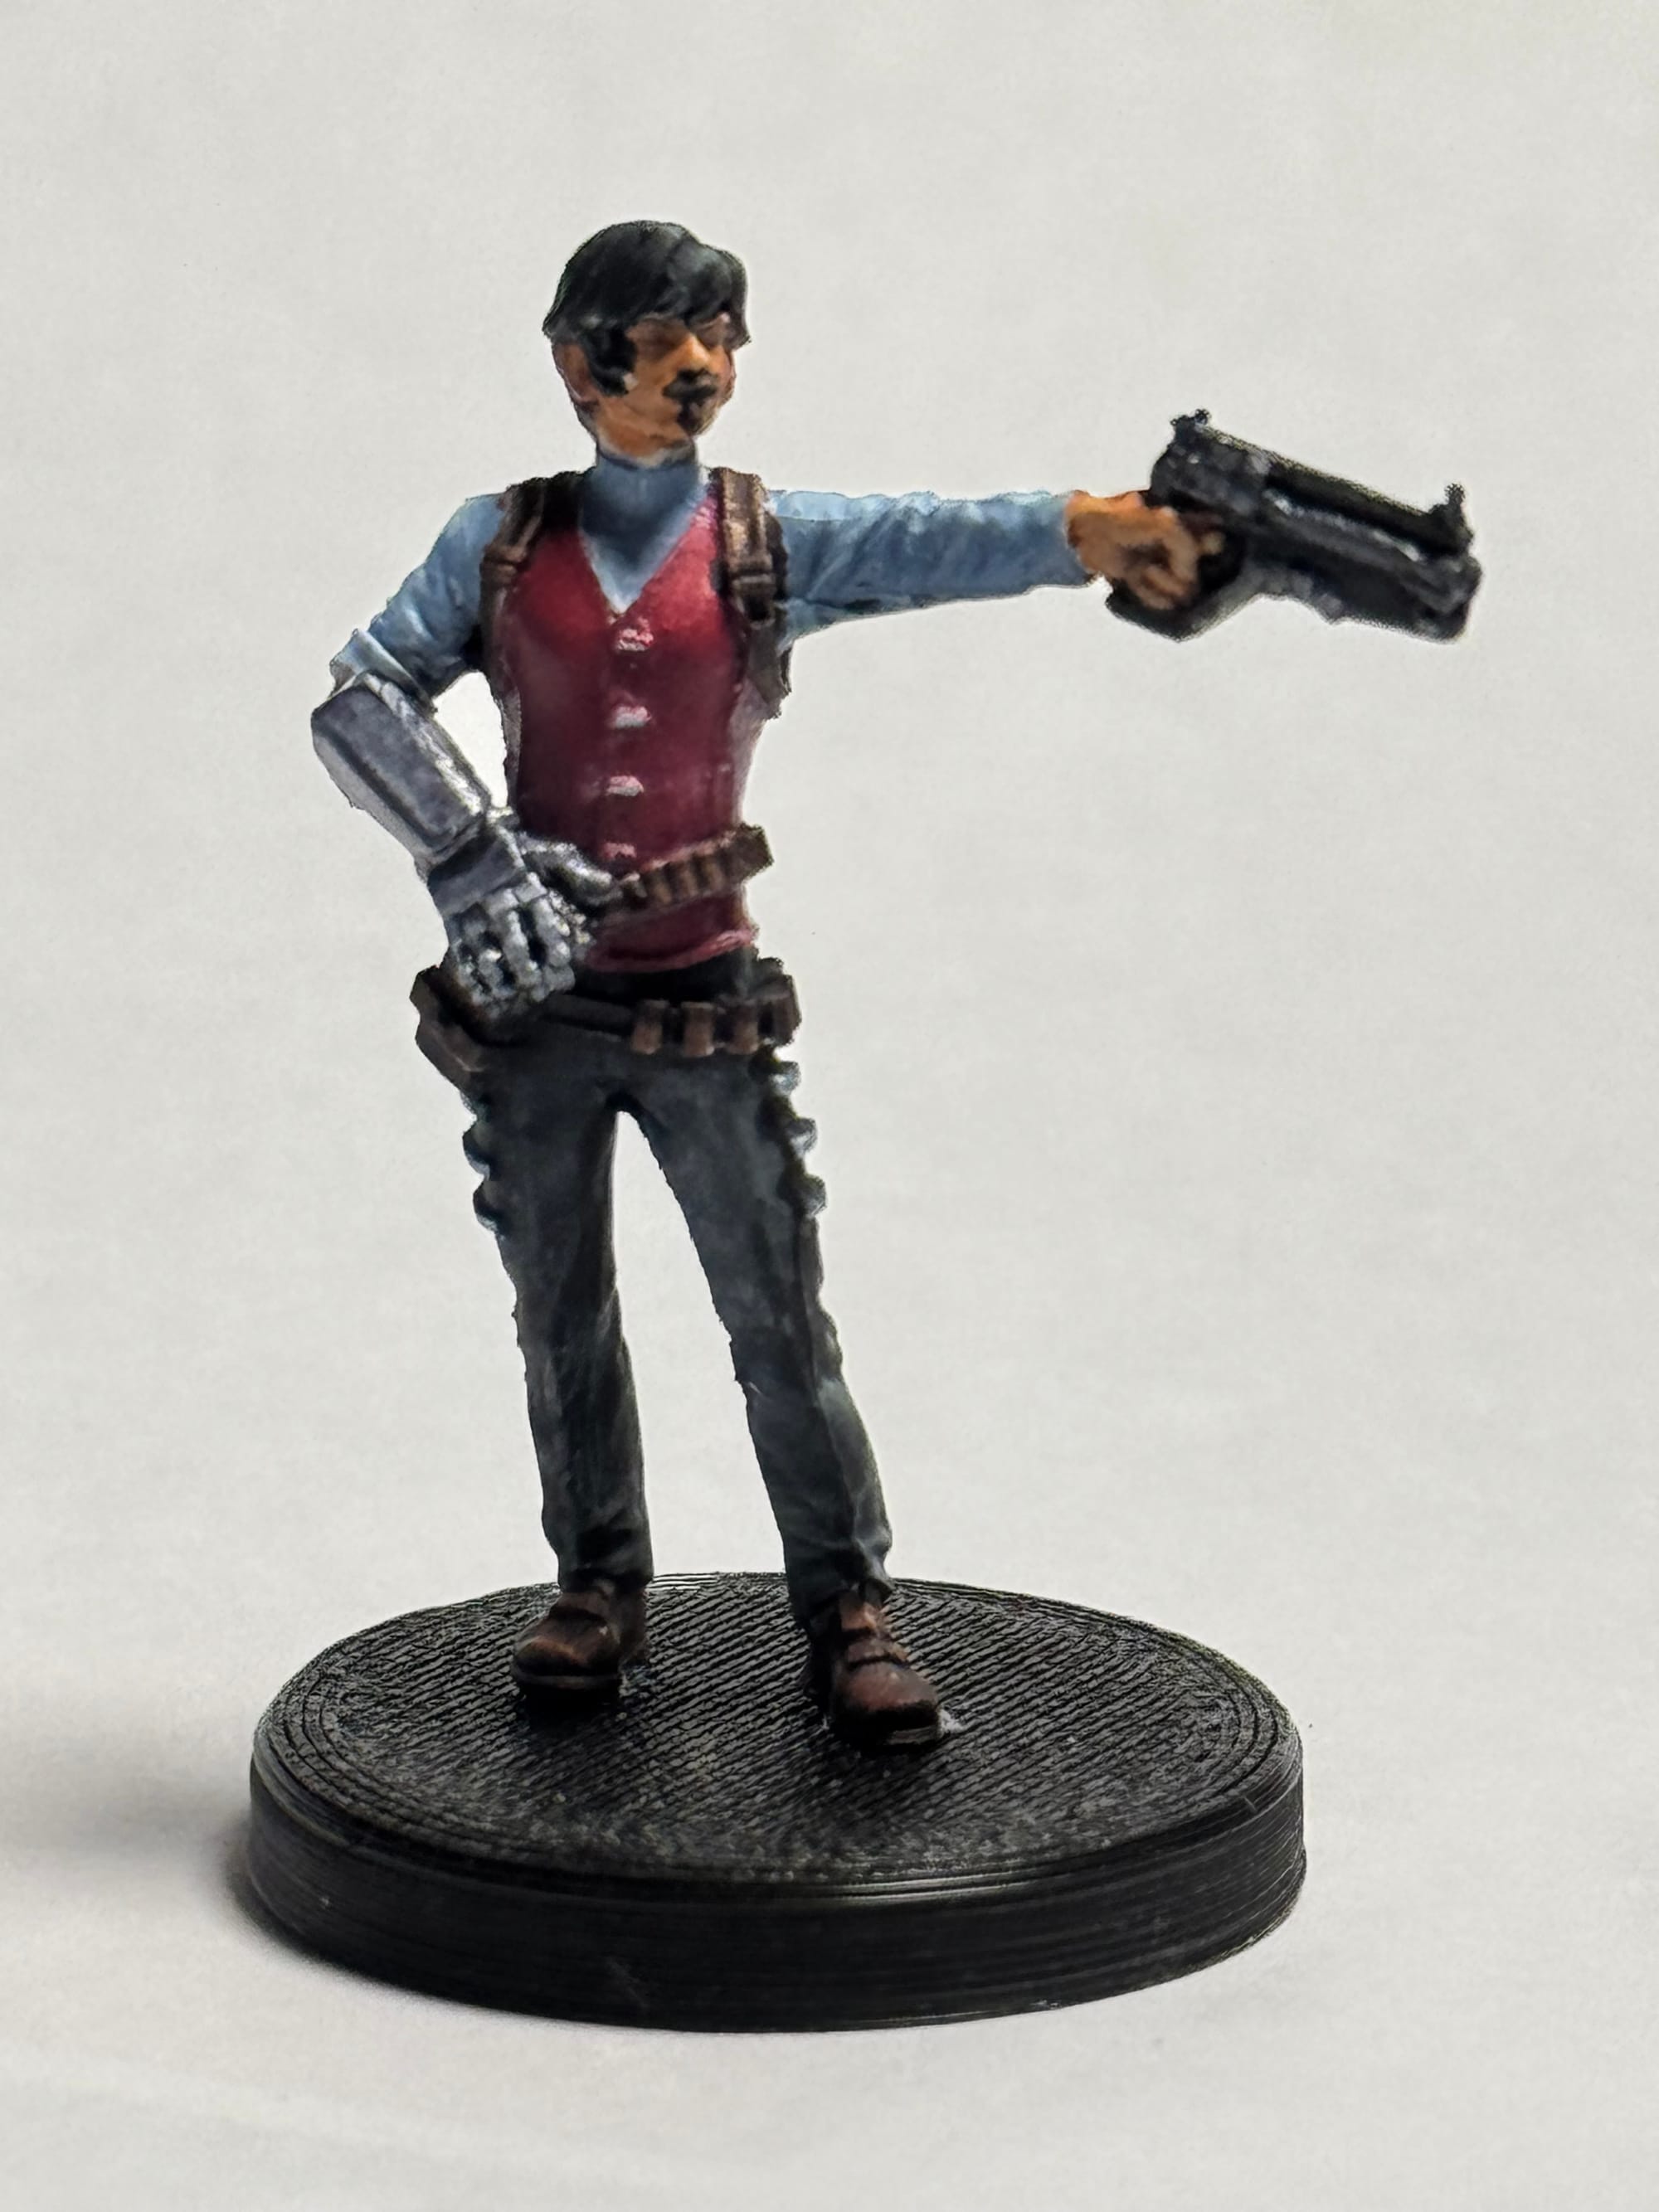
I cut Falco off the sprue and super glued him to the provided base. That’s uh.. That’s it. I could lie to you and say I’m going to go back and spruce up the base later, but that’s not going to happen with the amount of models in my backlog. Oh, and I forgot to paint the buttons on his vest. Fortunately, they are so small you can’t really tell. Imagine they are gold.
Well, there you have it. One painted Falco. I had quite a bit of fun painting this model and writing this guide. It’s freeing to get out of your head and just go for it. Comparison is the enemy of joy, or something like that. The point I’m trying to make is that we don’t all need to be painting every model like it’s a Golden Demon entry. The amazing painters you see on social media are not representative of the average person, and you don’t need fancy techniques to paint a decent model. I hope you got something out of this and will hang out for the next one.
If you do want to learn some more advanced techniques or see how a really skilled artist paints minis, we have that at GamingTrend too! Check out some of the other painting tutorials from the rest of the hobby team by checking out our full hobby section! While you’re at it, come hang out with us over on Discord, we’d love to hear from you.