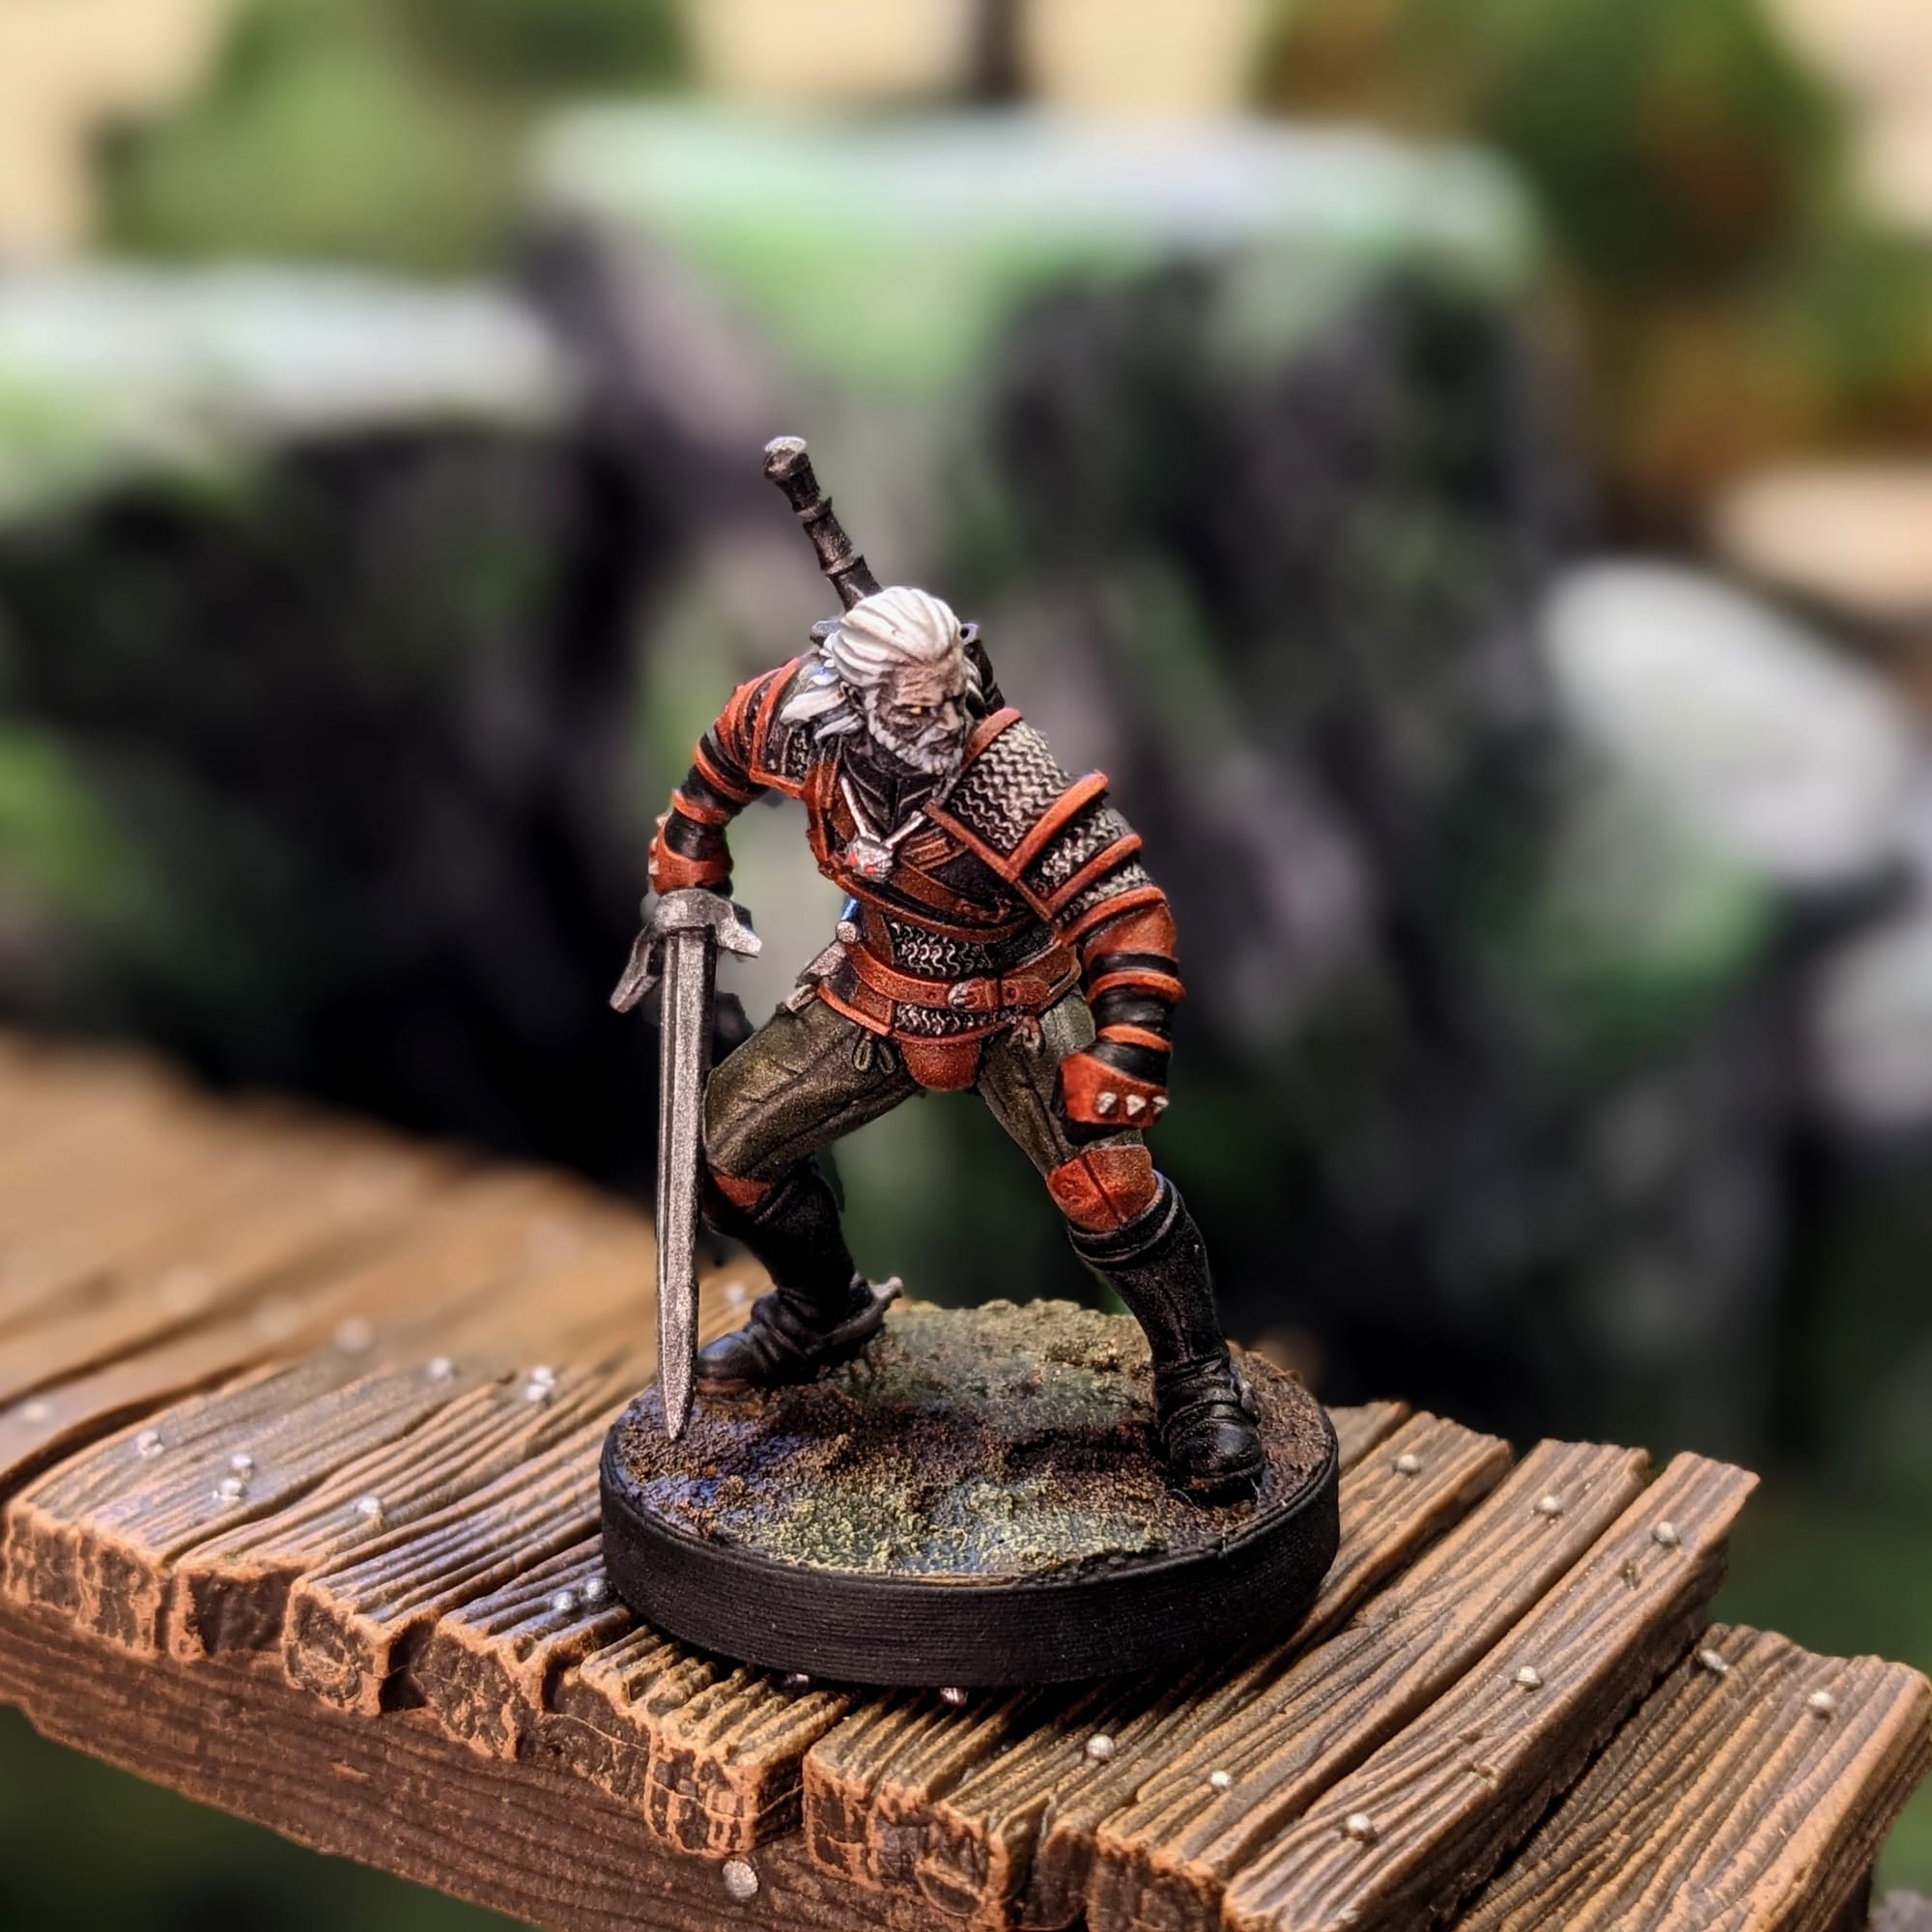
Gaming Trend got a sneak-peak of the physical miniatures from Monster Fight Club, and so I wanted to take the opportunity to paint them up and provide a painting guide before the game releases. The minis are fantastic and full of little details, so this guide is meant to help players and painters of all ages and skills to transform their models from ‘gray’ to ‘play’ and get their favorite miniatures ready to go head-to-head on the tabletop!
The Witcher: No Man’s Land is coming August 2027! Now live on Gamefound, you can pre-order The Witcher: No Man's Land today and get a discount prior to the retail release.
The Witcher: No Man’s Land Overview
Set within the dark and dangerous world of The Witcher, No Man's Land invites players to lead bands of warriors, hunters, and adventurers through brutal conflicts where every decision can mean the difference between victory and death. Built using Monster Fight Club's acclaimed [RE]action System (Cyberpunk RED: Combat Zone, Borderlands: Mr. Torgue's Arena of Badassery), The Witcher: No Man's Land delivers fast-paced gameplay where players act and react through organic, free-flowing combat. With no traditional rounds or phases, battles remain tense and dynamic from start to finish. As characters suffer wounds and injuries, their abilities begin to degrade, forcing players to adapt quickly and make decisive tactical choices in the heat of battle. Featuring highly detailed miniatures, immersive scenarios, and streamlined mechanics designed to keep players constantly engaged, The Witcher: No Man's Land brings the intensity of the franchise to tabletops in an entirely new way.
Assembling Your Miniatures
Prepping Your Models & The Tools
Our Gaming Trend Hobby Team has put together a handy guide for you to follow for how best to clean, clip, and assemble your models, regardless of the game. While the materials for the models may be different between games (plastic, resin, metal, etc.) there are simple techniques you can implement here to help make your painting experience go that much smoother.
 Alec Kozak
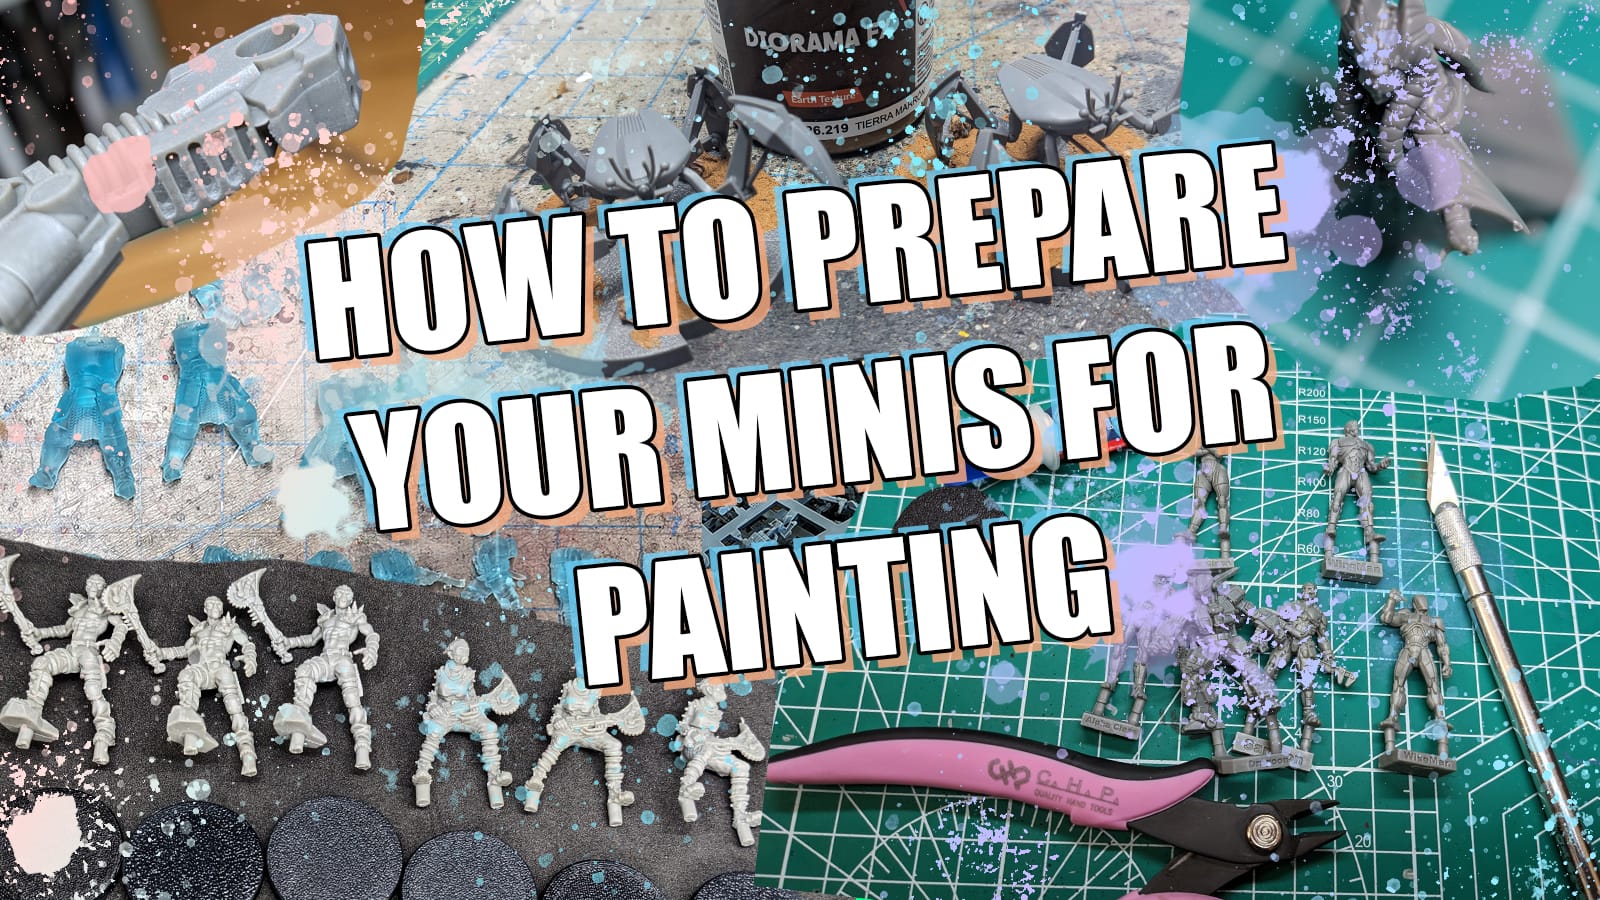
Additionally, if you are new to painting and are not sure what brushes or tools you need, check out the article. This is just a starting place, and every painter has different preferences and recommendations. These are just my recommendations based on what I find most comfortable and efficient to use.
For this tutorial, I have included a list below of the paints I used for the miniatures so you have a reference for what paints you can use.
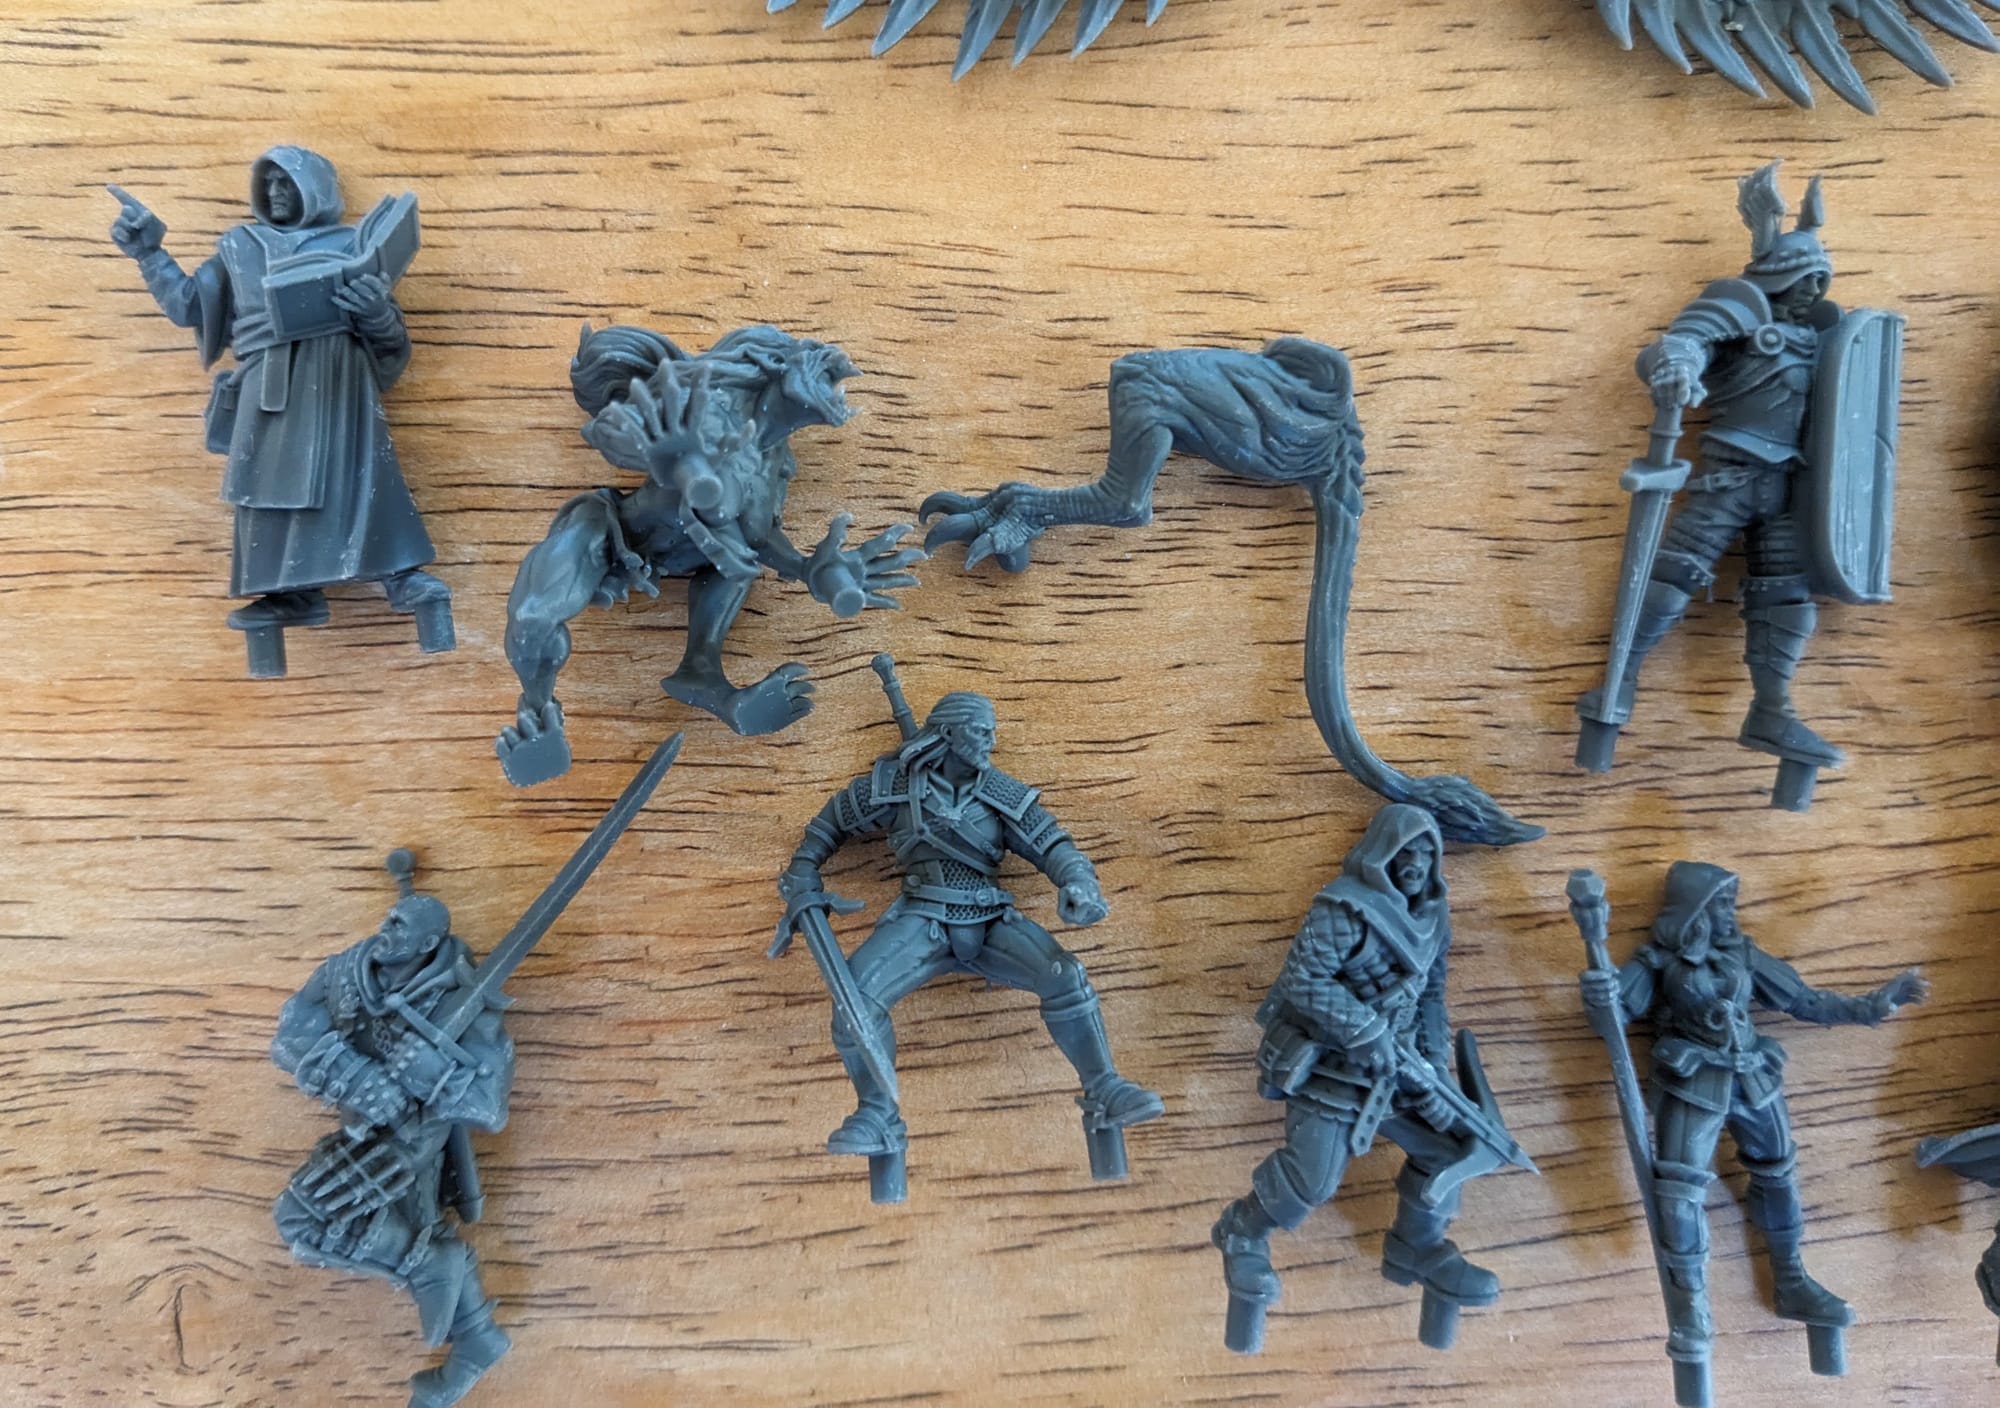
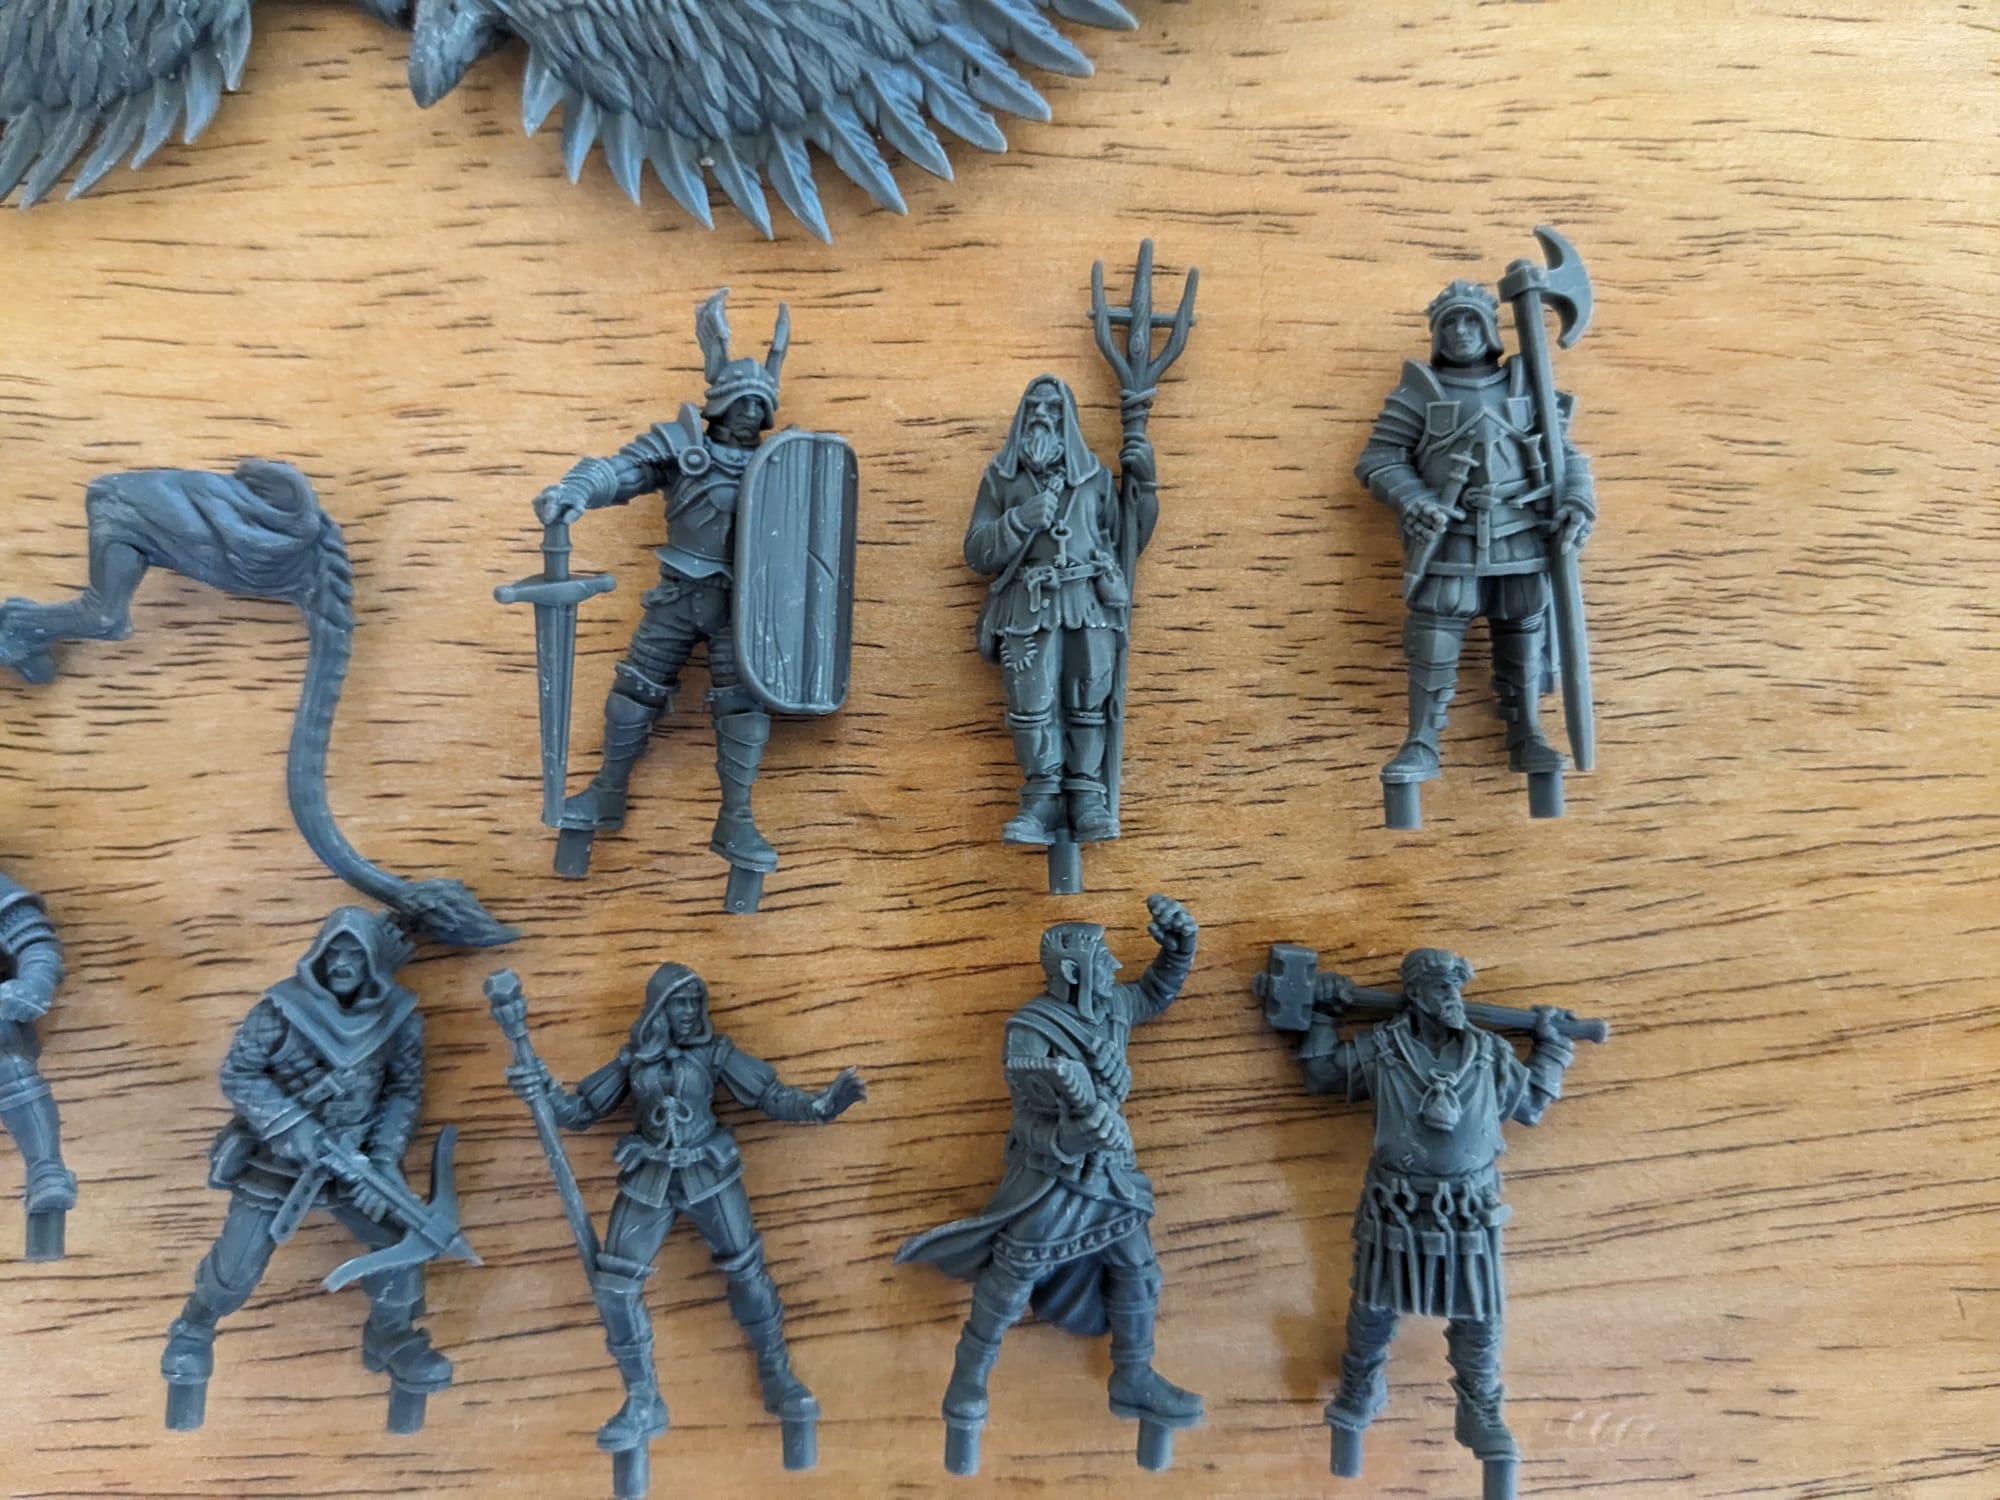
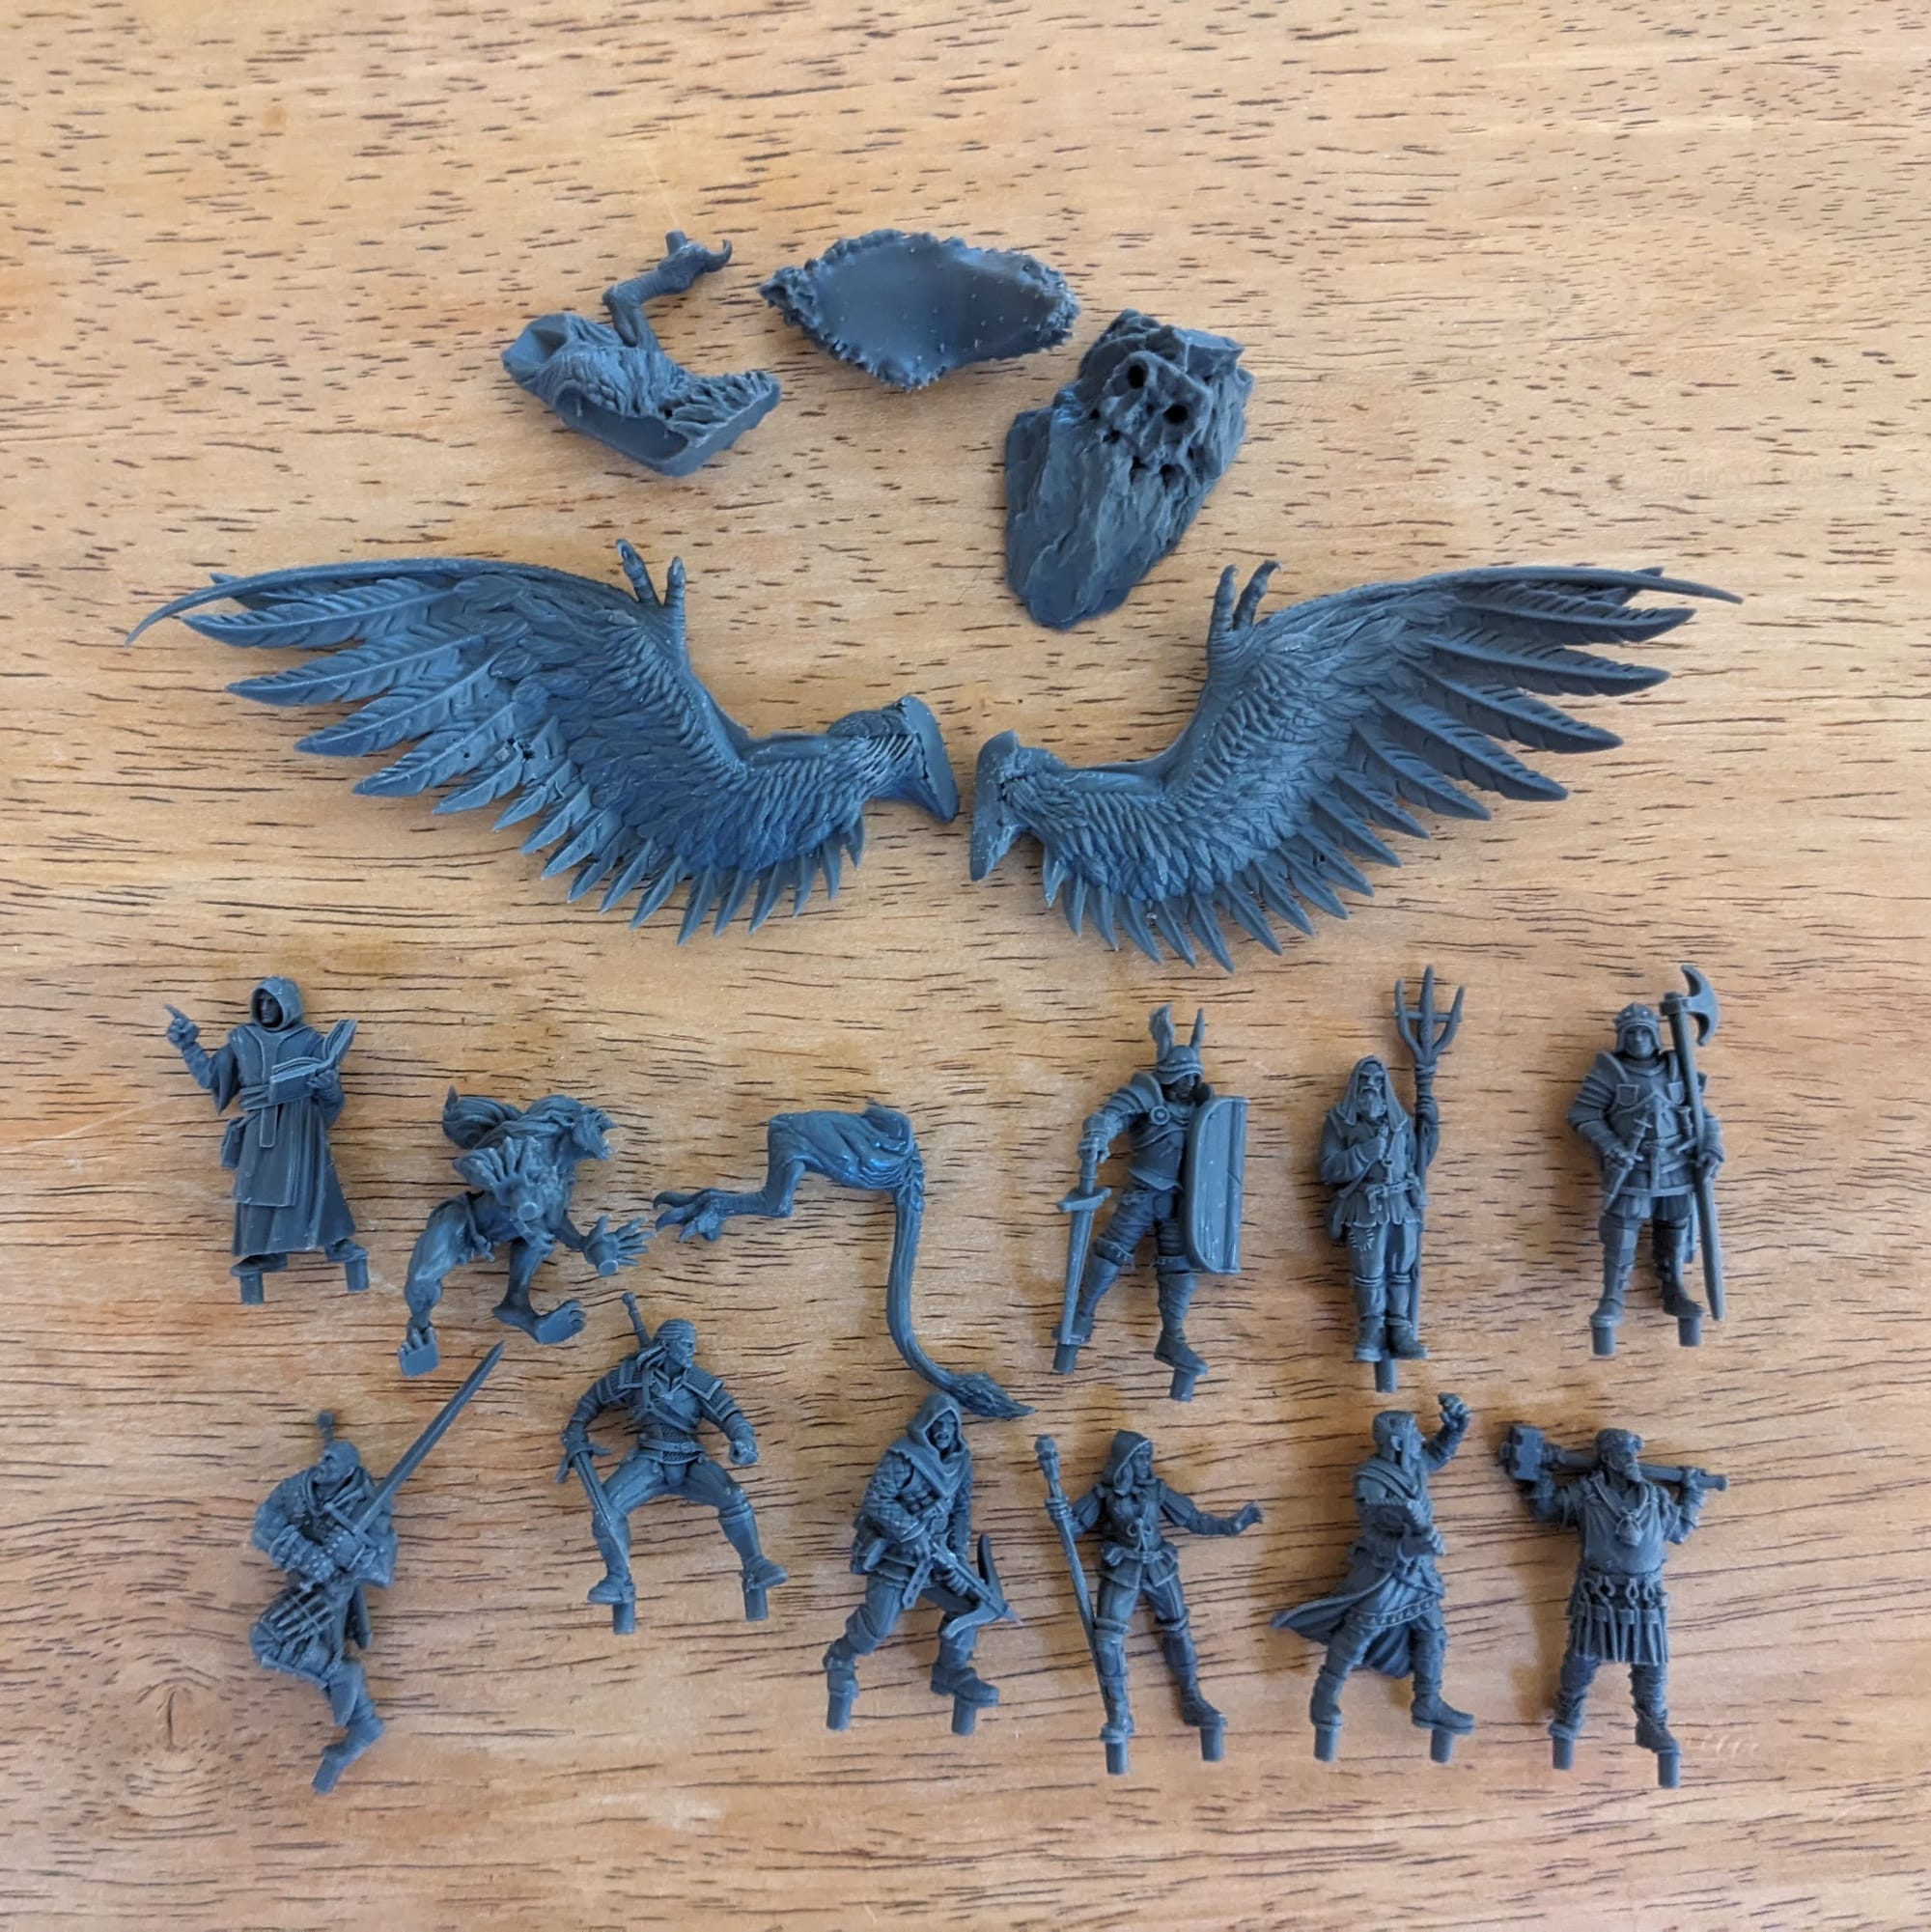
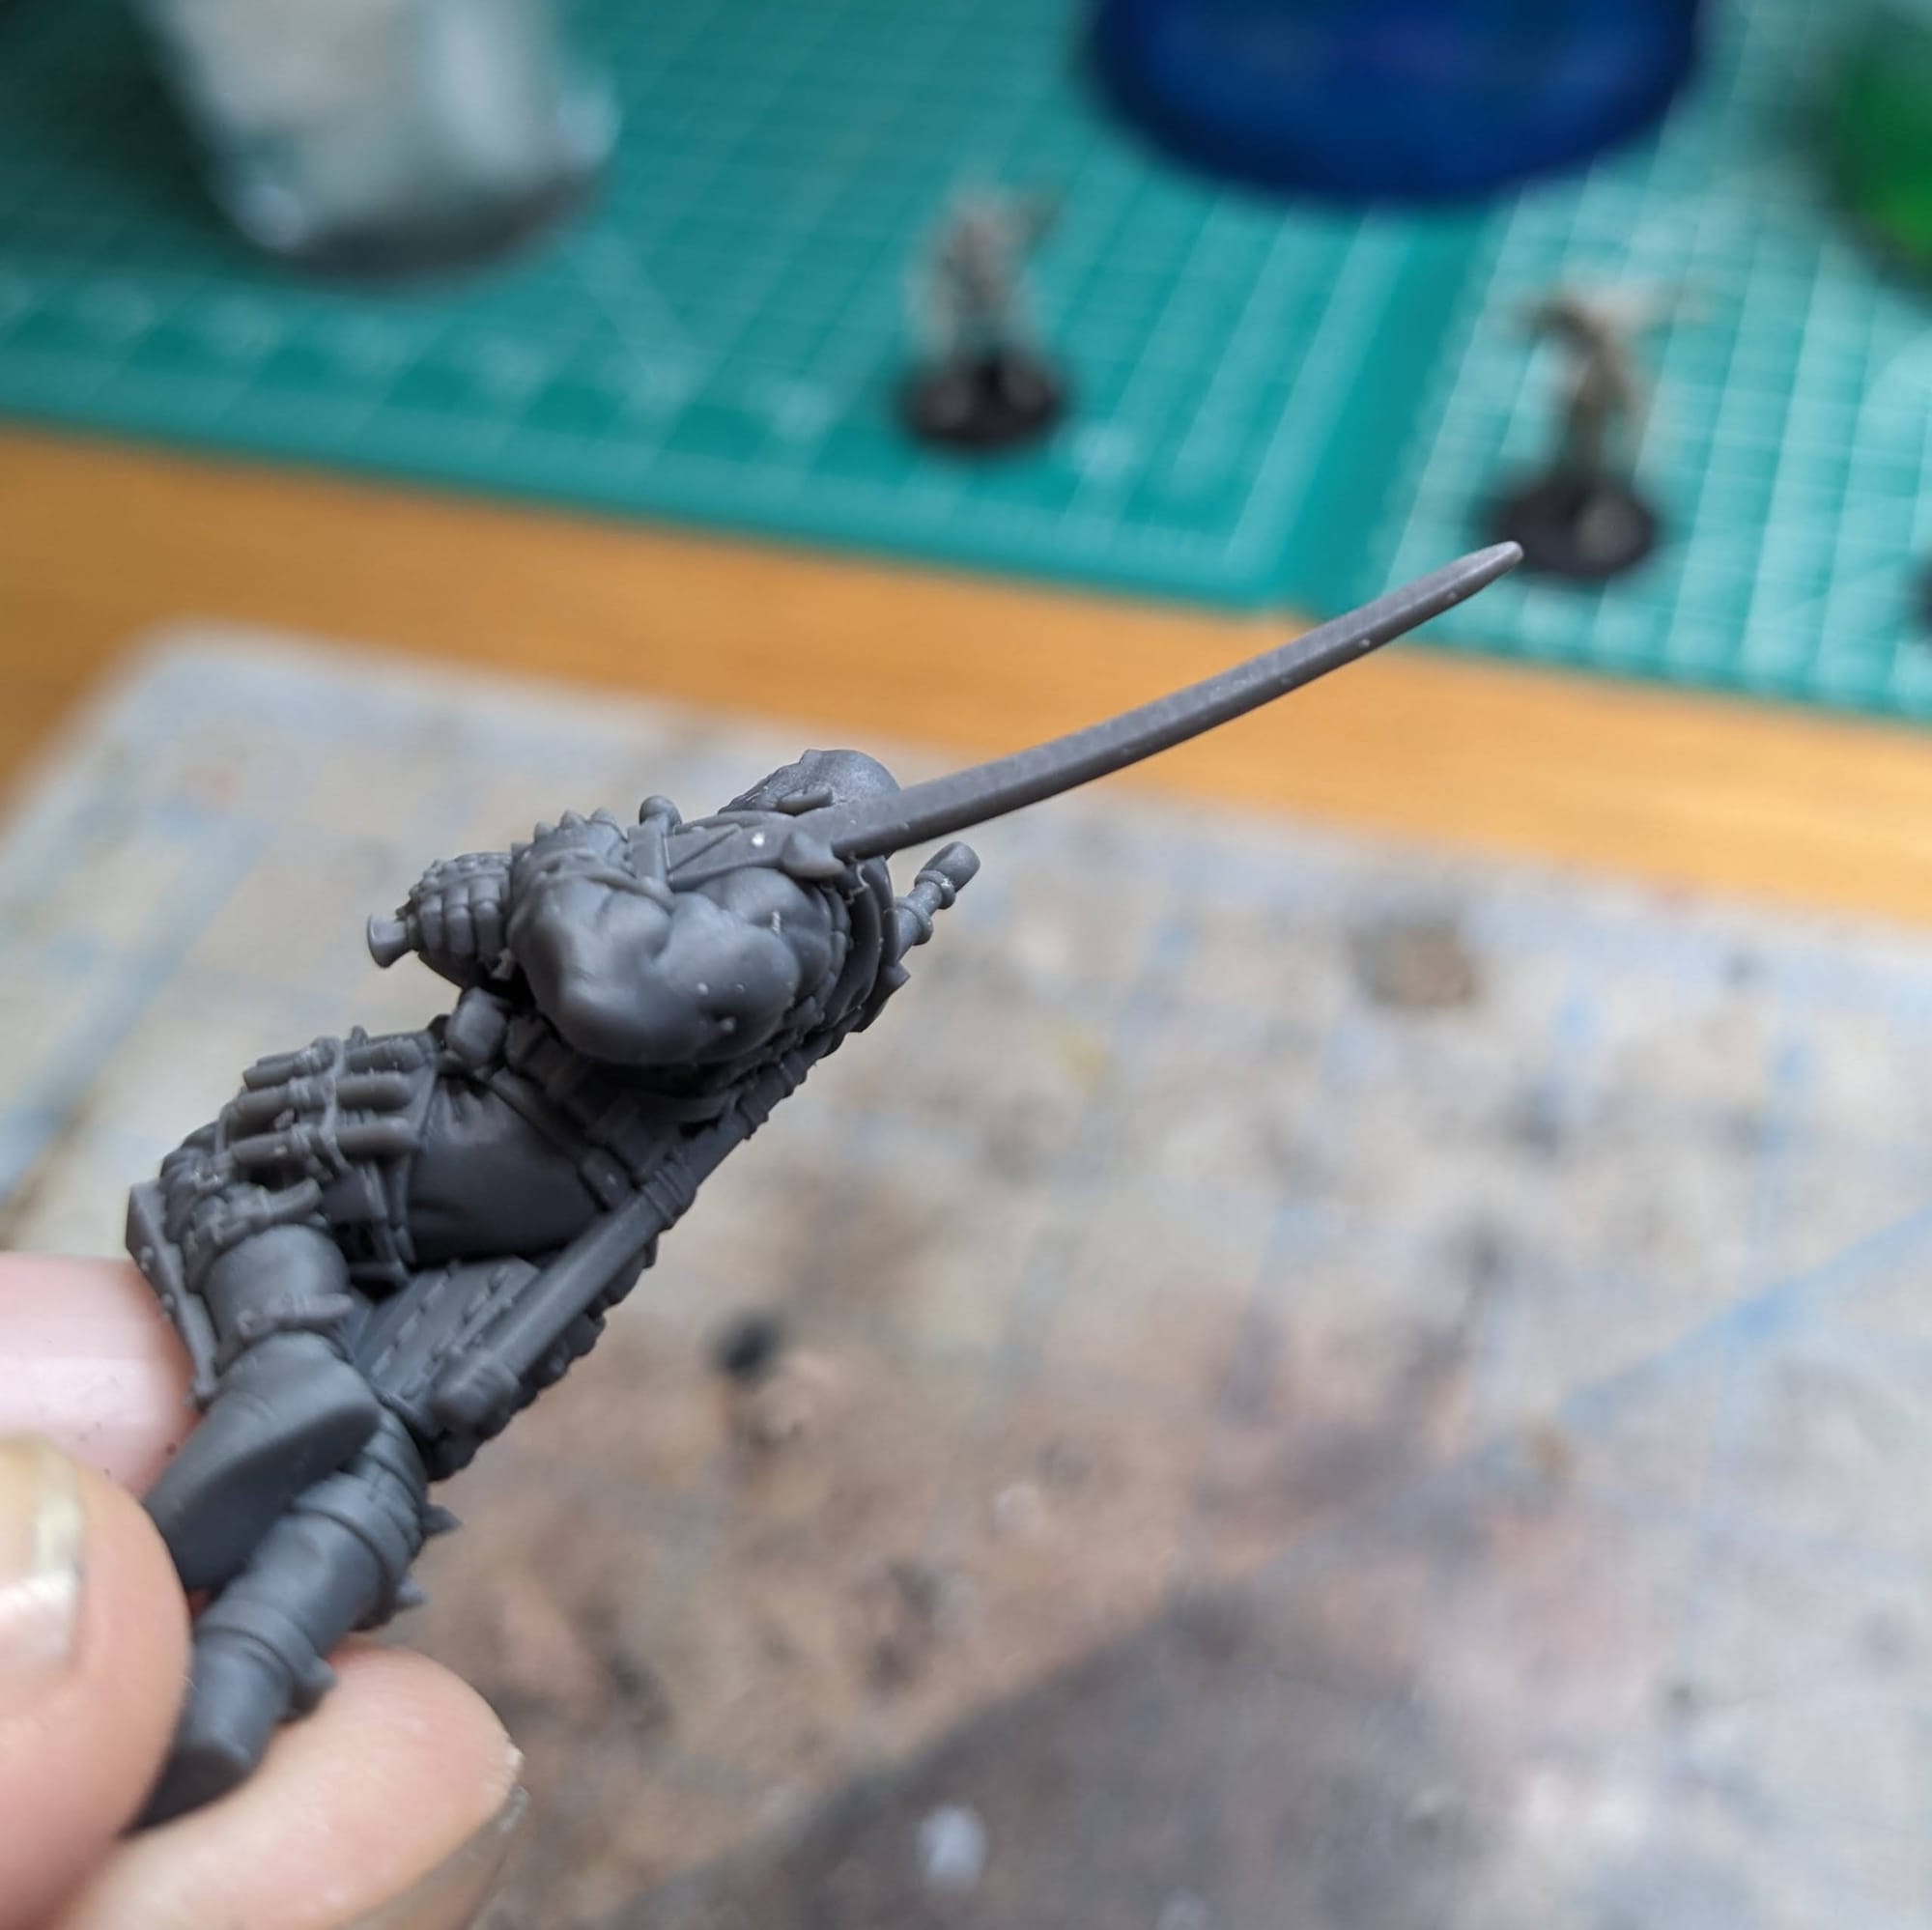
Assembling the figures is pretty straightforward: simply cut the pegs off and glue them to the base. You can also glue the pegs into the slotted side of the base, but you’ll definitely want to fill in the holes with basing material later. Also, Some of the swords and extended pieces might be slightly warped, so those may need straightening.
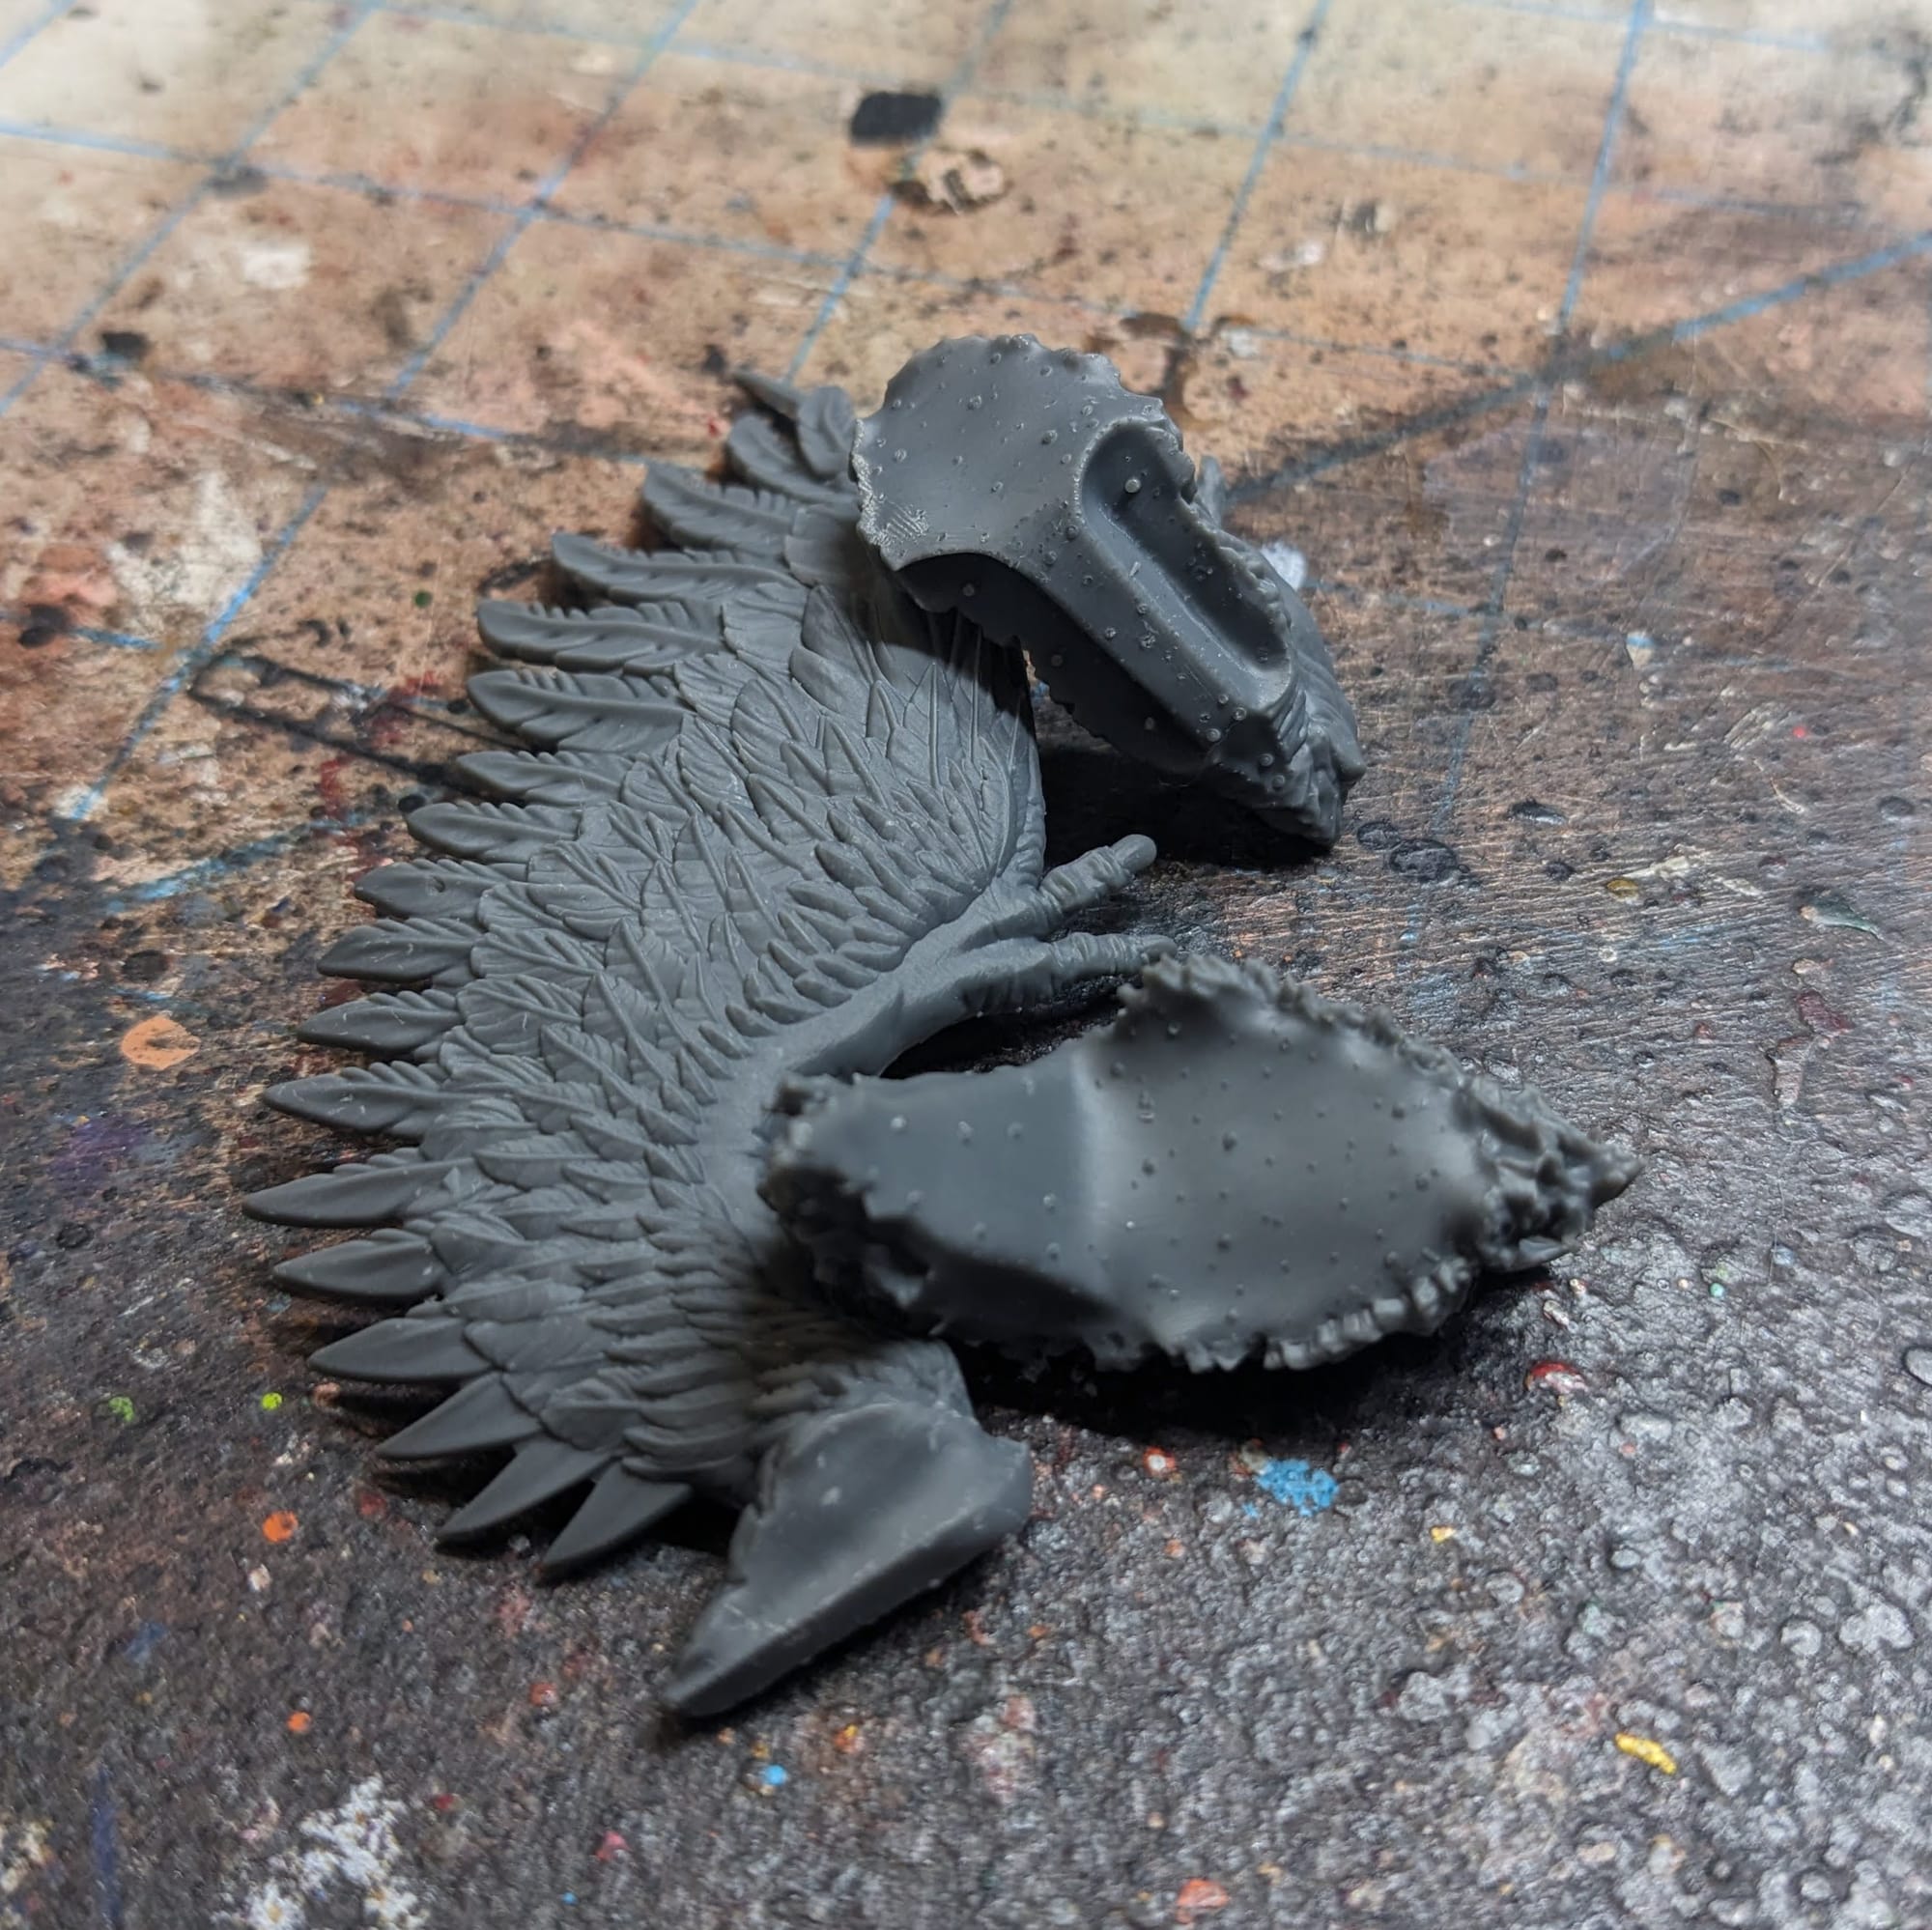
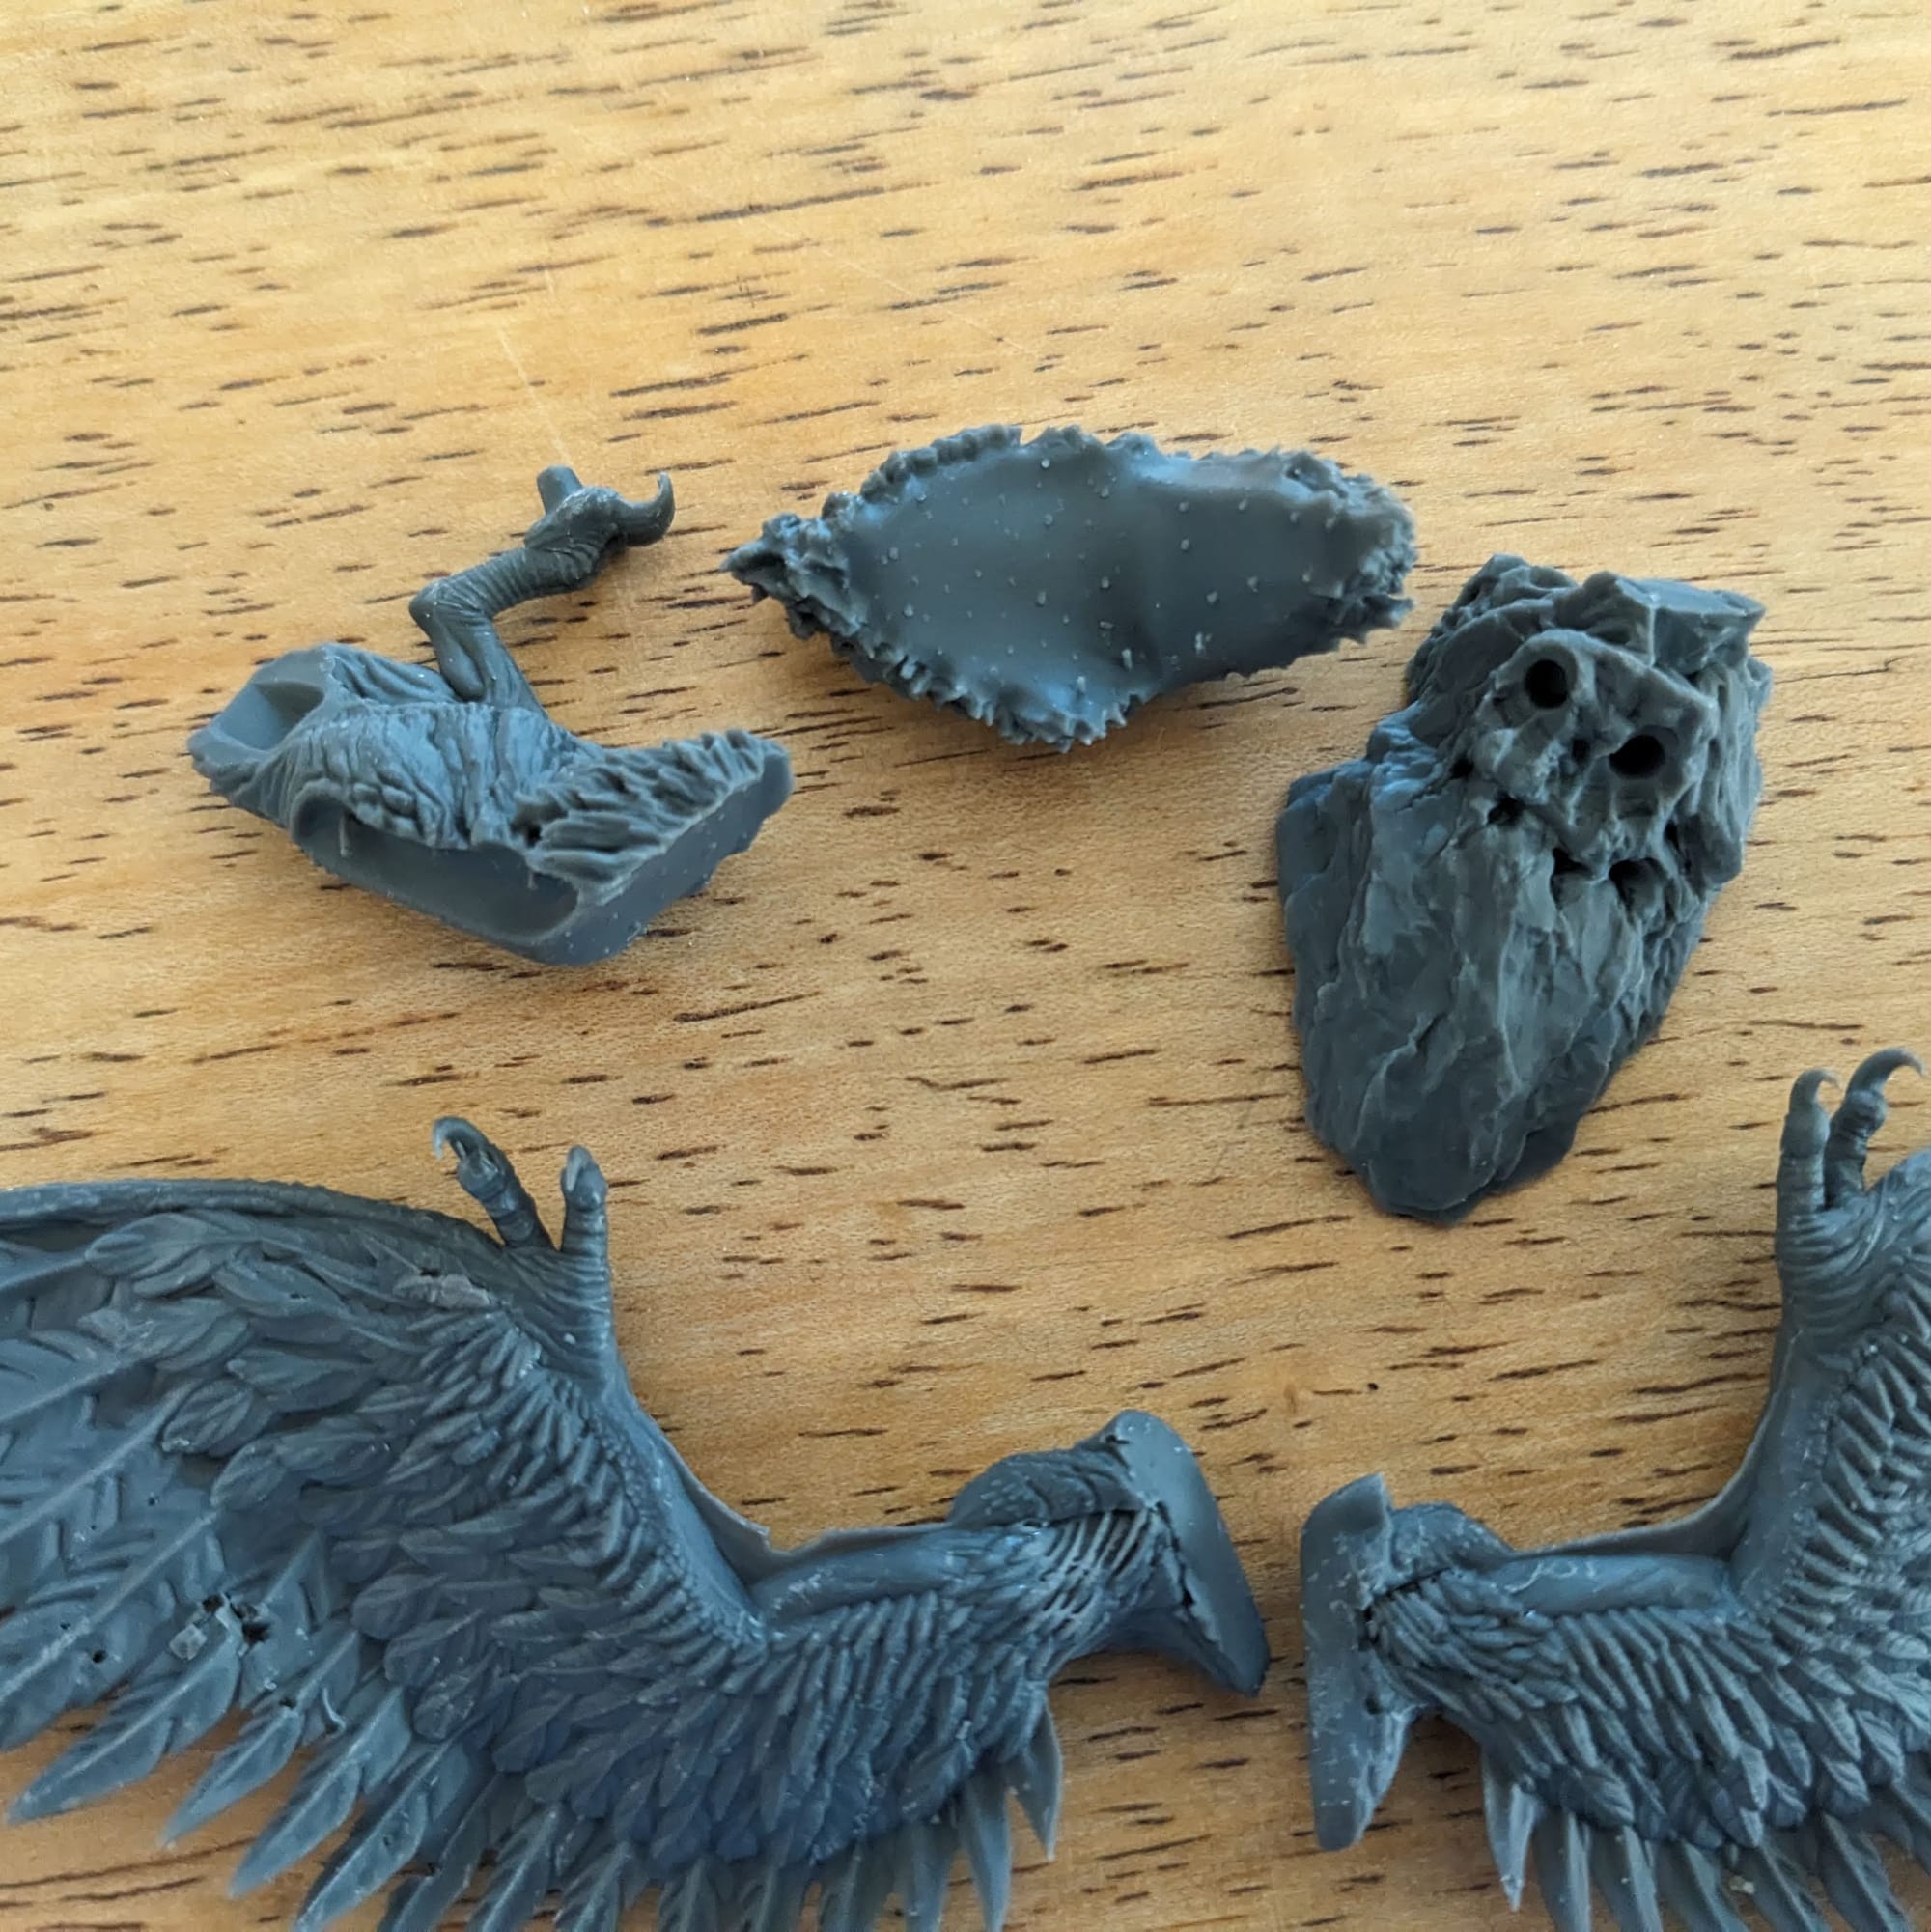
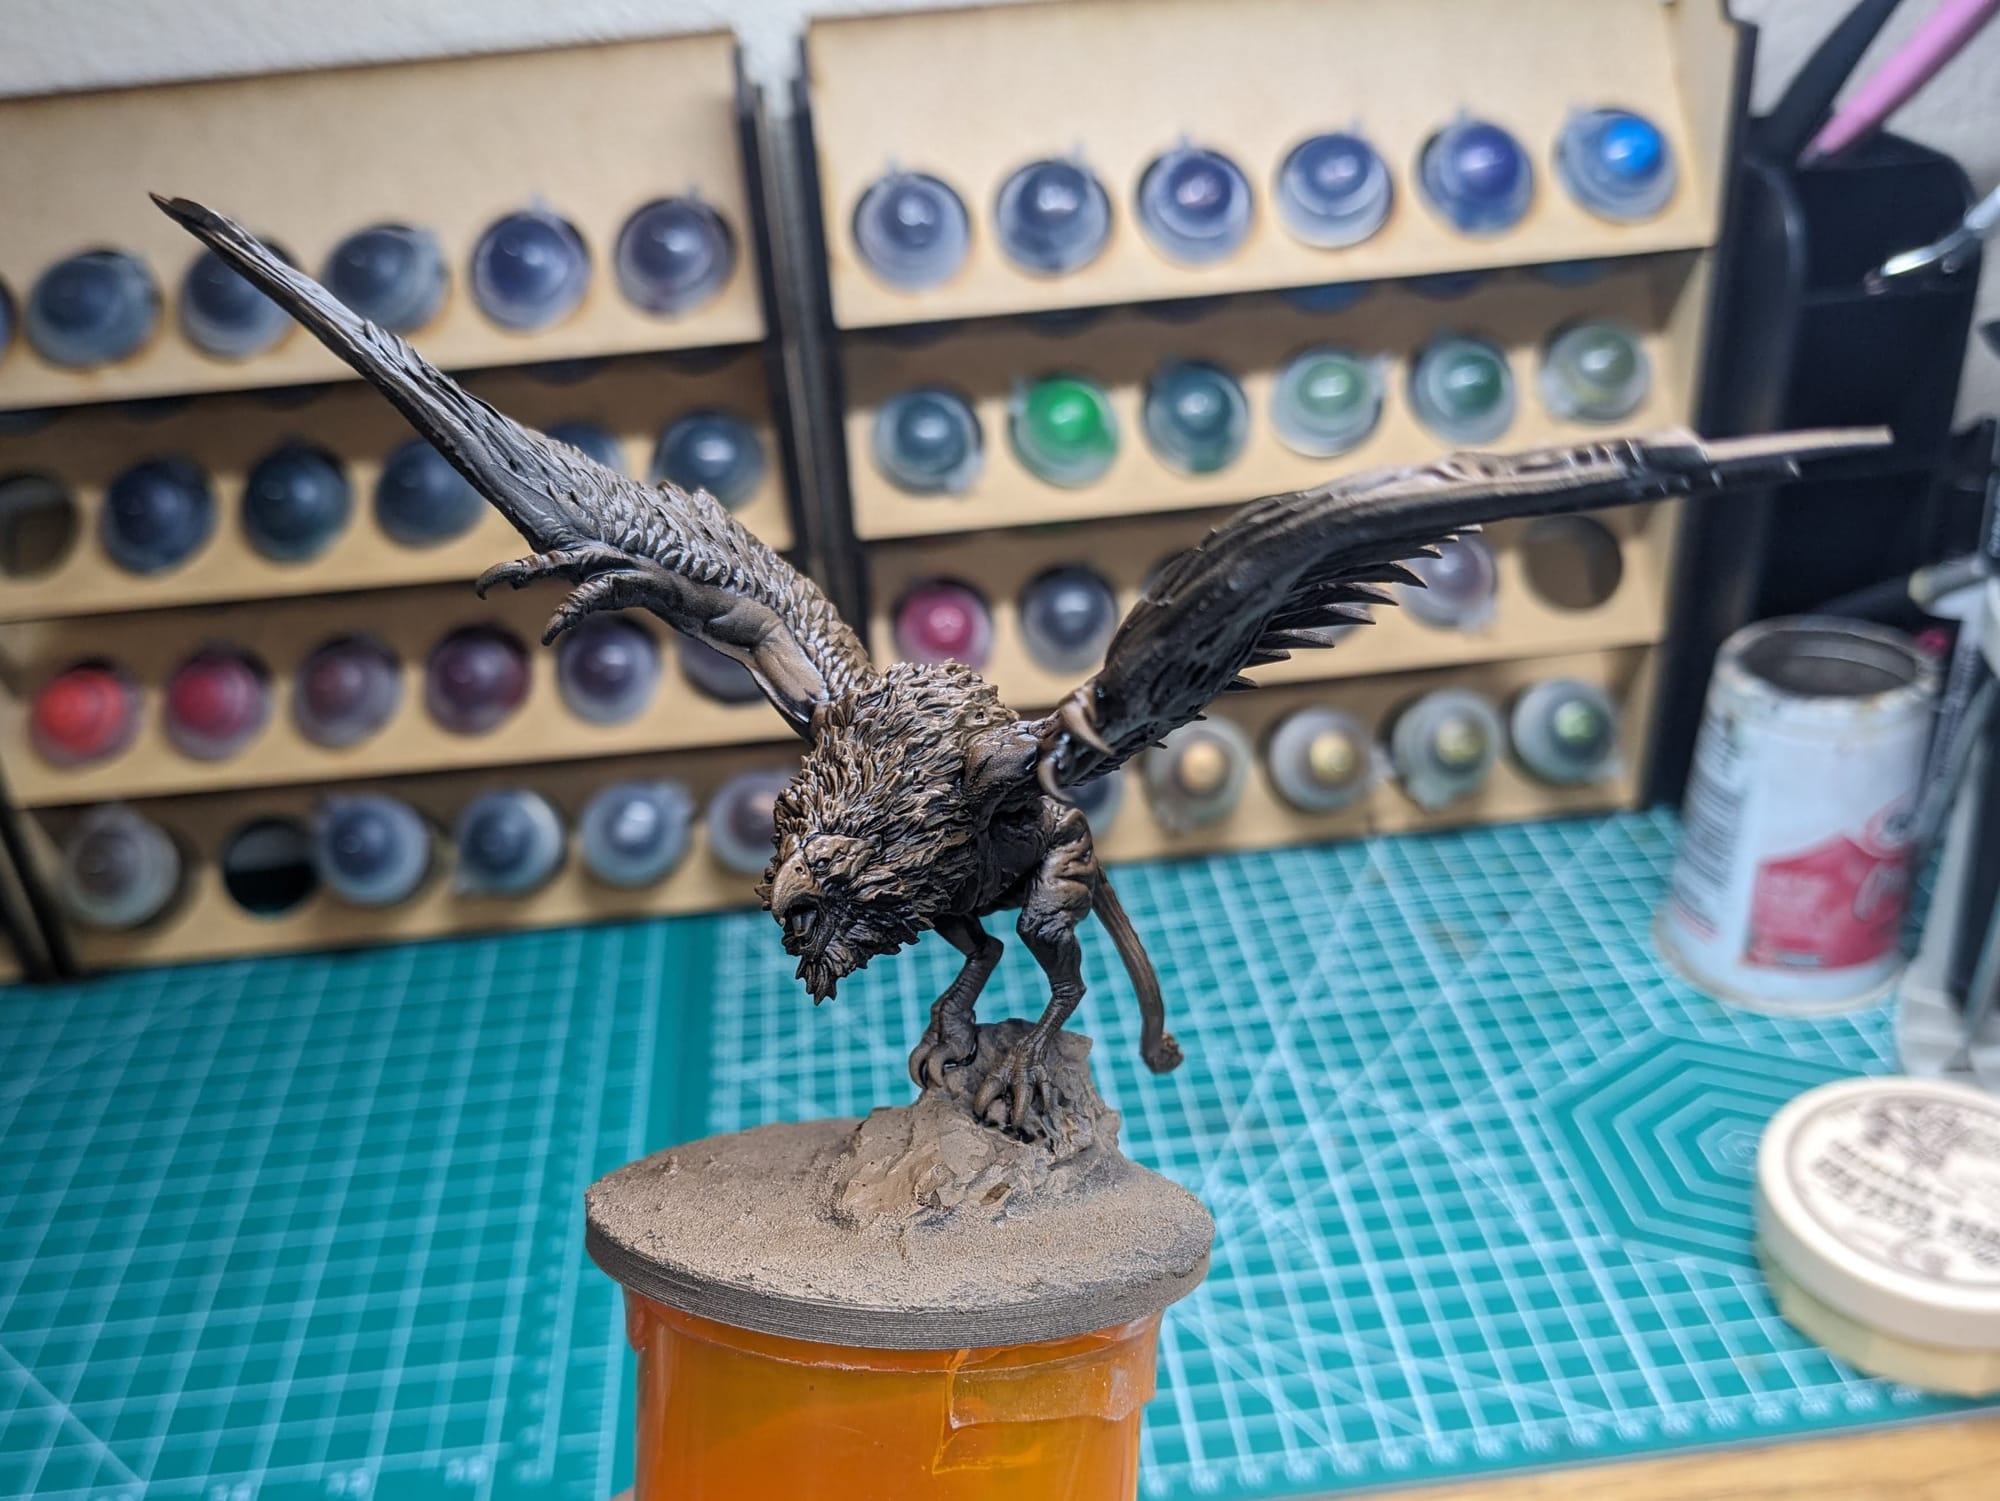
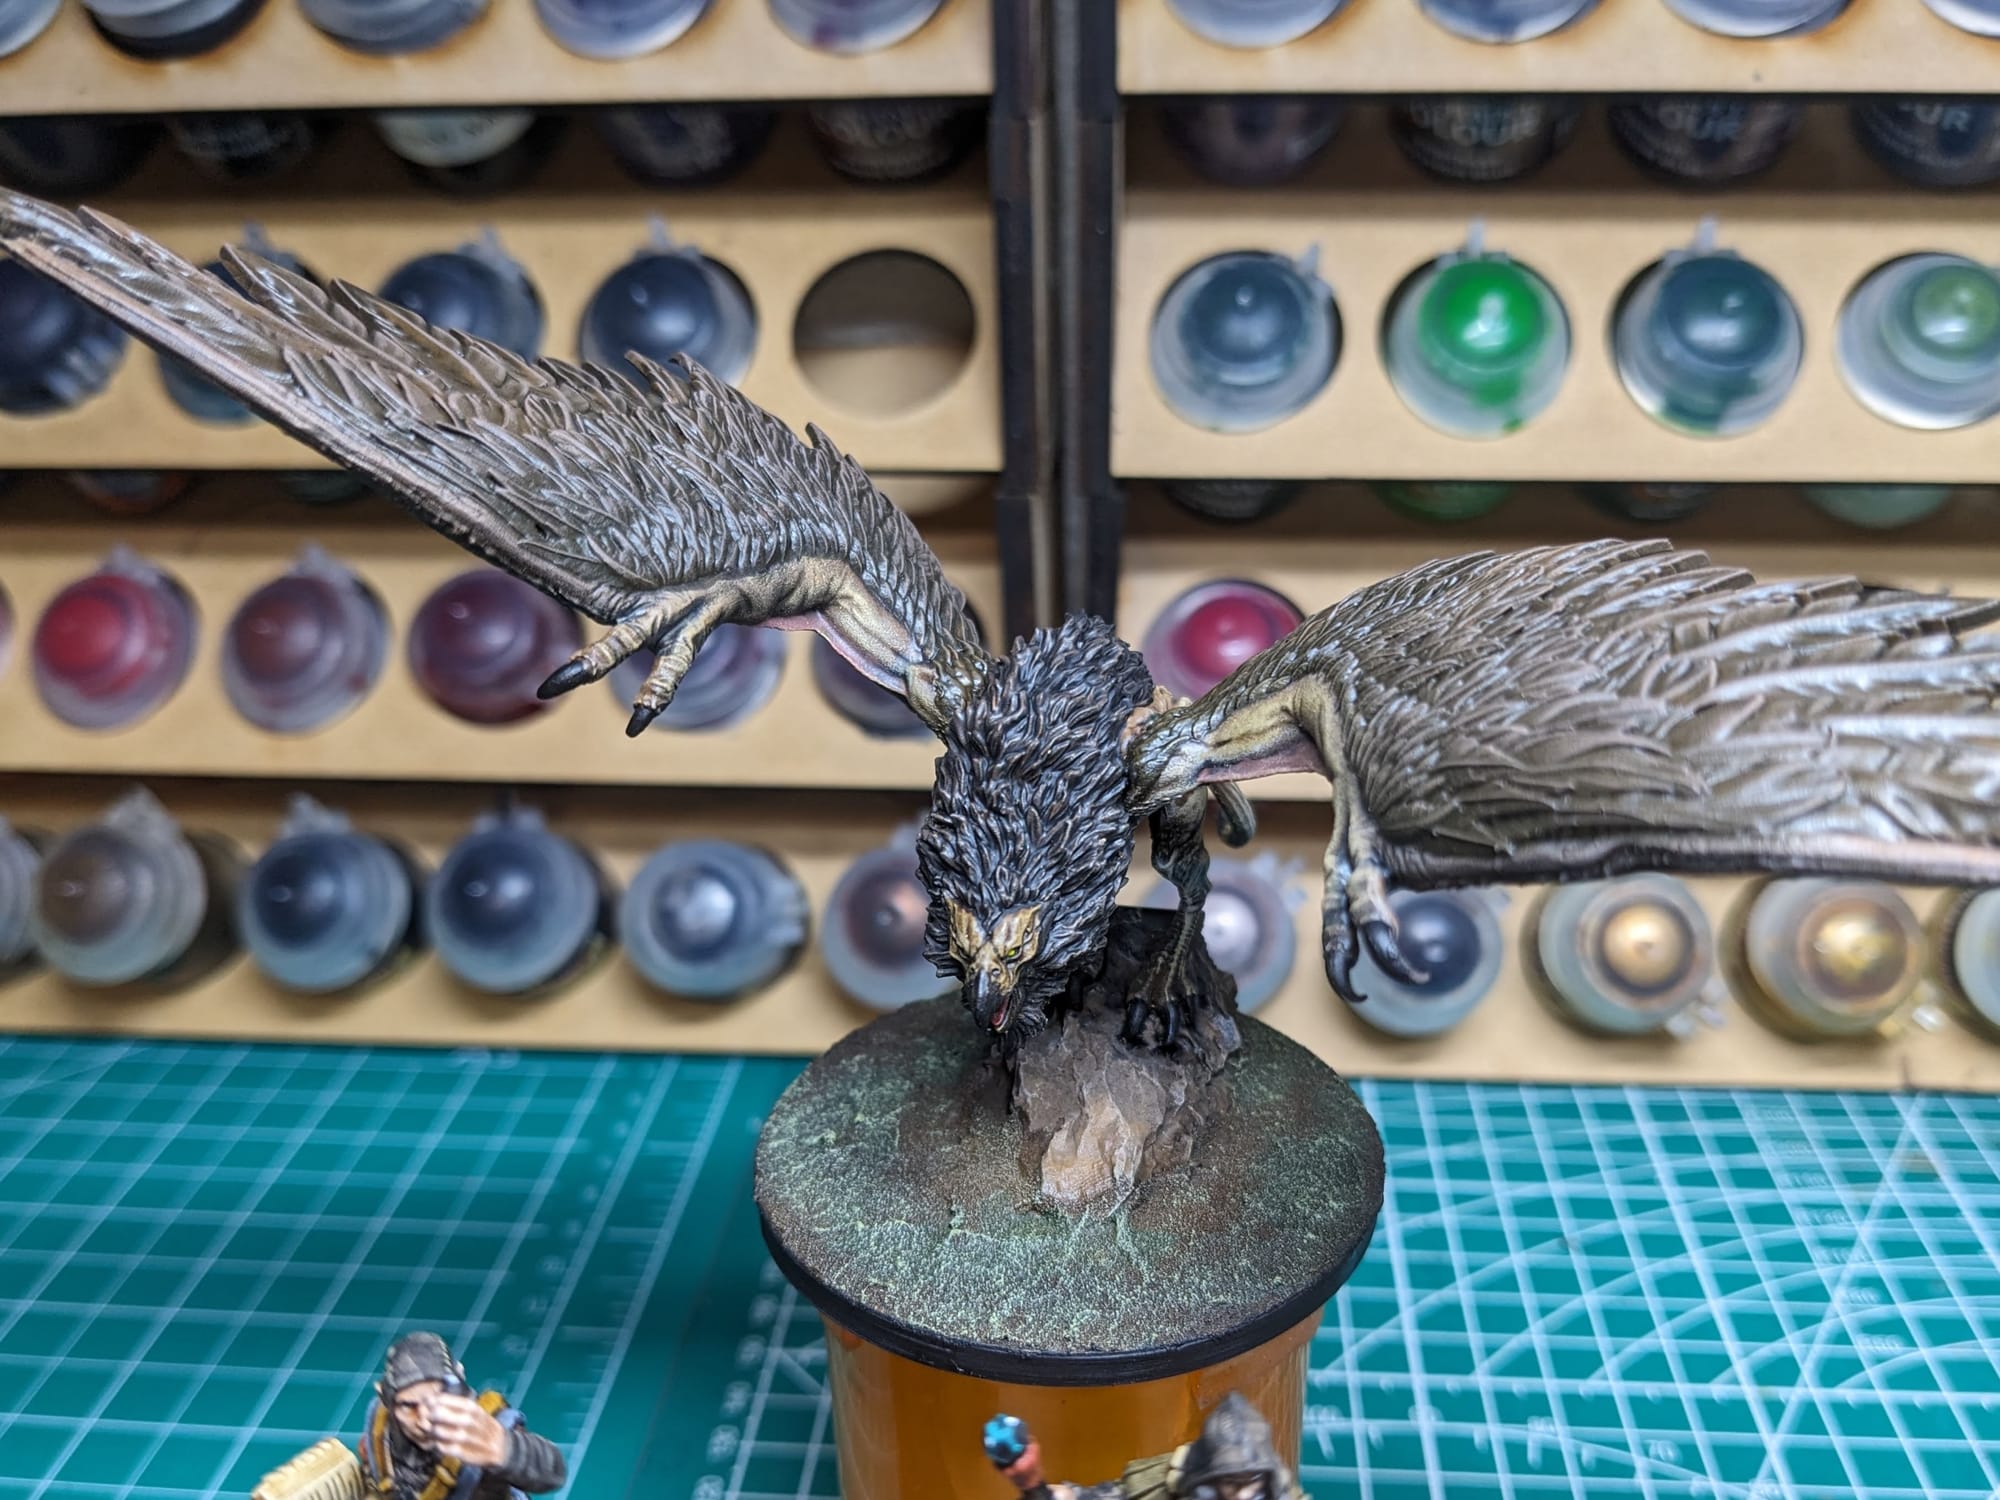
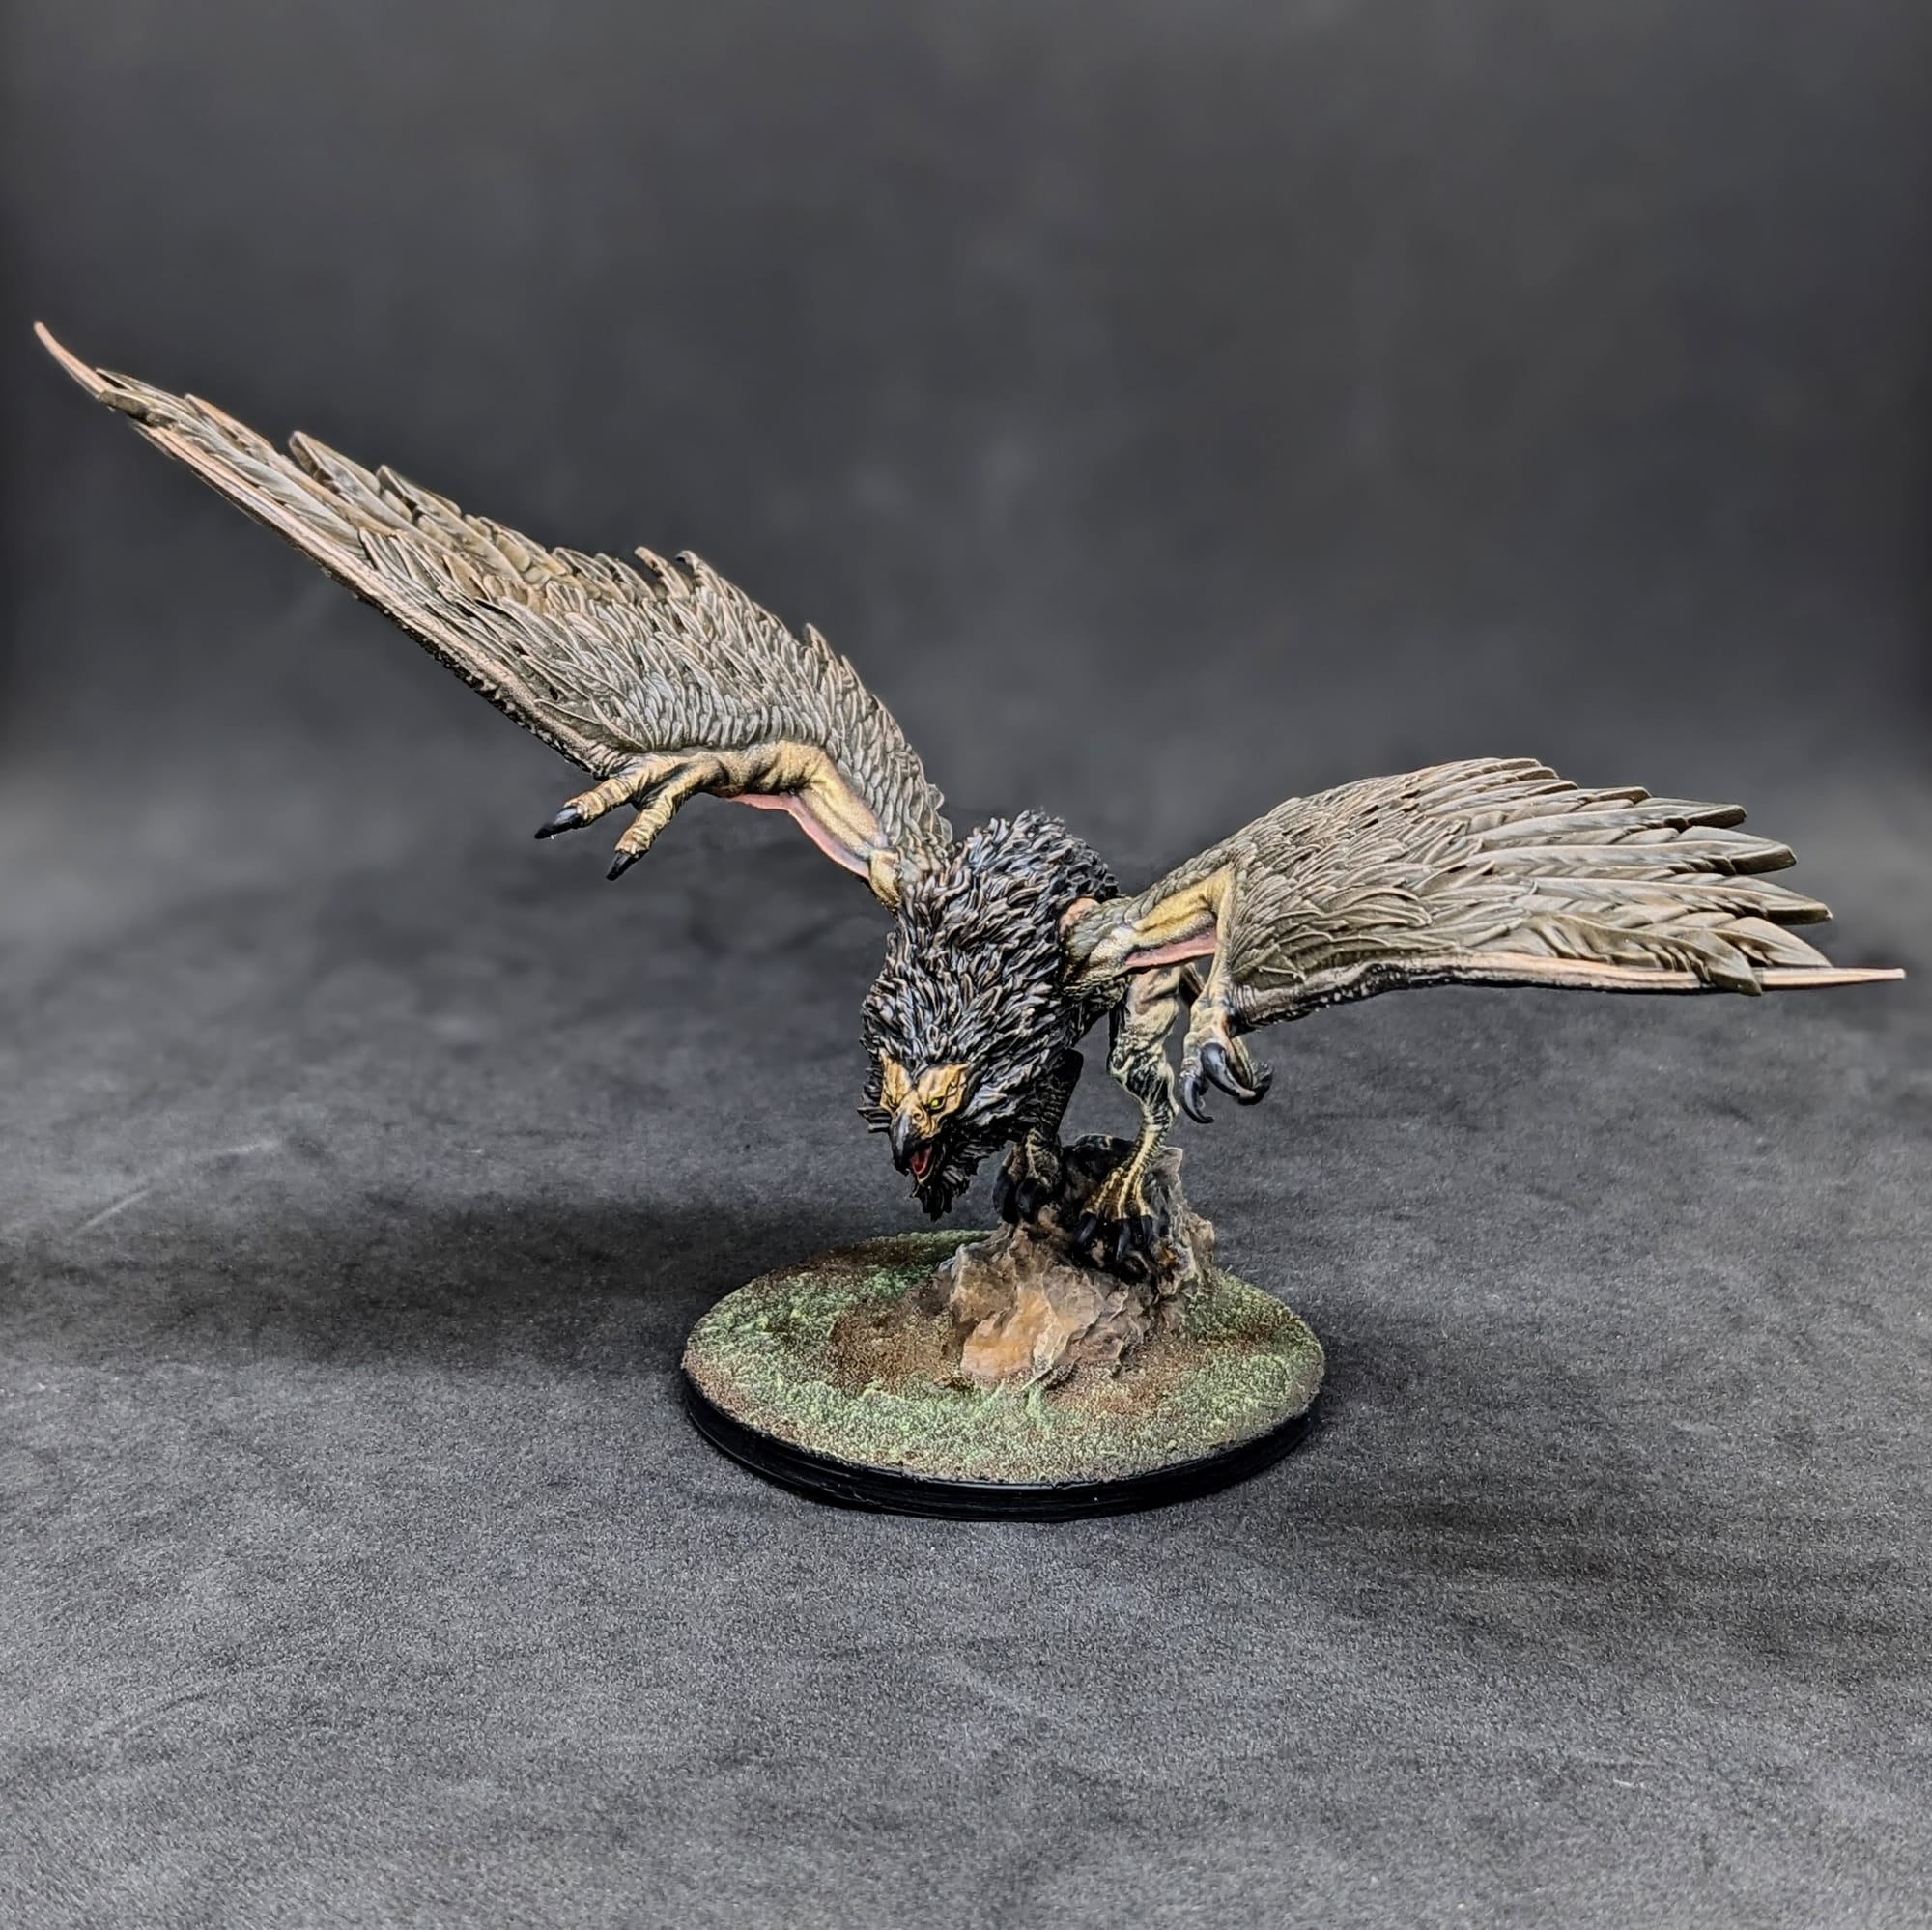
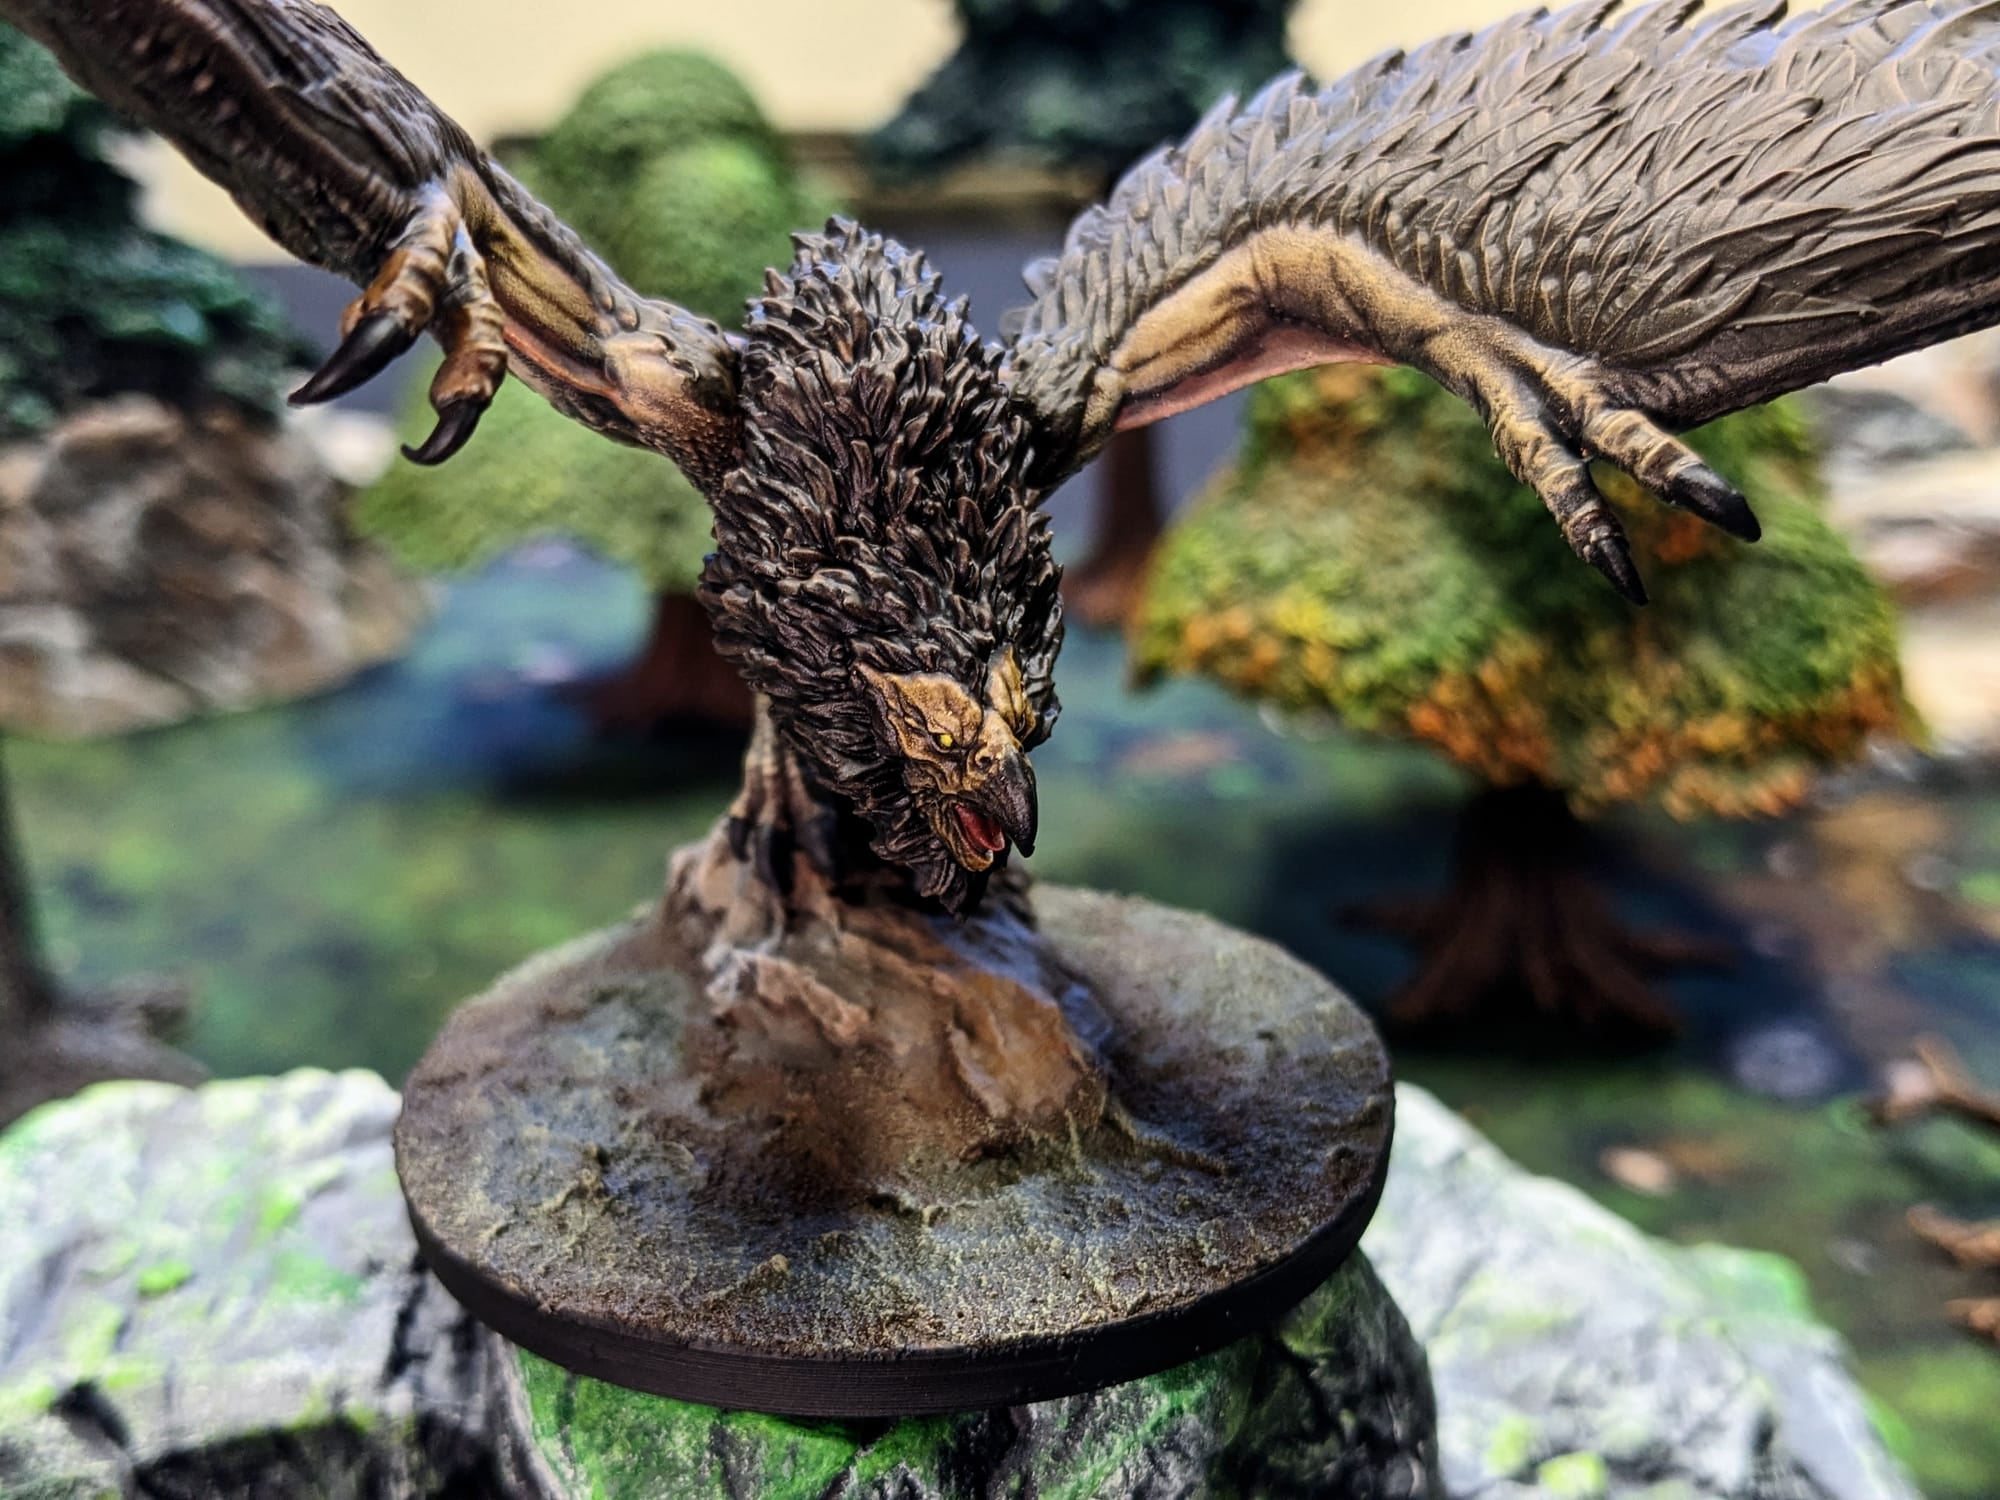
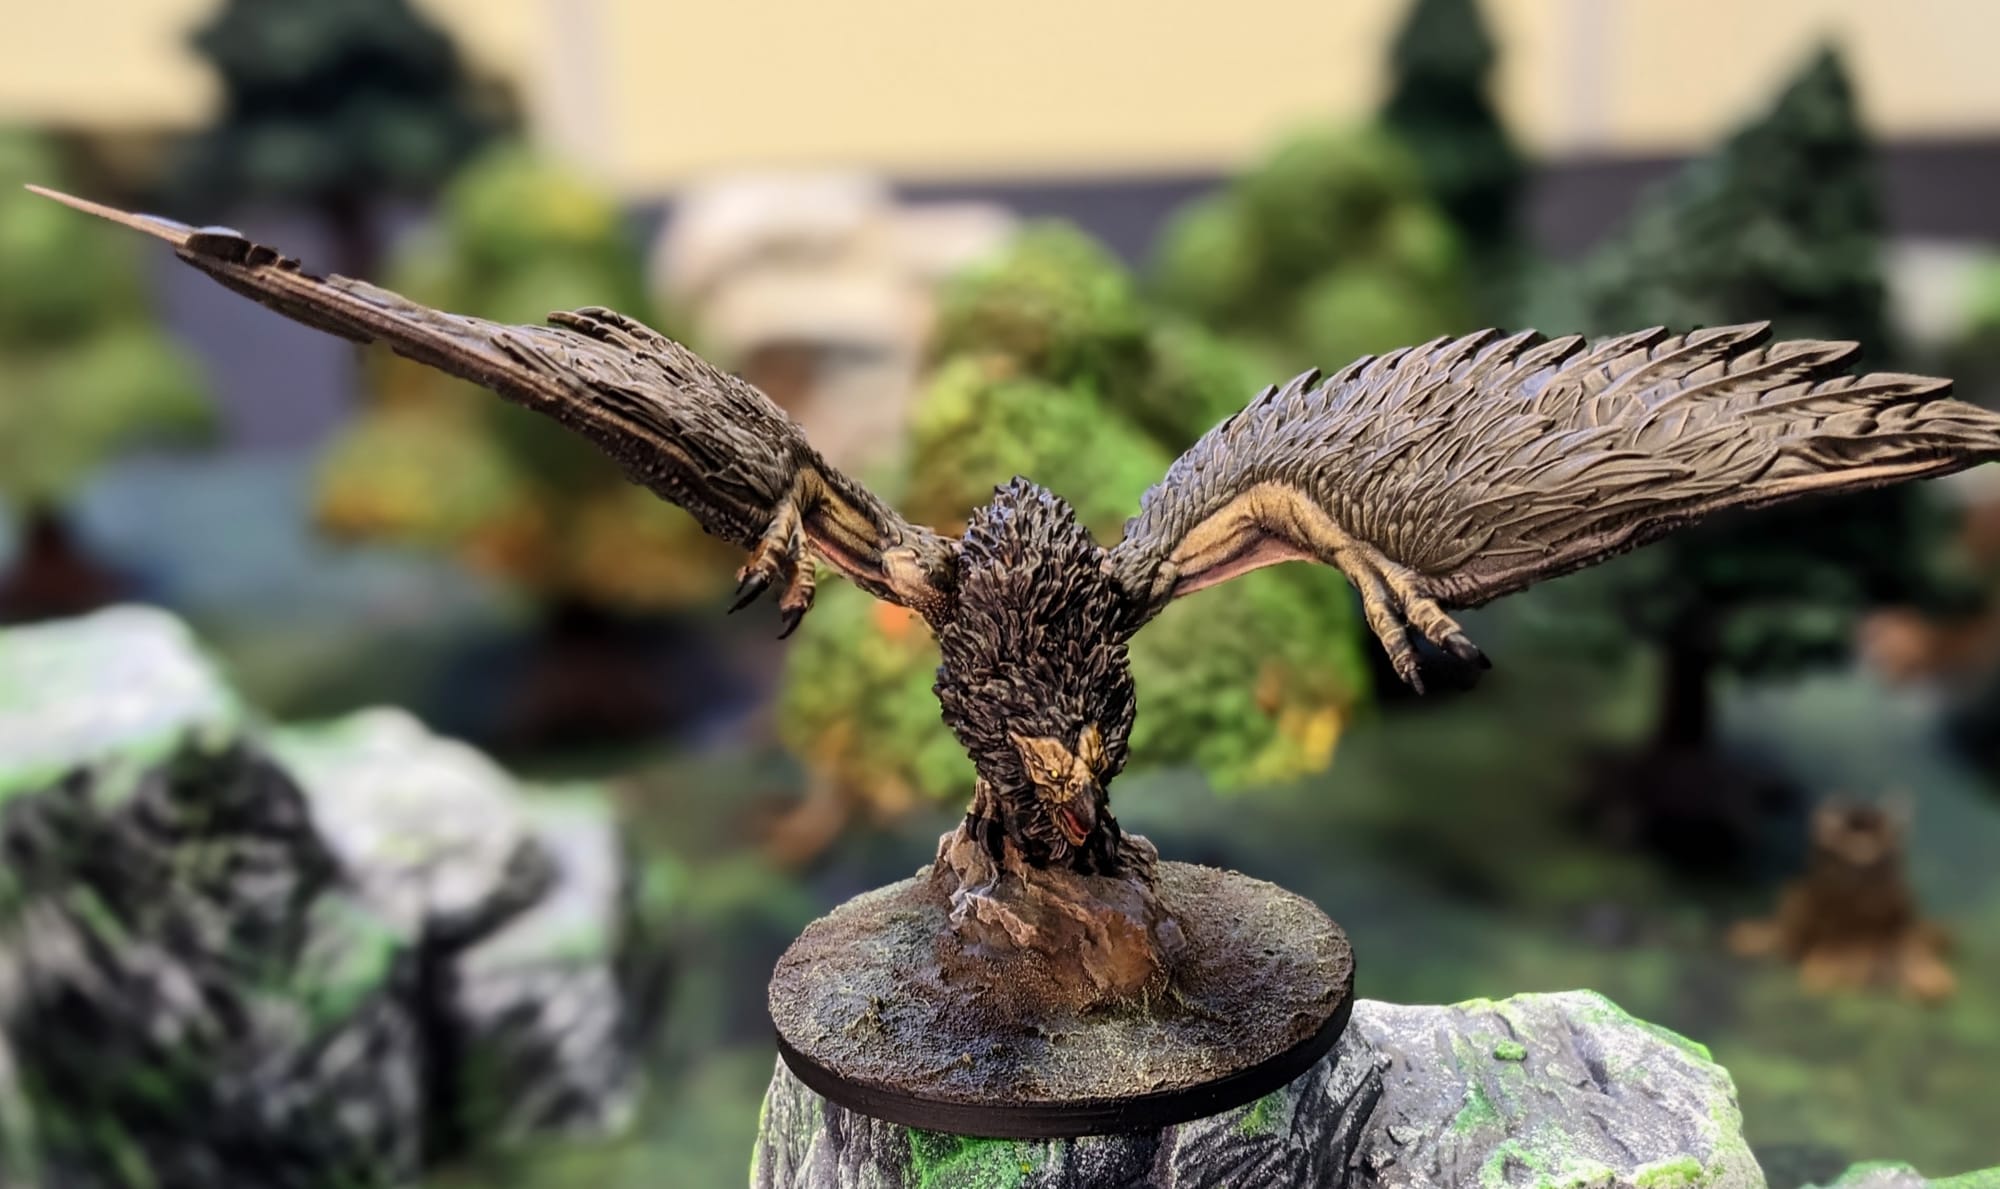
The griffin is multi-part, so I recommend gluing the wings on first, then attaching the legs, and then gluing the whole thing to the rock base. I added some Vallejo Earth FX sand Texture to the base to help blend the rock to the base and remove the gap.
Note: After it sat for a while, drying, the model began to droop. With the solid wings and top-heavy body, there’s a lot of weight shifting the center of mass forward. So, if this happens, you can use the boiling water technique, from the ‘How to Prepare Your Minis’ article, to straighten it out.
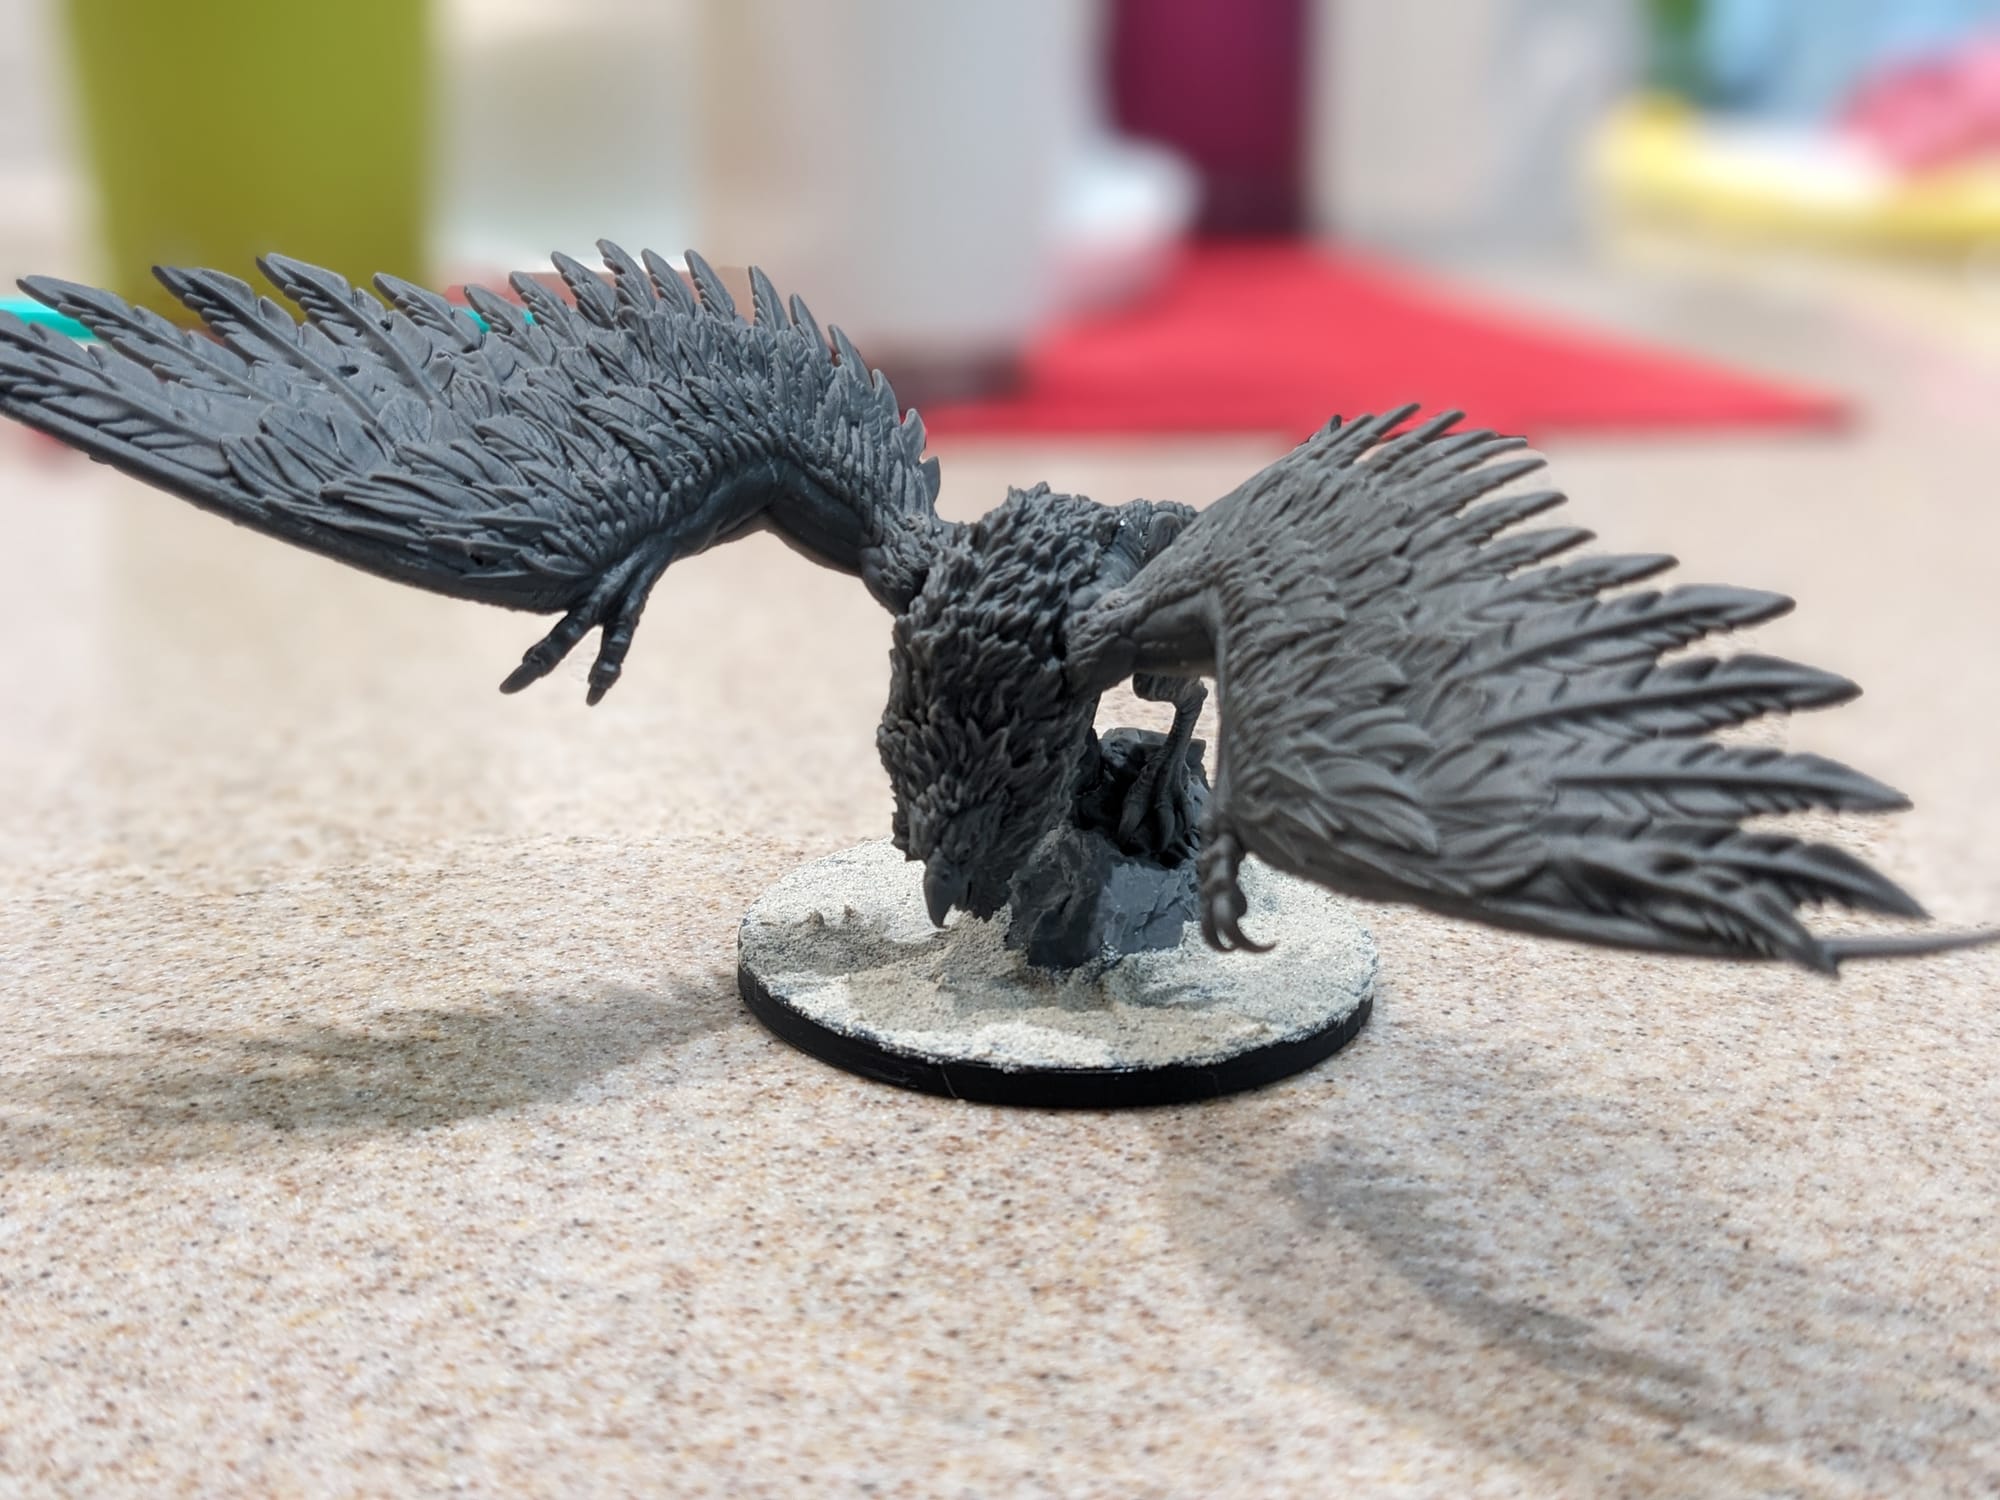
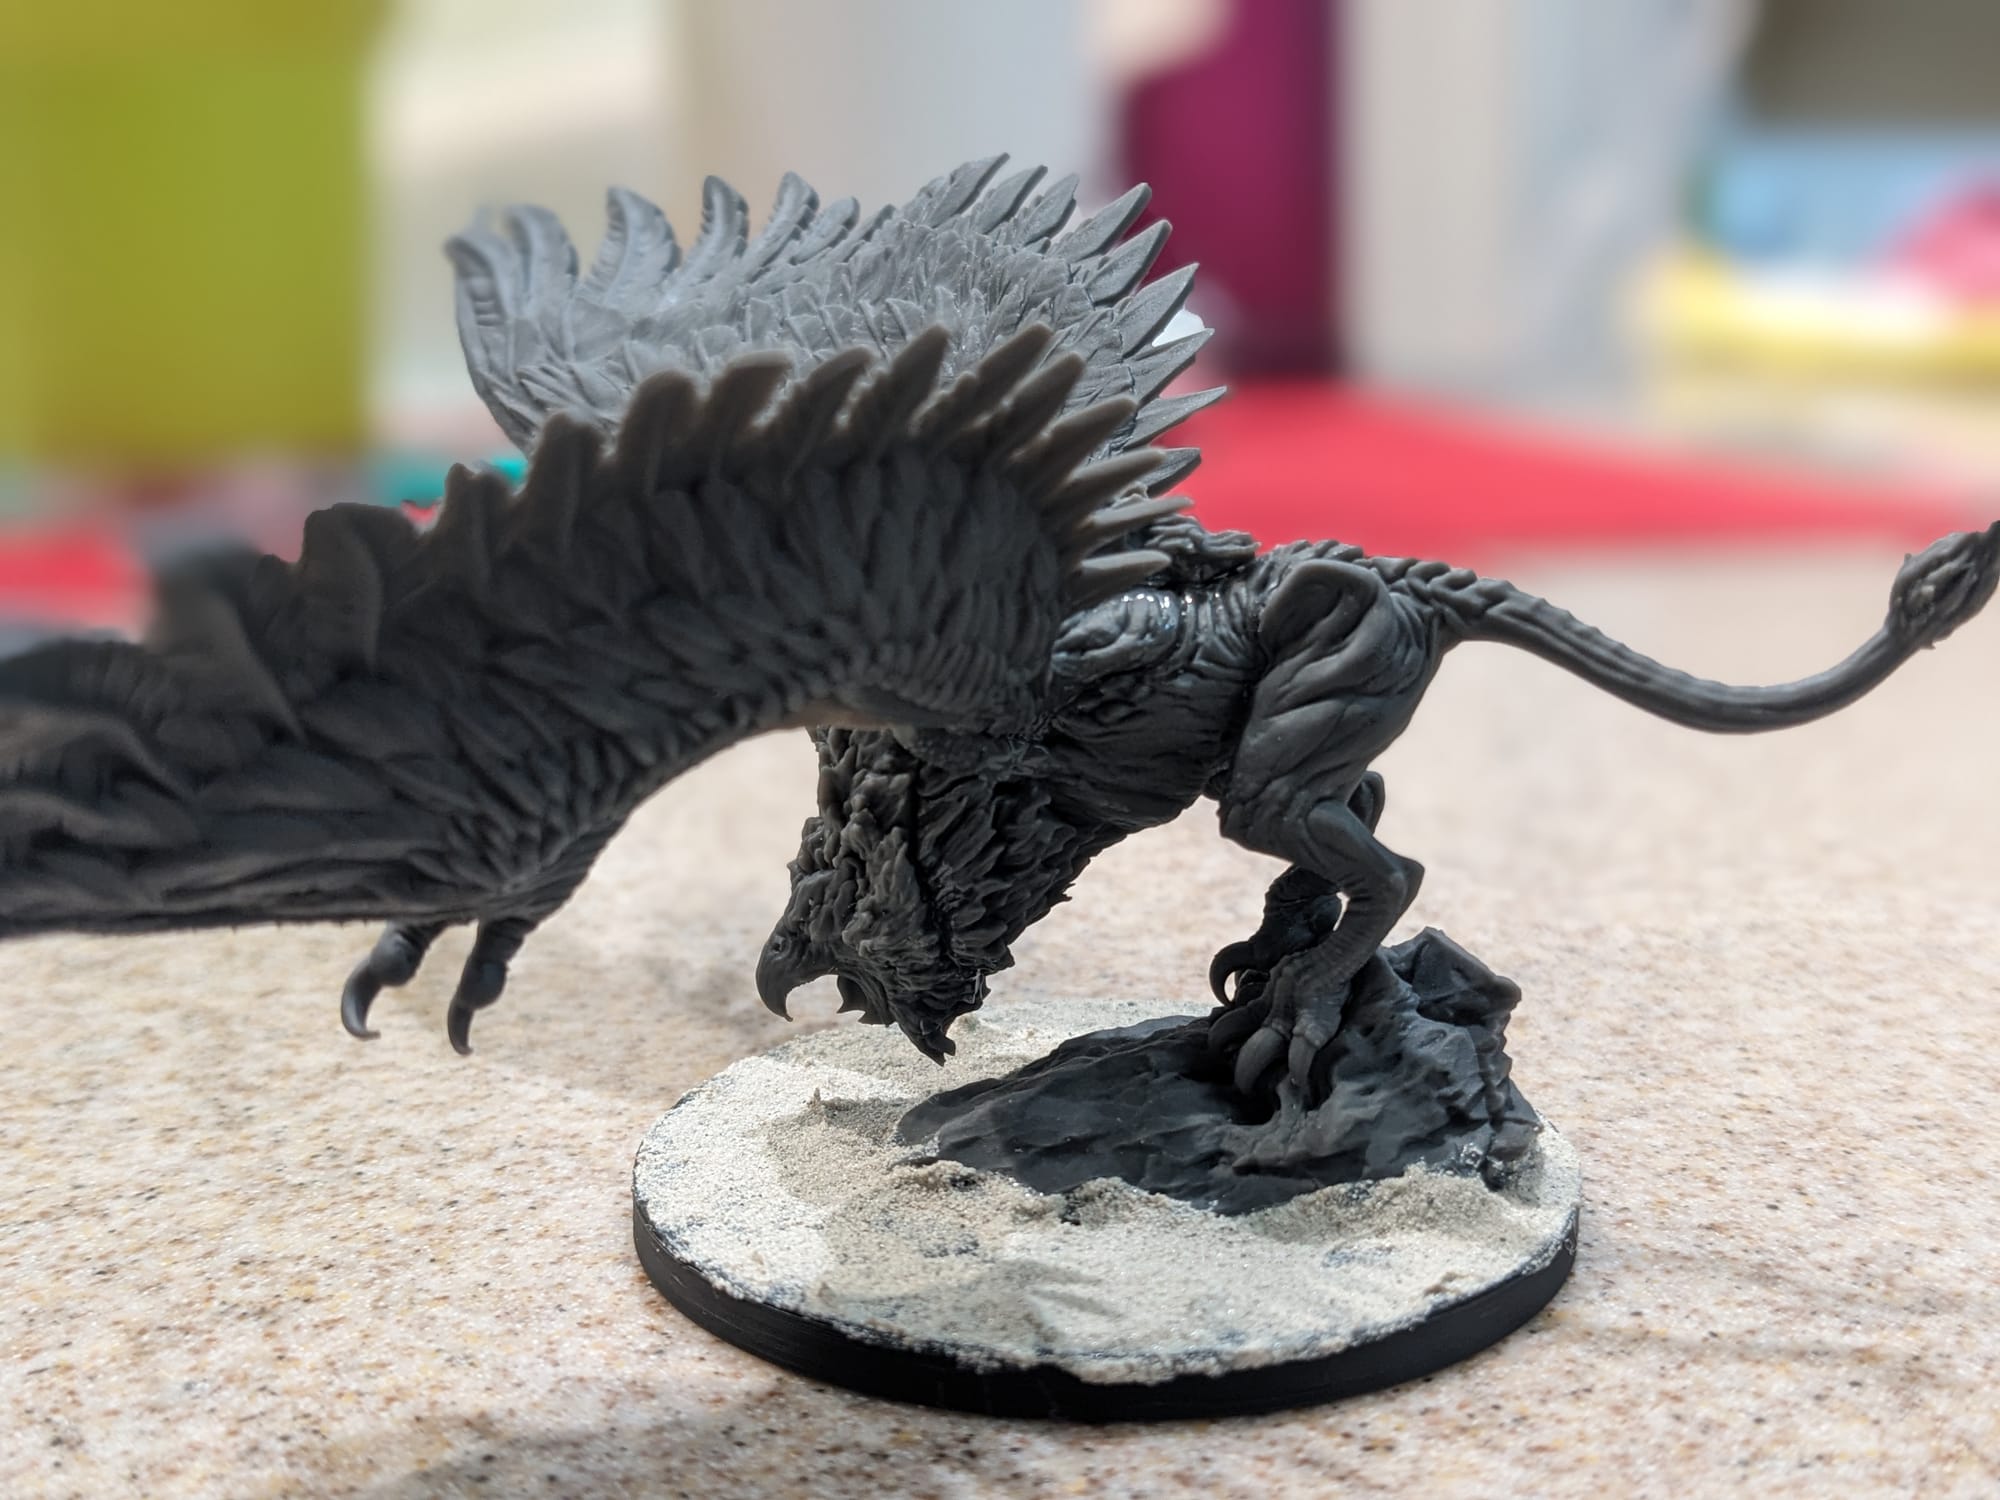
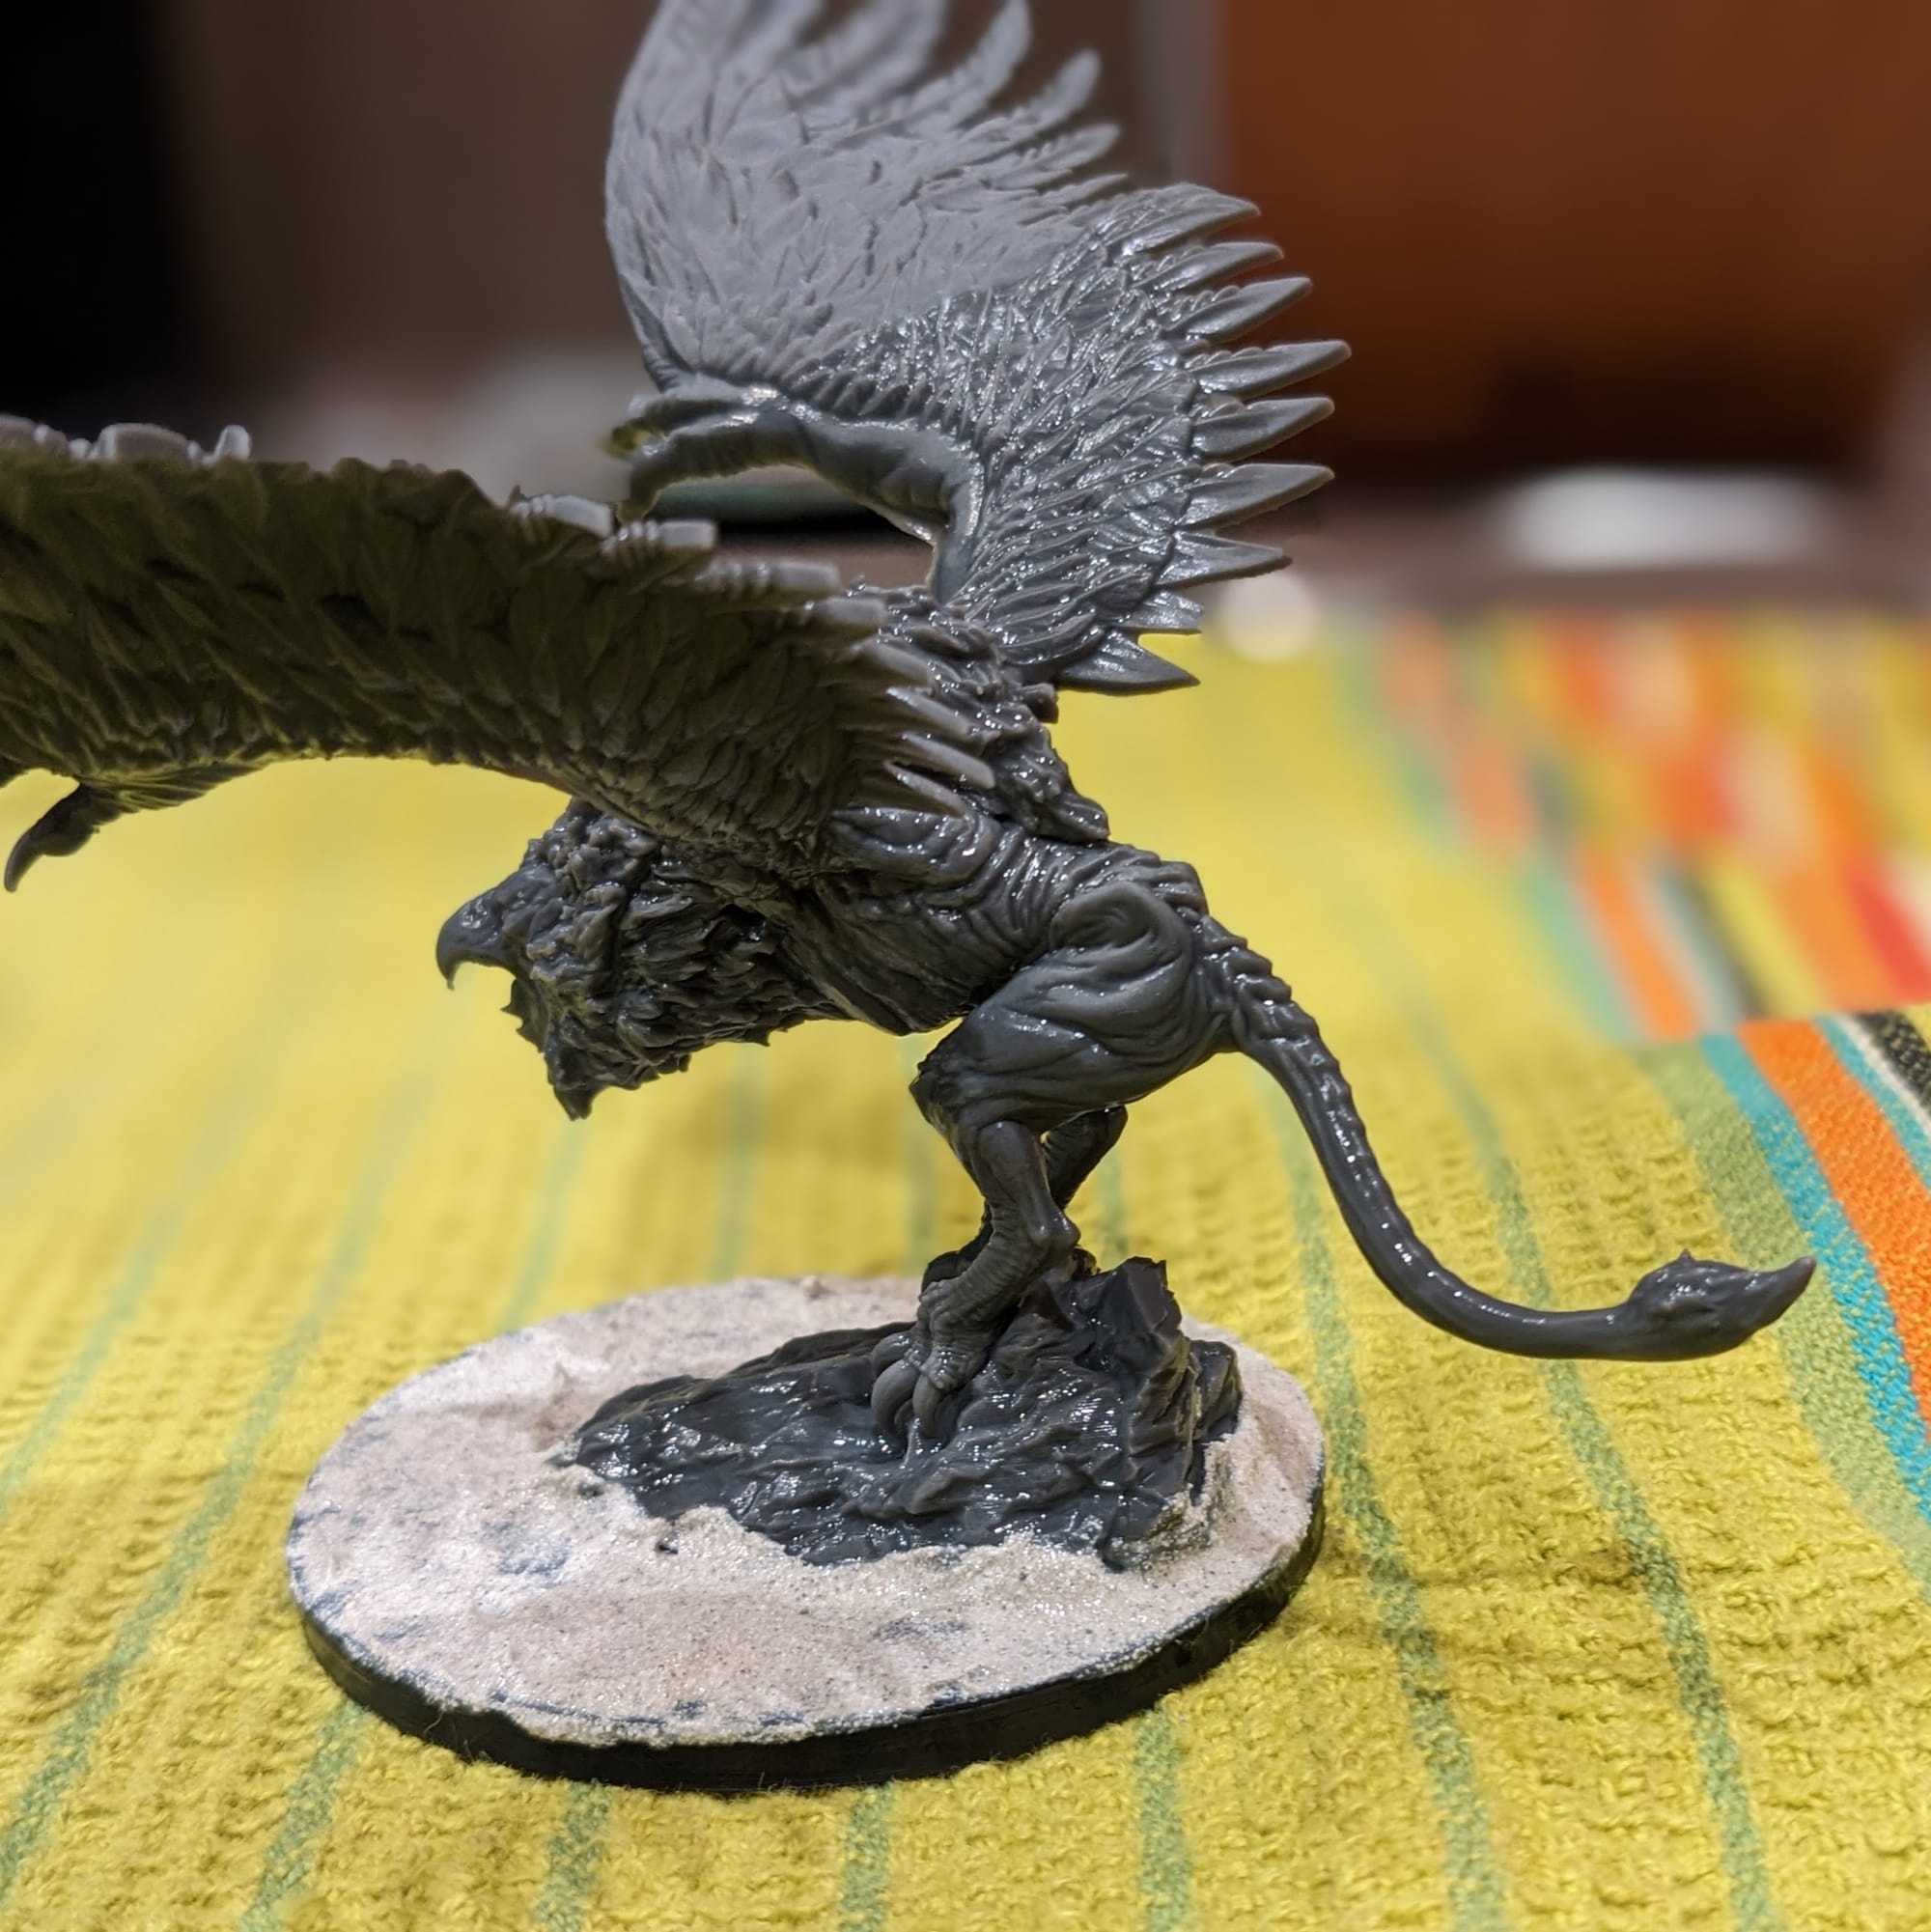
(left) The model's weight caused it to droop, but a quick 'boiling water technique' fixed it (right)
Before You Paint
The Paint Plan
Every miniature painting project I do, I start with a plan. Even before putting the primer and paint on a model, I find photo references of the paint schemes and details I am looking for. Most of the time, this means having a browser window up with different web pages and images next to my painting area, so I can quickly refer to them as I paint. From there, I choose what colors I am going to use (base colors, shades, layers, etc.) and what order I apply them in. That creates my paint plan! As I paint, I also write down what paints I use for each color in case I need to refer to them later.
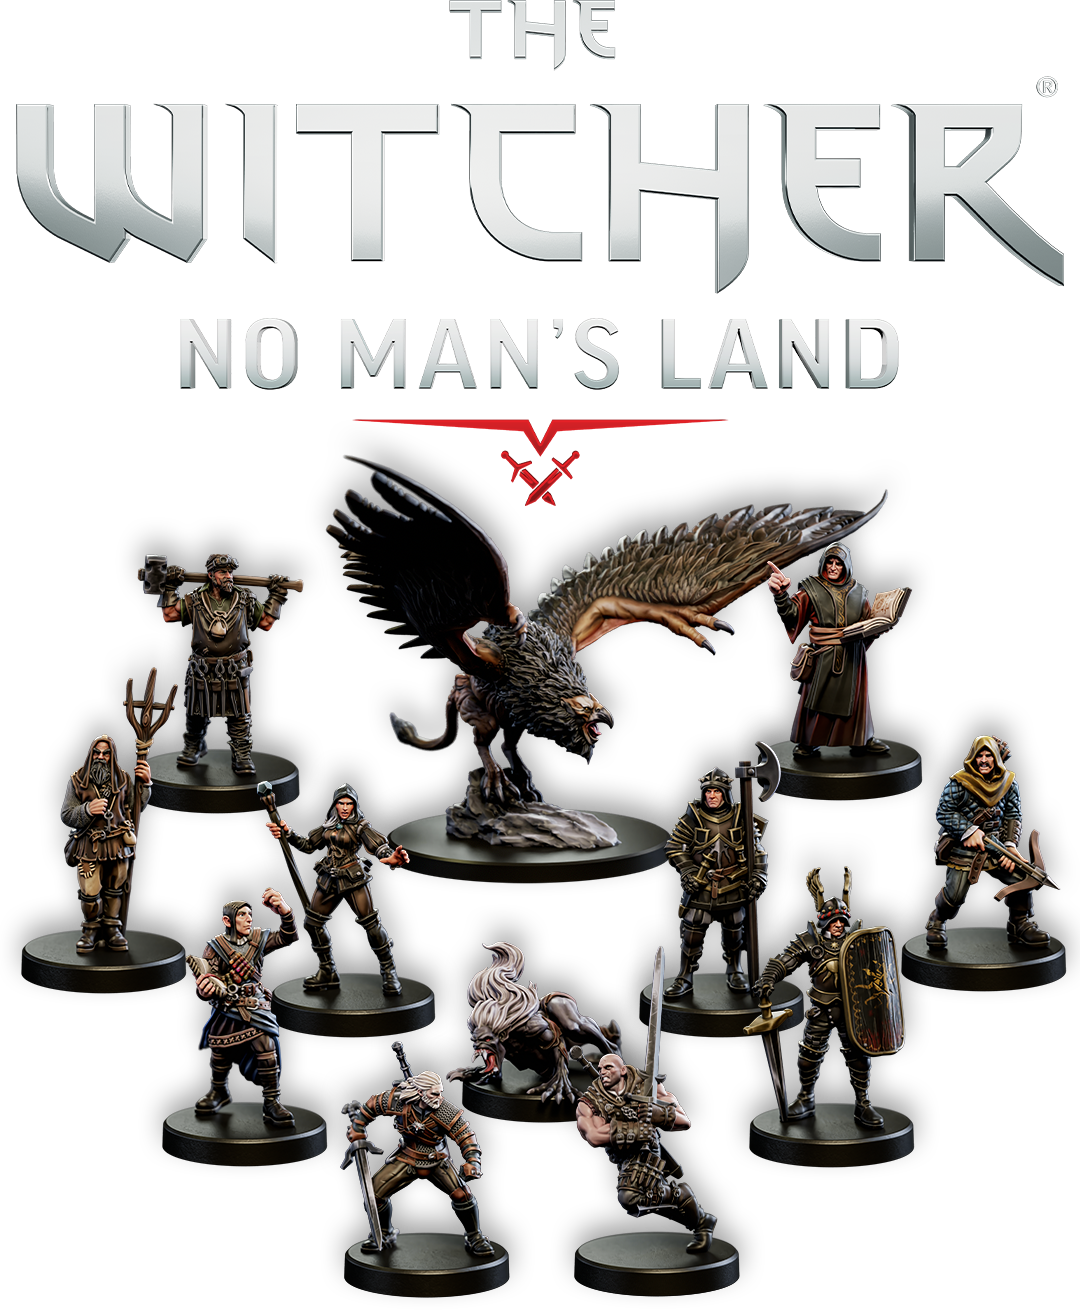
For these pieces, I wanted to stick strictly to the card/box art for the colors. Since I am using a variation of the Slapchop Method here (more on that later), I am also going to focus on using Citadel Contrast Paints and Army Painter Speedpaints to do most of the work, and then go back in to do detail work to paint eyes, gems, buckles, etc.
Remember that done is better than perfect!
Priming
In general terms, getting the majority of a color for a model applied via a rattle can or airbrush saves a lot of time. Typically, I prime all of the figures with a Zenithal Prime technique, using two primer cans or sprays to create contrast using the model’s sculpt.
 Stig Christensen
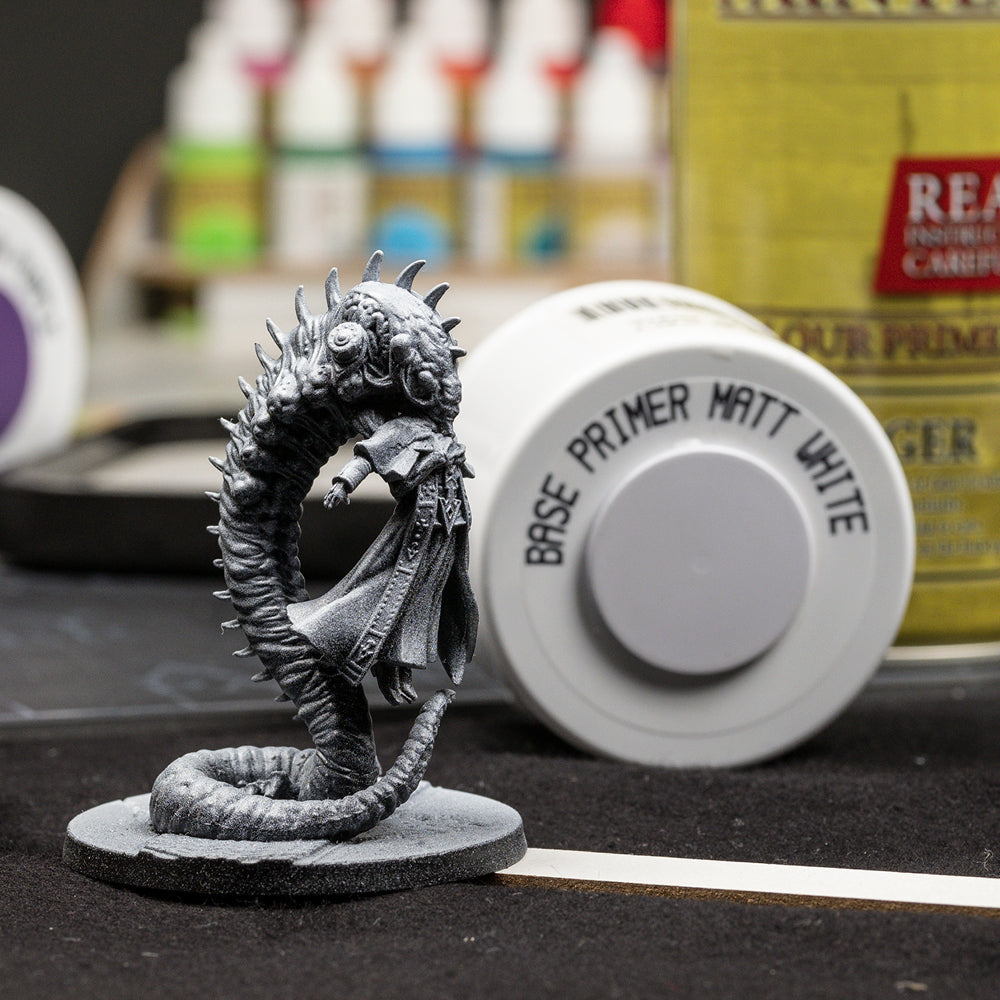
For these miniatures, I used Rust-Oleum Flat Black Primer and Army Painter Matt White for the figures. For the griffin, I used Rust-Oleum Flat Black Primer and Army Painter Leather Brown.
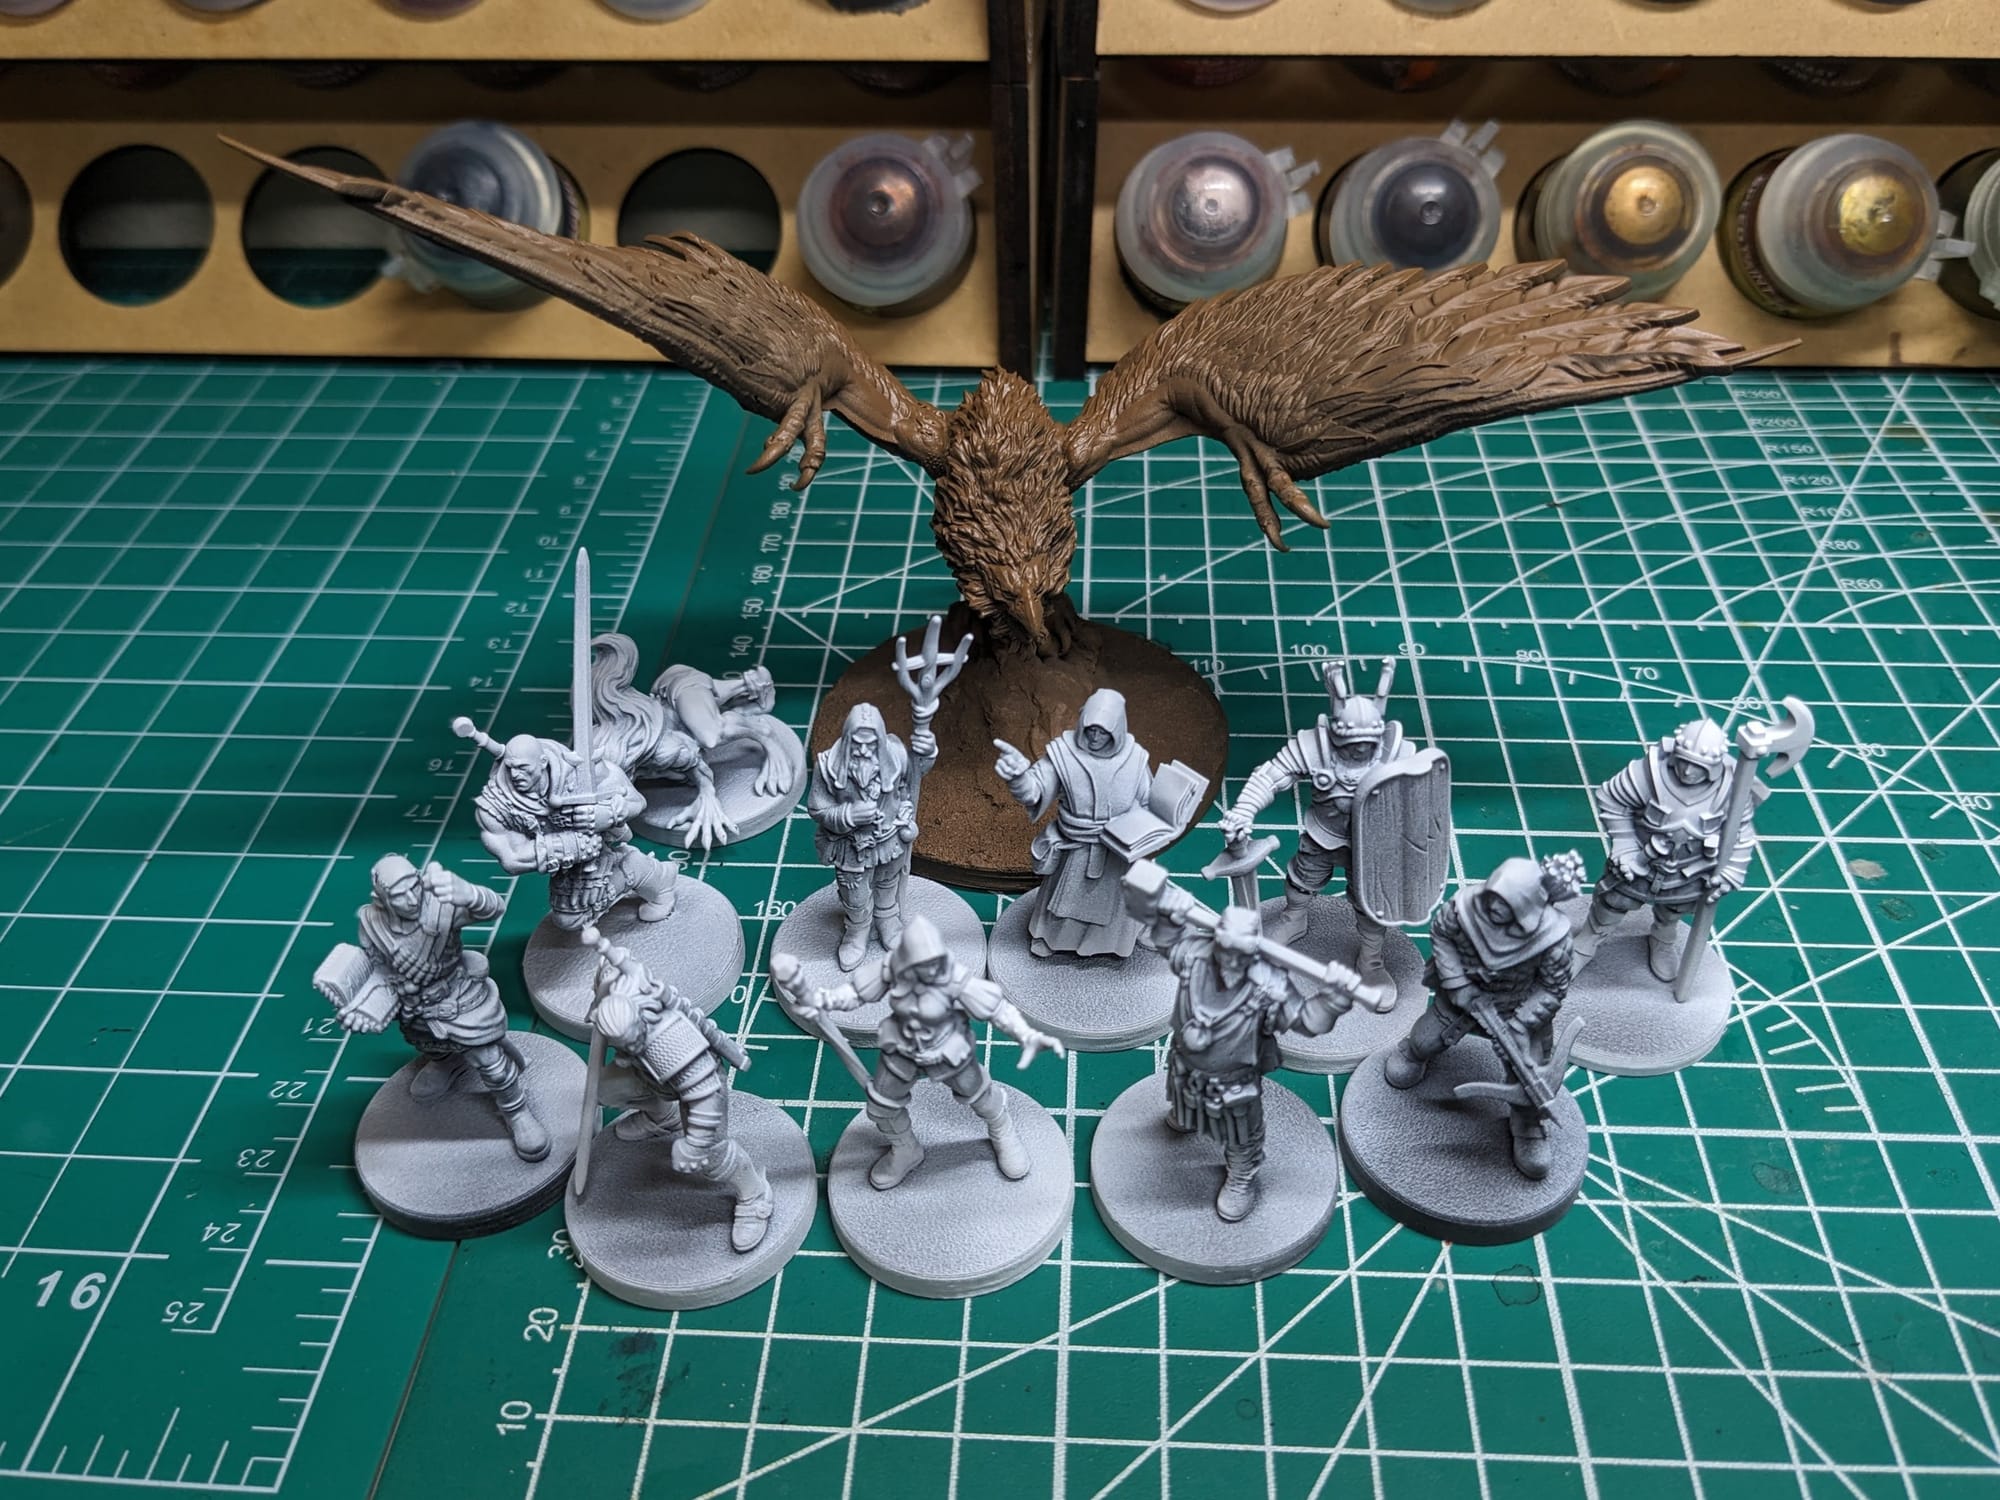
Step-by-Step Painting The Witcher: No Man’s Land Miniatures
Slapchop Method
For these pieces, I chose to take a variation of the “slapchop” approach for them. Slapchop is a painting method where you accent the details of the models by dry-brushing shades of gray and white over a darker base coat. Then, using speed paints, contrast paints, and/or washes, you paint a single coat over the top of the model, creating shadows, mid-tones, and highlights in a single pass. This would be akin to using Multiply or Screen layers in Photoshop to establish color values on a gray underlayer. This is a very fast and efficient way to paint a lot of models that you don’t want to put a lot of detail into, and instead rely on the mold of the model to provide enough detail and contrast to make it stand out on the table.
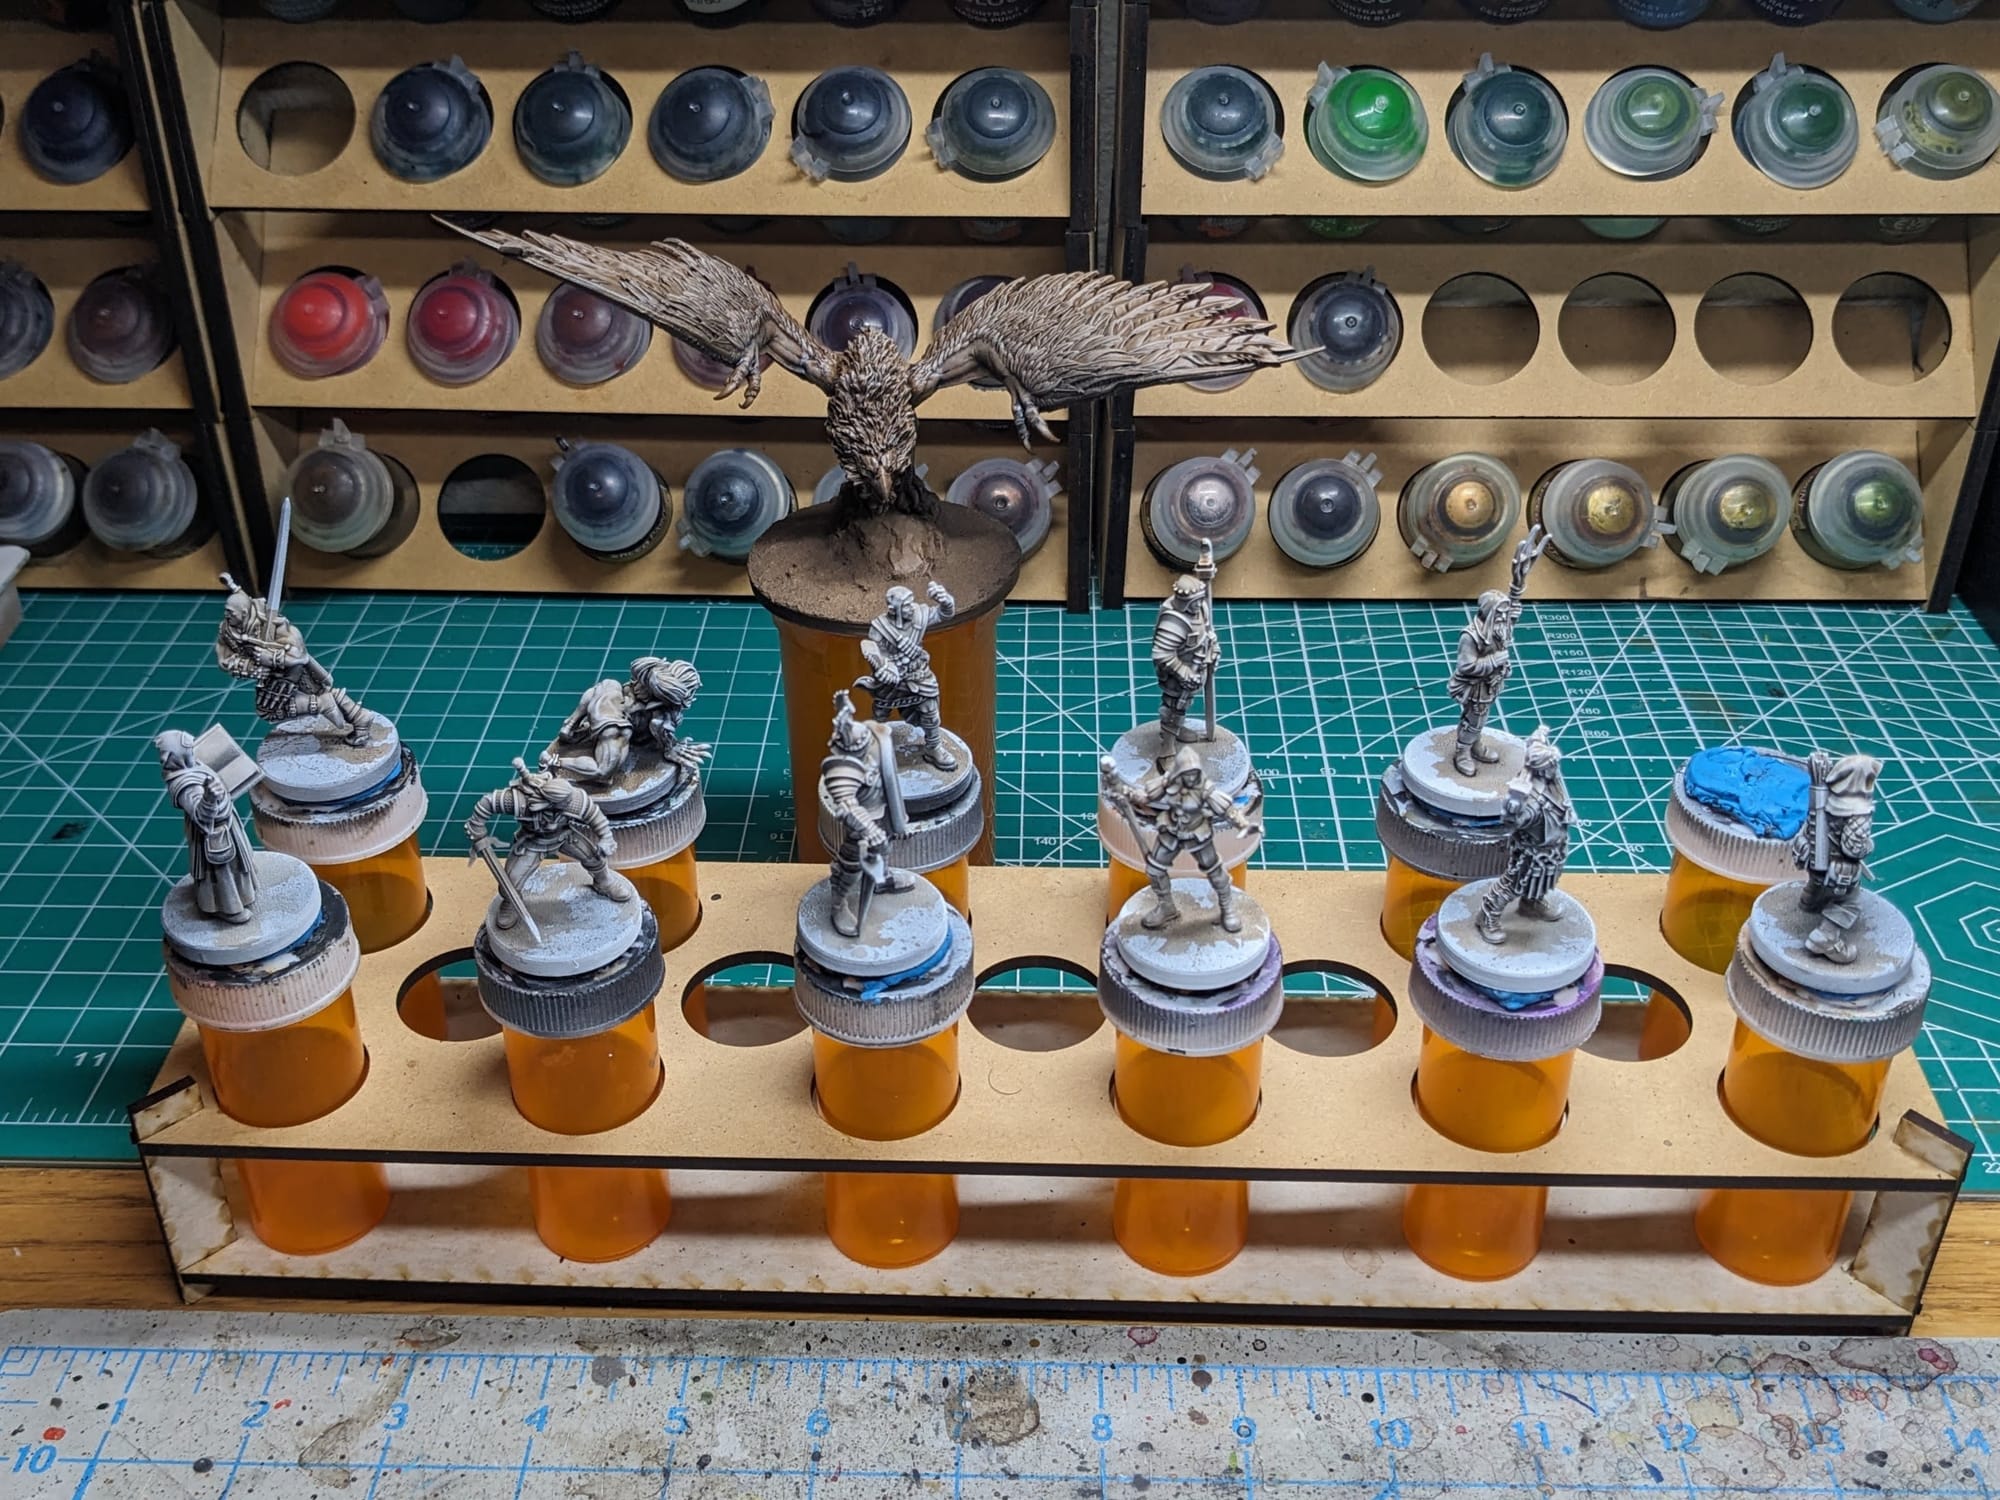
With the primer dried, I start with the modified Slapchop method. First, I go over each model with Army Painter Dark or Strong Tone Shade/Wash (Citadel Nuln Oil or Agrax Earthshade also work). I brush off and down any excess that pools on top of the head, shoulders, or top parts. Once that has dried, I then lightly drybrush a light gray or white over the model to accent the sculpt, such as the face, clothing folds, chainmail, and other details.
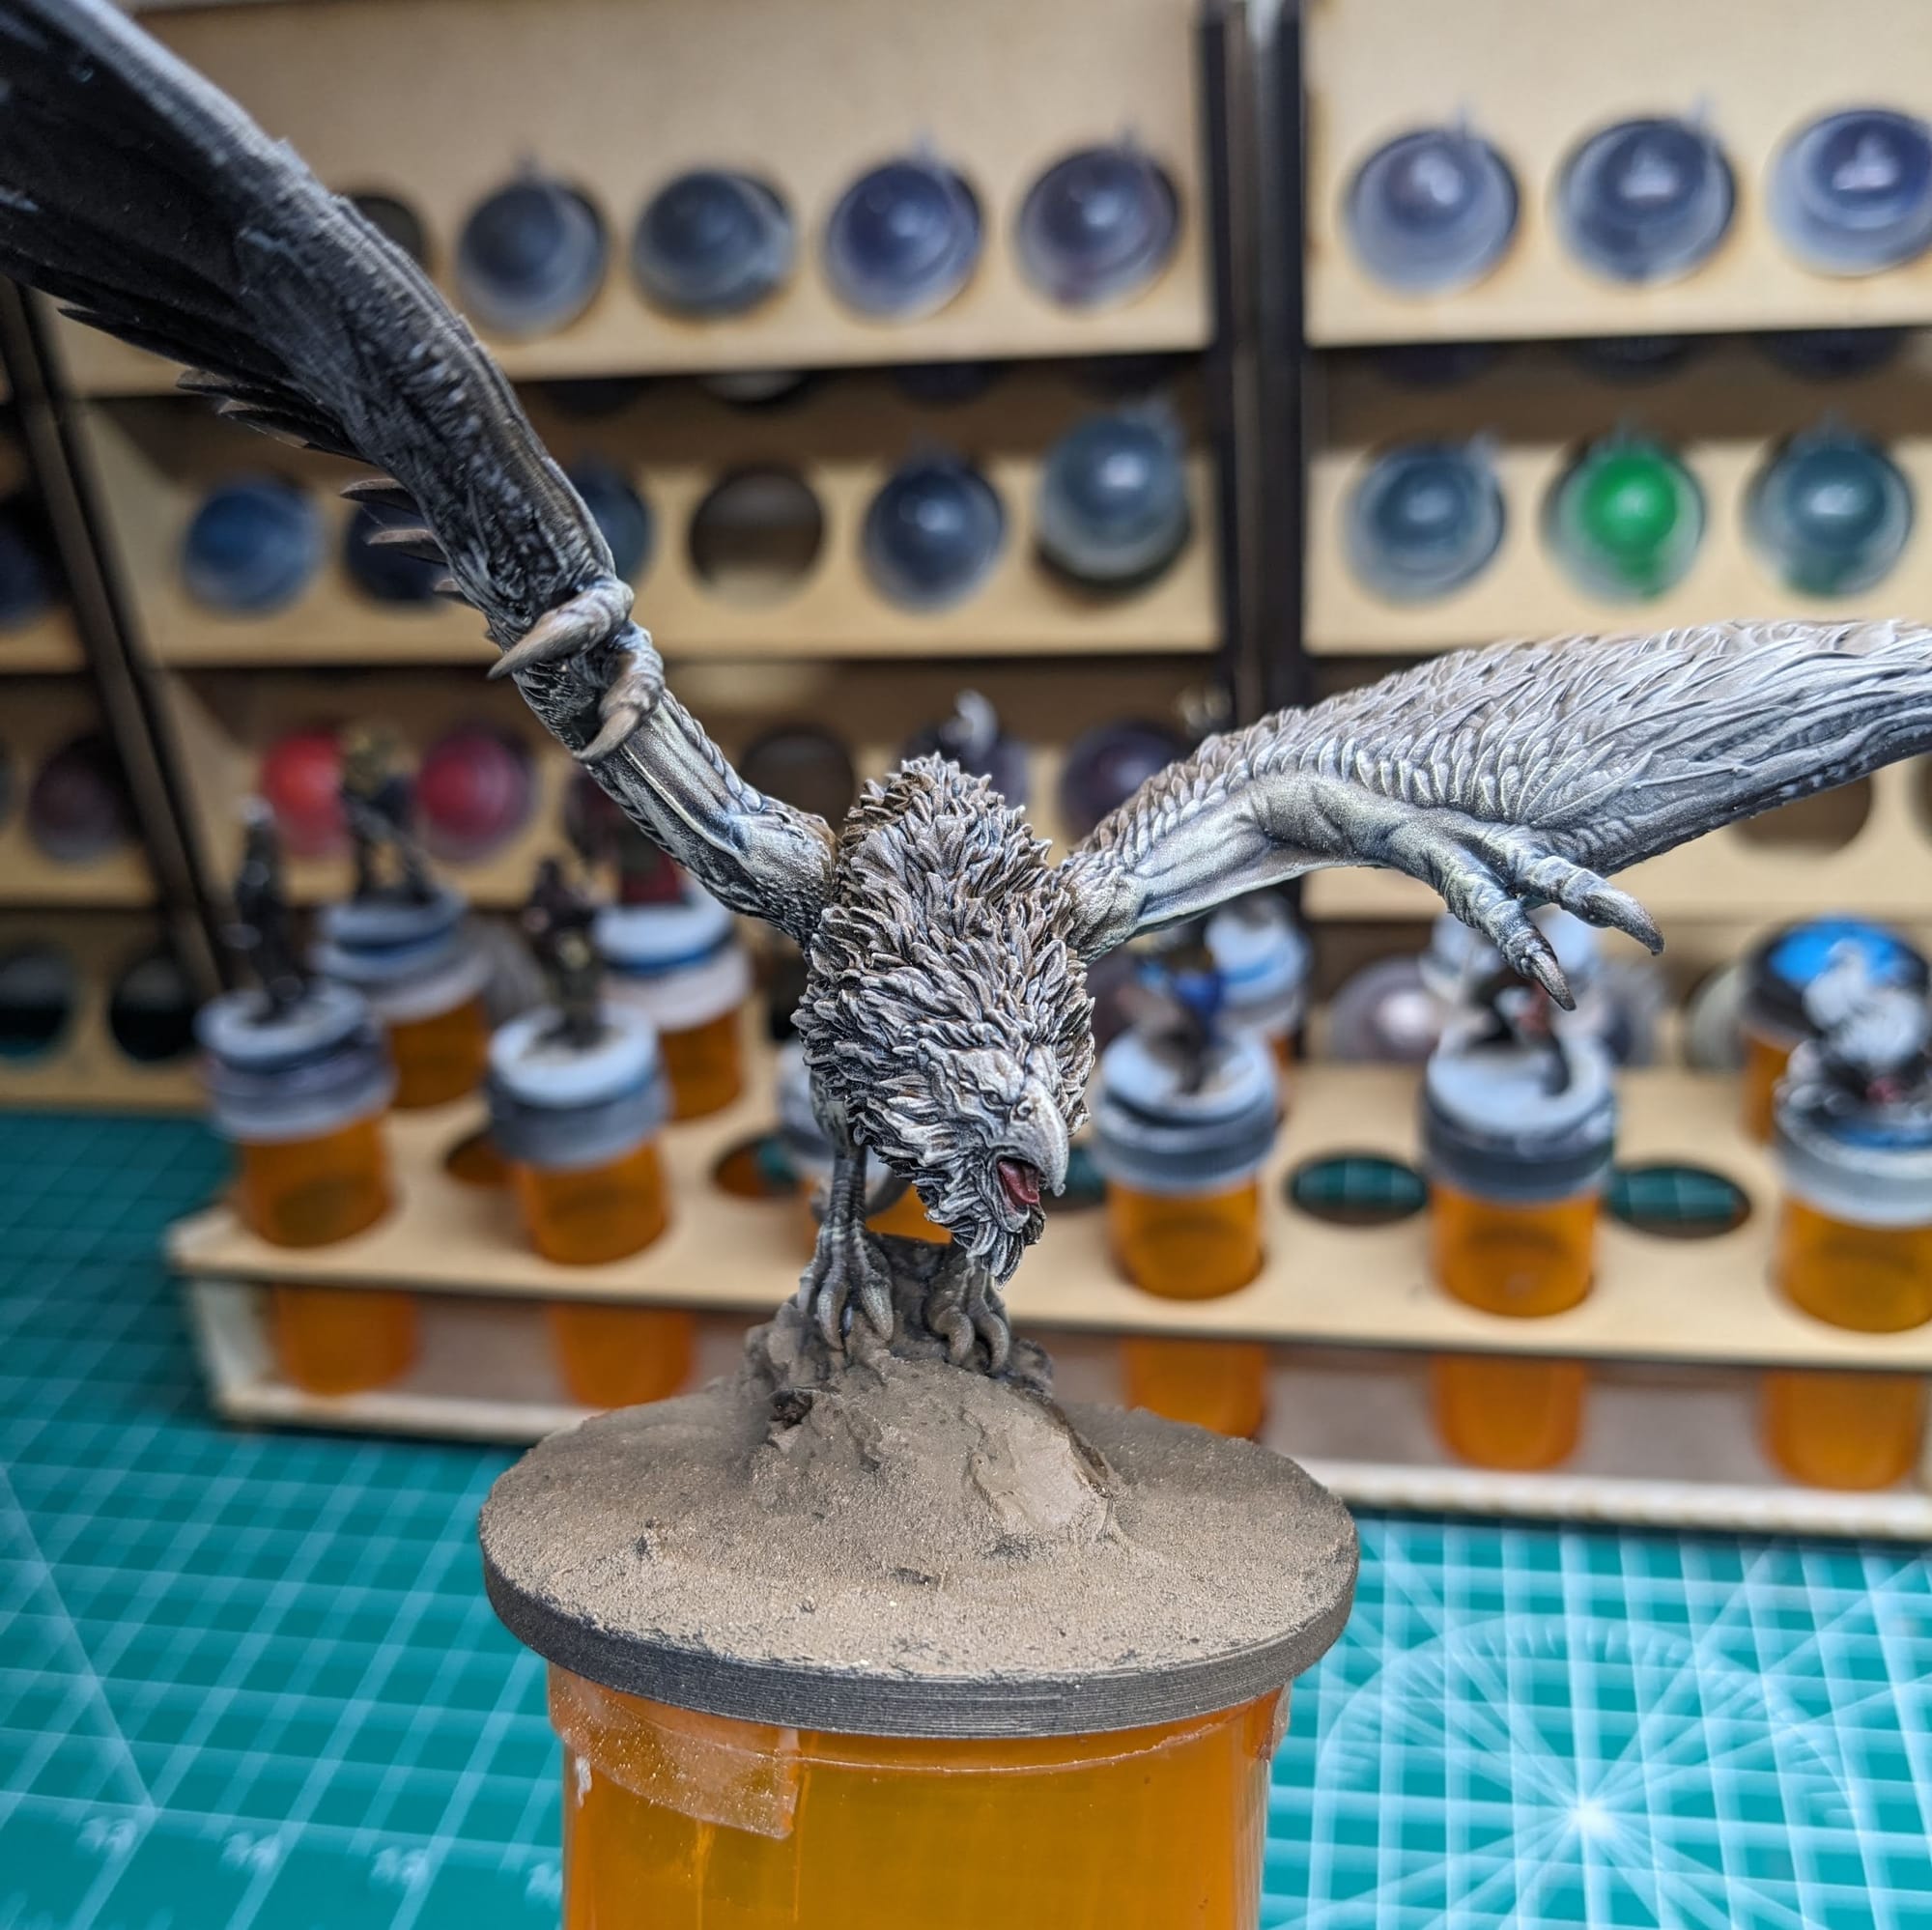
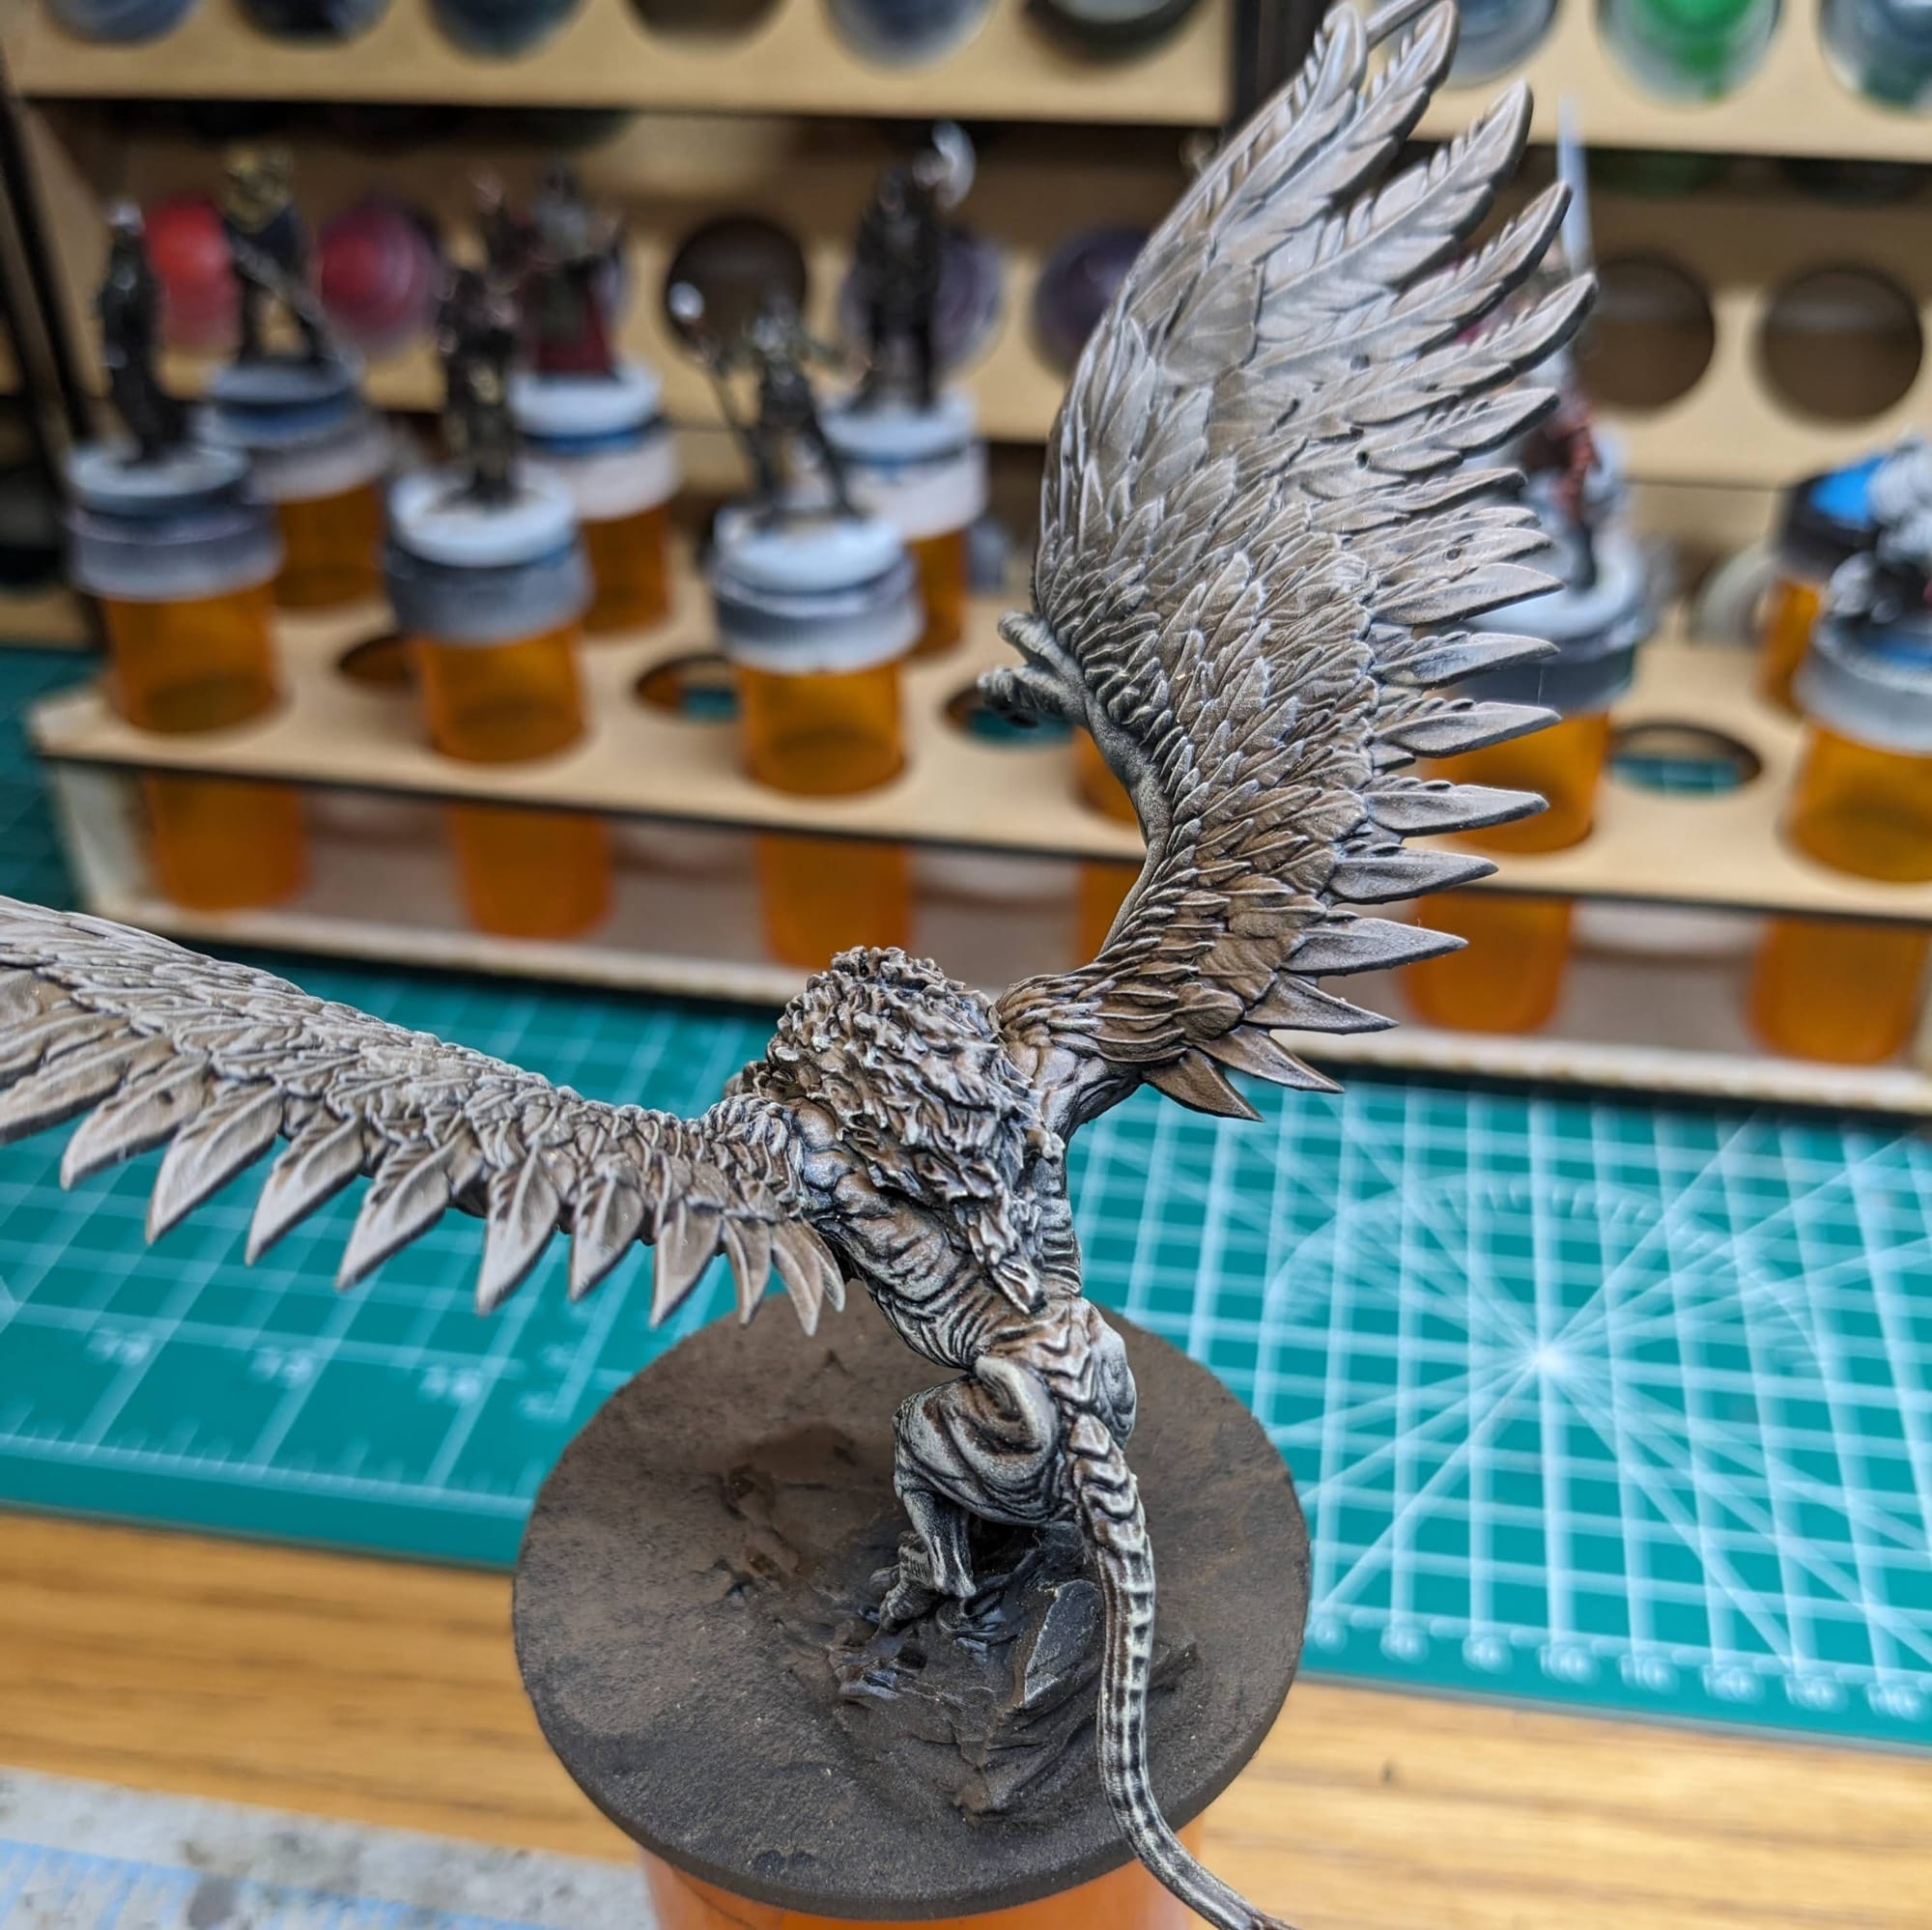
The same technique is applied to the griffin, only instead of white, I use Citadel Elder Flesh Dry.
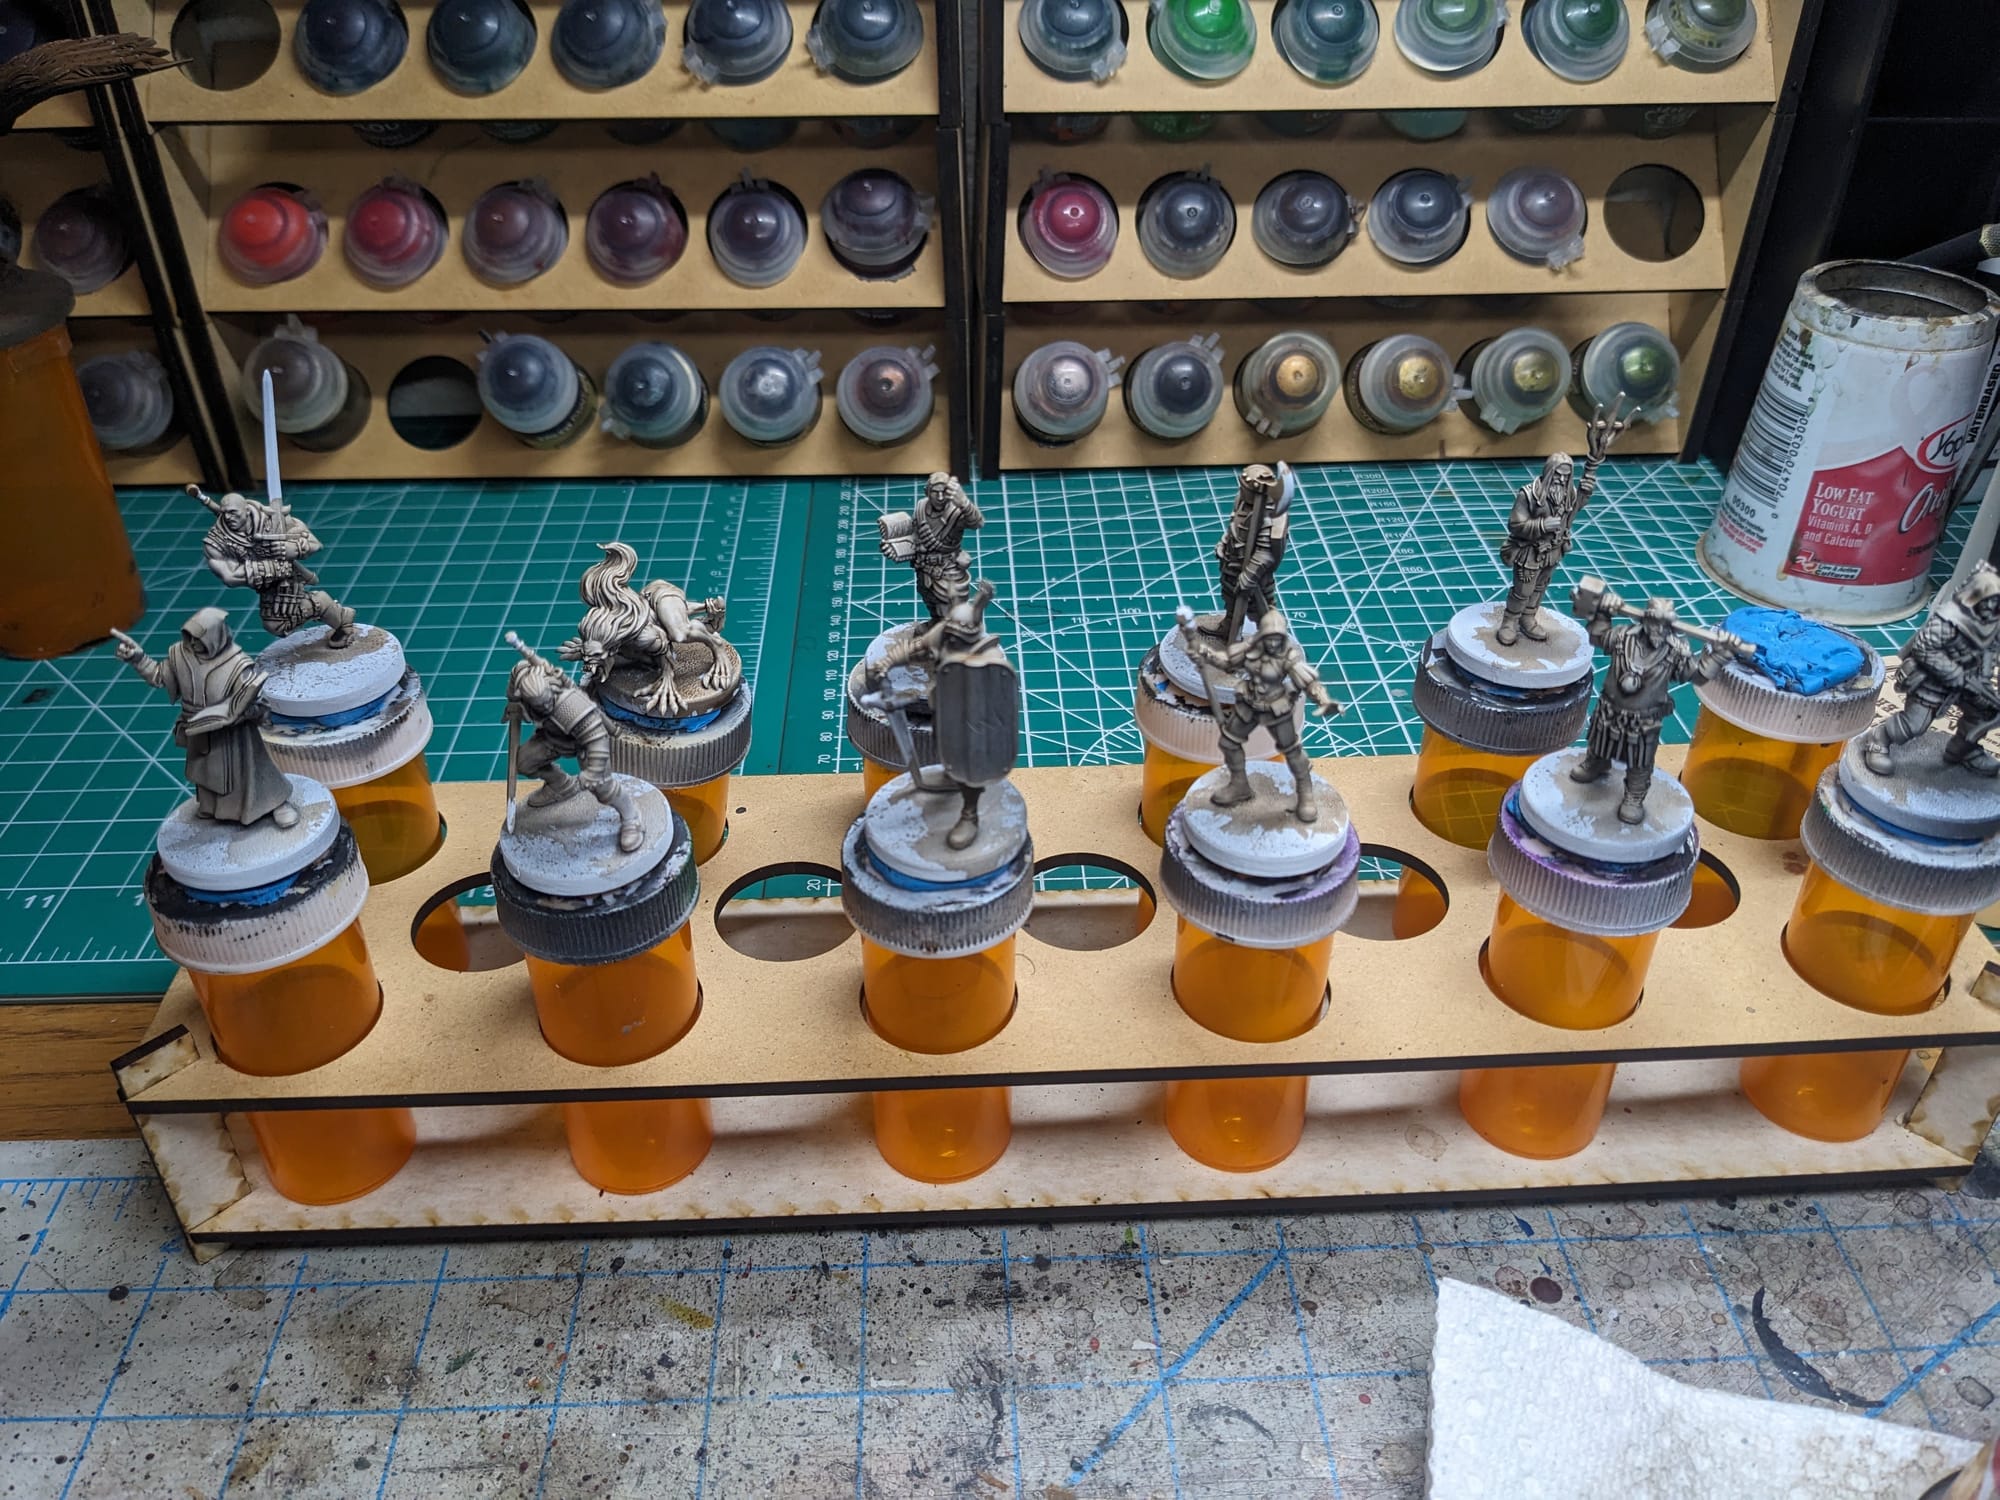
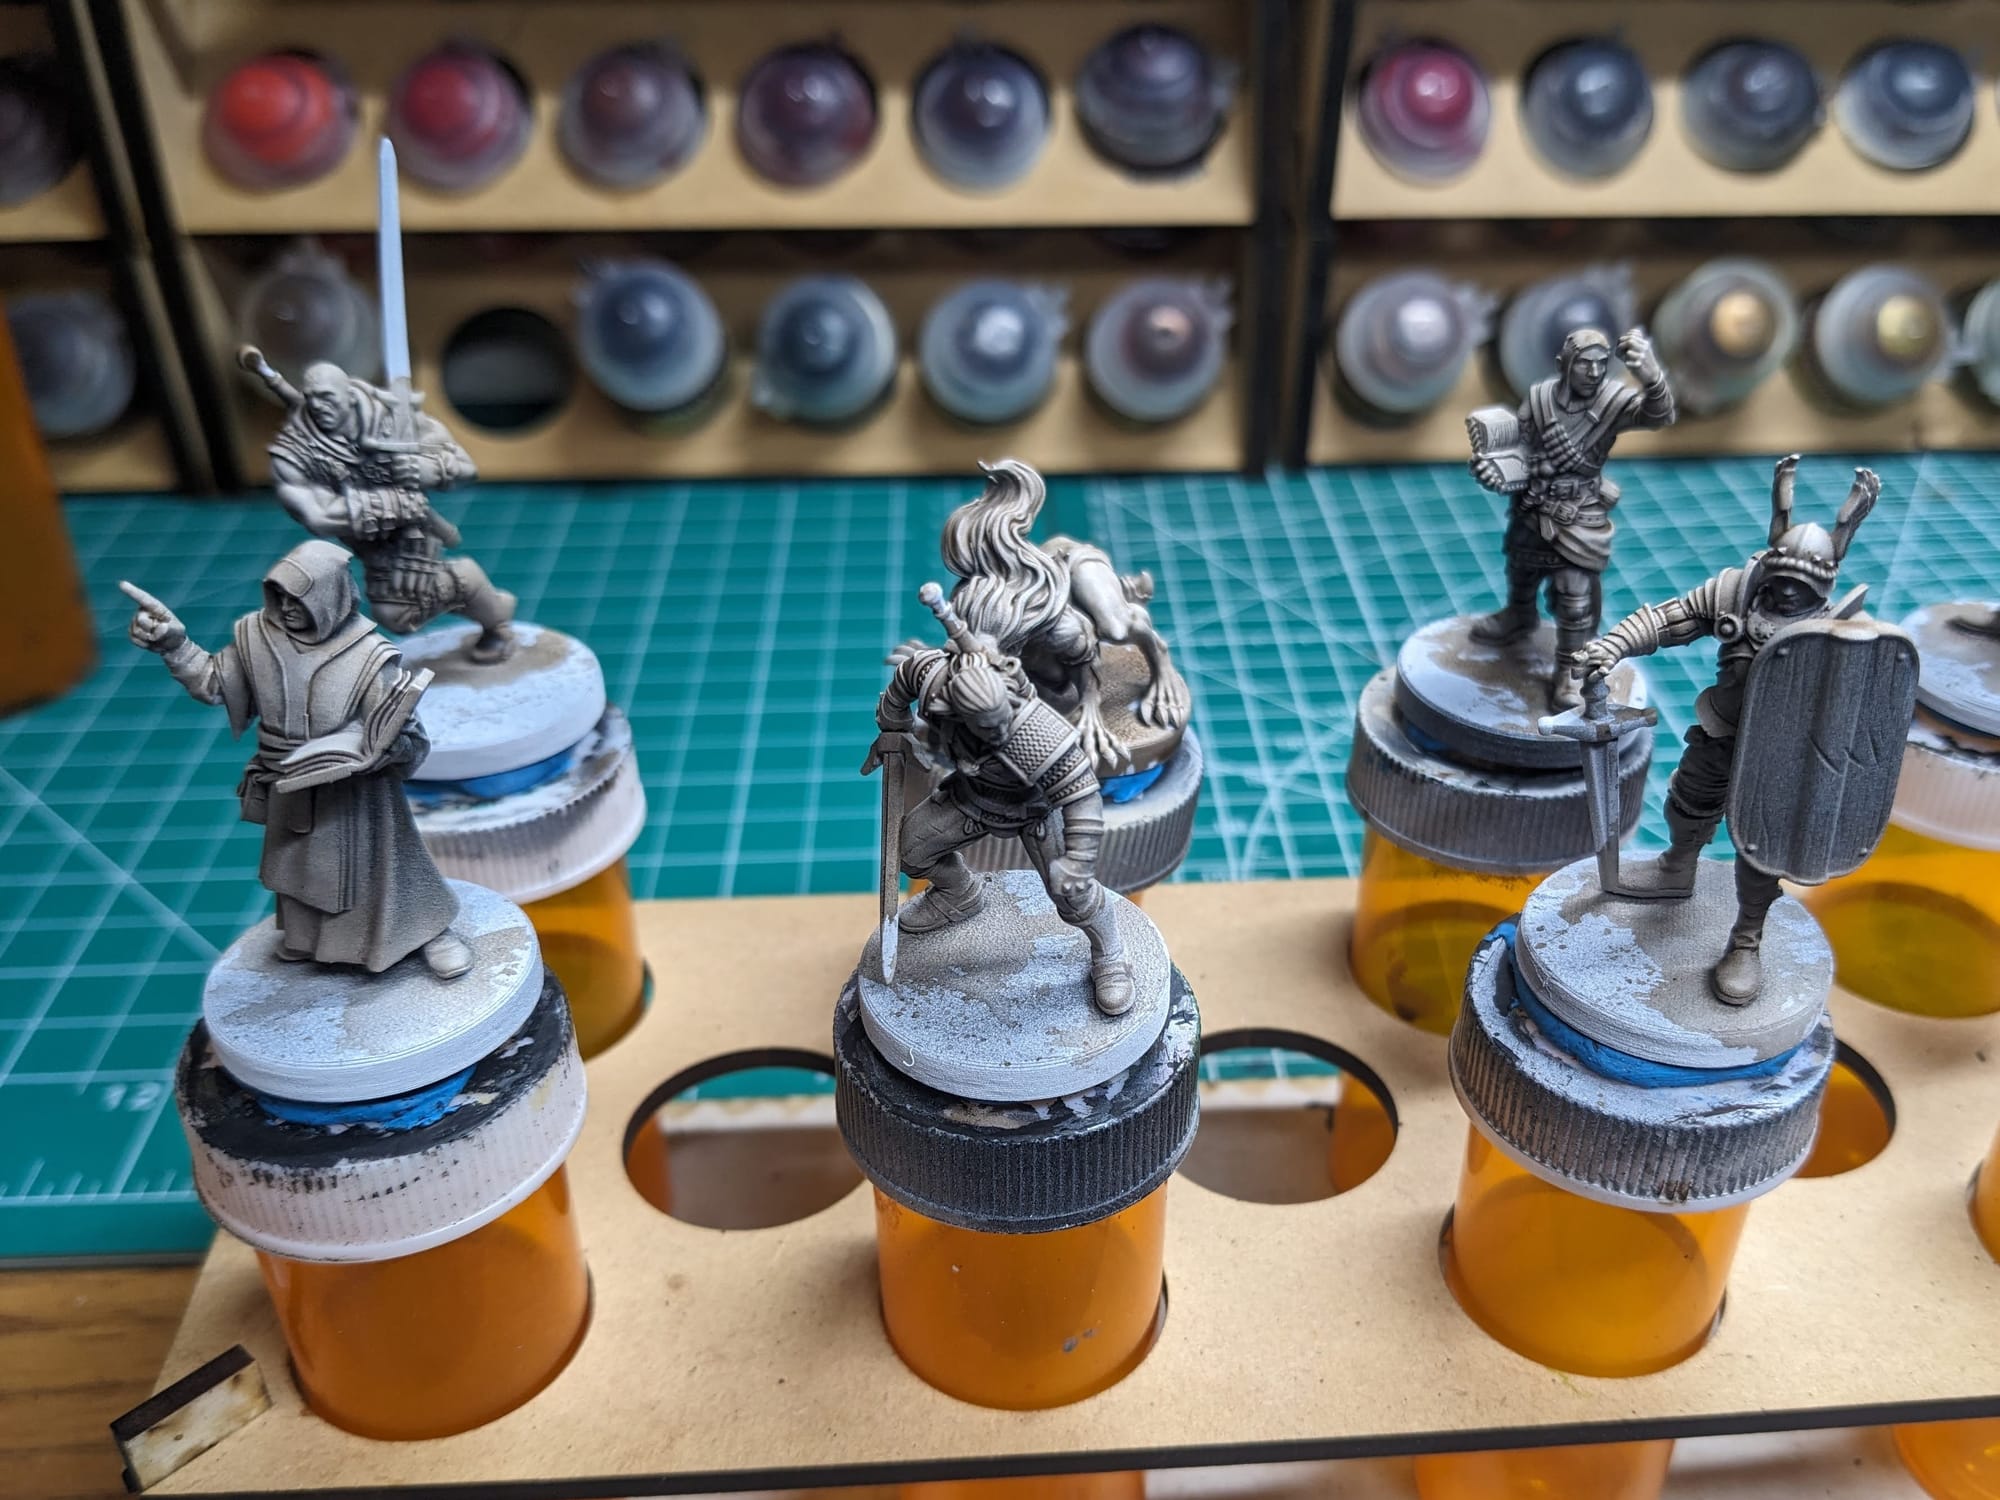
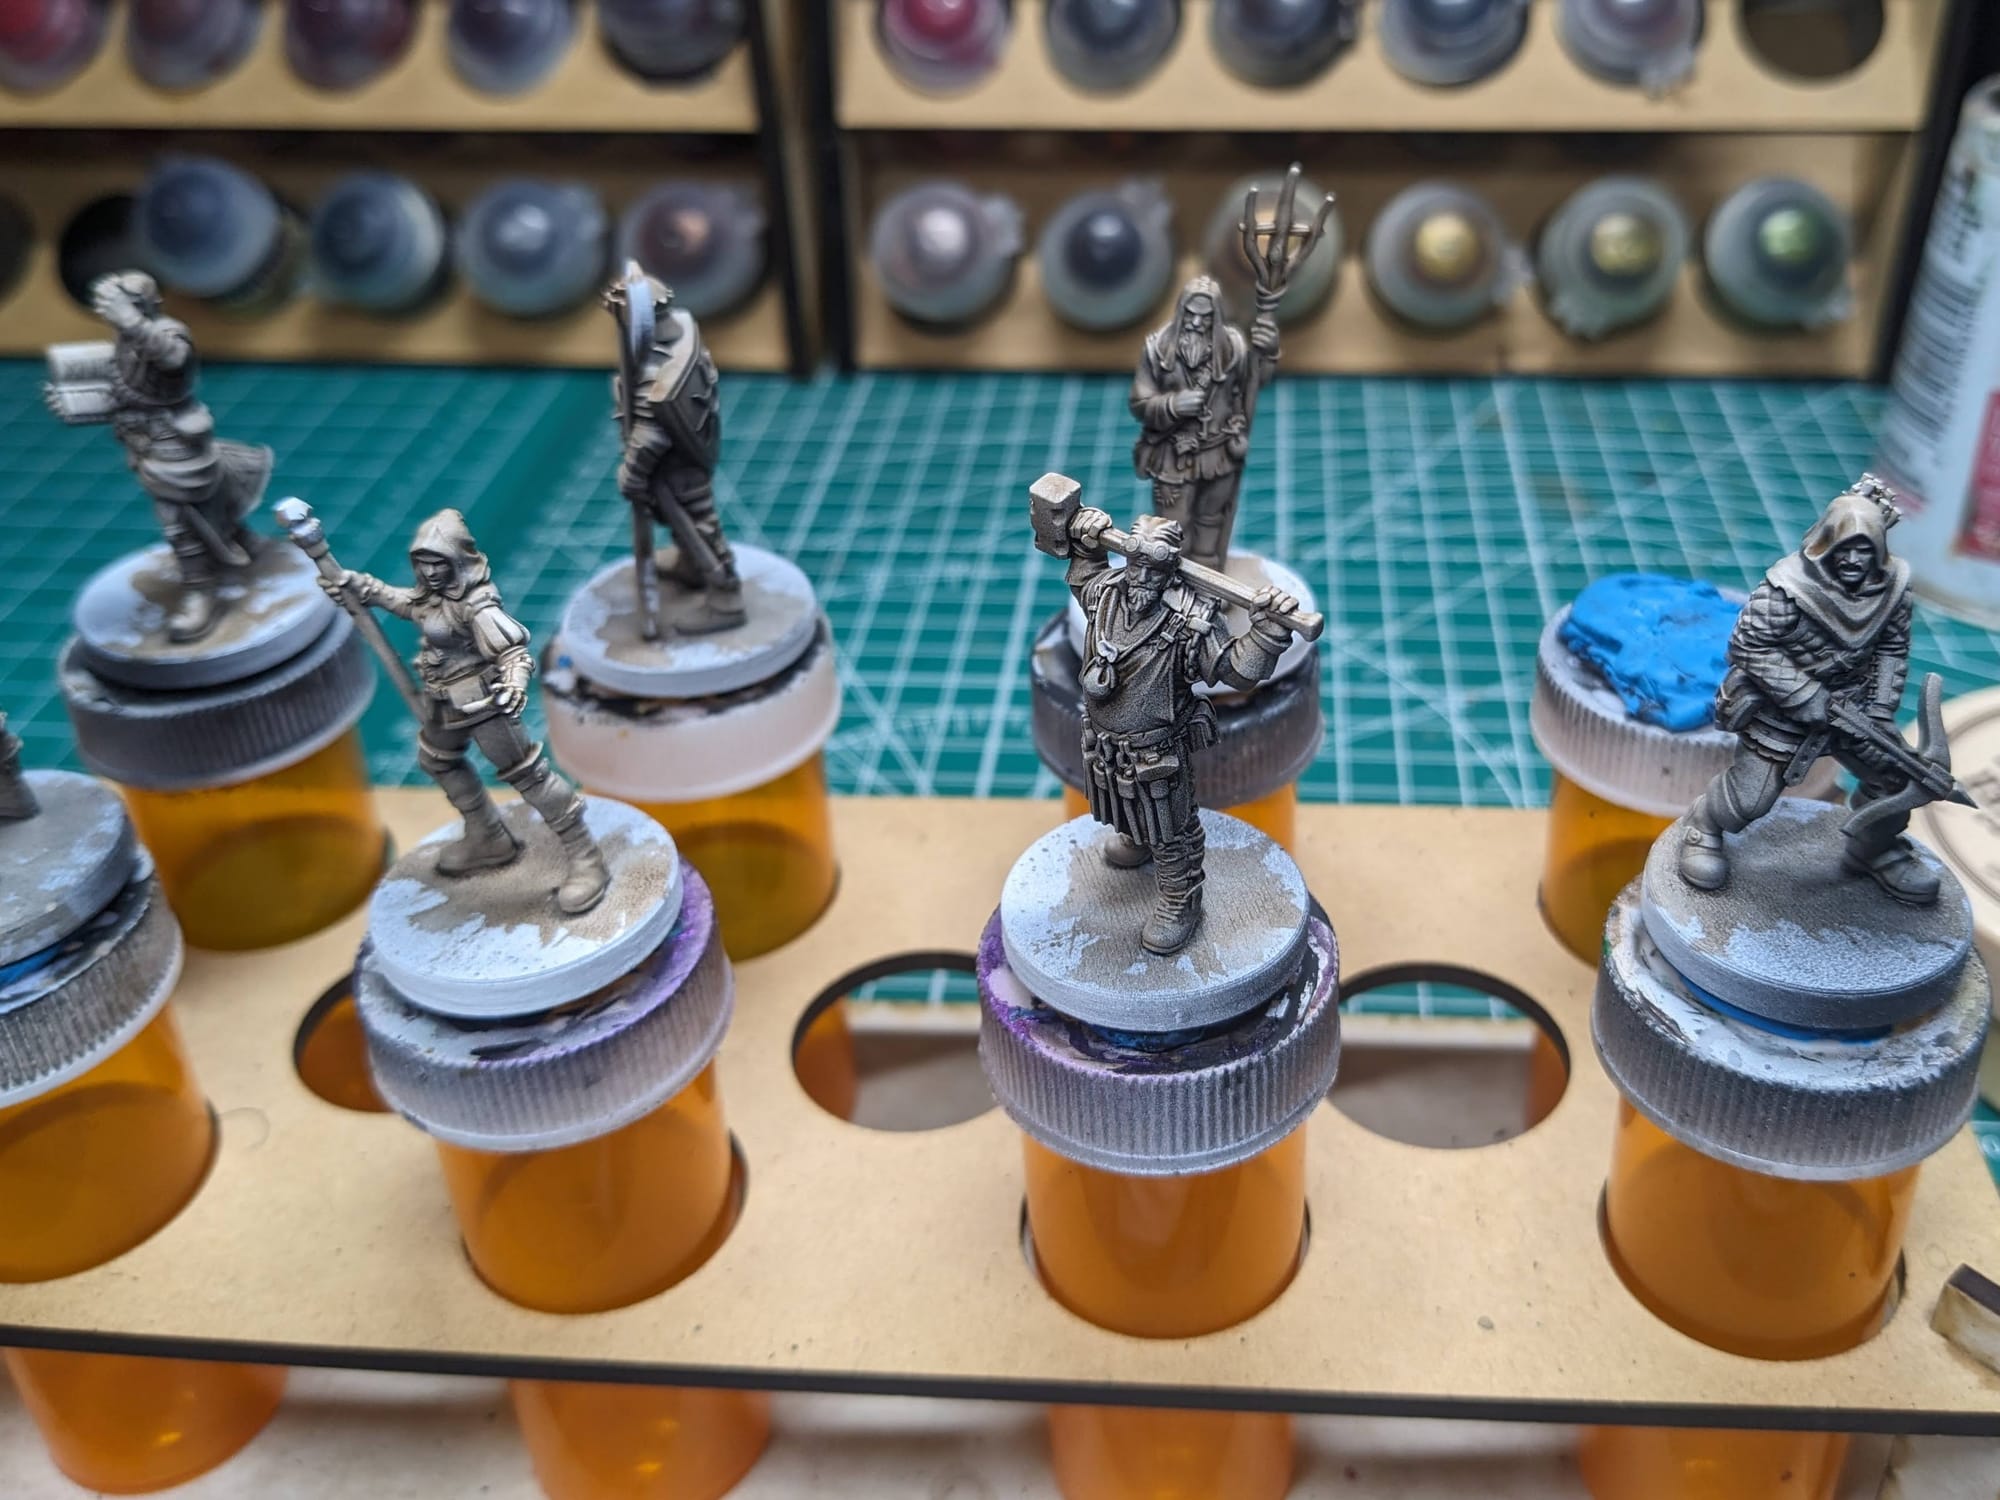
Base Colors, Contrast Paints, and Speedpaints
Once the wash and white dry-brushing was dry, I moved right into 'color blocking' on the models with Citadel Contrast, Pro Acryl 1-Step, and Army Painter Speedpaints, starting with the lightest colors white and light tan. 'Color Blocking' is a borrowed, loosely-applied art term here where, in traditional oil or acrylic painting, an artist paints on the canvas with broad, flat areas of primary color, tone, or value and 'blocks out' areas to come back to later with finer detail. Because of the Slachop method, and the way that Contrast/Speed Paints work, a single pass of the paints is all I need to block out these areas.
The key here is to use the lighter colors first, because if any spill onto a part of the model that isn't that color, the darker contrast/speedpaint will cover it up. If it needs further fixing, you can always paint the area white and then reapply the contrast/speedpaint as needed.
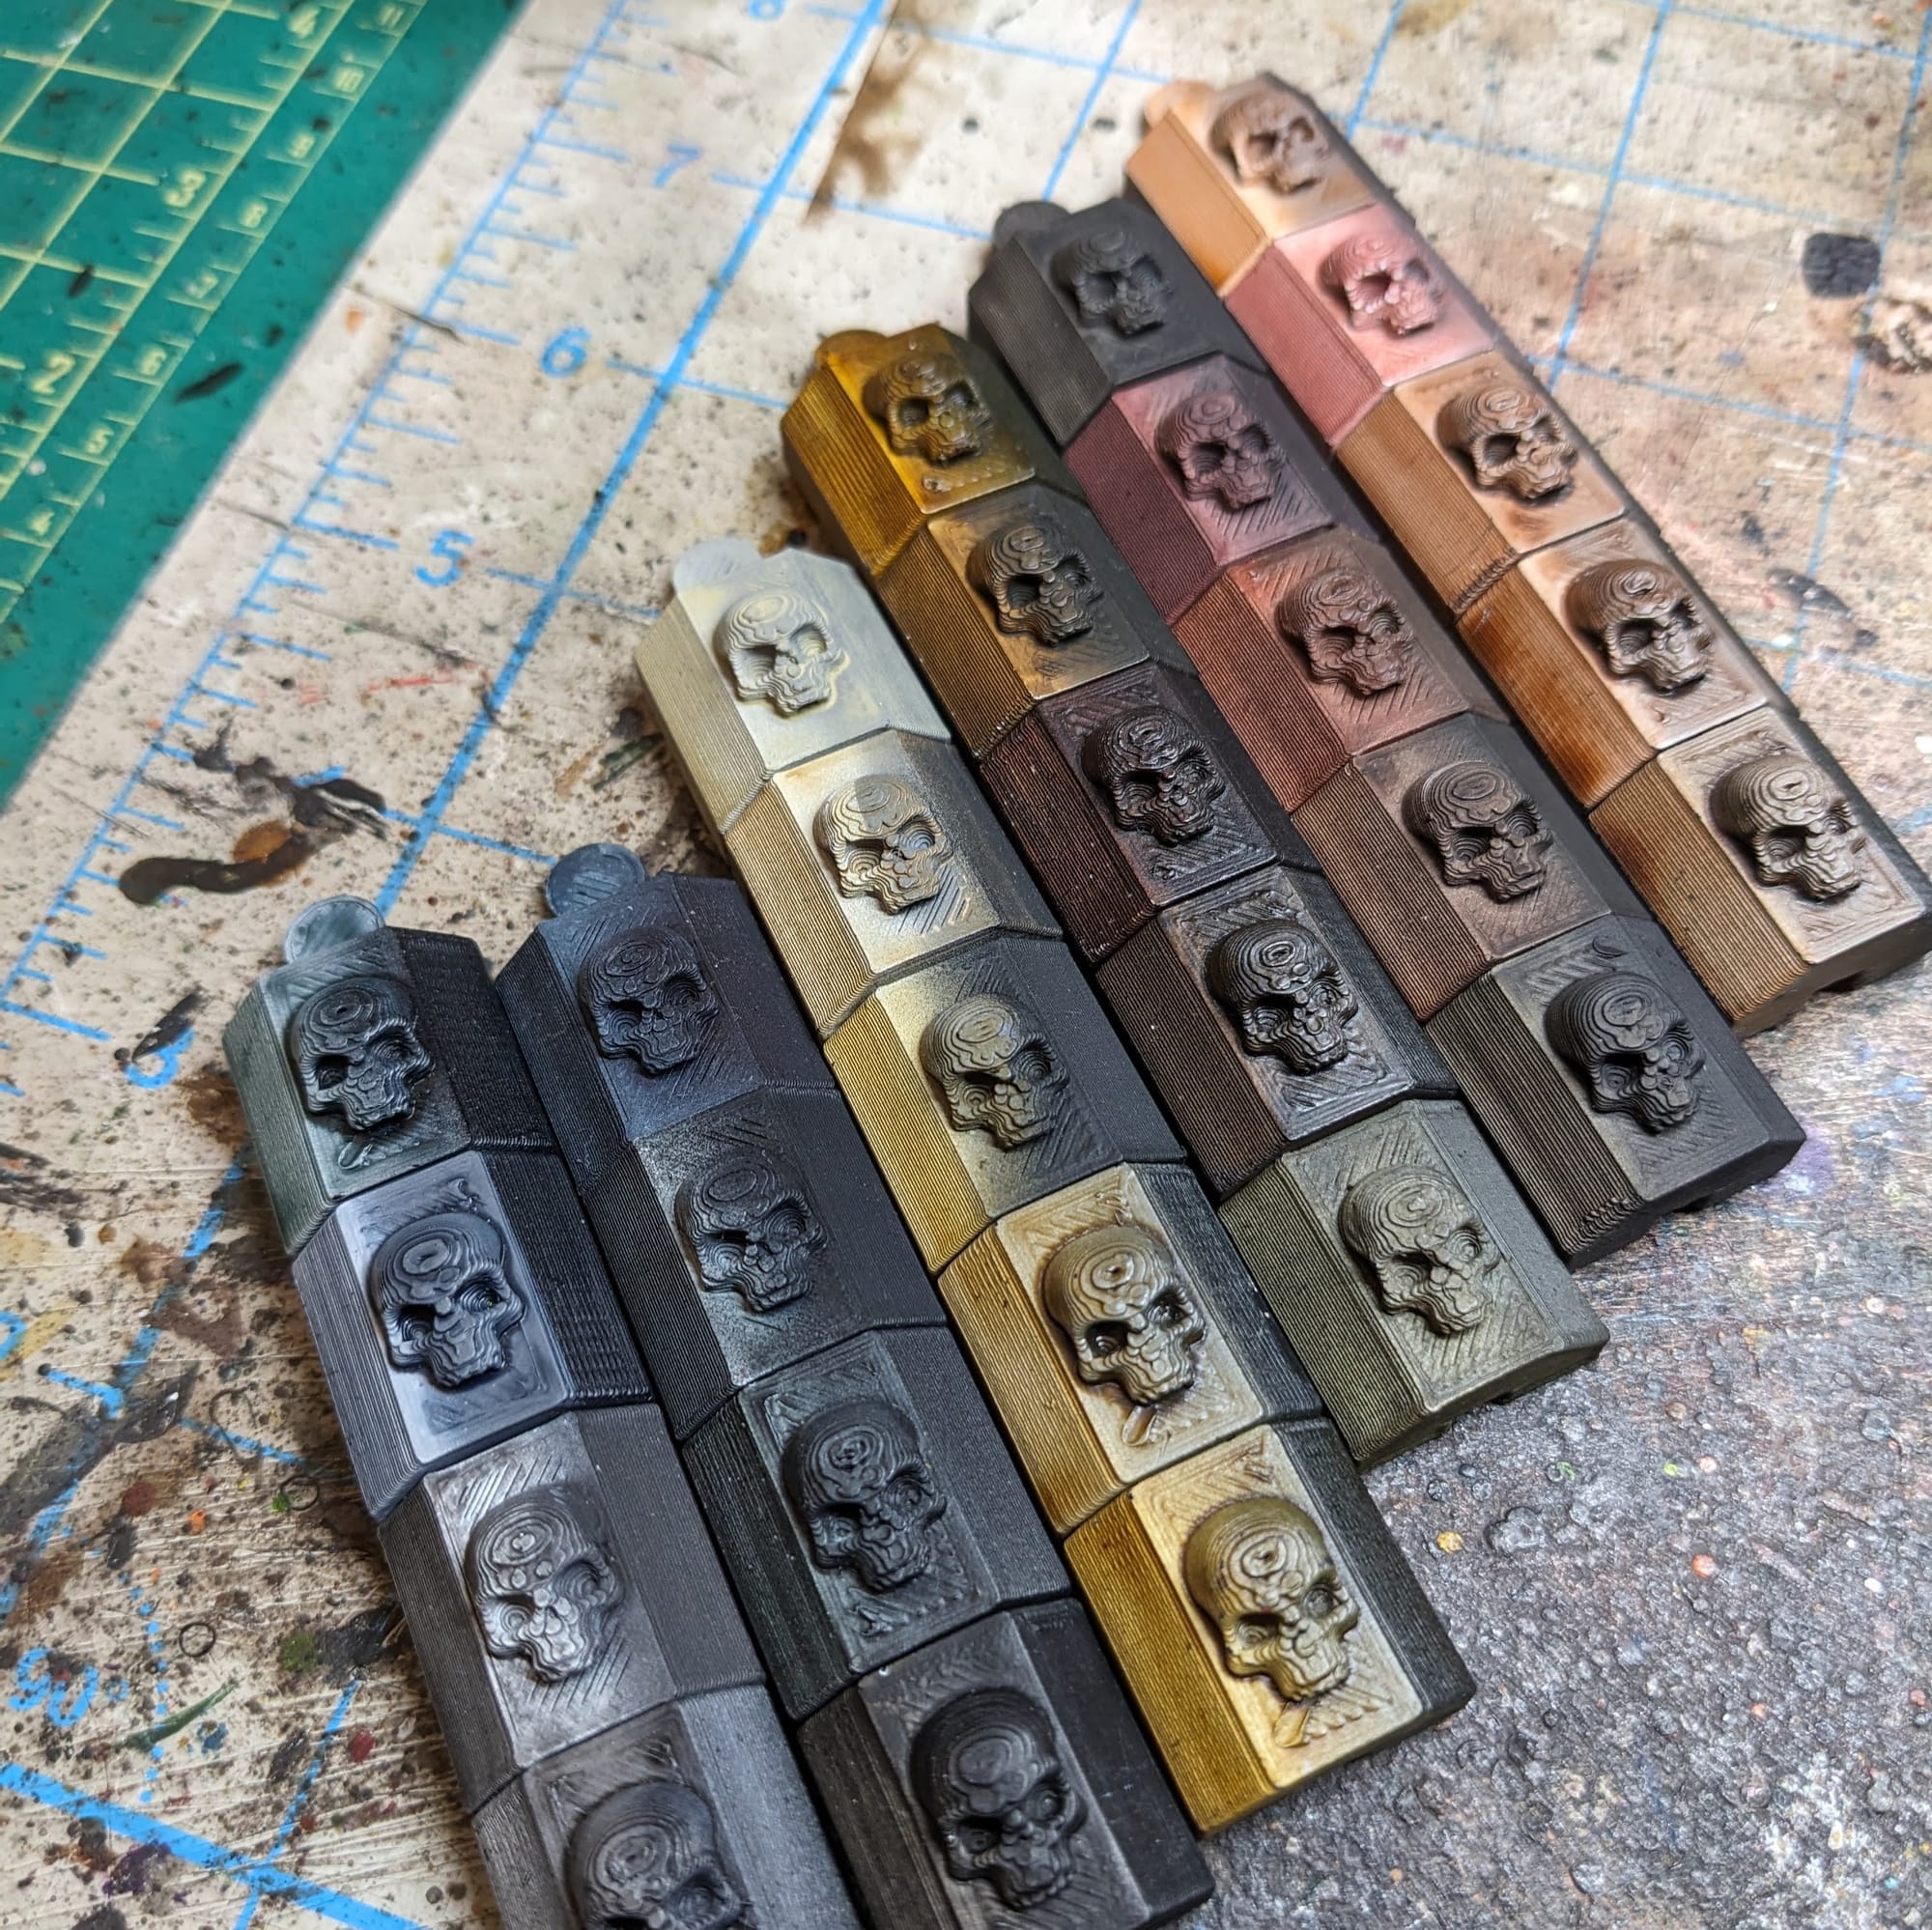
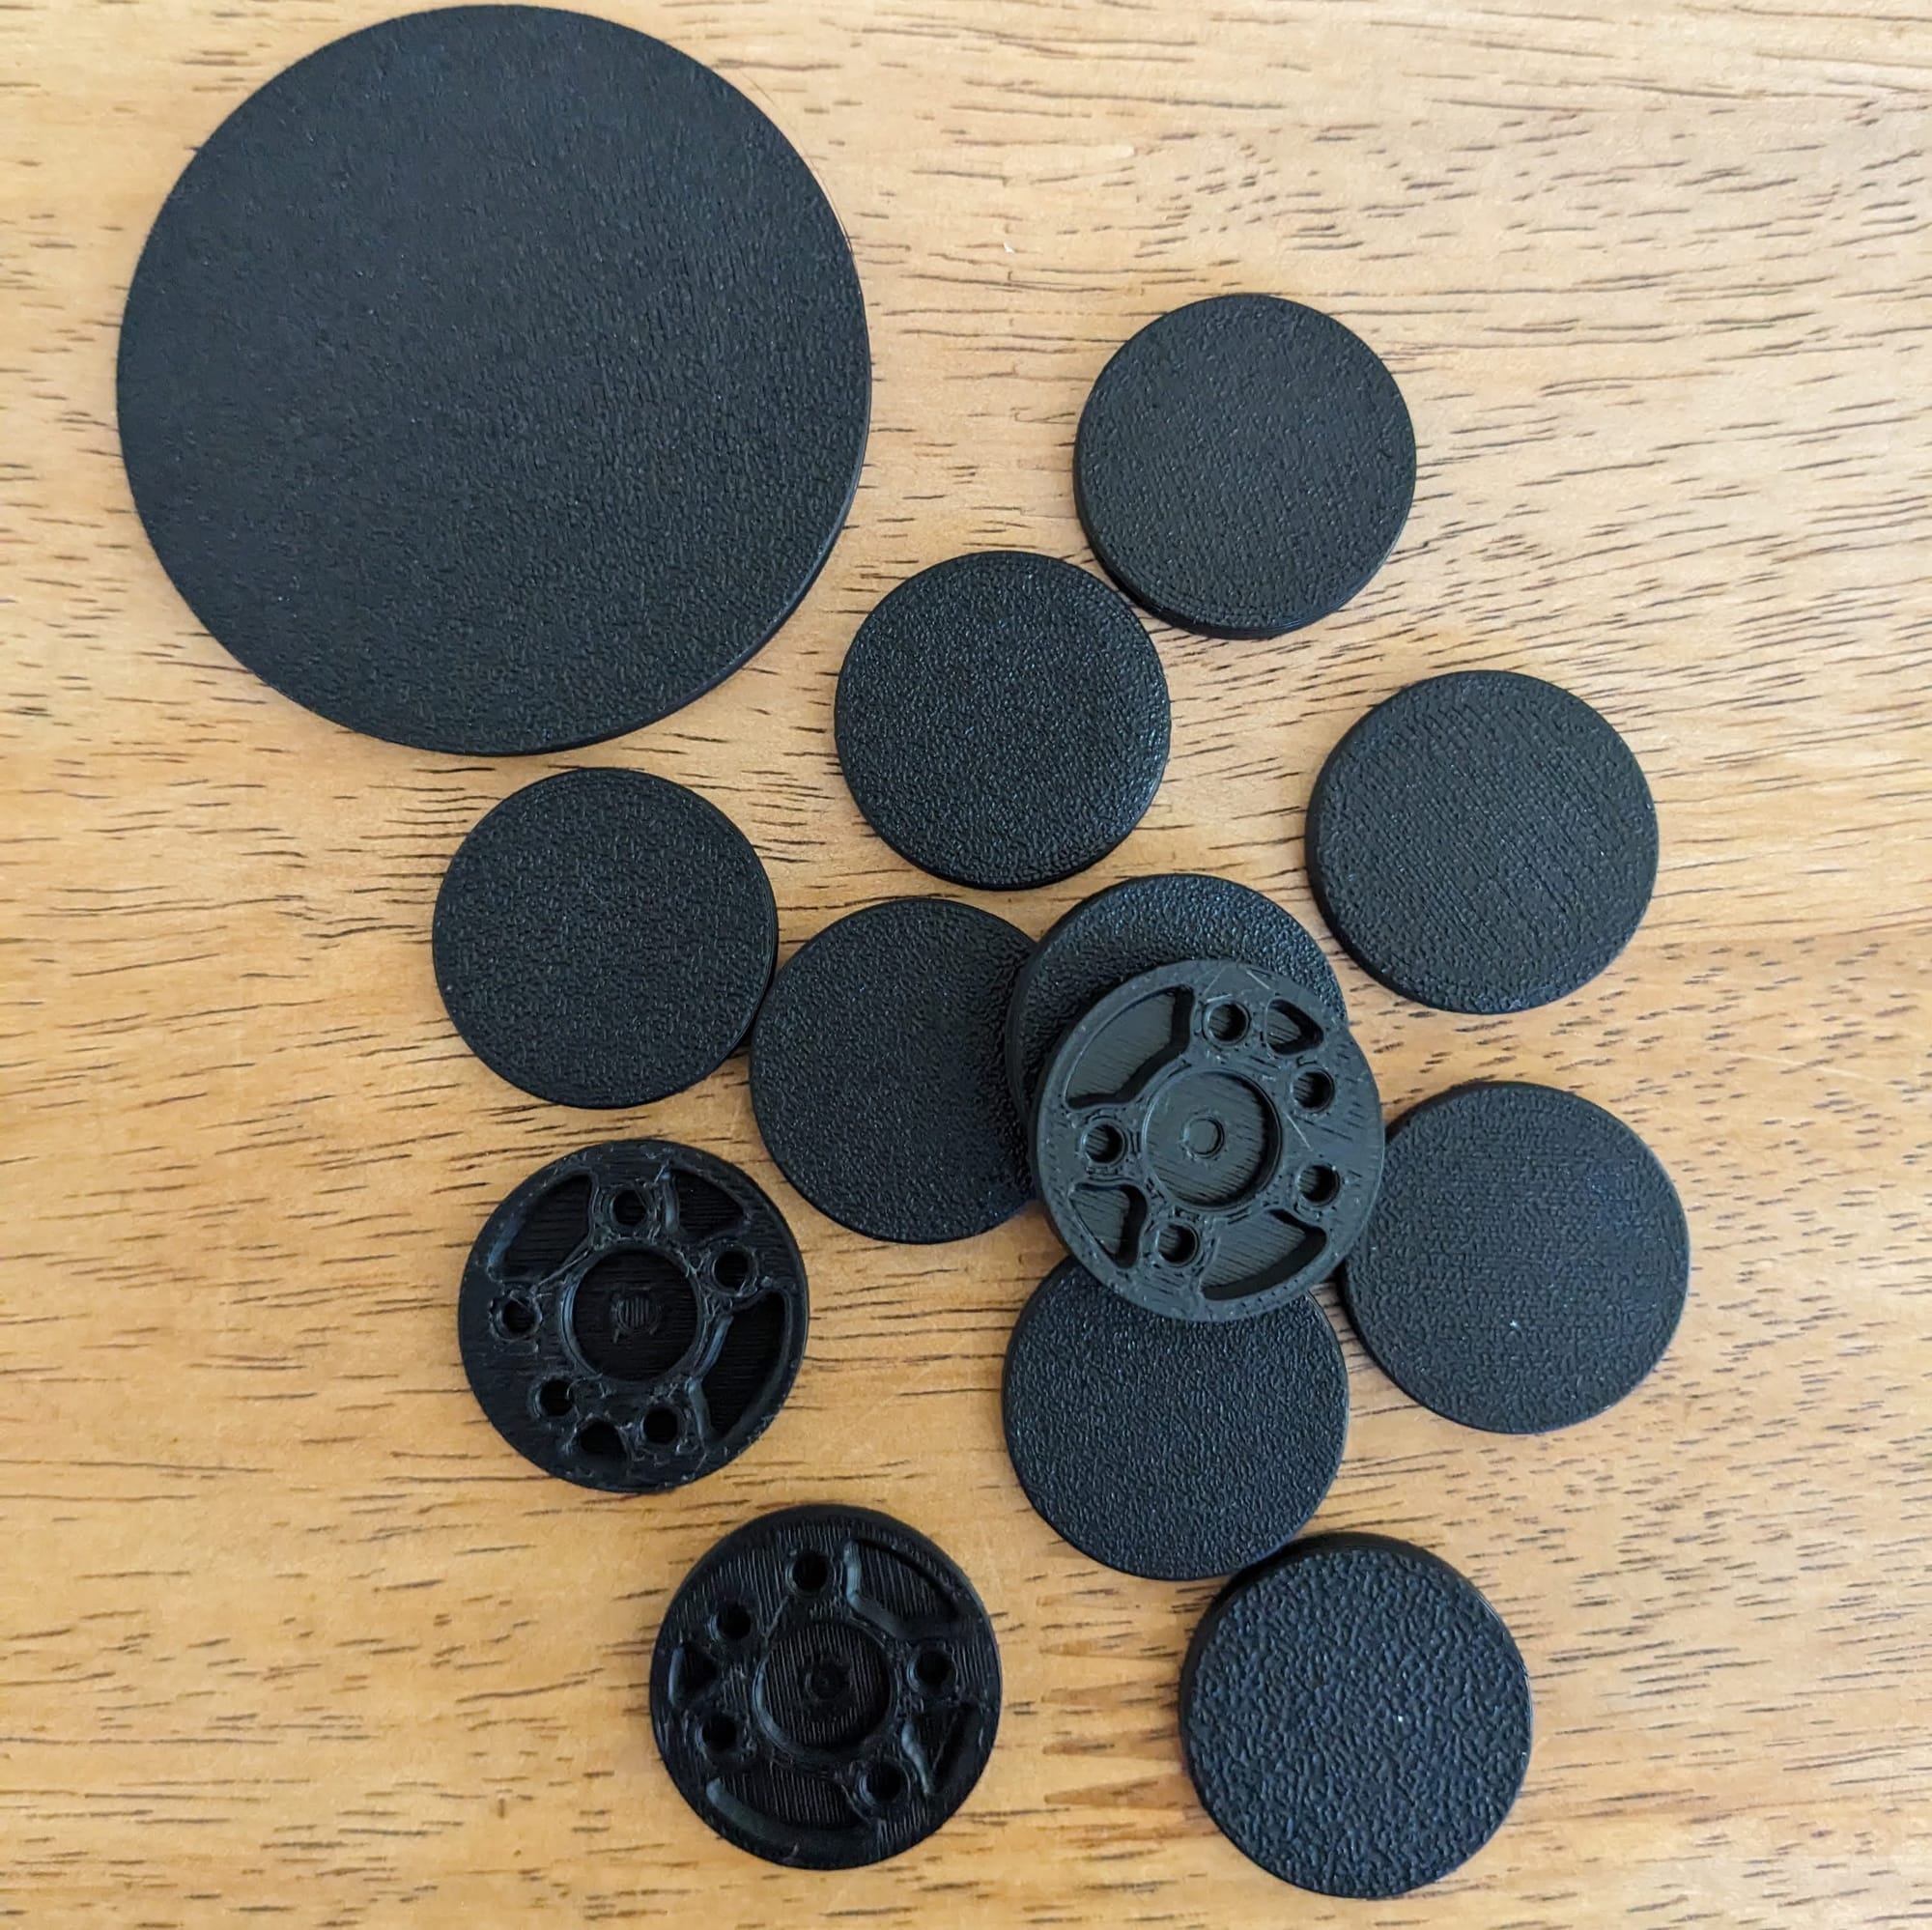
For projects like this, especially where there are a lot of similar hues of a color being used, like brown, I have my Contrast/Speedpaint/1-Step samples close by. These are 3D printed parts I designed, which I primed white-gray-black, and then apply the color over the top. On the back, the color is labeled so I know which color is which. These allow me to compare similar hues next to each other to get as close to the box art as possible.
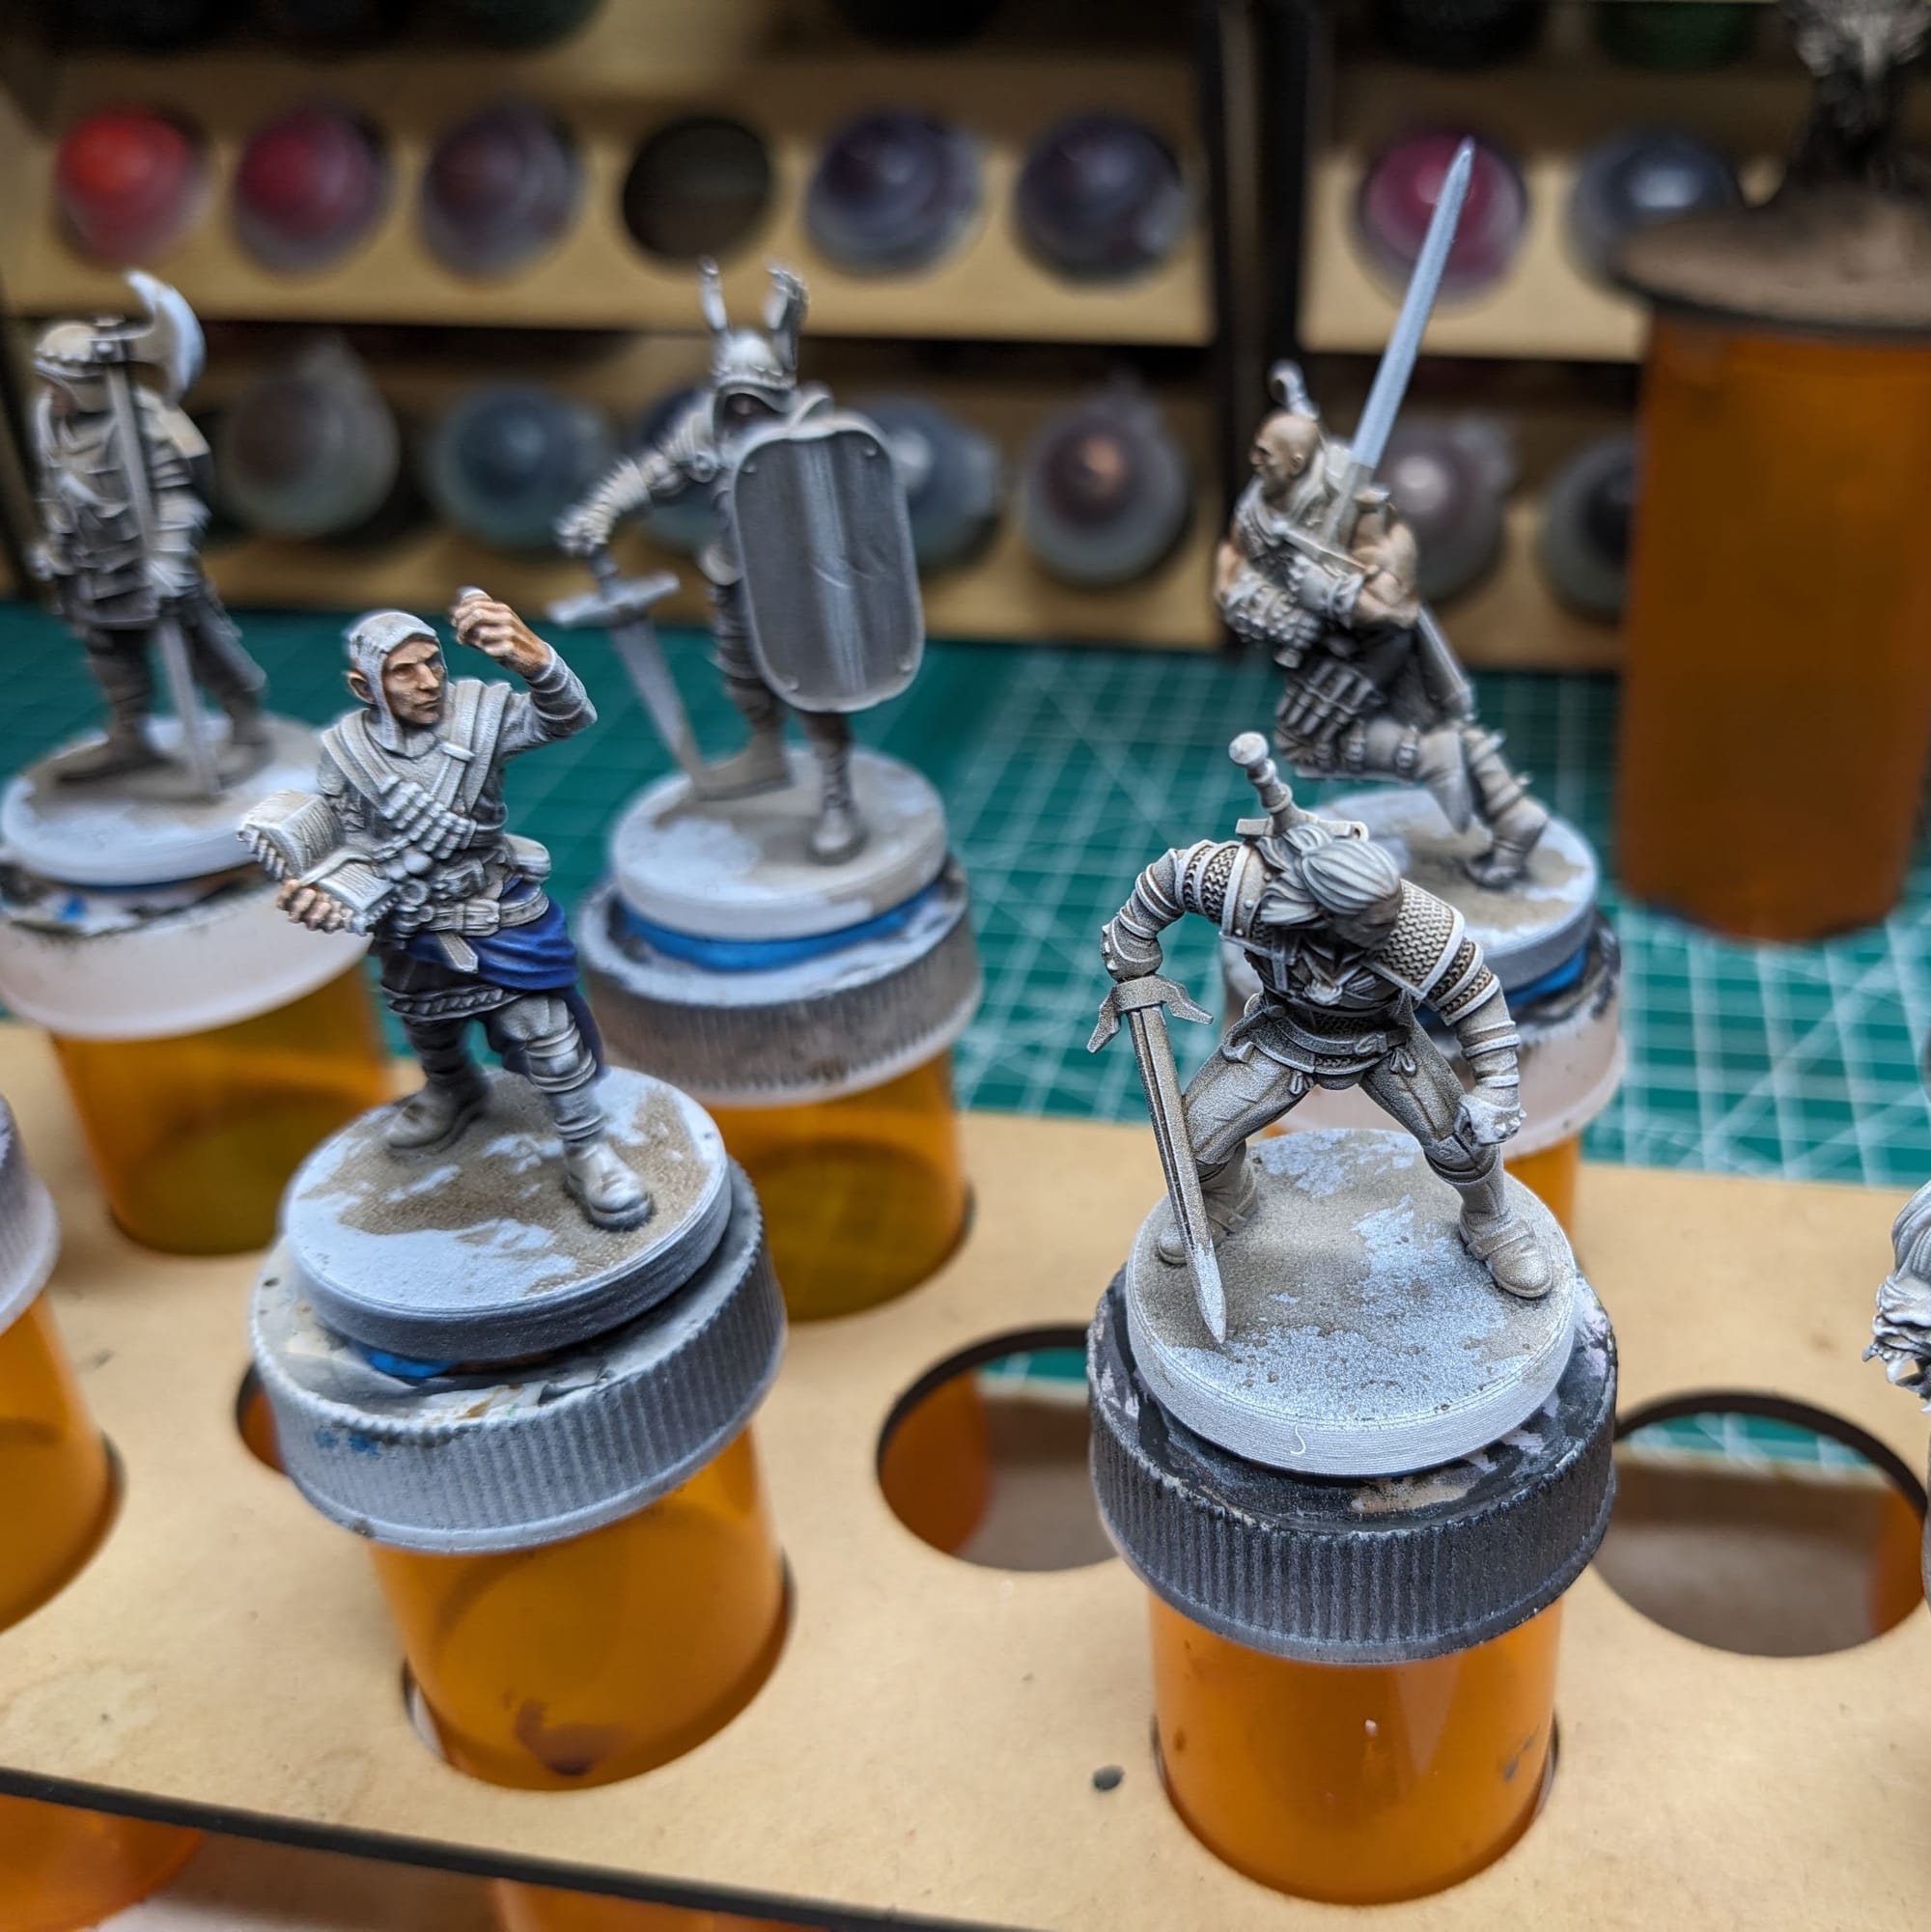
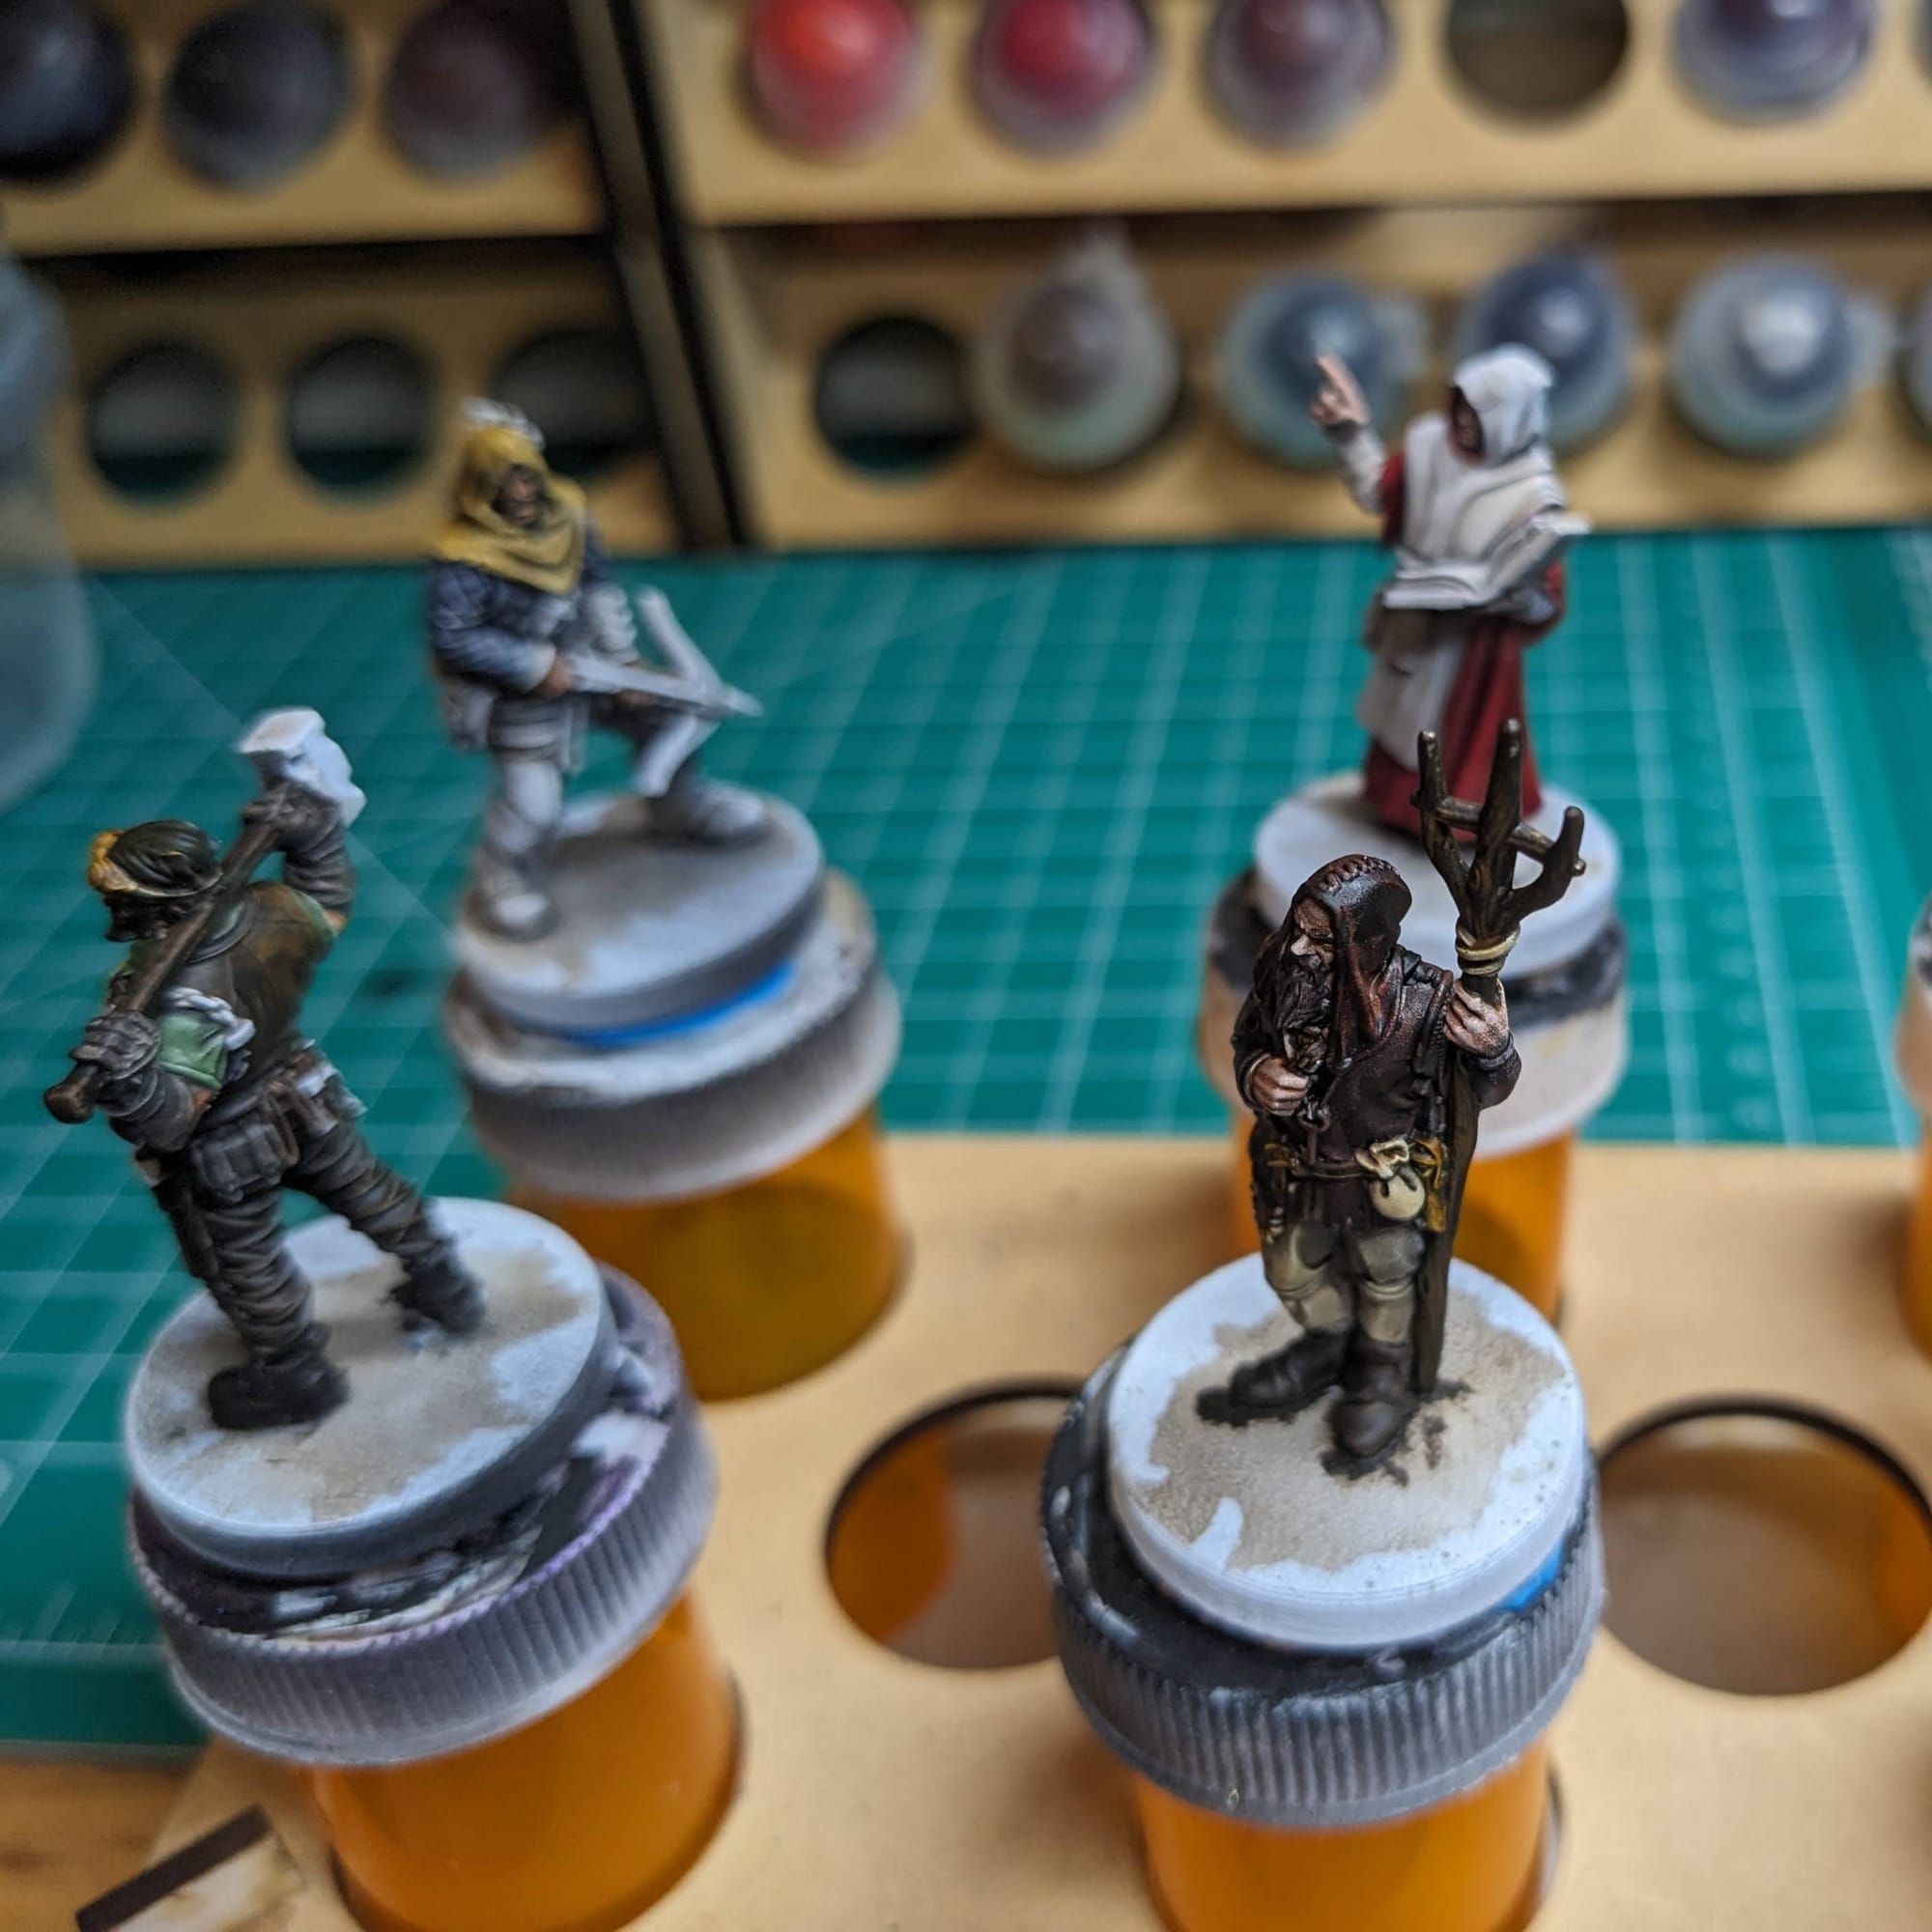
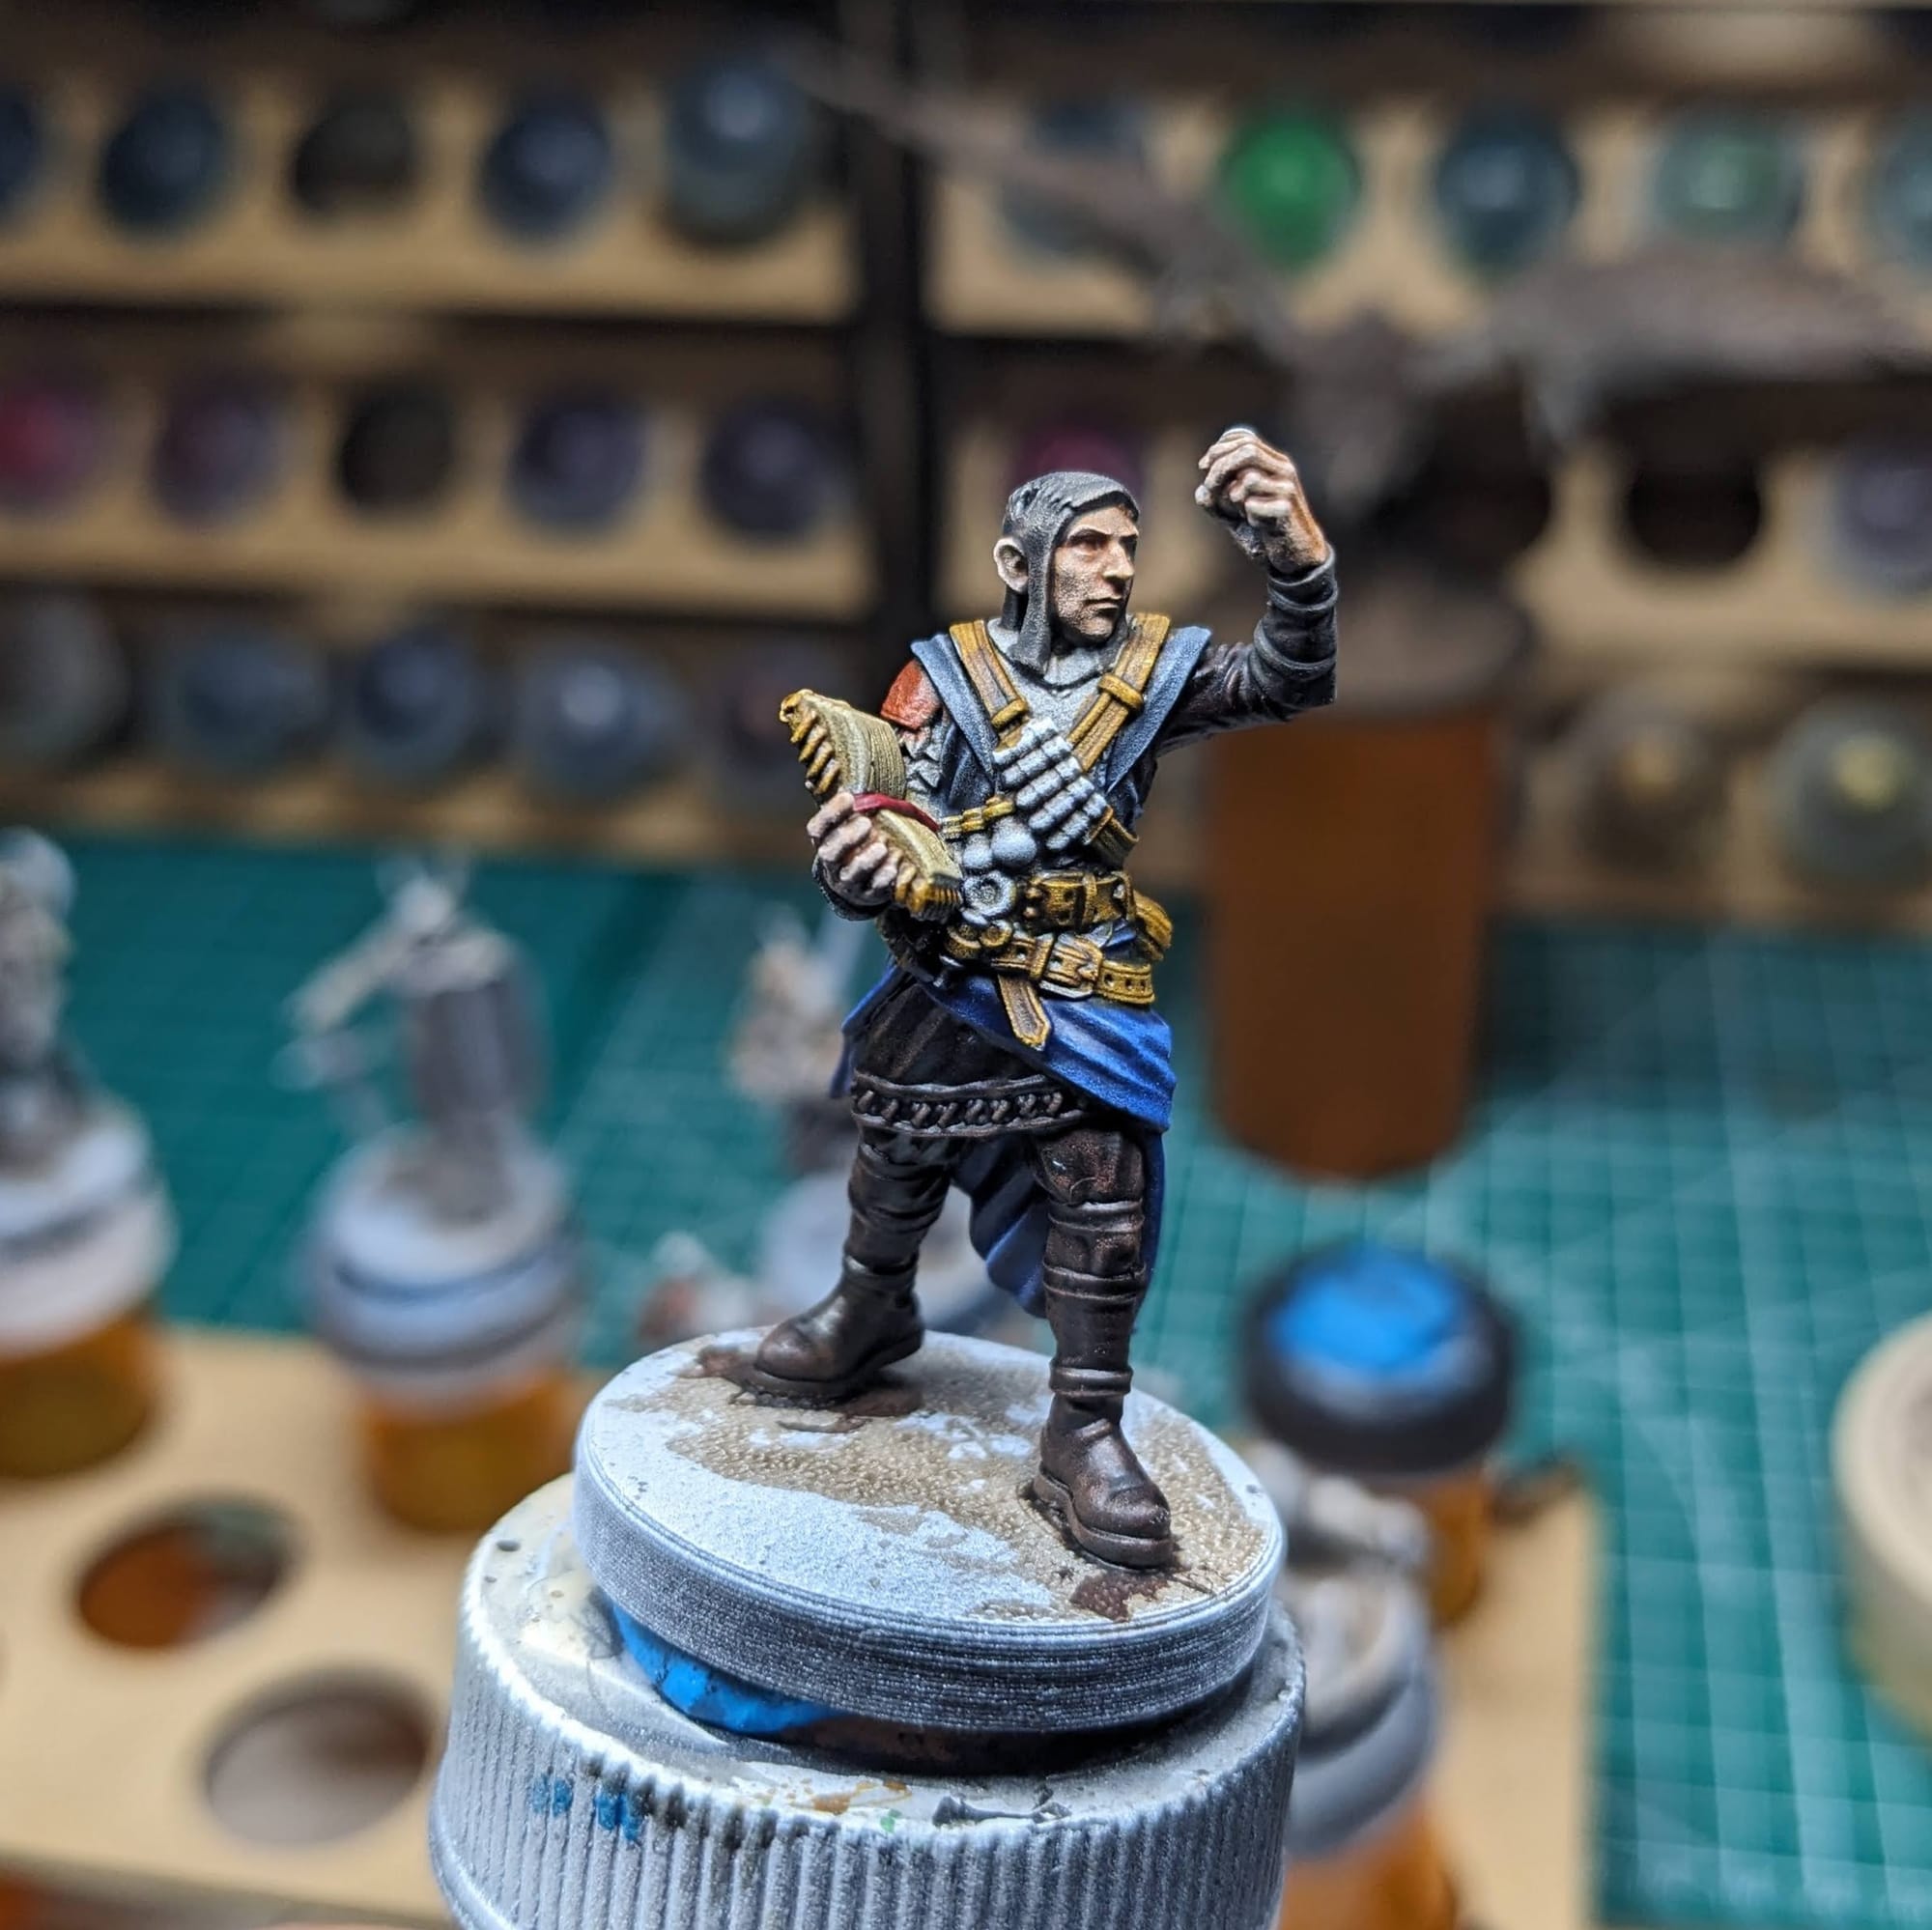
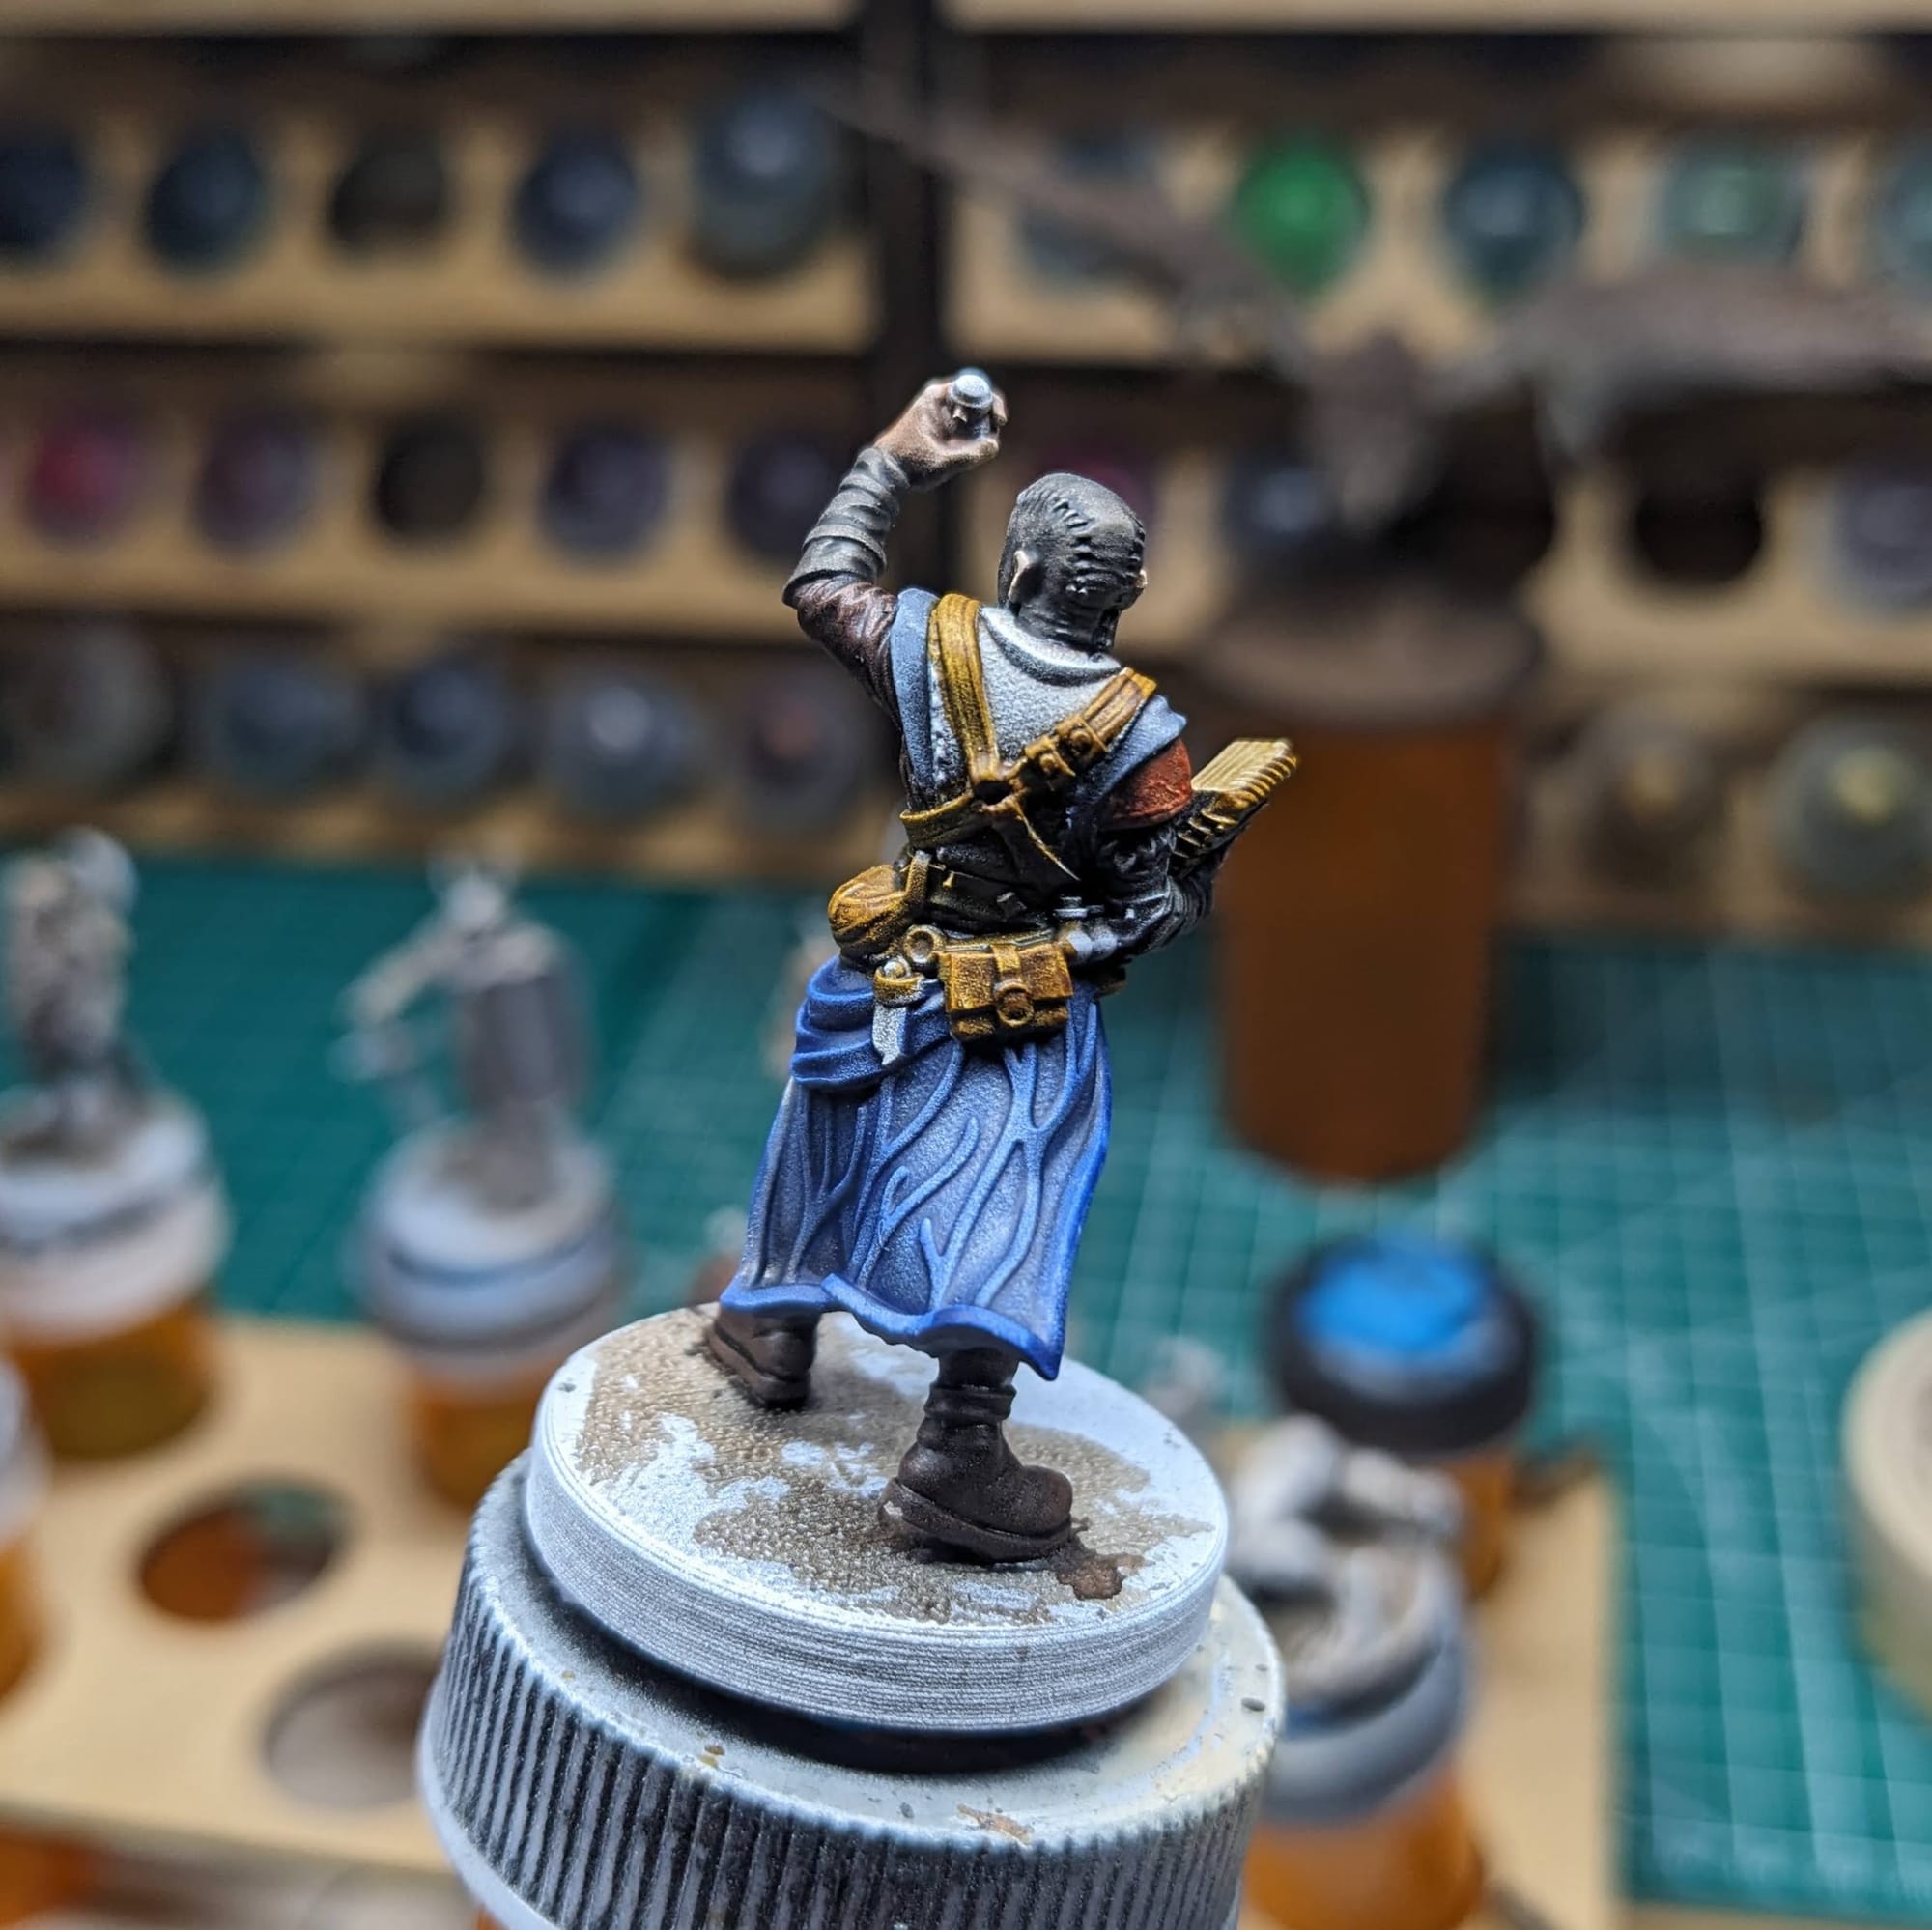
I'd like to note here that this step of color blocking does not use any metals of any kind. I don't like to mix my metallic and flat paints together, because I don't want to accidentally get metal flakes into my non-metallic colors.
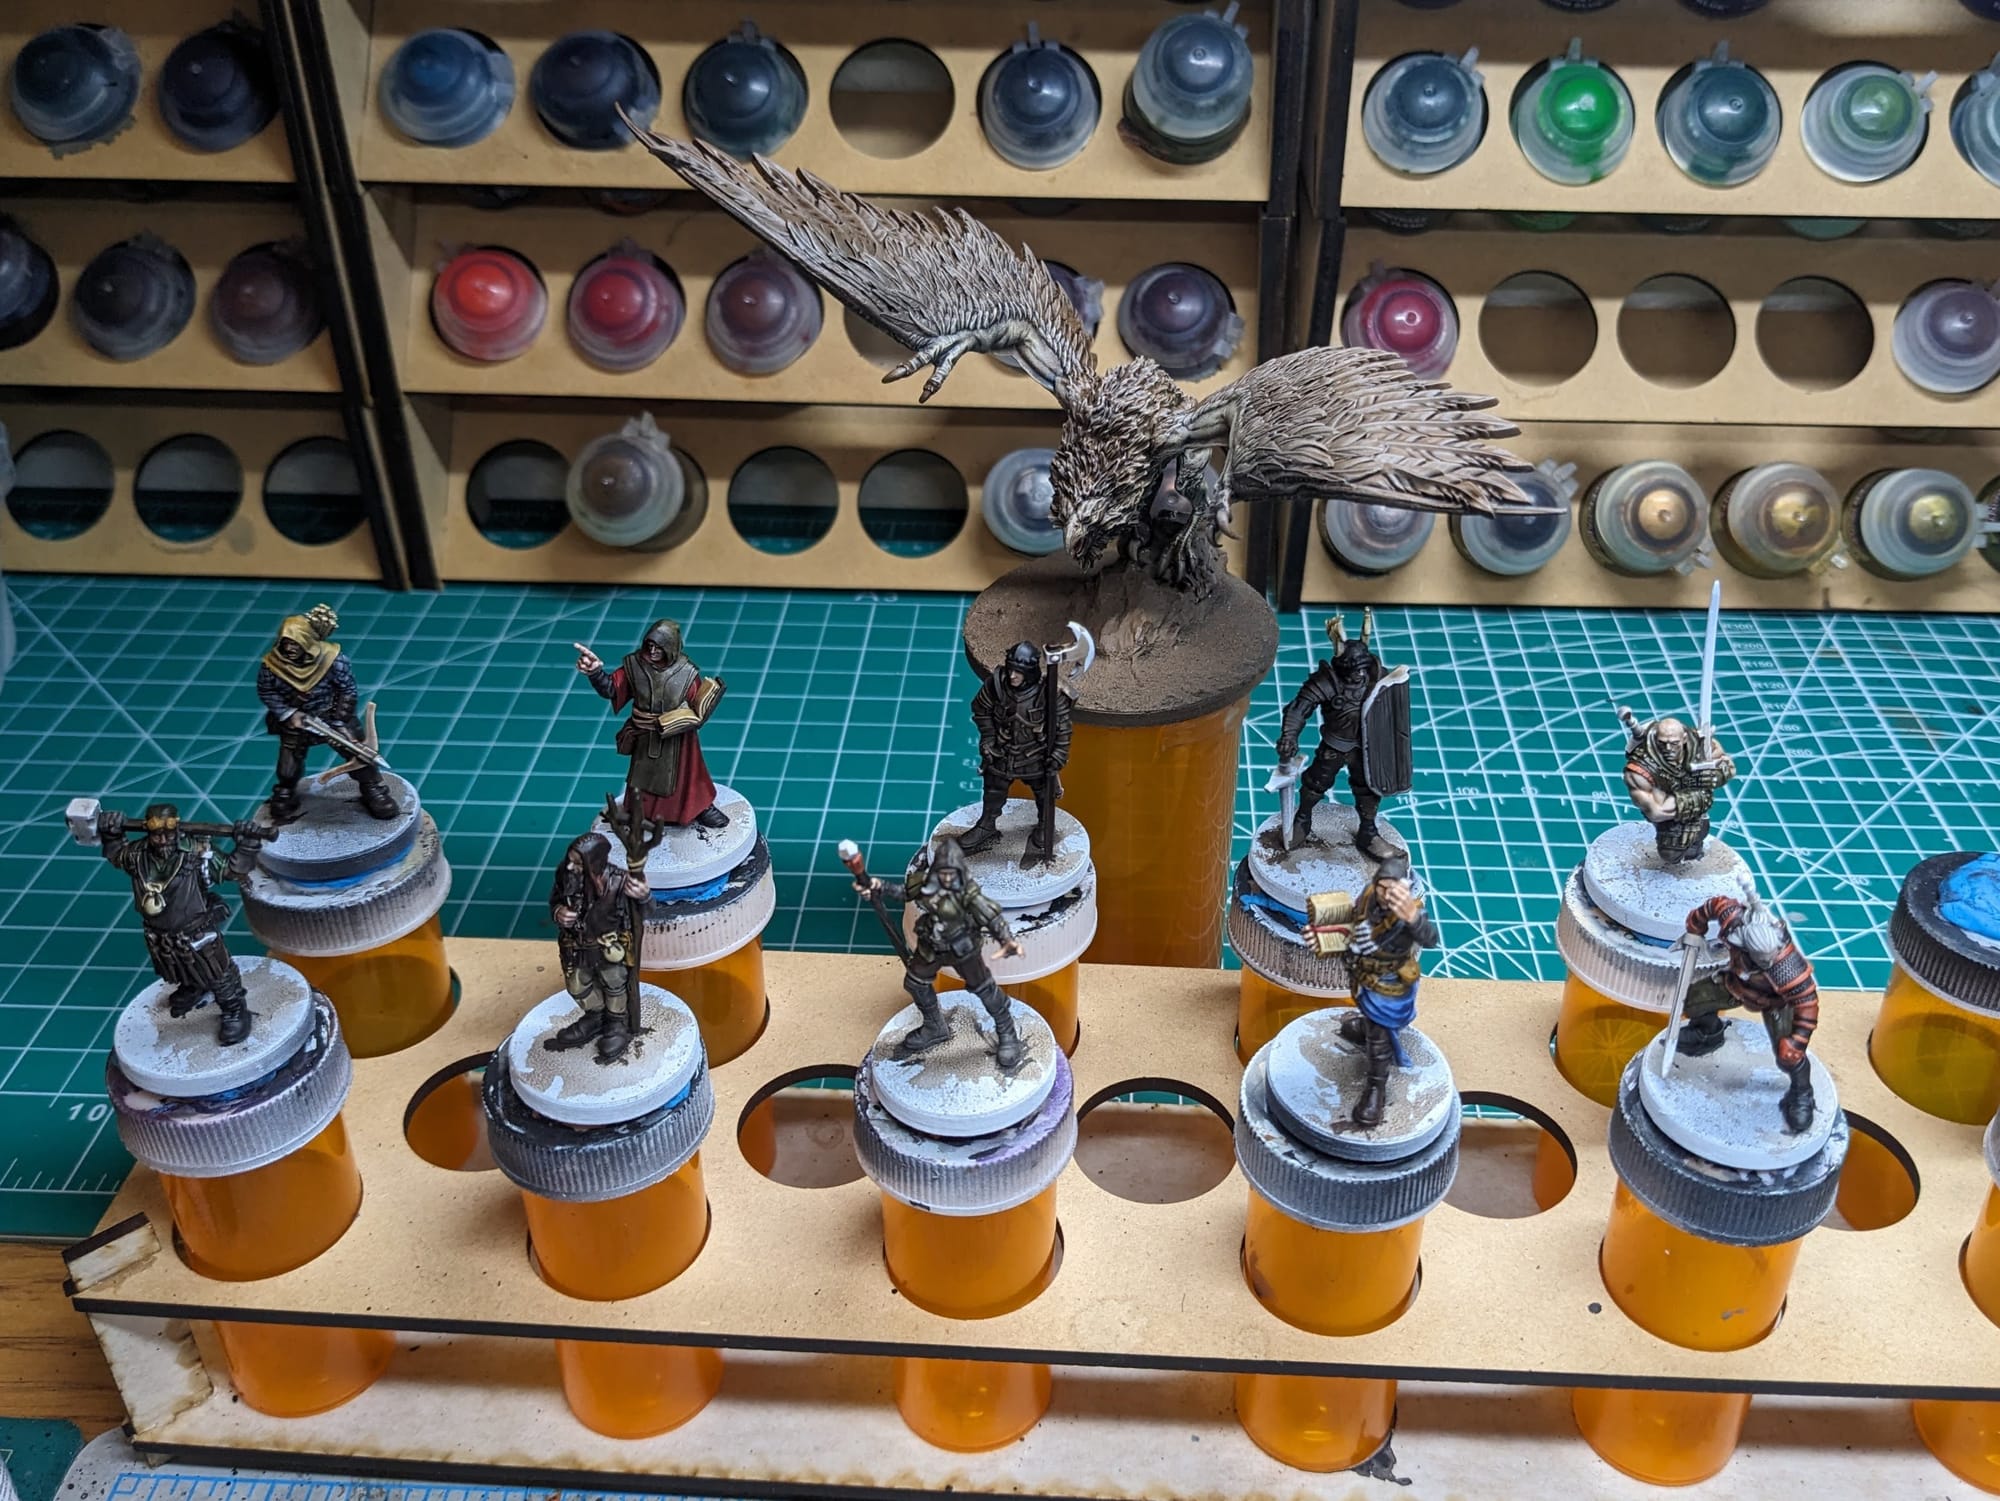
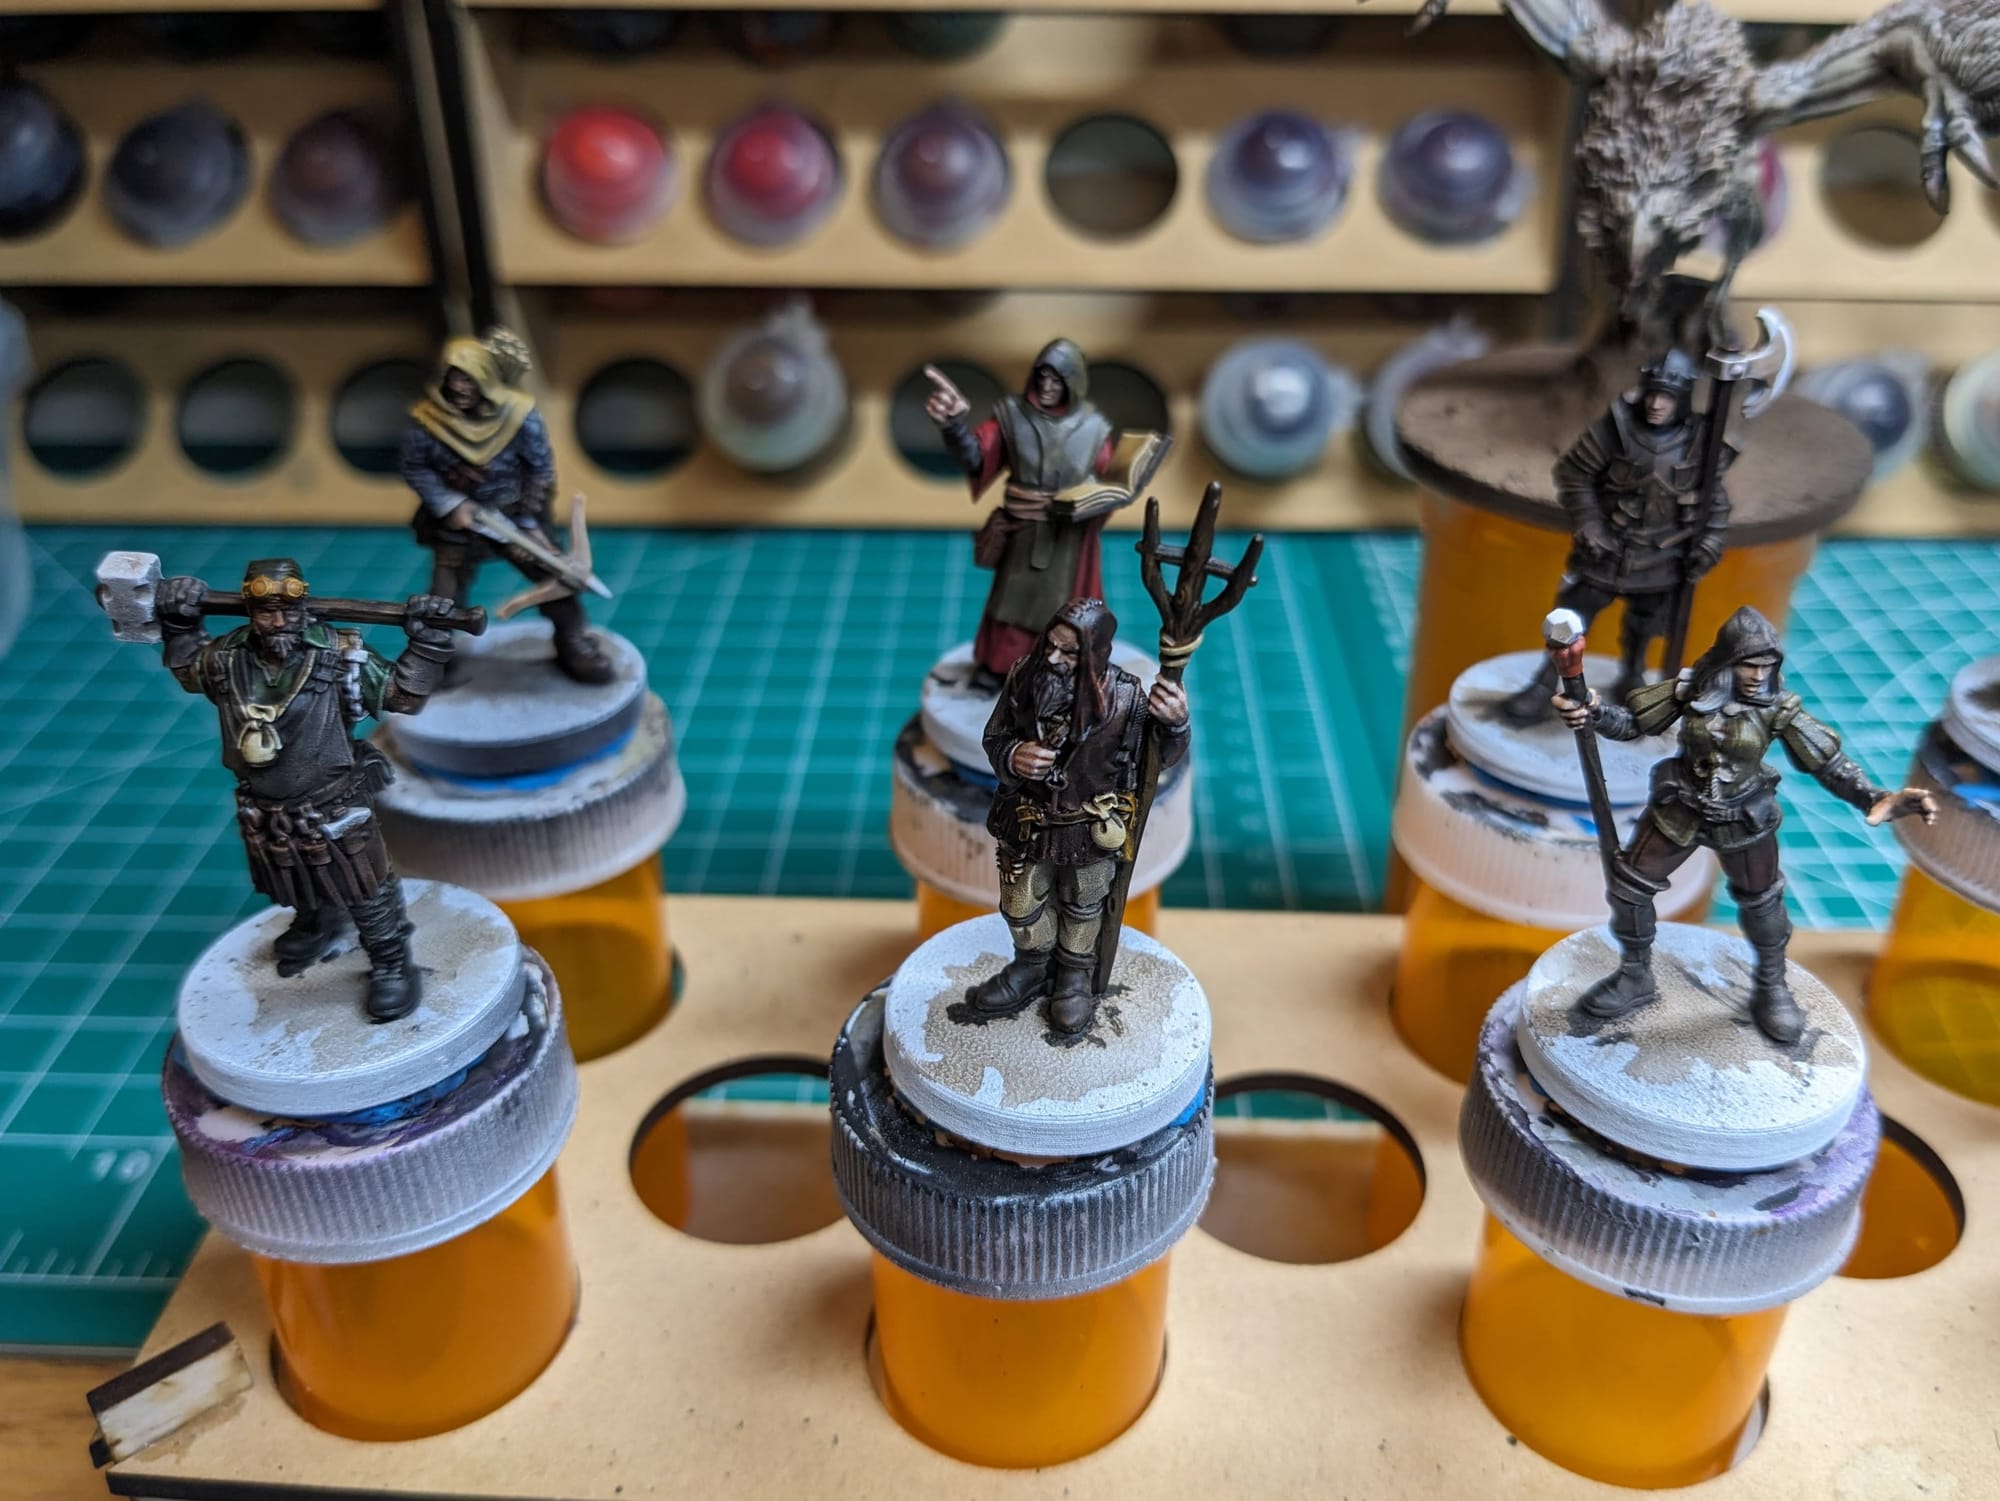
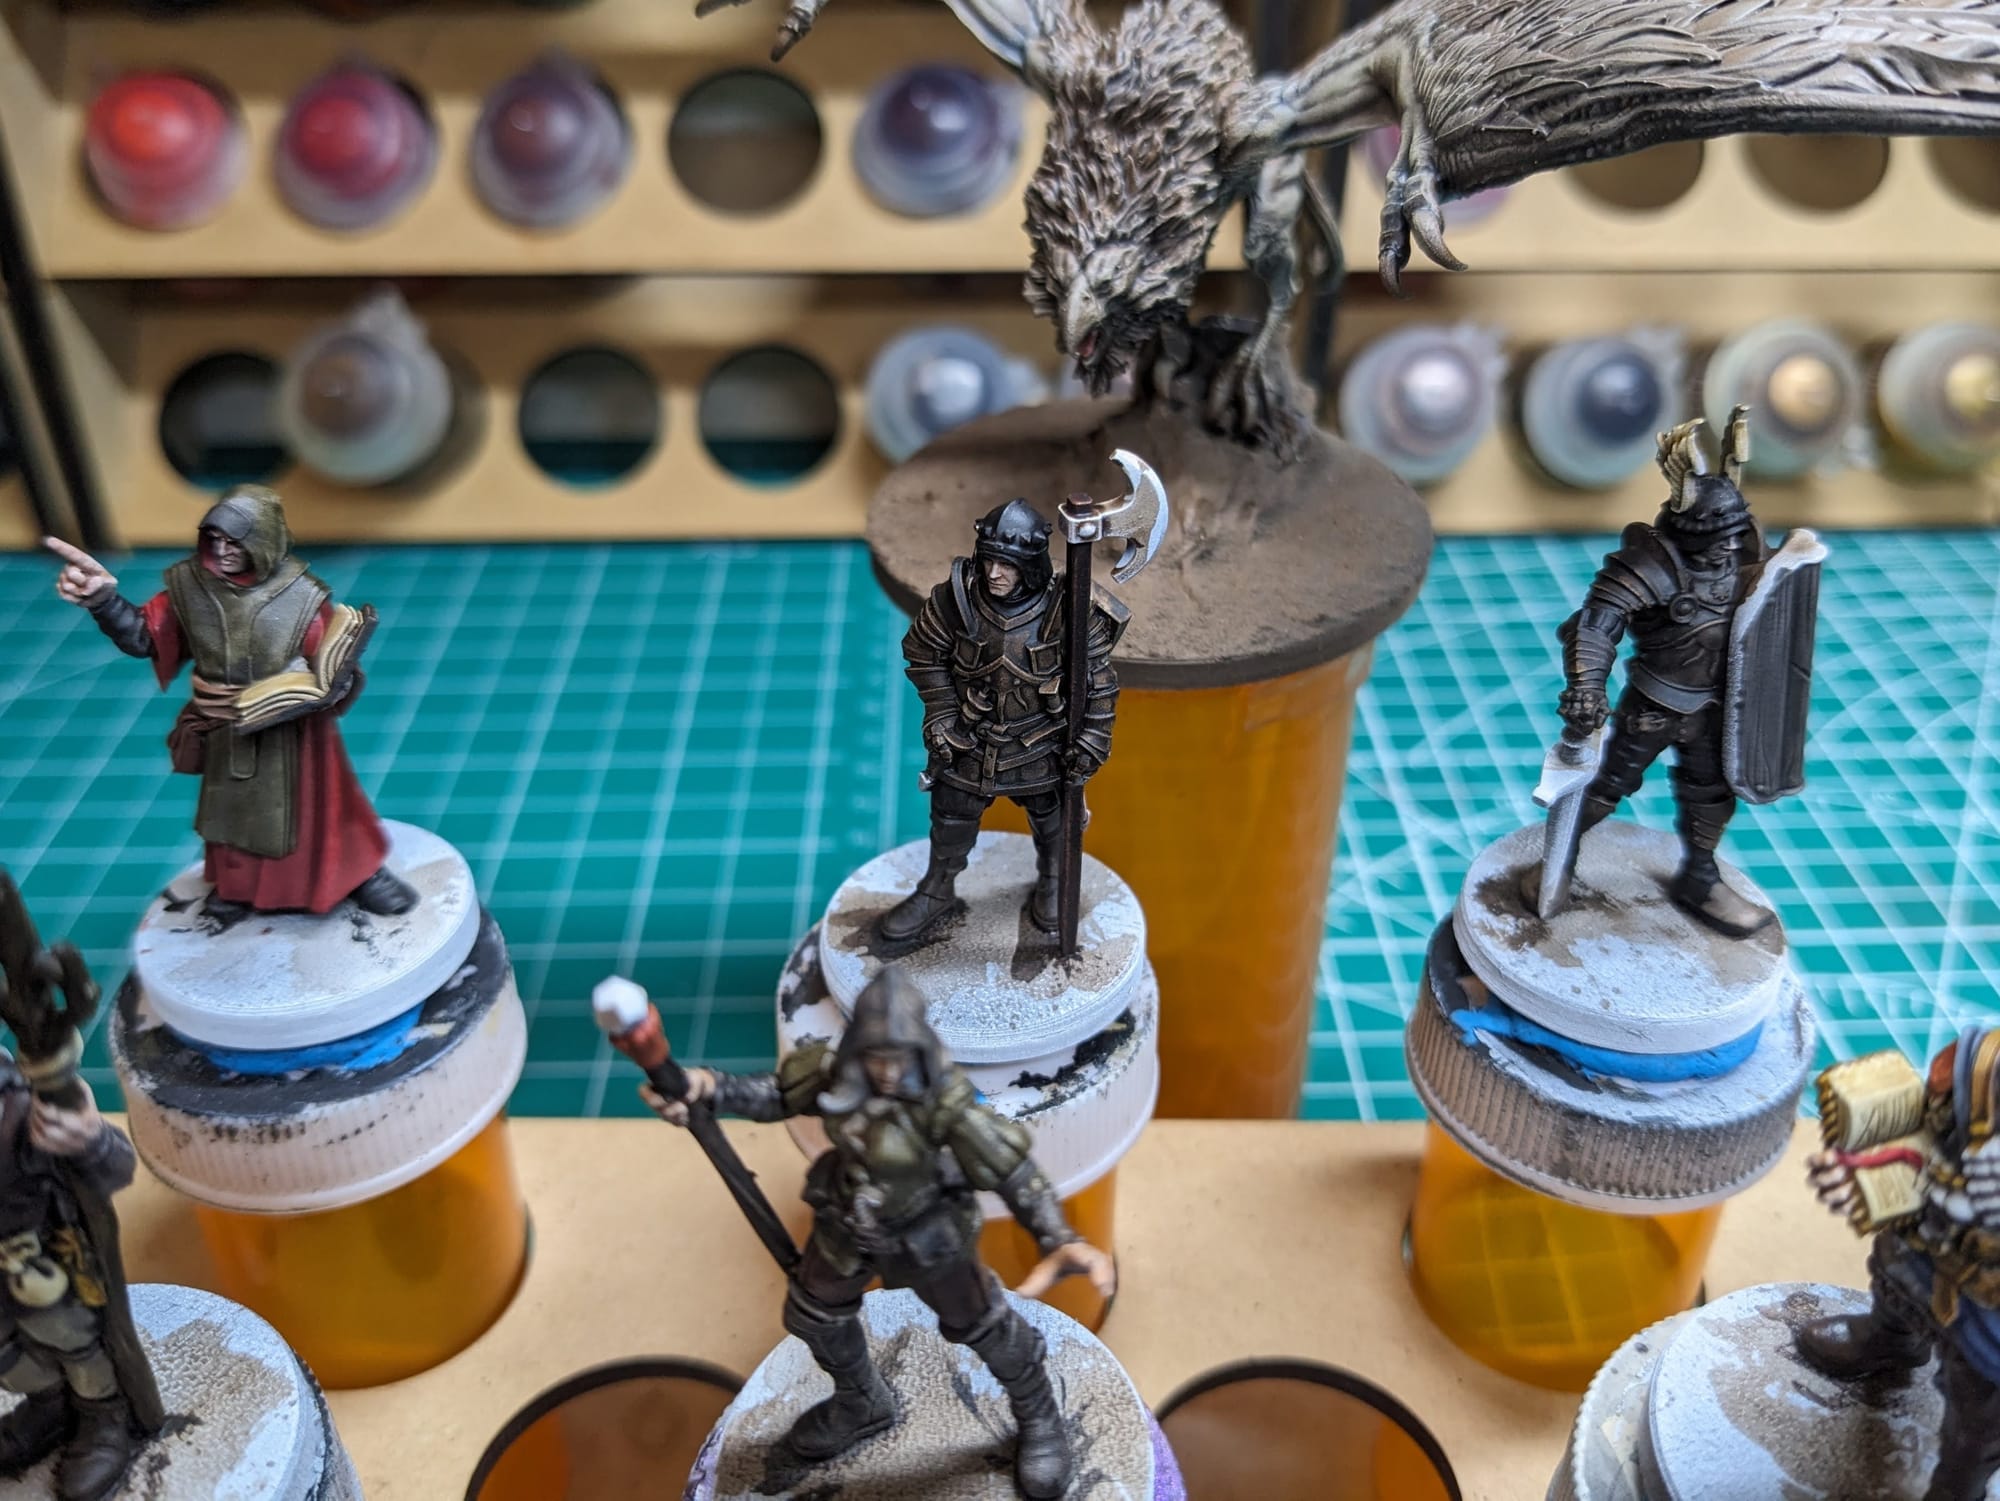
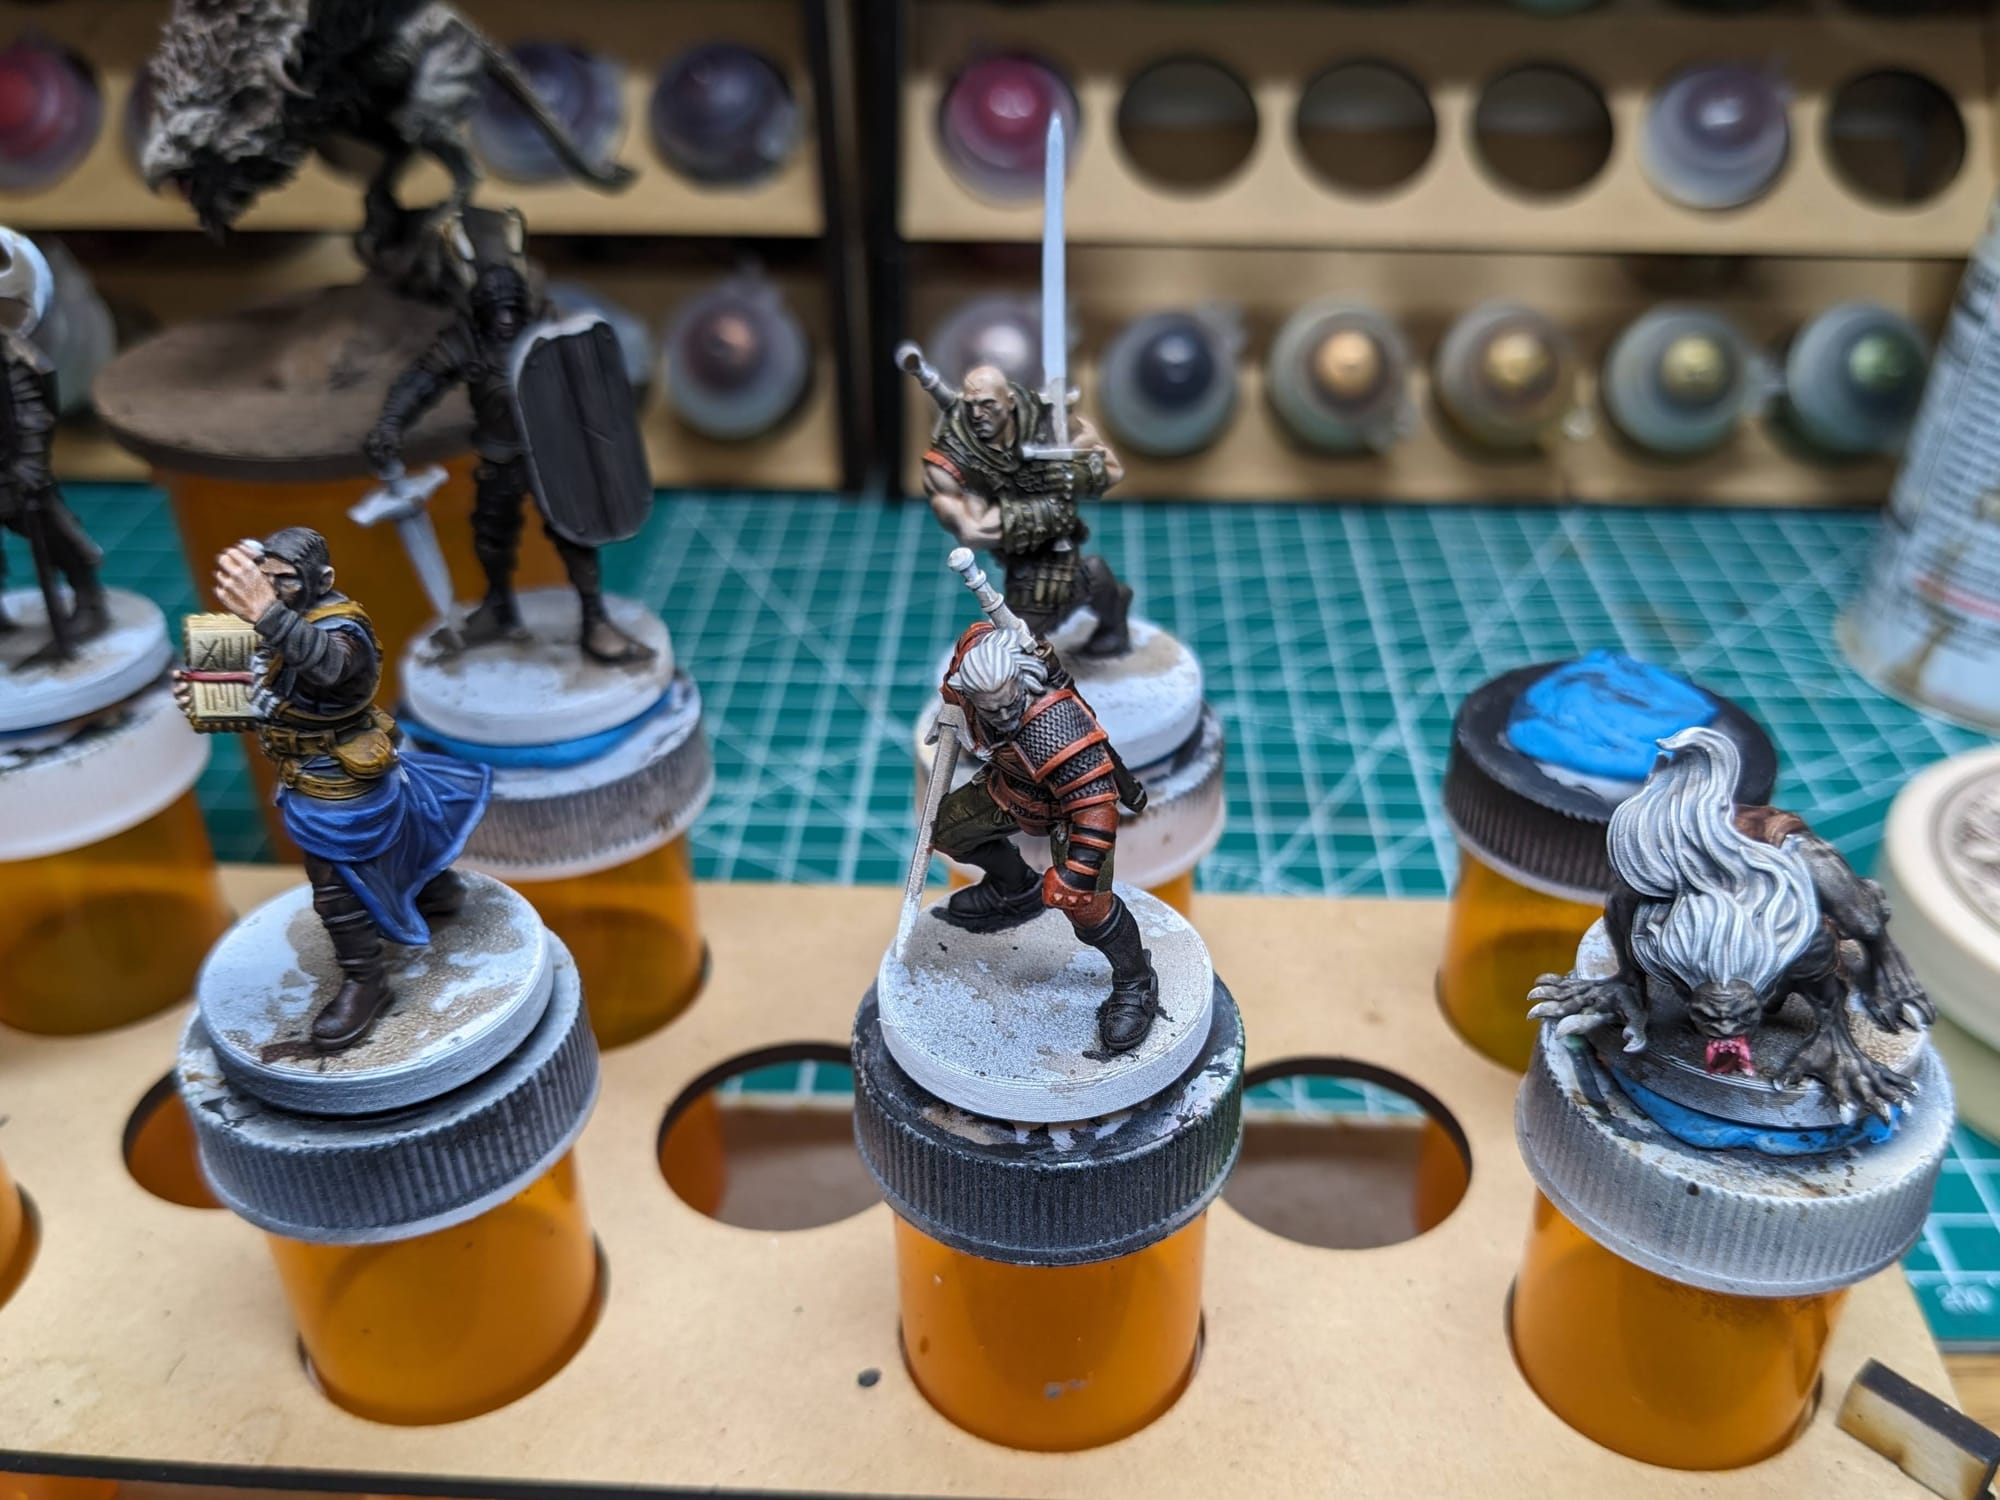
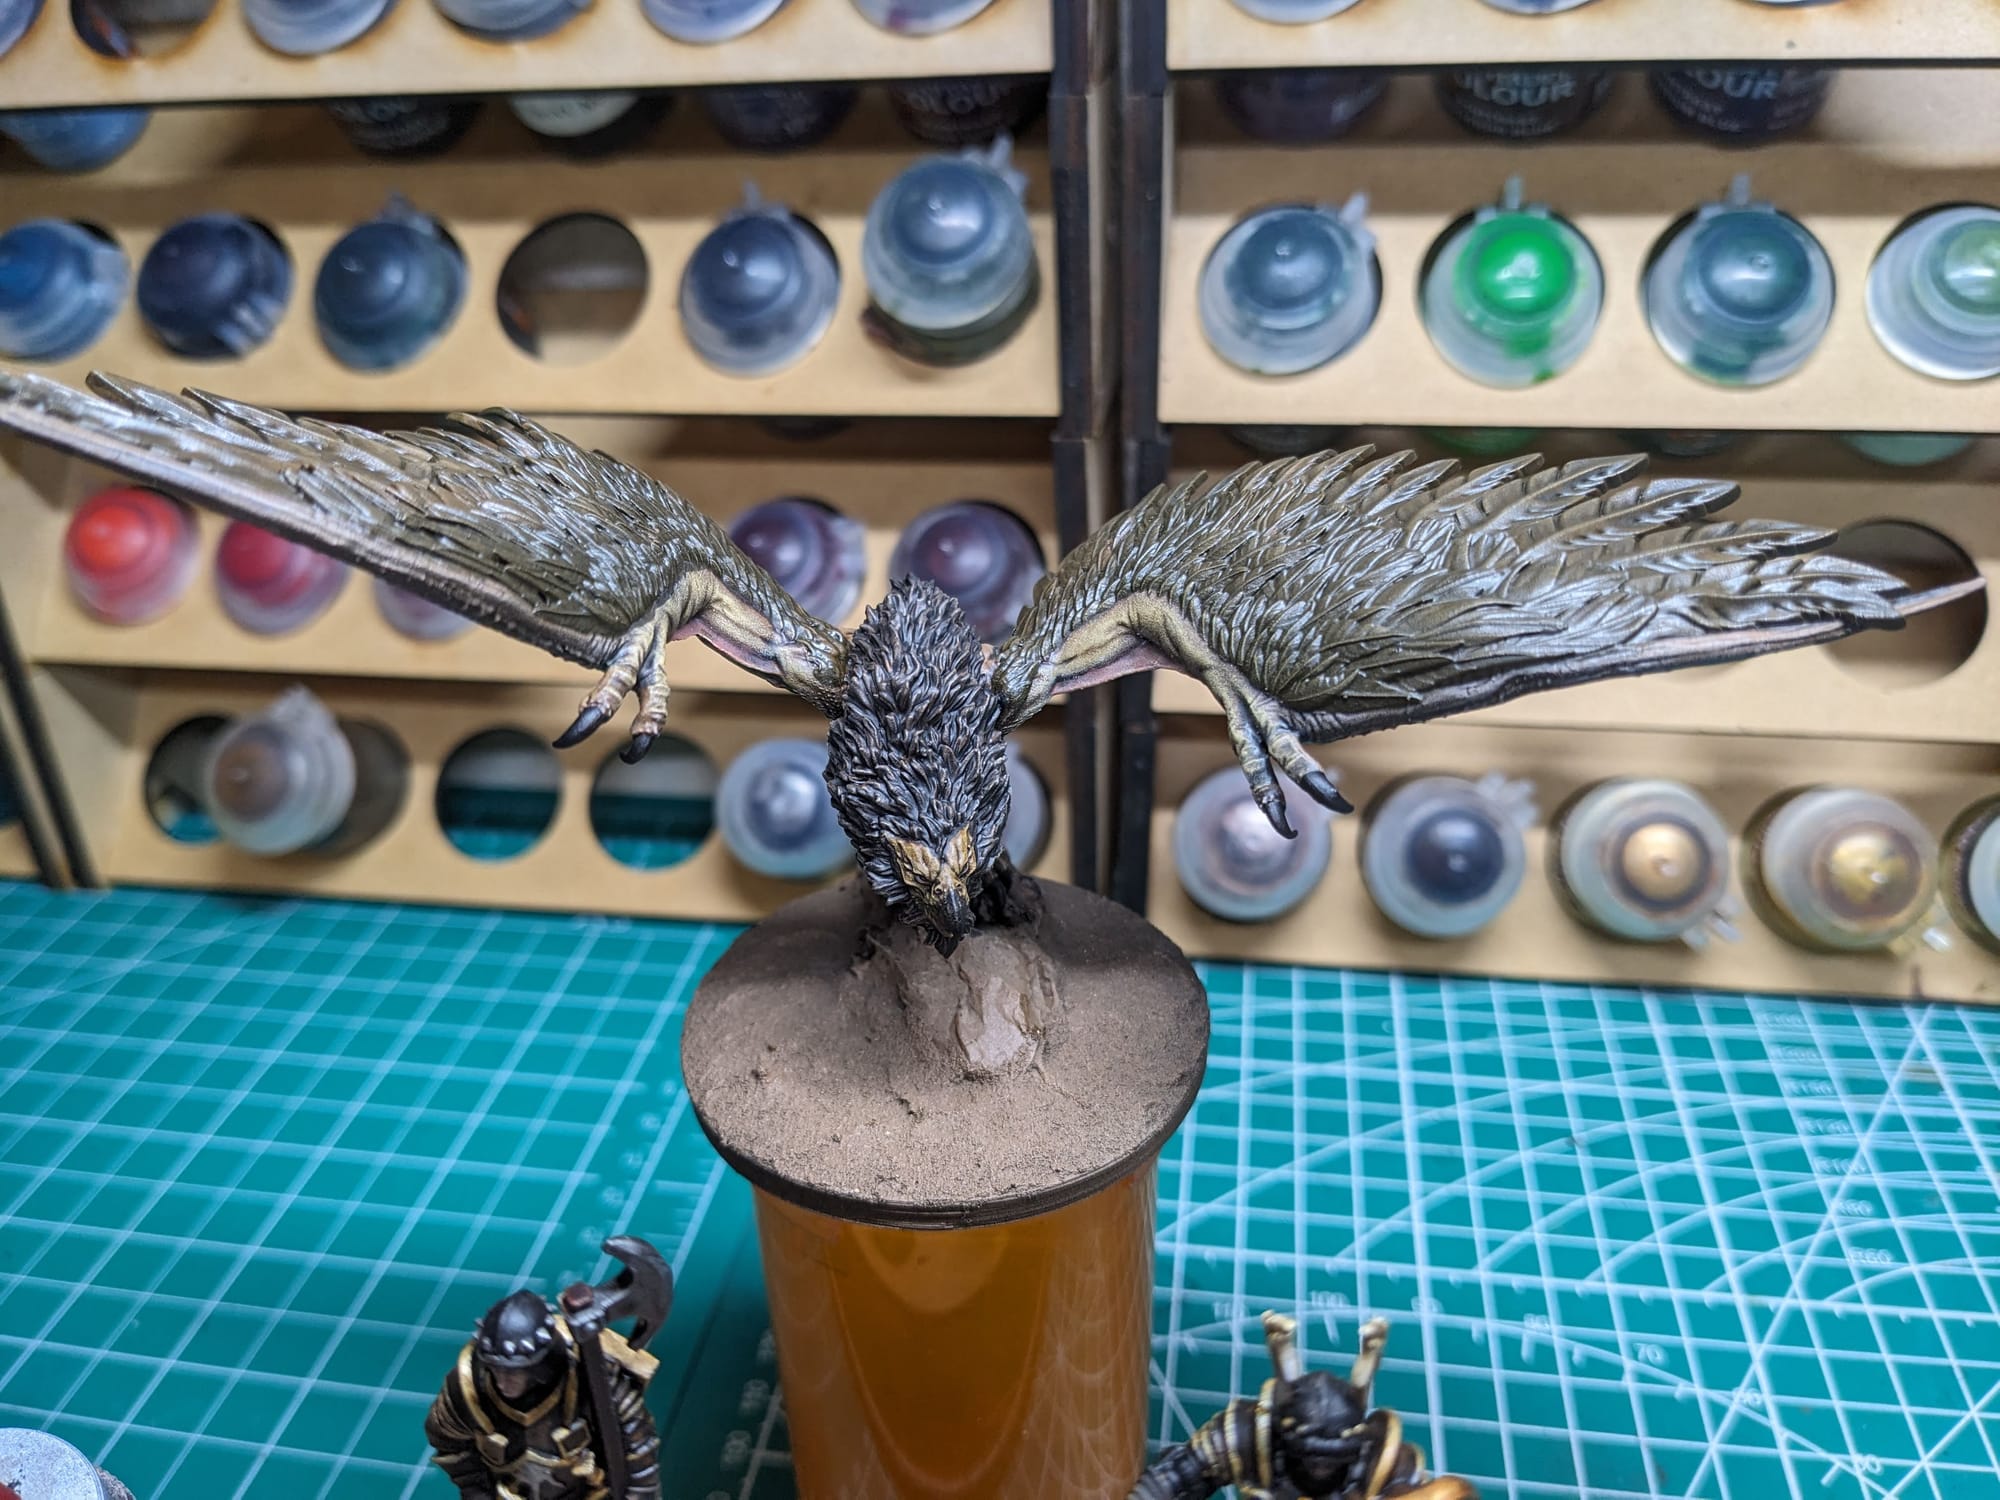
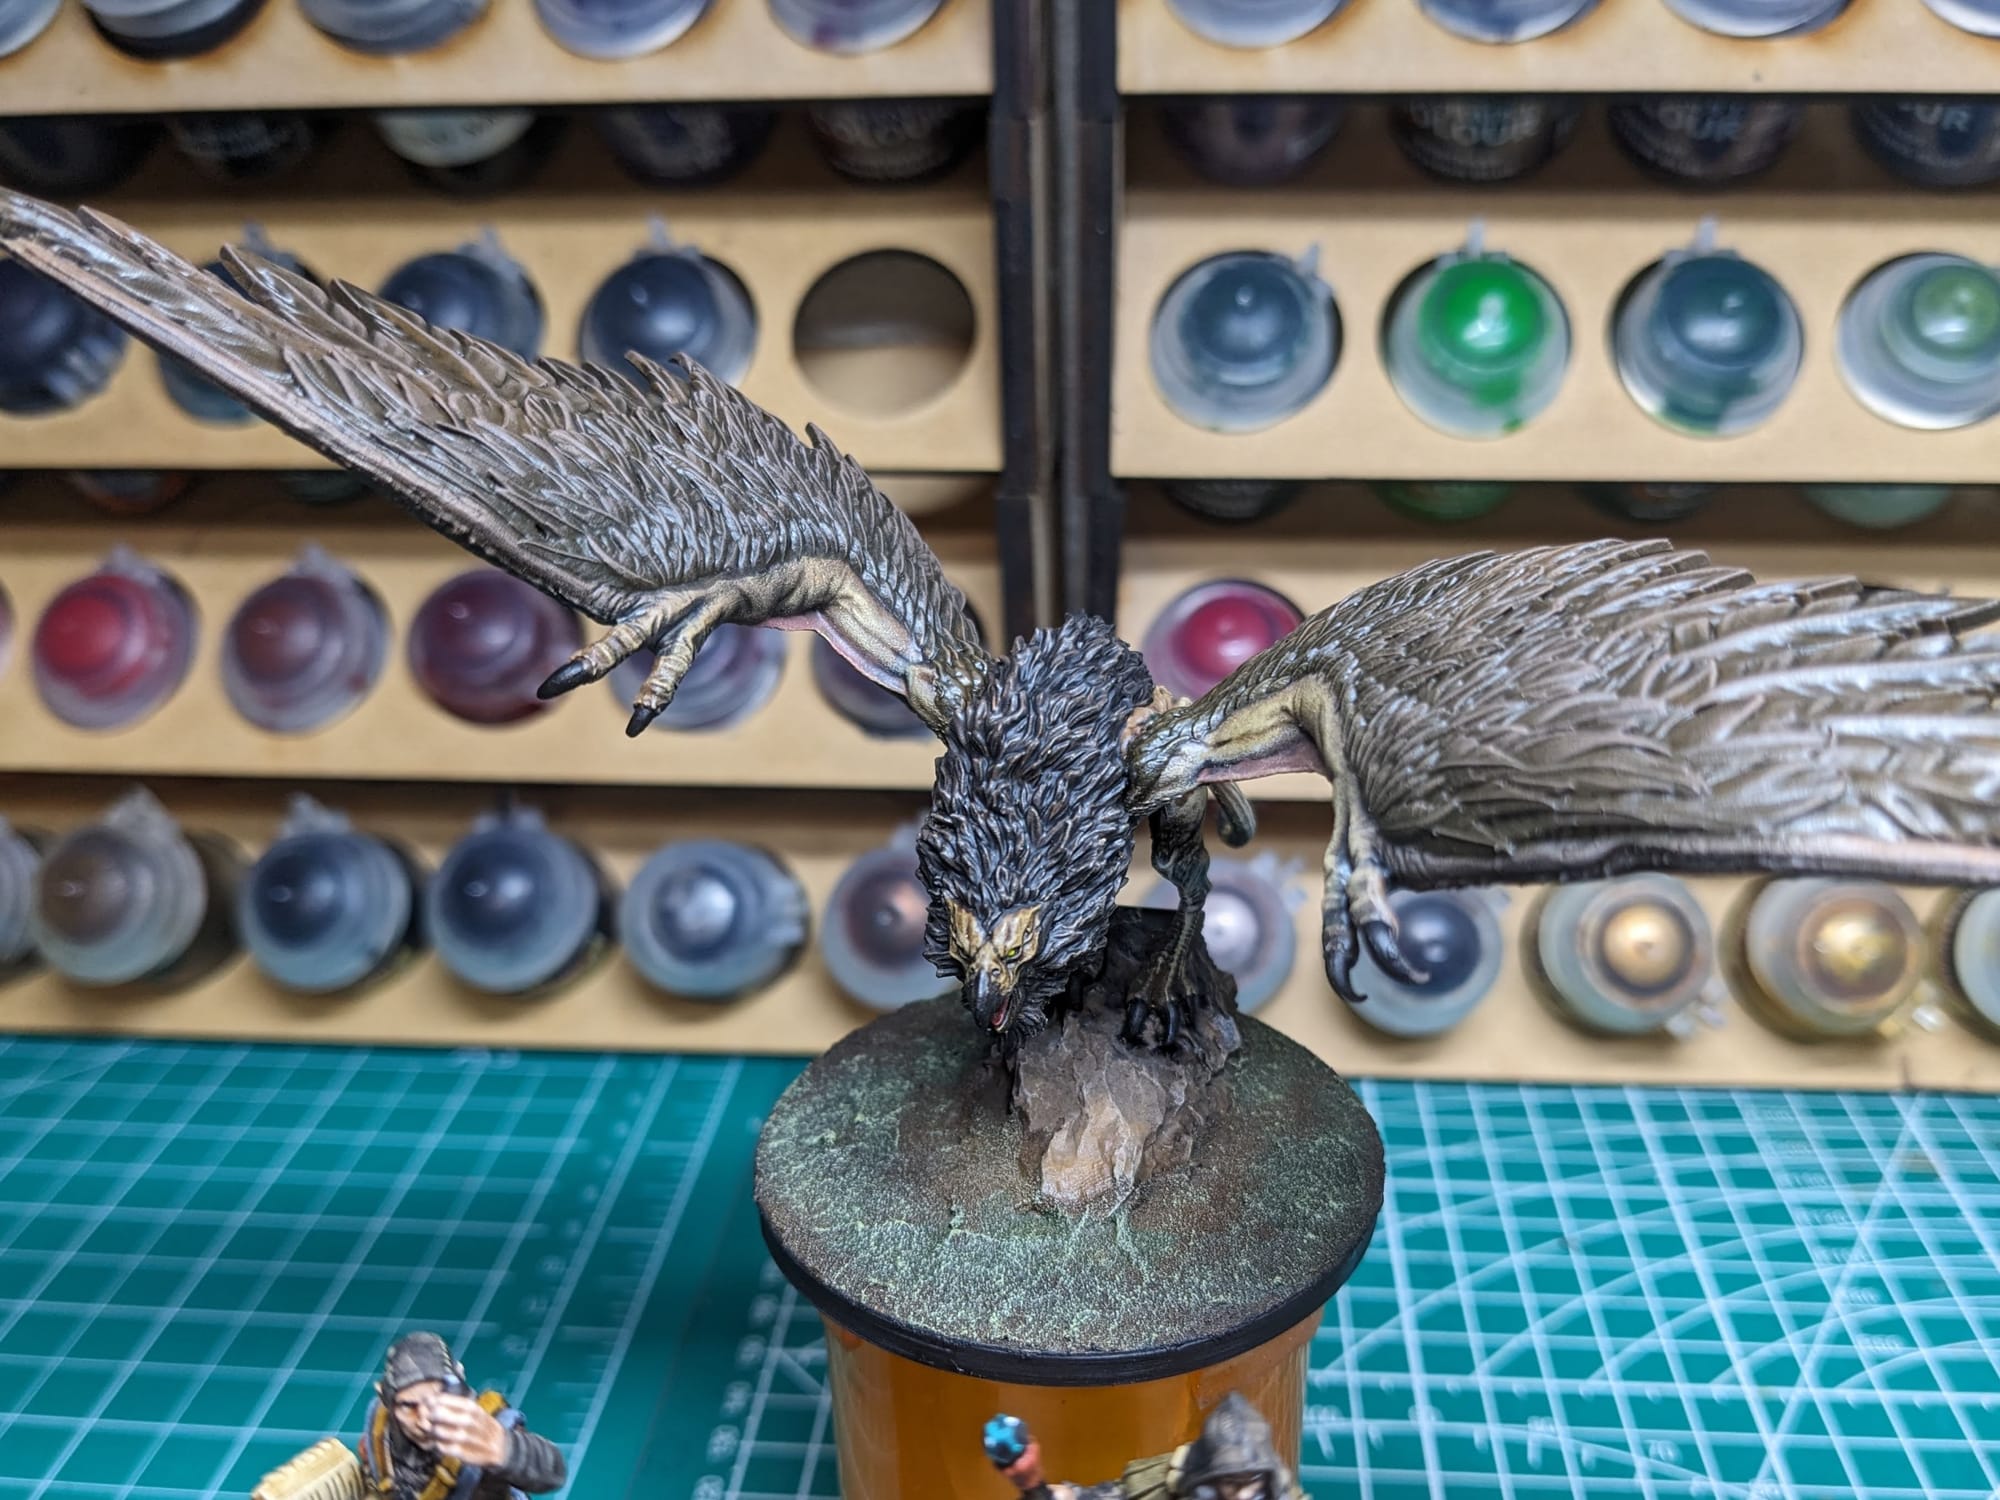
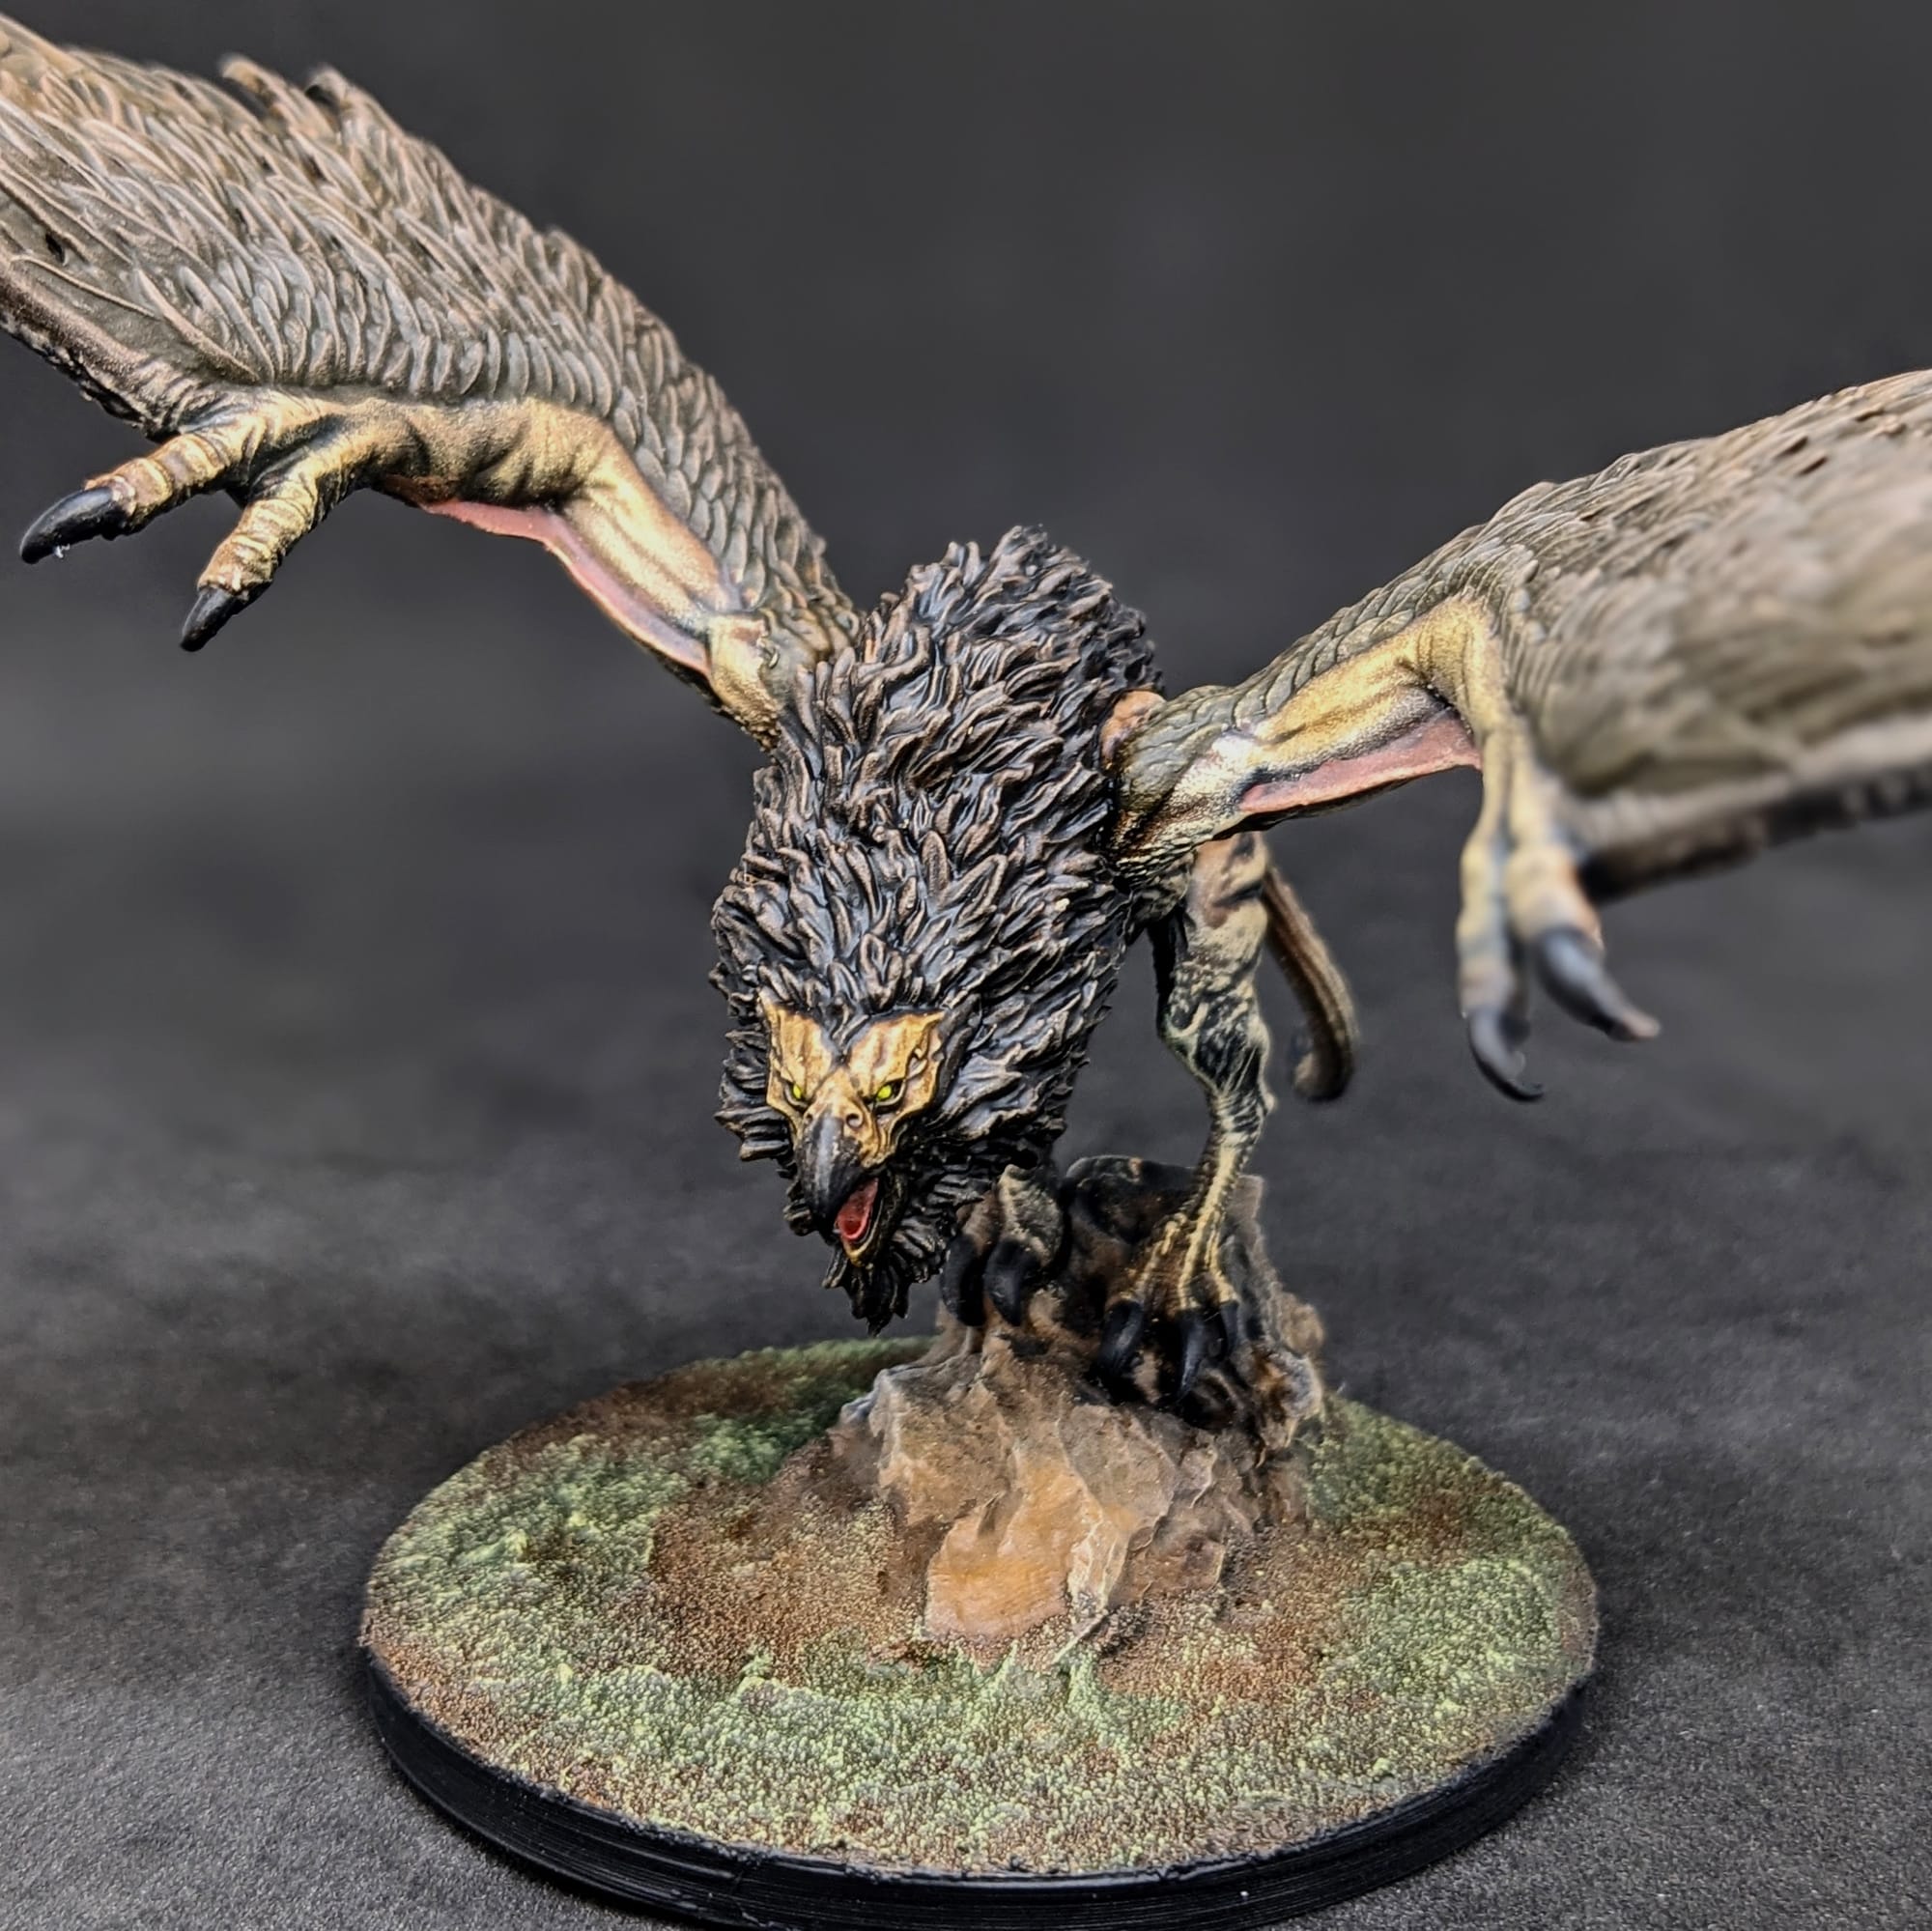
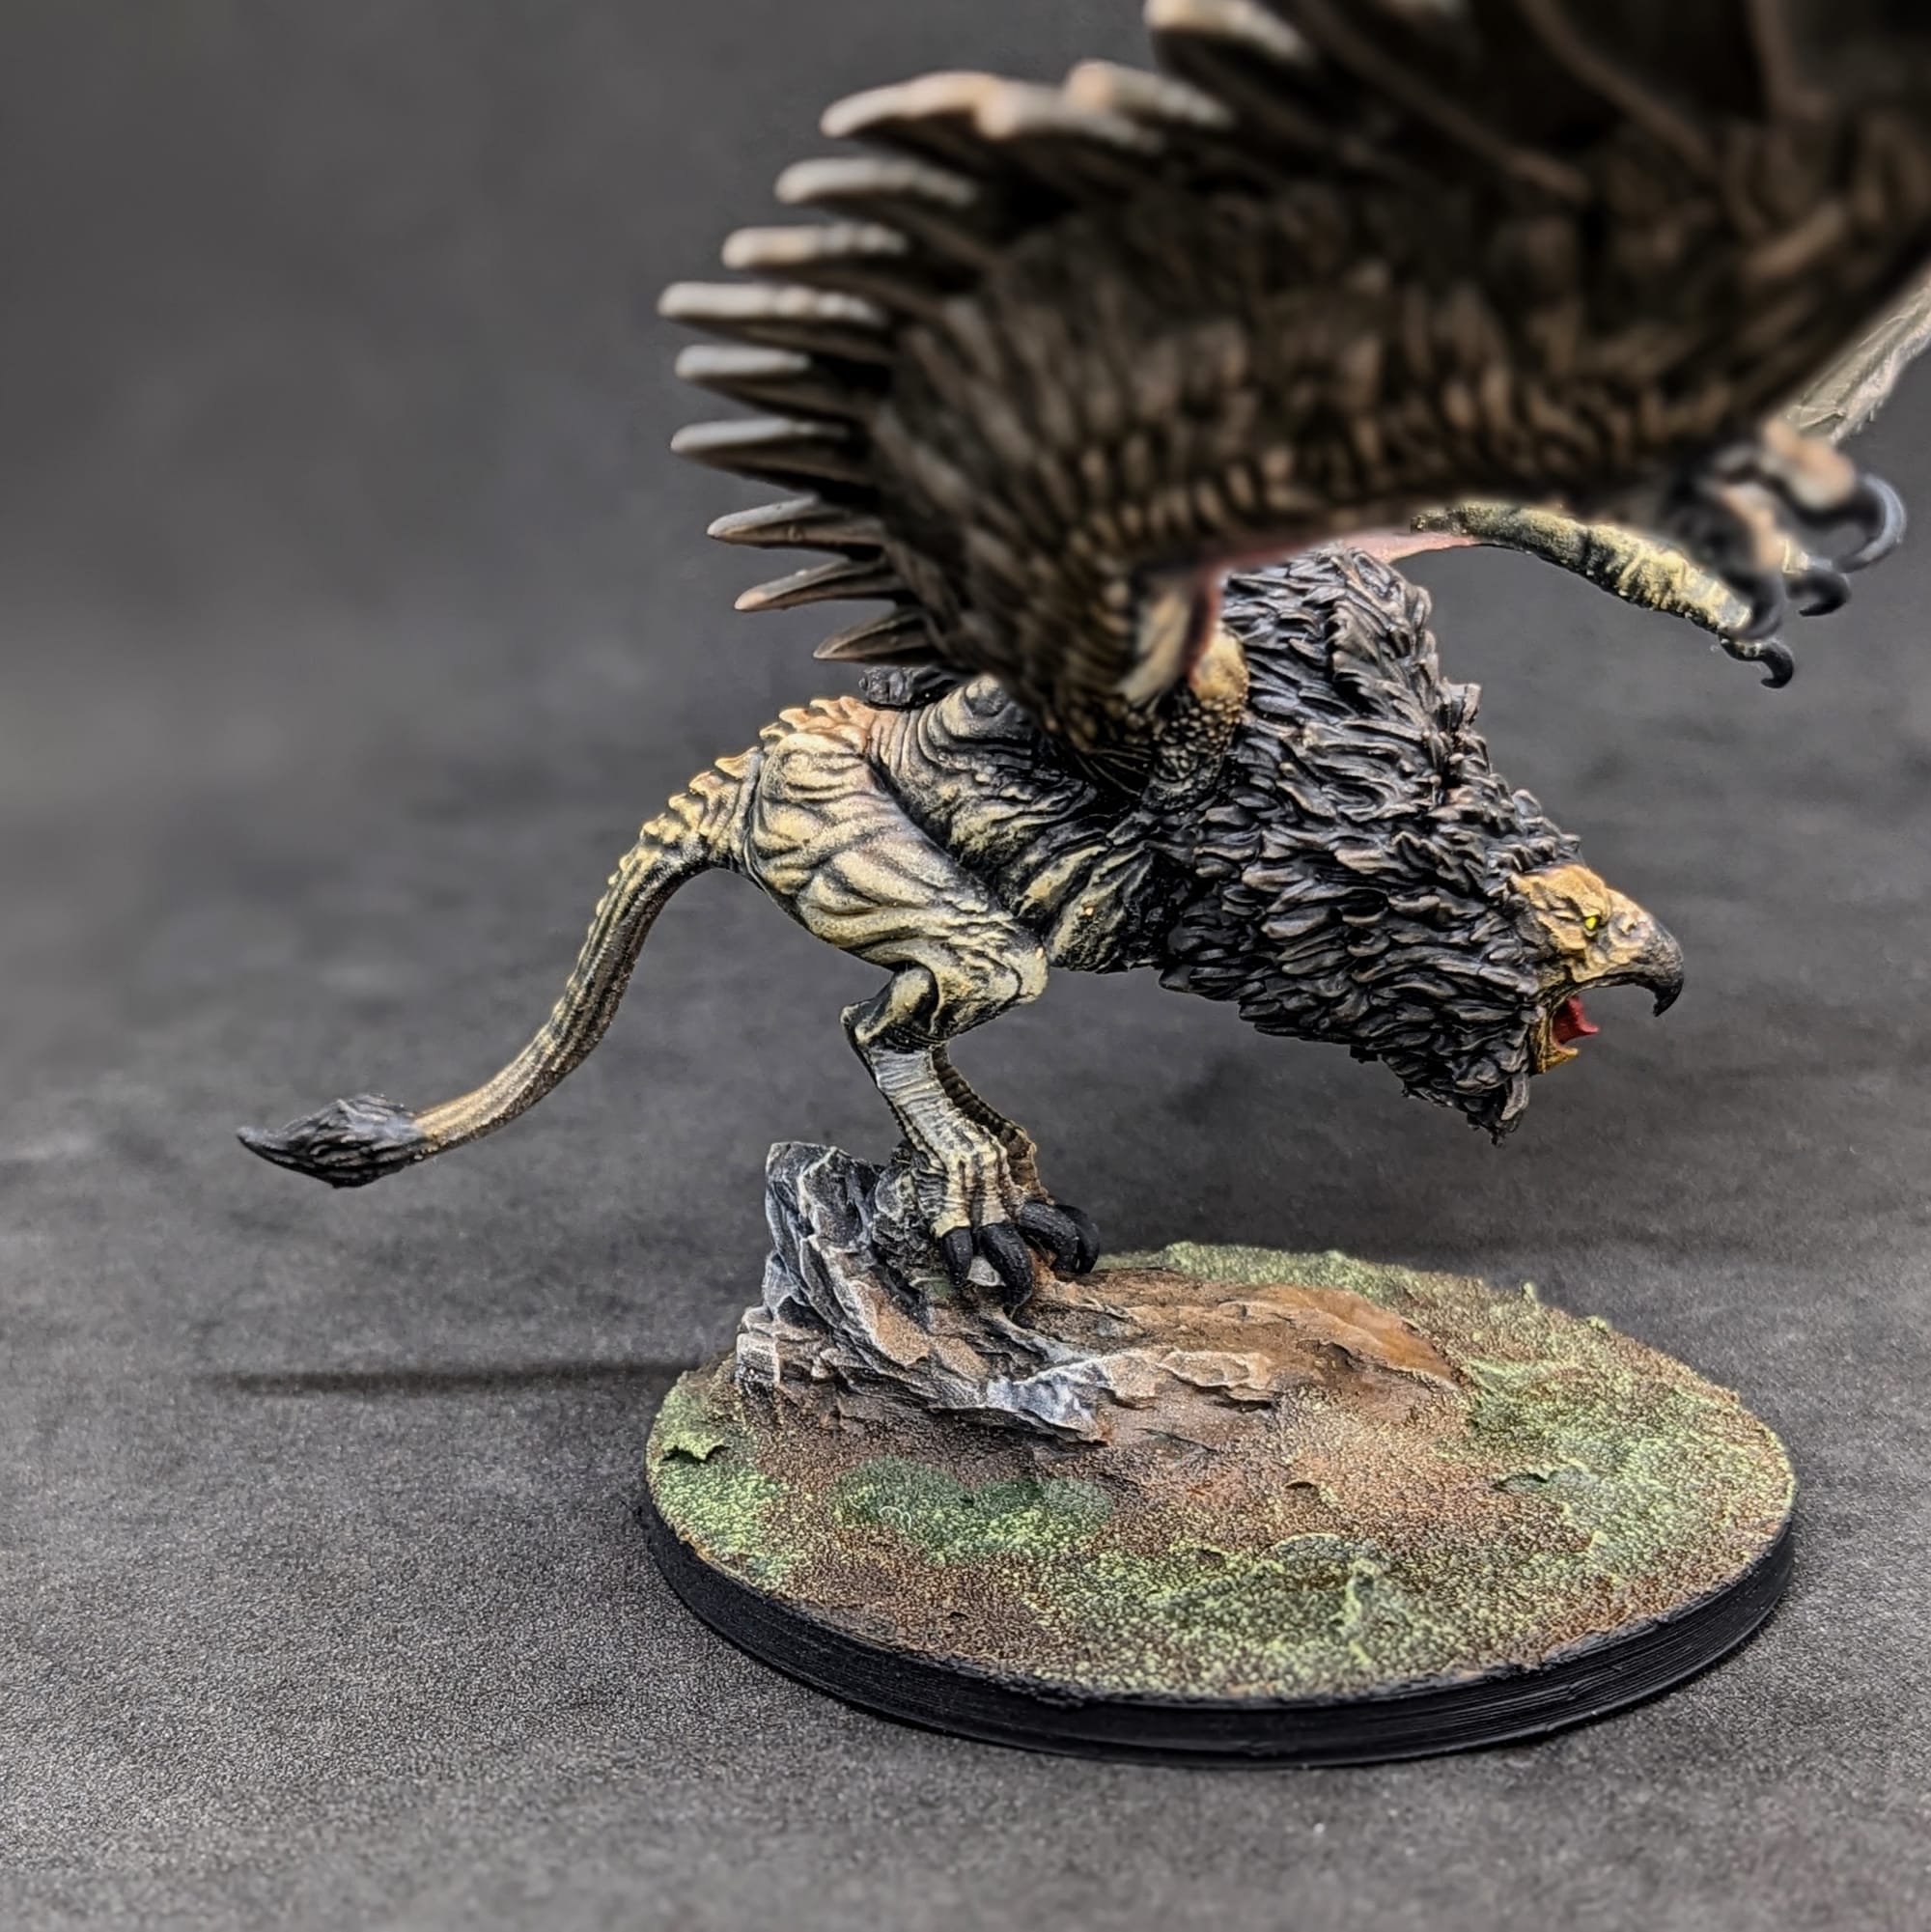
For the griffin, I oscillated between dry-brushing colors, washes, and contrasts. Since there is a ton of detail throughout the model, especially with the feathers and mane, I was able to take advantage of the dry-brushing technique to really accent the details. I applied Contrast paints as needed to help darken the feather and mane. If I needed to reaccented an area of the skin or feathers, I just reapplied the dry-brushing.
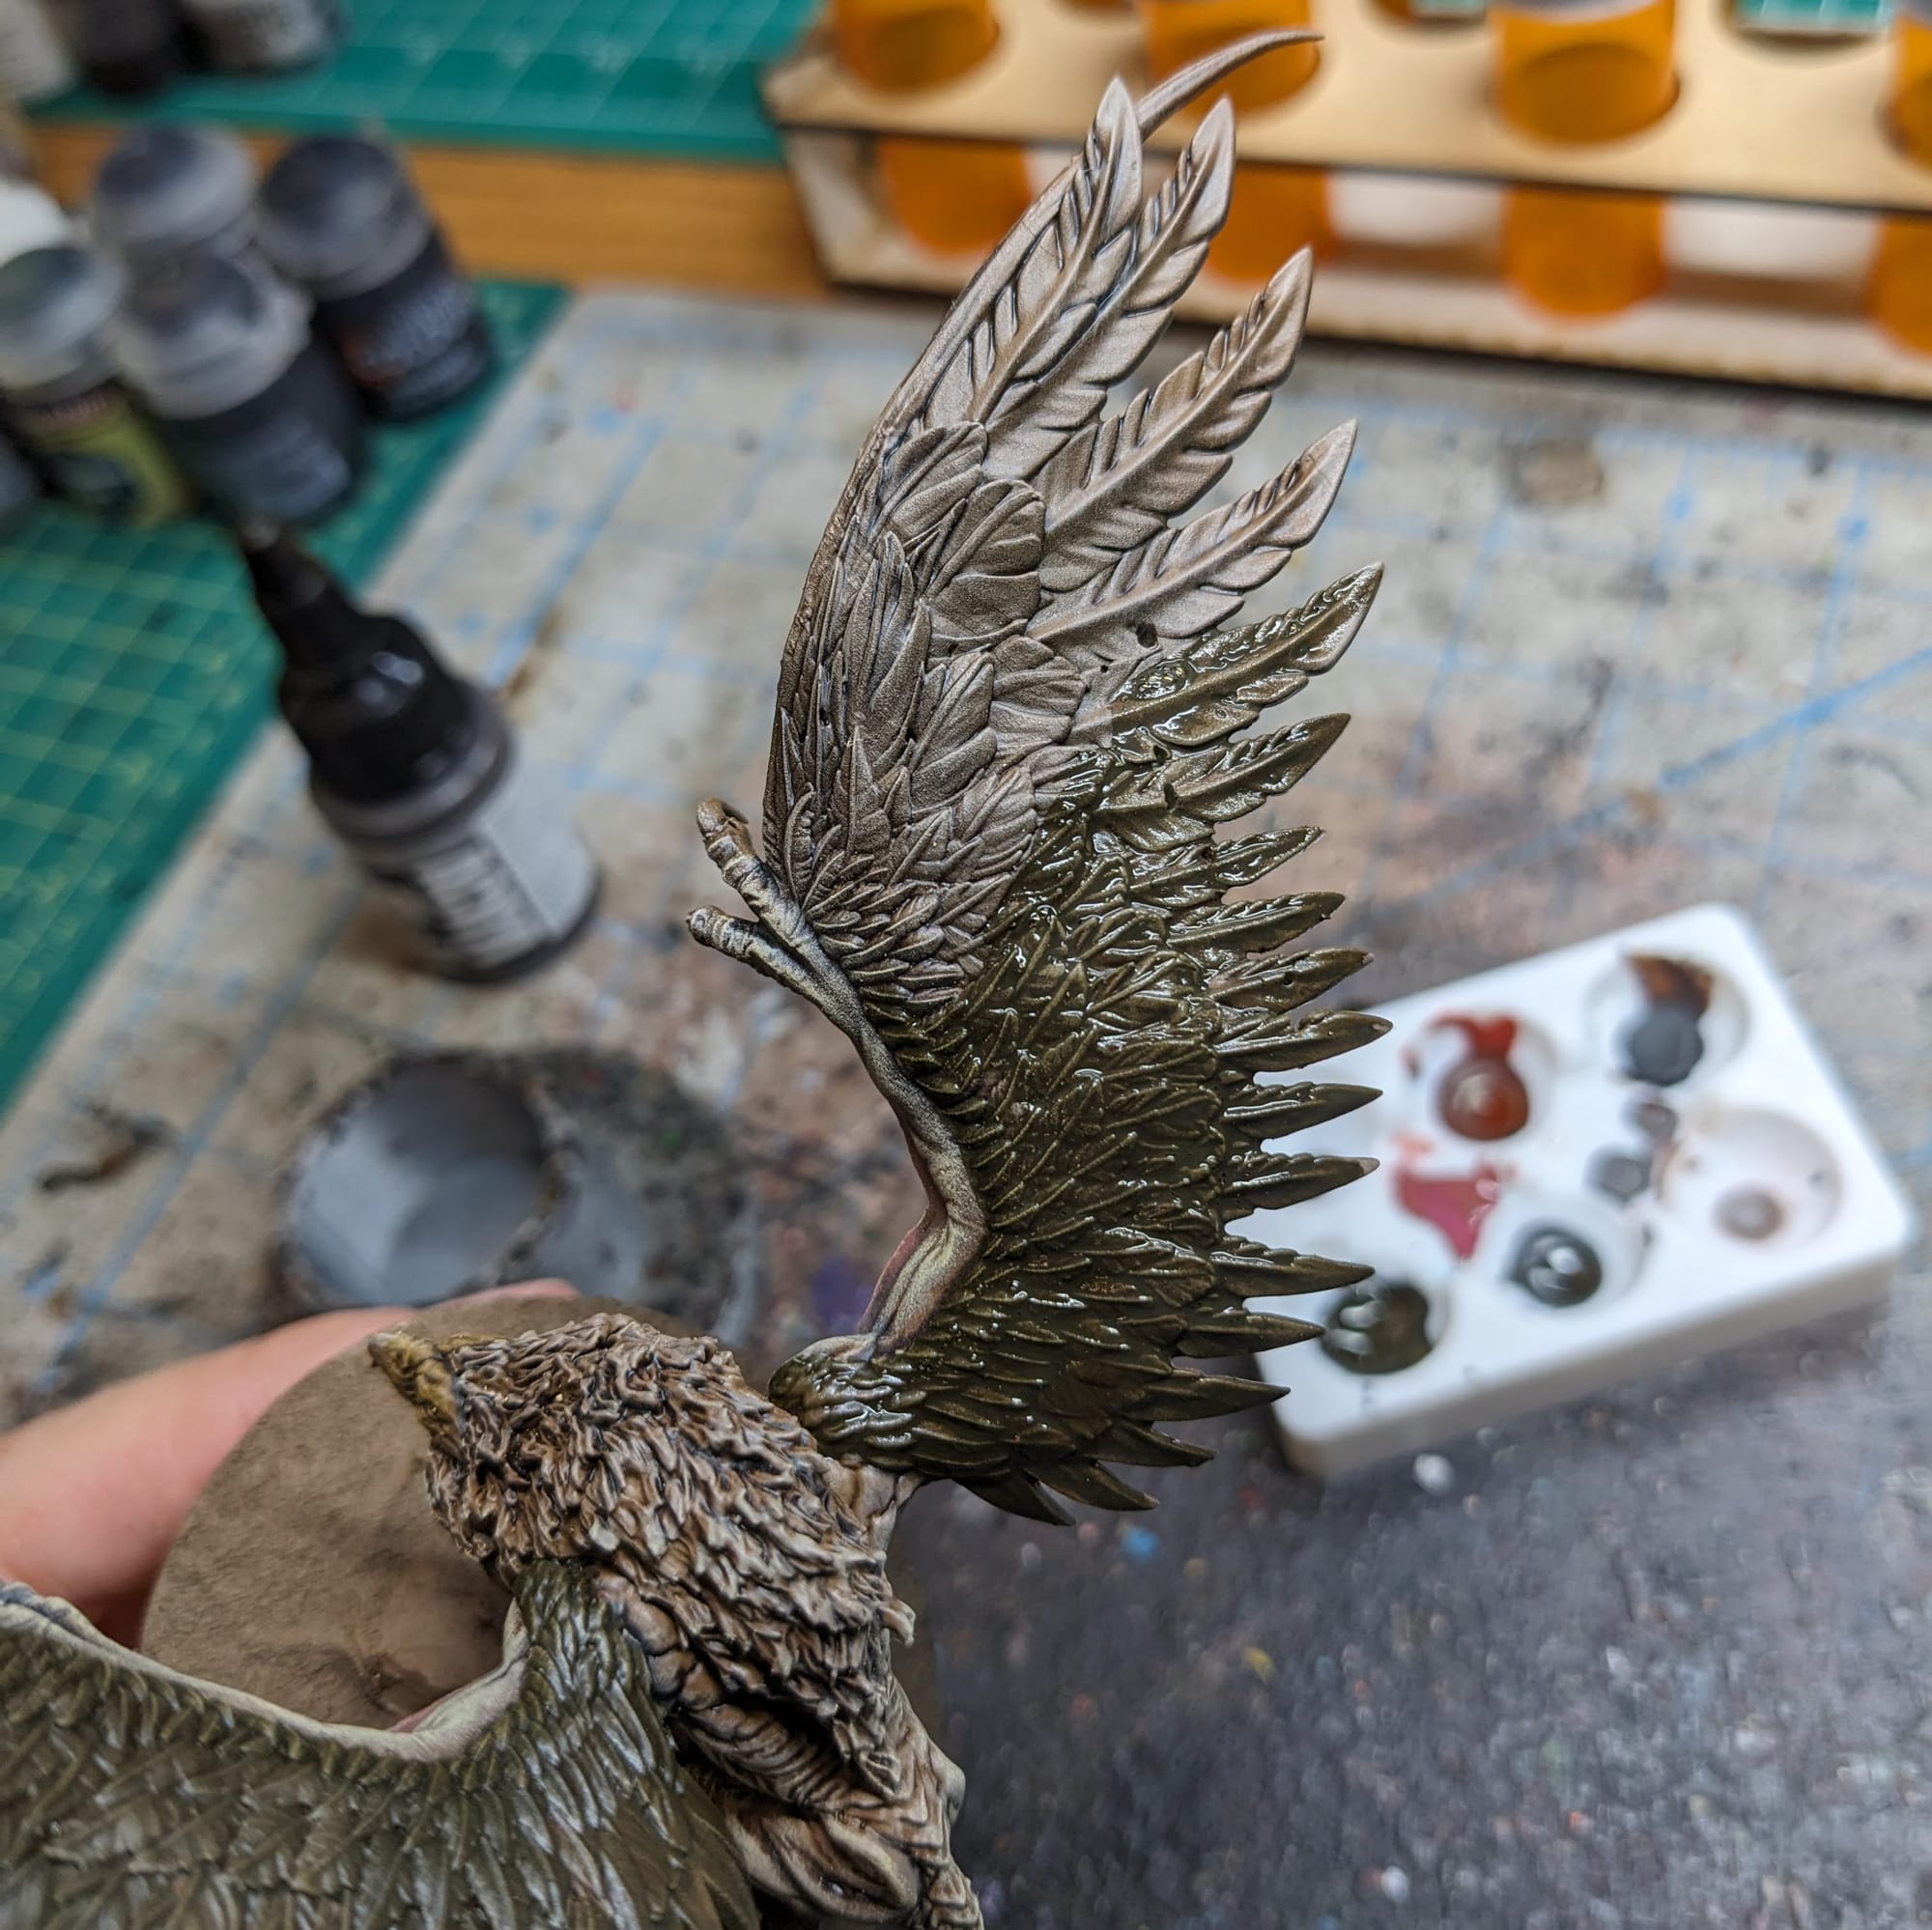
Once all of the non-metal color blocking is complete, I then started using the metals. Some metals I used the Metallic Speedpaints, but others are just regular Citadel or Army Painter metallic paints. I went slow on this part, and made sure to follow the shapes and areas that I wanted metallic carefully to avoid painting the areas I didn't. After making sure the metals were thoroughly dry, I applied a wash over the top, such as Agrax Earthshade, Dark Tone, or Citadel Reikland Fleshshade (which is great for a warm gold color).
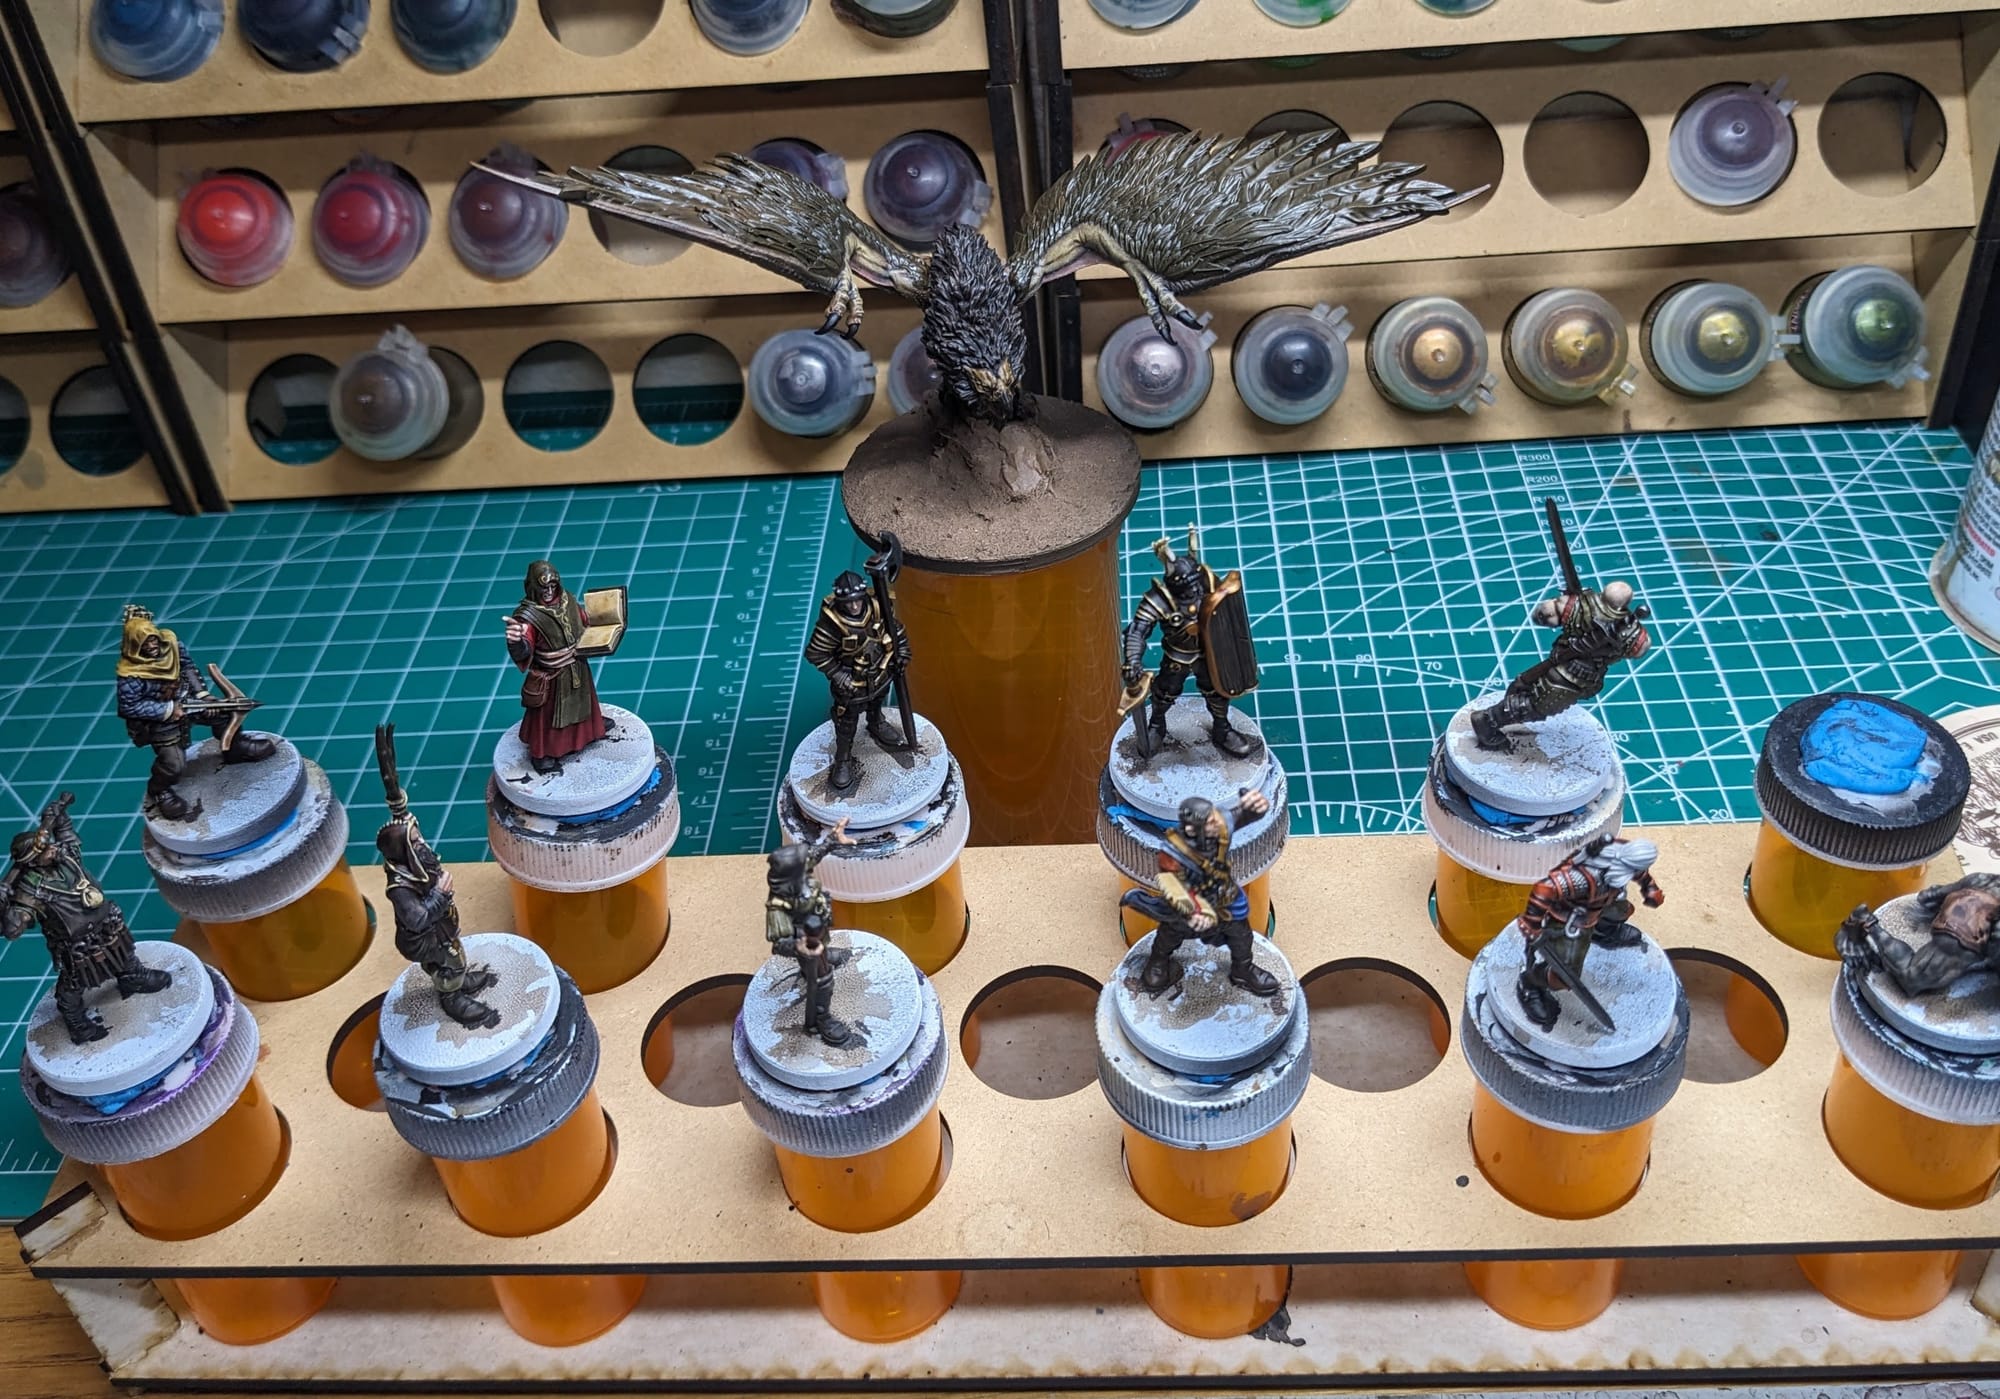
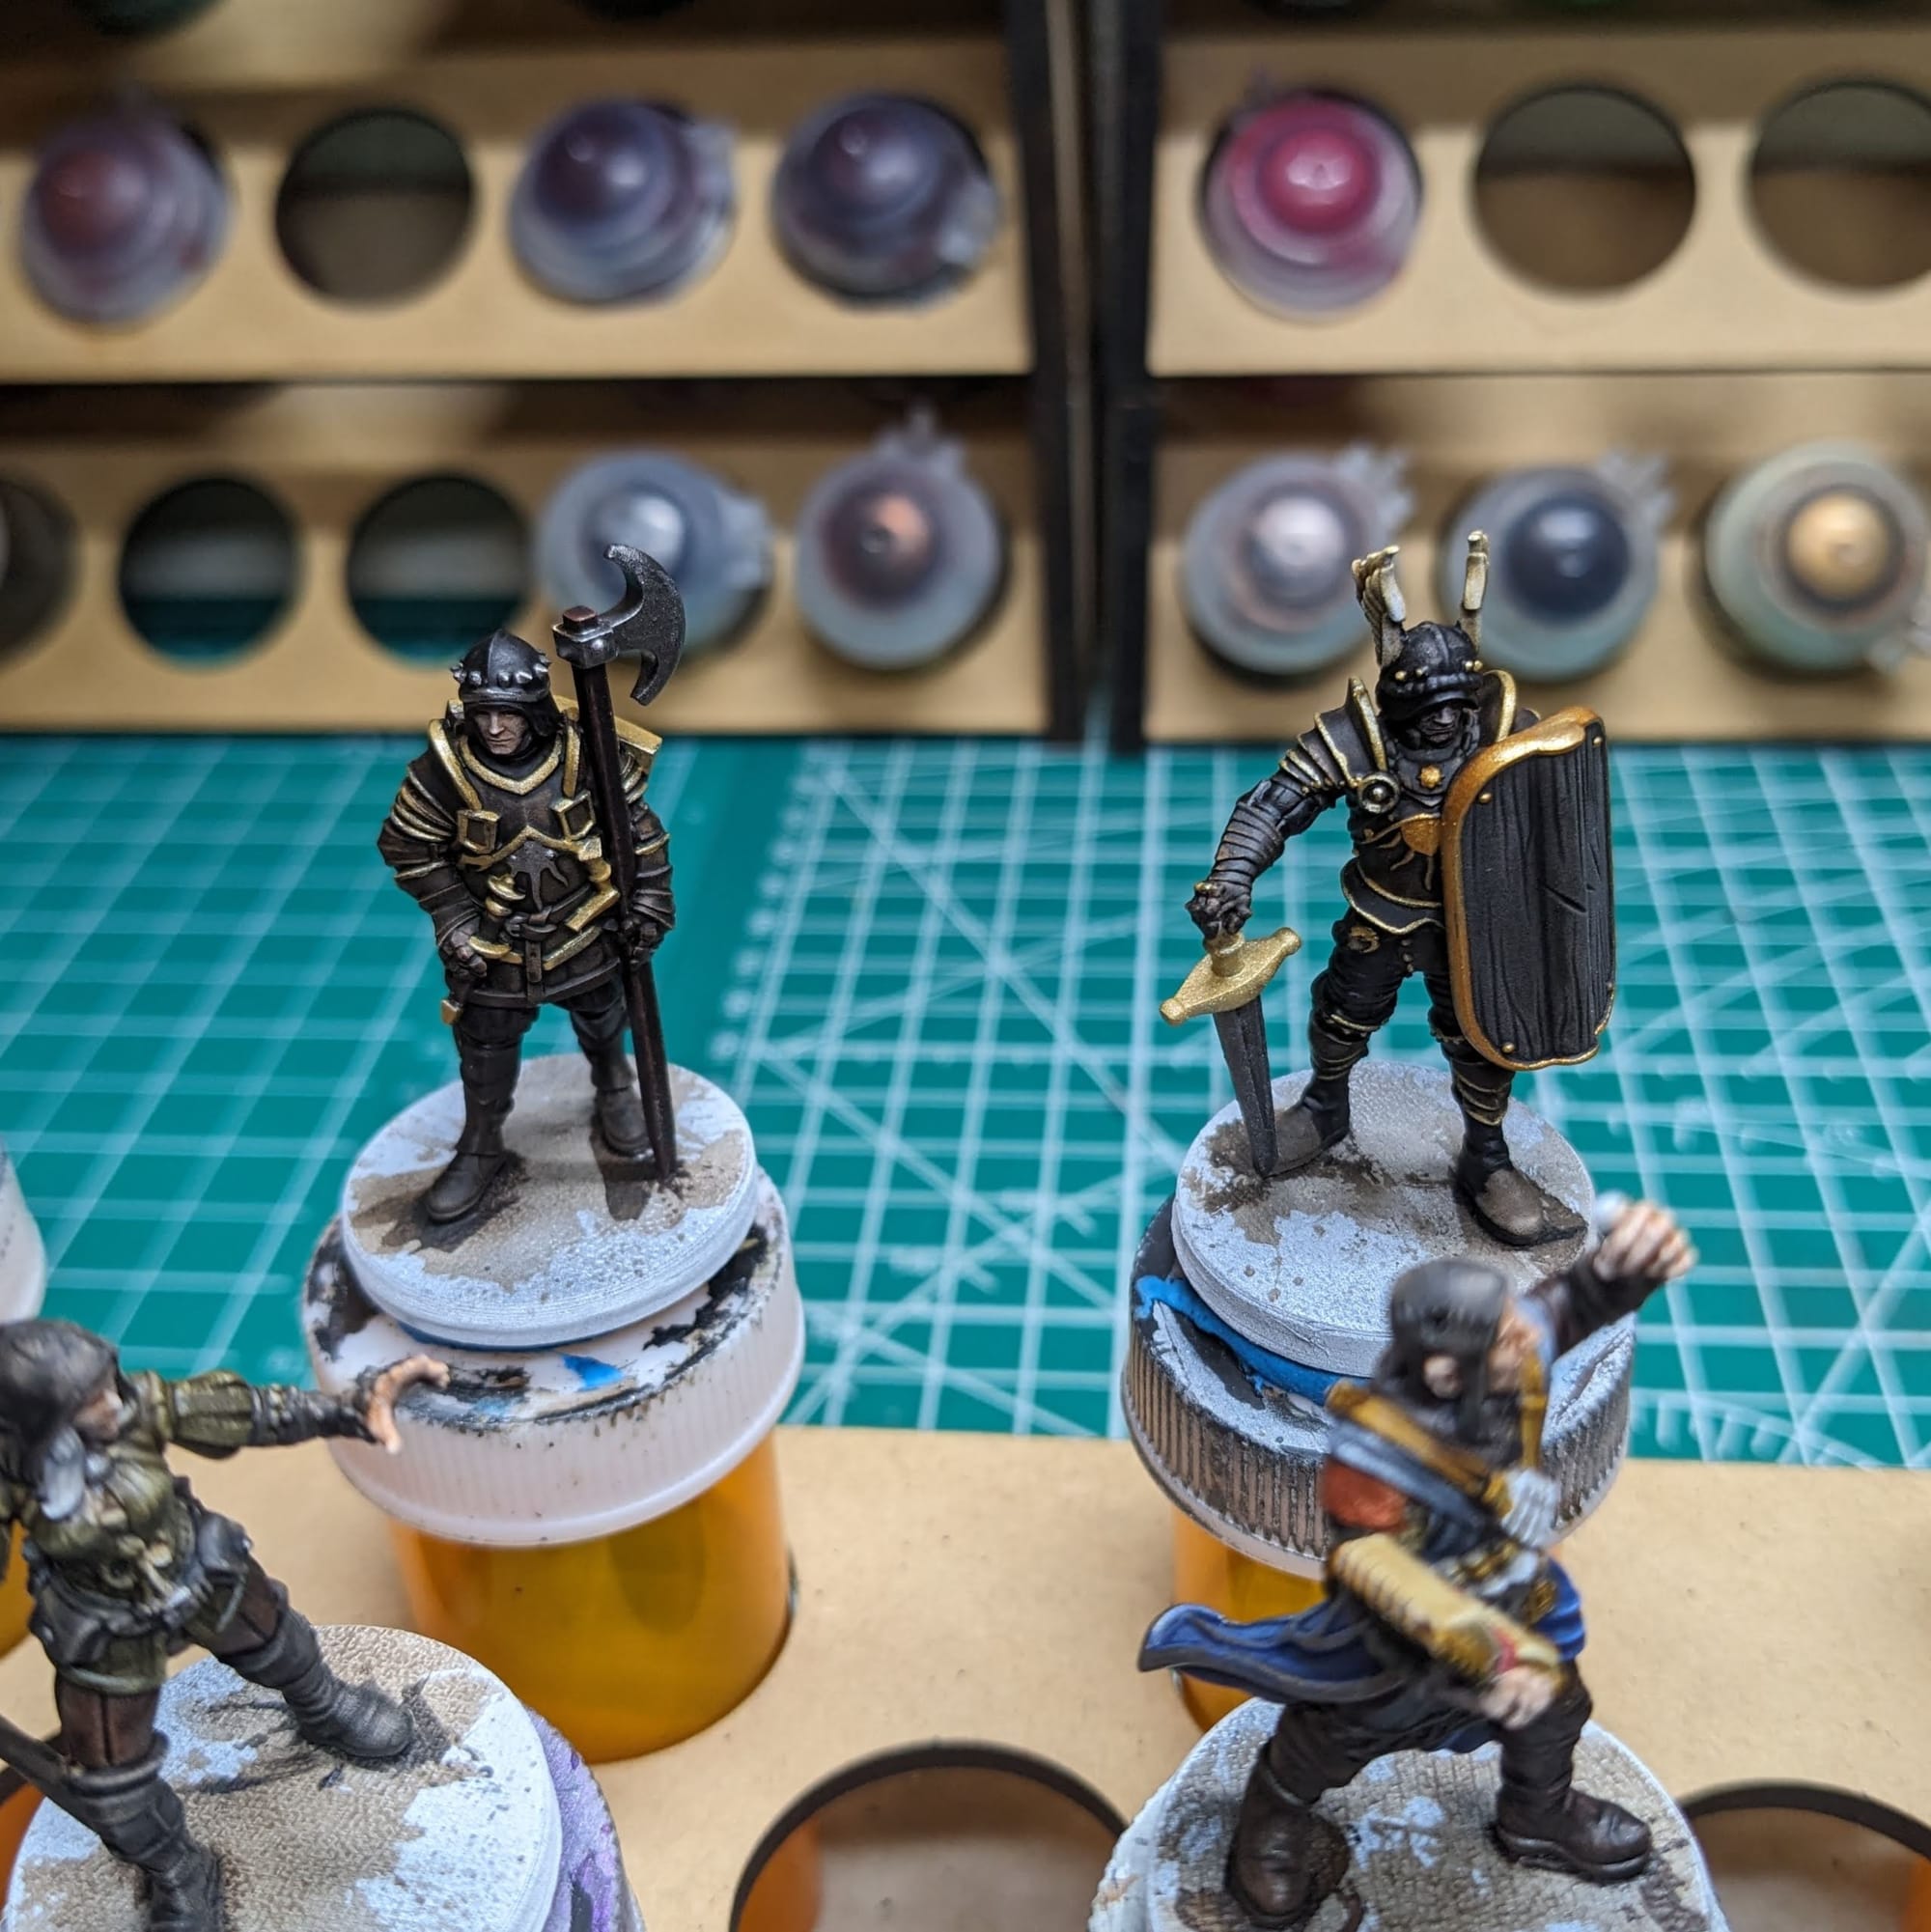
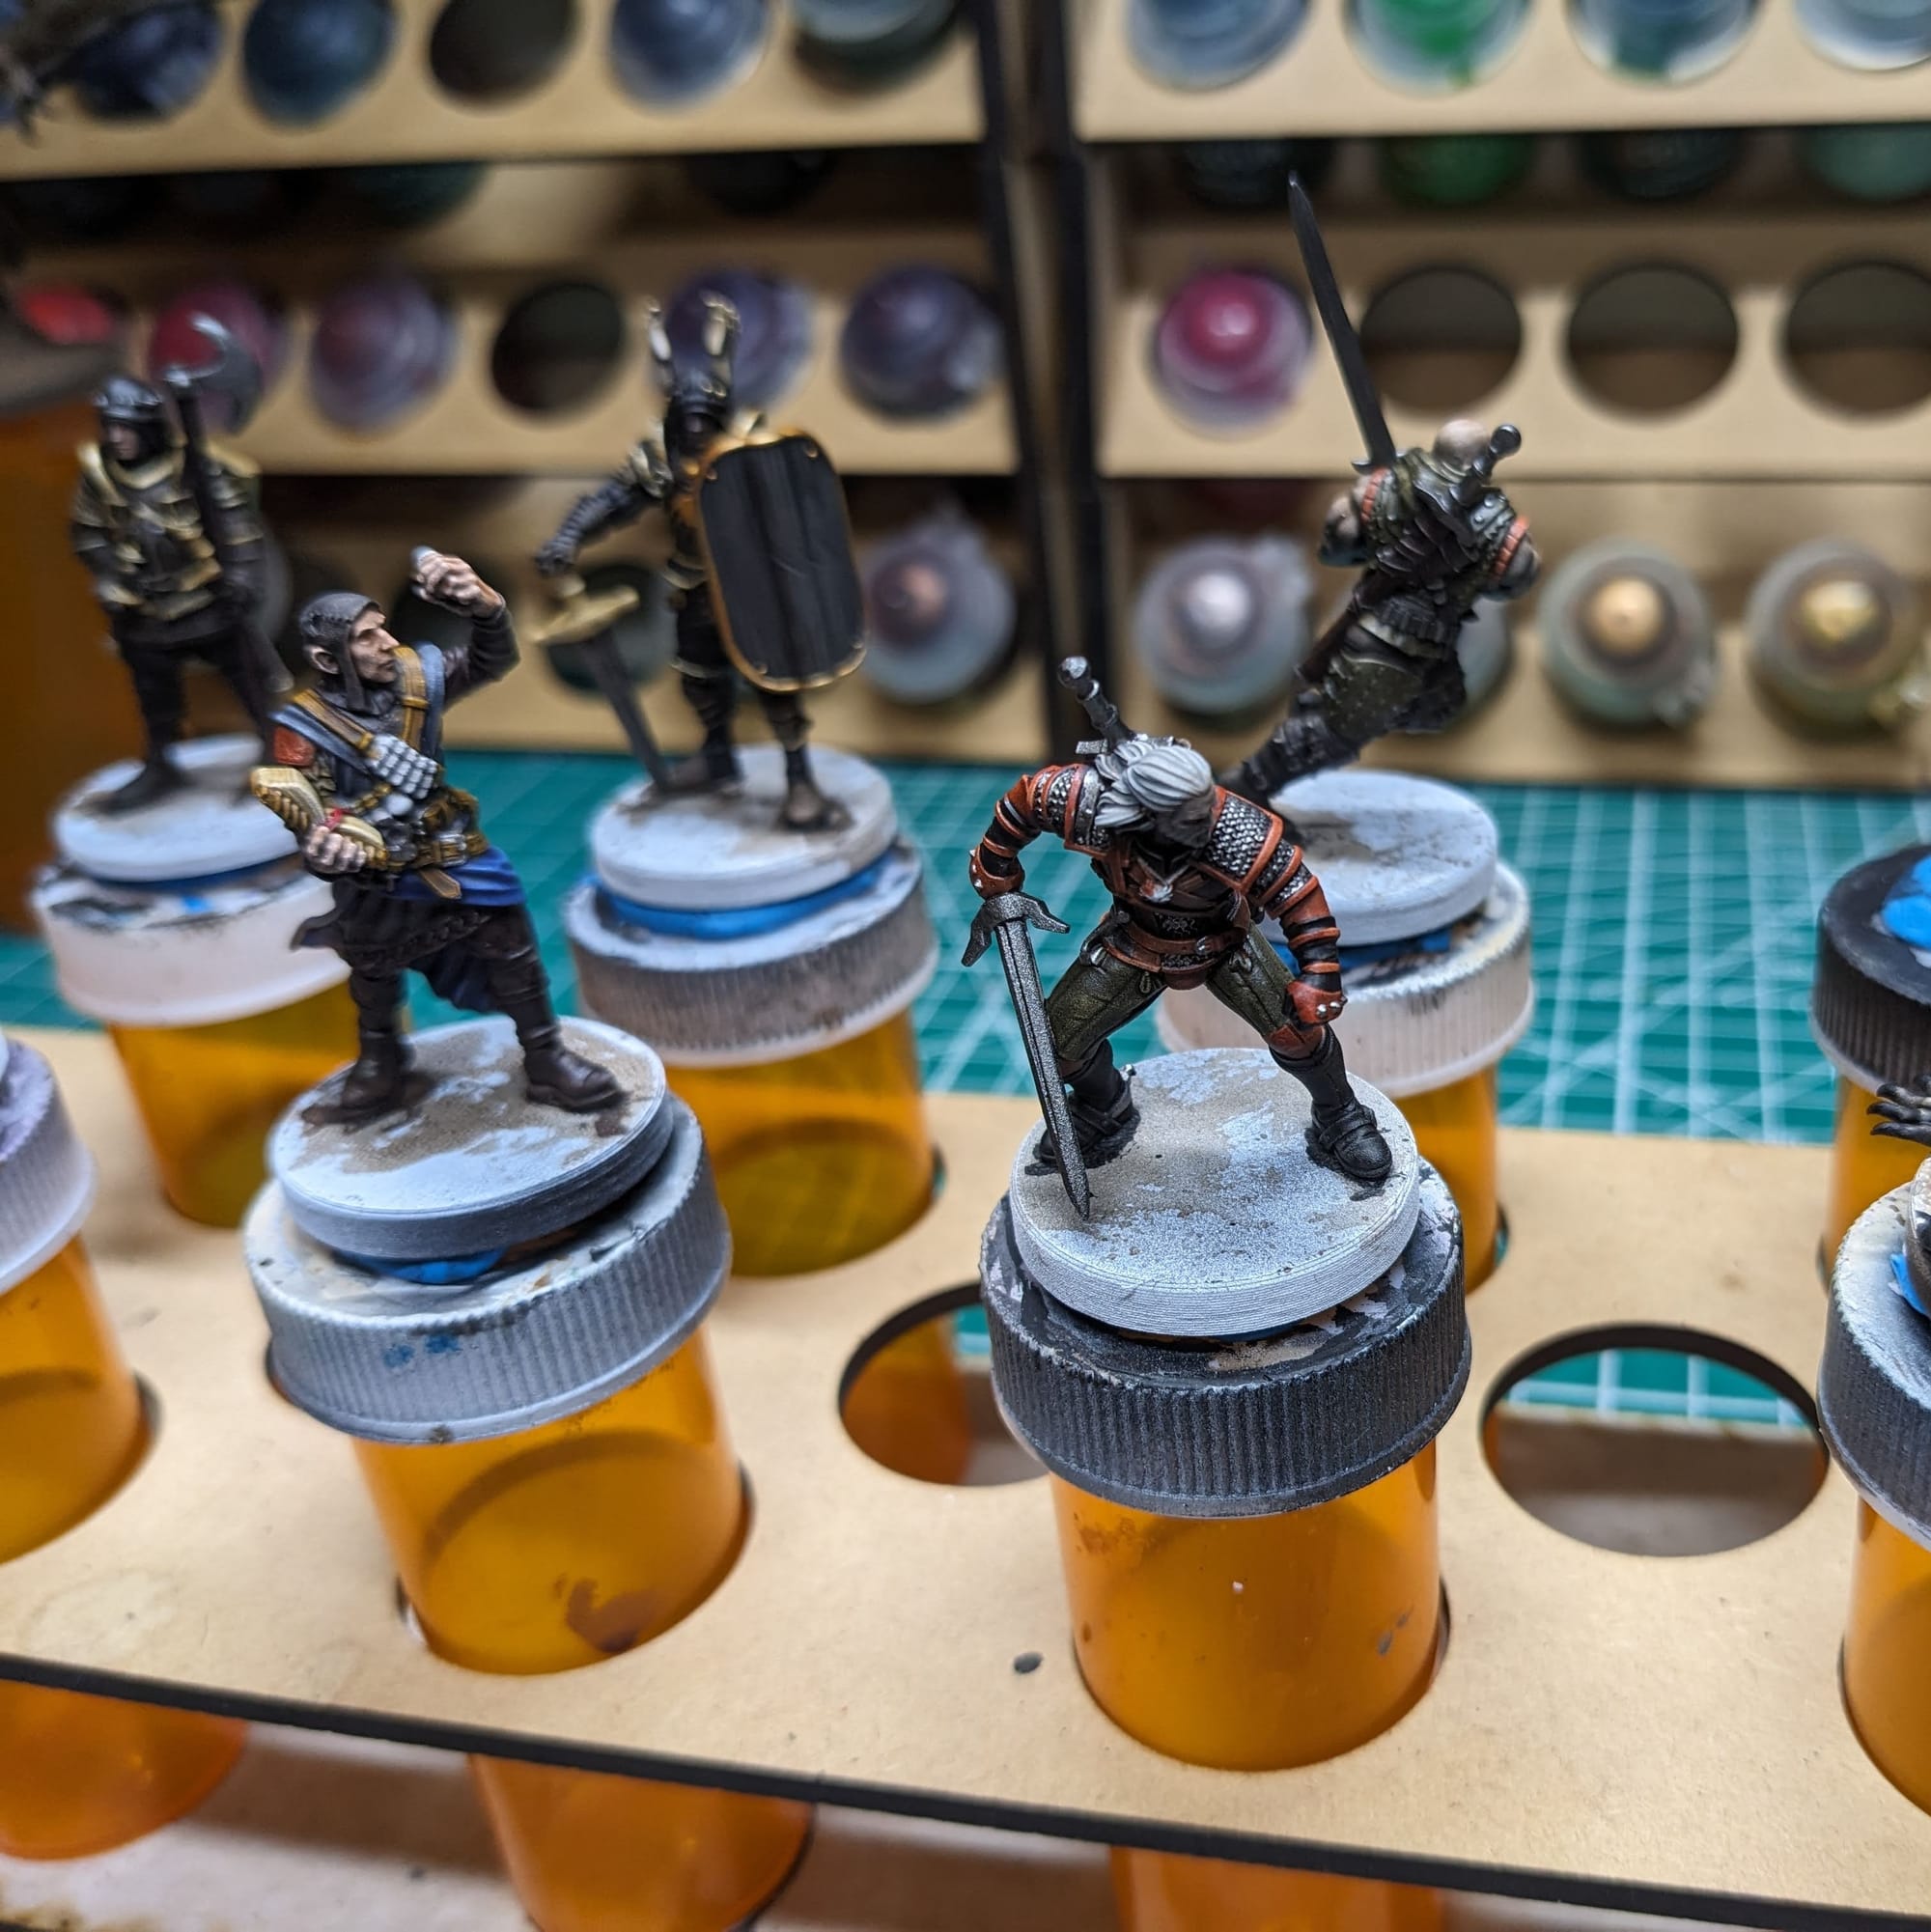
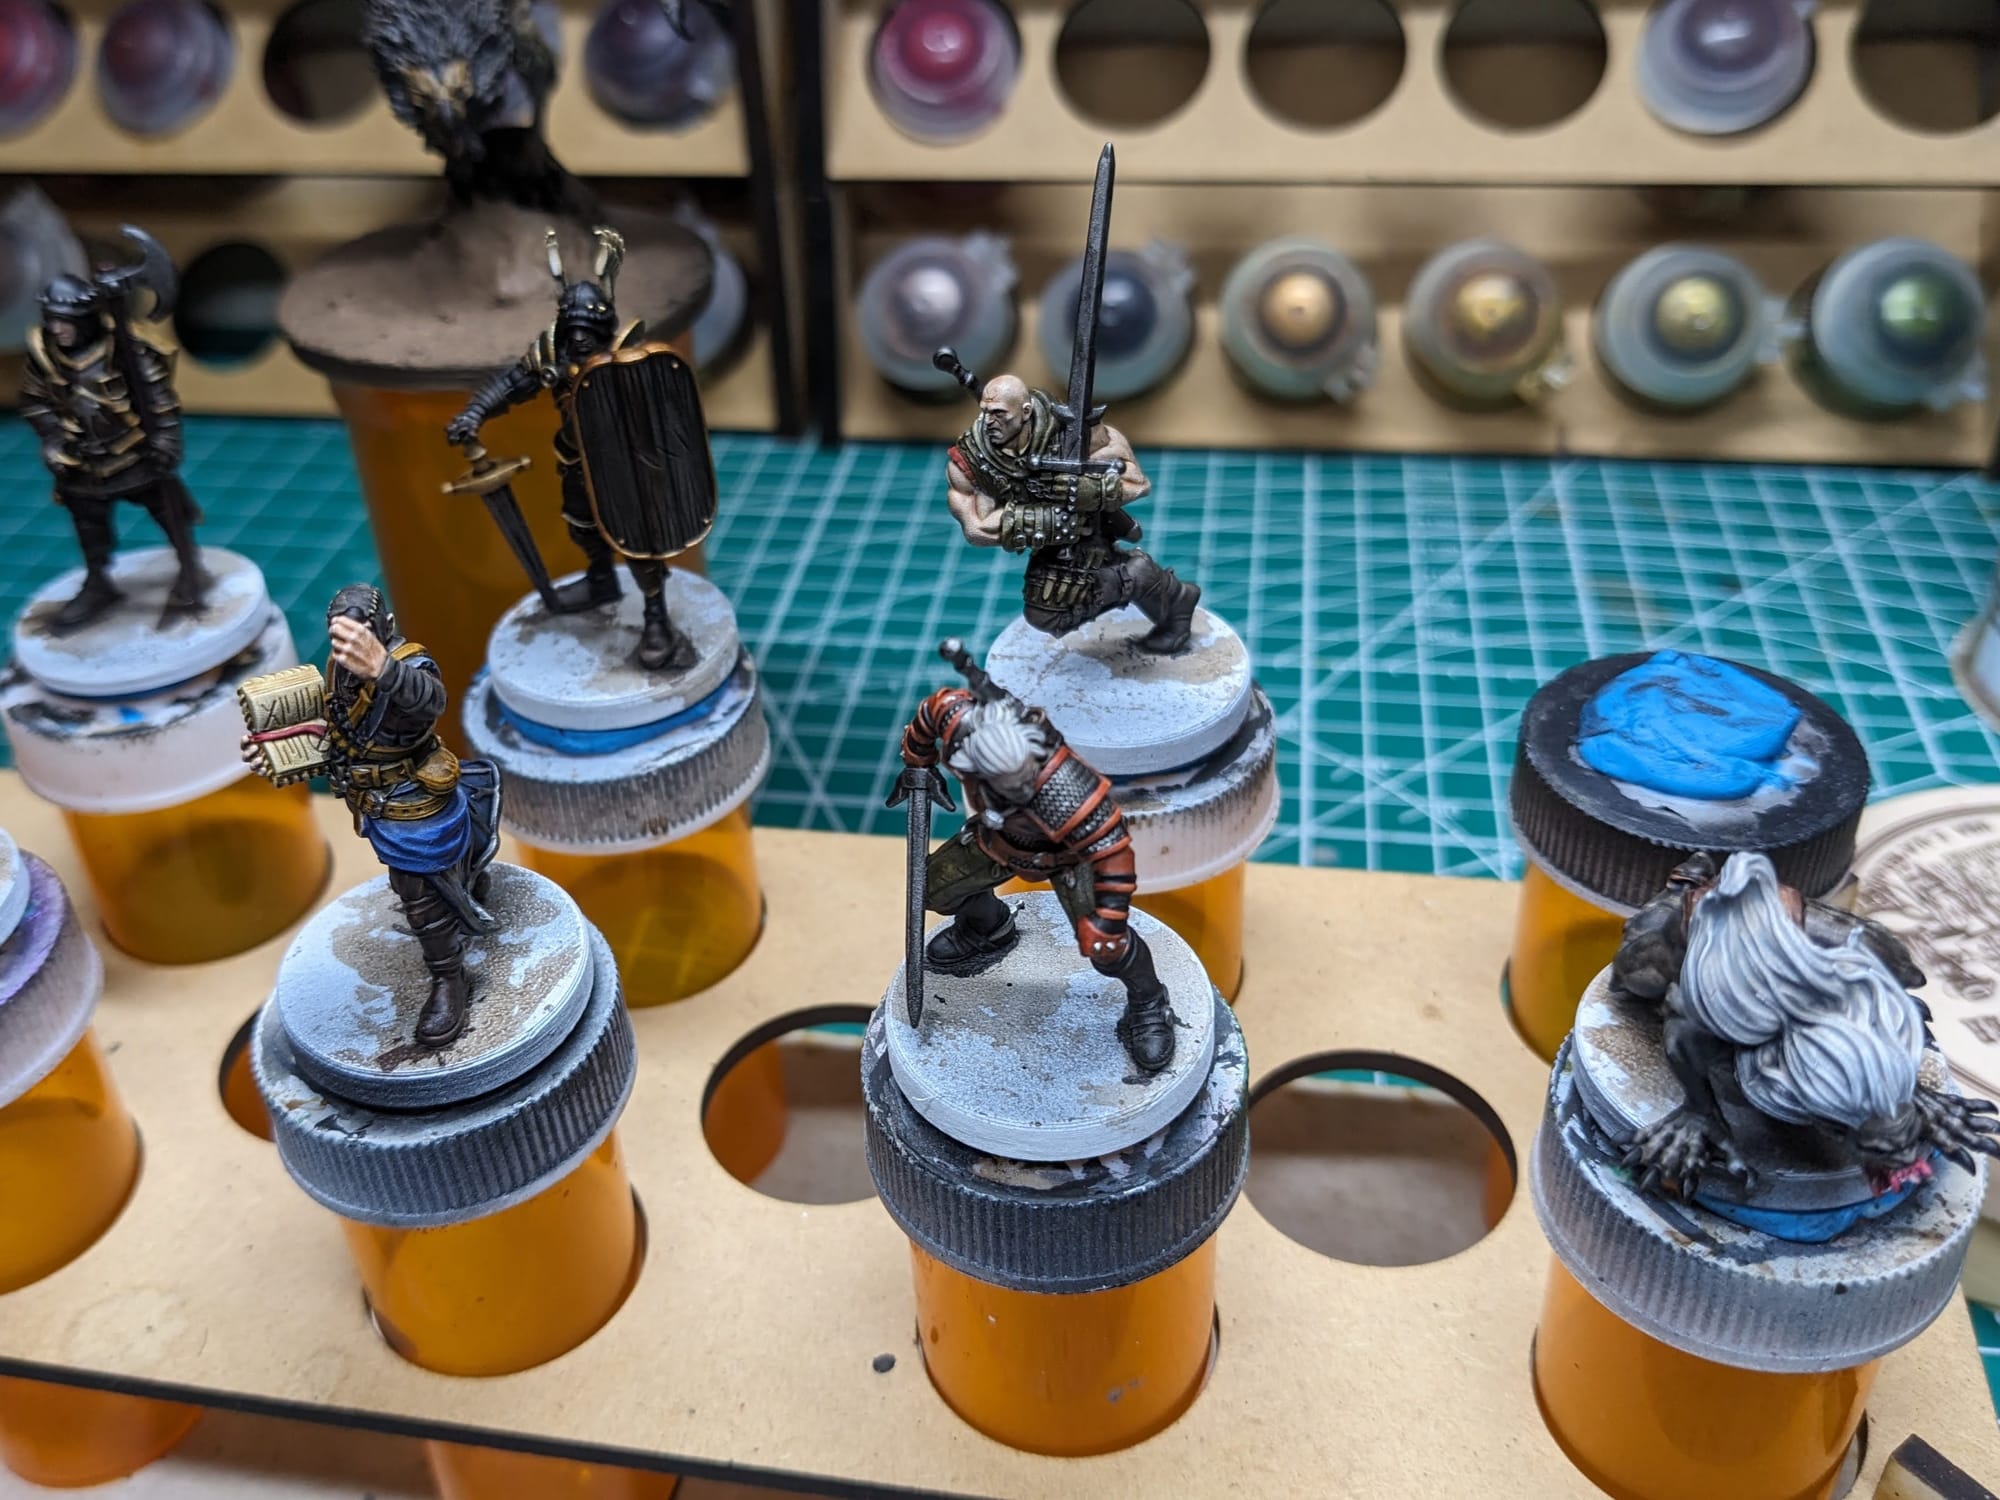
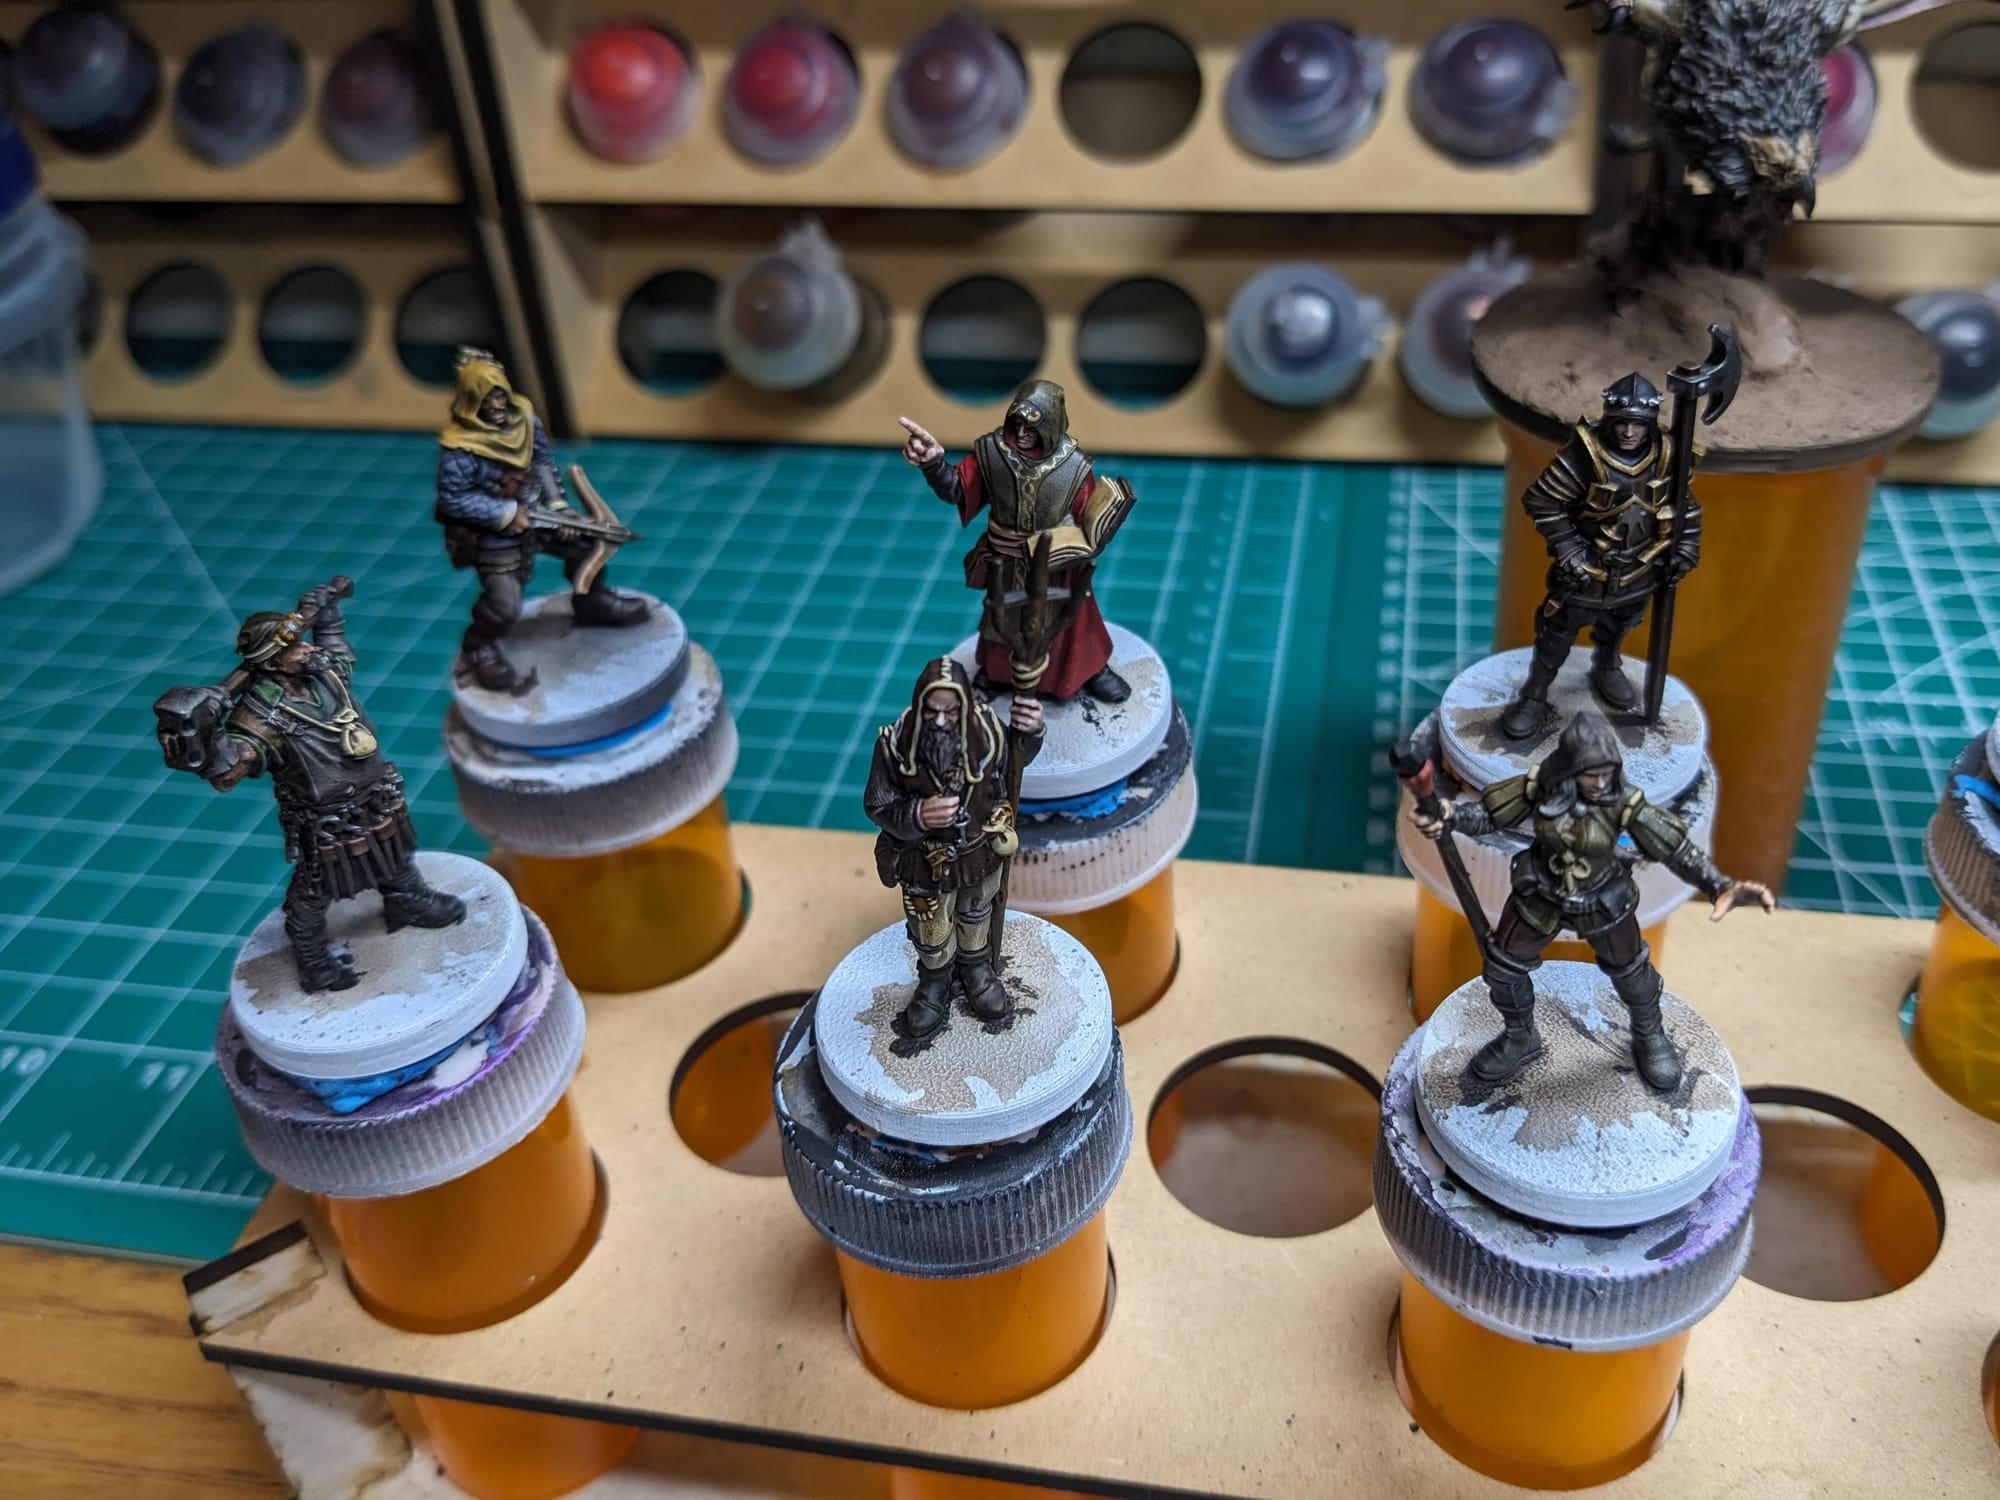
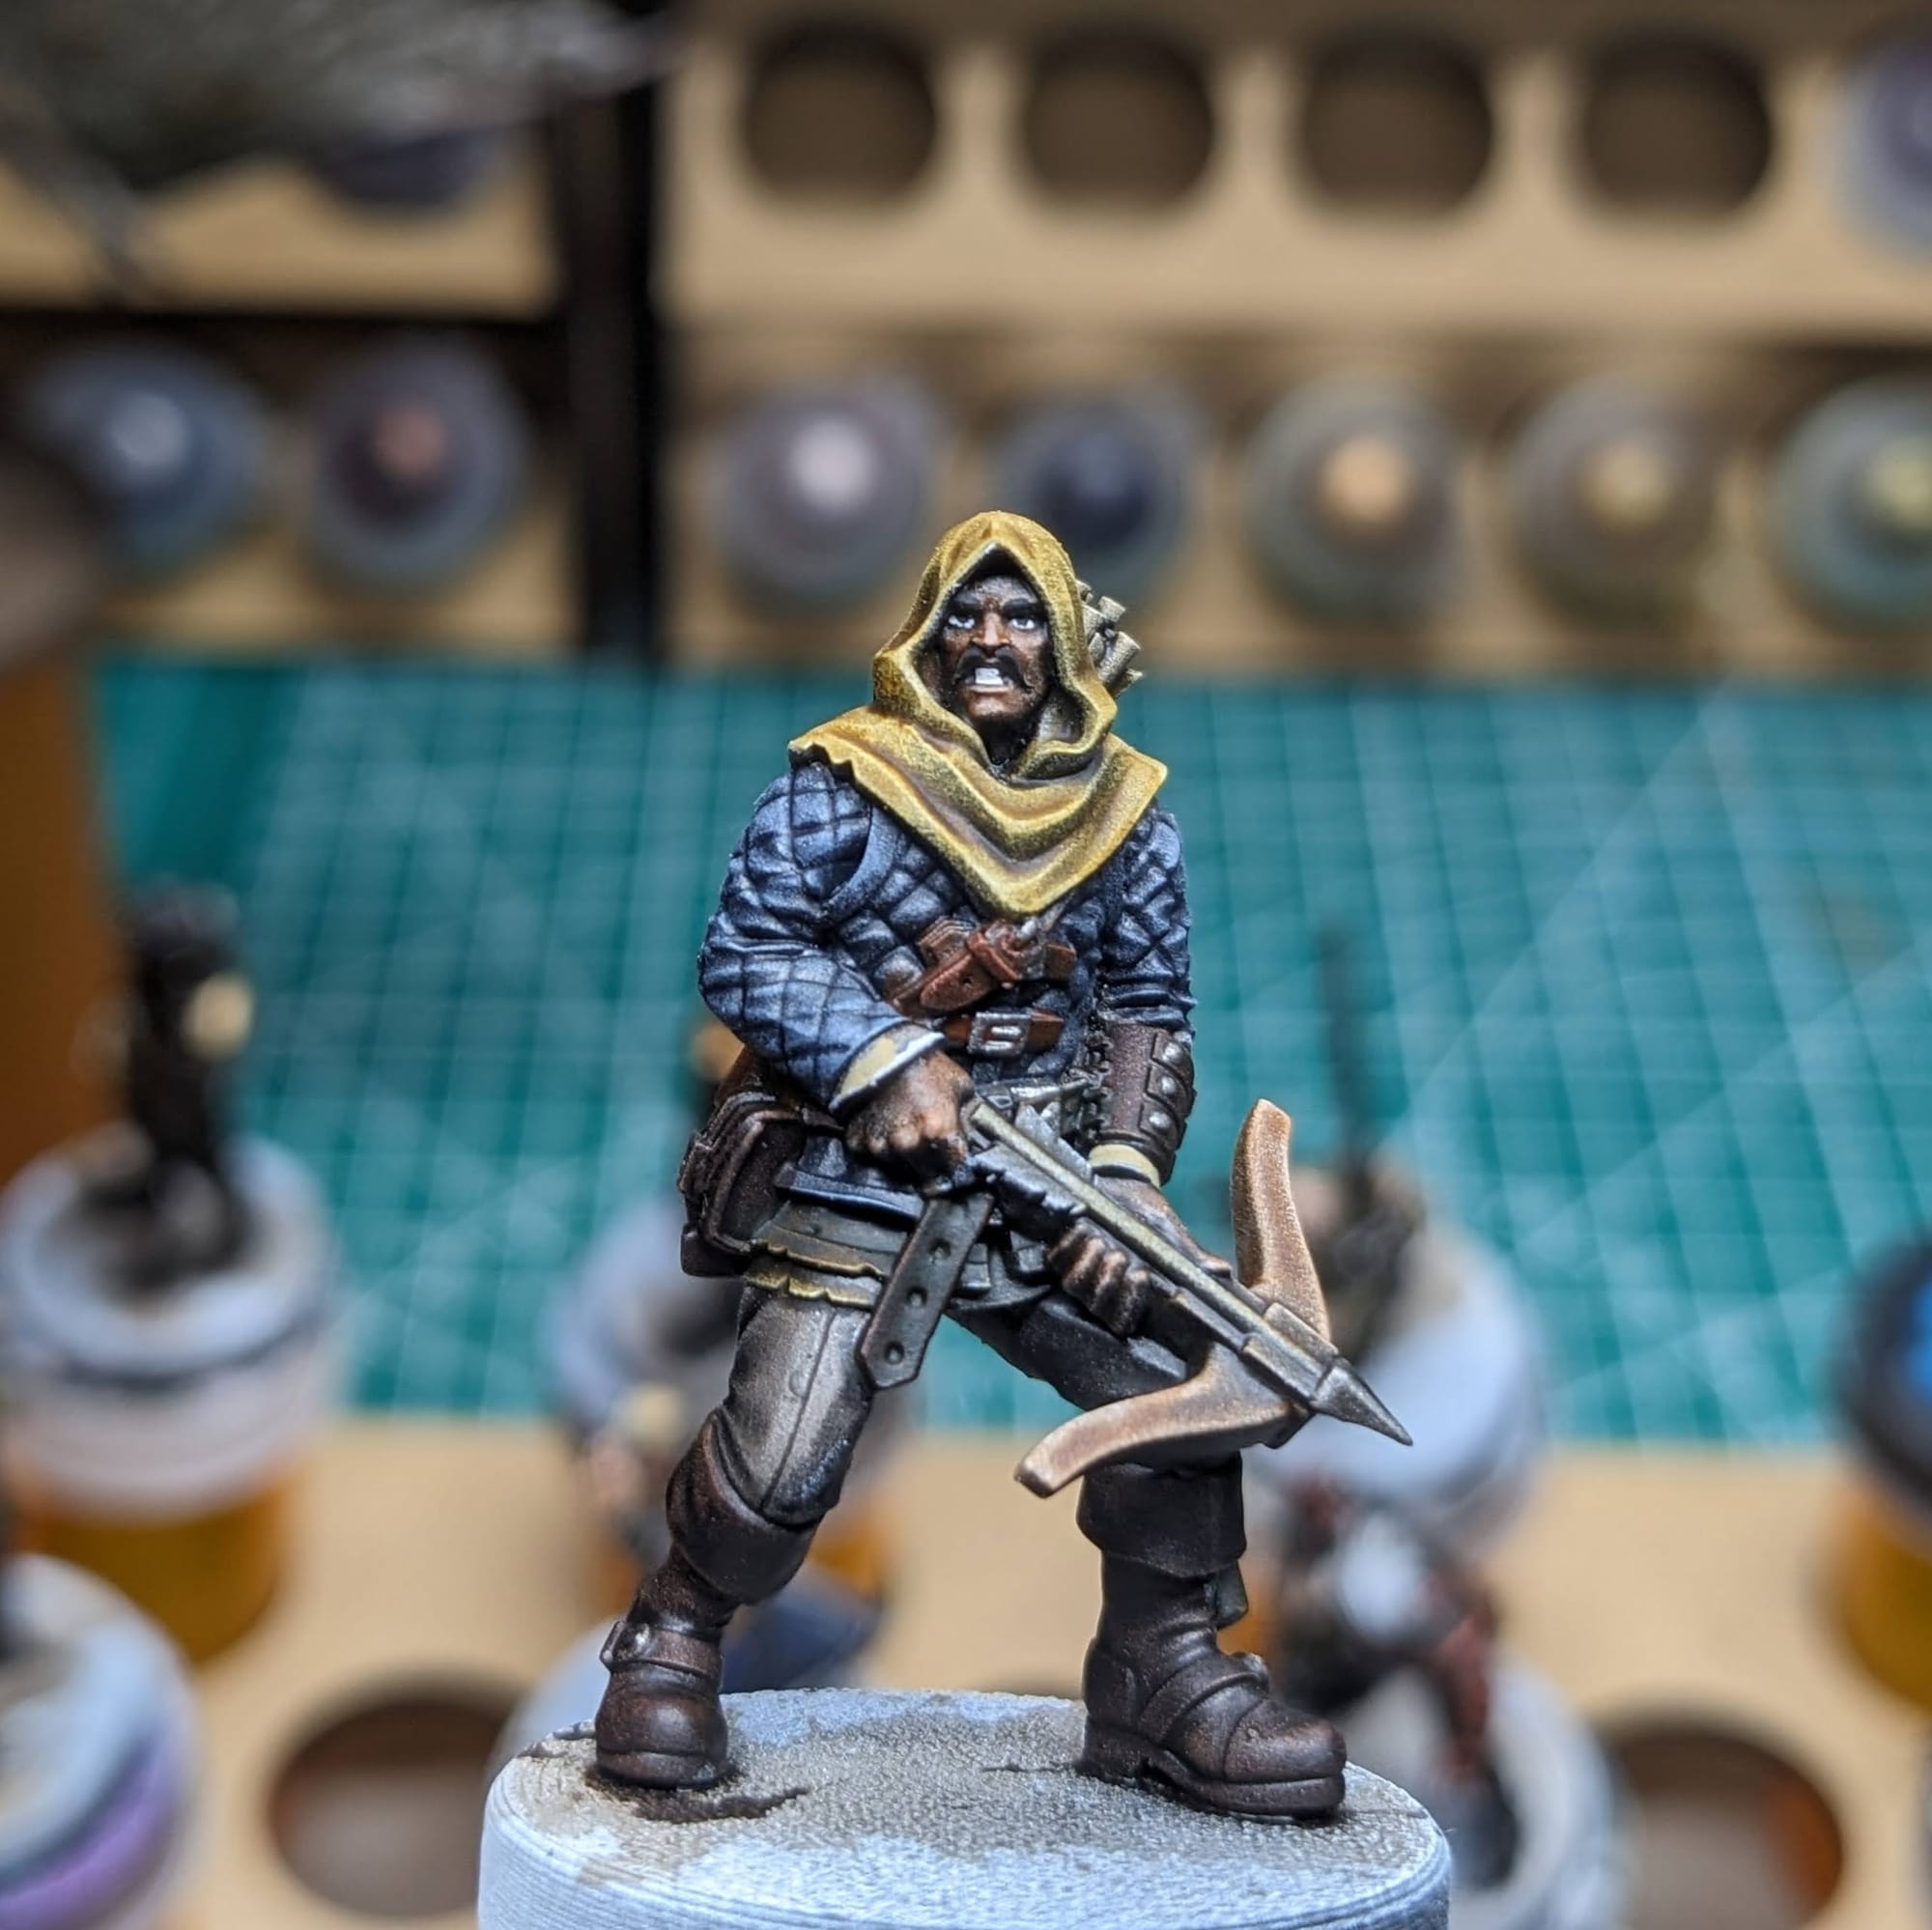
Lastly, I went back over each miniature to get the remaining details, including small buckles, accessories, and jewelry. I also went and applied some more details to the faces and books. This is not a necessary step for "tabletop ready", but I wanted to make sure the faces were a little more defined for photographs such as adding in pupils and 5 o'clock shadows. At arm’s length, the details in the face will likely not be seen, but I was happy with how they turned out for the pictures.
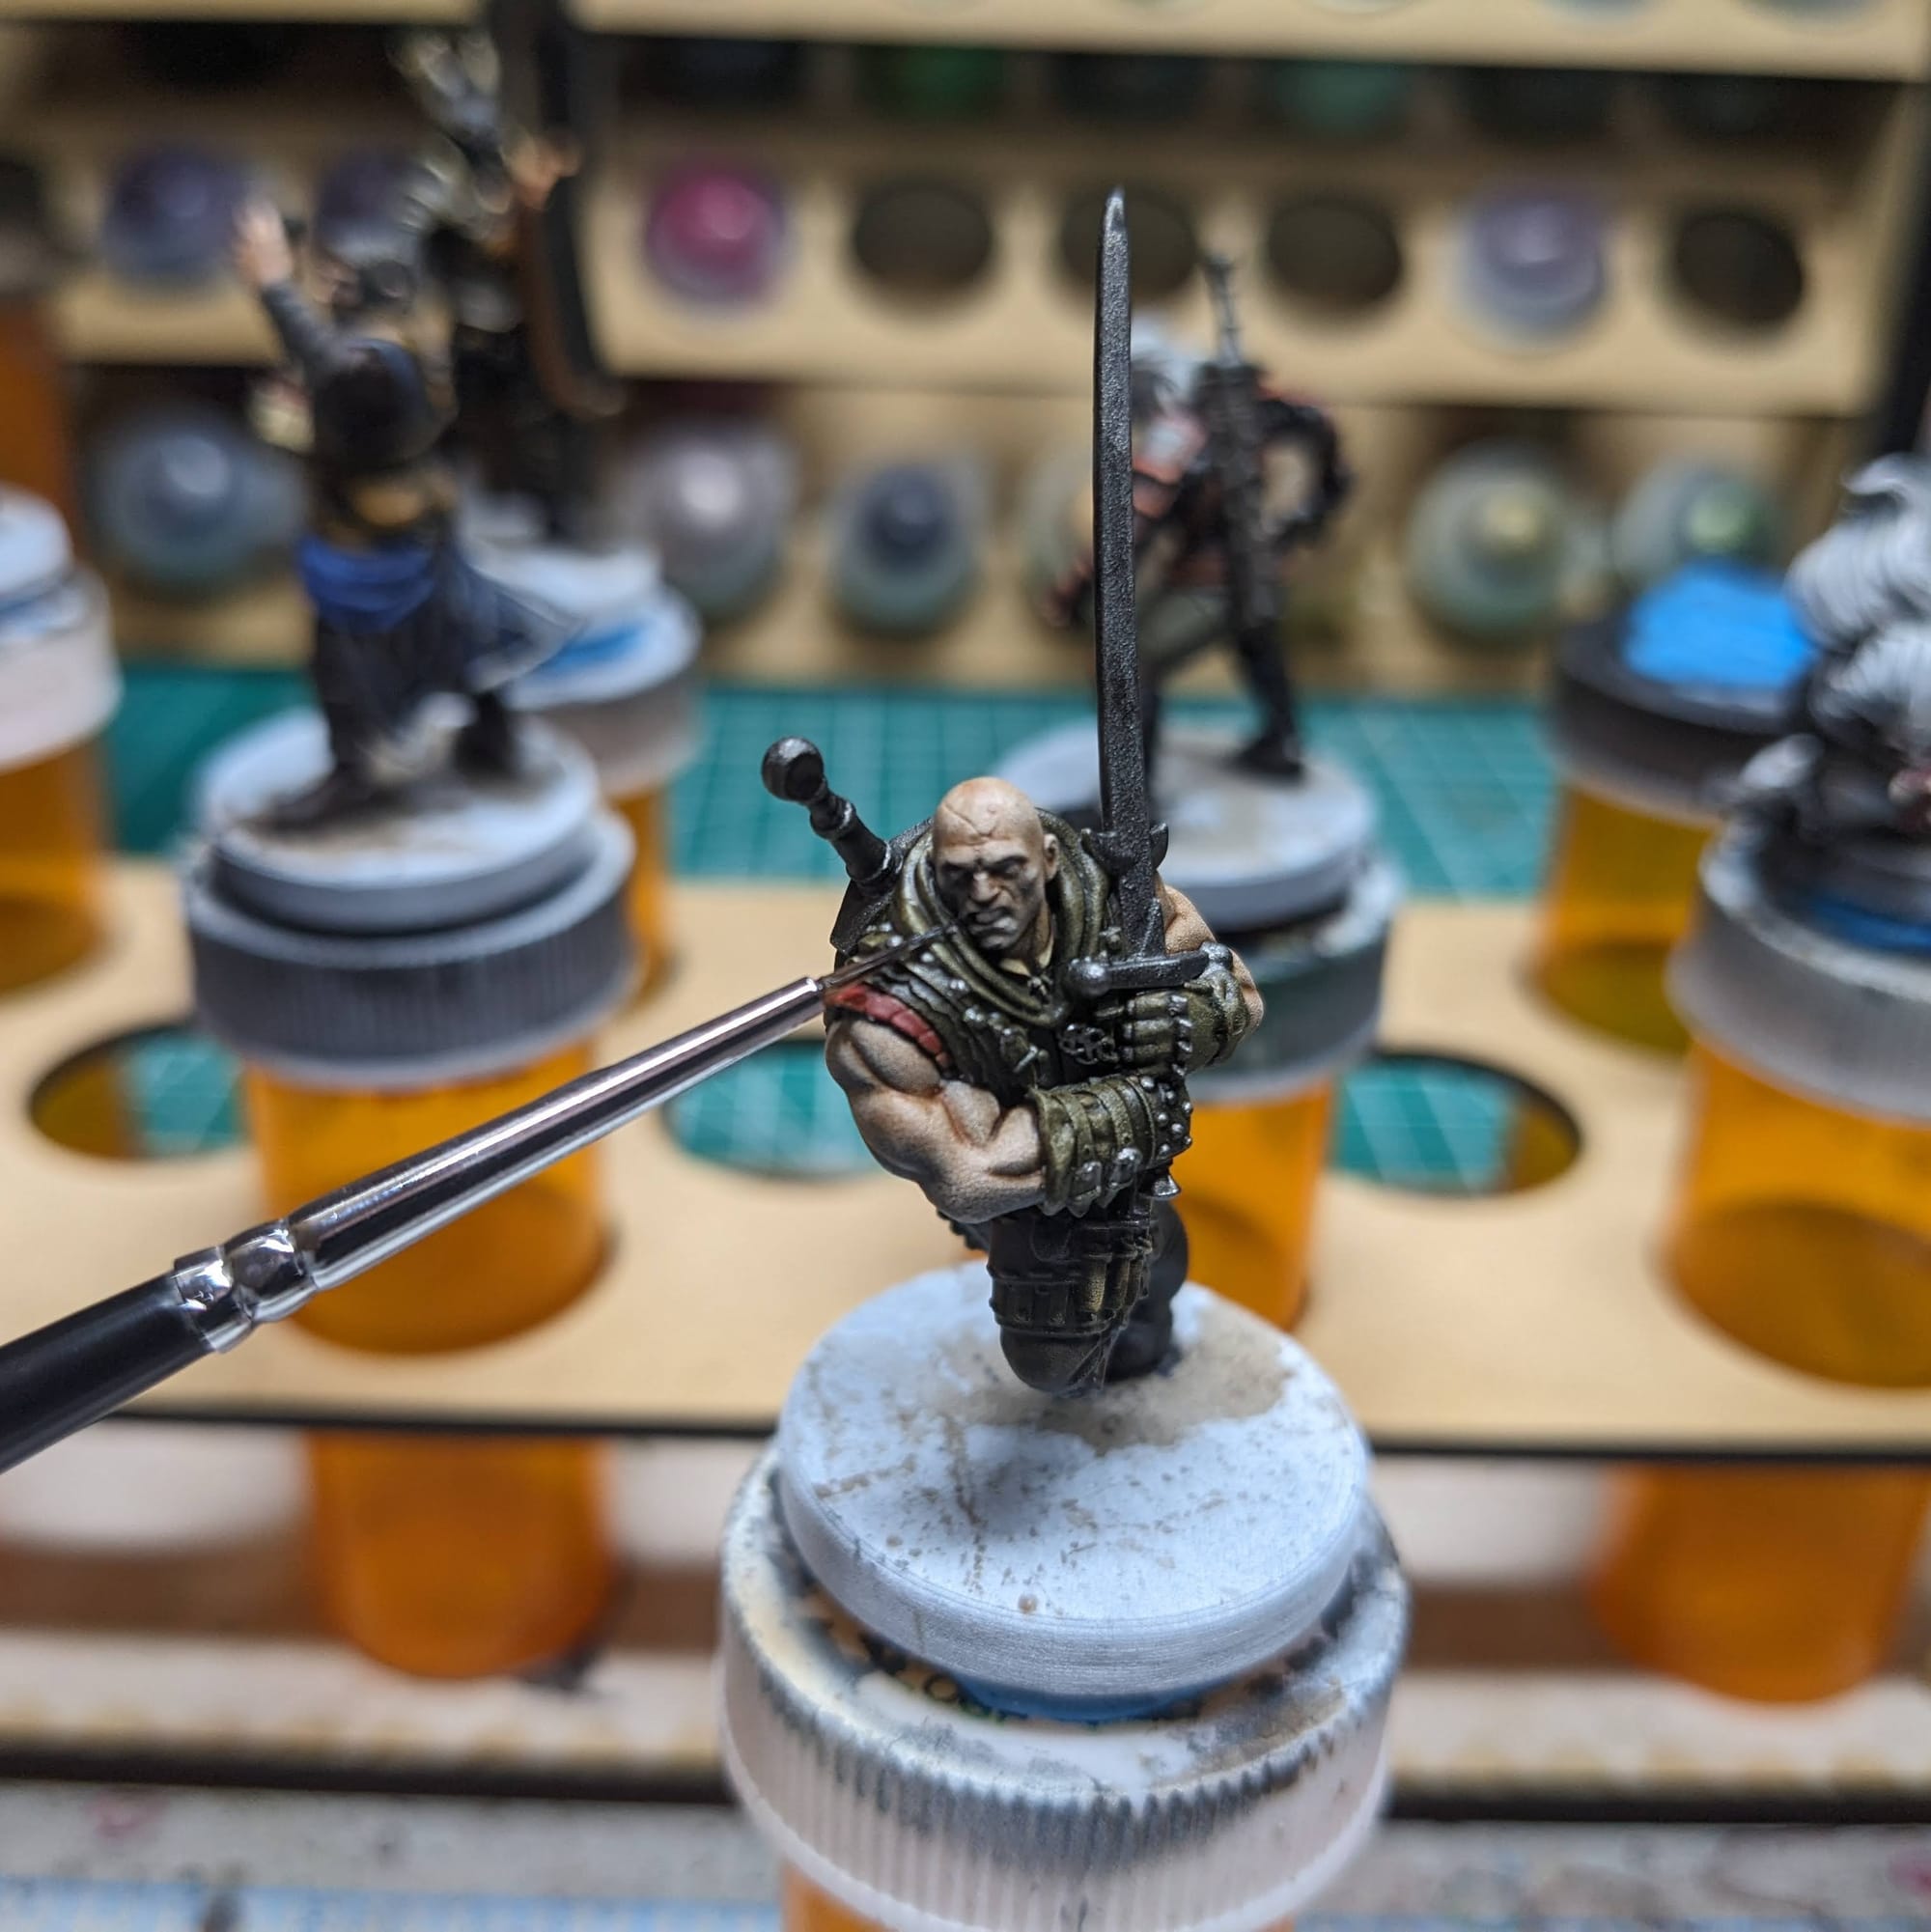
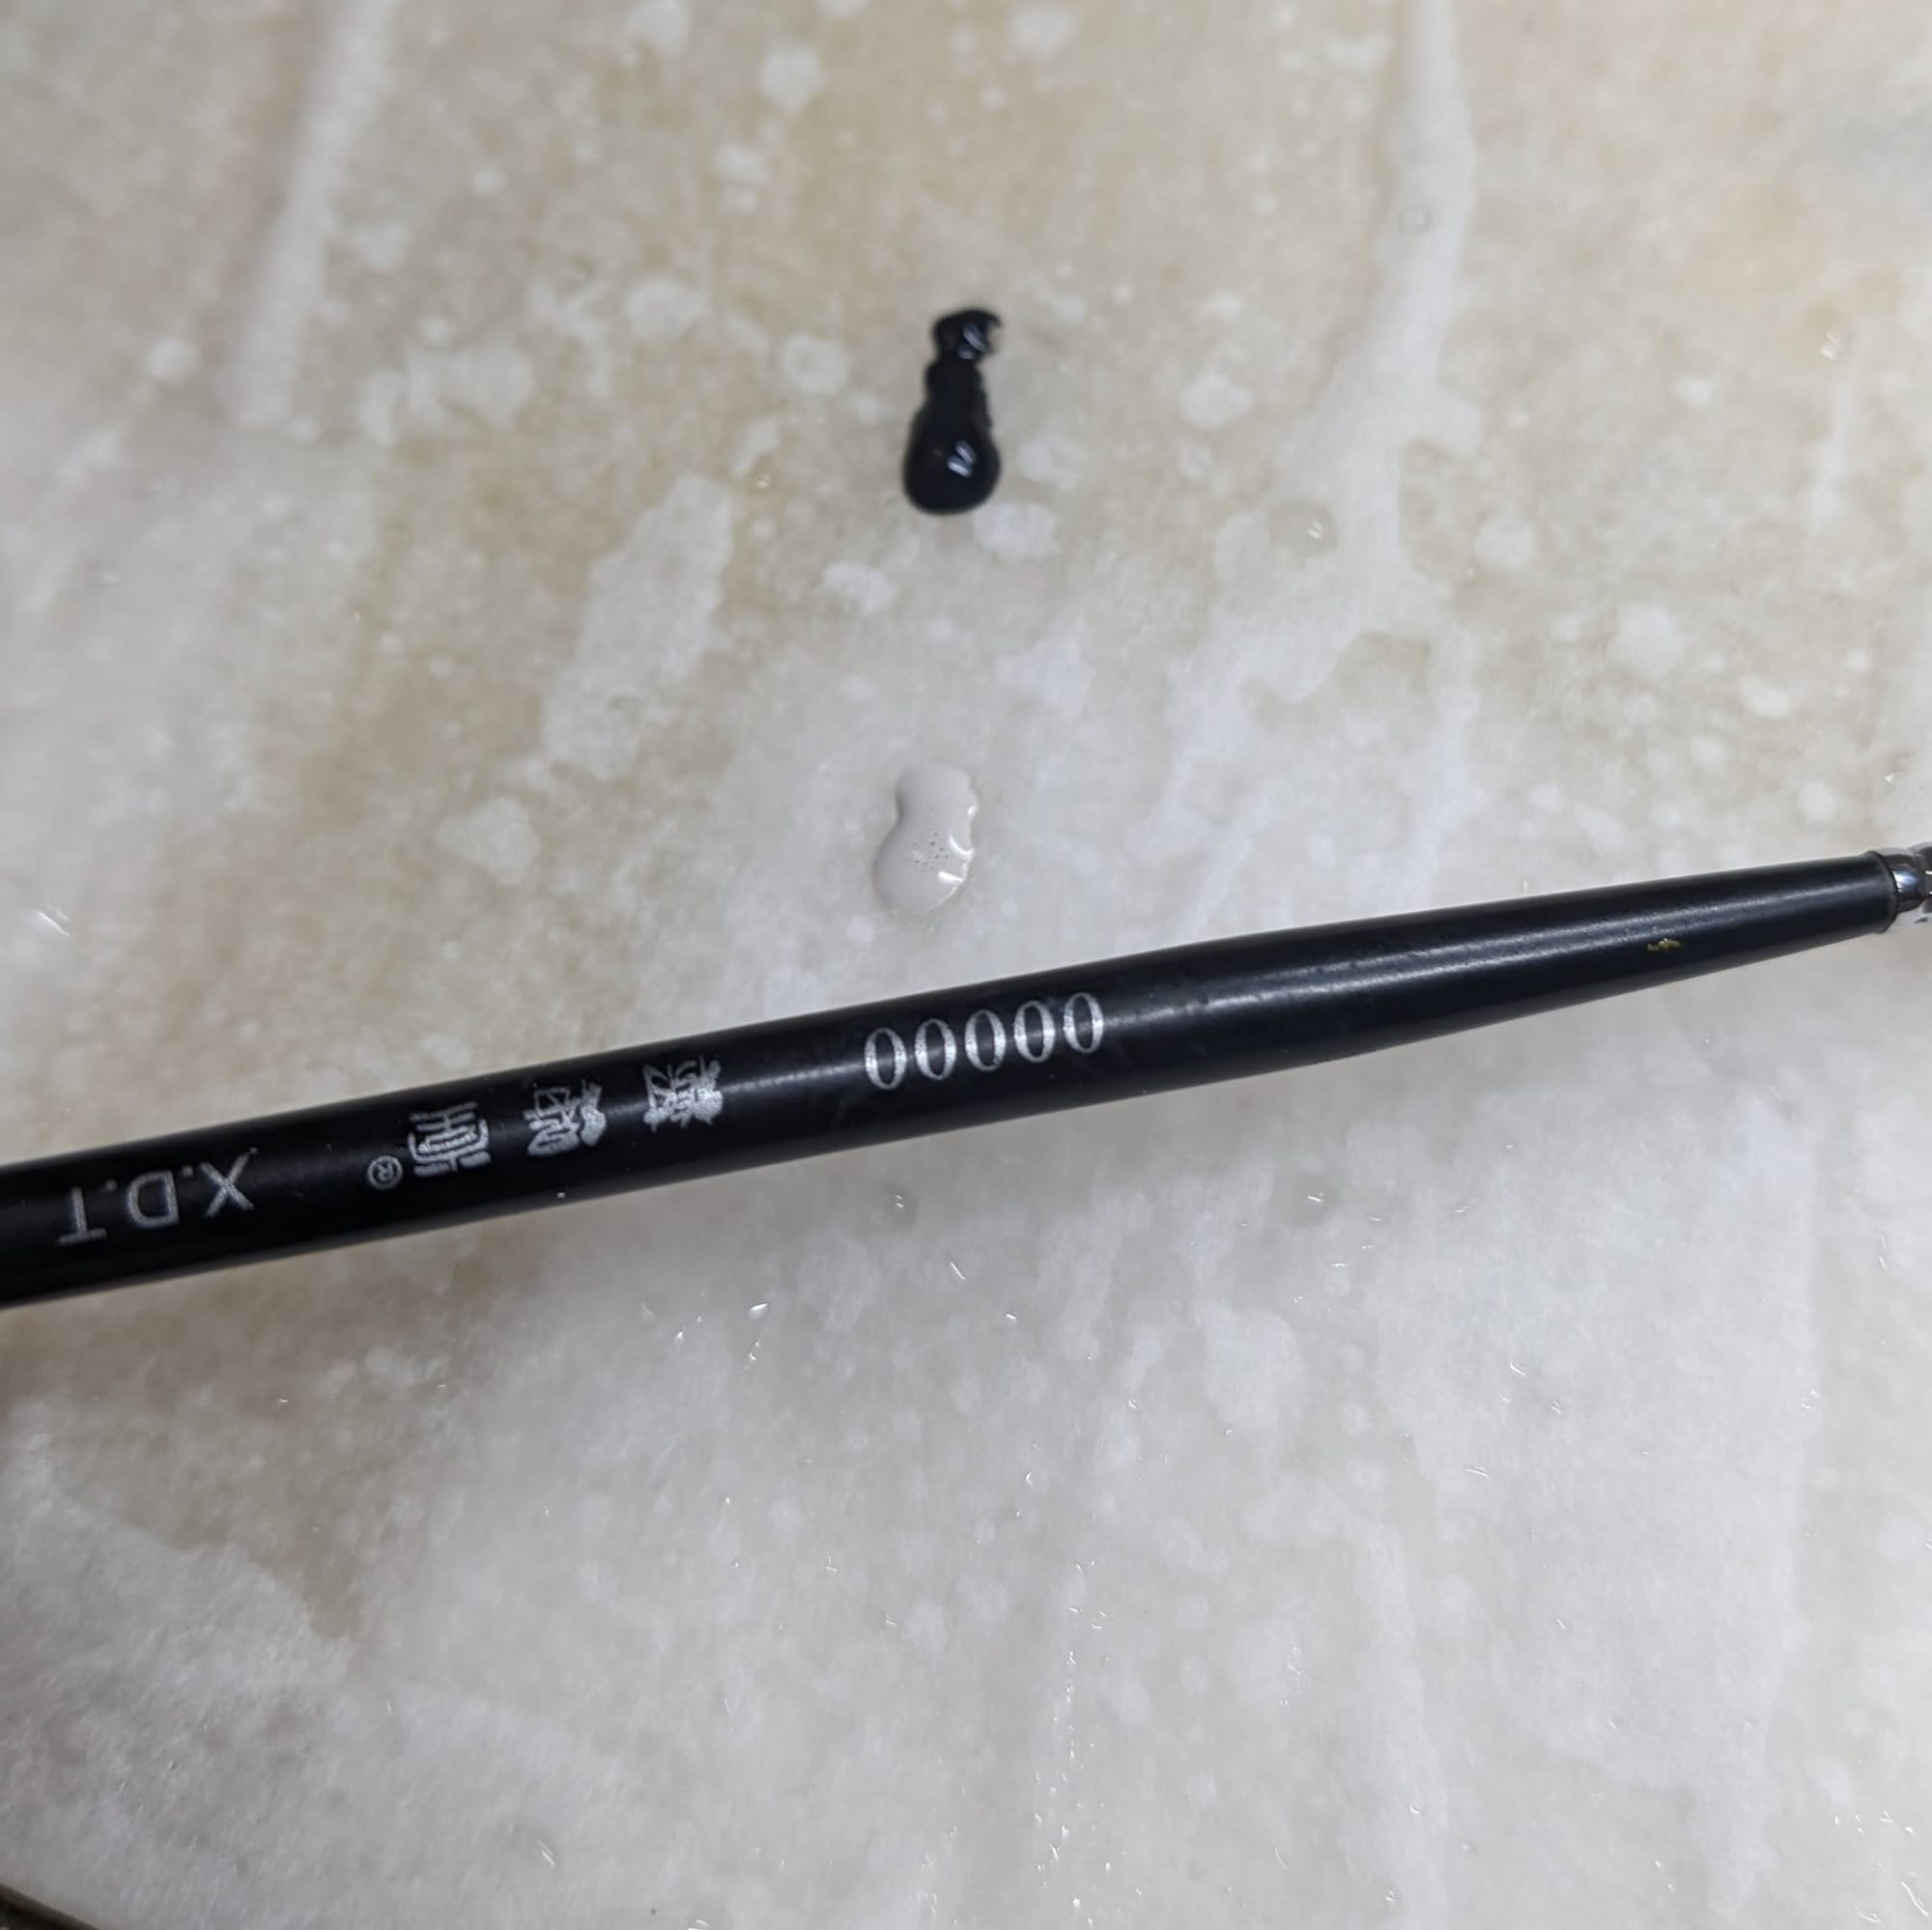
00000 is very, very small
Basing the Miniatures
To keep things very simple, I used Vallejo Earth FX Brown Earth to each base. You can use this in abundance to fill in the bases if you opted to not remove the pegs on the figures and used the side of the base with the holes.
After the basing dried, I applied a mix of spots/areas of Citadel Wyldwood Contrast and Citadel Militarum Green, applying Citadel Nurgling Green Dry once the contrast dried. For the griffin, since the base was already mostly brown, I used Agrax Earthshade on the brown parts instead of the Wyldwood Contrast.
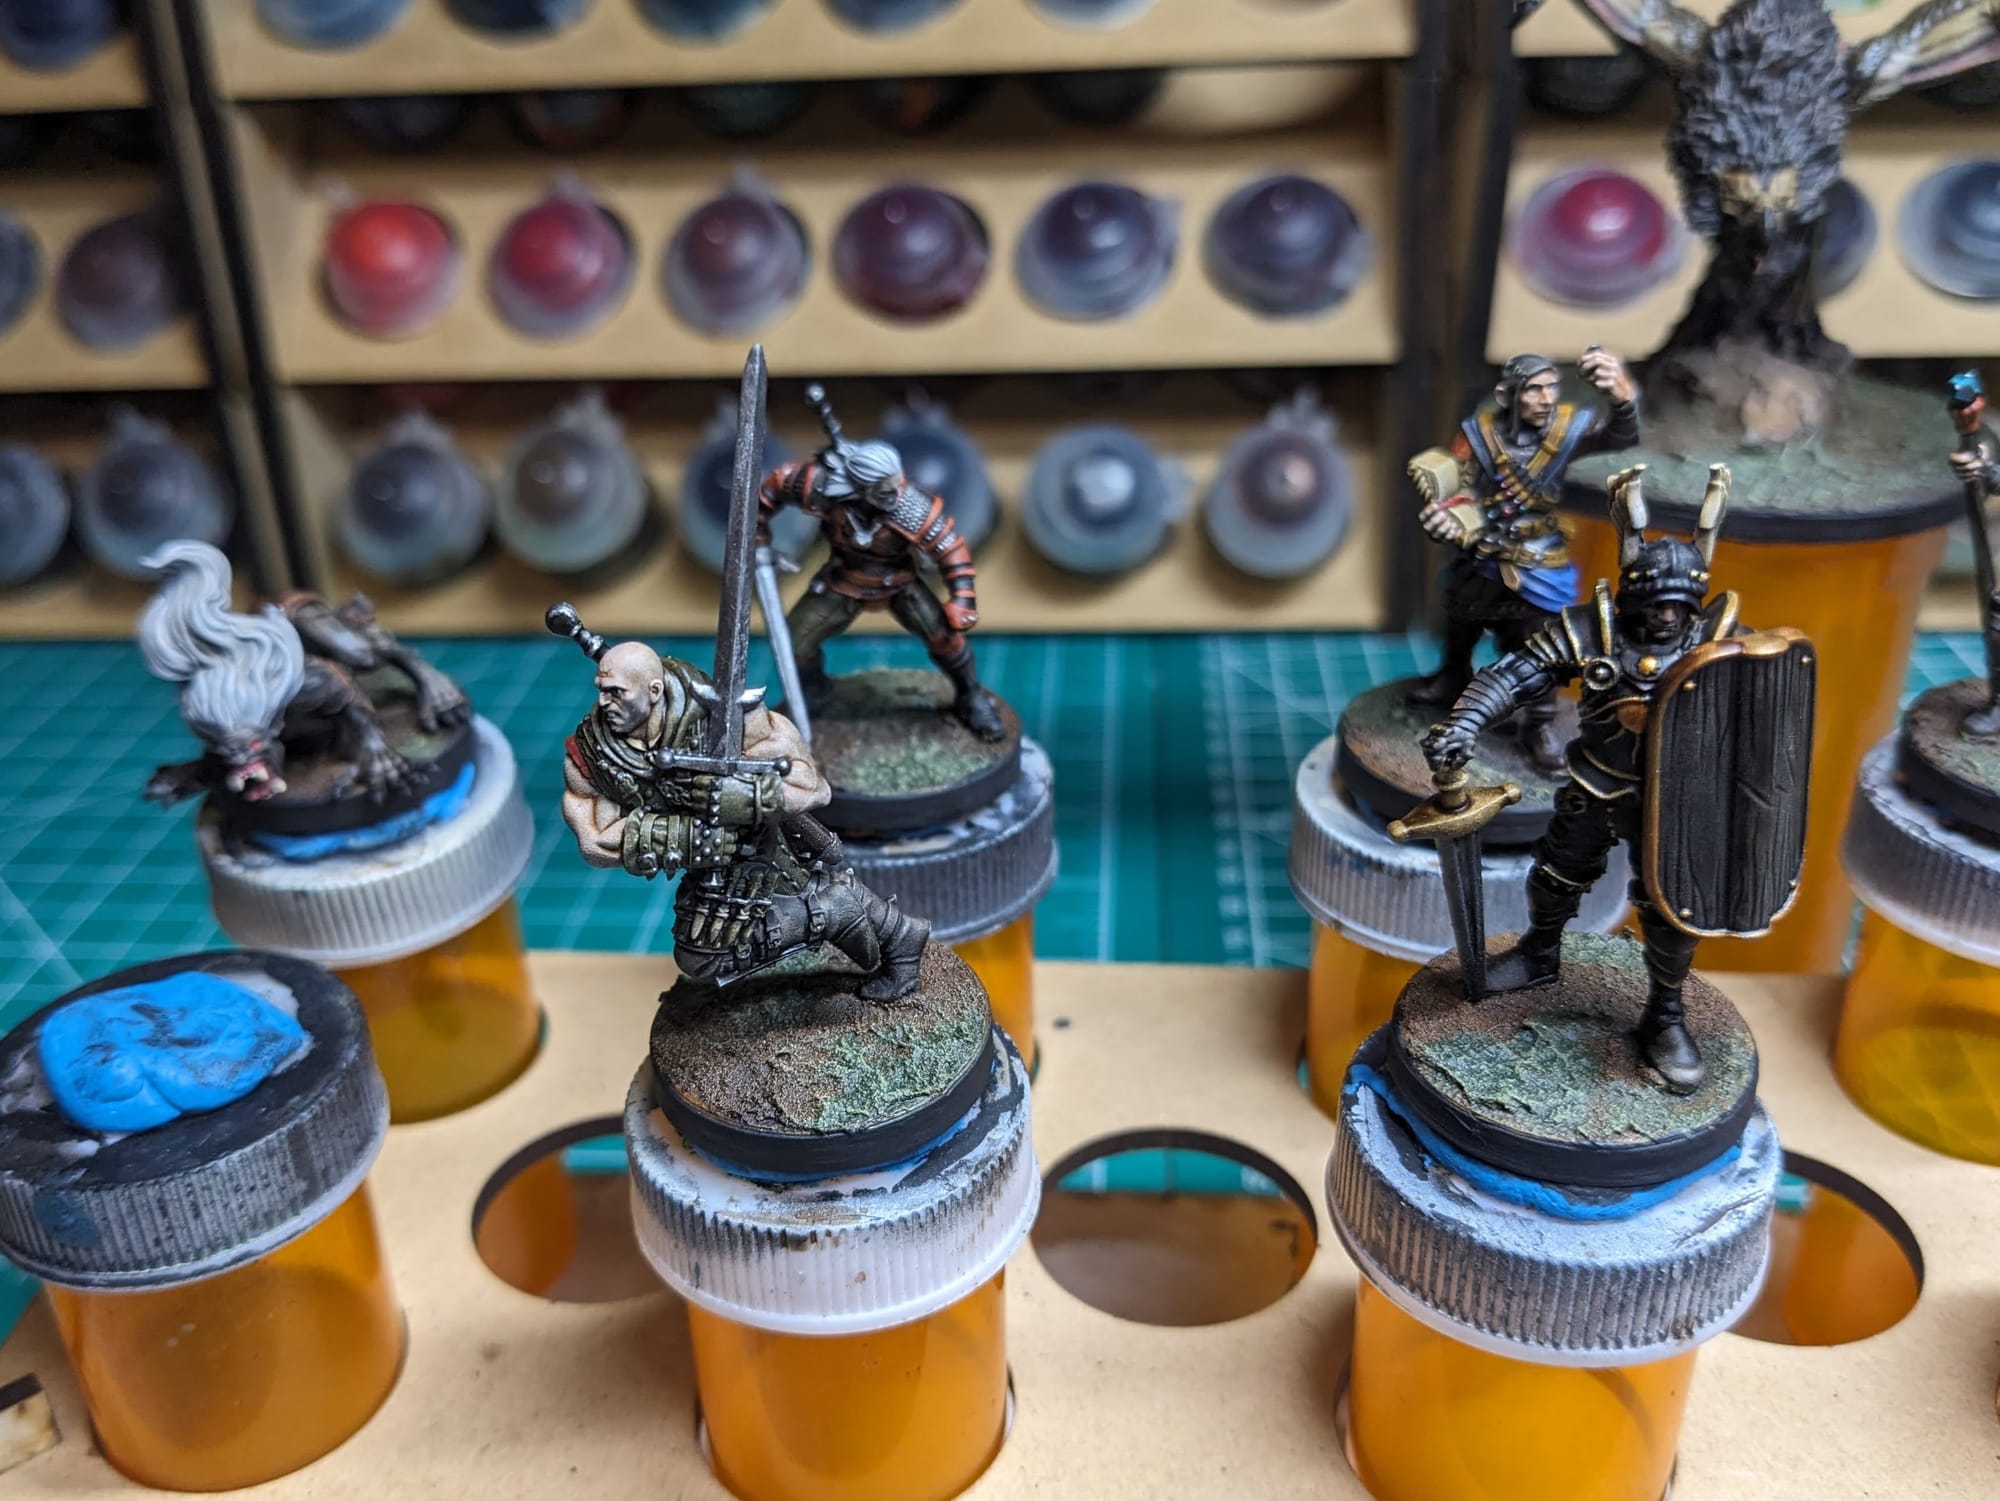
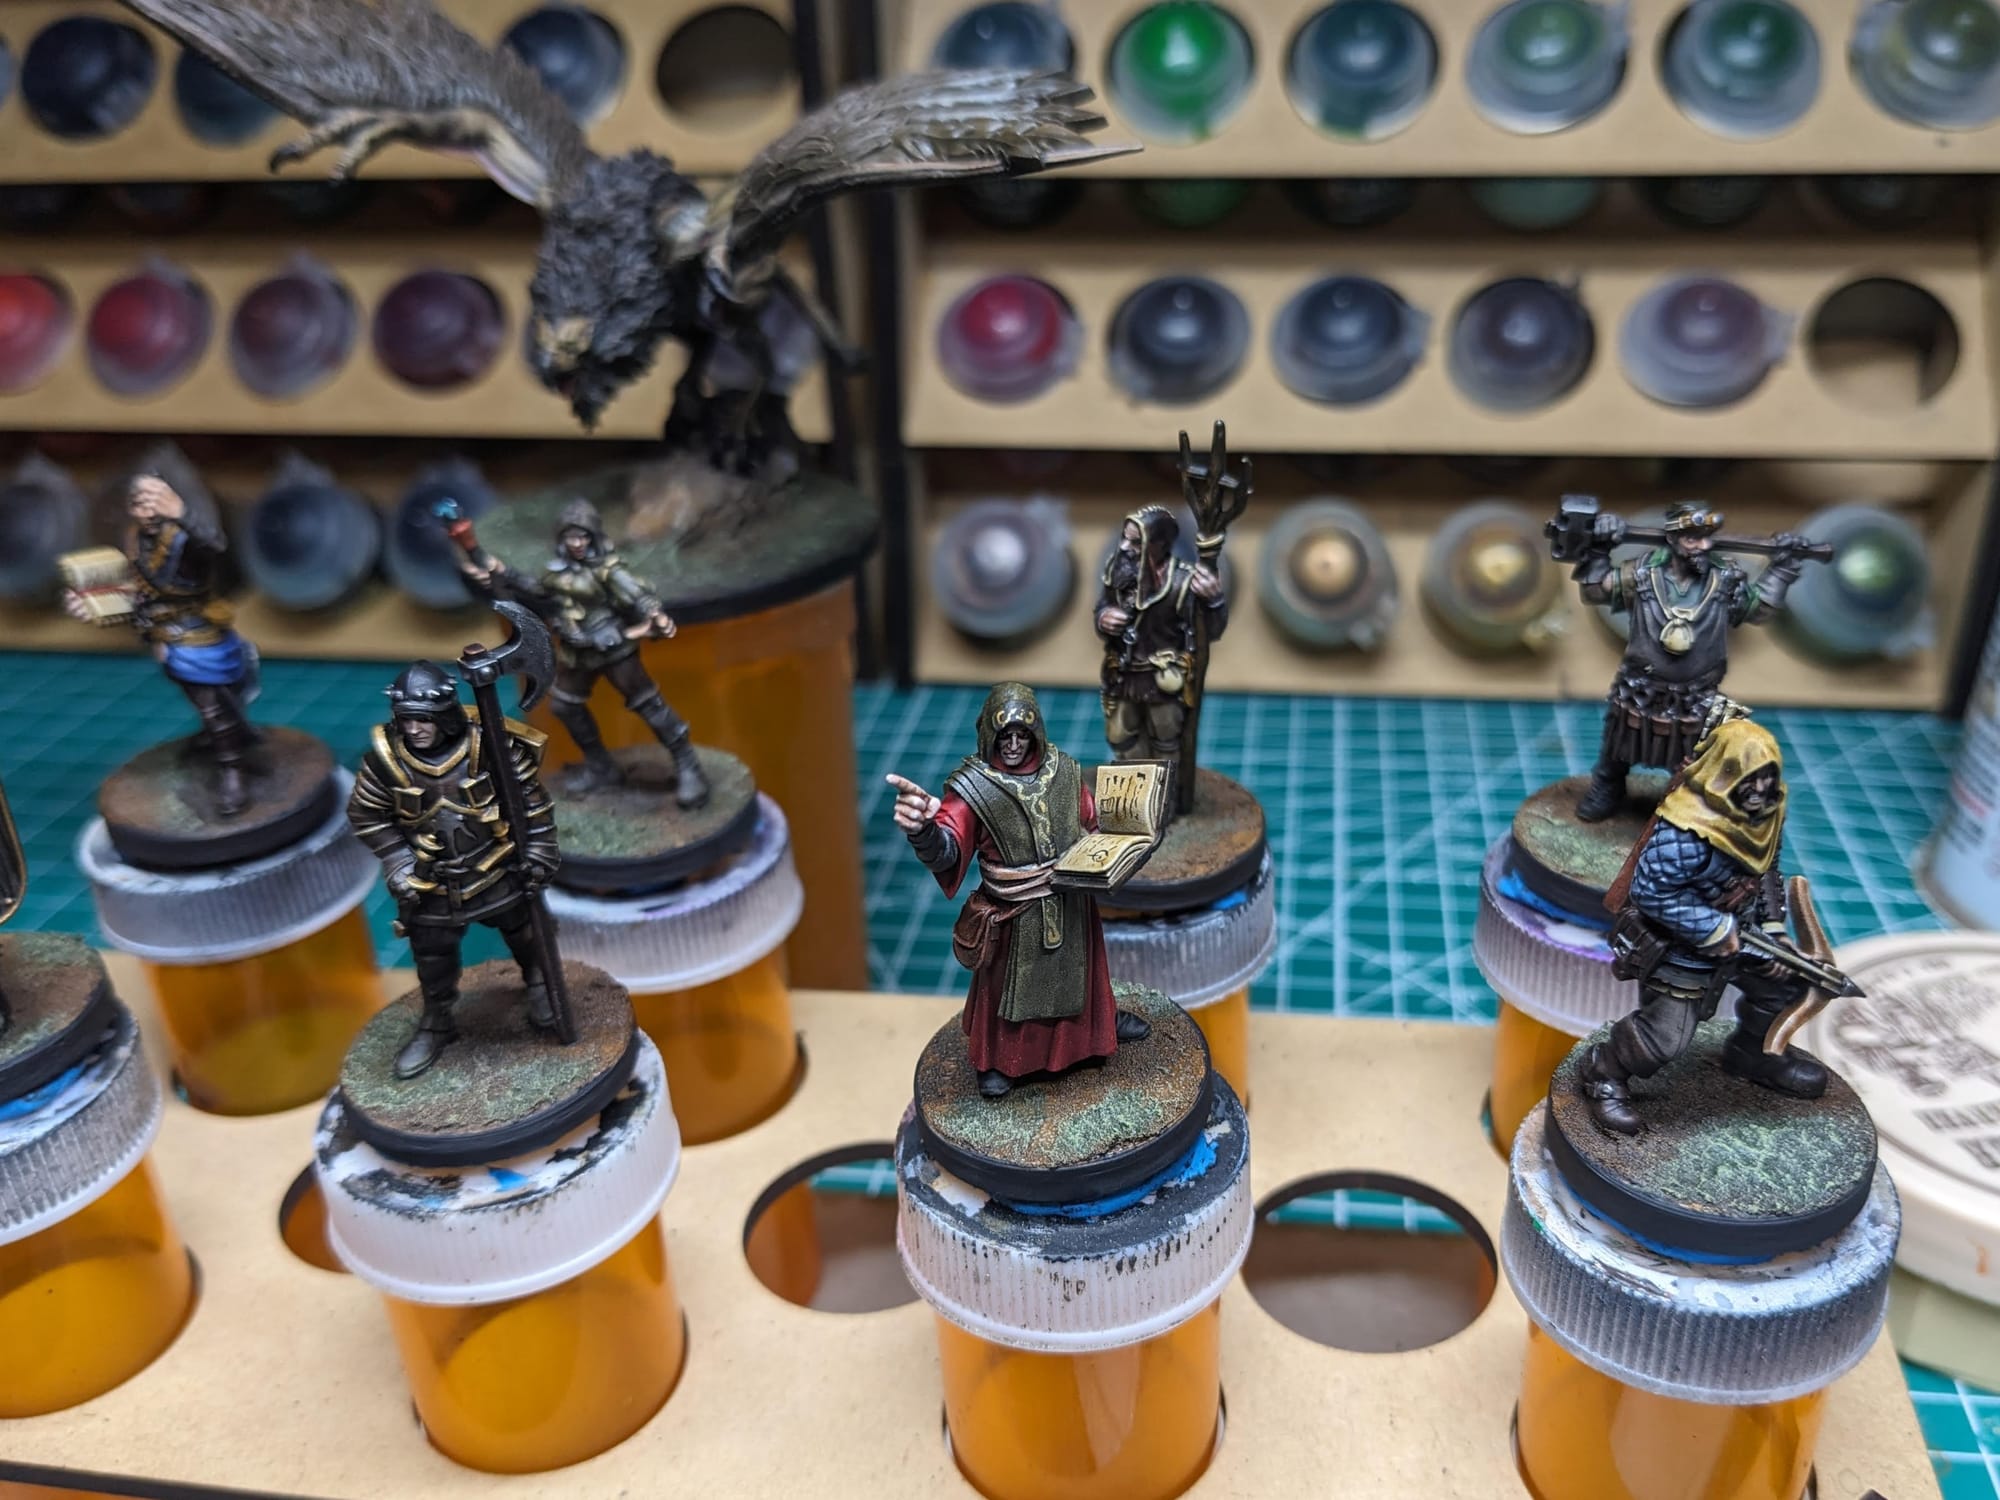
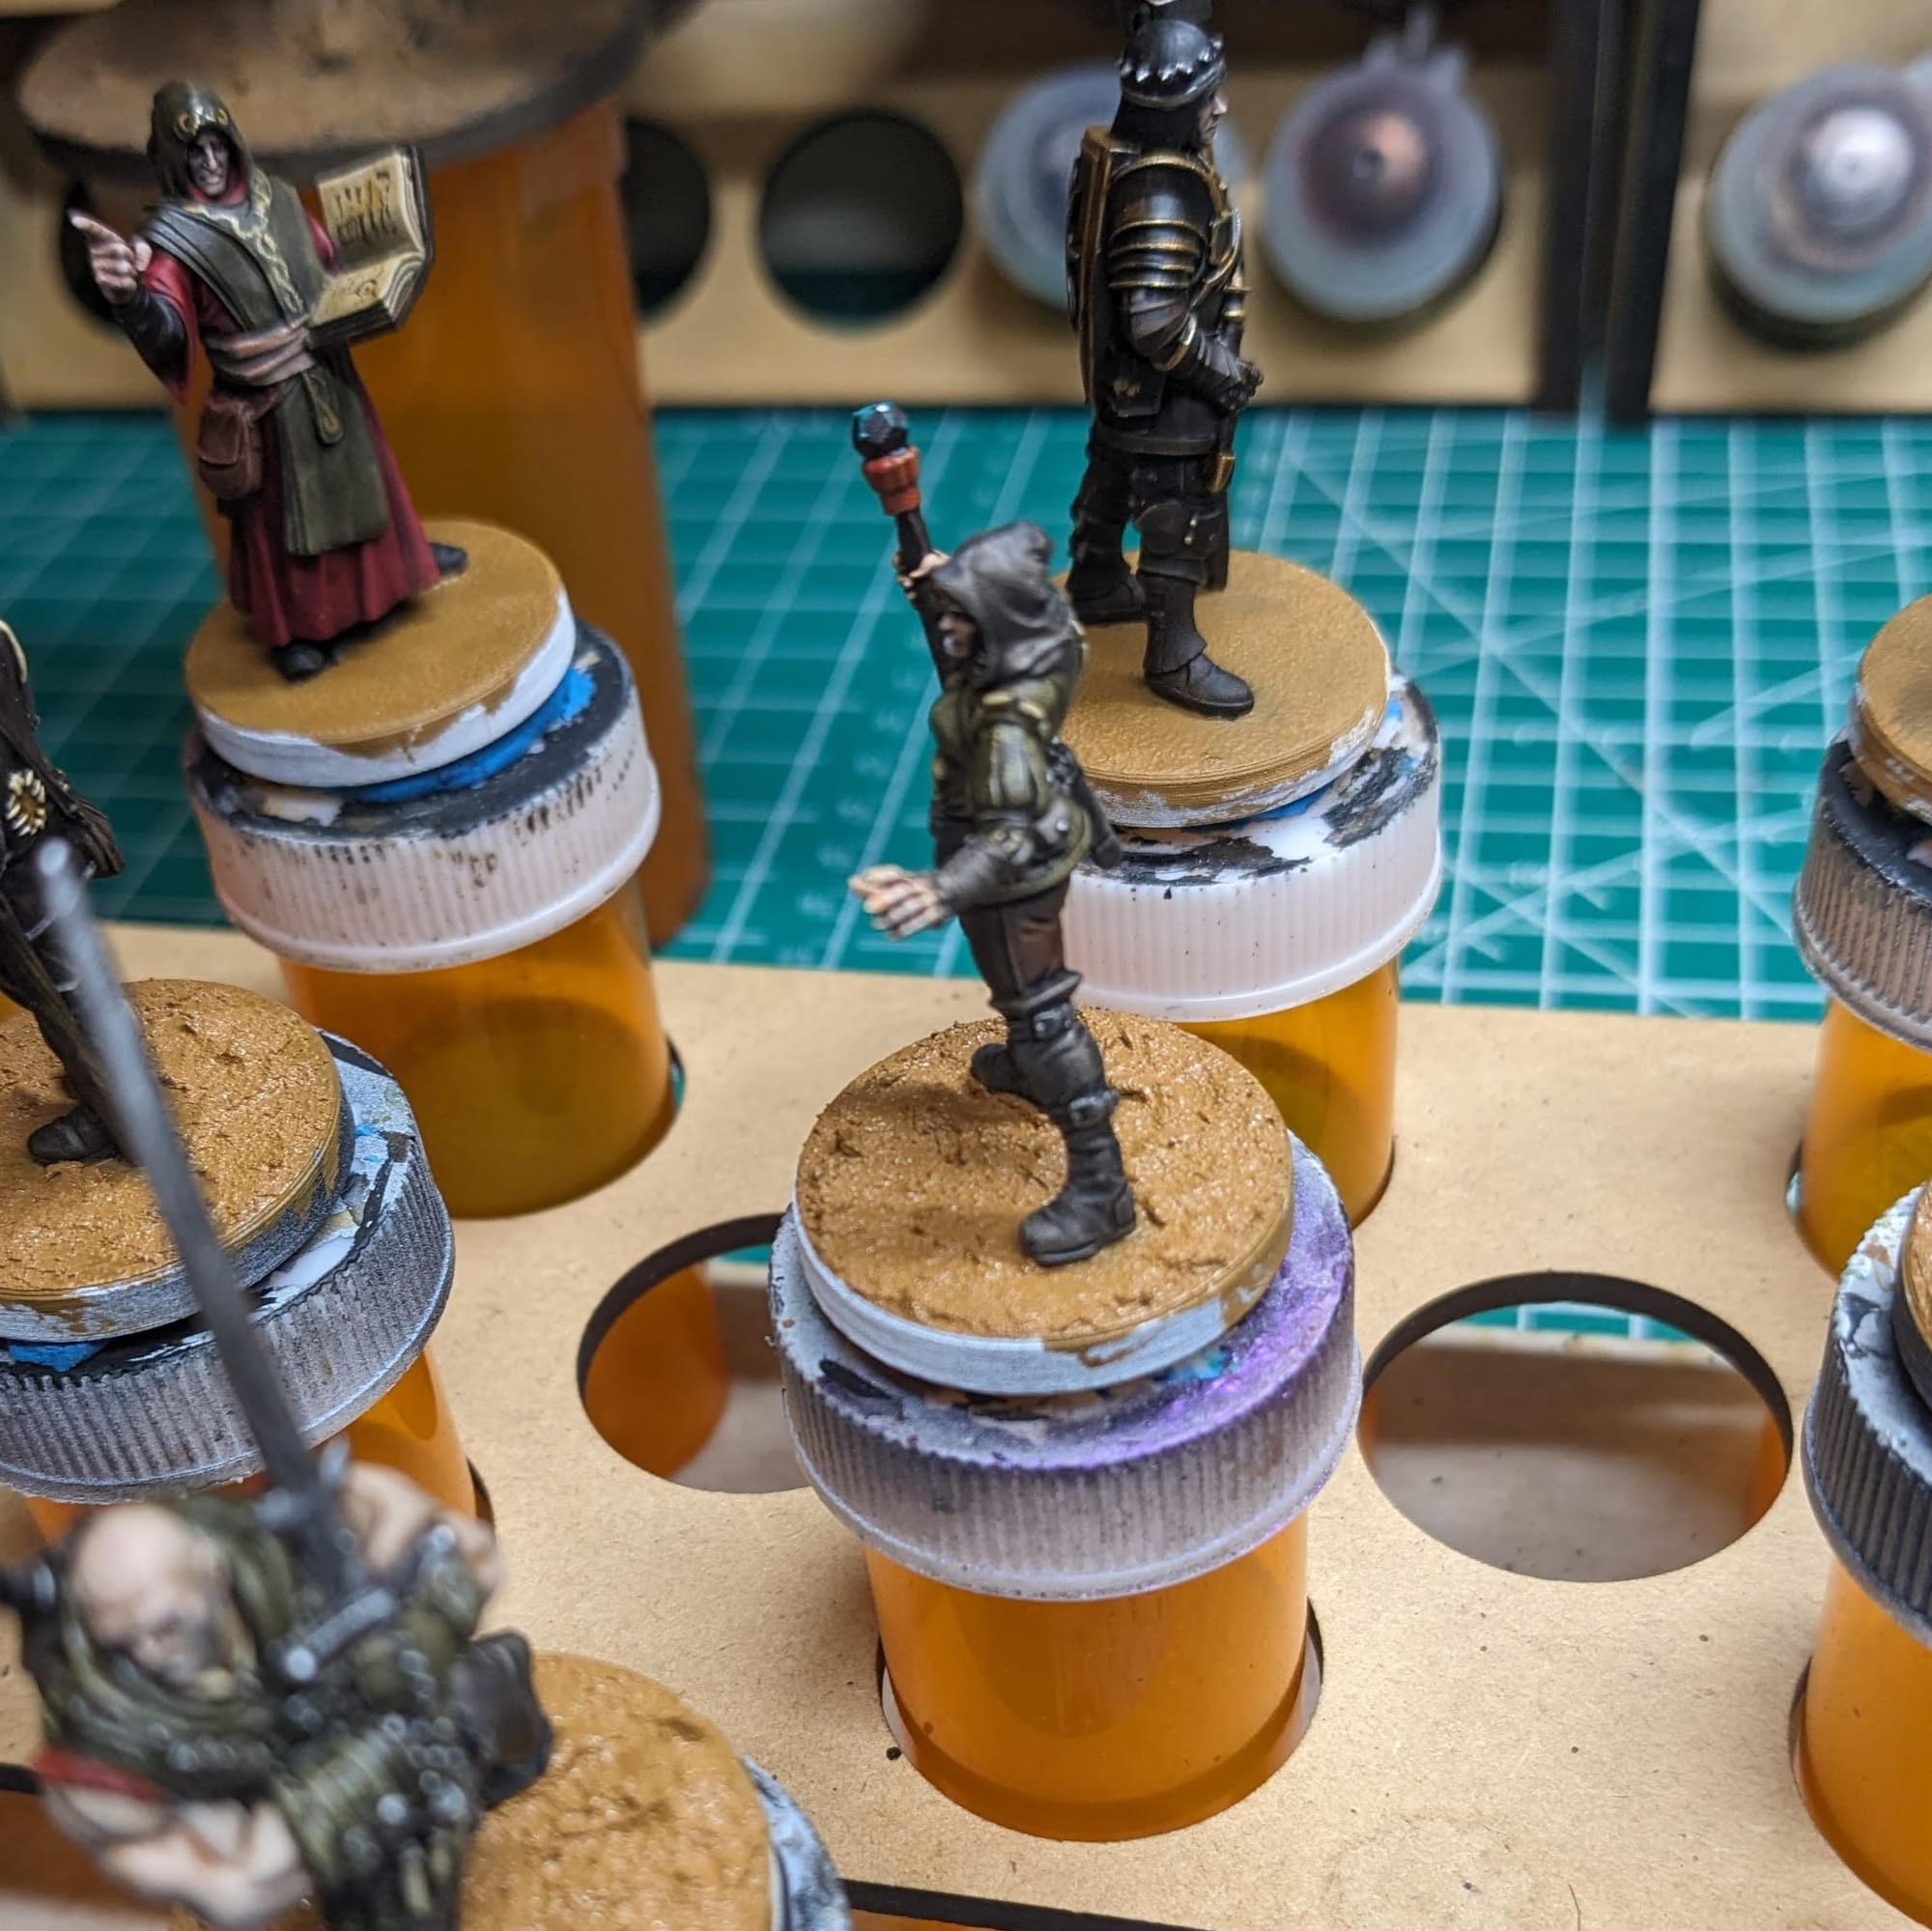
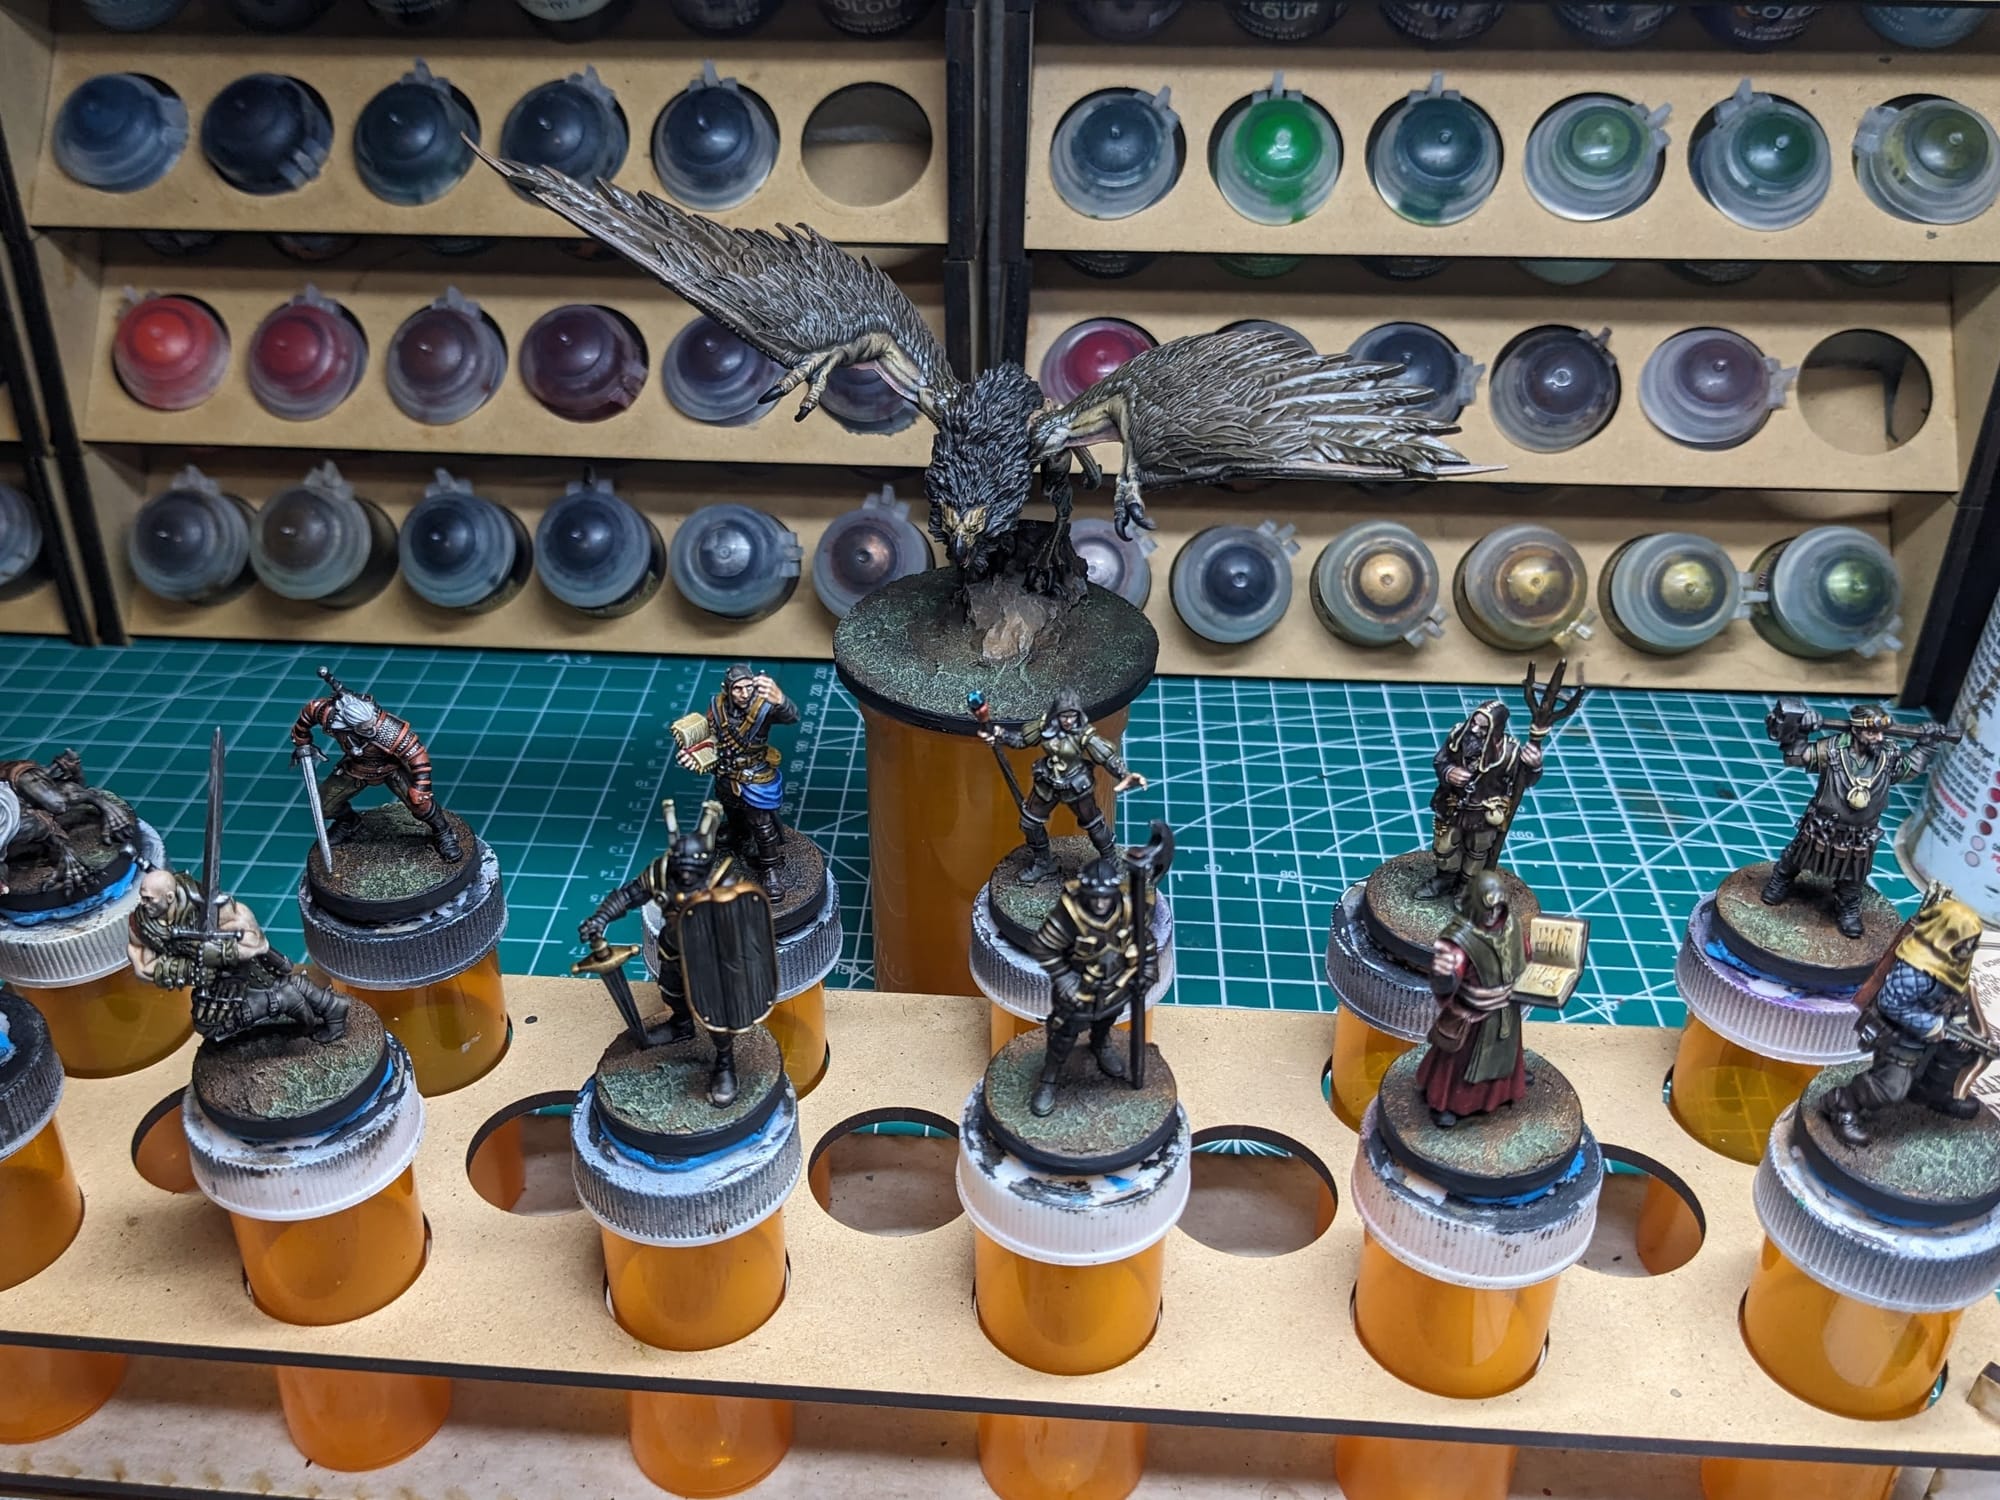
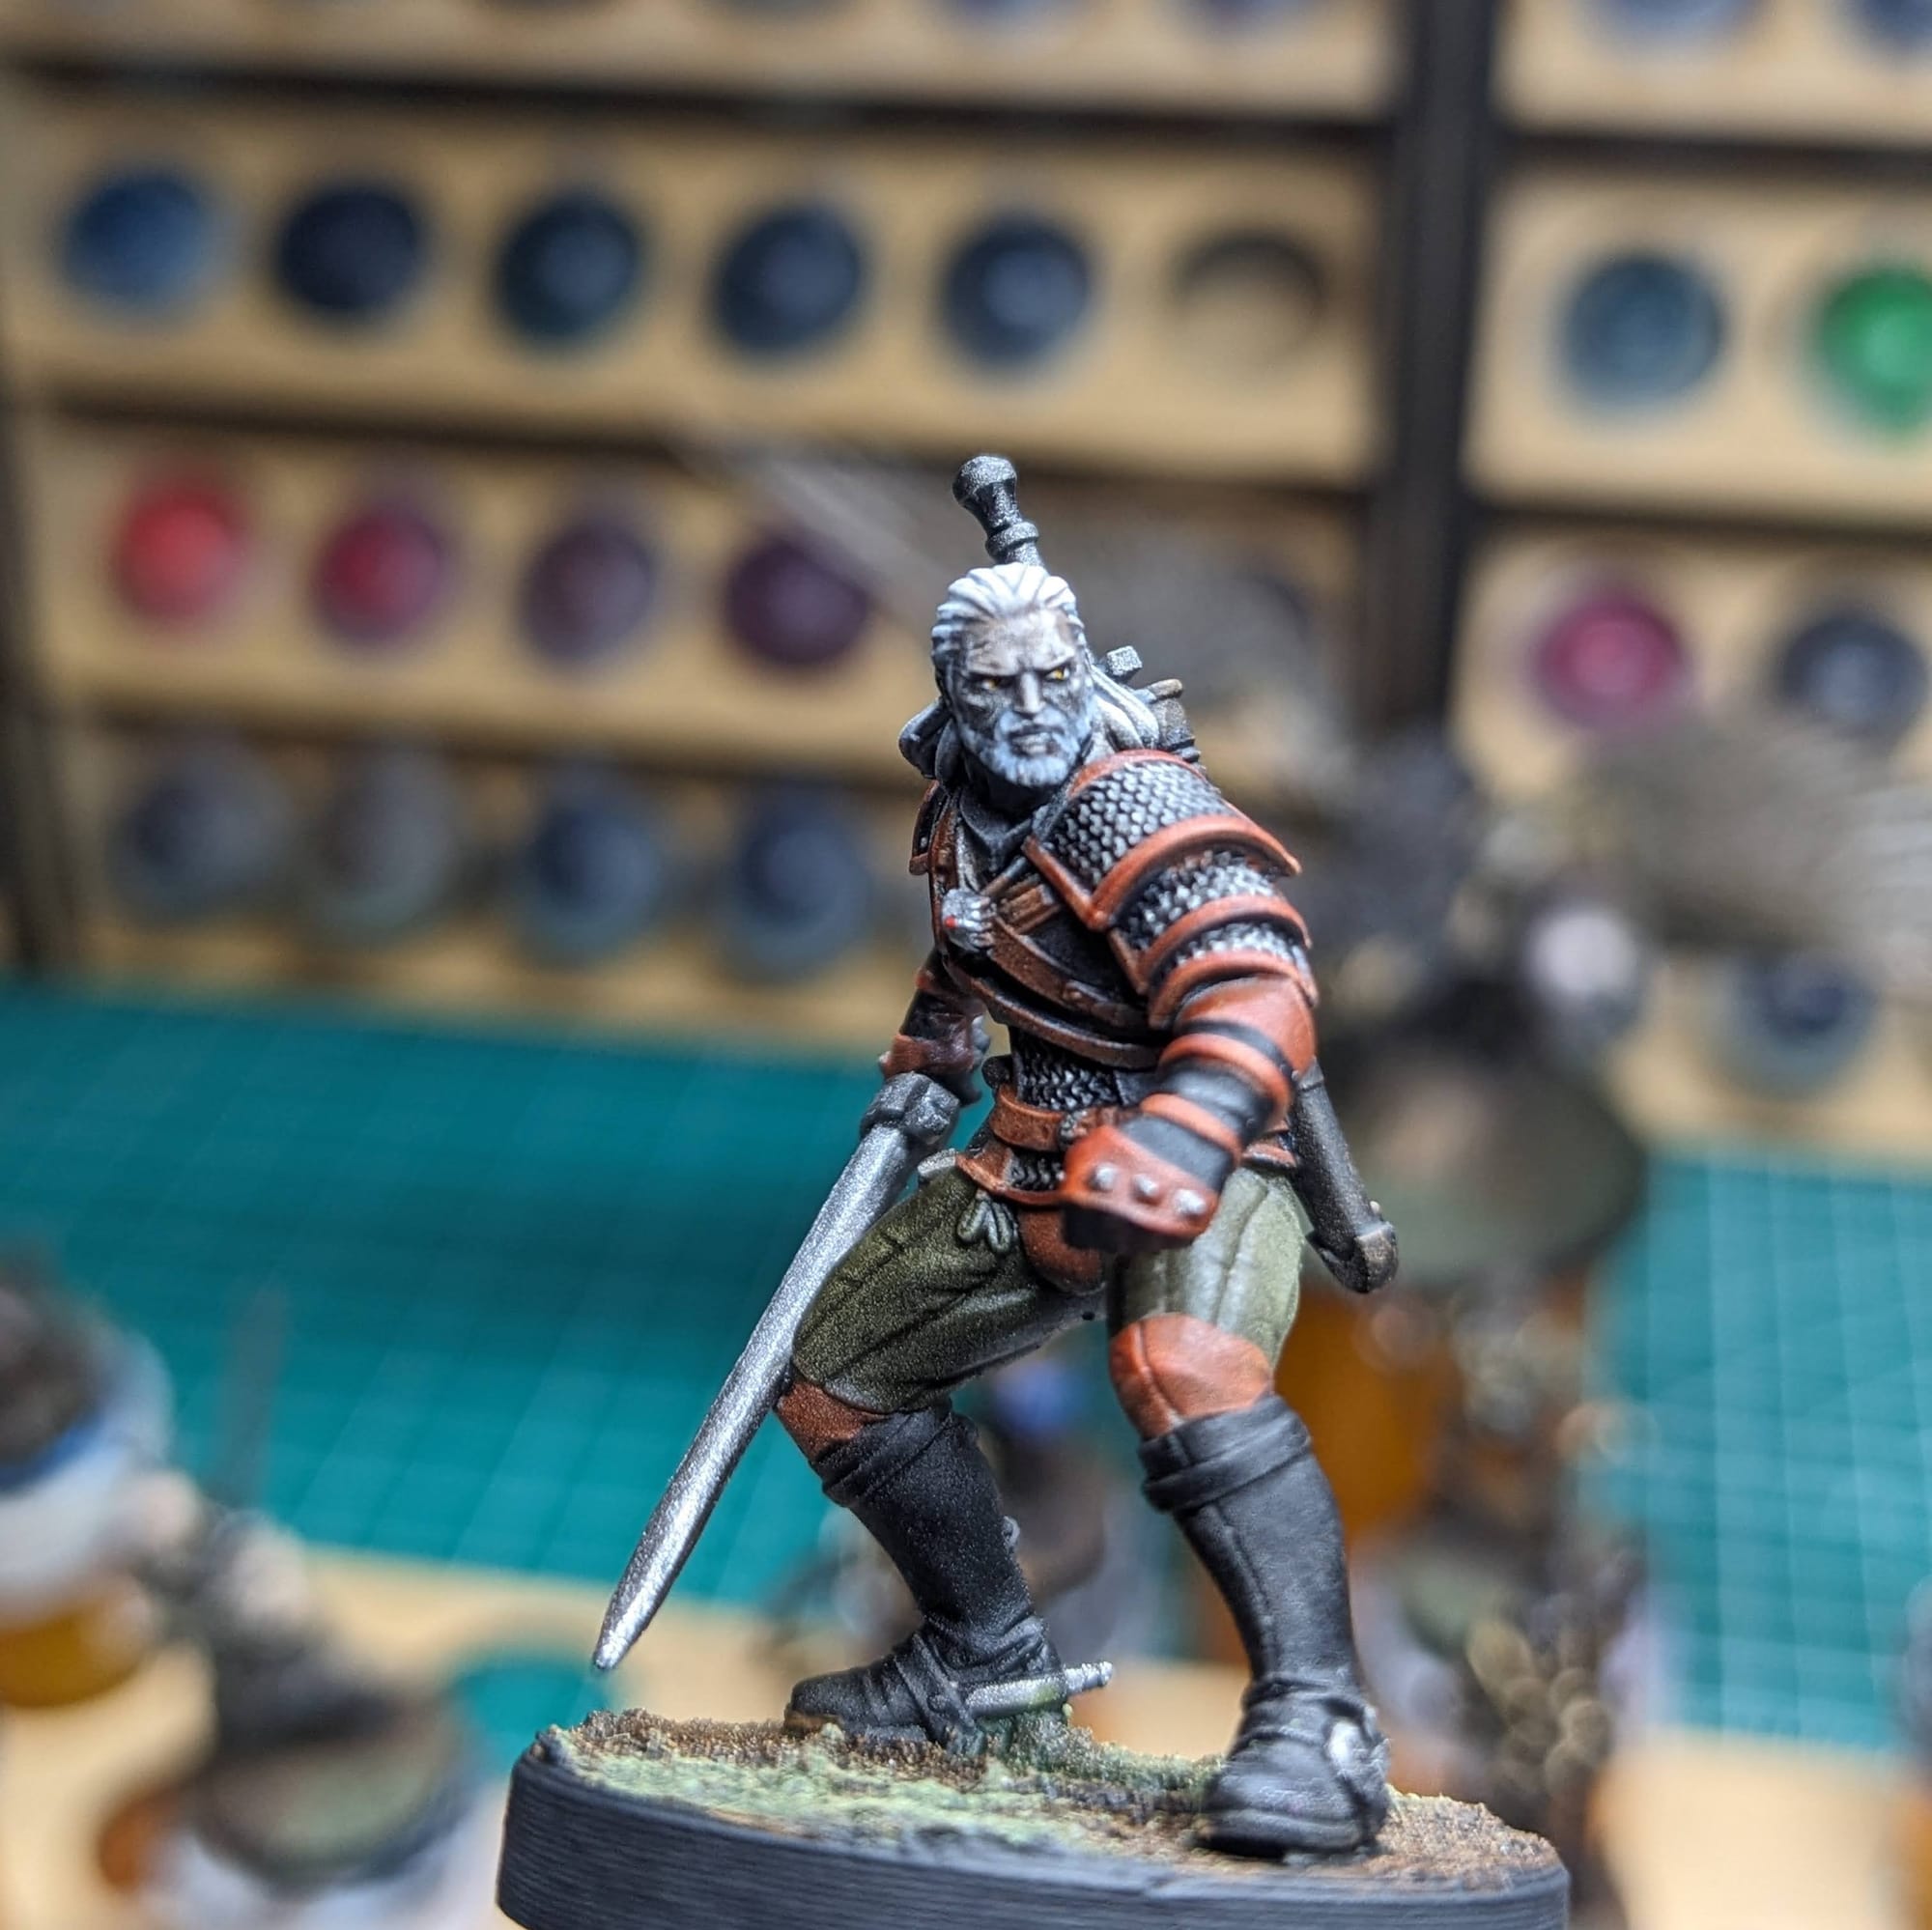
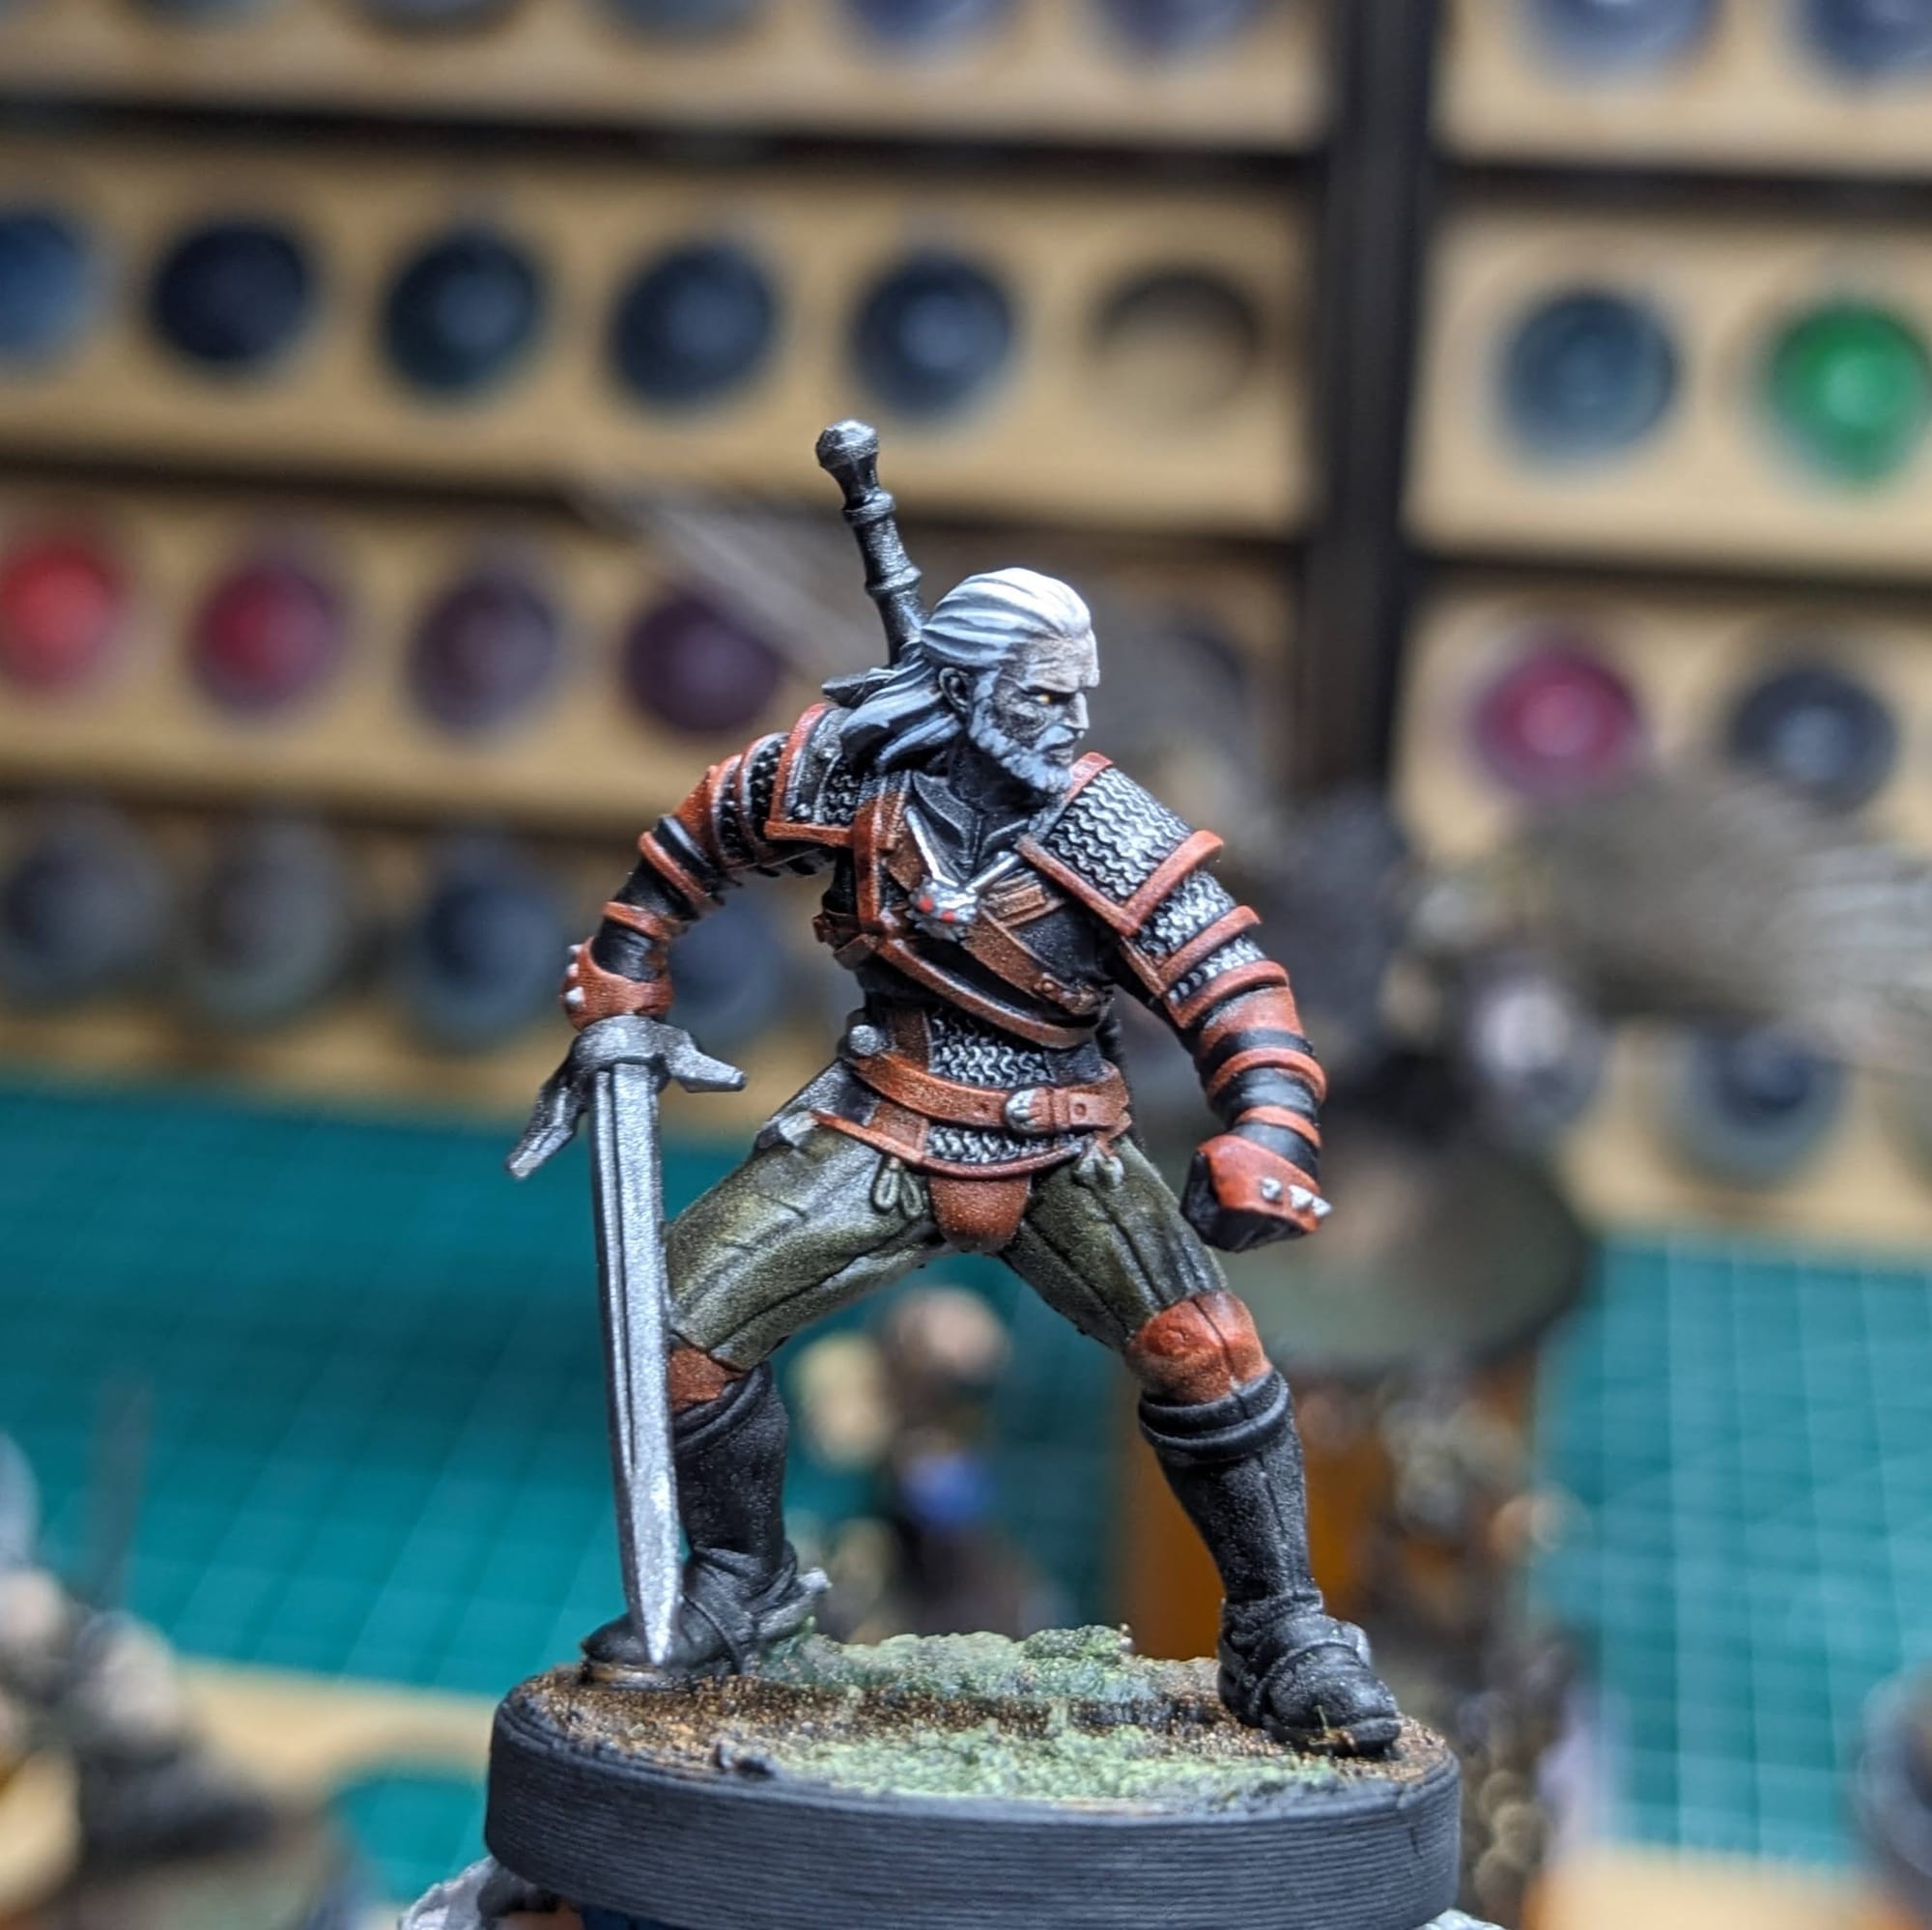
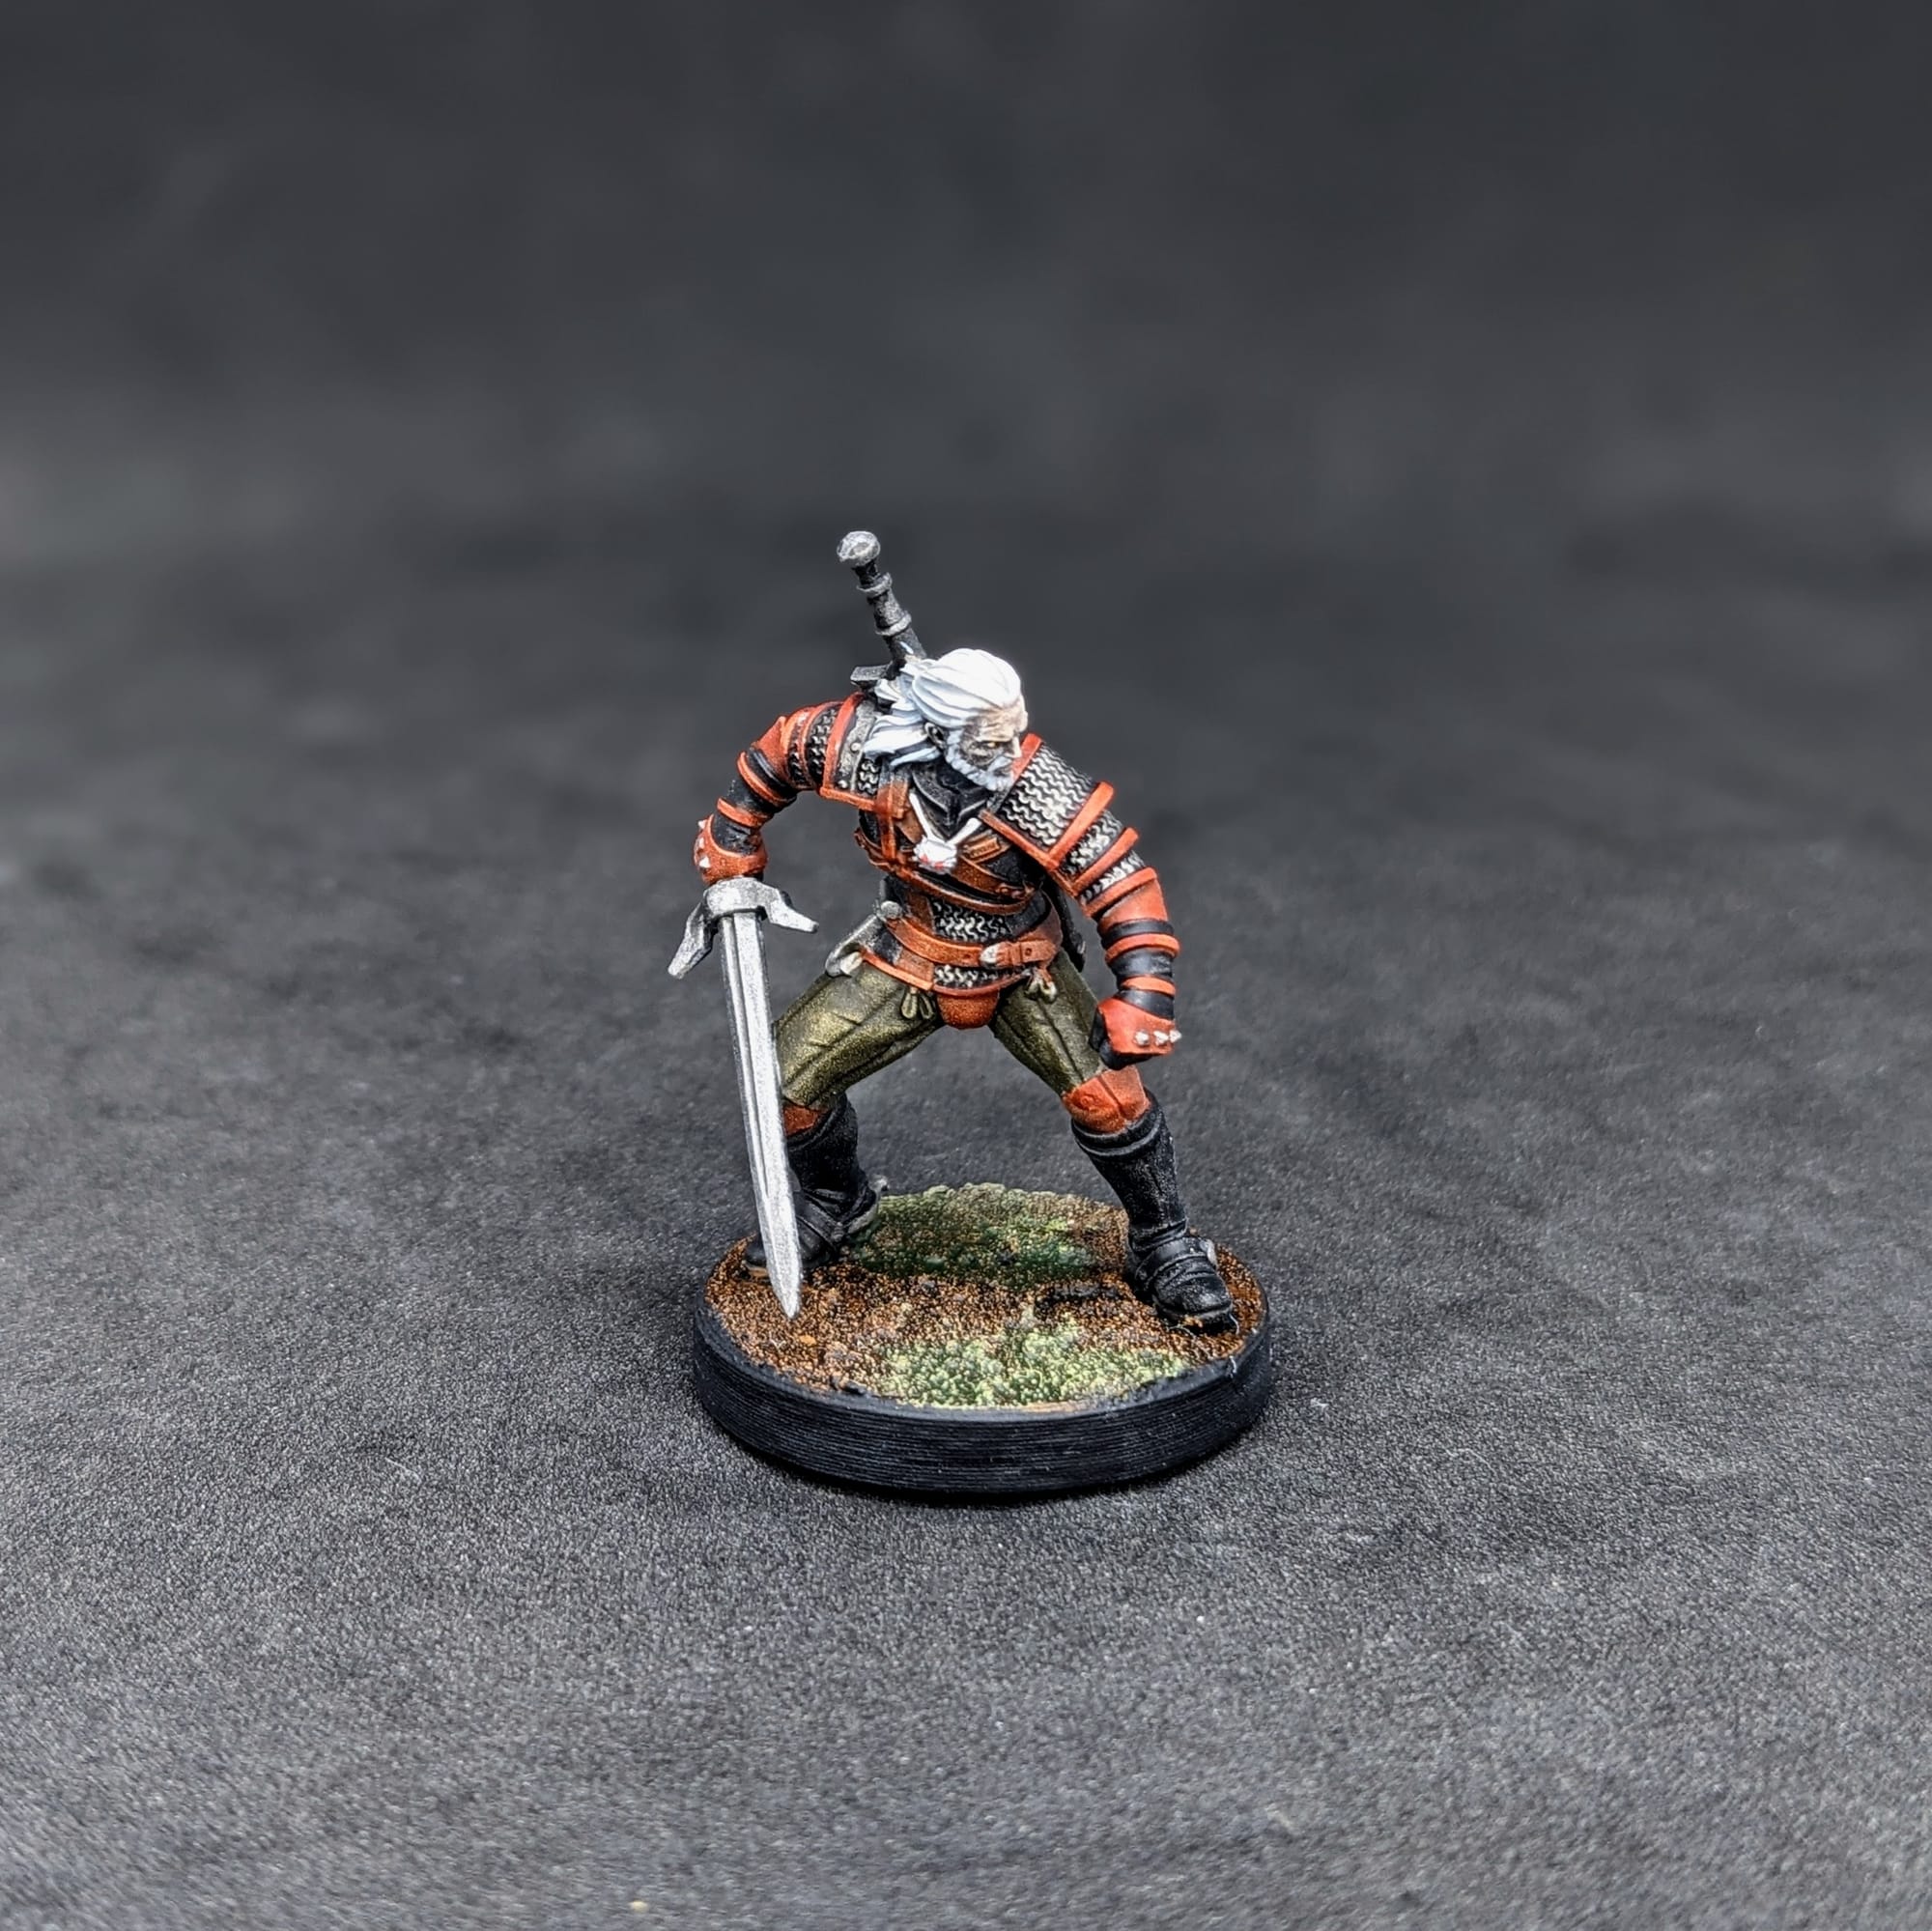
Geralt with those iconic yellow eyes.
Sealing & Protecting Your Miniatures
As I do with all of the models I paint that I also play, I applied a protective clear varnish over the paint. This helps preserve the paint on the model and keeps oils from hands from rubbing off the paint as you continuously touch the models during games. There are many different kinds of clear varnishes to use, but I typically use matte or anti-shine varnishes, as satin, semi-gloss, and gloss tend to distort the colors of the models (not to mention that most models aren’t supposed to be shiny).
Brands that have been reliable for me are Krylon Matte Clear Spray, Rust-Oleum Matte Clear Coat, which is slightly glossy, and Testors Dullcote, although the latter can be expensive and difficult to find. For a coat with no shine that really enhances the colors, I use AK Interactive’s Ultra Matte Varnish, applied with an airbrush. If there are any metal bits or gems I want to have remain glossy, I brush on glossy varnish, such as Vallejo Gloss Varnish or Citadel ‘Ardcoat, to make the parts shine more.
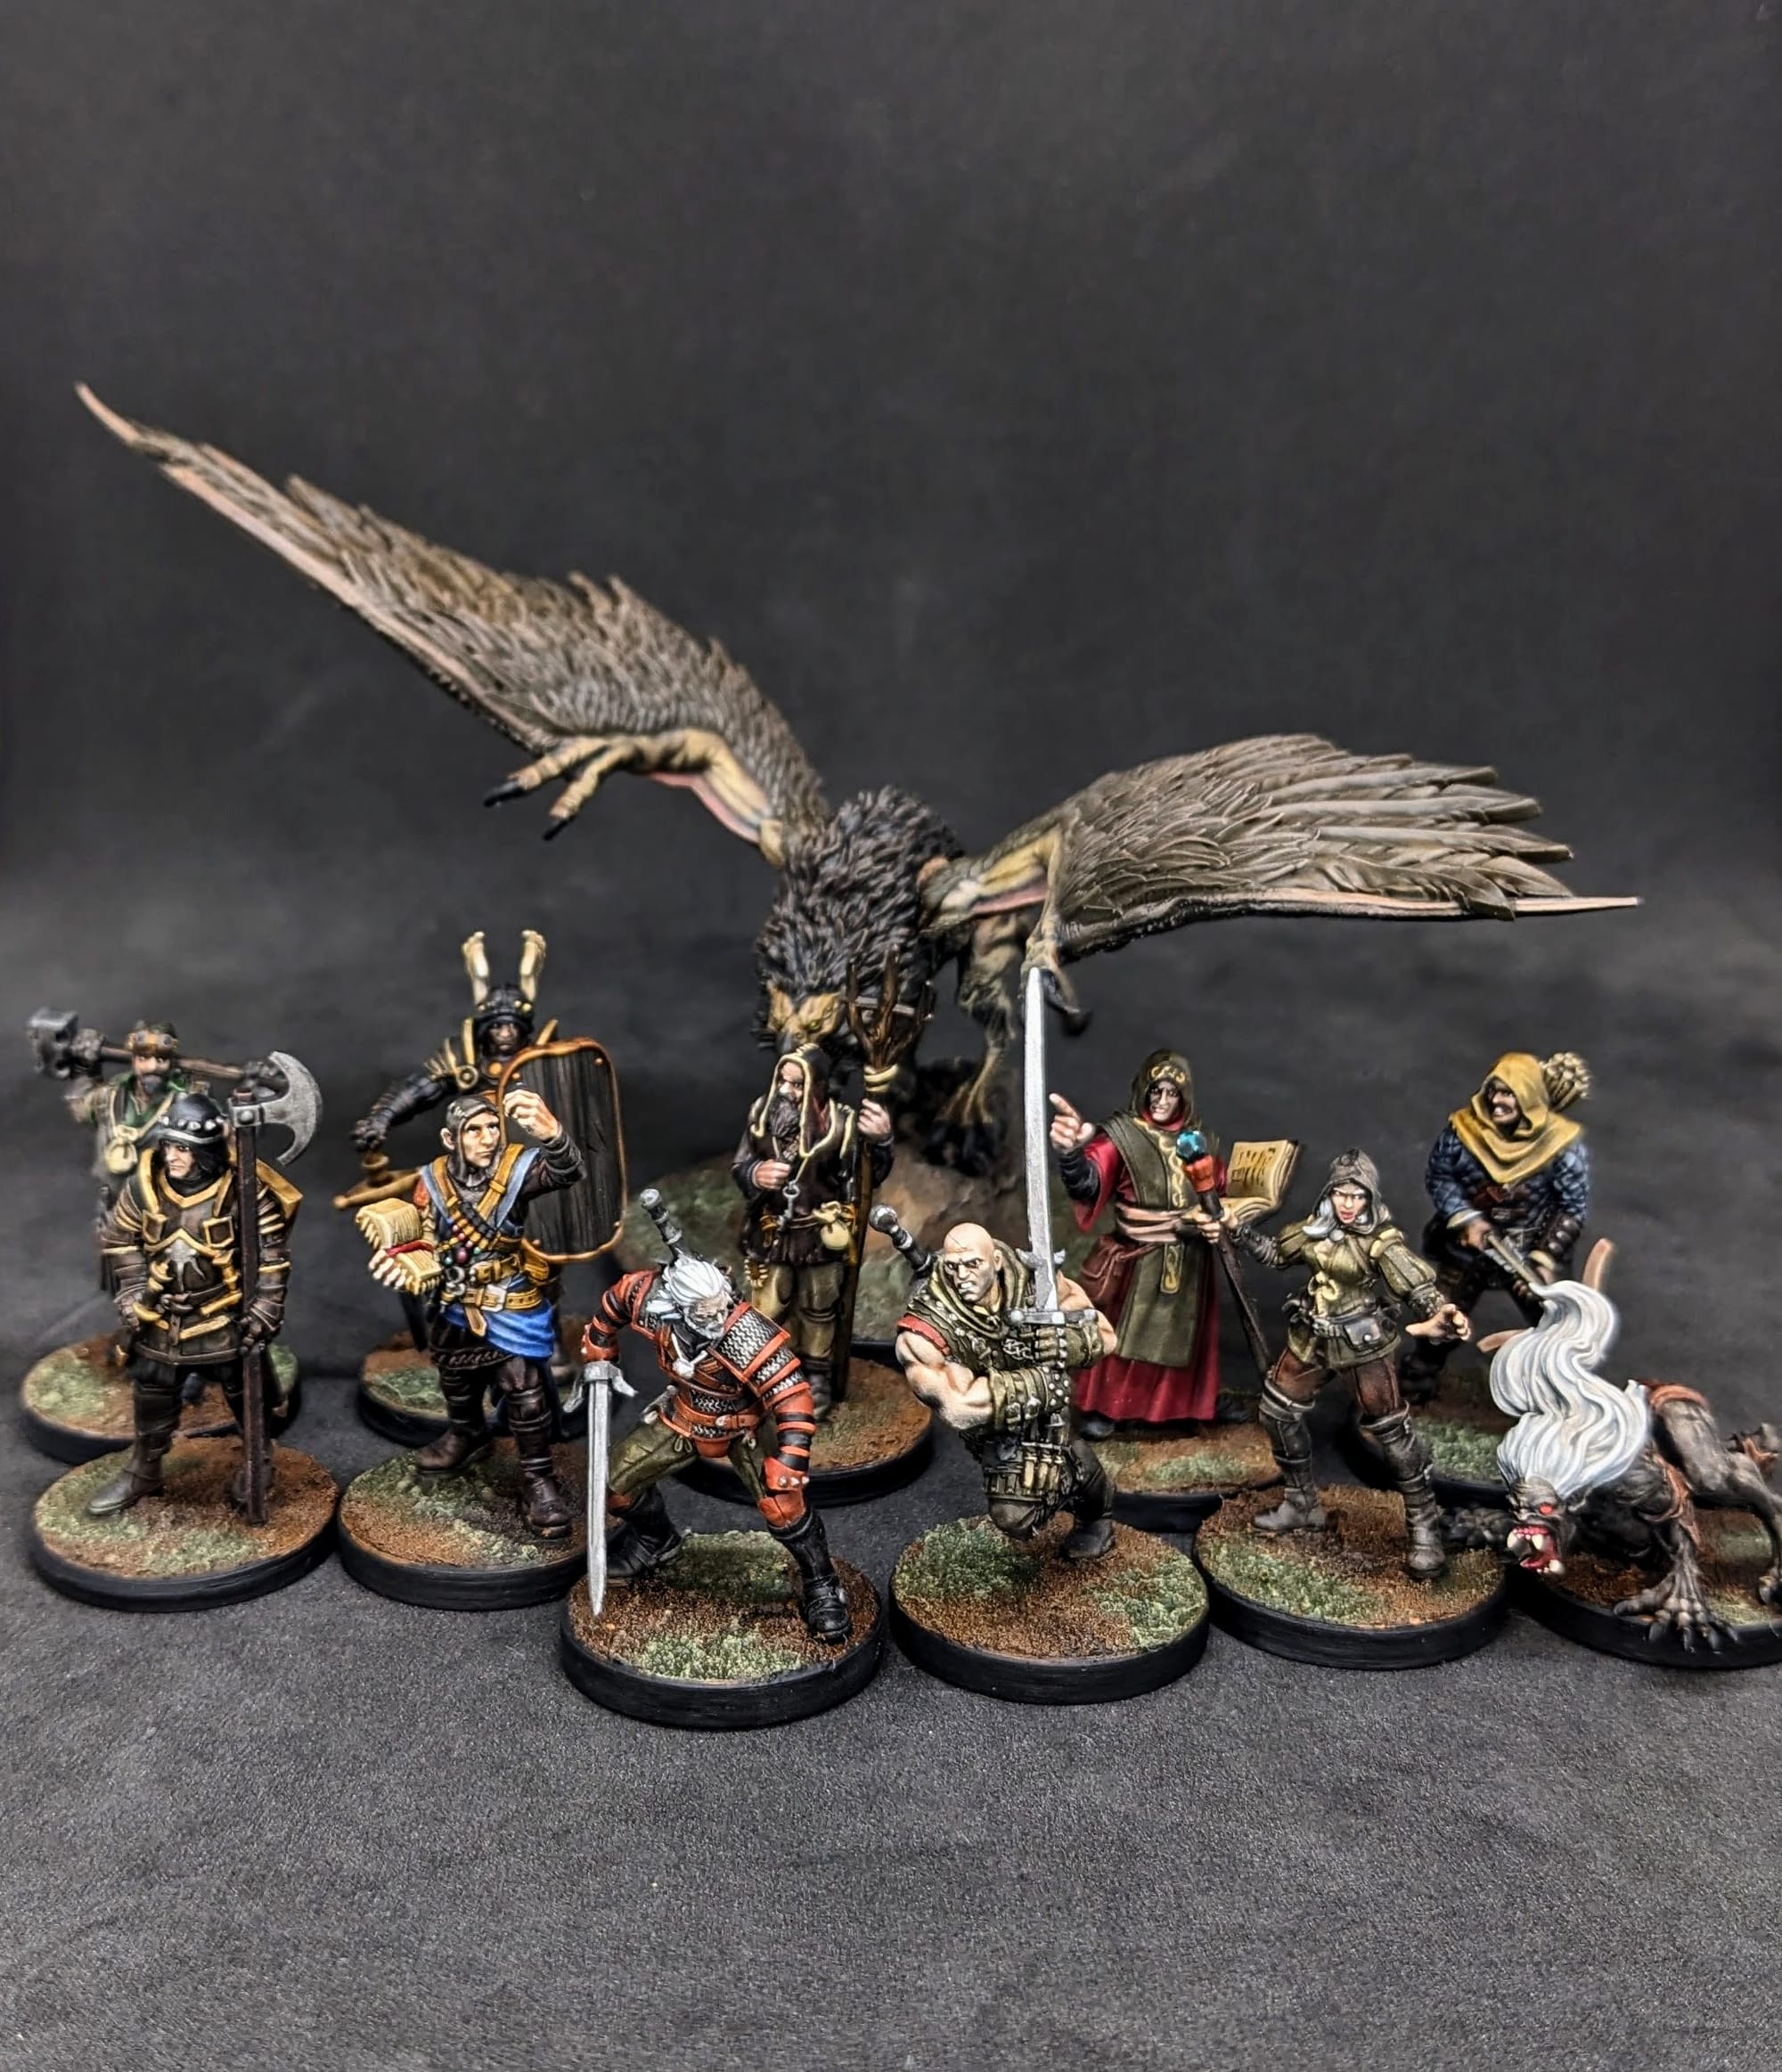
Painted and Ready for Play
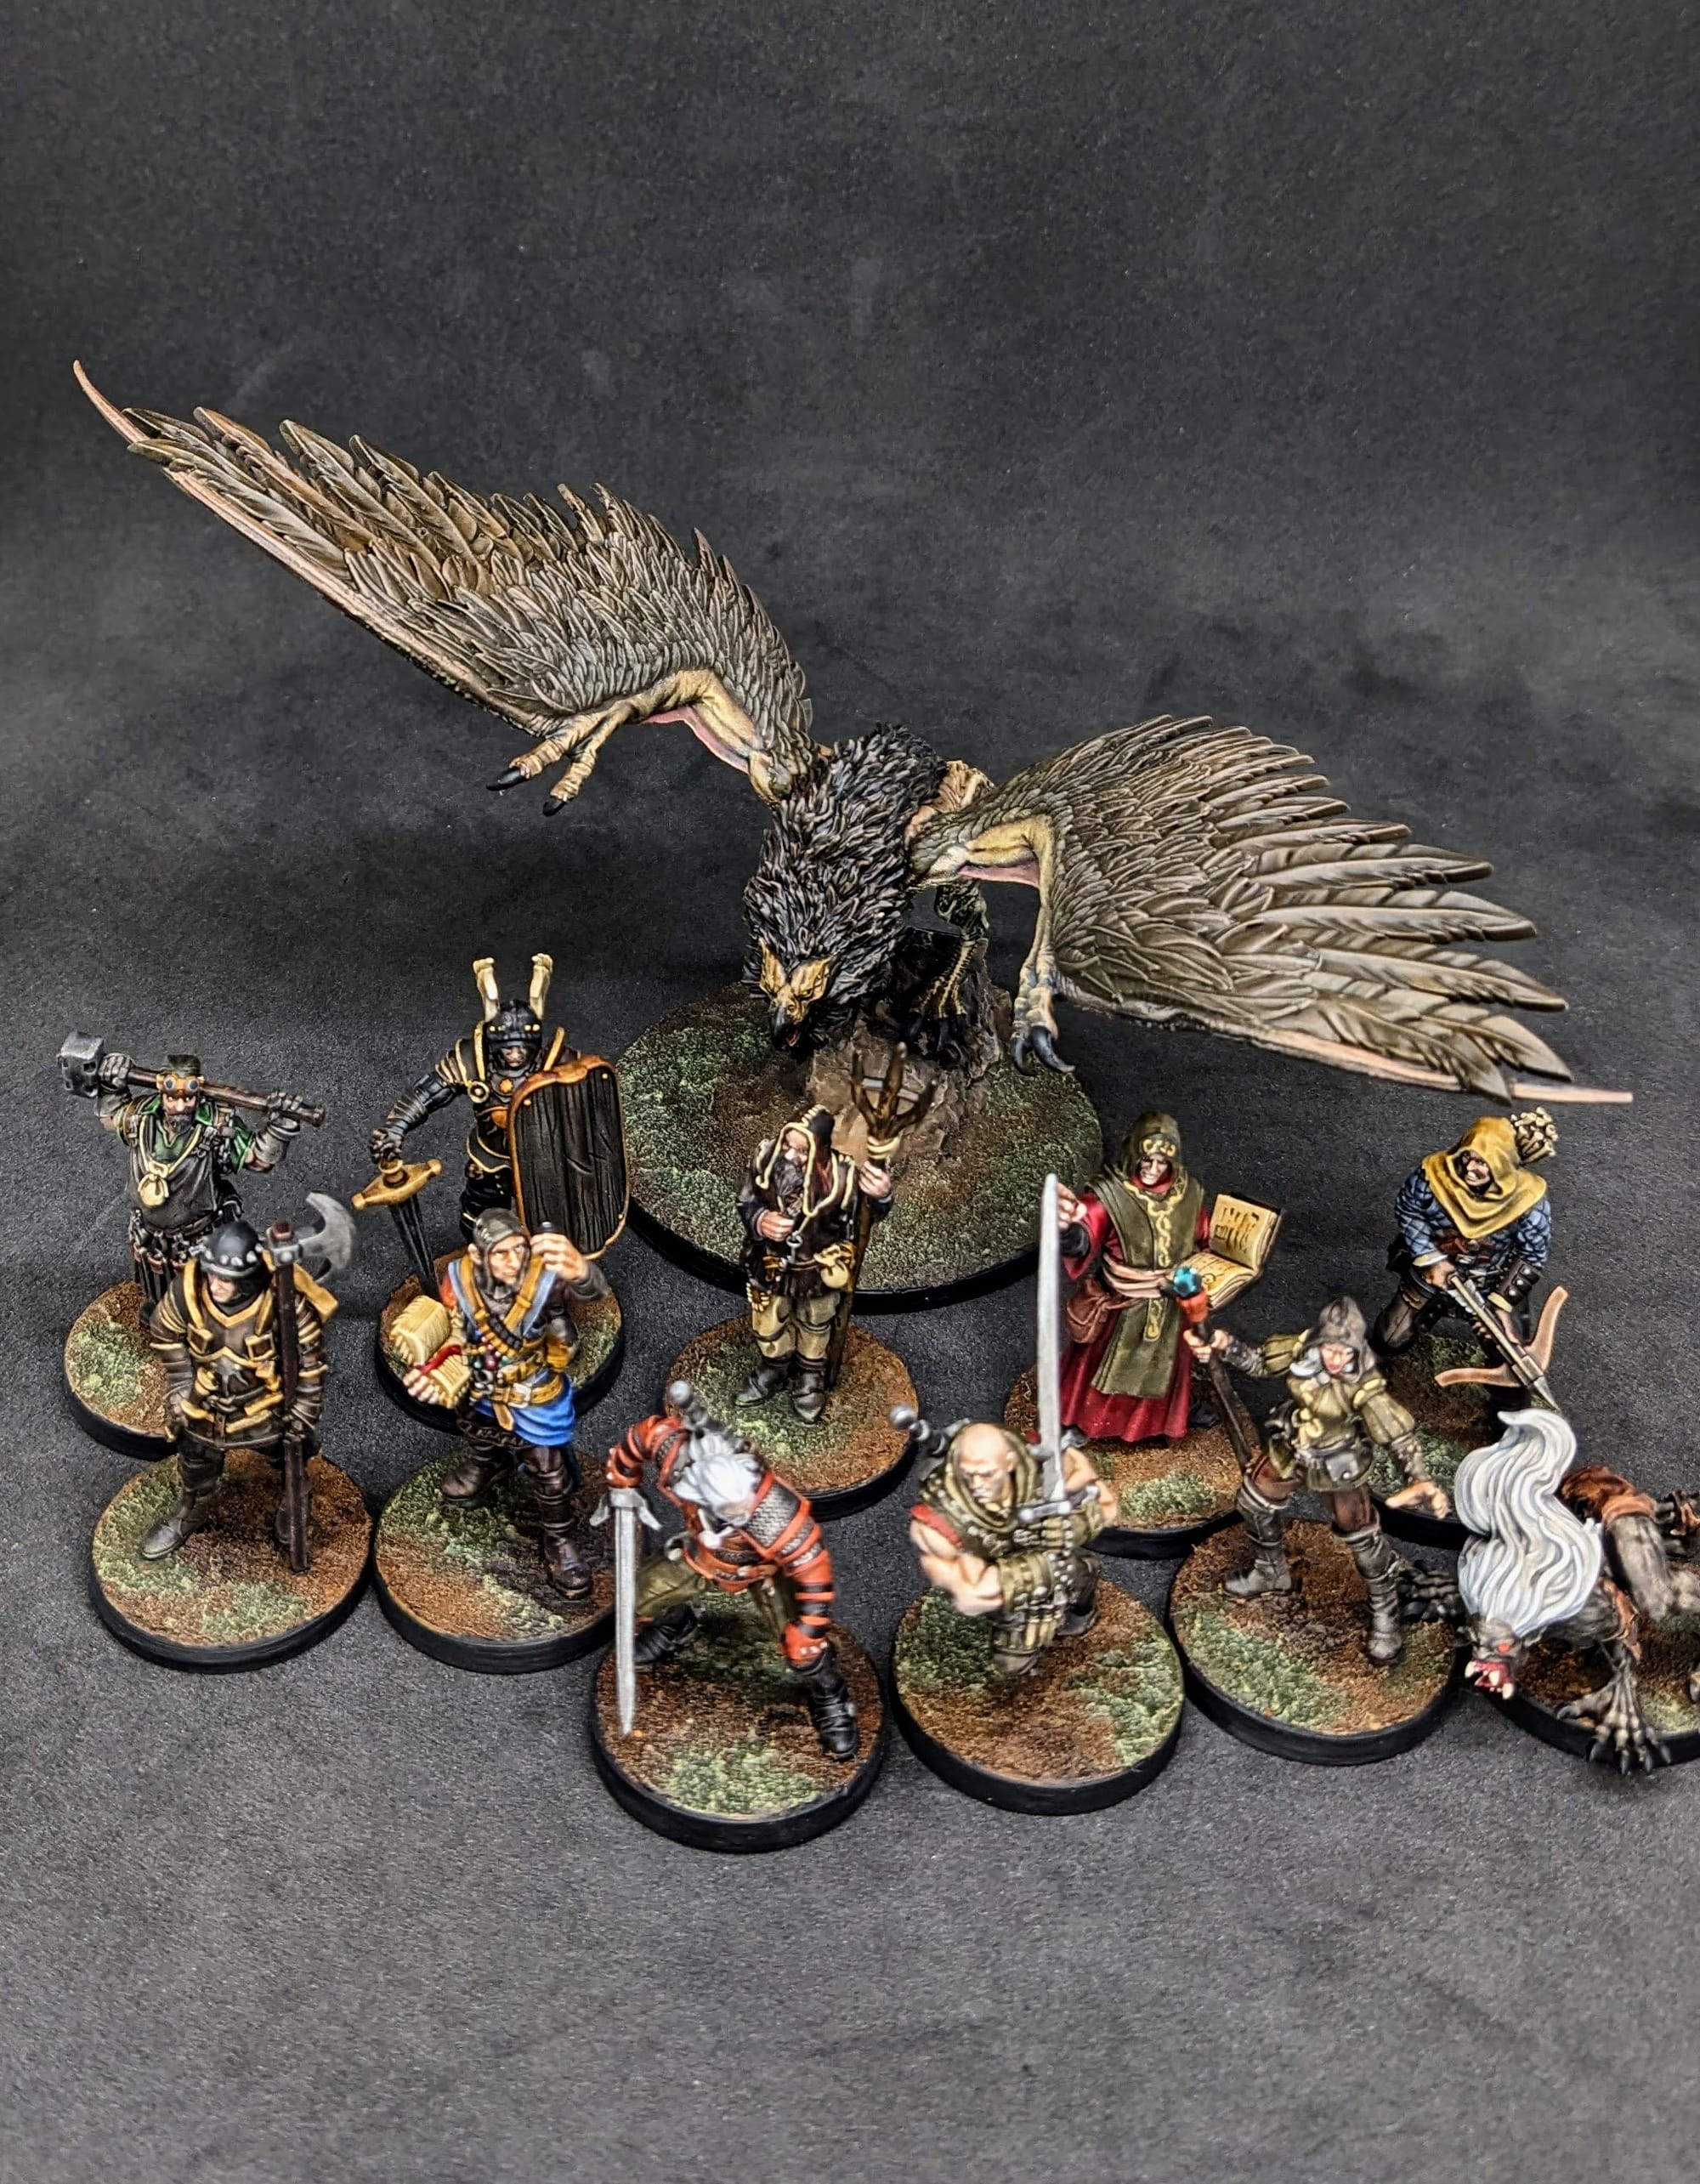
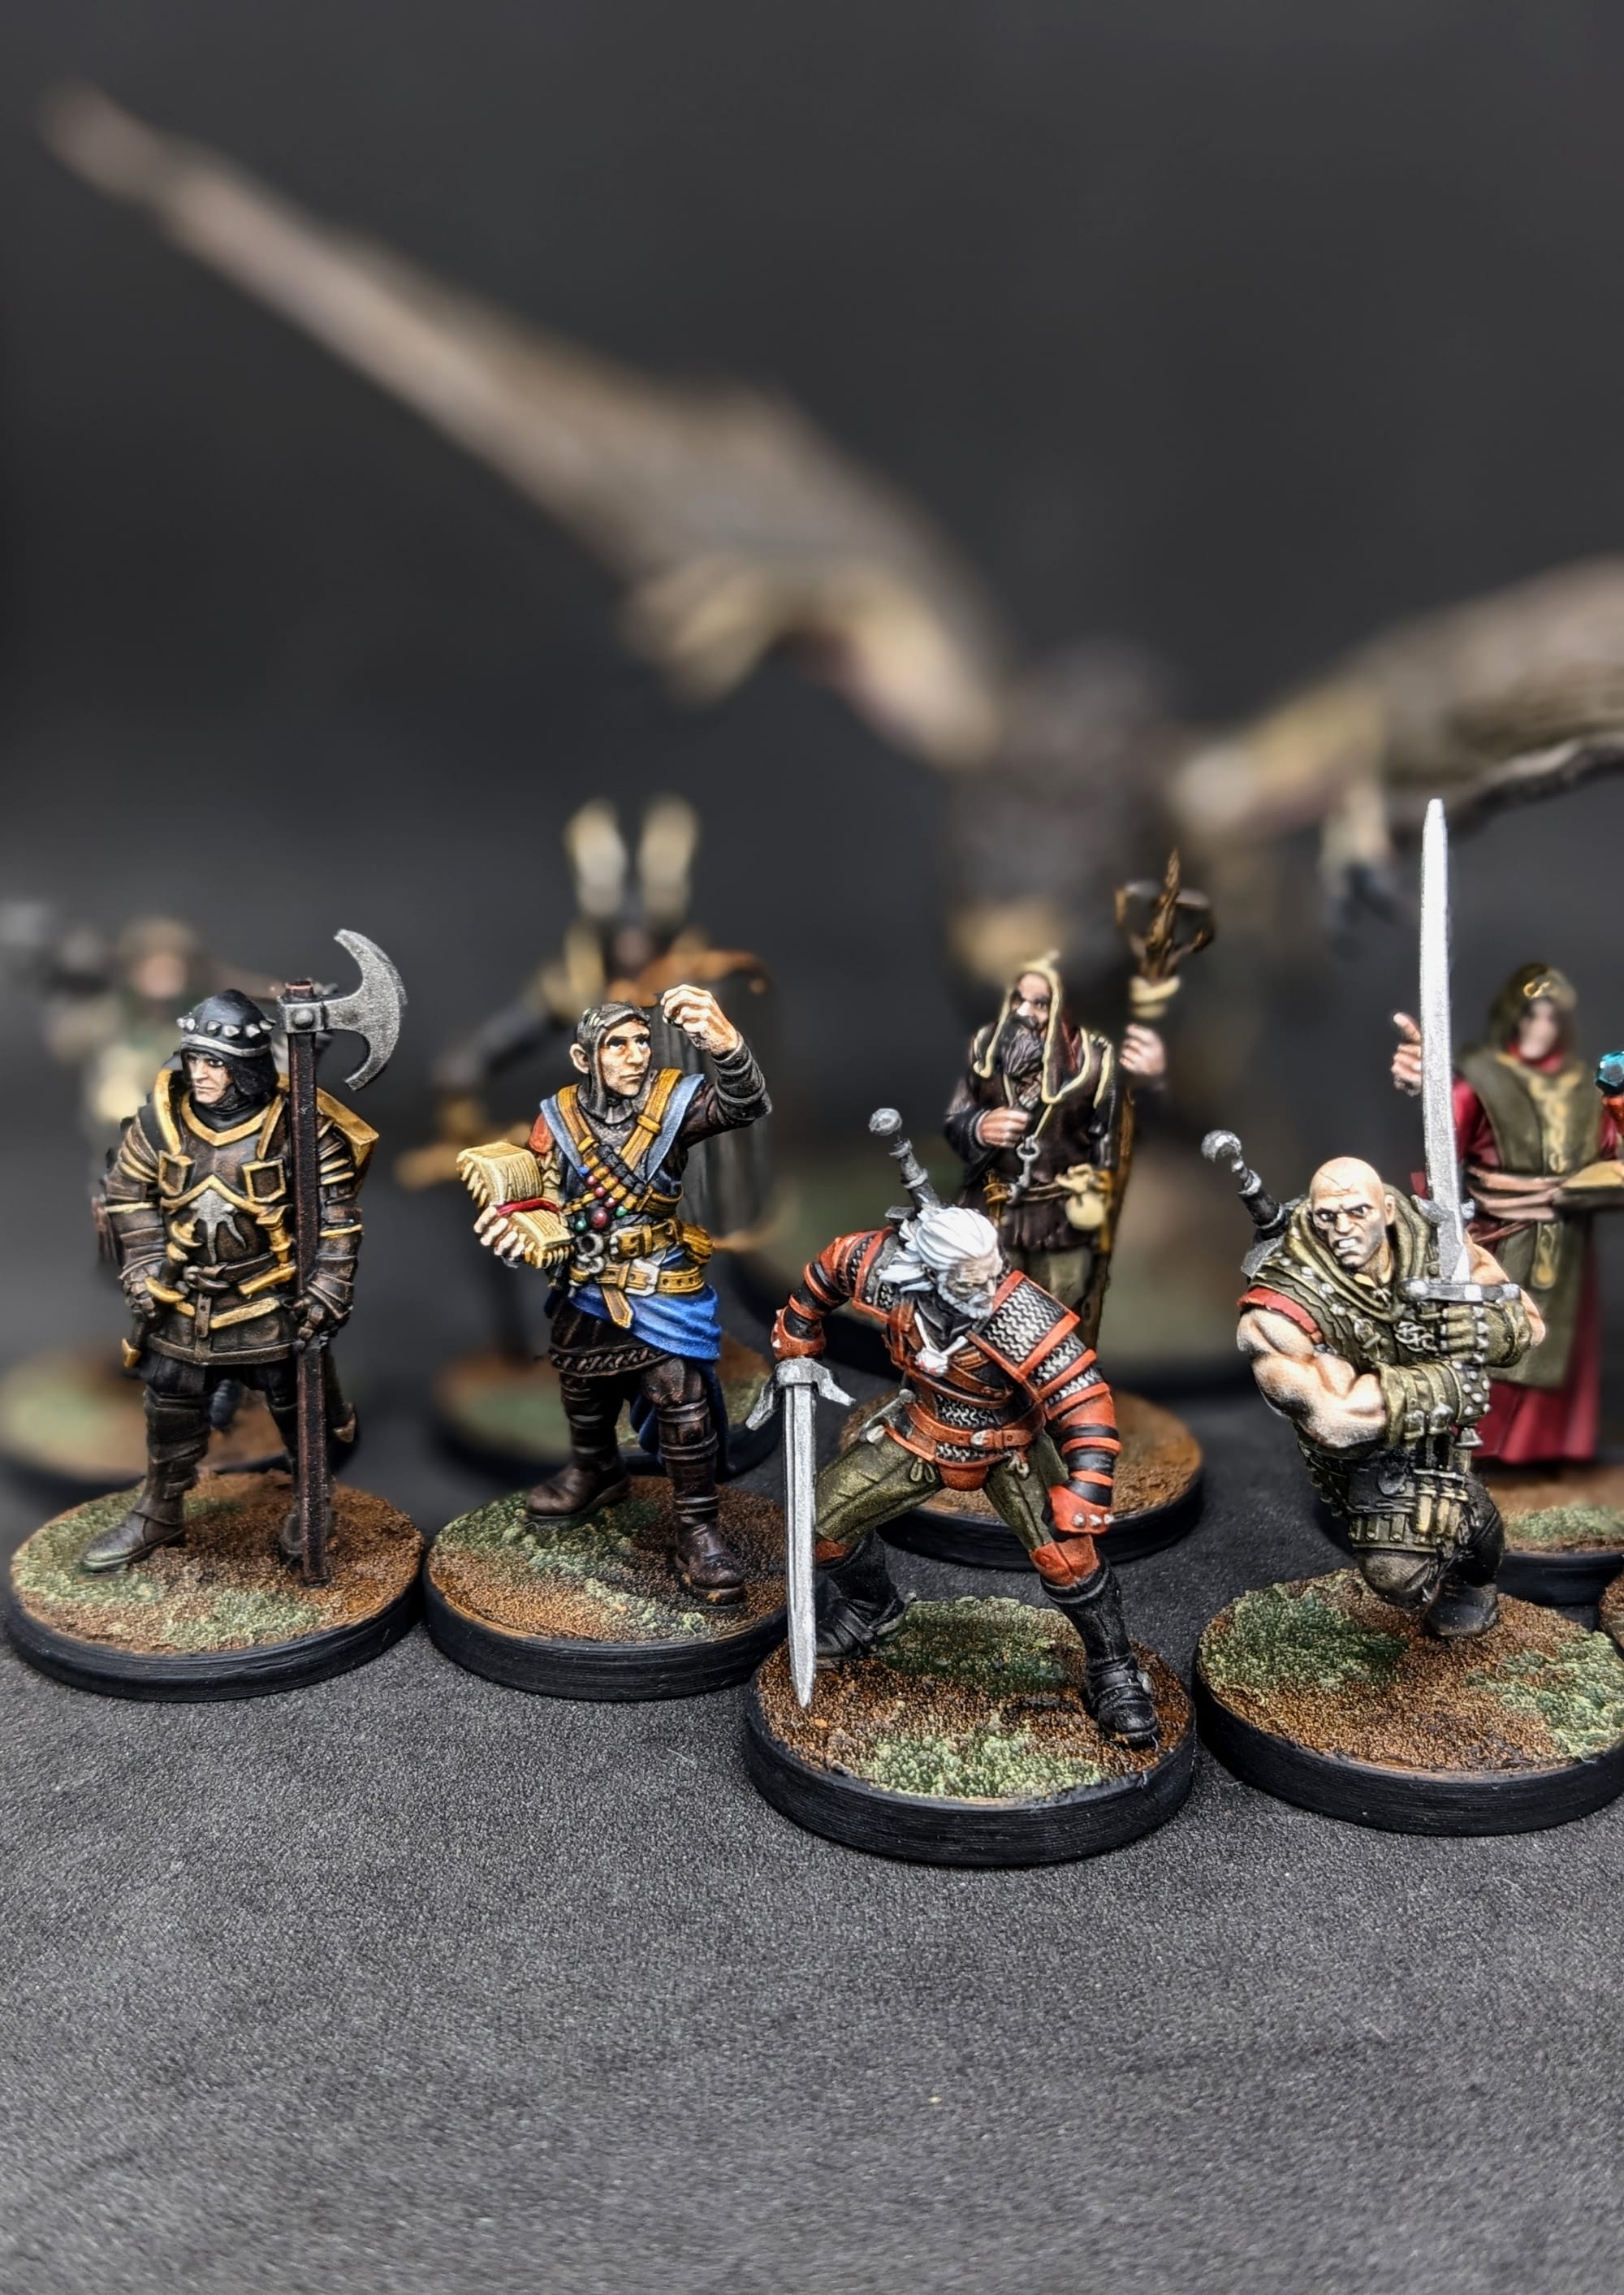
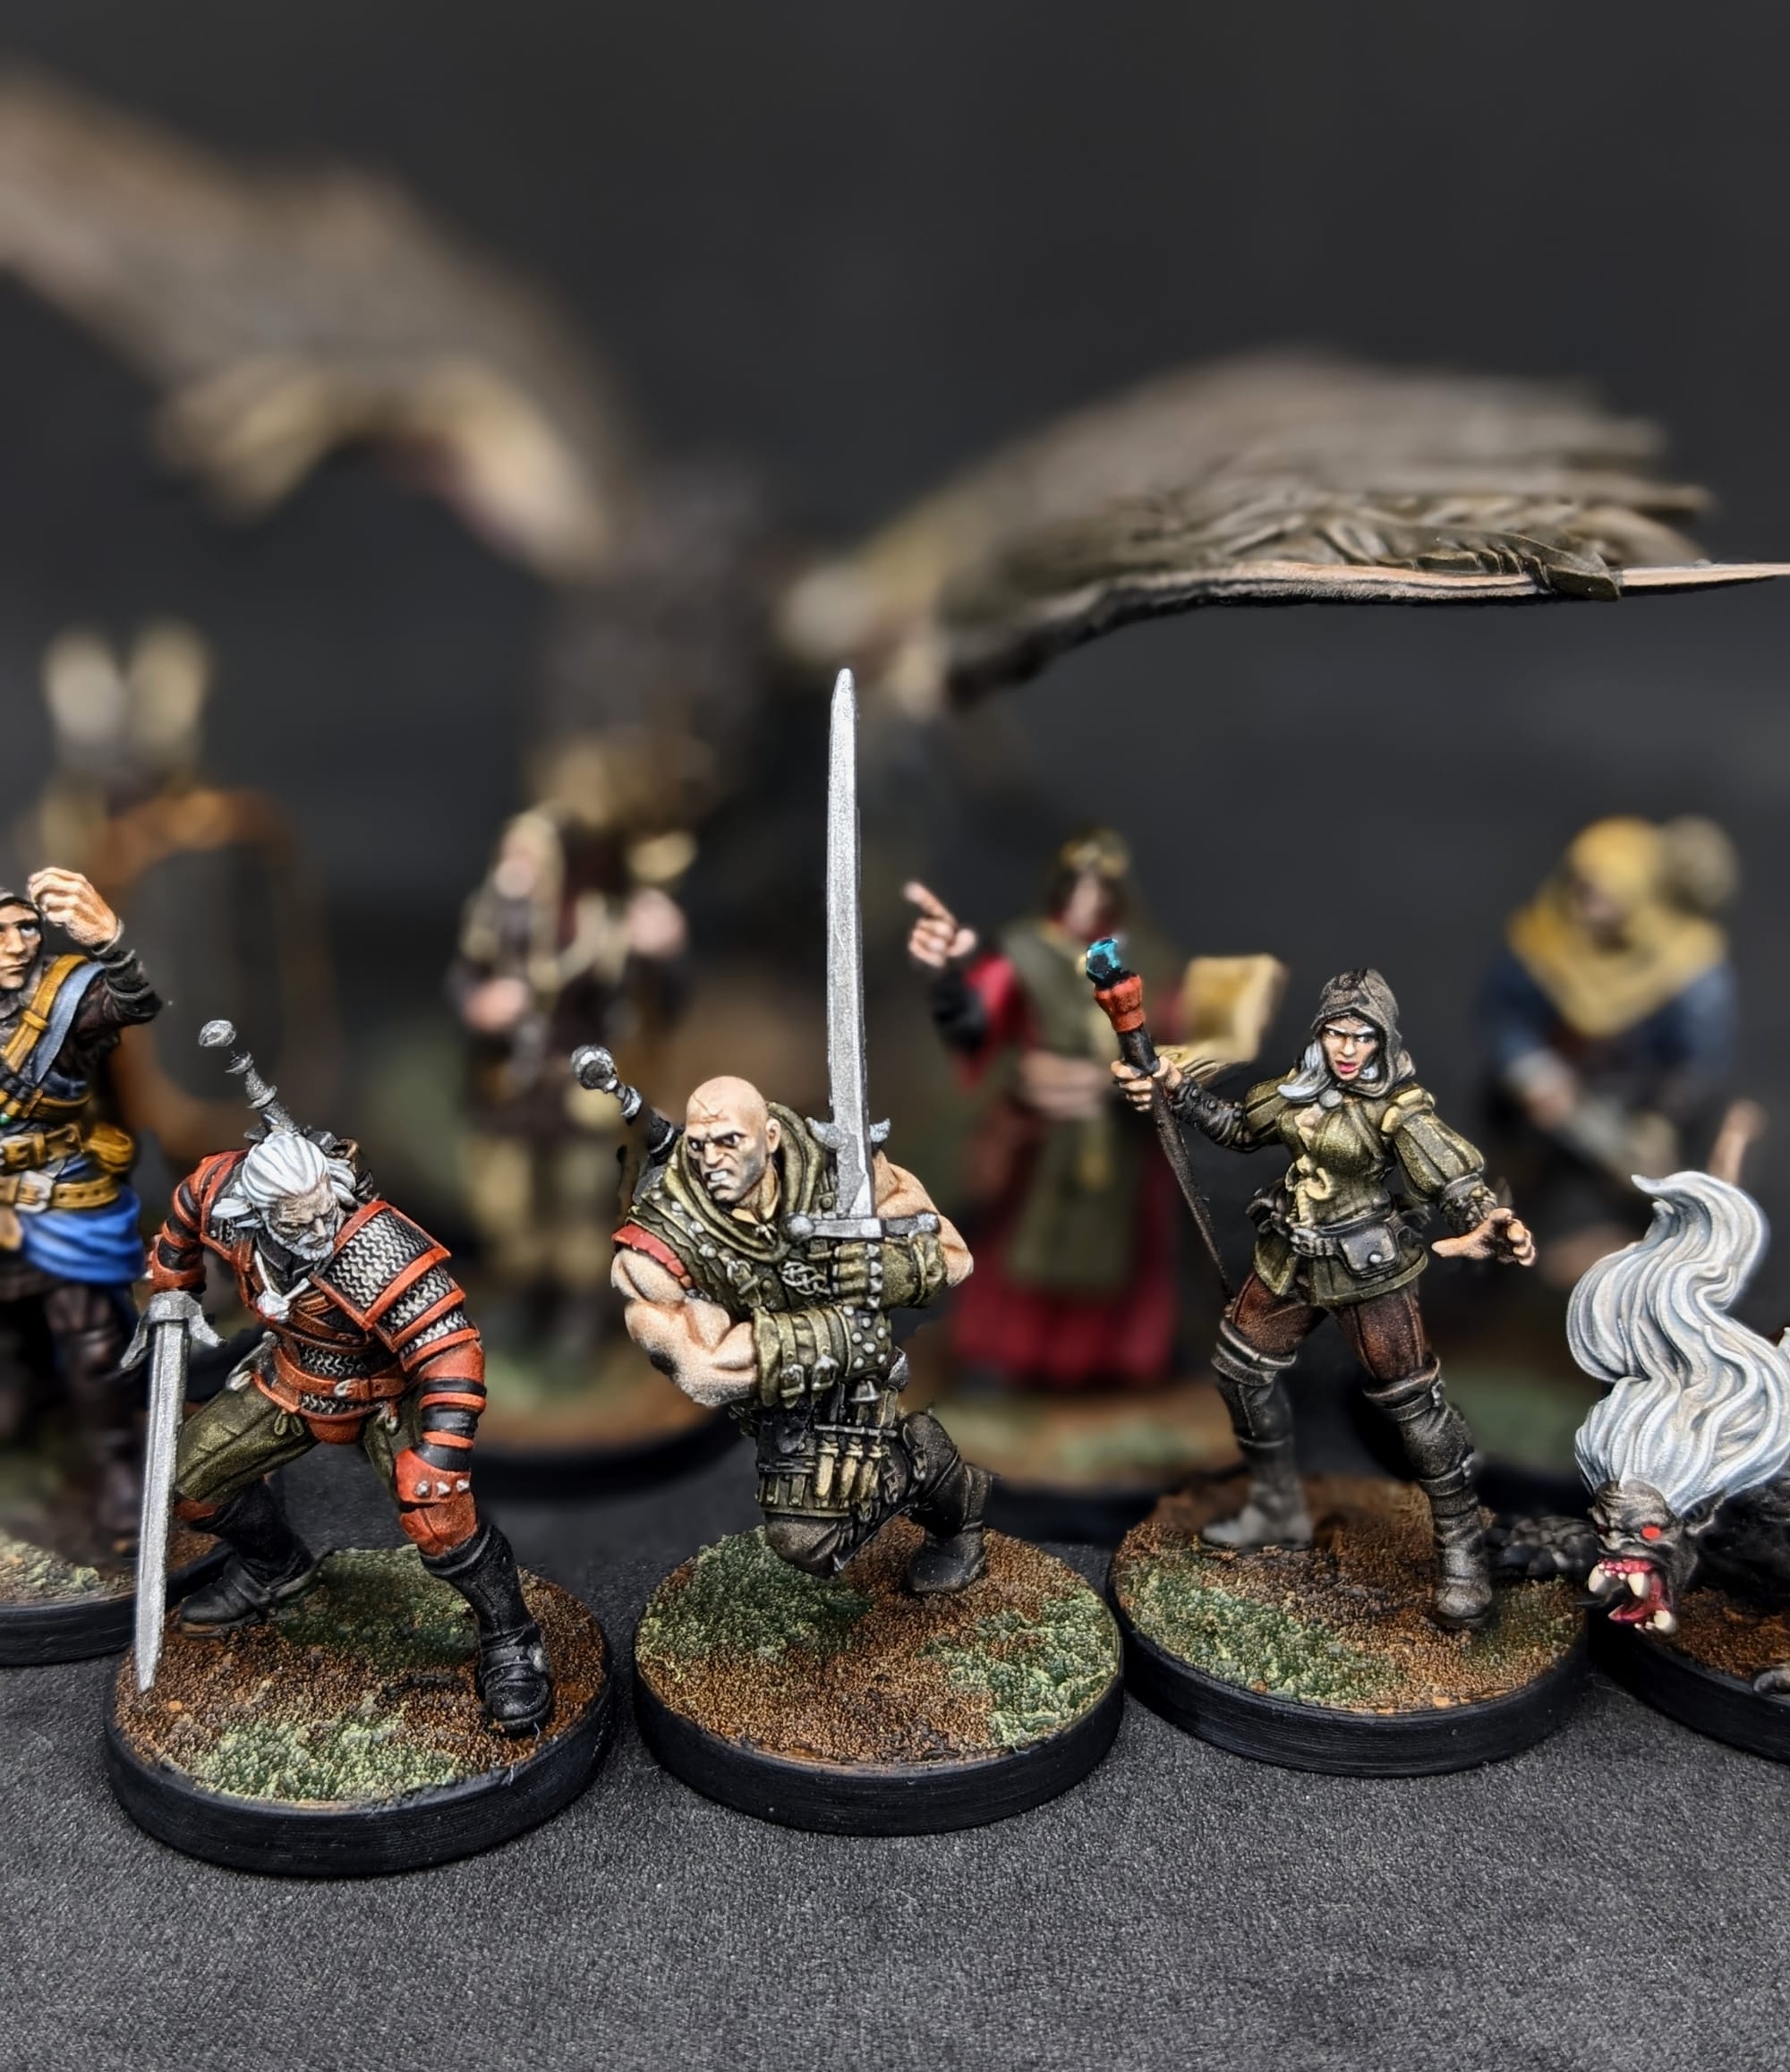
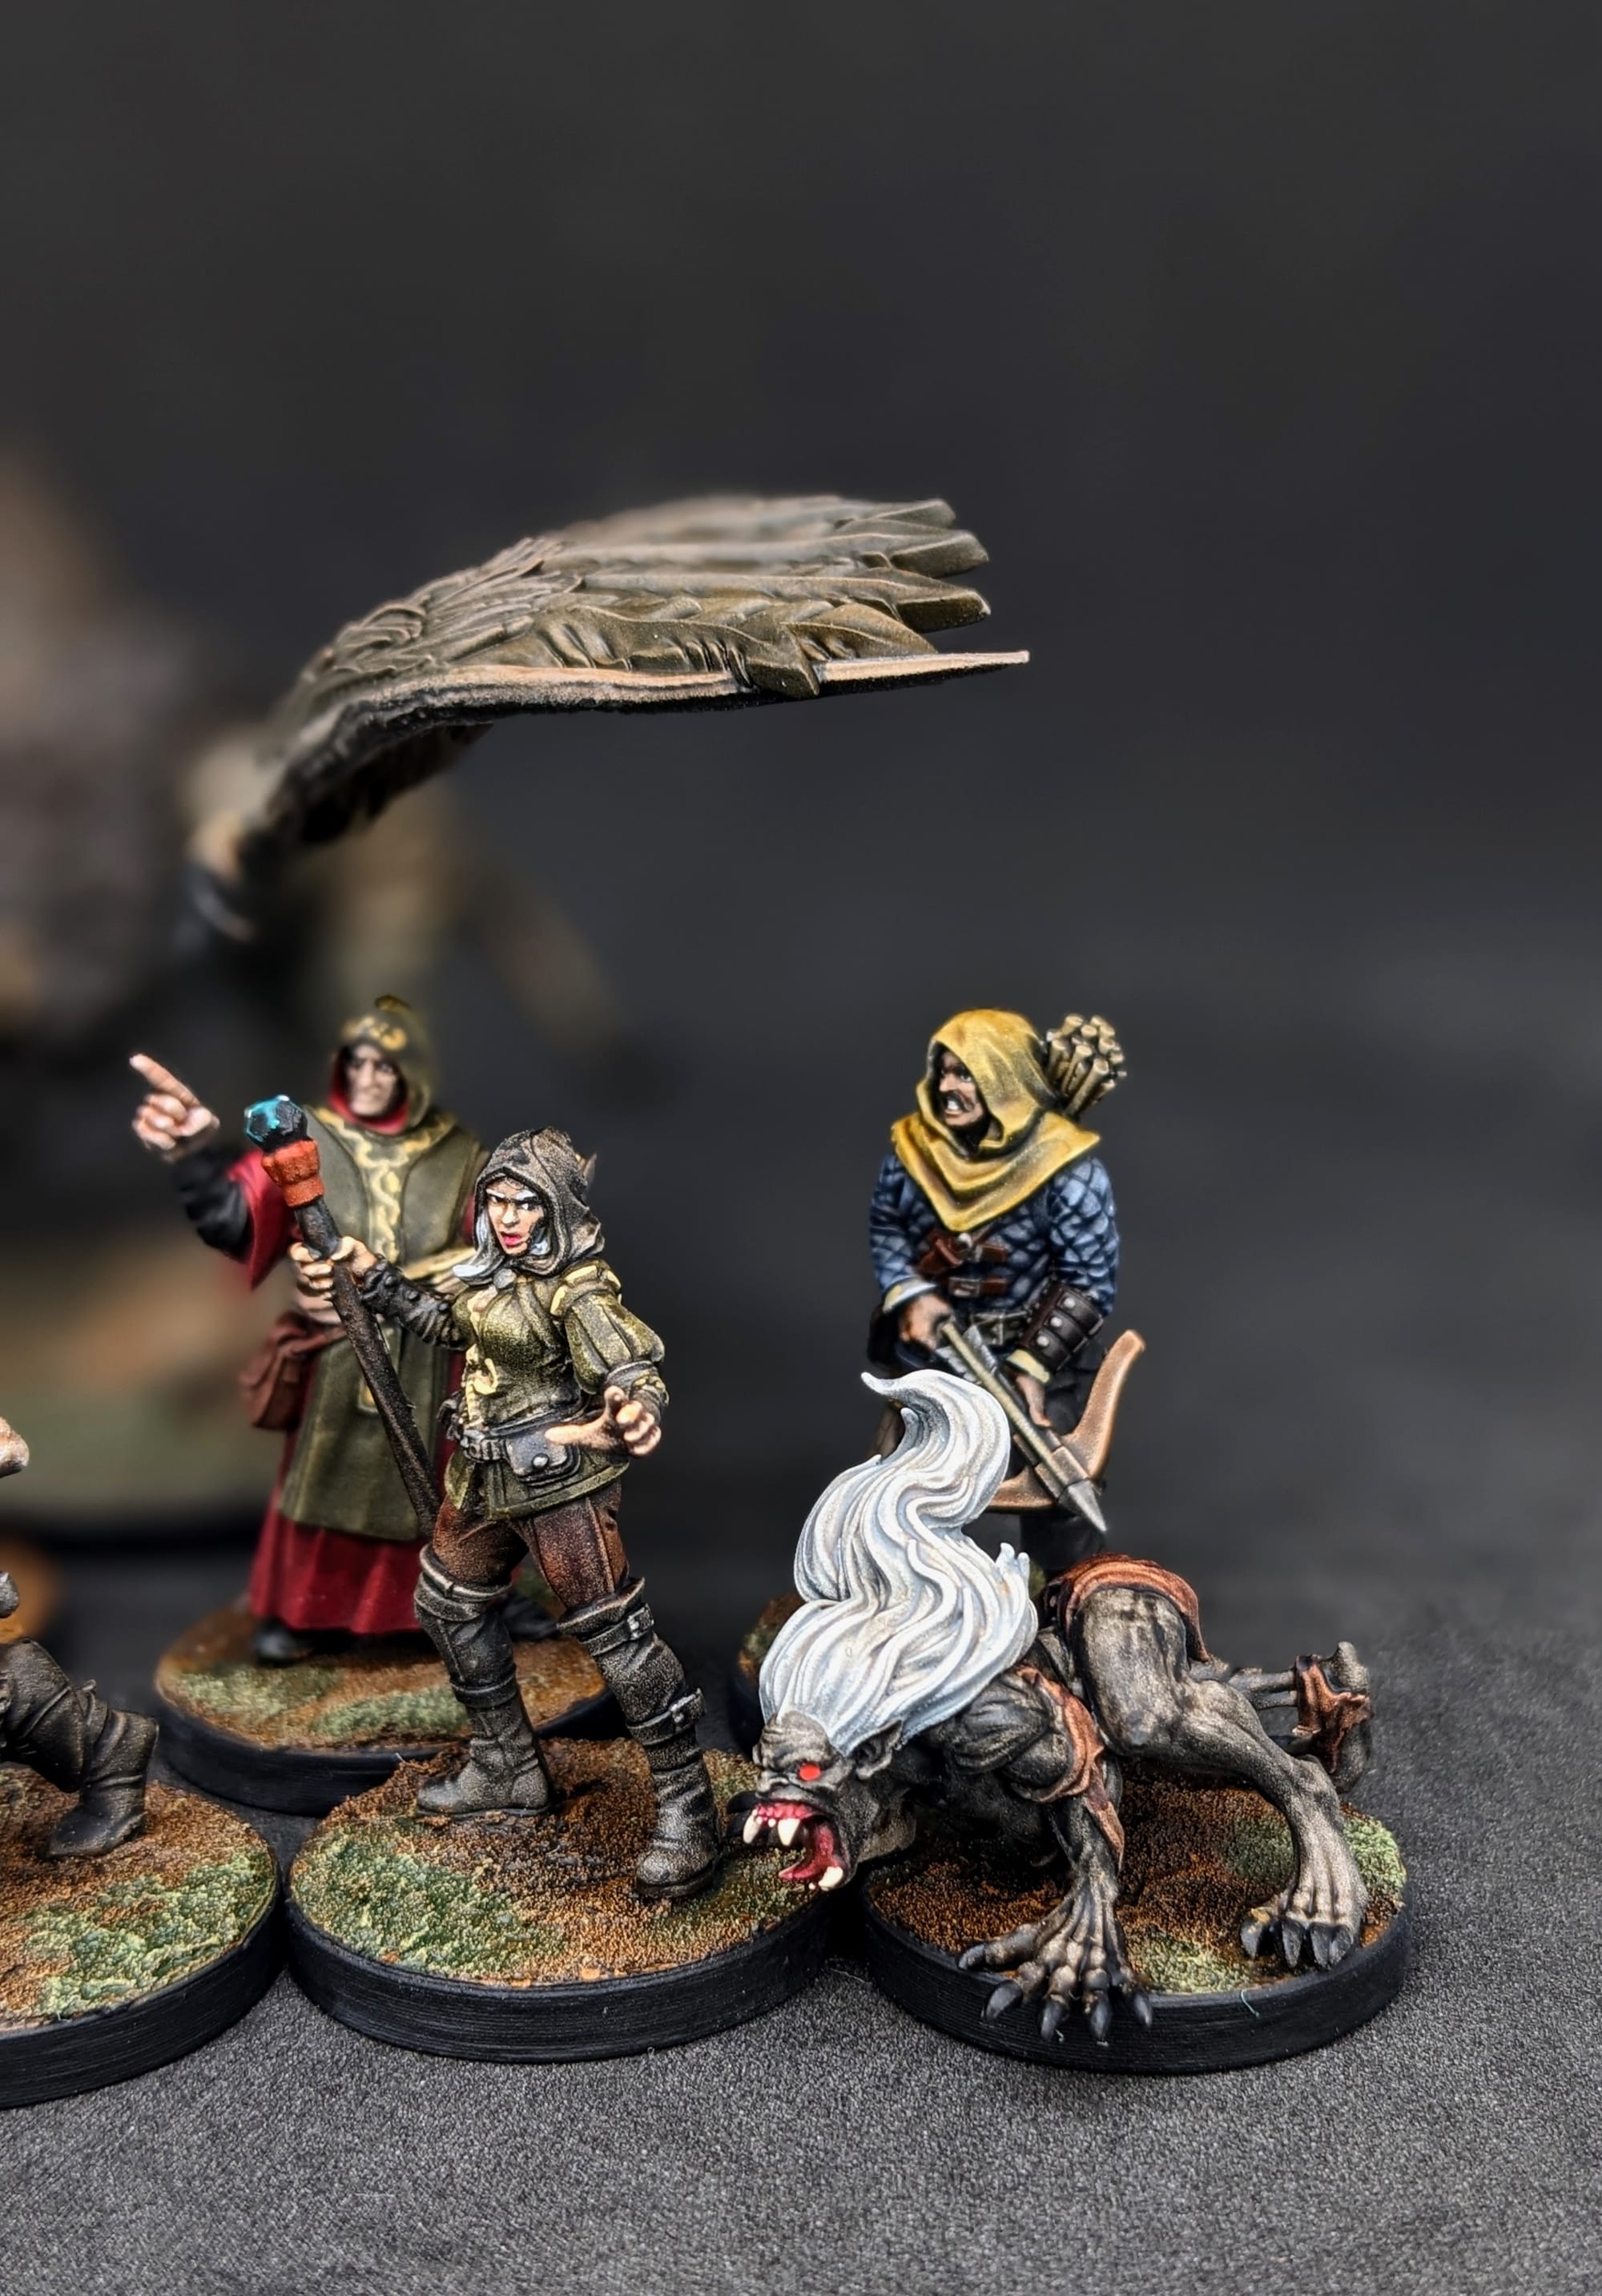
Paints Used for The Witcher: No Man’s Land Miniatures
These color are the ones I used and are just suggestions. If you want to change up the colors for your own customized warband, then that's great! Use what you have and make them your own. In application order:
Priming: Rust-Oleum Flat Black, Army Painter Matt White, Army Painter Leather Brown.
Slapchop Method (modified): Humans/Striga - Citadel Agrax Earthshade, Army Painter Matt White (Drybrush). Griffin - Citadel Agrax Earthshade, Citadel Baneblade Brown (Drybrush), Citadel Elder Flesh Dry.
Skin: Army Painter Crusader Skin, Army Painter Peachy Flesh Citadel Guilliman Flesh, Citadel Reikland Fleshshade.
Metals: Citadel Iron Warriors, Citadel Leadblecher, Citadel Liberator Gold, Army Painter Dark Tone, Citadel Agrax Earthshade.
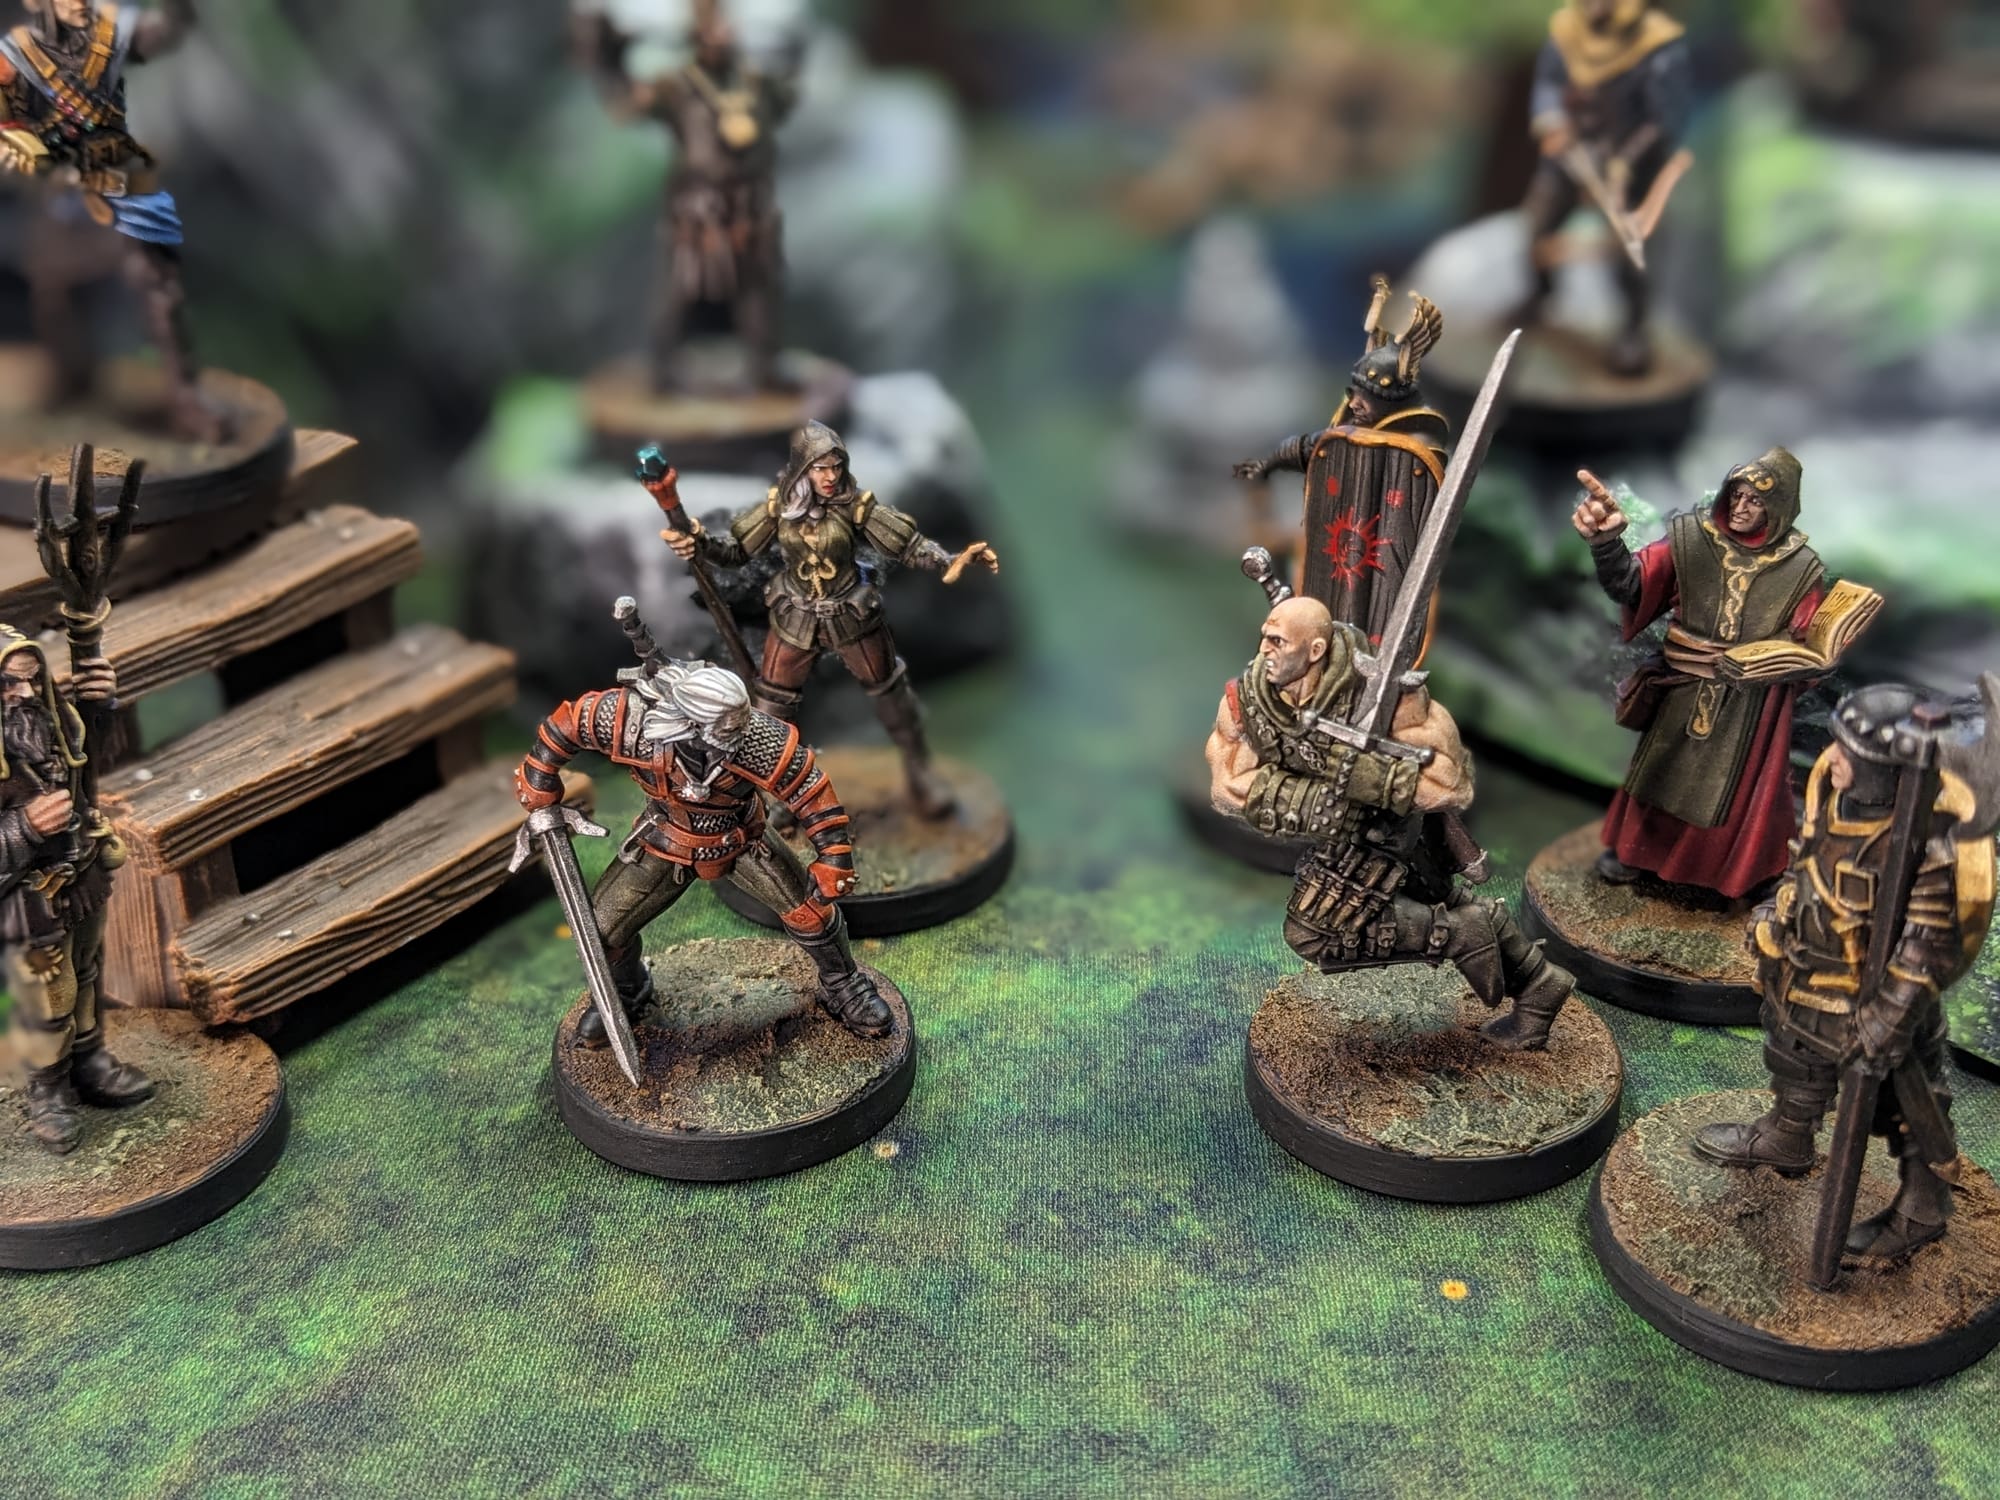
Paints used for Geralt’s Warband
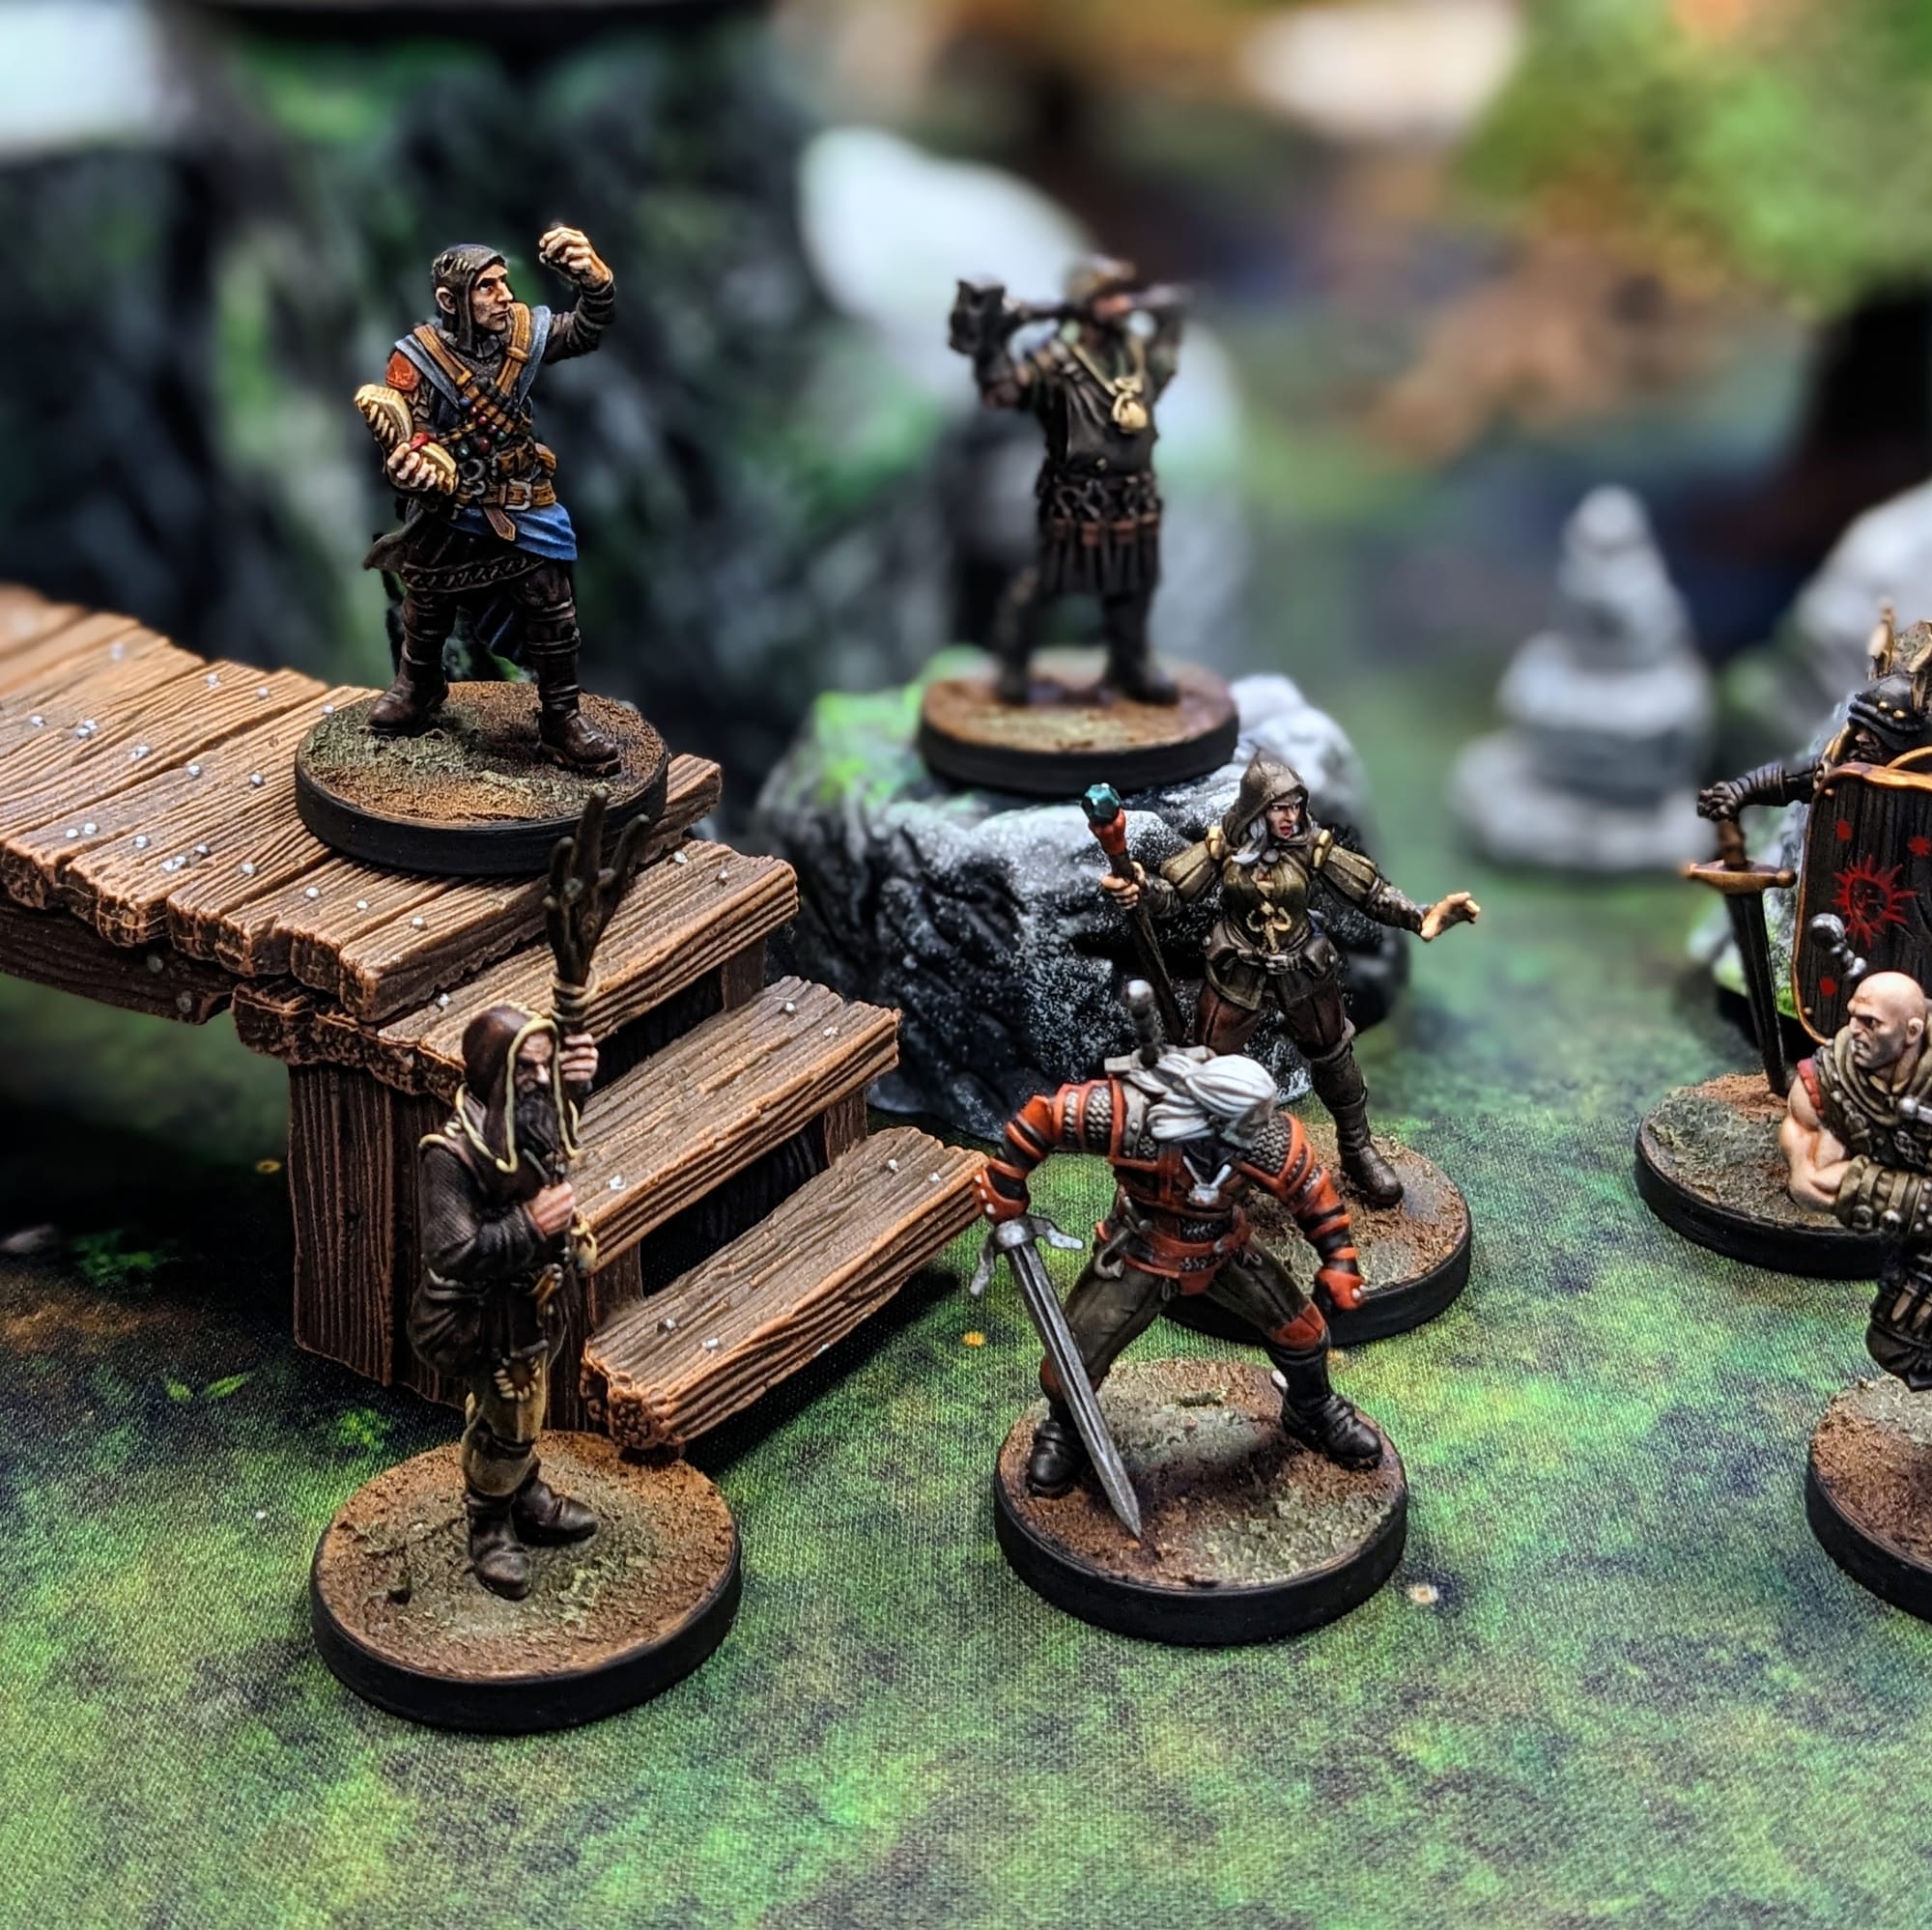
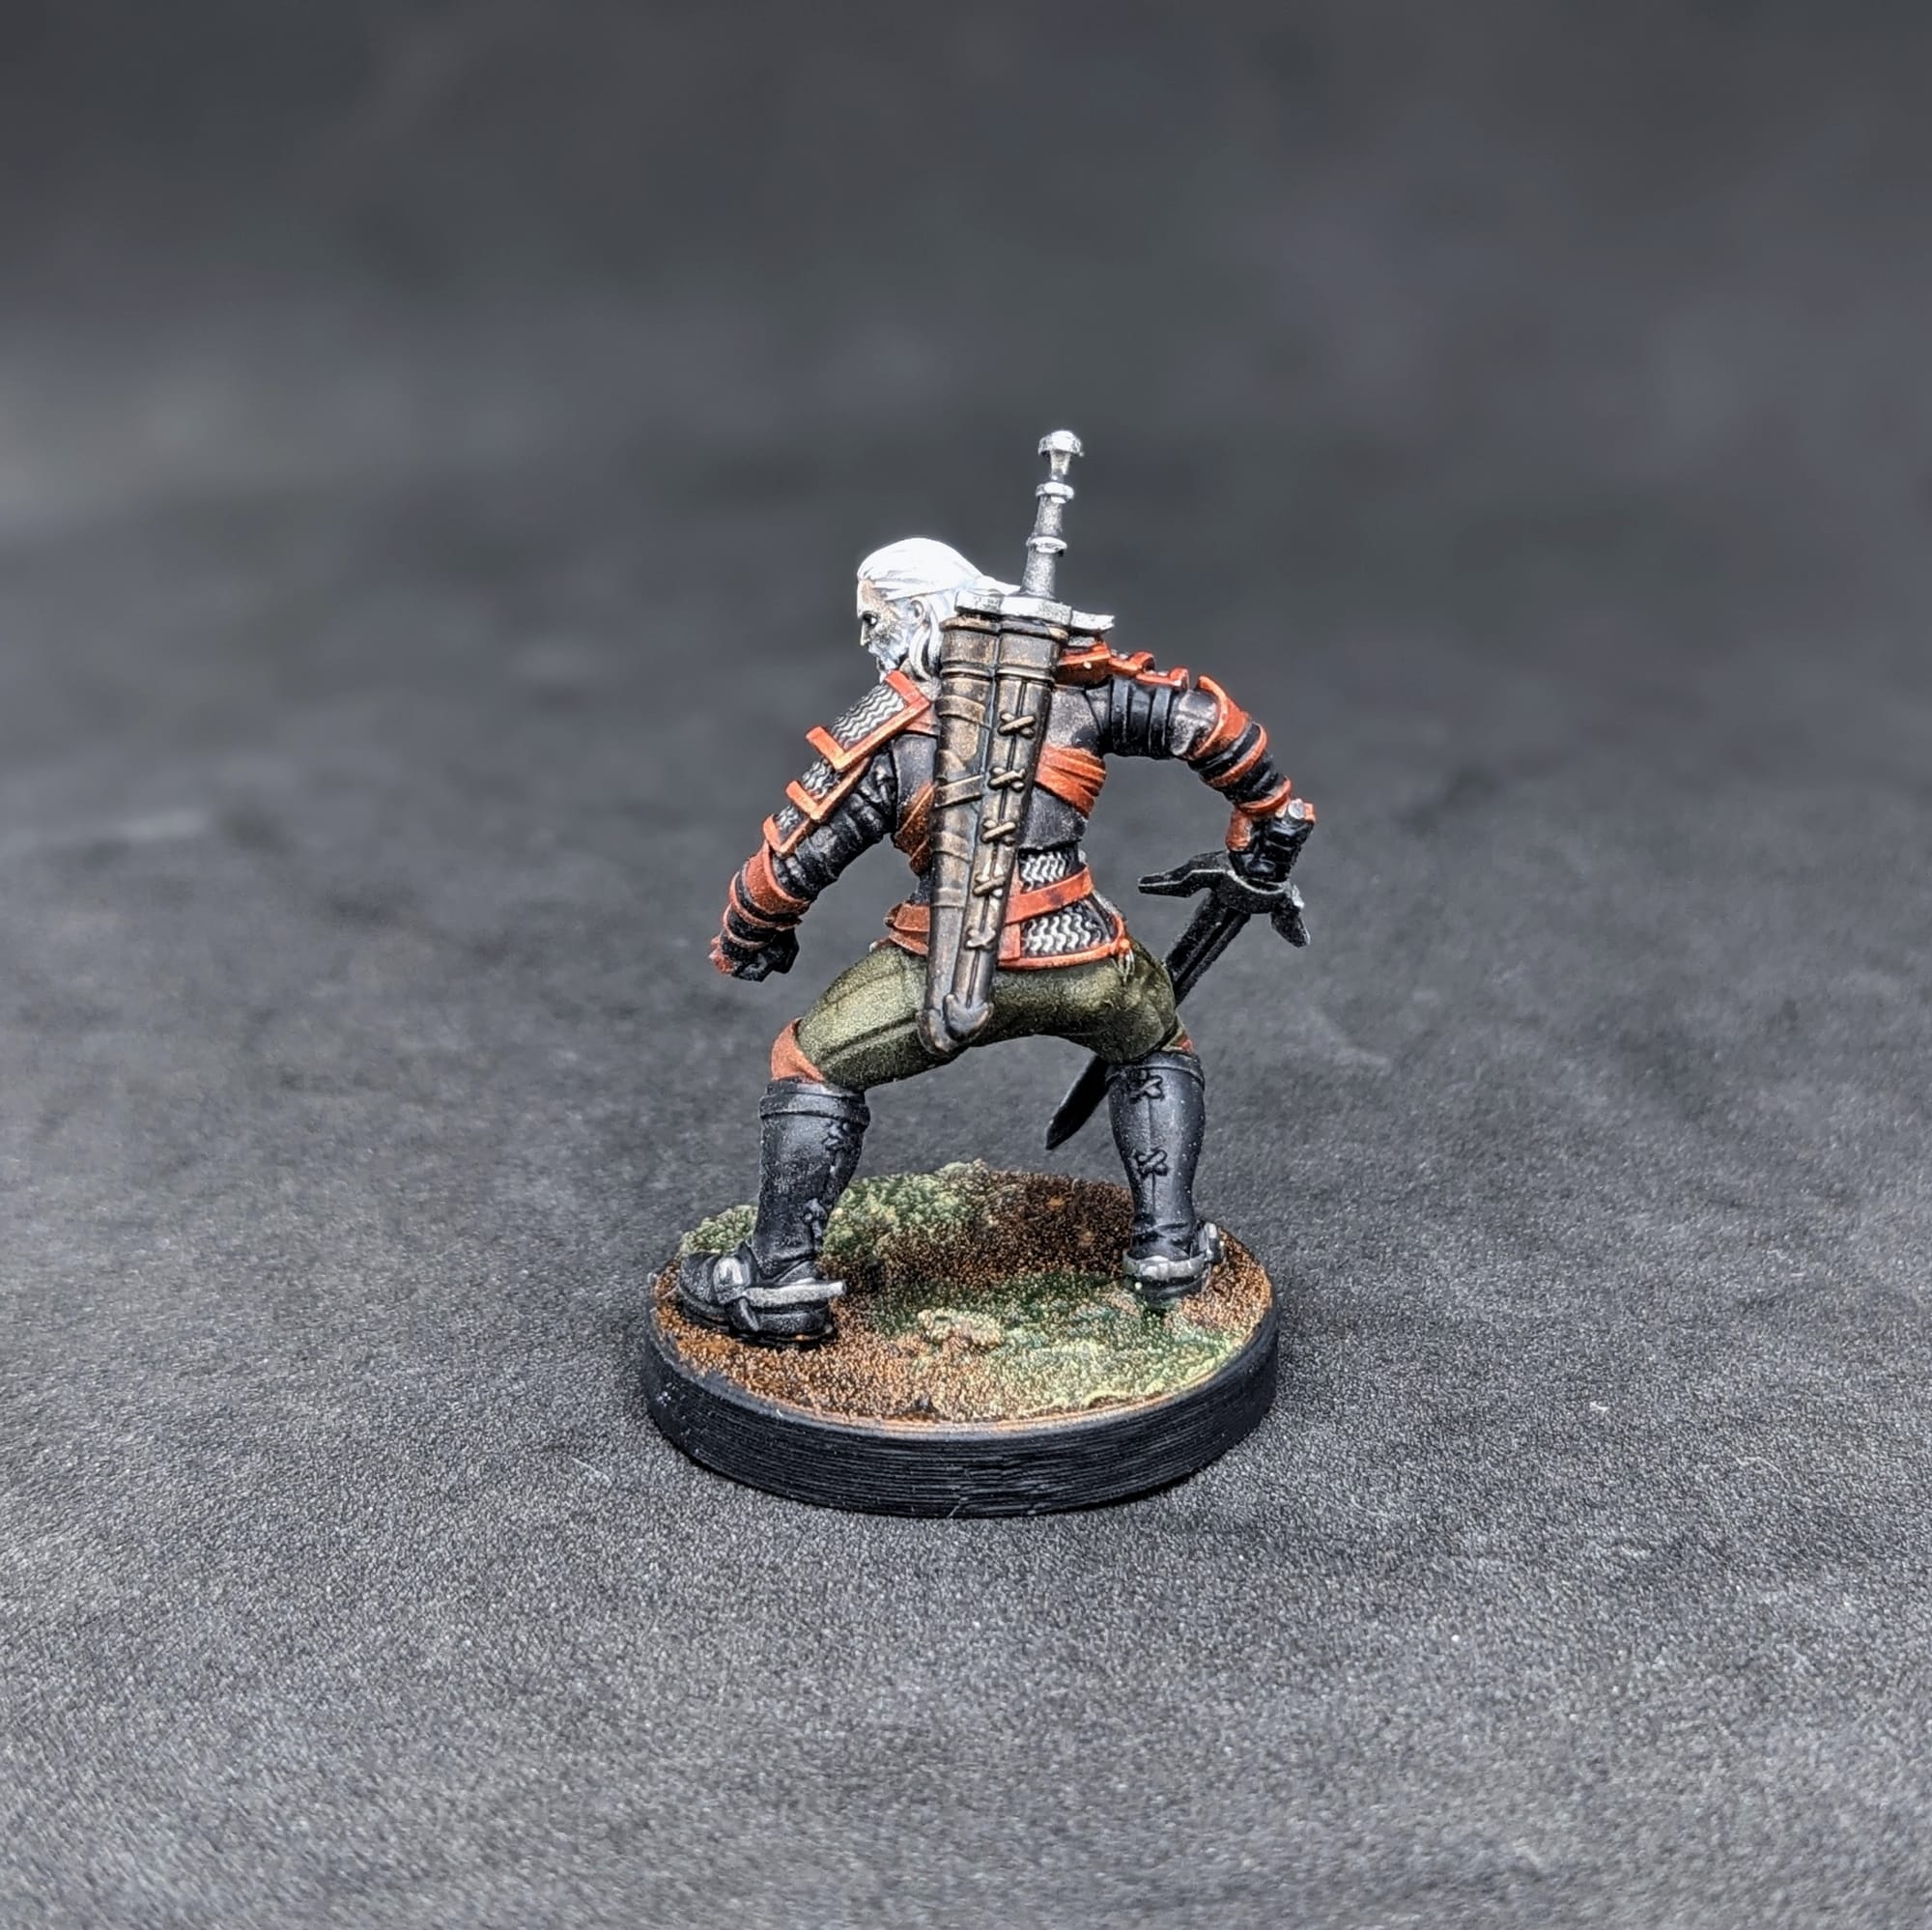
Geralt of Rivia: Citadel Wyldwood Contrast, Citadel Apothecary White Contrast, Pro Acryl 1-Step Rust, Pro Acryl 1-Step Dark Green Brown, Citadel Basilicanum Grey Contrast, Citadel Black Legion, Citadel Grey Seer, Army Painter Matt White.
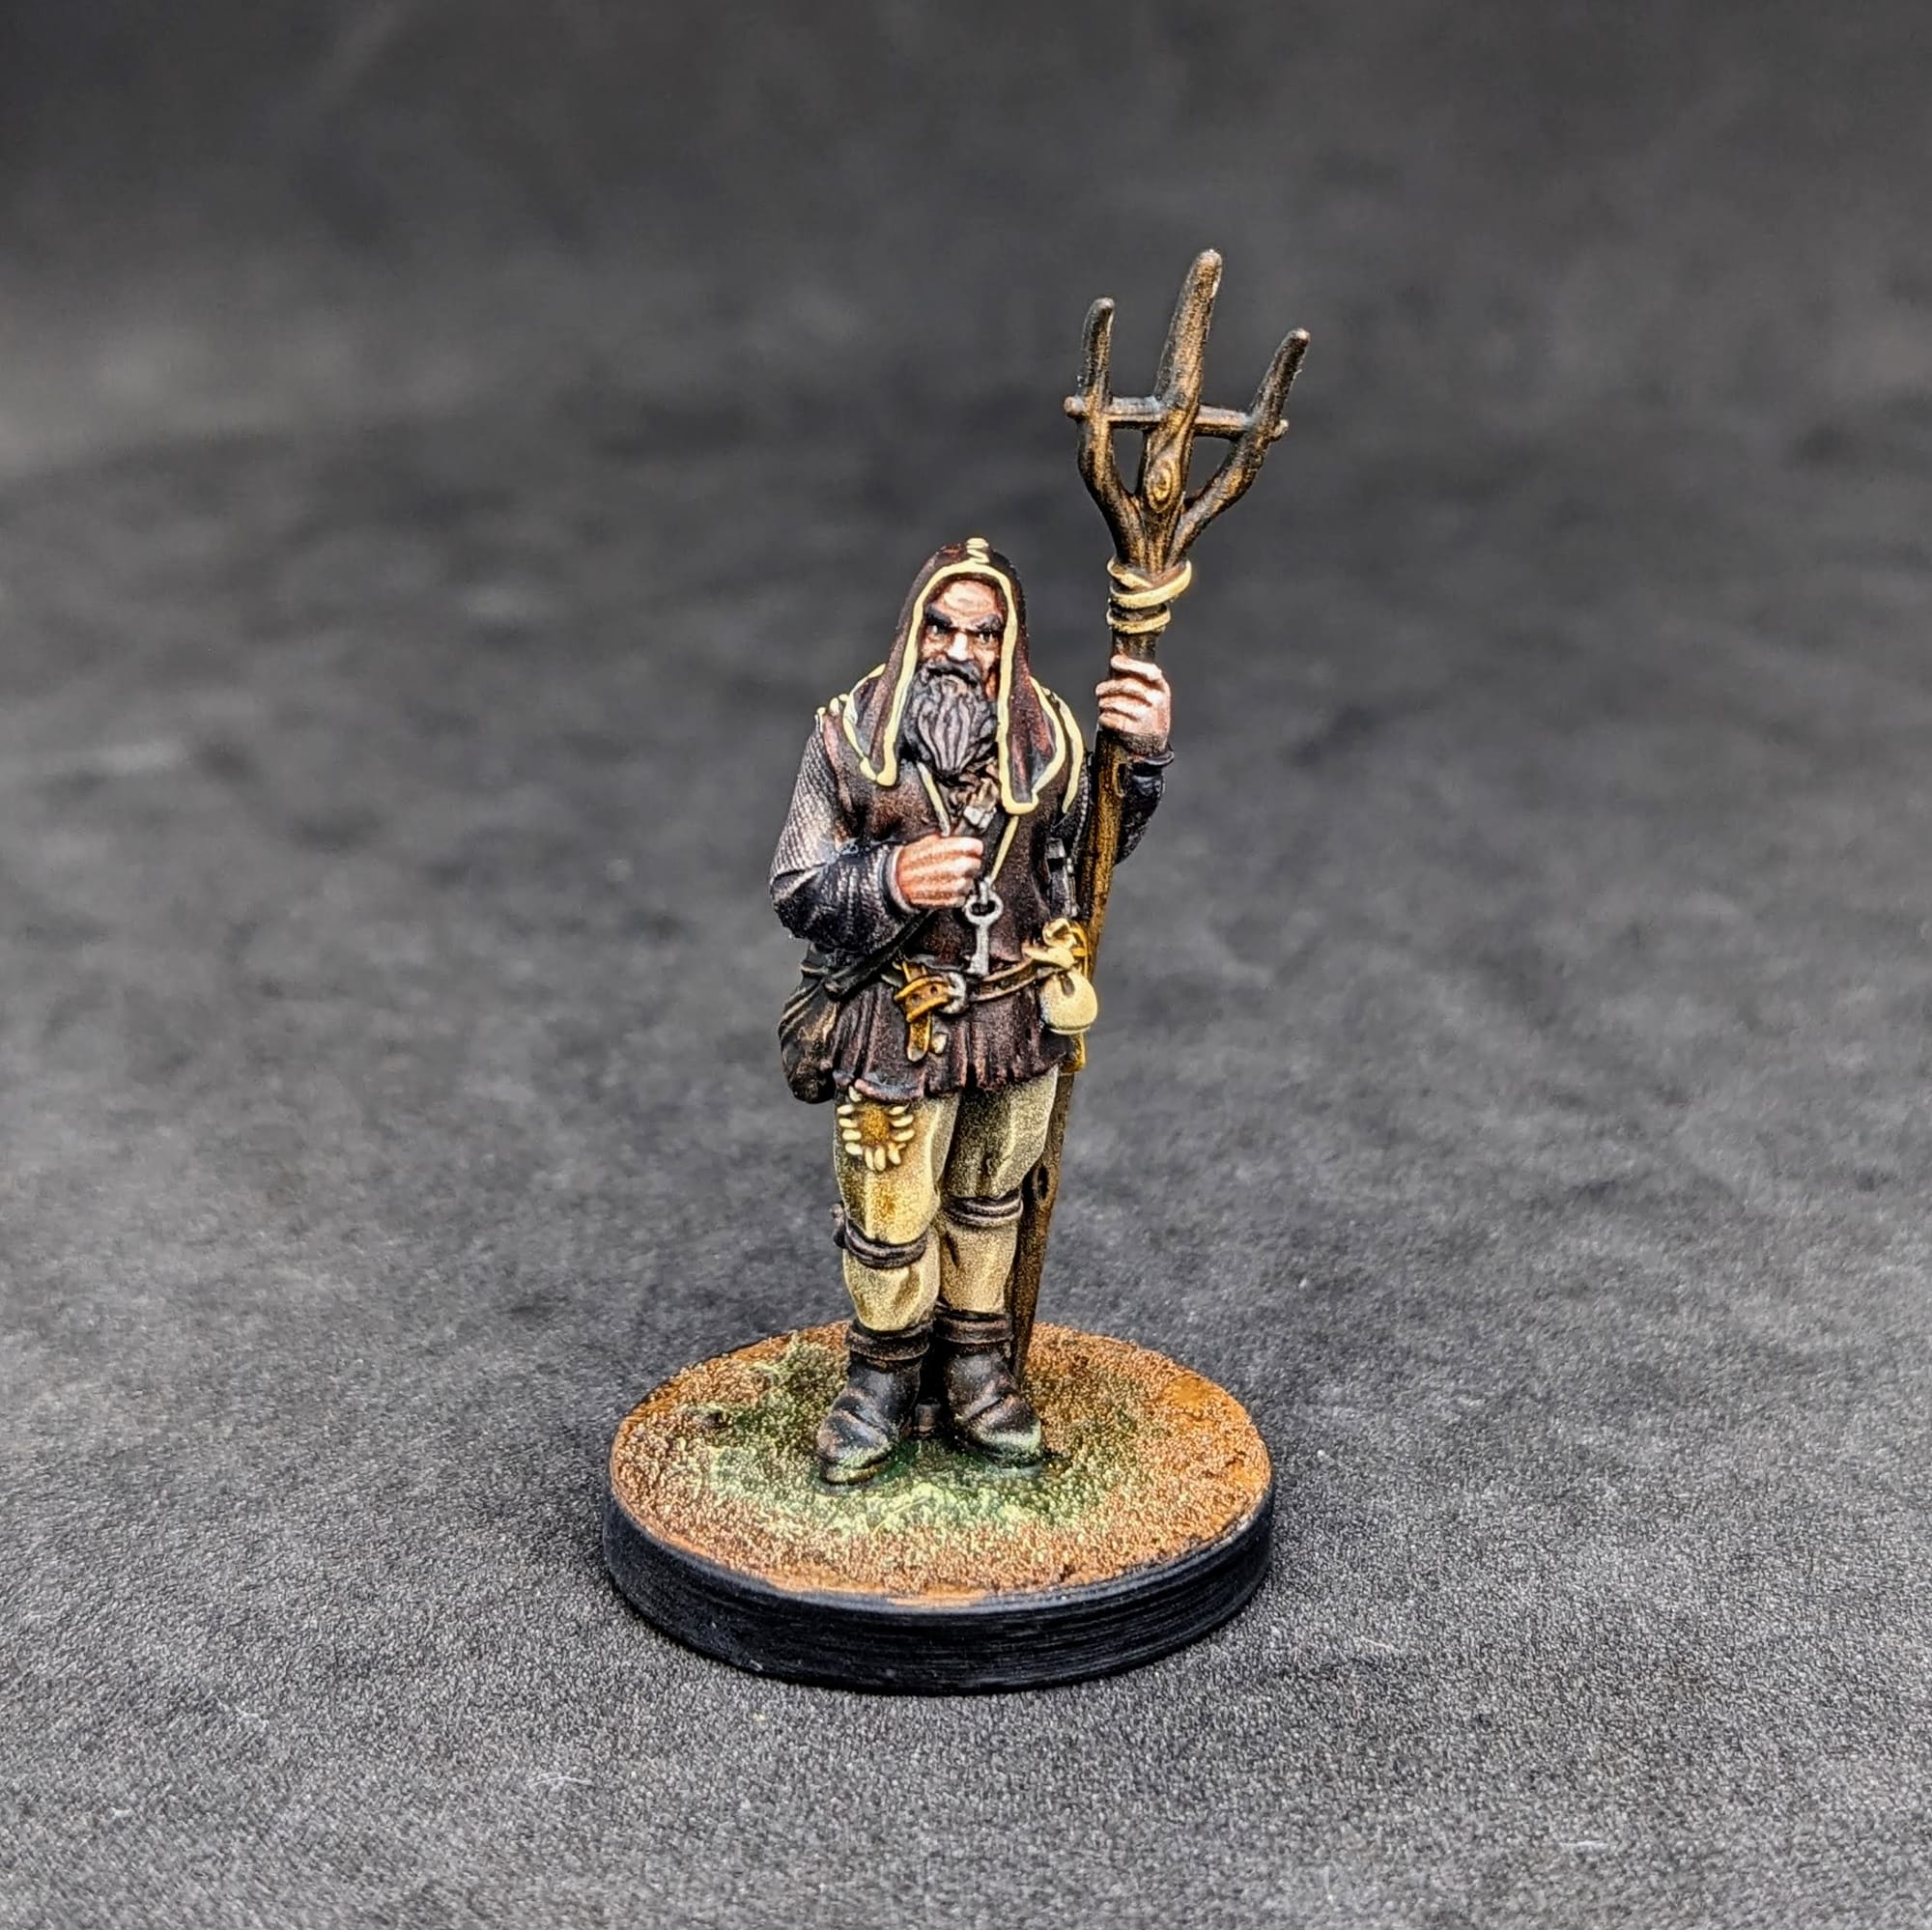
Resolute Farmer: Citadel Basilicanum Grey Contrast, Citadel Skeleton Horde Contrast, Citadel Garaghak Sewer Contrast, Citadel Snakebite Leather Contrast, Citadel Cygor Brown Contrast, Citadel Wyldwood Contrast.
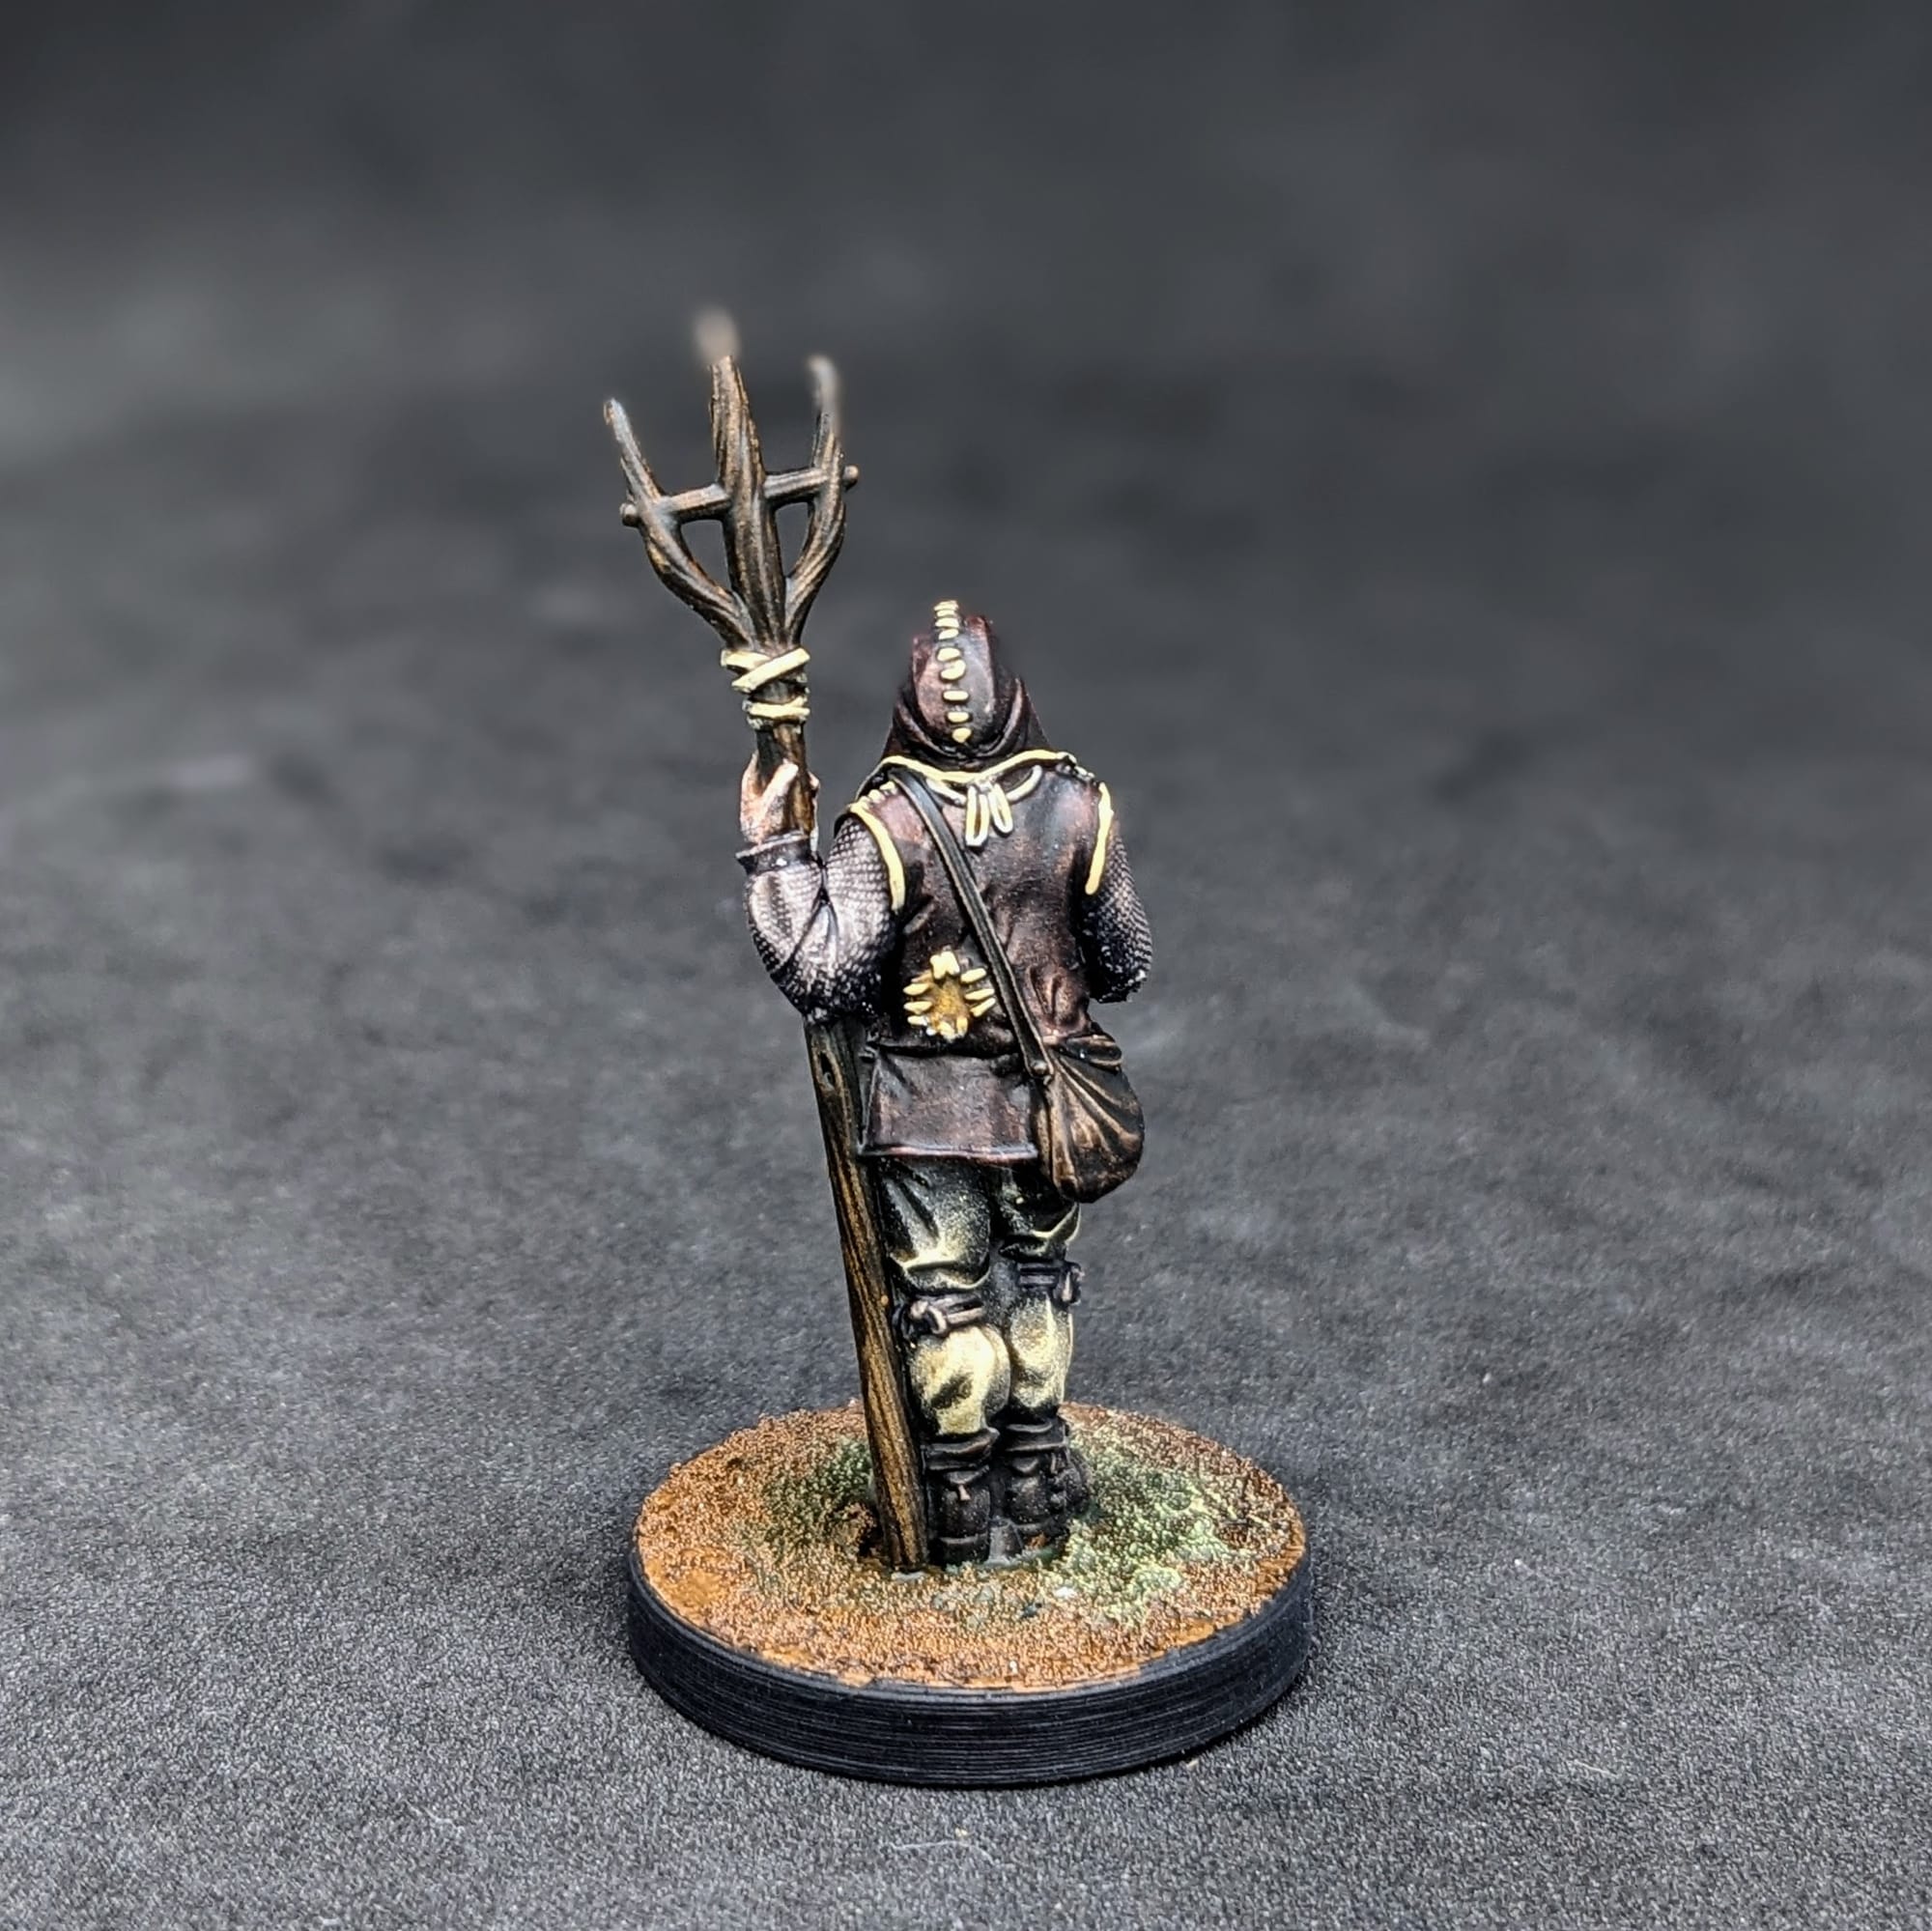
Eager Surgeon: Citadel Ultramarines Blue Contrast, 1:1 Ultramarines Blue + Basilicanum Grey Contrast, Citadel Skeleton Horde, Citadel Snakebite Leather Contrast, Citadel Cygor Brown Contrast, Citadel Ratling Grime Contrast, Viles: Citadel Altdorf Guard Blue, Citadel Warpstone Green, Citadel Mephiston Red, Stitching: Citadel Morghast Bone.
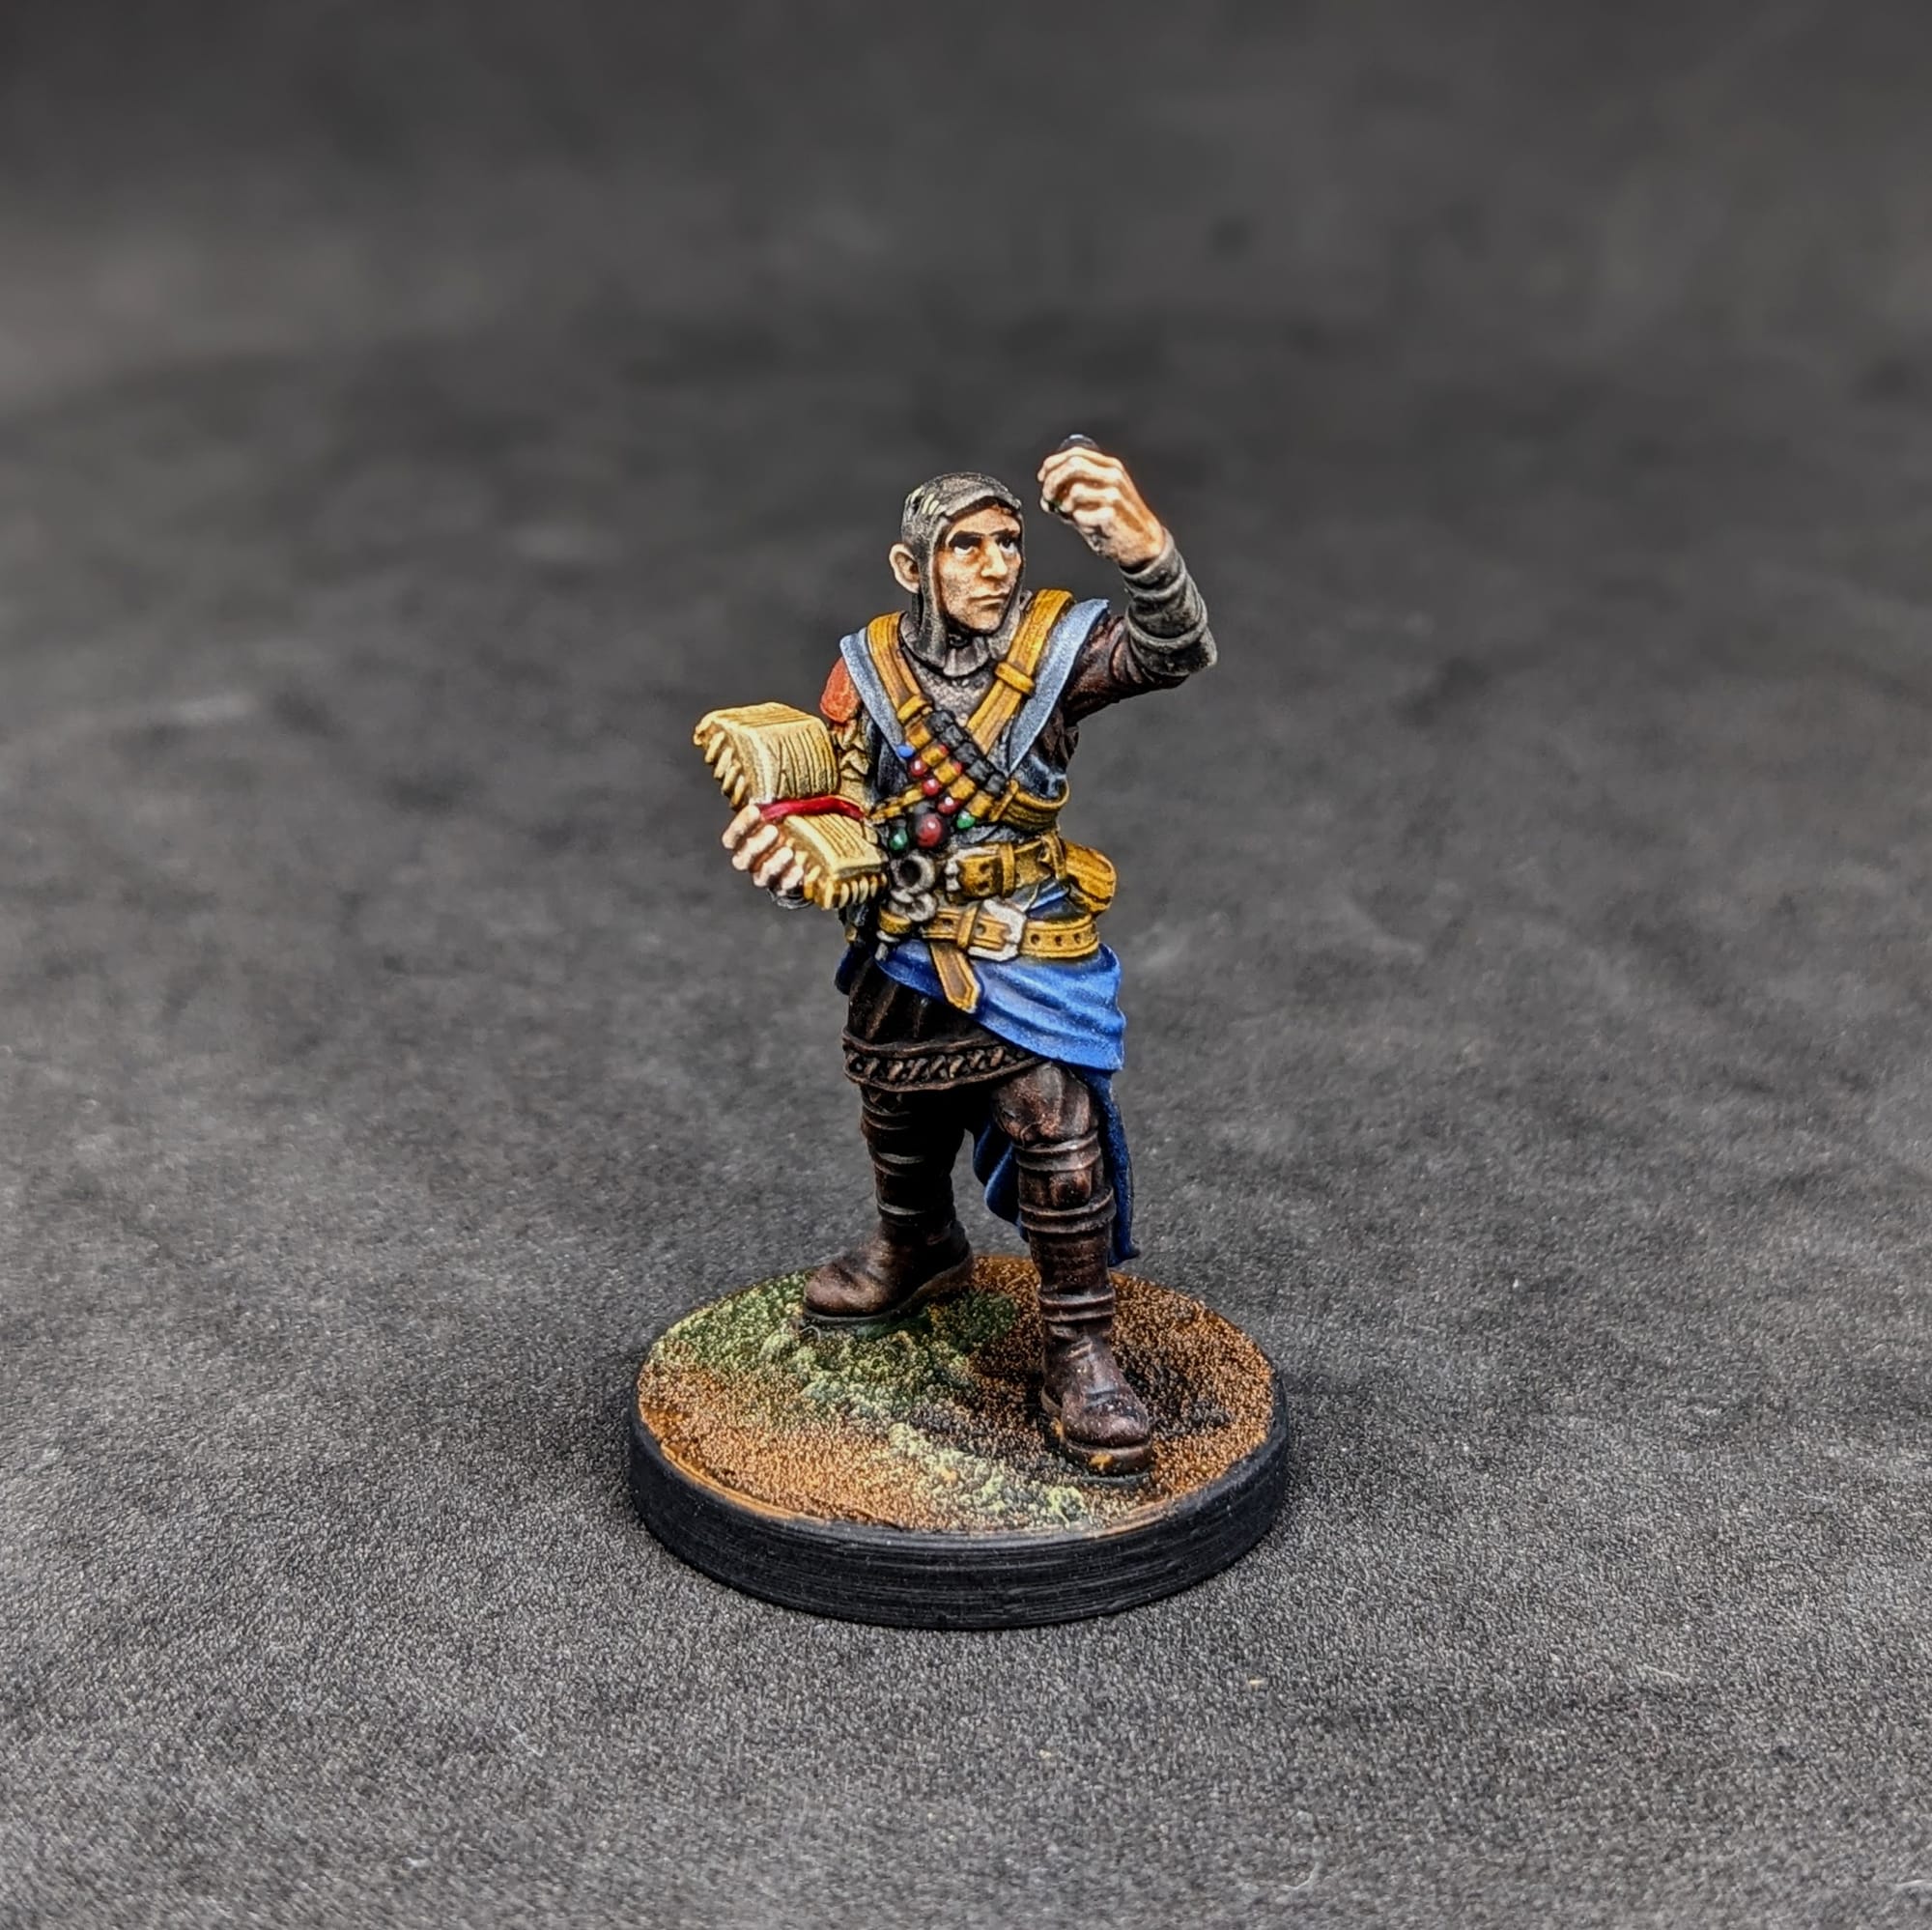
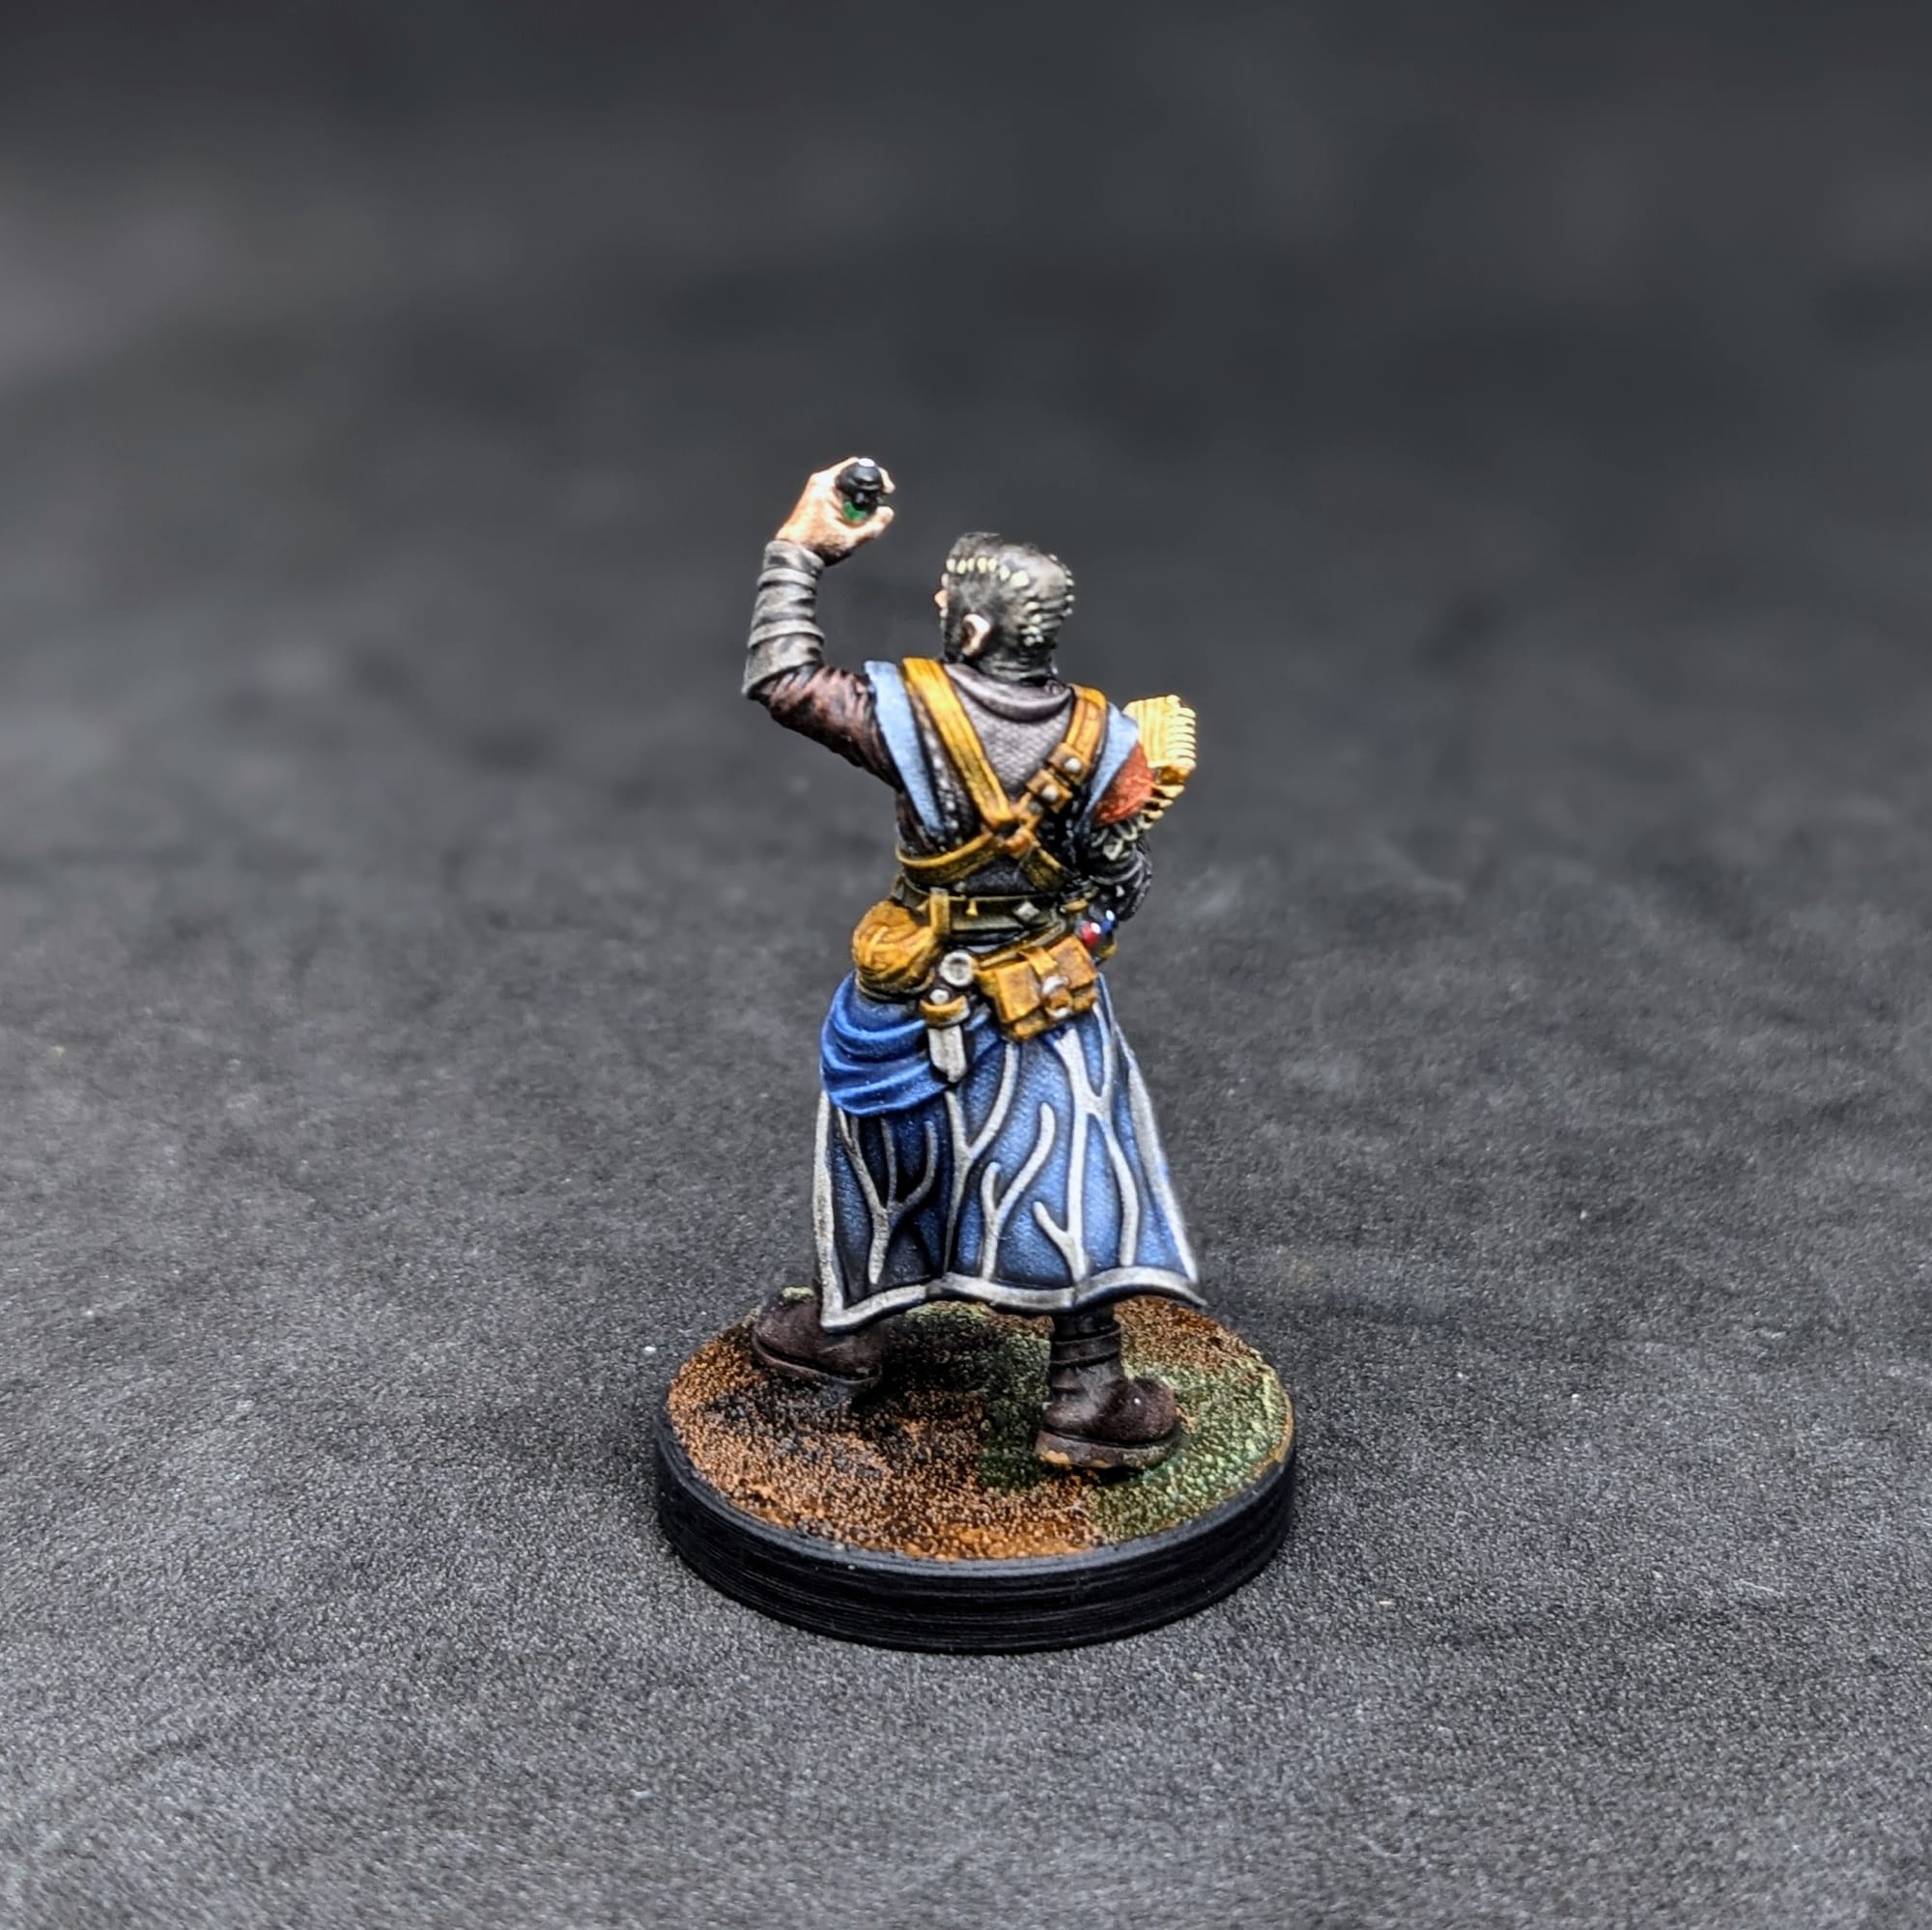
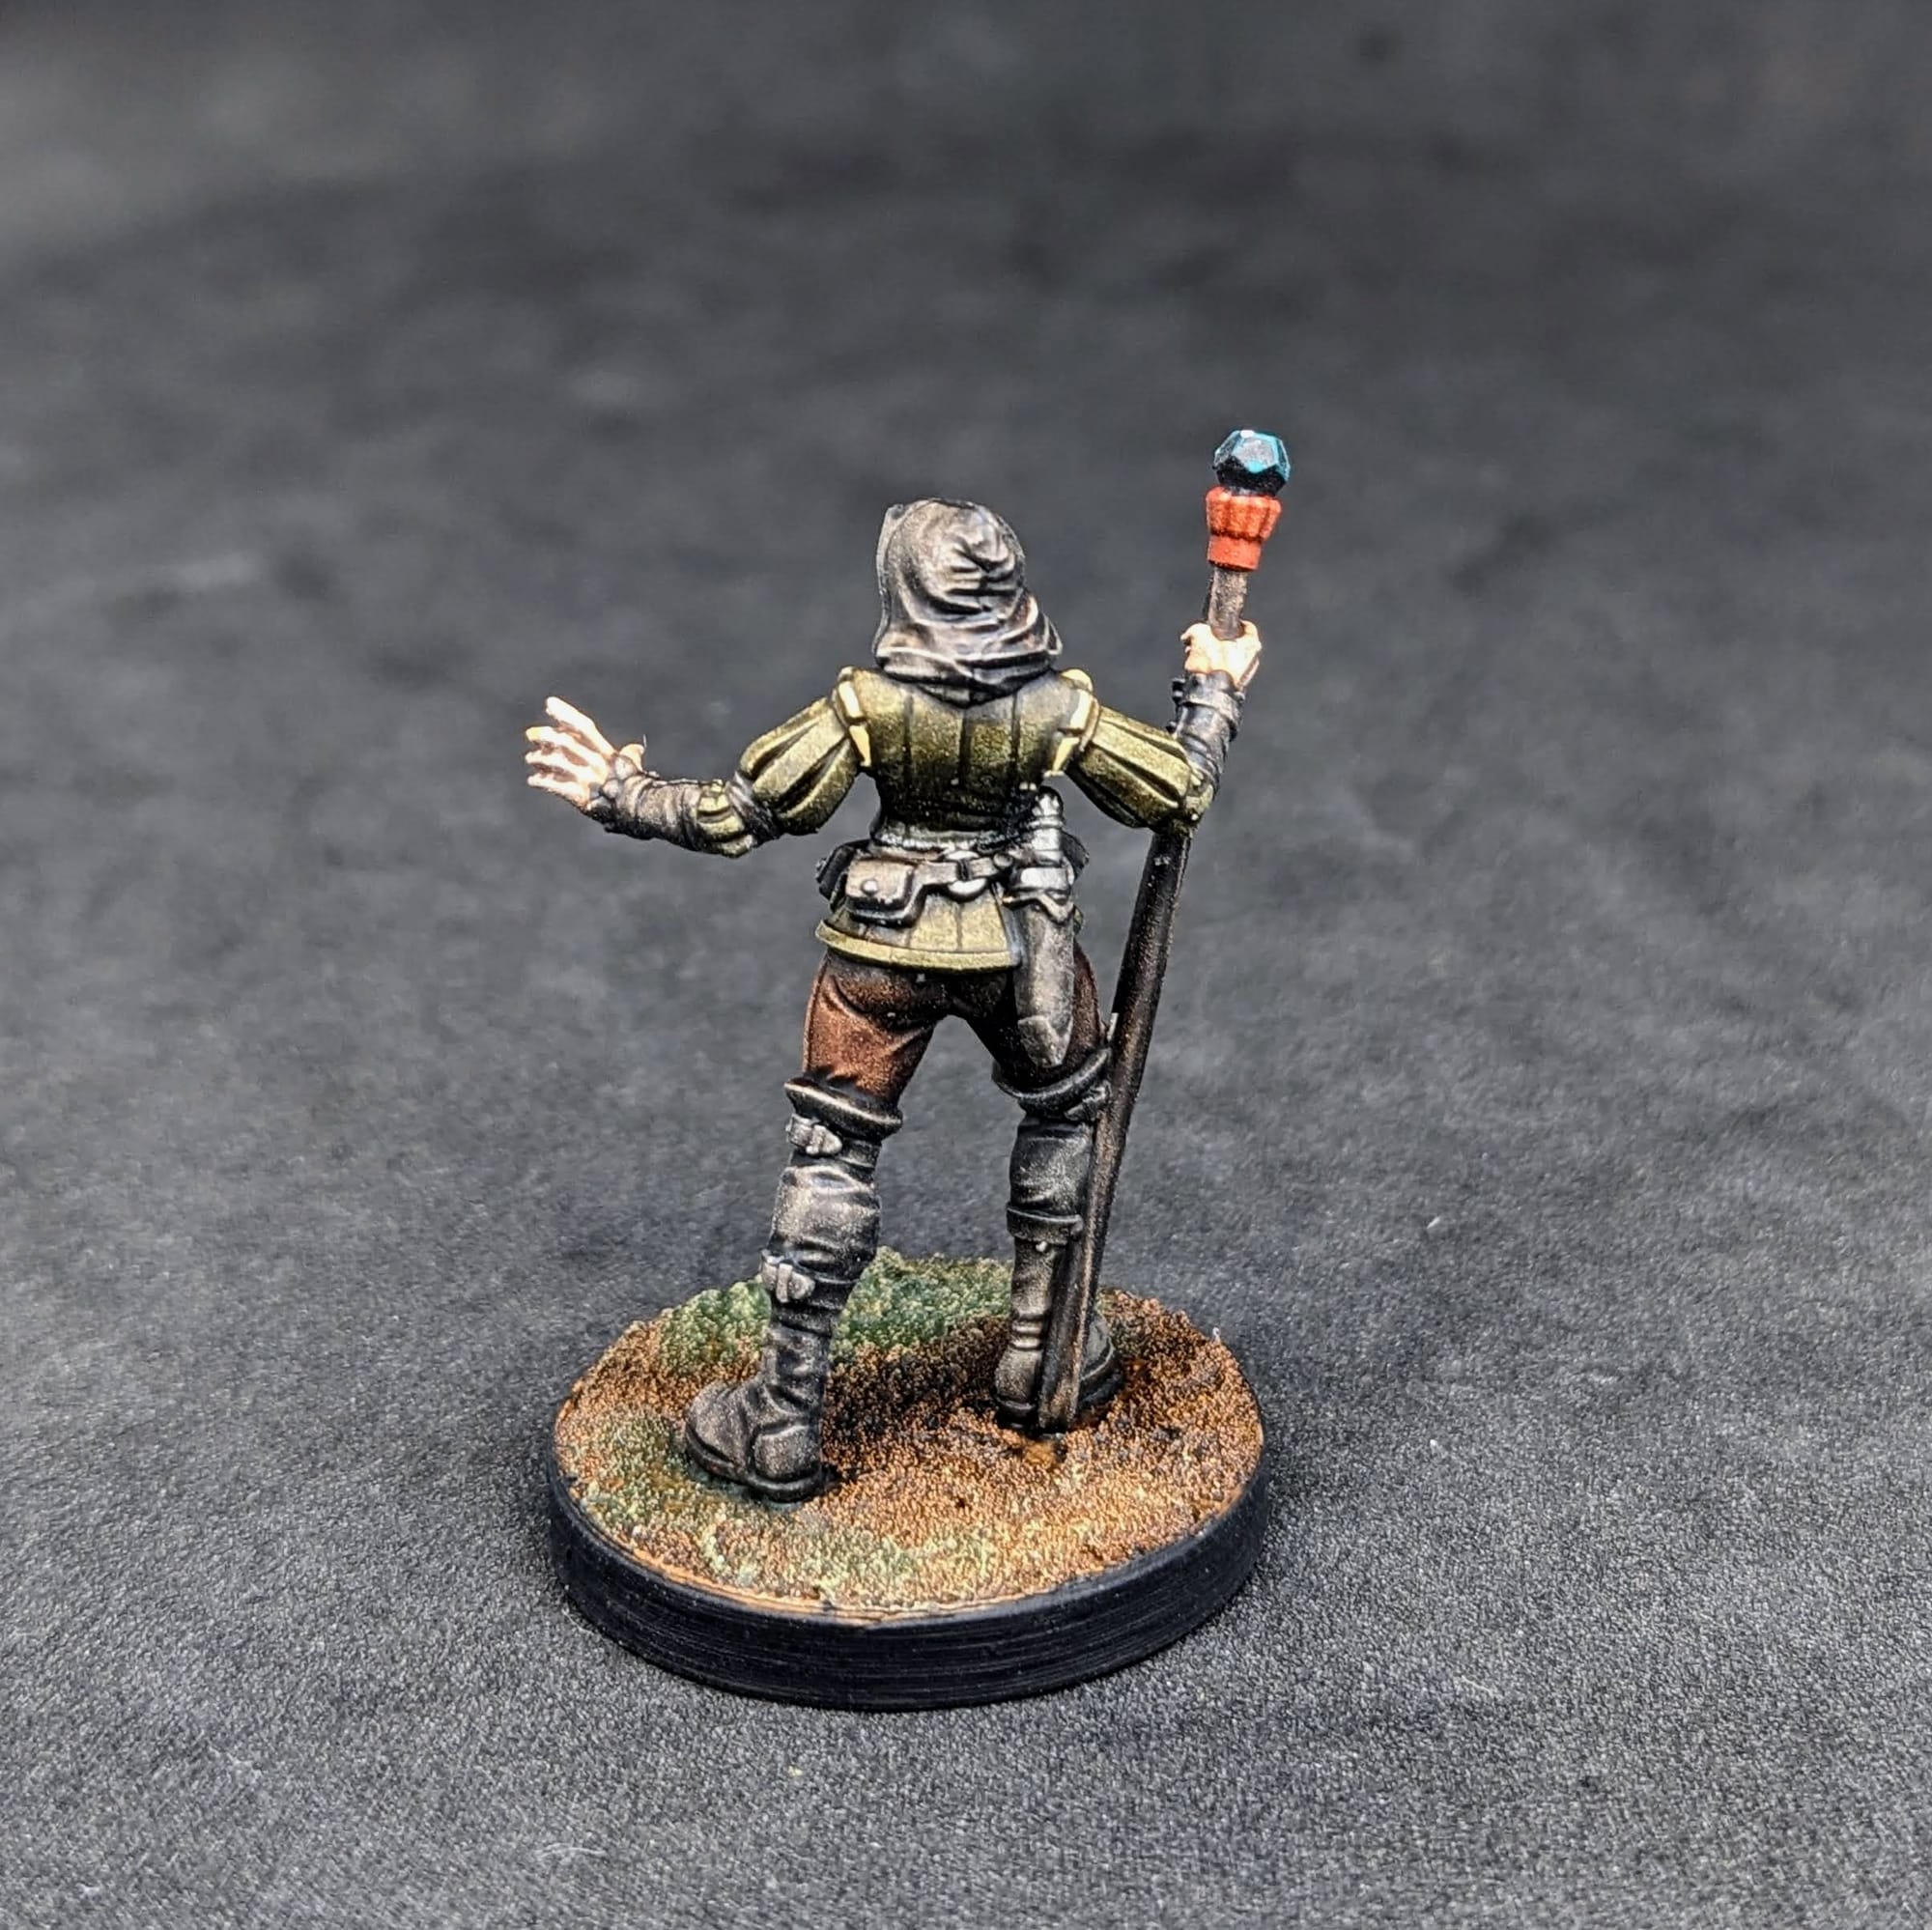
Brazen Sorceress: Citadel Ratling Grime Contrast, Army Painter Satchel Brown, Citadel Apothecary White Contrast, Pro Acryl 1-Step Rust, Pro Acryl 1-Step Dark Green Brown, Citadel Wyldwood Contrast, Citadel Kalabite Green.
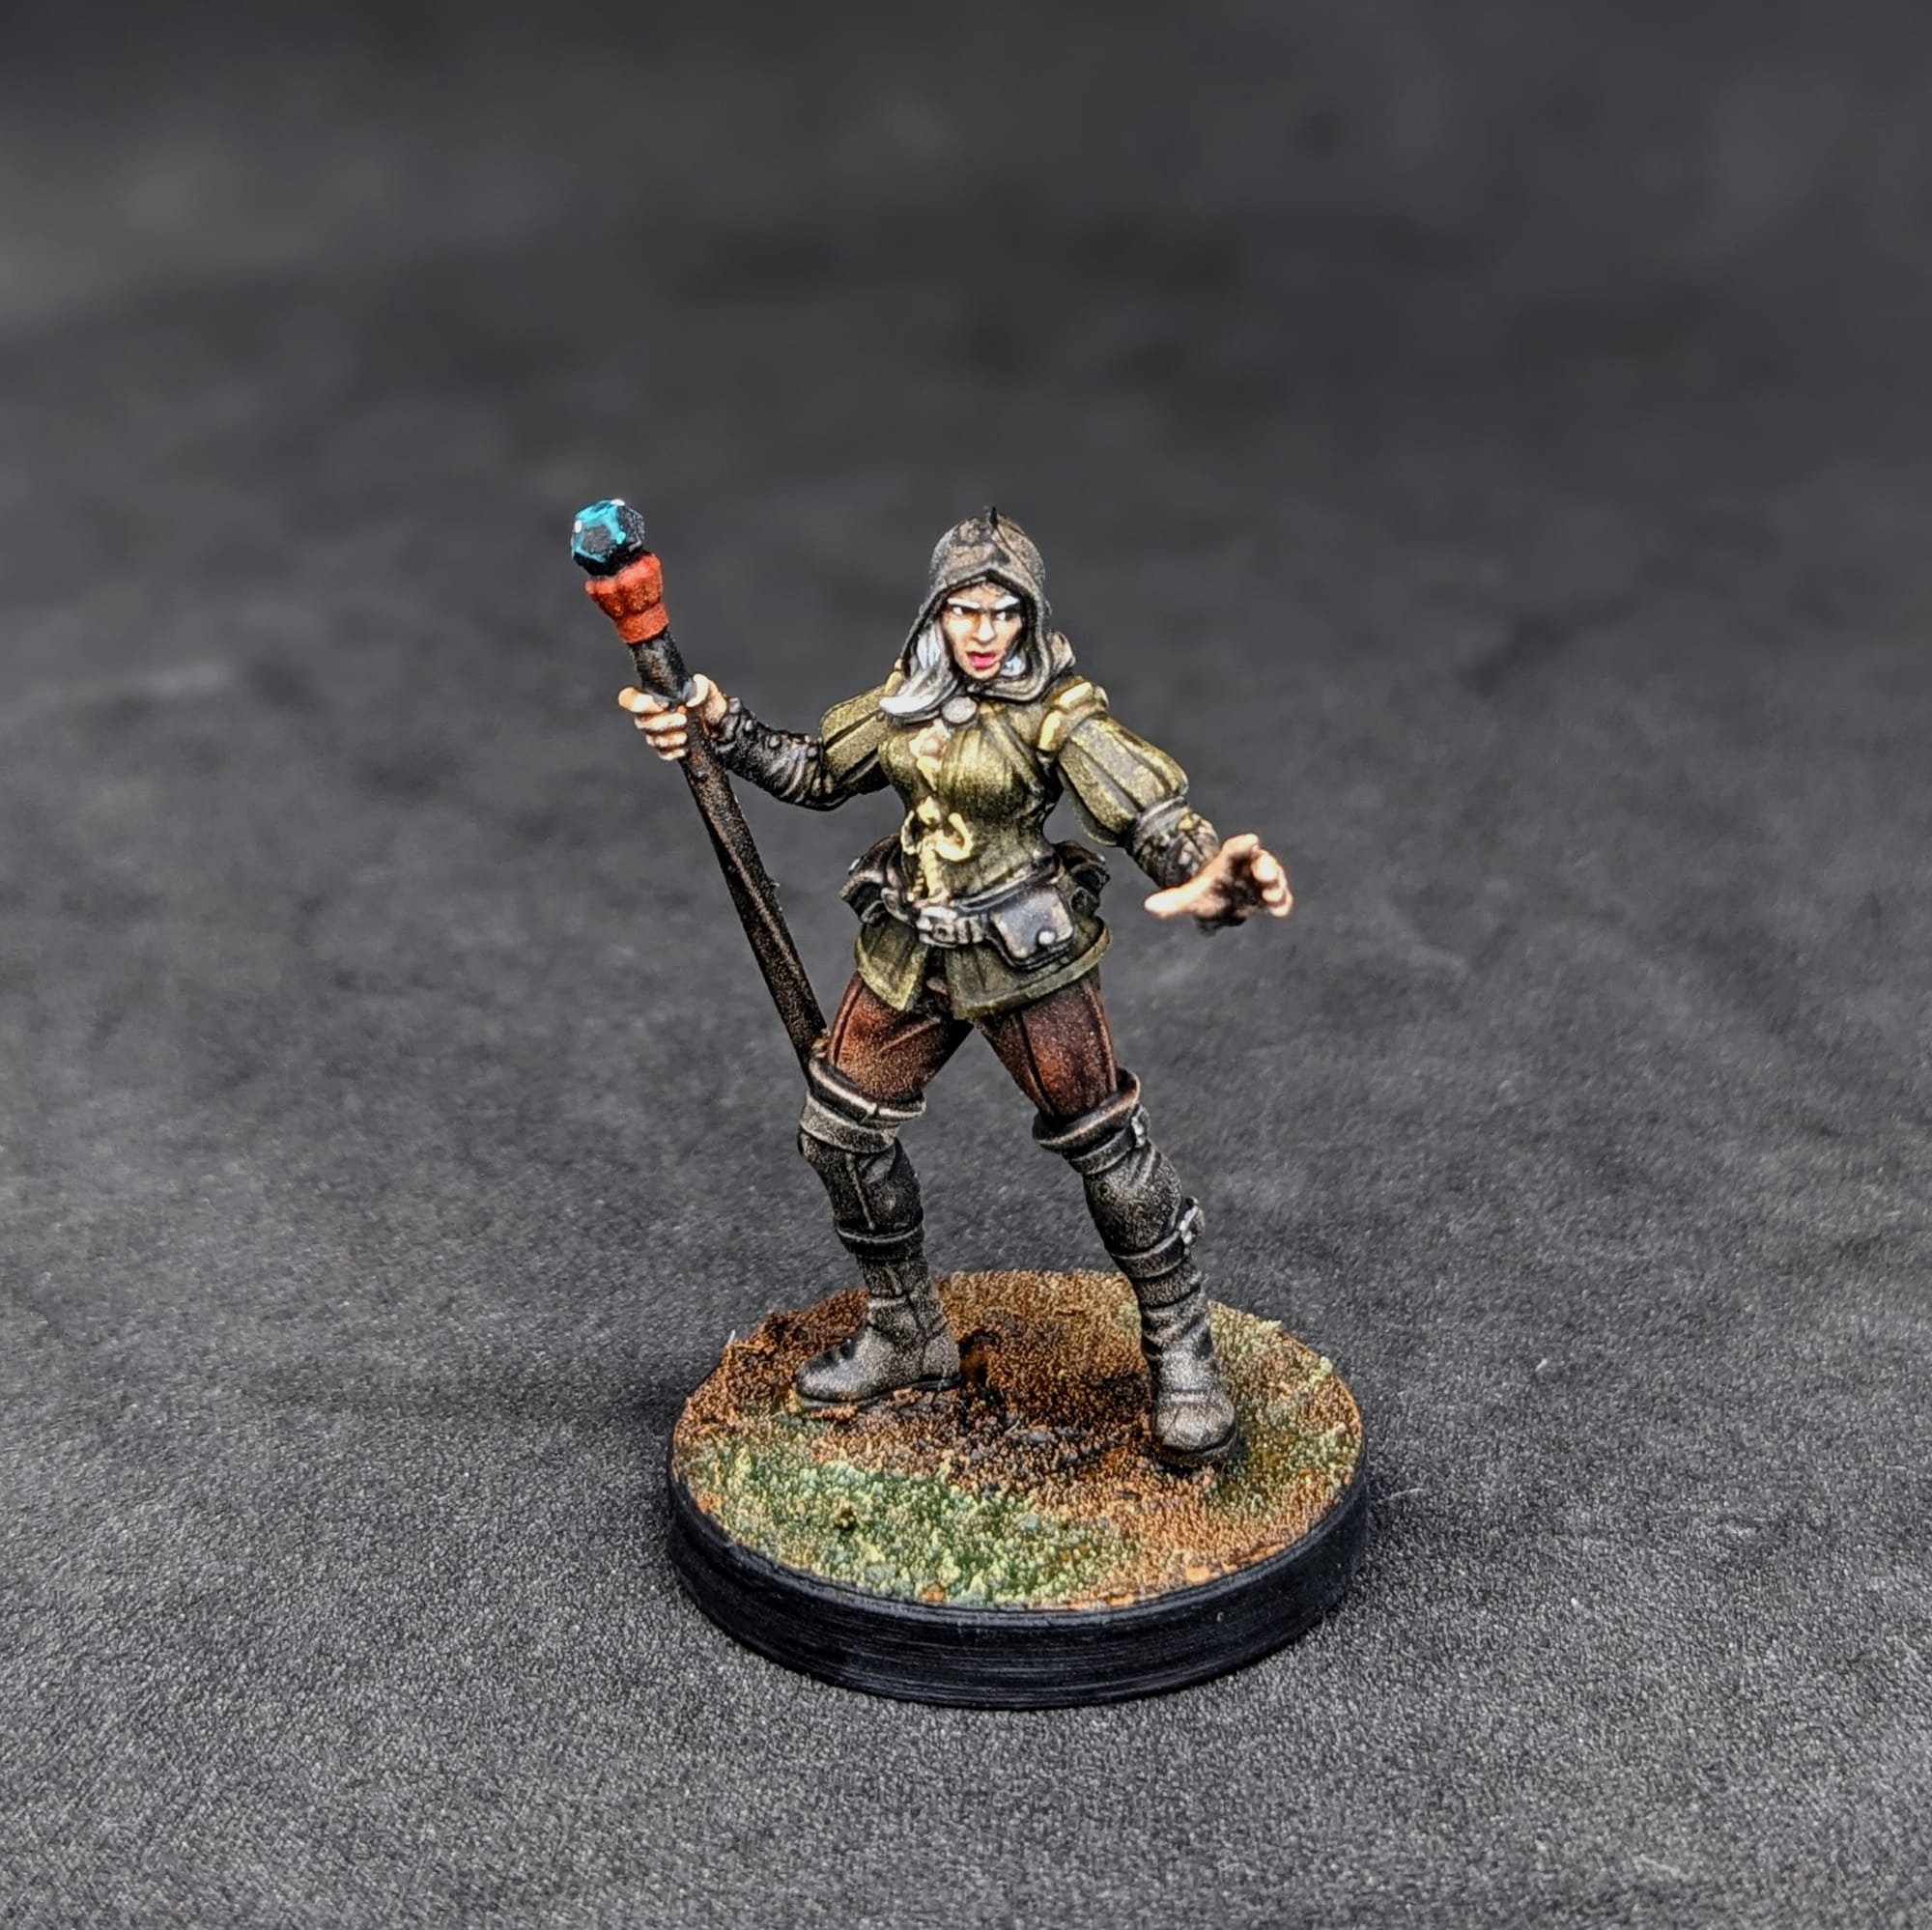
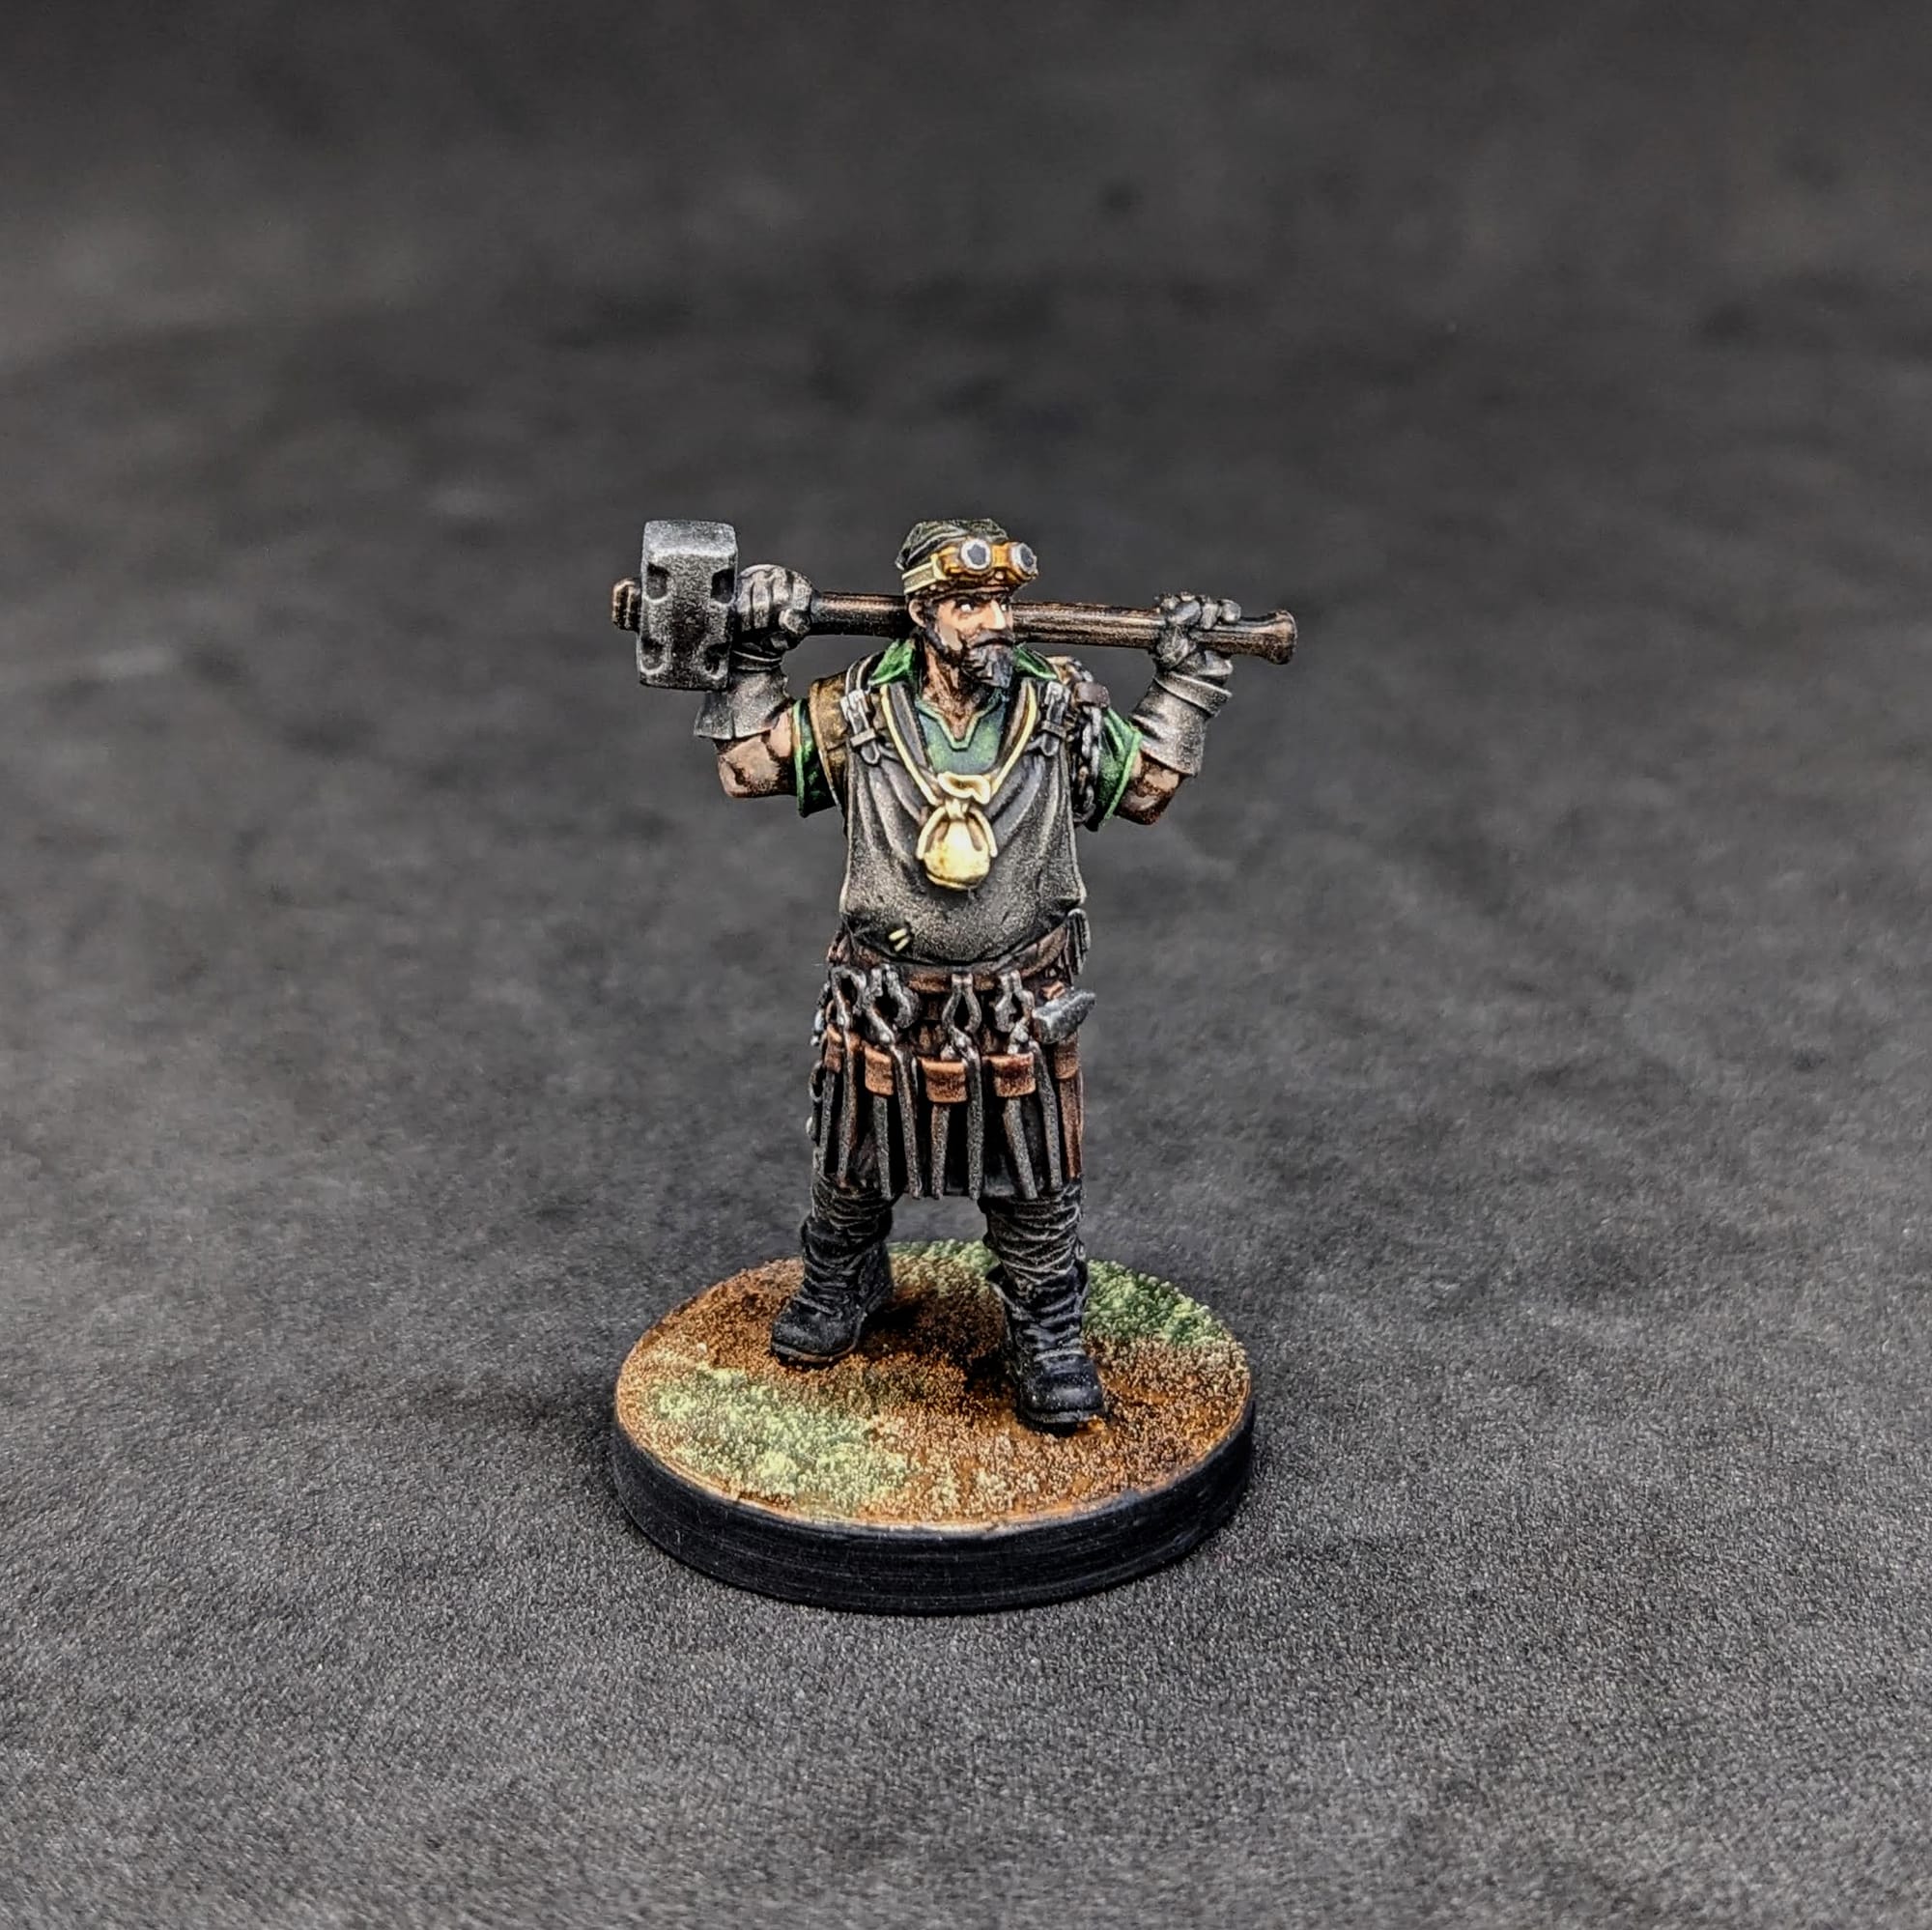
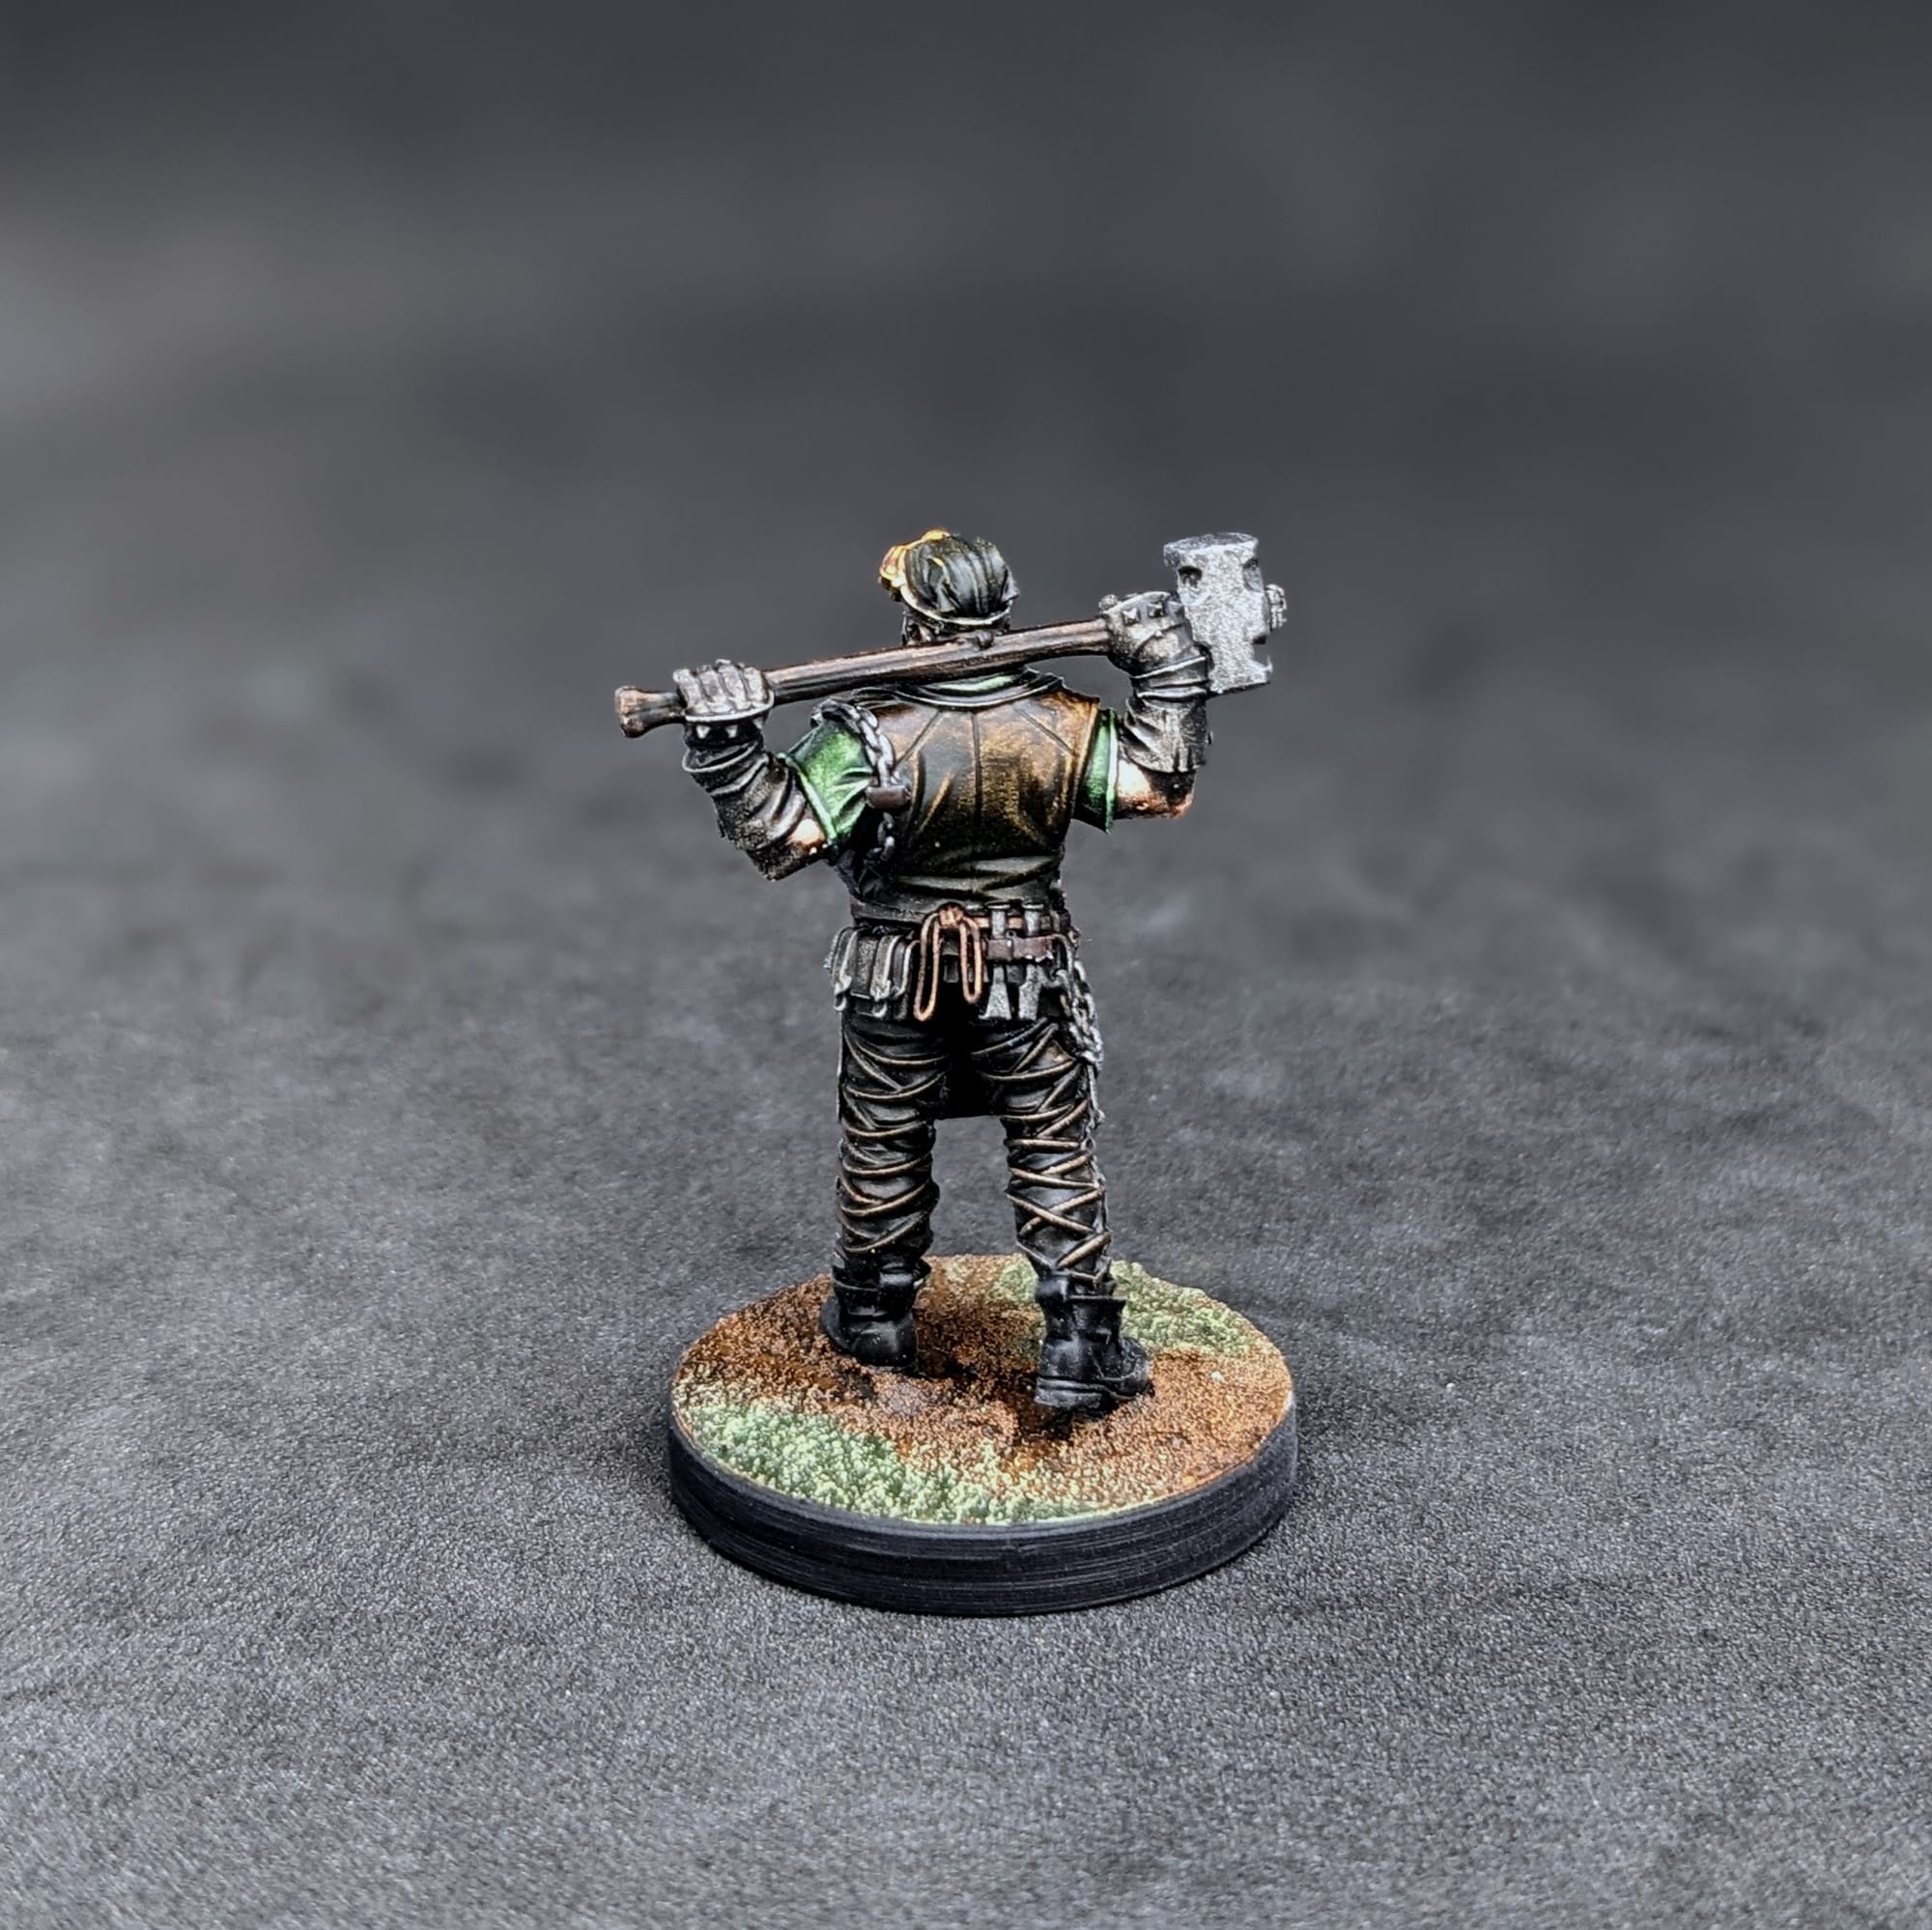
Blacksmith: Citadel Creed Camo Contrast, Citadel Garaghak Sewer Contrast, Army Painter Satchel Brown, Citadel Skeleton Horde Contrast, Citadel Ratling Grime Contrast, Citadel Snakebite Leather Contrast, Citadel Wyldwood Contrast, Citadel Black Legion Contrast.
Paints used for Letho’s Warband
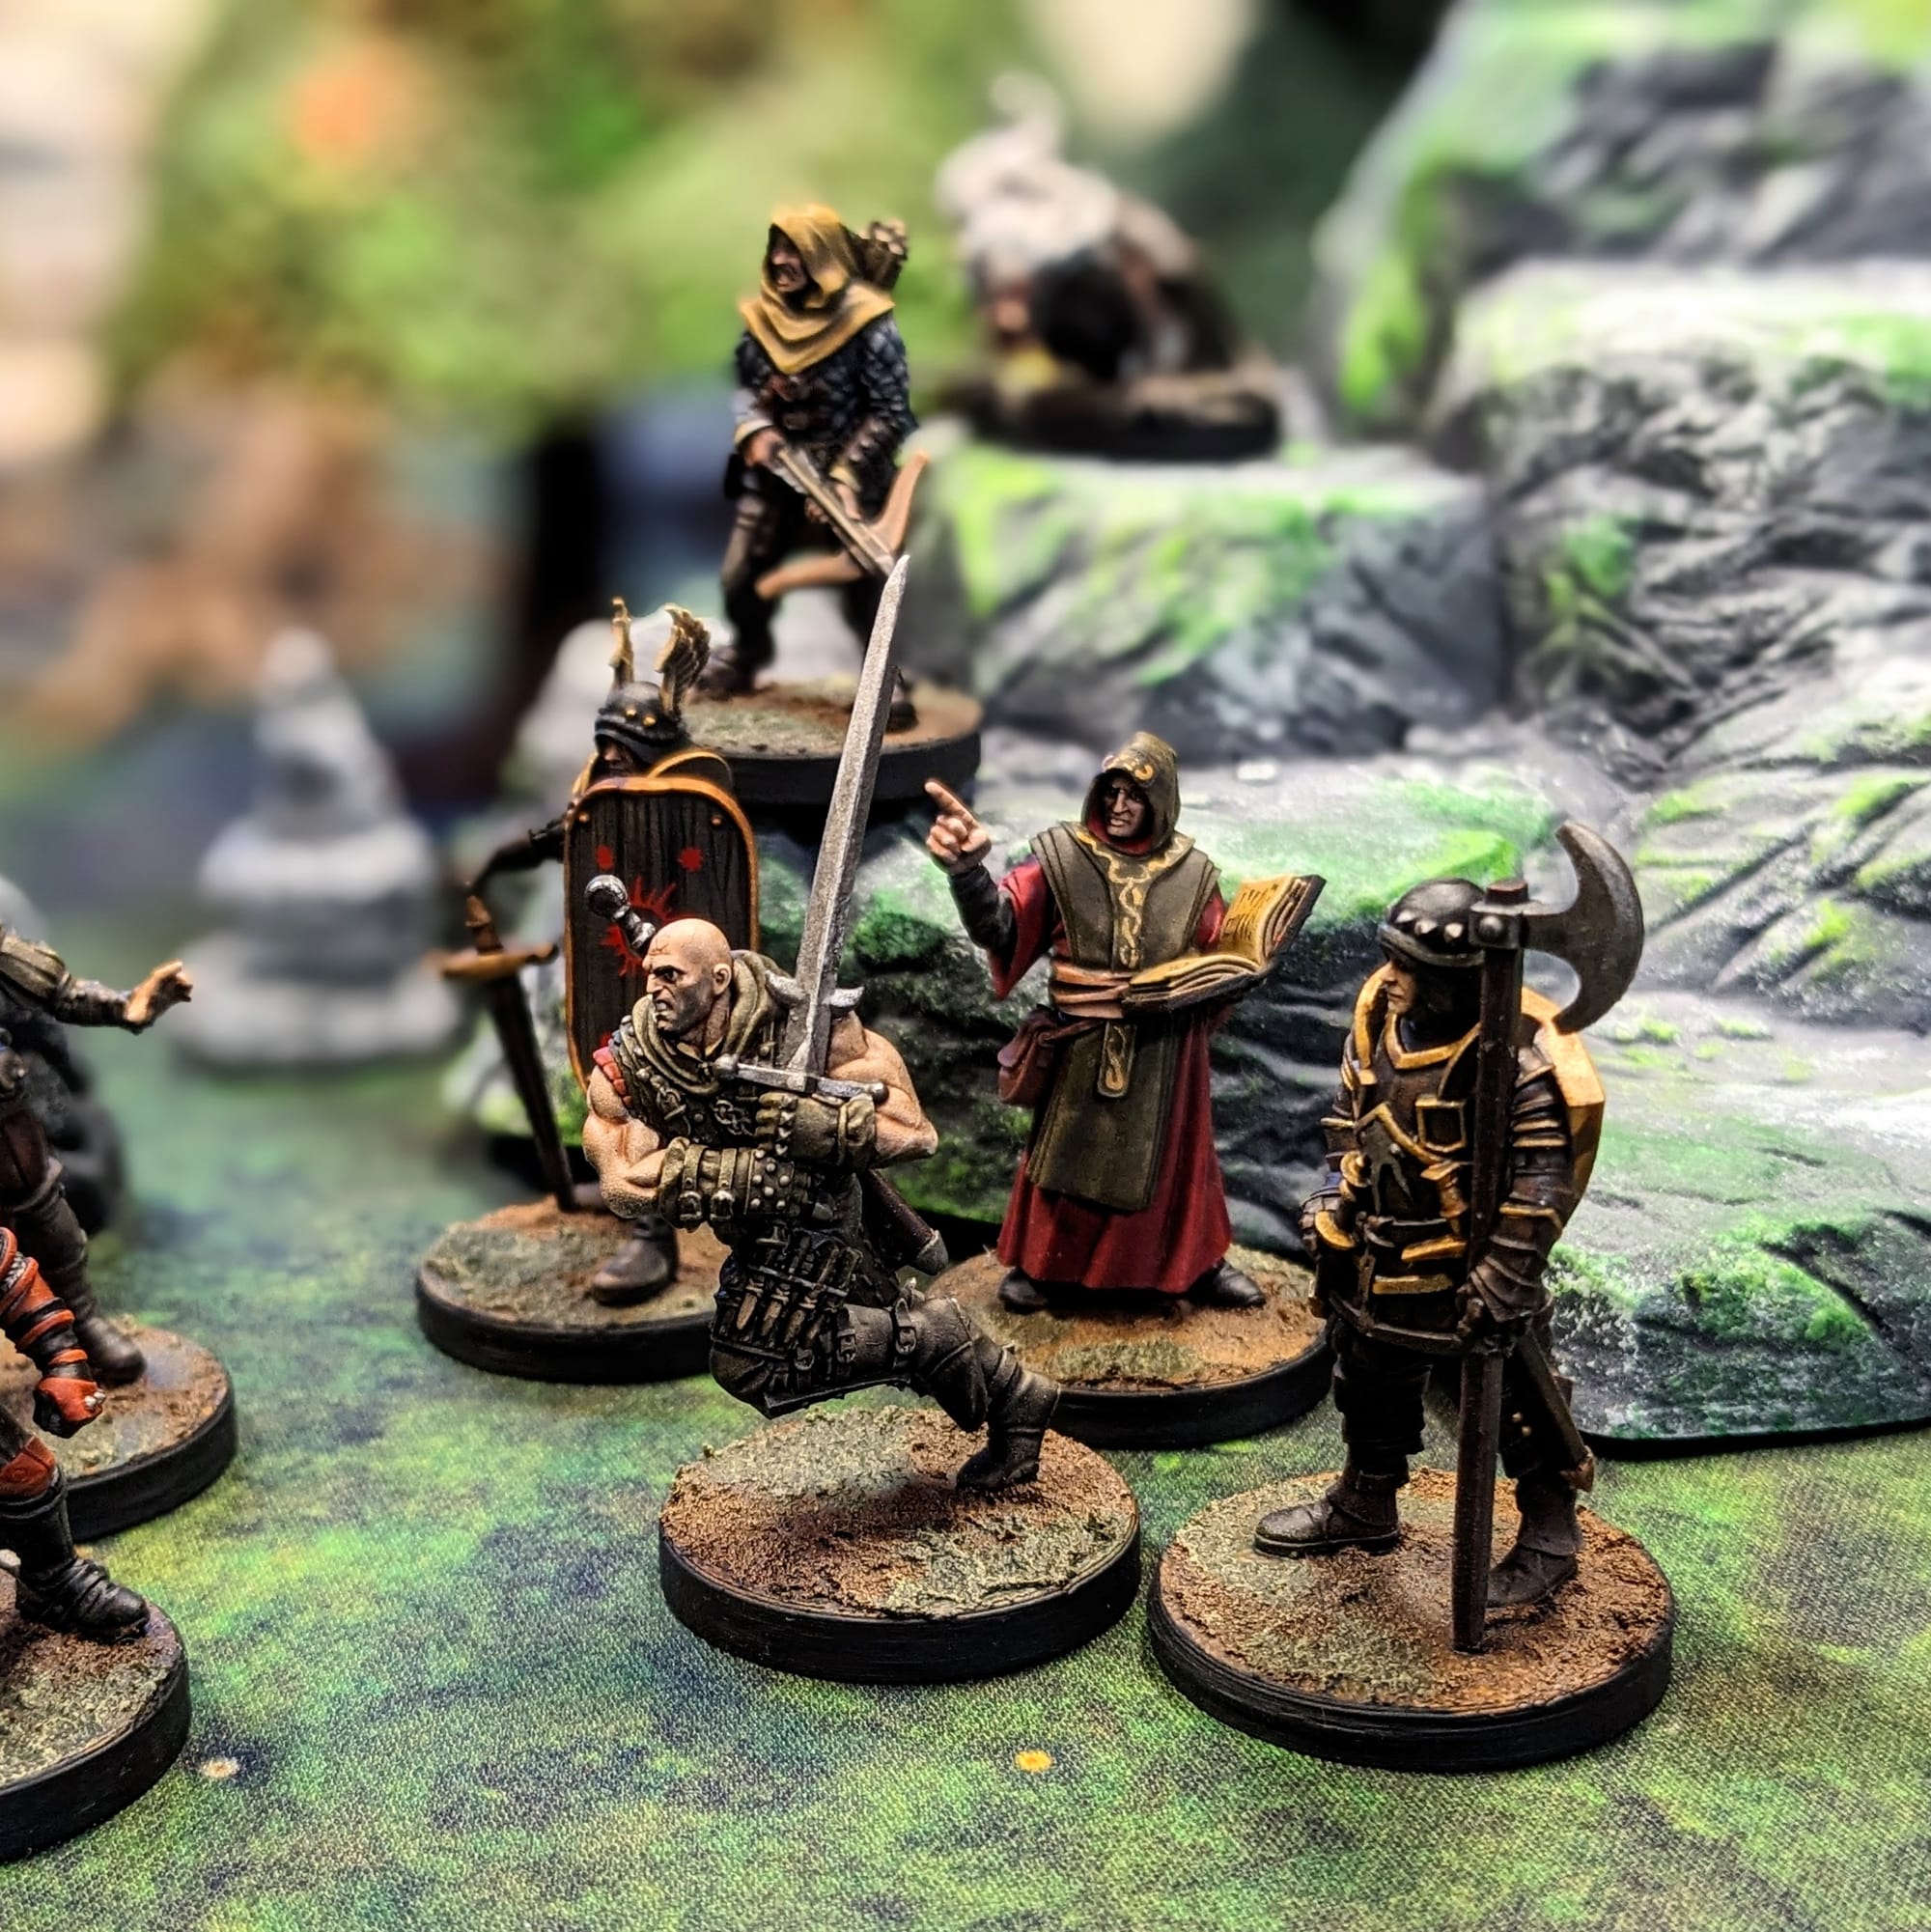
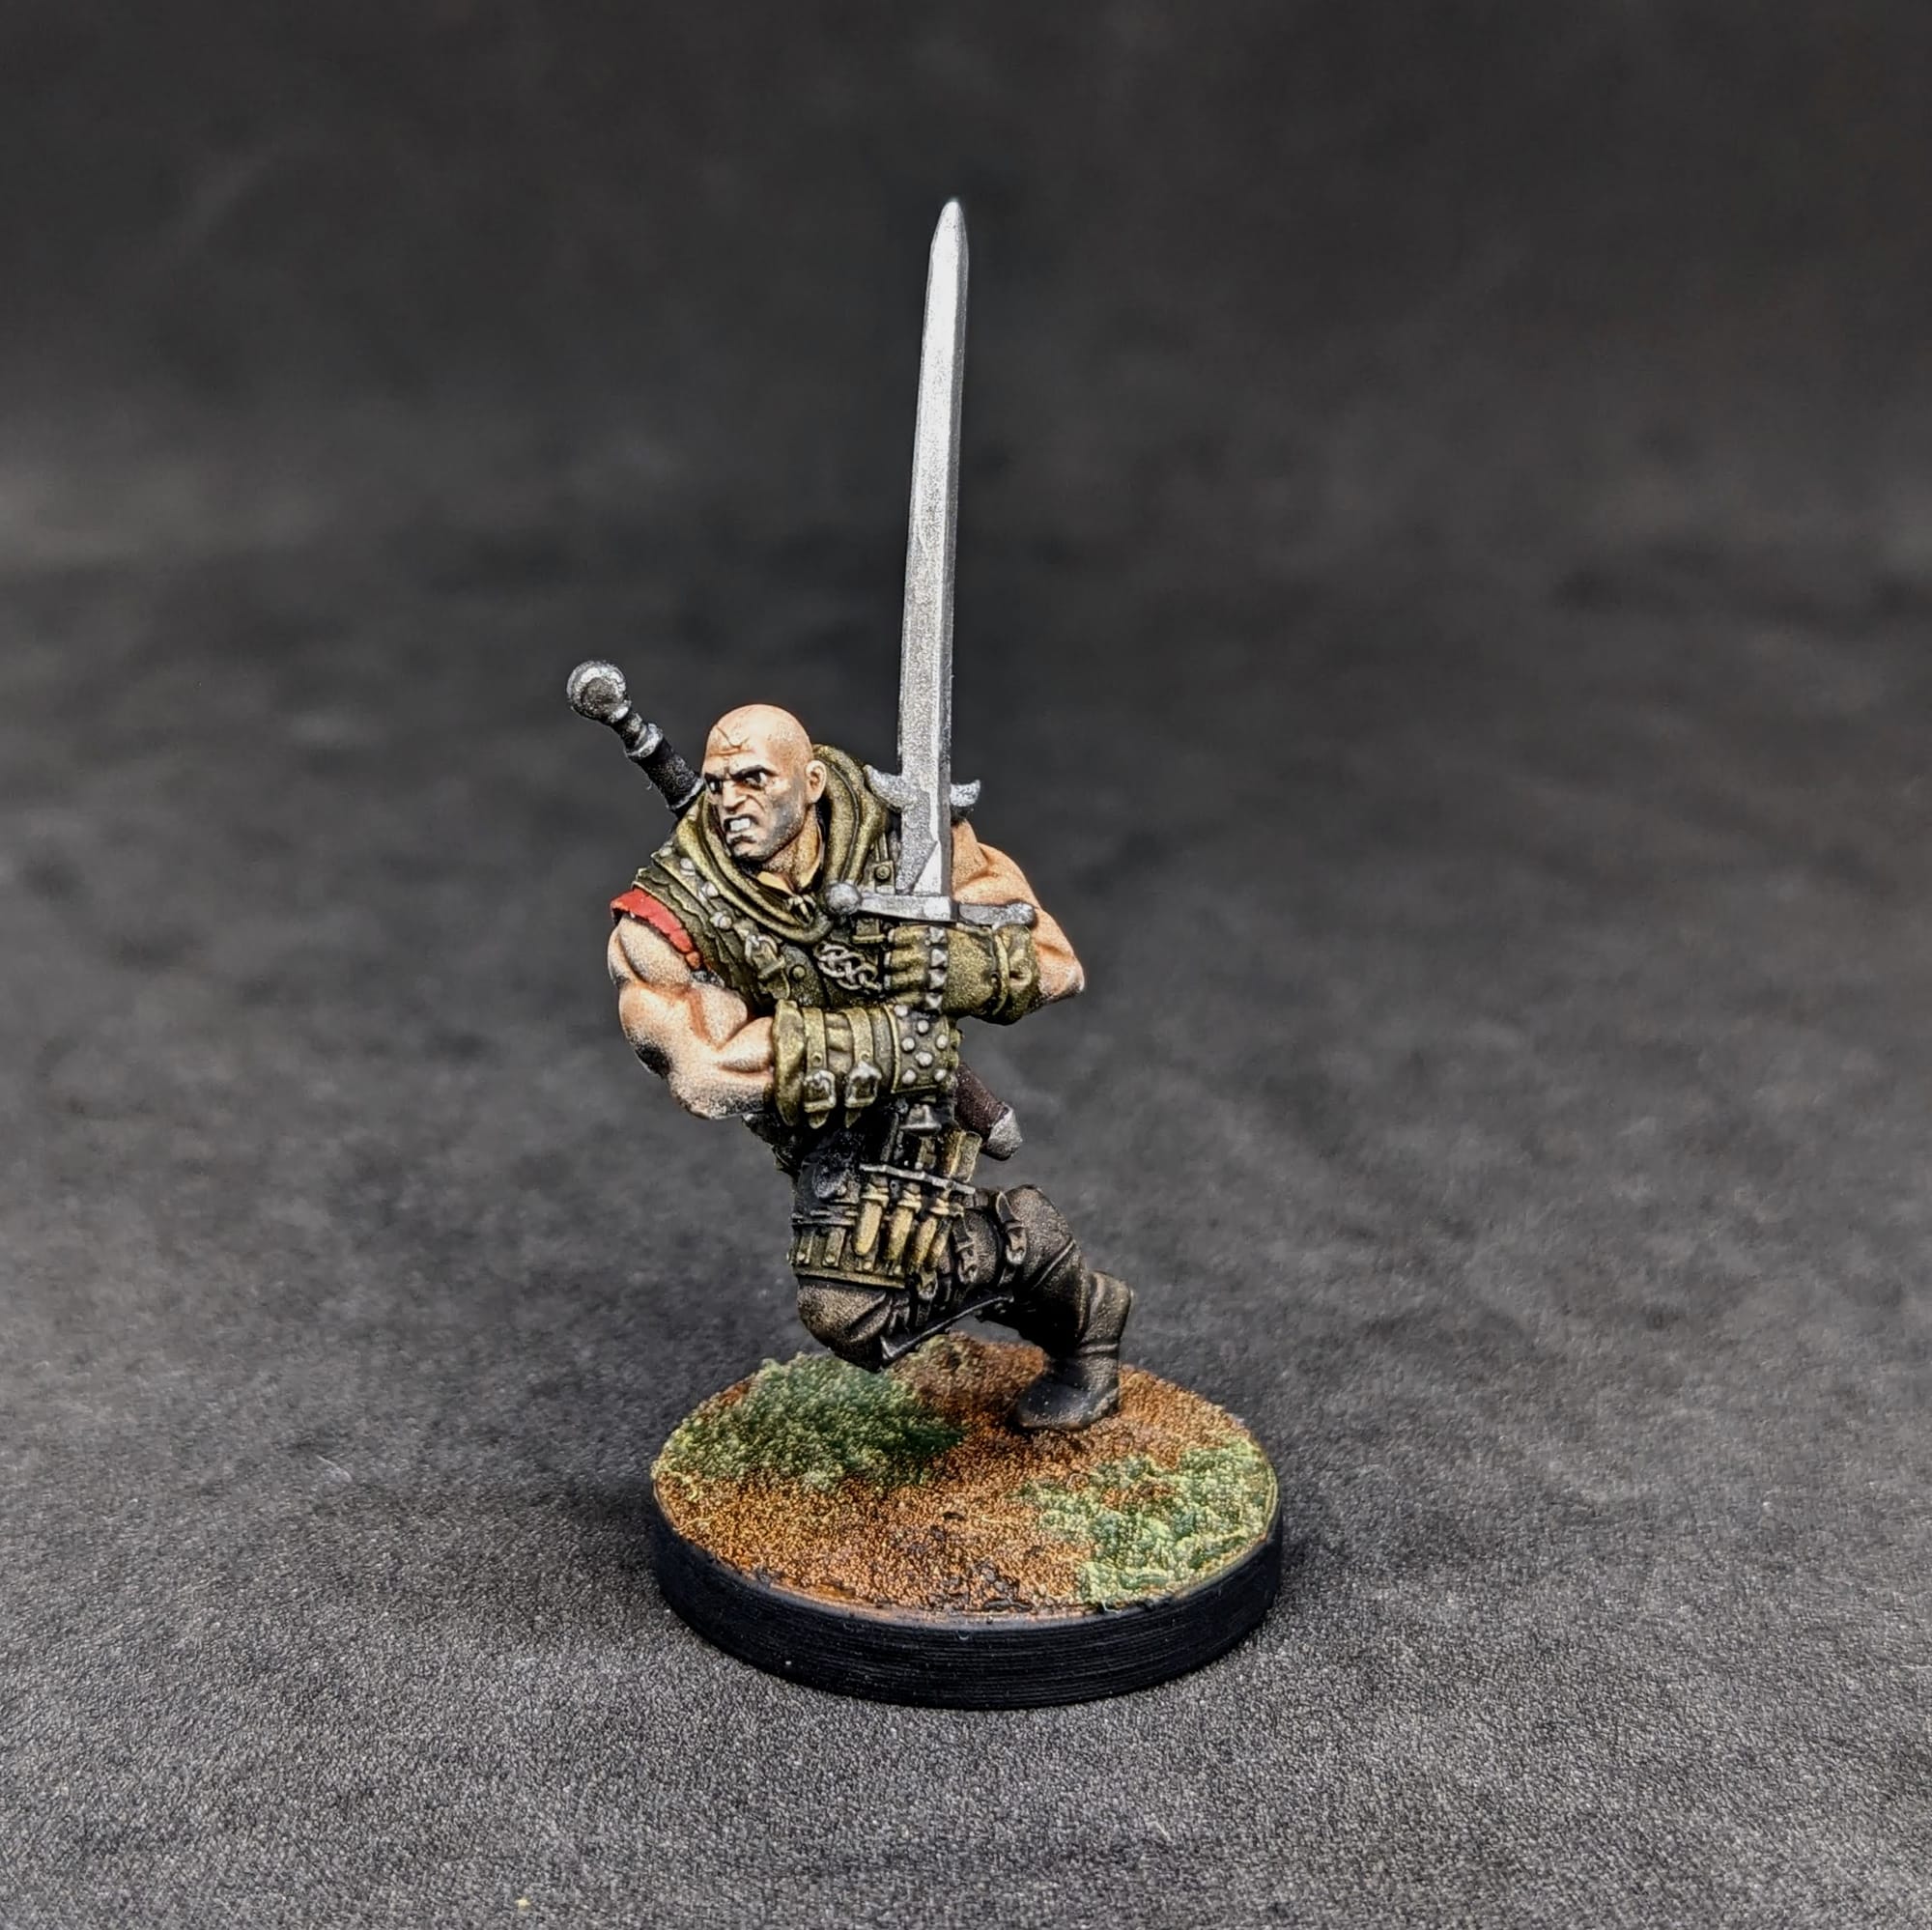
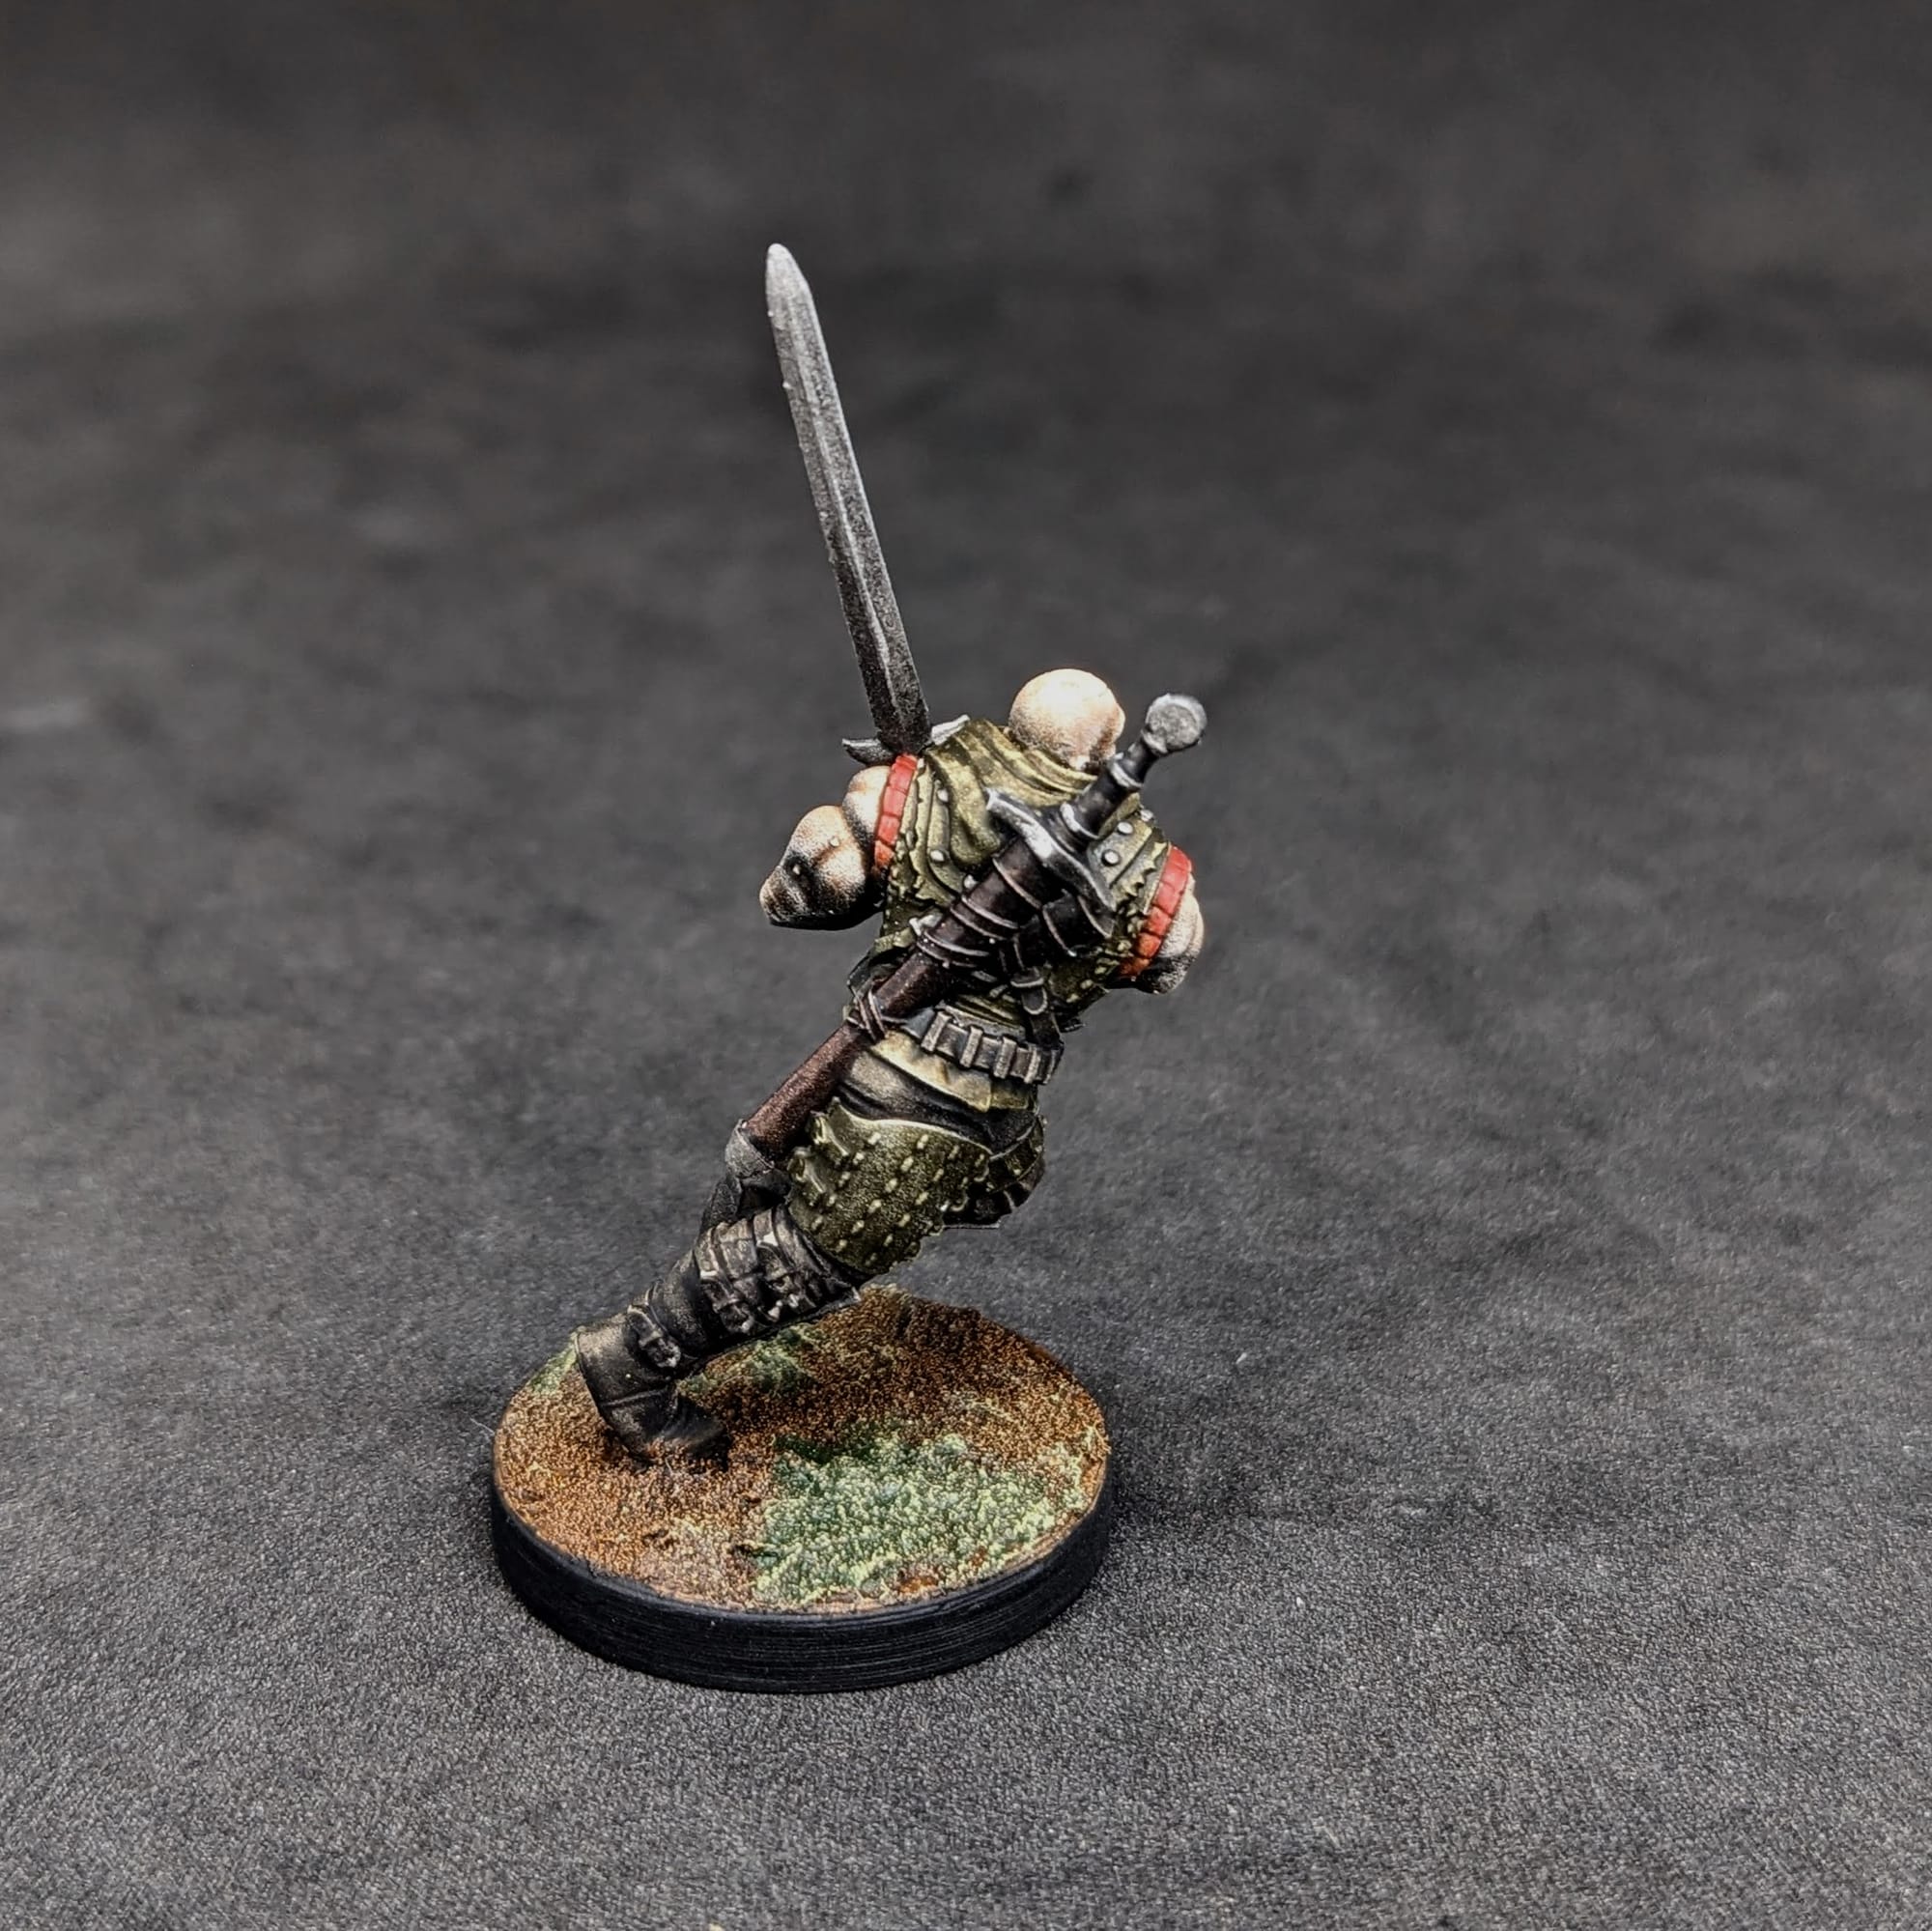
Letho of Gulet: Citadel Ratling Grime Contrast, Pro Acryl 1-Step Dark Green Brown, Pro Acryl 1-Step Rust, Citadel Cygor Brown Contrast, Army Painter Noble Skin, Citadel Skeleton Horde Contrast.
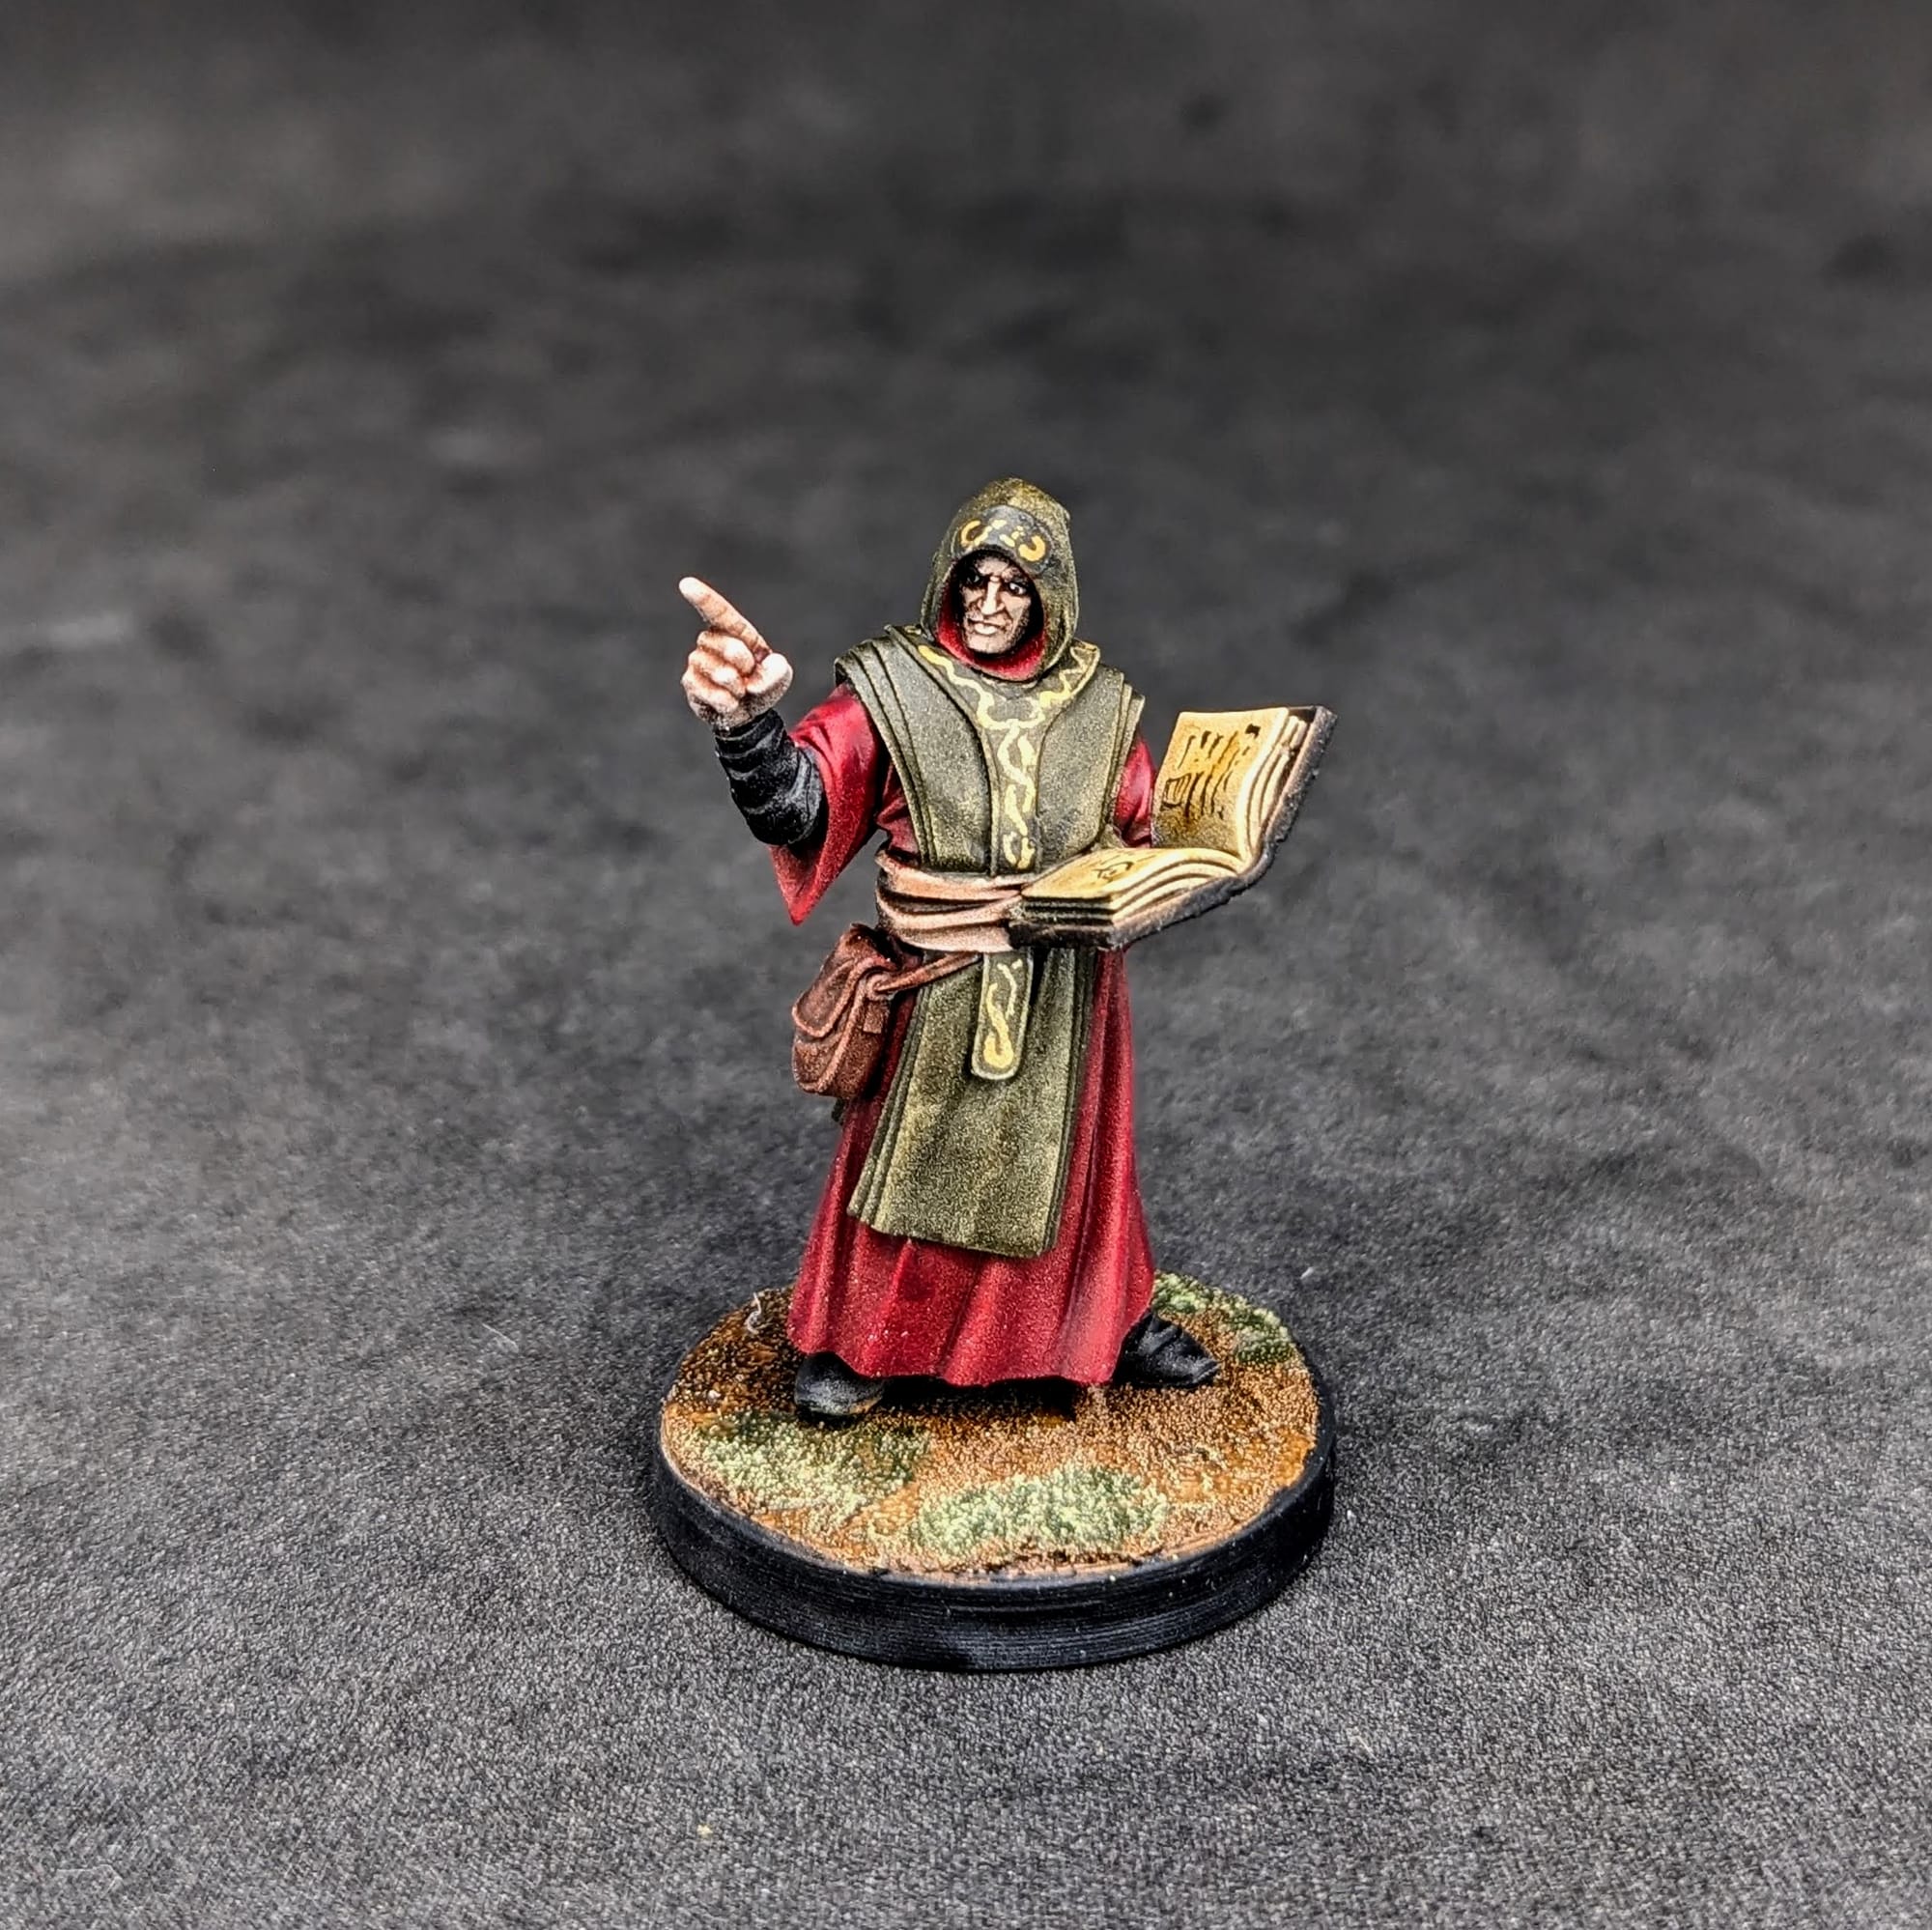
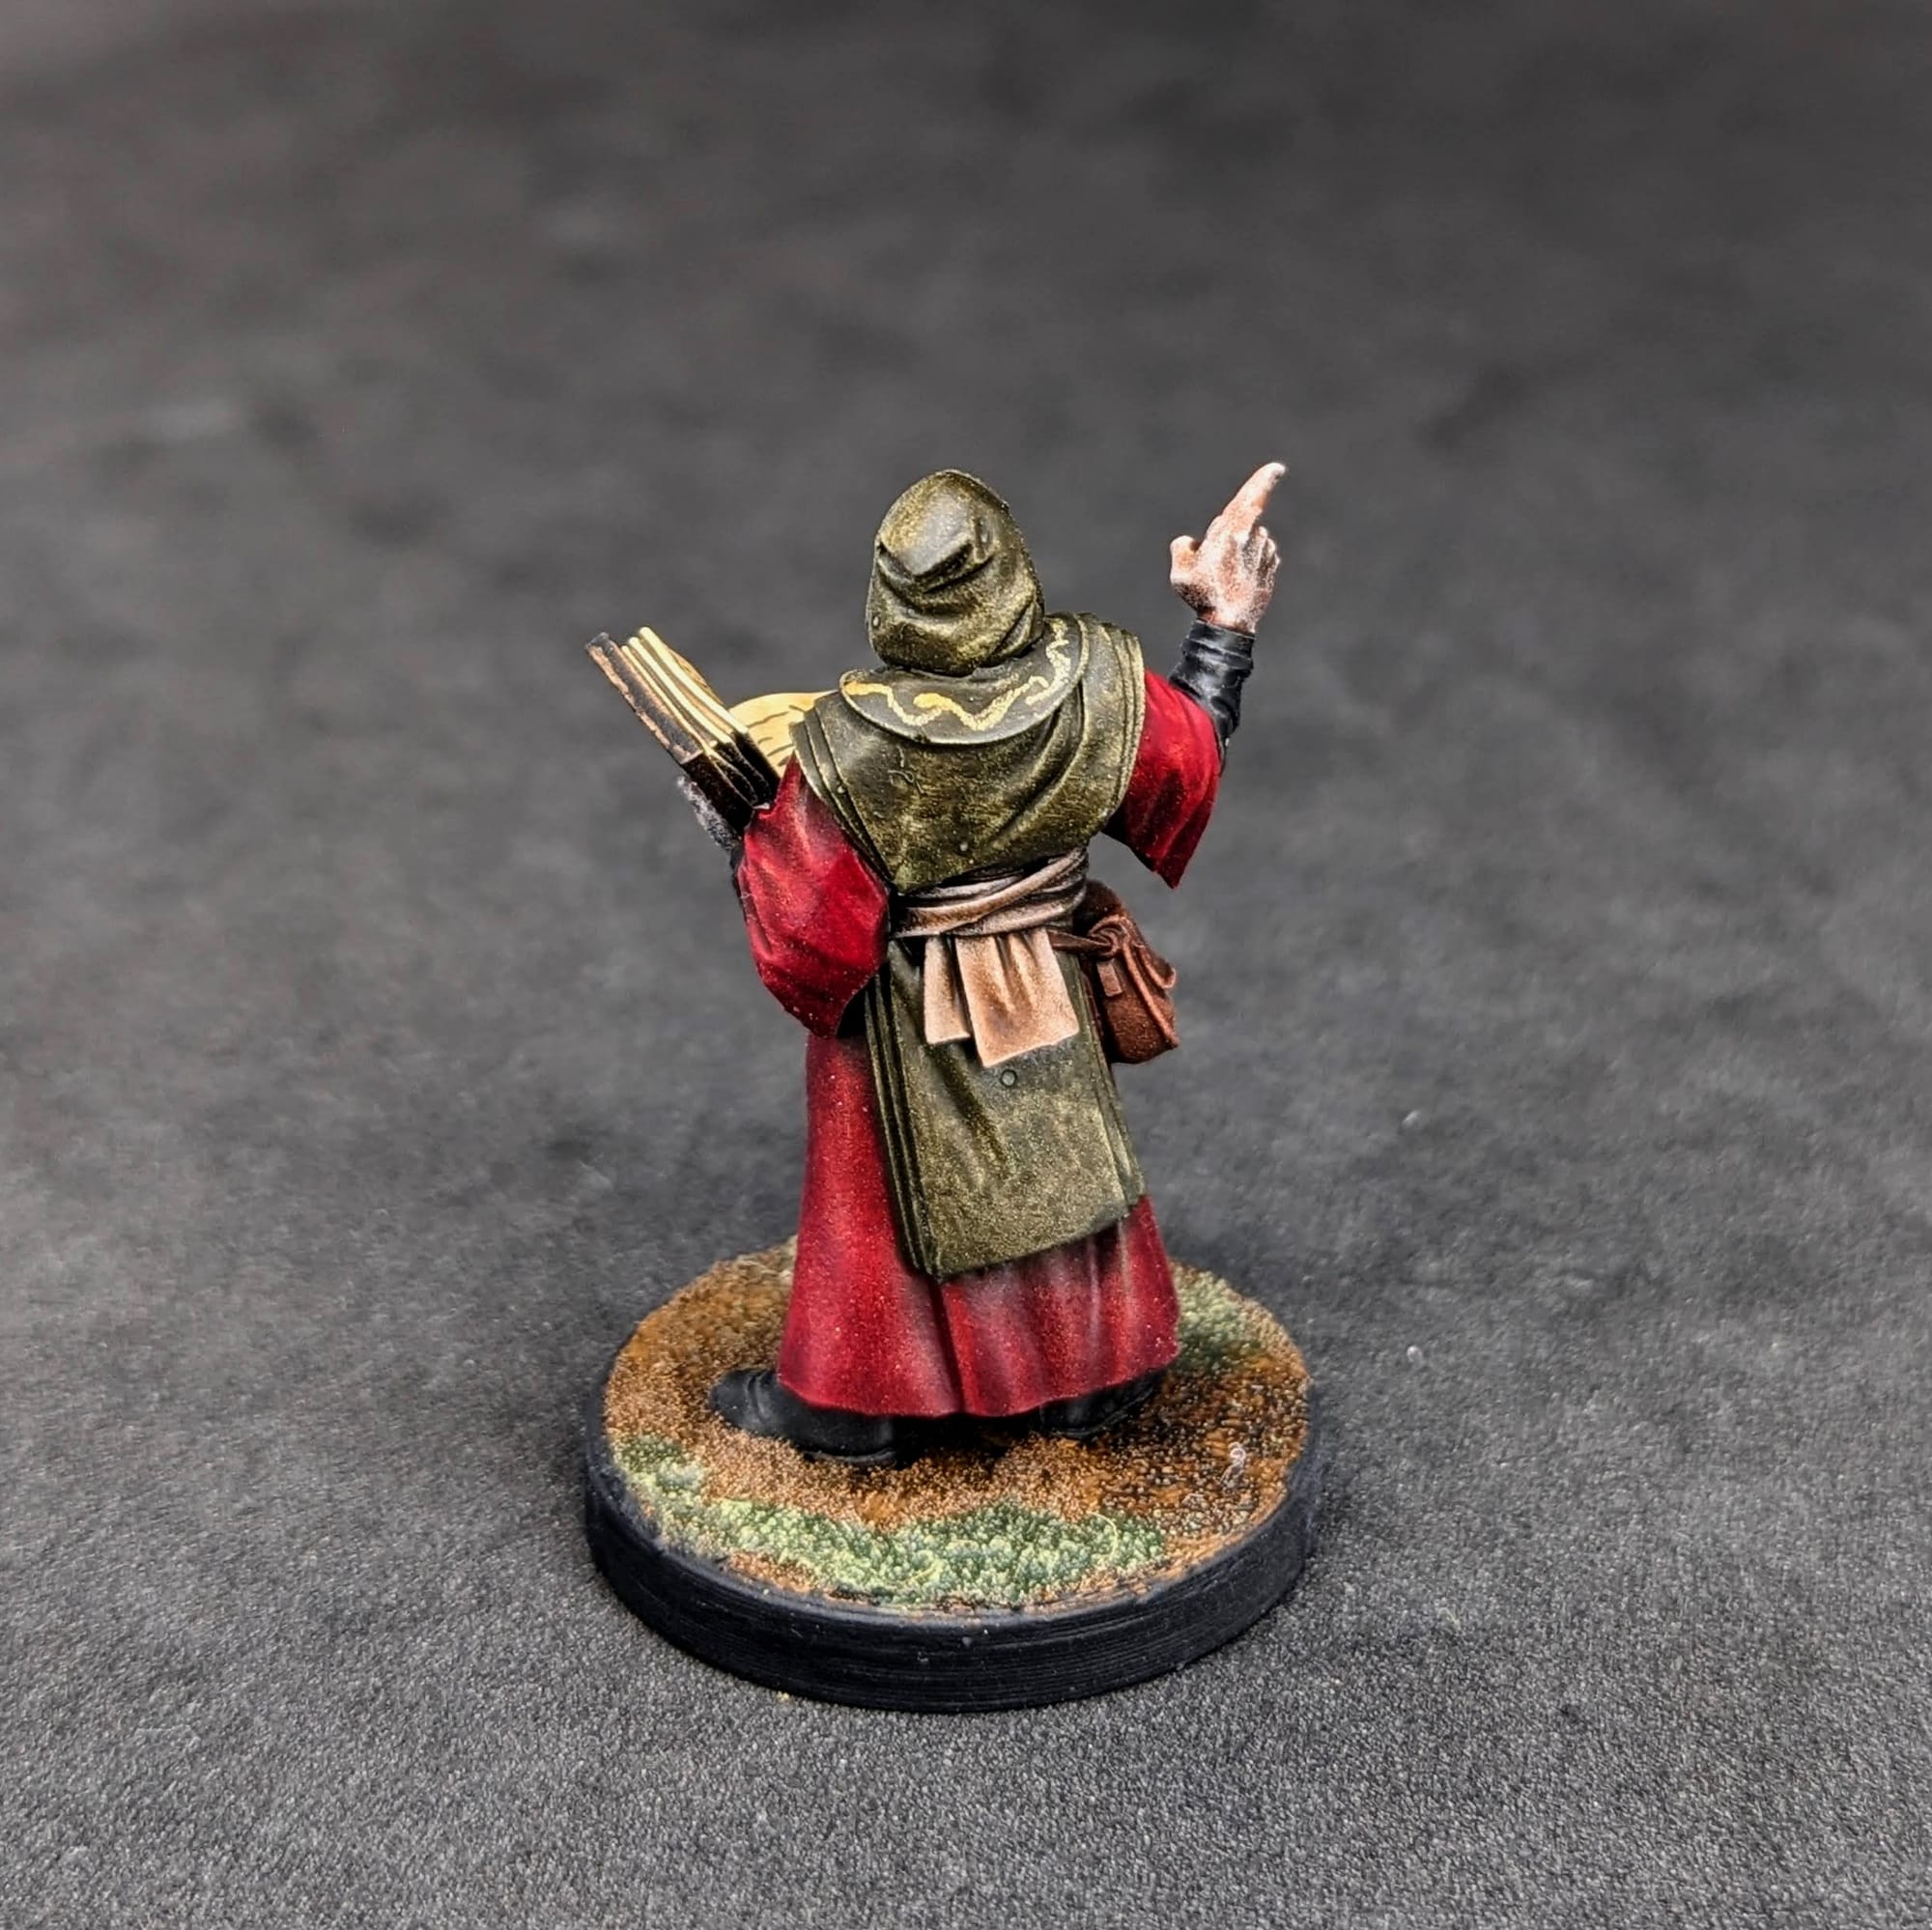
Authoritative Priest: Citadel Flesh Tearer’s Red, Citadel Ratling Grime Contrast, Citadel Fyrelsayer Flesh, Citadel Black Legion Contrast, Pro Acryl 1-Step Warm Brown, Citadel Wyldwood Contrast.
Astute Crossbowman: 1:1 Ultramarines Blue + Basilicanum Grey Contrast, Citadel Aggaros Dunes, Citadel Ratling Grime Contrast, Citadel Darkoath Flesh Contrast, Pro Acryl 1-Step Warm Brown, Citadel Wyldwood Contrast, Citadel Garaghak Sewer Contrast, Citadel Skeleton Horde Contrast.
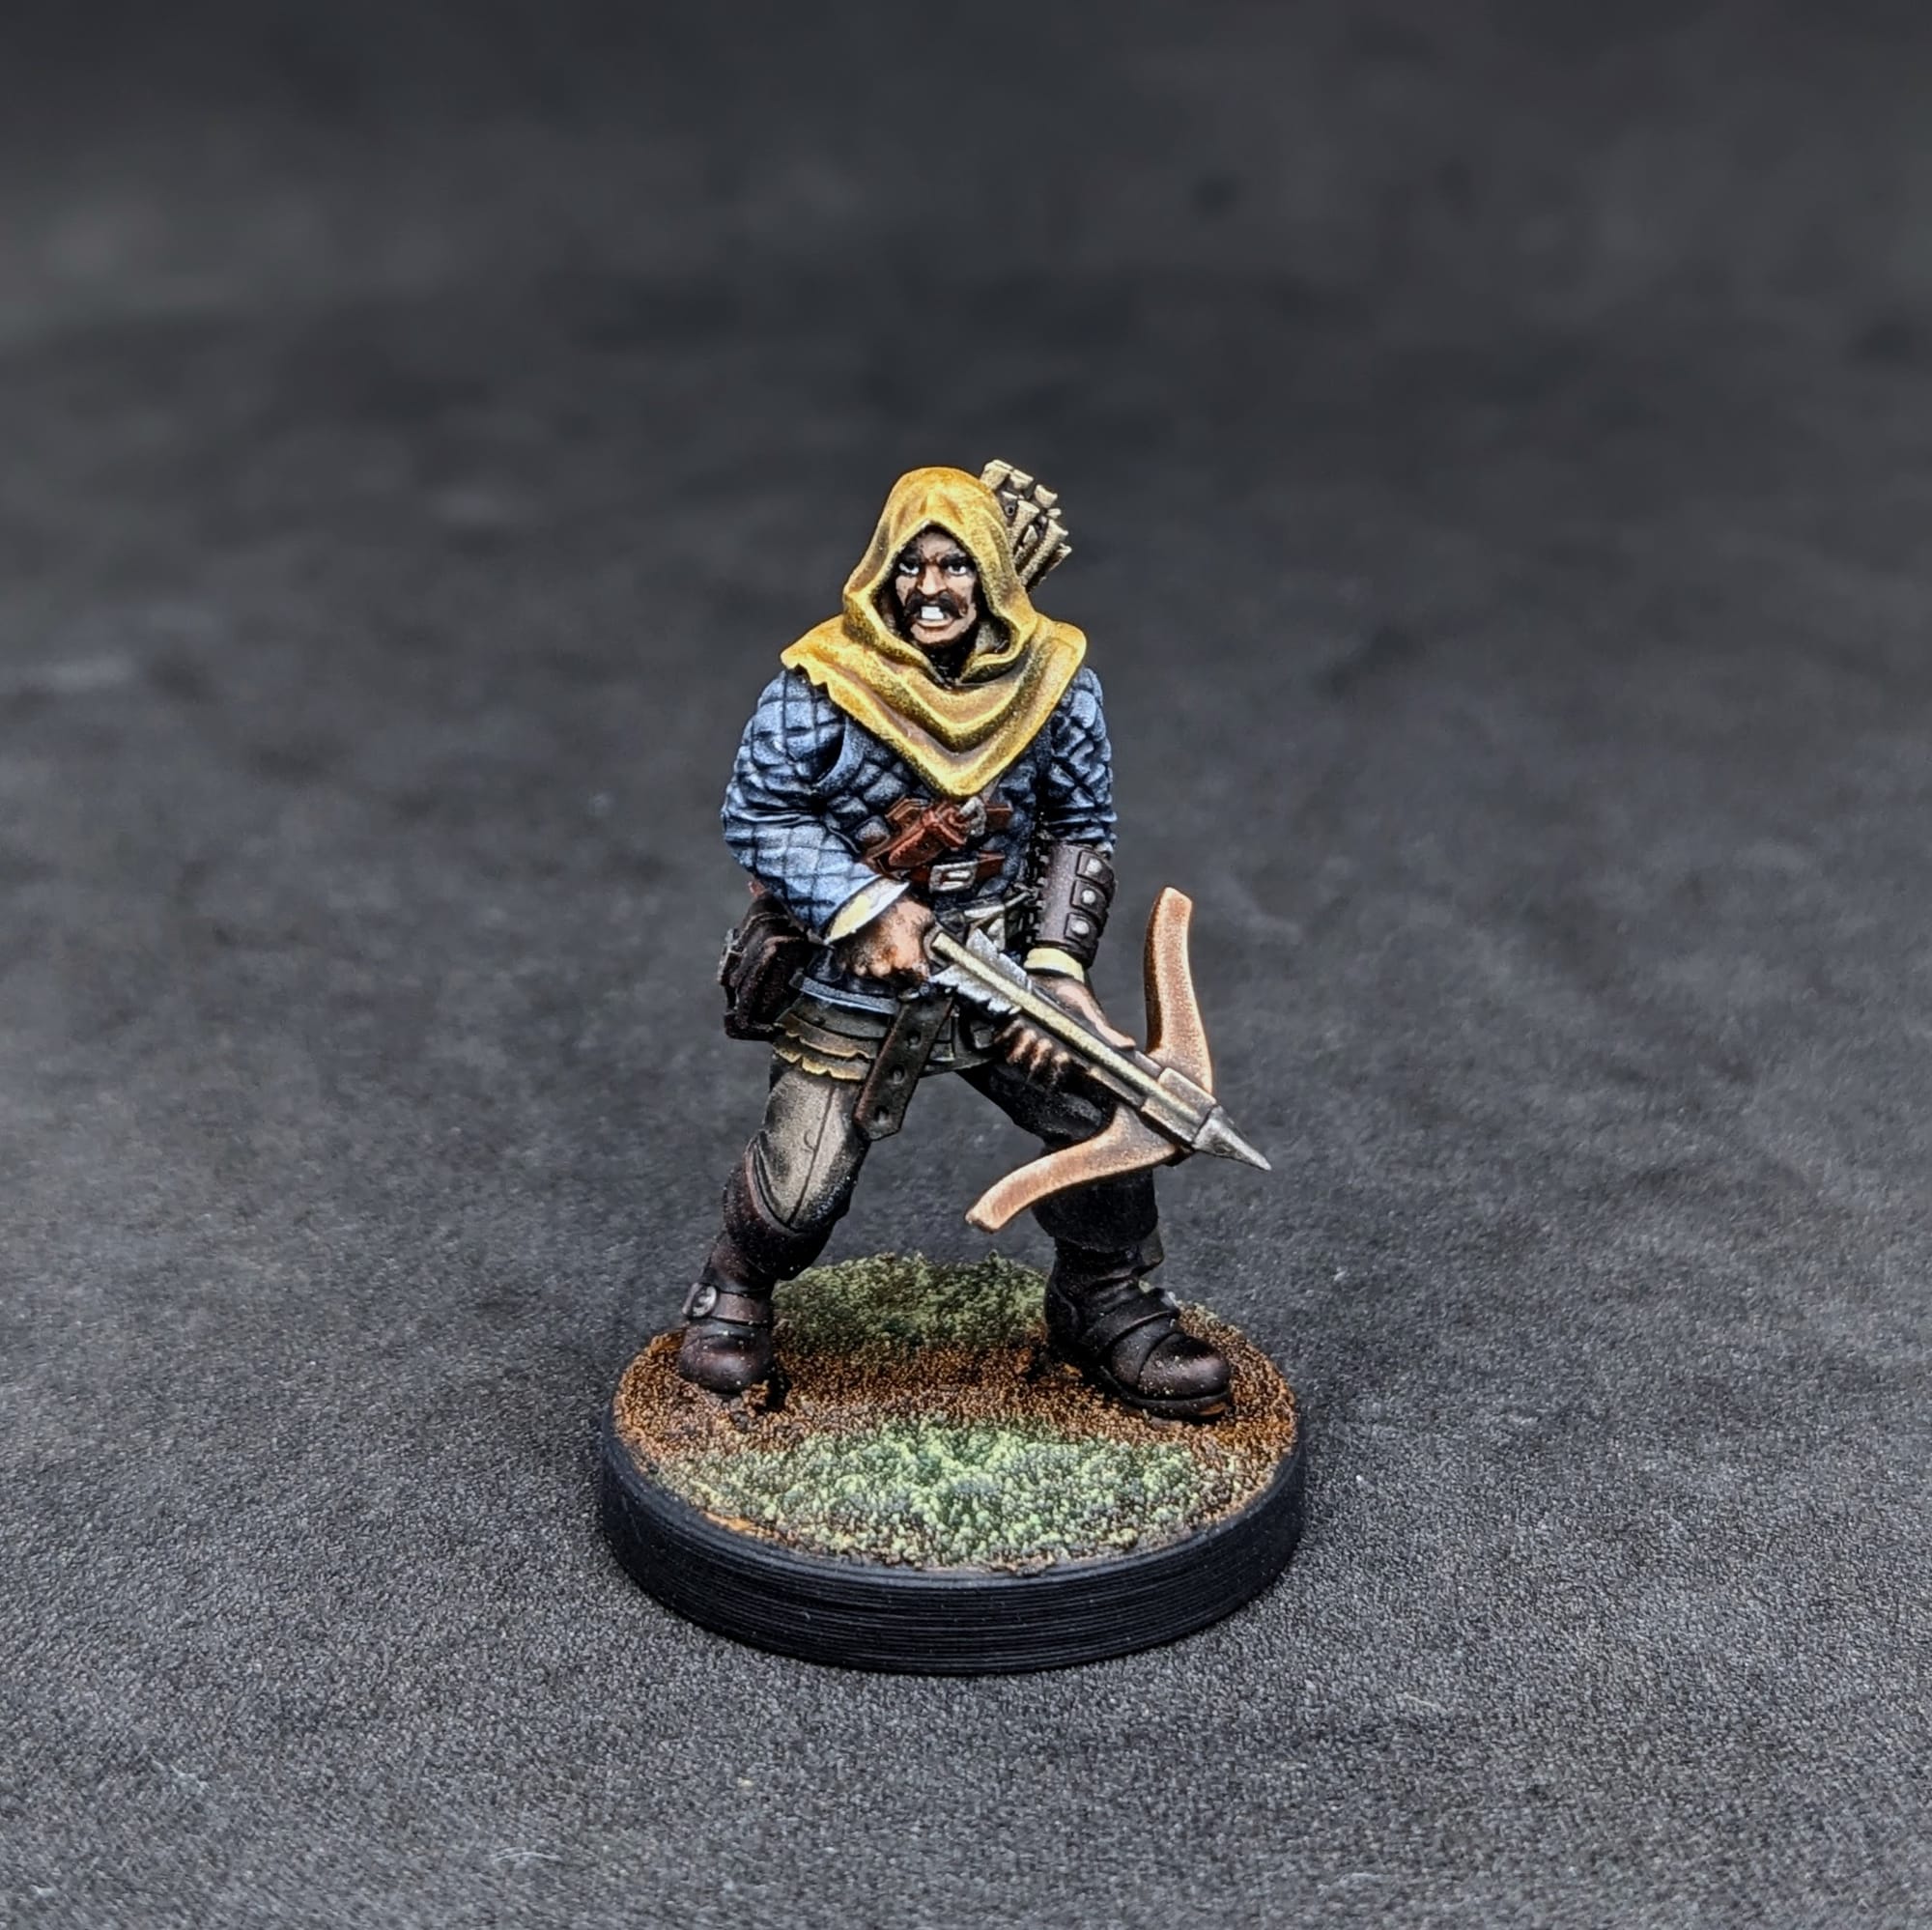
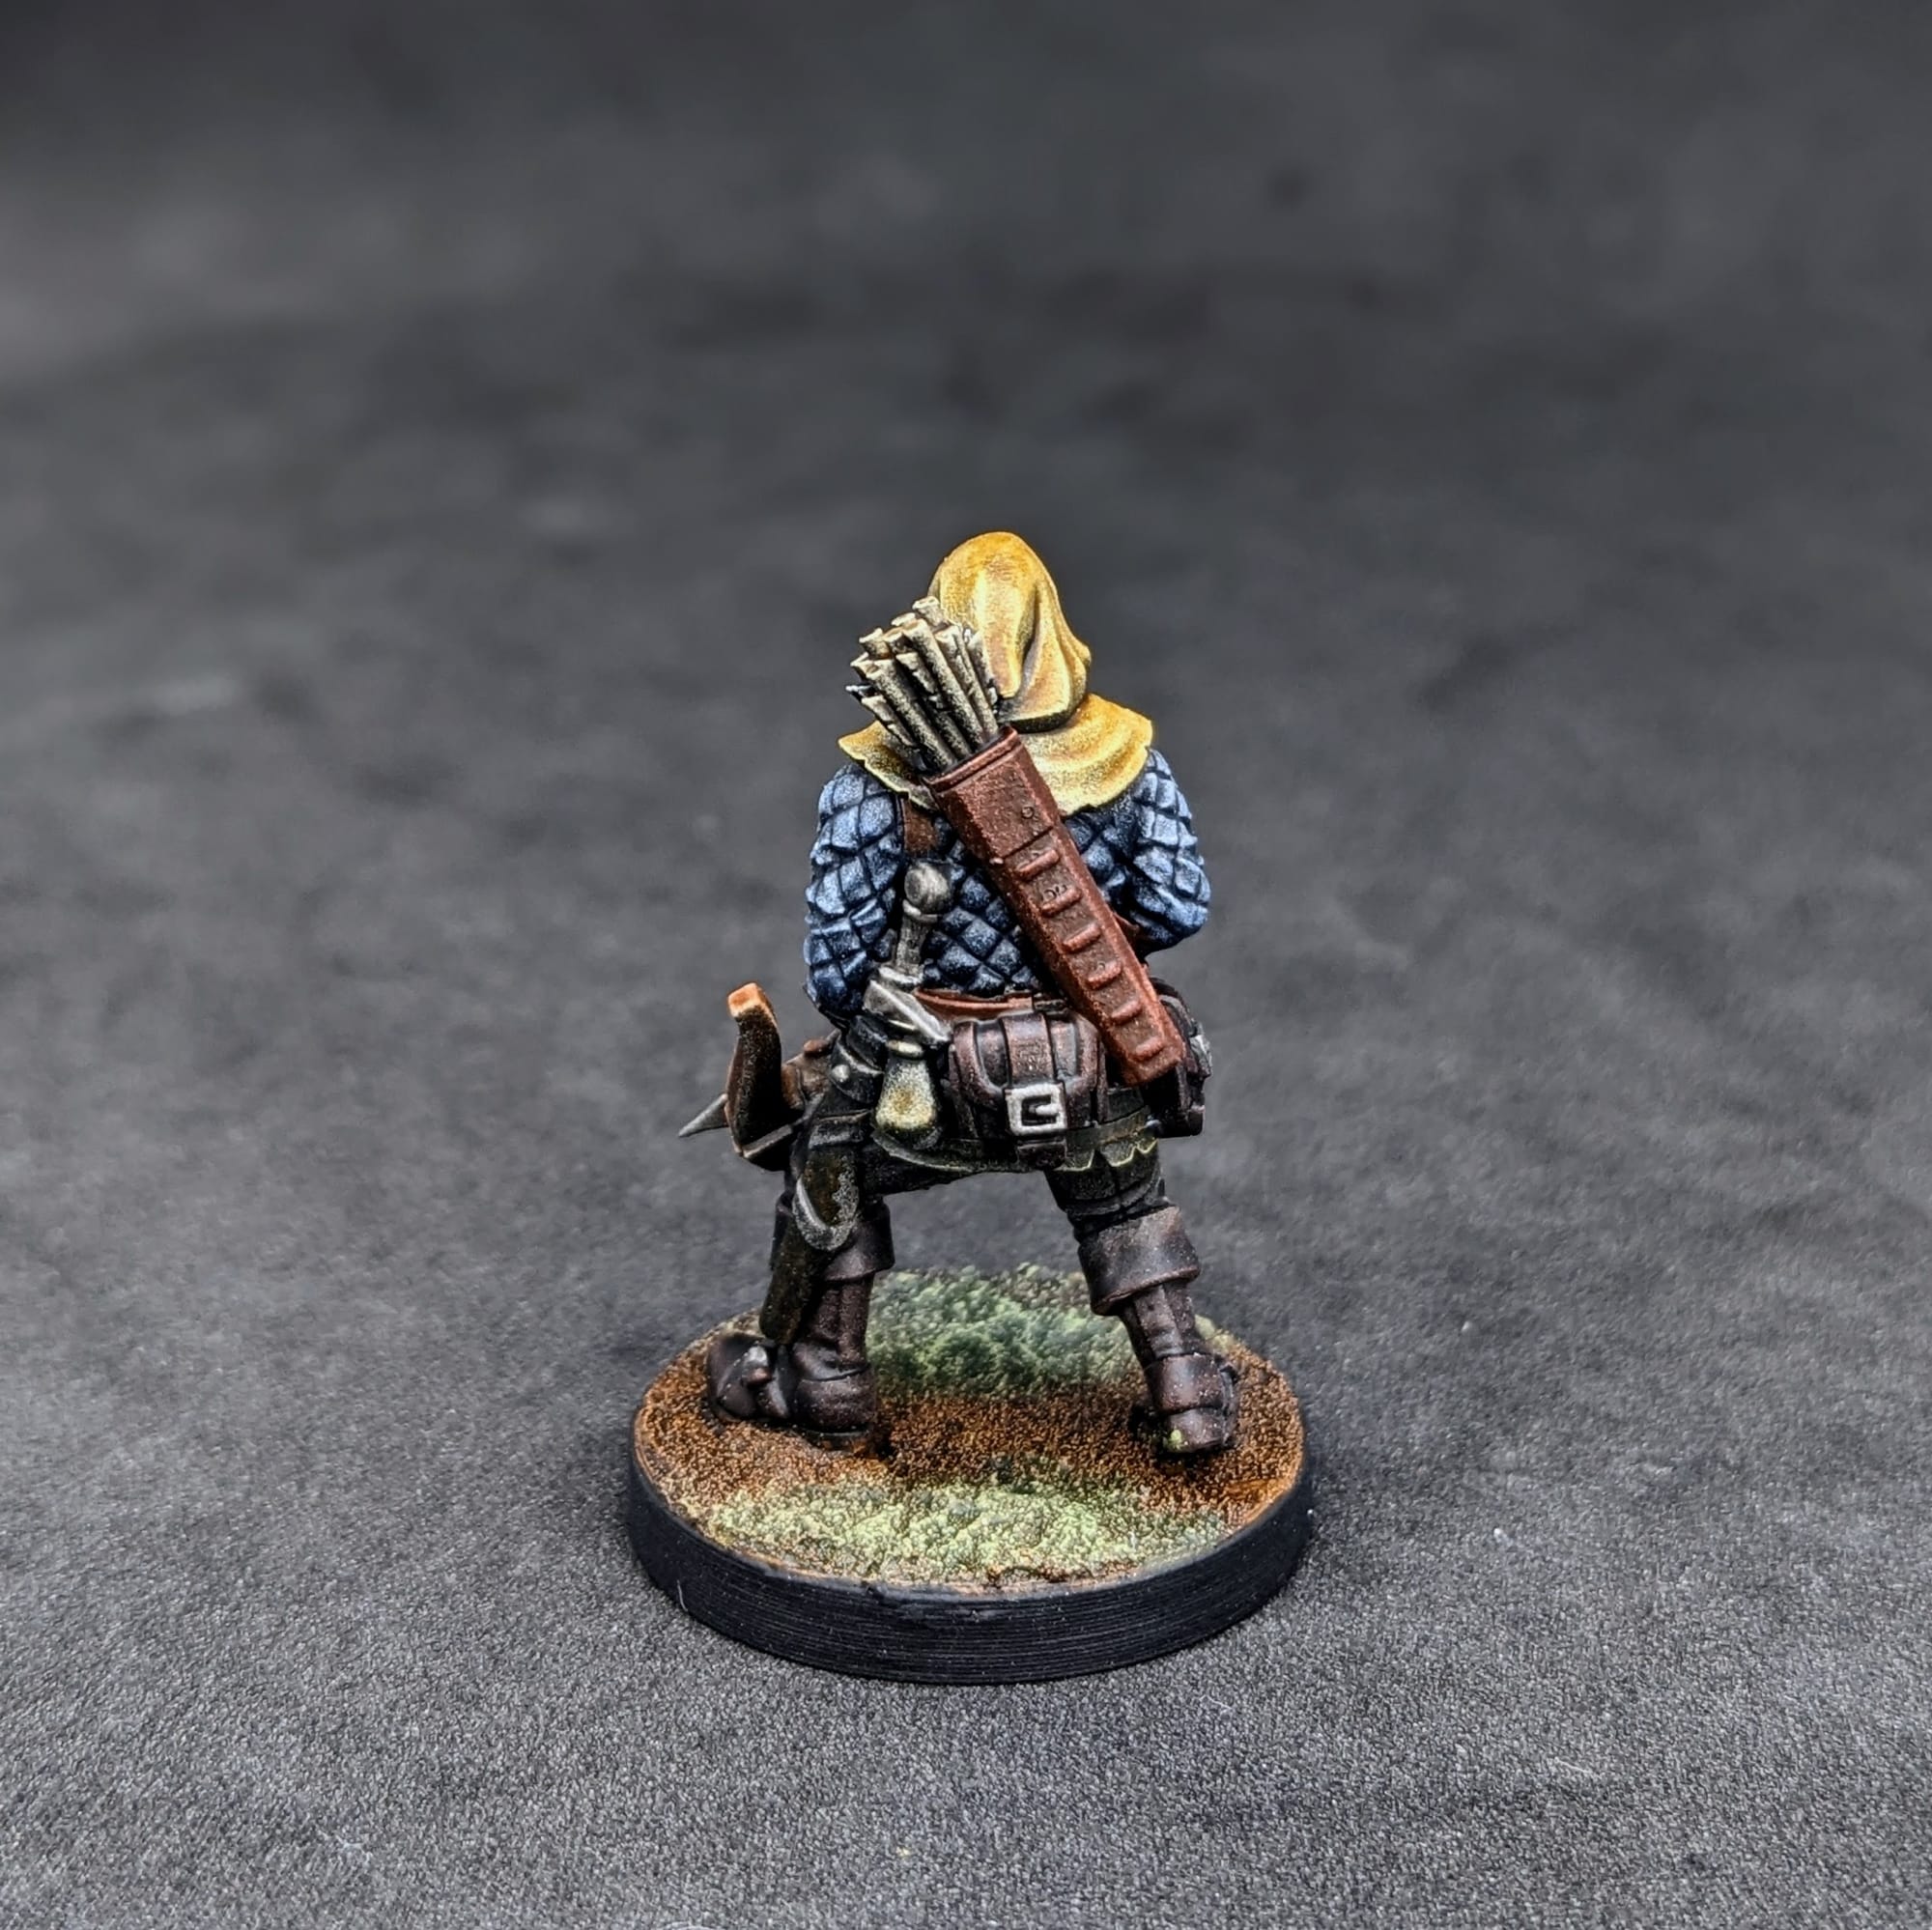
Dutiful Soldier/Gruff Captain: Citadel Wyldwood Contrast, Citadel Black Legion Contrast, Citadel Ratling Grime Contrast, Citadel Skeleton Horde Contrast, Citadel Cygor Brown Contrast.
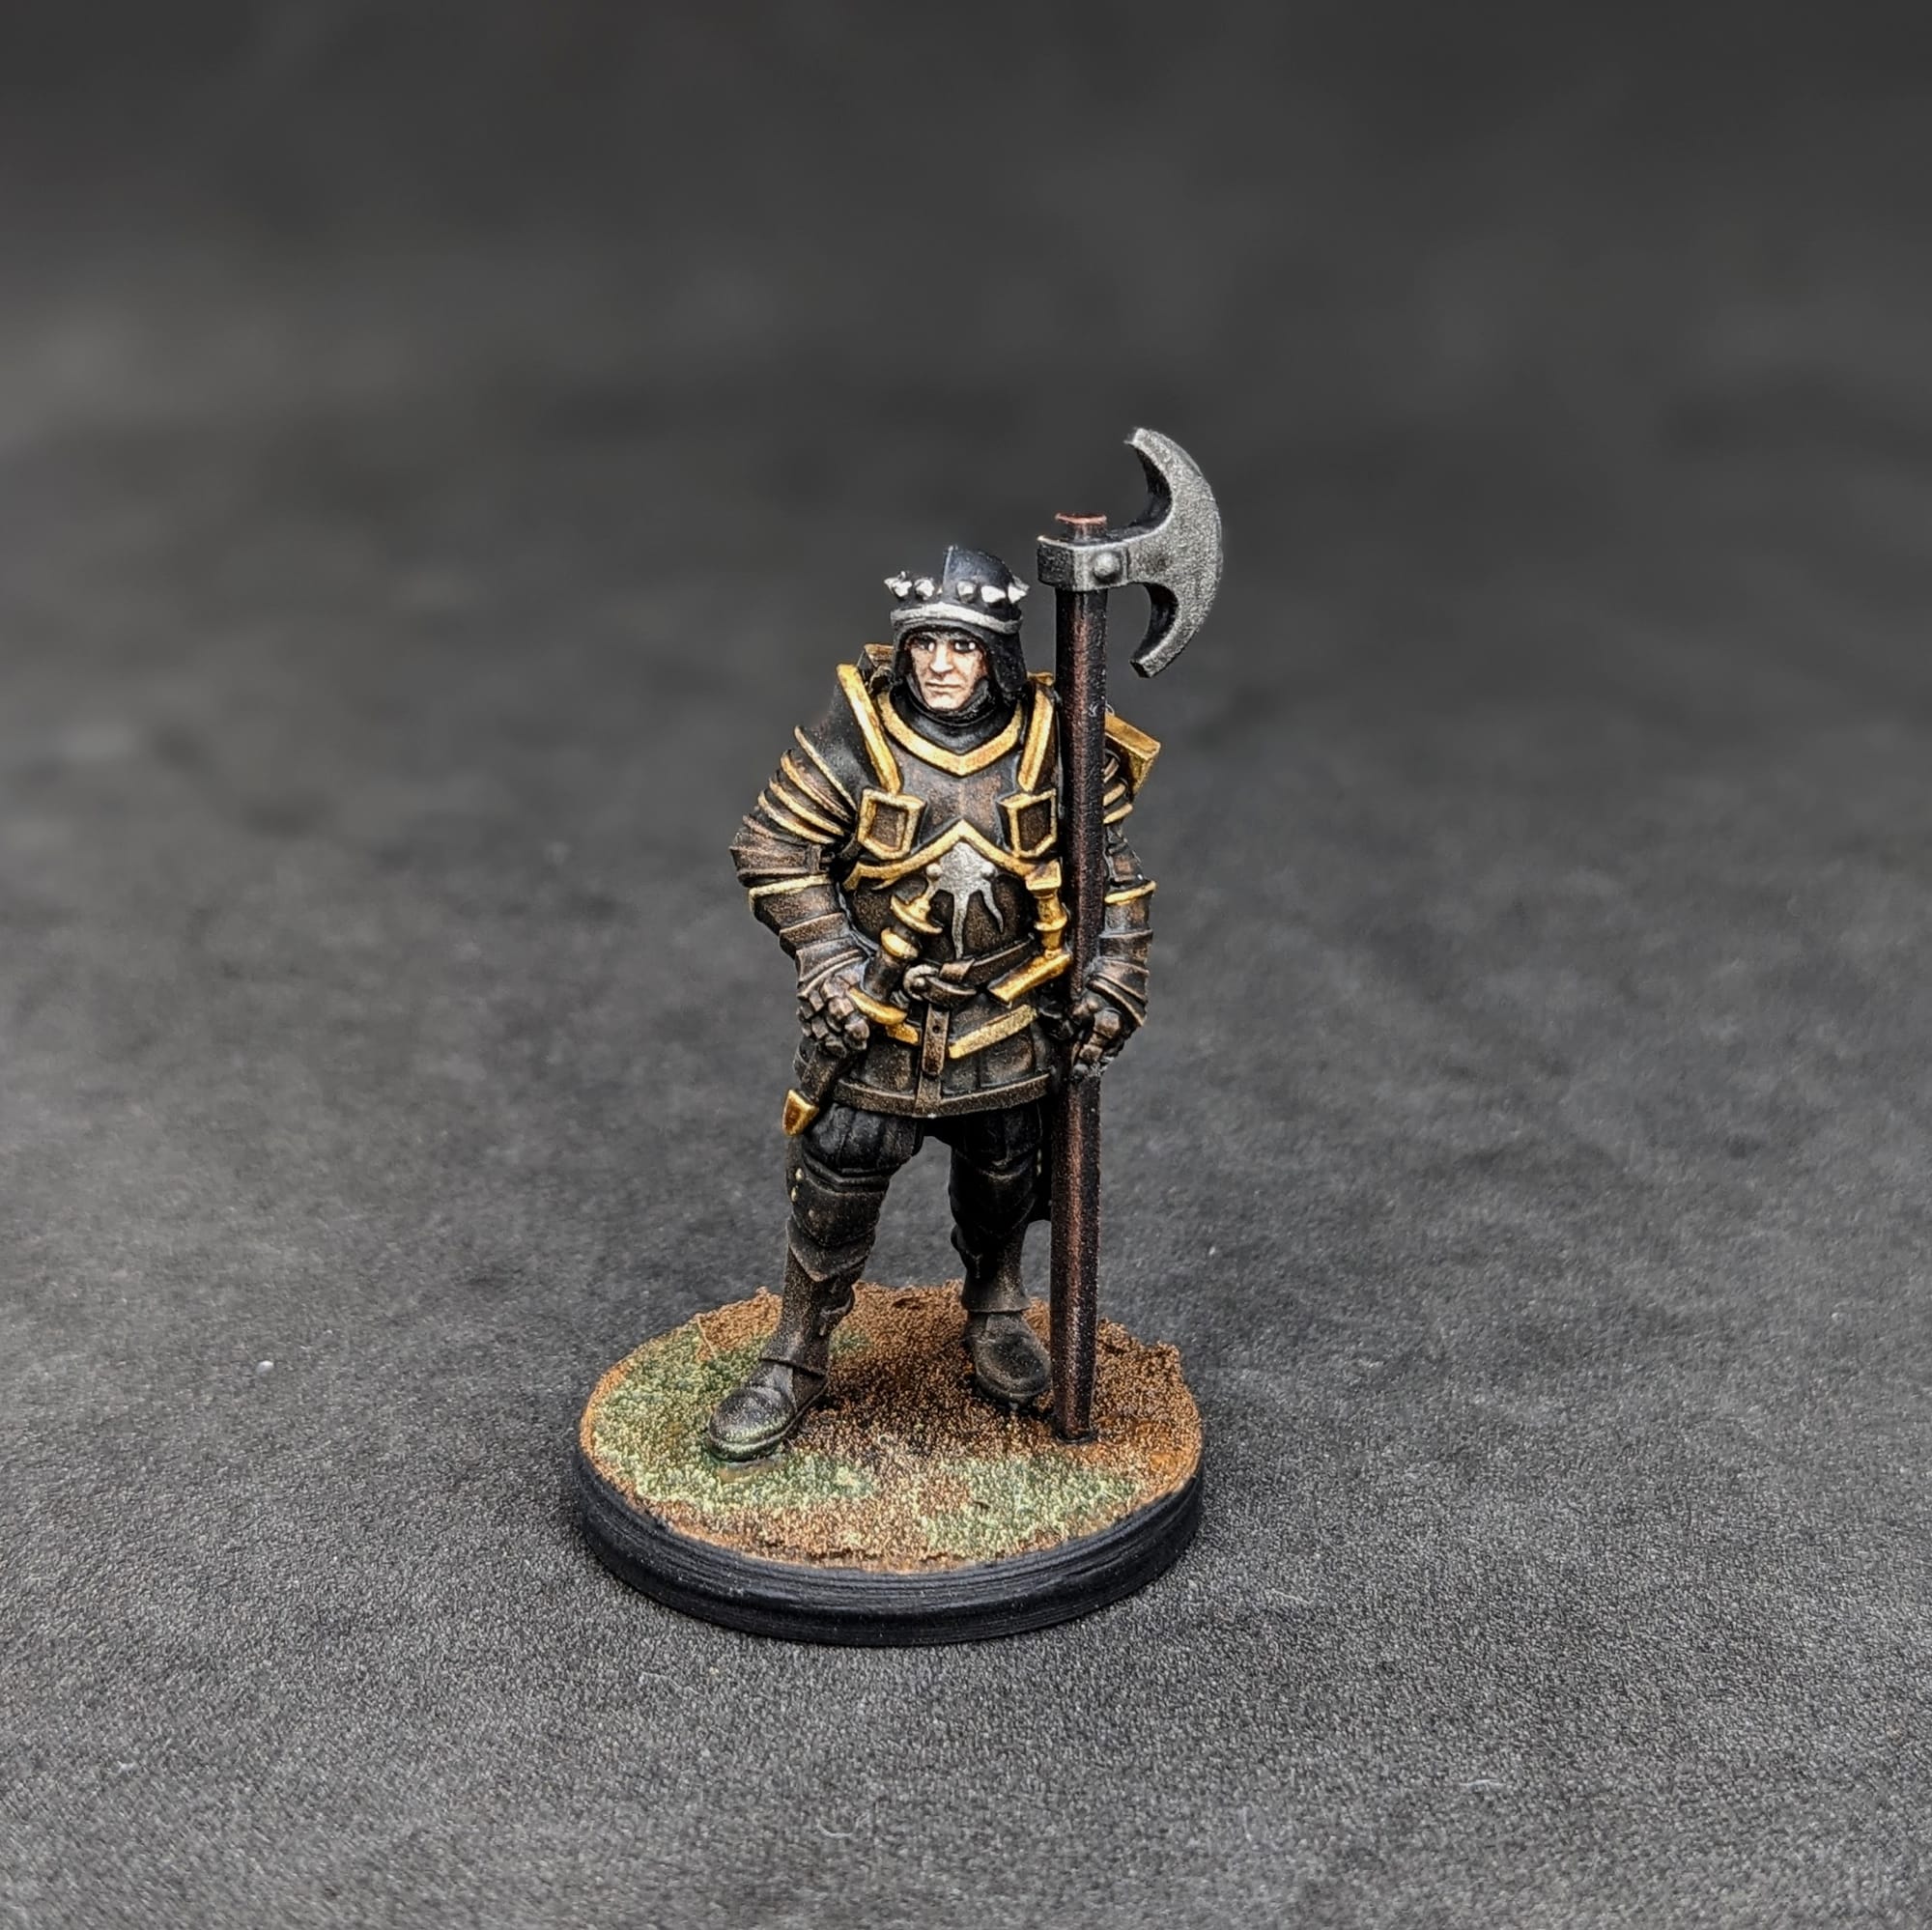
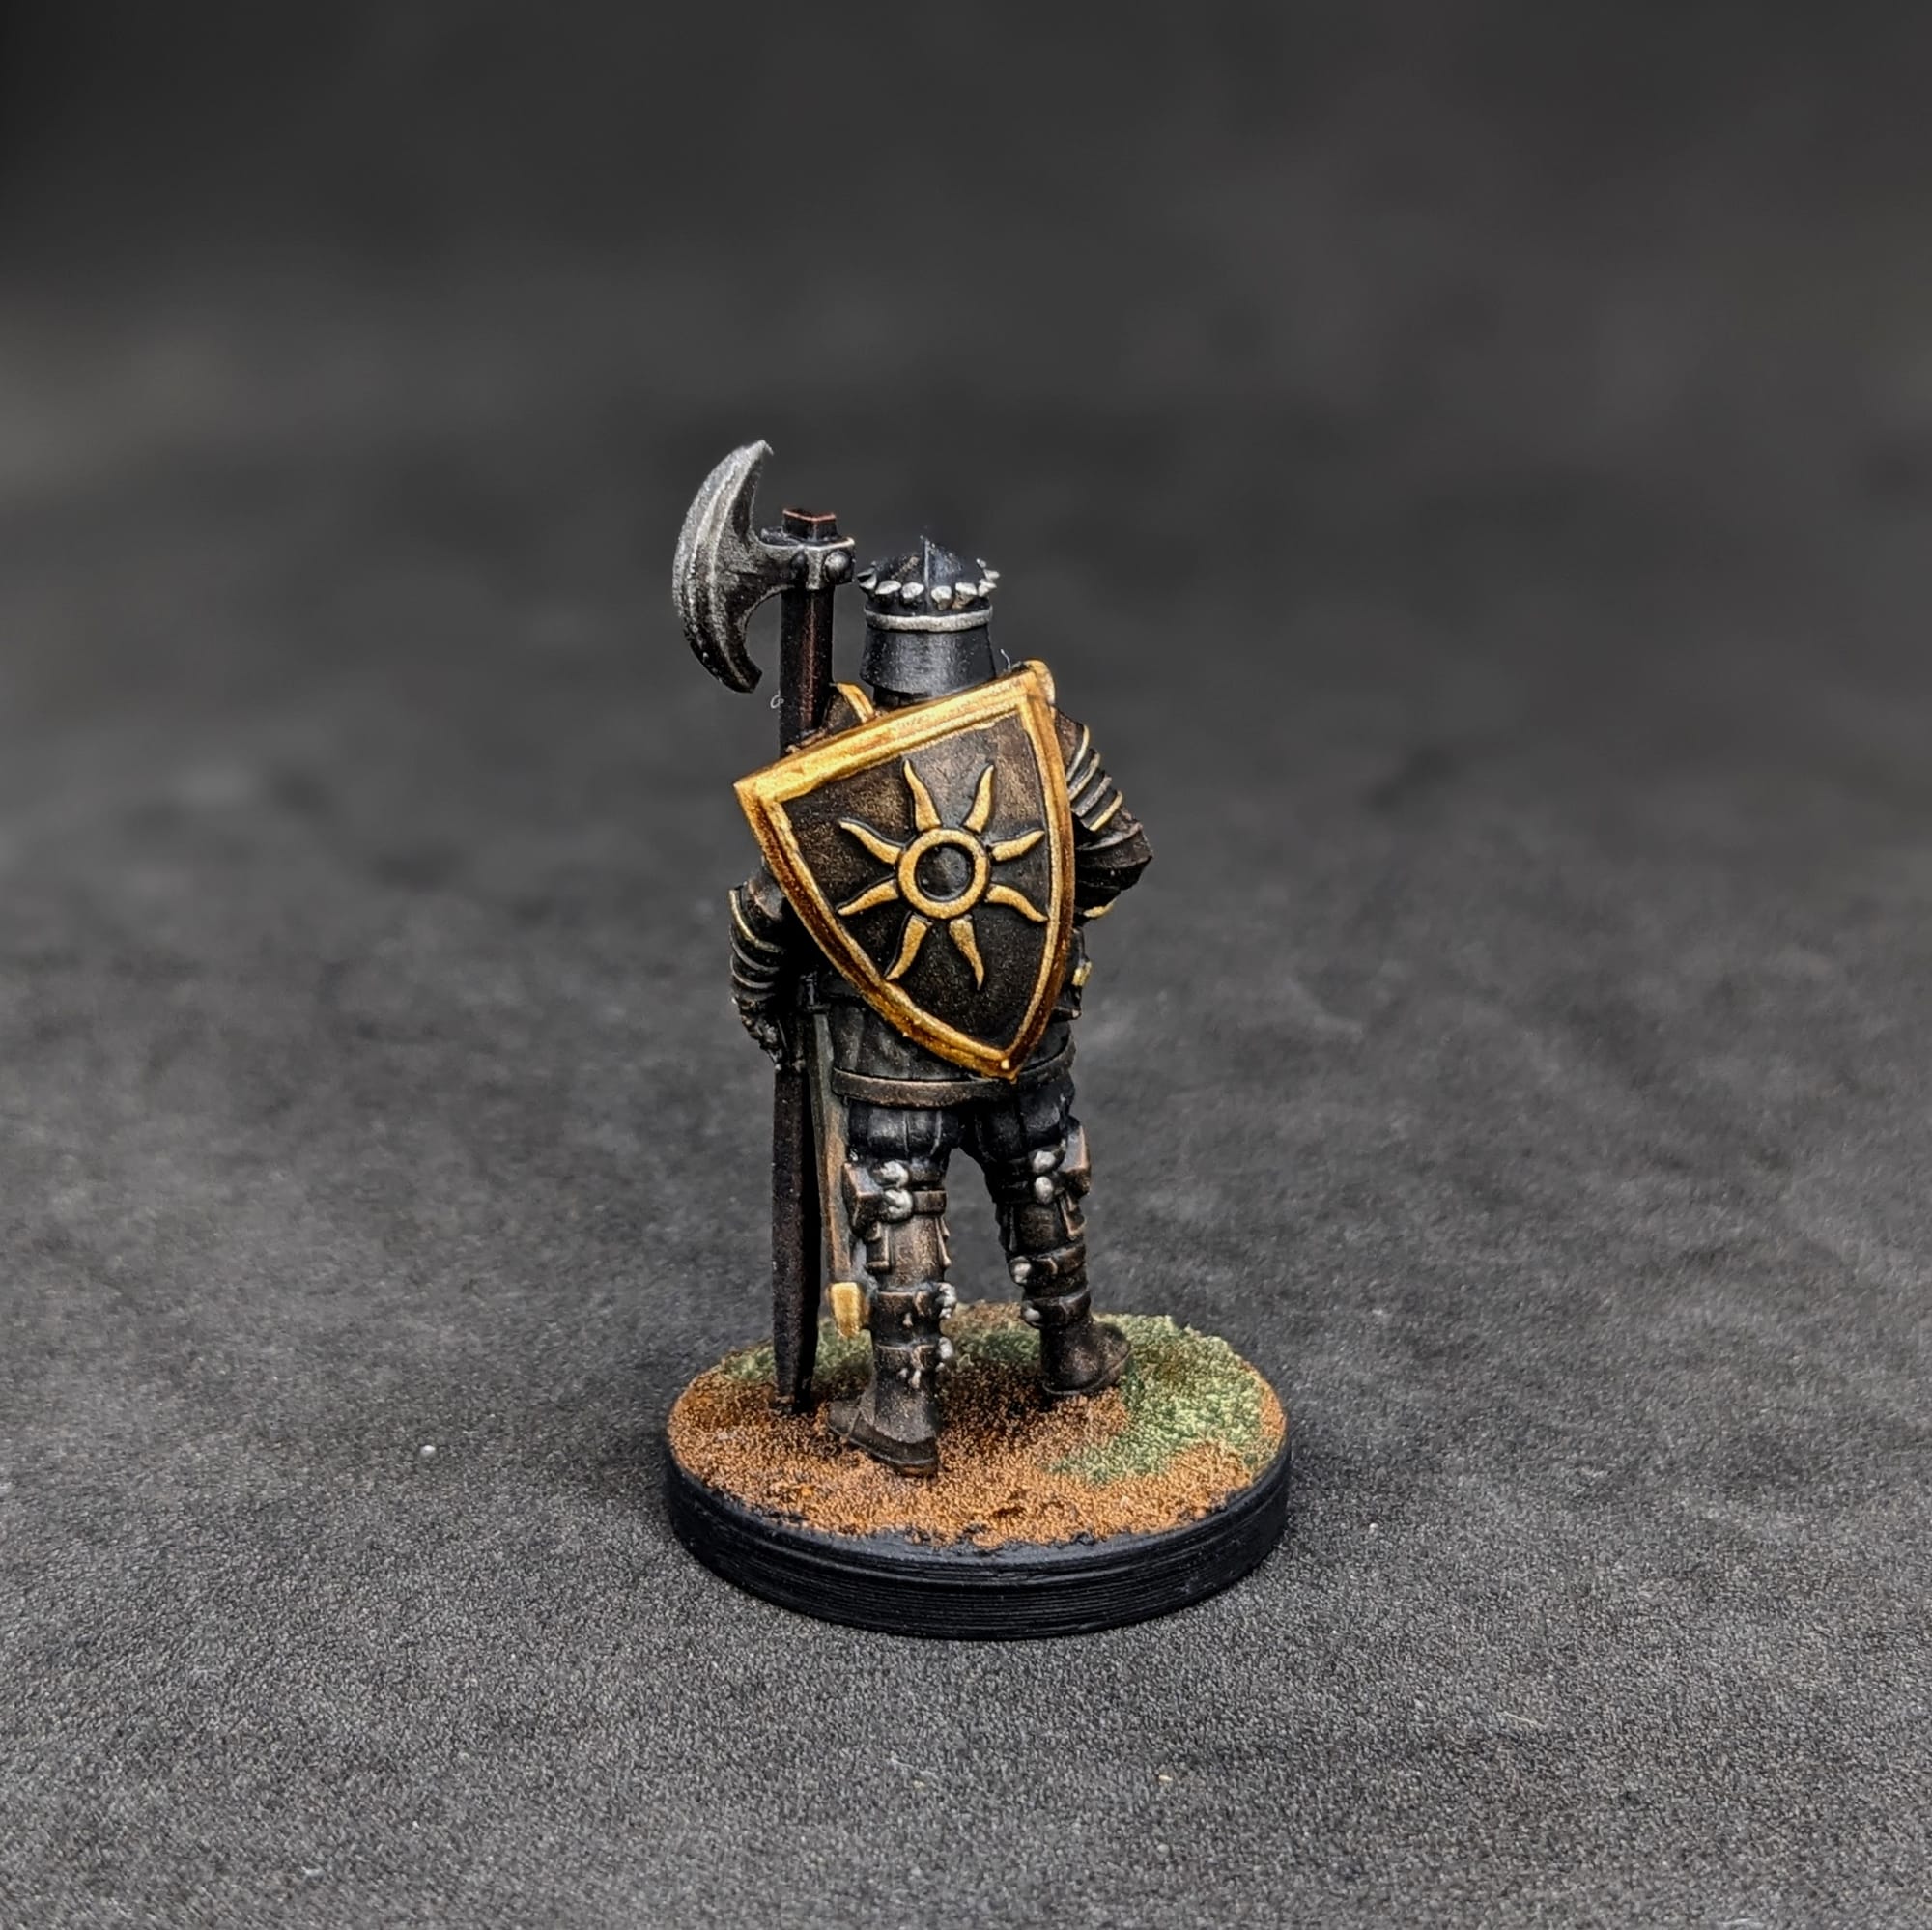
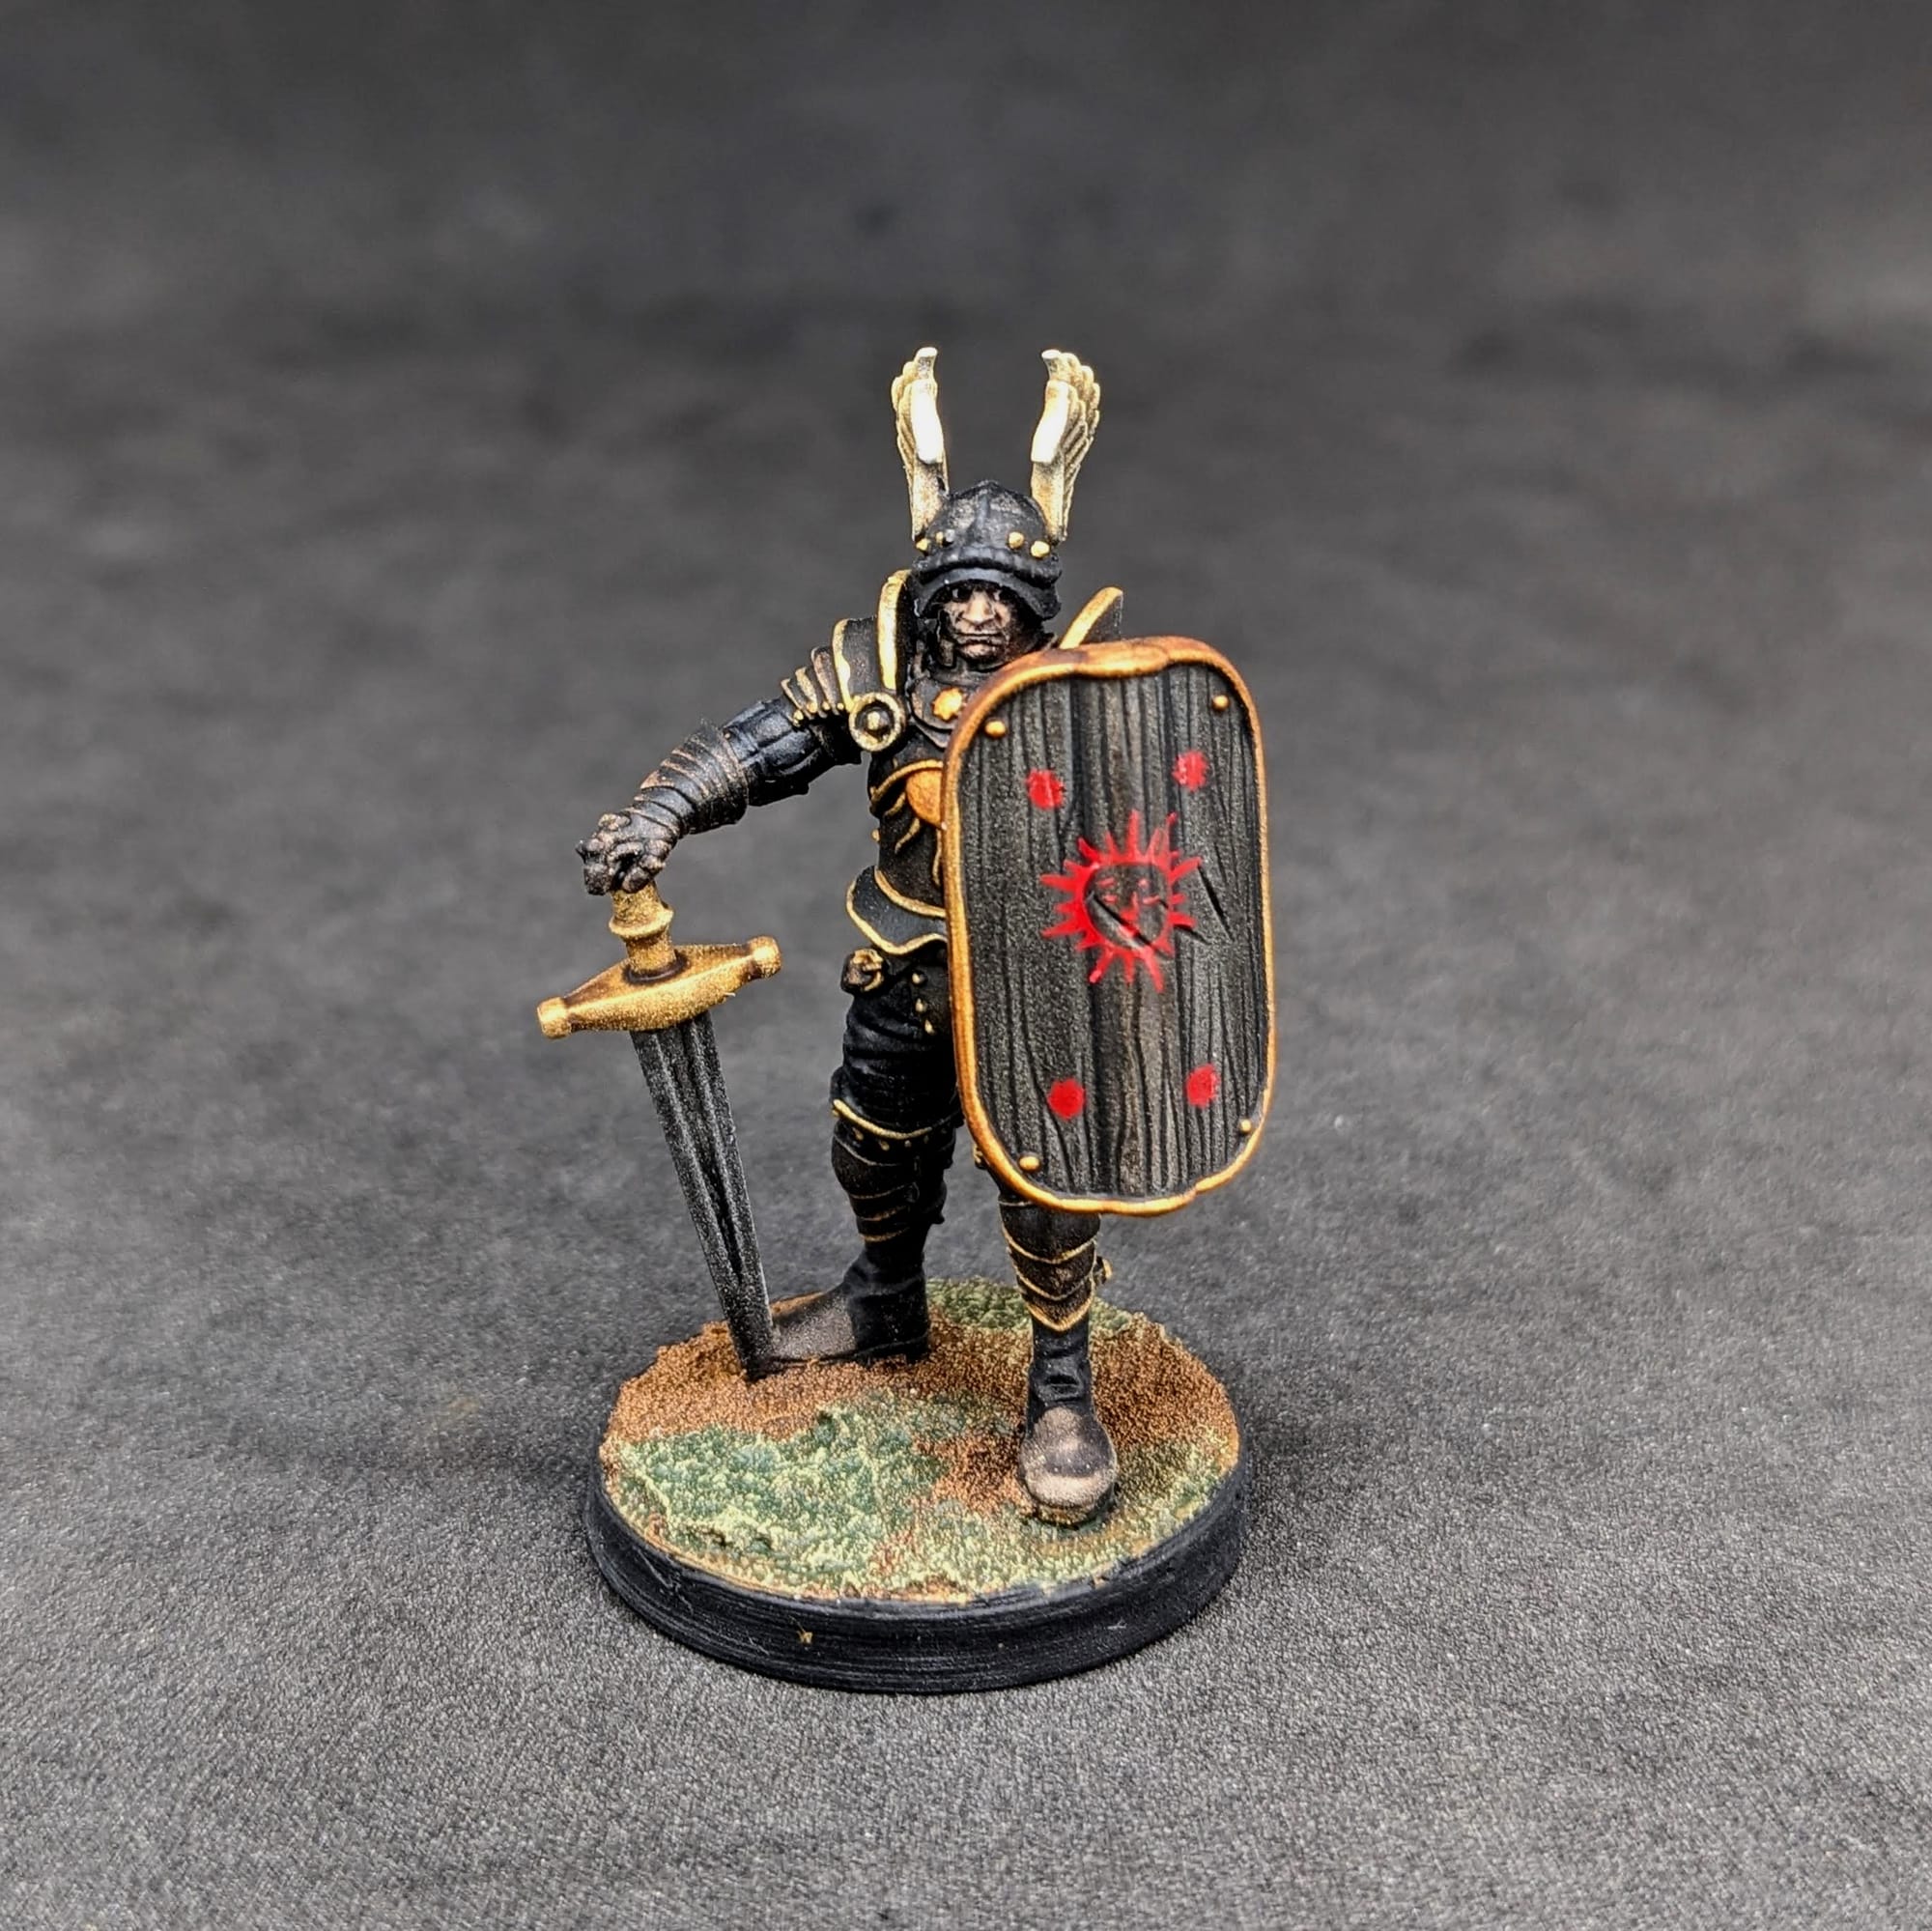
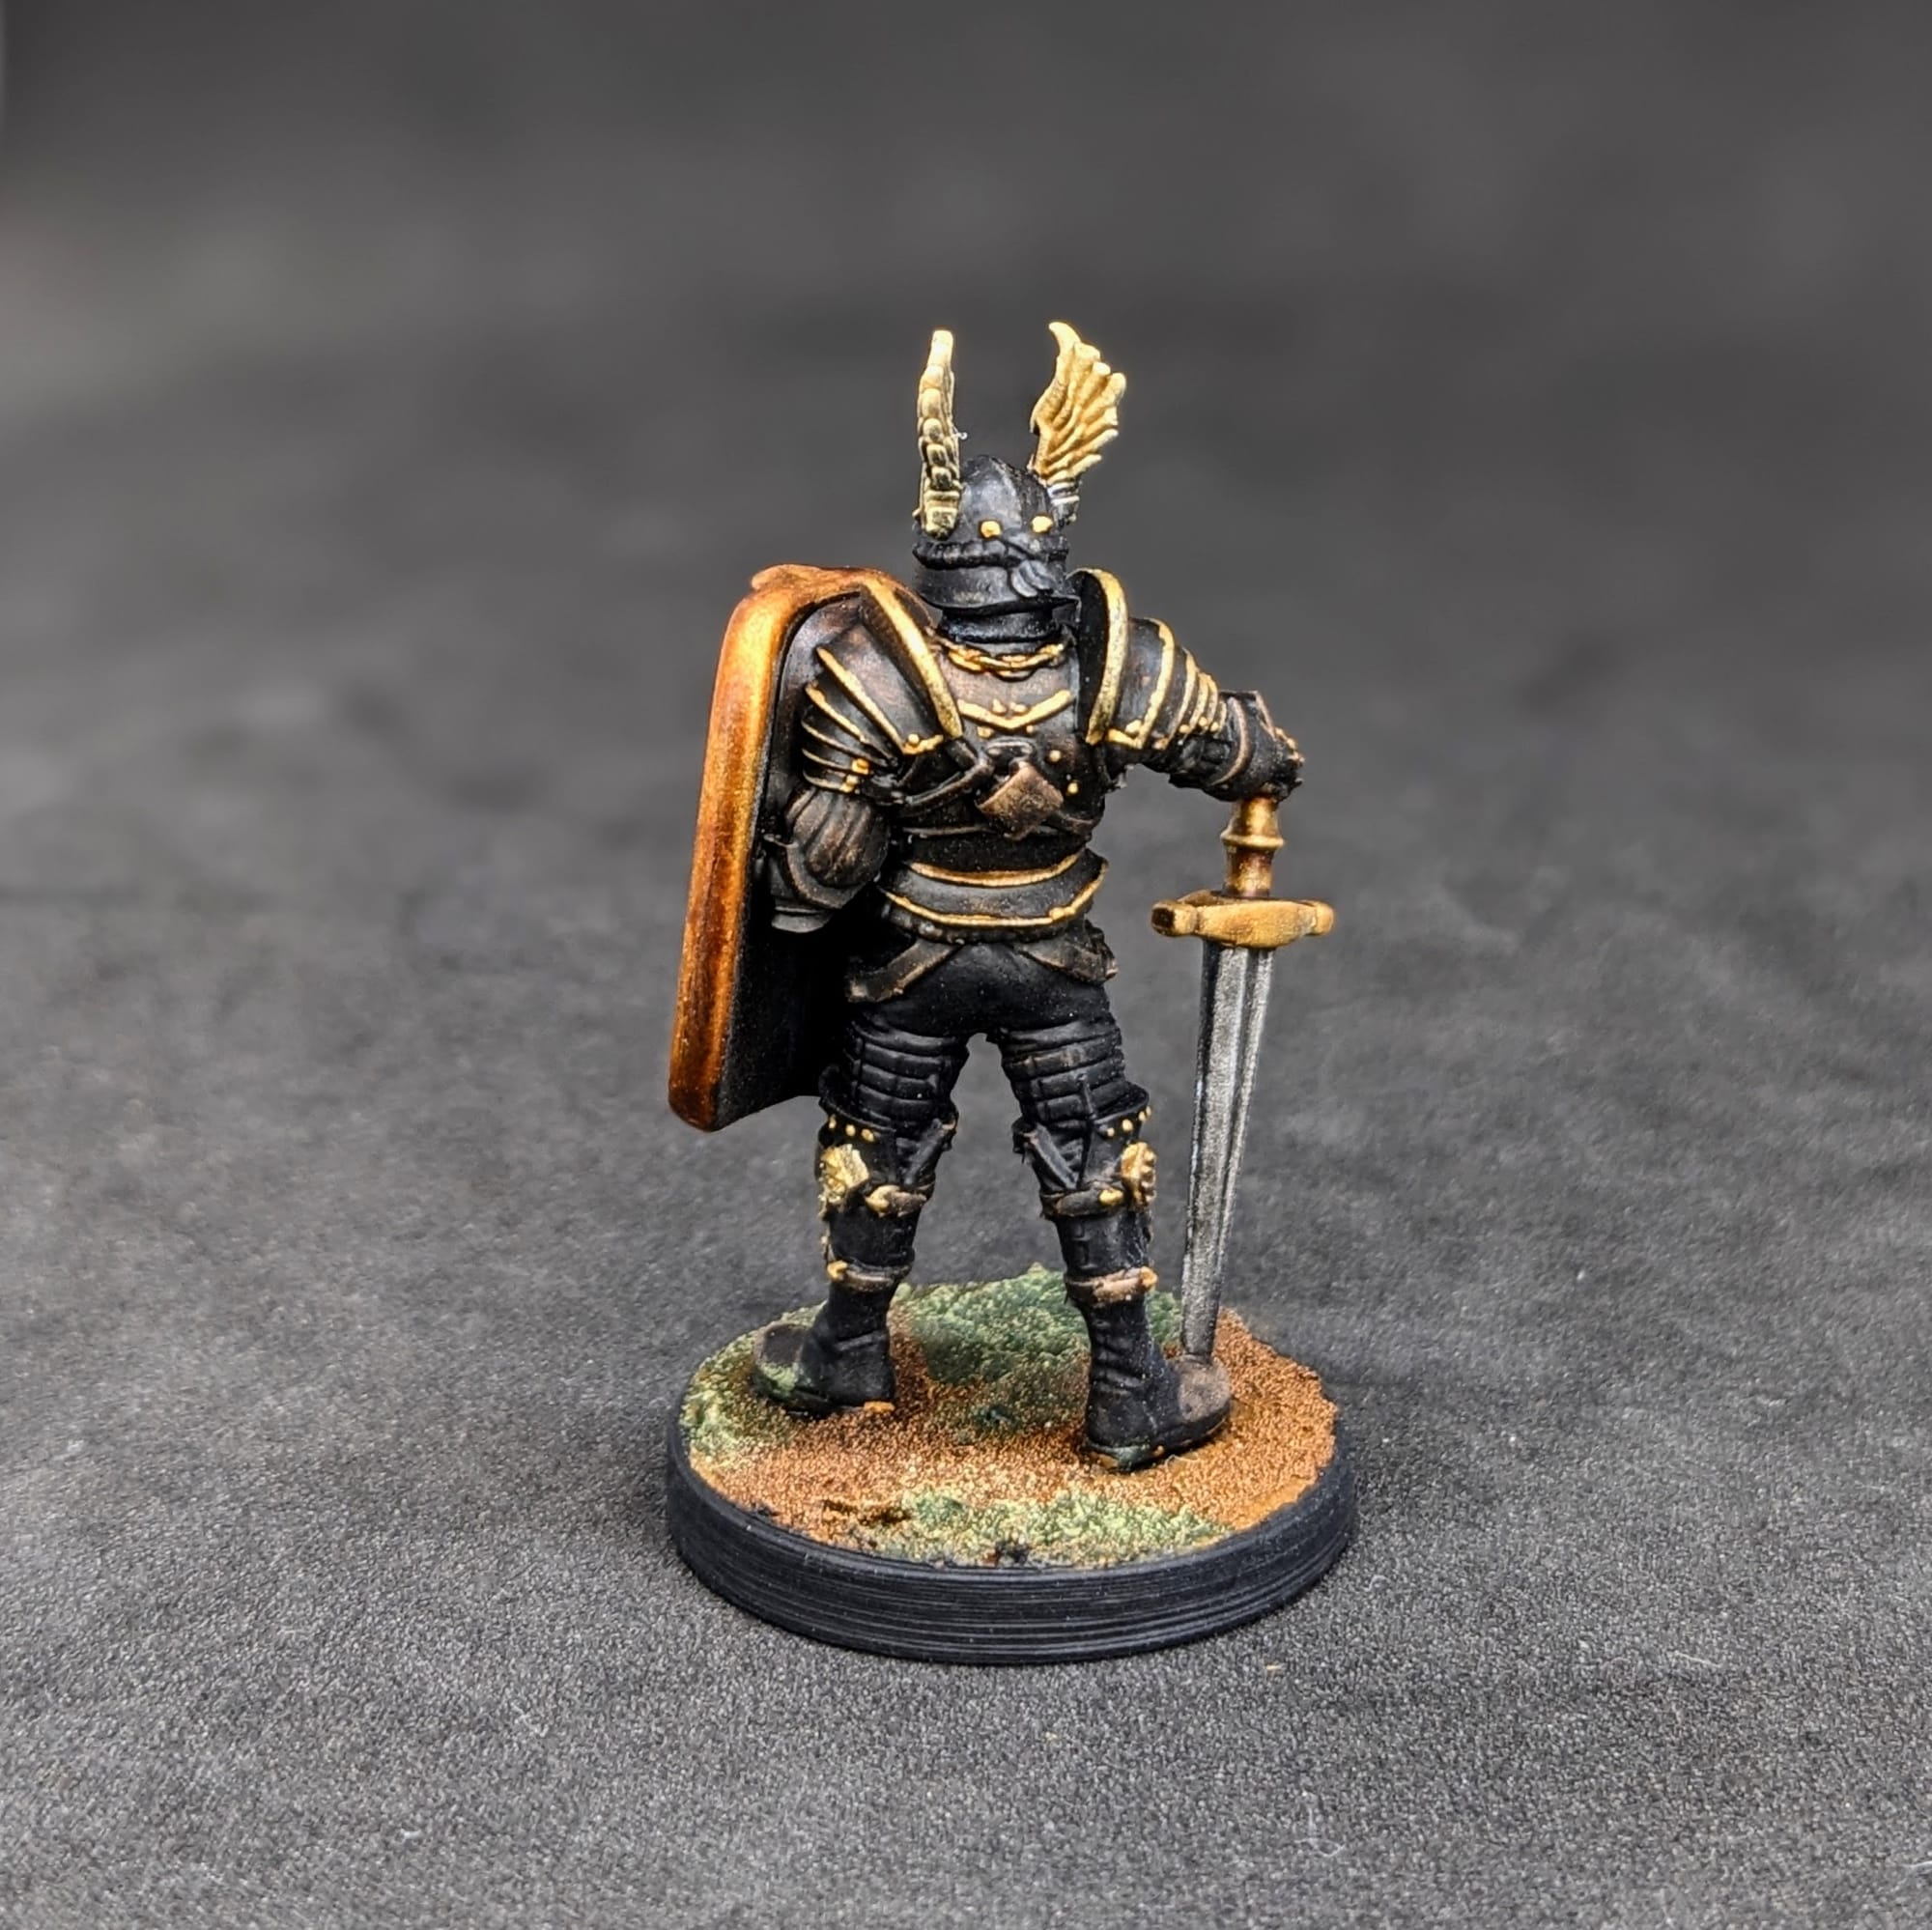
Witcher Monsters' Paints
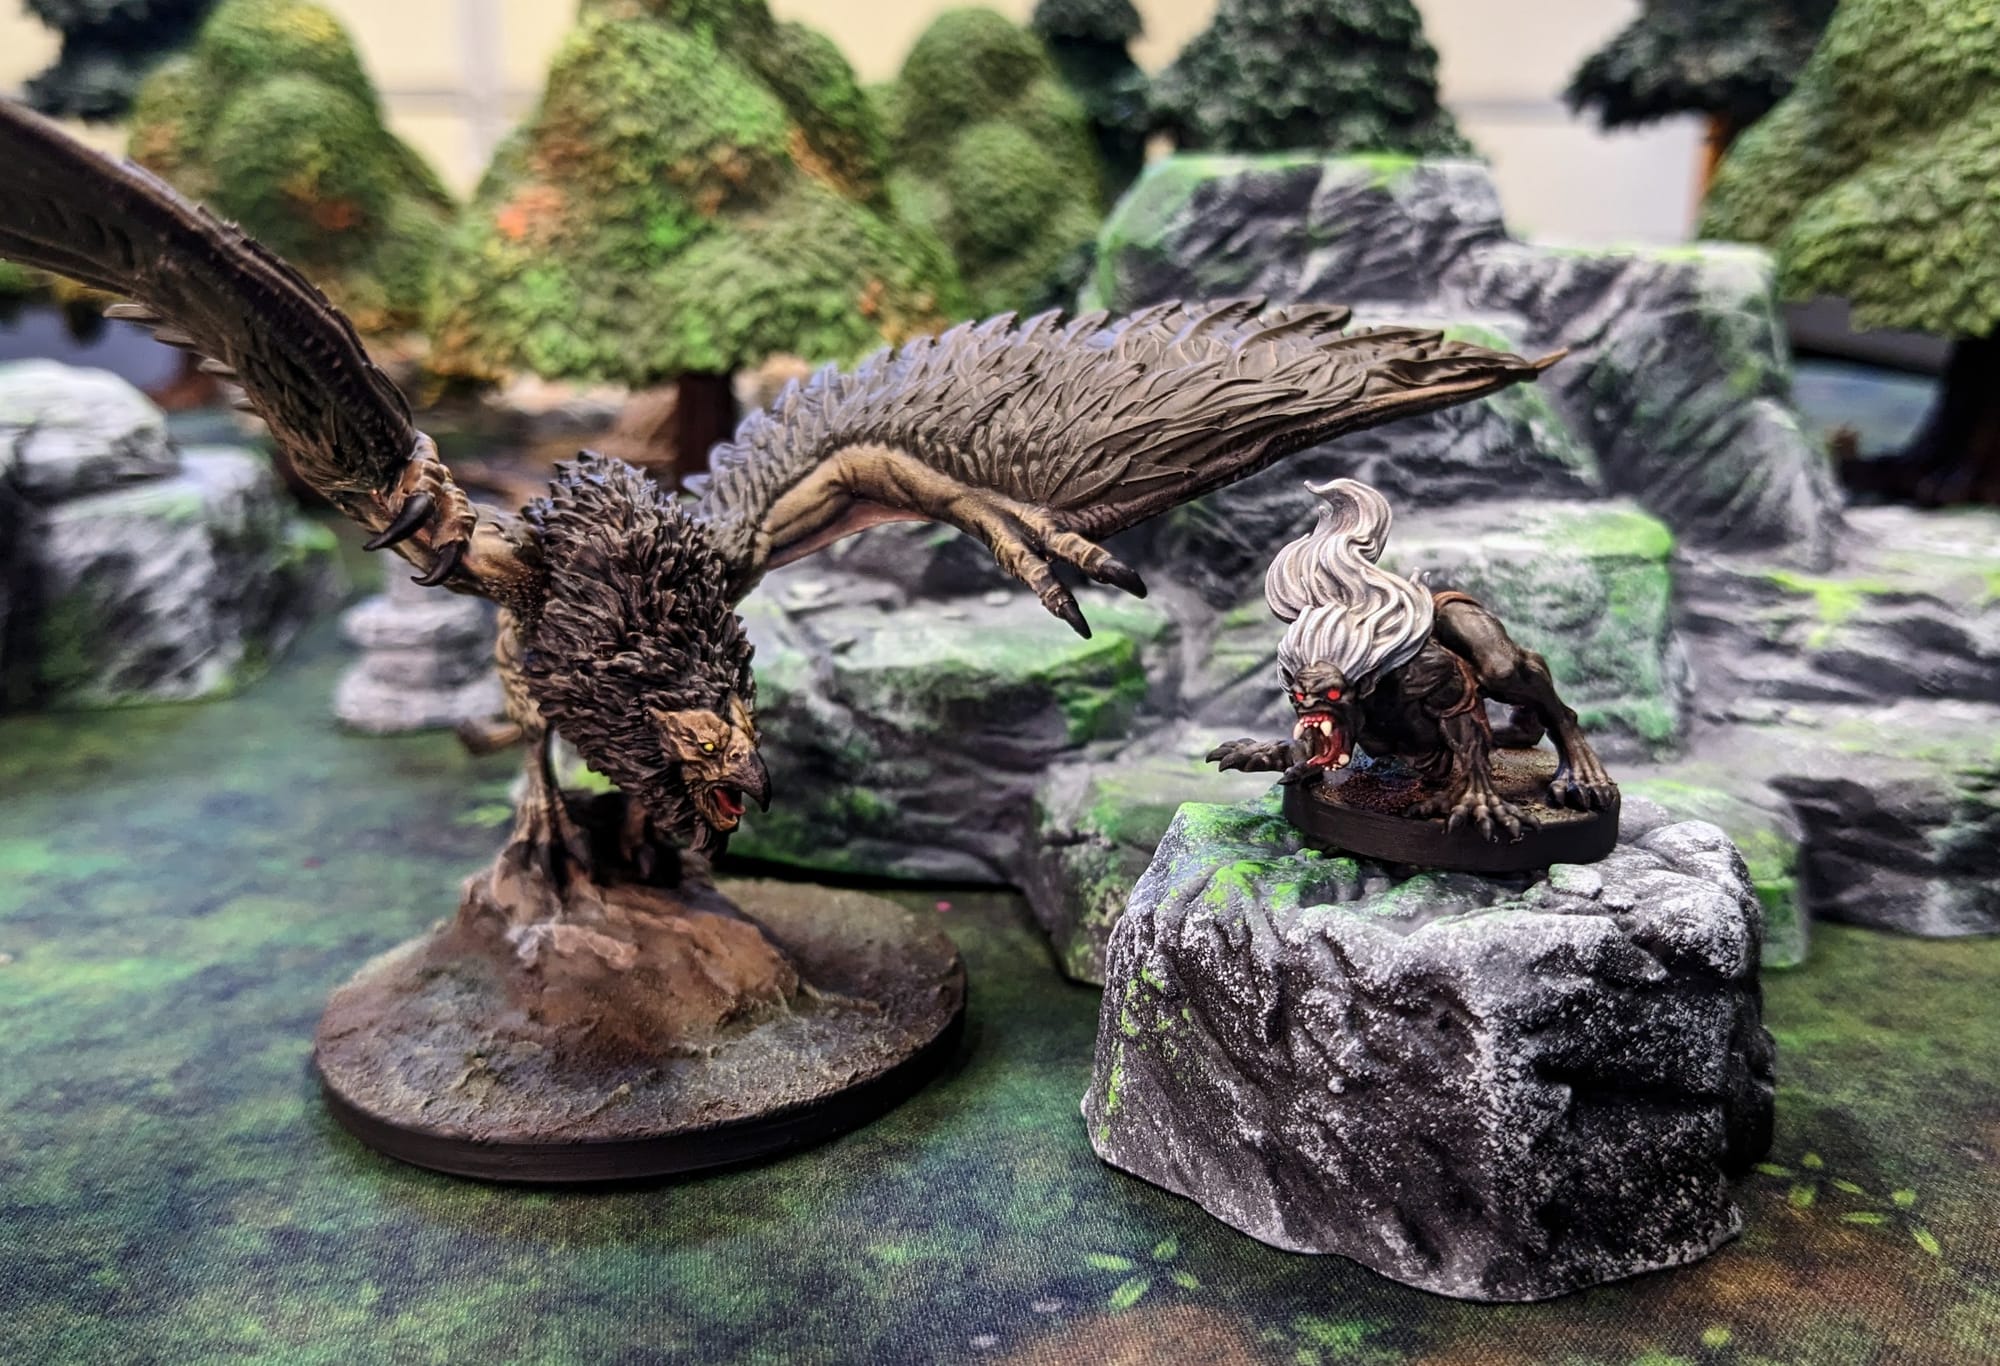
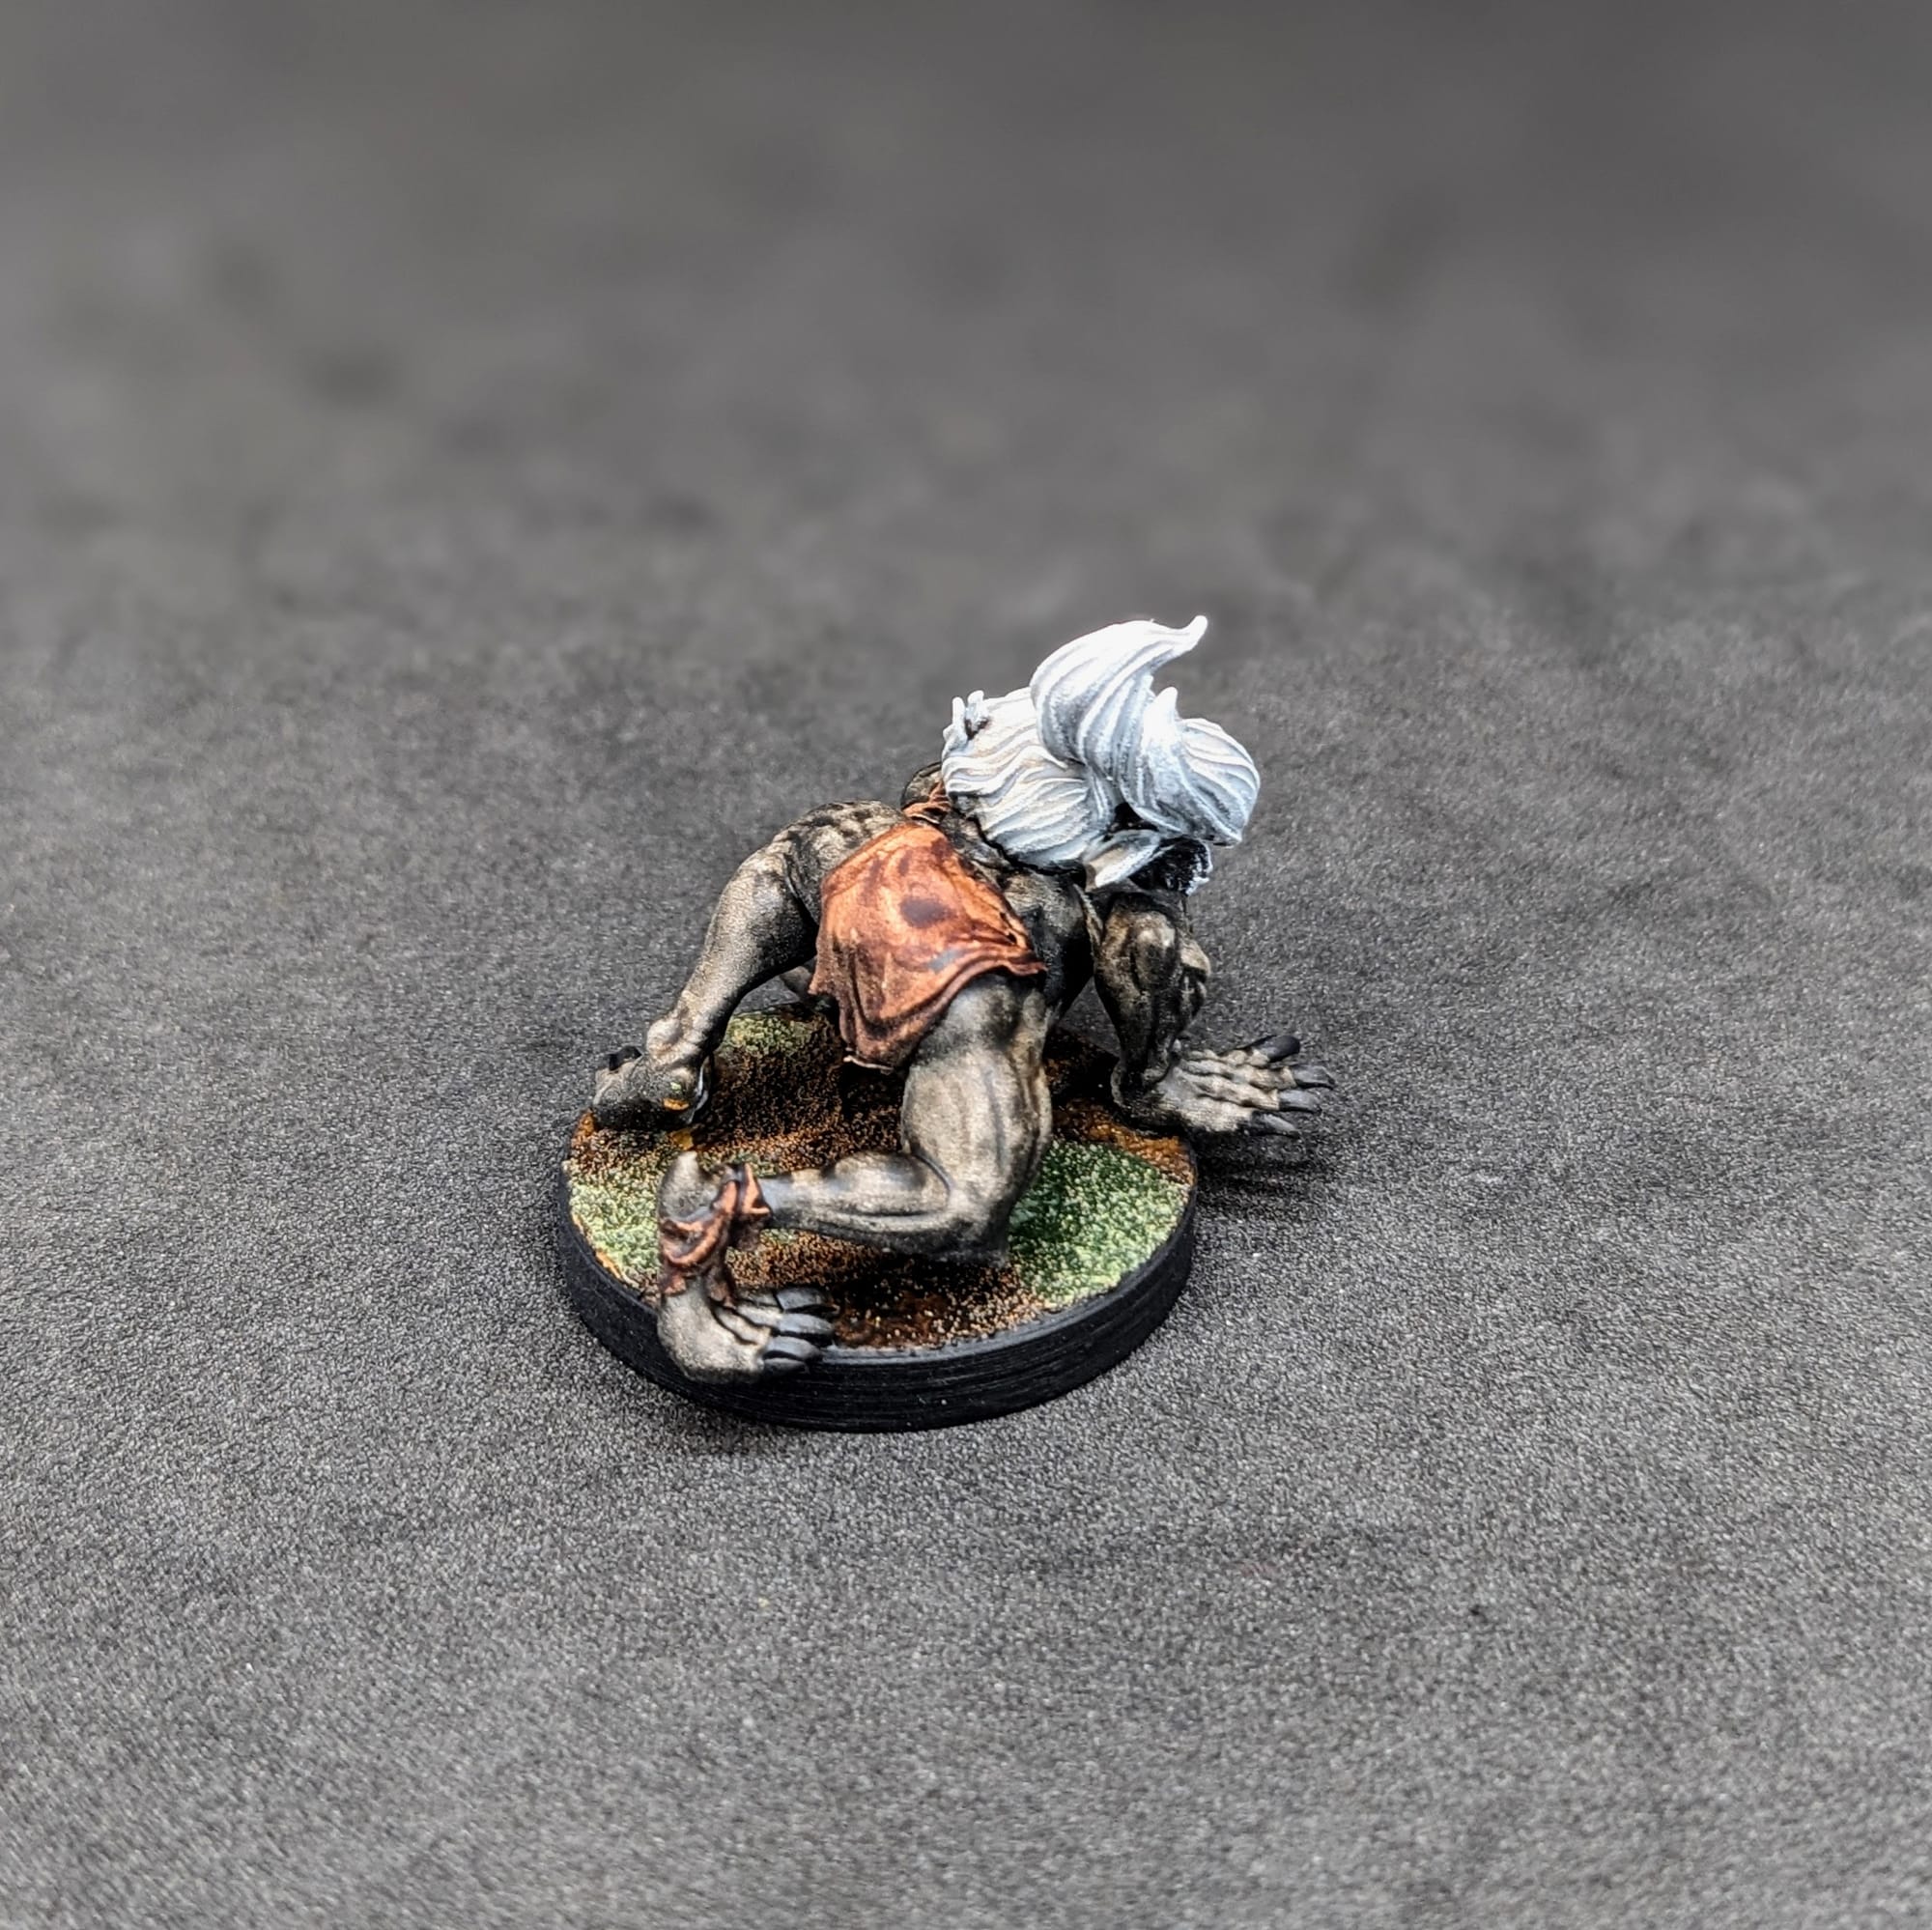
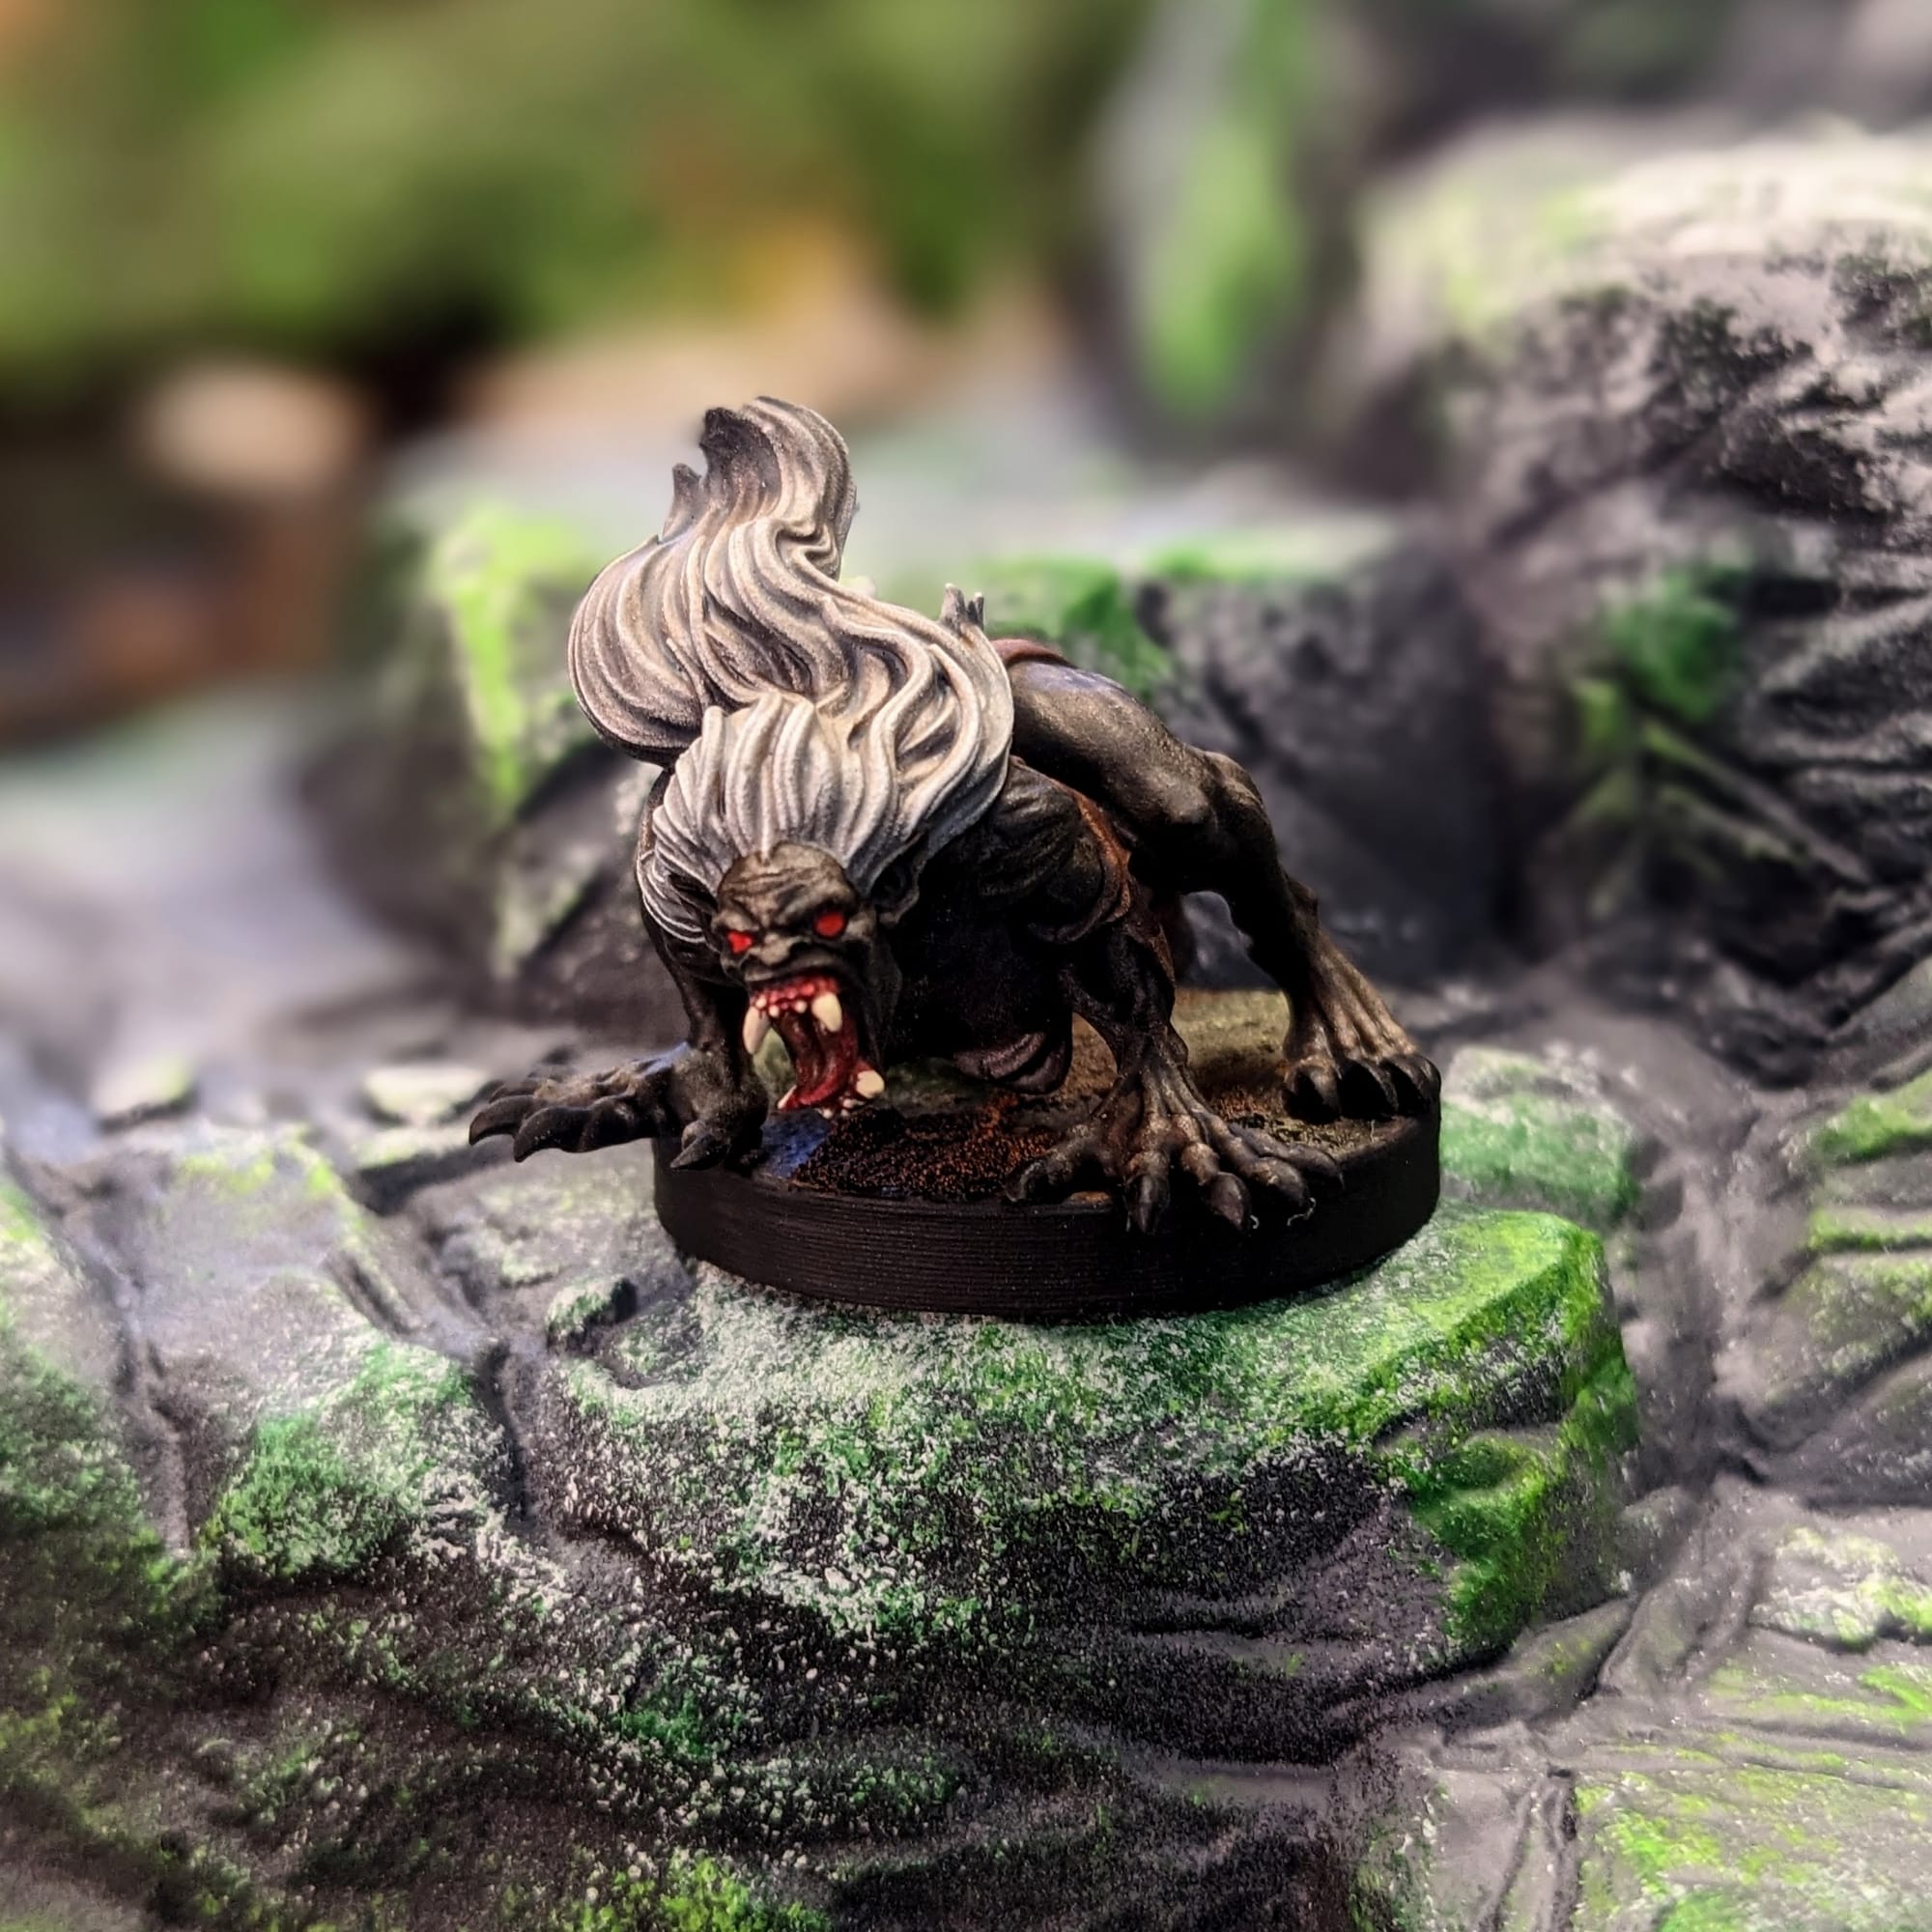
Striga: Citadel Apothecary White Contrast, Pro Acryl 1-Step Crimson, Army Painter Satchel Brown, Citadel Ratling Grime Contrast, Citadel Screaming Skull, Citadel Wild Ryder.
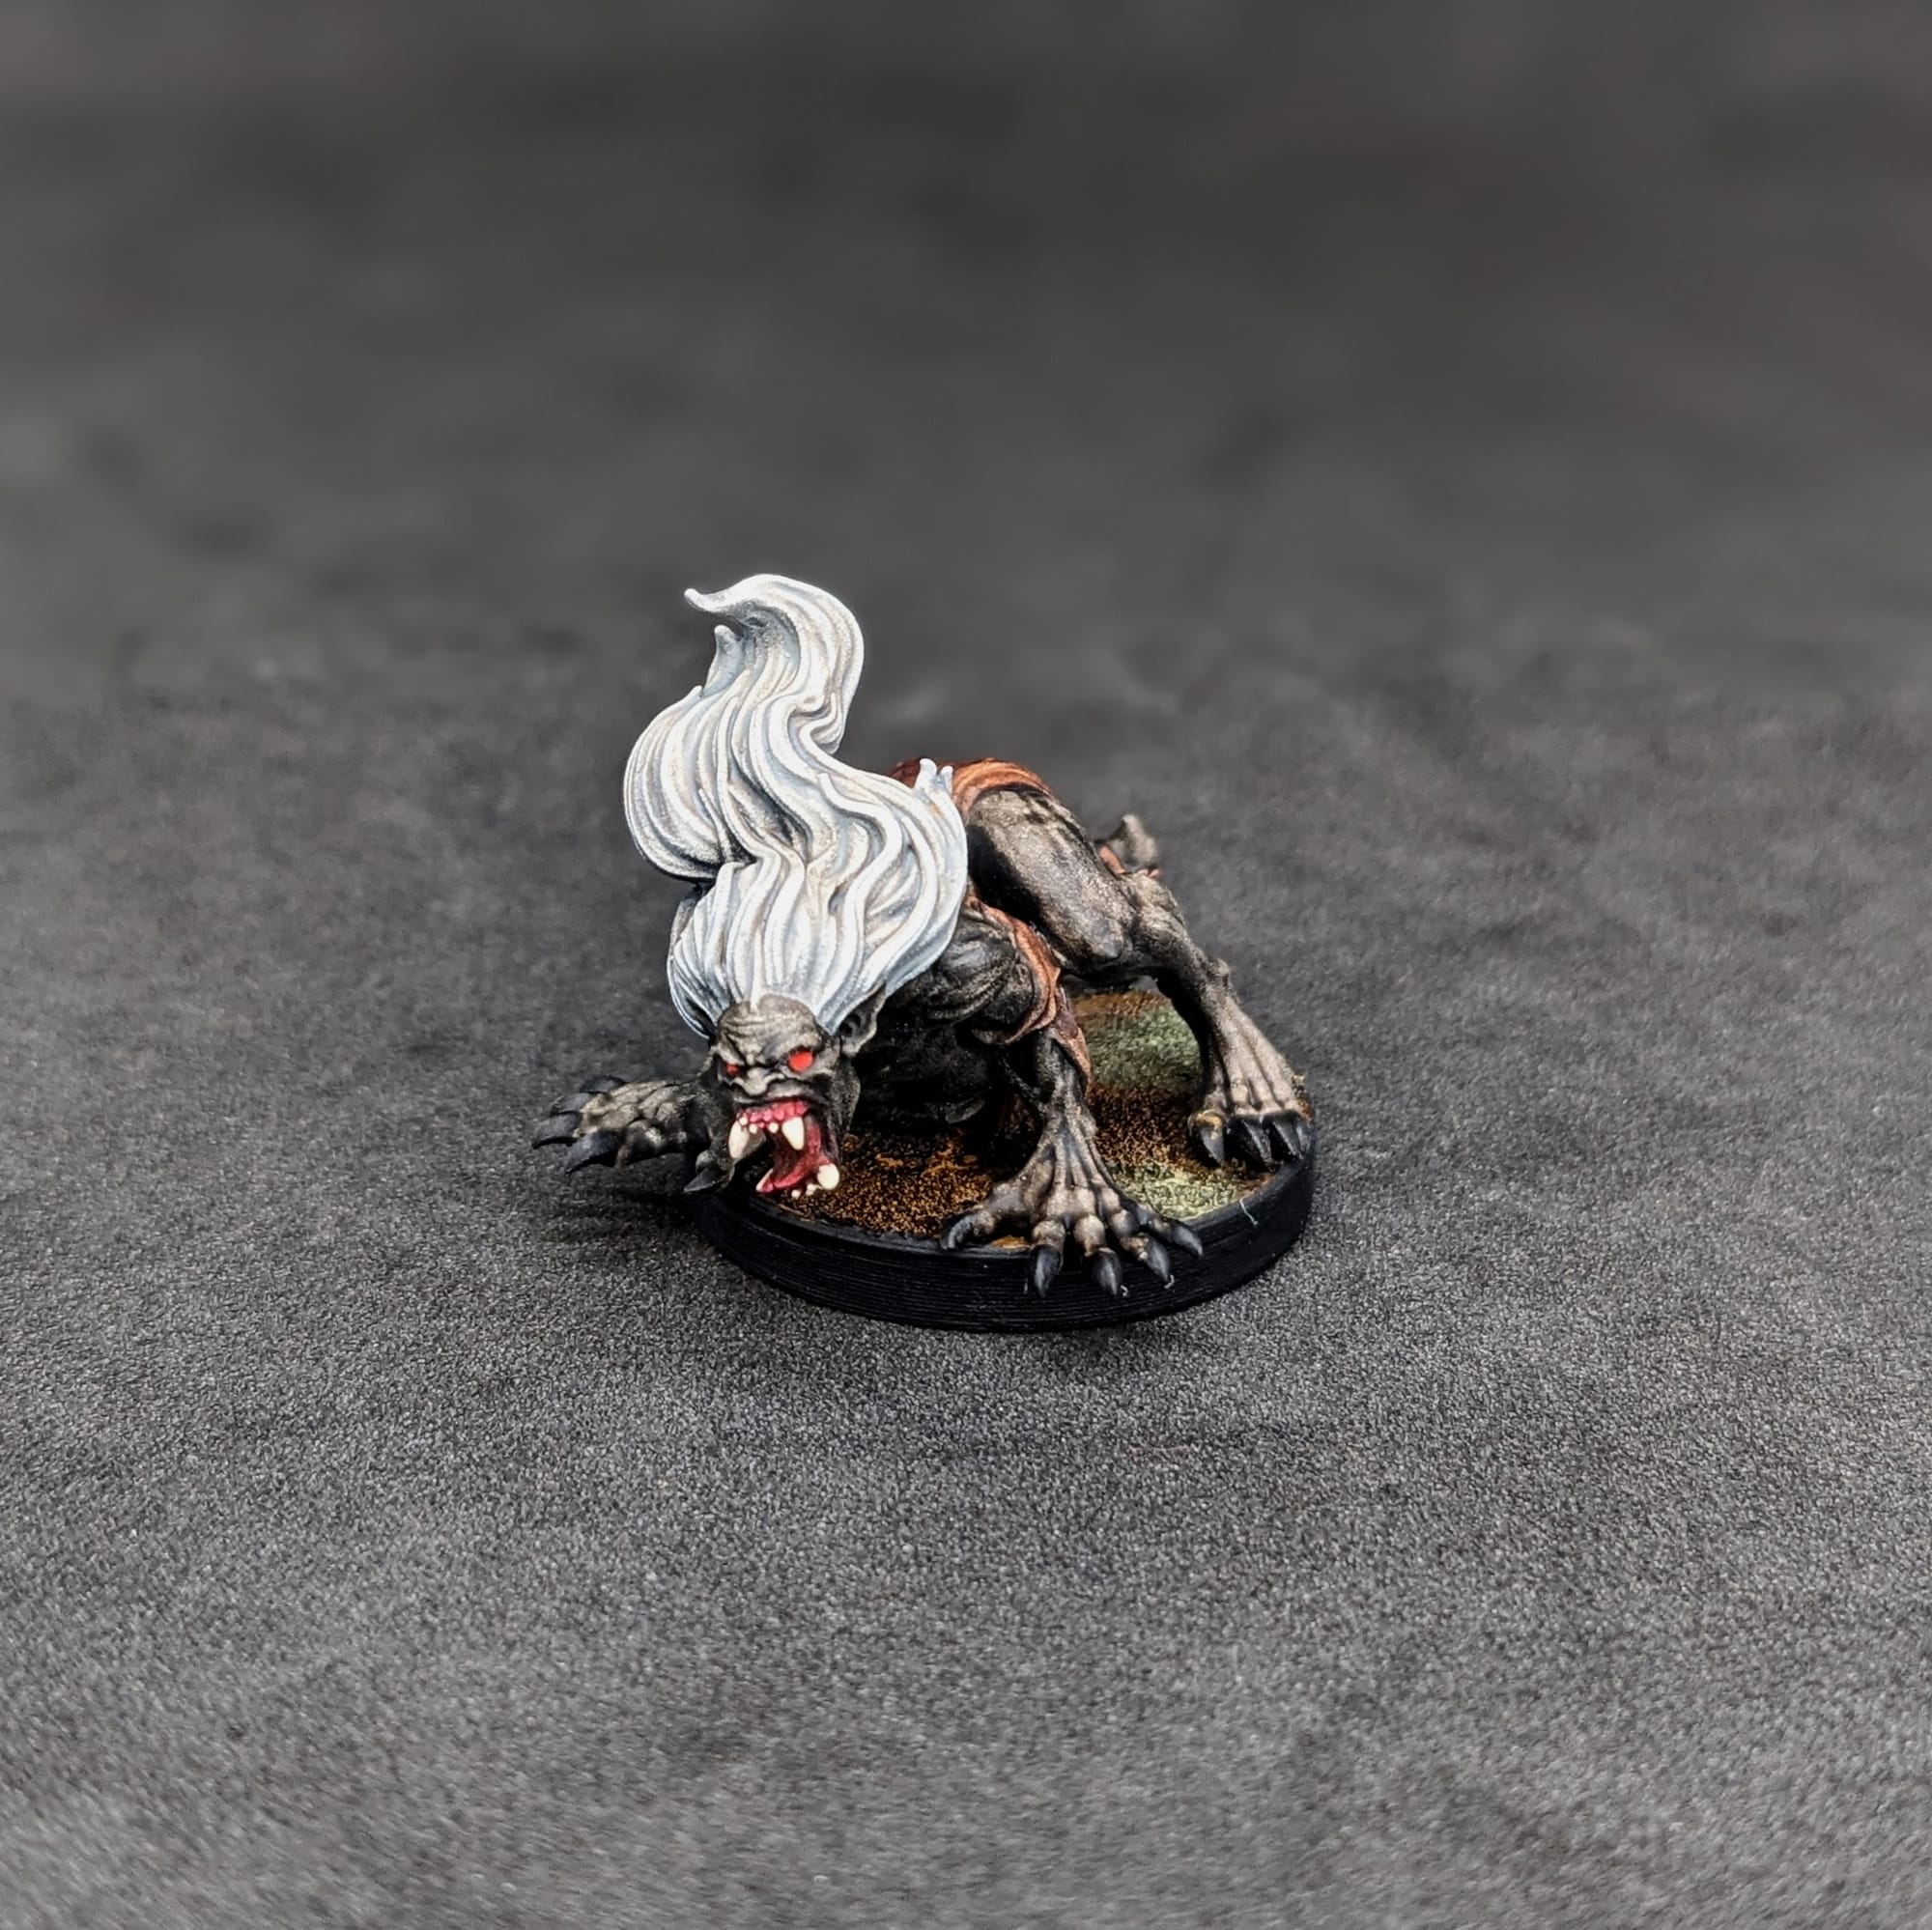
Griffin: Skin - Citadel Elder Flesh Dry, Citadel Skeleton Horde Contrast, Army Painter Shadow Flesh, Citadel Flash Gitz (eyes), Pro Acryl 1-Step Dark Green Brown (beak). Feathers: Citadel Ratling Grime Contrast, Citadel Dryad Bark Dry (wings), Citadel Steel Legion Drab (dry brush on mane).
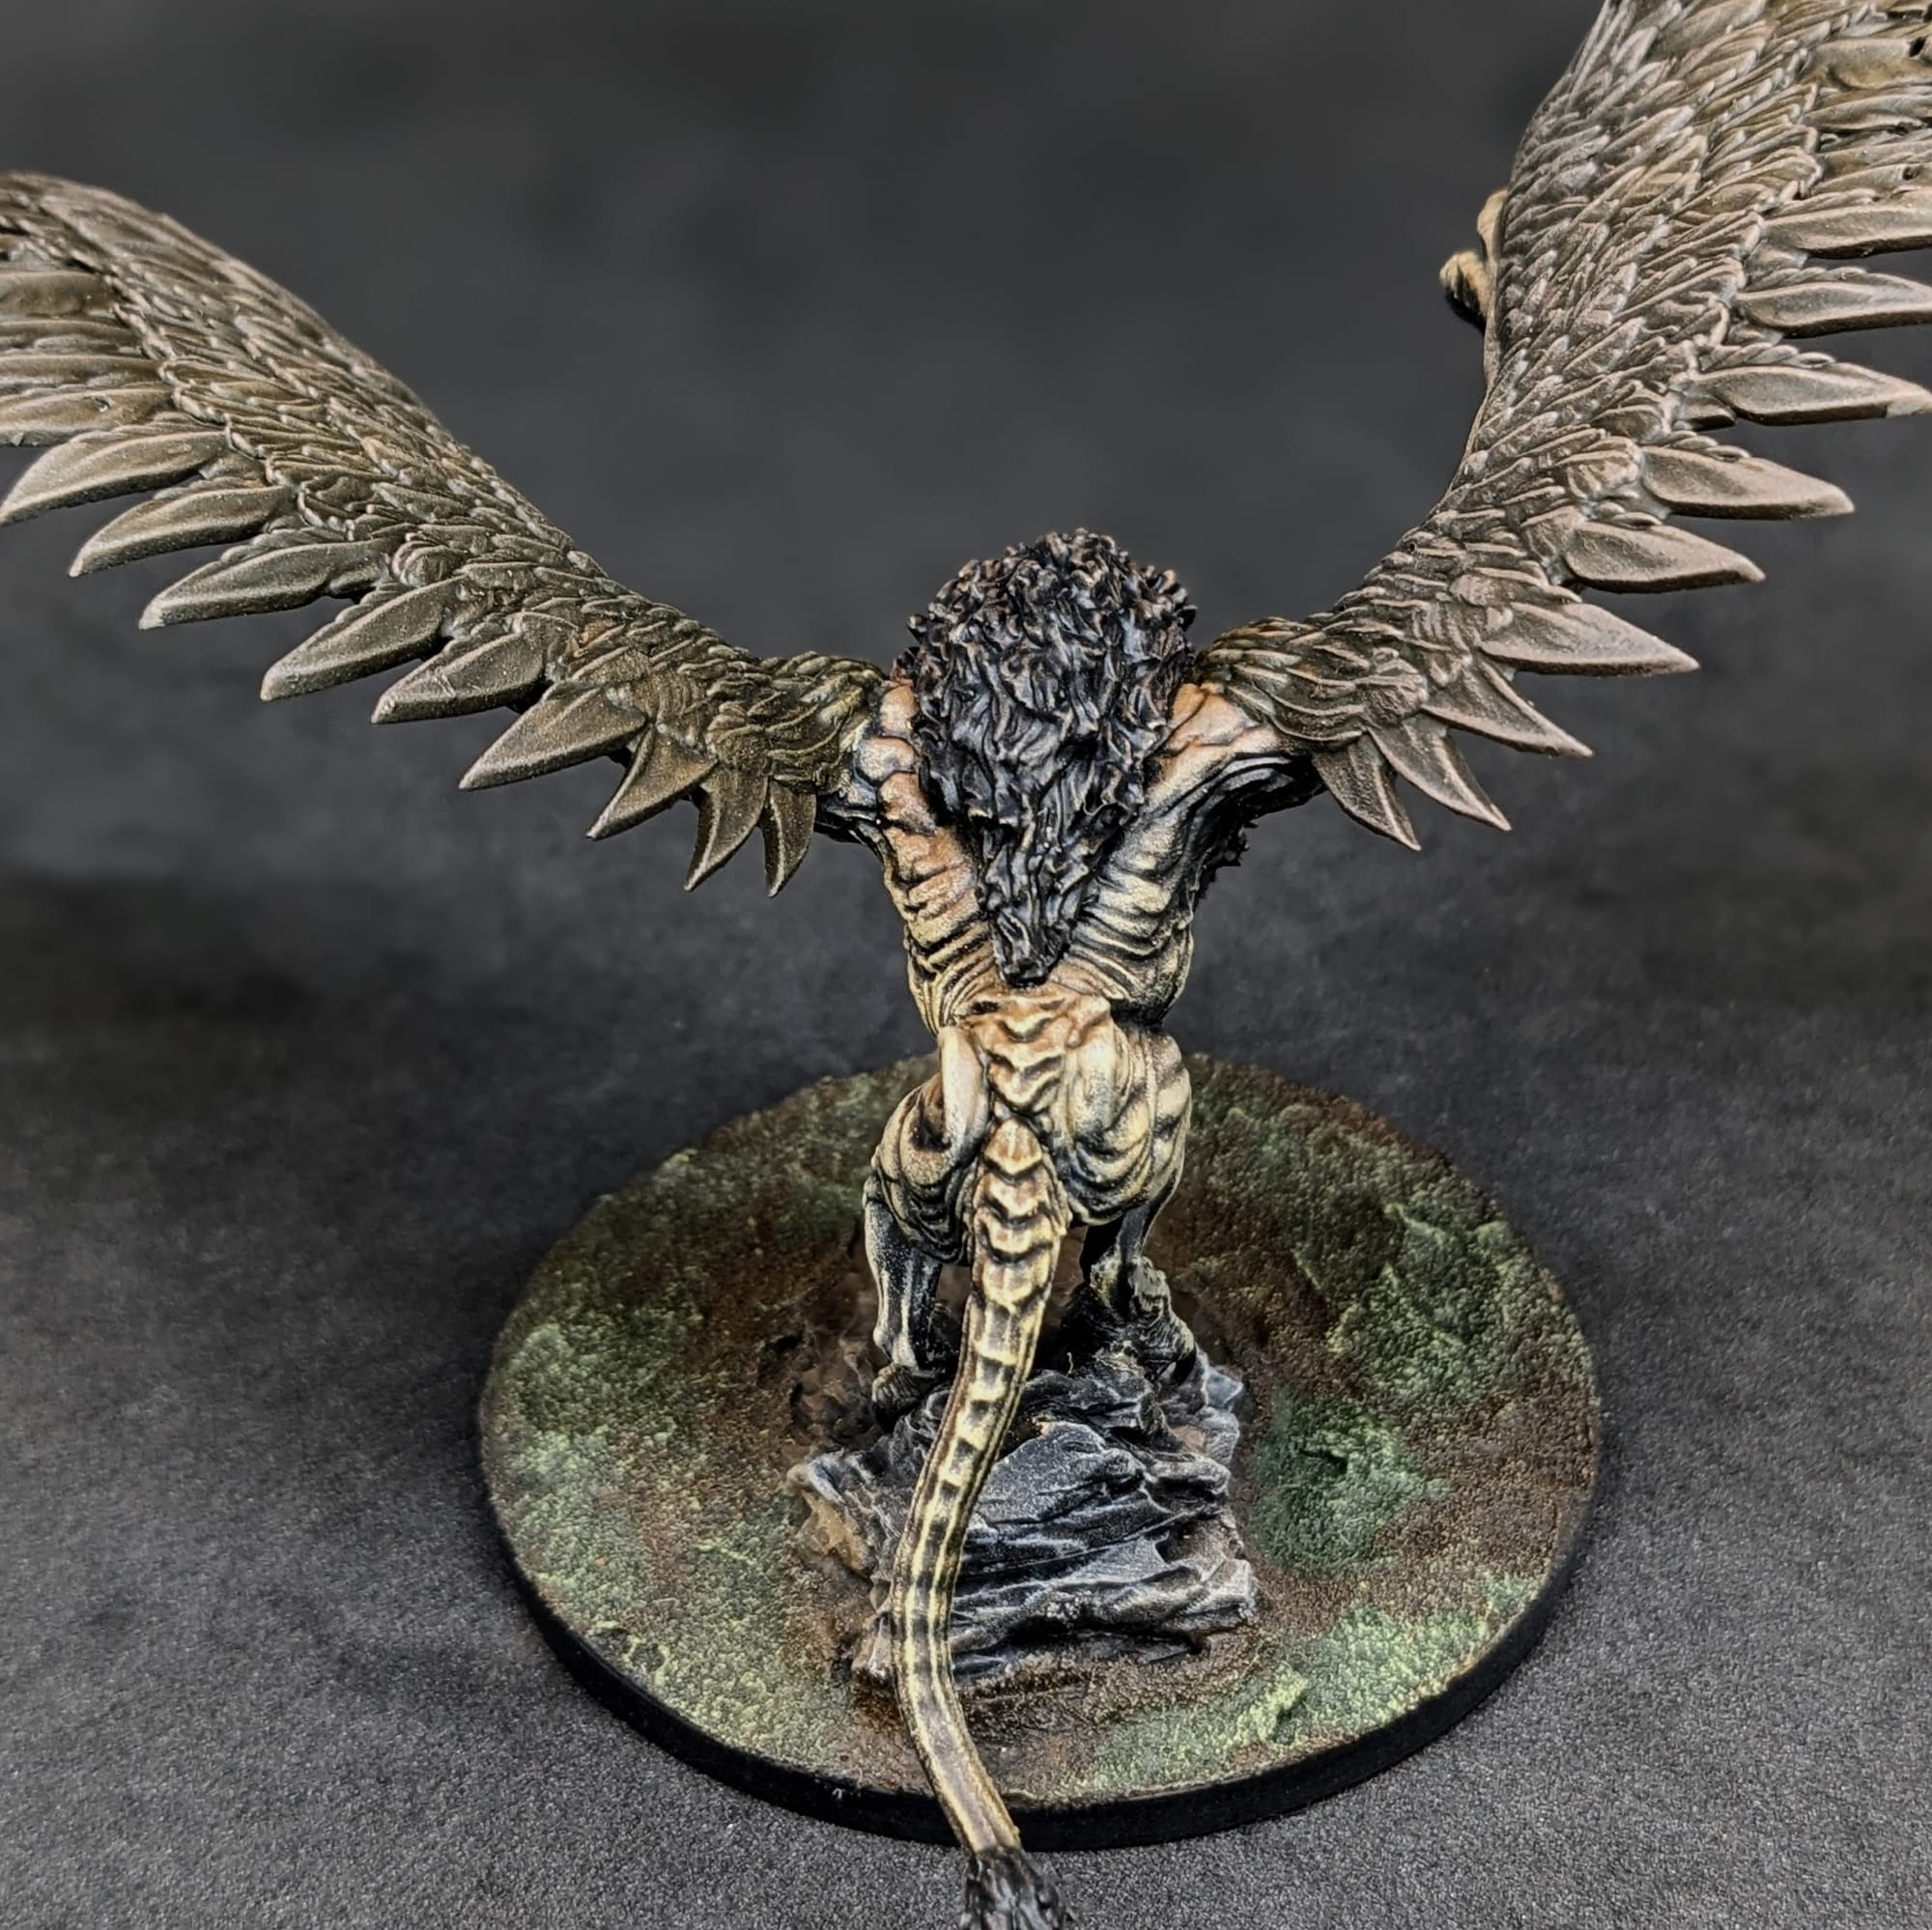
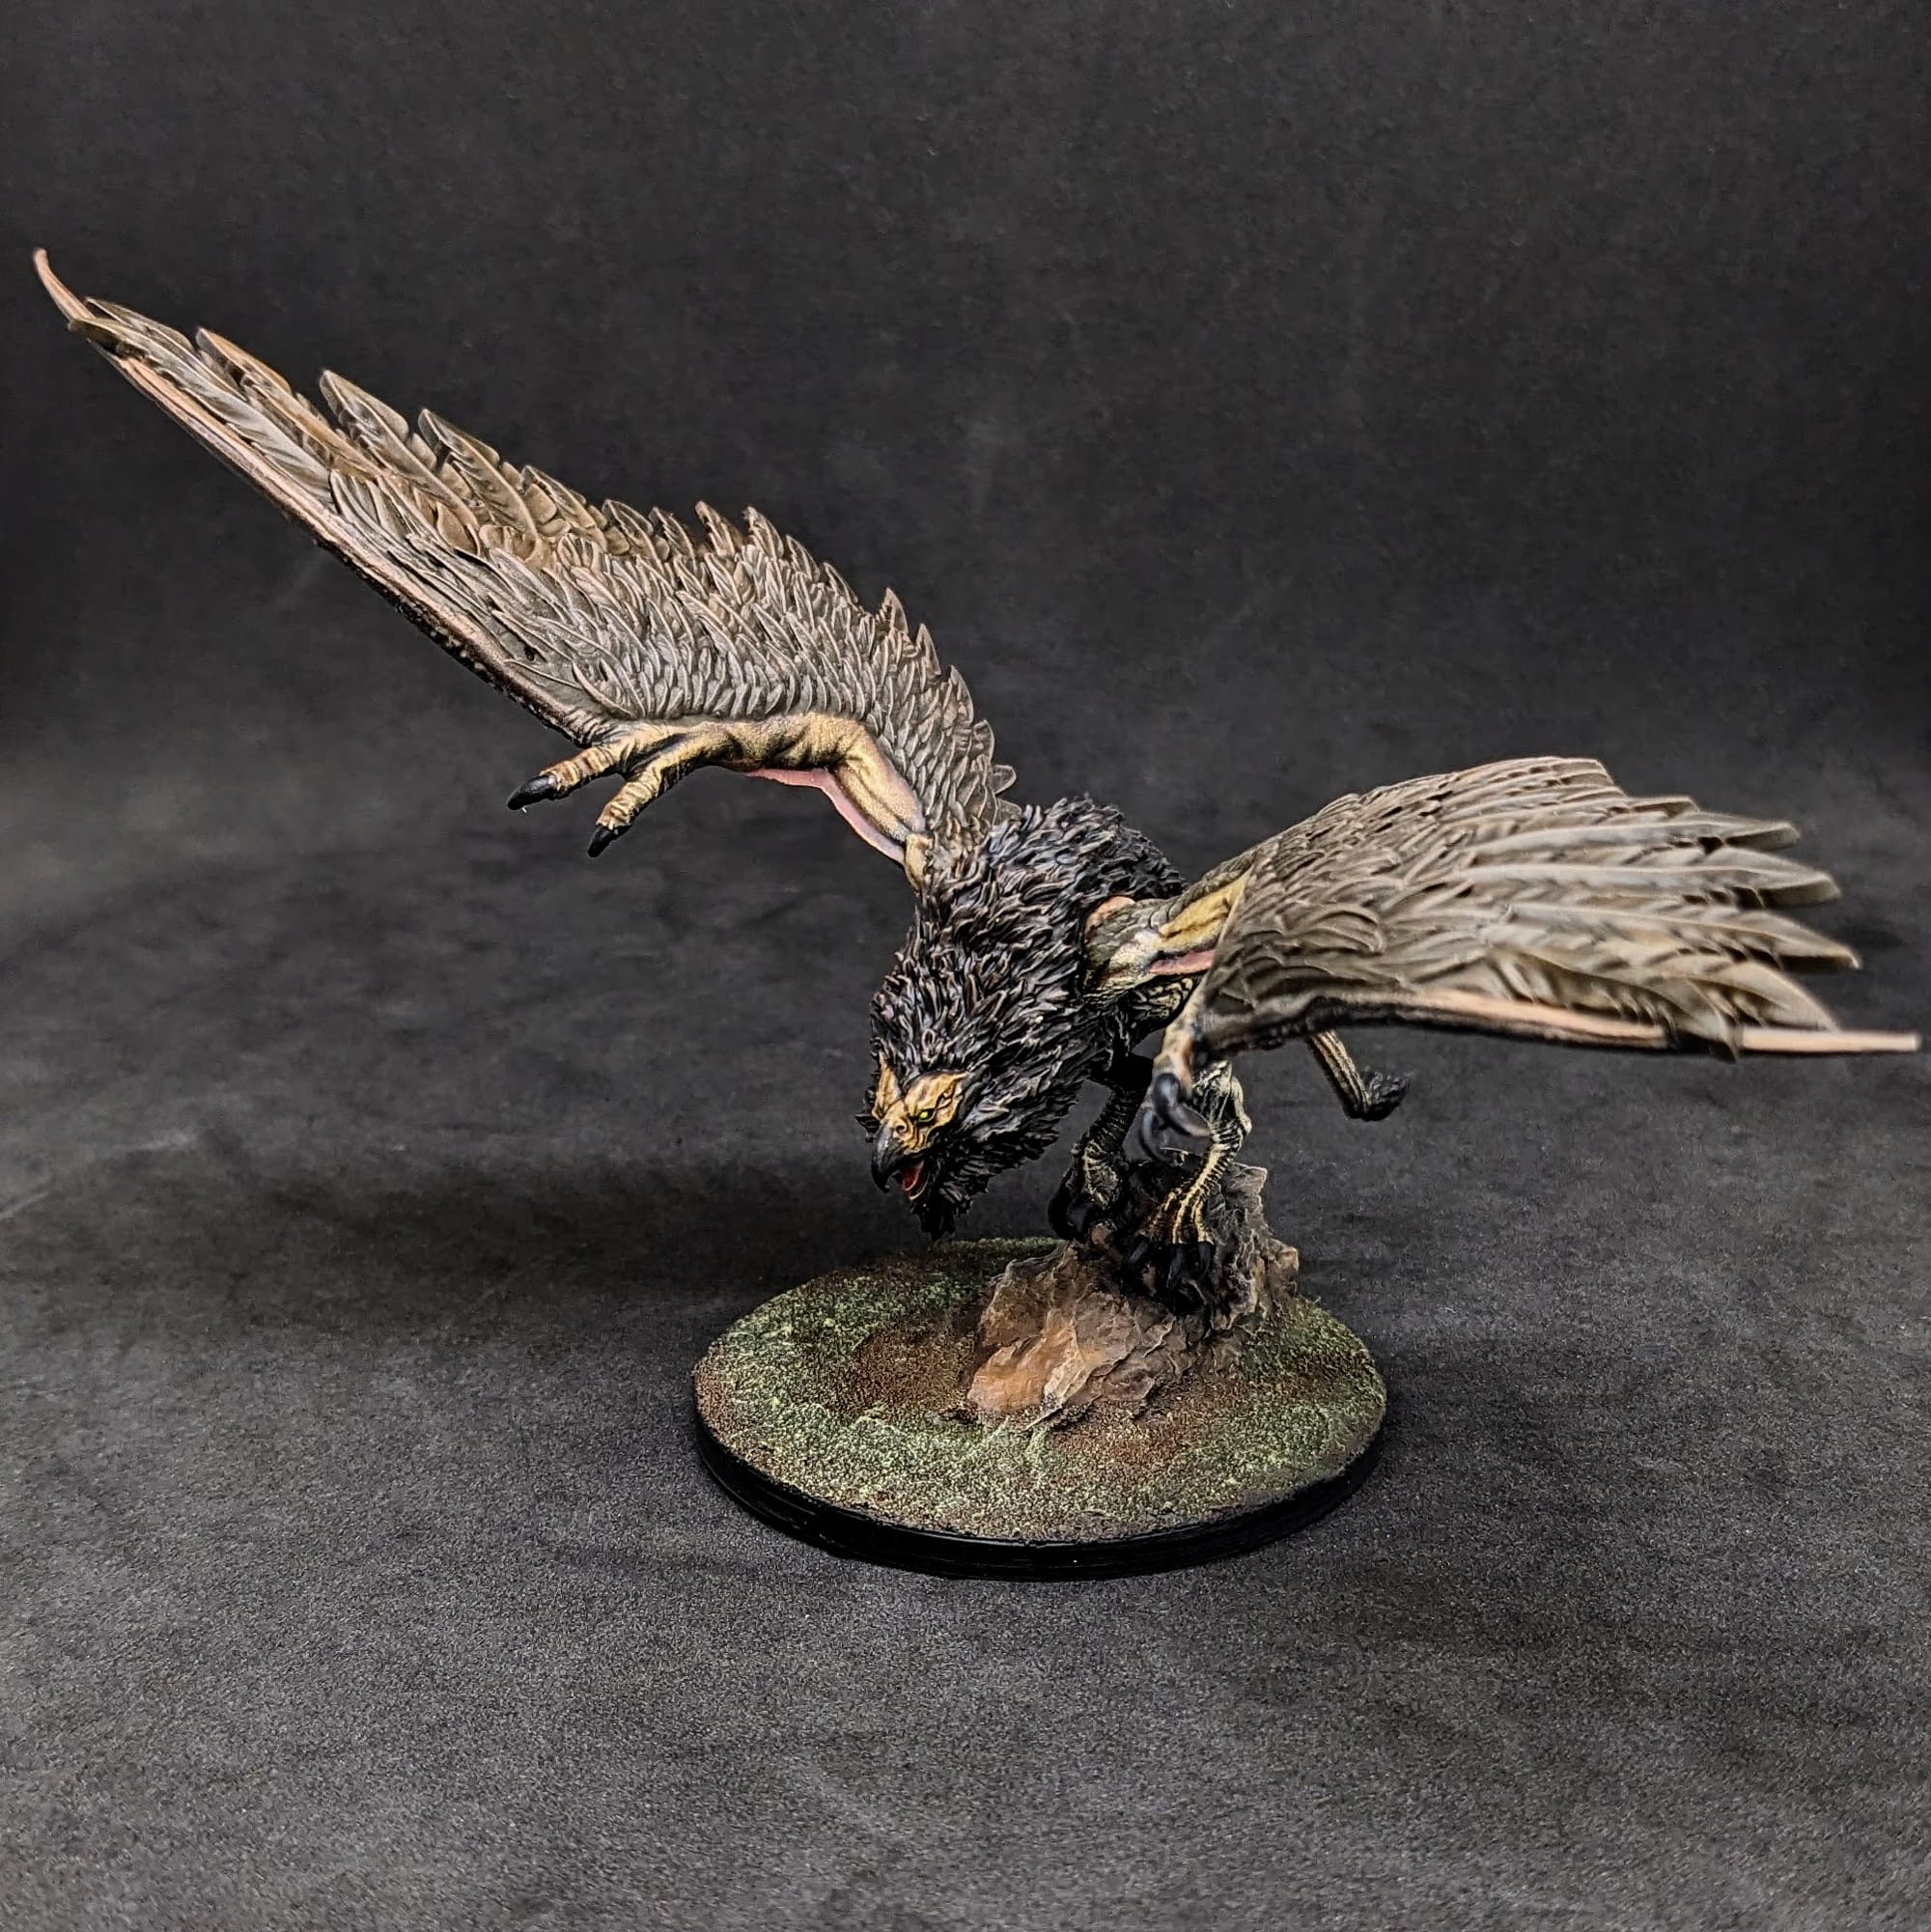
Basing
XV-88, Vallejo Earth FX Brown Earth, Citadel Wyldwood Contrast, Citadel Militarum Green, Citadel Nurgling Green Dry.
Final Assessment
What I liked
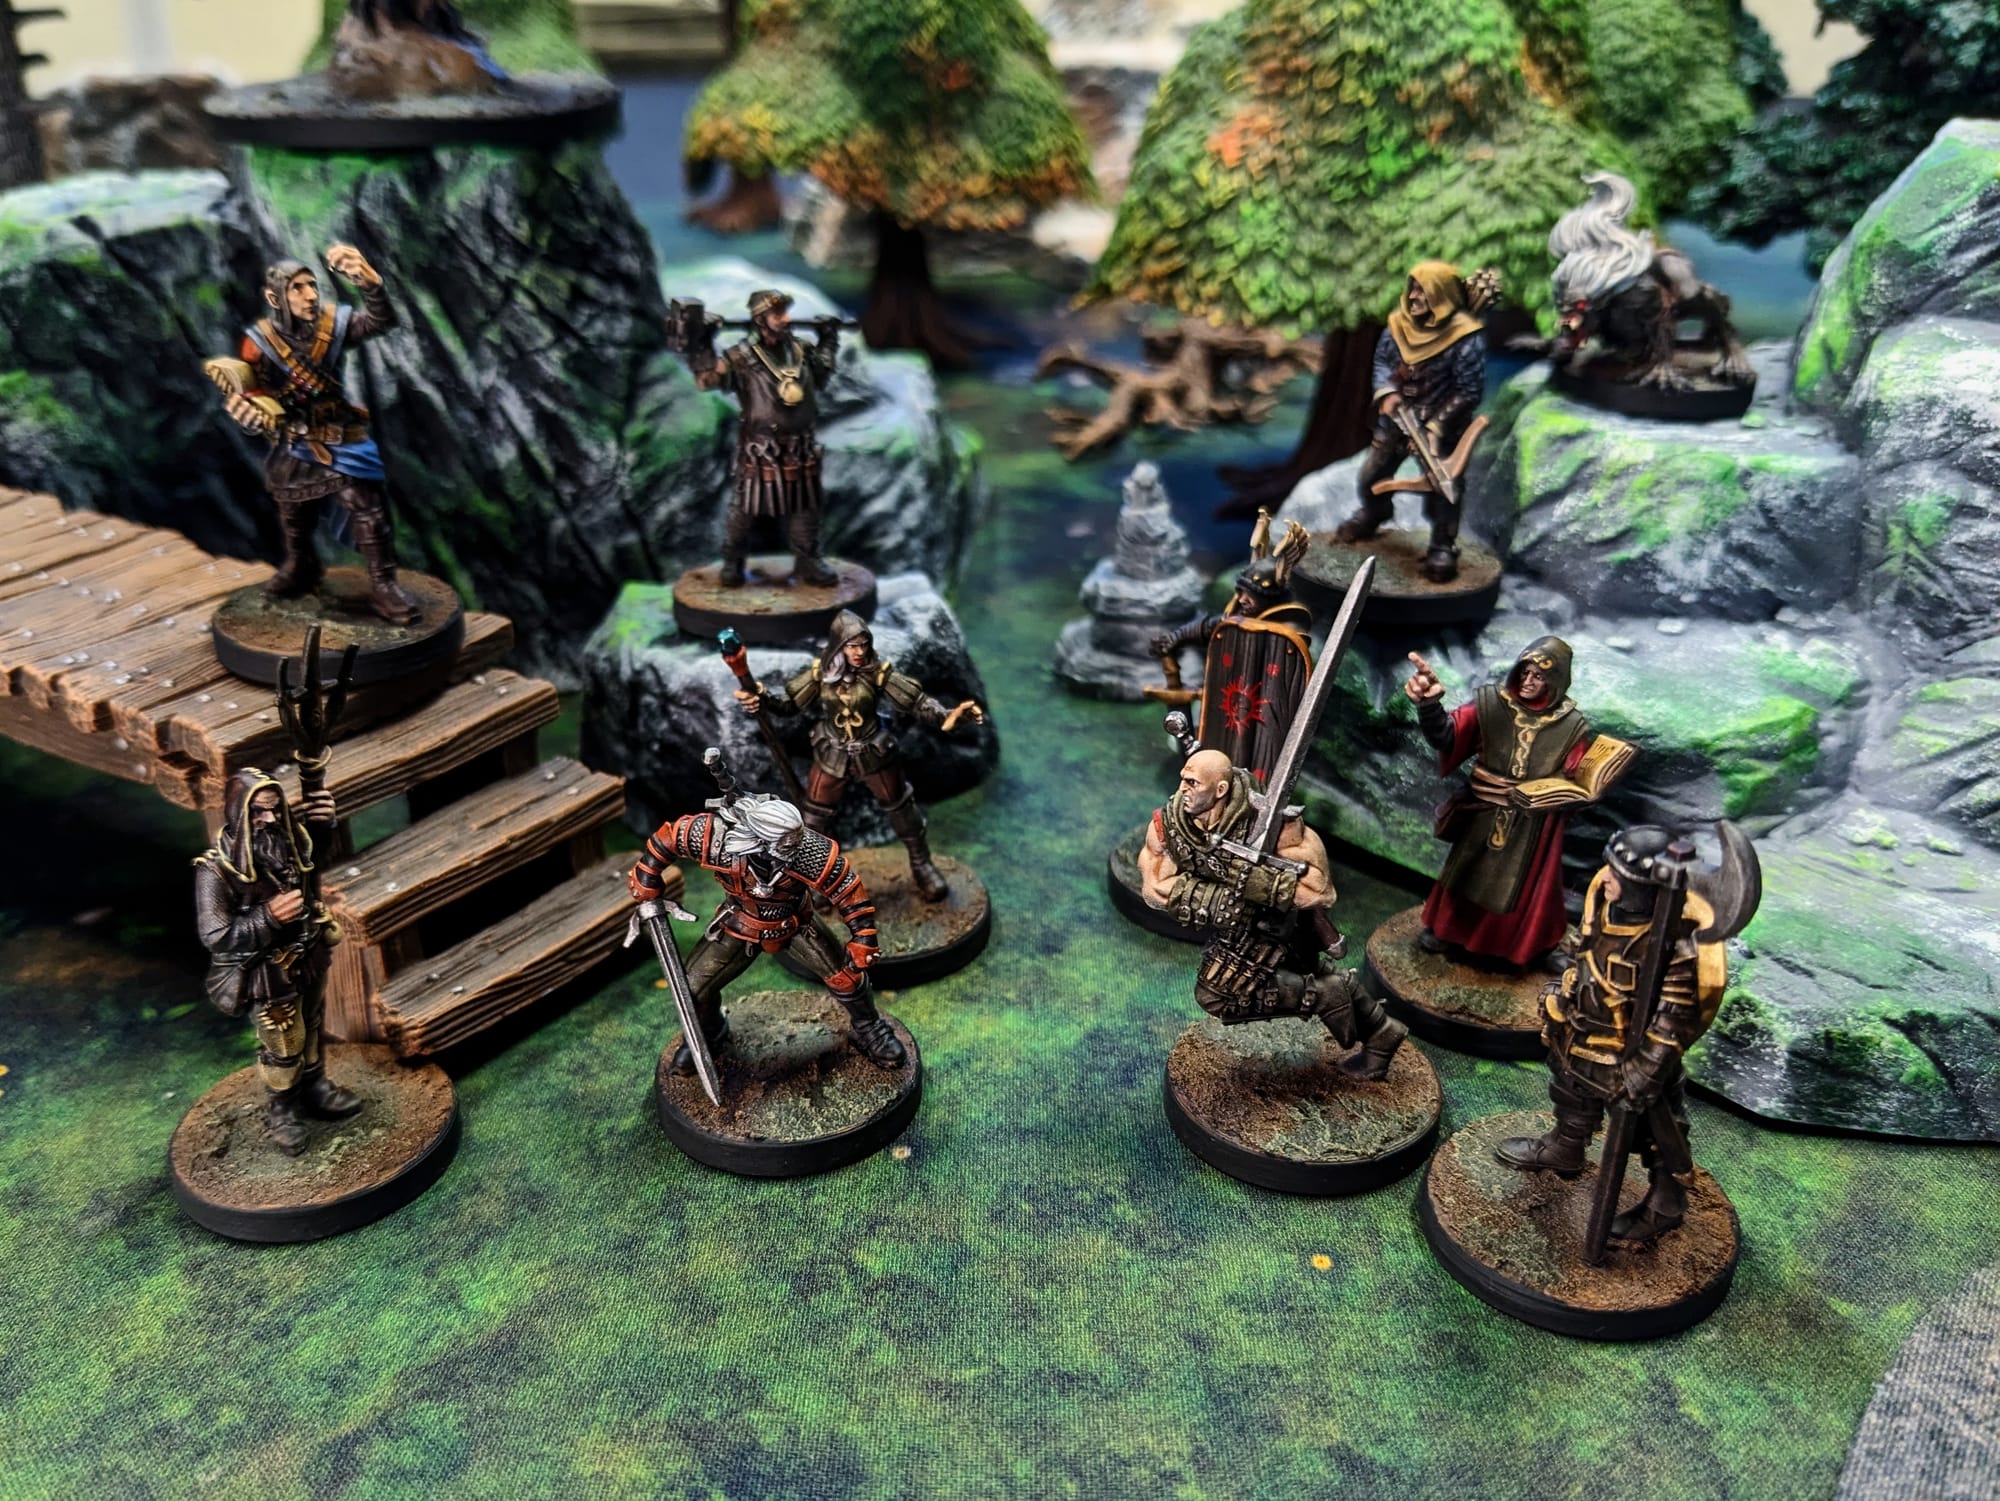
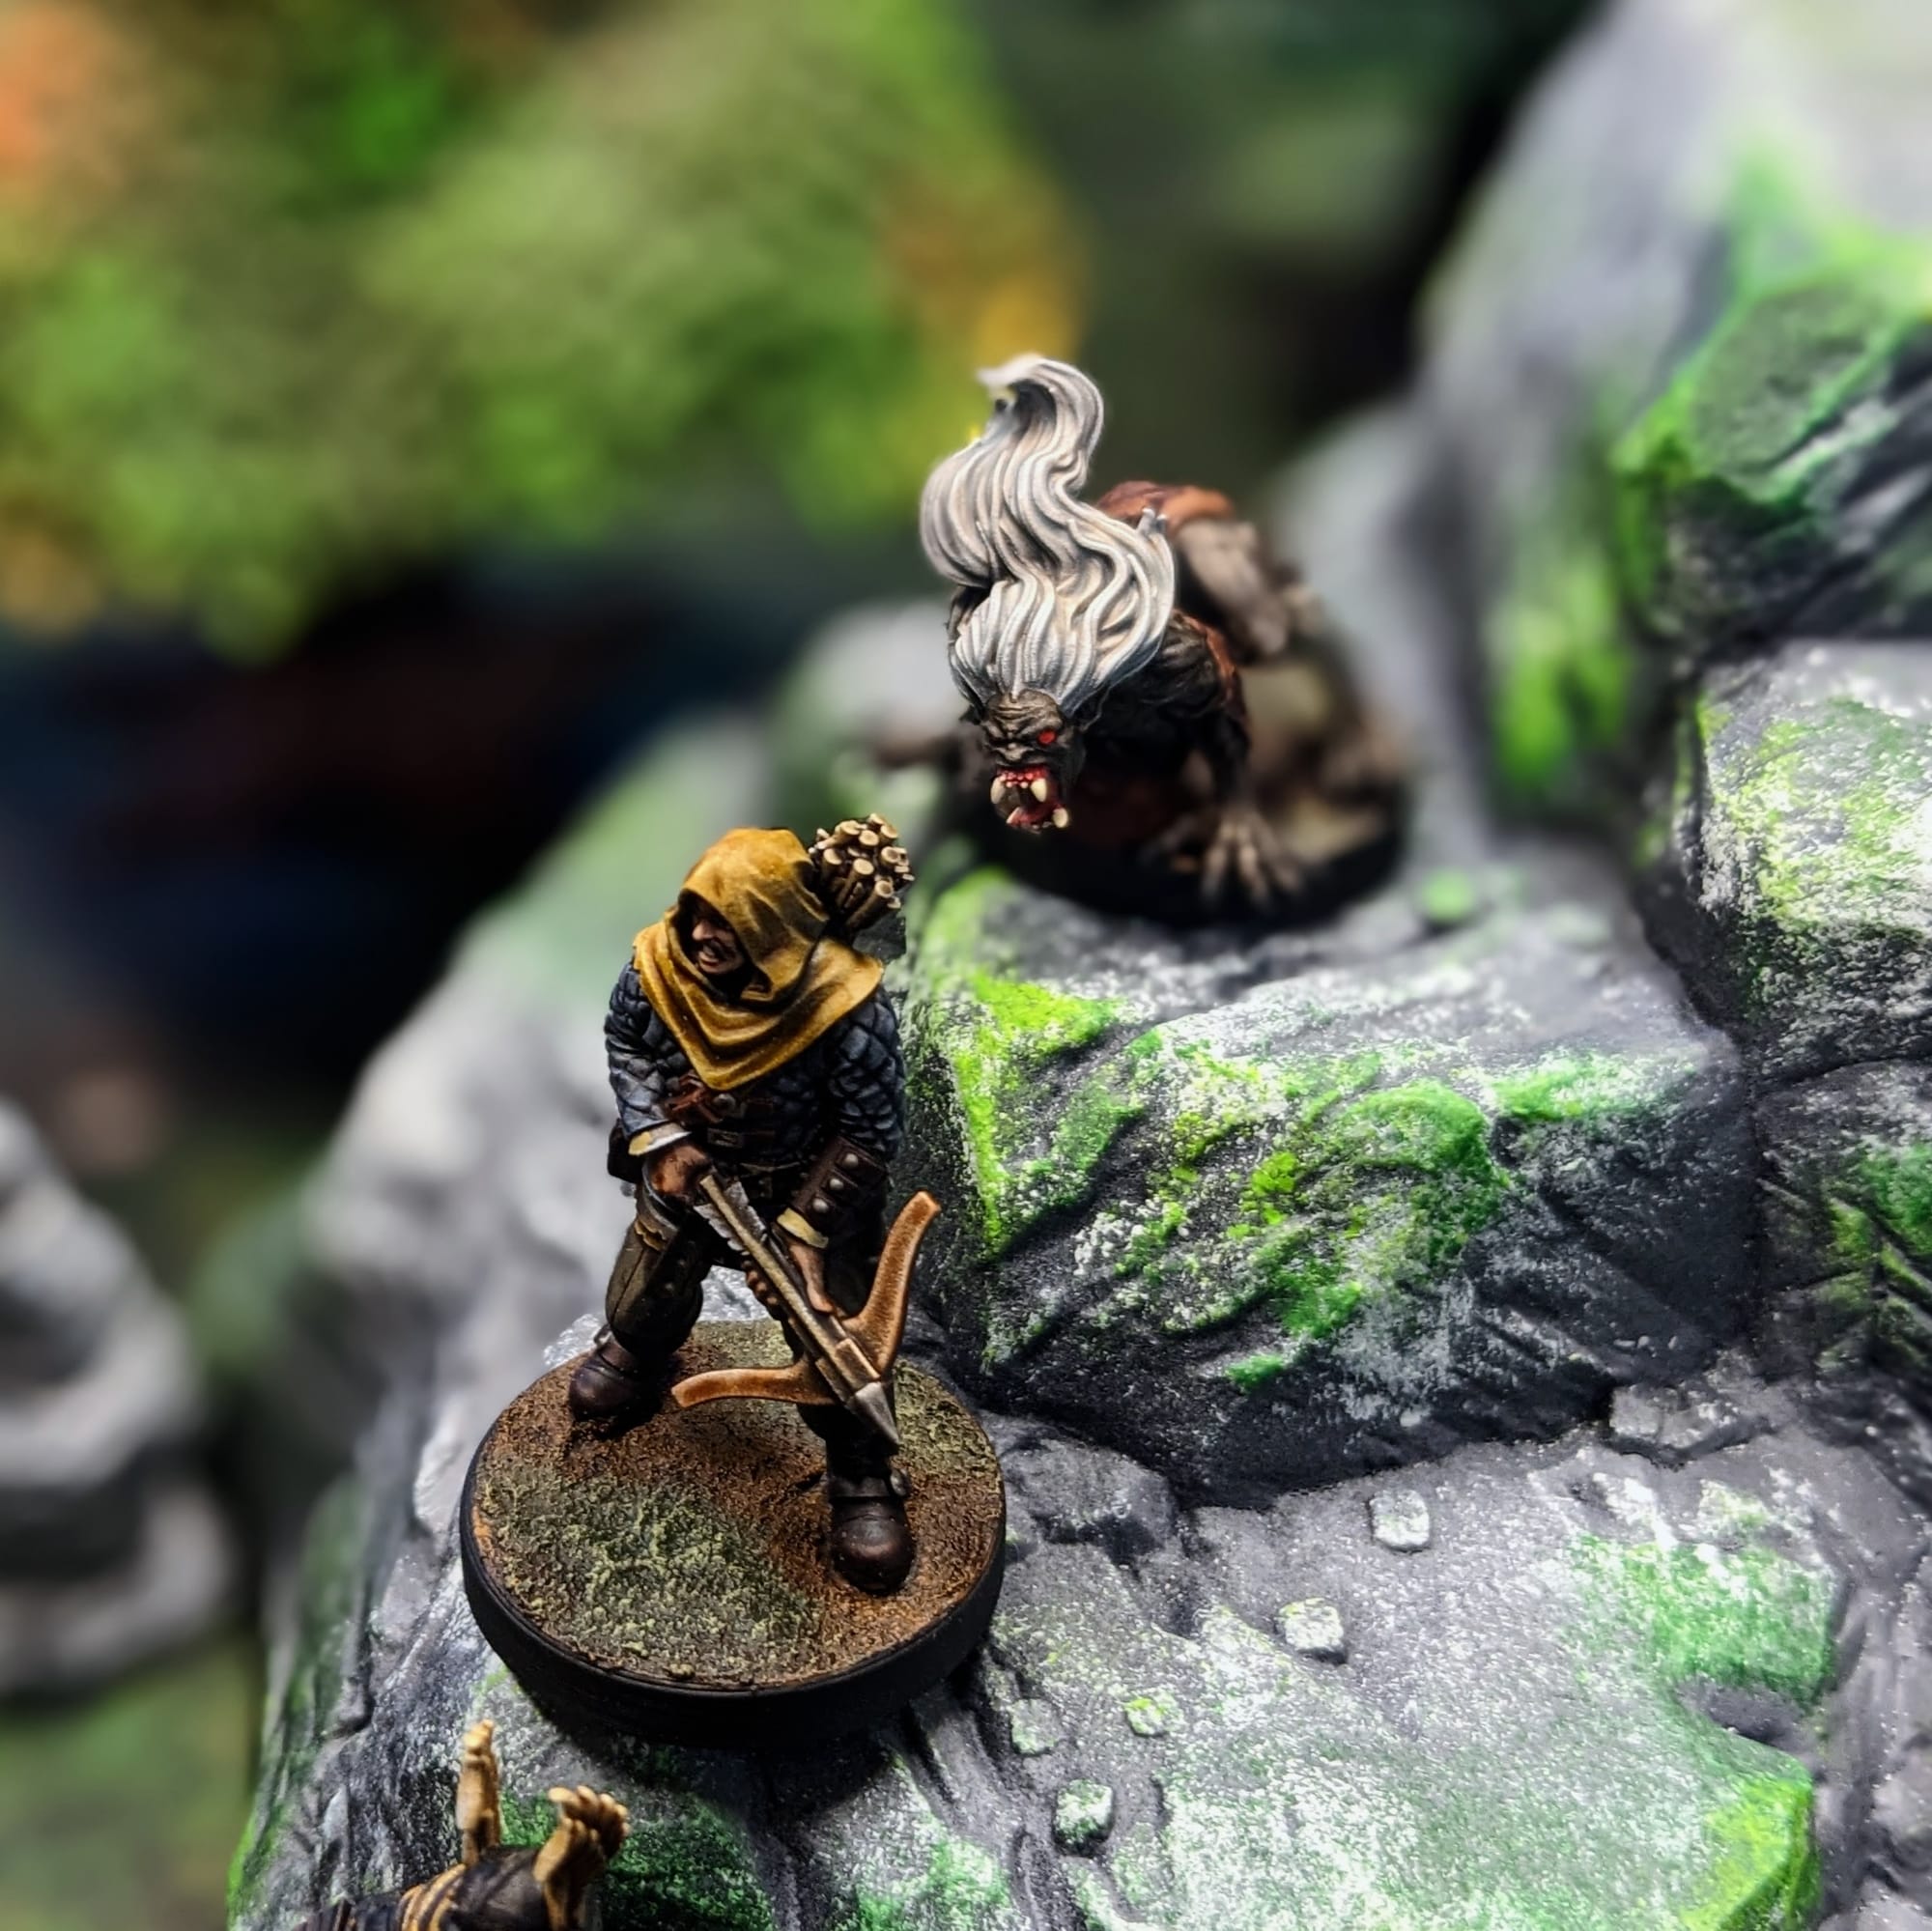
These single-cast minis have tons of detail to them. They are made with, MonsterForm Ultra, Monster Fight Club’s proprietary high-detail polymer, which allows for highly-visible details in single-cast molds. They take the Slapchop method really well, and that allows them to get painted up really quickly. I was able to block out all of the non-metallic colors for all of the minis in just a couple of hours. I went back over the details with the metals and did the basing shortly thereafter. I feel like I was able to get shadows, midtones, and highlights easily and effectively, and got these pieces tabletop ready in a short amount of time.
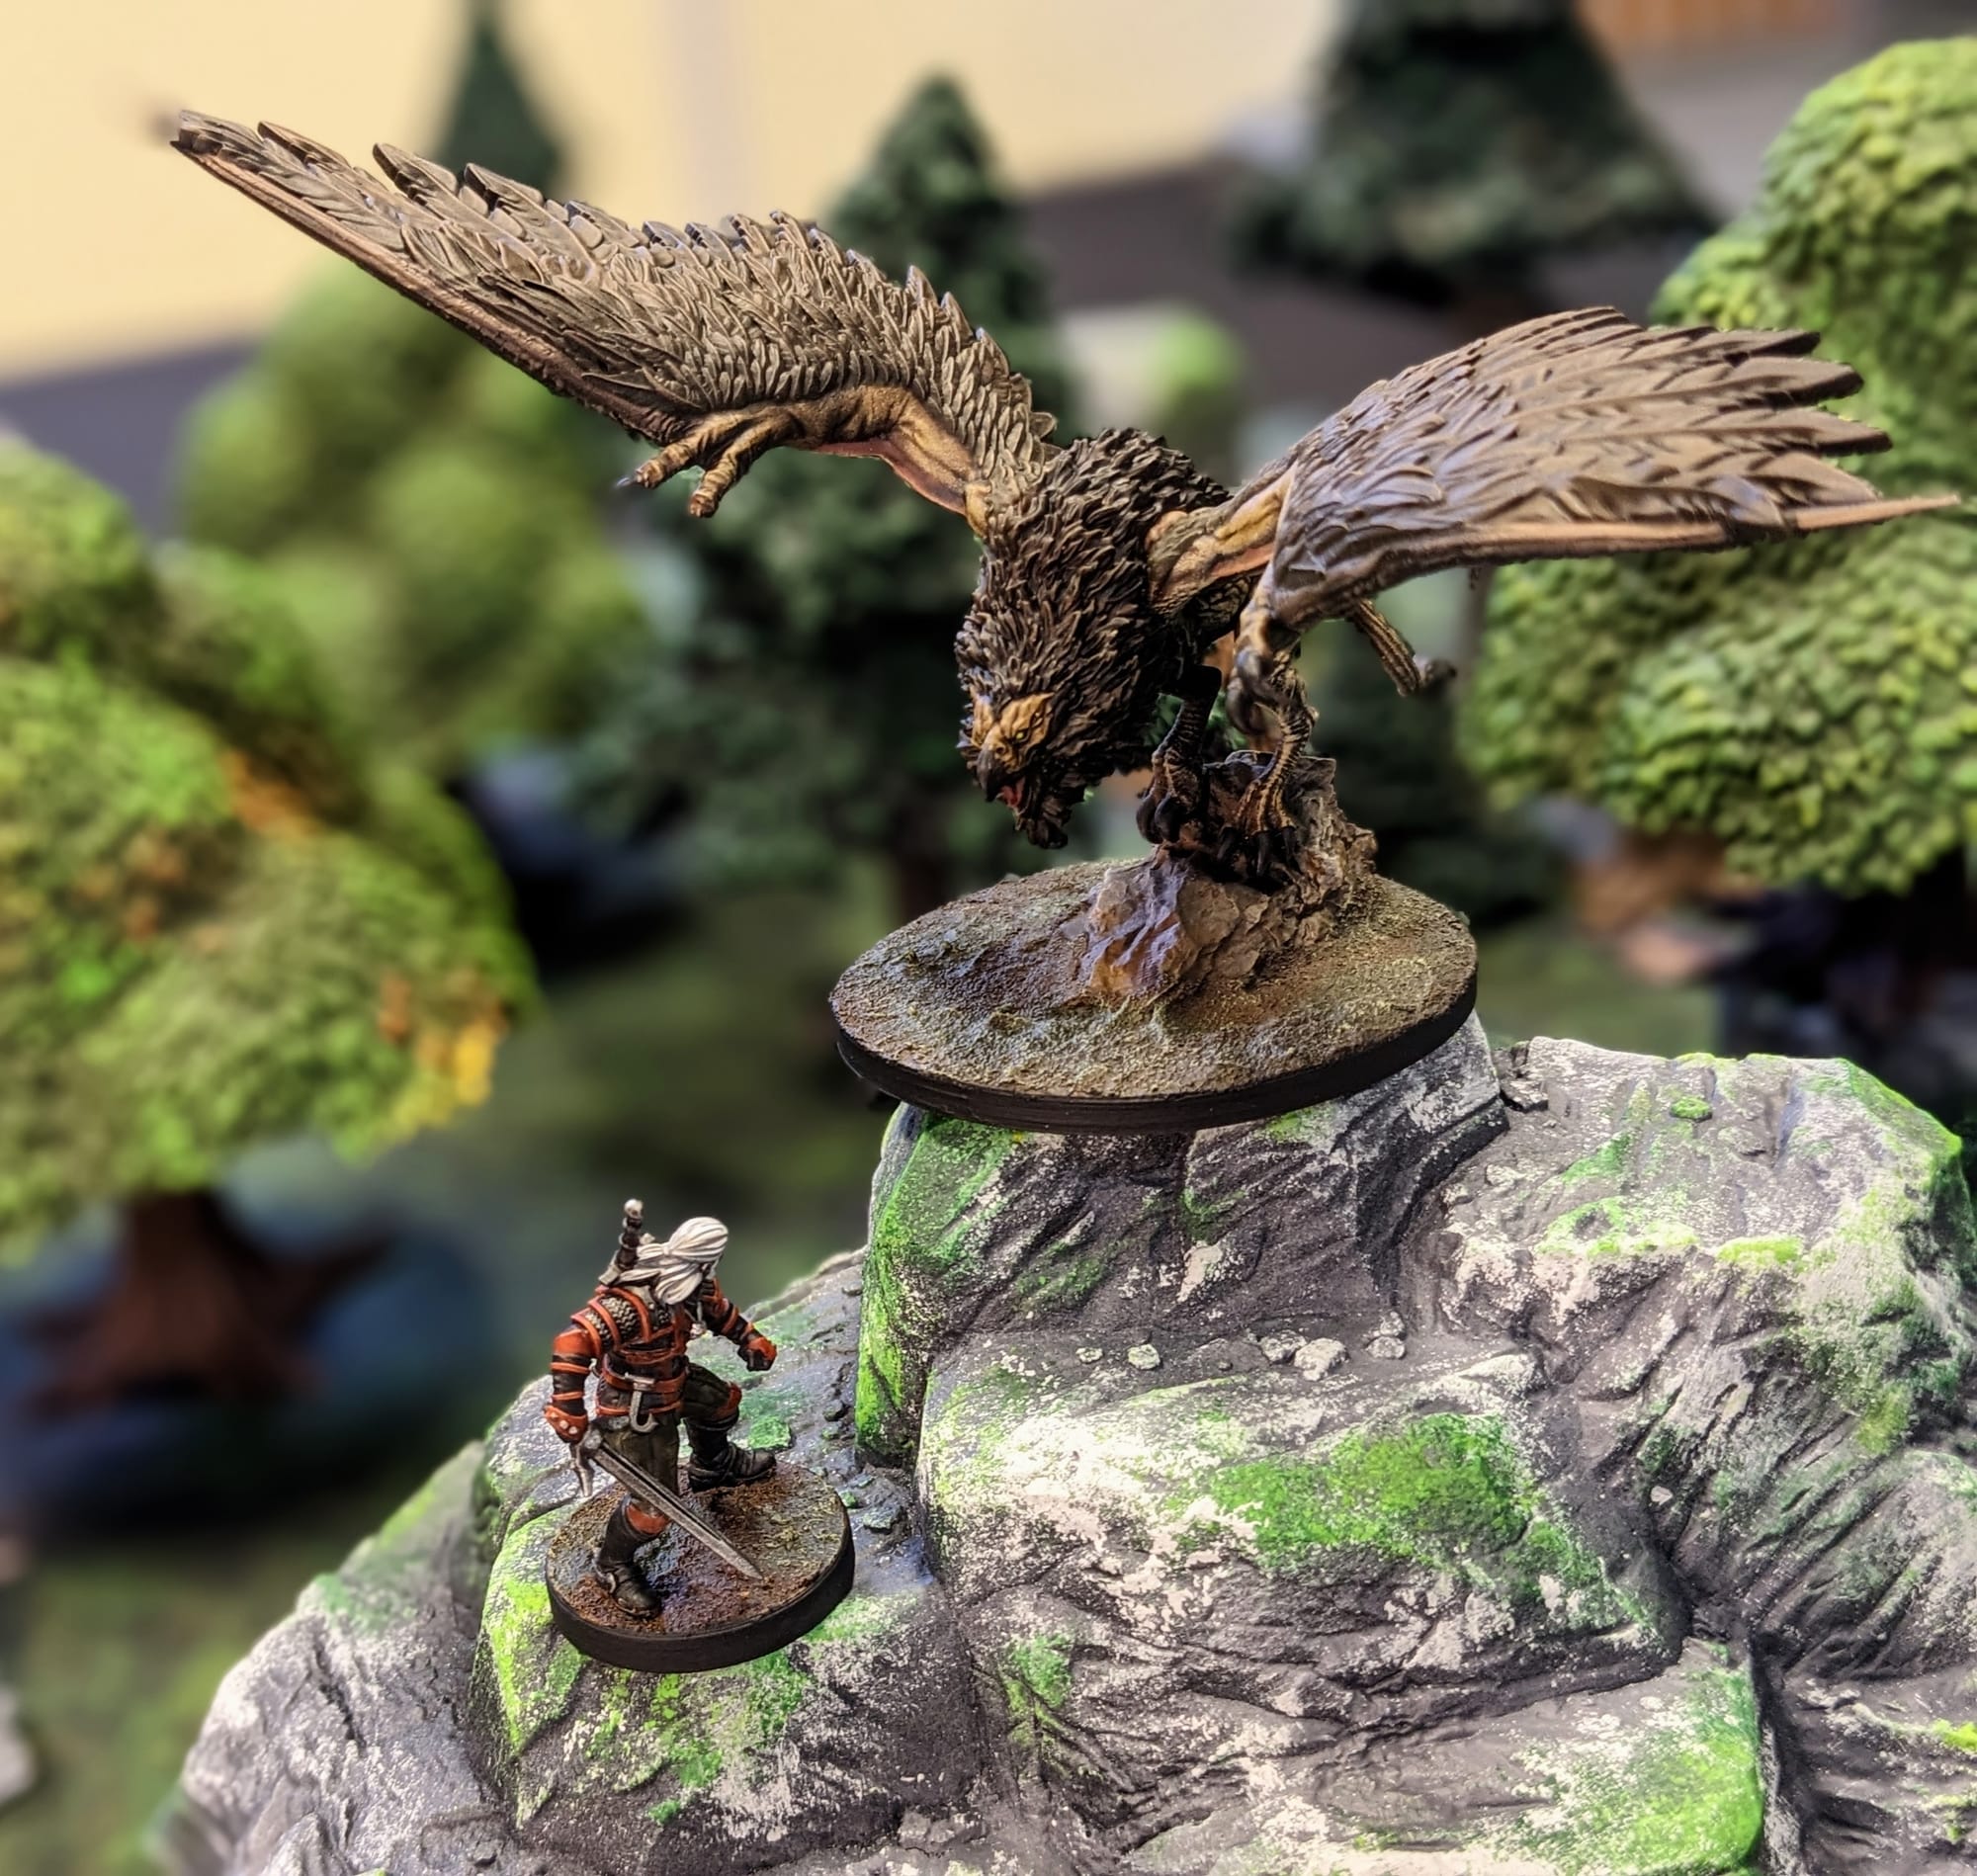
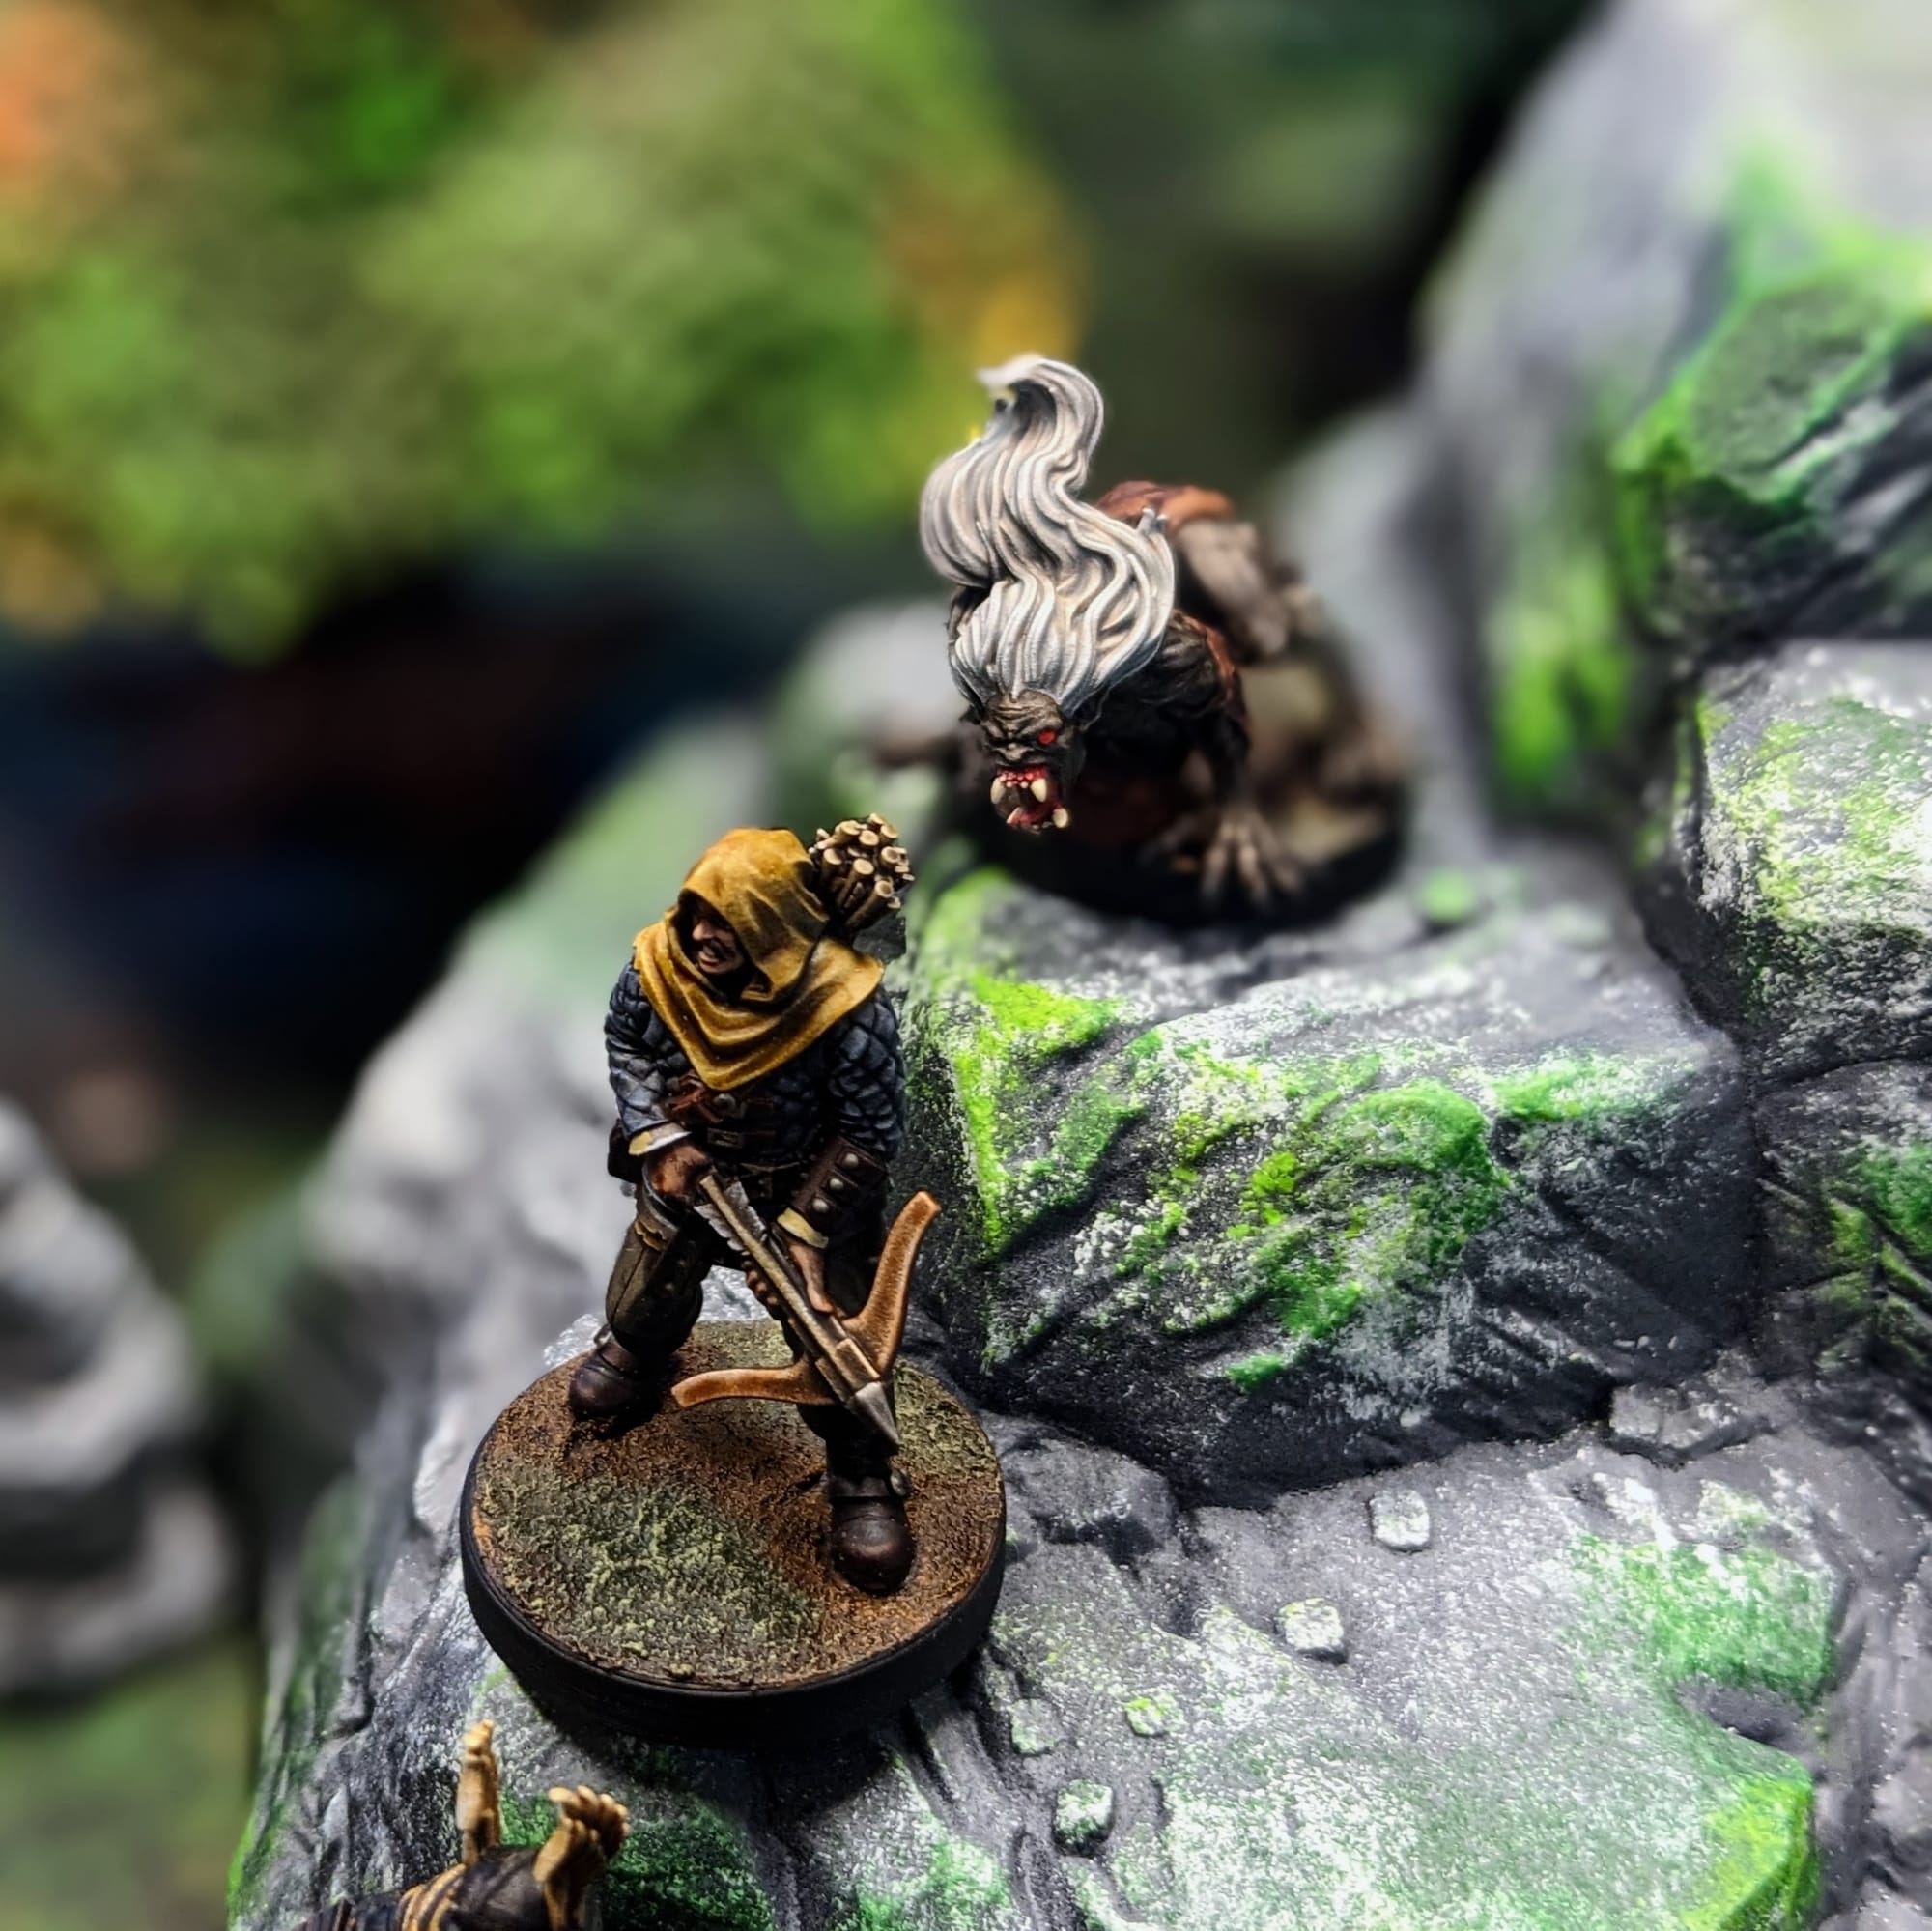
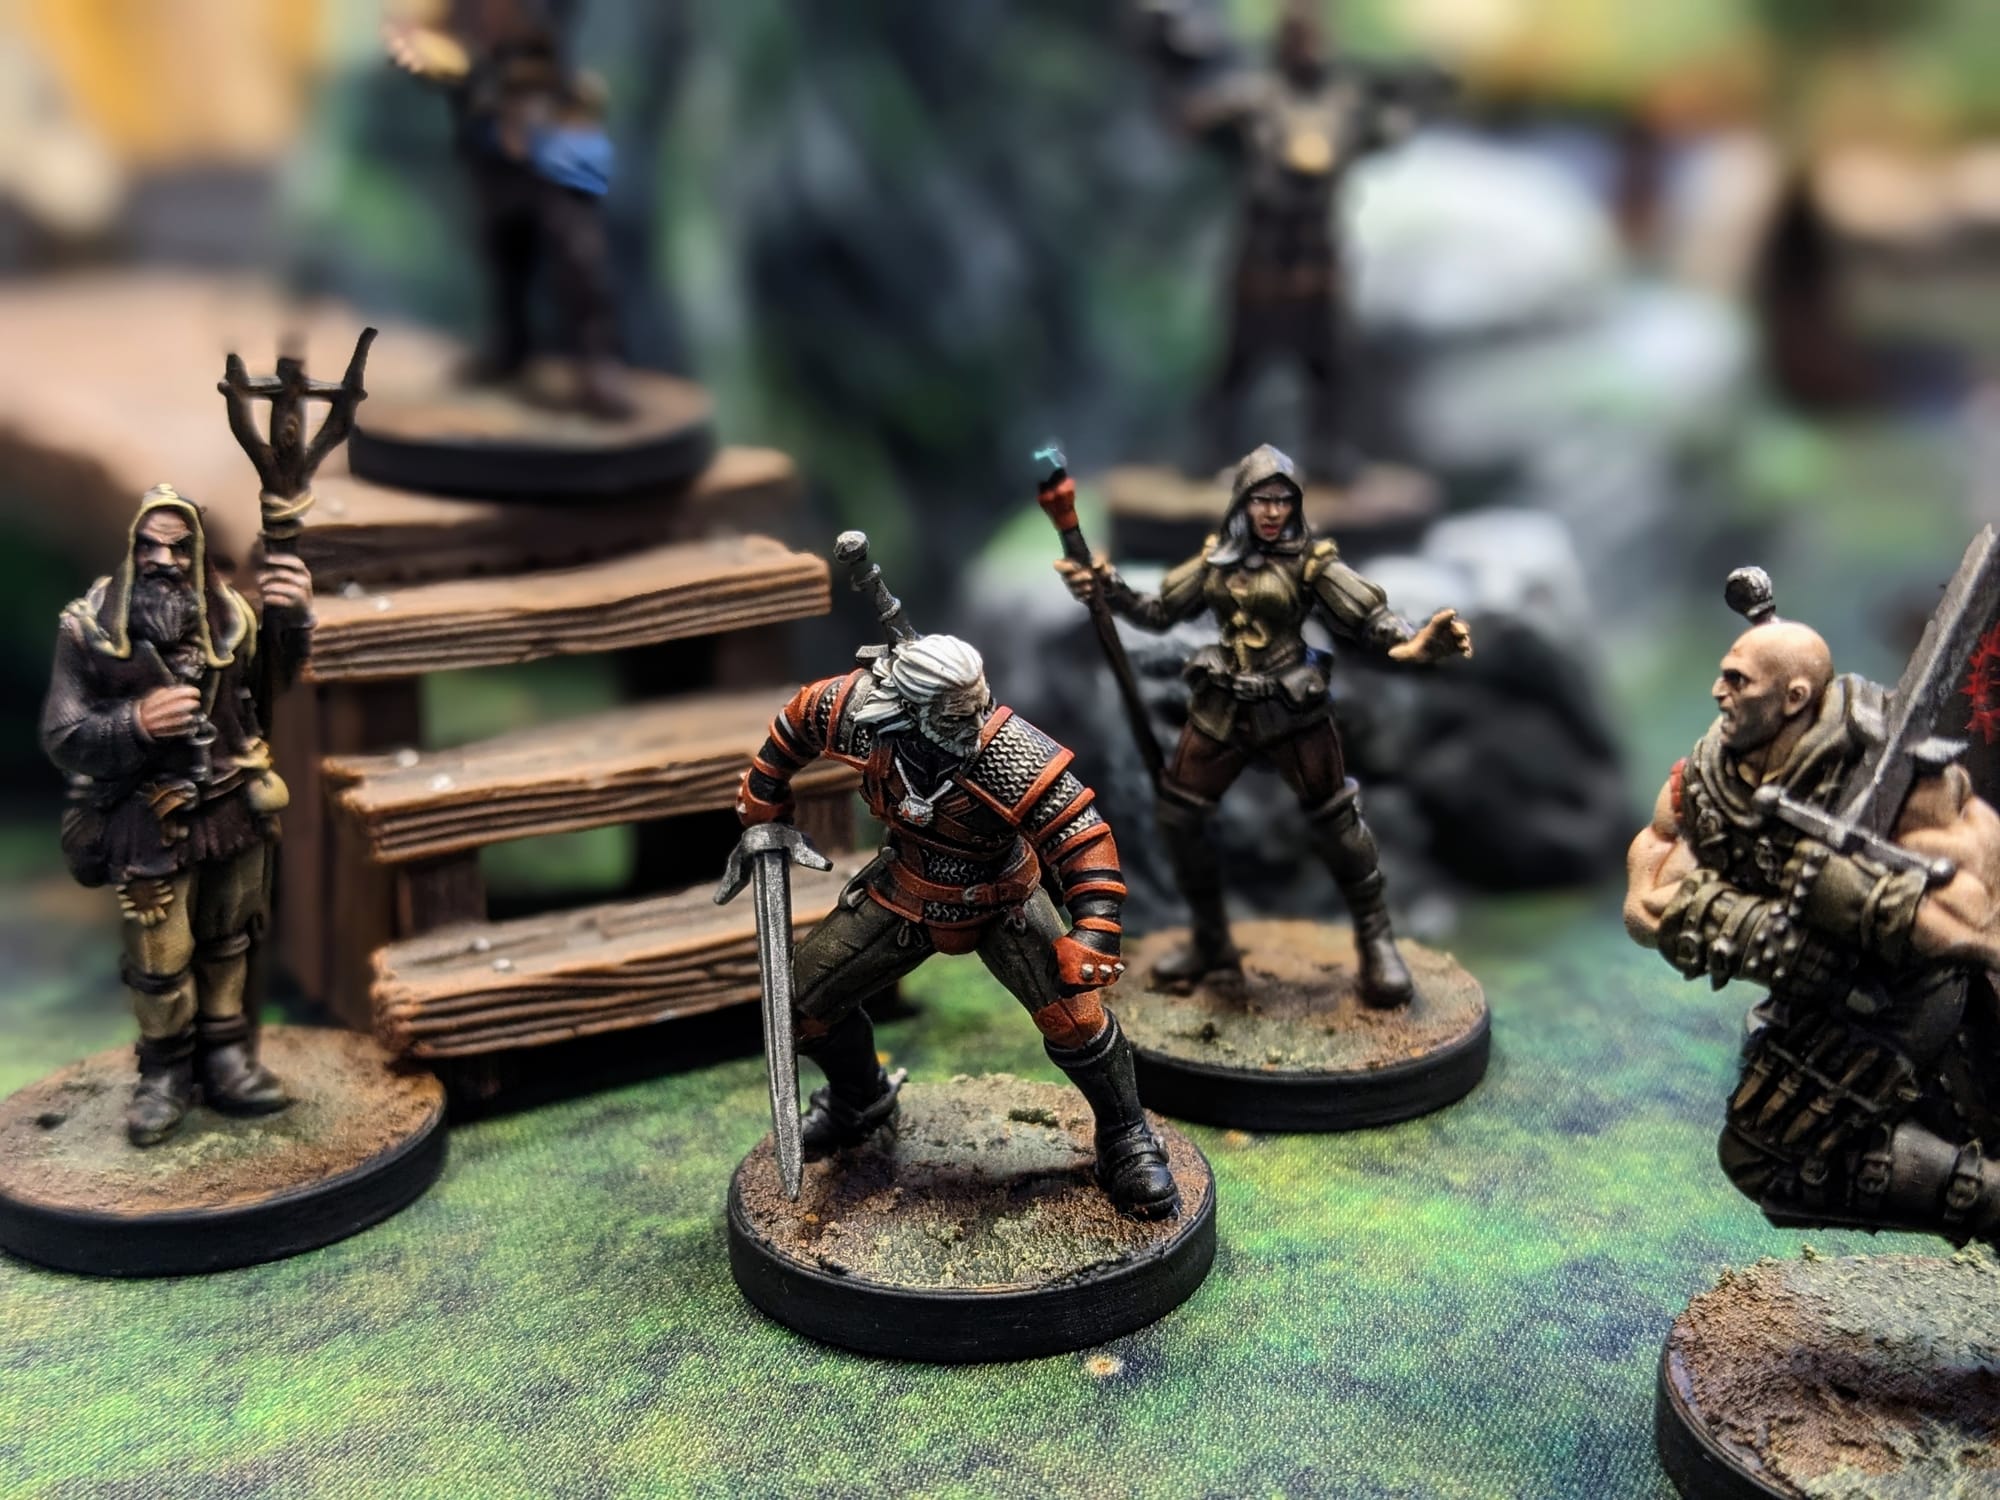
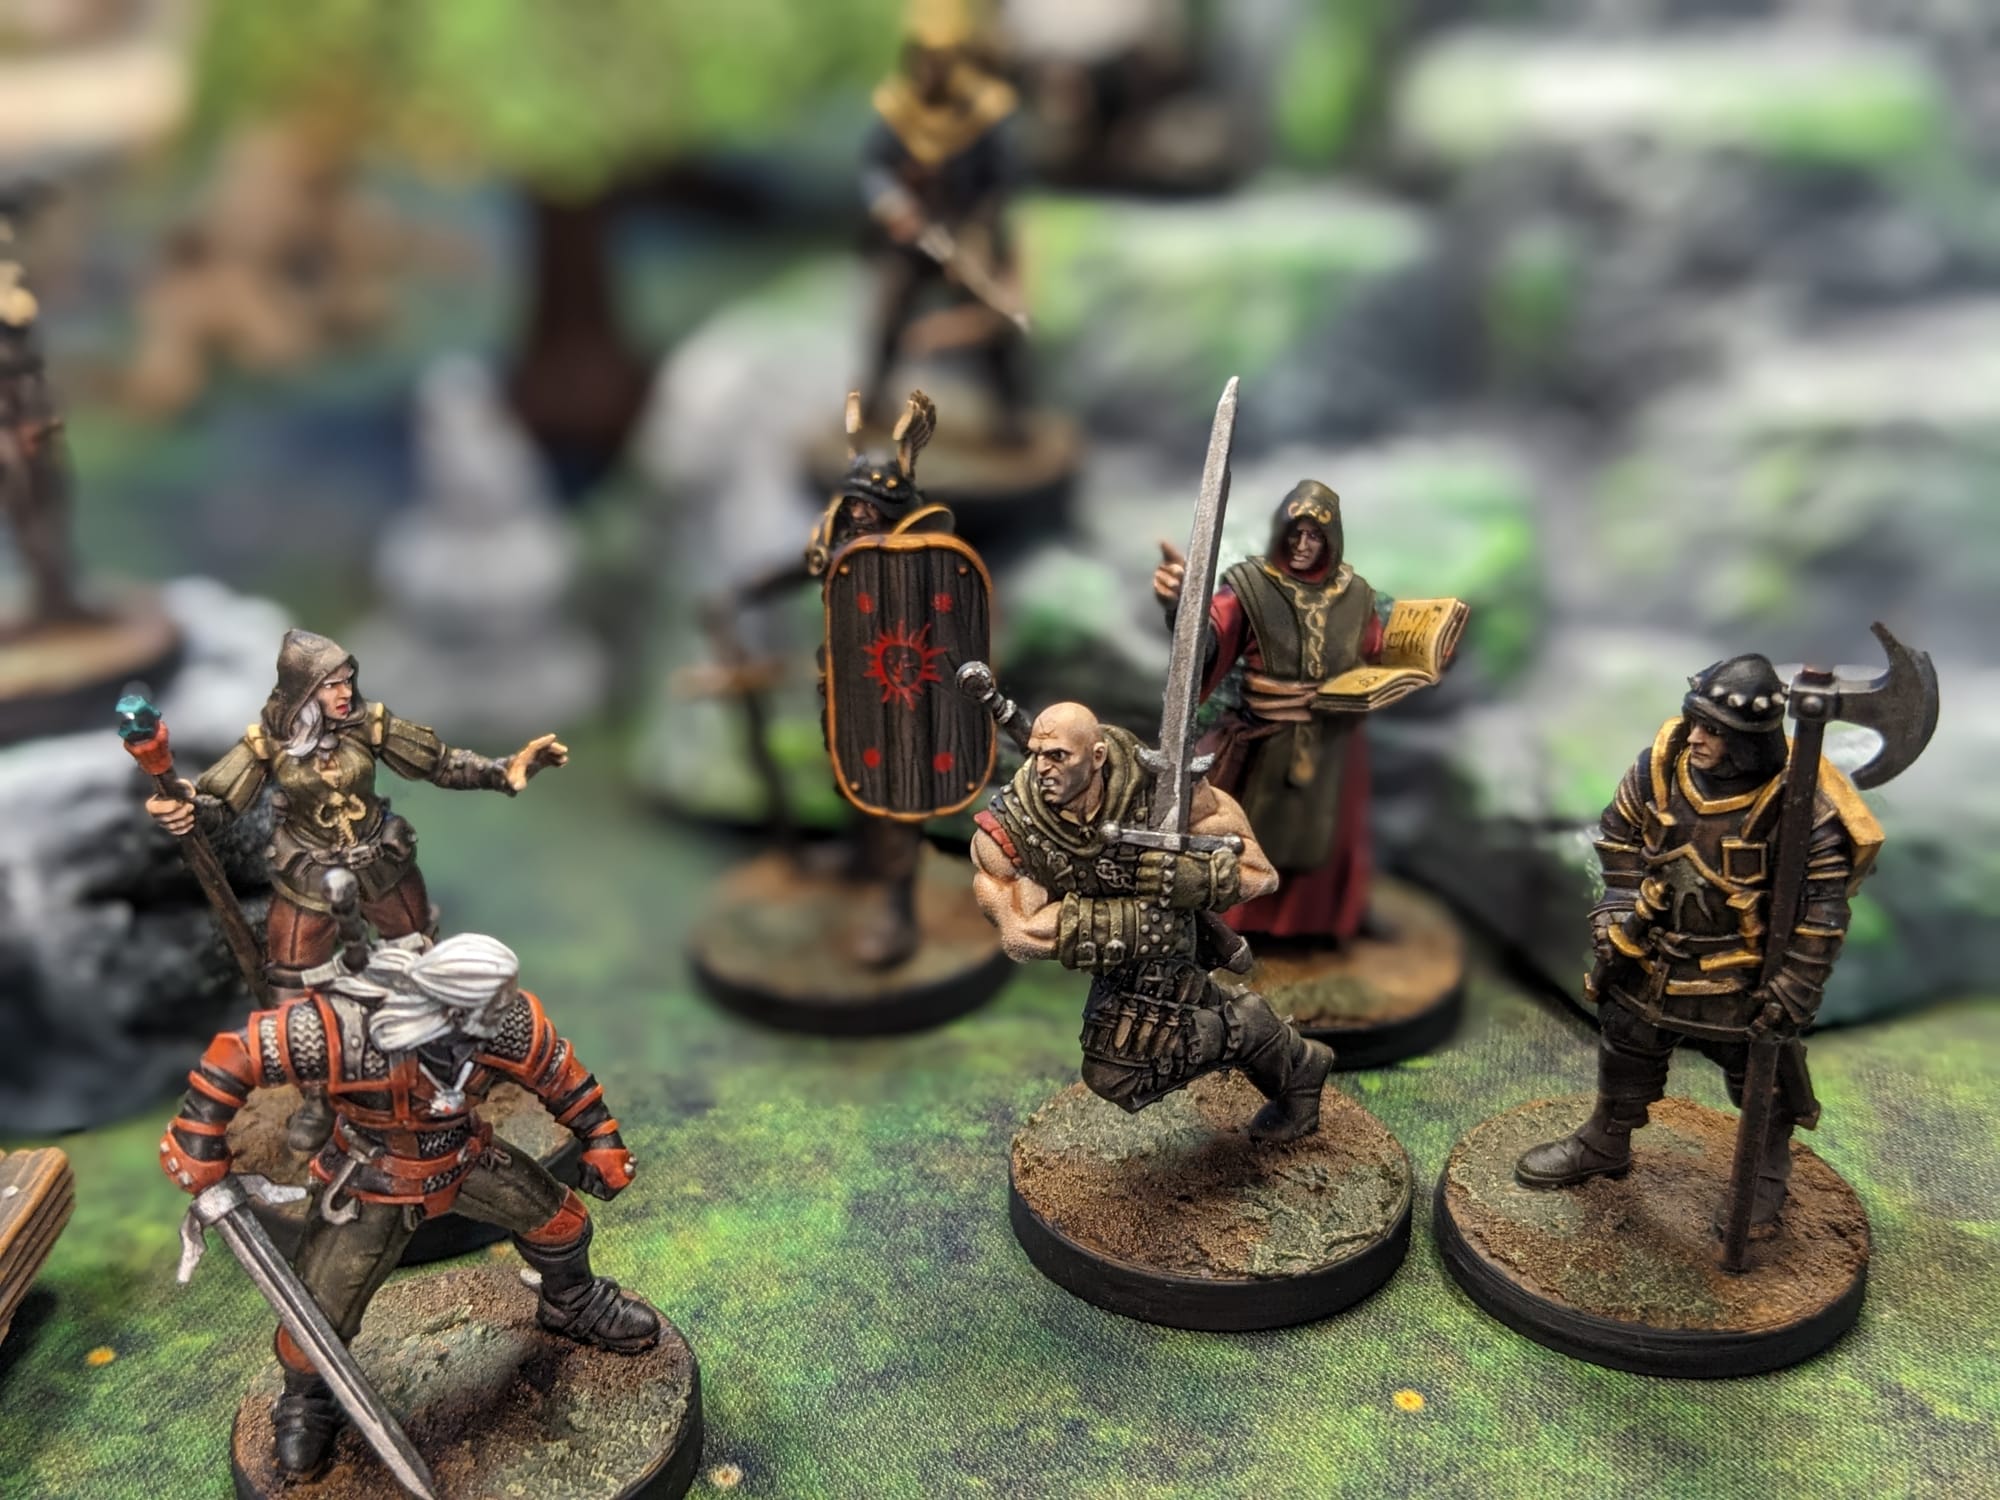
I am excited to get these pieces onto the tabletop, especially for the co-op games!
What I didn't like
My comments are minimal here. The griffin is super cool, but the model is heavy, so you have to be mindful of its positioning on the base. Letho has a small connection point on his foot, so it’s really important to make sure he’s properly glued to the base. That's really about it!
What I would do differently next time
I could have easily spent more time layering, highlighting, and doing more details. I may go back through and touch up some spots I missed, but overall, I think this approach works really well to get the pieces painted and onto the table. I may pre-base all the miniatures, not just the griffin, next go around to just save a little time, but it’s not necessary.
Final Thoughts
Looking at what’s been revealed so far, The Witcher: No Man’s Land is going to offer some great gameplay, especially with the co-op aspects. The fact that monsters can enter the chaos can make for some really fun gaming moments. Painted minis always make for a more immersive game, and since painting these pieces was so enjoyable, I can’t wait to paint more and add them to the game (when it comes out, of course).
Don’t forget to subscribe and follow us on Instagram, Bluesky, and YouTube for more The Witcher: No Man’s Land reviews and painting guides, as well as more hobby and tabletop news and reviews!