
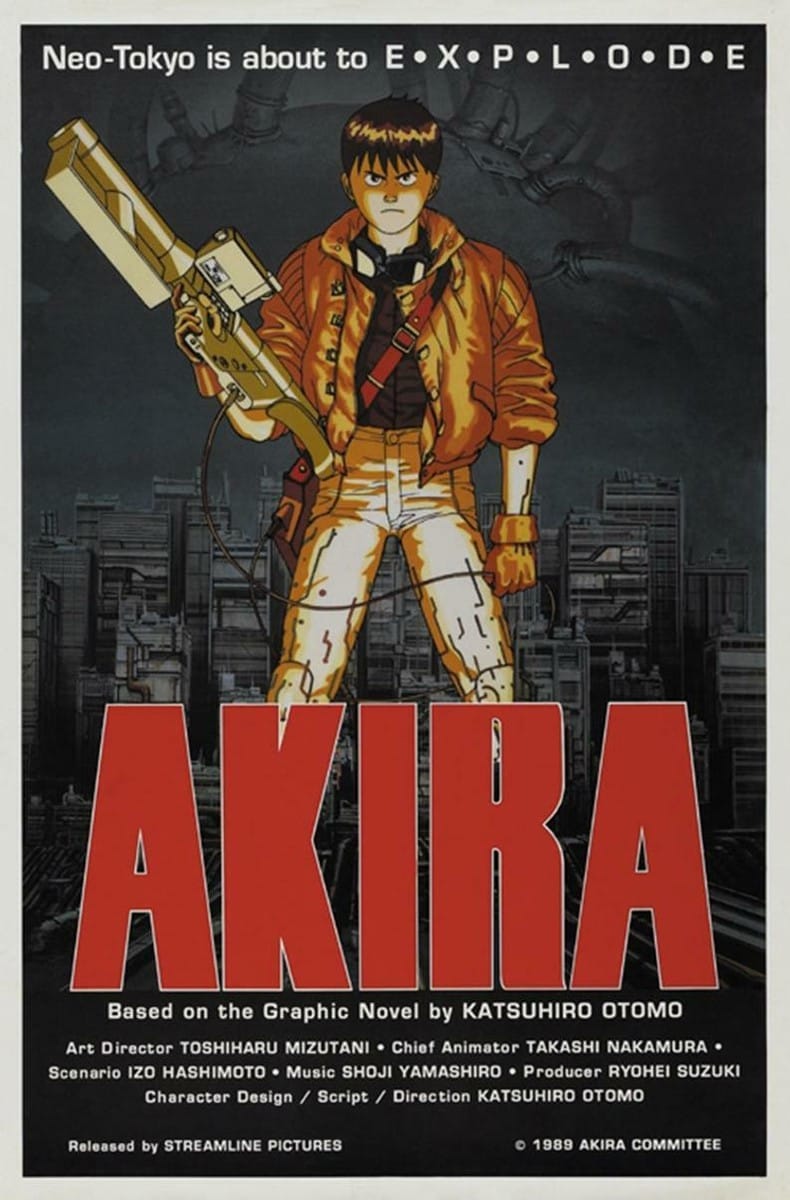
1991. In the world of Cyberpunk Red, the Kundalini Roadworks Shiva was introduced in Chromebook 1, a supplement for the original RPG. With Akira being out in 1988, the world of cyberpunk fiction and art was on fire at that moment. The Shiva was presented in the game as a vehicle that could hit a top speed of 150mph. Like Akira, this bike is presented as a top-tier cycle, making it a prime prize for criminal activity or those players who feel the need for speed.
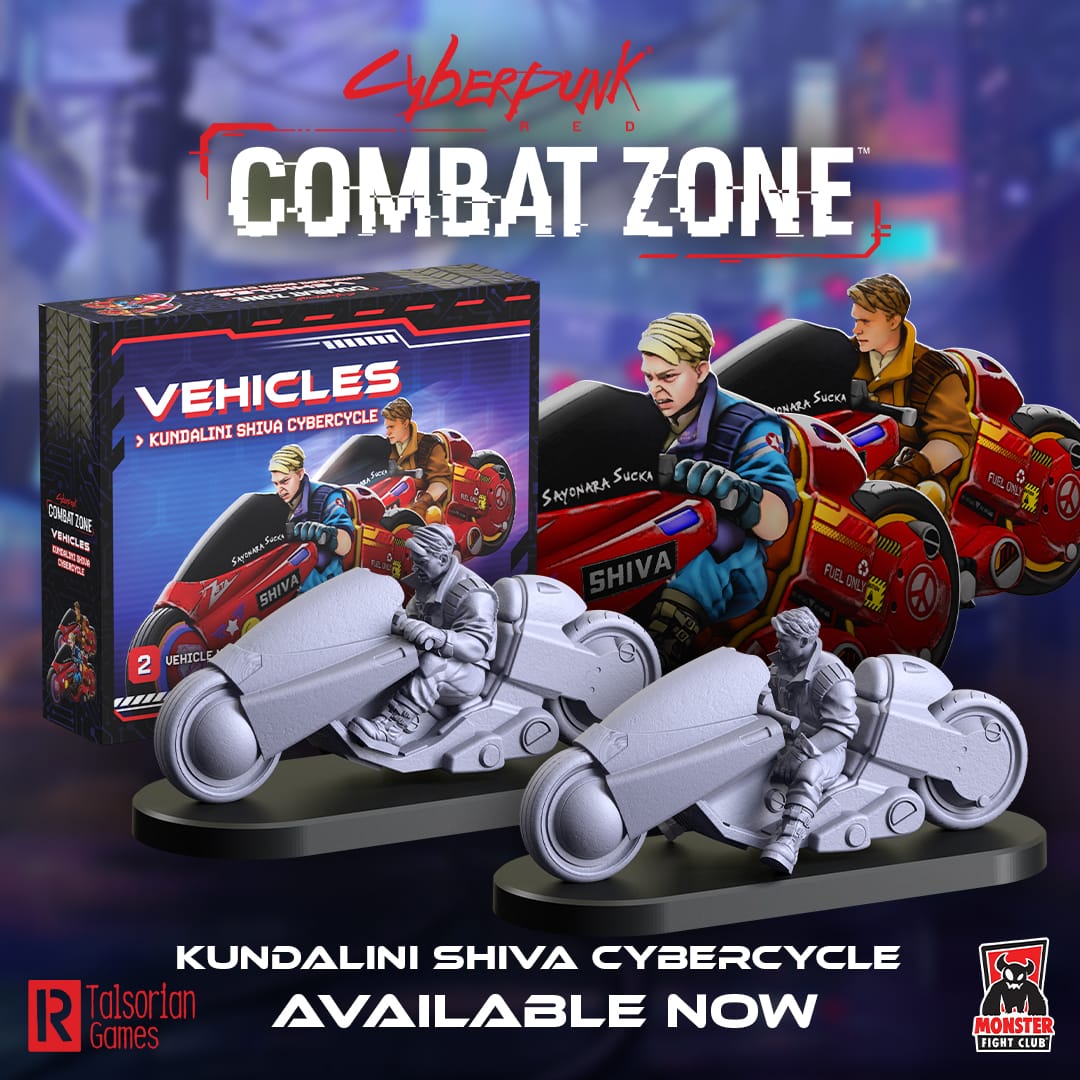
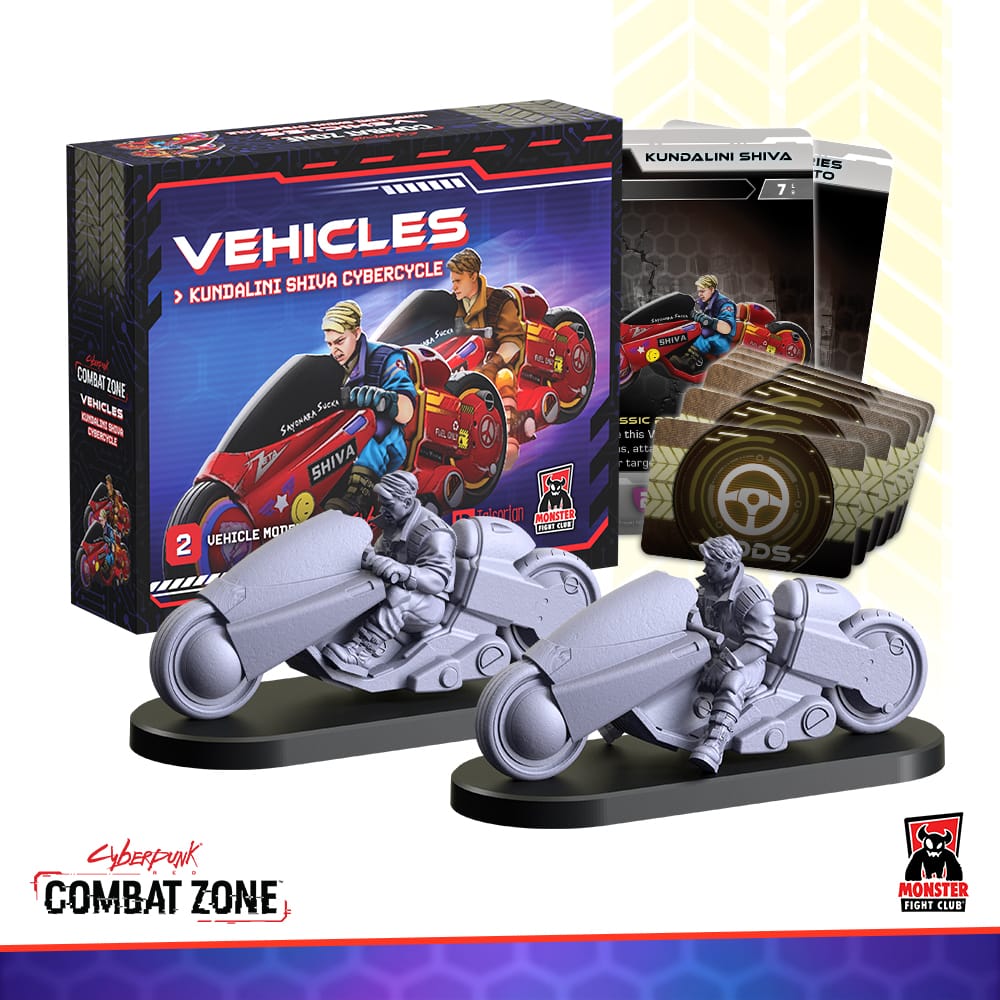
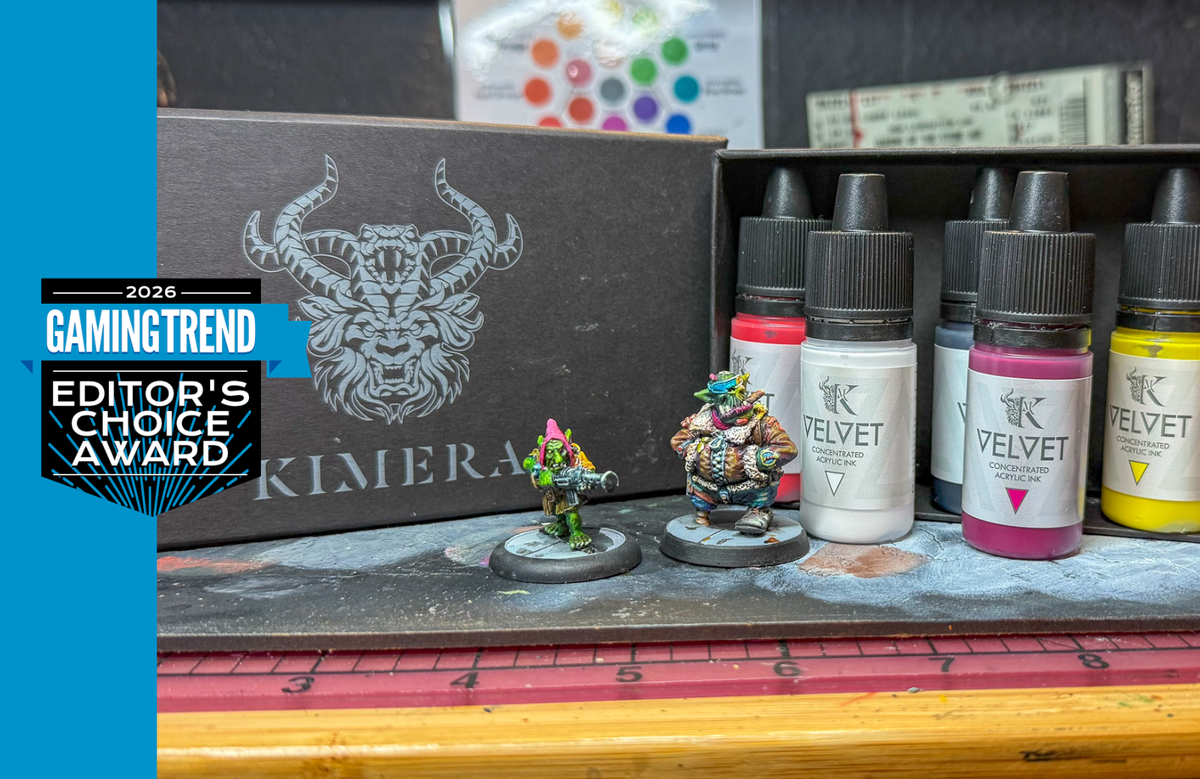
Monster Fight Club has rendered this iconic bike in soft plastic, and I was sent a model to give it my unique twist. In this challenge, I decided to primarily use a brand of paints that I never use, Turbo Dork.
Turbo Dork produces some of the wildest metallics on the market today, including a line of “color shifting” opalescent paint called Turboshift, and a variety meant for use on zenithal primed models called Zenishift.
Of course, a Cyberpunk Red Combat Zone model would be the appropriate place to try these paints out.
Inspiration
Naturally, I don’t want to paint a full send-off to Akira yet, but I wanted to do something interesting with the paint I had. For the character on the bike, I referenced some artwork of Shotaro Kaneda, the hero character of Akira. For the bike itself, I looked at opalescent paint coatings for cars, and metallic coats on cars.
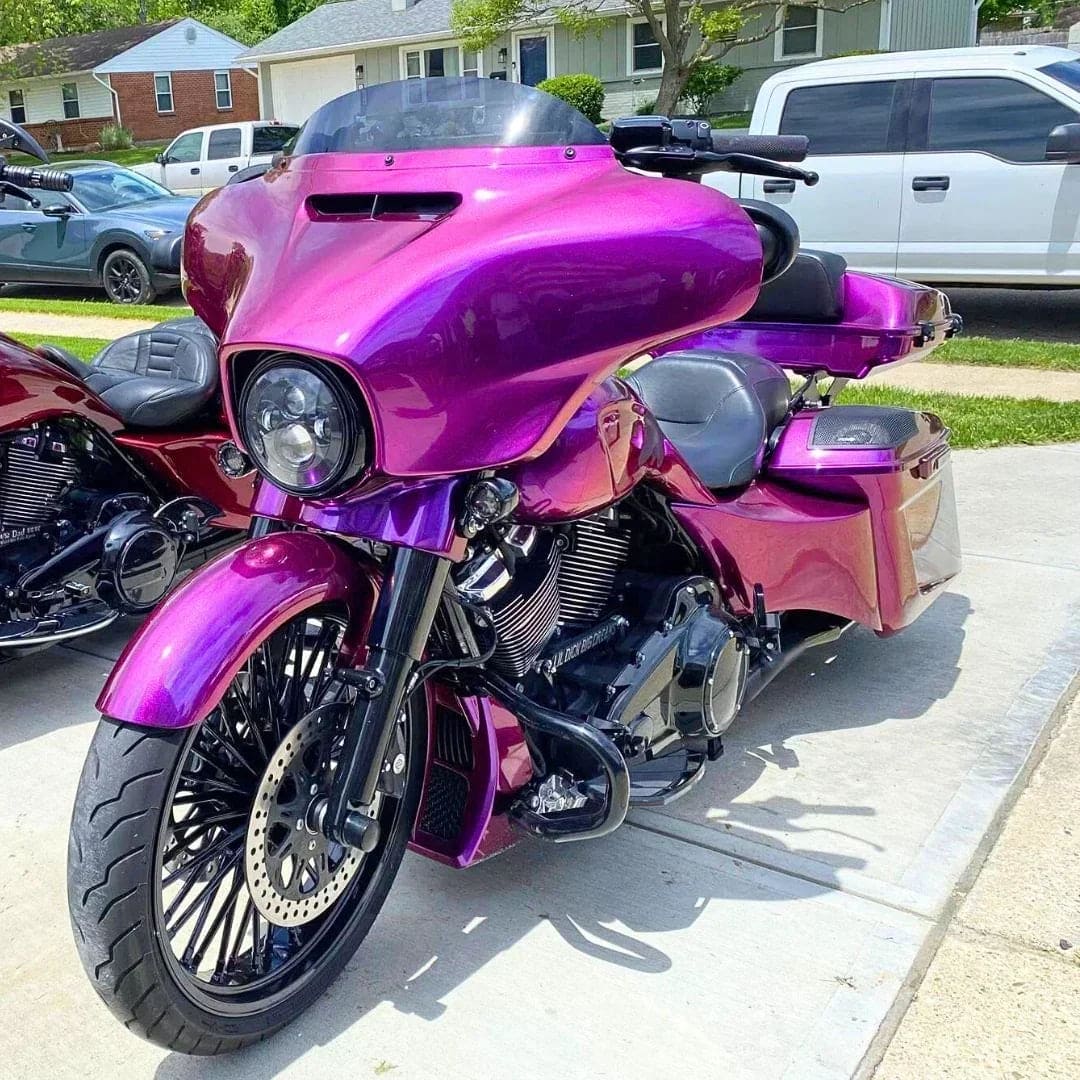
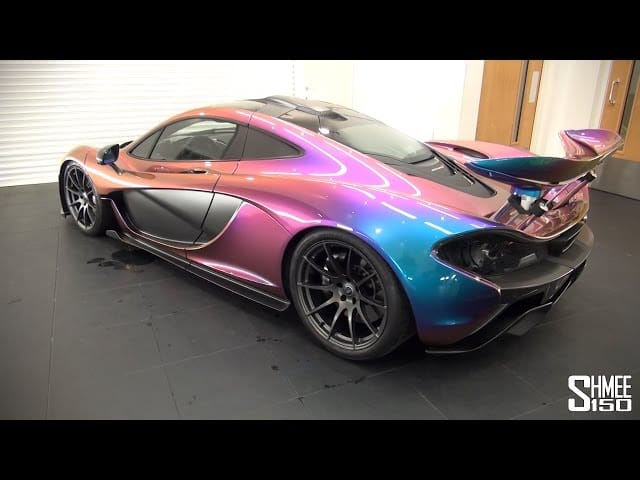
Desktop research can give you ideas on color, lighting, and artistic technique. All images from Google.
What I like about these references is that it allows for a lot of flexibility. I would be using a very glossy experimental metallic paint, which means that while I might have a vision, I would have to trust what happens and work with it. As you’ll read in the paint plan, this one got complicated, but I think my final results are well worth the effort.
The Paint Plan
GamingTrend has put together a guide for you to follow for how best to clean, cut, and assemble your models, regardless of the game. While the materials for the models may be different between games (plastic, resin, metal, etc.), there are simple techniques you can do to help make your painting experience go that much smoother.
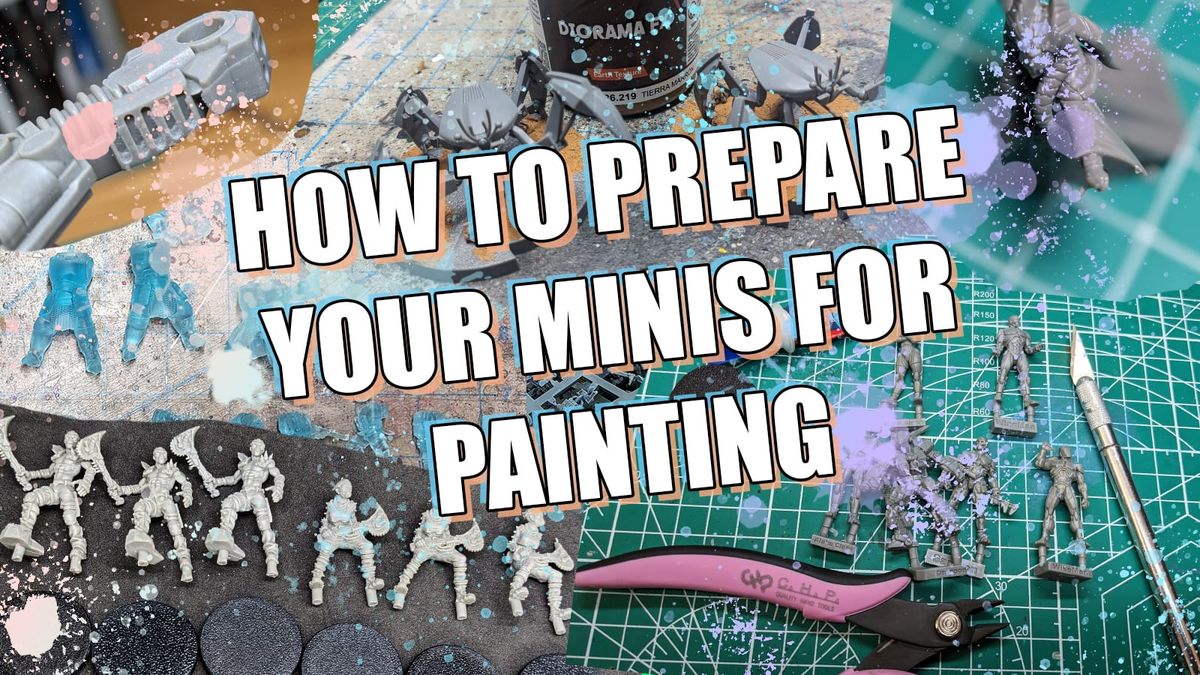
Additionally, if you are new to painting and are not sure what brushes or tools you need, check out the article. This is just a starting place, and every painter has different preferences and recommendations. These are our recommendations based on the last decade or so of painting, and I hope you find them helpful!
With Underpainting, you can get a unique texture for a model, along with finding your highlights and shadows.
With my models primed, I took a moment to gather paints. I wanted to make my character not entirely red, so I grabbed a few quick paints to get an idea down, including Bone Brown, Dwarf Flesh, Space Red, and Light Leather from the AK Quick Gen line, and Turnbull Turquoise from The Army Painter.
For my metallics, I thought about combinations that could work well to represent all of the shadows, midtones, and highlights, while keeping the special properties of Turbo Dork in mind. Solid metal colors would be Tin Star and Silver Fox. Both are silver, with Silver Fox being more grey and Tin Star being more chrome. For the colors, Prism Power and Romeo/Juliet were my shifting paints, with Prism playing in the pink-to-purple shift, and Romeo in the deep purple to vivid reddish purple.
Lastly, I knew that I would need some other colors to help with highlights and shadows. Red, Cold Yellow, Phthalo Blue, Leather, and White from Kimera were there to help with things like skin, the windscreen, some onboard controls for the bike, and anything else I may need.
As I went through the process of painting, I realized that I needed something for the tires. Ironclad Grey from the Army Painter served as a starting point, and Oil Stains, an effect paint from Army Painter, would help create the illusion of oil and mechanical grease. Nuln Oil, a classic wash from GW, would help outline metallic parts and help keep the shine down on places I didn’t want to shine.
Let’s go.
Step by Step
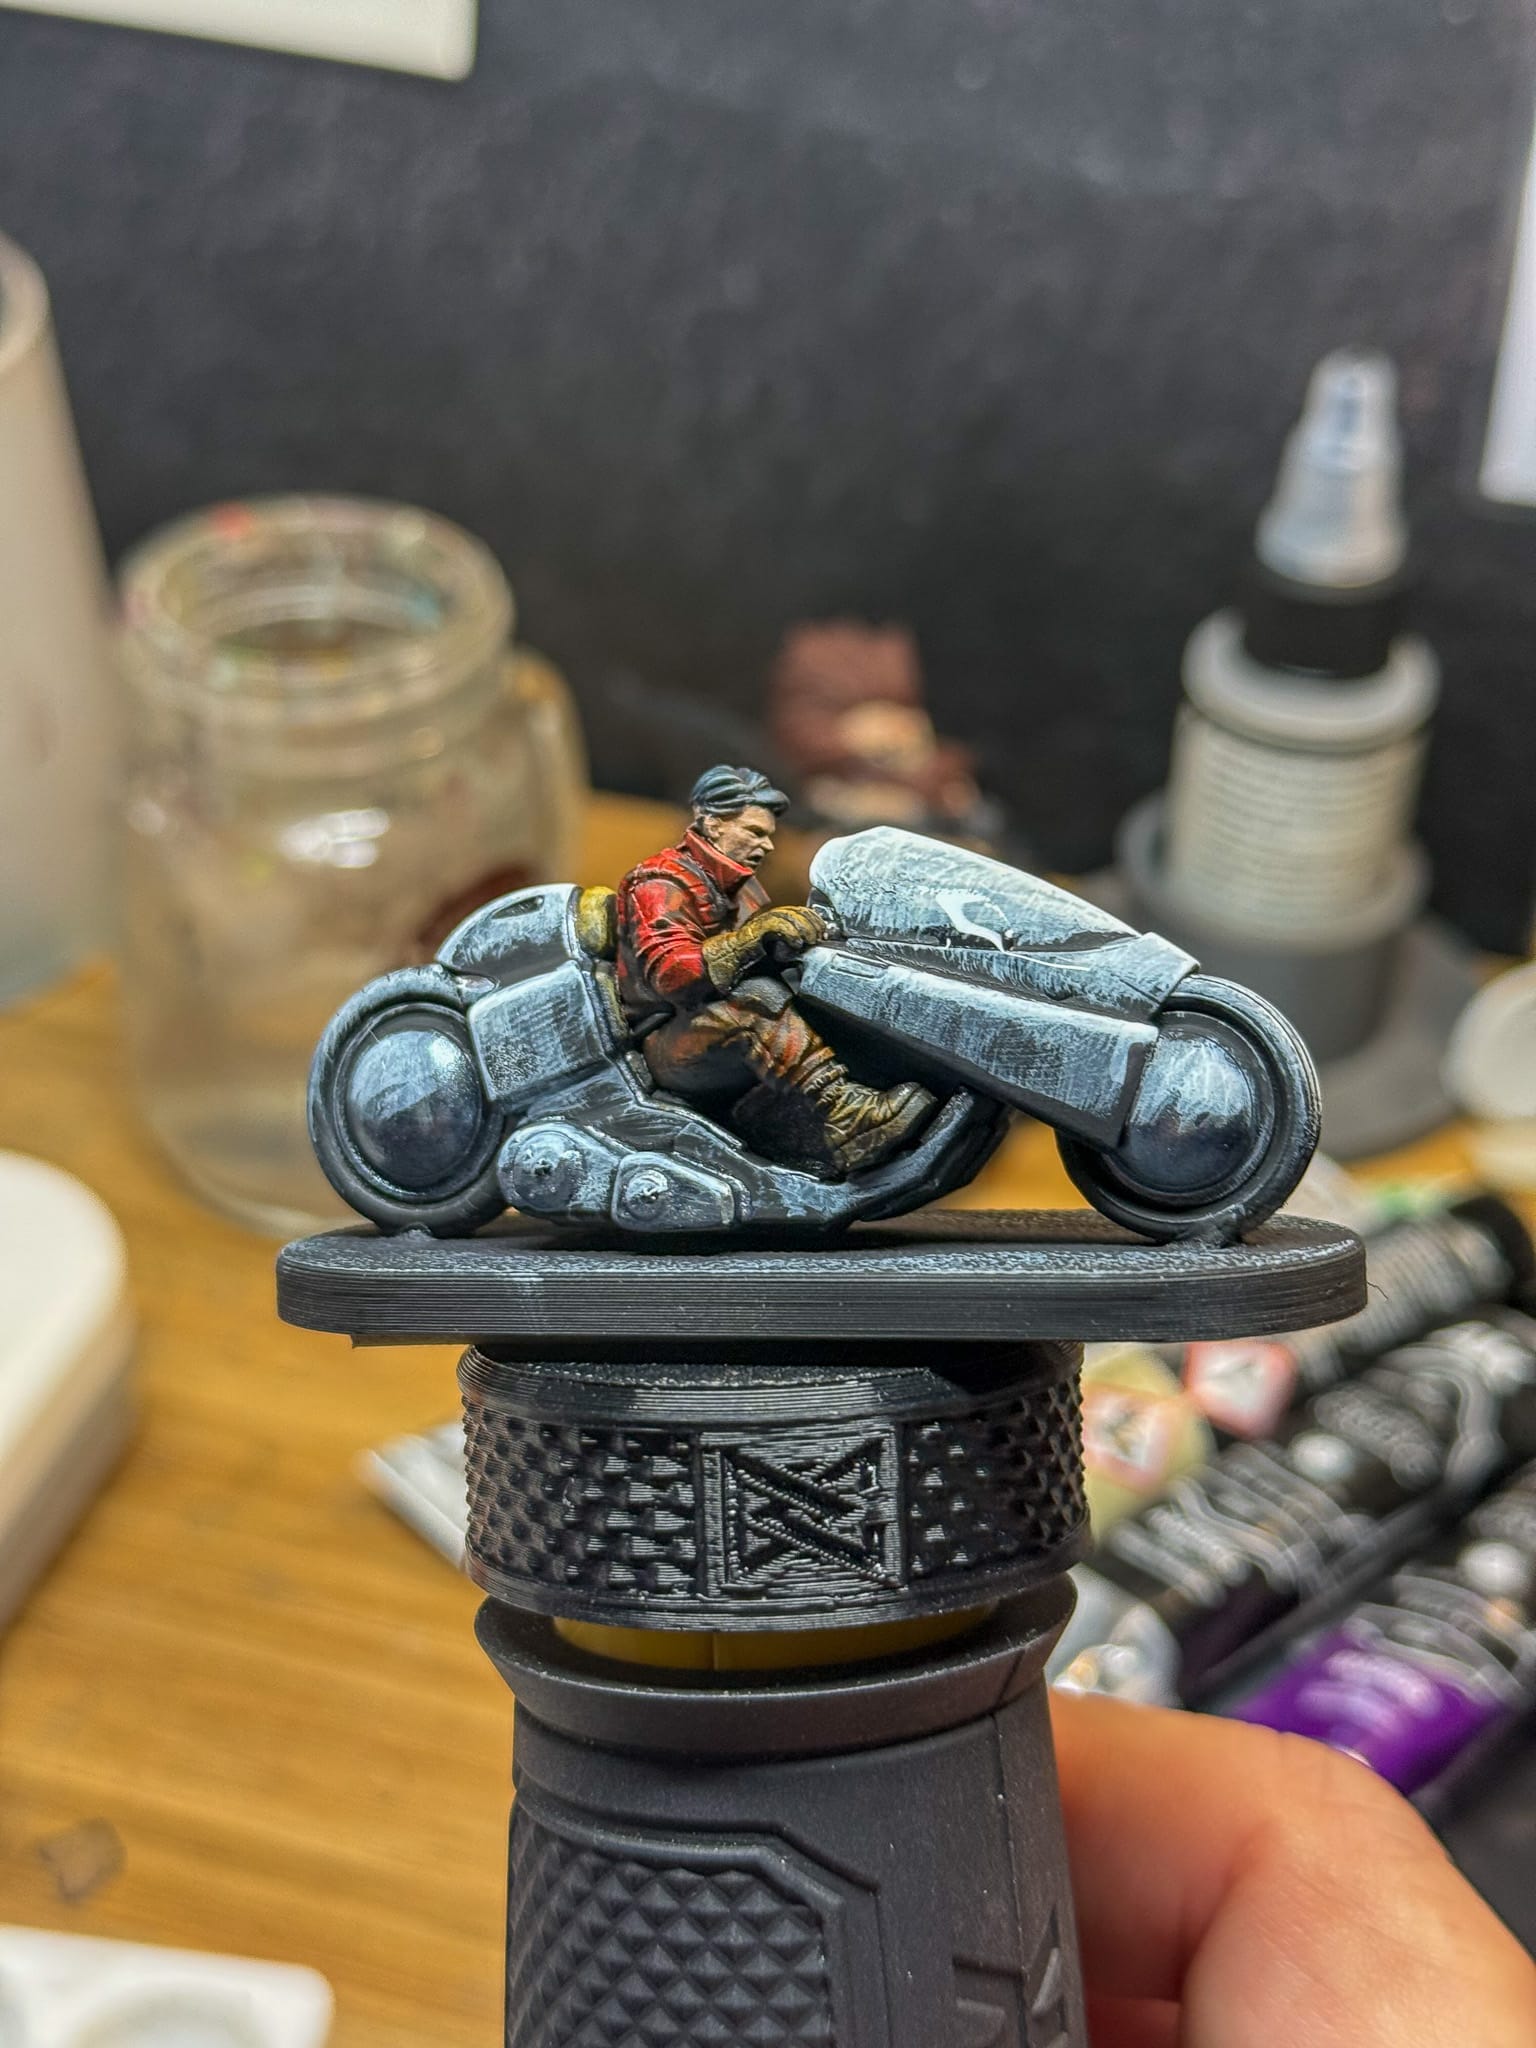
These models are very easy to paint. I started with the character and focused on all the clothing. I first hit the top with Space Red and the pants with Dwarf Flesh. This gave me a nice contrast of red and orange. The boots and gloves got a splash of Bone Brown, and when dry, a hit of Light Leather. The hair got Turnbull, and when everything was dry, I did it again. 2 coats is really all I needed to establish these opening tones.
The look after applying quick paints and a few layers of paint.
To complete the jacket, I mixed Kimera red into my Space Red in order to push that red tone a little bit more. A tiny bit of Cold Yellow helped create a highlight tone.
For the pants, I left them alone. They were fine after my first 2 coats, and let's be honest, this model isn’t about the pants.
The gloves got a slight mixture of Leather mixed in with the quick shade paint, and that built up my highlight. Once again, I’m not going big on these because the focus is the bike.
The skin was a mixture of White and Leather, which gives us a pleasant caucasian tone. Add a bit more white, and you have a highlight. Kimera paints blend very well for this purpose, and it’s easy to move up and down the tone chain to build your shadows and highlights.
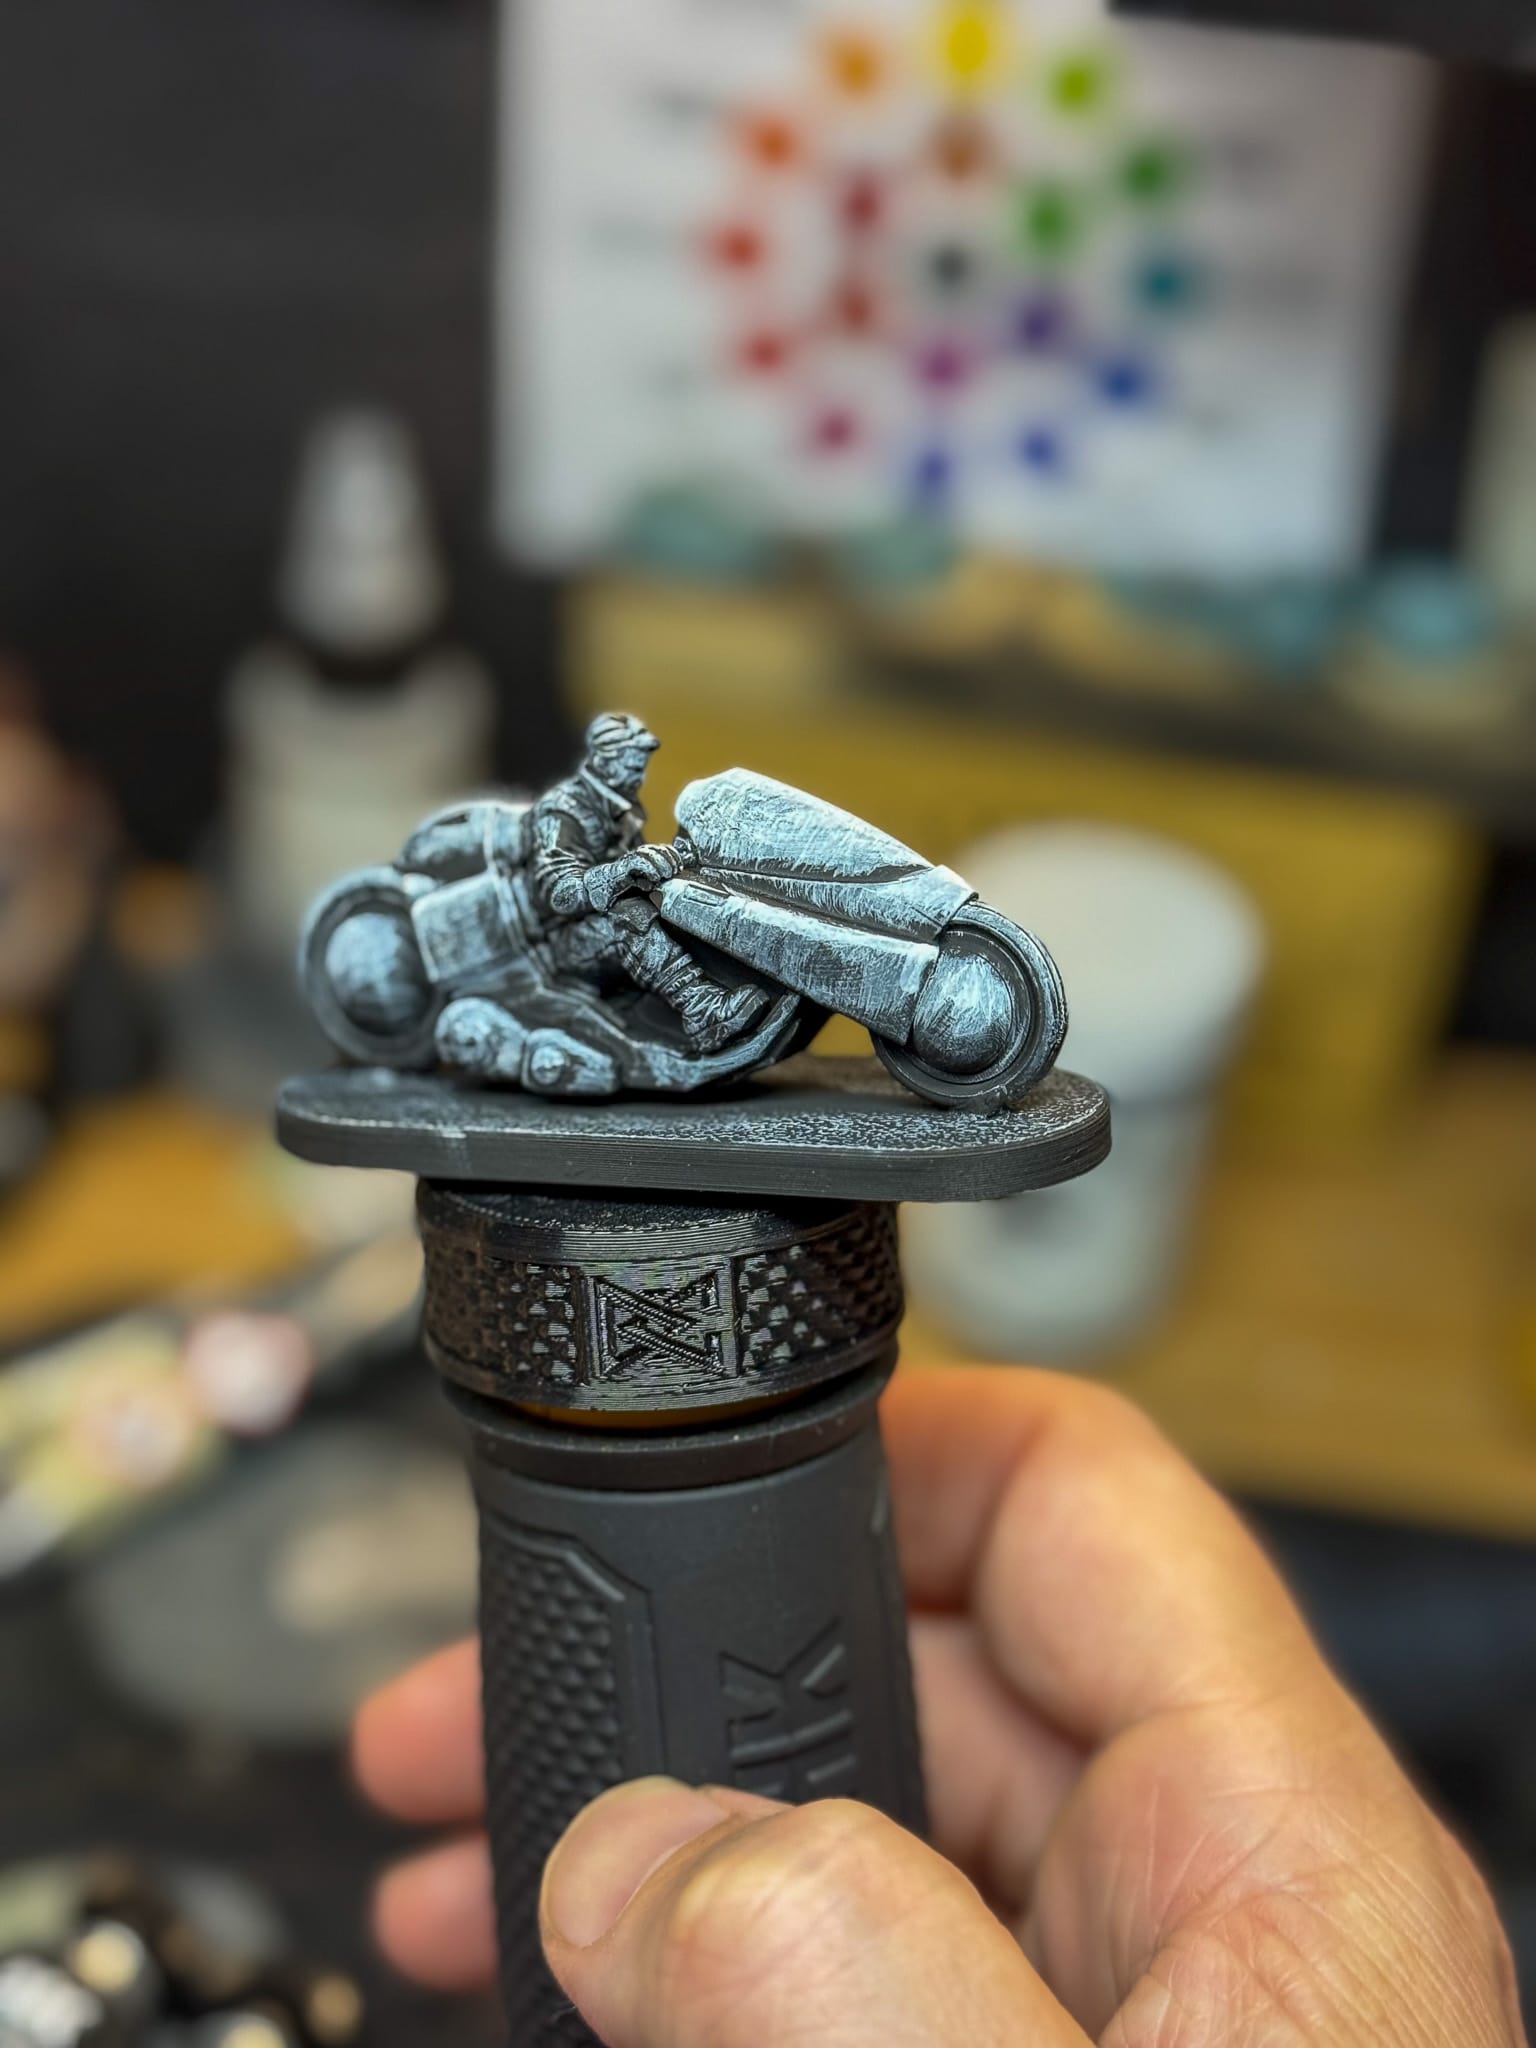
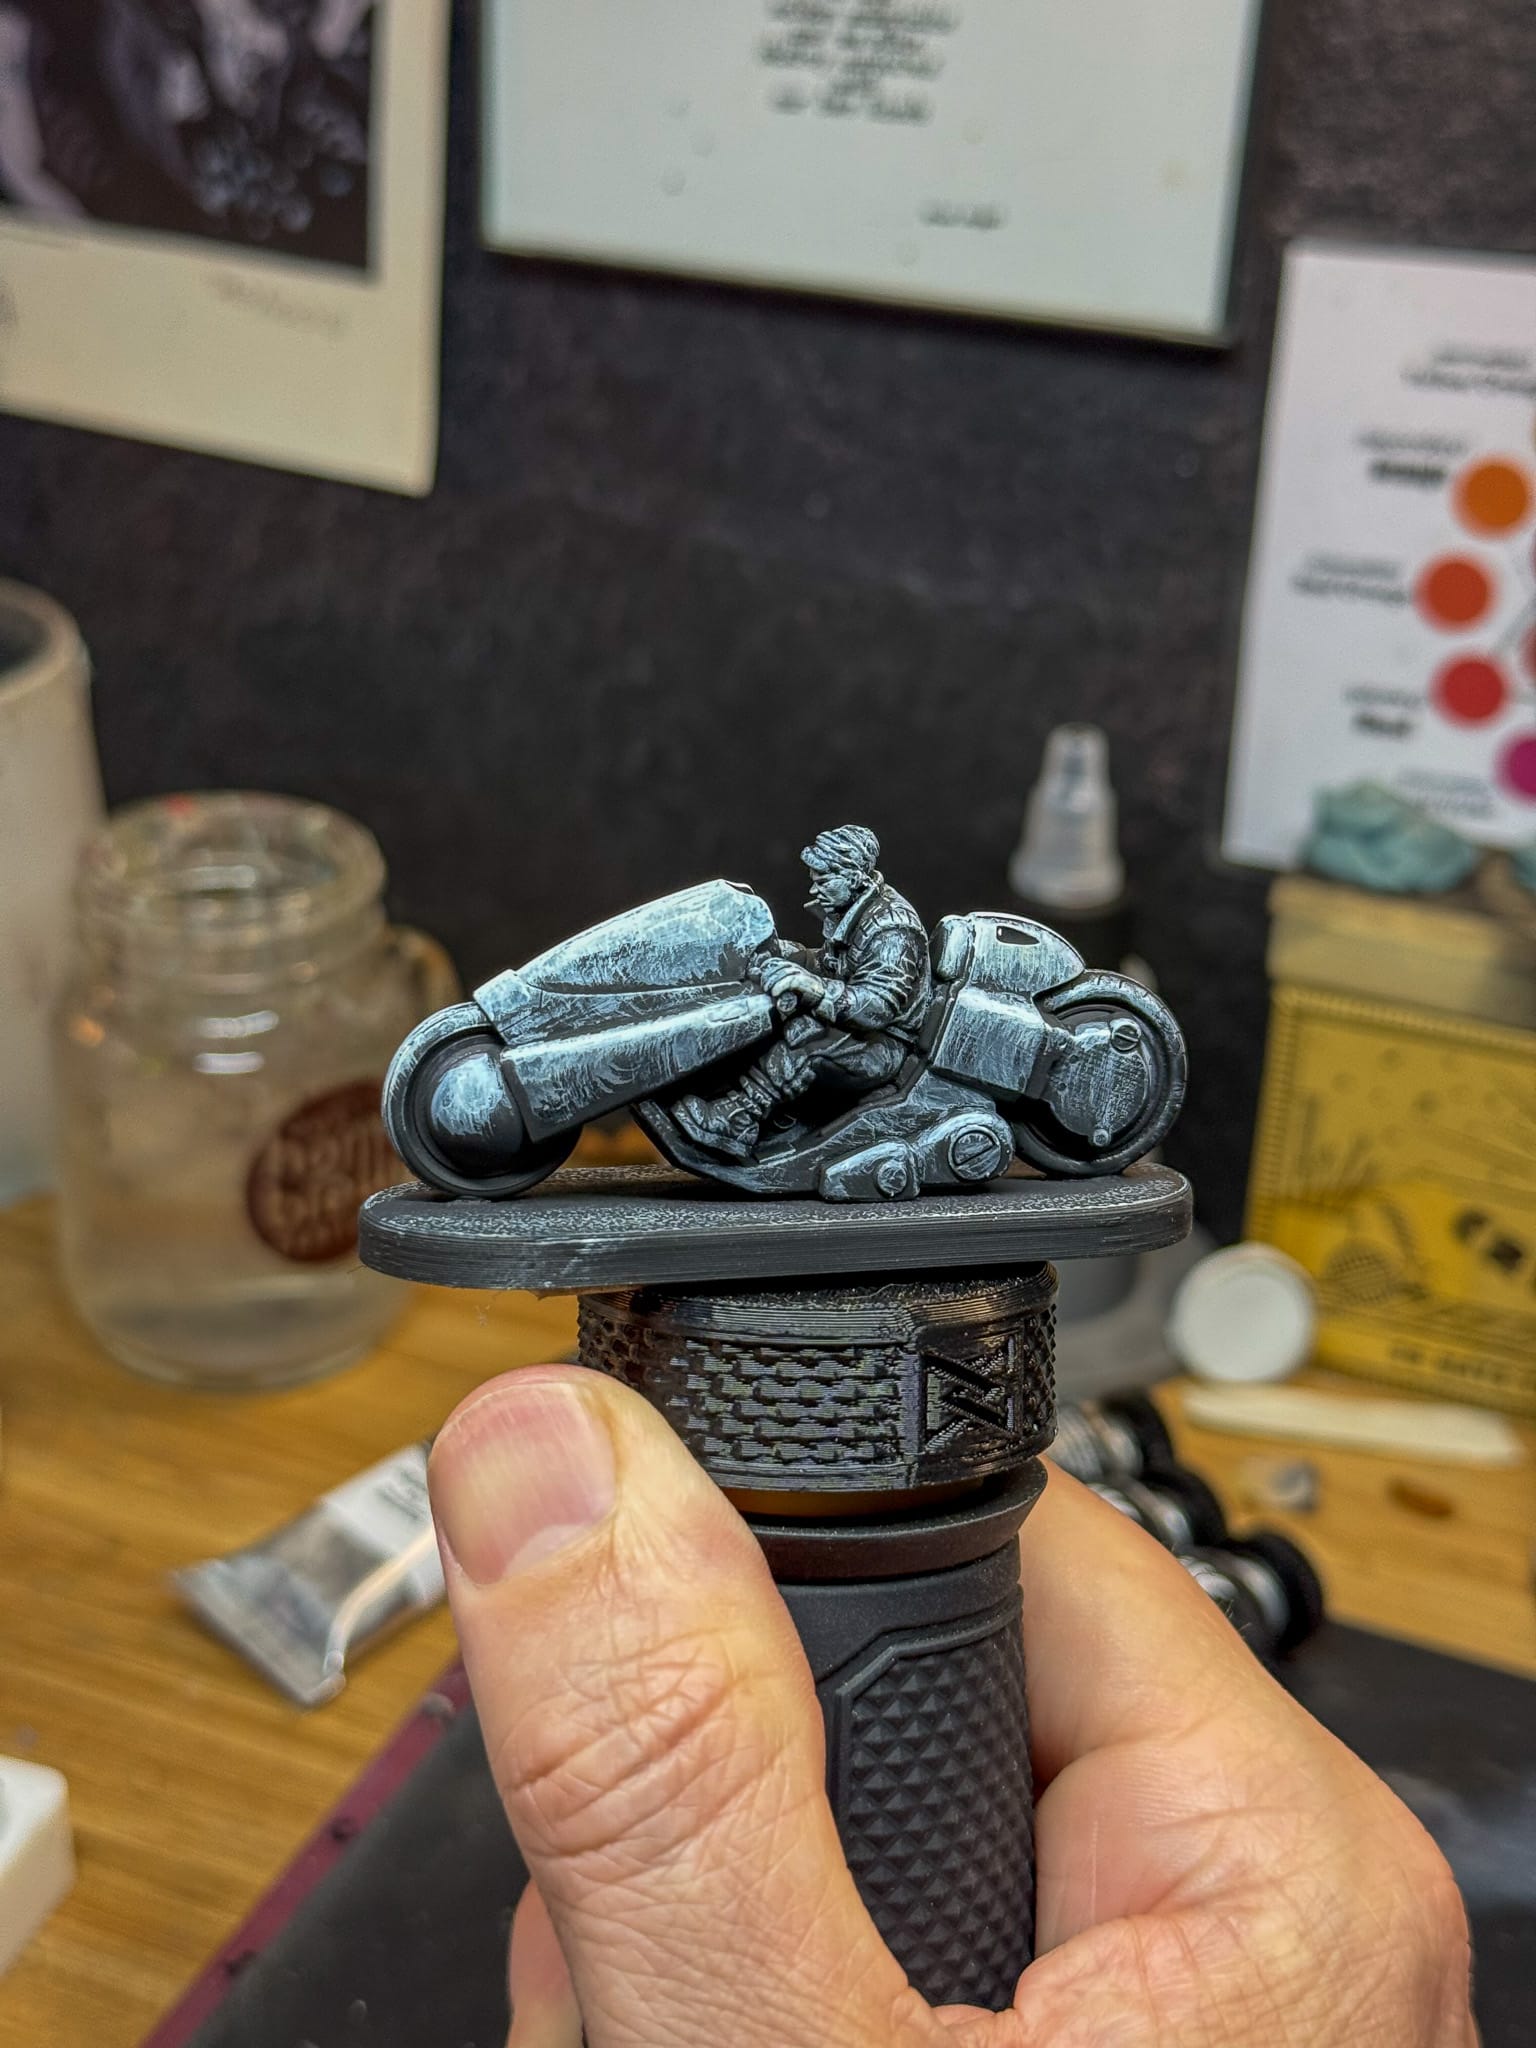
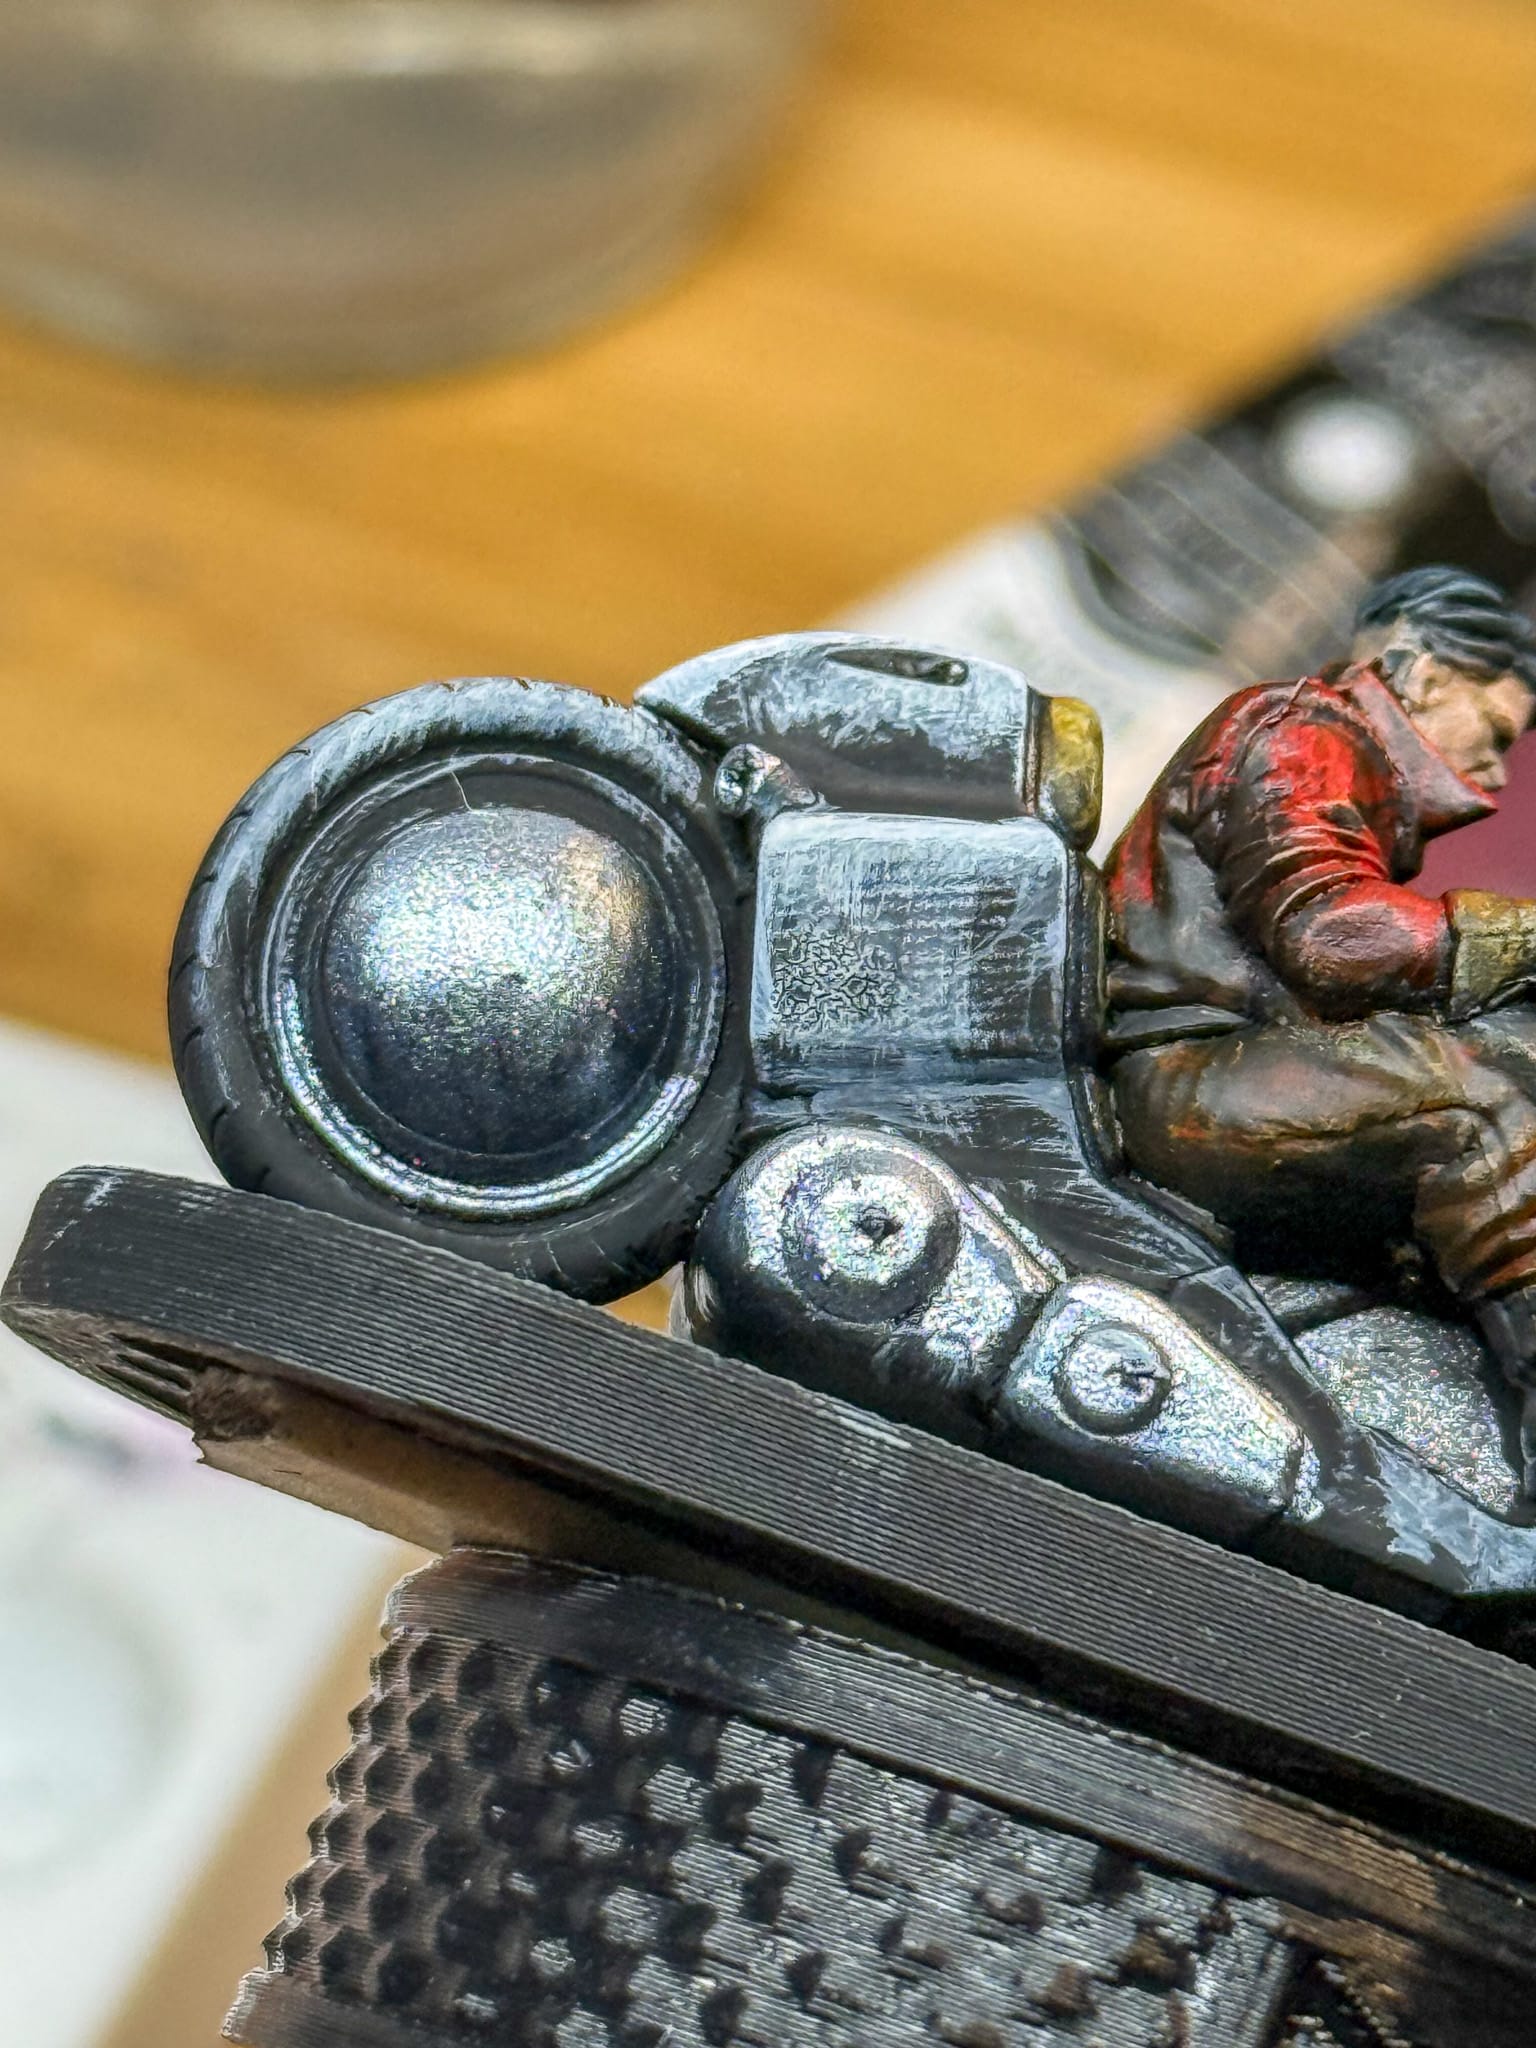
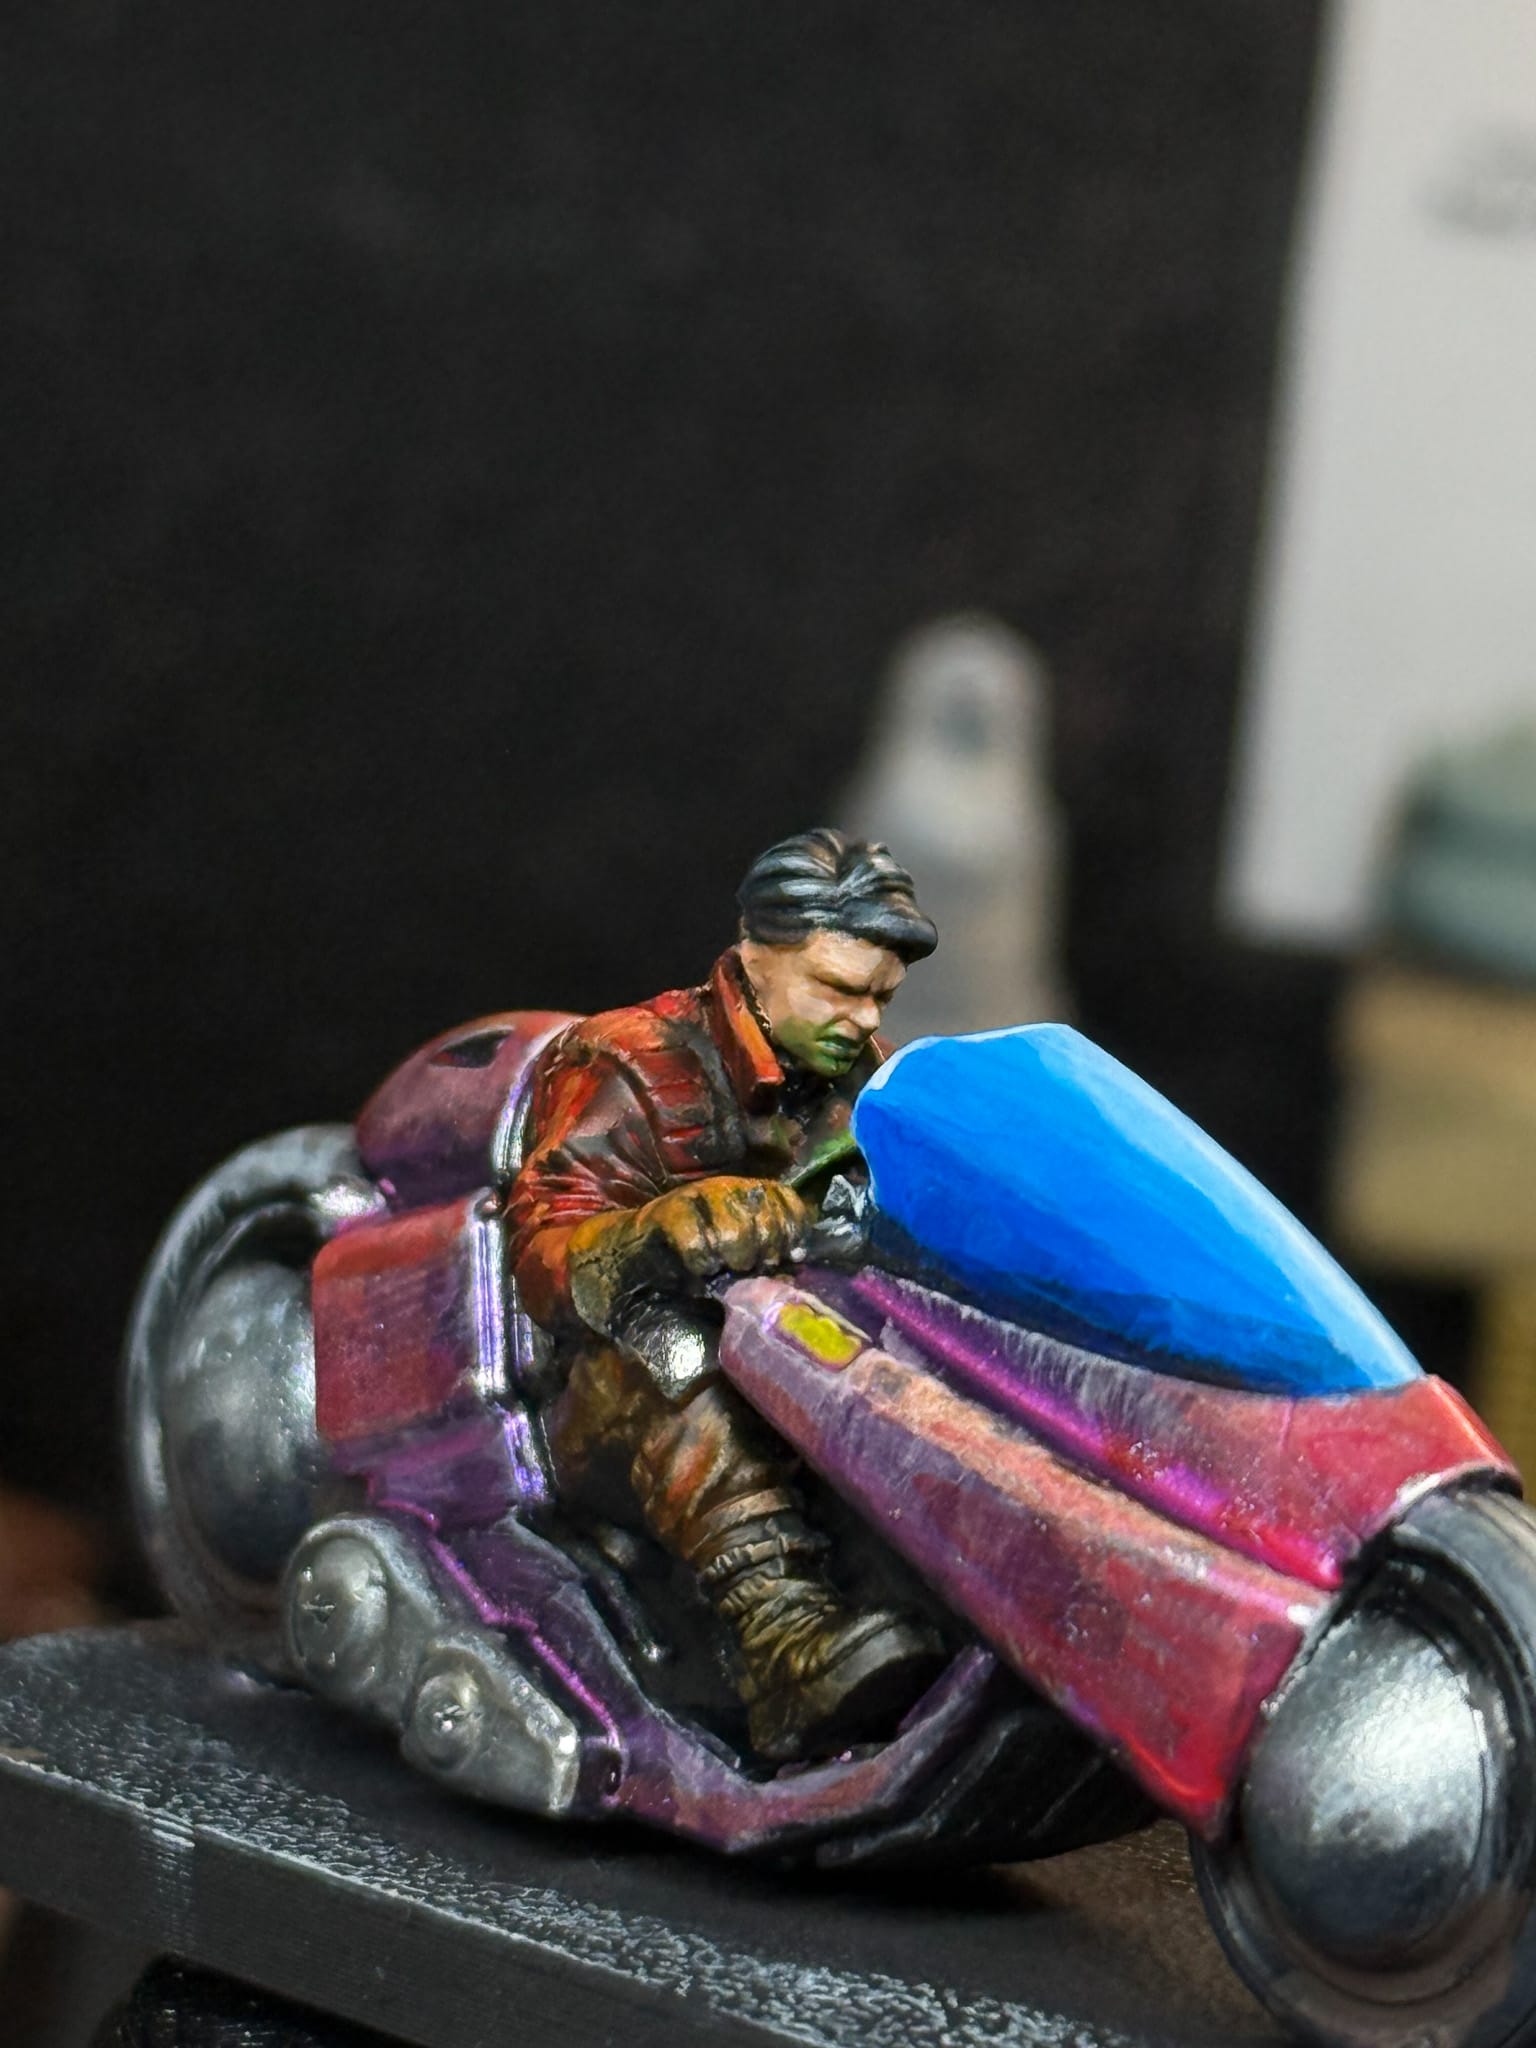
Next, the bike. Relying on the special ability of the Zenishift paint, I used a few thin layers across the bike. The top parts of the bike got Prism Power, and the lower parts got Romeo/Juliet. Using the Turbo Dork Thinning Medium, I was able to thin the paint down to a milky consistency, which allows my underpainting to come through. The finished result made me think of scratched metal, as if this bike has been through A LOT.
I also applied the Tin Star/Silver Fox mixture to the lower parts of the cycle and wheel pieces. The seat of the bike got some layers of Light Leather, along with an outline of Tin Star.
It needed more. So I took some Kimera Red and added just a minuscule amount of it to the Prisim, which then I feathered on various parts of the paint job. This helped bring in some of that classic Akira red.
By thinning down a metallic, you can still get the texture from underneath.
I then jumped to the windscreen. This was a fun opportunity to practice glazing and layering, so I used the Phthalo Blue, and by adding varying amounts of white, I built up from the darkest blue to the brightest white. Phthalo Blue is transparent, which meant that my underpainting would show right through. For this part of the project, I went back and forth with many layers and added a little bit of Magenta to create a nice black for the lowest part of the window.
For the tires, I based them in Ironclad Grey and added White to it in order to create my highlights and midtones. You could get wild in this stage and add some shaped highlights, like what Alec has done on his tutorials.

At this point, the model is basically done and ready for the table. But you’re not here for just the standard, so let’s keep going.
Final Touches
Now that the paint job is mostly complete, it’s time to add some flair and make this model really stand out. I noticed the control panel of the bike, which should definitely be glowing and reflecting off of our character, right?
So a thinned-down green made from Kimera paints did this. Additional yellow for the highlights. A small detail, but really fun.
Even in the cyberpunk future, tires have to get dirty. Oil Stains helped fill in the gap between the metal and the tire, and some AK Chaos Dirt (an enamel) helped create the illusion of dirt and dust at the bottom of the wheelwells.
I noticed 2 rectangular panels on the body, a dab of Kimera yellow turned the panel into a glowing element...maybe lights? A turning signal?
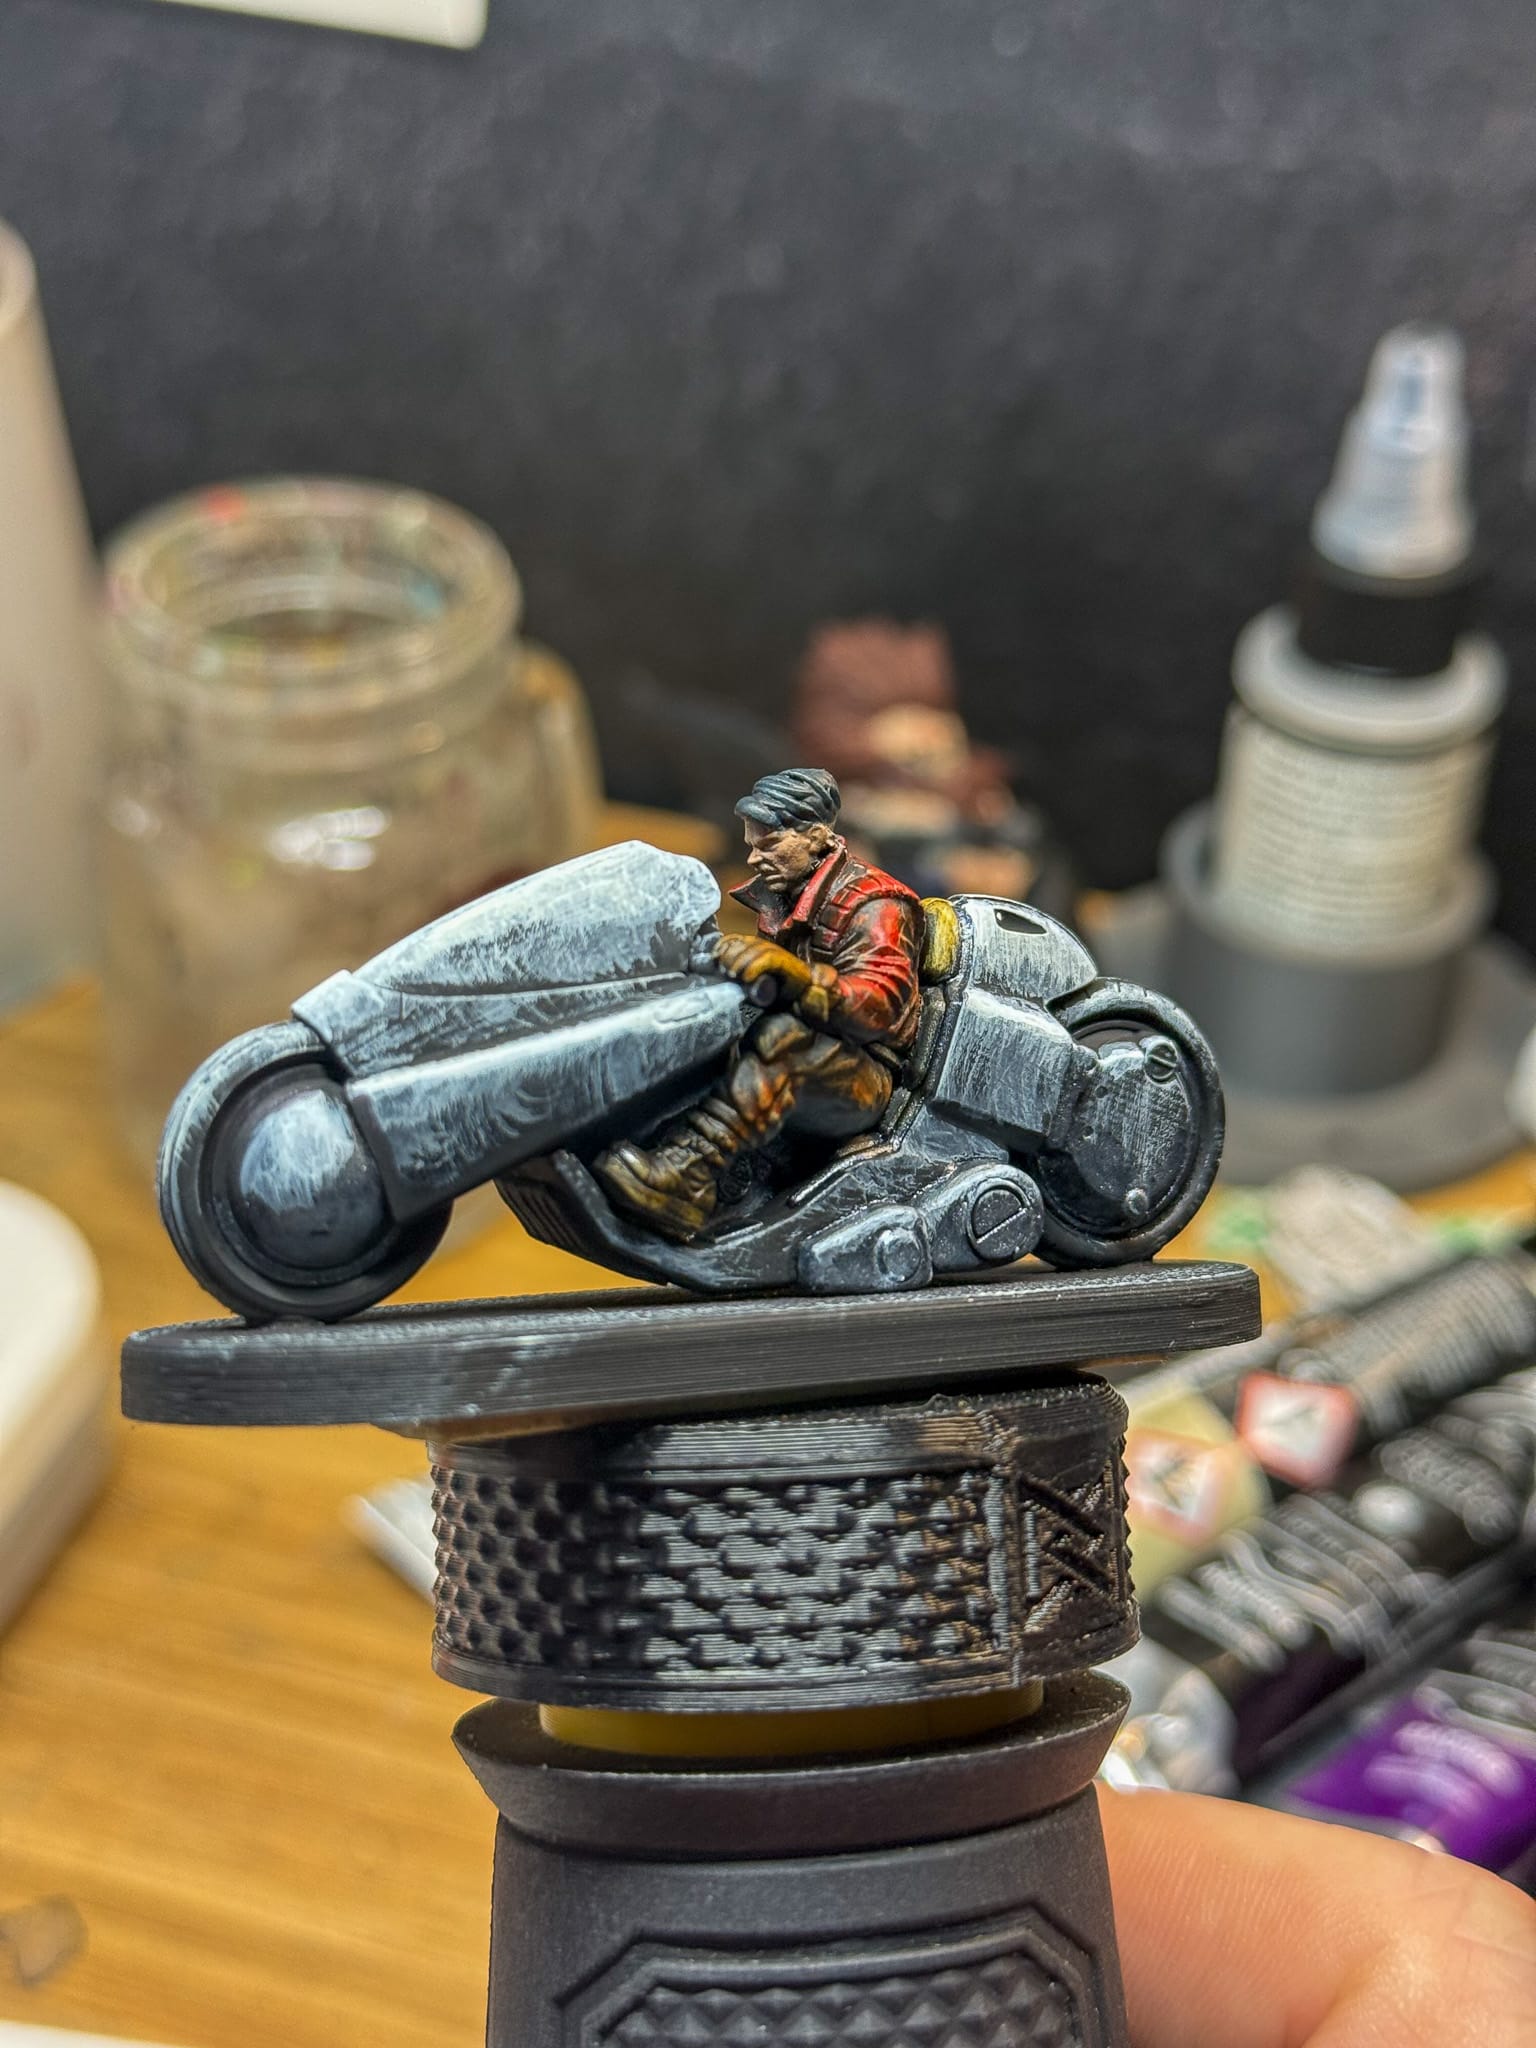
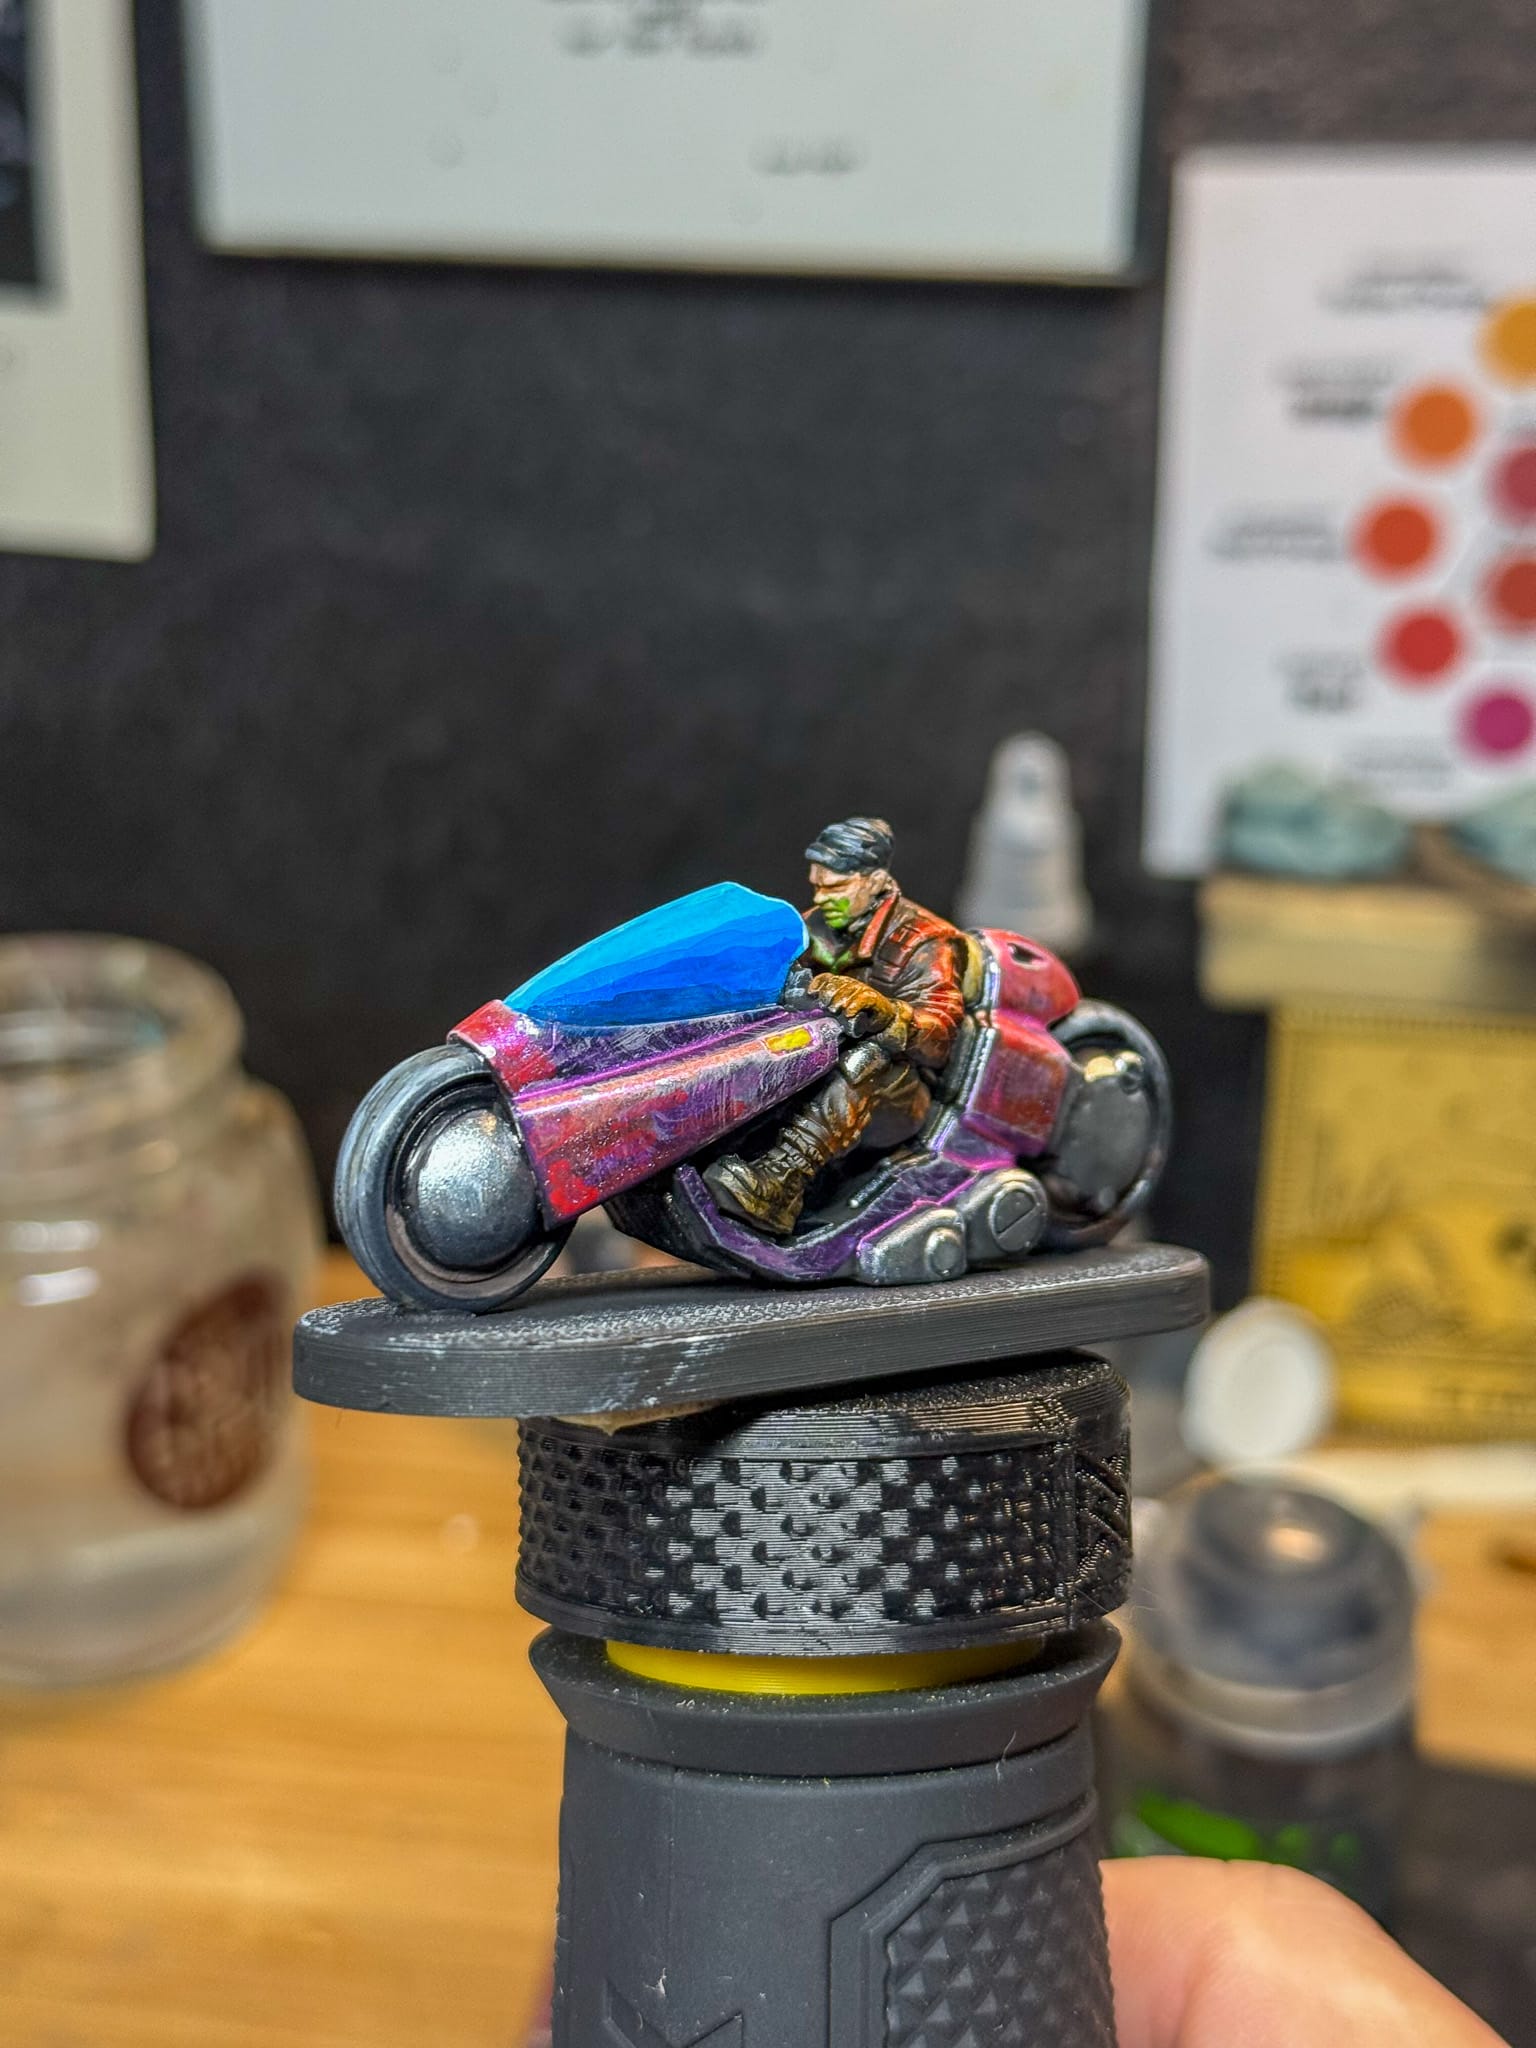
I edge-highlighted the bike with Tin Star to help create the illusion of chips and scratches throughout the bike. Use a small brush when doing this. I used a 5/0 from Army Painter. This means I can really control the edges. I did the same with white for the windscreen.

A quick drybrush of an off white helped create the texture on the base, then I took an AK Interactive Yellow RAL 1003 marker (this is the code for the yellow used for road markings) to make some stripes on the base, but I wanted the shadow of the bike to cross over, so a mixture of black and blue from Kimera made for a shadow tone that I place all under the bike. Oil Stains placed in a chaotic format gave me some wet spots on the base.
At this point, you could call it done, but I pushed it further. A model like this leaves a lot for interpretation!
But it still needed more. The model demanded more of that Cyberpunk vibe. So I grabbed my Goblin Stampers and selected a plate that had some industrial motifs. Strips, an arrow, a caution symbol. I used white stamping paint with the plate, so I could tint the stripes yellow with the Kimera paint. Because stamping isn’t an exact science for me yet, my lines weren’t perfect. I reinforced the lines with black and spotted up the lines with the metallic paints I used previously to help create a bit more weathering.
Then, after putting away my Stamper, I realized that the window wouldn’t be perfect, so I used another stamp to make a crack.
A coat of Ultra Matte Varnish on the character, windscreen, and the wheels only, so I could create contrast between the various sections of the model sealed the deal.
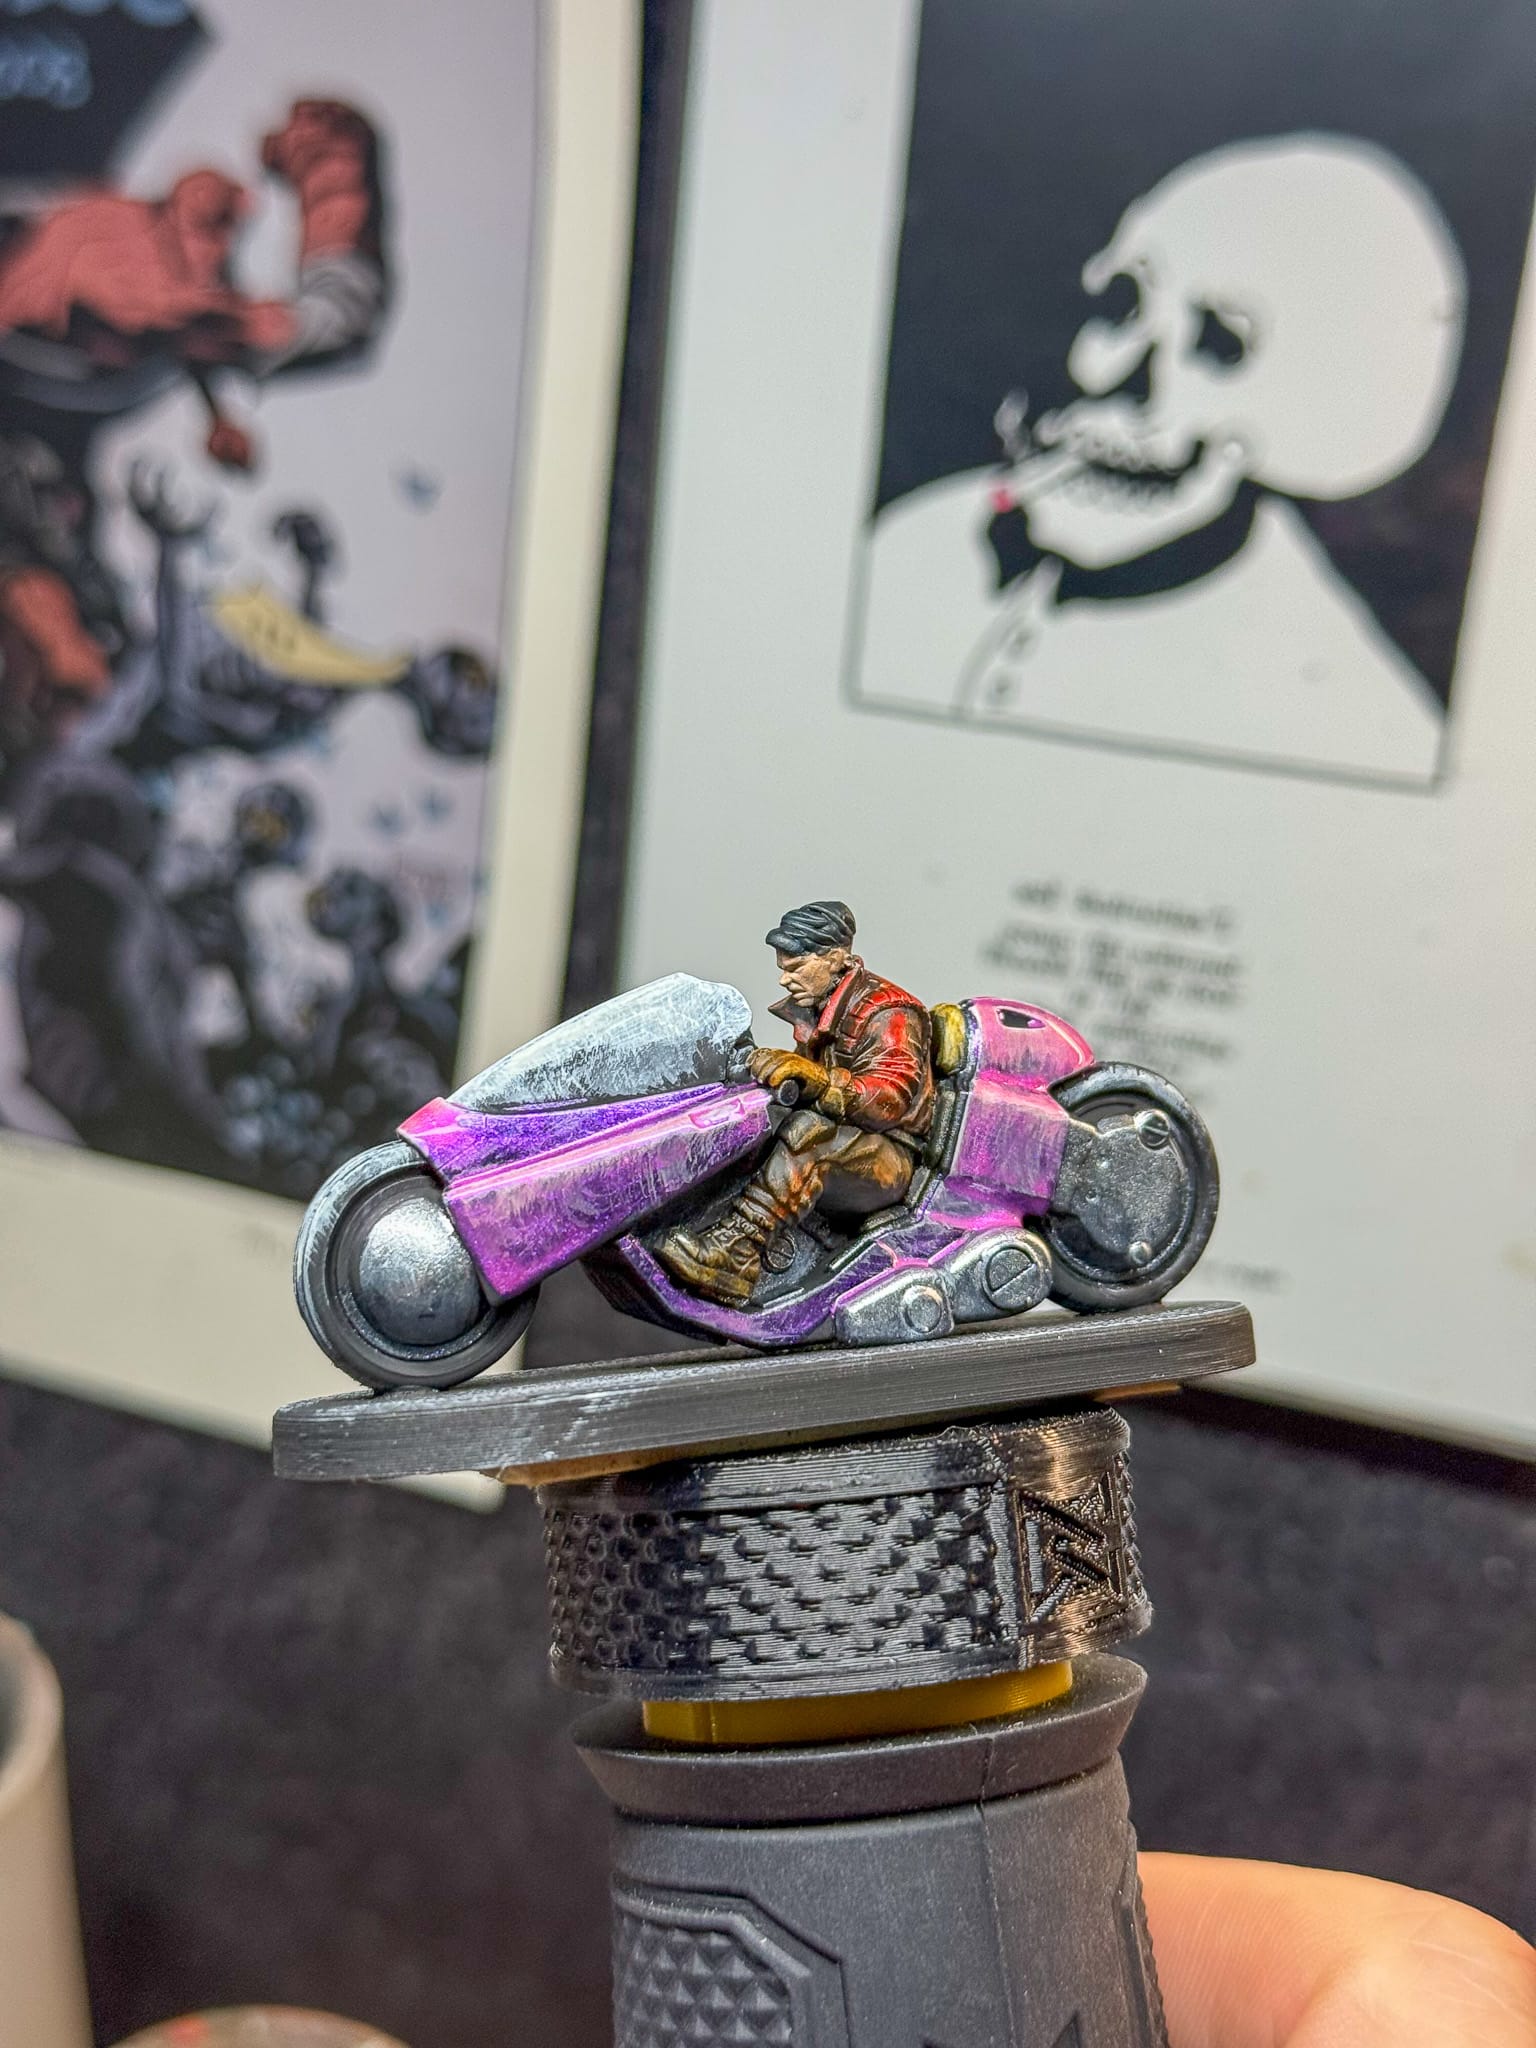
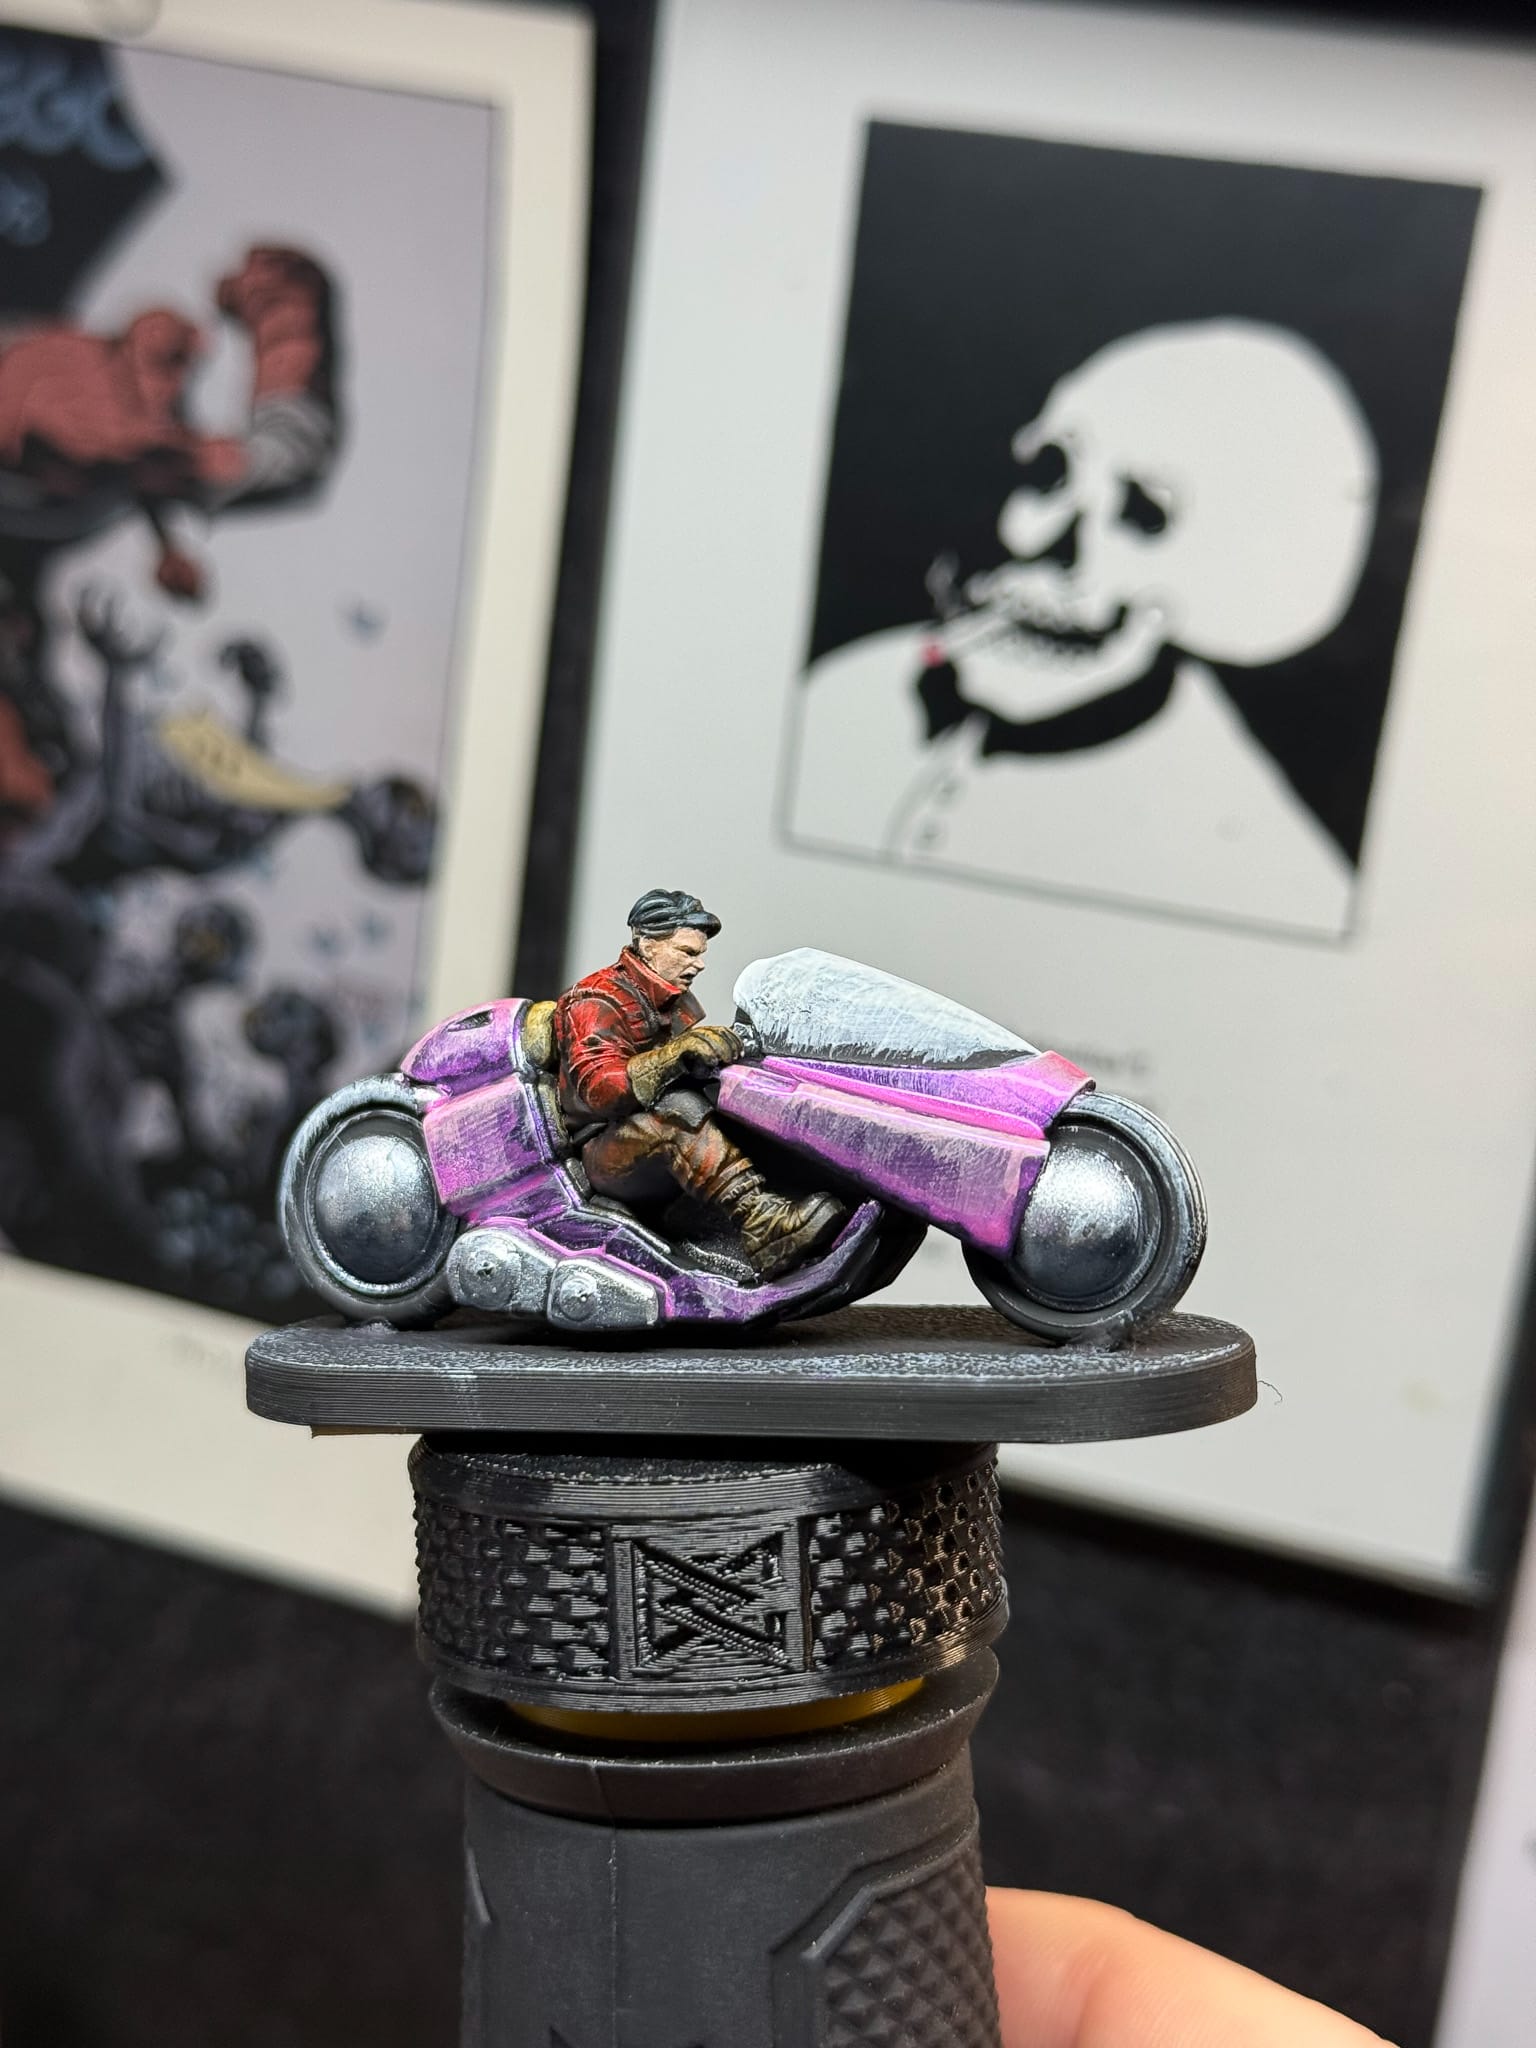
Now, this model is actually done.
Reflections

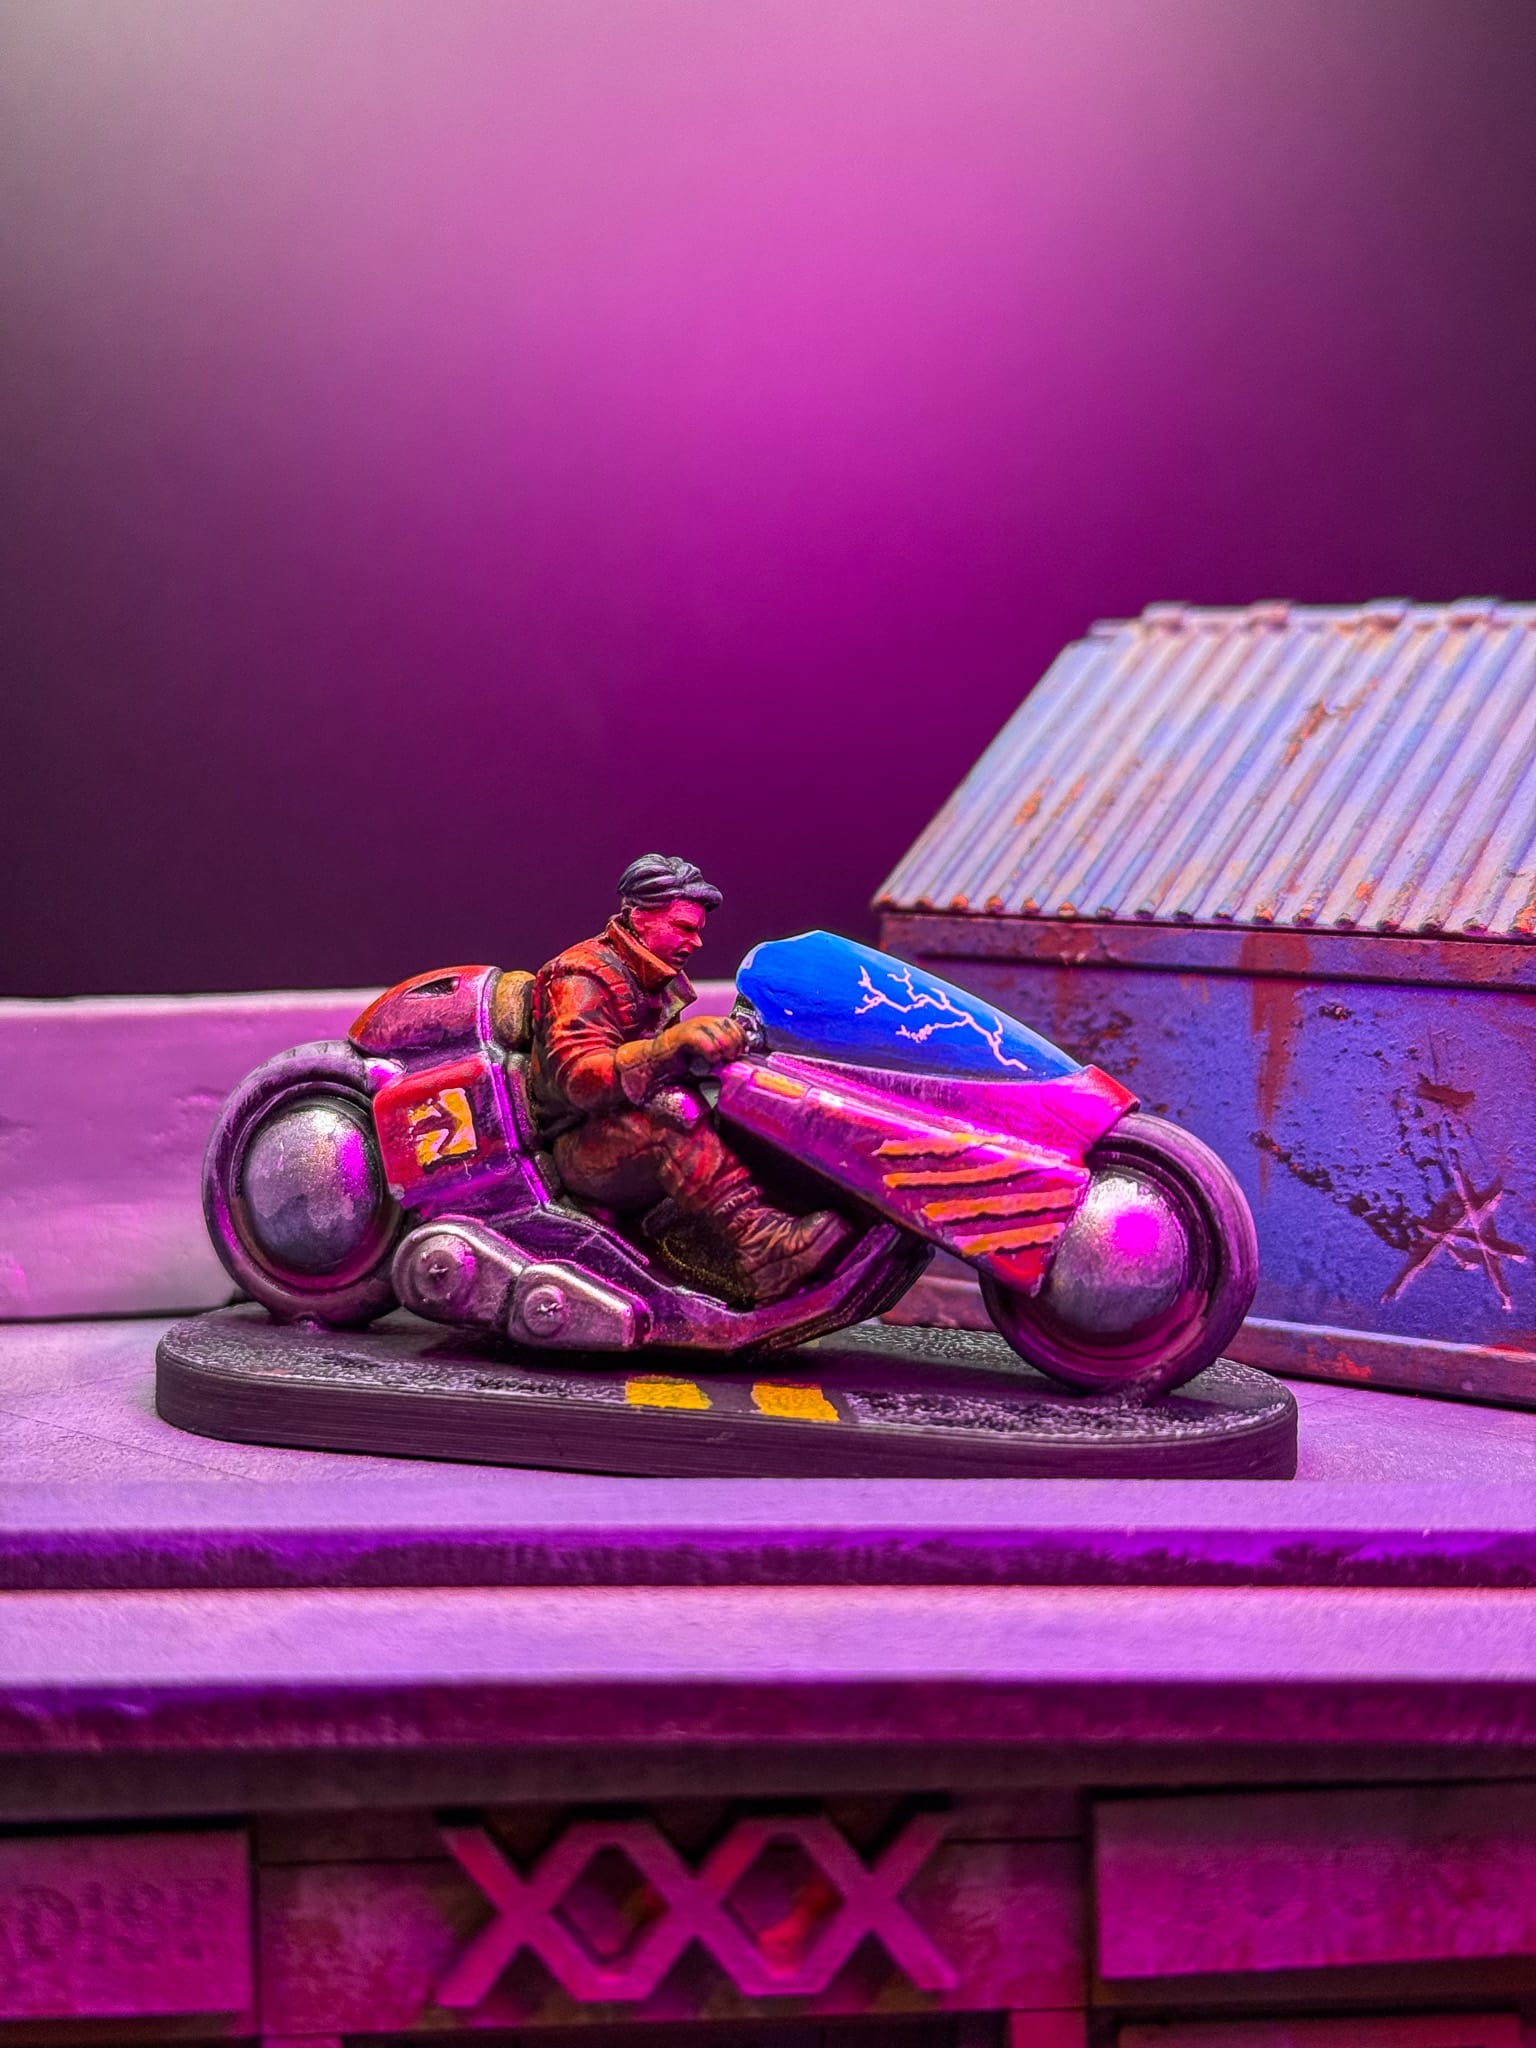
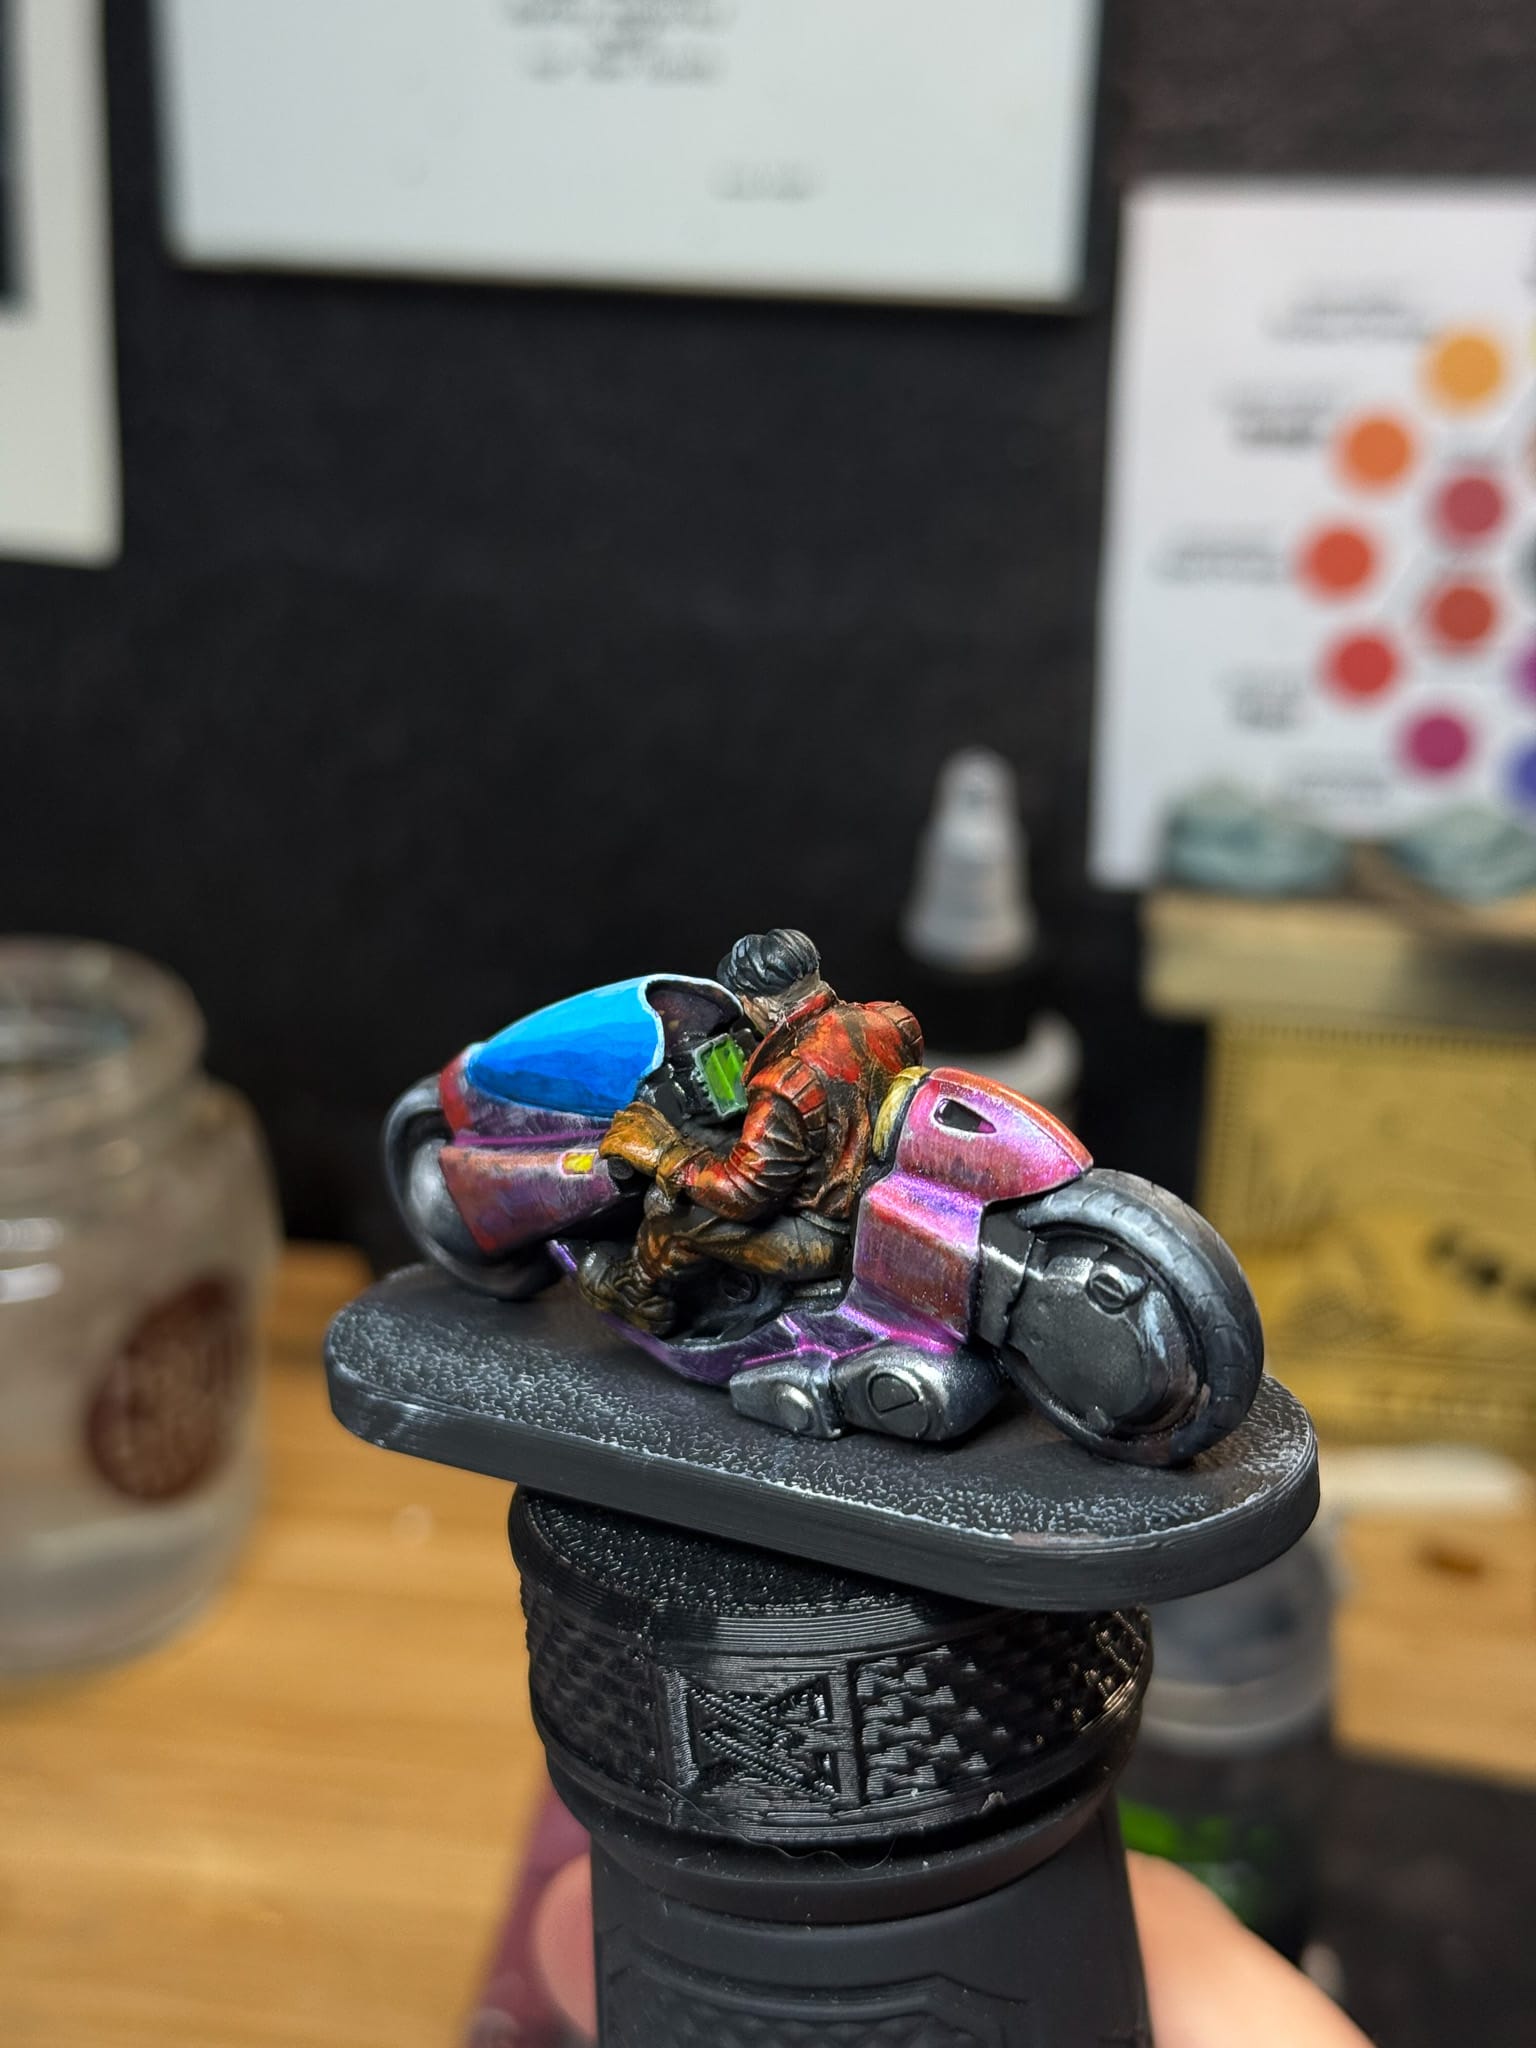
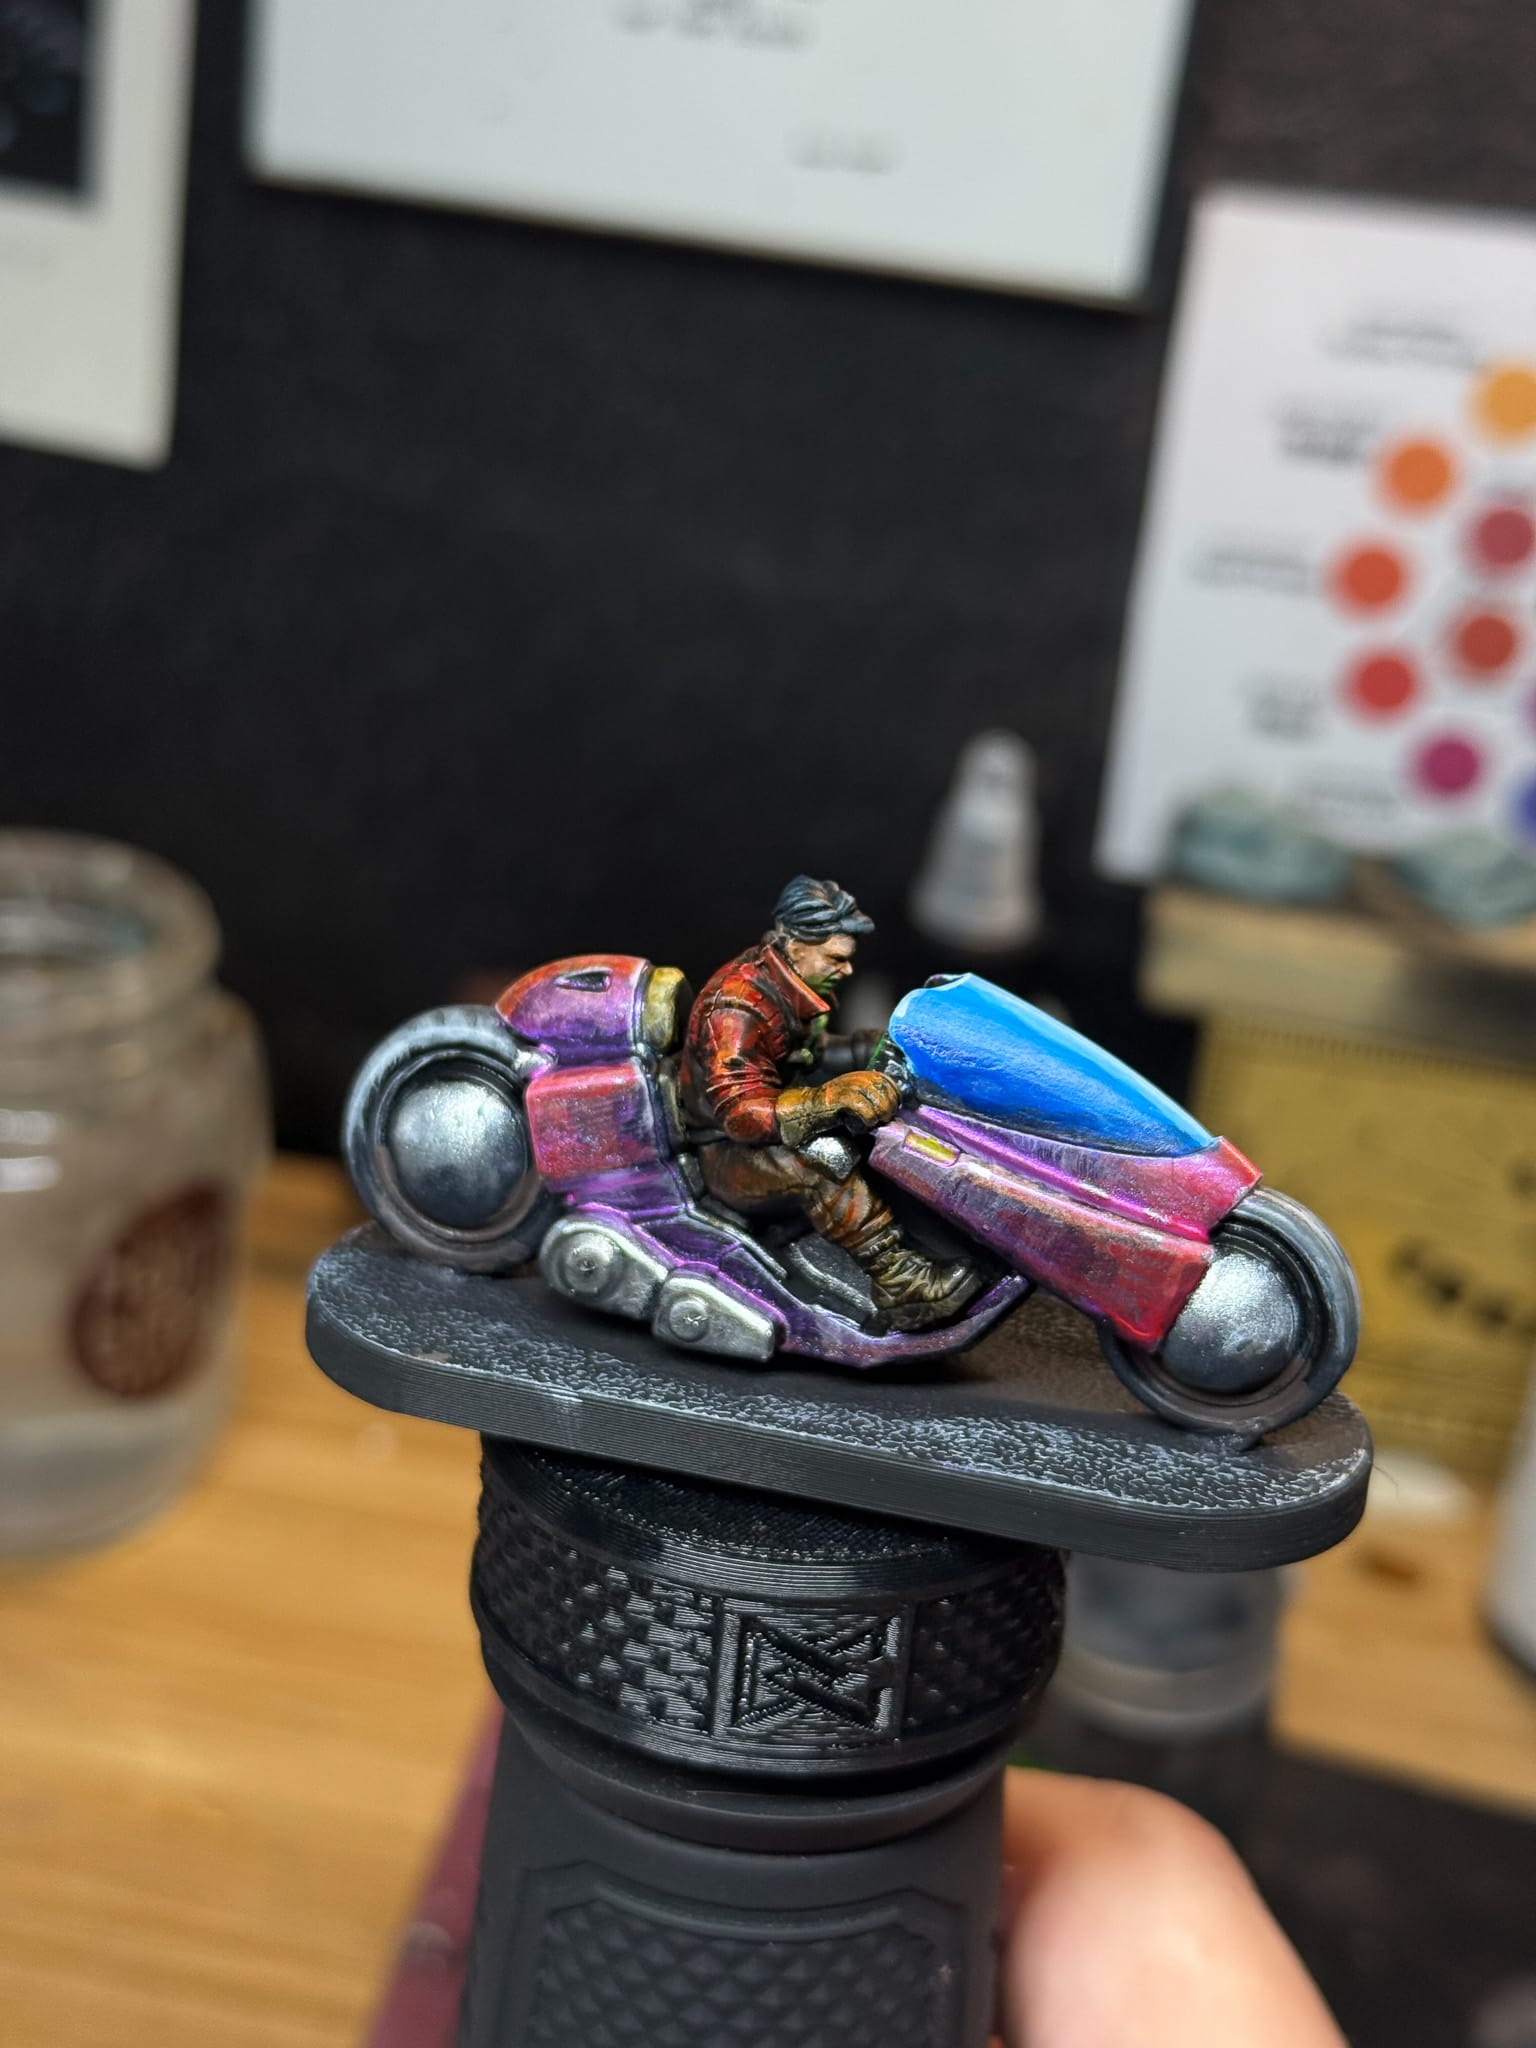
Final shots. If I could go back, I would have just done the window crack.
This piece was a lot of fun to paint, and by using unconventional paint, it was a new challenge. I’ll be writing a deep review on Turbo Dork in the near future, but I really felt it was a great choice for anything Cyberpunk themed.
The models, as highlighted by Alec, have some quirks. I don’t like cleaning up soft plastic, and there was a weird casting error on the screen, but these are fixable. I have another copy of the model that I will do some conversion work on for a display piece.
The vibe of the models is fantastic. The lack of detail on this model opens up so much creativity, and I think fans of Cyberpunk will definitely be into modifications.
Also, this was my first vehicle, so it required me to think about material, angle, and considering the wear and tear of a vehicle, which was an entirely new challenge for me. I think I learned a lot, came out better for it, and am excited for the next project.
Have you painted Cyberpunk Red: Combat Zone miniatures yet? Share your work with us!
Don’t forget to subscribe and follow us on Instagram, Bluesky, and YouTube for more Cyberpunk Red: Combat Zone reviews and painting guides, as well as more hobby and tabletop news and reviews!


