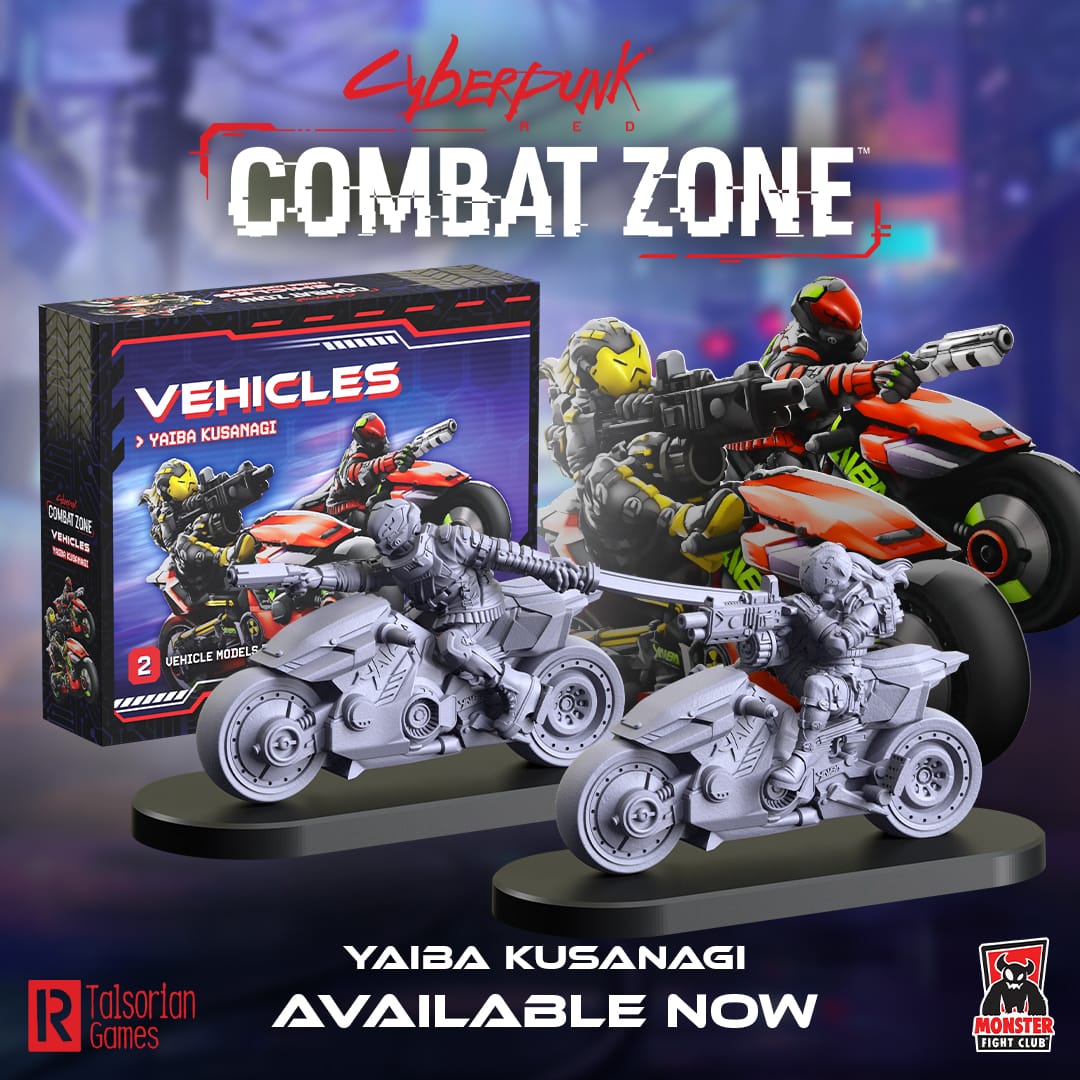
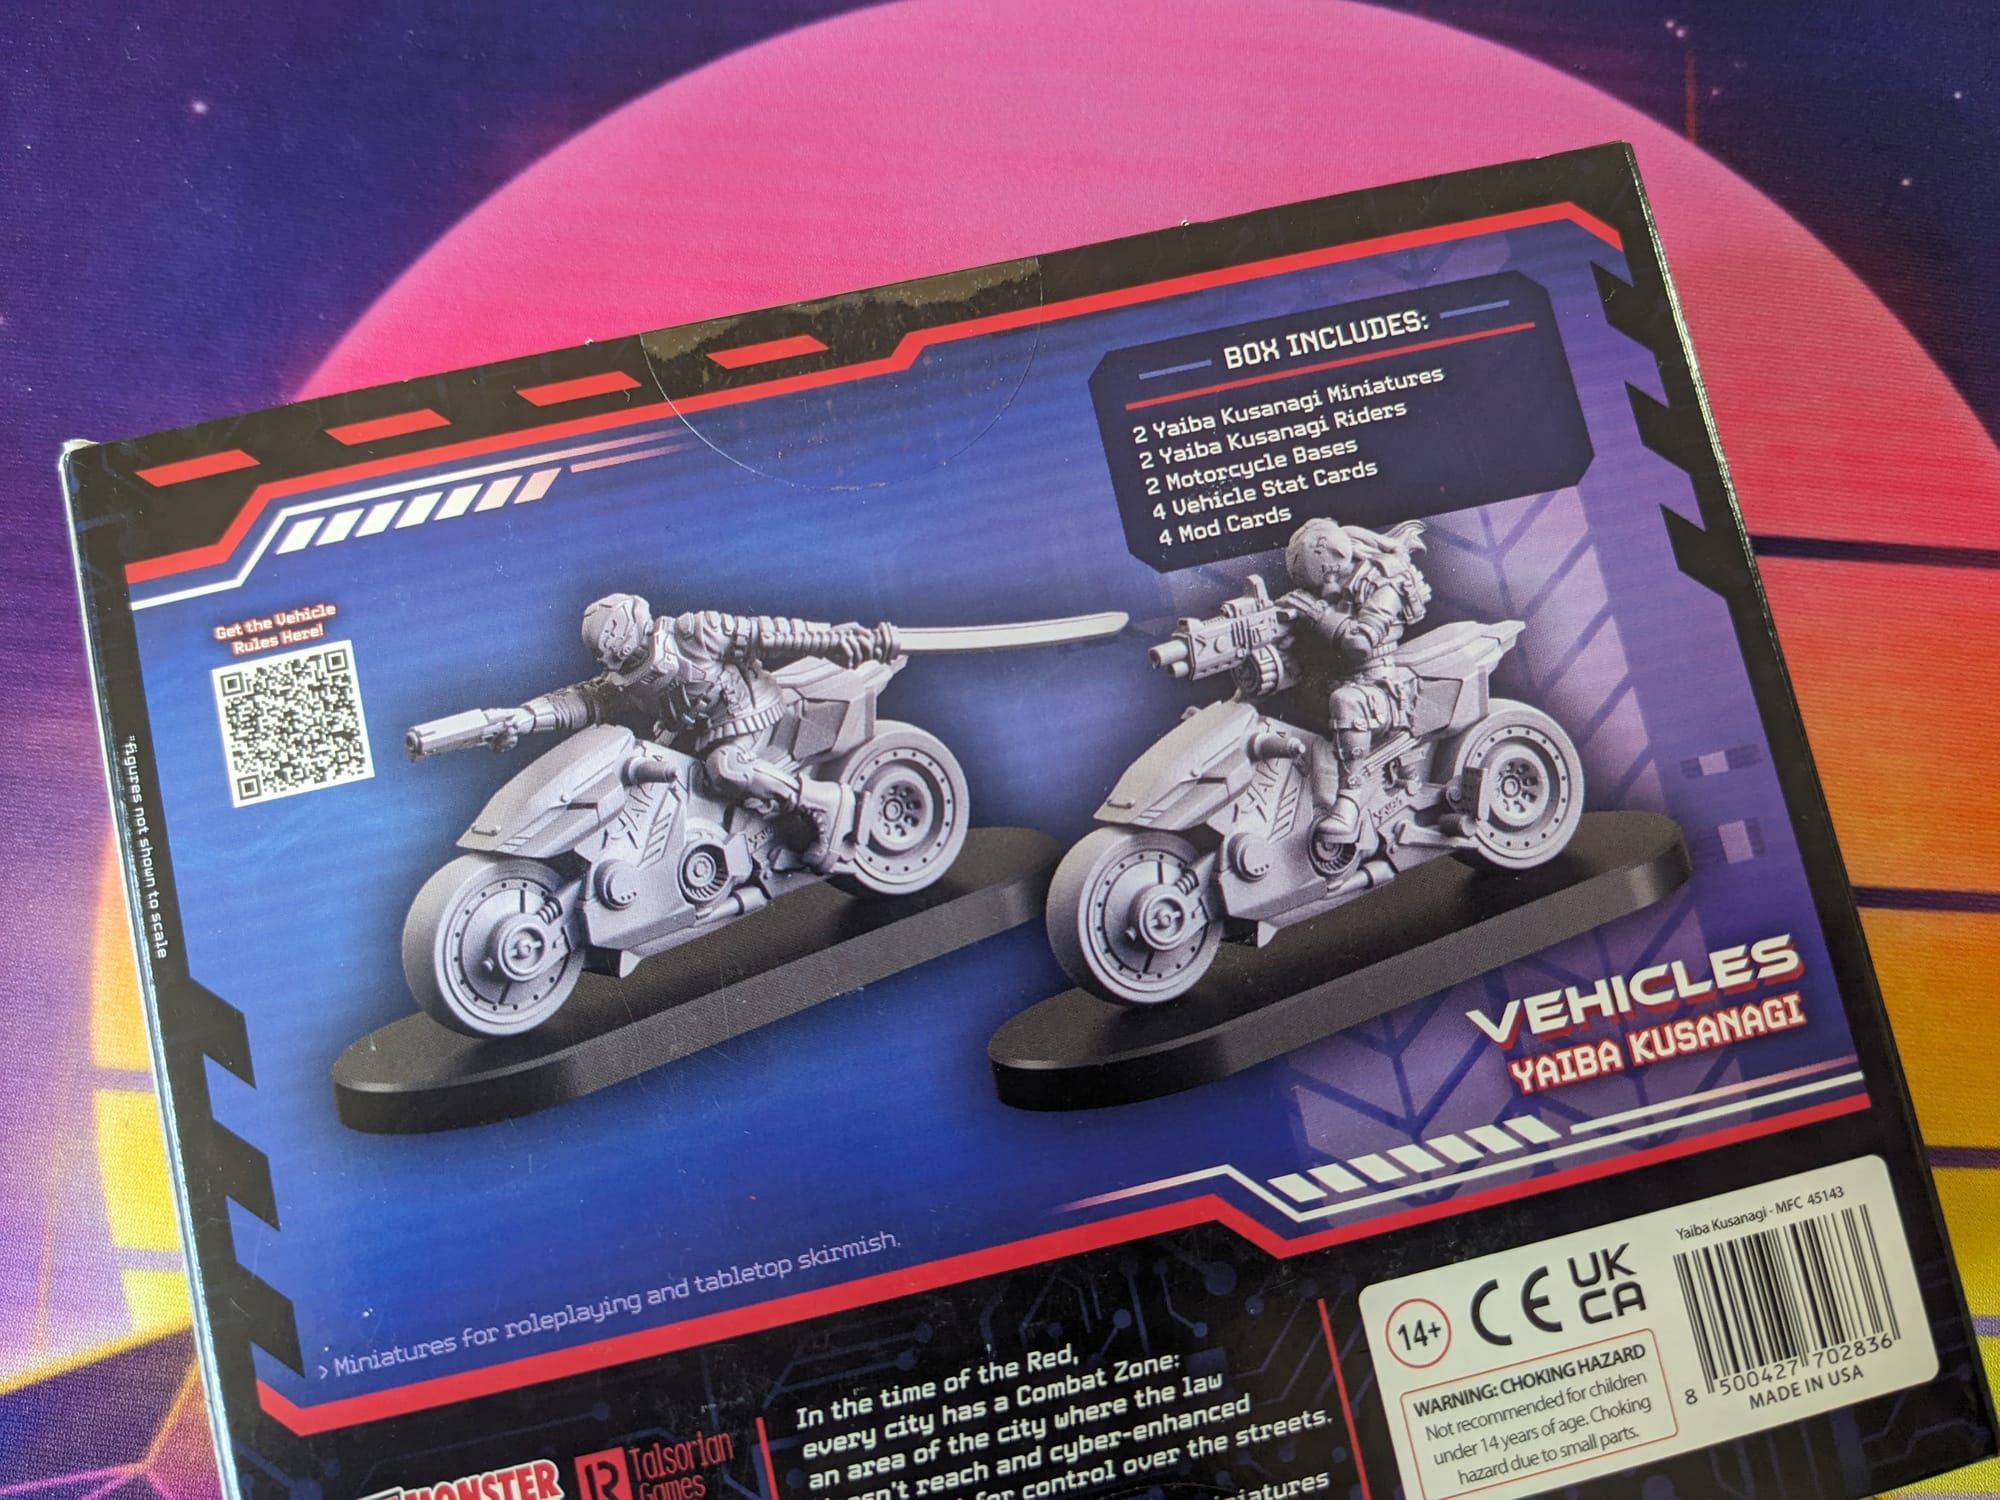
The Yaiba Kusangi motorcycles are the top-of-the-line cycles in Night City. The Yaiba Kusanagi is built for both power and speed and it lives up to its reputation. A favorite among gangers, these cycles should never be underestimated!
Cyberpunk Red: Combat Zone is a fast-paced, miniature skirmish game from Monster Fight Club. Set in the high-tech dystopia of the Cyberpunk RPG universe created by Mike Pondsmith, Cyberpunk Red: Combat Zone opens up a new way for players to create stories and combat in the universe. Crafted by veteran tabletop game creators, Combat Zone uses the [RE]action Dice System for organic, free-flowing gameplay interactions; no rounds, no turns—the game just goes!
Unboxing
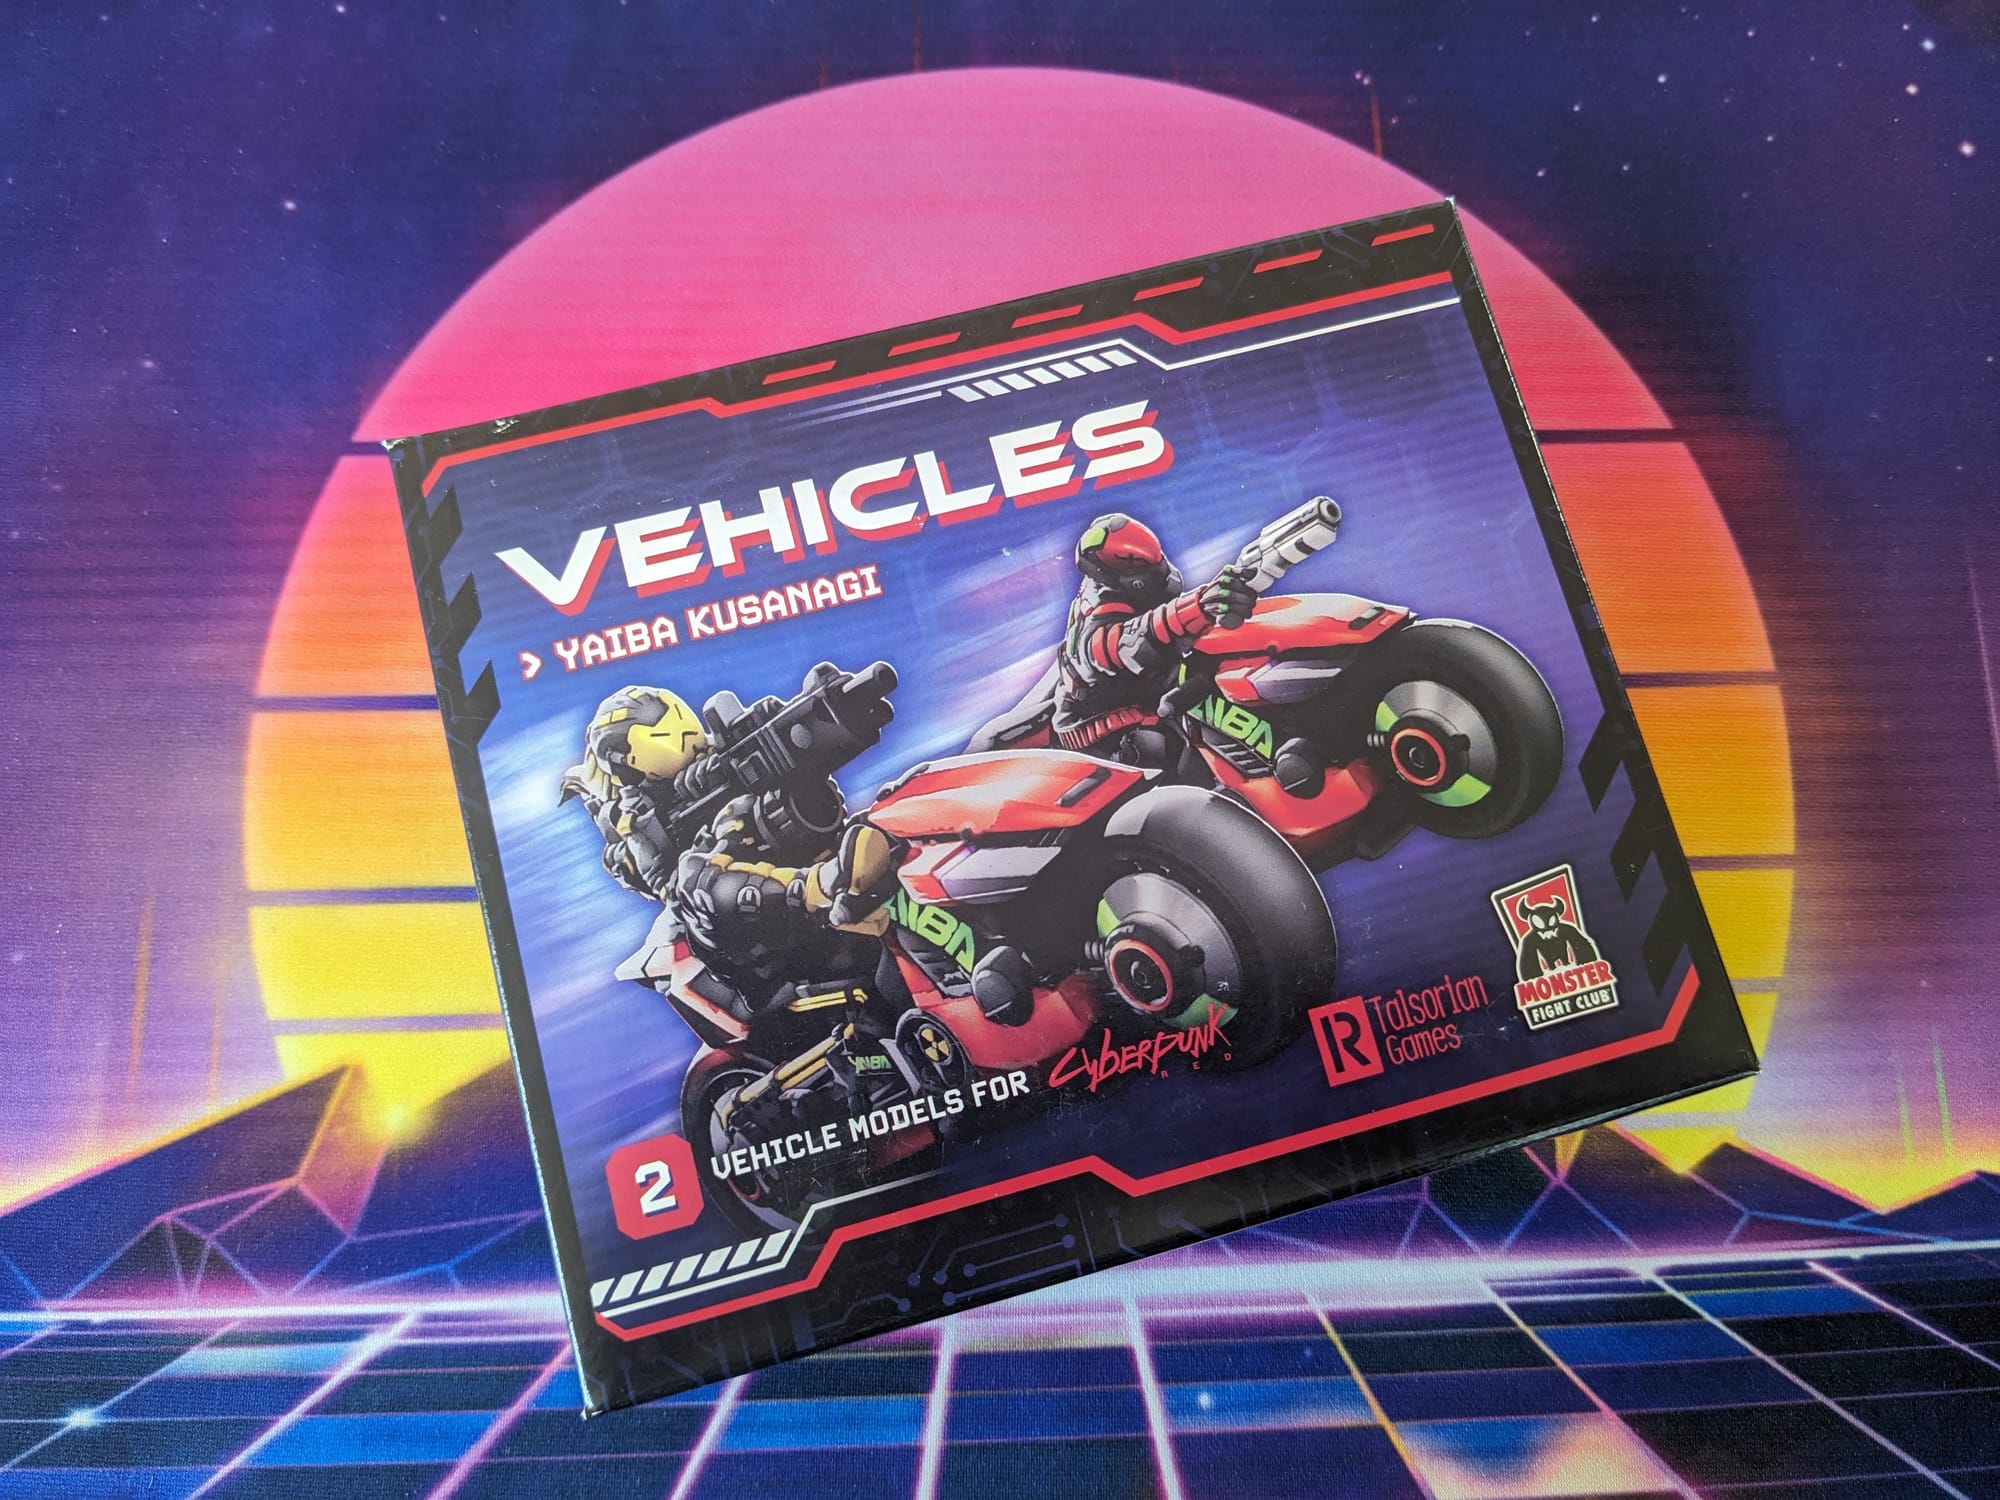
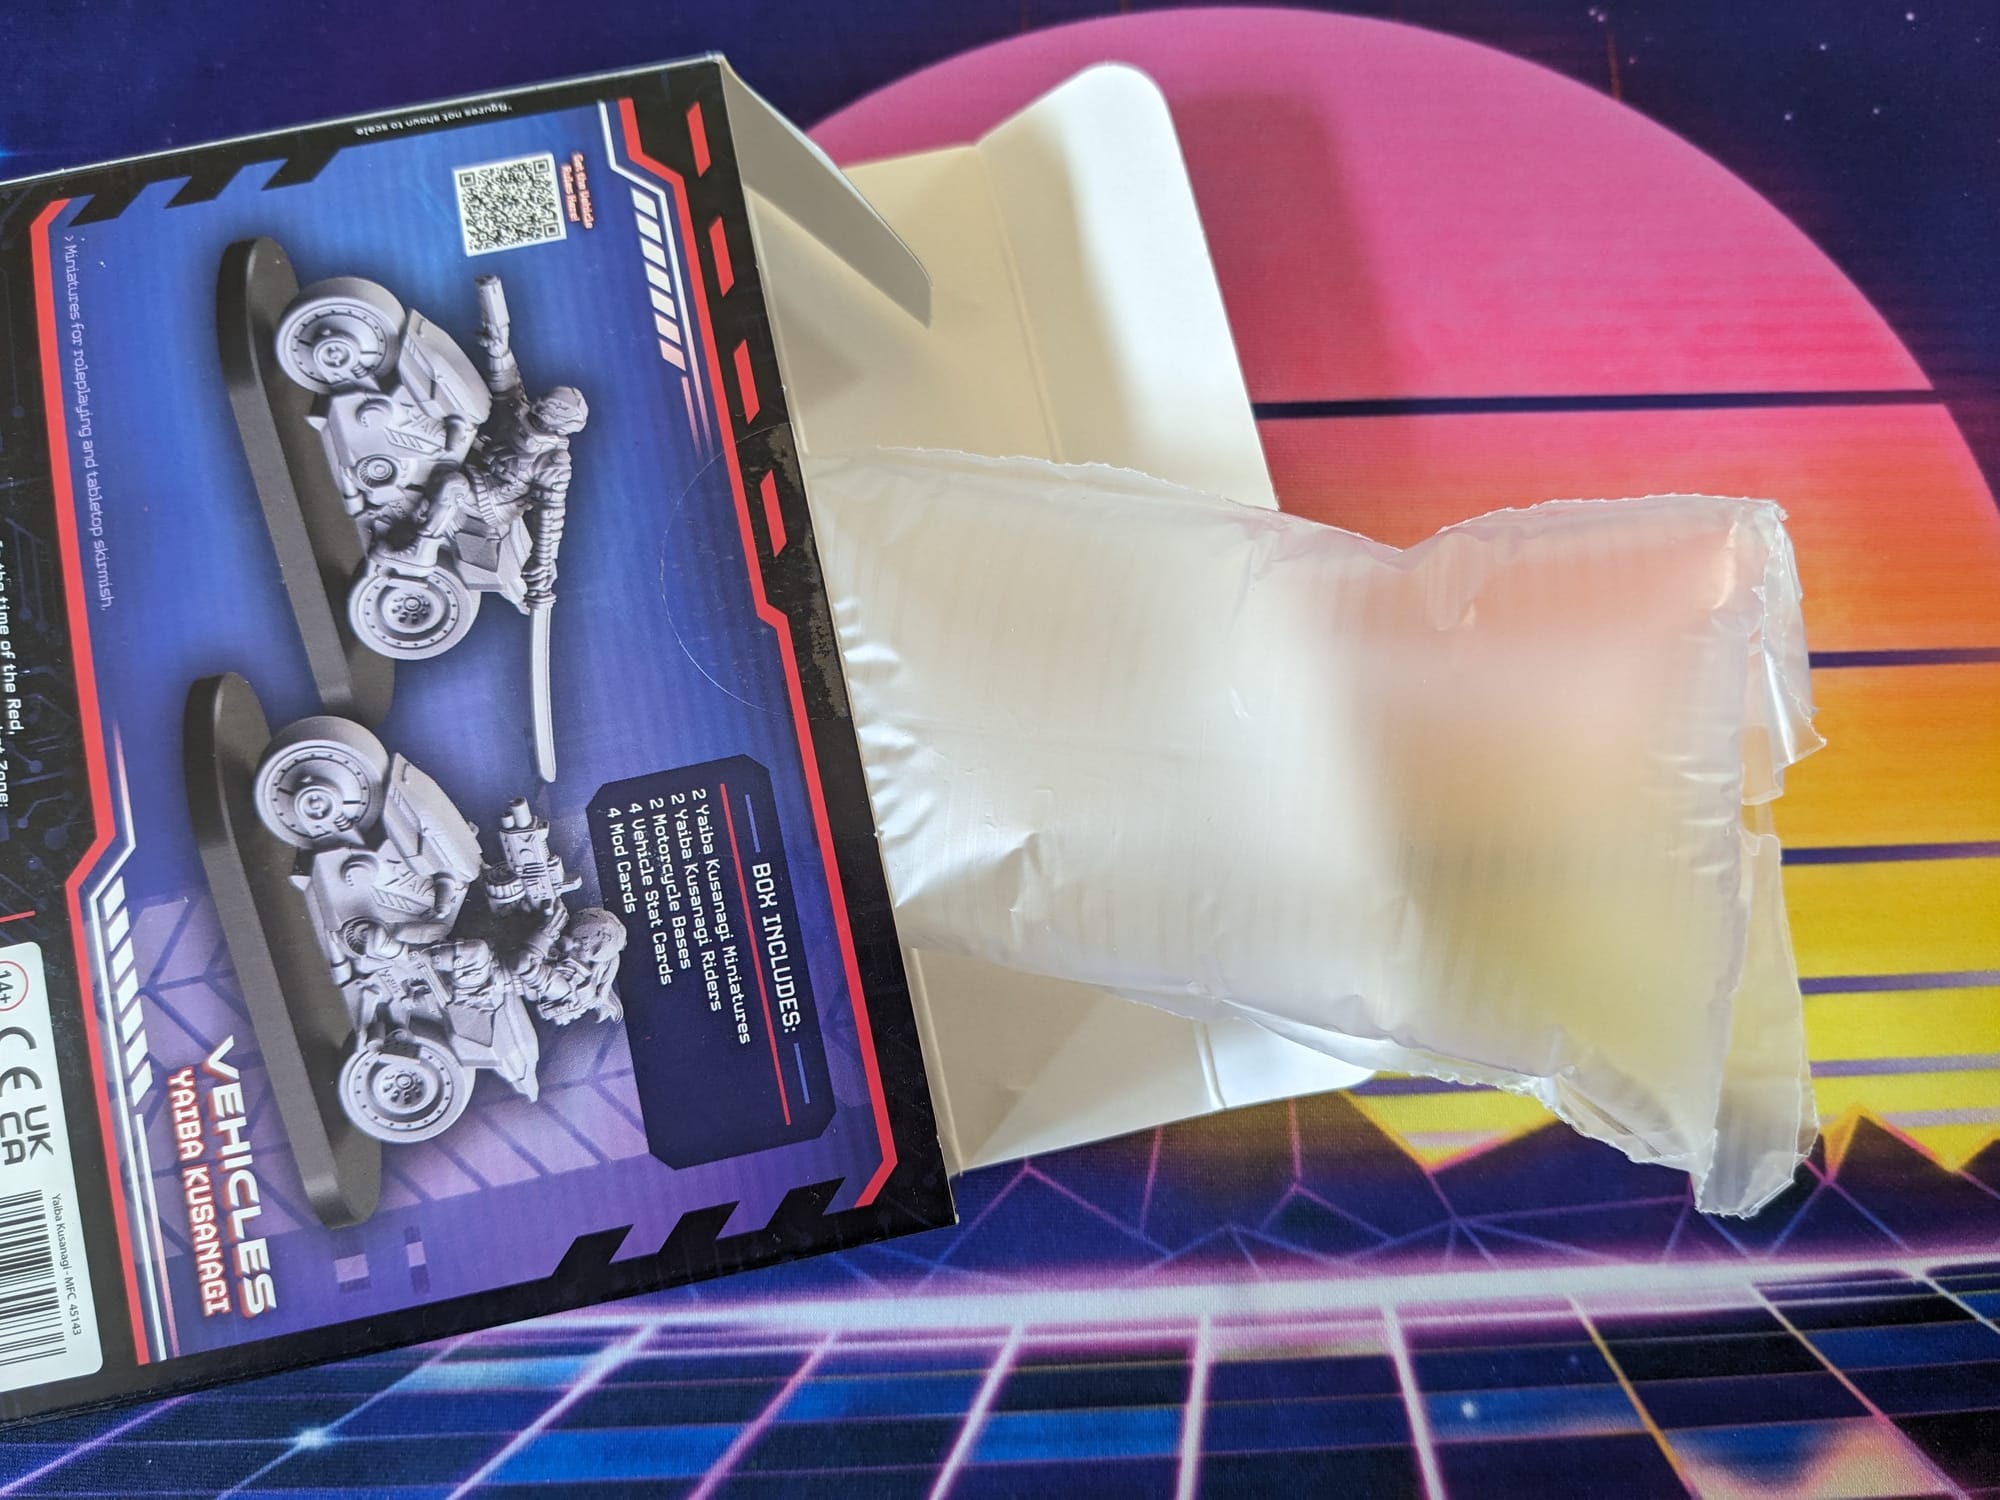
To keep the minis safe, a single air packing piece was included.
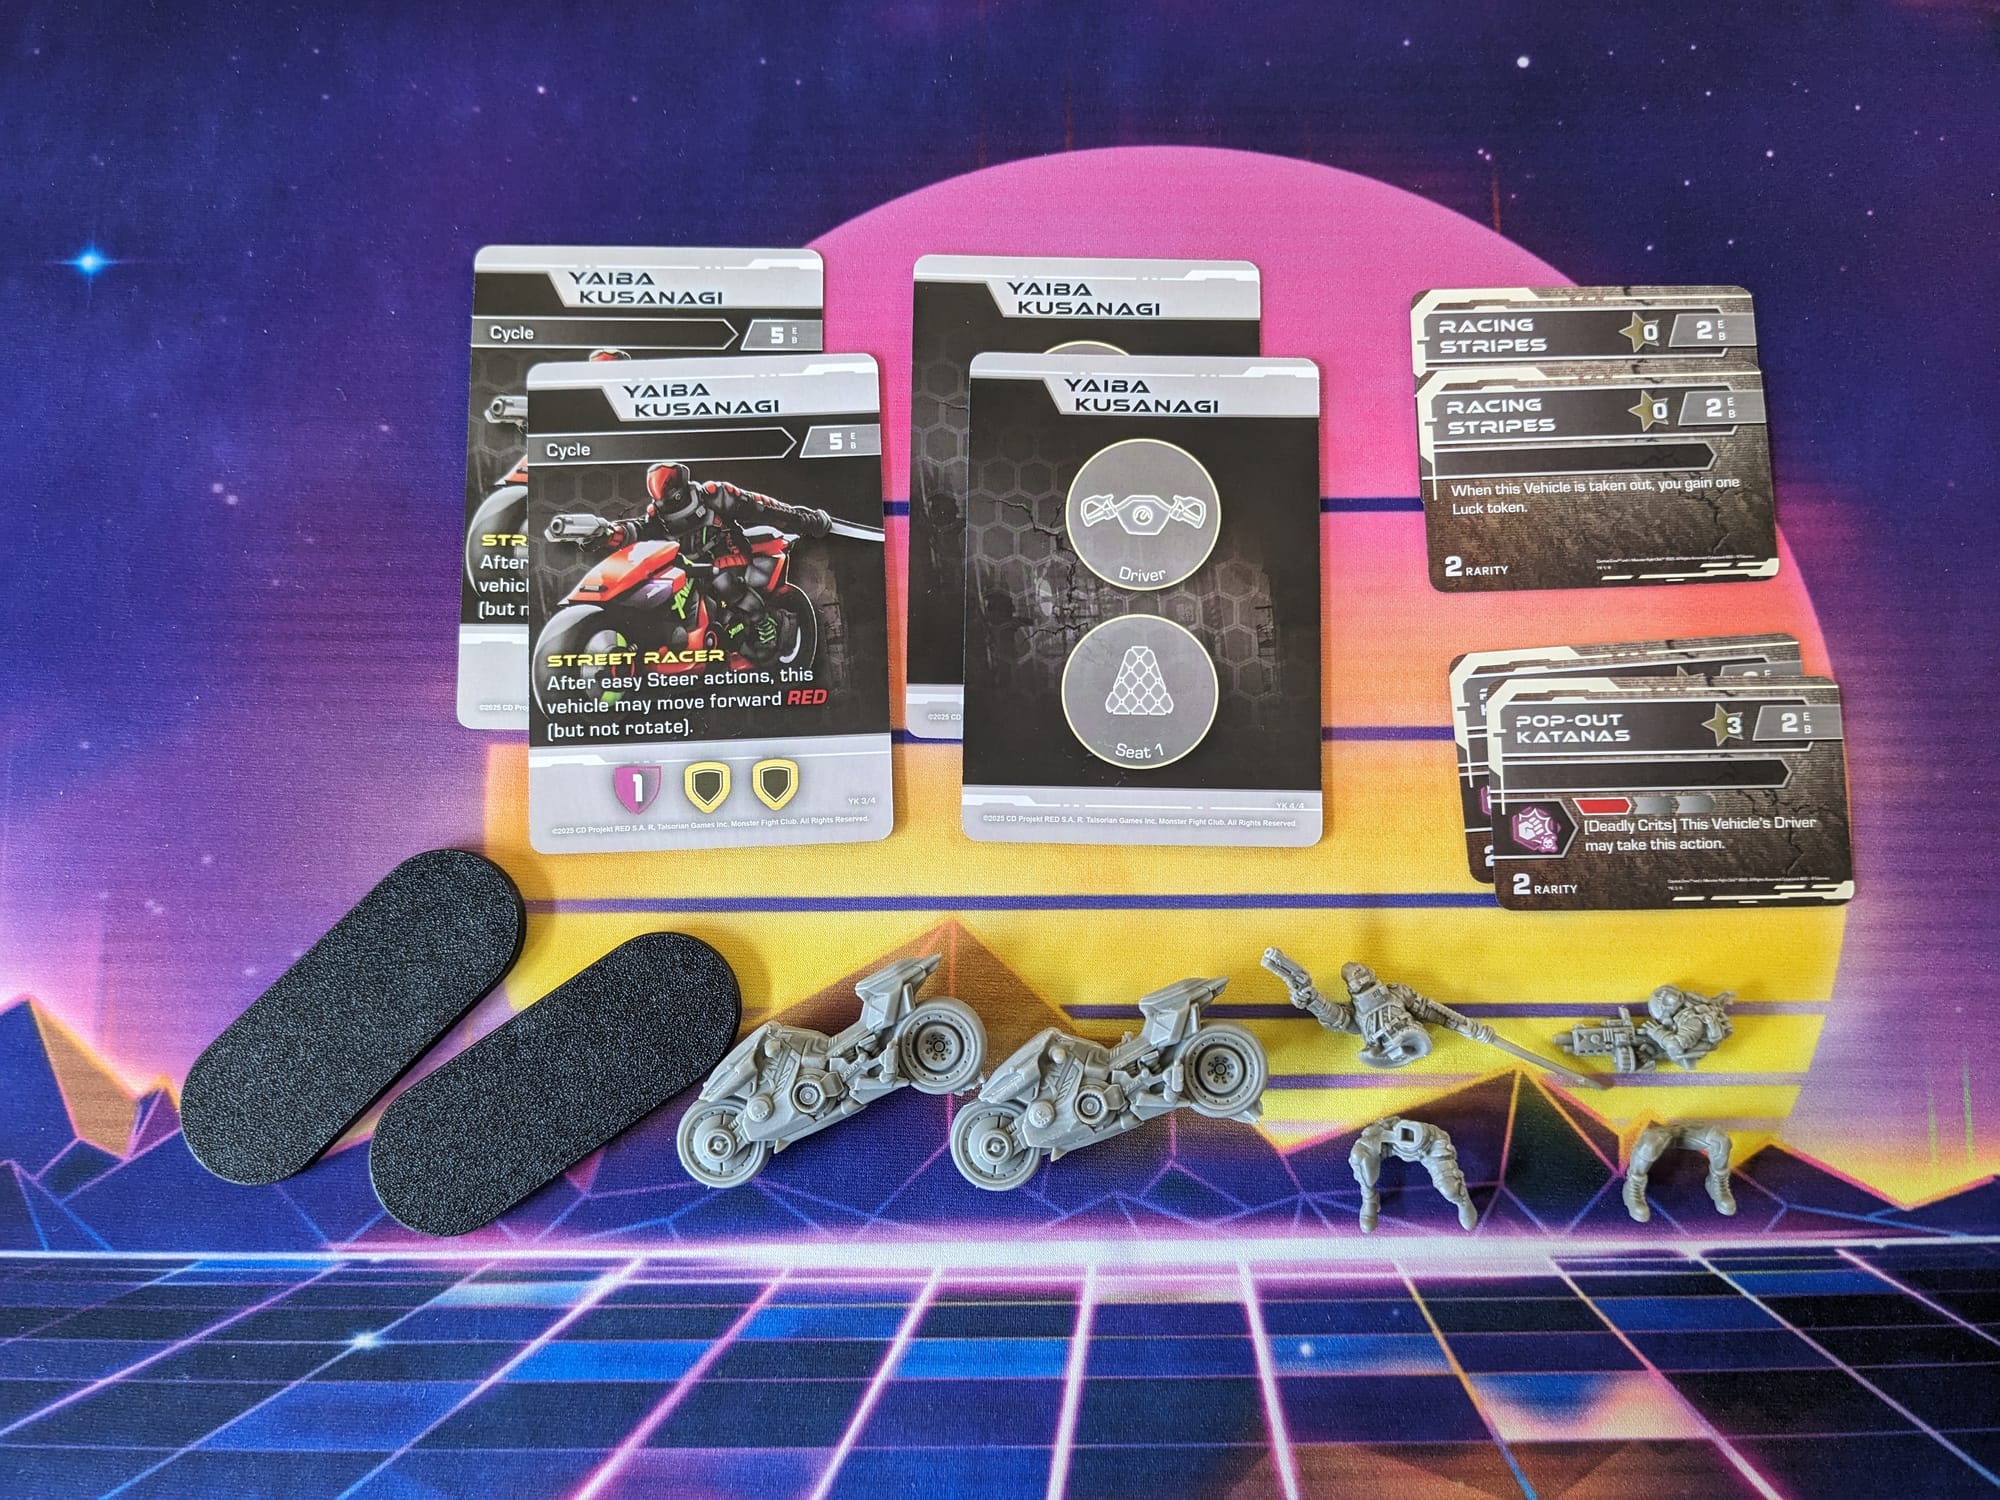
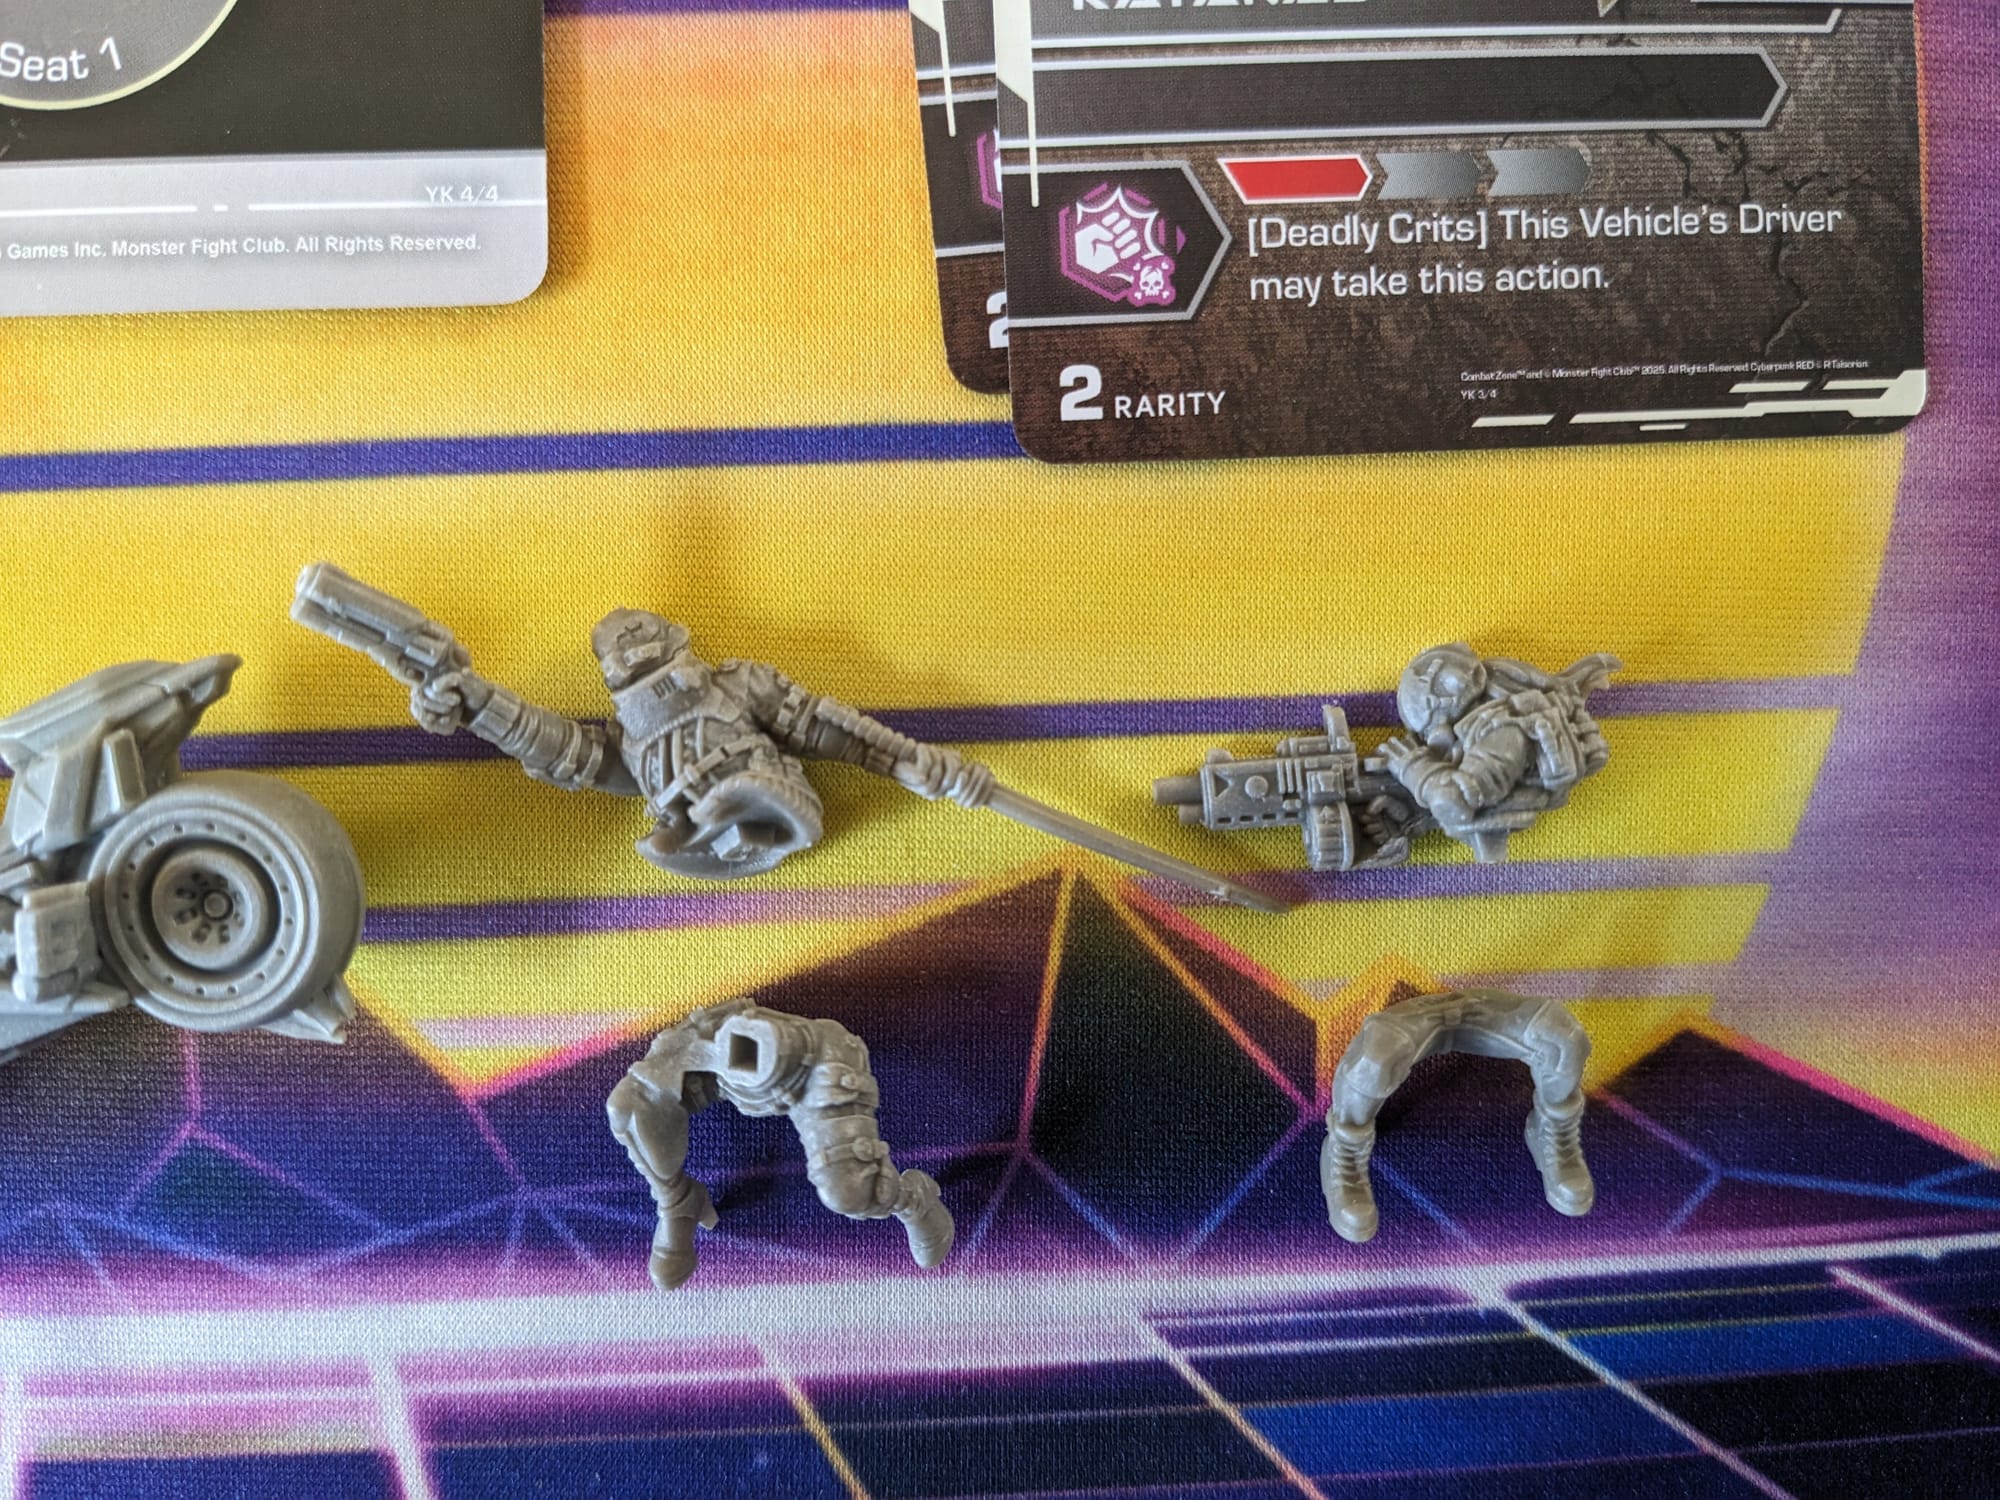
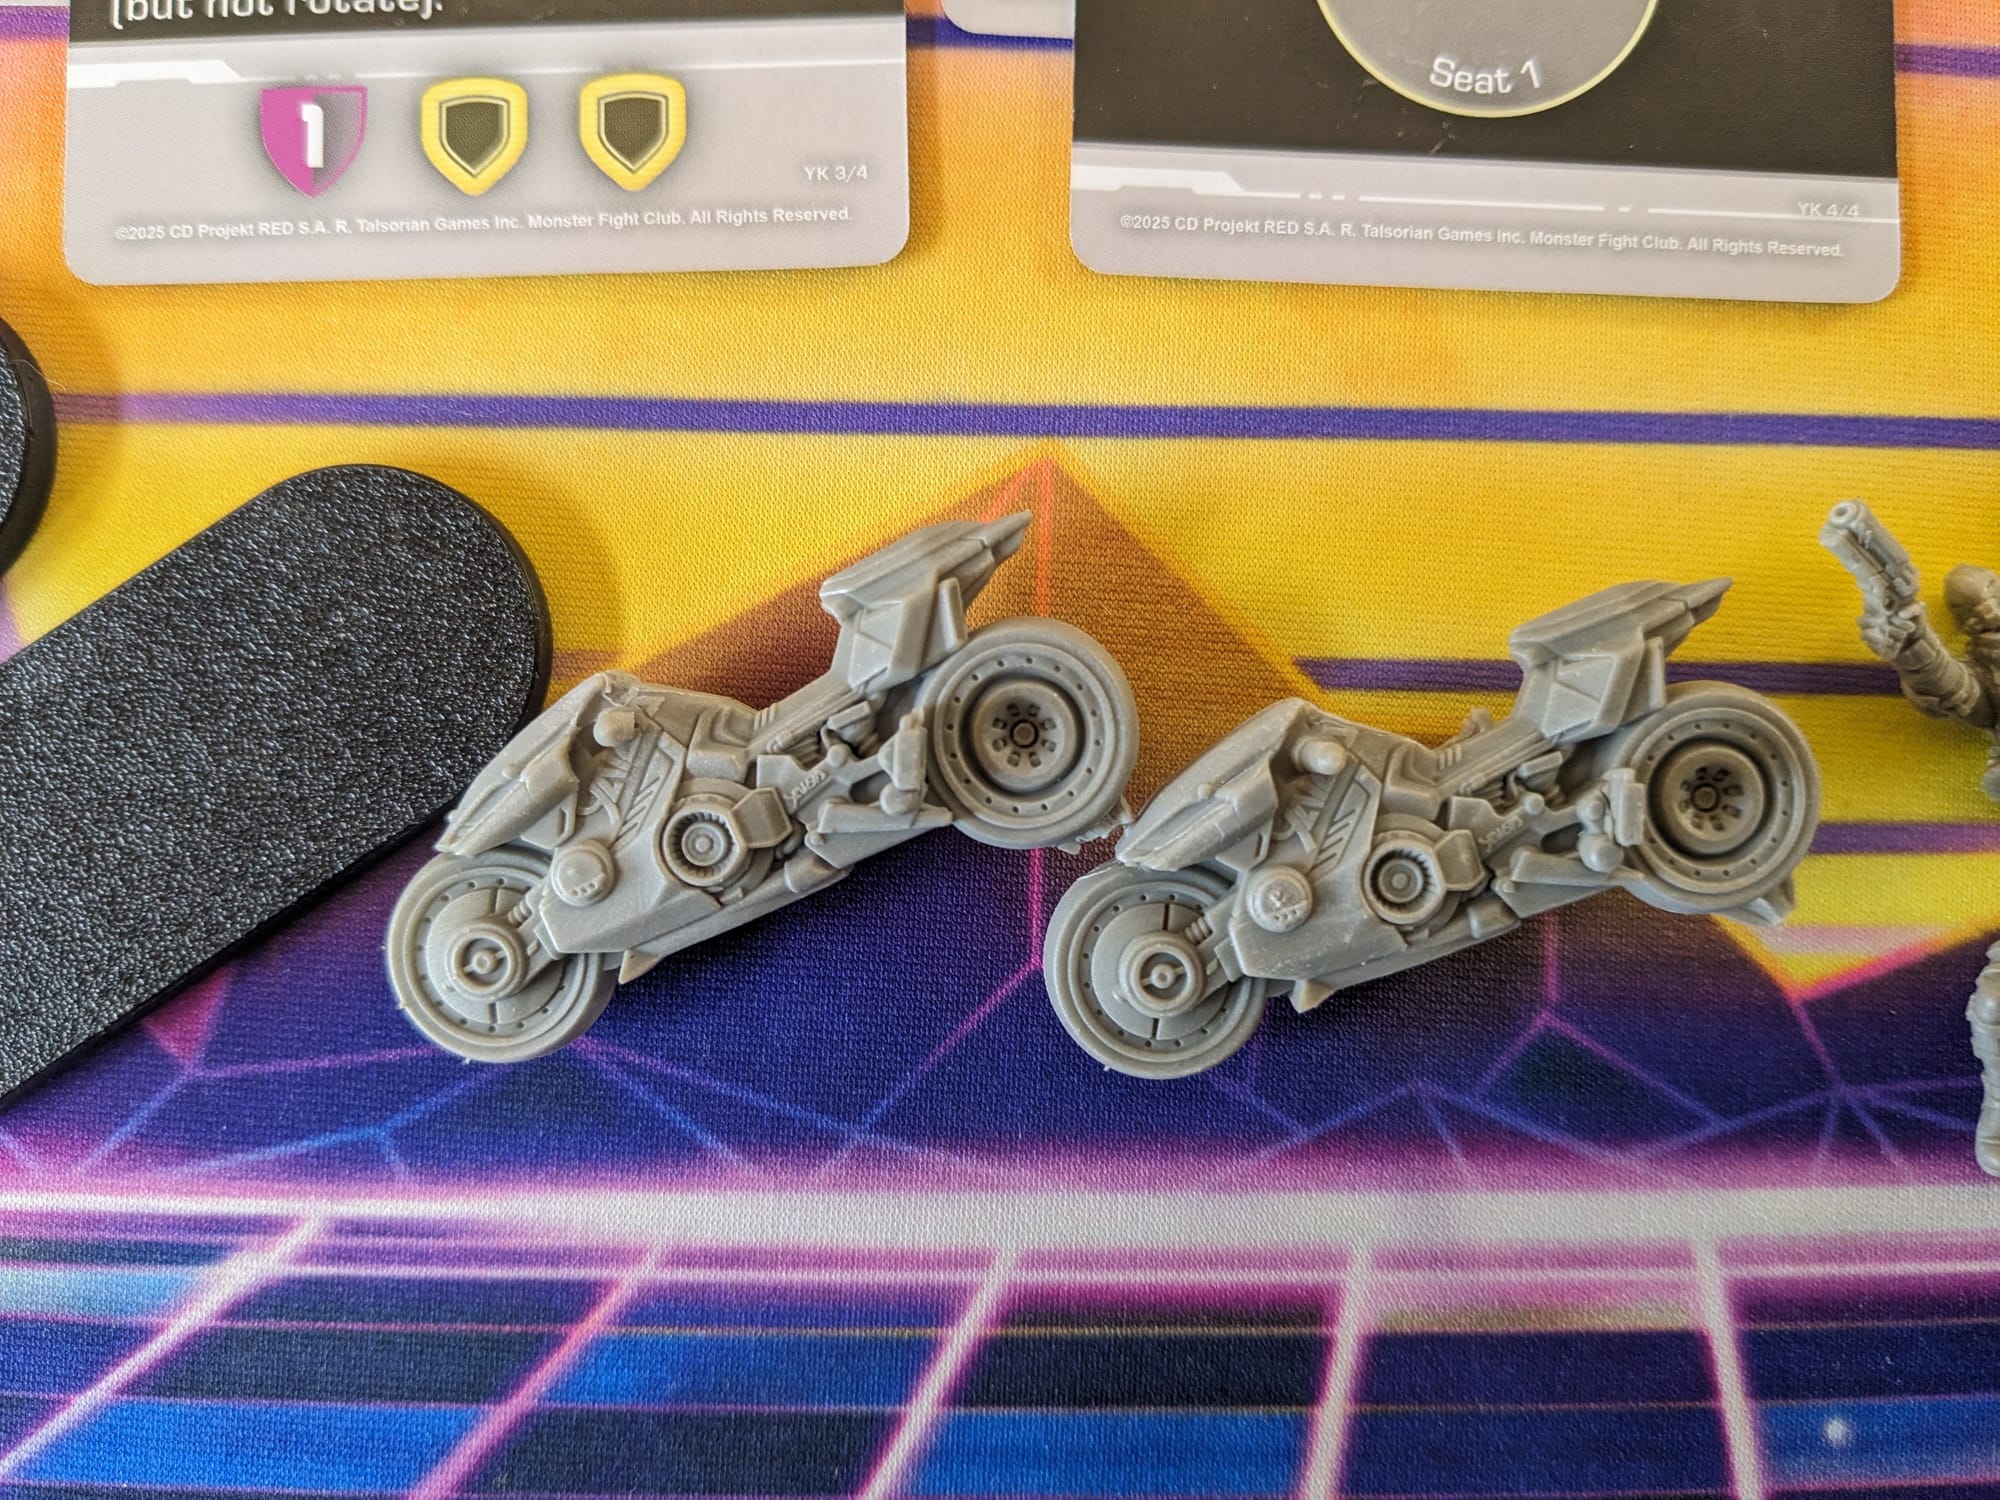
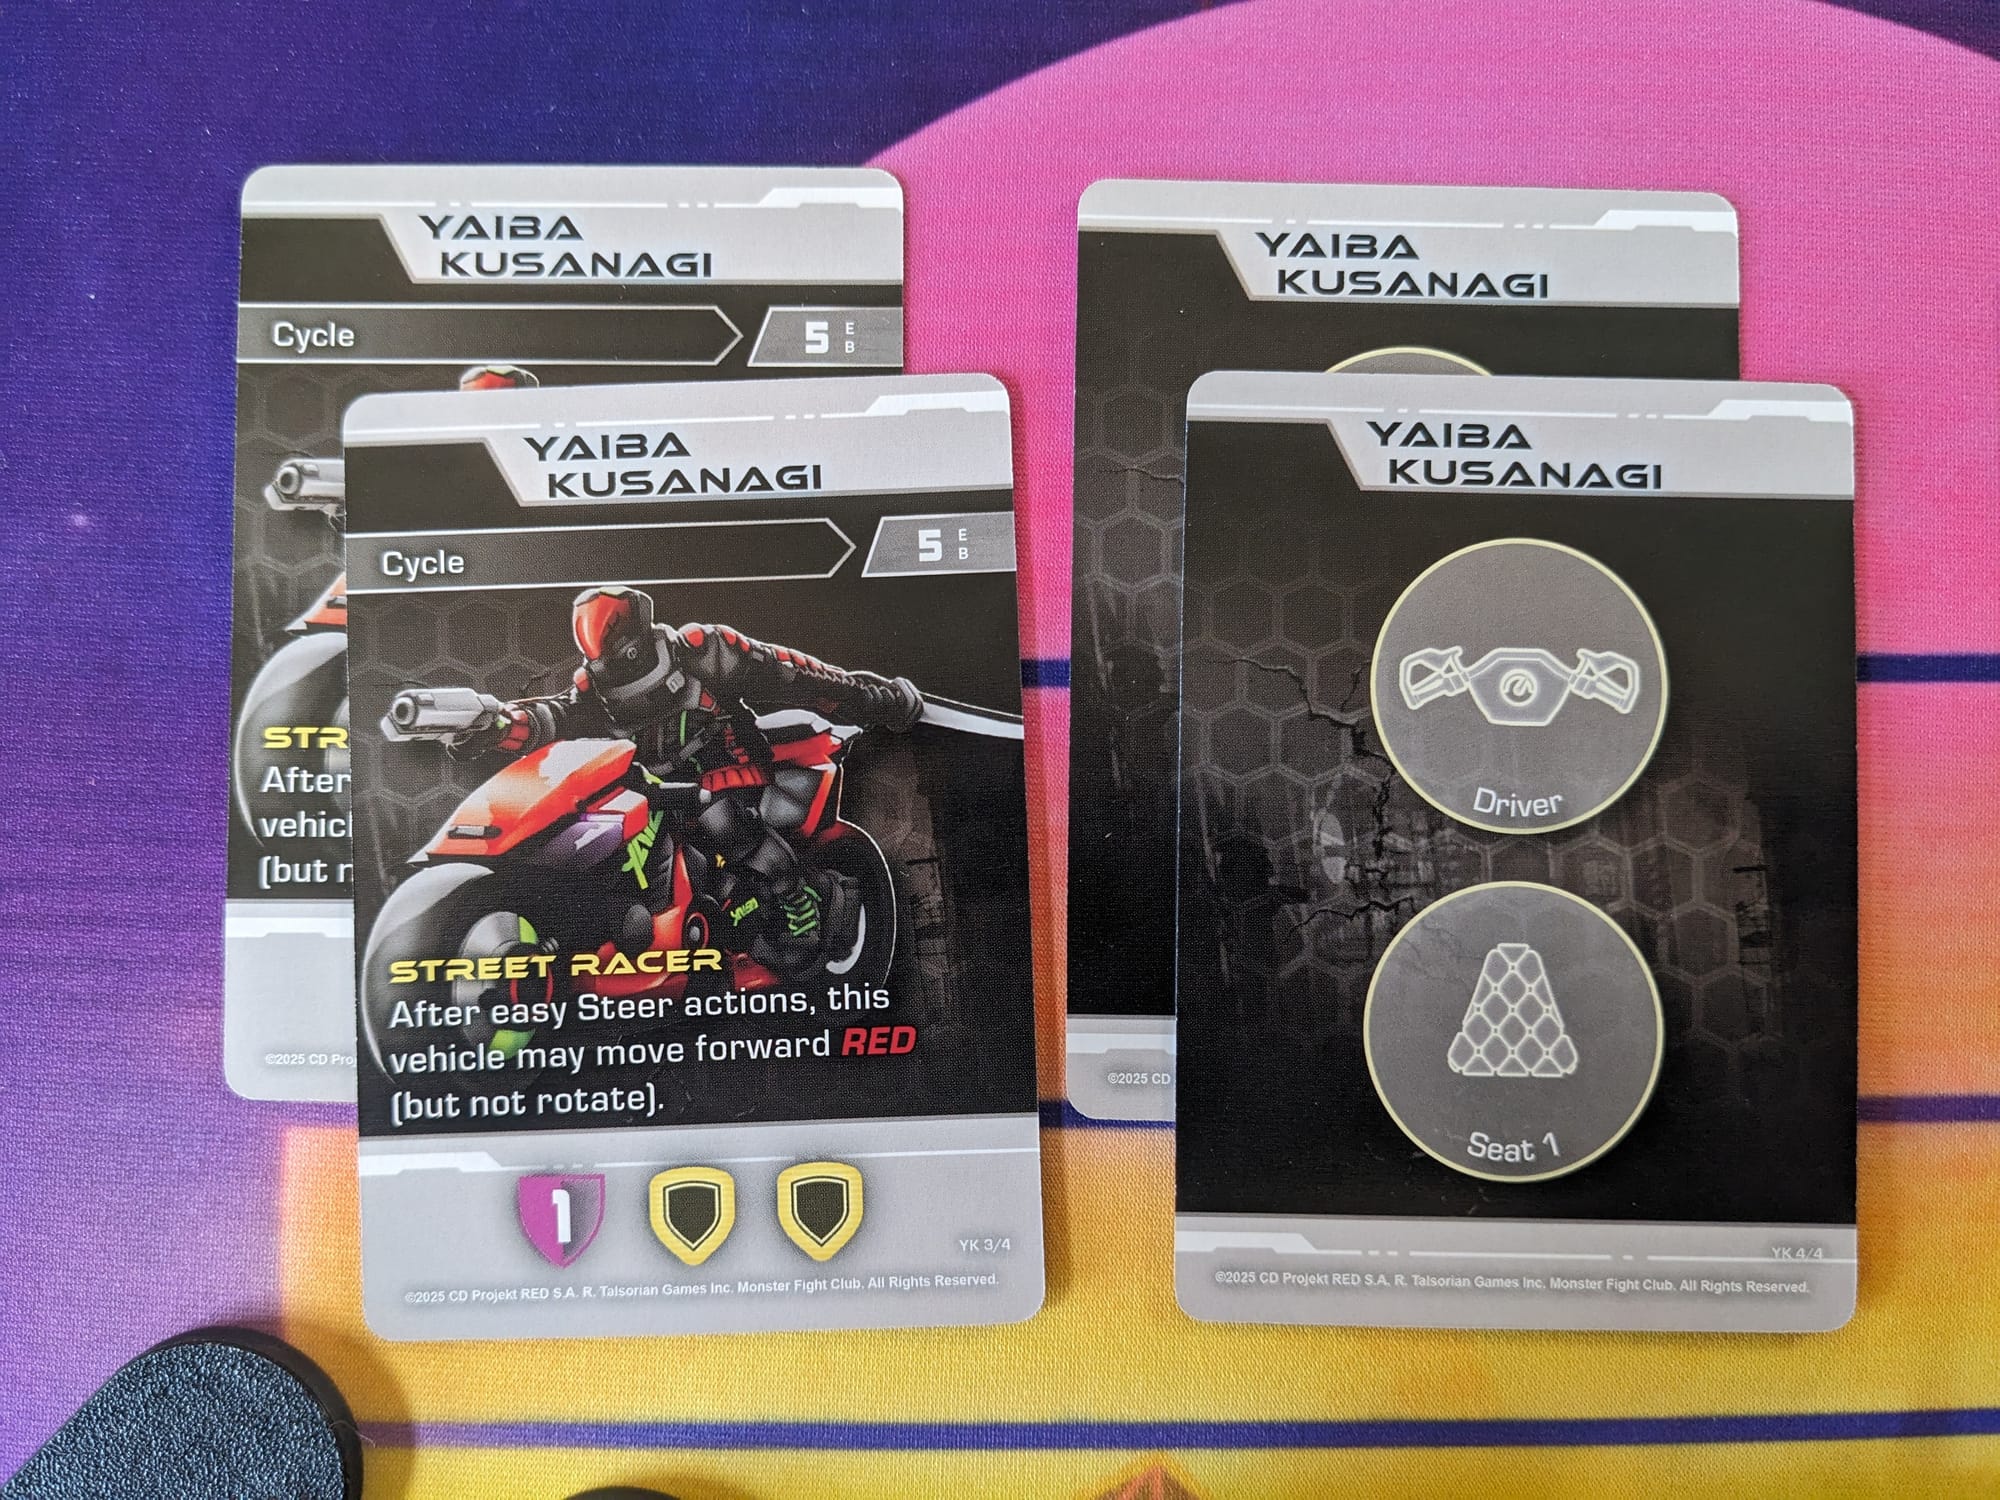
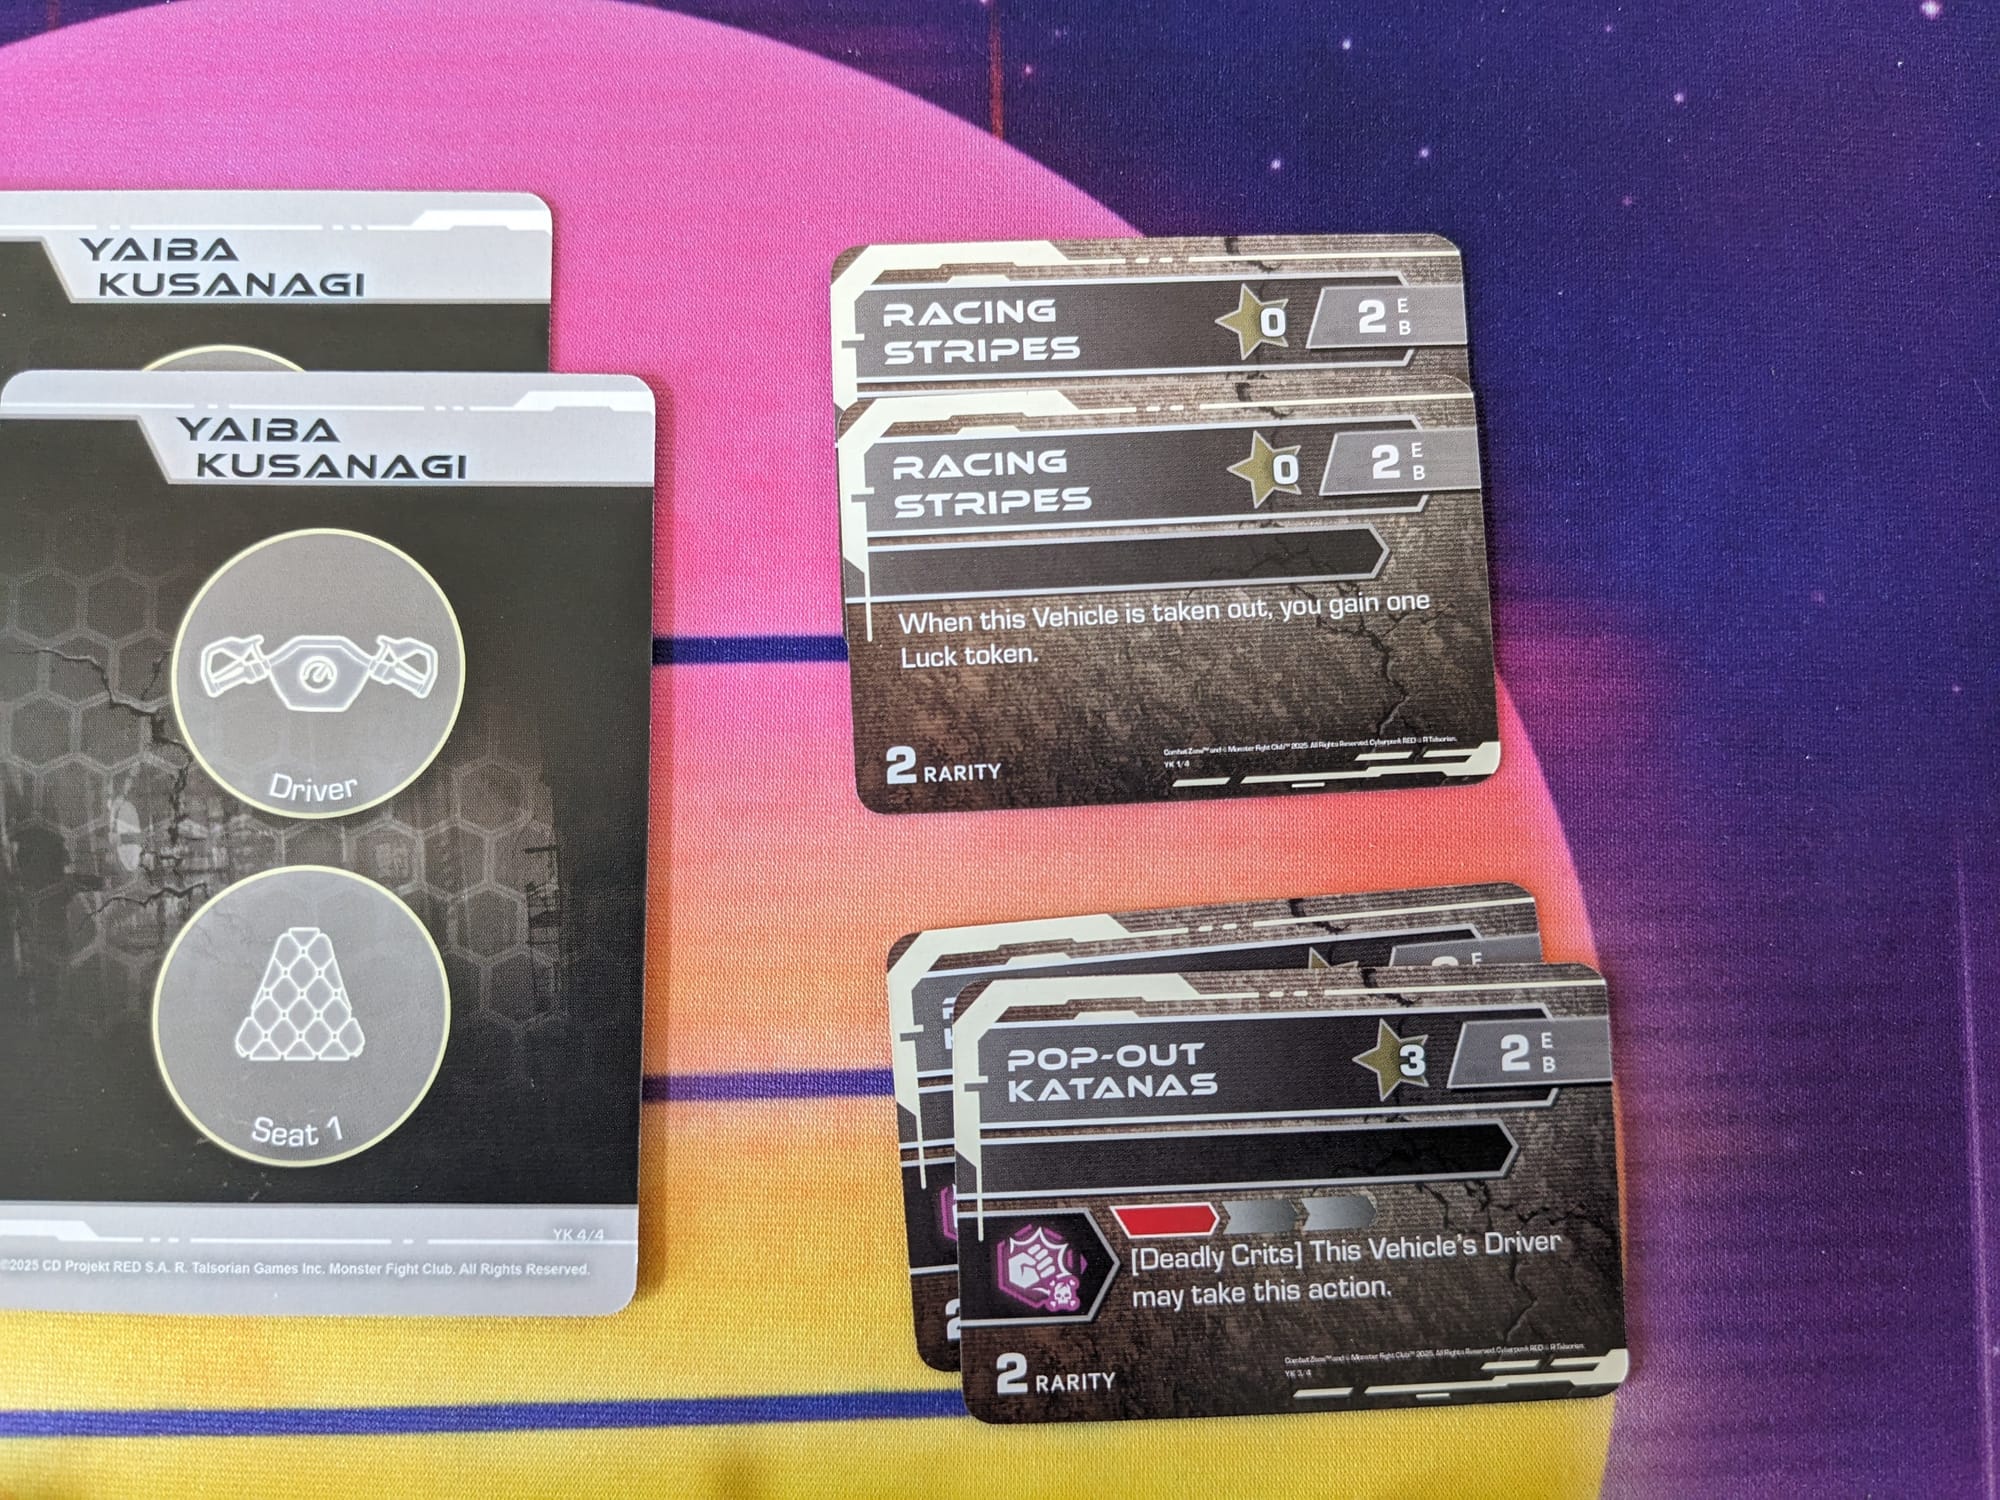
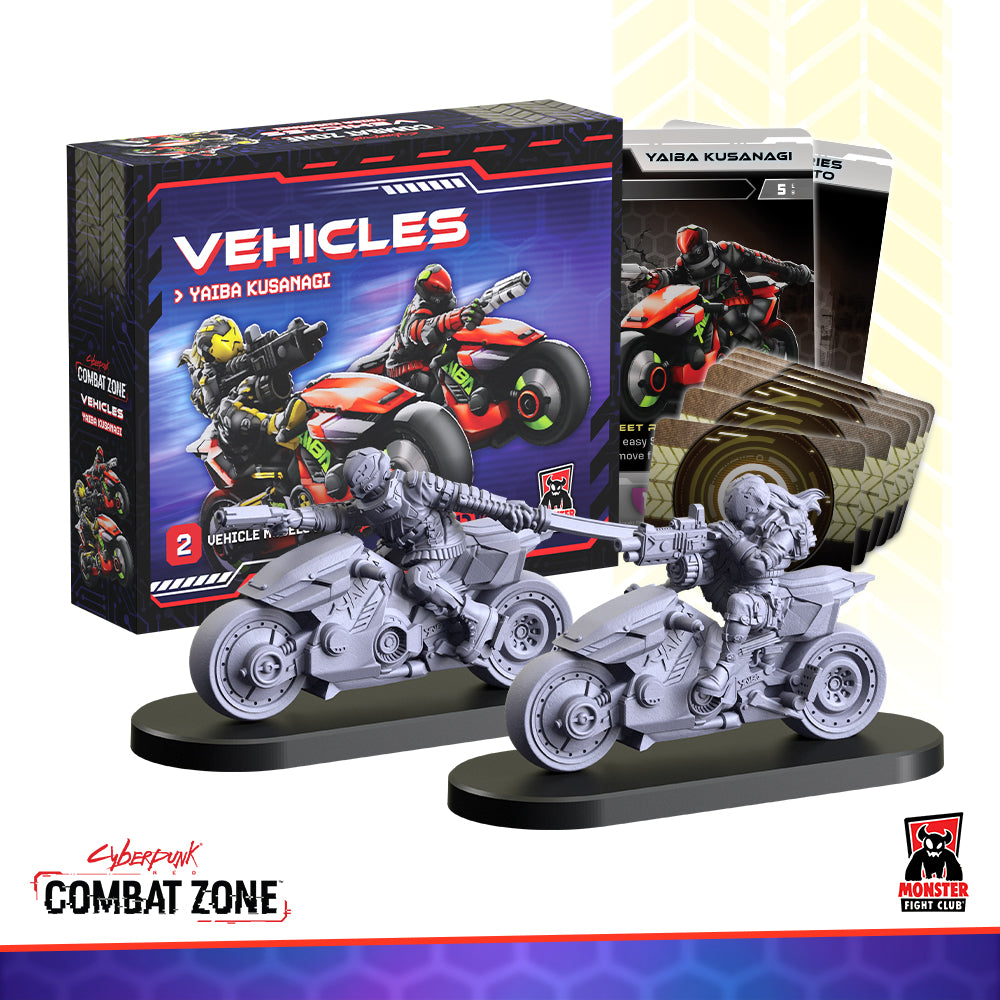
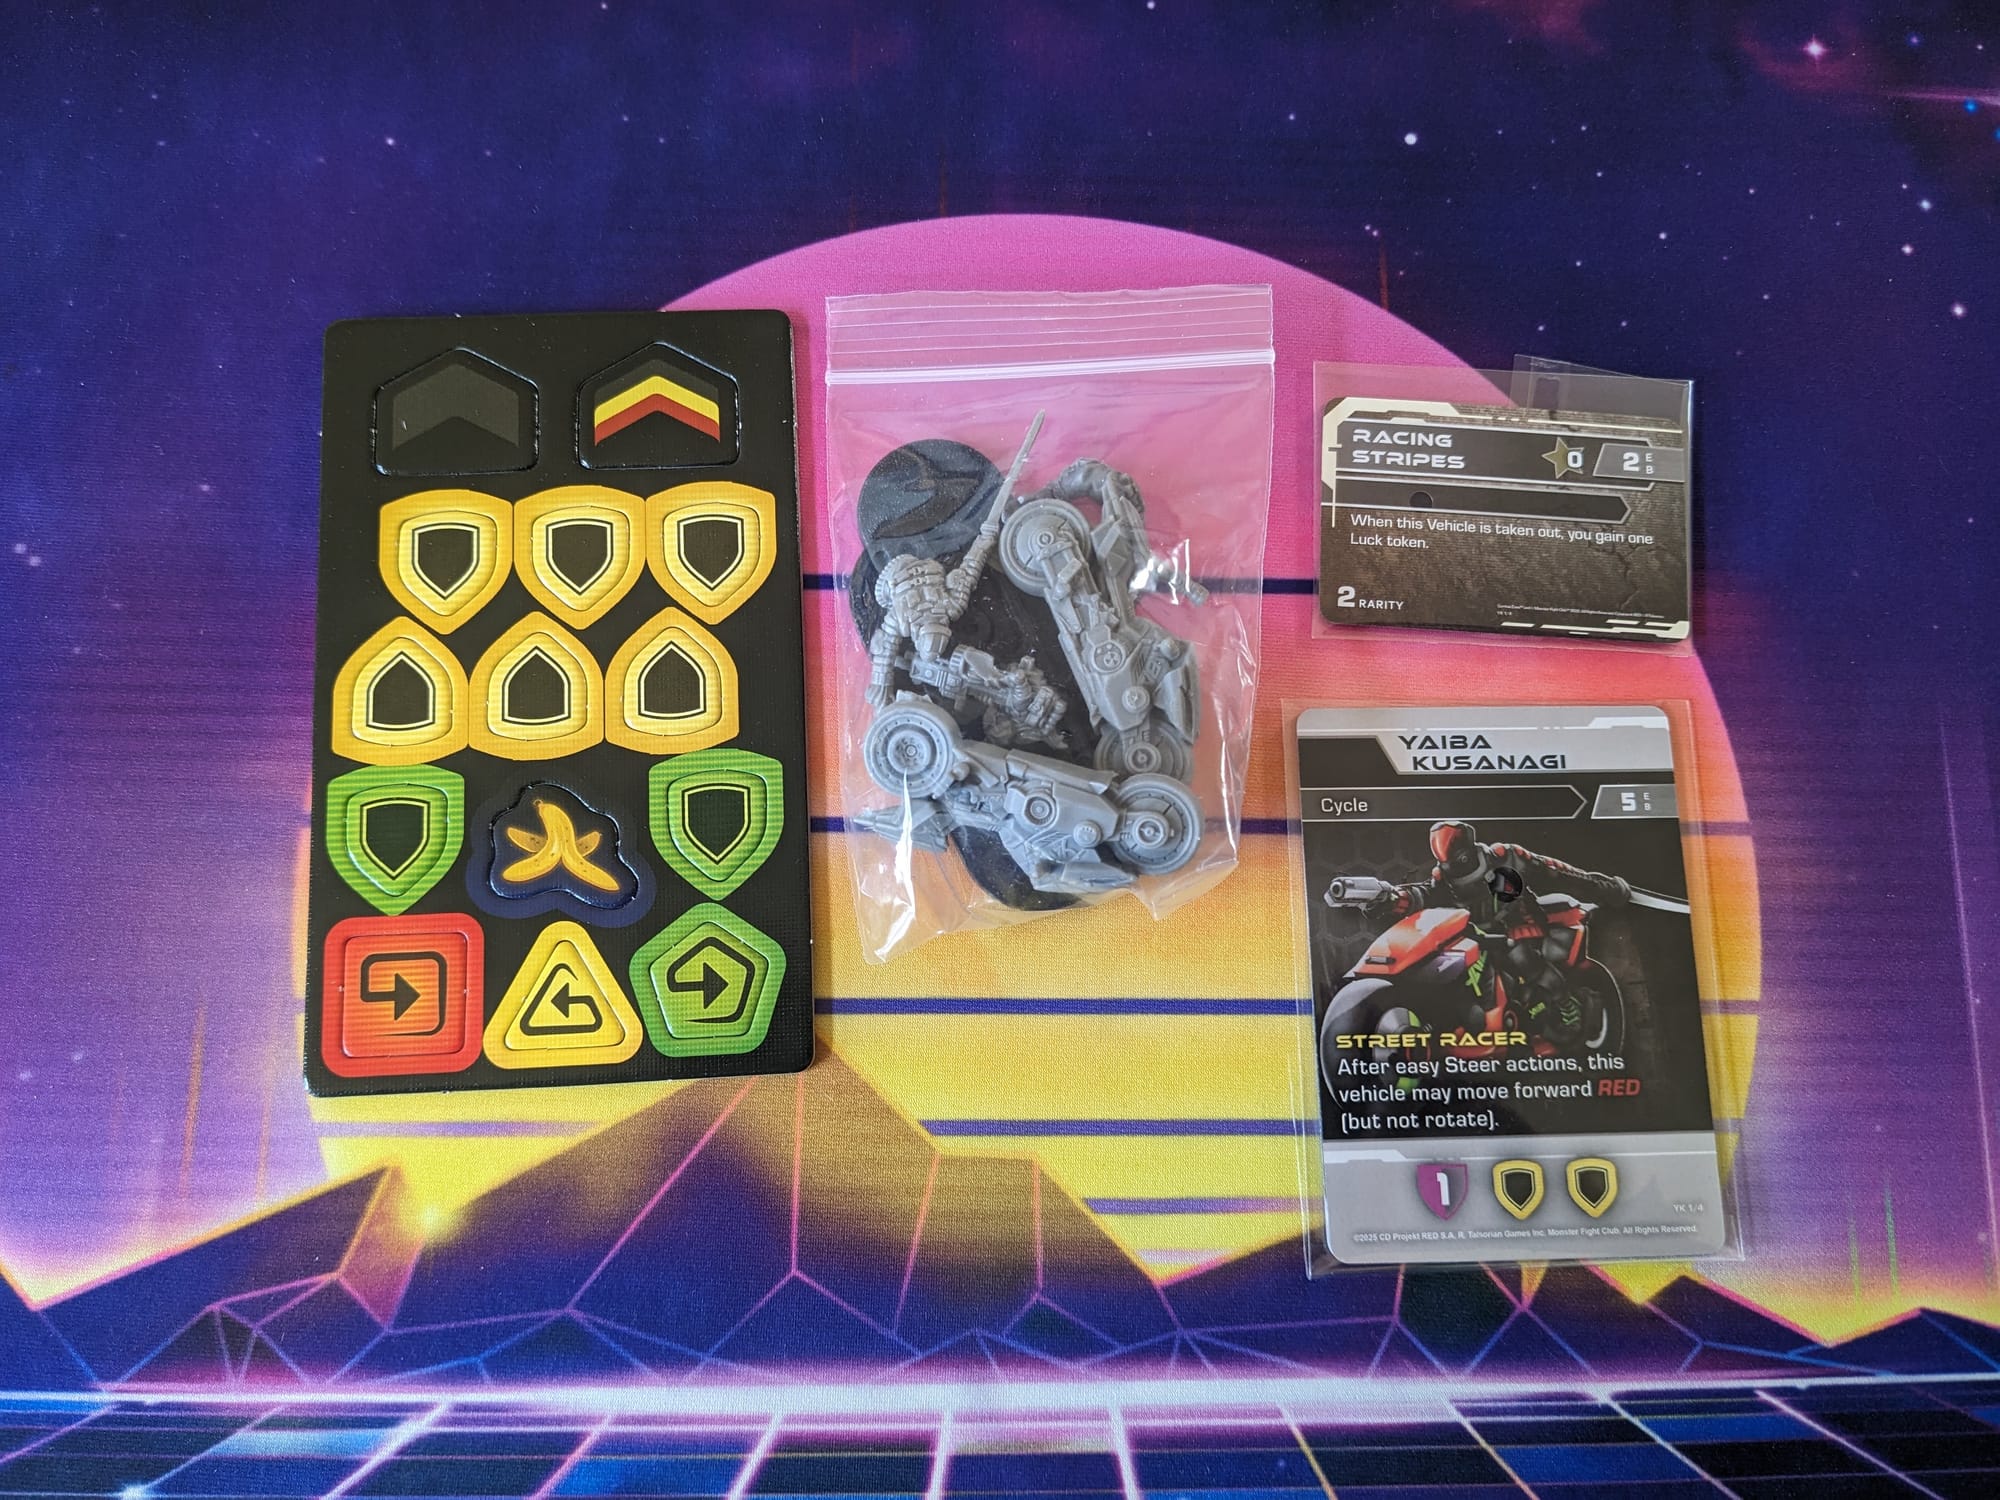
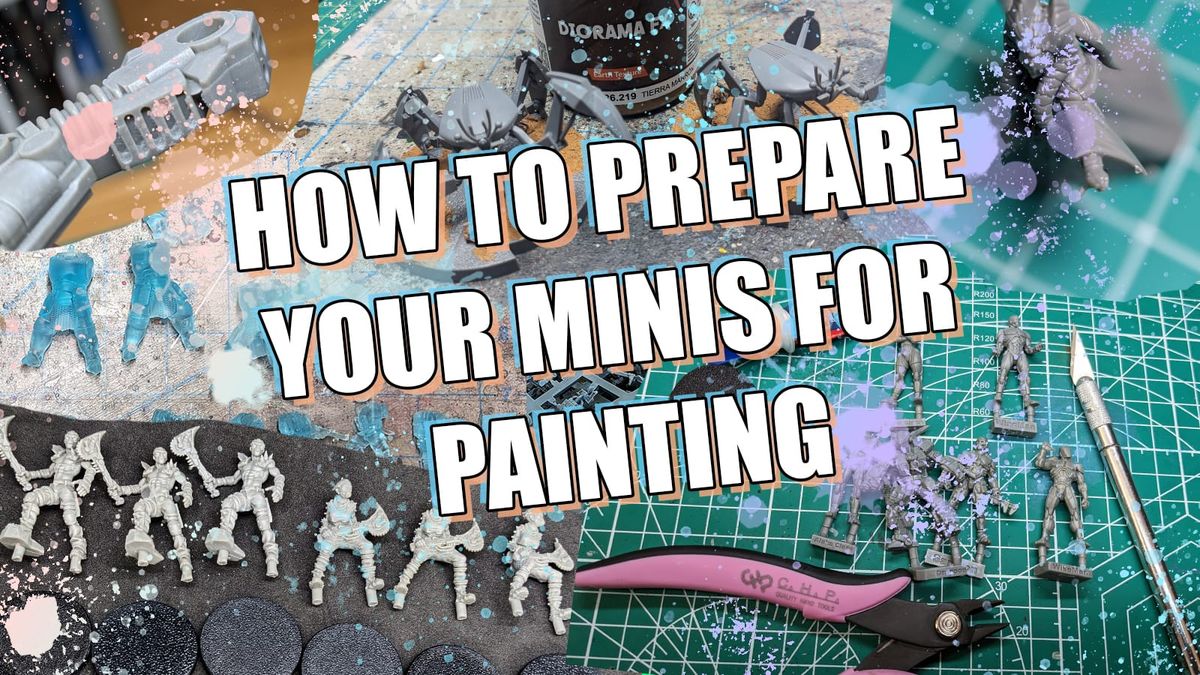
The box includes the two figures, two motorcycles, two motorcycle bases, four vehicle stat cards, and 4 mod cards. The figures, who are multi-part, are separate from the single-piece motorcycle, all of which are soft plastic. Also included are additional tokens for use with the vehicles.
Assembling Your Models
Prepping Your Models & The Tools
GamingTrend has put together a guide for you to follow for how best to clean, cut, and assemble your models, regardless of the game. While the materials for the models may be different between games (plastic, resin, metal, etc.) there are simple techniques you can do to help make your painting experience go that much smoother.
Additionally, if you are new to painting, and are not sure what brushes or tools you need, check out the article. This is just a starting place, and every painter has different preferences and recommendations. These are my recommendations based on the last decade or so of painting and I hope you find them helpful!
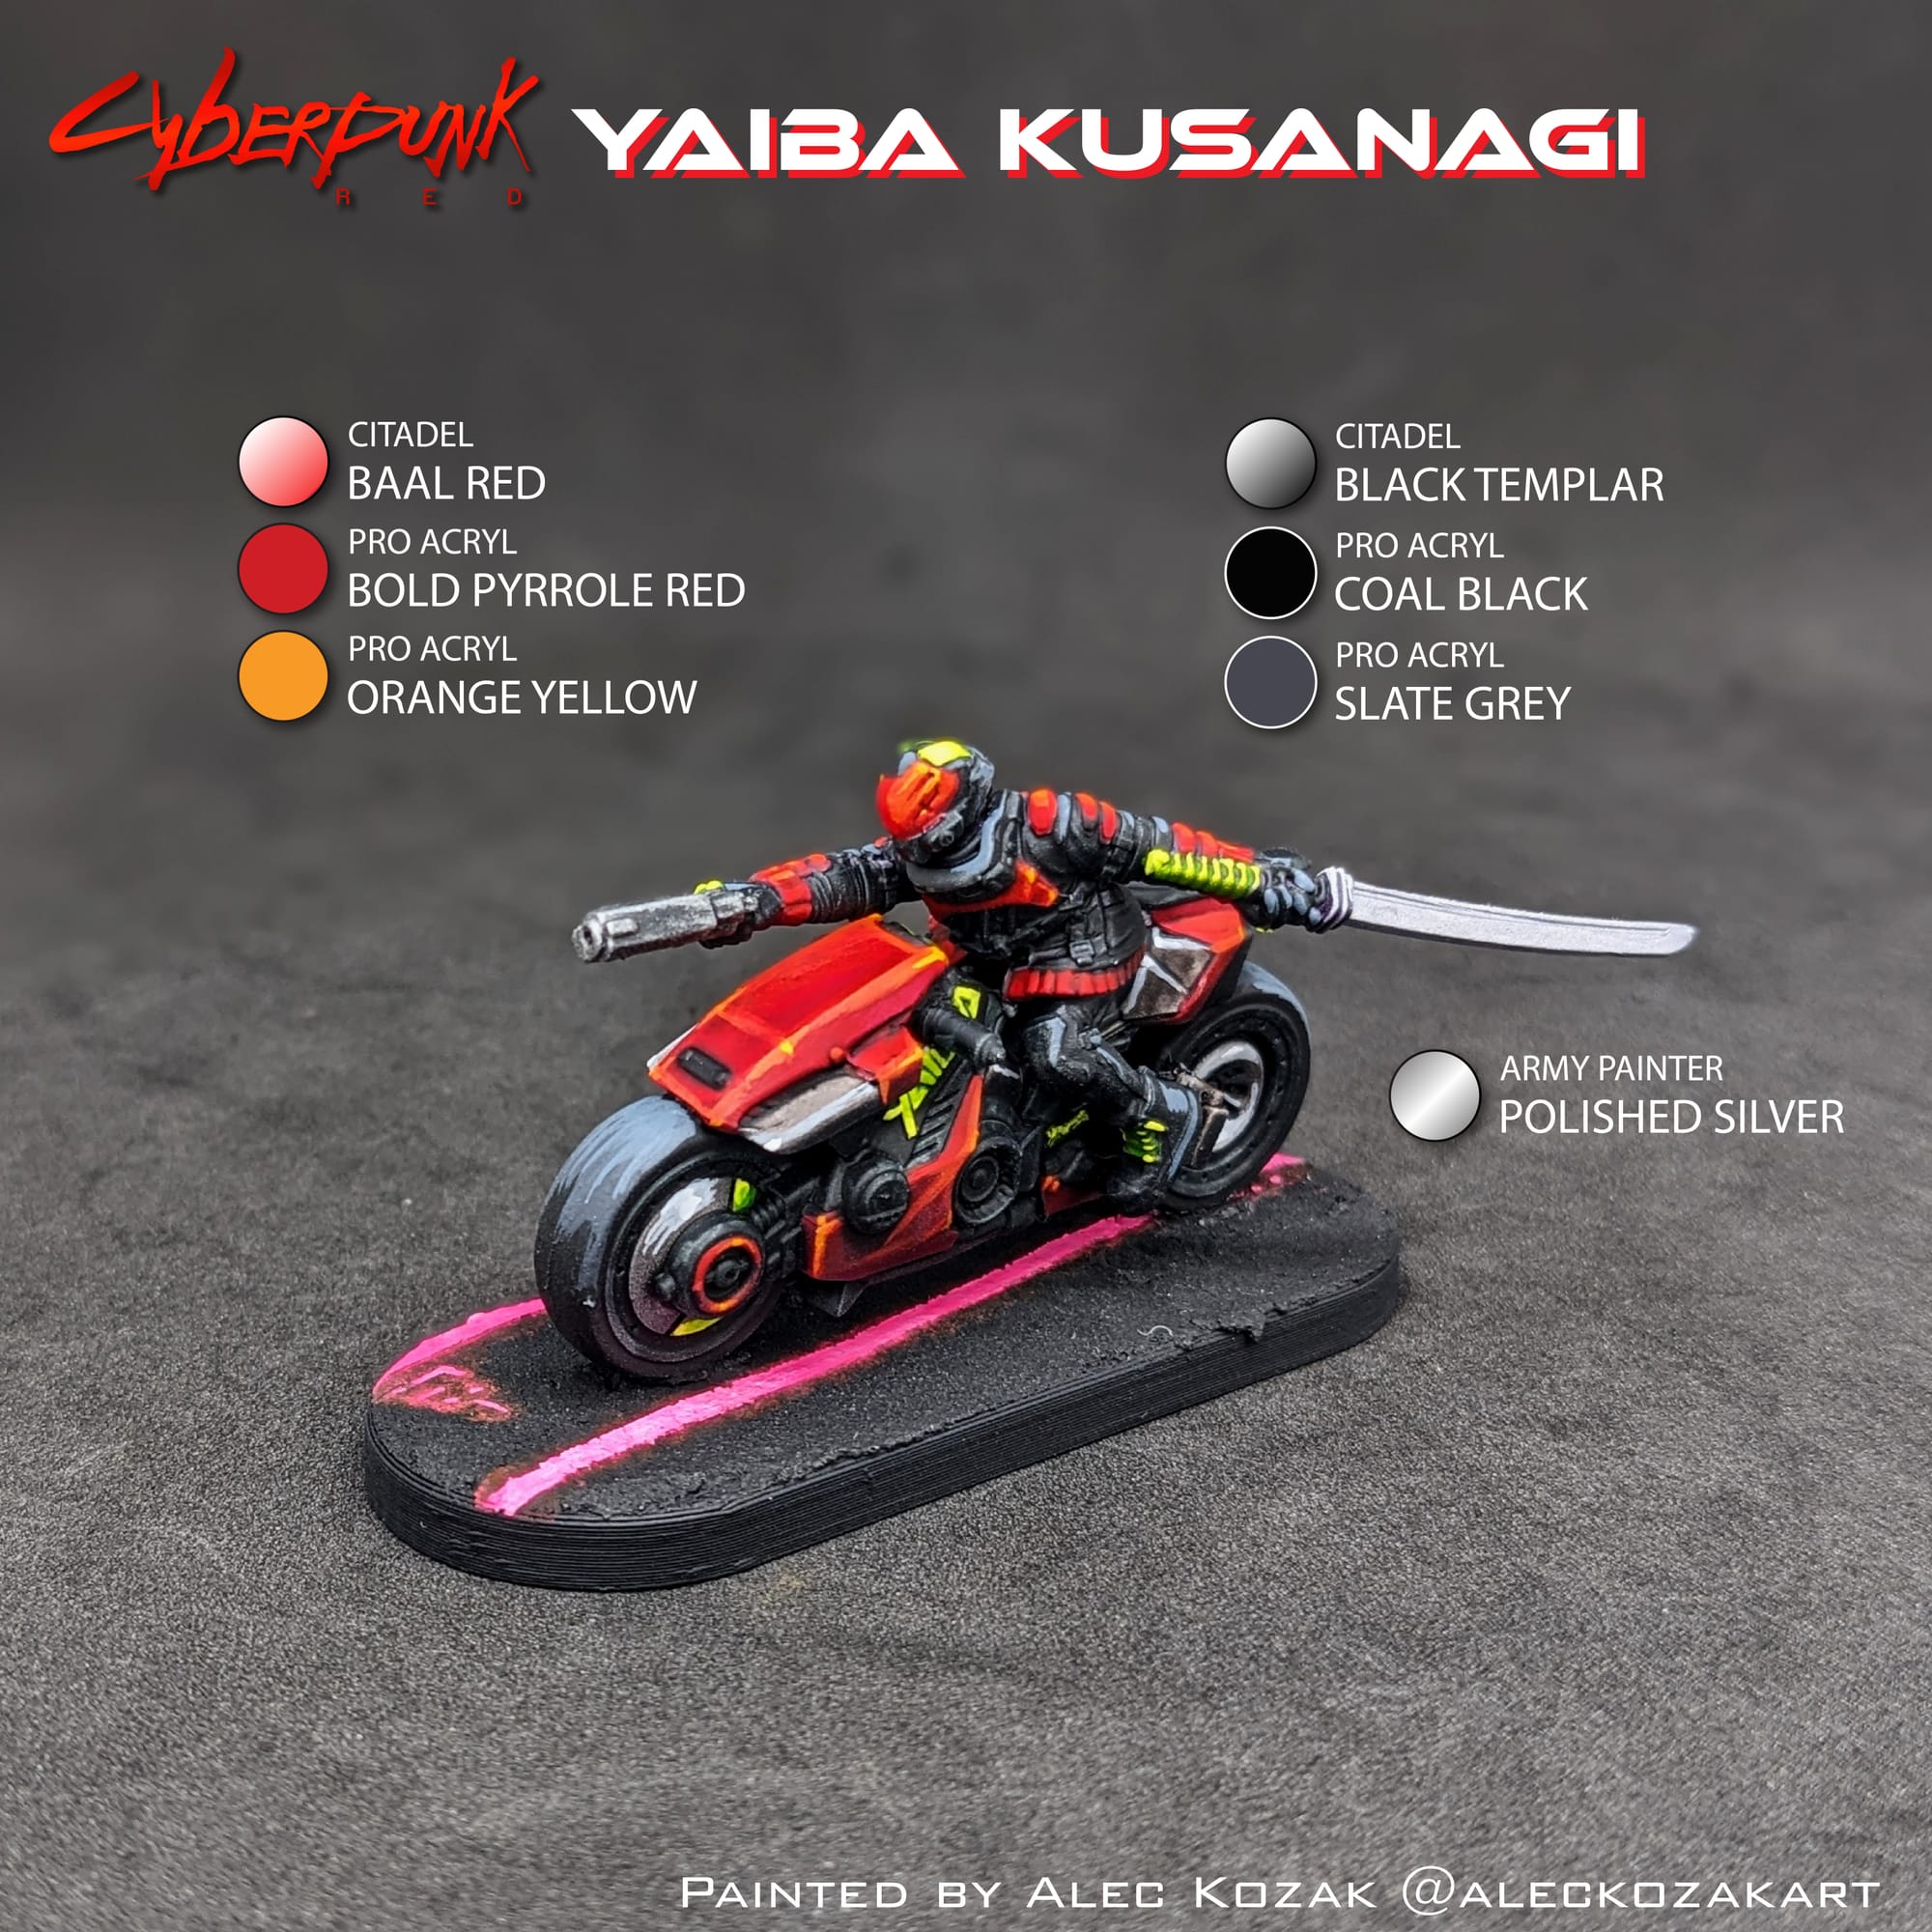
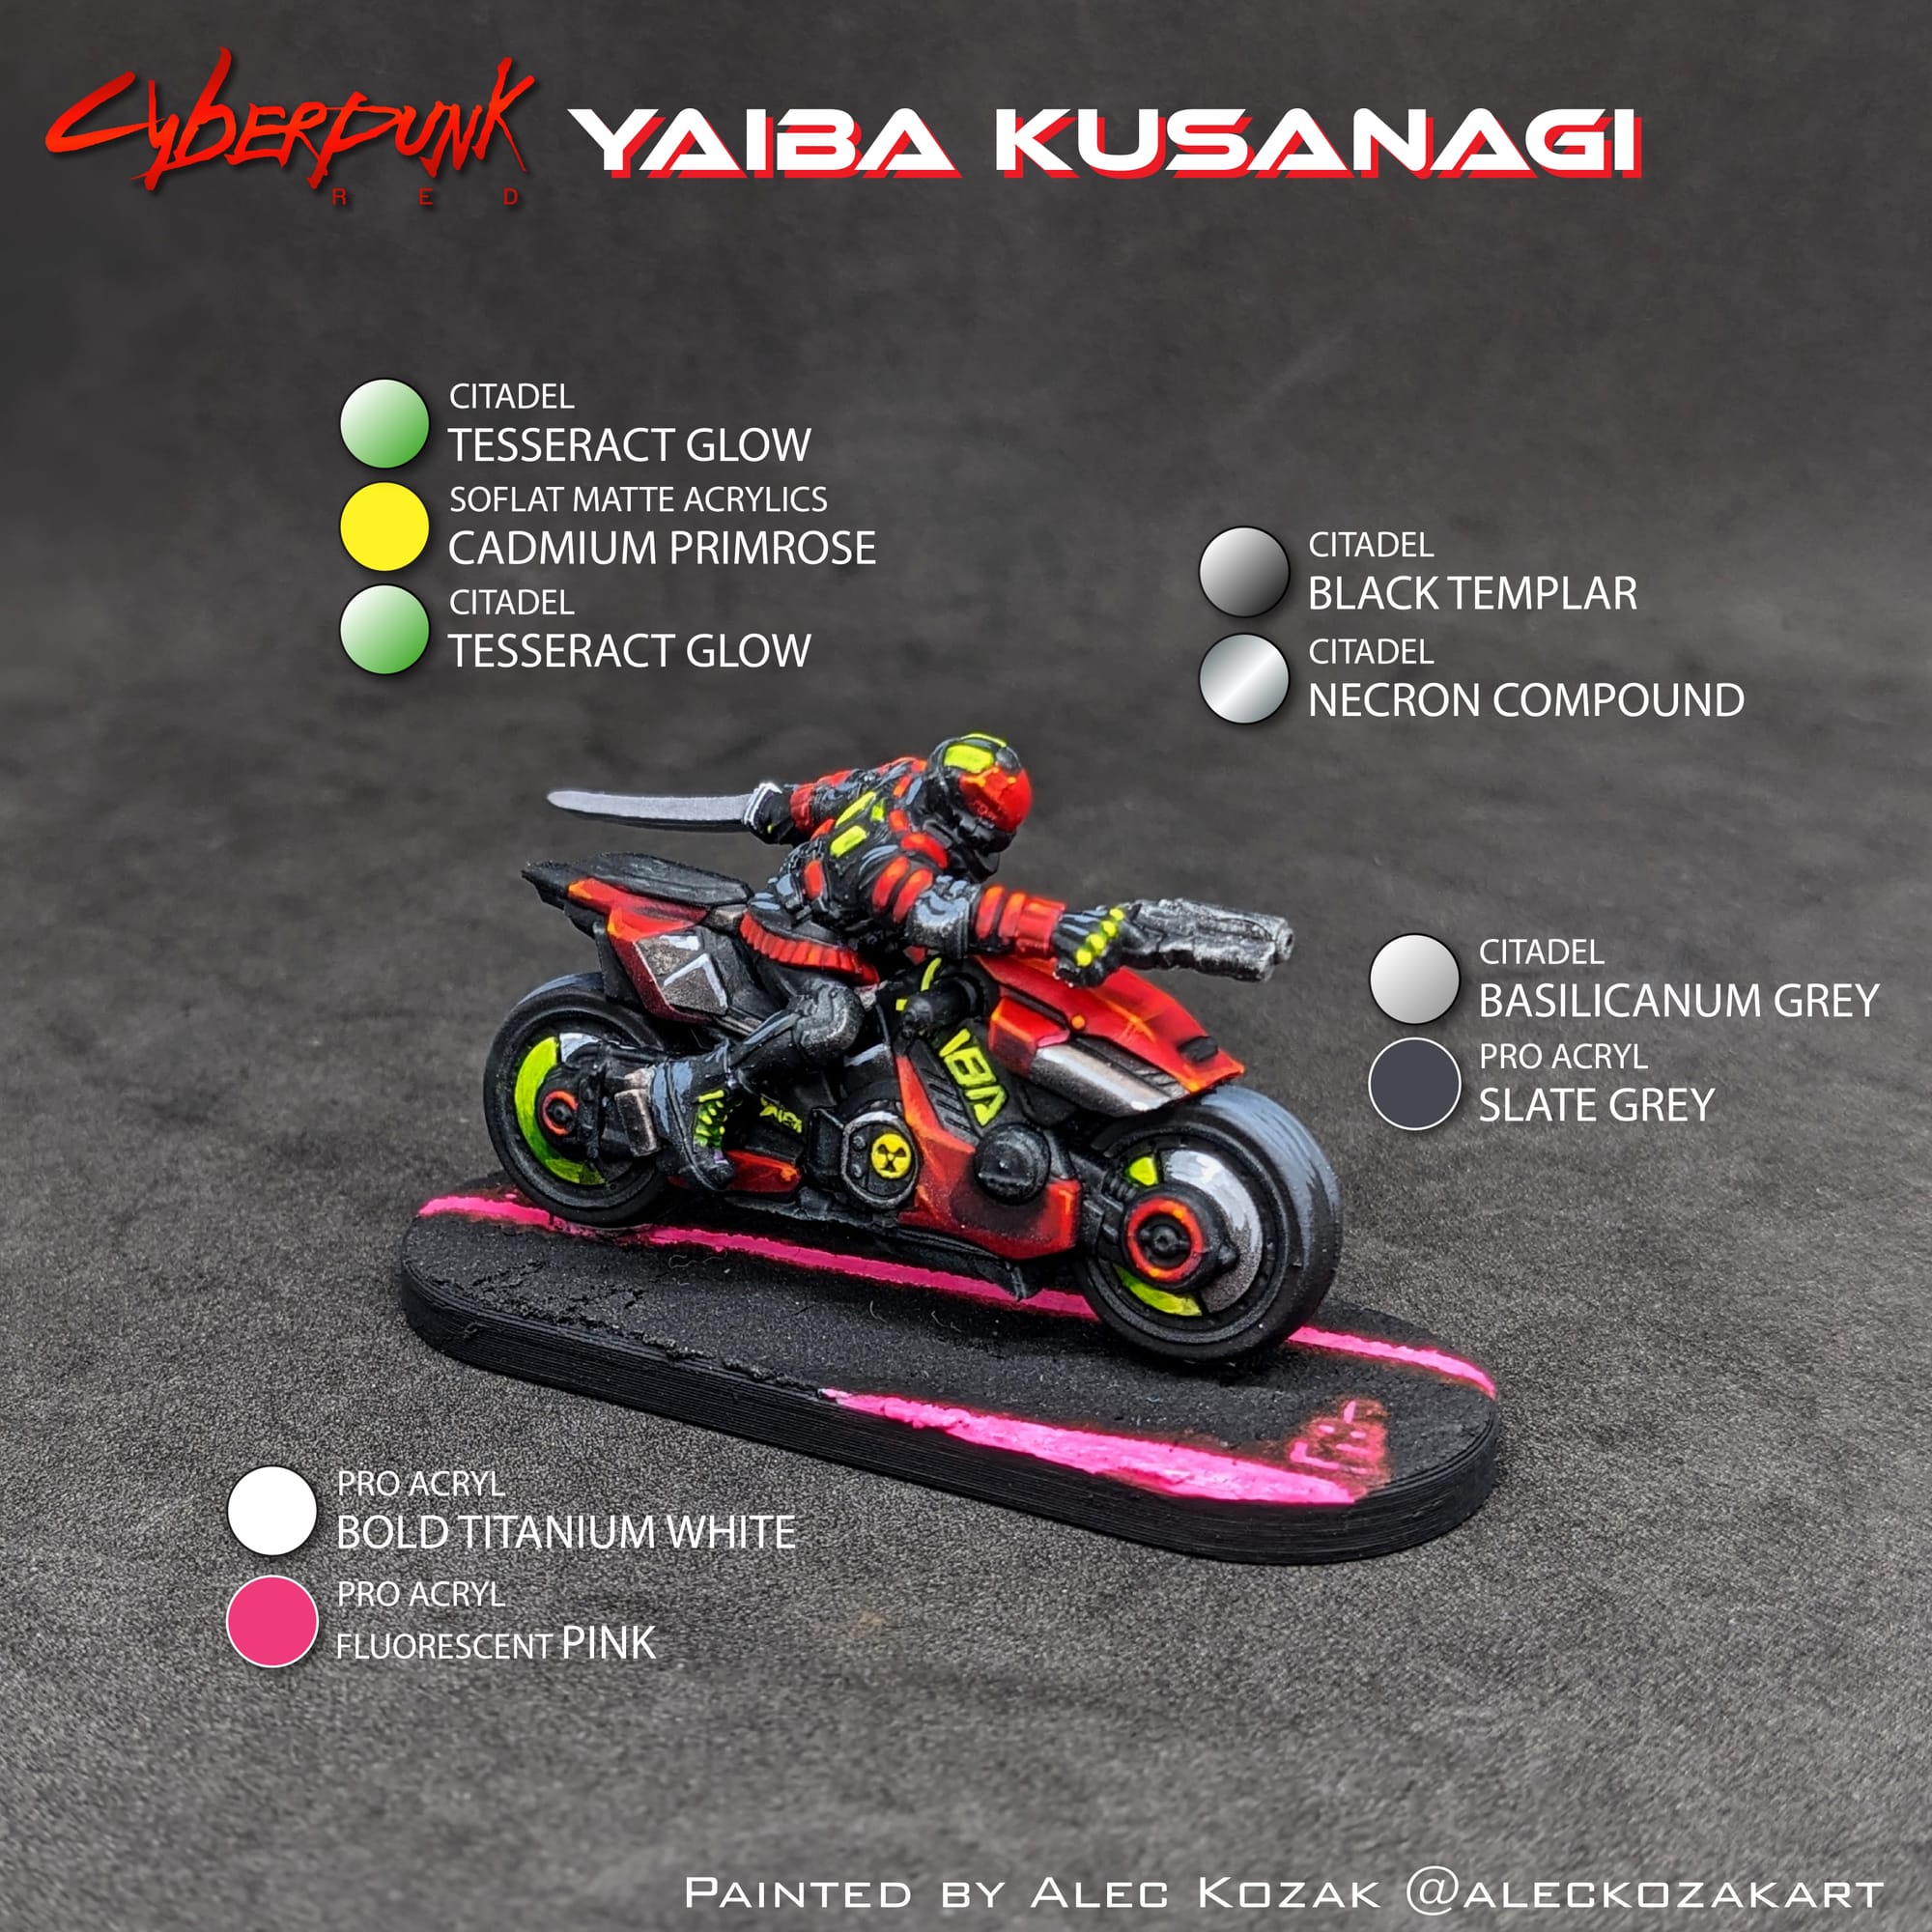
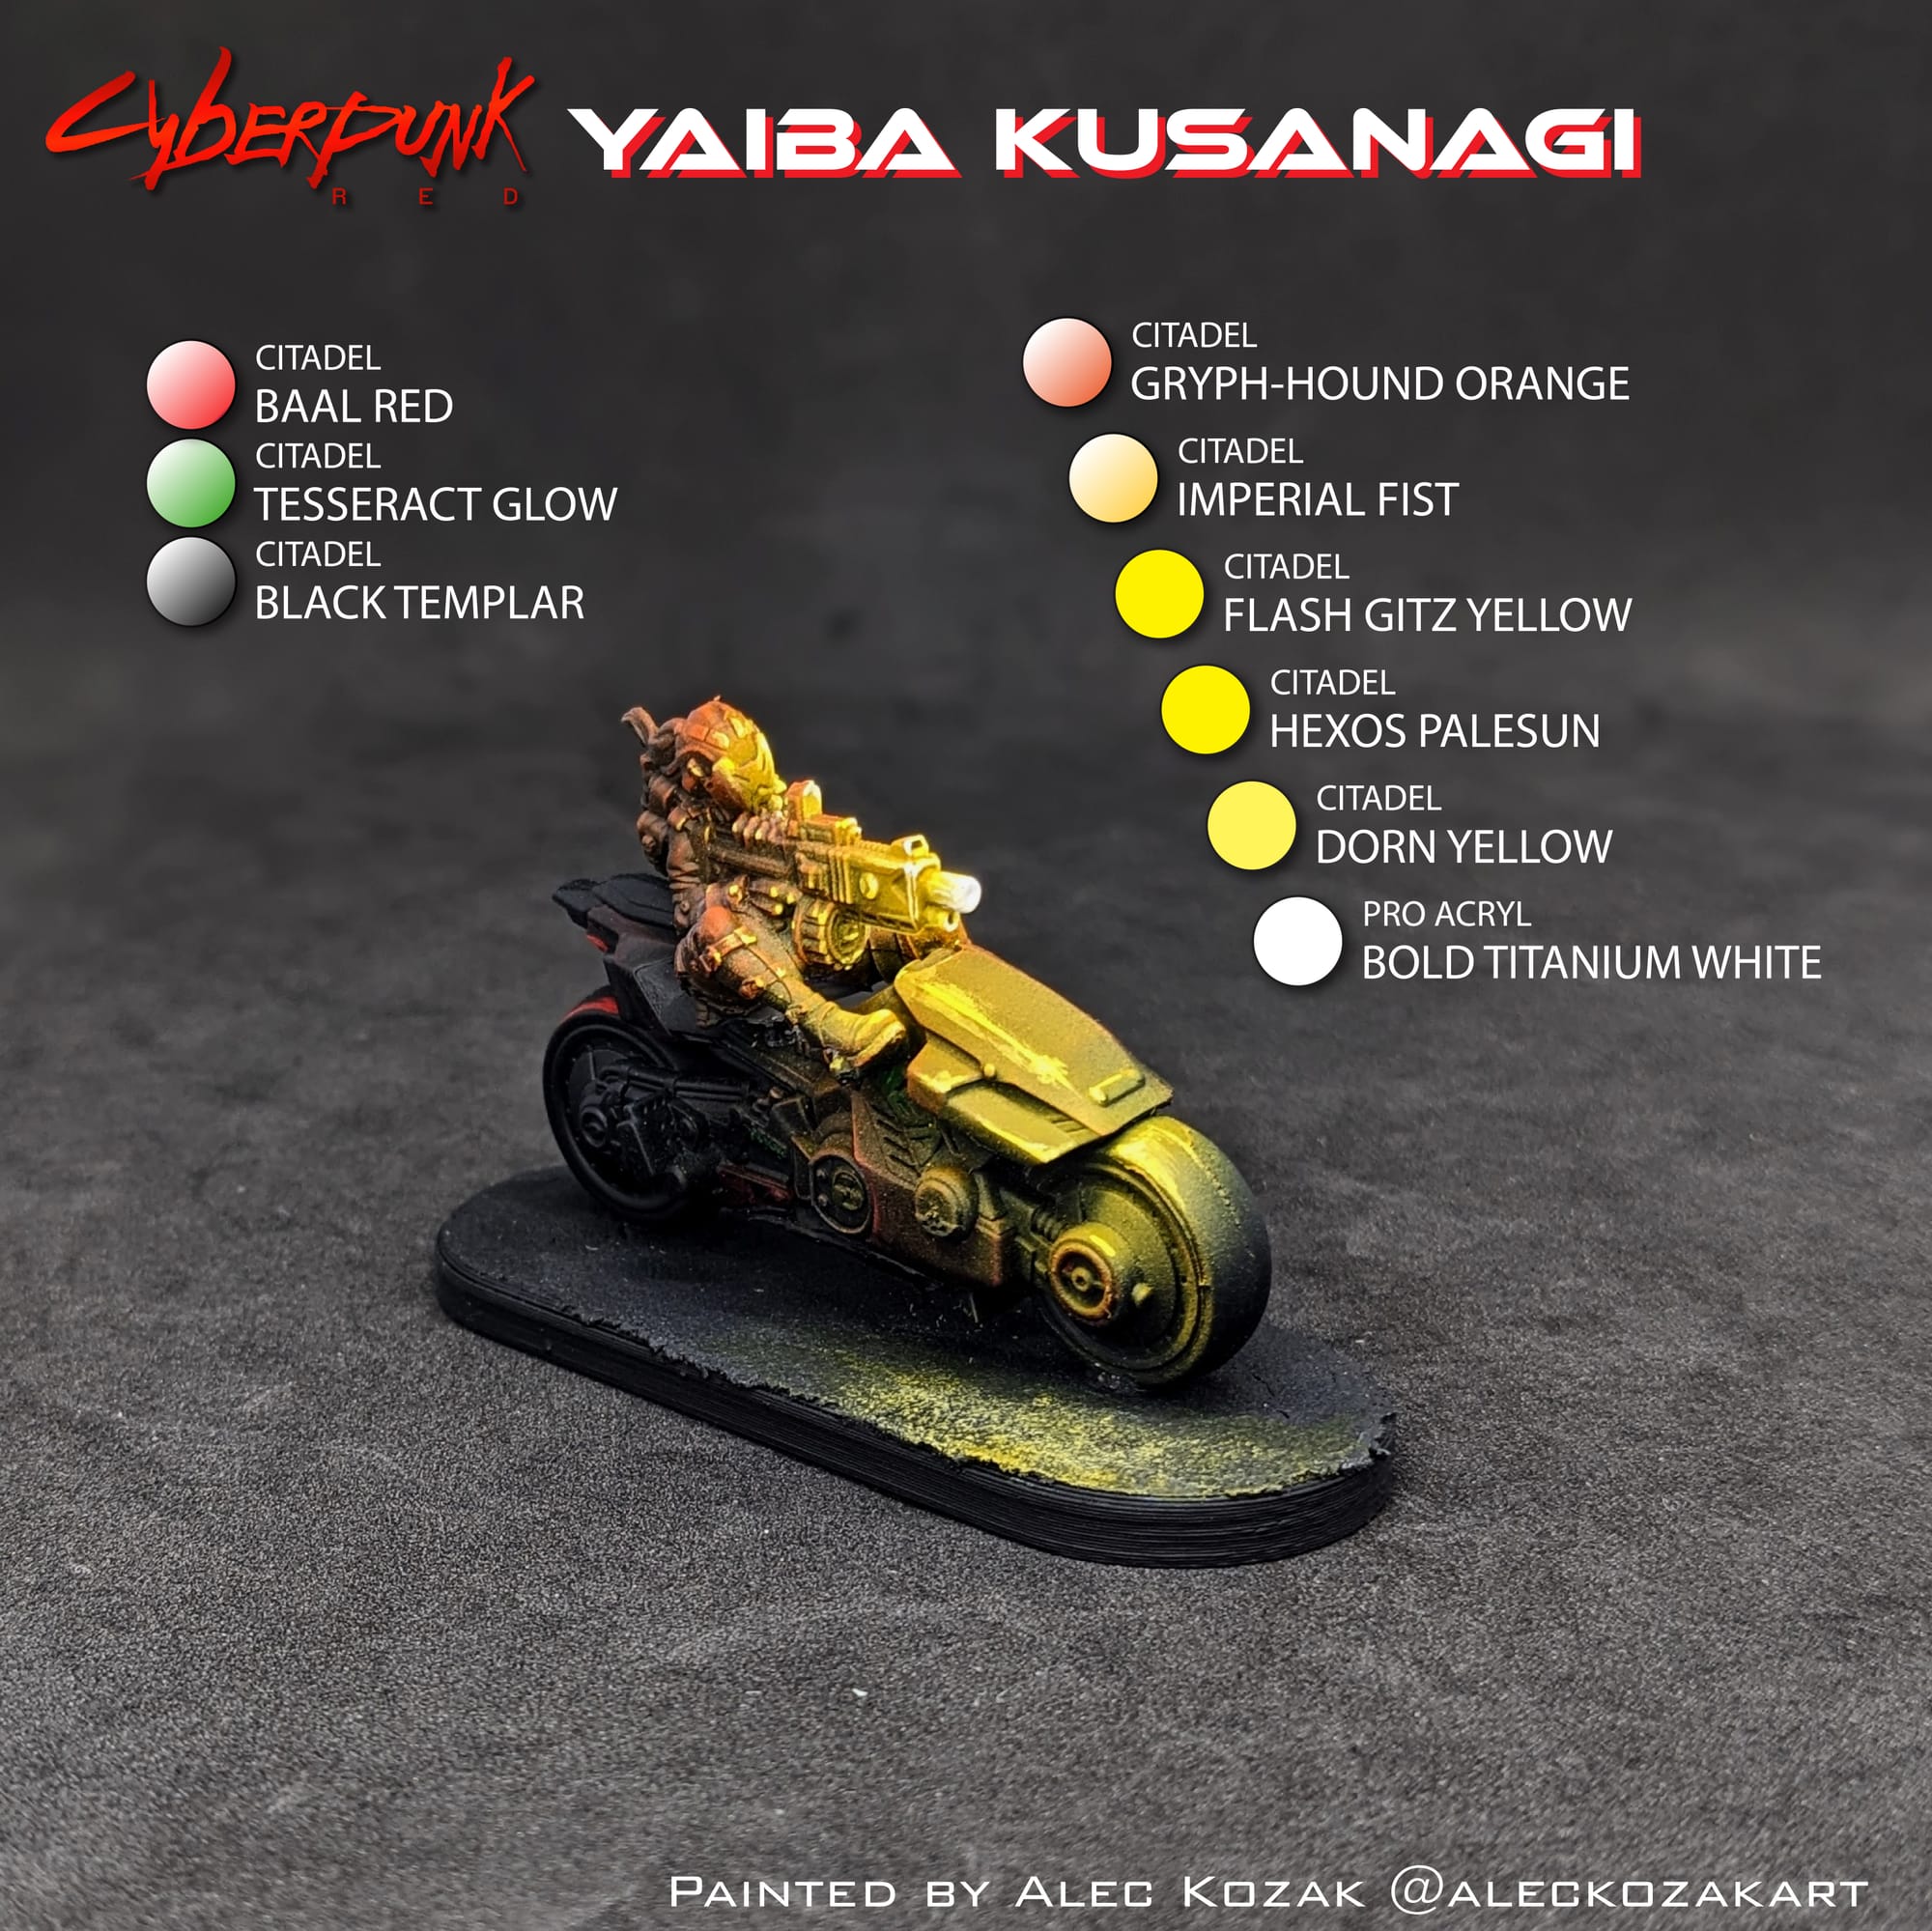
For this tutorial, I have included a visual guide (below) of the paints I used for the miniatures so you have an easily-accessible list to refer to if you need to go shopping. The paints are noted on the picture. Many paints are used for multiple figures, so a single bottle of each will be more than enough.

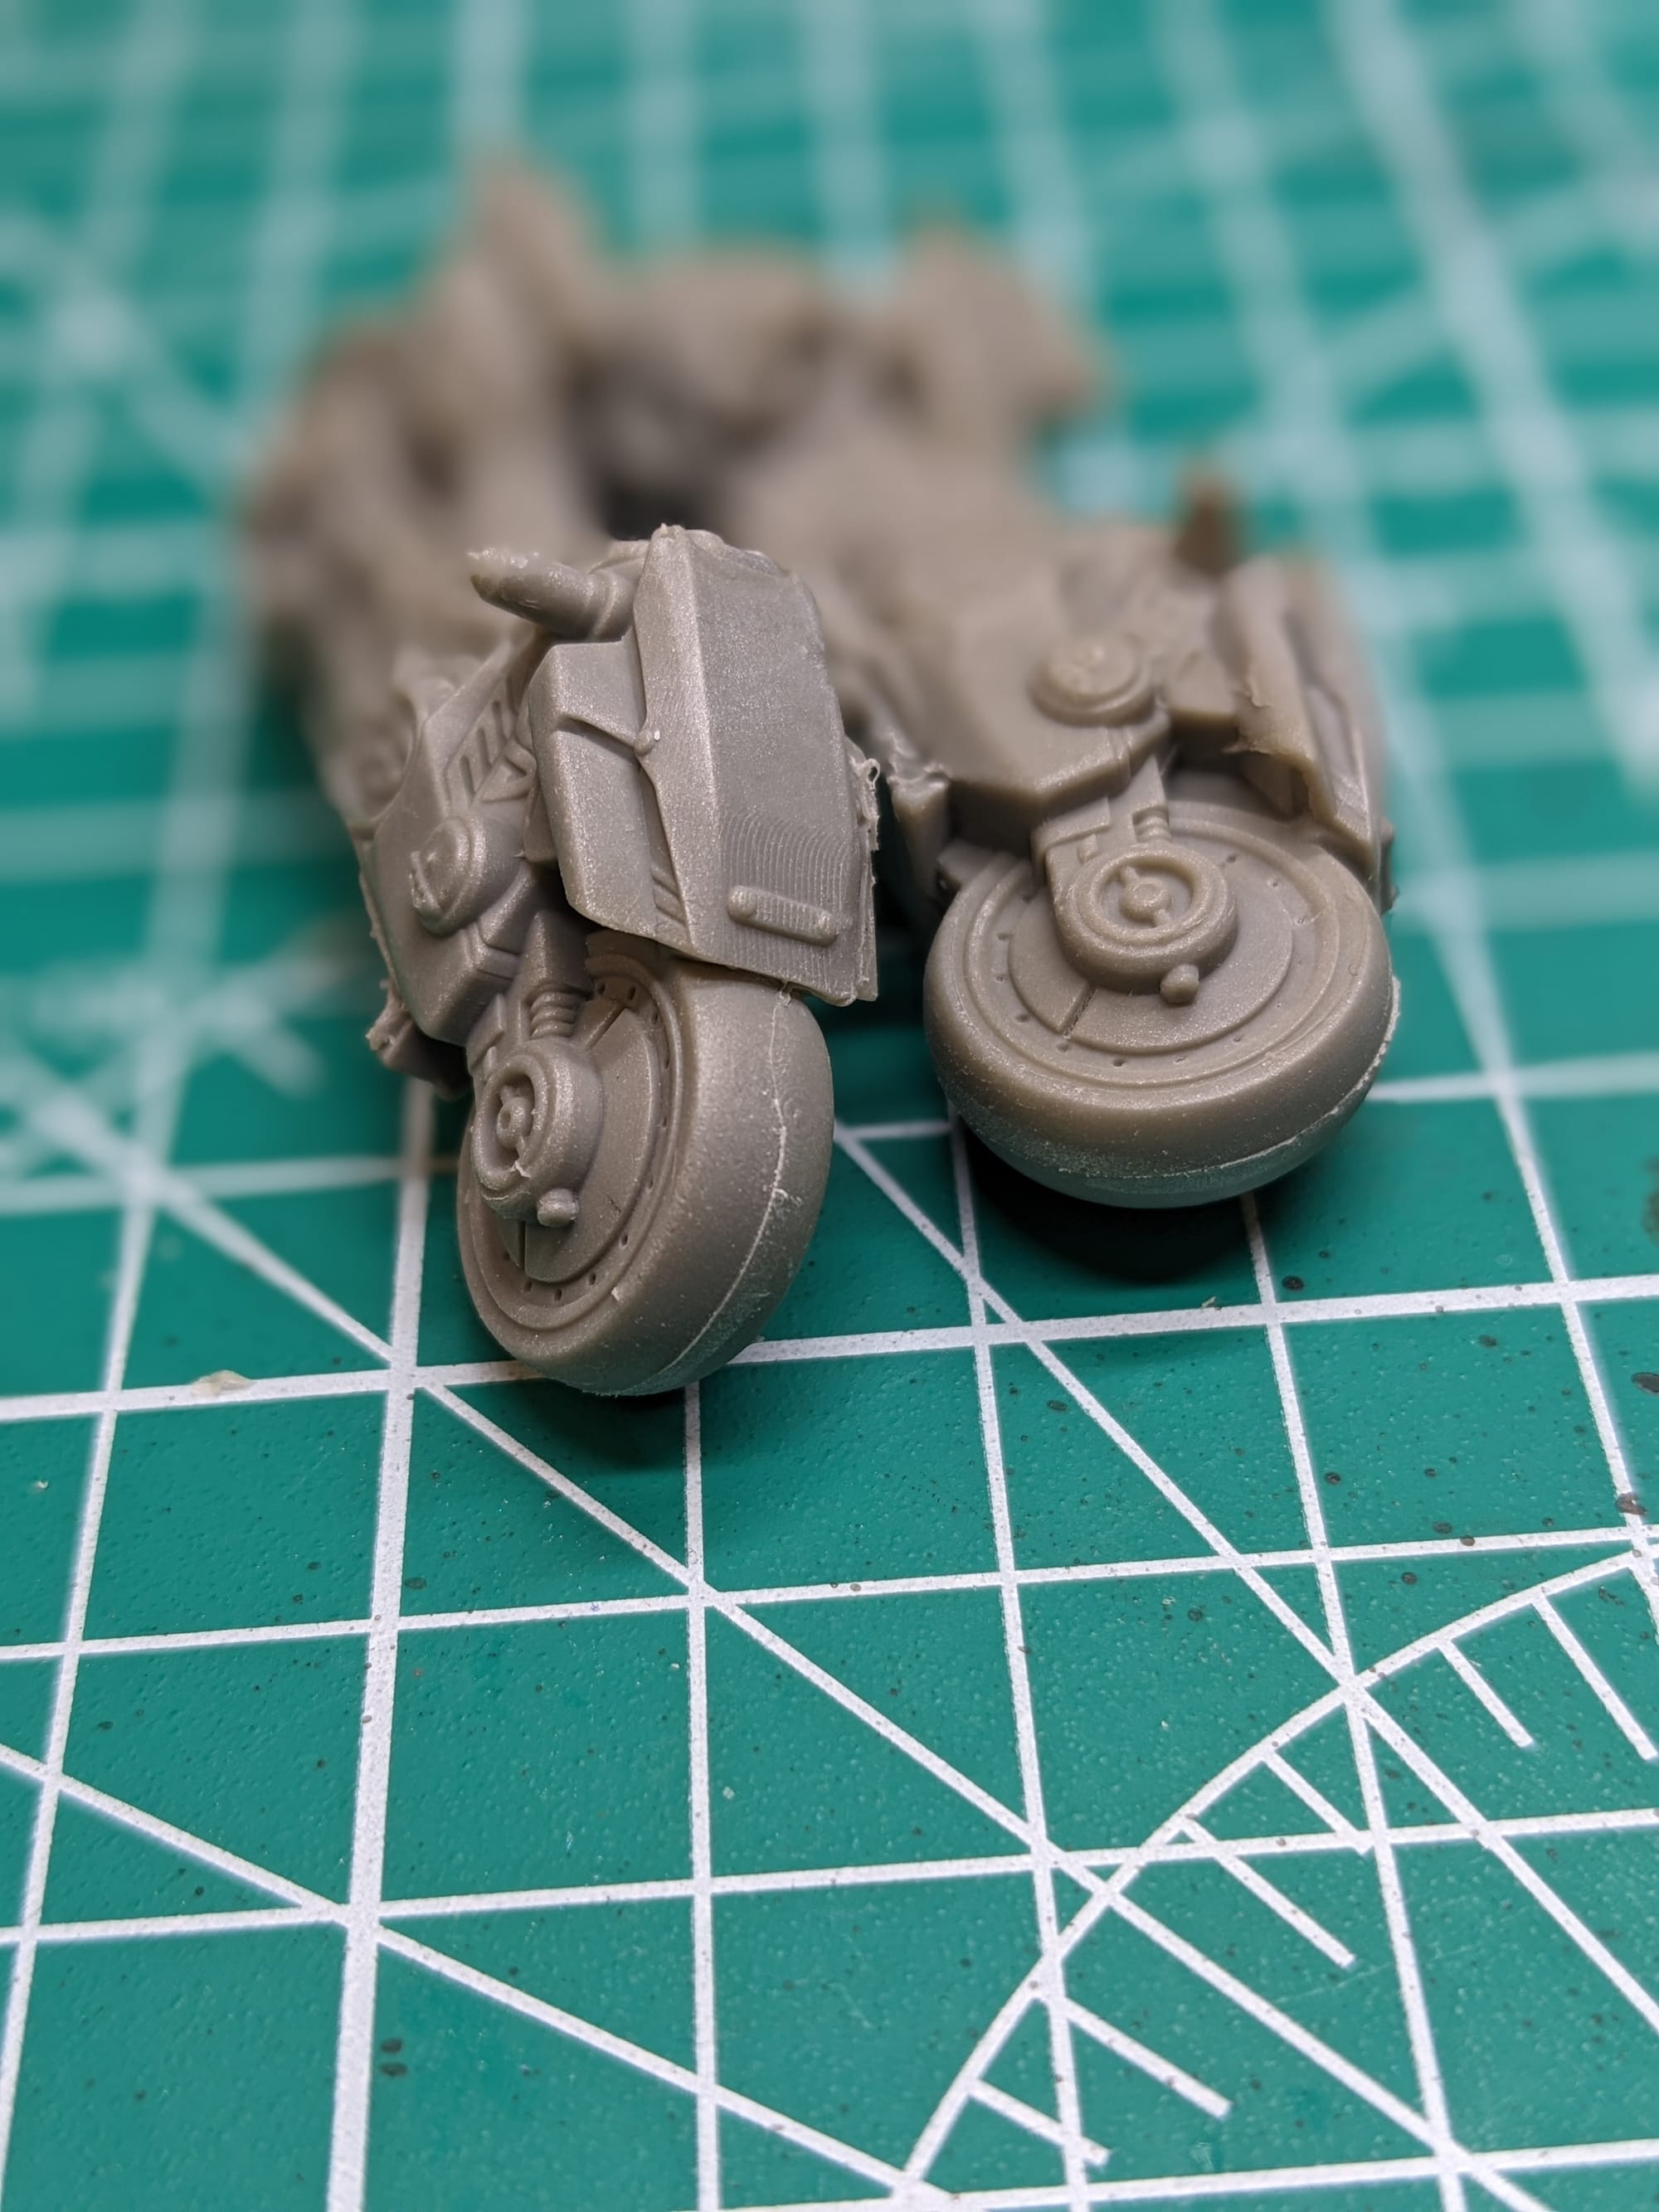
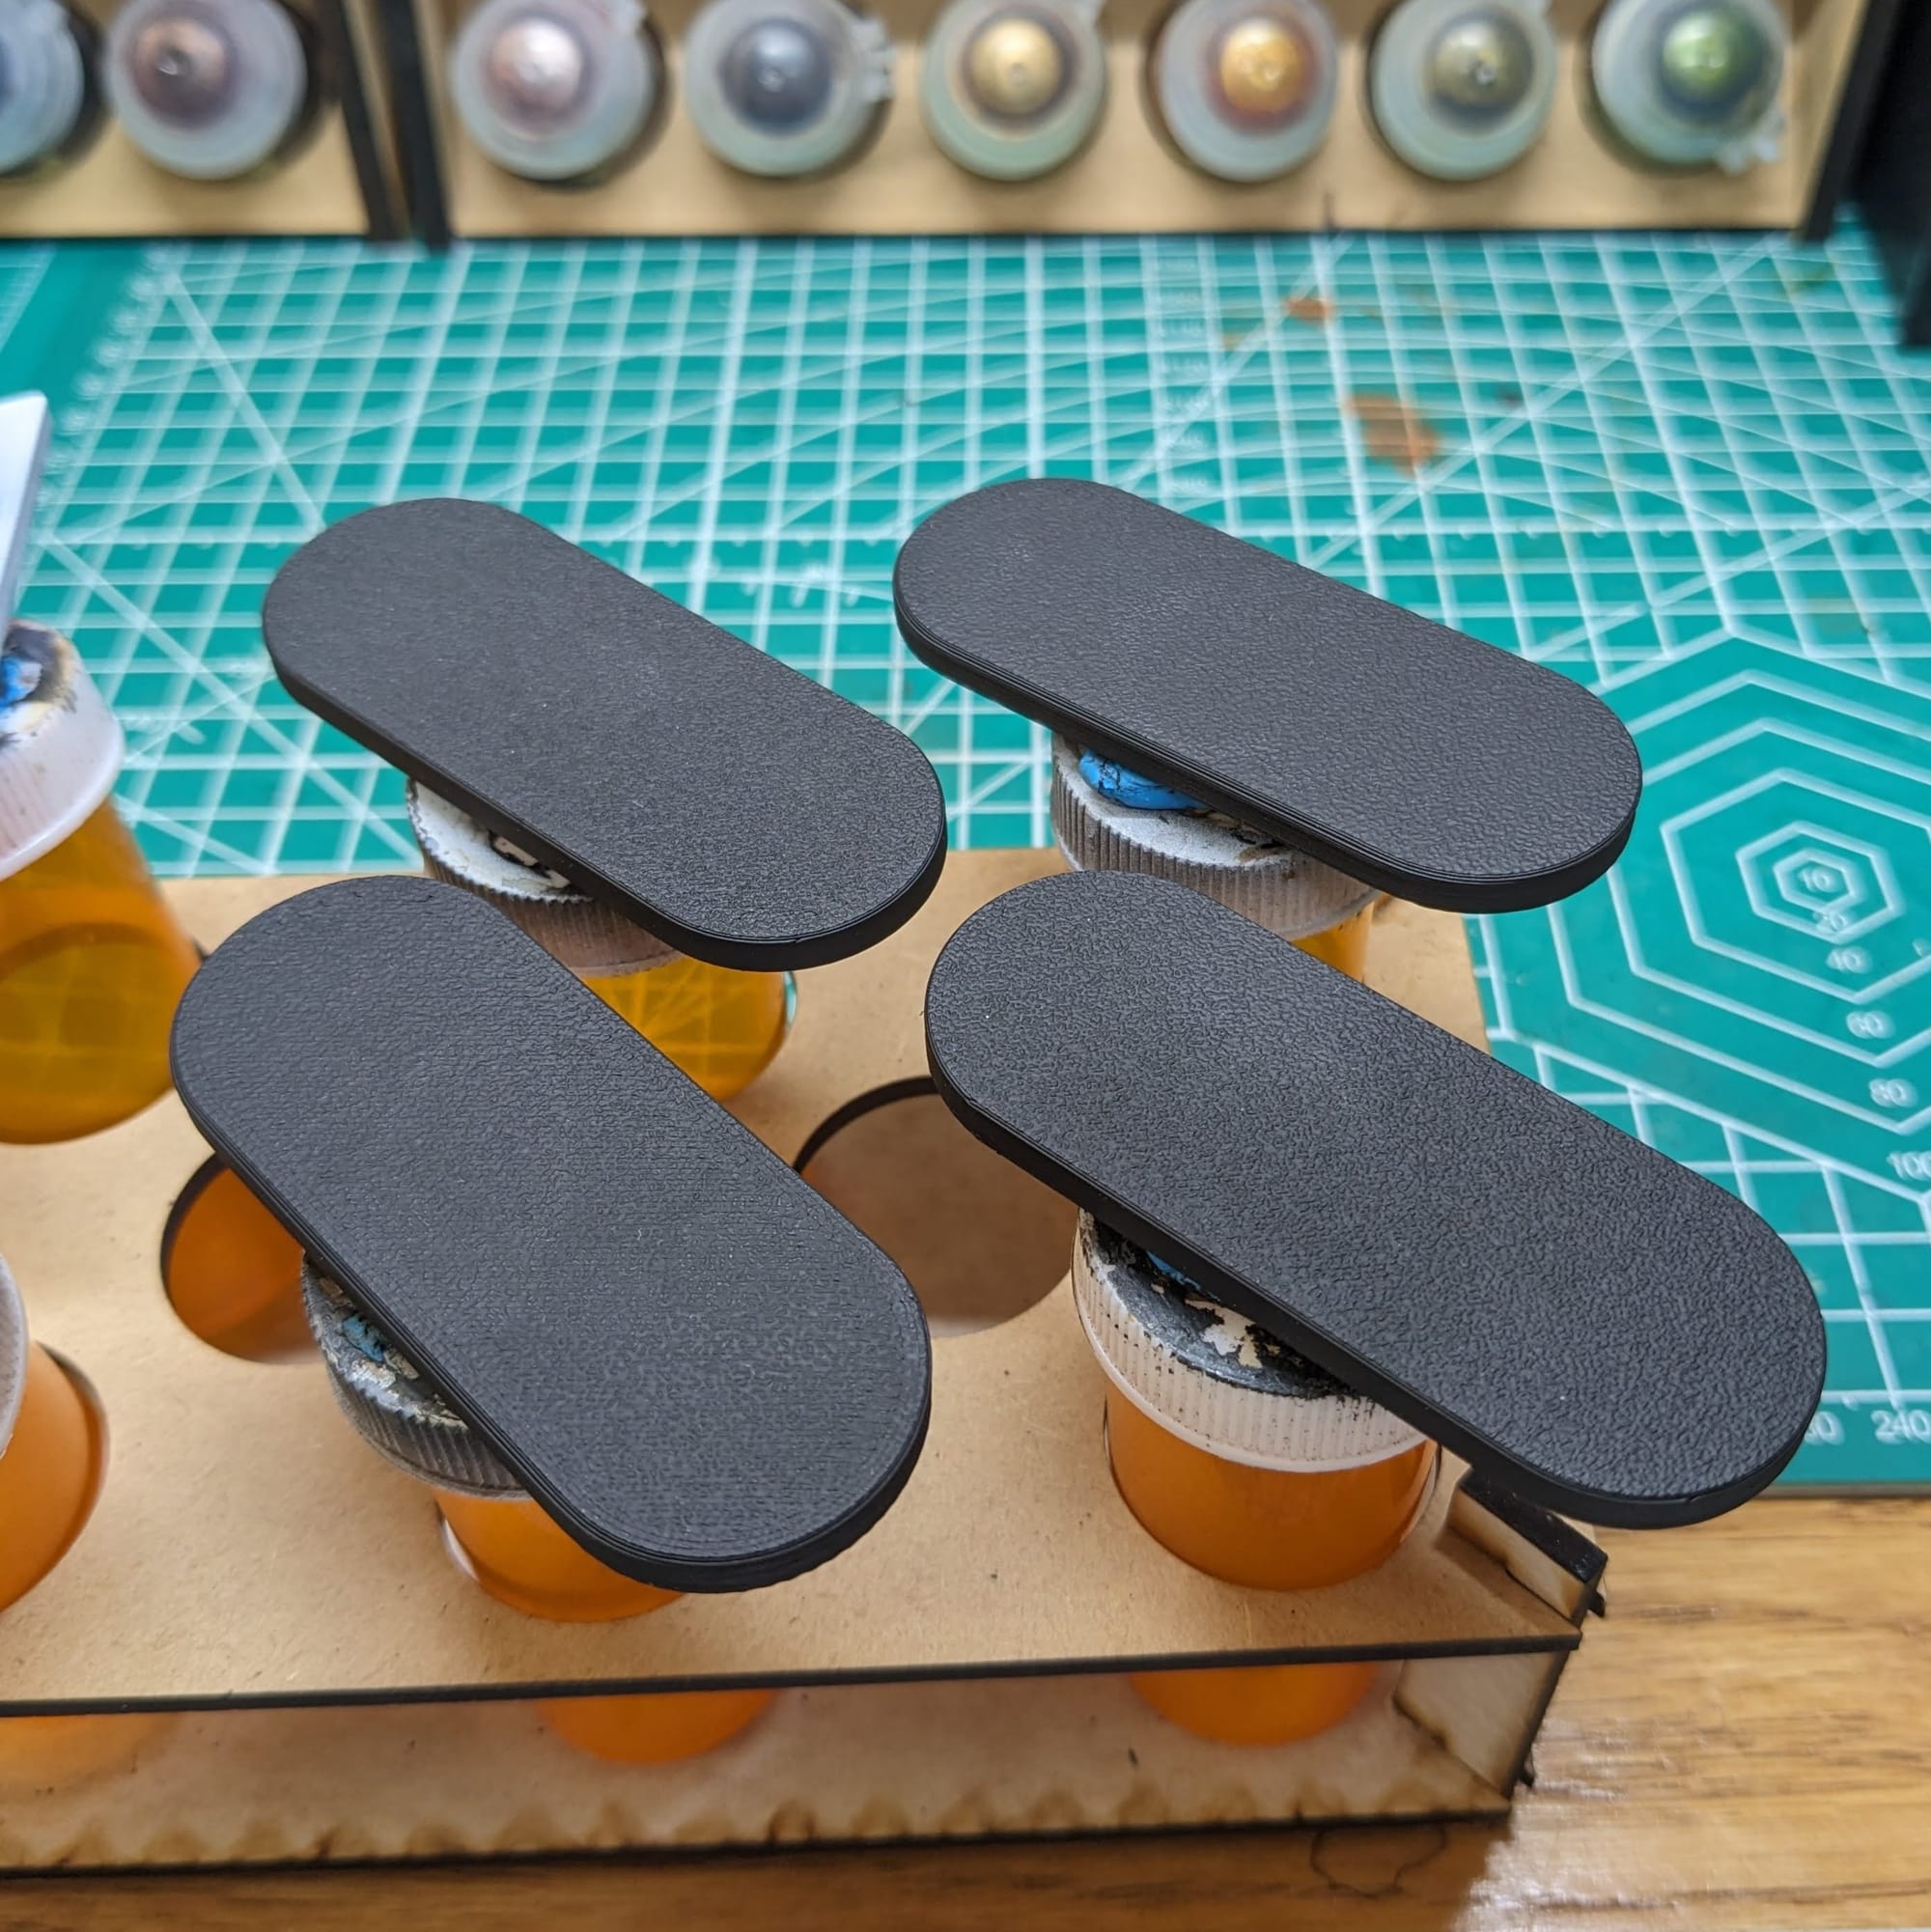
The cycle bases are like 2.5x the length of the standard figure bases.
Painting Your Miniatures
The Paint Plan
For pretty much every miniature painting project I do, I start with a plan. Even before putting the primer and paint on a model, I find photo references of the paint schemes and details I am looking for. Most times, this means having a browser window up with different web pages and images next to my painting area, so I can quickly refer to them as I paint. I also come up with a paint plan, choosing what colors I am going to use and what order I apply them in.
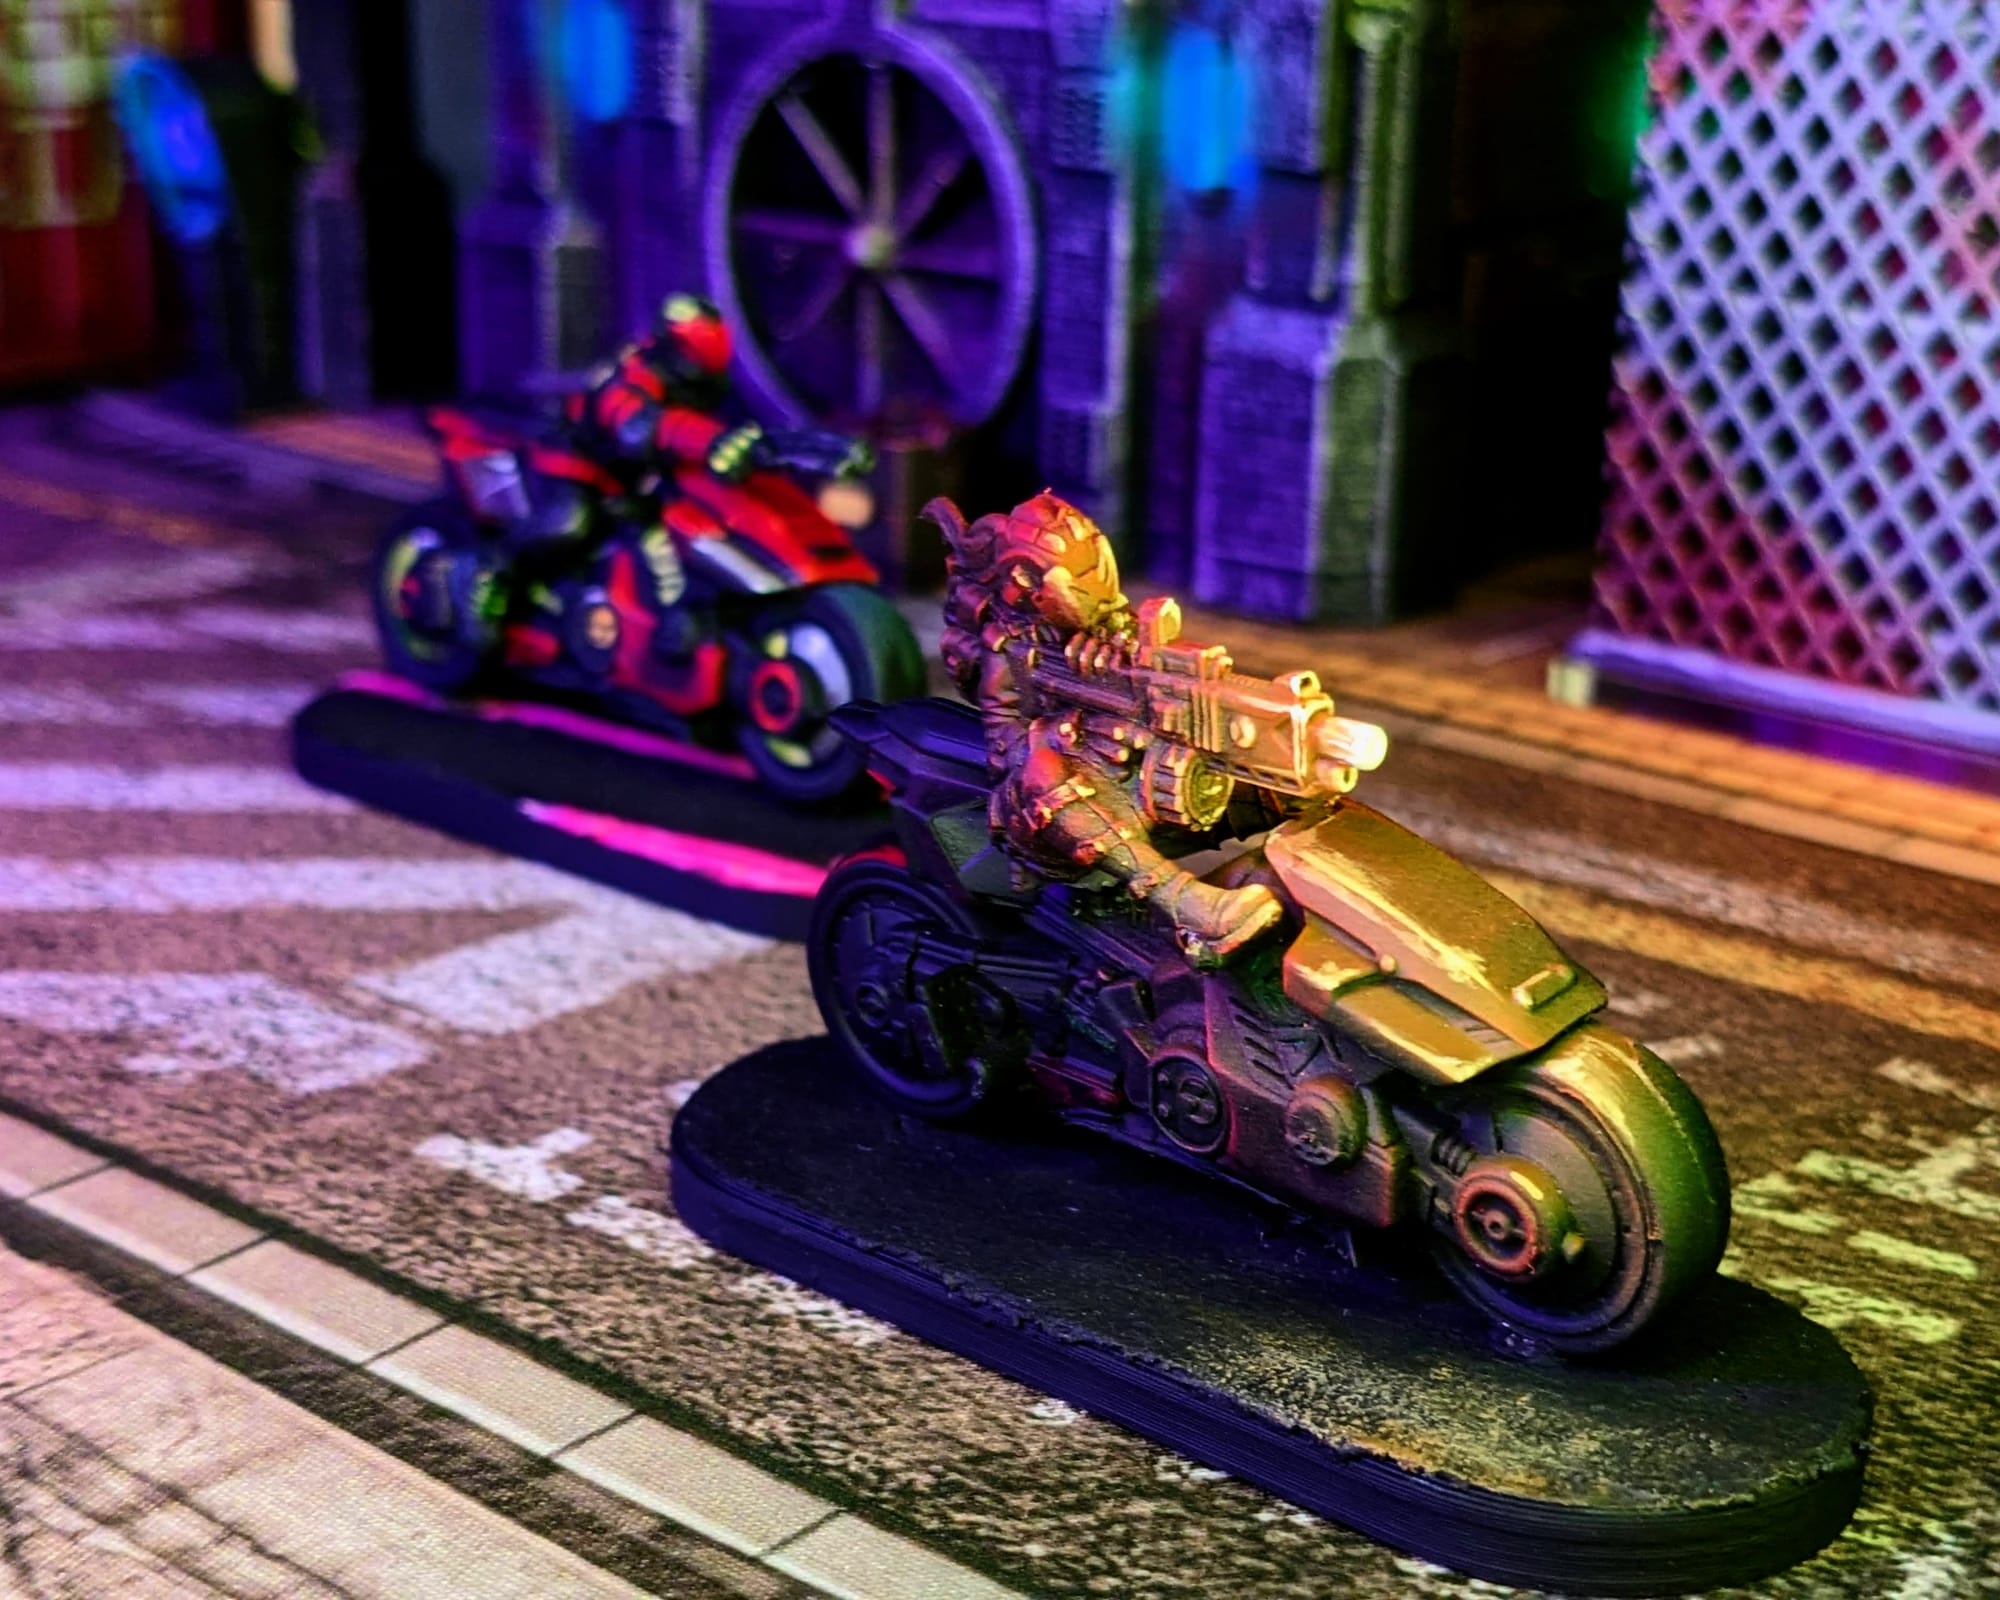
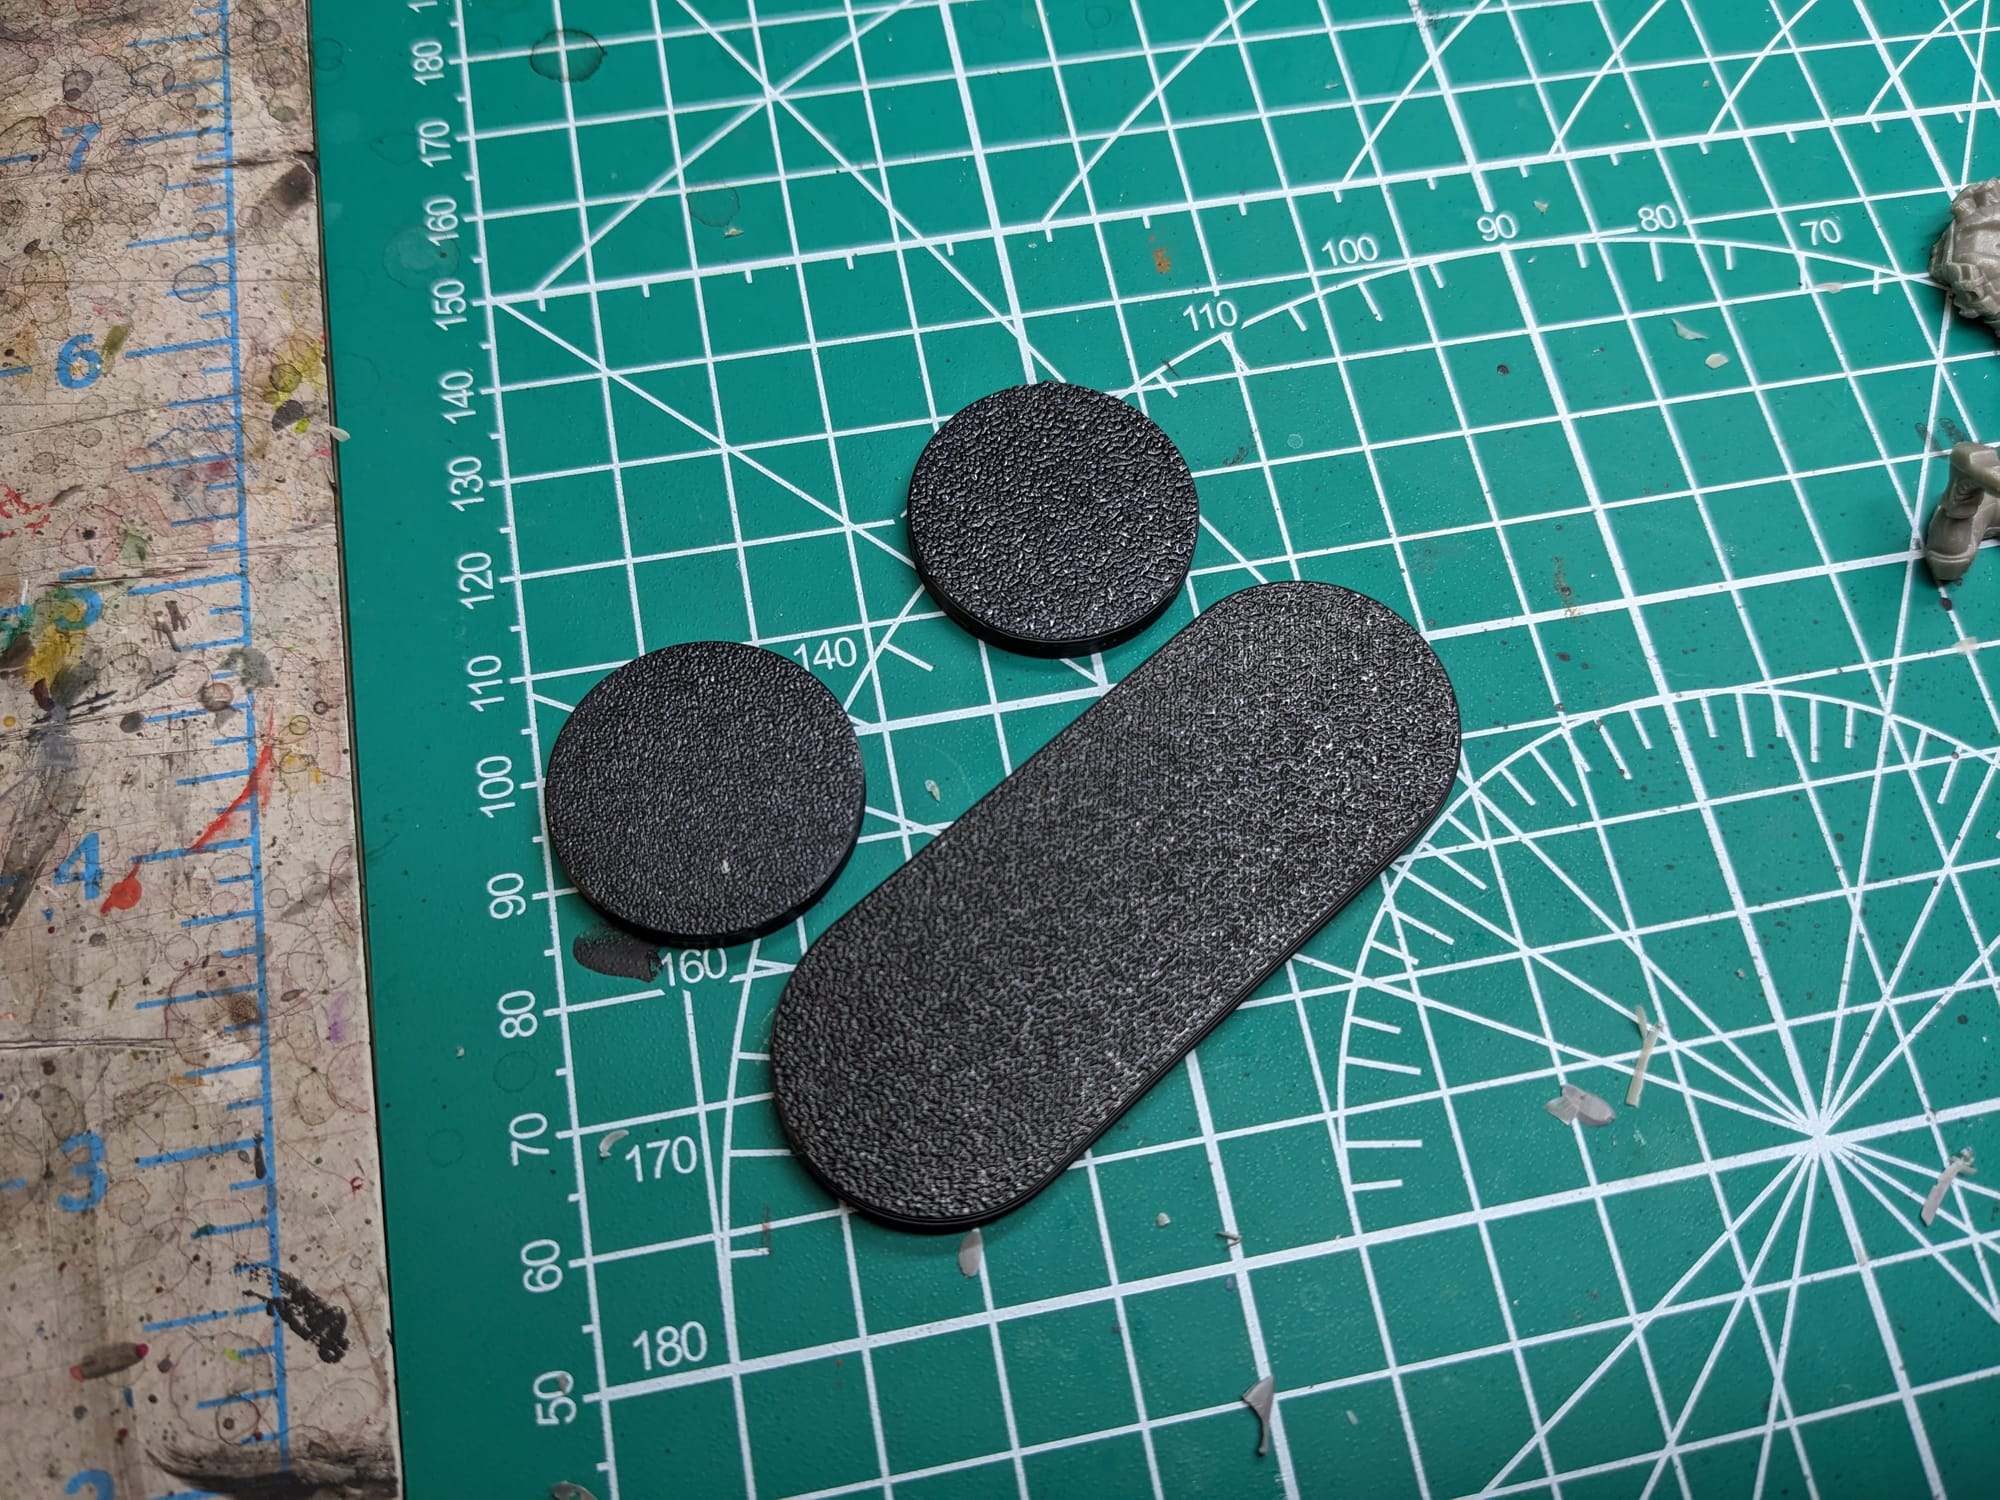
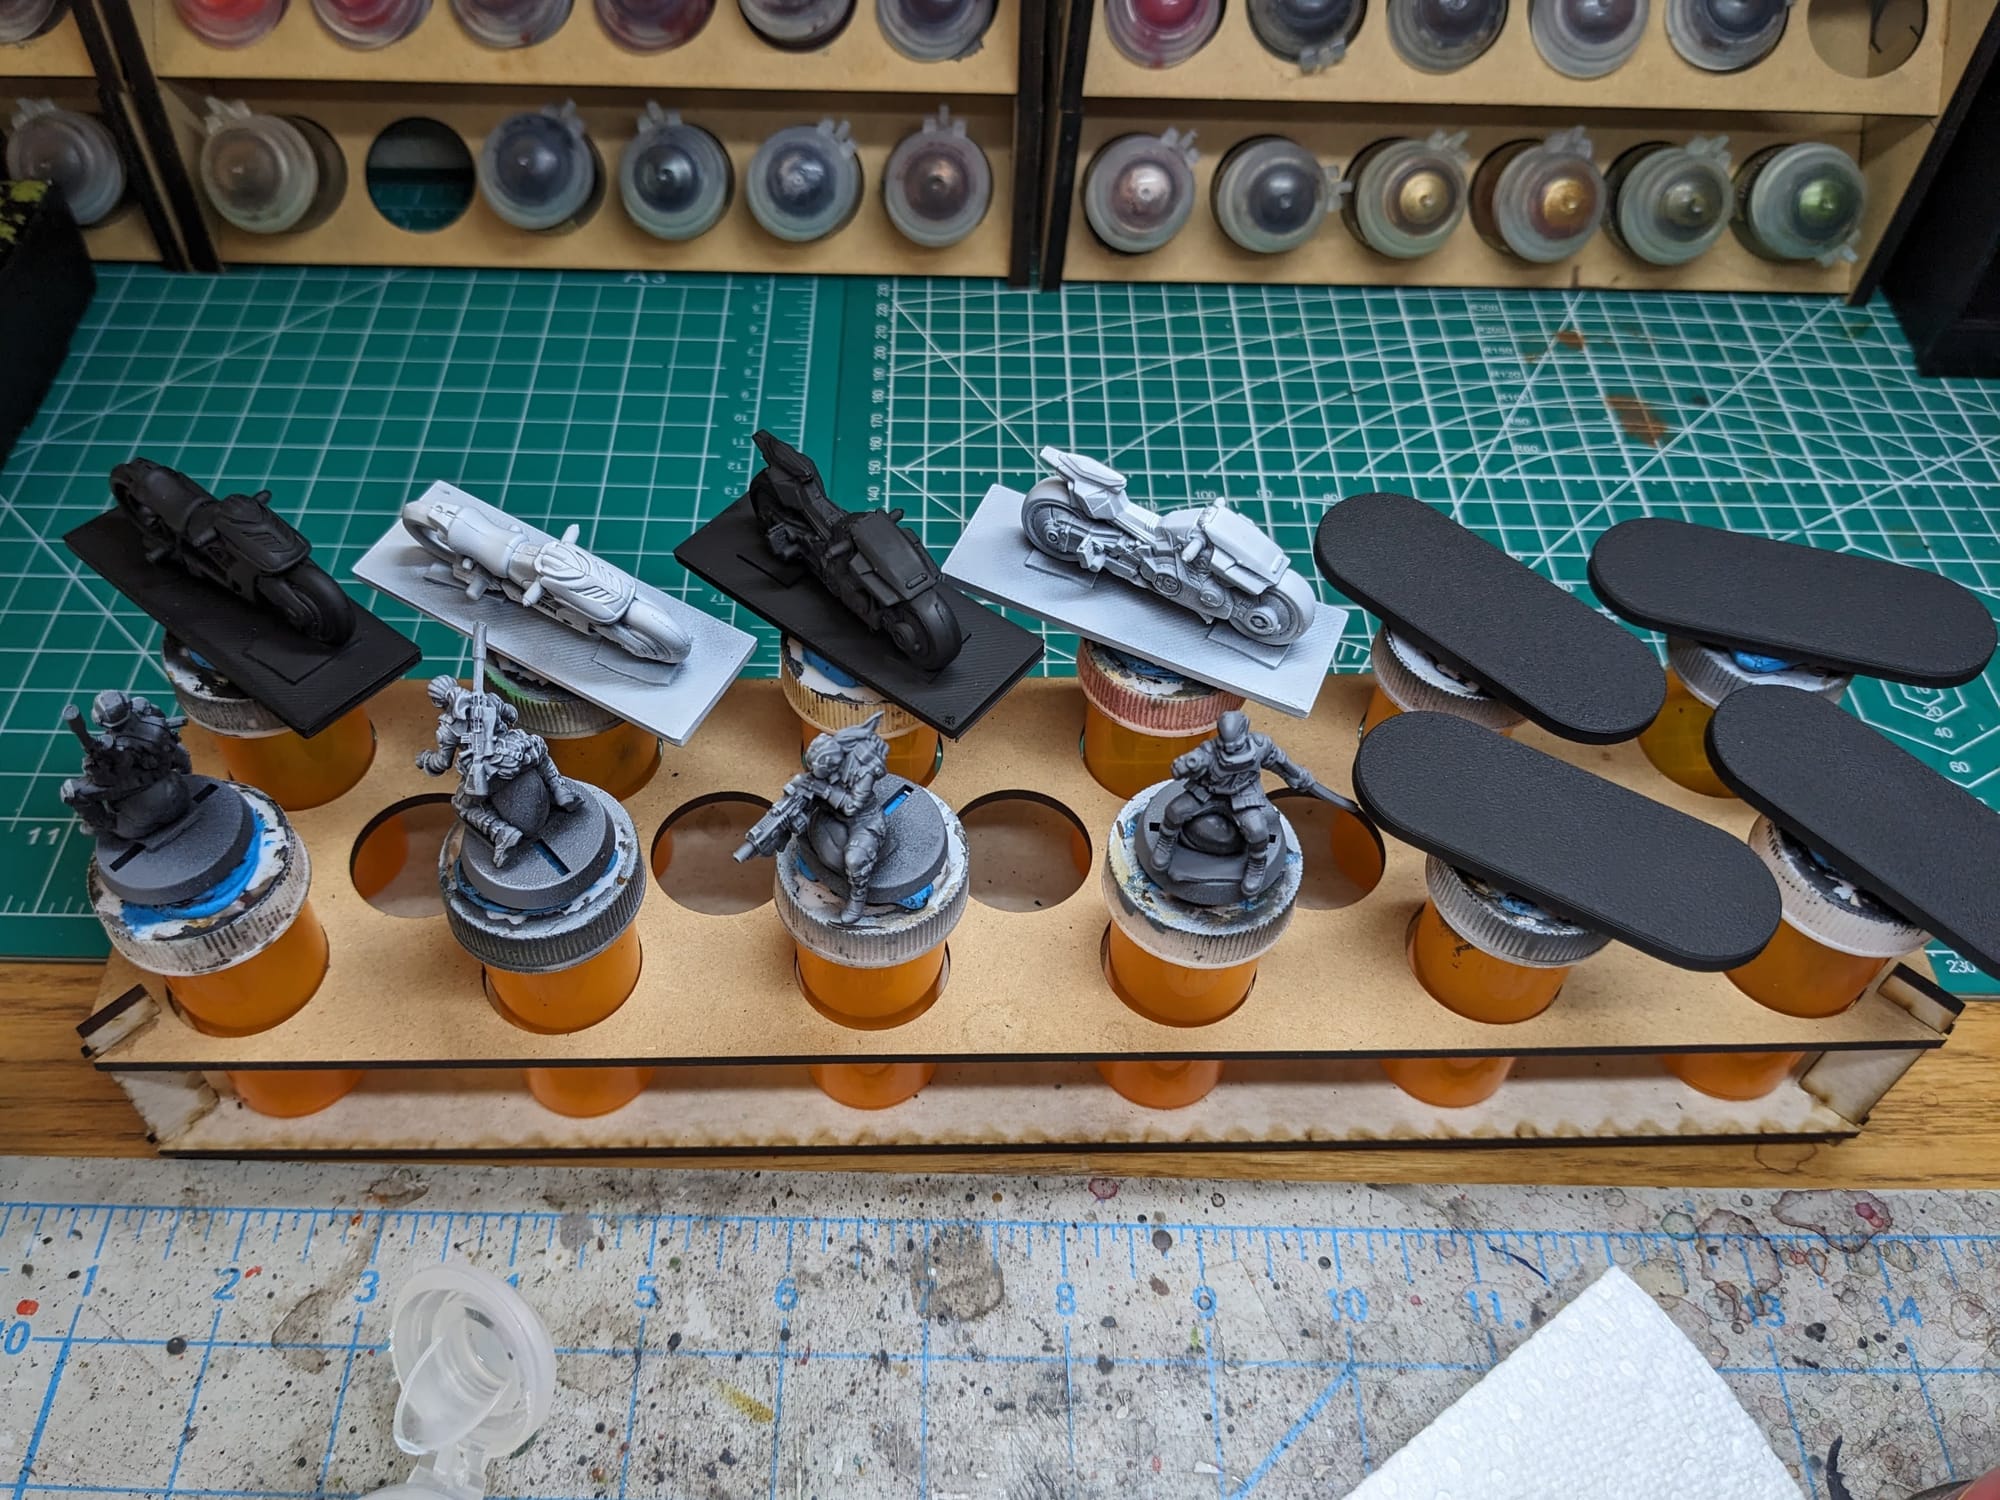
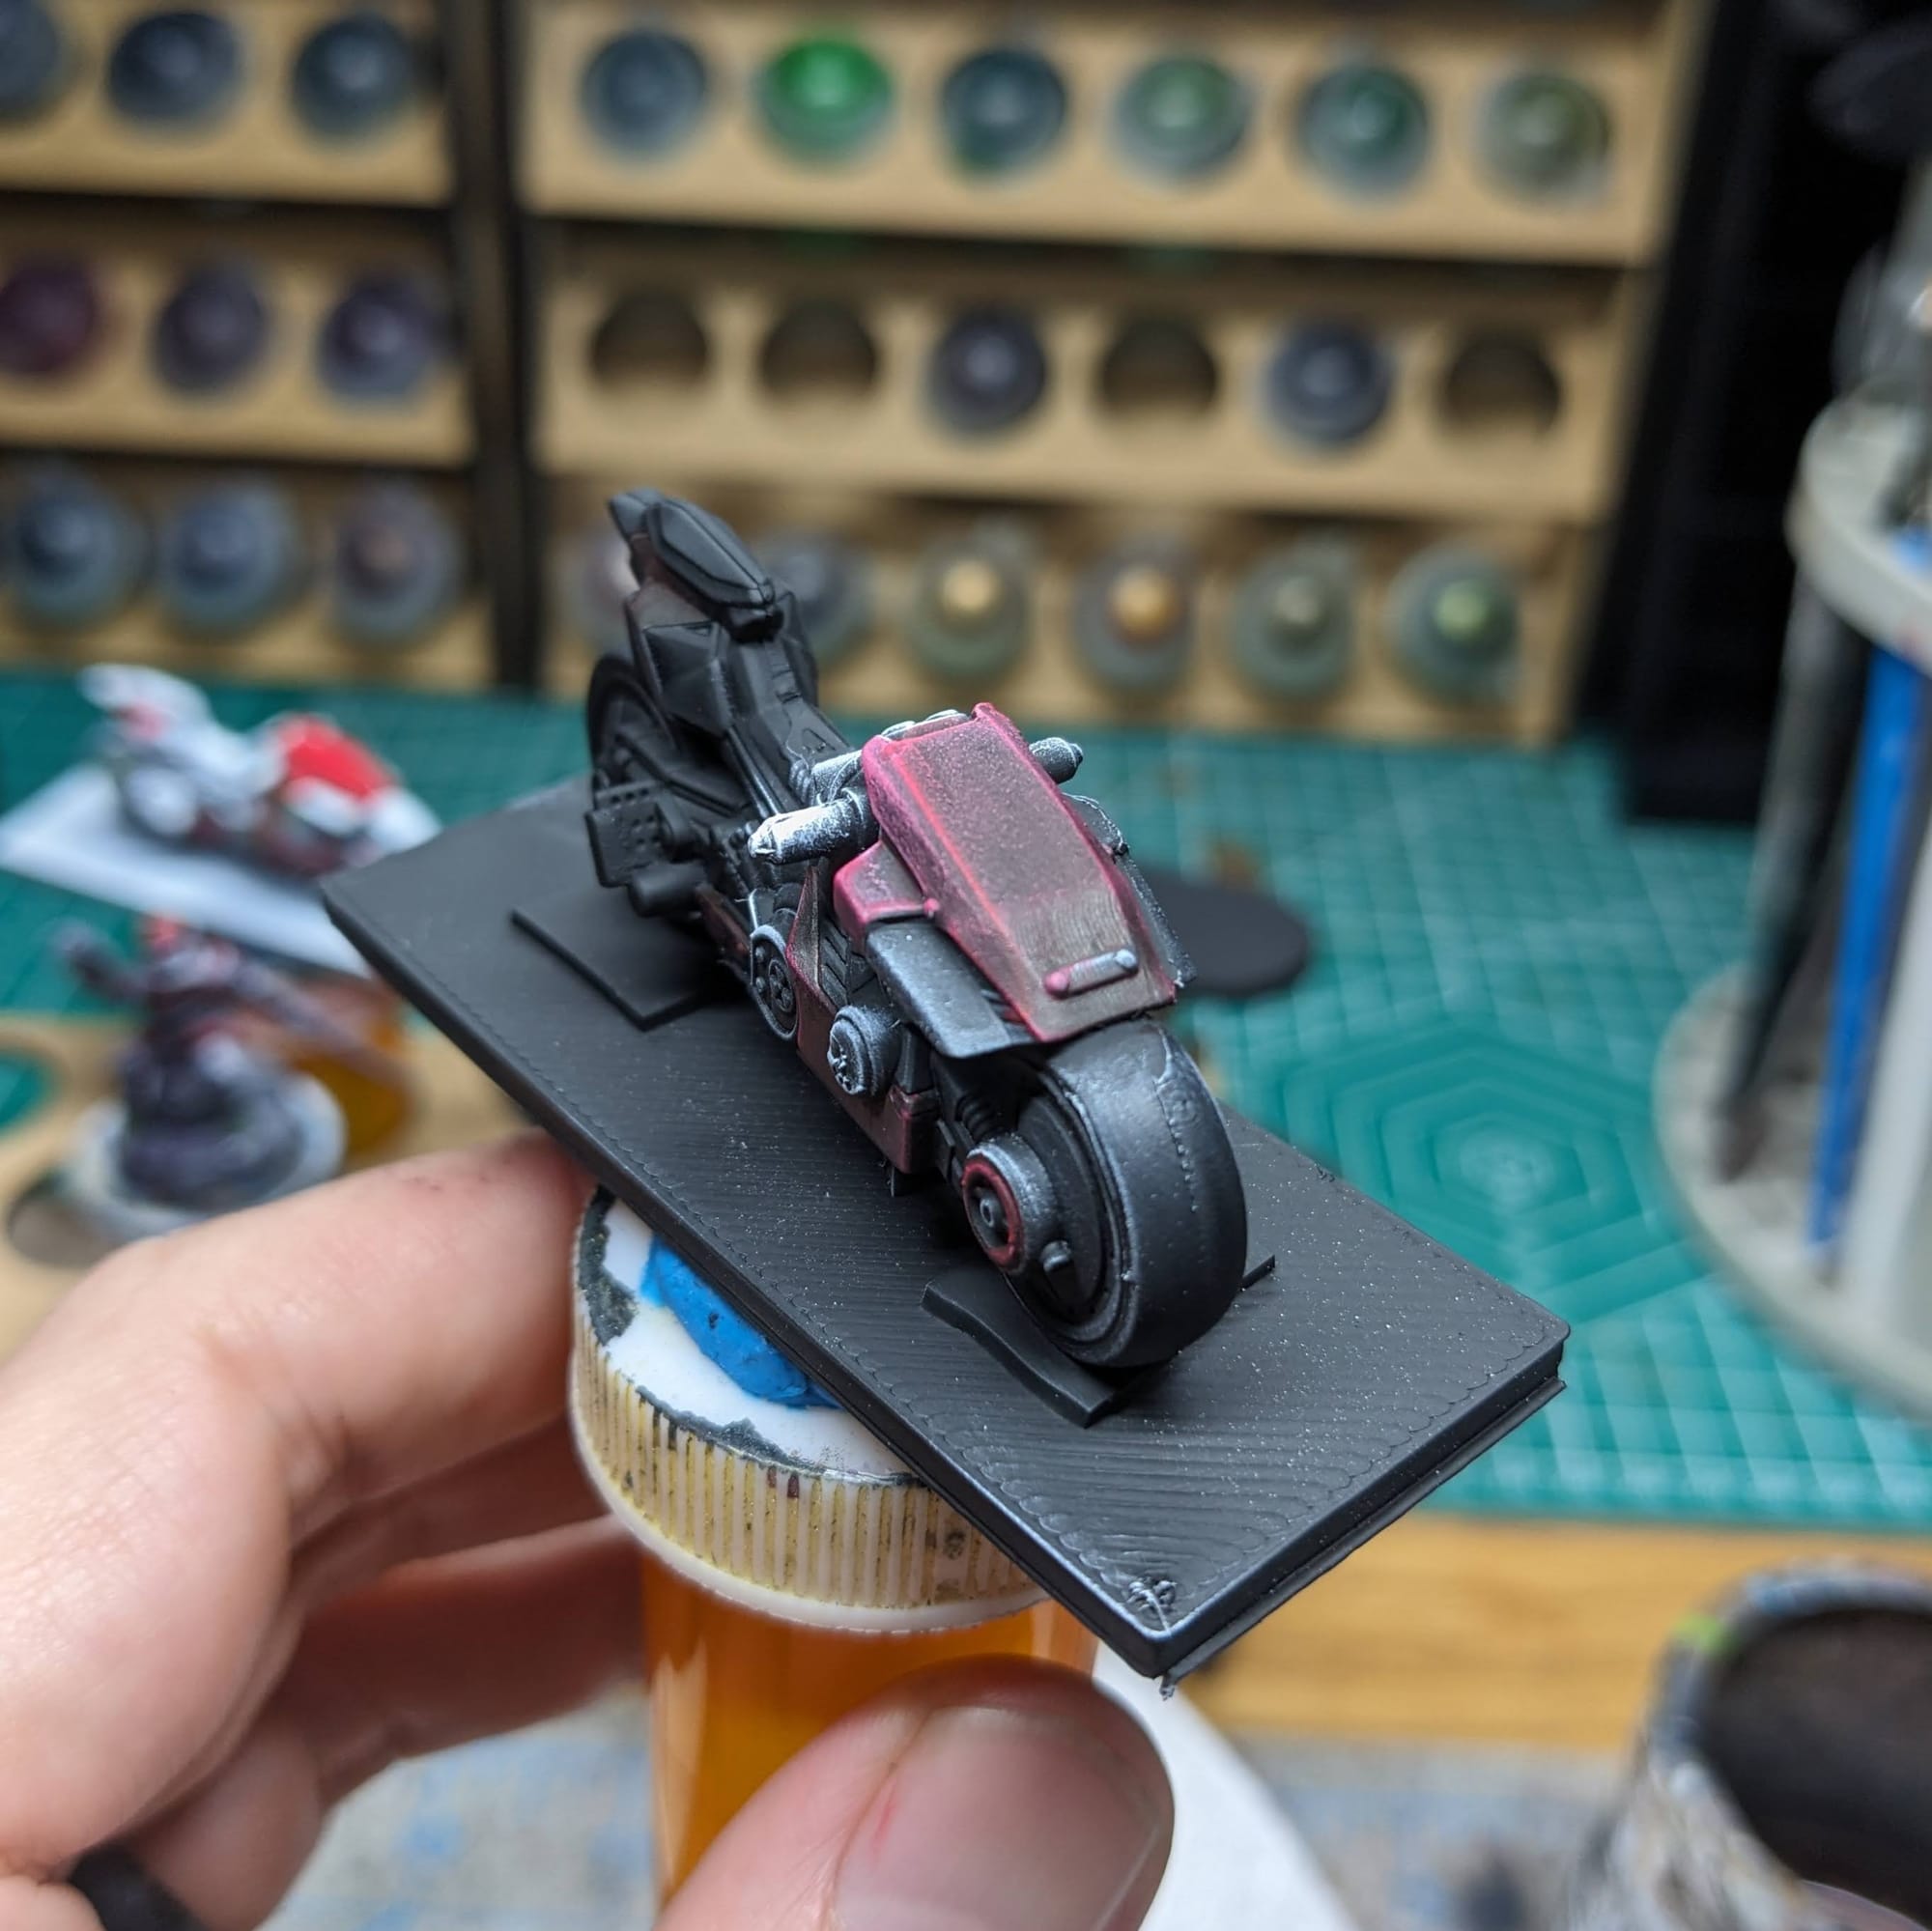
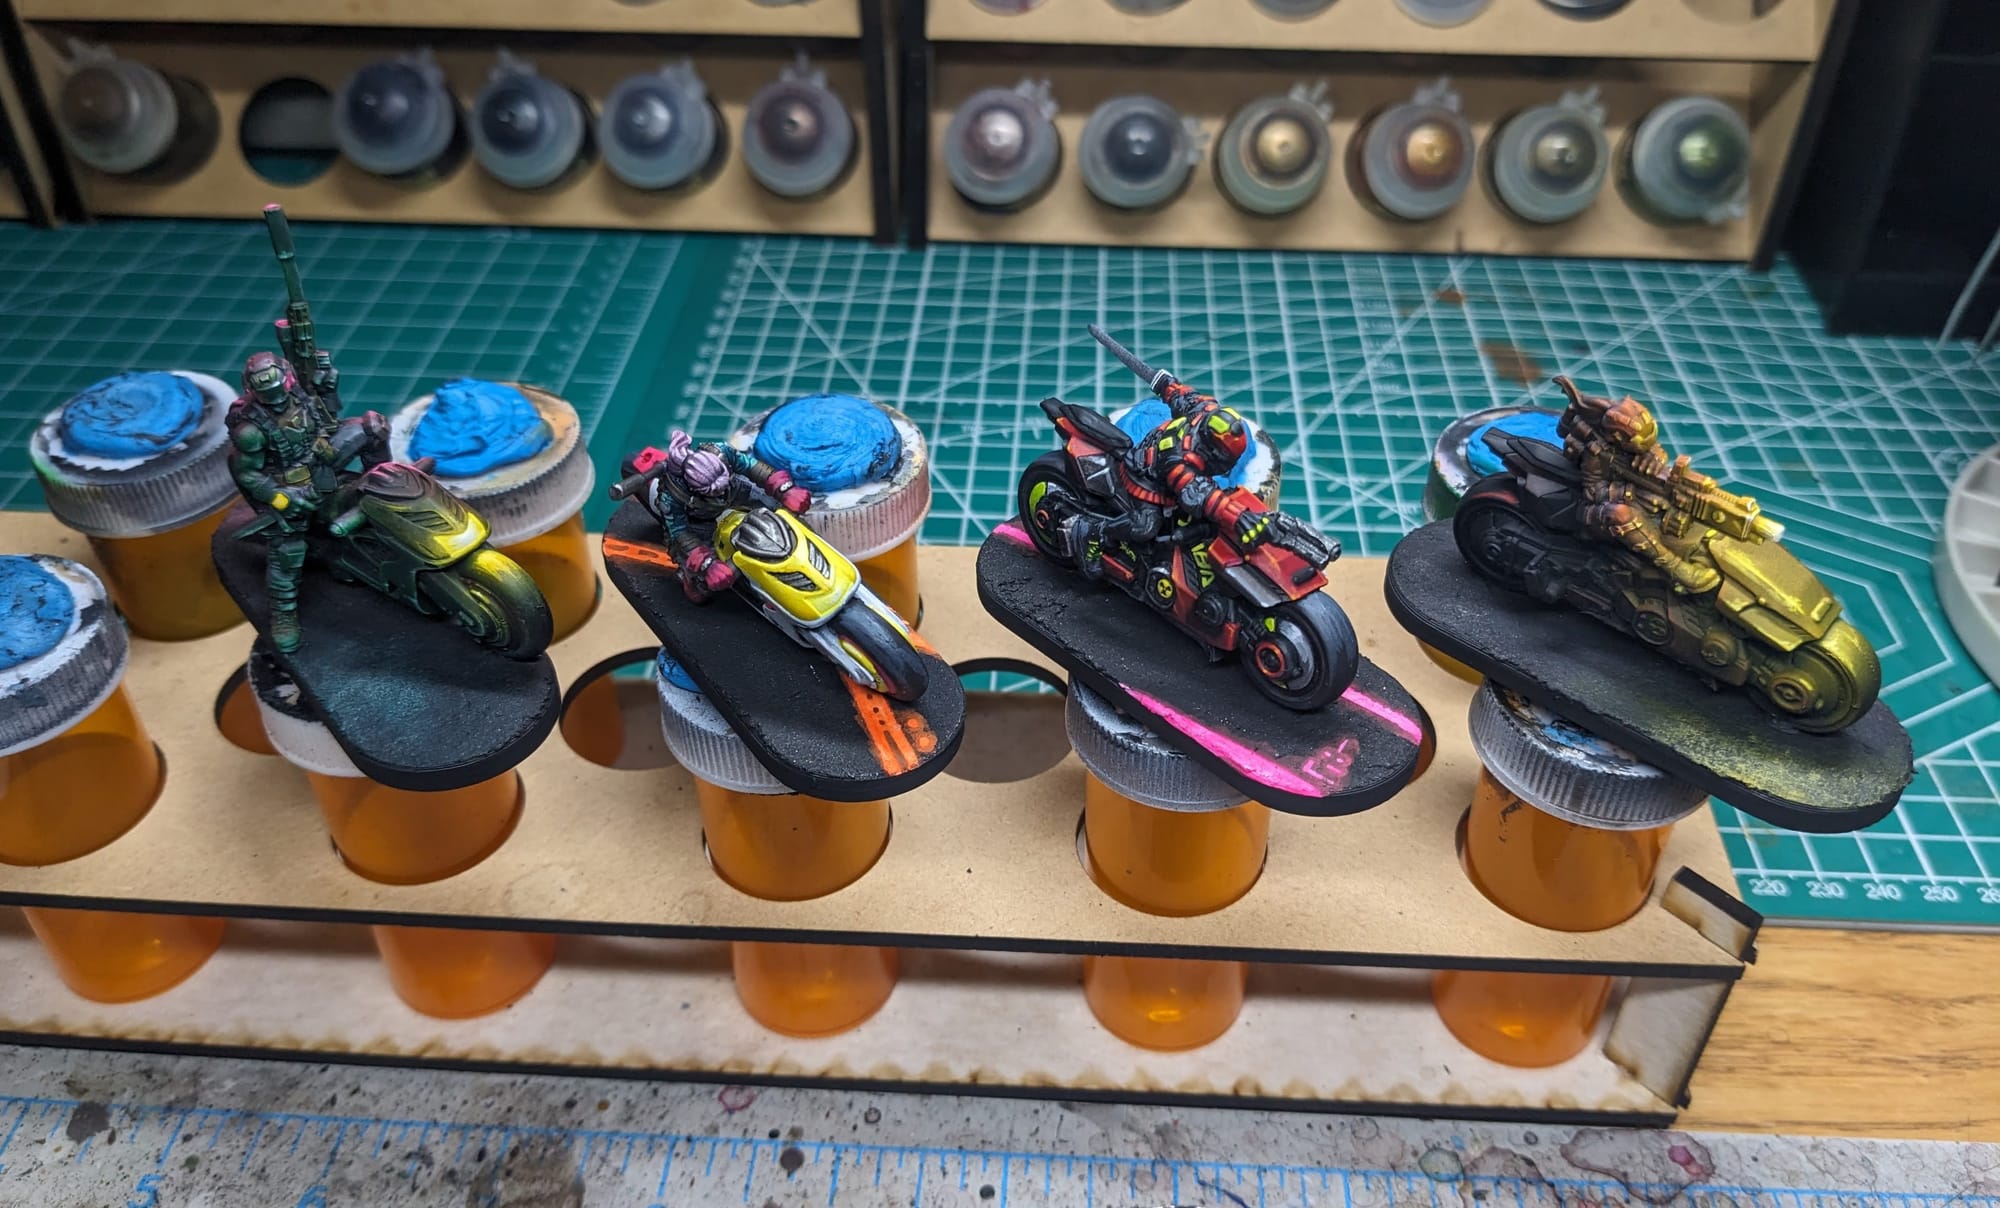
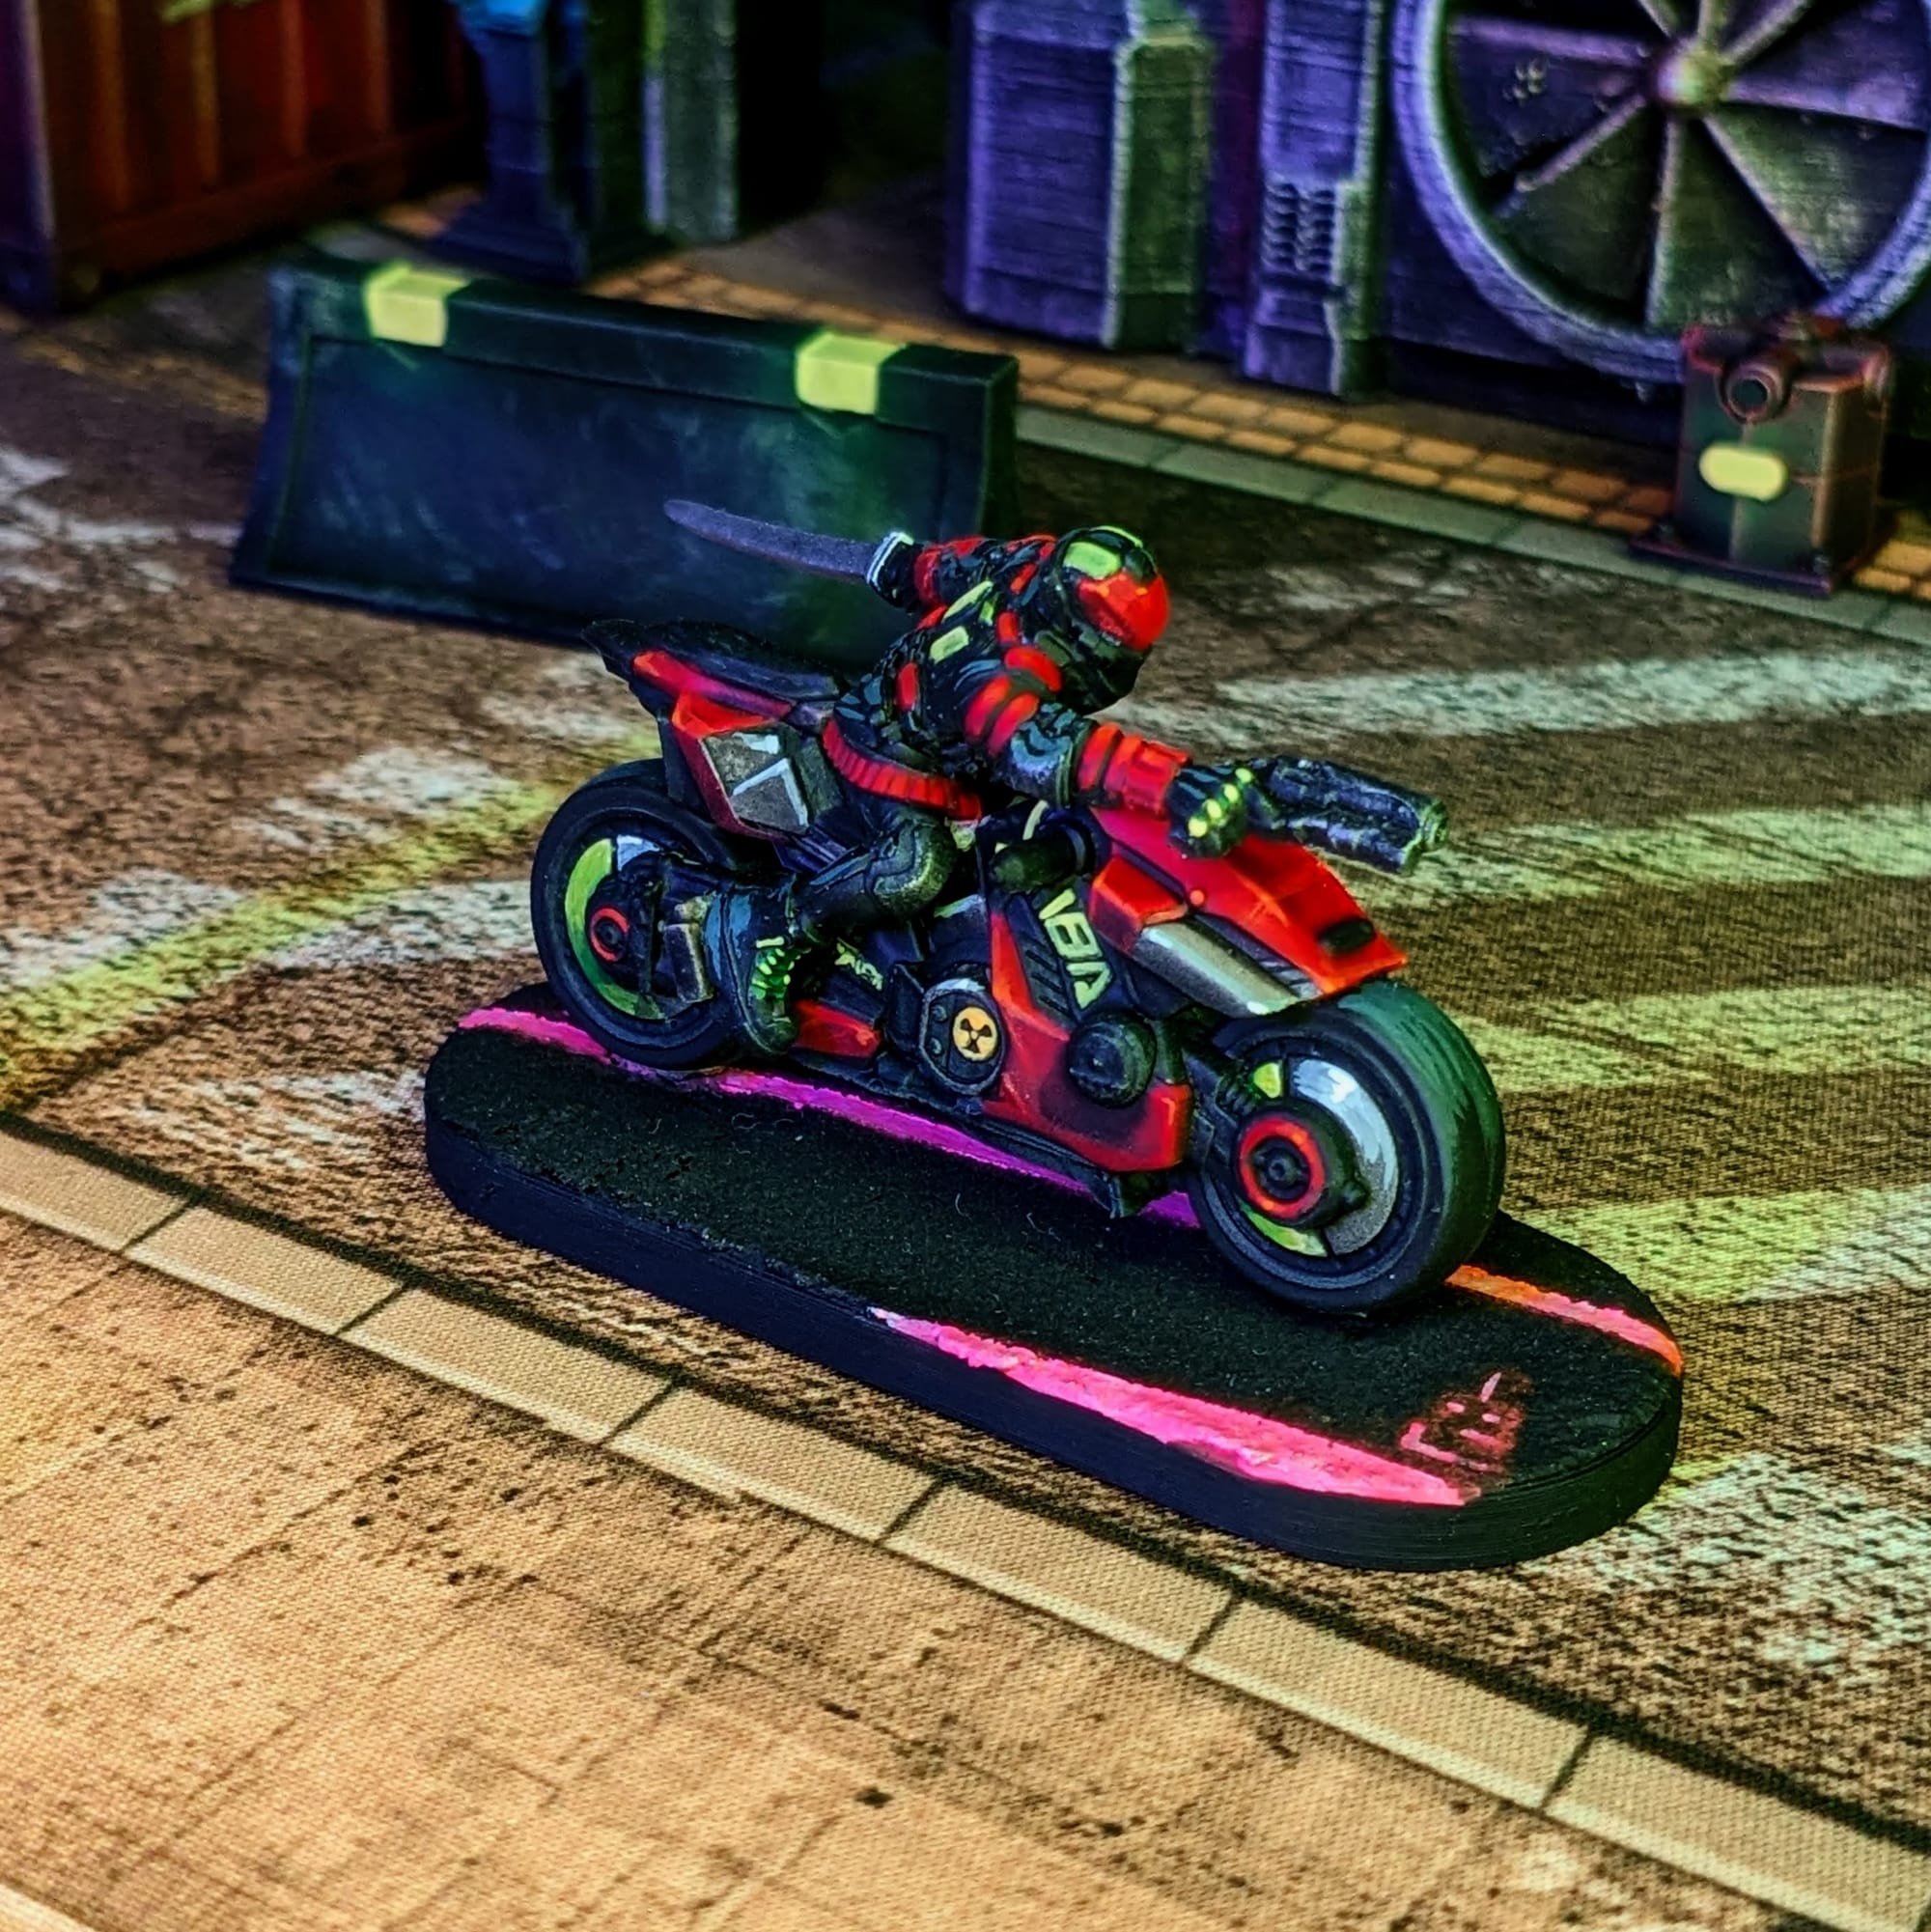
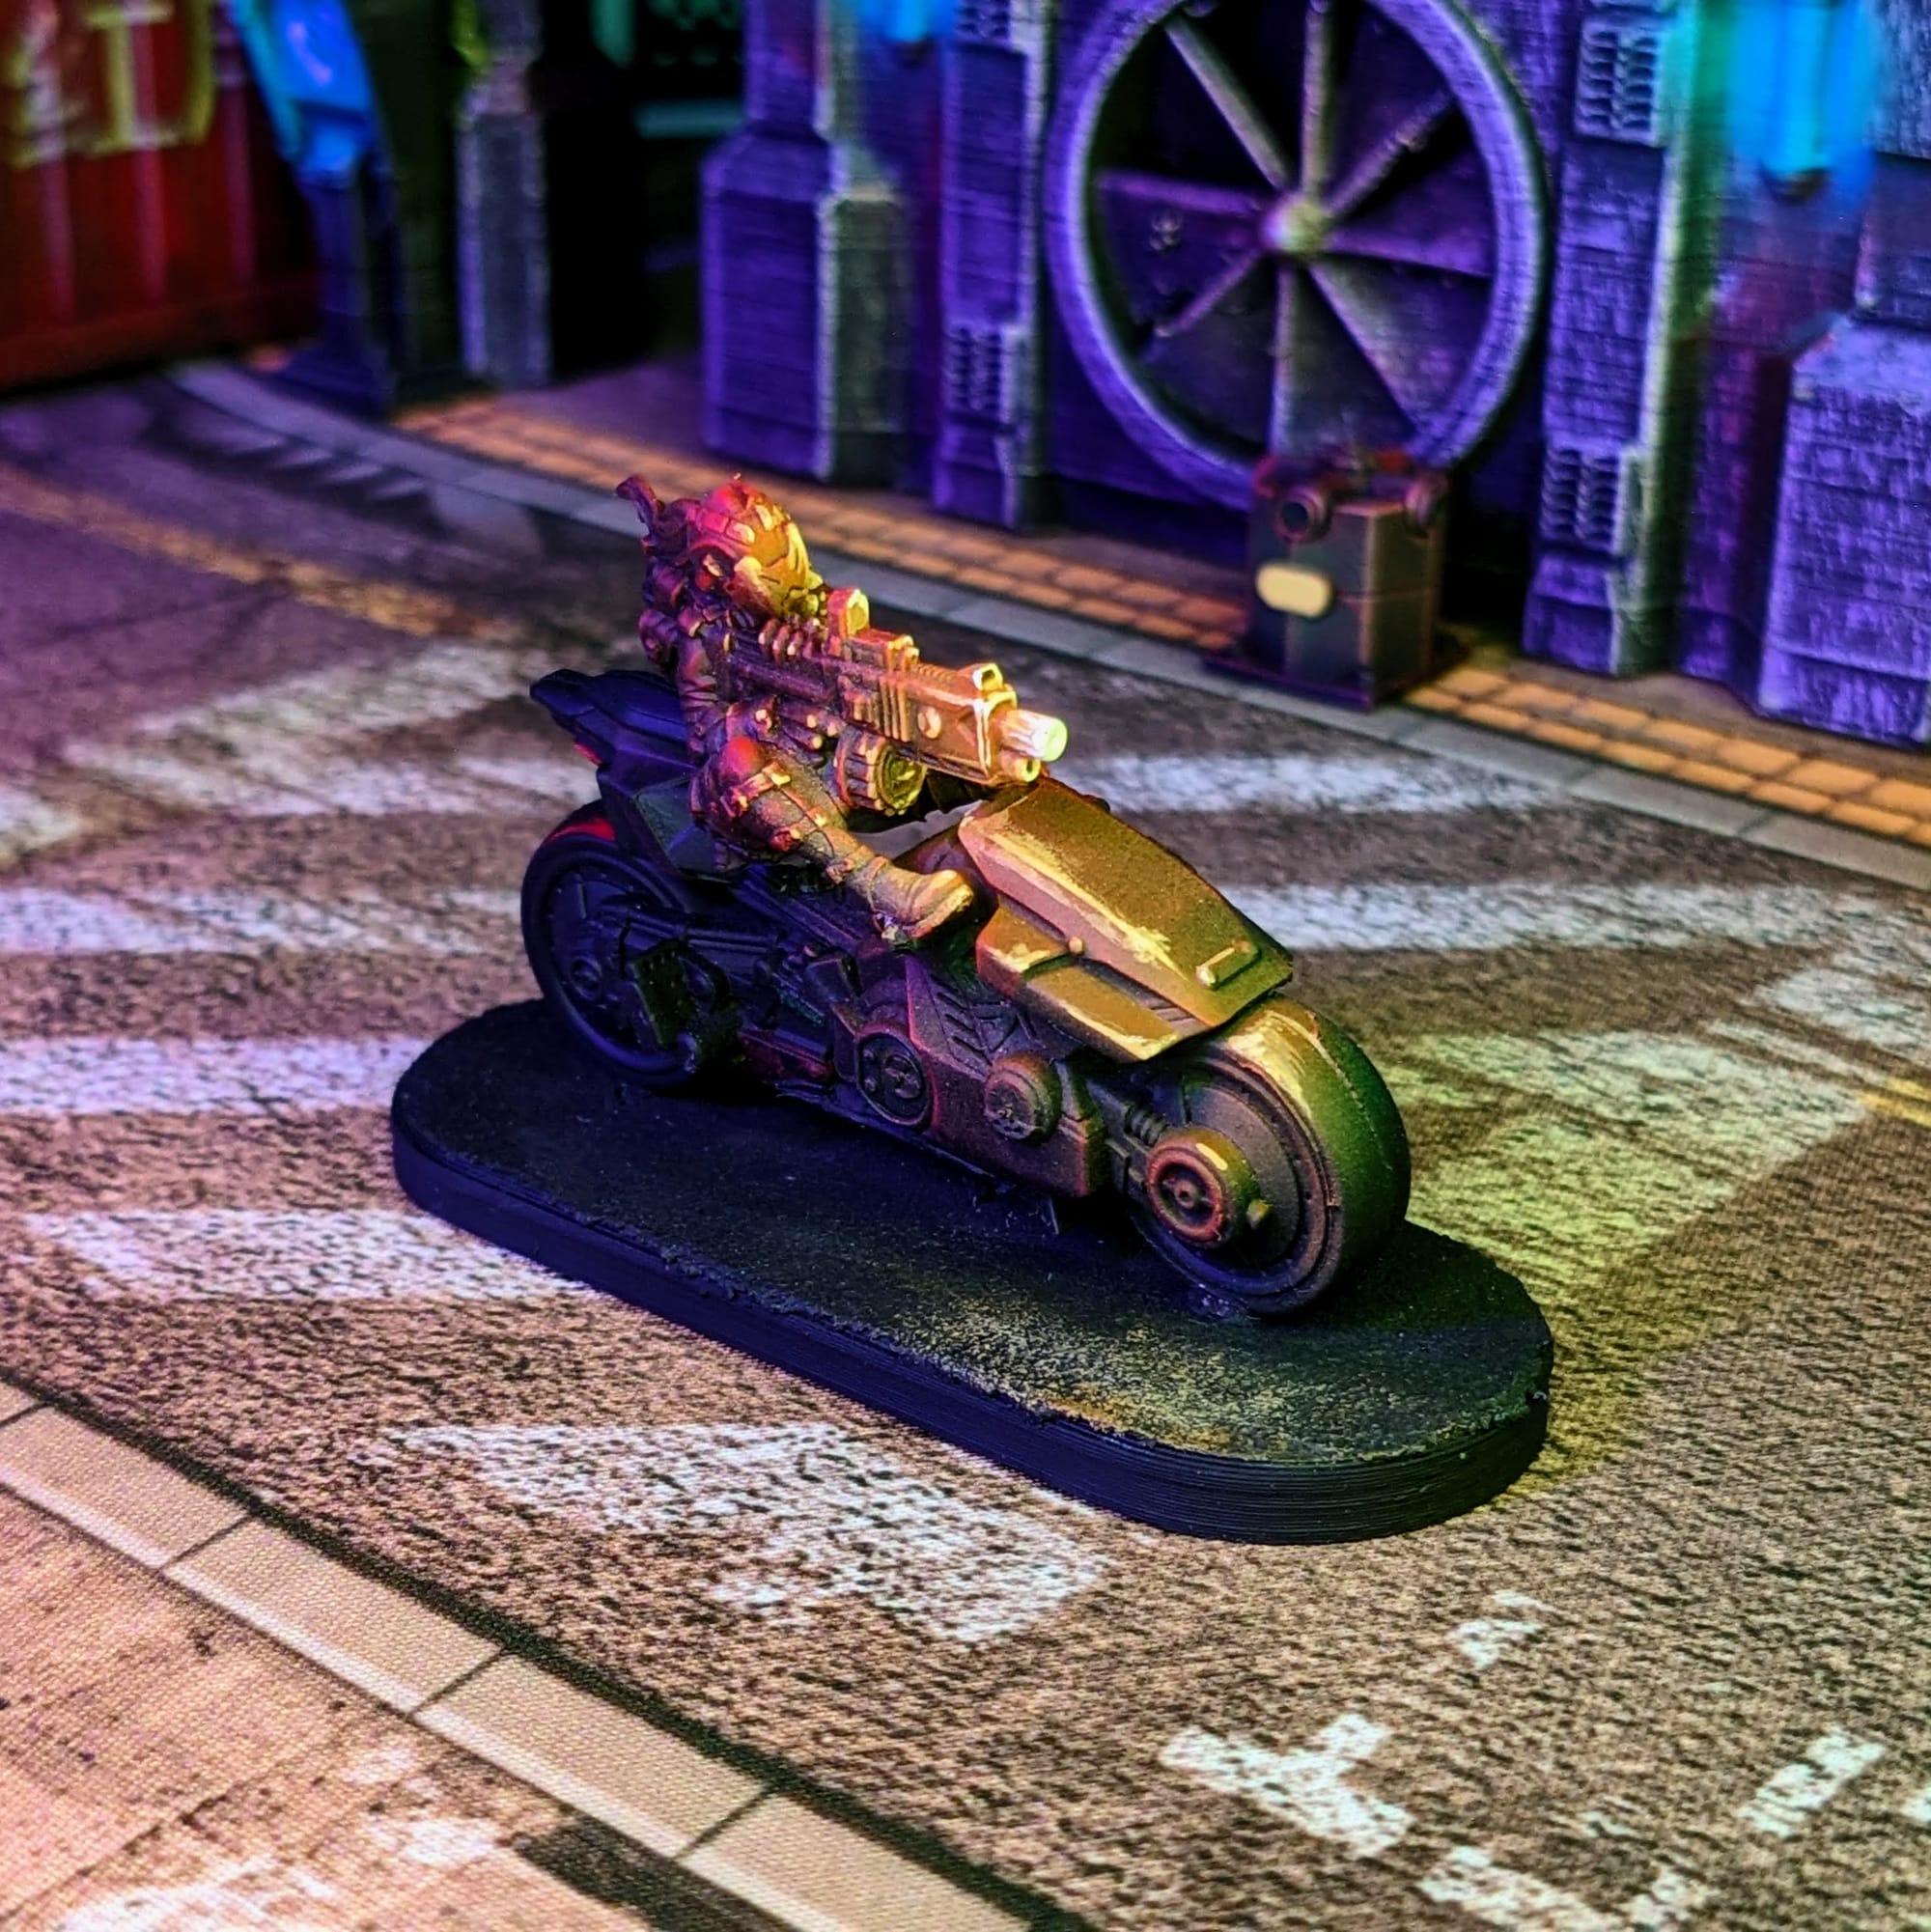
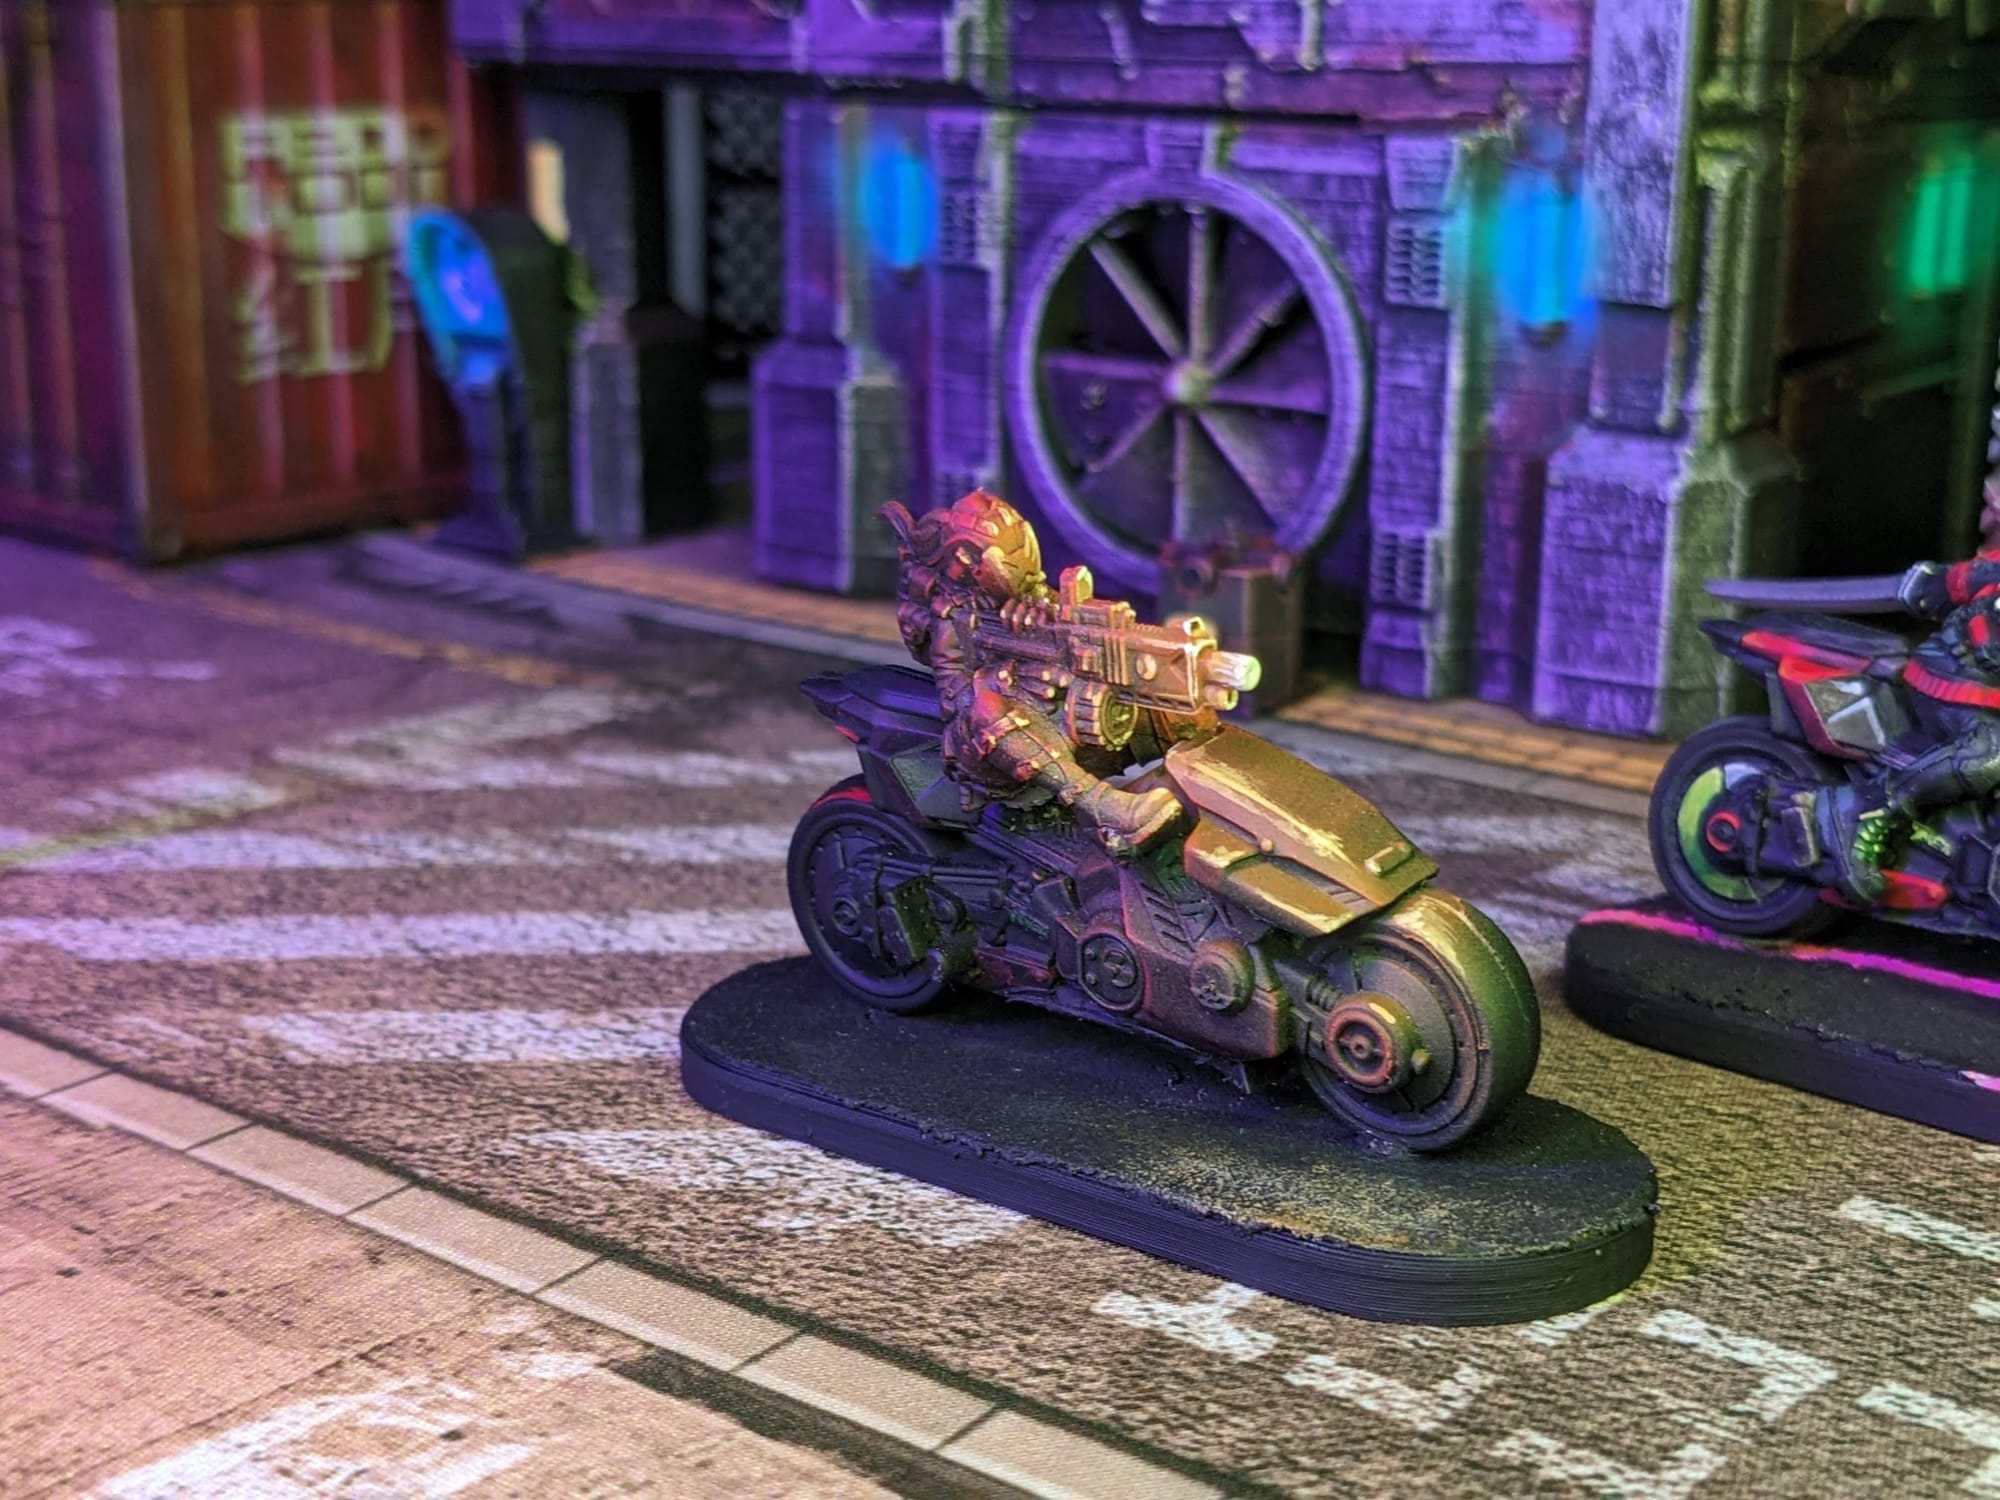
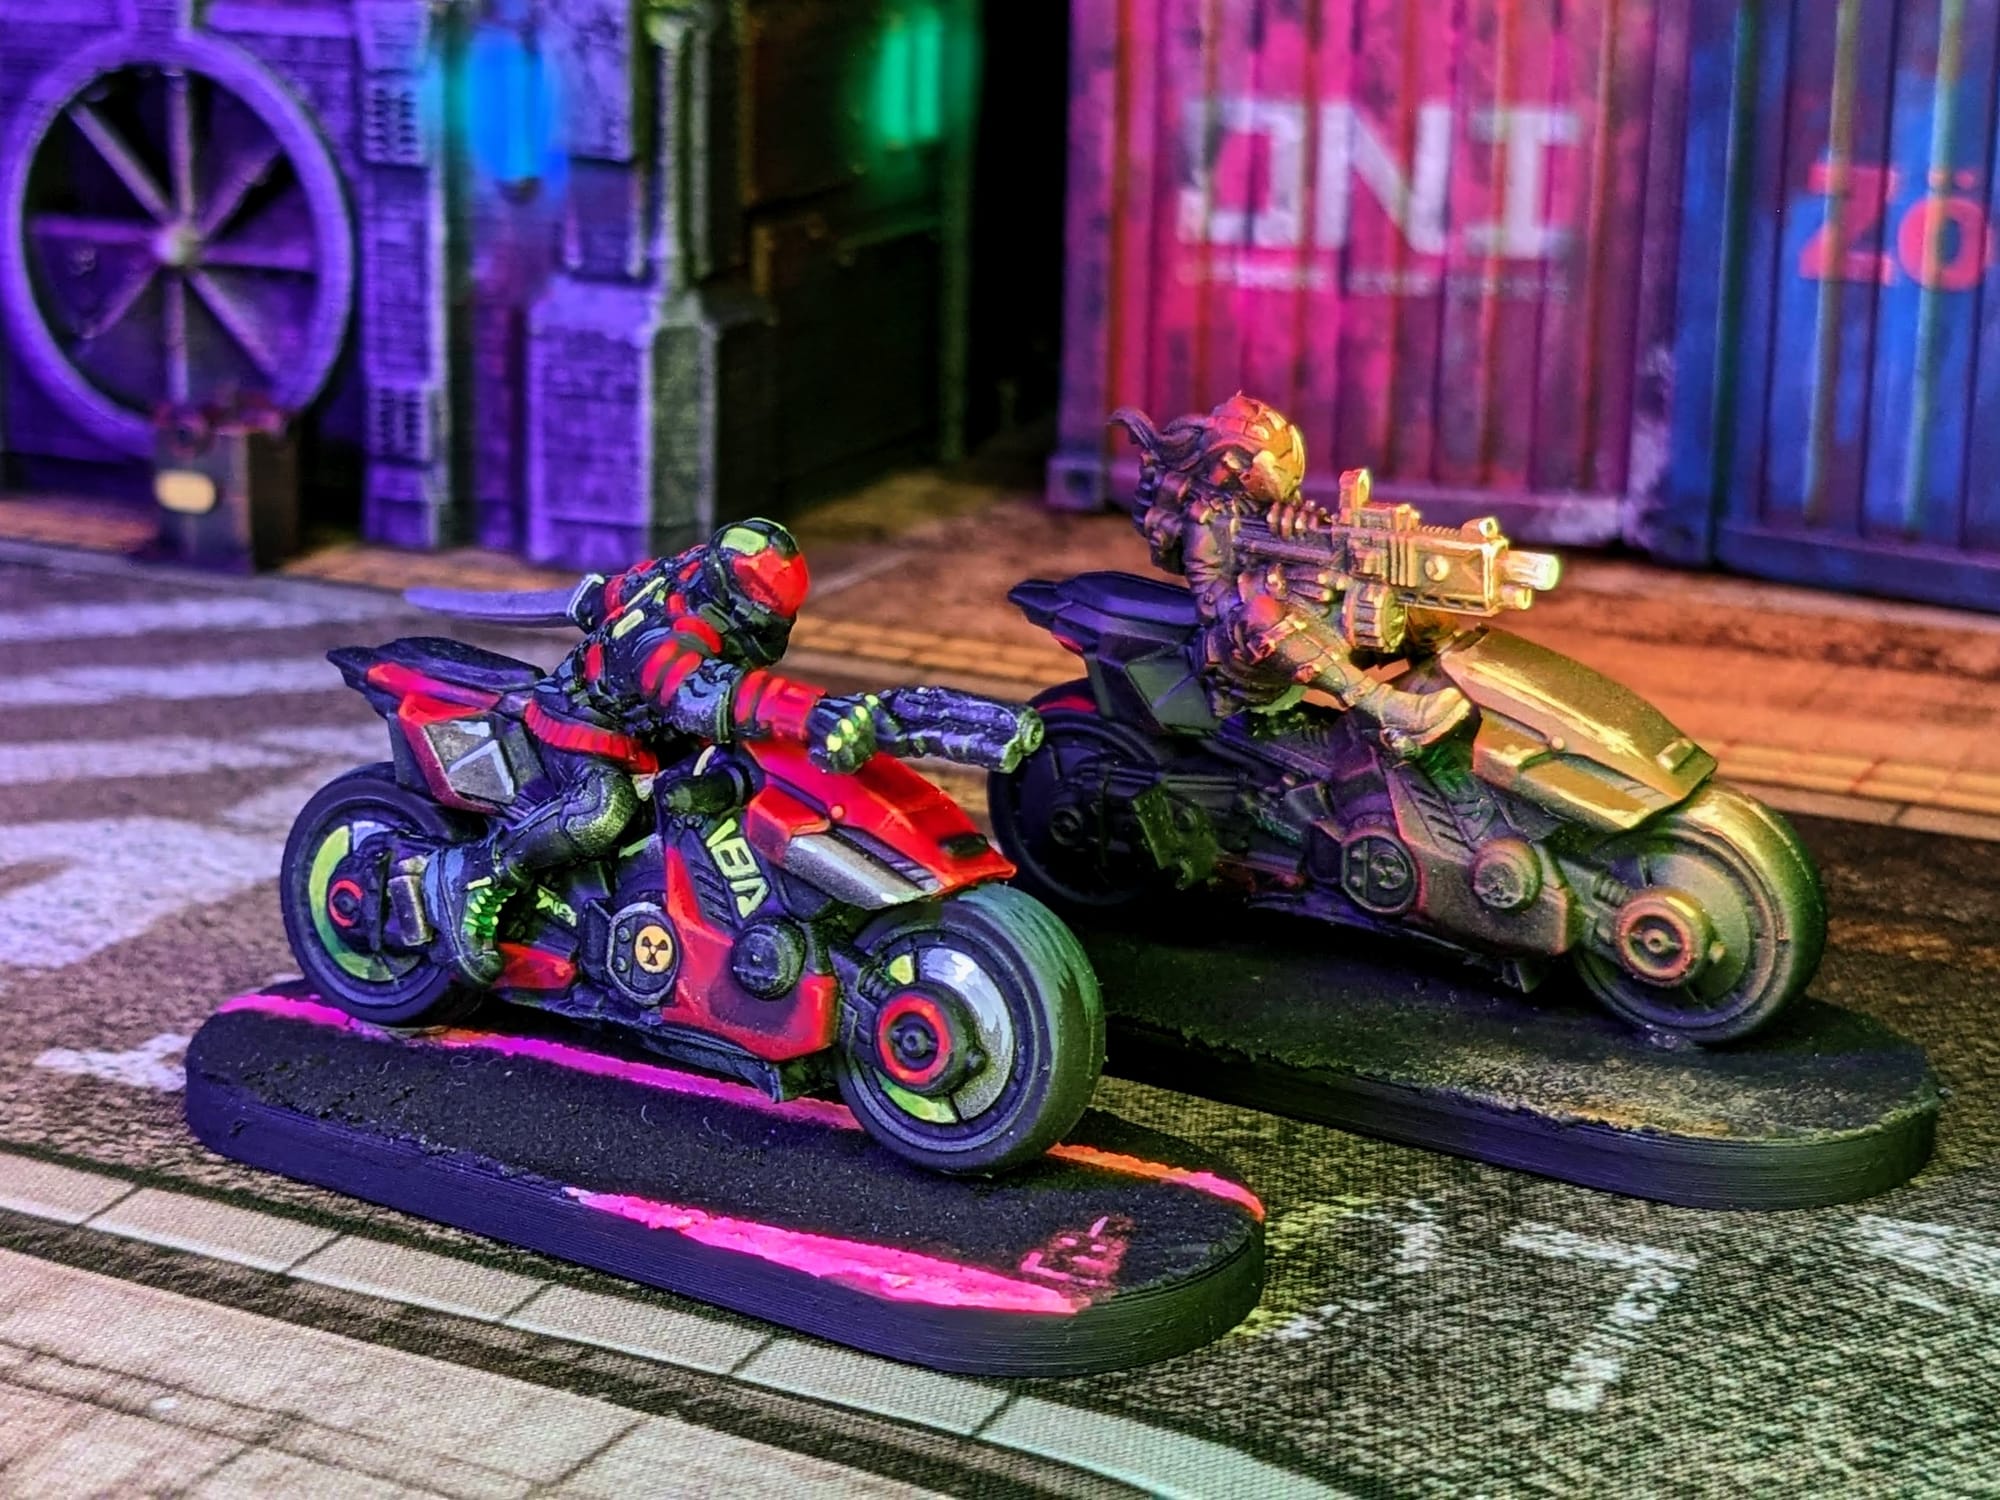
For the Yaibi Kusanagi, I wanted to paint the bikes in two different styles: a box-art style to capture the sleek design, and an action pose to help make it pop on the table. To help make the painting process a little easier, I affixed the bikes and figures to some bases using double-sided Gorilla tape and mounting putty. The figure with her boot up on the handle bar is such a cool pose, so I am going to paint her with some gunfire reflection, as if she was riding in darkness. The other cycle I will paint to look like the box art. Lastly, since the bases are so large, I will paint on some road markings so help break up the flat area.
Remember that done is better than perfect!
Priming
In general terms, getting the majority of a color for a model applied via a rattle can or airbrush saves a lot of time. Typically, I prime all of the figures with a zenithal prime on them, using a base coat of Rustoleum Flat Black and a top coat of Army Painter White Primer or one of the other color primers. Here are the primers I used for the miniatures:
- Rusteolum Flat Black Primer
- Army Painter White Primer
I painted both the Zonda Cybercycle and Yaiba Kusanagi sets at the same time. Check out the Learn to Paint: Zonda Cybercycle Learn to Paint article, too!
SLAPCHOP METHOD
For these pieces, I chose to take a variation of the “slapchop” approach for them. Slapchop is a painting method where you accent the details of the models by dry brushing shades of gray and white. Then, using speed paints, contrast paints, and/or washes, you paint a single coat over the top of the model, creating shadows, mid-tones, and highlights in a single pass. This would be akin to using Multiply or Screen layers in Photoshop to establish color values on a gray underlayer. This is a very fast and efficient way to paint a lot of models that you don’t want to put a lot of detail into, and instead rely on the mold of the model to provide enough detail and contrast to make it stand out on the table.
Step-by-Step Painting
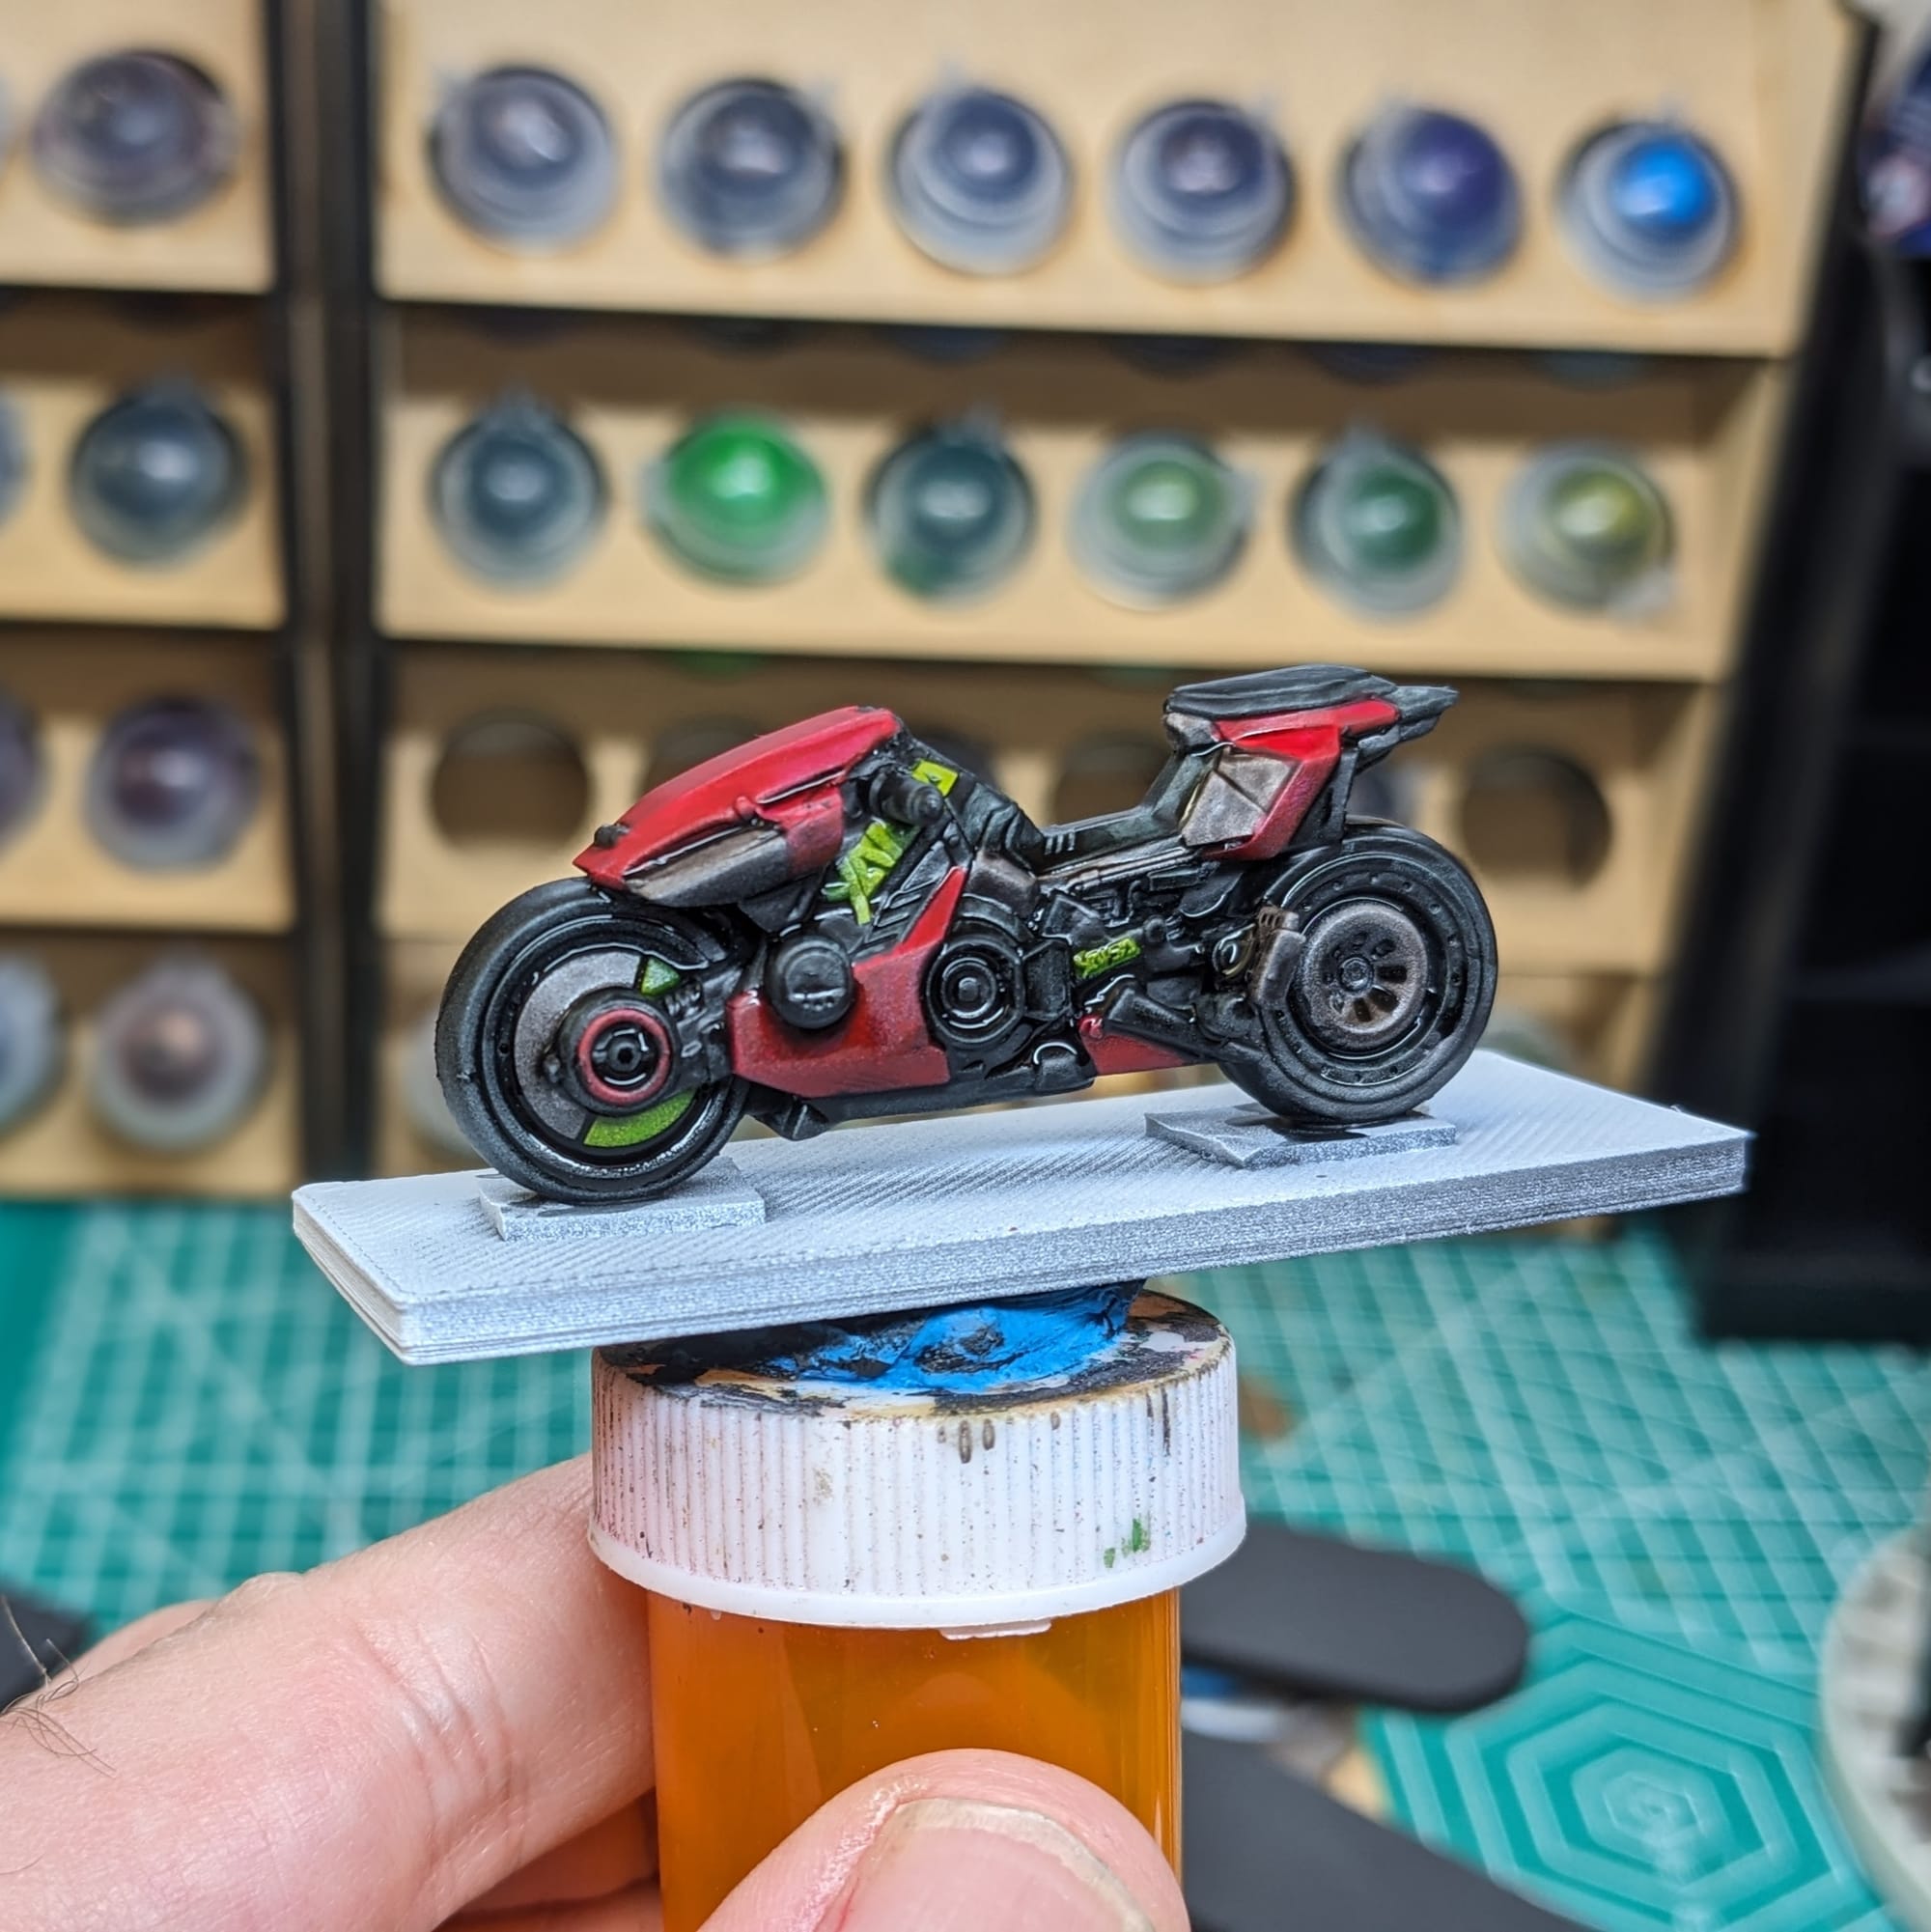
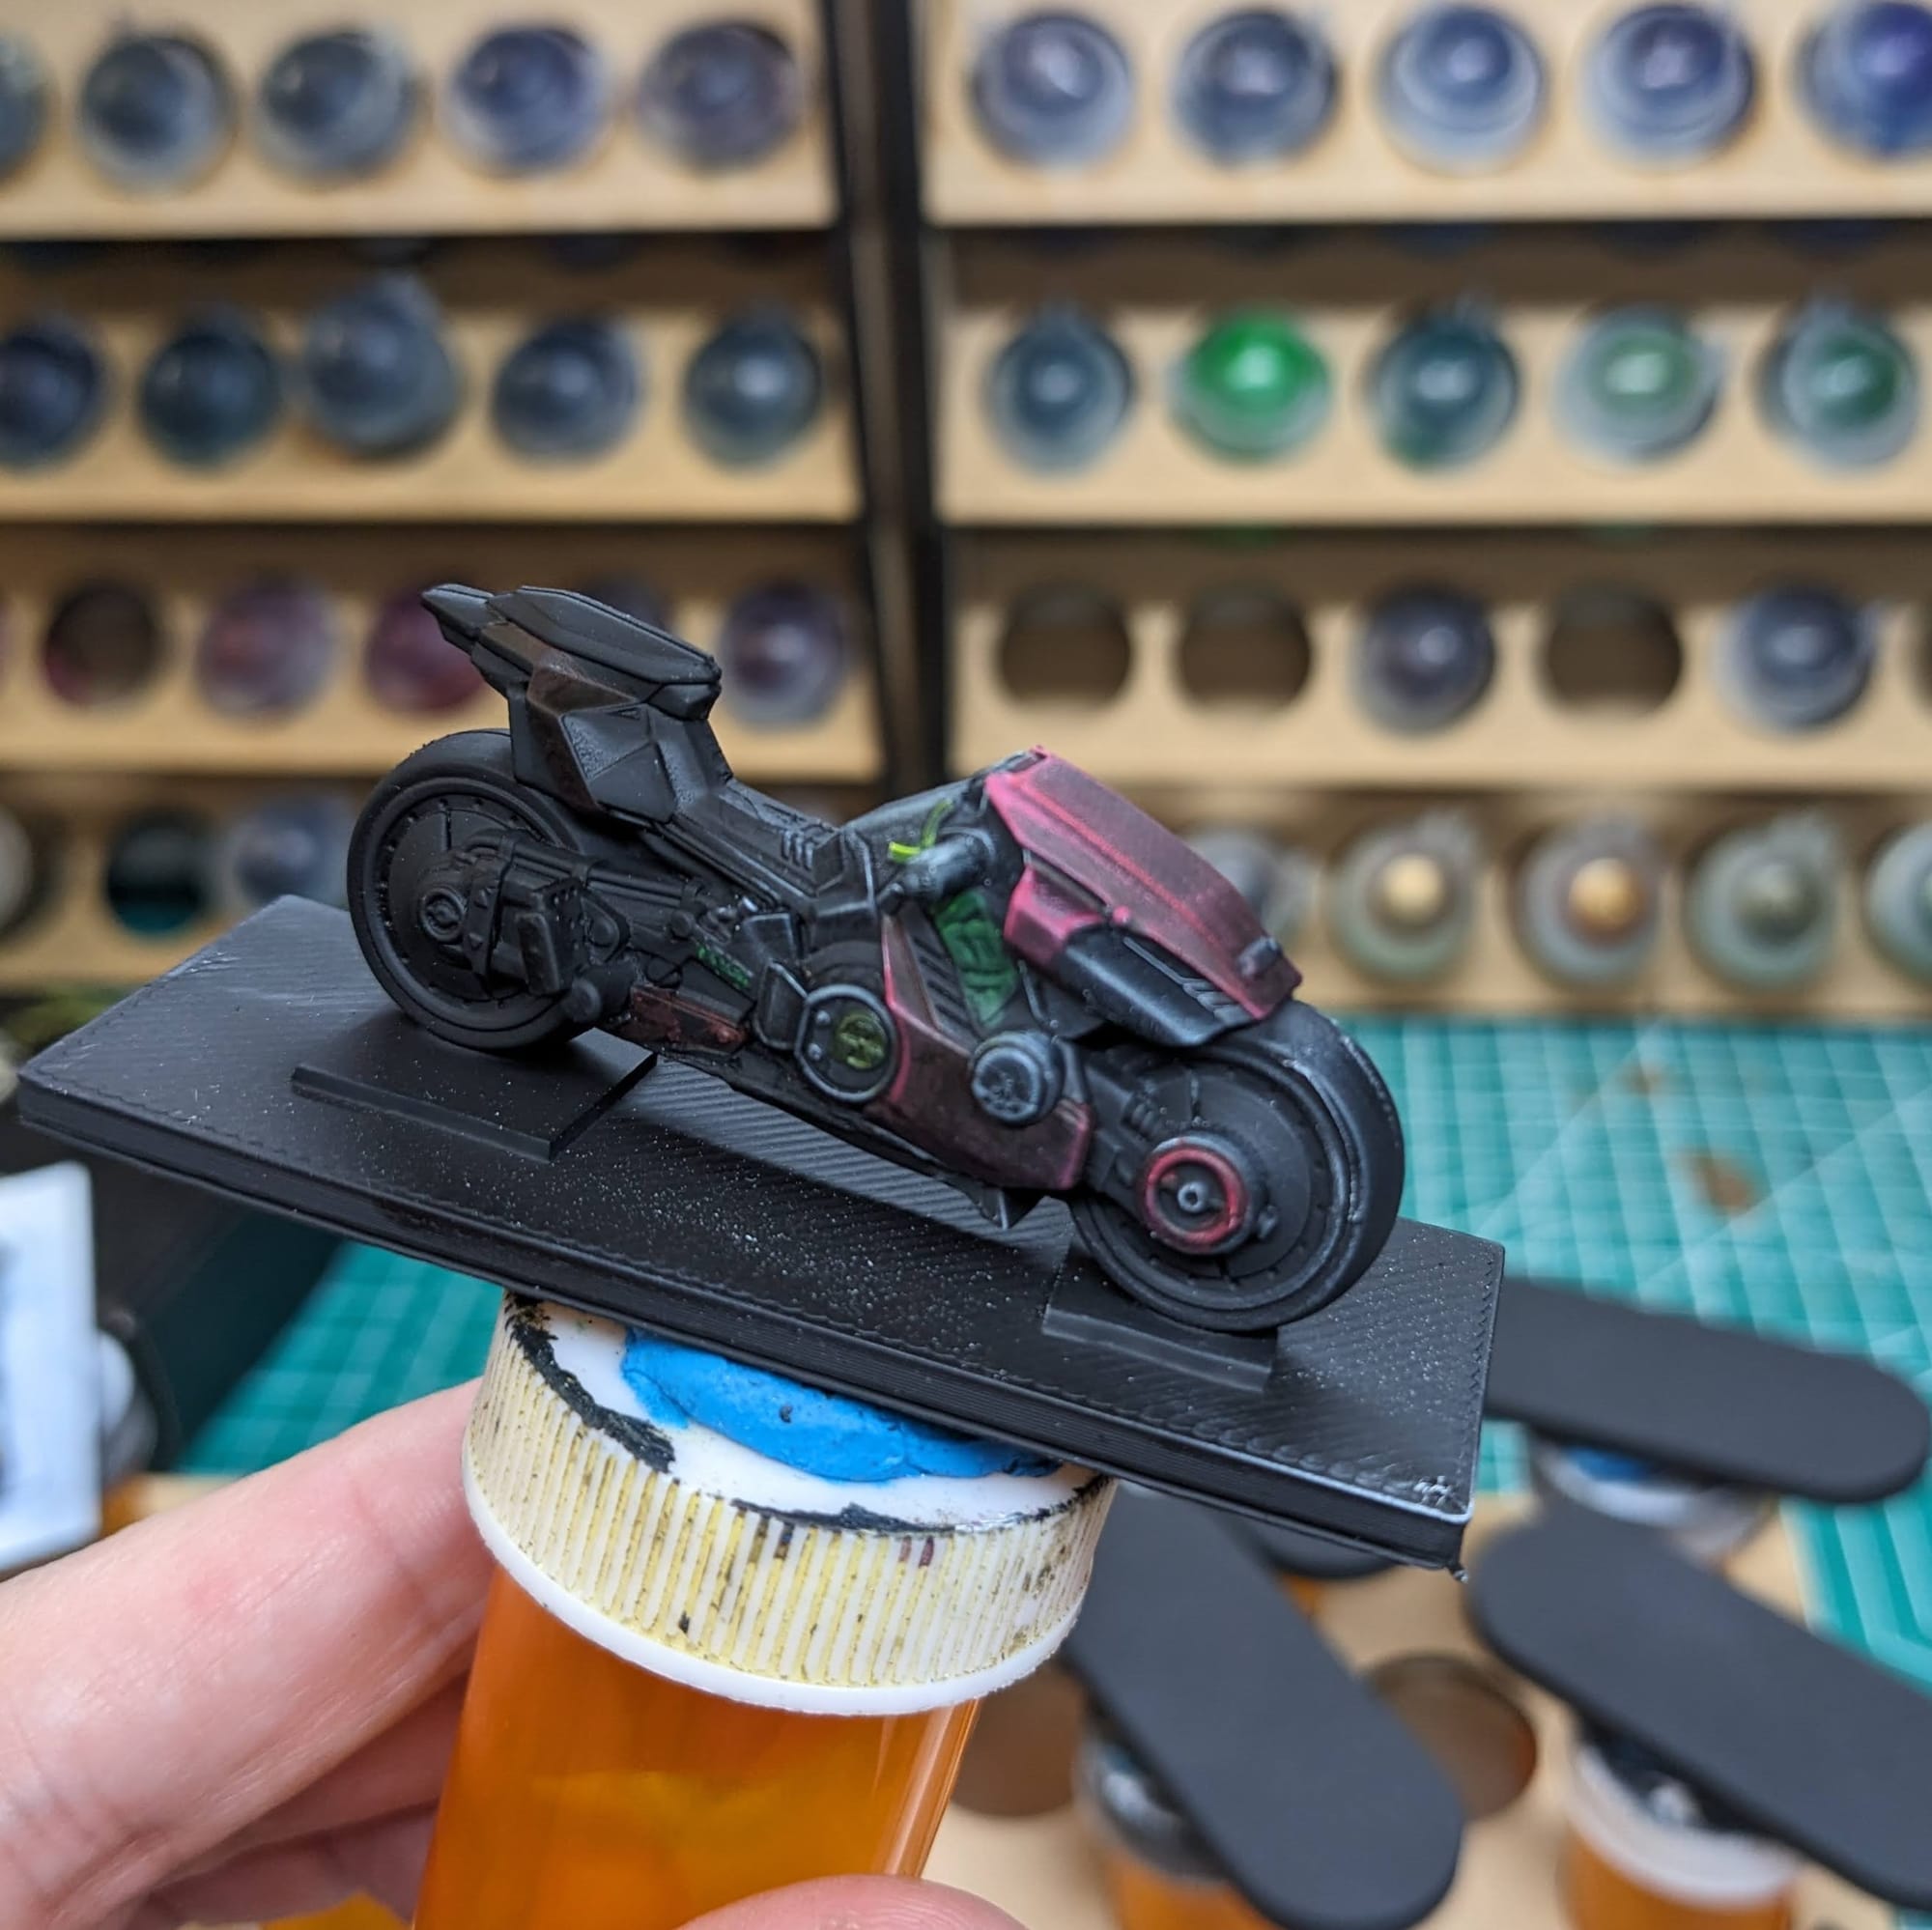
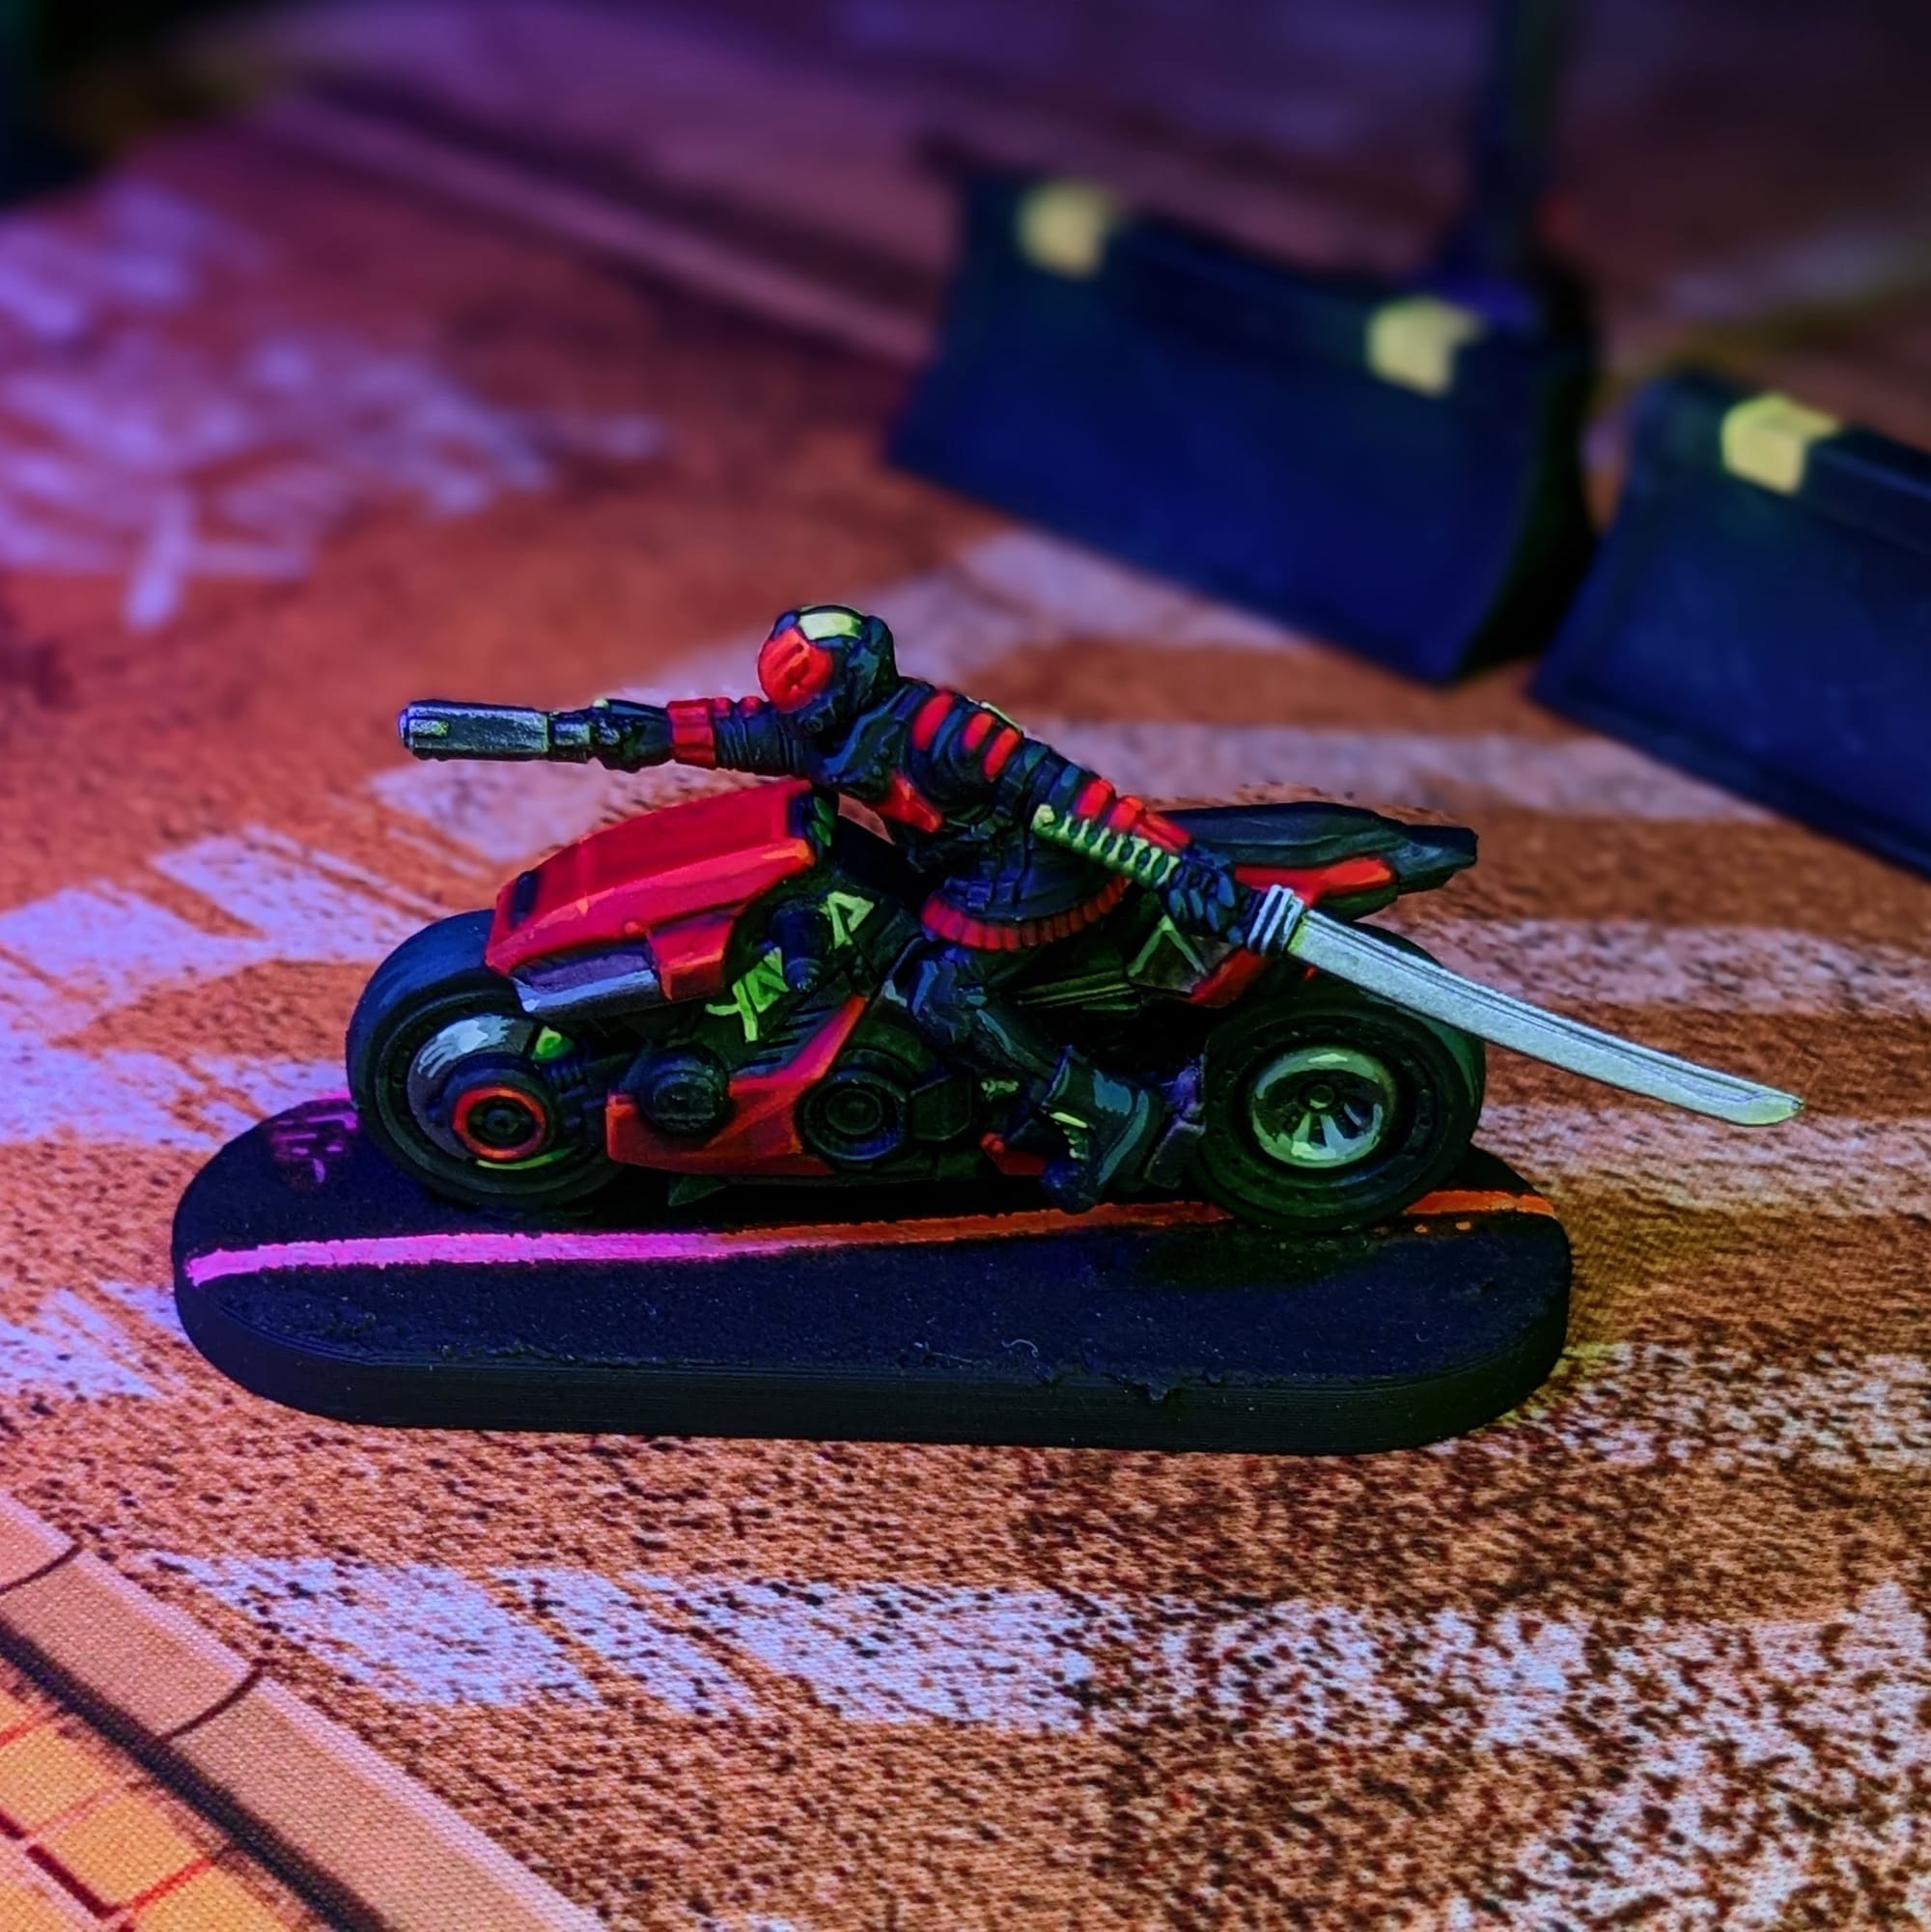
Cycle with the Sword
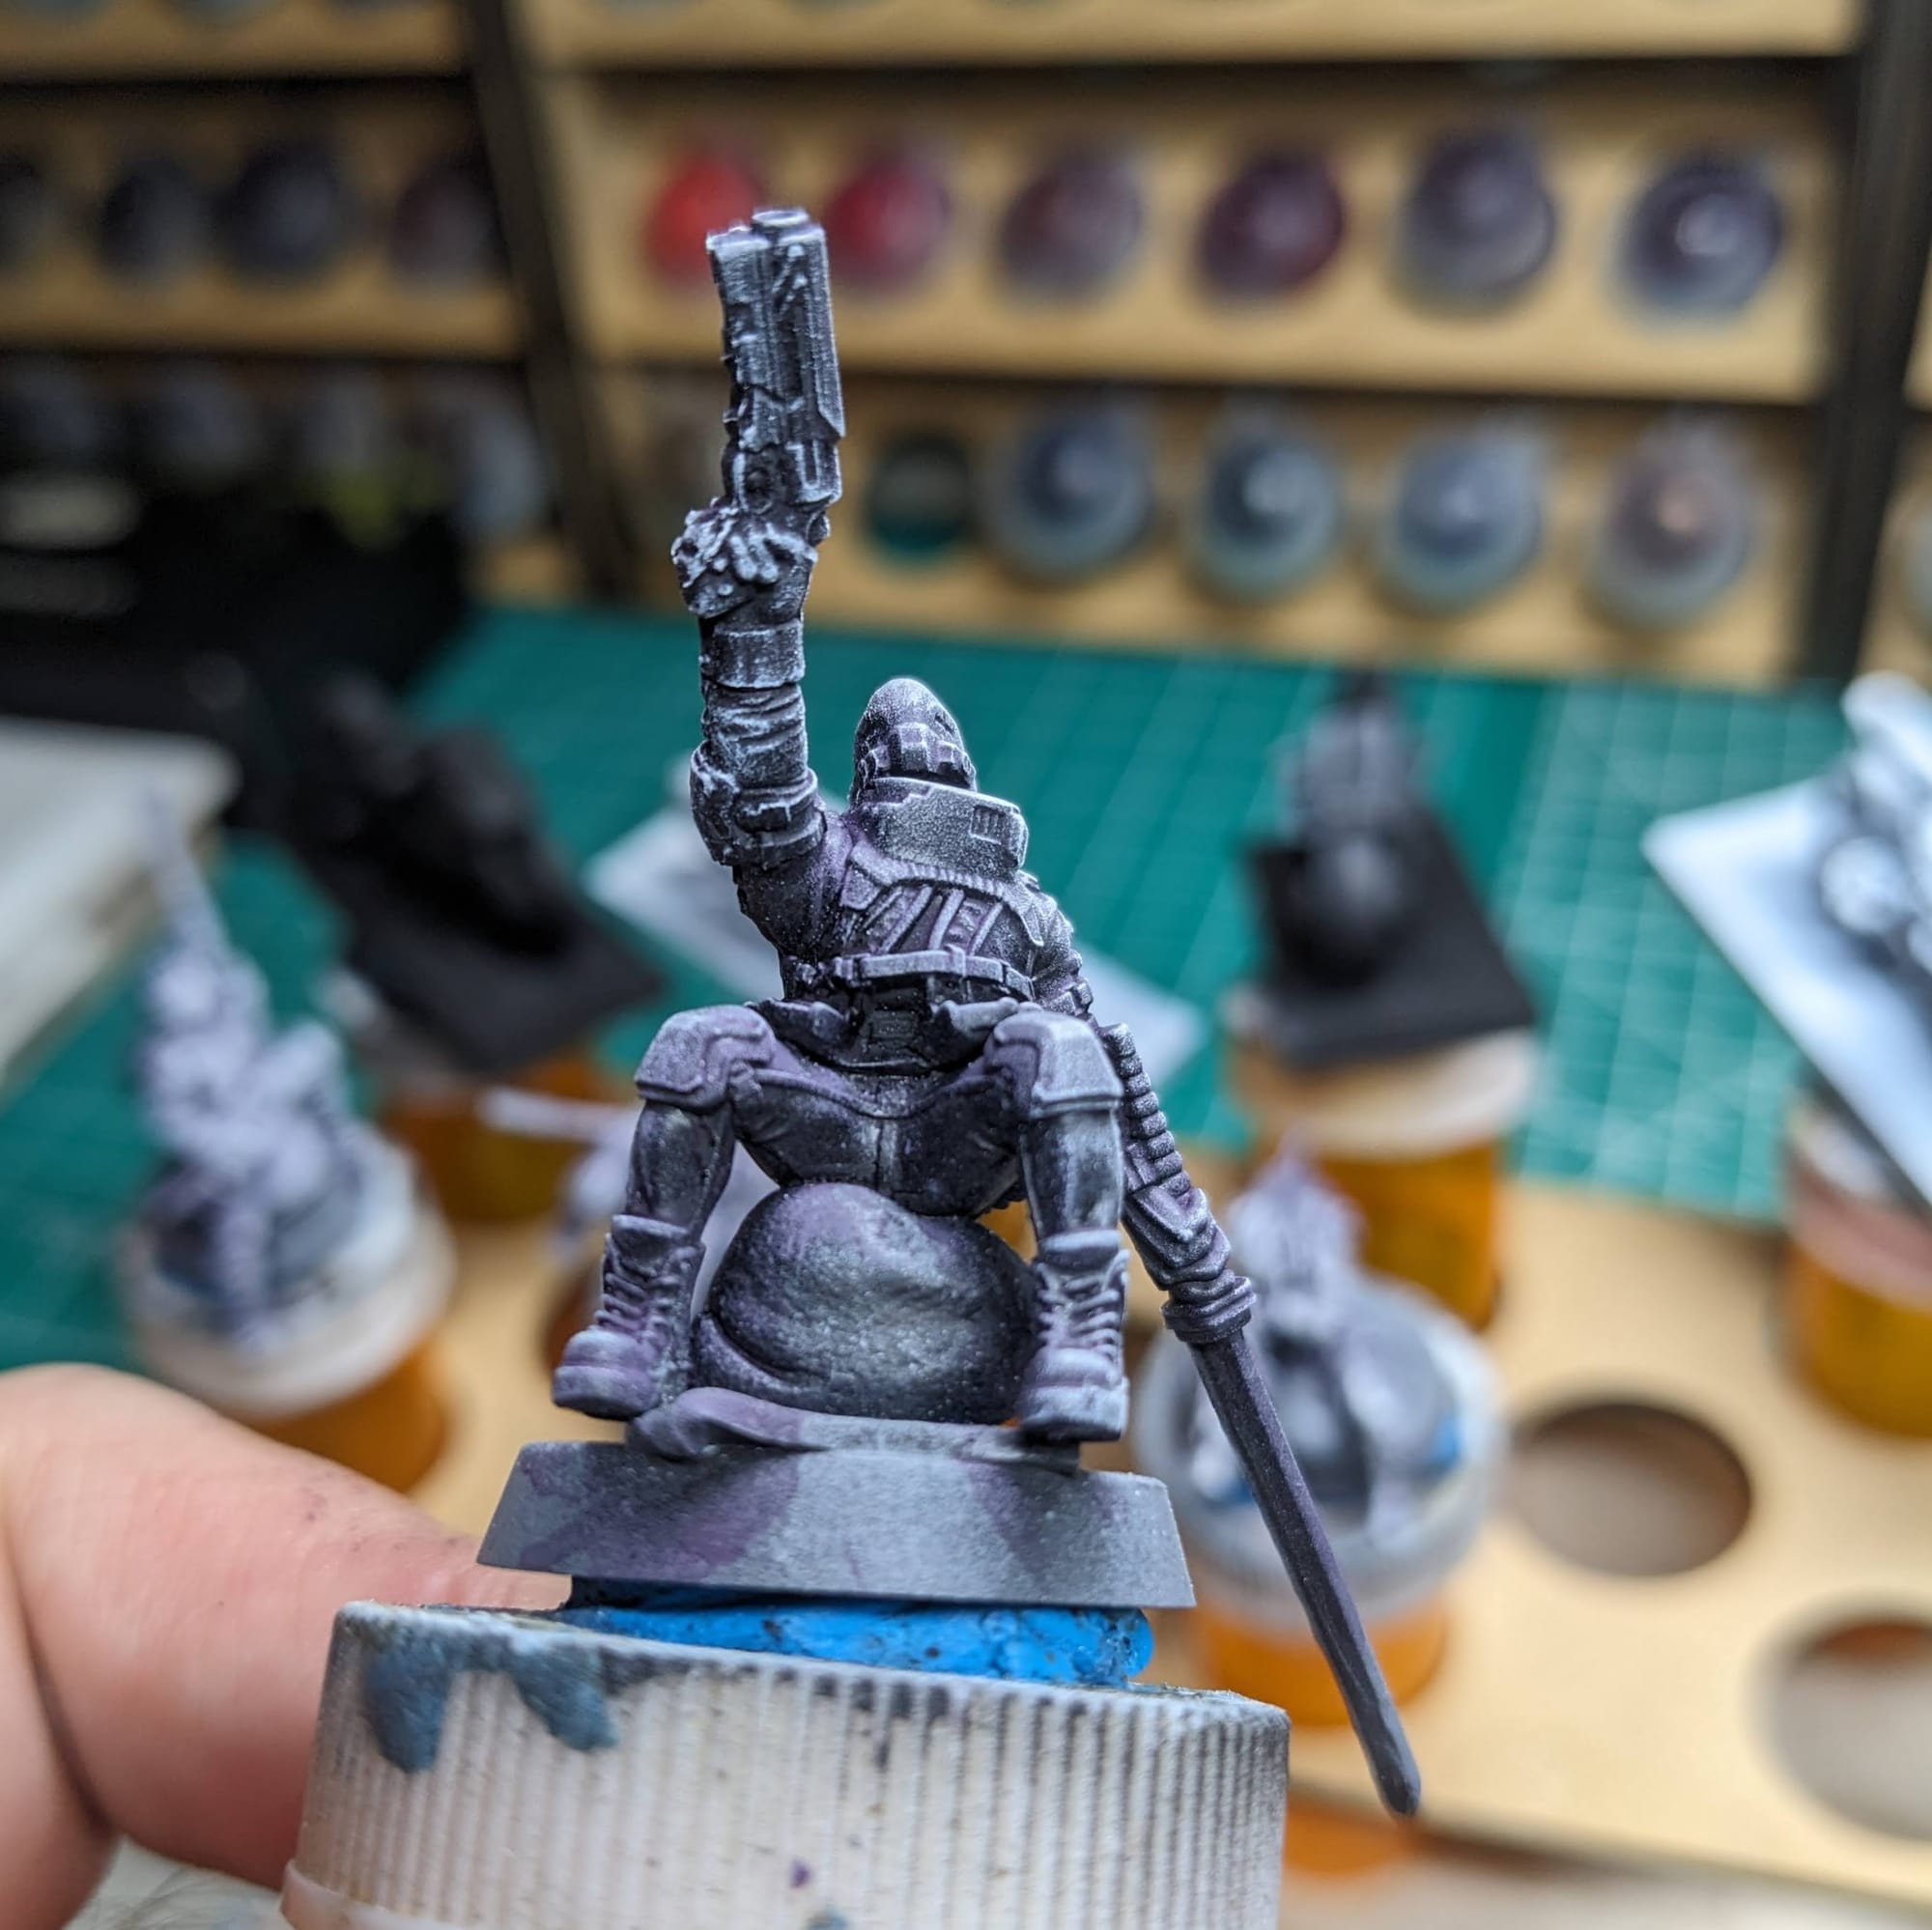
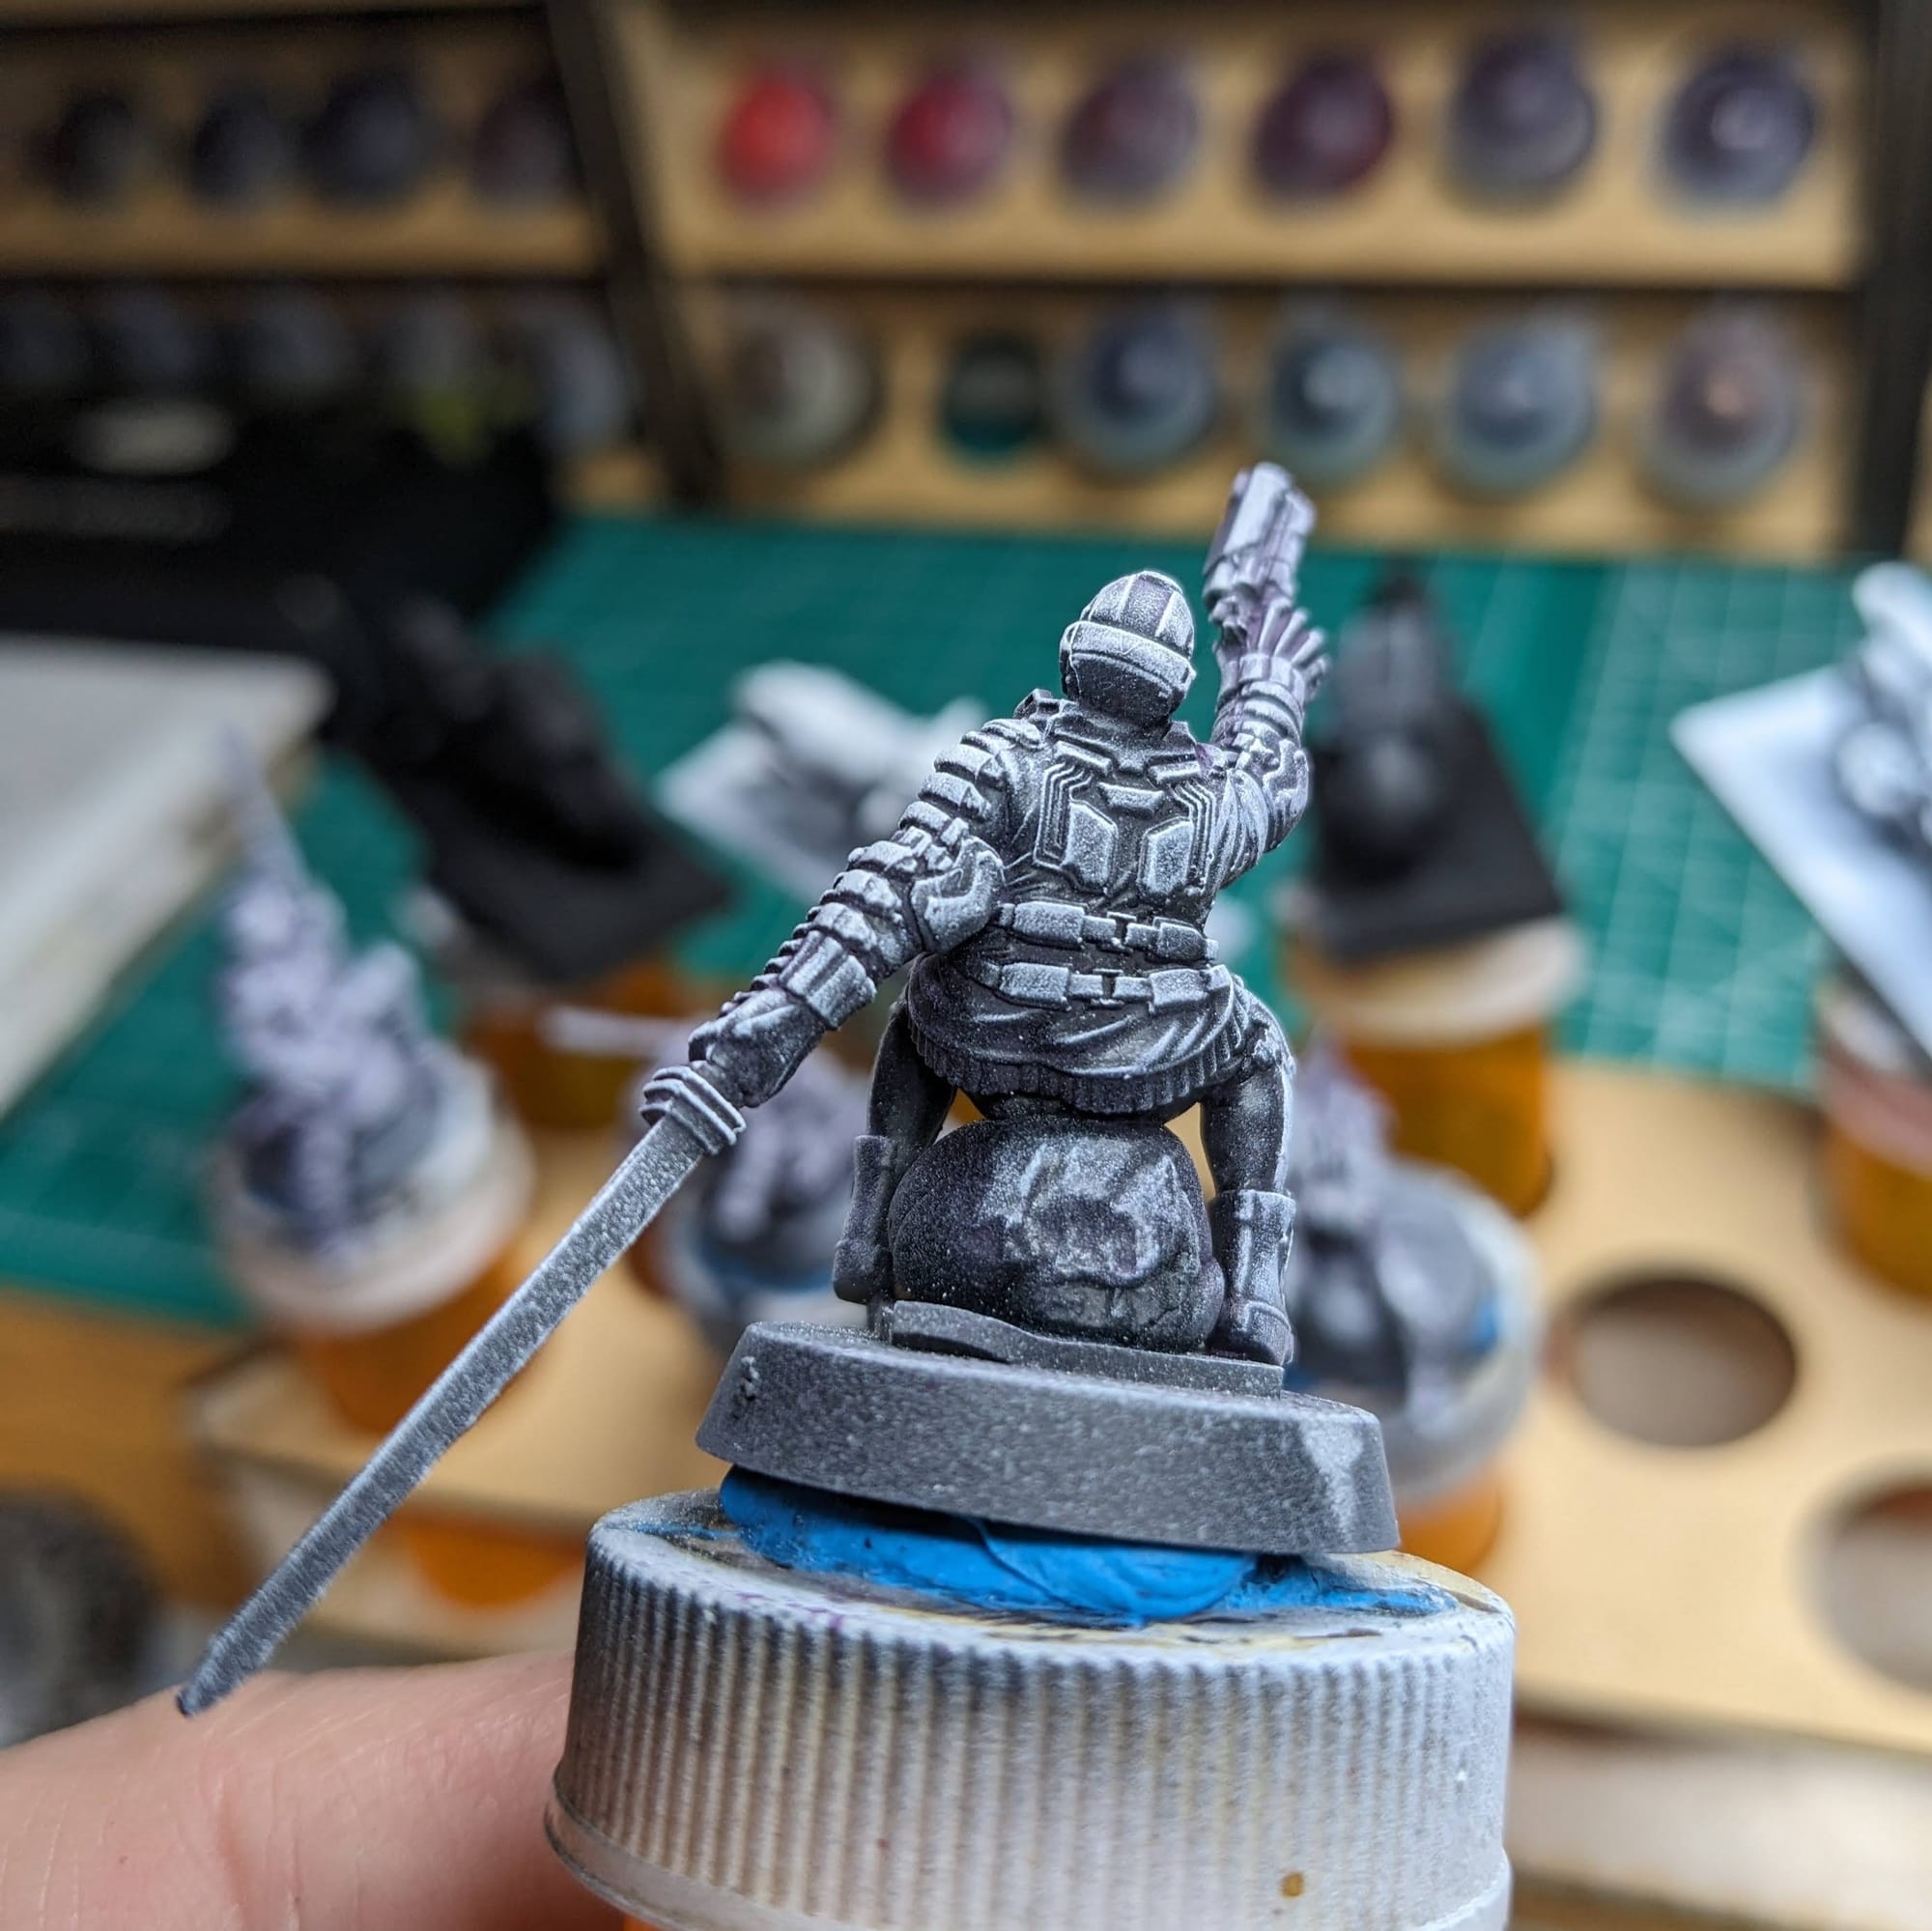
Similar to how I prepared the minis for the Full Body Conversion Set 1 and Full Body Conversion Set 2, I started with a wash of Army Painter Dark Tone and then dry brushed white over the top.
This cycle and rider was really straight forward to paint. With both the cycle and the rider, I started by 'color blocking,' whereby I use washes and contrast paints to block out the areas I am going to paint up. It's like paint by numbers, only without the numbers. Once I was happy with where all the colors where going to be, I highlighted up the topmost parts and it was ready to go.
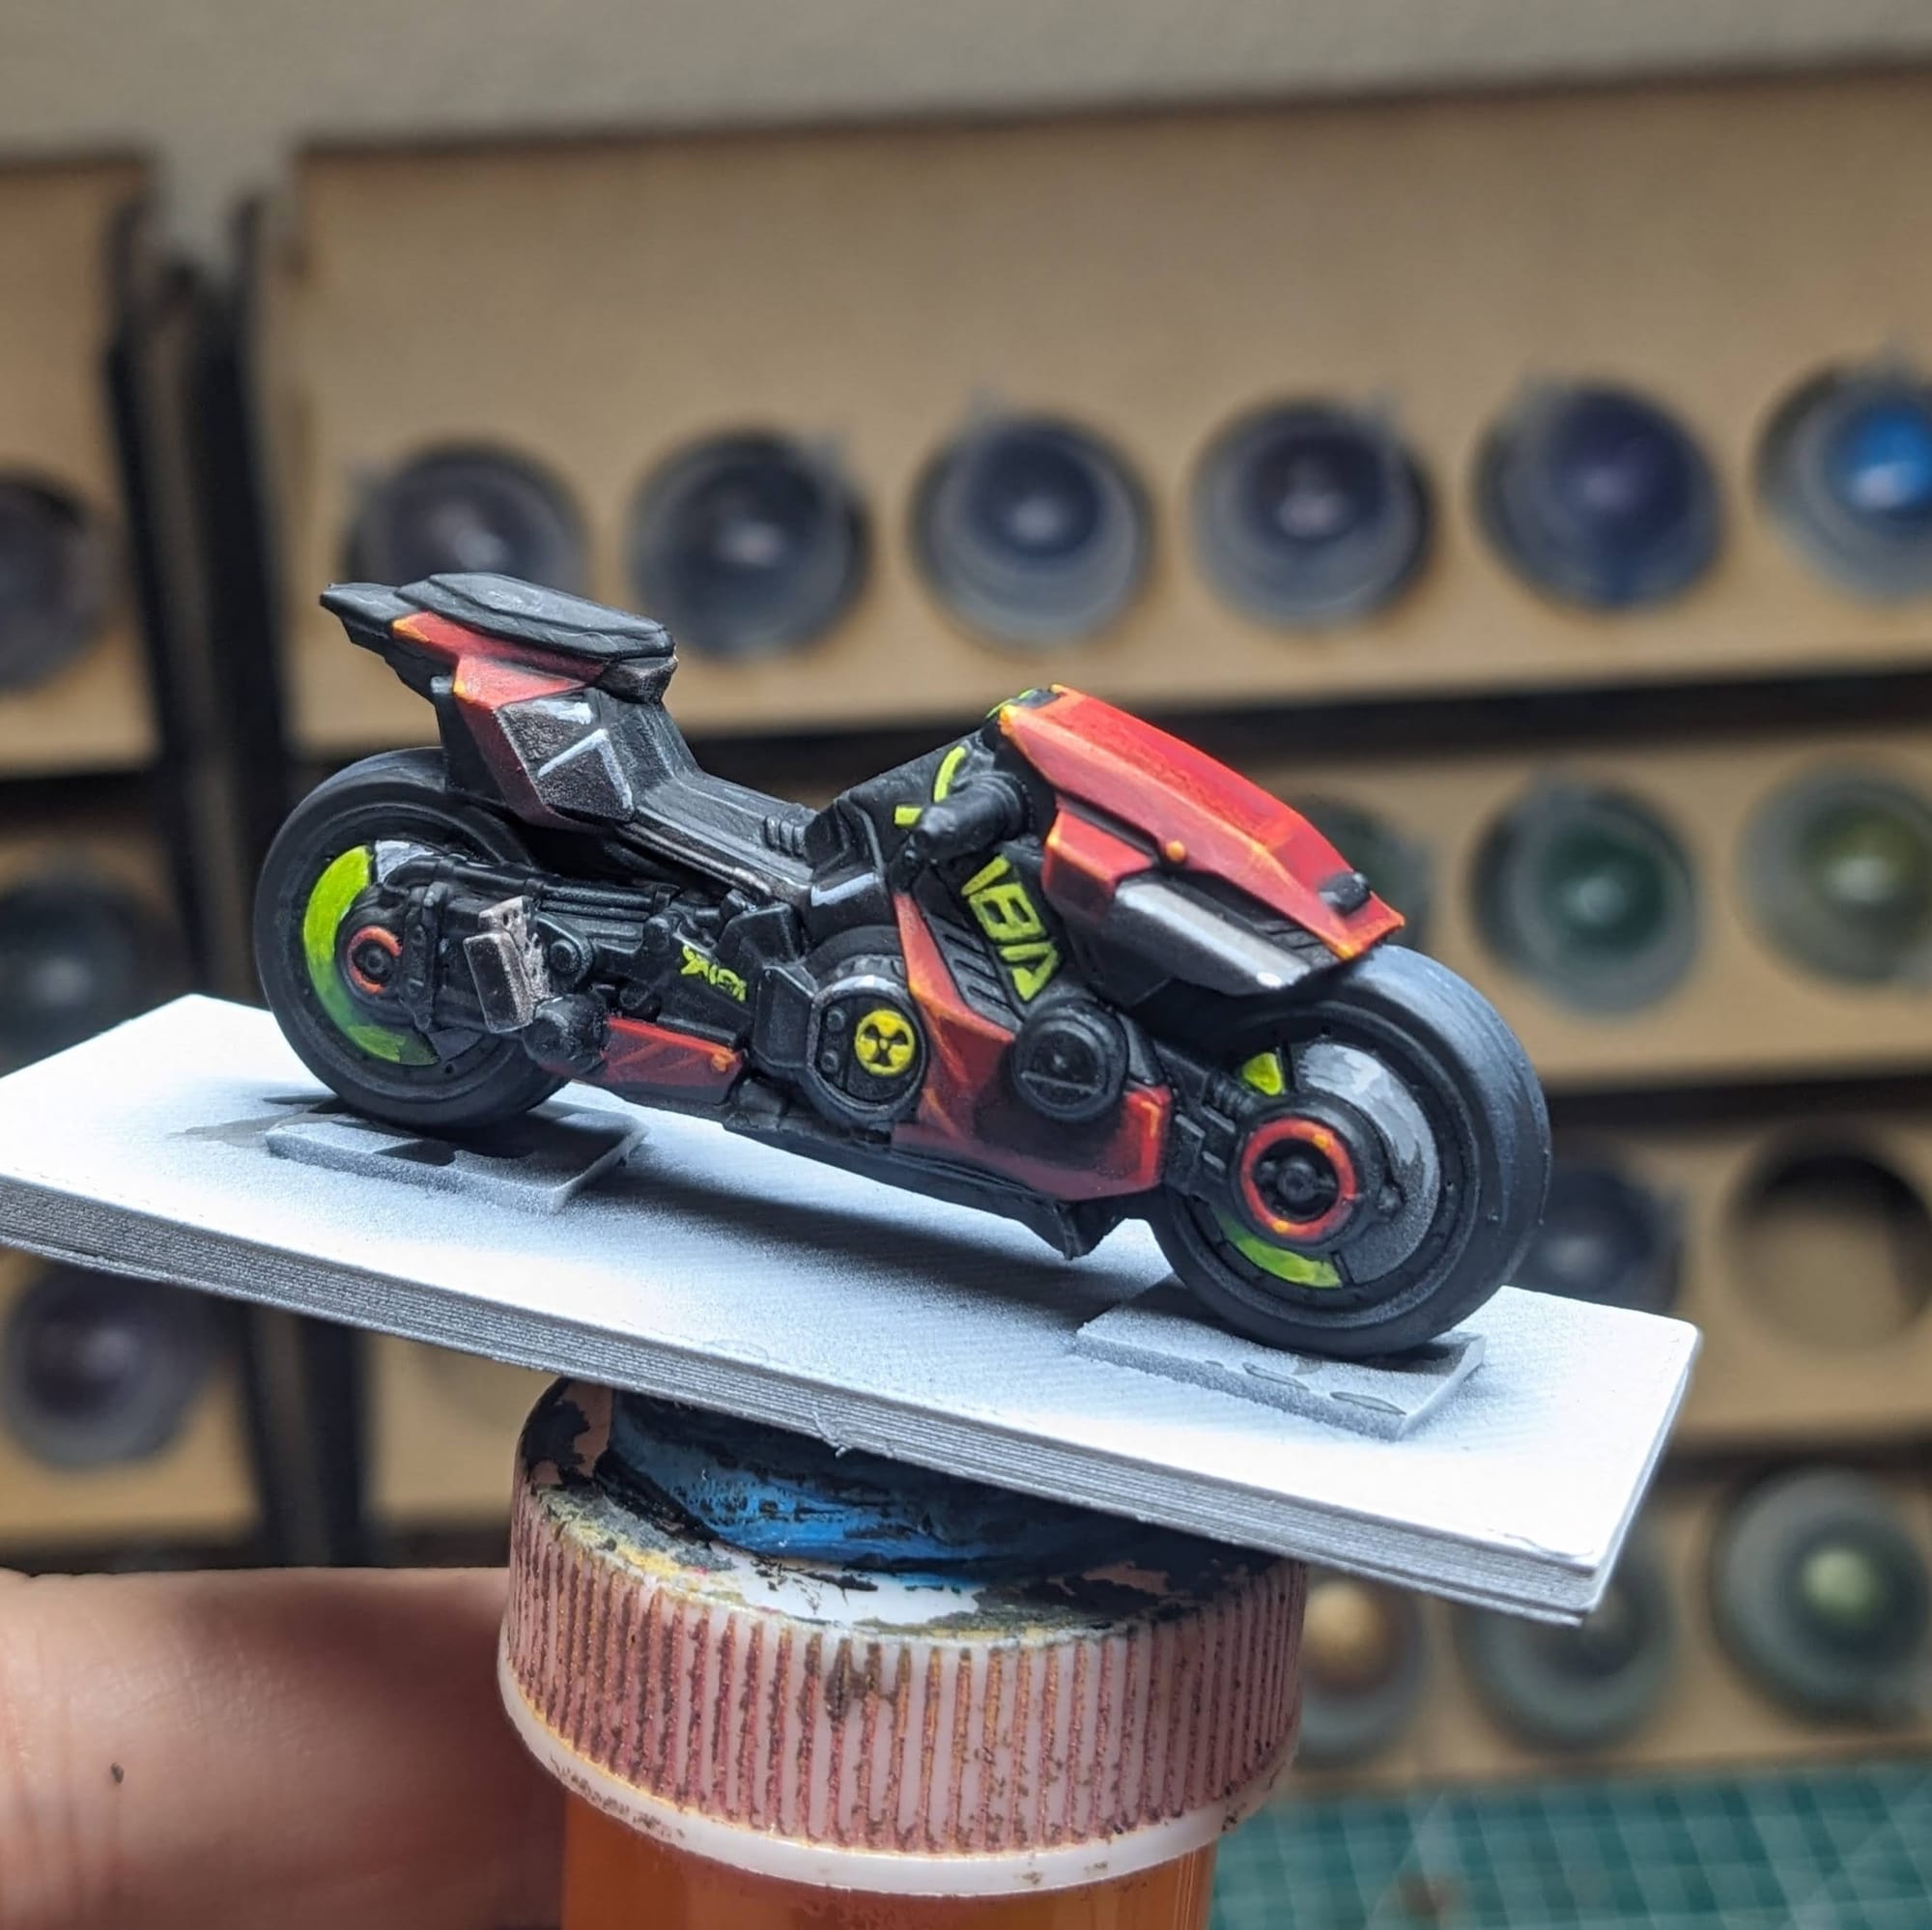
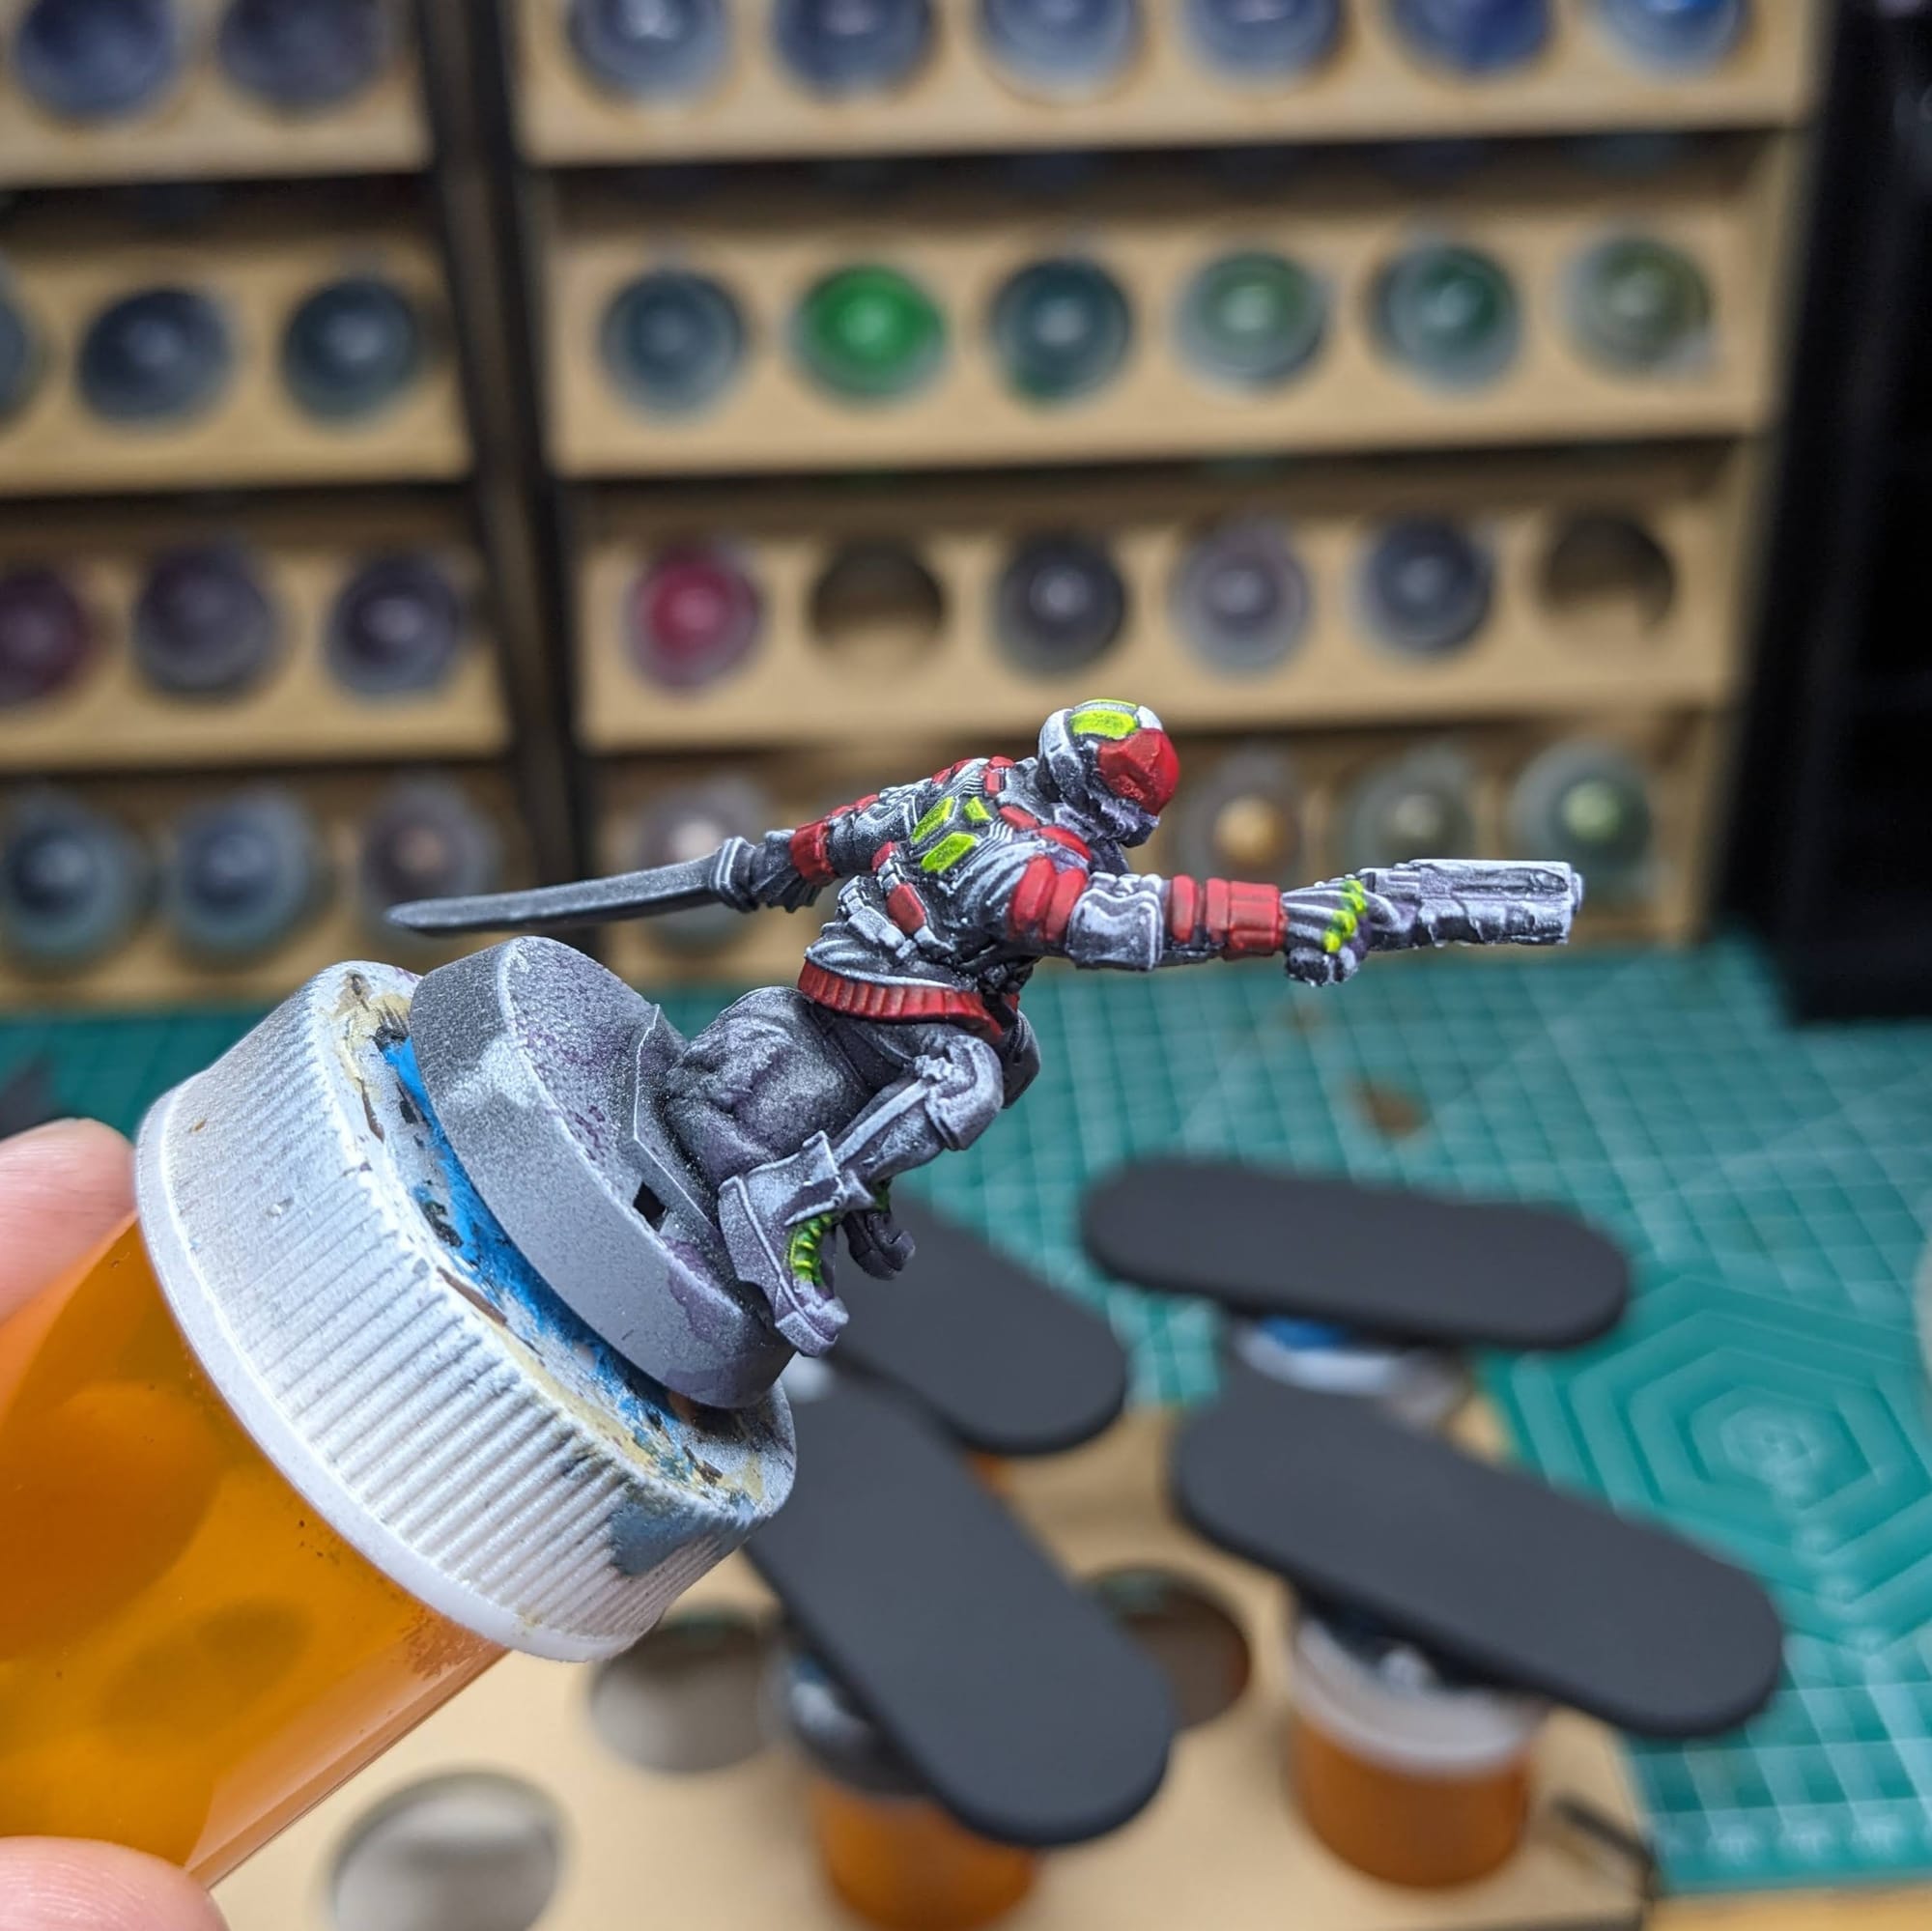
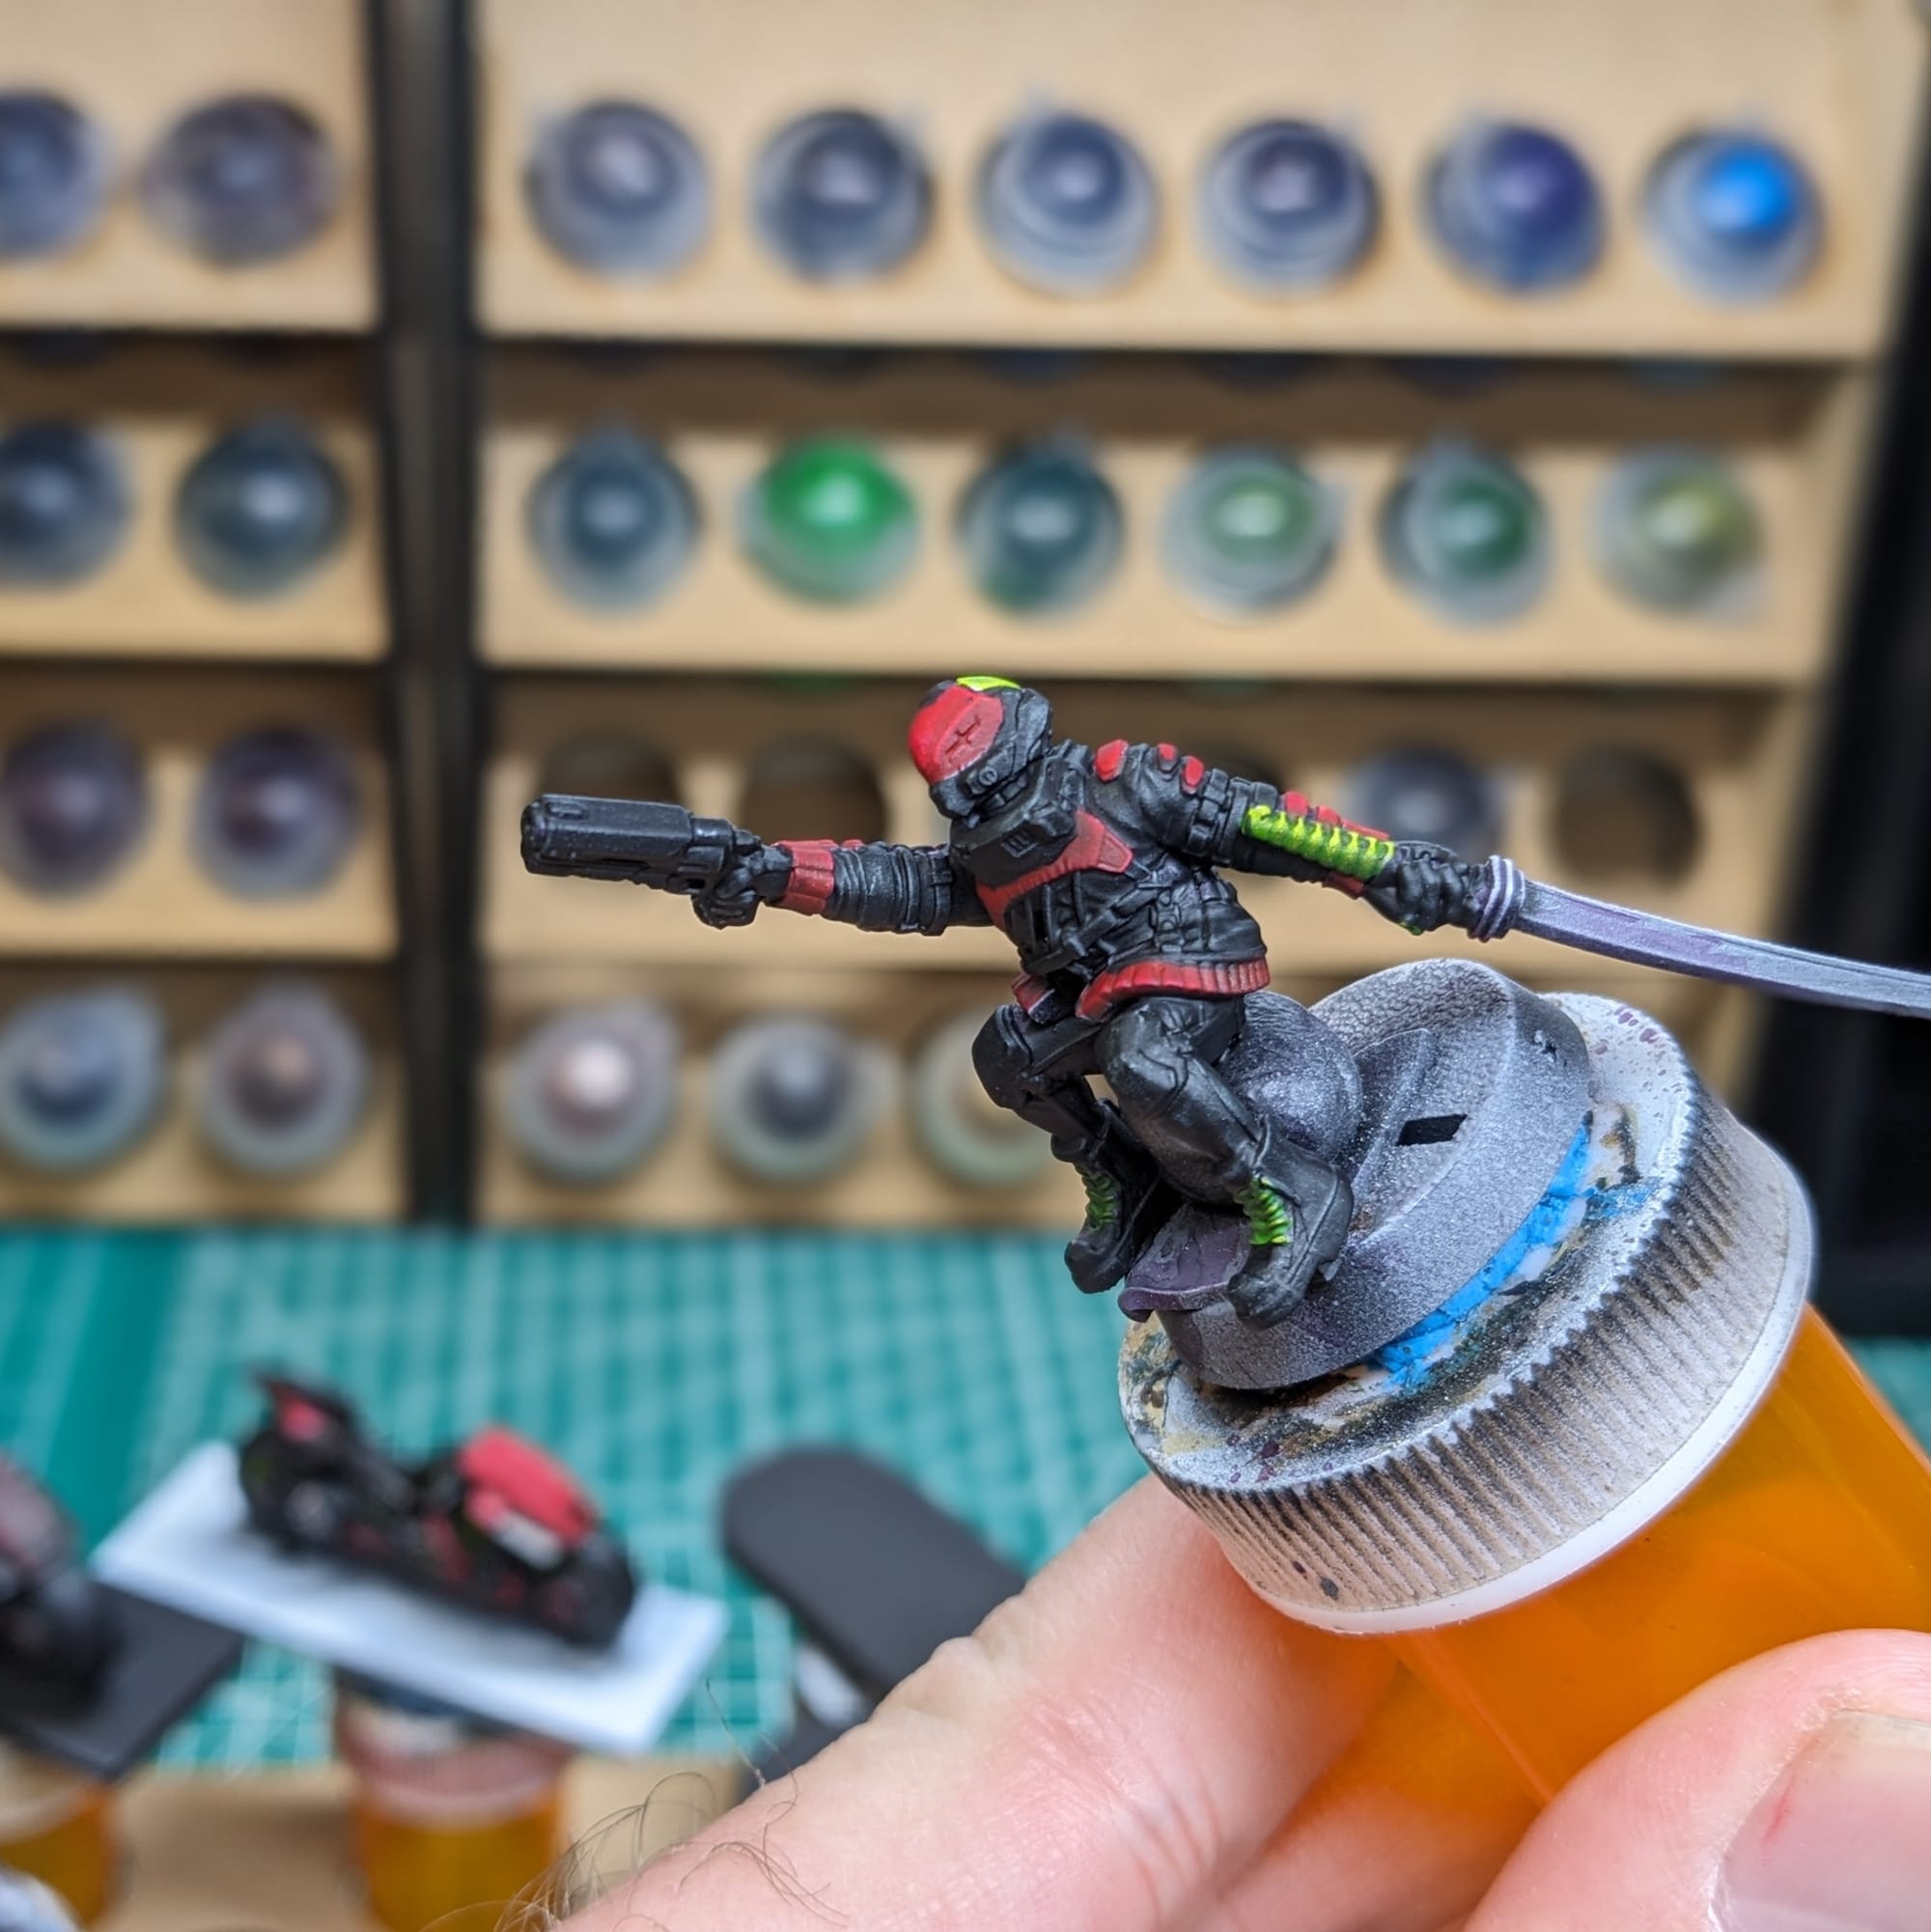
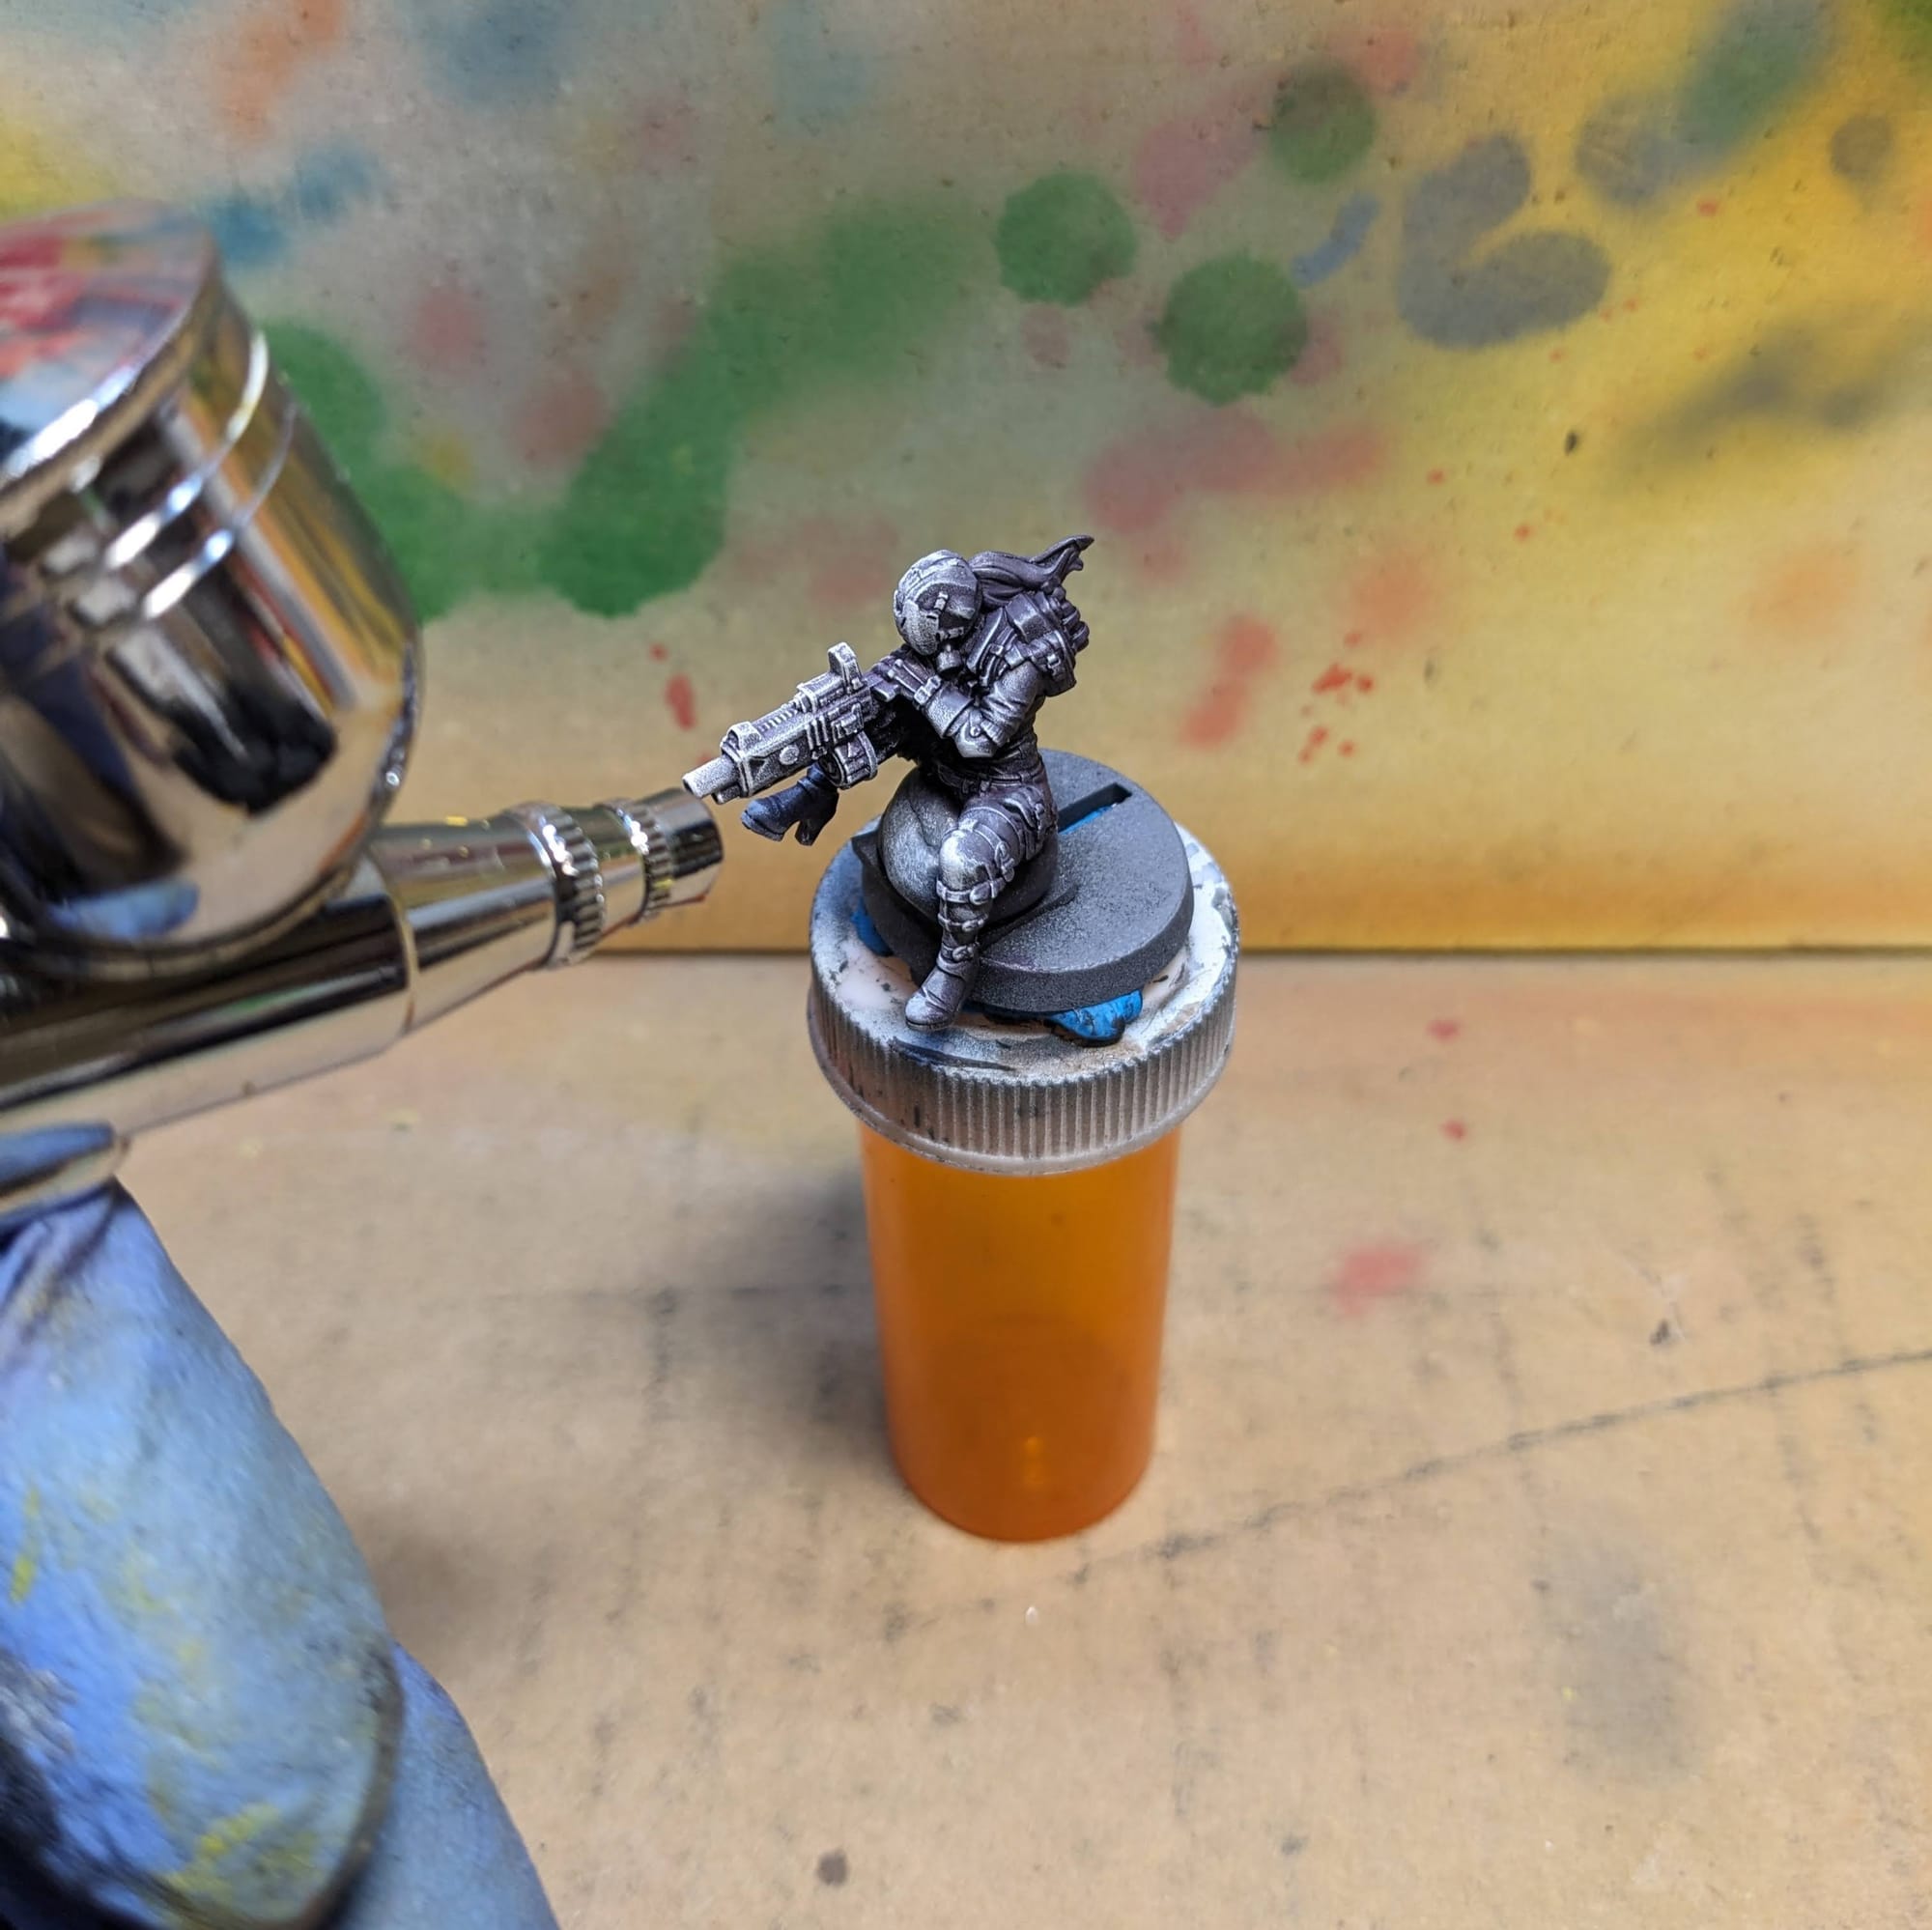
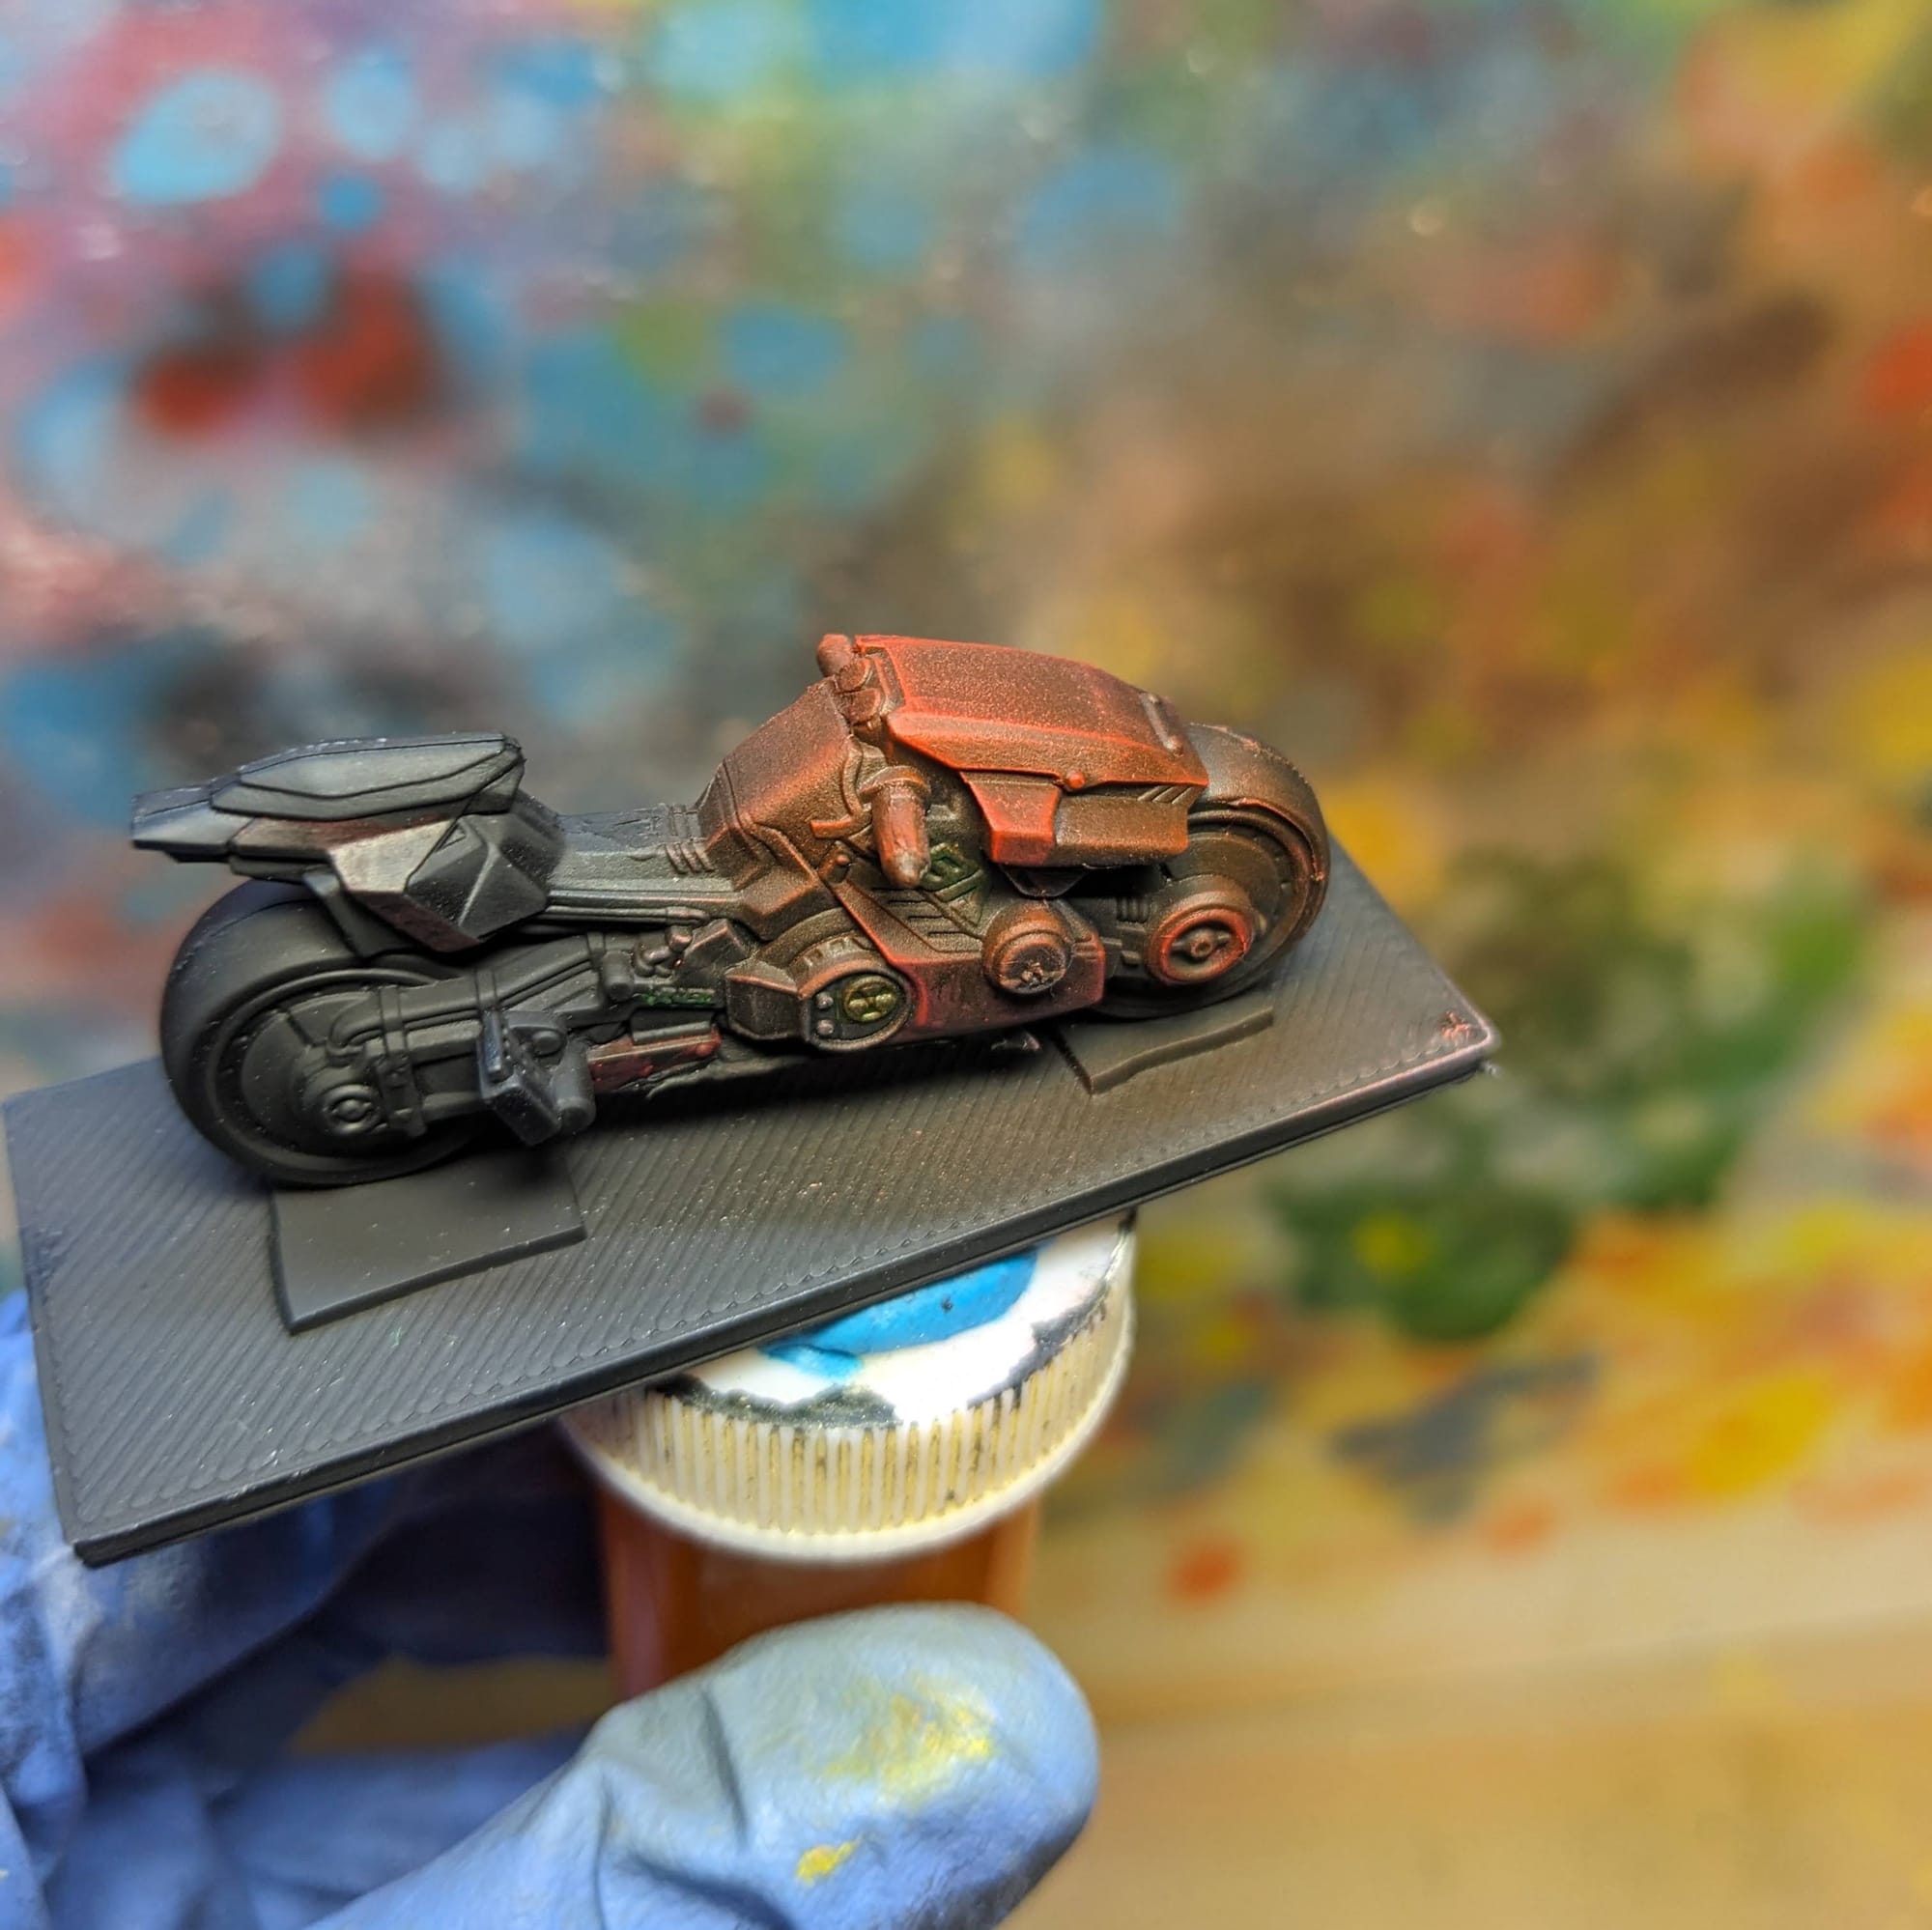
Cycle with Gunfire
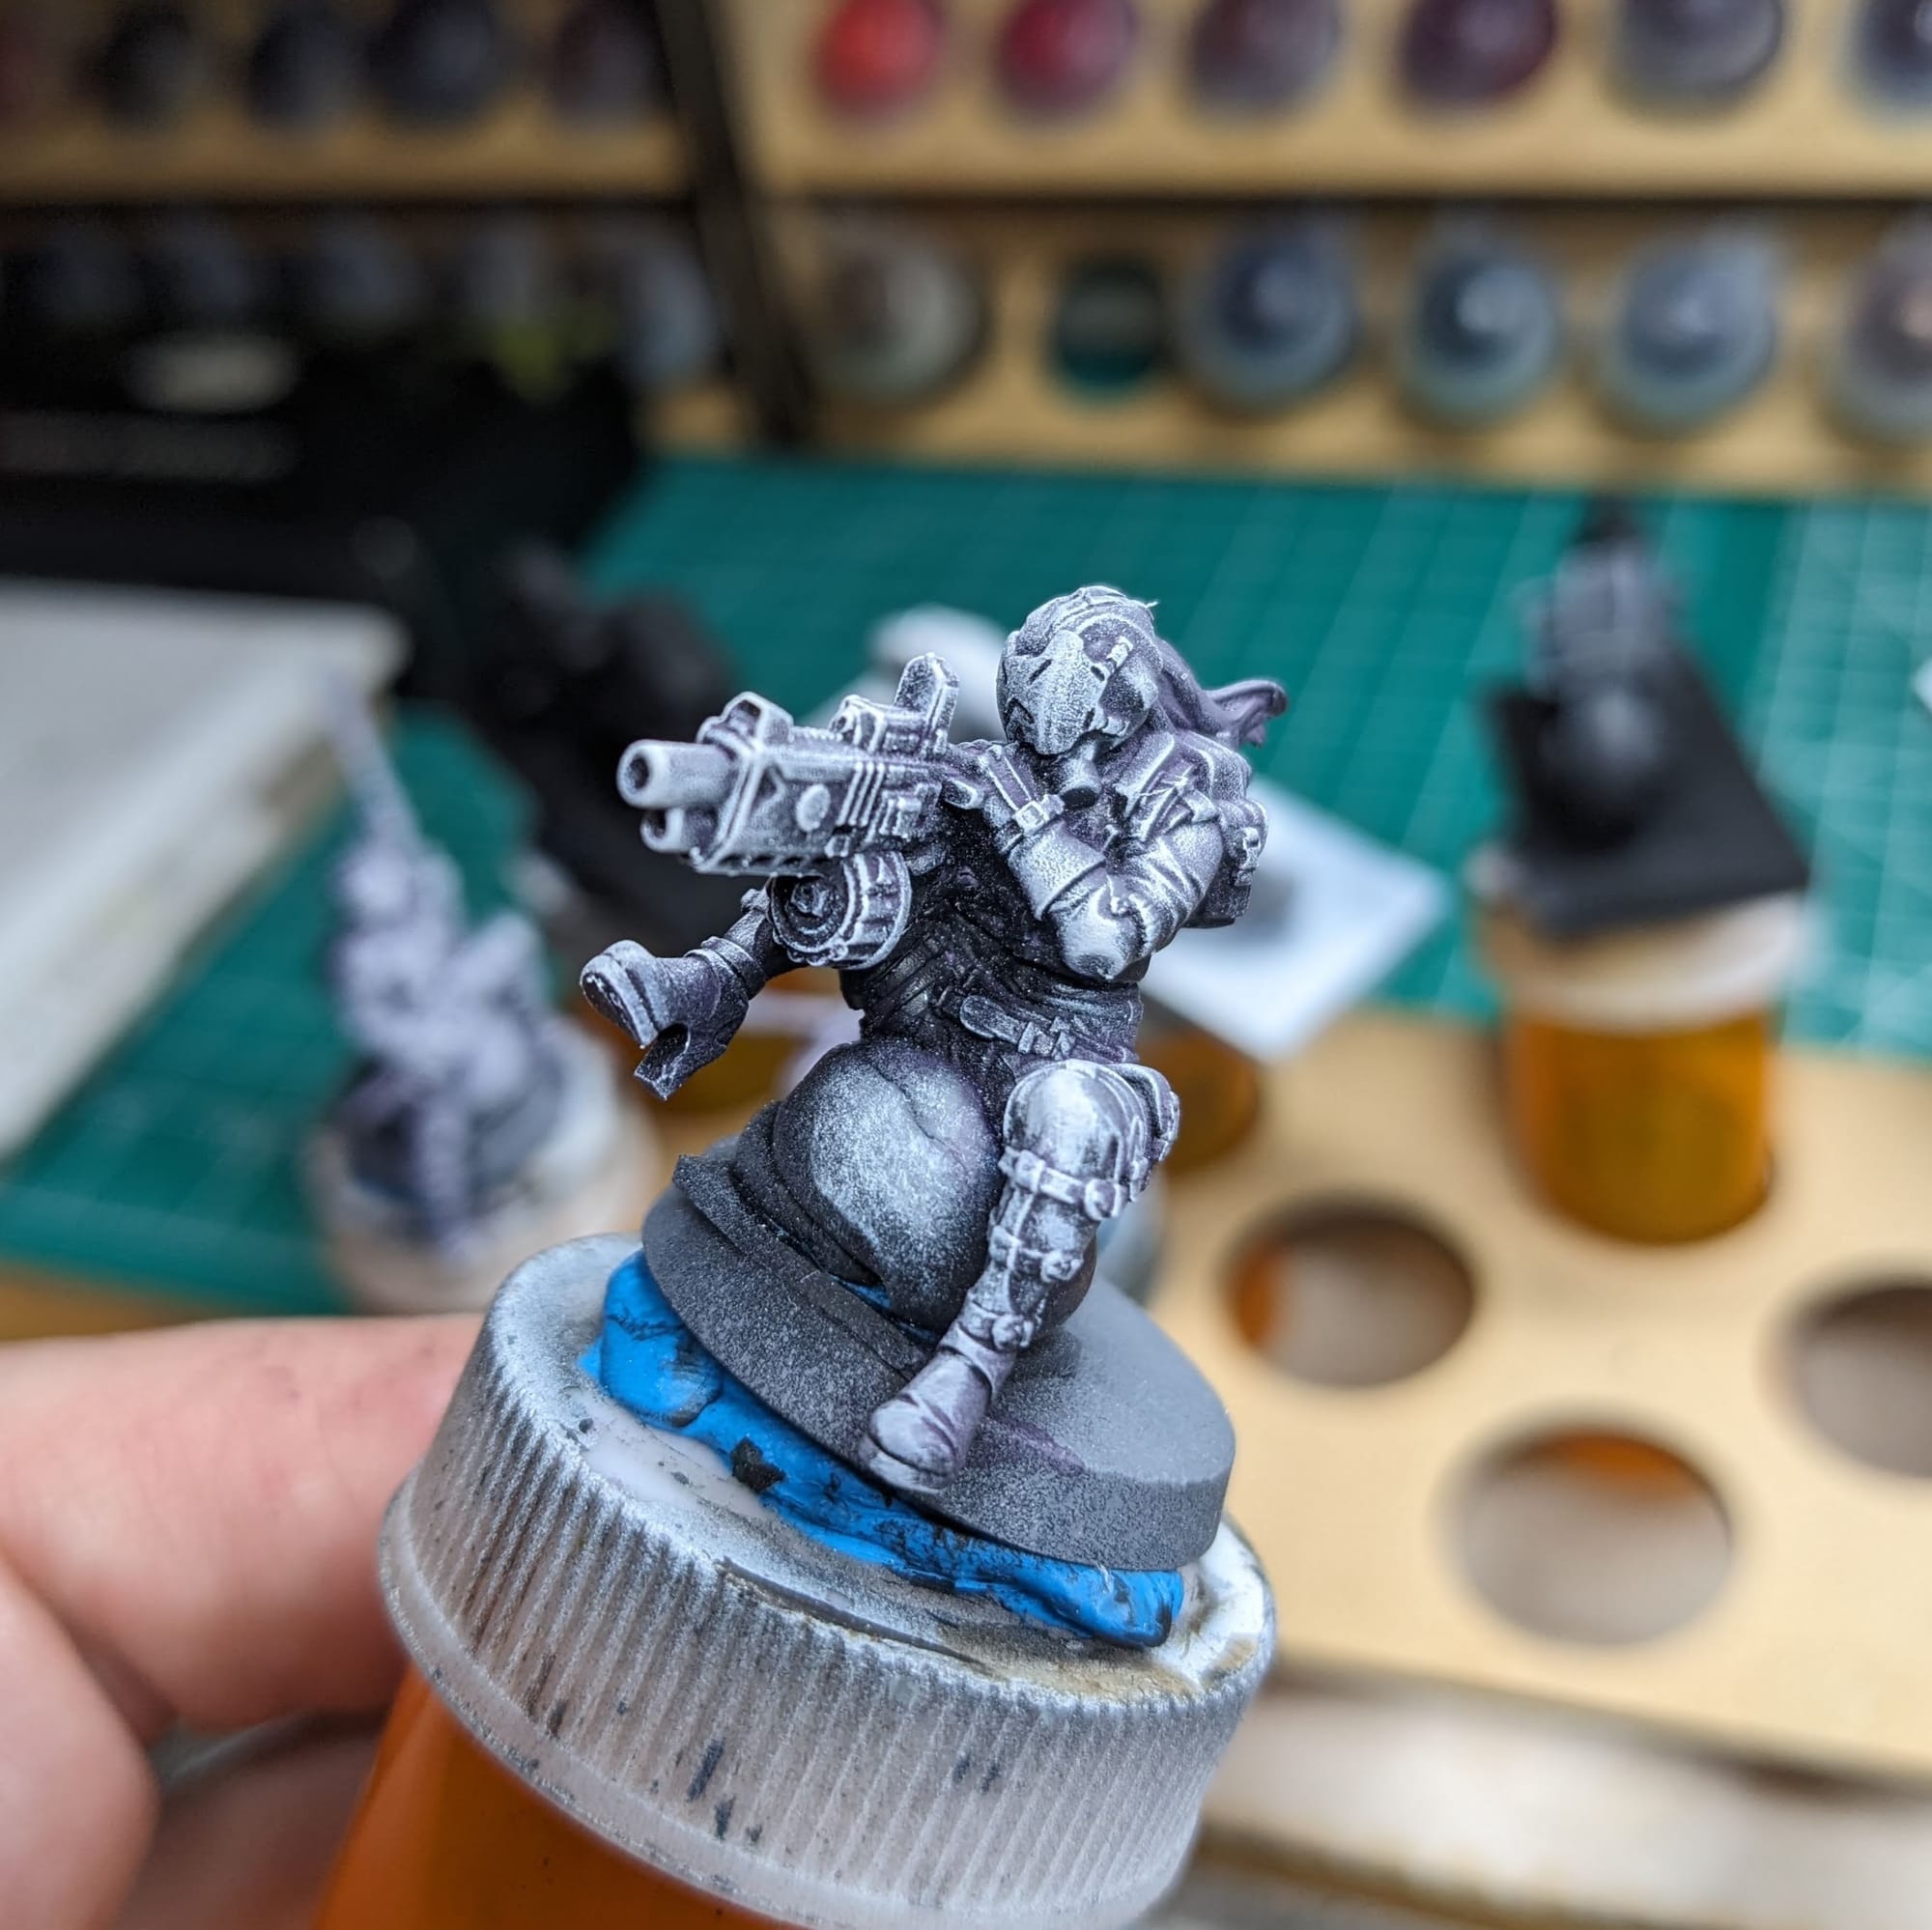
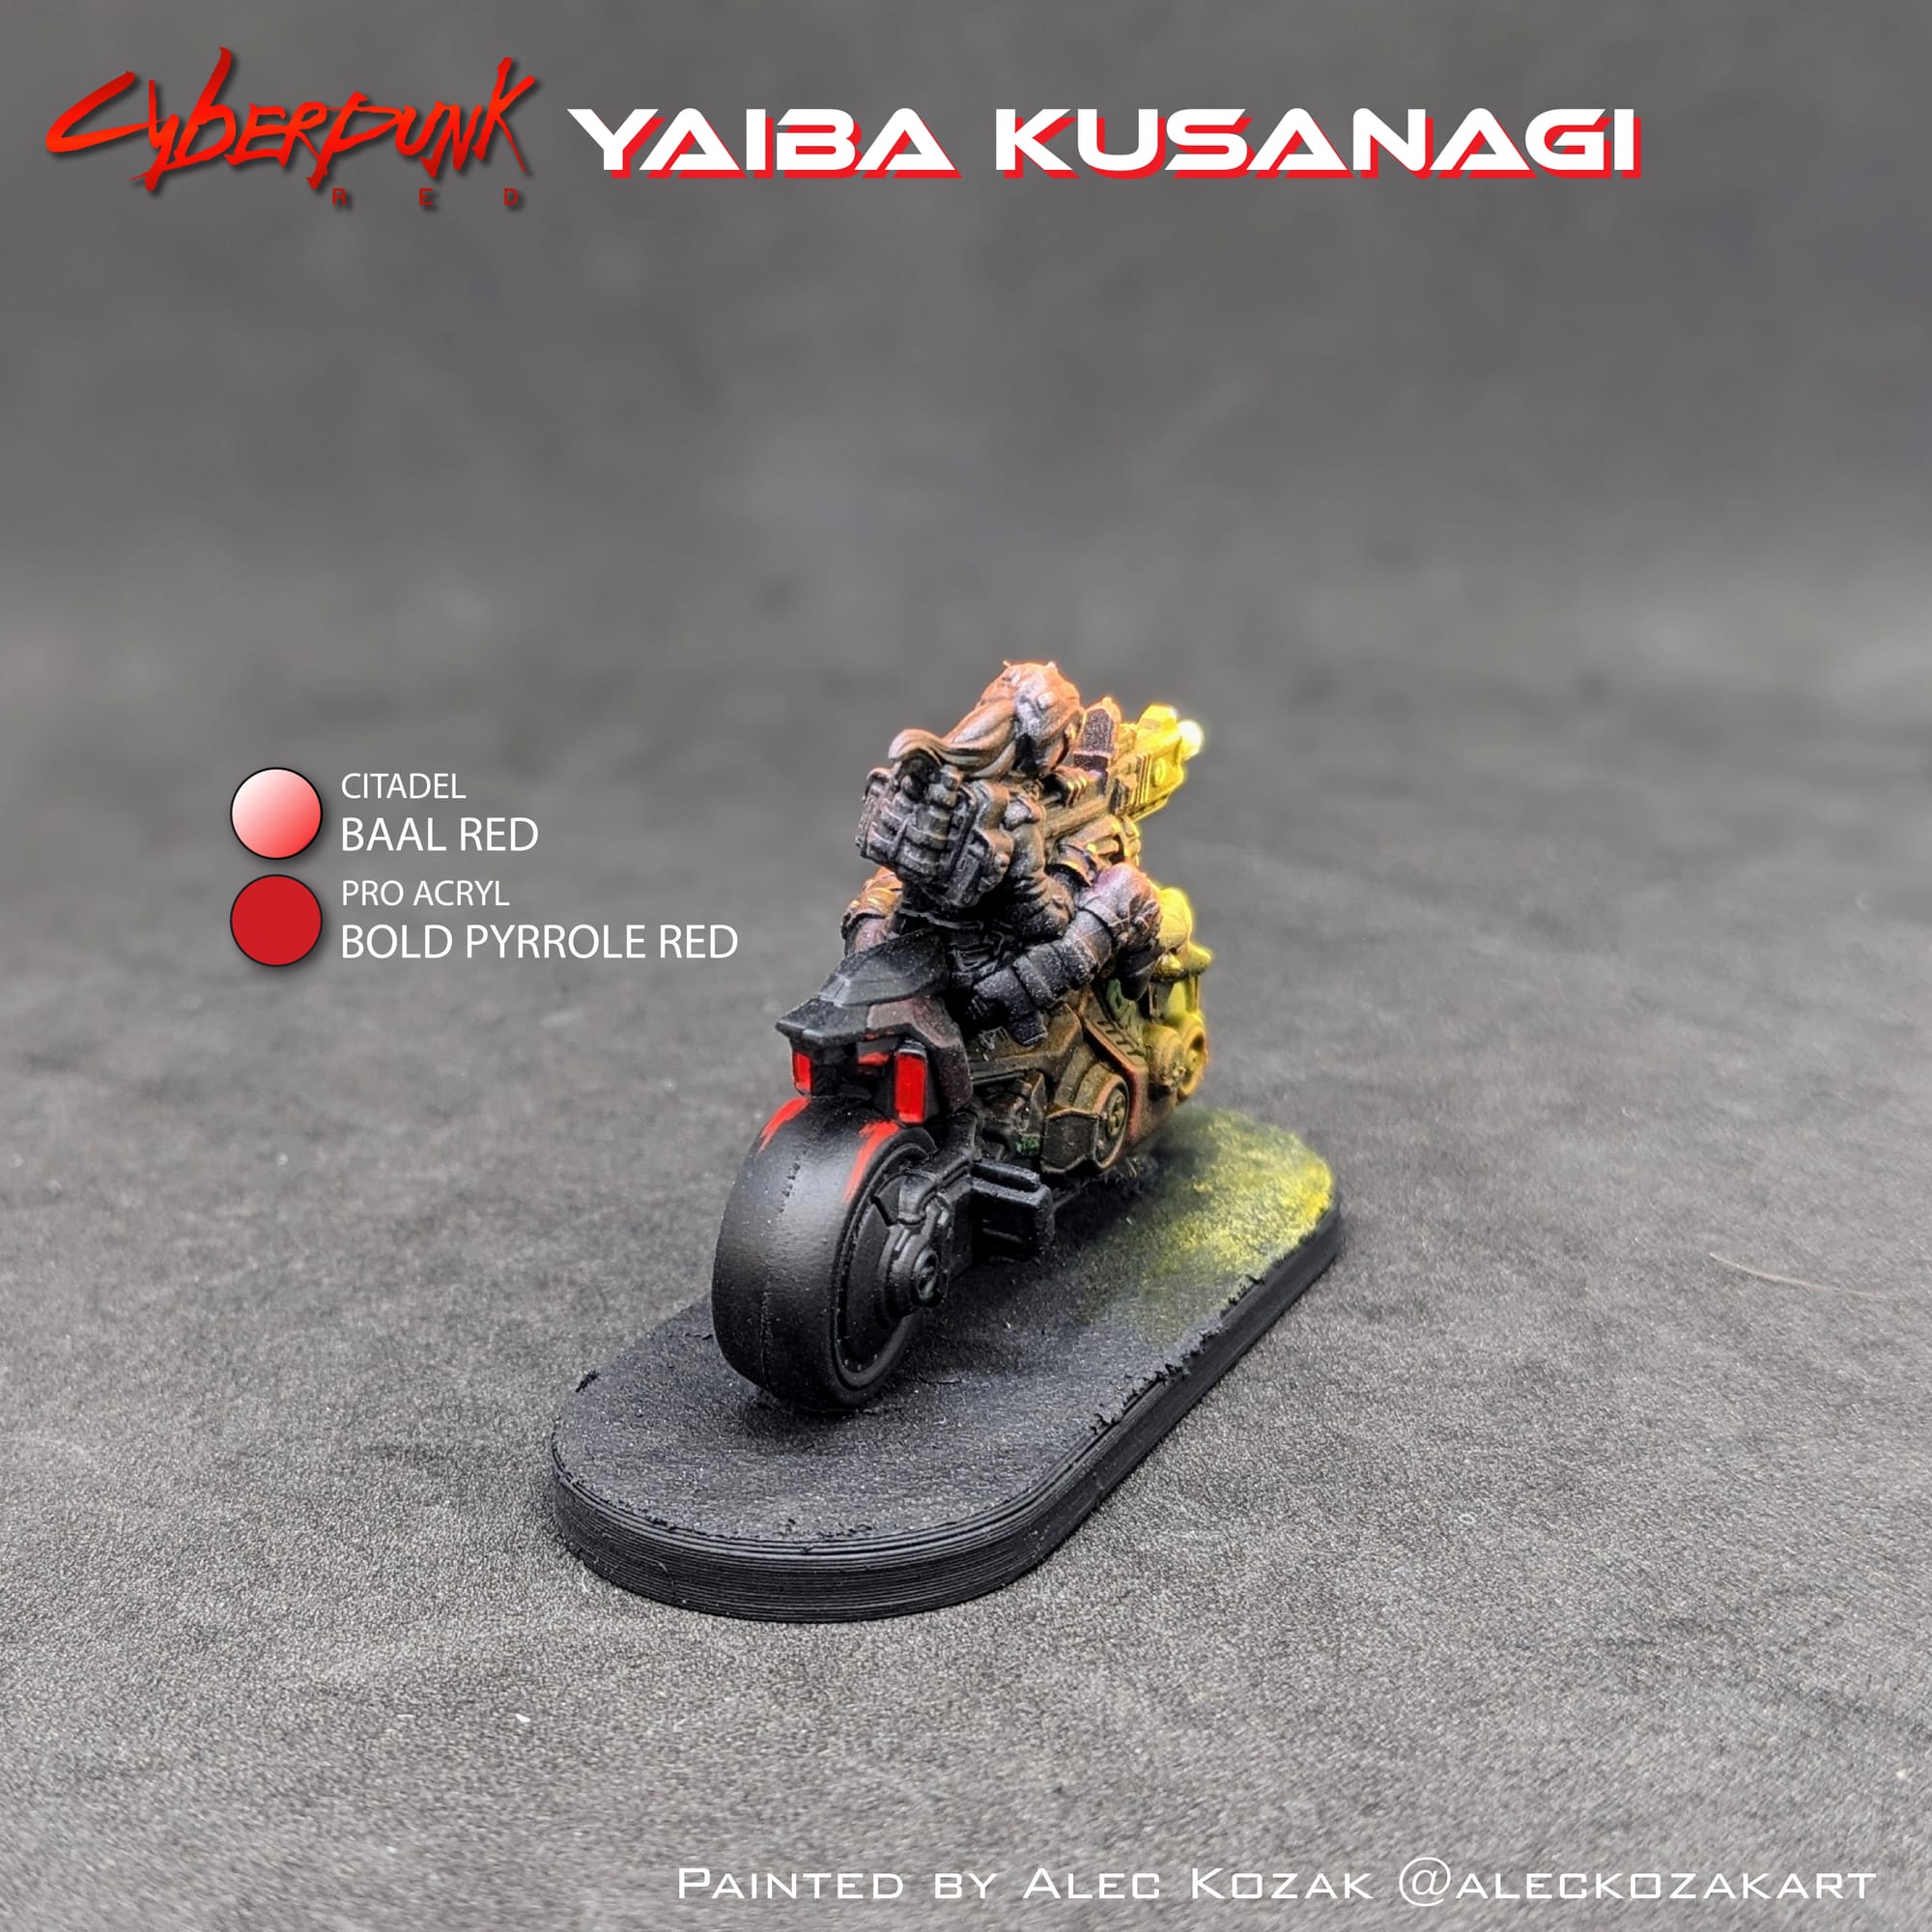
This rider has a little bit more of a dynamic pose. Since the source of the light is going to be from the muzzle blast, there wasn't a reason to apply thinned down paints to her. However, the bike itself is farther away from the light source, so I lightly applied the contrast paint colors to it, thinning them out on the wet palette. The bike colors, if any, will show through under the airbrush paints later.


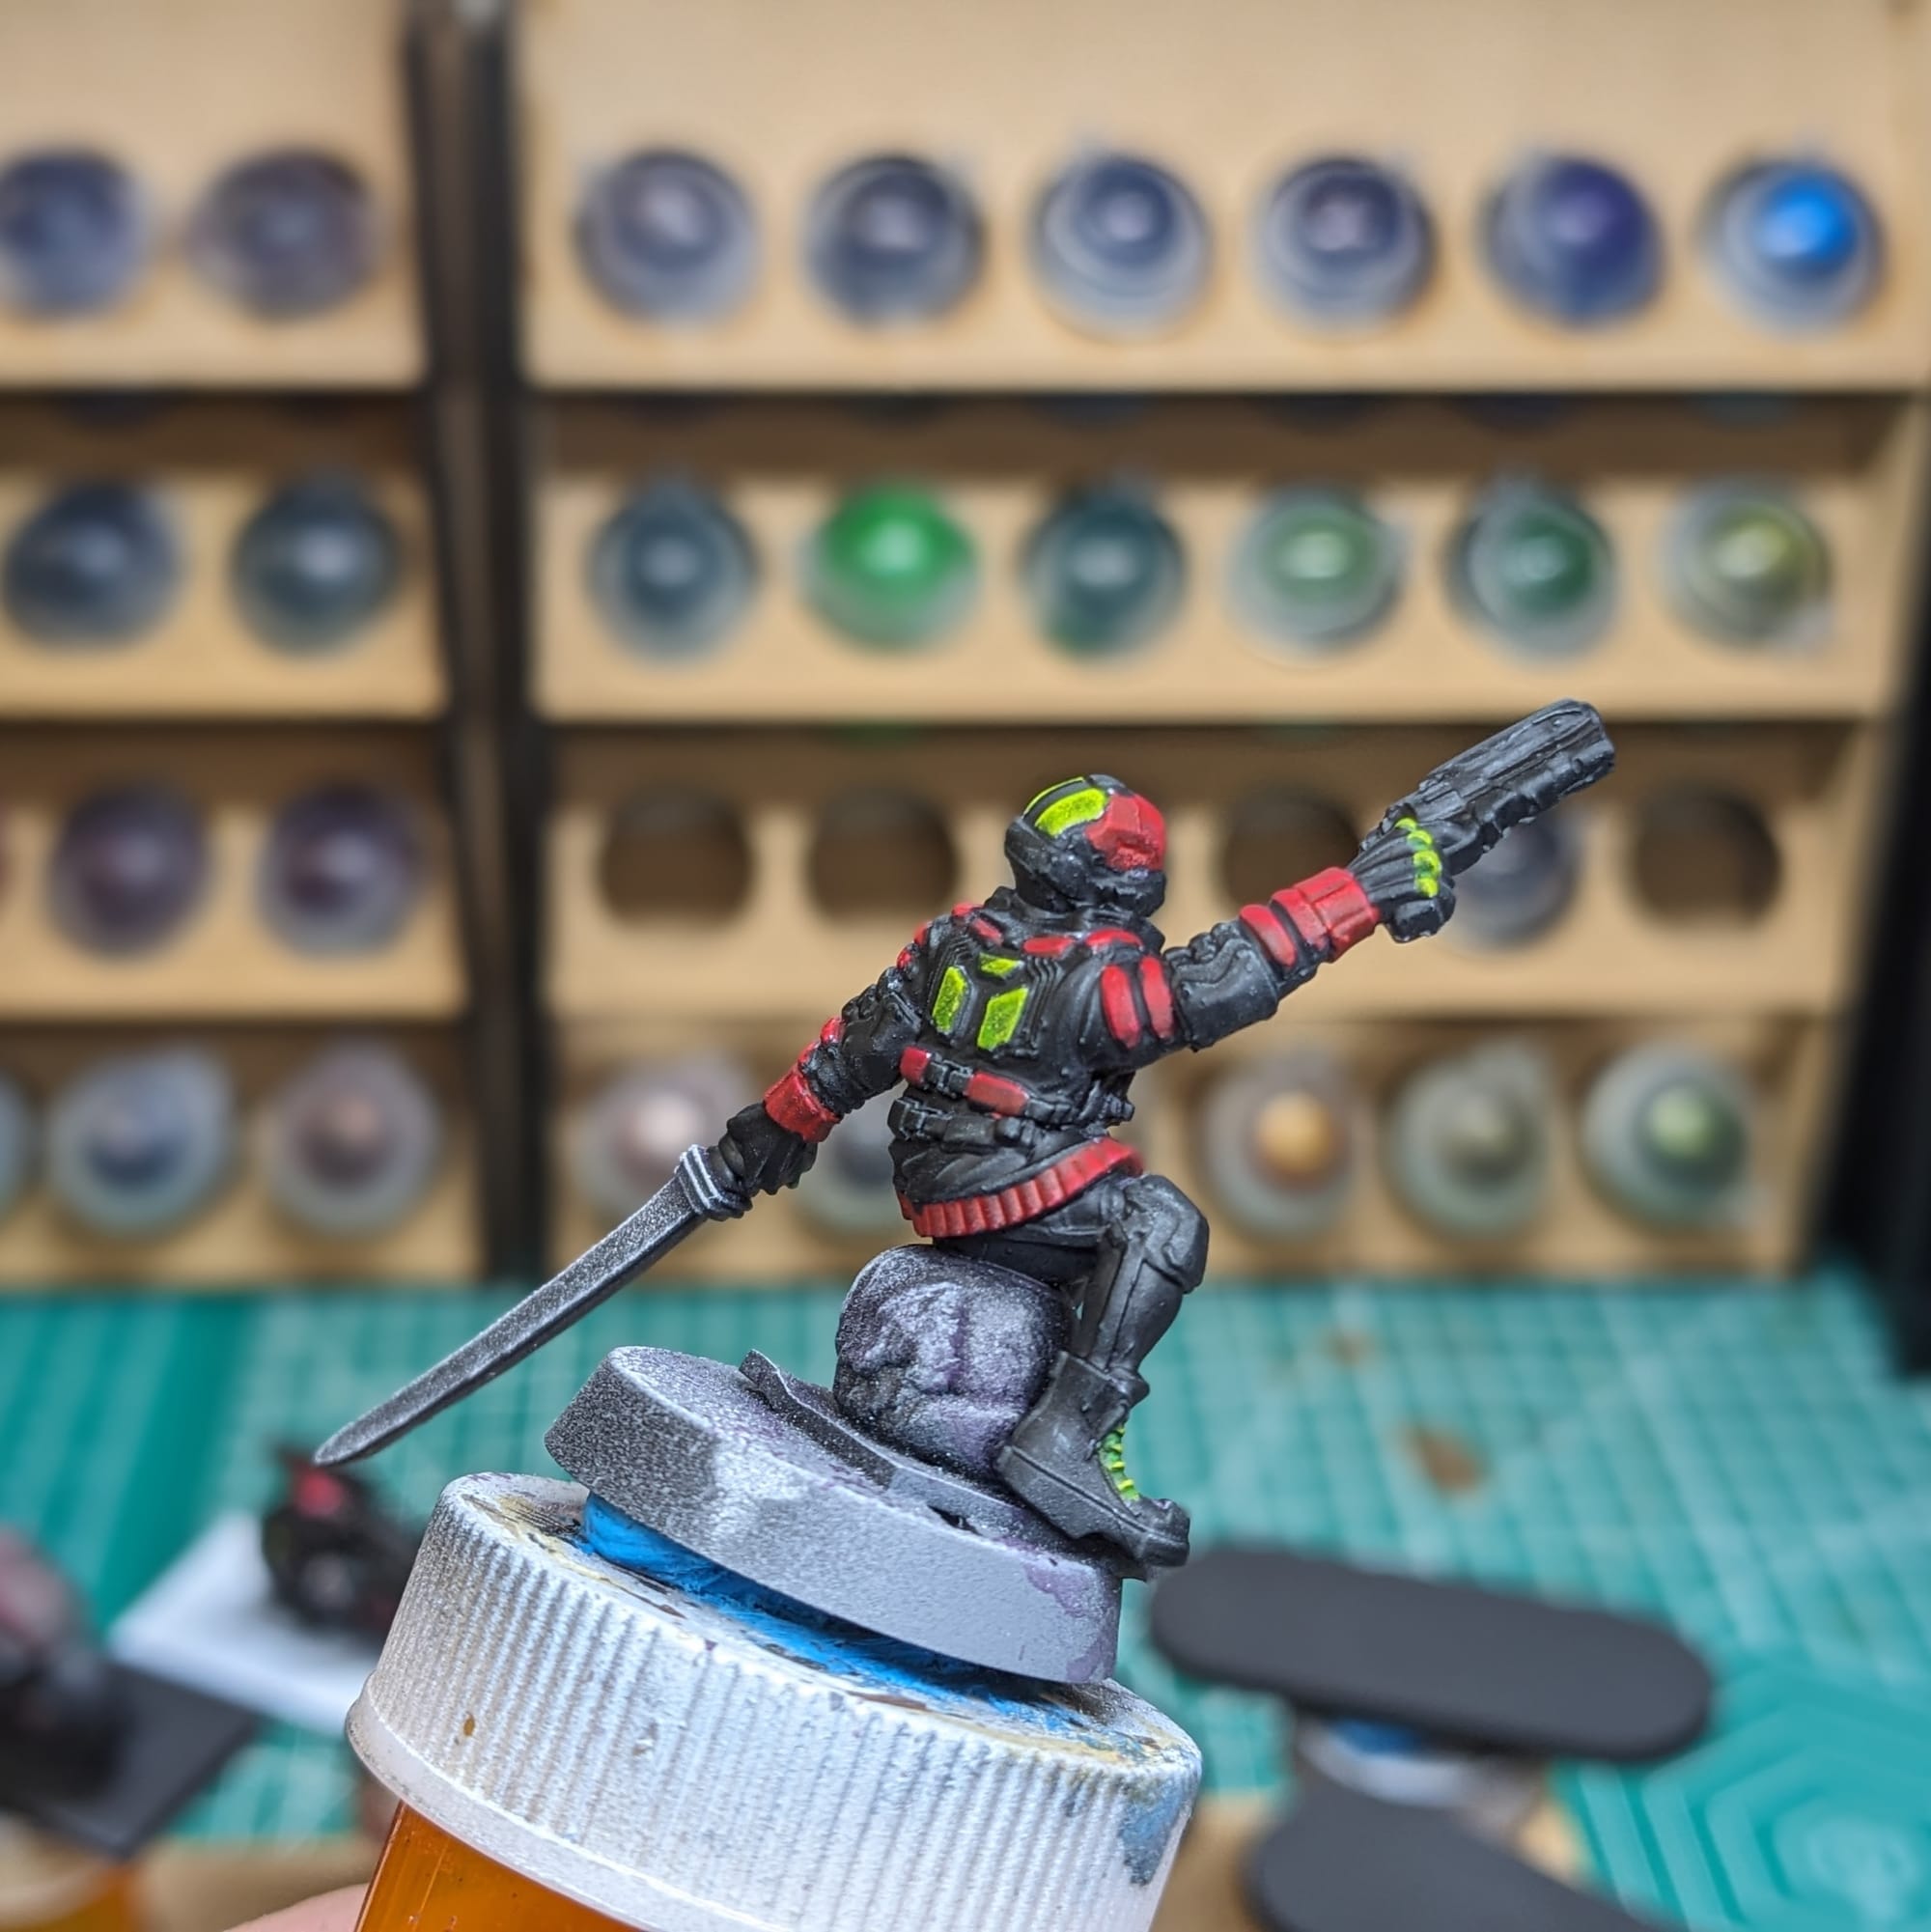
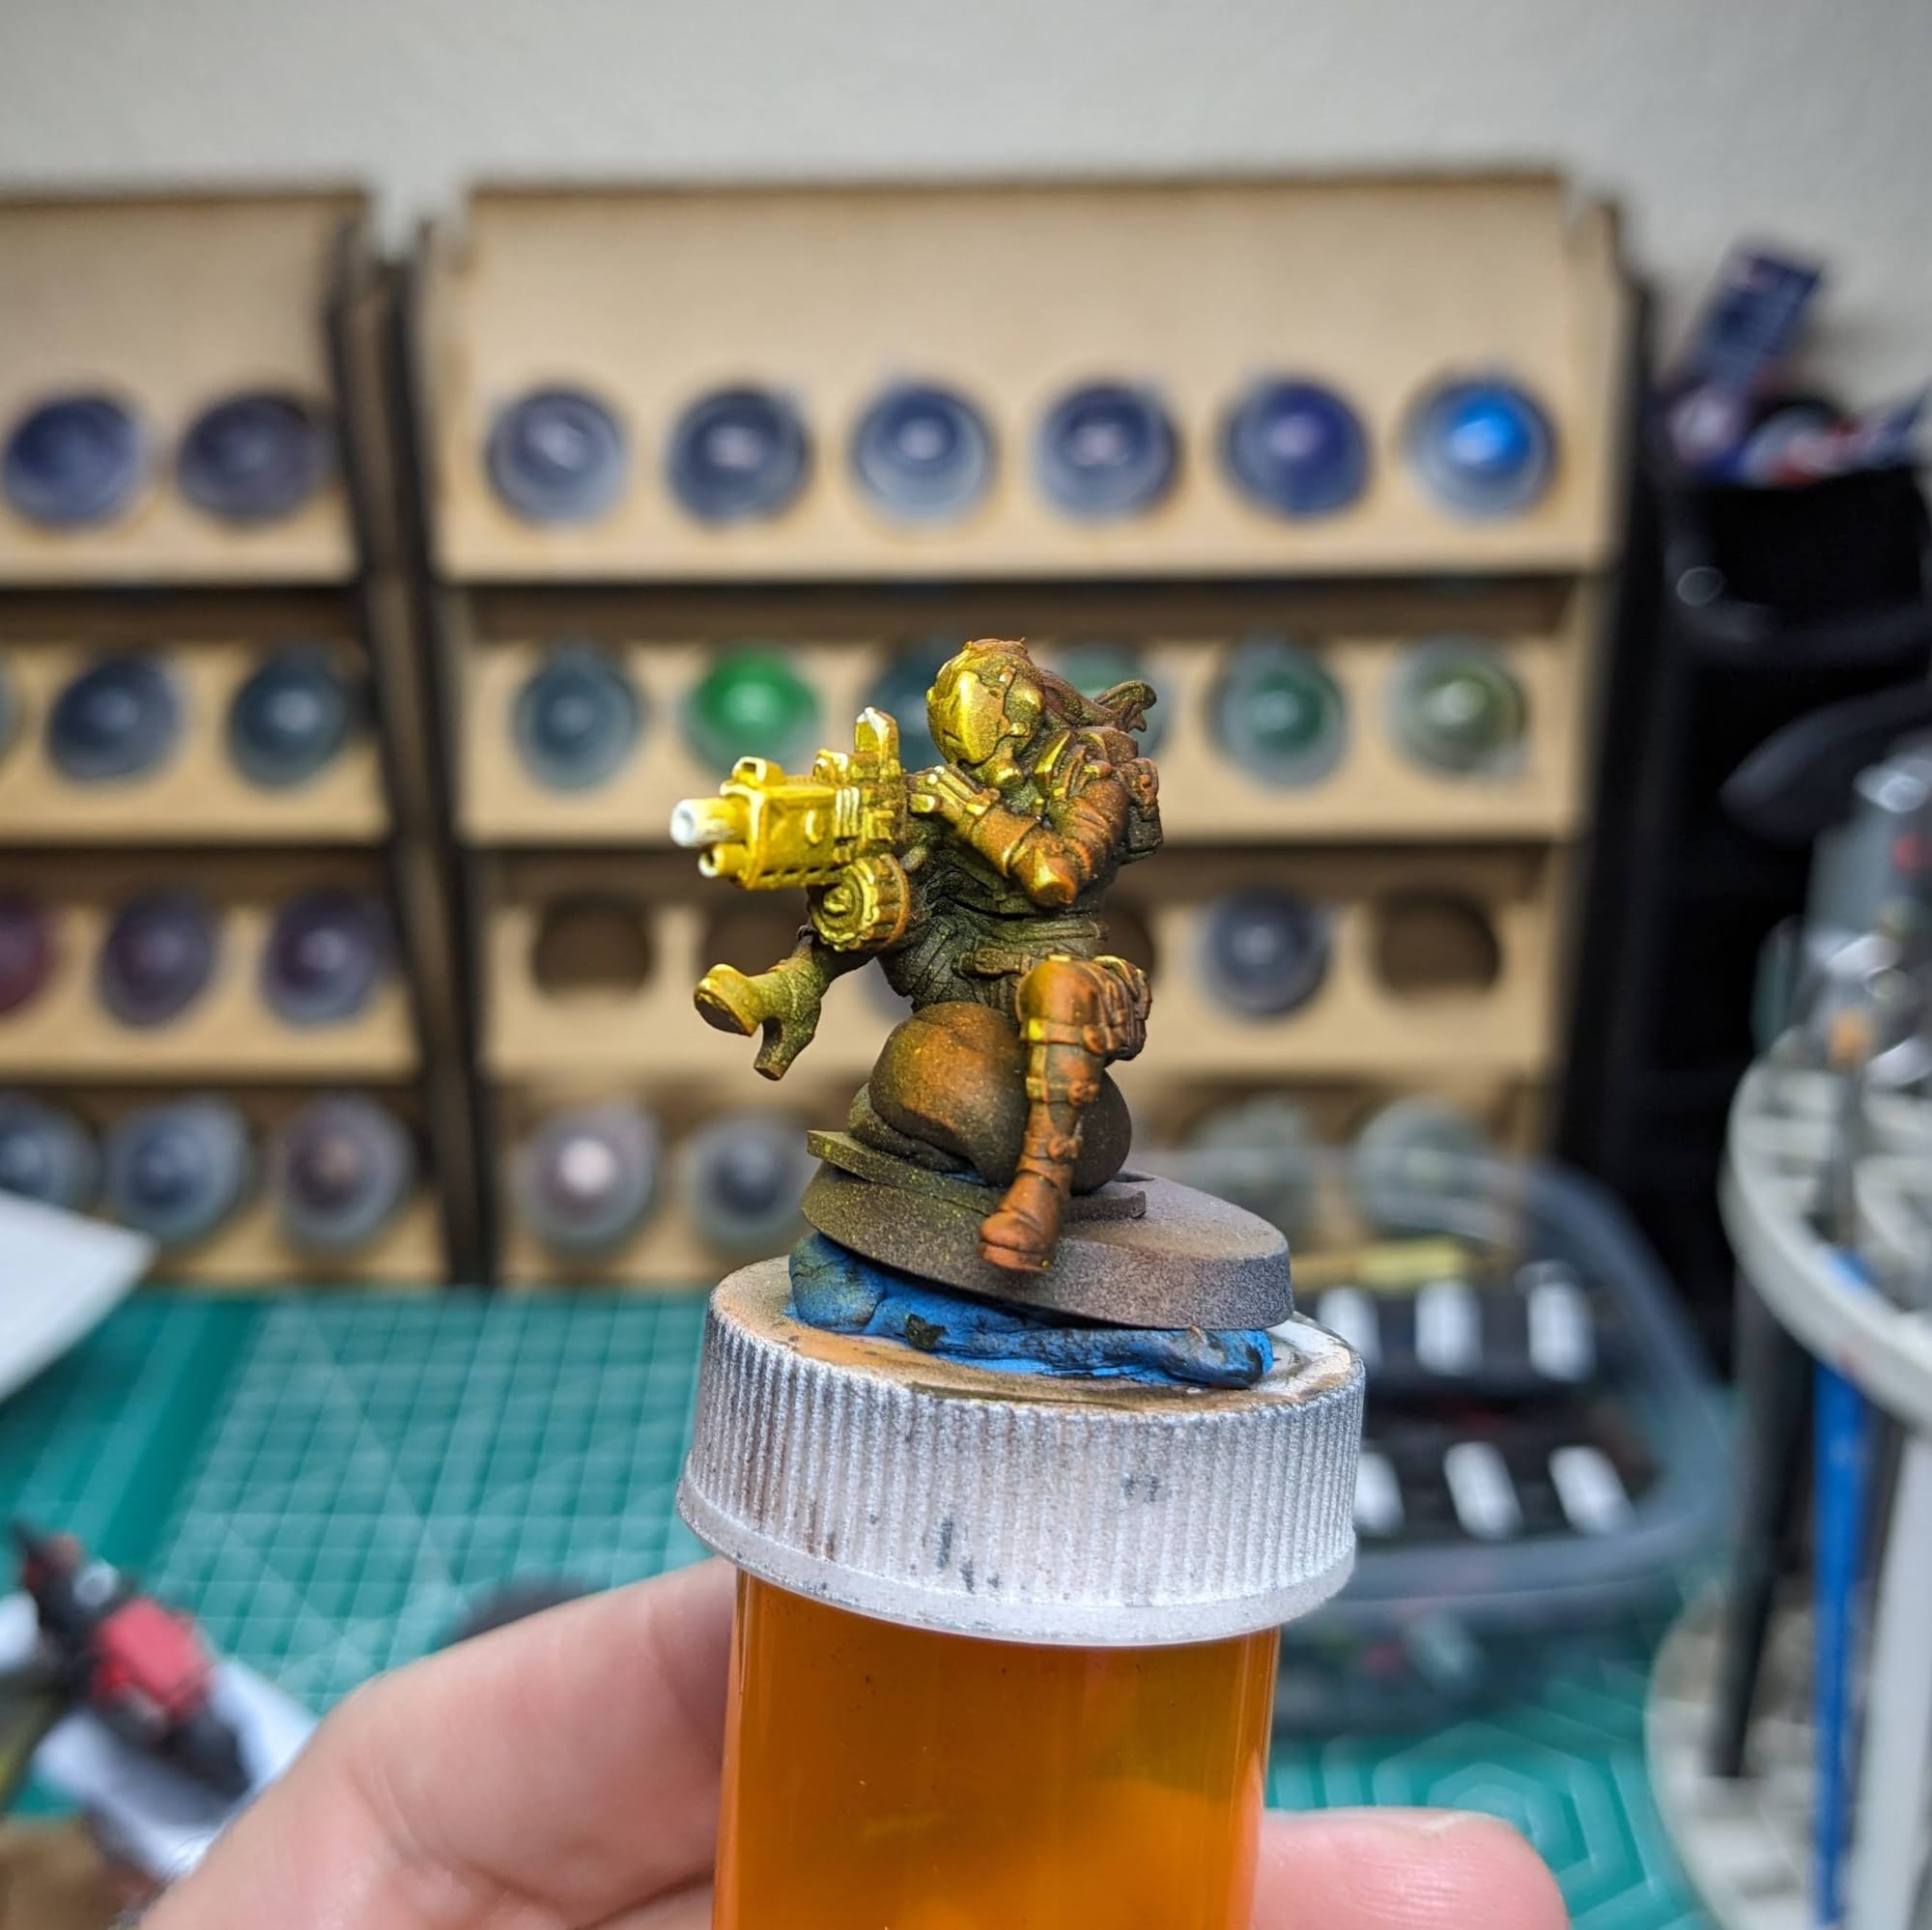
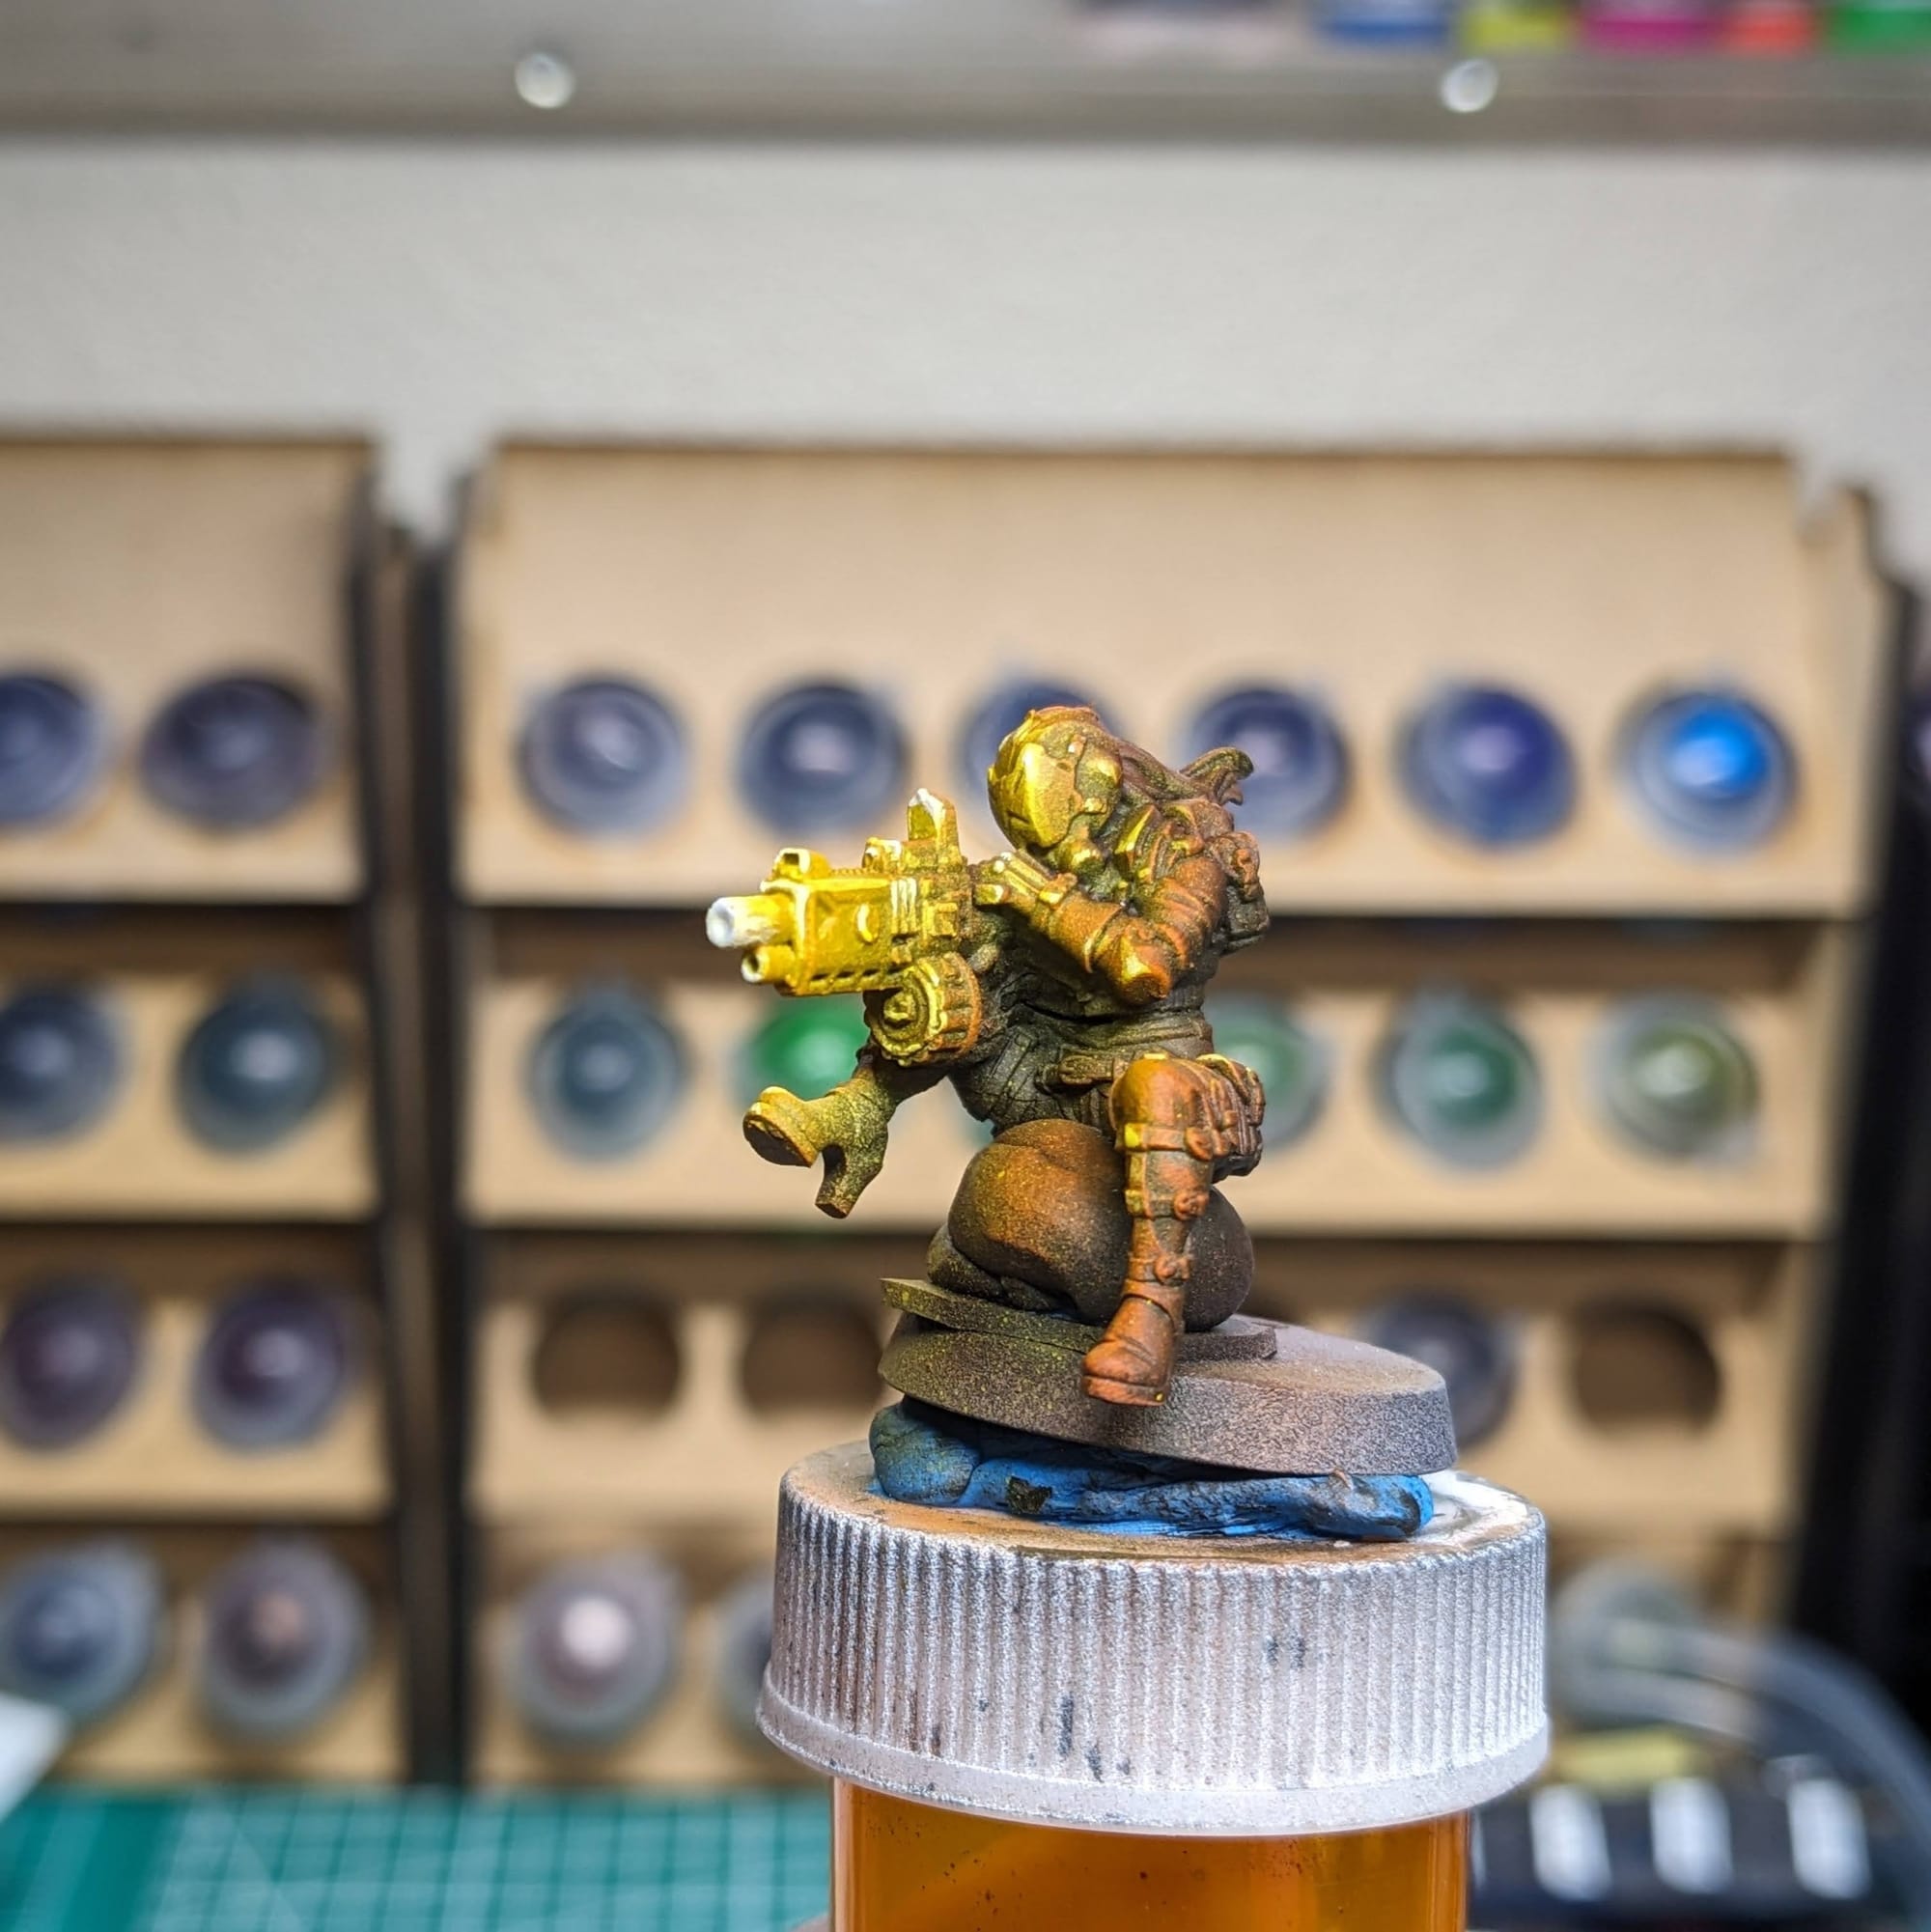
Once I was satisfied with the pre-airbrush, I applied the airbrush colors to her, starting first with orange and then moving up to yellow. The white will be applied last with the brush. I made sure not to airbrush too much yellow to the bike so I could help provide some contrast to the gunfire and force the brightest areas closest to the barrel.
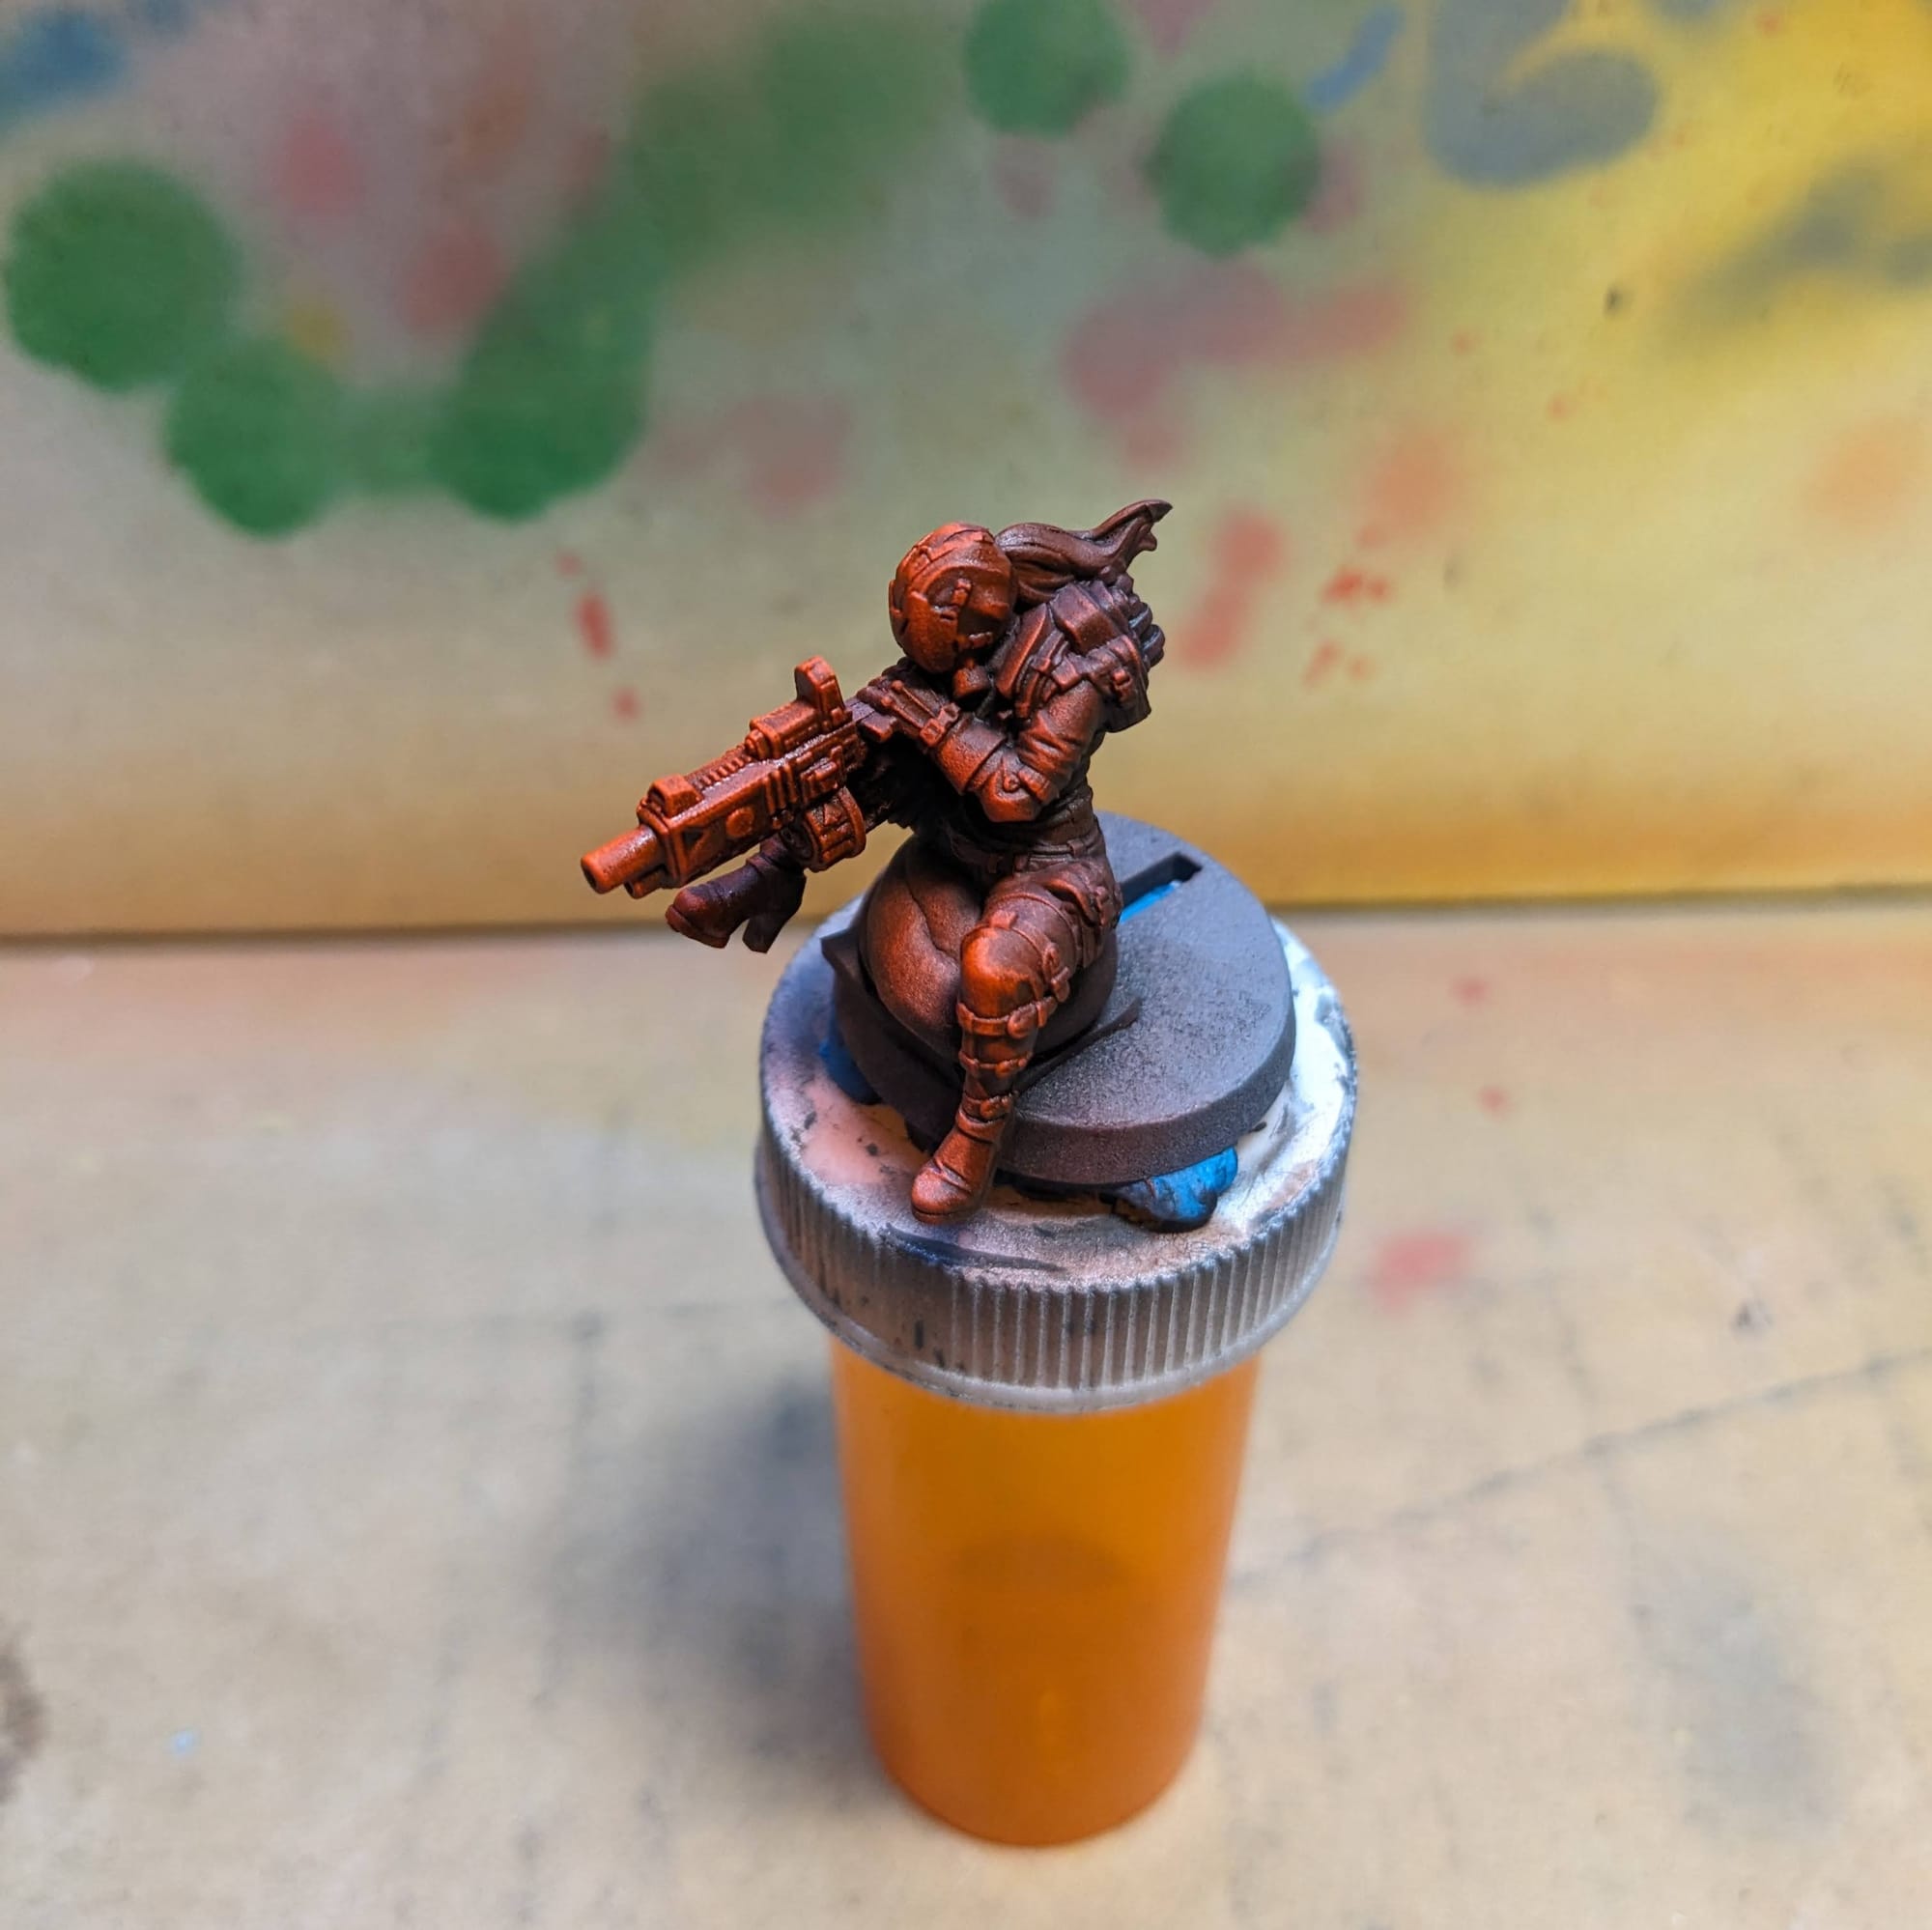
Back at the desk, I glued to rider to the bike. Then, I used normal paints to accent edges from the glow to help reinforce the bright illumination effect from the gunfire. I then glued the bike to the base (after doing the basing, see below), applying both dry brushing and thin color glazes to the asphalt. This glow shouldn't be as bright because the light is hitting dark asphalt, which isn't going to reflect as much light as shiny metal would. With that, she is done!
Basing
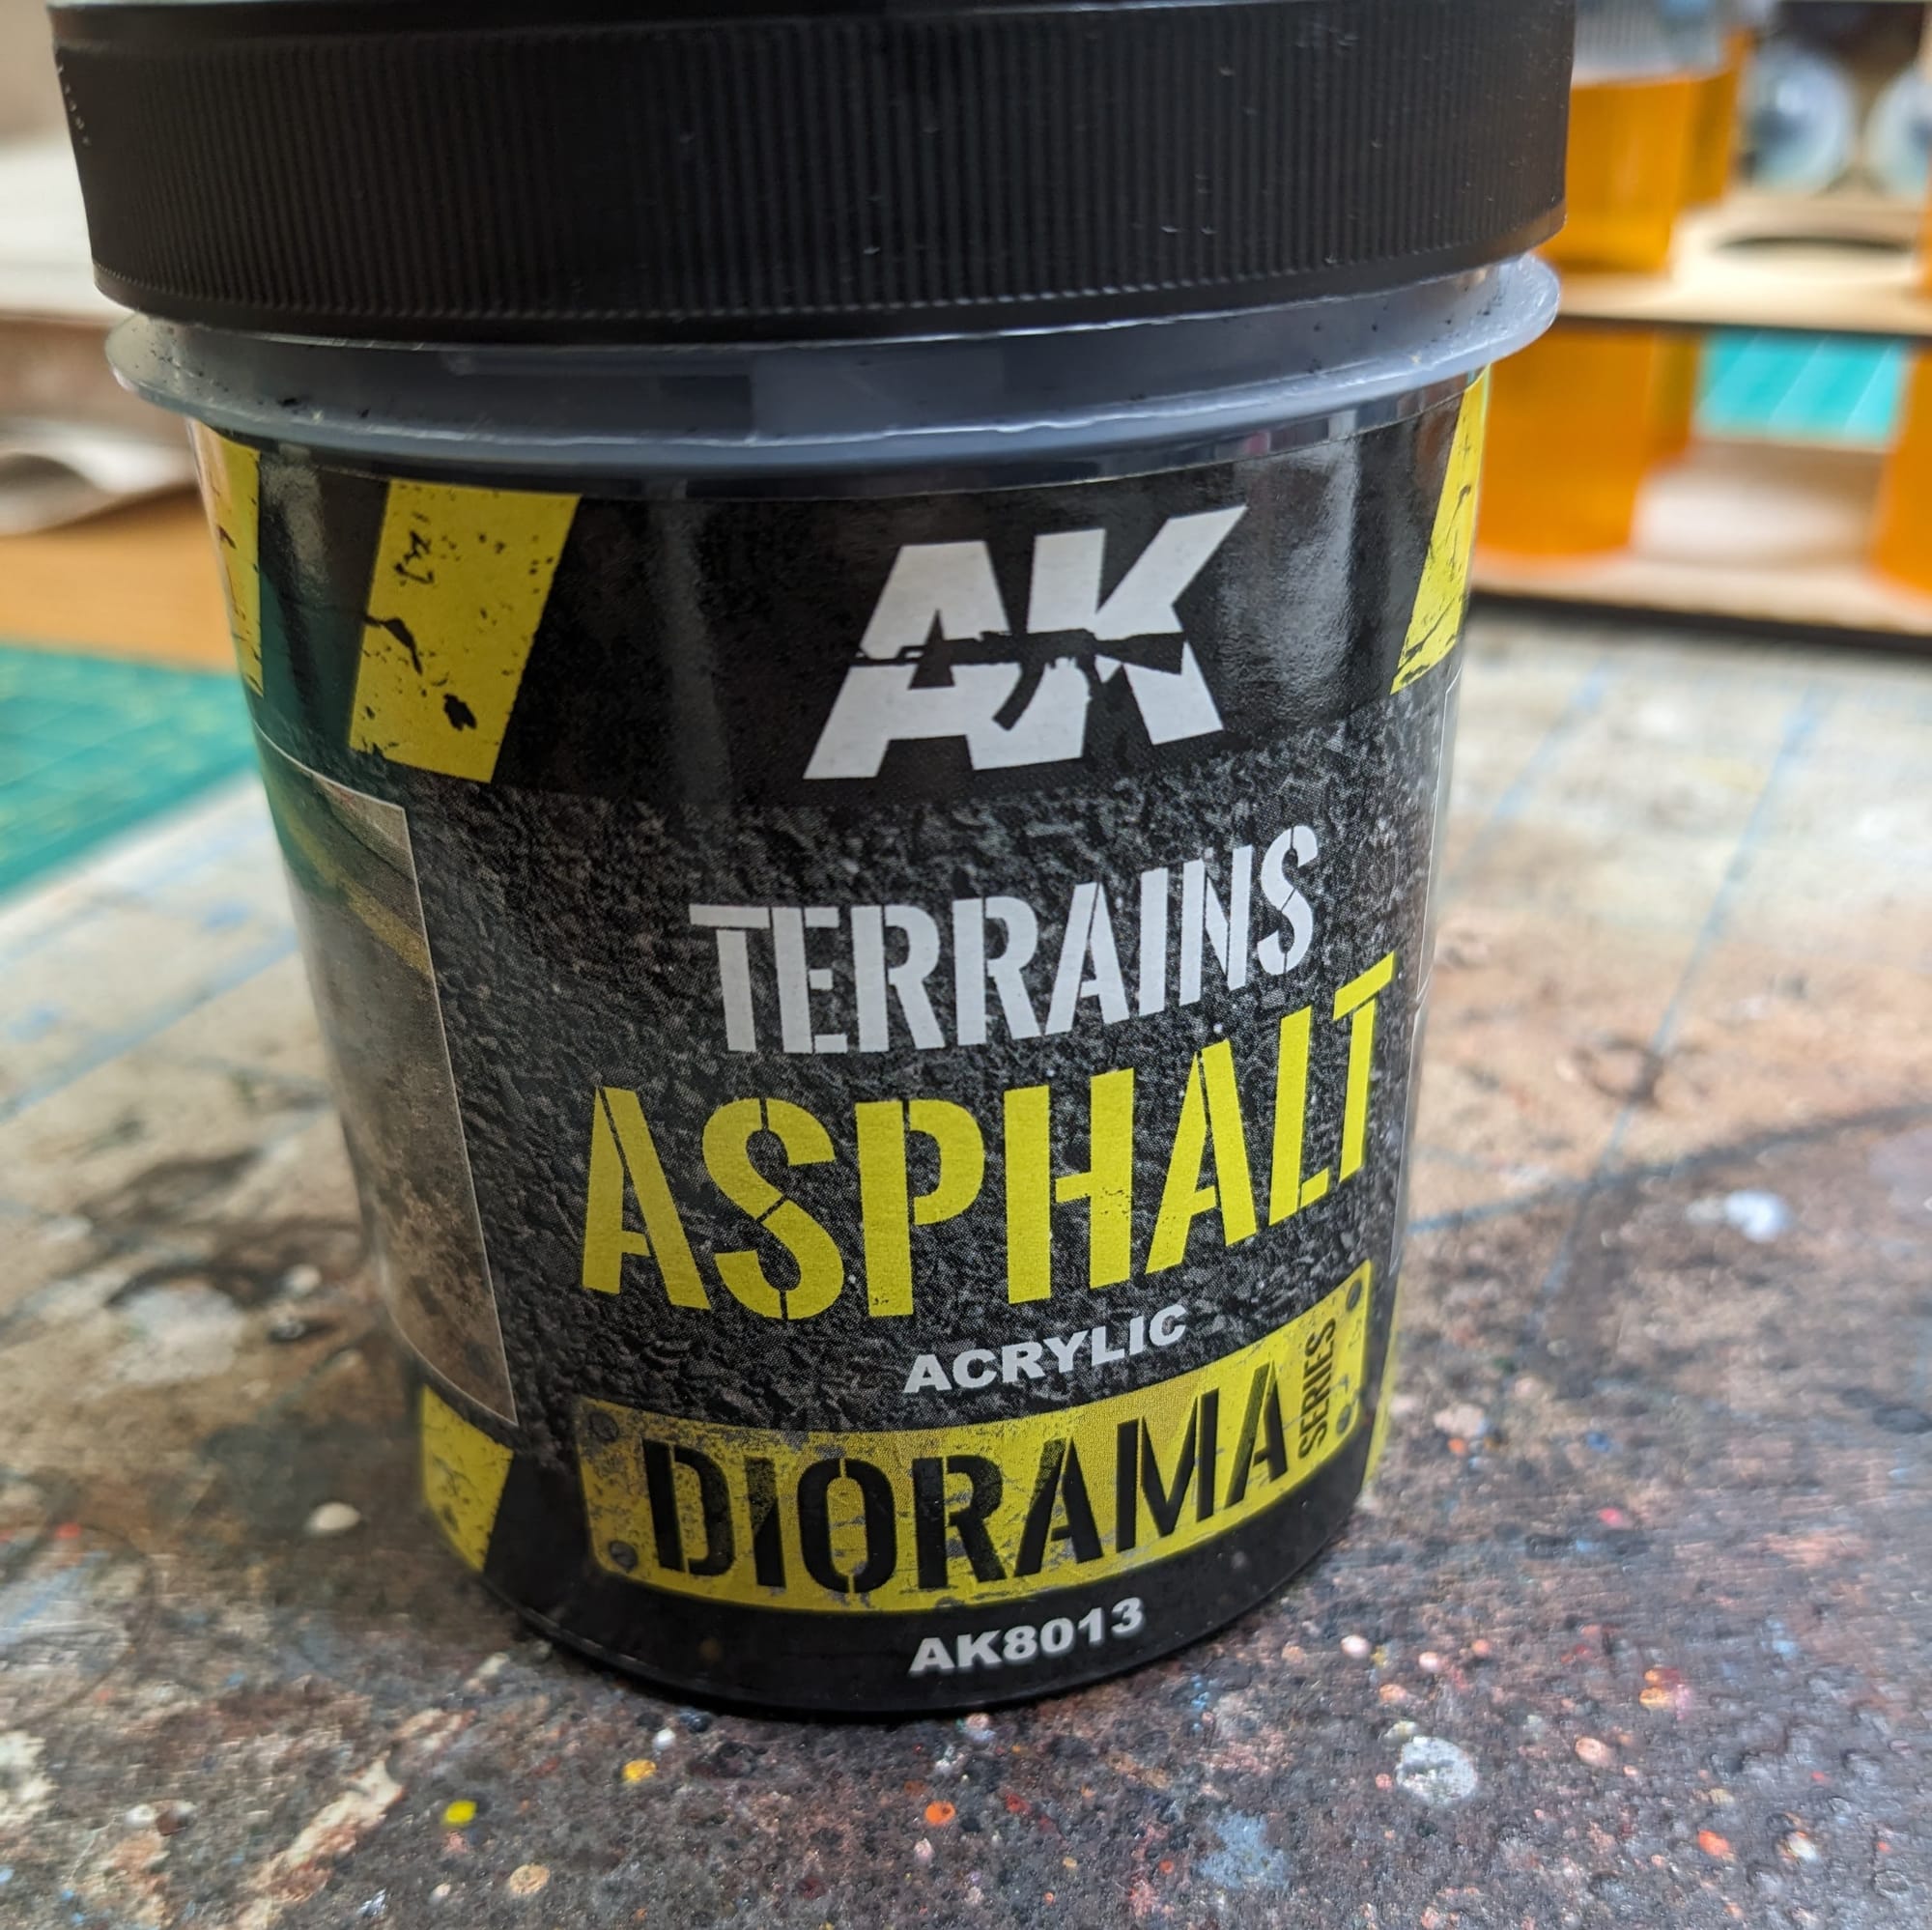
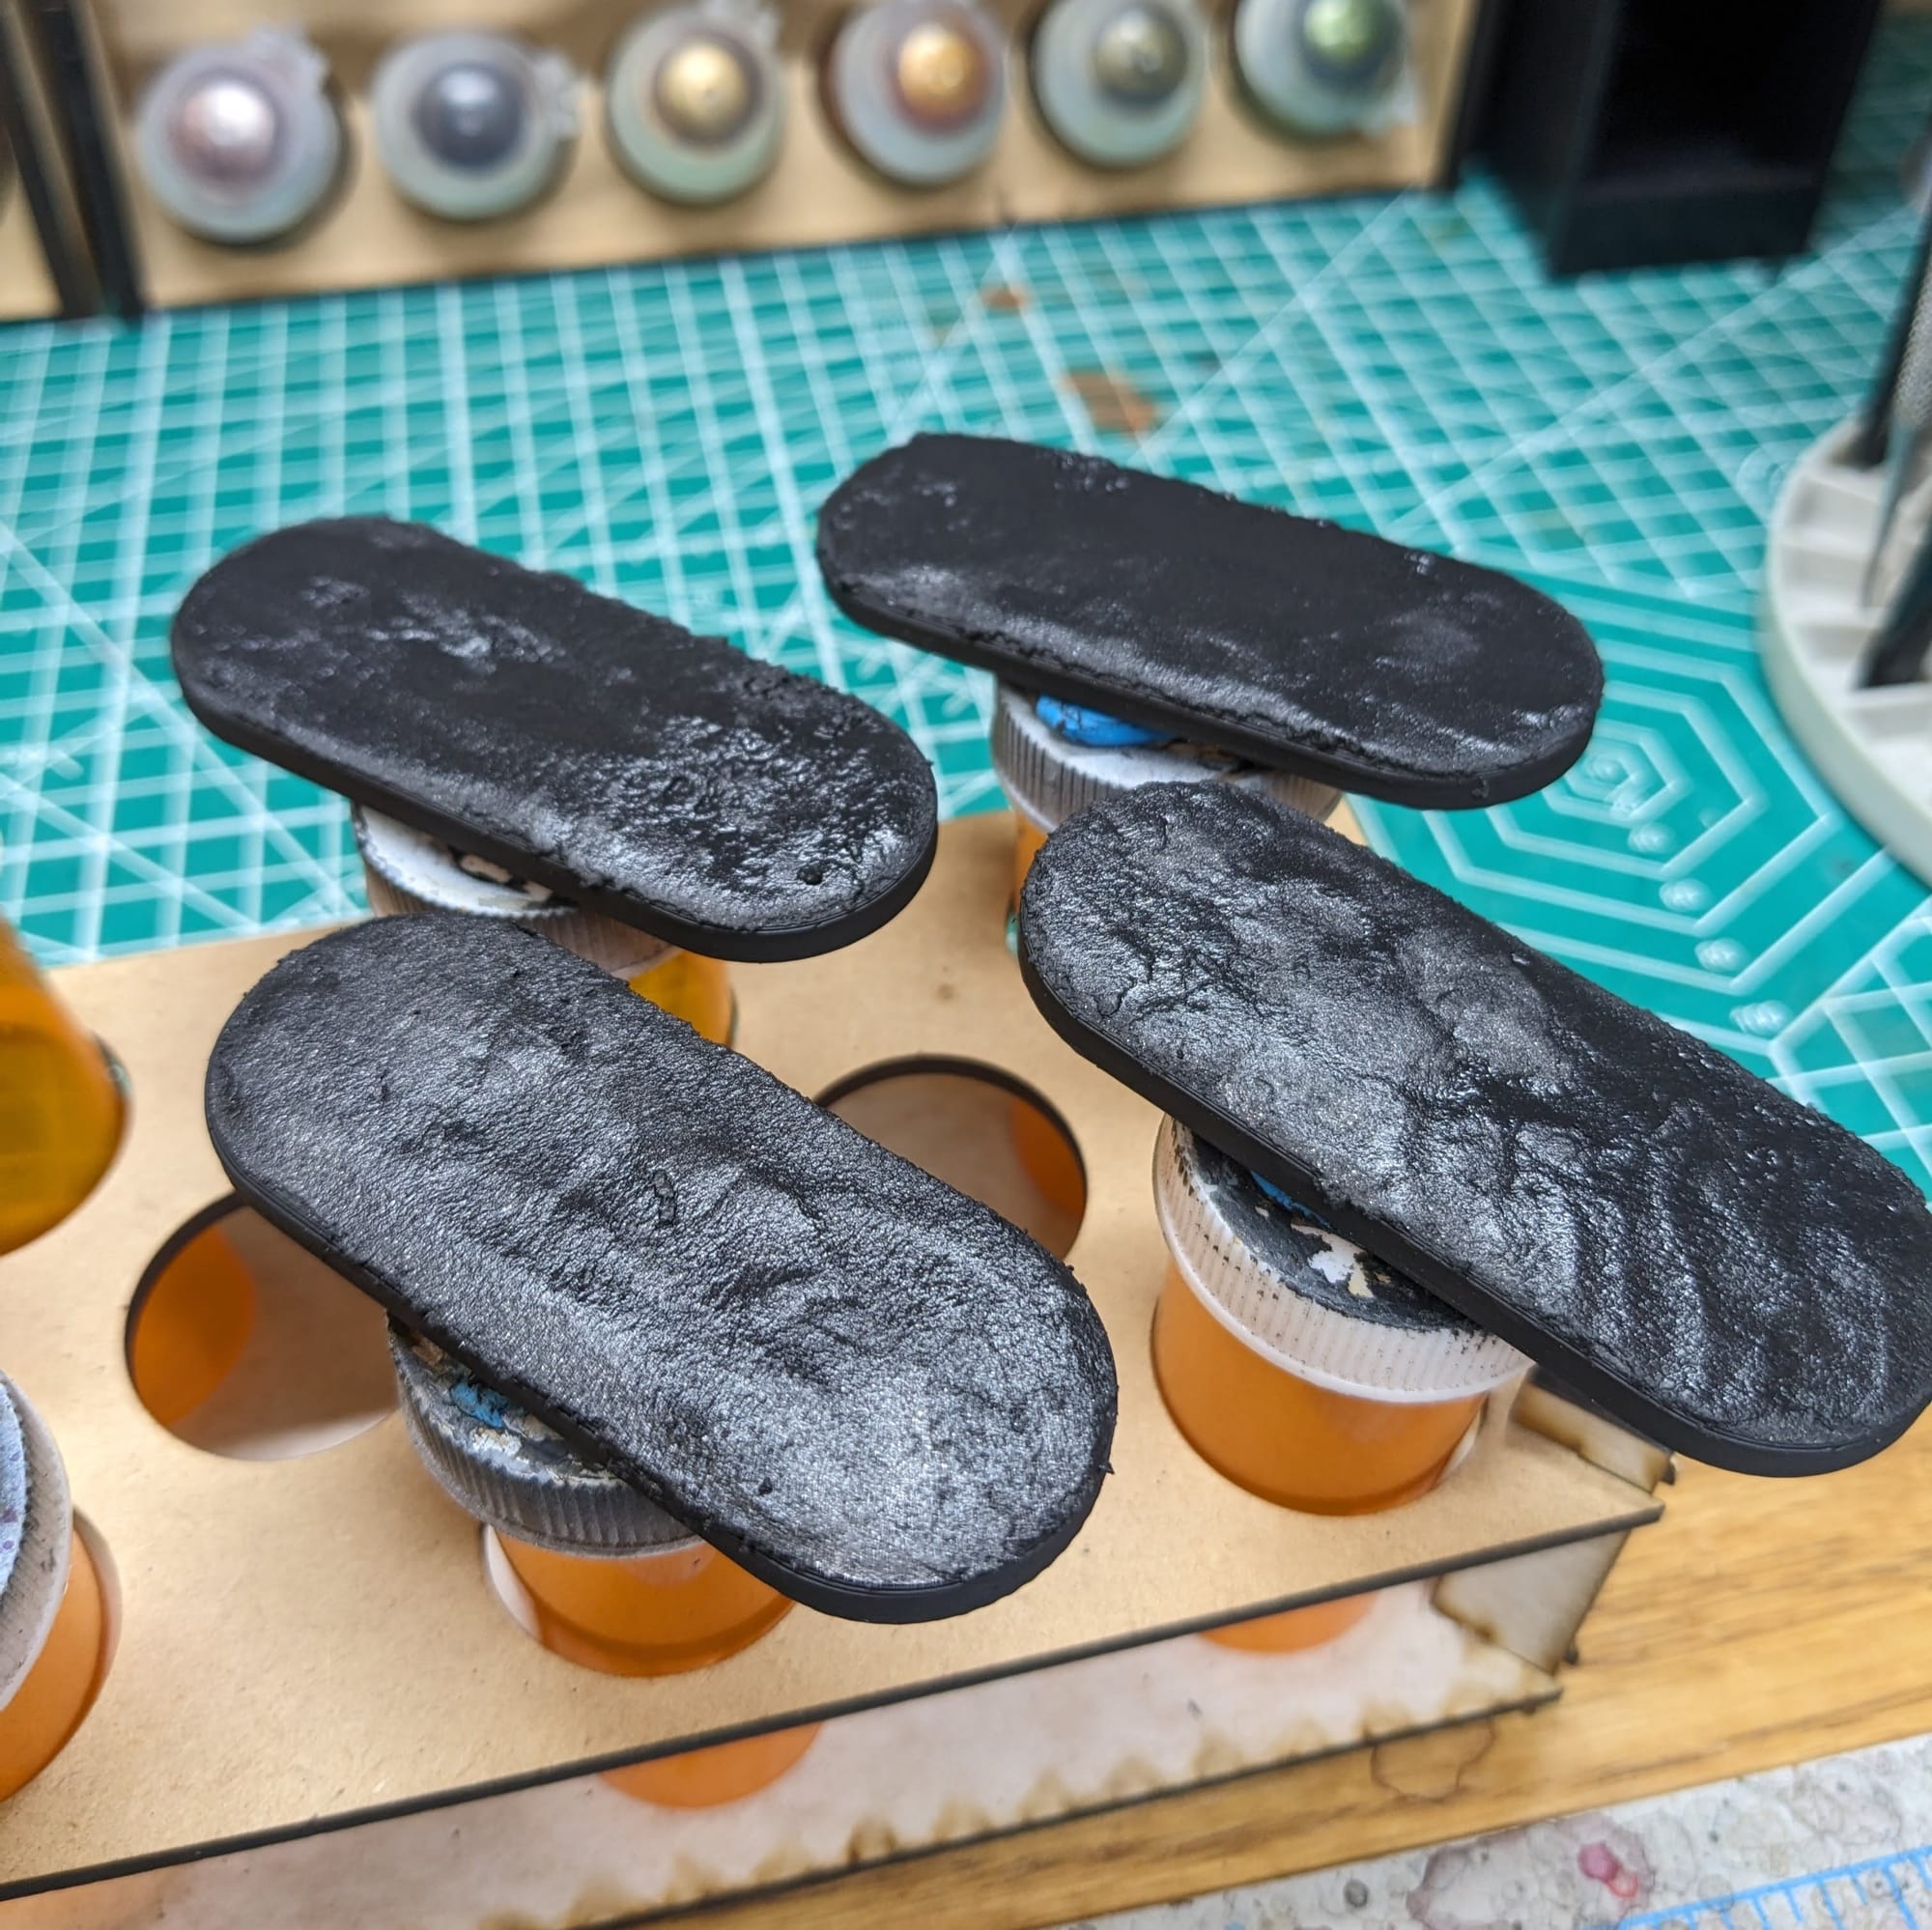
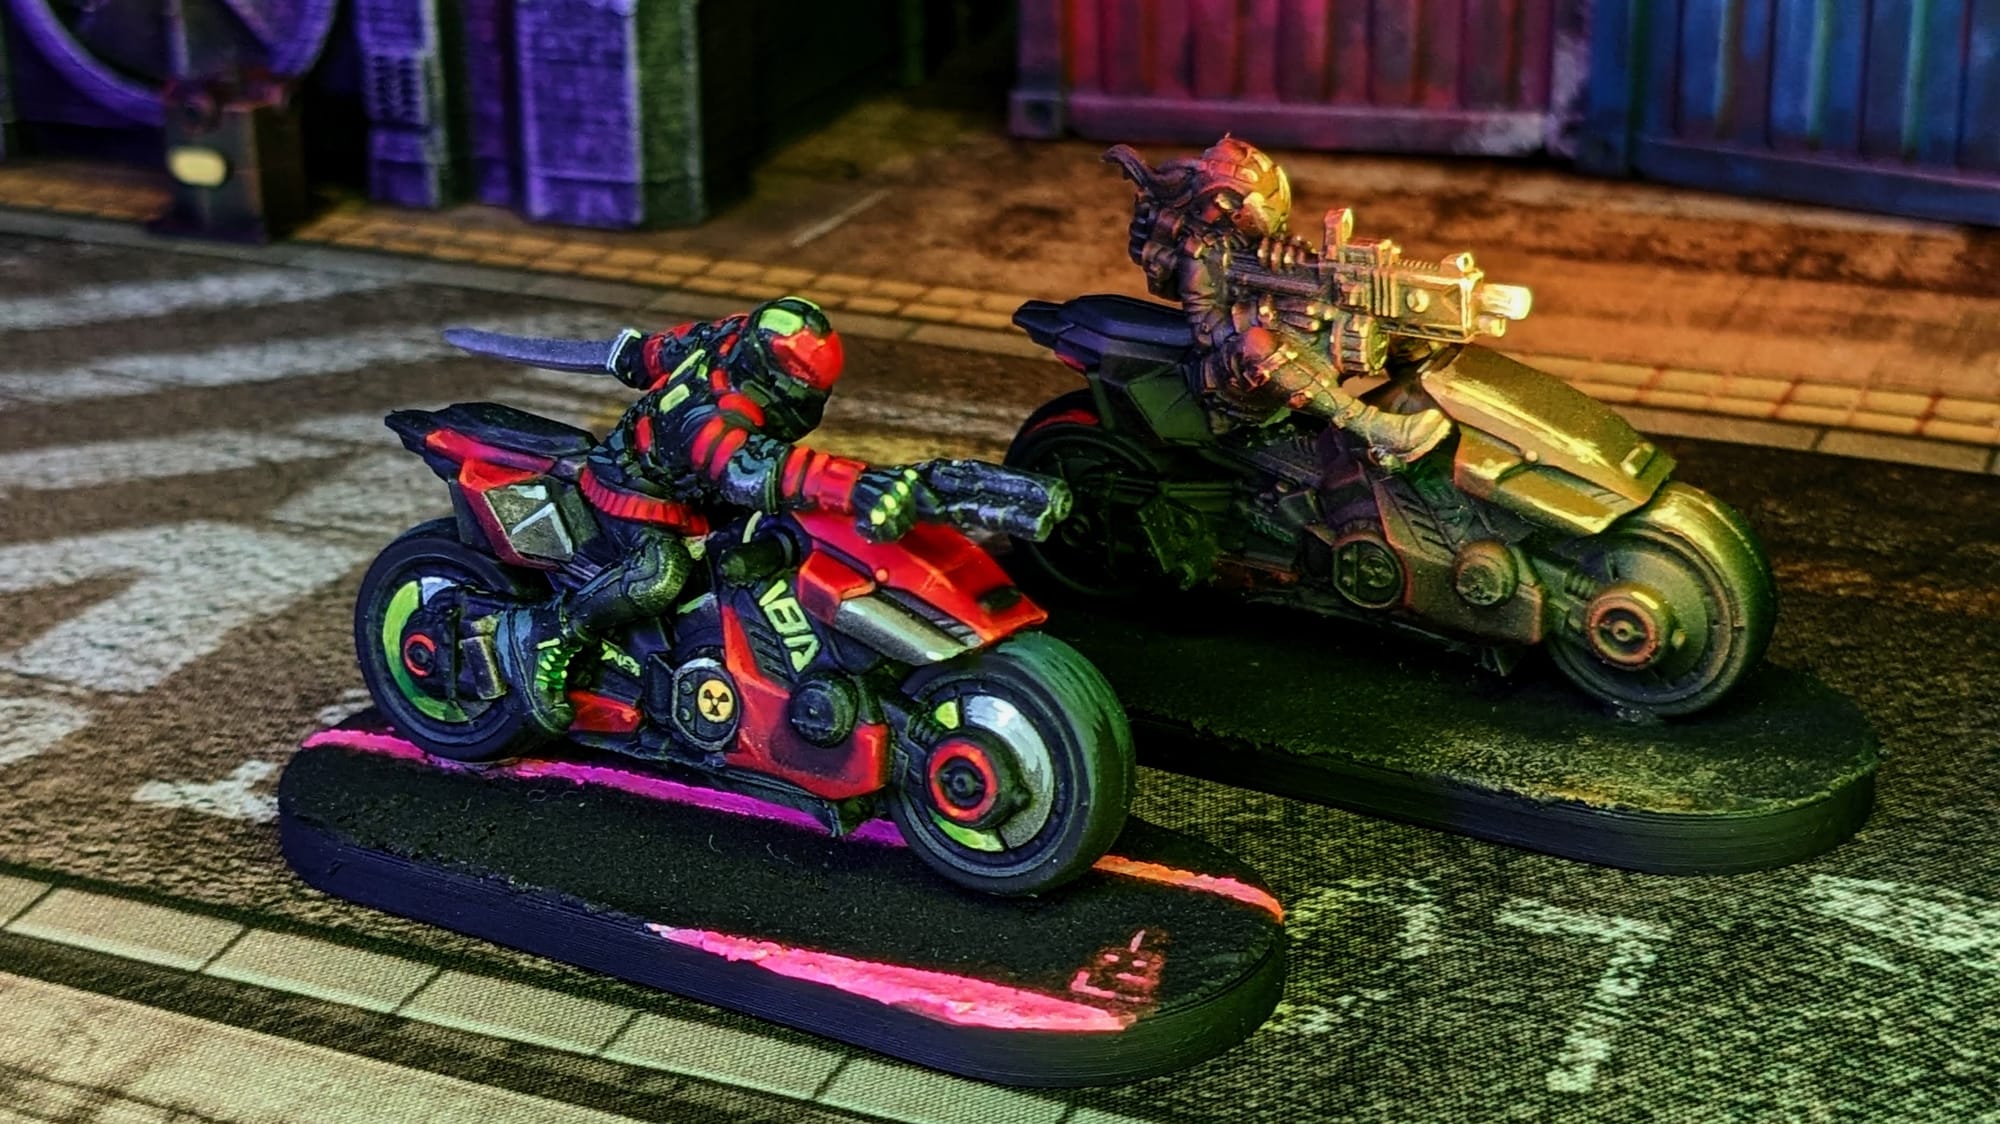
The bases for the bikes are big and flat to accommodate the bikes. I wanted to put them on asphalt but still make them a little more interesting to help break up the big space. For the bike that's not driving, I wanted to make sure that the light glows were illuminating everything from the side, as if there was a light source positioned just off to the side of the base. For the bike I painted like the box art, I utilized some small painter's tape to create the white straight lines and then add in some cyberpunk marks. Once the white dried, I applied some fluorescent paint over the top to give a little glow to the lines (because, naturally, roads would have neon lights in Night City.)
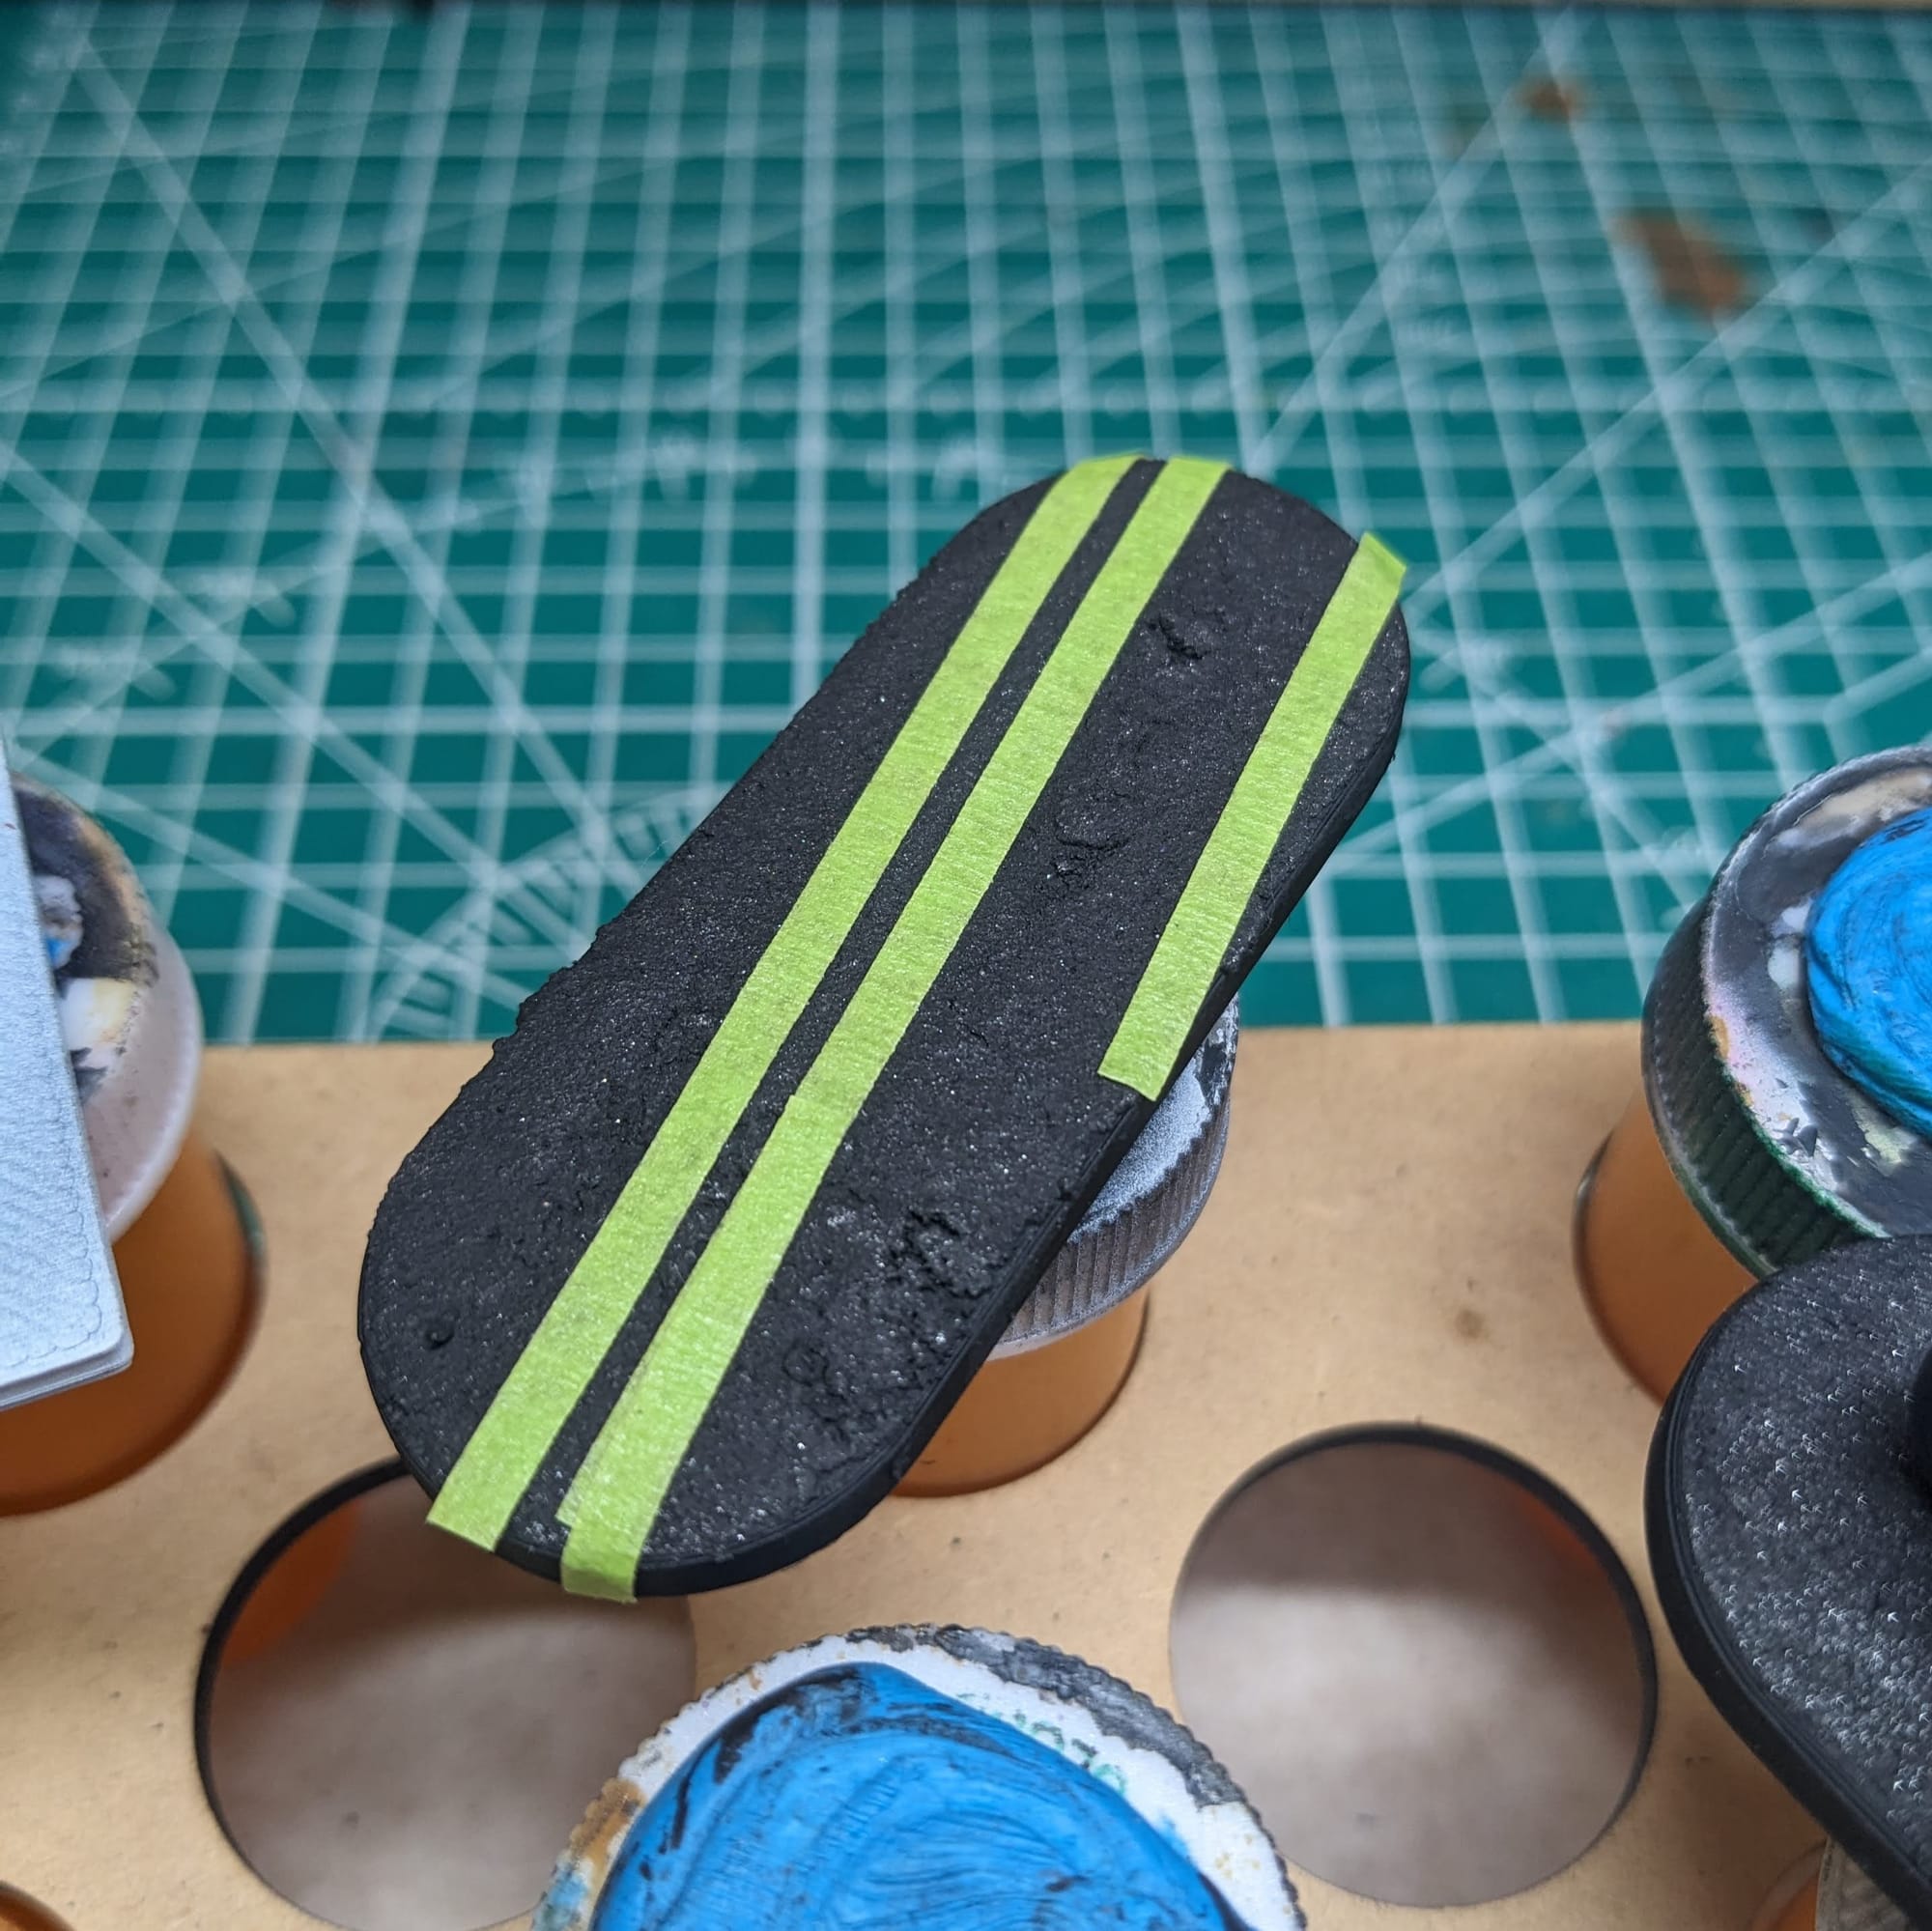
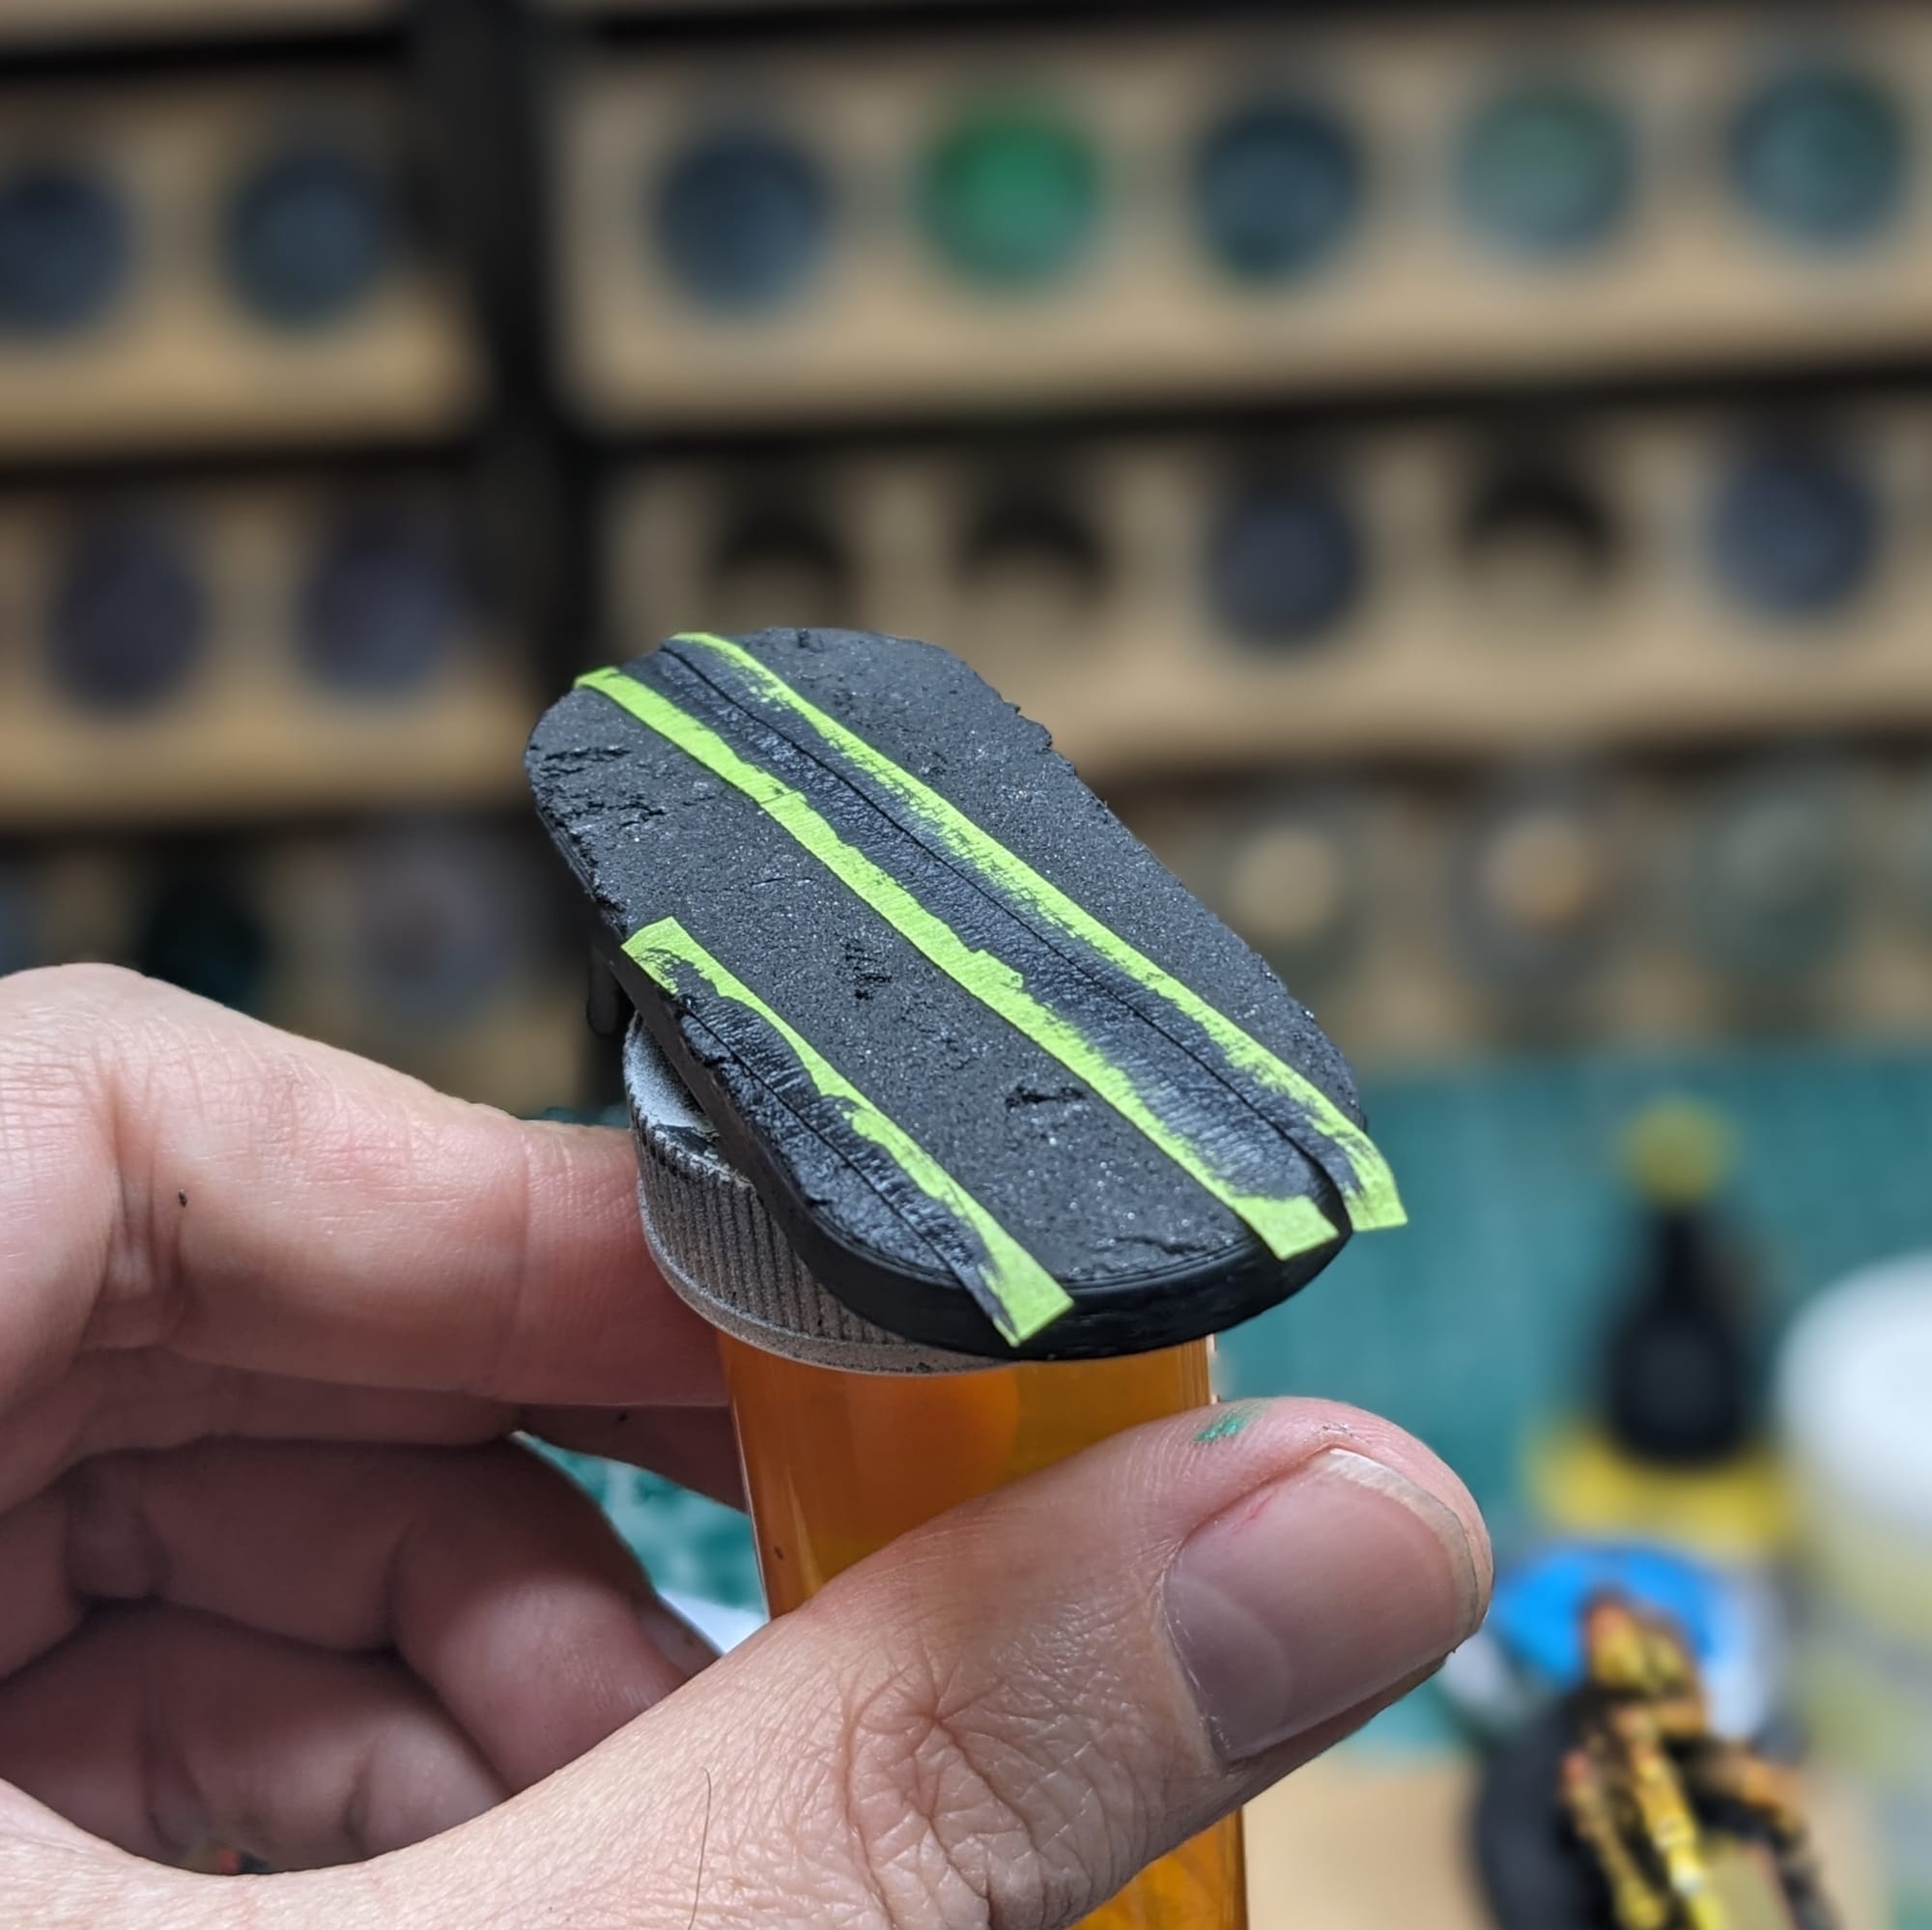
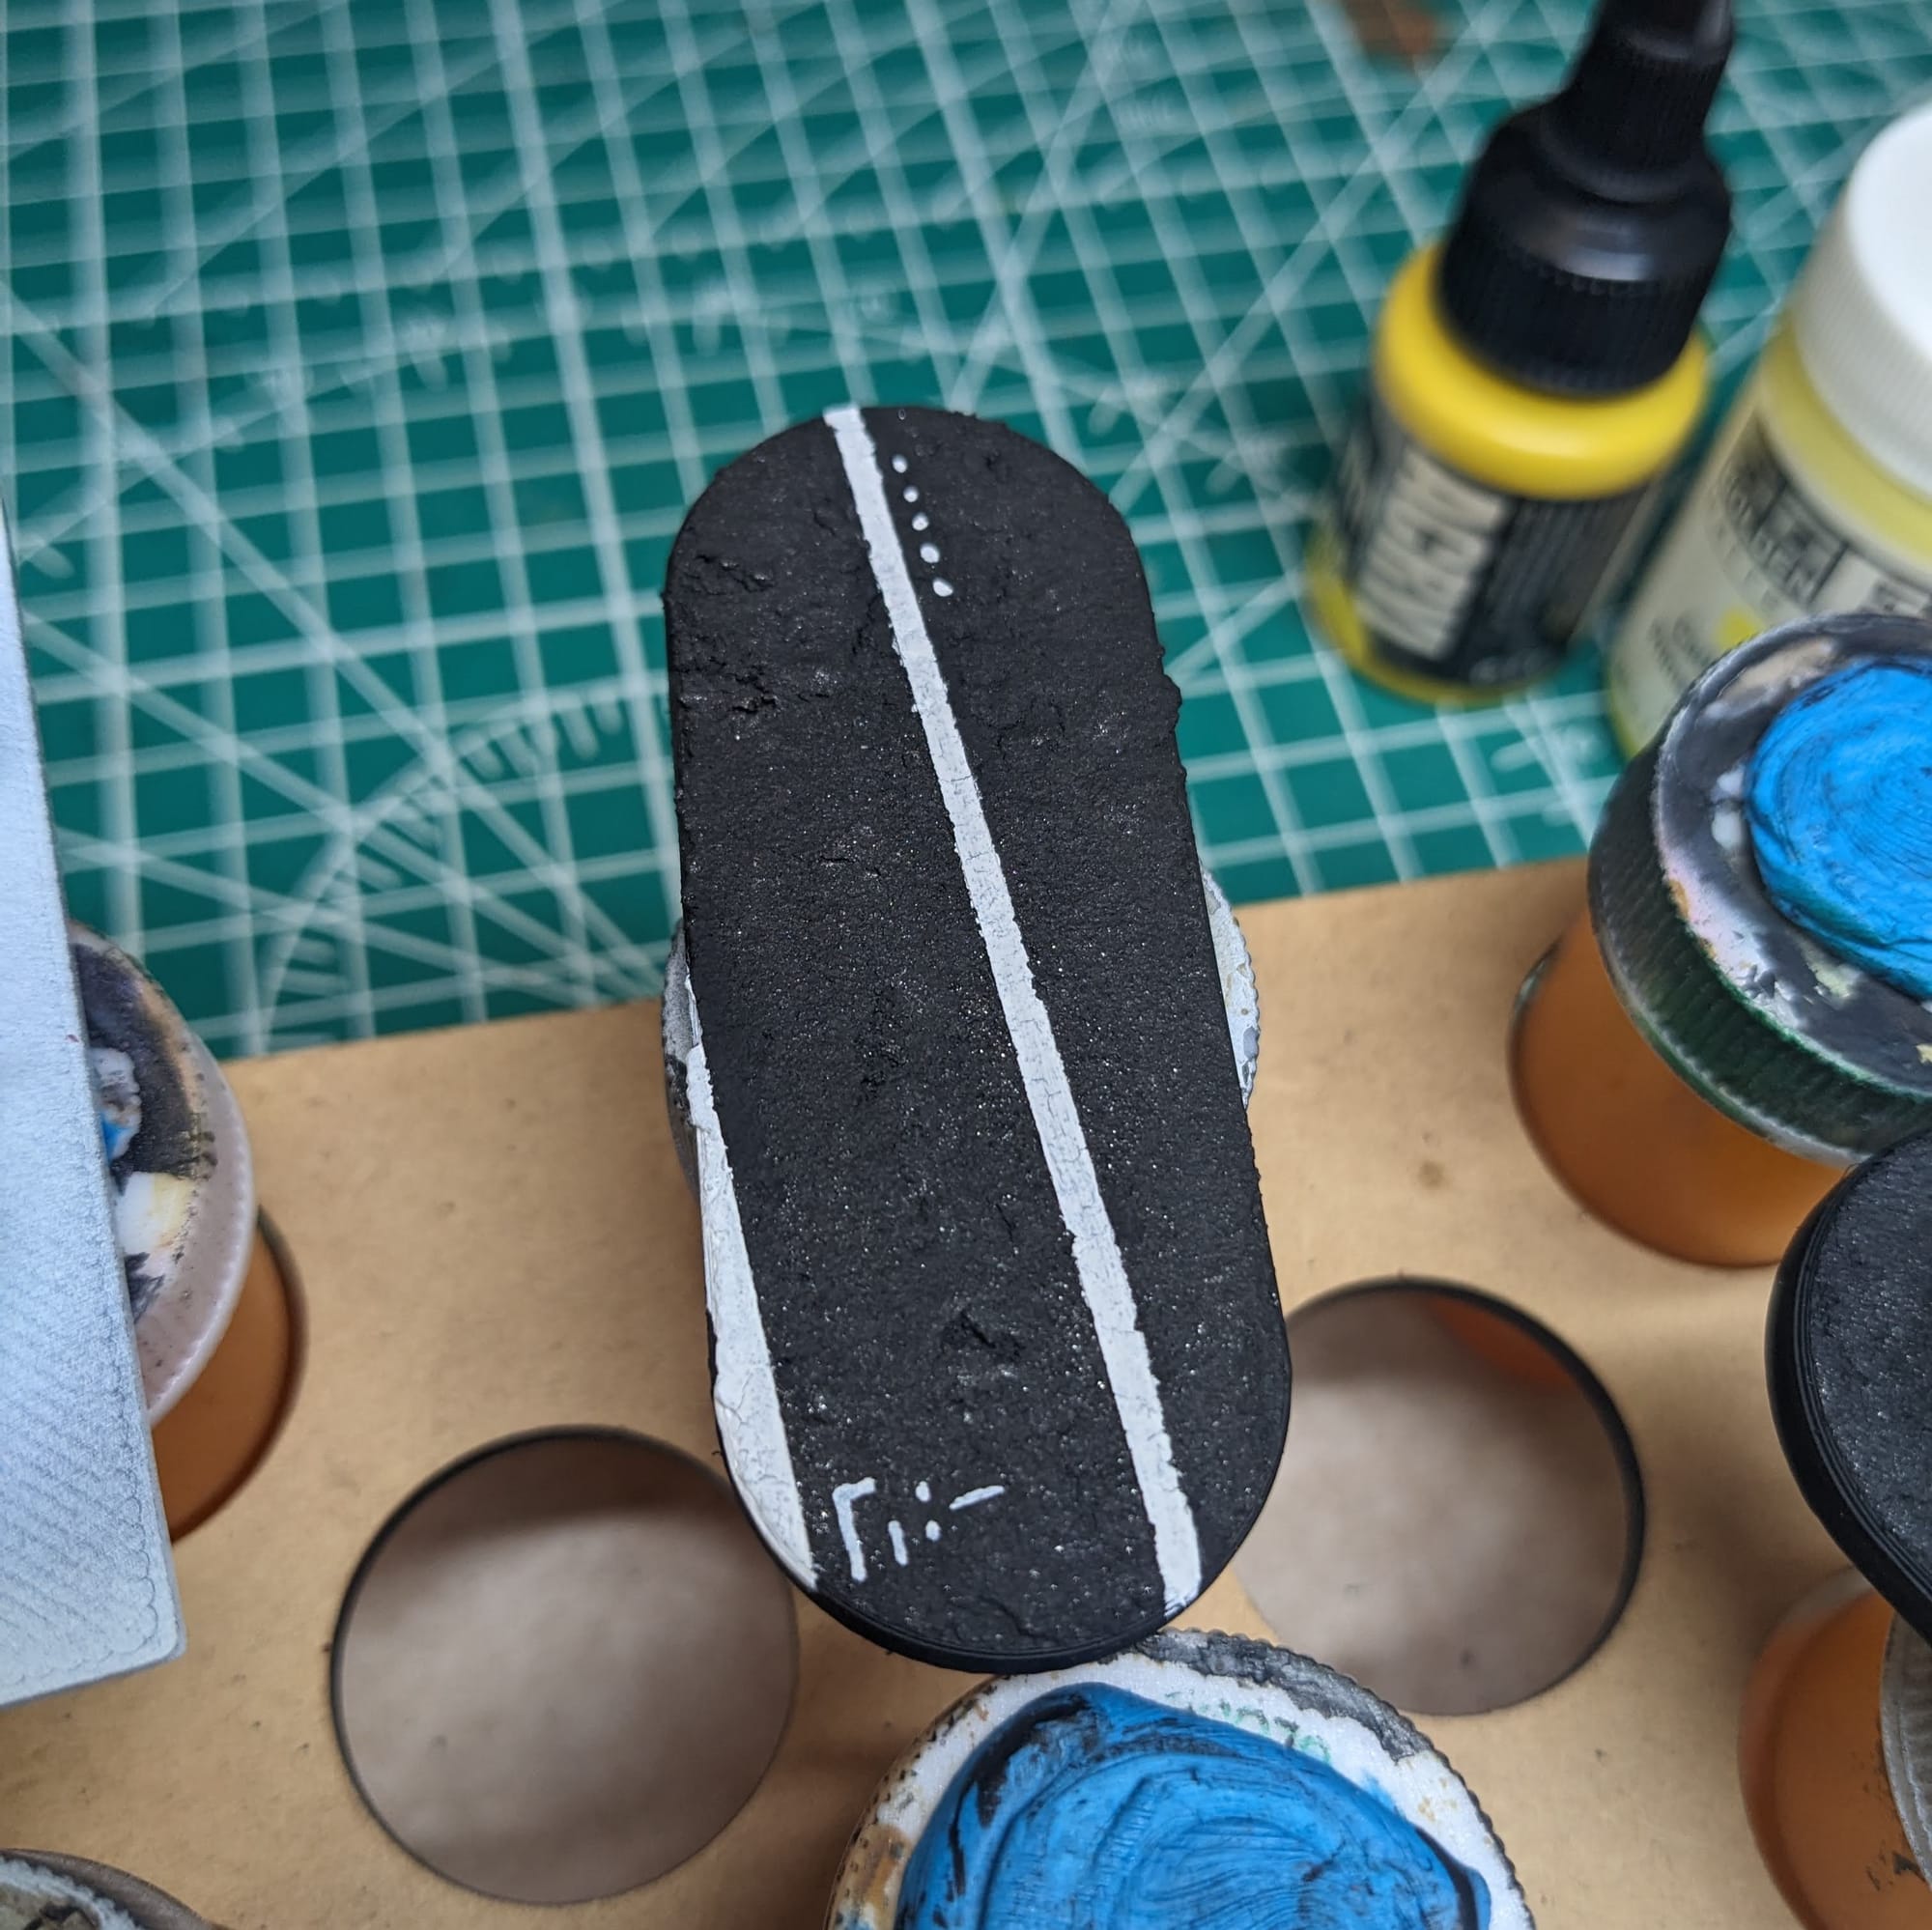
Since the asphalt is not entirely smooth, the tape does create small gaps, allowing paint to flow underneath. To prevent this from happening, first apply black to the tape, and then after that dries, you can apply the white undercoat. Otherwise, the white paint flows underneath and creates little paint "fingers," which totally defeats the purpose of using paint to make straight lines.
Sealing
As I do with all of the models I paint that I also play, I applied a protective clear coating over the paint. This helps preserve the paint on the model and keeps oils from hands from rubbing off the paint as you continuously touch the models during games. There are many different kinds of clear varnishes to use, but I typically use any matte or anti-shine varnishes, as satin, semi-gloss, and gloss tend to distort the colors of the models (not to mention that most models aren’t supposed to be shiny).
Brands that have been reliable for me are Krylon Matte Clear Spray, Rustoleum Matte Clear Coat, which is slightly glossy, and Testors Dullcote, although the latter can be expensive and difficult to find. For a coat with no shine that really enhances the colors, I use AK Interactive’s Ultra Matte Varnish, applied with an airbrush.
Painted and Ready for Play
Impressions
What I liked
Cyberpunk bikes are just so cool looking. Since they are larger models than the standard figures, I really appreciated all of the additional details included on the model, like the 'YAIBA' text on the side of the cycle. Both poses were very dynamic, and that allowed me to have some fun with the paints and highlights. I was really happy with how the muzzle flash turned out, and I feel like it really draws the eye into the middle of the model.
What I didn't like
Cleaning the mold lines was kind of rough, and I spent a lot of time trying to clean them up before priming. Then, of course, after I primed them, I found that I still missed some. So, I wasn't a big fan of having to prime twice.
What I would do different next time
I realized that I didn't need to prime the driver with the gun in black and white, nor prime her separately. To be a little more efficient with the painting, I should have just fully assembled that one. It's minor, and to be honest, I wasn't sure what to expect with the painting process. Having the figure separate of the bike was more a precaution than anything else.
Final Assessment
These bikes are a ton of fun to paint. I love all the details on the bikes and figures, and enjoyed bringing them out and accenting them for their respective designs. I really liked the pose of the piece with her feet up on the handlebars, aiming down the sights. Because of the size of the model, they took a little longer to paint than a standard figure, but I am expecting them to stay alive longer (hopefully)! They are going to look great on the table, and I am excited to use them in my next game.
Have you painted Cyberpunk Red: Combat Zone miniatures yet? Share your work with us!
Don’t forget to subscribe and follow us on Instagram, Bluesky, and YouTube for more Cyberpunk Red: Combat Zone reviews and painting guides, as well as more hobby and tabletop news and reviews!