
In the 1978 classic, The Star Wars Holiday Special, we, as the audience, sit through roughly 7 minutes of Wookiees talking to each other, with no subtitles. I cannot imagine what it was like to watch that live. Also, we found out that Chewbacca has a wife, a child, and an elder to take care of. And they were just fine with him being effectively a space pirate?
I’m going off track, and it’s the first paragraph of this tutorial, so we’ll dig into Chewbacca’s family dynamic in another article, but for this one, I wanted us to consider the variety of Wookiee fur, as Atomic Mass Games sent me a box of Wookiee Warriors. The box contains six models, and you can use them for either the Rebels or the Republic, which is a nice touch.
If you want to learn about how to assemble models, we have an excellent resource article right here.
"I know what I'm doing"
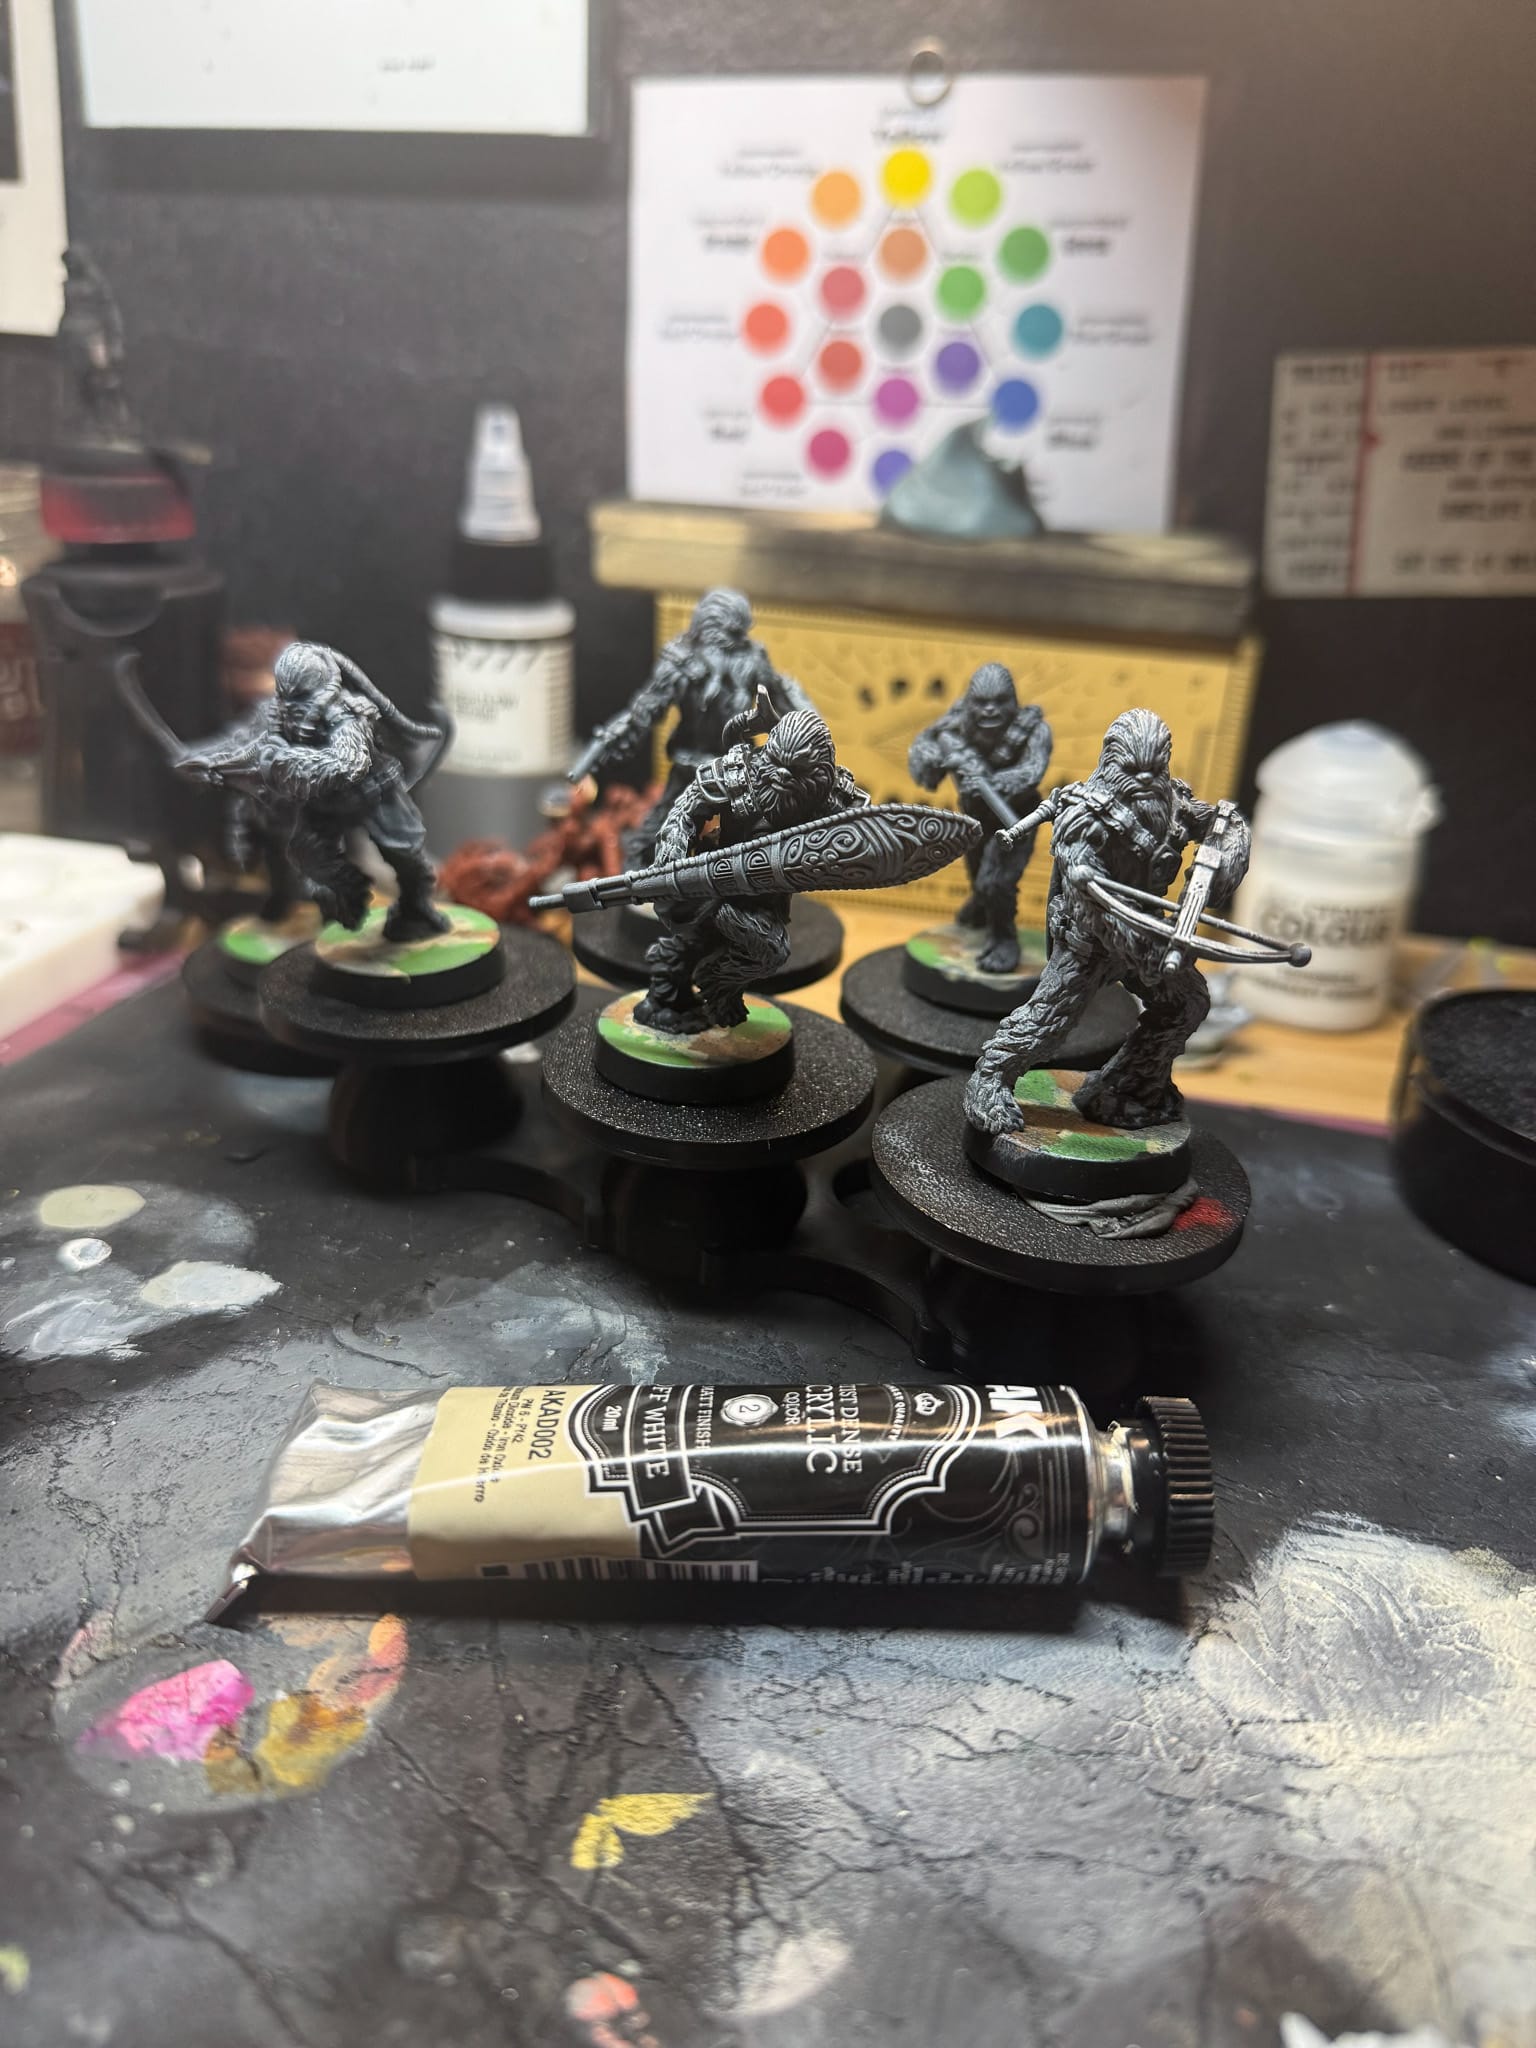
Once assembled and primed with a zenithal highlight, I planned out how to paint up this unit. I wanted to be quick and consistent across the unit, so this is how I approached it:
1. Establish all of my light tones using contrast paints
2. Fill in dark tones
3. Establish shadows
4. Paint up all of the accessories, leathers
5. Paint up all of the weapons and ammo with metallics
6. Final touches
7. Basing
For paints, I kept it very loose. If you’re aiming for a quick scheme to get on the table, go and grab a variety of browns. I used a variety of AK Interactive Quick Gen brown tones, as they had sent them to me in the past. I used Wood, Dark Leather, Bone Brown, and Brown Black. As for order, I randomized it, but I paid attention to the pigmentation of each paint. You can do this at home by either testing the tones on a dry palette, a piece of paper, or a spare model.
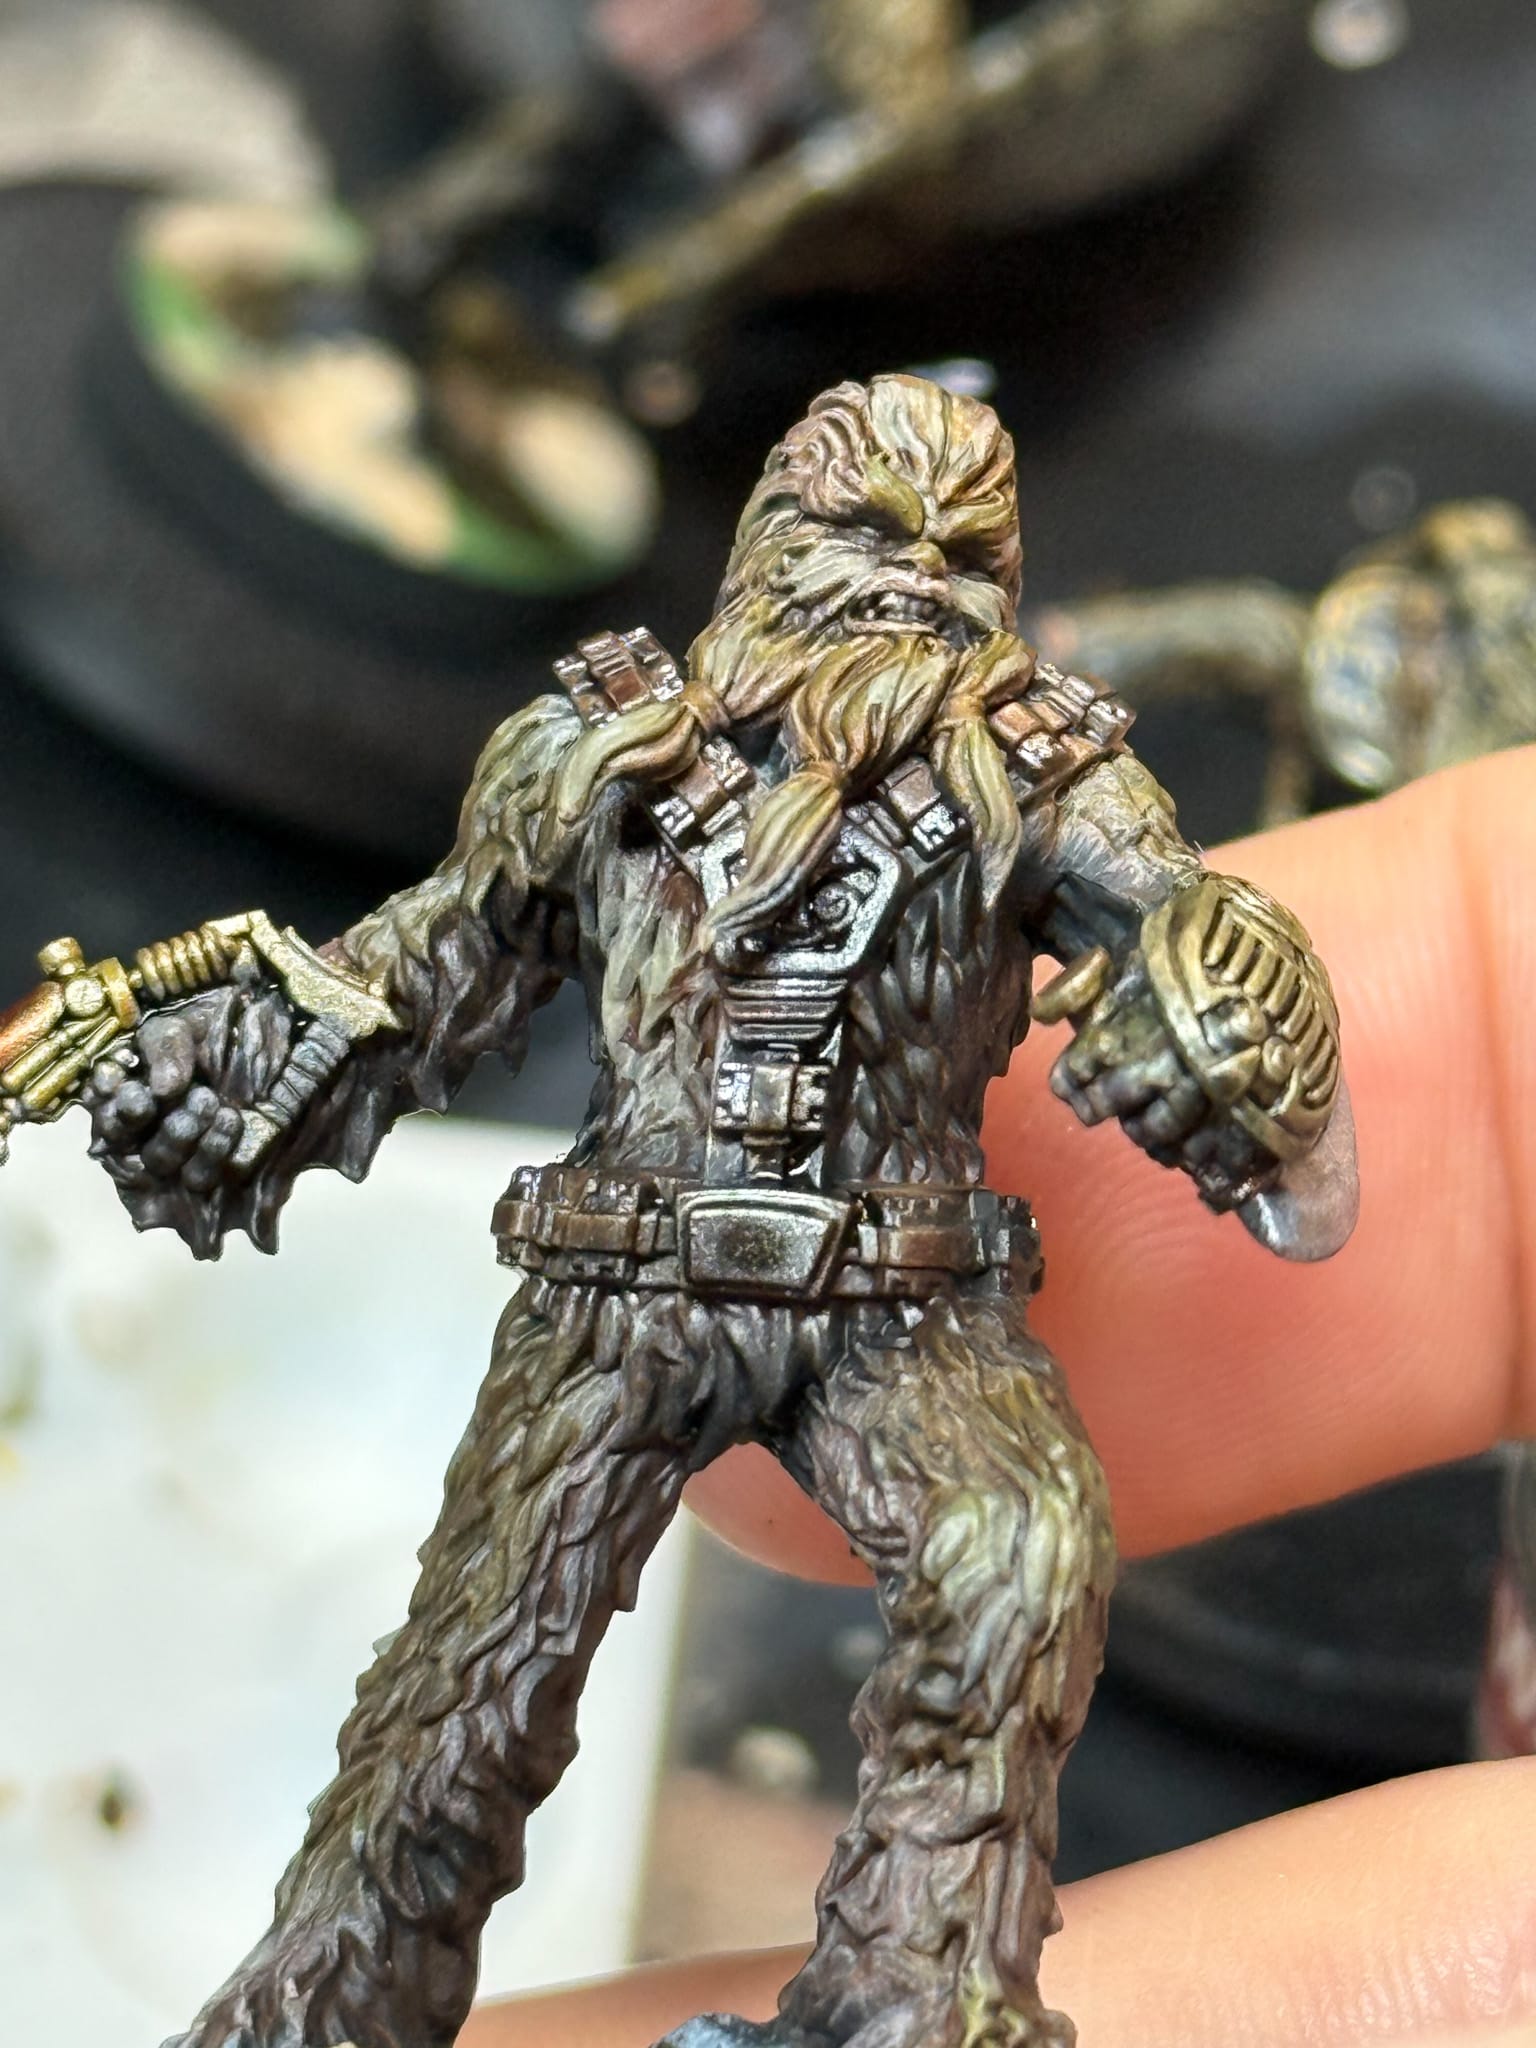
What I saw was that my lighter tones (Bone Brown and Wood) helped establish both yellow and reddish tones. I started with those in randomized patterns on the fur, keeping the Bone Brown more towards the faces and areas of highlight. Then, while still wet, I used Dark Leather and Brown Black to add deeper reds and desaturated tones.
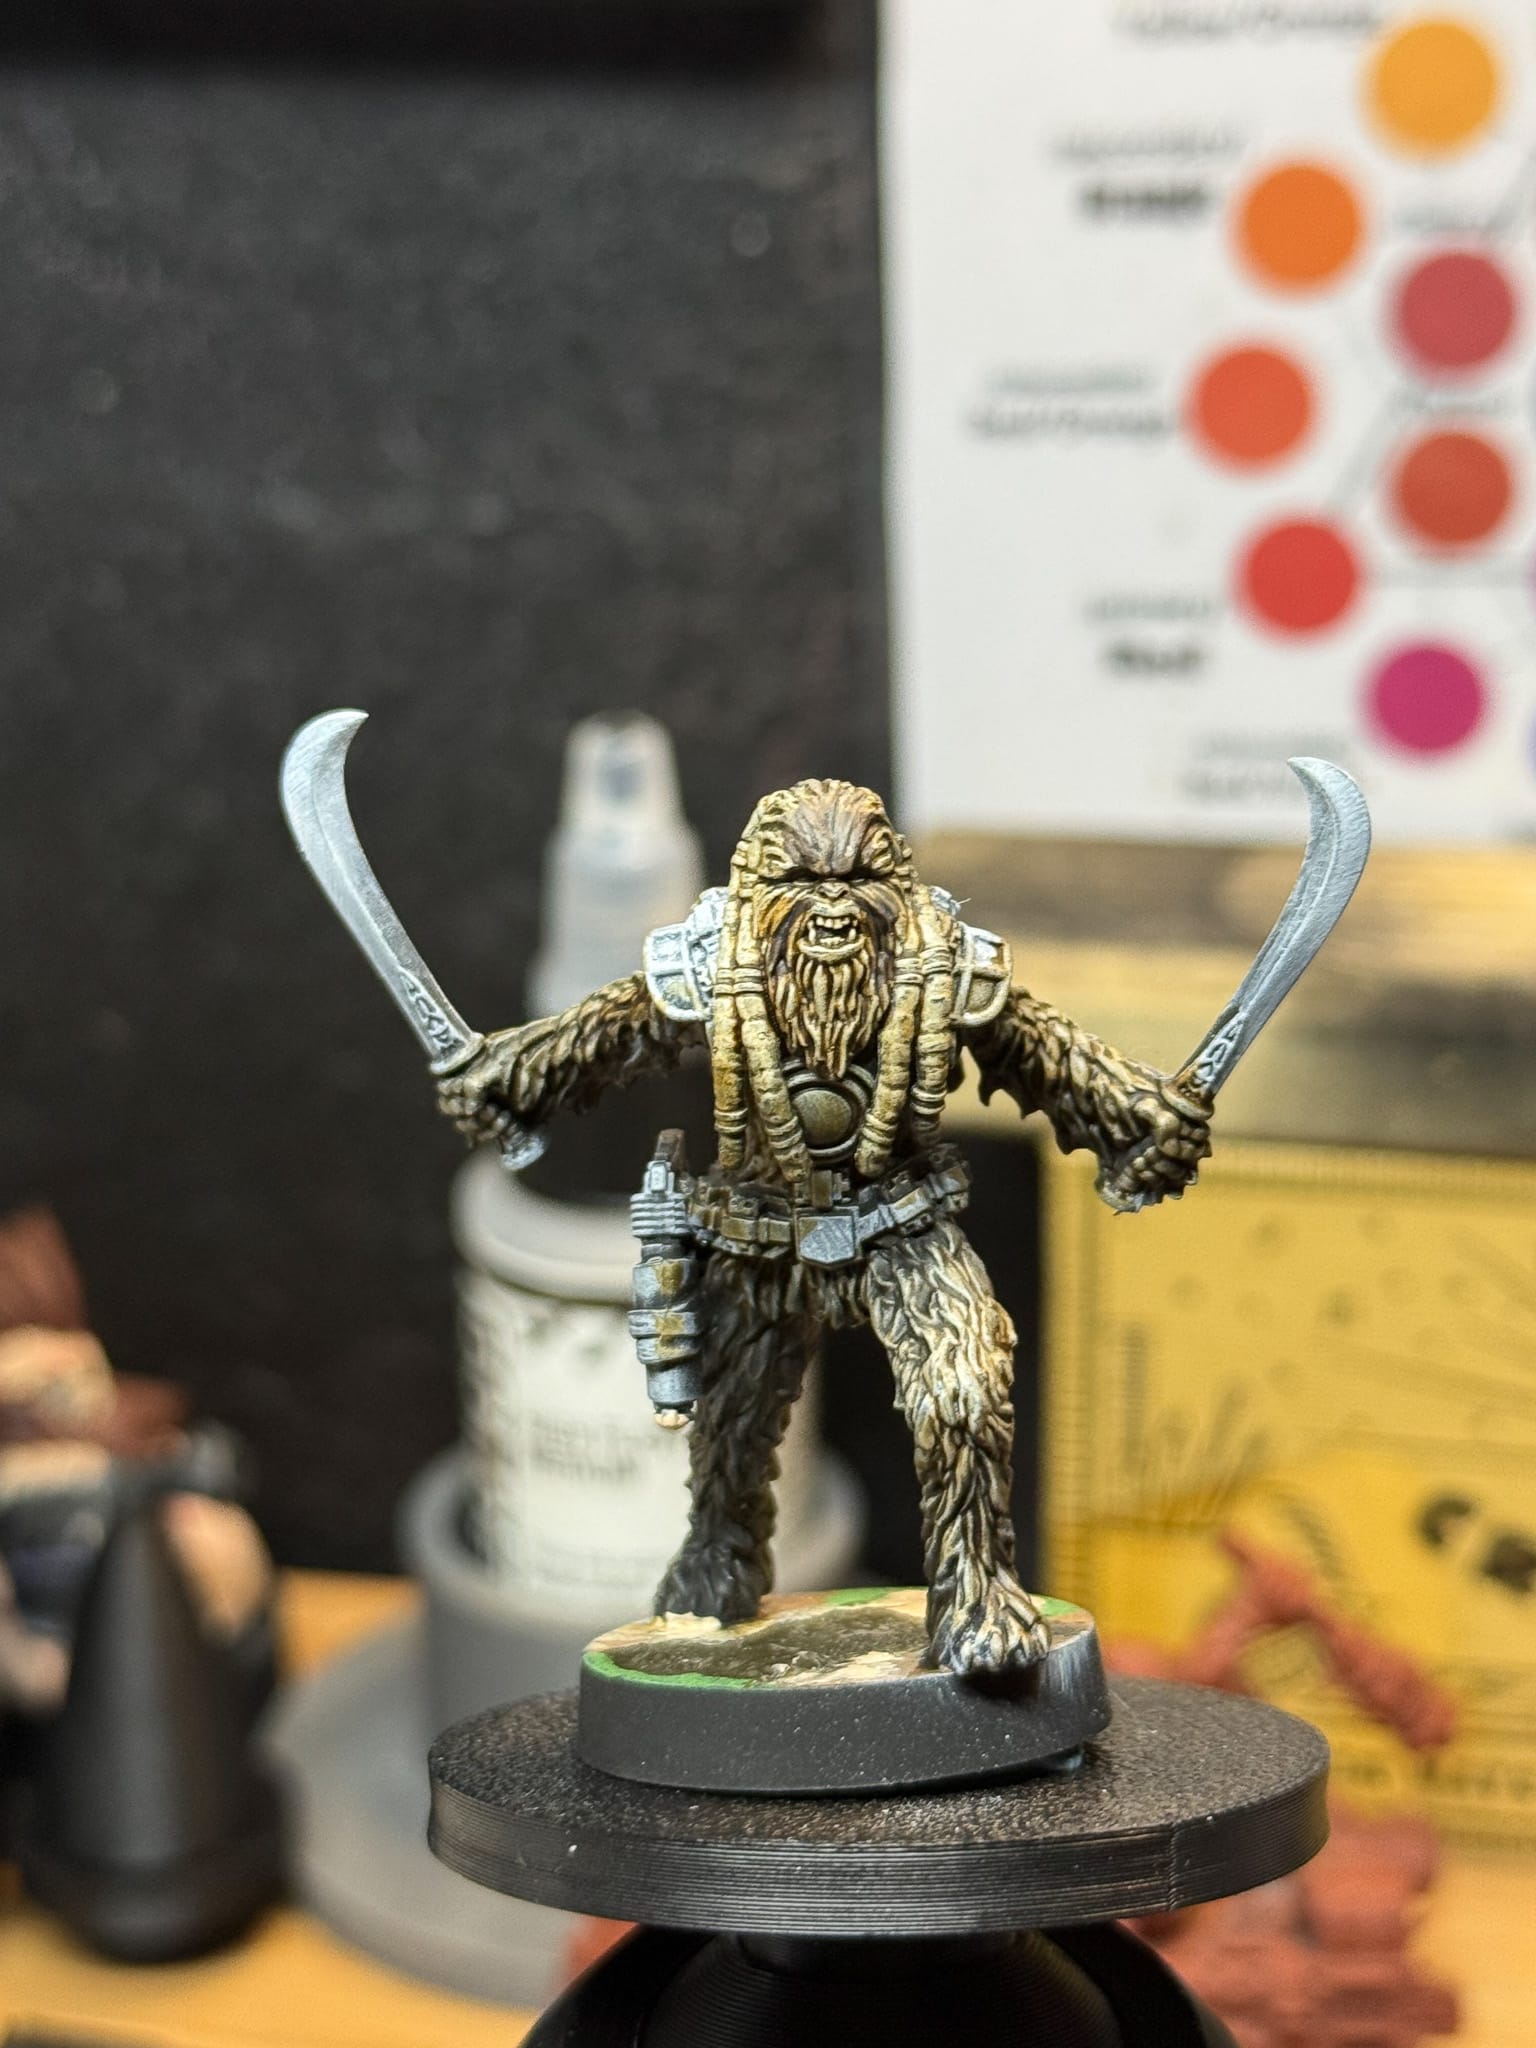
Using contrast paints can quickly yield results for tabletop ready wookiees!
The end result gave me some decent fur. I used a bottle of Citadel Contrast Medium to keep the layers thin, so I didn’t lose my Zenithal highlight.
"Laugh it up, Fuzzball"
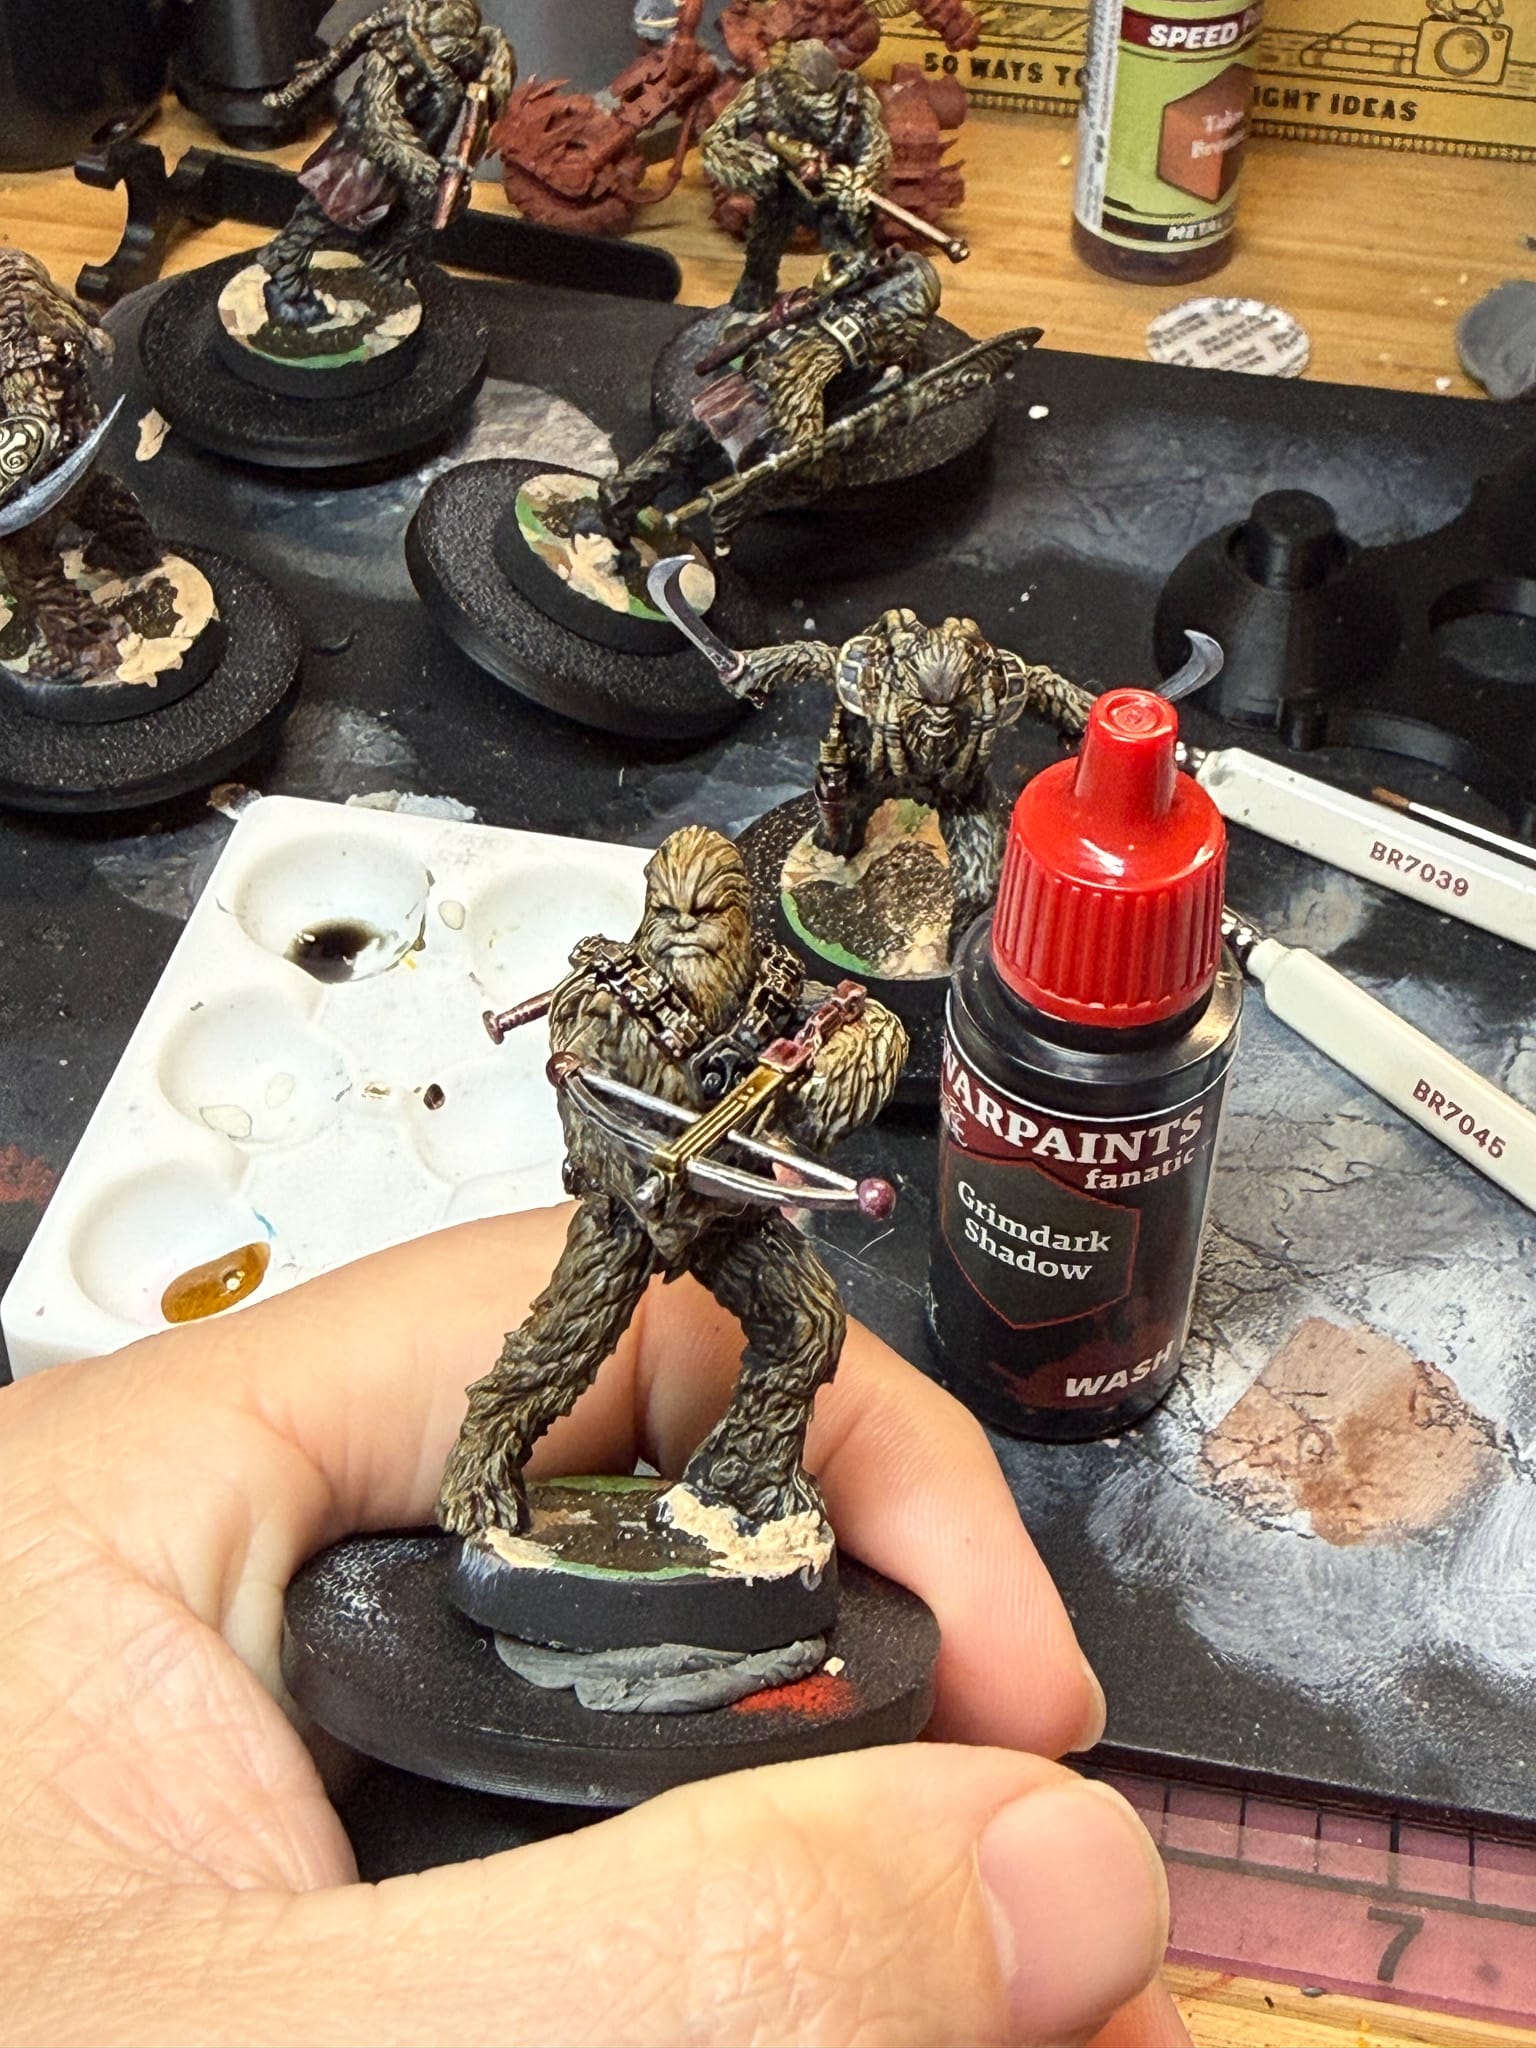
After all of the Wookiees were dry, I then grabbed some washes. I find that browns, deep greens, and purples are really nice in the shadows, so I grabbed my bottles of Voodoo Shade and Nightroot Shade from The Army Painter, and I layered in these colors into the armpits, behind the knees, under the Wookiees…basically, think about anywhere a shadow would exist. Underline all of the head joints, under belts, etc. And because these are furry models, be messy with it. You’ll find that a good wash blends in with the rest of the model.
For the leathers and accessories, since these are Wookiees, I can freely use browns to do all this work. From the Kimera velvet line, I mixed Smoke and Leather together to give me a nice dark brown, and I slathered that on all of the belts and straps across the models.
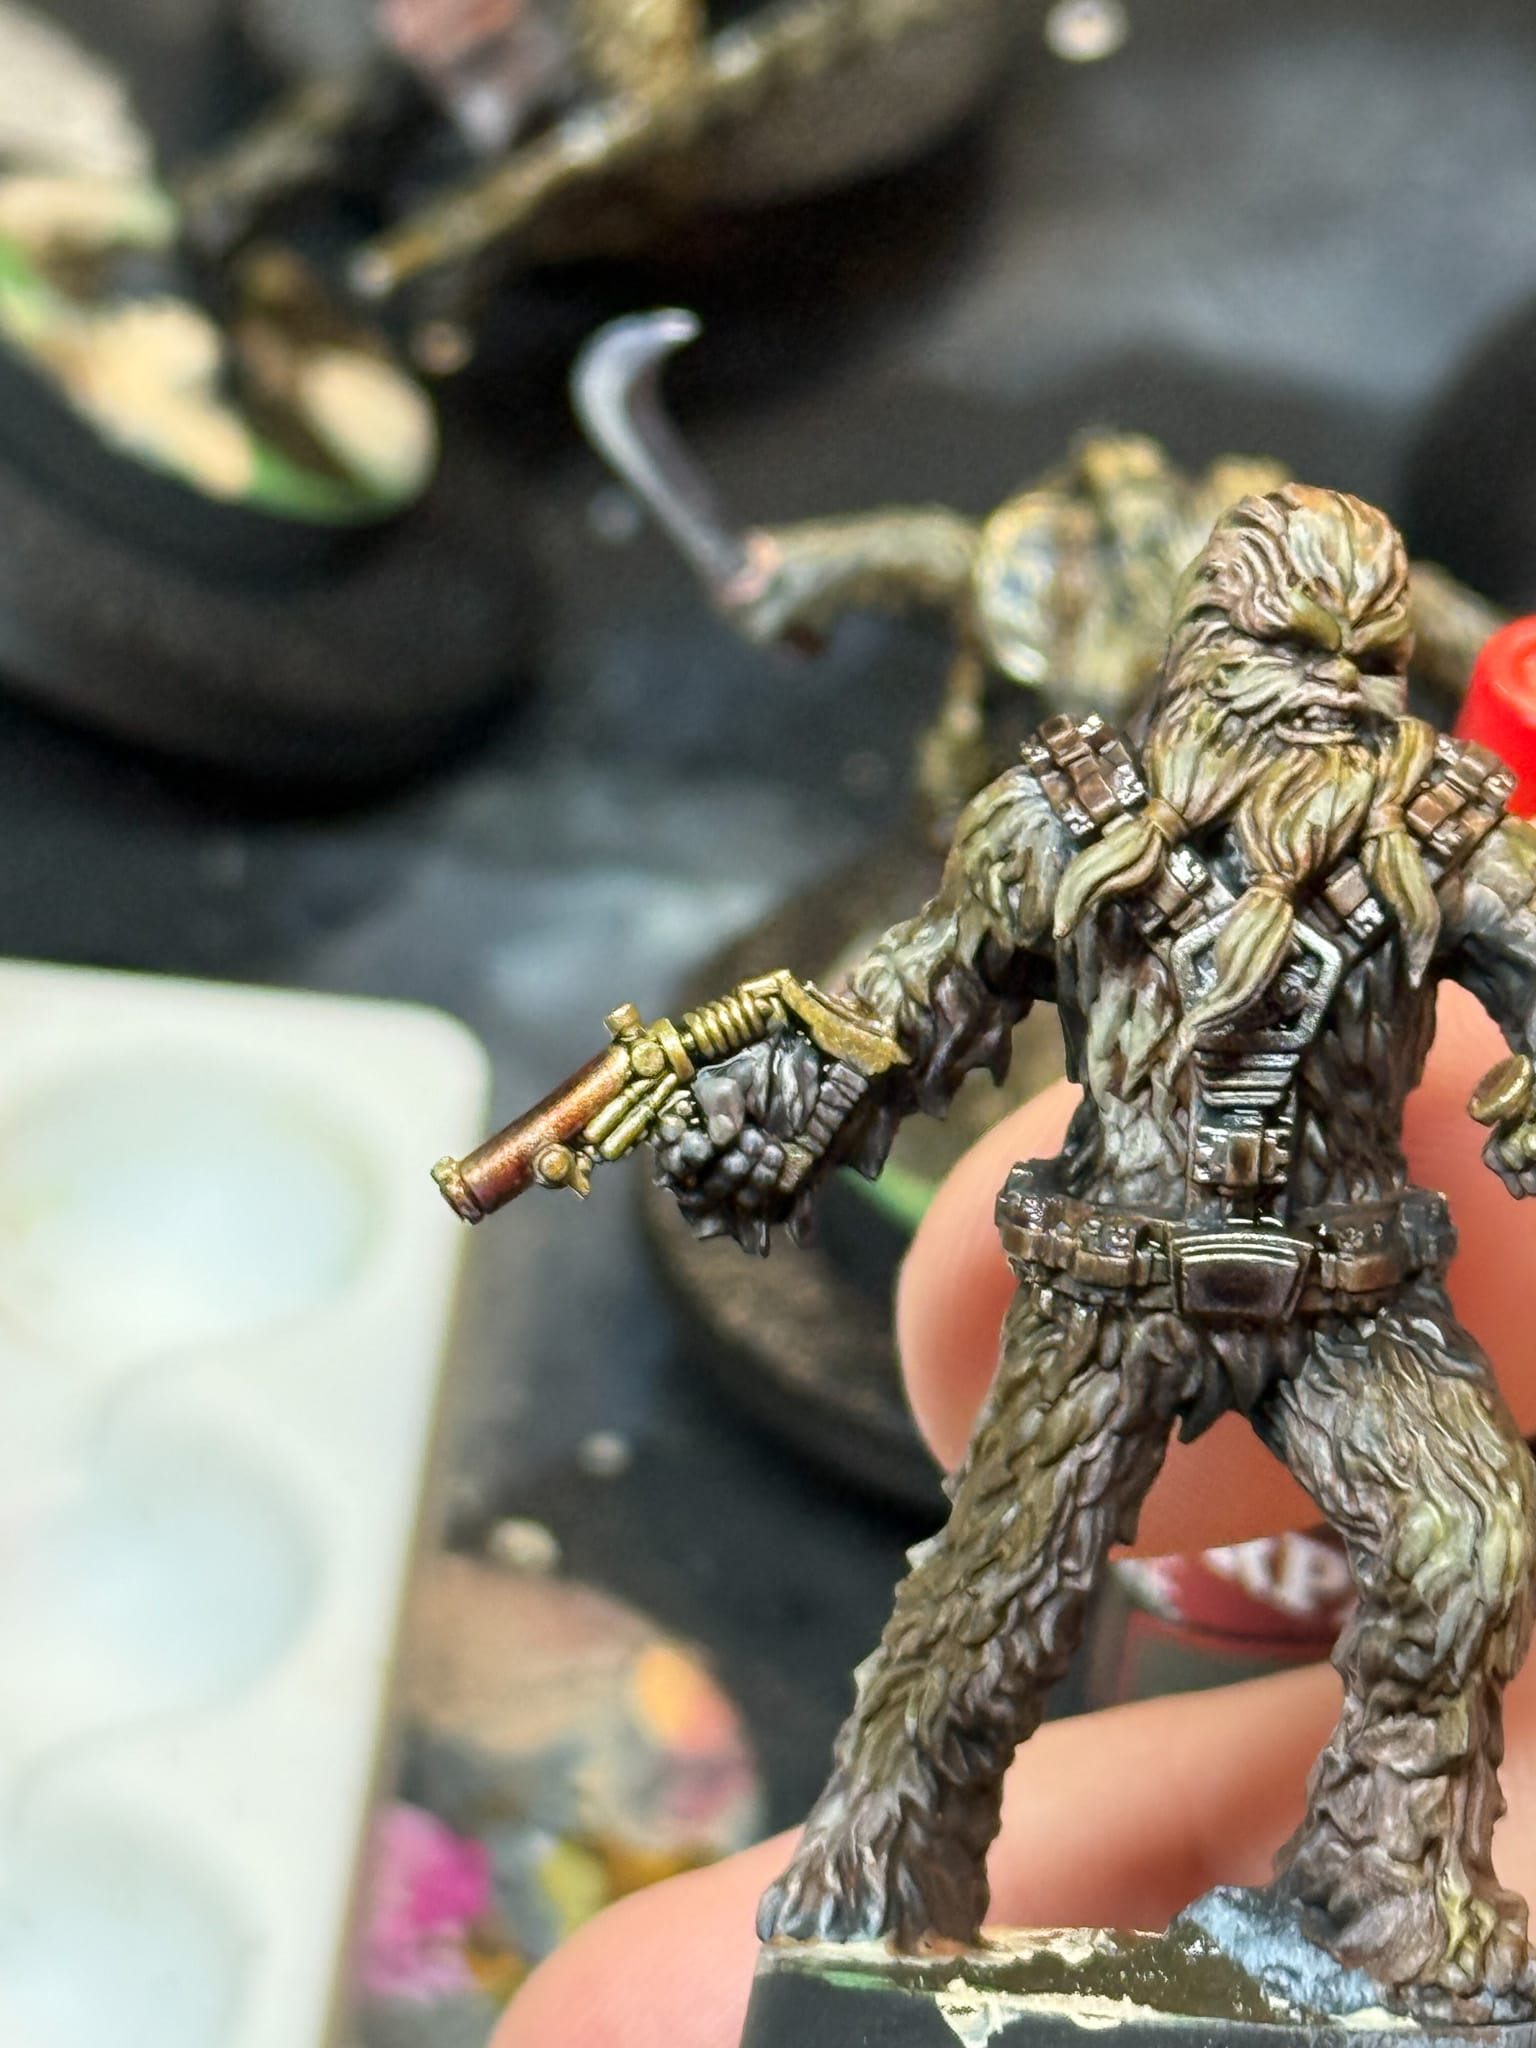
Then, metallics! So, a quick way to get metallics on a model is the use of speed paints that have metals, and my favorites are the Army Painter Metallic Speedpaints. I used Enchanted Steel on all of the ammo clips, then Broadsword silver on the shoulders, with Polished silver as a highlight. I then reached into the Fanatic line and grabbed Mithril, which tends to be a perfect, brilliant metallic highlight, to finish the ammo packs, shoulders, hairclips, and swords.
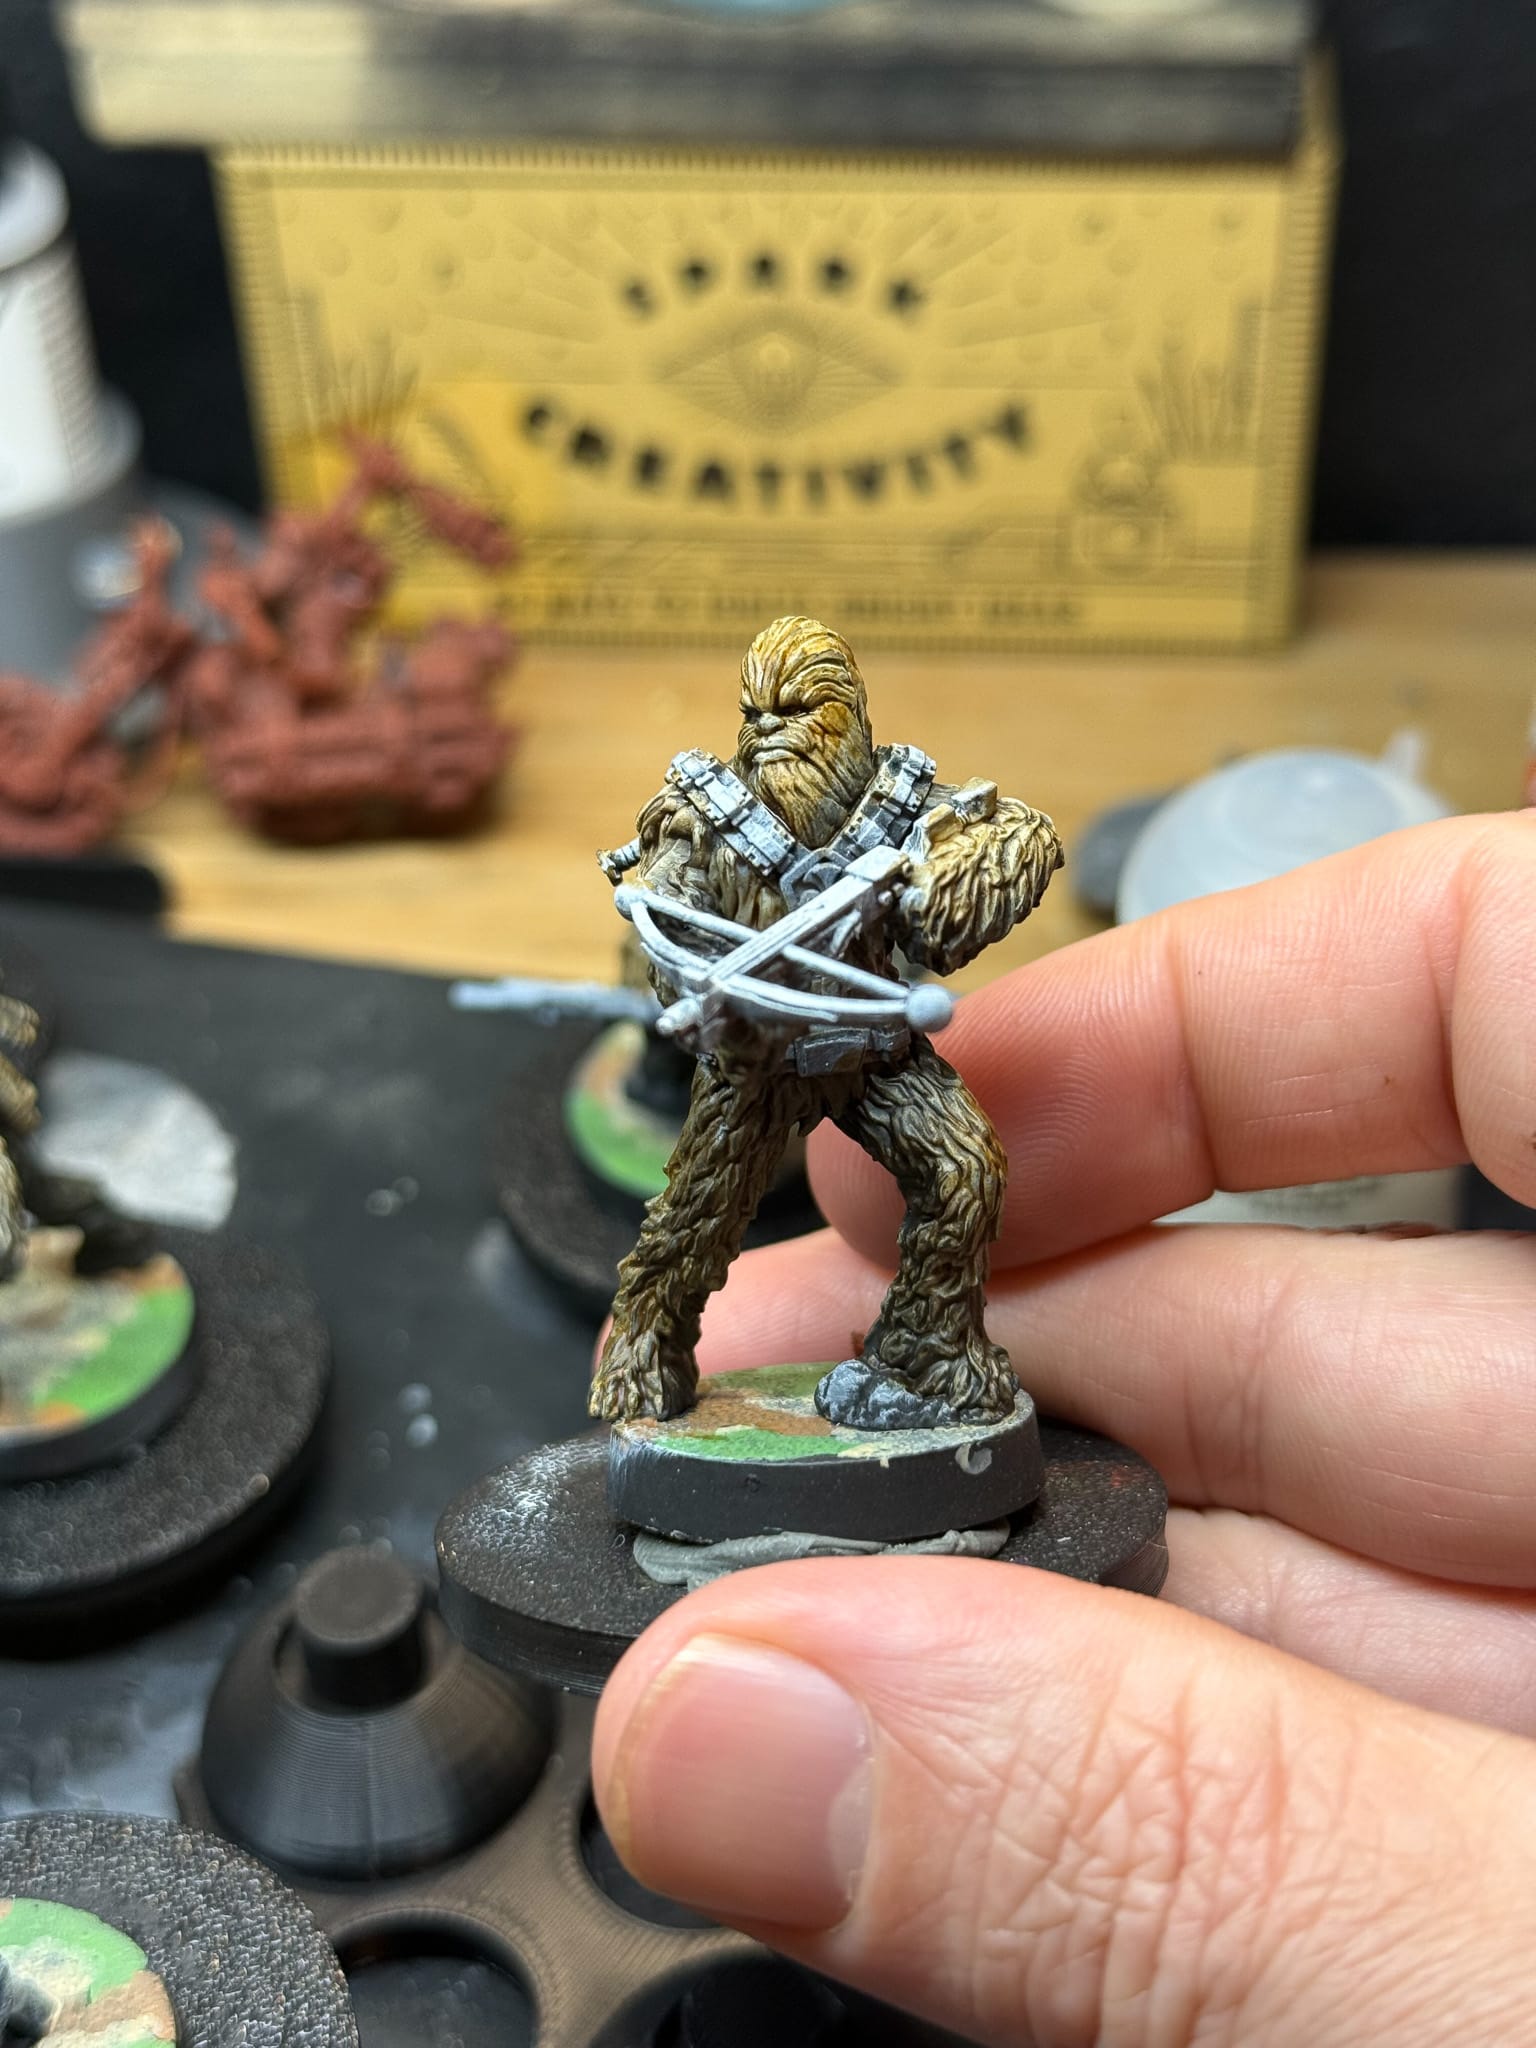
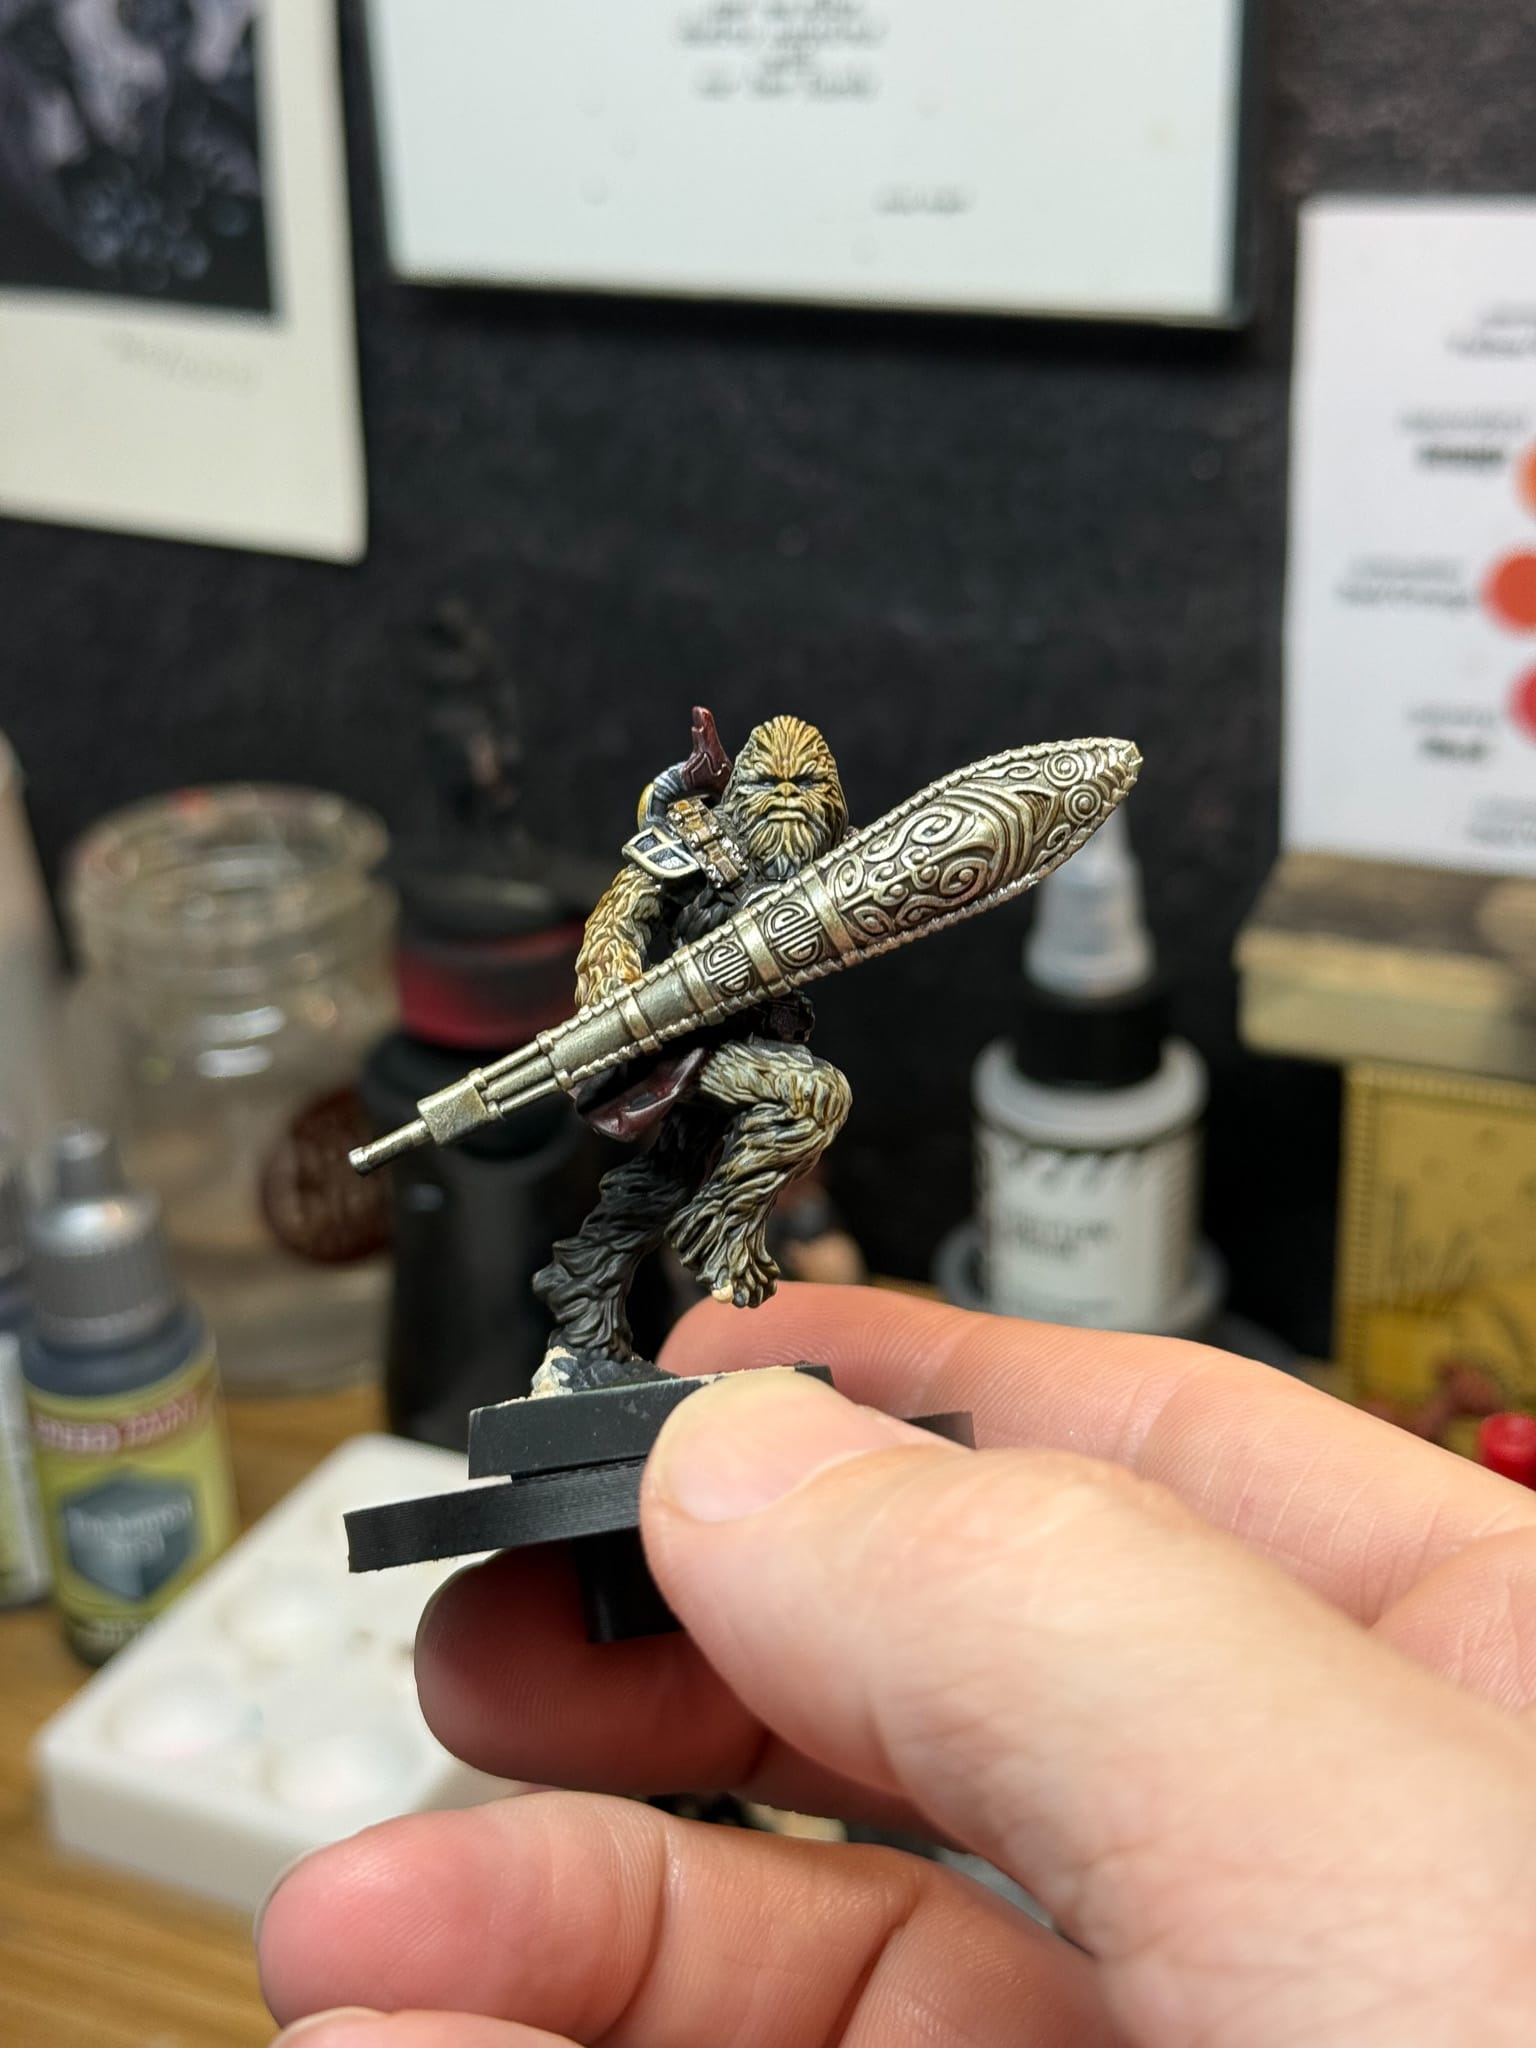
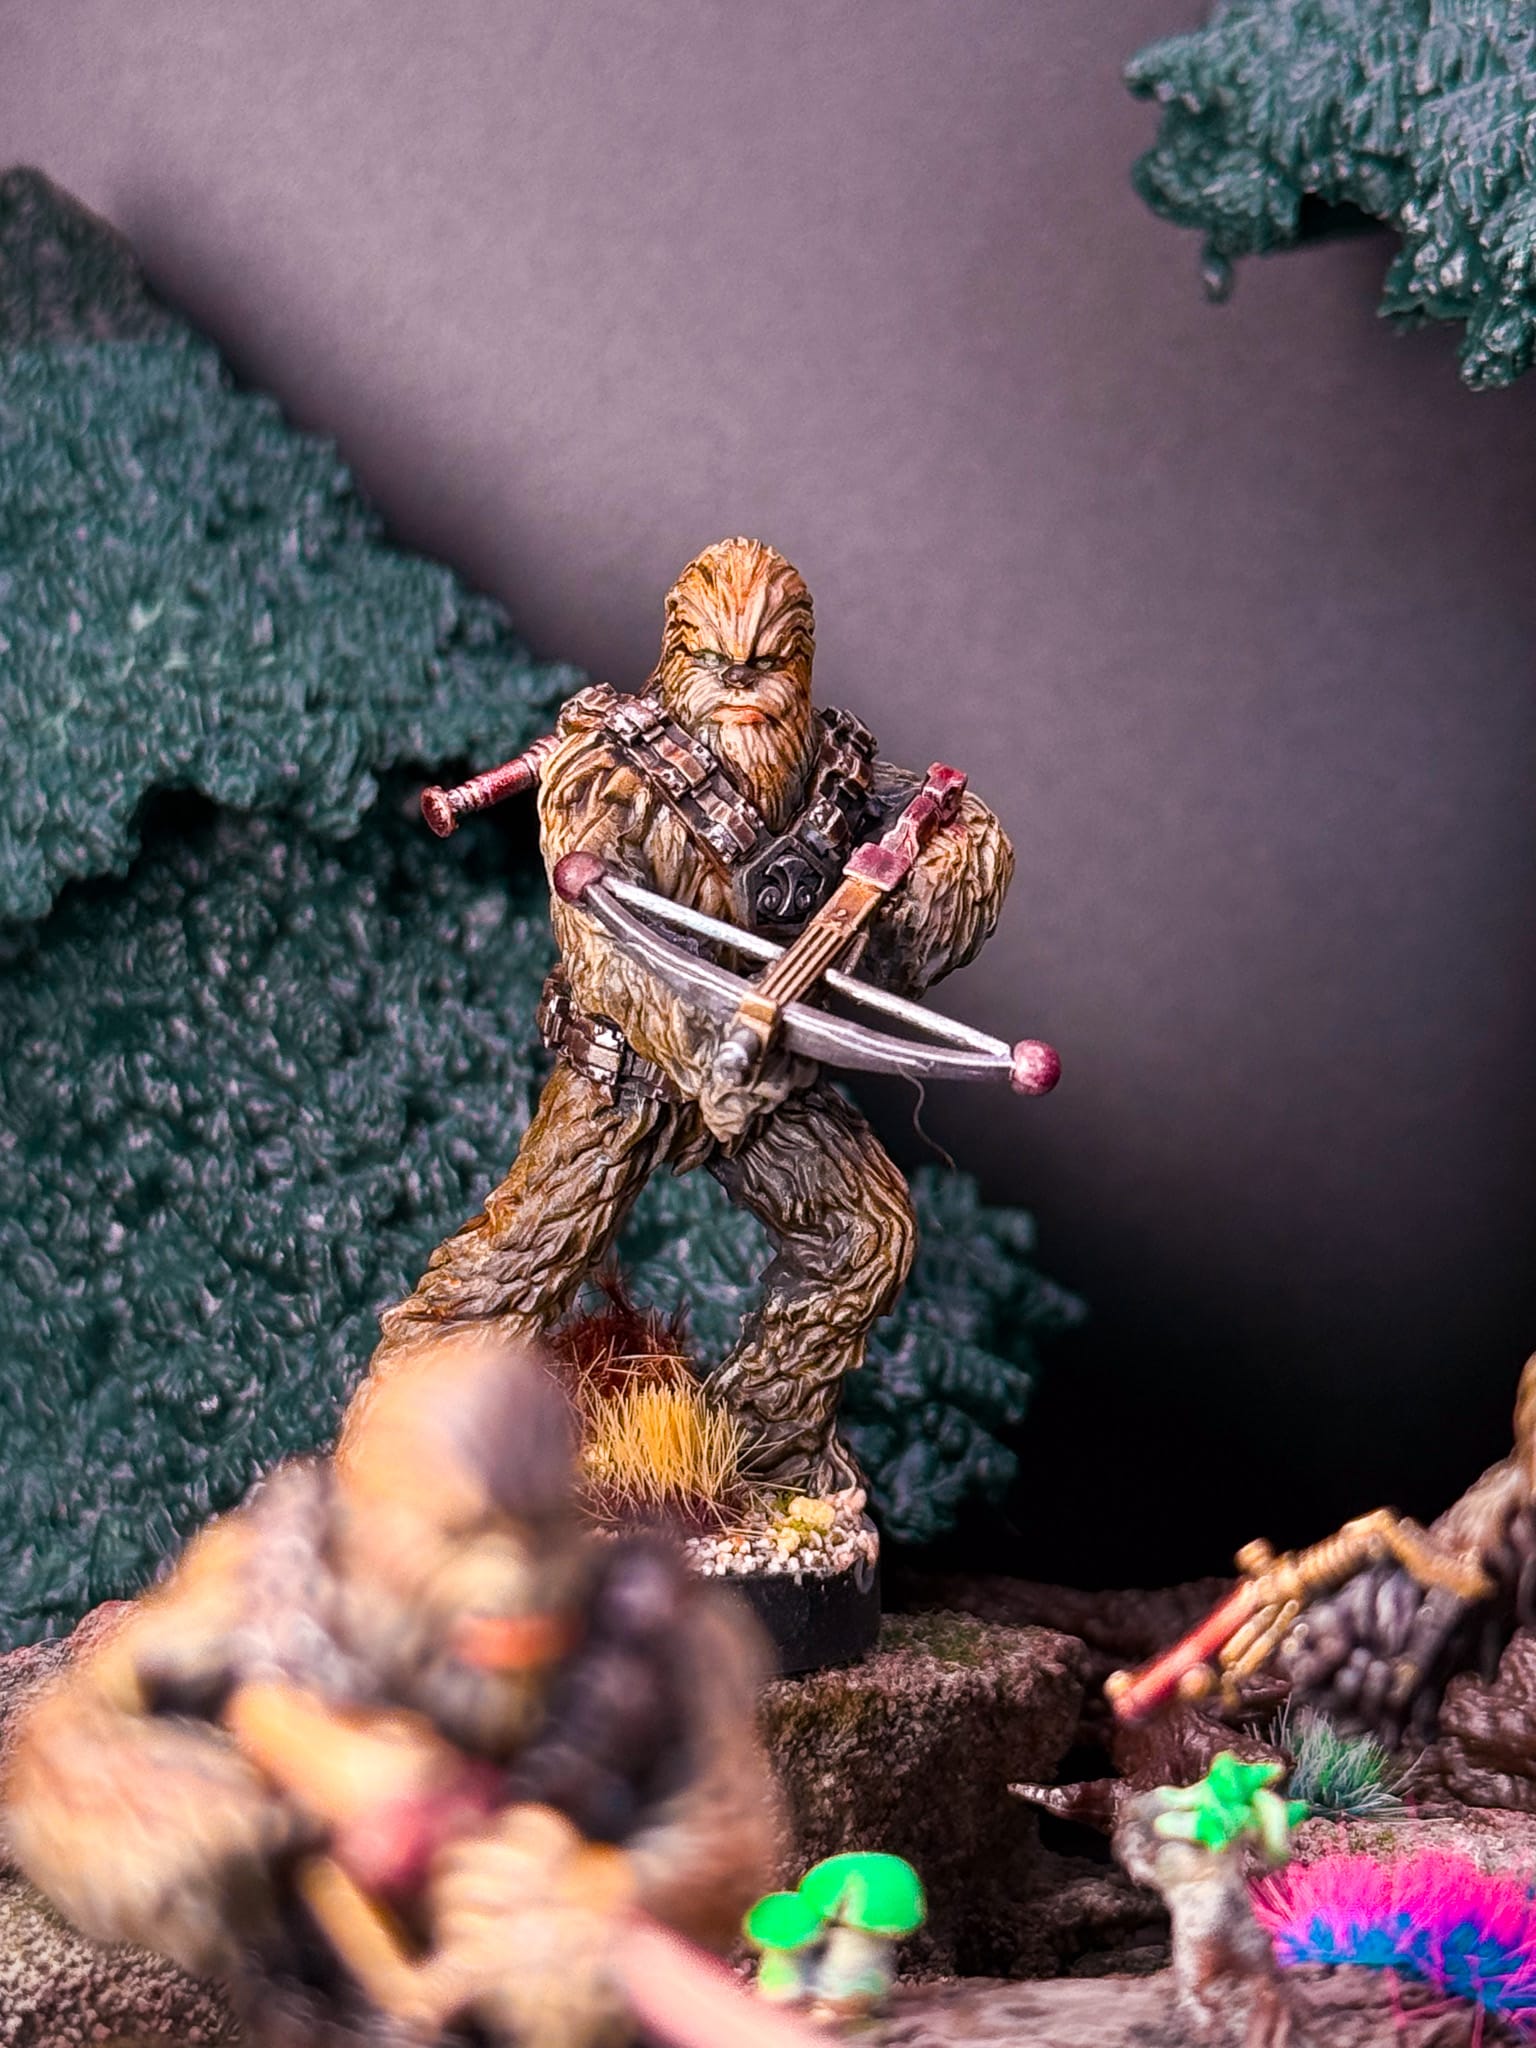
For the guns, I used Brazen Copper and Glittering Loot. Using this in combination tends to yield some brassy tones and copper, which works well with the browns that fill the piece. I also used these metals to drybrush the shields. The Bowcaster, the most iconic Wookiee weapon, got a mixture of gold, silver, and copper to really make it stand out!

A wash over metallics can help yield a worn look
Lastly, a bit of cleanup. The washes were pulled in again to help knock back the metallics and unify the look of the straps. Some Kimera Smoke and Leather were used to paint noses and lips. I took Kimera Alizarin Crimson from the Velvet range to highlight the skirts on two of the models, and then it was basing time!
"Chewie, we're home."
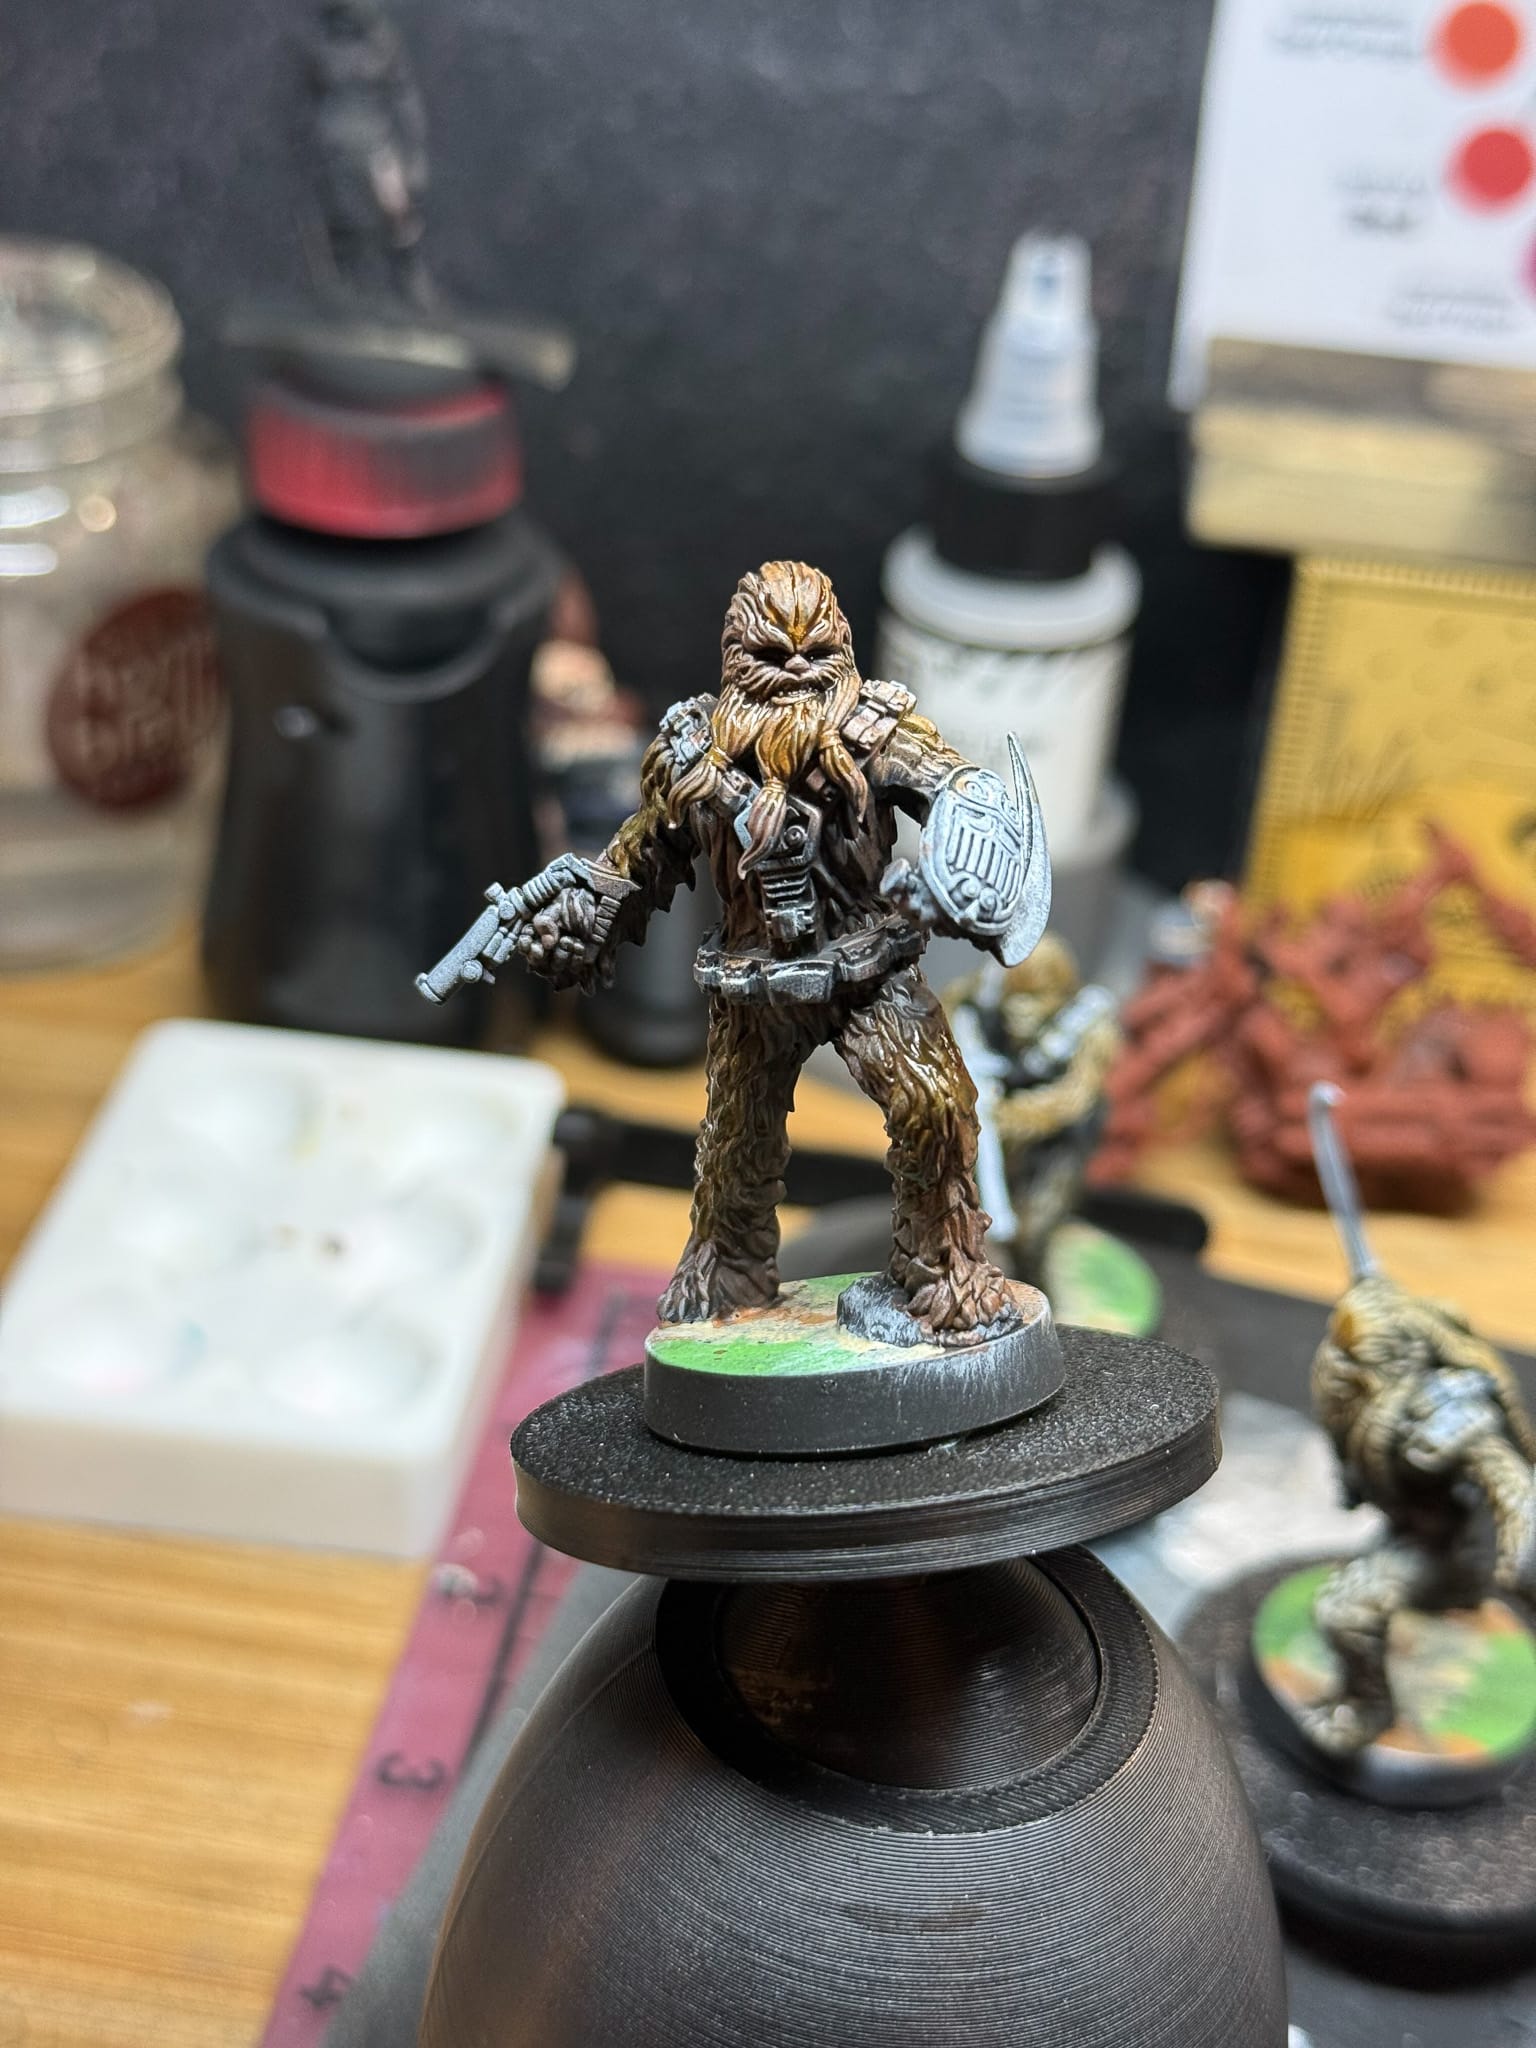
I love basing. For each model, I underpainted the bases with a mixture of materials and colors. I used some greens, browns, and blacks, and fortified them with some wet earth paste and dry earth paste. While you may think doing such a strange mixture is a wild idea, the reason is that anything not covered by basing materials will show through, helping to create the illusion of an environment for each model. I then took a mixture of materials from All Game Terrain, along with some model railroad material, and proceeded to brush glue on the base and give each model a healthy dunk in my mixture. I then used a watered-down PVA glue to help “seal” in each base. At this time, I took some various tufts I had sitting around and stuck them in the wet basing mixture. 12 hours later, and they’re perfect. My Woookies all look like they’re running around a desert environment, which makes me pretty happy.
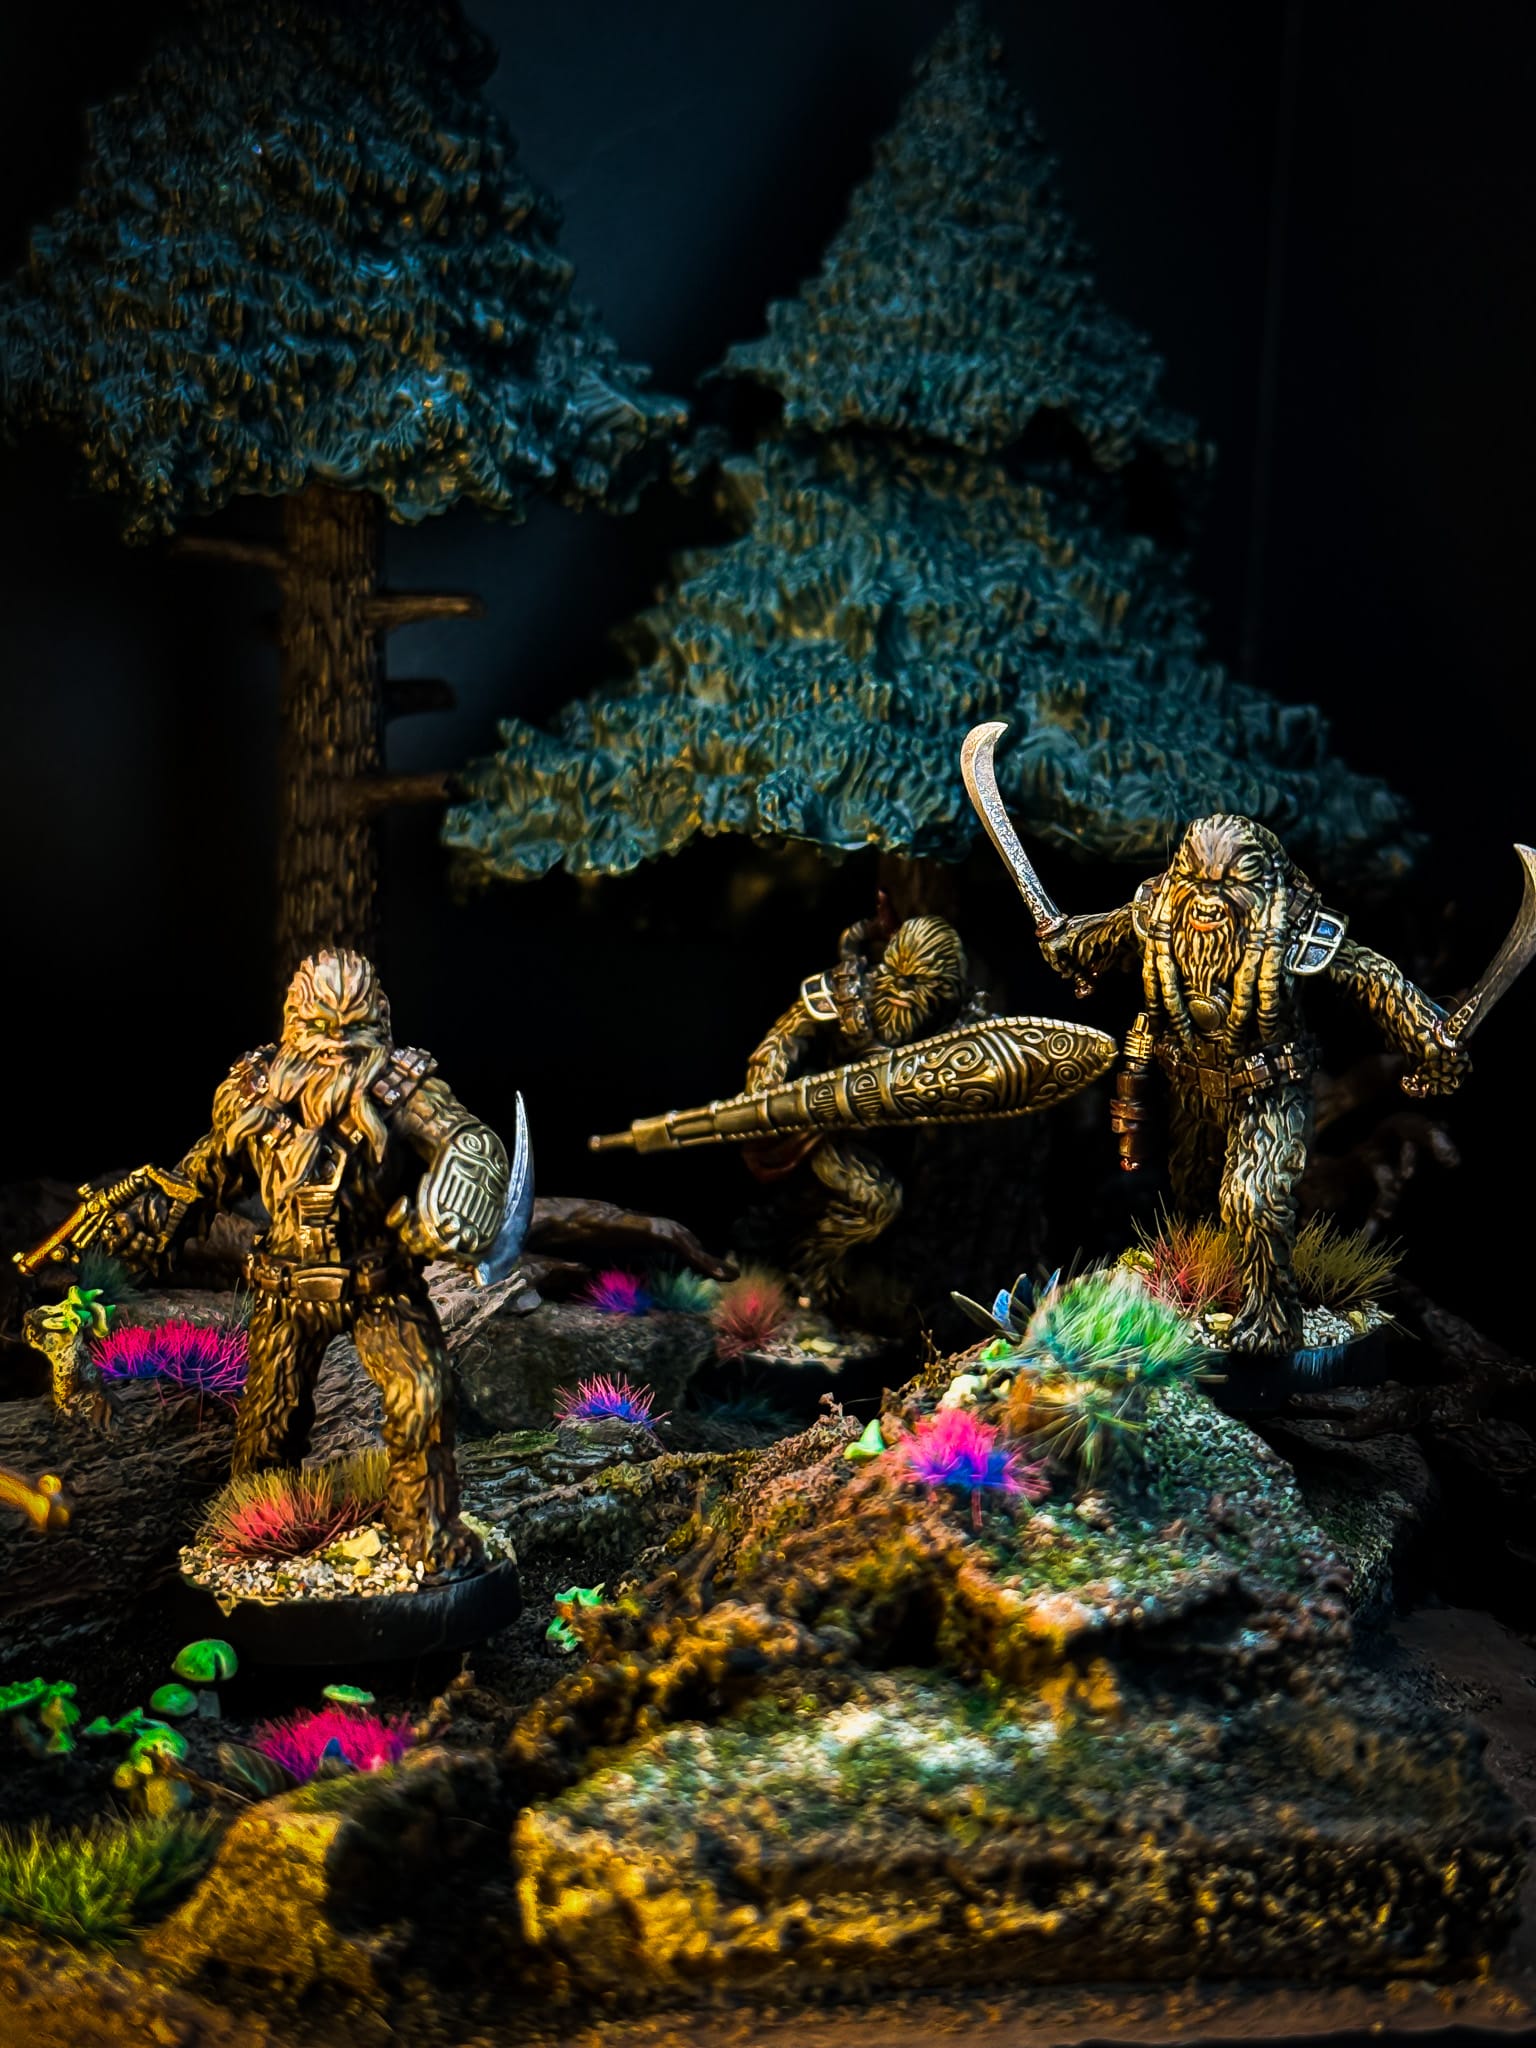
Tip: a little bit of terrain goes a long way when setting up a photoshoot, thanks to Monster Fight Club
Check out the end result! Overall, this took a few hours throughout the week, maybe less than 8 to get the whole squad done. Using these techniques, I’m sure you can do the same if not better! Sound off on social or in the comments below, let us know how you paint up your Wookies!


