Maximum Force Tactical Division, a.k.a. MAX-TAC, is a rapid response team of the most combat capable and trained officers of the Night City Police Department (NCPD) Tactical Ops division. As a Cyberpsycho Squad (C-SWA), MAX-TAC specializes in dealing with dangerous cyberpsychos who are afflicted by cyberpsychosis—a mental disorder caused by an overloading of cybernetic augmentations to the body. MAX-TAC members are outfitted with the best in military armor, weaponry, cyberware, and vehicles. They have quick response times, don't pull their punches, and shoot to kill if their target goes over the edge with cyberpsychosis.
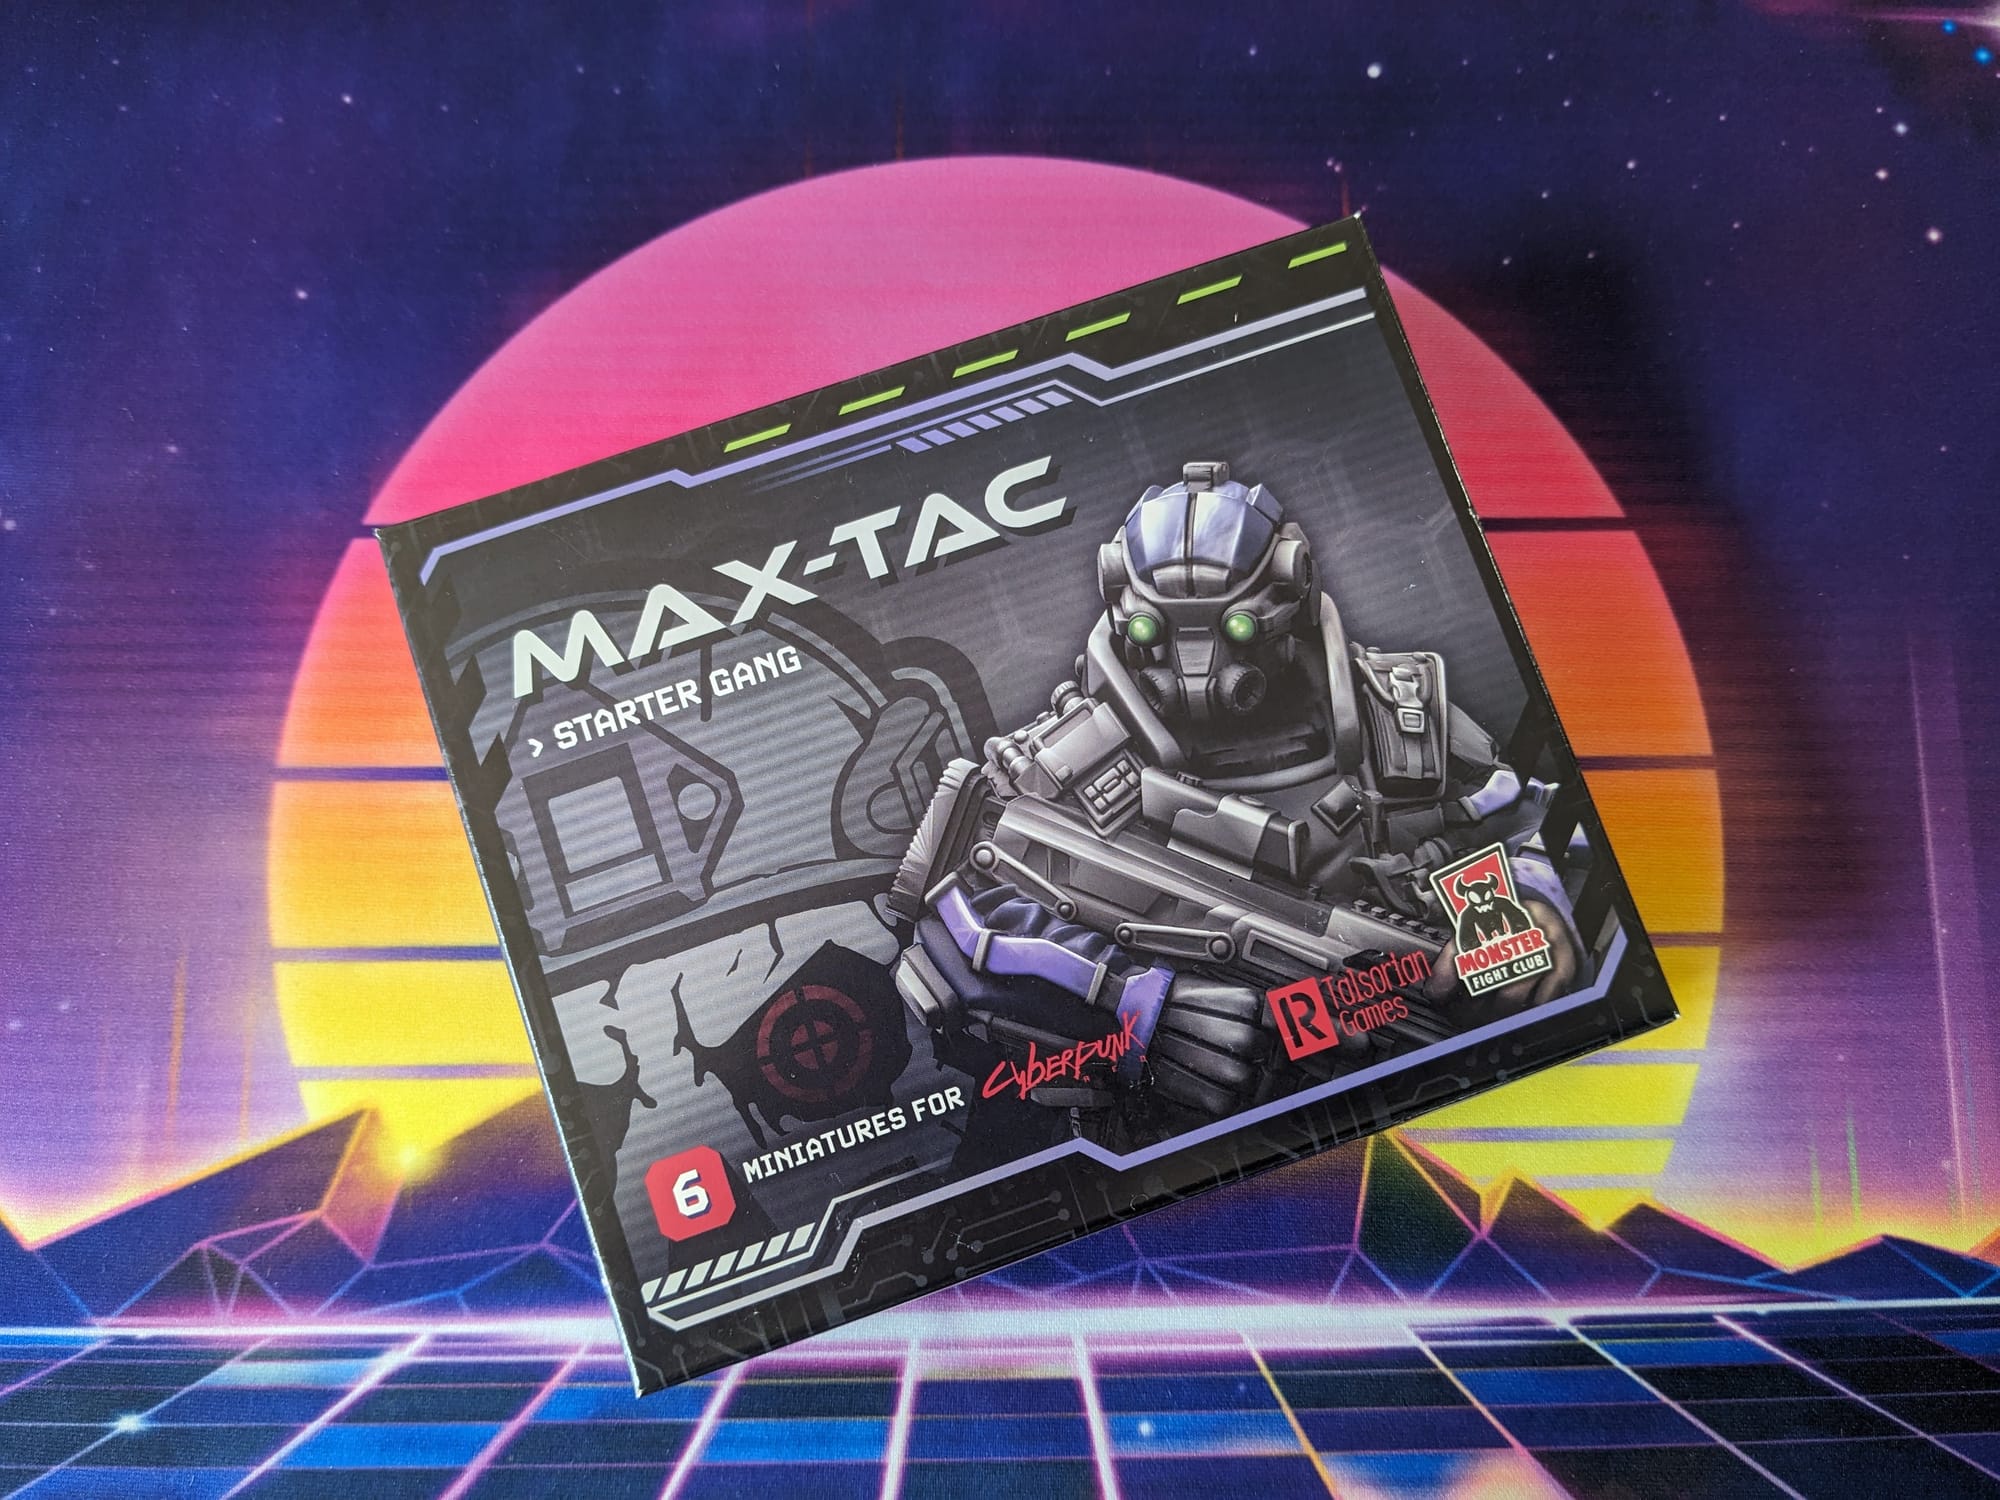
Cyberpunk Red: Combat Zone is a fast-paced, miniature skirmish game from Monster Fight Club. Set in the high-tech dystopia of the Cyberpunk RPG universe created by Mike Pondsmith, Cyberpunk Red: Combat Zone opens up a new way for players to create stories and combat in the universe. Crafted by veteran tabletop game creators, Combat Zone uses the [RE]action Dice System for organic, free-flowing gameplay interactions; no rounds, no turns—the game just goes!
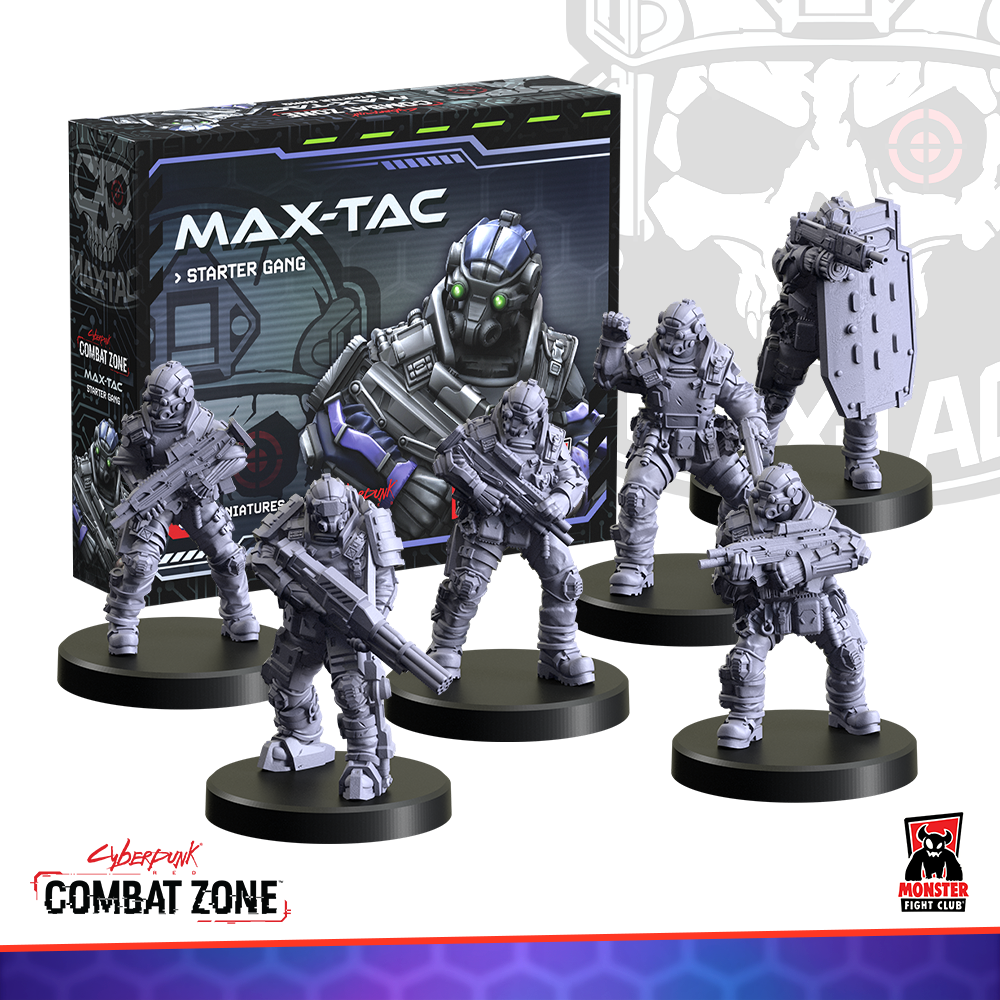
Unboxing
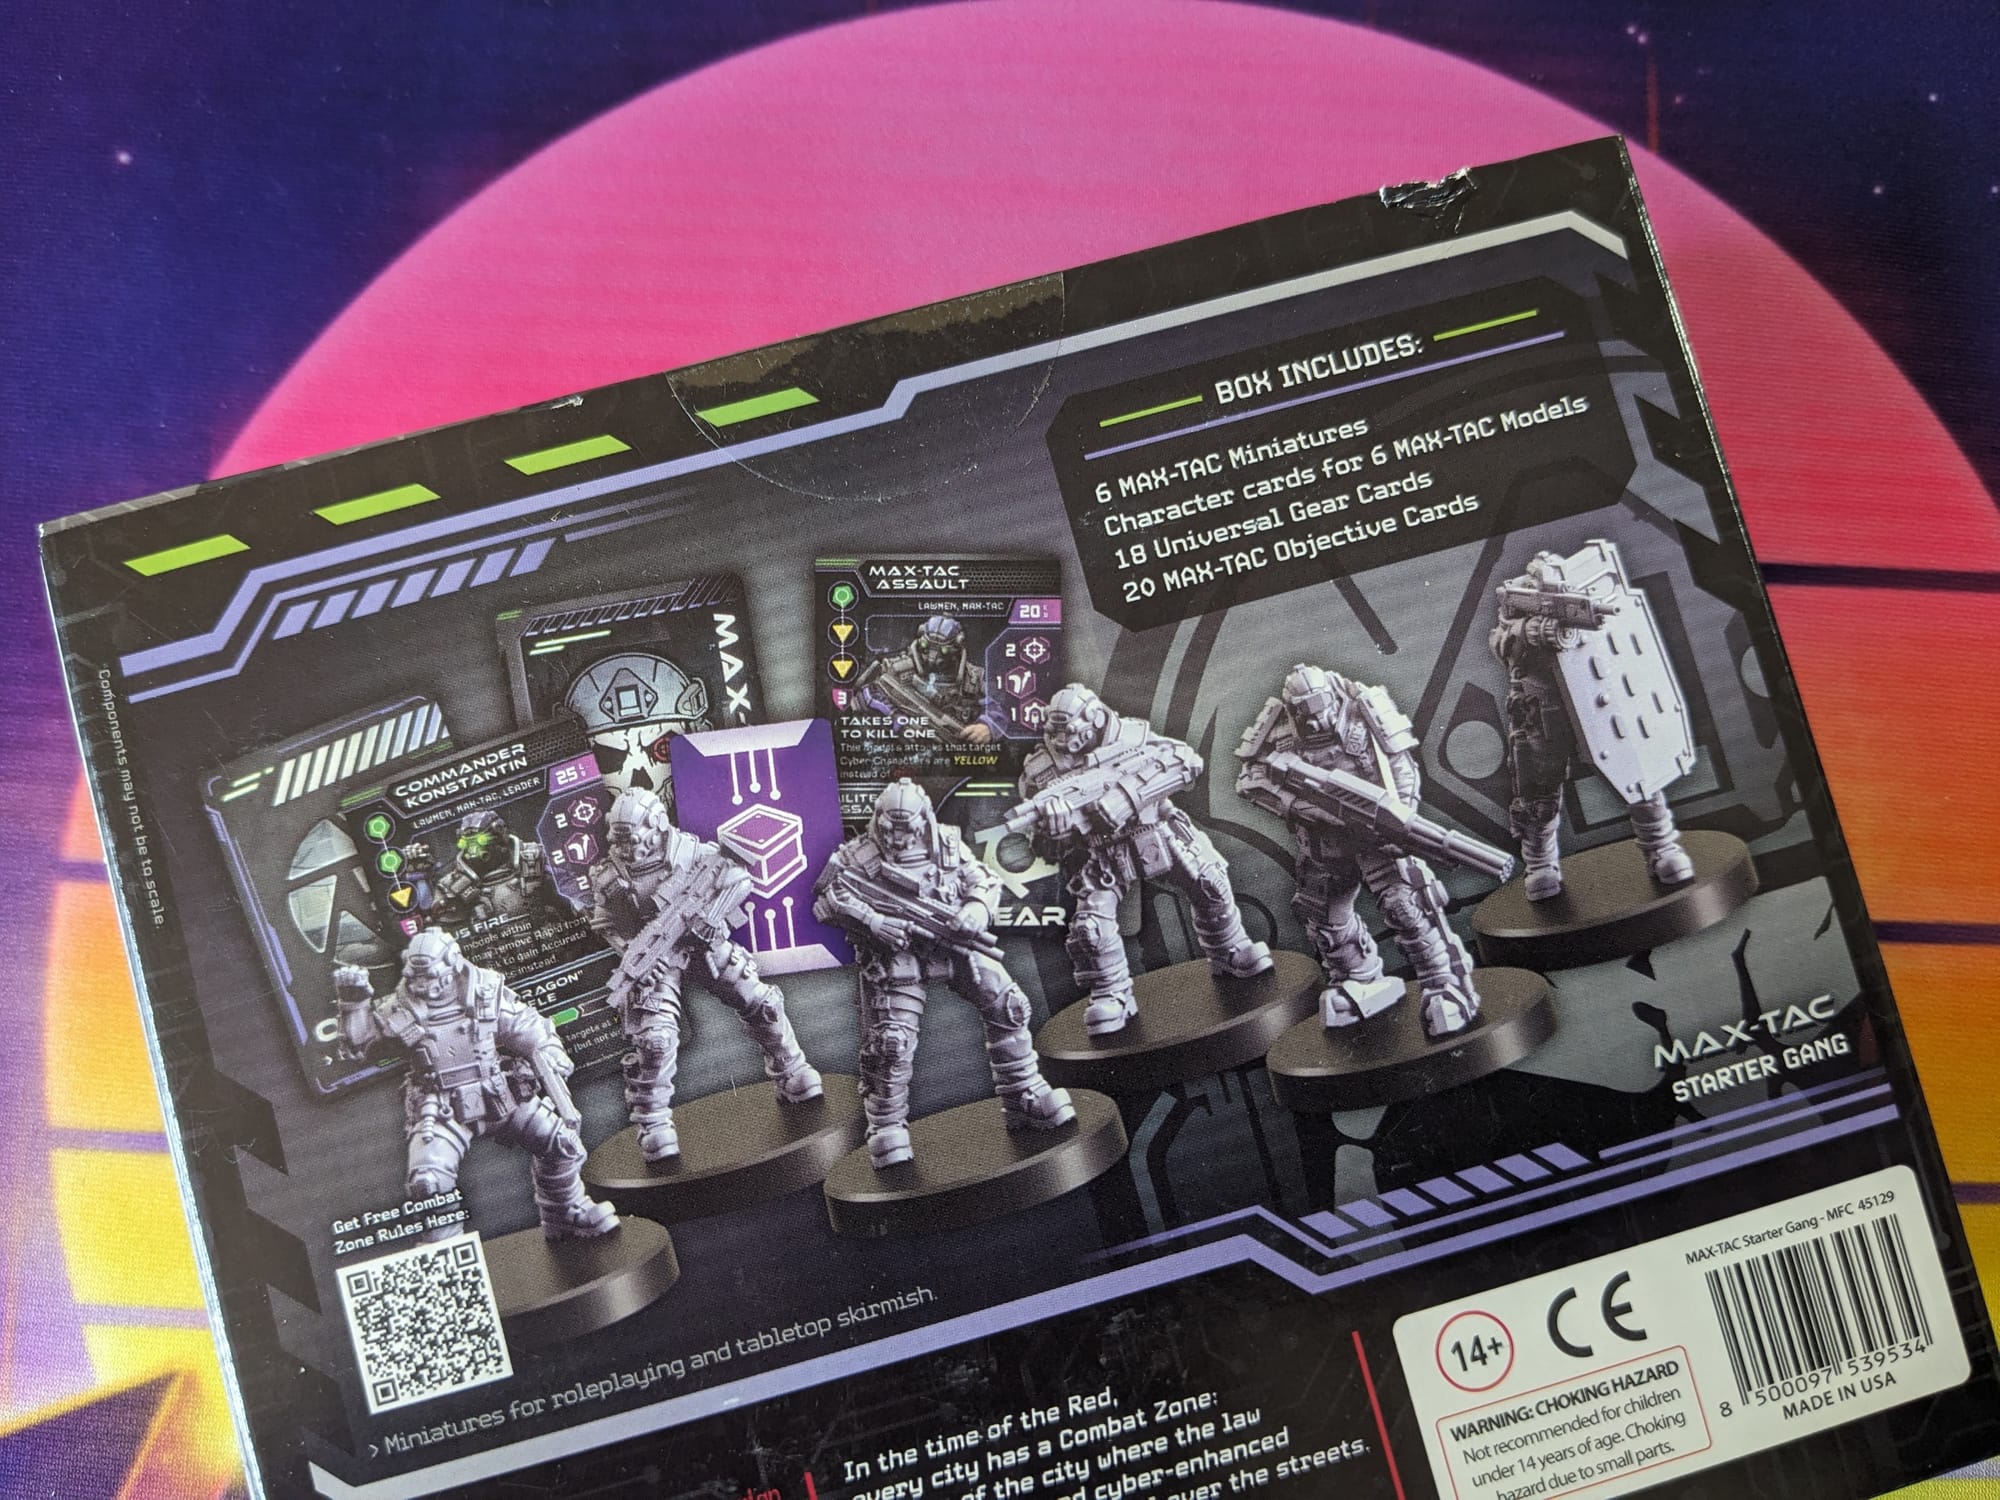
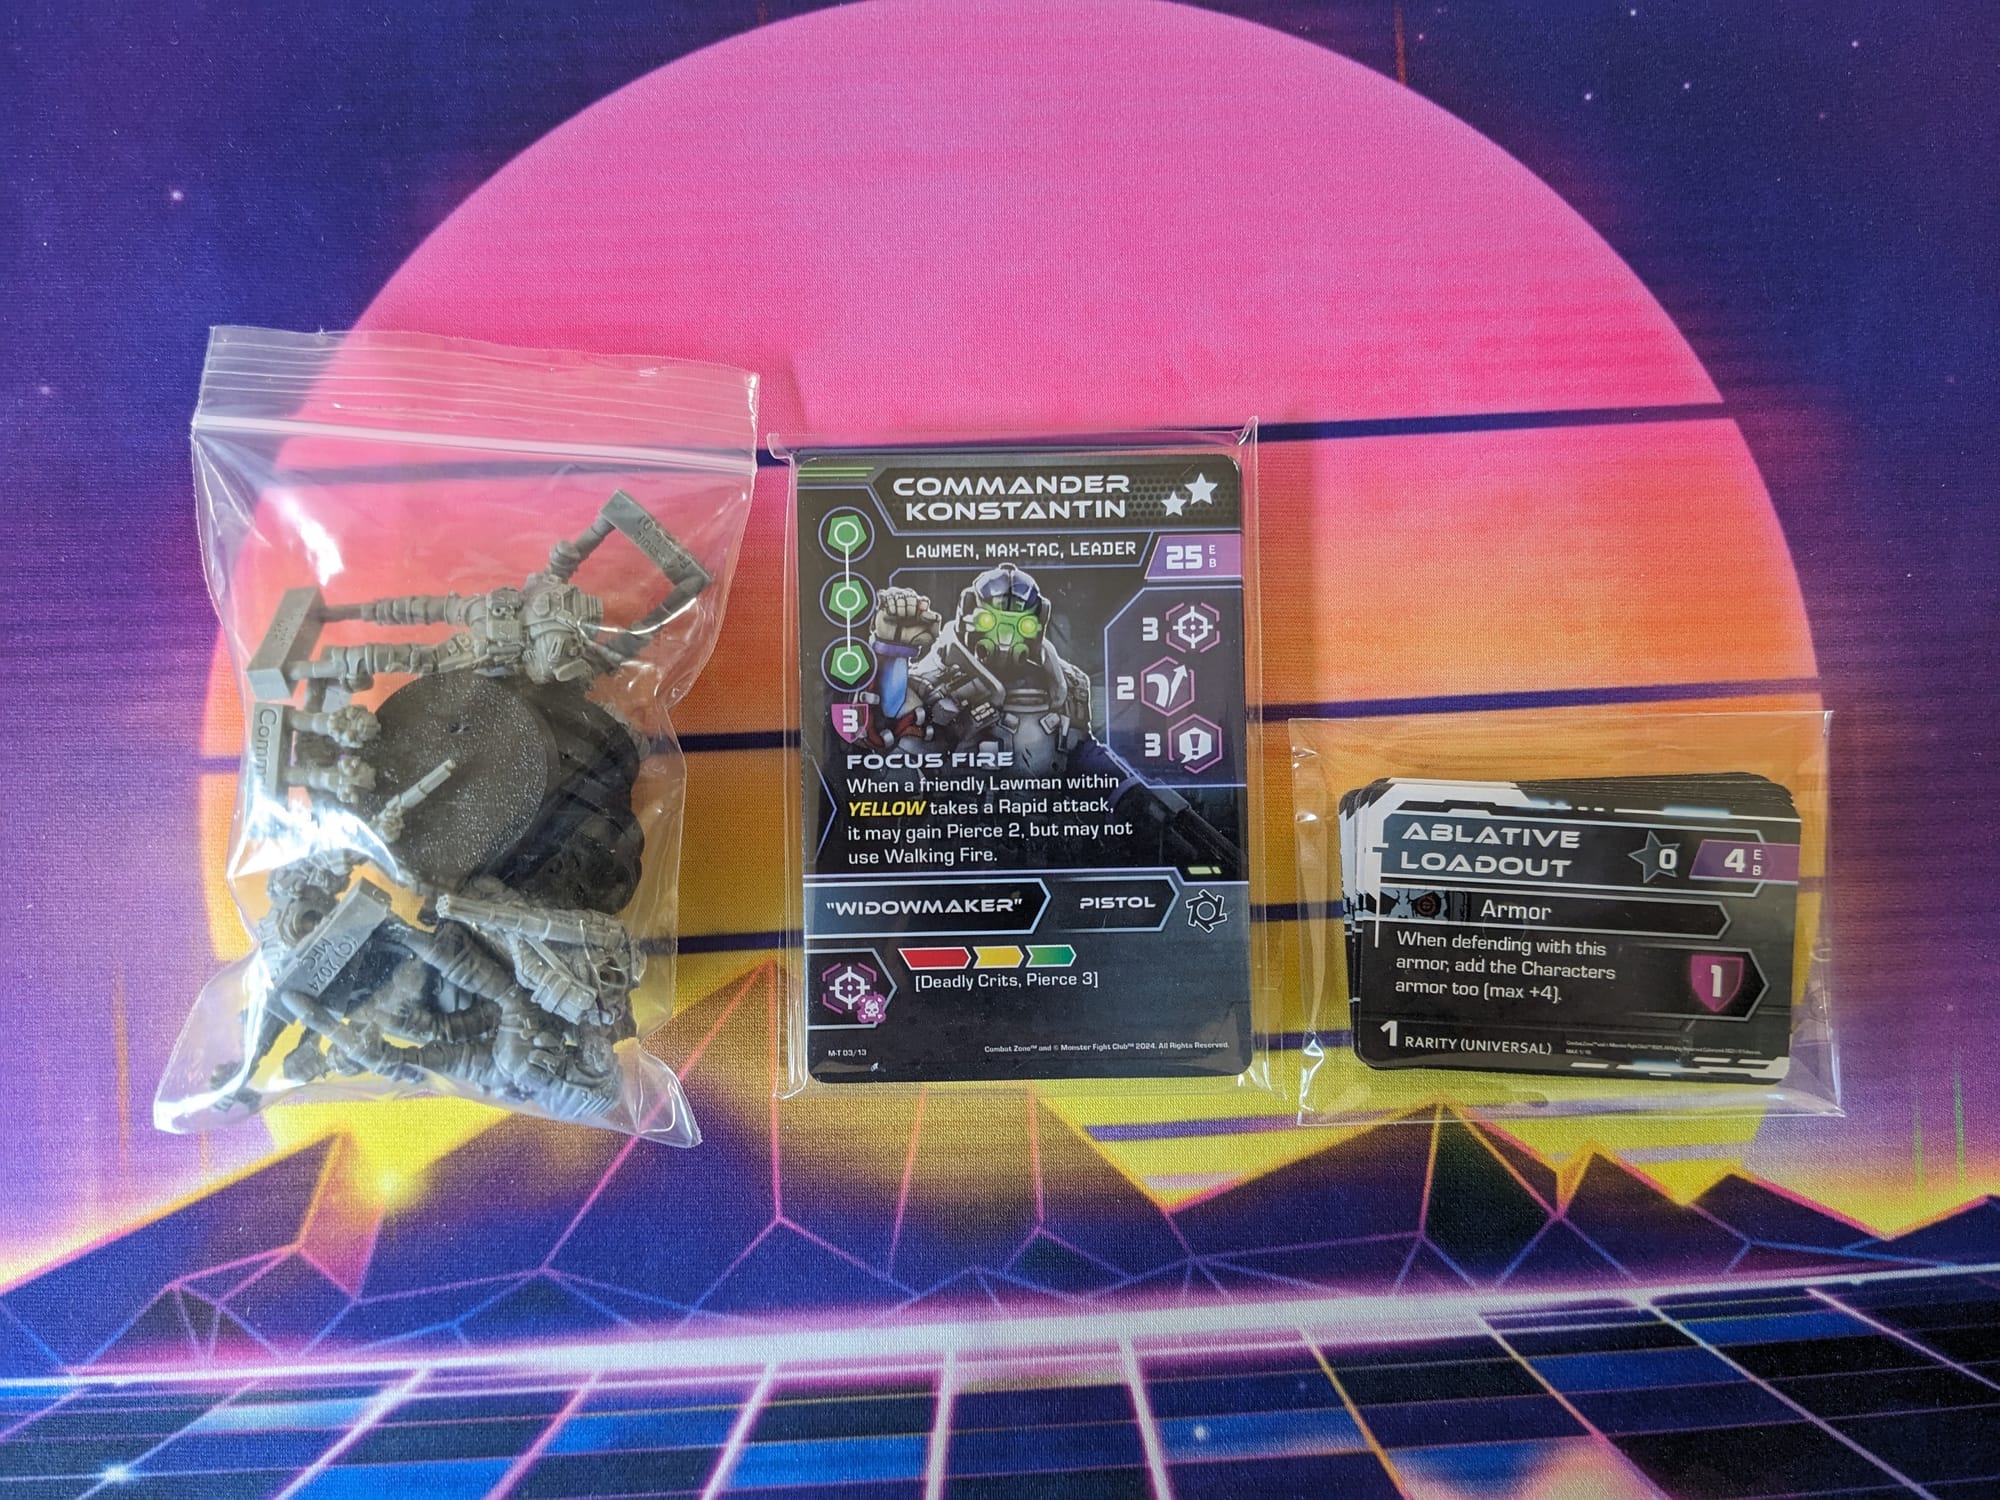
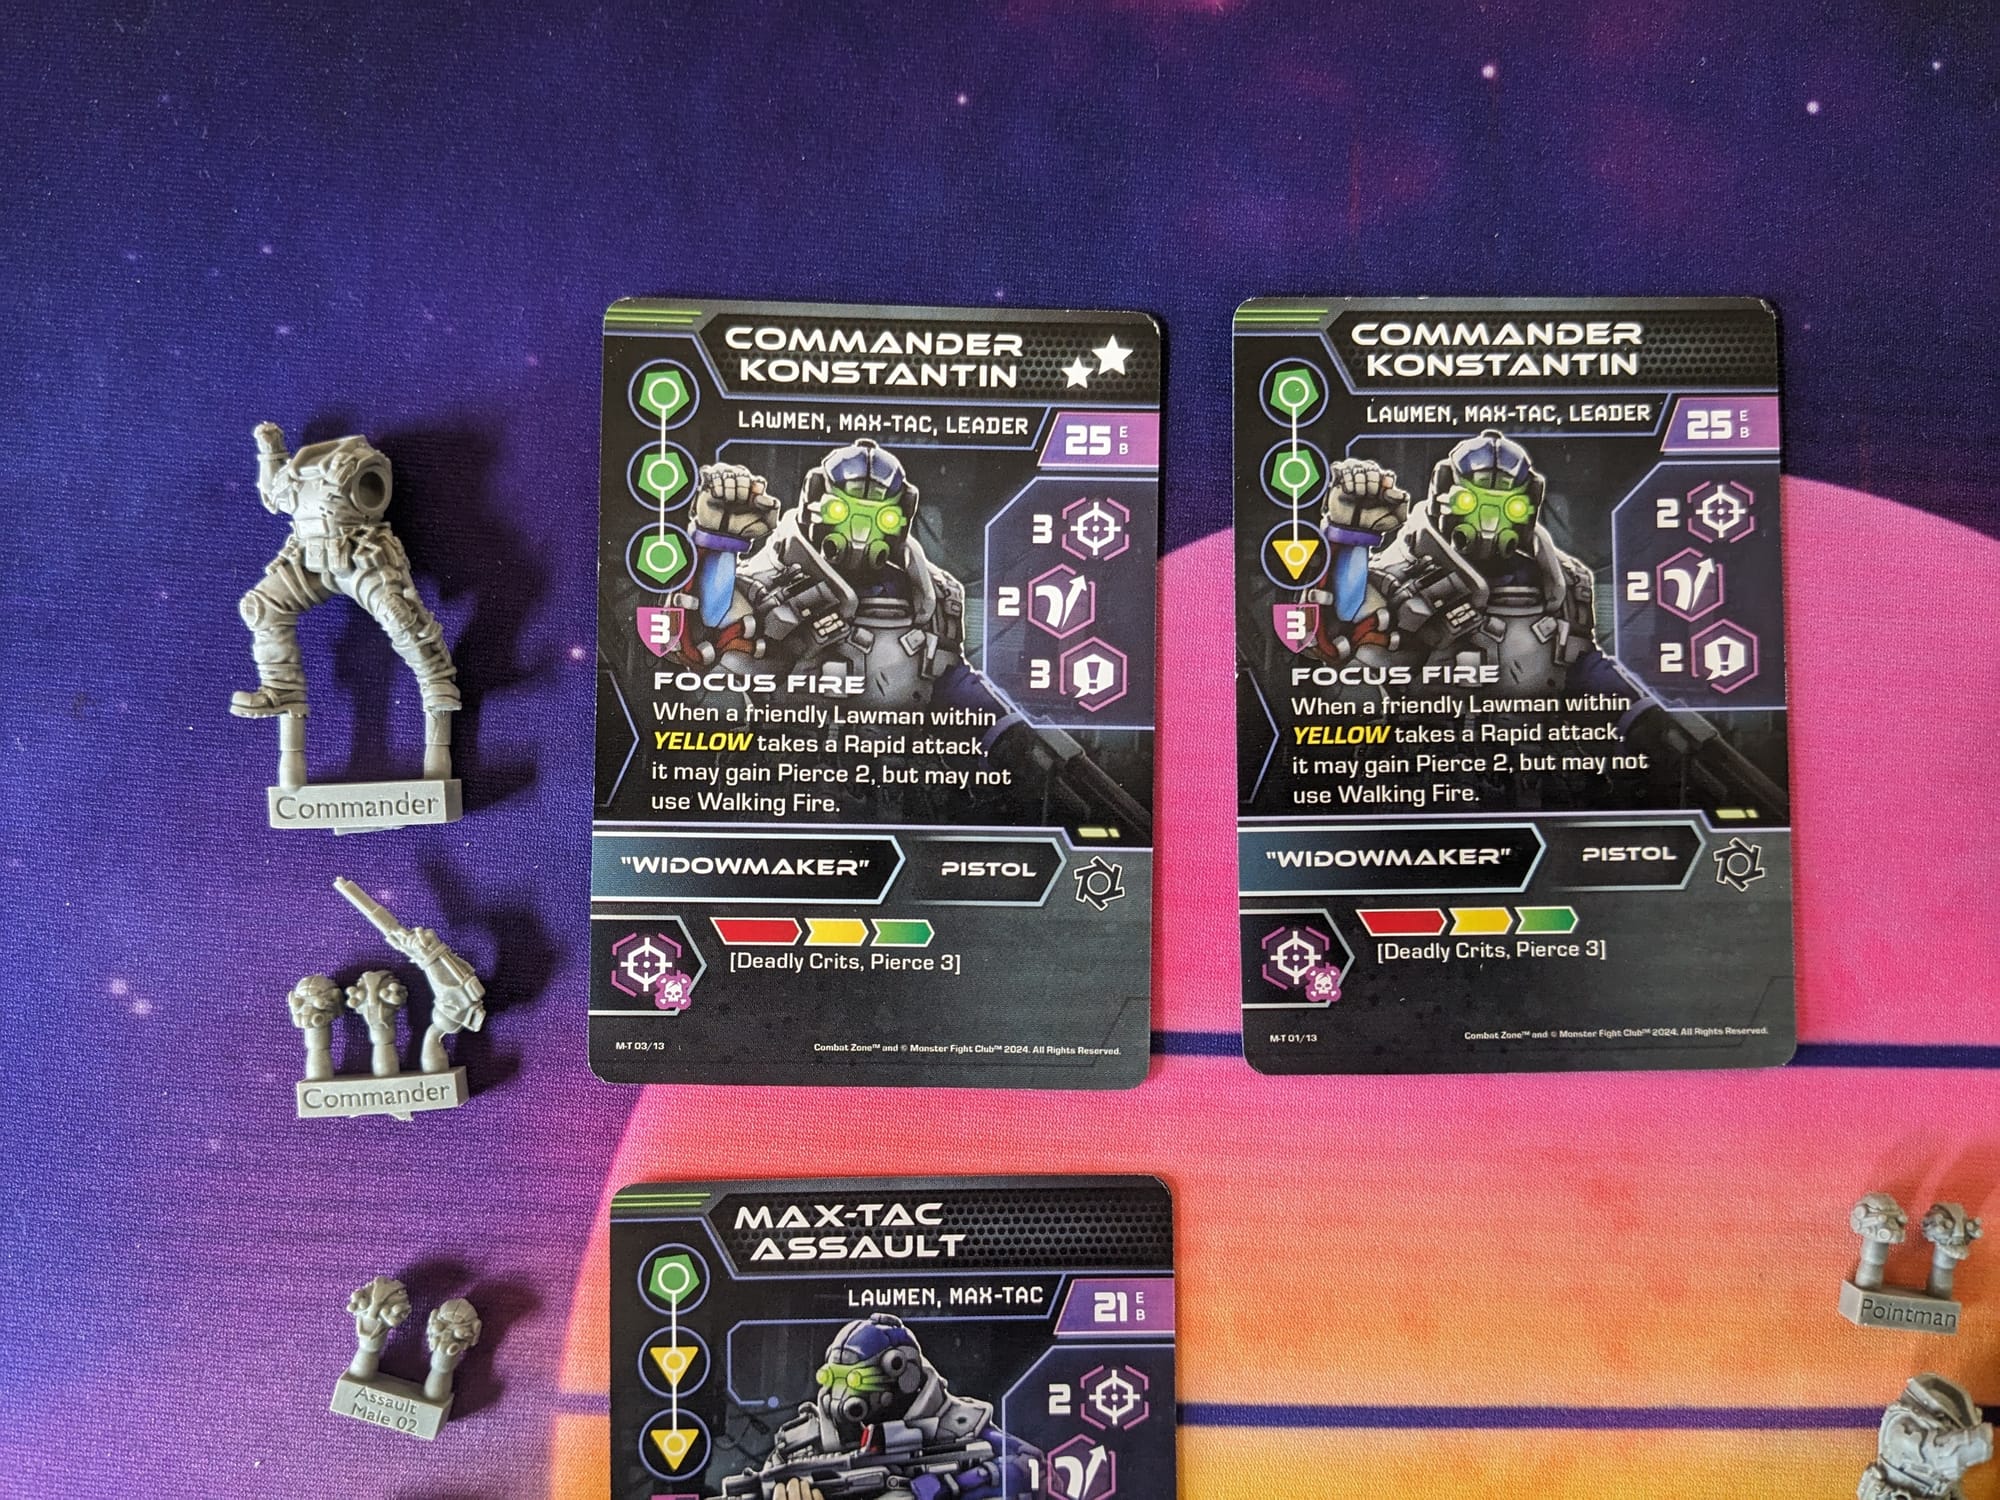
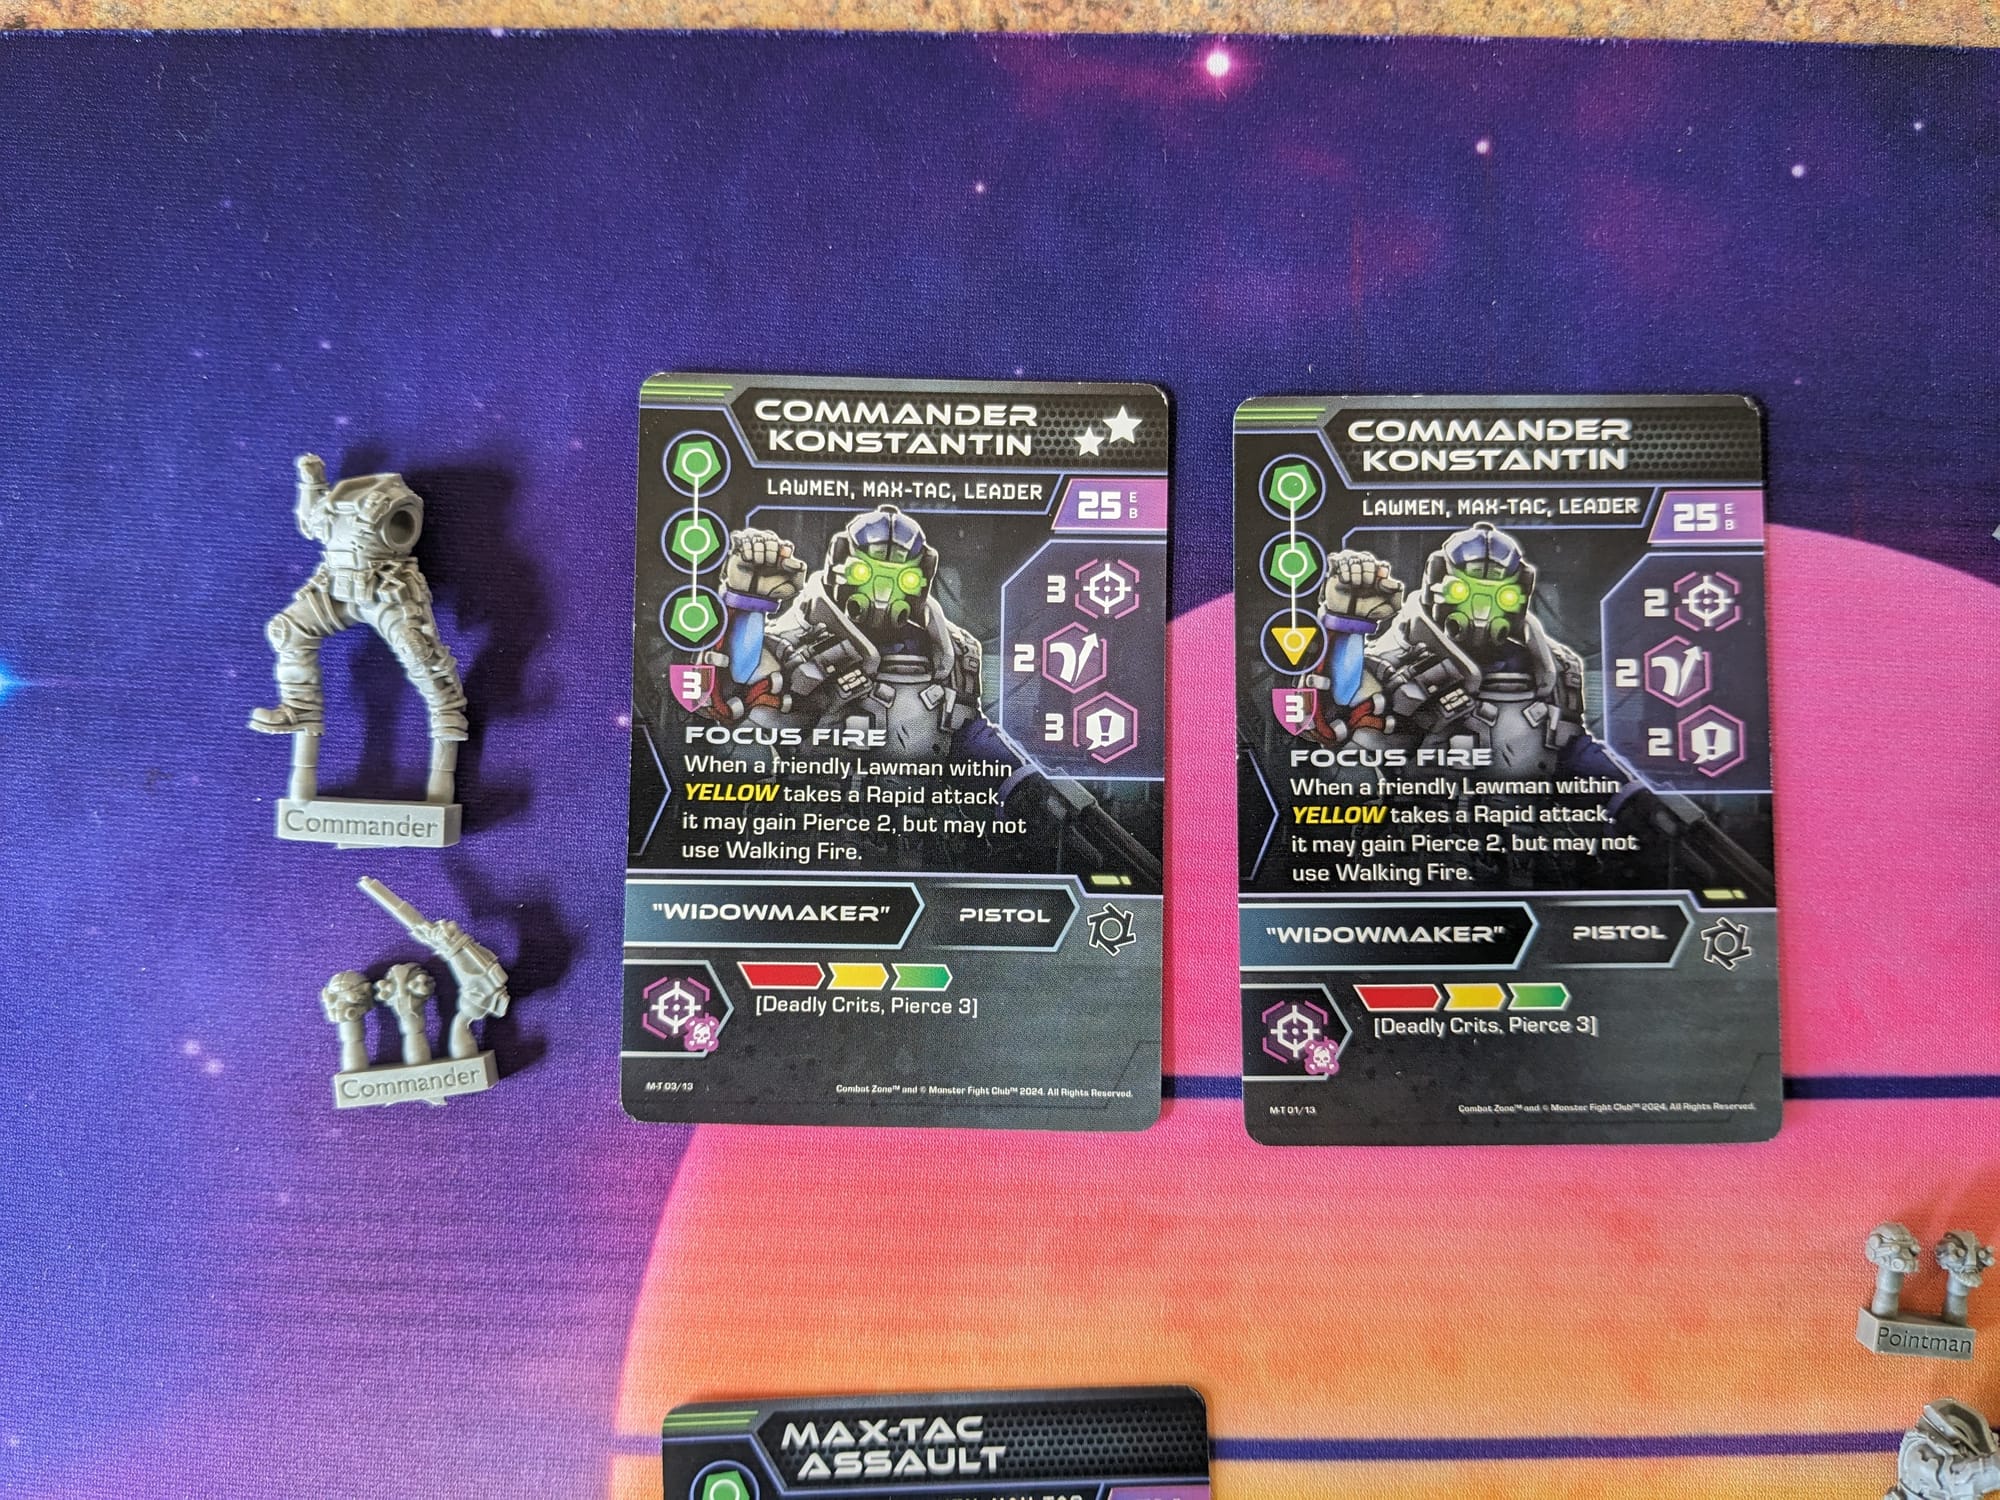
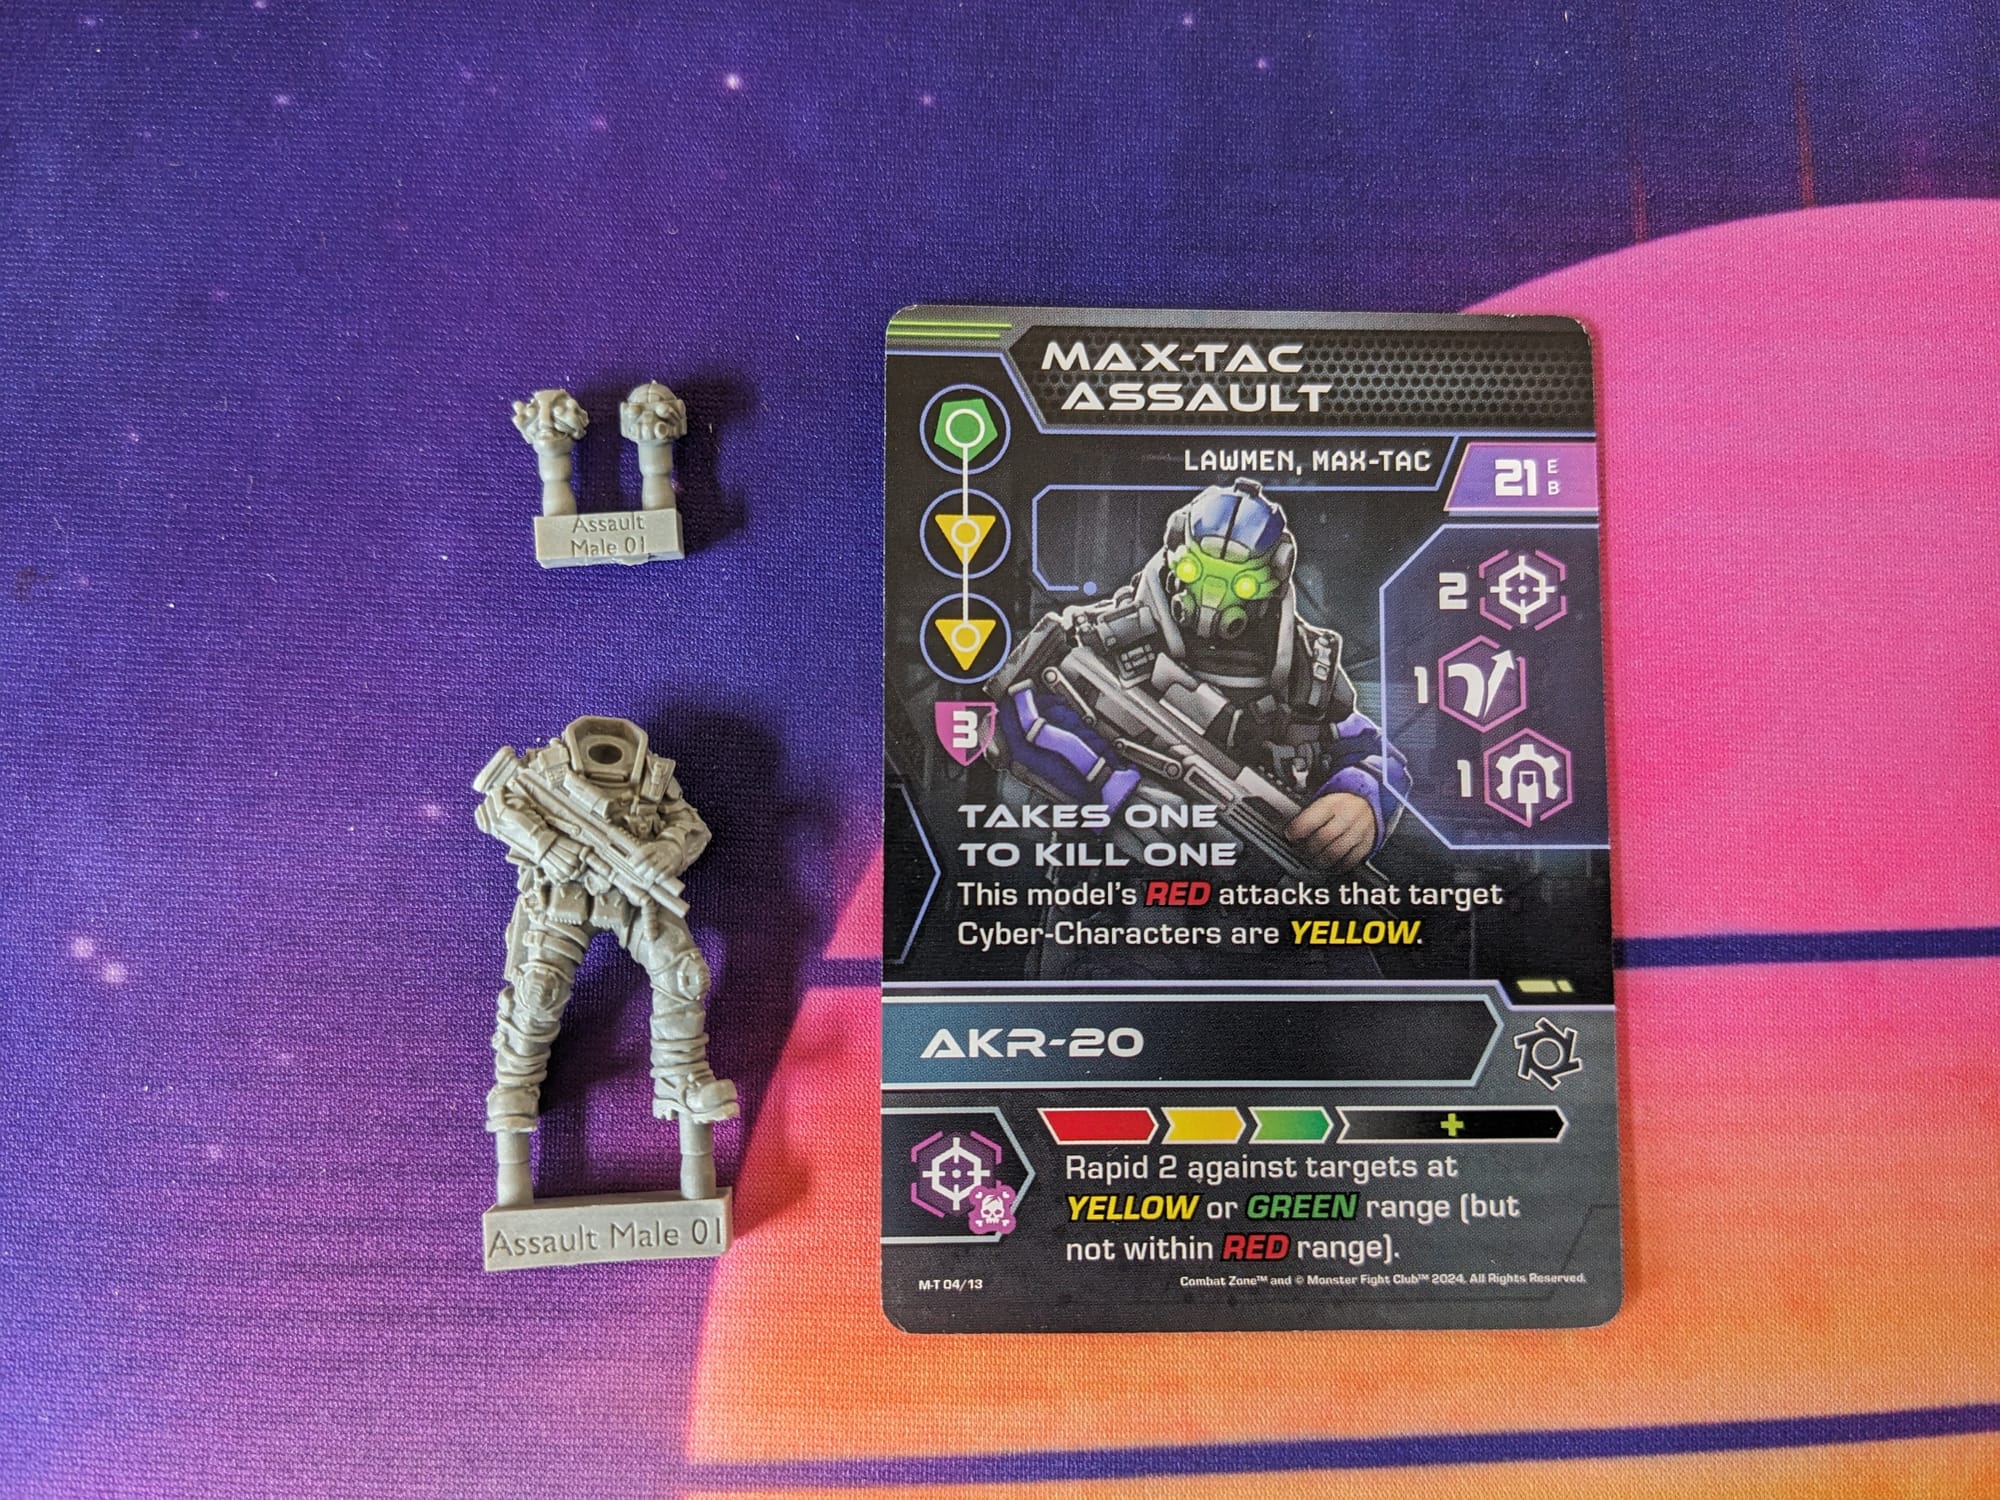
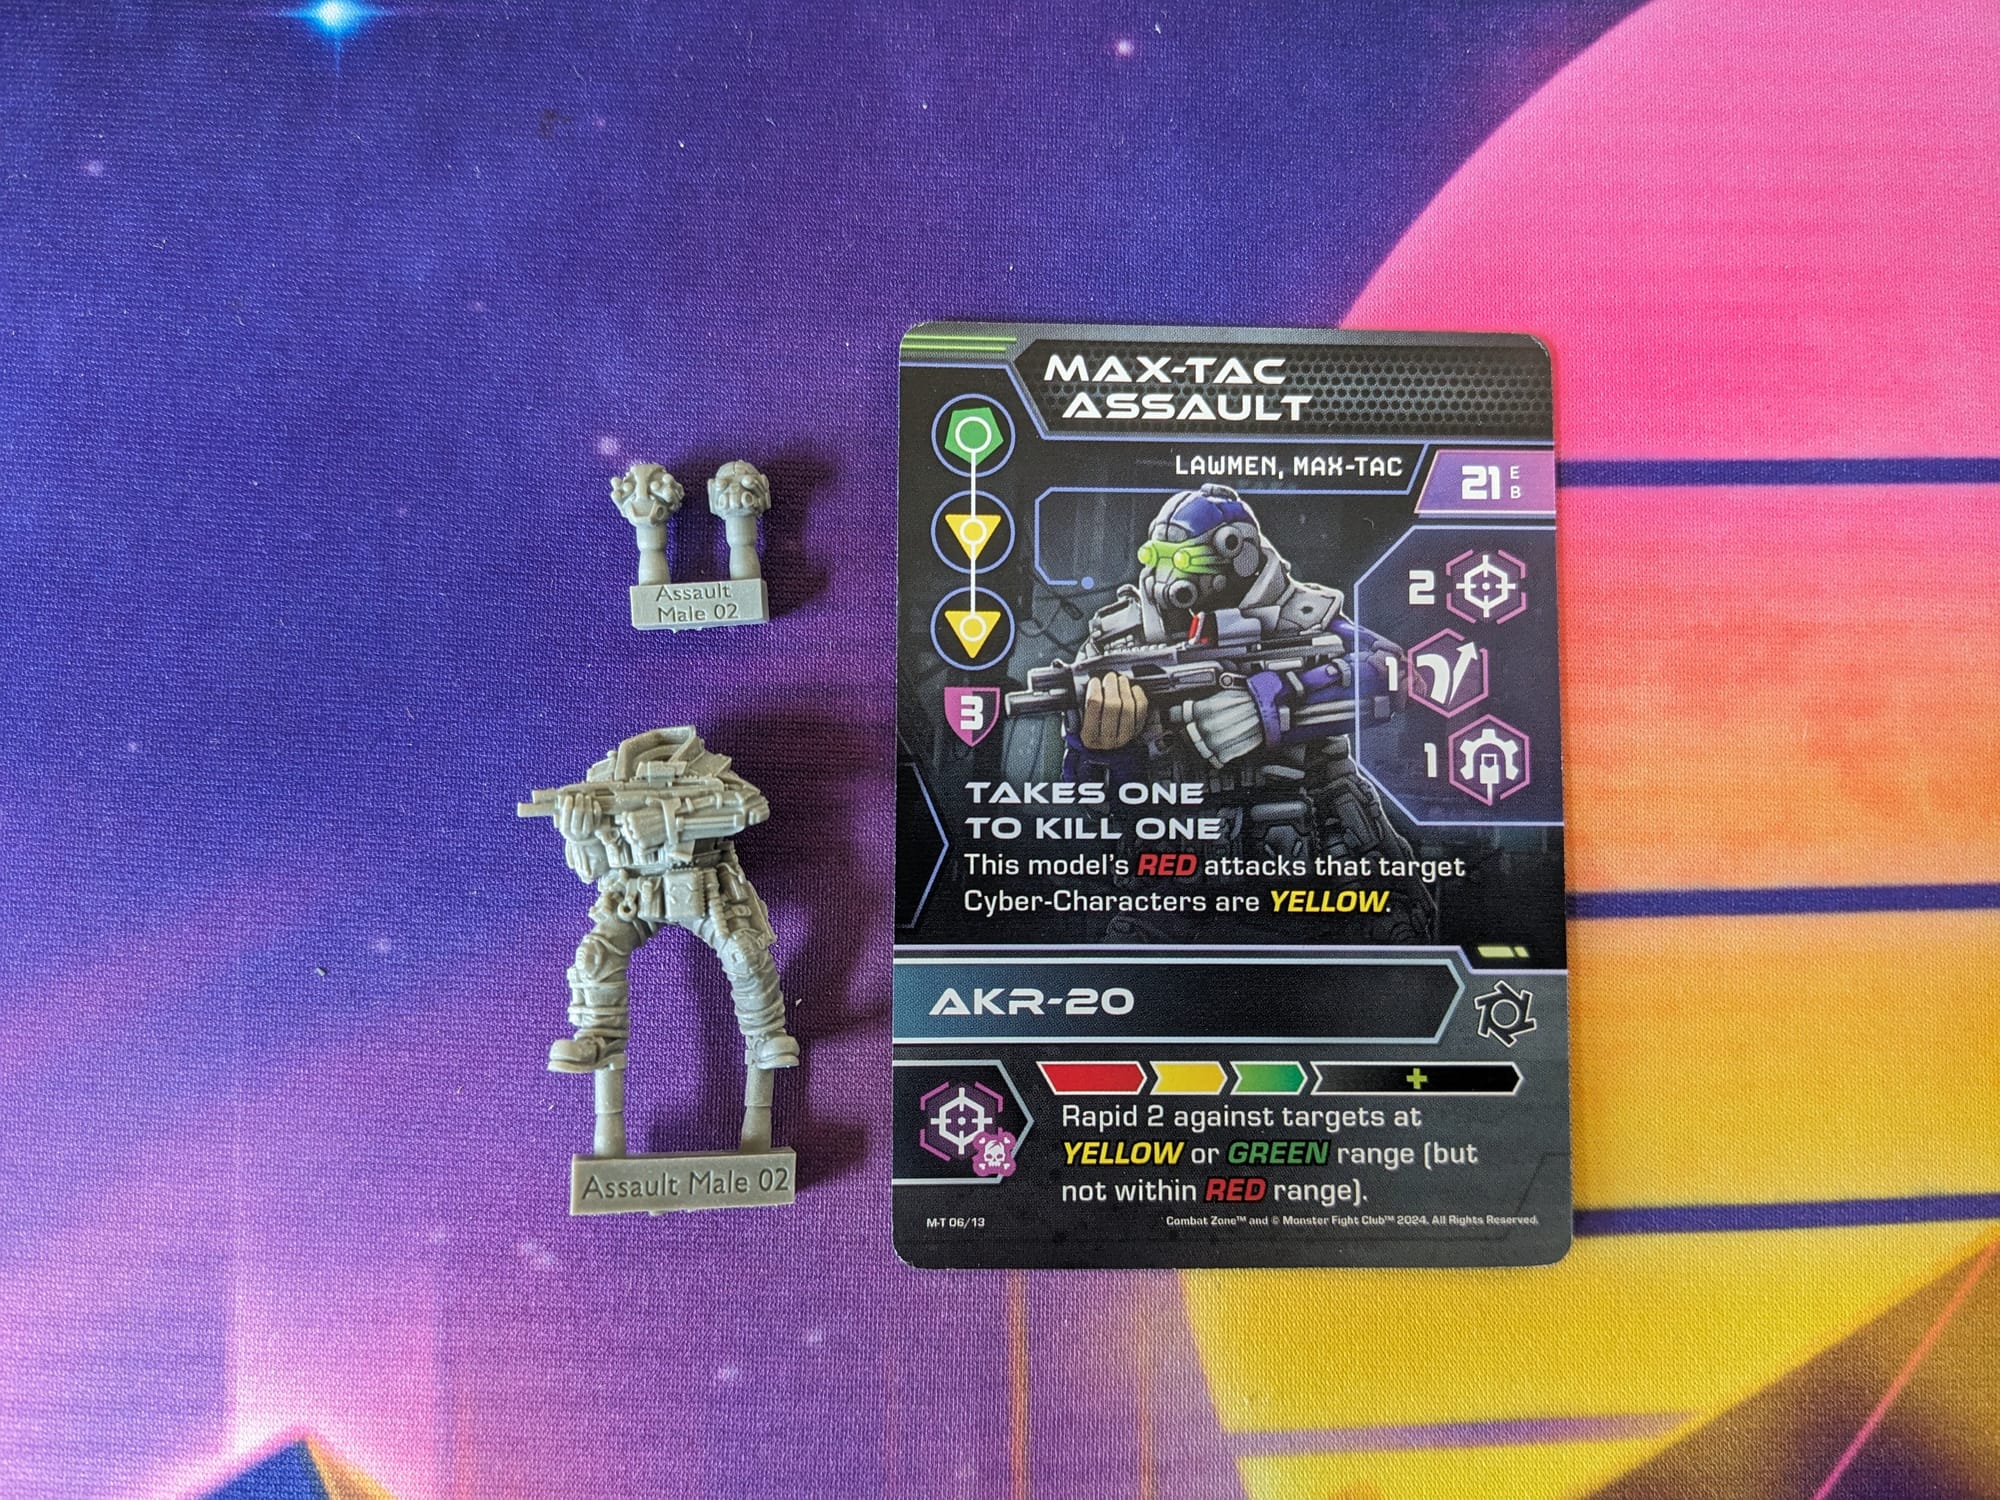
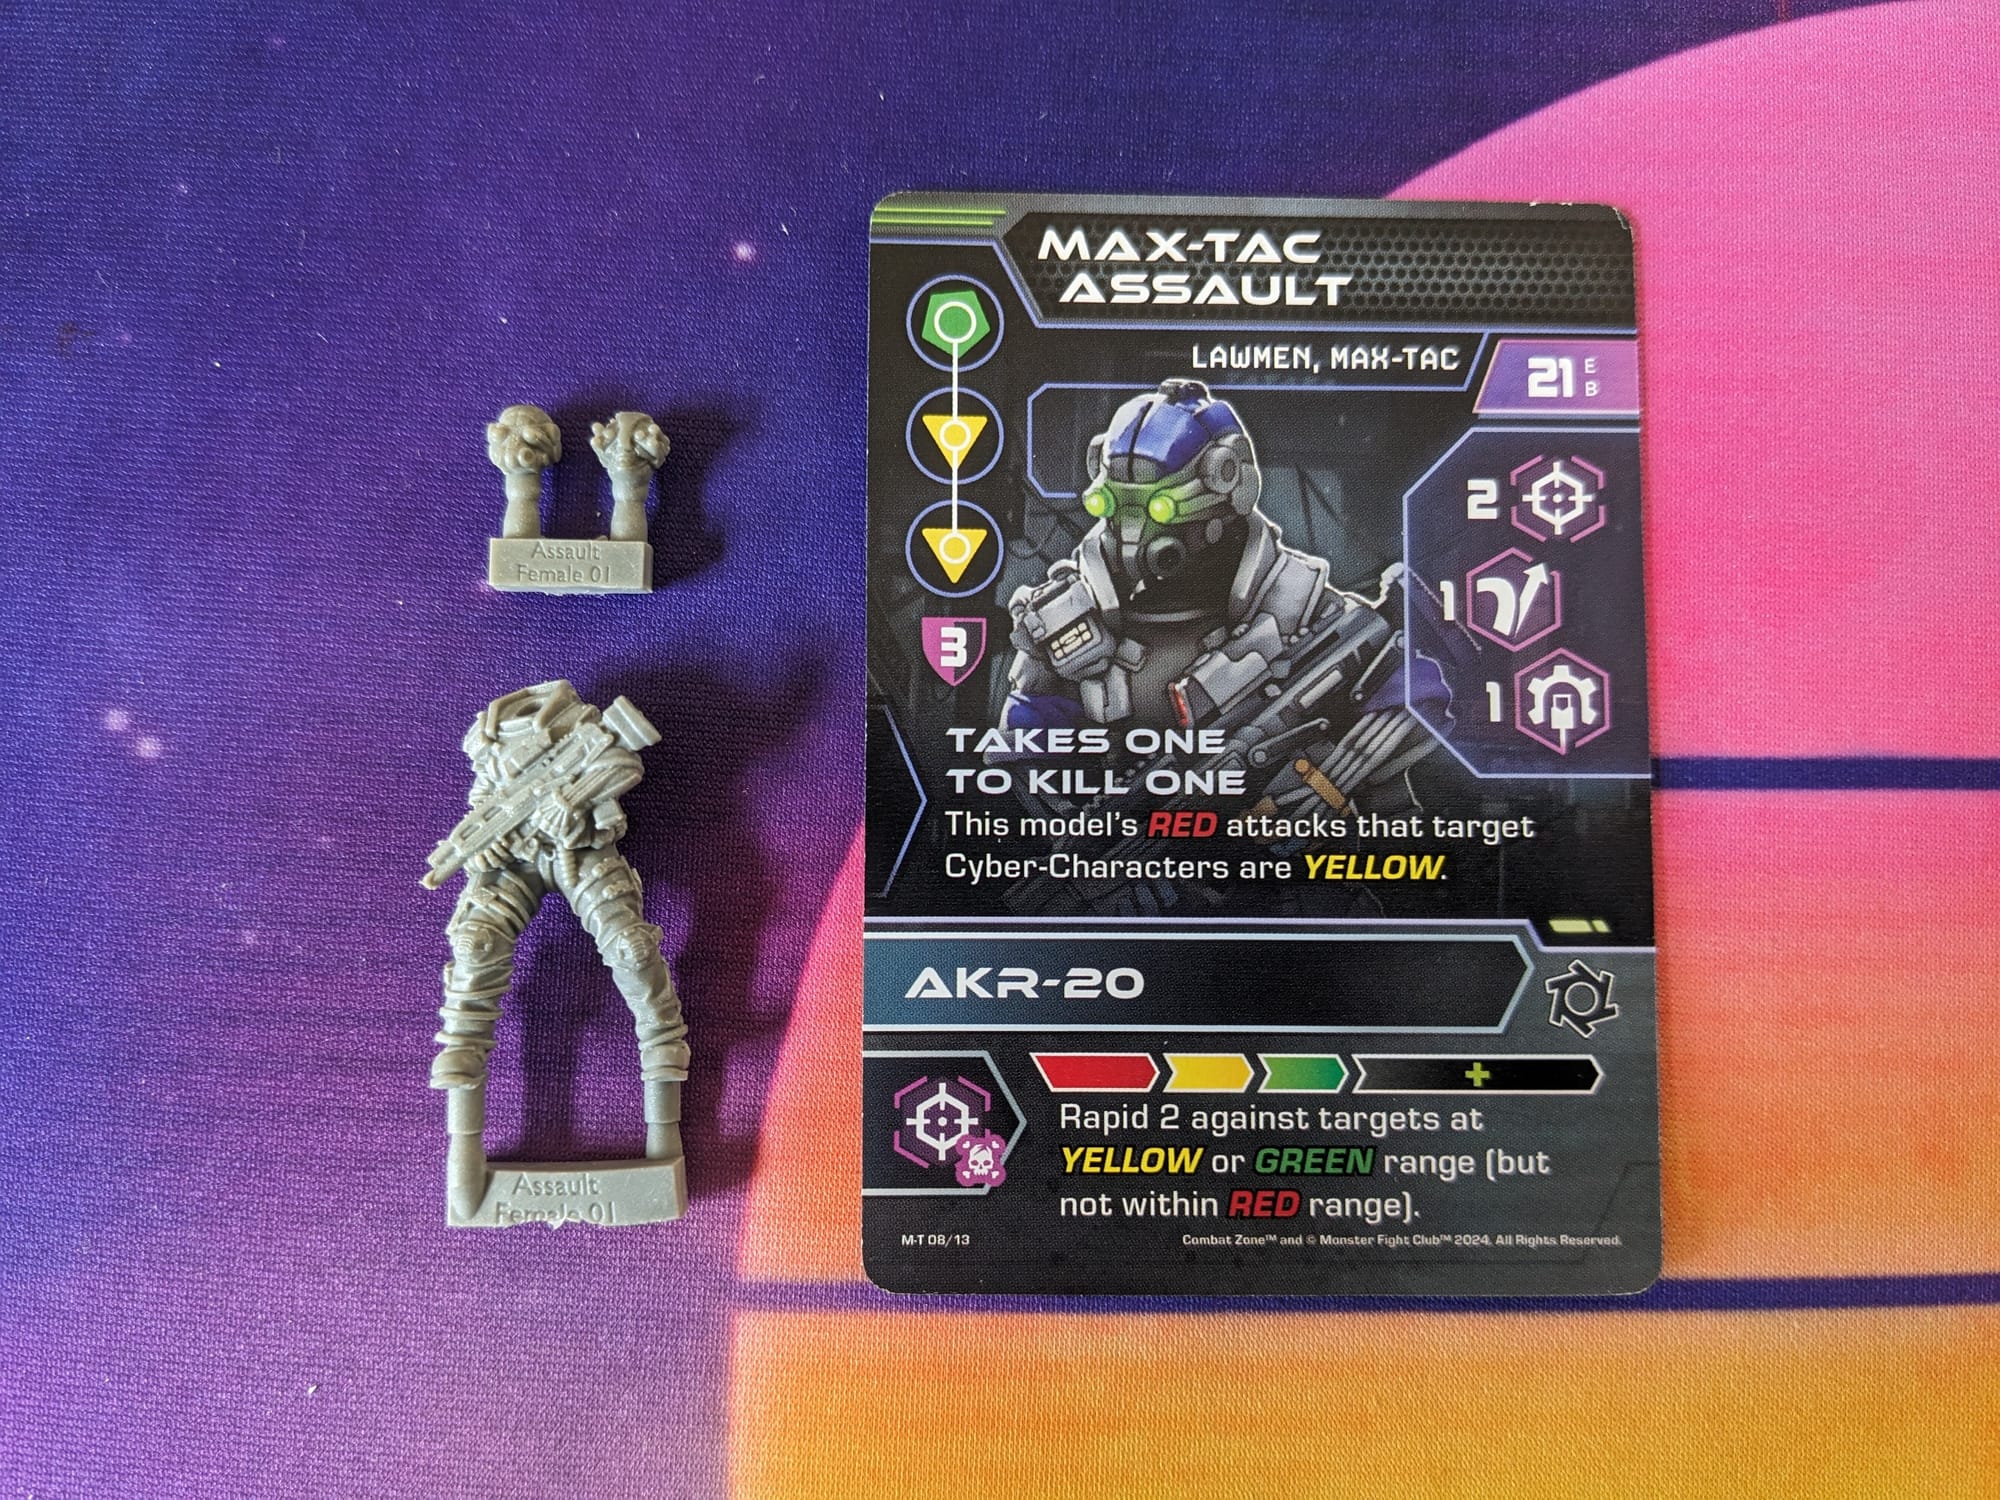
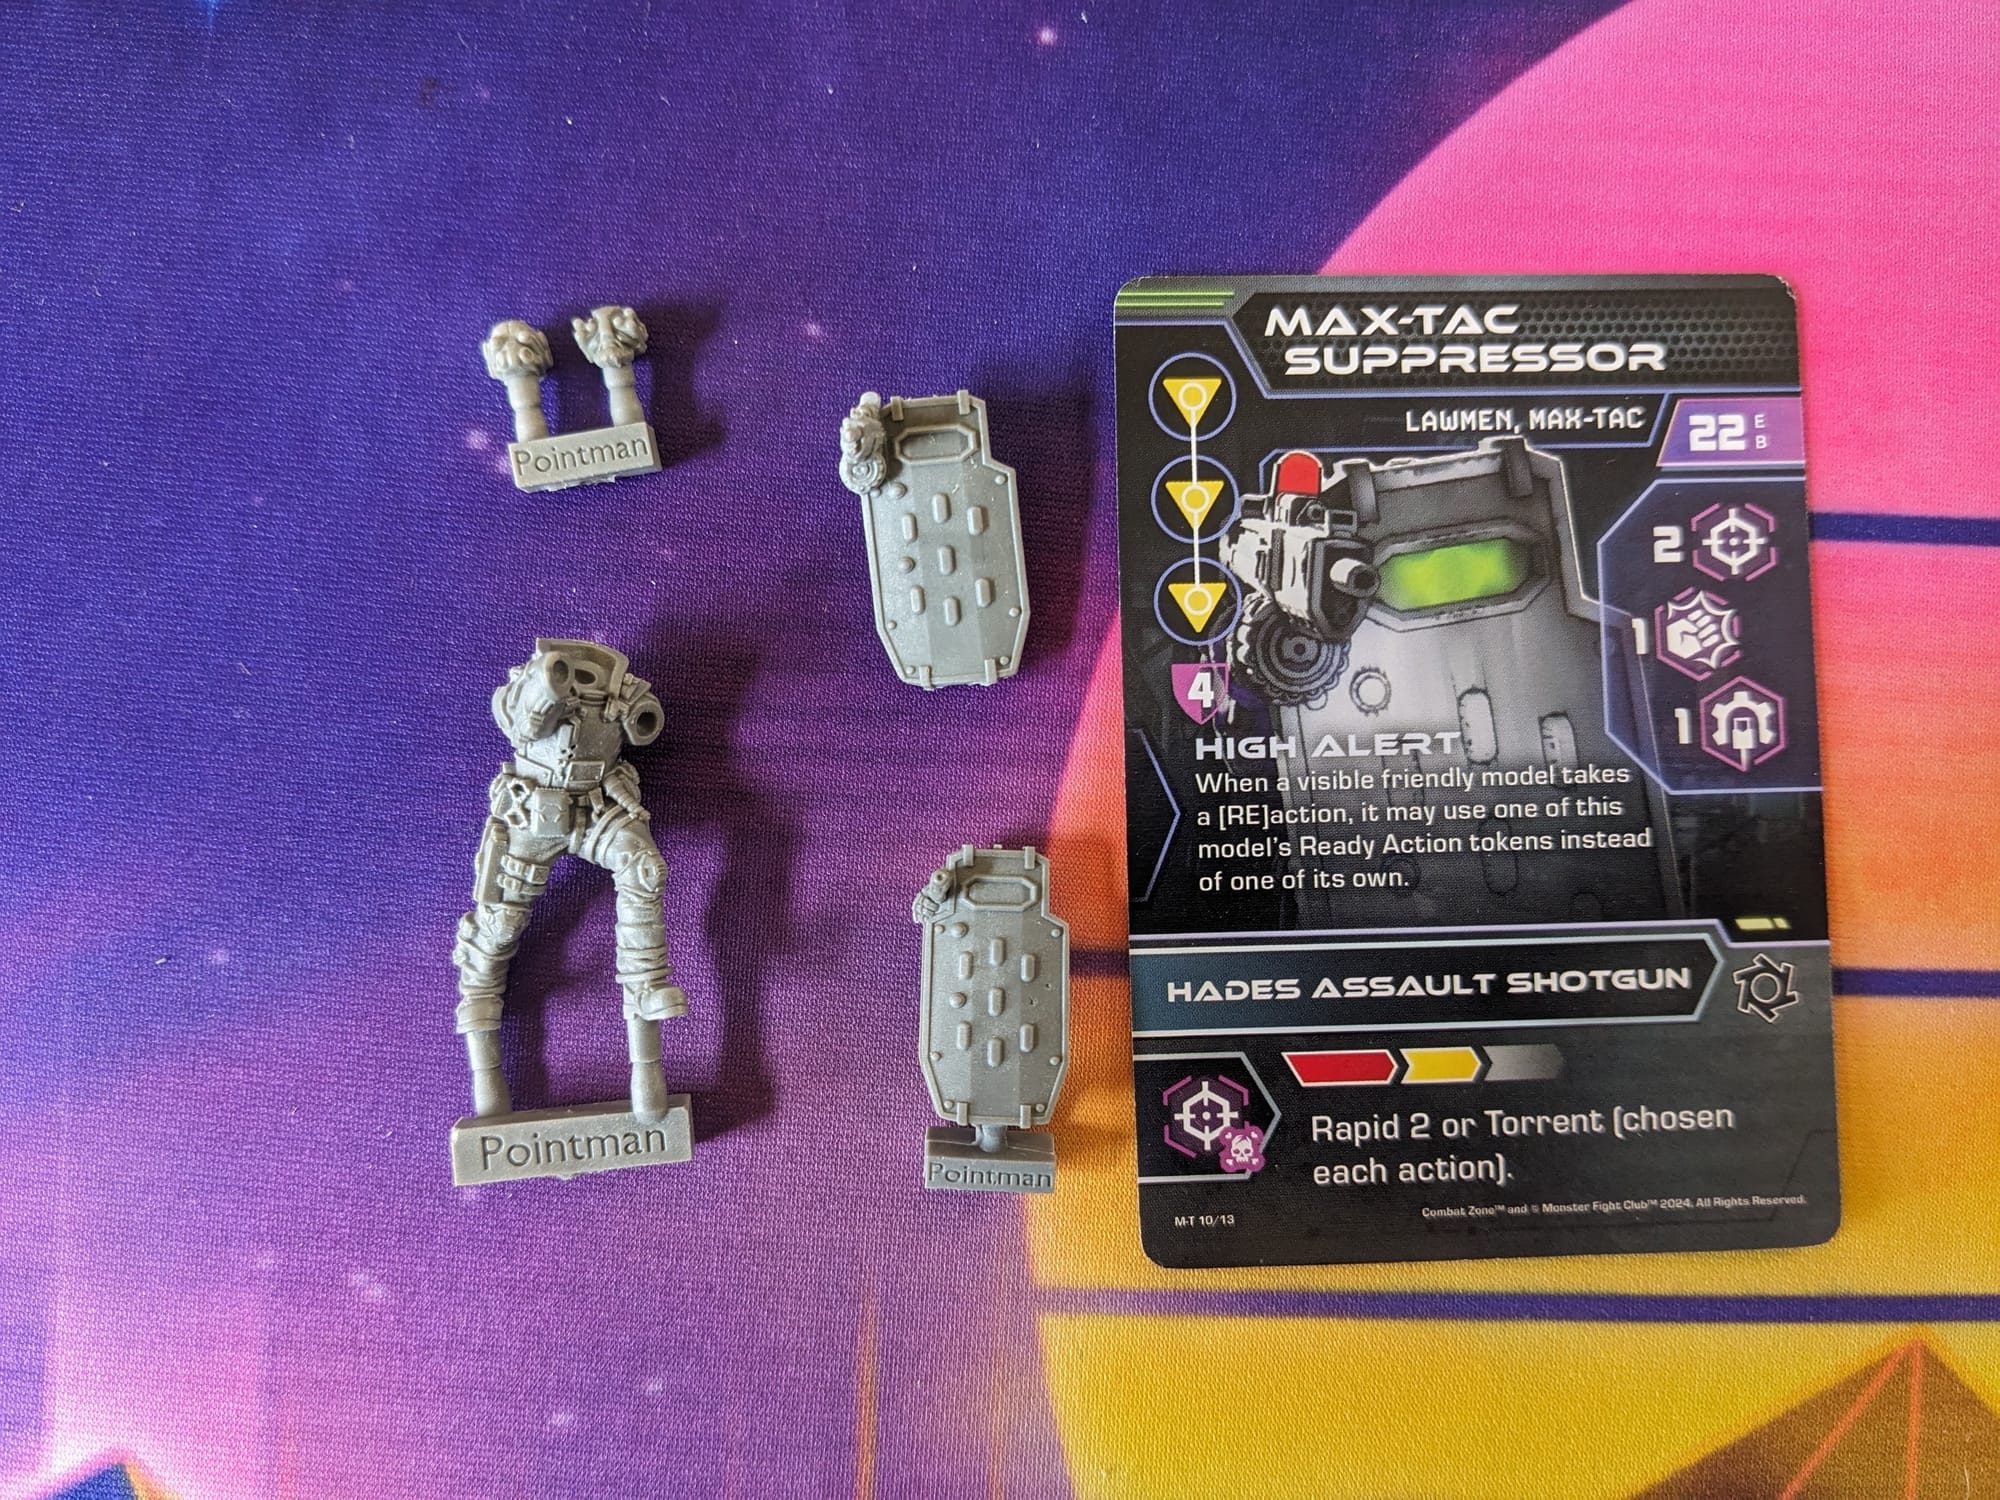
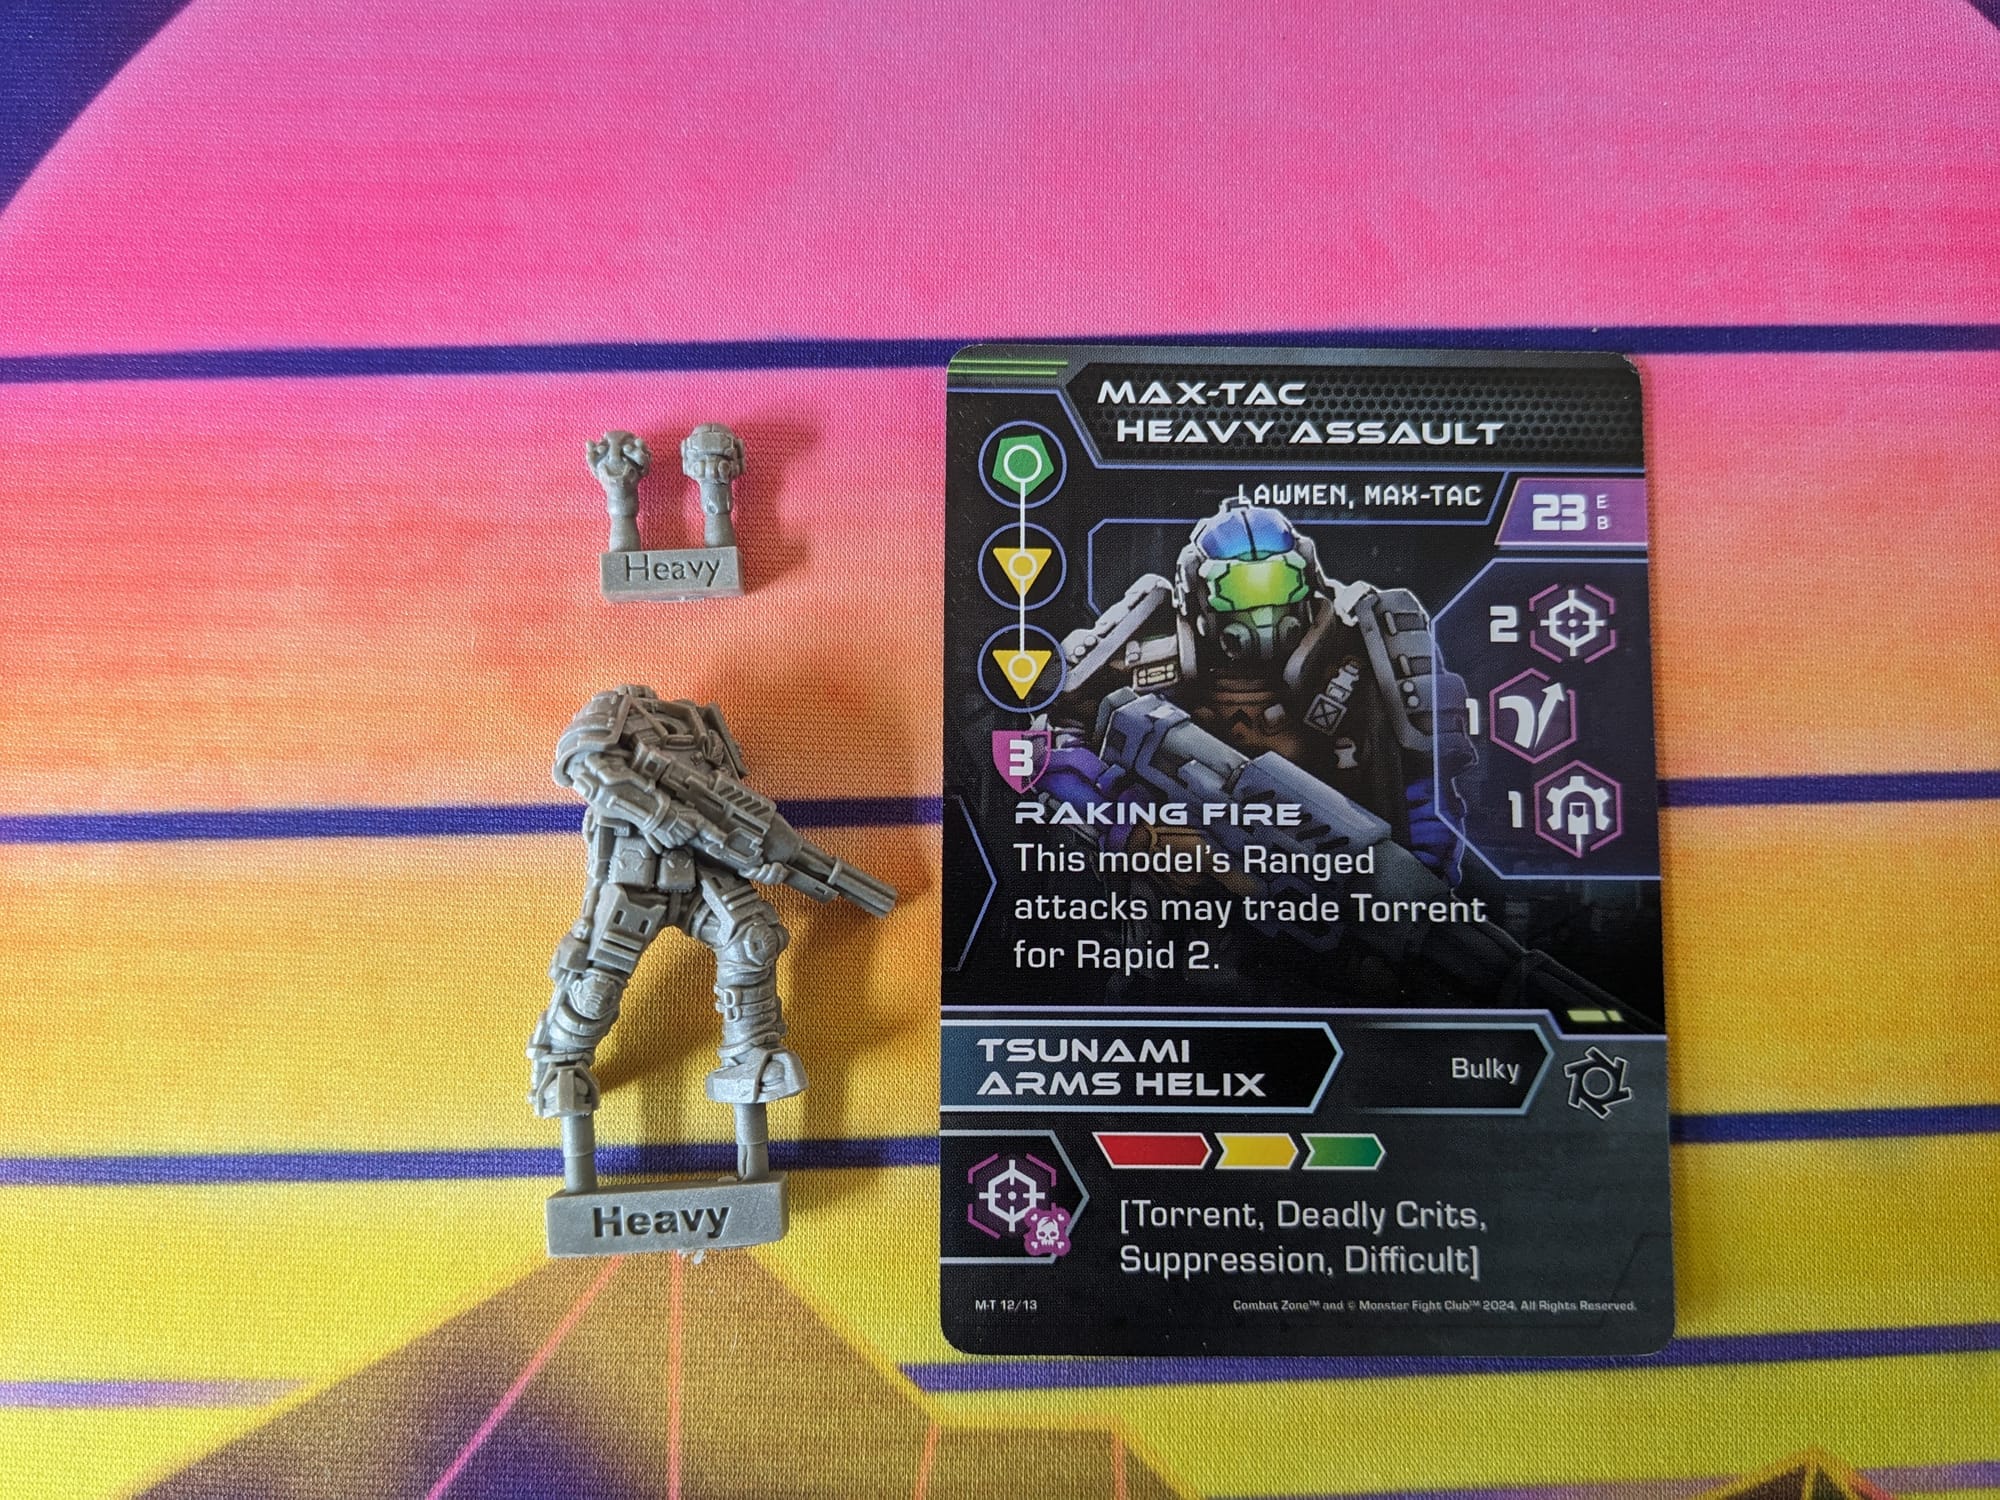
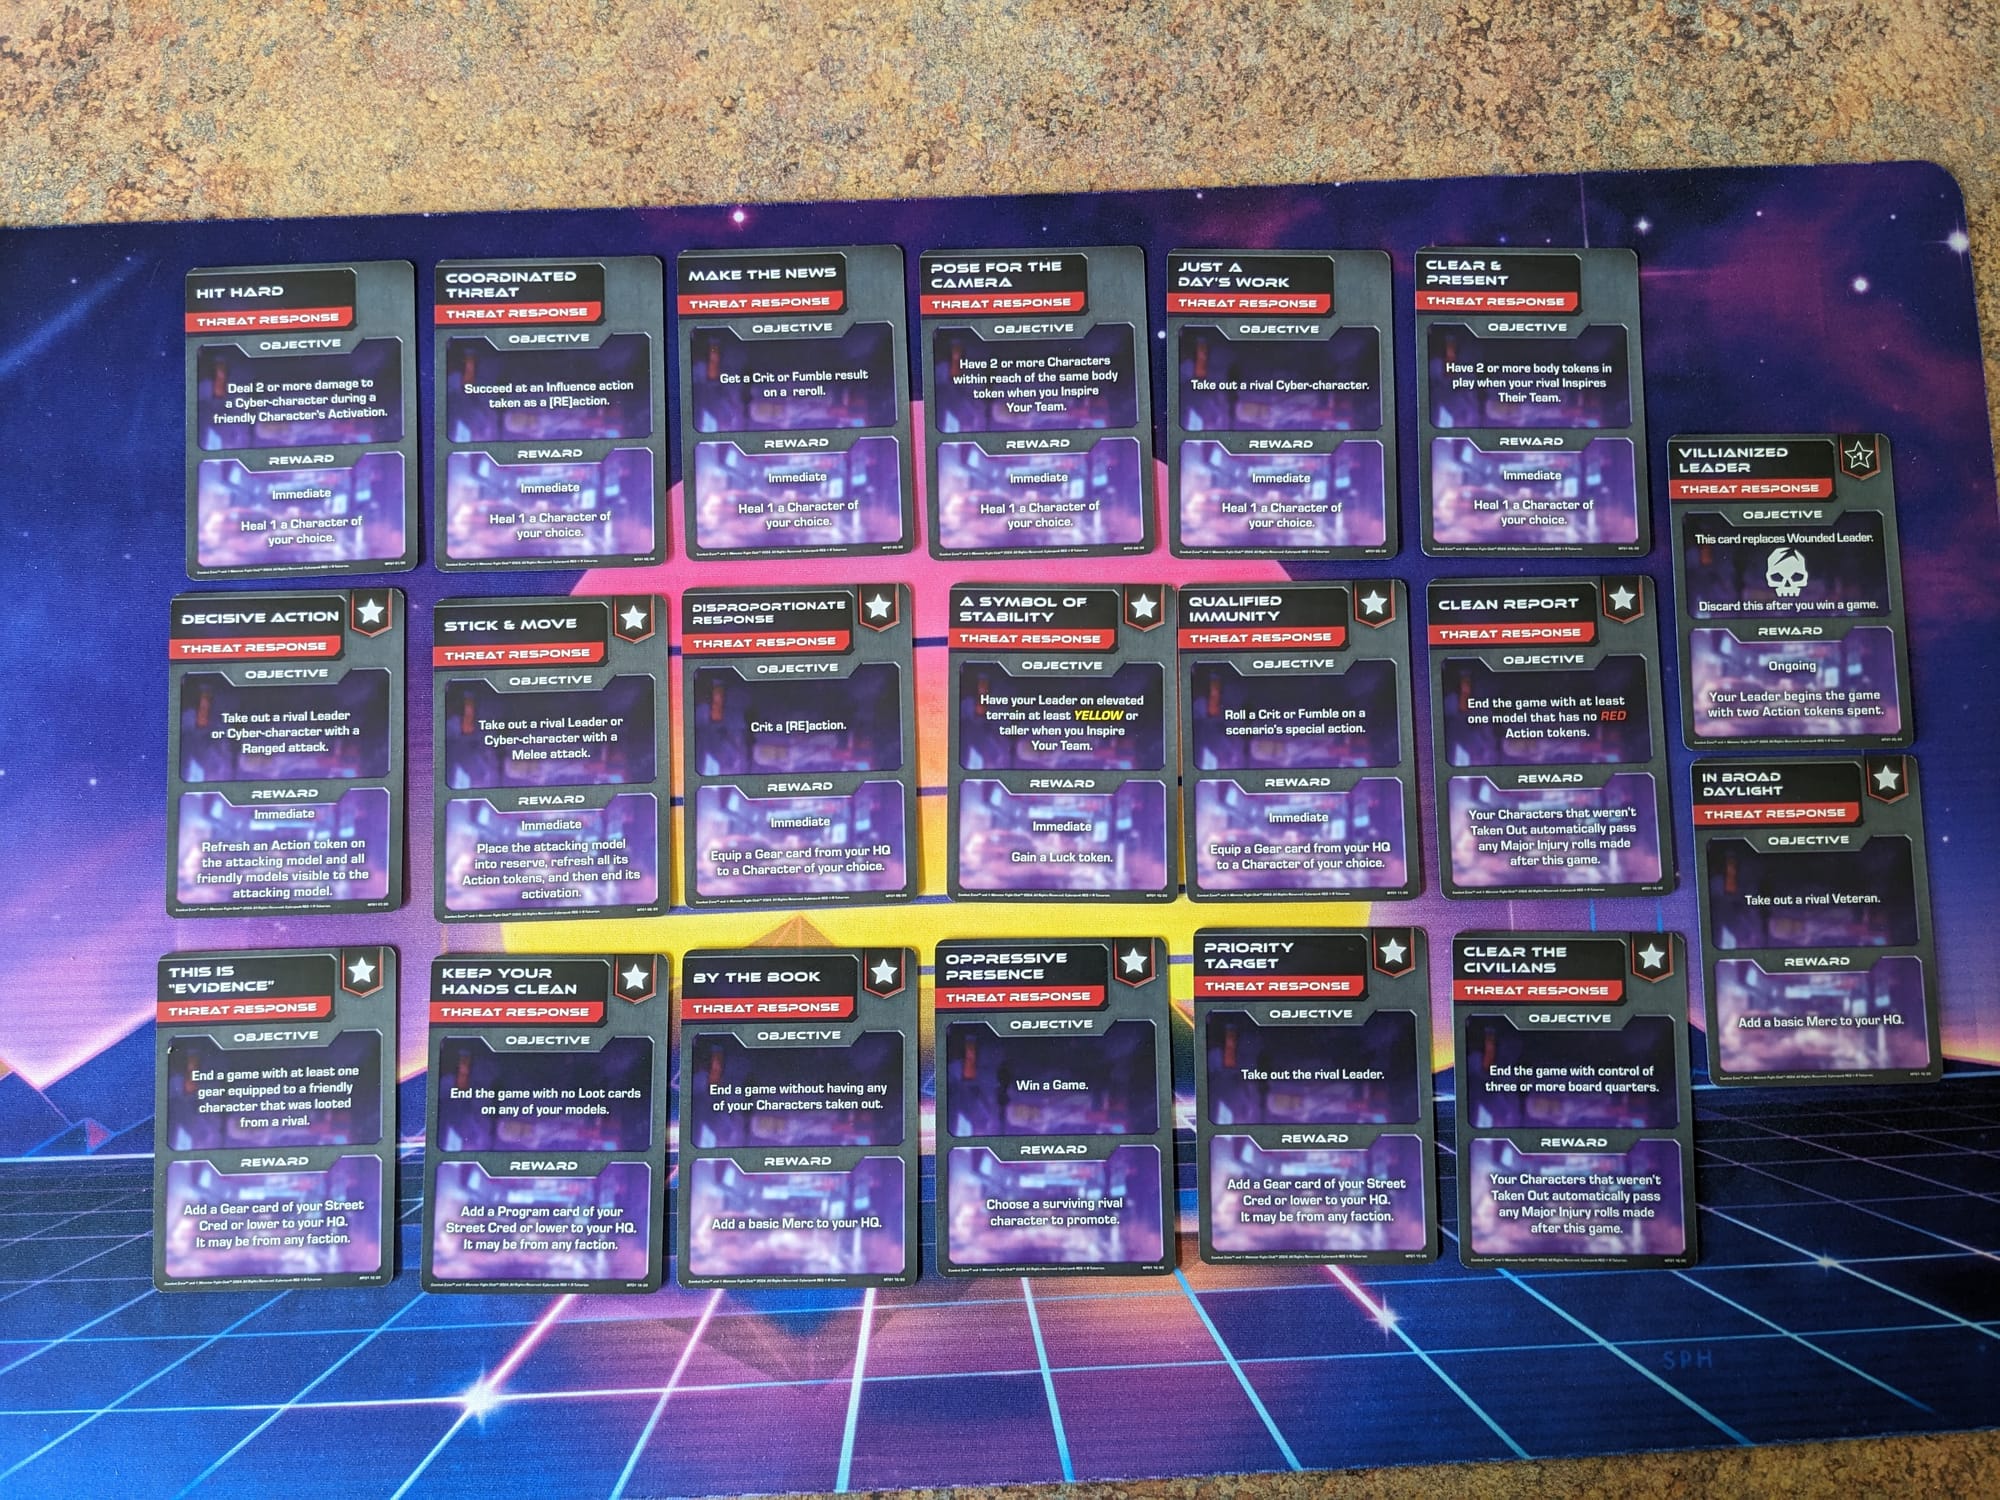
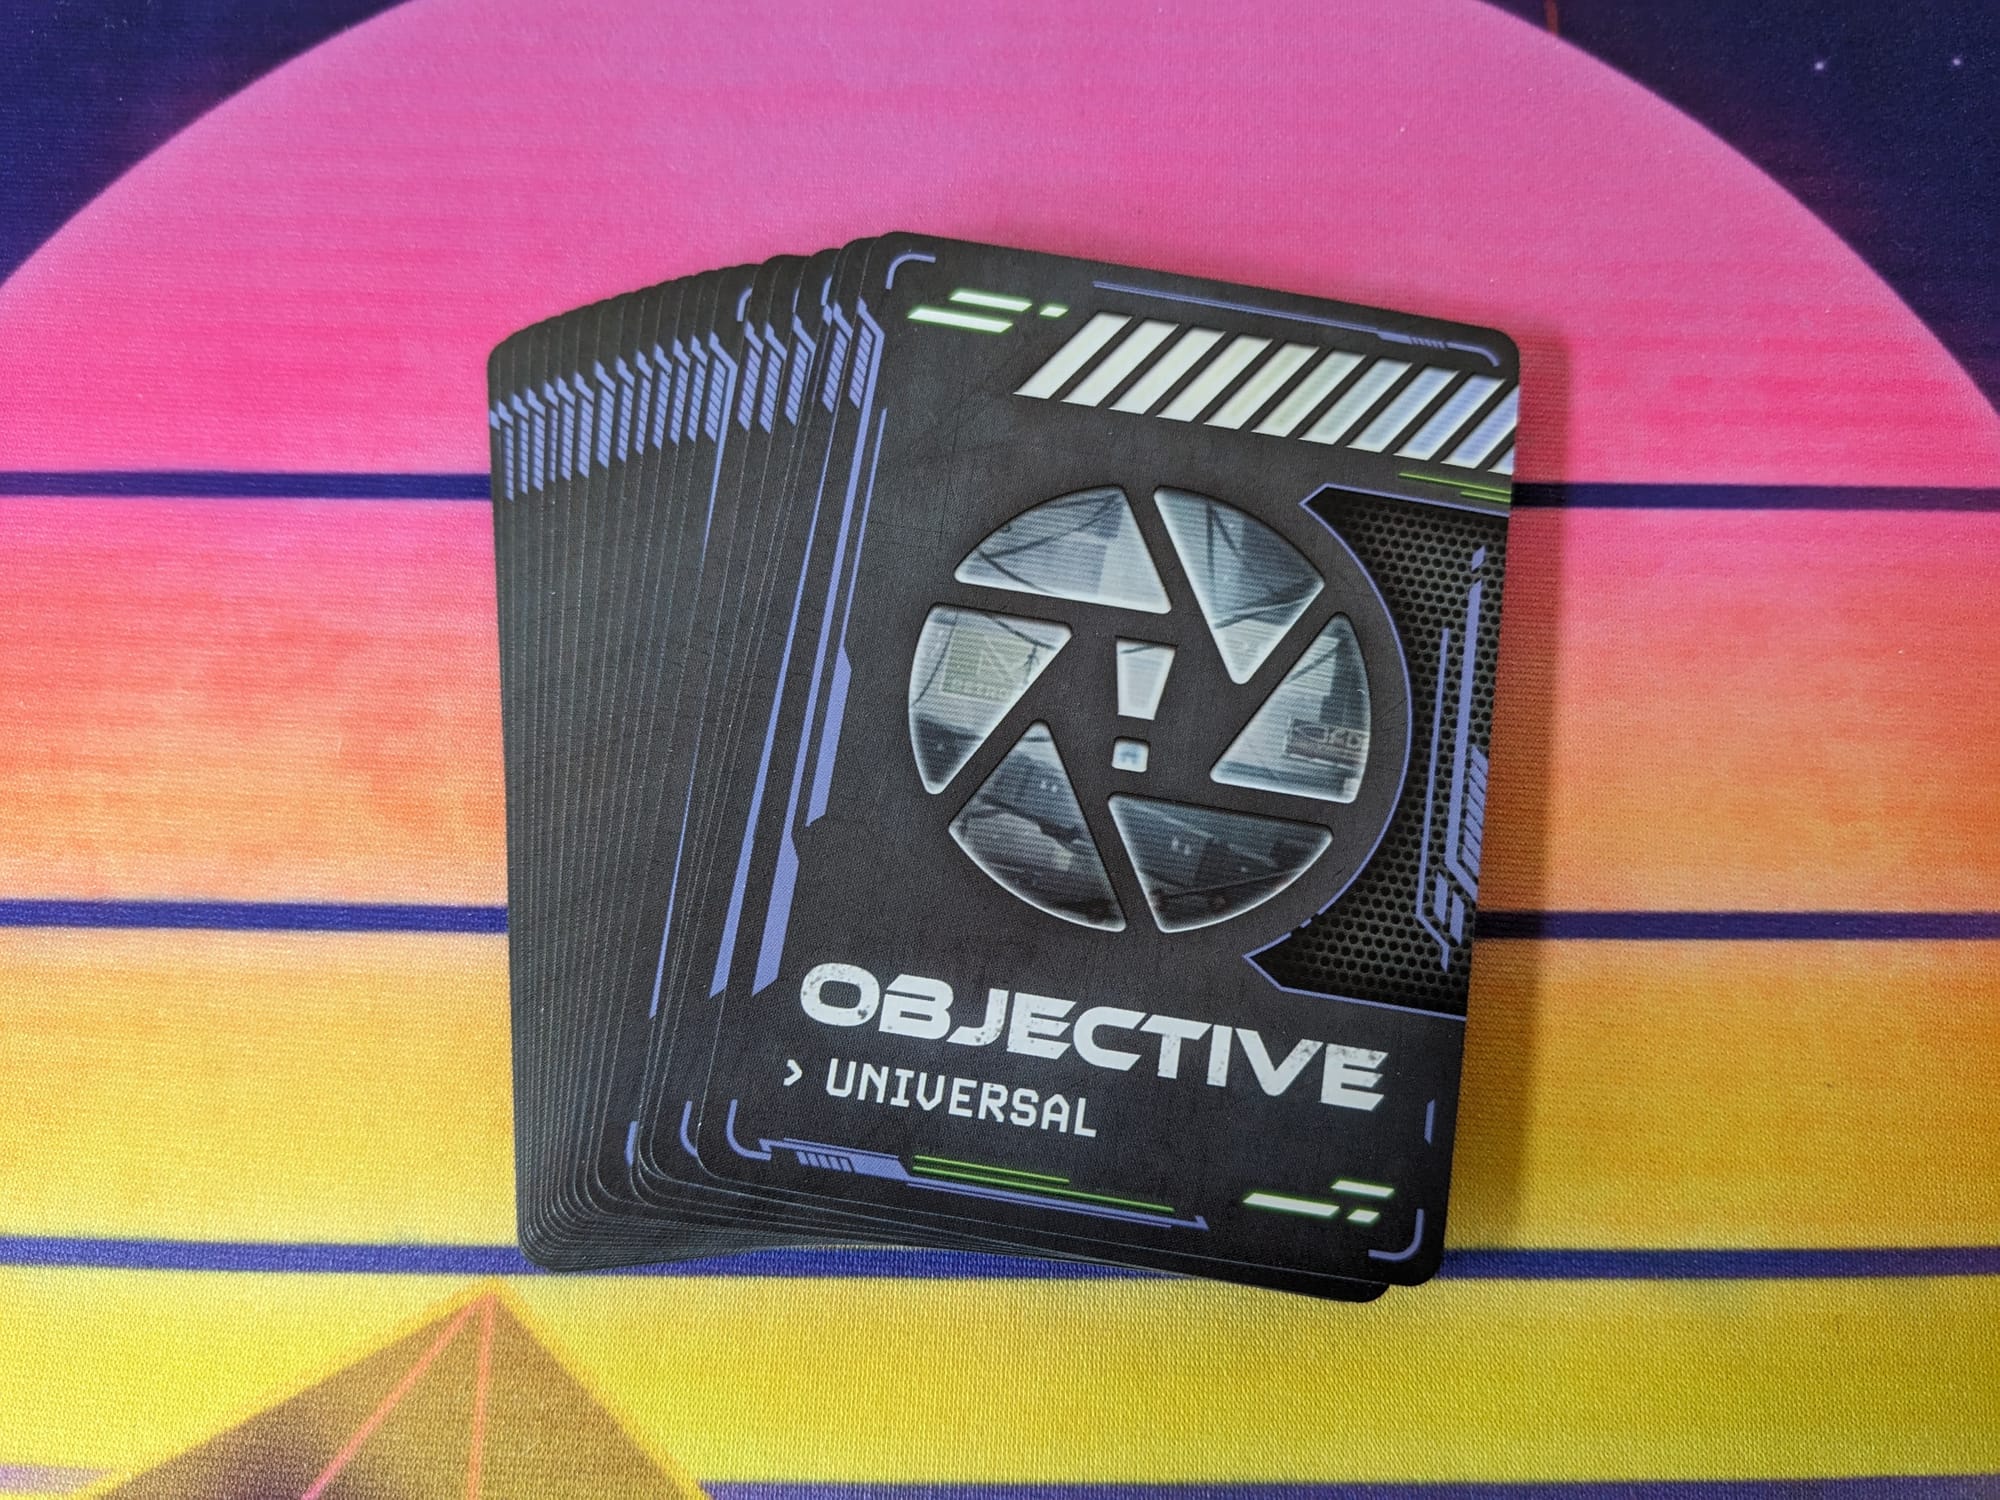
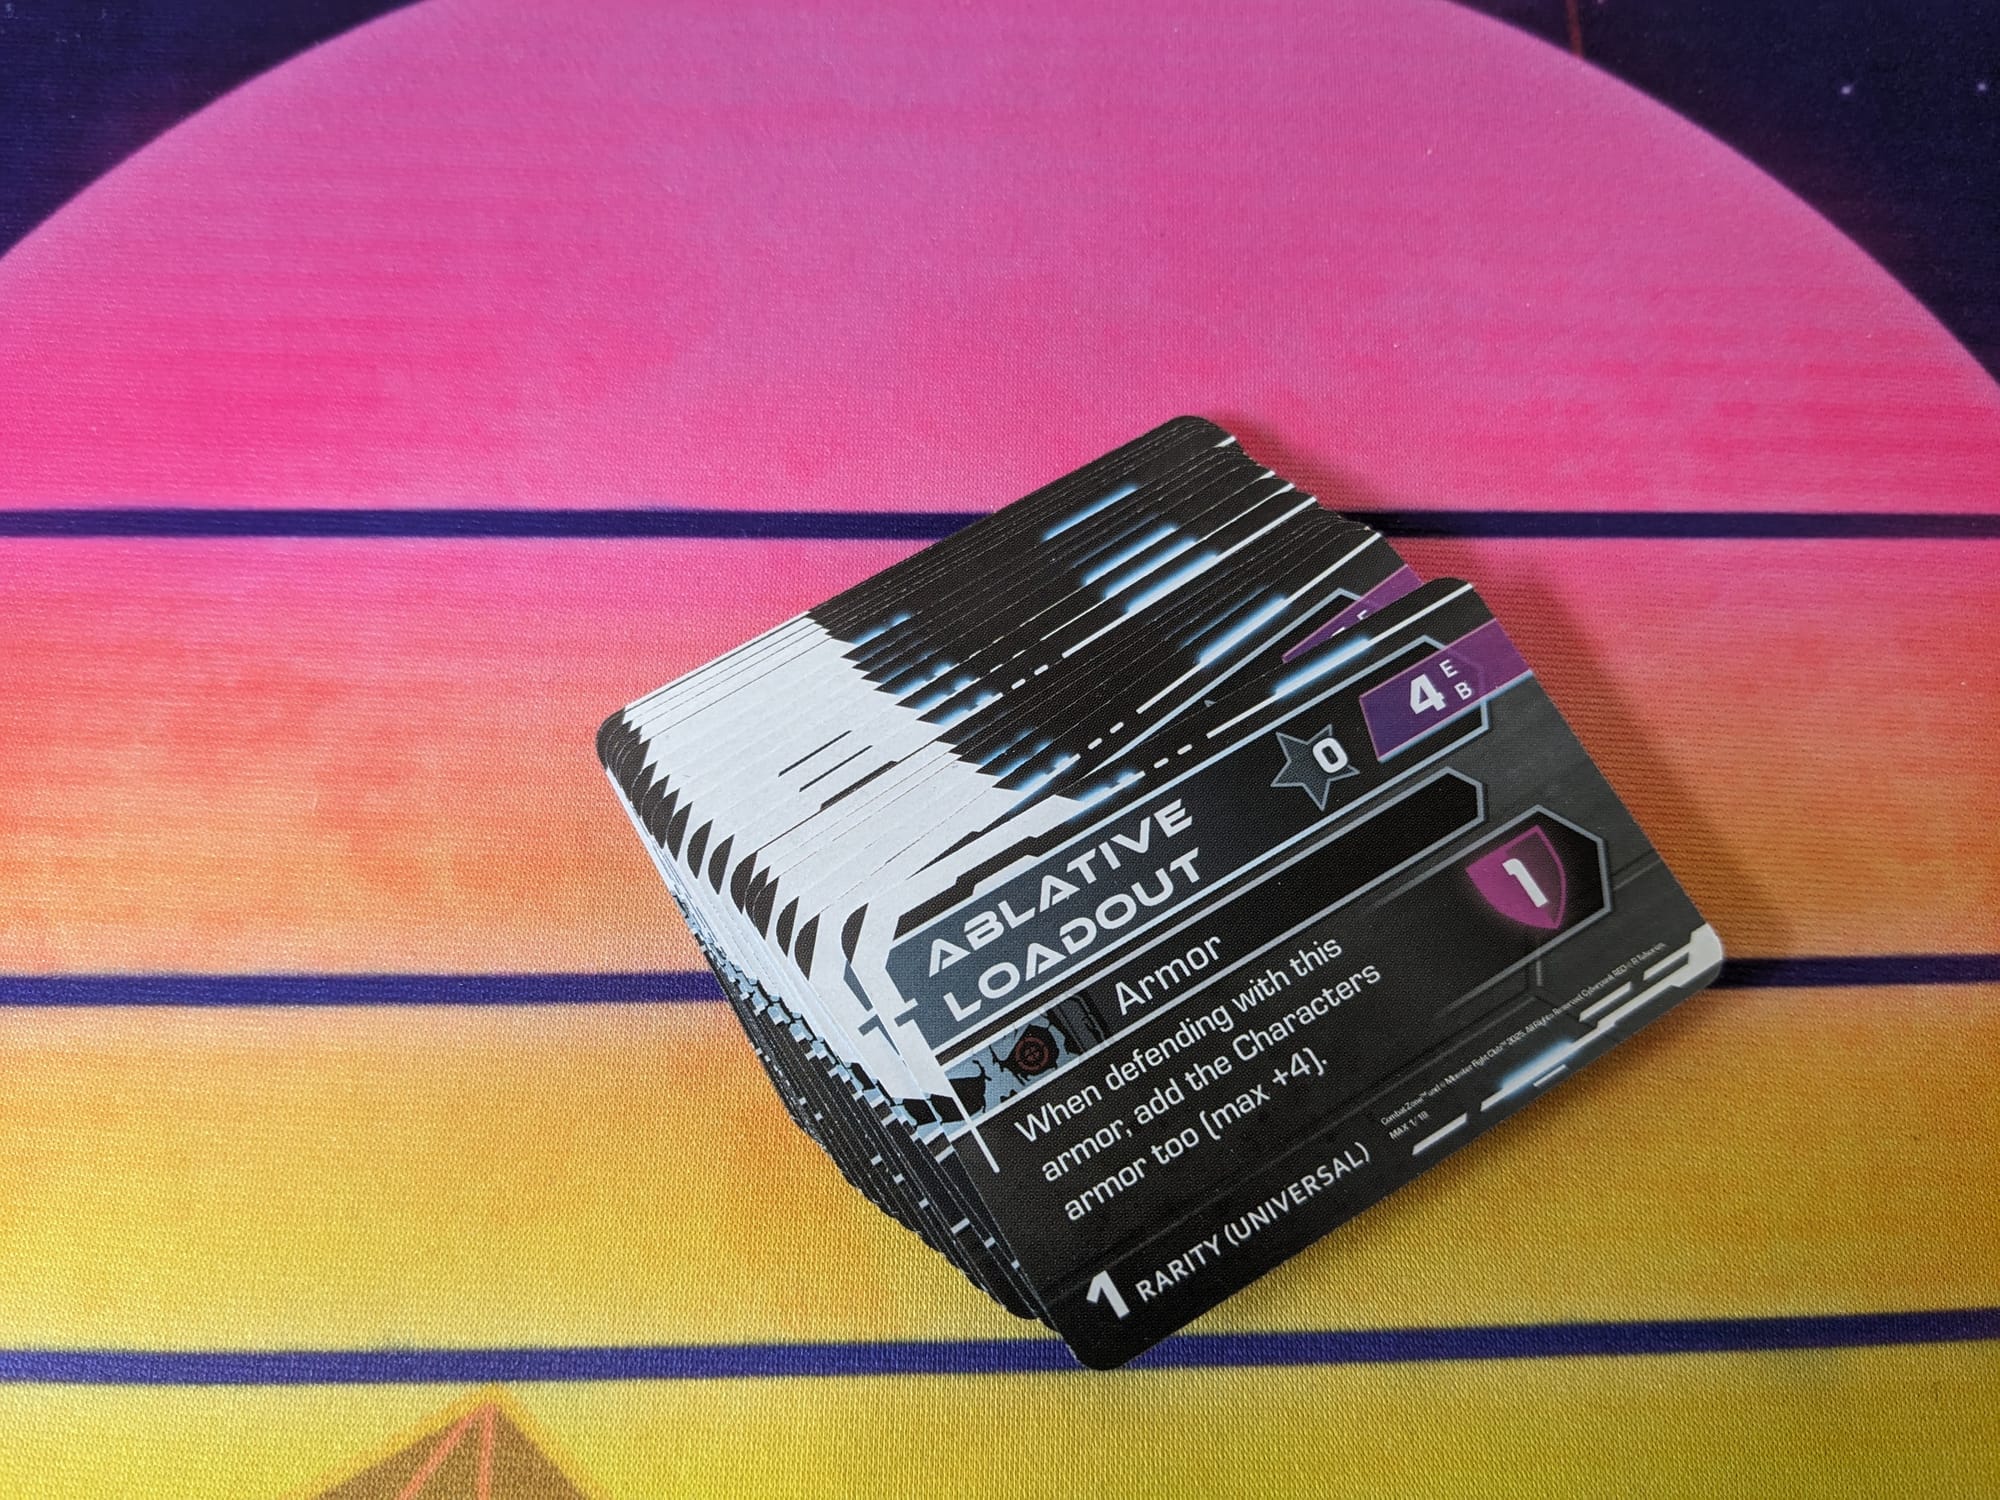

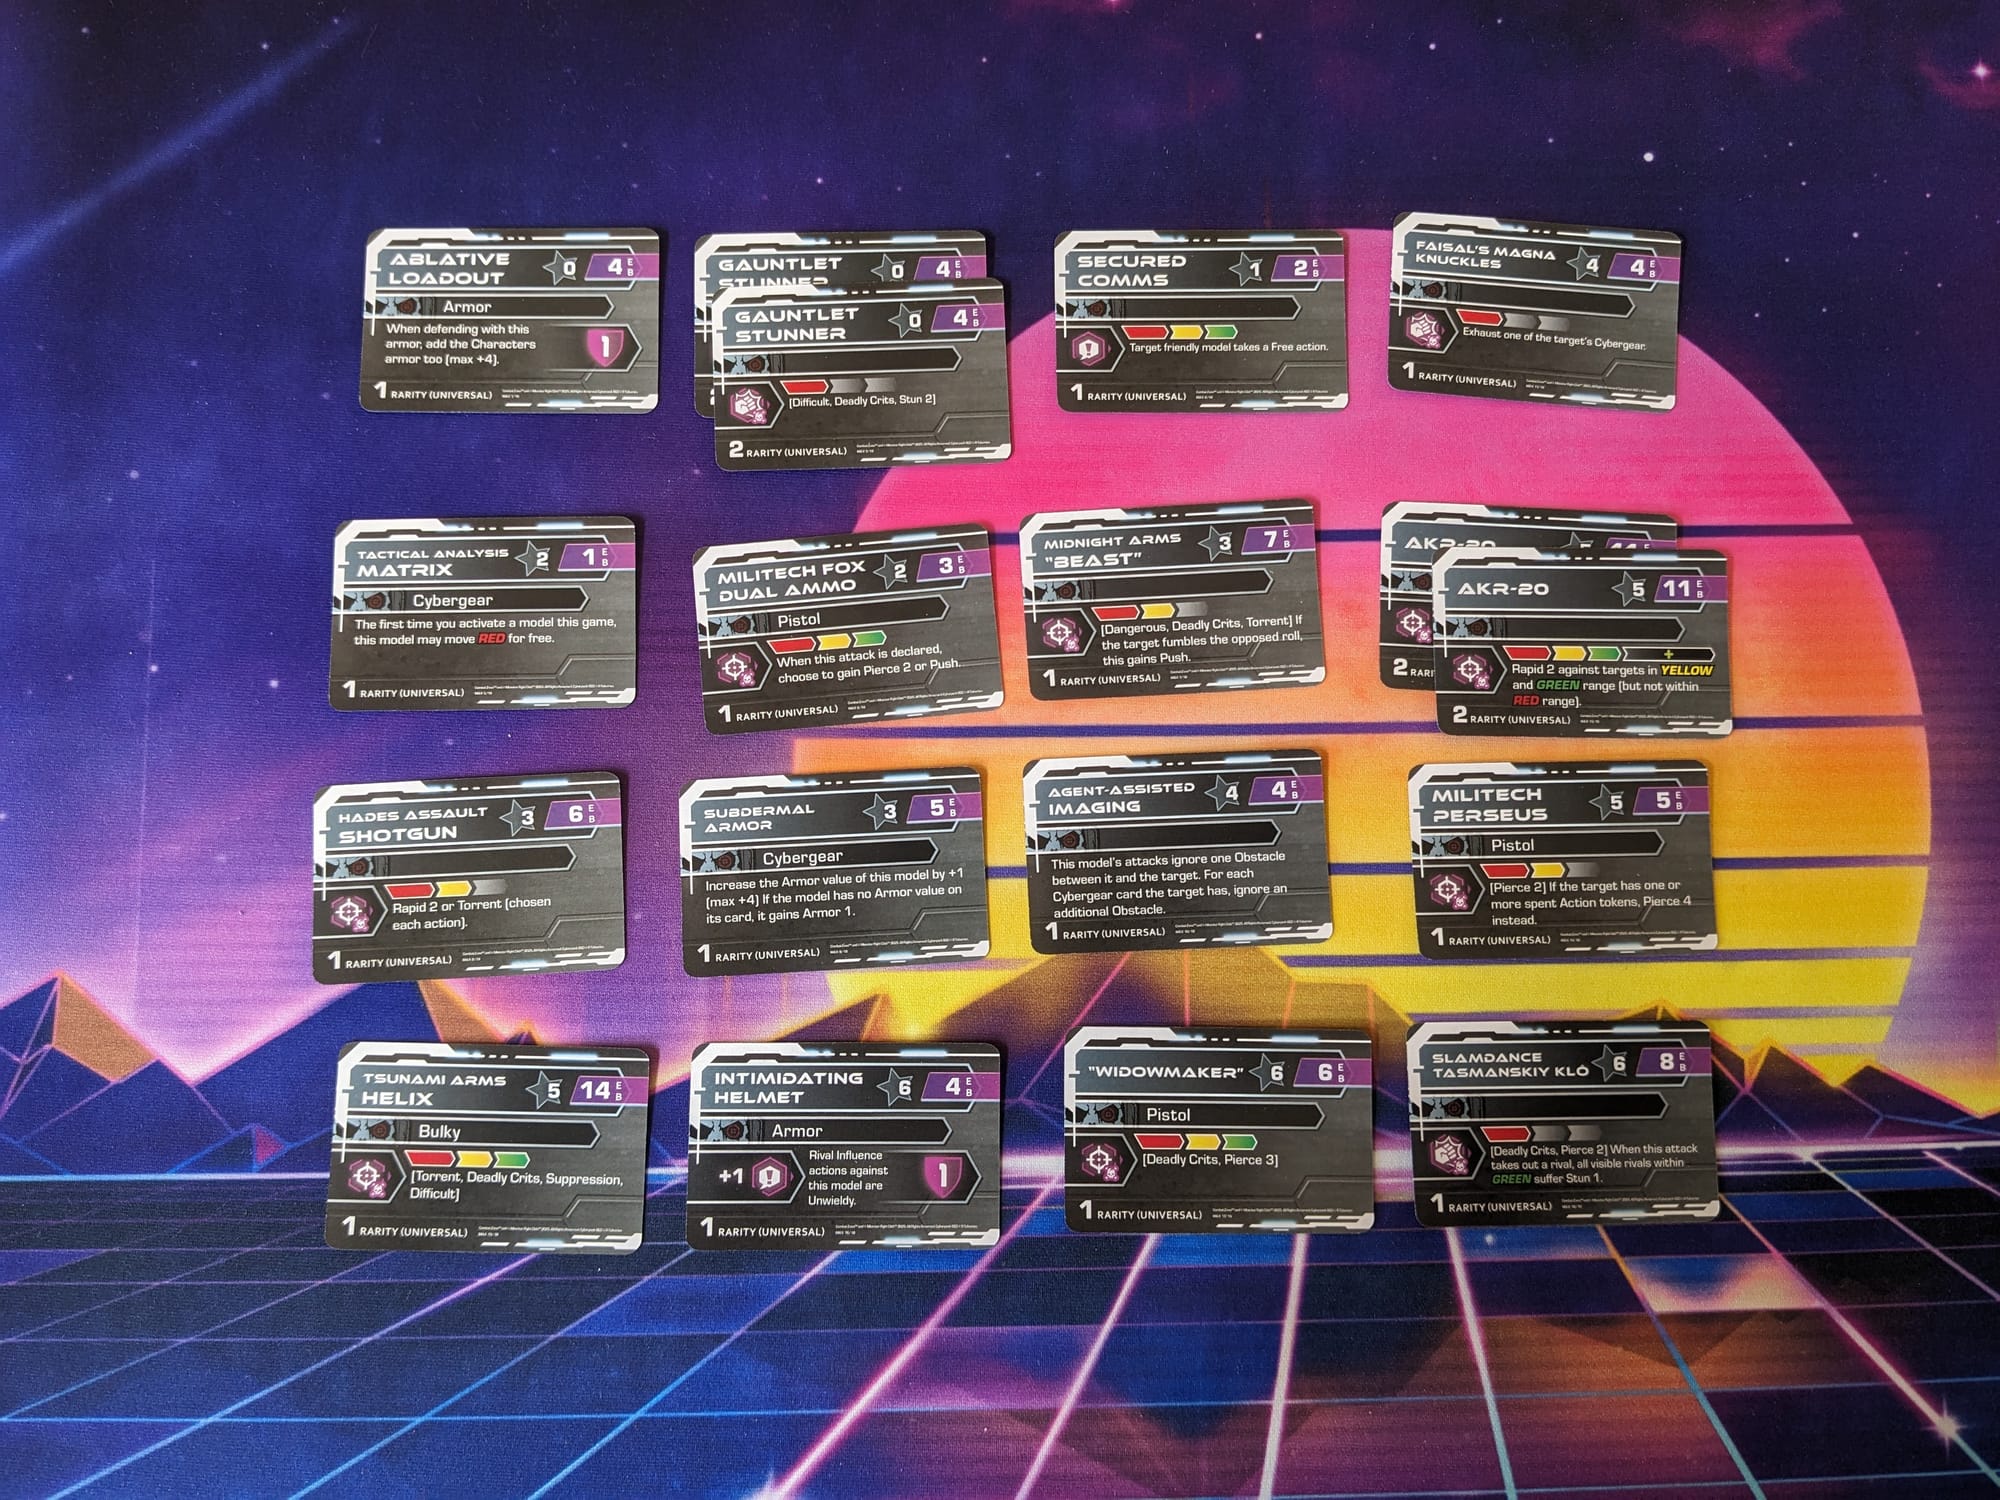
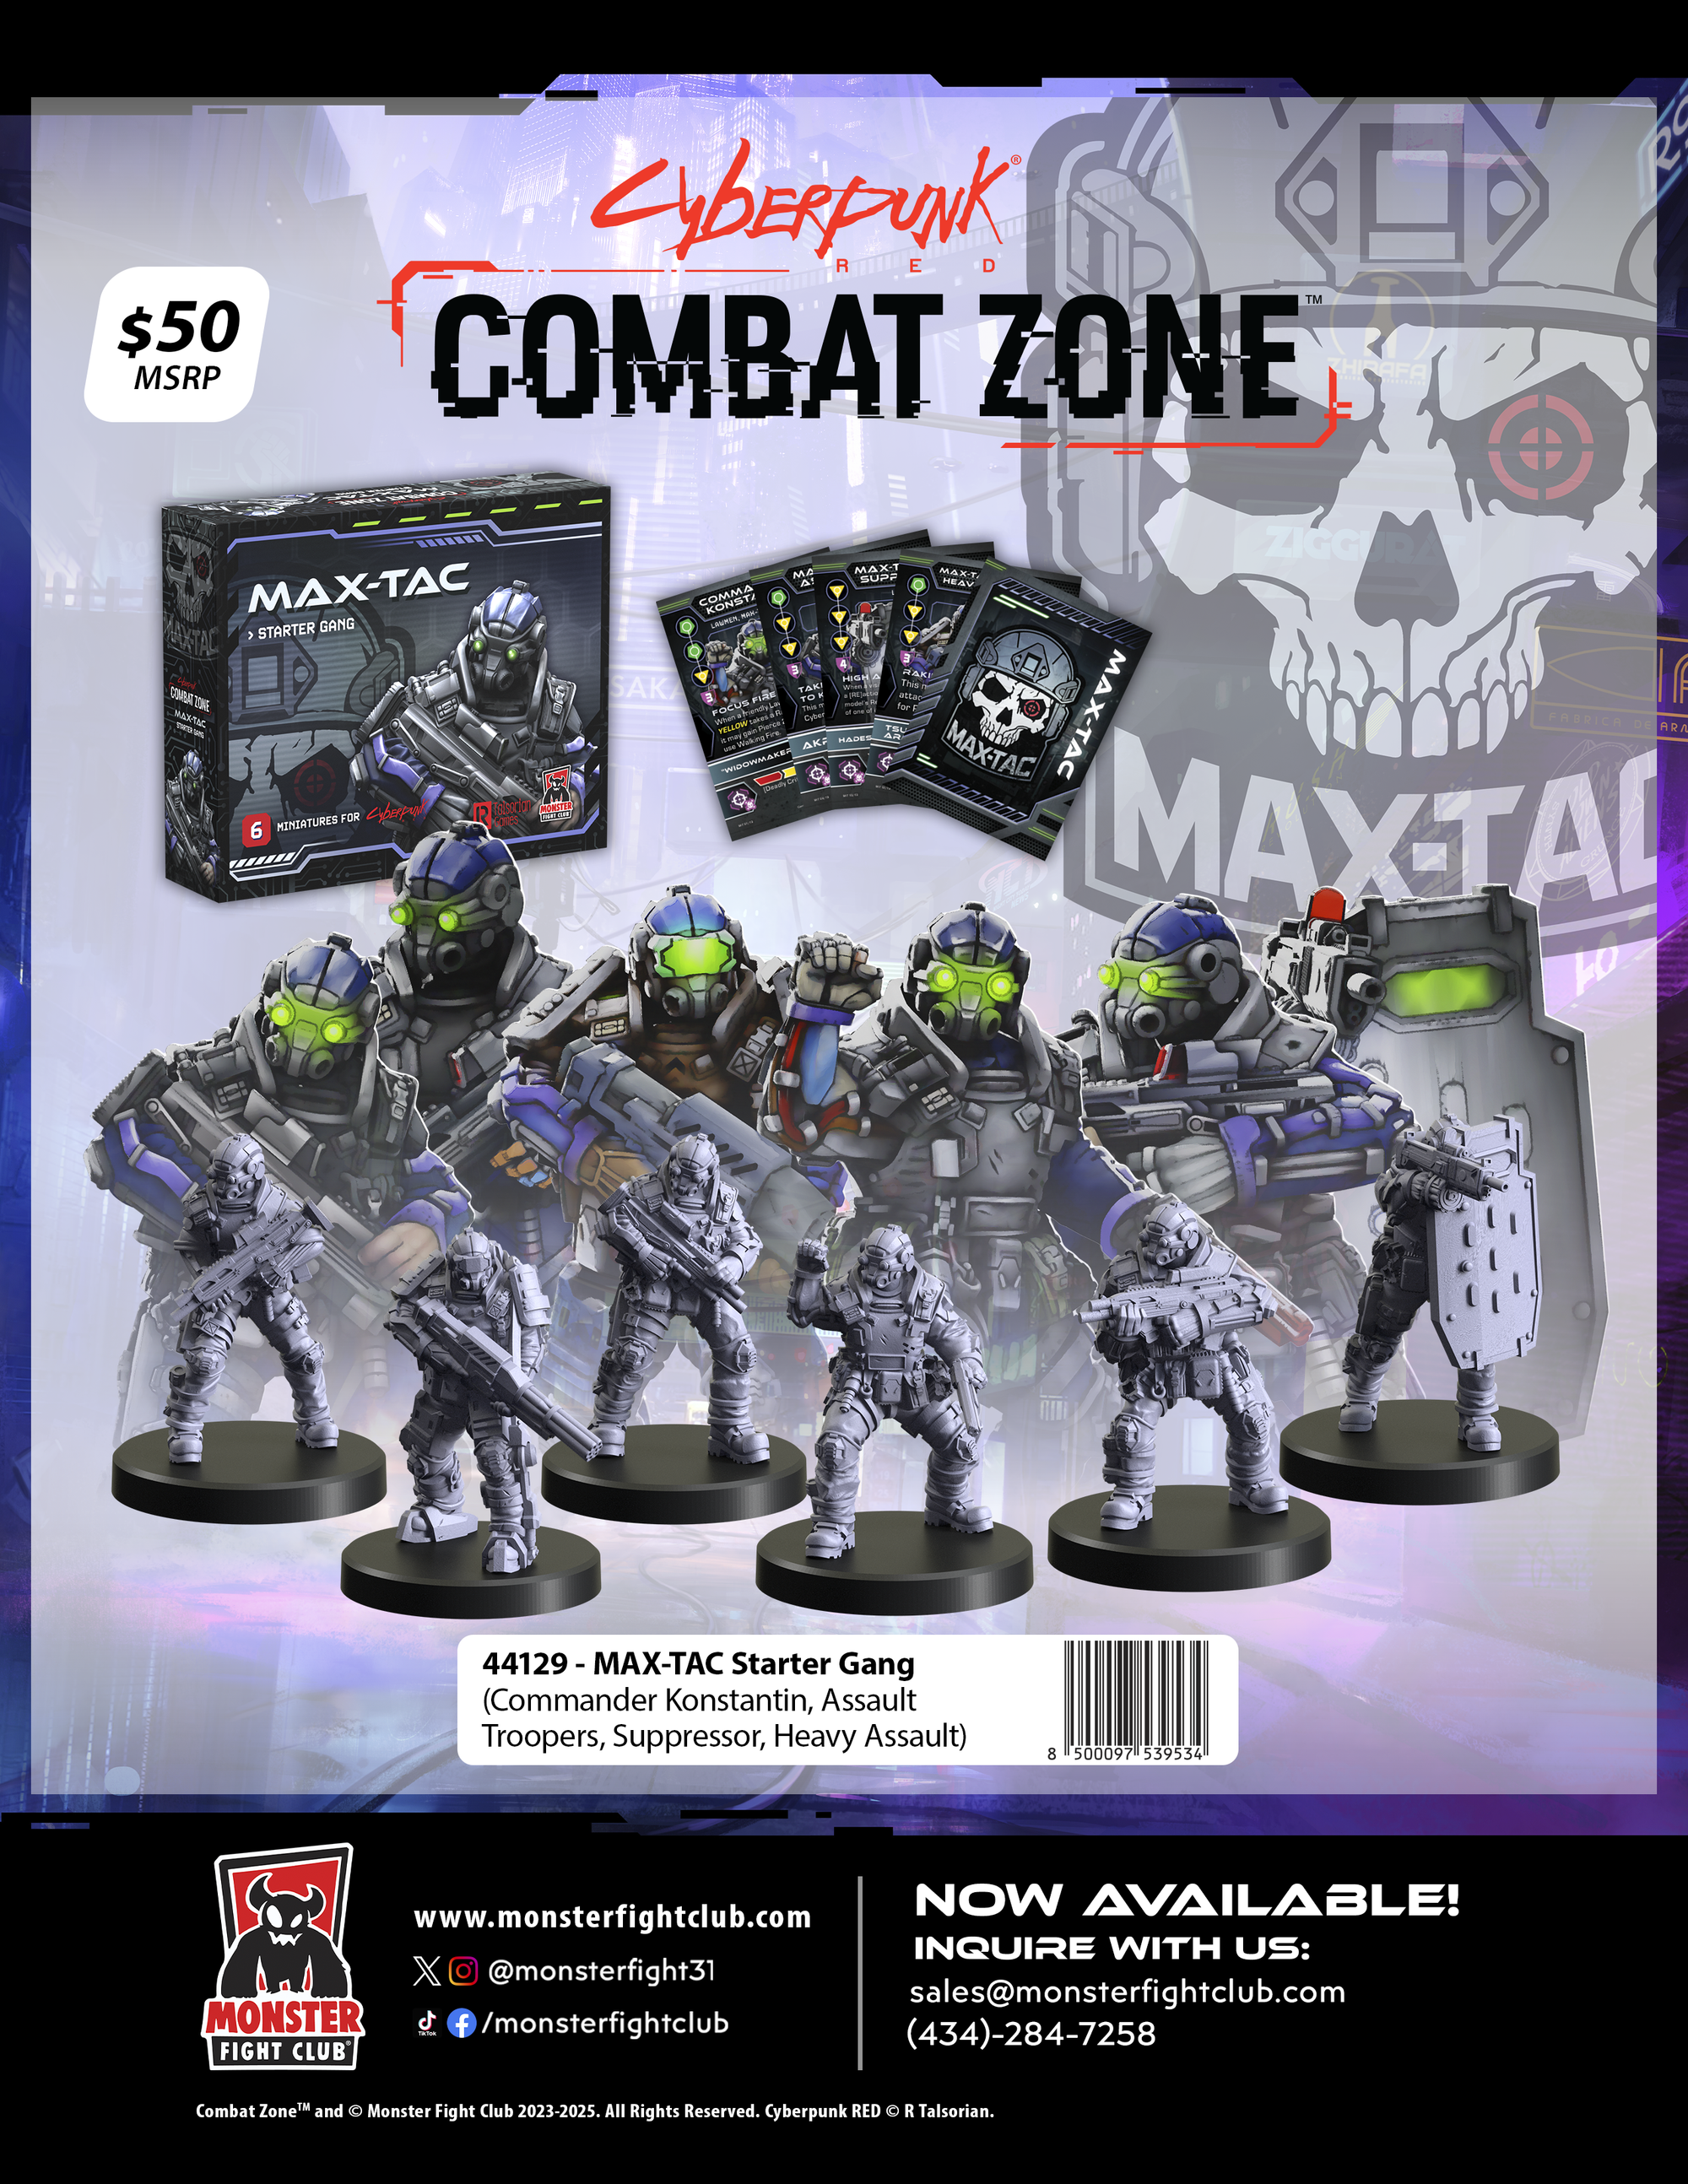
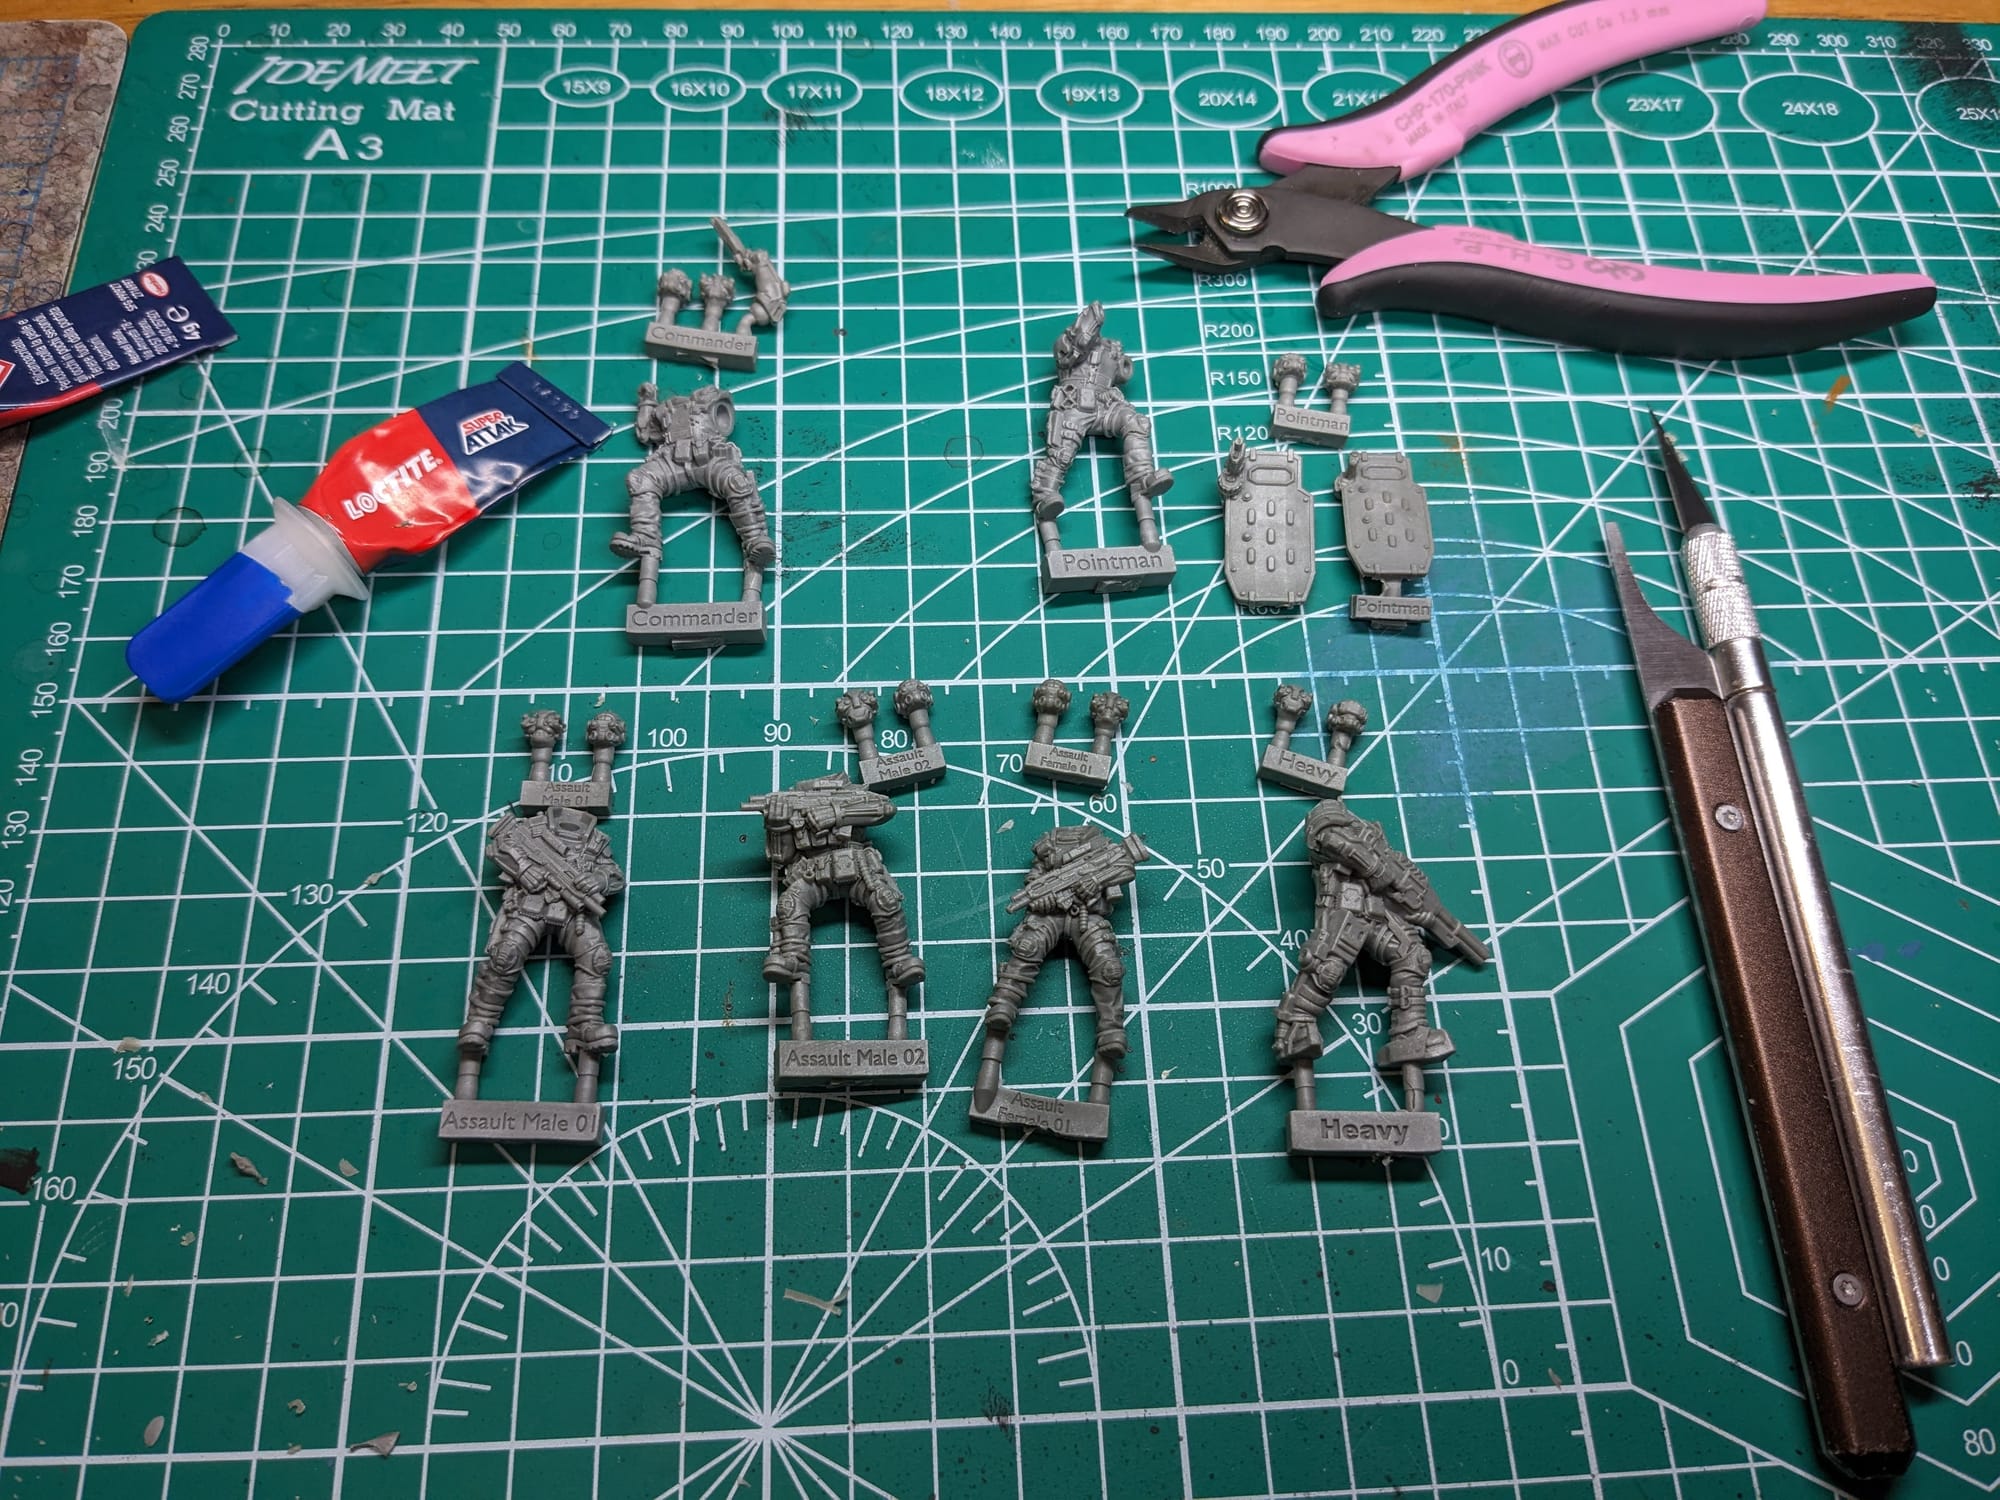
The box includes the six figures, six bases, six corresponding cards, 18 Universal Gear Cards, and 20 MAX-TAC objective cards. The models are multi-part and have the name of the unit molded into the body and head/arms. The units have multiple options for heads, so you can give your units some customization.
Assembling Your Models
Prepping Your Models & The Tools
GamingTrend has put together a guide for you to follow for how best to clean, cut, and assemble your models, regardless of the game. While the materials for the models may be different between games (plastic, resin, metal, etc.) there are simple techniques you can do to help make your painting experience go that much smoother.
Additionally, if you are new to painting, and are not sure what brushes or tools you need, check out the article. This is just a starting place, and every painter has different preferences and recommendations. These are my recommendations based on the last decade or so of painting and I hope you find them helpful!
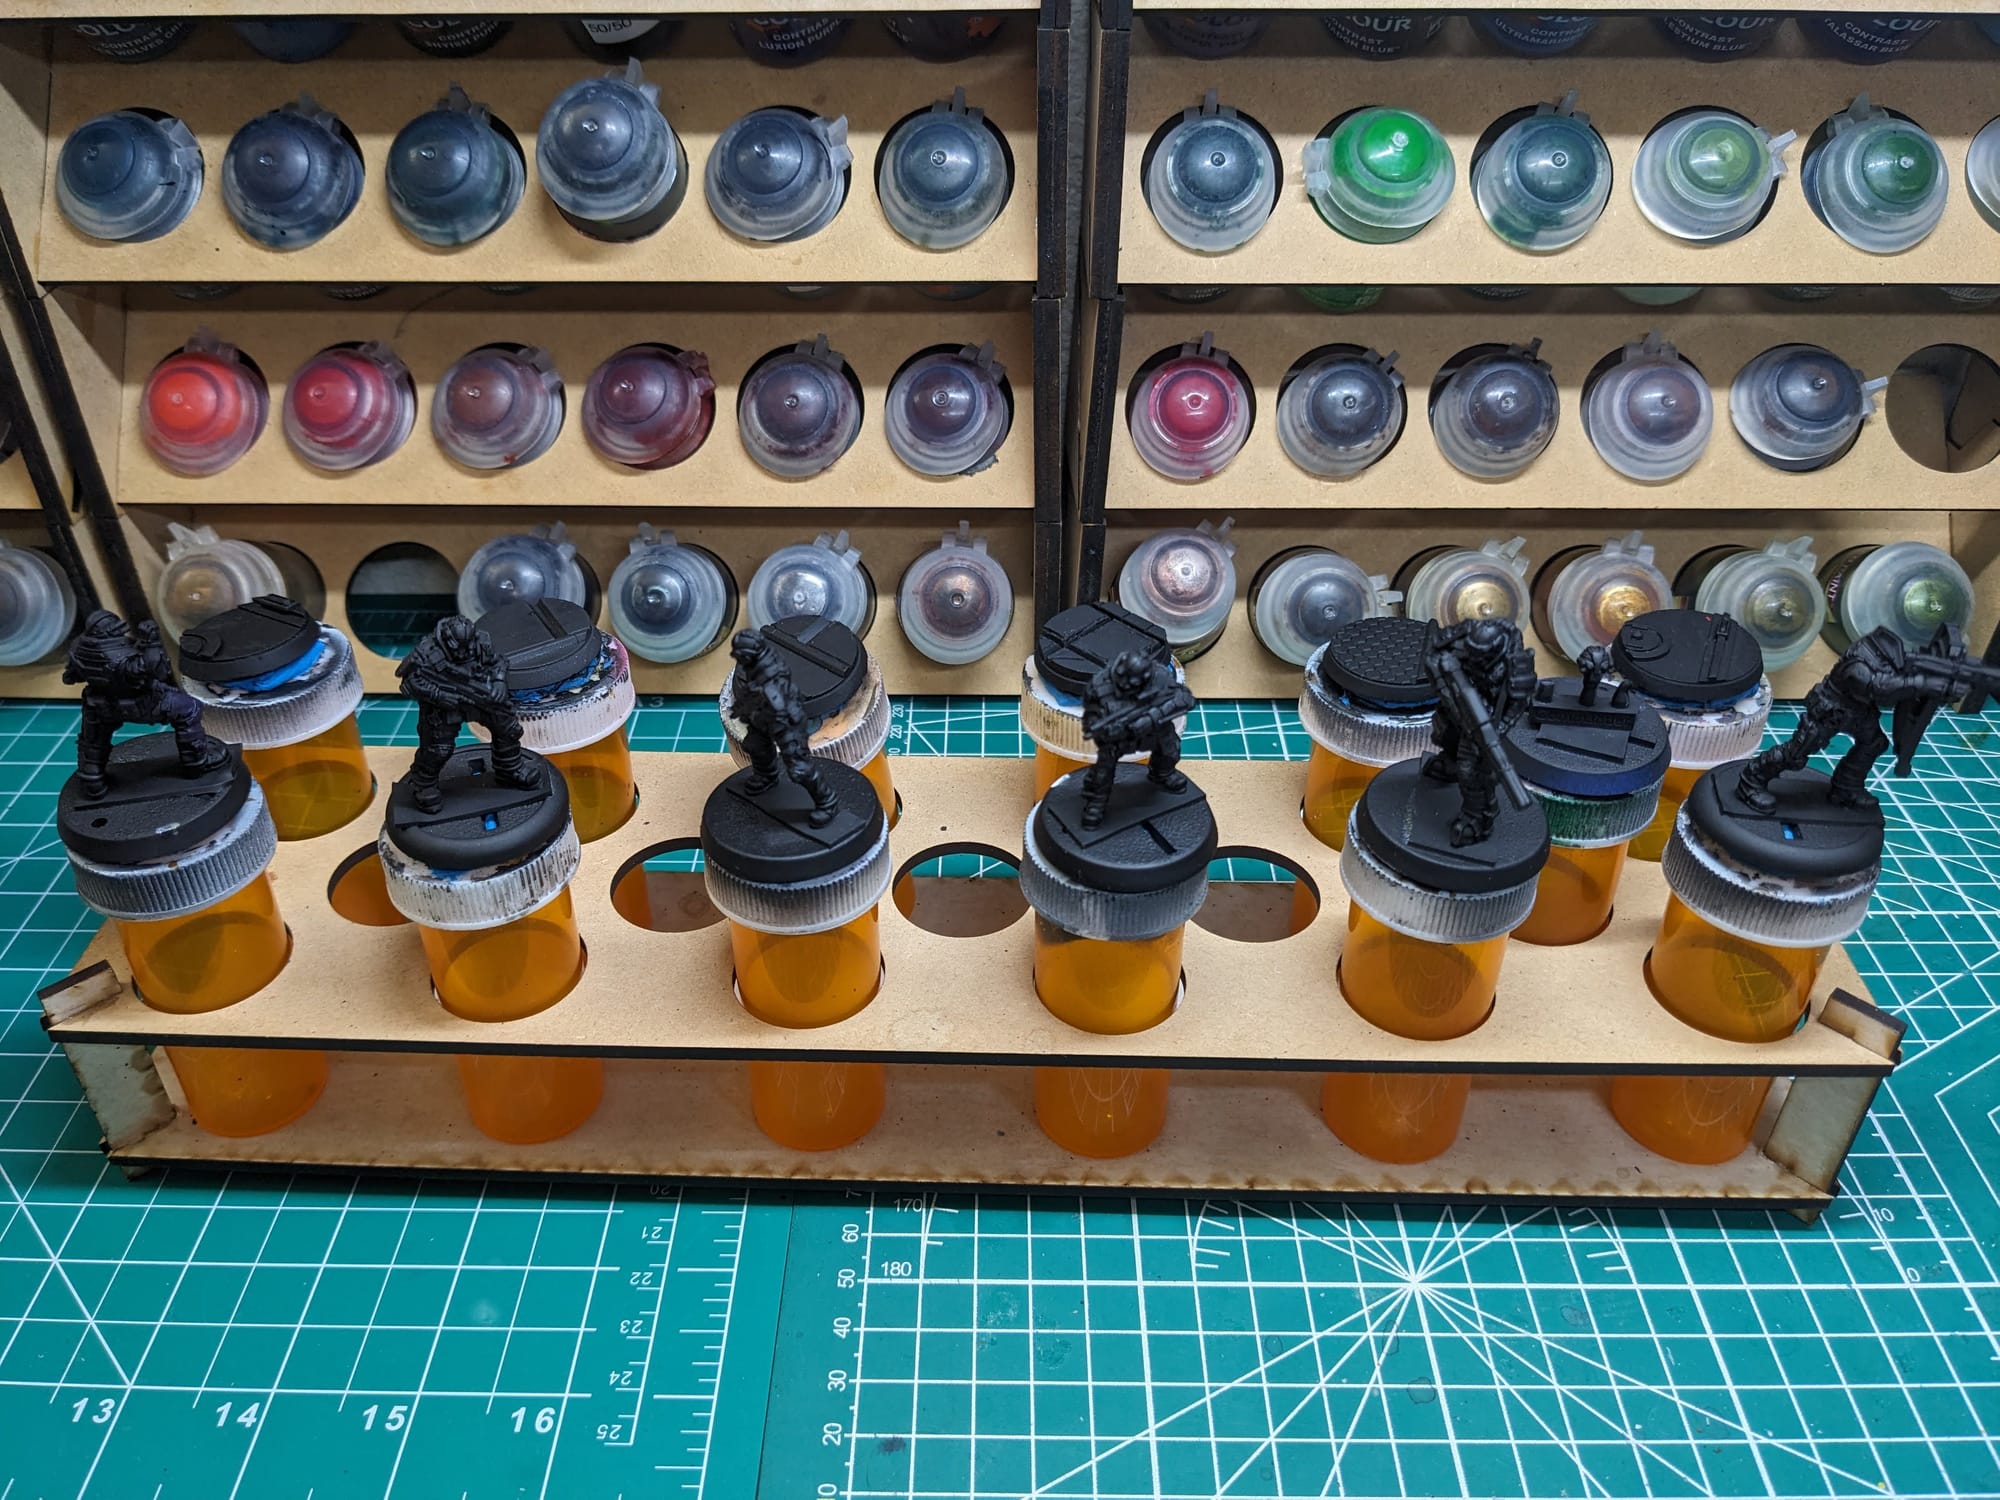
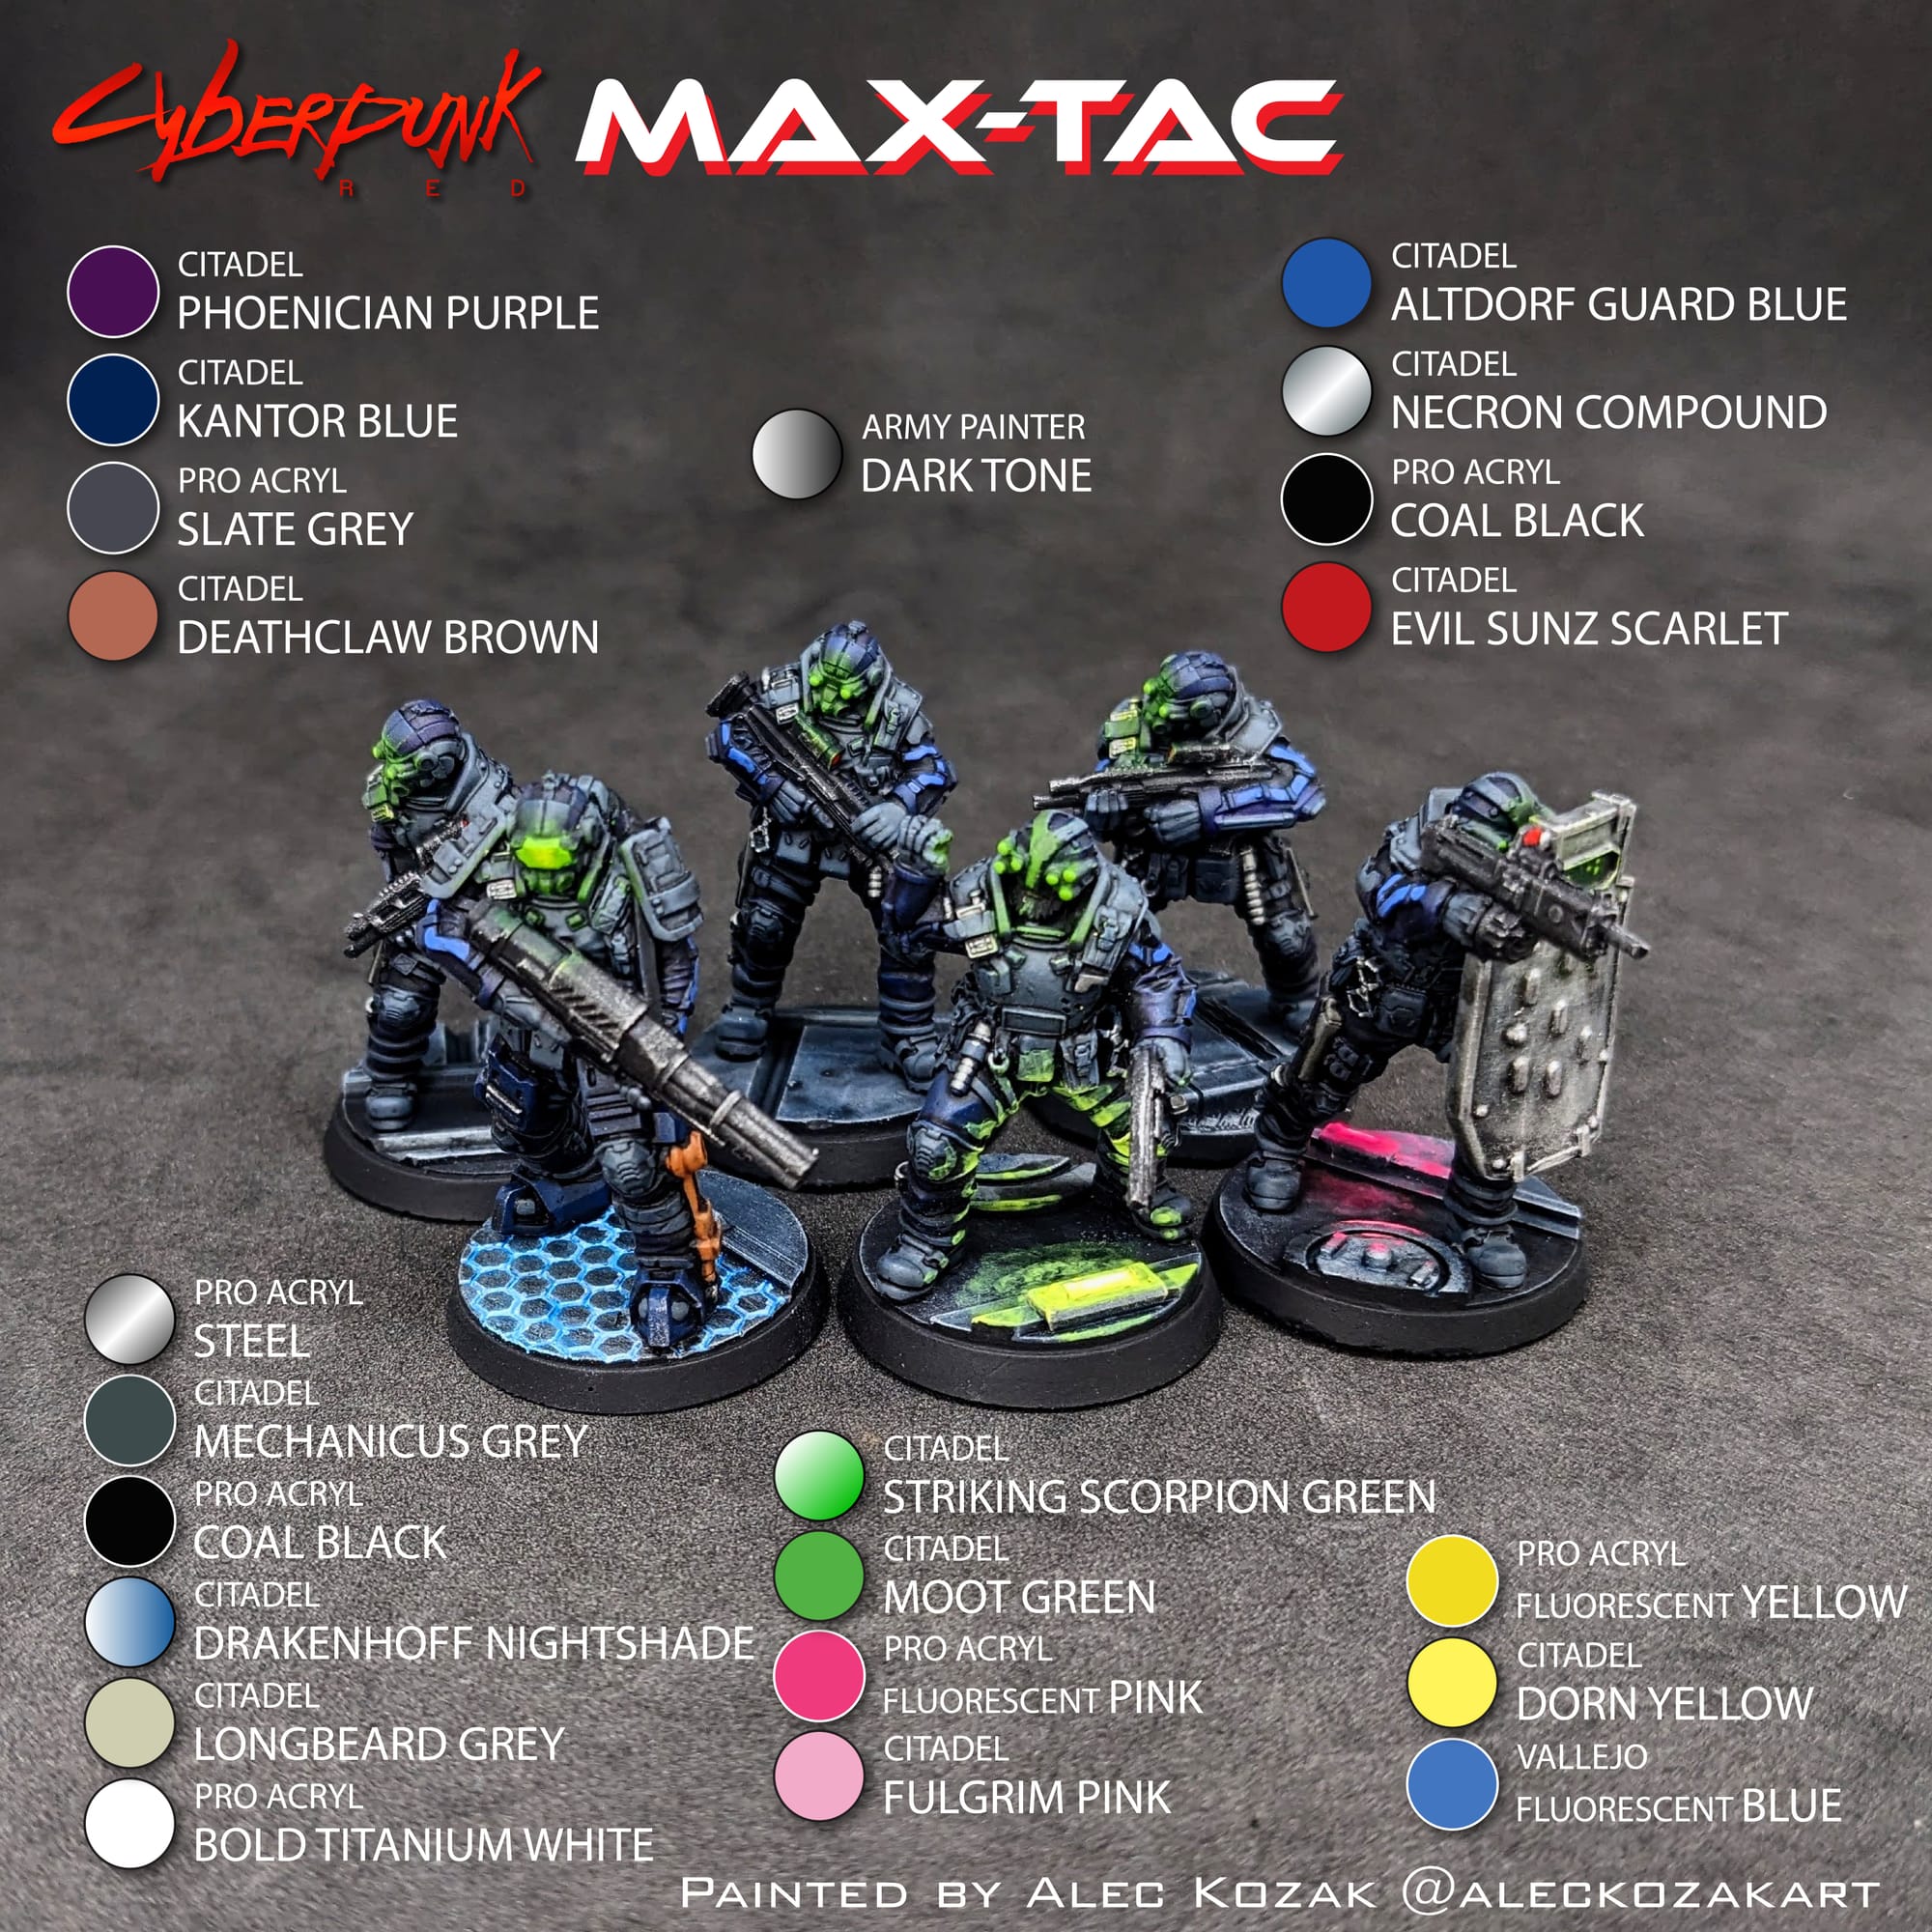
For this tutorial, I have included a visual guide (below) of the paints I used for the miniatures so you have an easily-accessible list to refer to if you need to go shopping. The paints are noted on the picture. Many paints are used for multiple figures, so a single bottle of each will be more than enough.
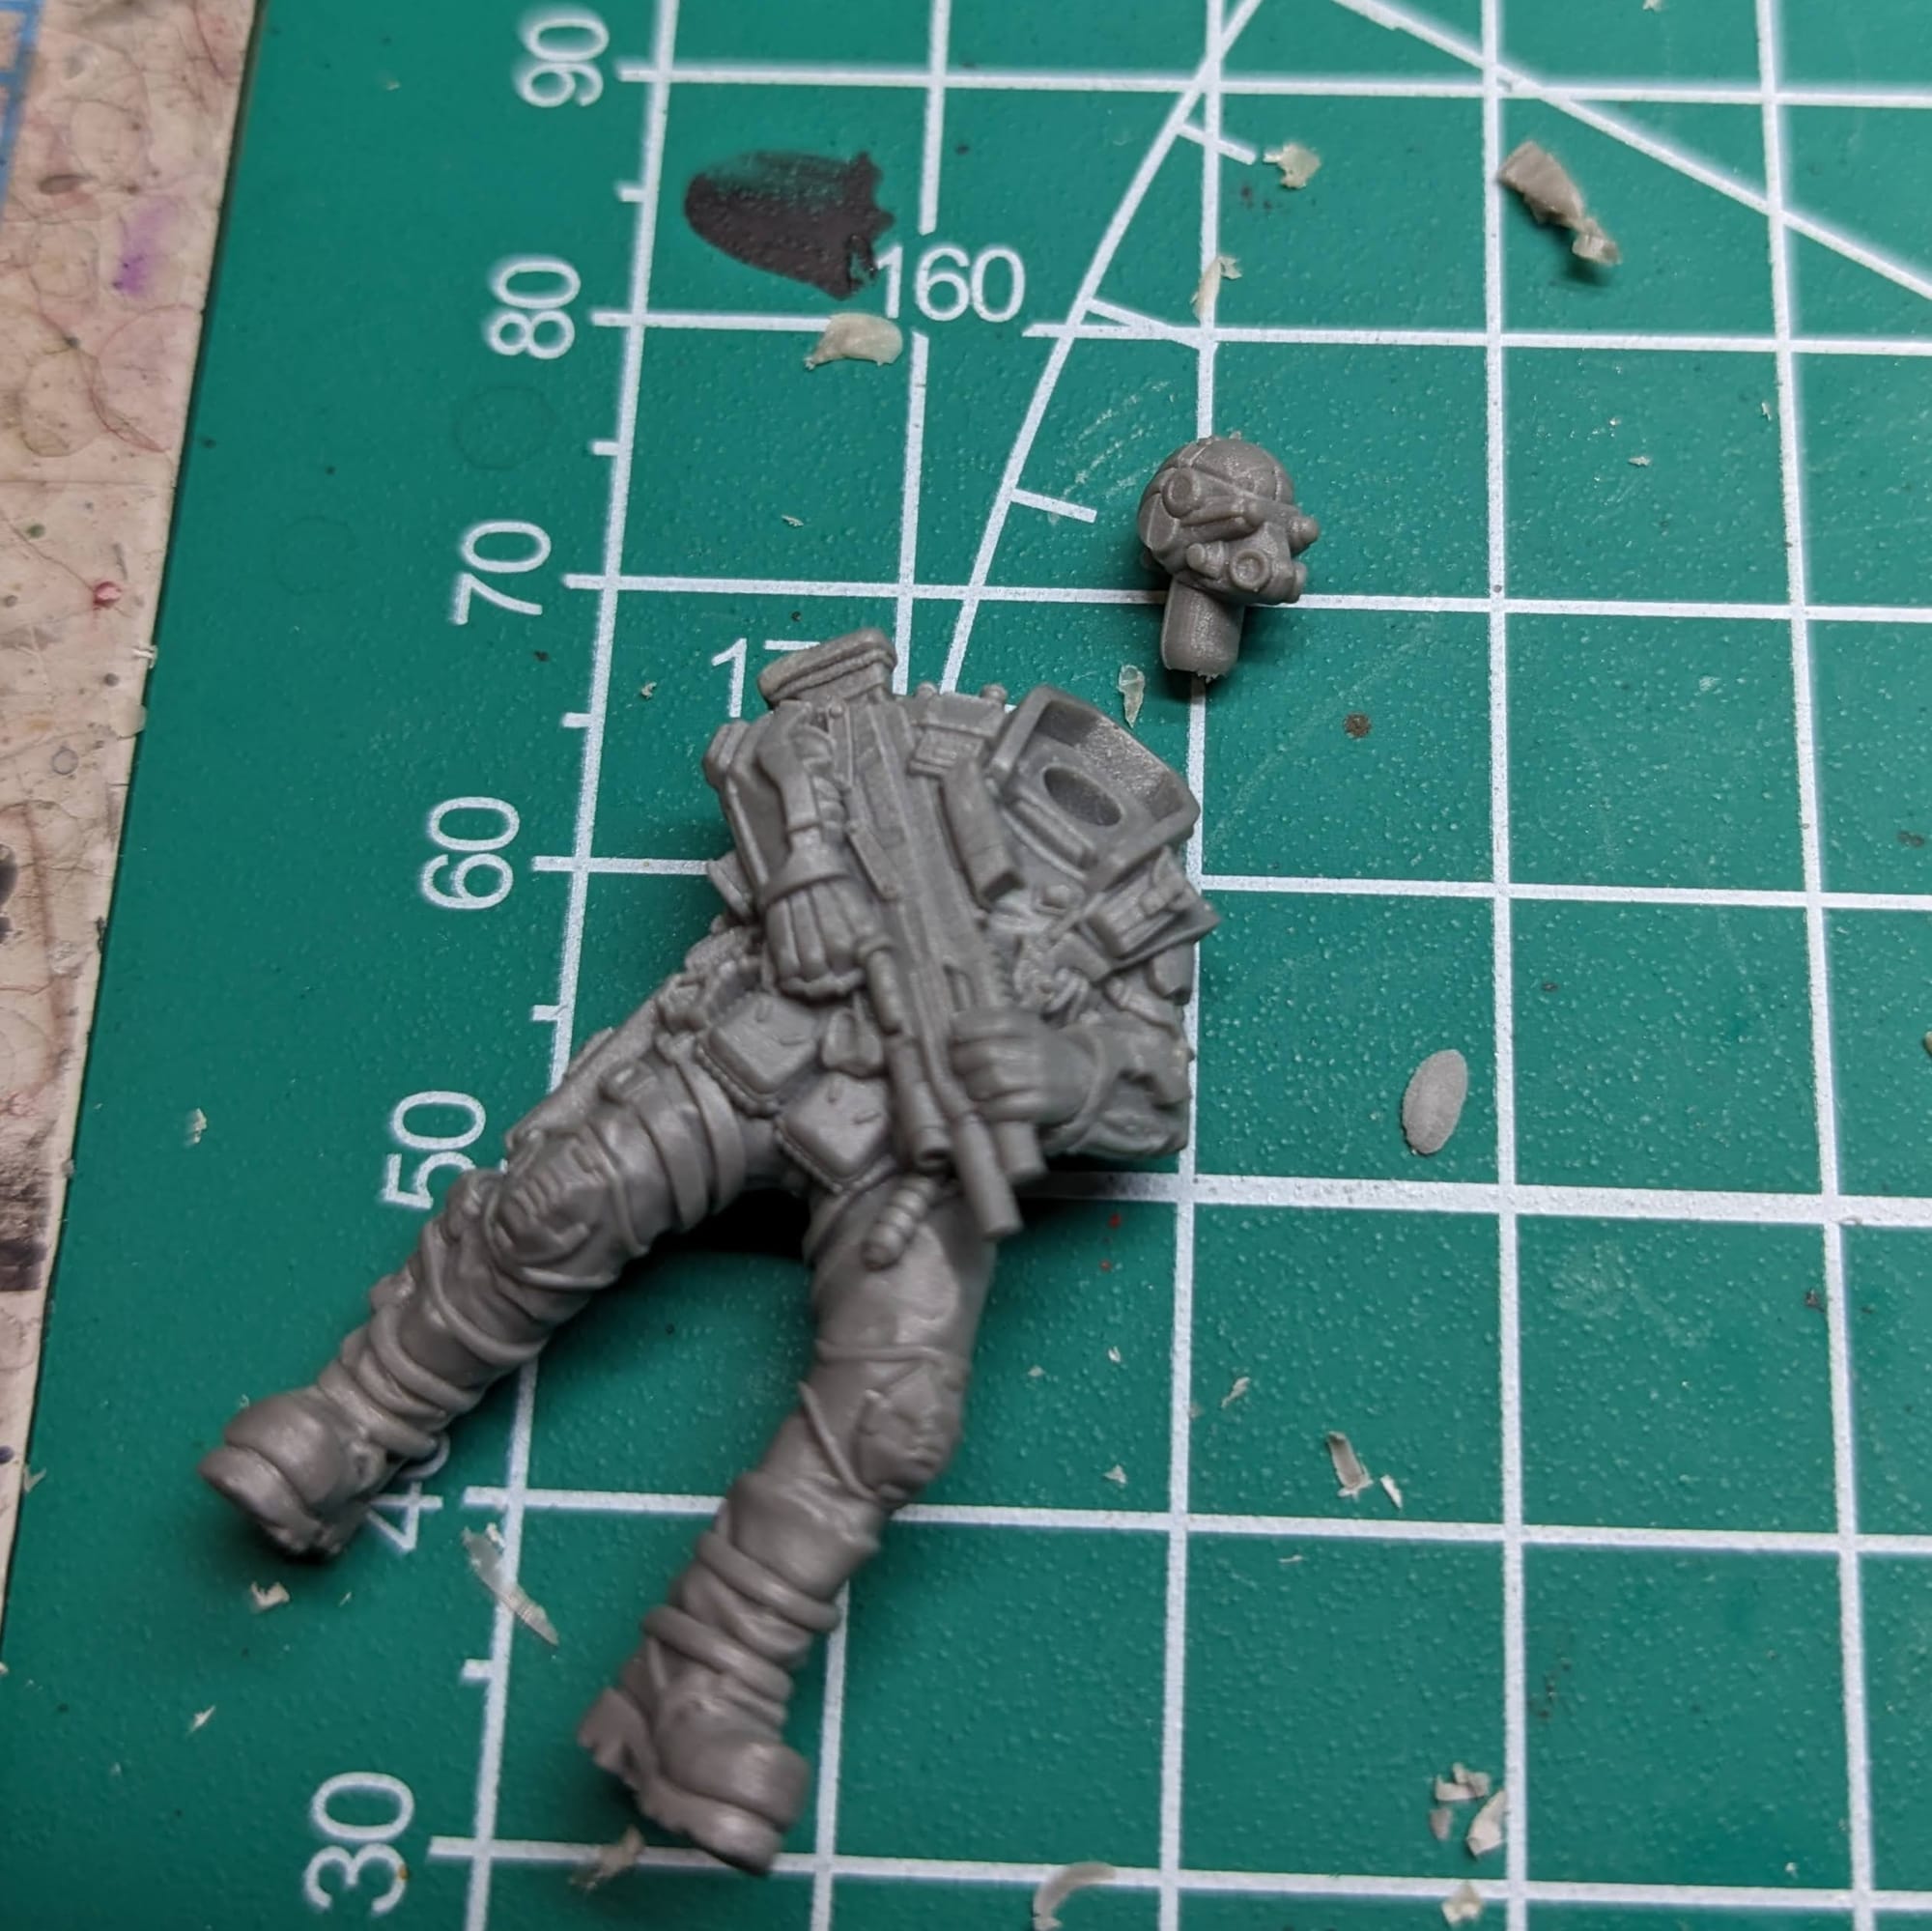
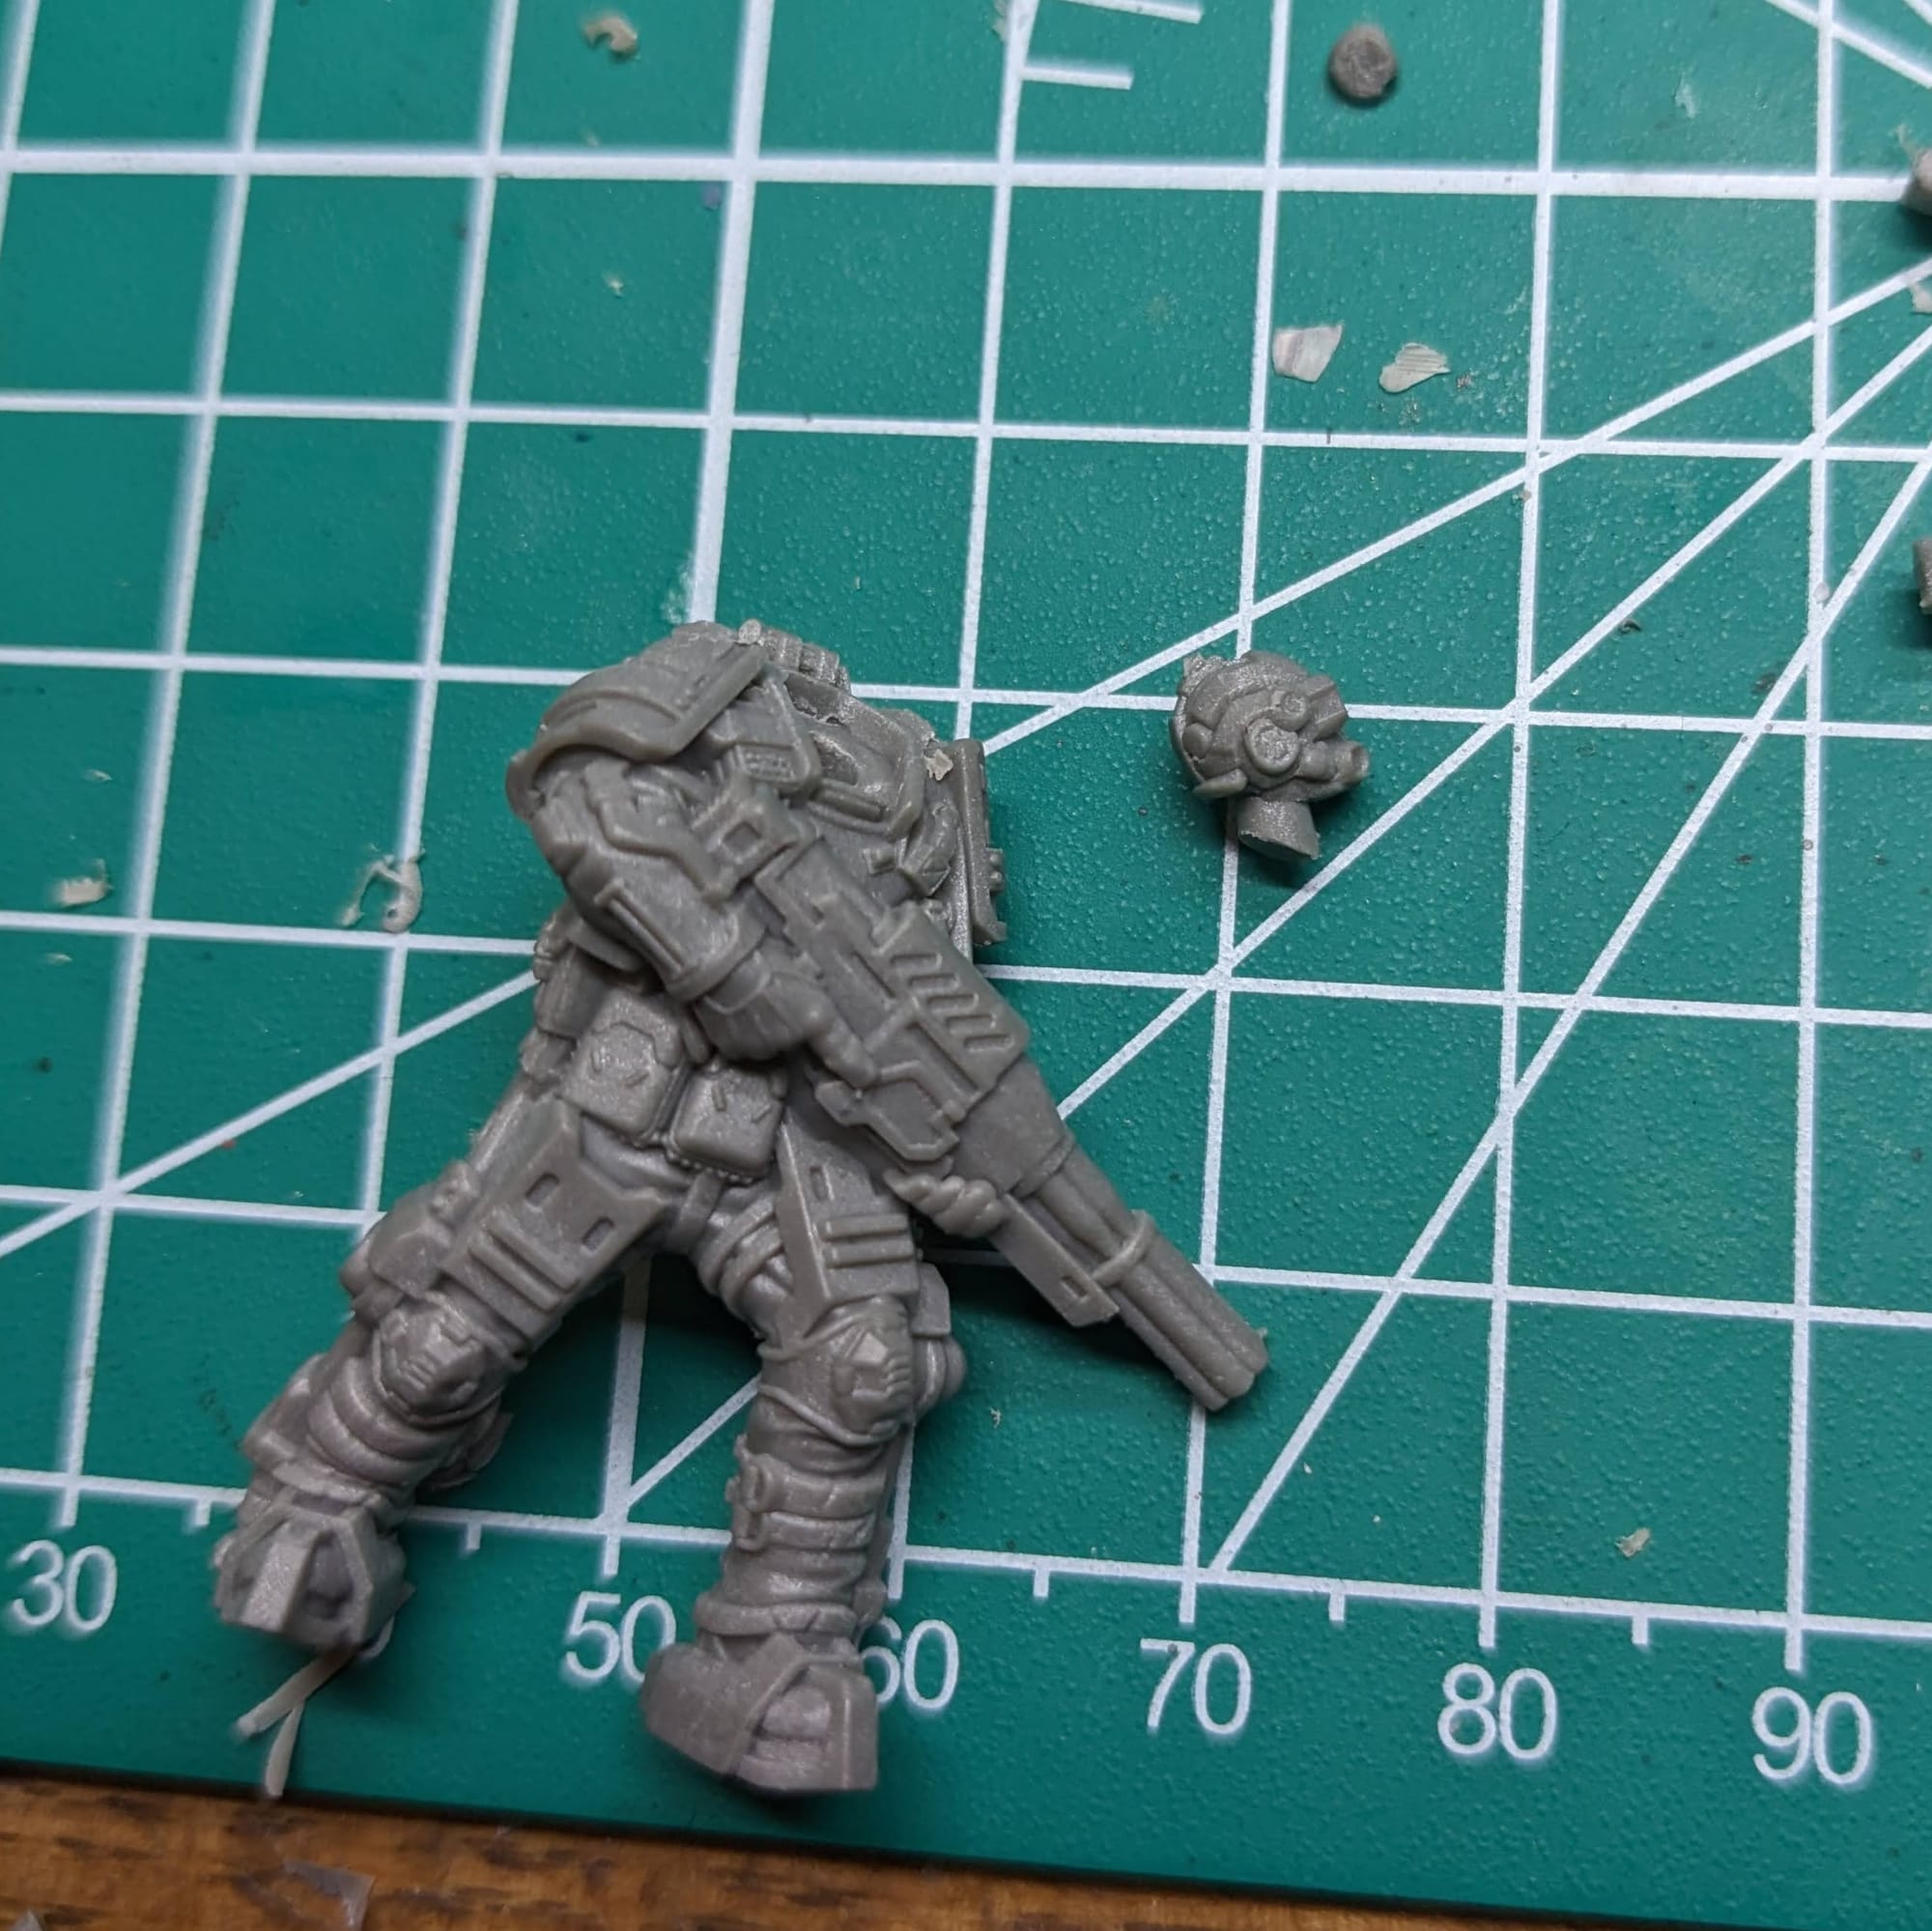
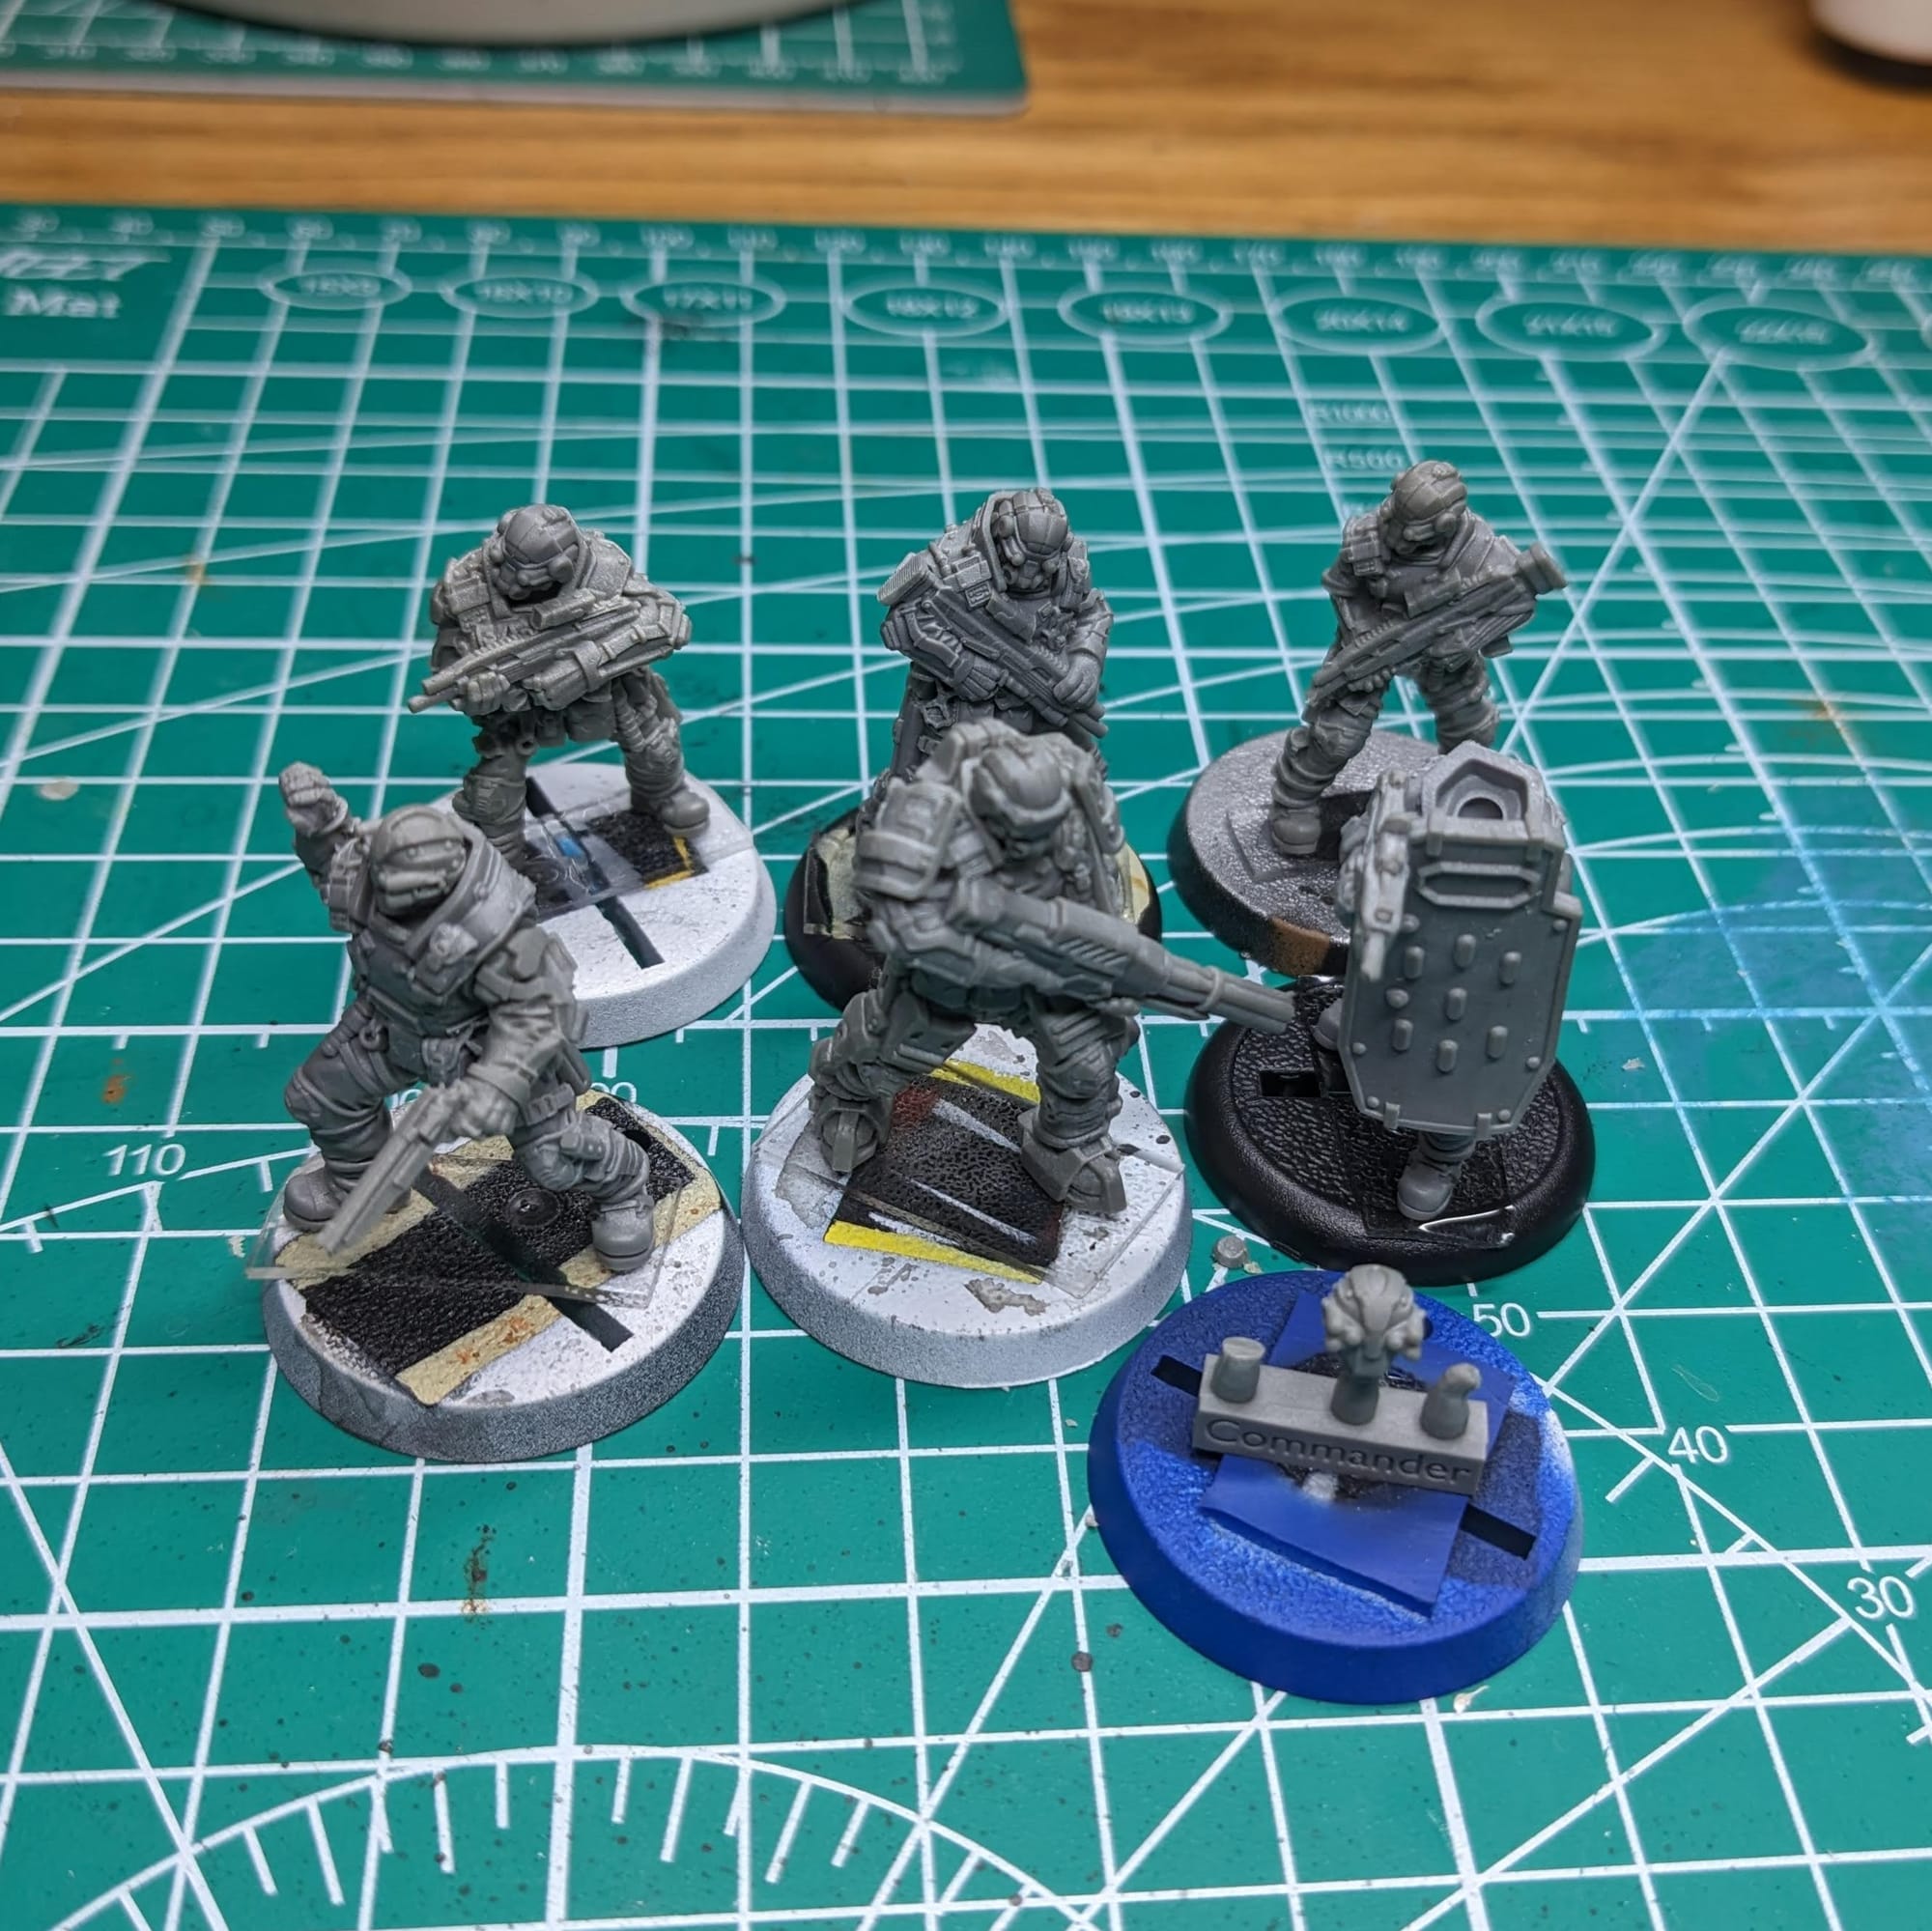

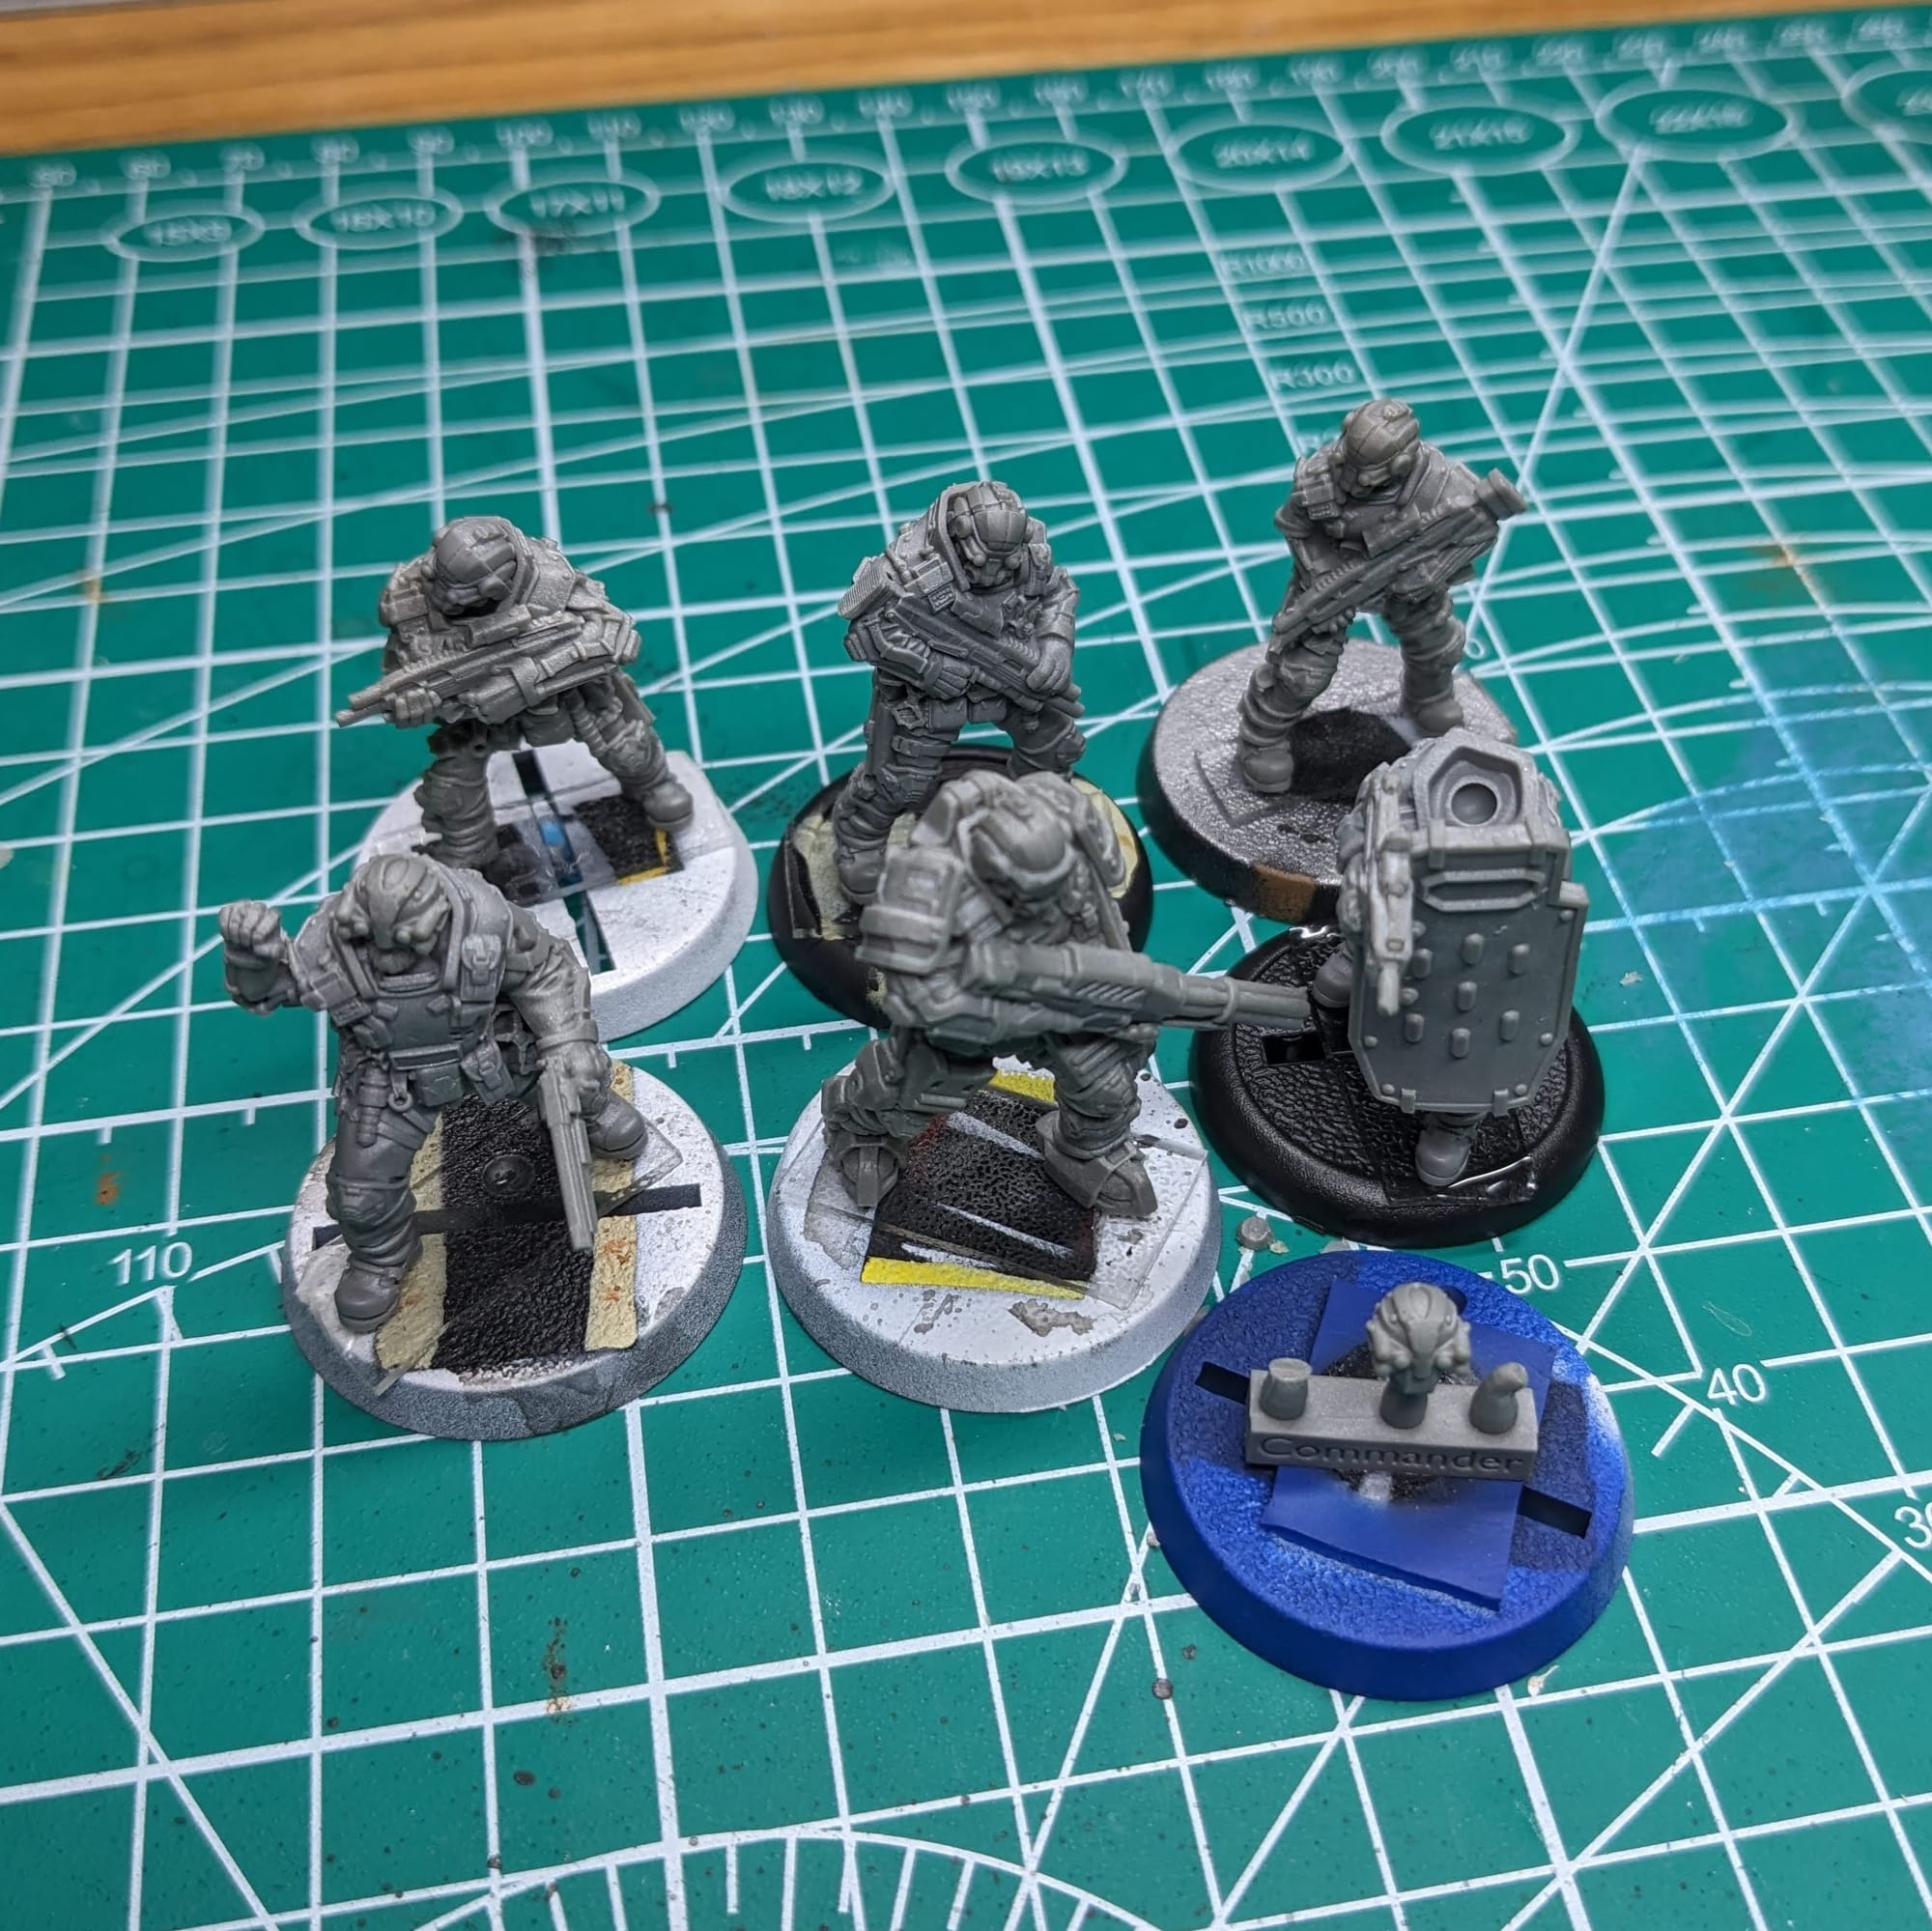
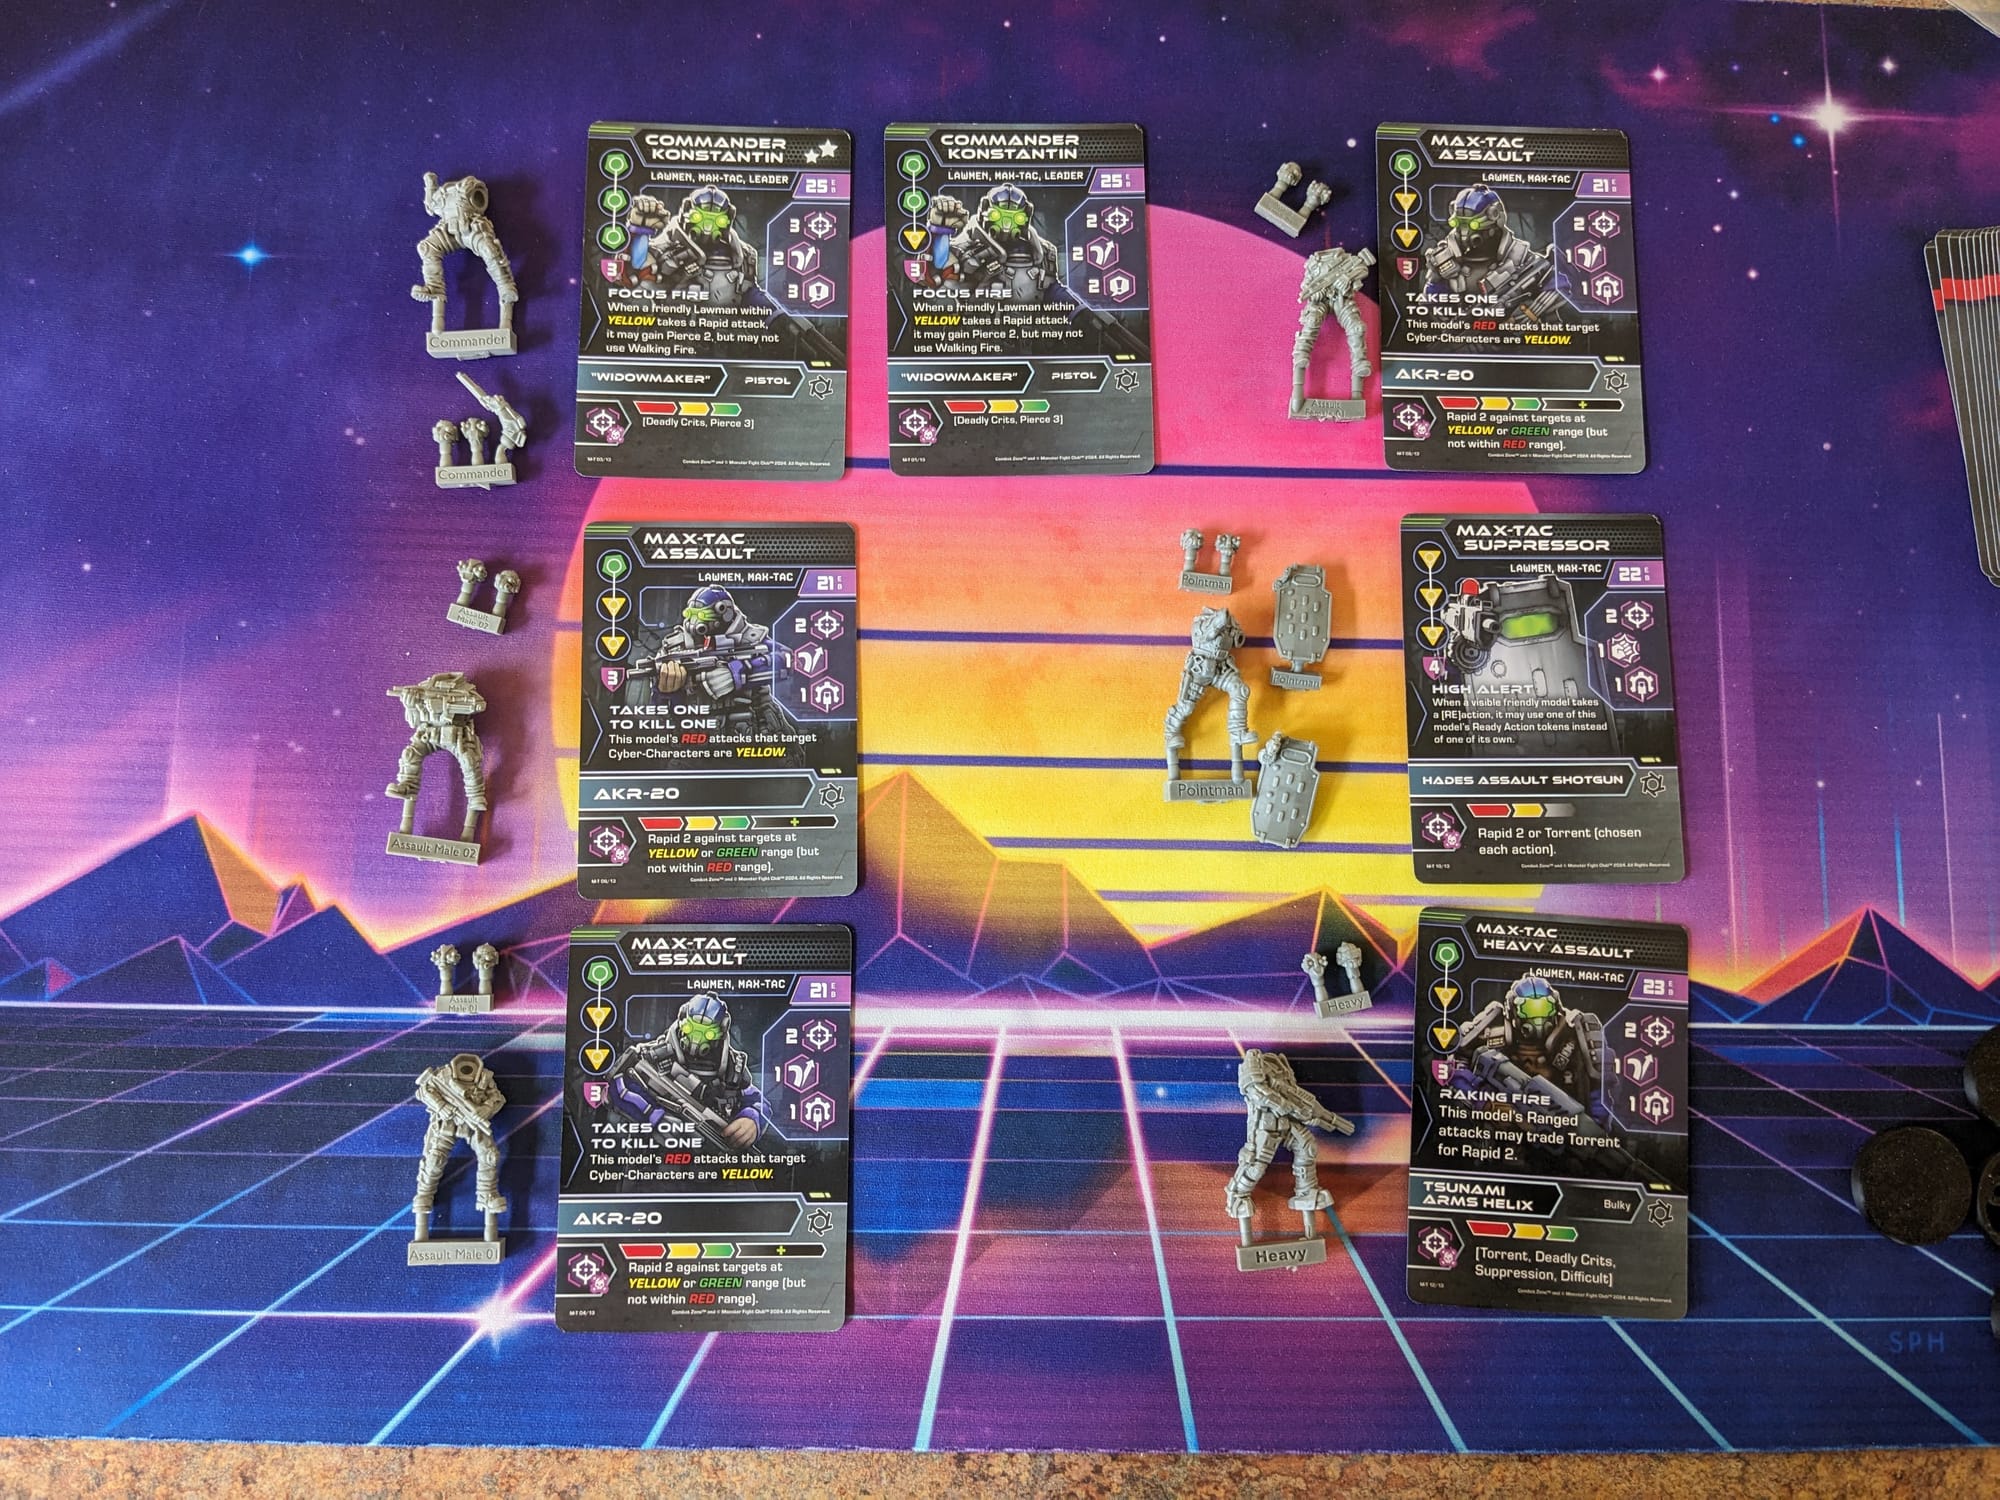
I used the Pointman's head for Commander Konstantin
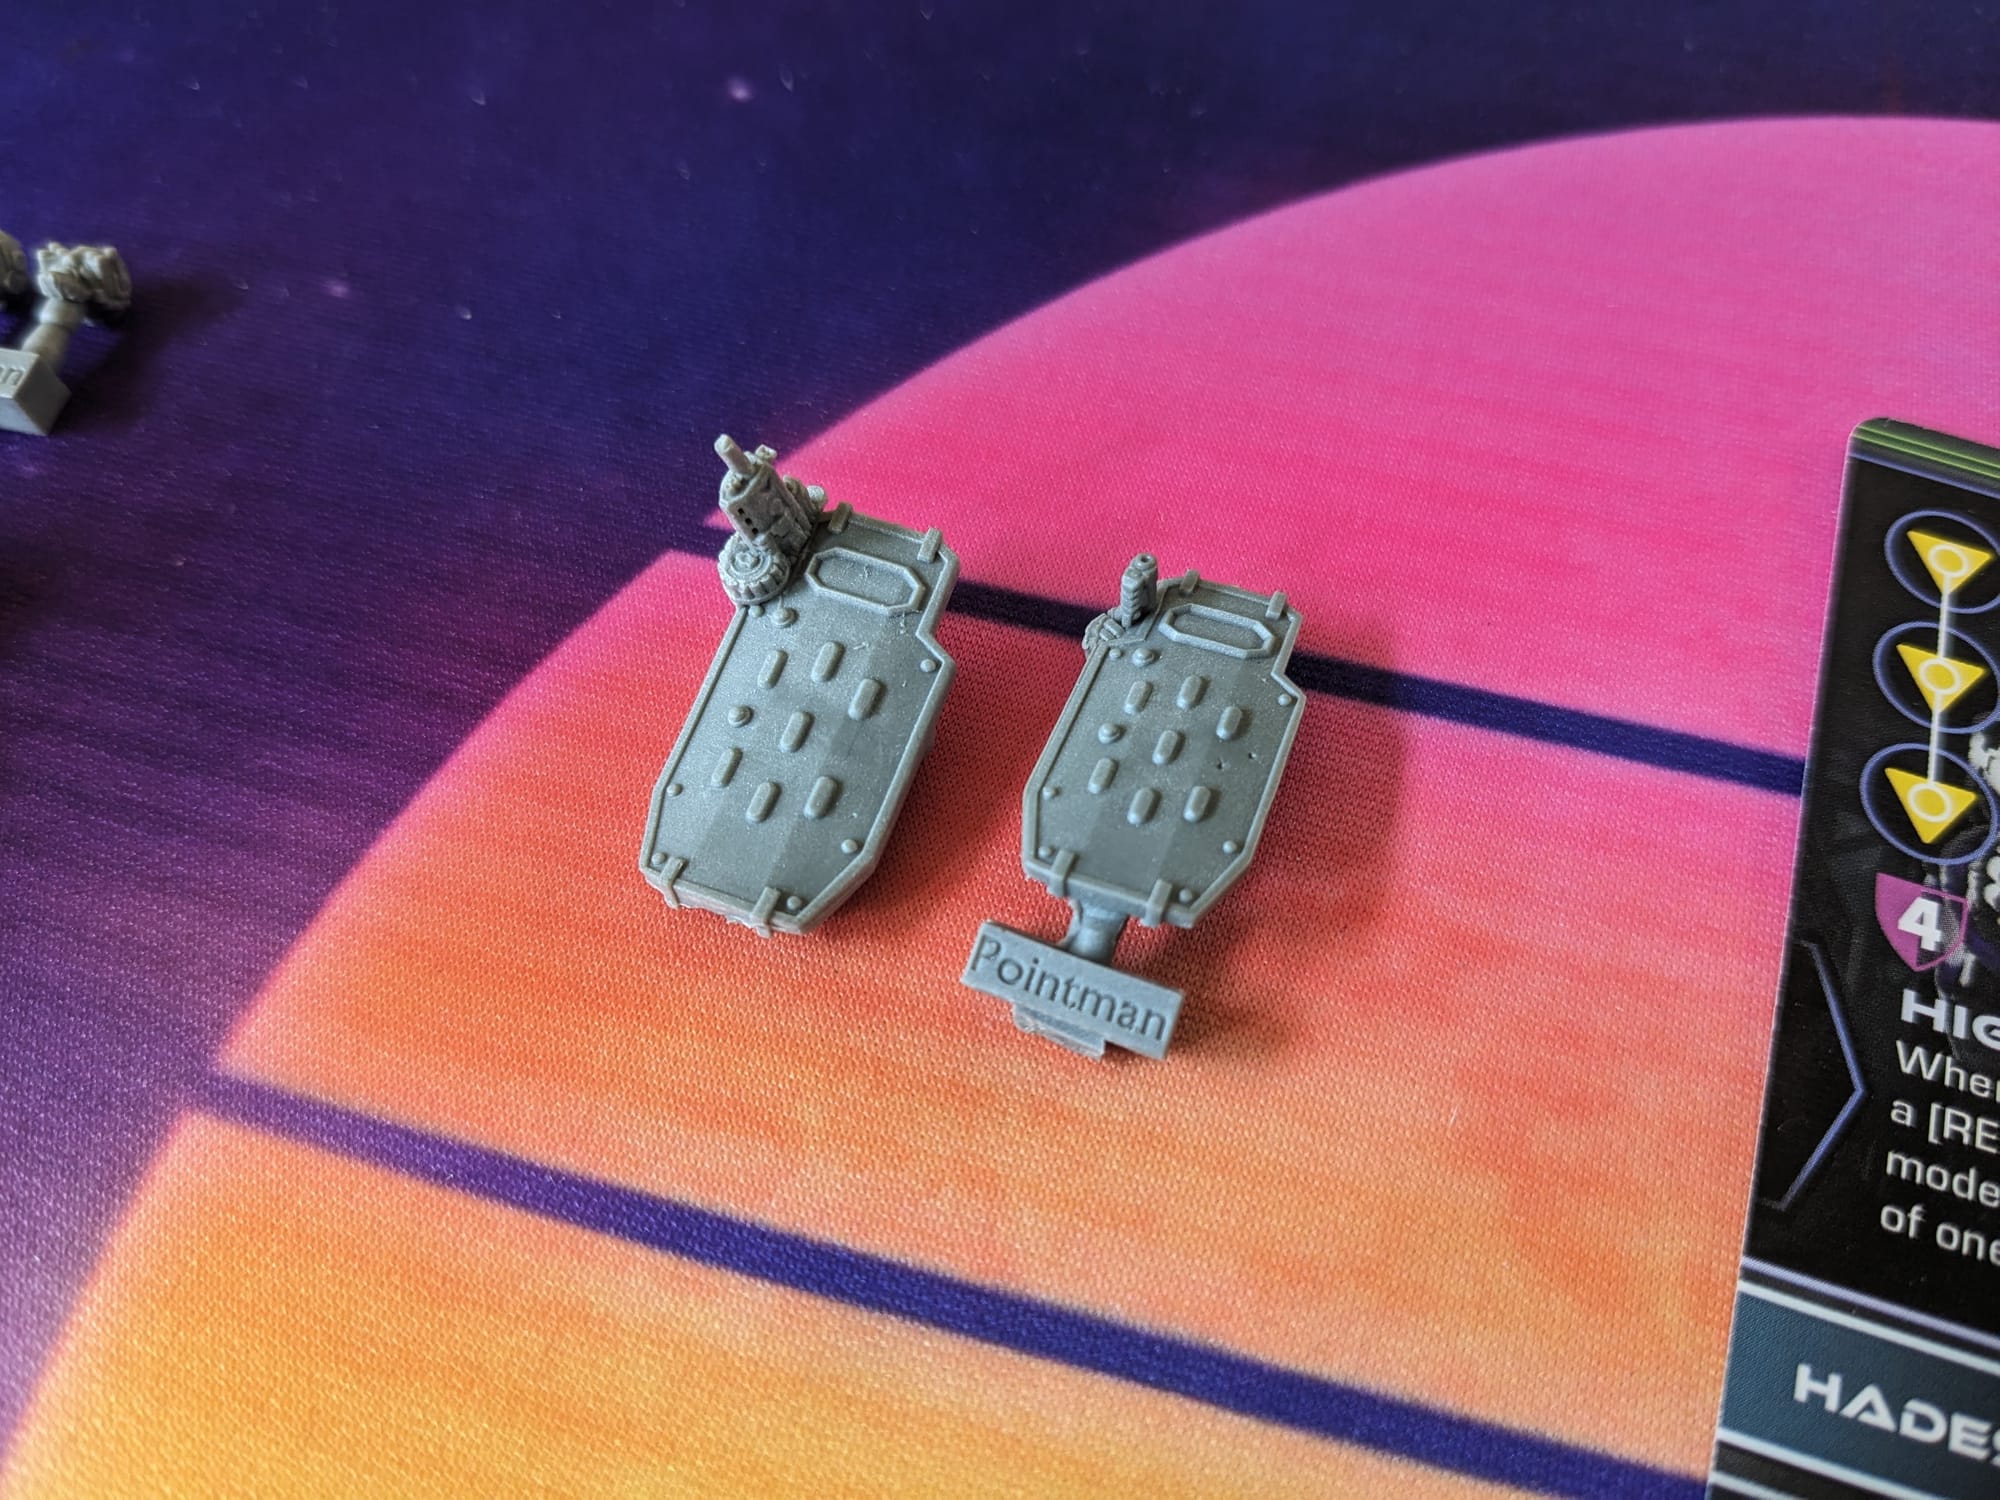
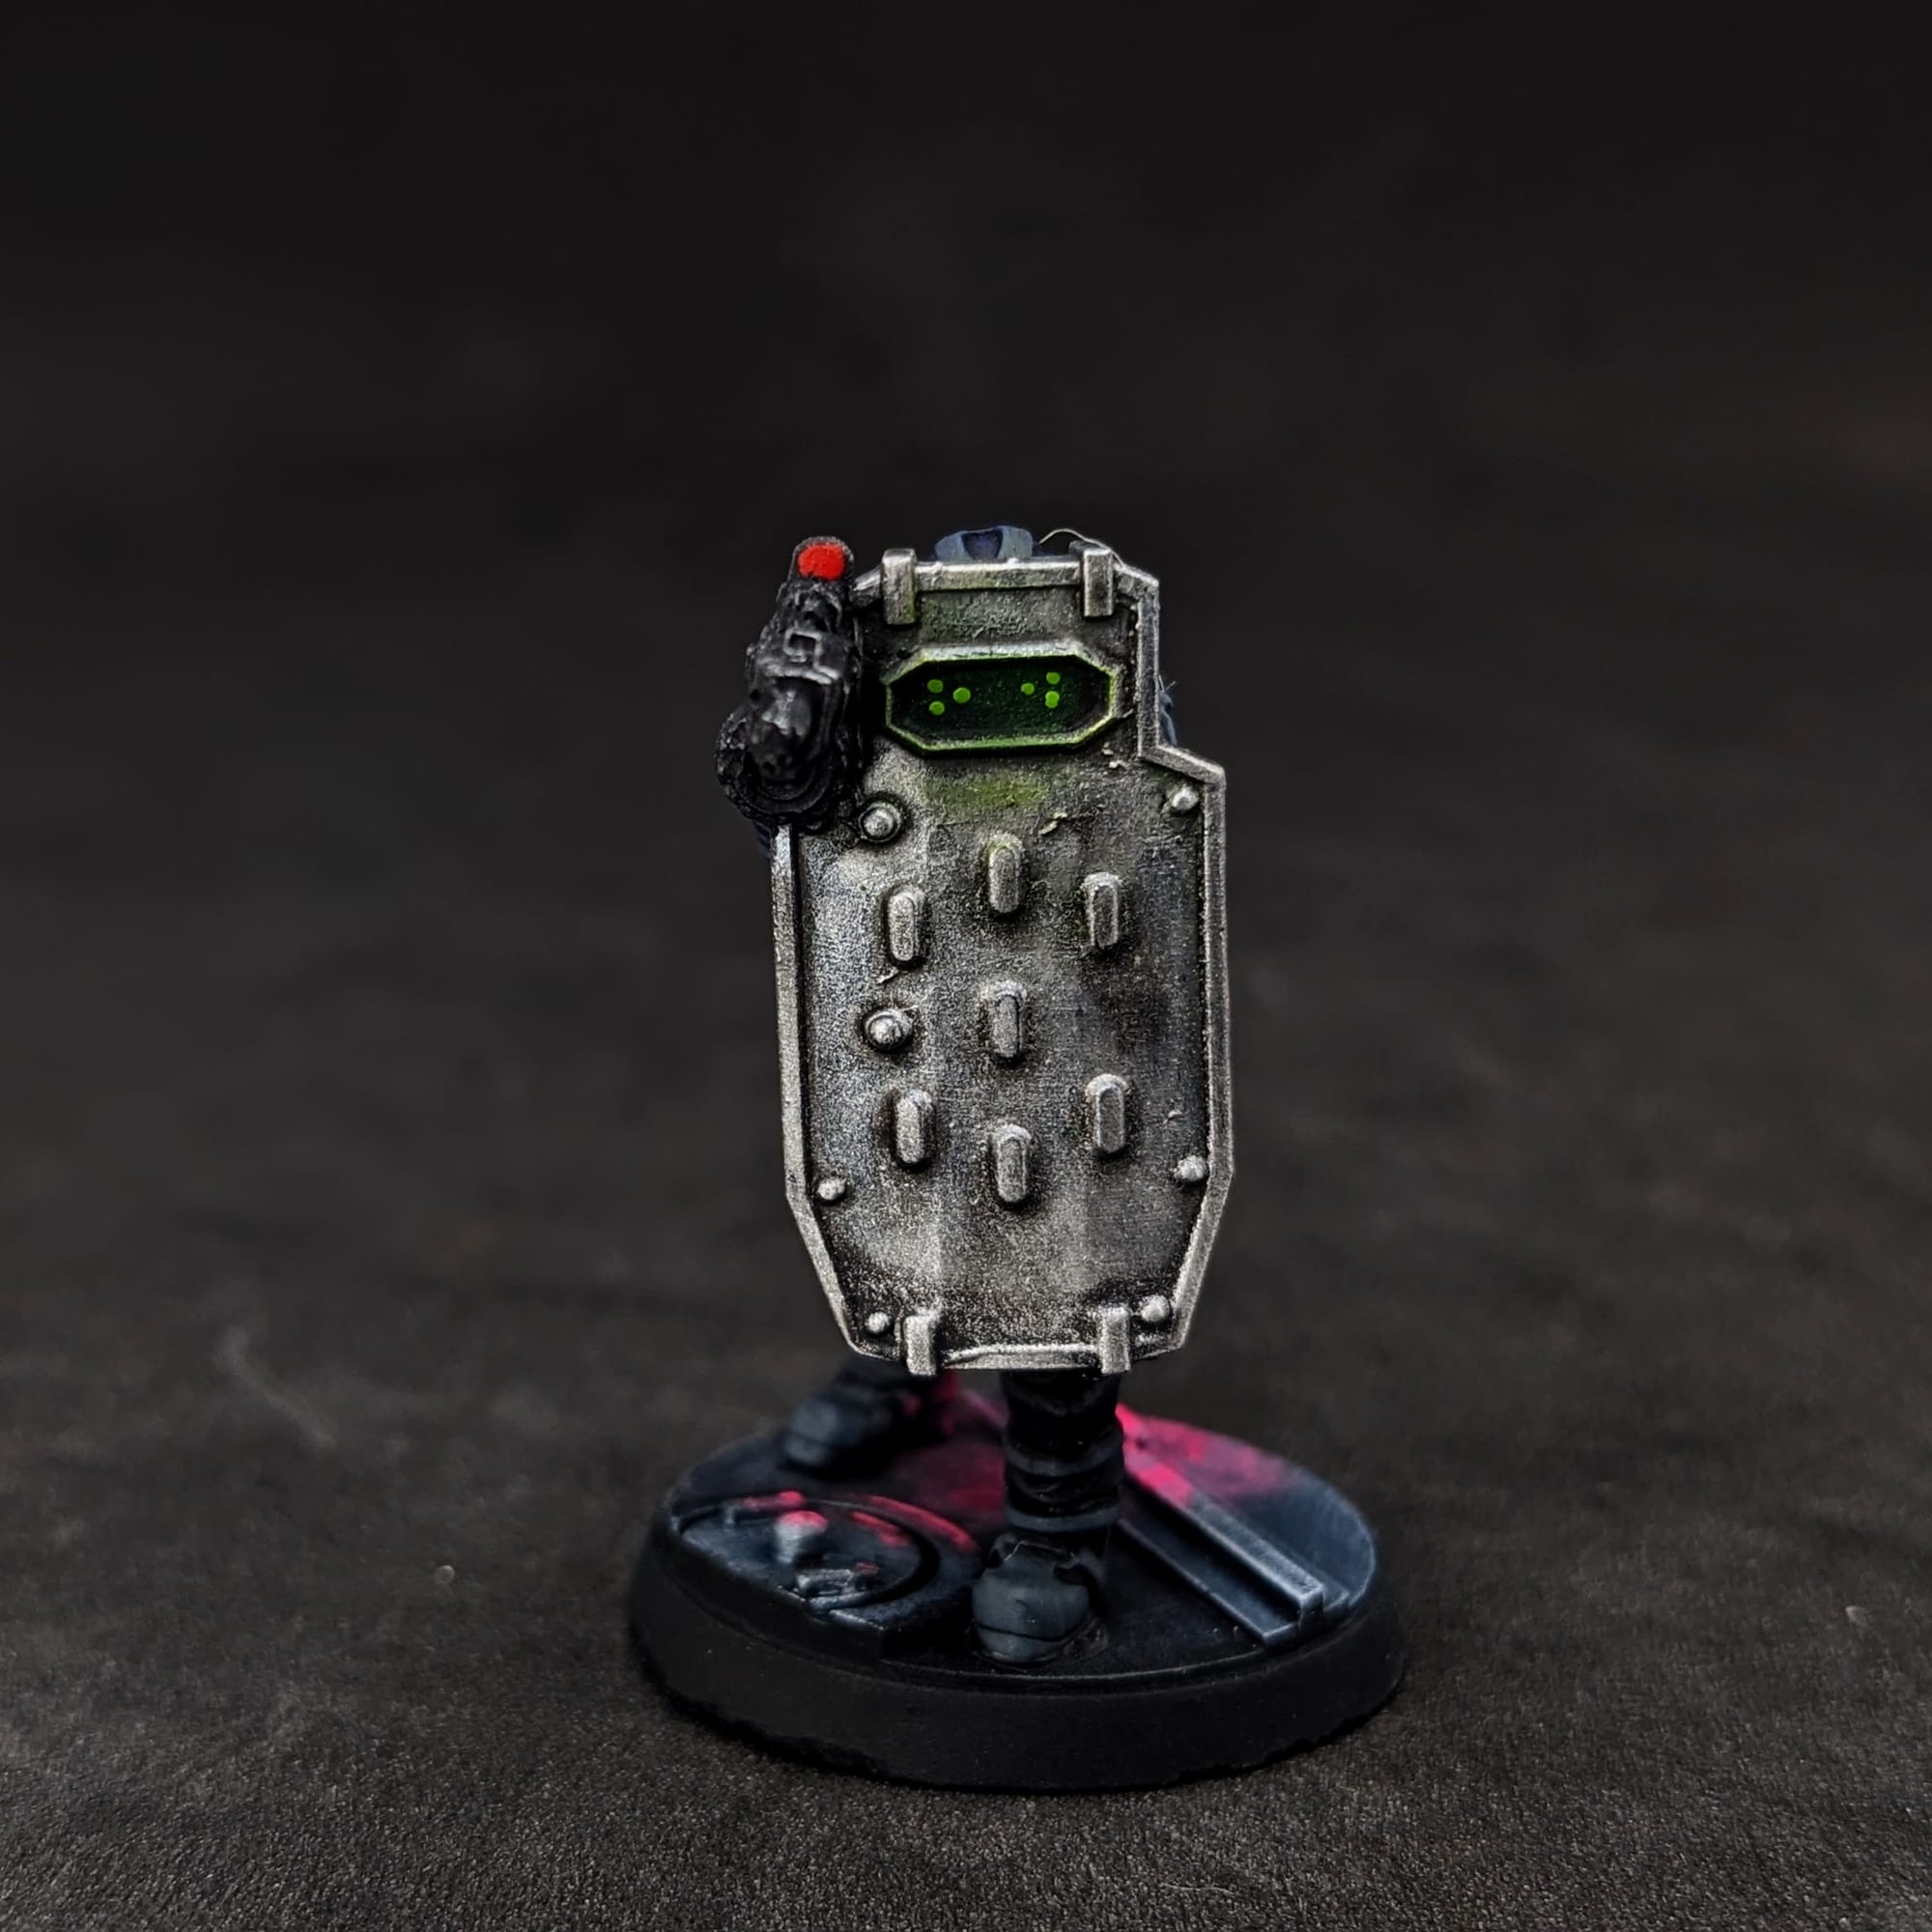
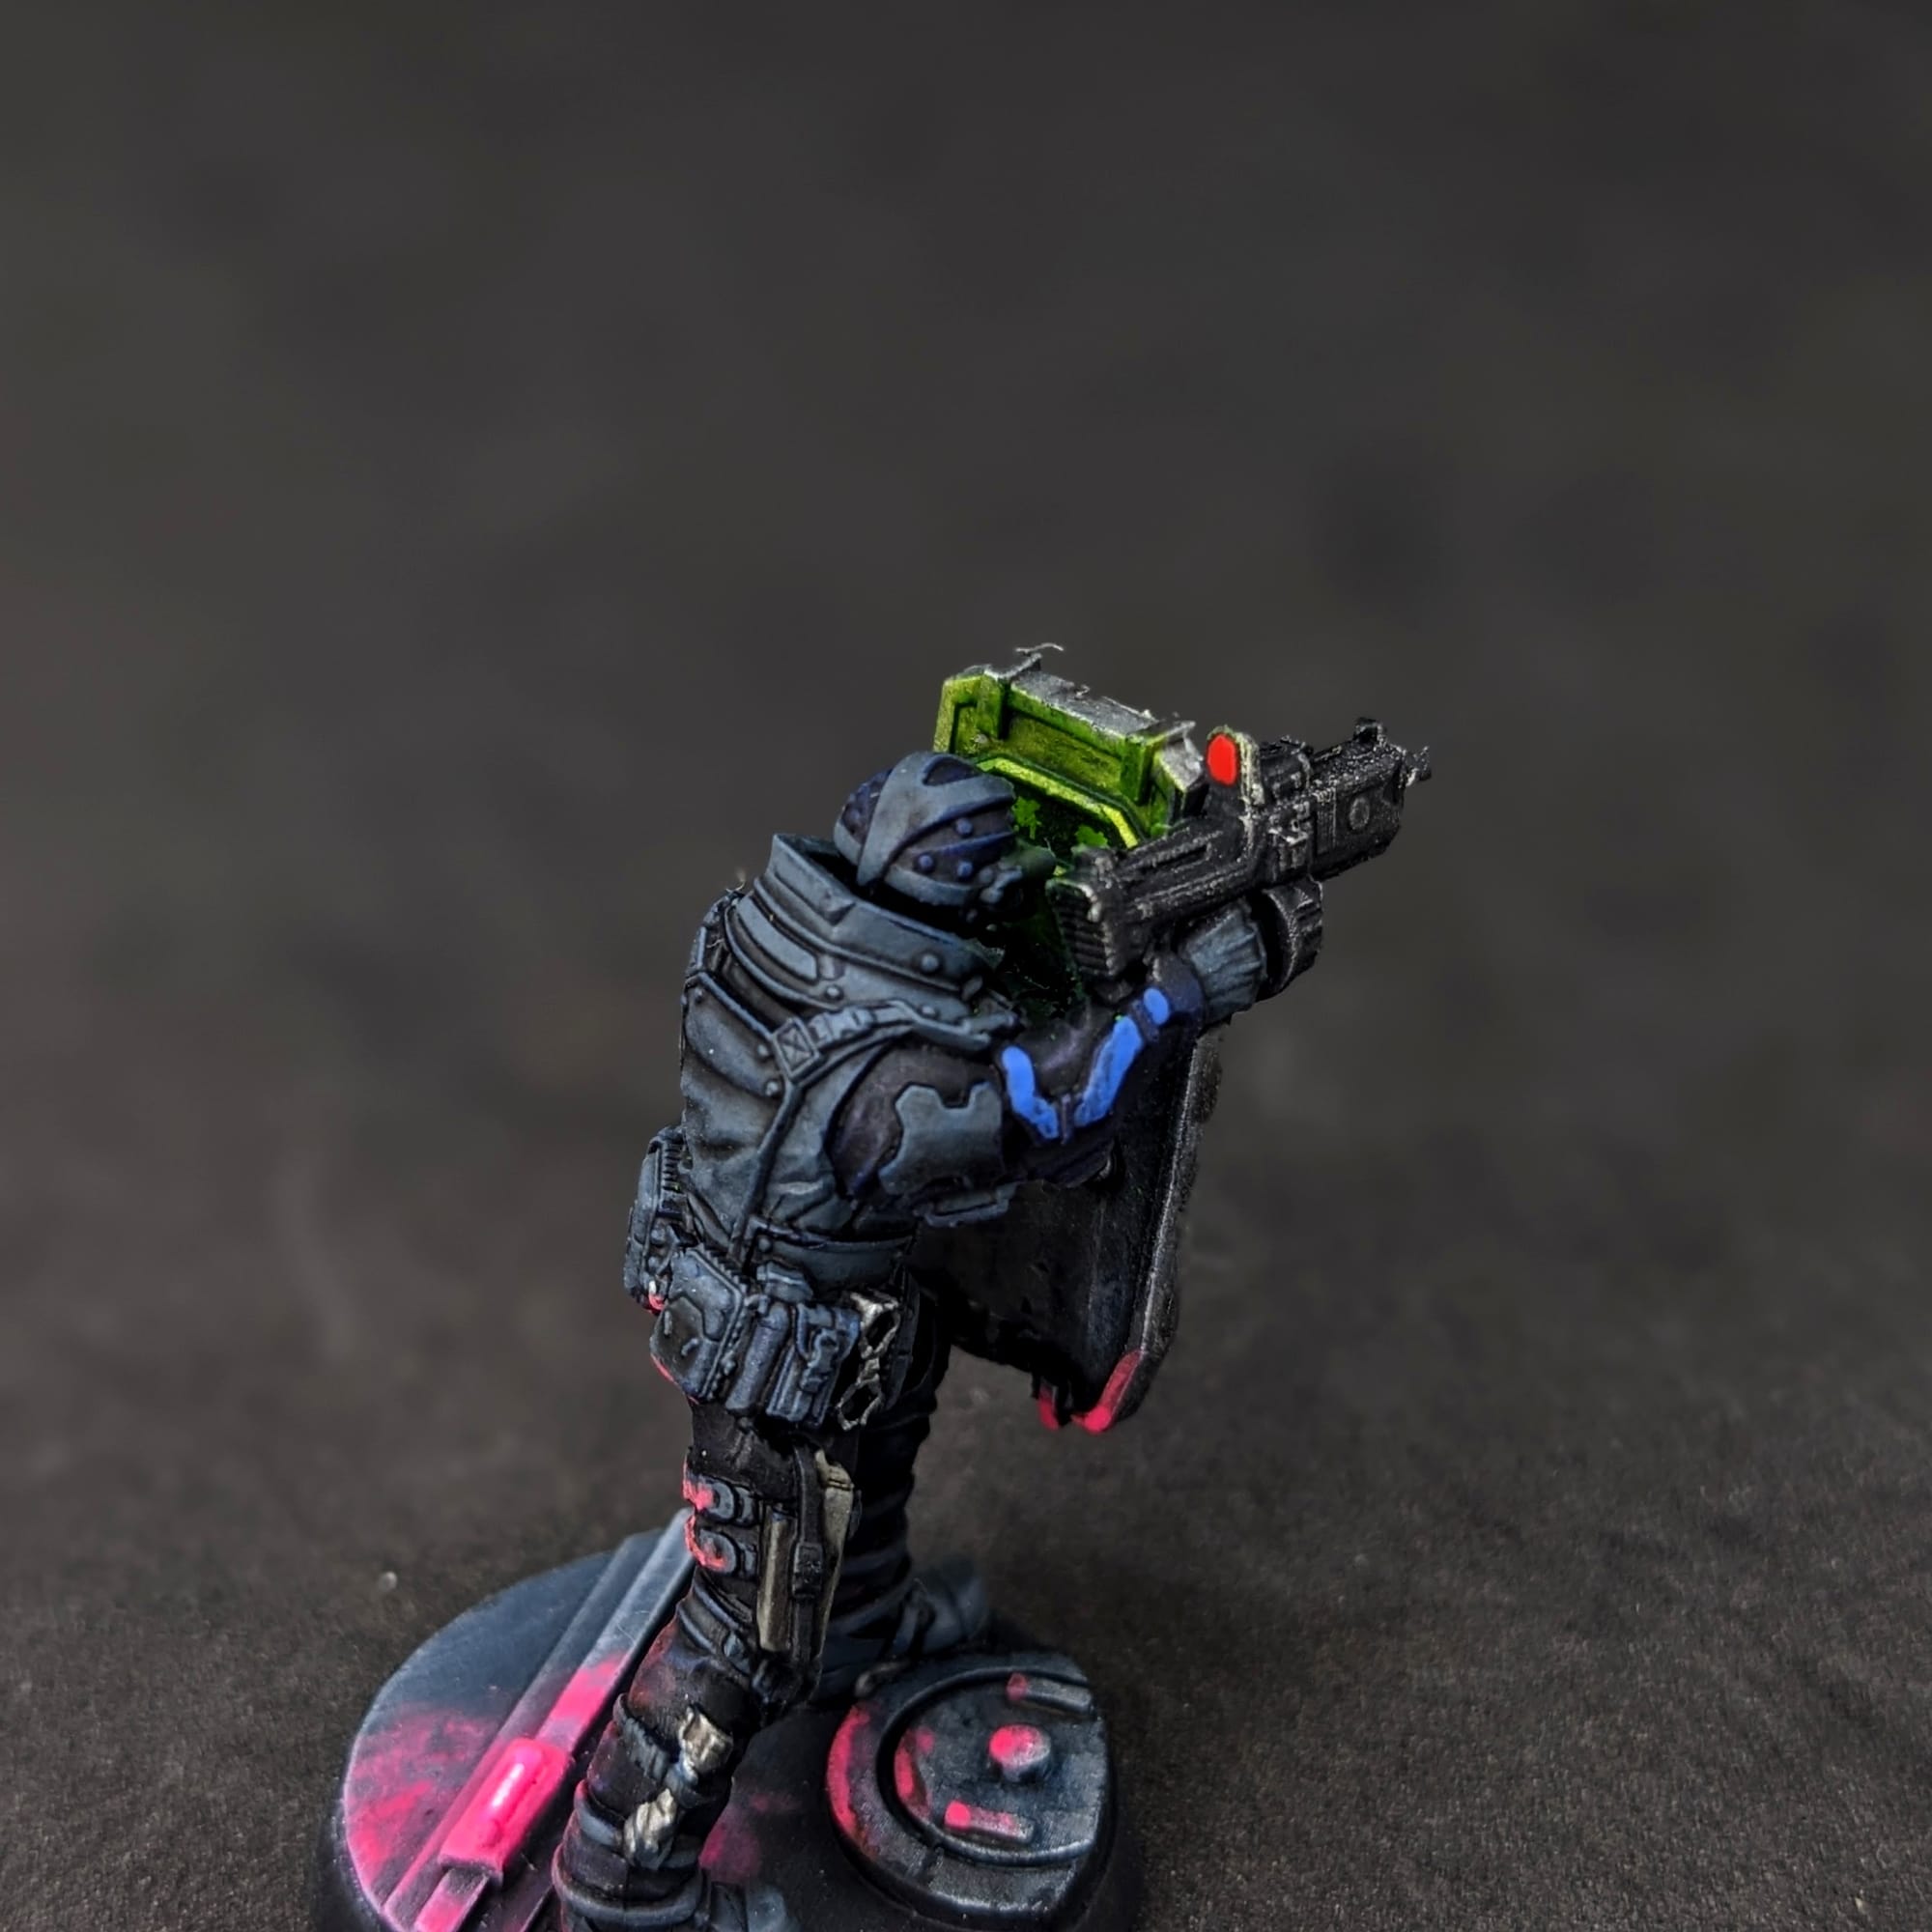
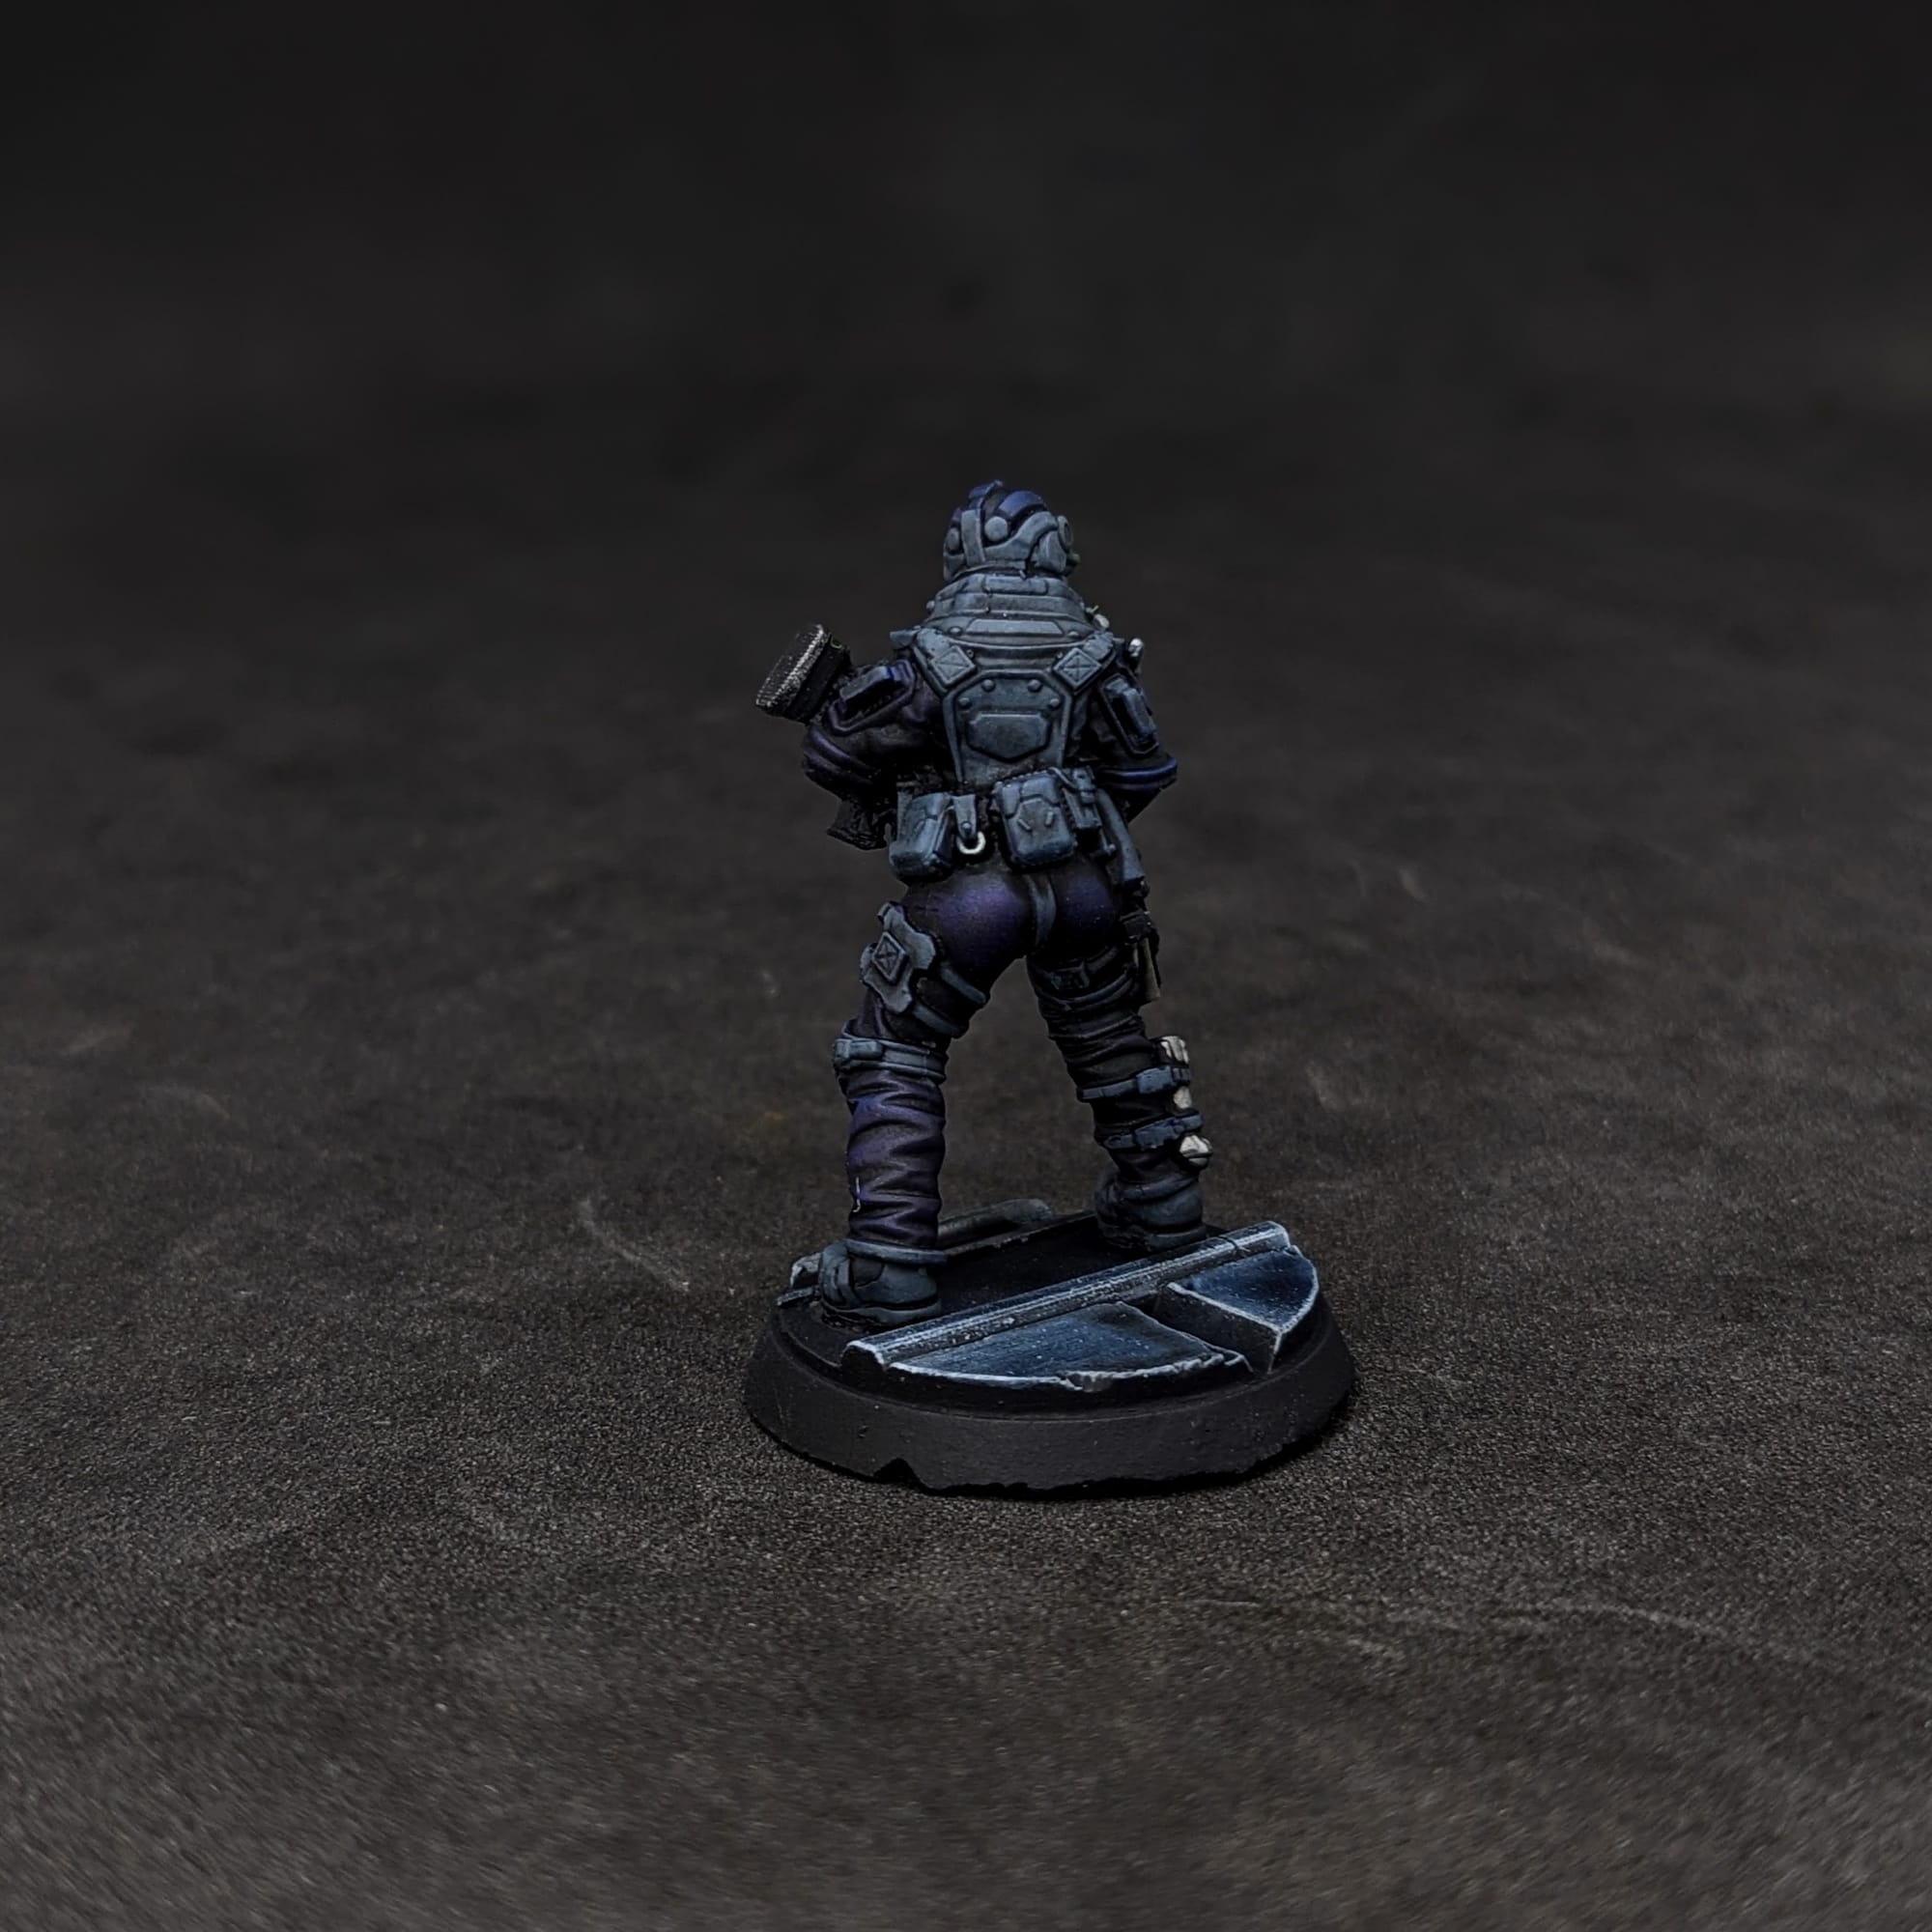
I left the figures separate of their bases so I could have more freedom while painting the bases. To be able to paint the inside glow on the ballistic shield from the goggles I opted to leave the head off at first and then attach later. This also allowed me to paint the head easier, too.
Painting Your Miniatures
The Paint Plan
For pretty much every miniature painting project I do, I start with a plan. Even before putting the primer and paint on a model, I find photo references of the paint schemes and details I am looking for. Most times, this means having a browser window up with different web pages and images next to my painting area, so I can quickly refer to them as I paint. I also come up with a paint plan, choosing what colors I am going to use and what order I apply them in.
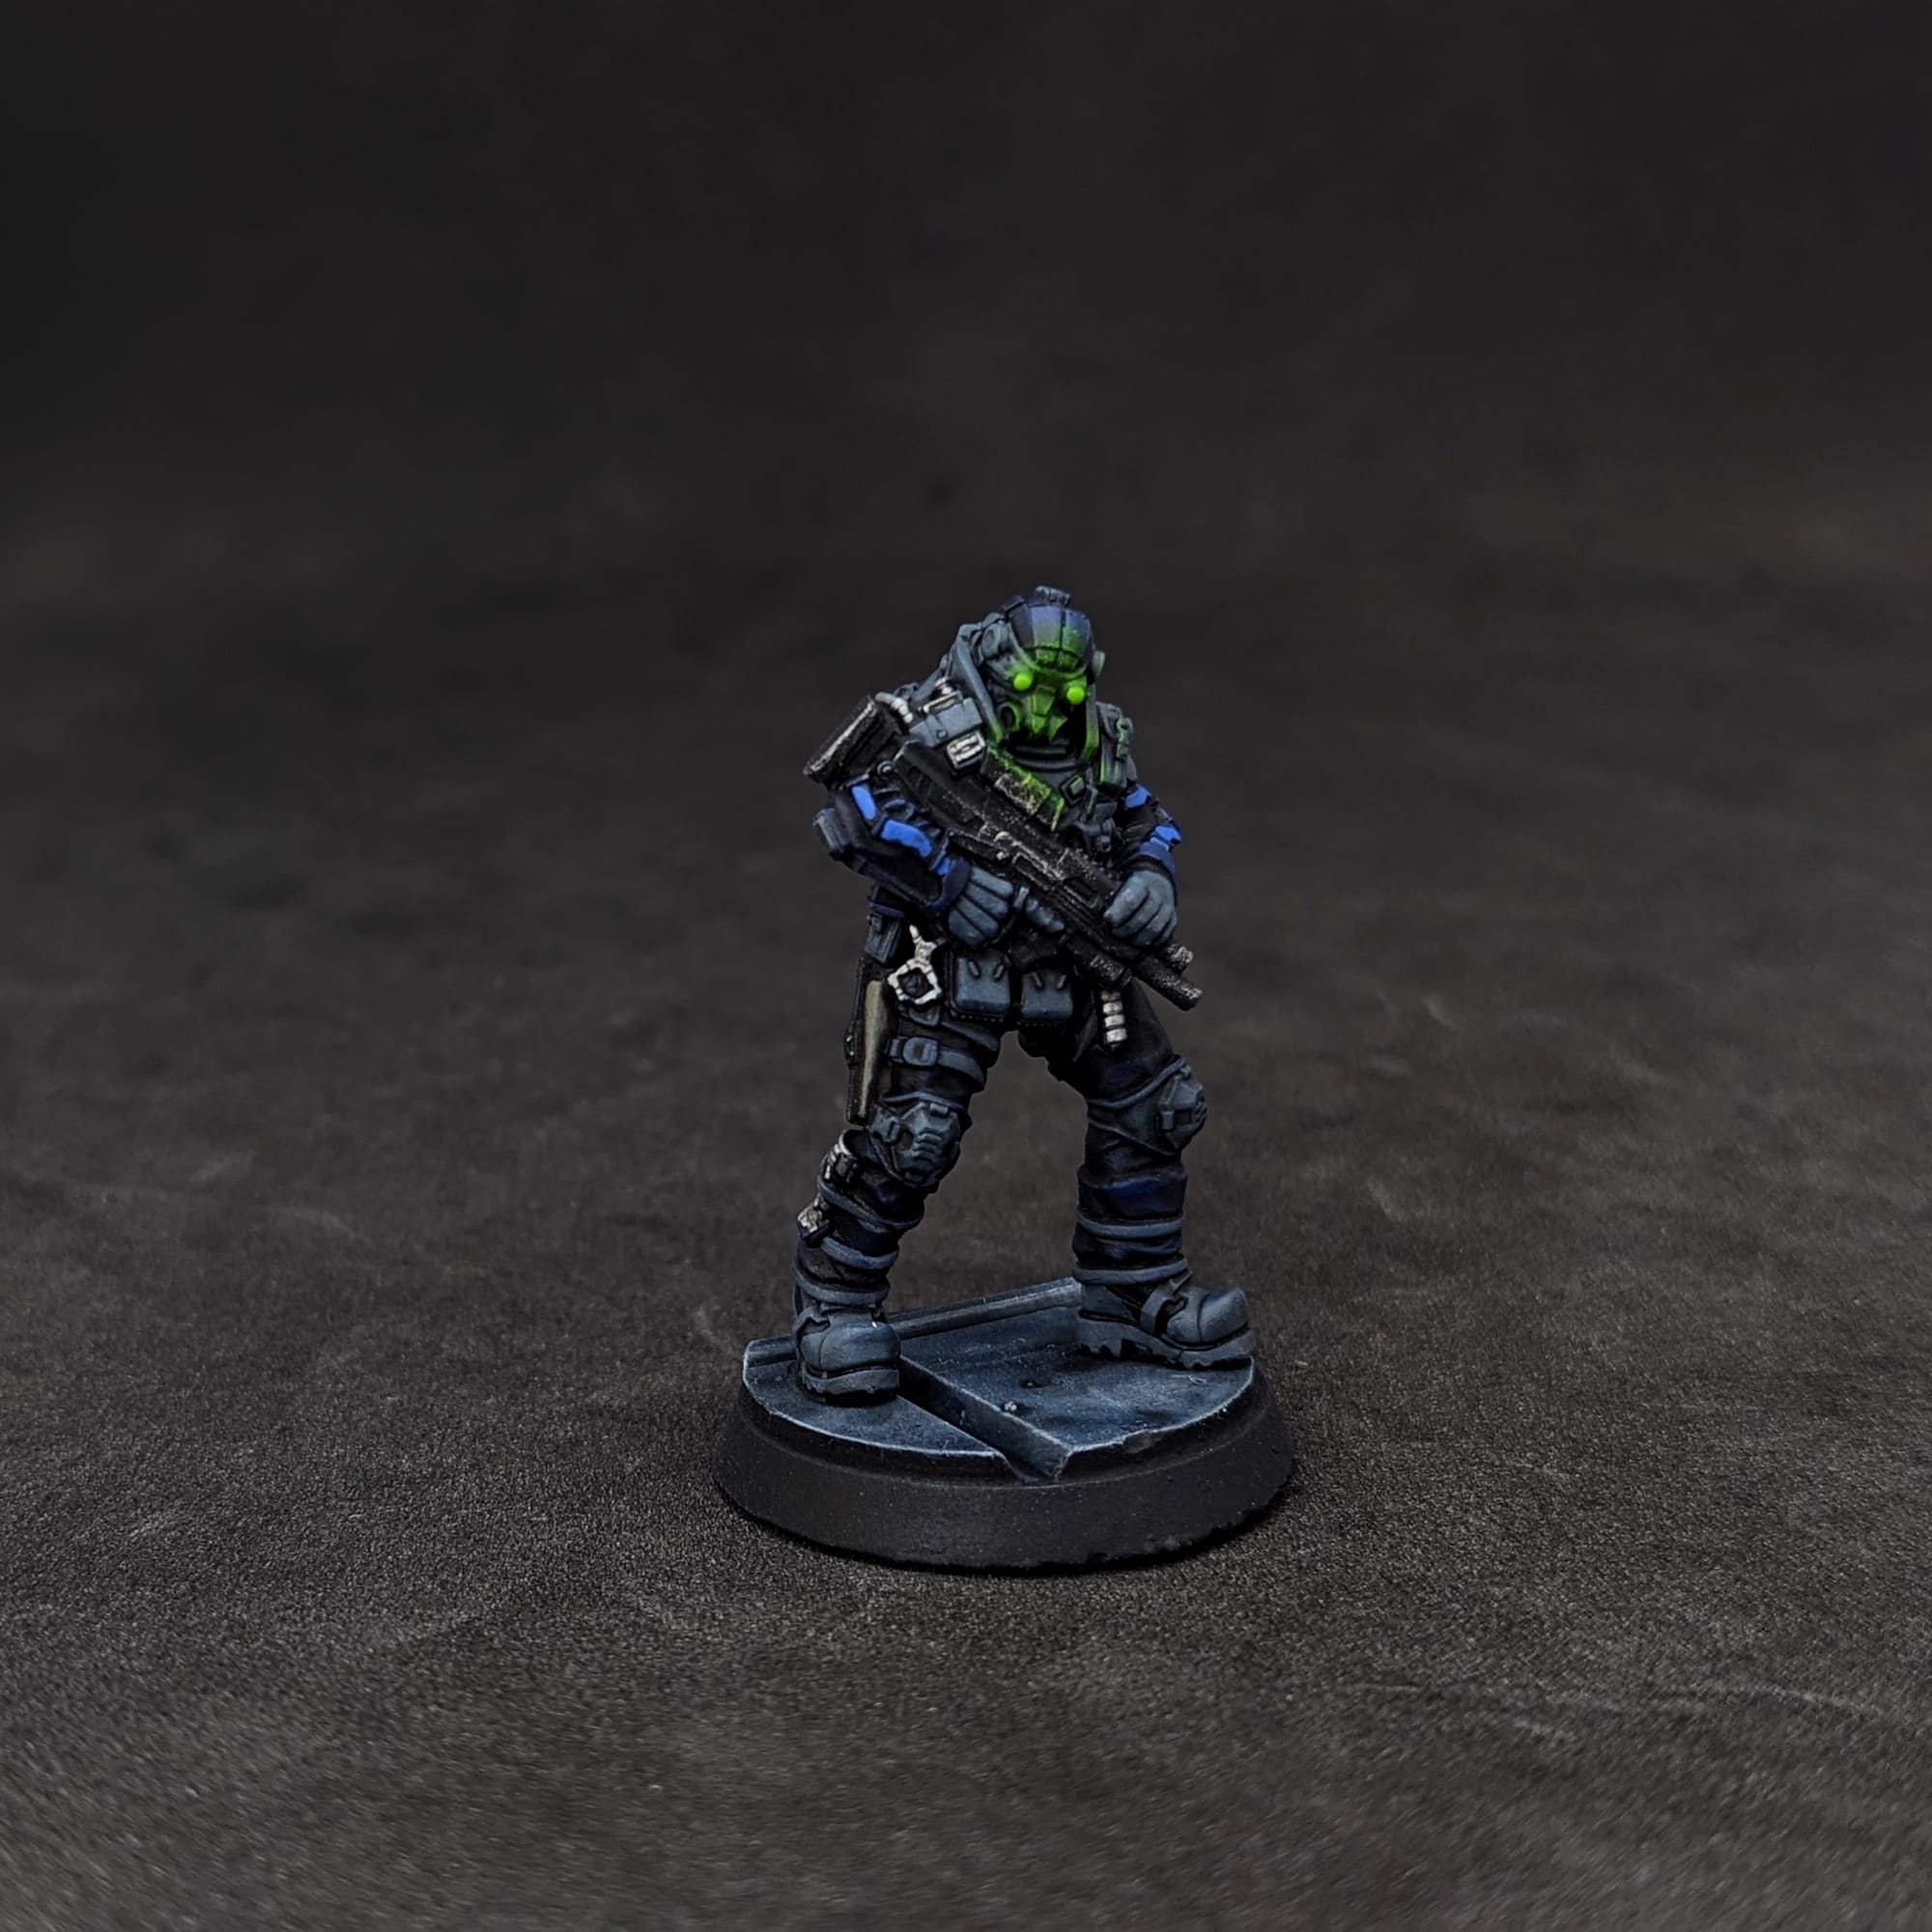
For the MAX-TAC, I wanted to match the card/box art as closely as possible, using a variation of the Slapchop Method (below) to quickly get them painted. I also wanted to focus on making those iconic glowing green eyes pop, using some very basic object-source lighting (OSL) techniques.
The included bases are nice and easy to use, but since these figures have some unique opportunities for OSL, I wanted to 3D print some cyberpunk-themed bases that I could have some fun with. I purchased some bases from Titan Forge Miniatures' CyberForge line. The included bases are 27mm, so in the 3D print slicer I resized the bases appropriately.
Remember that done is better than perfect!
Priming
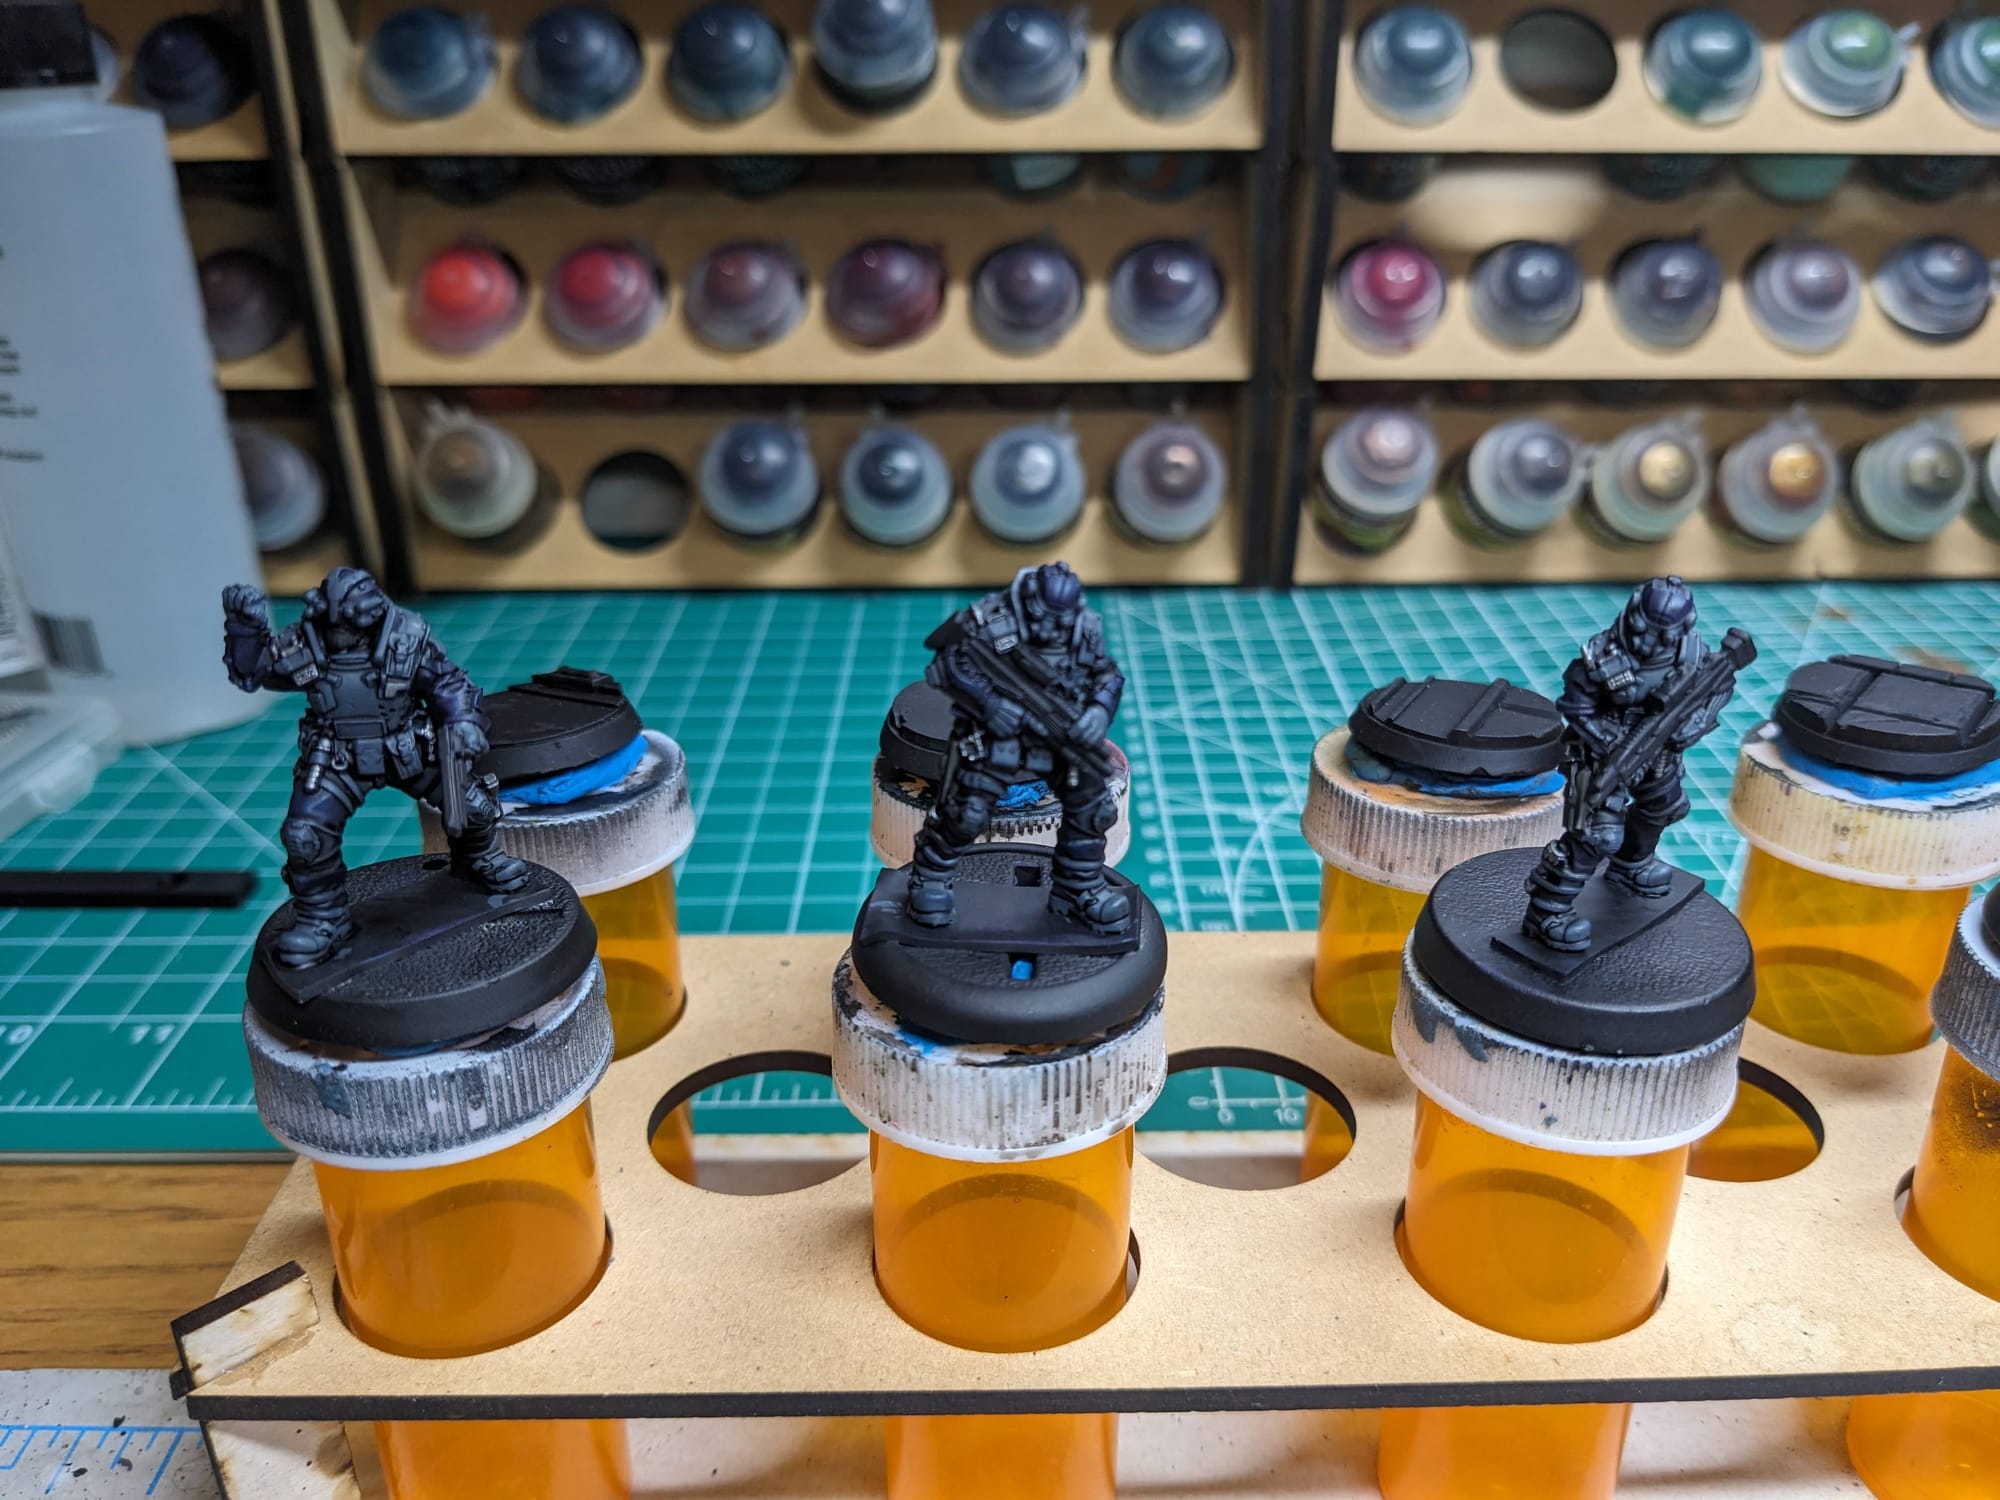
In general terms, getting the majority of a color for a model applied via a rattle can or airbrush saves a lot of time. Typically, I prime all of the figures with a zenithal prime, using a base coat of Rustoleum Flat Black and a top coat of Army Painter White Primer or one of the other color primers. In this case, I just used the Rusteolum Flat Black Primer.
SLAPCHOP METHOD
For these pieces, I chose to take a variation of the “slapchop” approach for them. Slapchop is a painting method where you accent the details of the models by dry brushing shades of gray and white. Then, using speed paints, contrast paints, and/or washes, you paint a single coat over the top of the model, creating shadows, mid-tones, and highlights in a single pass. This would be akin to using Multiply or Screen layers in Photoshop to establish color values on a gray underlayer. This is a very fast and efficient way to paint a lot of models that you don’t want to put a lot of detail into, and instead rely on the mold of the model to provide enough detail and contrast to make it stand out on the table.
Step-by-Step Painting
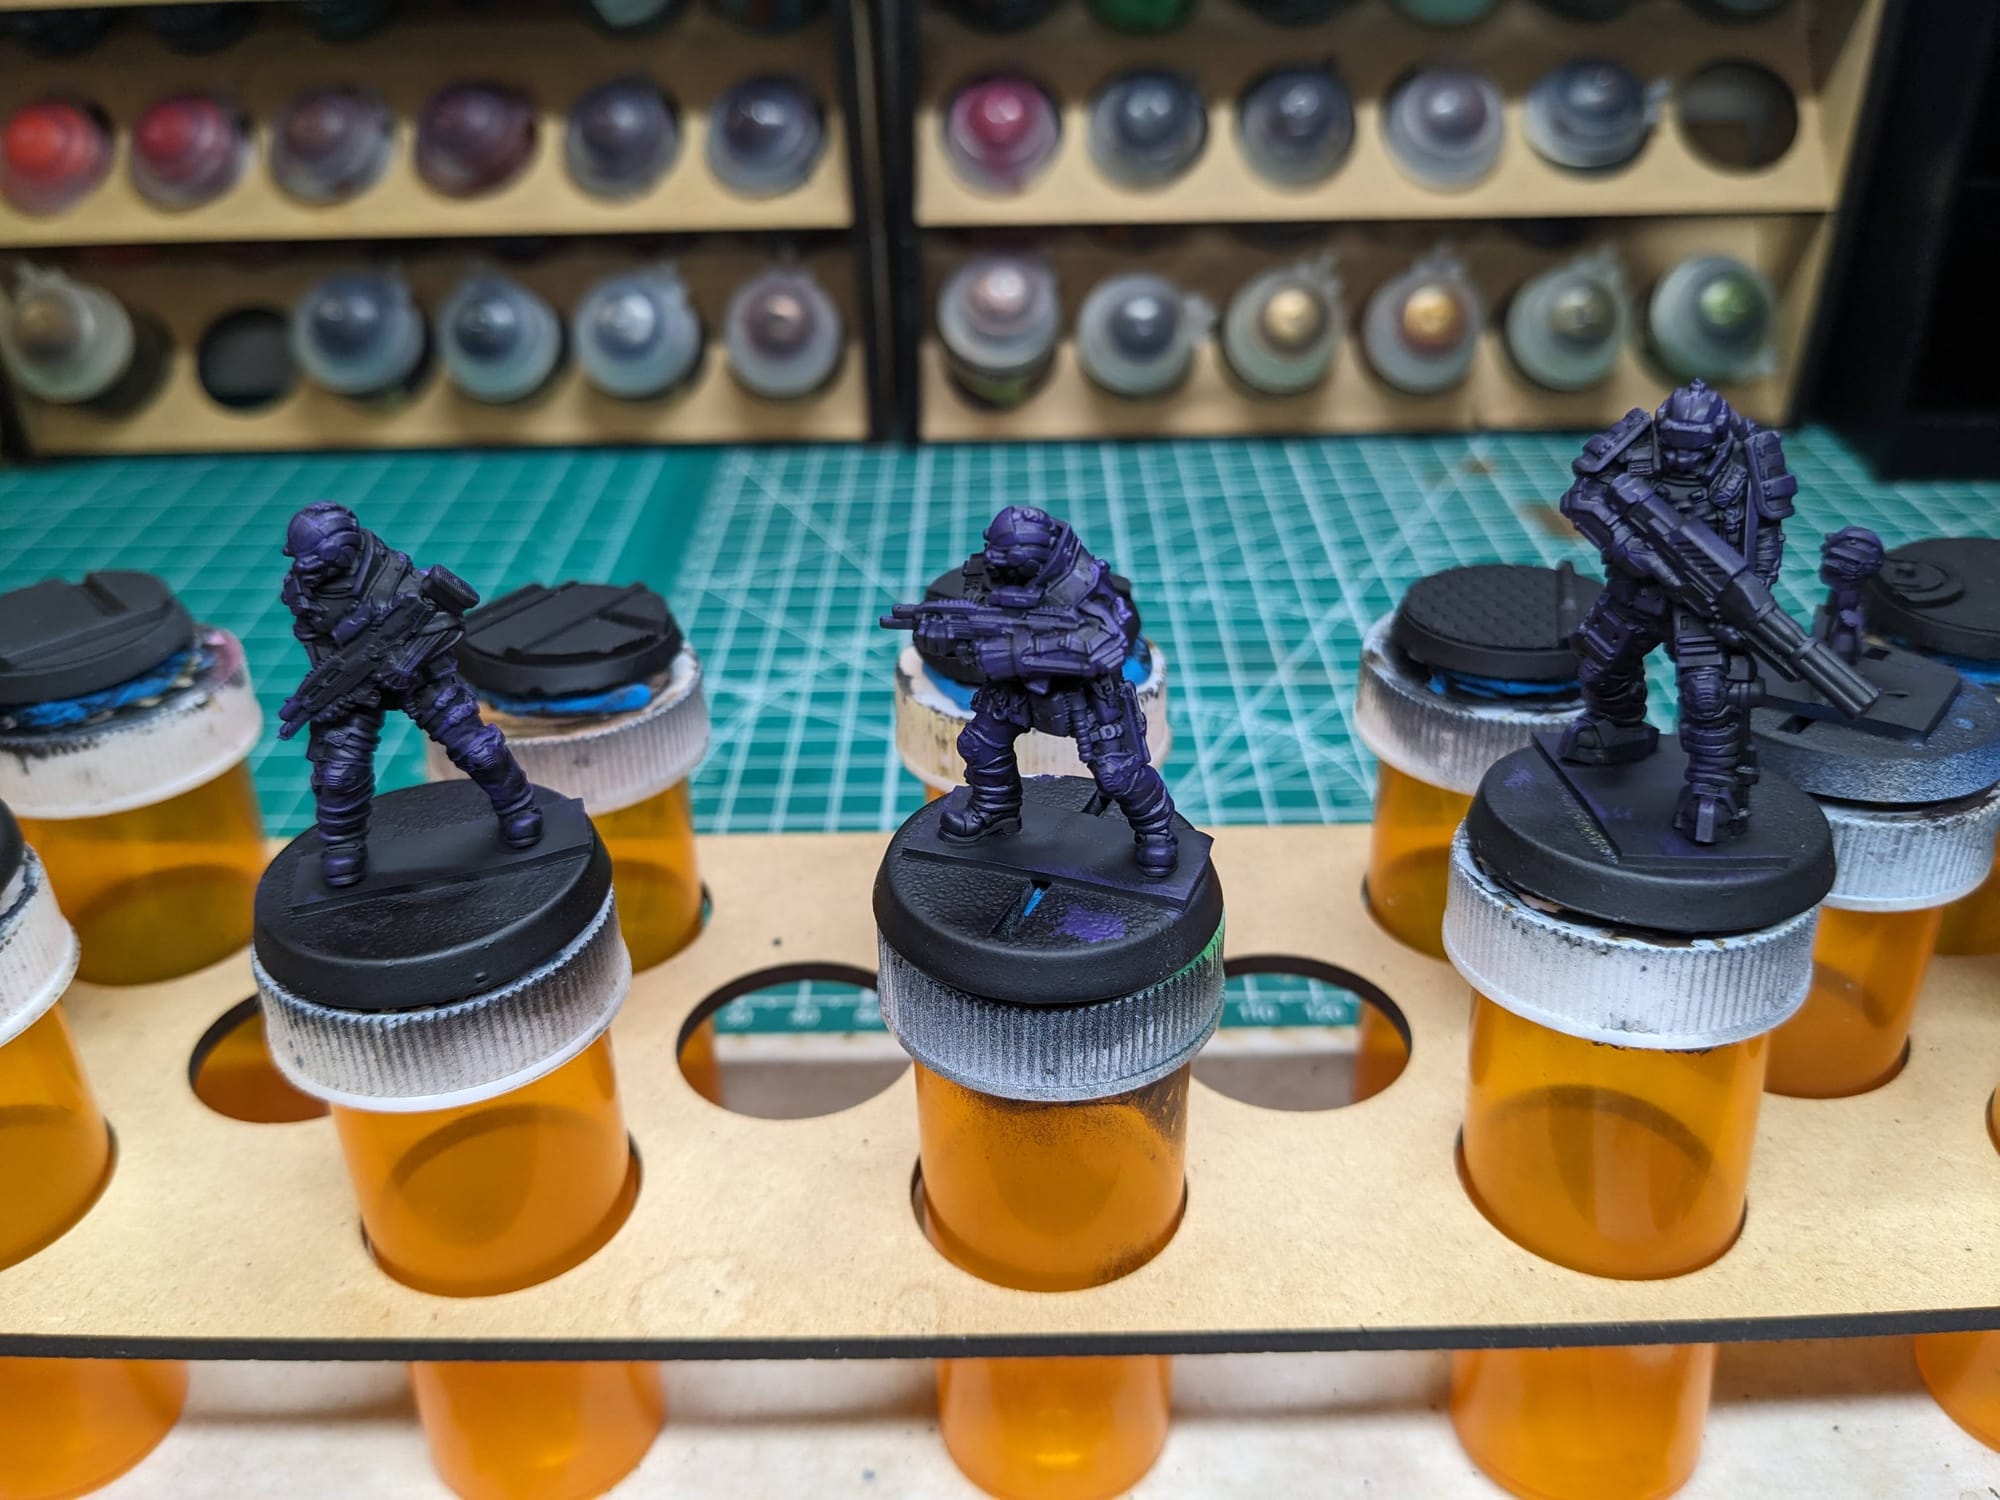
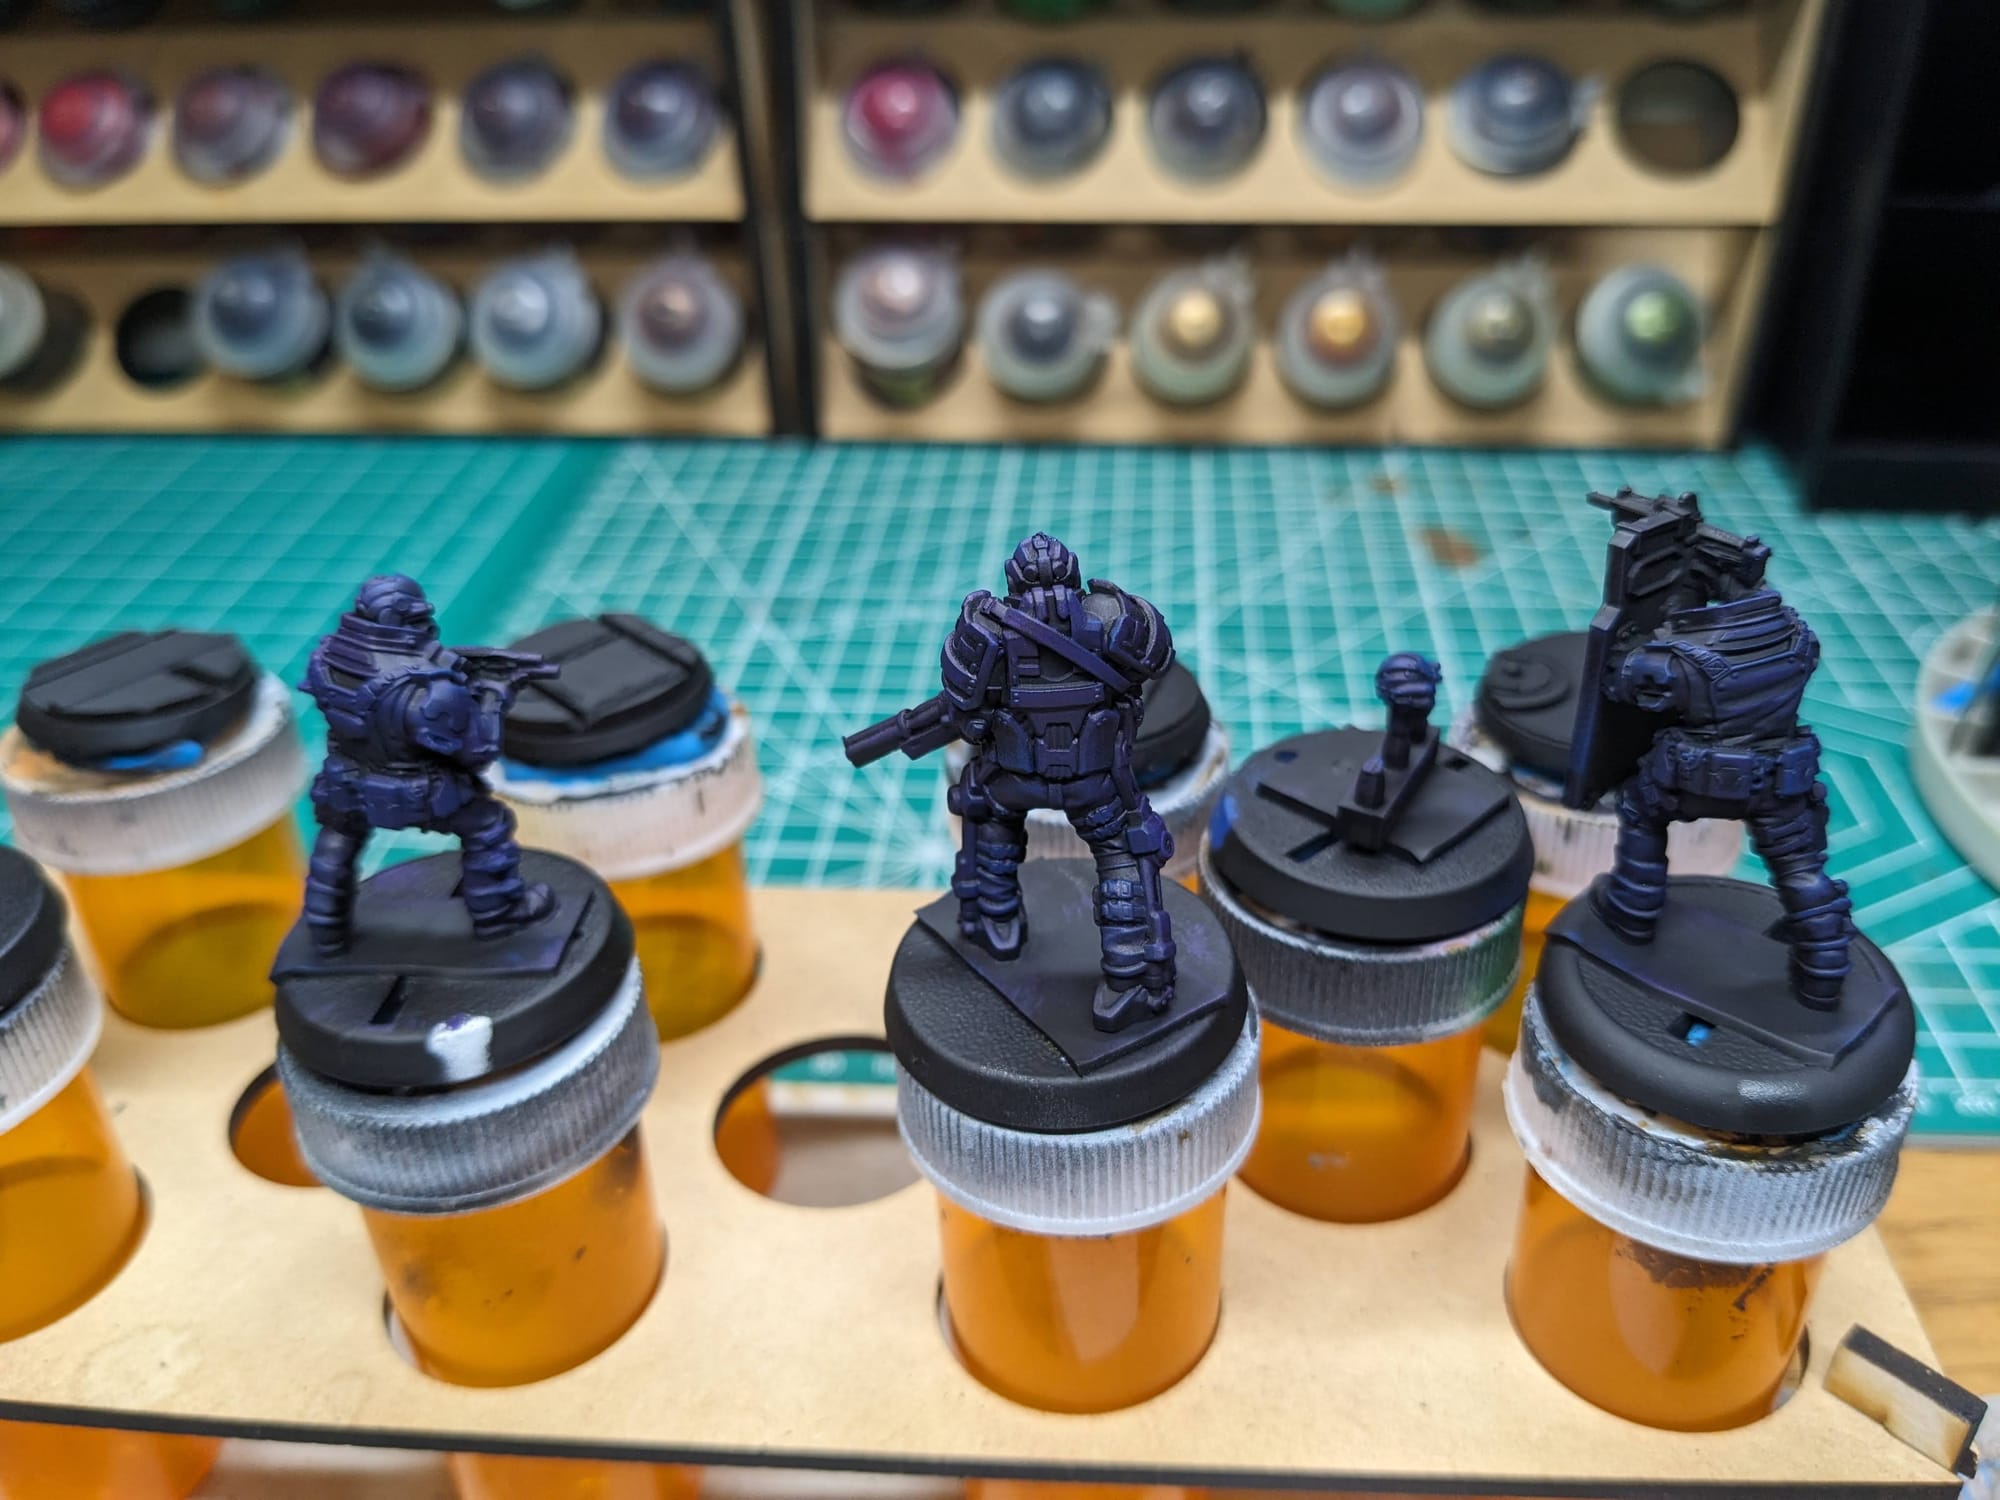
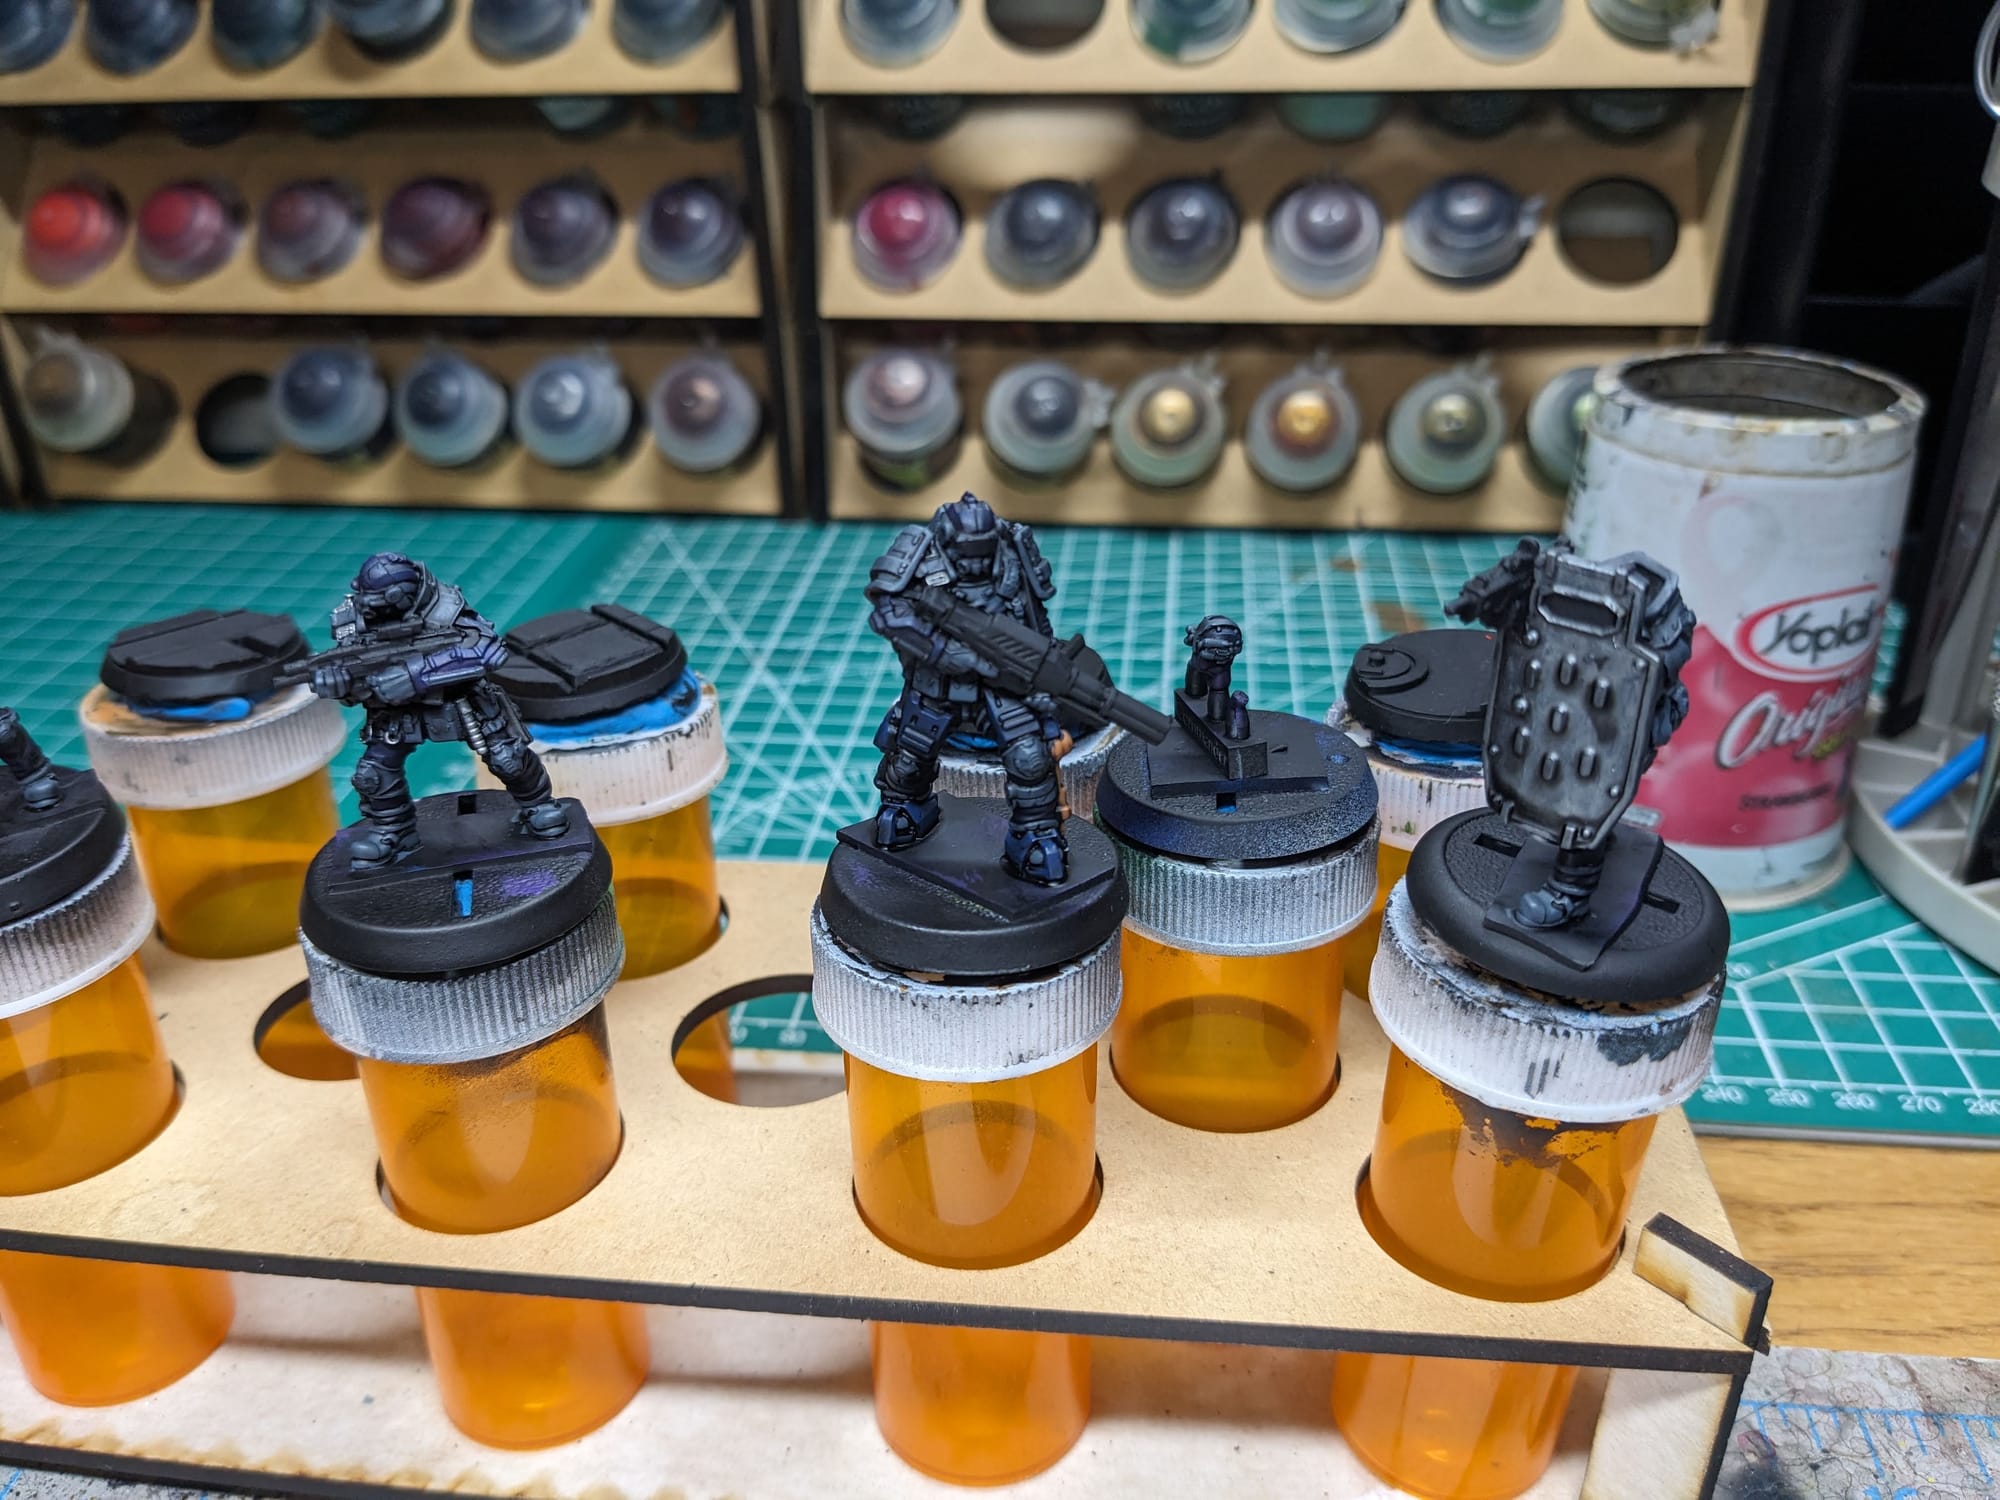
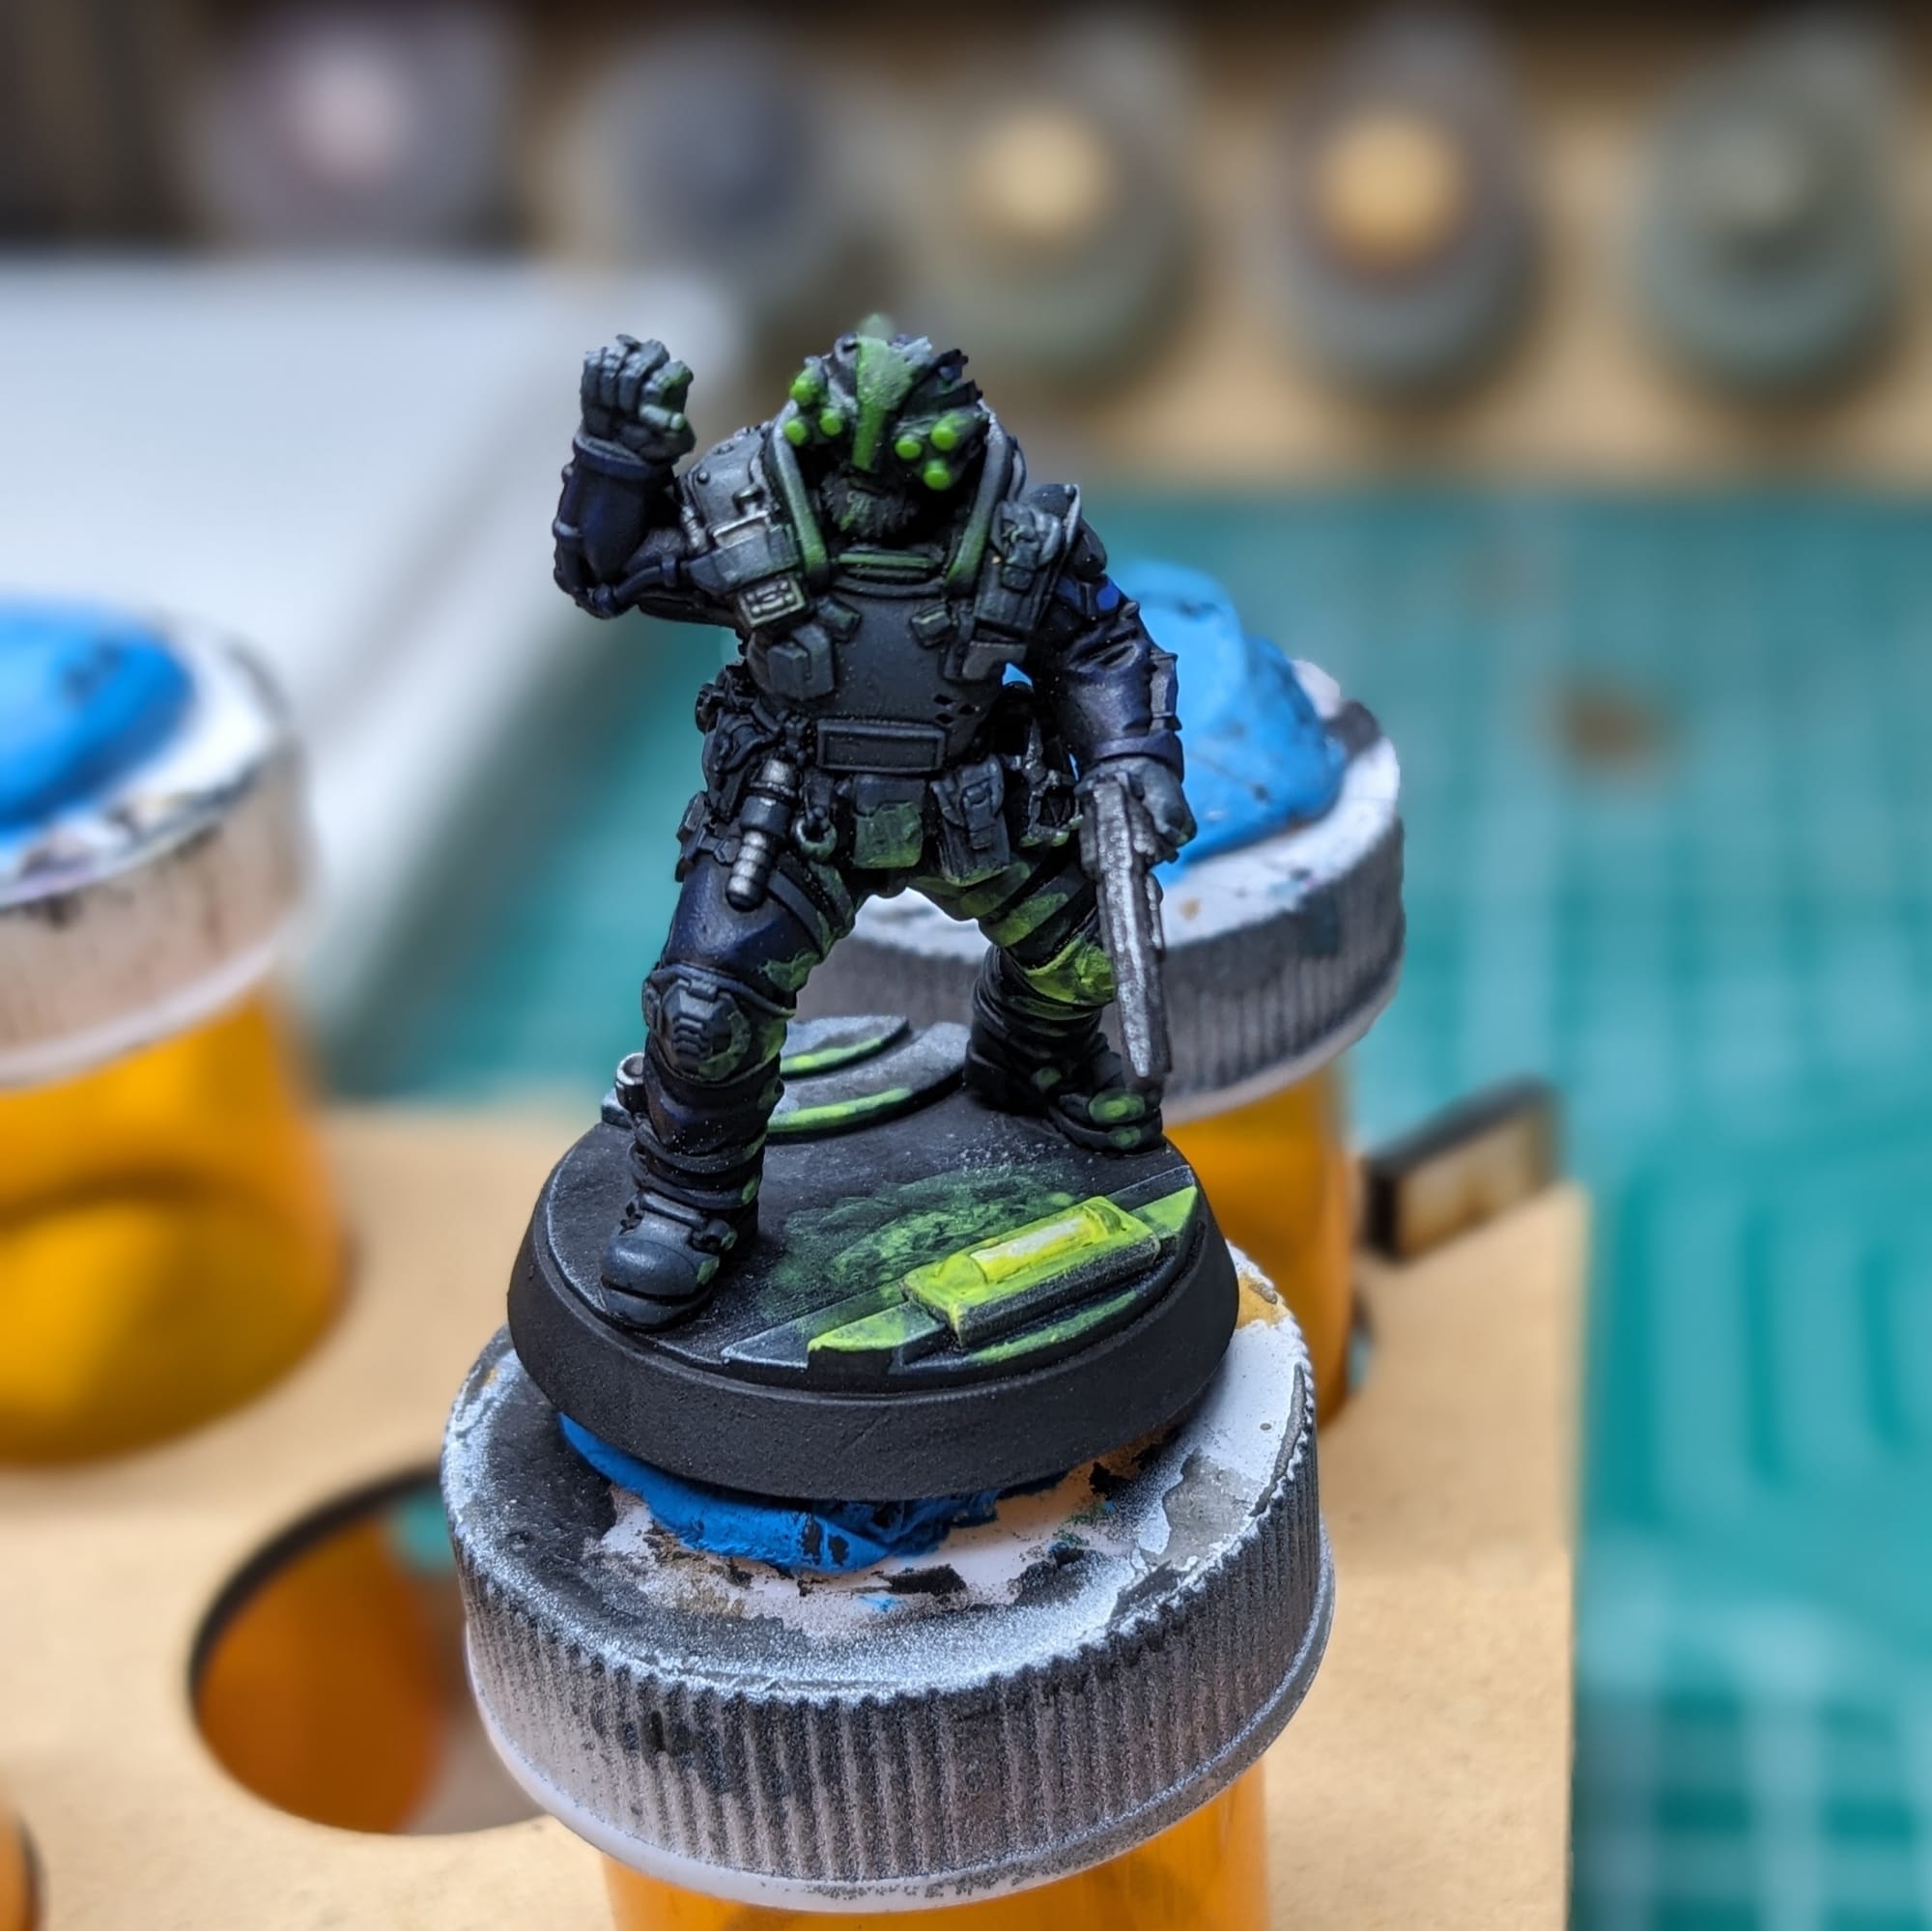
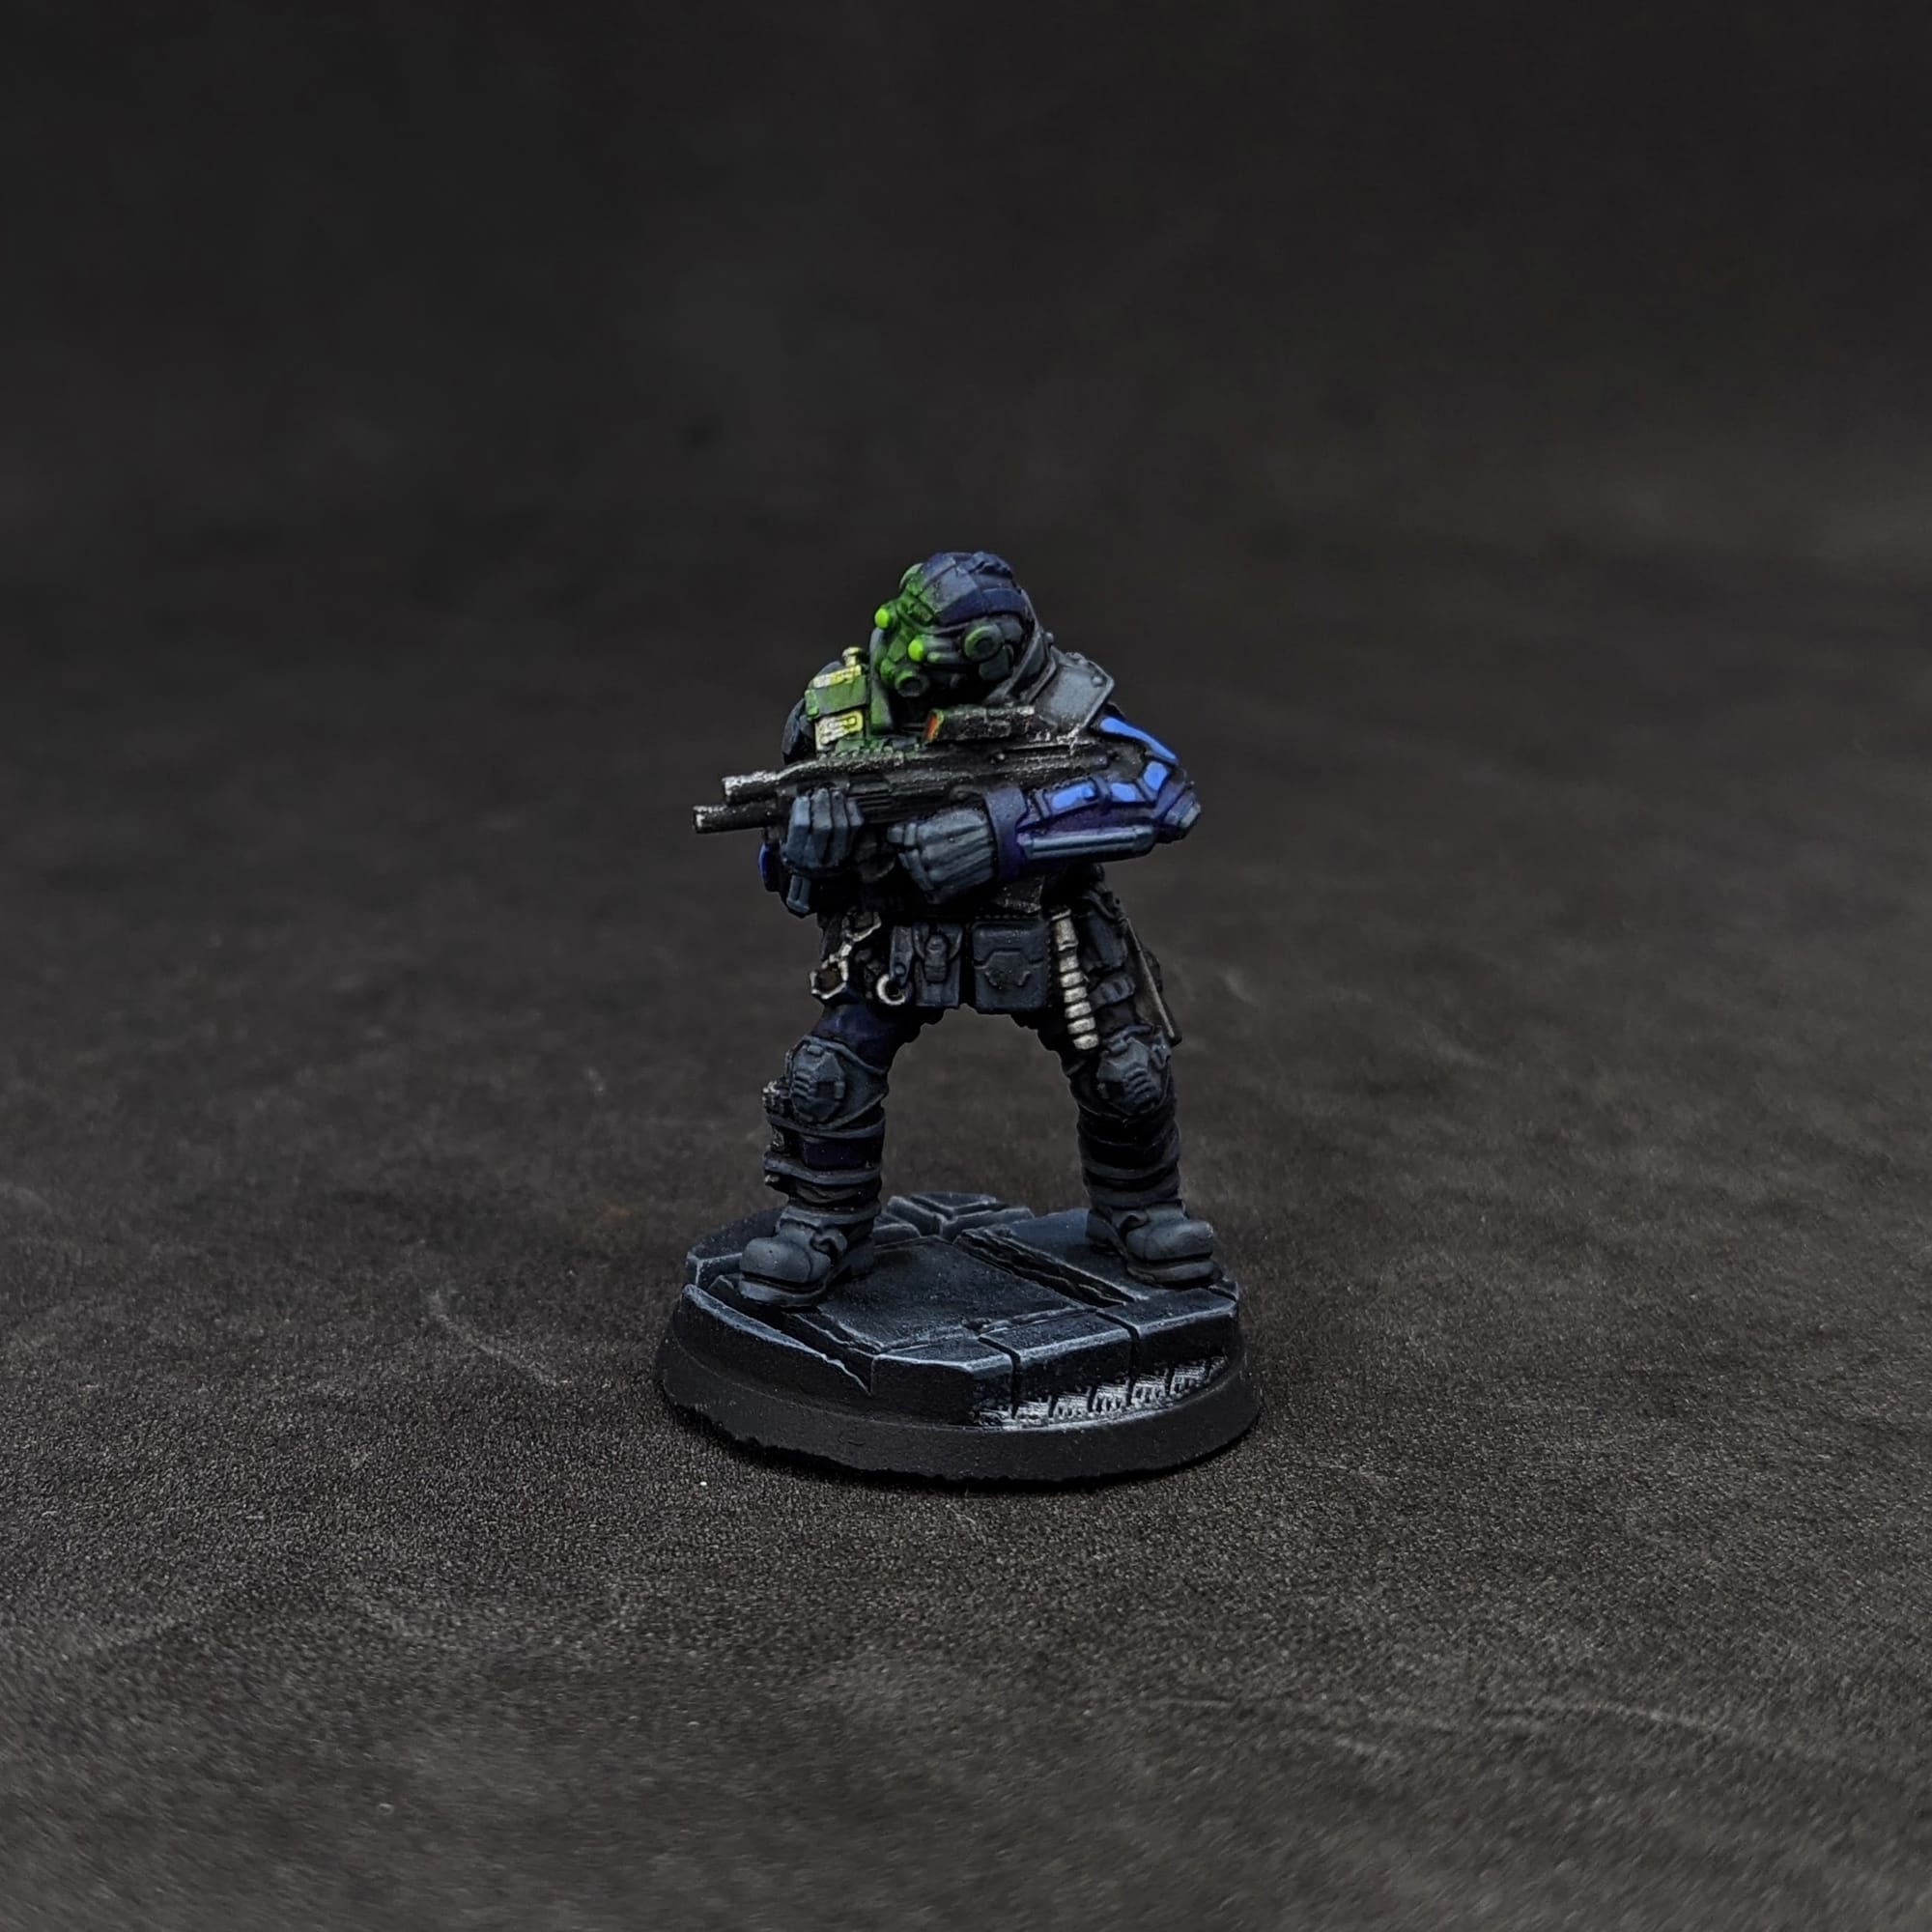
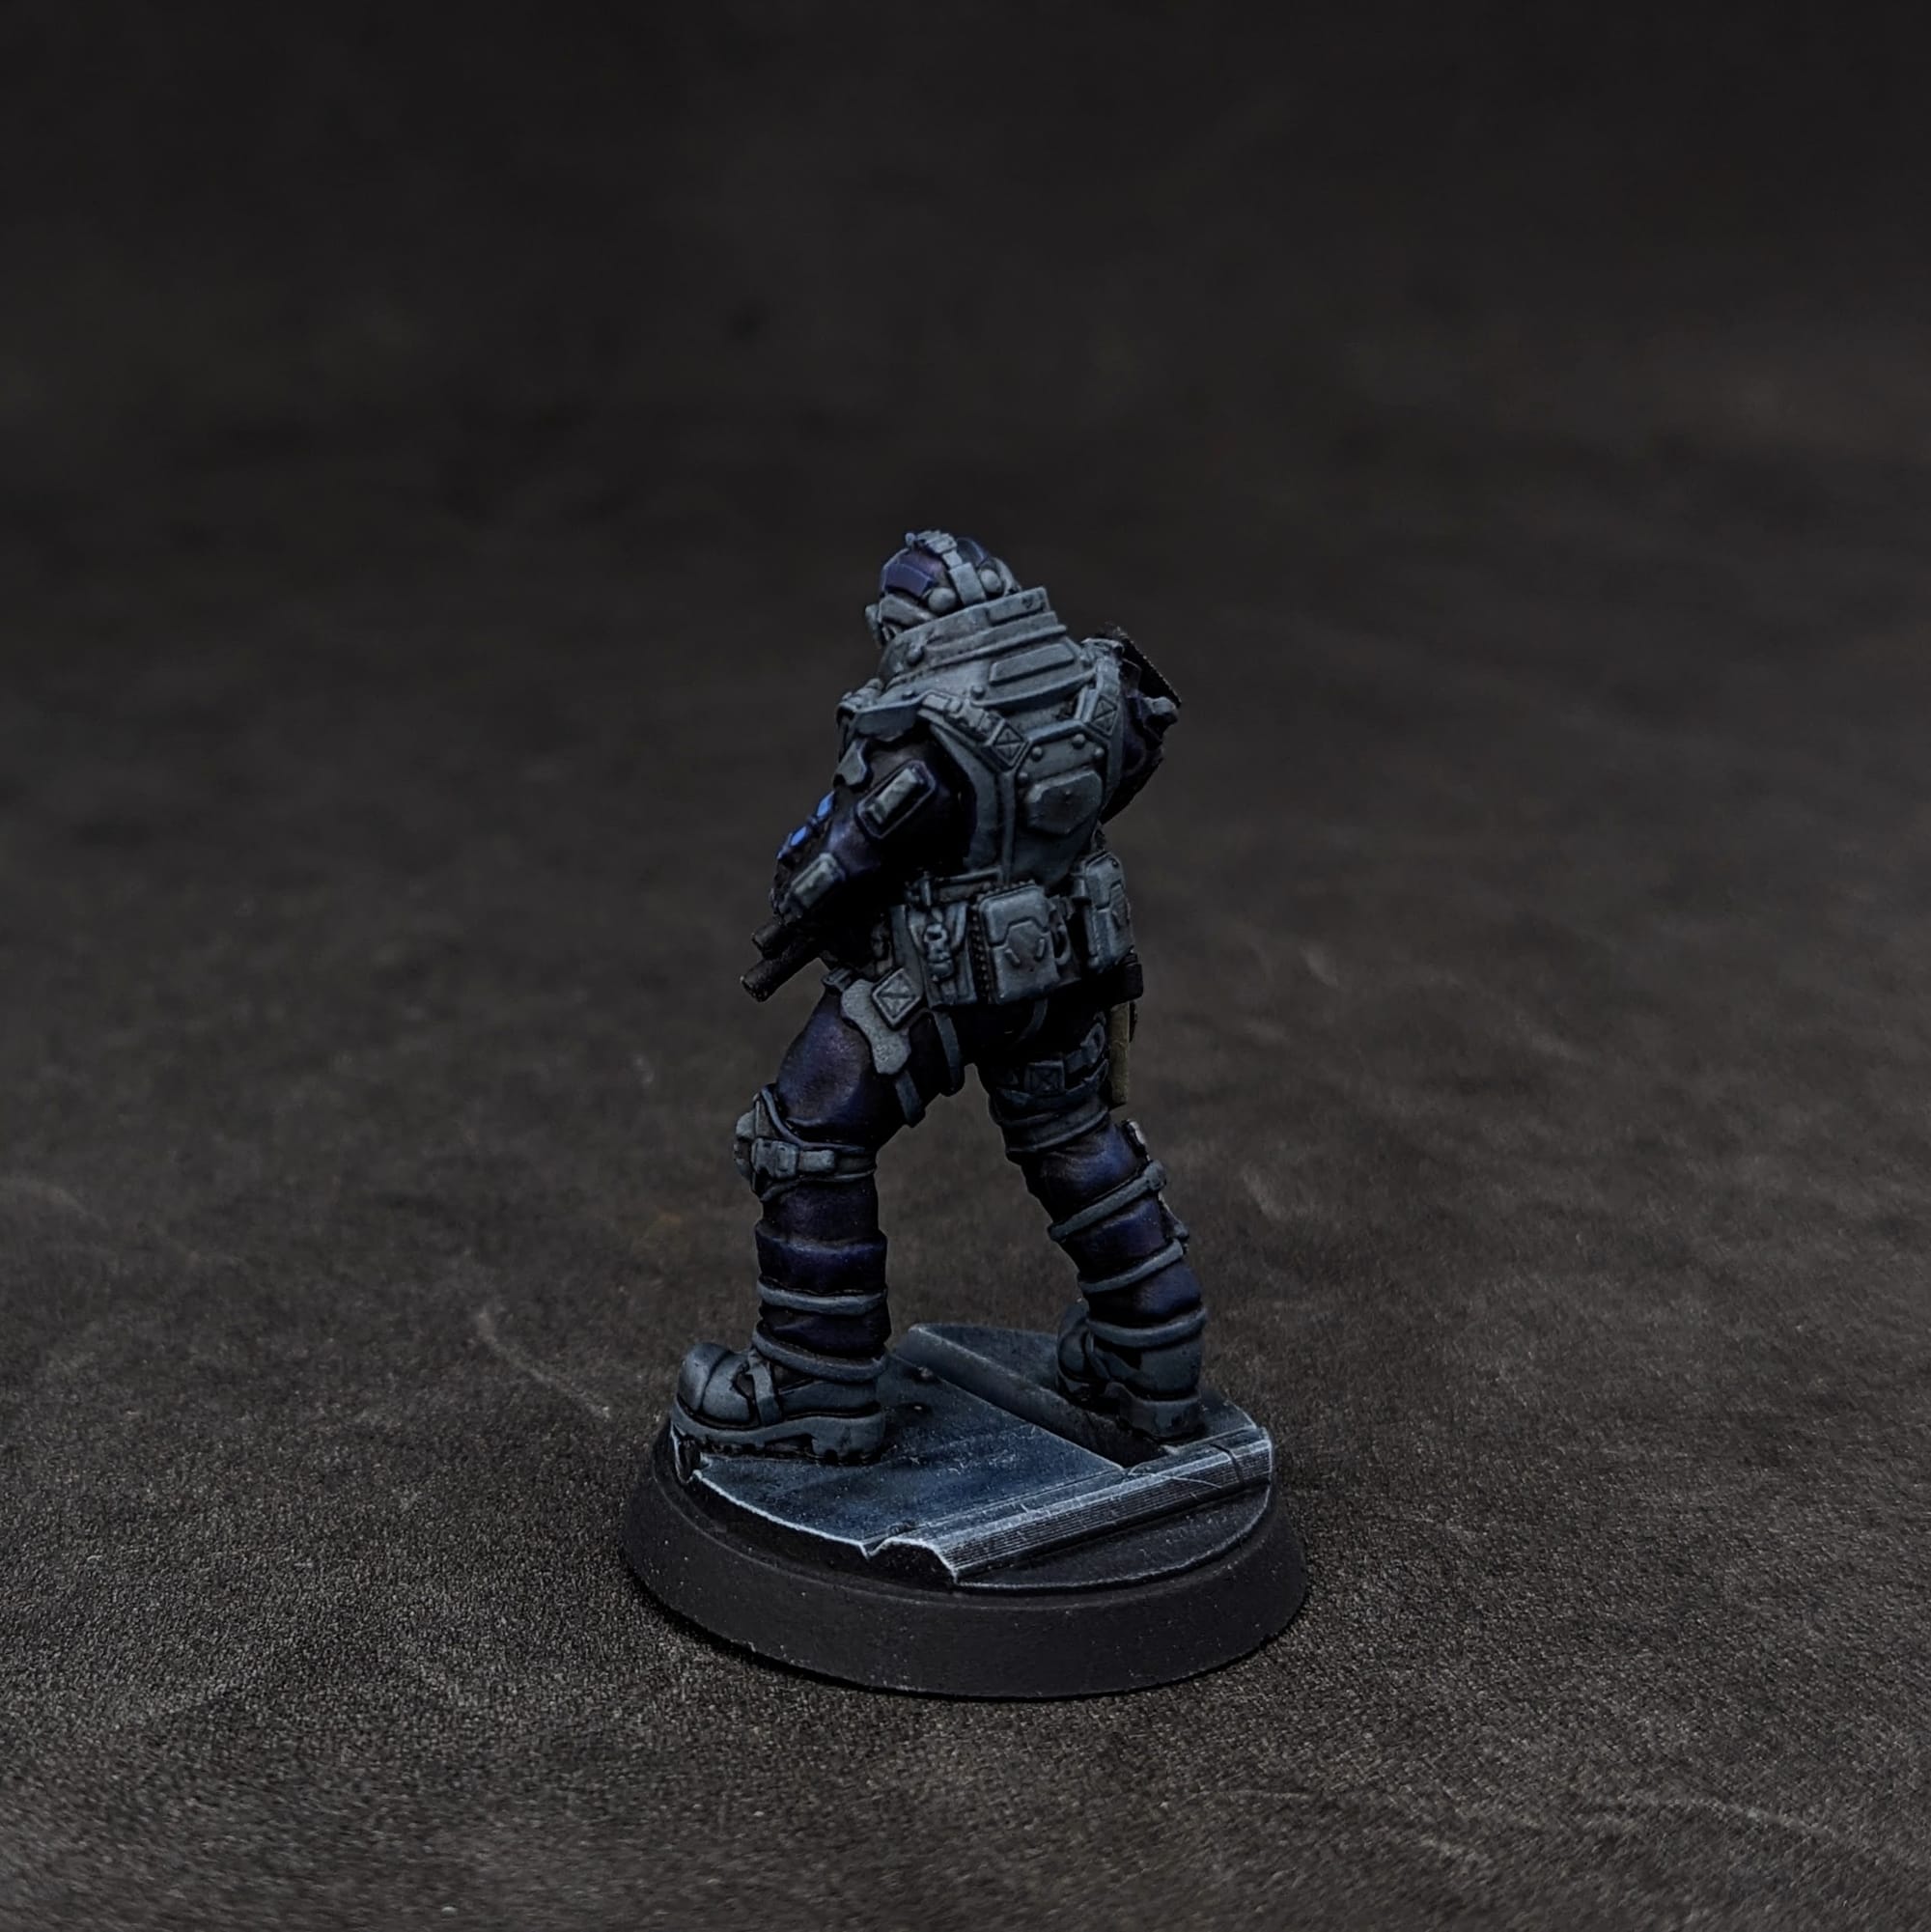
To start, using a large, well-worn brush (or a makeup brush), I brushed and dabbed a dark purple on the figures. After that dried, I used a smaller brush and applied the dark blue a little less aggressively and focused on the top parts of the model. This should go pretty quickly because we're not going for accuracy here.
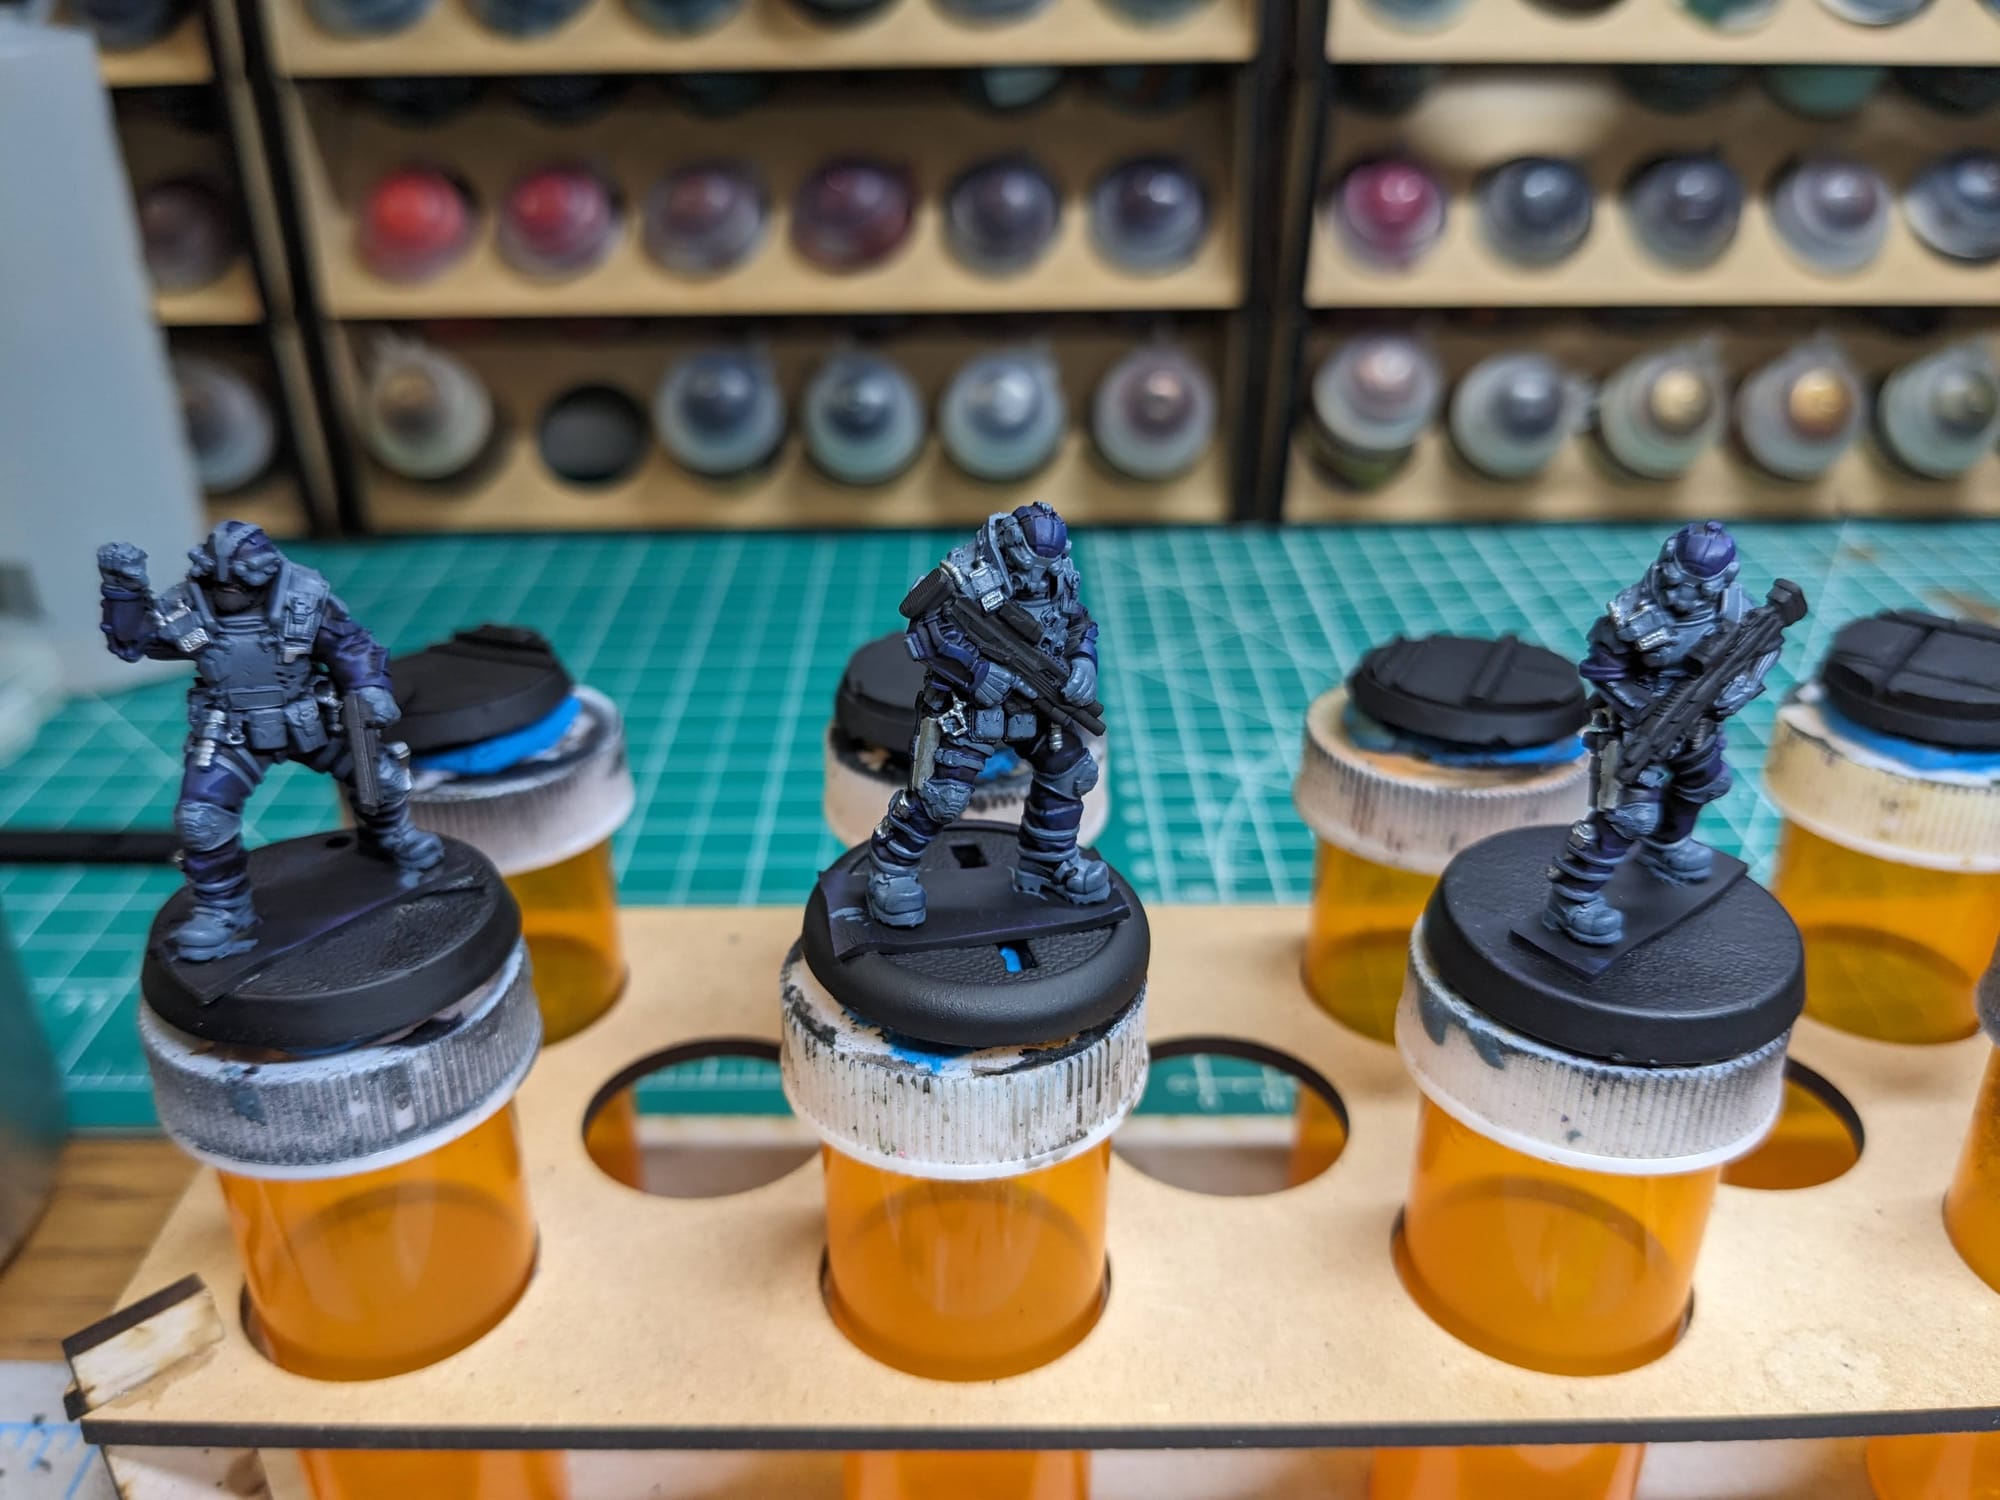
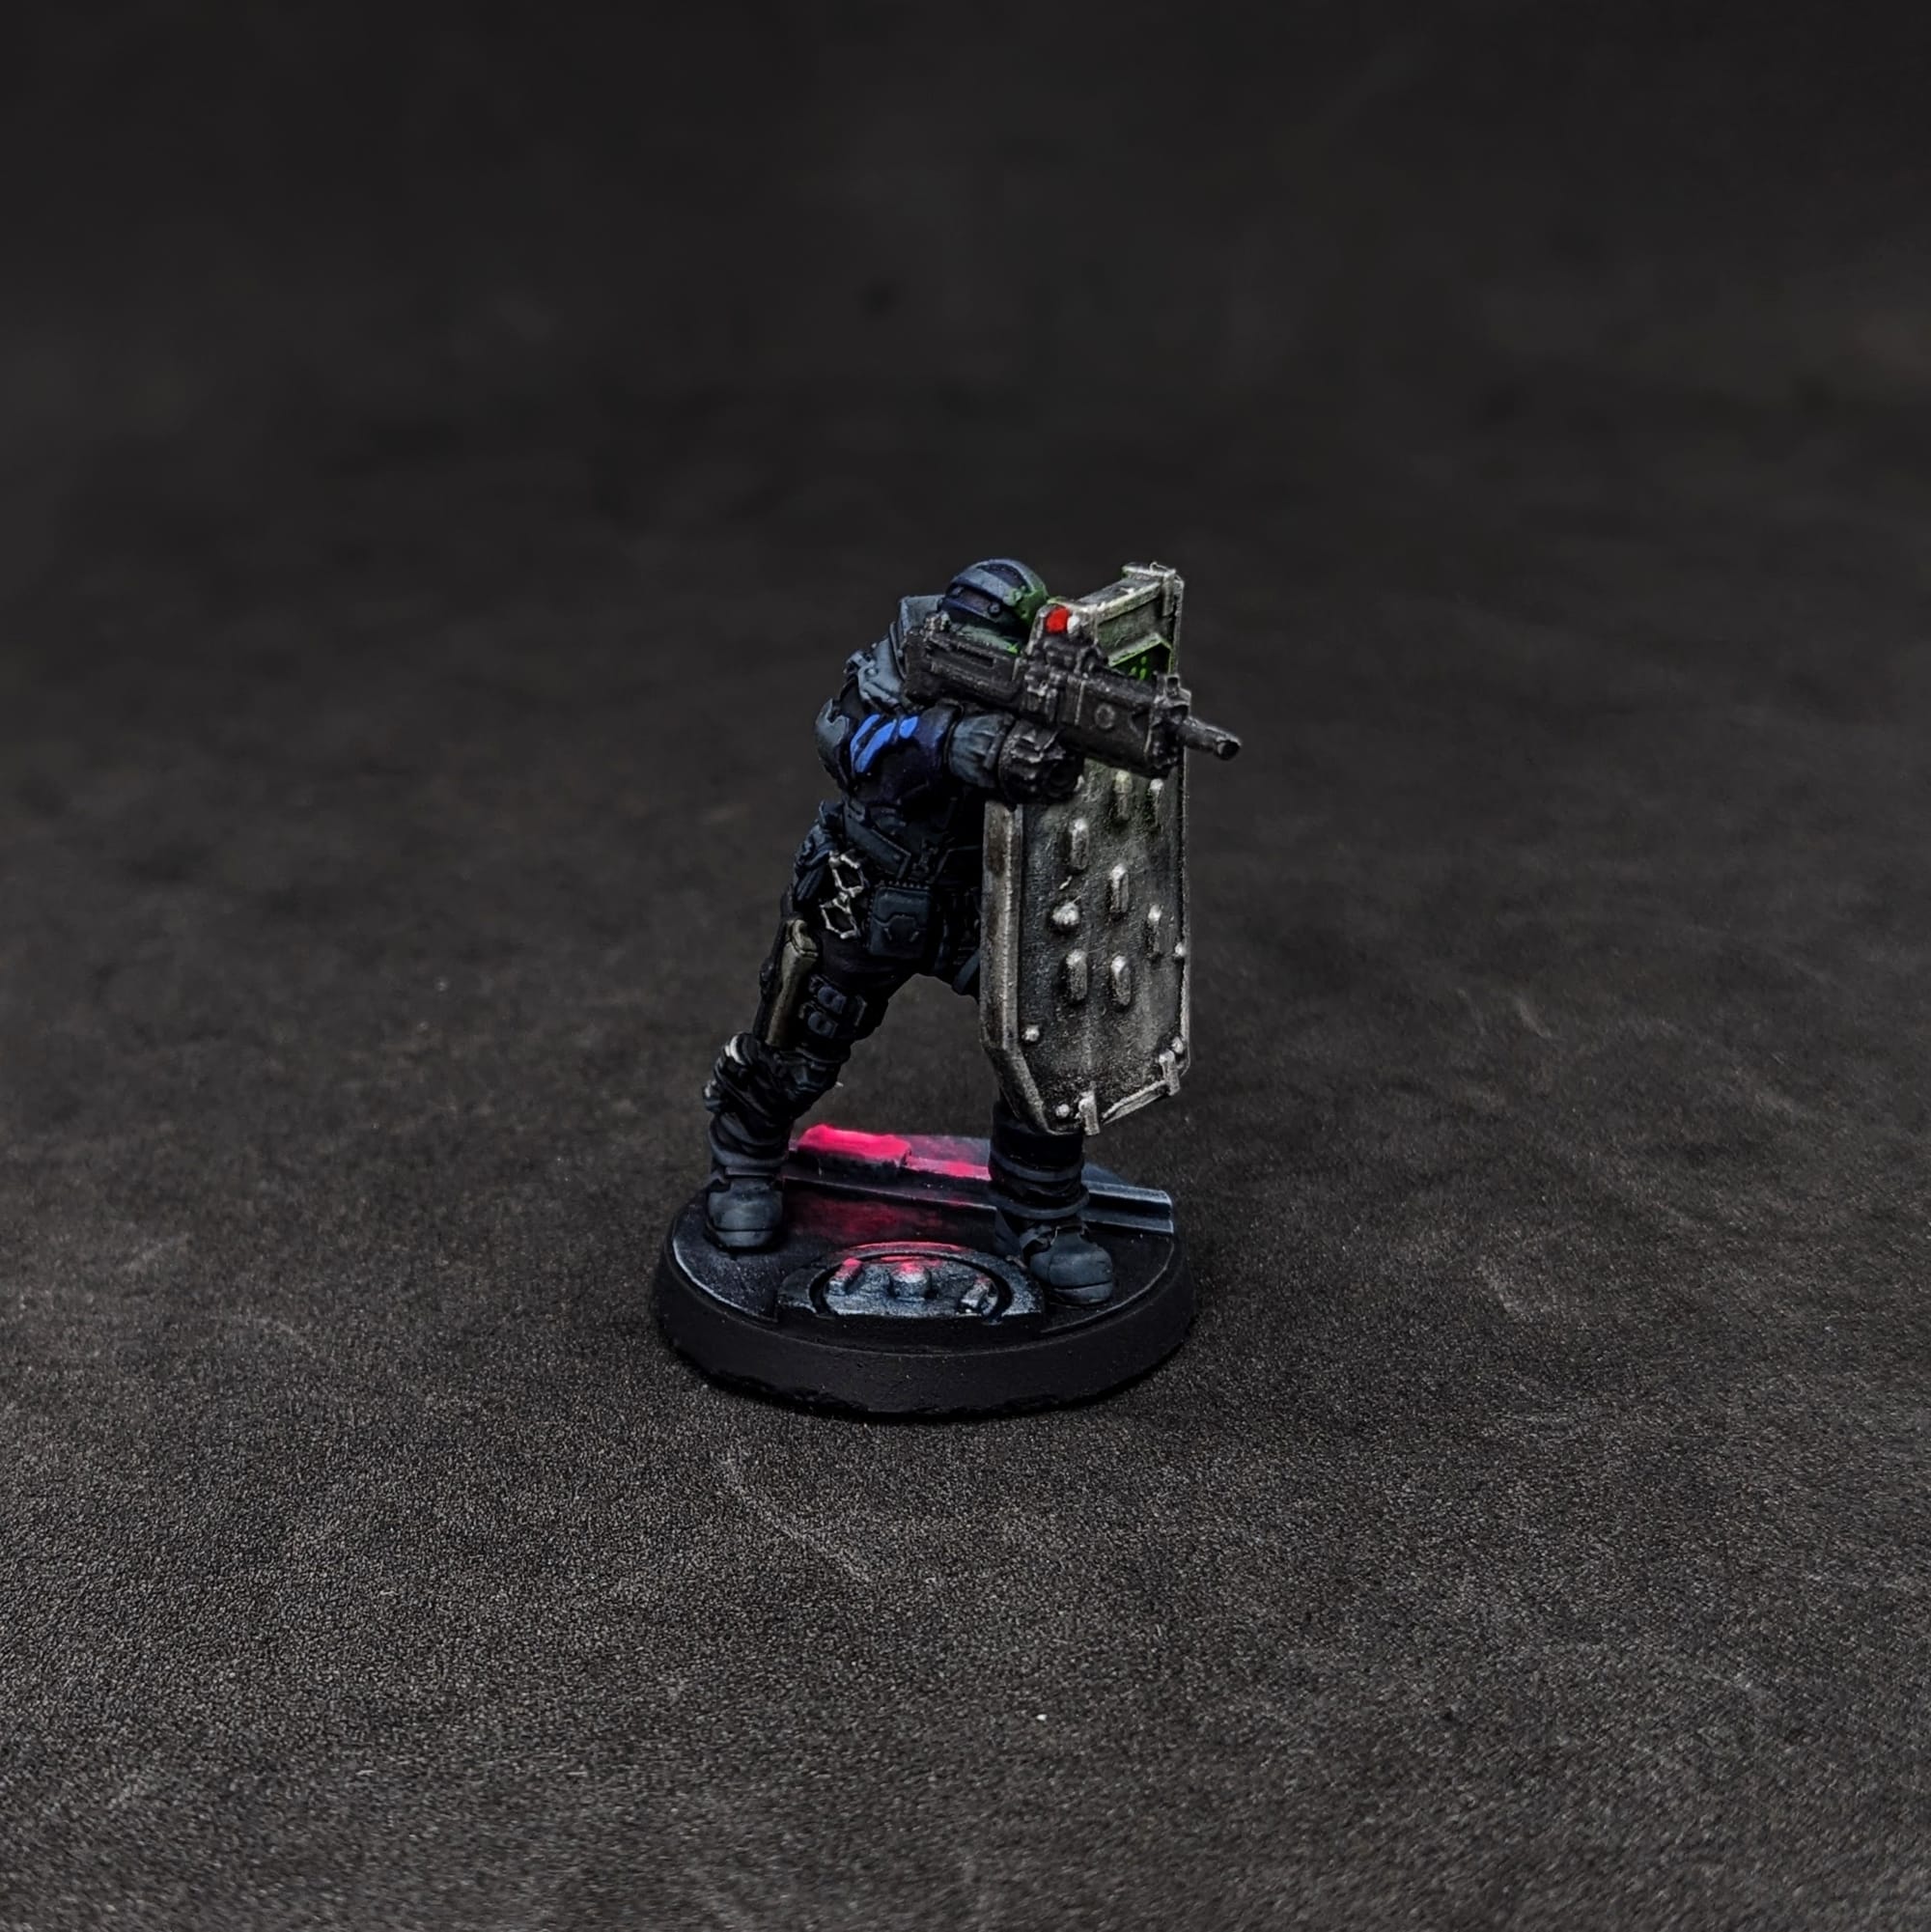
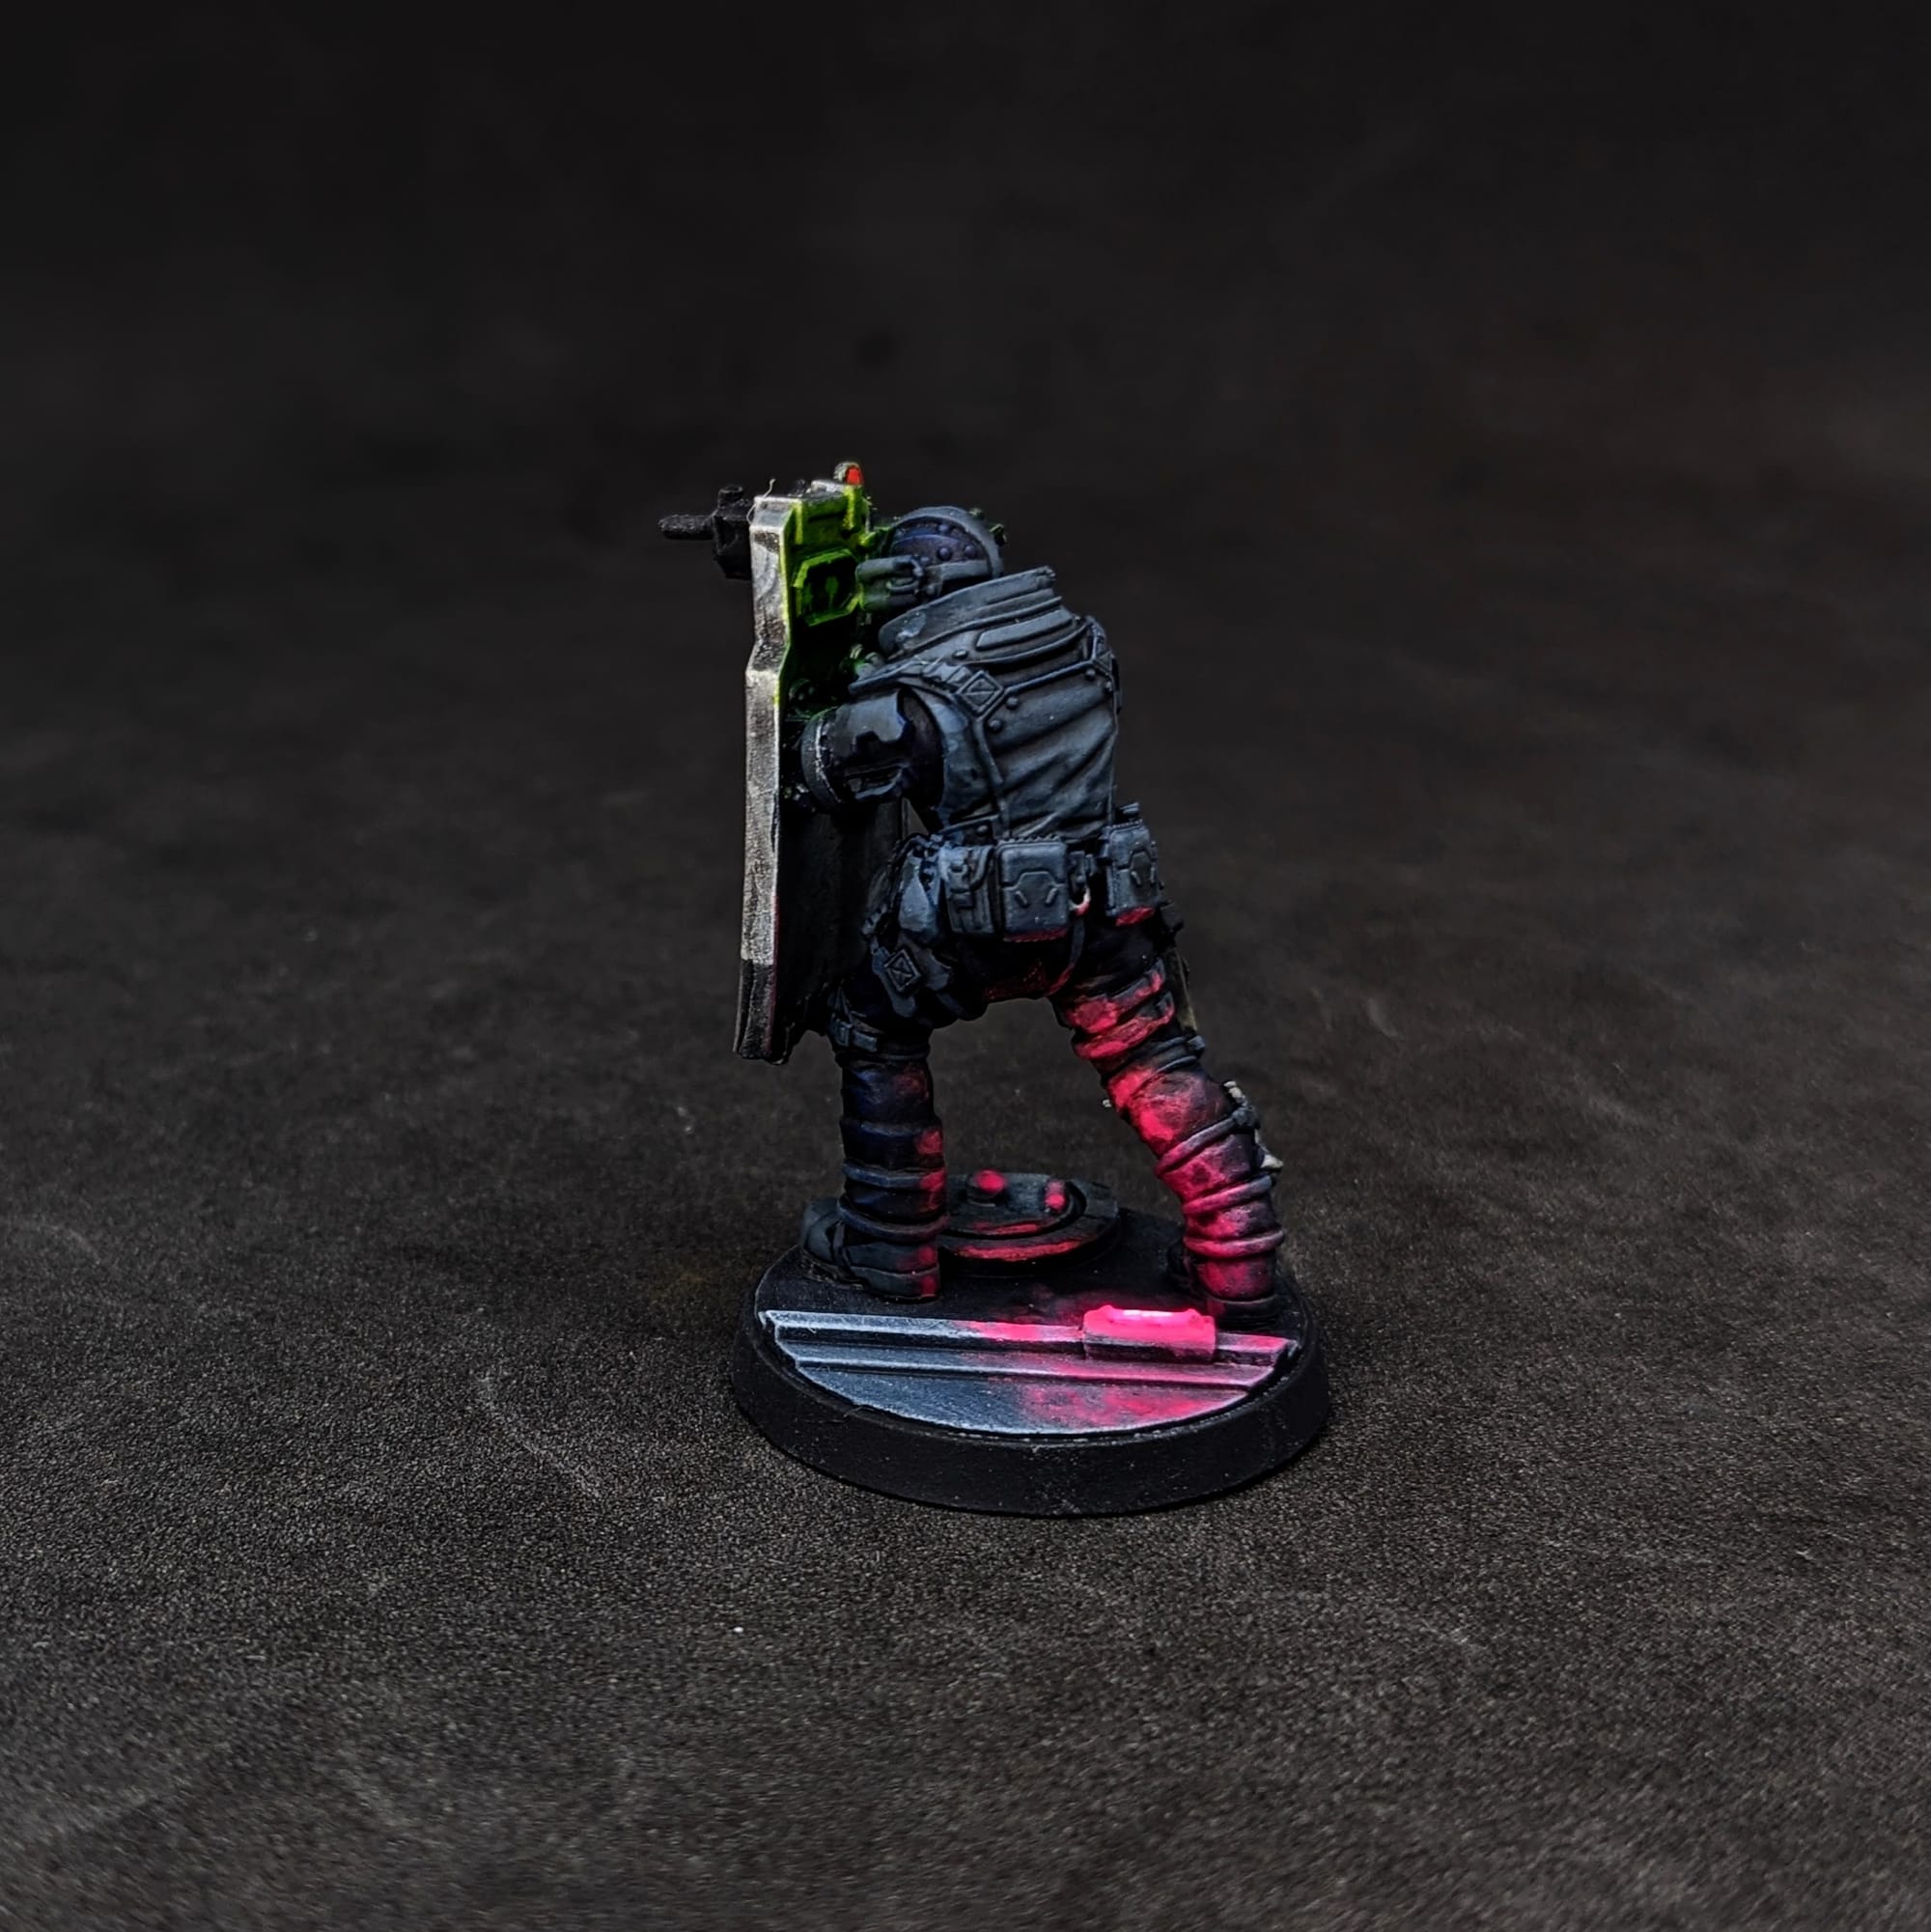
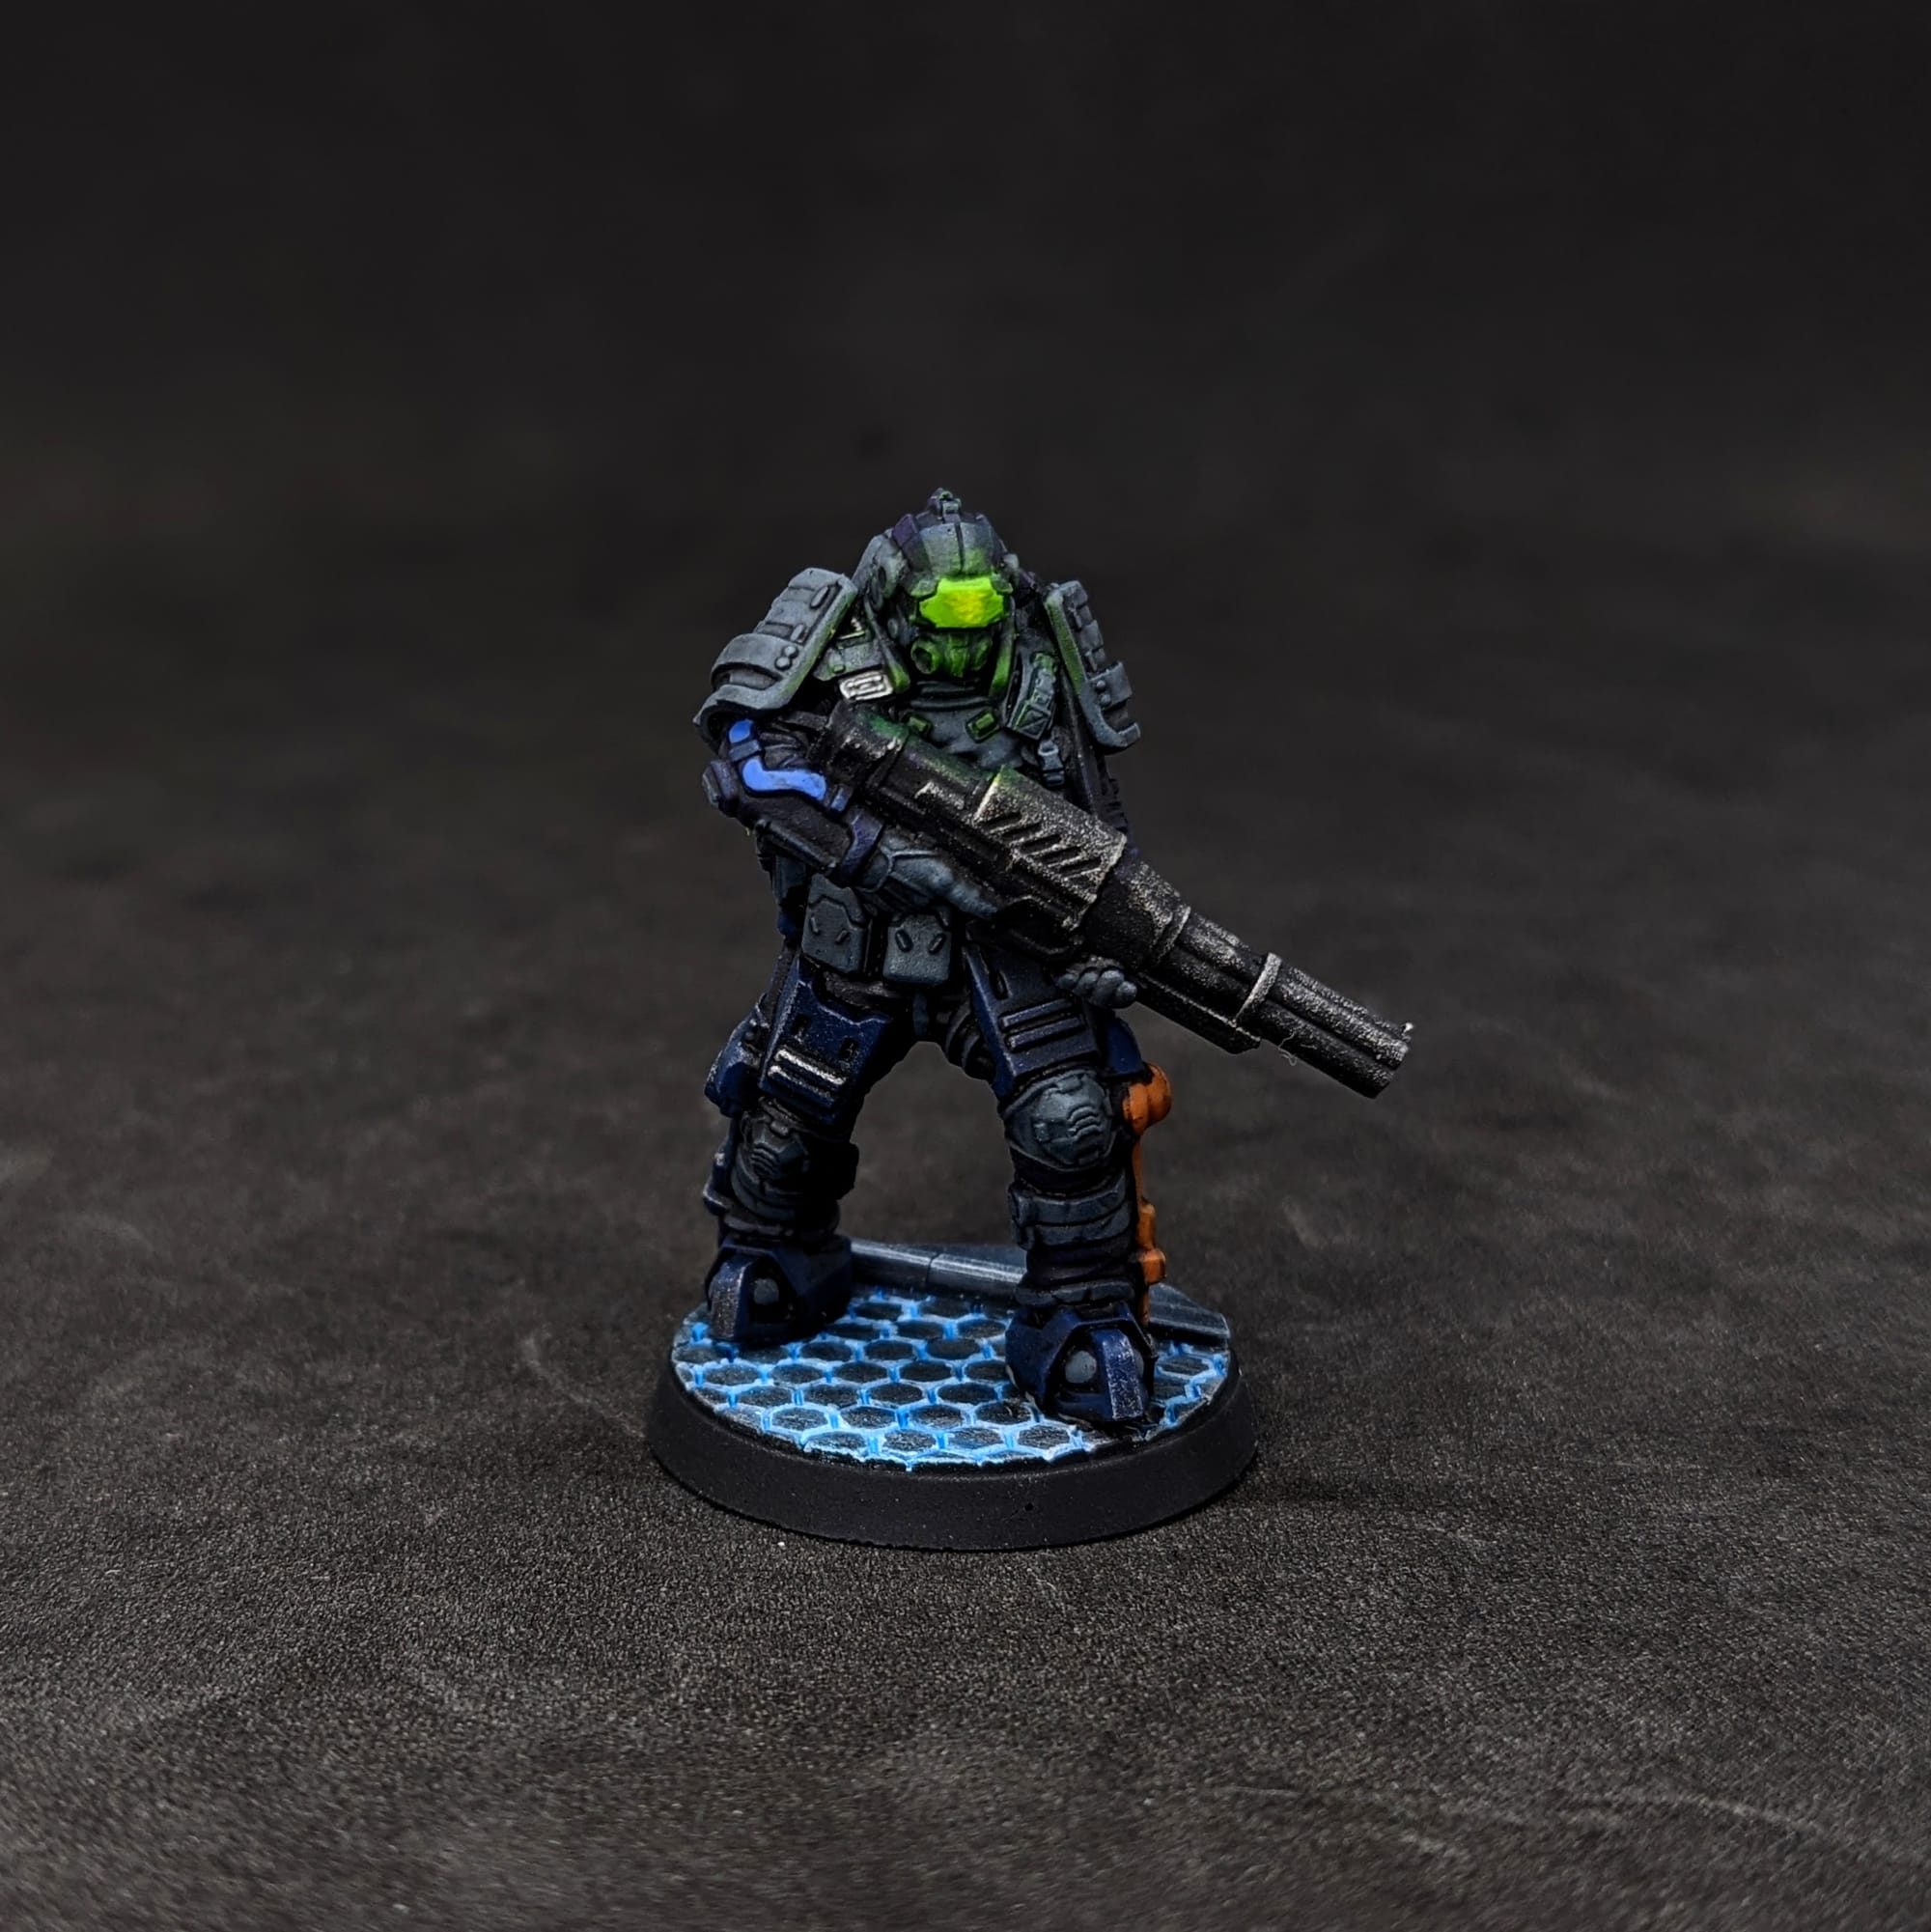
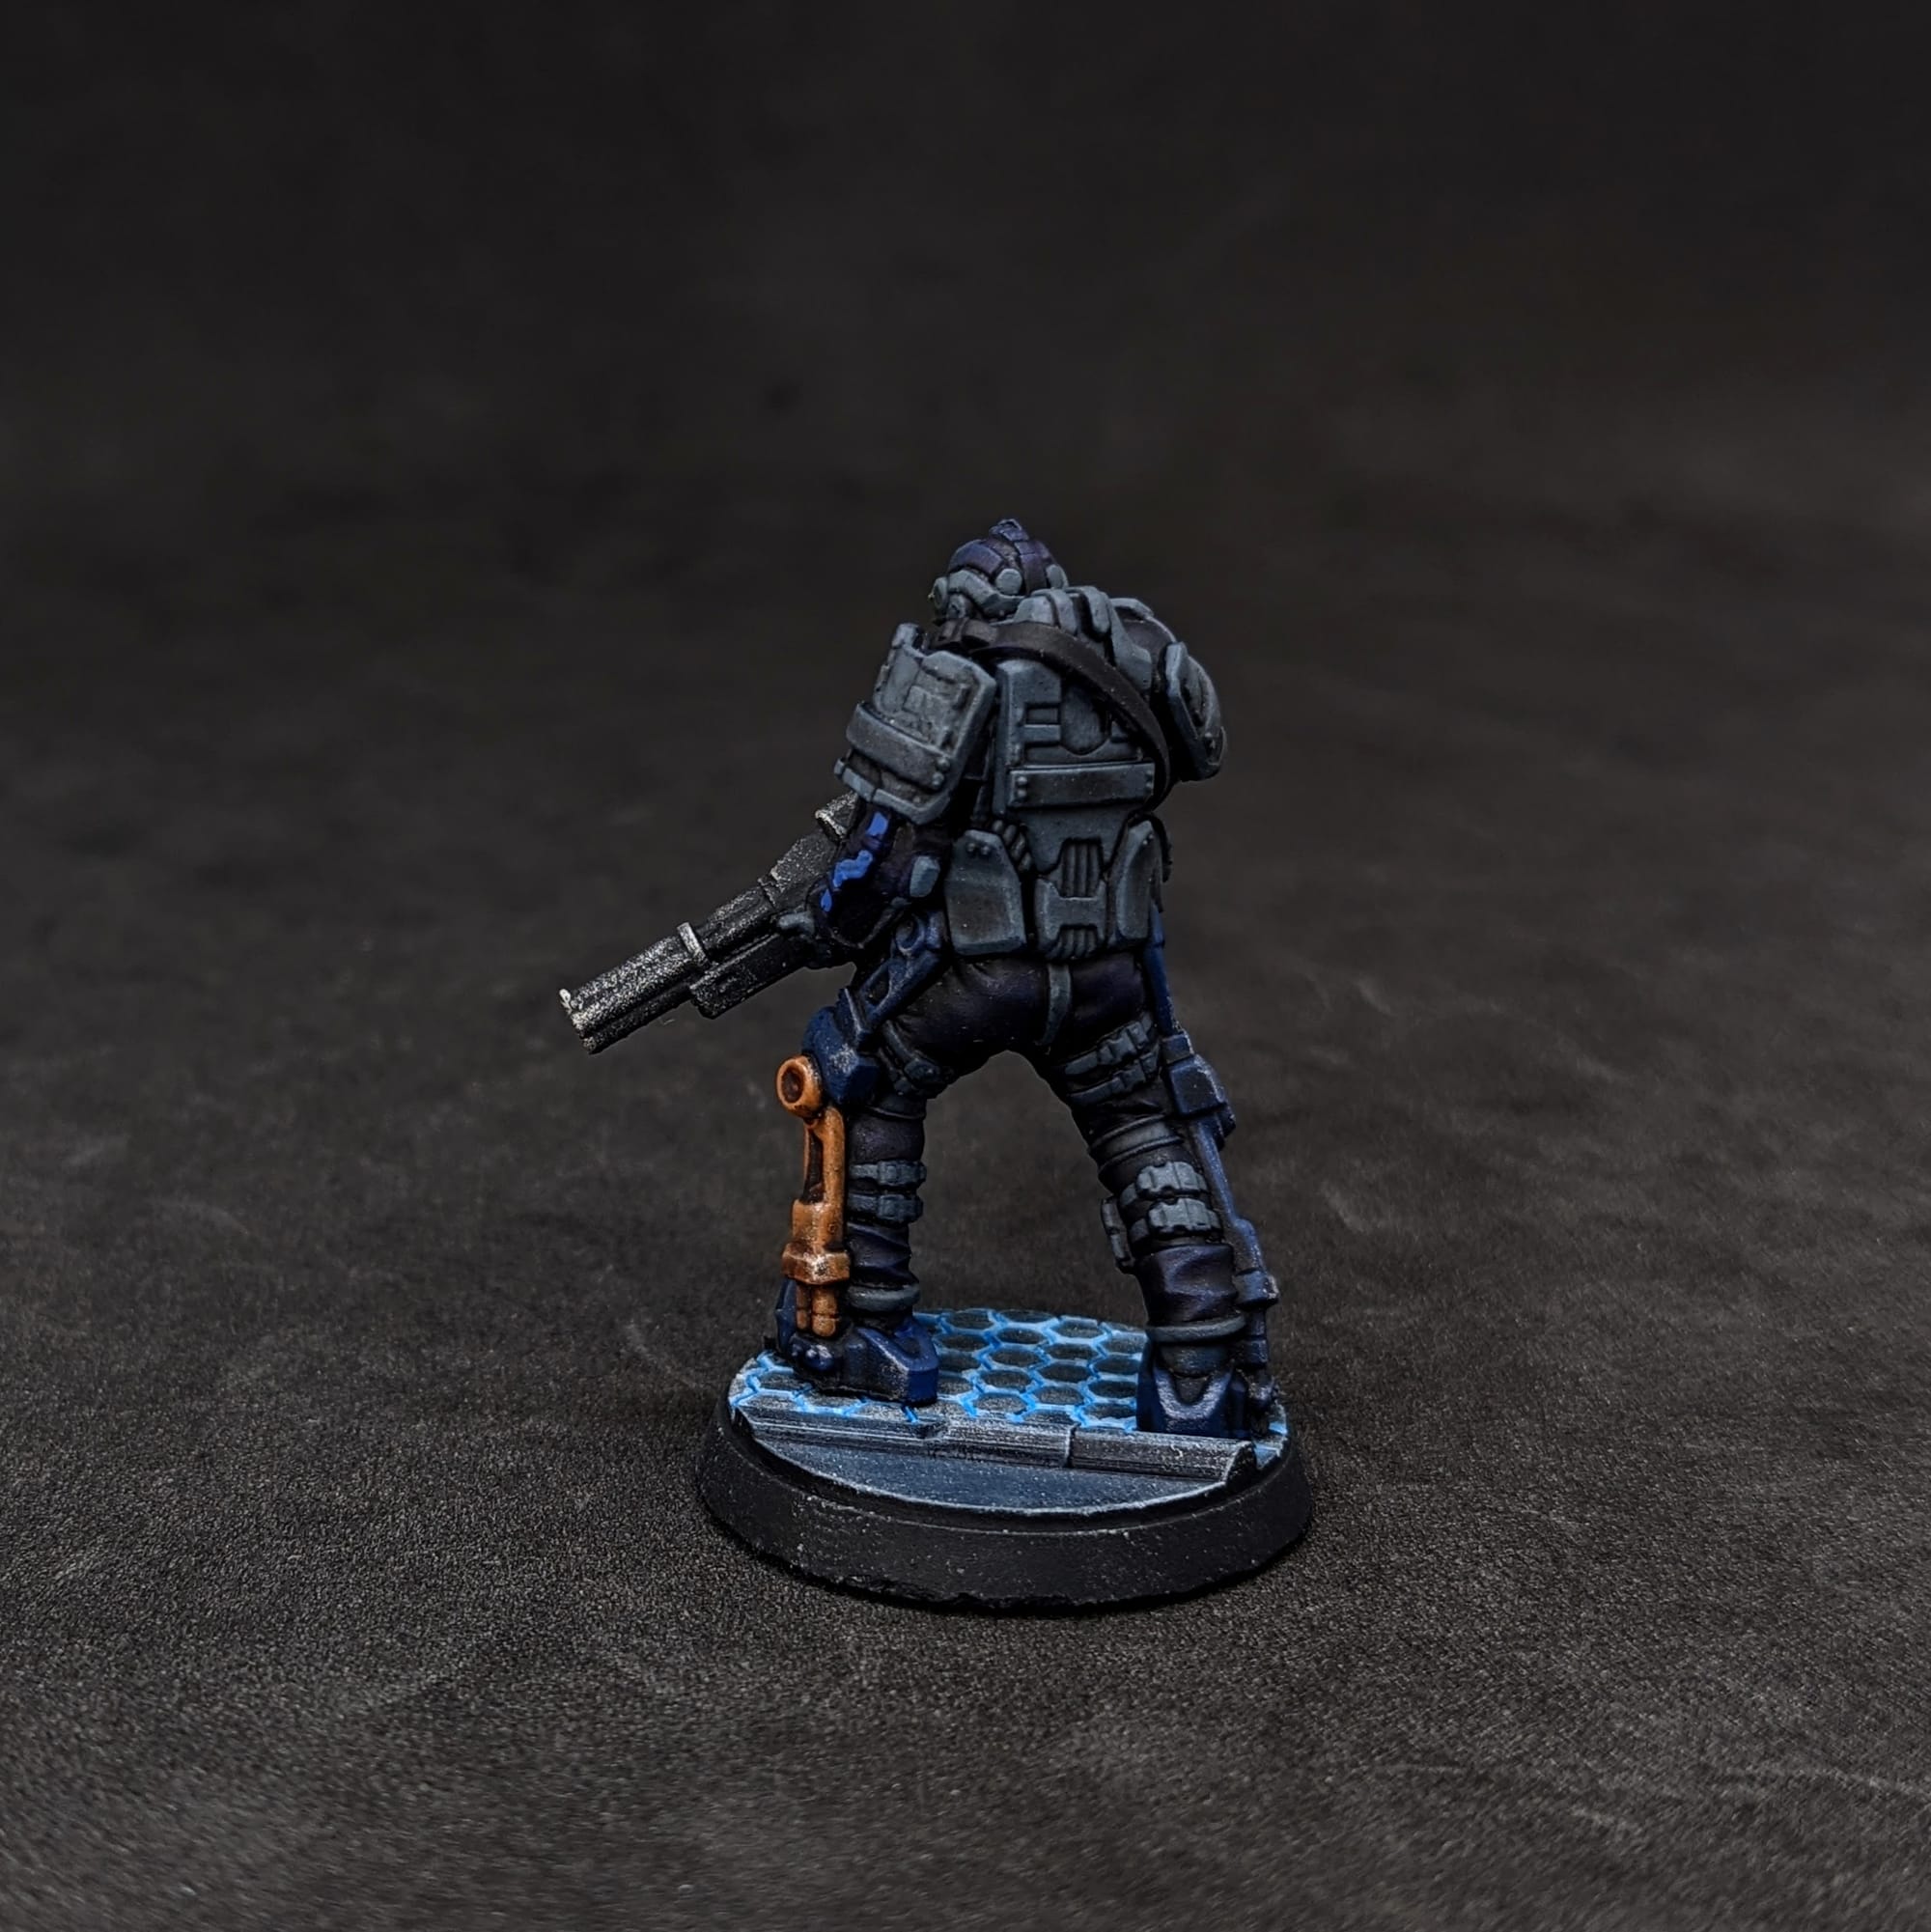
Now the detail work! I used Pro Acryl Slate Grey for the flak jacket, knee pads, boots, and belt. I have been really enjoying the alcohol-based Army Painter Metallic Speedpaints, so I used Steel for all of the metal bits (guns, handcuffs, buckles, etc.) The Heavy has these exo-skeleton legs (which I assume for meant to allow him to carry that big cannon), and I used an orange-brown for that metal.
Once all of that was dried, I went back over with a dark wash, making sure I pulled the wash down the model so it didn't pool up at the top. I let that dry and was ready to move onto the last details and OSL, or object-source lighting.

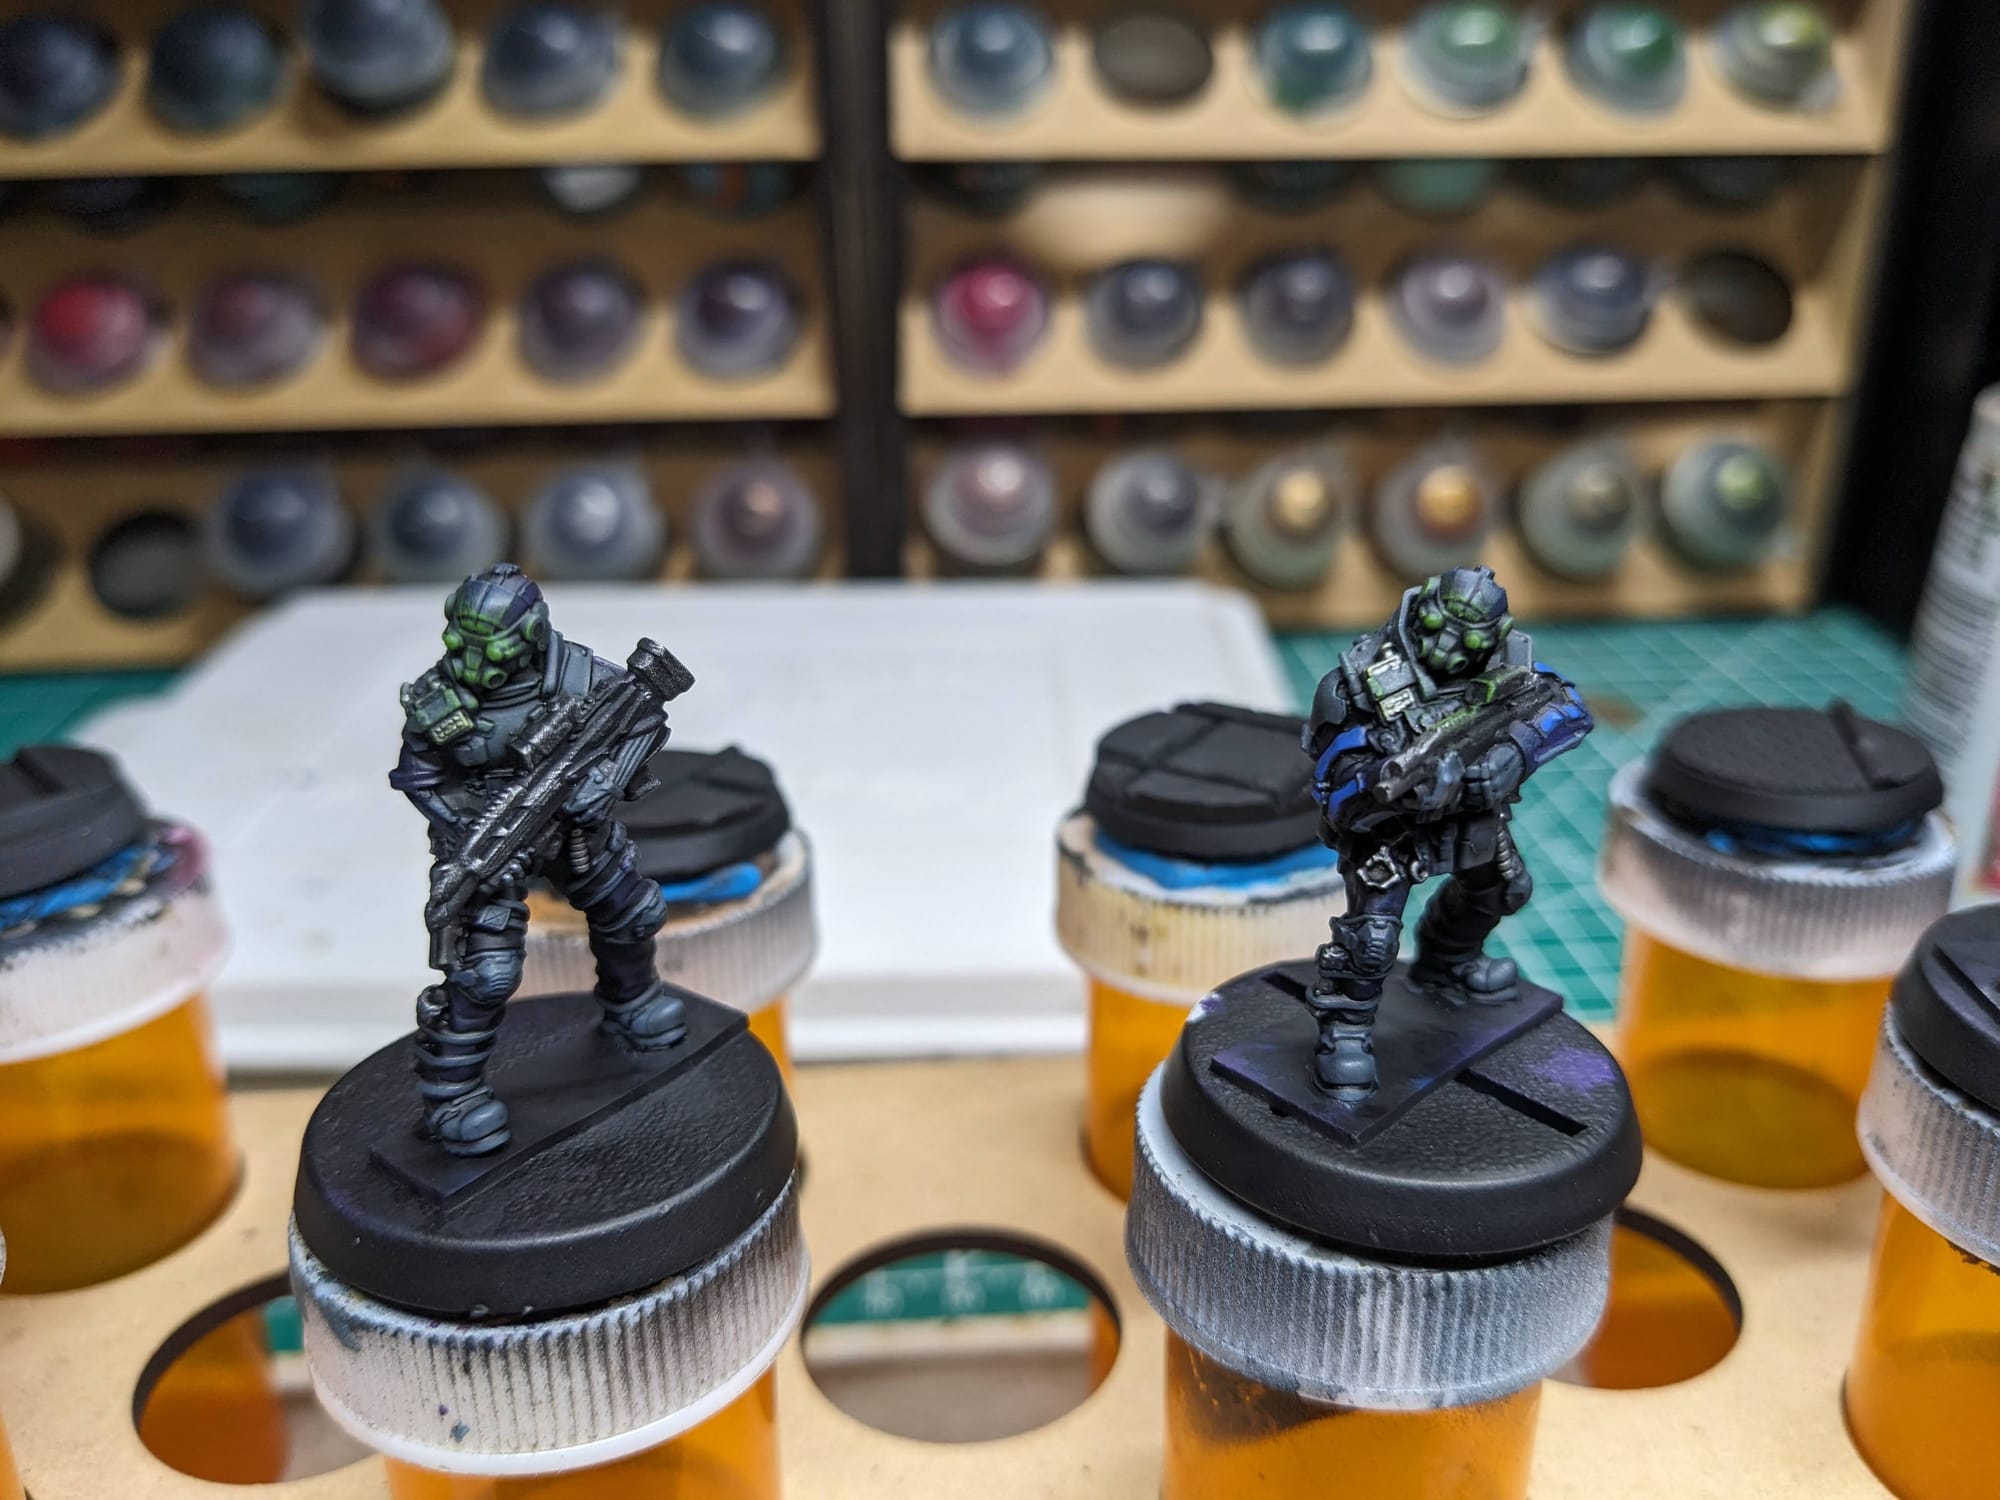
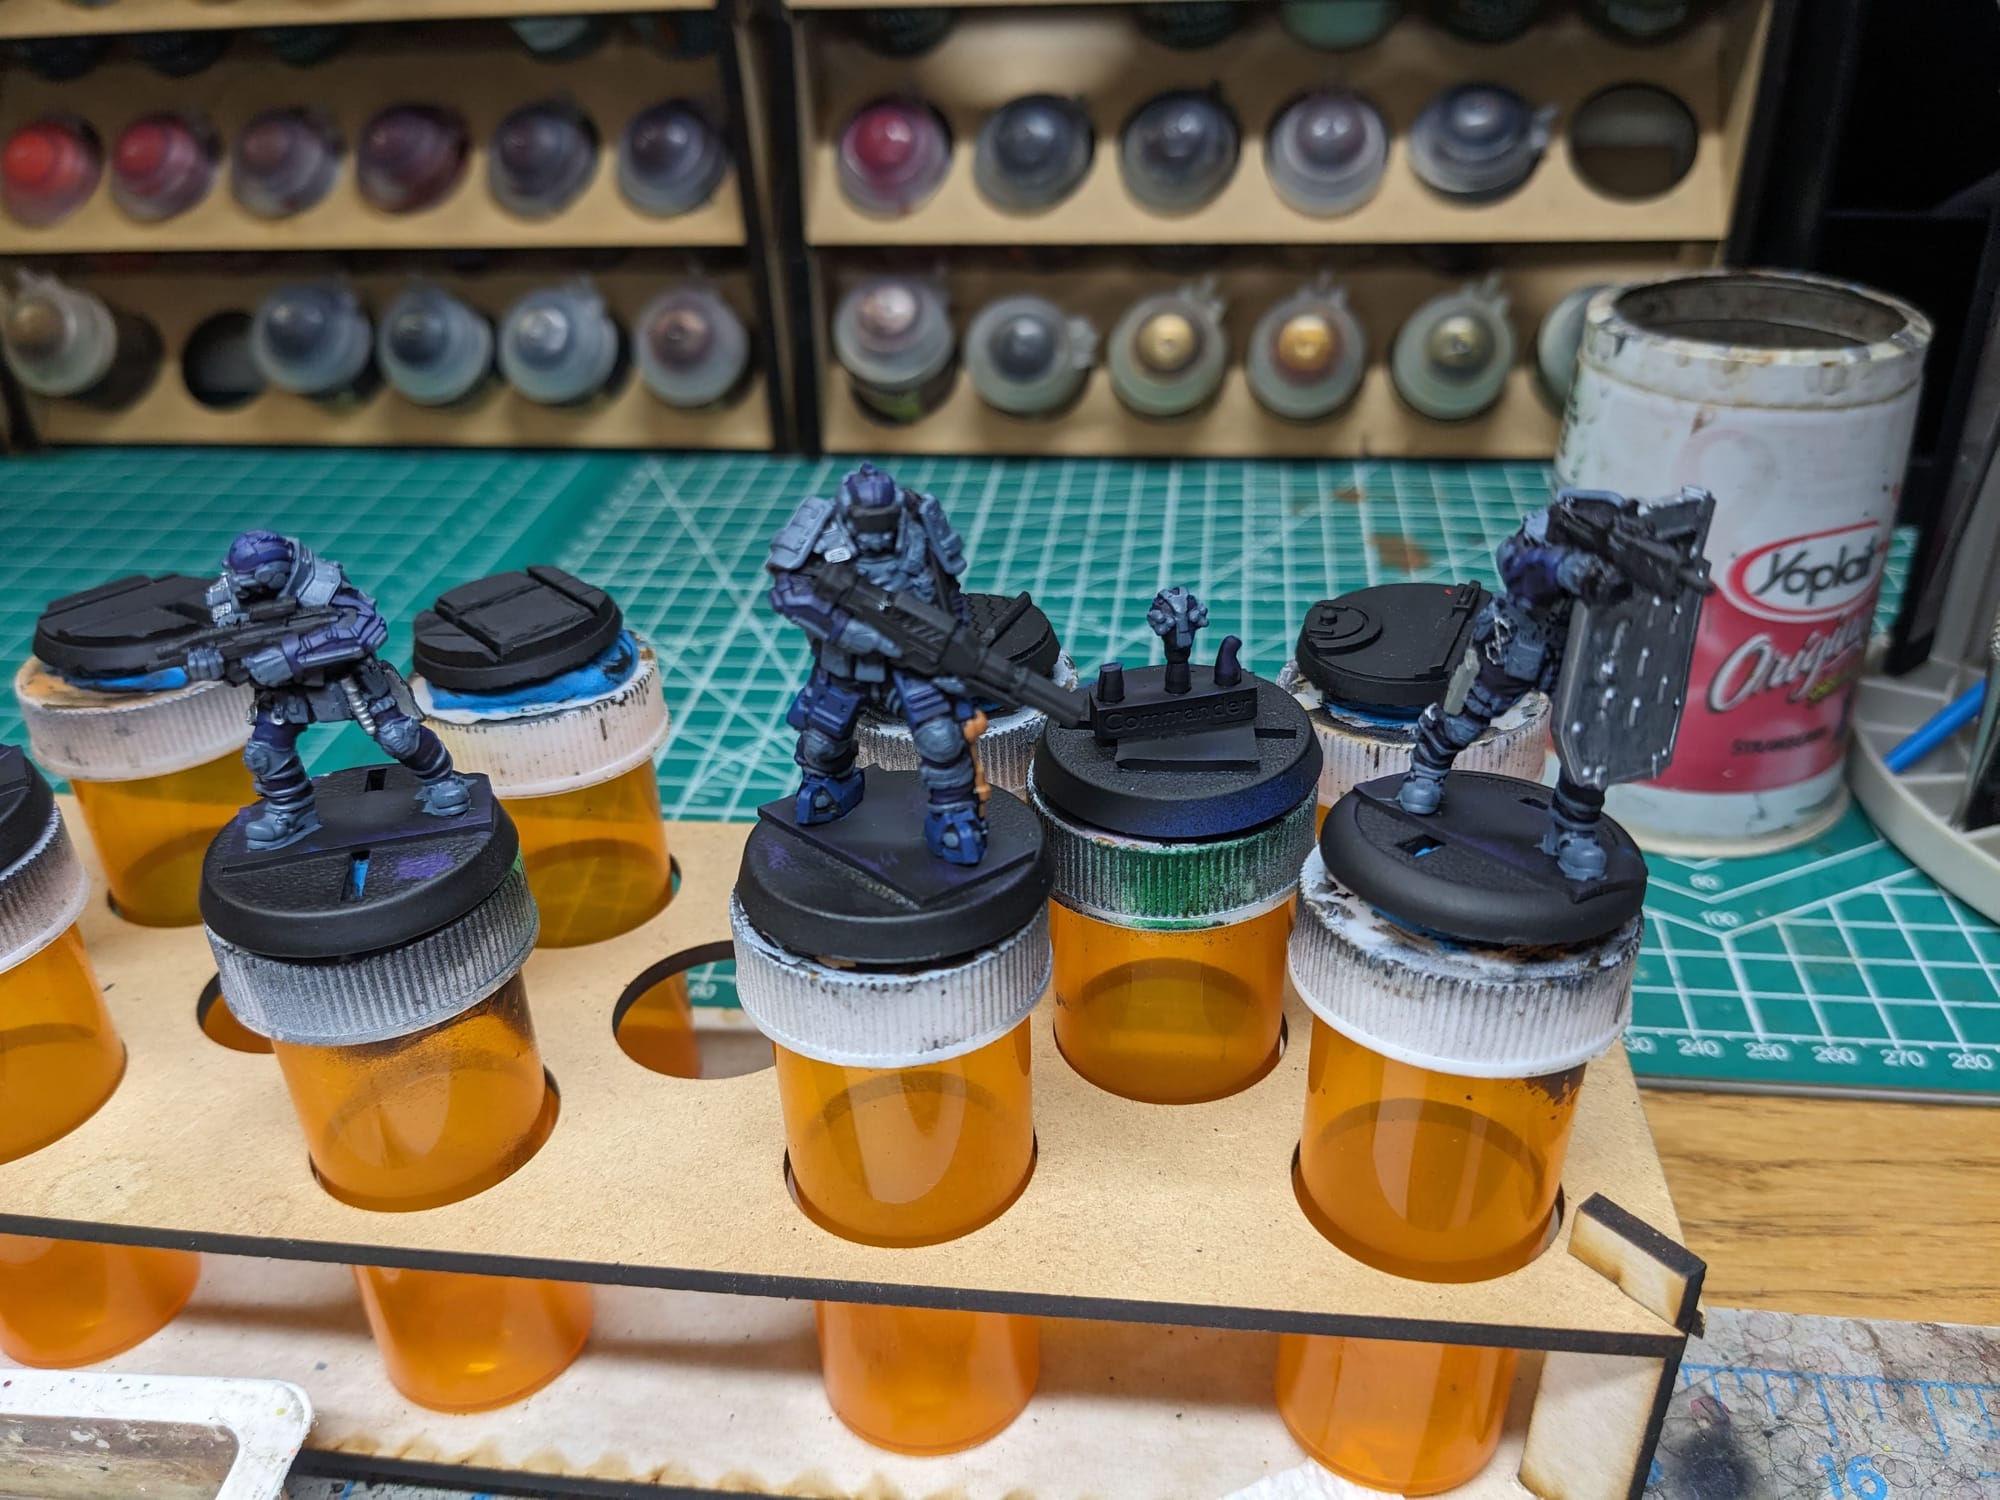
Using a medium blue I went over the power nodes on their arms, which helped accent the arms against the body. I also touch up any metal that got lost in the dark wash.
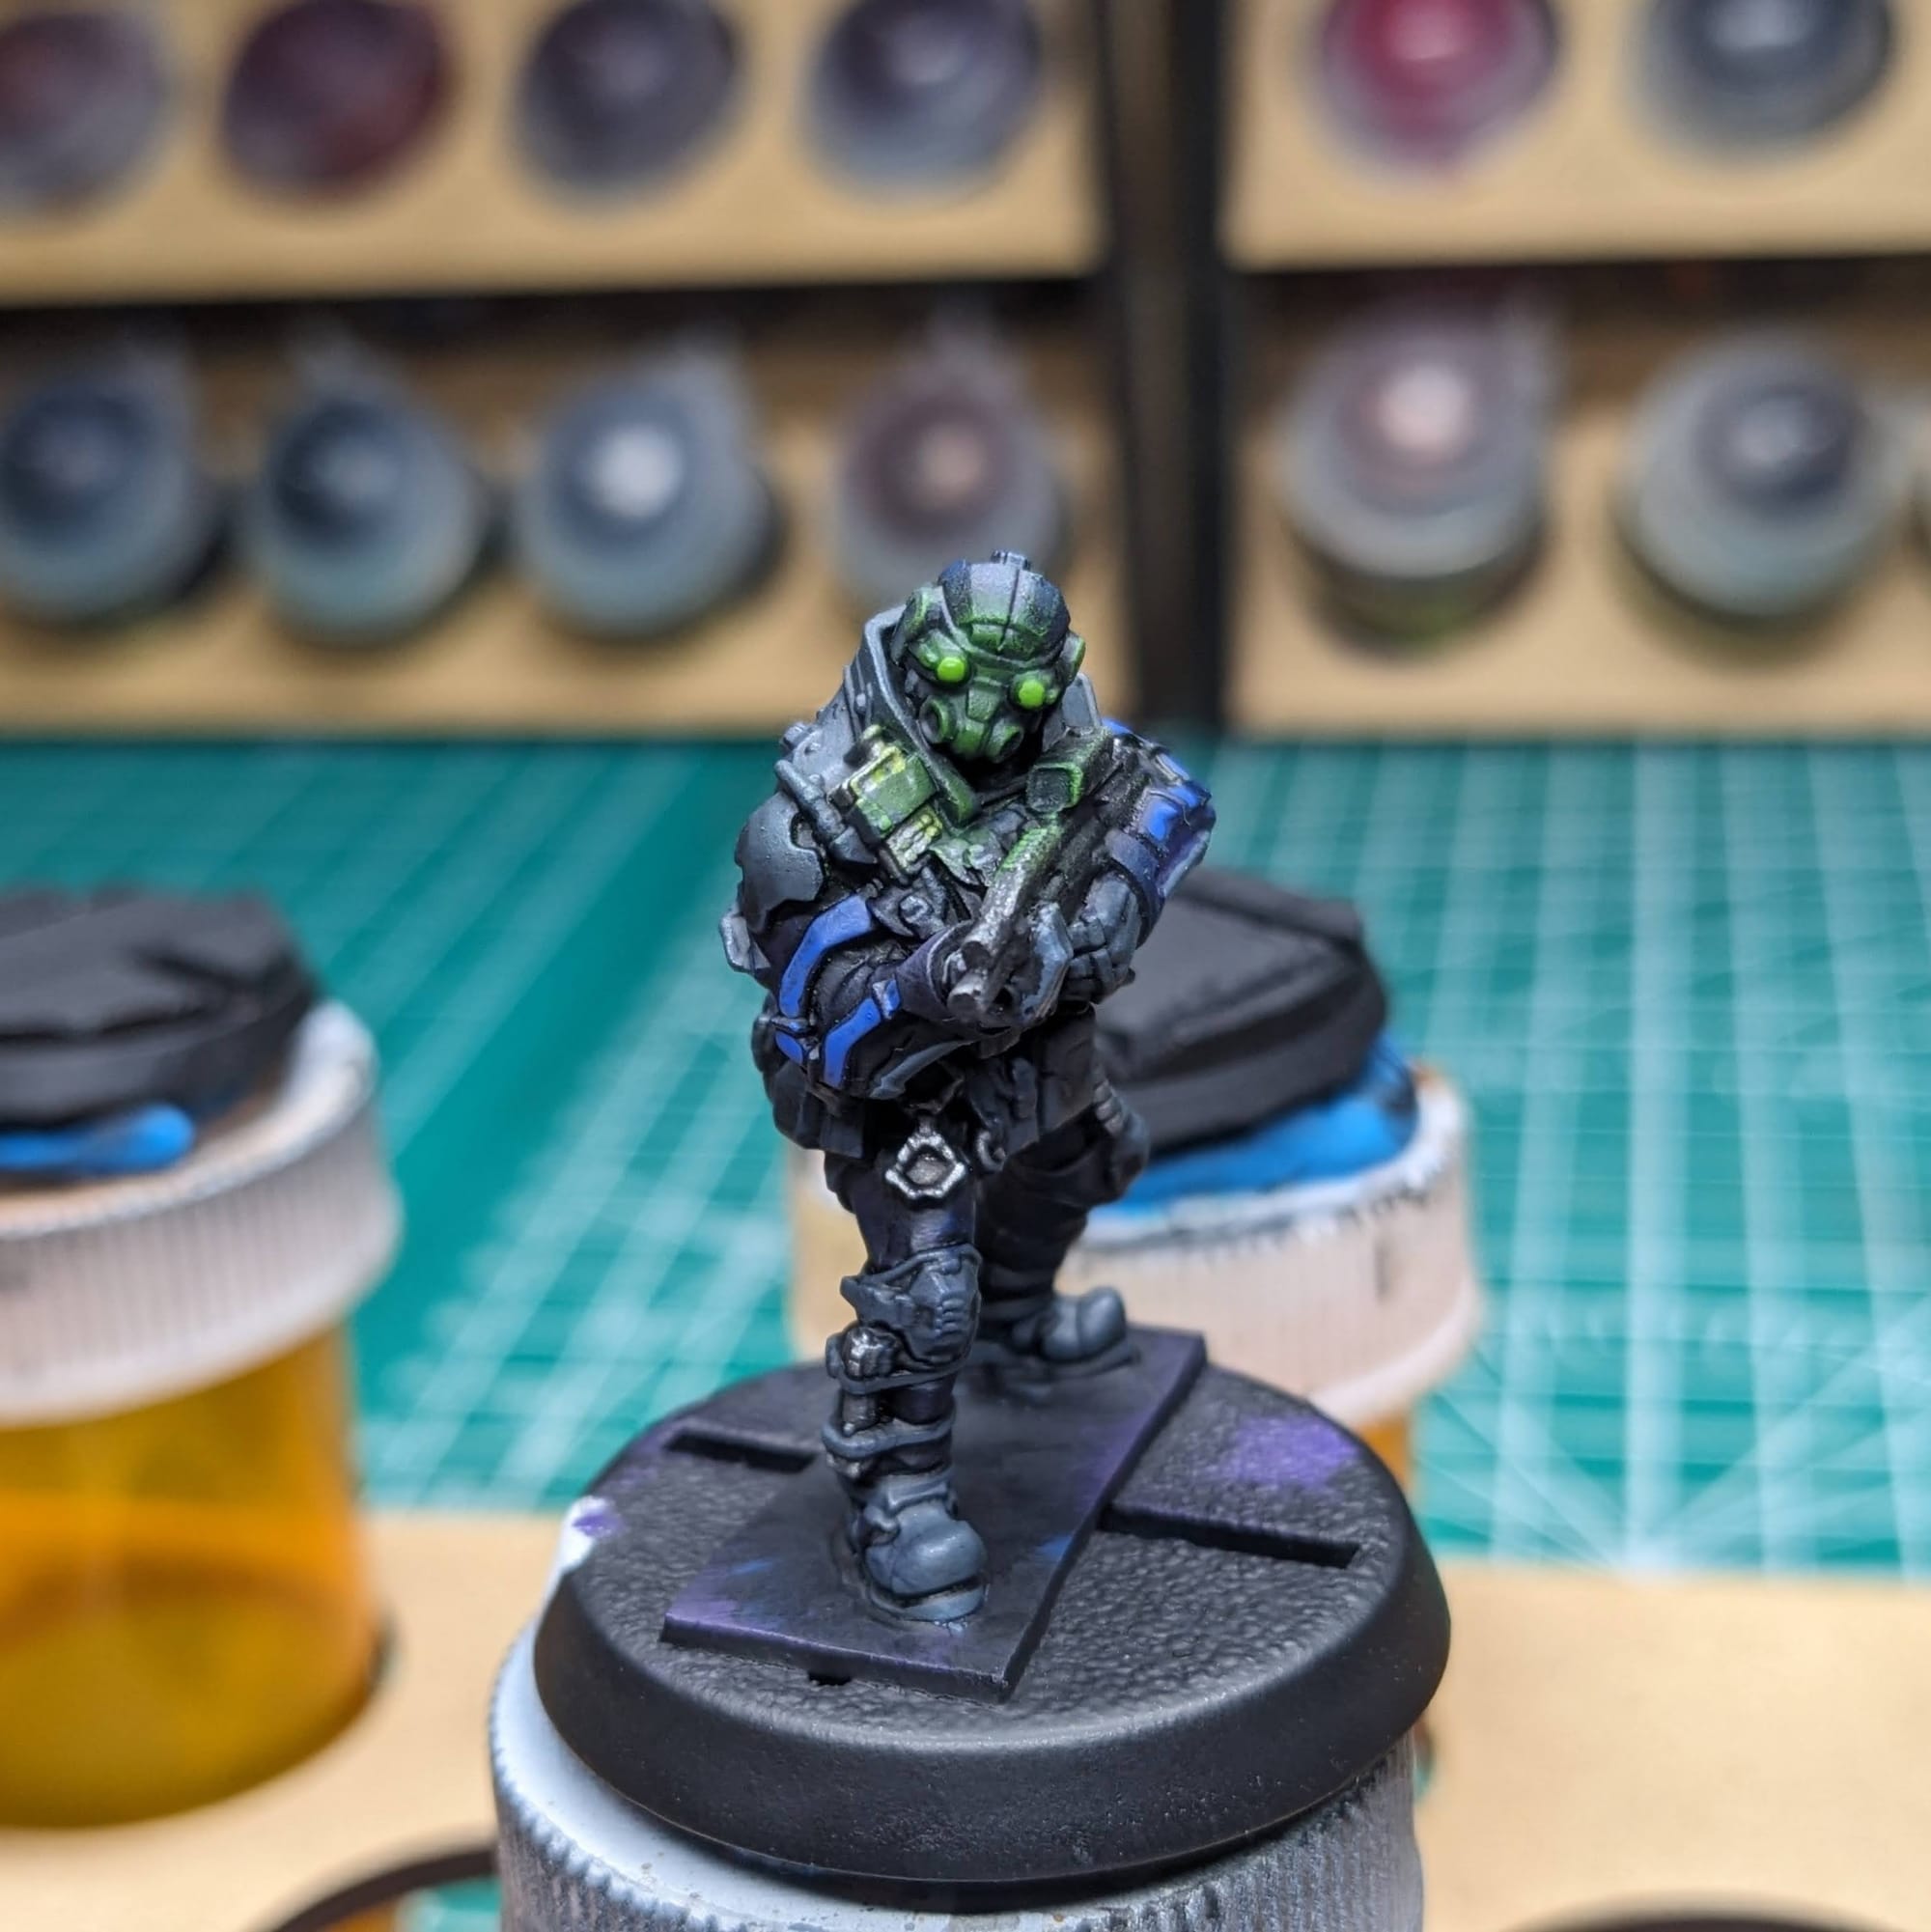
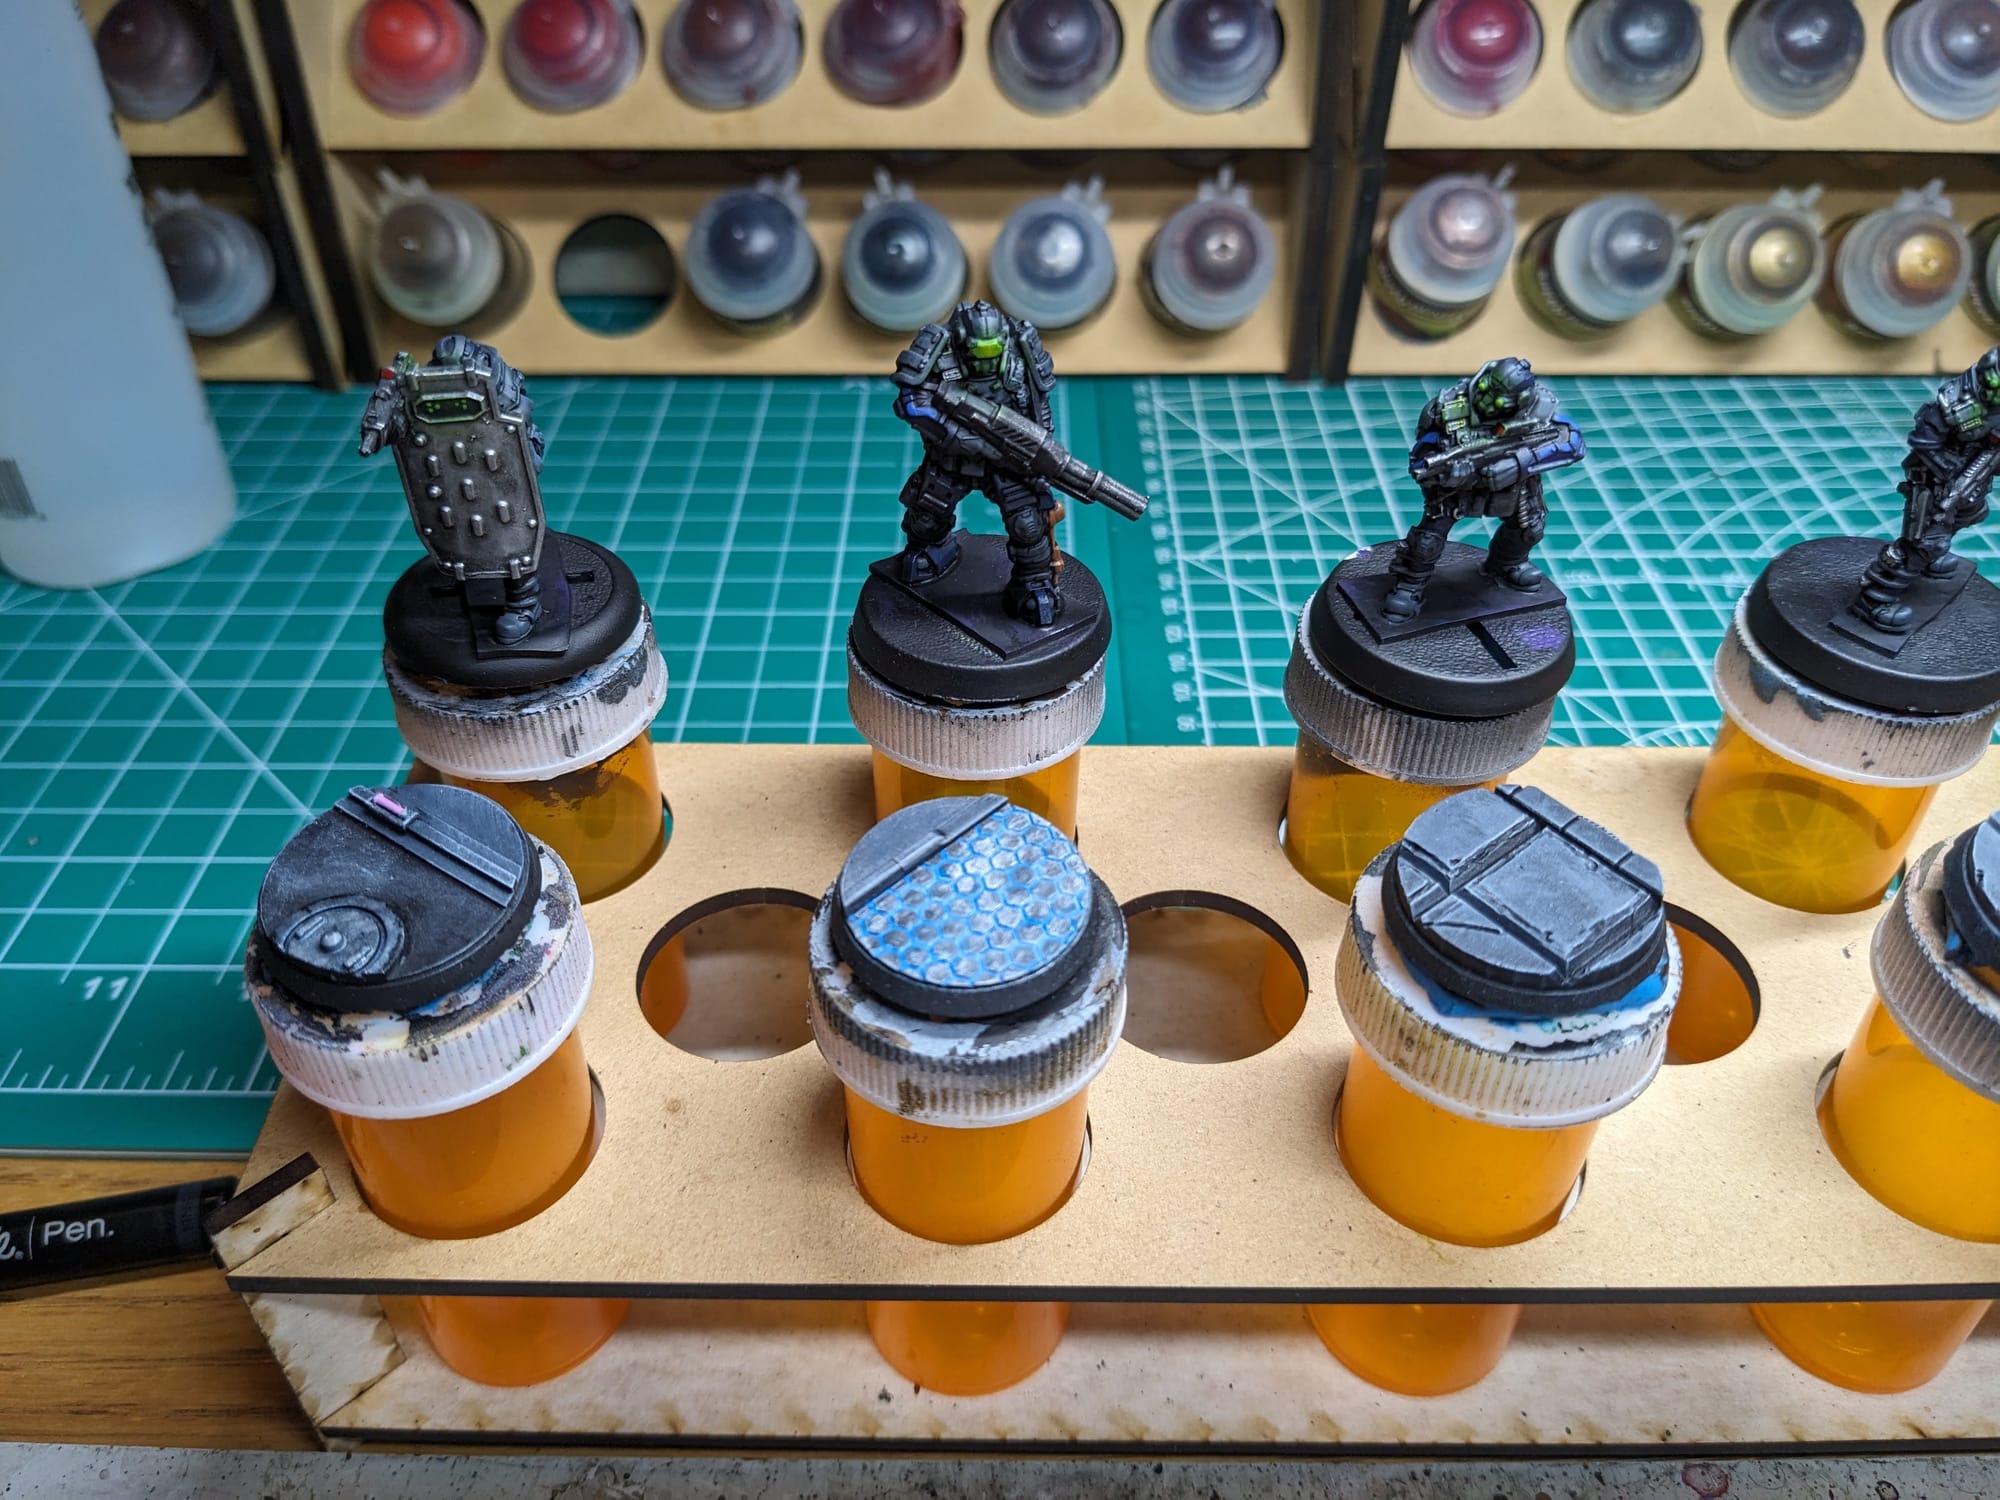
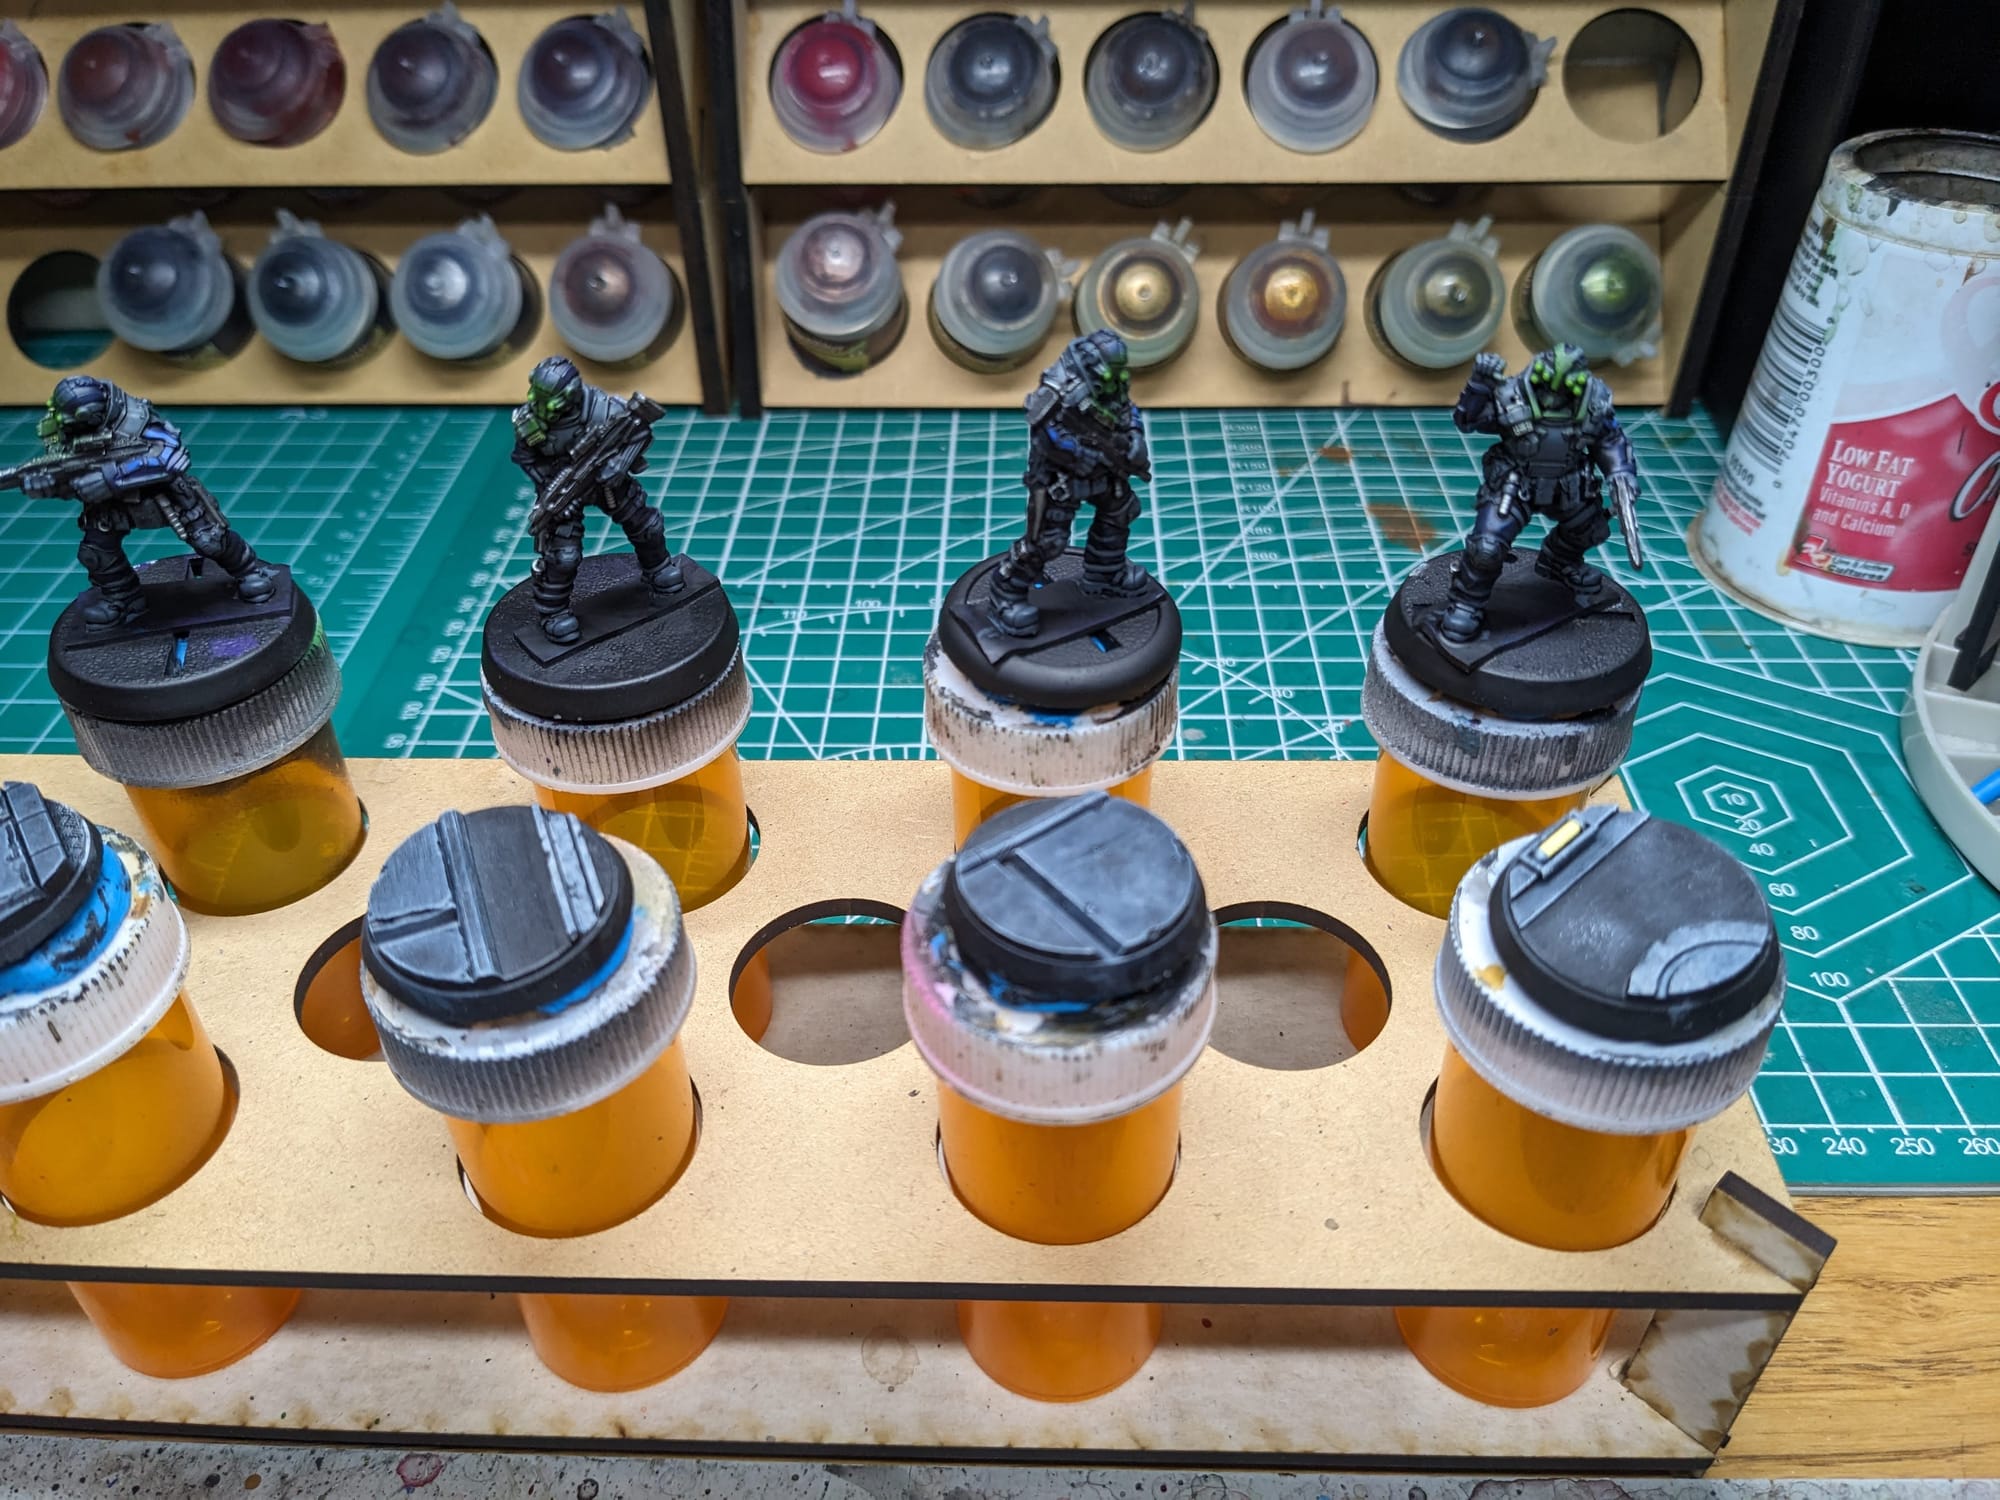
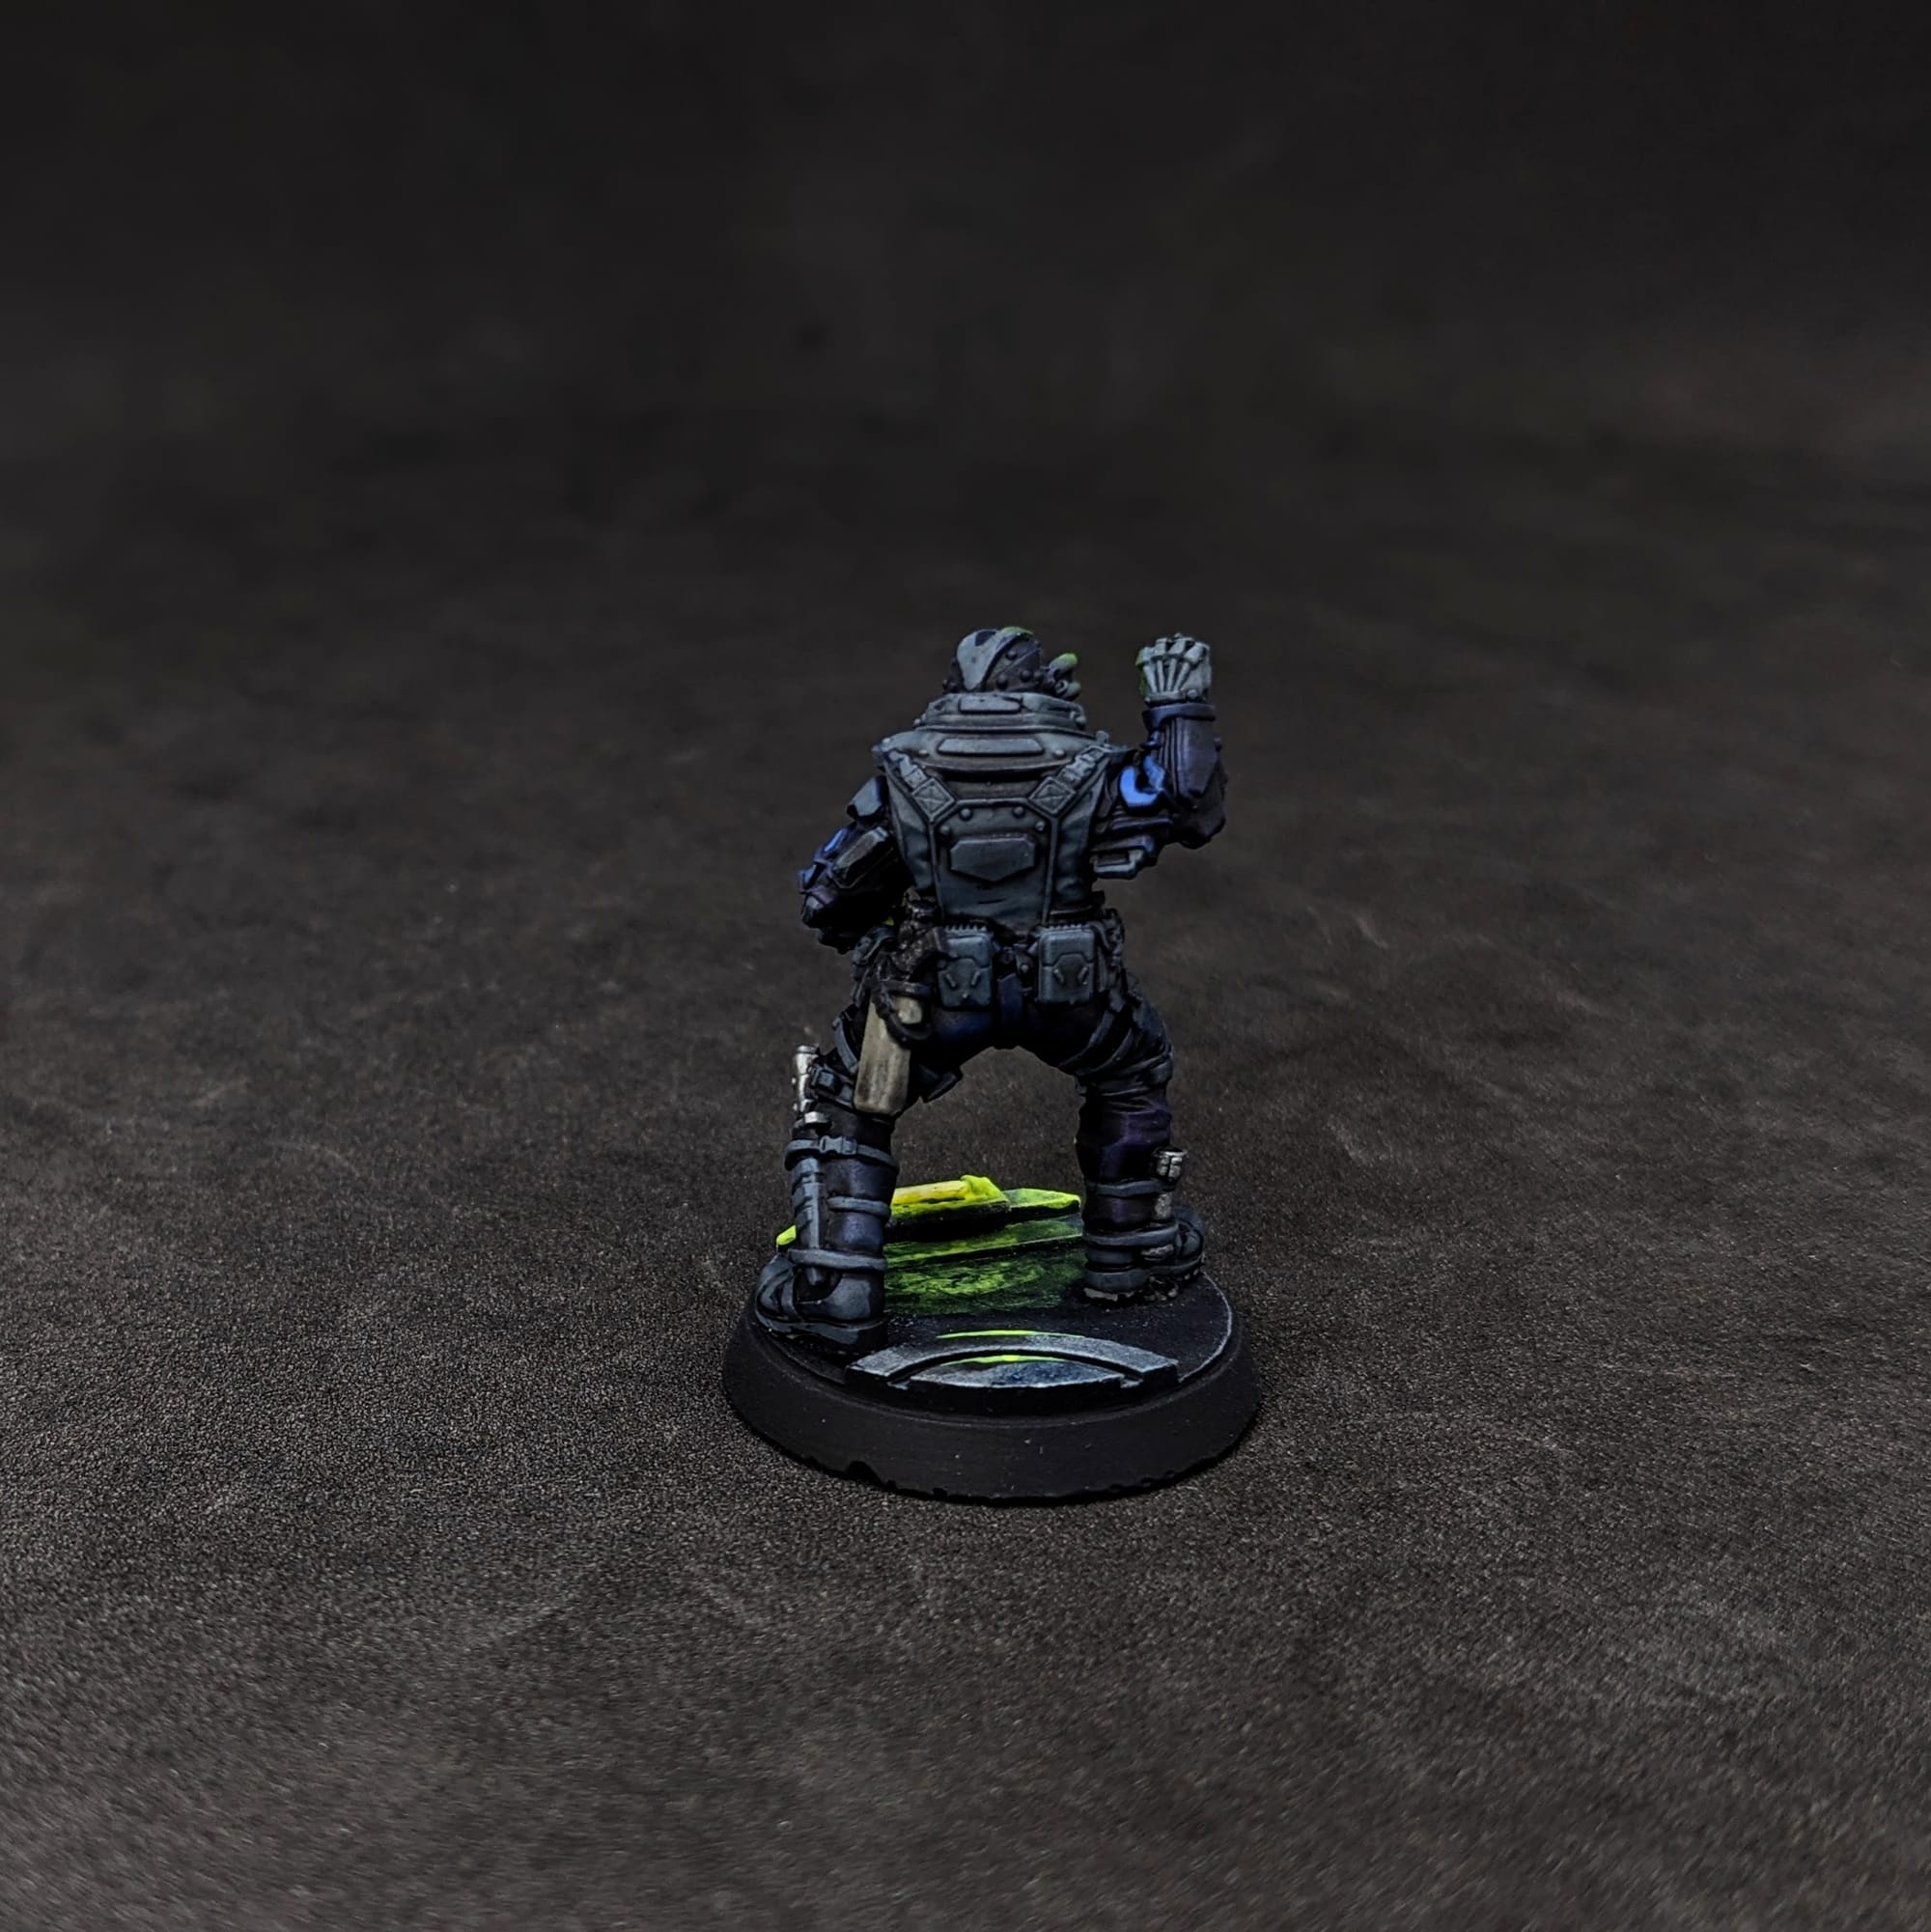
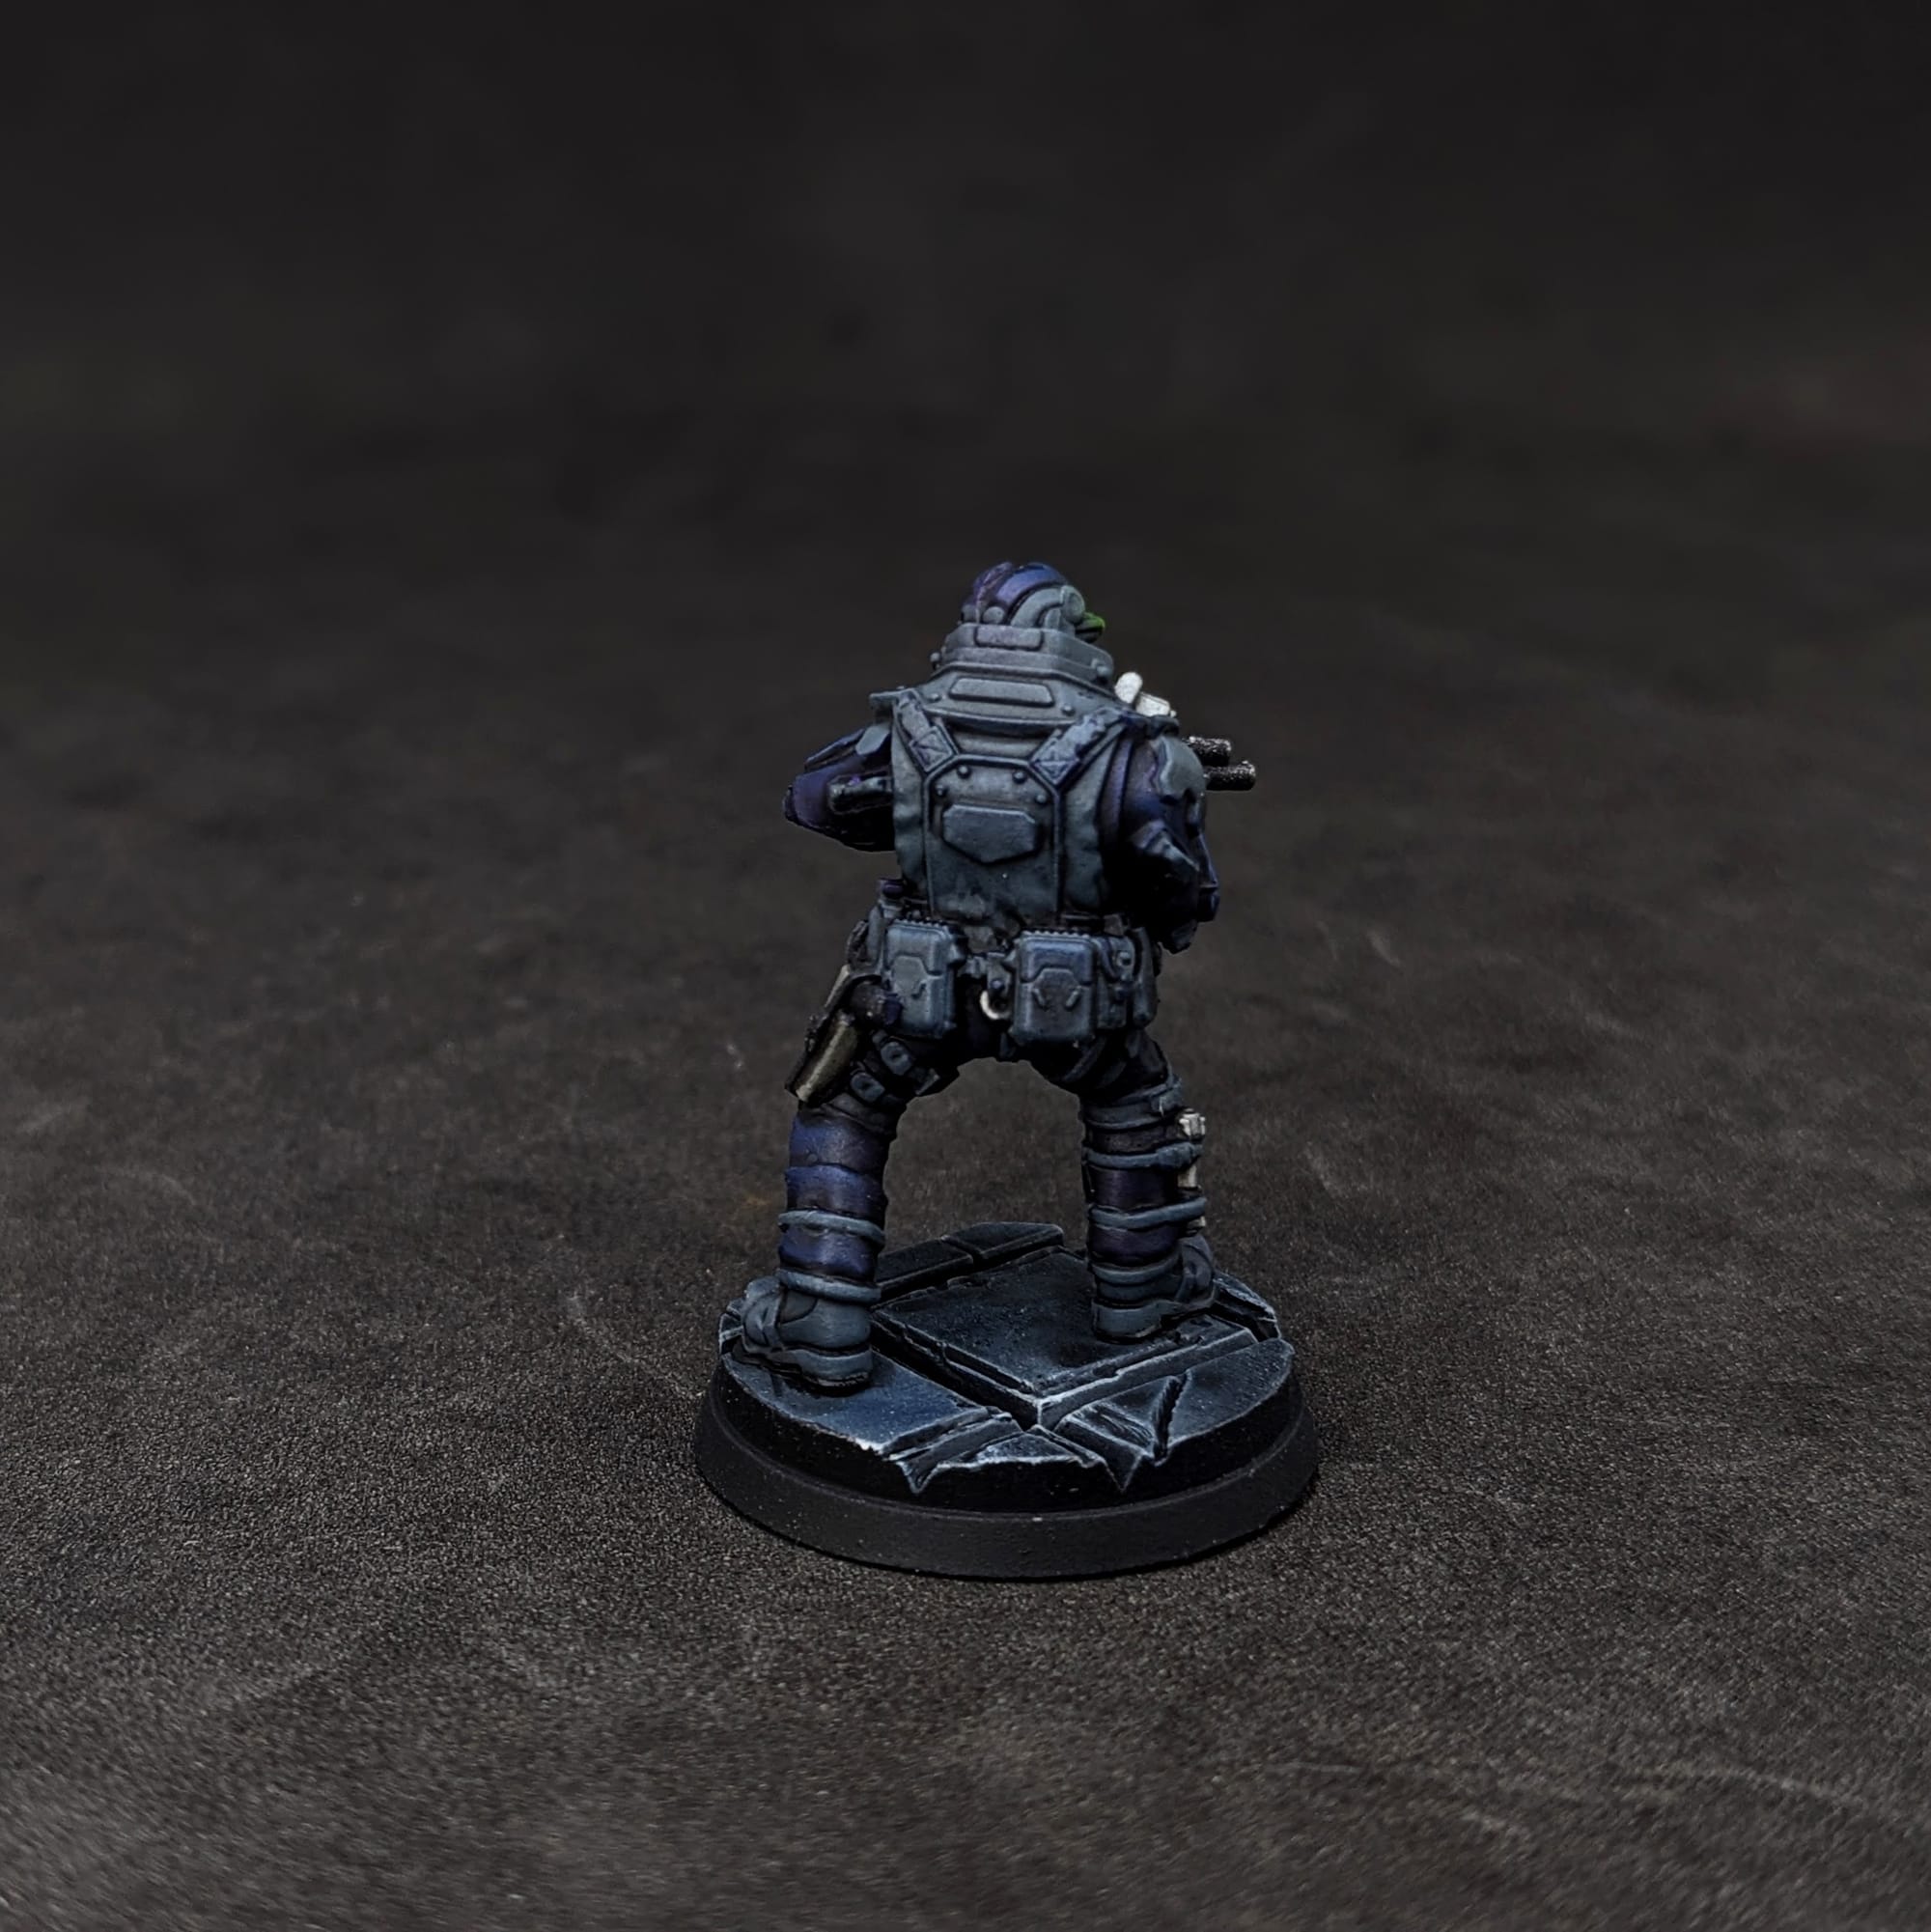
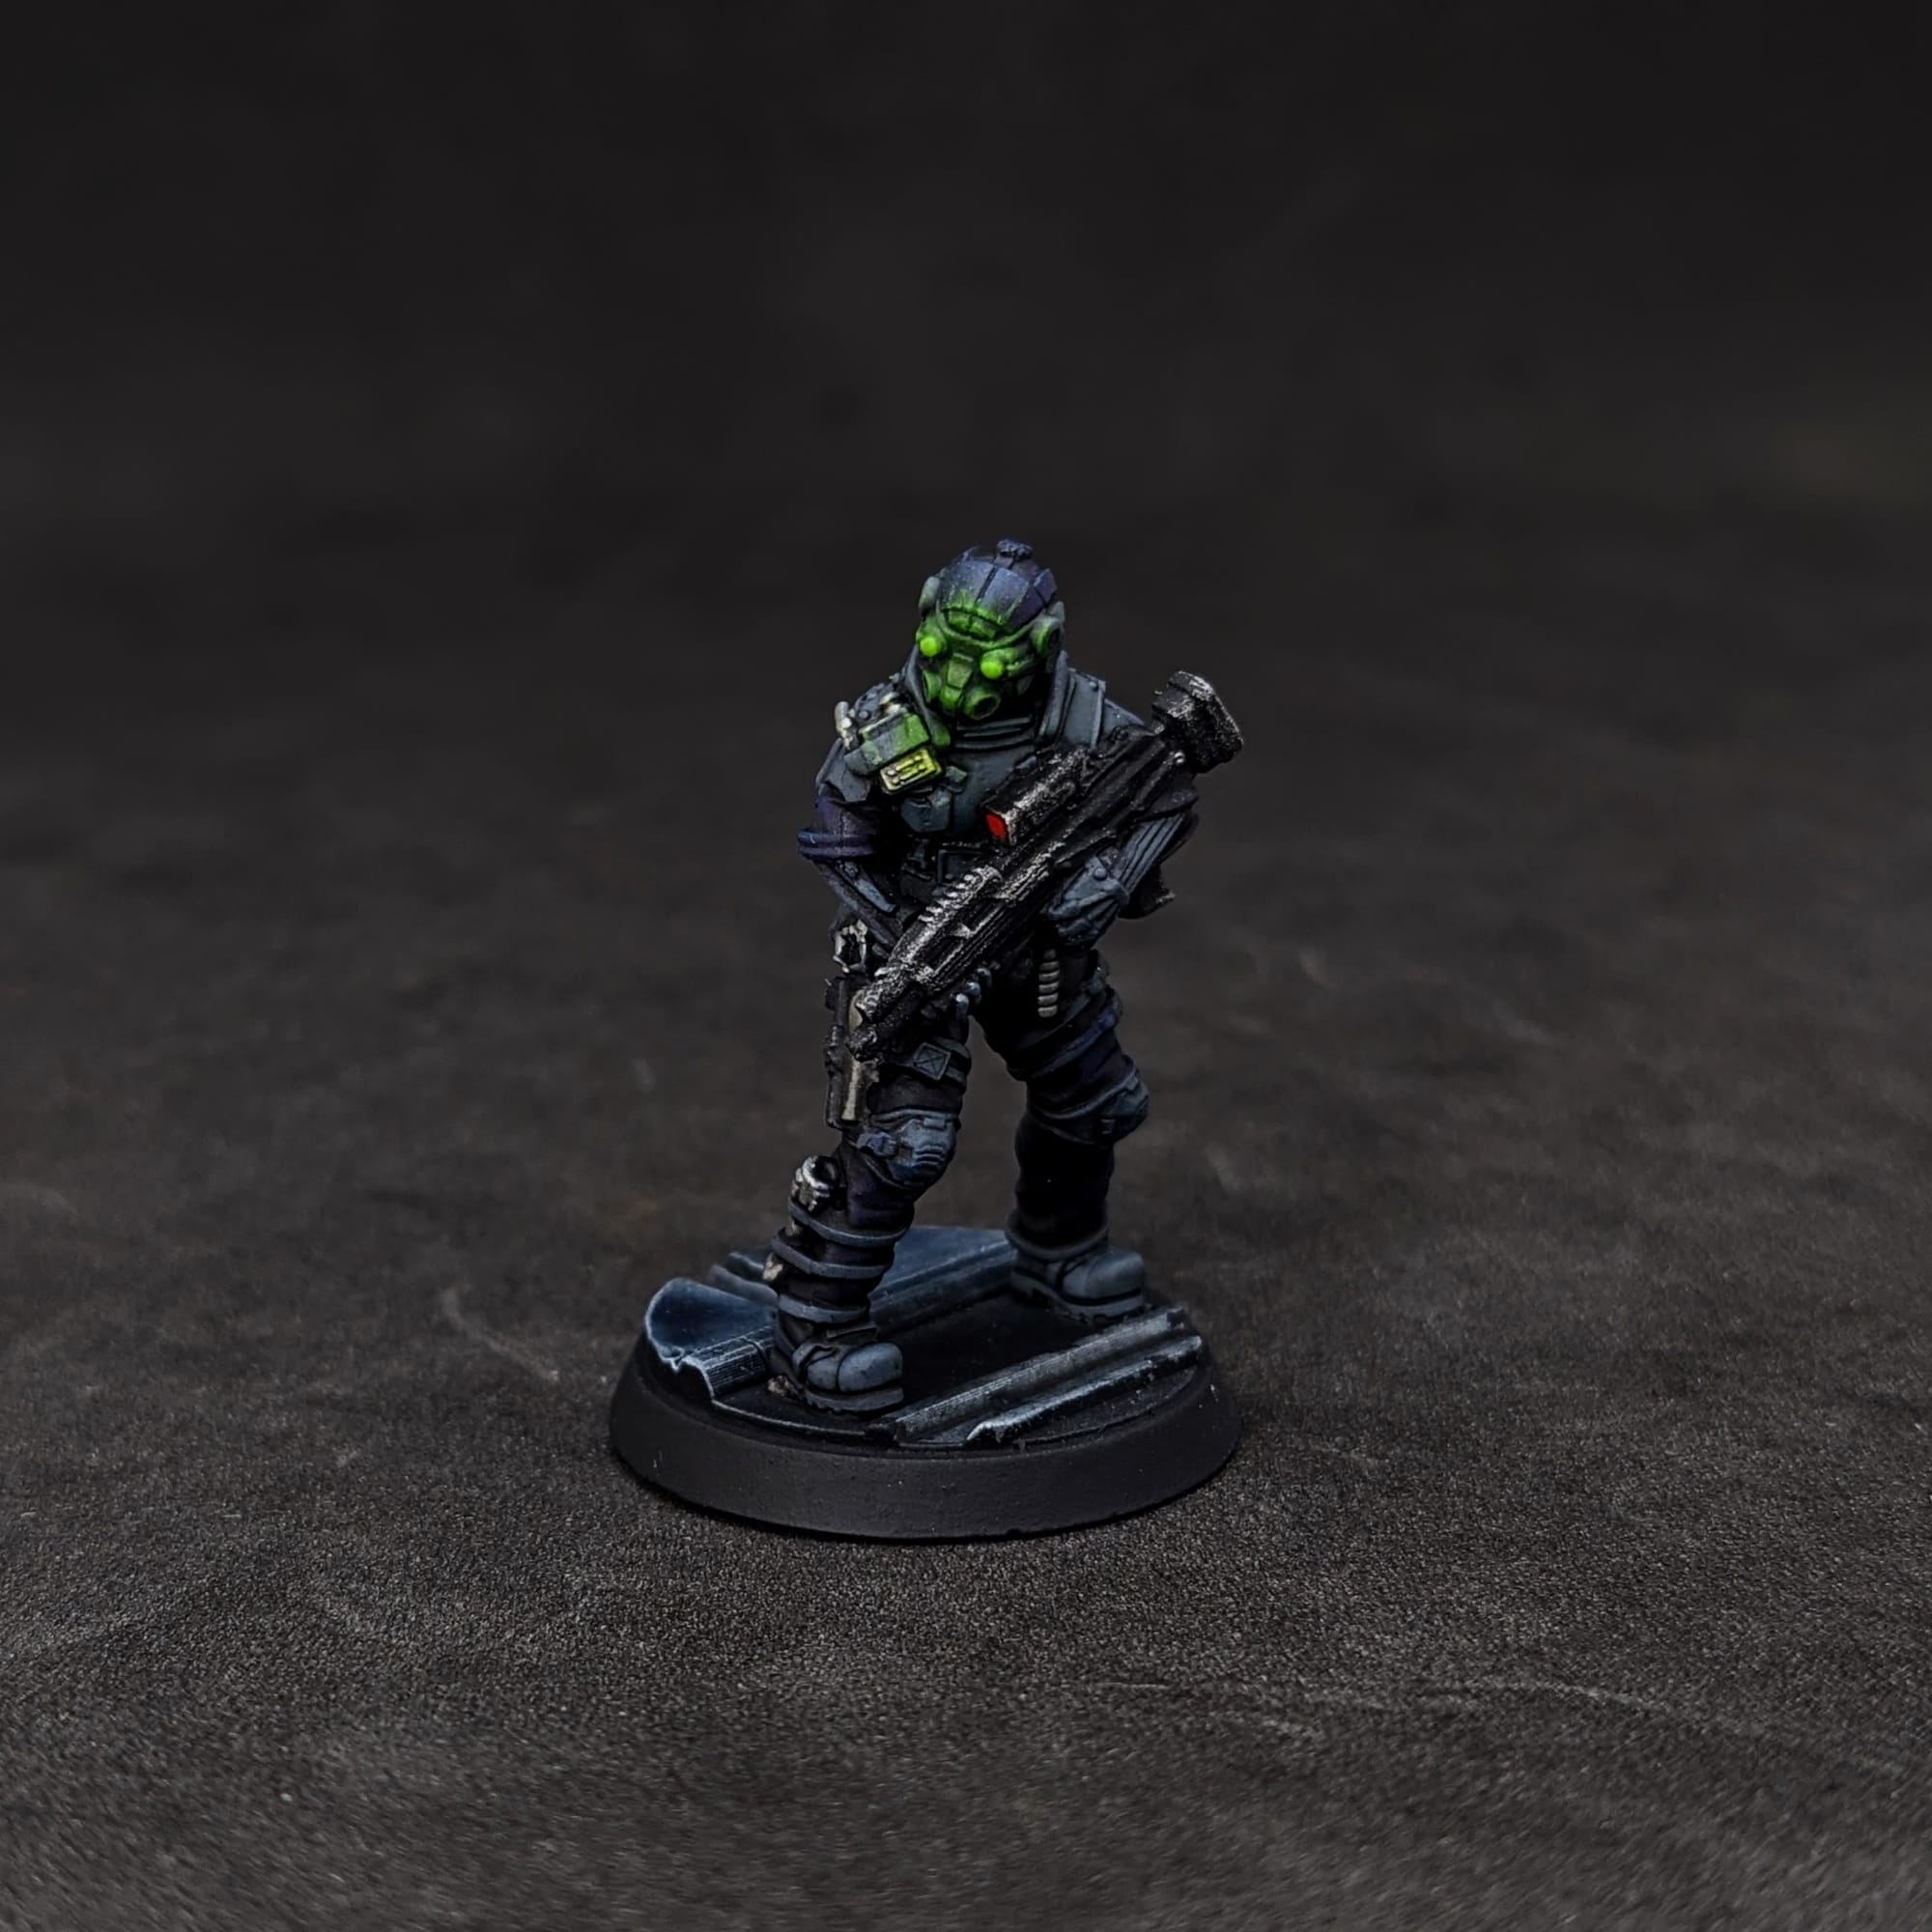
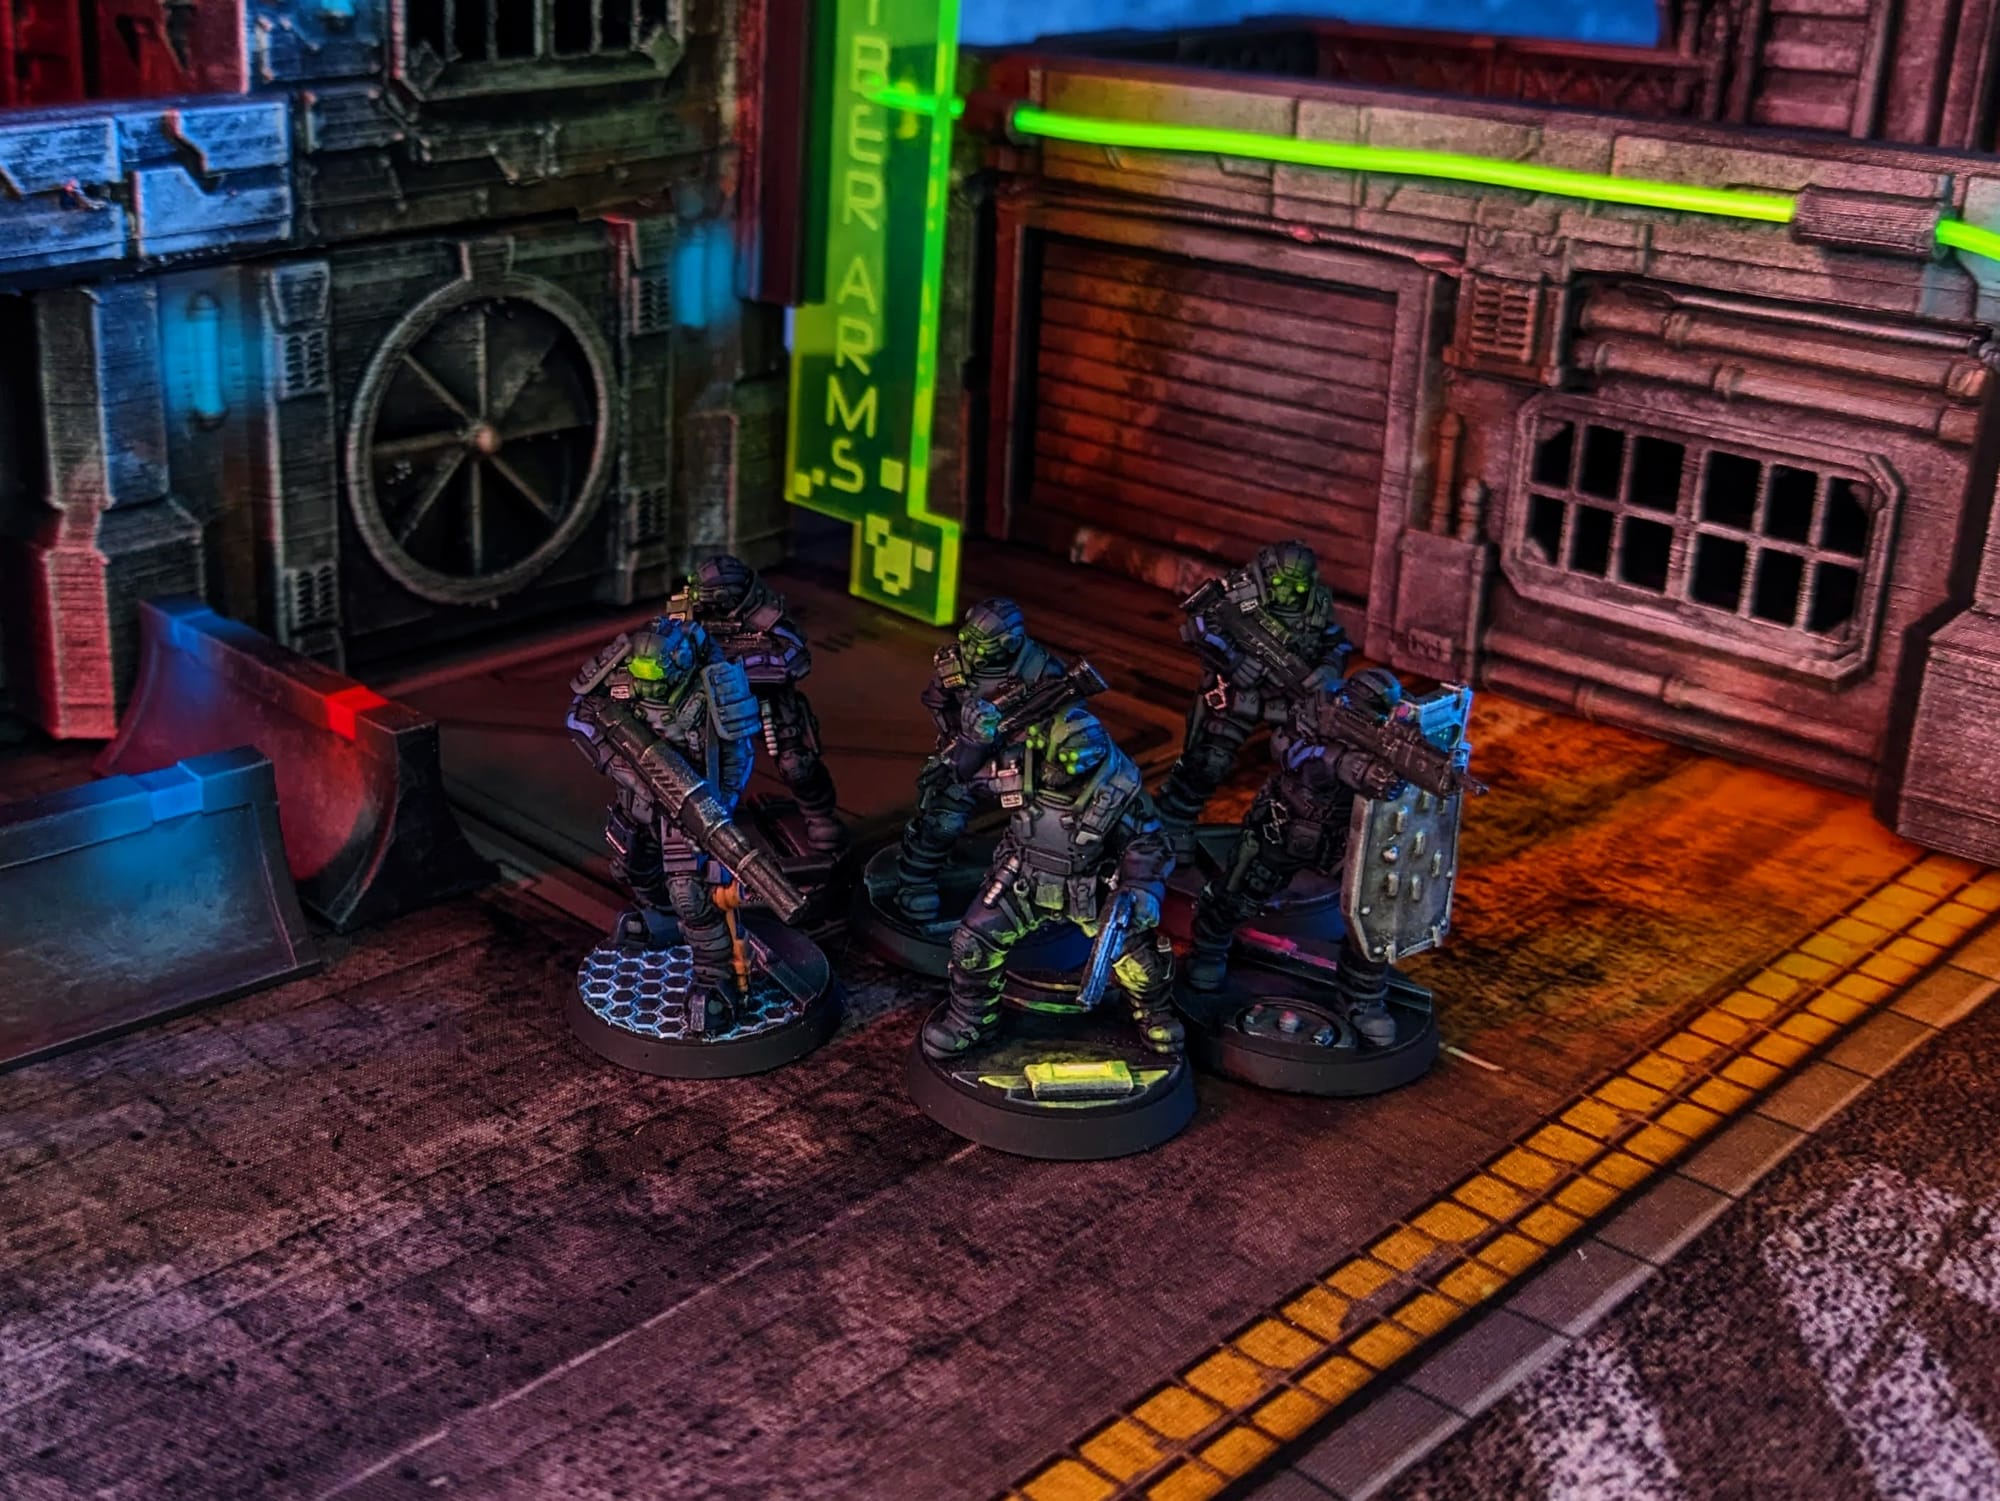
Lastly I did the OSL, which is always my favorite part. Using Striking Scorpion green, I lightly (and I mean lightly) applied a few thin layers around the face, since the source of the light are the green goggles. Once that dried, I used Moot Green for the goggles and they were ready to go!
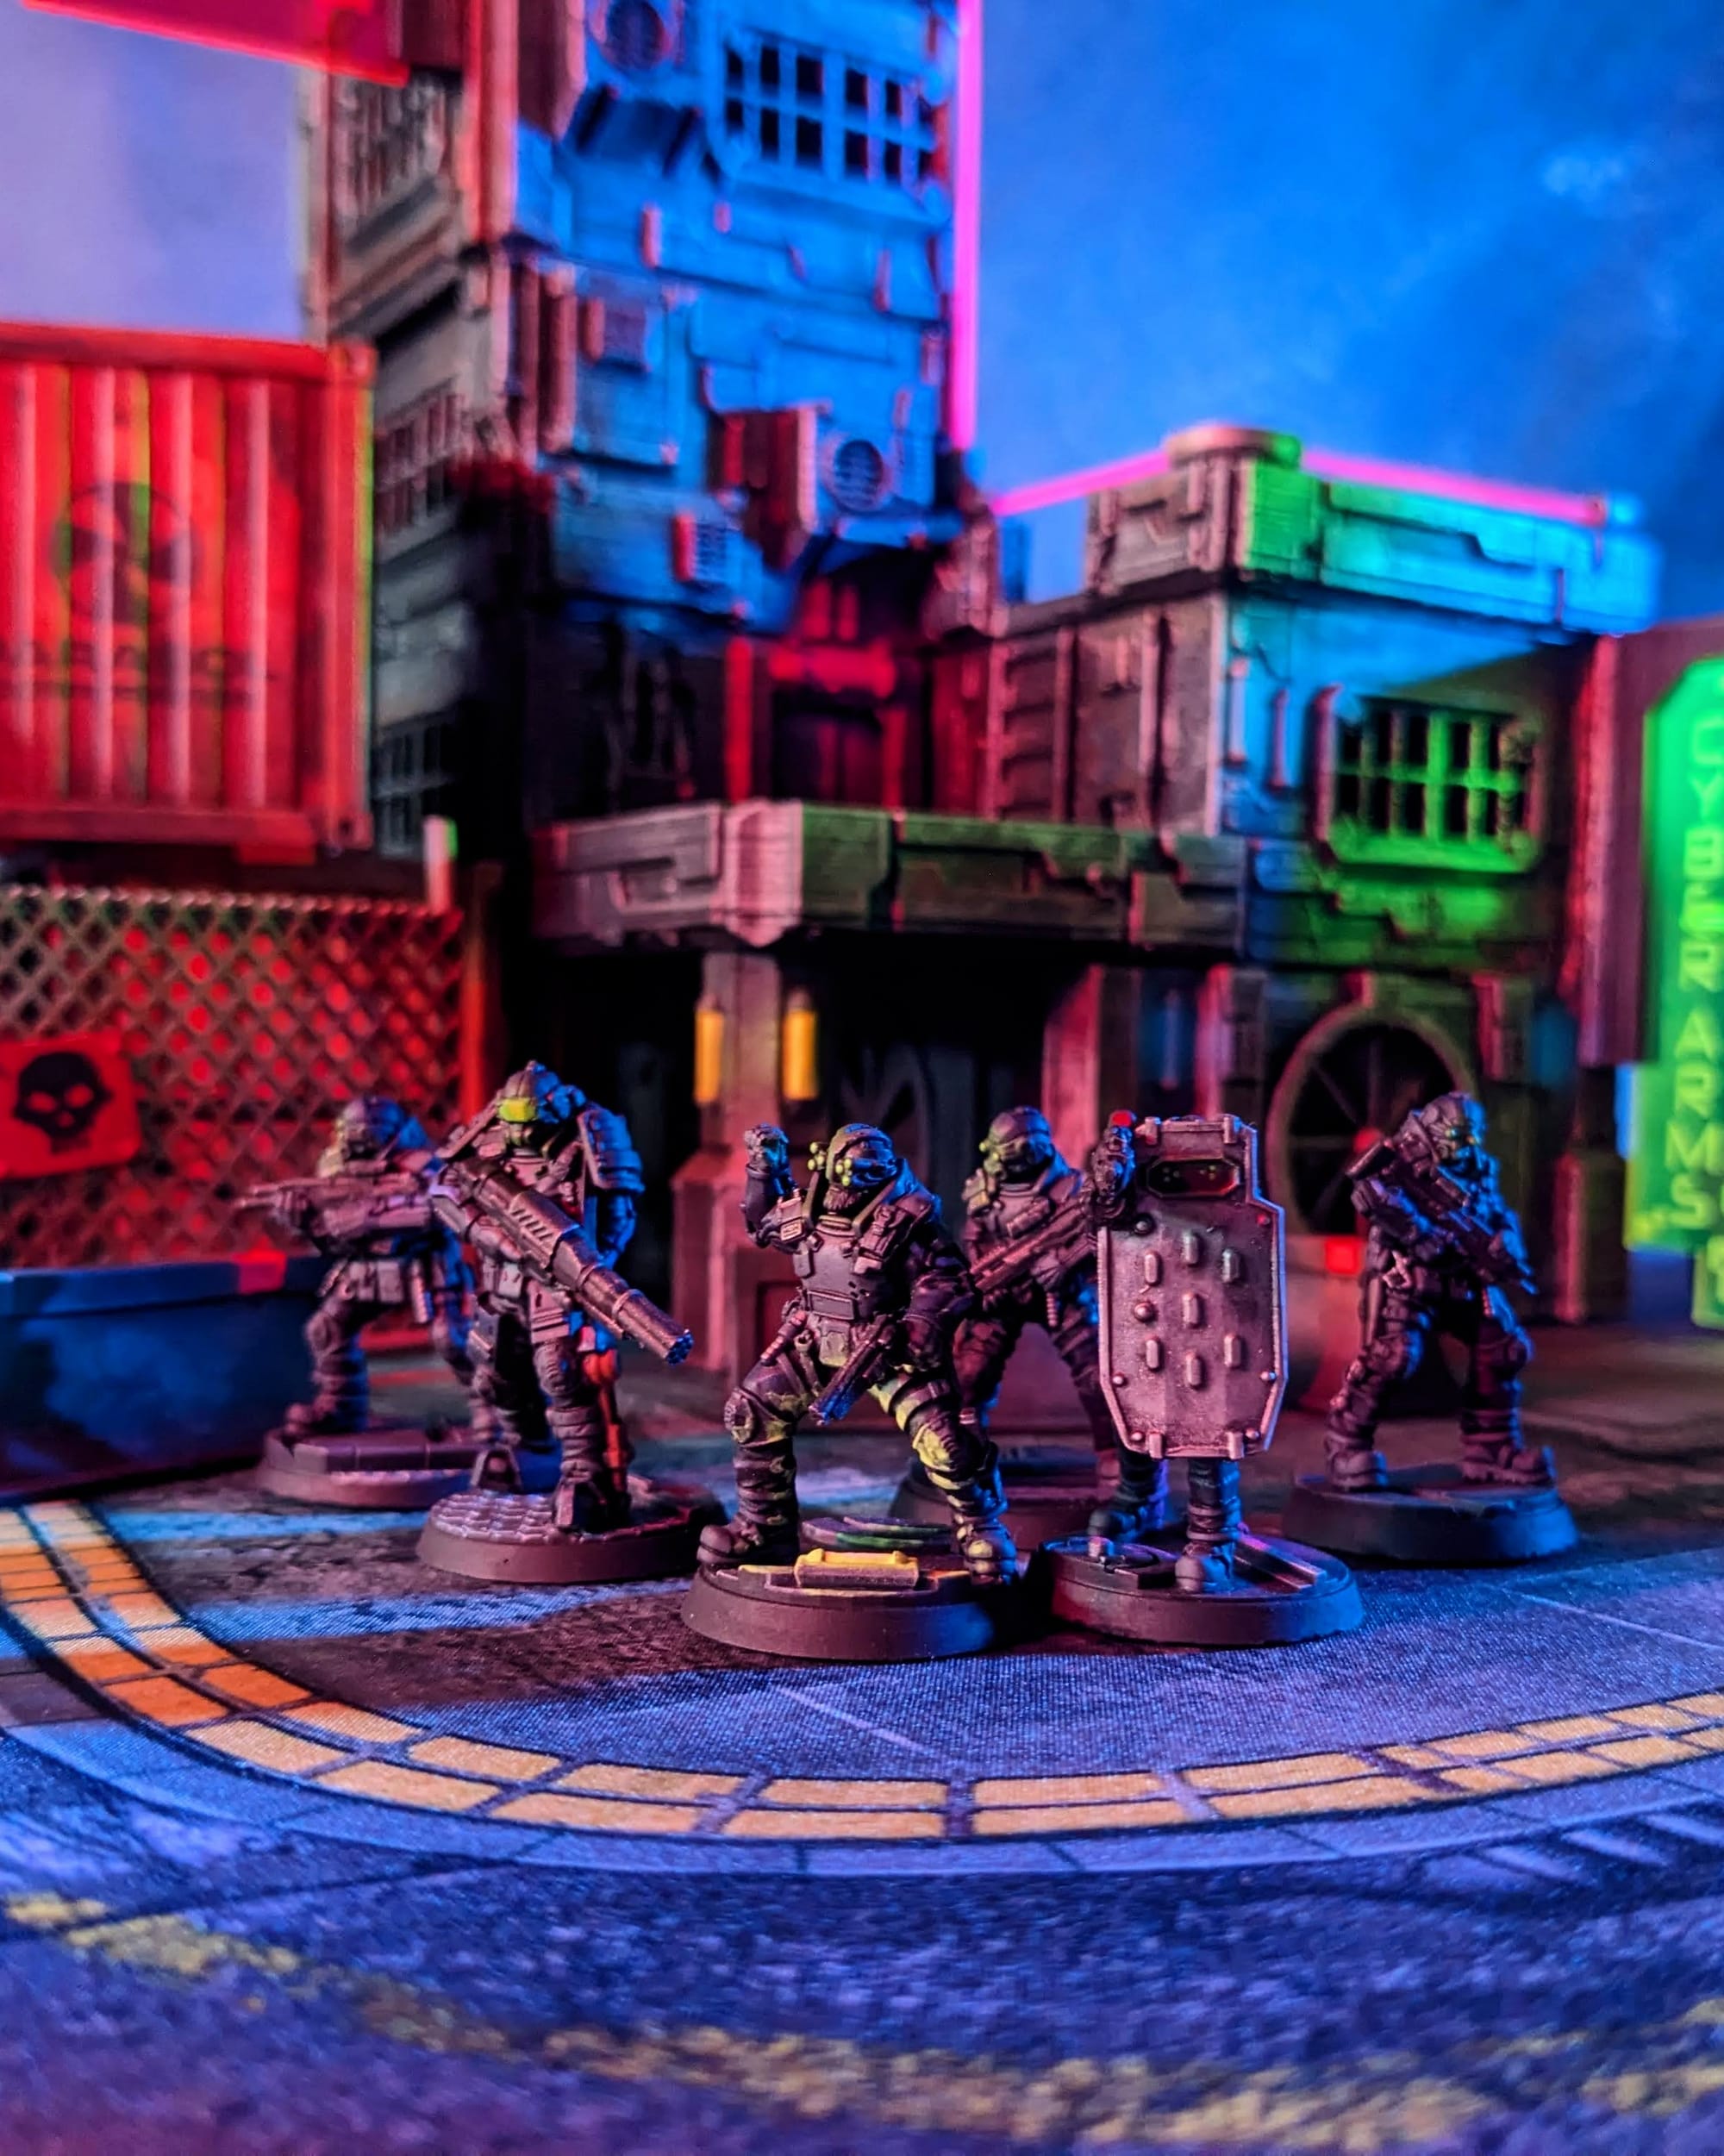
Basing
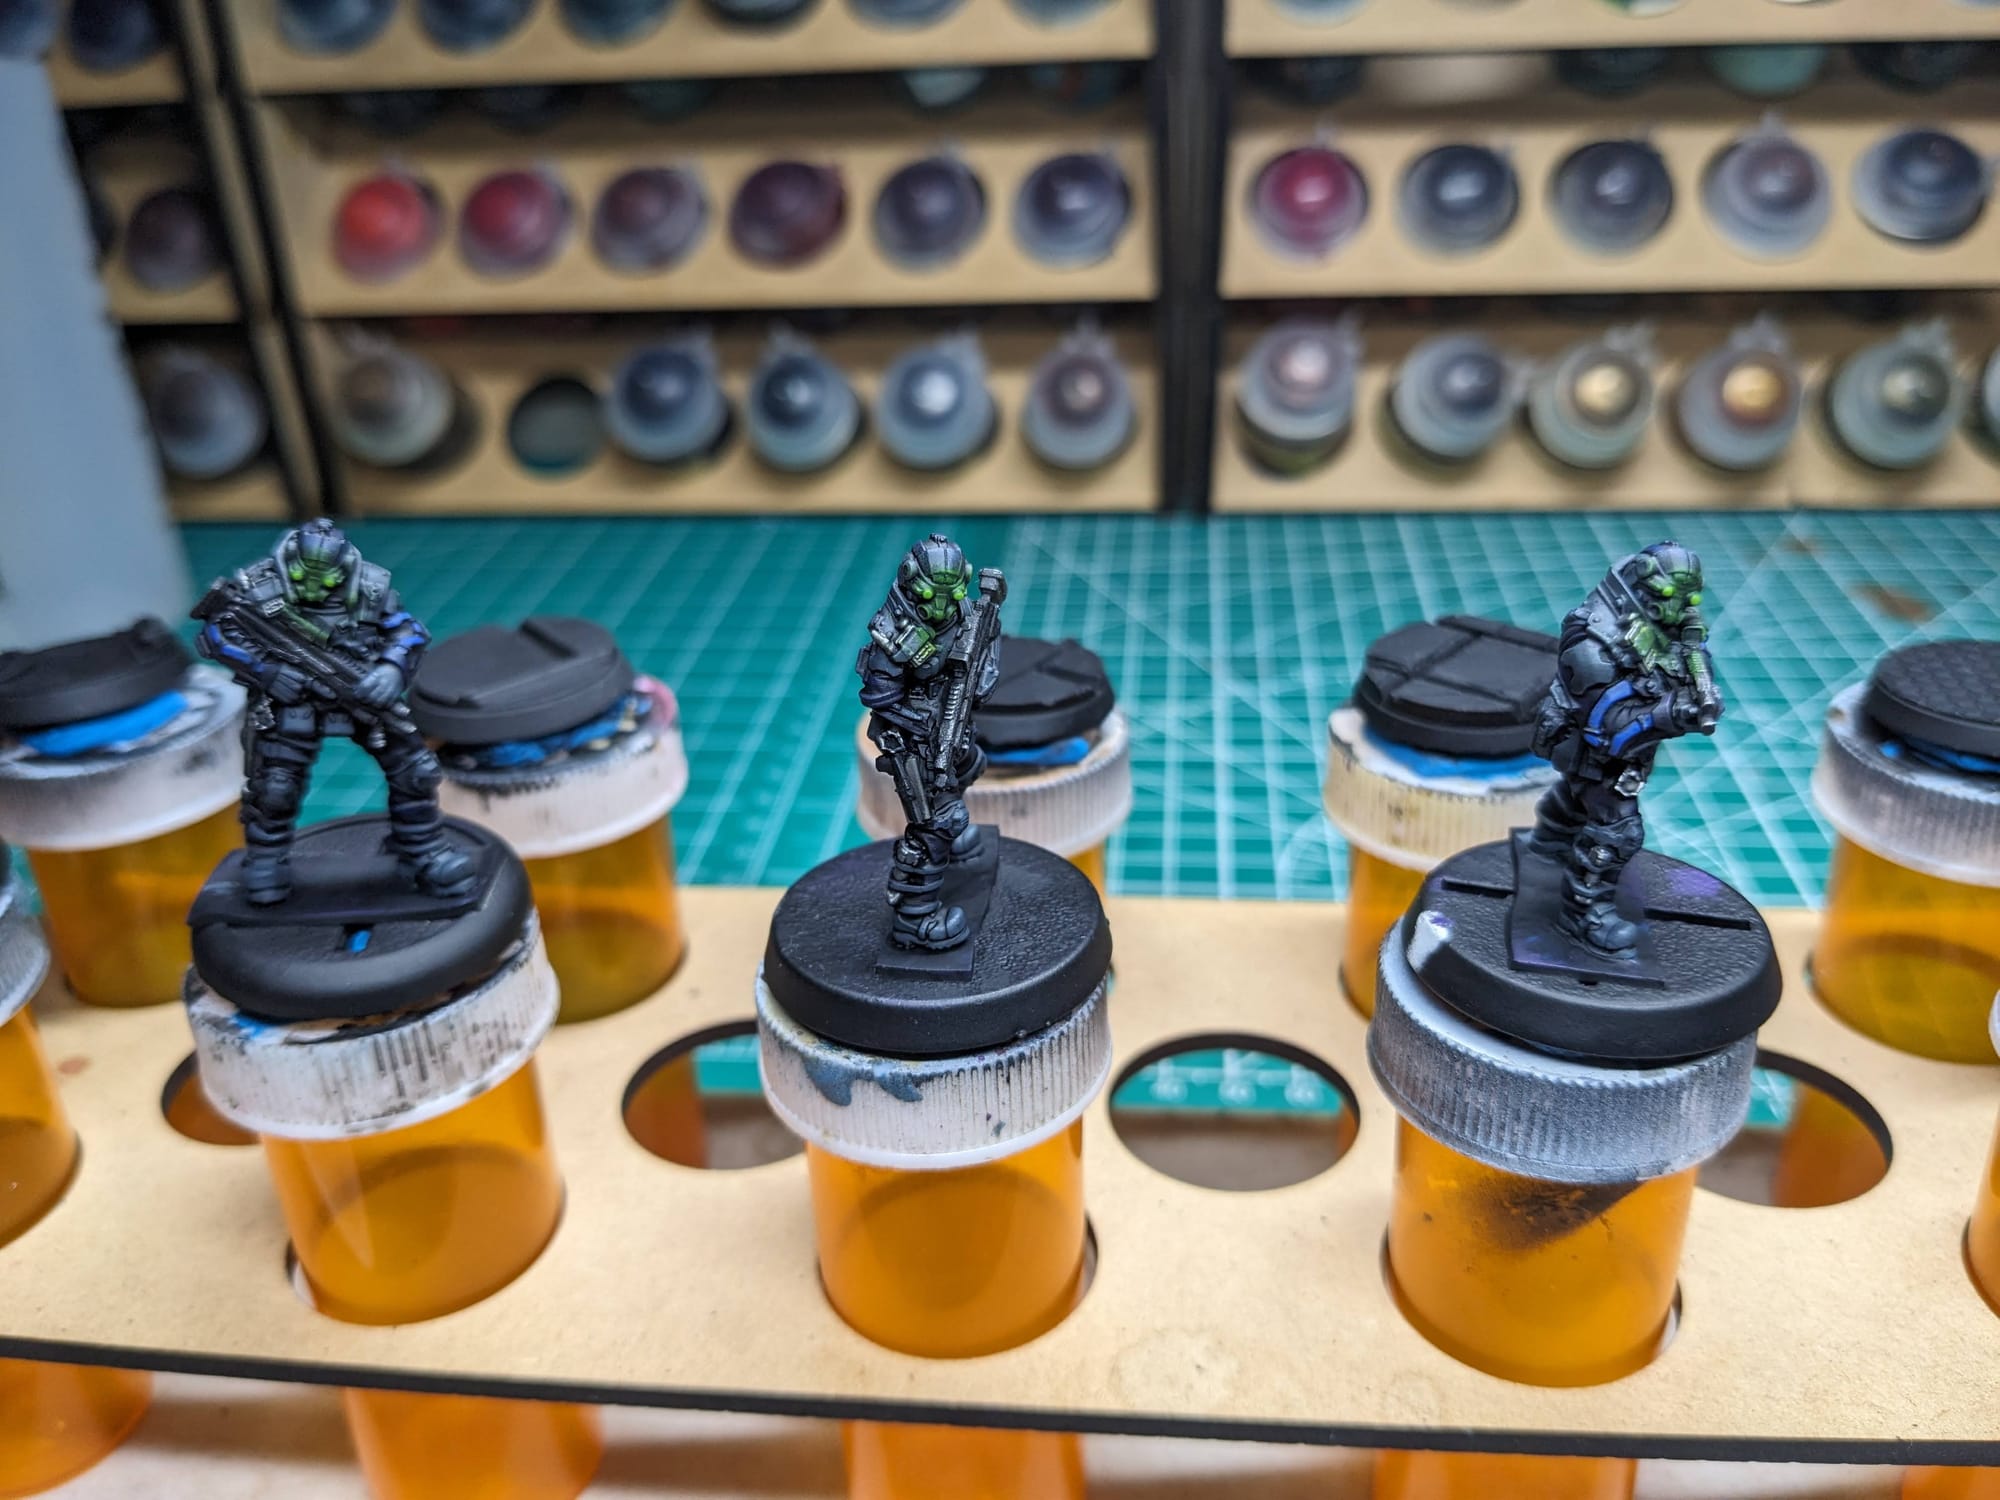
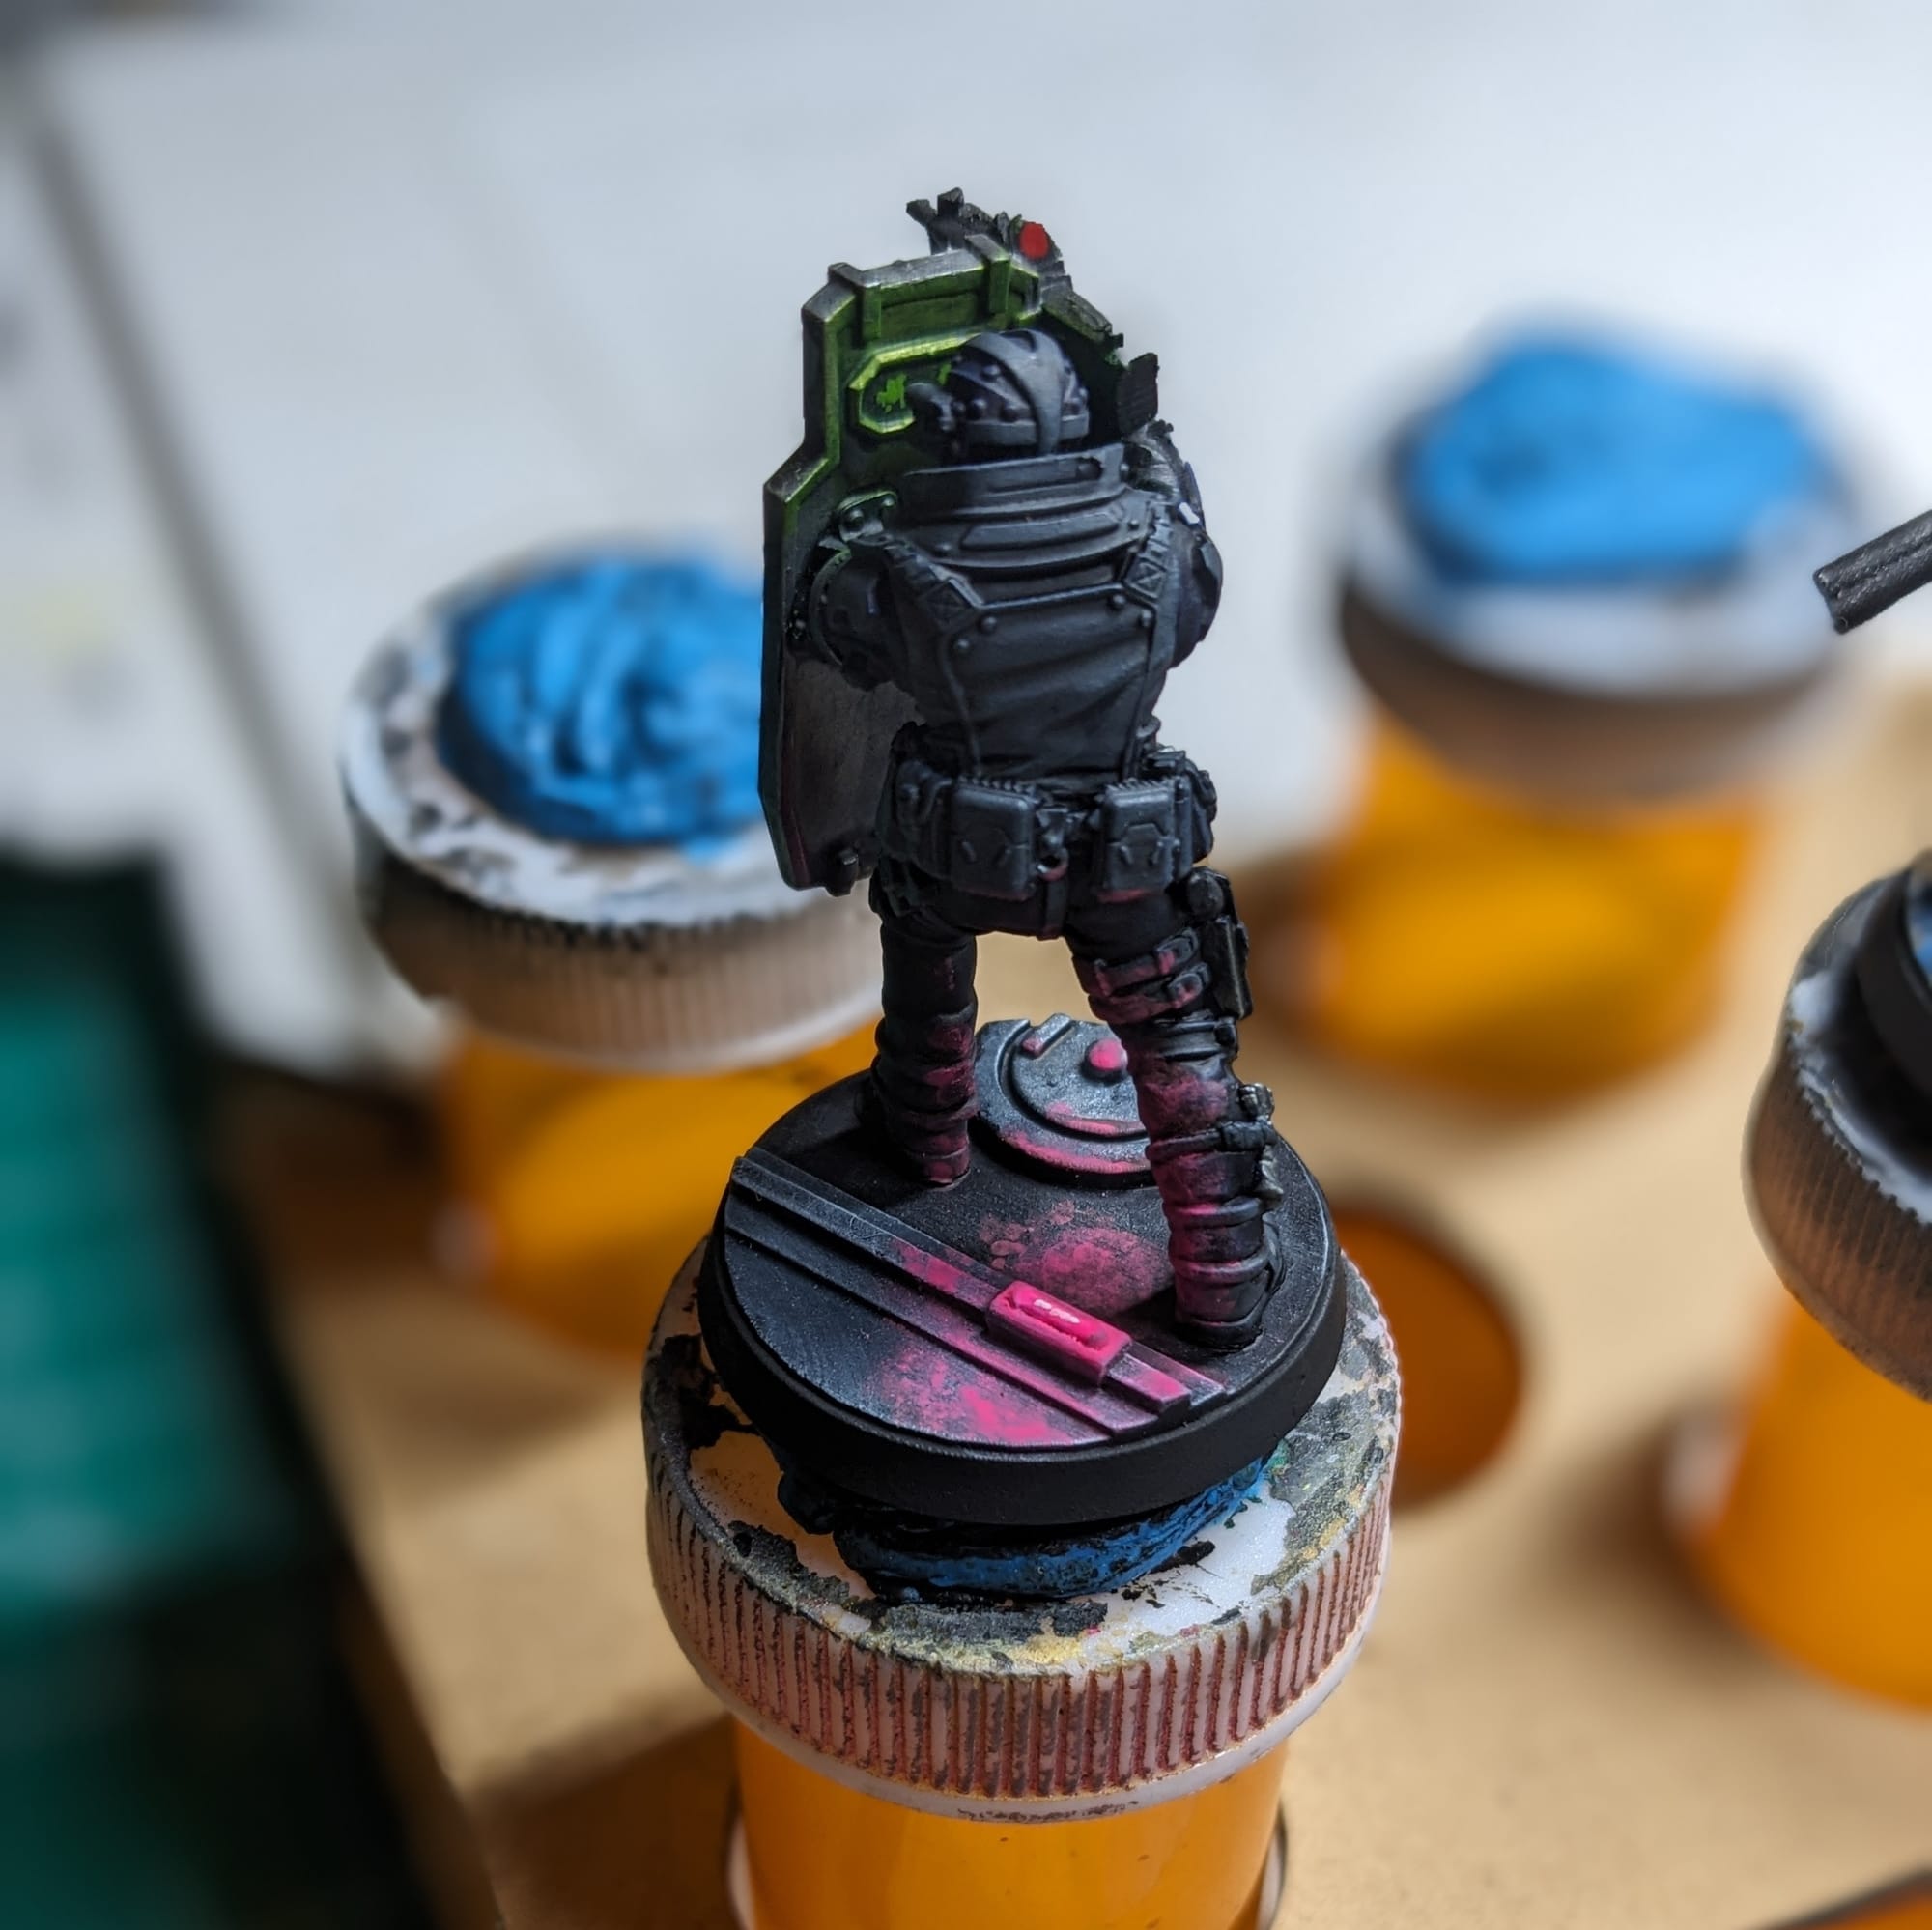
To make the bases more in line with the cyberpunk theme, I wanted to keep the basing dark overall and use fluorescent paint to create some glows and colors. The designs in the 3D prints allowed me to have some fun with where I was placing light sources.
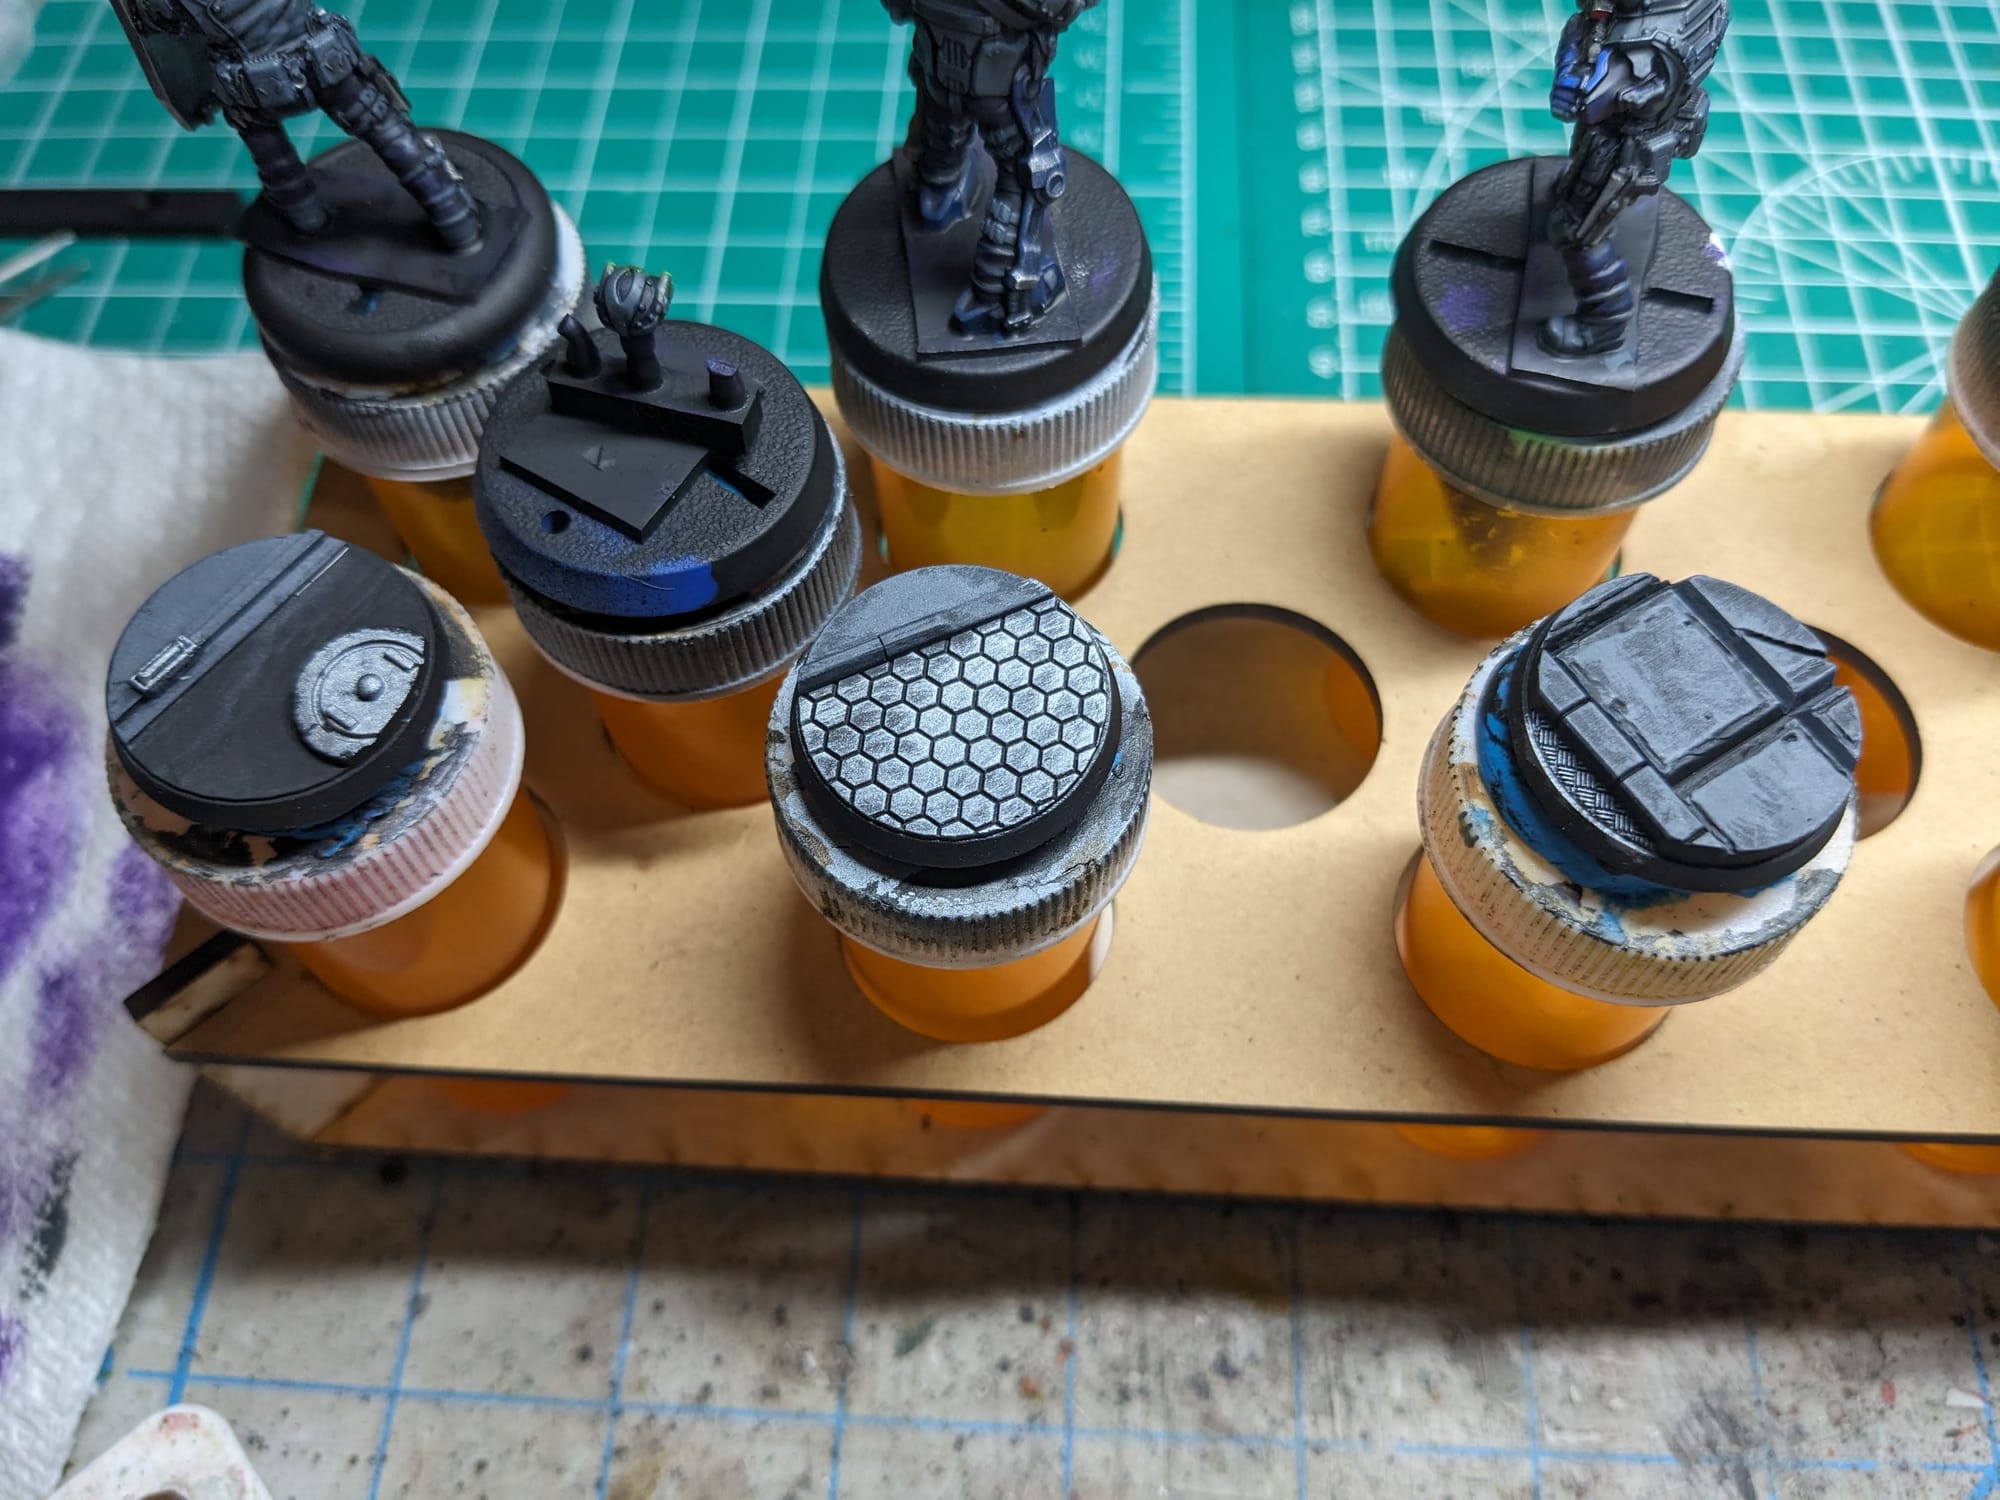
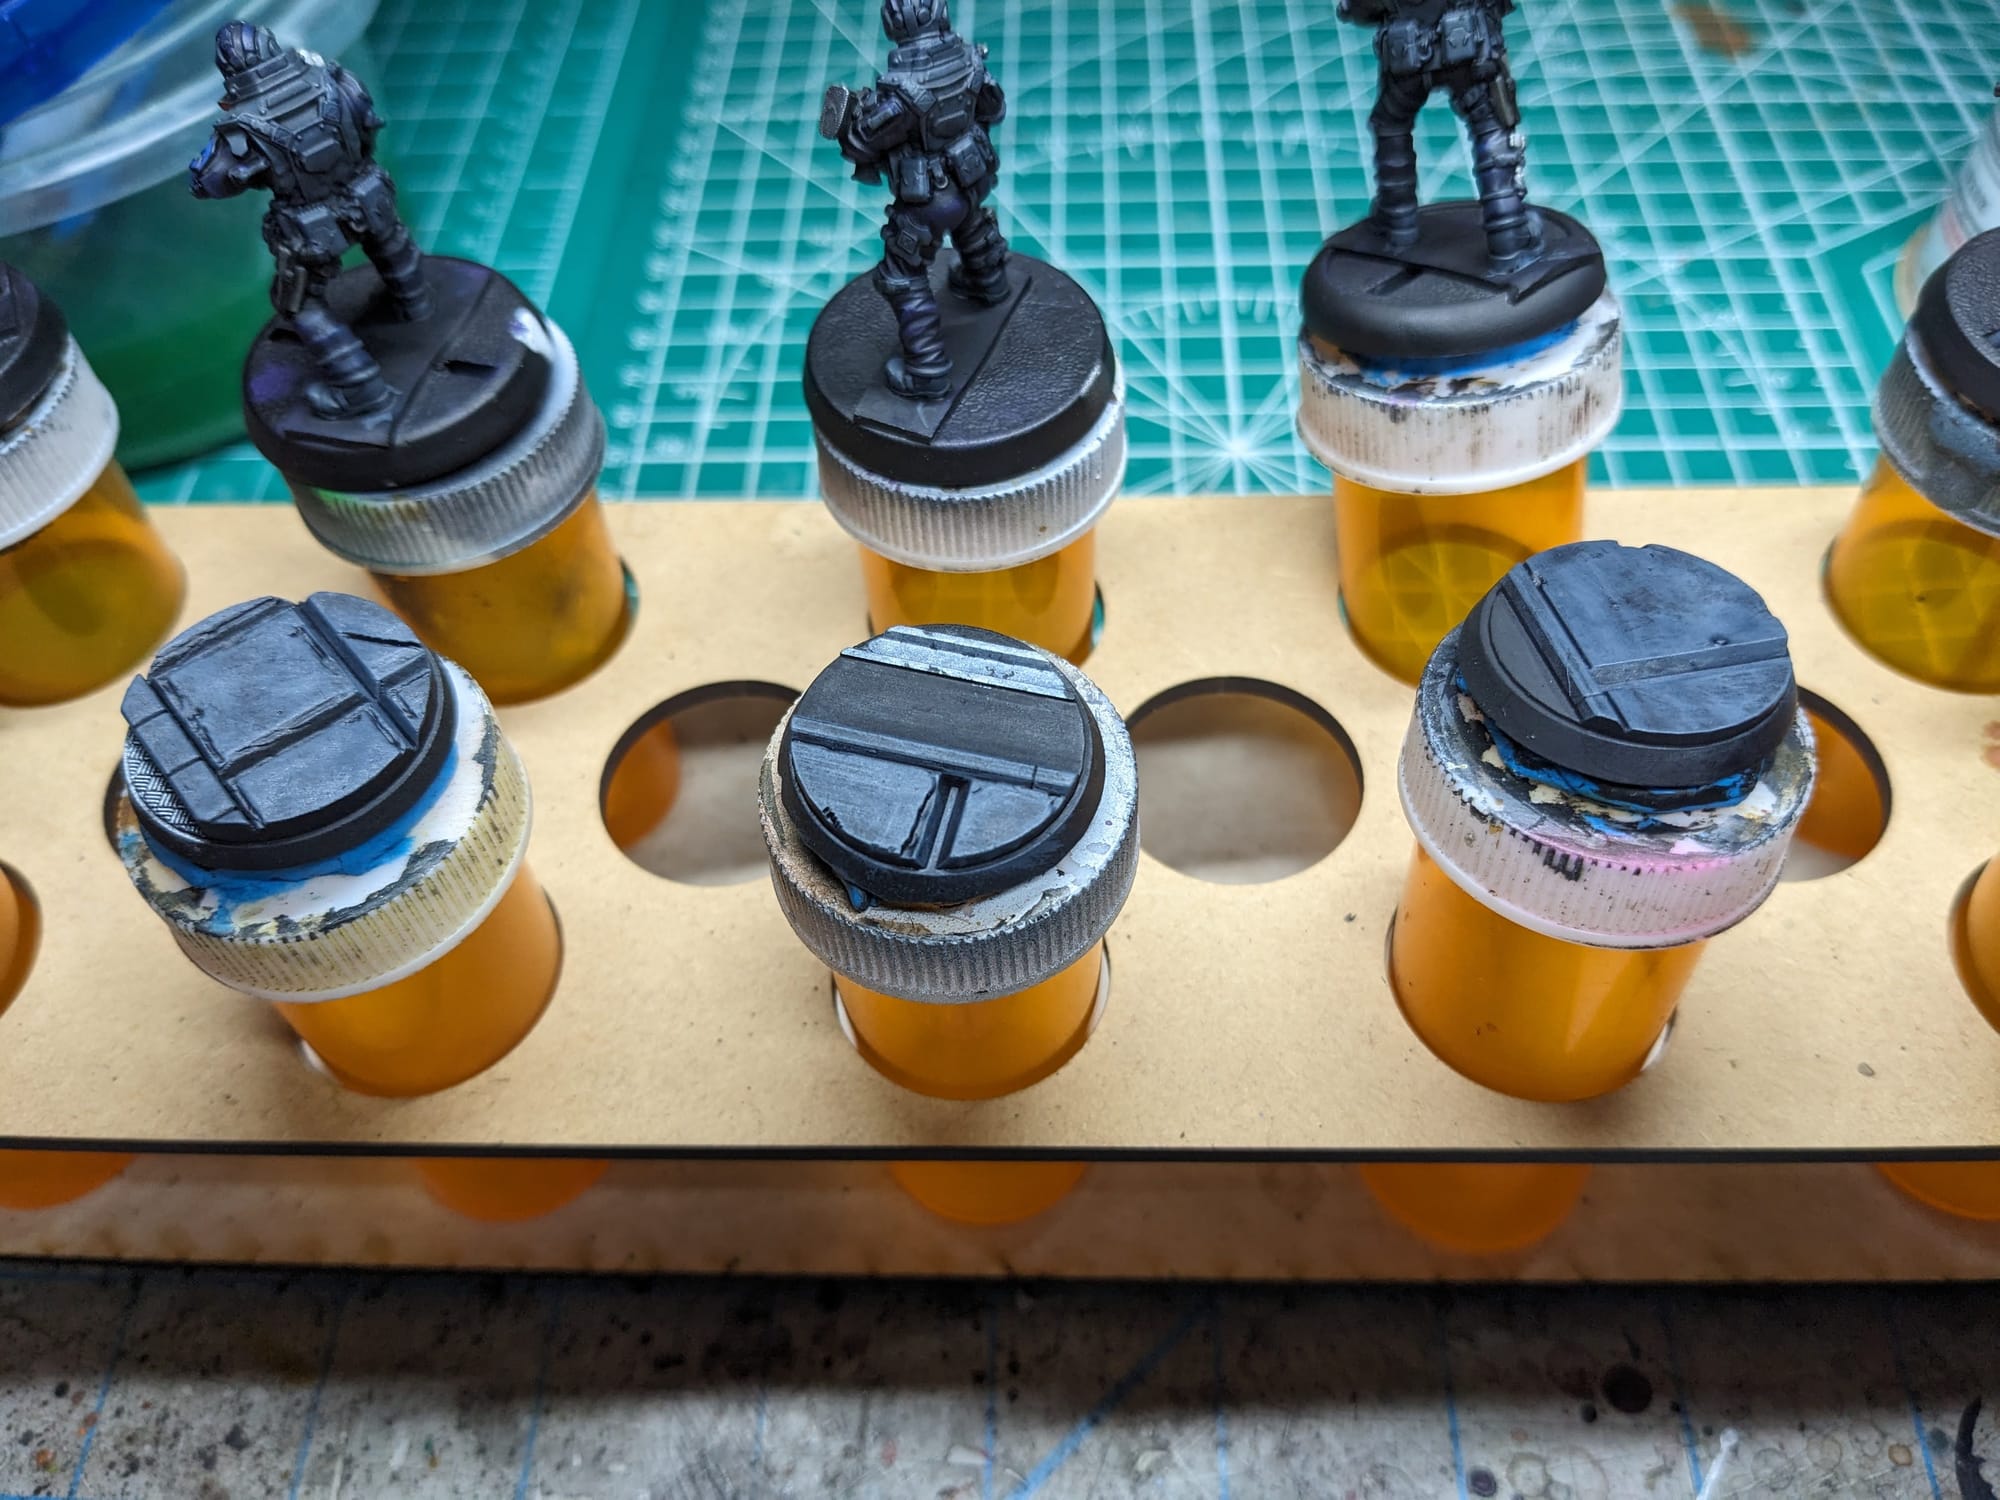
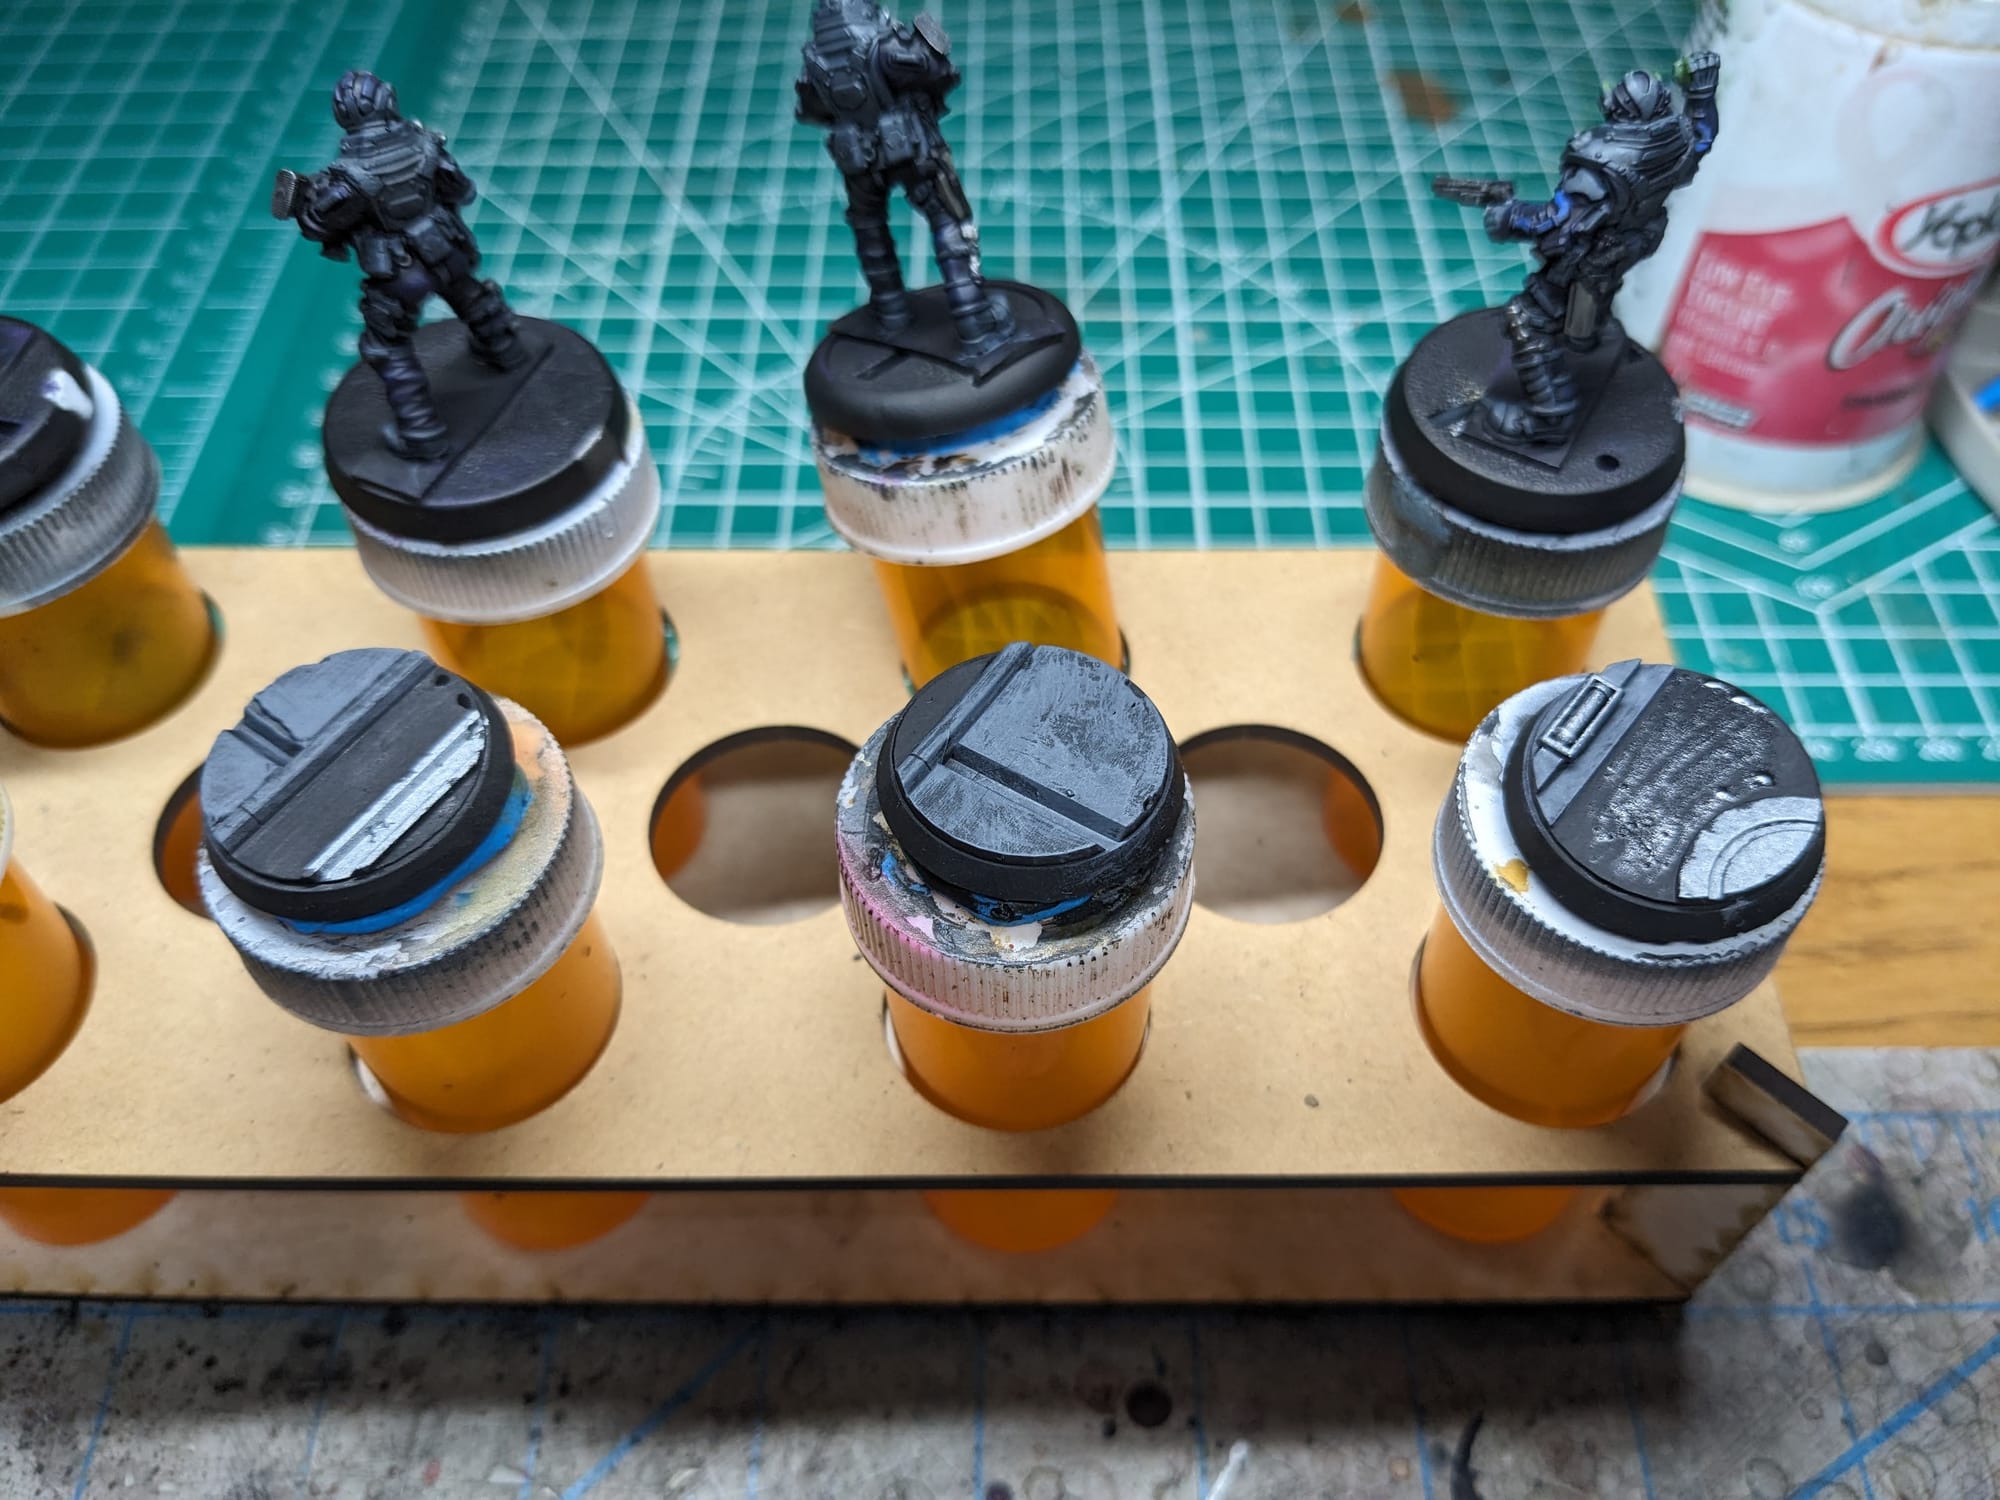
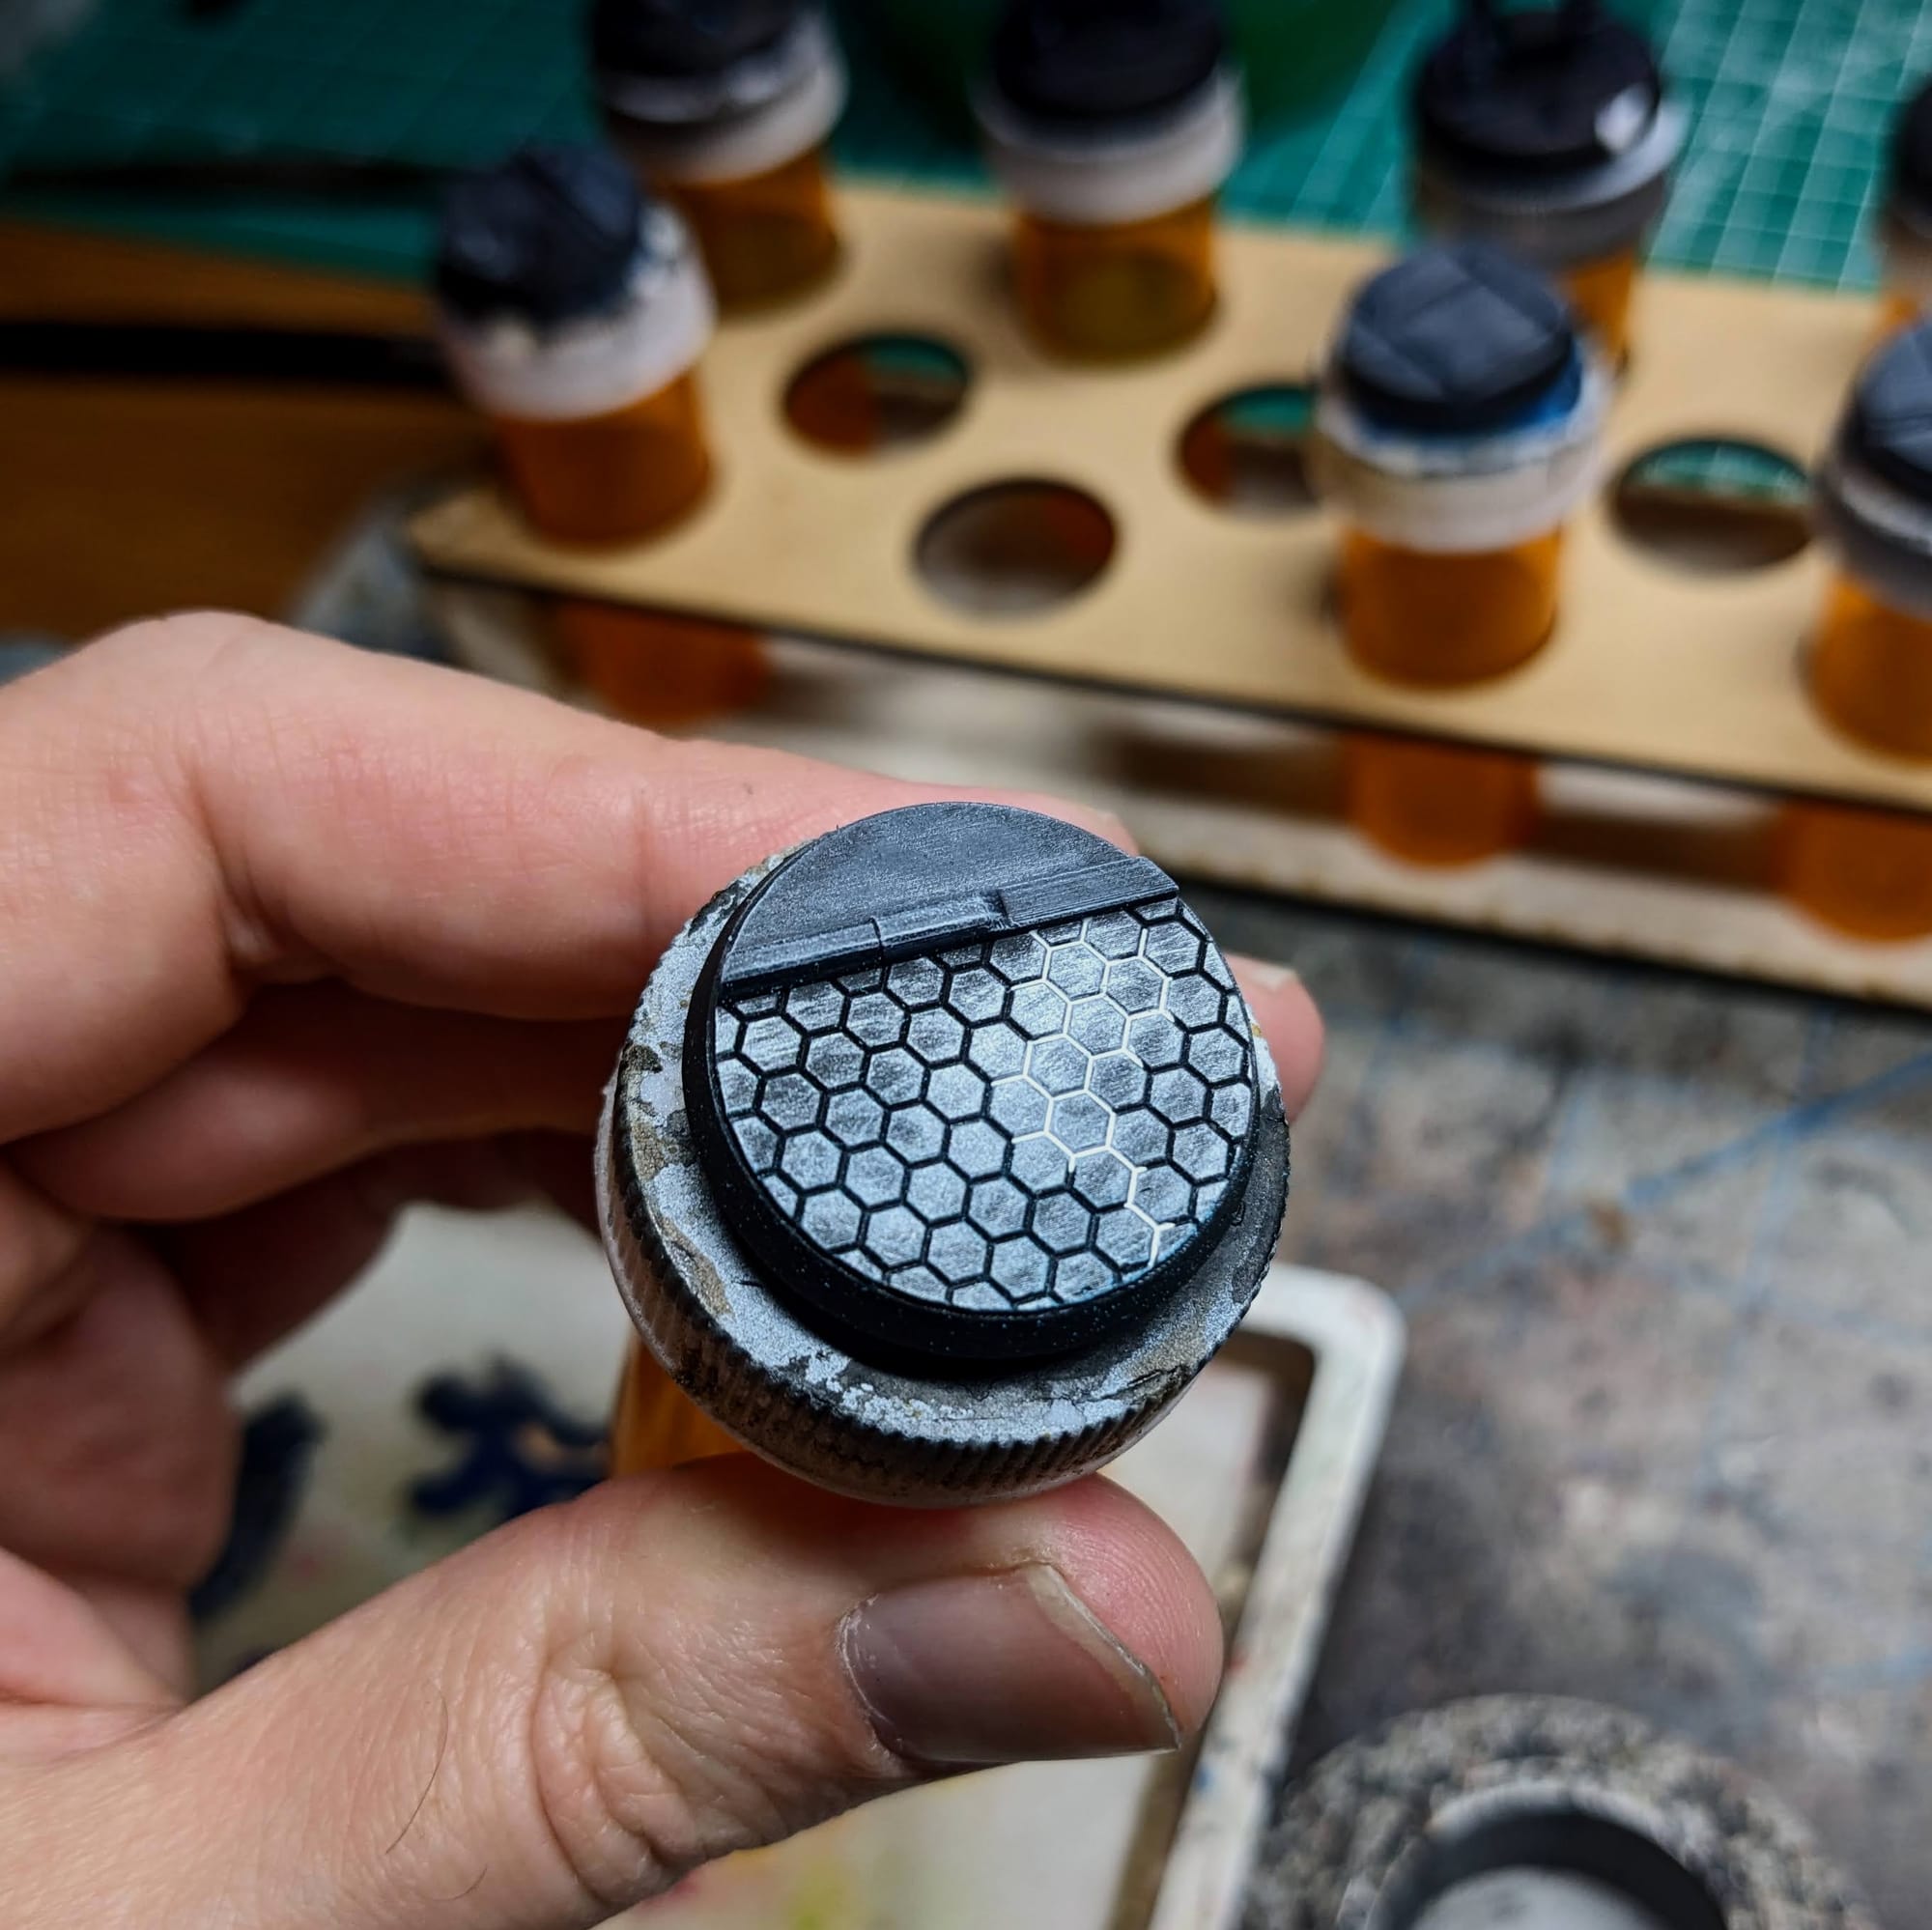
Like I did on the figures, I applied some OSL to the figures come from the brighter light sources on the bases. Regardless of the OSL color, I first started with applying white to the light sources on the bases, and then applied some dry-brushing out away from the light source. Then, I painted on the thin glaze of the fluorescent color and then applied the brighter pigment over the top of the source of light. In the case of the blue hexes, I used a (very) thin white paint to act like a panel liner, which I had on my wet palette. This allowed the paint to flow into the recesses without having to be pin-point accurate with the painting.
Sealing
As I do with all of the models I paint that I also play, I applied a protective clear coating over the paint. This helps preserve the paint on the model and keeps oils from hands from rubbing off the paint as you continuously touch the models during games. There are many different kinds of clear varnishes to use, but I typically use any matte or anti-shine varnishes, as satin, semi-gloss, and gloss tend to distort the colors of the models (not to mention that most models aren’t supposed to be shiny).
Brands that have been reliable for me are Krylon Matte Clear Spray, Rustoleum Matte Clear Coat, which is slightly glossy, and Testors Dullcote, although the latter can be expensive and difficult to find. For a coat with no shine that really enhances the colors, I use AK Interactive’s Ultra Matte Varnish, applied with an airbrush.
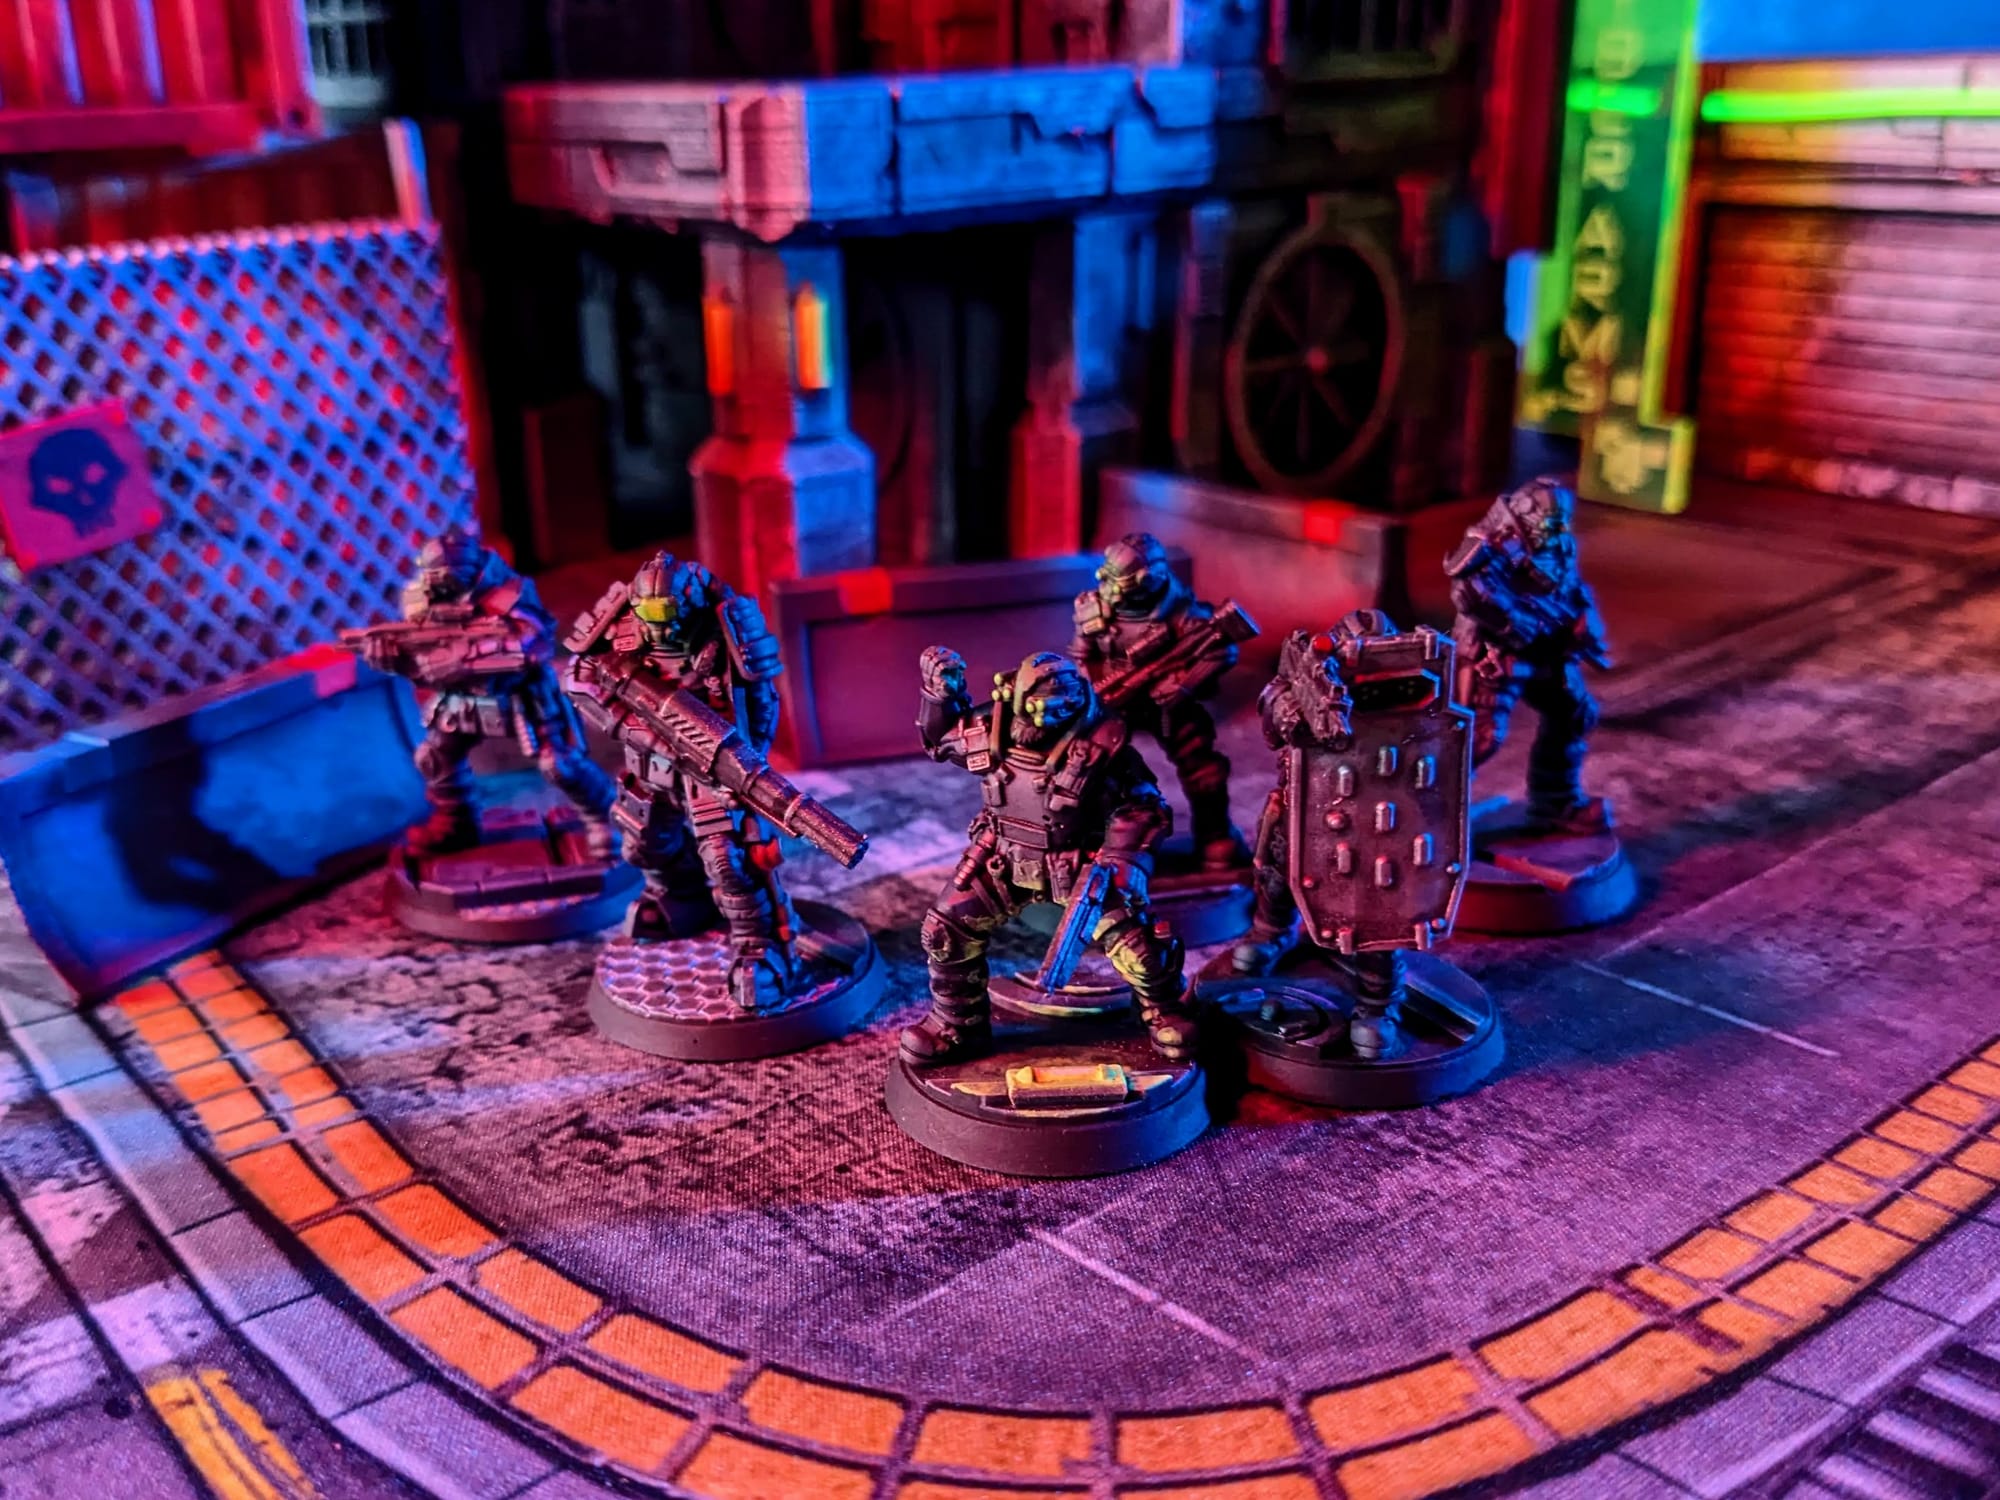
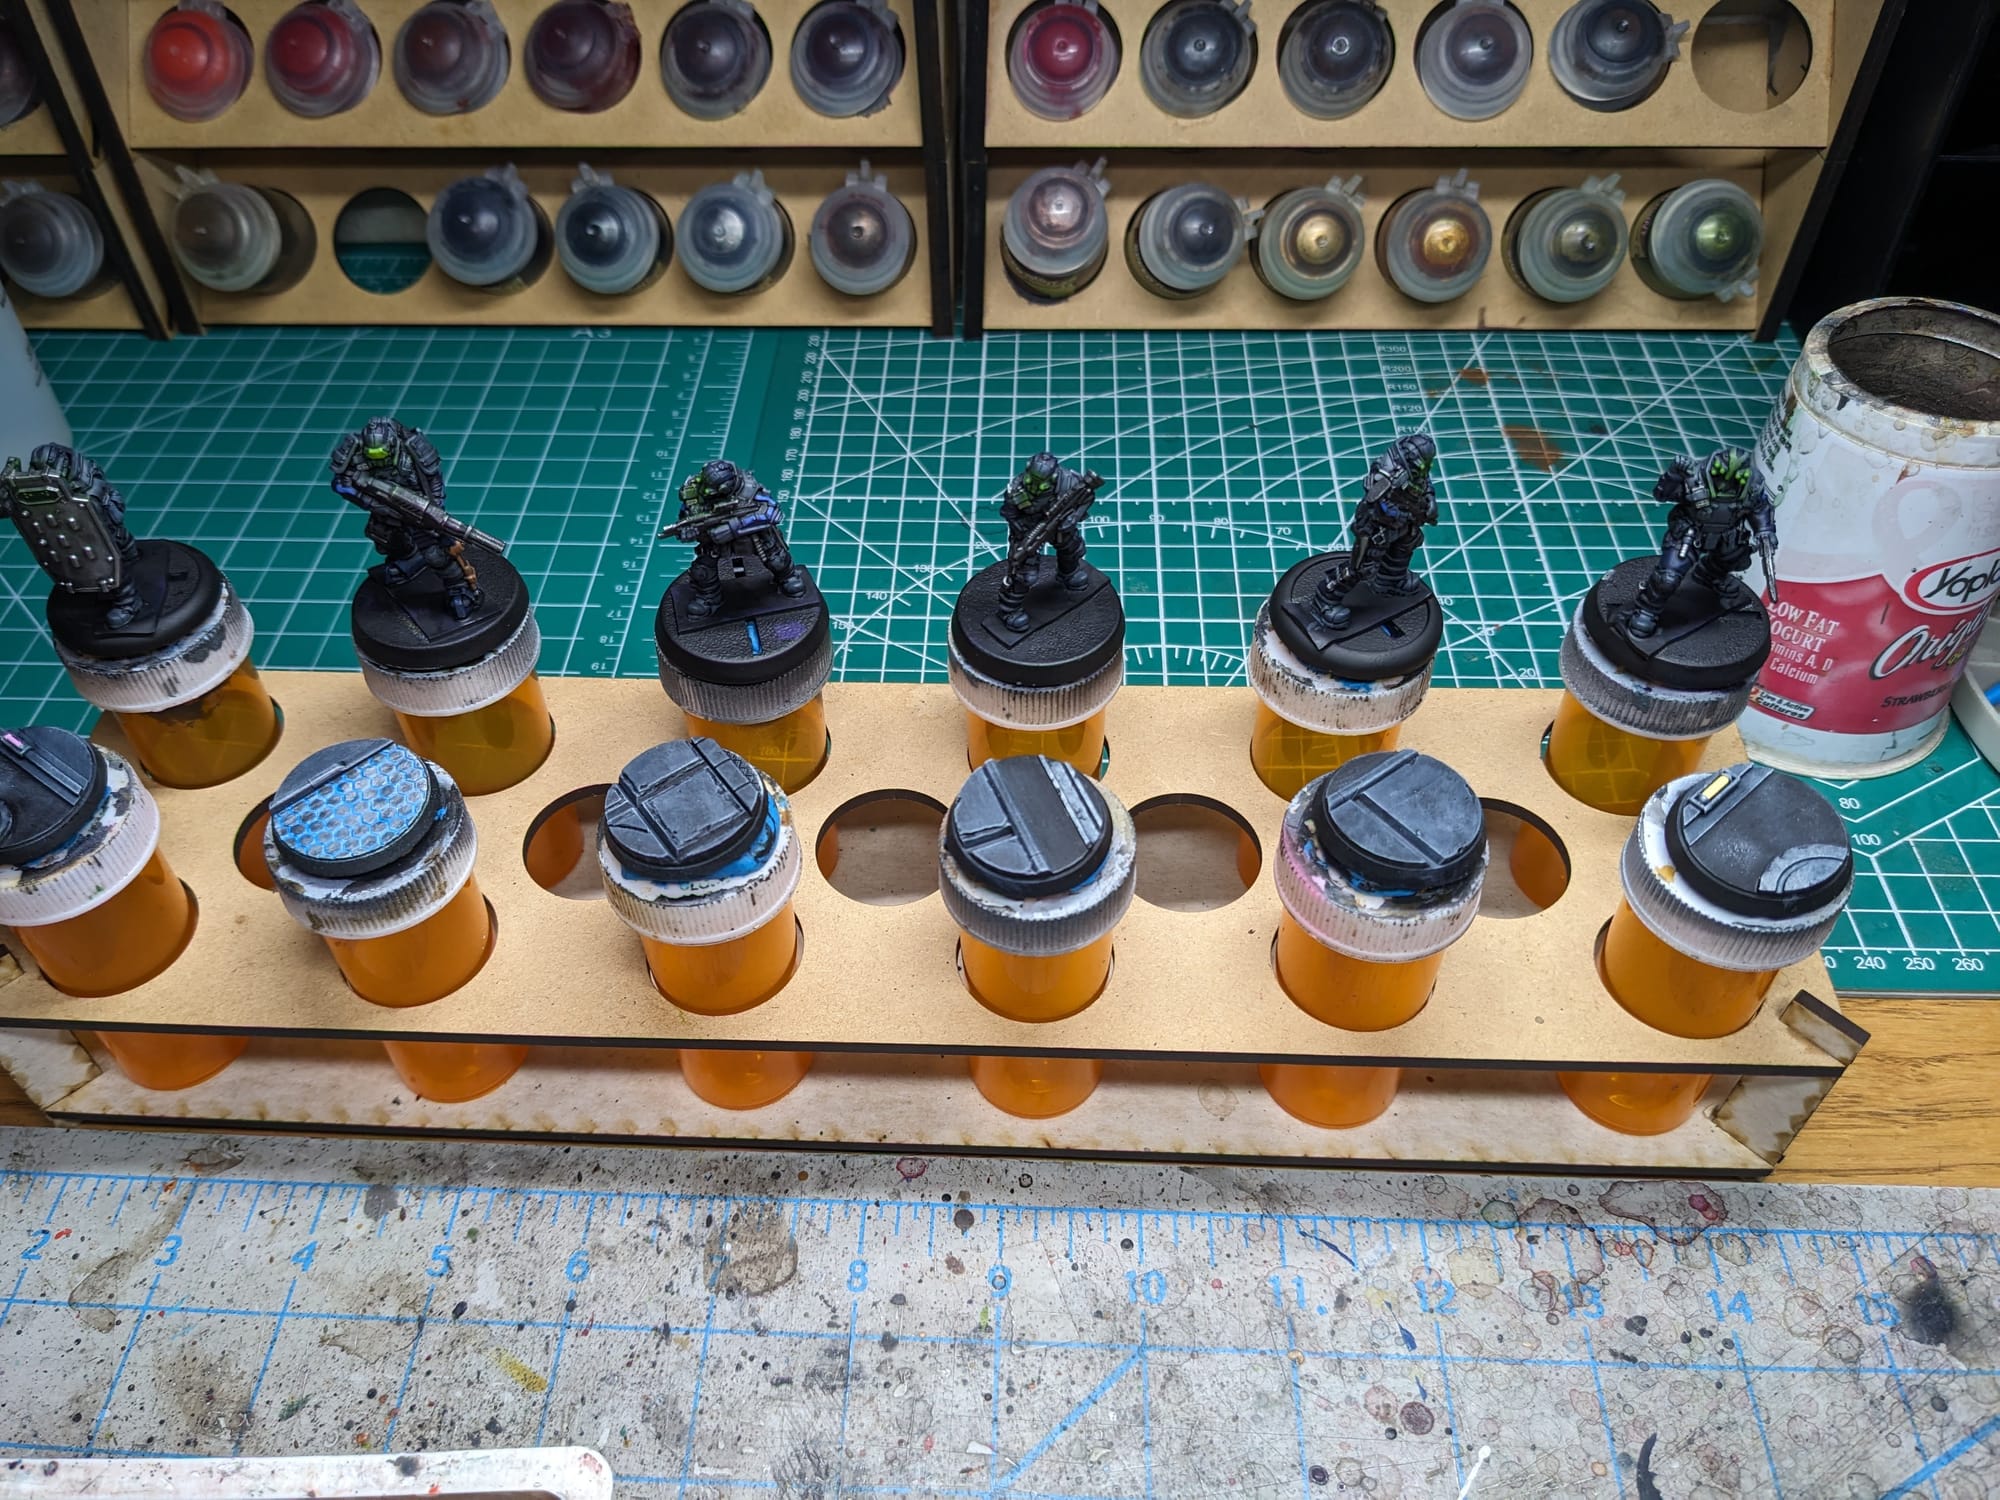
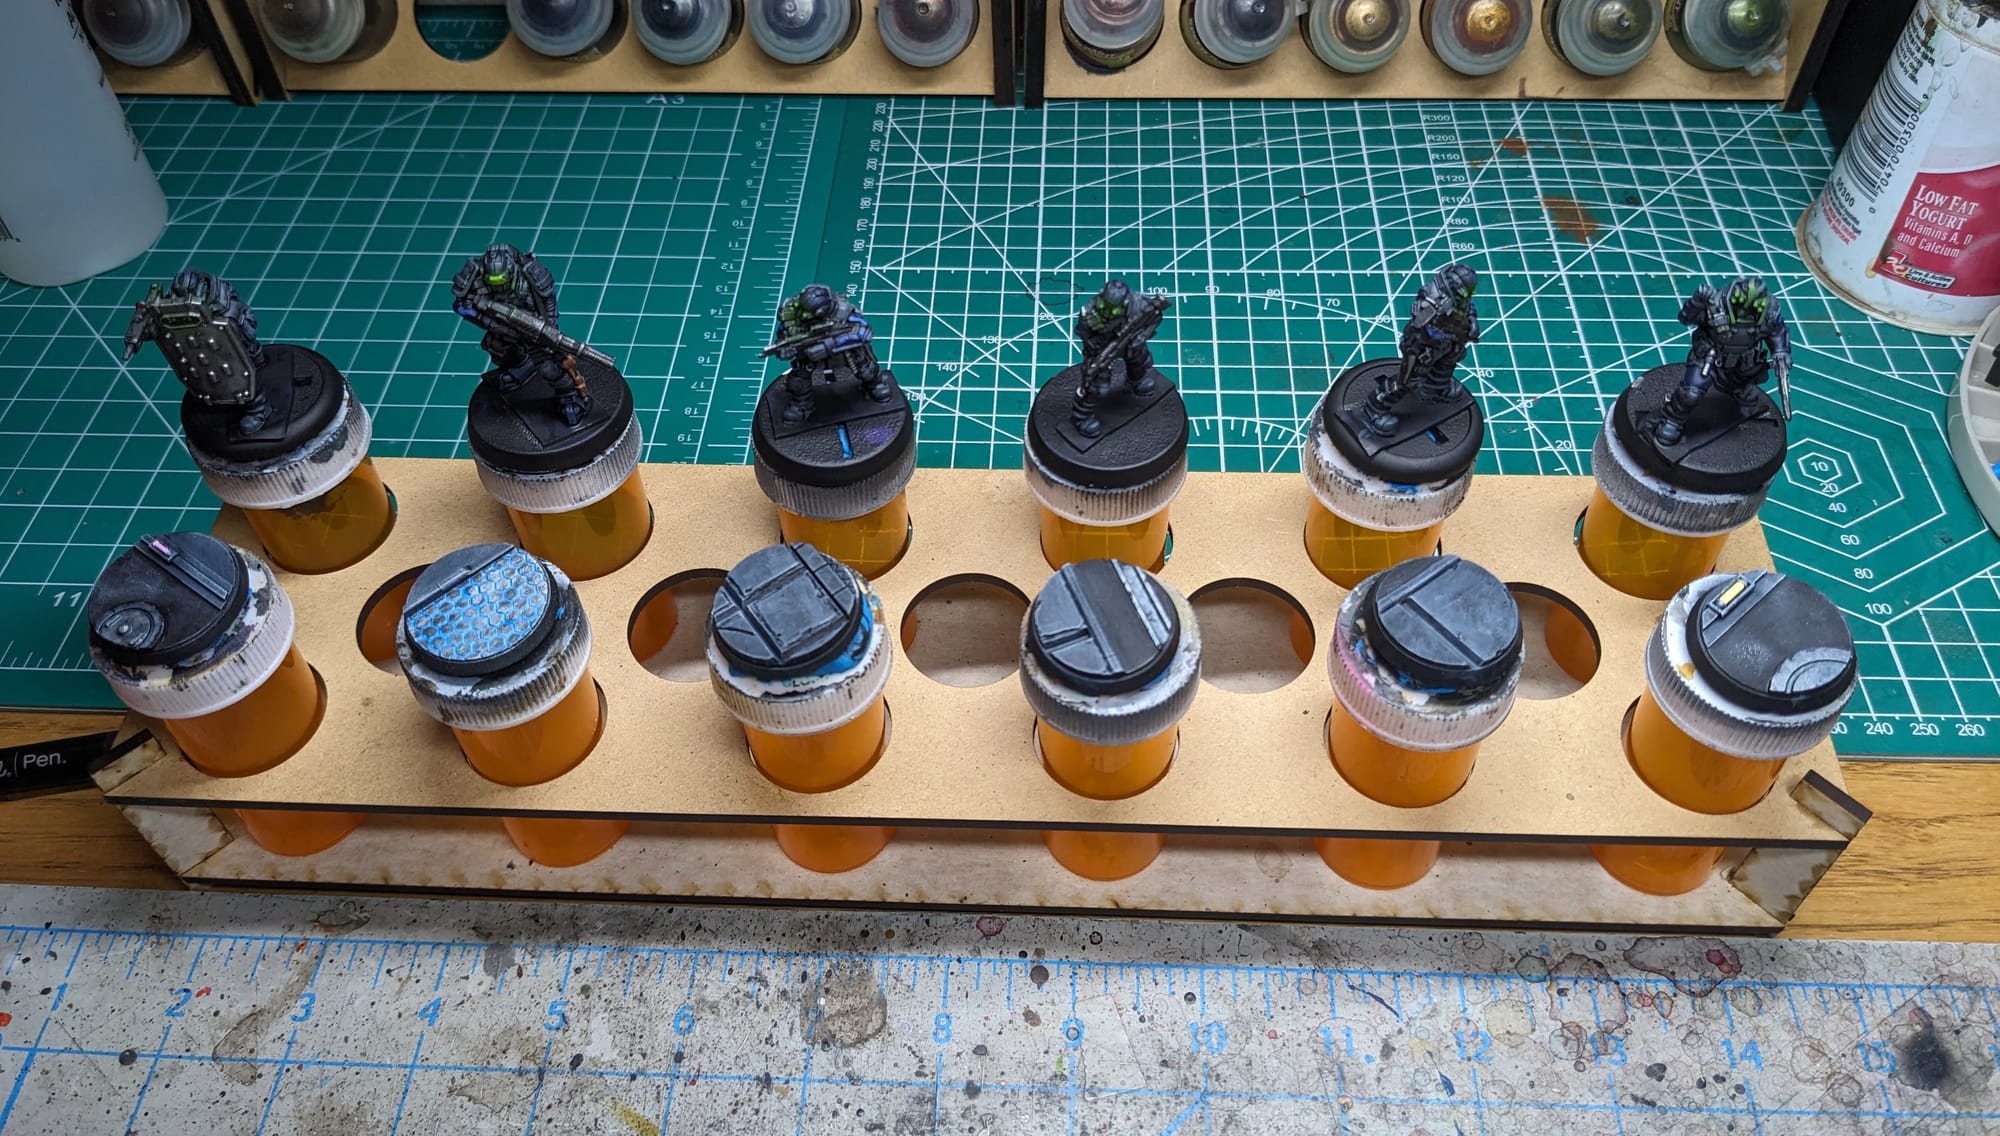
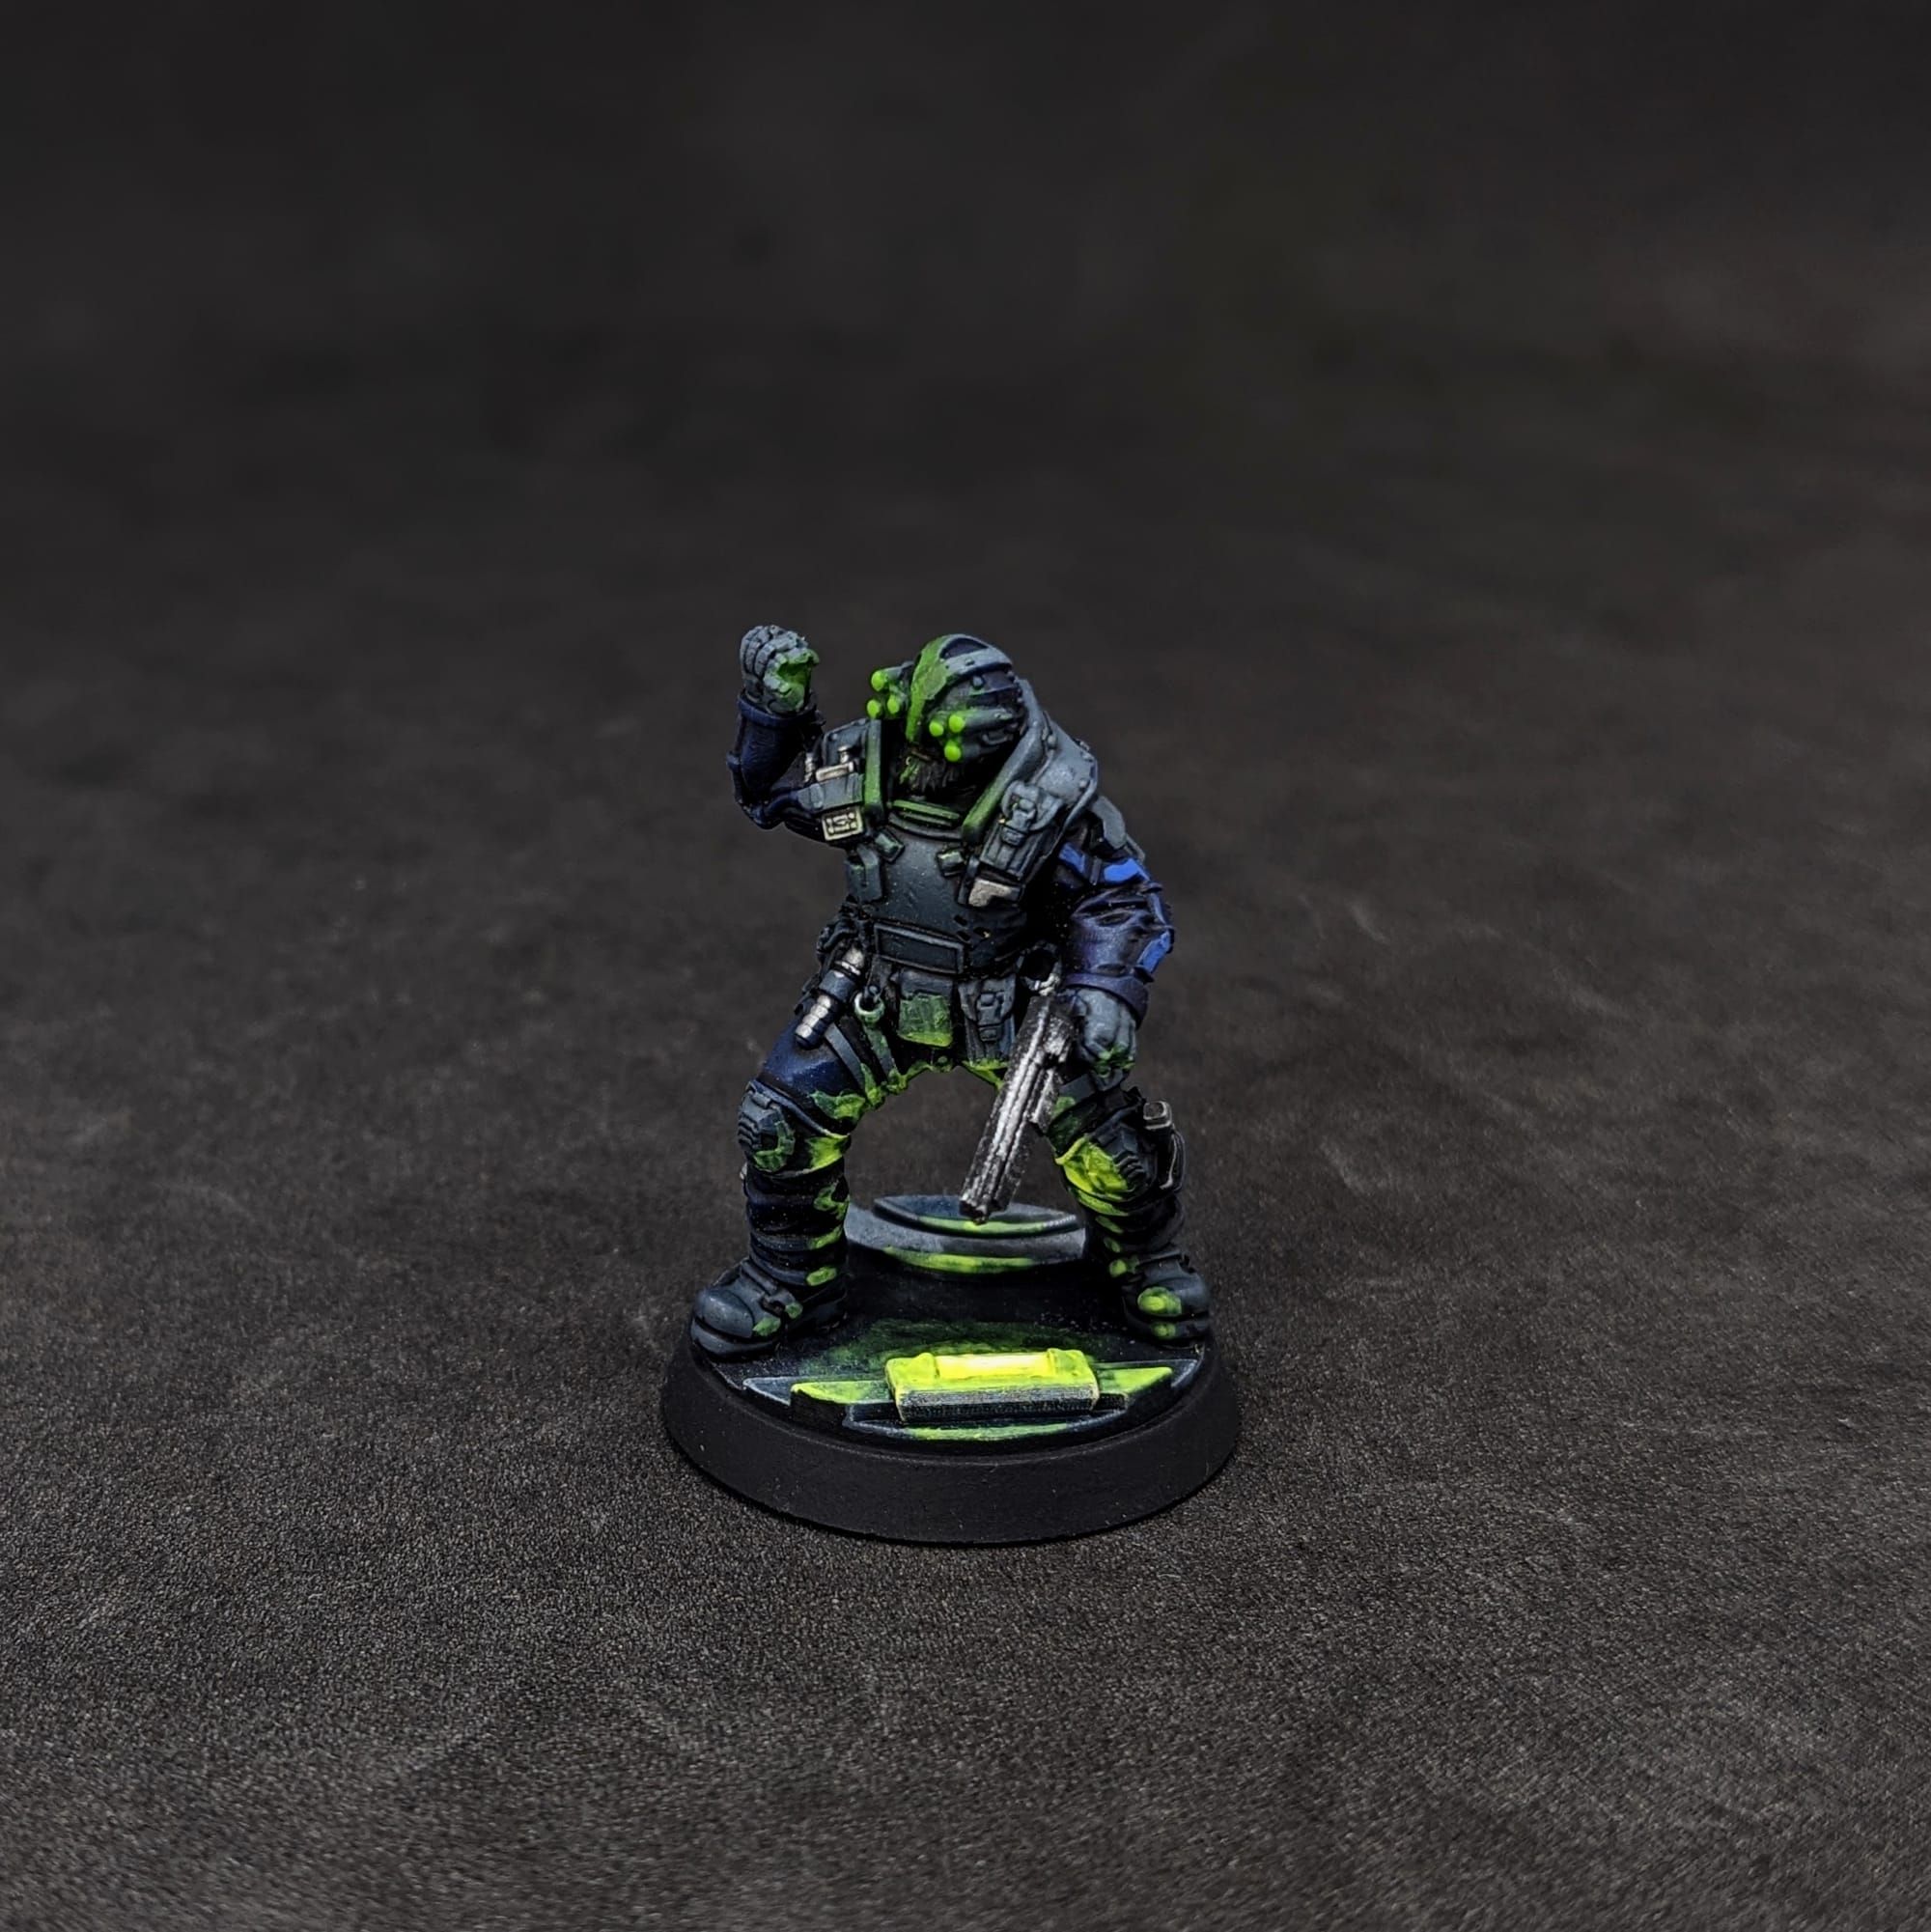
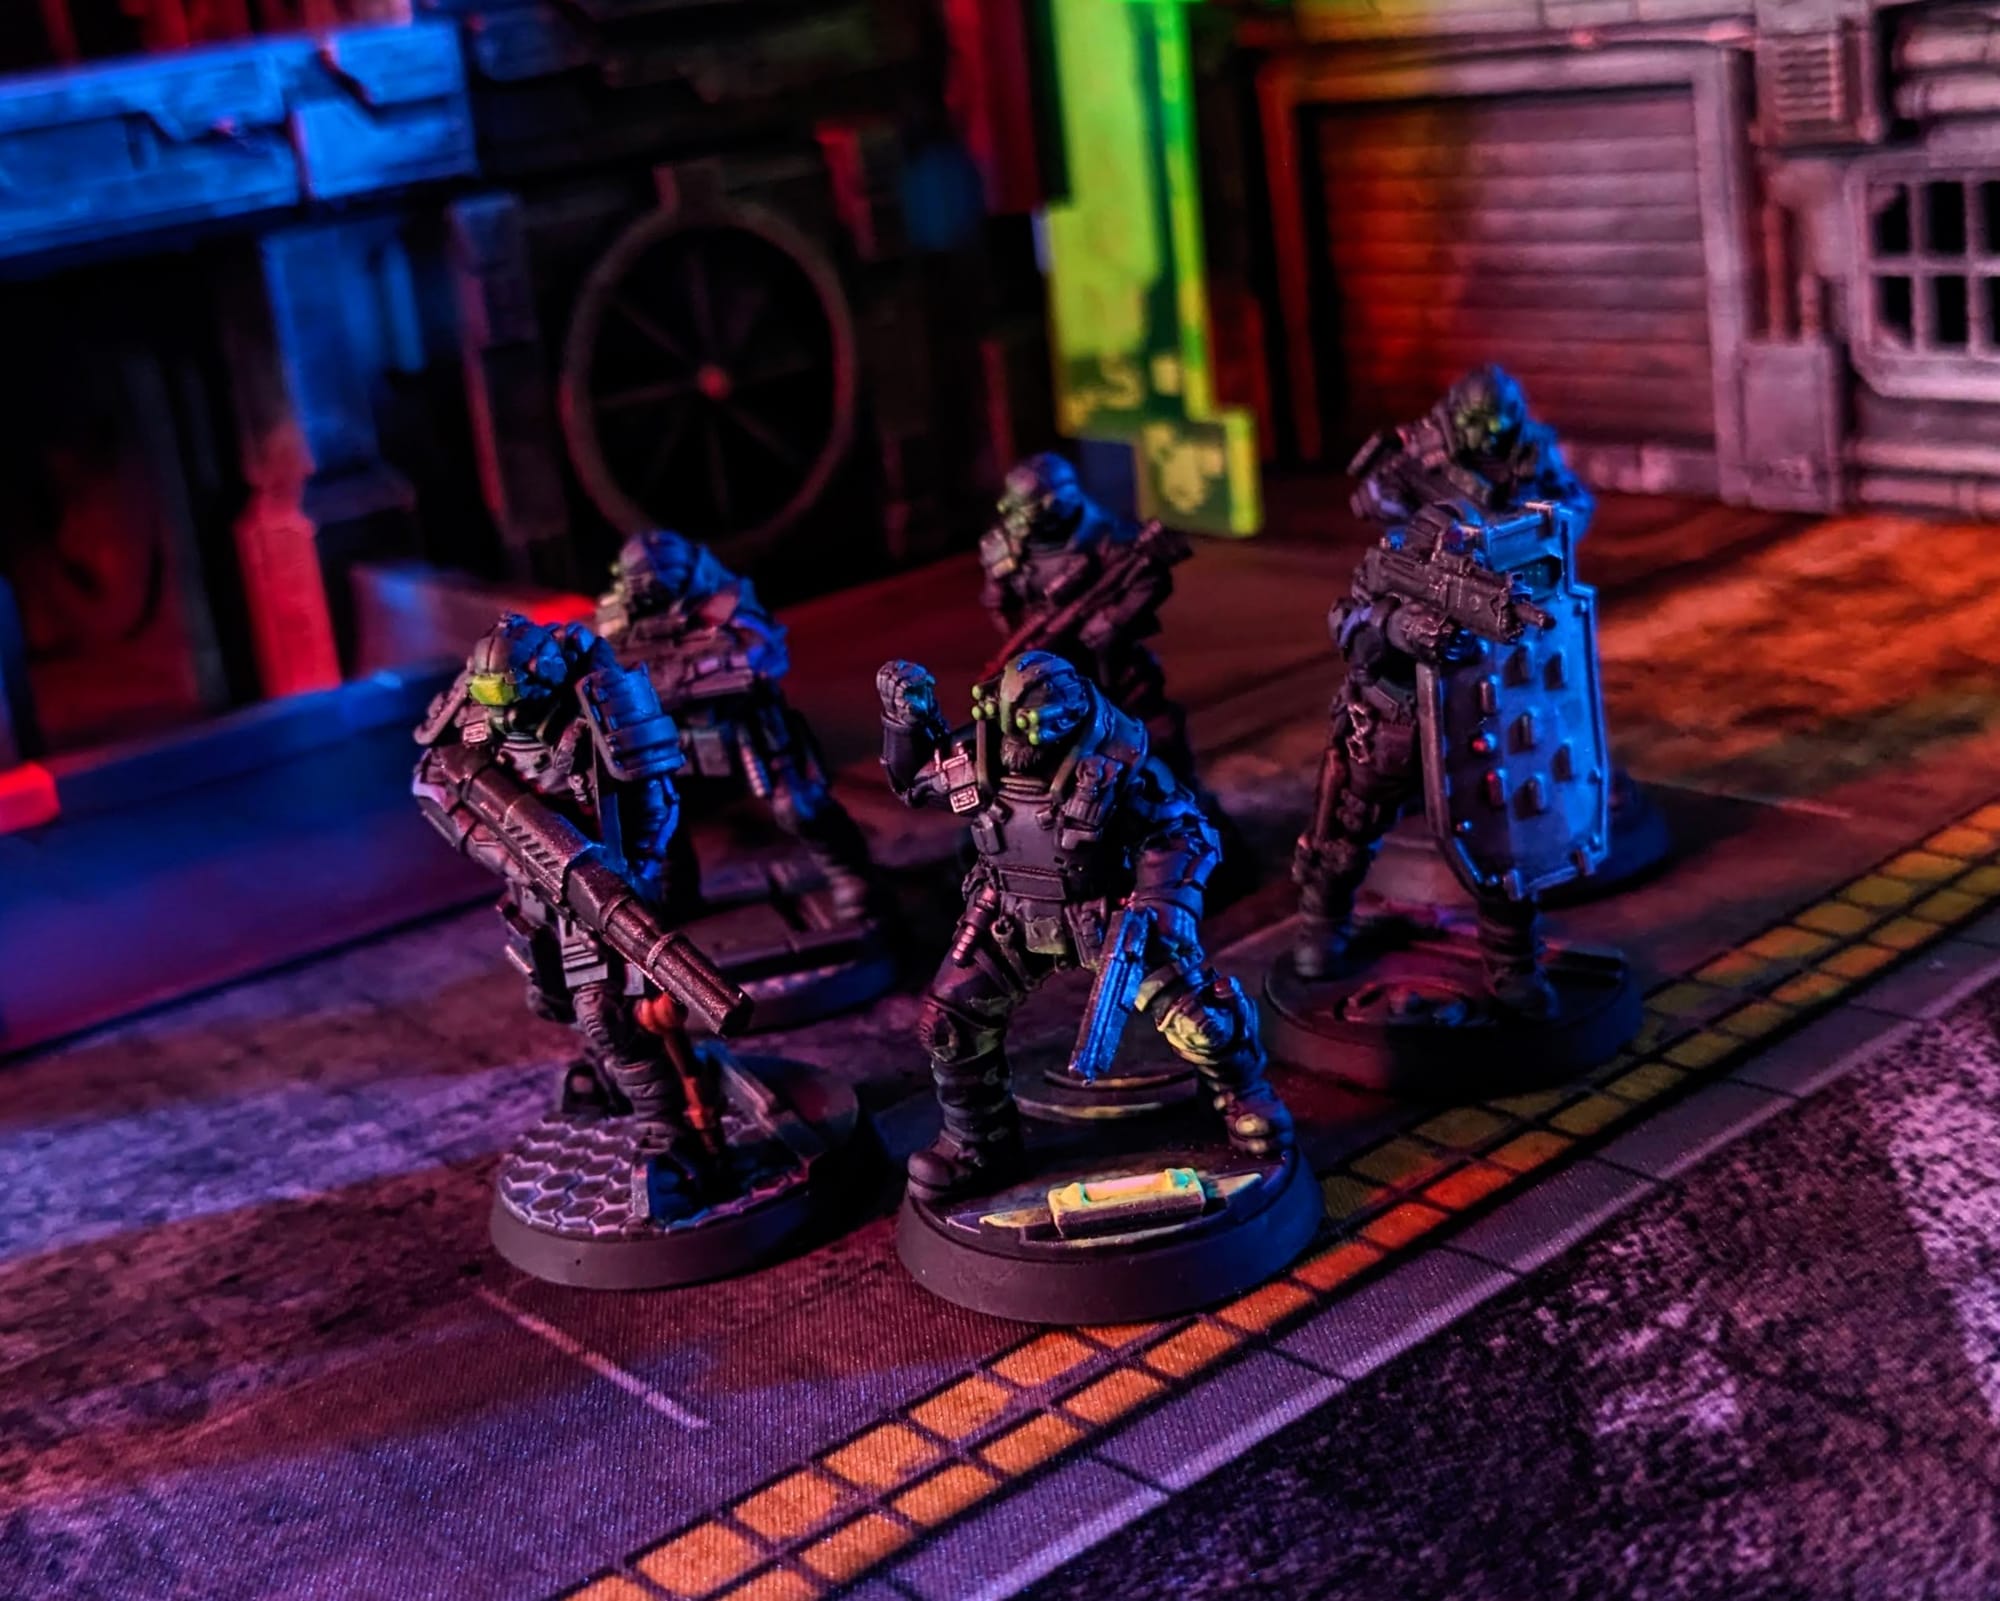
Painted and Ready for Play
Impressions
What I liked
I love these models. They have some solid sculpts with lots of little details, and the opportunity to do some cool OSL. The box art is a great source of inspiration, and it allowed me to quickly and easily paint these up. I think the Pointman has an awesome sculpt and afforded me some really fun painting opportunities.
What I didn't like
Getting the heads attached can be tough, especially with the pegs. The body sculpts were fine, but with single-cast minis, it's hard to get 'combat poses' where the figures have their guns out in a tactical pose. I would love to see this squad in a fine-cast resin, or multi-part harder plastic in the future with poses more indicative of being in combat.
What I would do different next time
I am pretty darn happy with how these turned out. I would maybe choose some different bases with other light options, but overall, these turned out great.
Final Assessment
With how quickly these went together and were painted, I was happy with how they turned out compared to the box art. Even with adding the extra step of the 3D-printed bases, they painted up very easily, and I got them table-ready very quickly. I think they're going to be a lot of fun to play, and I am looking forward to curing the cyberpsychosis in Night City!


Have you painted Cyberpunk Red: Combat Zone miniatures yet? Share your work with us!
Don’t forget to subscribe and follow us on Instagram, Bluesky, and YouTube for more Cyberpunk Red: Combat Zone reviews and painting guides, as well as more hobby and tabletop news and reviews!