
Your games of Star Wars: Legion can take you from the sands of Tatooine to the snow banks of Hoth and even to the grassy plains of Naboo. The locales and missions may be different, but the objectives look the same; flat, colorful cardboard. While these are great for transportation, they can stick out on the table and can even interrupt the immersion of the battlefield.
Atomic Mass Games was kind enough to send us the Star Wars: Legion 3D Objective Tokens to paint up. If you'd like to learn how to quickly and easily paint up these tokens, then read on!
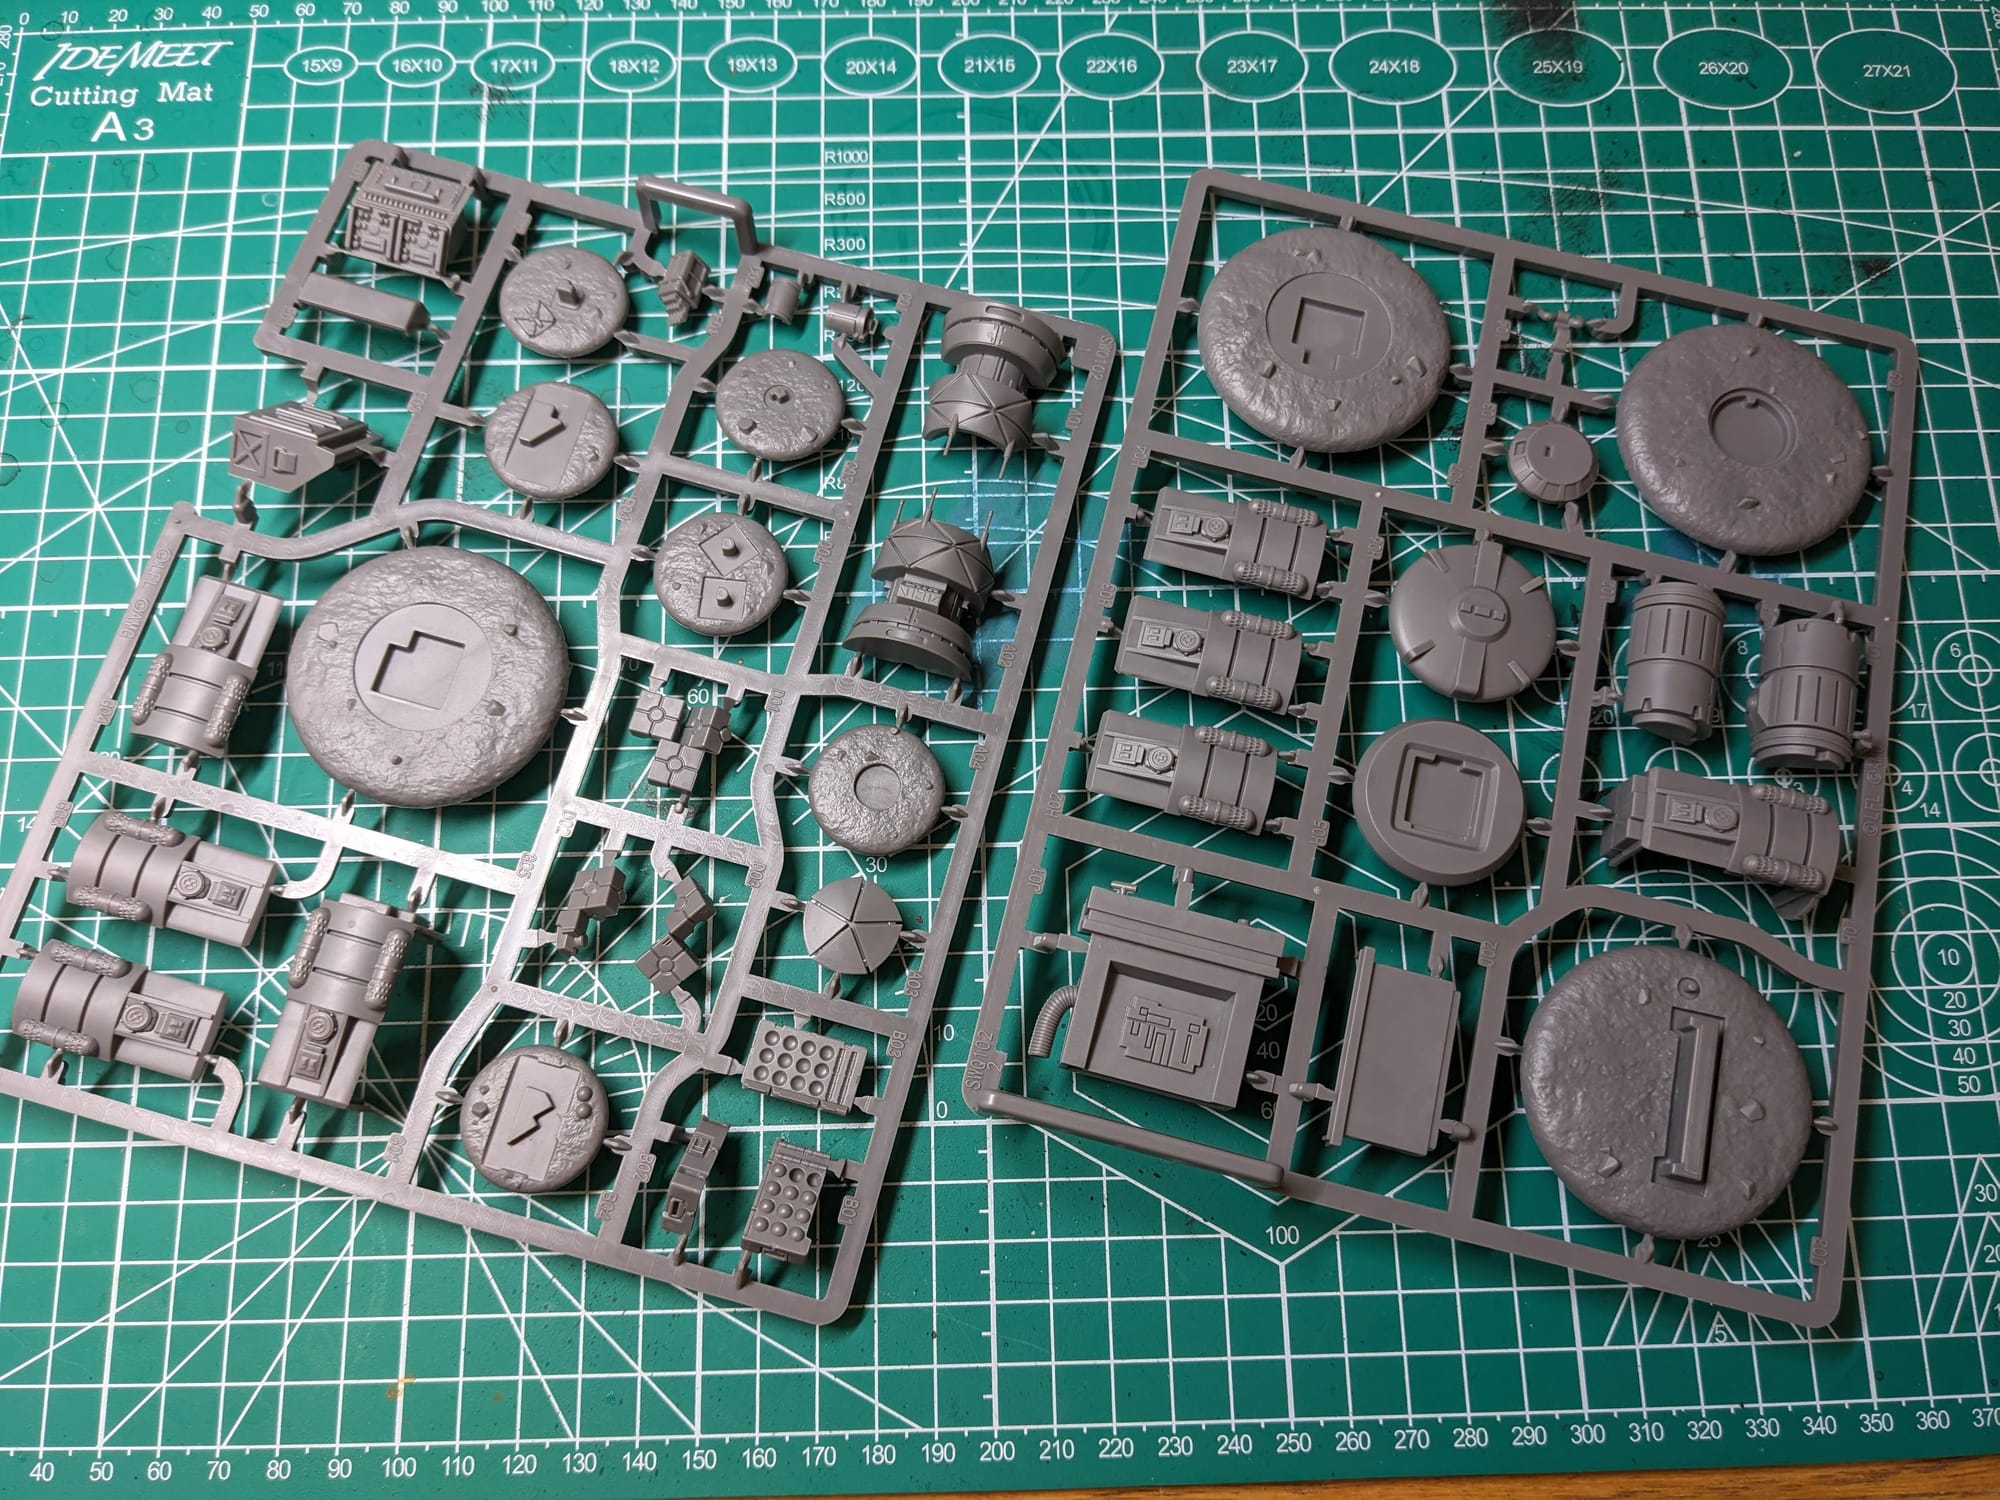
Unboxing
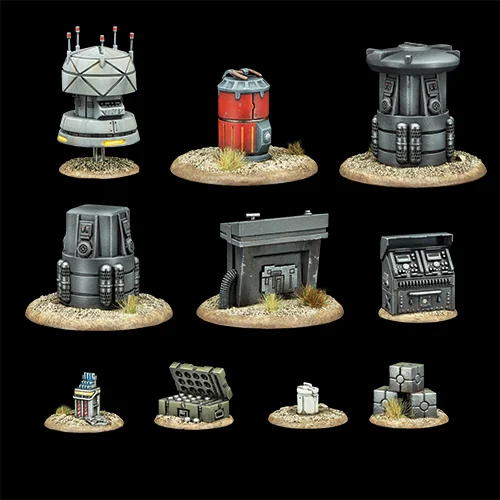
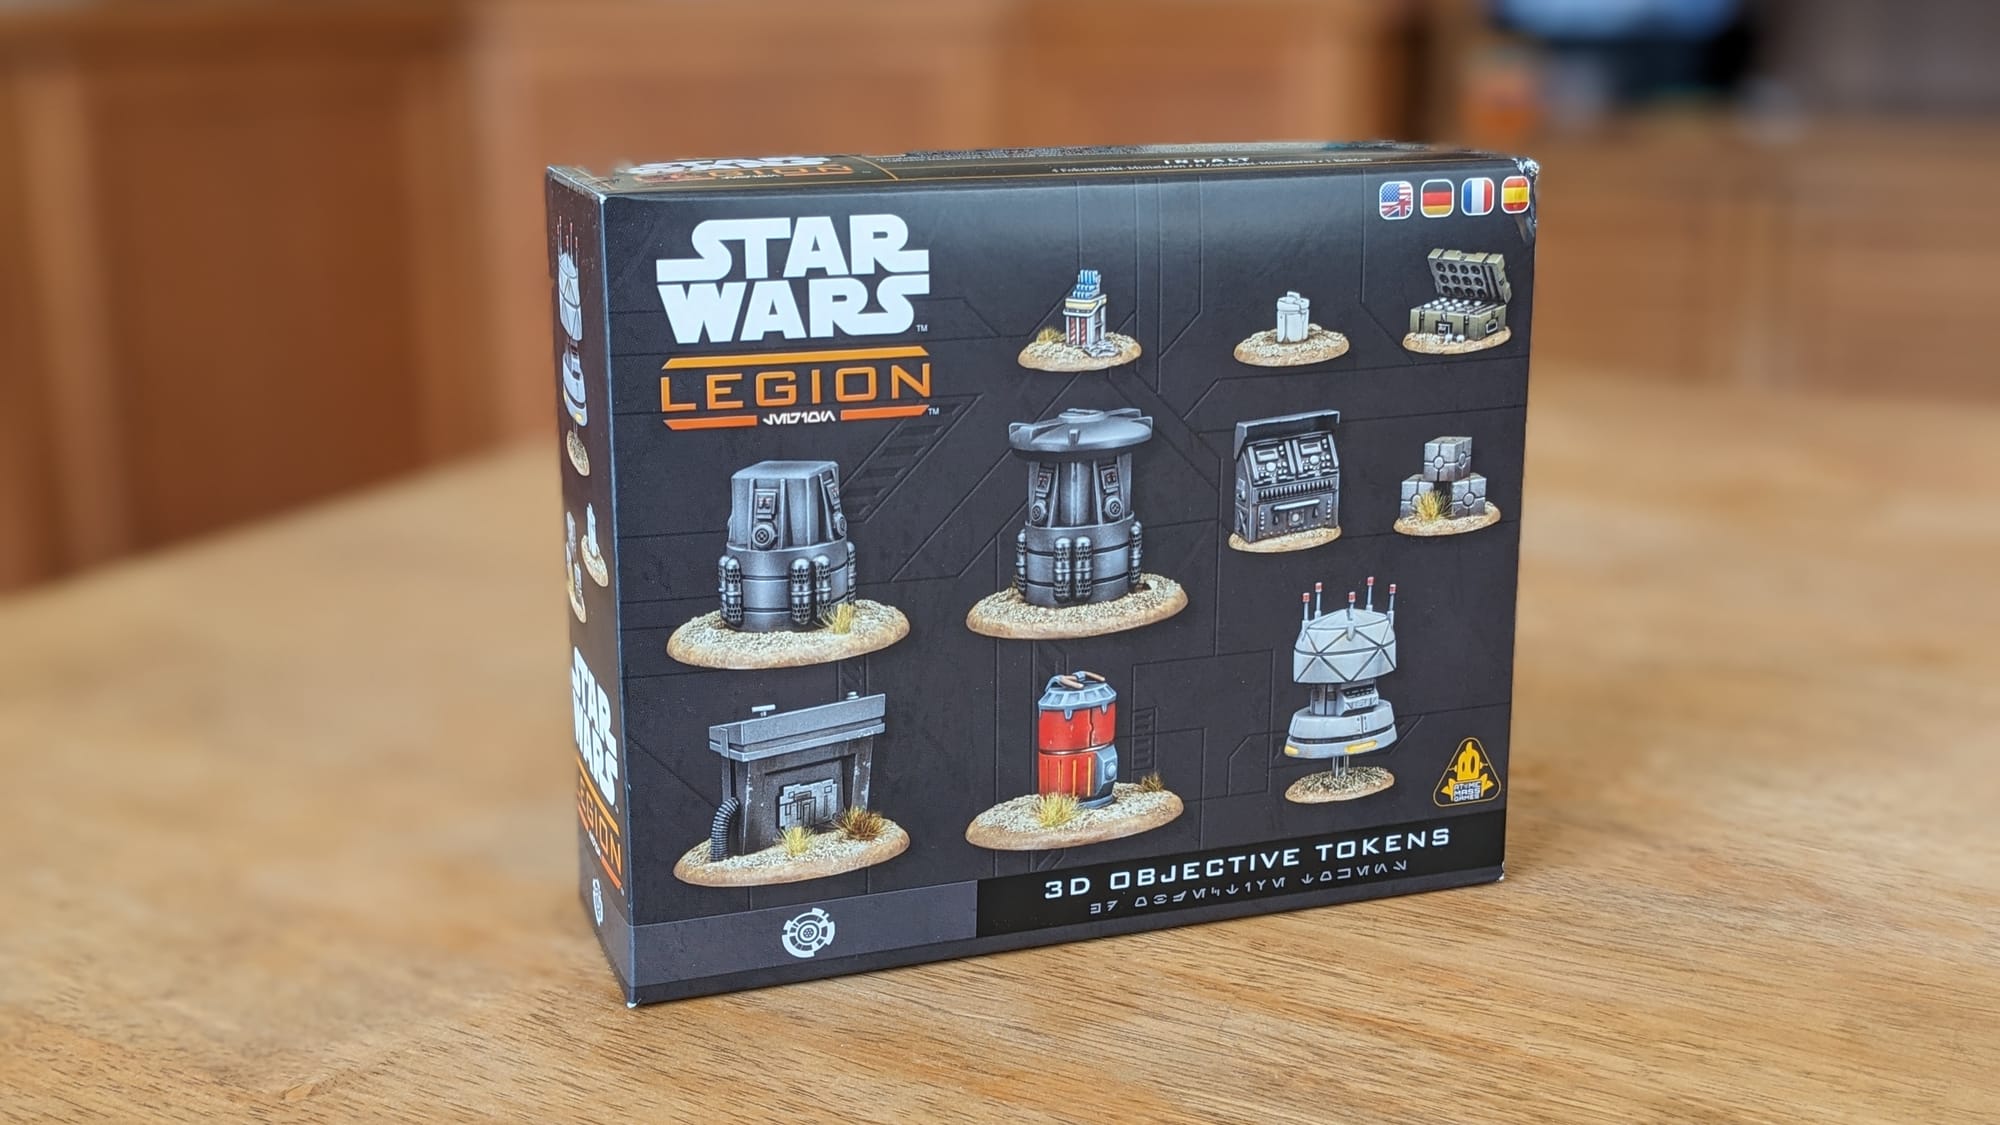
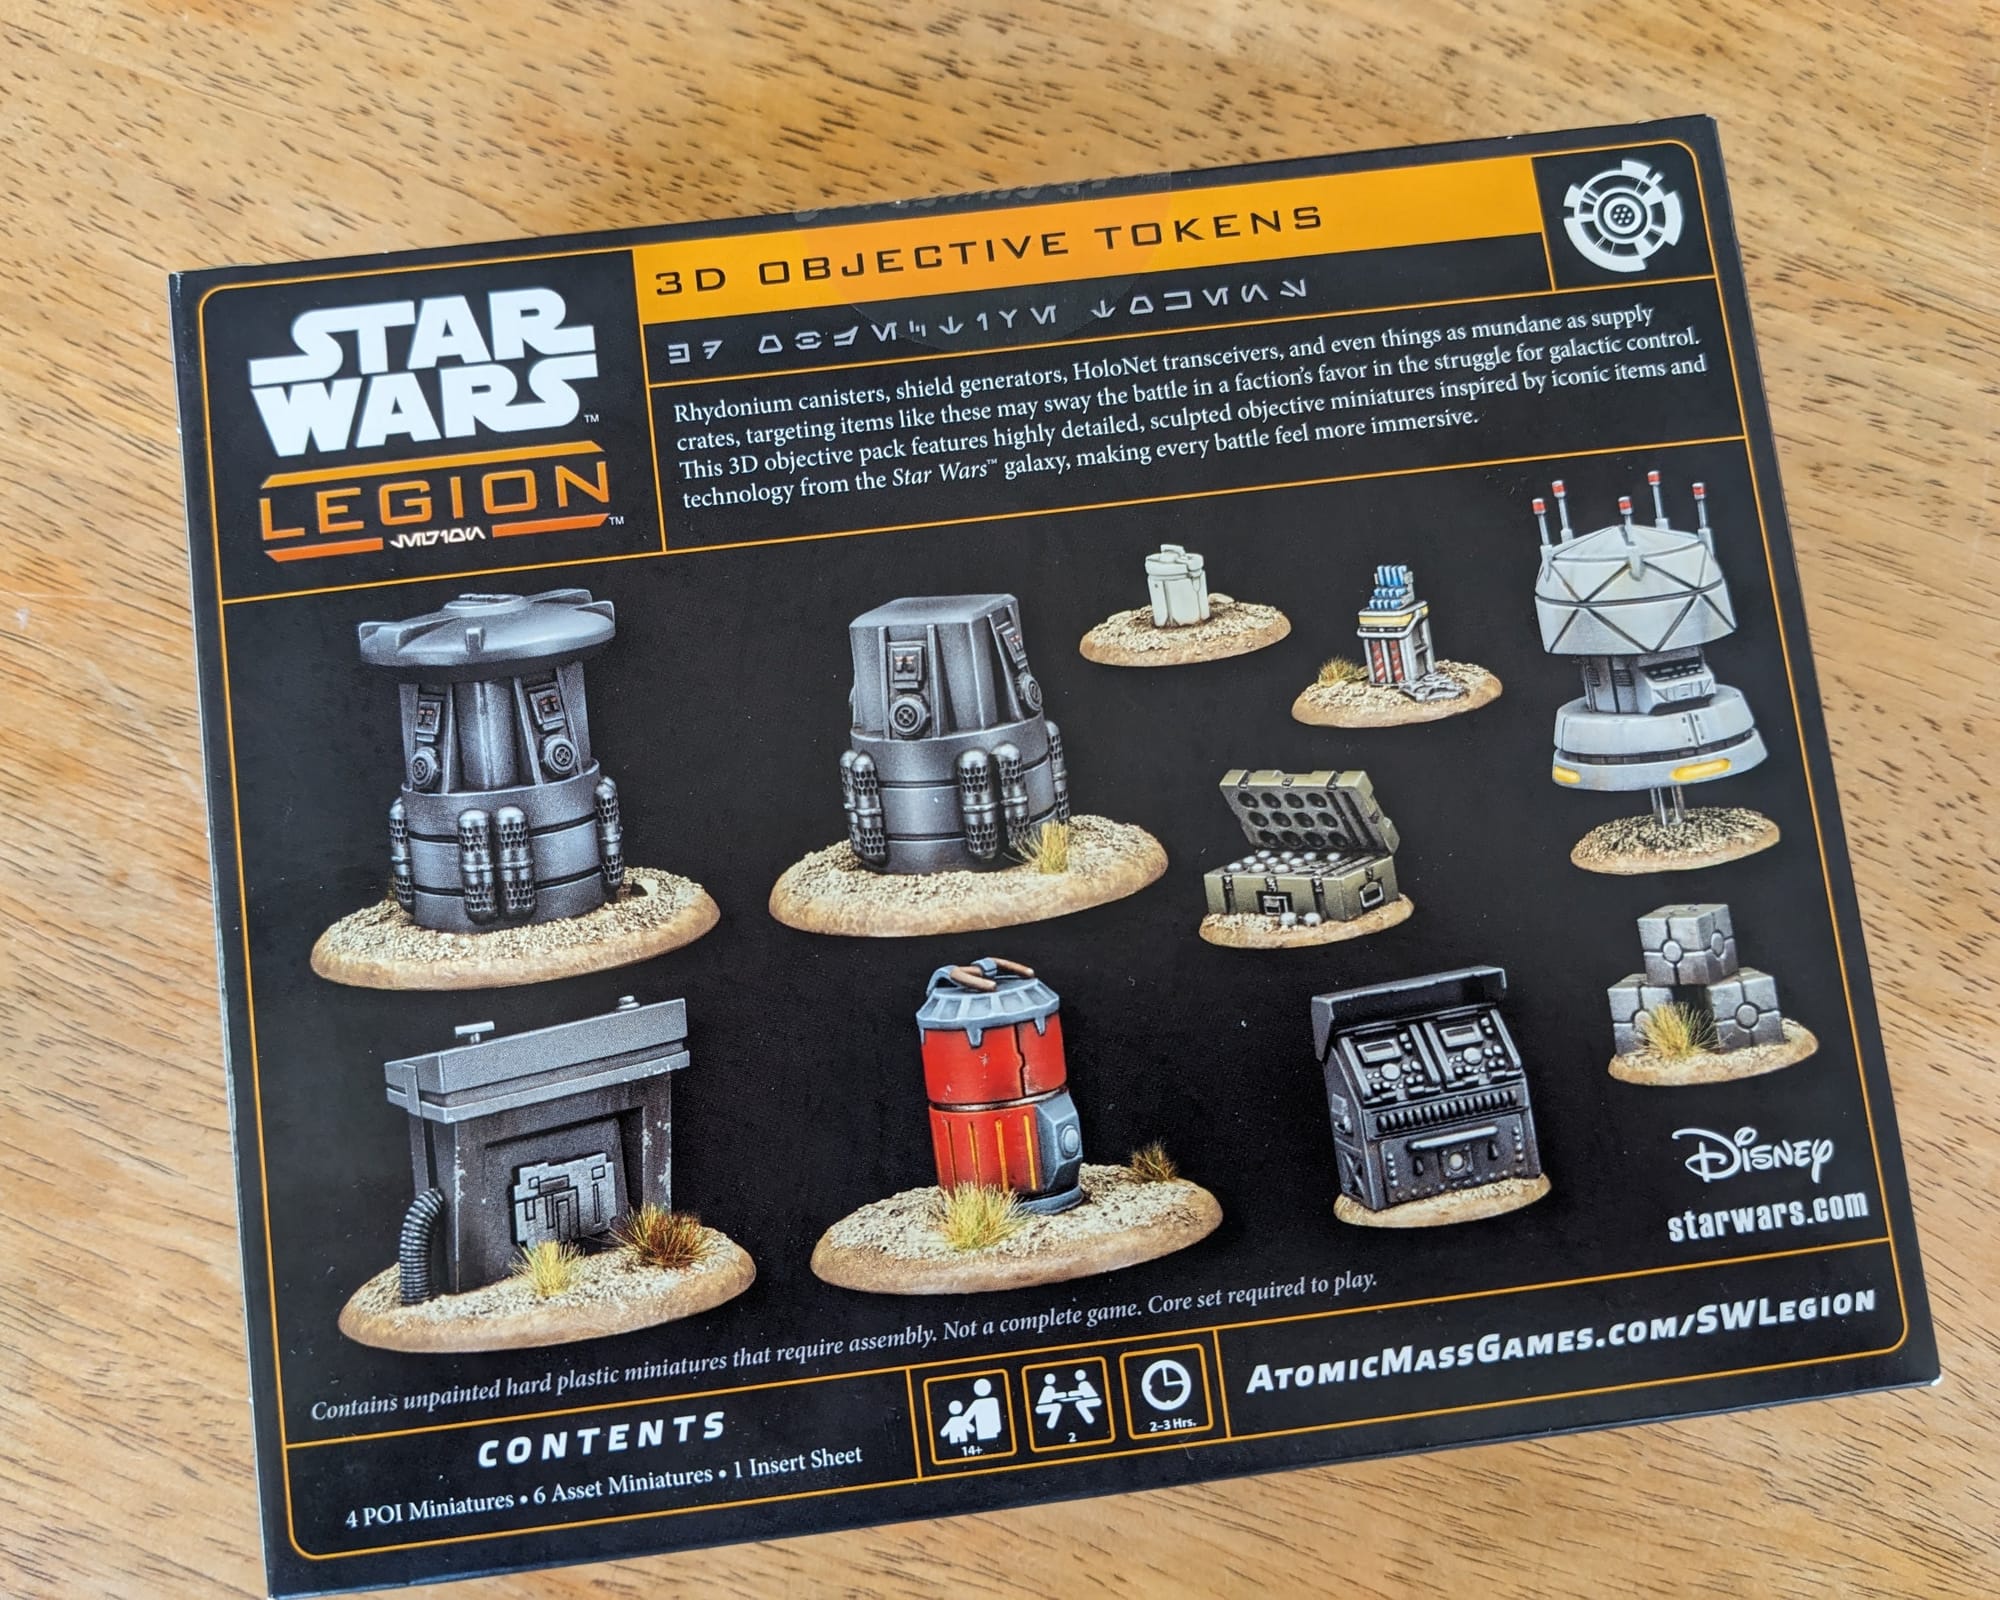
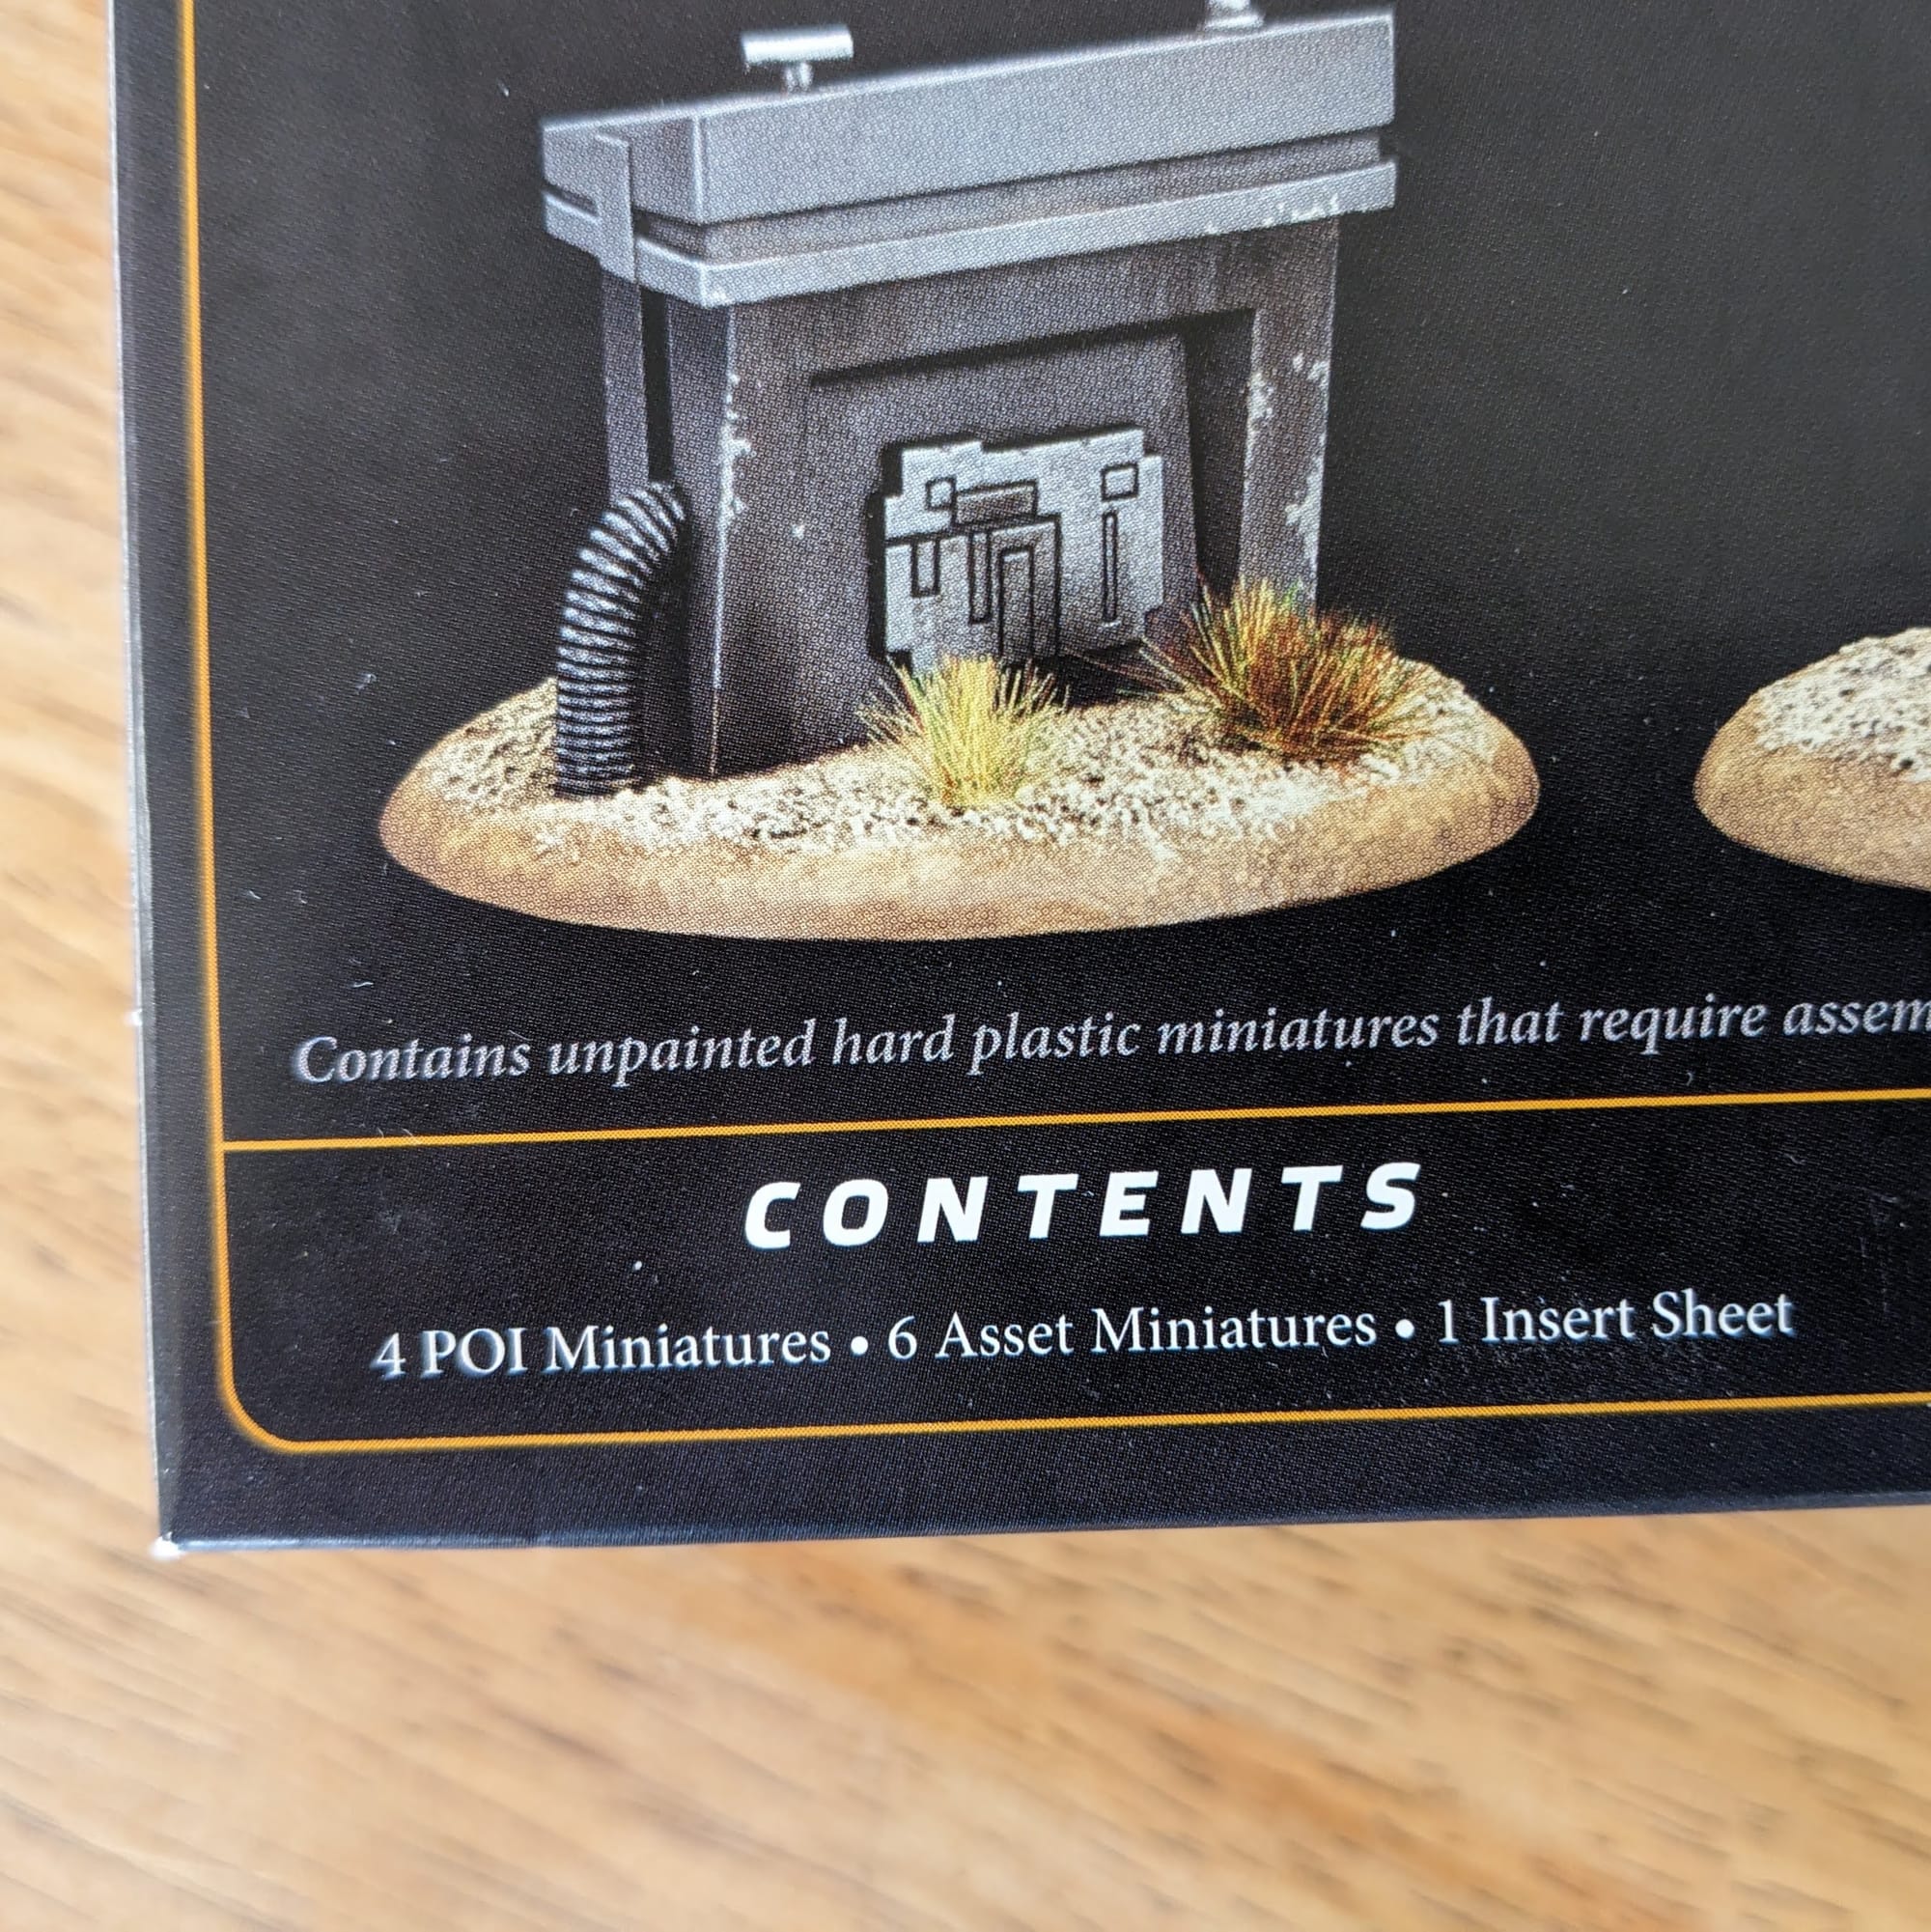
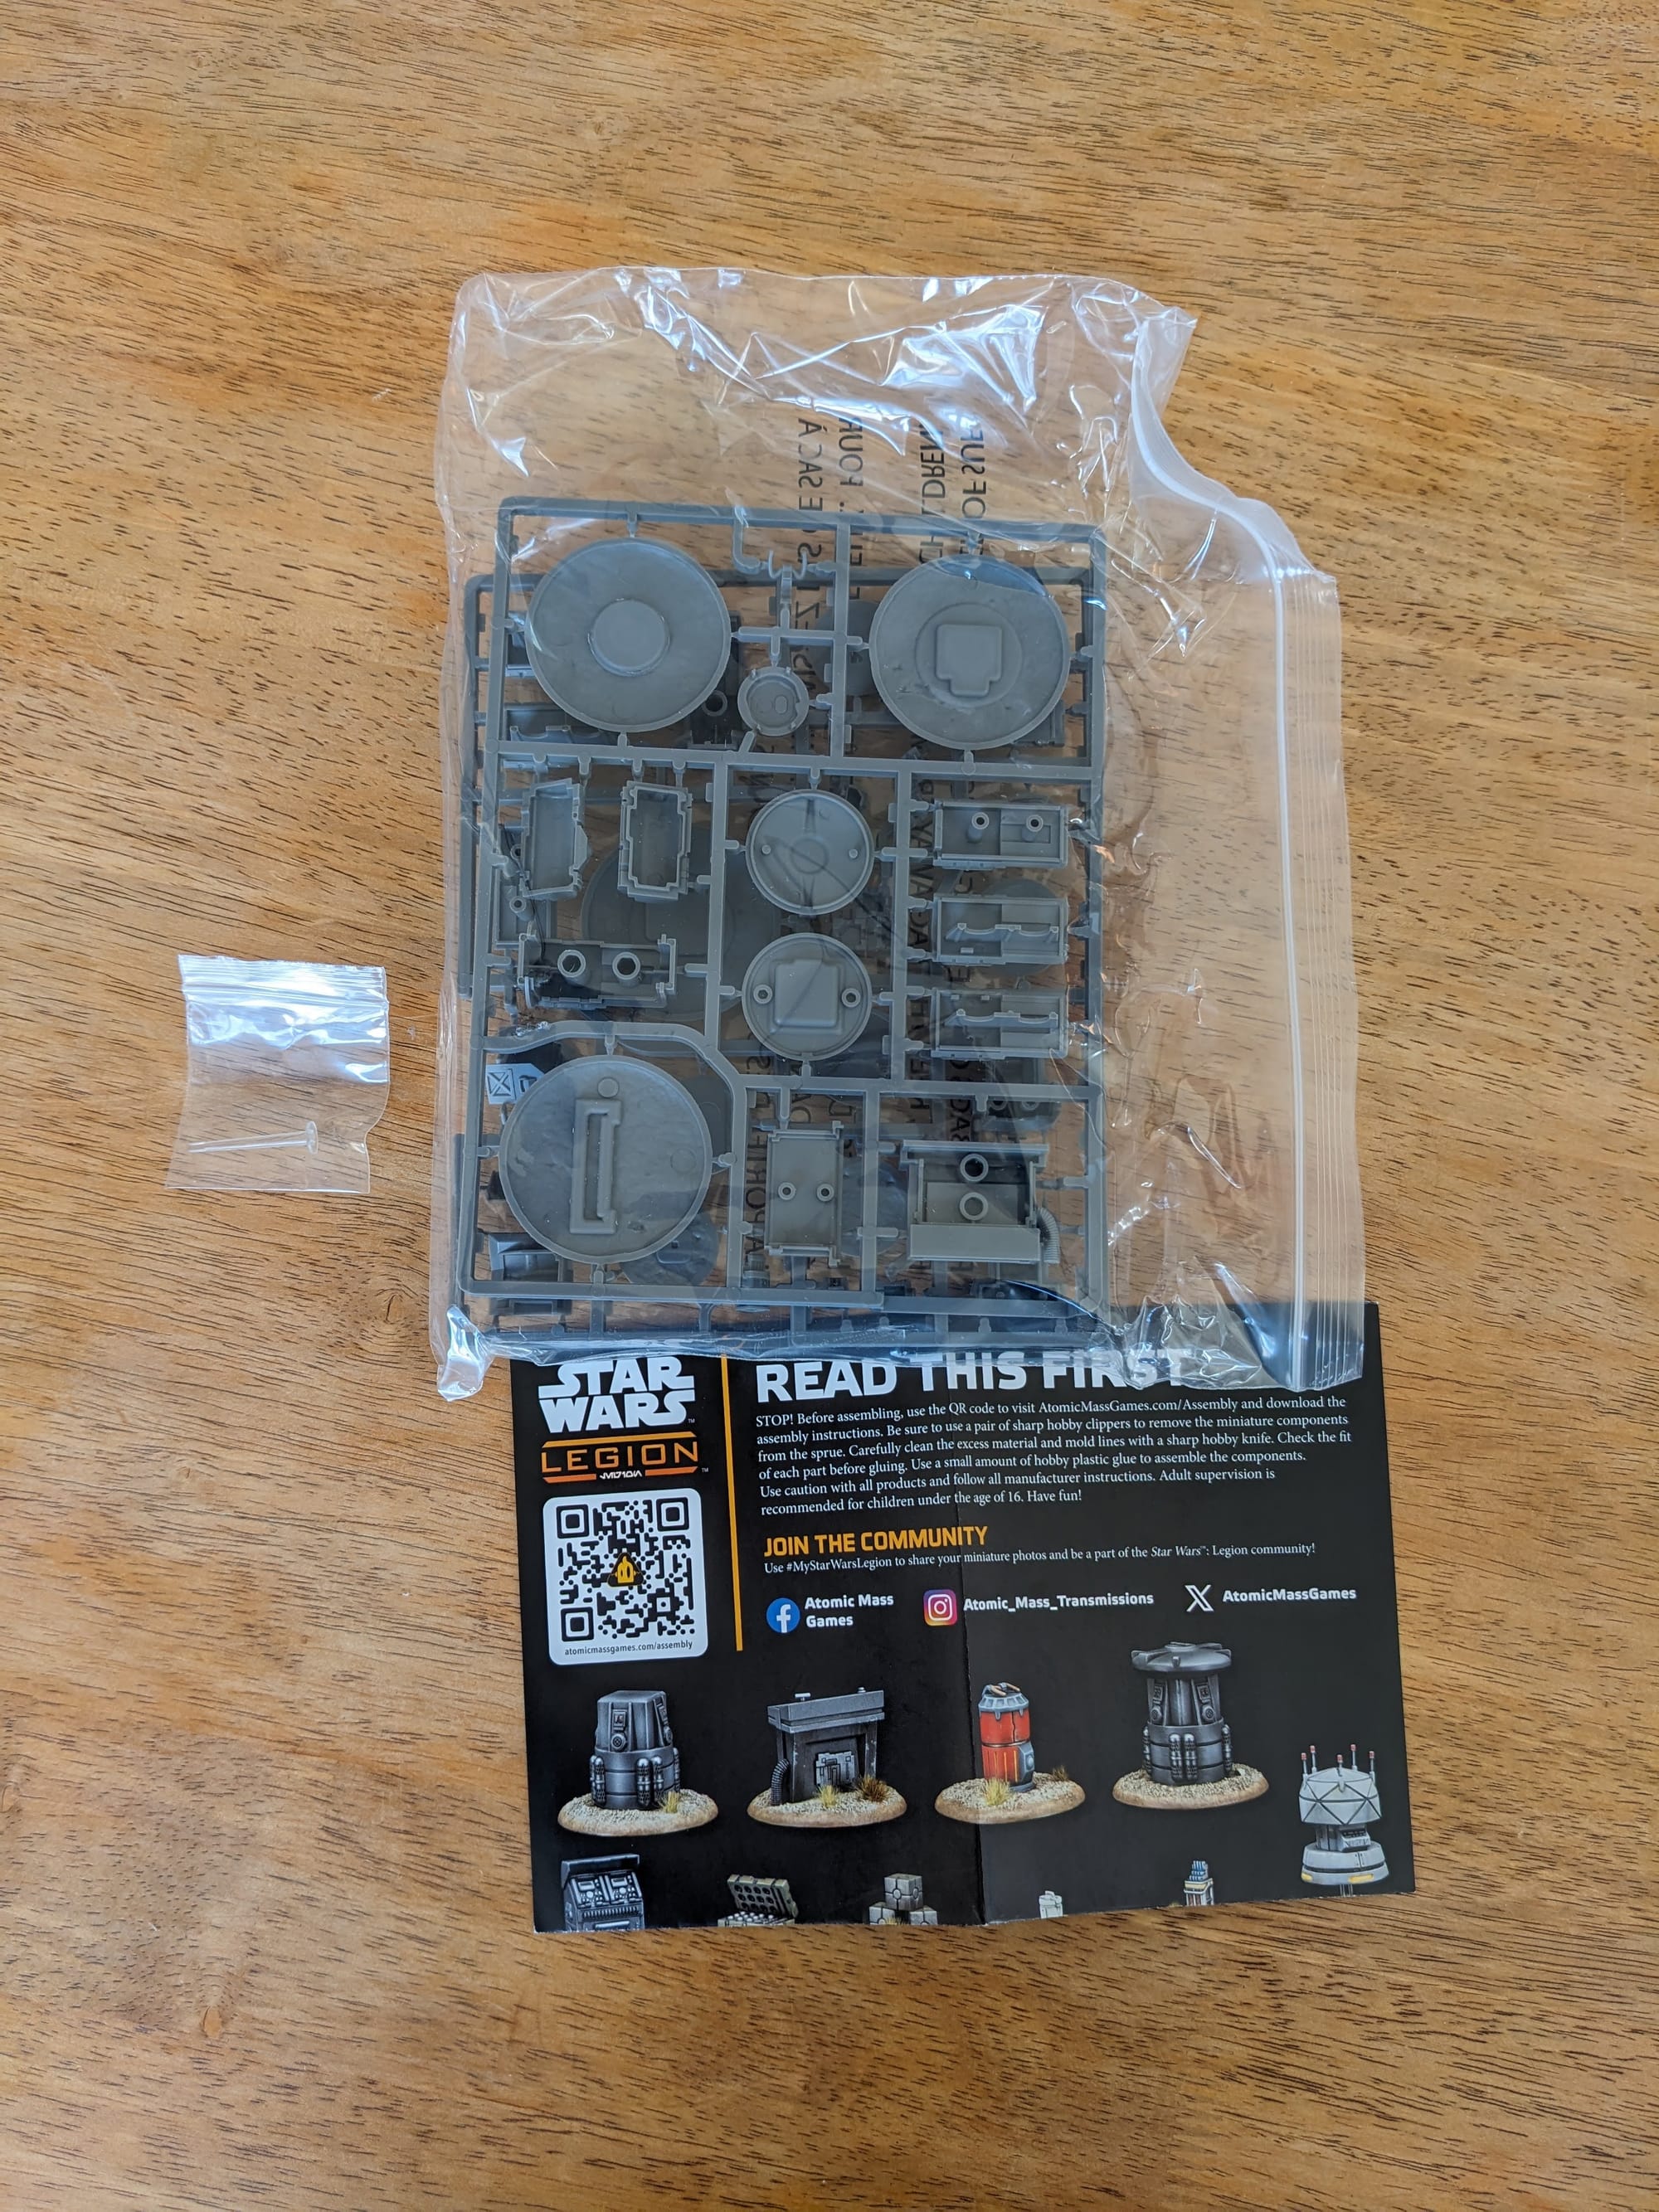
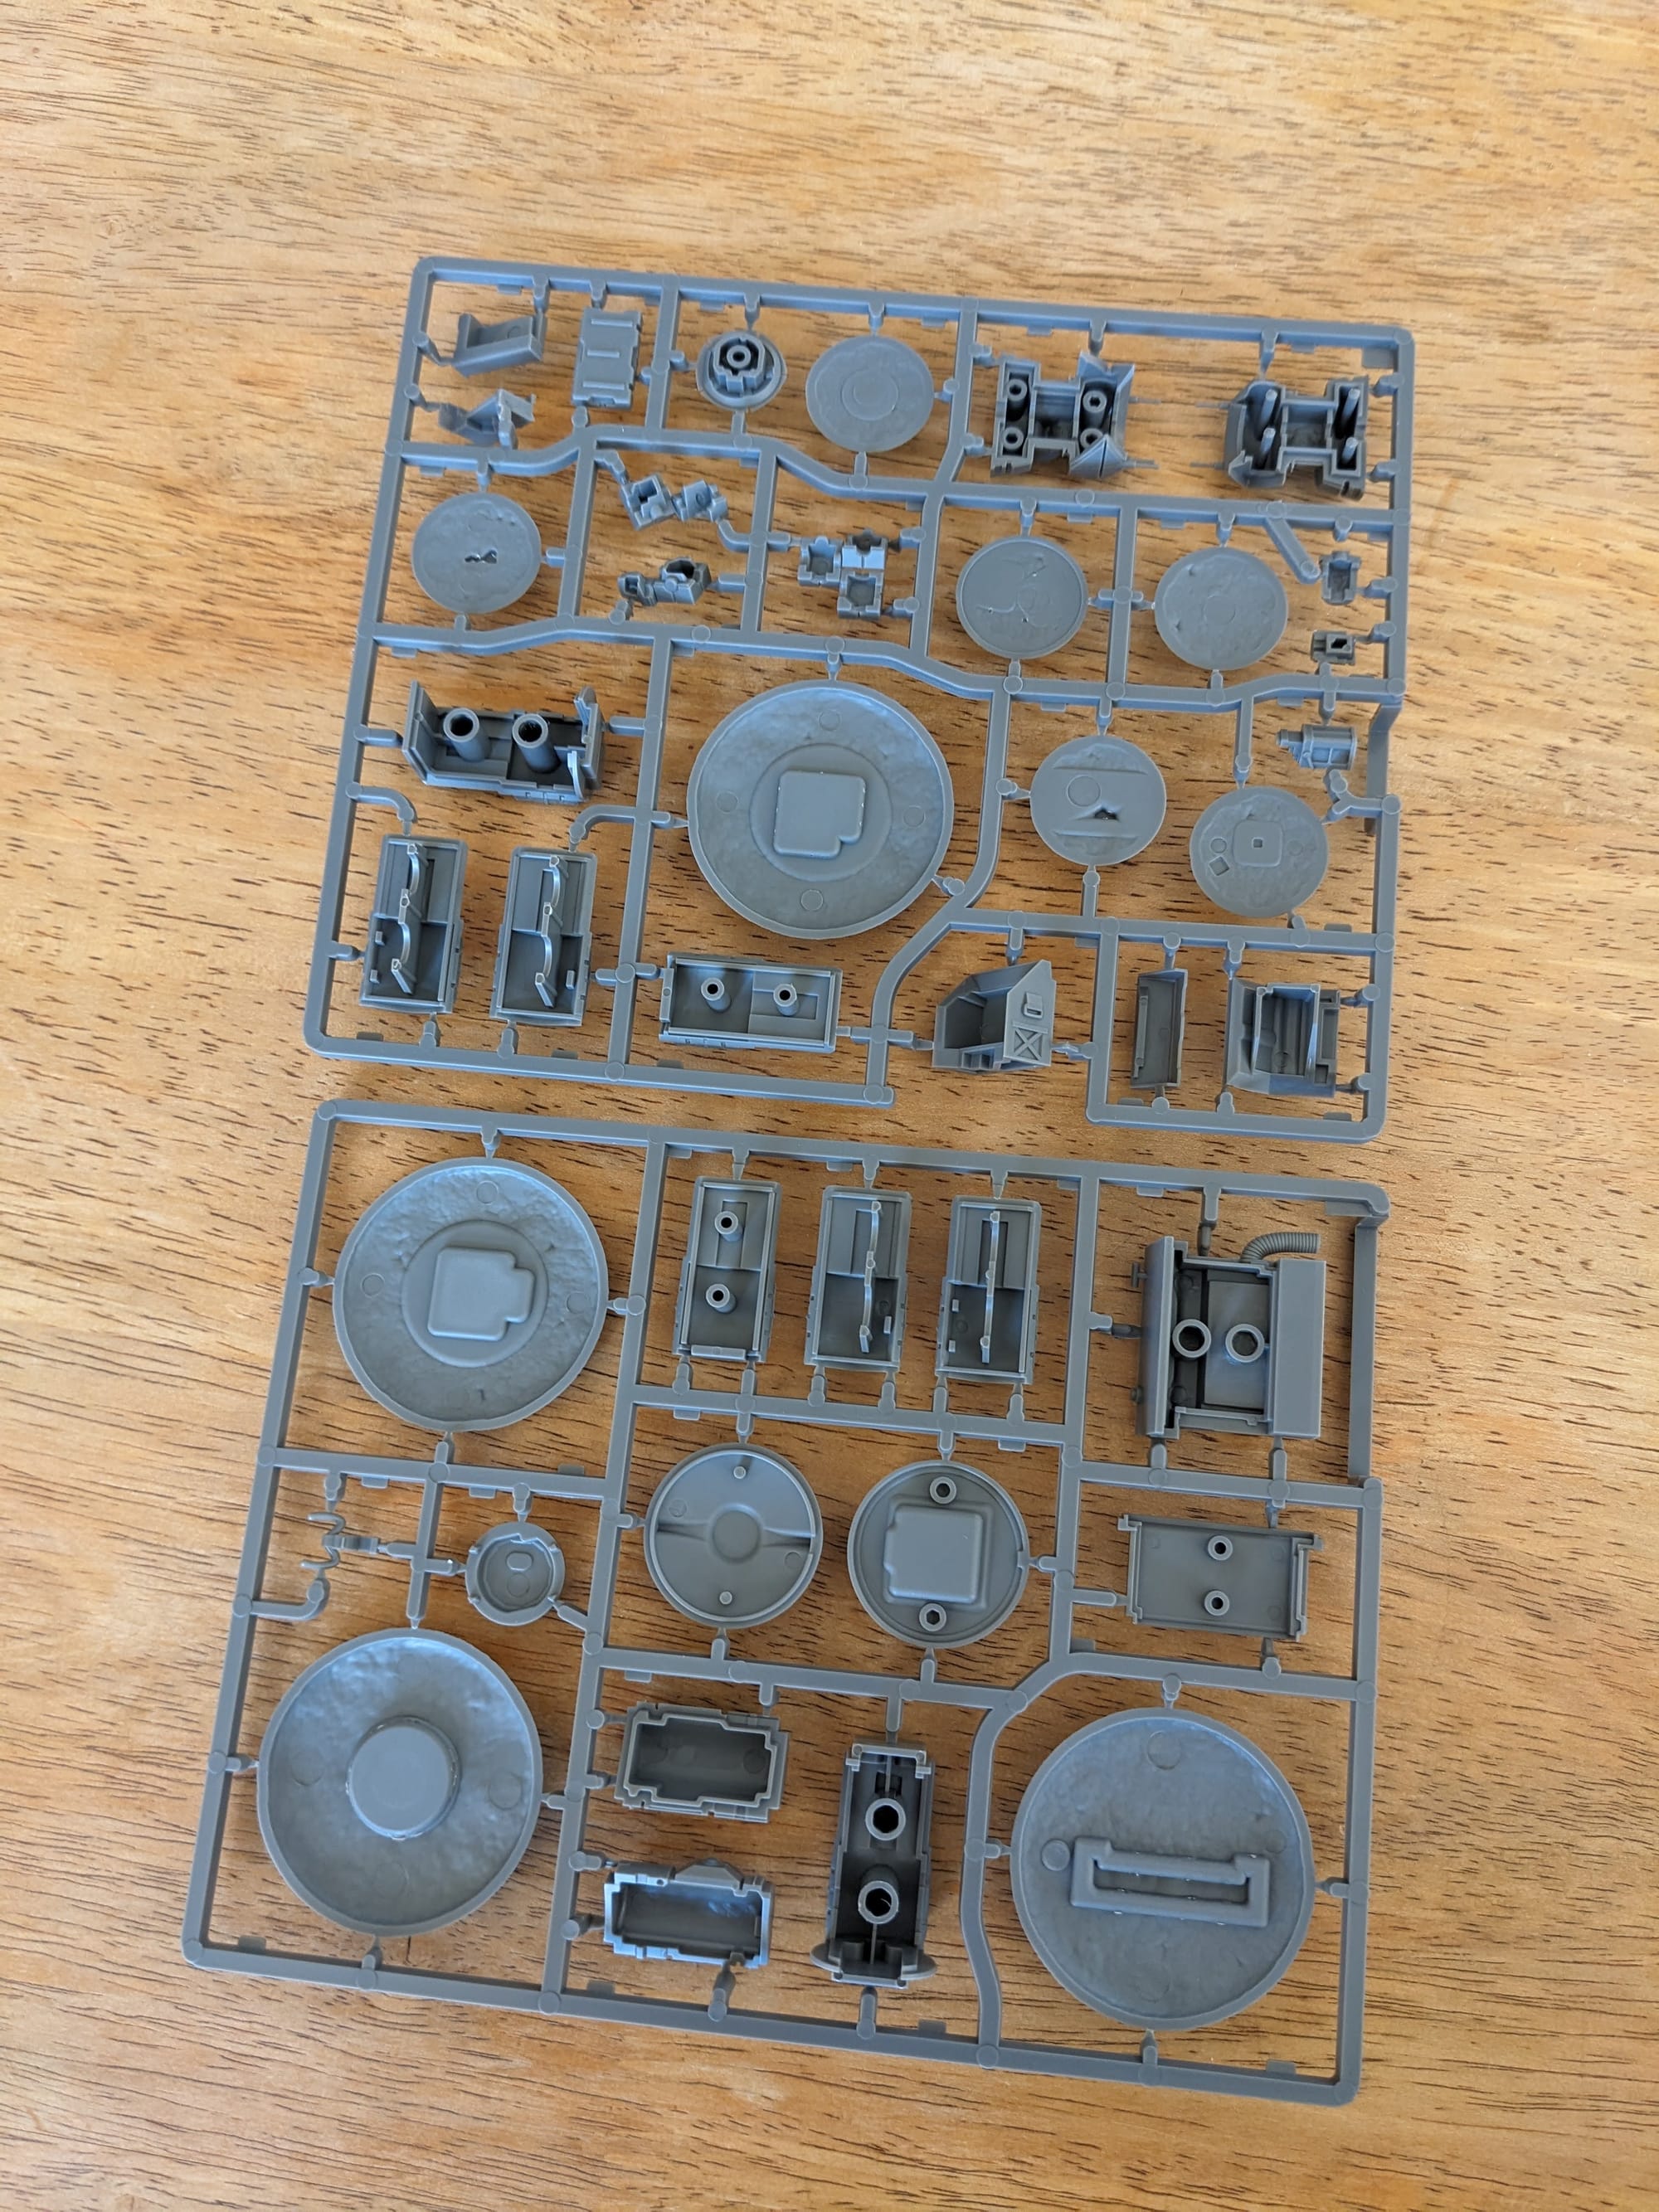
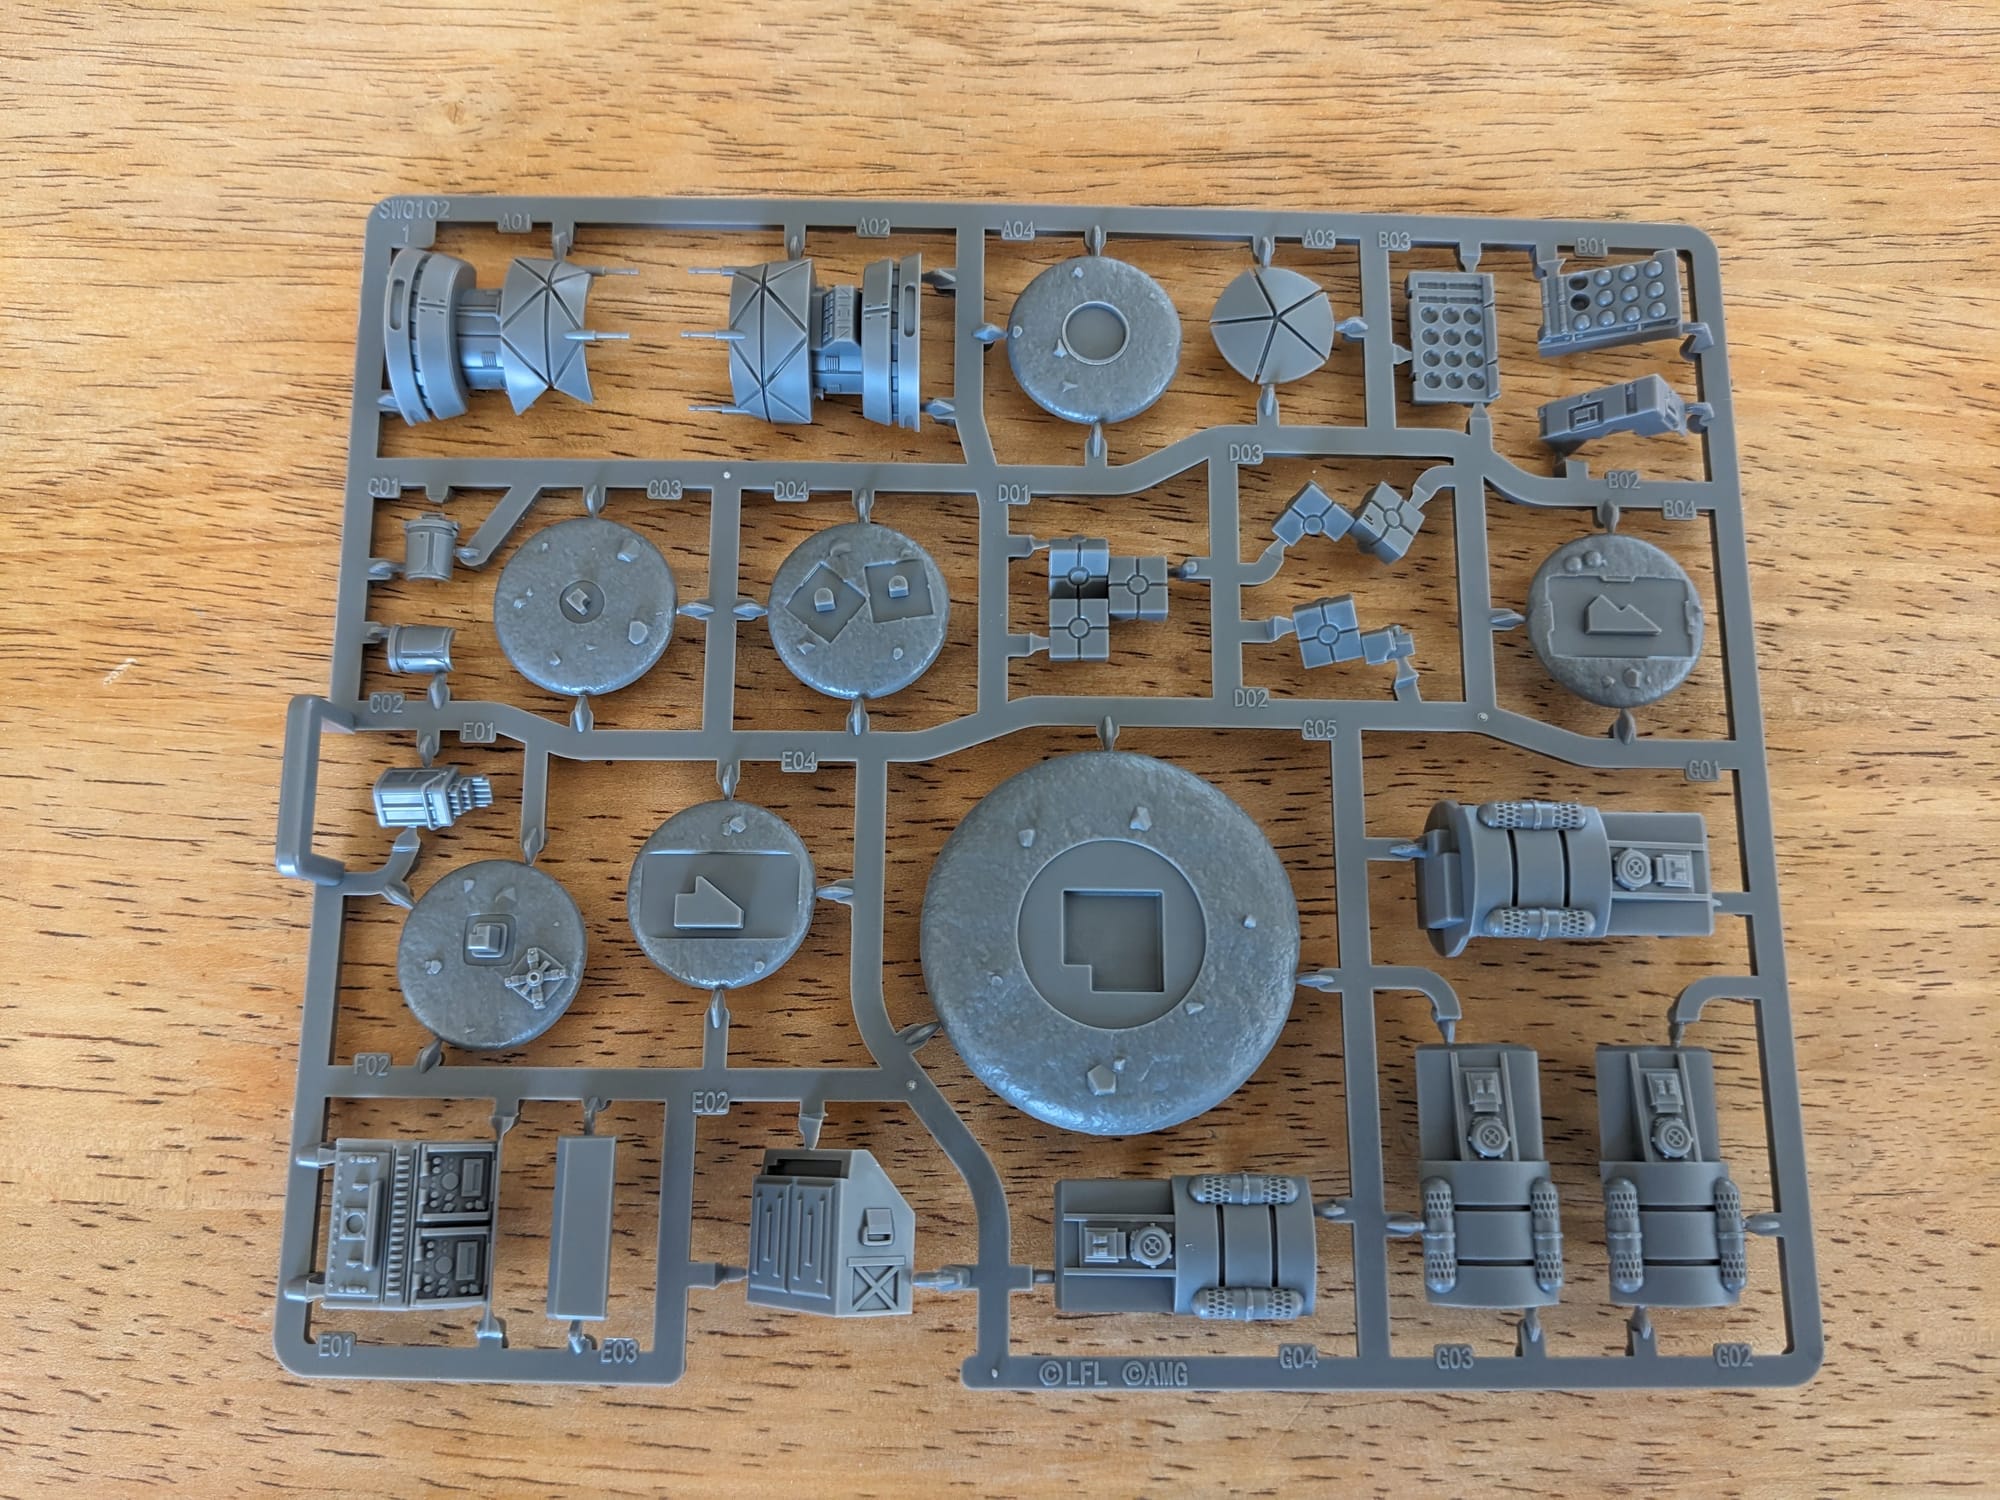
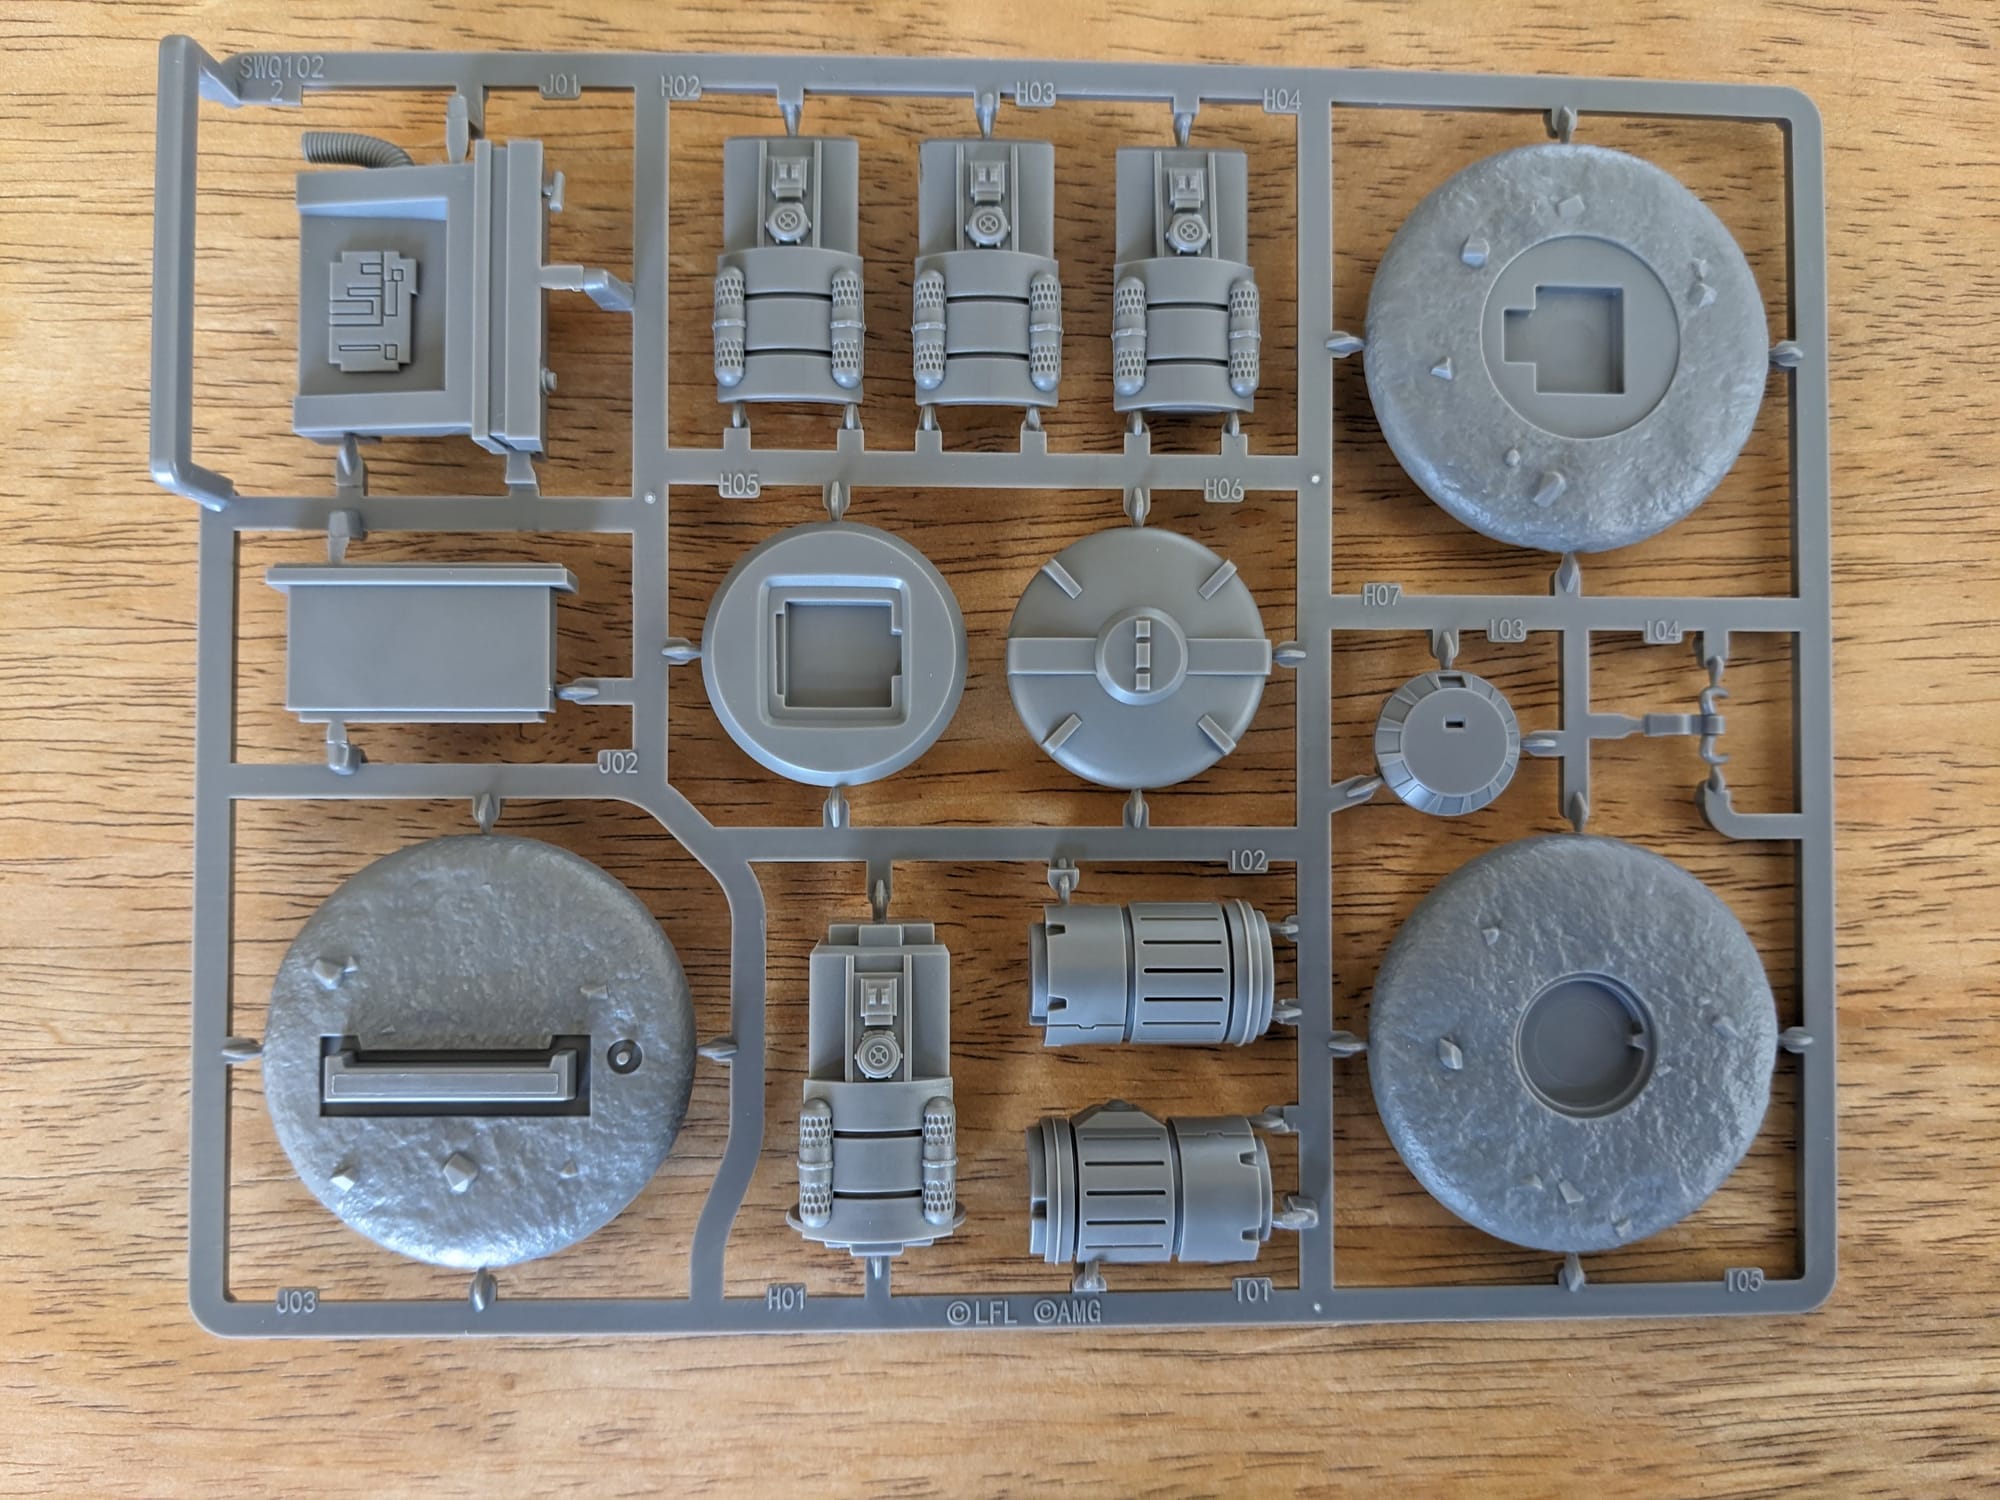
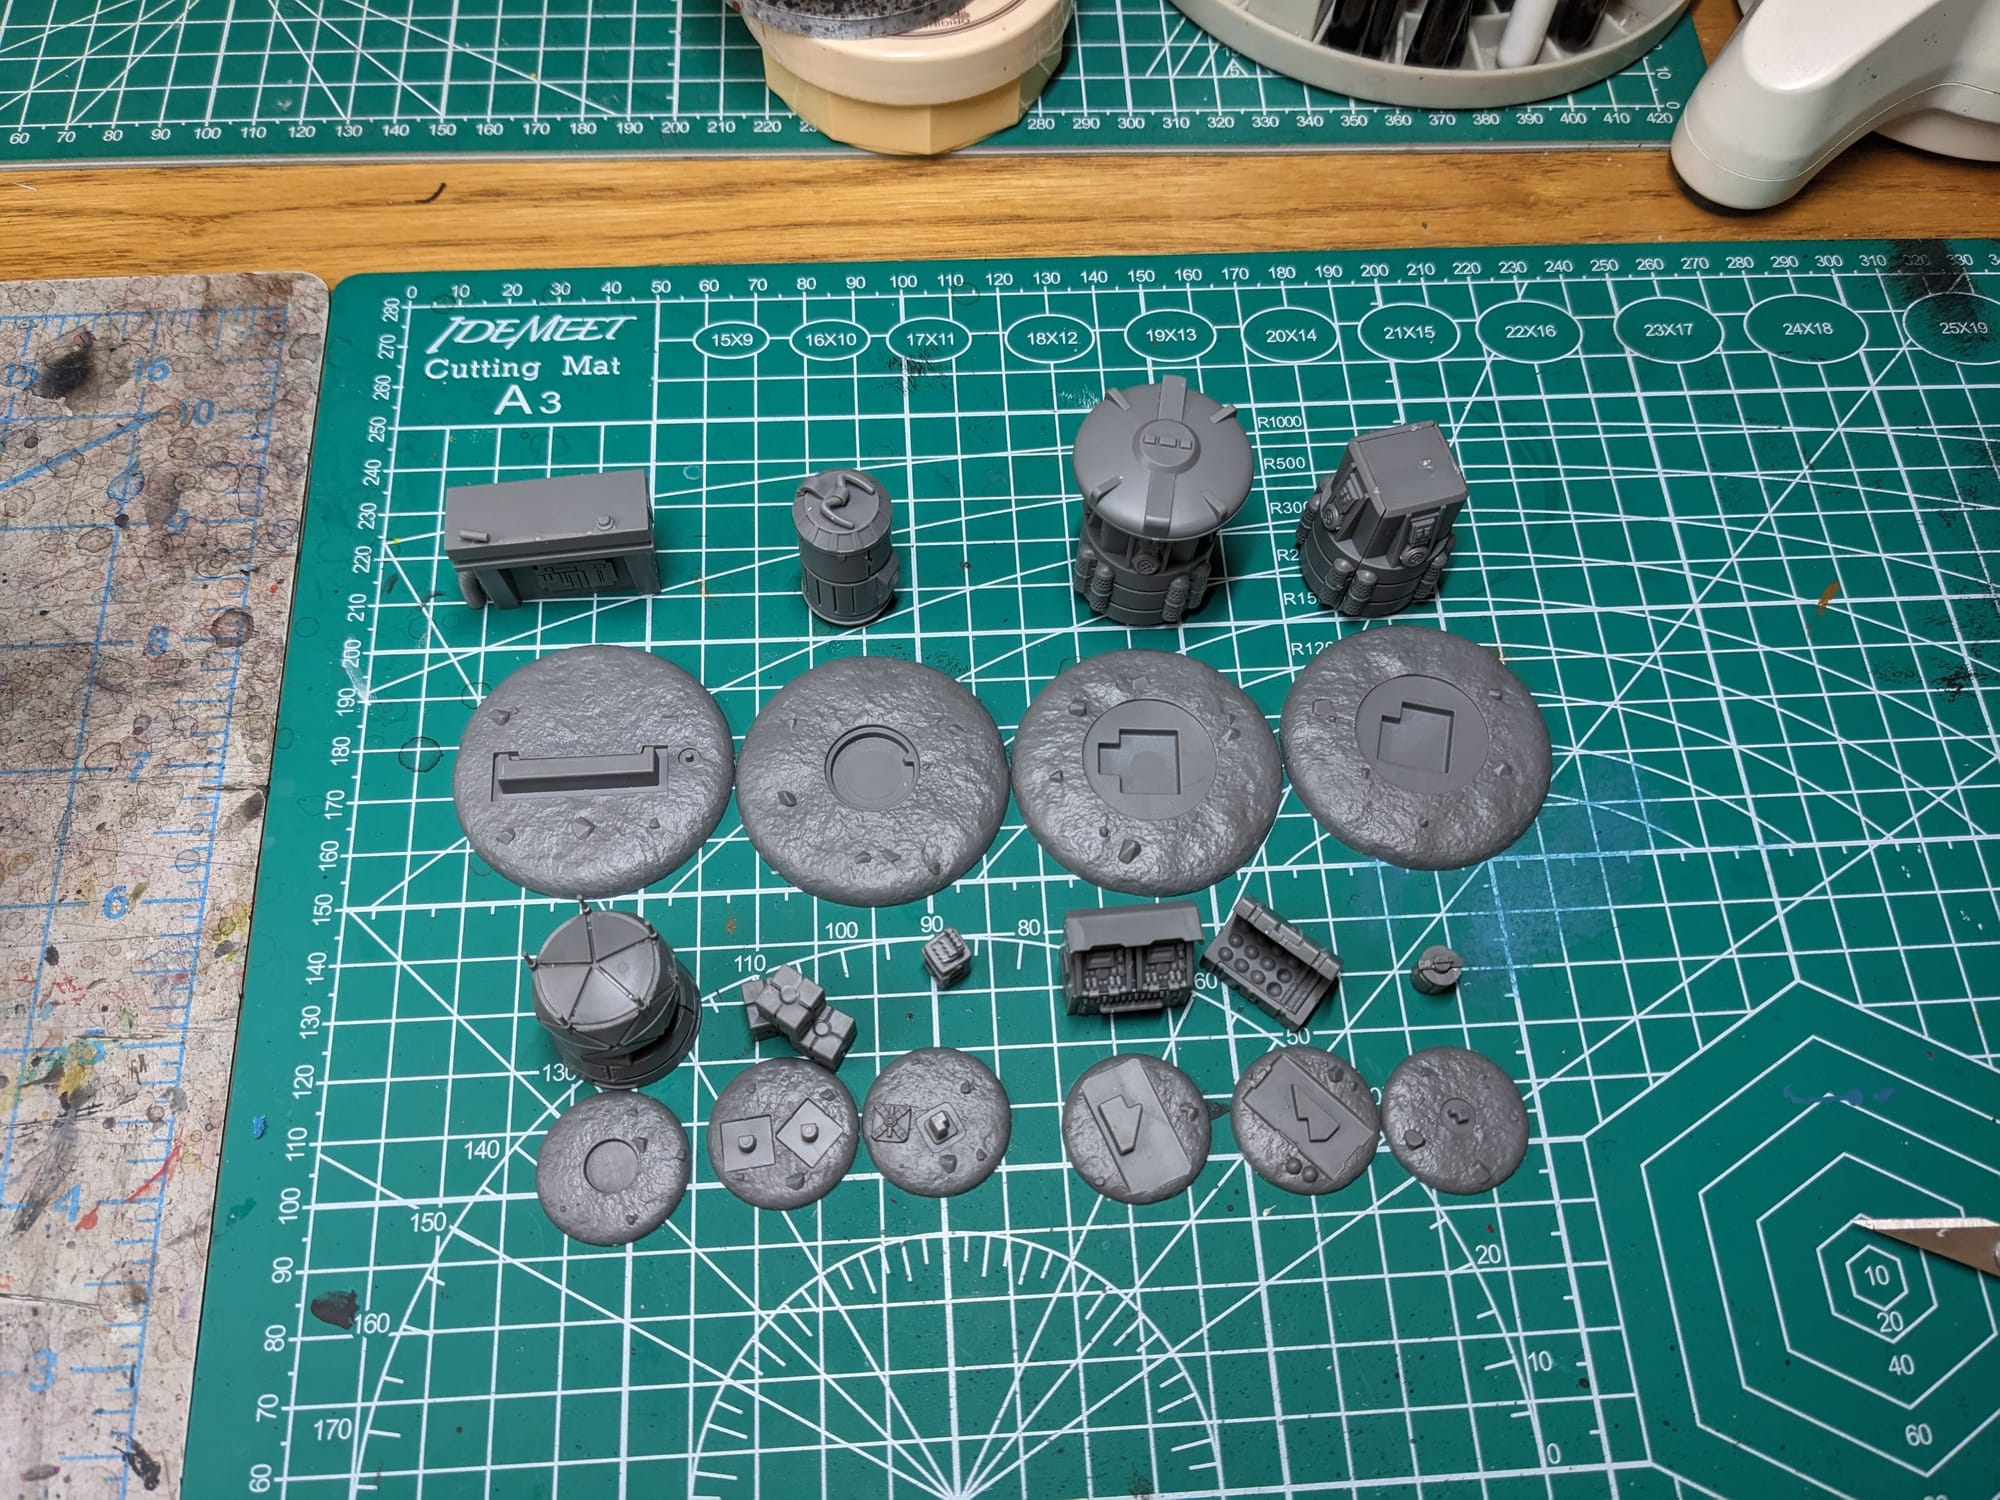
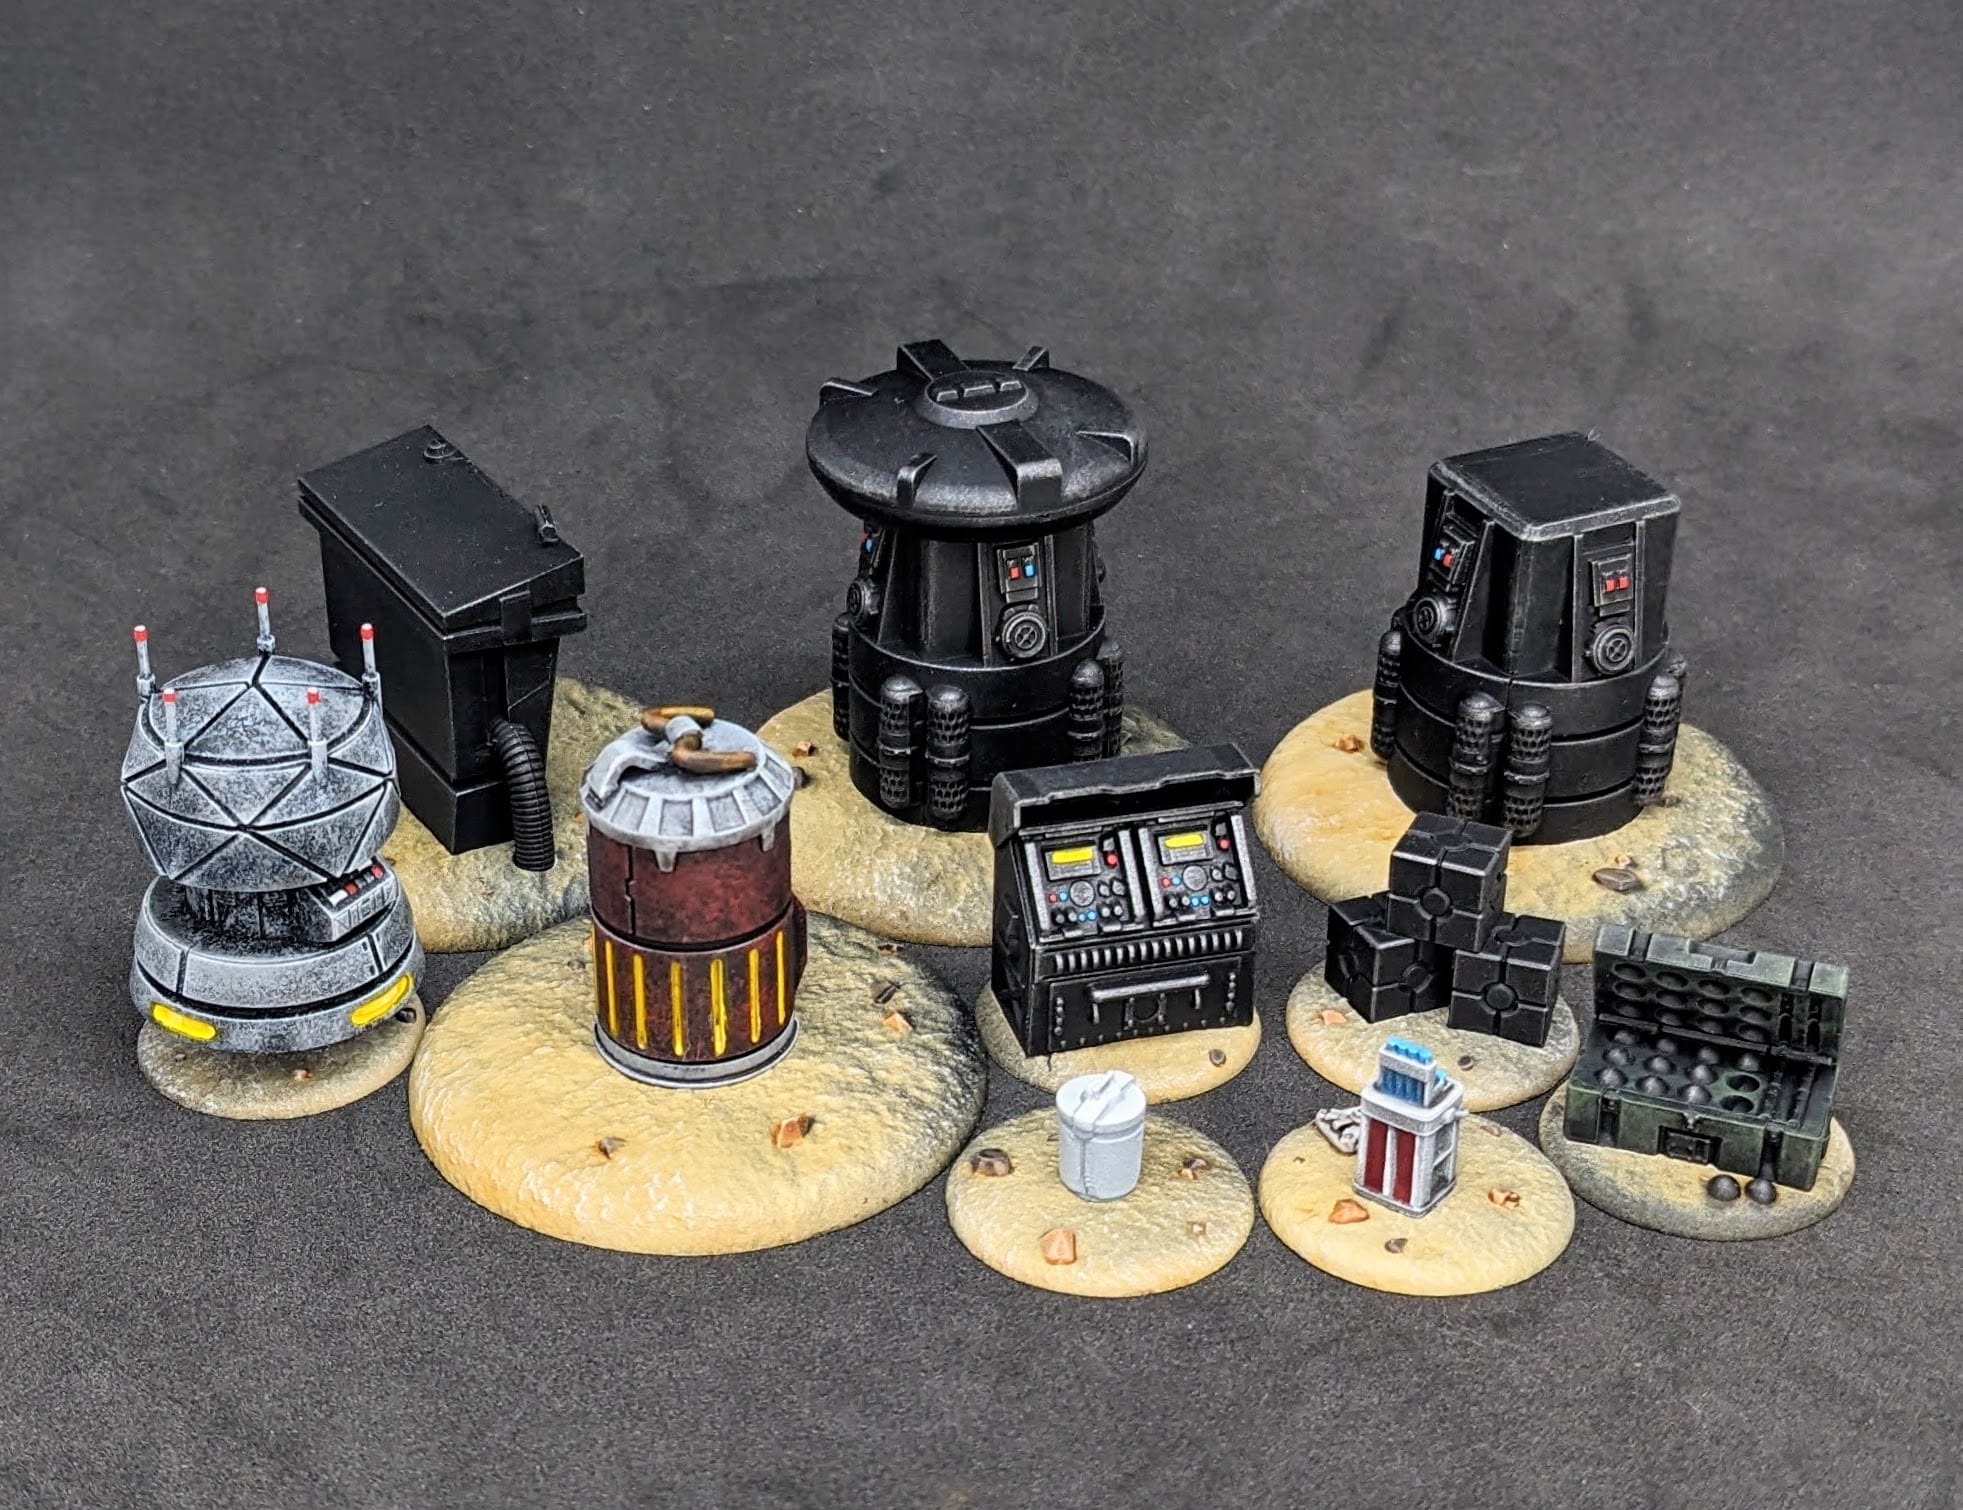
The box comes with two sprues and a single clear flight stand (for the hovering gray objective). There are four POI (point of interest) miniatures and six asset miniatures. The POI minis have bases that are 2 inches in diameter, and the asset tokens are 1 inch diameter. There's an insert sheet that has the link to the building instructions.
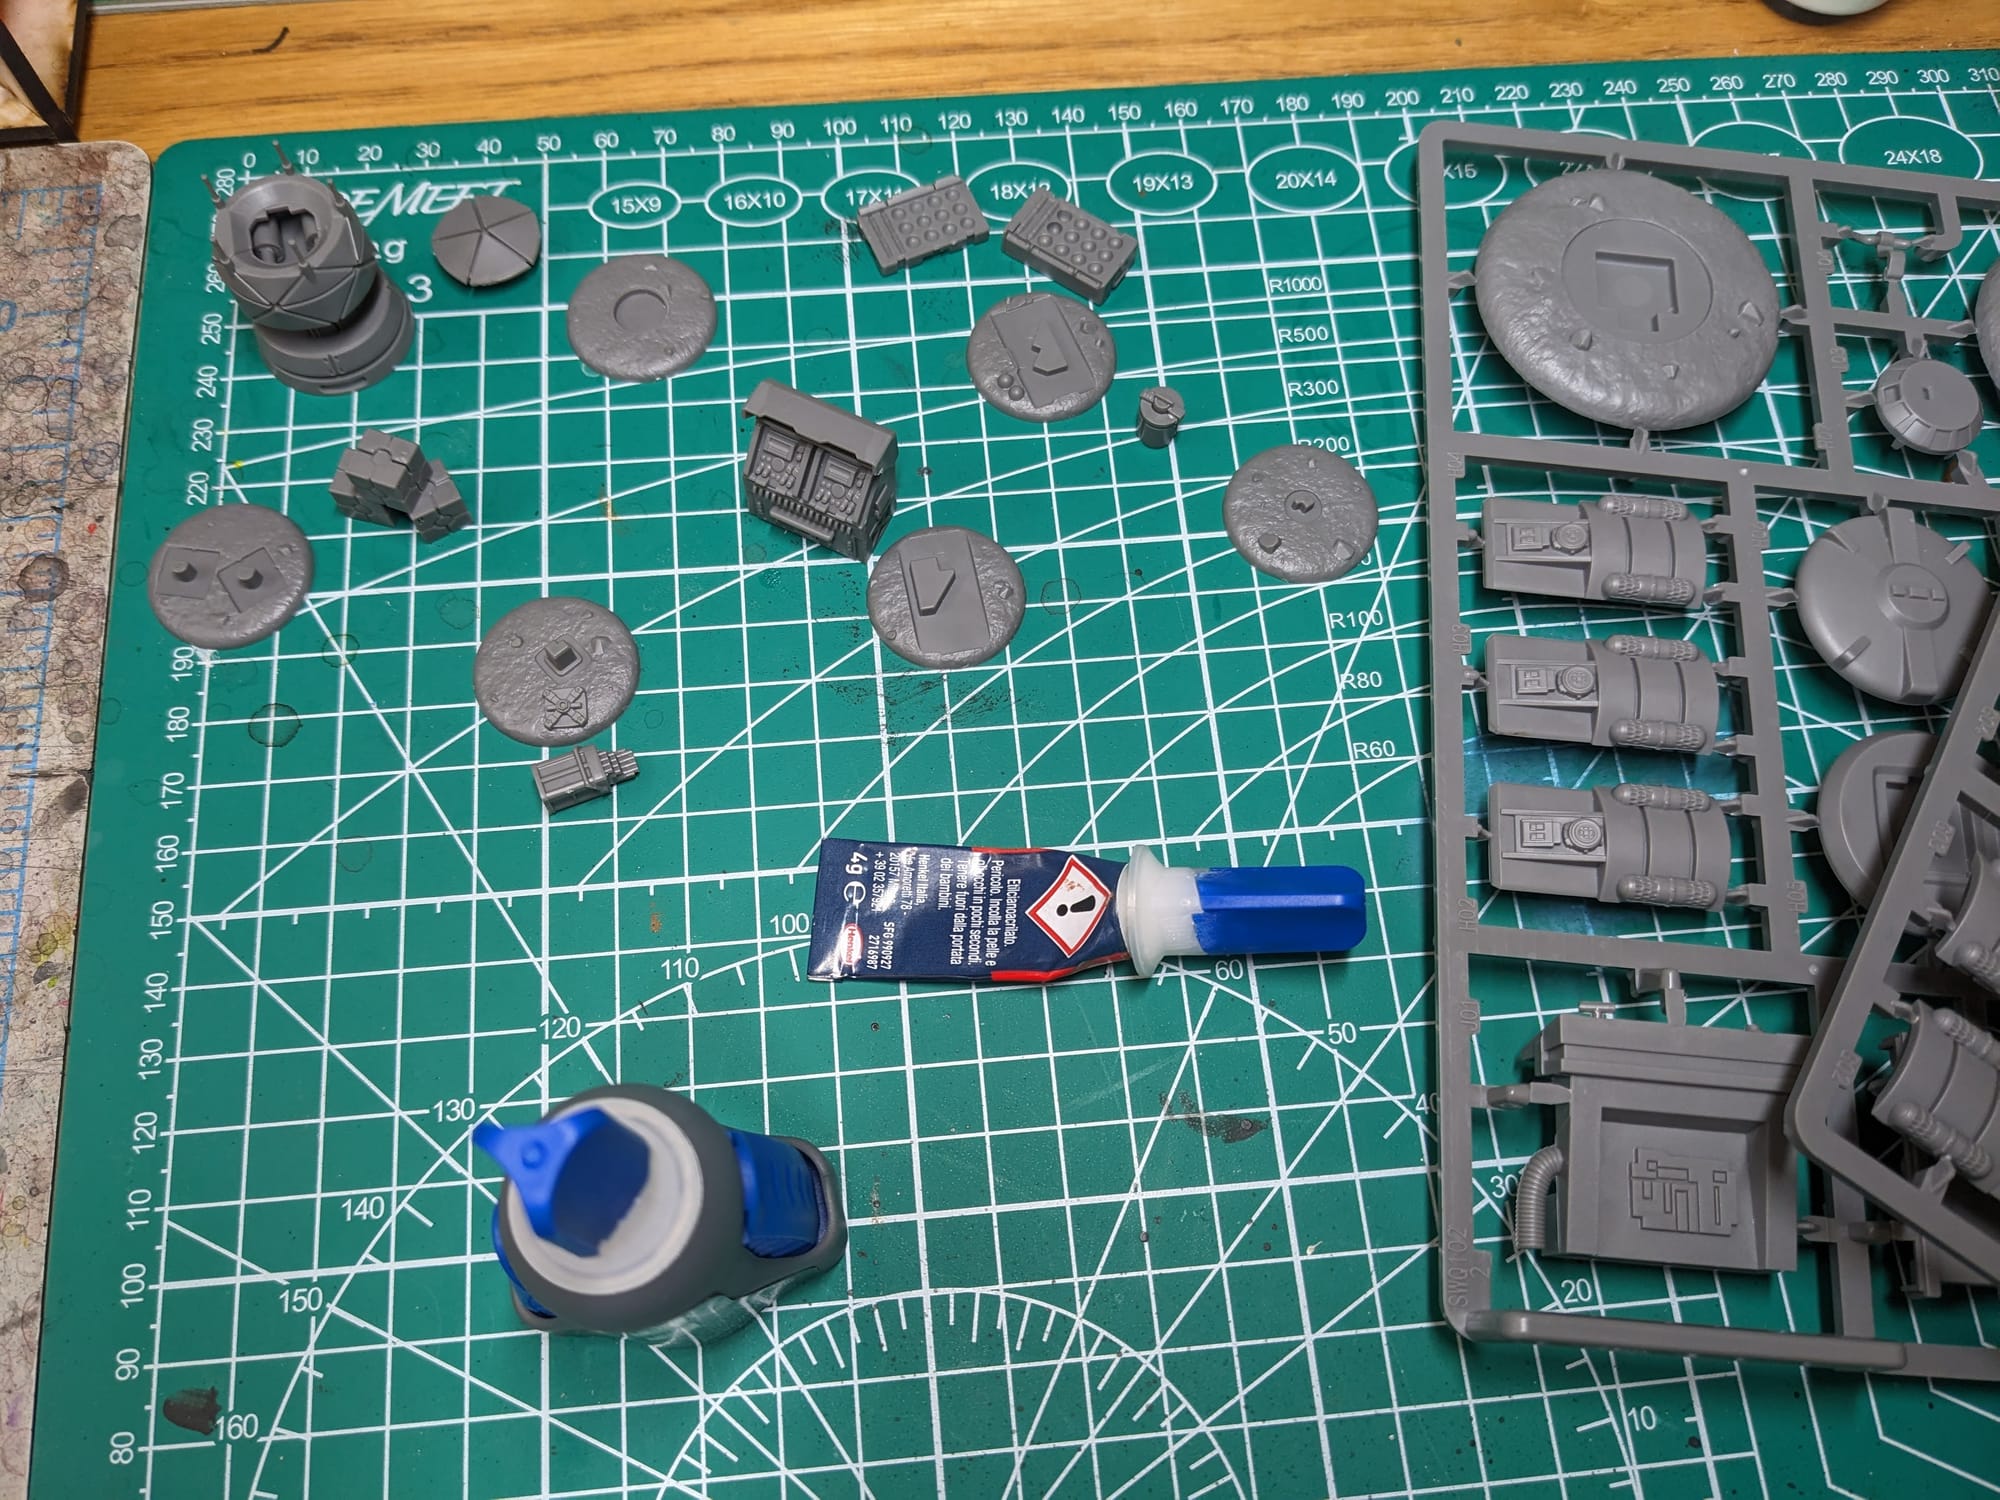
Assembling Your Models
GamingTrend has put together a guide for you to follow for how best to clean, cut, and assemble your models, regardless of the game. While the materials for the models may be different between games (plastic, resin, metal, etc.) there are simple techniques you can do to help make your painting experience go that much smoother.
Additionally, if you are new to painting and are not sure what brushes or tools you need, check out the article. This is just a starting place, and every painter has different preferences and recommendations. These are my recommendations based on the last decade or so of painting and I hope you find them helpful!
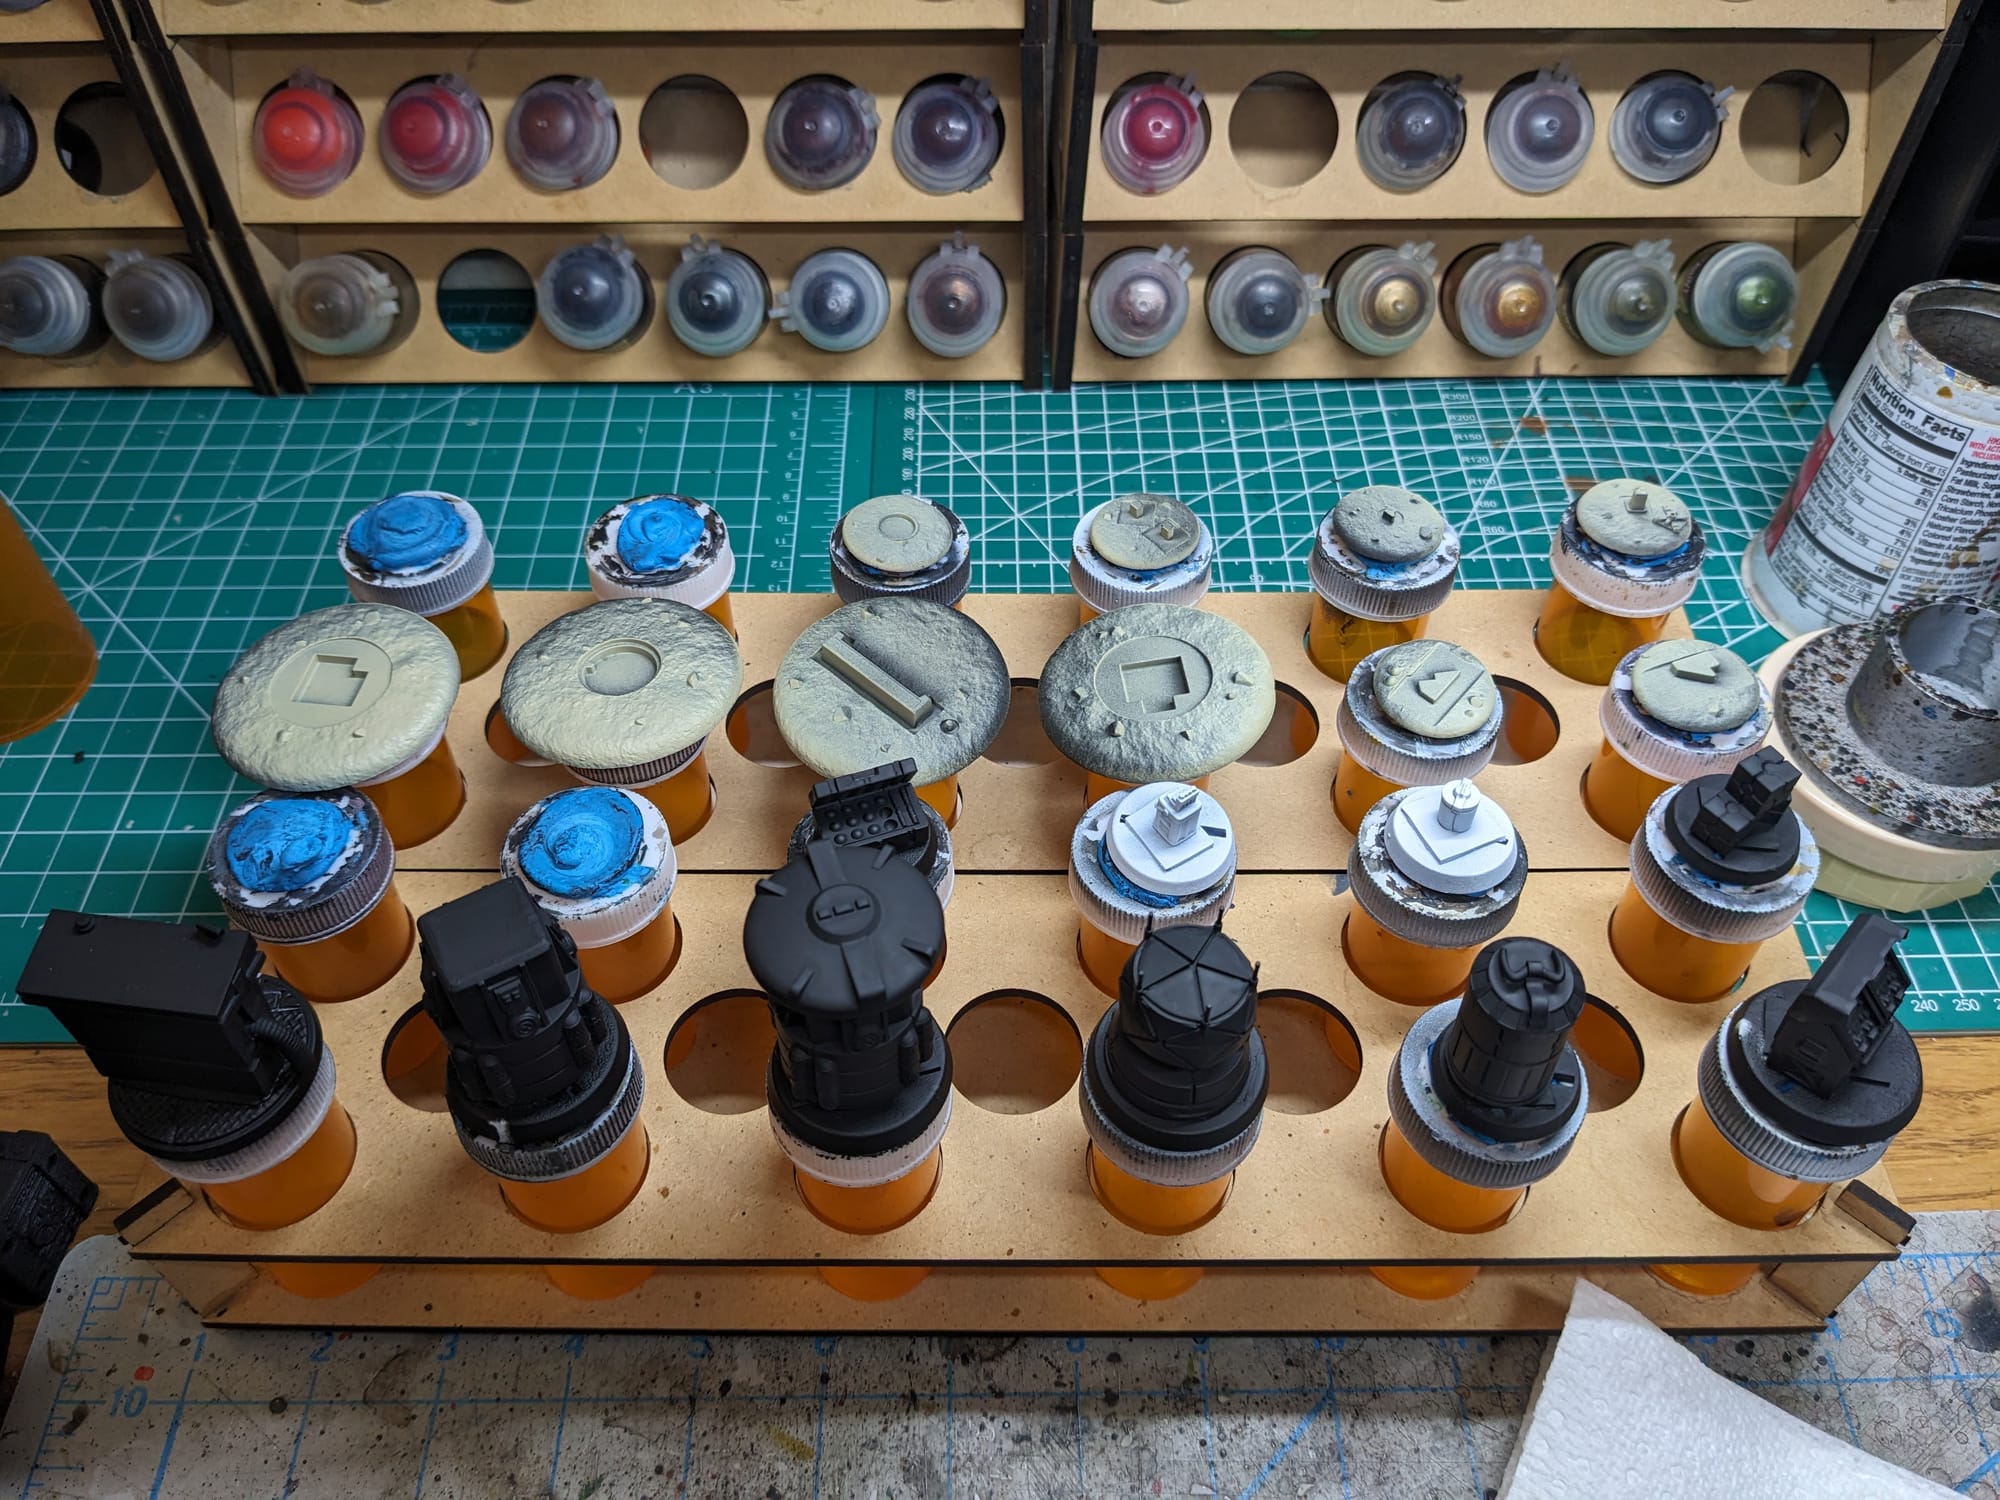
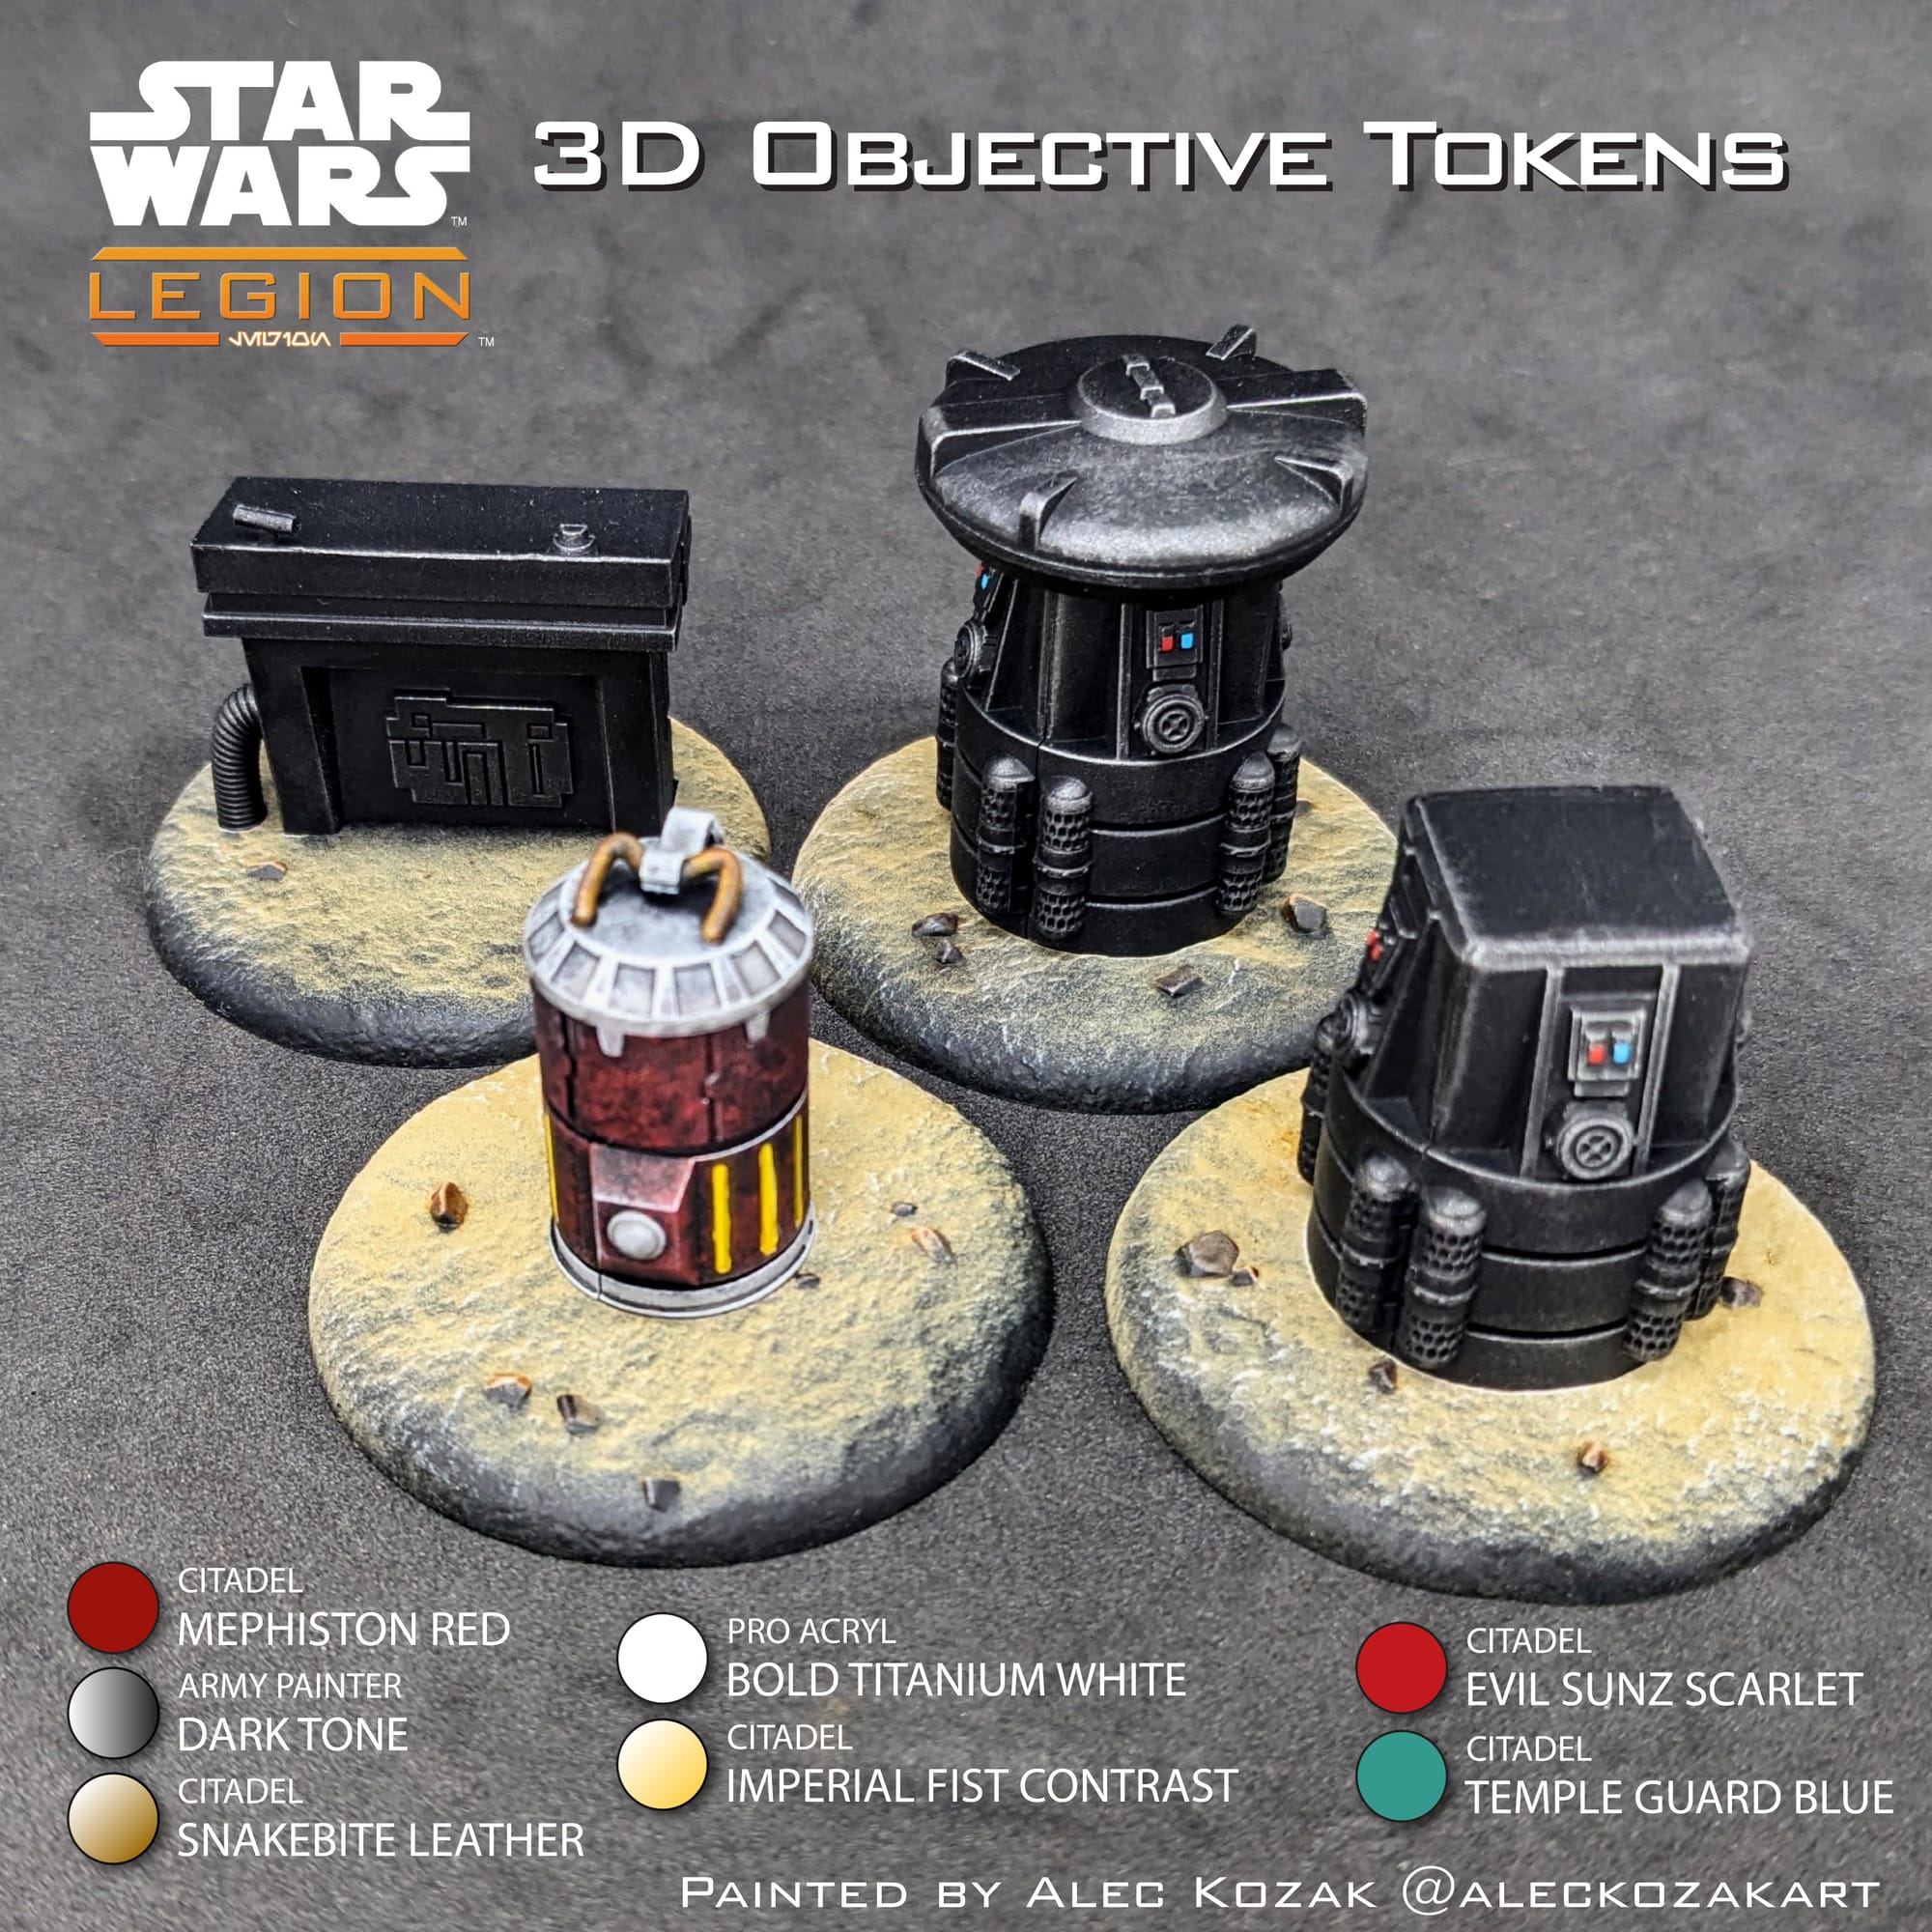
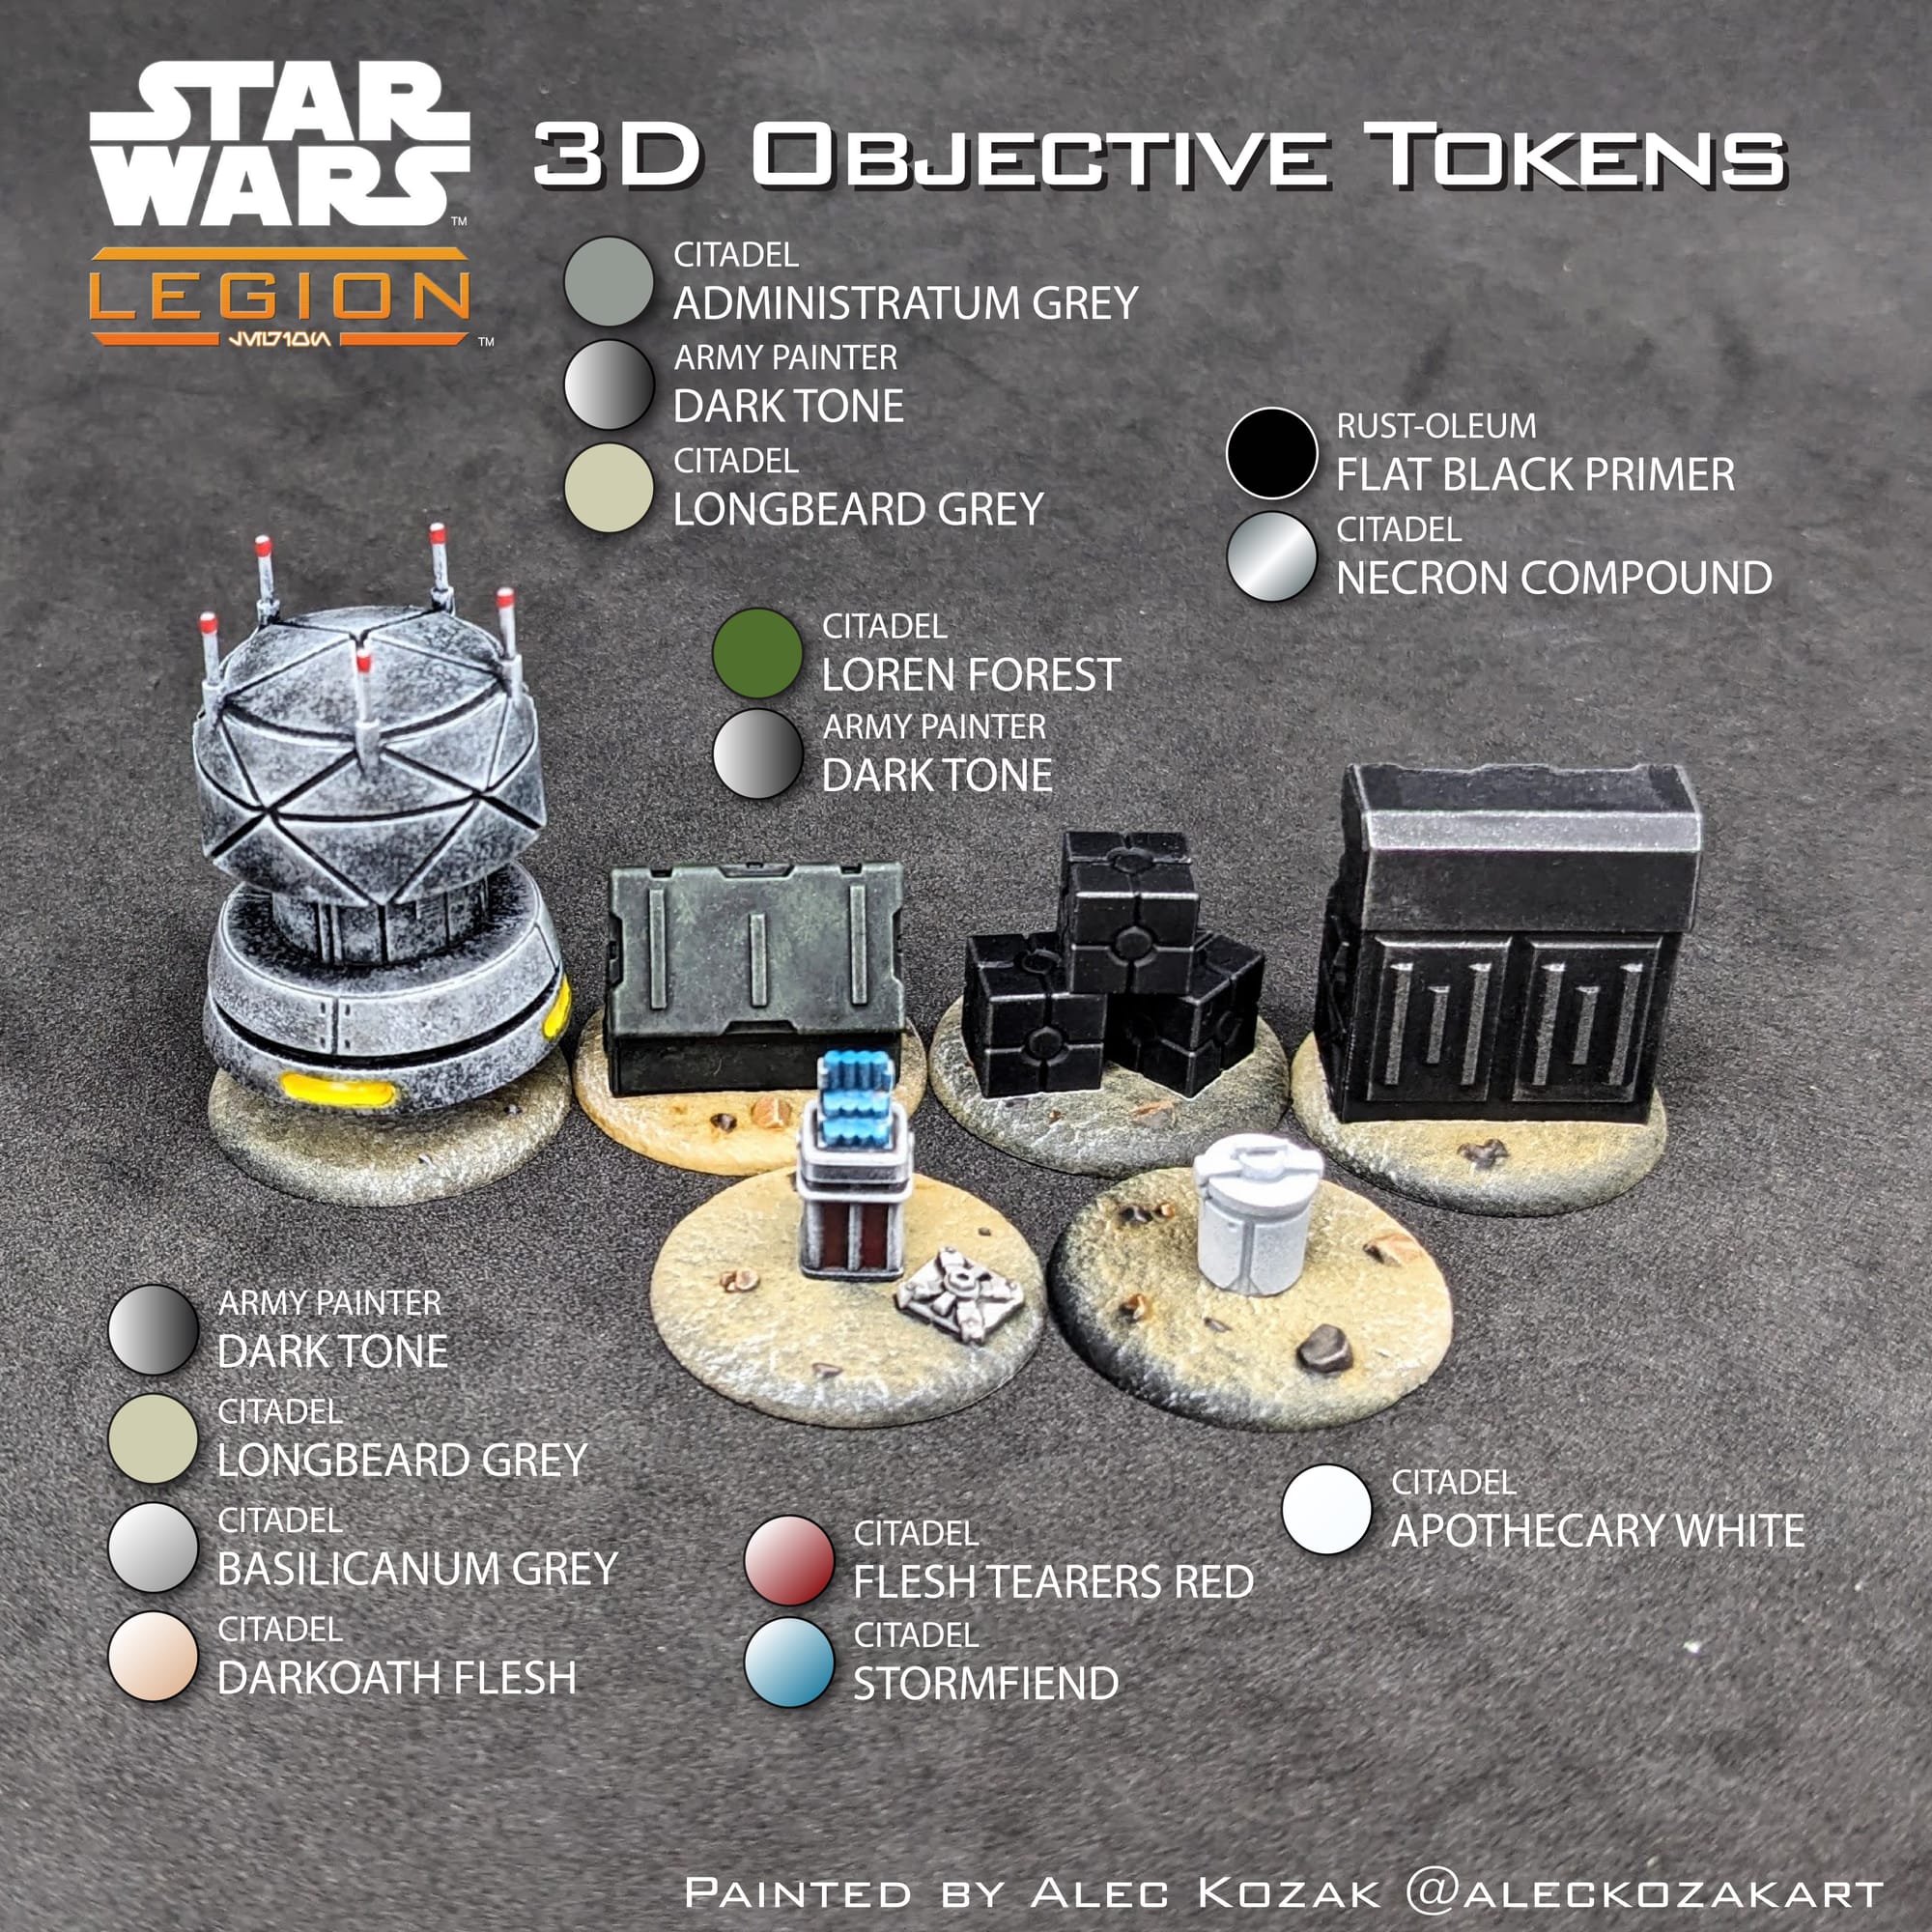
For this tutorial, I have included a visual guide (below) of the paints I used for the miniatures so you have an easily-accessible list to refer to if you need to go shopping. The paints are noted on the picture. Many paints are used for multiple figures, so a single bottle of each will be more than enough.
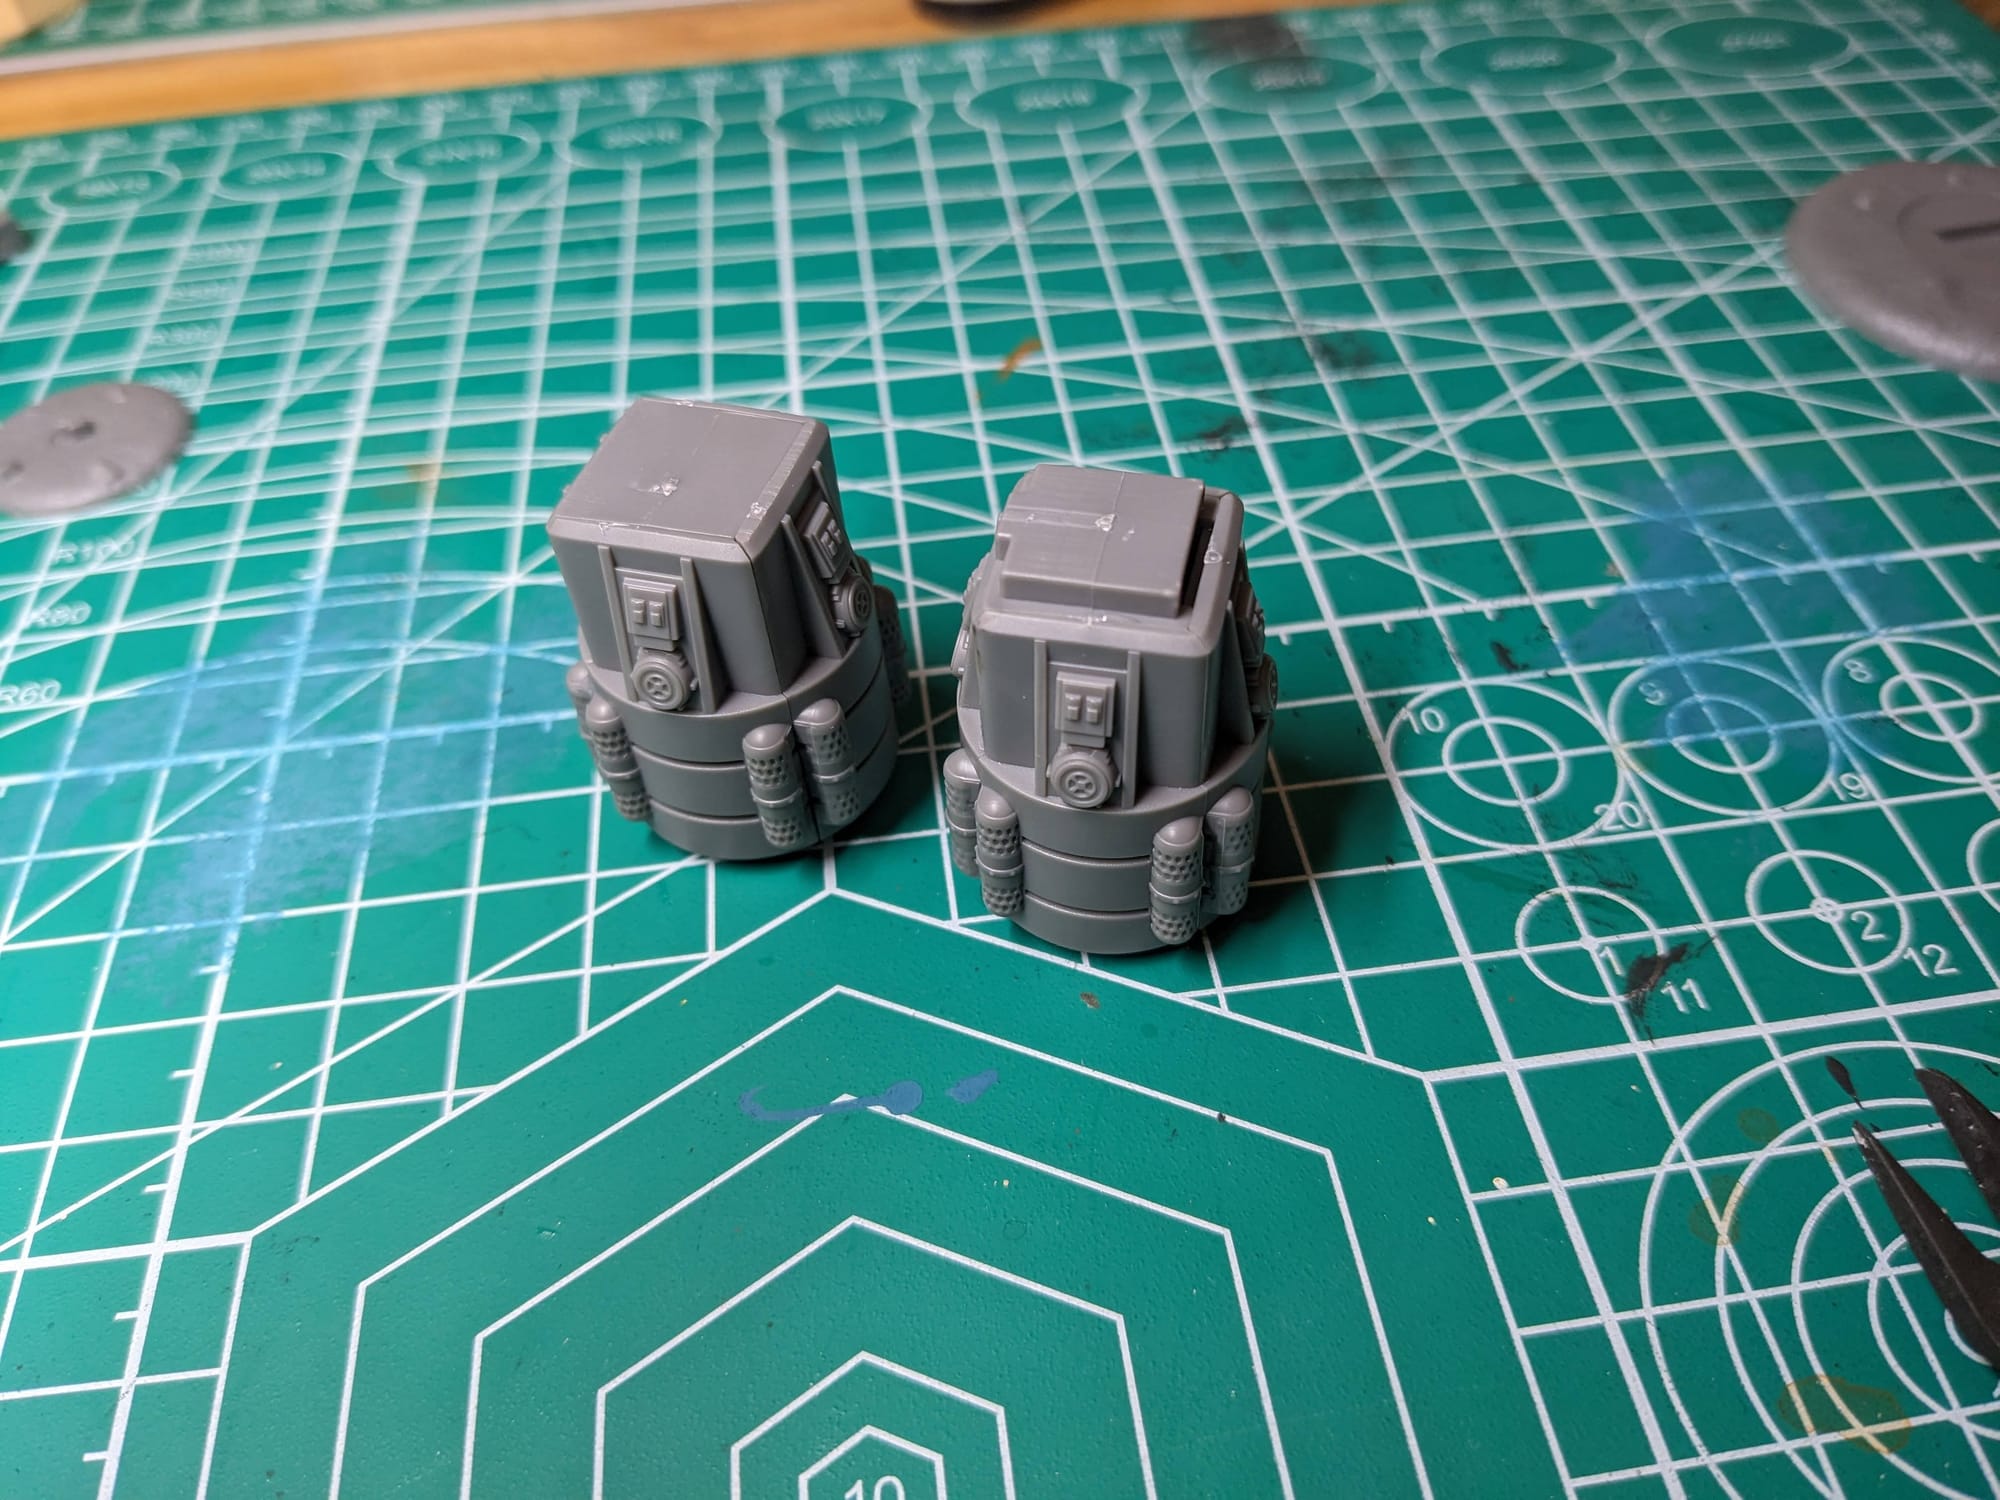

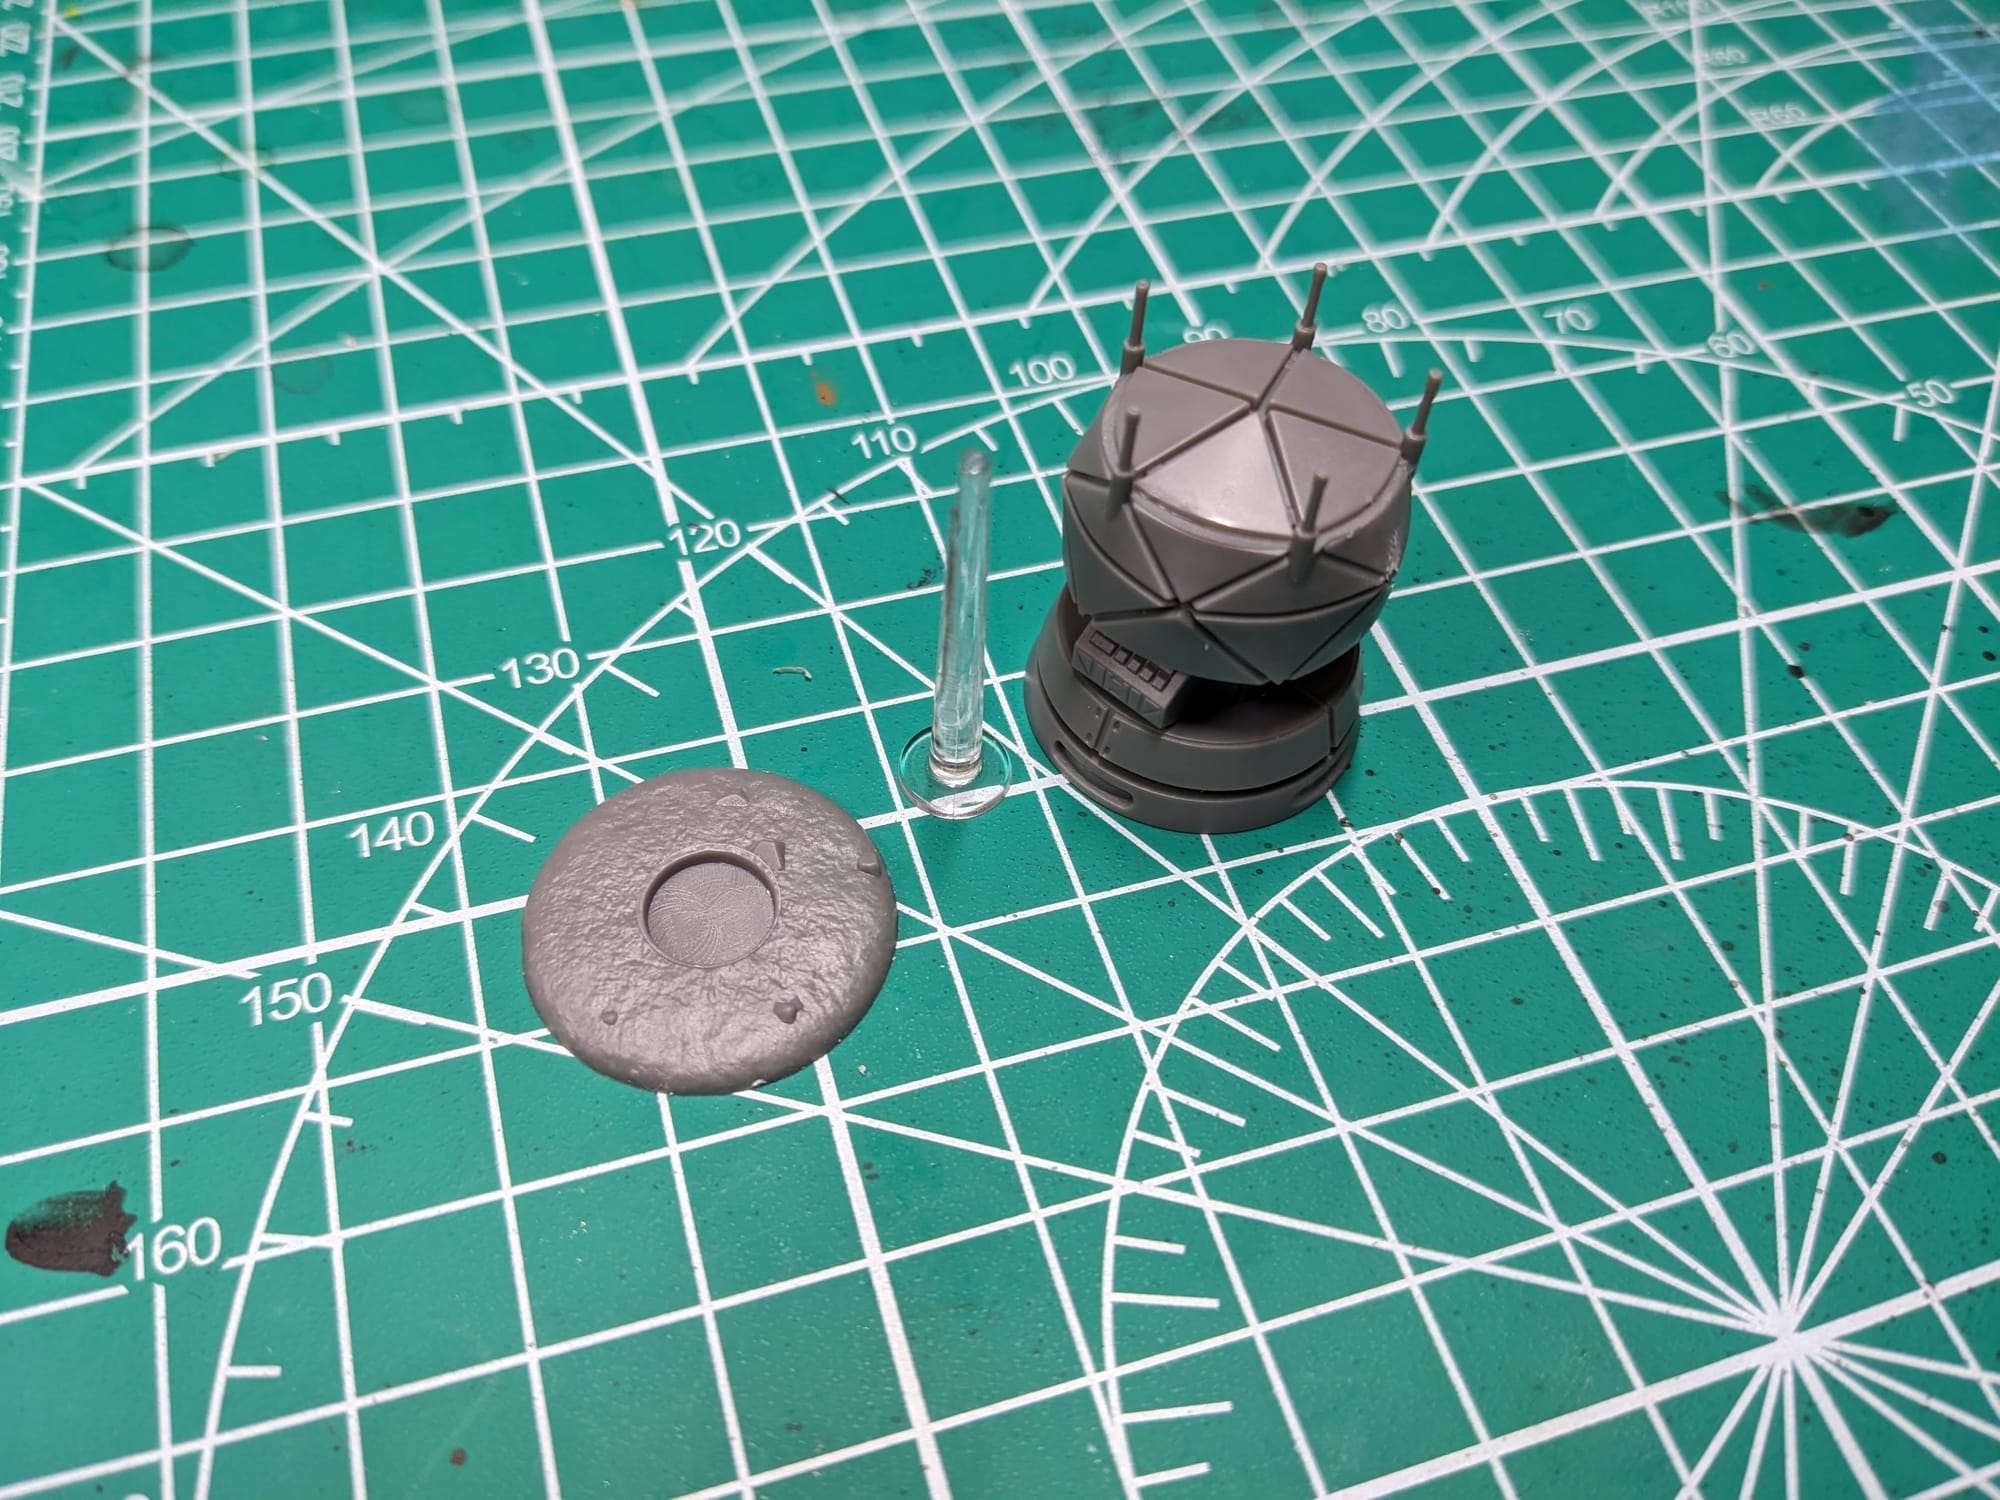
For a control panel (left), there's no... panel. The objective on the right has a flight stand, which I will glue after painting.
Painting Your Miniatures
The Paint Plan
For pretty much every miniature painting project I do, I start with a plan. Even before putting the primer and paint on a model, I find photo references of the paint schemes and details I am looking for. Most times, this means having a browser window up with different web pages and images next to my painting area, so I can quickly refer to them as I paint. I also come up with a paint plan, choosing what colors I am going to use and what order I apply them in.
These Tokens are pretty straightforward in terms of colors, and so I just reference the Atomic Mass Games page for how I wanted to paint it up. To help streamline the painting process, I assembled the objectives separate from the bases so that I could use the primers to do most of the work.
Remember that done is better than perfect!
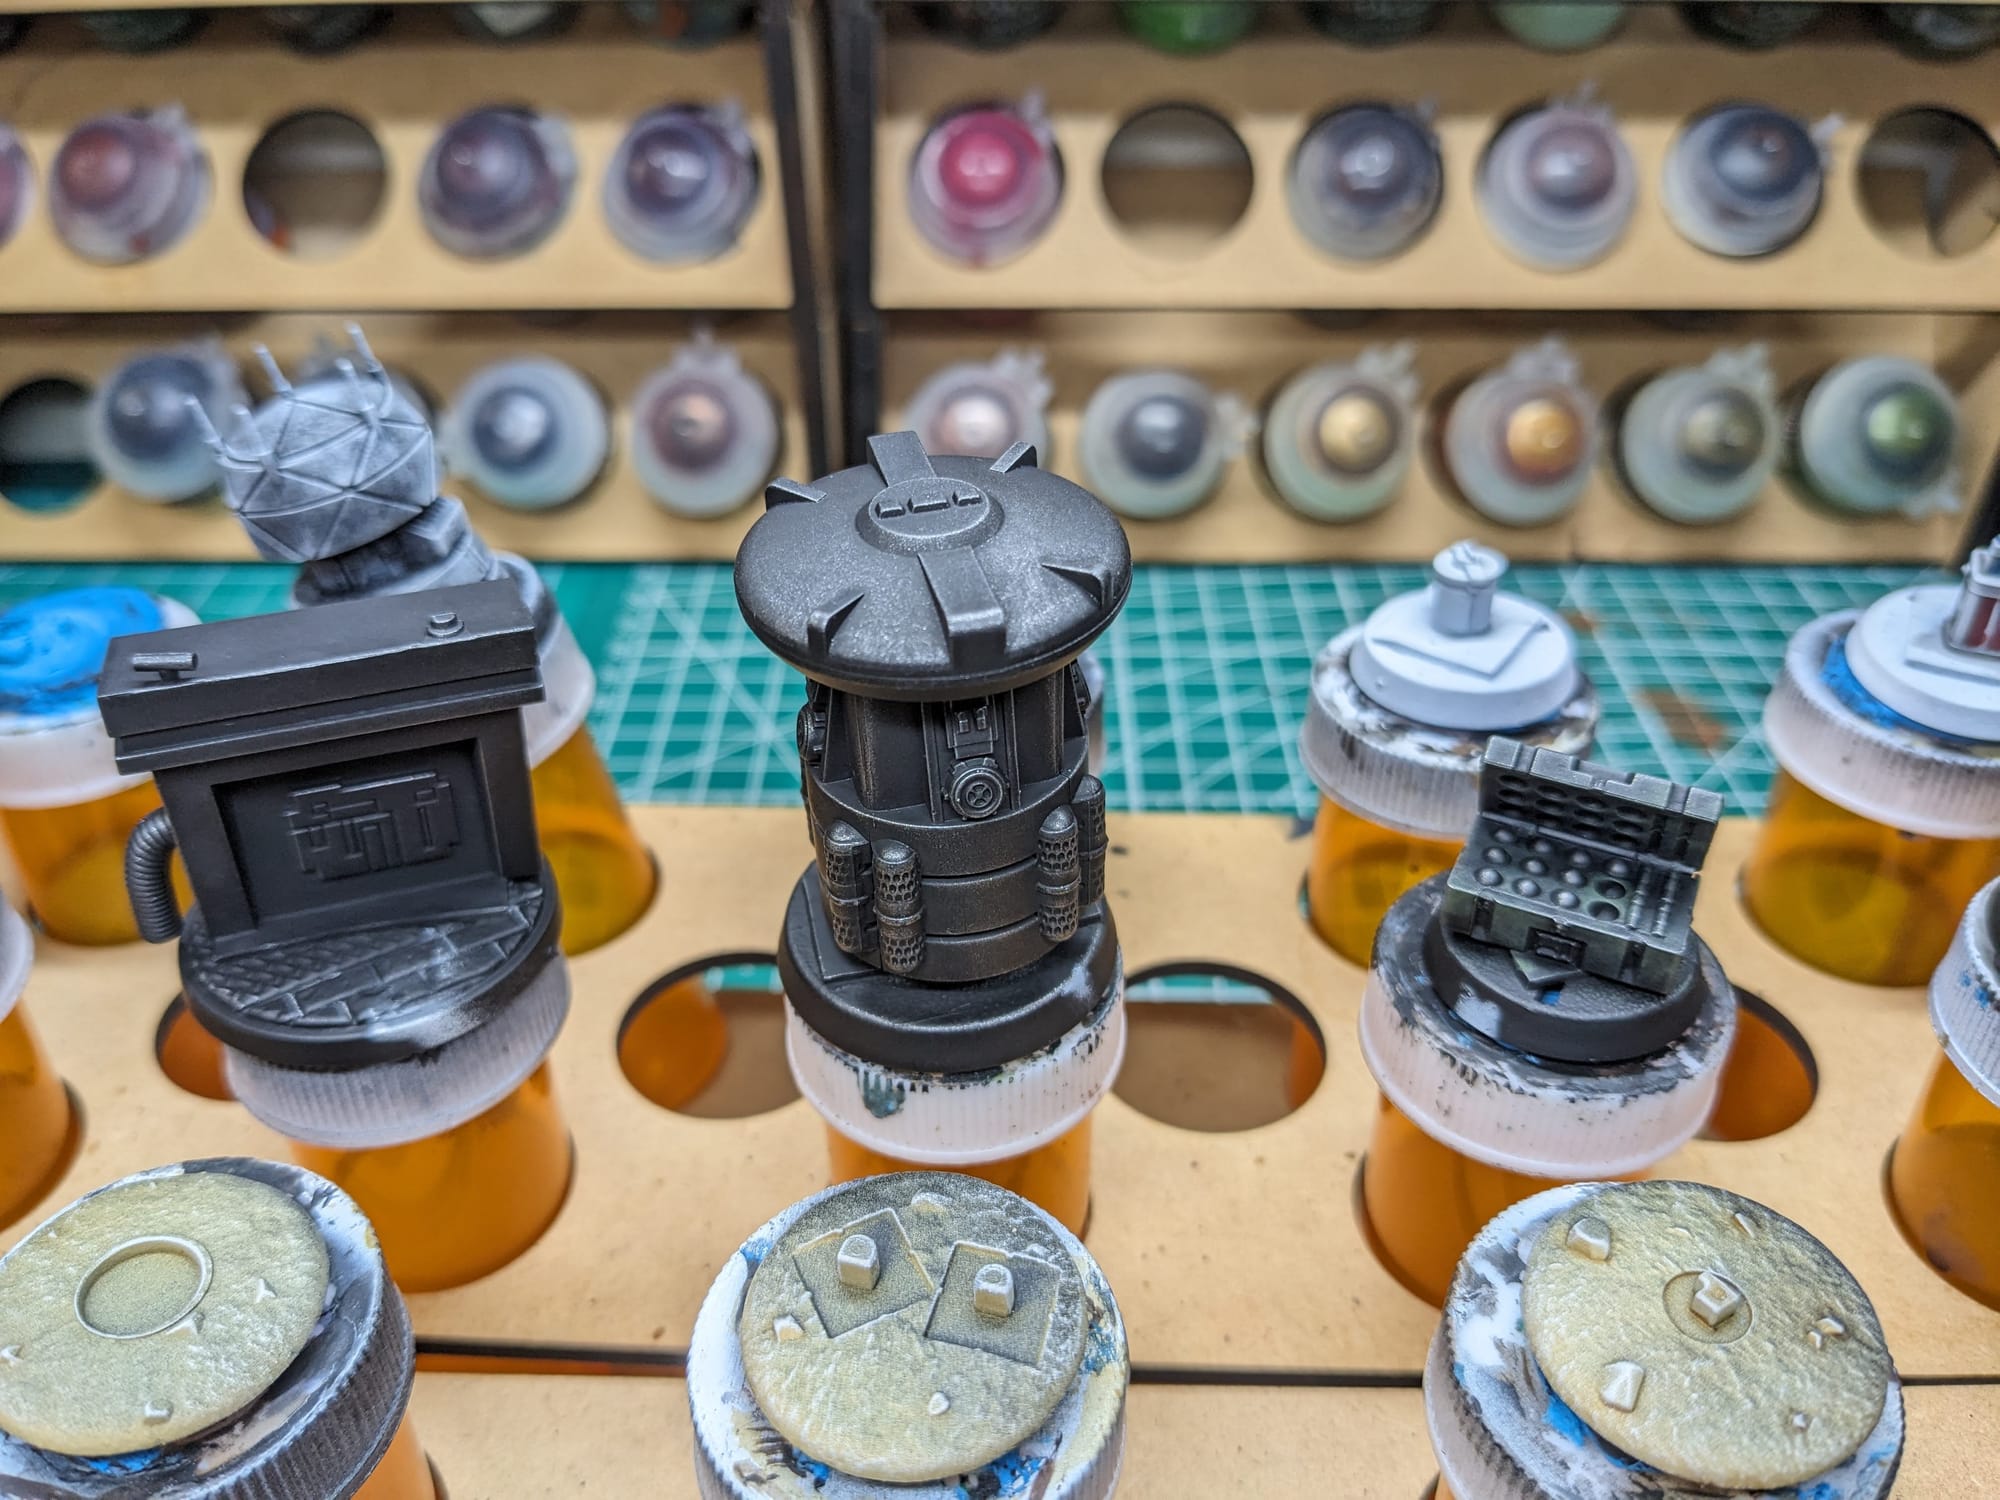
Priming
In general terms, getting the majority of a color for a model applied via a rattle can or airbrush saves a lot of time. Typically, I prime all of the figures with a zenithal prime, using a base coat of Rustoleum Flat Black and a top coat of Army Painter White Primer or one of the other color primers.
Here are the primers I used for the miniatures and terrain pieces.
- Rusteolum Flat Black Primer
- Army Painter White Primer
- Army Painter Skeleton Bone Primer
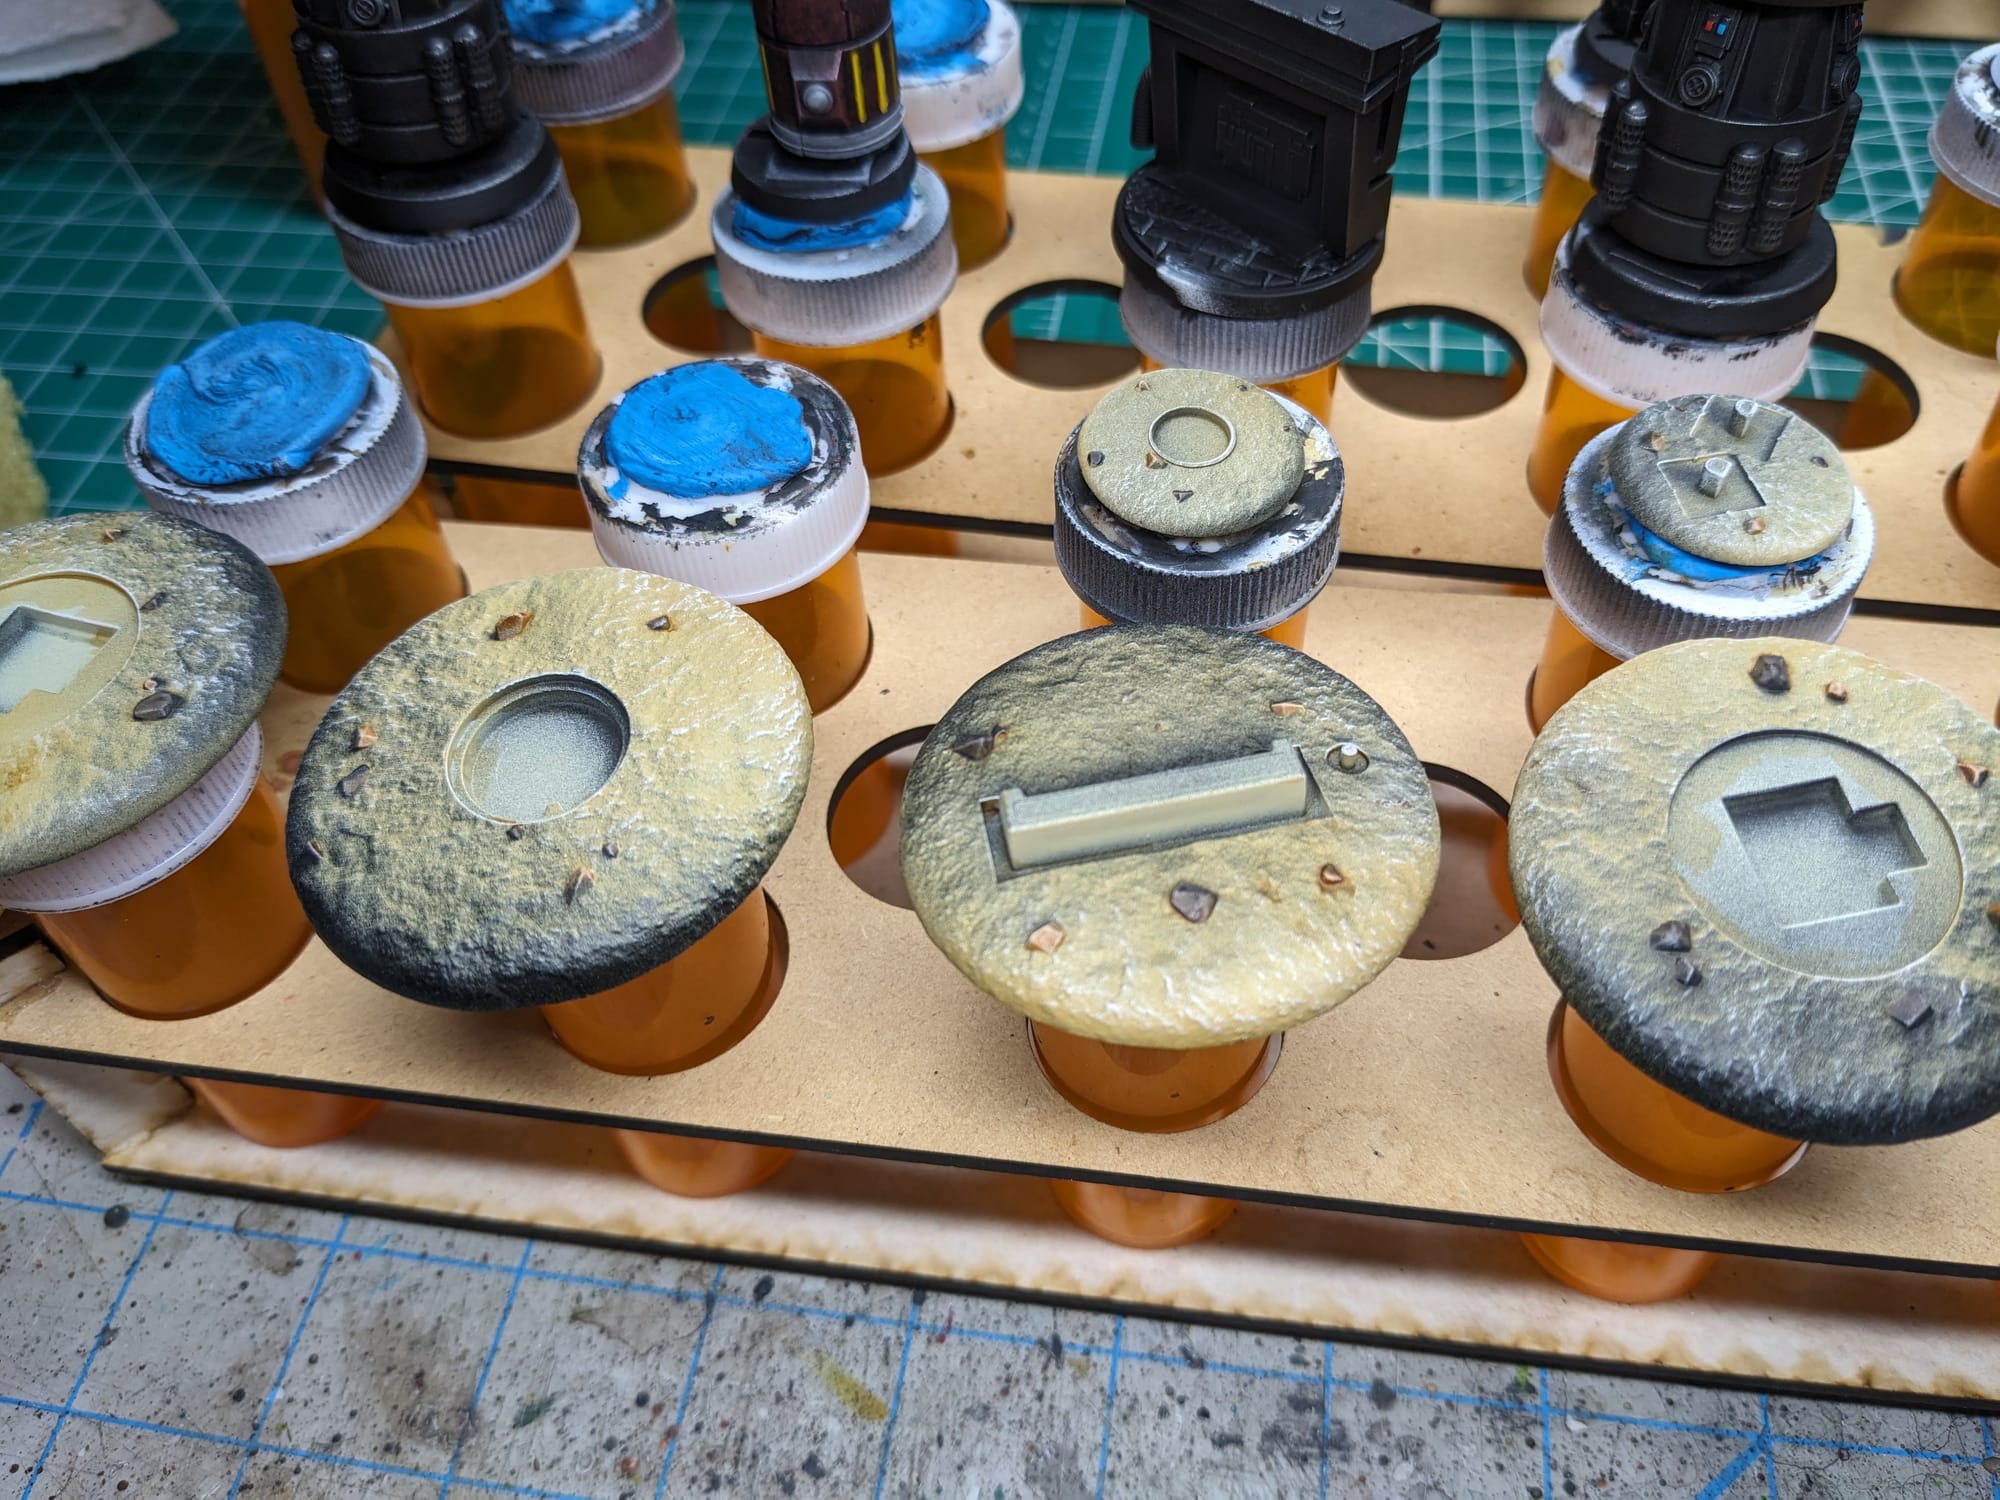
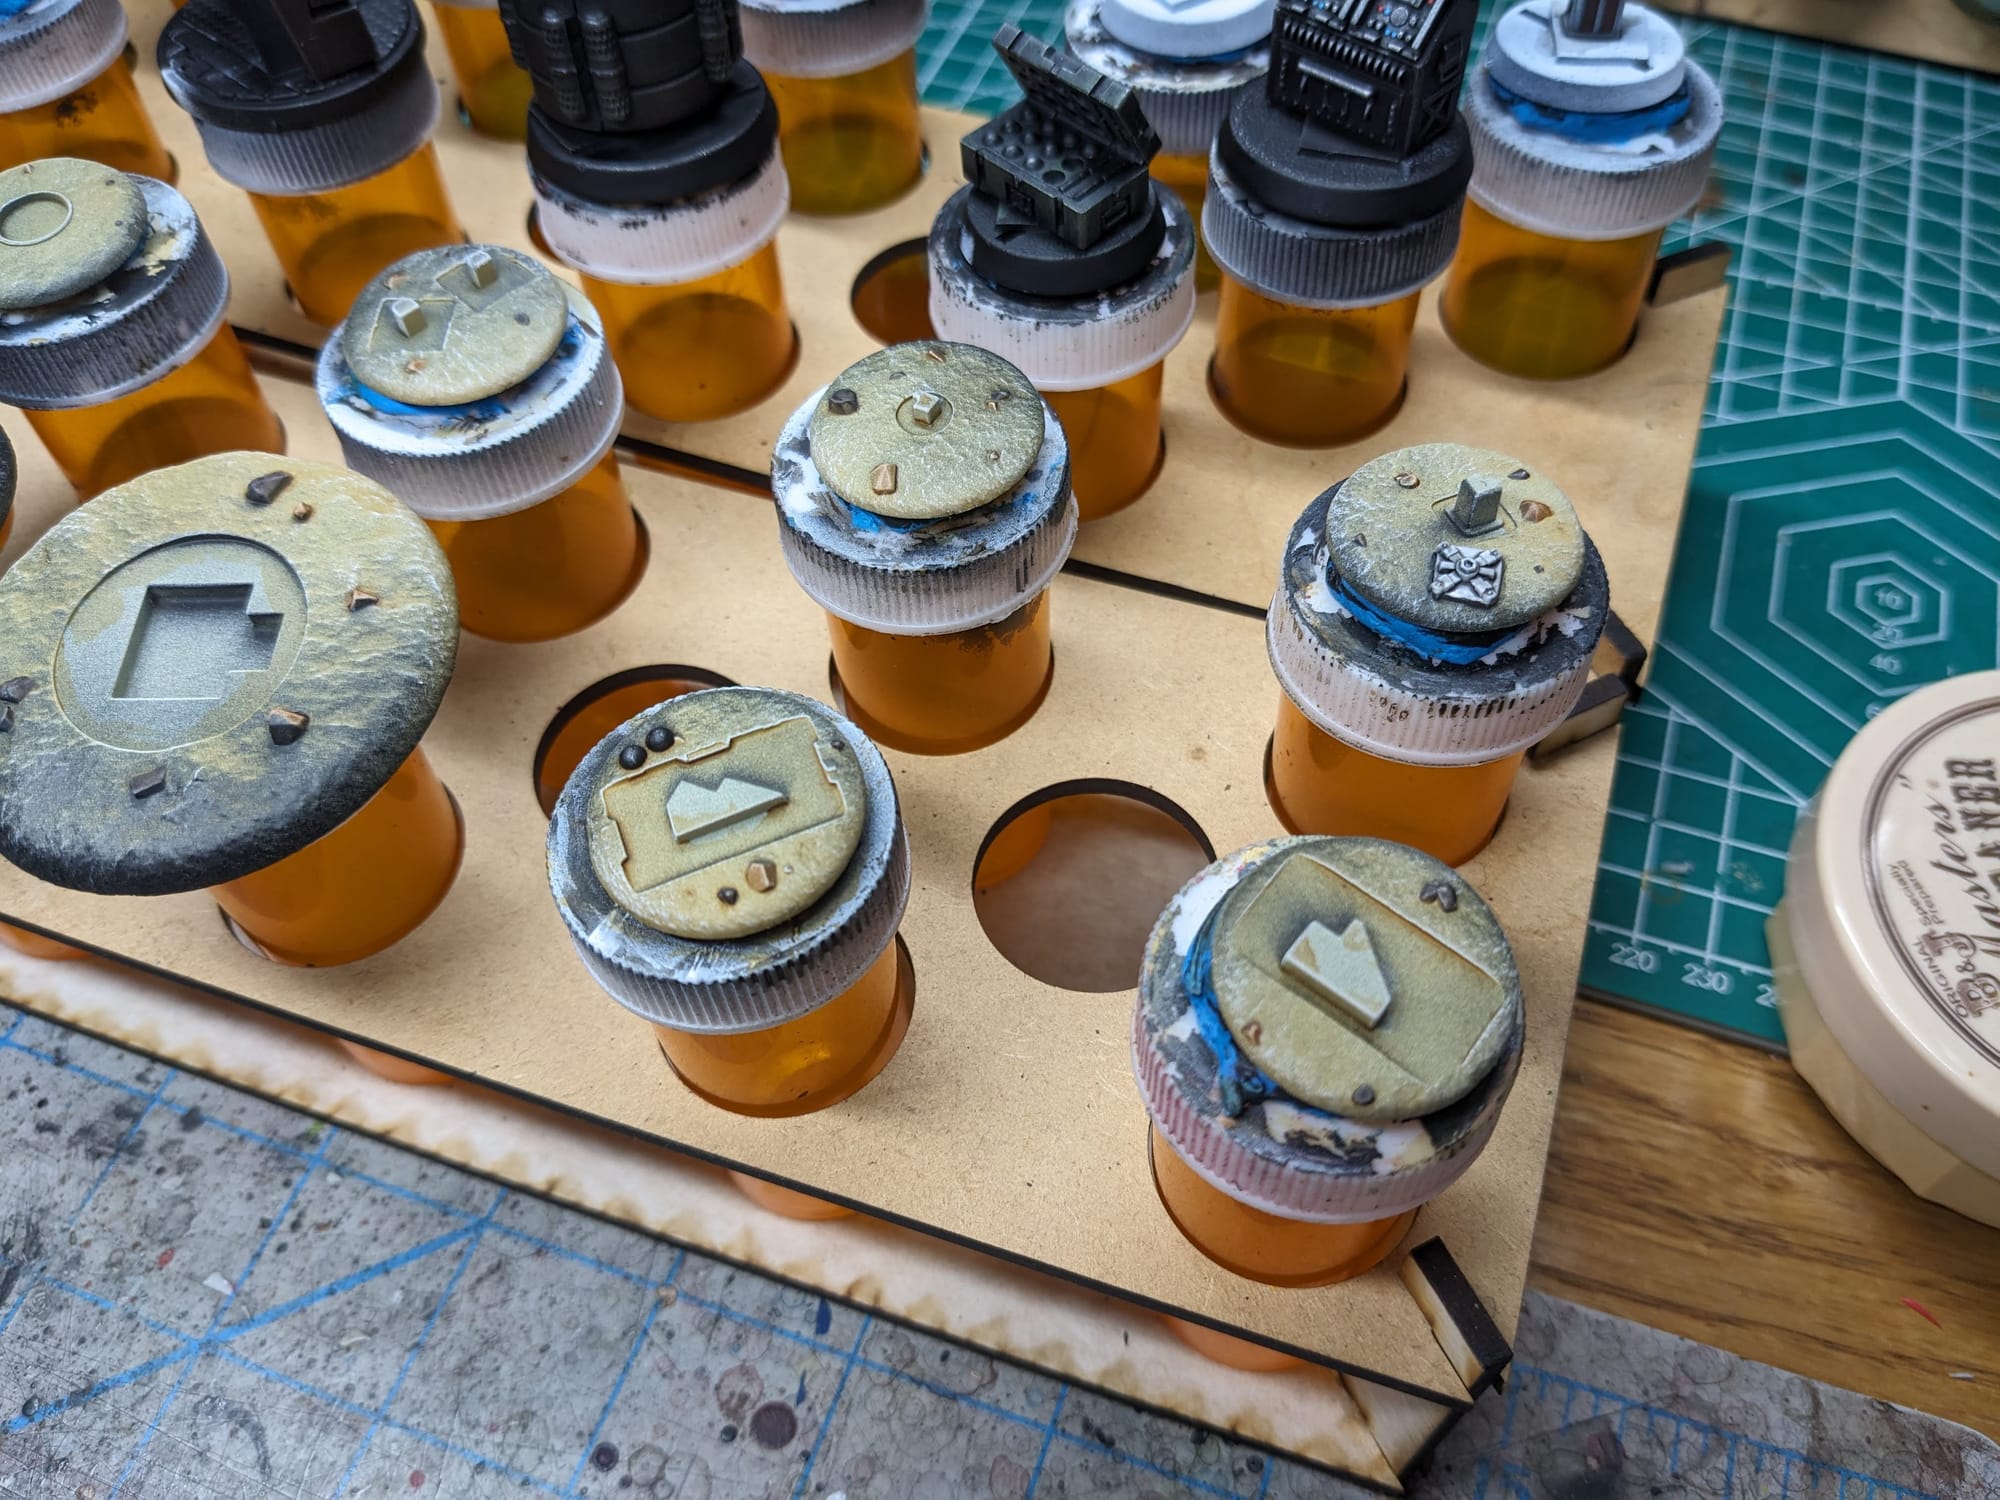
Step-by-Step Building & Painting
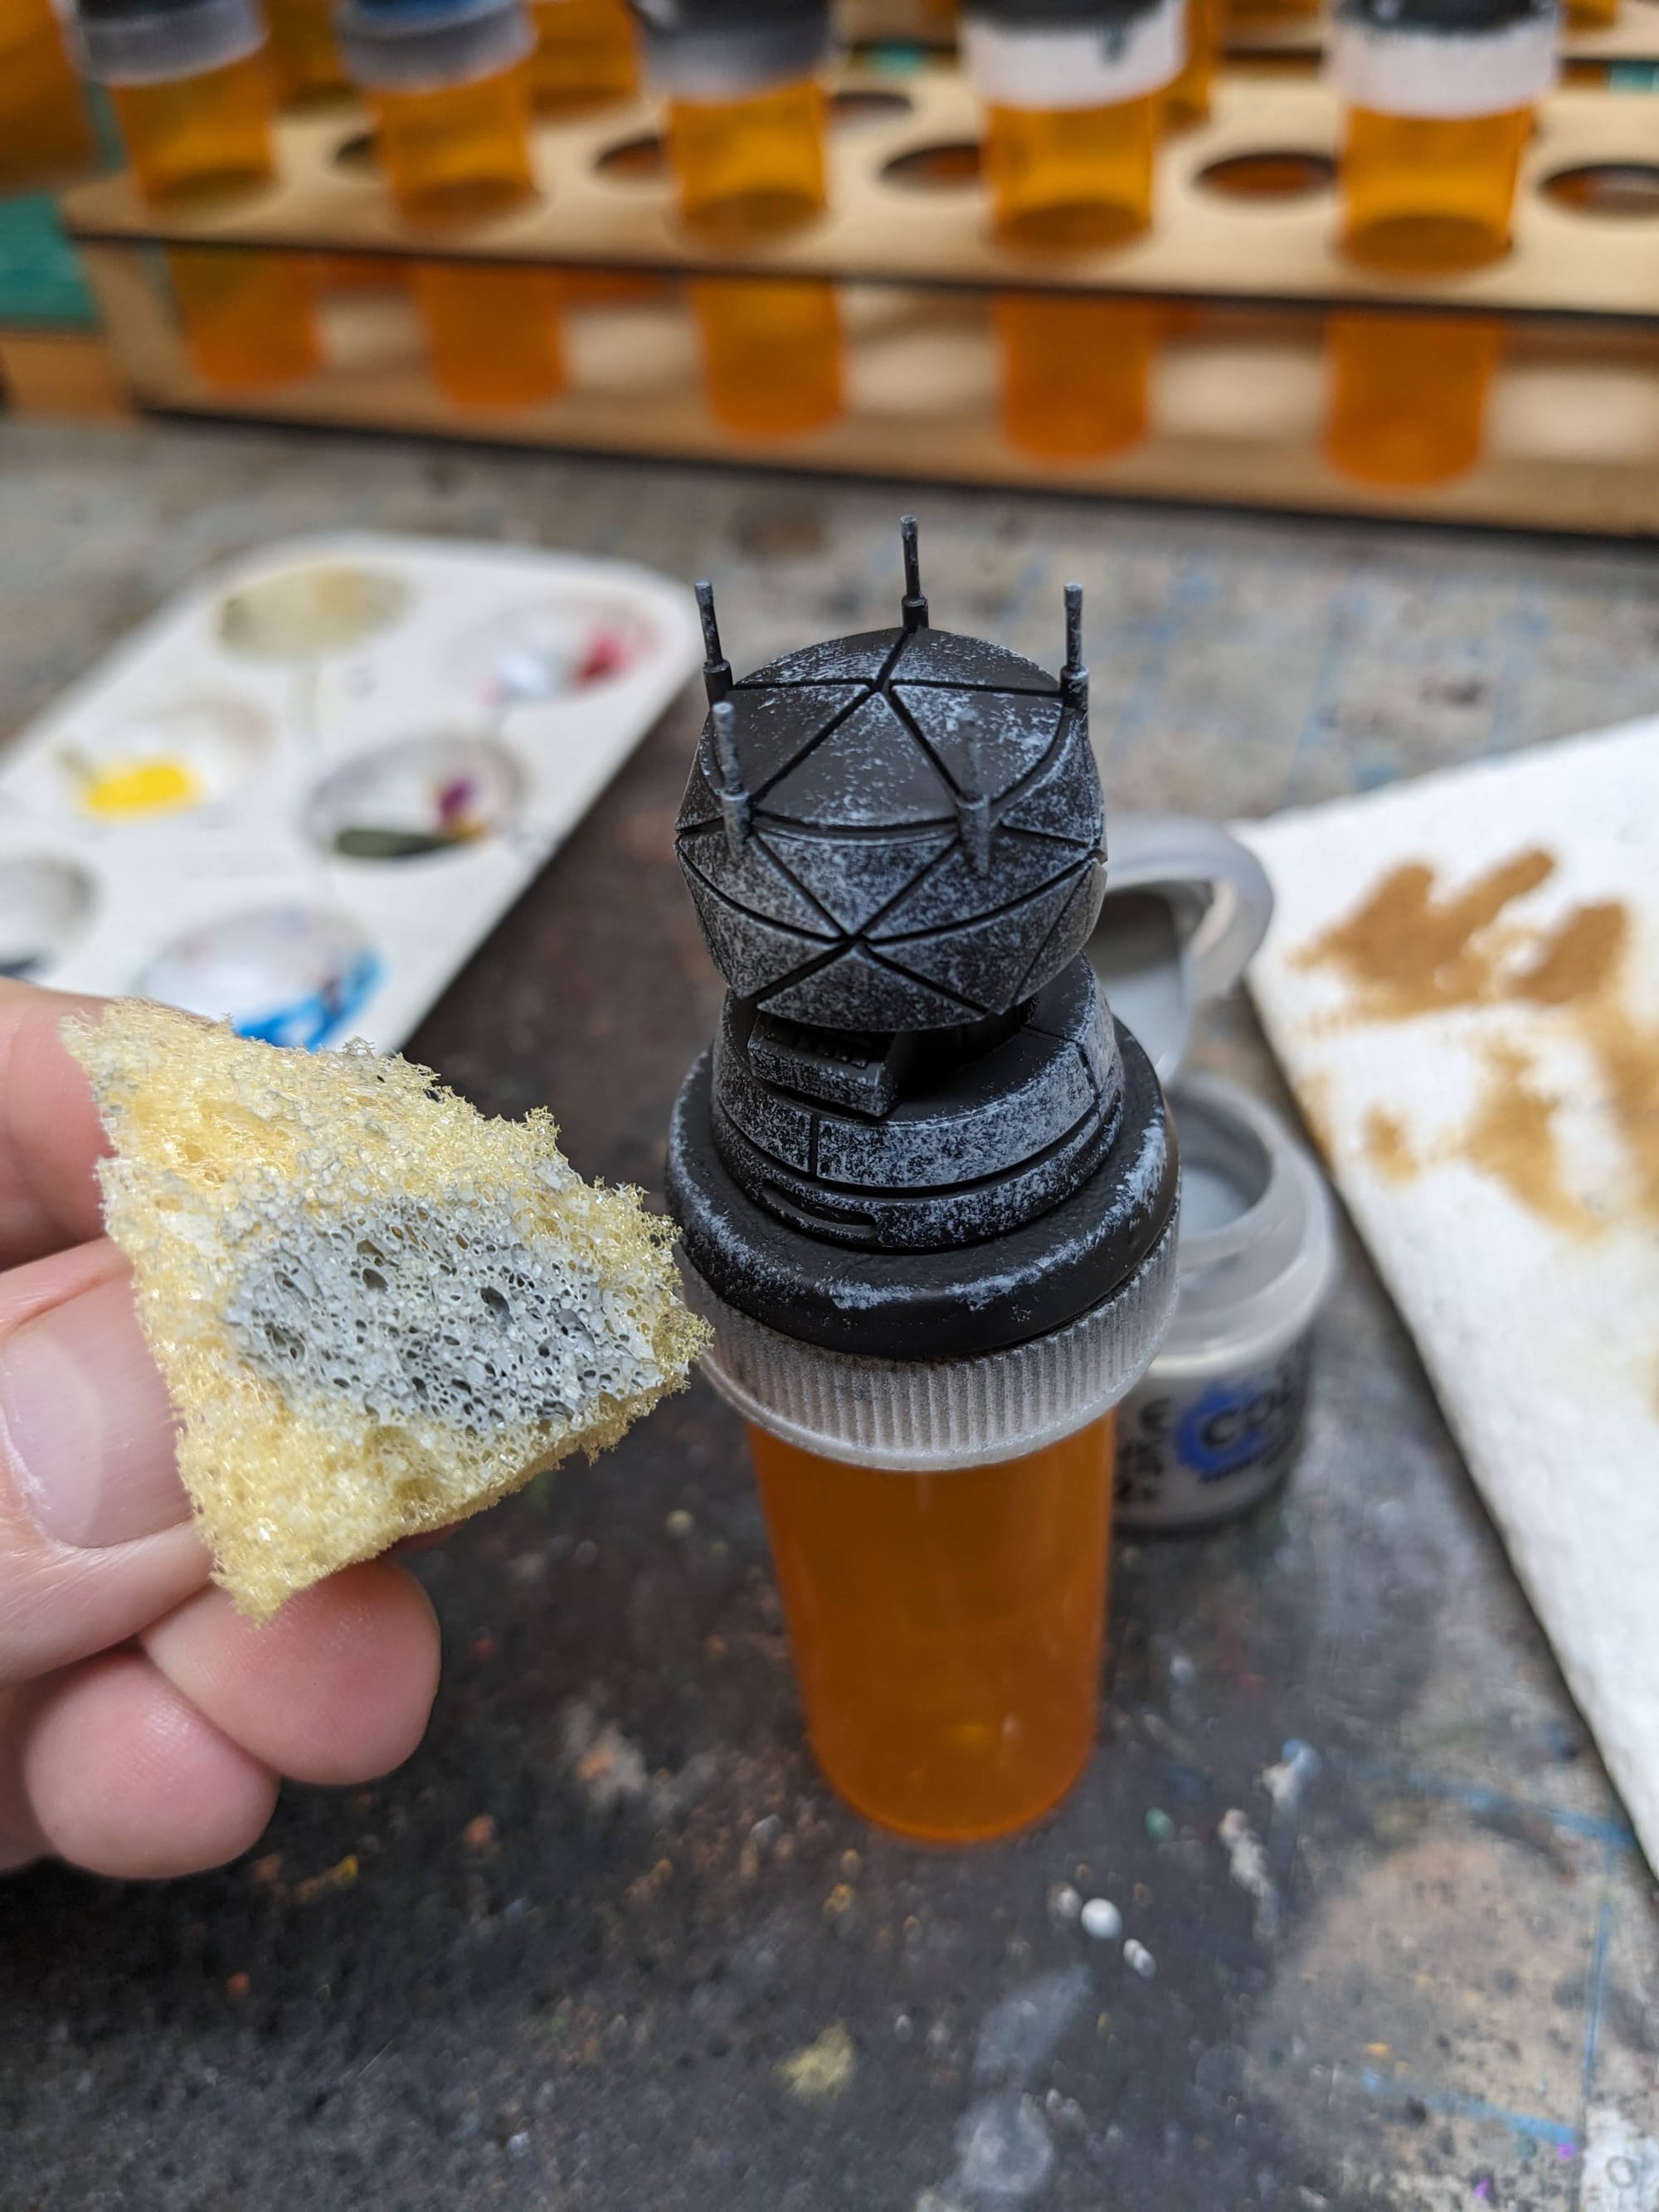
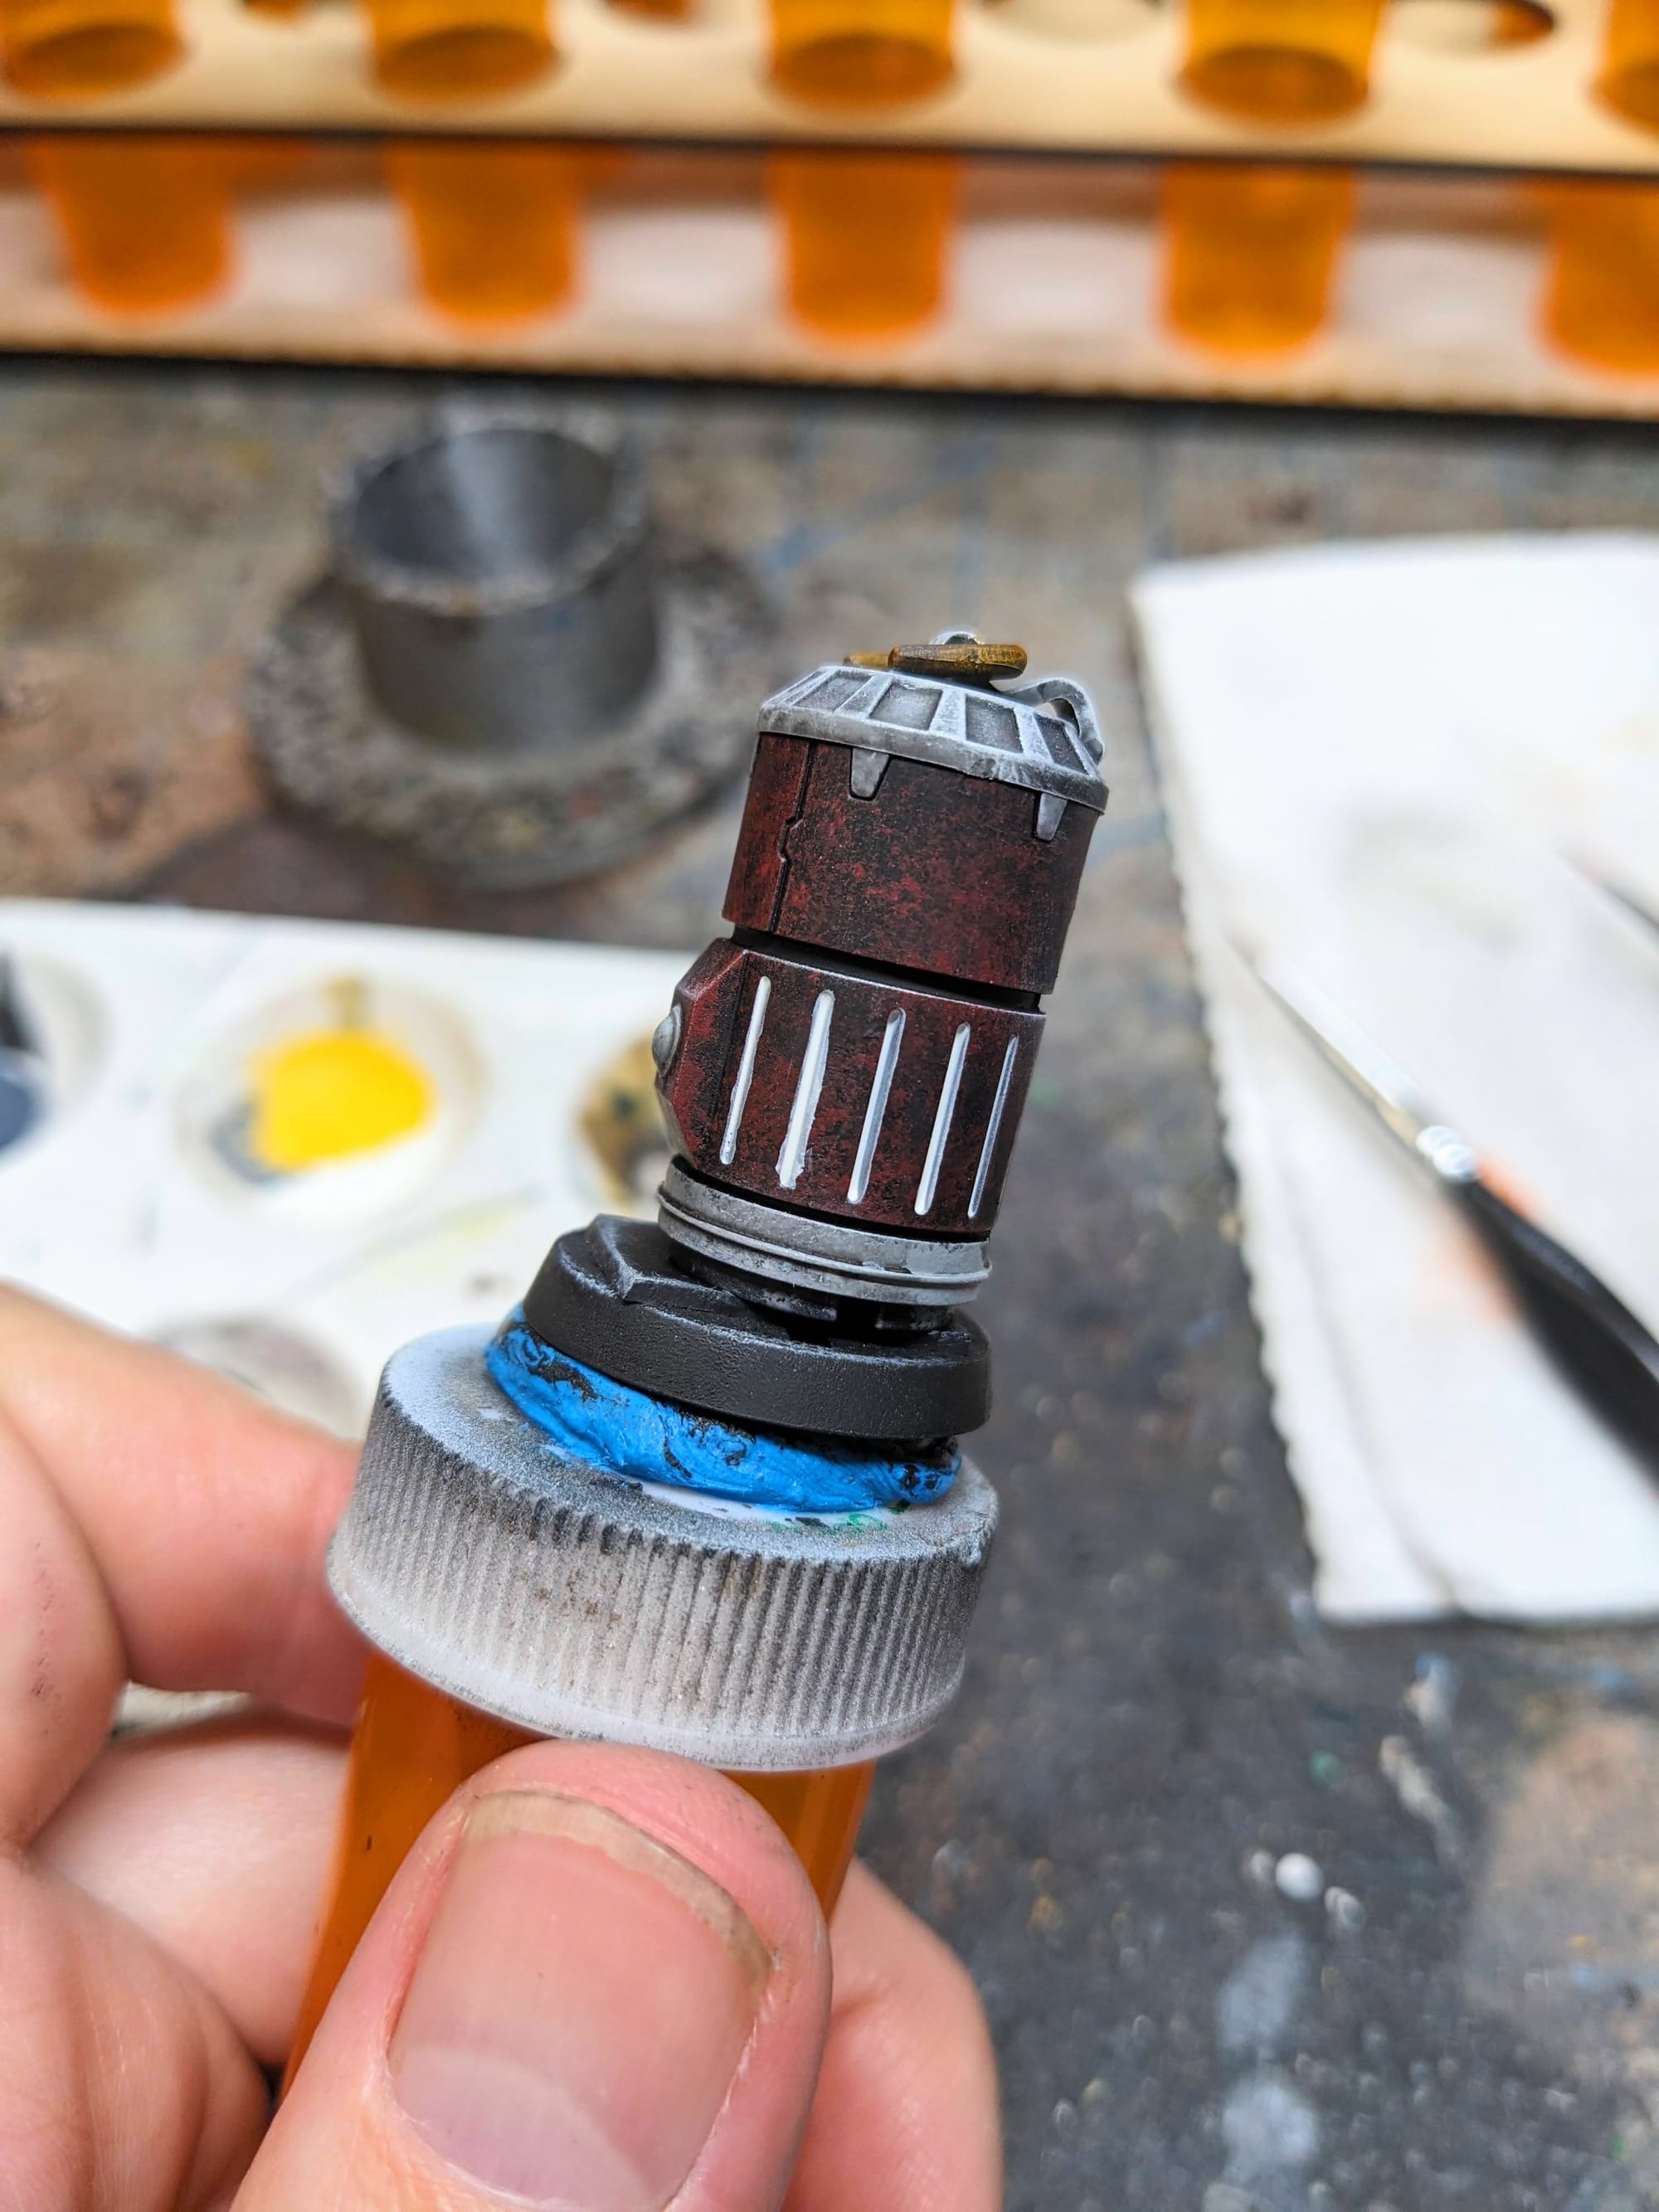
With a majority of the color having been applied during the priming process, paining actually went pretty quickly. Using a sponge, instead of a brush, I dabbed colors onto the surface to give a worn/used look to them.
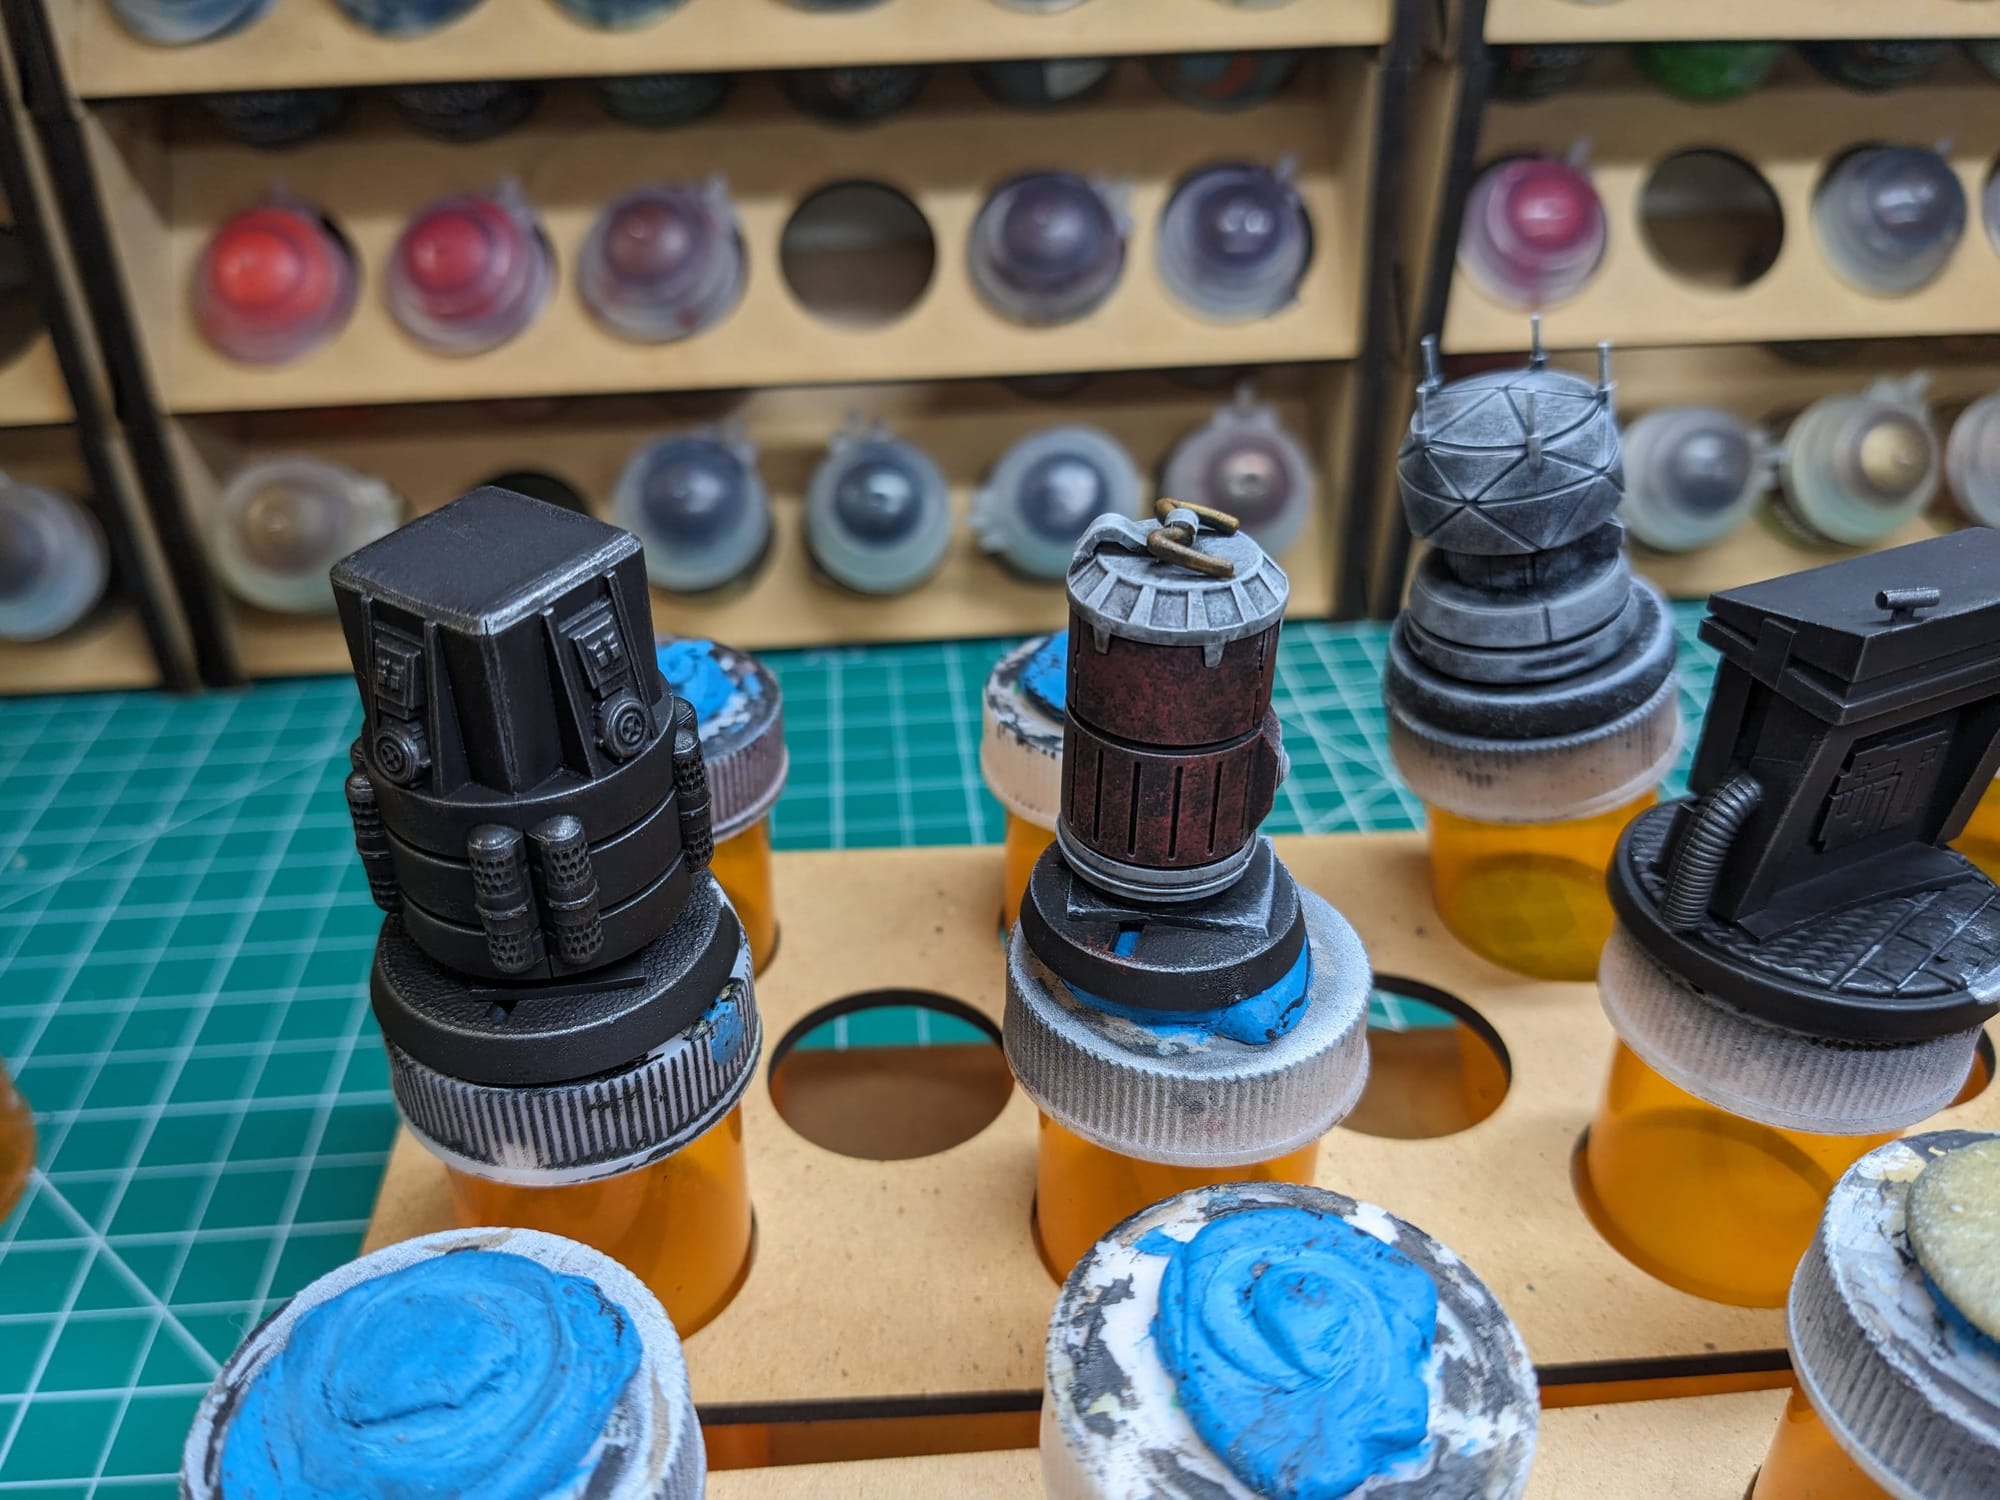
Once the main colors were applied, I dry brushed a silver over everything since it's all metal, and I wanted to make it look like everything junk pile in Star Wars ever which has dings, dents, scratches, and metal showing through.
For the red objective, I first applied a base coat of white and then applied Imperial Fist over the top to give it a glow. It's not a bright light, but I wanted to add a slight transparency to the paint to give it the effect that it was a light source and not a marker.
Basing
To help make the basing a little more visually interesting to look at, I sprayed the Skeleton Bone primer over black primer at a near 90 degree angle to the base, creating a stark contrast between the sandy color and the black.
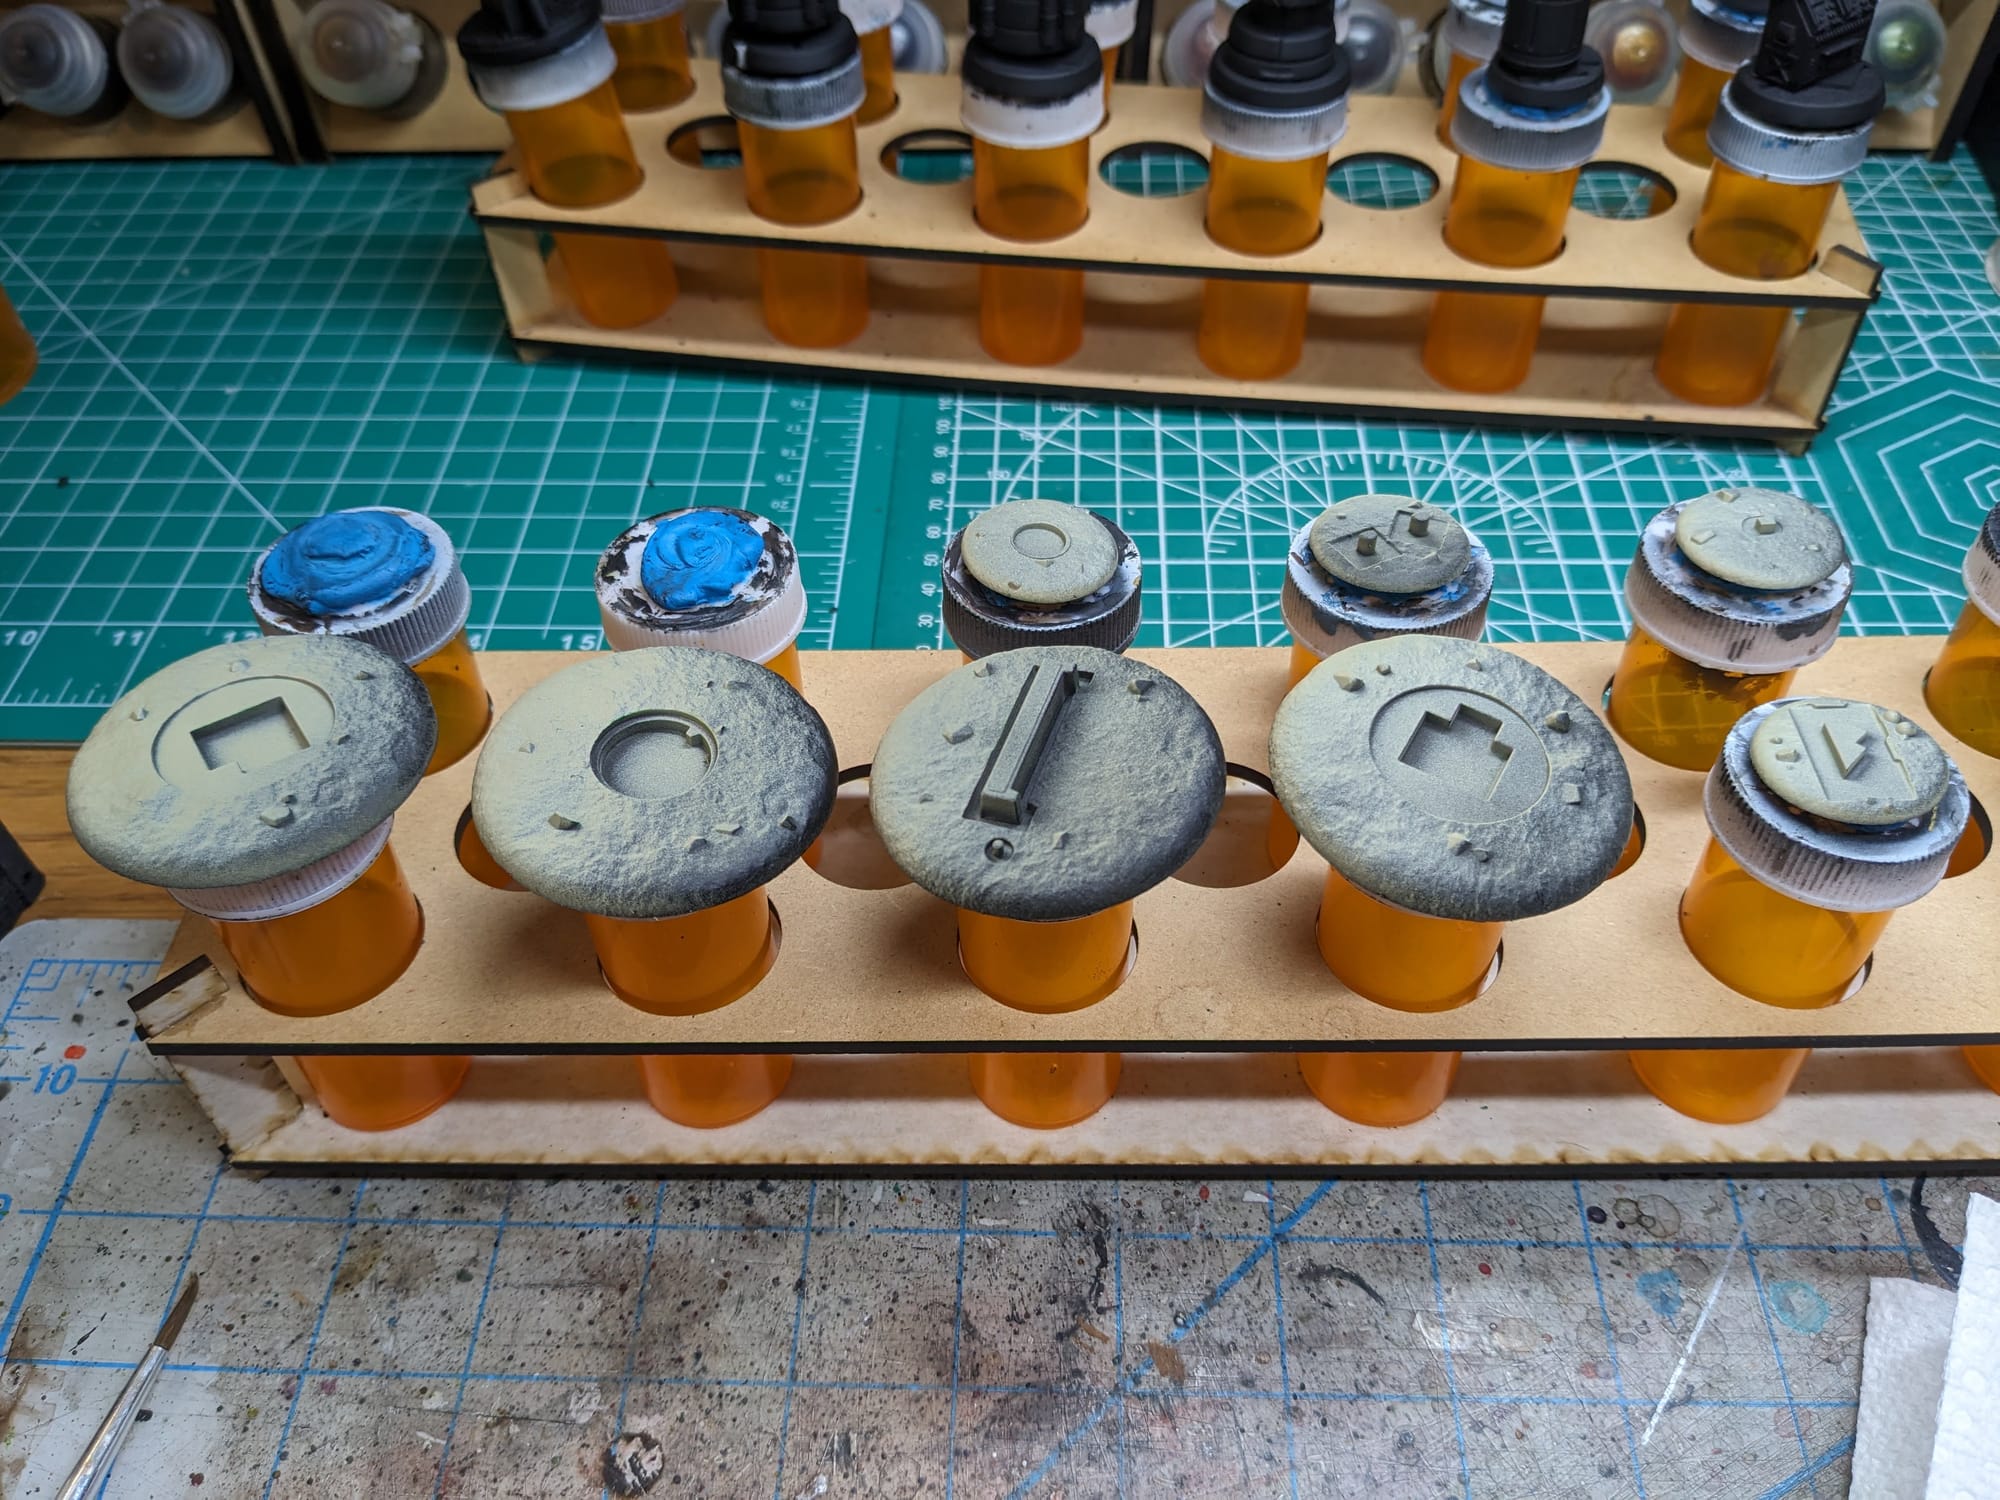
I started by lightly applying Army Painter Sepia Tone over the entire base. I then dry brushed a light sandy gray (Longbeard Grey) over the top. To accent the various rocks on the bases, I used Basilicanum Grey and Darkoath Flesh contrast.
For the hovering objective, I glued the peg in after the painting and sealing was done.

Sealing
As I do with all of the models I paint that I also play, I applied a protective clear coating over the paint. This helps preserve the paint on the model and keeps oils from hands from rubbing off the paint as you continuously touch the models during games. There are many different kinds of clear varnishes to use, but I typically use any matte or anti-shine varnishes, as satin, semi-gloss, and gloss tend to distort the colors of the models (not to mention that most models aren’t supposed to be shiny).
Brands that have been reliable for me are Krylon Matte Clear Spray, Rustoleum Matte Clear Coat, which is slightly glossy, and Testors Dullcote, although the latter can be expensive and difficult to find. For a coat with no shine that really enhances the colors, I use AK Interactive’s Ultra Matte Varnish, applied with an airbrush.
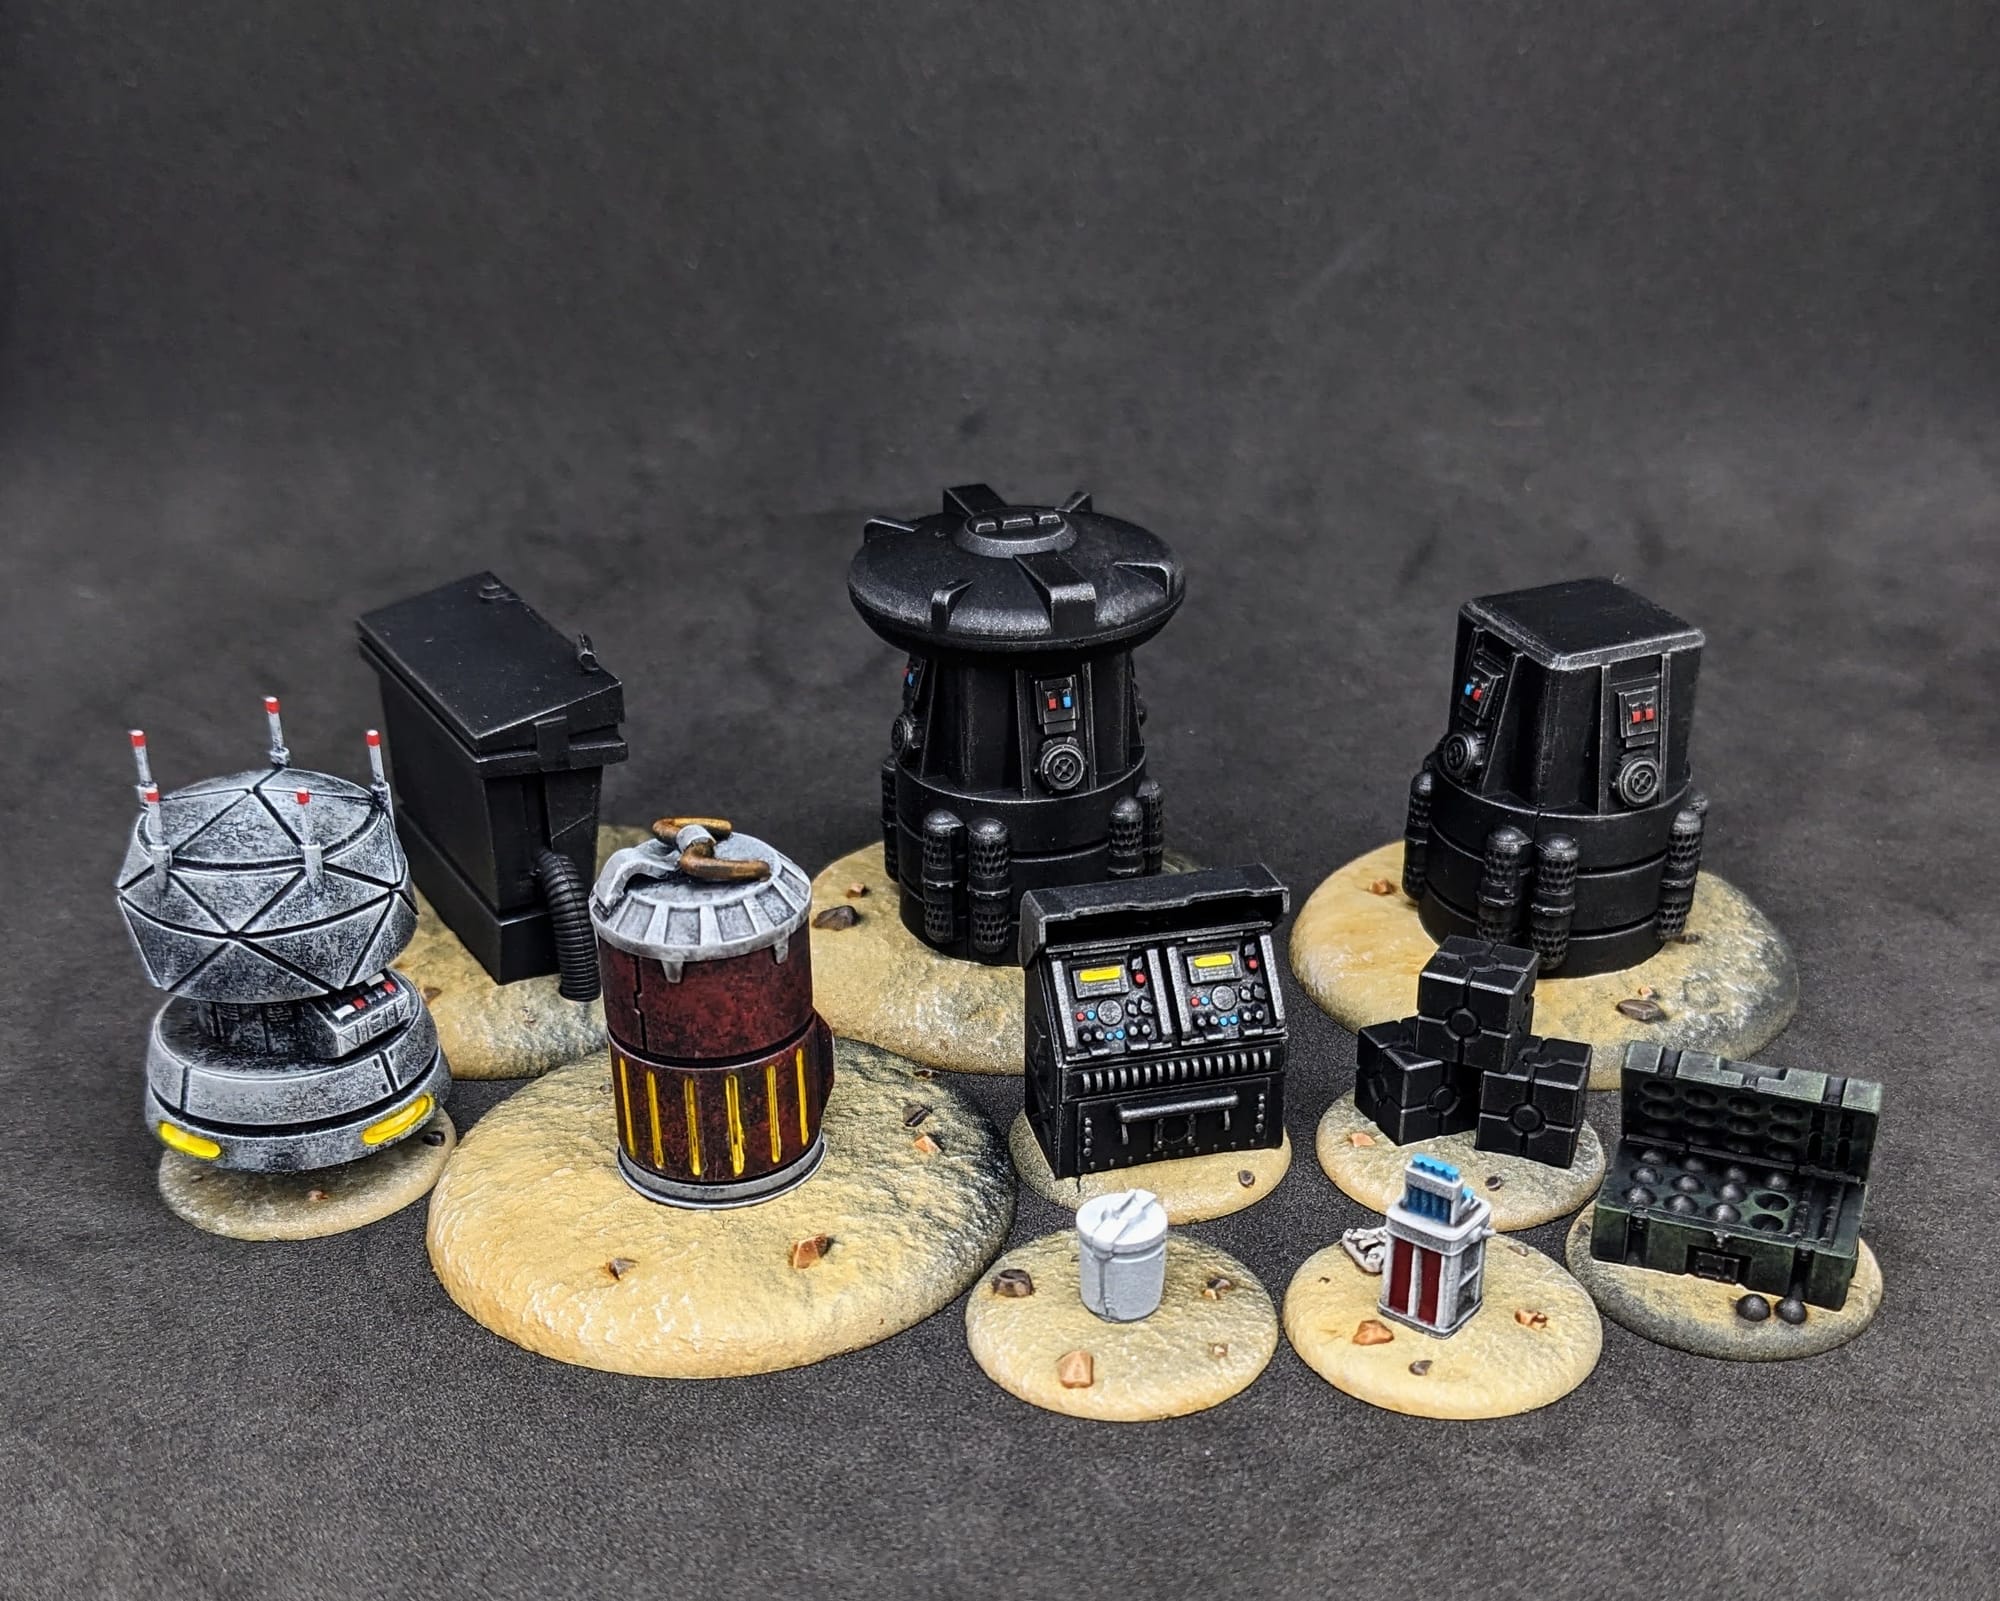
Painted and Ready for Play

Impressions
What I liked
These objectives are really easy to paint up. I think the whole project took me a few hours from assembly to sealing. Priming/painting the actual objectives separately from the bases made the process very easy. With the simple dry brushing and small accents for lights, I feel like I was able to quickly replicate the box art. These are going to stand out on the table, but there's no need to go above and beyond that.
What I didn't like
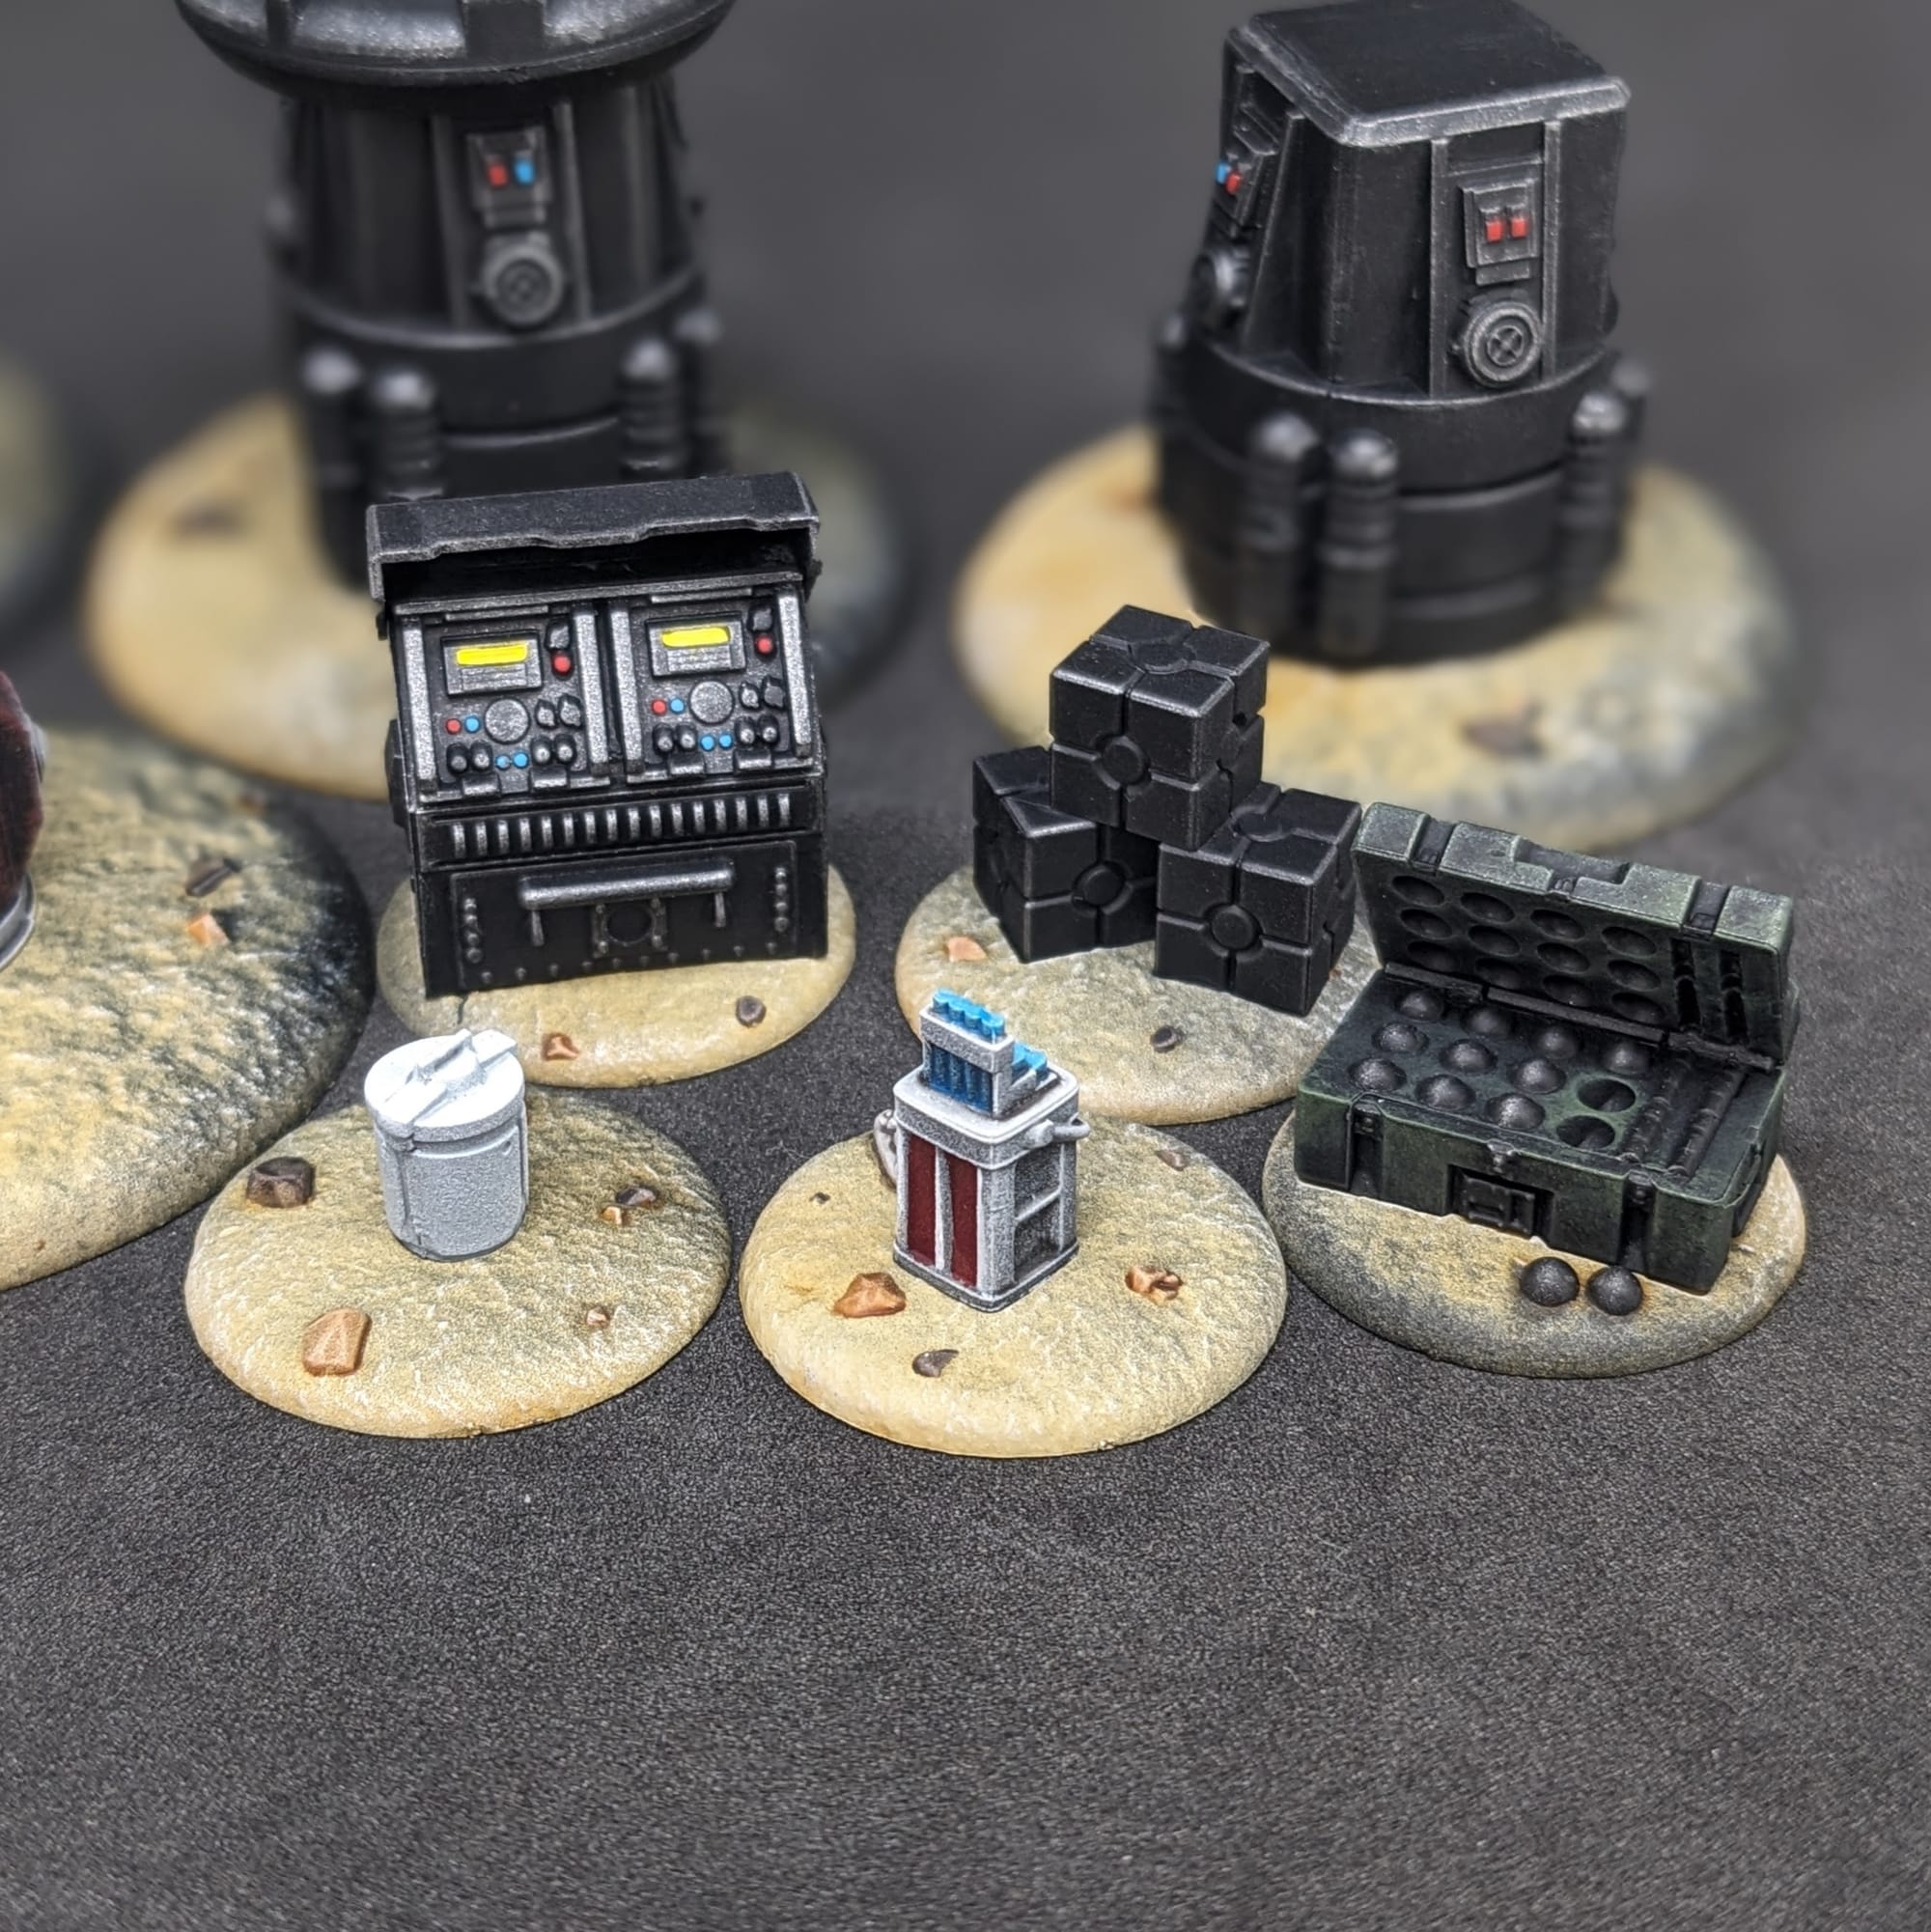
While I certainly like 3D terrain features more than the cardboard ones, I feel like these are... kind of boring. Aside from the change to the objective sizes (thereby making the old Fantasy Flight Games objectives obsolete), and the rules regarding line of sight, these objectives don't add a lot to the table for their price tag. Additionally, while the designs are generic enough to be used on any battlefield for any objective, I feel like there could have been more added to the sculpts—especially the 'master switch' panel box, which has nothing on top of it. The camtono, grenades, and stim packs are really the only stand out items here.
What I would do different next time
I painted up these pieces to match my Outer Rim Territory terrain. If I were to paint another set, I would probably have them match the terrain for my Geonosis or Hoth table.
Final Assessment
With how quickly these went together and were painted, I was happy with the amount of effort I put in to get the outcome close to the box art. I always enjoy having terrain that's more immersive for the table and gaming experience. I'll definitely be using them for my future games!
—
Have you painted Star Wars: Legion miniatures yet? Share your work with us!
Don’t forget to subscribe and follow us on Instagram, Bluesky, and YouTube for more Star Wars: Legion reviews and painting guides, as well as more hobby and tabletop news and reviews!


