In addition to their tabletop games, Monster Fight Club also has a wide selection of painted and unpainted terrain ranging from forests to ice fields to tech-laden cities. Previously, we unboxed and reviewed their Cargo Containers and Cyberpunk Hab Units, and now we’re delving into the more natural landscape. You know, the rocks and trees you’ll be hiding behind to dodge explosions and lasers.
So how do they fare, and are they *truly* that easy to paint up?
Unpainted Vs. Painted Monster Scenery
For players who don’t enjoy painting, Monster Fight Club (MFC) provides a premium-cost painted version of their terrain types. Their painted products are simple, clean, and sturdy. I’ve had the pleasure of playing on them in various tournaments and events over the years (like our epic Star Wars Legion showdown at Adepticon earlier this year). For the price, especially if the set comes with a little neoprene pond or tree footprint, terrain can be a sticker shock for some, so you’d want to get something that is pretty universal and can be used across multiple games.
If you’re looking for a cheaper price tag and would like to paint up the terrain to match a biome of your choosing, then the unpainted product is a great alternative. With so many miniature games out there, there’s always a need for a tree, rock, or similar terrain piece to help enhance the tabletop experience. MFC sent us some terrain recently, and I painted it up in a weekend. If you would like to see how, read on!
Painting up Monster Scenery Terrain
Pre-seal using Krylon Matte Clear Coat
Alec: First and foremost, the terrain is produced in a colored plastic that they produce in-house. So, really, it doesn’t require a whole lot of effort to paint up and get ready because the main color is already there.
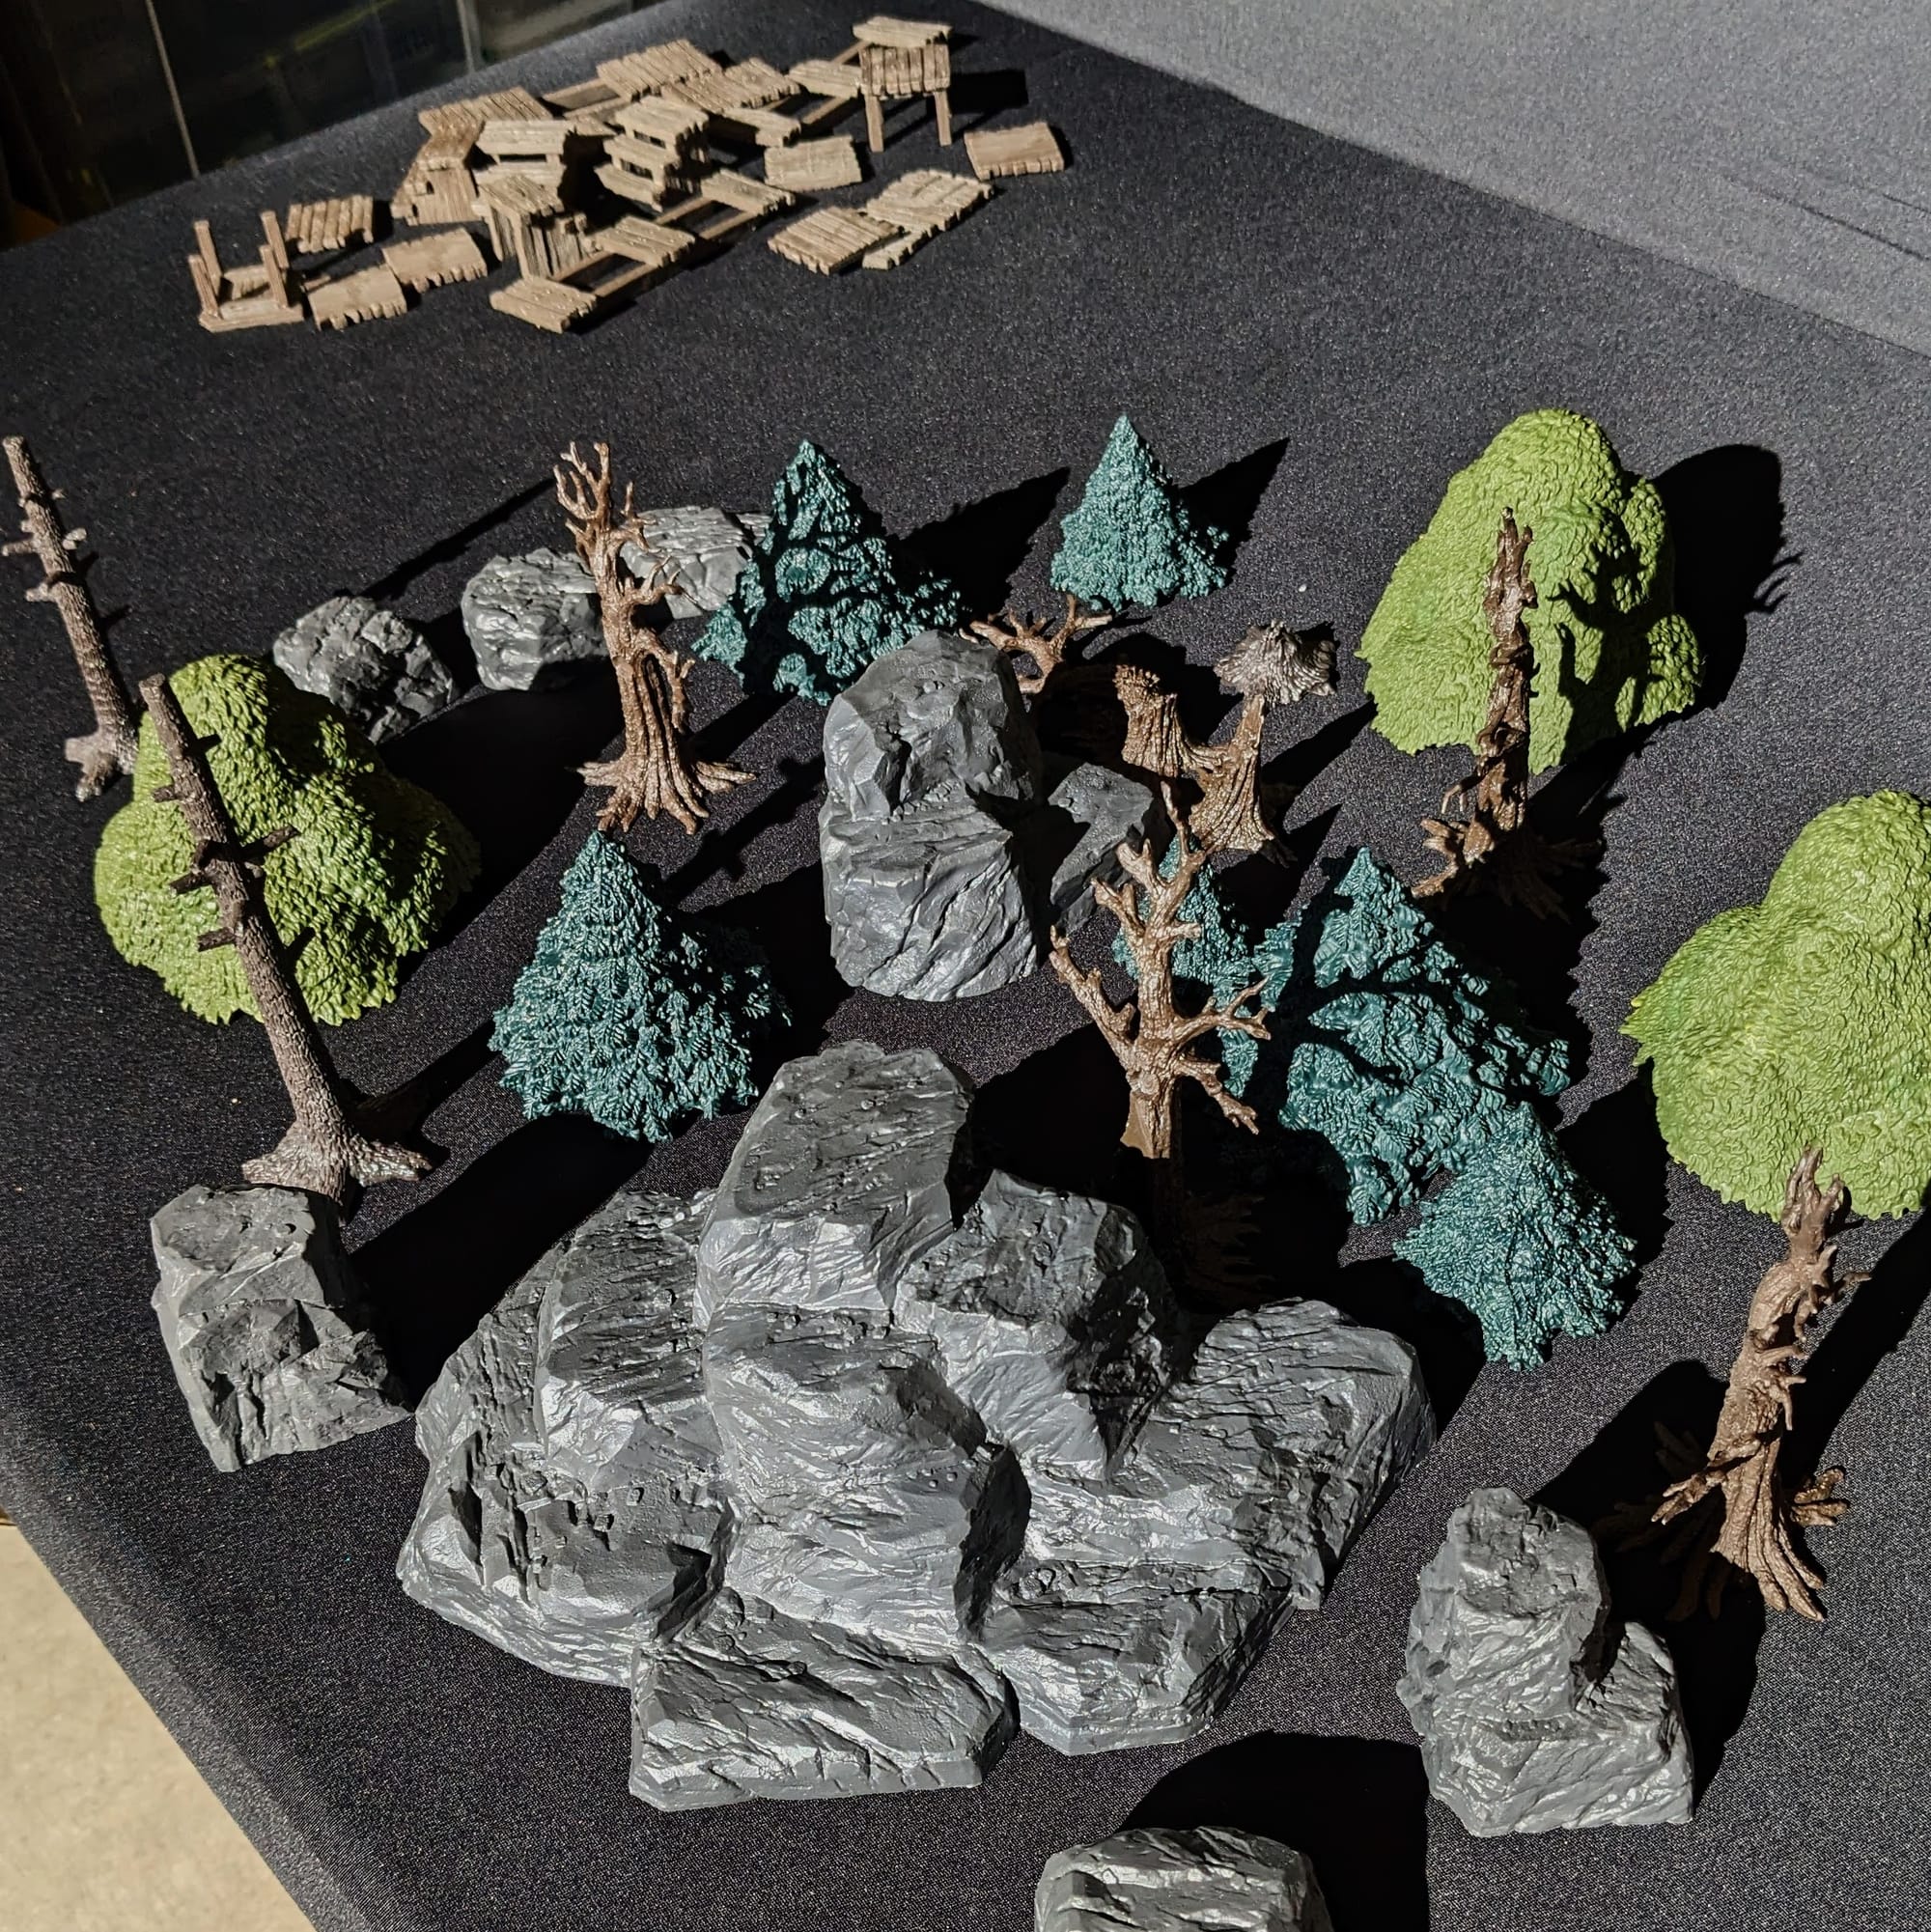
To help paint adhere to the terrain, you can use Krylon Matte Clear Finish or Rust-Oleum Matte Clear as a “primer.” This helps create surface tension on the model paint or wash. While you might be able to get away with painting without surface adhesion, it’s safe to give yourself the best chance of success and use the clear coat.
Trees, Bark, and Bridges
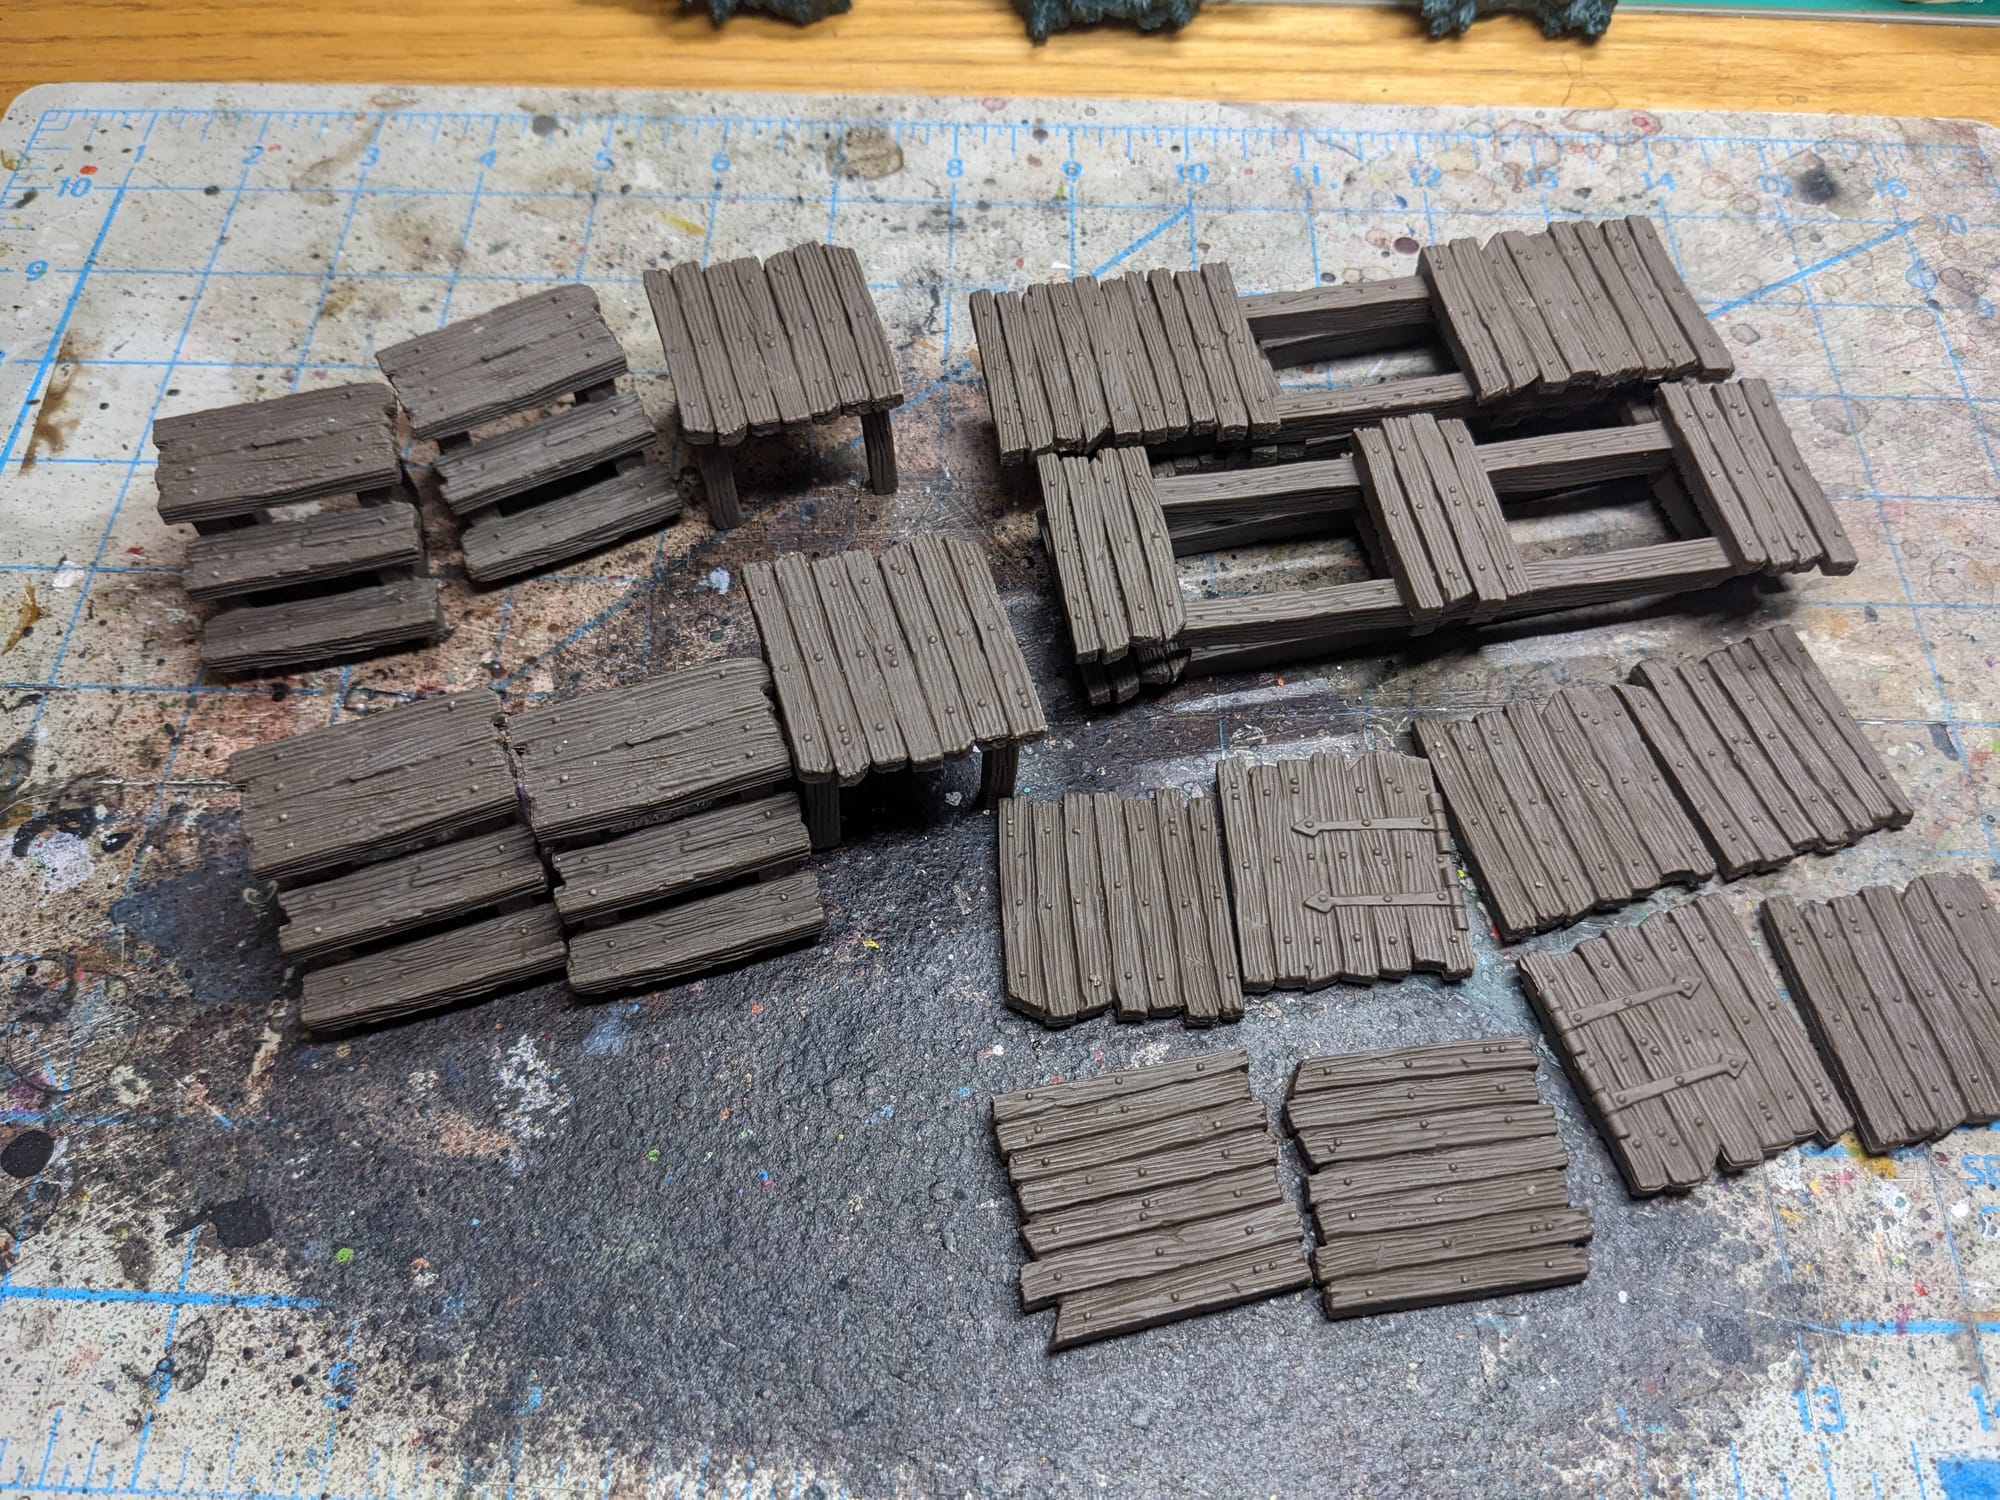
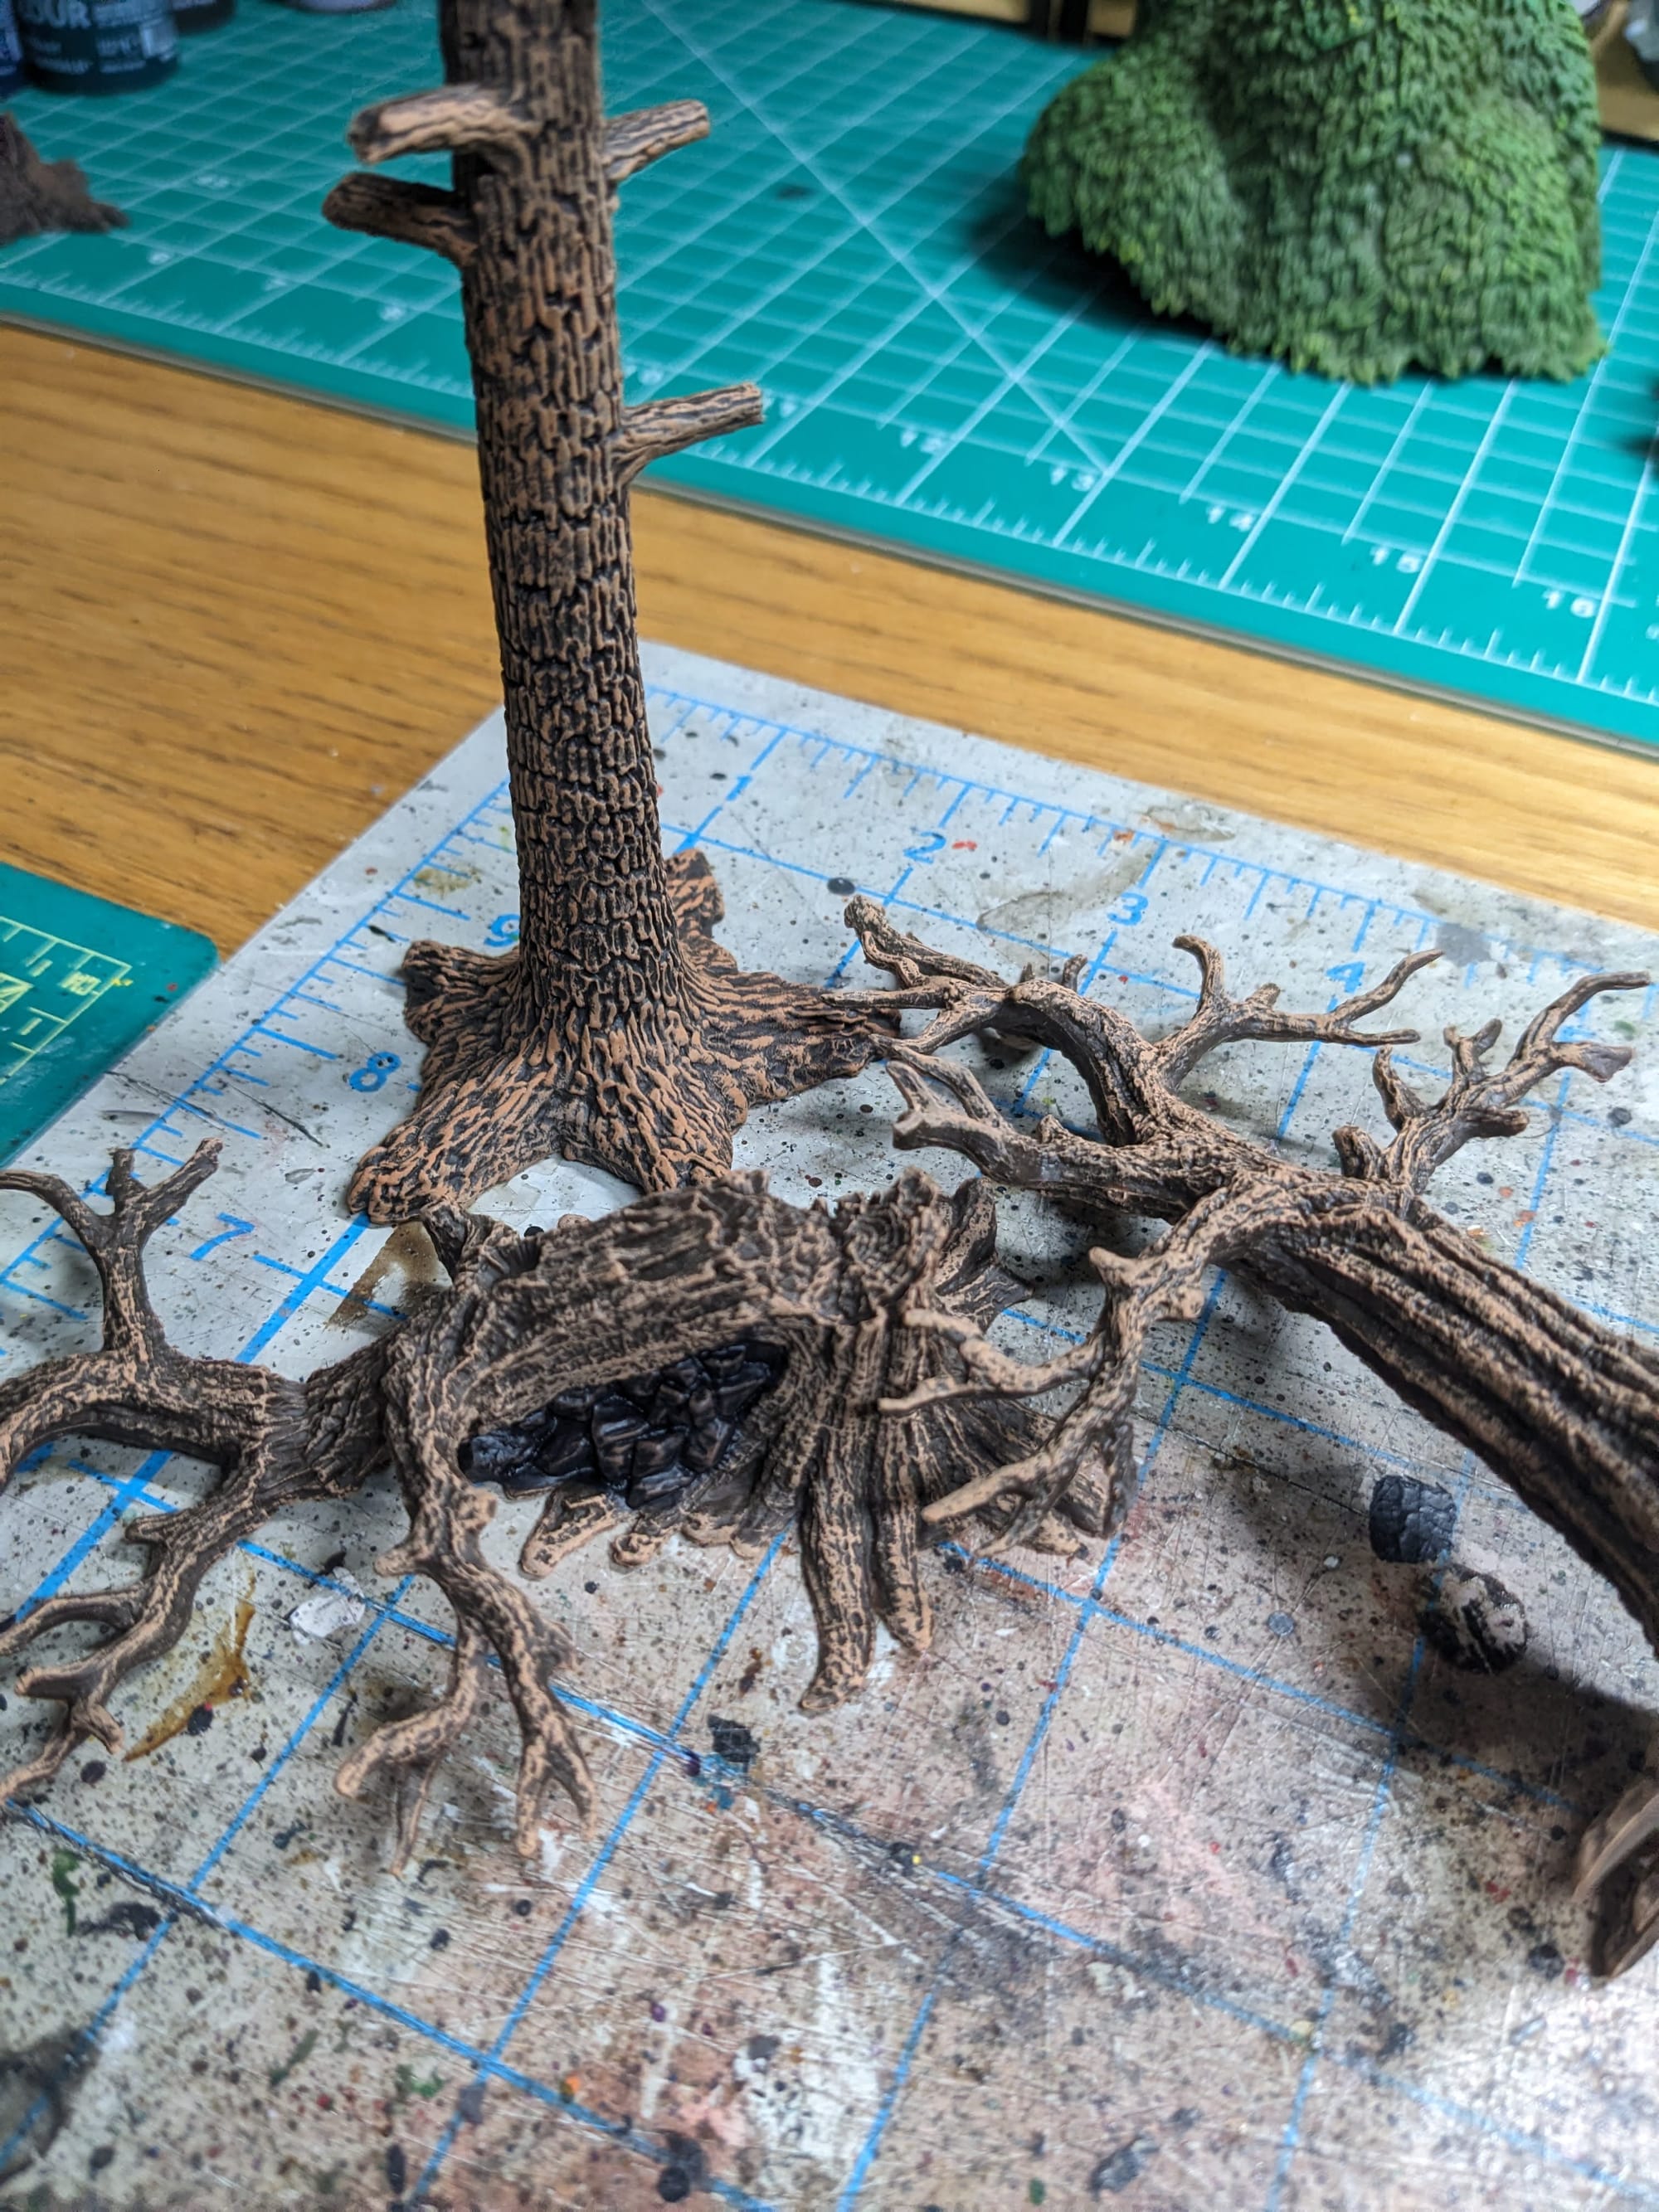
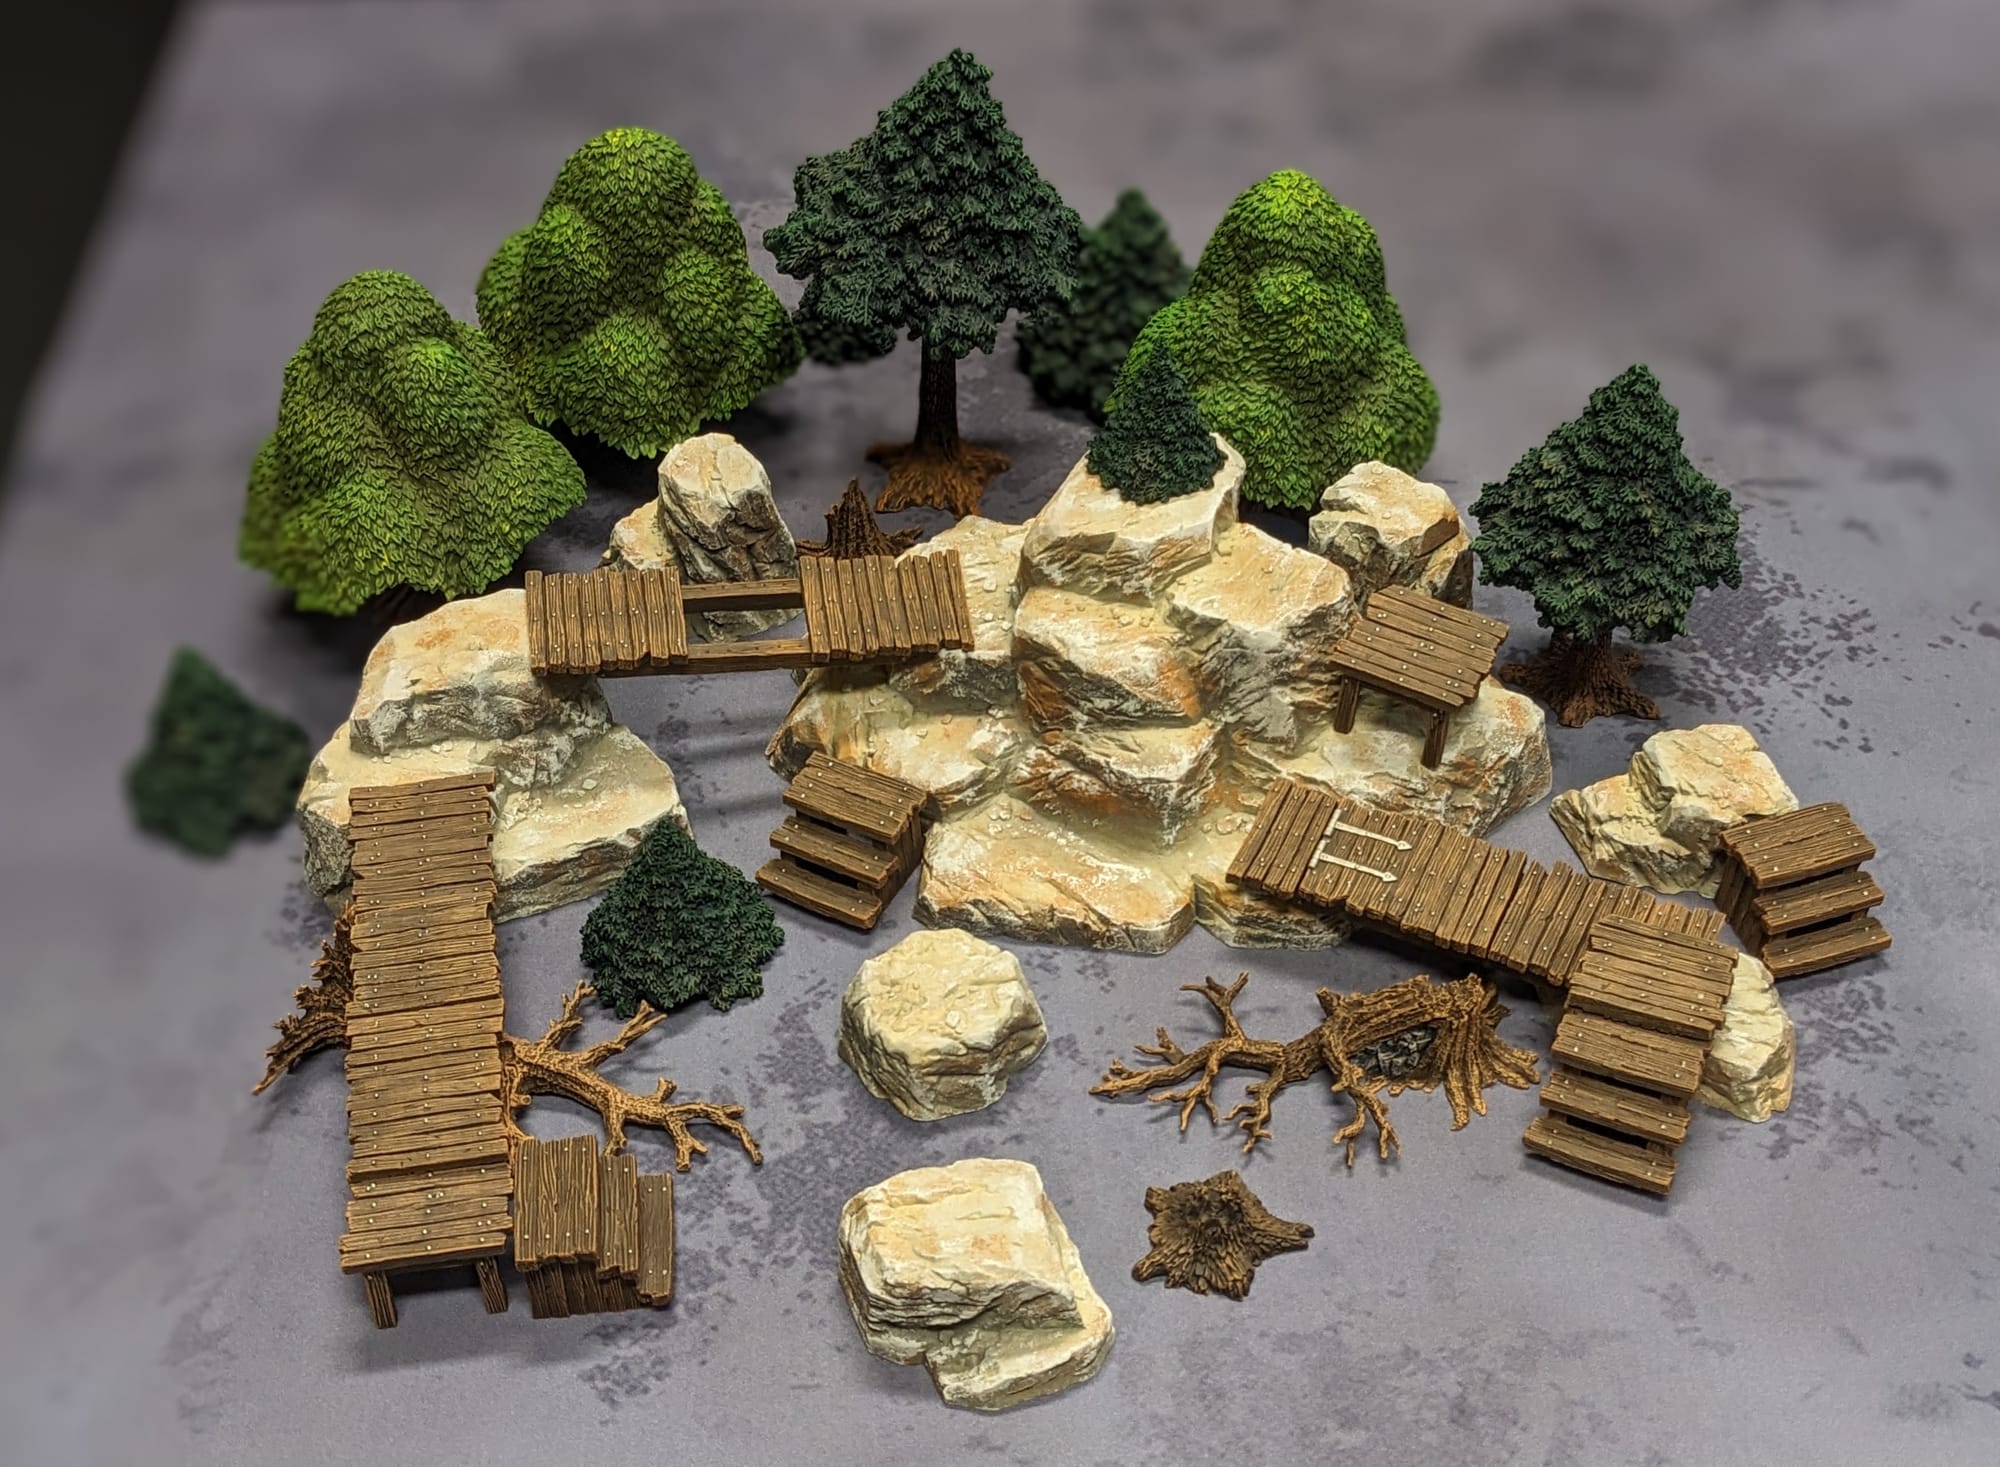
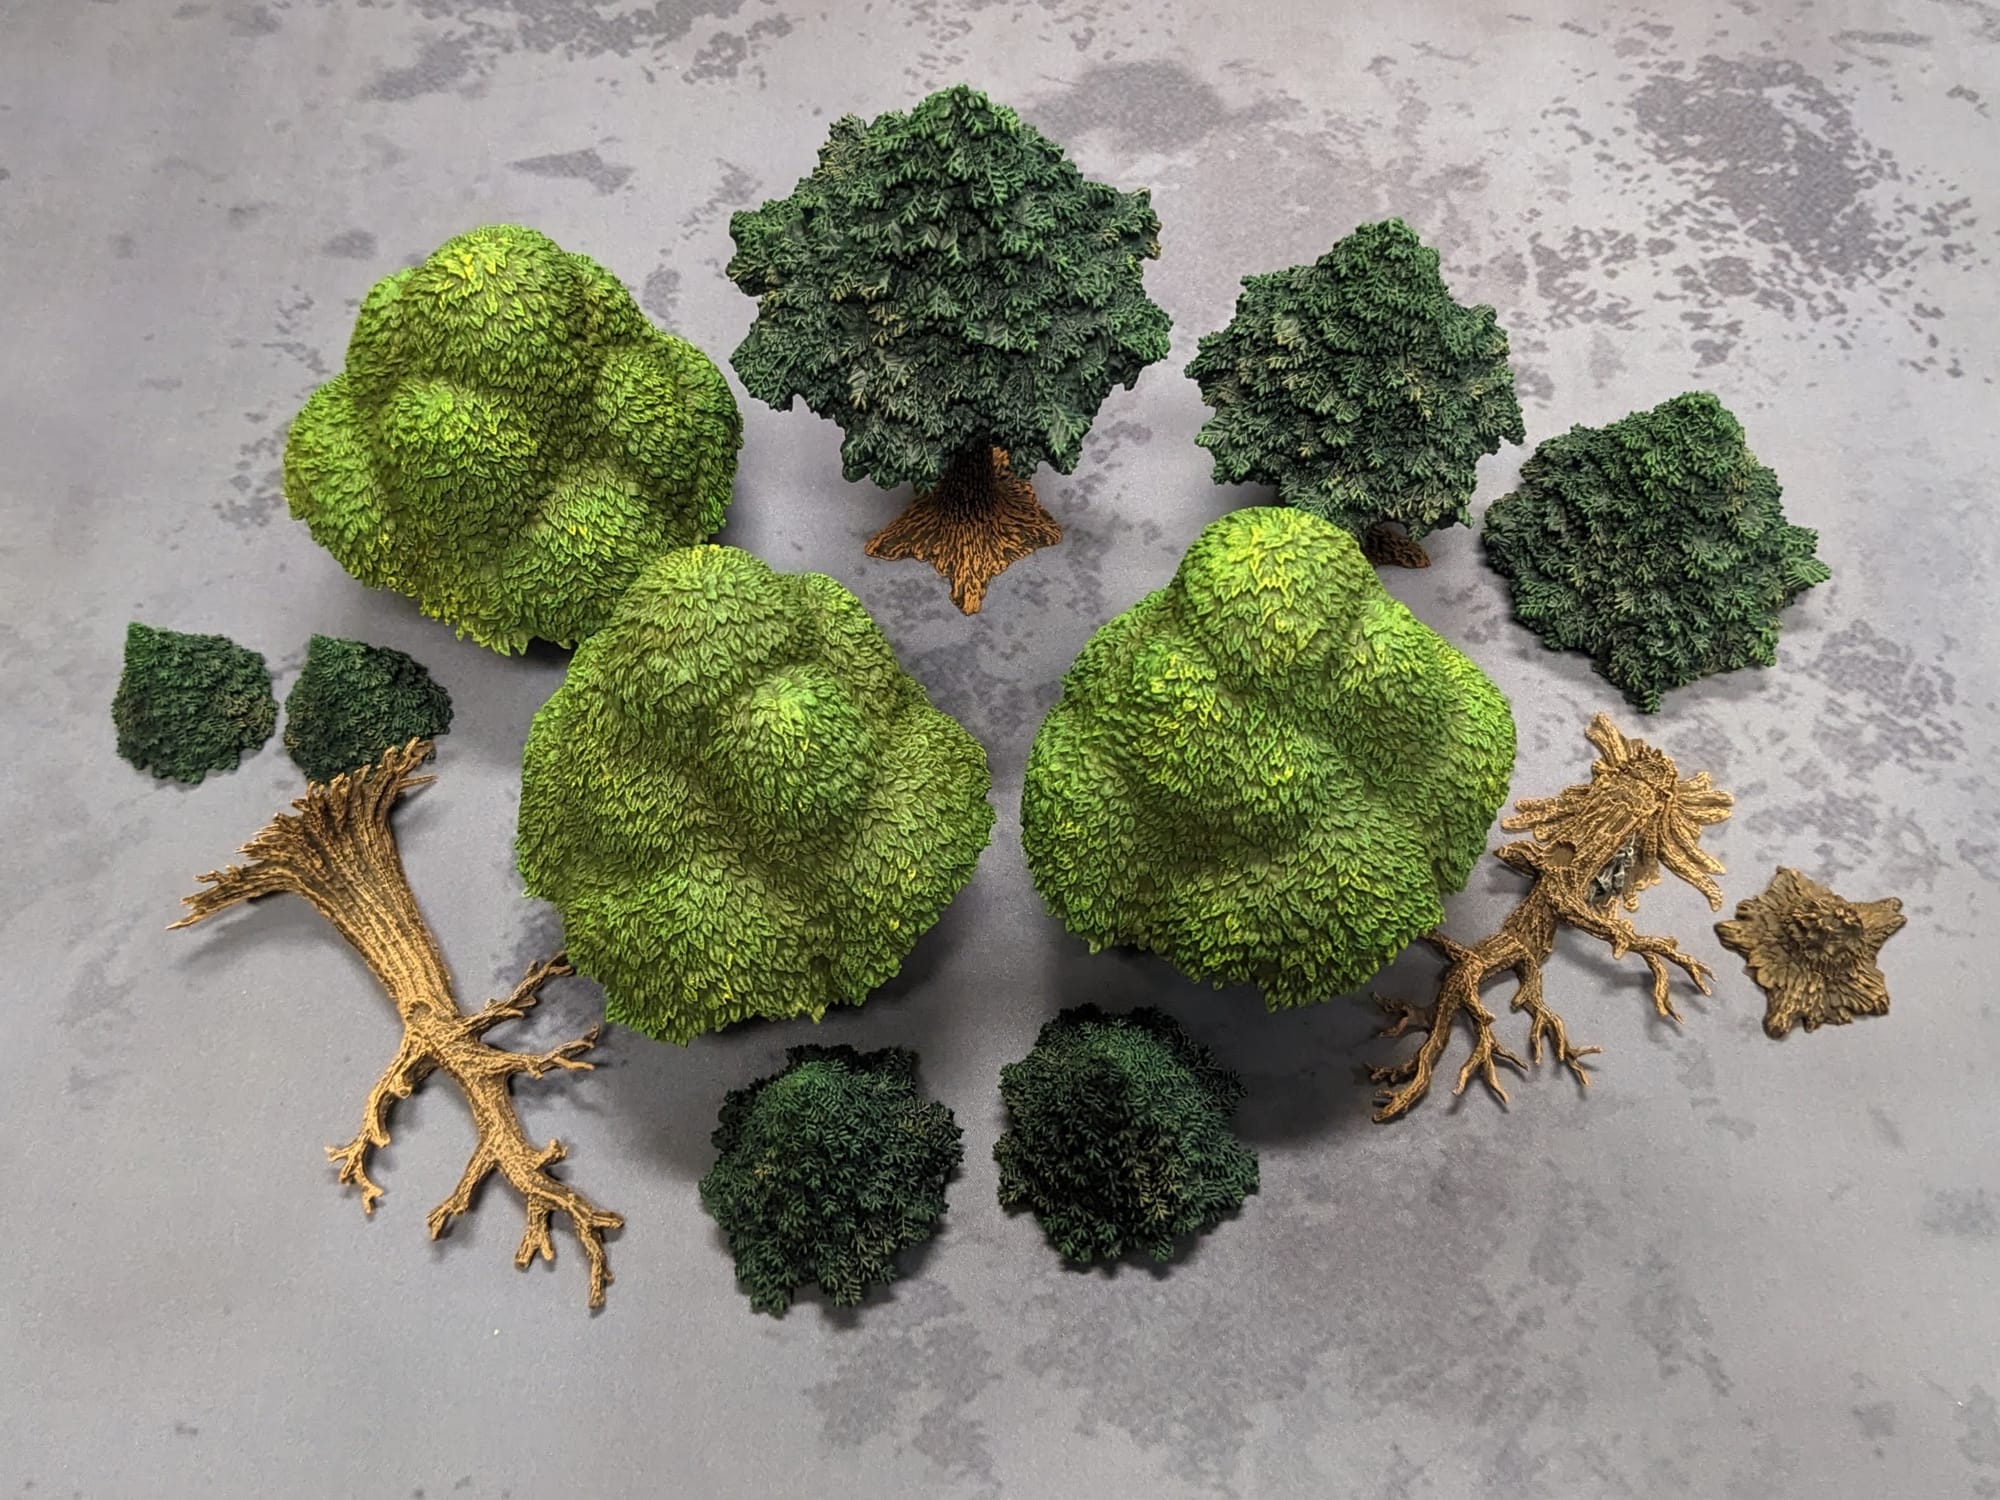
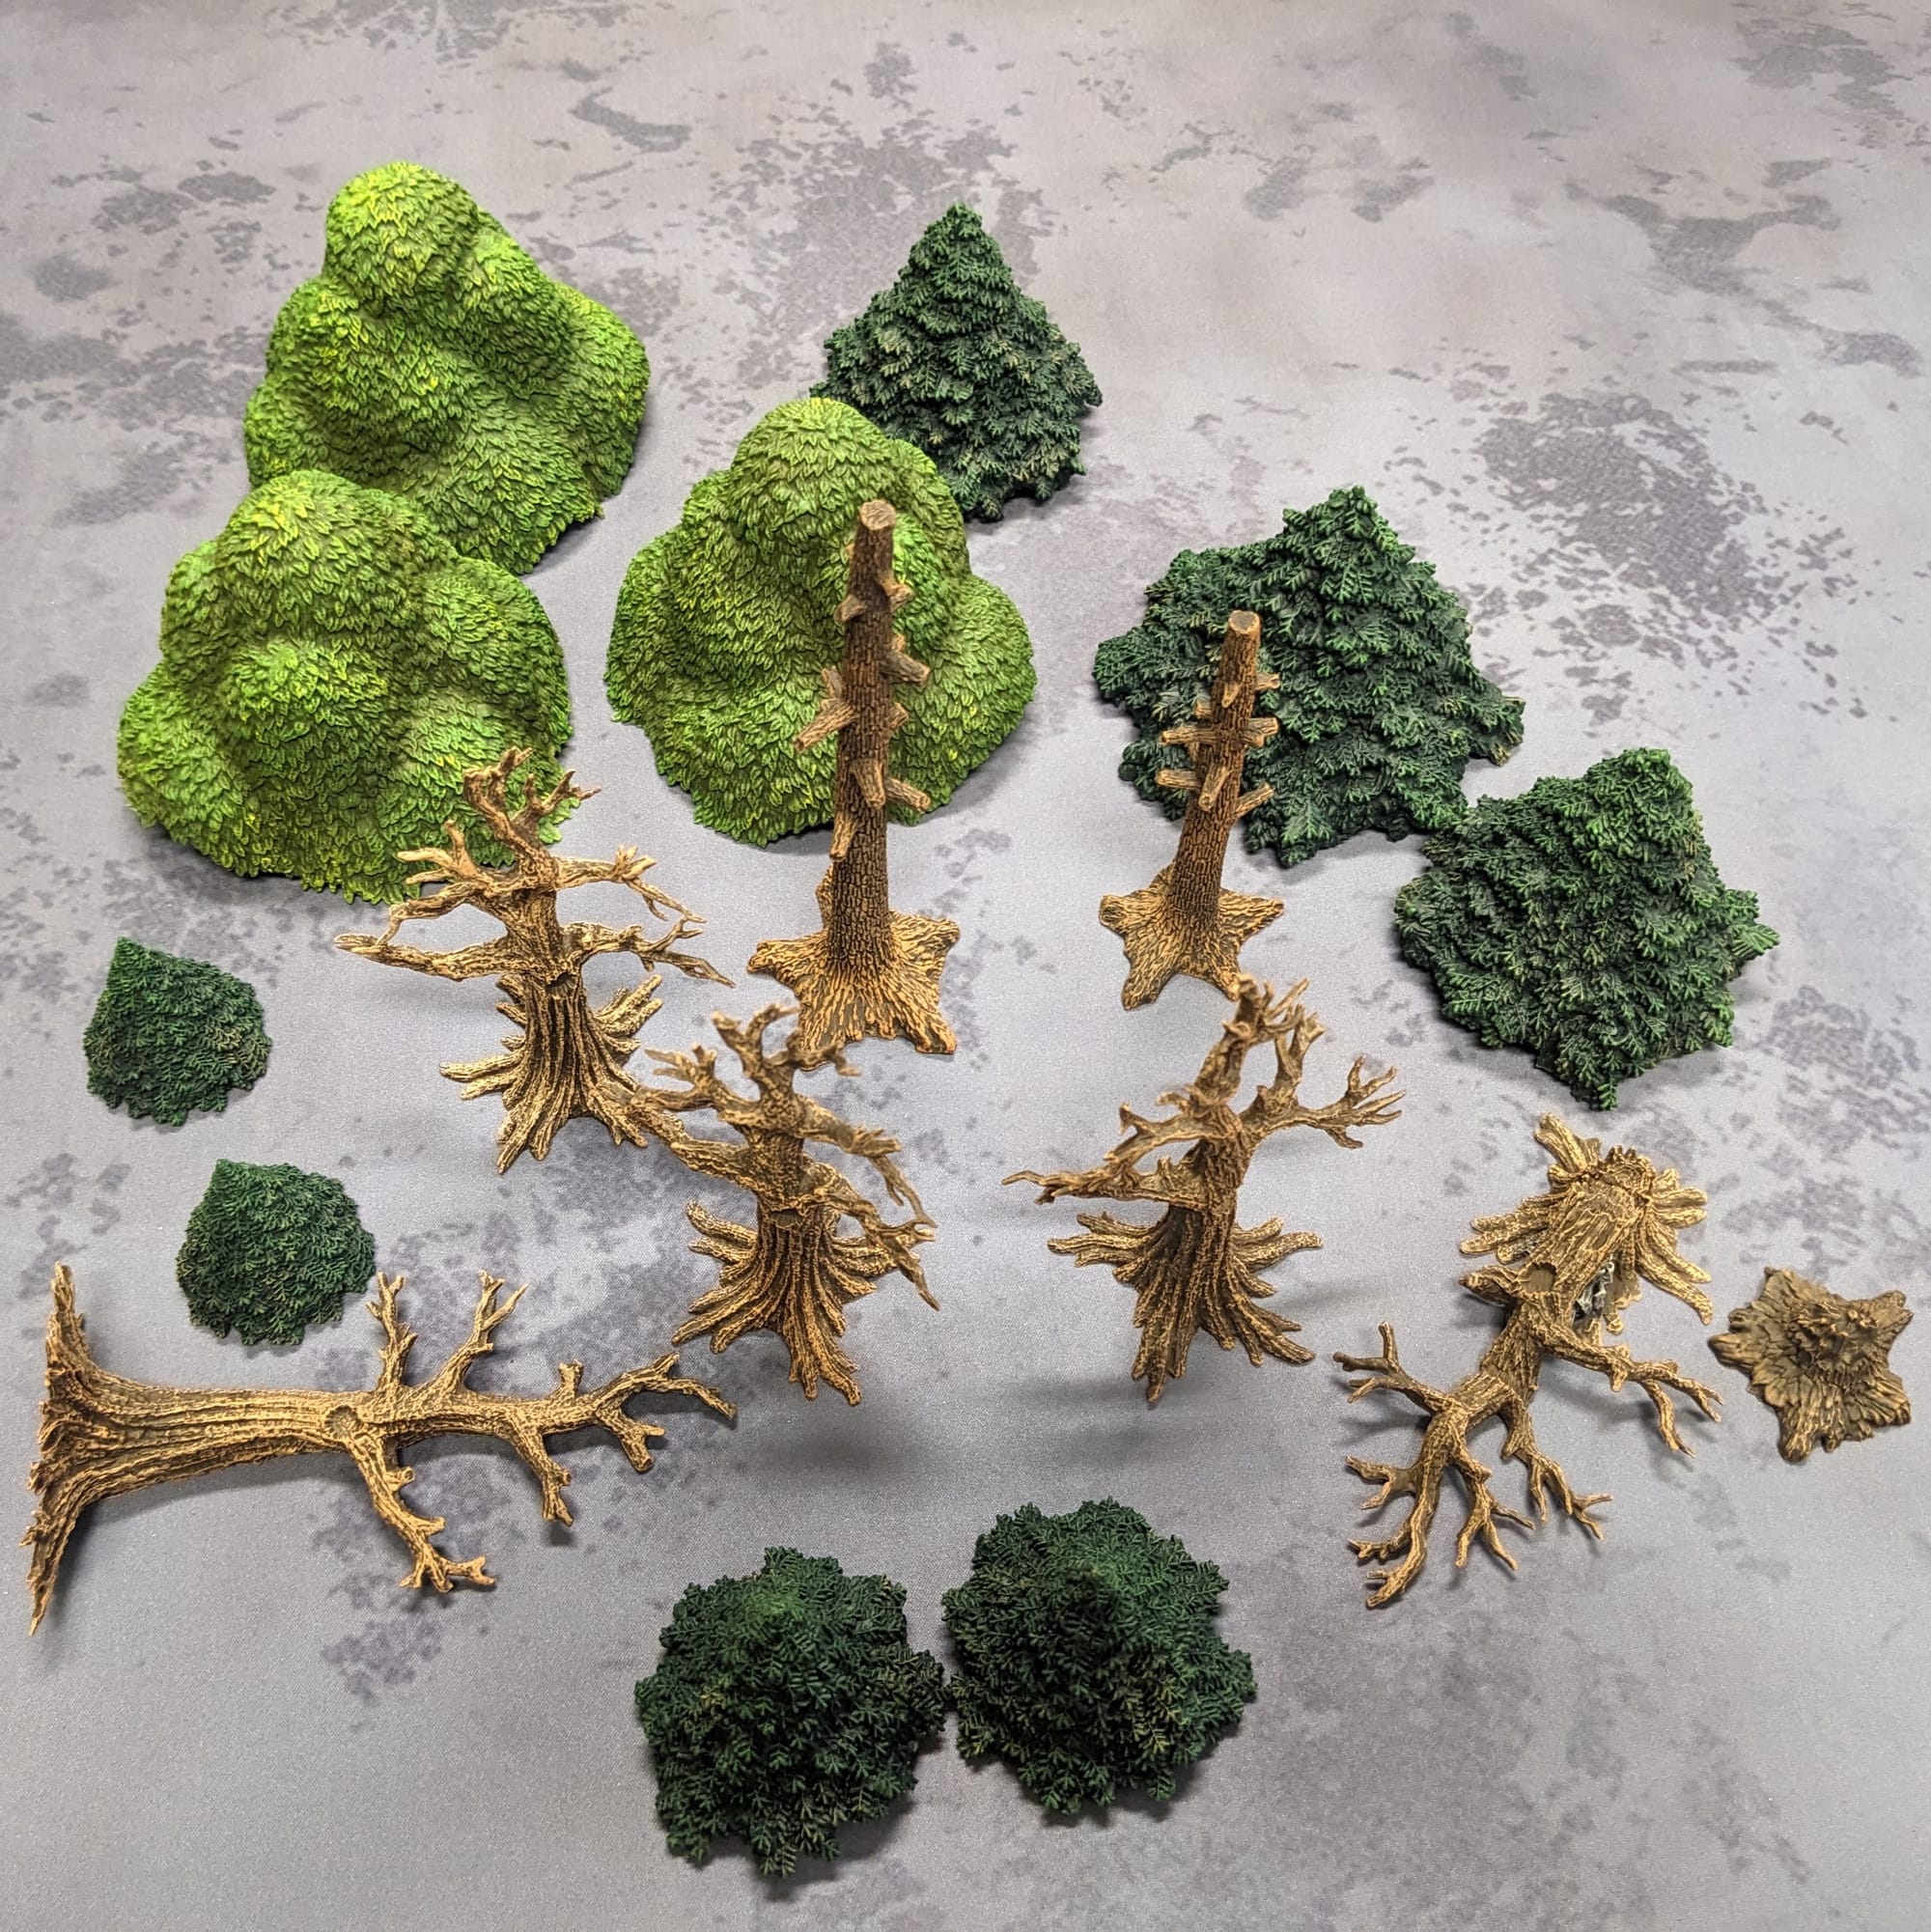
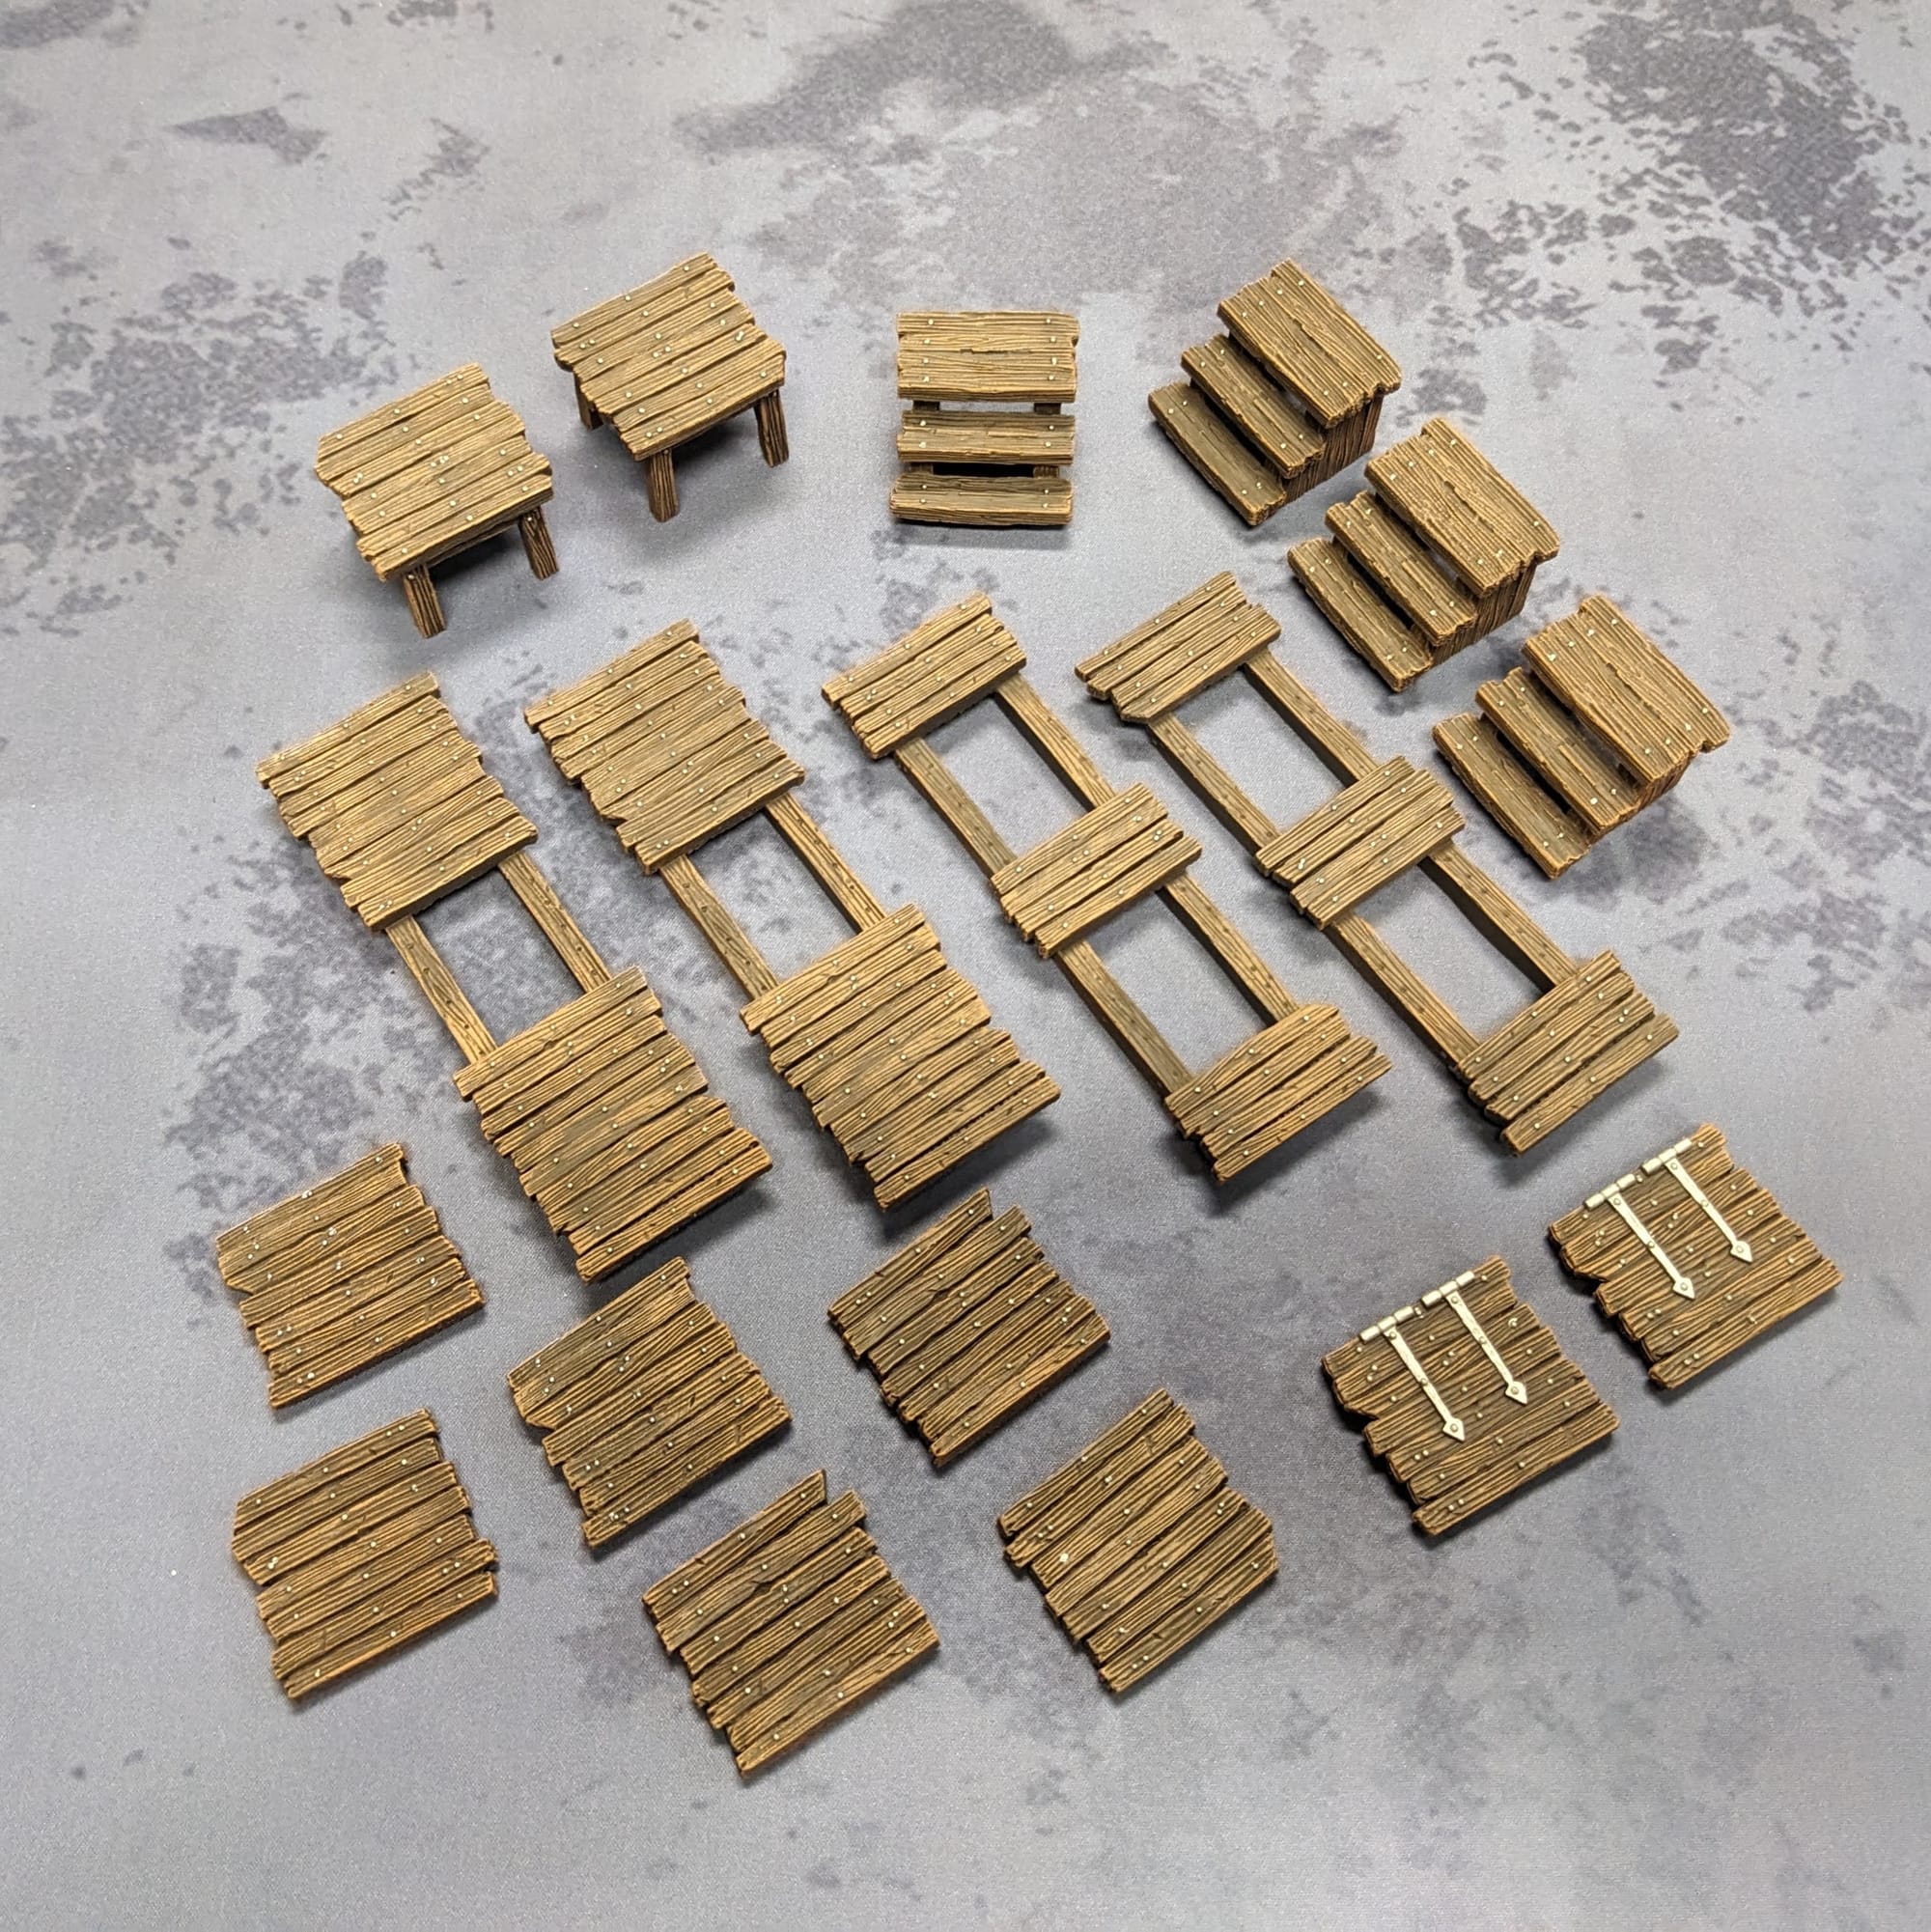
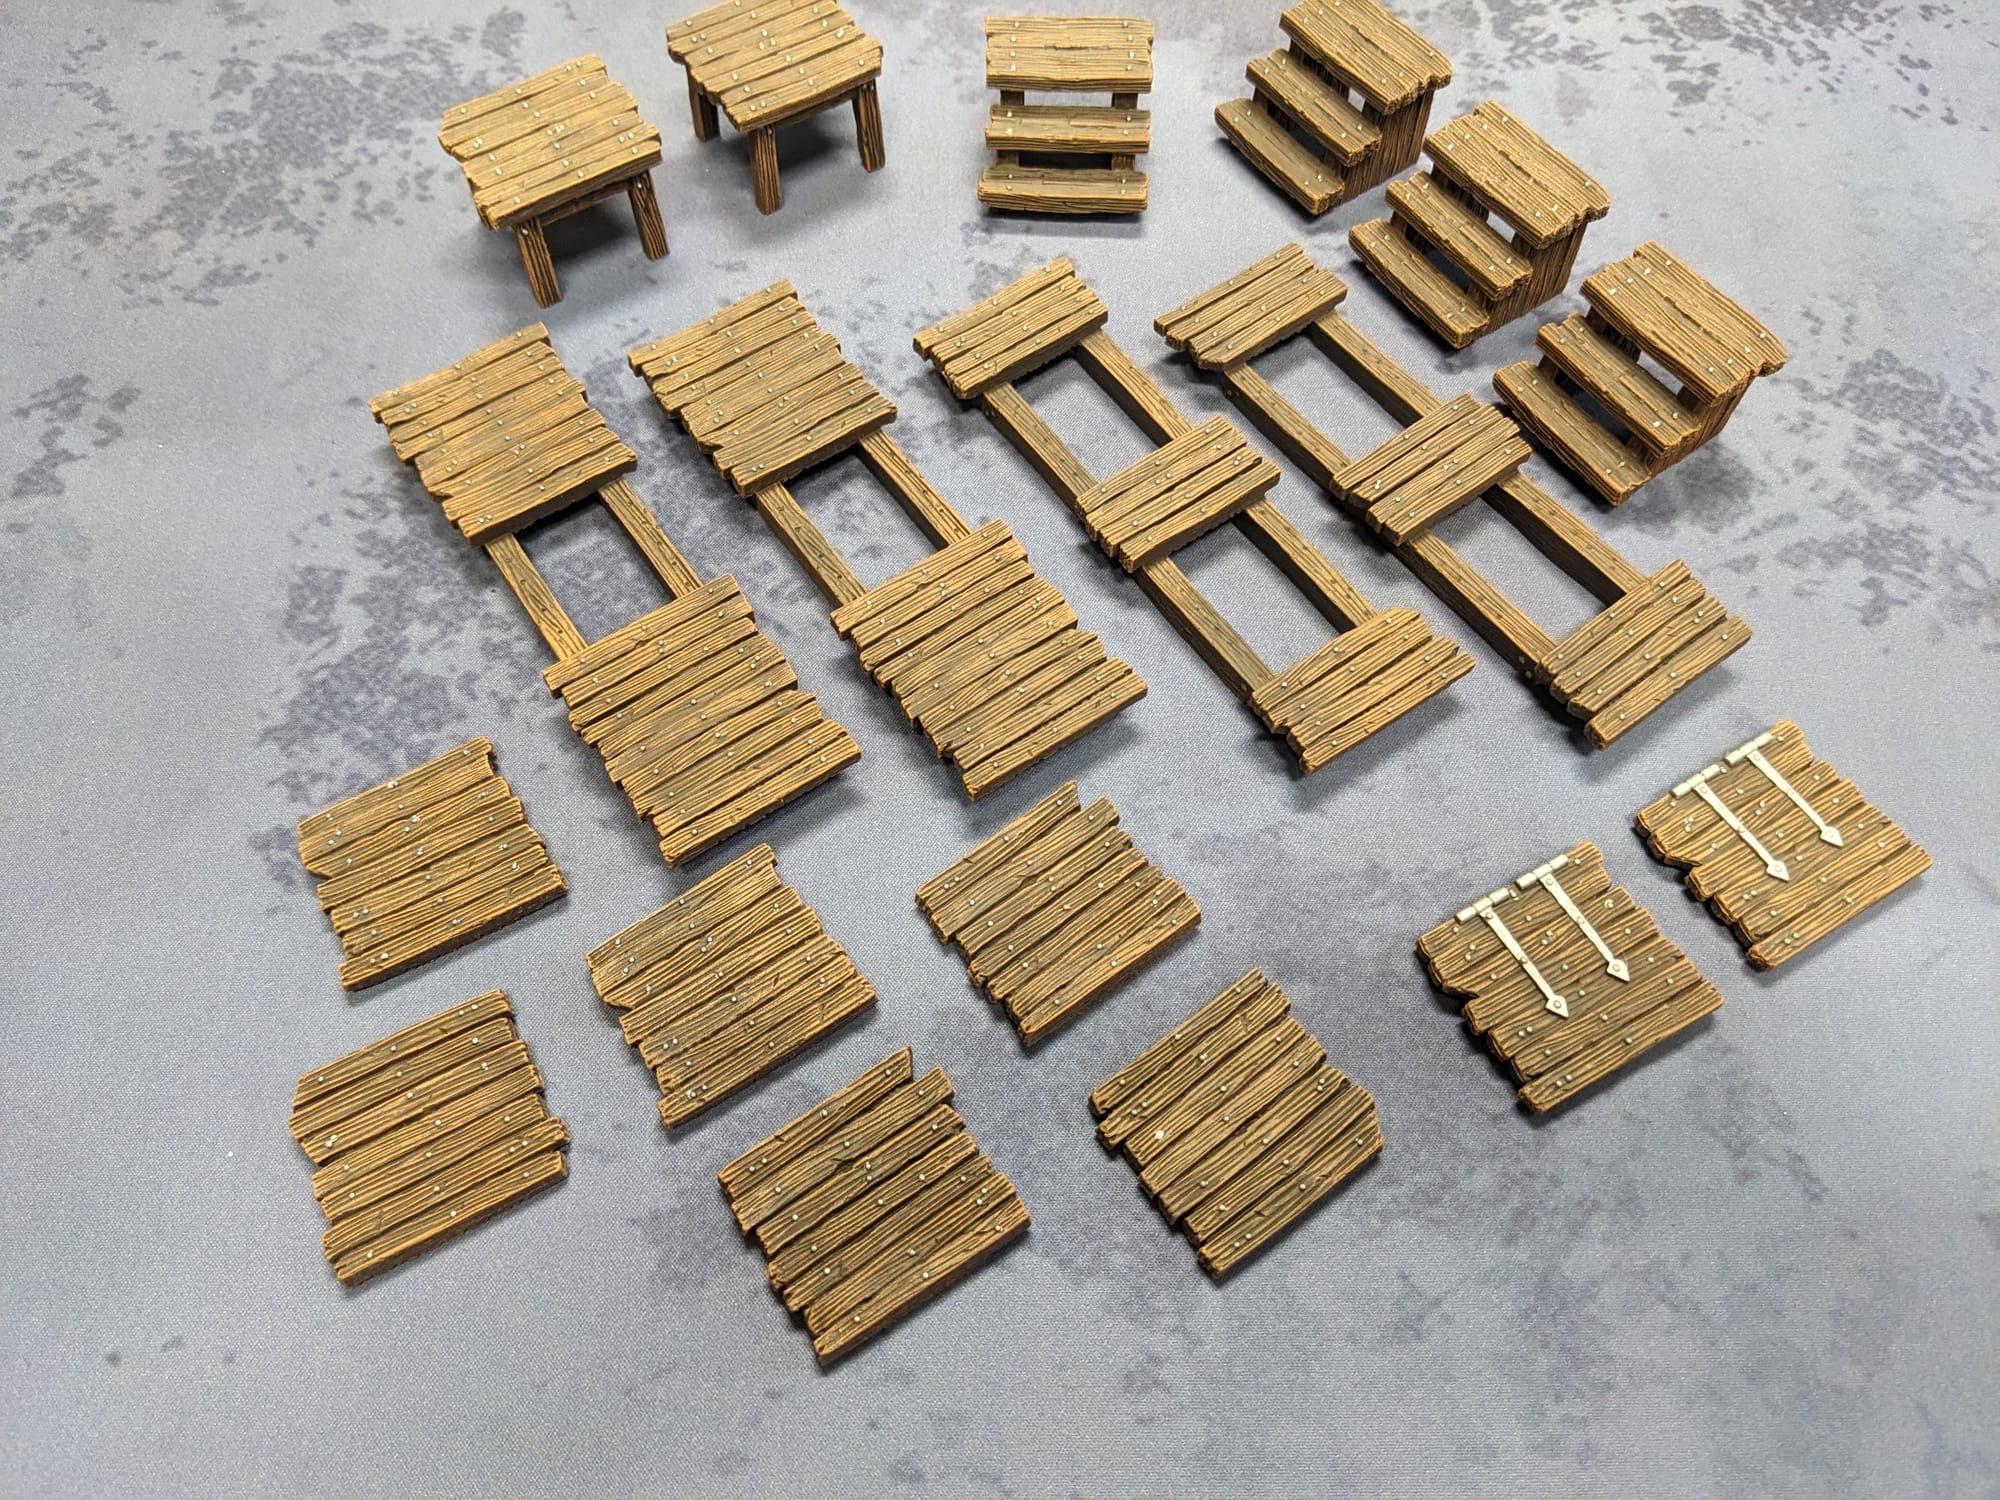
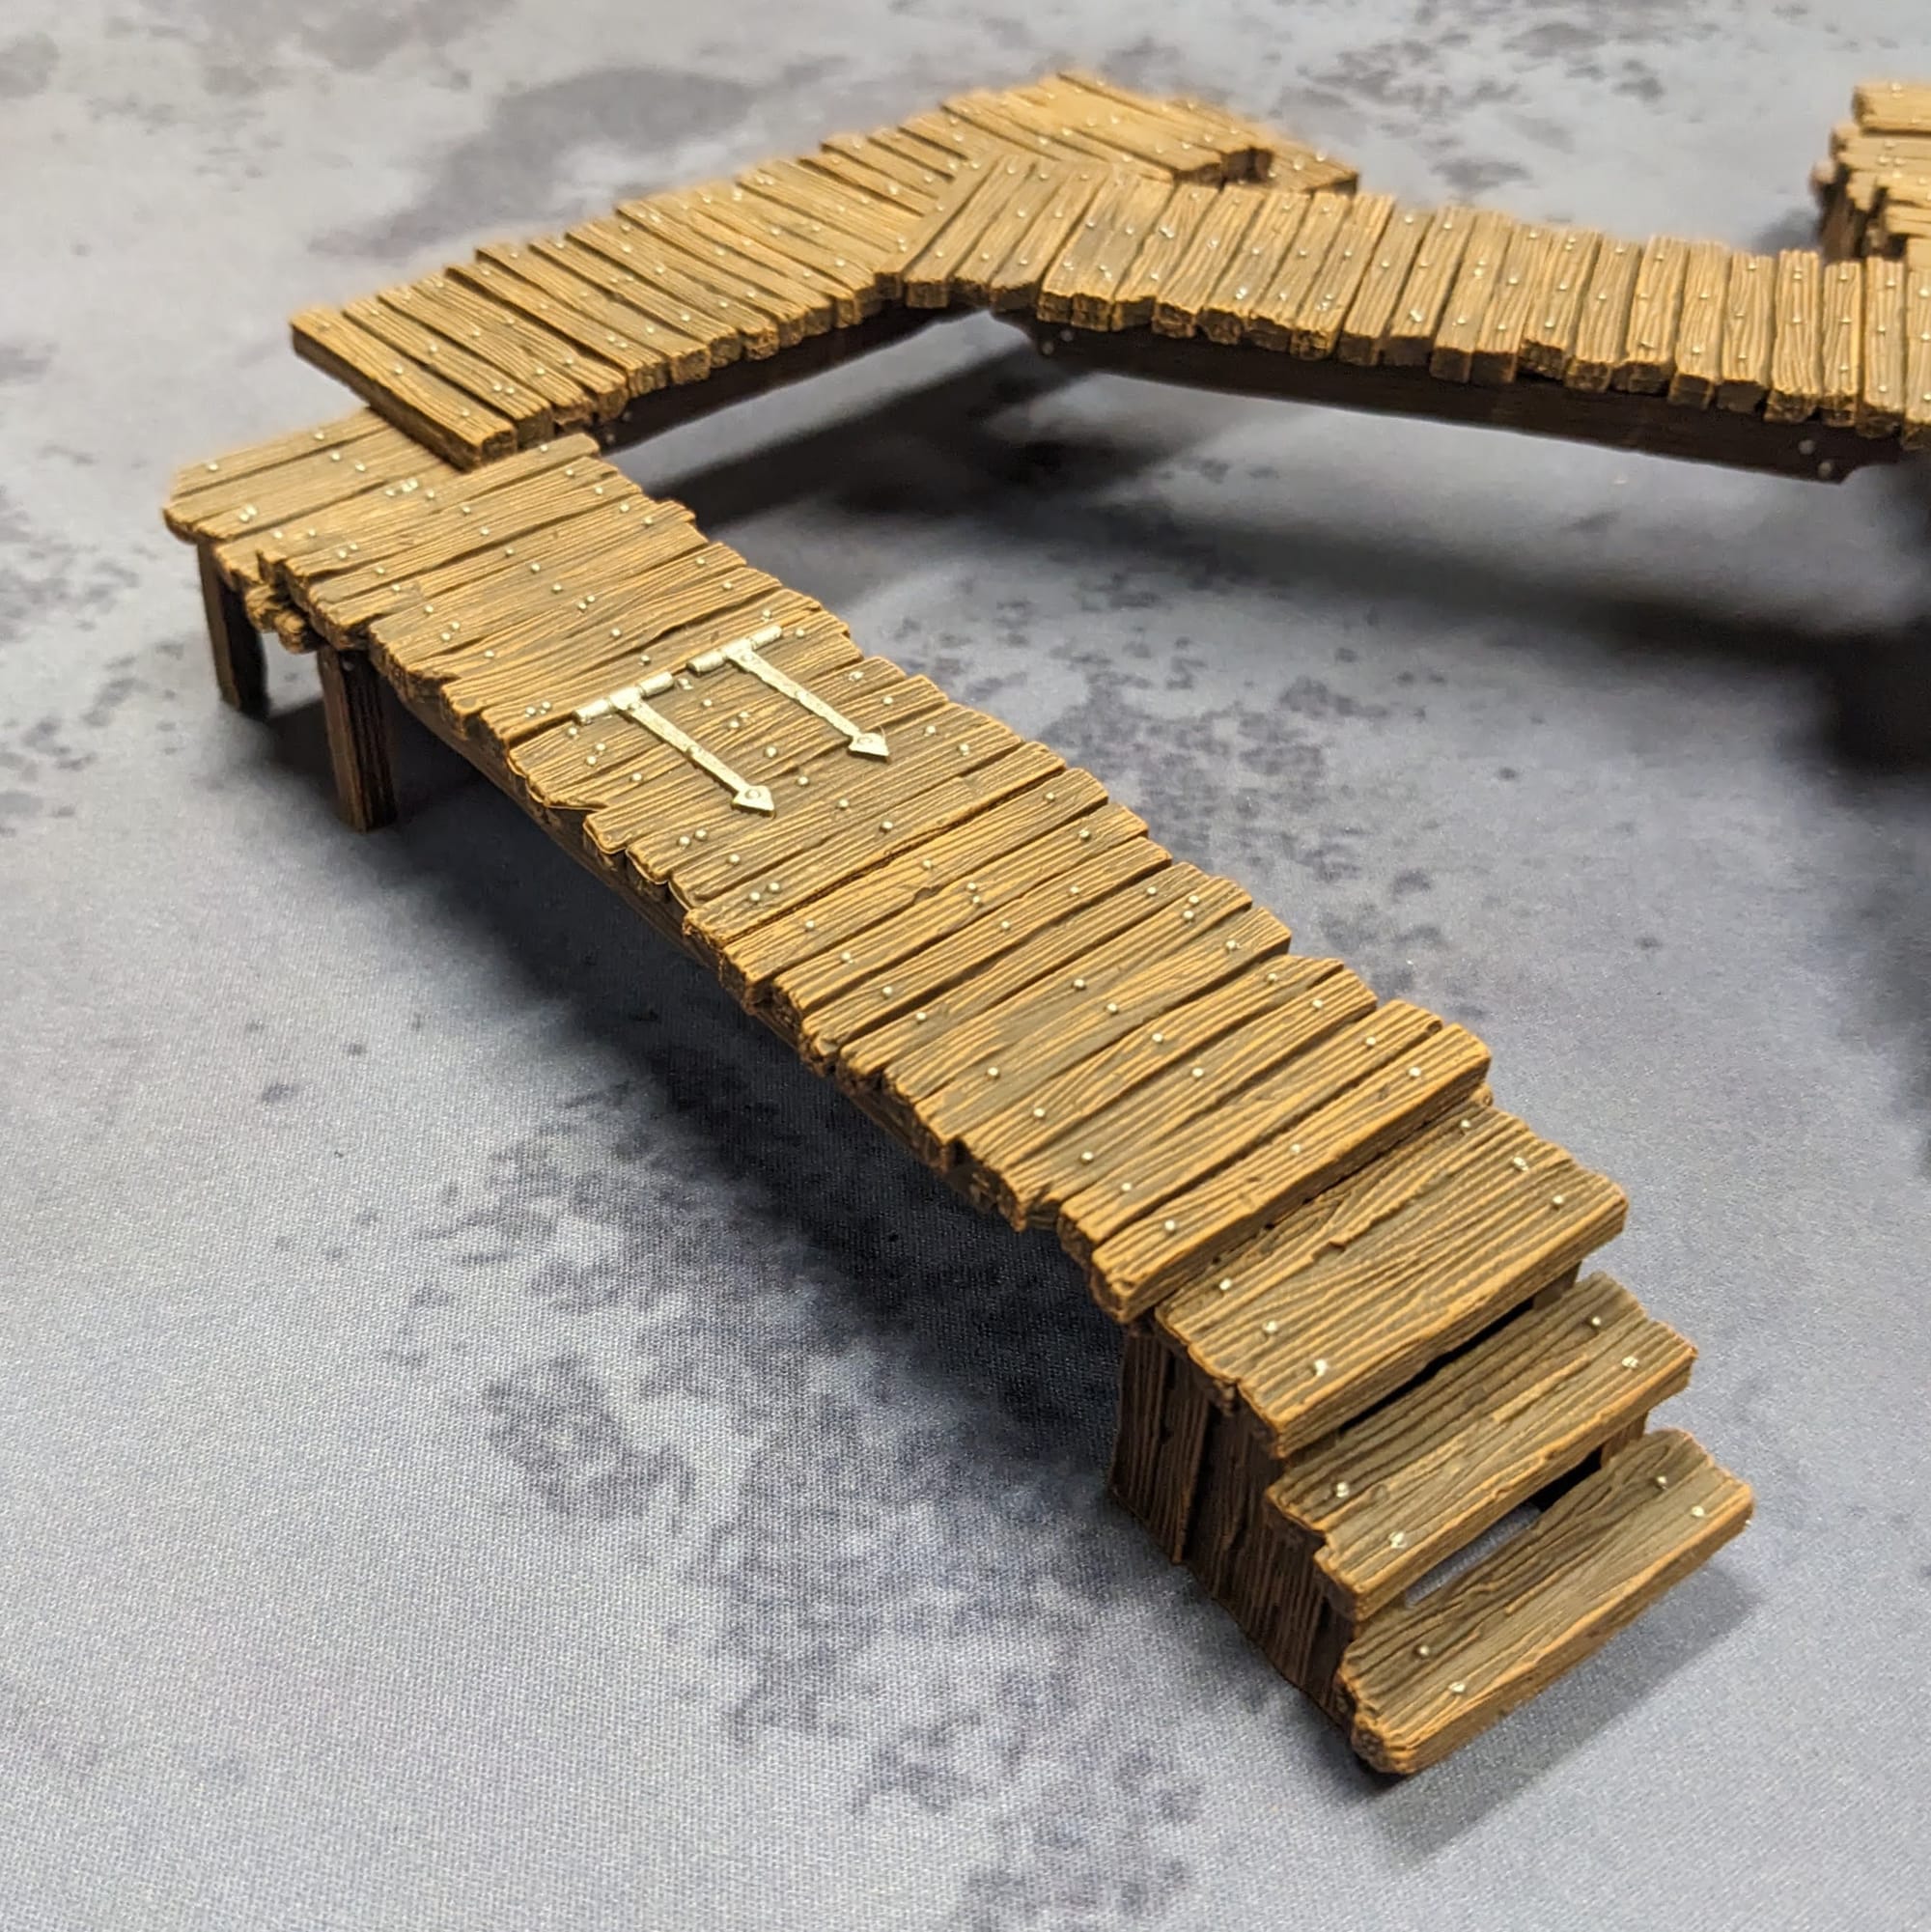
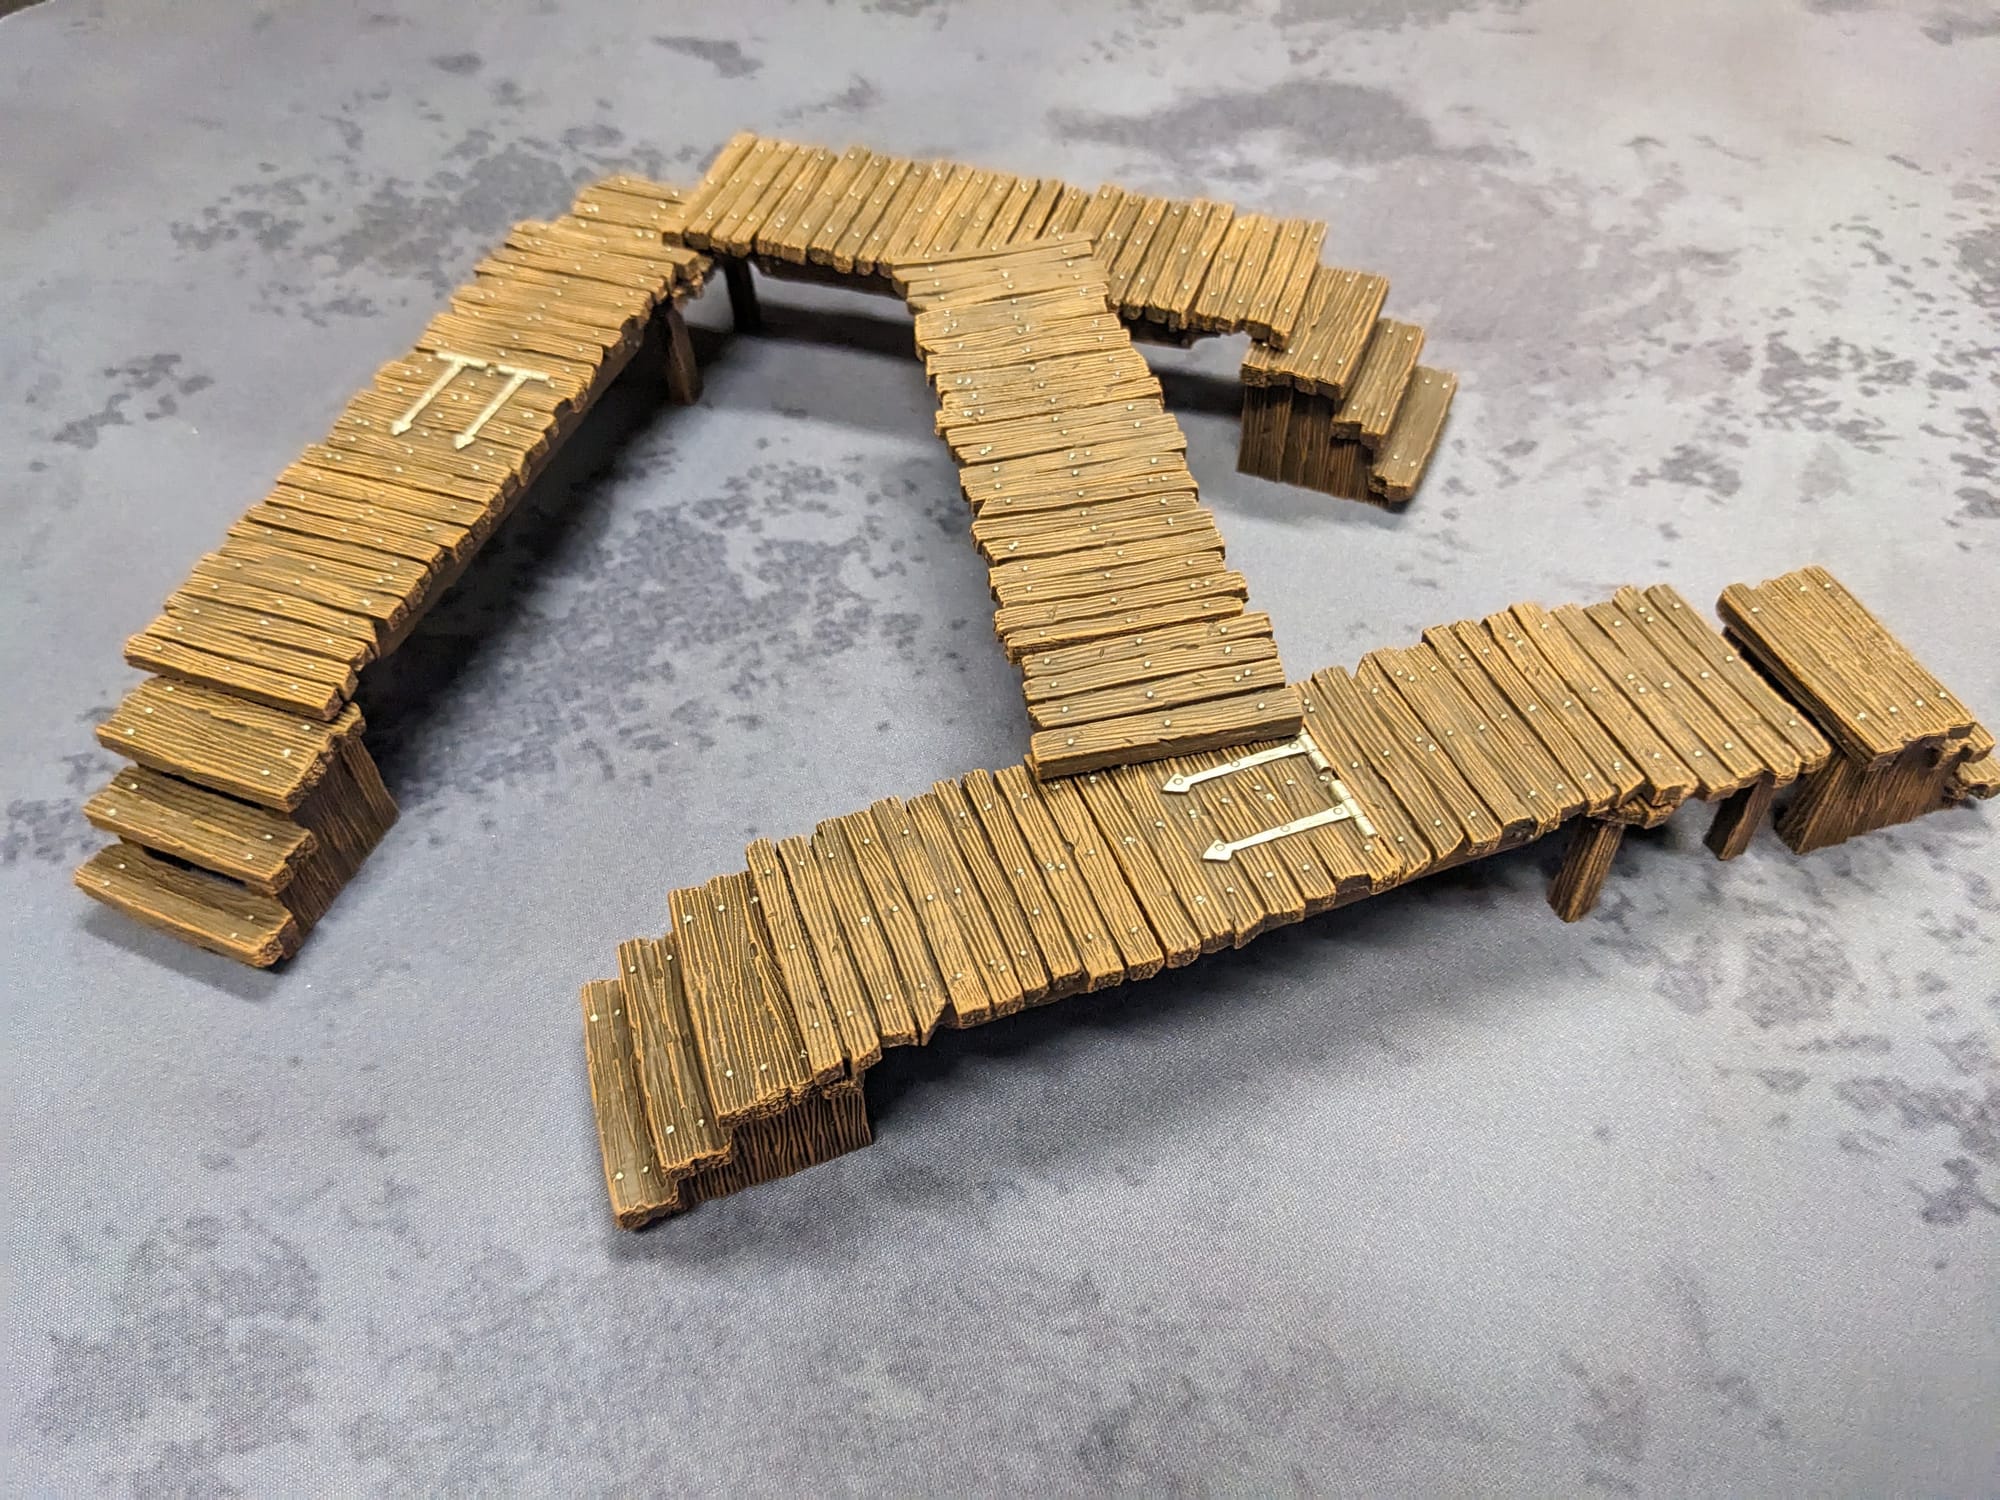
For the tree trunks, leaves/needles, and wood bridges (or barricades), I applied two thin coats of spray over them and let that dry.
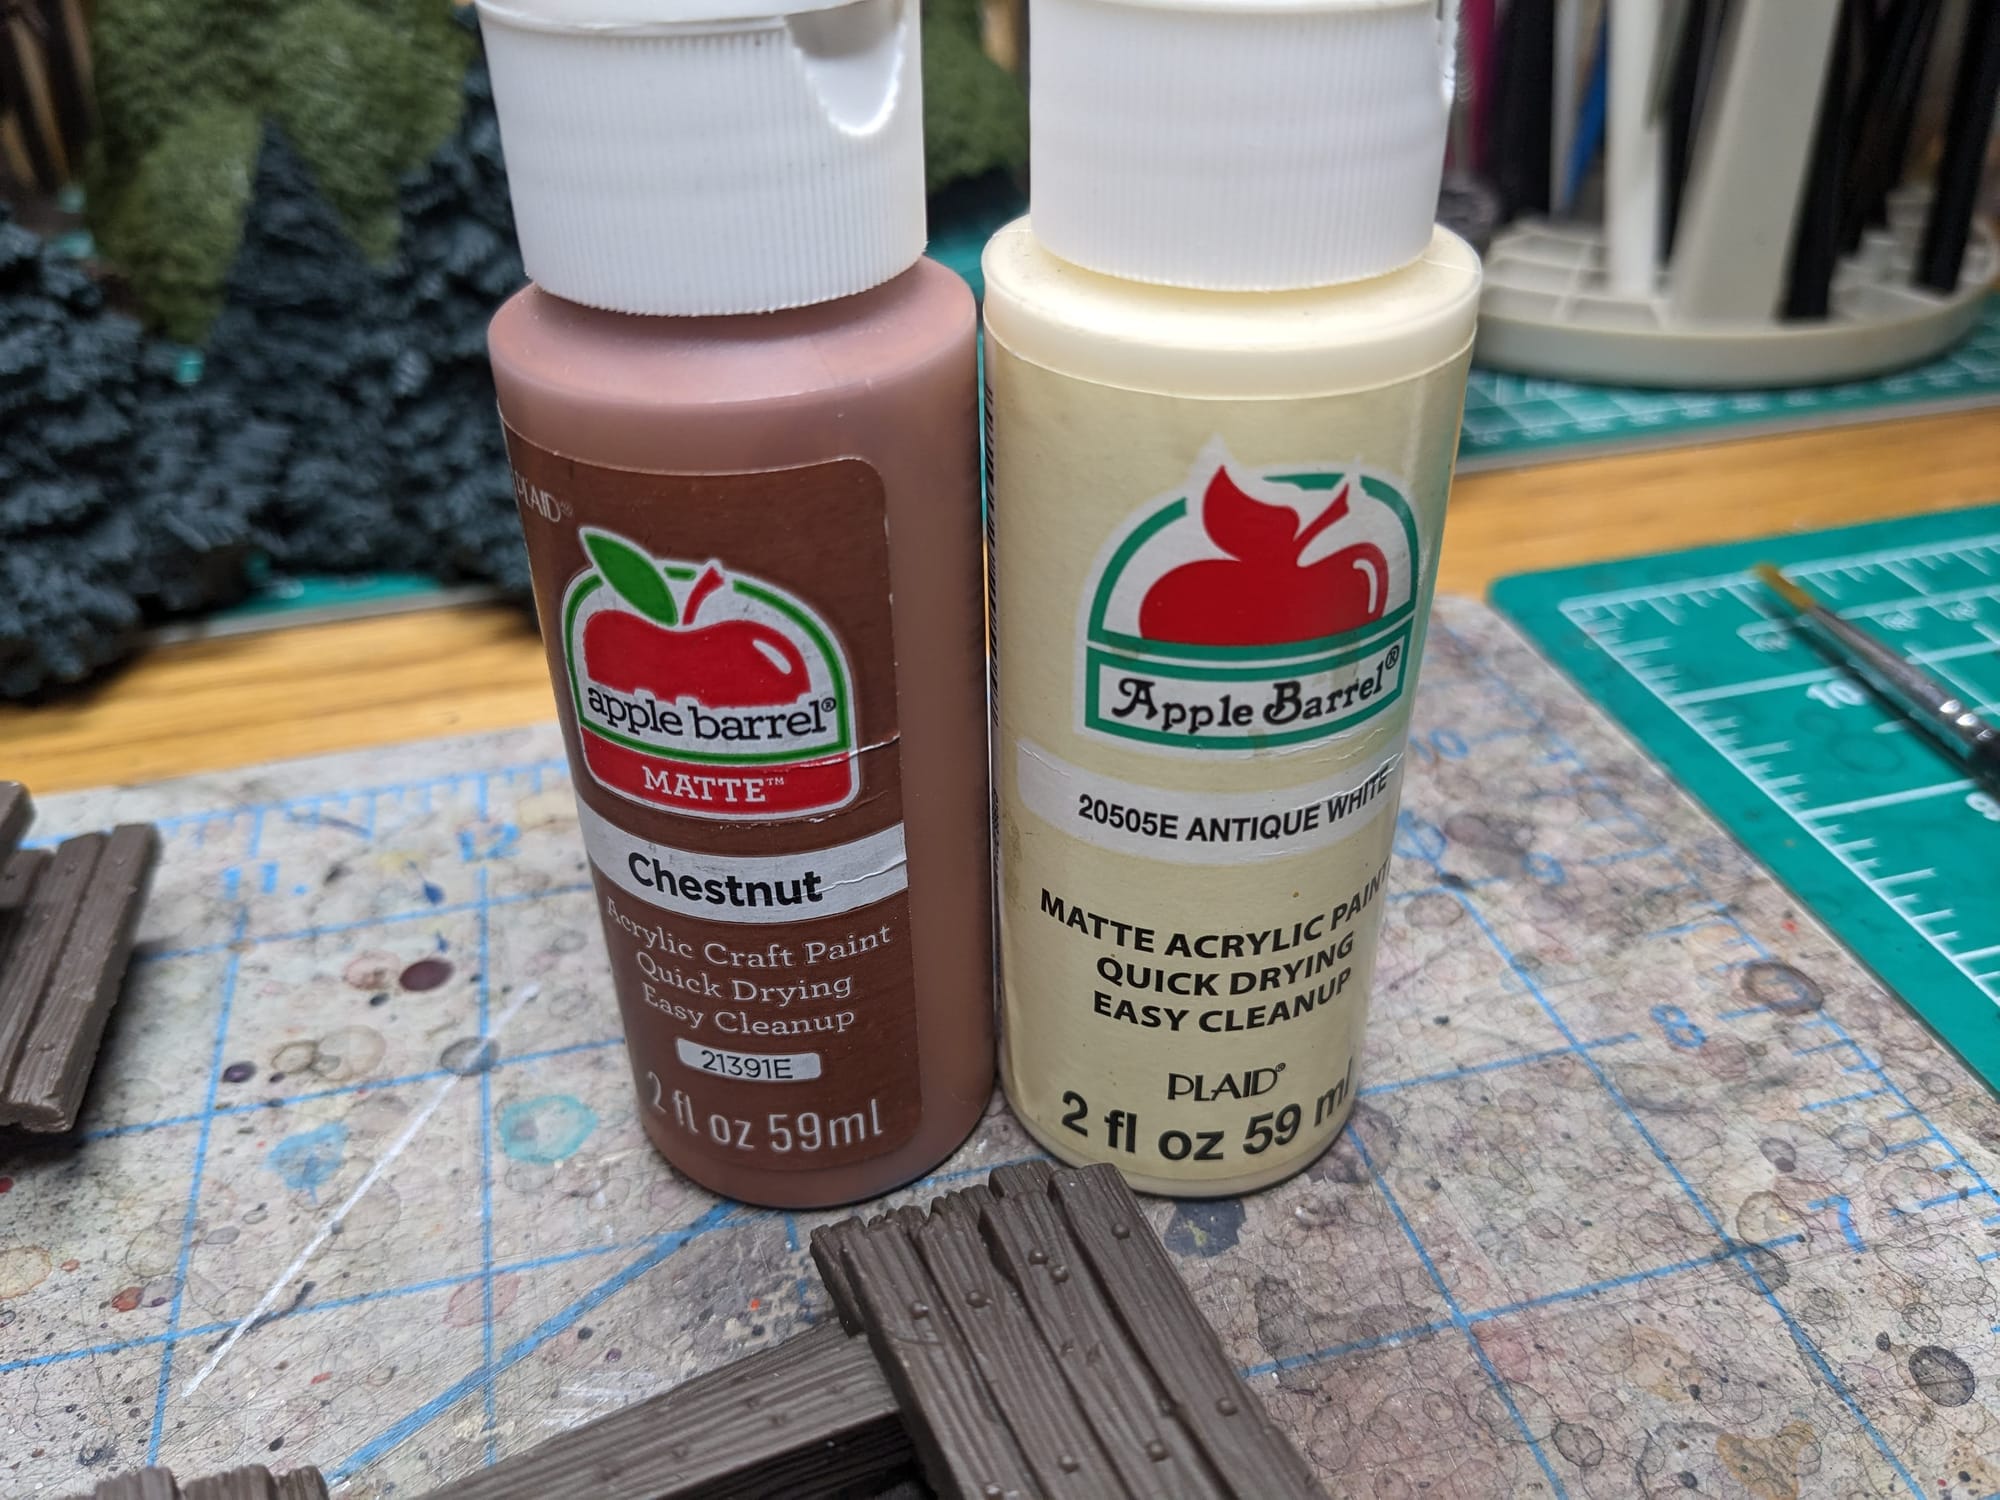
Then came... the HERESY!! In lieu of using a hobby paint like Citadel or Army Painter (which you can absolutely use), I chose to go with the hobby store Apple Barrel craft paint. It’s awful paint for minis, but it’s fantastic for terrain especially when you use a sponge or brush. Terrain should look good, but not be so detailed that it takes away from the superior, stand-out paint job on your minis.
For the wood, both the trunks and bridges, I used a mixture of Chestnut and Antique White, touching up the metal bits with some Citadel Ironbreaker.
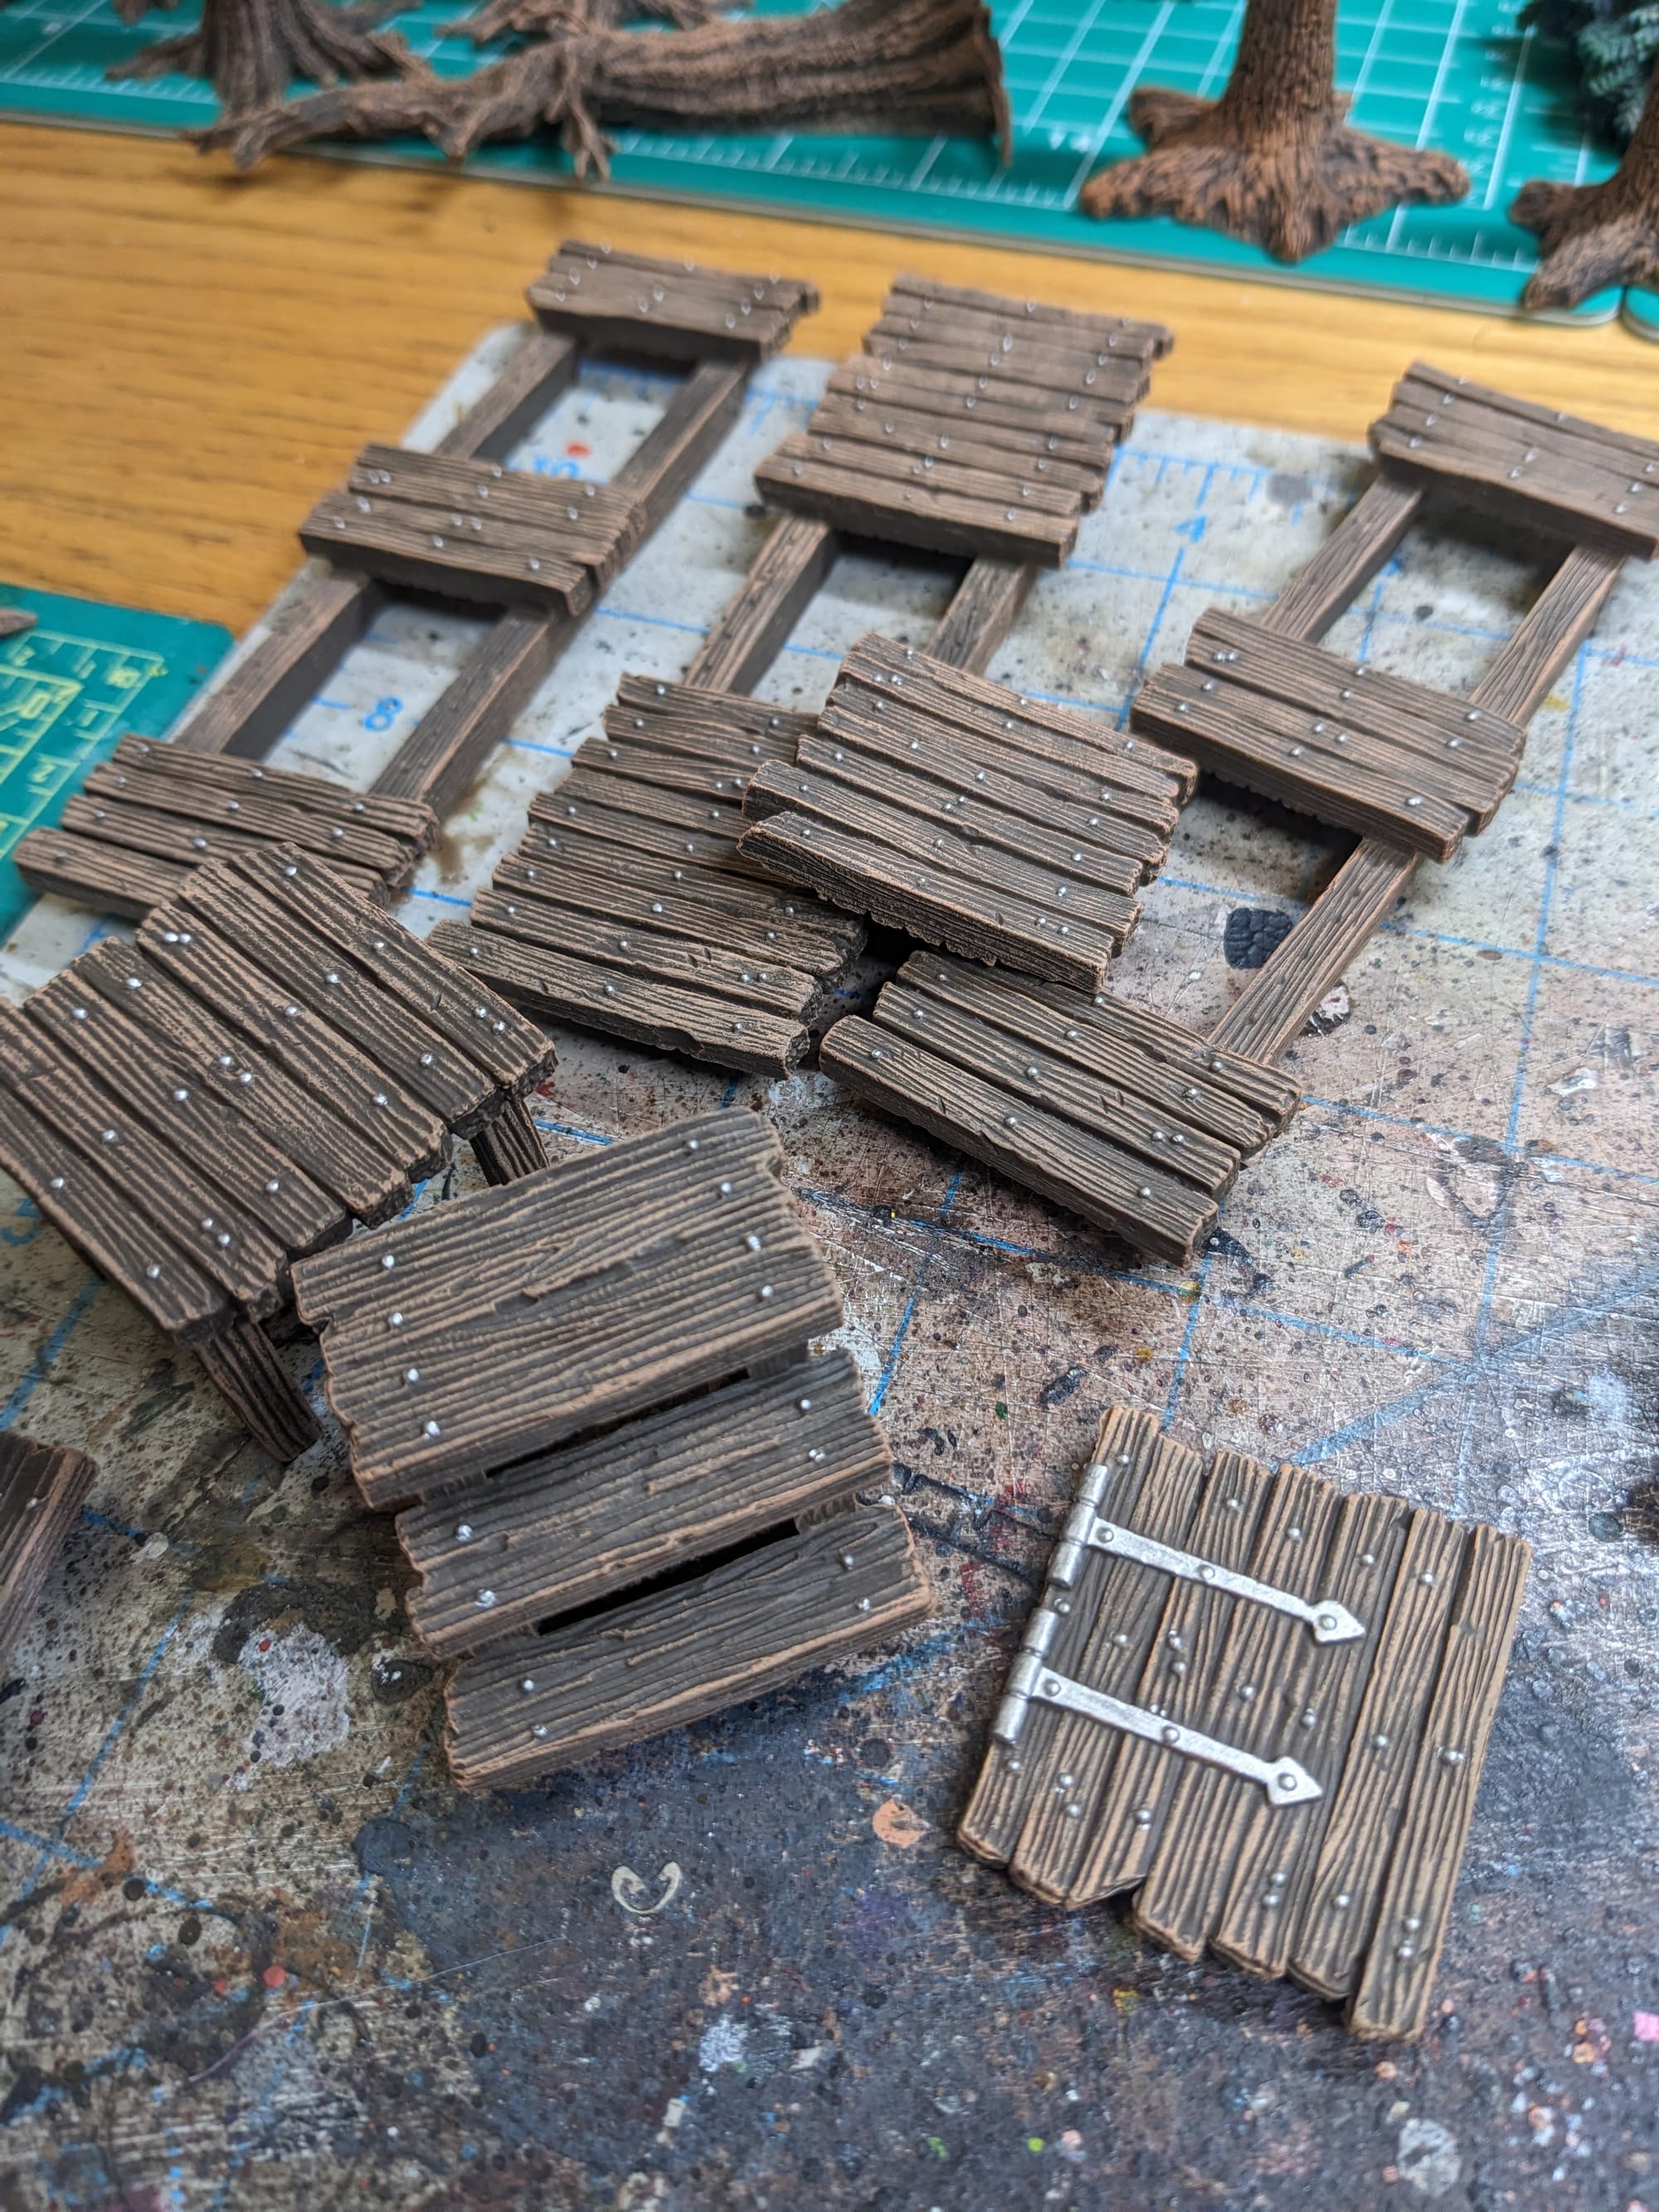
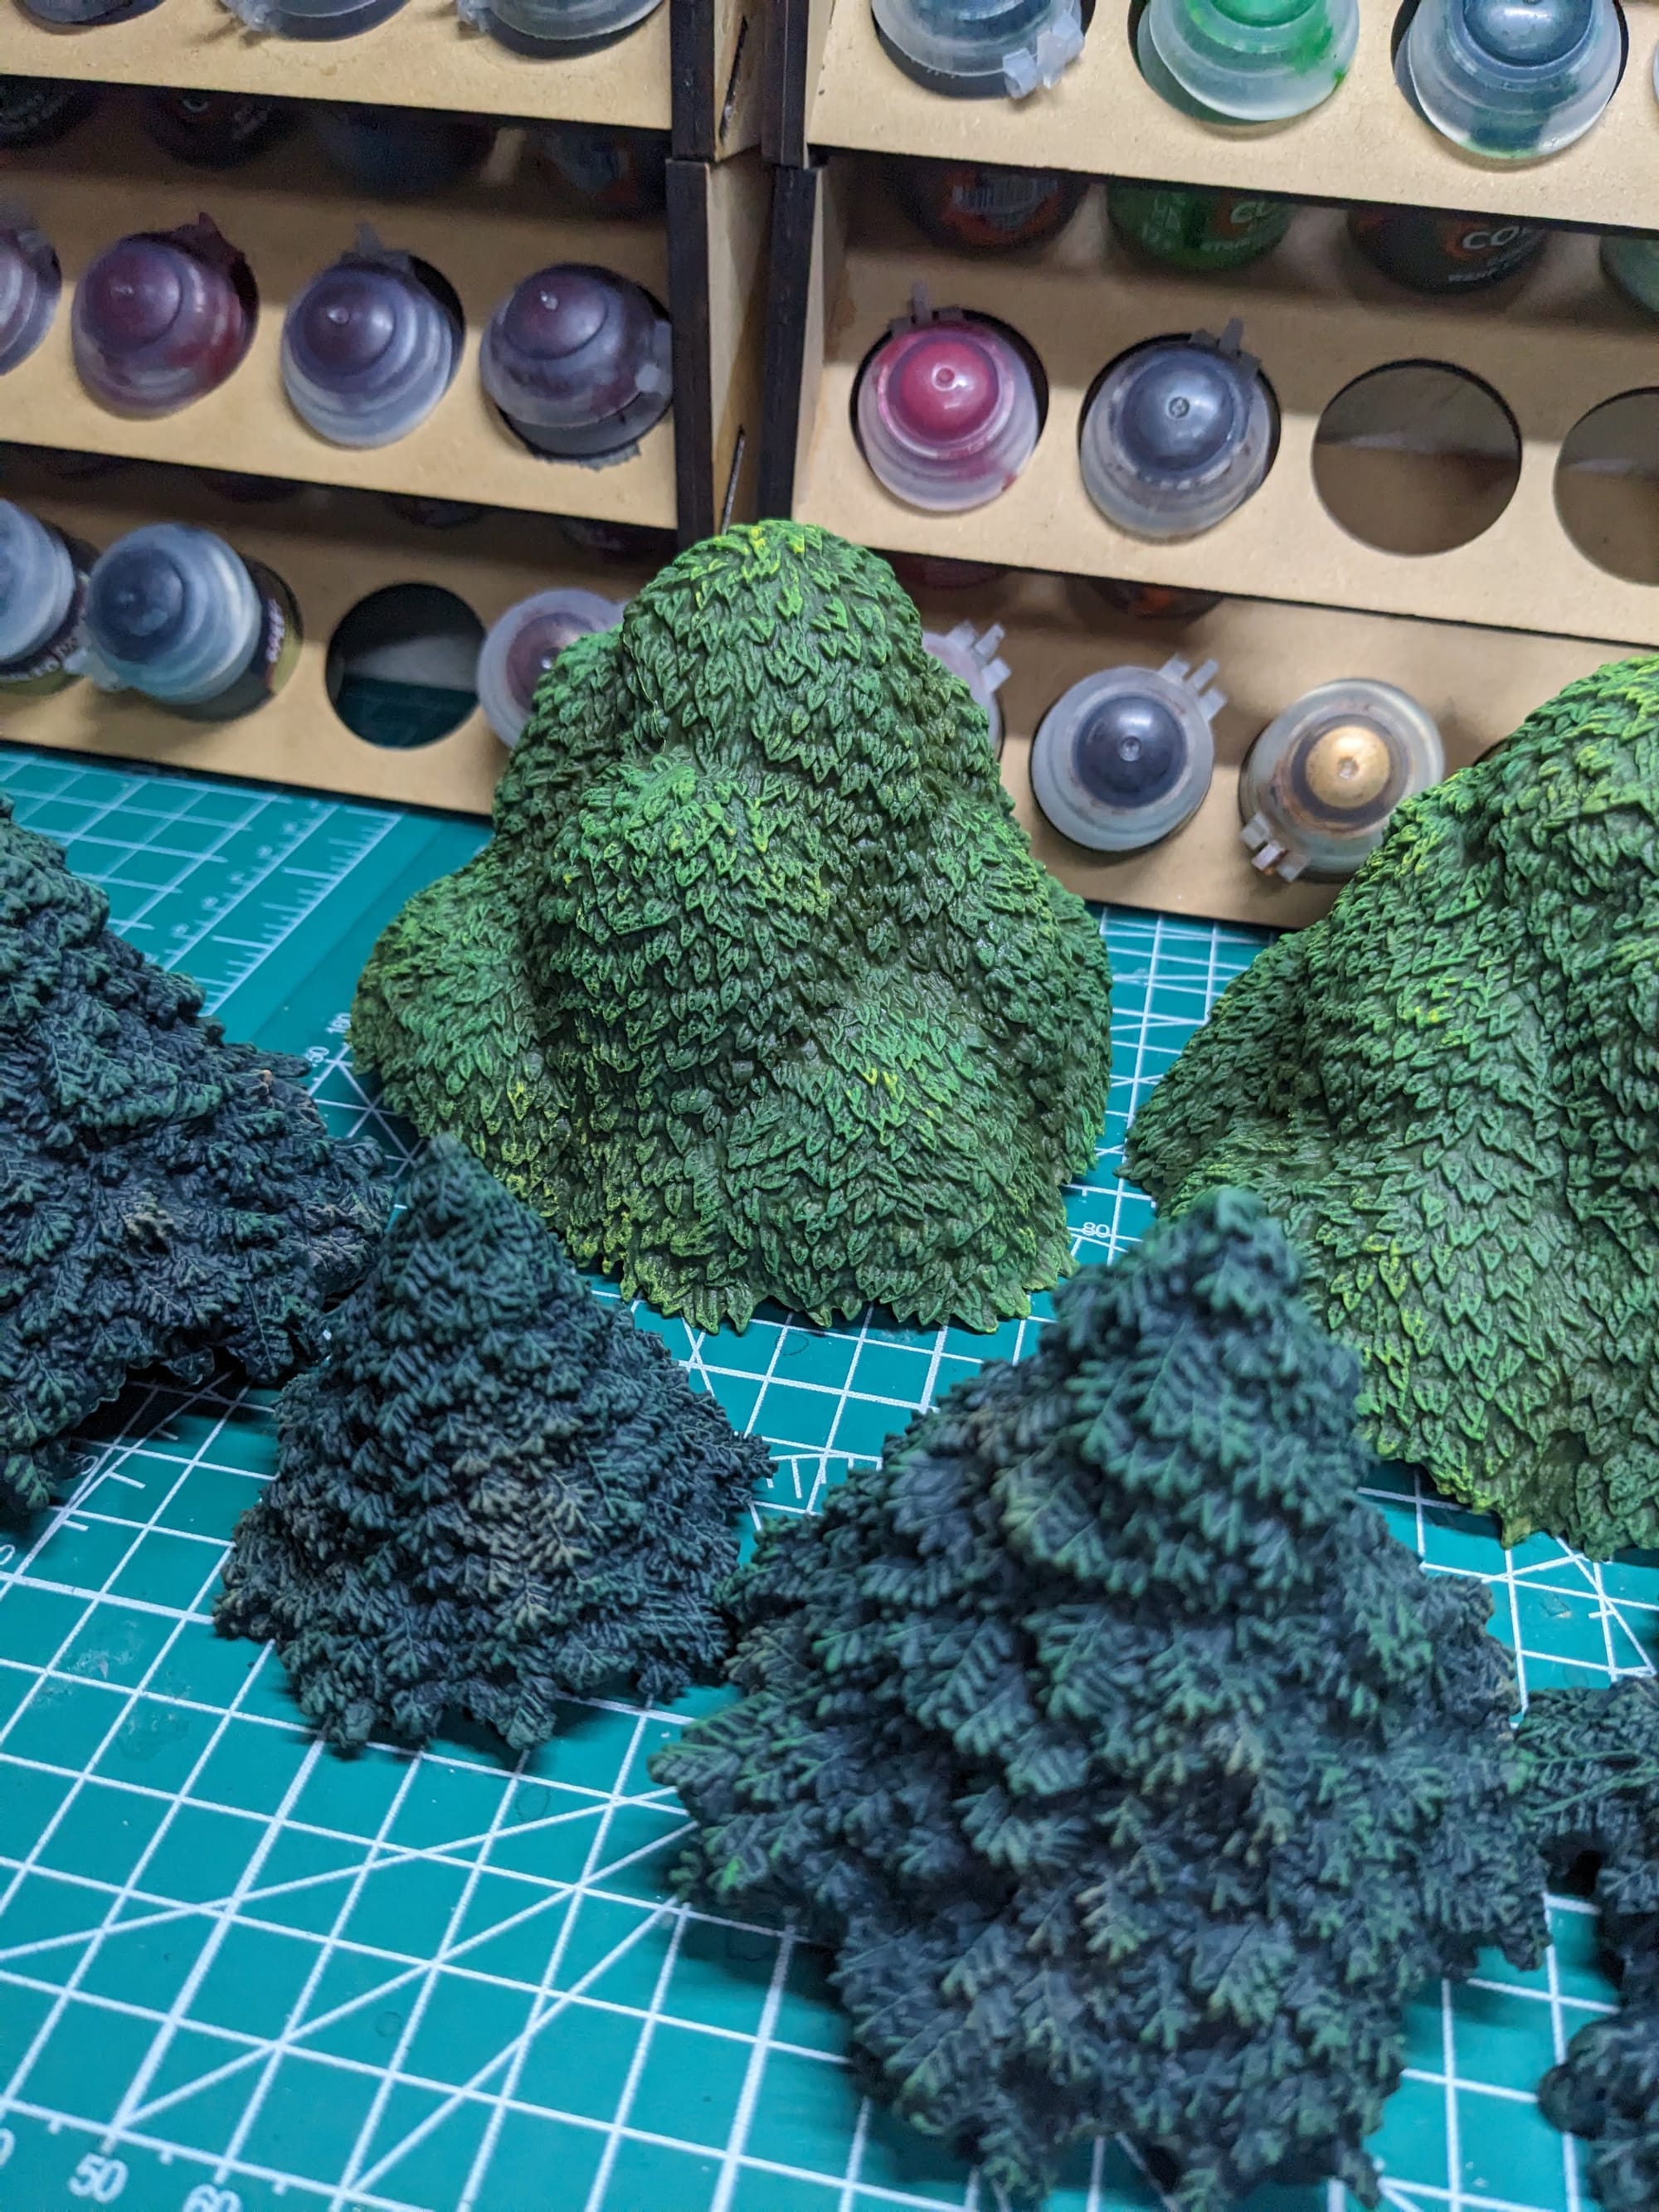
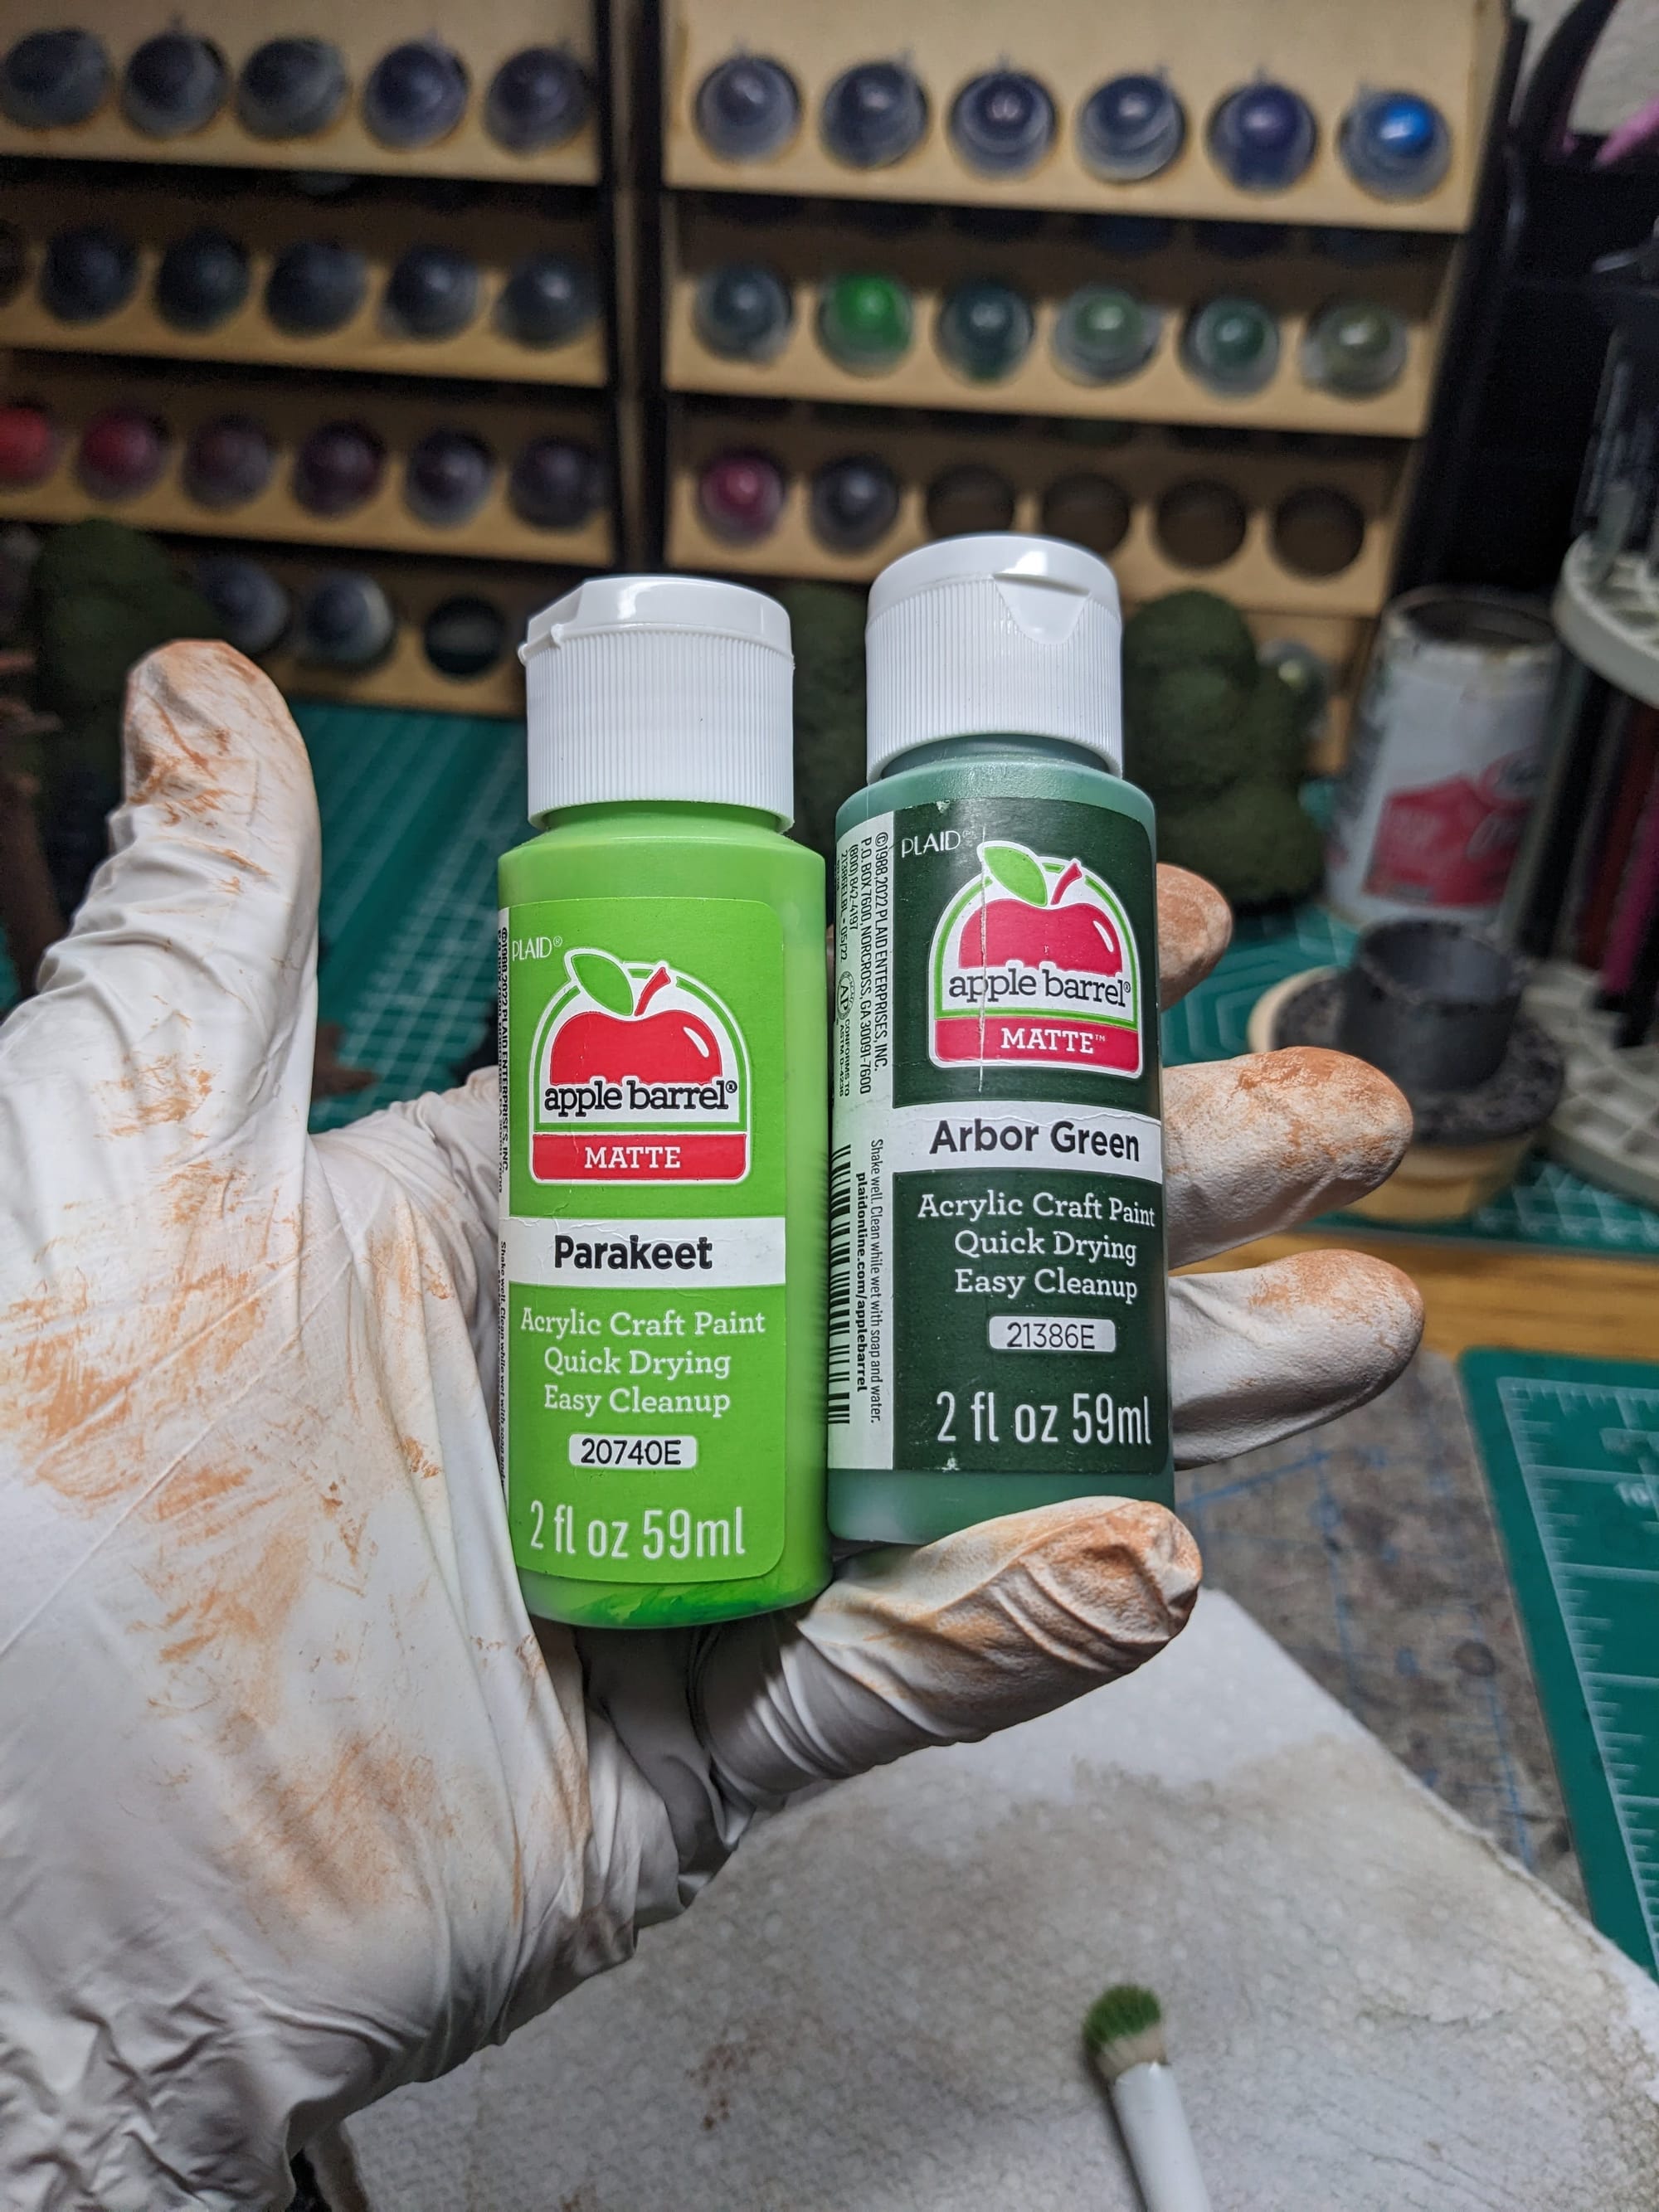
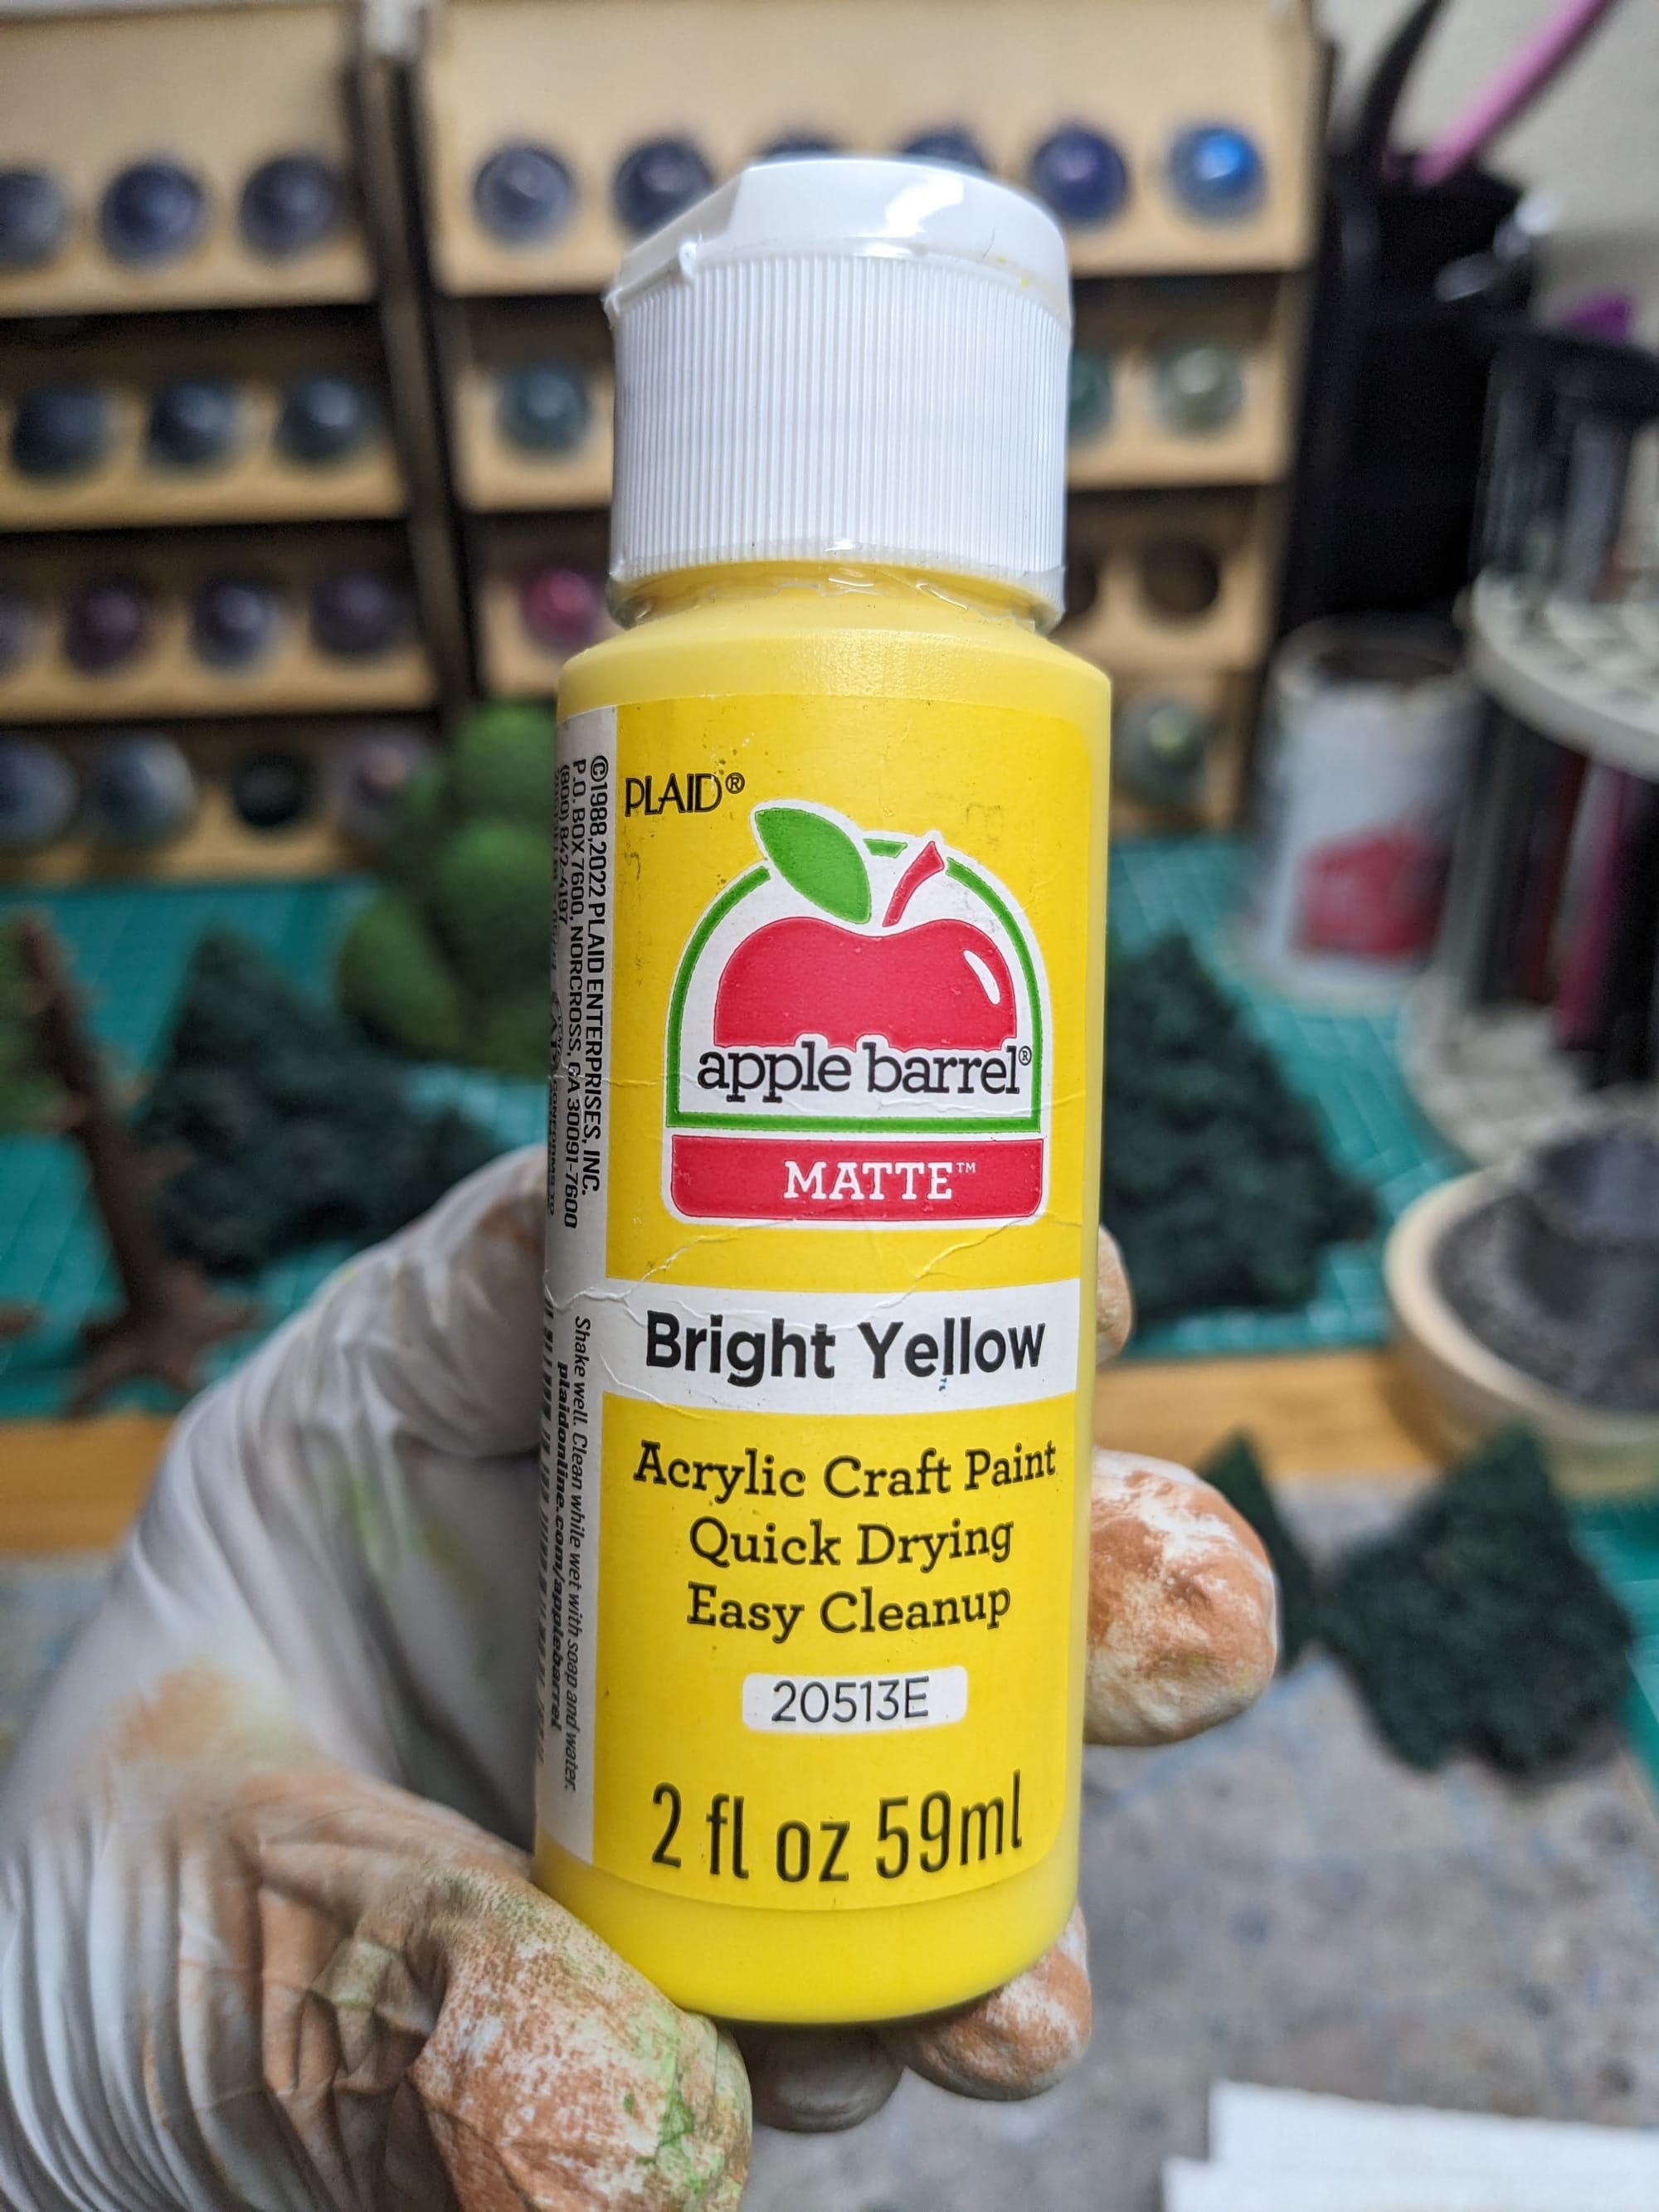
For the tree leaves and needles, I used a mixture of Parakeet and Arbor Green, highlighting up to the brighter green. For the leaves, I did some spot dry brushing with the Bright Yellow.
Painting Rocks
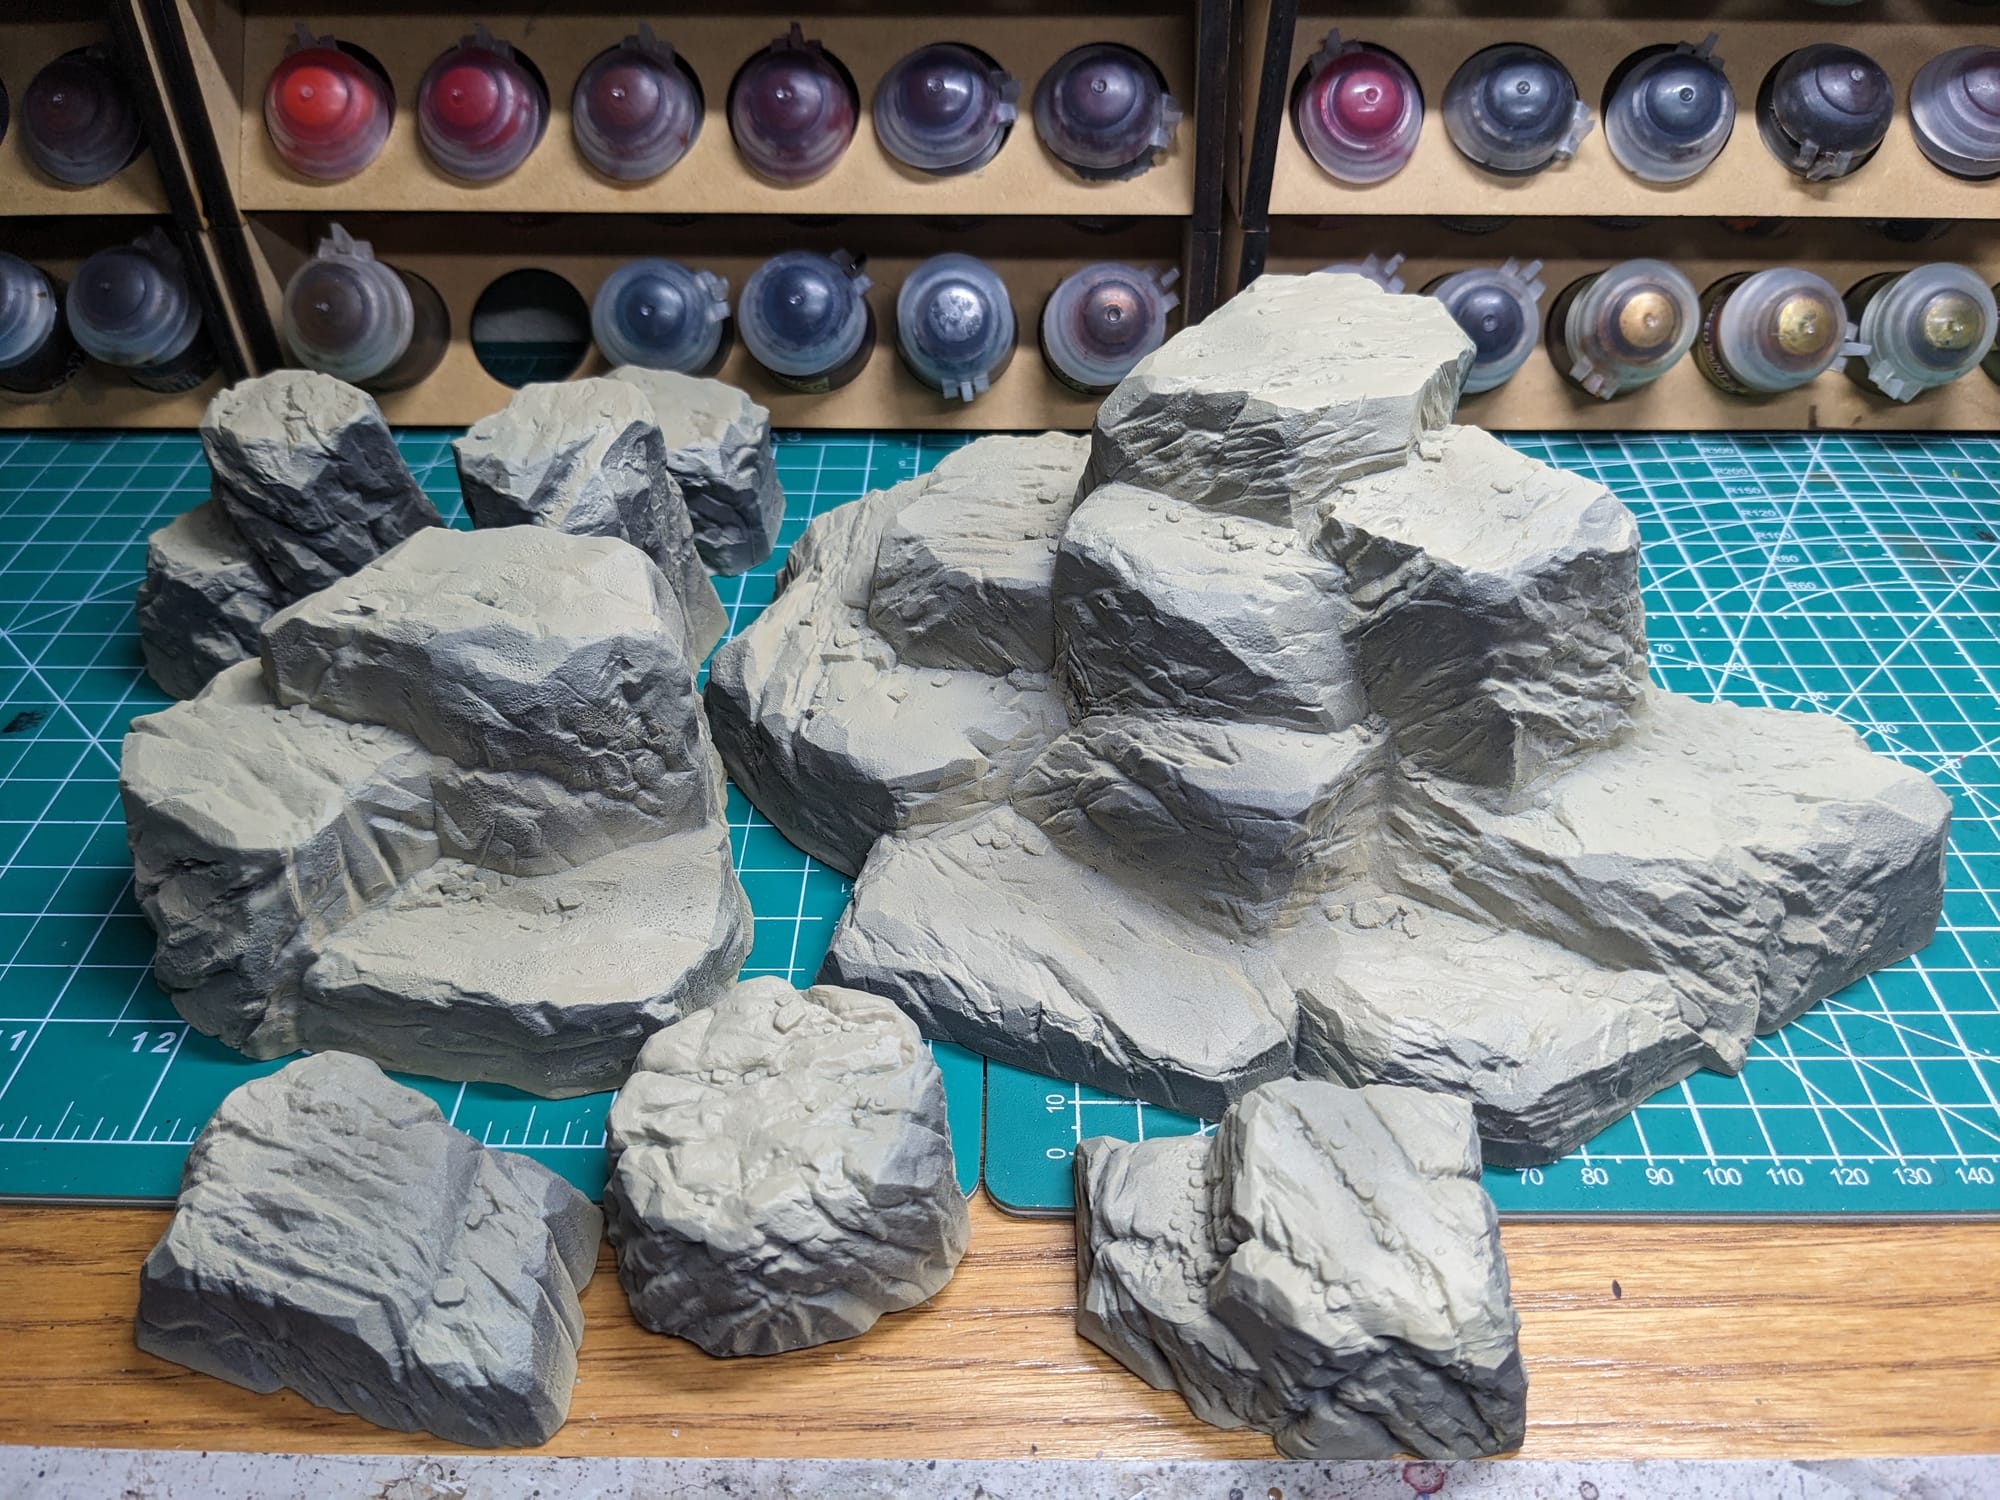
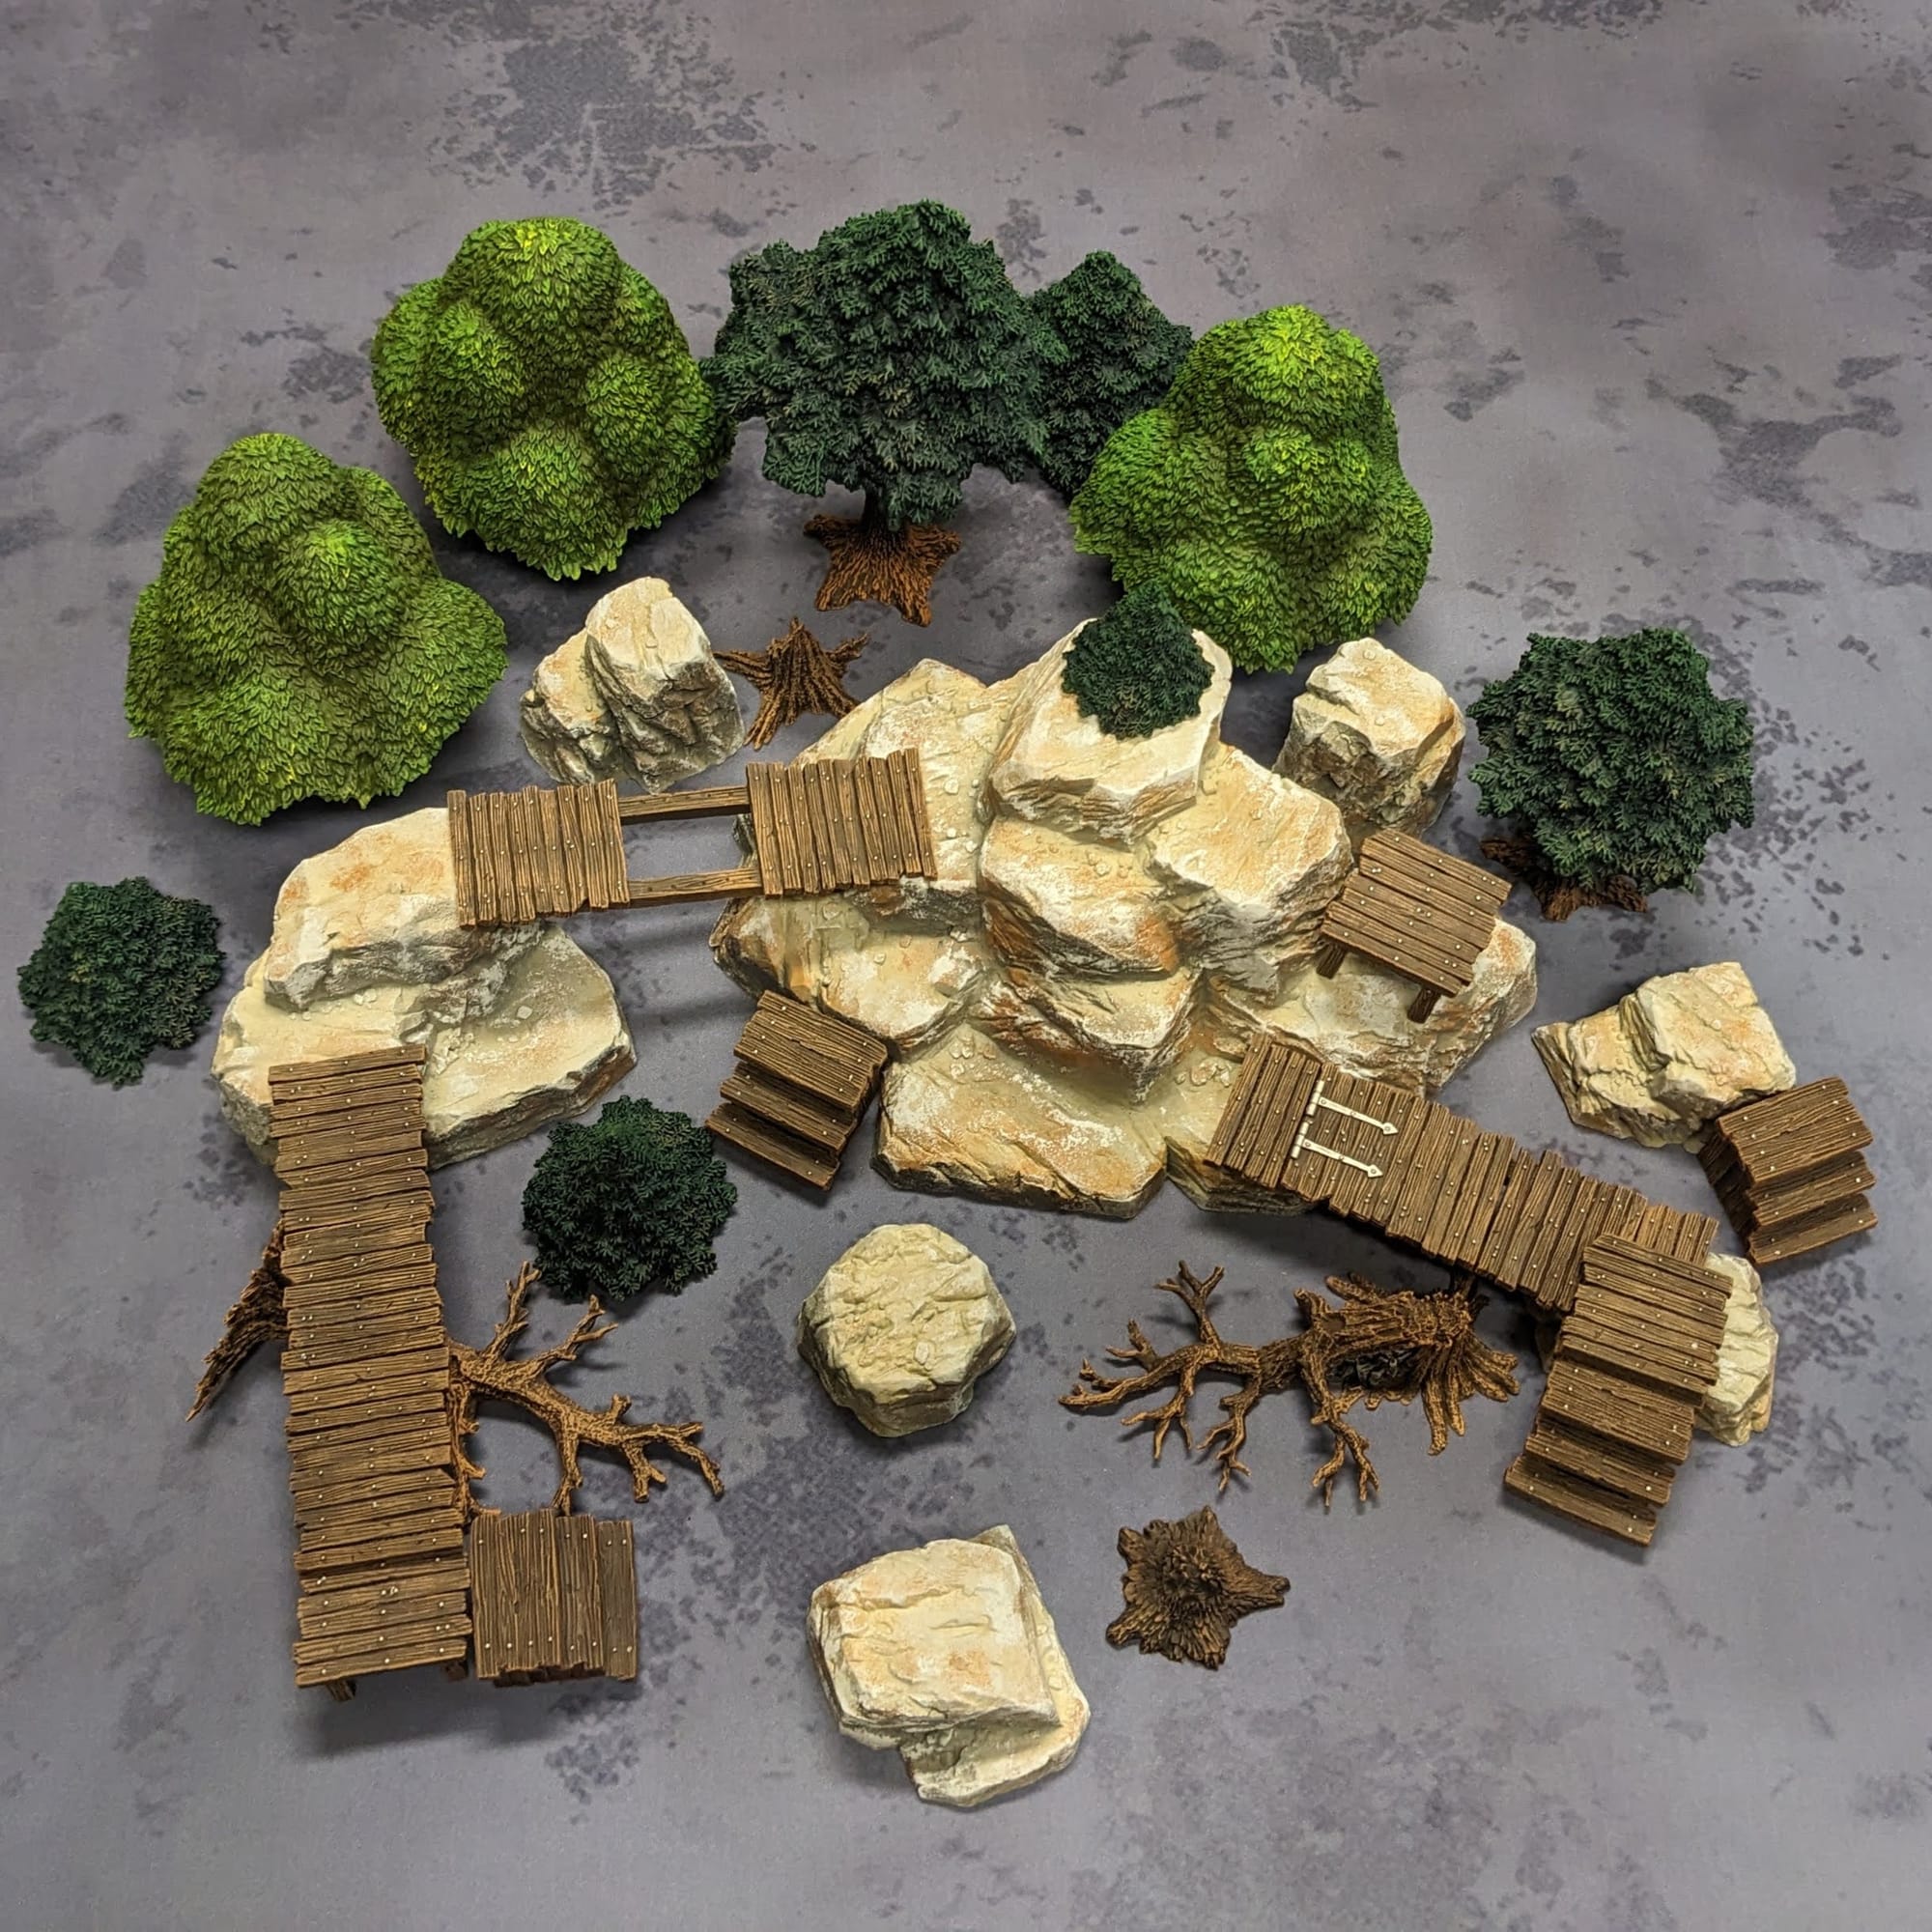
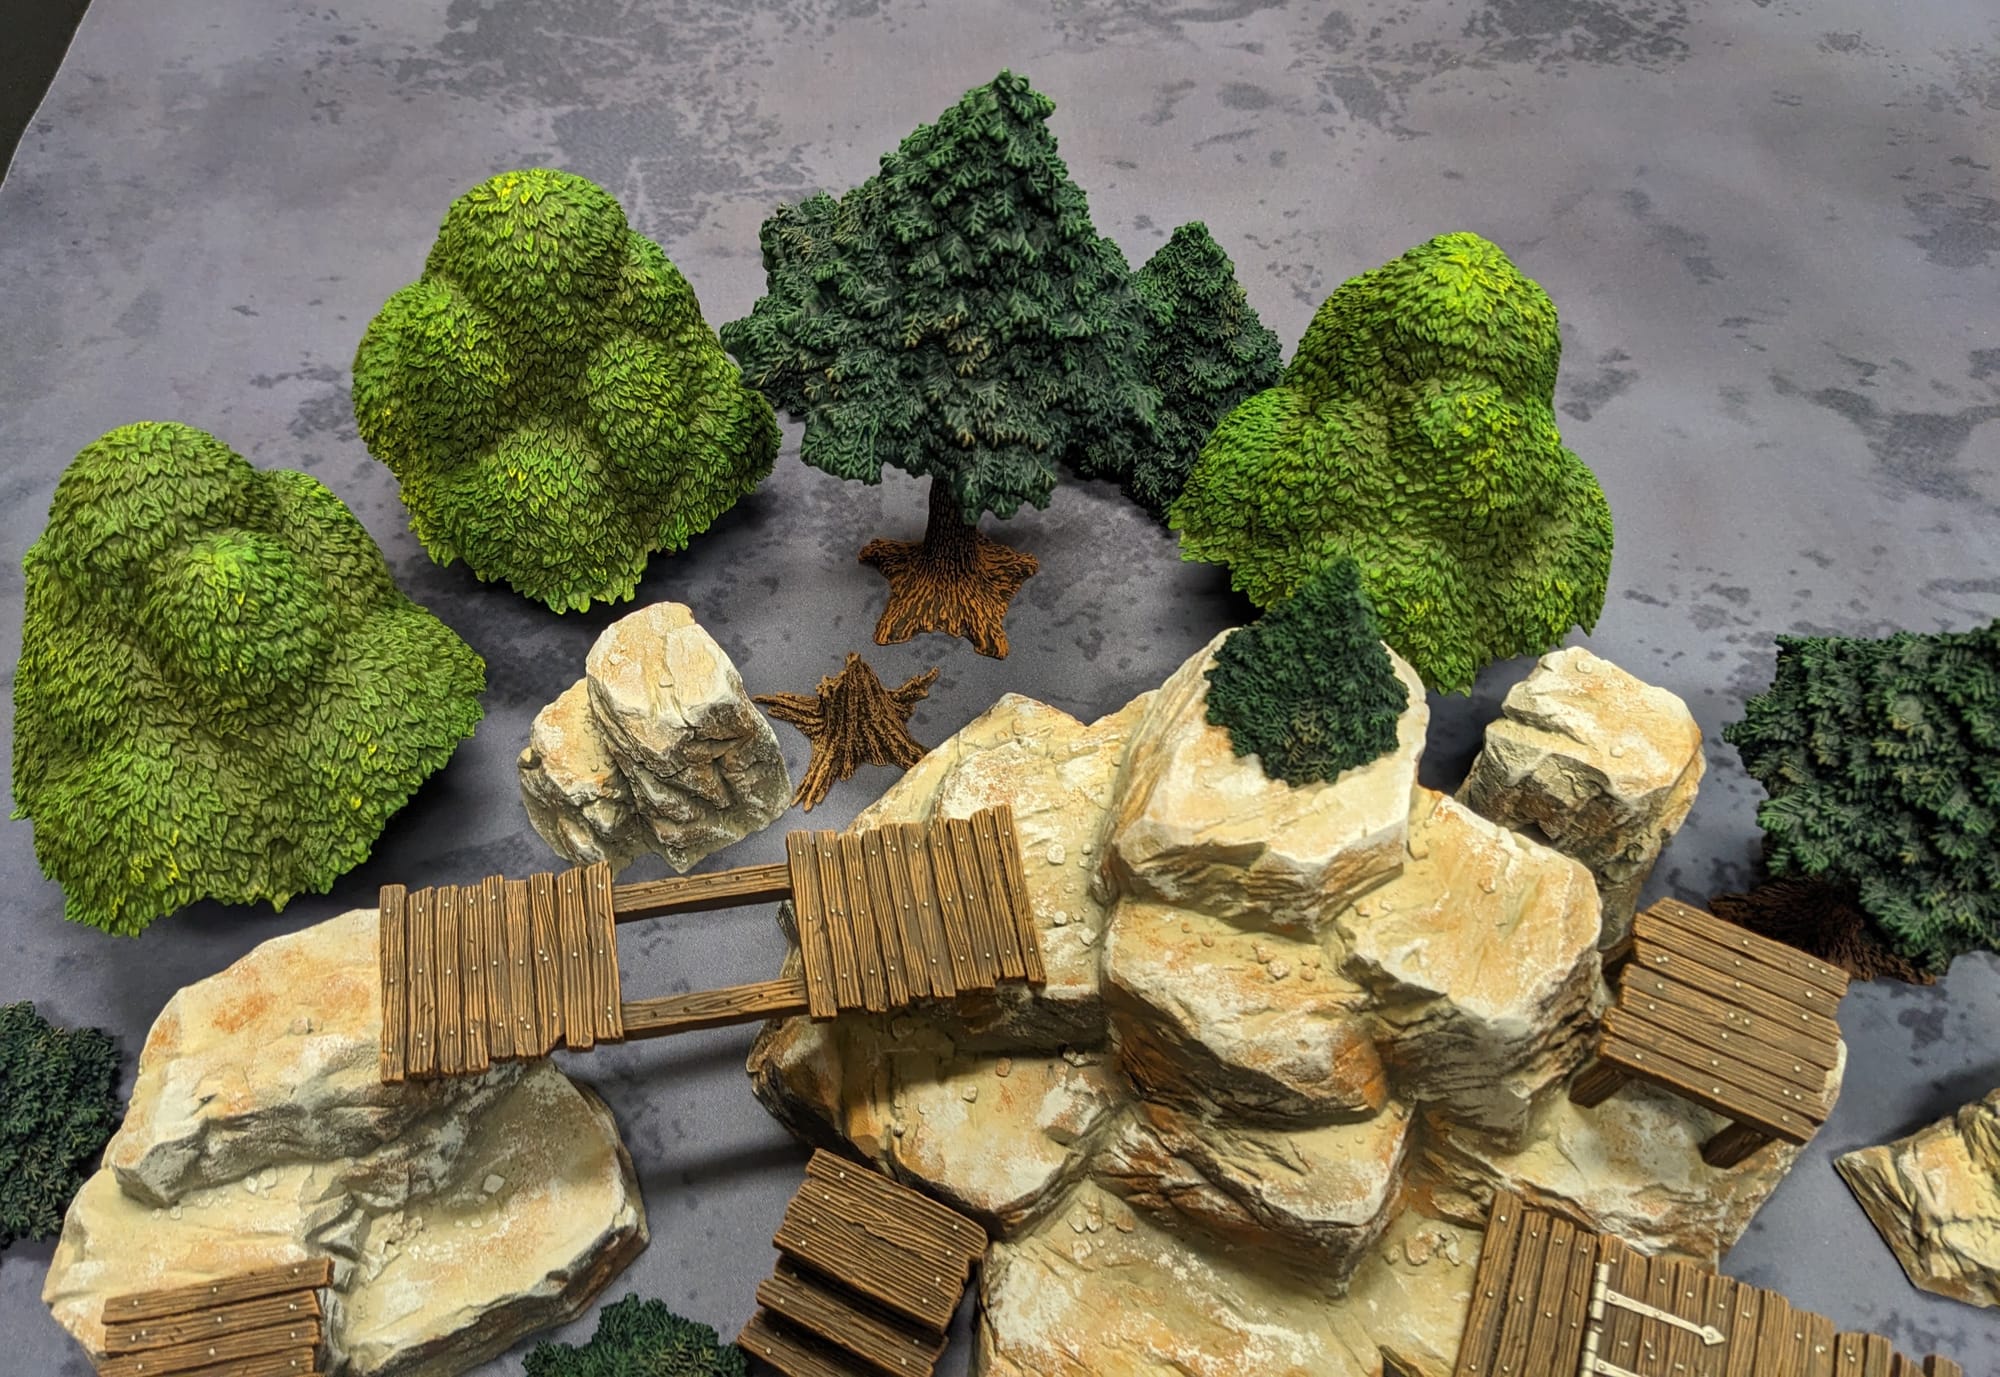
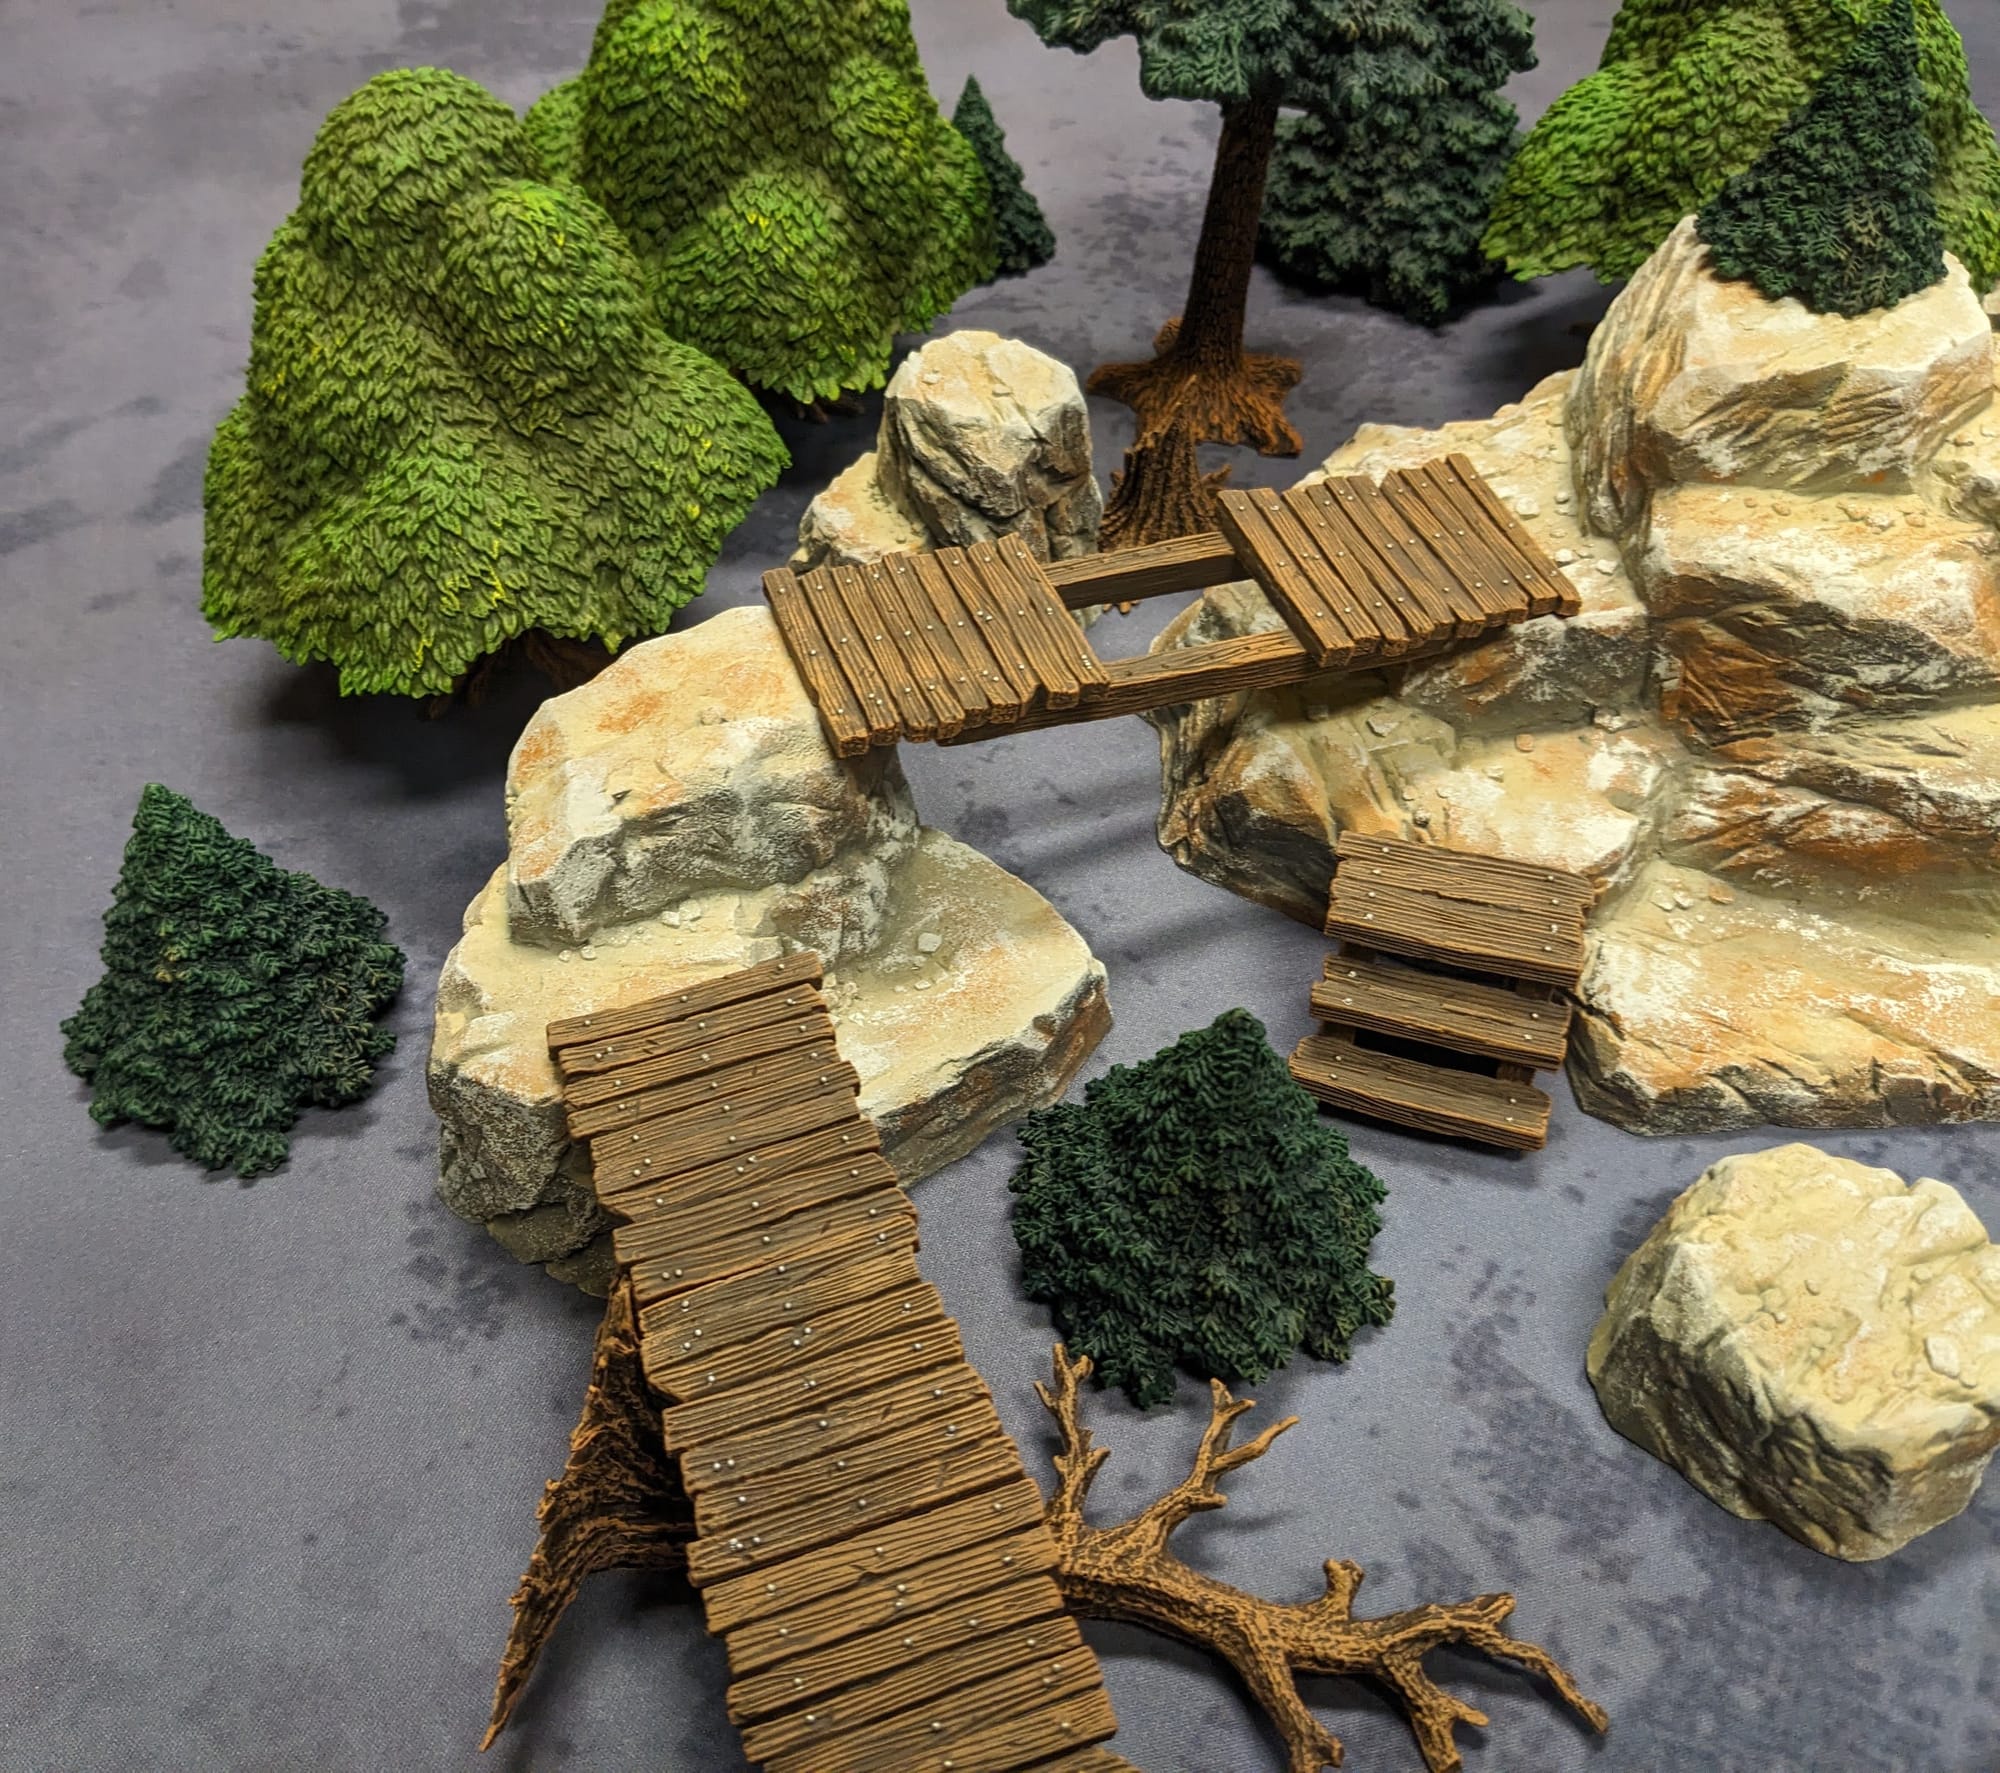
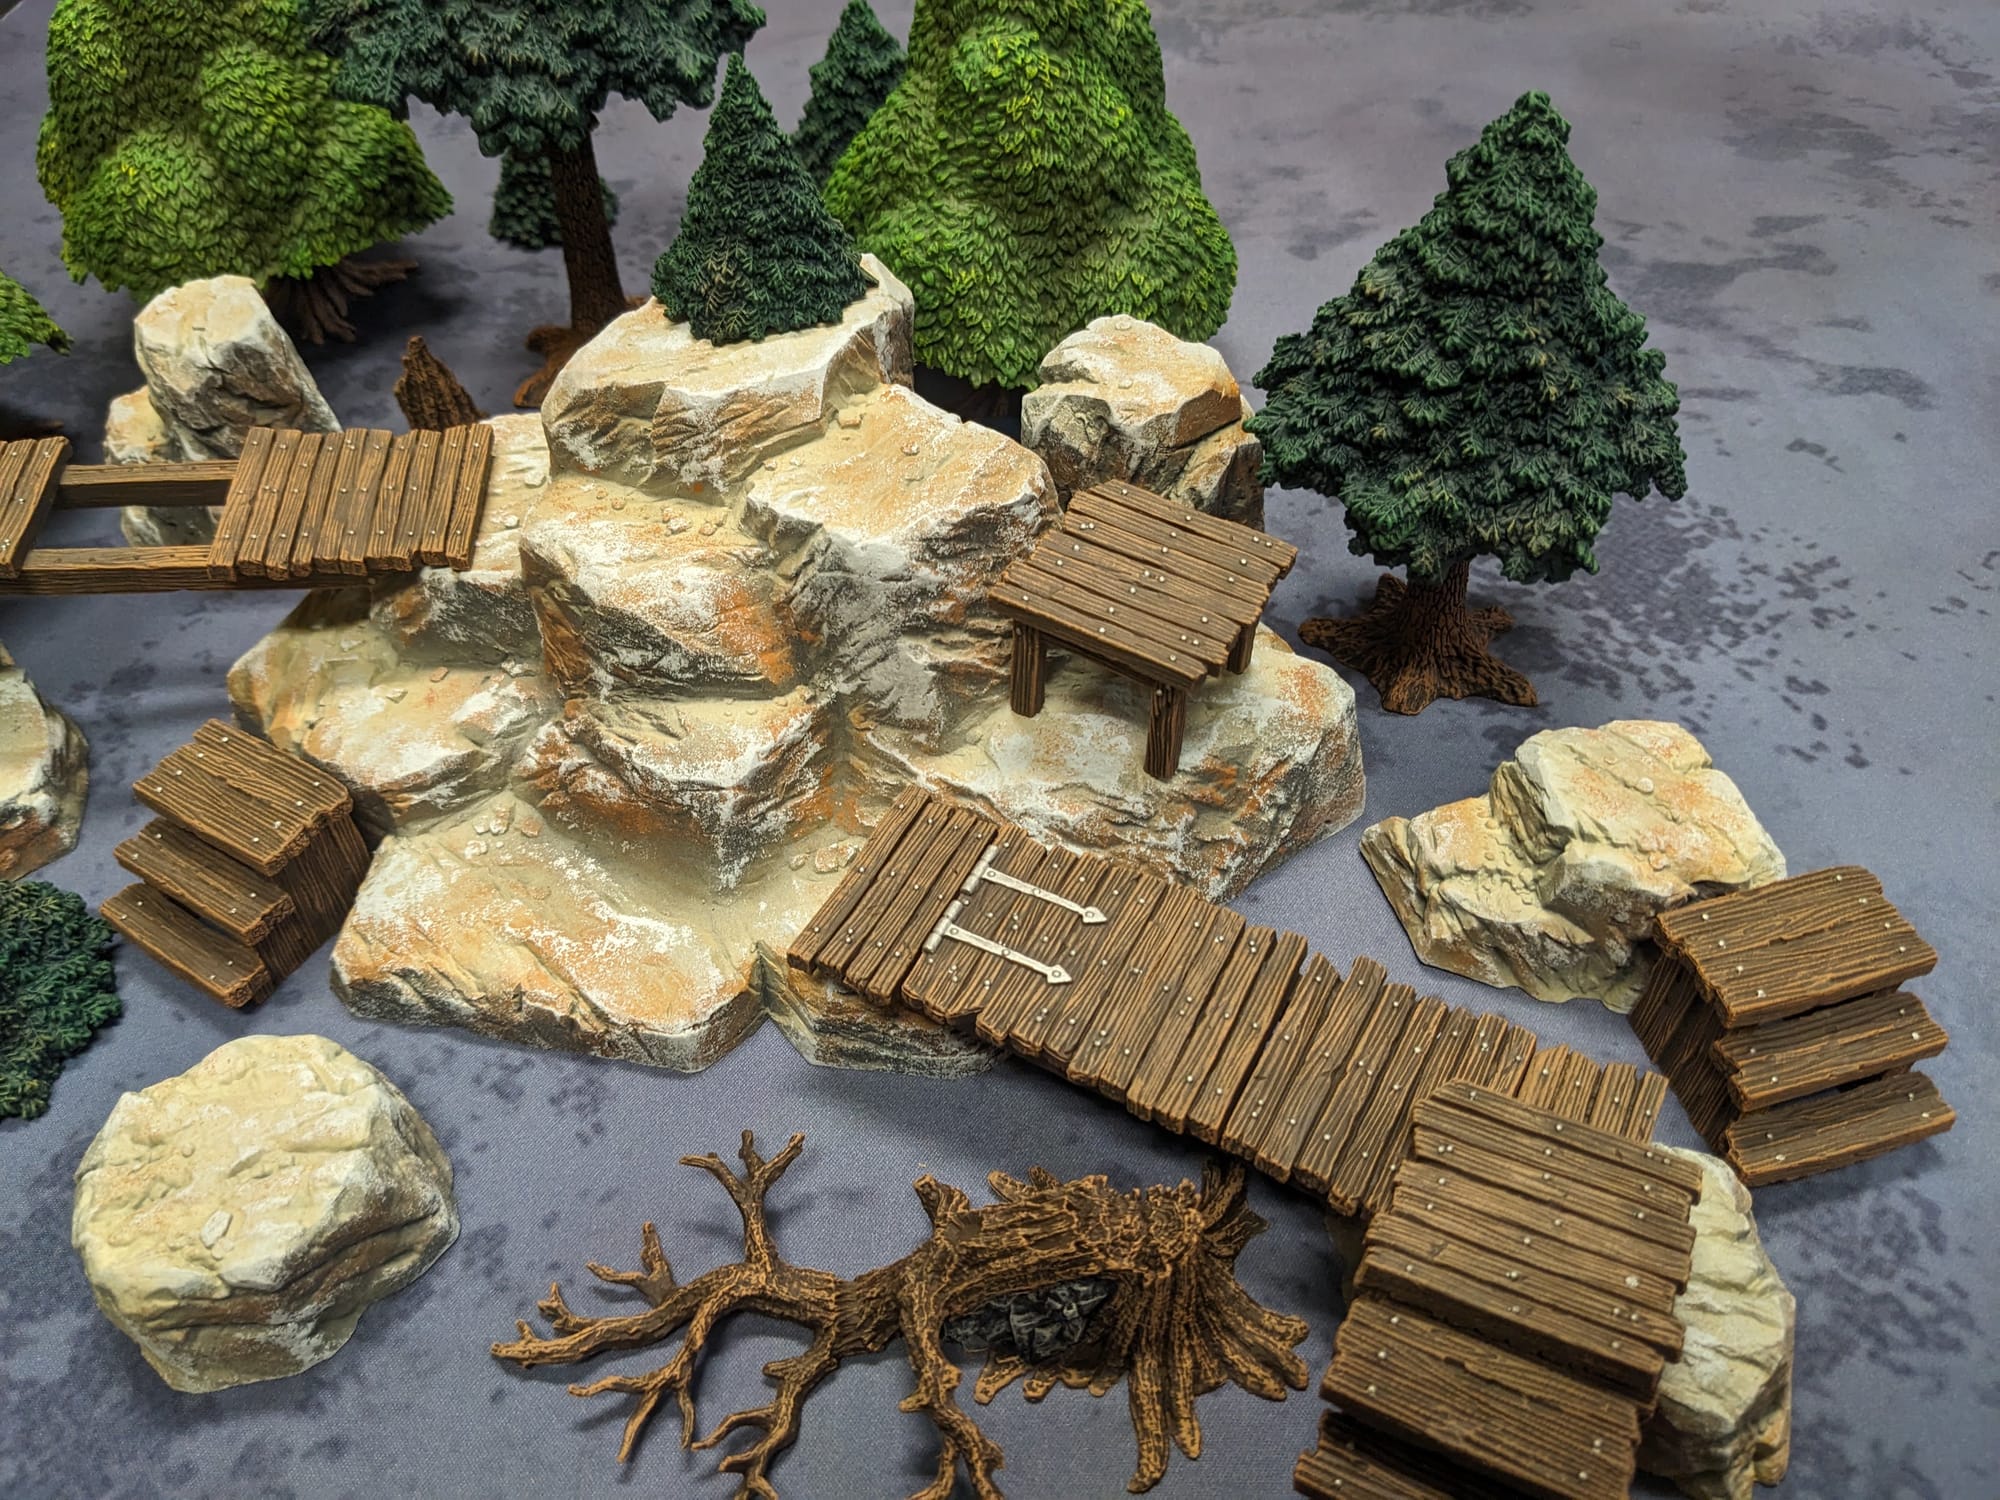
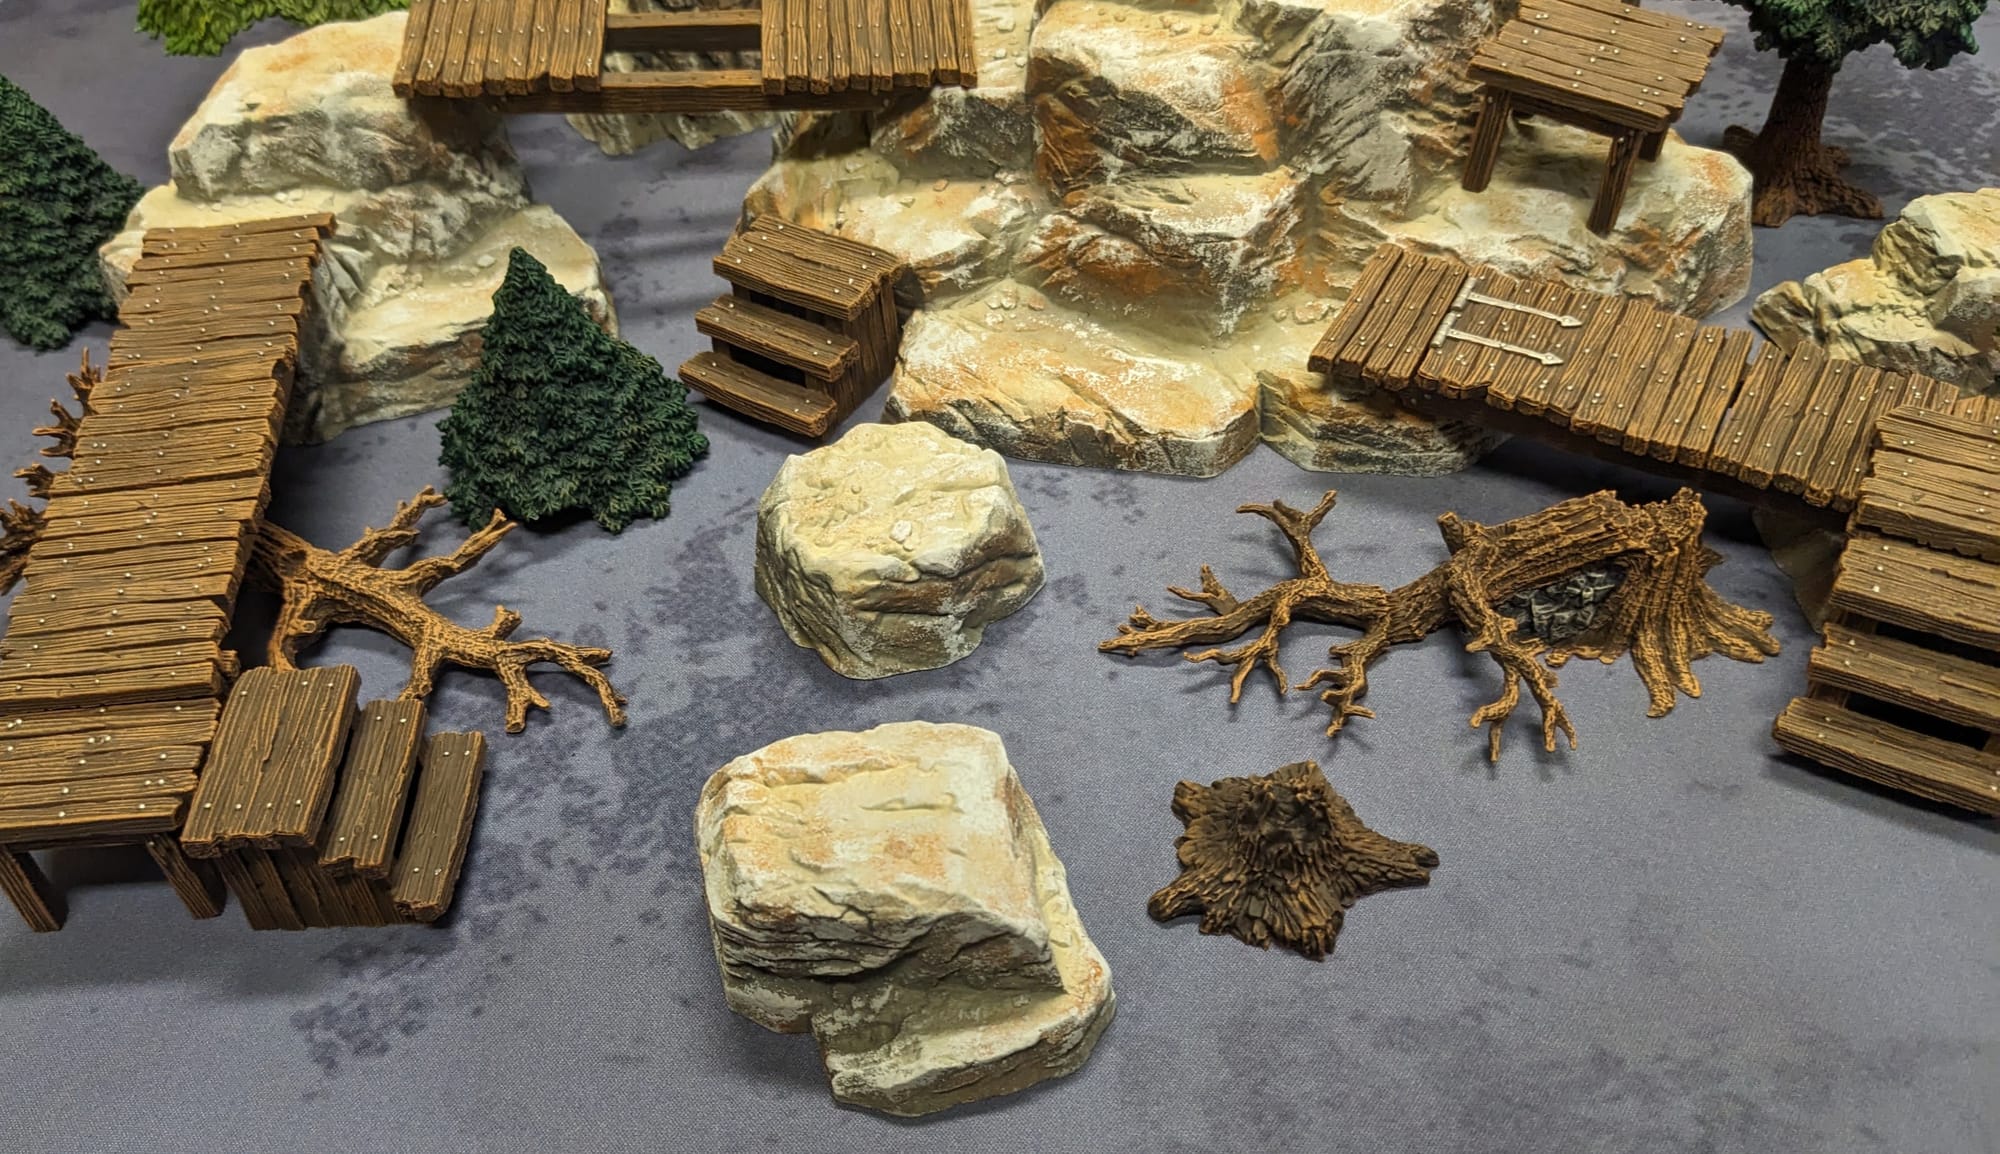
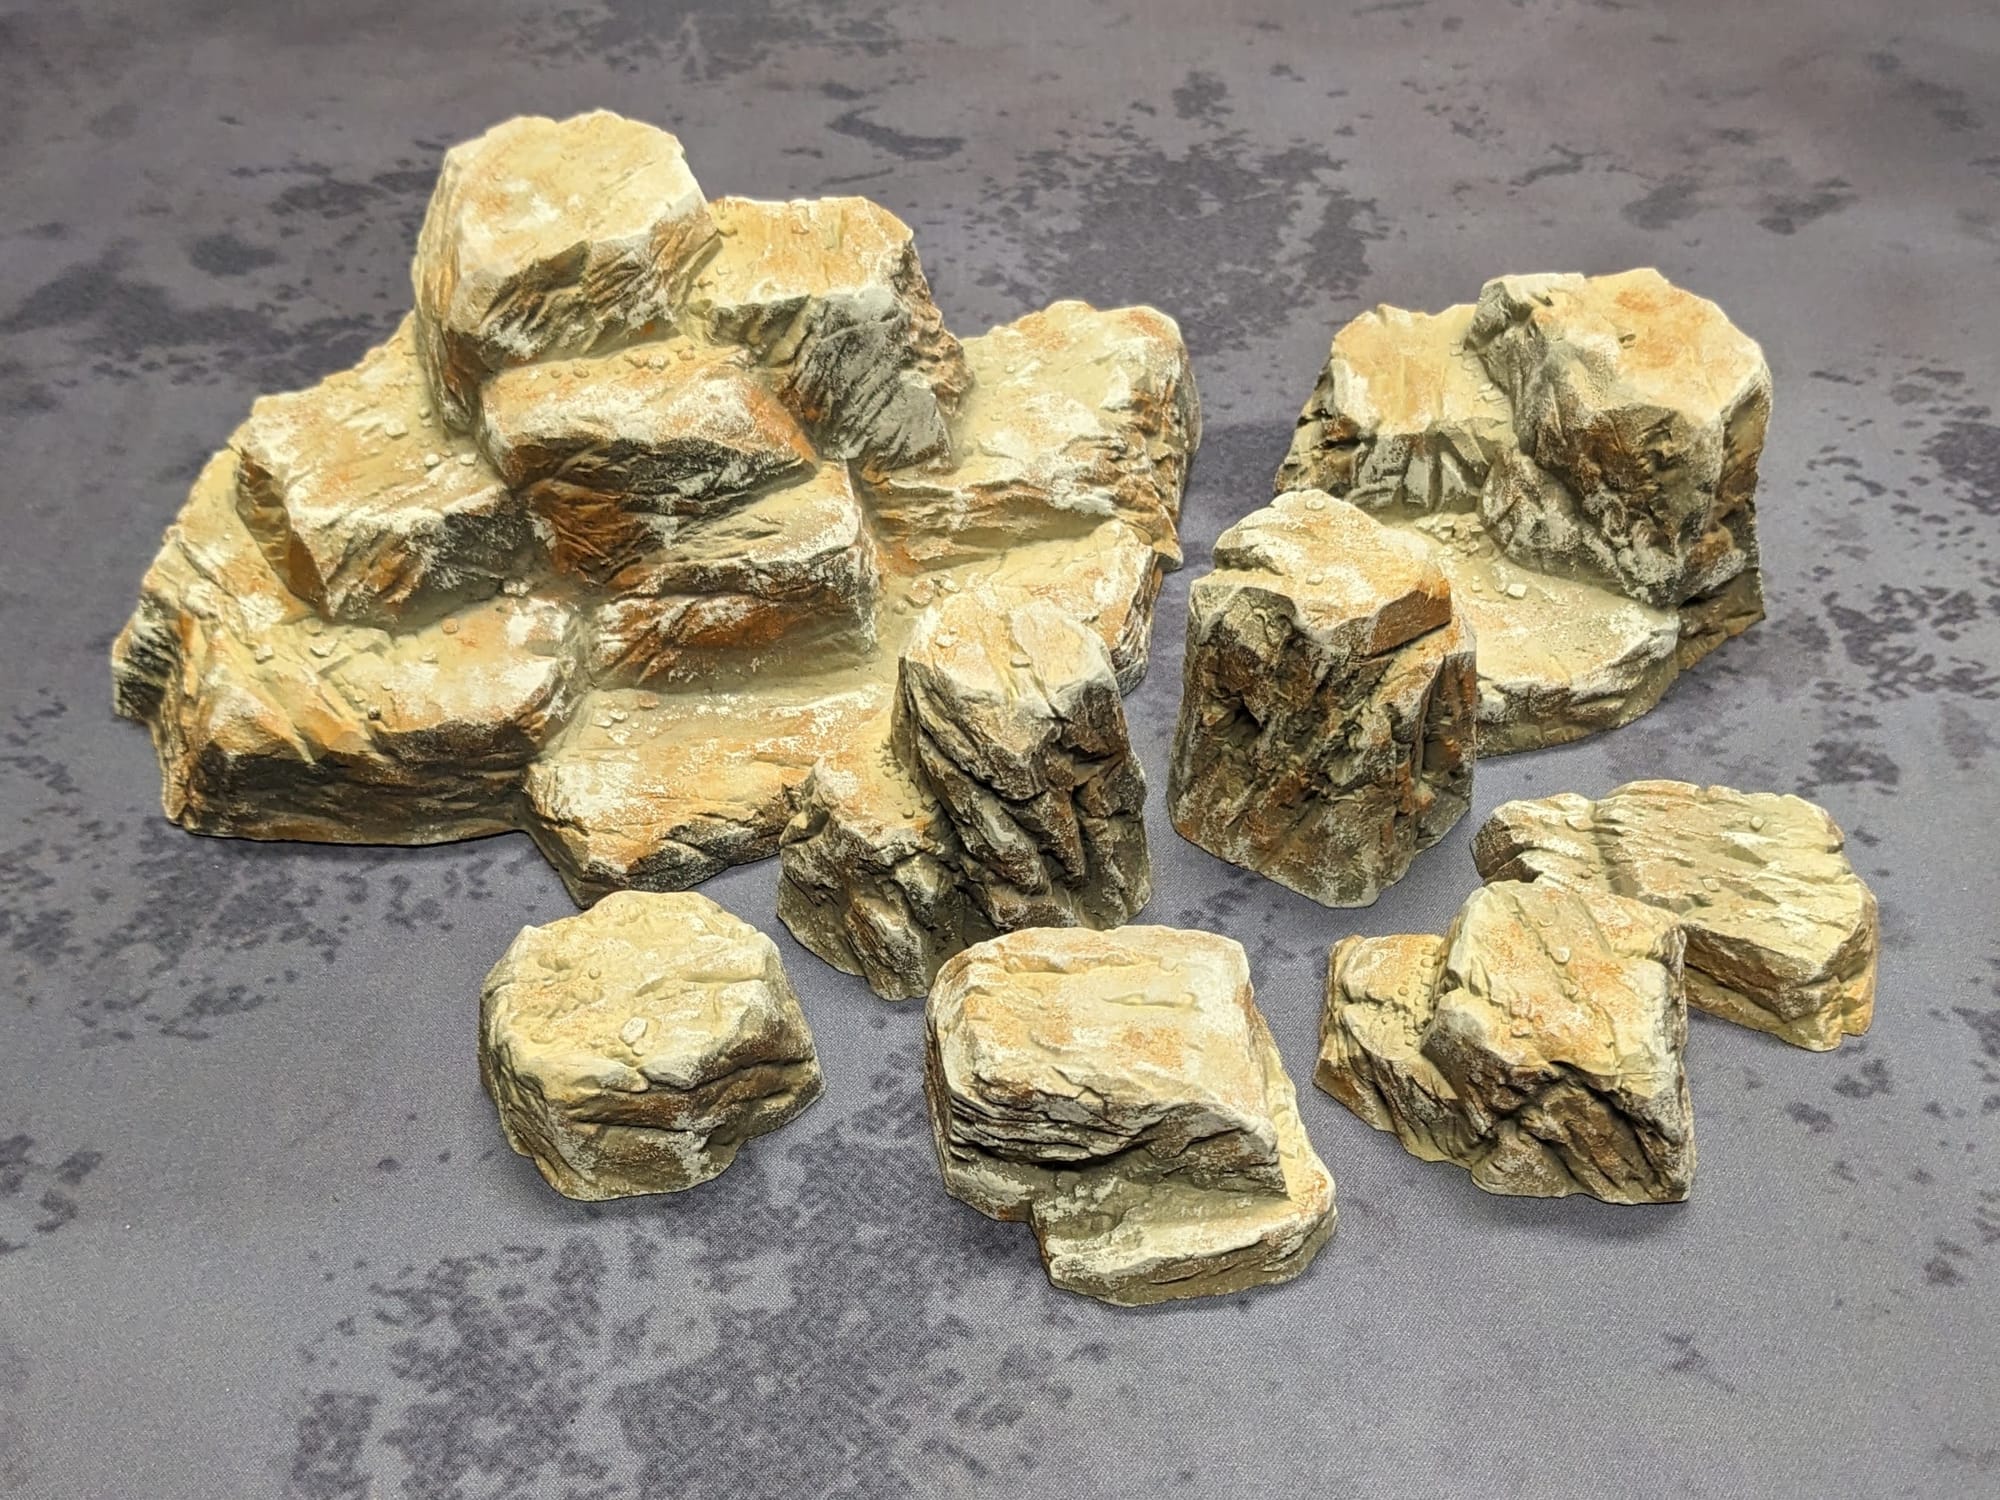
I chose to paint up the rocks in the style of granite commonly found throughout the higher elevations of the southwest. I have a few projects and games calling for that style of rock, and it also pops a little more on the table. So, instead of using the clear spray, I used a combination of Rust-Oleum Flat Gray Primer and Army Painter Skeleton Bone for priming.
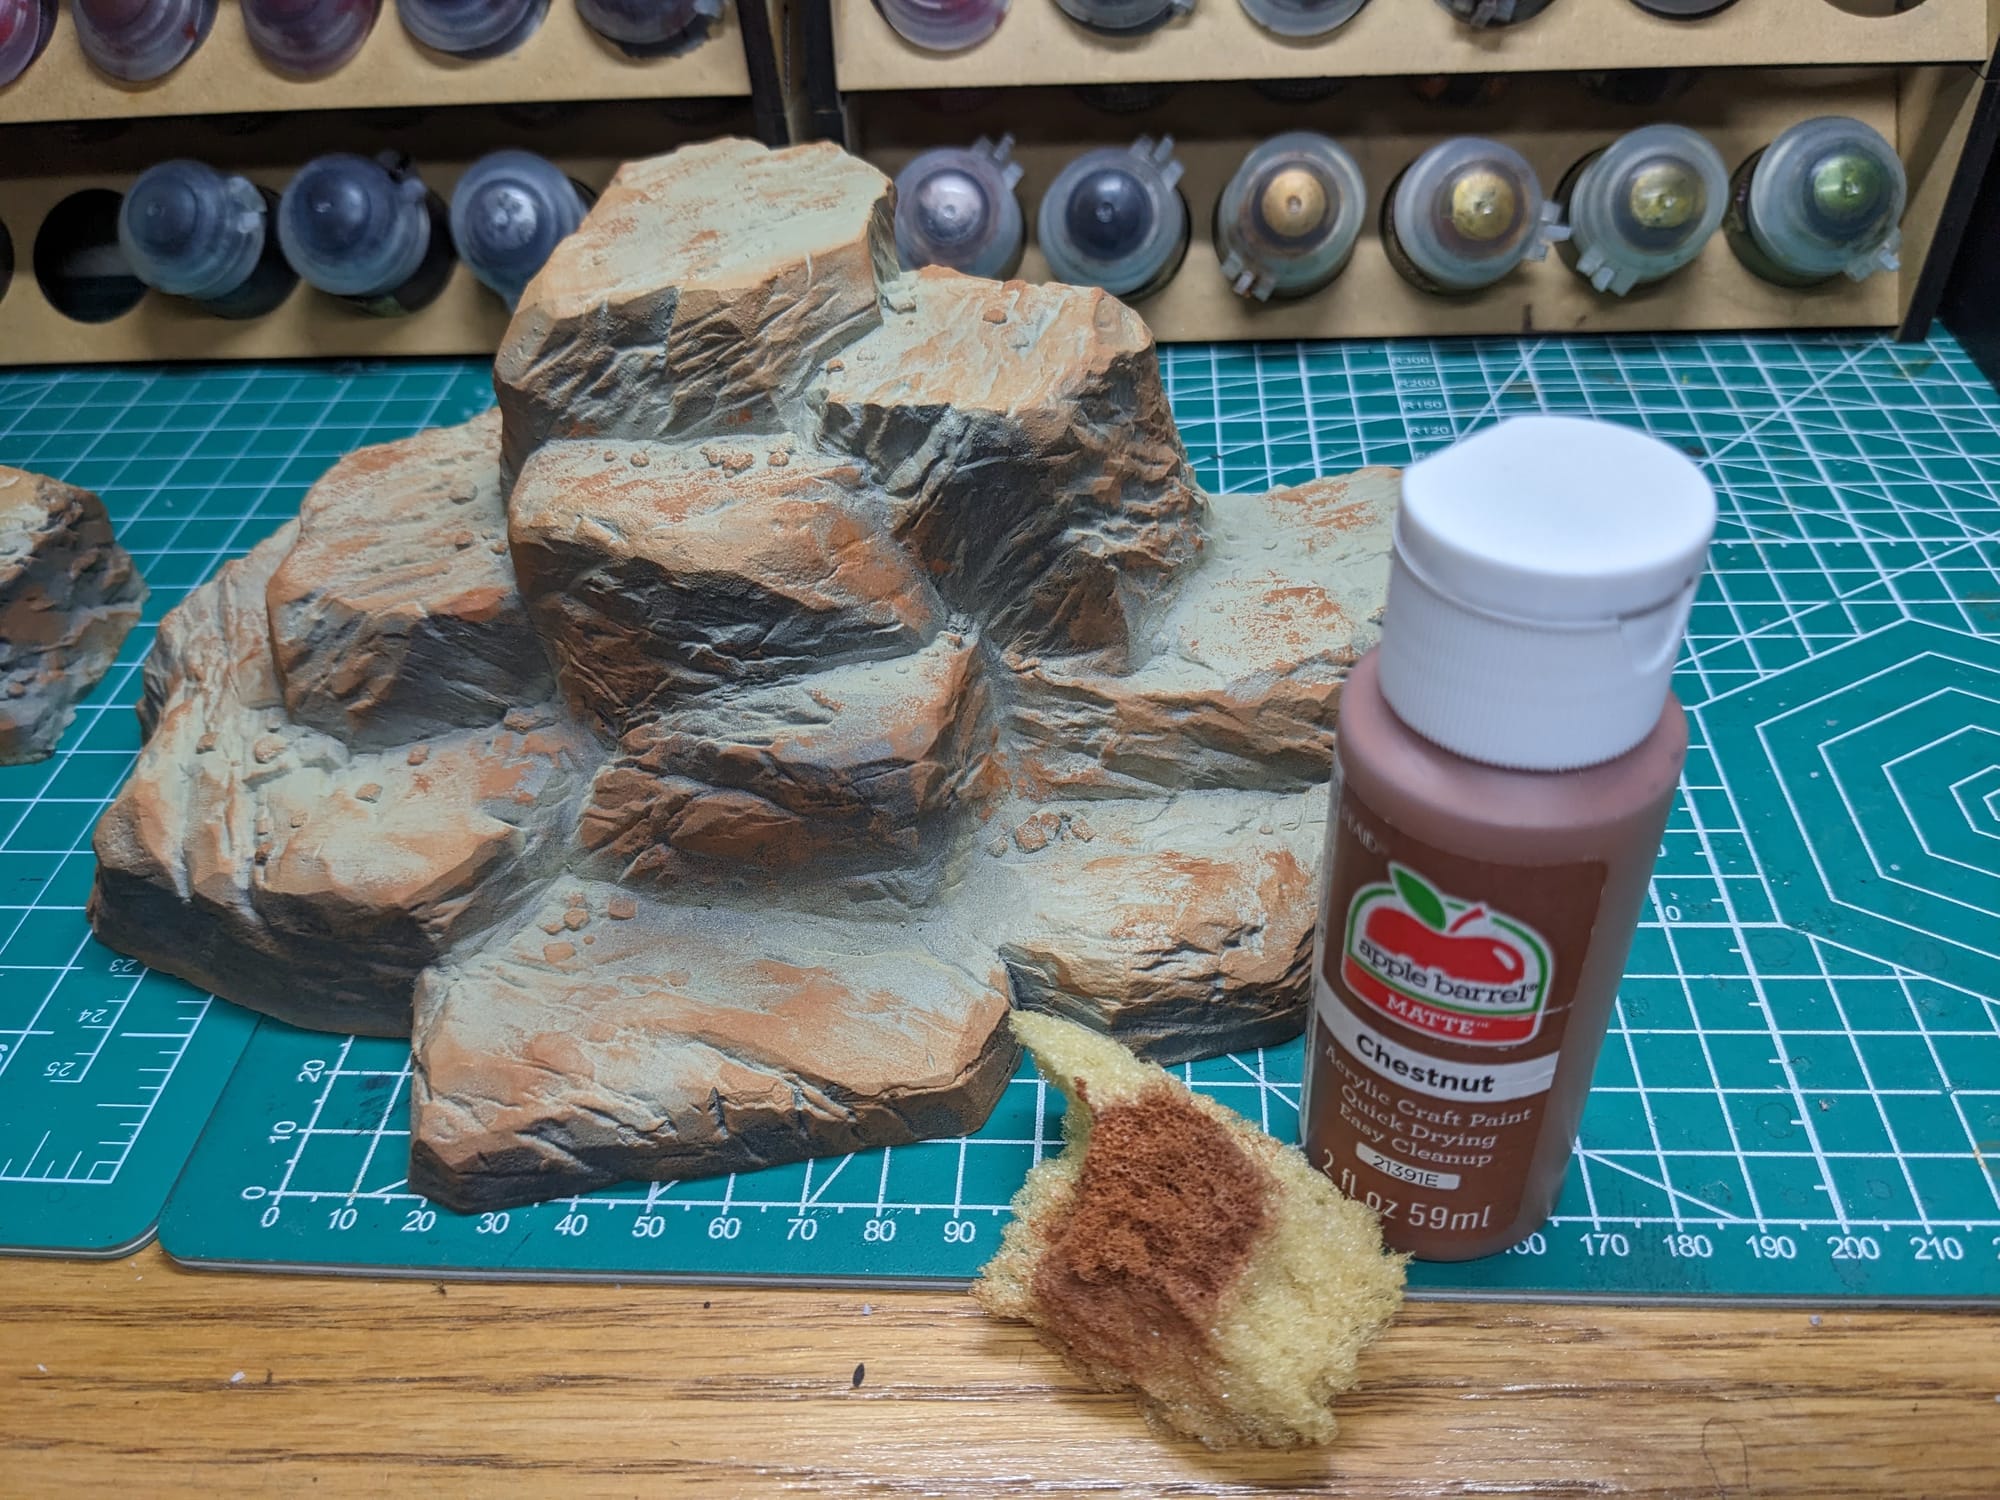
Like with the other terrain pieces, I used Apple Barrel paints, including Chestnut and Granite Grey (sorry, the picture is covering up the name), applied unevenly using a big brush and an irregularly shaped sponge piece (that I tore out). Using dry-brushing allowed me to accent a lot of the cracks and hard angles of the rocks, which are prominently featured in granite formations.
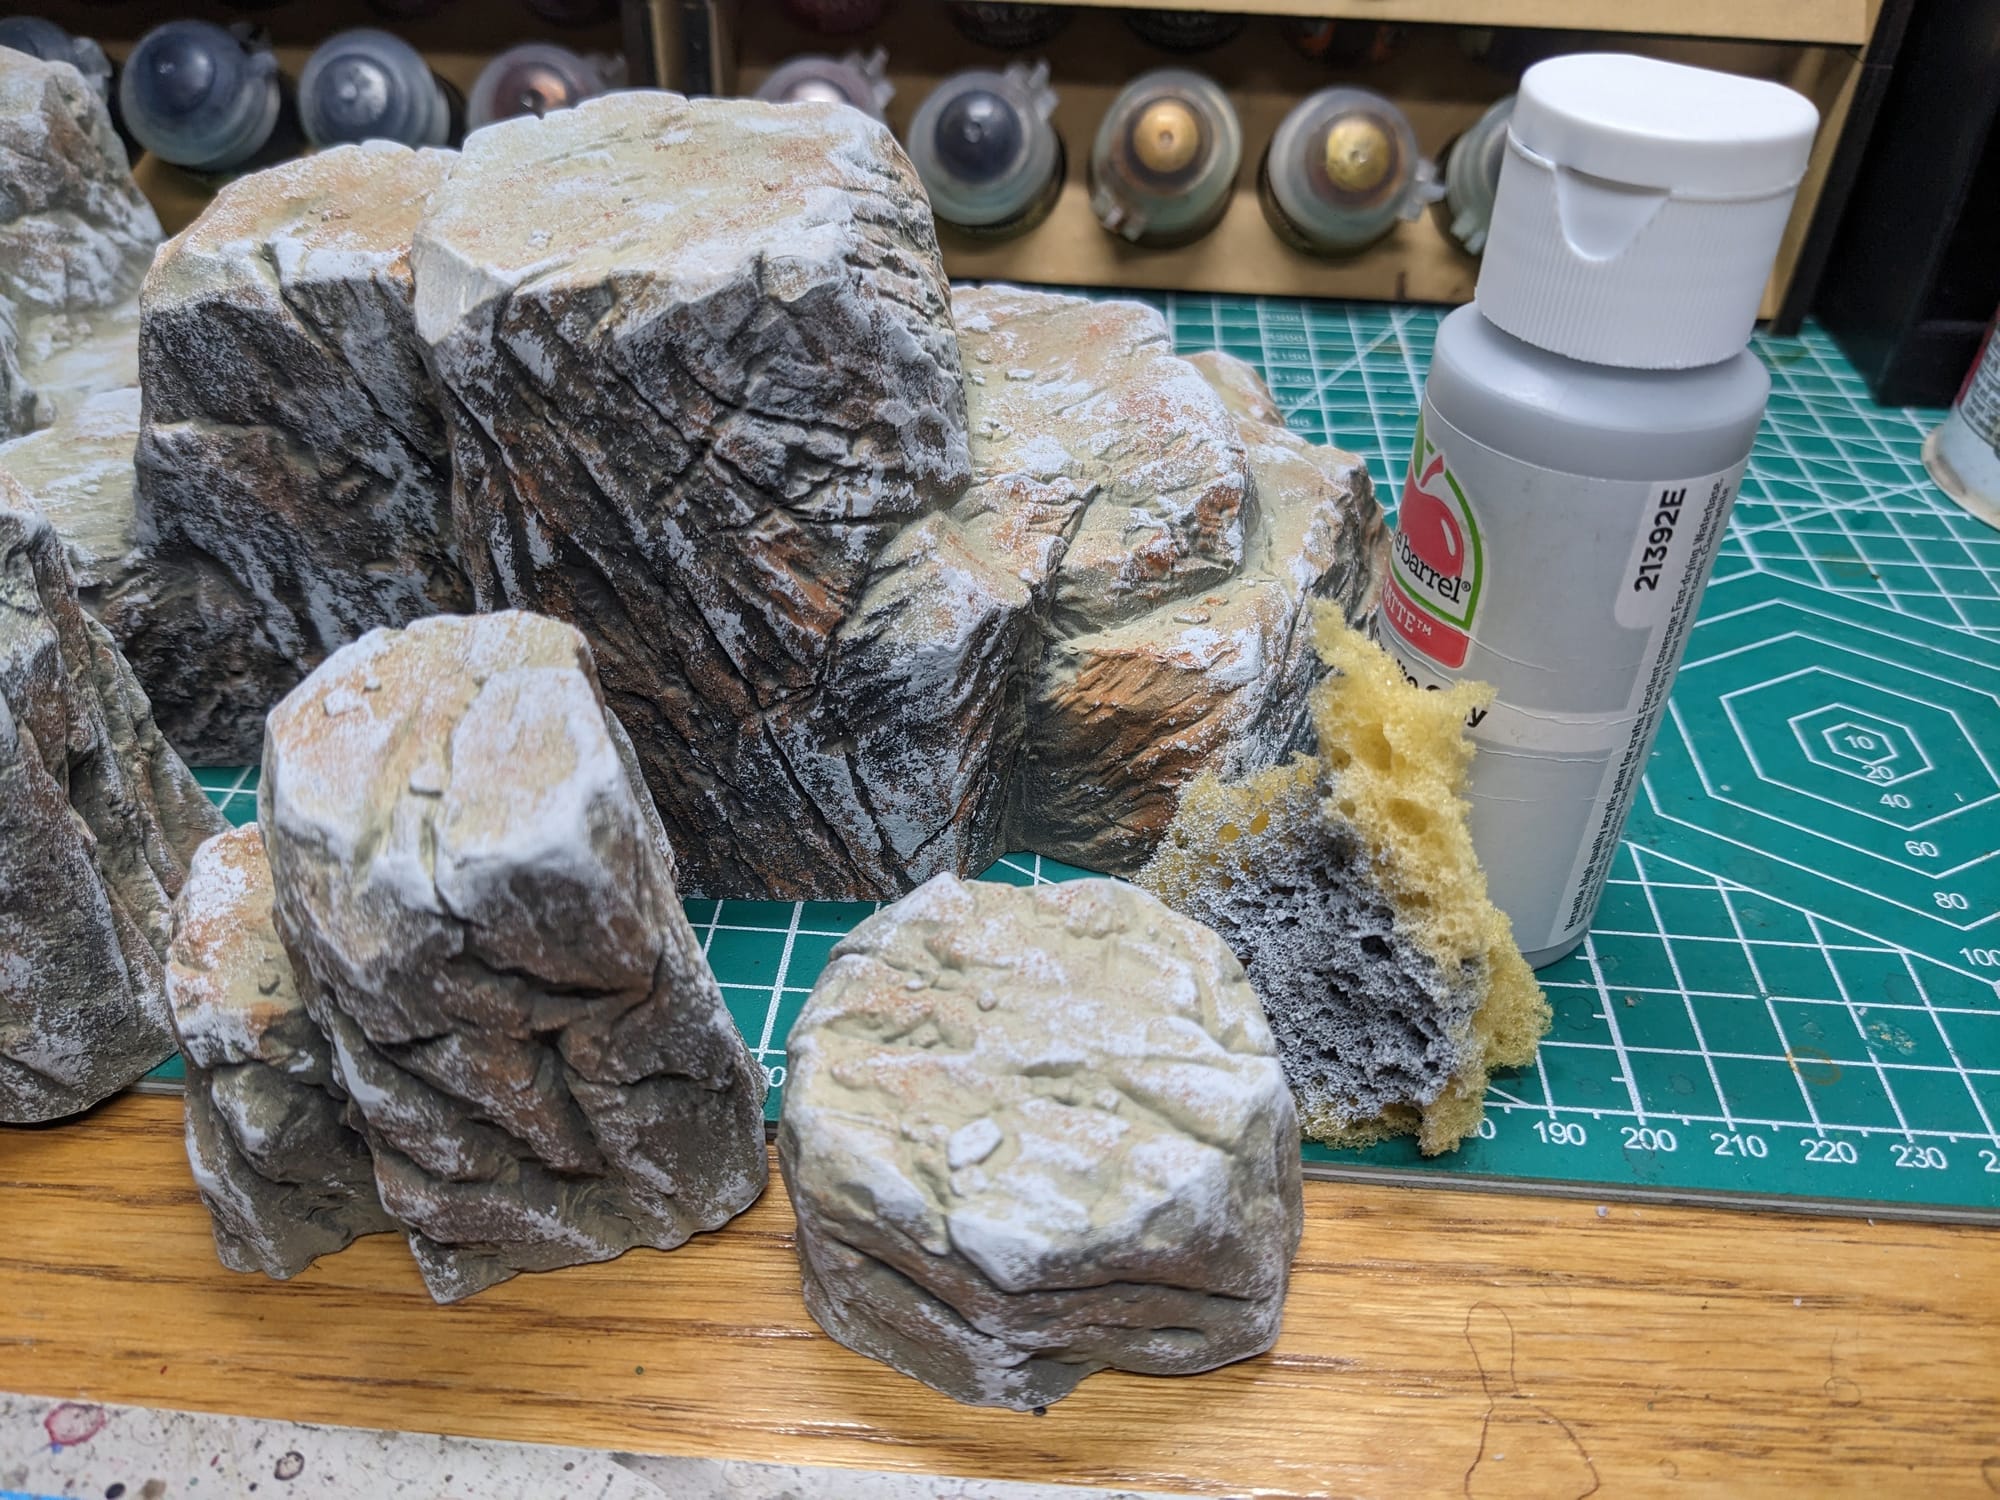
Frankly, I wasn’t entirely sure if my recipe was going to work, but I think I got pretty close.
So with that, all this terrain was done!
Getting dirty
Randy here! So I also have some of this terrain and I really wanted to mess it up.
I wanted an opportunity to use a bunch of enamels and special effects I’ve collected over the years. When painting terrain, you can really let loose and create effects that can add depth, lore, and realism to your table.
20' Cargo Containers
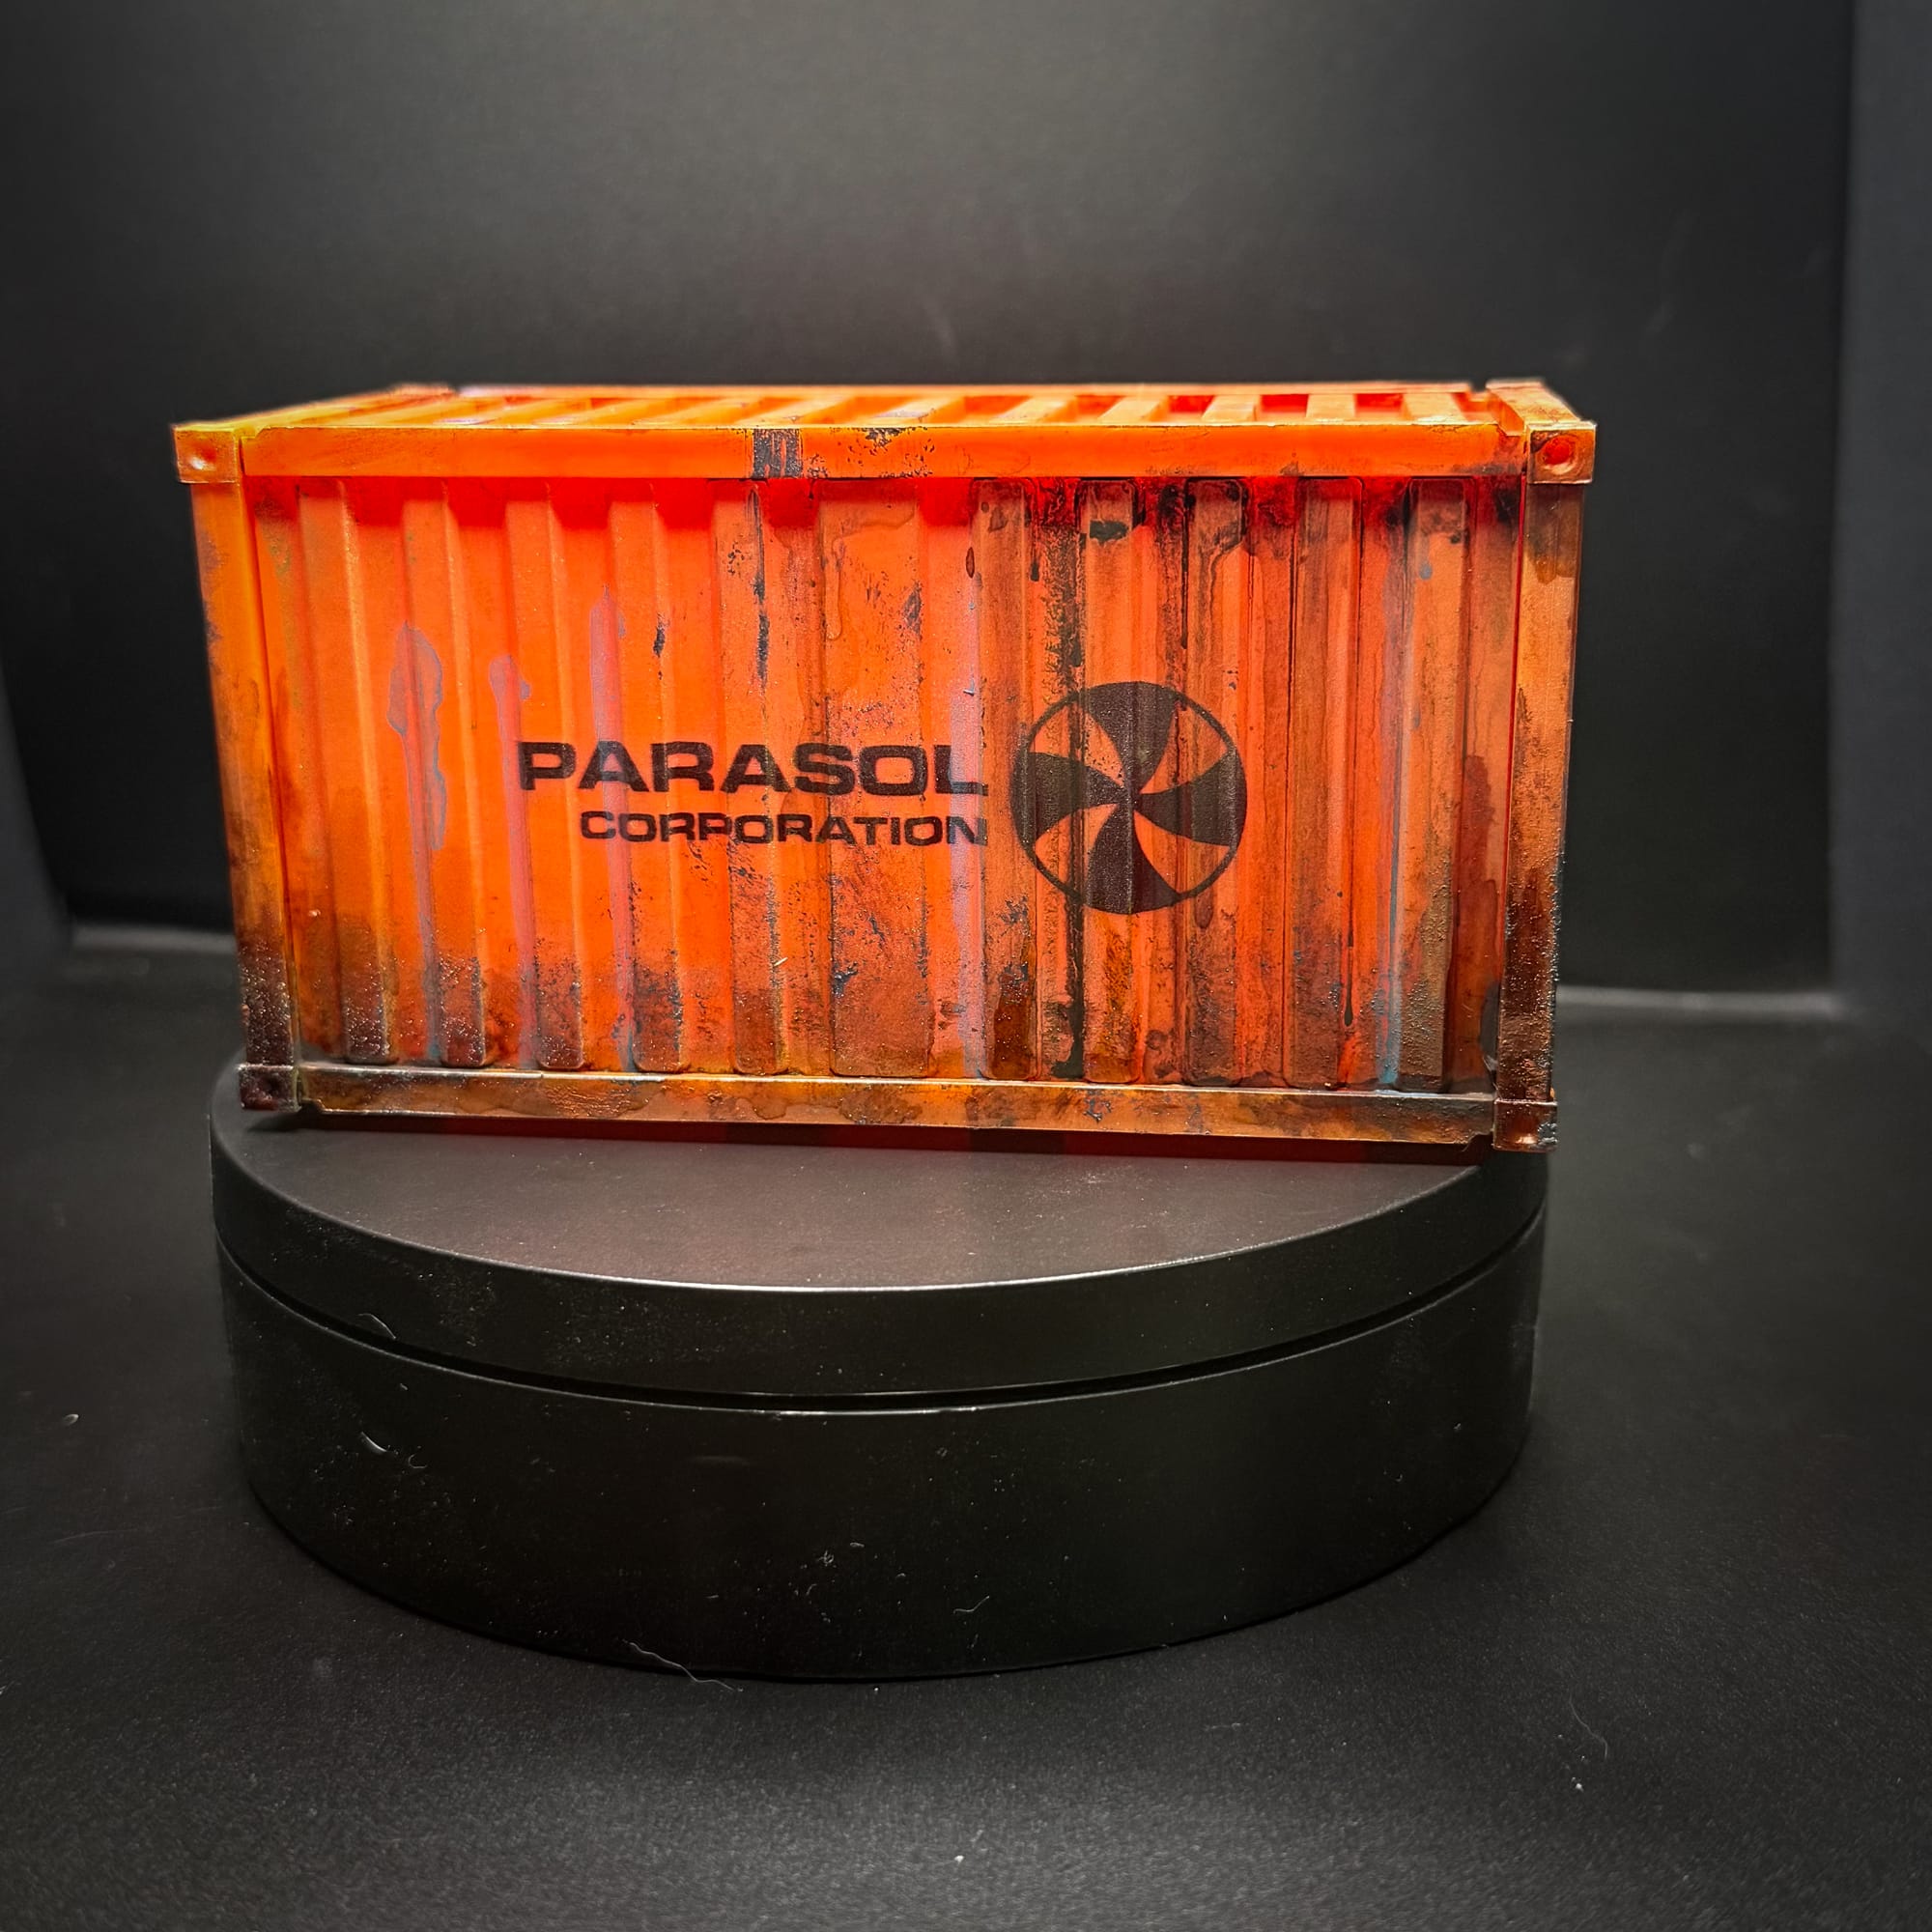
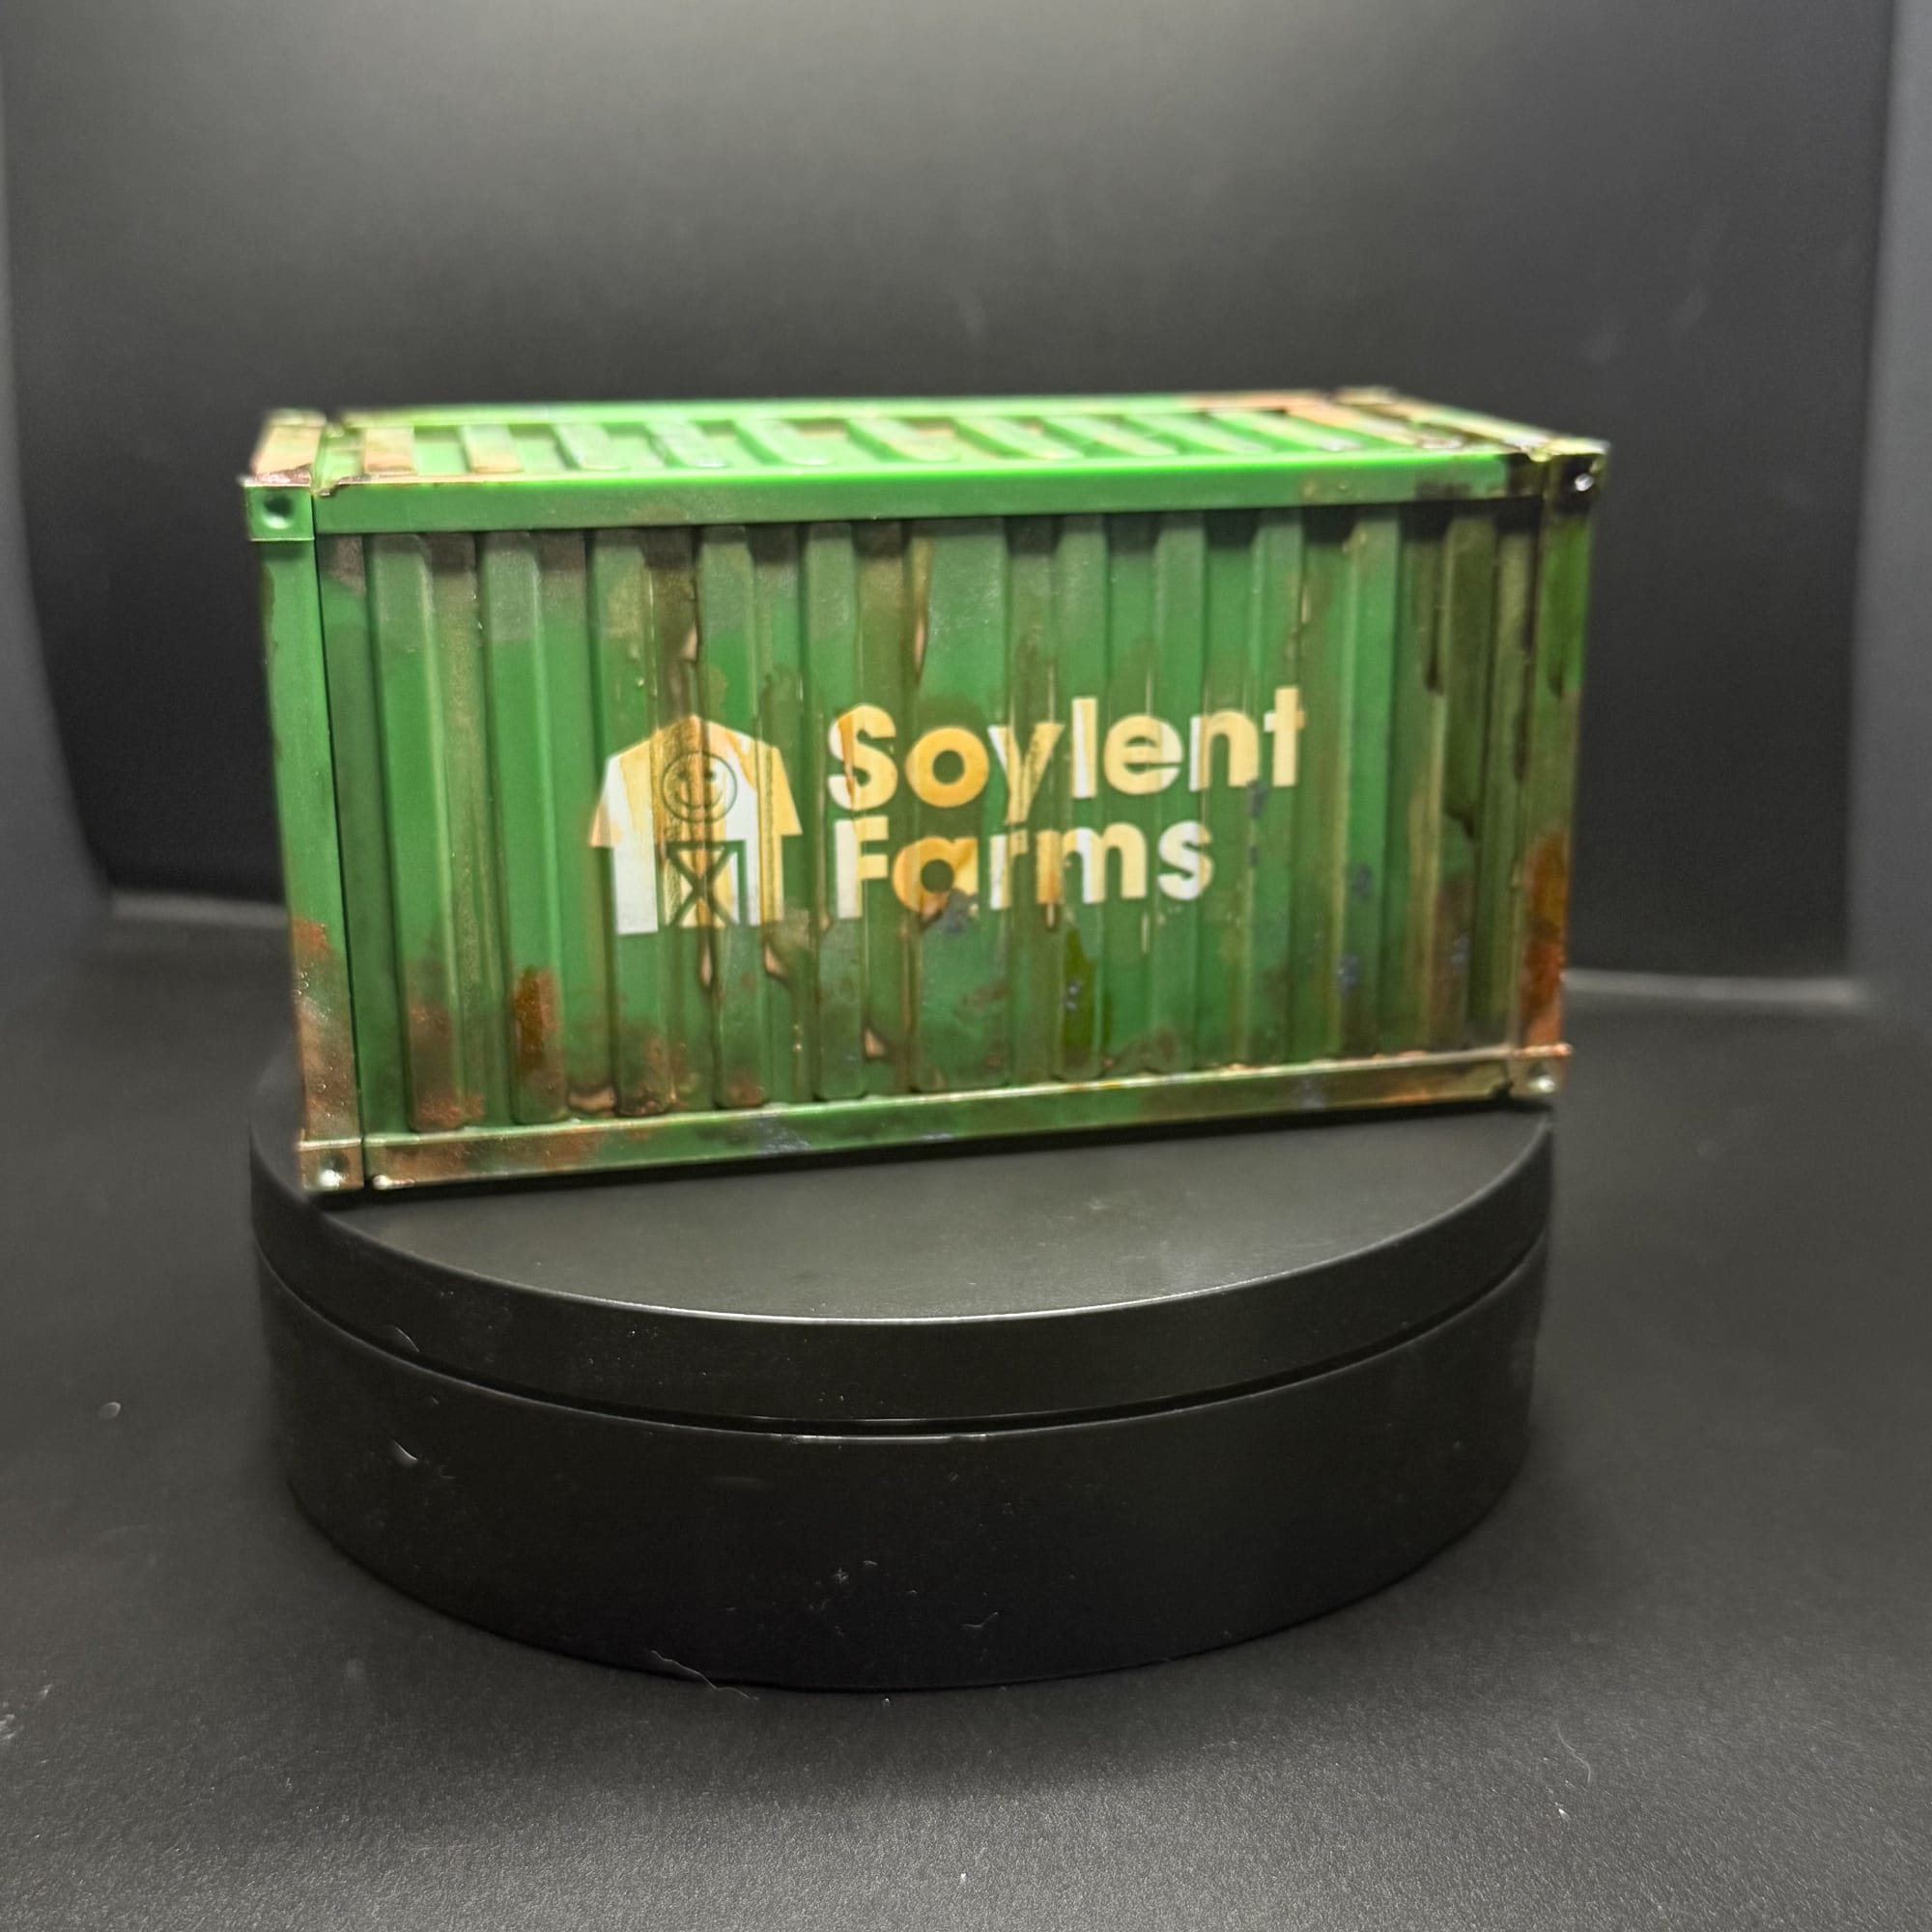
For the shipping containers, I immediately knew I needed to rust them up. I dry brushed with some Turbo Dork metallics, and then followed with stippling layers of various rust paints from Army Painter. Then I layered in Dirty Down Rust and Yellow Rust, which adds a much deeper, glossier rust tone. I then layered in more metallics, this time a bluish metal from Army Painter, and then it was wash time.
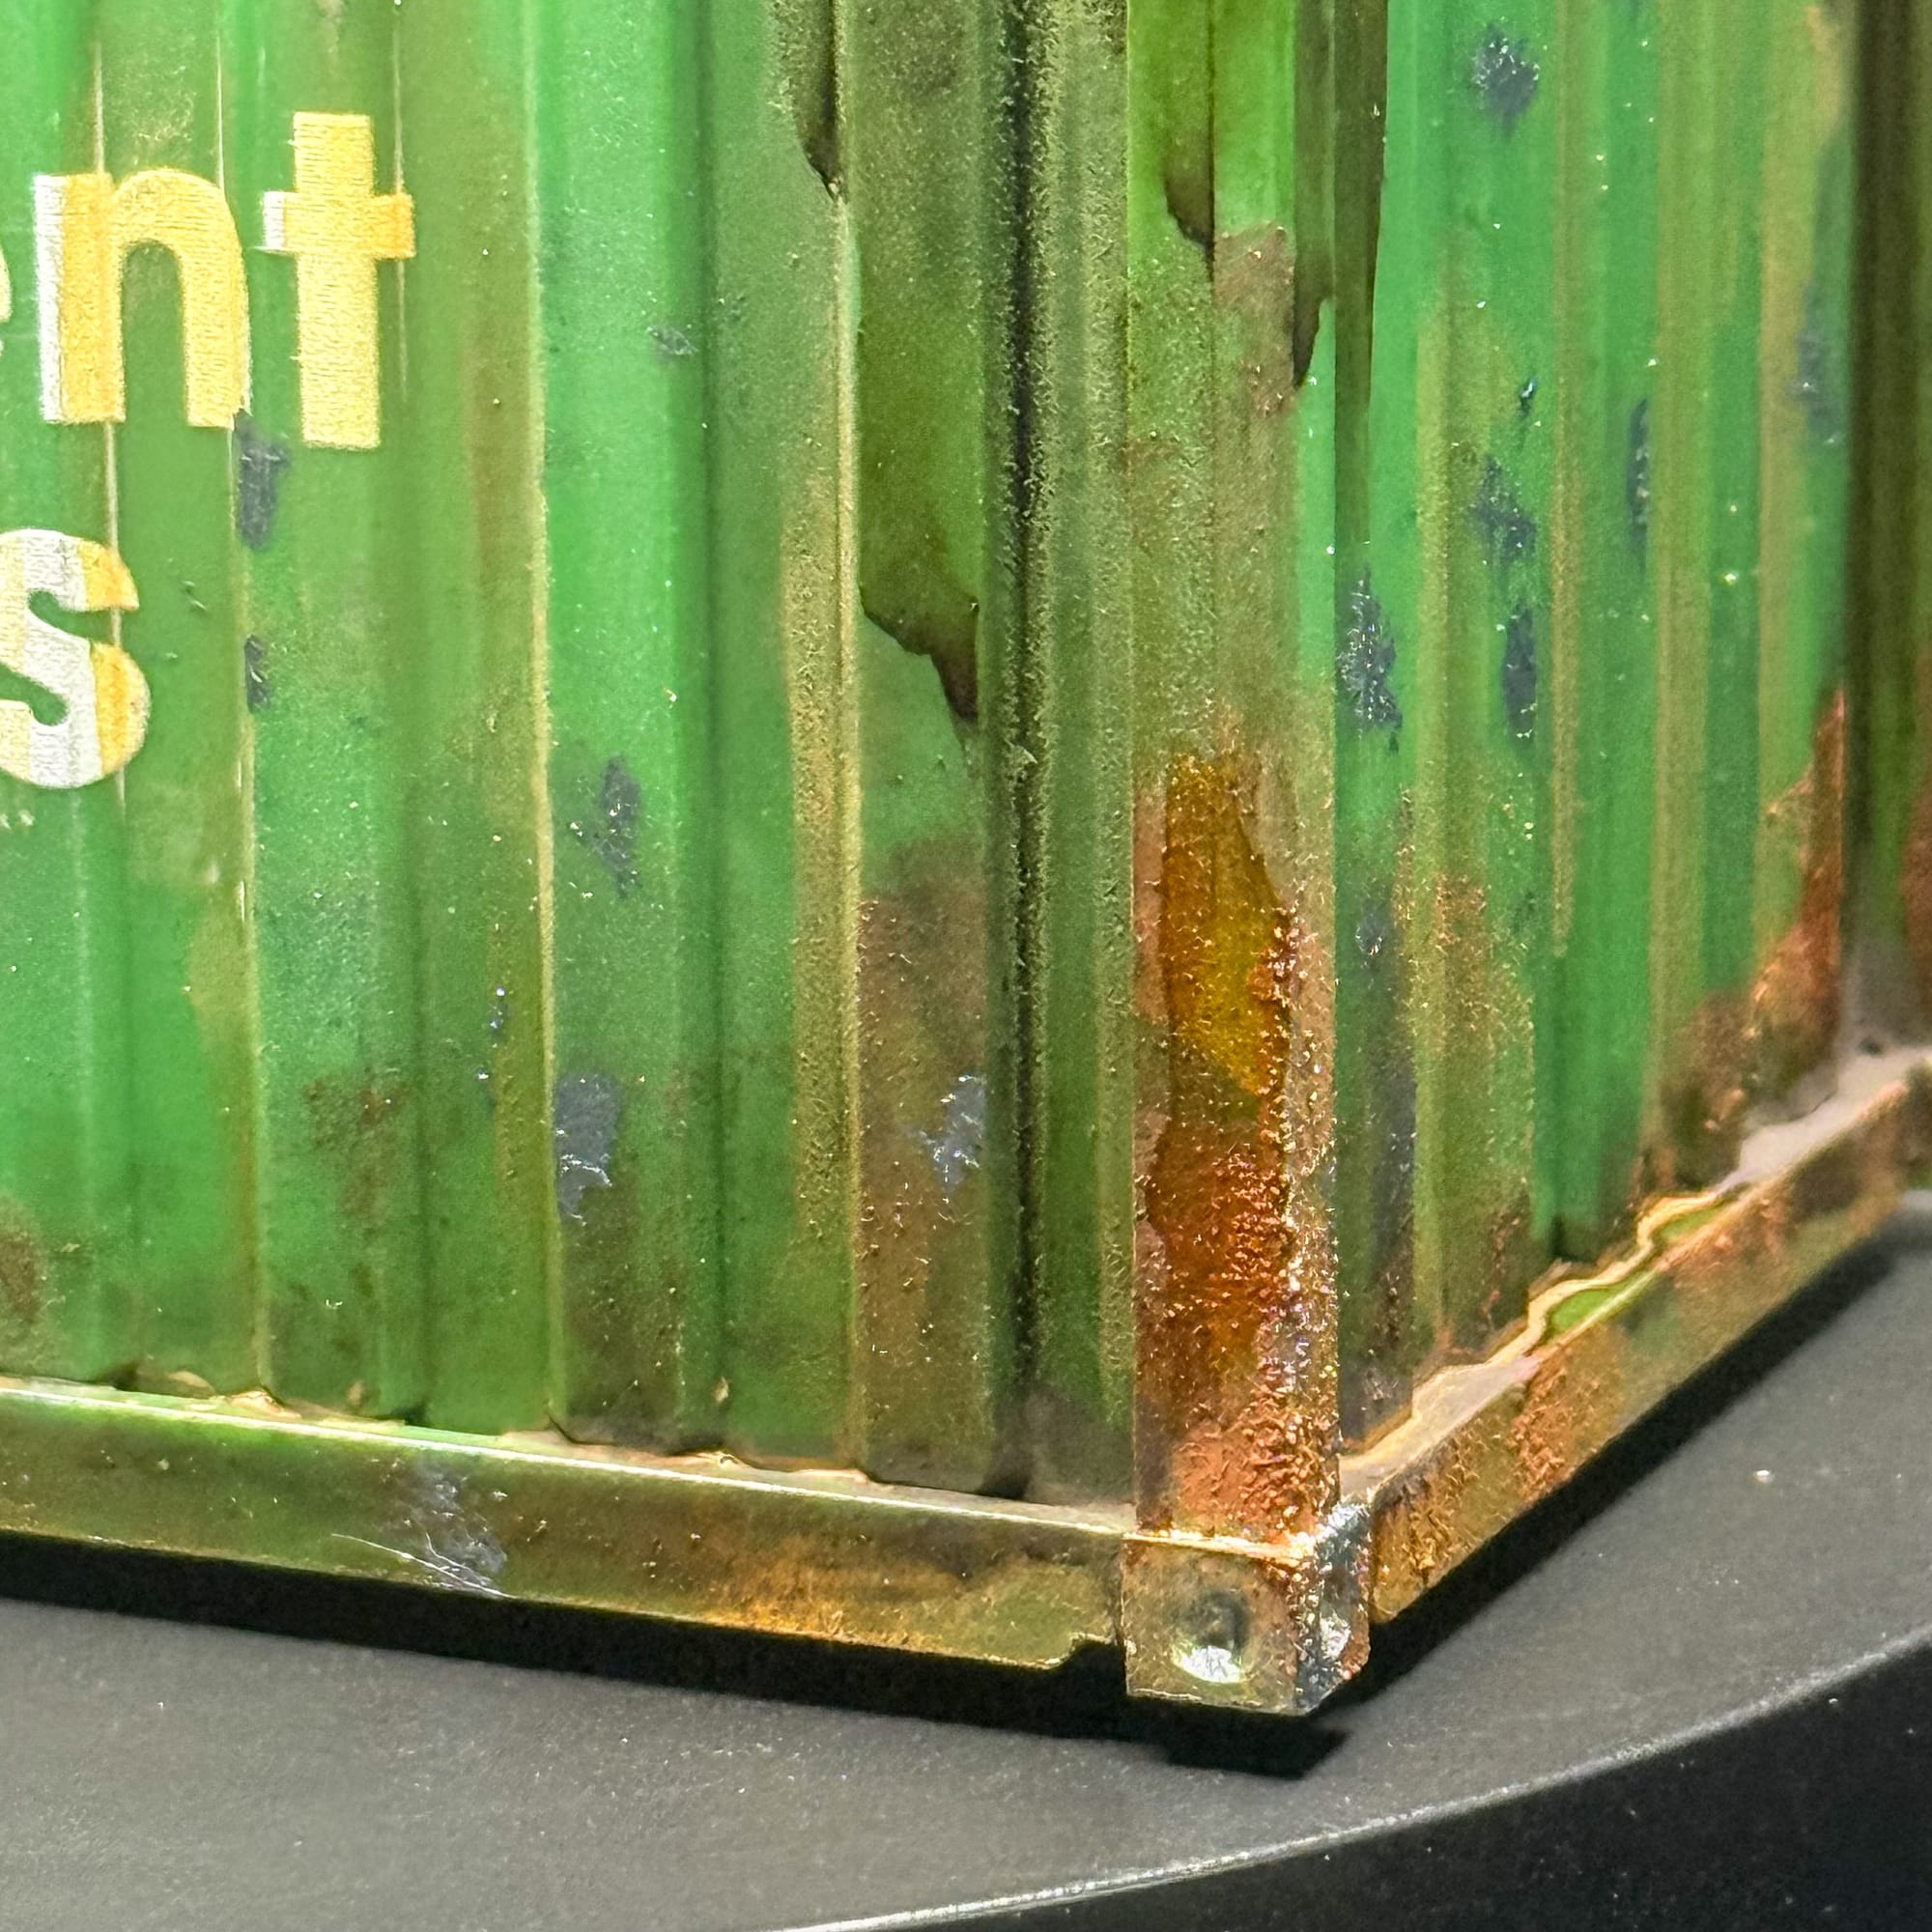
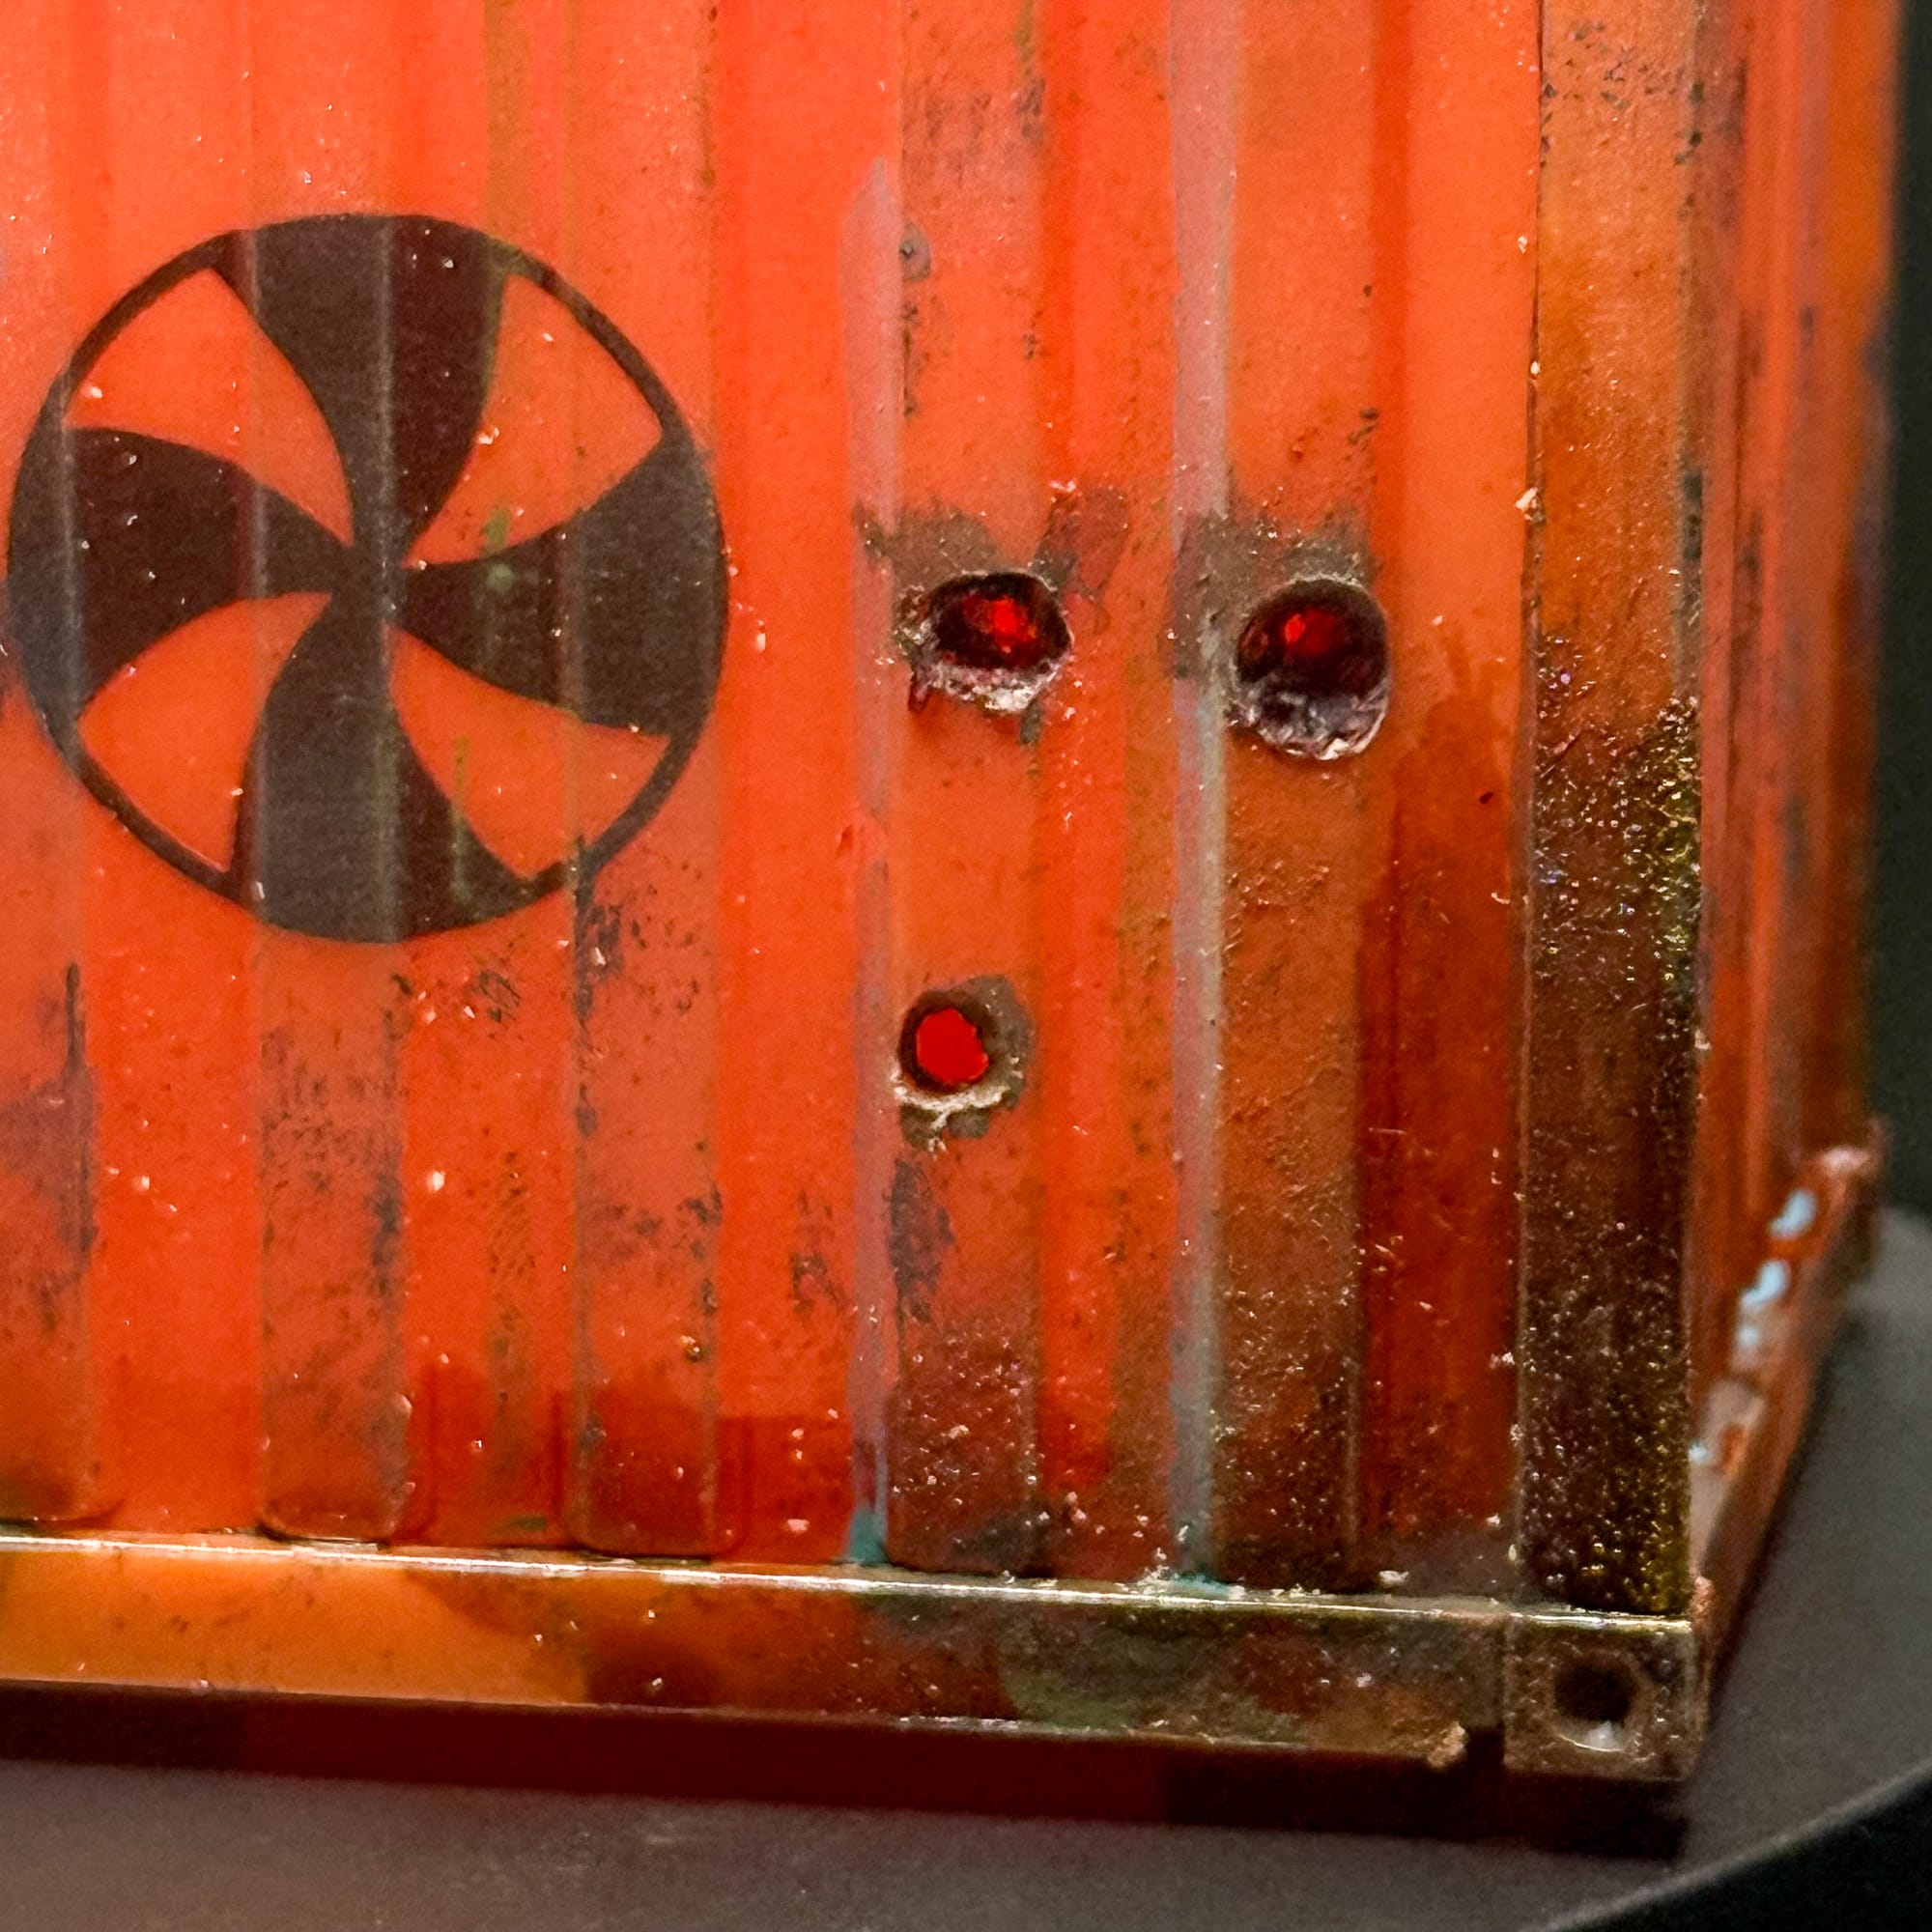
I first started with acrylics, I used both Army Painter and Citadel washes, layering them after each other. When you do this, think of areas where grime would collect, or where water would sit. Once happy, I moved into enamels. Enamel based paints don’t mix with acrylics, but offer richer effects. I used some older washes from Notts Hobbies, a small English producer we covered early in our Hobby journey. I used all of their washes in various passes. I then took some AK Interactive Streaking Grime and dabbed it in areas, then came back through with thinner and pulled lines. To wrap it all up, I took some random dark colors and filled in the handles to finish the look.
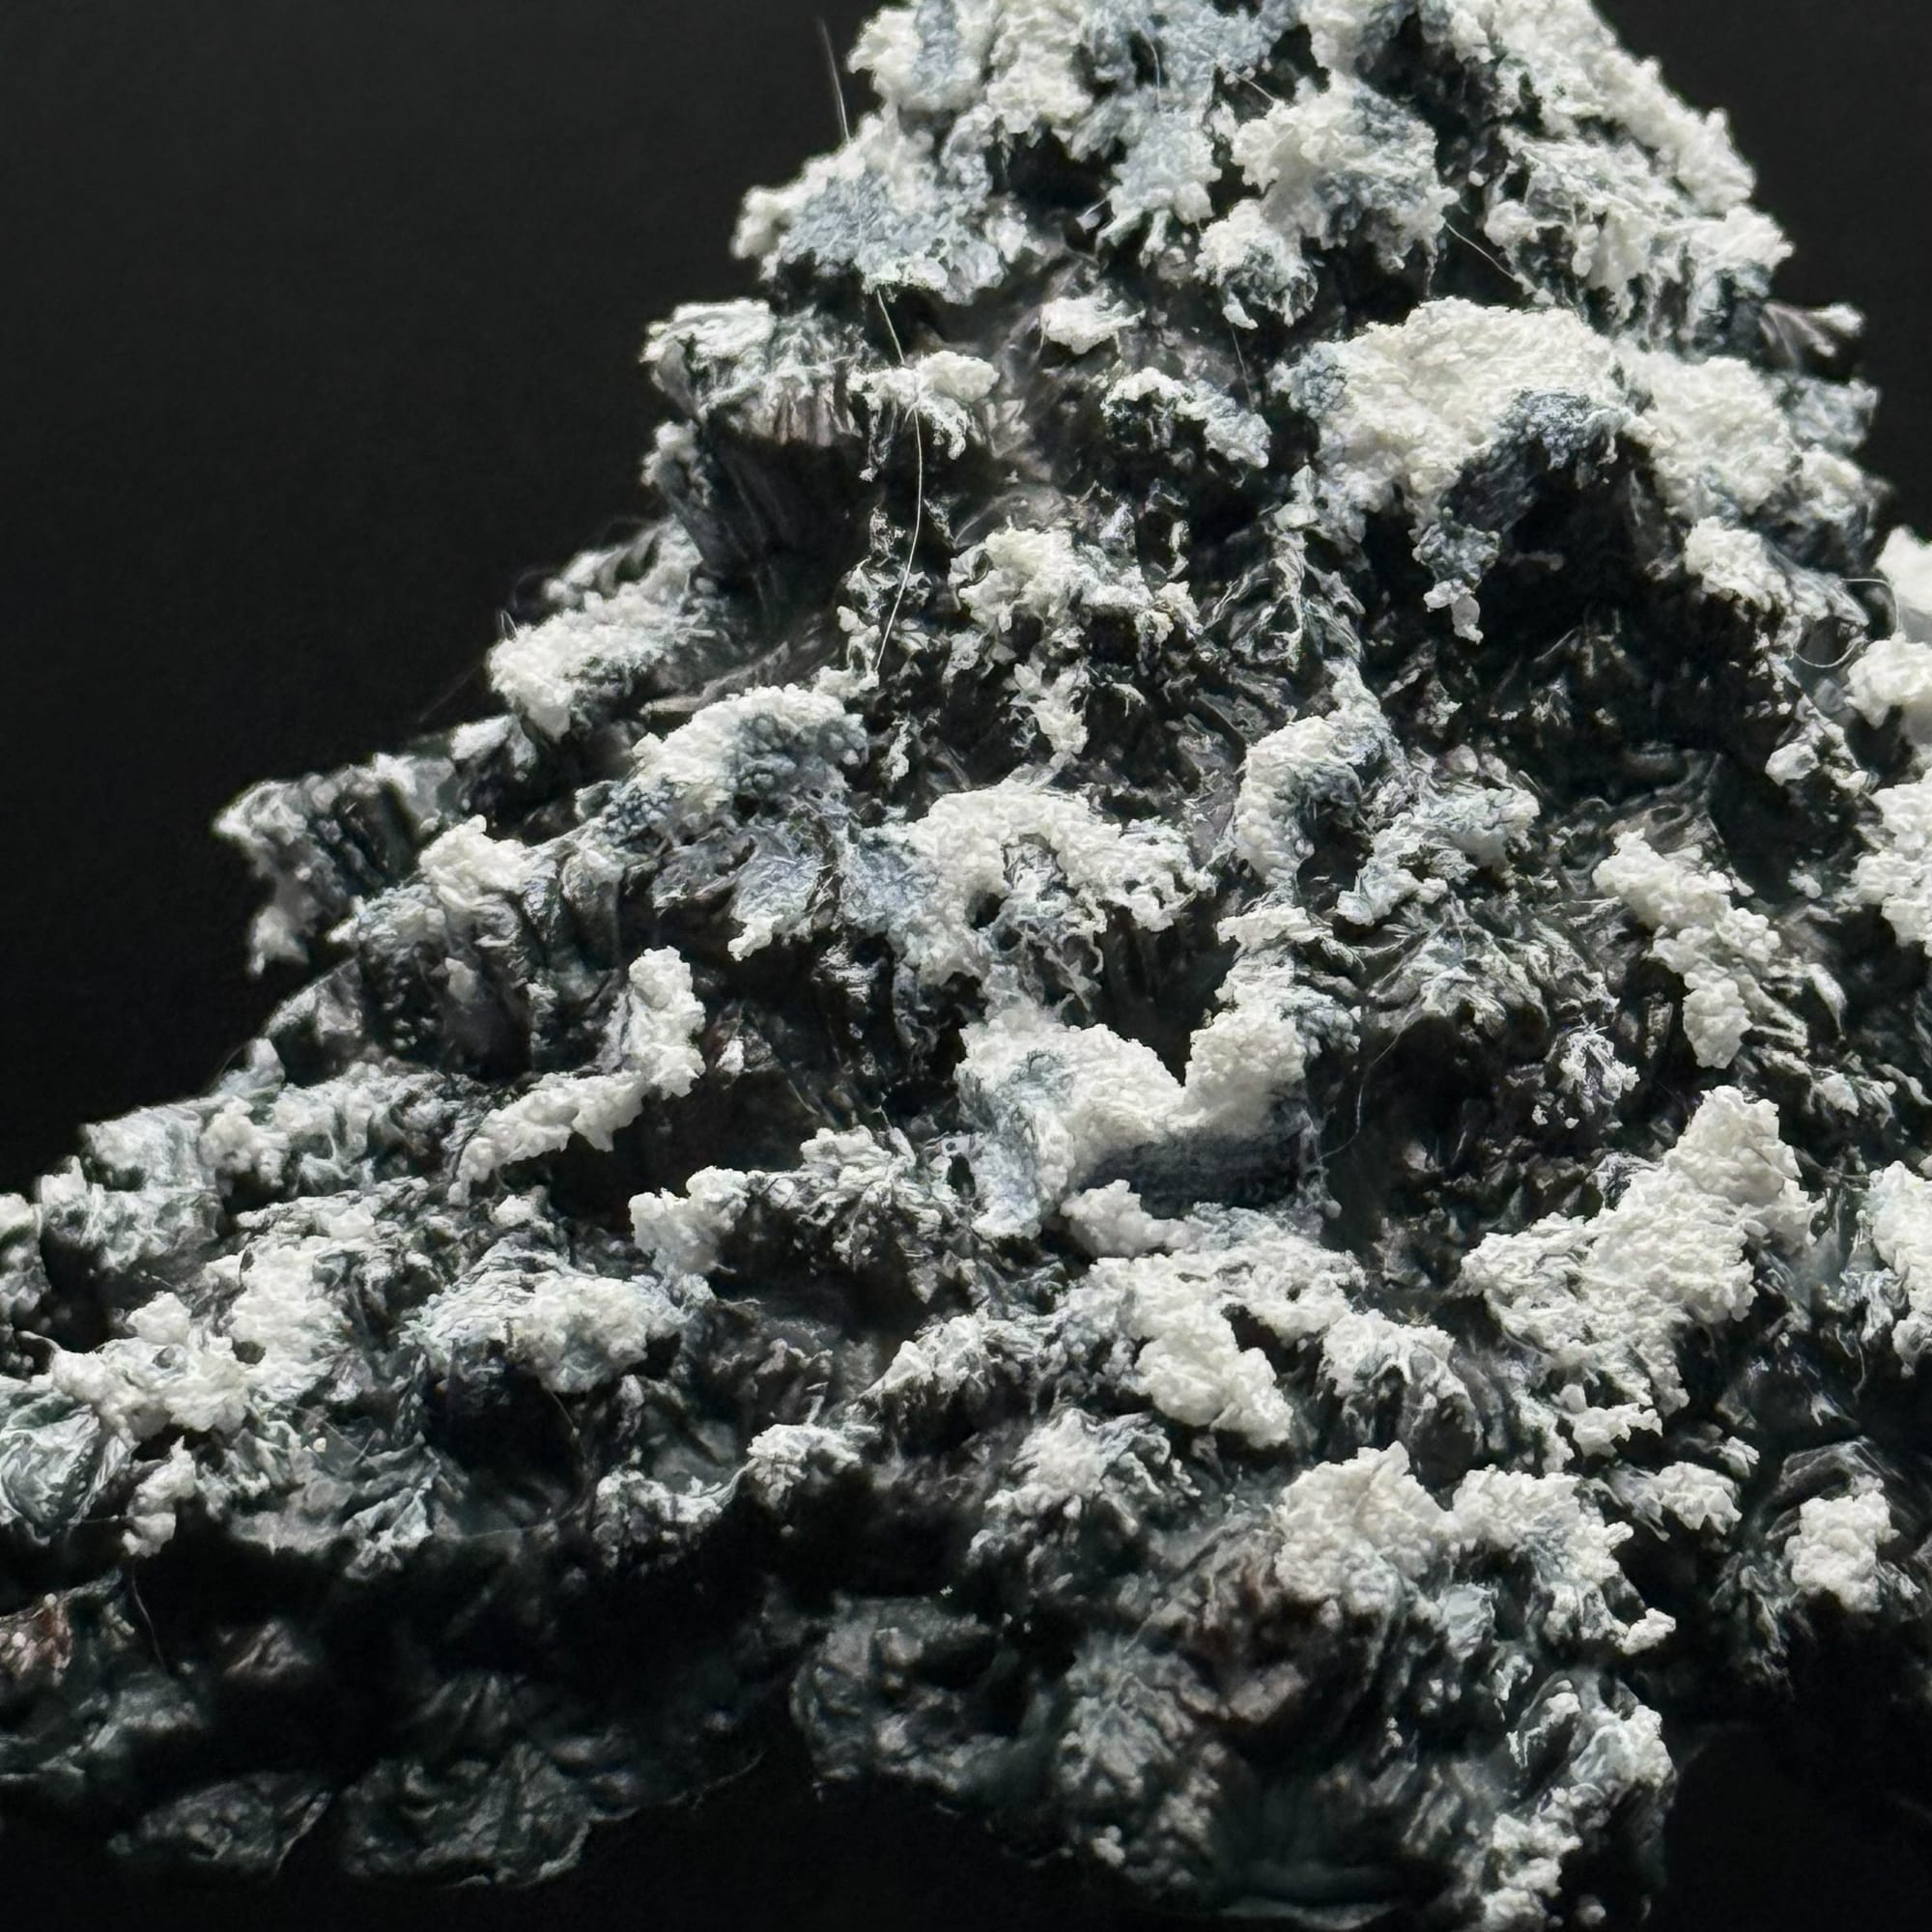
Snow-Capped Tree
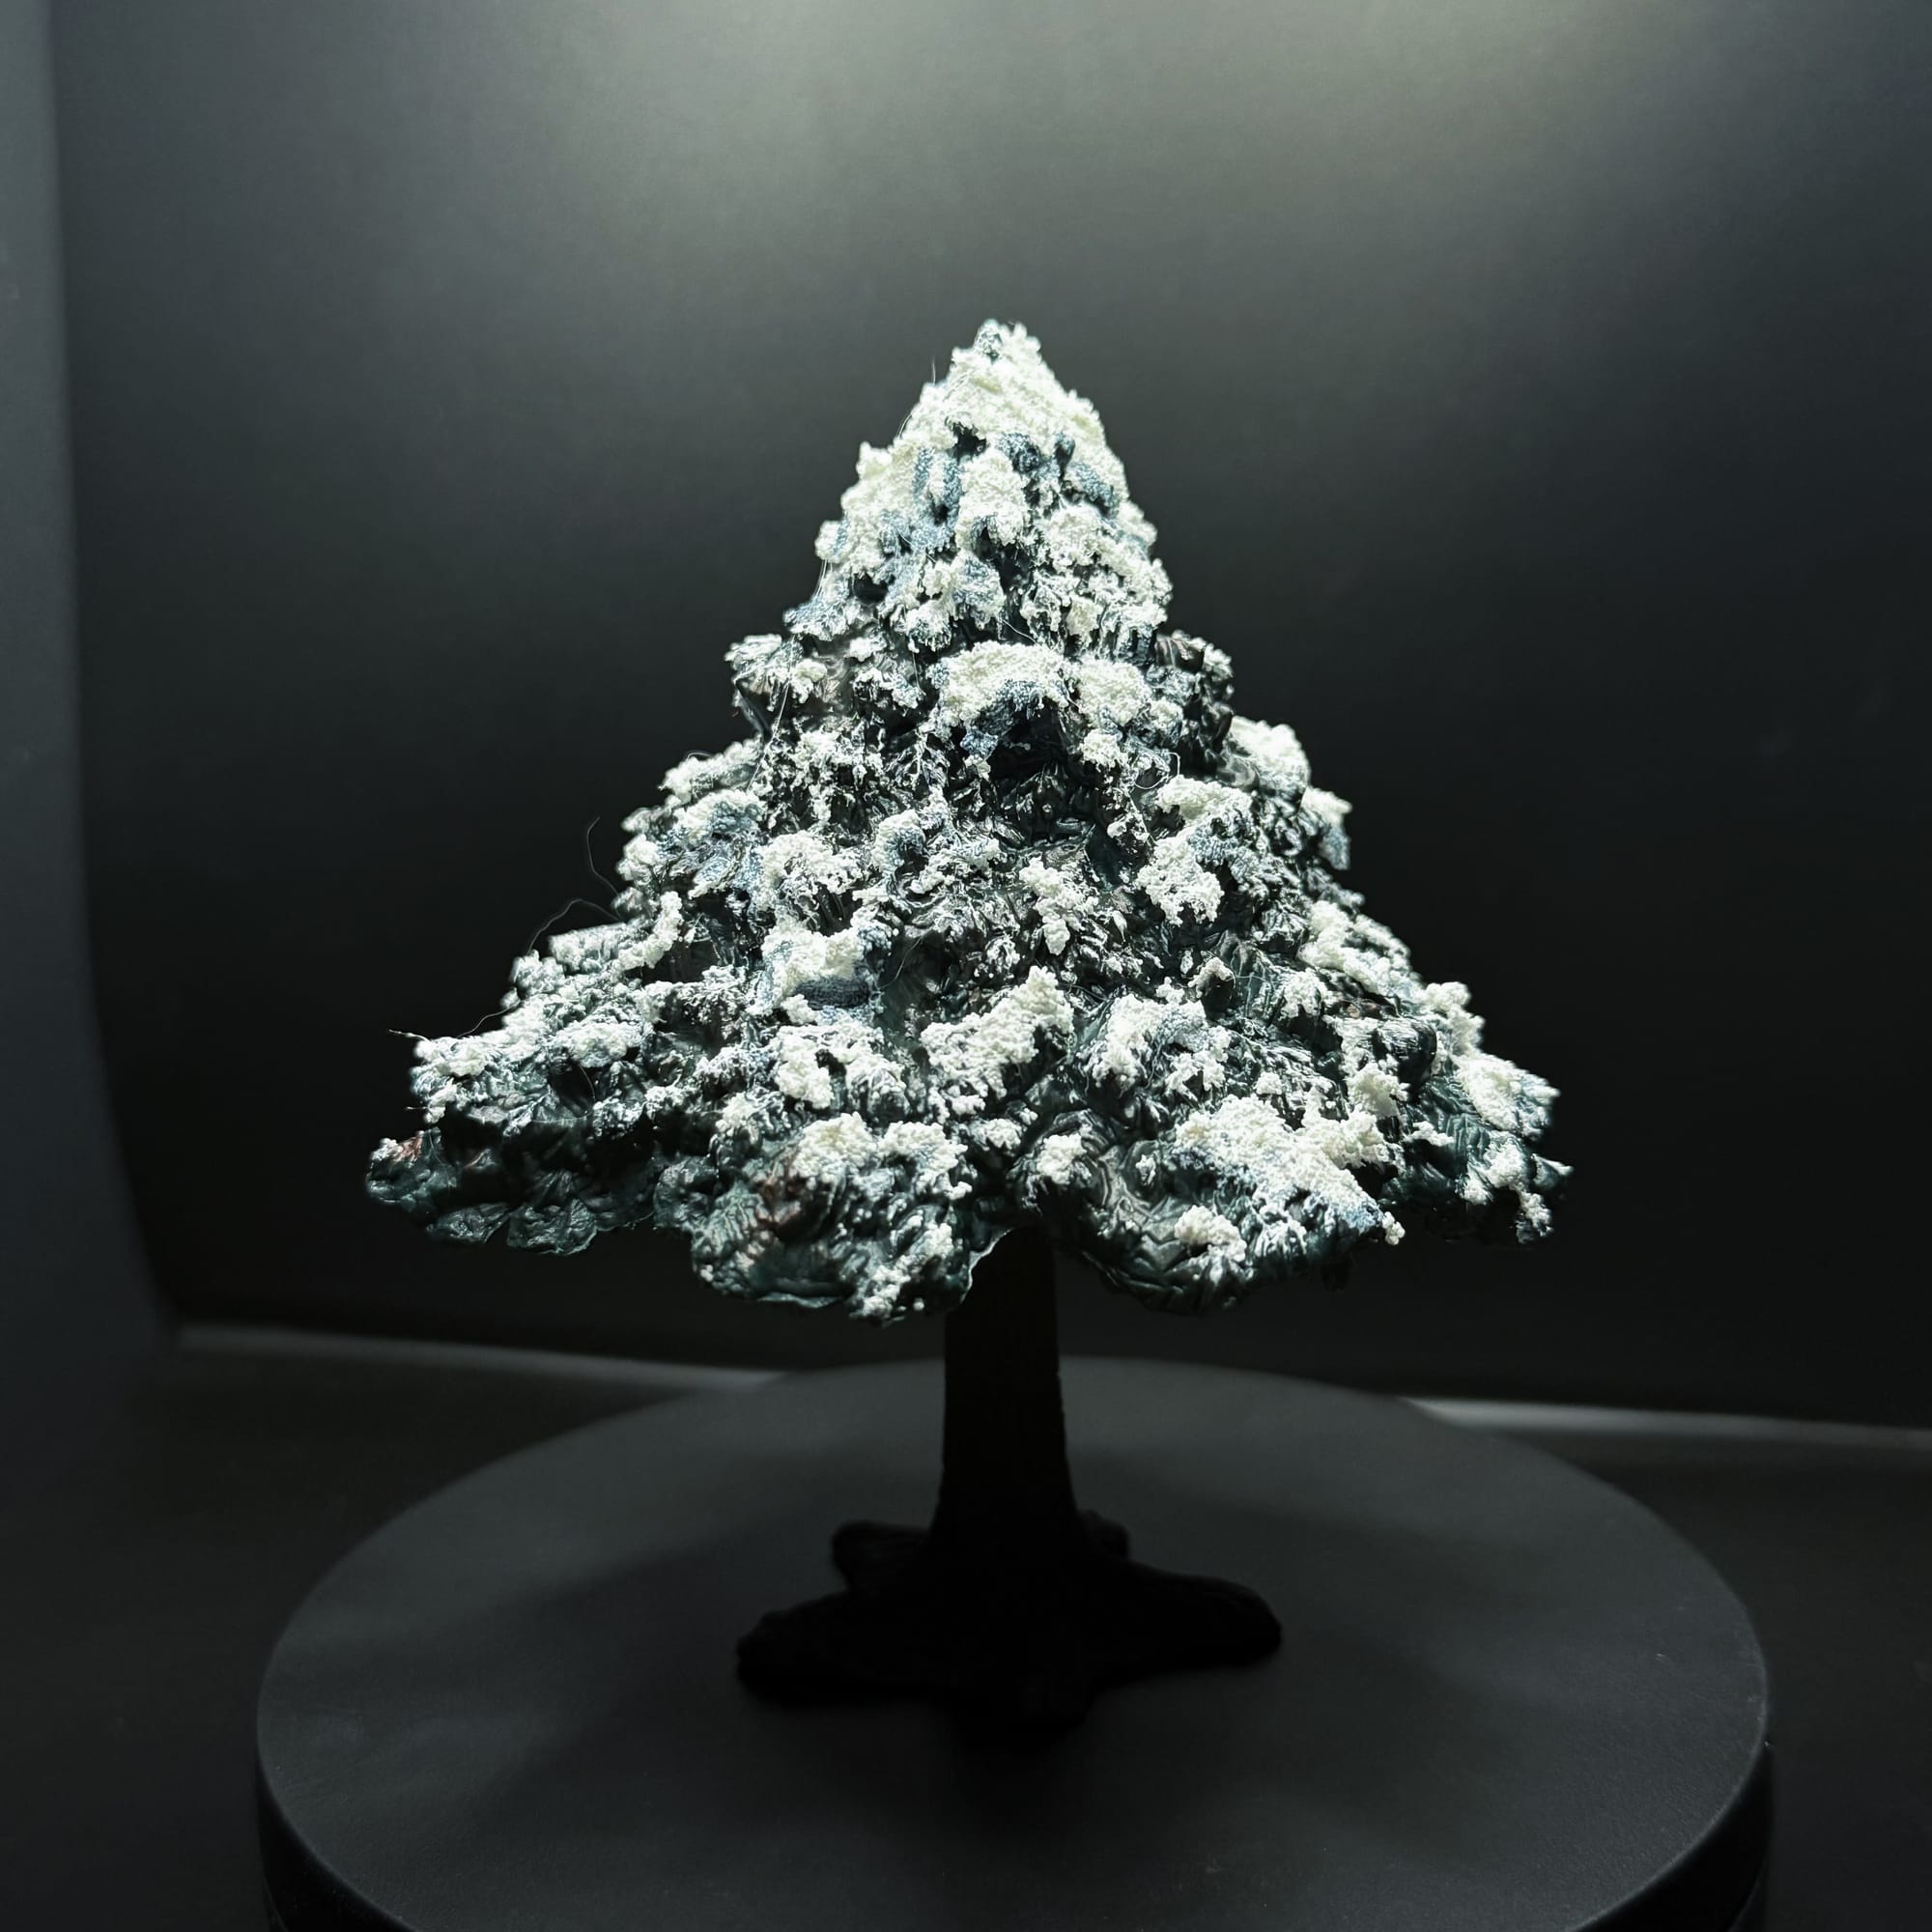
For the tree, I took some Bear Cavalry browns and drybrushed the leaves, to give a little bit of depth to the existing green. Then I took some Vallejo snow paste and glooped it on the tree. I used some existing photos of snow covered trees to inspire my placement. To finish, I took some Grimdark Shadow wash from Army Painter and painted the undersides of the snow material while it was still wet. This gives off the appearance of collected snow.
Rocky Terrain
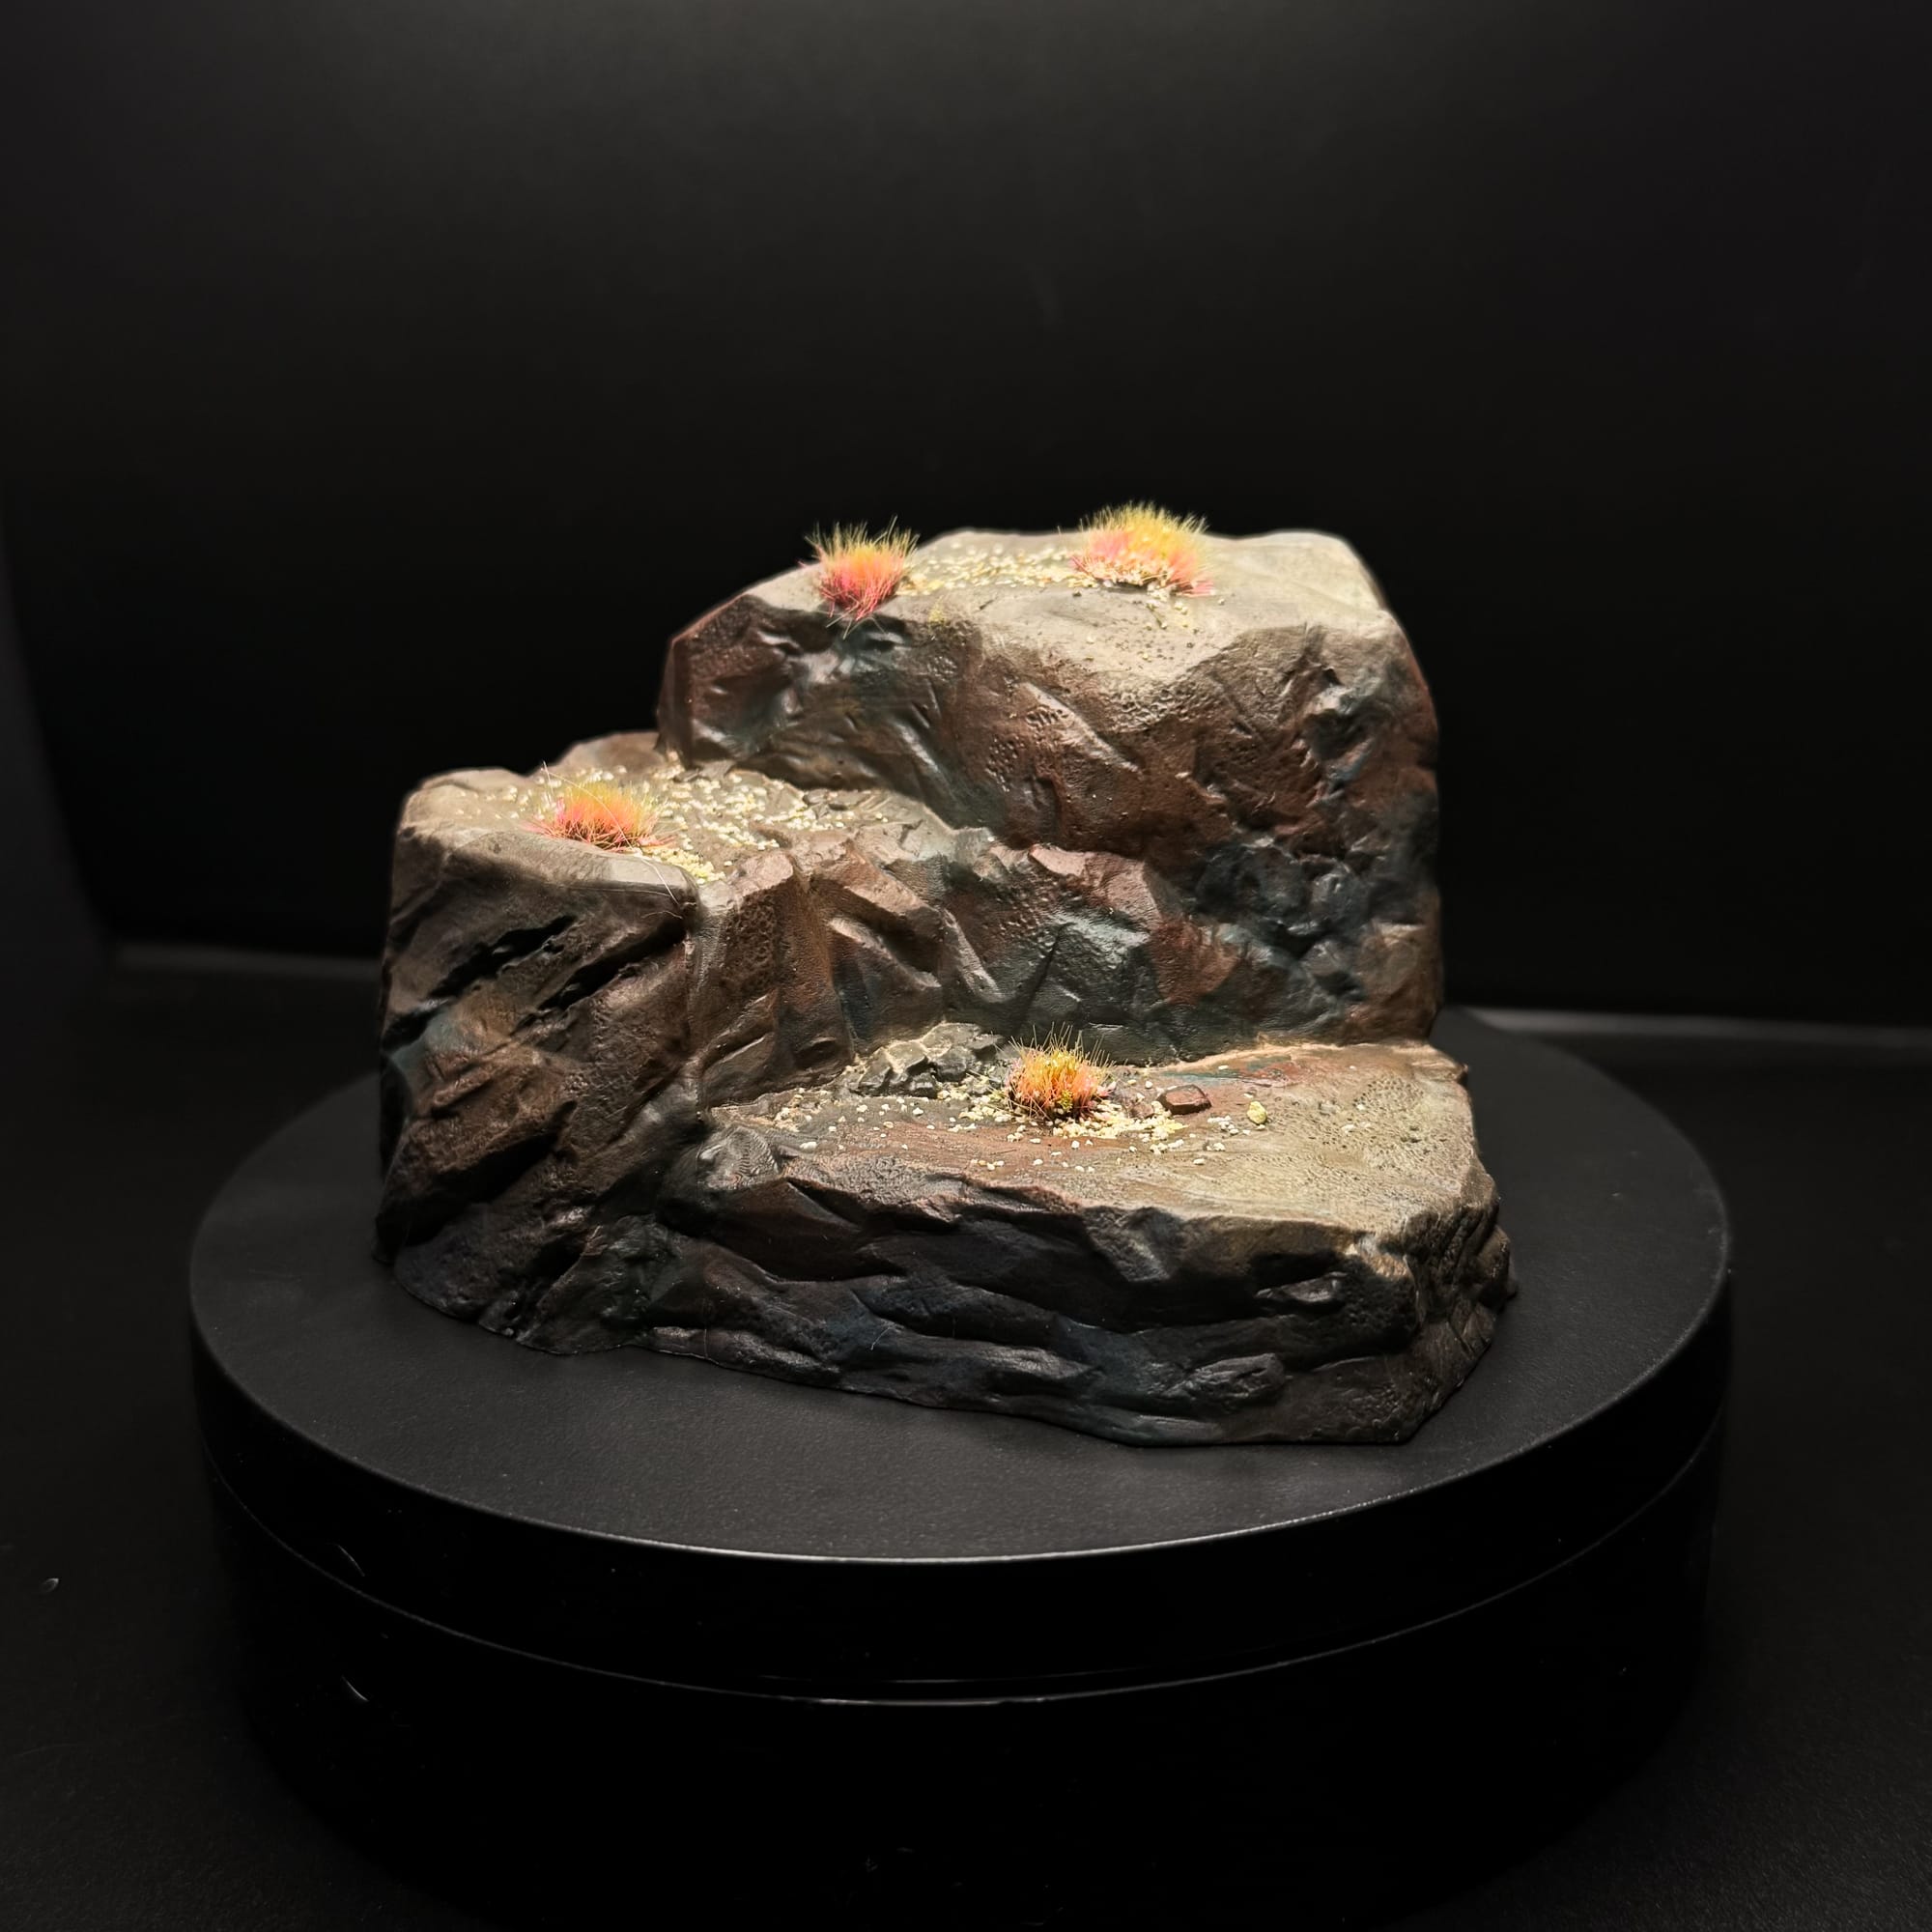
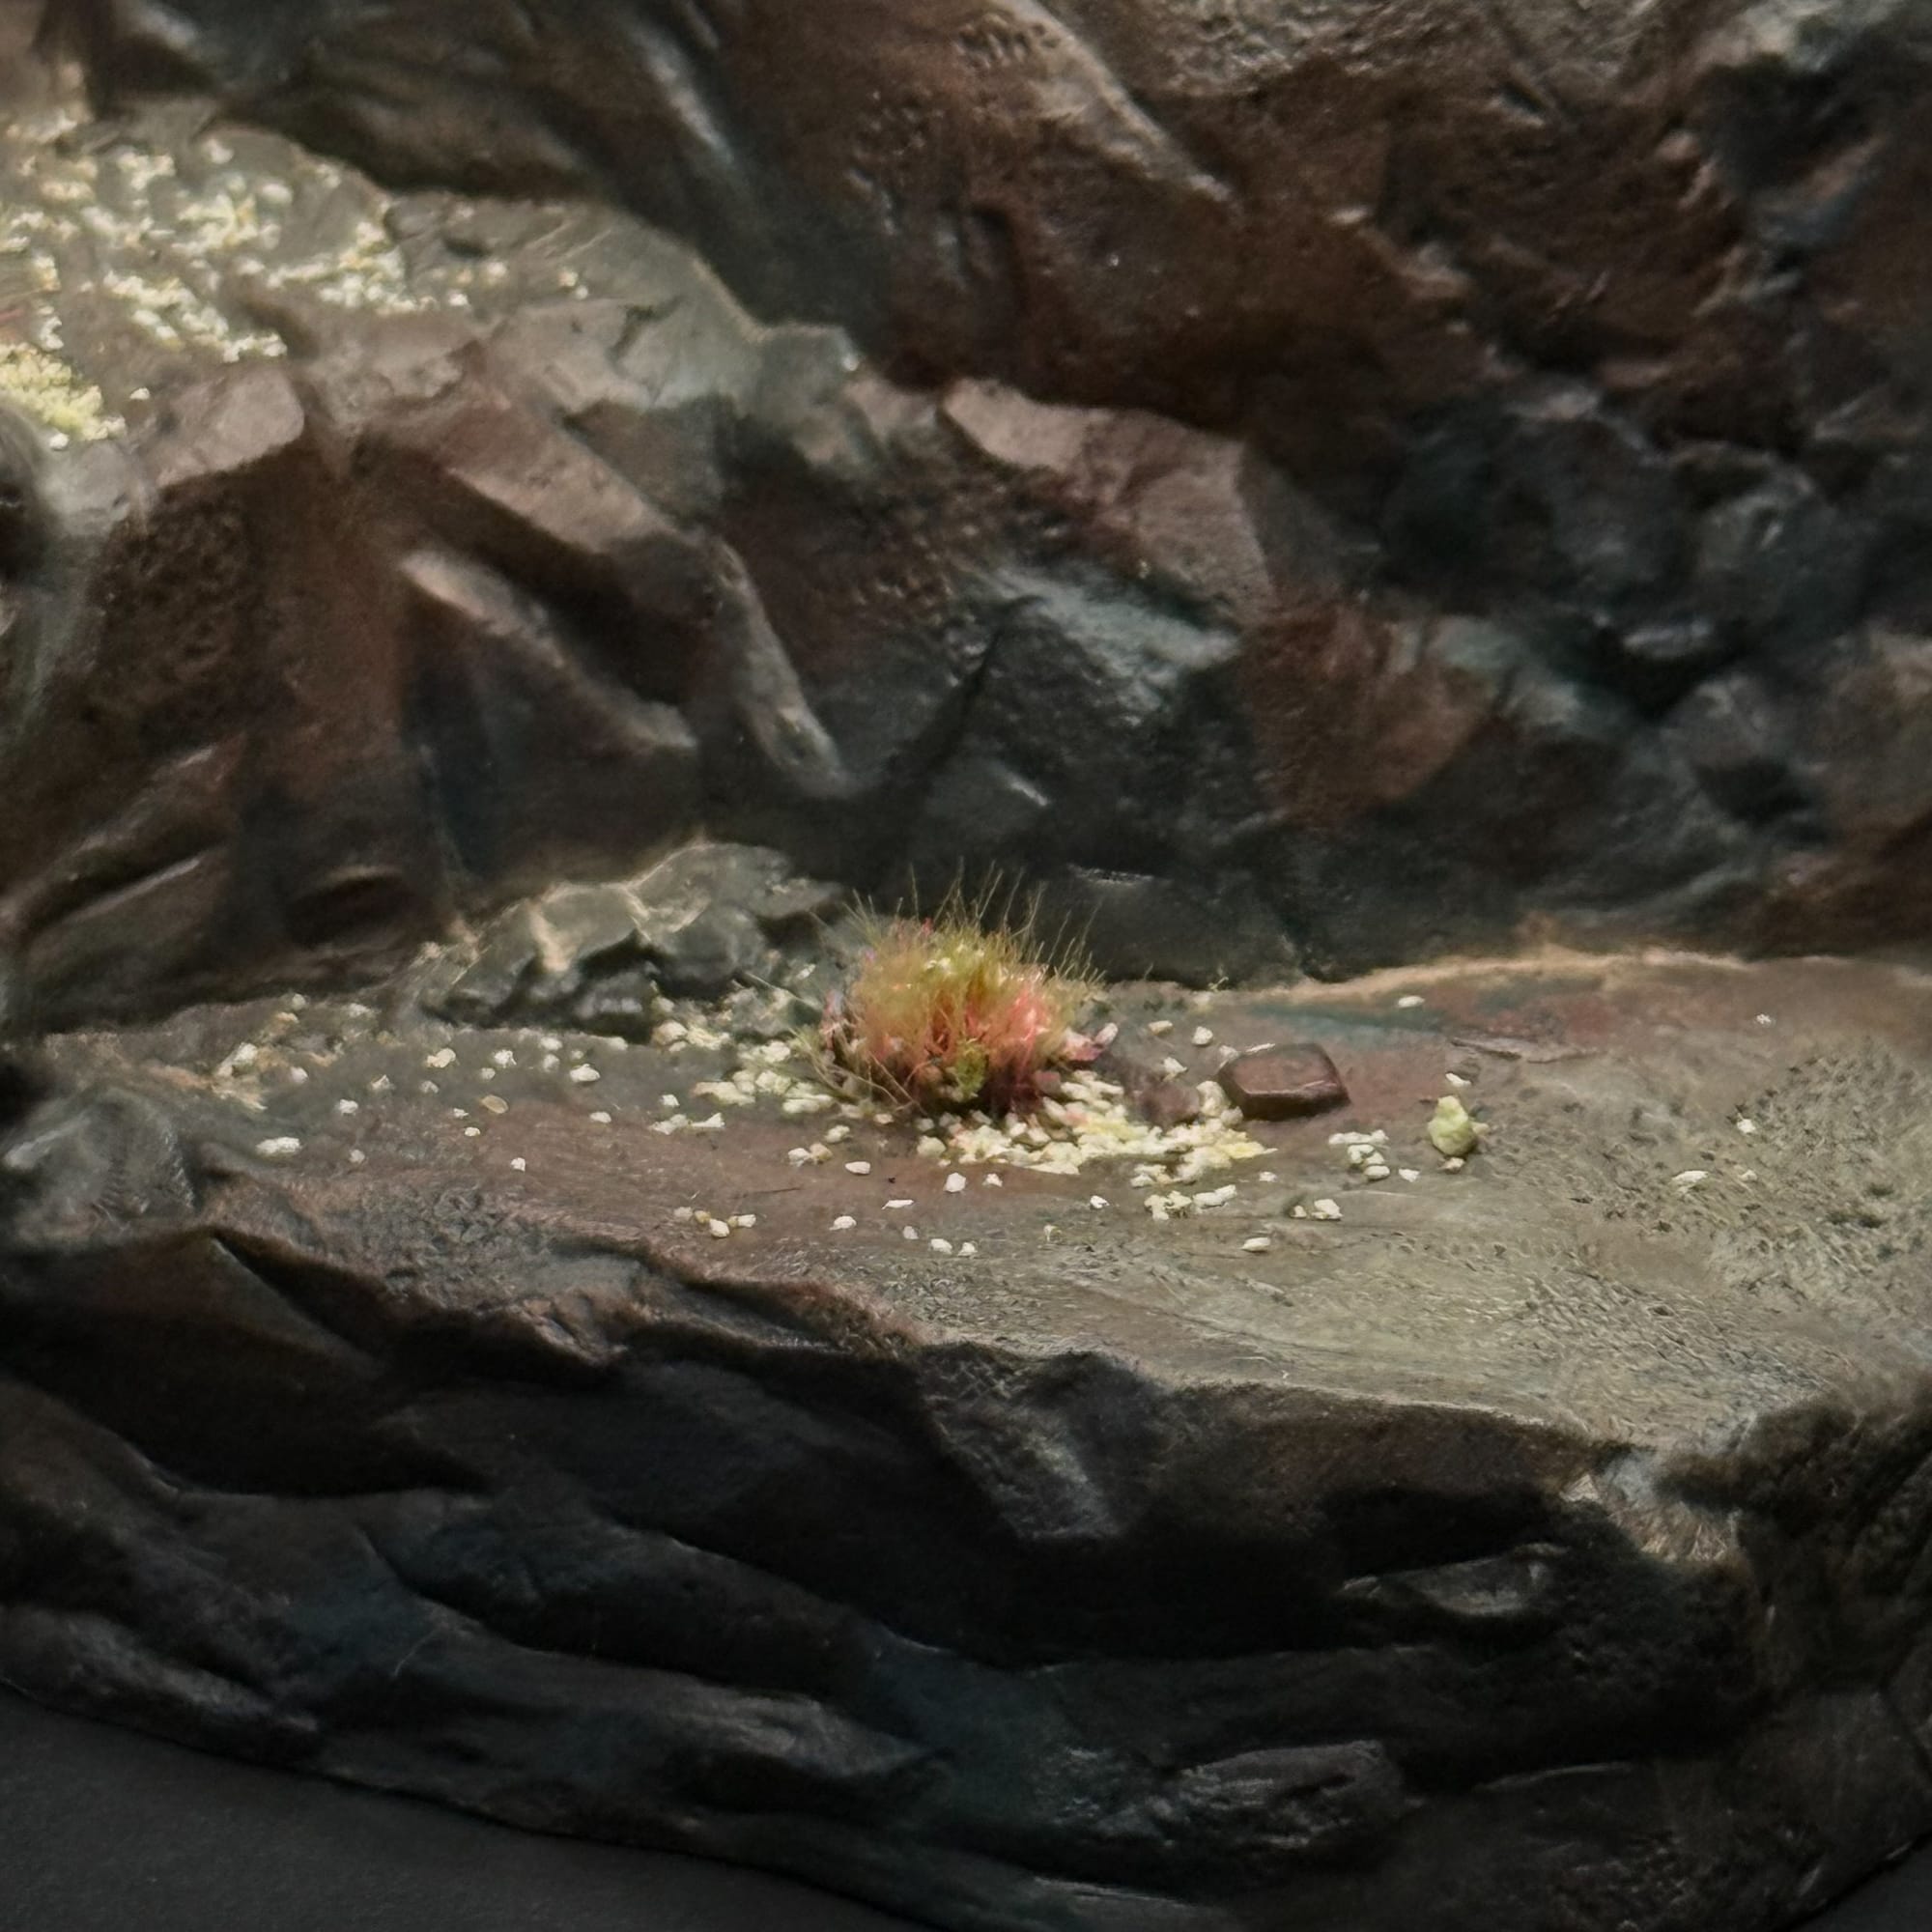
Lastly, for the earth terrain, I drybrushed with an angled drybrush to hit all of the angles with various browns. I first went with reddish browns all over, from Bear Cavalry. Then, I went lighter colors with yellows and tans on the areas that would get more sun, and blues & greens for the areas below. For a special touch, I added in liquid pigment from AK Interactive, which when dry, gives off a dusty appearance. Then, a few tufts, and some additional pebbles sealed up with some thinned super glue and this is DONE!
Painted and Ready for Play
Impressions
This terrain is fantastic. It’s heavy, so it’s not going to slide, and it has a surprising amount of detail to it, especially the wooden bridges/barricades. With how generic rocks and trees are, I anticipate being able to use terrain in many miniature games, including Star Wars: Legion, Trench Crusade, The Witcher, Fallout (both Factions and Wasteland Warfare), Marvel Crisis Protocol, Warmachine, Arsenal, Dead by Lead, BlkOut, Dungeons & Dragons, and more!
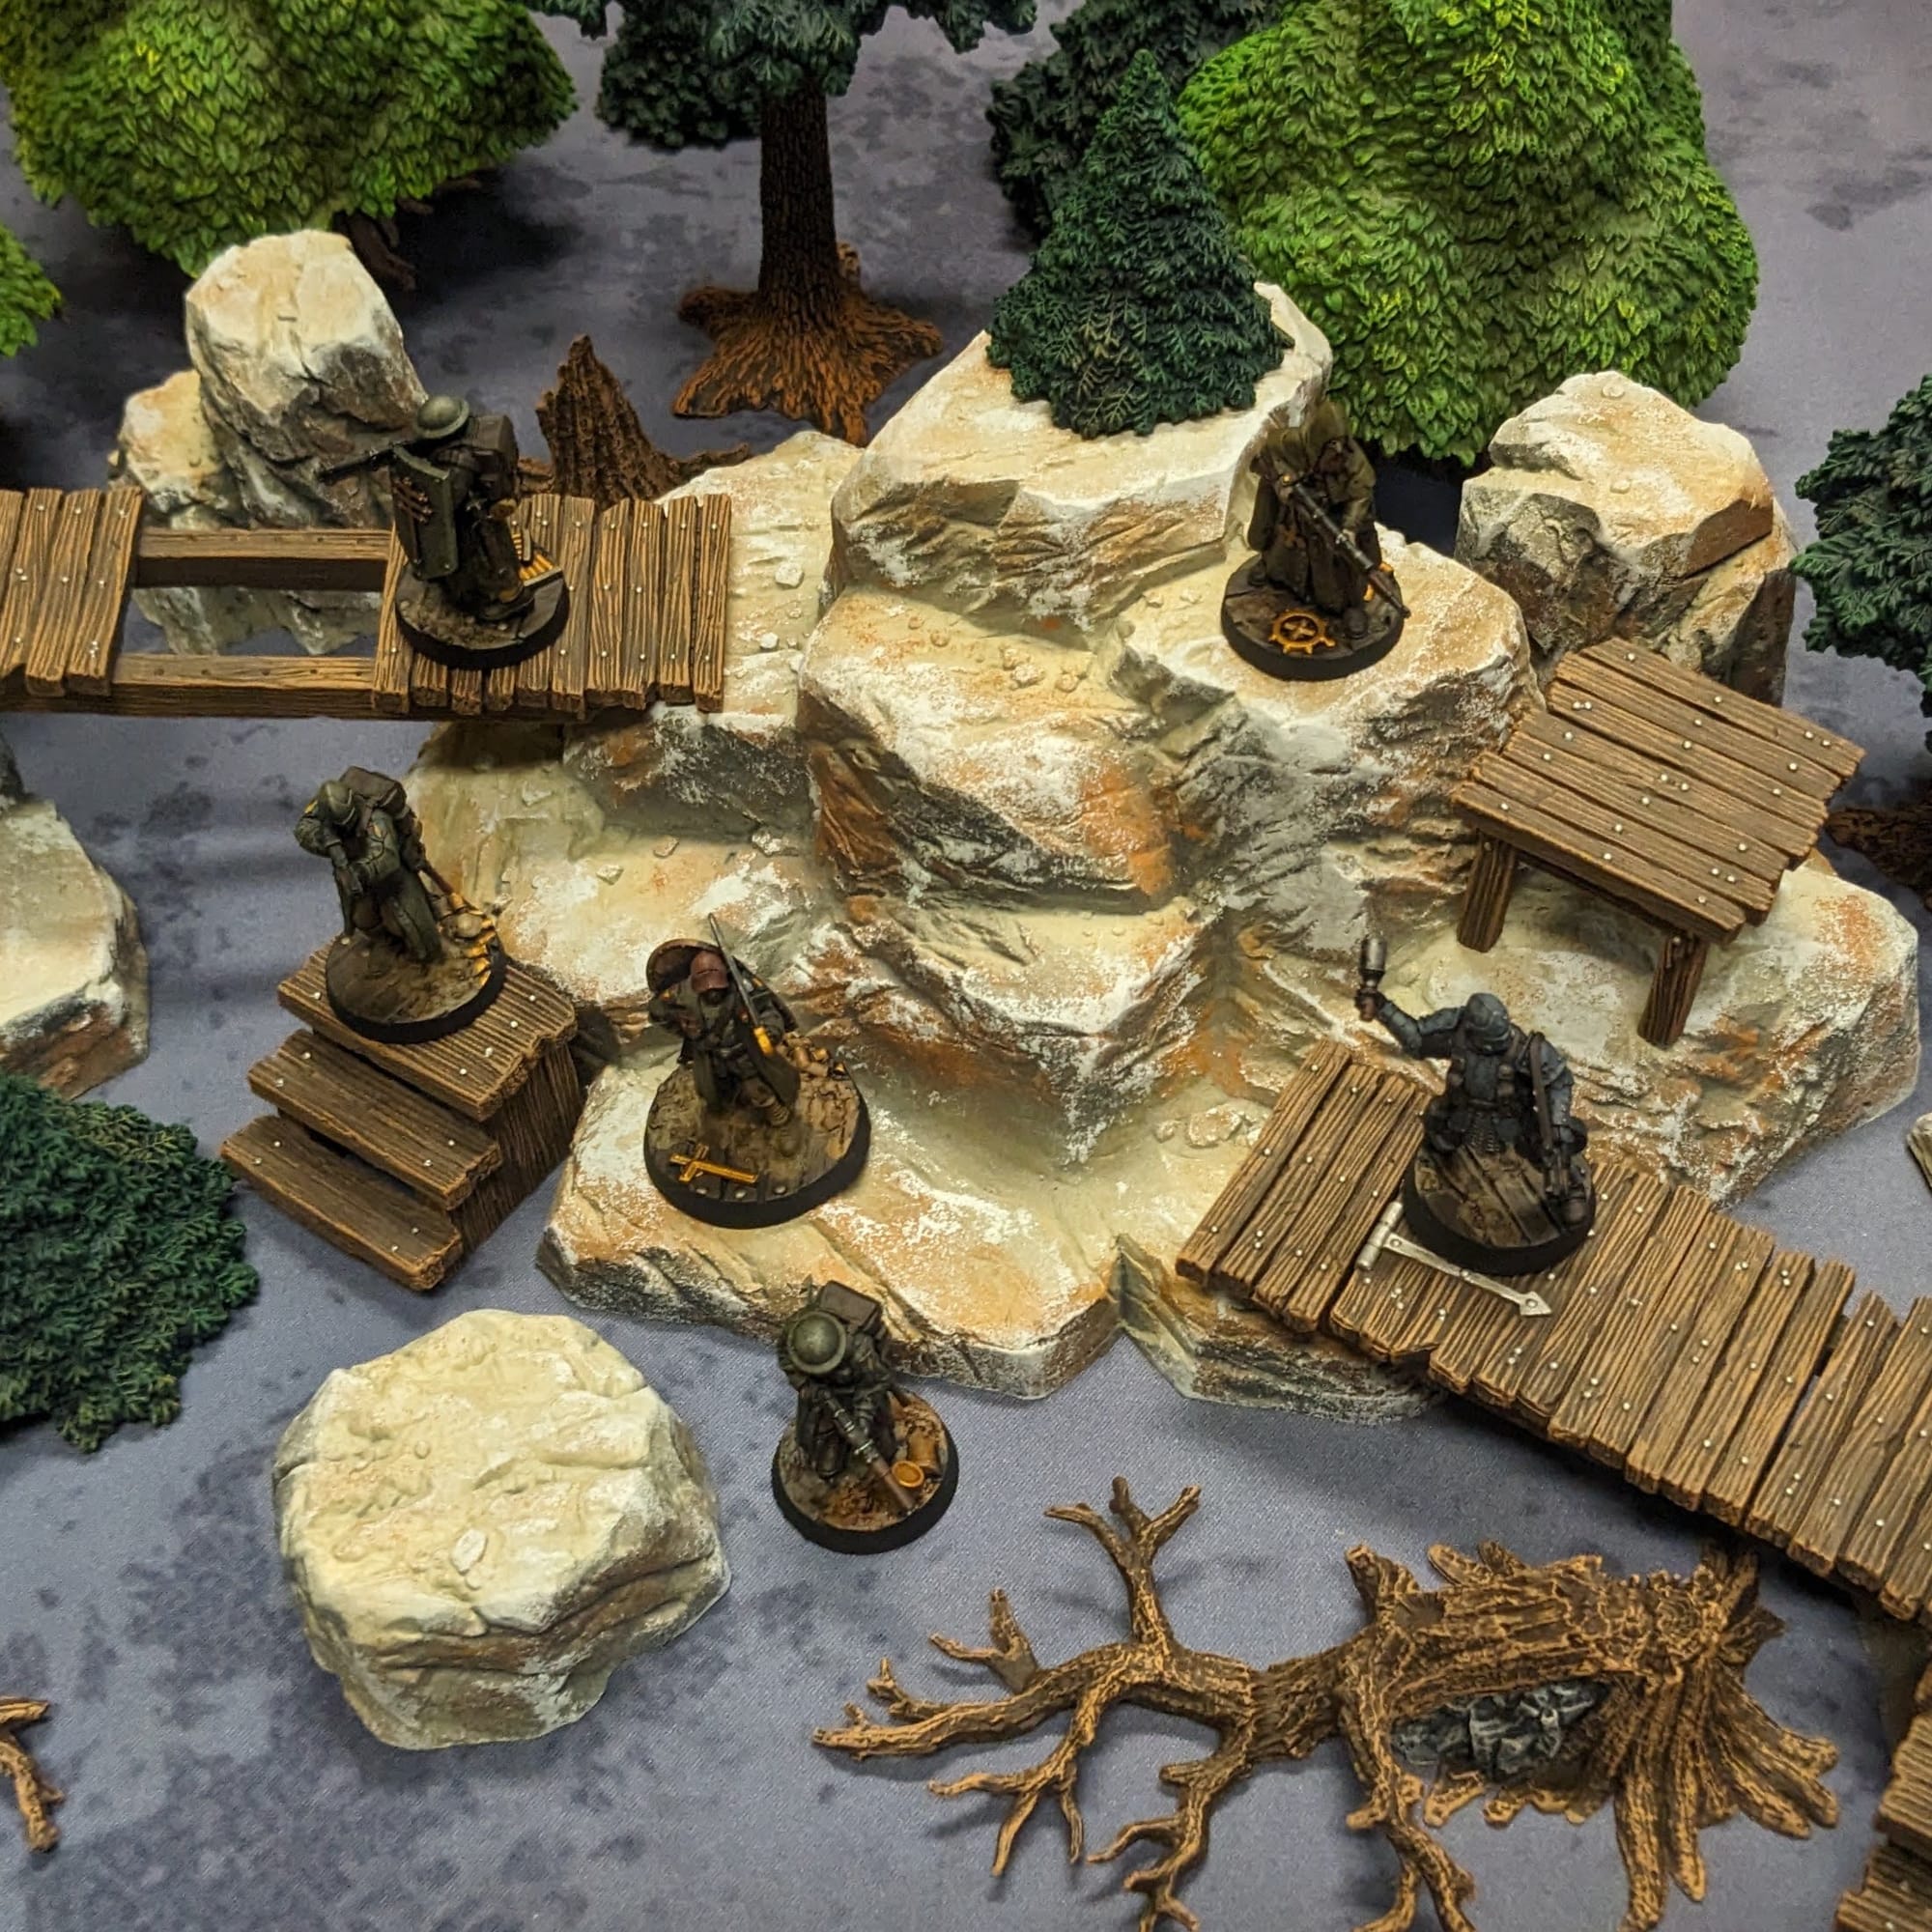
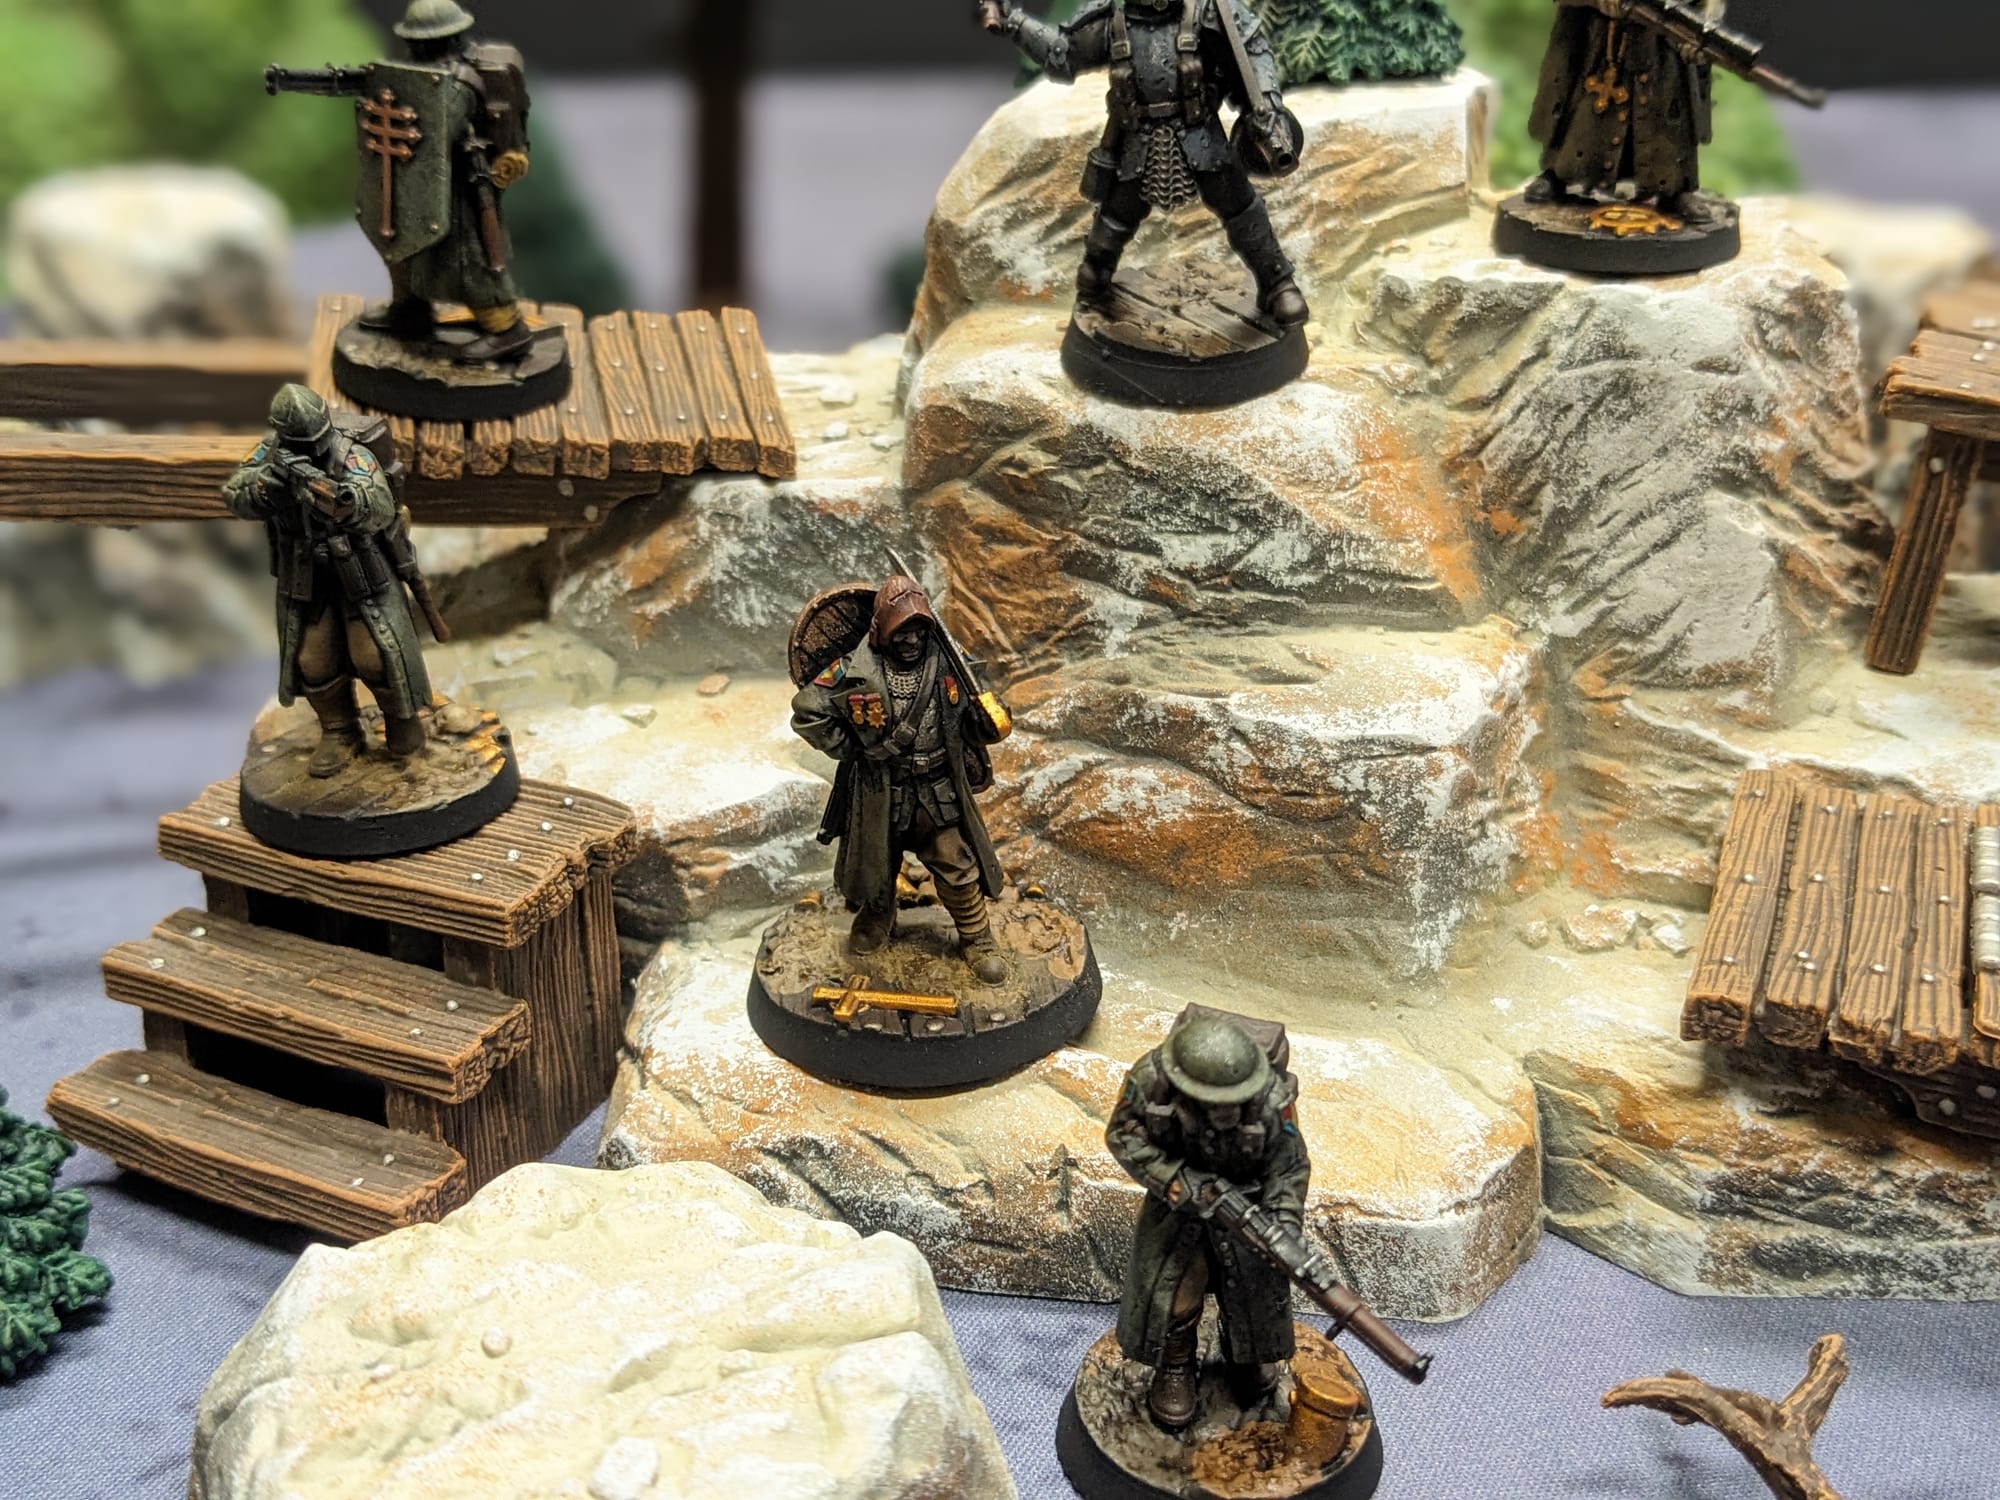
Monster Fight Club’s Monster Scenery Unpainted Terrain
Excellent
Monster Fight Club’s Monster Scenery Terrain offers a sturdy, reliable, and universal backdrop for your miniature games. The unpainted terrain provides hobby painters an excellent canvas to decorate their favorite battlefields with.
Pros
- Easy to paint
- Hardy material
- Good weight, doesn’t slide on the mat
- You don’t even really need to paint the unpainted stuff if you don’t want to
Cons
- You’ll need to buy several copies of terrain pieces to fully fill your battlefield.
This review is based on a retail copy provided by the publisher.
Product Links
 Monster Fight Club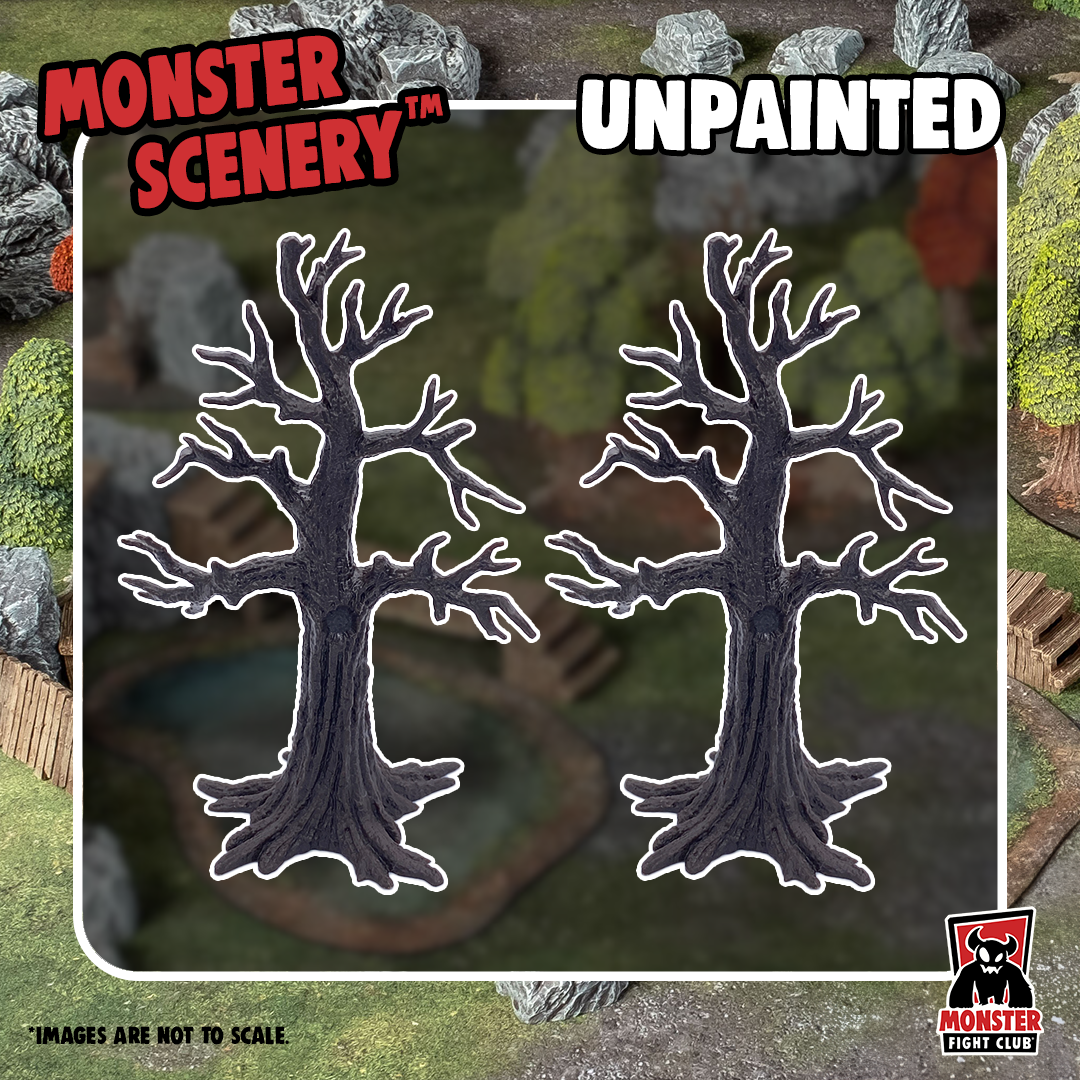
 Monster Fight Club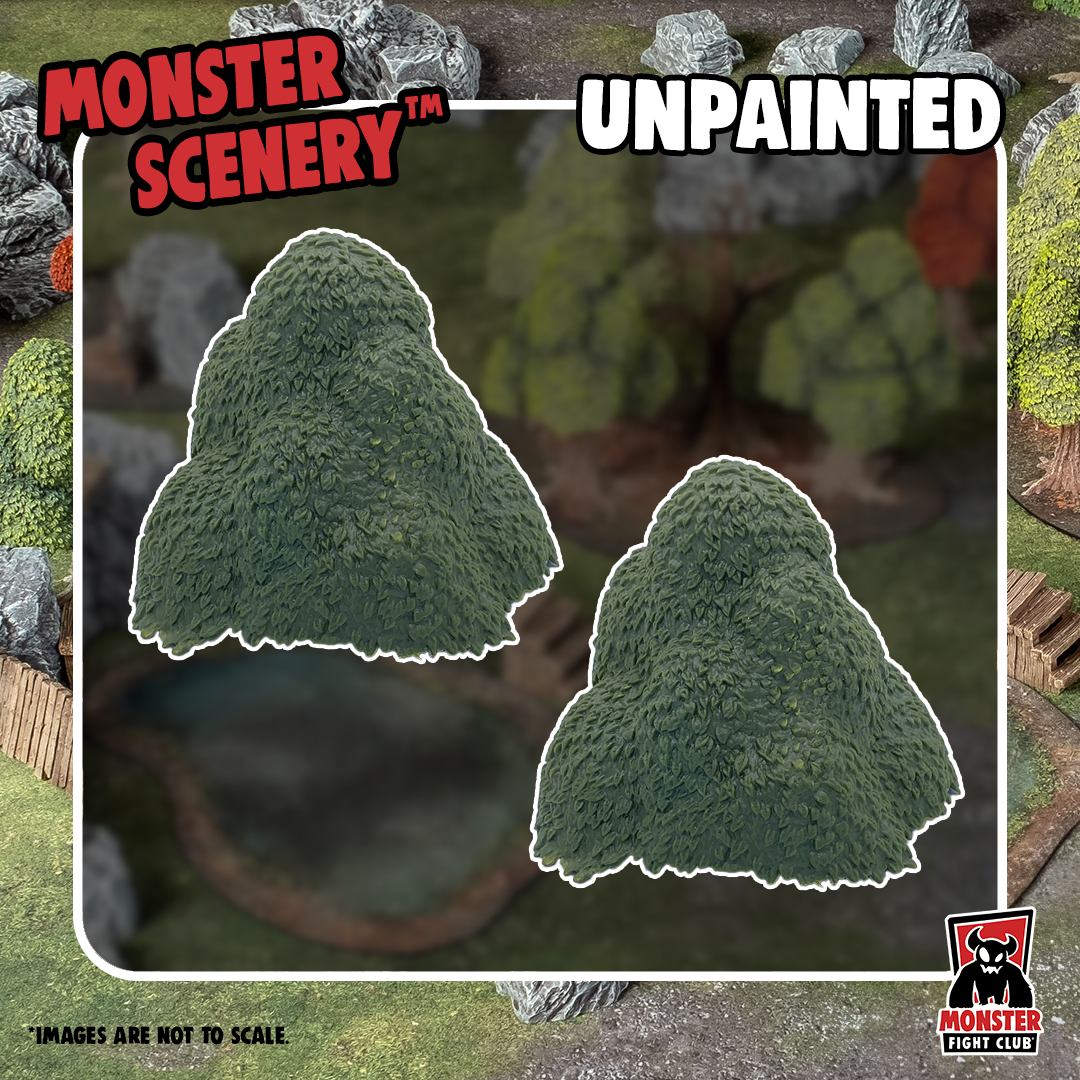
 Monster Fight Club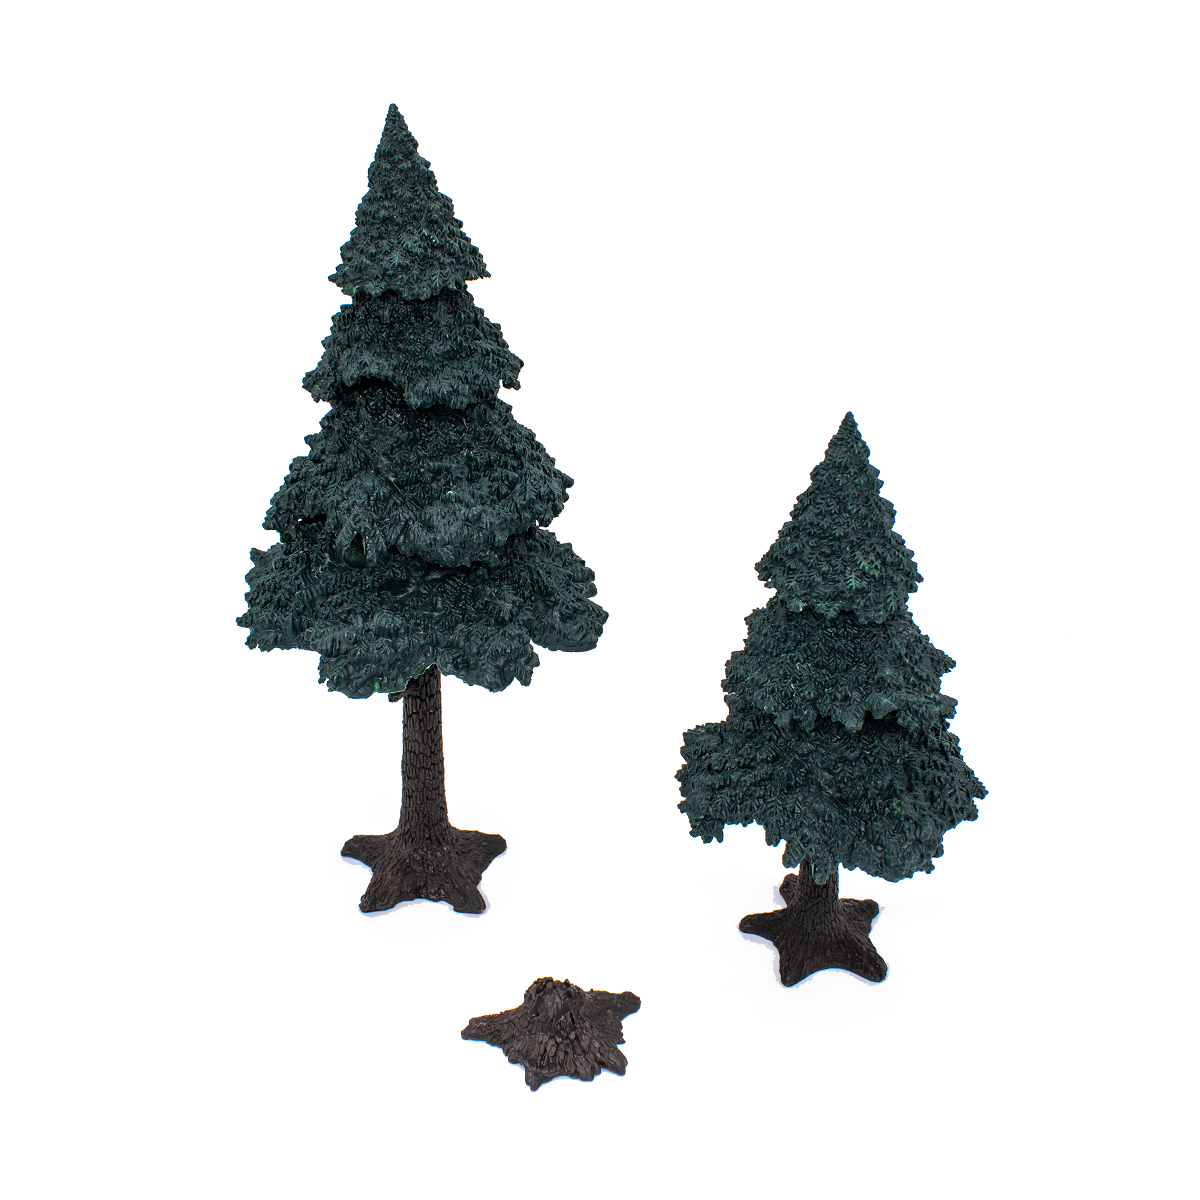
 Monster Fight Club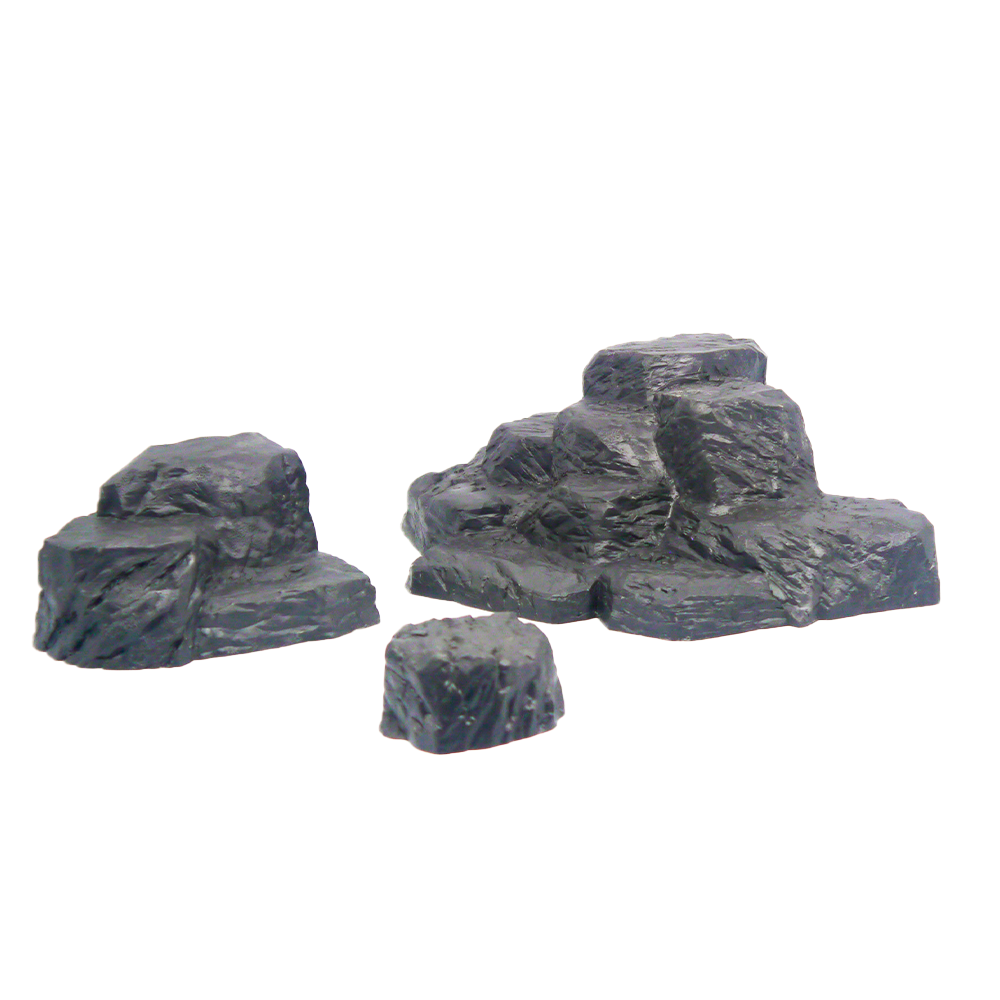
 Monster Fight Club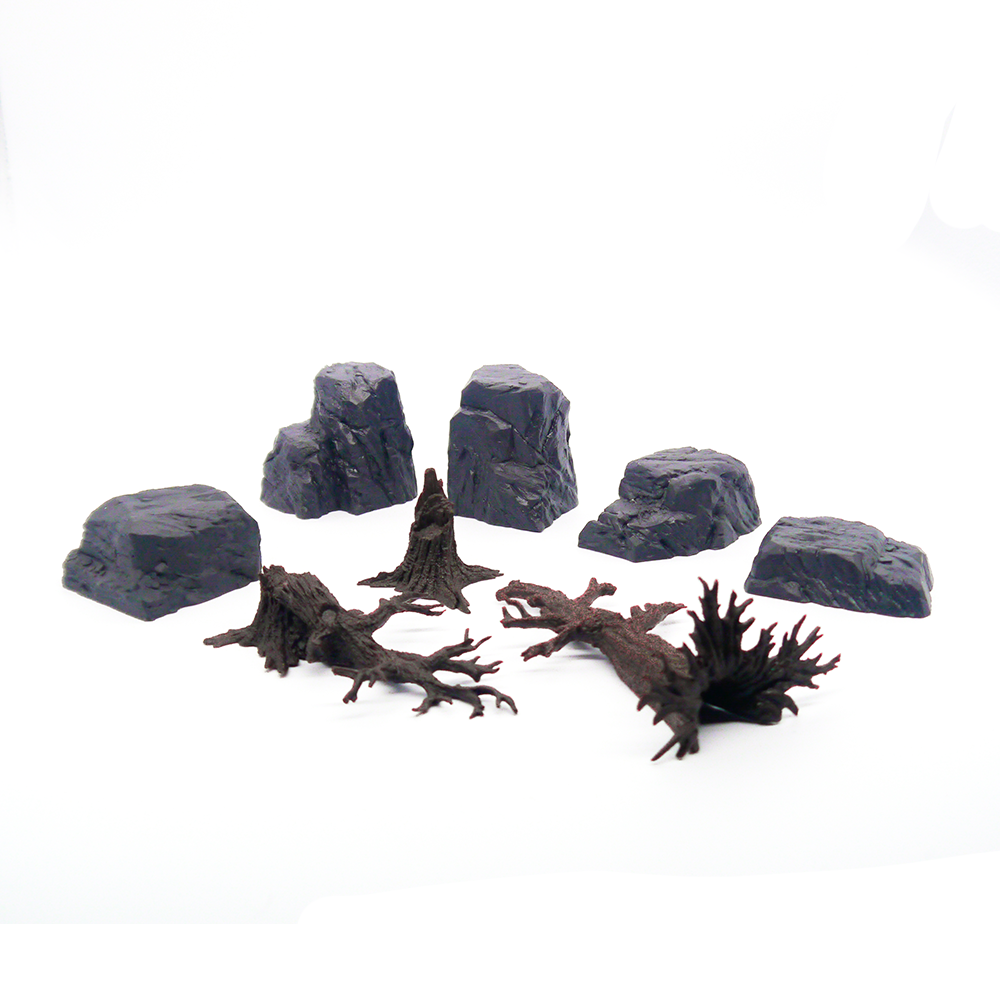
 Monster Fight Club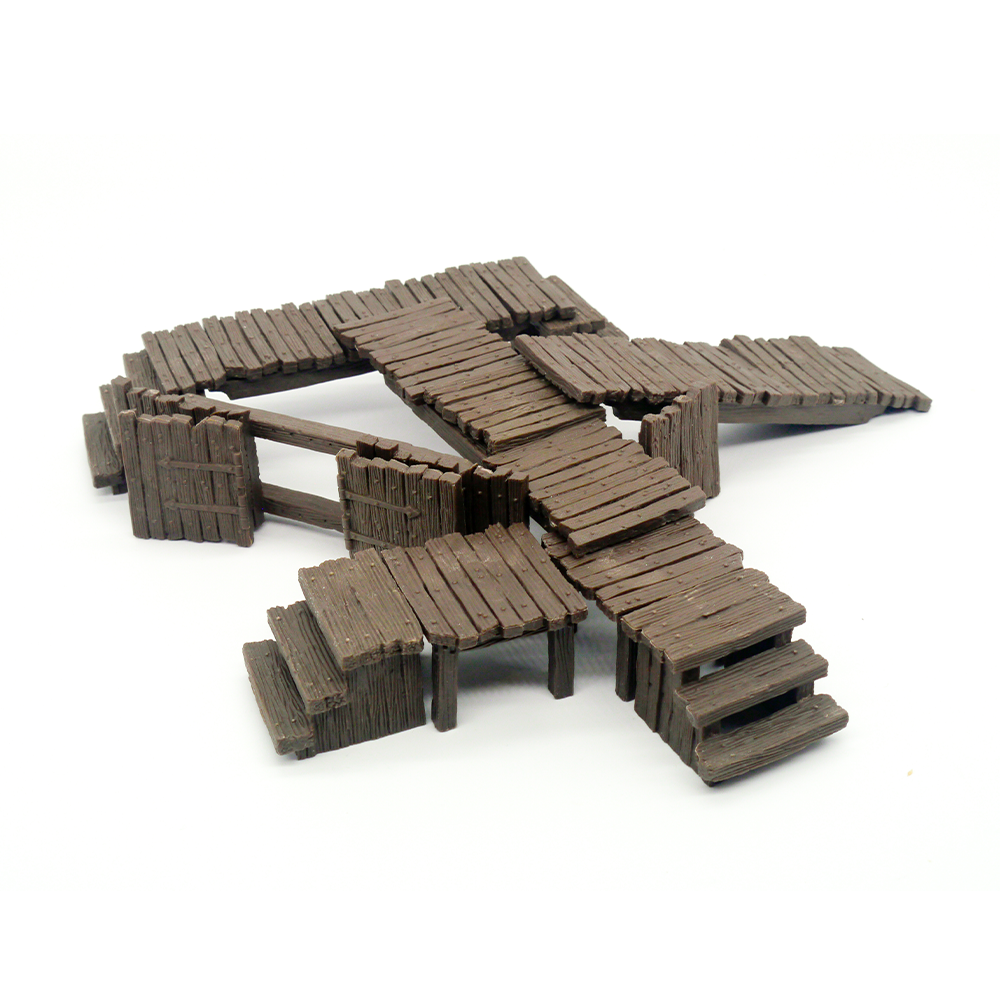
 Monster Fight Club
Don’t forget to subscribe and follow us on Instagram, Bluesky, and YouTube for more Monster Fight Club reviews and painting guides, as well as more hobby and tabletop news and reviews!