
I've never painted an army before. All throughout my time spent in the miniature painting hobby, I've been able to spend incremental amounts of time on one-off pieces, not repeating a paint scheme, textures, basing ideas... the most is probably when I painted some skeletons at ReaperCon a few years ago.
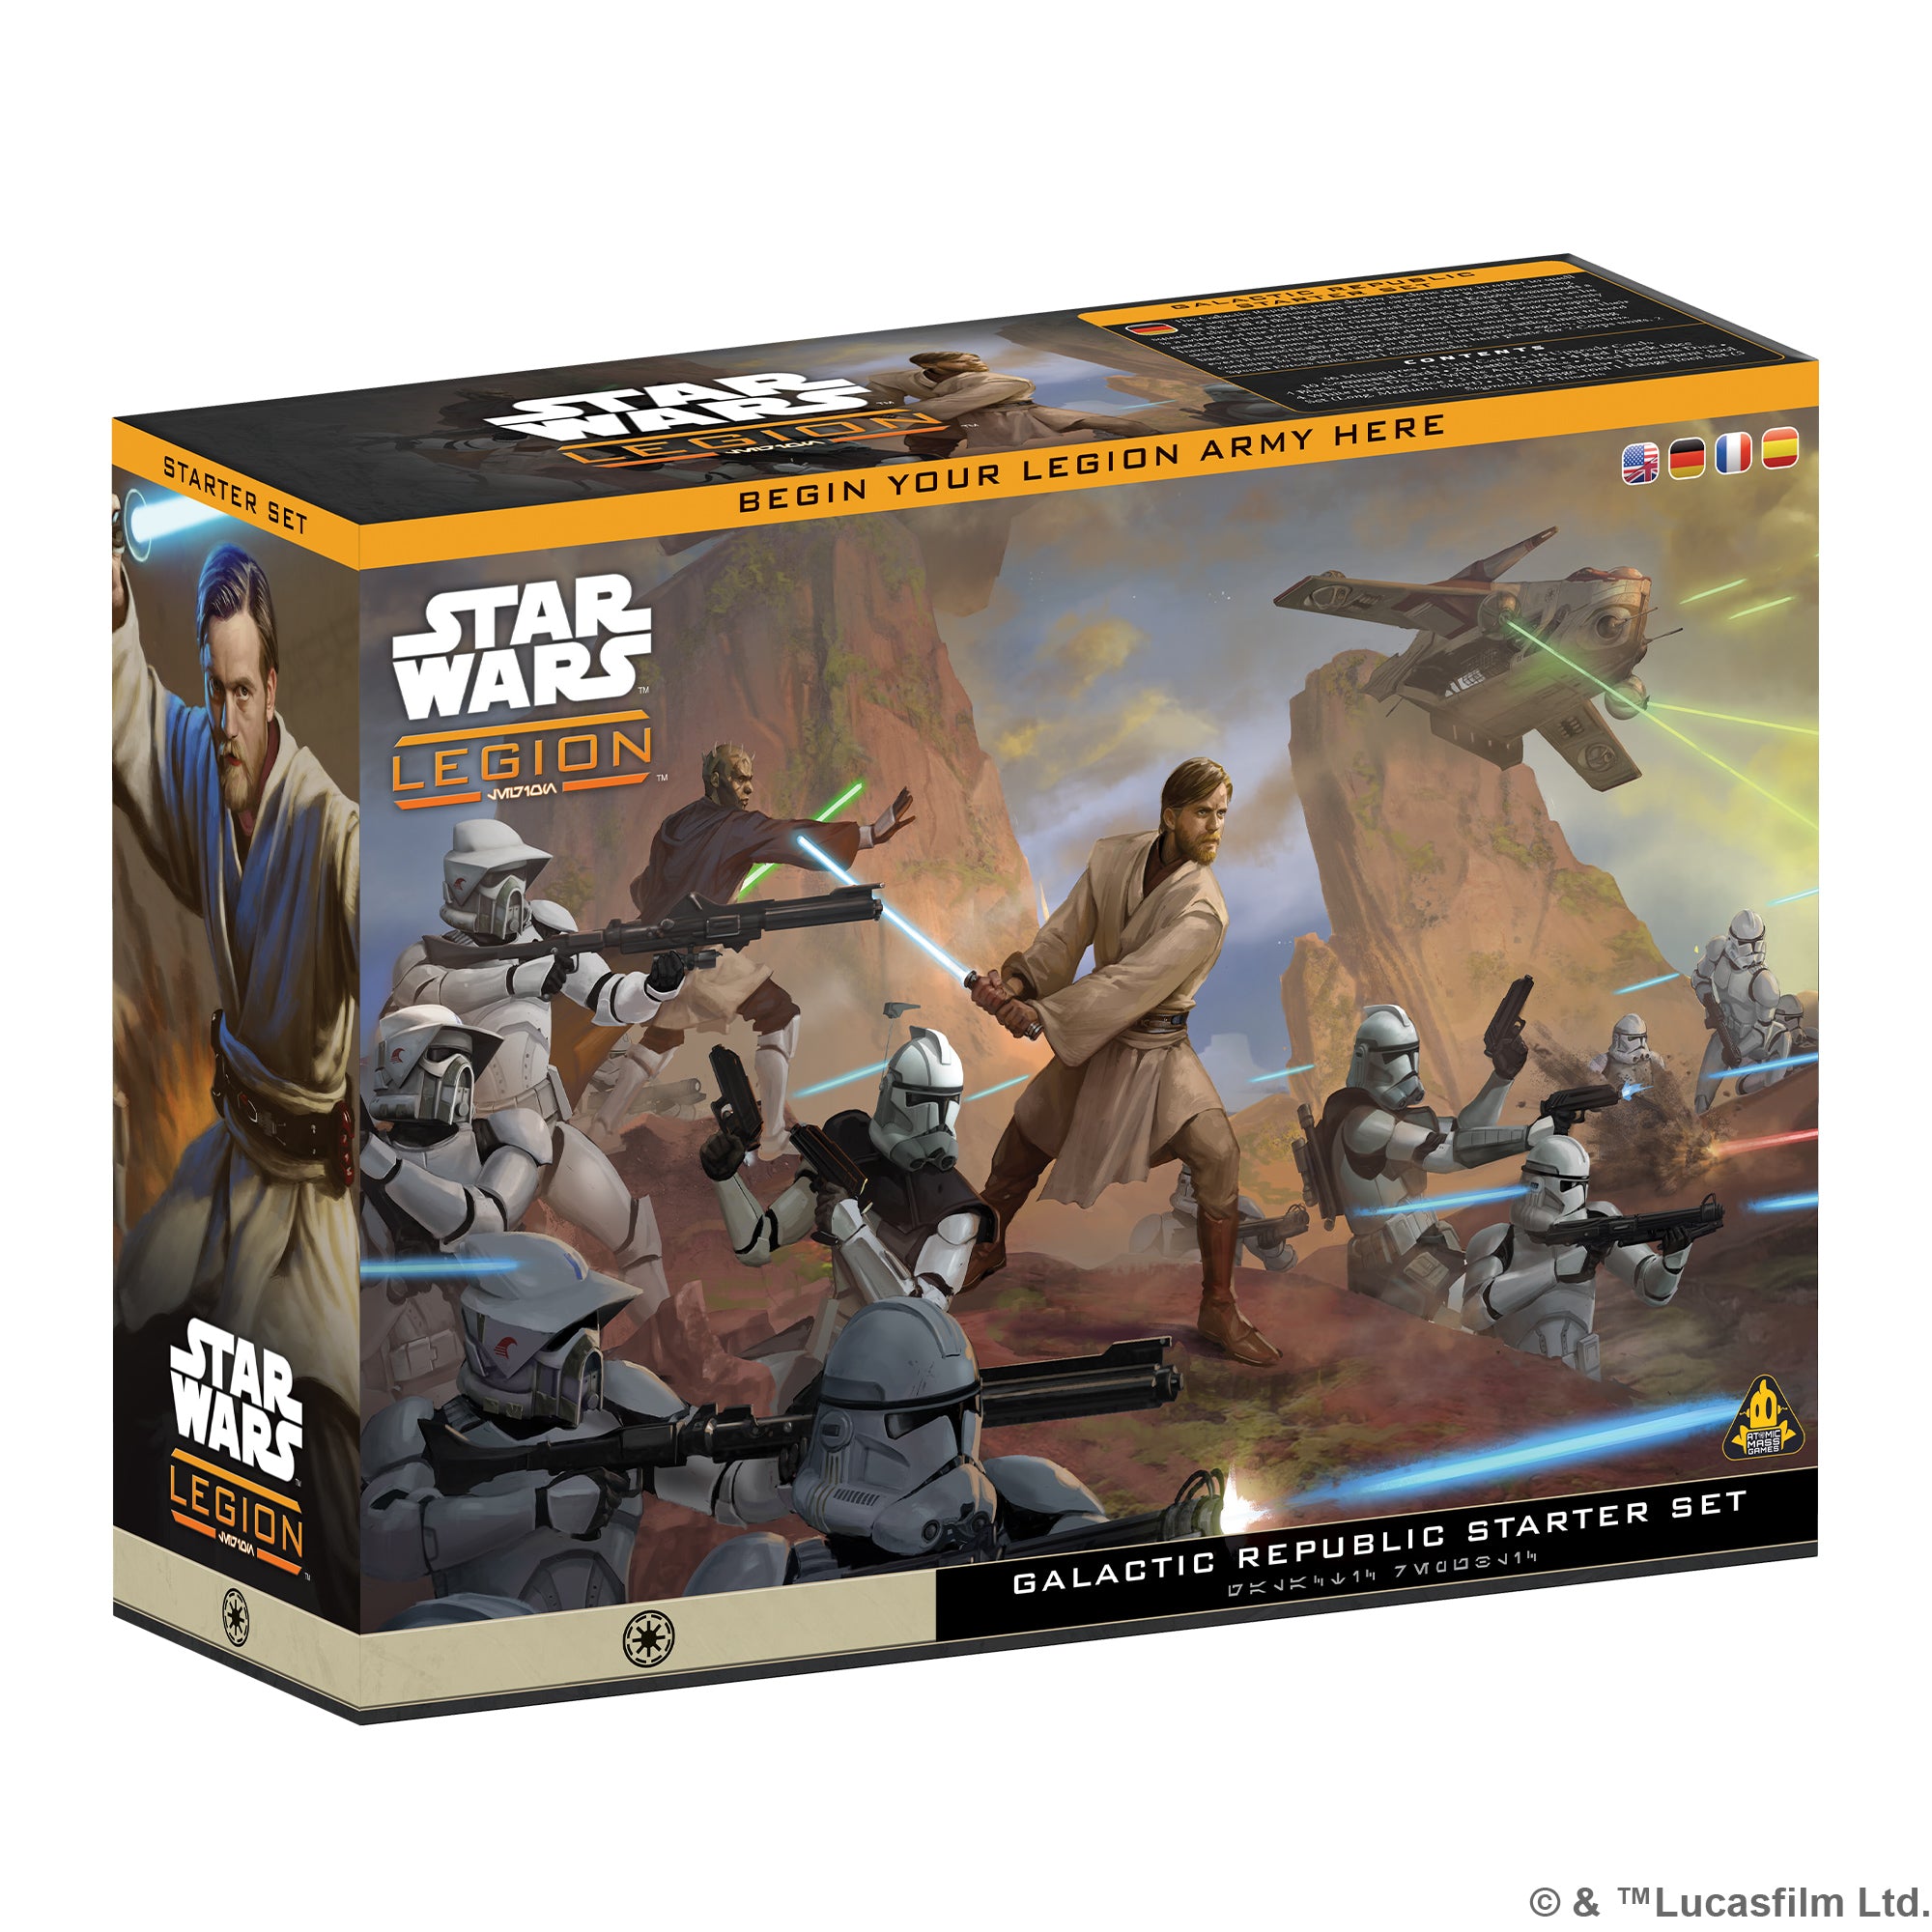
All that changed when Atomic Mass Games sent me the Republic Starter Set for Legion. I was suddenly faced with having to paint a 600-point Recon force, and I had a deadline of getting this done for Adepticon where I was set to battle my fellow editor, Alec Kozak, in my first ever game of Legion. In this tutorial, I'll talk about the techniques I used, the challenges I overcame, and the rush to get things done. Ultimately, I hope you can come out the other end feeling comfortable with army painting.
Inspiration
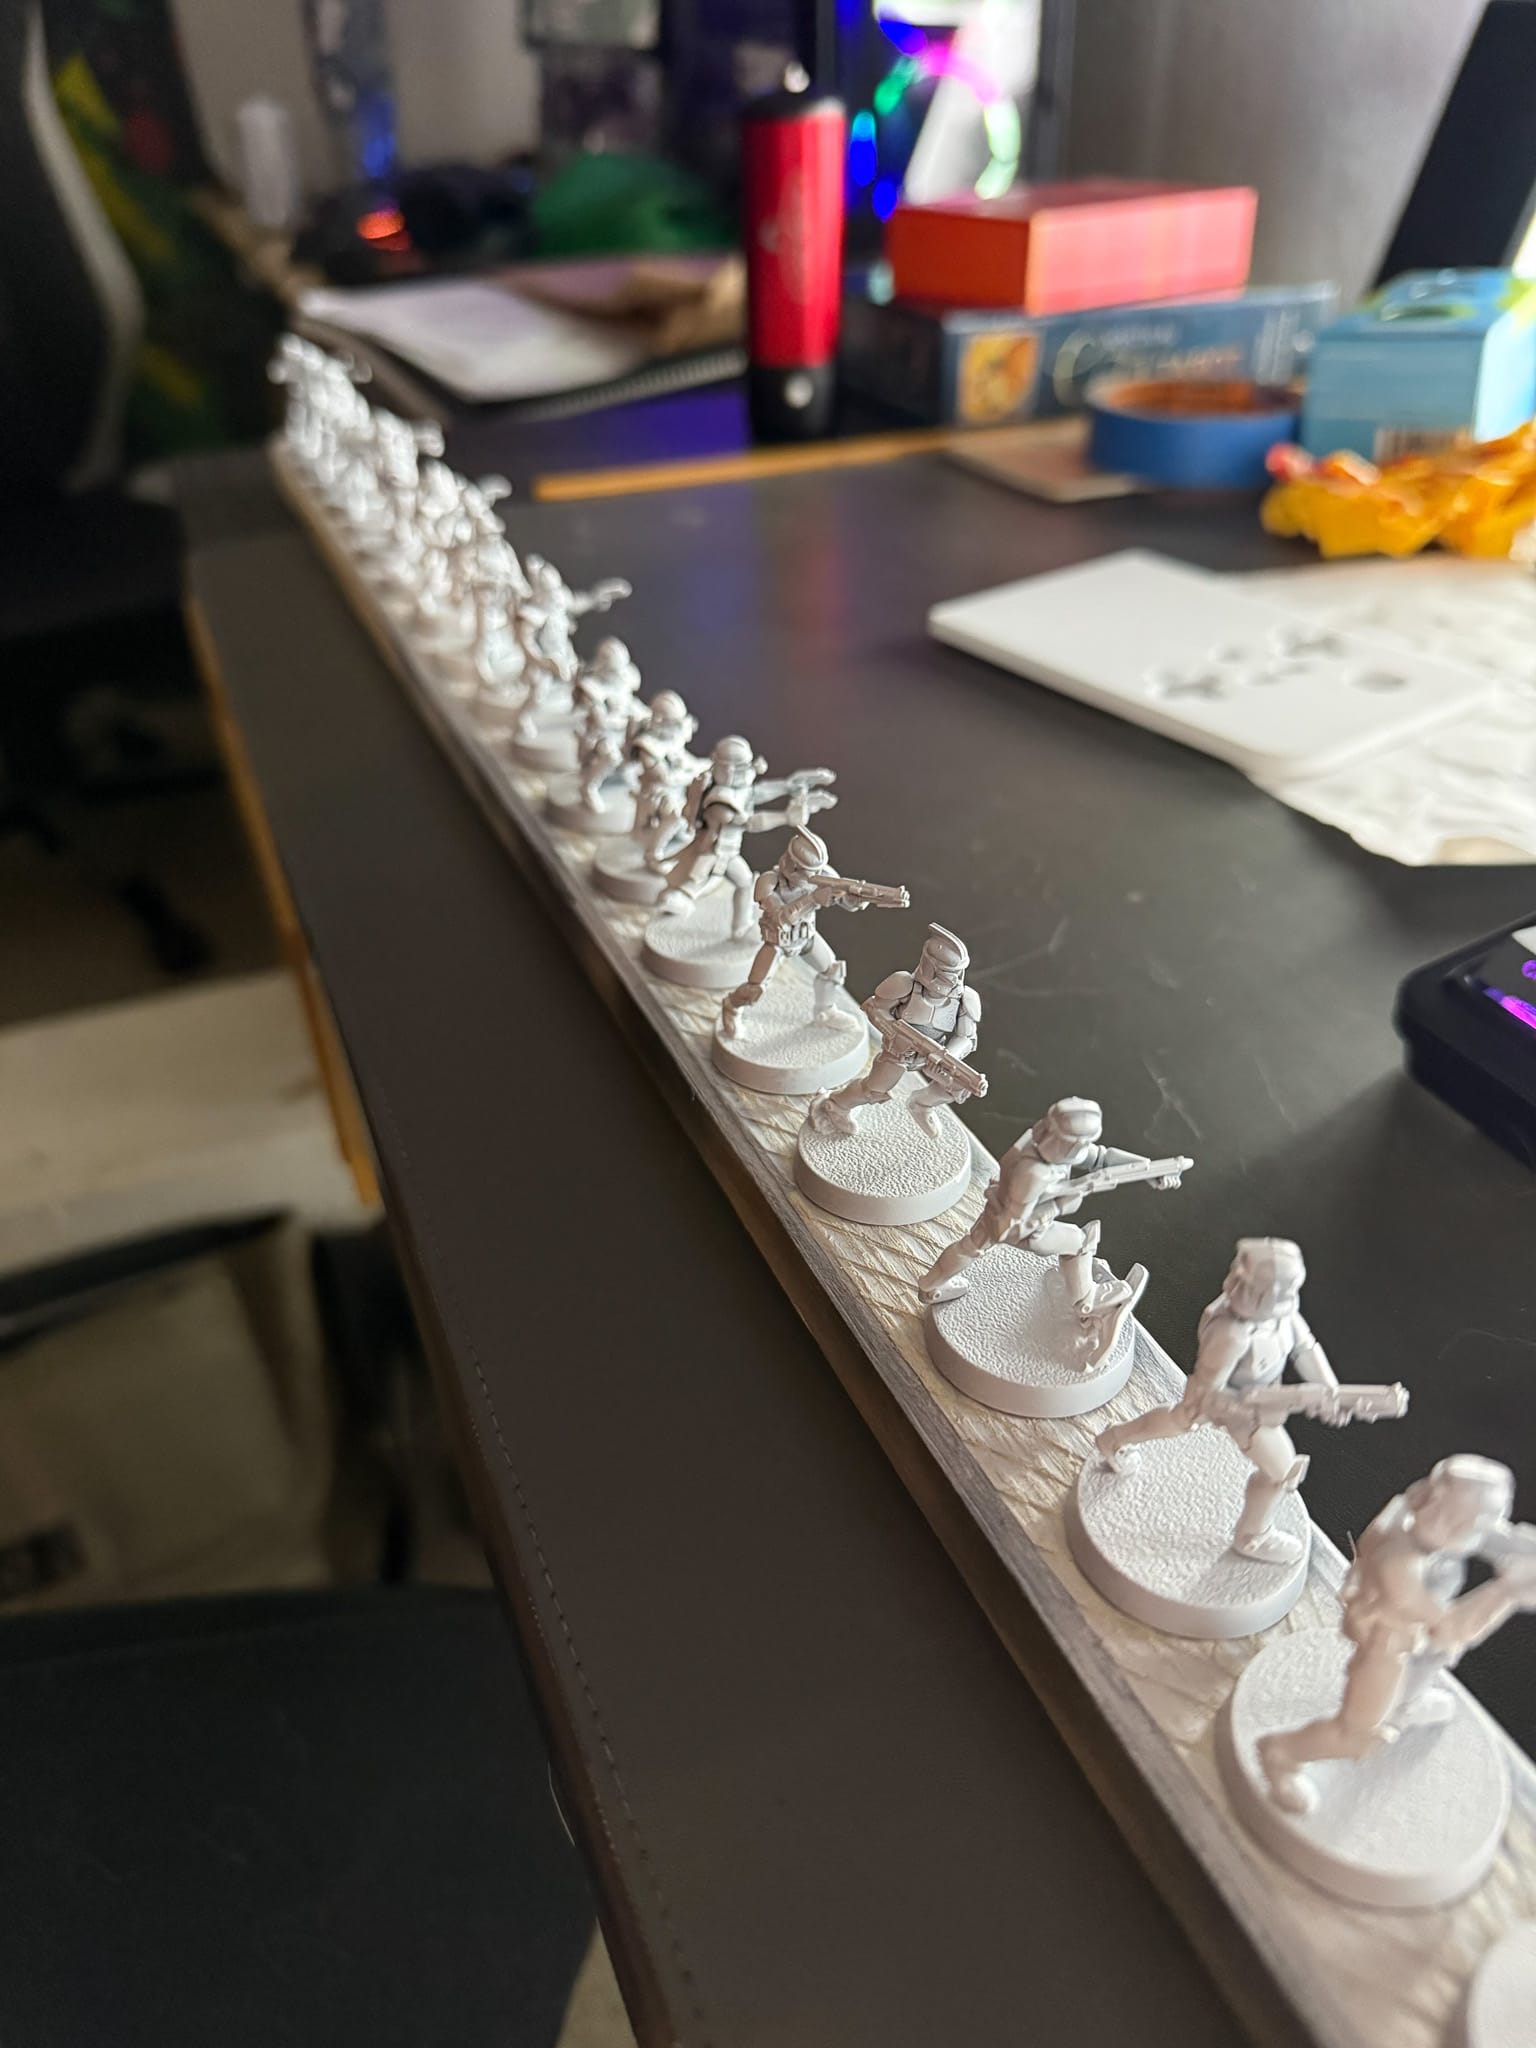
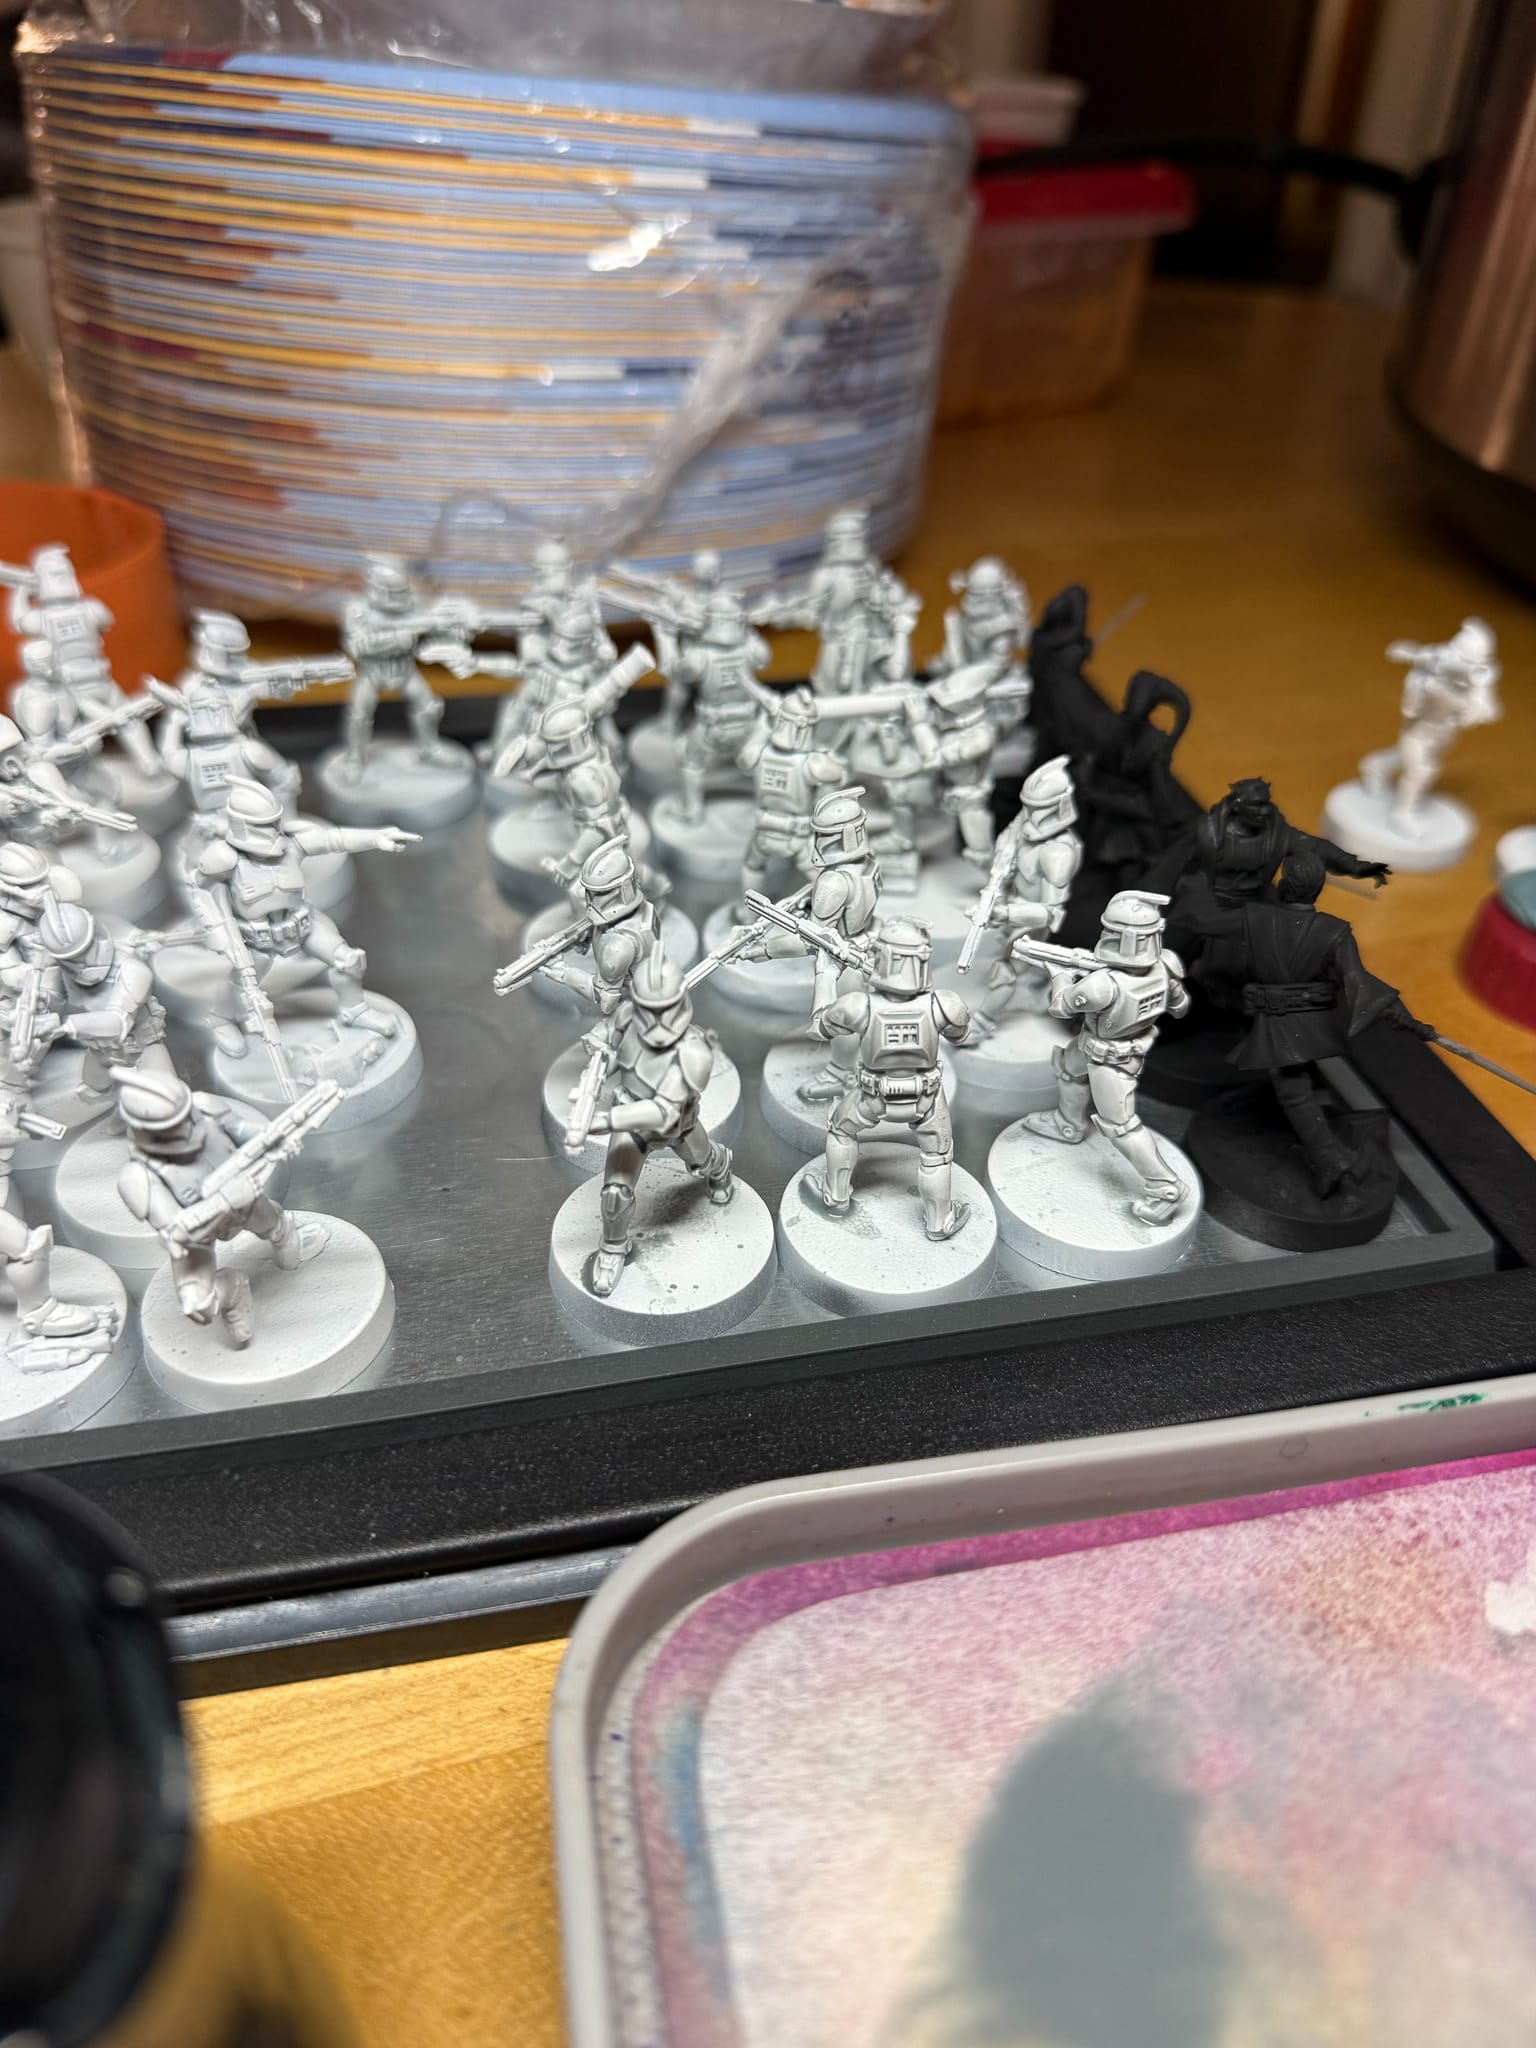
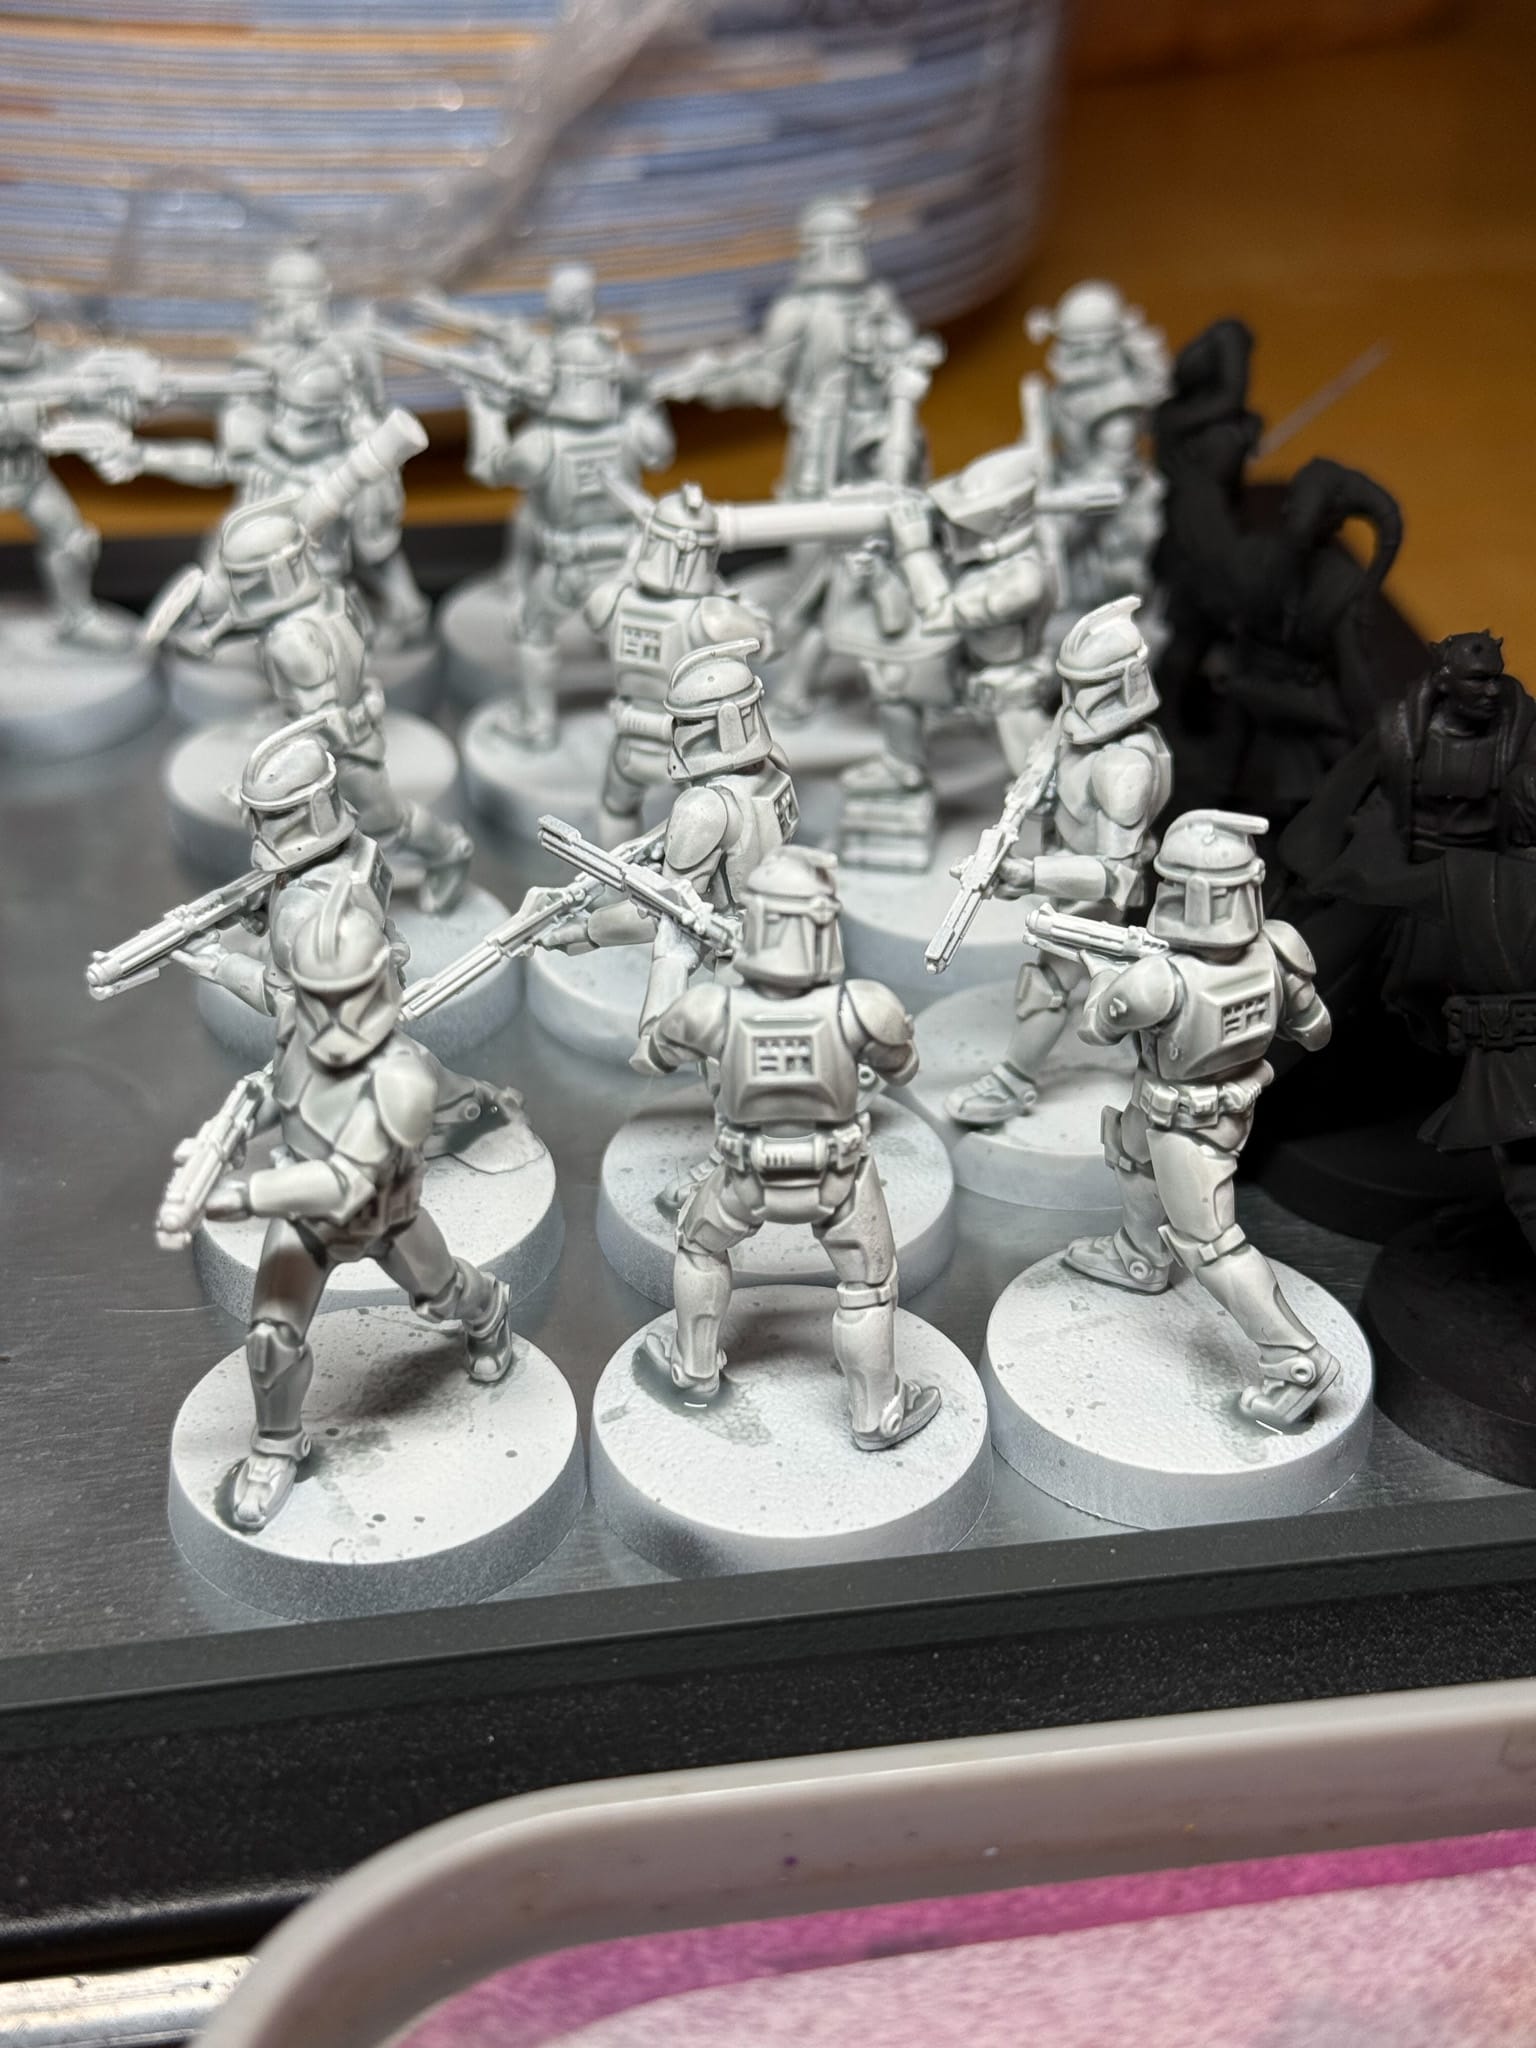
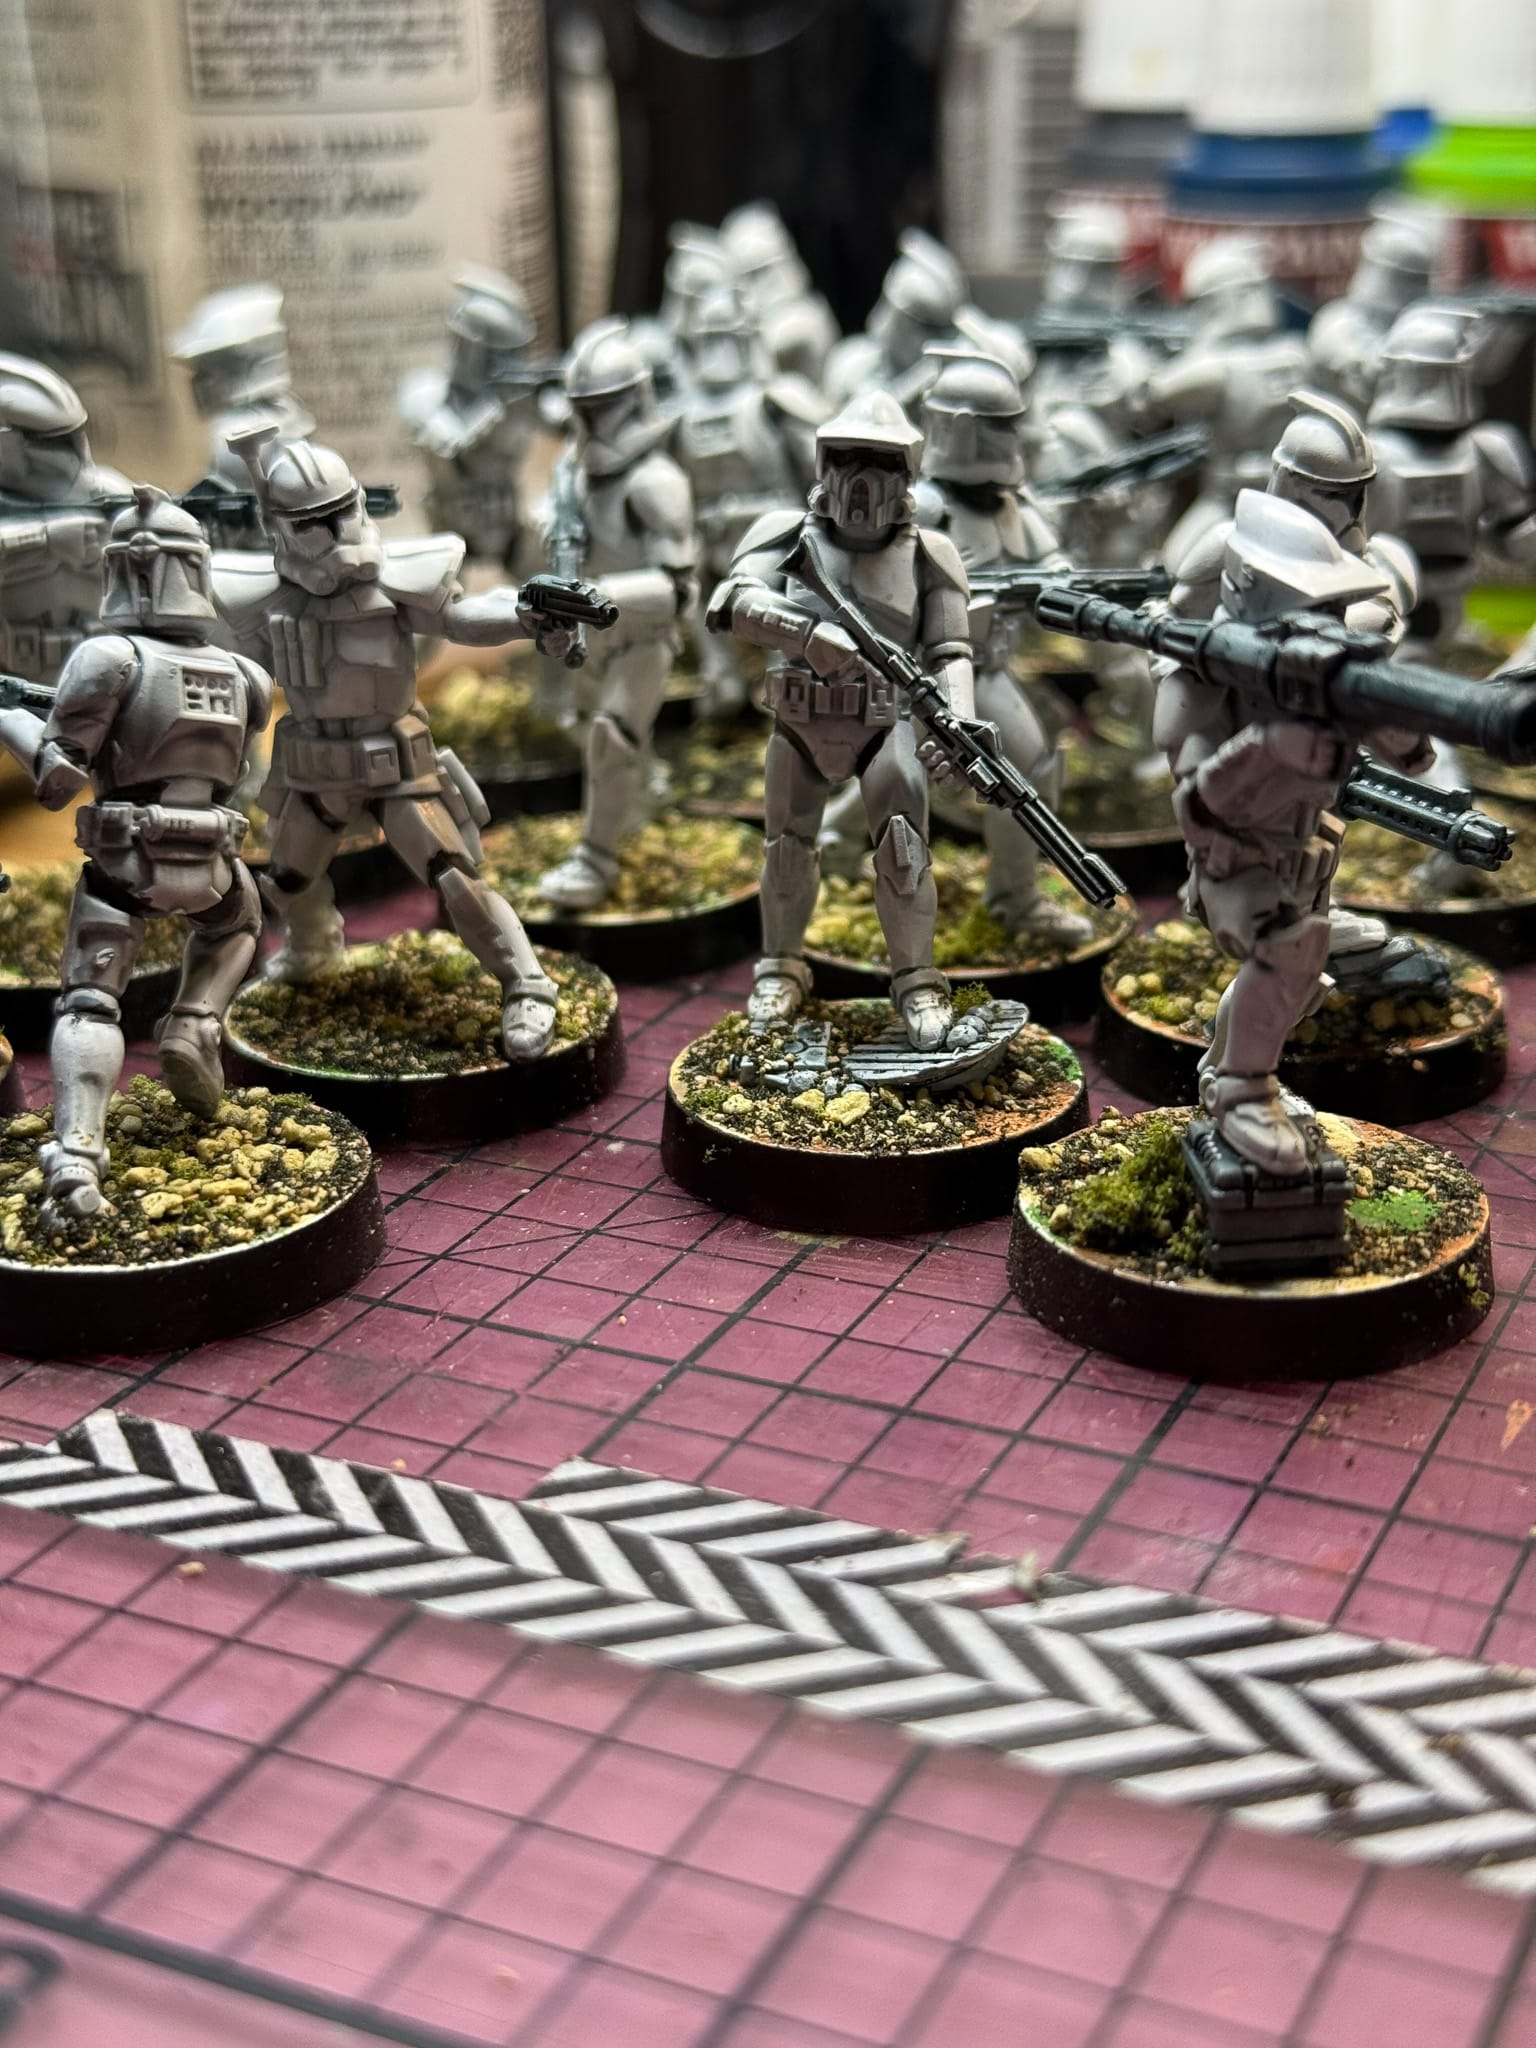
Large projects like this can be daunting. Once I got all of the pieces together (36 models), I felt unease. Where do I start? Do I paint a test? How do I prime all of them? Luckily, you're not alone. I primarily followed tips from folks like Sorastro, the Legion Subreddit, and various YouTube channels. What I then did was look for inspiration. Yes, Clone Troopers are a basic white and black combination, but what about squad markings, weathering, and details which help set my pieces apart on the gaming table?
I actually find Pinterest to be a great source of information when I'm looking up schemes. Here's the board I made, which contains a lot of blue schemes, but you can swap for whatever colors you want. What I wanted to see was line placement, weathering, and the black lining. And like most boards, it goes deep and broad.
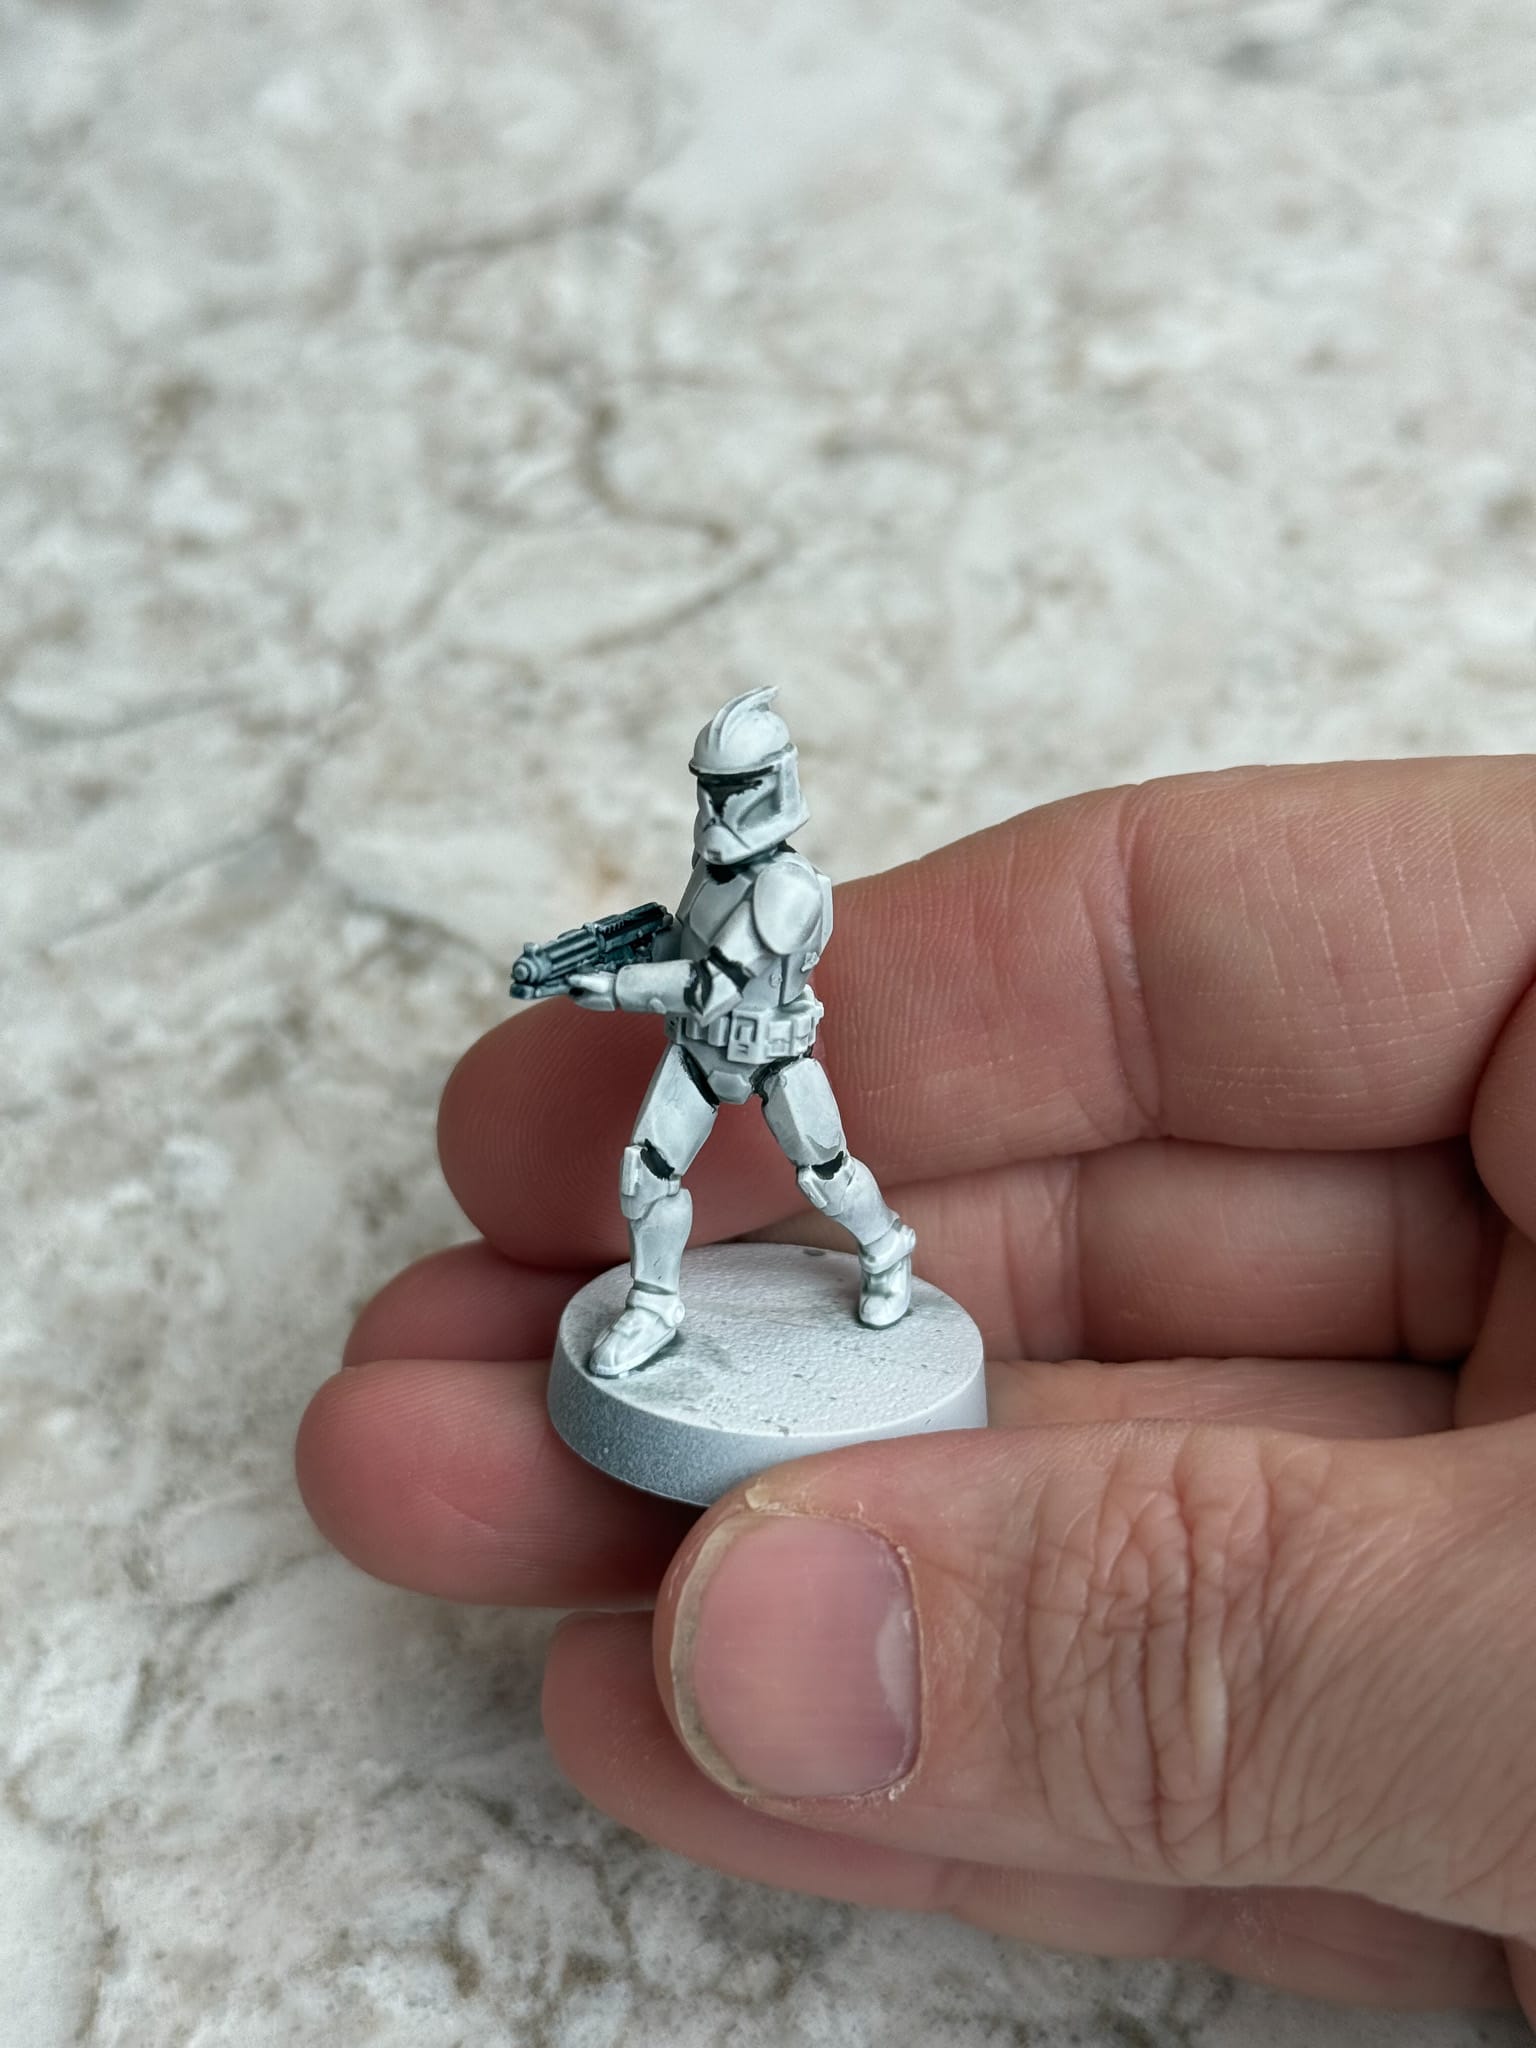
A single clone
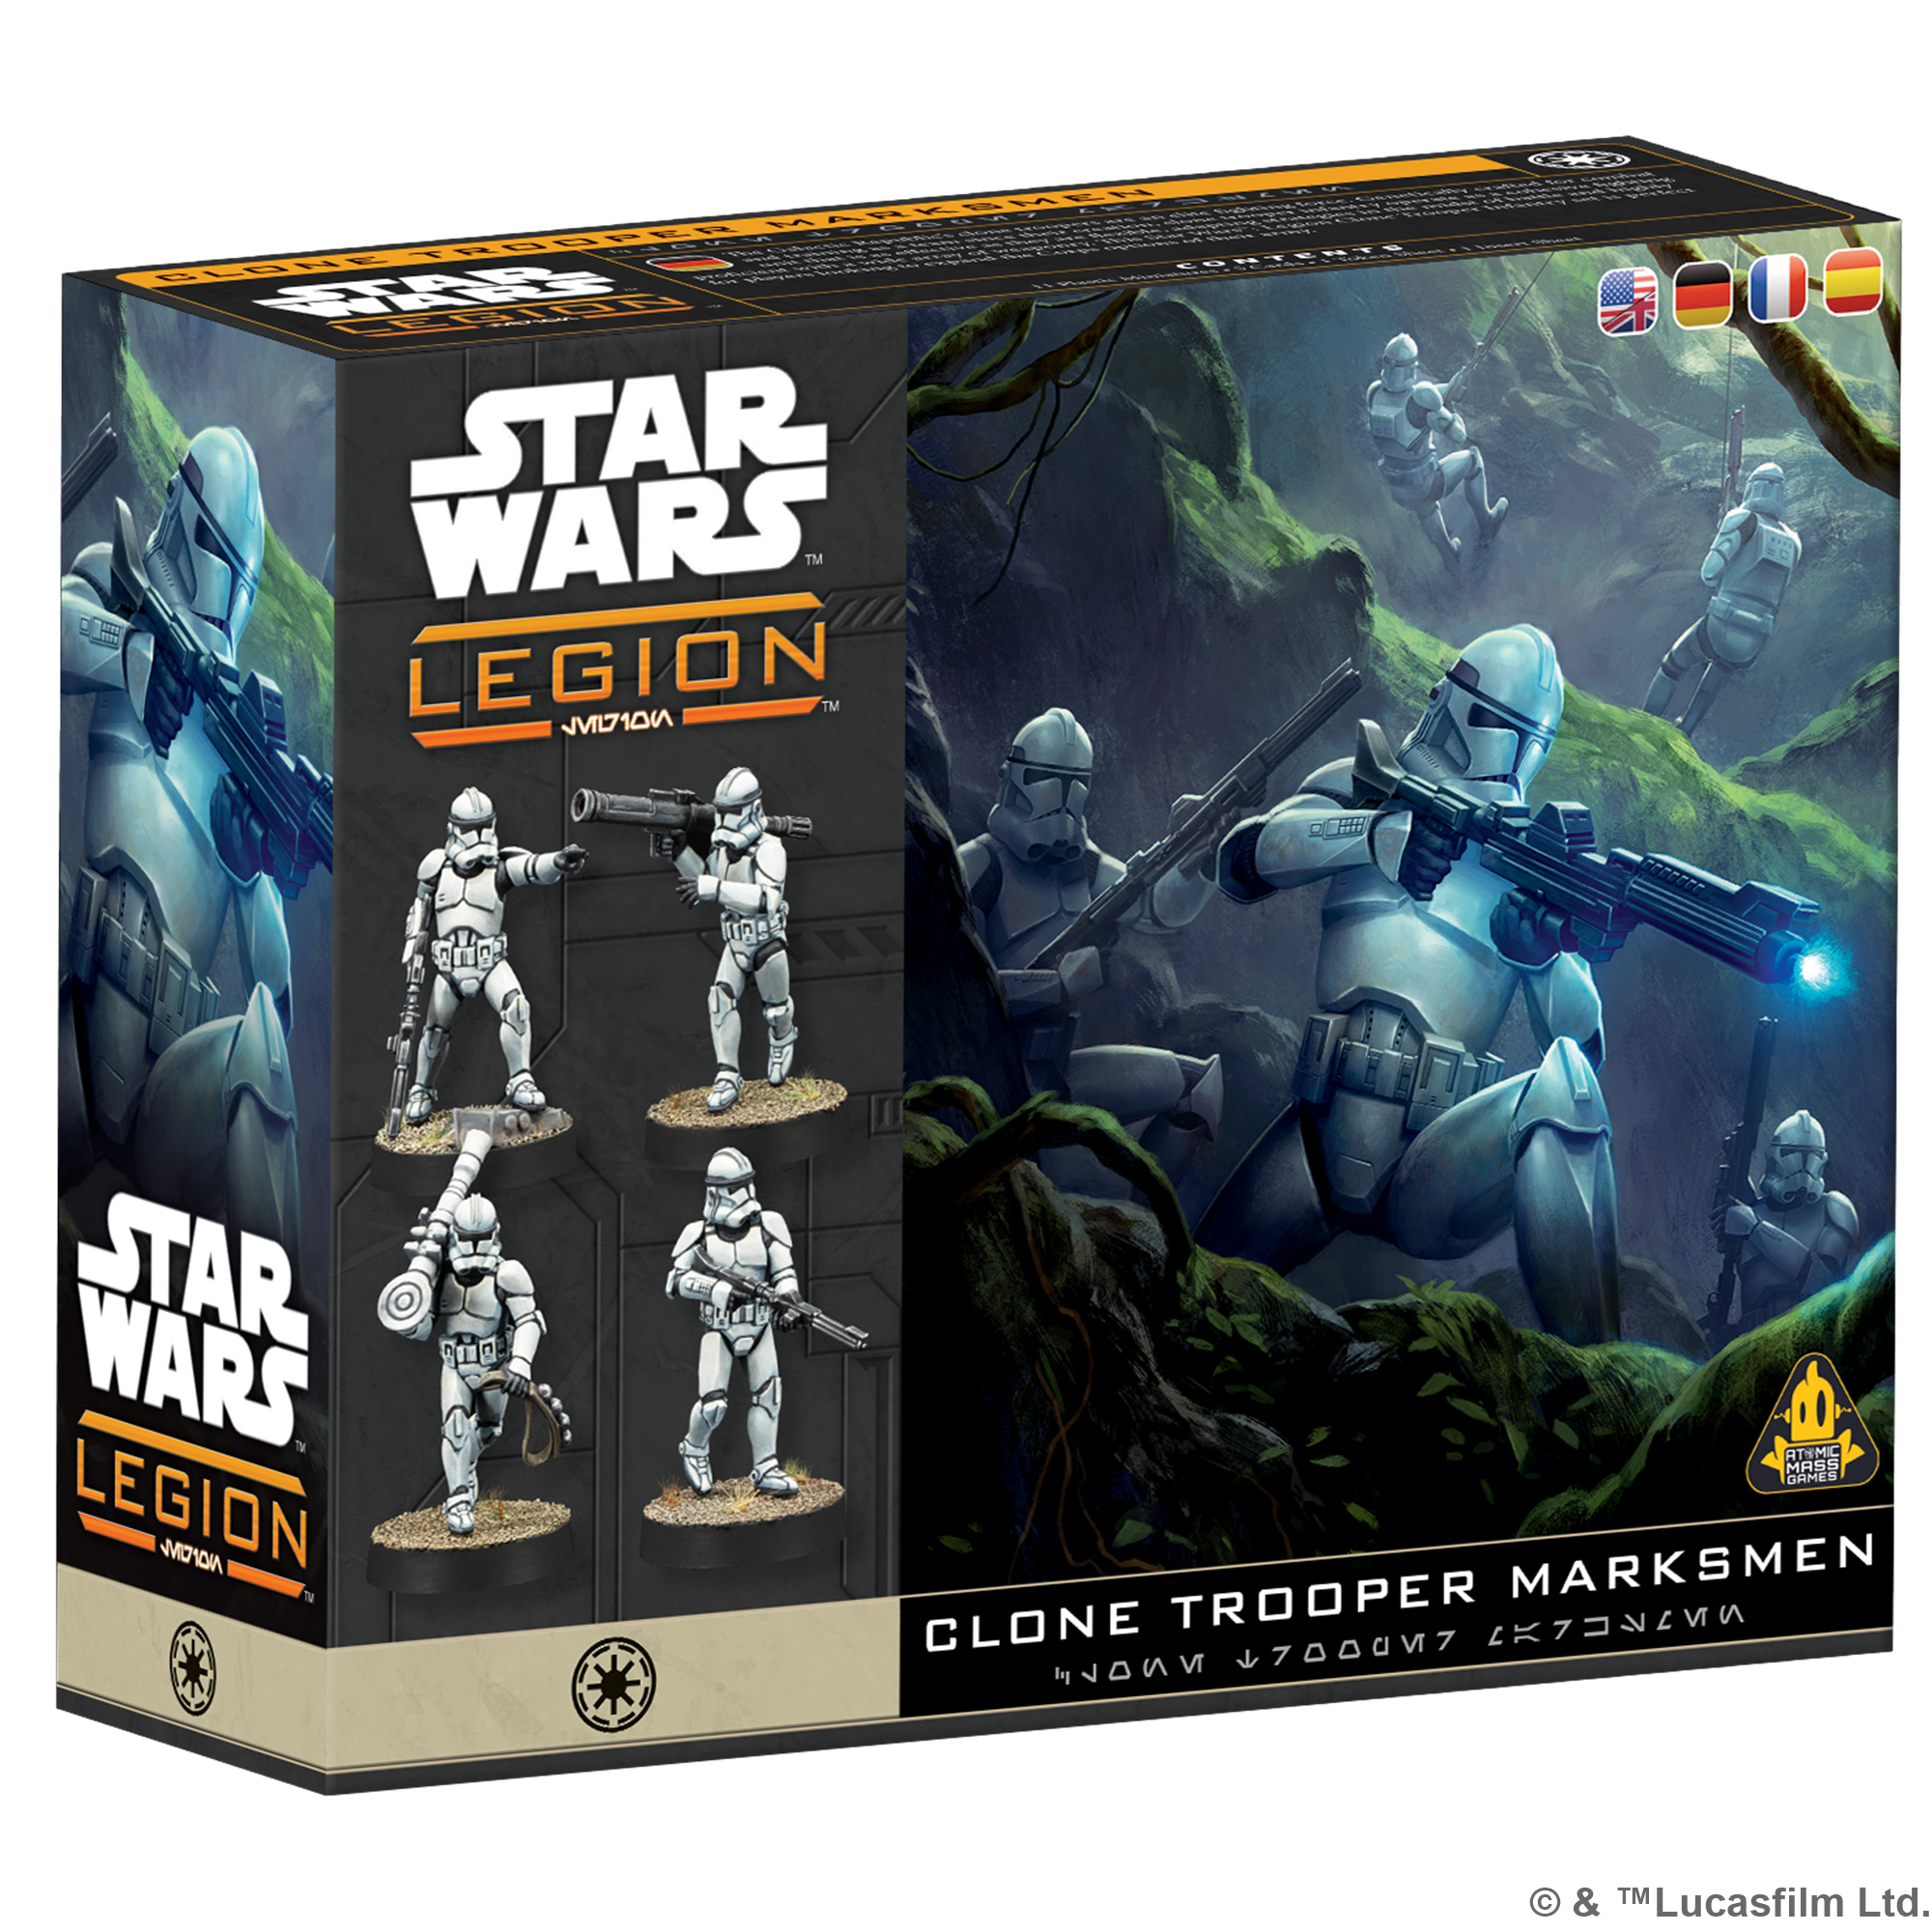
Now that I had some ideas and processes in my brain, I set about painting a single clone. Luckily, Atomic Mass had just sent me some reinforcements in the form of Clone Trooper Marksmen (which I didn't keep in my force due to point restrictions). The Marksmen pack is an excellent addition to the starter set, as they add in a unit with a Dodge token, and a Marksman keyword, which modifies dice rolls with Aim tokens. Also, you get an RPS-6, which is a big ol' rocket launcher. Worth a pickup in my mind.
So I chose a few clones from this box to try my basic scheme. My intent was to make something fast that could look good from far away, but wouldn't require me to spend a lot of time mixing paints together.
First, a prime. White Scar is the can I have sitting around, but any white or off-white primer will do. Blast your clone from all directions, making sure that the white covers the model in its entirety. Then, I used AK Quick Gen's White Shadow, which is a contrast/speedpaint. If you're not experienced with these, they're a product that has come out in the last few years which allows painters to lay on paint, typically over a white or zenithal prime, and see instant results. The nature of the paint allows it to flow into cracks and fill in details, generally saving you time in creating shadows. I will also now admit that I didn't take too many in progress shots, so here's some shots from when I worked on the entire army.

In this case, White Shadow helped create depth on my clones by providing shadows. Once that layer was dried, I performed some touchups where needed, and then focused on the guns. For those guns, I used another contrast style paint, this time from Army Painter. Turnbull Turquoise, despite the name, comes out as a dark gunmetal blue. All the weapons needed was a single coat.
The blacks turned out to be a lot harder than I anticipated. I first tried an enamel, as I was thinking that the details of the model would help pick up the paint, but it didn't work out. So I switched to a combination of The Darkness and Matt Black, with the properties of the dark blue/green of The Darkness helping provide some more depth.
Now that I had my details filled in, I came back through with a mixture of Ivory White and Bold Titanium (Monument). The ivory helped with coverage and provided a base for me to put final highlights via Bold Titanium.
With these steps, I had a scheme in place. Now, to paint the other 40-some-odd miniatures.
Repetition
I've never been the painter to have a tv show or a movie on, as my attention is usually 100% focused on the model. However, when you have 30+ clone troopers, you need something to help pass the time. In order to build and paint this army, I did so over months, typically in my normal routine, which also consisted of putting together two display pieces for Adepticon, writing articles for GamingTrend, and the occasional "I want to paint something else" piece.

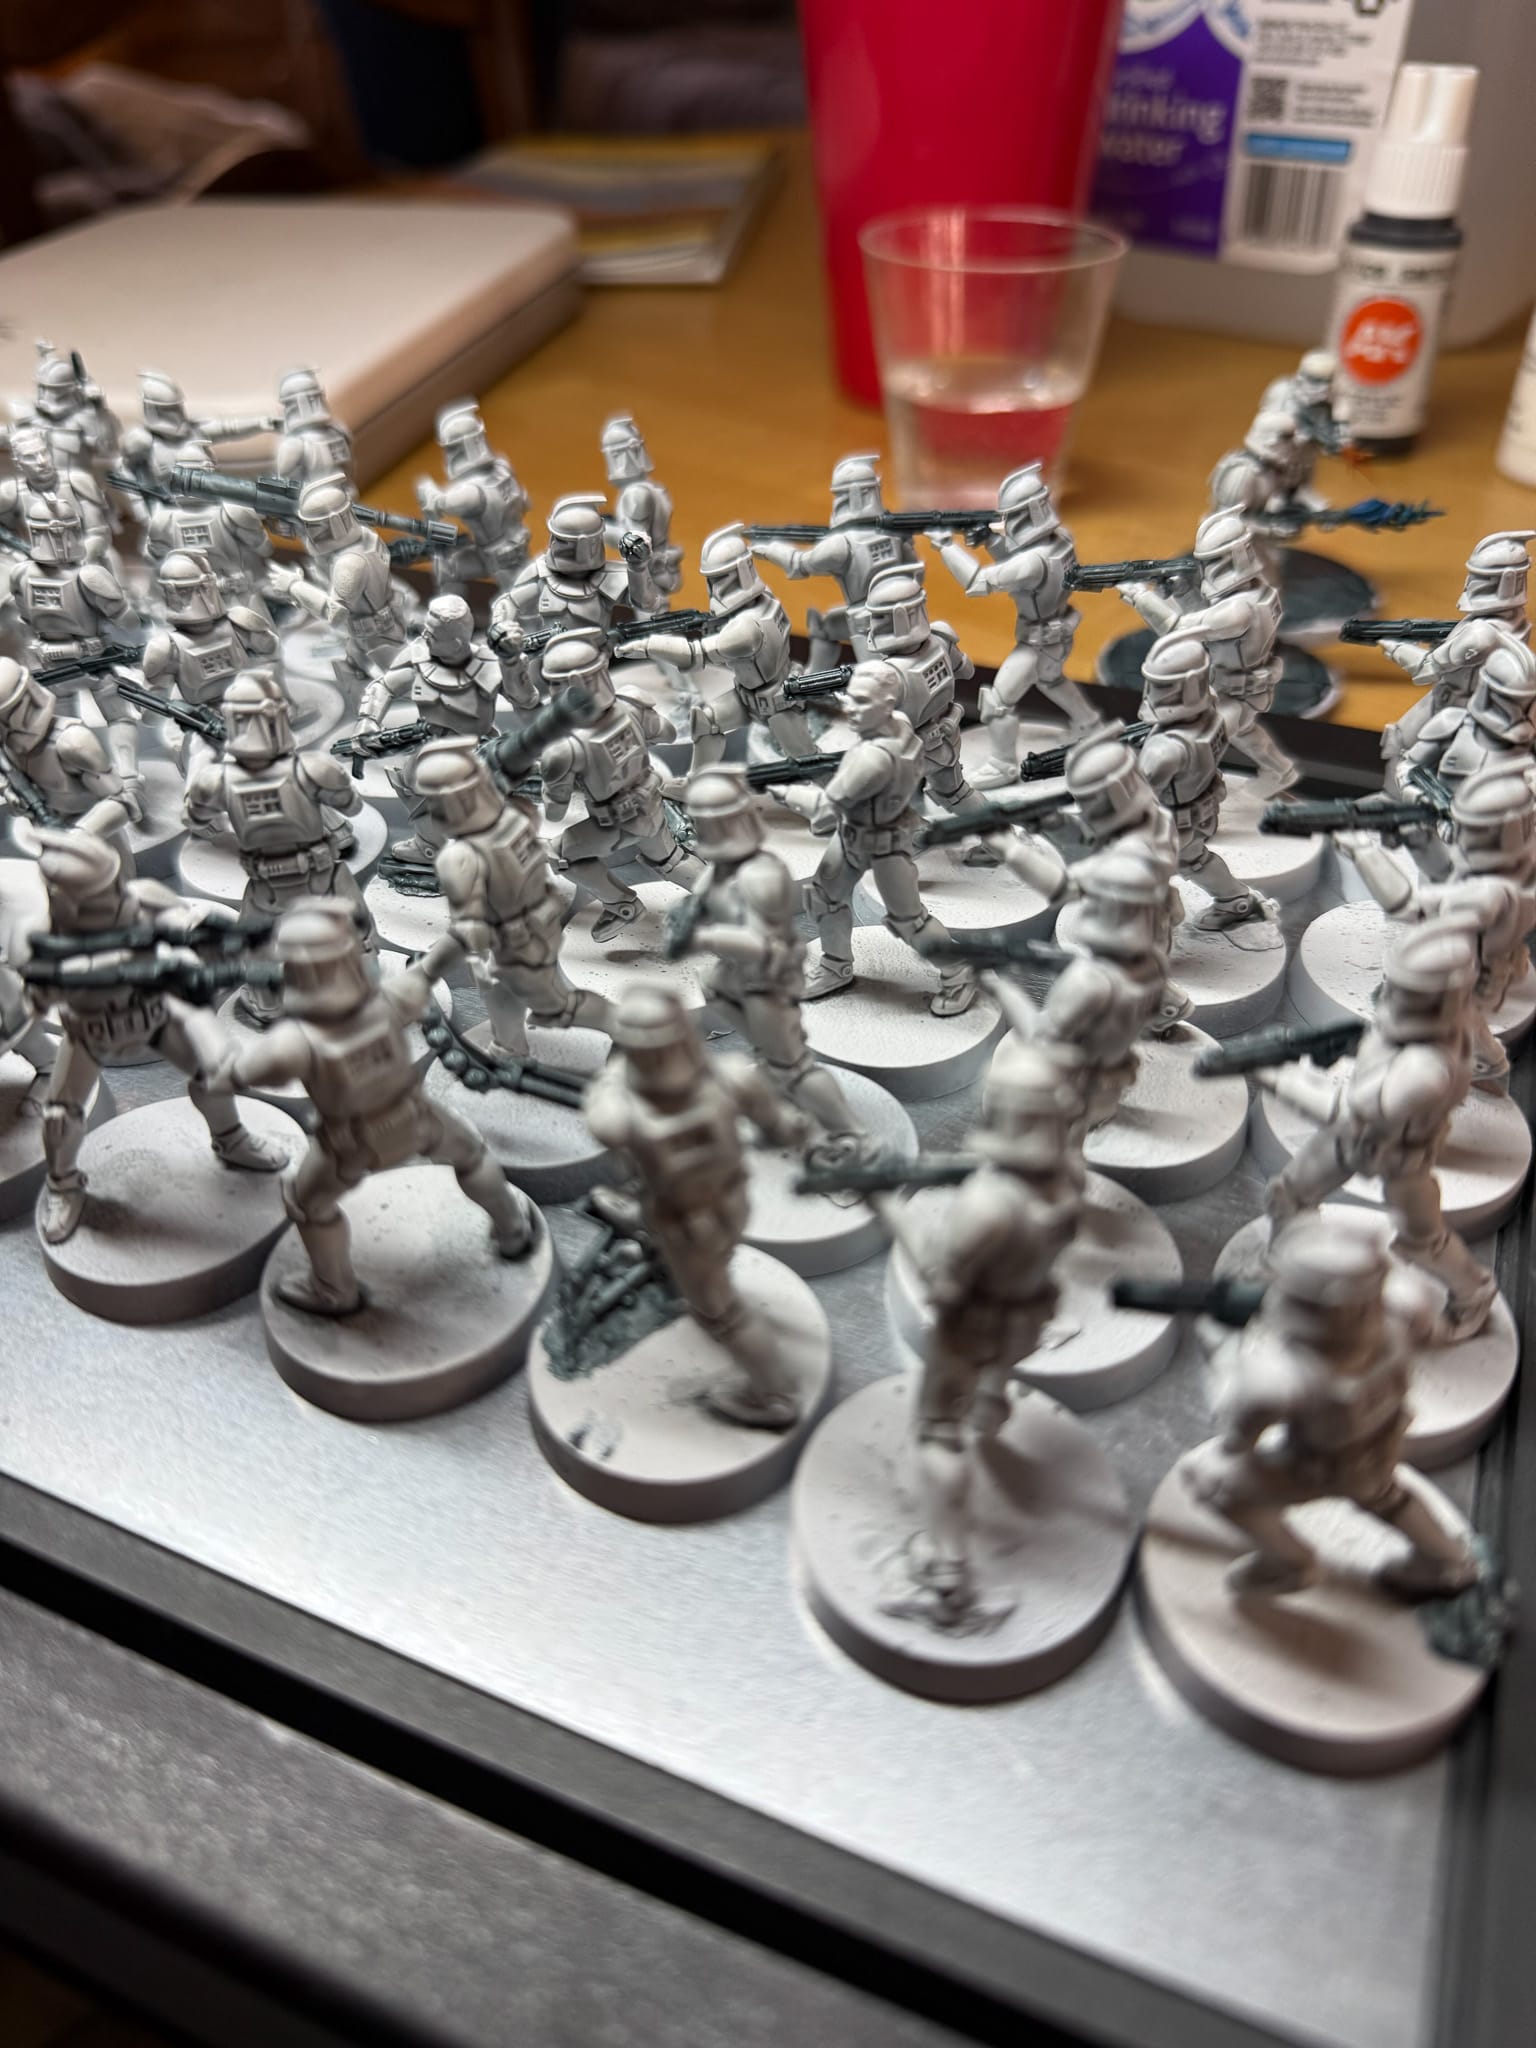
Assembling and prepping en masse was quite an experience. So many options, so much primer.
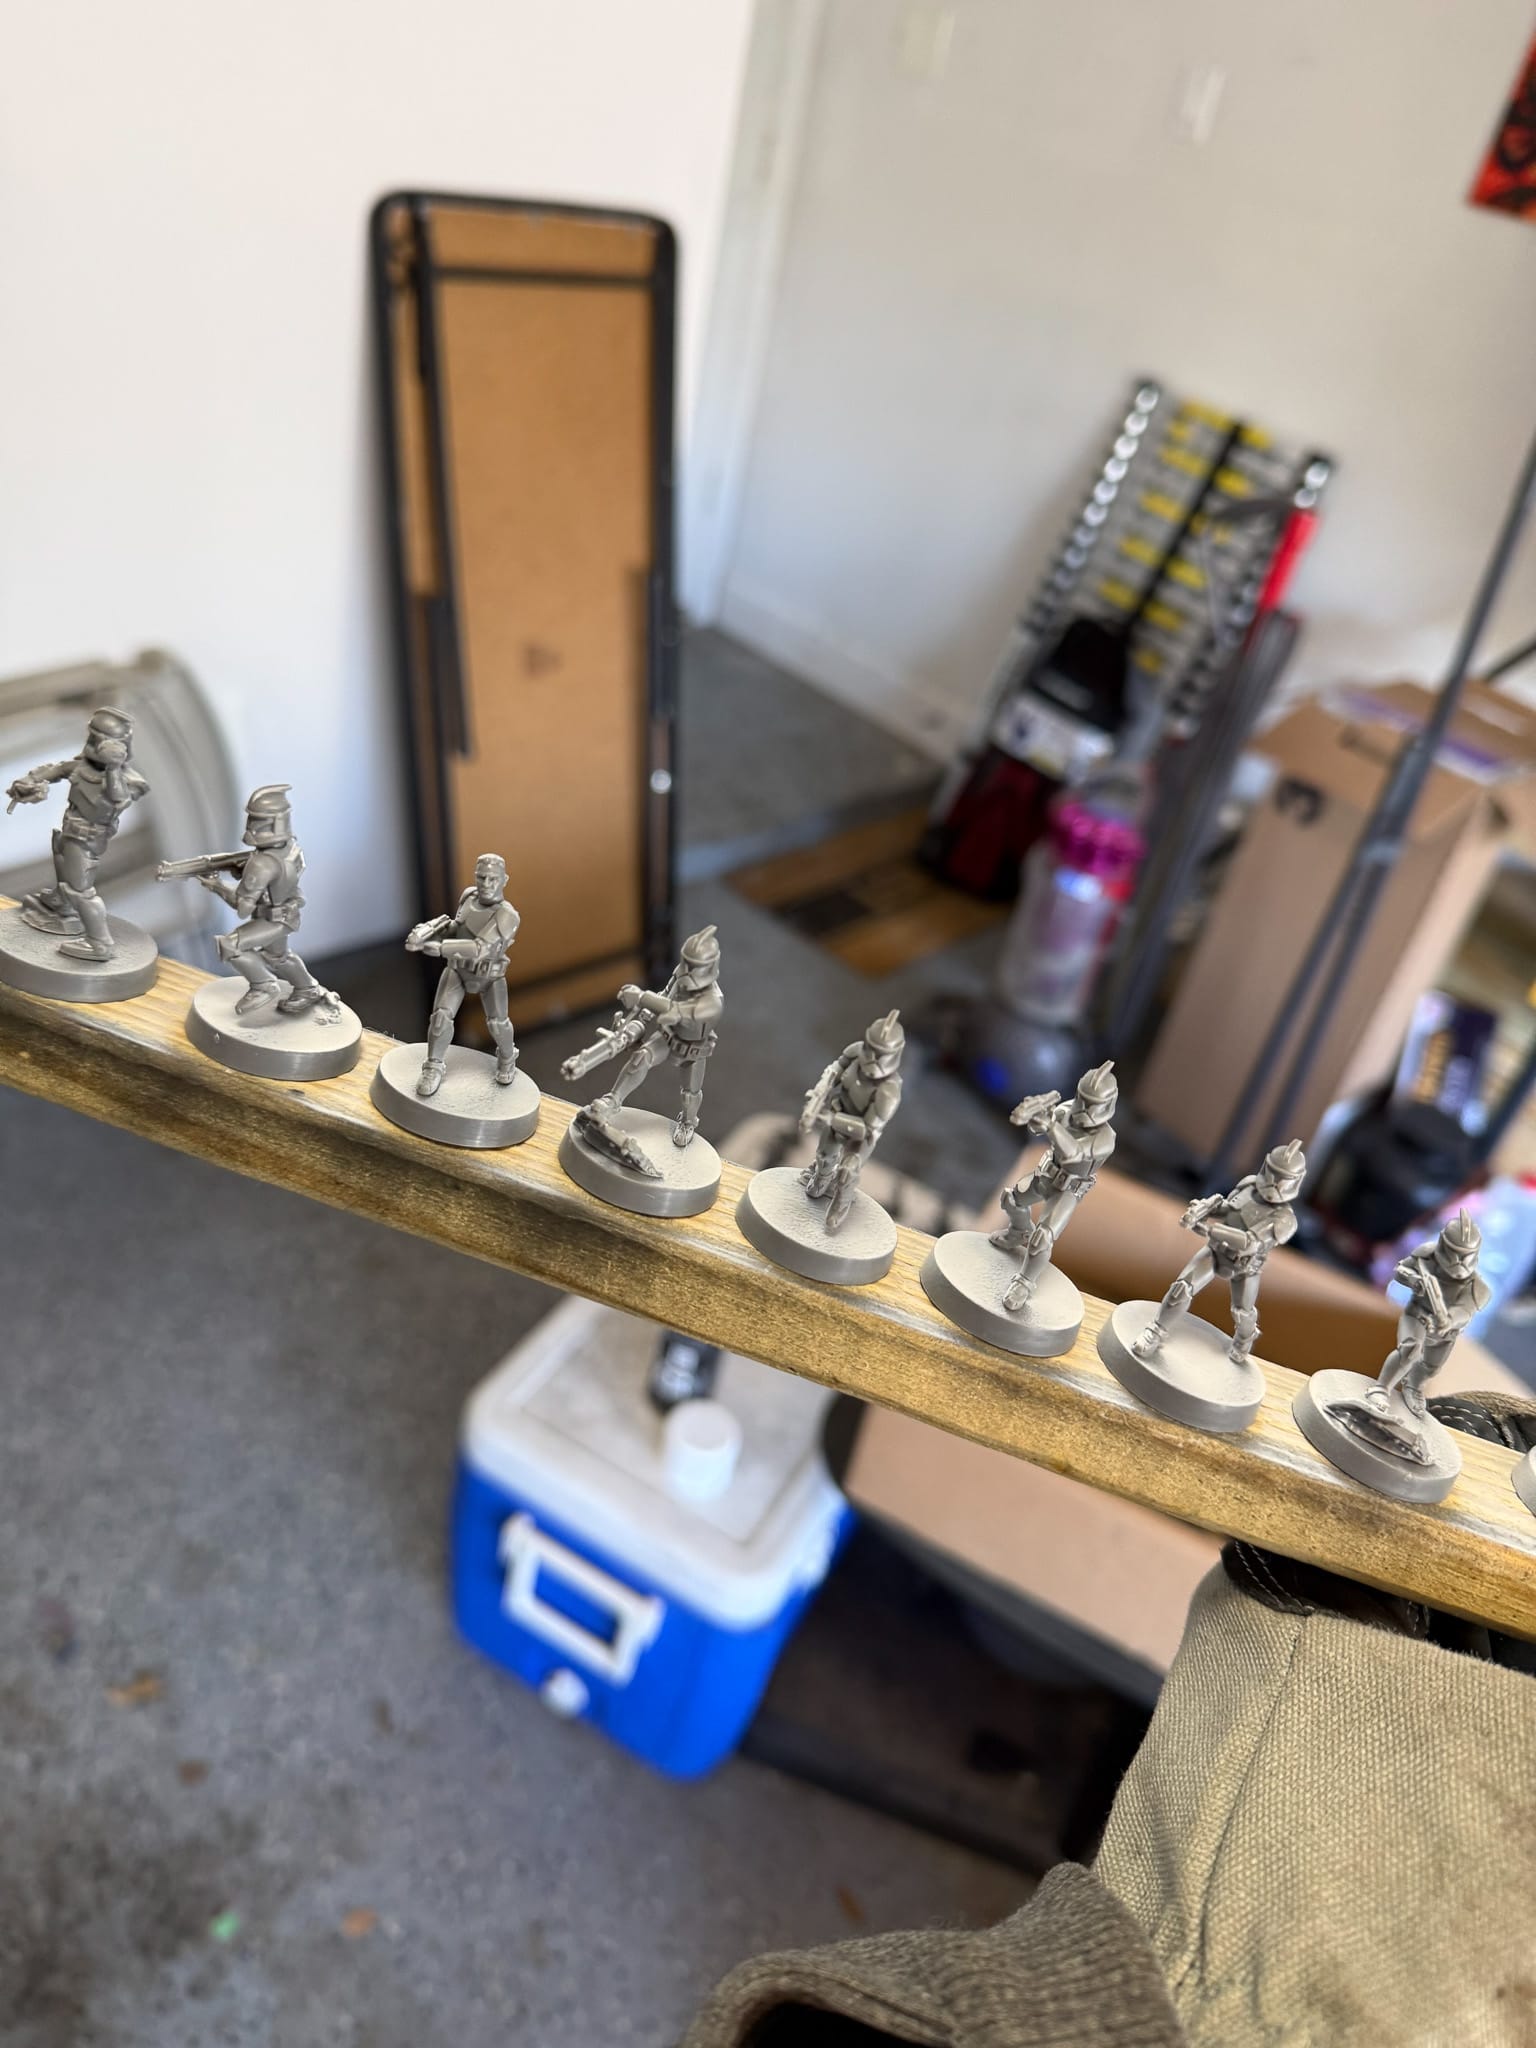
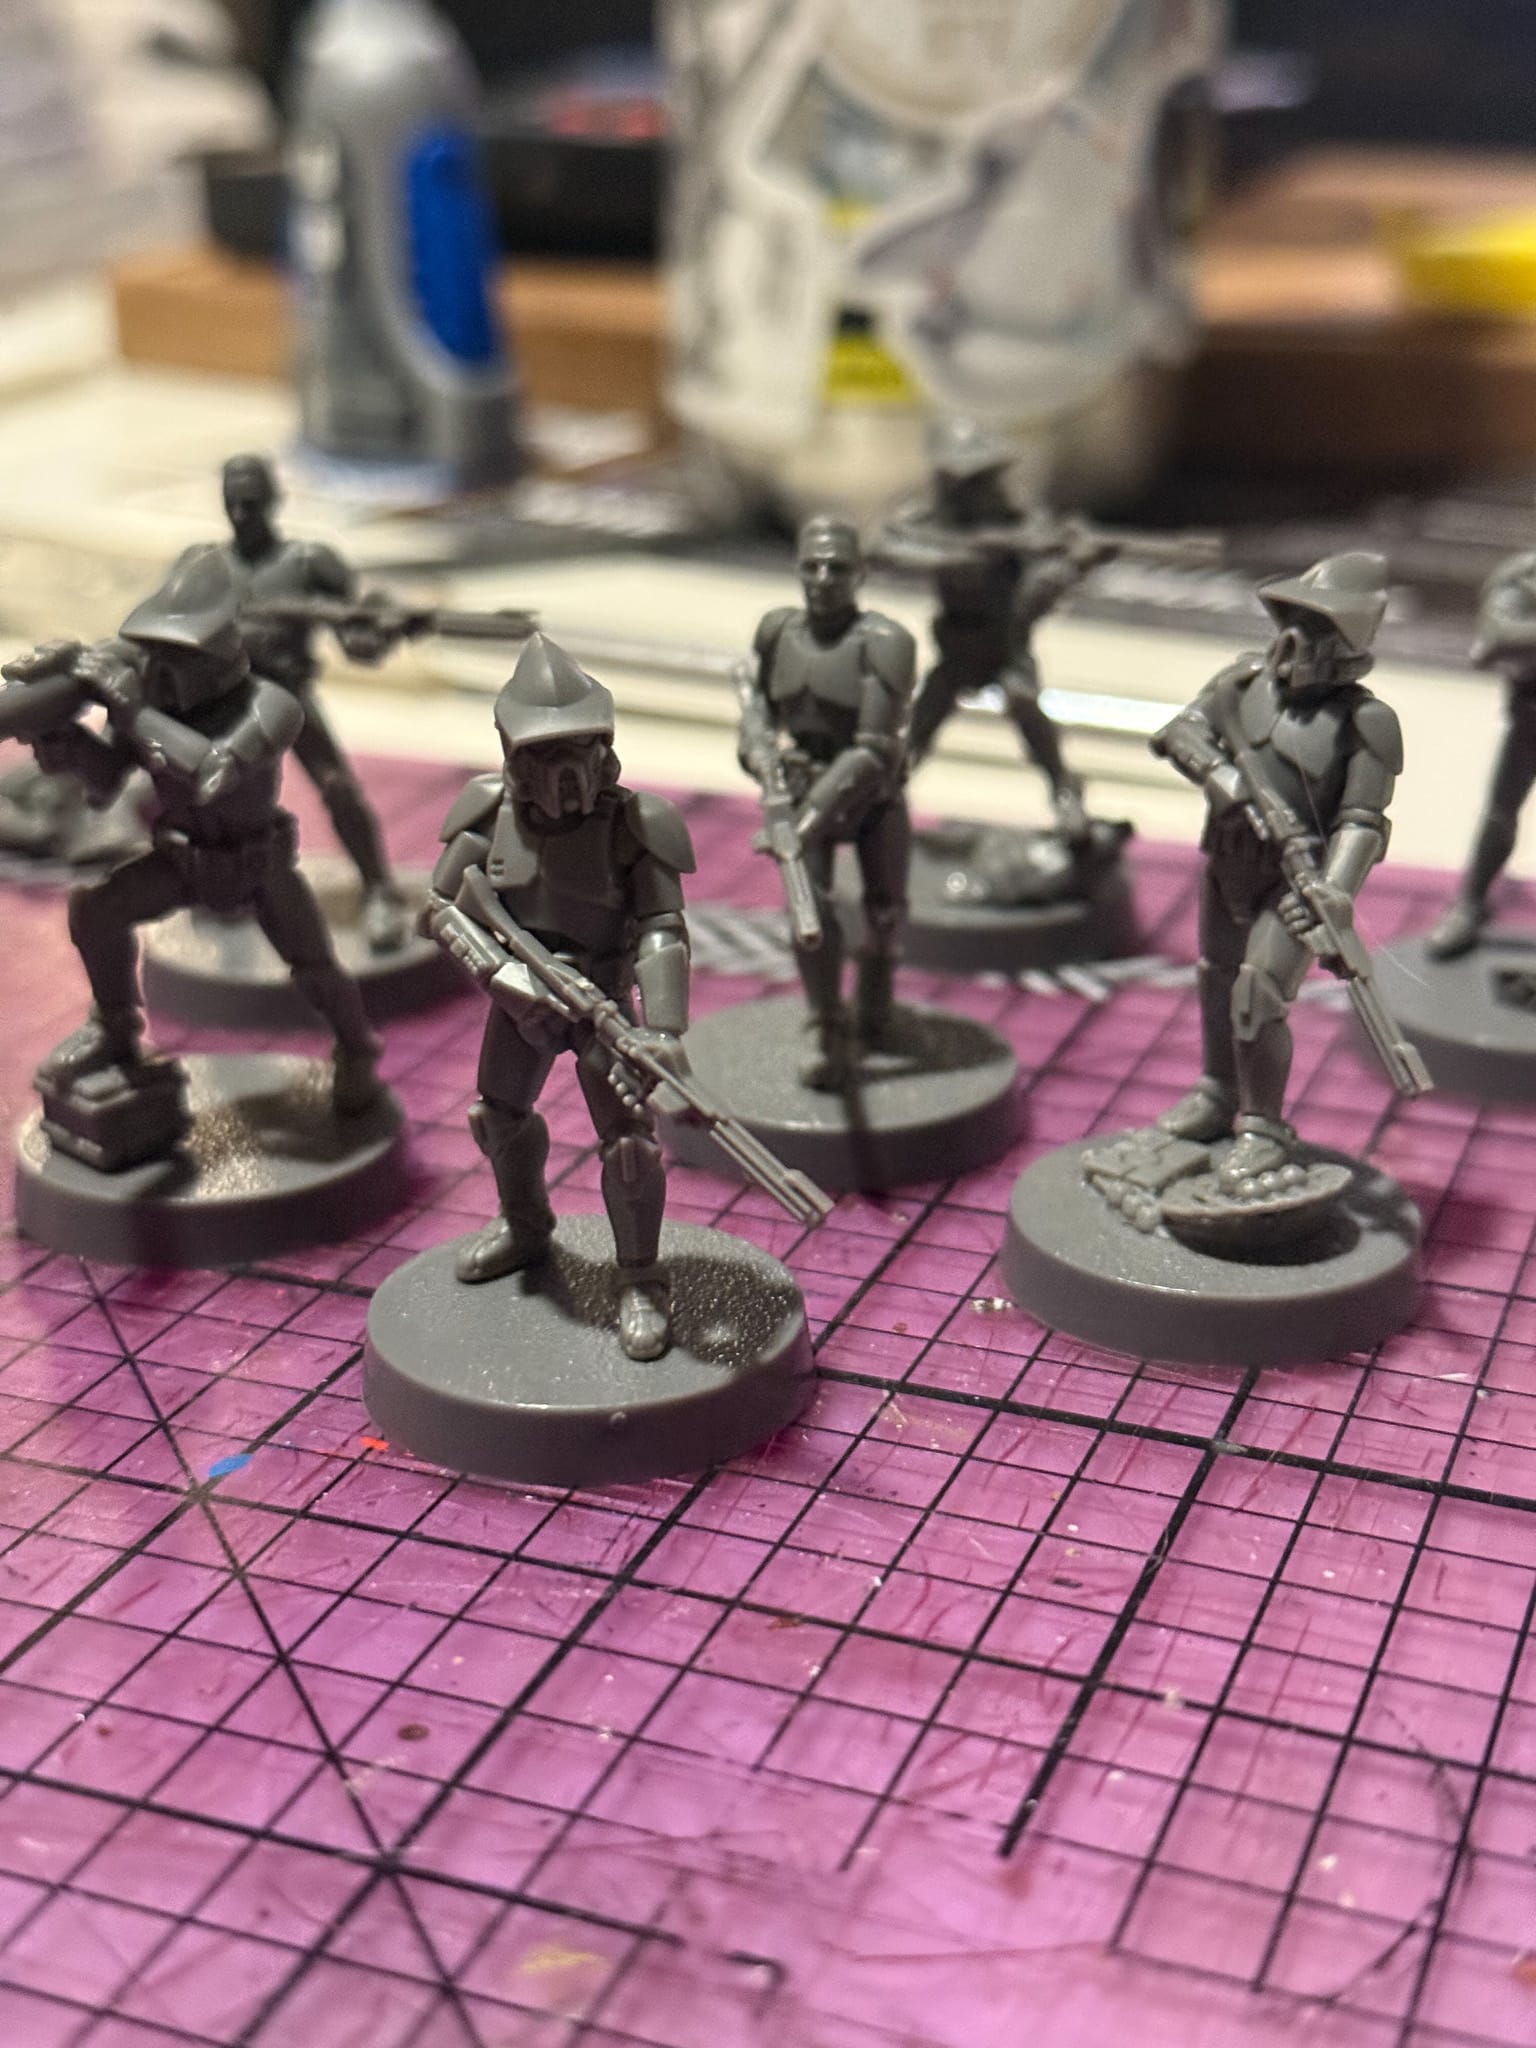
I approached the project in phases. First was the assembly. Atomic Mass remodeled a lot of the old Legion line, so pieces snapped together really easily, and by the end, I didn't even need instructions. One cool thing to note with this set is the ability to set up alternative heads, weapons, etc. In the game of Legion, weapons are dictated by the card, not the model. So have fun with it.
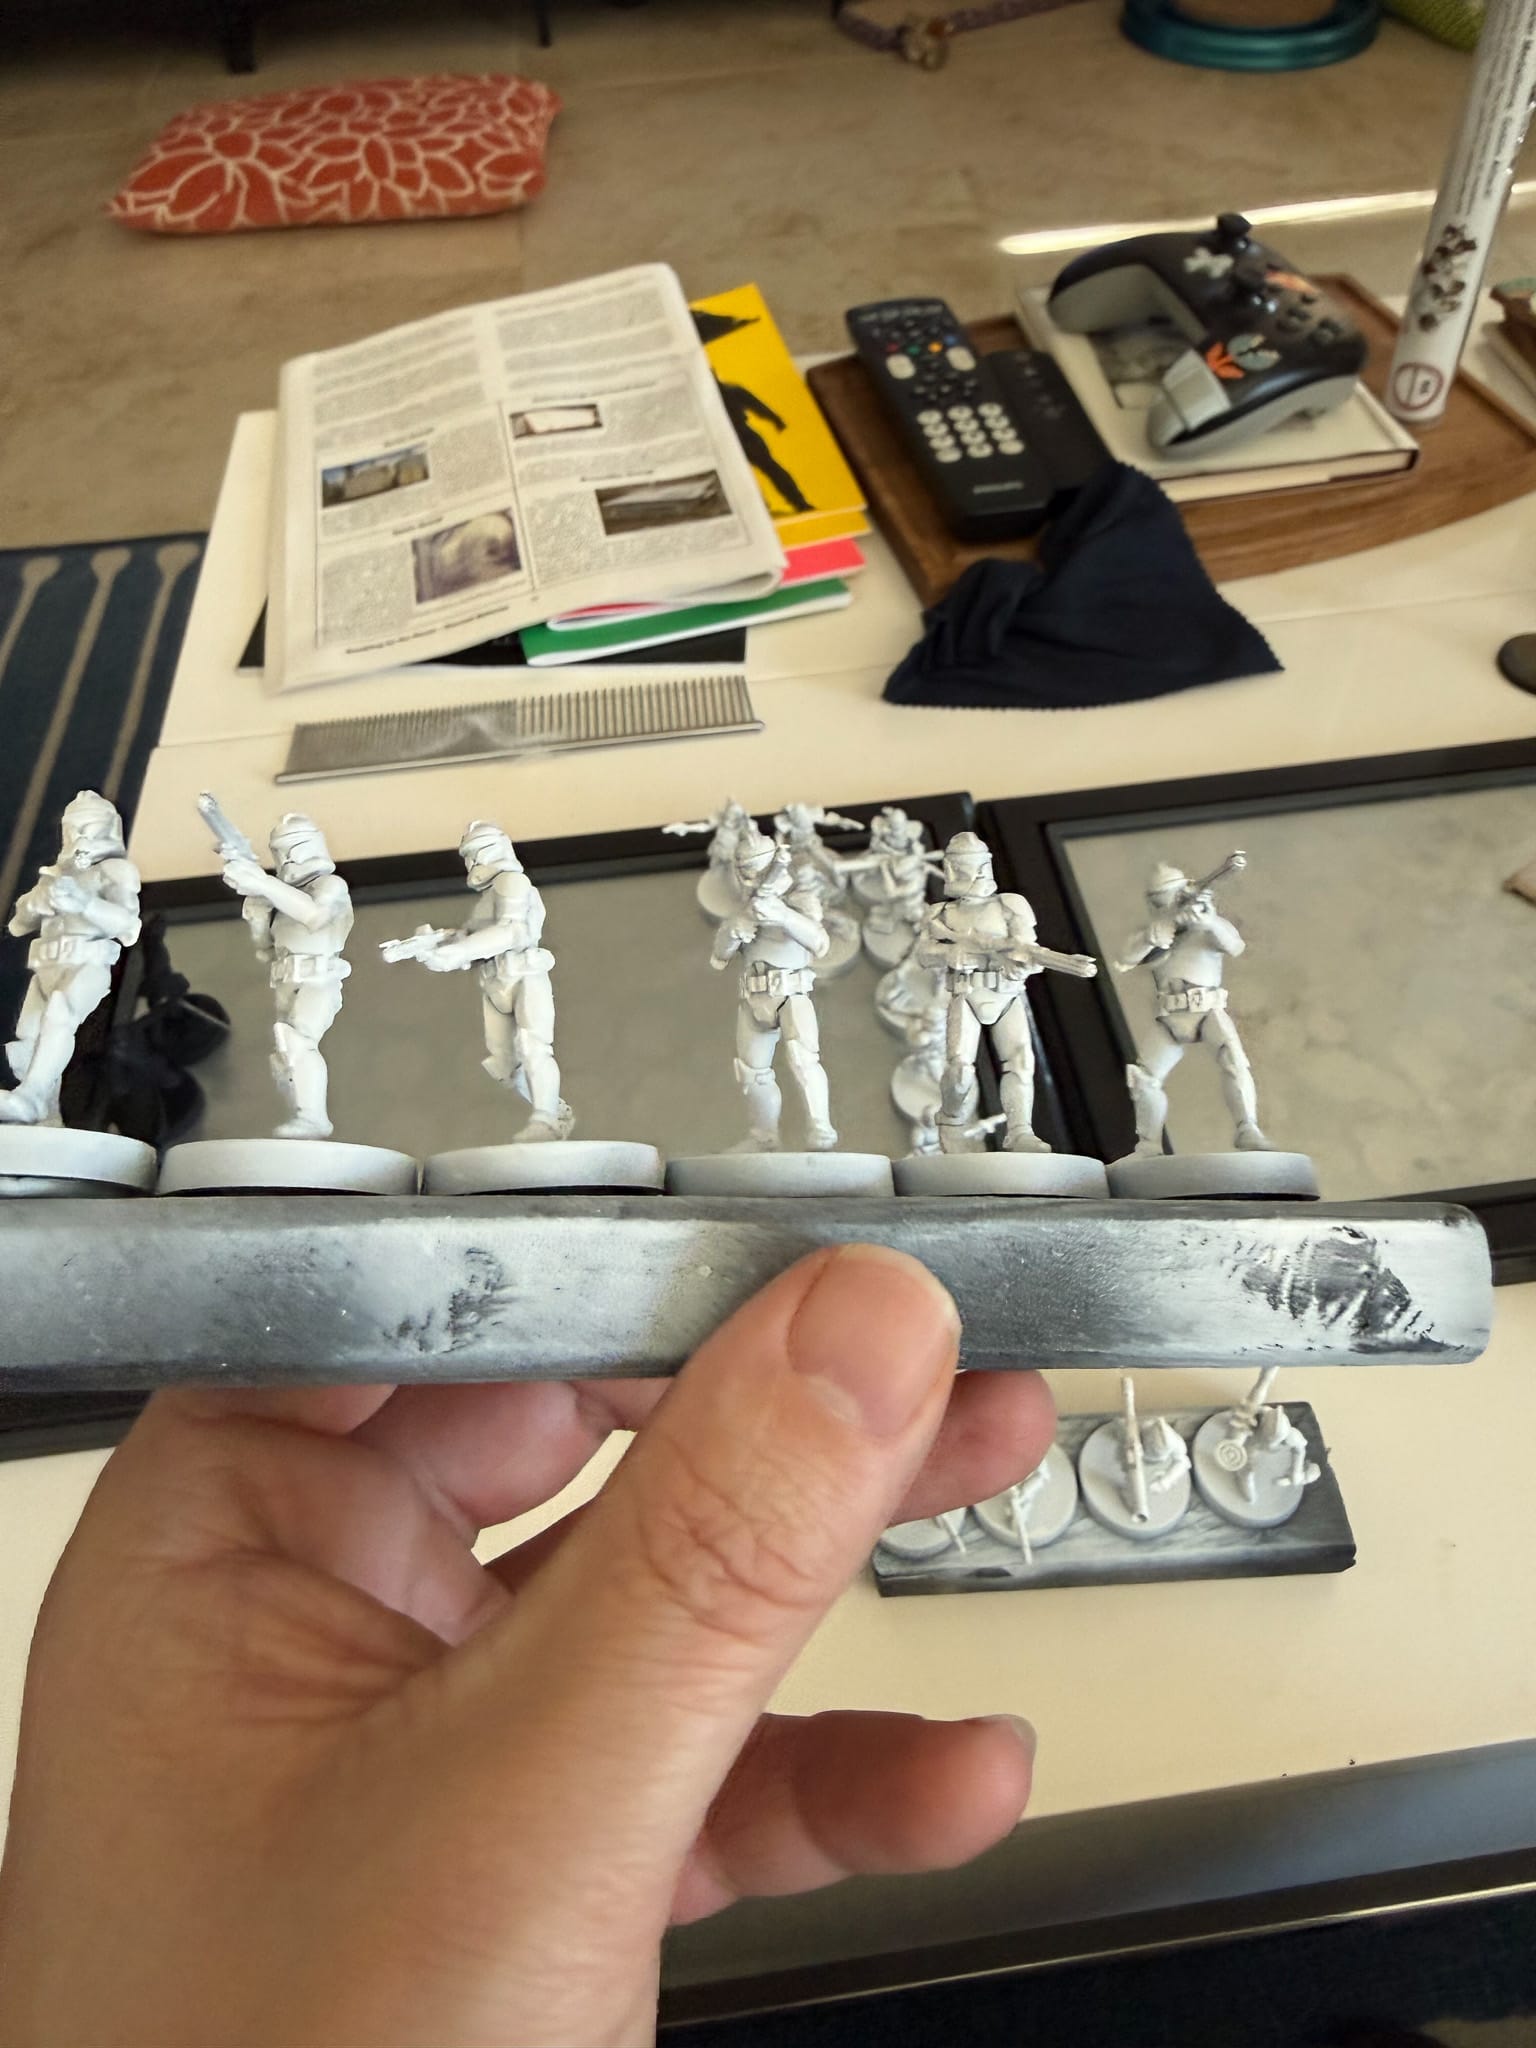
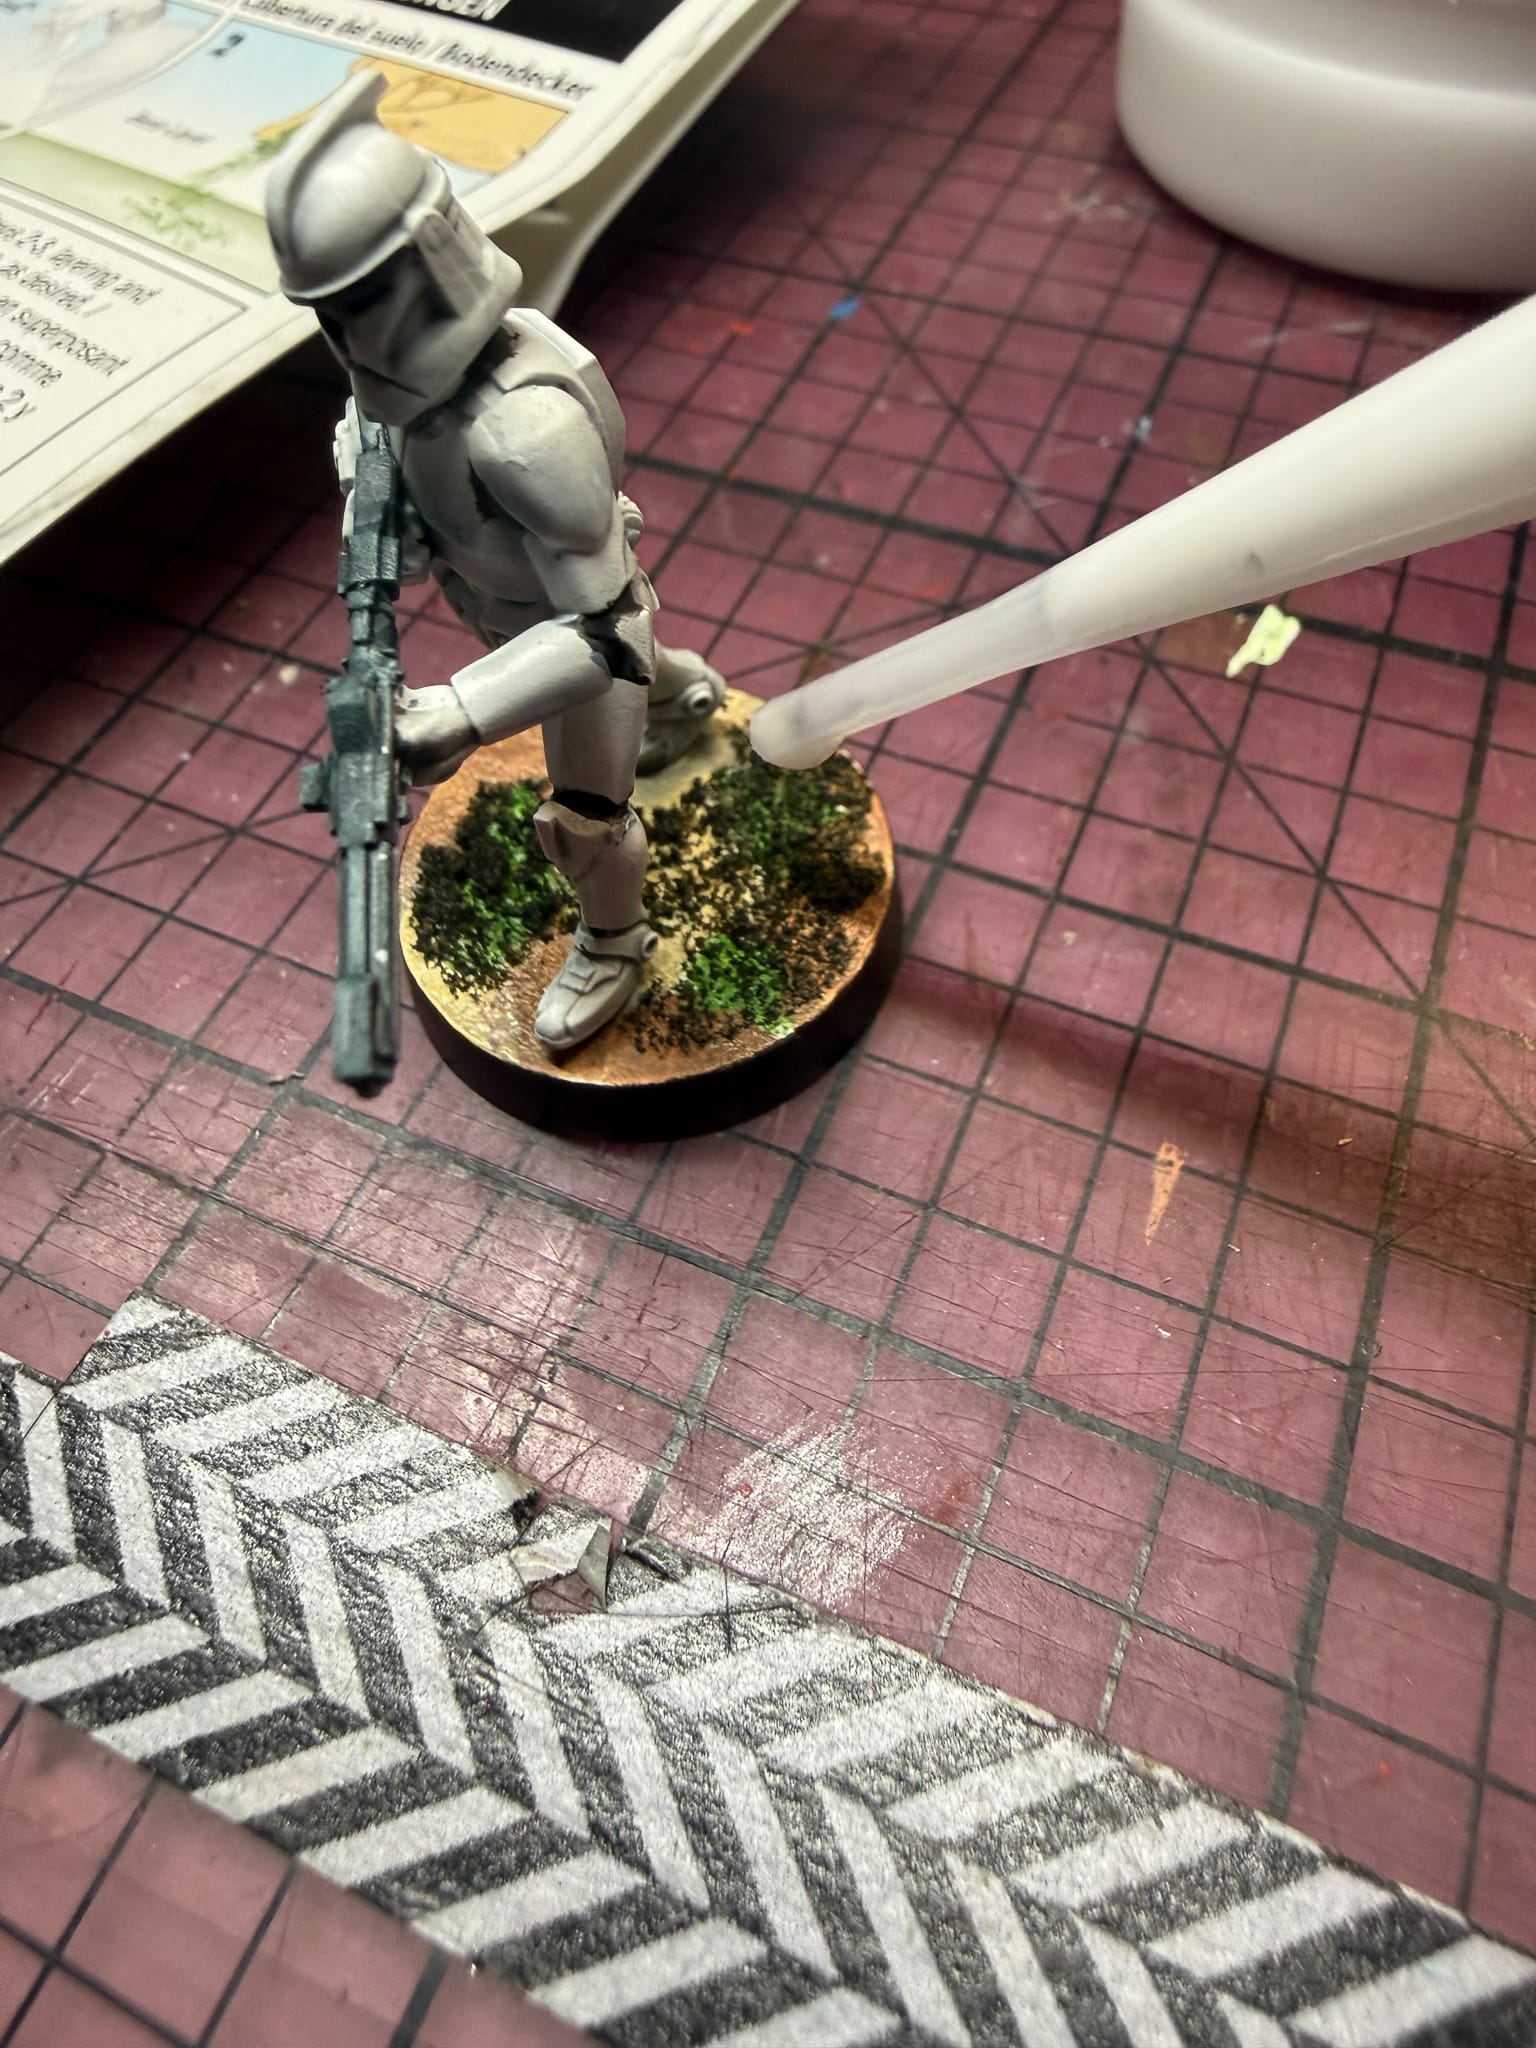
Once assembled, I batch primed the models. I used a yard stick with Blu Tack in order to hold the models down, then sprayed them with White Scar. This took a few passes, and even after the models dried, I had to re-spray their undersides. Usually, this is easy when you're priming one model at a time. But when priming many, it can become a cumbersome process. But exercise patience with yourself, and you'll get there.
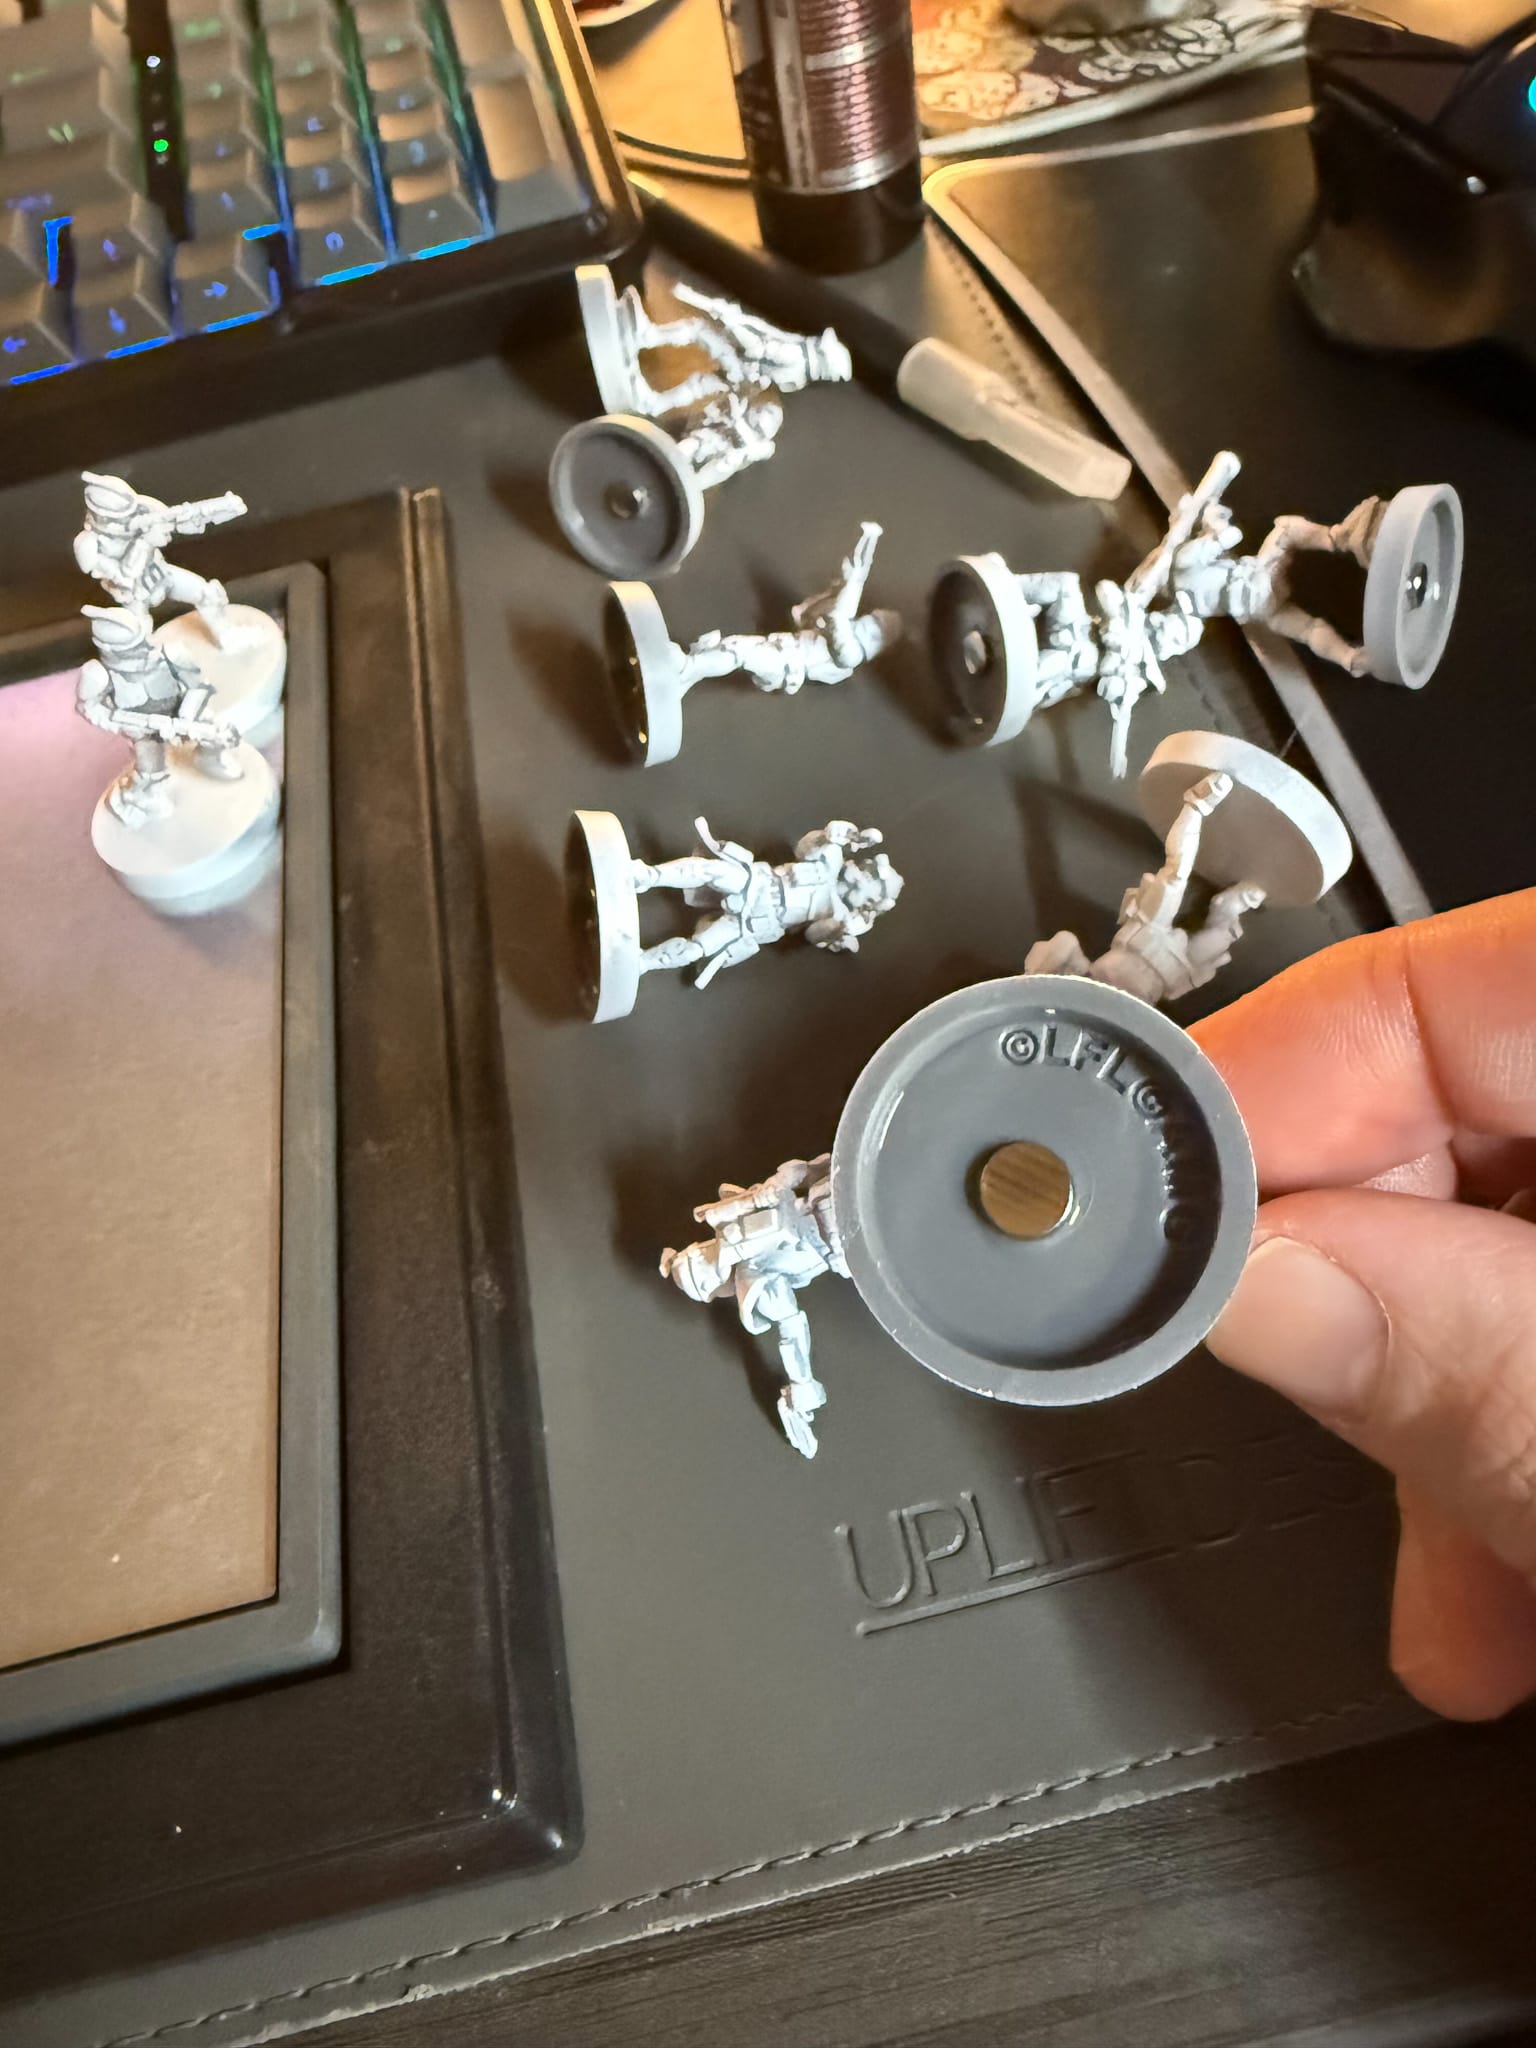
My second step was to do something I've never done before: magnets! How do they work? Easy. I used superglue and D6x1mm magnets. I found that they are a great size for the Legion bases, and when I glued one, a second one attached perfectly and made for a perfect fit in my carrying case, a Tablewar case.
Pro Tip: bring a hobby light if you can on vacation!
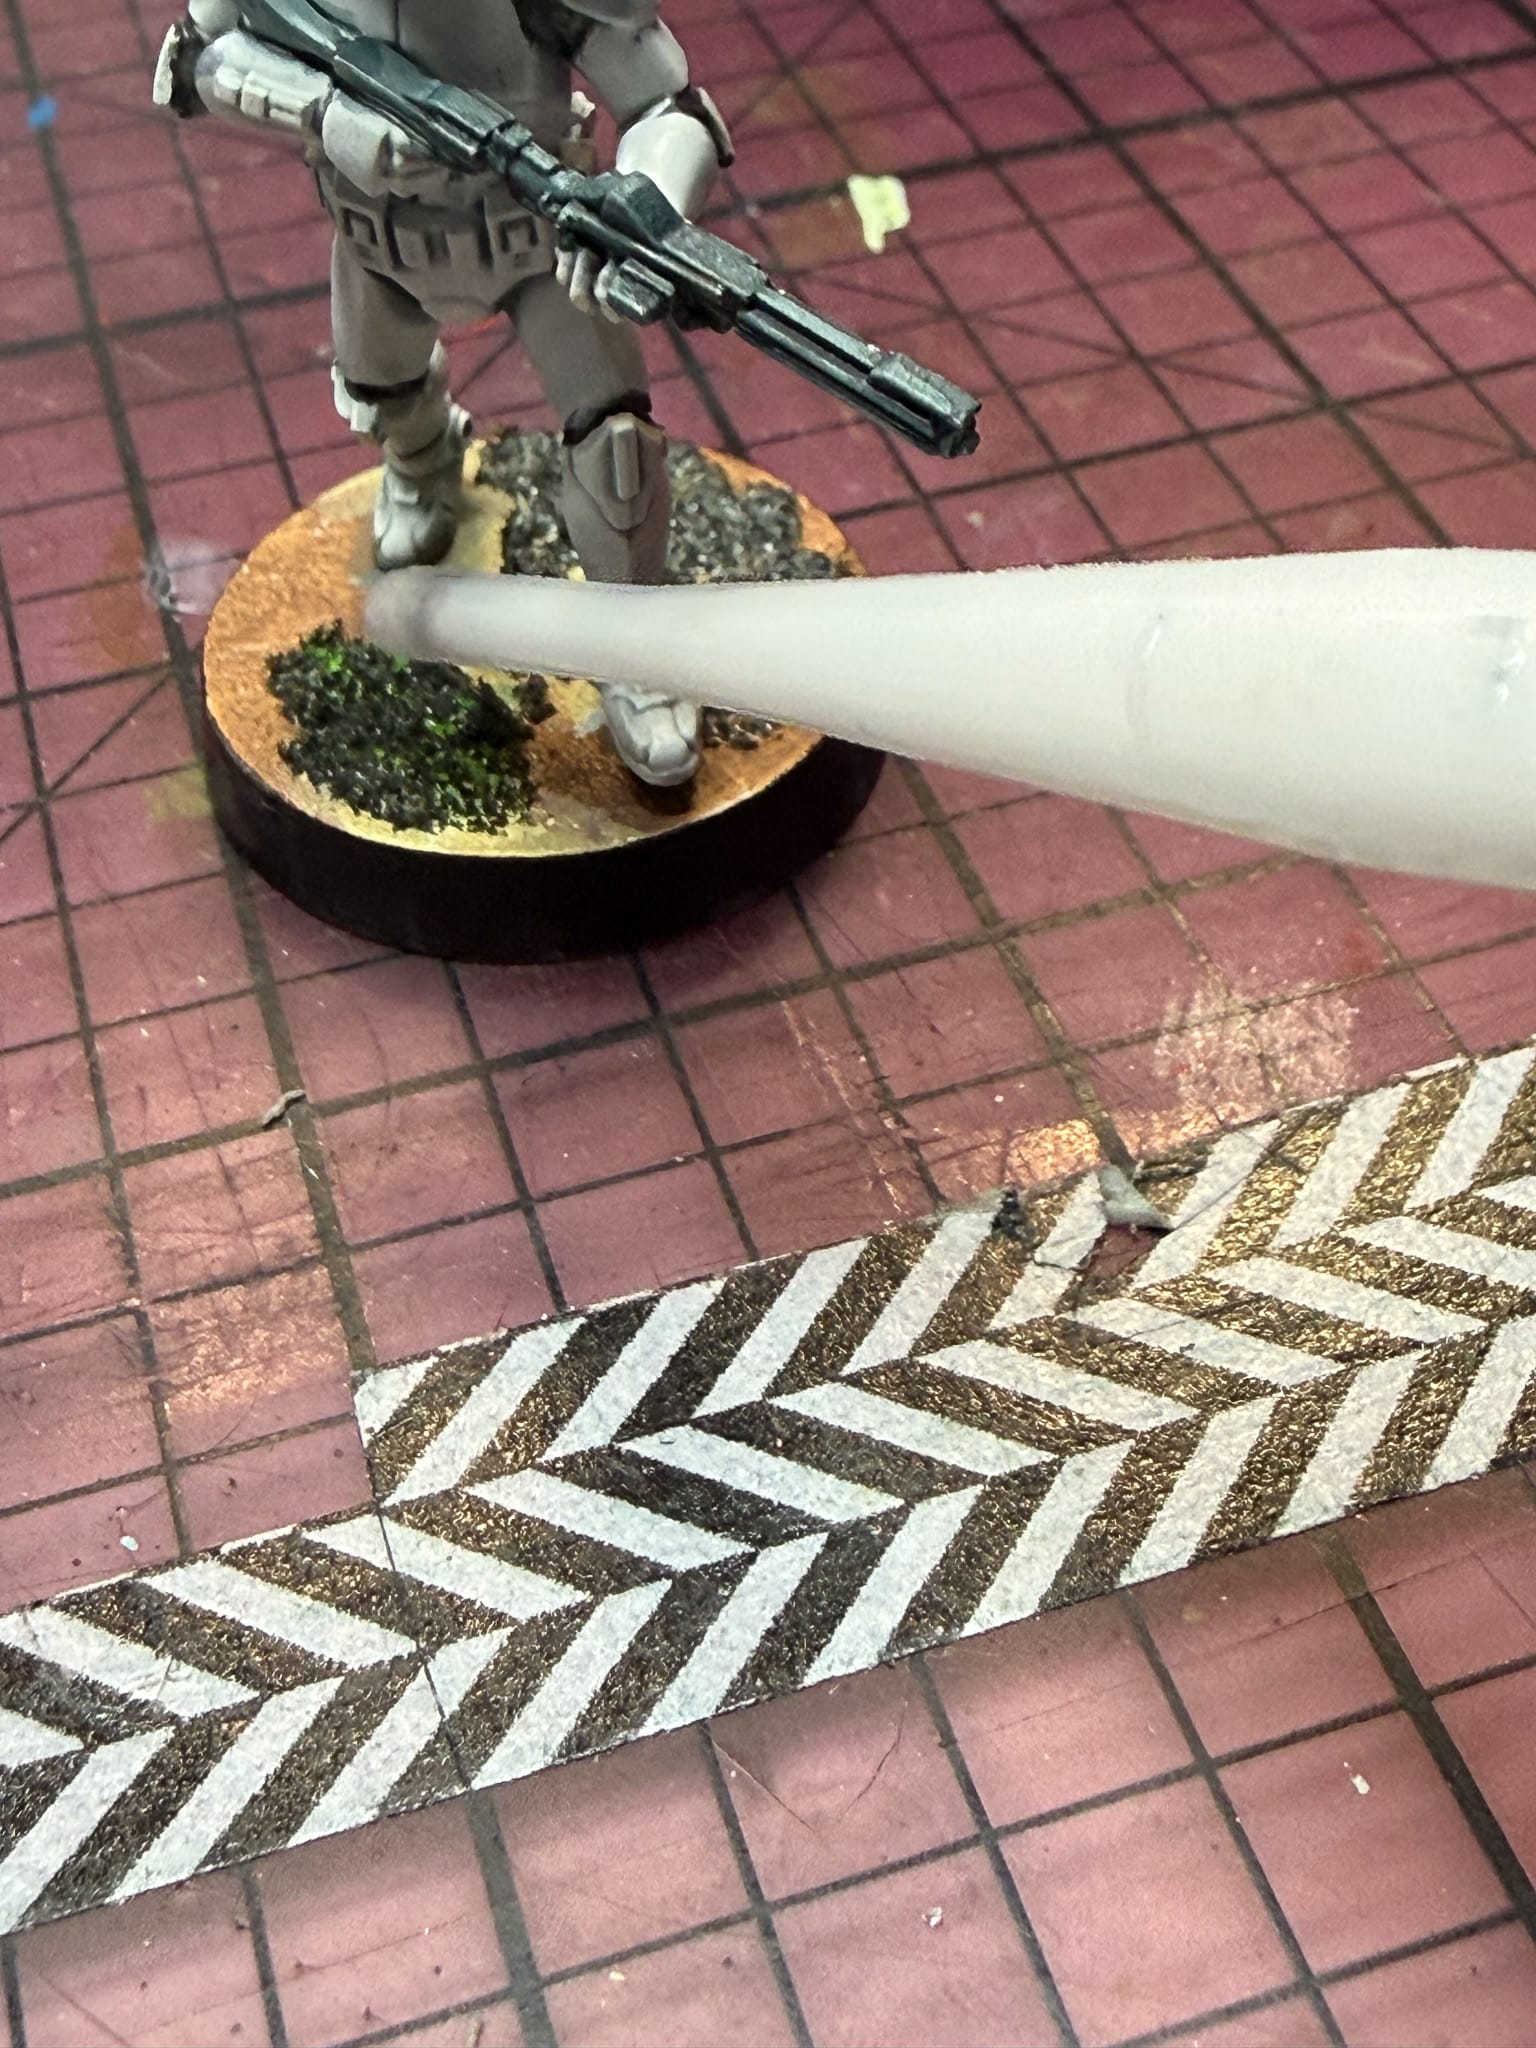
Next, it was time to get the White Shadow on every model. My advice? A big brush. I was using a size 5 brush to apply the paint, and then a size 3 to wick up any excess. This work will take some time, so try to do it in a space where you can really hunker down and focus. I did this on a family vacation with poor lighting, which was fine because working like this means you can come back later and fix any issues. It took me roughly 3 days in a cabin from the 1940s in Big Bend National Park to handle this, so I assume you will be doing this in a space more engineered for painting.
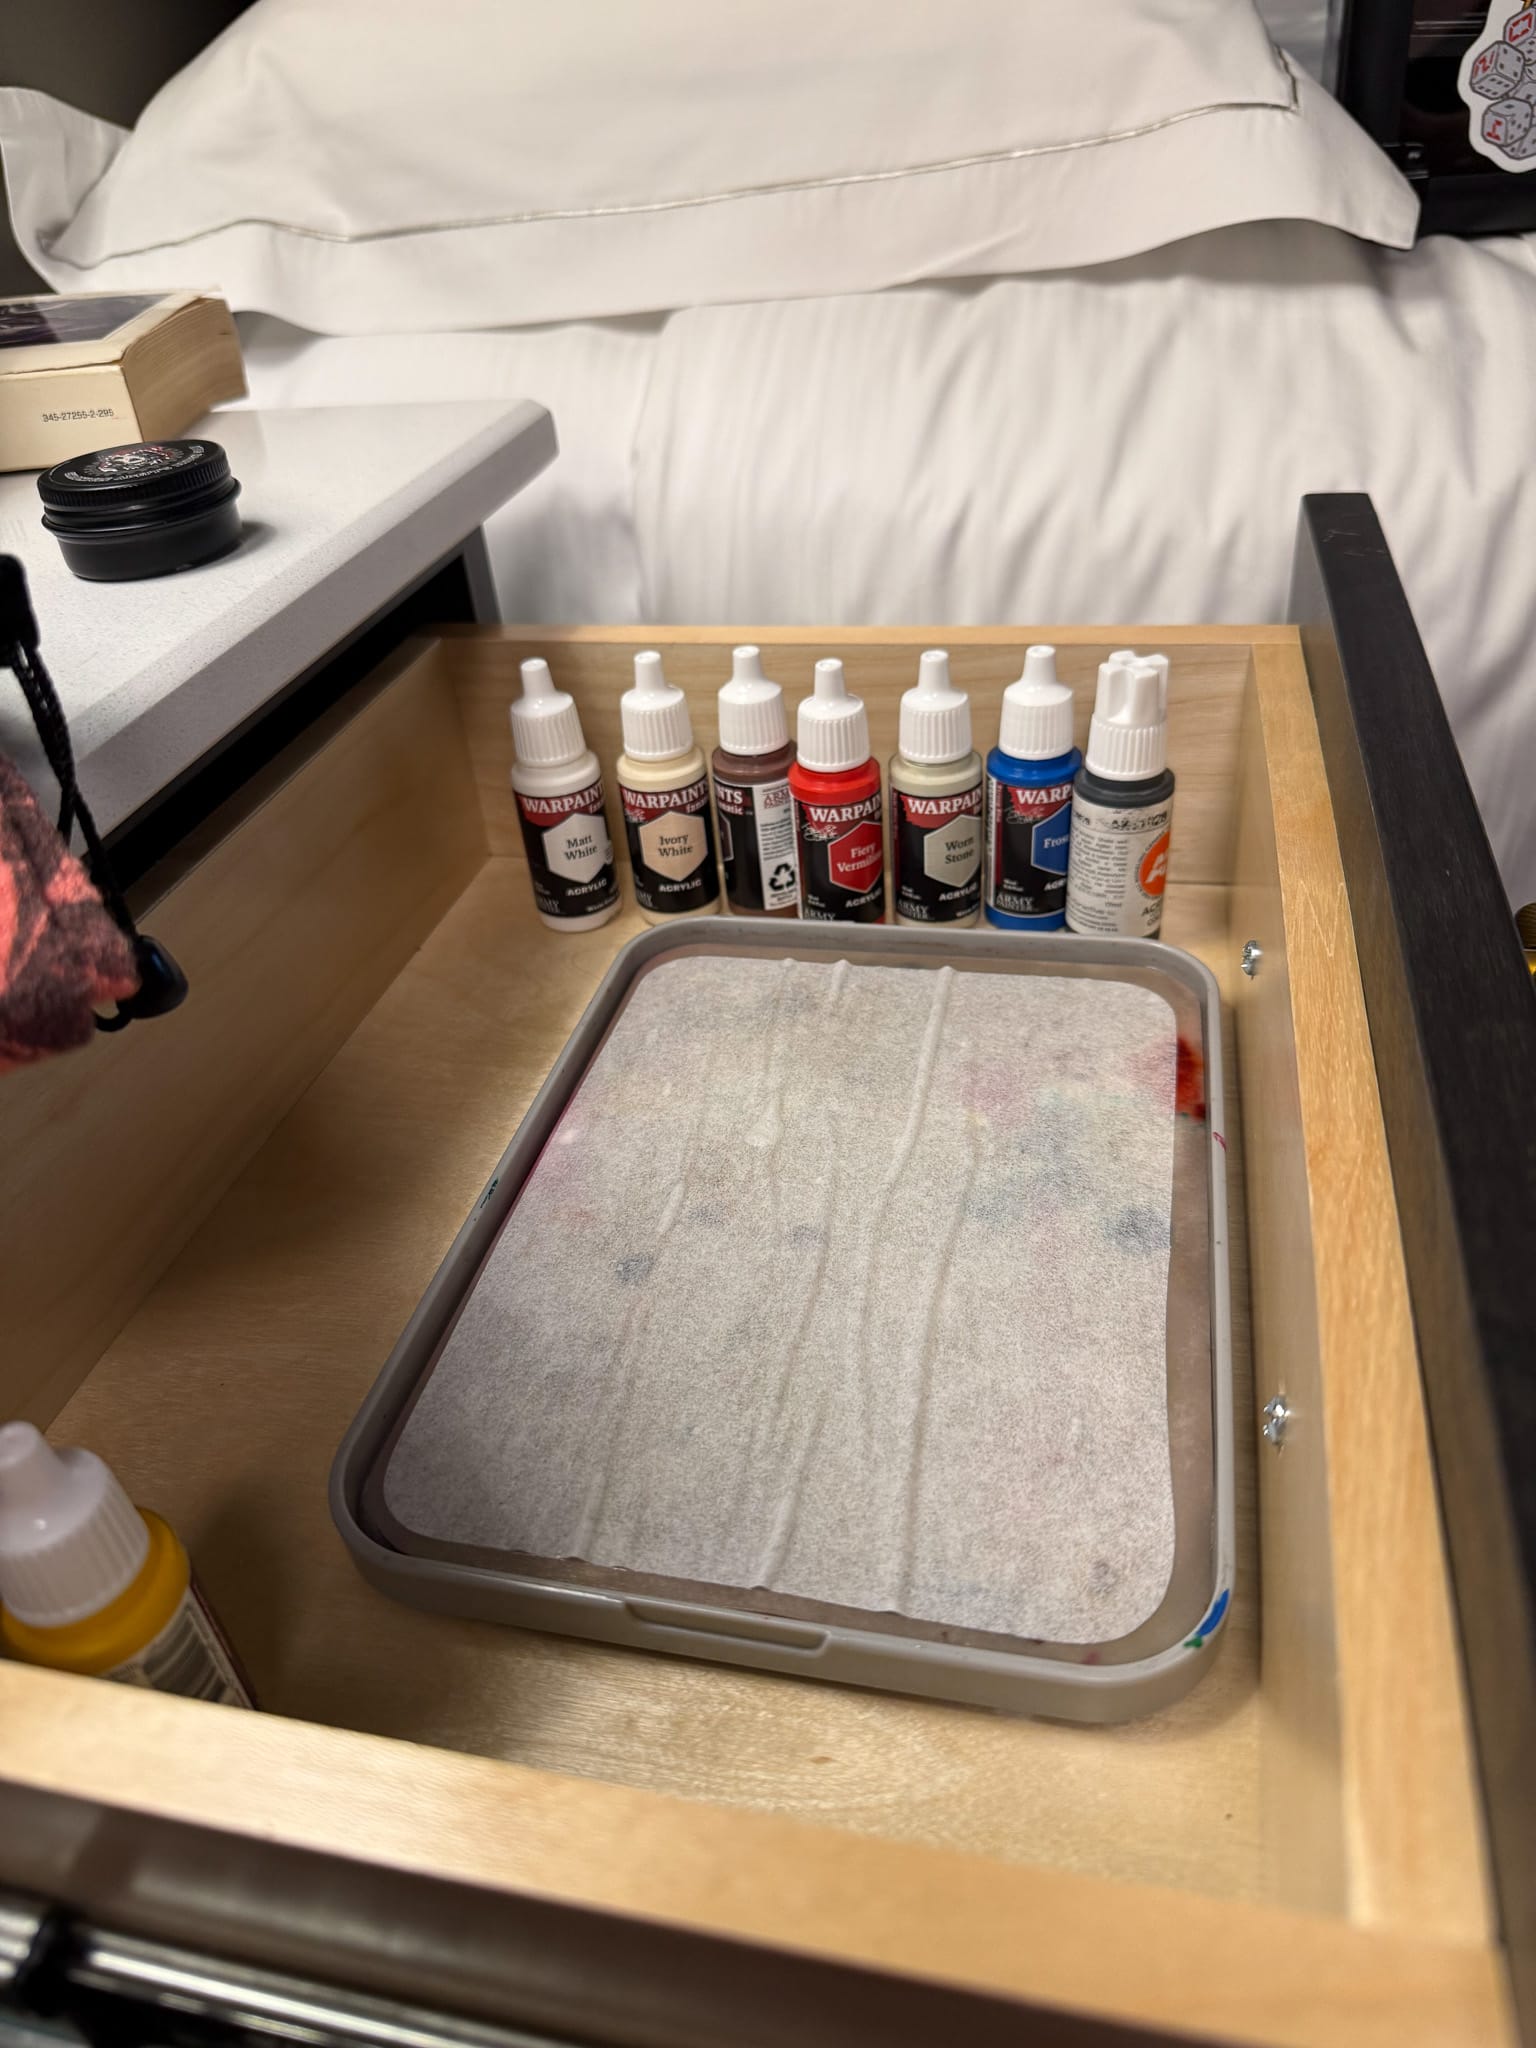
Yes, a hotel side table can hold a wet palette and selection of paints.
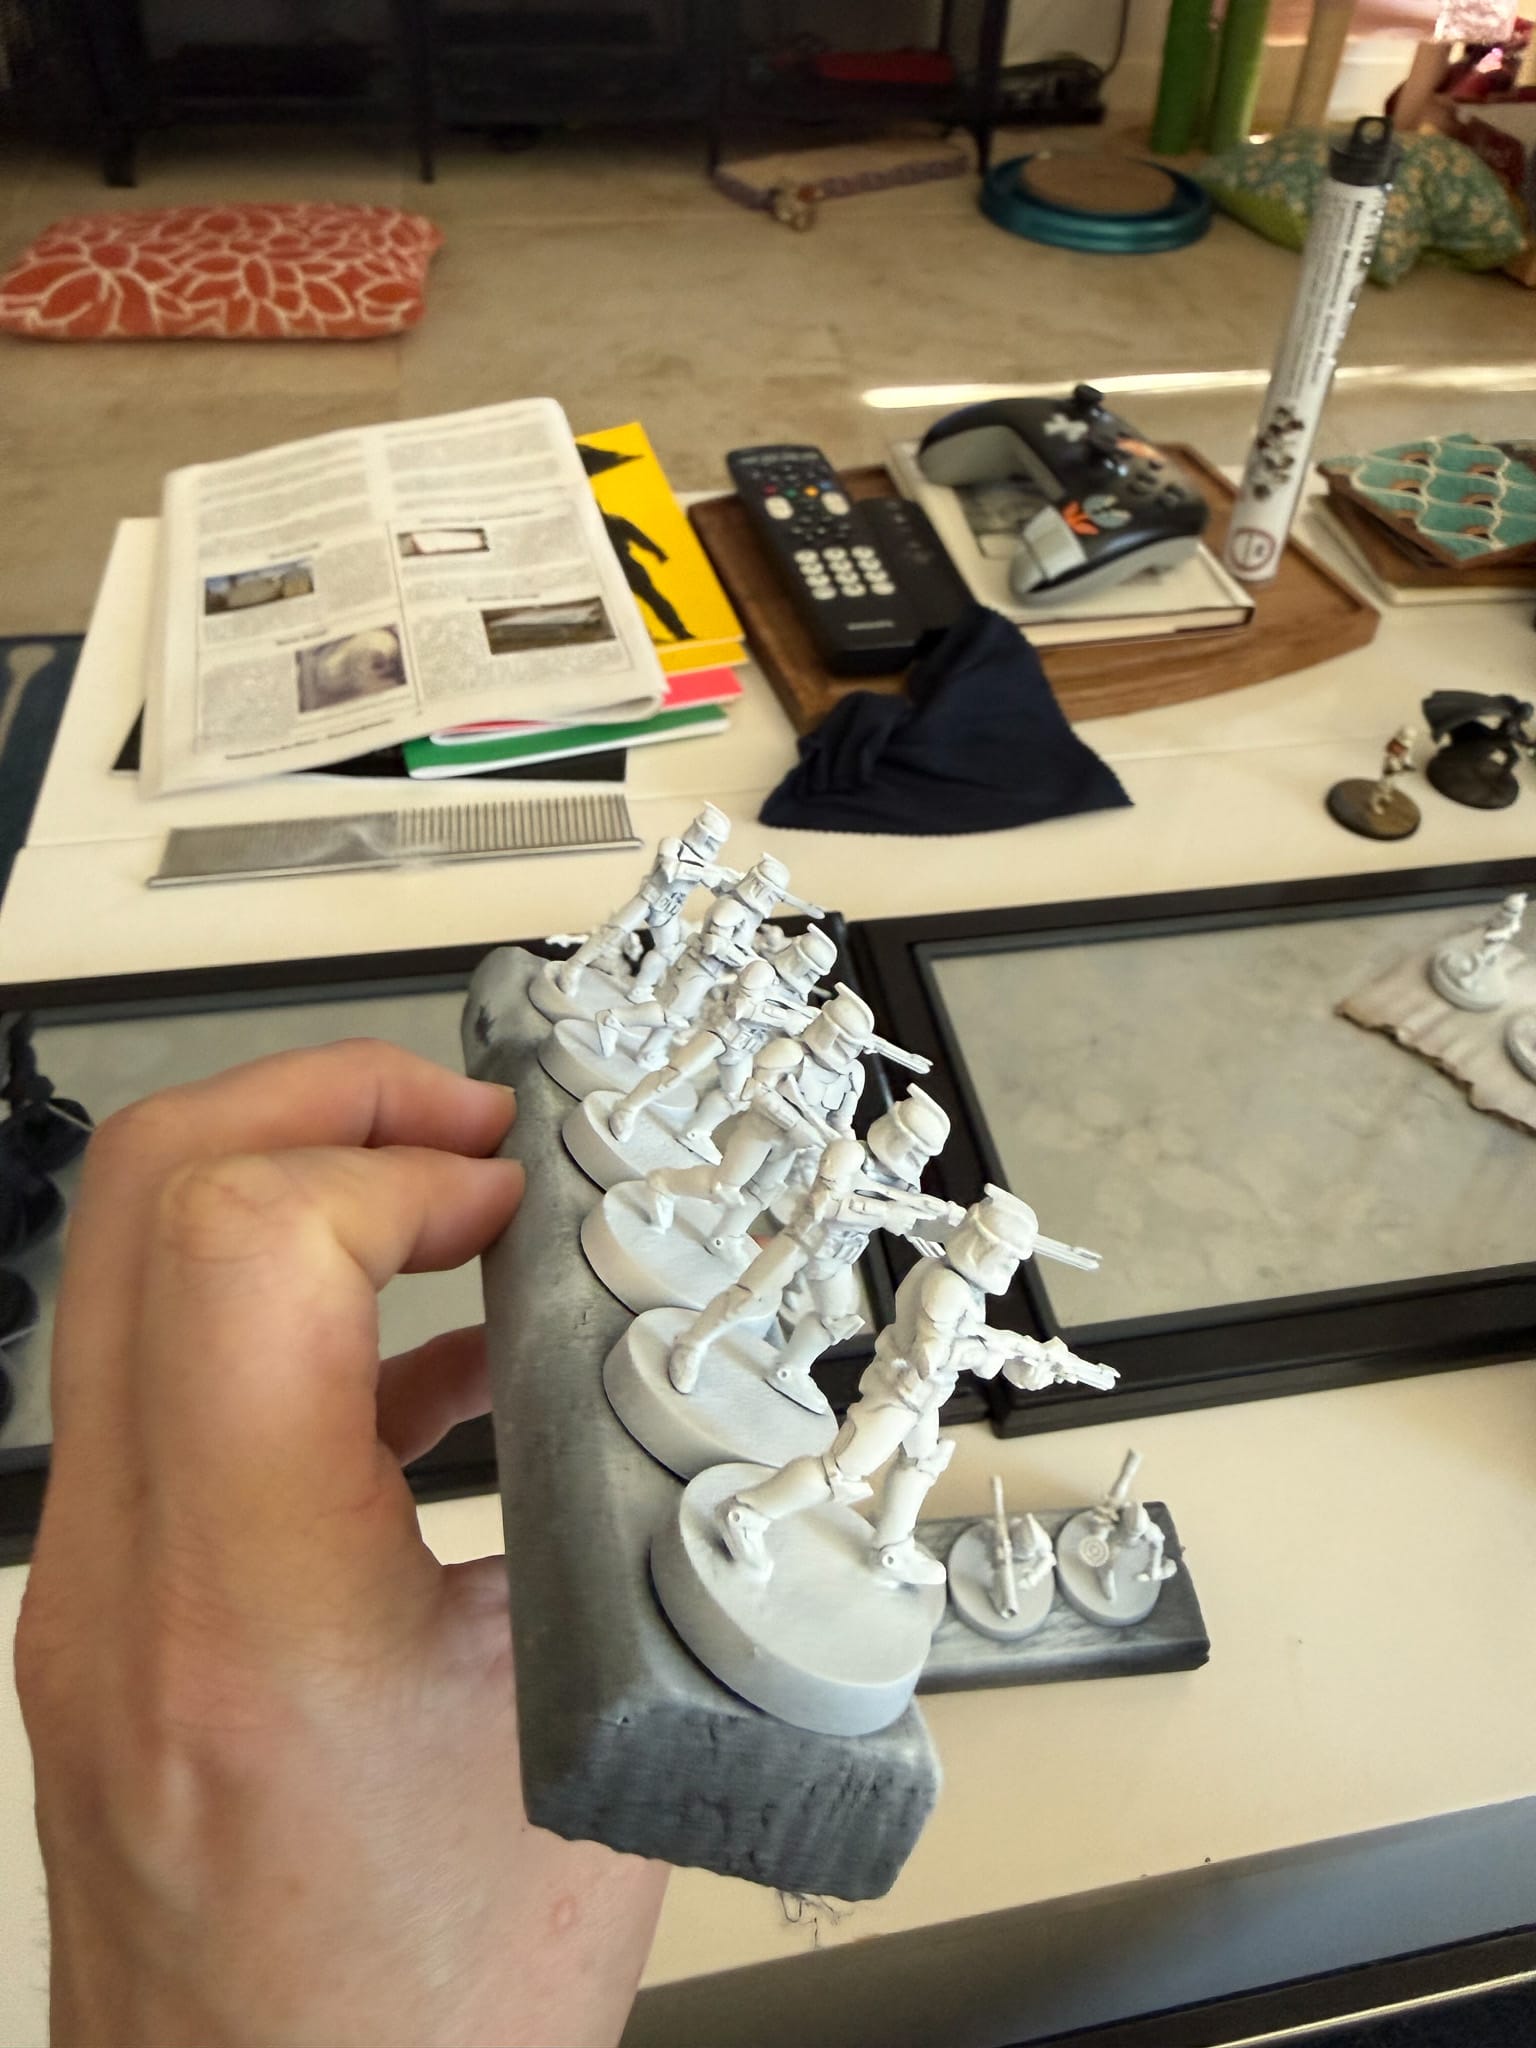
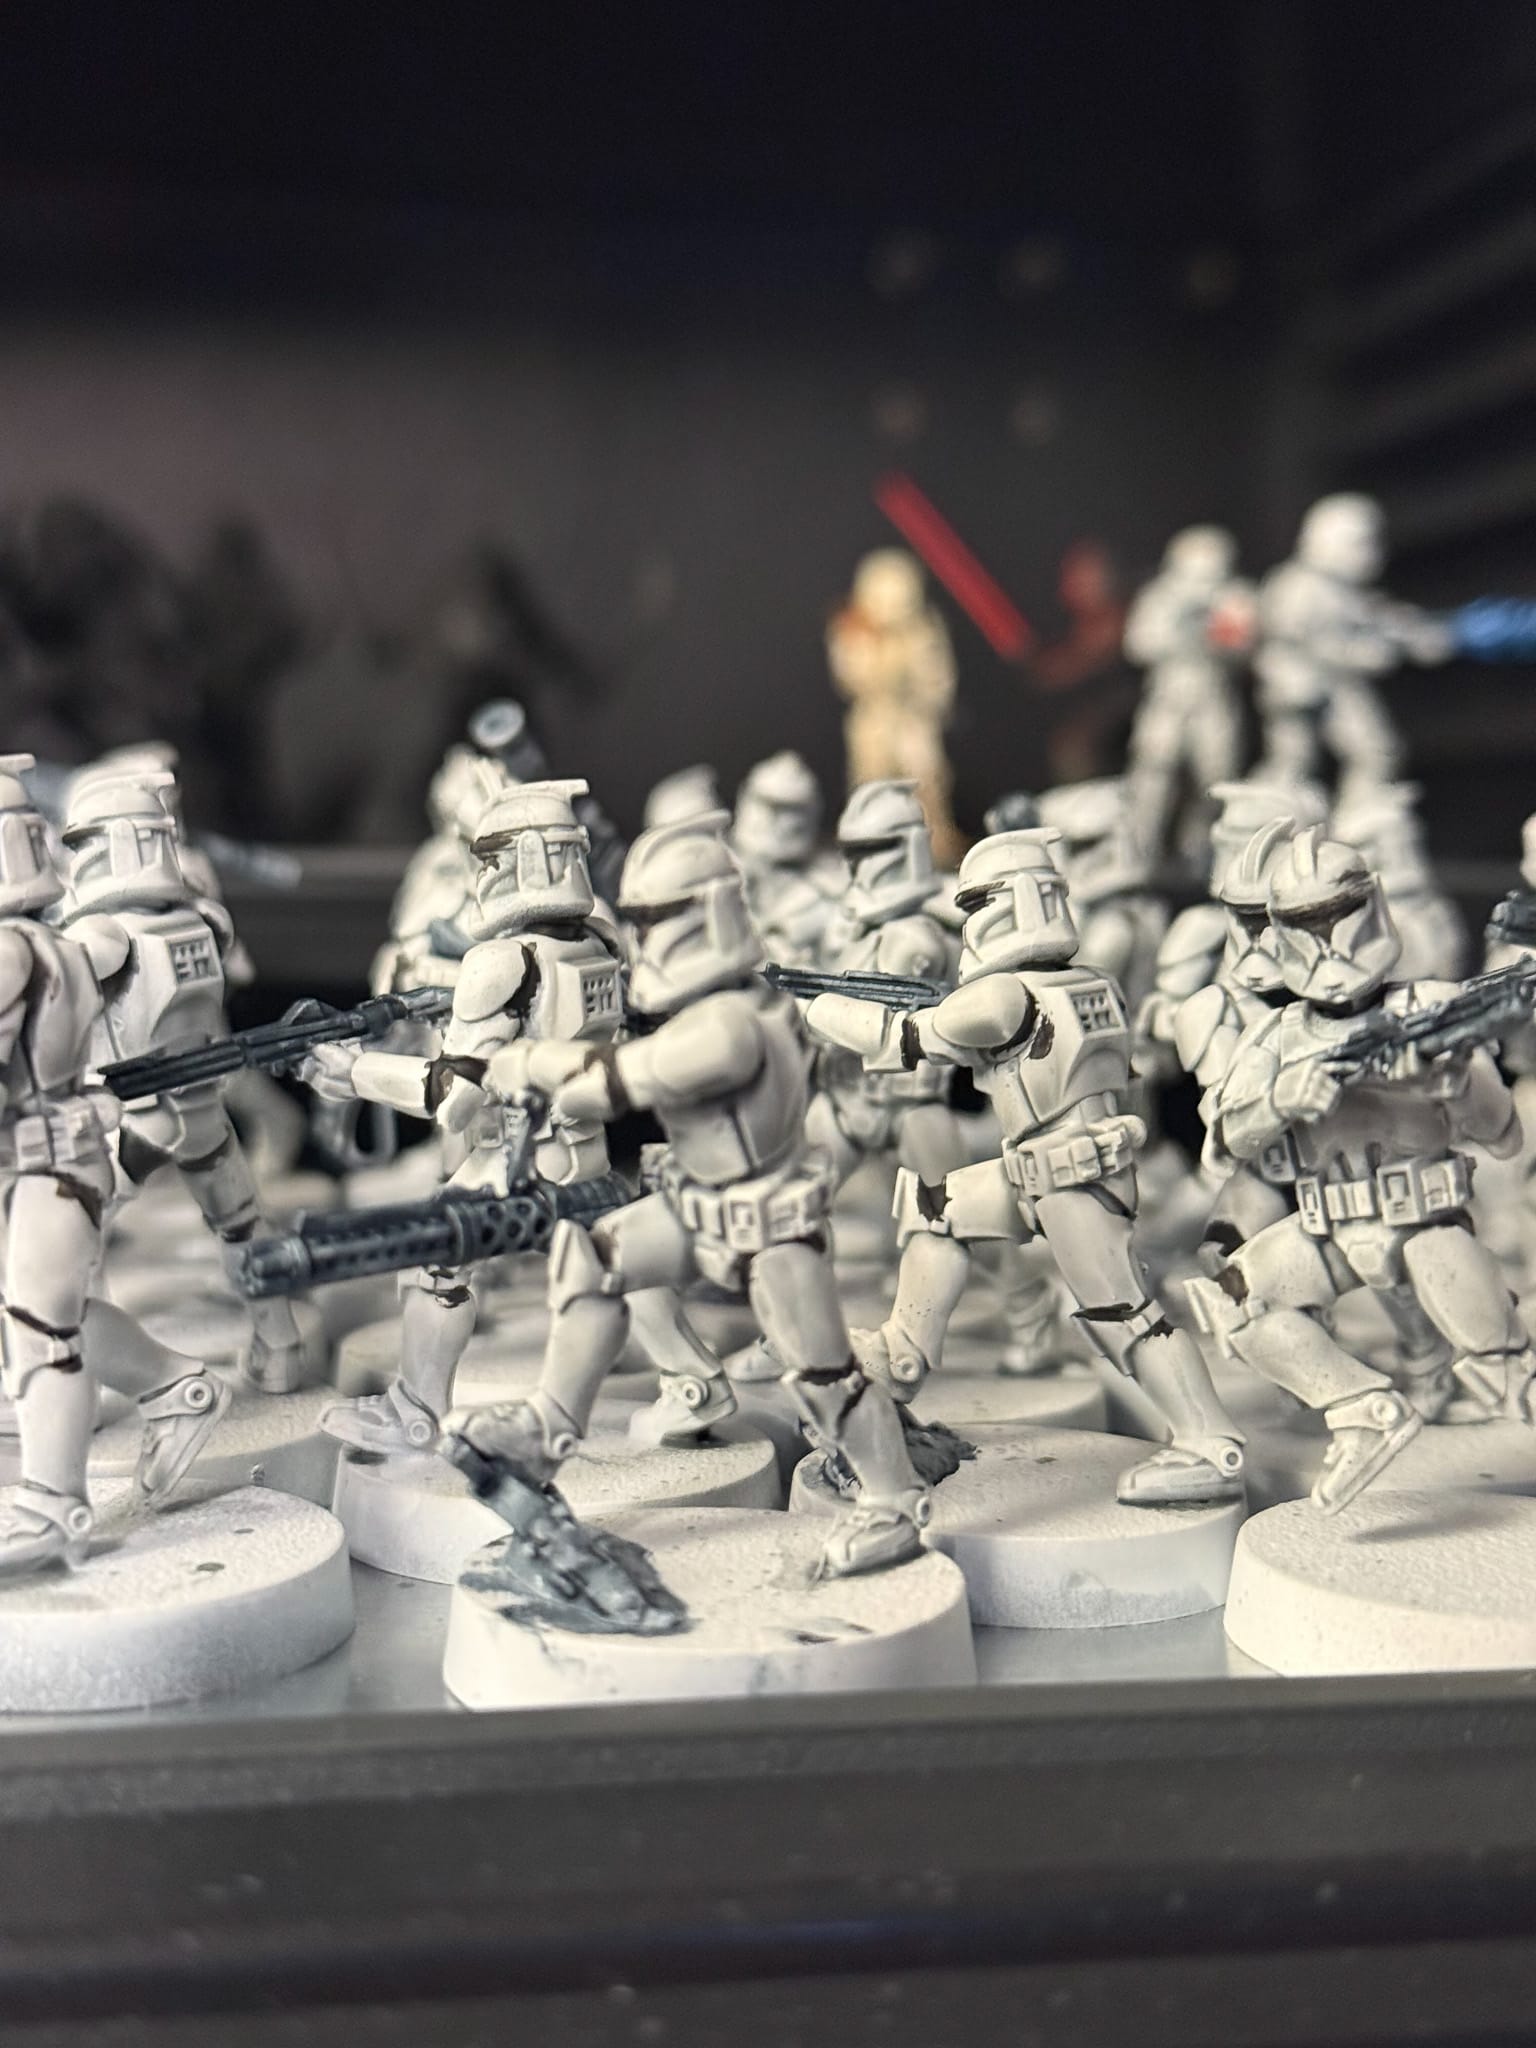
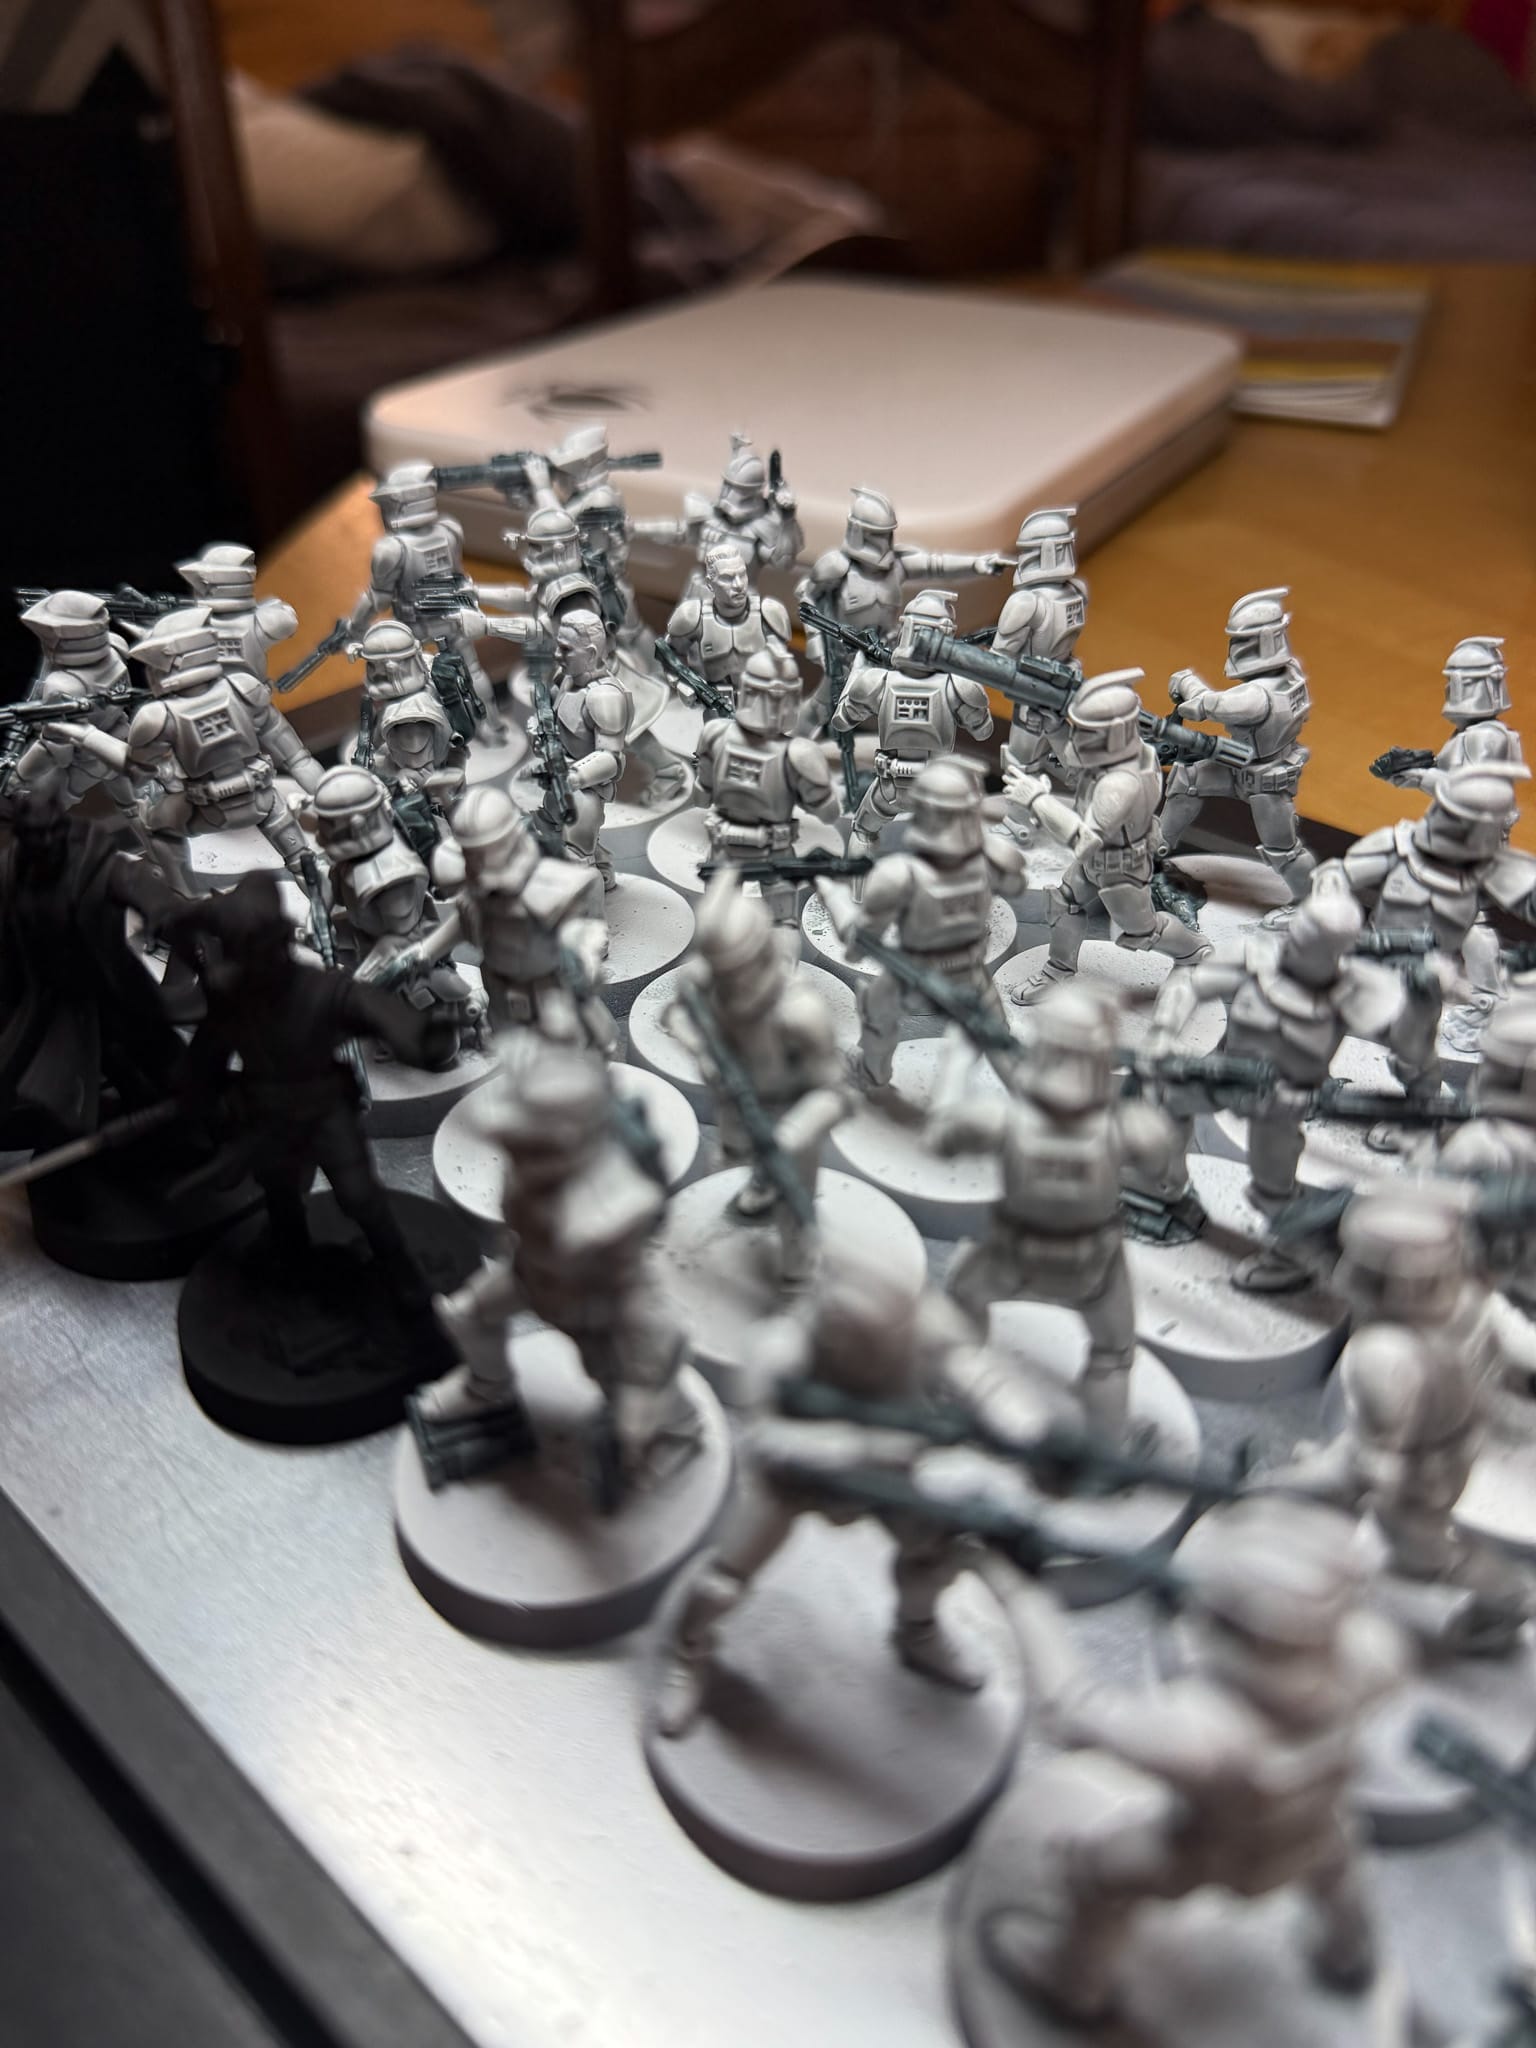
My next step was arguably the hardest: getting the black on the models. I also decided this would be the time to paint all of the weapons across the squad, which included blasters, small pistols, rifles, laser gatling guns, and RPGs. Luckily, my one-coat solution of Turnbull Turquoise works on all weapons. The hardest part was painting all of the small black details on each model. I will admit this portion was the messiest of painting, and the most wrist-pain-inducing. I was in a hotel in Toronto during this period, too, so the lighting was also not ideal. I will tell you this, though: hotel side tables make excellent paint, brush, and wet palette holders. Also, Air Canada, the TSA, and Canadian air security loved seeing my box of Clone Troopers. If you really want to draw attention to yourself, bring a box of minis on an international trip as one of your carry-ons.
Back in my home studio, I focused on cleanup. With proper lighting, it was easy to spot mistakes. Common areas to fix will be the joints, the face visors, and the little line above the visor. At this point, you can go off and play. But c'mon, there's always more you can do.
You're never done.
First off, now is a great time to take a moment to read my review of All Game Terrain , which I used heavily to base these pieces. I found that the pre-made and colored terrain saved me a ton of time in basing. For army painting, I highly recommend doing it this way.
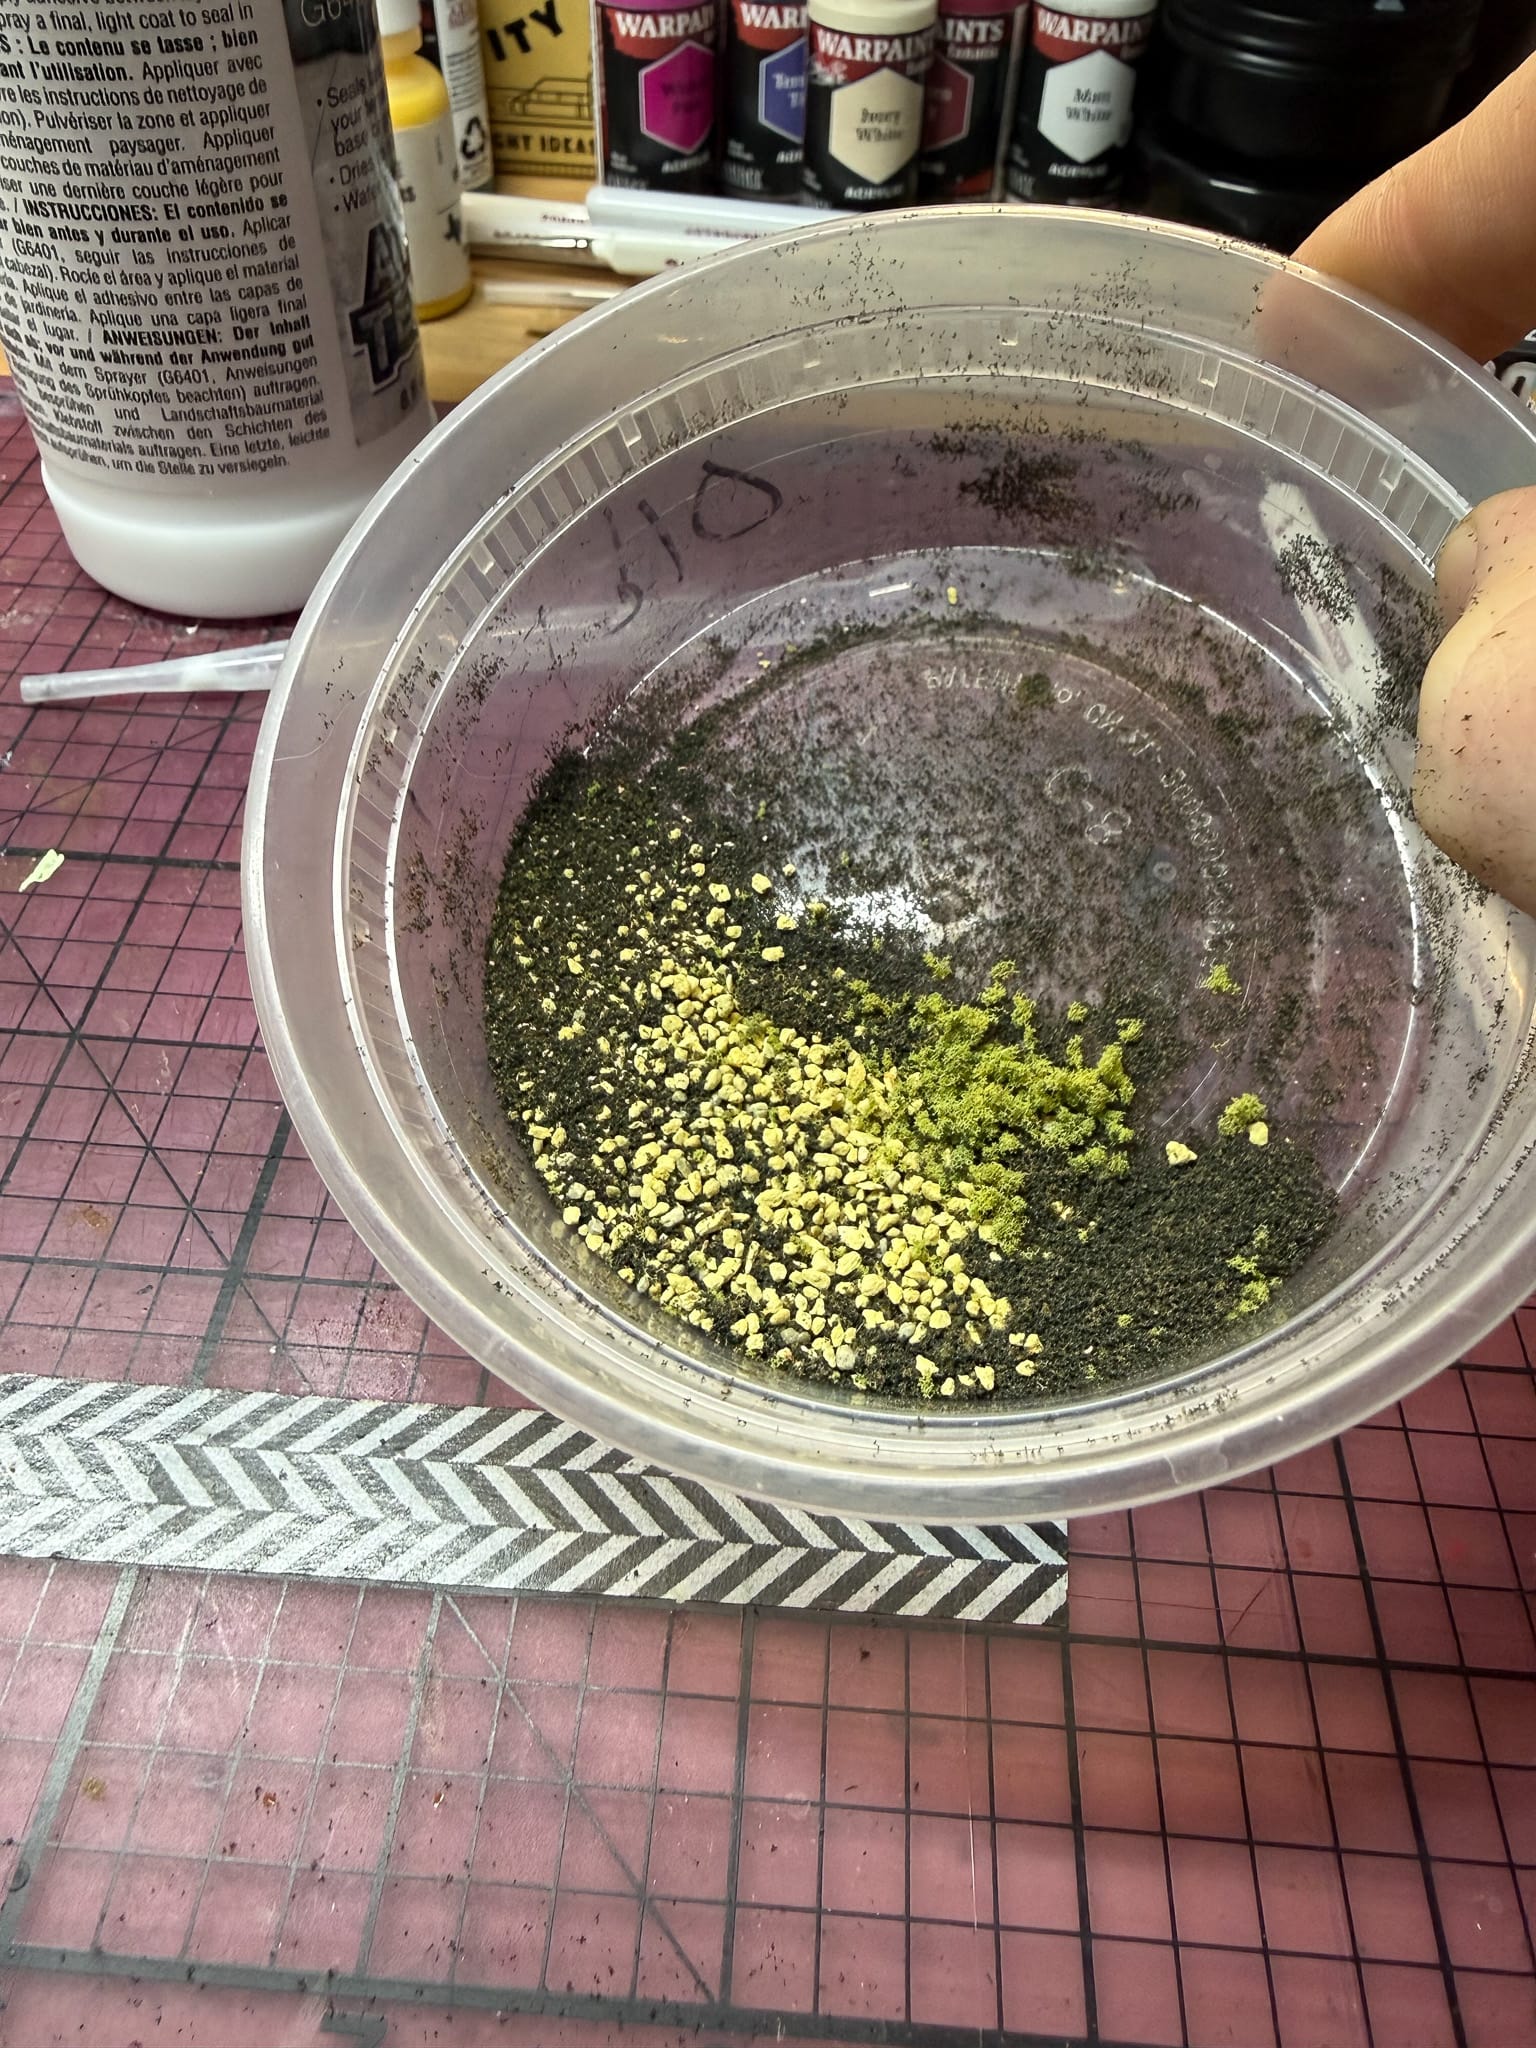
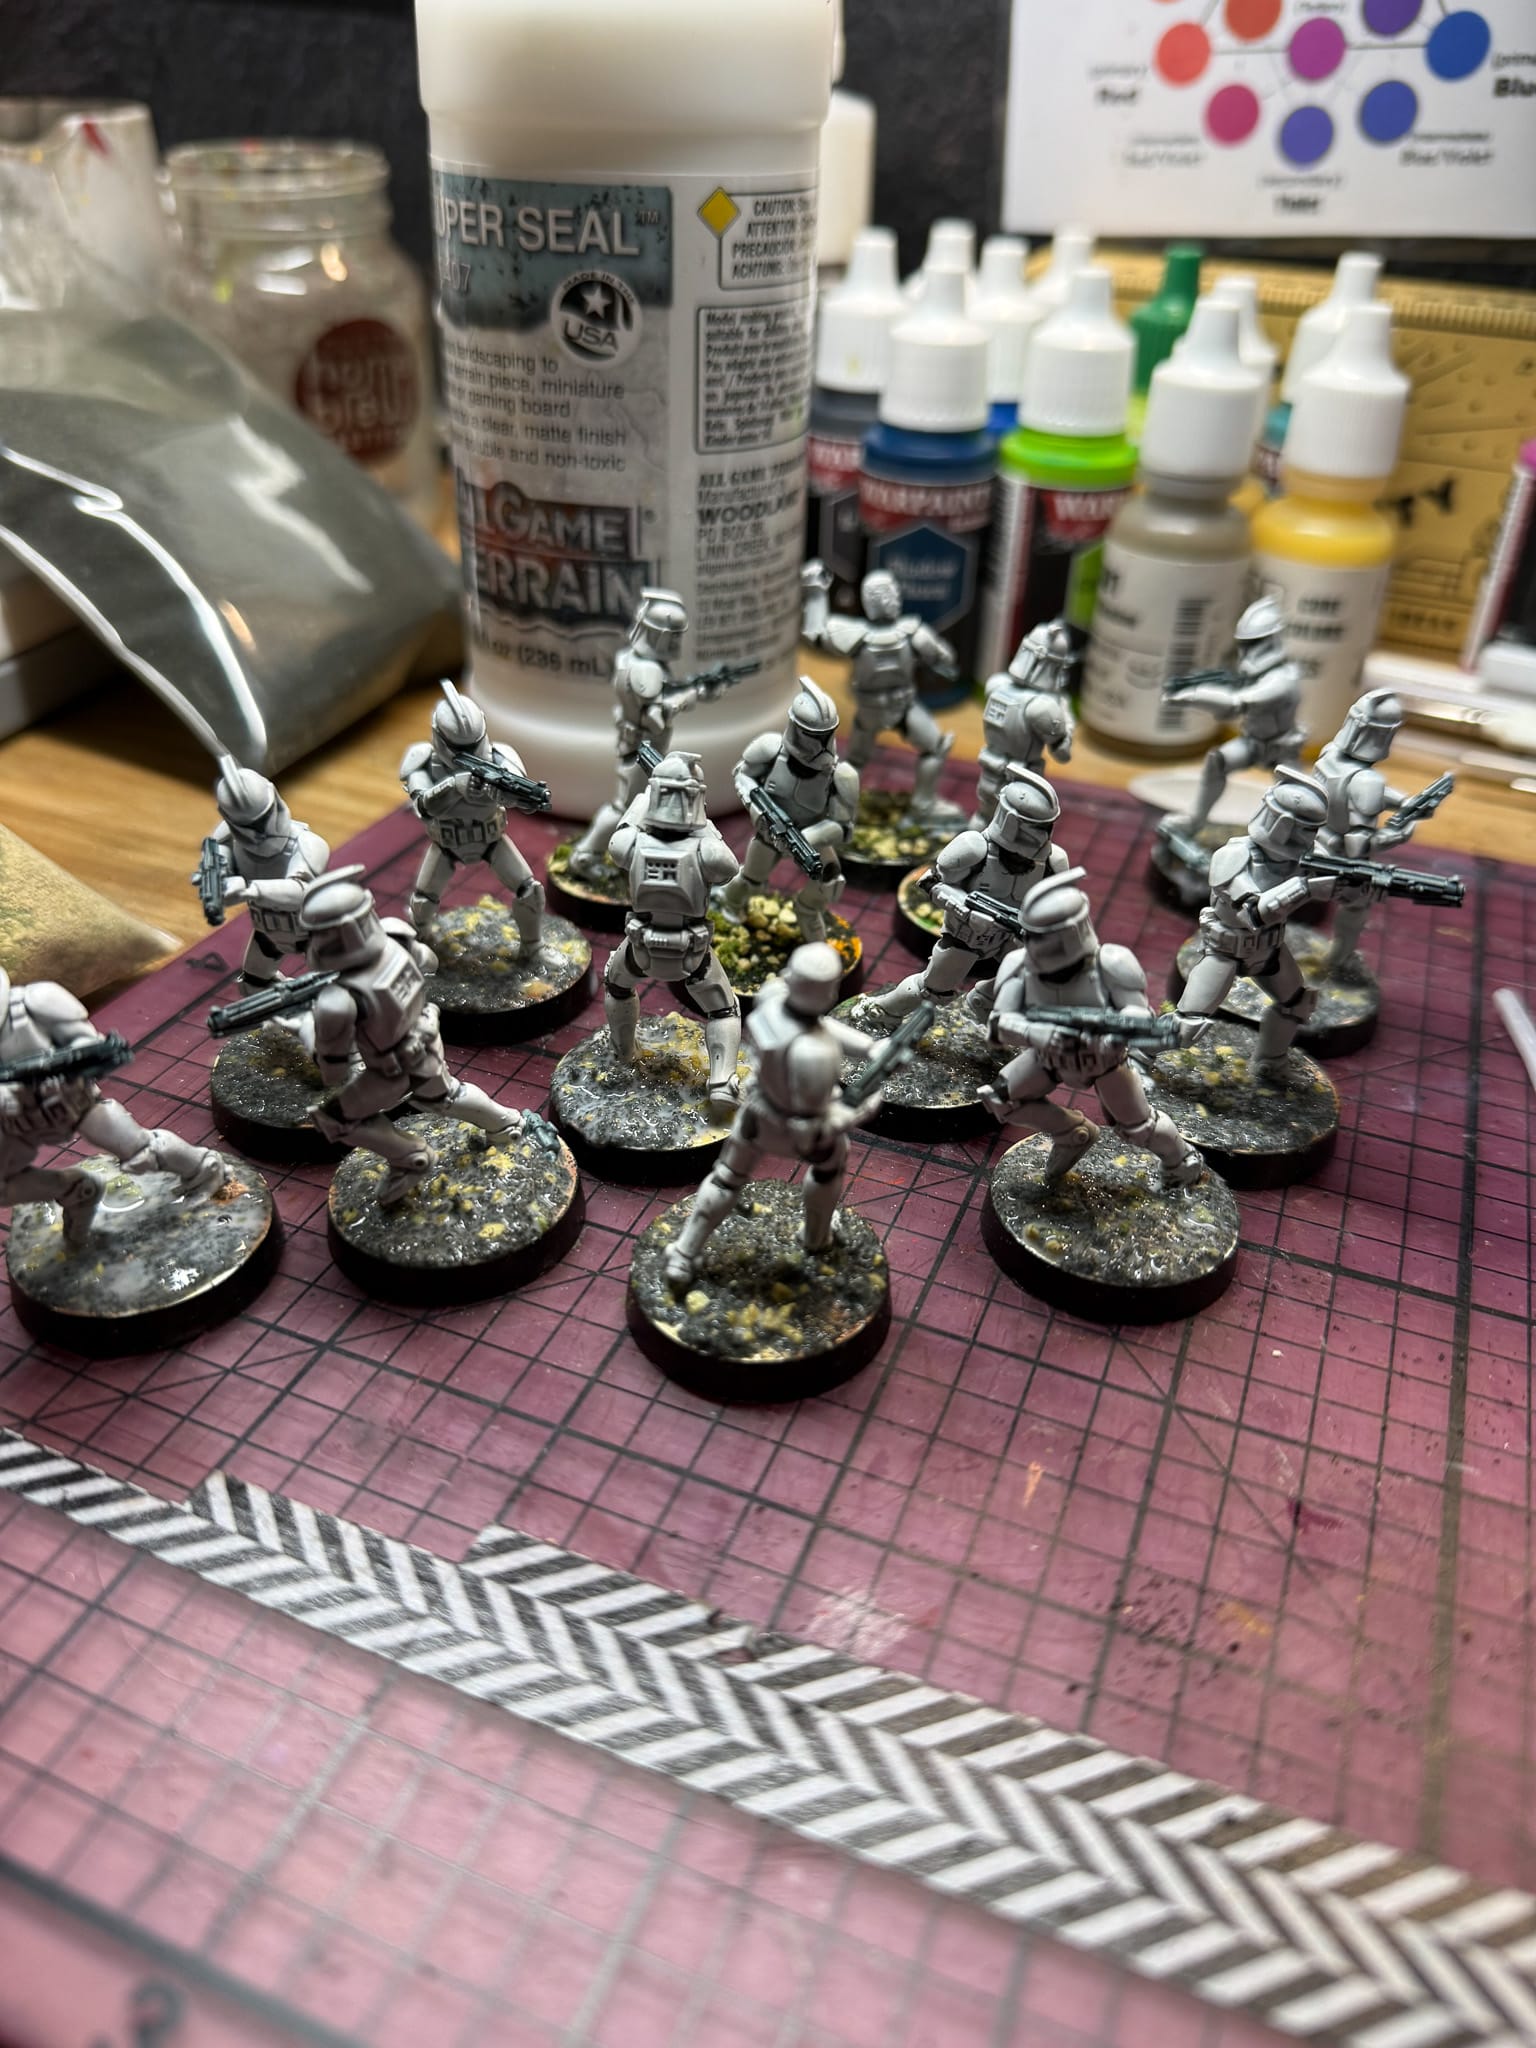

Basing is so much fun. Anyone who argues otherwise is just wrong.
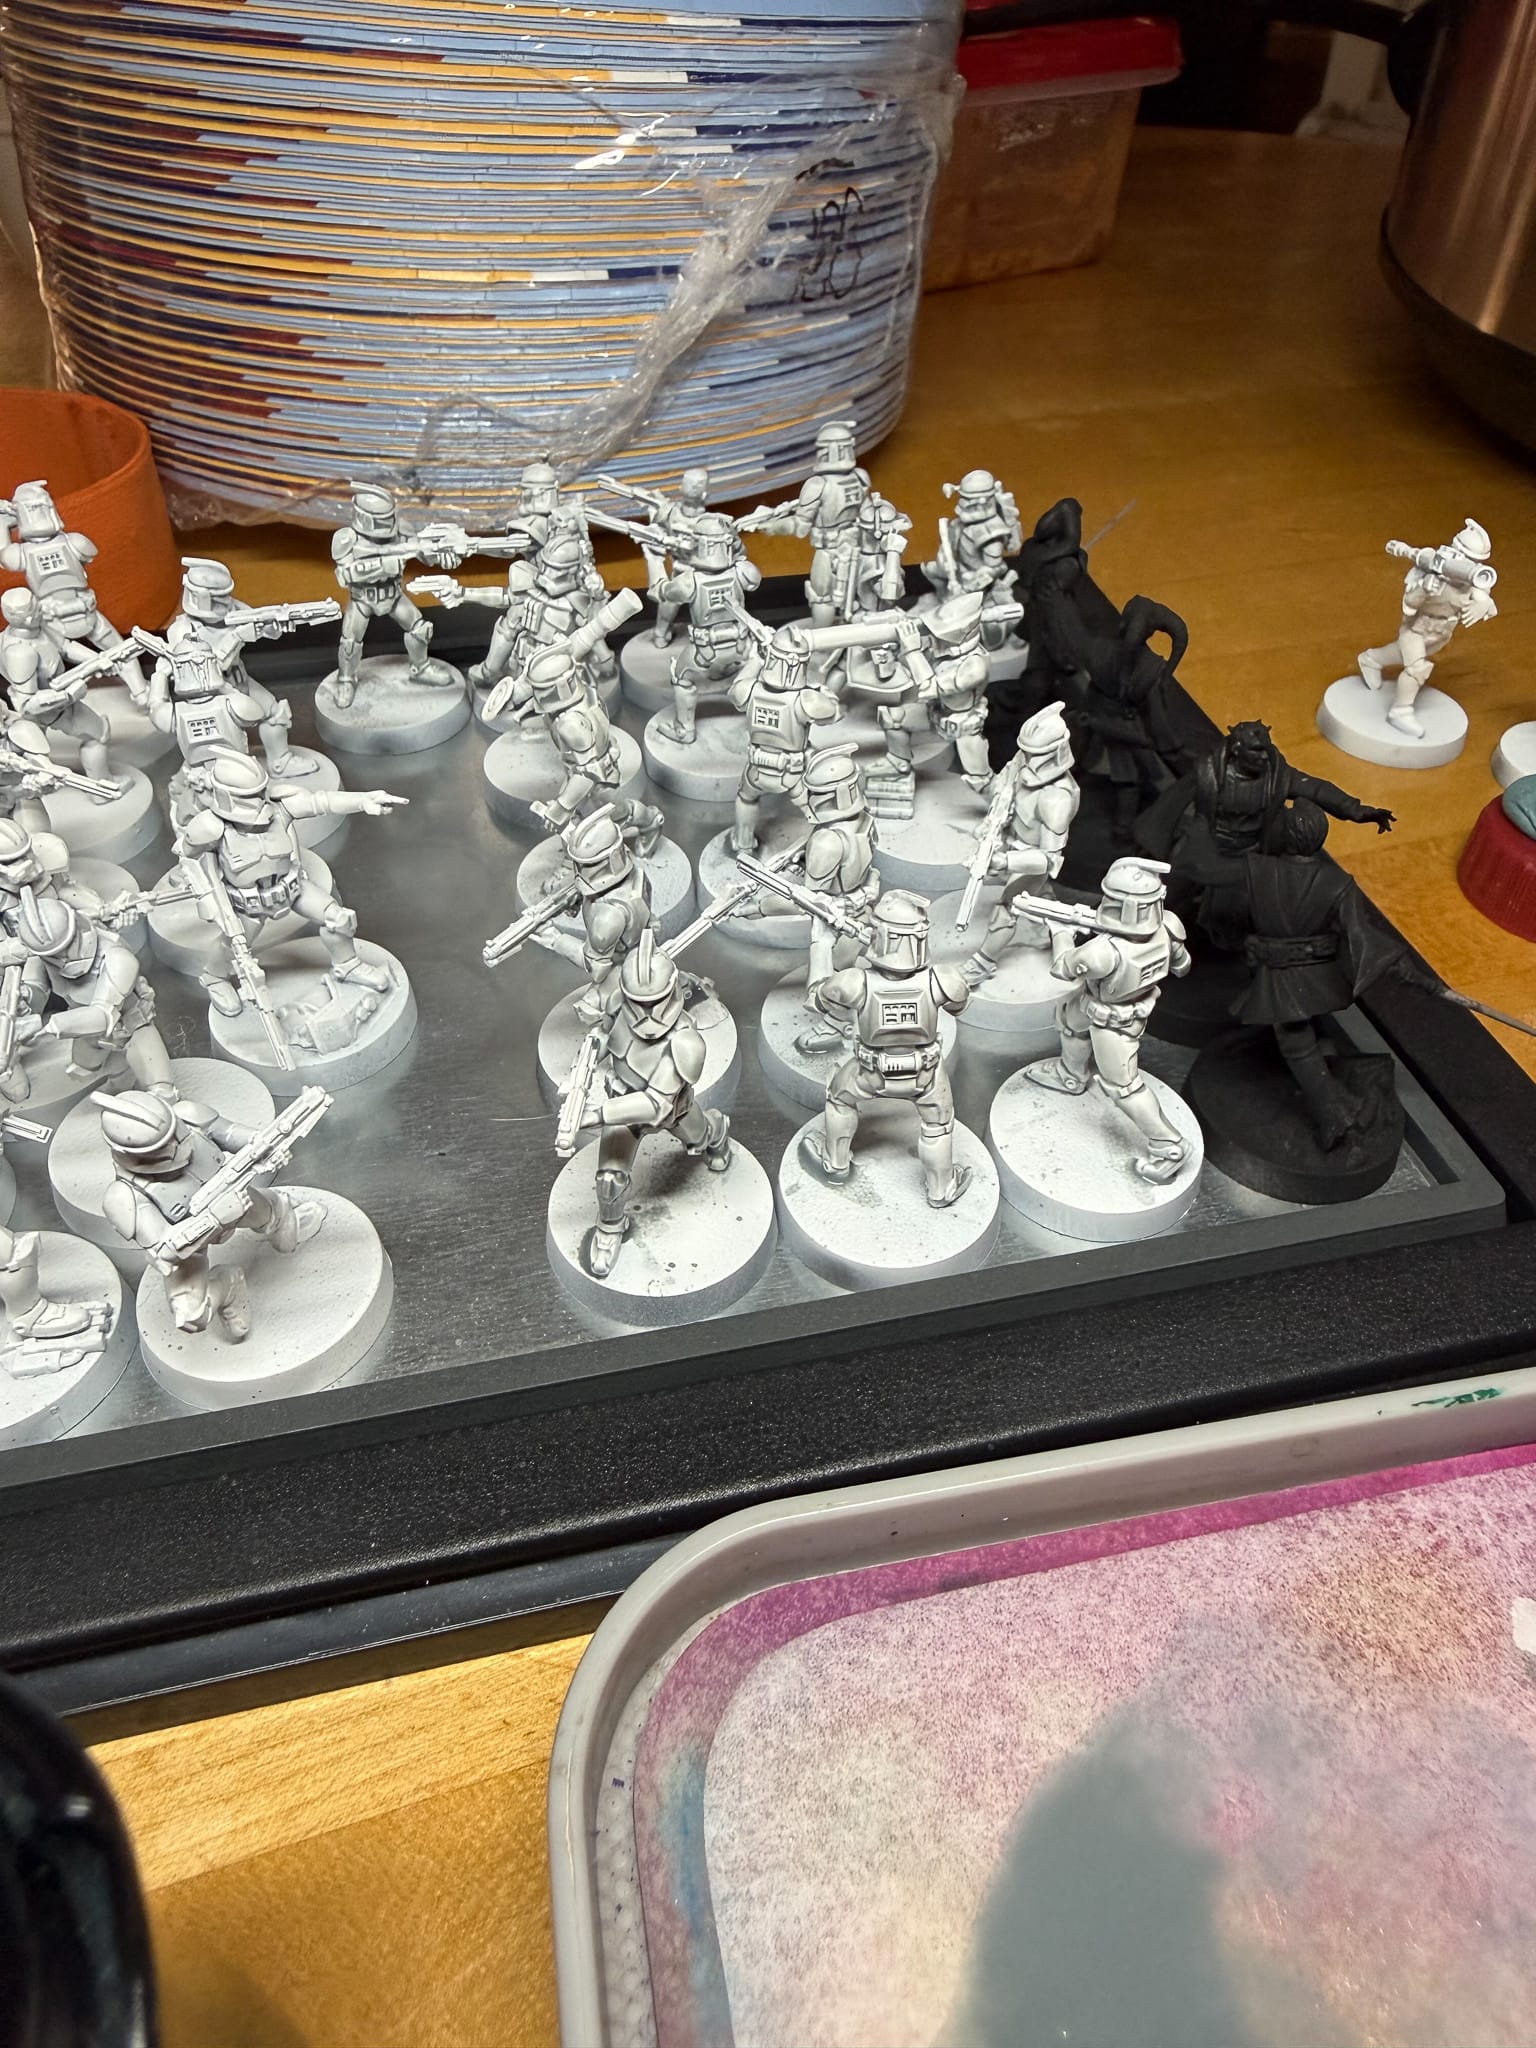
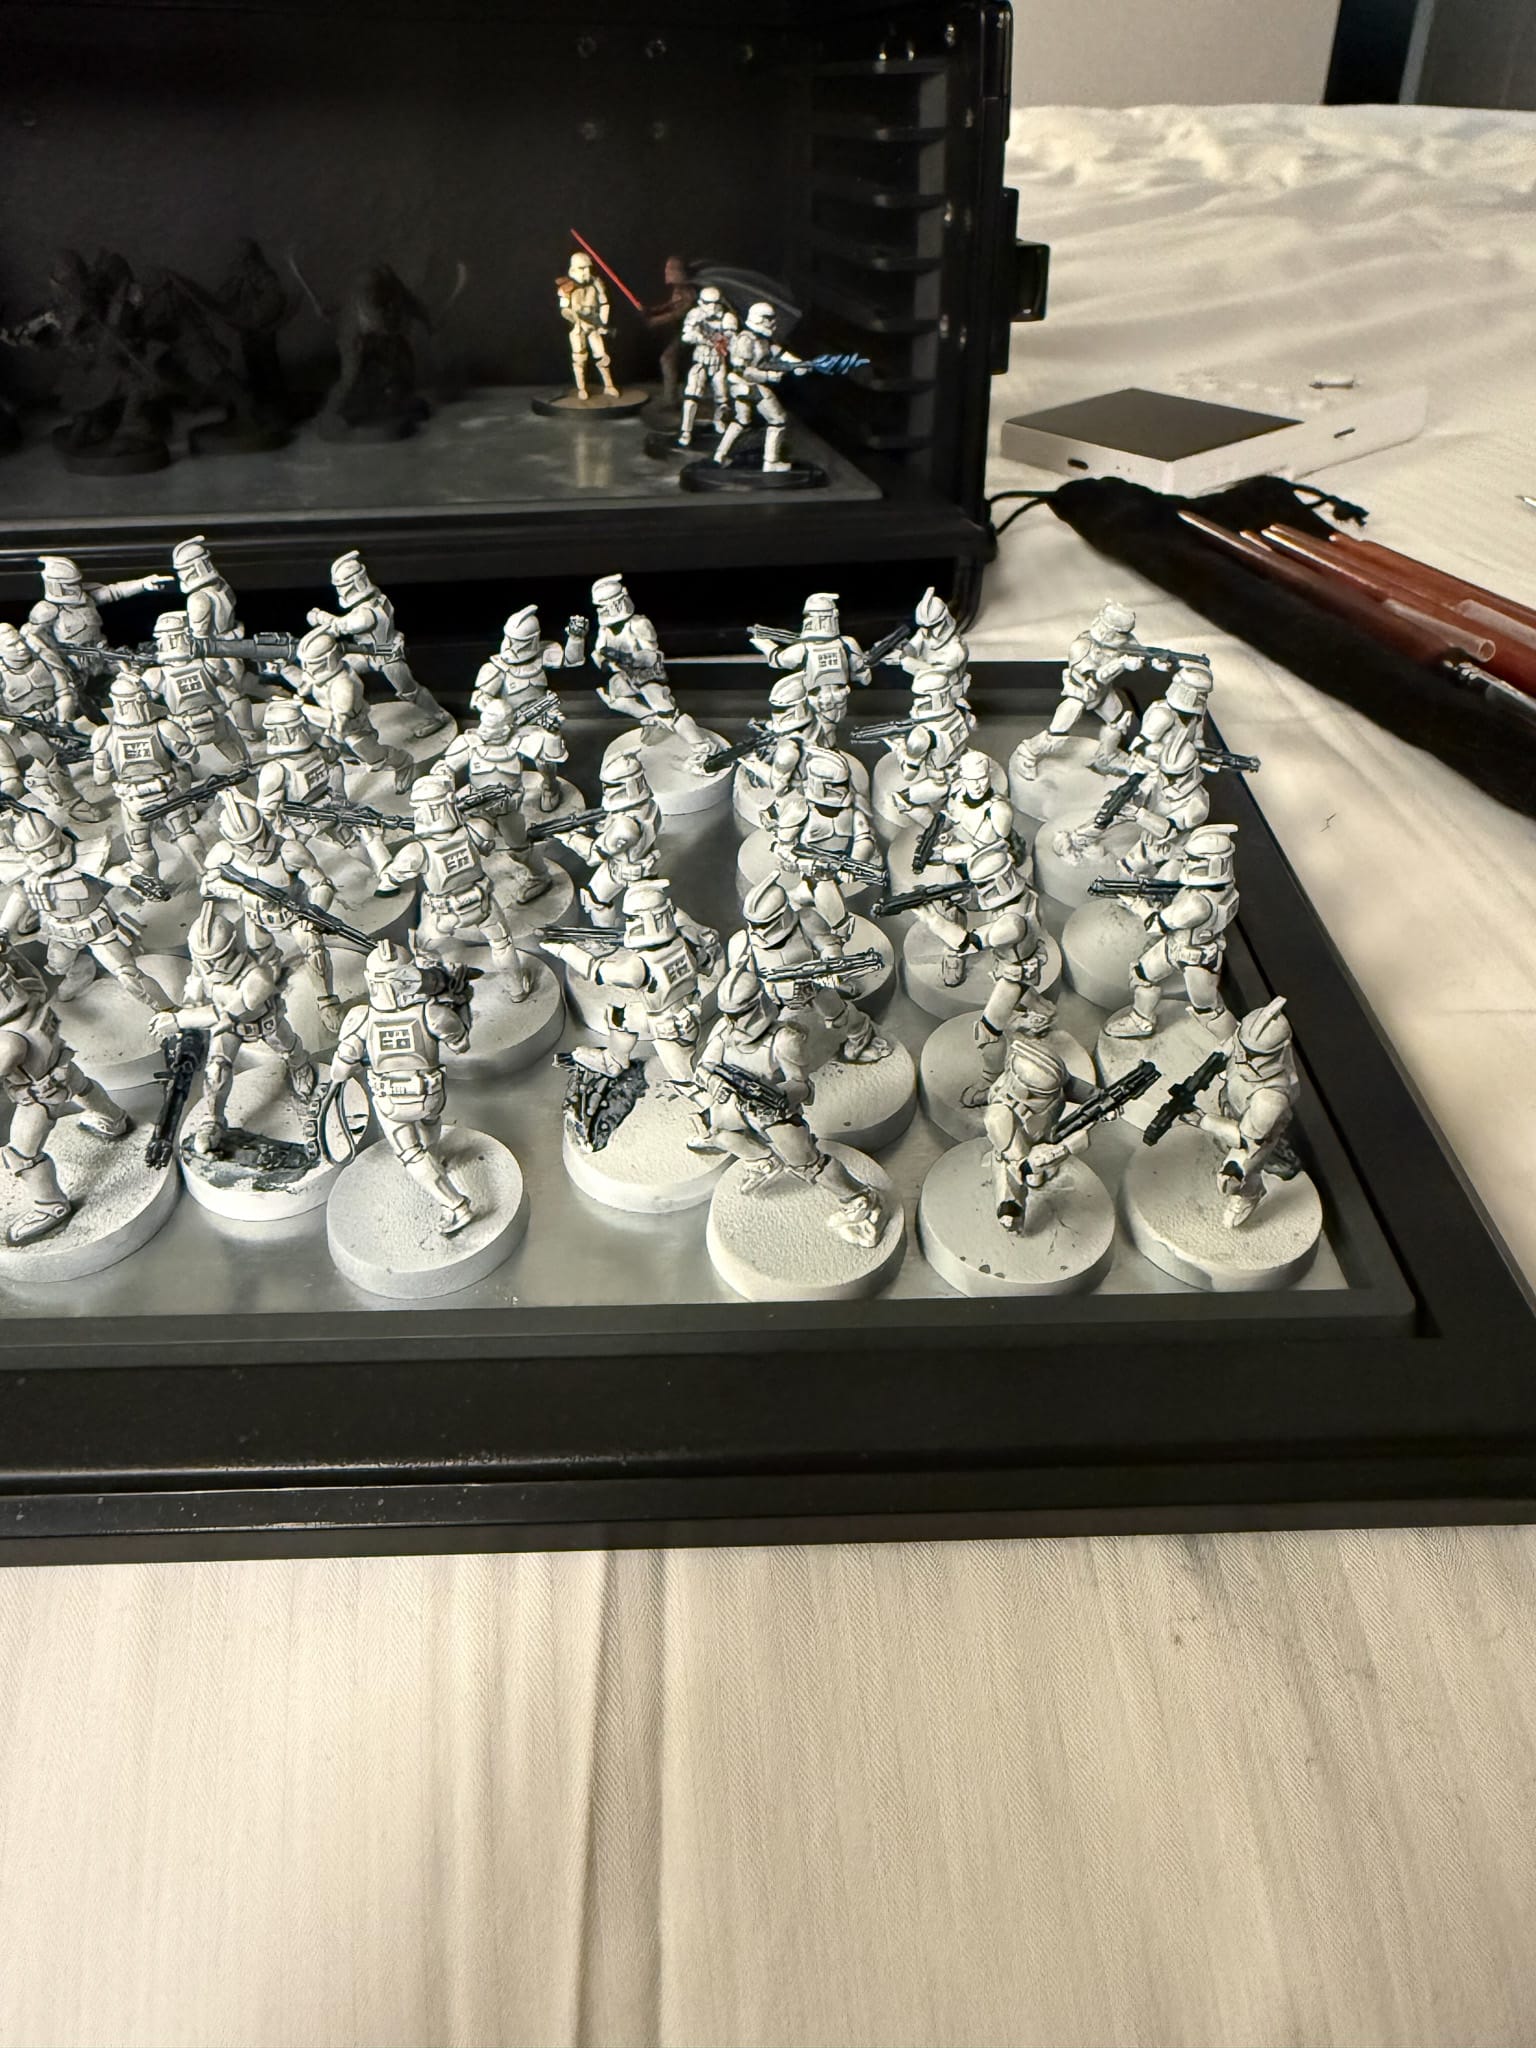
The starter set comes with three squadrons of Clones. You have your normal troopers, the ARF Troopers (complete in "scout" style armor), and the iconic ARC Troopers, complete with jet packs, skirts, and sometimes dual wielding blasters. For these specific units, I felt the need to modify the models.
But at this time, I was at Adepticon, in the iconic Fort Wappel, complete with professional lighting, 5 different paint ranges, and a whole host of materials. For the ARC troopers, I grabbed Stormguard Blue from the P3 range, and used it on some of the internal components of the armor, leaving a bright blue behind. I thought this made for an exciting contrast. The shoulder pads across the squad received a mixture of that blue and The Darkness, though I believe I could have used more of the lighter blue. For the holsters and pouches, I grabbed Bootstrap Leather, which has a little bit of red in it to achieve a richer brown. After that, I was done with all of them. But as always, there could be more. So the day I played Legion, that morning, I made a light glaze out of some browns and greens and splashed it on the bottom of the boots for some basic weathering.
A little goes a long way. And by the way, I'm not done with this army. There's so much more I can and will add to the models. My next steps with this army will be to apply more grime, chipping, and some additional markings to distinguish commanders, as each squadron needs a leader, and if you don't remember which model that is, it can be a problem on the table. I'm intent on finding a Goblin Stamp (link to review) that will help me out.
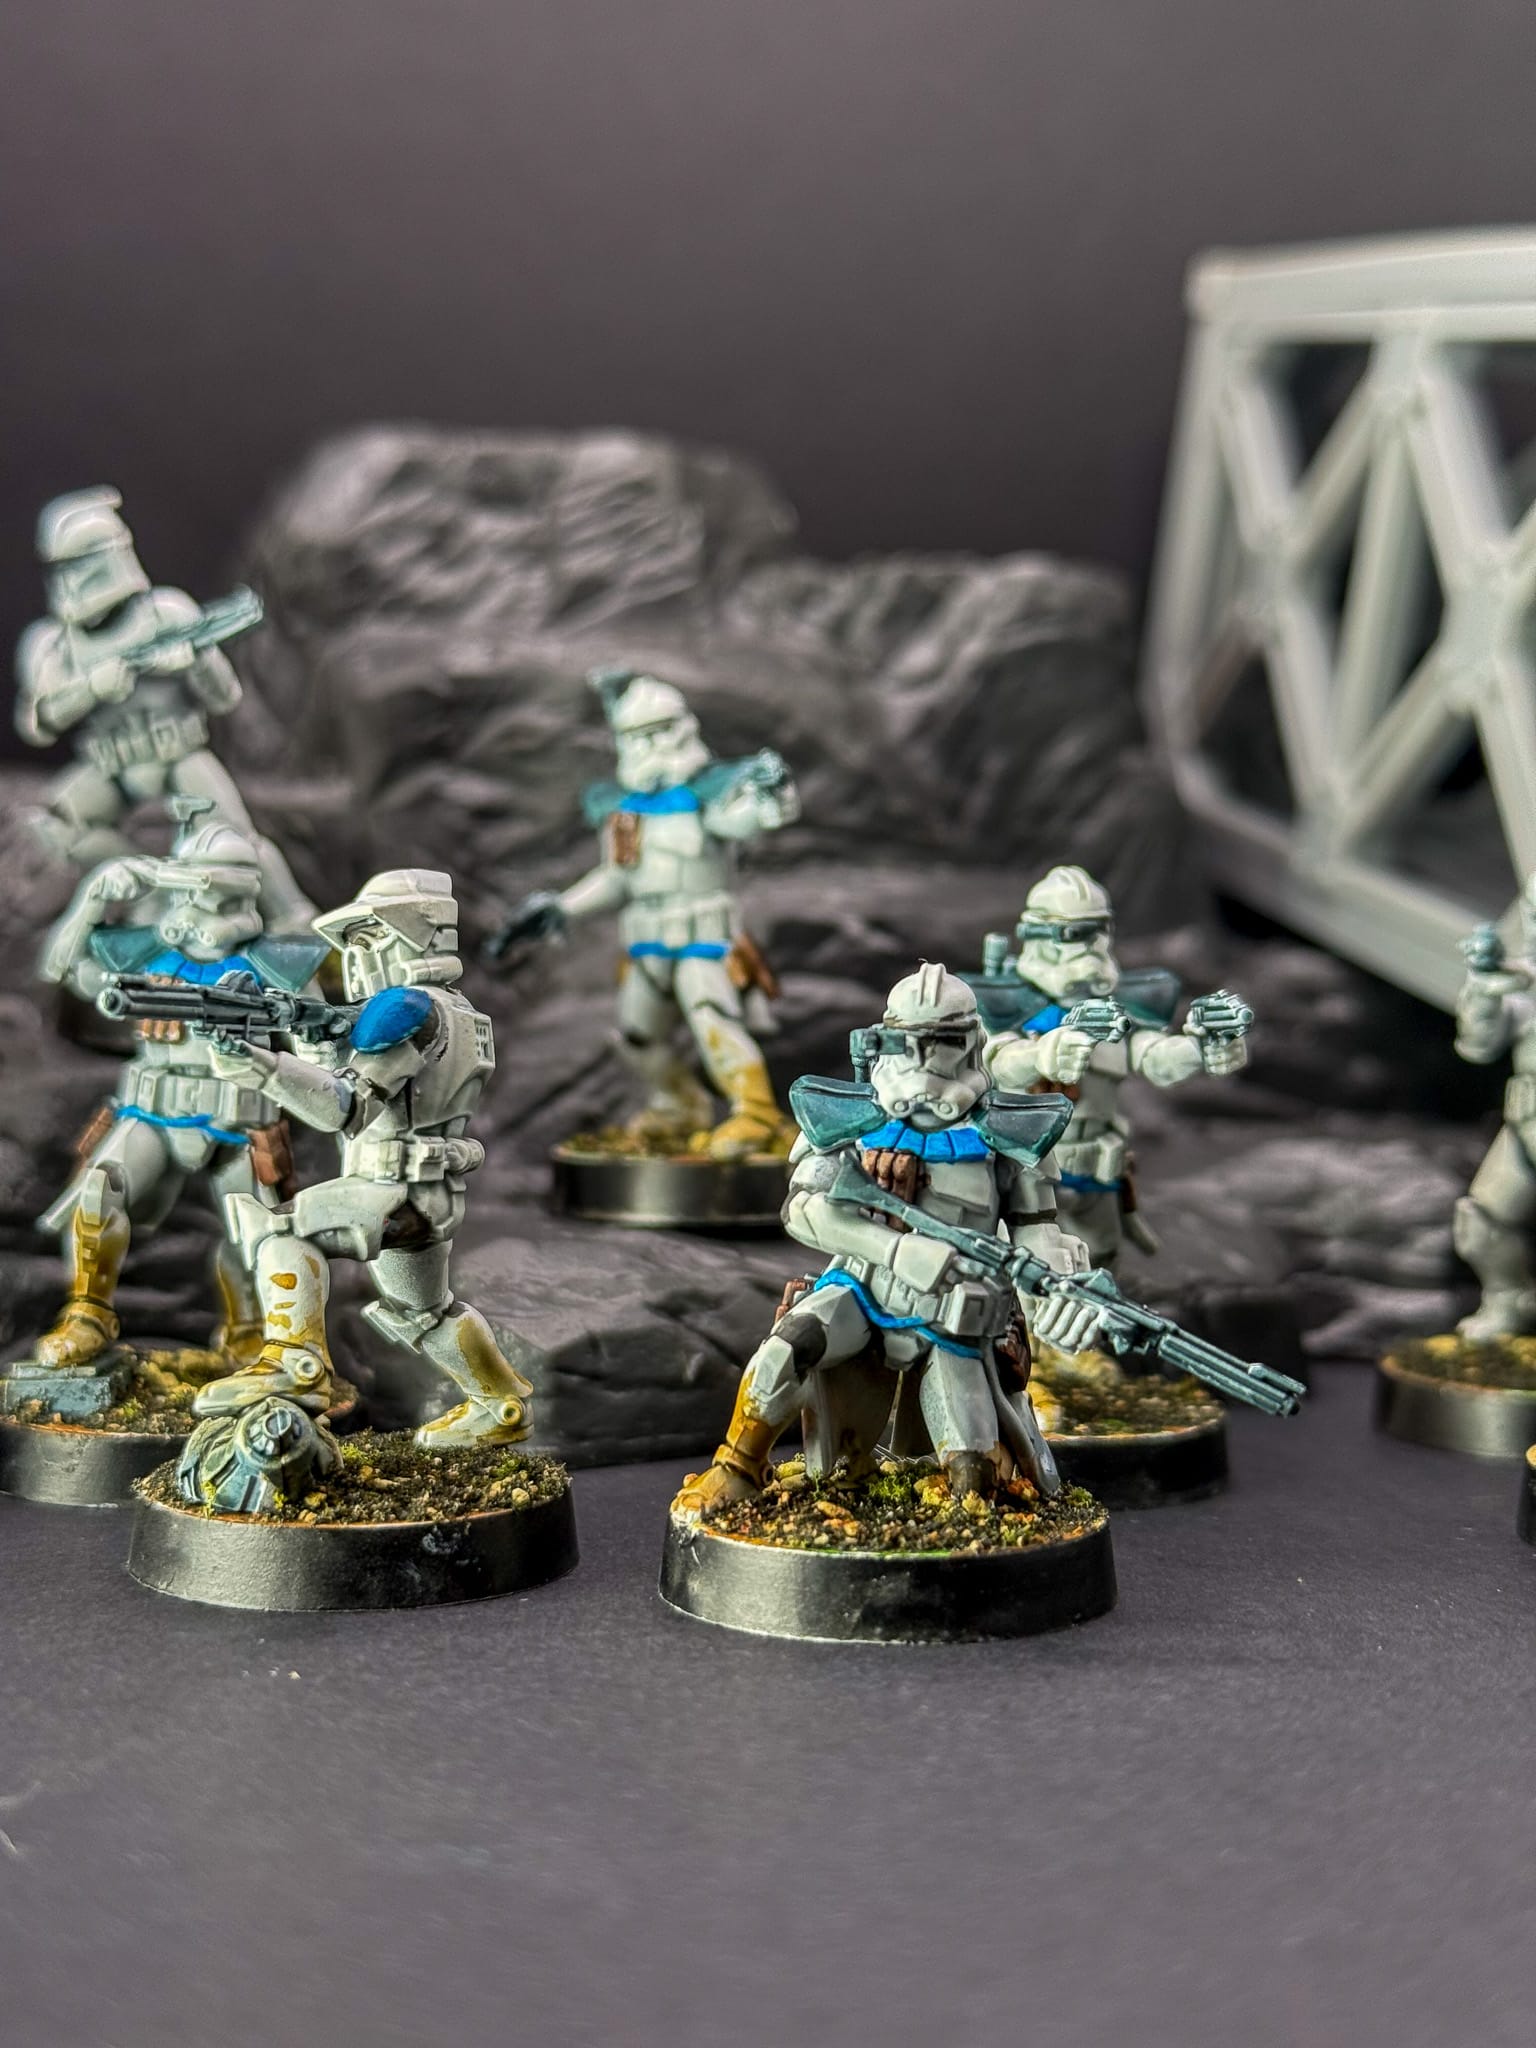
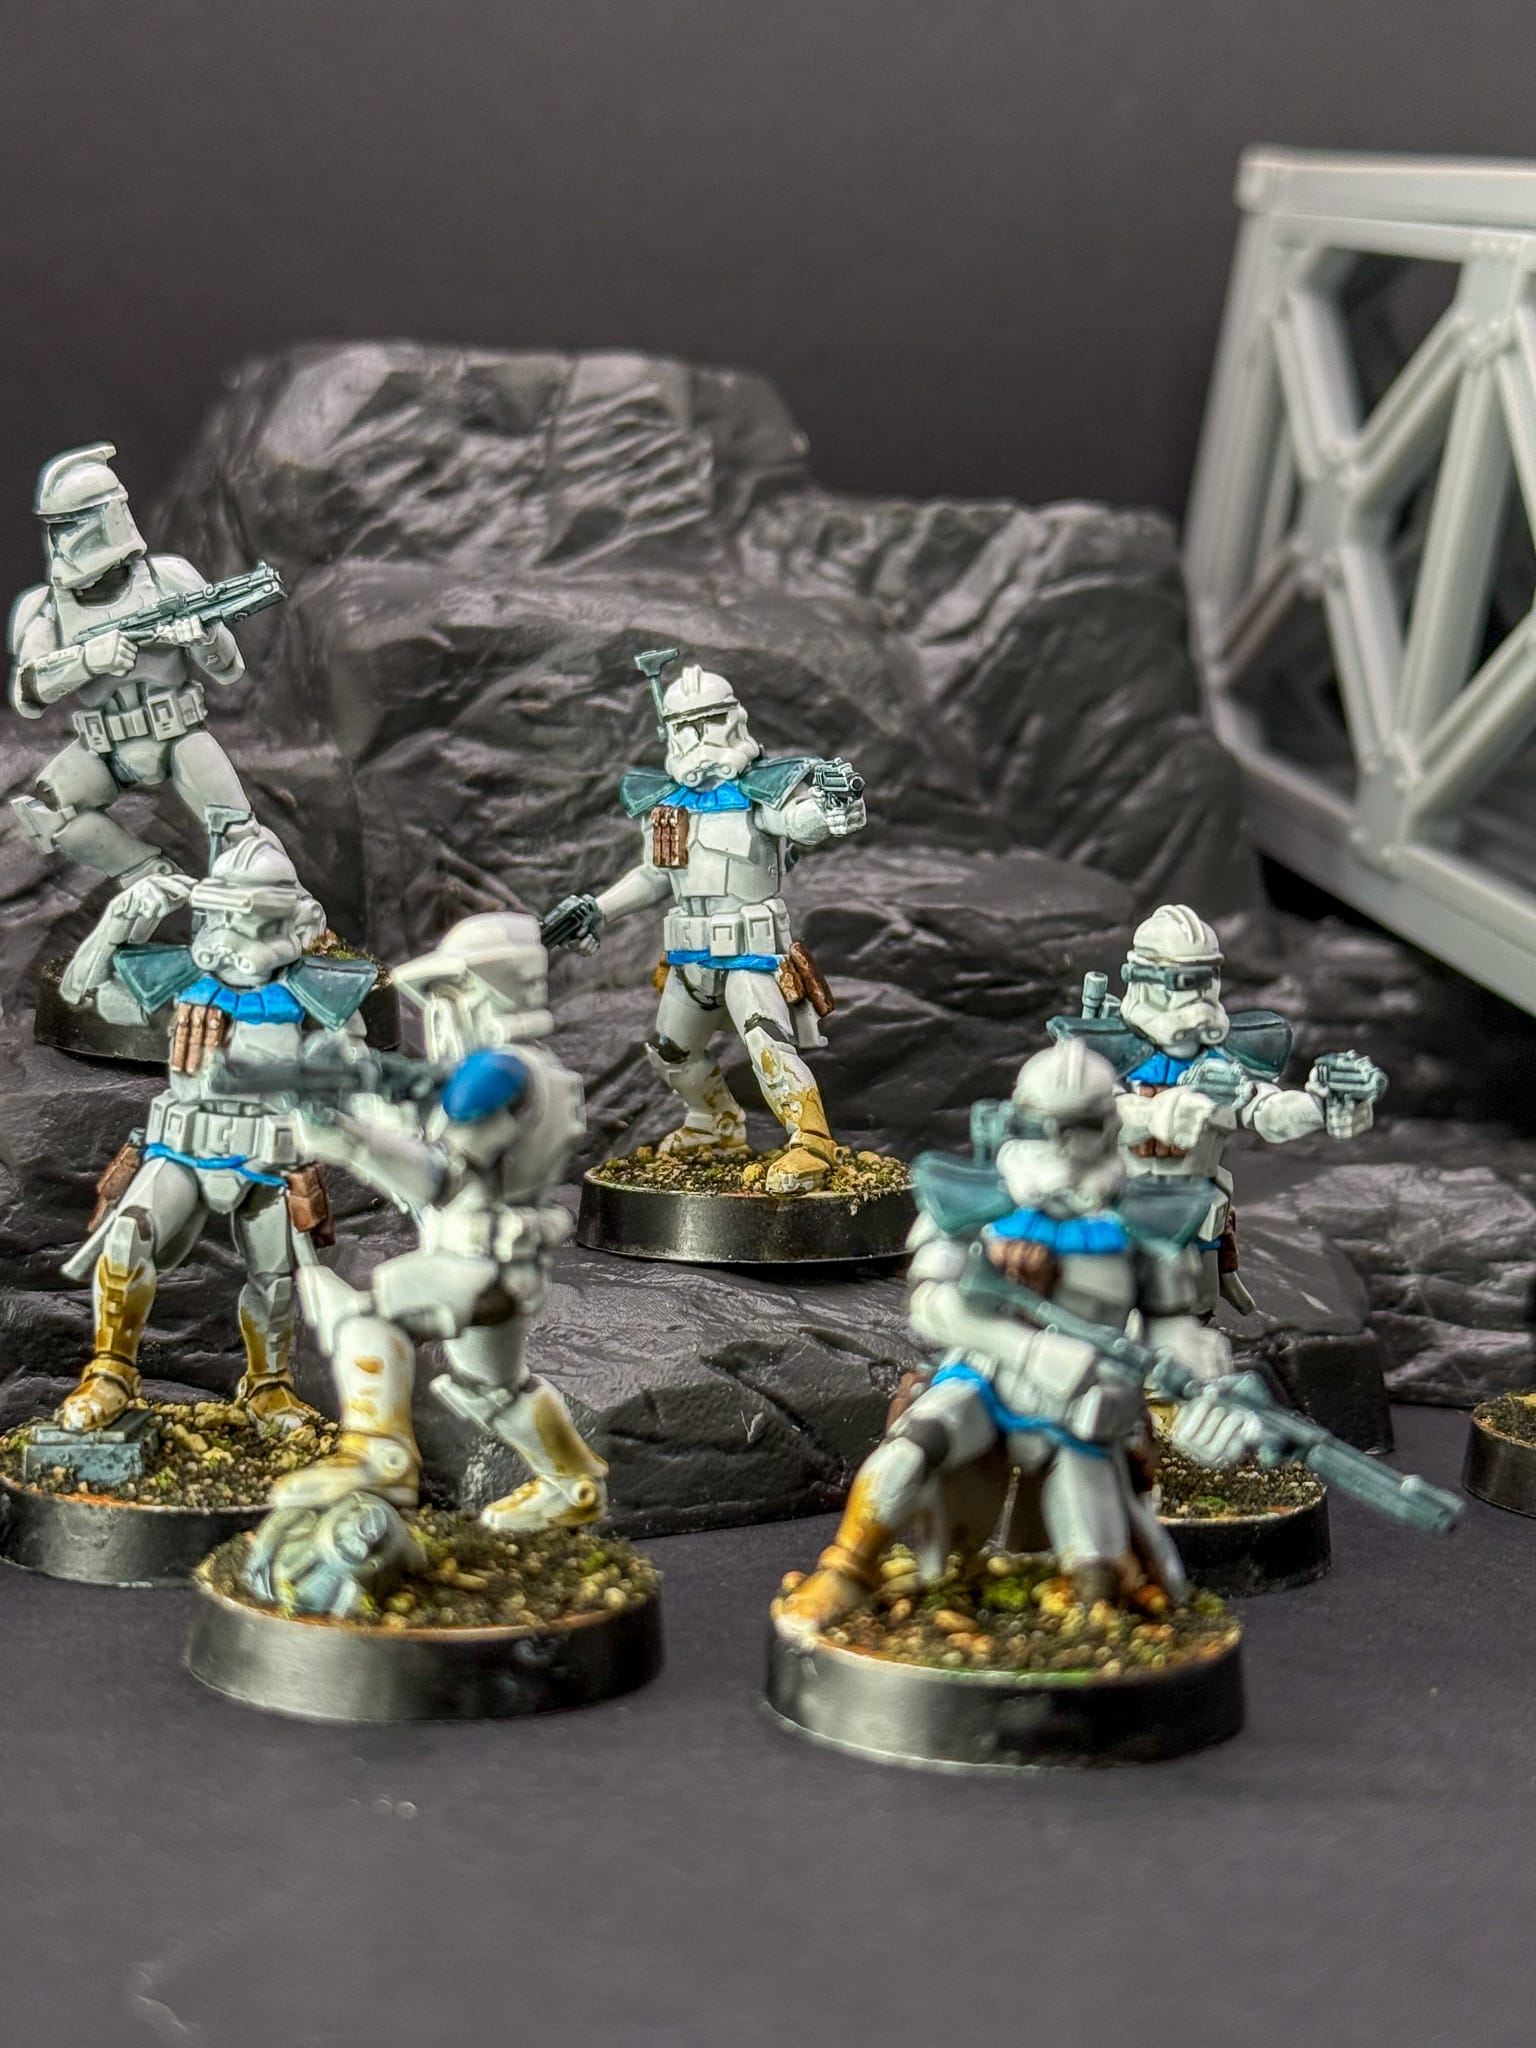

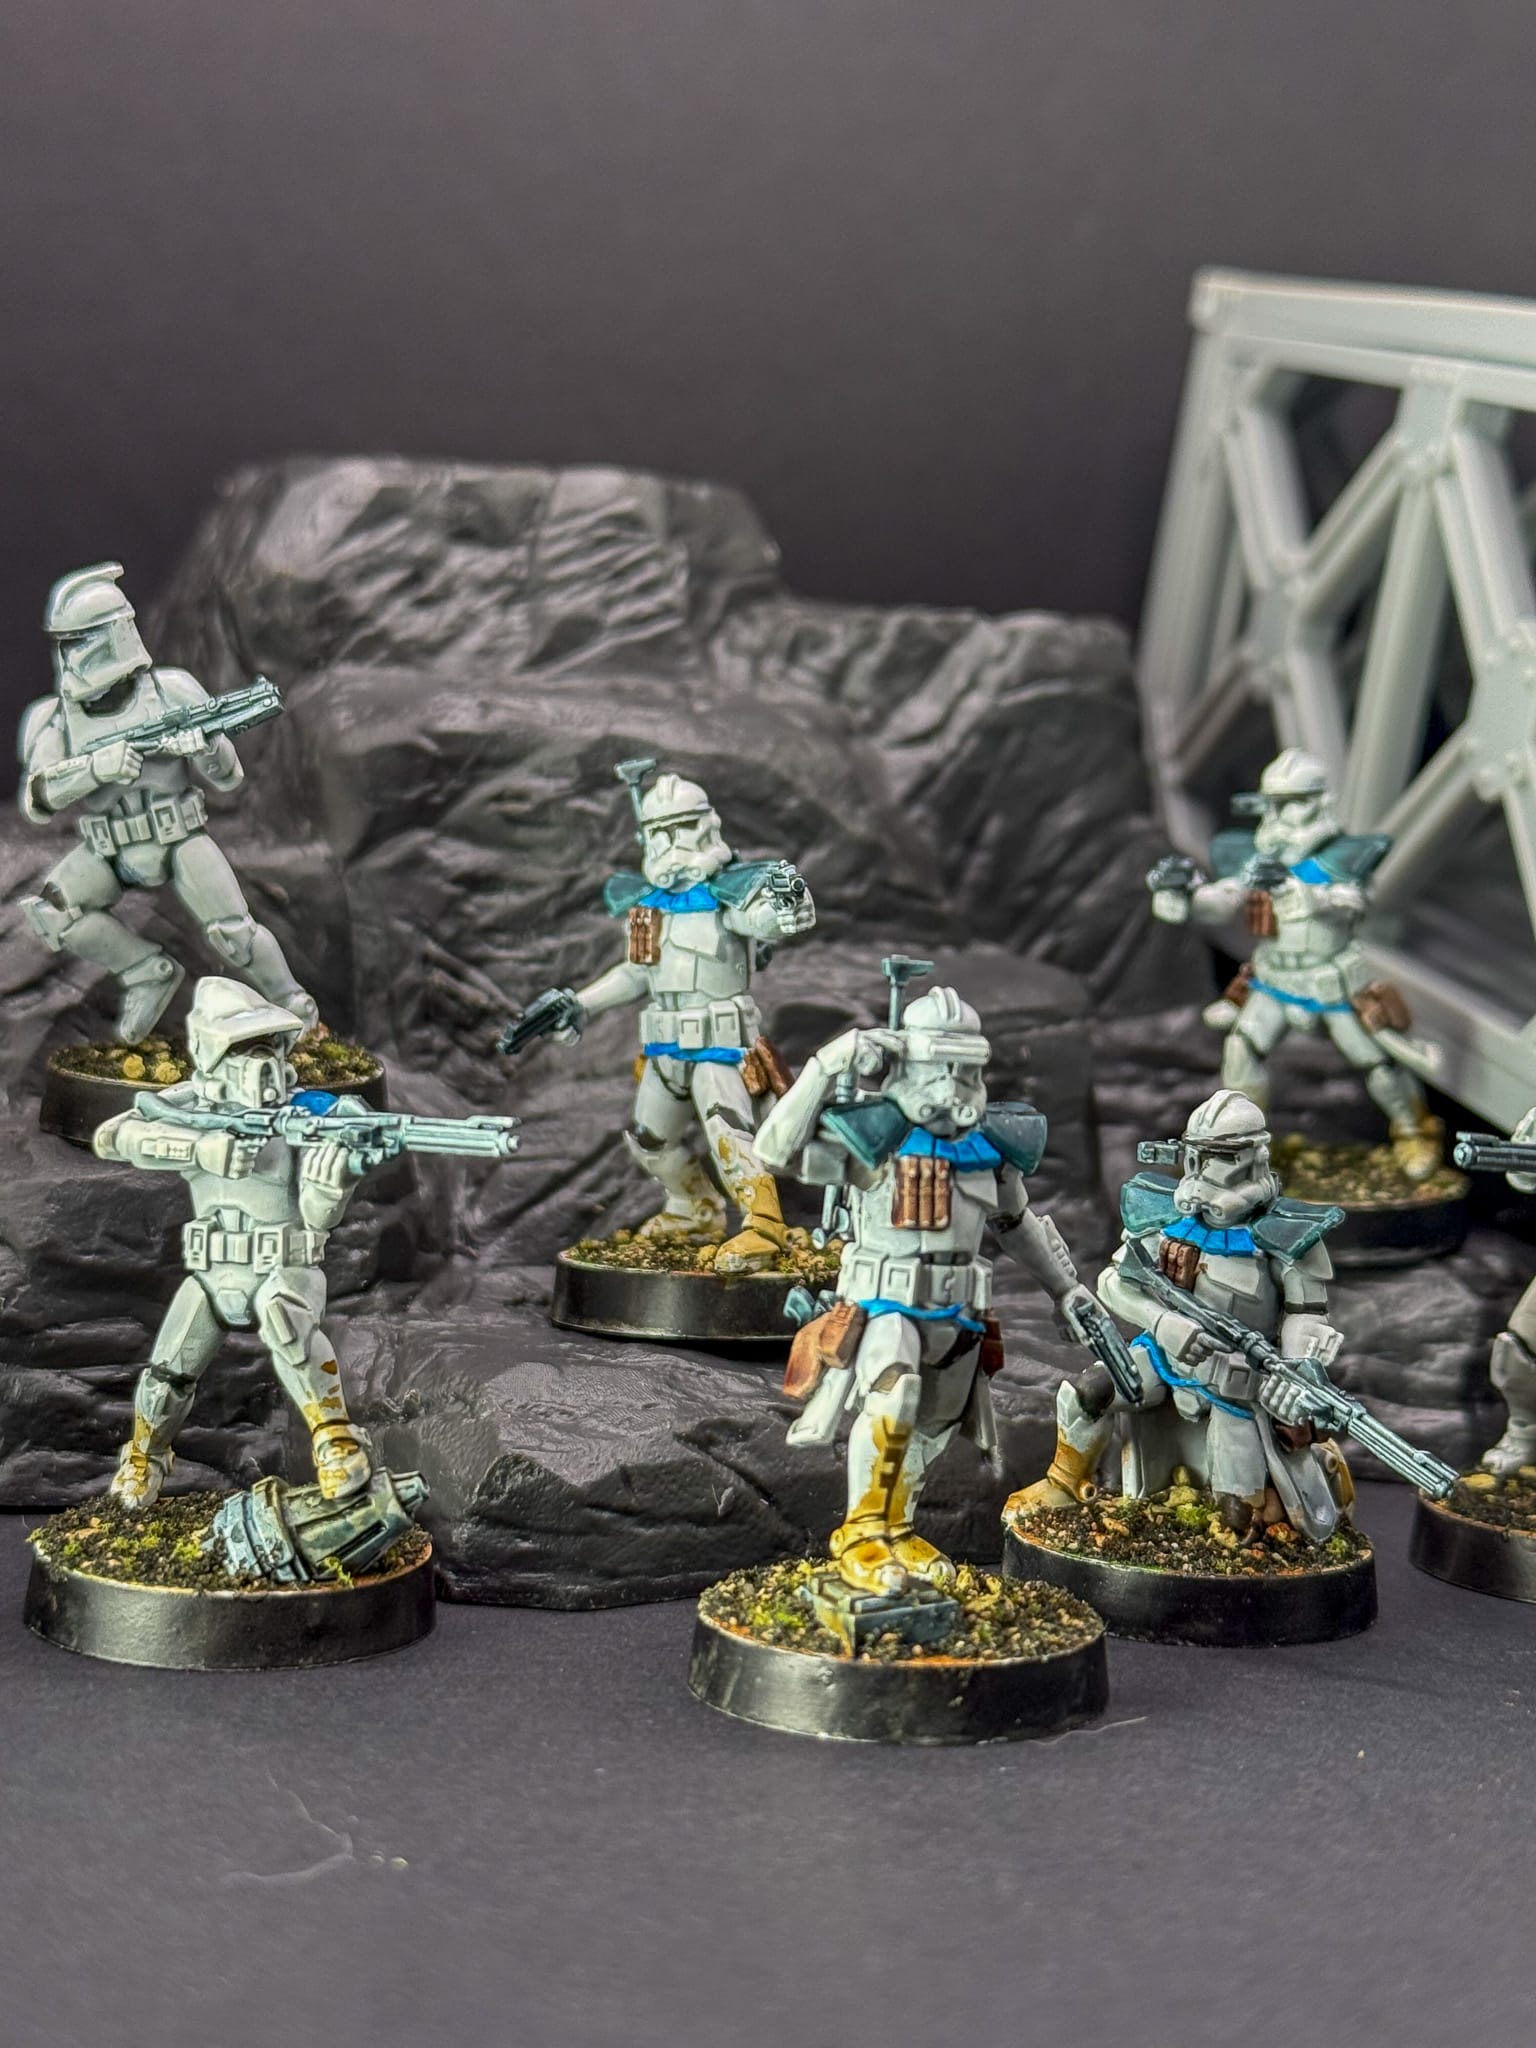
The Finished (for now) models! See more in our review of Star Wars: Legion next month!
And that's kind of the point of this whole article. I've given you an initial recipe; now it's on you to go and tweak it. Discover your squads, maybe come up with a scheme that hasn't existed yet!


