Depending on who you are, spooky season is either coming up around the corner or, if you’re me, September 1st was the start of the BEST SEASON OF THE YEAR! So, (un)naturally, it’s time to wrap up the Monsters Unleashed box that Atomic Mass Games sent Gaming Trend last year. You can also find my painting tutorial for Frankenstein’s Monster from earlier this year.
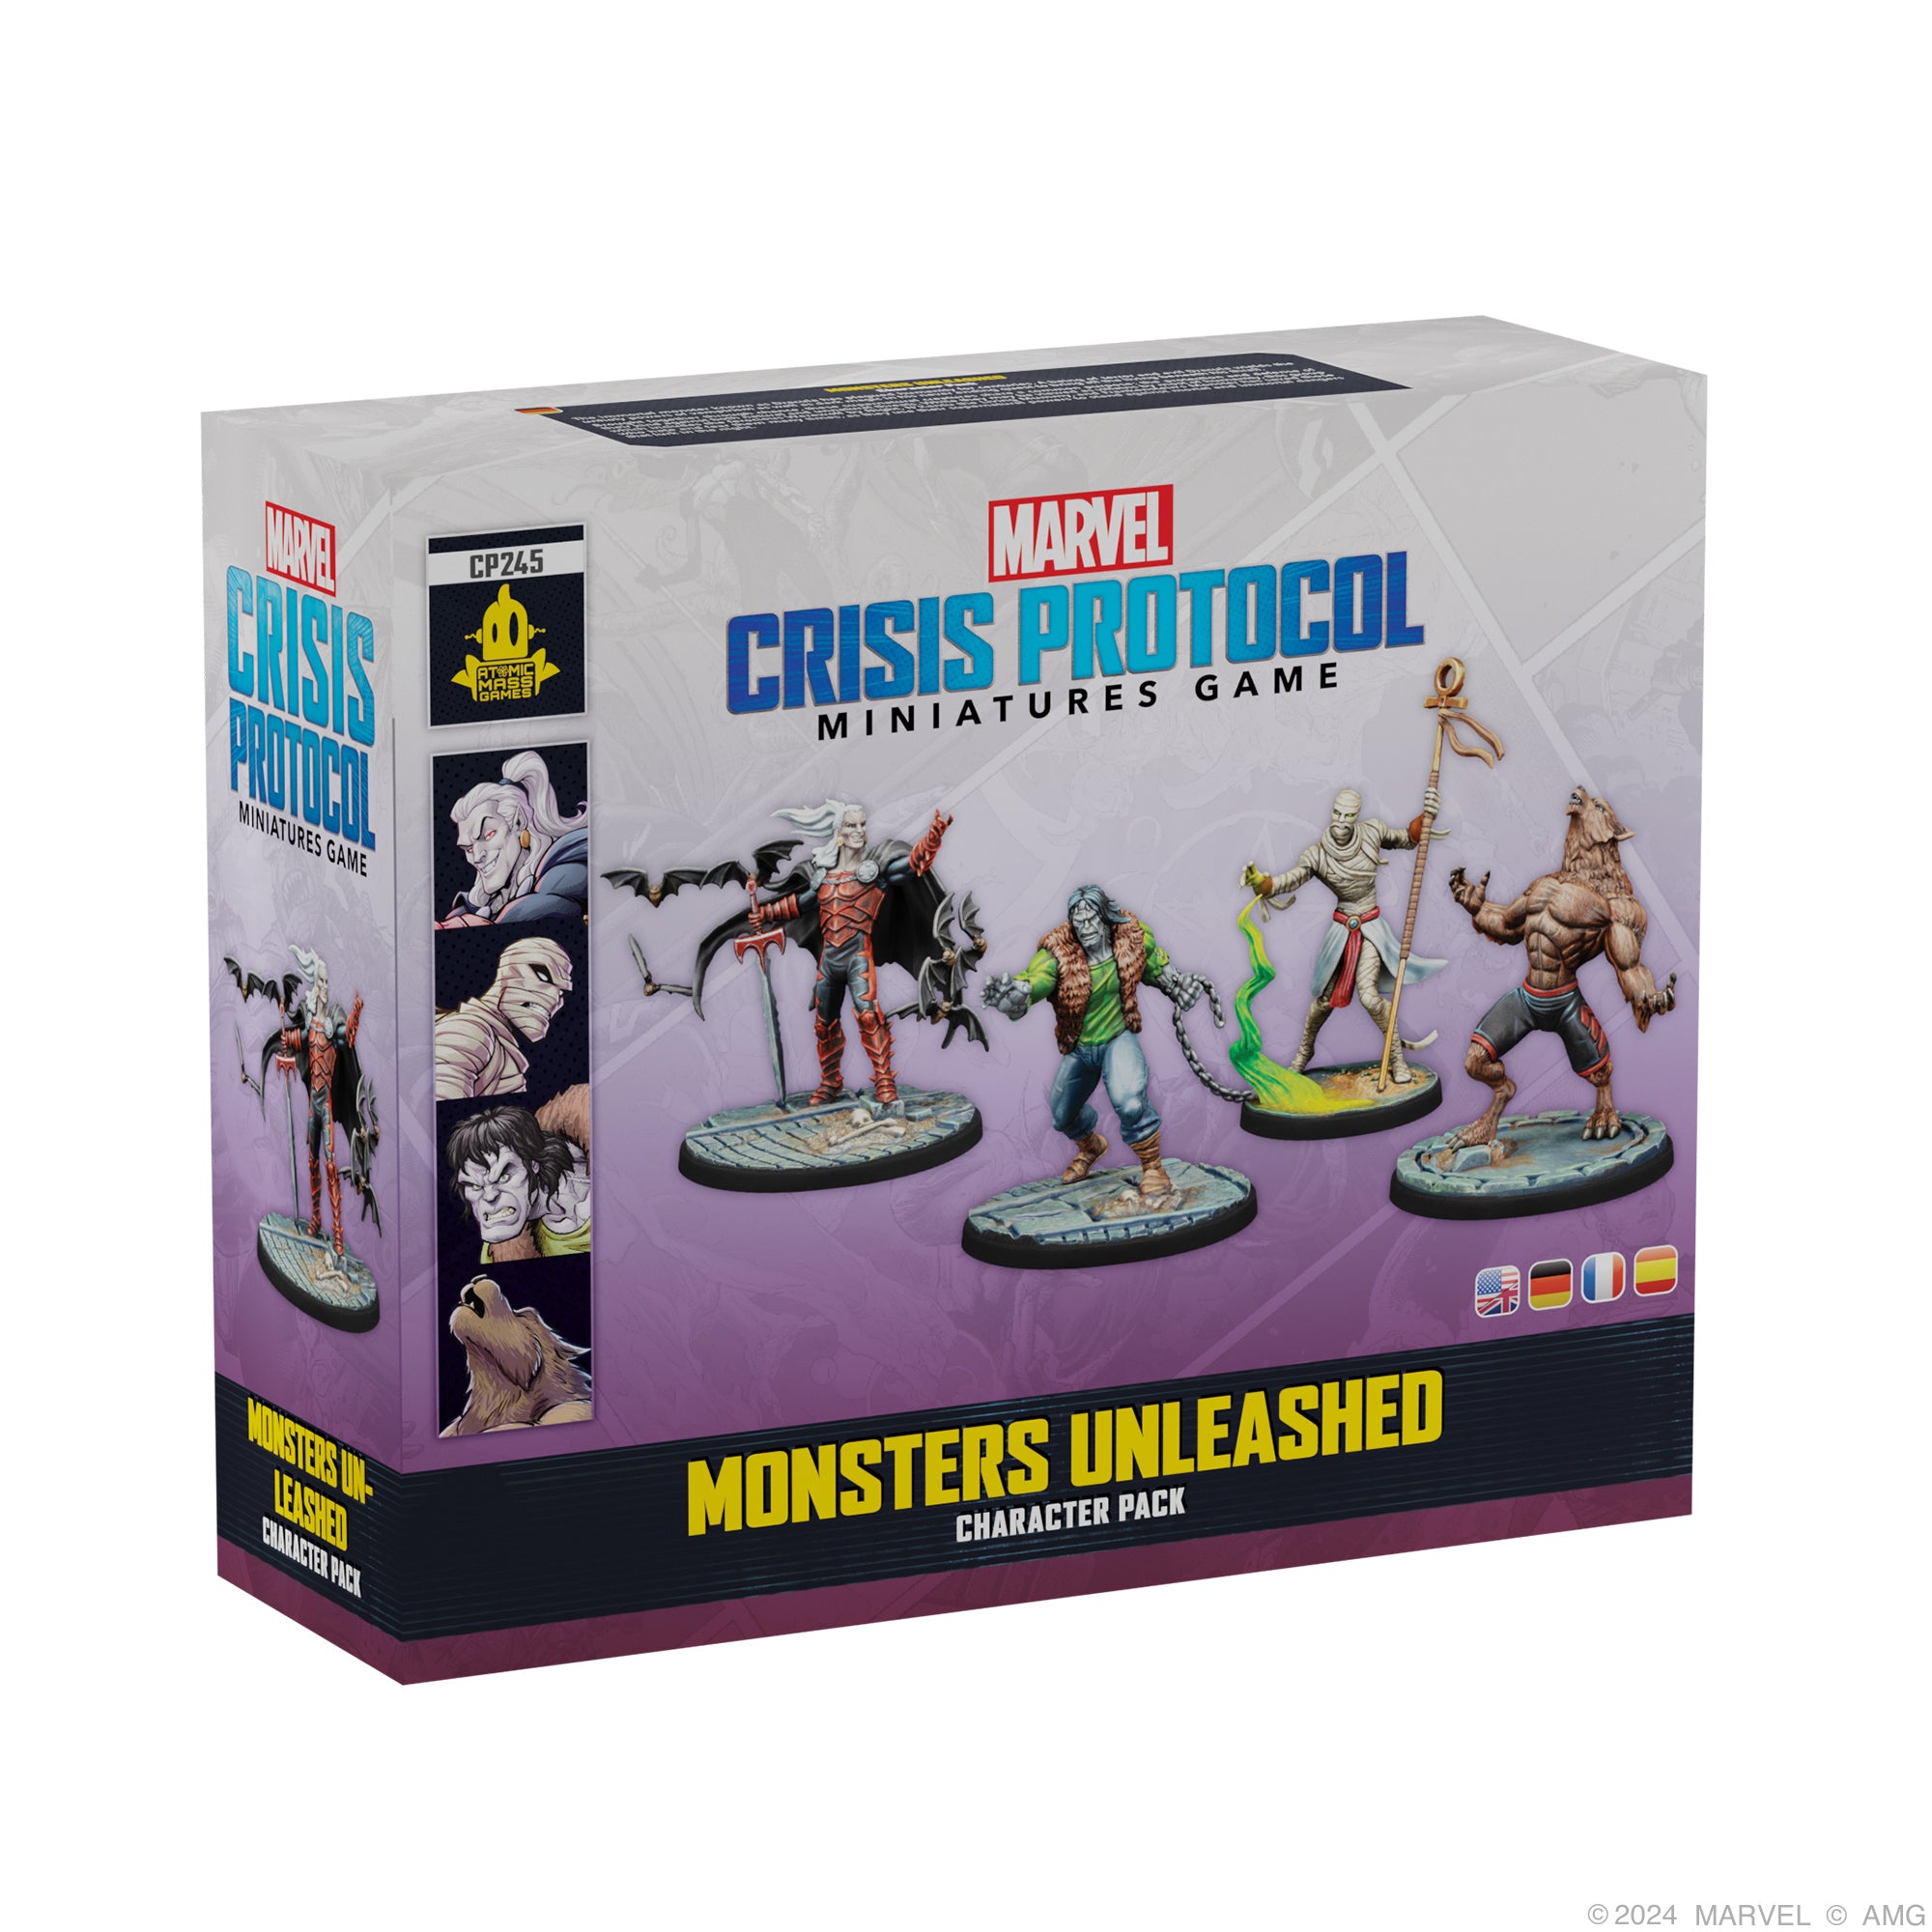
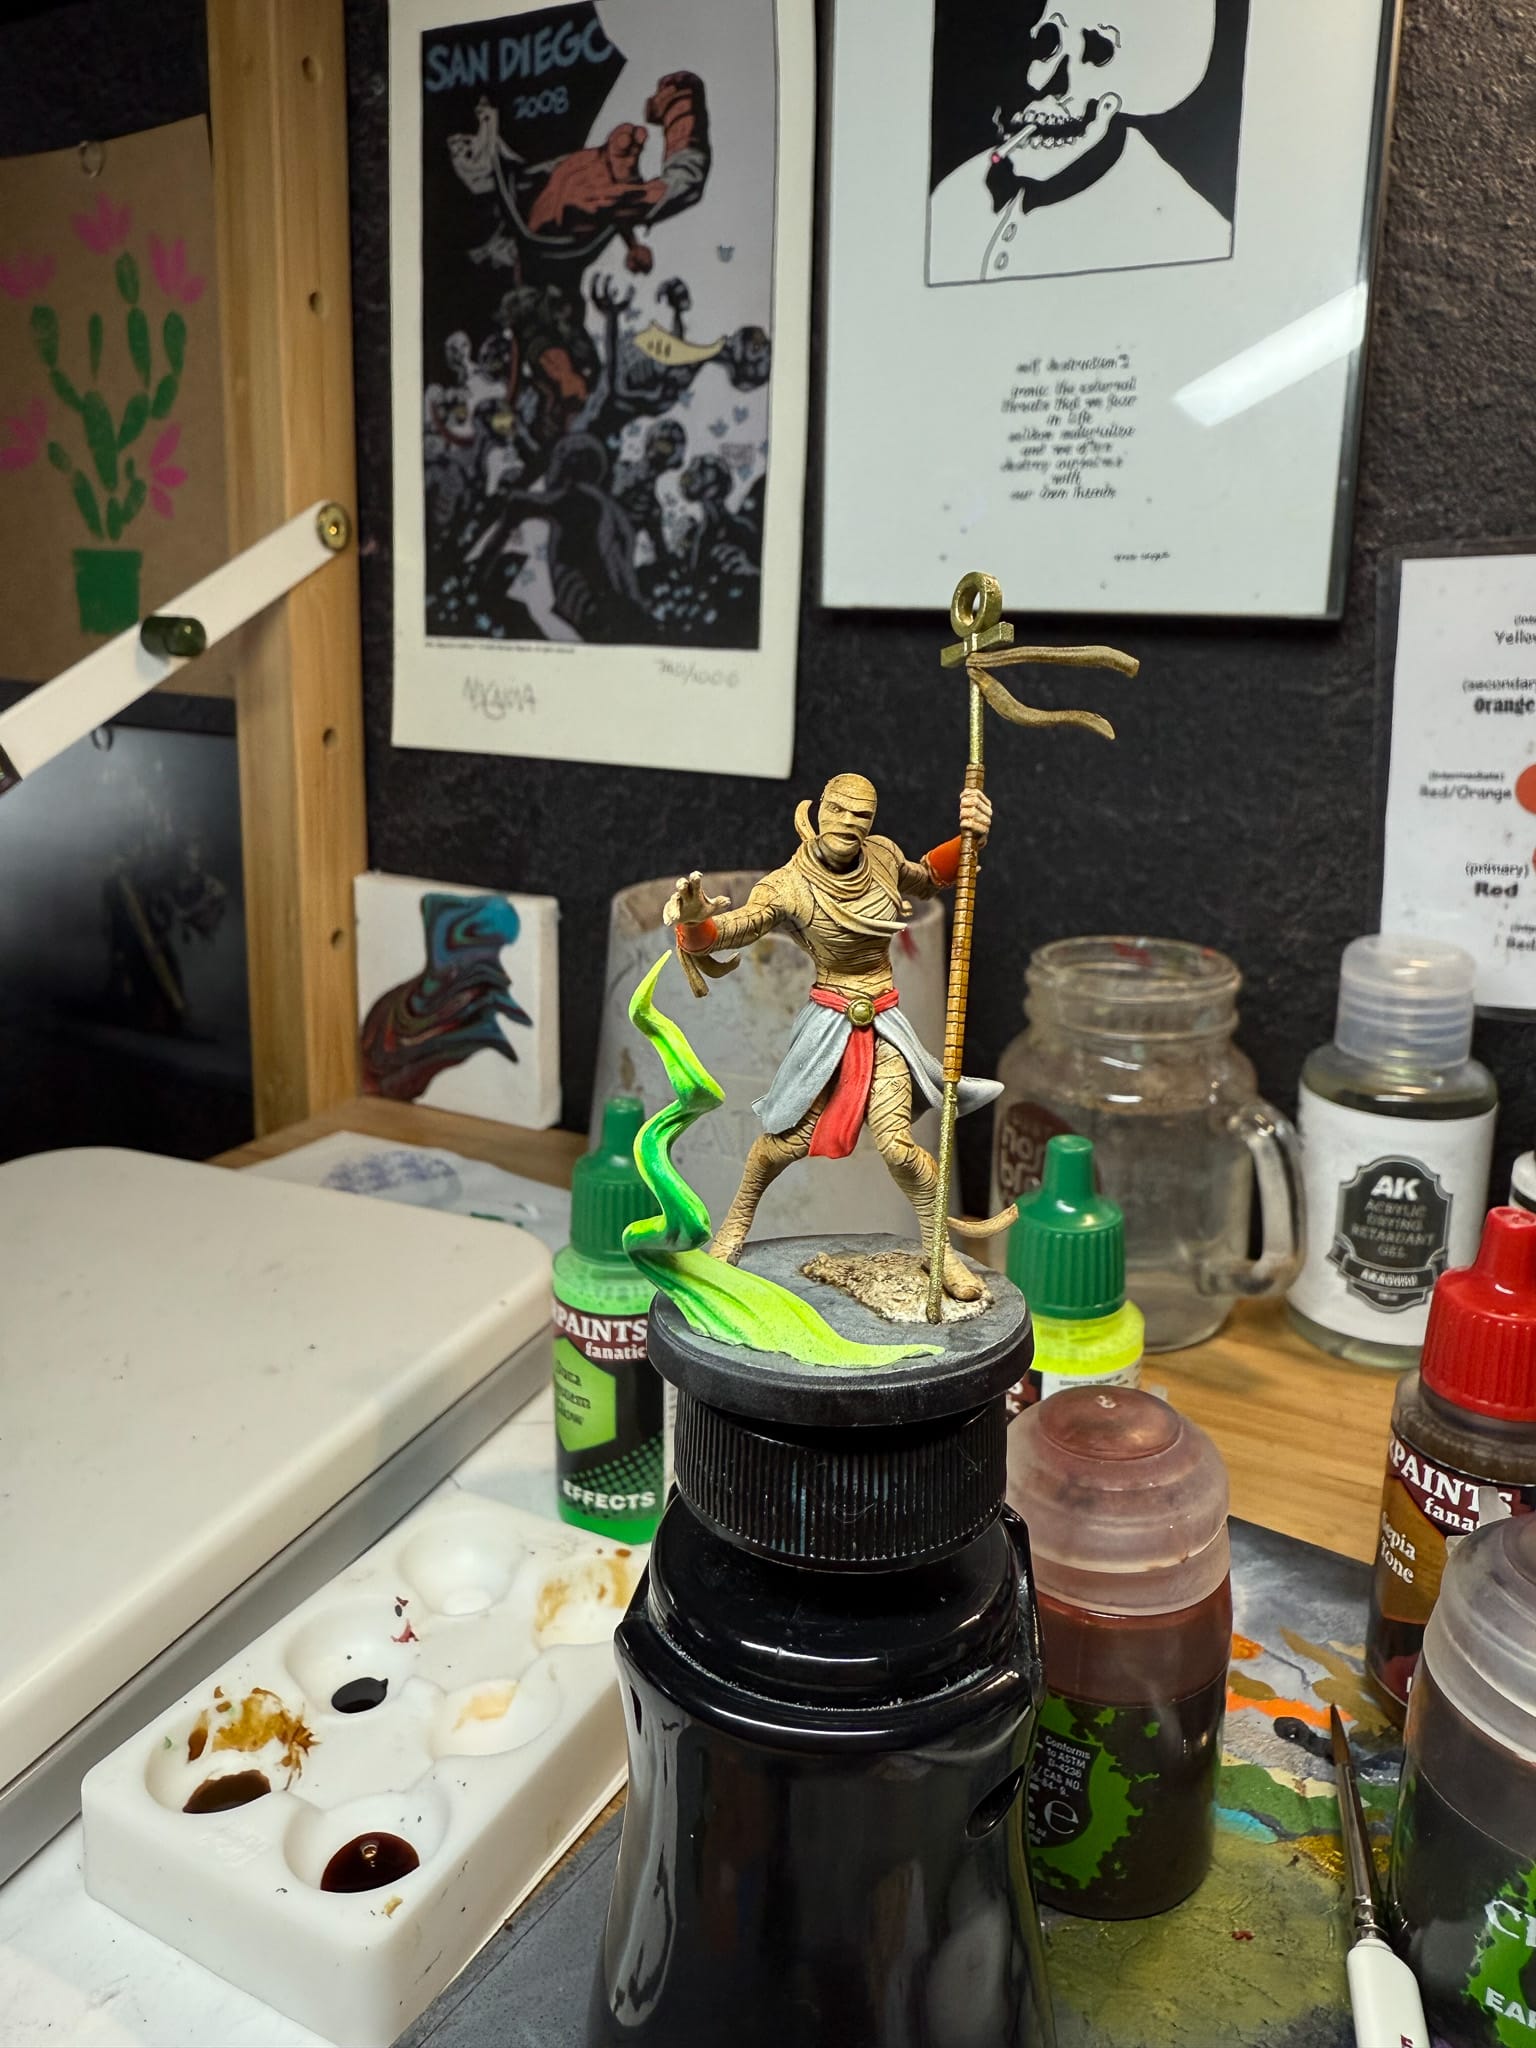
But now, we’re talking Mummies. As subject matter, I can’t think of a more satisfying model to paint. Mummies tend to have lots of folds, some sparkling jewelry, dust, bones, elaborate headpieces… lots of opportunity for a painter to get into NMM (non-metallic metal), some specular highlights, some weathering… lets get into it.
Priming
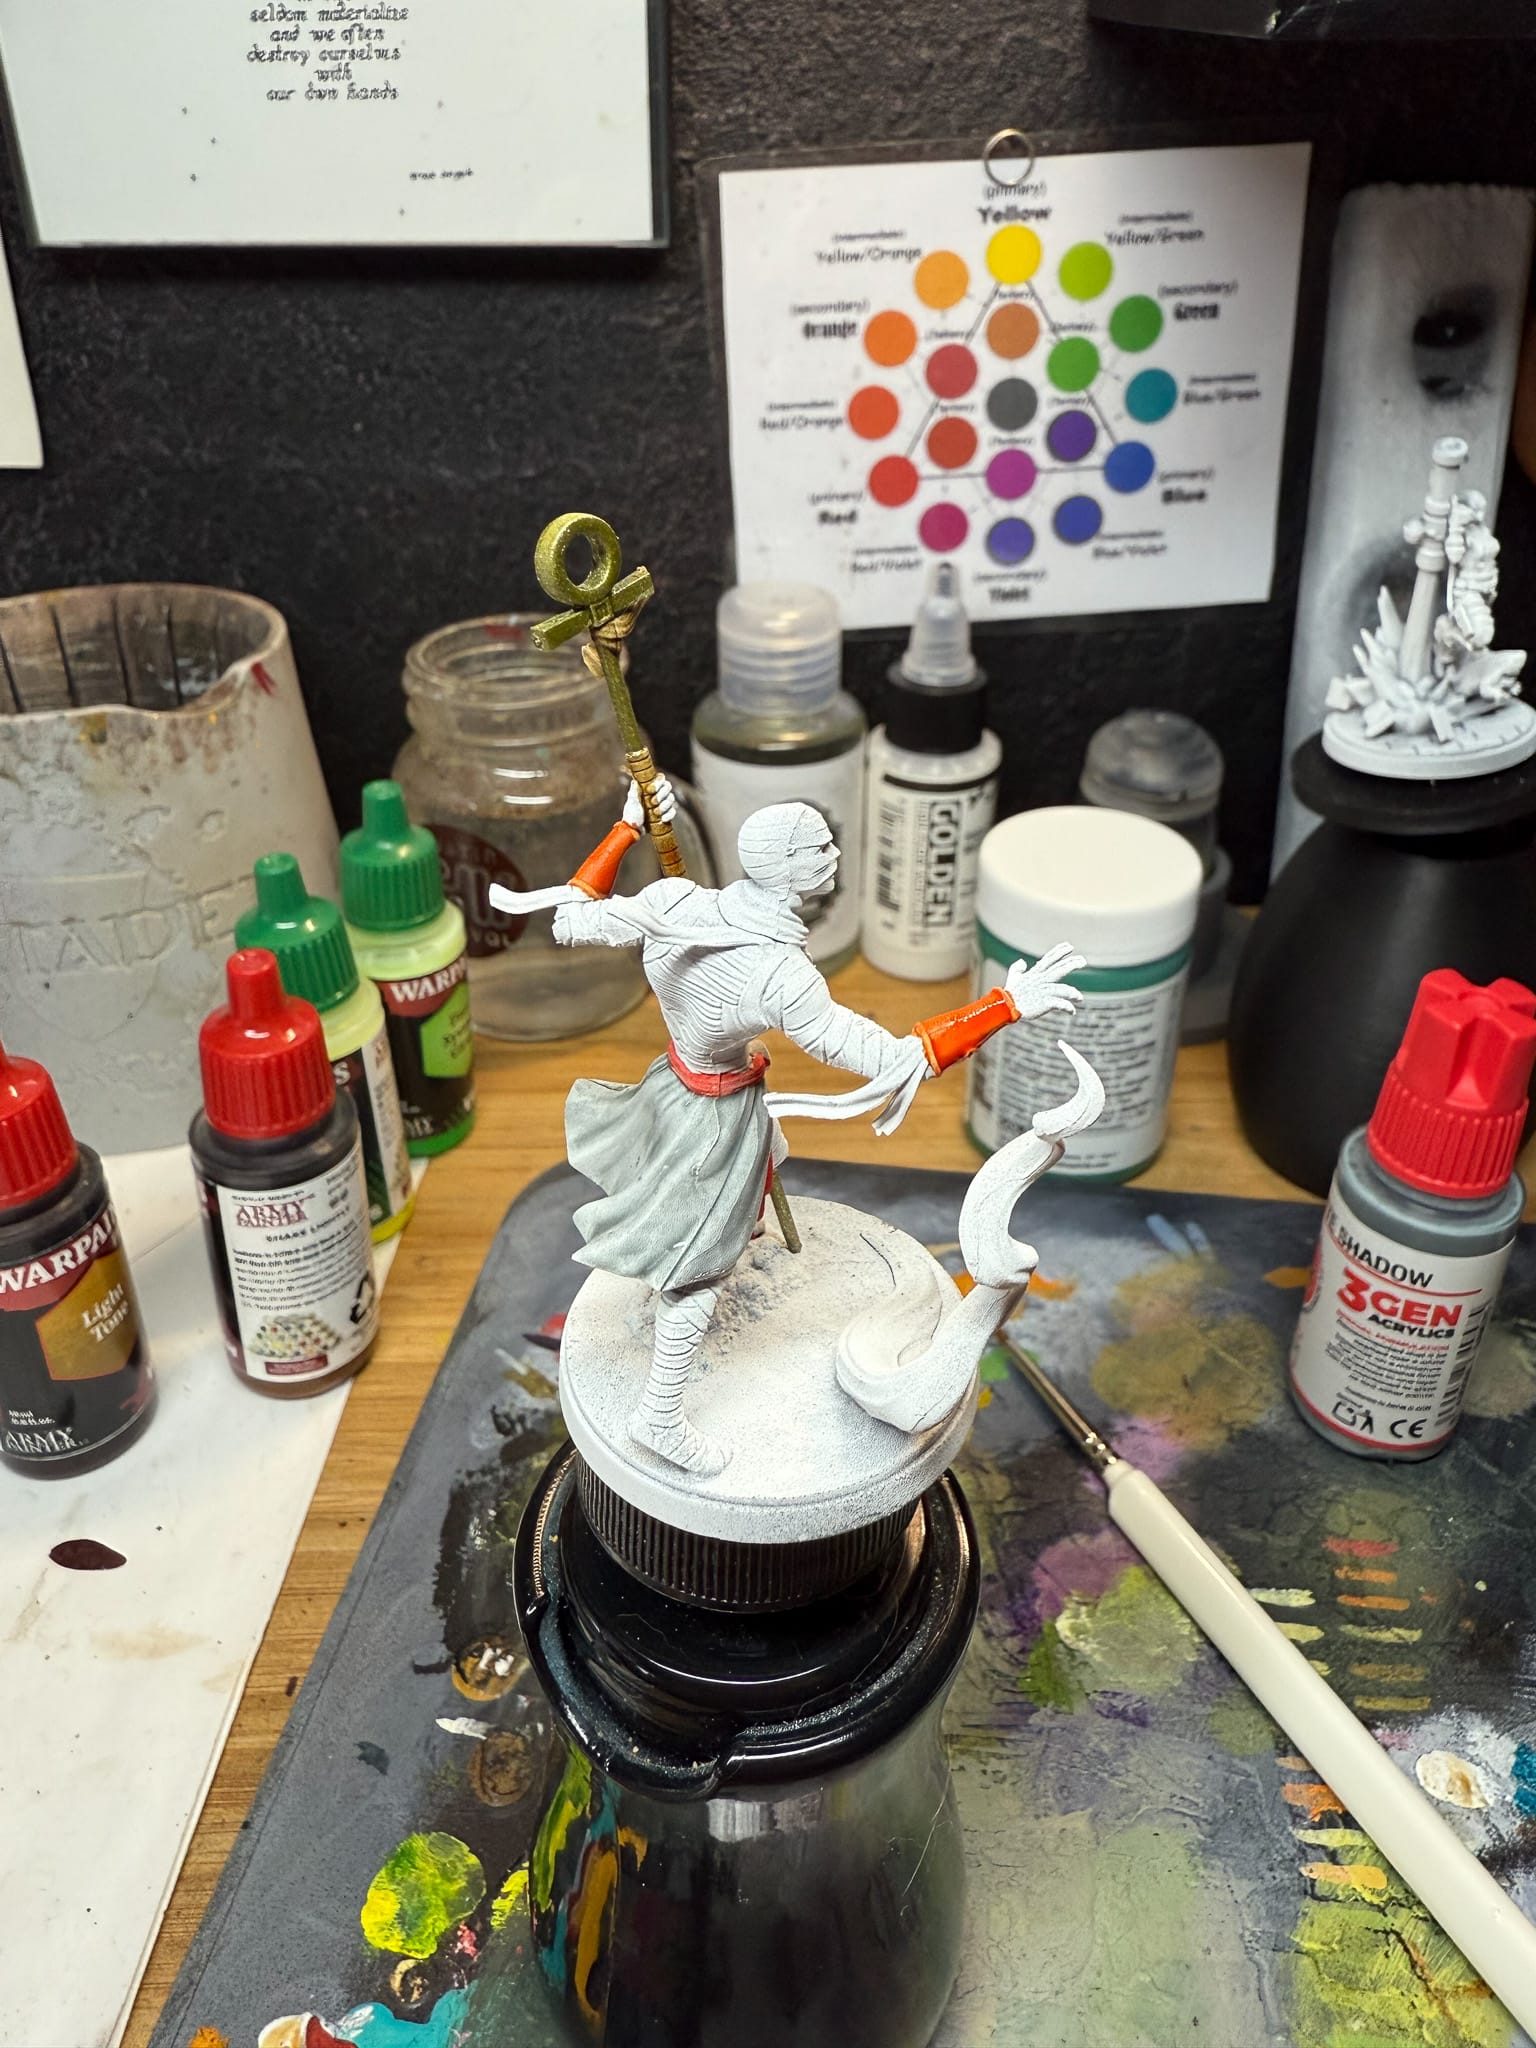
Priming in white can lead to brighter outcomes and an easier time with lighter subject matter.
When working on models such as mummies, skeletons, ghosts or other subject matter that features pale tones on the table, priming with white can be a quick hack. I recommend this if you’re looking to get a model out on the table quickly, or if you’re new to painting these kinds of pieces. The reason being is that by starting with a pale tone, you can add shadow to it for a quick and nice finish.If you want to go for a richer tone, then prime in a brown or darker blue and work up to your whites from there. It’ll give you more options for tones, and less cleanup work later on. For this review, I went with White Scar (GW) as my primer.
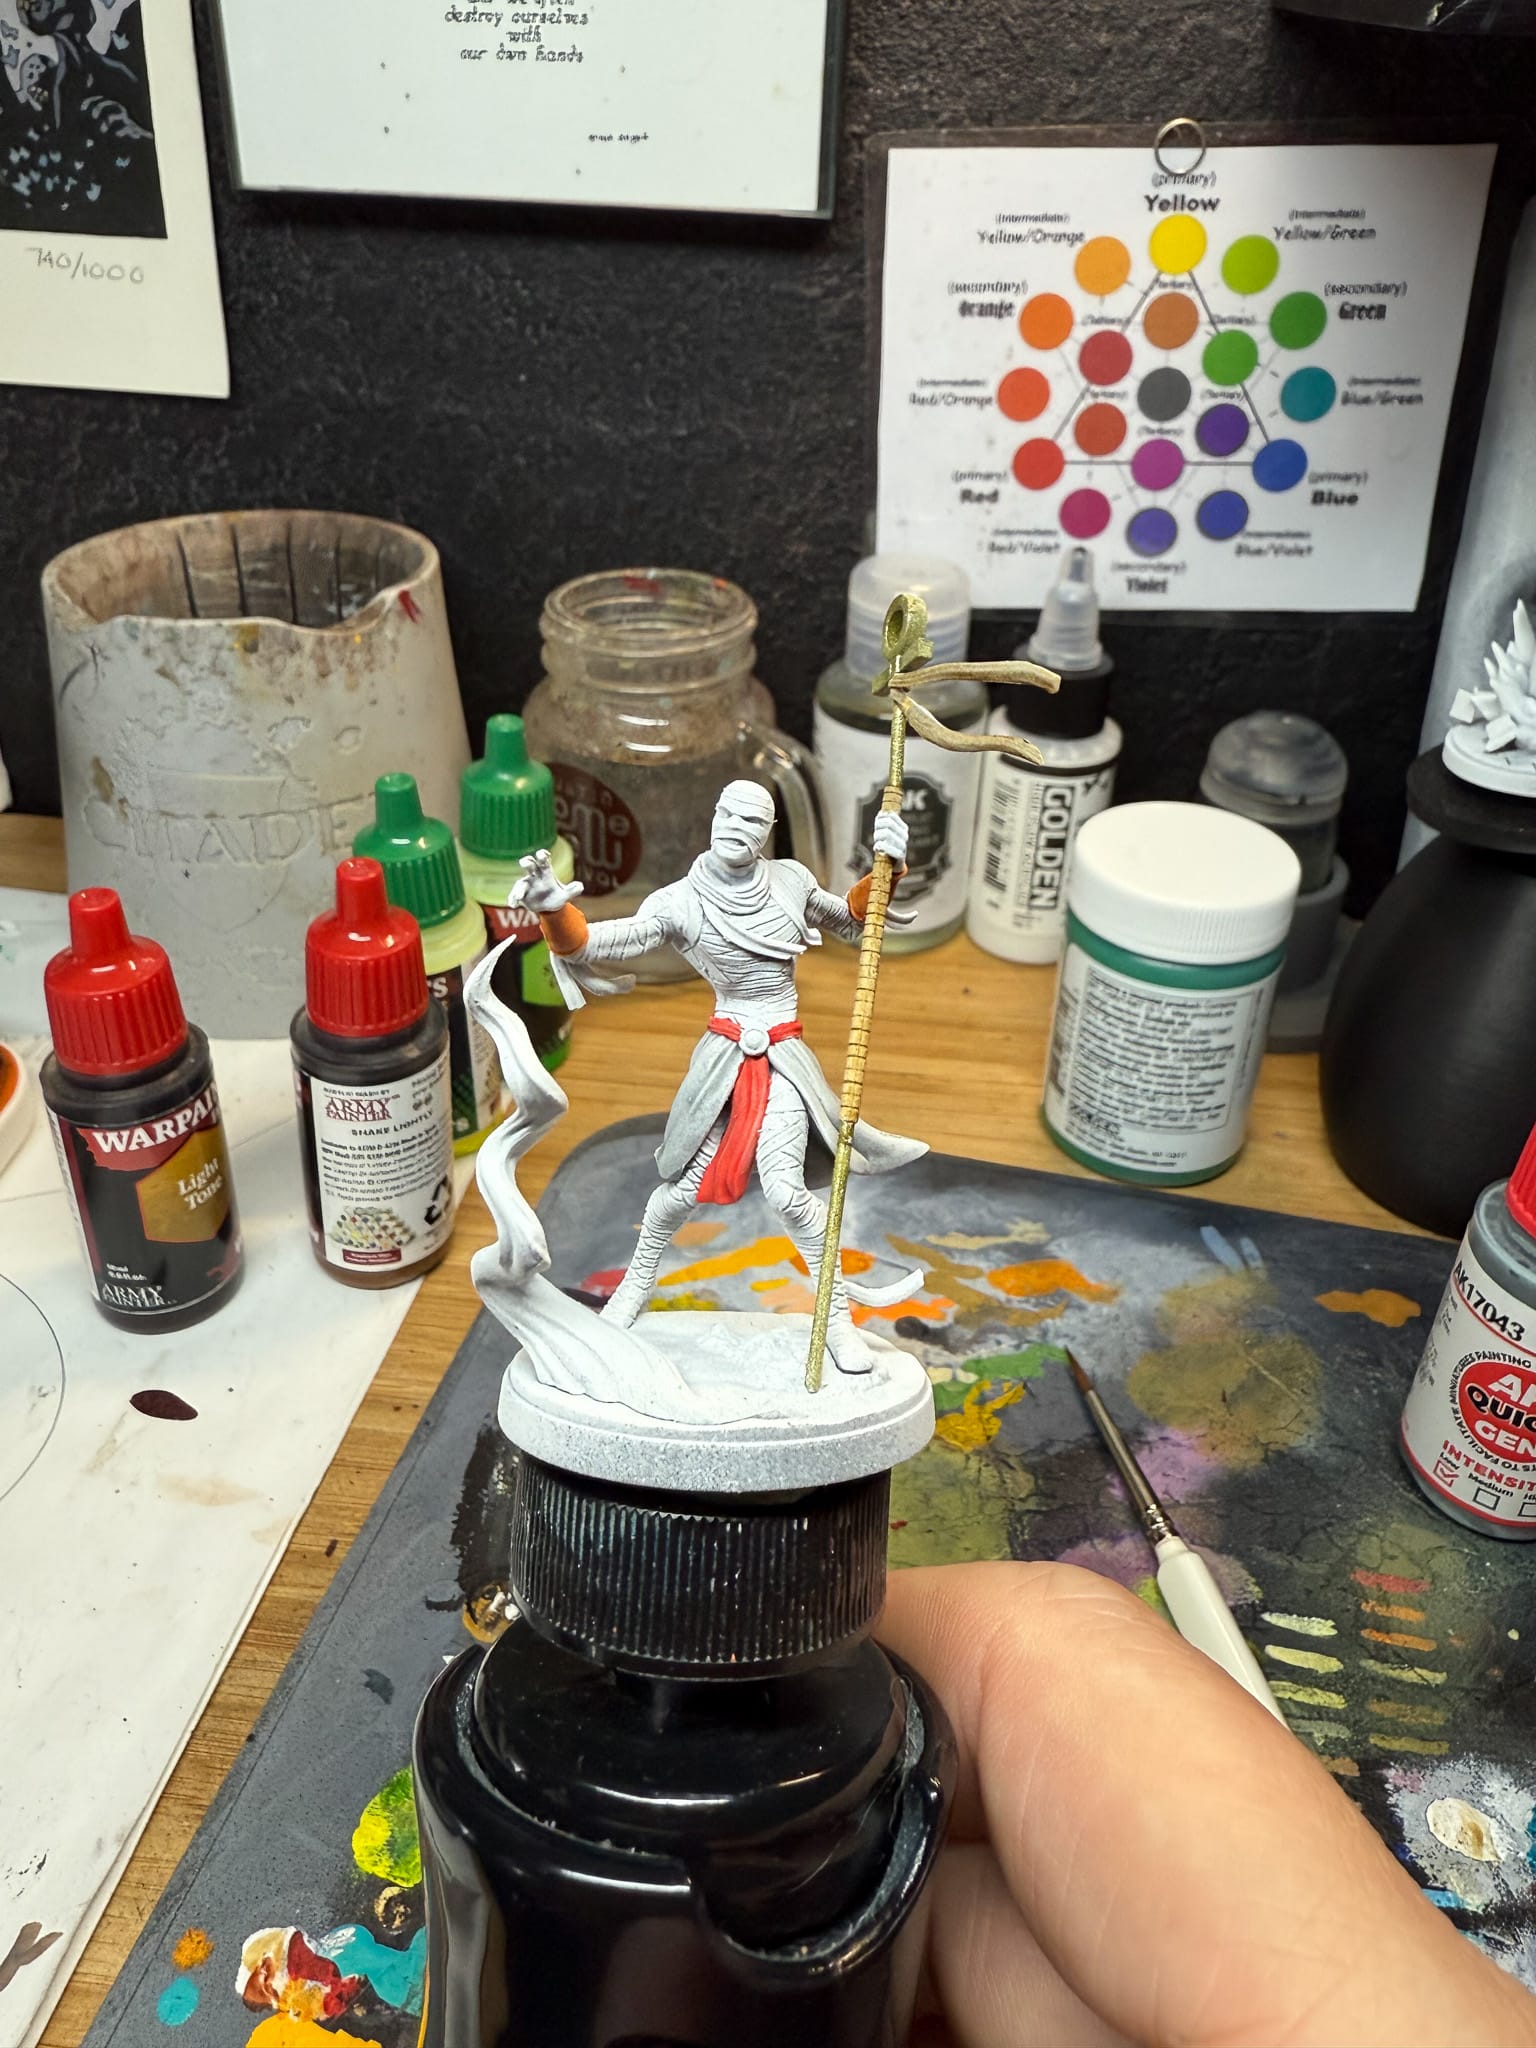
Base Tones
Layering washes, speed paints, contrast paints, inks over a light primer can give you quick results
Now that we’ve employed our hack, the base tone of the model is going to be easy. After testing several washes on my palette, including Sepia & Light (AP) and Agrax & Seraphim (GW), I went with Sepia Tone from the Army Painter. I found it has a nice balance of ocher and brown tones without one overpowering the other. This will serve as a way to establish the overall dusty tone of the model, and it will flow into the crevices perfectly, giving me plenty of room for highlights.
On the skirt, I used White Shadow (AK) from the Quick Gen line. Contrast paints are similar to a wash, but more pigmented and utilize a different medium, which resulted in achieving the shadows I was hoping for in just two passes.
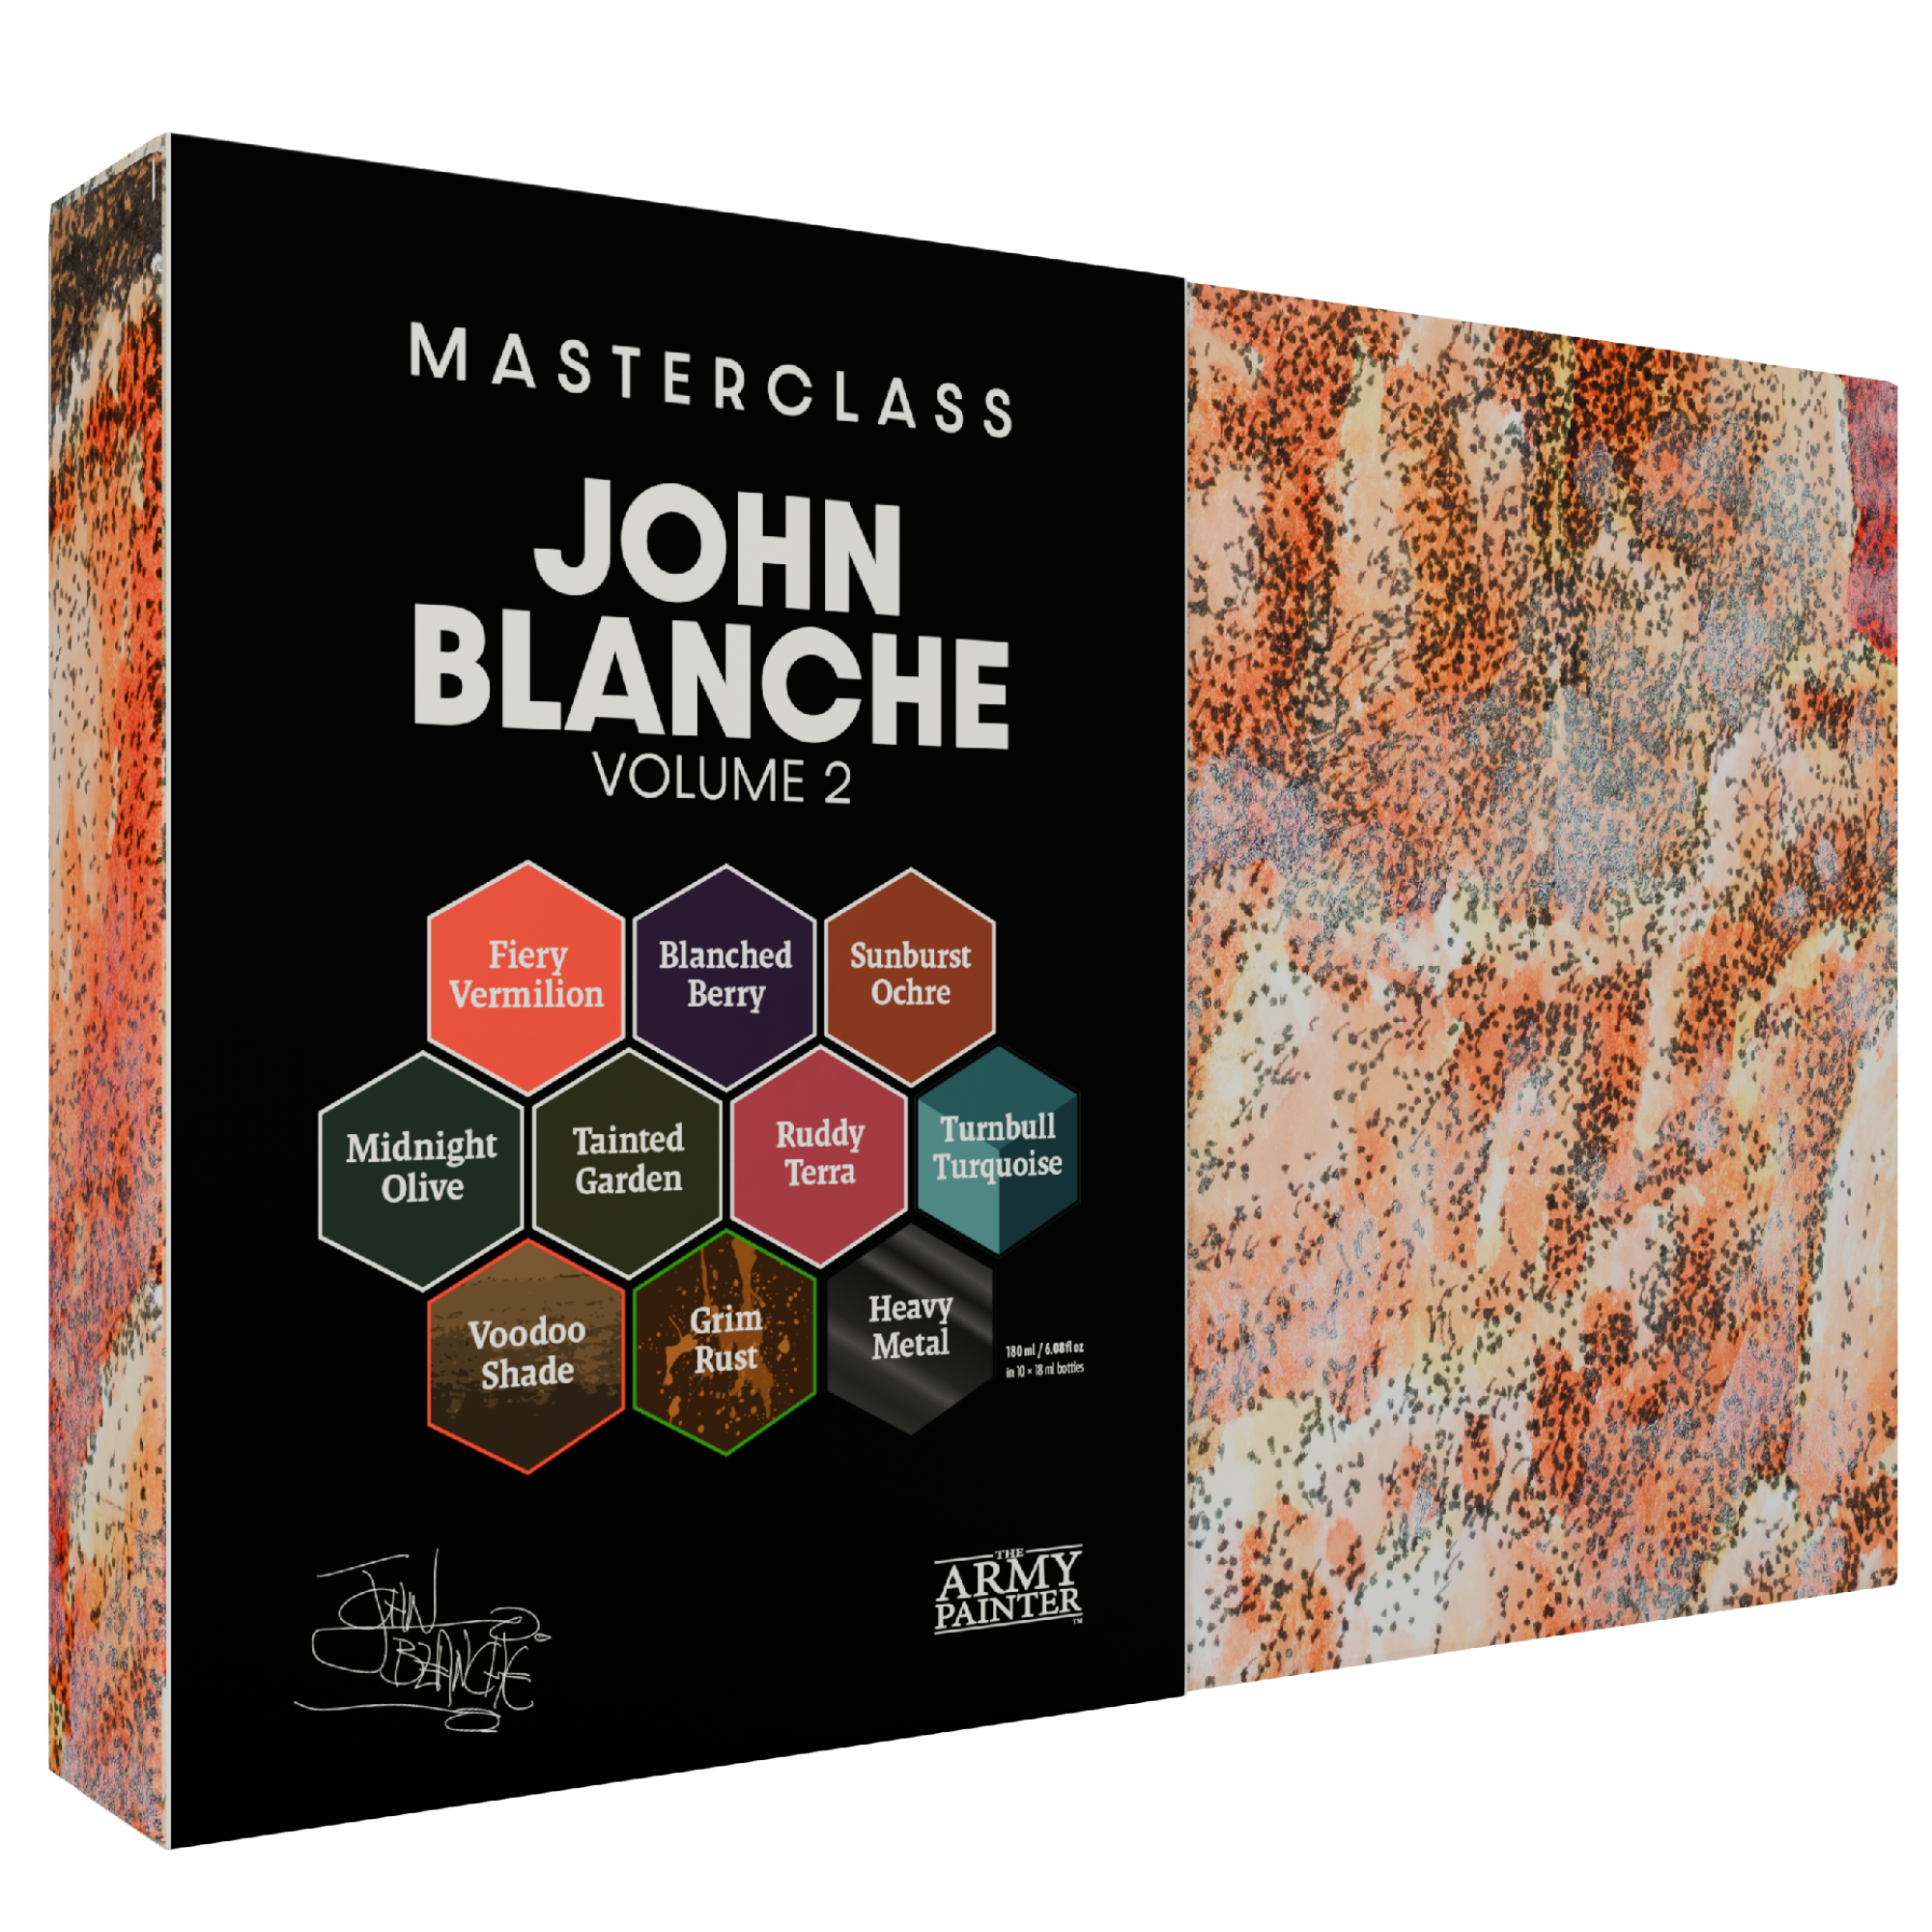
The red belt was Firey Vermillion (AP) from the most recent Army Painter John Blanche line. I really love this red, it’s bold and highly pigmented. Outside of the reds from Golden paints, I can’t think of a better paint. Two thin coats is all you need.
The wrist cuffs were two passes of Dwarf Skin (AK), another Quick Gen paint. Despite the name, Dwarf Skin is an effective red/orange when used as a contrast paint, and does a great job of establishing a slight shadow and highlight.
For the leathers, which appear on the staff, I used a pass of Bone Brown (AK) from the Quick Gen line. What I like about this paint is that on the leathers and the straps, all it takes is a few different washes and highlights to make them distinct from each other, despite using the same base tone.
For the metallics, I used just one paint, Aztec Gold (AP) from the Speedpaint 2.0 Metallic line, and I’ve always been wanting a reason to use this particular green/gold mix. I think it provides a unique aged look that really helps the metallic elements stand out. The jewel in our mummy’s belt buckle was a dot of Crystal Blue (AP), a great mid-tone blue.
Finally, the only skin tone I had to paint on the model were his hands, which was a pass of Grotesque Green (AP), a pale olive tone. While I don’t normally go super bright with my base tones, I have plans utilizing washes to establish my shadows.
Shadow Tones
Because I started so light, I have to go back in and refine the shadows. On a model like this, this task is very fun.
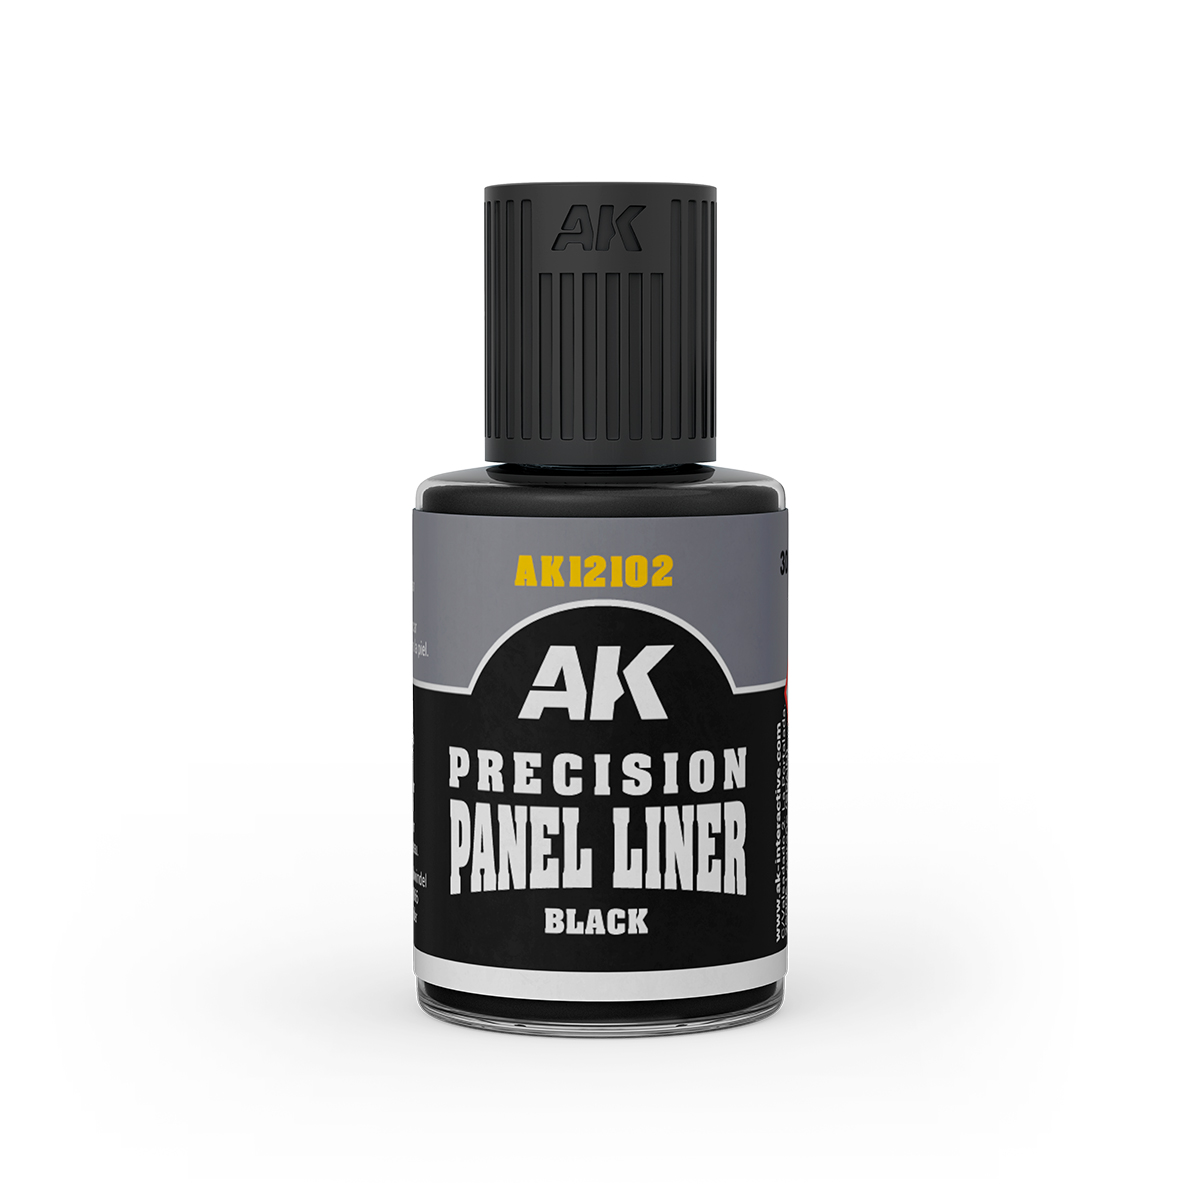
In the joints of the mummy, I used Grimdark Shadow (AP), which gives me subtle brown/black tones. It’s intense, so use sparingly. For the stomach region, a few dabs of the Sepia Tone help push those tones into a shadowy color. Around the waist, I pulled out some black Paneliner (AK), which is an enamel paint from AK Interactive, originally formulated for filling in lines on panels on vehicles. Its capillary action allows the paint to flow into recessed lines with ease, and helps create a visual “halfway” point on the model. I also used this where the neck joint connected to the rest of the body. After I do my highlights, there will be visual interest created by the contrast of dark to light areas.
For the skin, we got to have some fun. Reikland Fleshshade (GW) is a great mix of pinks and reds, on normal skintones, it brings out the richness of a skintone paint. On our olive green, it makes the skin look dyed, which is freaky at first, but brush away the excess from the tops of the hands, and then add in some Agrax Earthshade (GW) which brings more darkness to the hands, and wipe away the excess. You’re left with that kind of unhealthy skin shadow that you’d expect on a zombie or mummy.
Lastly, a brush of Sepia Tone on top of the leather handle of the staff makes the wraps stand out just a little bit more.
Highlights
Now, the magic.
For the wrapping, I started with Worn Stone (AP) and moved up to Boney Spikes (AP). These awfully similar paints play well, as Worn Stone has pale olives and grey, and Boney Spikes has yellows and browns. This gives you some additional visual interest in the tones, and richness from the yellow, meaning your highlights aren’t just about getting to white, they’re providing brightness.
For the reds, I added Lava Orange (AP) to my base Red Vermillion. Red is a tone that when highlighting, you can easily go to pink, which we don’t want. By adding orange instead, you introduce brightness without changing the tone of the paint completely. One to two passes of this is all you really need.
For the blue gem, I added a little bit of the Boney Spikes to the Crystal blue in two passes. First, a 1:1 mix to give me a brighter blue, then a 1:2 mix to give me a desaturated look for my final highlight.
The skin was some Boney Spikes (see a trend here?) with the Grotesque Green from earlier.
For the leather strap, Paratrooper Tan mixed with Boney Spikes gave me 2 levels of highlights, similar to the gem both in ratio and application.
For the metallics, I brought in a pass of Bright Gold (AP) and then a tiny hint of Mithril (AP) to create those final highlights.
For my final highlights, I took Ivory White (AP) and mixed it with my final highlights in order to create that nearly white appearance, and then for the final, I applied it in full in the center of specific highlights.
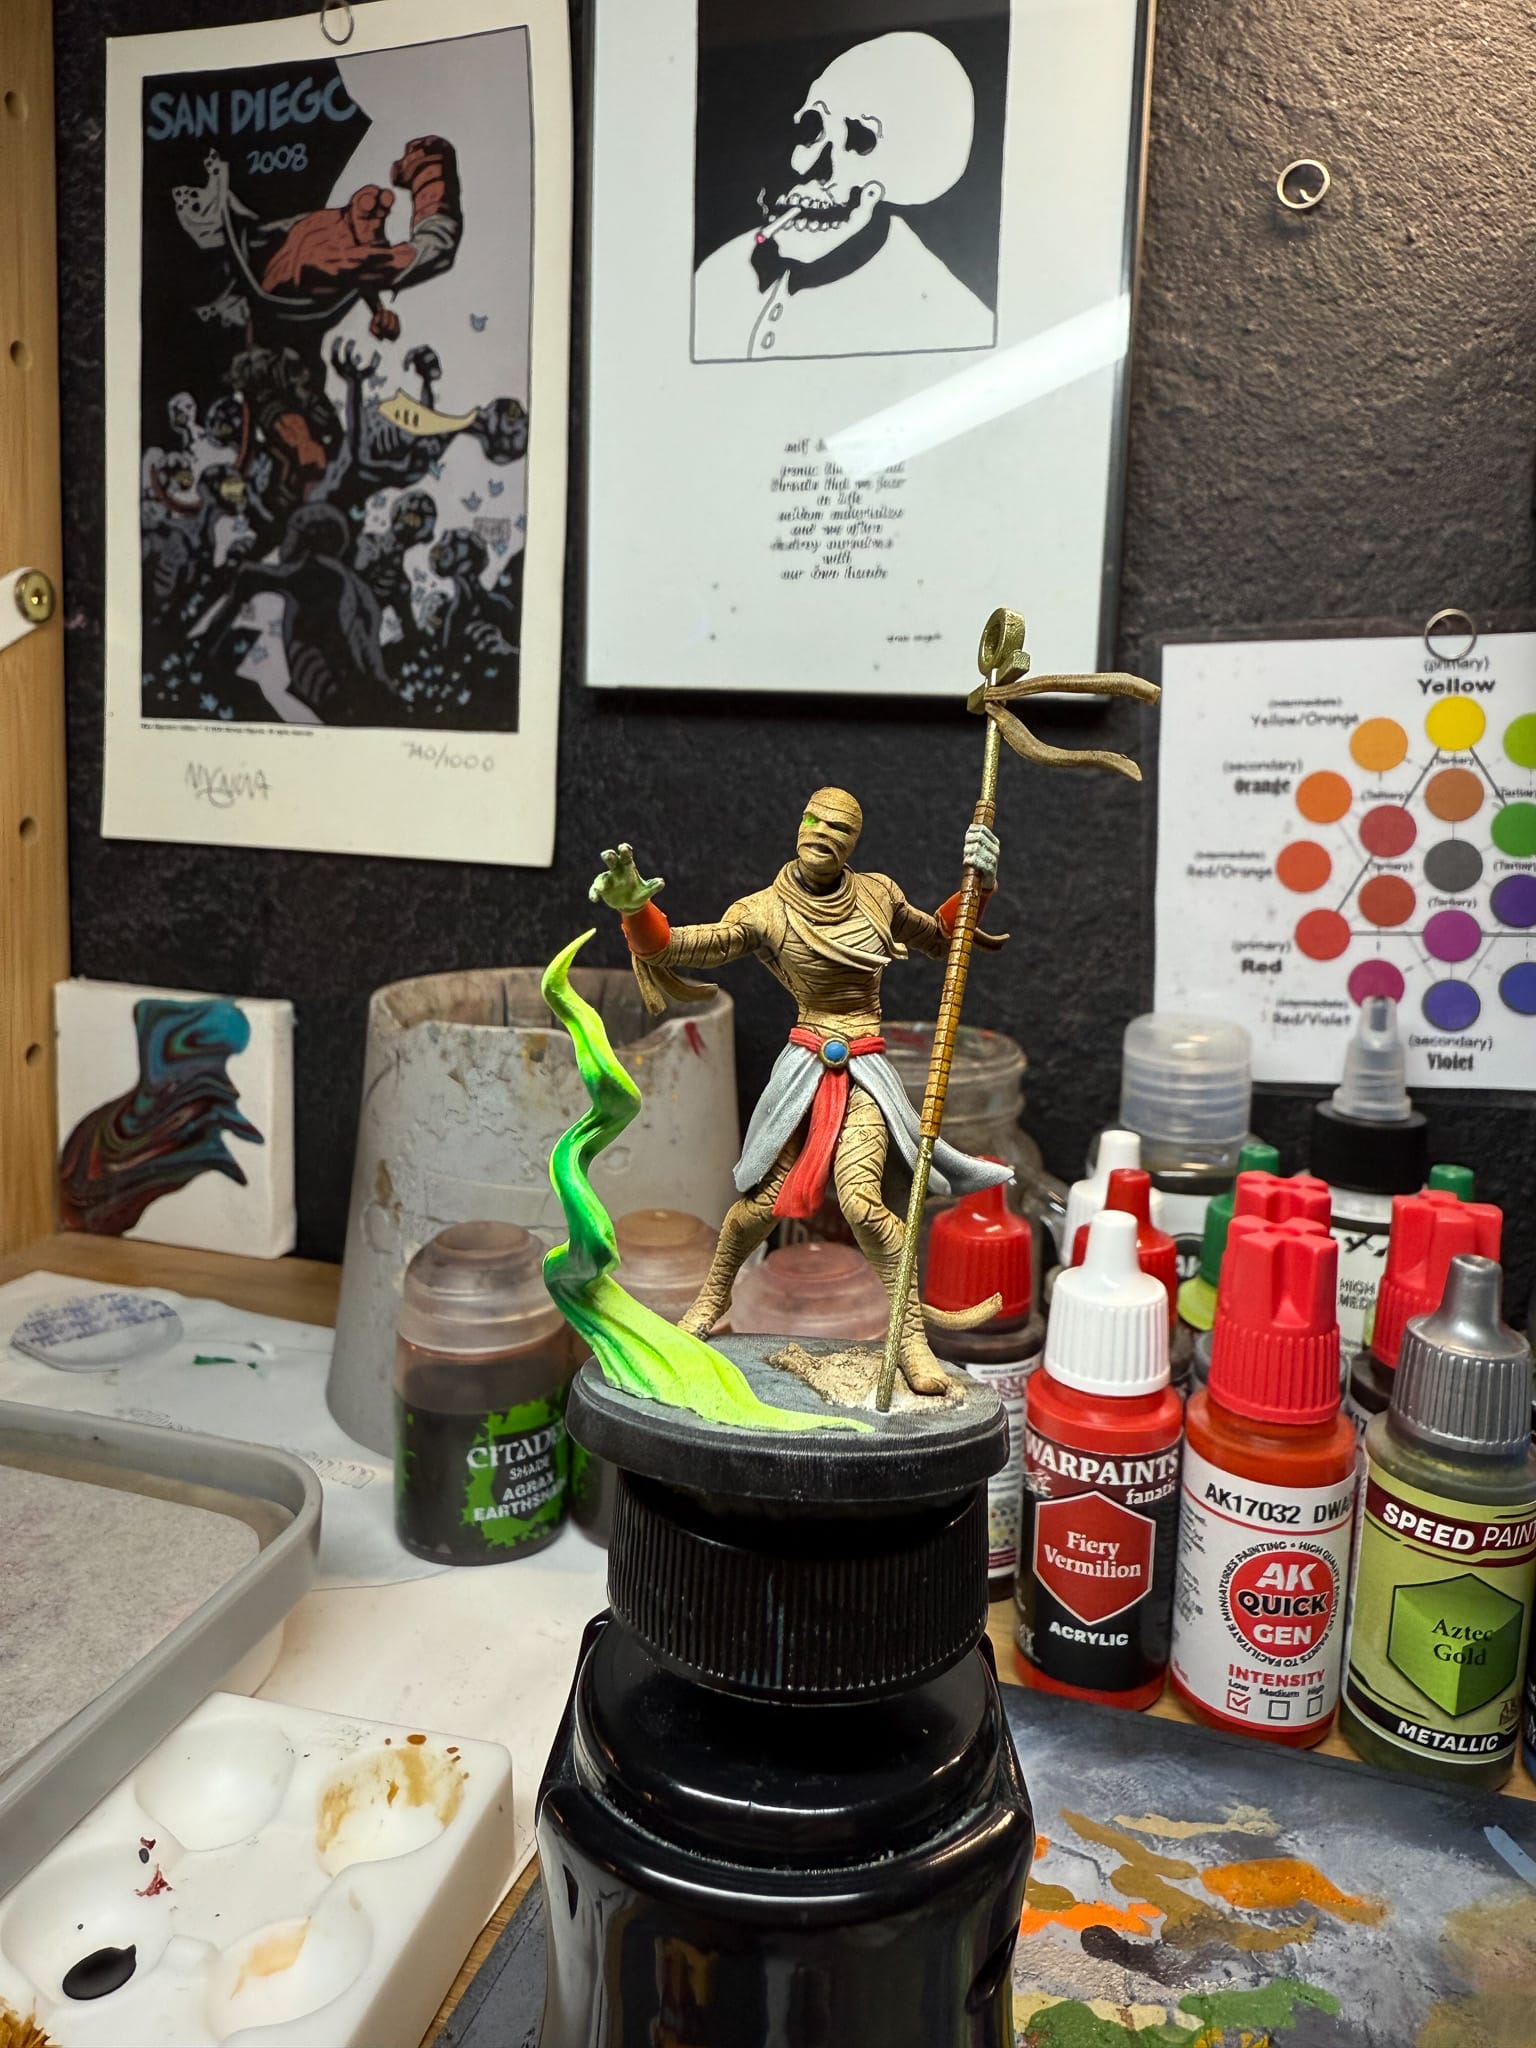
Special Effects & Basing
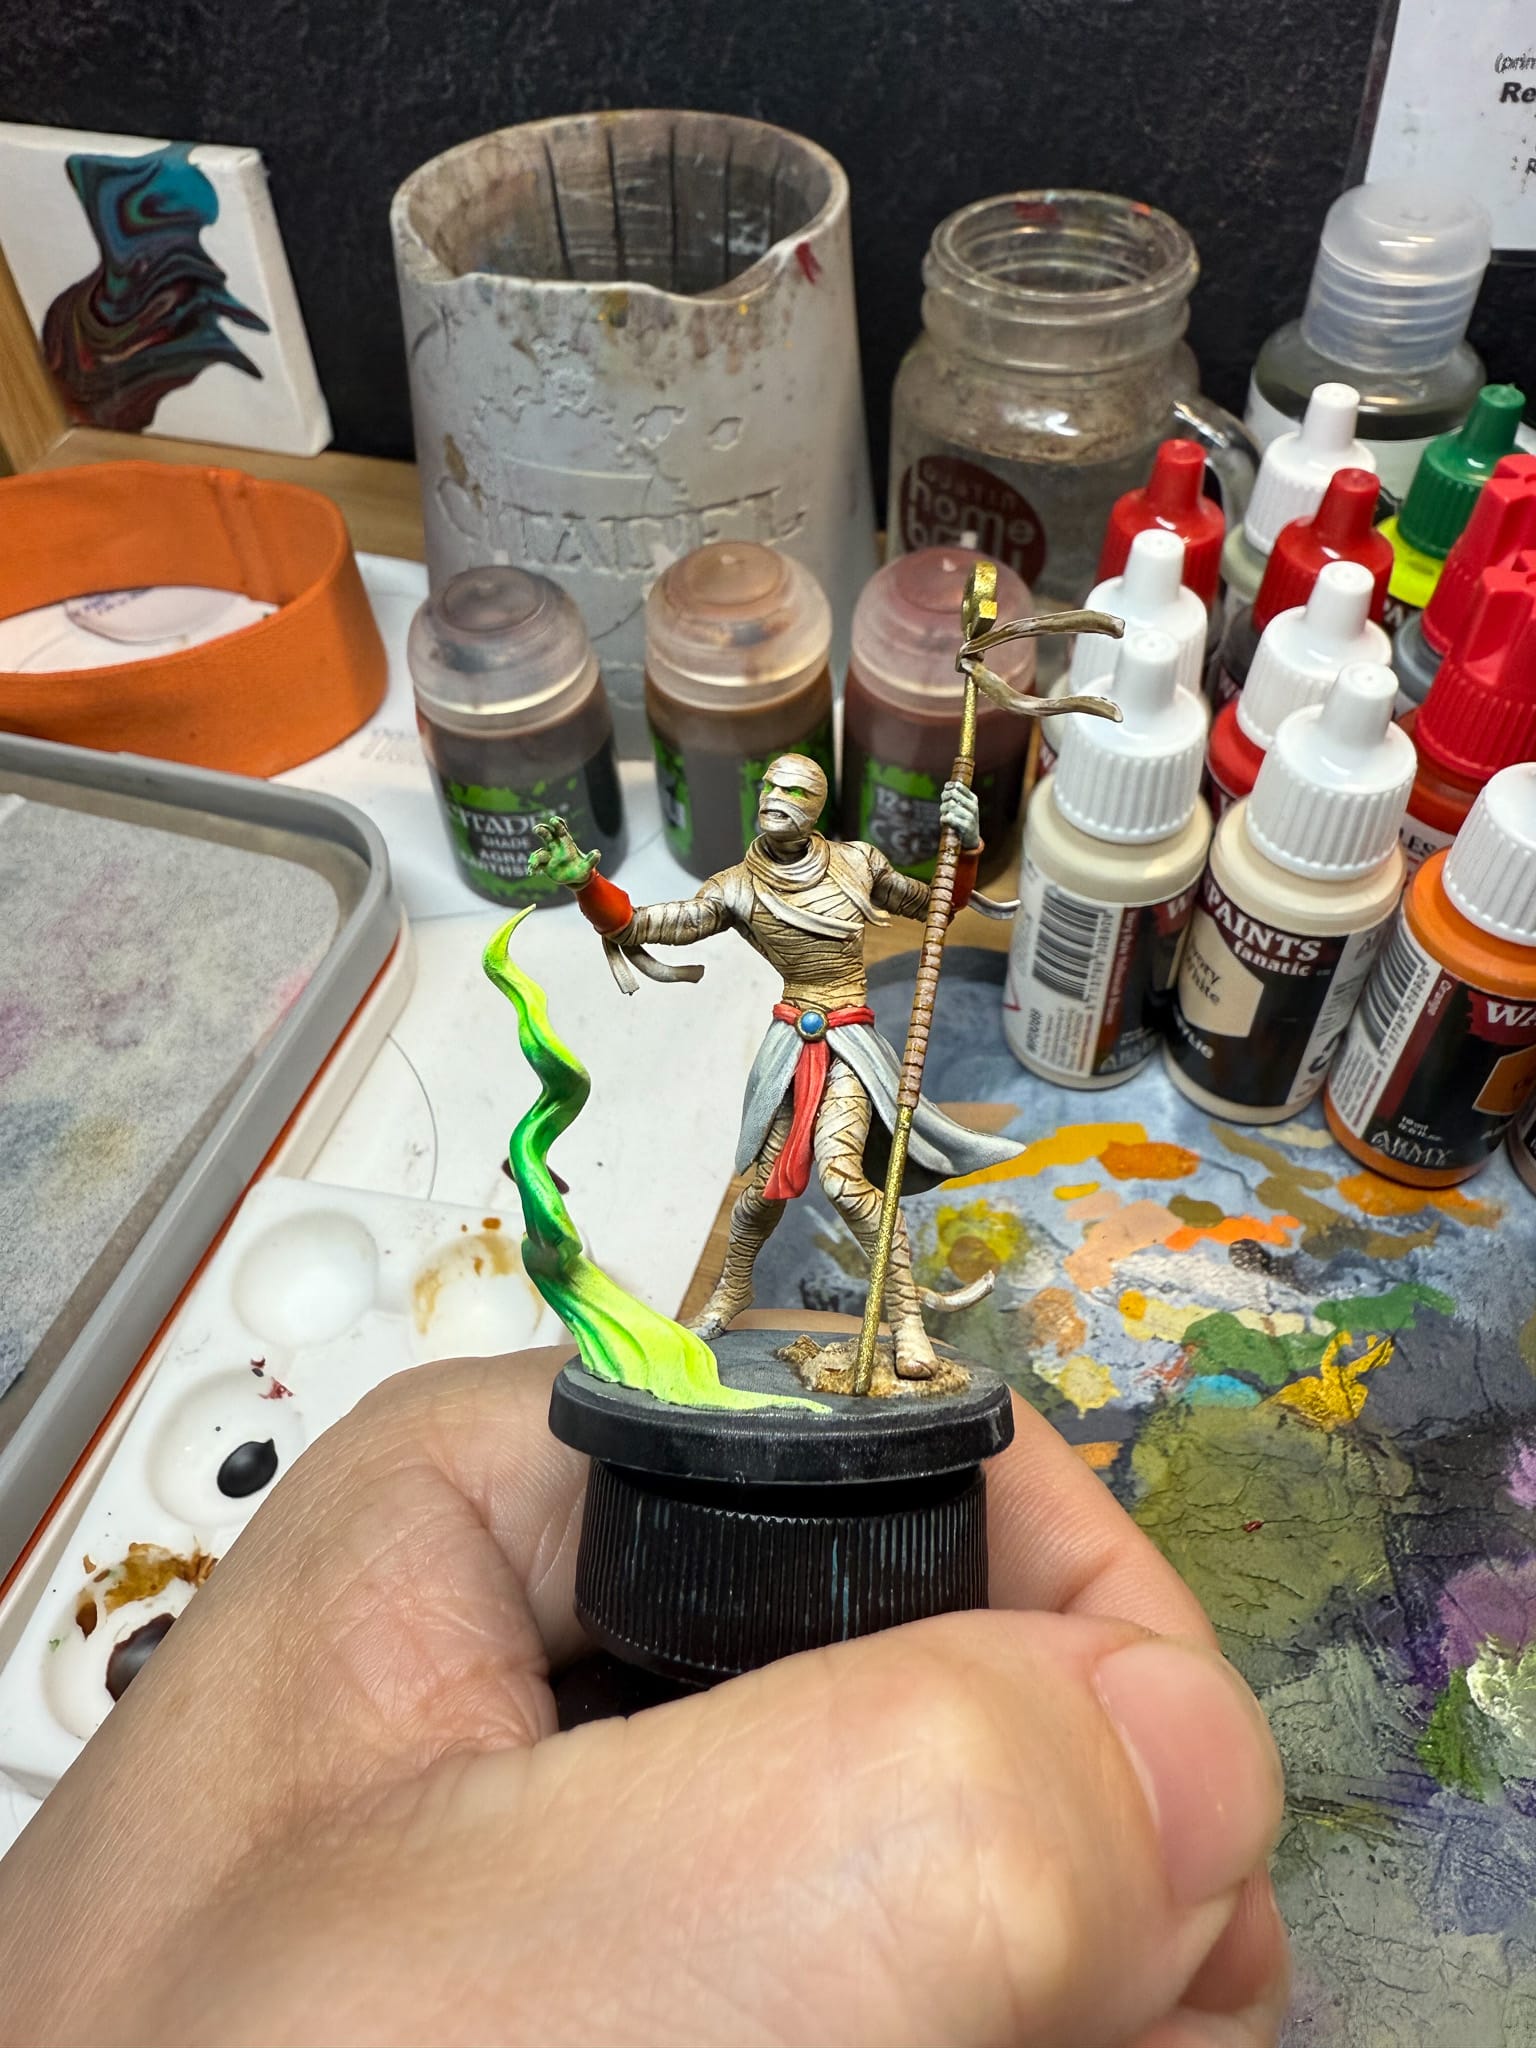
N'Kantu the Living Mummy has a fantastic magical effect
Firstly, the base. I used a Gargoyle Grey Speedpaint Marker from Army Painter to lay down all of the gray tones, as the box art depicts our mummy friend standing on gray stone, with some dirt.
The dirt was made with washes. Agrax (GW) and Seraphim (GW) in multiple passes does a great job of building up the tone, then I hit the whole thing with some Light Clay enamel pigment from AK. When dry, this product leaves behind a dusty effect, and it’s perfect for this application. For the shiny black rocks, I based them in The Darkness (AP) and highlighted them with Ivory White (AP). EASY!
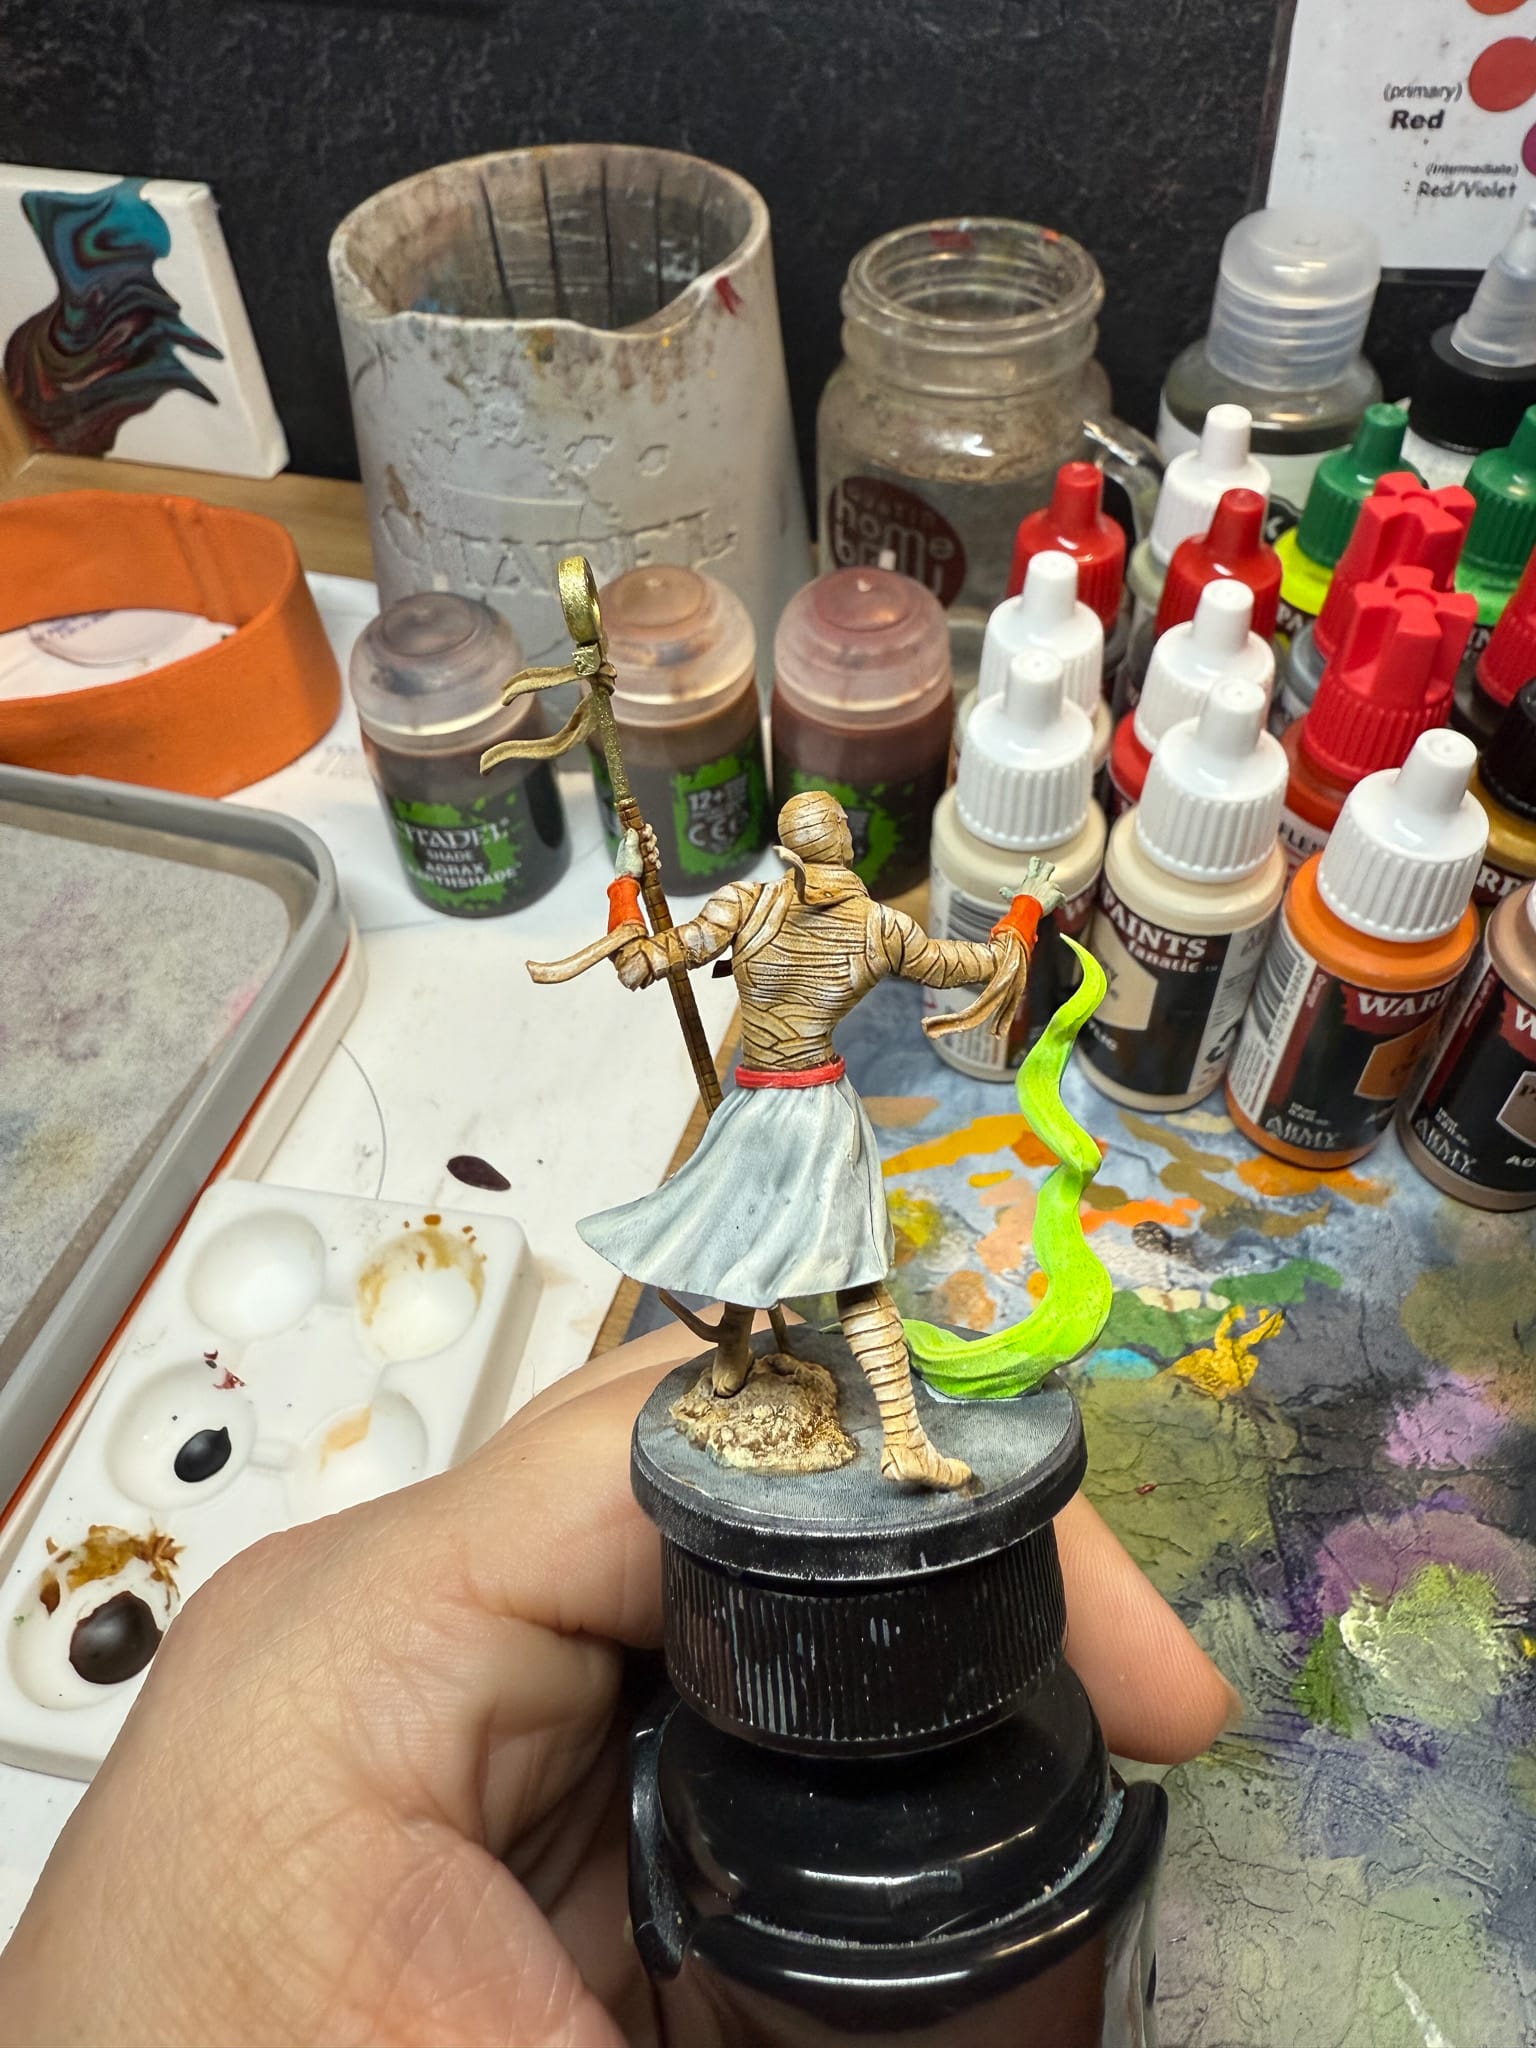
This model comes with a really cool magic effect, and I wanted to make this the centerpoint of my painting, so I used fluorescent paints. Data System (AP) and Lens Flare (AP) are great water paints, with a nearly inky consistency, making them great for wet blending. I painted the lower parts more green, and the higher parts more yellow. I also took the same mixture and applied it to the Mummy’s hand. However, a challenge occurred because this paint doesn’t stick so well to flat surfaces, so I mixed some Golden So Flat Acrylic Green to the mix for certain areas. This is more of an artist grade paint and it mixed perfectly well with my wet blending. Then, a dry brush stippling method using Warped Yellow (AP) and Leafy Green (AP) helped create the glow surrounding the magic. On the backside of the magic, I used a little bit of Plasma Coil (AP), another fluor from Army Painter.
Lastly, I shoved some of that Data System Glow right into the eyes, because what Living Mummy doesn’t have cool glowing eyes?
Final
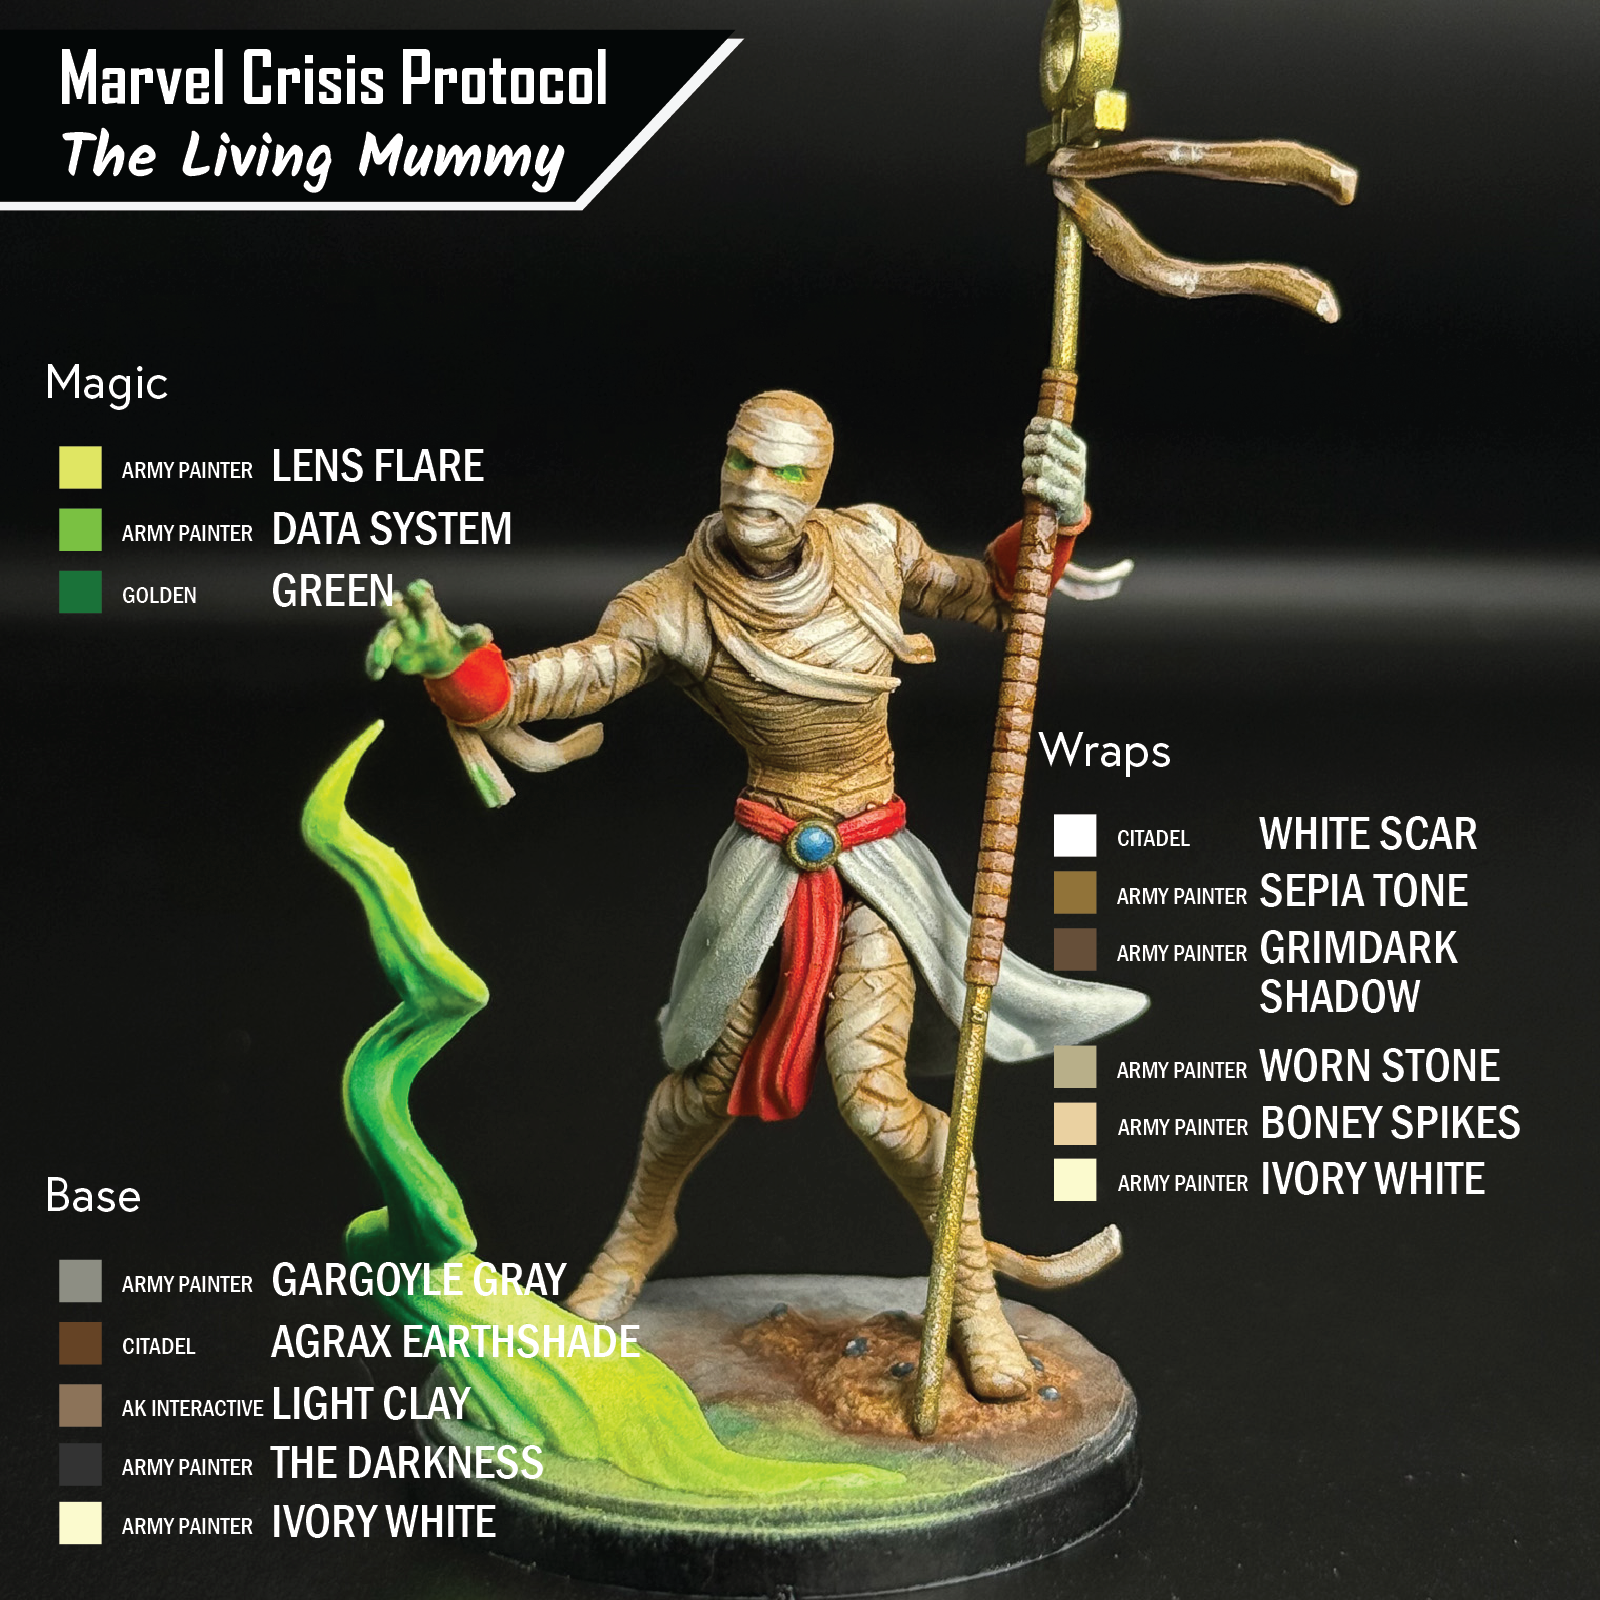
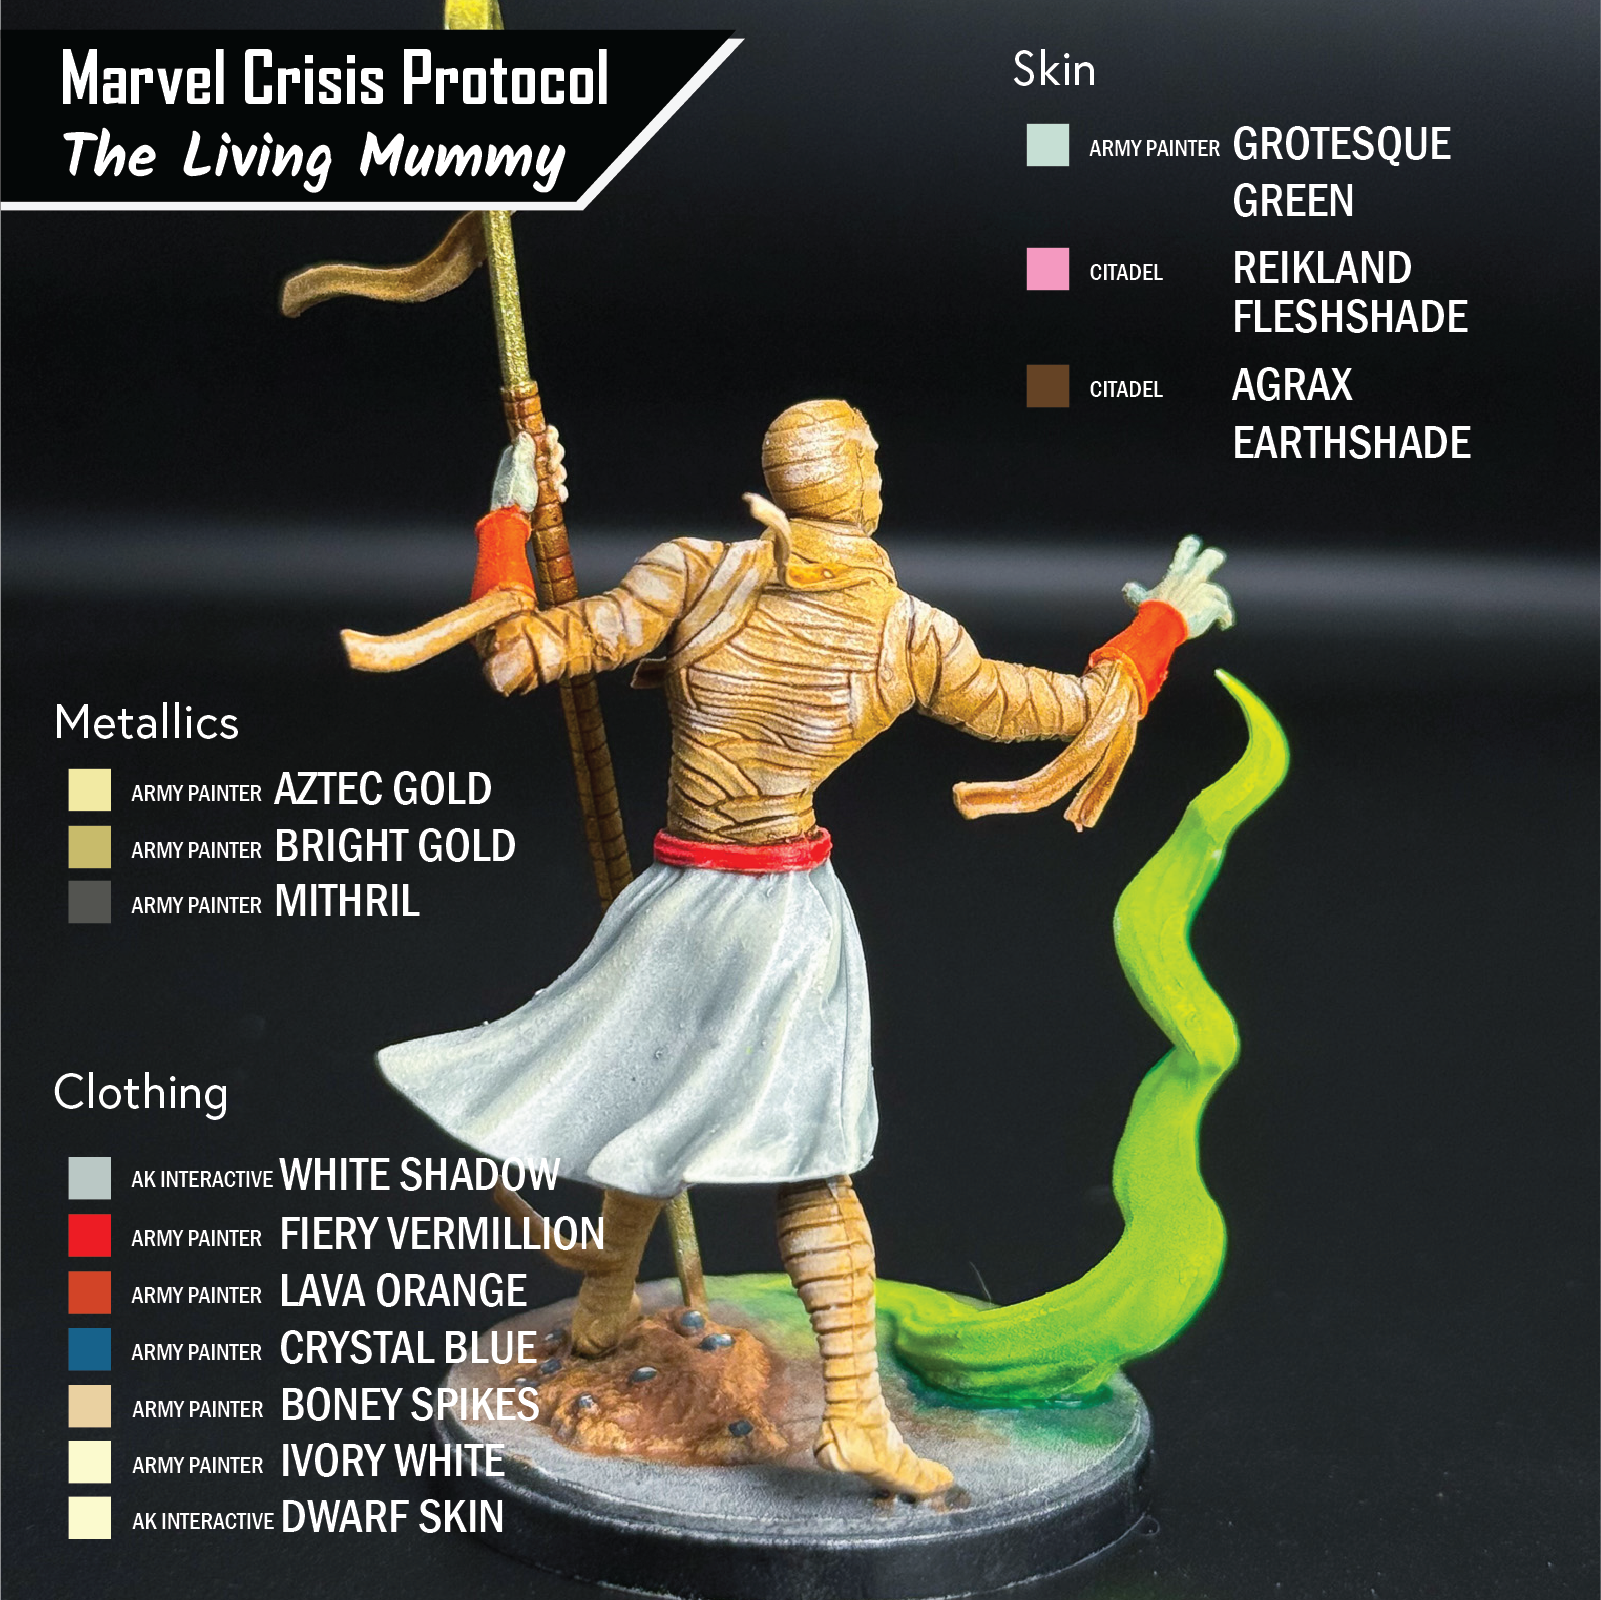
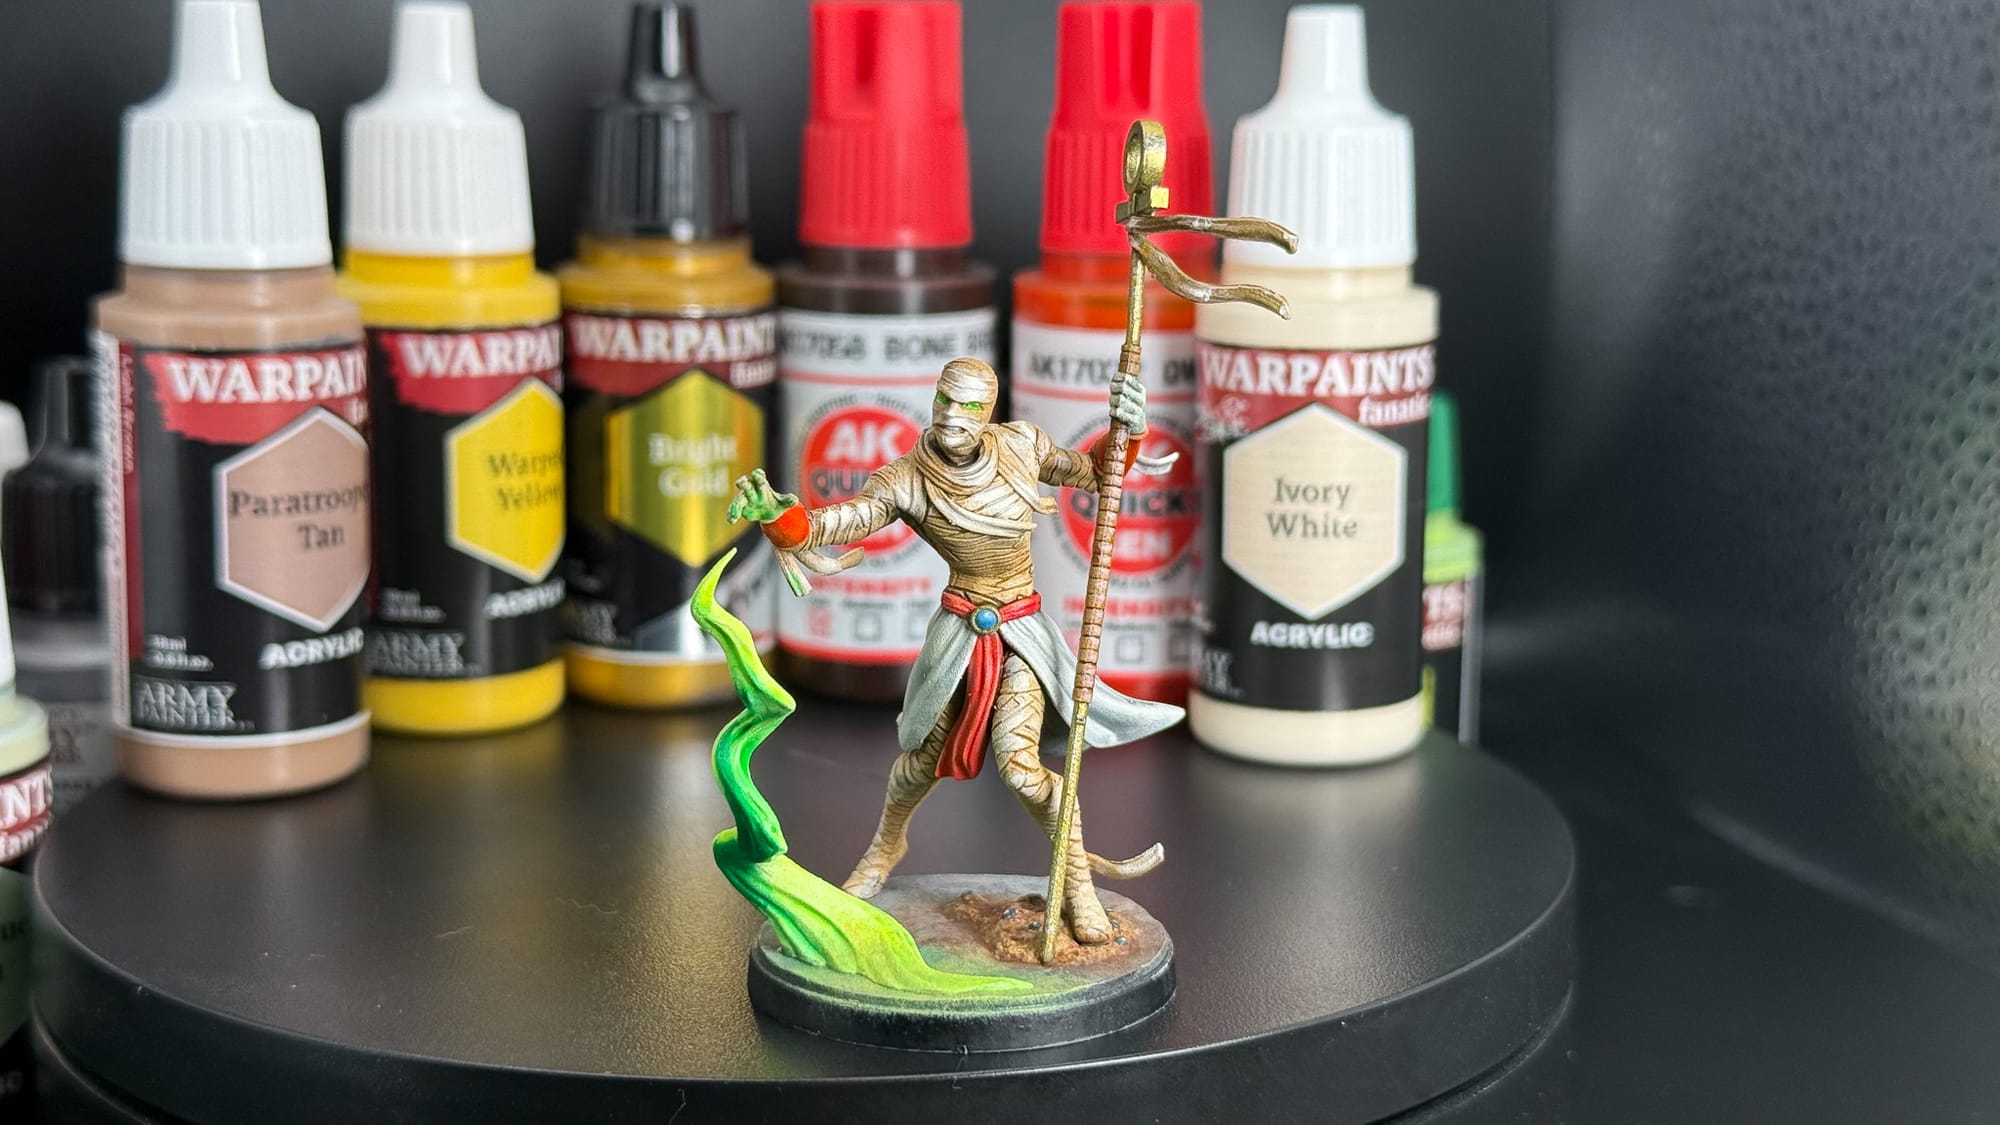
A simple scheme can have a lot of different products in it! Find the ones that work best for you.
As always, varnish your models. I brushed on AK Ultra Matte because it’s what I do. I used a Flat Black marker around the rim.
This project was FUN. I really love it when a model is just enjoyable to paint, and this one was a blast. Thanks again to Atomic Mass for sending over this pack, next up is going to be Dracula!
Total paint and assembly time: A few hours over 2 days. Seriously, this is an easy model. Have fun with it.
Have you painted N’Kantu the Living Mummy yet? Let us know! Follow Gaming Trend for more Learn to Paint and Marvel Crisis Protocol articles. We’d love to see how you painted up your models so share your work with us in the comments or find us on Instagram!