I was in love with the Saturn 4 Ultra, as you can see in our review, but the team at Elegoo apparently wasn’t quite done with that design. With almost no notice whatsoever they released what appeared to be a very small upgrade with the Elegoo Saturn 4 Ultra 16K. Could this just be a bump in resolution, or was there more than meets the eye?
Unboxing the Saturn 4 Ultra 16k is the same as the previous models, with the inside portion of the printer housing literally everything minus the drip tray. The team at Elegoo have spent a great deal of time ensuring that the box is as small as it can get. Just like the Saturn 4 Ultra that can also self-level, you can have this Ultra 16K out of the box and printing within 10 minutes. Finishing the unboxing is where I started to notice a few differences.

The first thing I found that deviated from the previous model is an improvement to the build plate. While I can’t say I’ve ever had a problem with it, the smooth sides of the portion of the latch could cause you to lose your grip on it and potentially drop it. Since this is an area that never contacts the resin, I have worked very hard to ensure that it remains clean, but if you mucked it up, I could see the problem. This is now solved with a small set of fins that jut out from the side, giving your fingers a bit of purchase underneath.
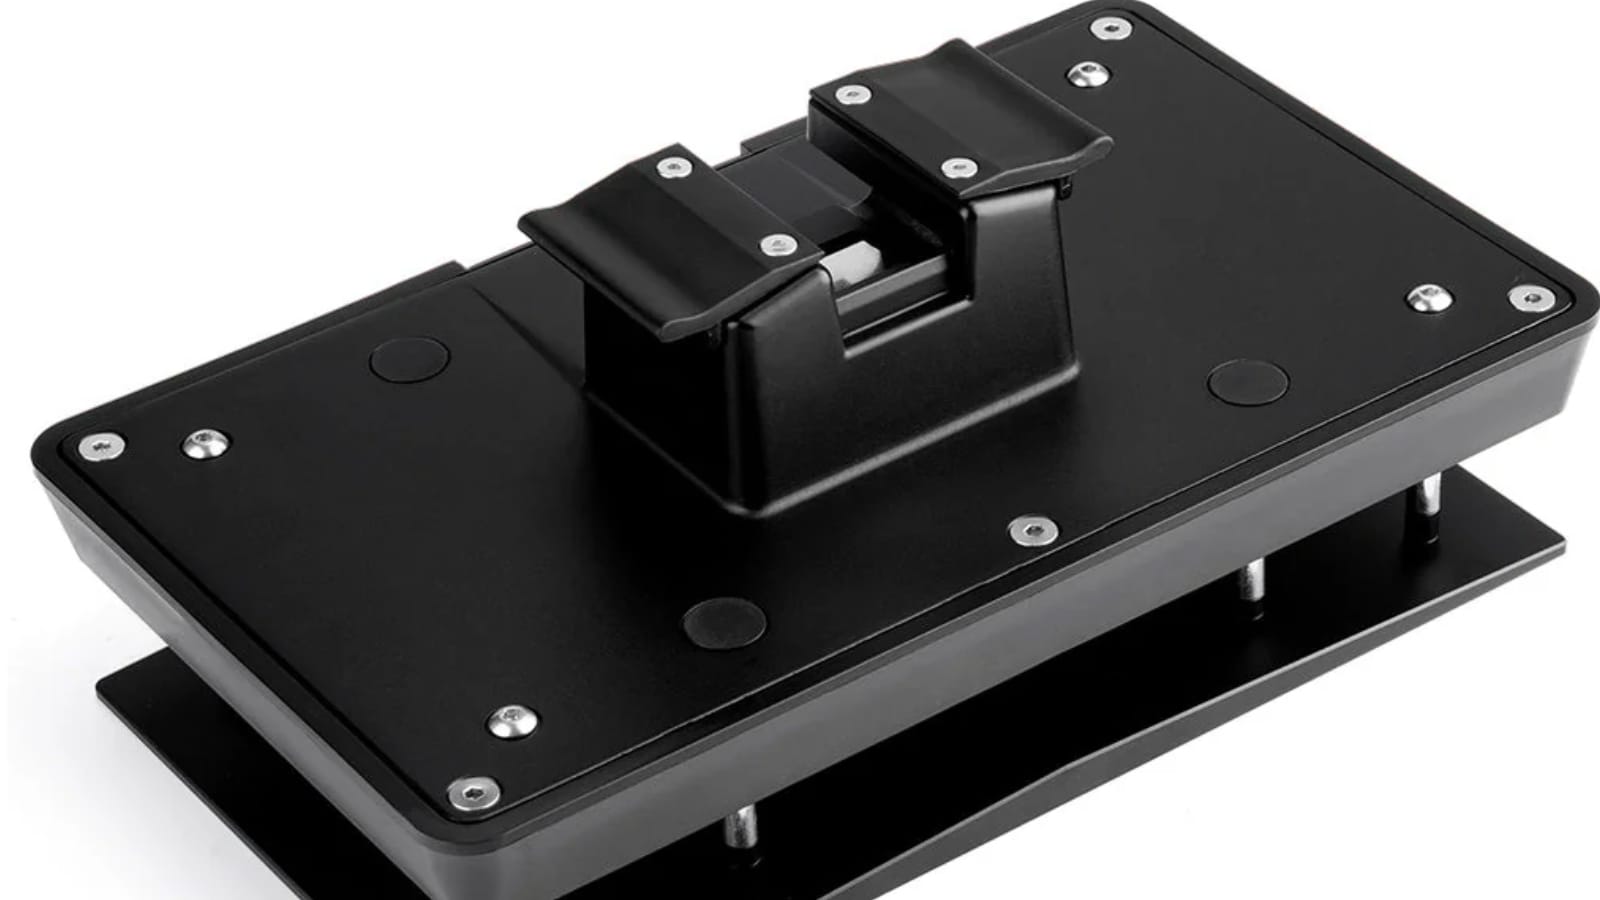
The next difference I found was the reason you’ll want this printer. Underneath the tray are some tiny copper pins. These touch contacts on the base of the printer, and that links to the new resin heating element. You might say “my print space doesn’t need a heated vat”, but I’m here to tell you that you do. Warm resin at a consistent temperature prints easier, releases more cleanly, and that means less failures and less suction separation splits.
Within the software you can select a pre-heating option that will heat the resin up to 30C (that’s 86F). The print plate lowers into the resin, the heating elements begin to do their work, and over roughly 10 minutes it raises the temperature to the optimal levels. What’s surprising is that the plate begins to cycle up and down. It does this to stir and agitate the resin, ensuring that the liquid is heated uniformly. You can’t go in and adjust it, but I’m going to go on record to say that it’ll work perfectly for 99.99% of all resins. It seems like such a small thing, but this one new feature can be a real game changer.
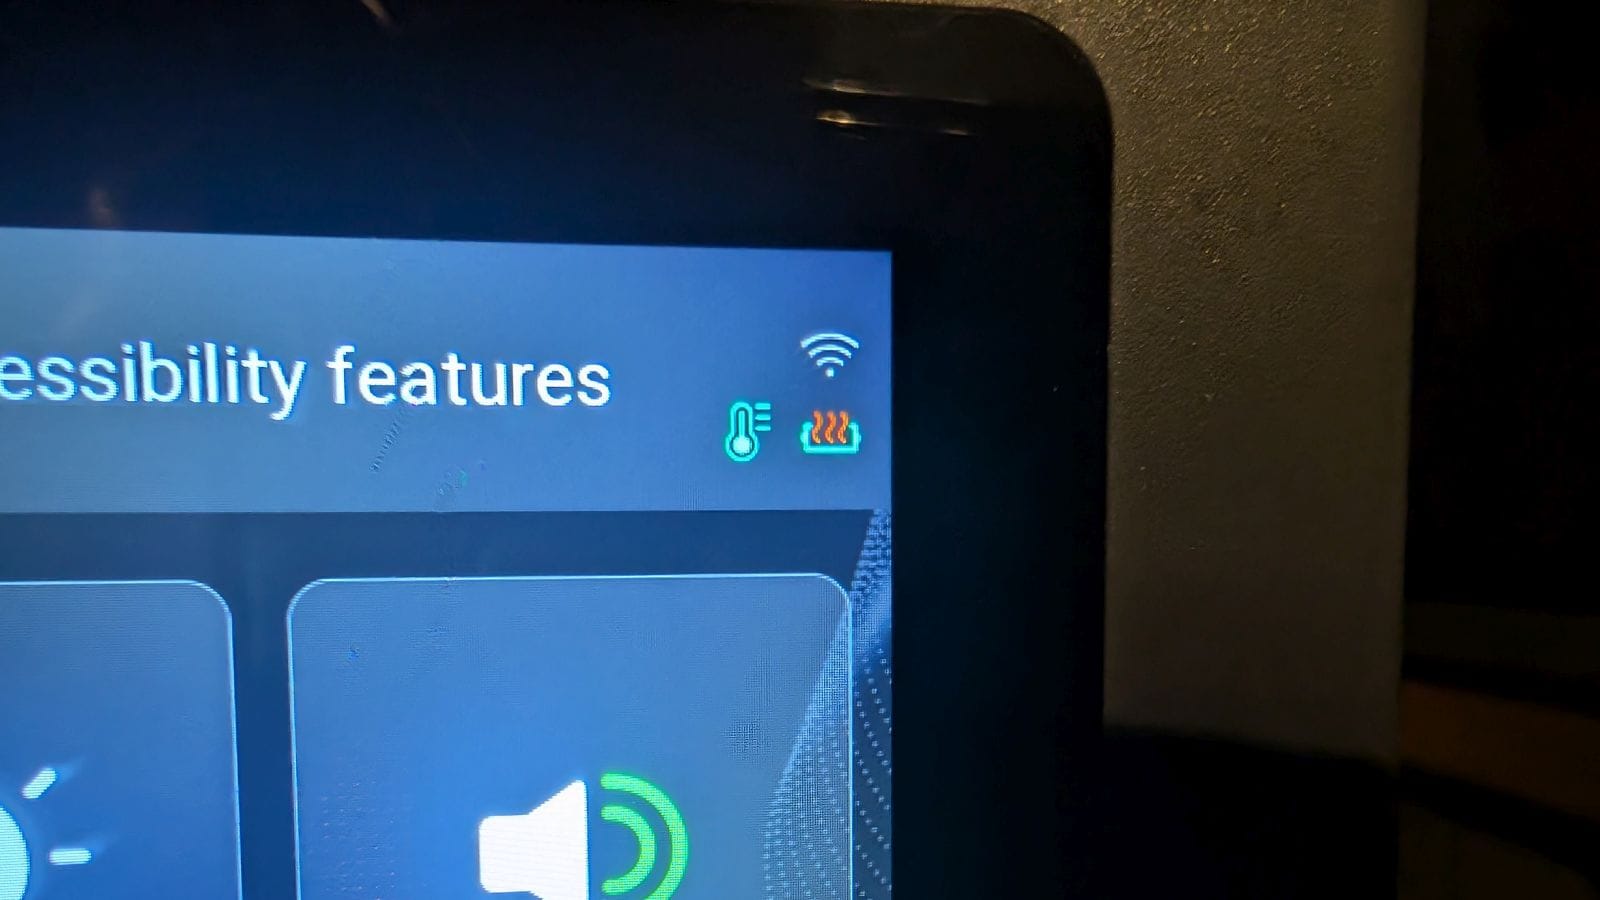

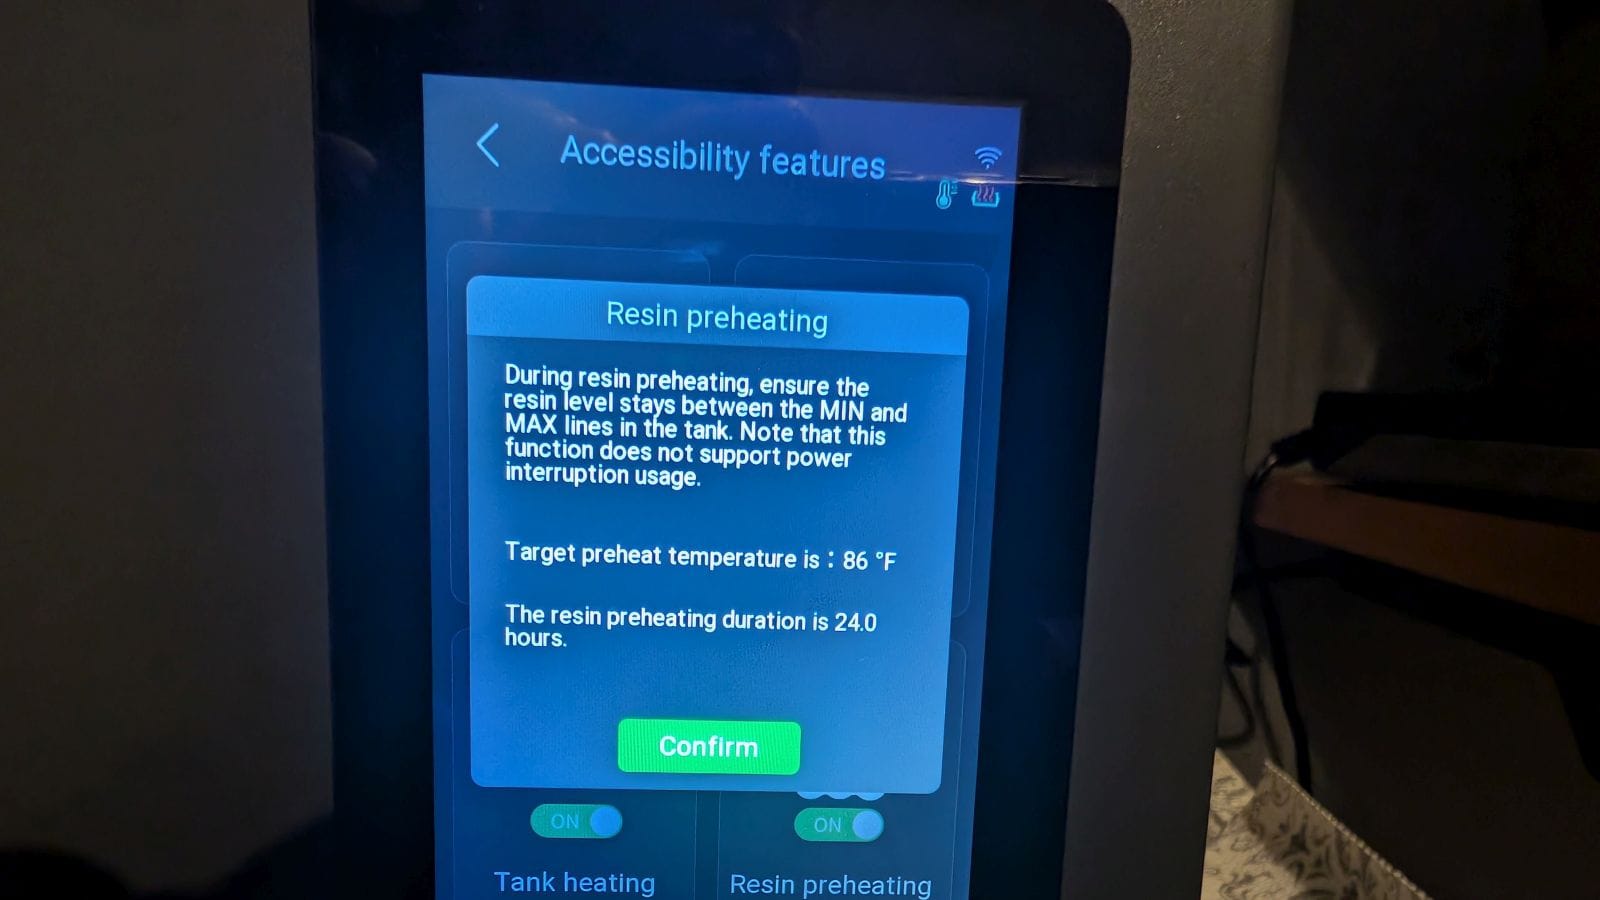
The new pre-heating system for the Saturn 4 Pro 16K
Also on the tray is a new marking – a minimum fill line. The Saturn 4, Saturn 4 Ultra, and now the Saturn 4 Ultra 16K are all capable of detecting when you’ve exceeded the maximum amount (there is a line for that on the tray), but this addition now will alert you when you are running out of resin or don’t have enough in to start the queued job. It’s just another safety check to ensure you have a positive outcome, and I appreciate it for beginners or absent-minded veterans like myself. The awesome pour spouts on both sides are also present – something that doesn’t seem like it’d make much of a difference but has made changing resins a breeze.
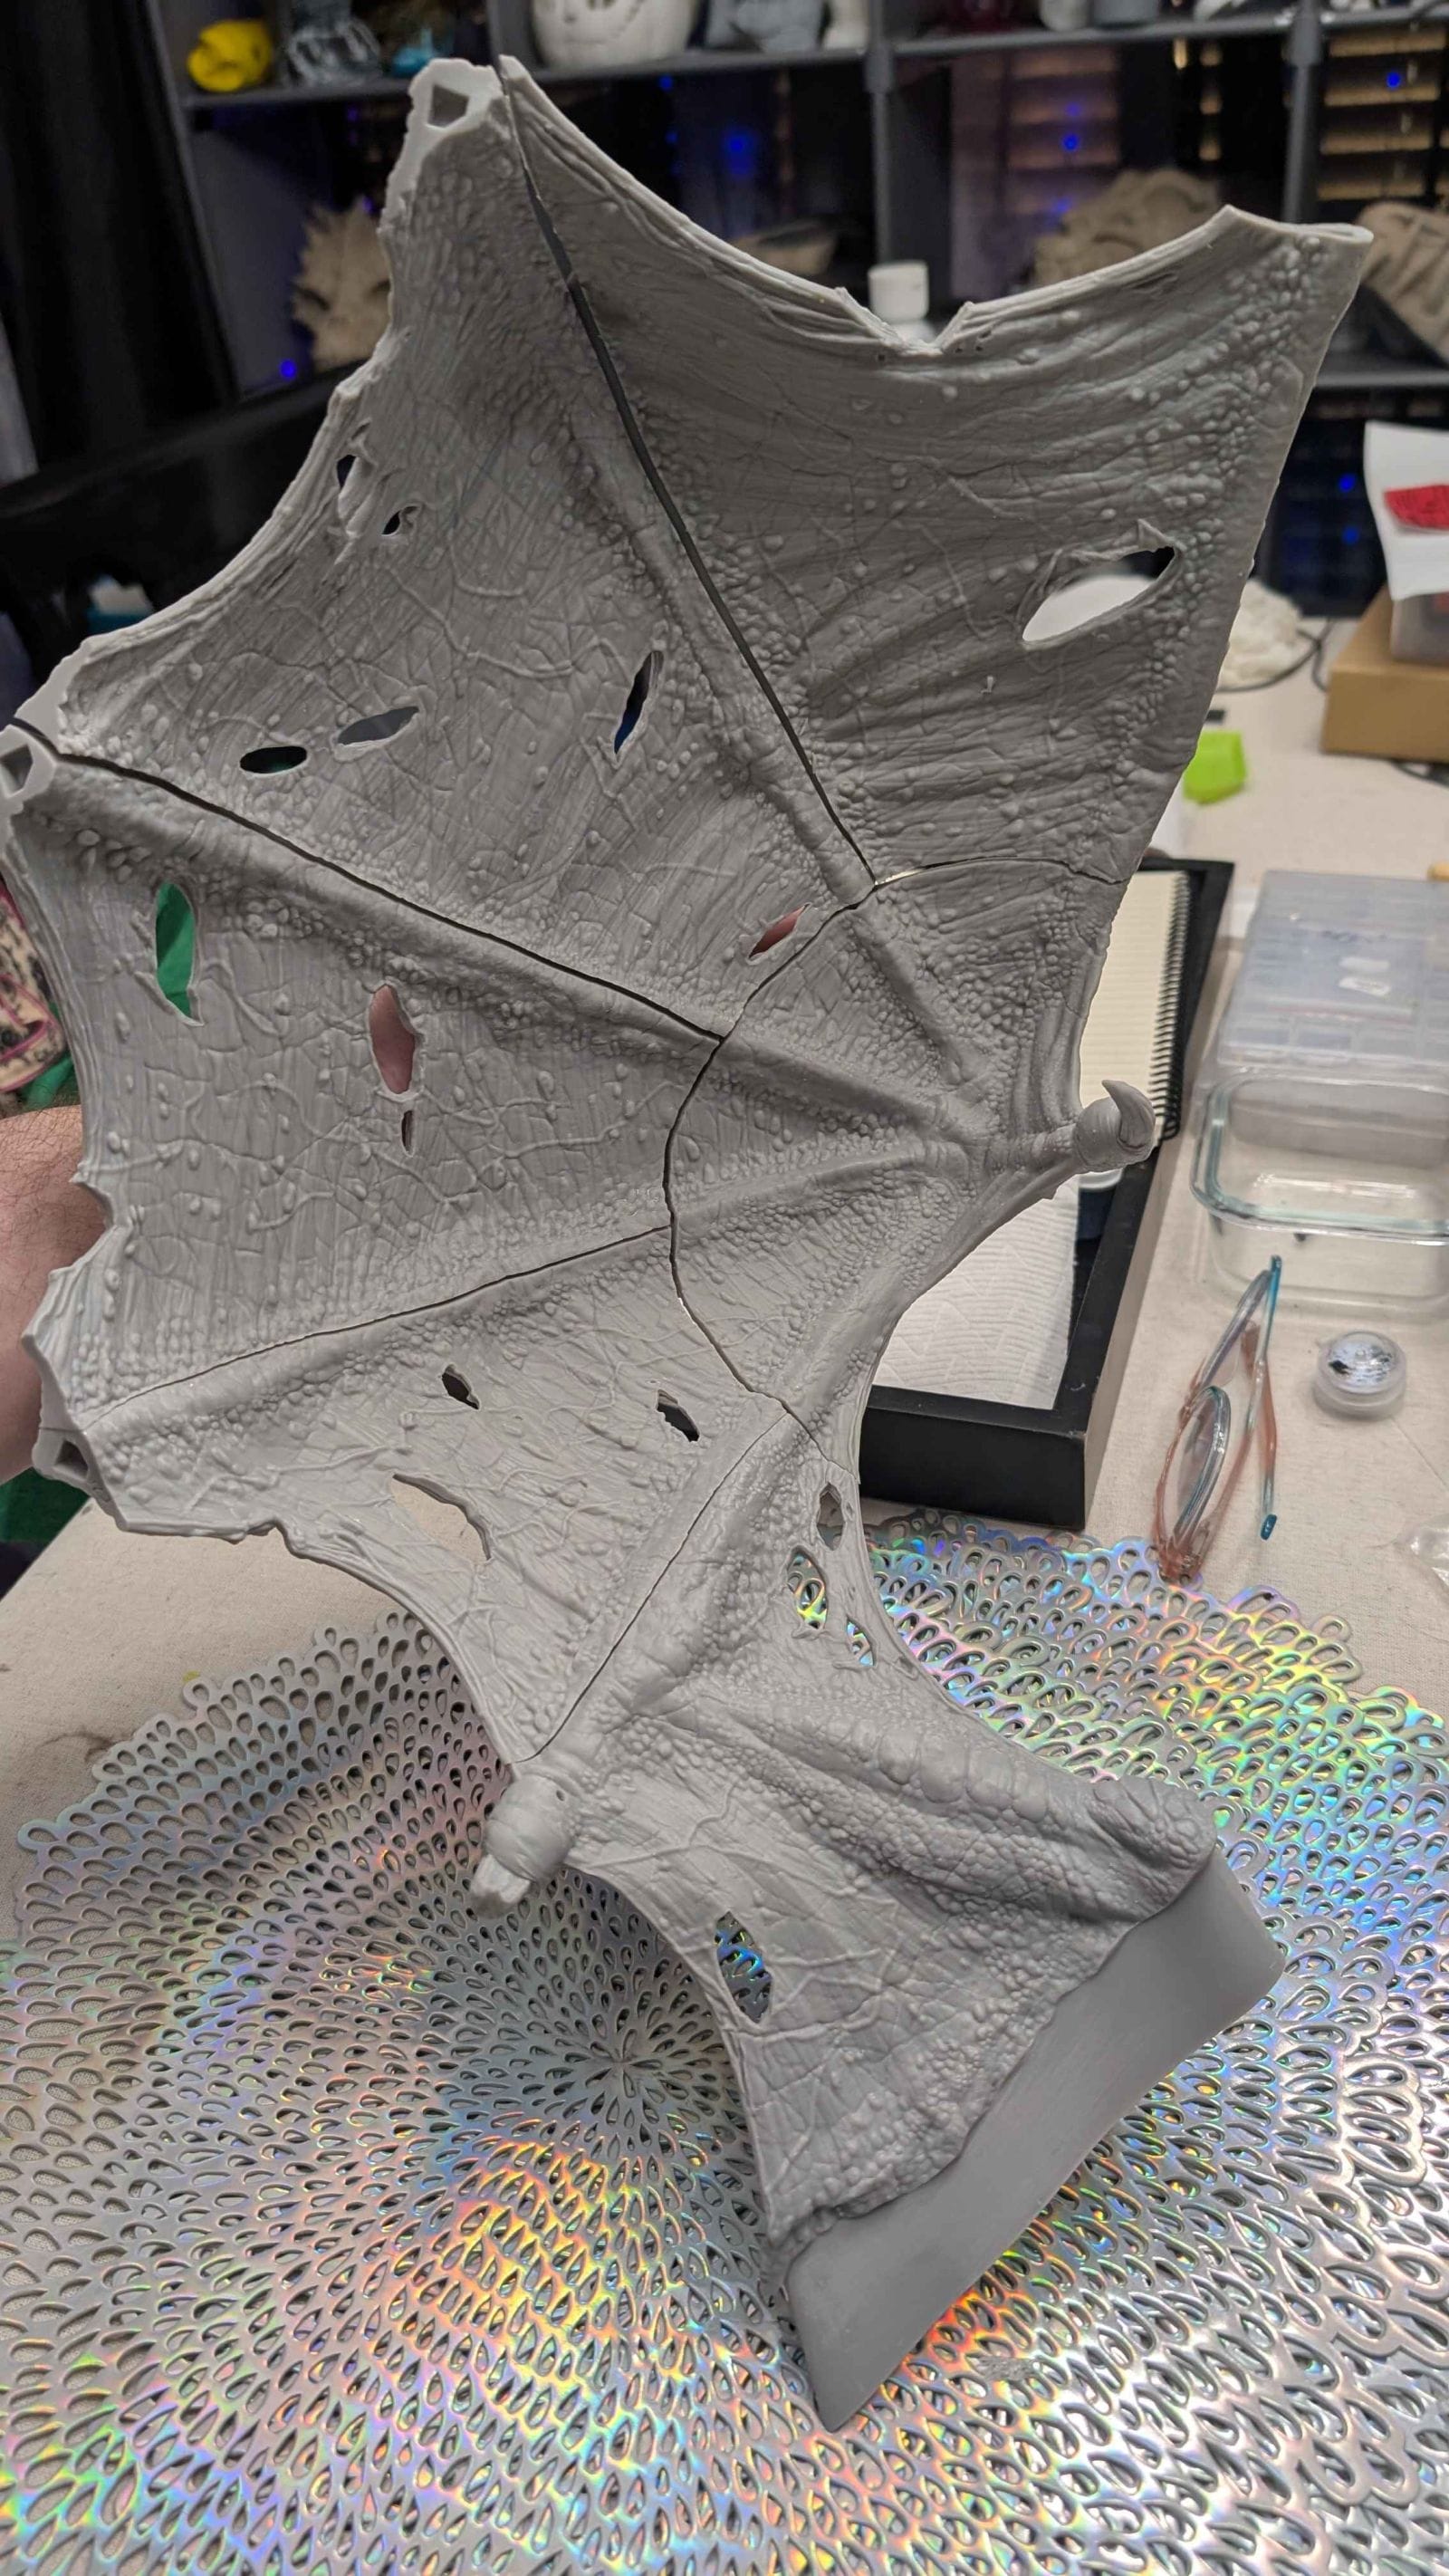
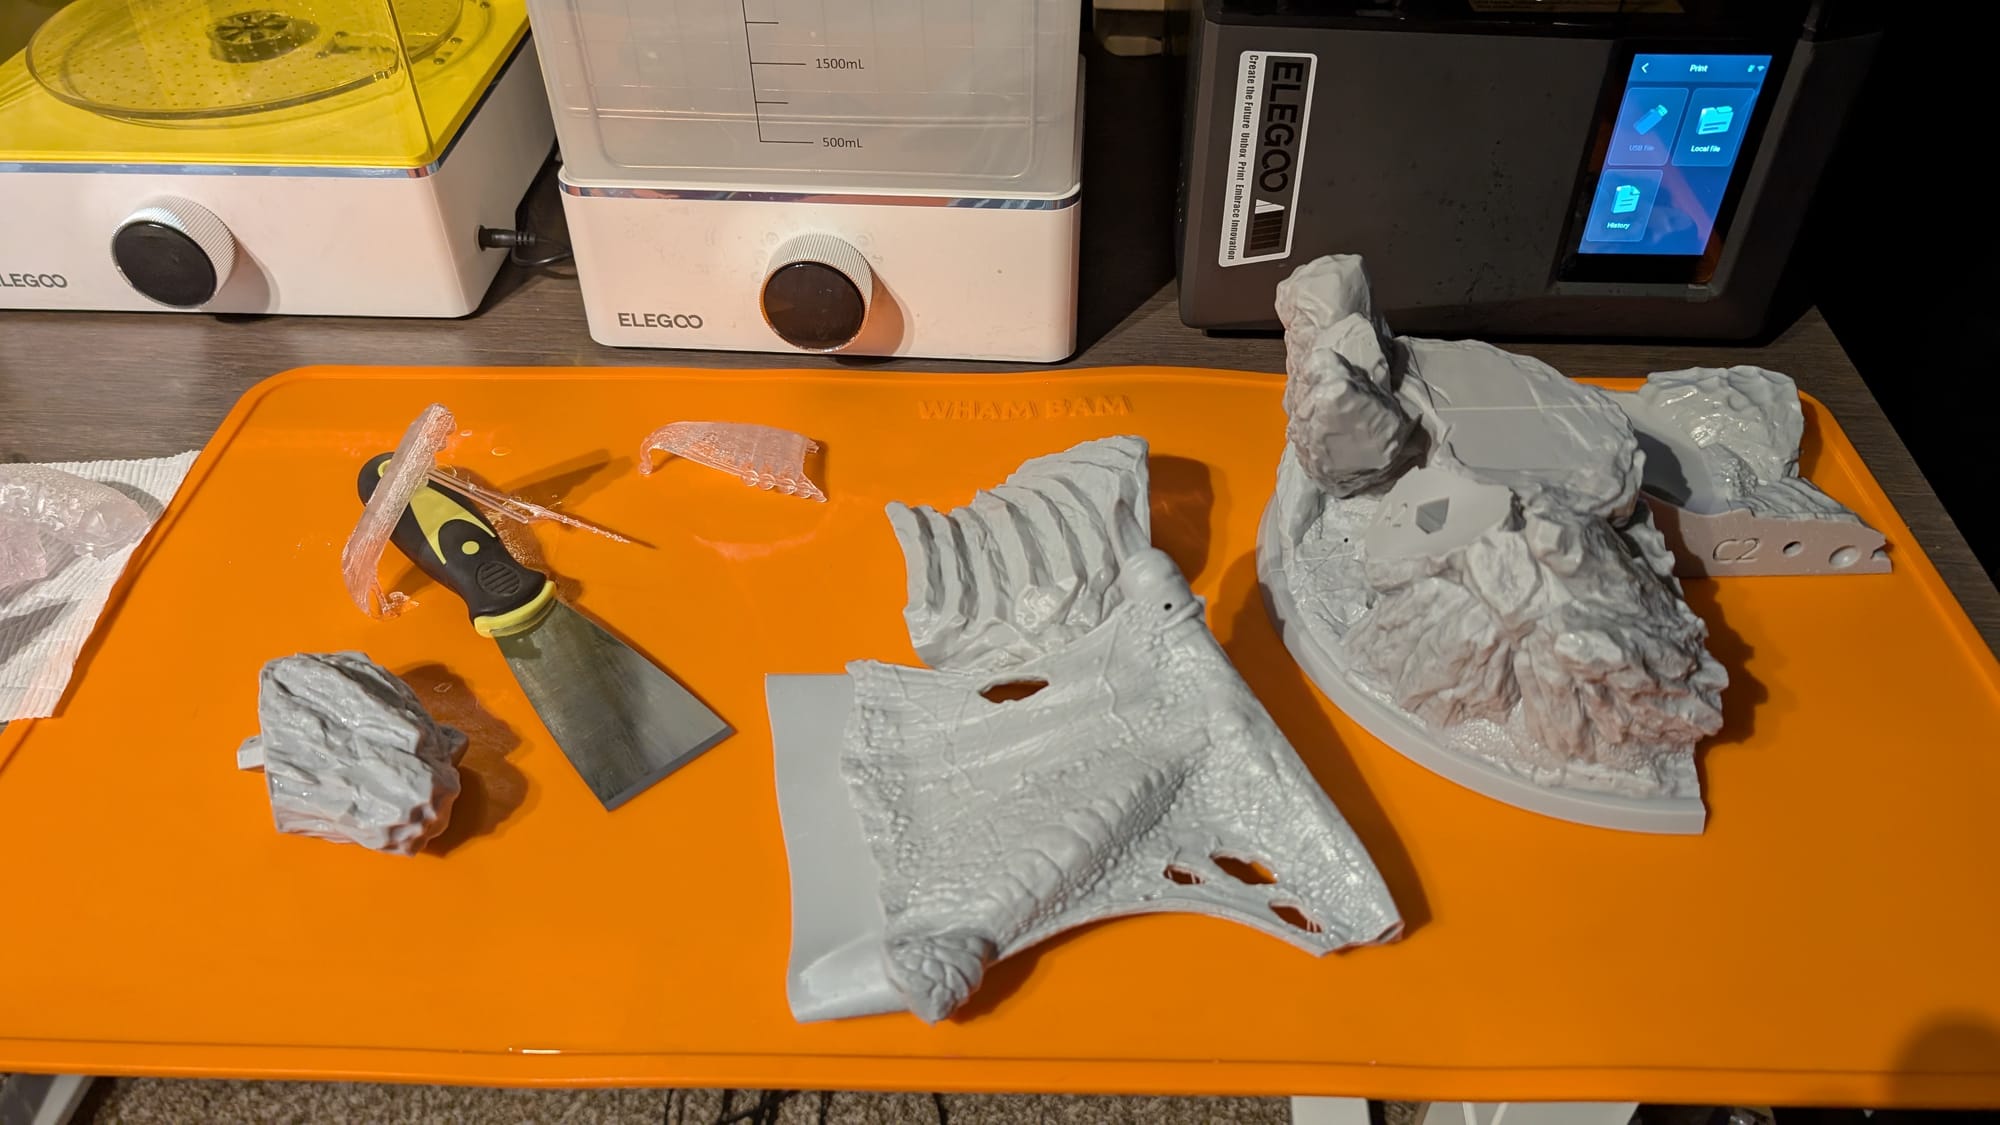
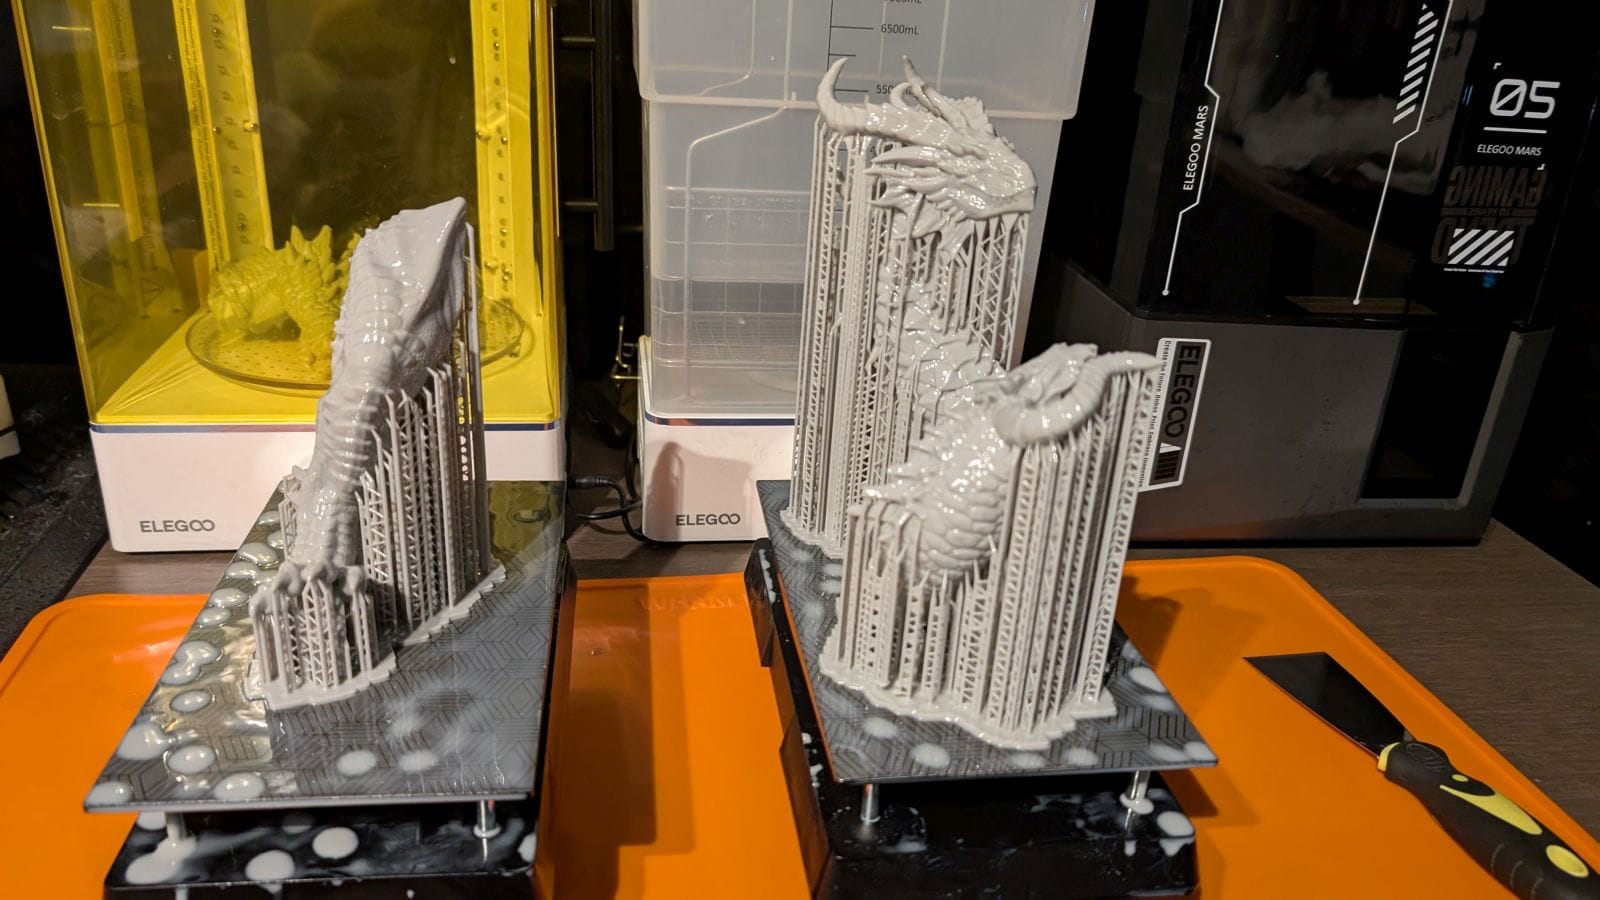
Speaking of resin, I teamed up with SUNLU on this massive print – they're sponsoring the staggering amount of resin needed (In this case, ABS-Like Gray) to print the full-sized version (75mm) of Izat’al from the Loot Studios Rise of the Draconians printable collection. A big thanks to both of them for their generosity in bringing this absolutely INCREDIBLE print to life. You'll be able to see her at Rapid + TCT expo in April!
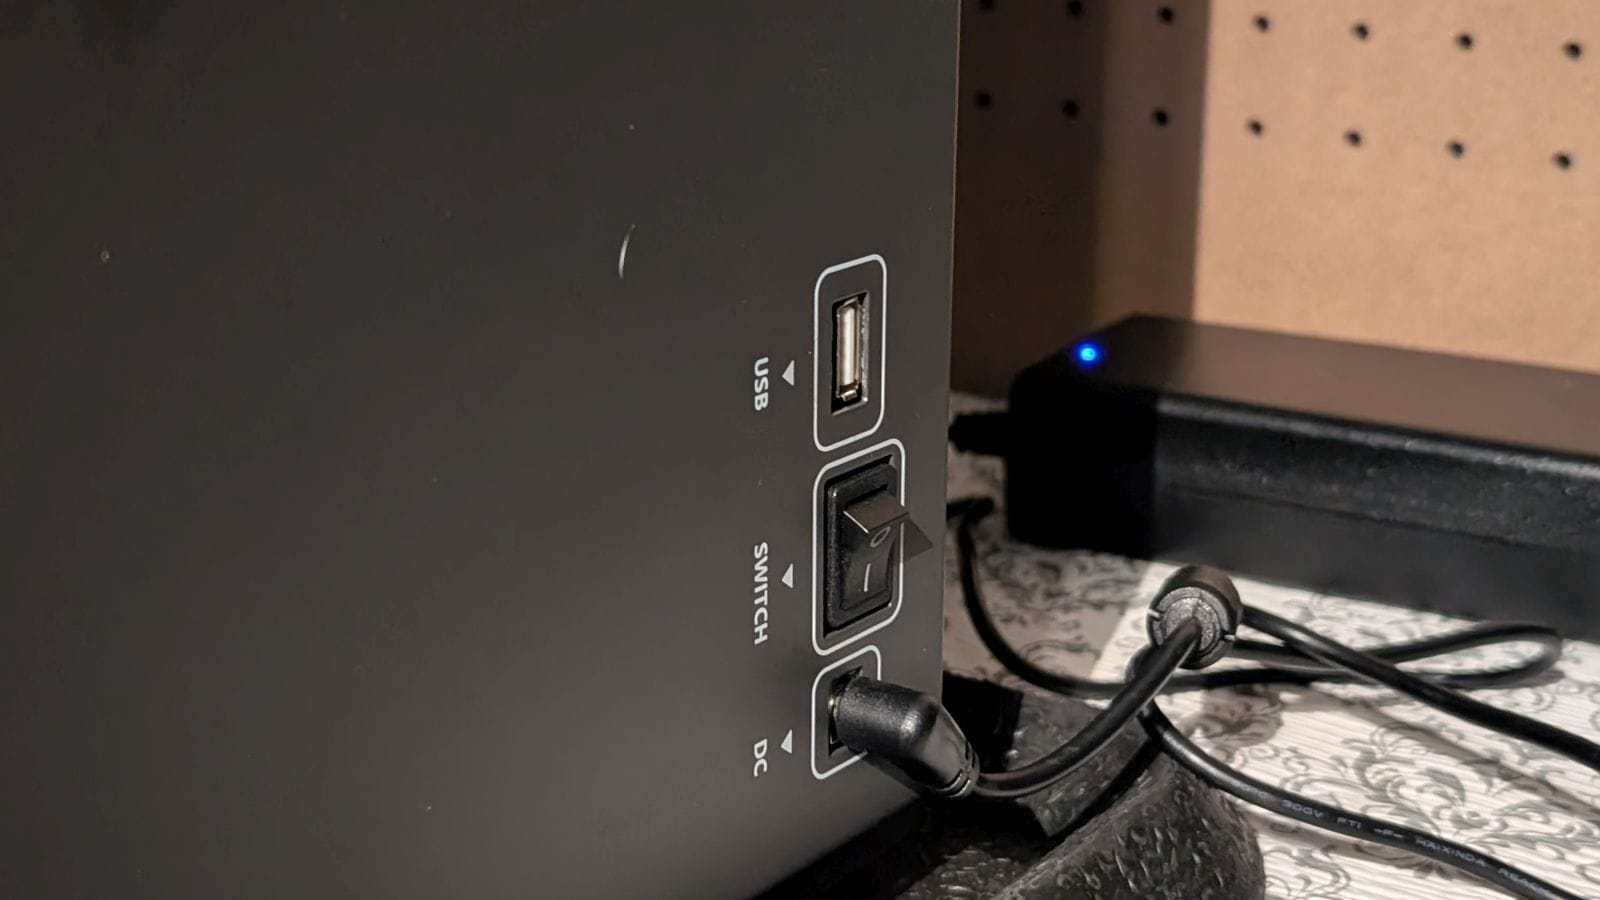
Looking at the chassis itself, it resembles the Saturn 4 Ultra in nearly every way. The same flip top lid in the same smoked grey color, though now there is a 16K designation on the front. It still lacks a handle, but that’s easily fixed with these handles. Everything else is the same, with one tiny adjustment – the Wi-Fi antenna was moved internally. No longer is there a little tail hanging out of the side. Thankfully, the connectivity is rock solid, which is great for sending videos remotely – we’ll talk about this in a bit. That said, if you were hoping that Elegoo would add an Ethernet port, you’ll need to wait for whatever comes next – I’m sure they’ve heard this request from folks using them in print farms, but that voice is likely getting louder as more people adopt this family of printer.
Once you power up the system and connect it to said Wi-Fi, you’ll almost immediately be prompted for an upgrade to the machine’s firmware. One of the issues that has plagued printers for a while now, including the Saturn 4 Ultra, is the ability to calculate print times. I’m very happy to report that the Saturn 4 Ultra 16K has nailed its timings. If it says 5 hours, then it’ll take 5 hours – or pretty close to it.
Vat tilt continues to be an absolutely magnificent improvement for ensuring proper release from the film. Films are usually good for about 60,000 releases (something the device tells you when you’ve begun to exceed), and in that entire life of the film, I had ZERO failures. It didn’t matter what I threw at it, I just never had a single failure. I gave it some thin supports, I used insane angles, and I filled the entire build volume and the Saturn 4 Ultra 16K shrugged them off without a problem.

One of the things I pointed out in my review of the Saturn 4 Ultra was that the tilting vat, while amazing, also creates an ingress point for spilled resin. I don’t know how to solve this problem. Elegoo includes a drip tray once again (It’s in the non-descript brown box at the bottom of the packaging – don’t throw that away!), but that won’t save the say in the case of a puncture. The printers have gotten exceedingly easy to disassemble and repair, which extends to cleaning, but it wouldn’t take much for this to suddenly turn into an awful mess. It’s not something I’d take points off for as I don’t know any way to solve it save a small rubber gasket that runs underneath, but that would become problematic to clean. You take the good with the bad I suppose.
Speaking of disassembly, my printer was dead out of the box, or at least the display was. Turning it on I had a grey screen with no beep for self-test. I’d seen this before so I had a pretty good idea of what to do. Using the included Allen wrench I was able to remove eight screws (four top, four bottom) and remove the face of the machine. Sure enough, the ribbon cable that runs to the screen had come loose. It’s the type that doesn’t precisely “plug in” but instead is a ribbon cable with a latch to close, held in place with tape. I’d very much prefer an update to this method as it doesn’t take much to mess up this type of connector, but now we’re into system design – we aren’t reviewing that. The vast majority of you won’t ever see this, but suffice to say I simply reseated it, applied a new strip of electrical tape, and everything fired up perfectly.
As is the case with the Saturn 4 Ultra, the 16K goes through a self-test process before printing anything. It checks the mechanisms for moving the build plate up and down the worm screw, it checks for tilt functionality, it tests the camera, and more. Once it’s satisfied you’re ready to go, it stands at the ready. If you’ve tried 3D printing in the past and were used to using the card method to level the plate, I’m happy to say that’s gone. The system instead calculates distances from known values – namely the top of the Z-axis, and where it expects to meet the print film. Using these it then knows precisely where to put the plate to ensure that the process adheres the print to the plate and that the print then proceeds accordingly. It accomplishes this with the aforementioned math as well as a sort of box within the build plate with some spring loaded segments. It creates a small gap between this box (which is not meant to submerge – something to note when cleaning it. Do NOT put it underwater or you’ll regret it) This does mean you can have resin accumulate on the top of the plate, but there’s an easy solution – a 3D printed angled drip adapter. Personally, I’m not that patient. I grab the plate, move it to my work area, and just keep it inverted to ensure no resin drips. Sure, it means I end up spending a paper towel to mop up some occasional drips on my Wham Bam mat, but that’s what it’s there to do. Just don’t scrape the prints off while the plate is still on the printer – that’s a recipe for bits of resin in your vat, messed up mechanical bits, and any slips are going to then add blood to your vat. Take the plate off – they gave you little fins for a reason.
By inexplicably popular demand, Elegoo has given this printer a manual leveling option. I can’t say I’ve ever had a problem that would necessitate this, but if you are so compelled you can enable this in your settings. You’ll clean the plate completely, remove the vat, and then place four pieces of standard printing paper into the four corners of the screen. The plate will come down and press on the plate. Just like leveling a previous generation printer with the included leveling card, you’ll then tug on the paper to ensure it’s snug but not stuck. If you find that’s not the case, you then use the included wrench to adjust the screw above that corner until you’re satisfied. Removing one of these screws (technically tensioning studs) I found that they’ve put some sort of blue adhesive material on them to ensure they stay put once you adjust them. I’ll again emphasize that I’ve not seen a need for this, so for many of you this is a feature you’ll never need, but should you find that you’re having problems in a particular quadrant, you now know how to adjust it. You’re welcome.
The bottom of the build plate has the diamond pattern on it once again, and even though there is a very slight reduction in the size of the plate to accommodate the heating element, it’s still compatible with magnetic plate solutions like the aforementioned Wham Bam options. To get into the numbers, the plate on the Saturn 4 Ultra is 218.88x122.88x220mm, whereas the Saturn 4 Ultra 16K is 211.68 × 118.37 × 220 mm. I promise you, that 6mm won’t make a difference.
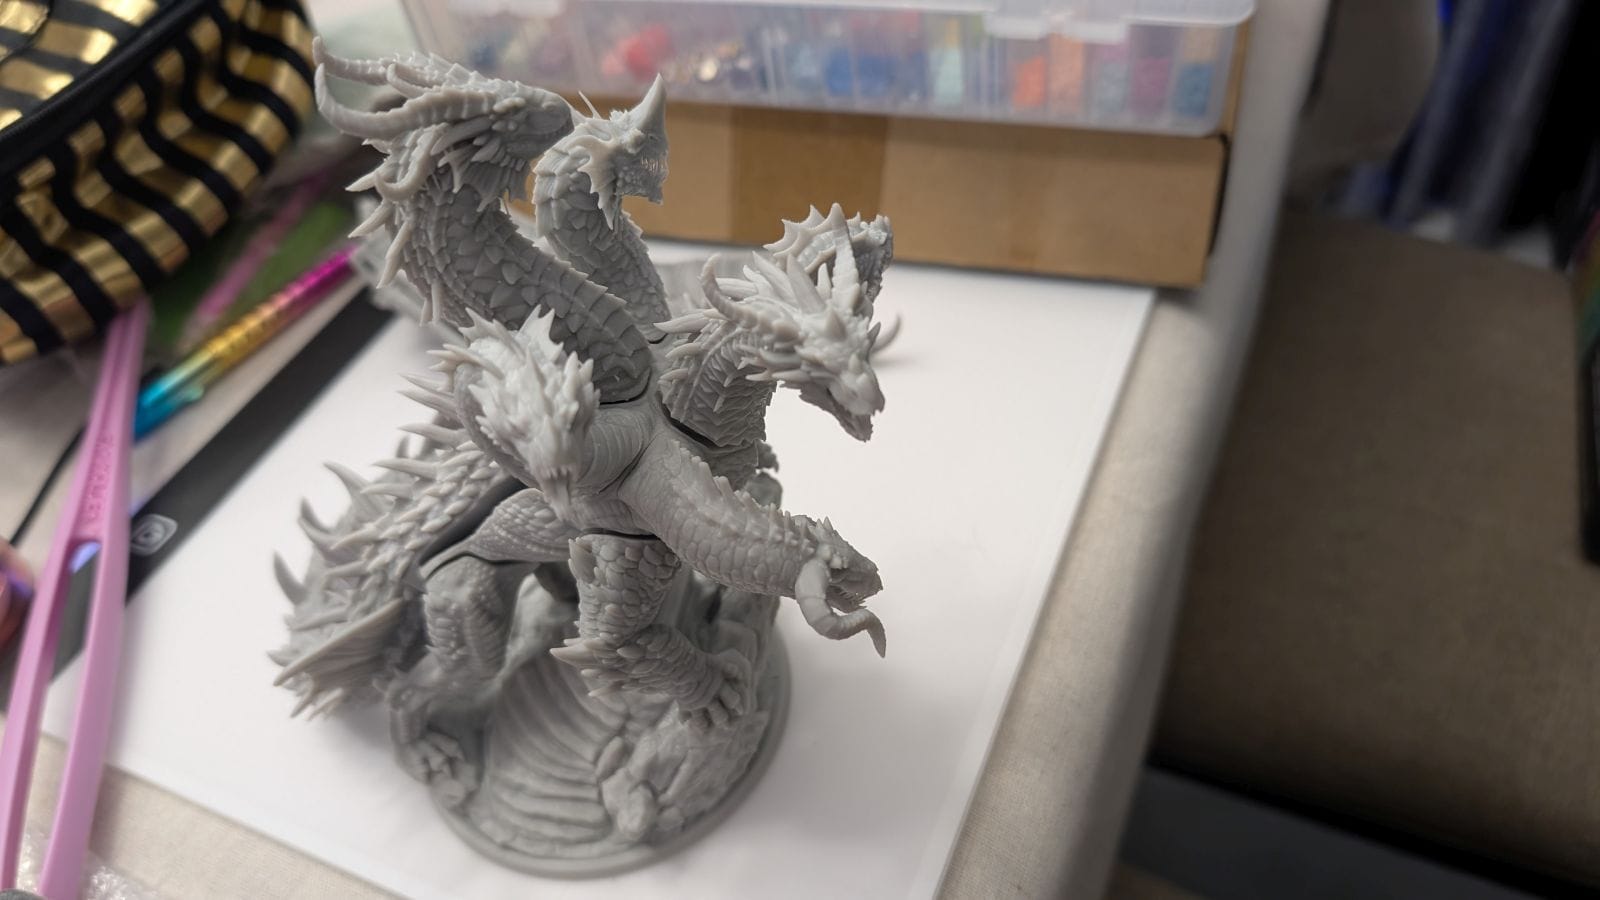

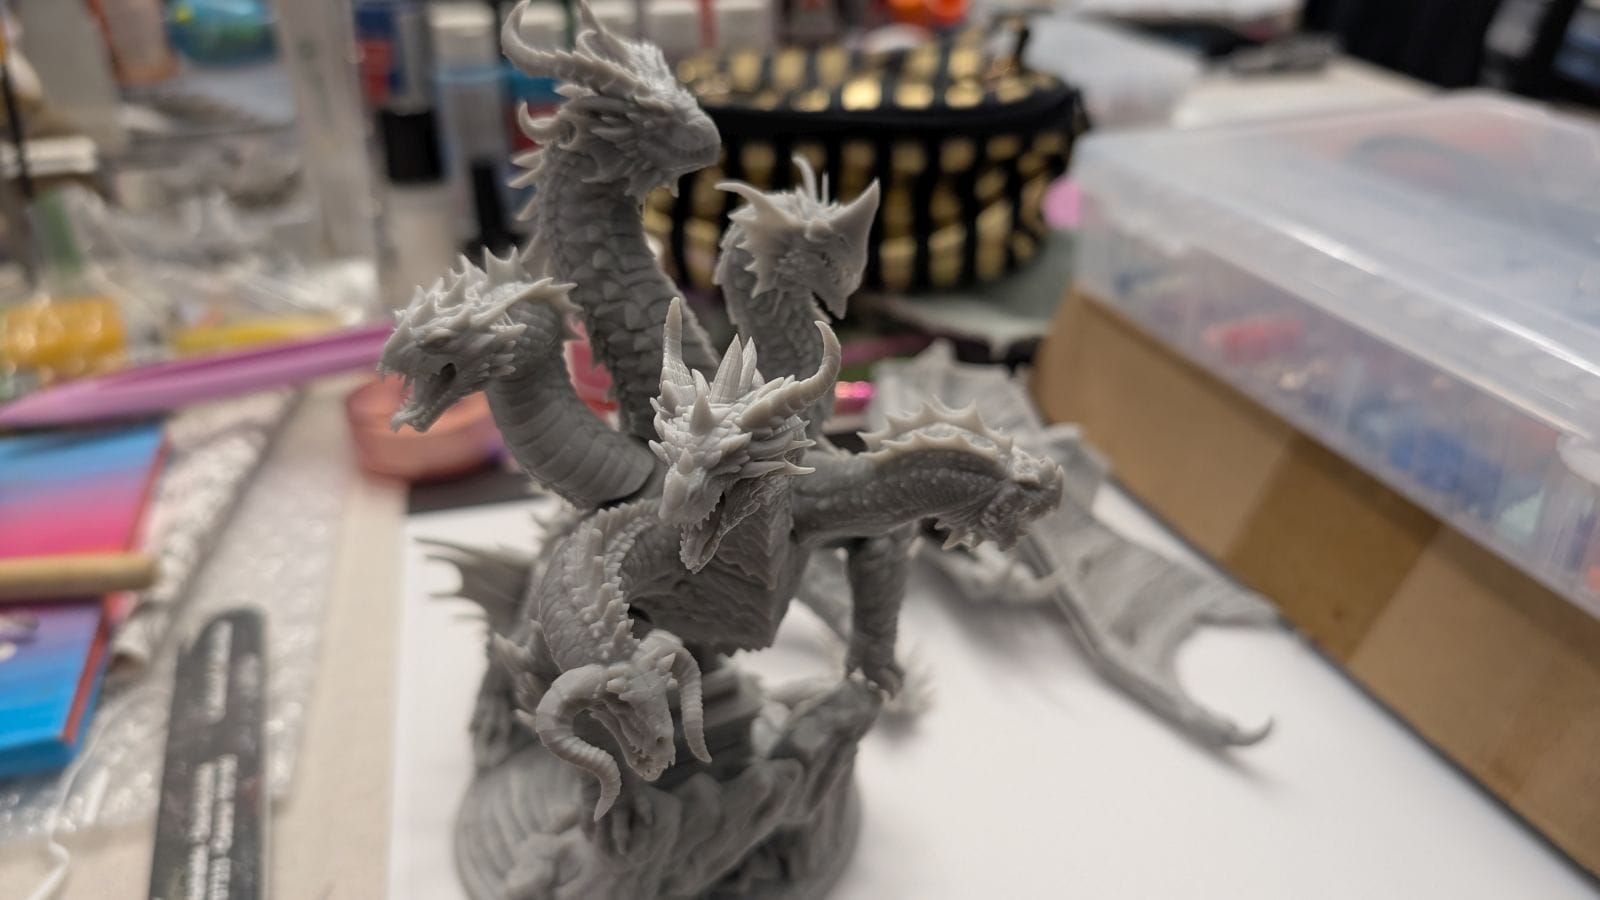
The smaller version of this massive dragon from Loot Studios
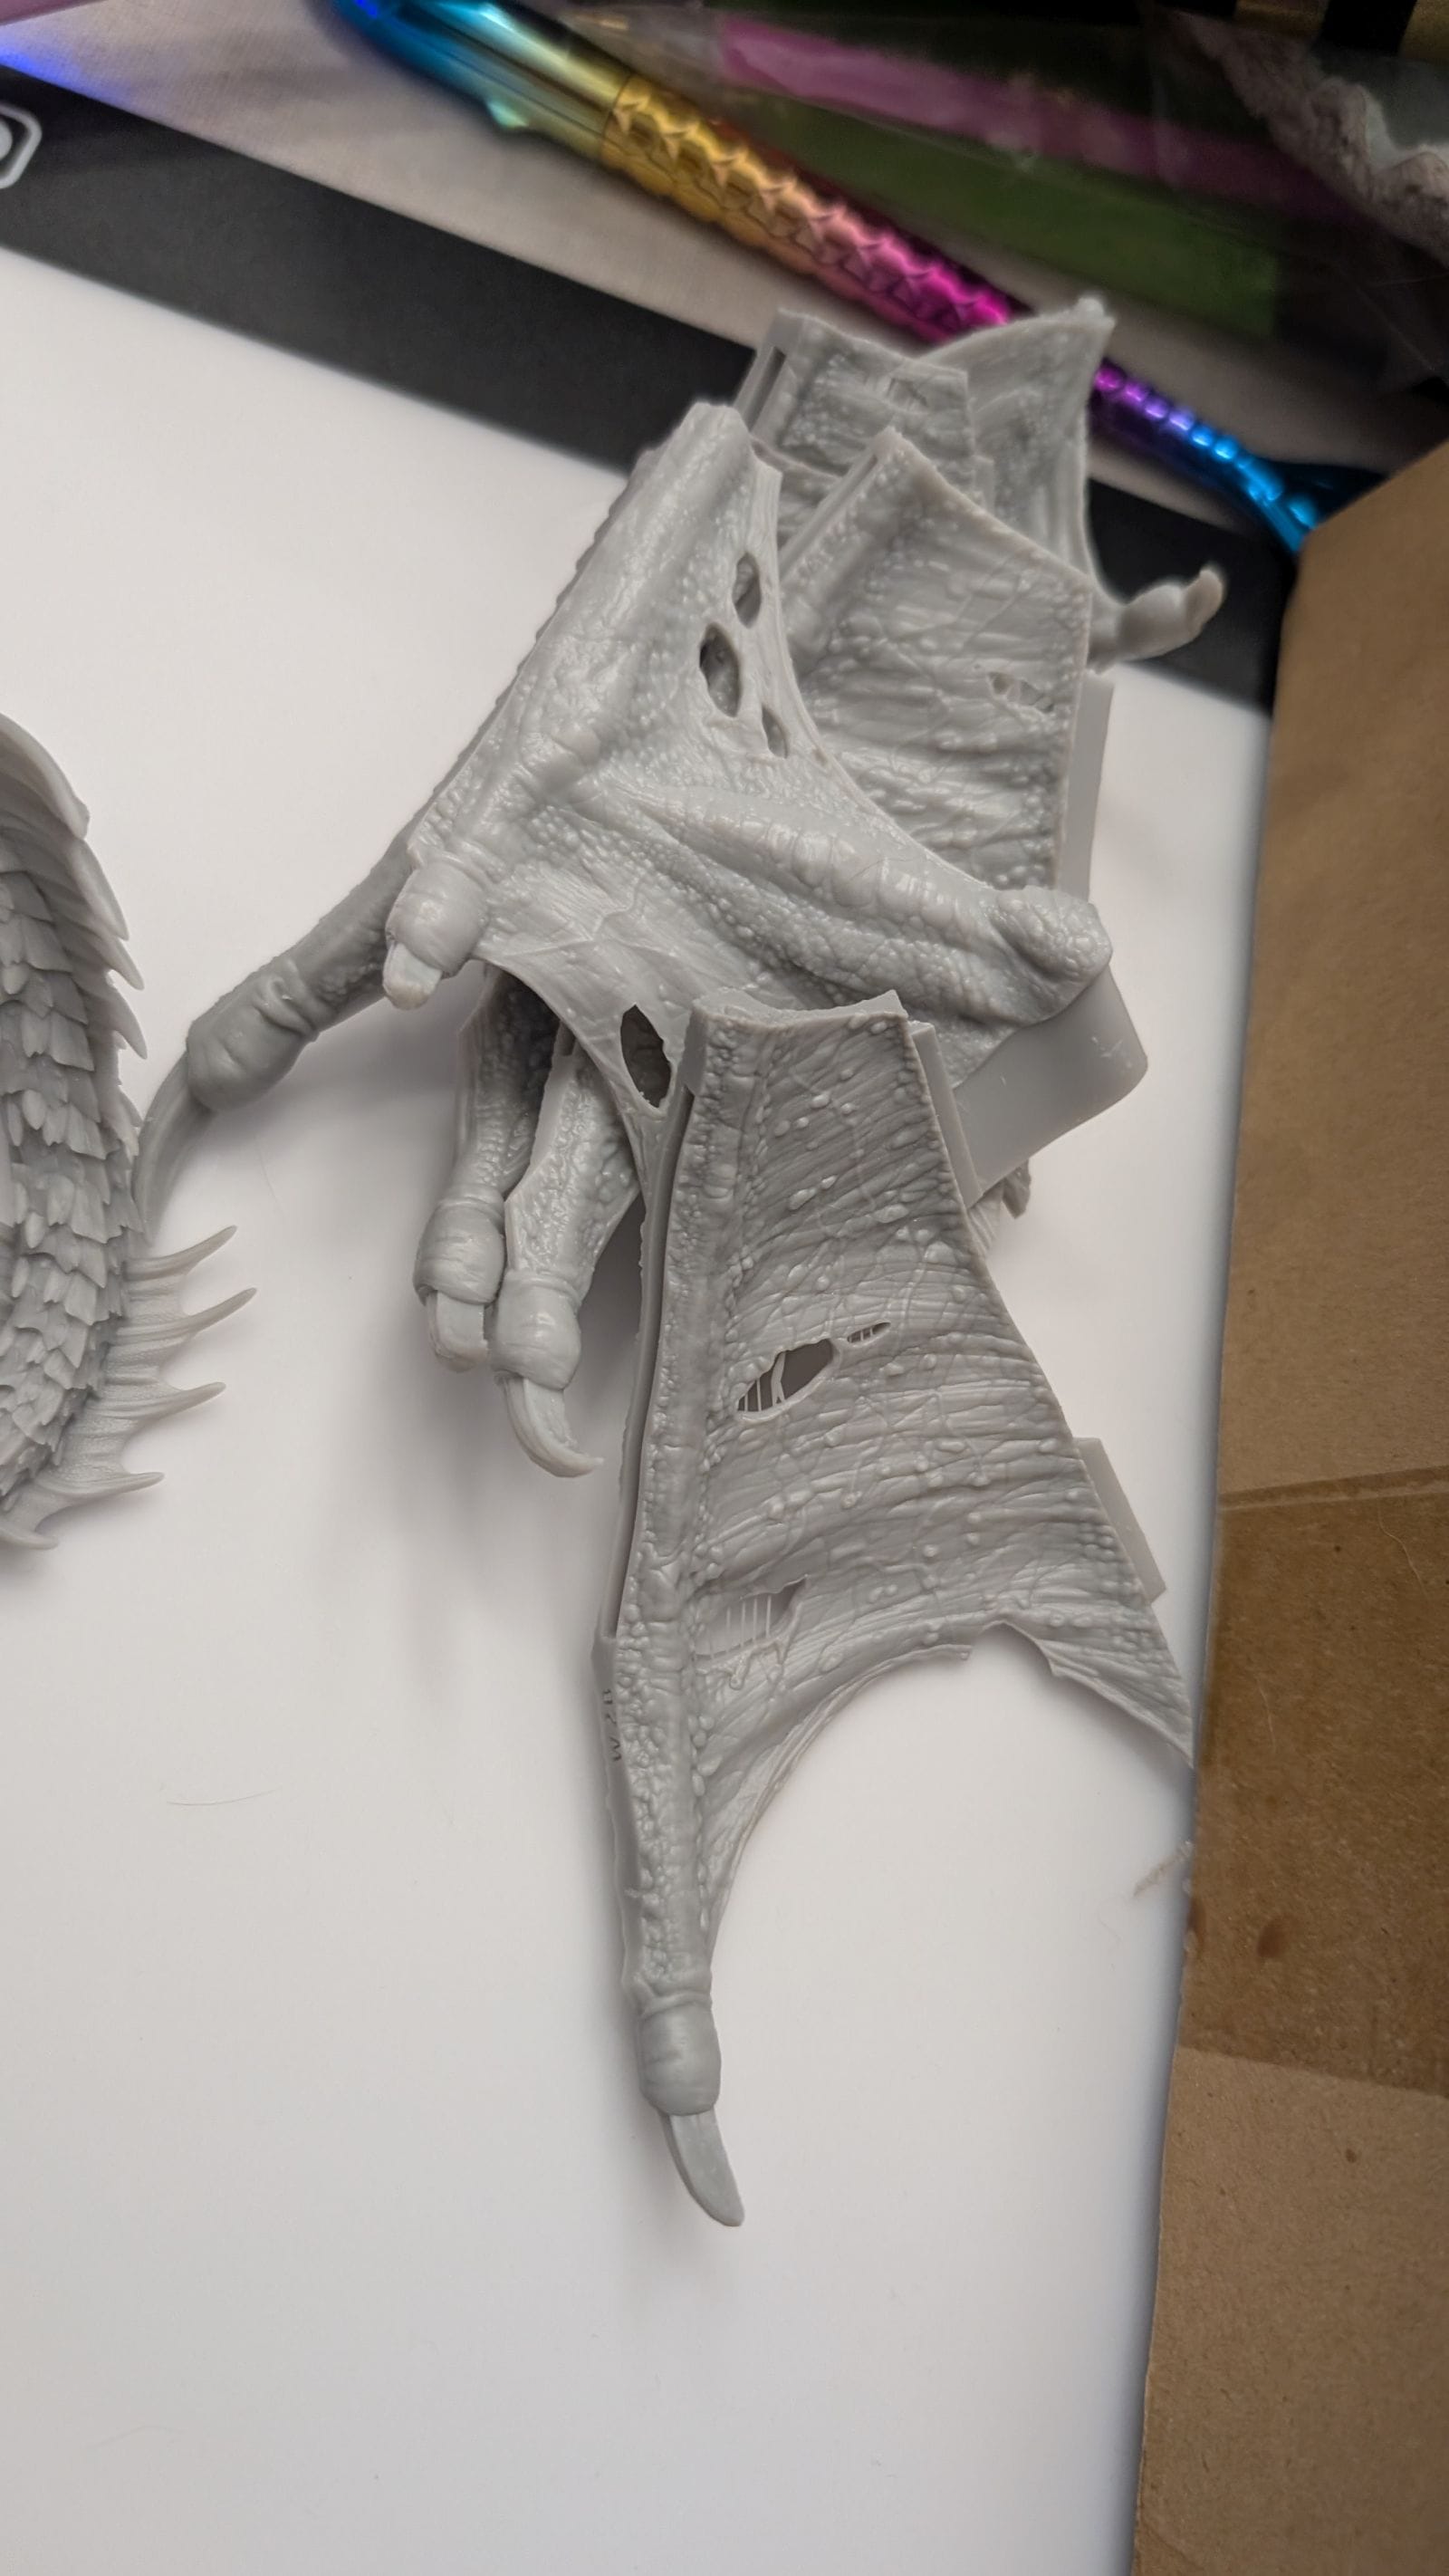
In terms of resolution, it’s on the box – 16K. The Saturn 4 Ultra’s screen is 12K, or 11520x5120 whereas the 16K is 15120 × 6230. This means that the 12K has an XY resolution of 19x24μm and the 16K is 14x19 μm. You’d need a microscope to tell the difference – something I’ll demonstrate when we look at the wings on a very large print I’m working on to demonstrate the build quality of this printer. Both printers utilize a 10” mono LCD, and both sport a 0.02mm Z-axis accuracy. What does that mean? It means when you look at what comes off this printer you’ll be very hard pressed to find a single layer line. We’ve almost reached a quality that resembles poured resin casting techniques, but available to consumers.

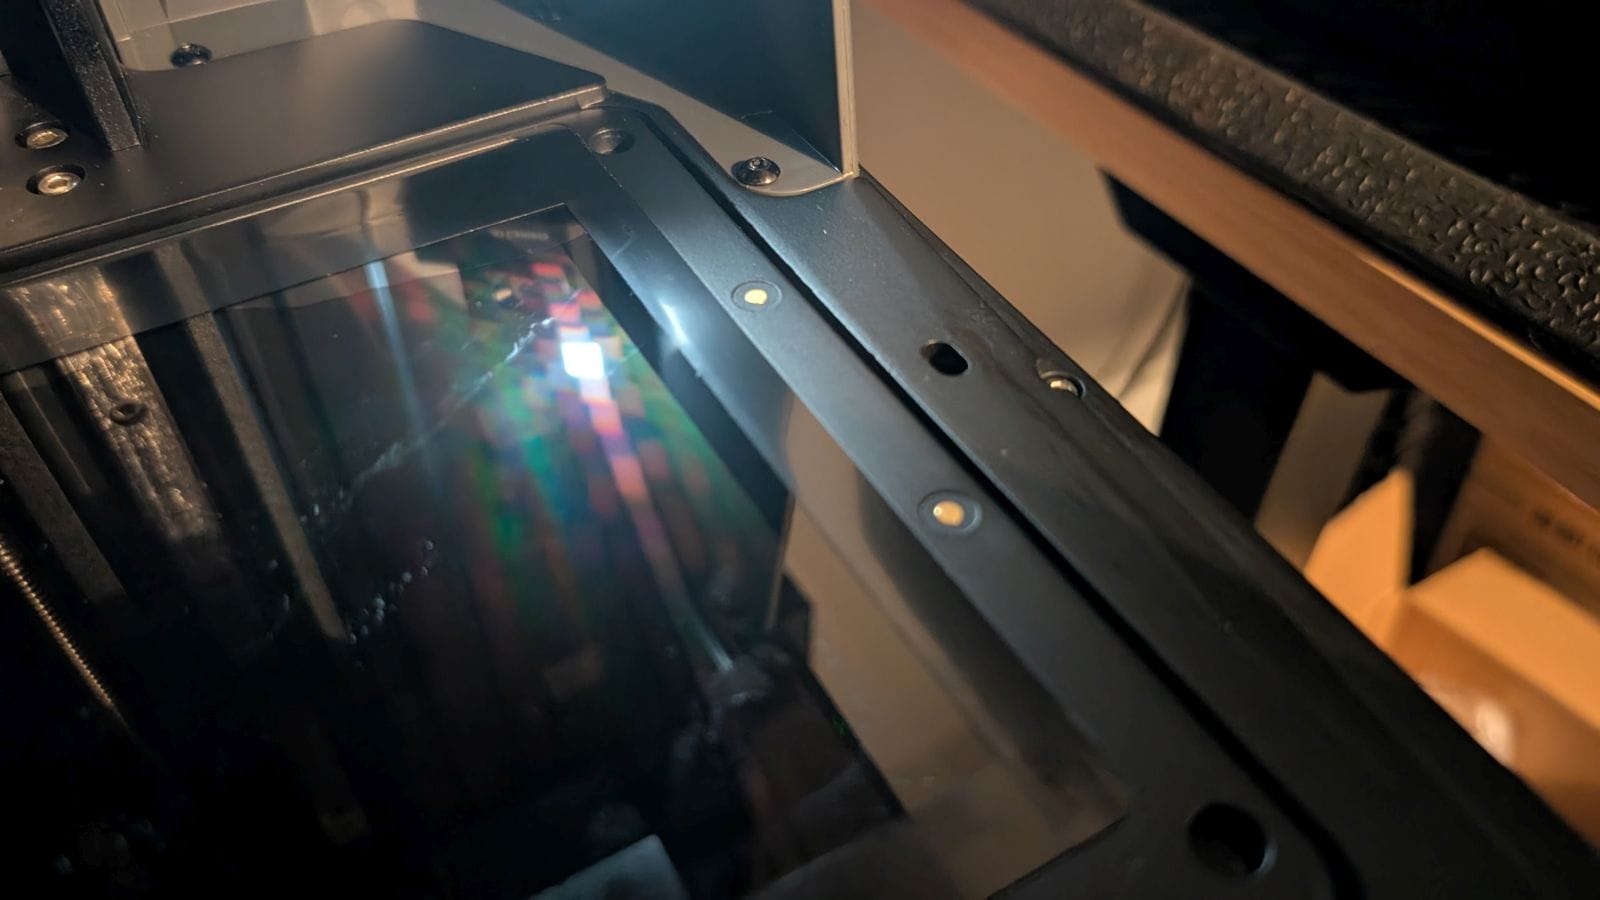
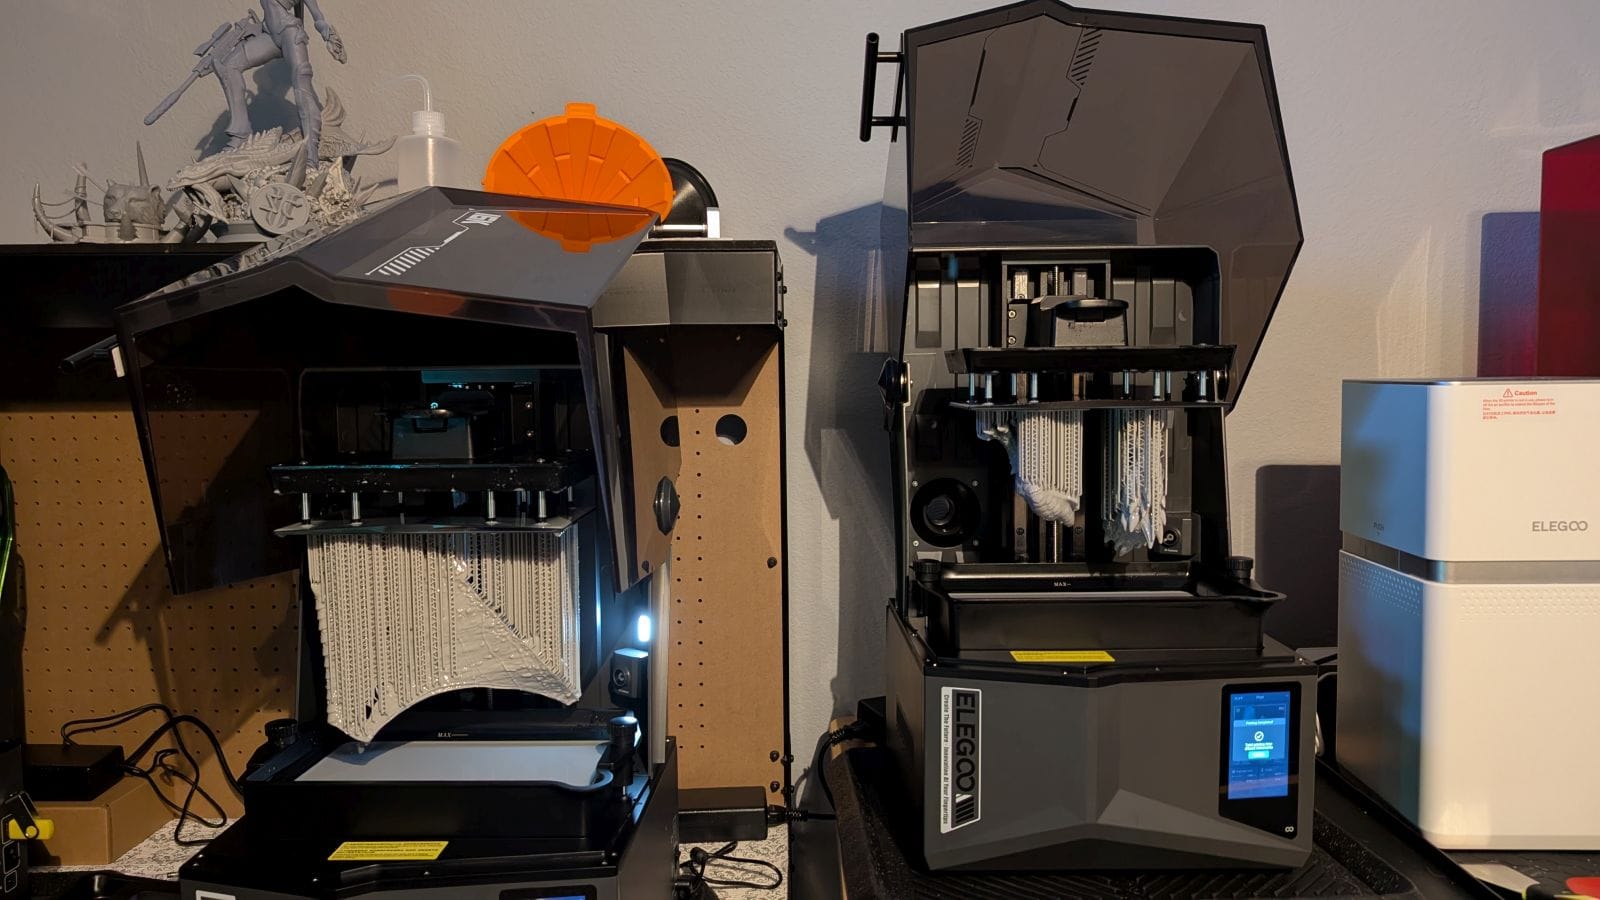
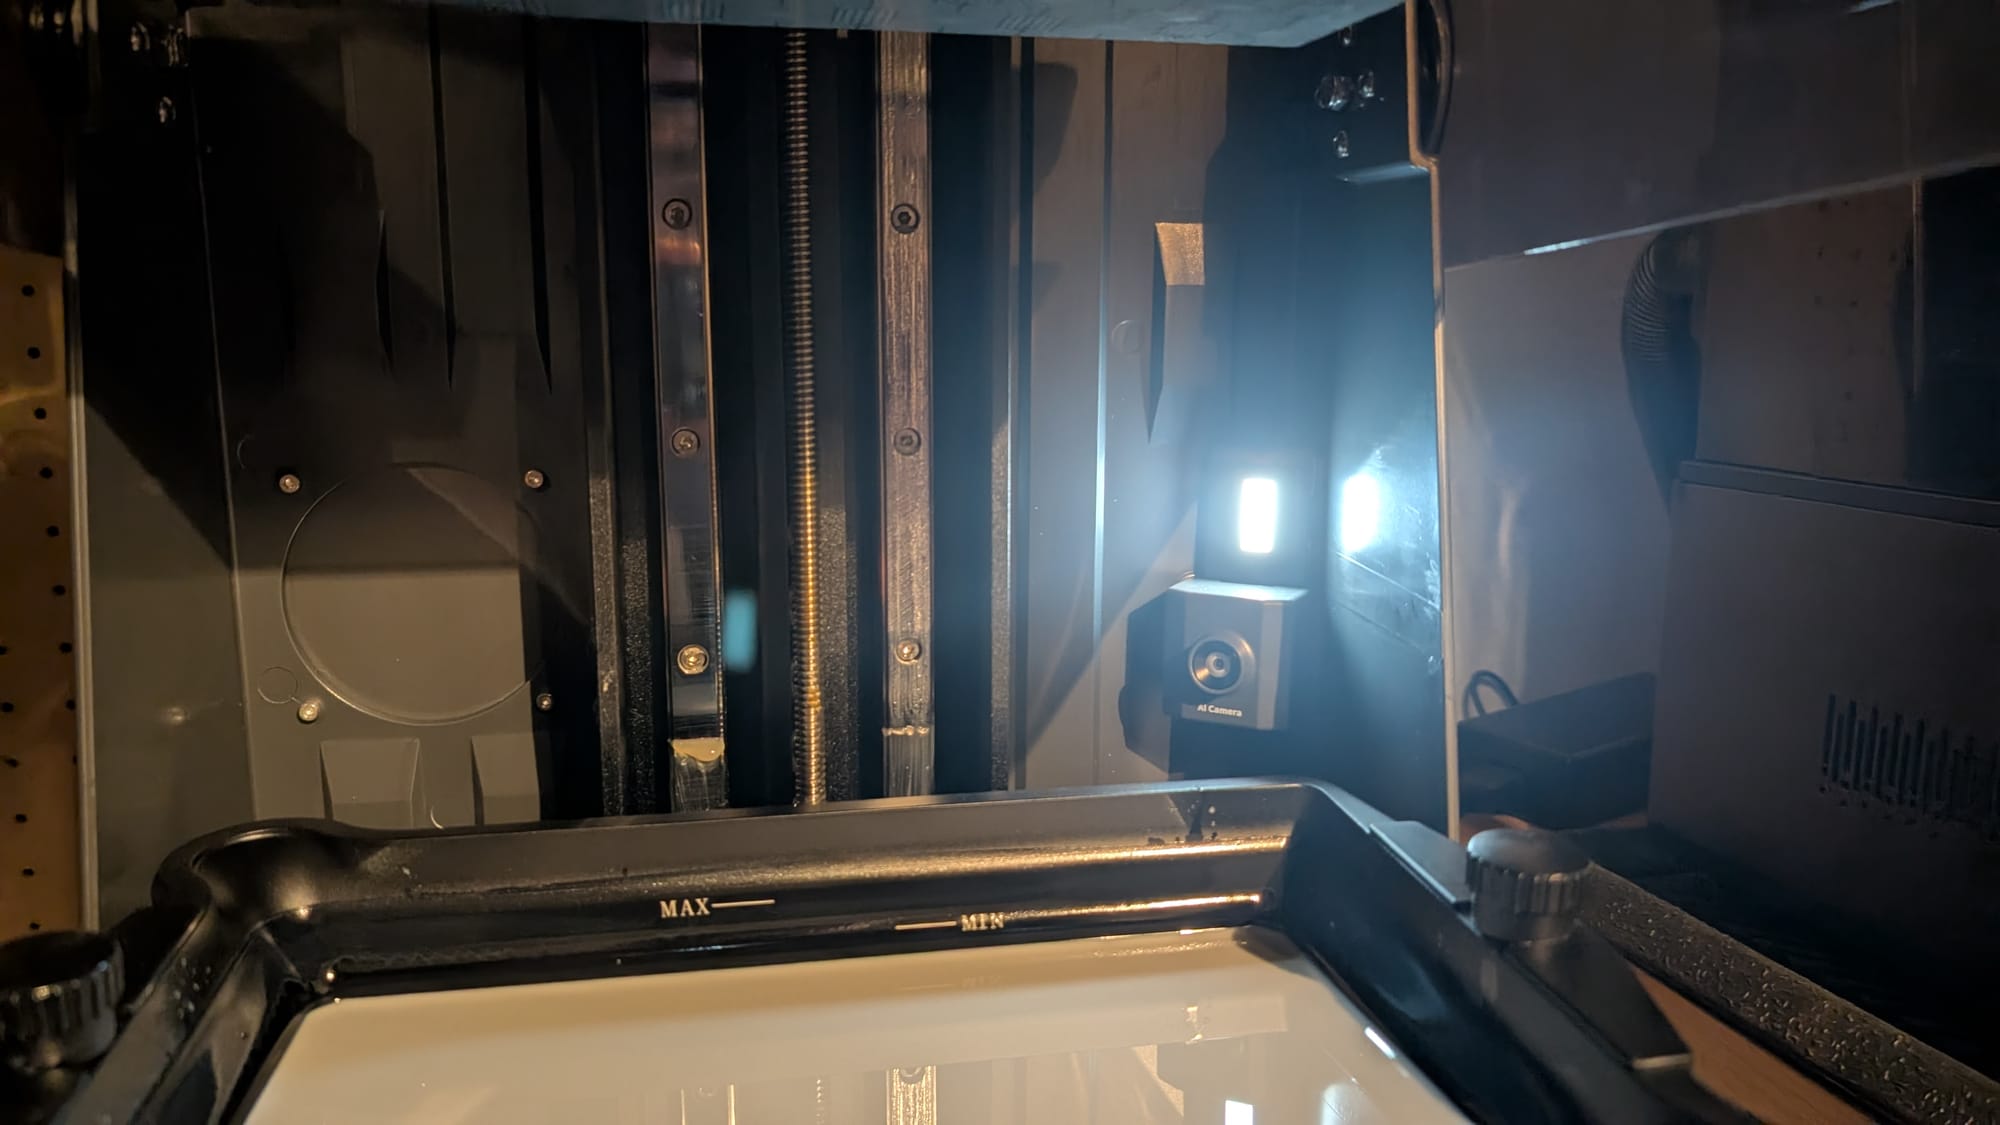
With the printer in motion, you’ll then notice the next improvement. I pointed out in my review how useful an LED addition for the camera would be as so many of my time lapses were too dark to be useful. Well, that’s exactly what Elegoo did – there’s now a fairly sizeable LED that illuminates the print without causing any curing (different wavelength for that). As you can see below, it makes a world of difference. It also means you don’t have to leave the lights on when you print – this new light is more than capable of doing the job.
My favorite part about both the Saturn 4 Ultra and the Saturn 4 Ultra 16K is that they are absolutely perfect for beginners. I meant it when I said you can have it up and running in 10 minutes, because that’s exactly what I did. I pulled the protective films off, got the plate in place, updated firmware, and then poured in resin. I loaded a file via Wi-Fi and was printing moments later. No complex setup, no need for tutorials, and with cloud-linked profiles for resin, no need to research settings. It’s never been easier, and this printer is the easiest out there, by a wide margin.
I mentioned we’d be returning to Wi-Fi sending, so let’s do that. Elegoo’s own slicer, SateLite, is still very much in development, so it doesn’t yet support network sending. As such, I end up using Chitumanager to send files remotely, or you can drop them onto the included thumbdrive if you’re into walking your files back and forth. Just know that you’ll need some additional software support to utilize the network sending features. We’re also still waiting on the ability to check our prints via a phone app, but hopefully this is on the horizon as well.
While it may seem like the Saturn 4 Ultra 16K is a minor upgrade to the Saturn 4 Ultra, there are plenty of feature improvements on display here. I’m not sure if I’d bump up to this if you just bought the previous version, but if you are in an area where temperature is inconsistent, you might be very interested in the new heated vat enough to justify the bump. No matter which printer you choose, you can easily crank out paint-ready results like the ones you’ve seen throughout this printer. Those came off the printer, got a wash and cured, and they were all but ready to go (just a light bit of sanding for any remaining support nibs). Ultimately, isn’t that the goal?
Elegoo Saturn 4 Ultra 16K
Phenomenal
While the Saturn 4 Ultra 16k might look like a minor upgrade, the improvements are significant. The 16k resolution bump is hard to see, but the heated vat, new camera light, and other minor adjustments are far easier to find. This is, by a large margin, the best consumer 3D printer on the market – period.
Pros
- Heated vat is a great improvement
- LED light for camera
- Zero failures after over 100,000 film releases
- Accurate print time estimates
- Tilt vat is a game changer
- WOW is this thing fast!
Cons
- Slicing software is still not quite ready
- 16K from 12K is hard to see
- Concern for resin ingress at vat edge
This review is based on an early copy provided by publisher.