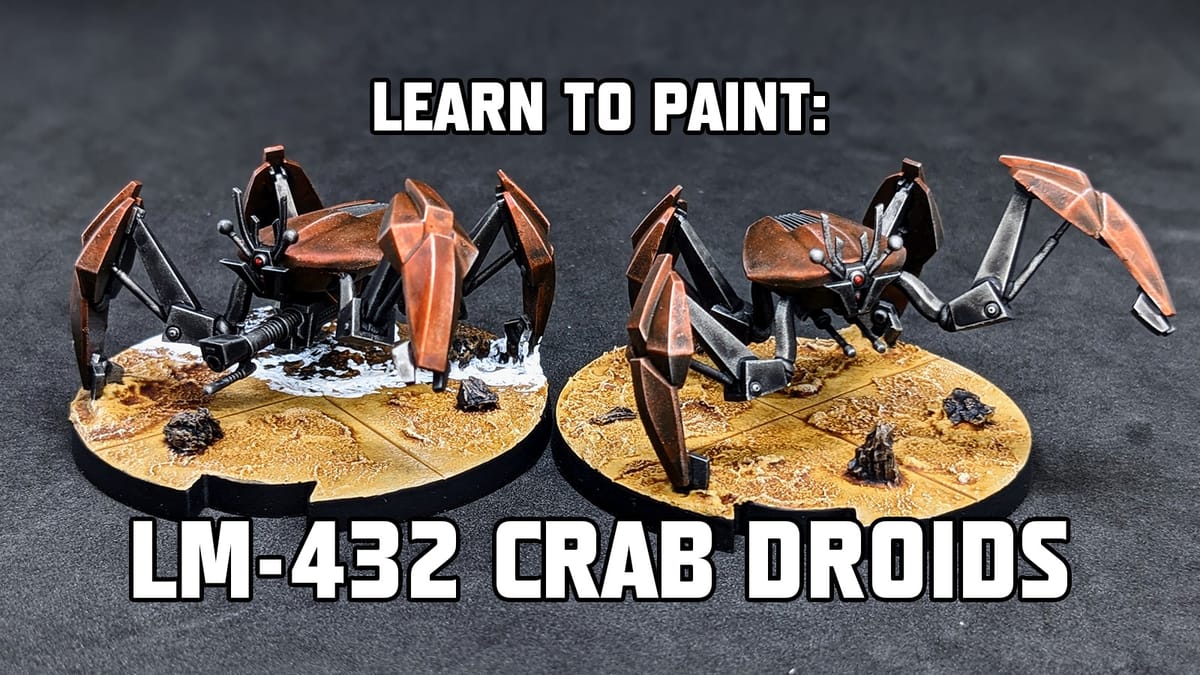
Learn to Paint: Crab Droids from Star Wars Legion
Color up your combat crustaceans for the Separatist Army!

Color up your combat crustaceans for the Separatist Army!
For Part 2 of our coverage of the Star Wars: Legion LM-432 Crab Droids, I will be going through the step-by-step process to get them out of gray and ready for play. These tutorials are meant to quickly get your pieces painted and make them stand out on the table - we’re not going for gold medals. Remember: done is better than perfect.
If you would like to see the unboxing and more on the stat cards, check out our Part 1 article here. I also go more into applying basing materials, since I chose to apply the basing texture and rocks before priming. In general, getting your model prepped for priming makes painting go so much faster.
I use a wide variety of paint lines, but the majority of what I use for quick painting is Games Workshop’s Citadel Paints and Army Painter. For this tutorial, I have included a list here of all the paints and basing materials I used so you have an easily-accessible list to refer to if you need to go shopping.
You don’t need to use these exact paints, and can substitute with the paints and colors you have. Most of these colors are fairly generic and I use them for multiple projects. I only recommend going out and buying a new paint or color if you think you’re going to use it for multiple projects in the future.
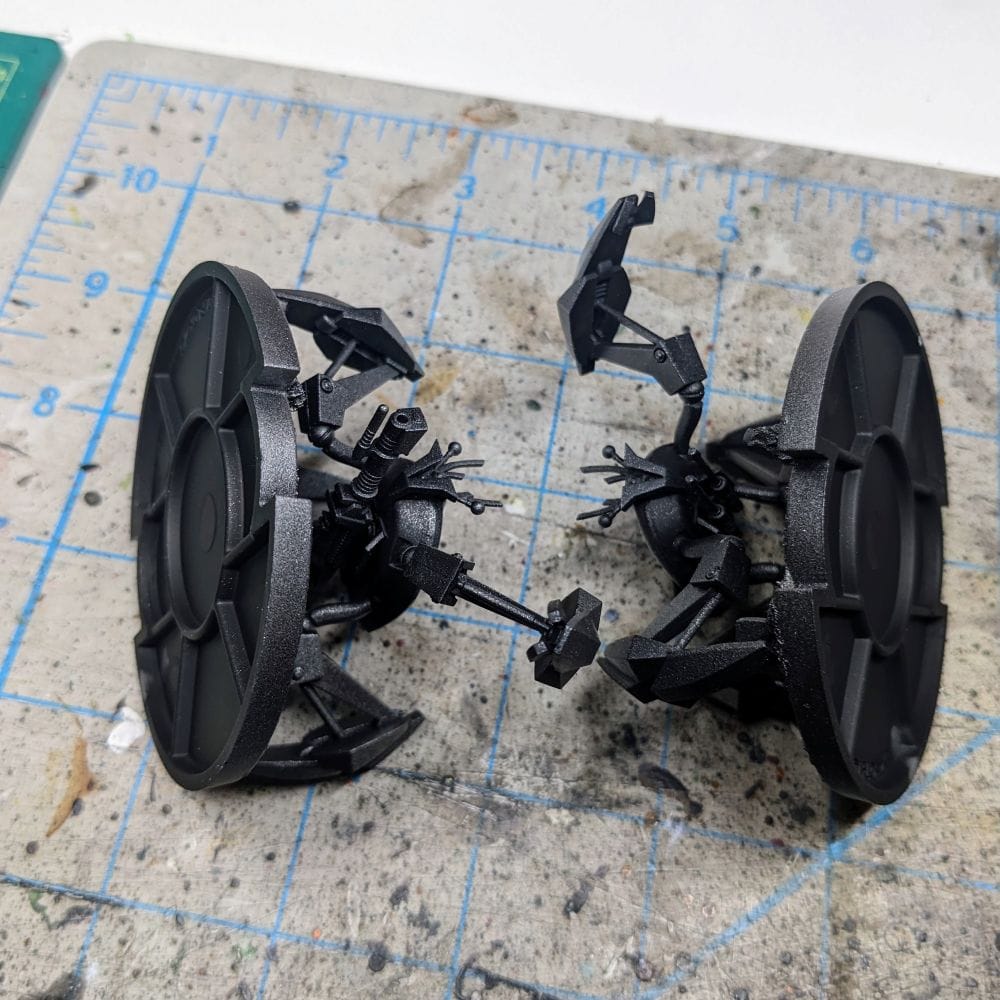
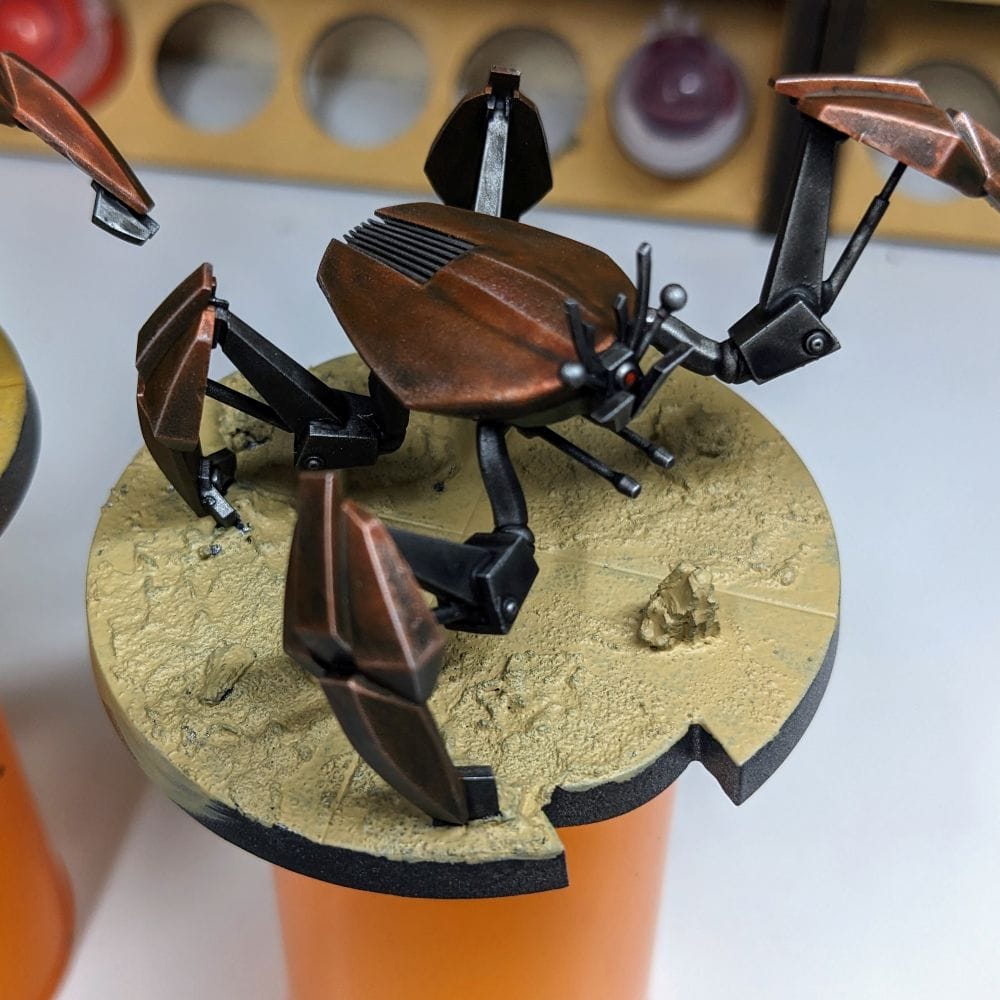
In general terms, getting the majority of a color for a model applied via a rattle can or airbrush saves a lot of time. Since these droids are primarily metal, I wanted to use that to my advantage for painting. To start, I applied a zenithal prime on the model, with a bottom coat of Rustoleum Flat Black and top-down coat of the Army Painter Plate Mail Metal spray. You can see now that the rocks and texture paint is all one color, which we will come back to later.
PAINTING TIP: Once I finish priming models, I affix them to some large medicine tubes with some double-sided tape or poster tack. There are official miniature holders and handles out there, but I just use these since they’re cheap and sometimes I need multiples for batch painting. These or any holder allow me to easily hold the models without cramping my hands as well as turn the models freely to get a good angle to paint certain parts or areas.
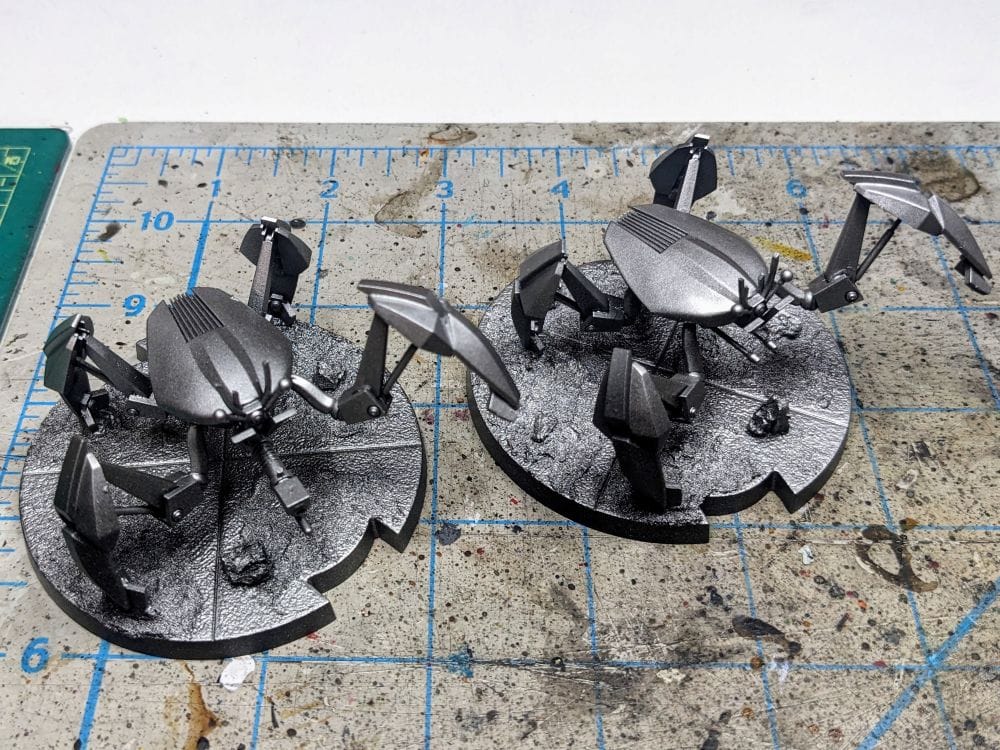
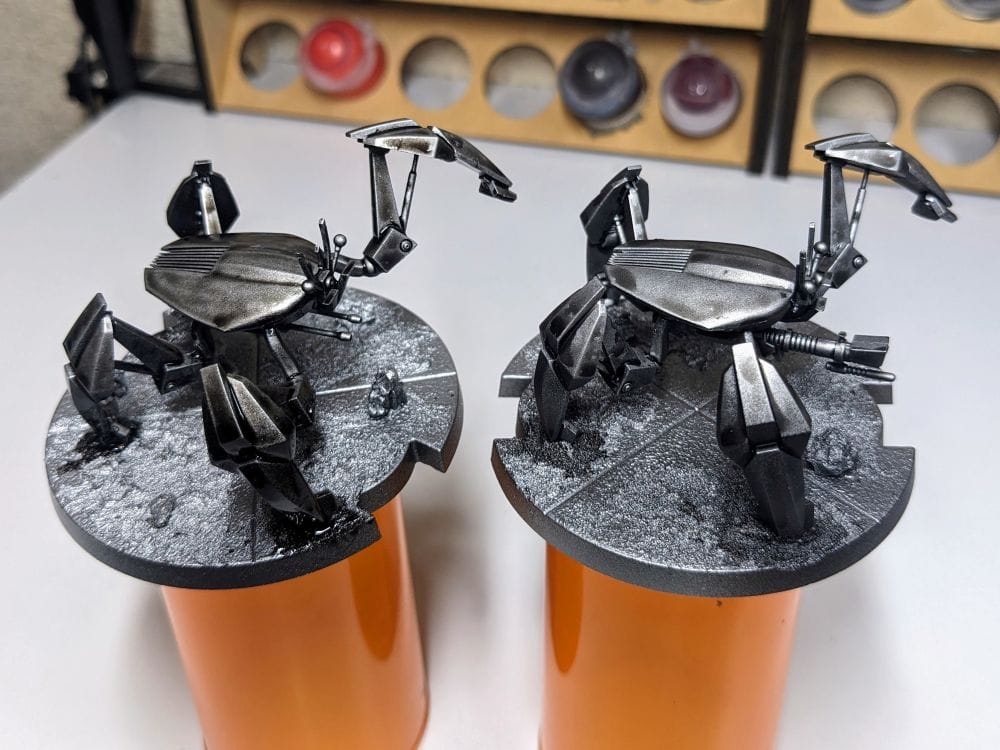
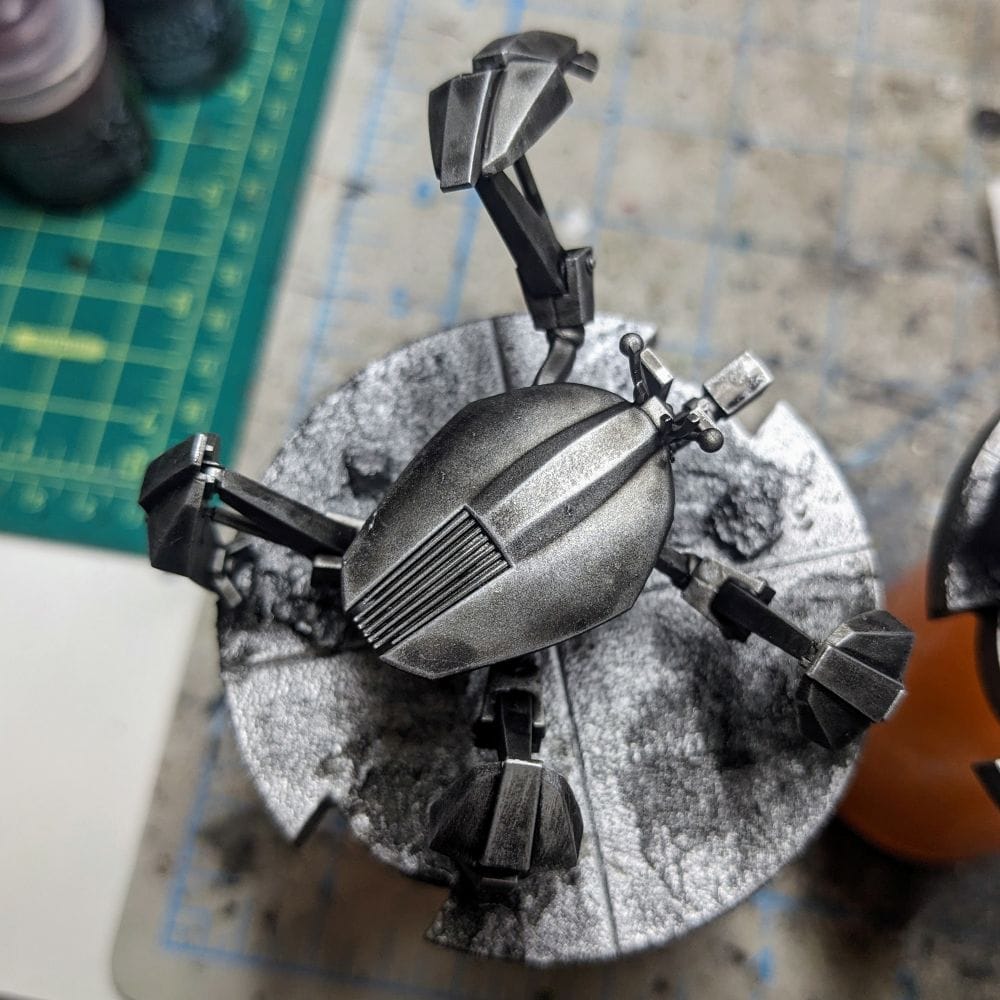
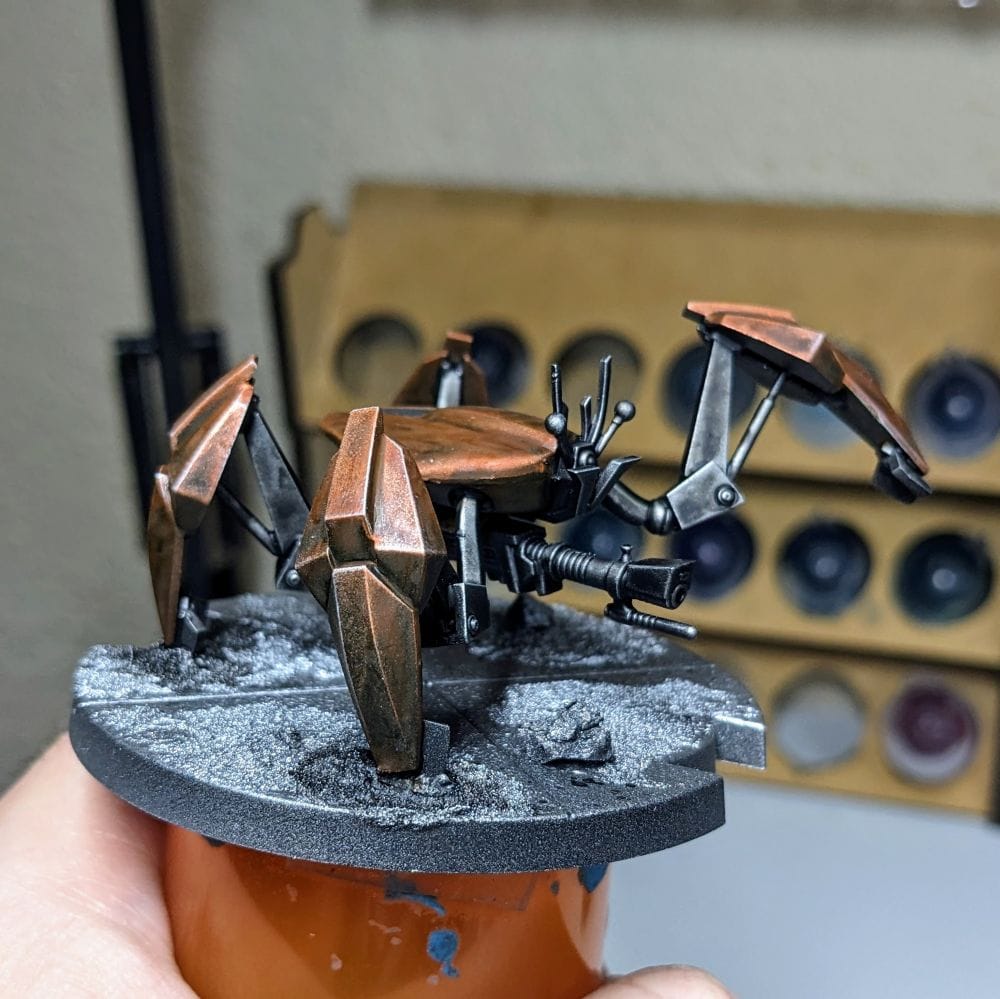
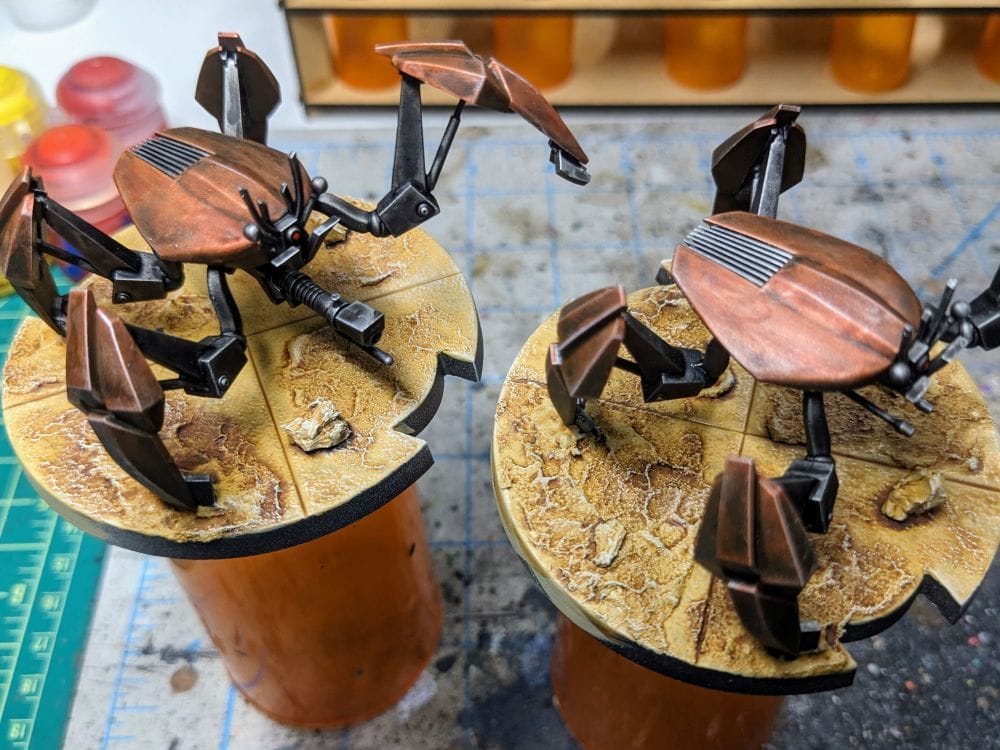
Once the priming was done, I started painting first by applying two coats of the Army Painter Dark Tone, letting the first coat dry fully before painting the second. With these coats, I wasn’t as concerned with pooling of the wash, since it gives a nice dynamic to the flat areas of the model. After the two thin coats of the Dark Tone, I drybrushed Necron Compound across the whole mode, and added a little more to the upper areas of the model to make it a little brighter.

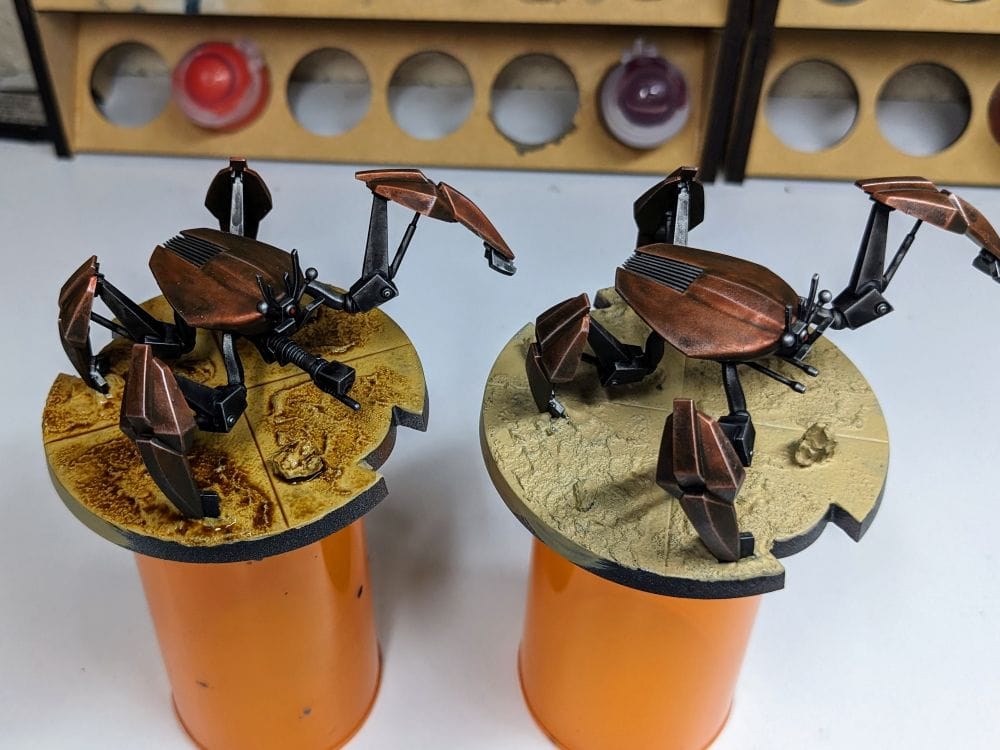
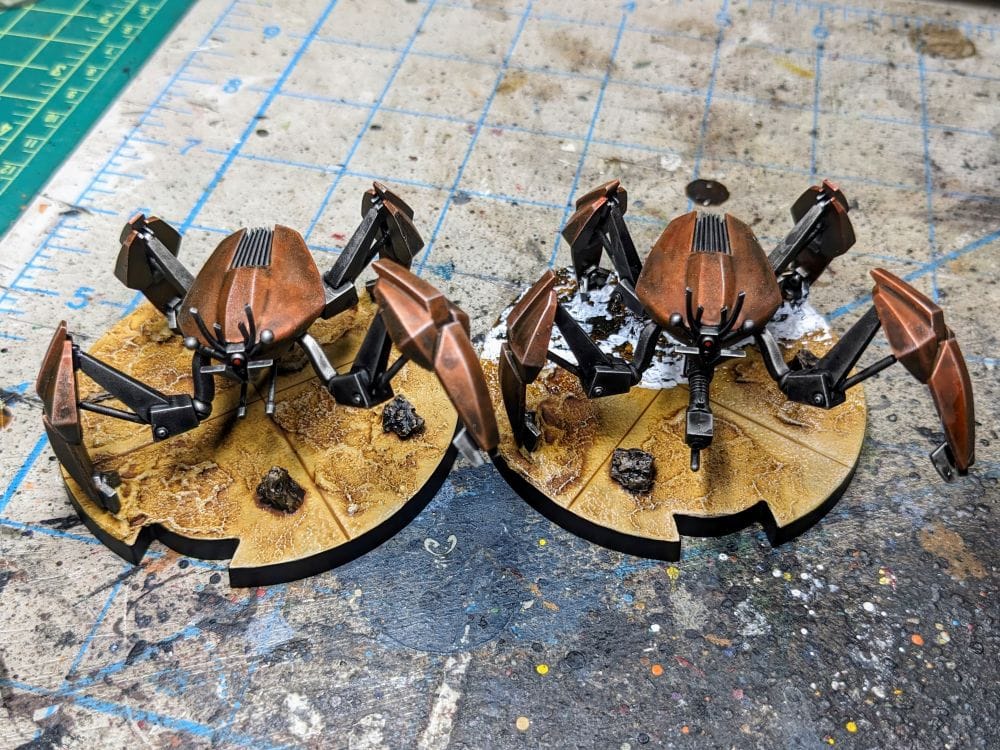
The crab (left) shows just the Dark Tone applied over the Plate Mail primer while the crab (right) shows the effects of dry-brushing silver.
PAINTING TIP: When drybrushing larger areas, I use a dollar store make-up brush. The bristles are fine and the brushes themselves are surprisingly hardy. They’re cheaper and more reliable than branded drybrushes out in the market.
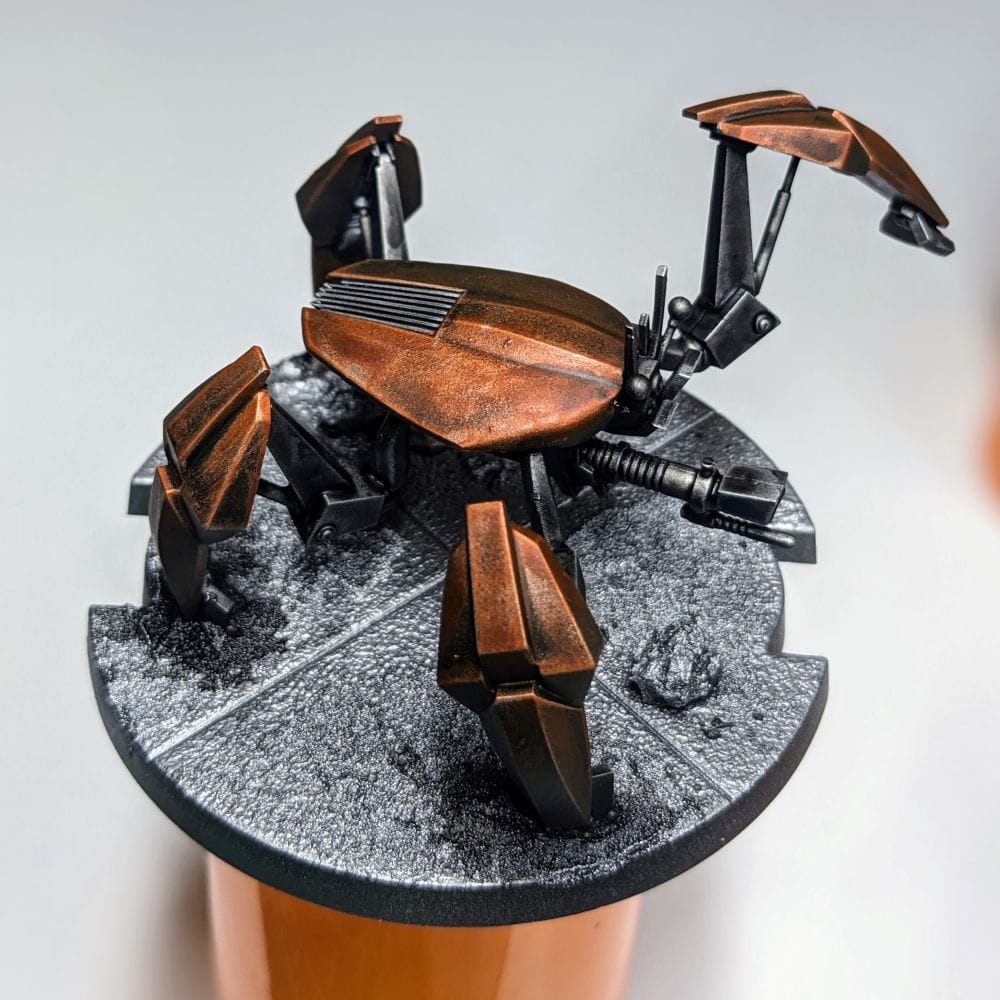
Once I was satisfied with the metal look I was trying to achieve, I applied the Dark Tone once again to all of the areas that will remain the dark silver metallic color. Once it dried, I did another pass to the entire model with the Necron Compound, giving it some greater highlights to the top-most areas, and giving the dark metal areas a little more contrast.
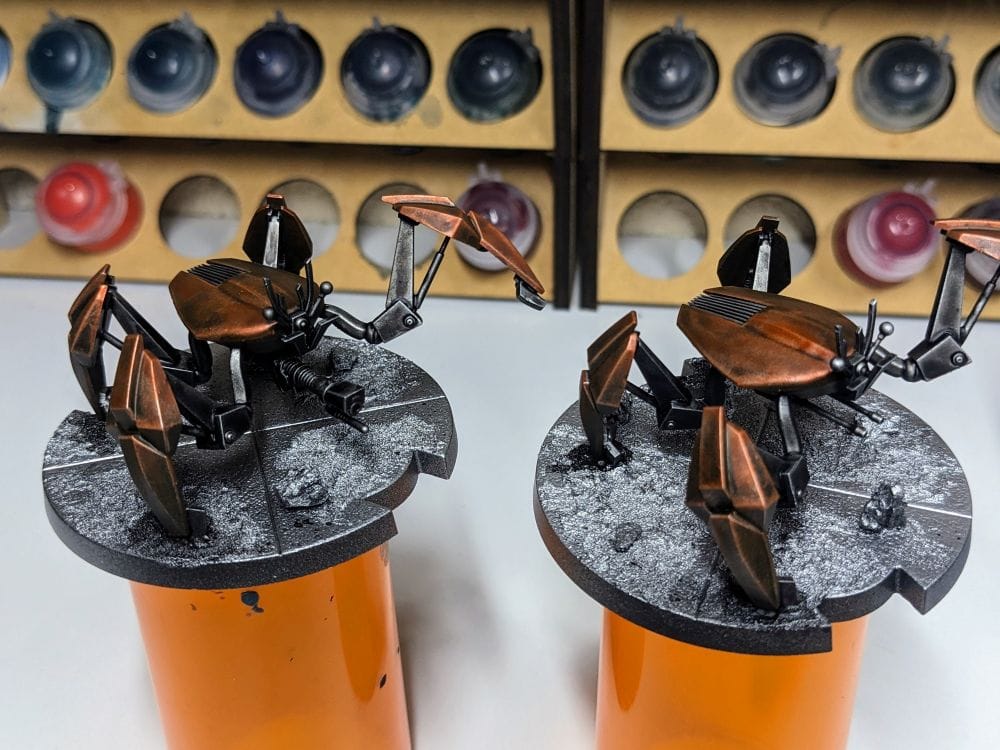
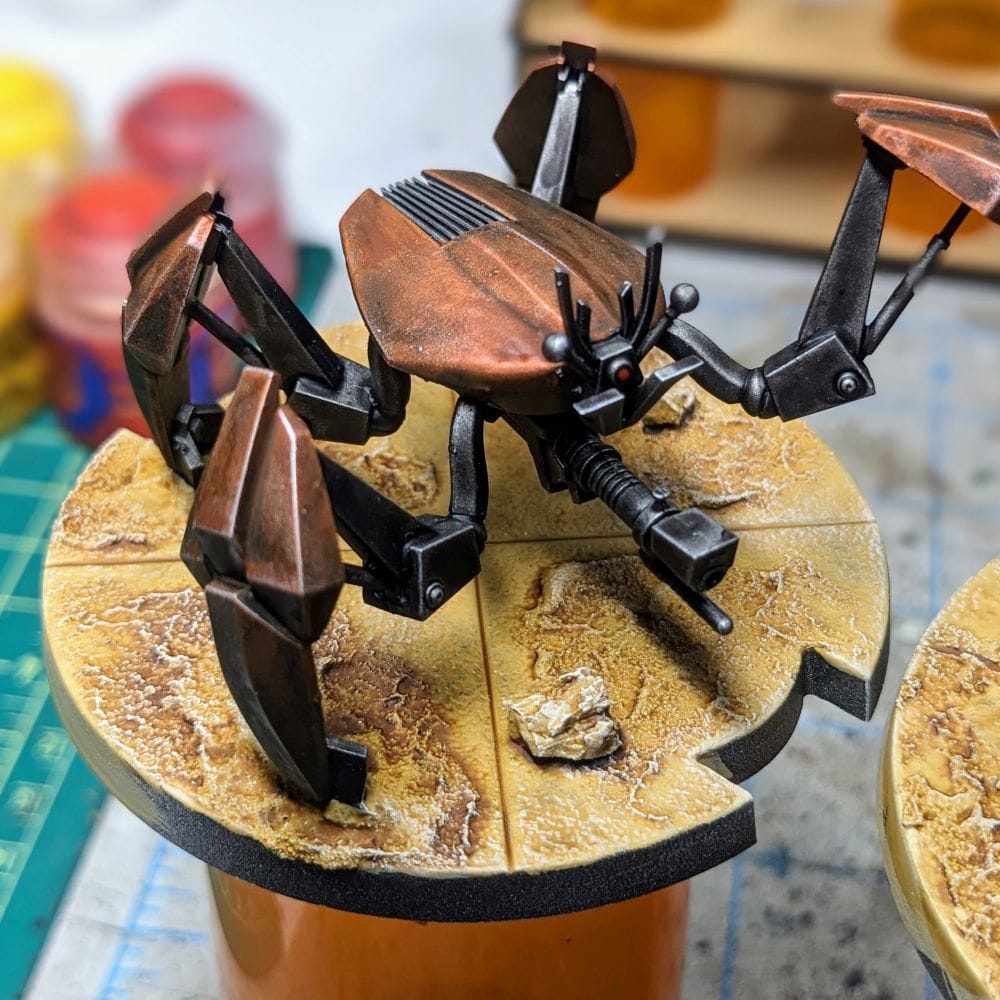
Once I was satisfied with the metal tones, I applied the Gryph-Hound Orange to the “shell” parts of the piece; the head/body and the upper and lower wider parts of the leg. I made sure to cover the inside of the leg, even though it’s going to be very dark by comparison and won’t show as much of the orange. When applying the contrast, I made sure to start the brush at the topmost part of the model and then draw the brush down the model. This helps prevent the paint from pooling up at the top, creates darker tones at the bottom, and helps get a more even coat of paint throughout the whole model.
PAINTING TIP: If you’re ever unsure about what color you’re supposed to paint where, you can always refer to the turnaround image on the model’s page on the website. This image allows you to freely move and turn the model around to see areas of the model that are otherwise obscured on the box art.
After the contrast paint has dried, I did one more pass of Necron Compound, focusing on the orange metal and specifically on the angles and edges.
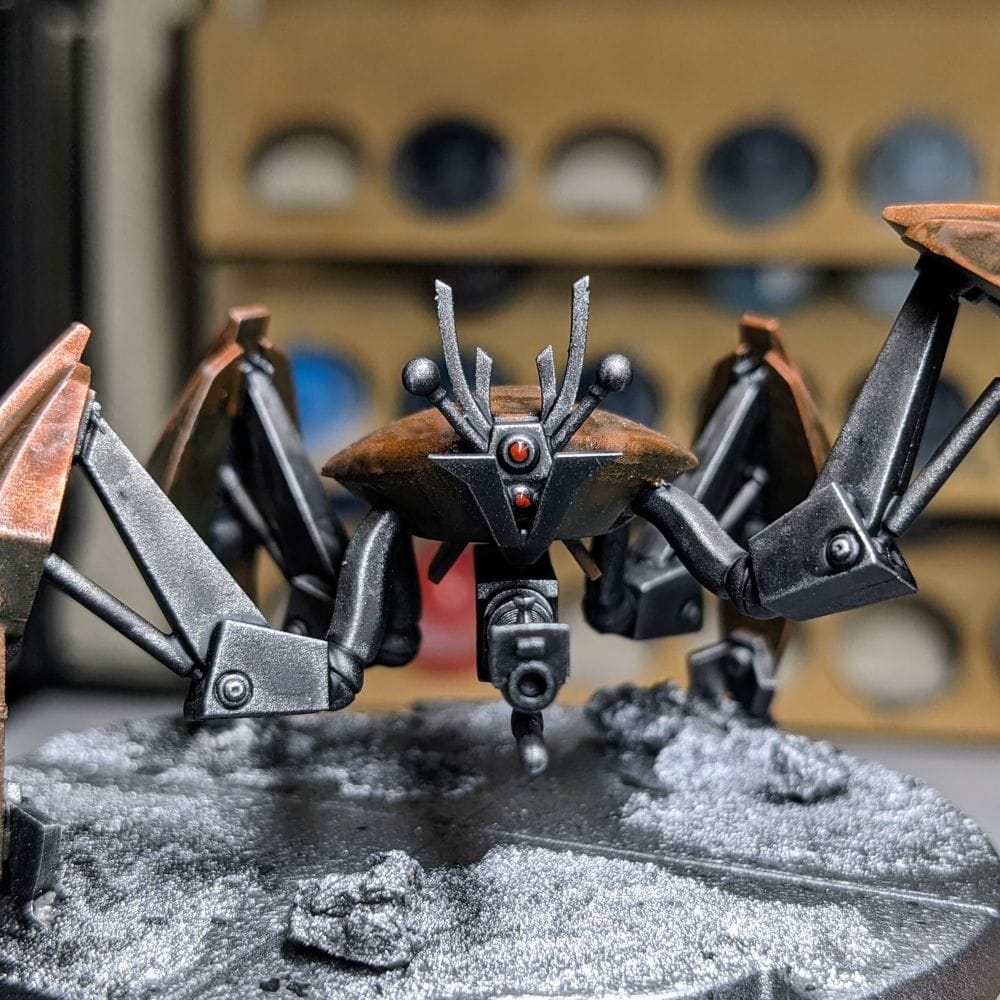
I added two quick dabs of Evil Sunz Scarlet using a small brush for the eyes. As an extra step, I applied Spiritstone Red to give them a glassy look.
The model itself is done! It’s now time to move onto the base.
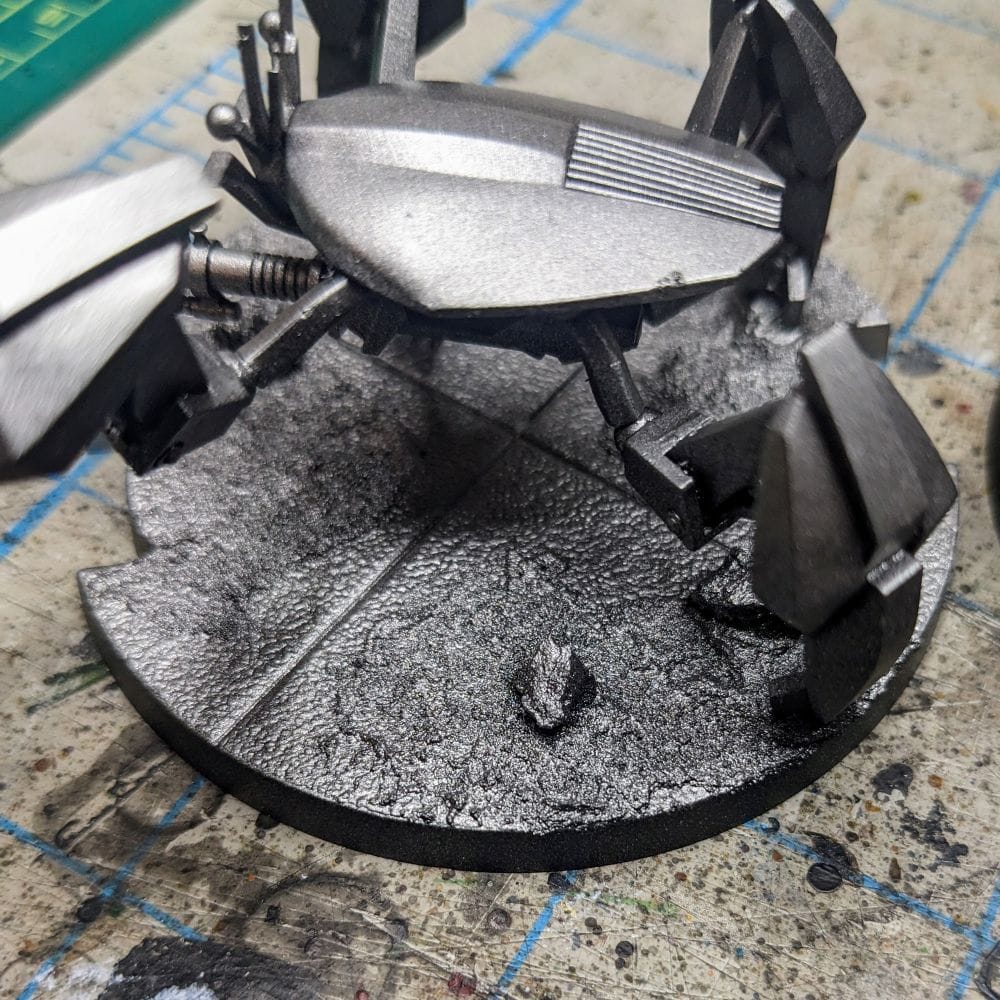
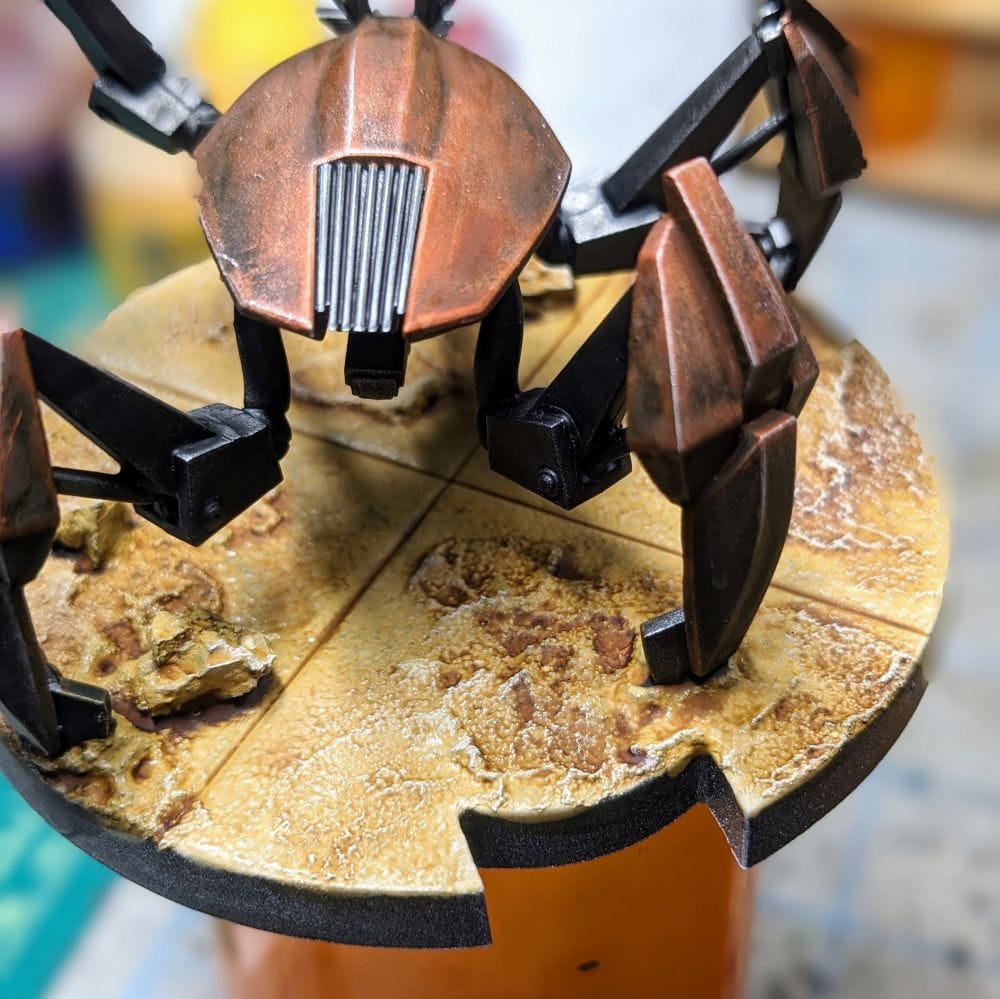
While building the model, I decided that I wanted to have these crabs look like they were crawling out of the shoals on a beach. The basing material I applied was light, to give the impression of a smooth beach, and I used a few rocks sparingly. Even though this was done before priming, causing it to be silver, it didn’t really matter because I knew I would be painting the entirety of the base with the proper beach color I’m looking for.
I applied two thin coats of Morghast Bone to each base, making sure to get the underside of the rocks. I was not as worried about the zenithal shading on the base because there’s just not enough depth to any of it. After those layers dried, I applied a medium amount of Seraphim Sepia as a wash to the base.
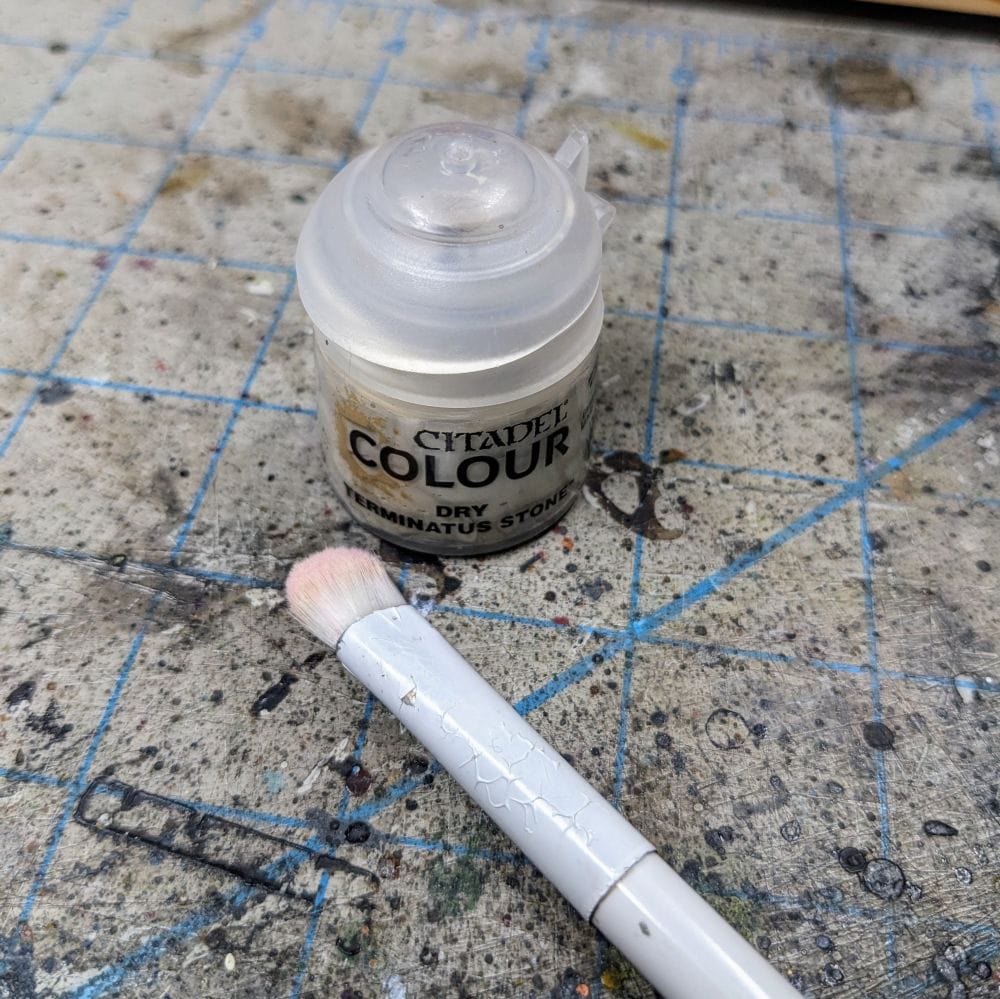
I do a quick dry-brushing of Terminatus Stone in spots on the base, to add a little variation to the texture and keep all of the sand from looking too uniform. I used a little Basilicanum Grey over the rocks to give them a little contrast against the warm sand color.
At this point, the model is done! You can apply a color to the rim (I typically go with black) and call it good. If you are done painting here, you can skip the ‘Water Basing’ section and go to ‘Sealing.’
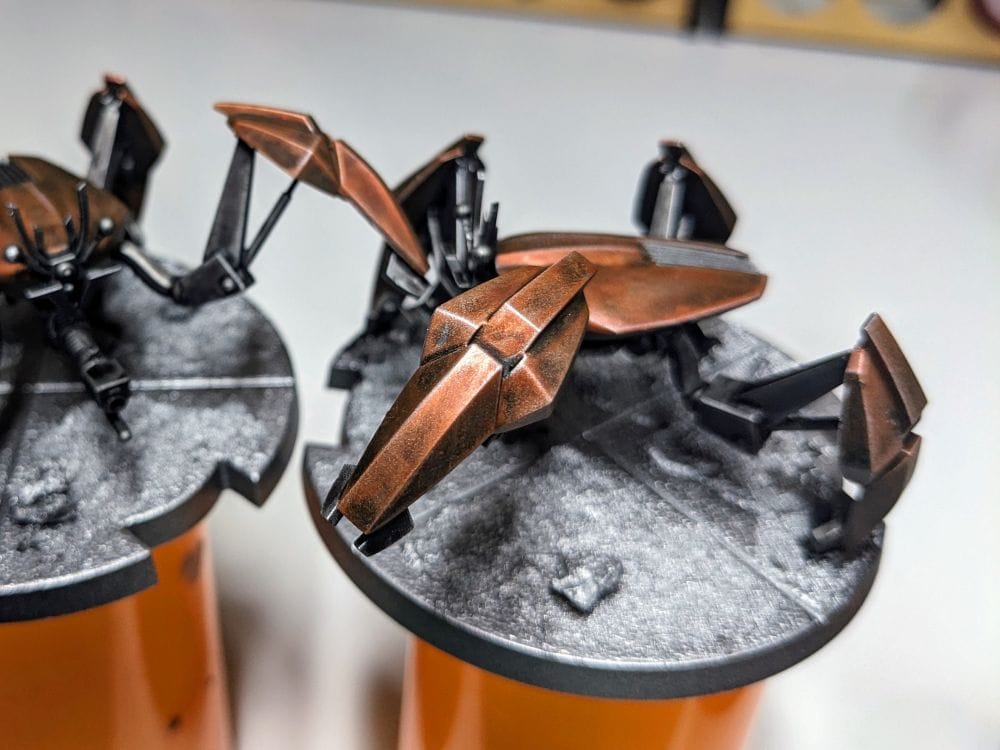
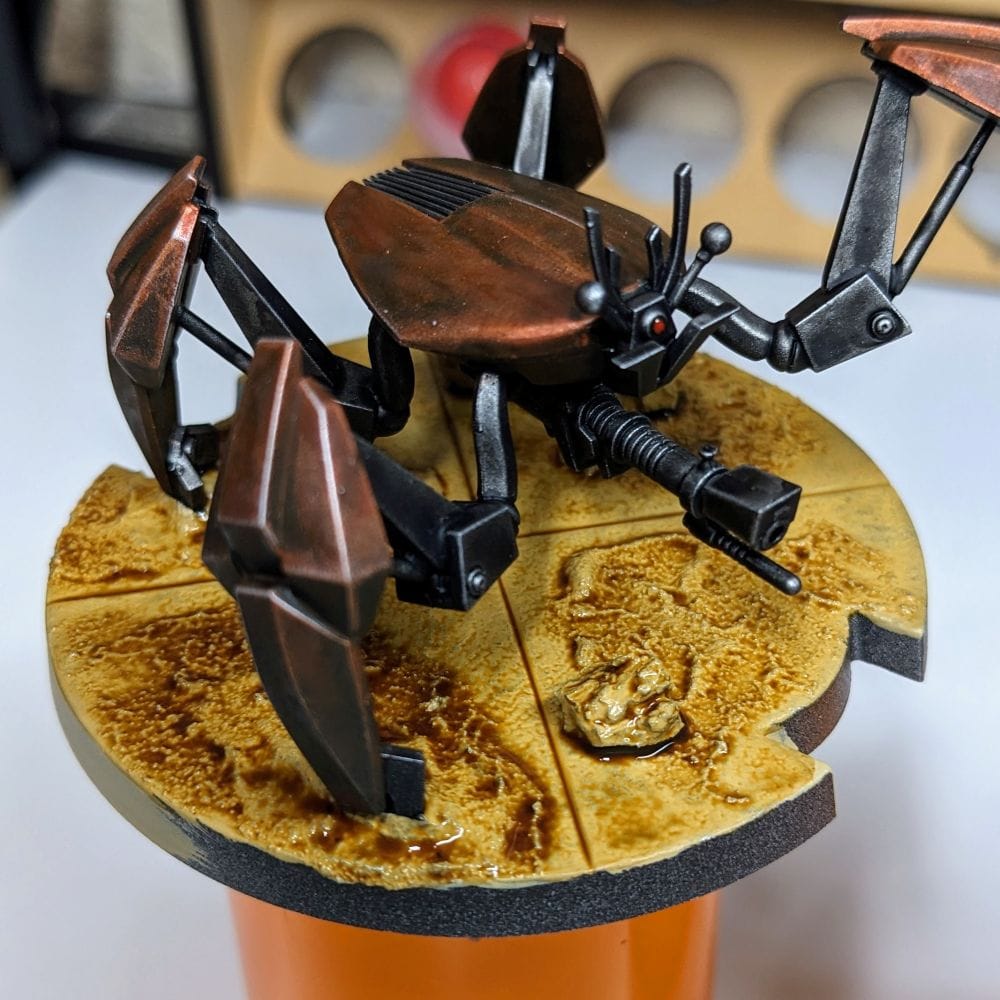
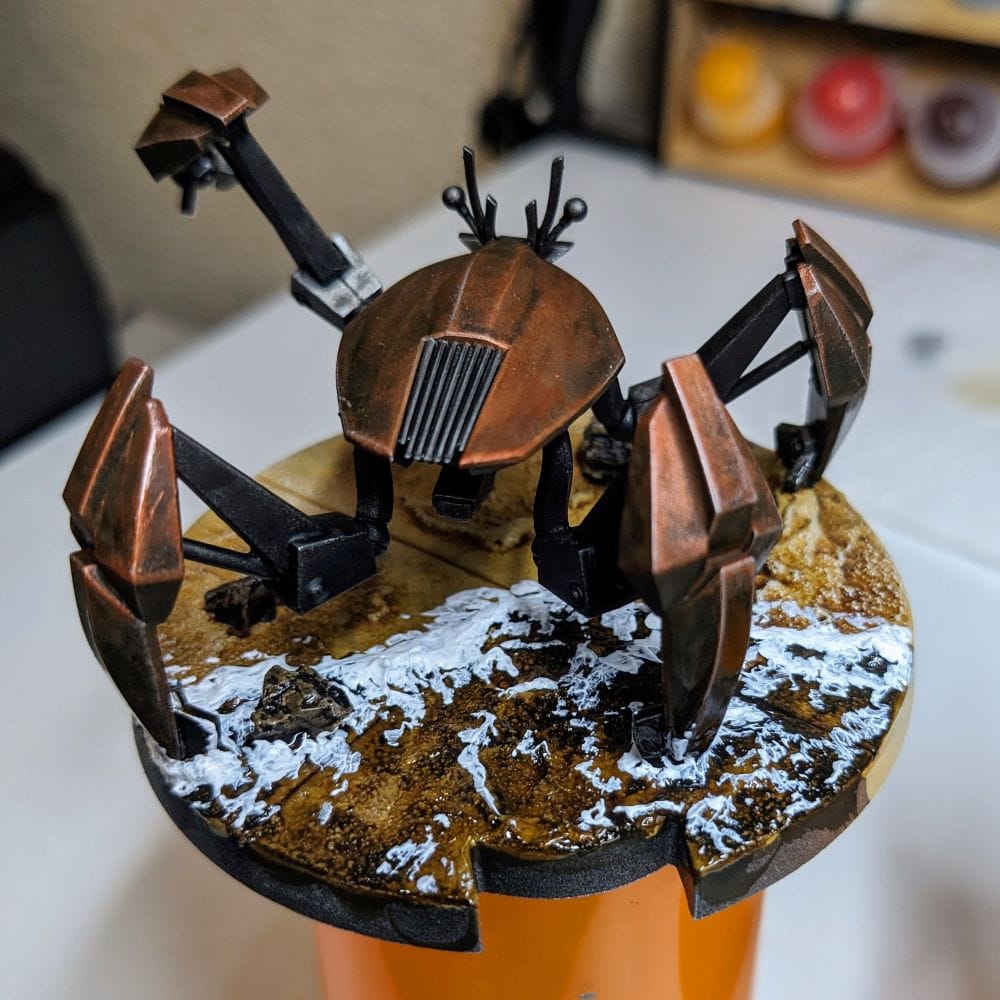
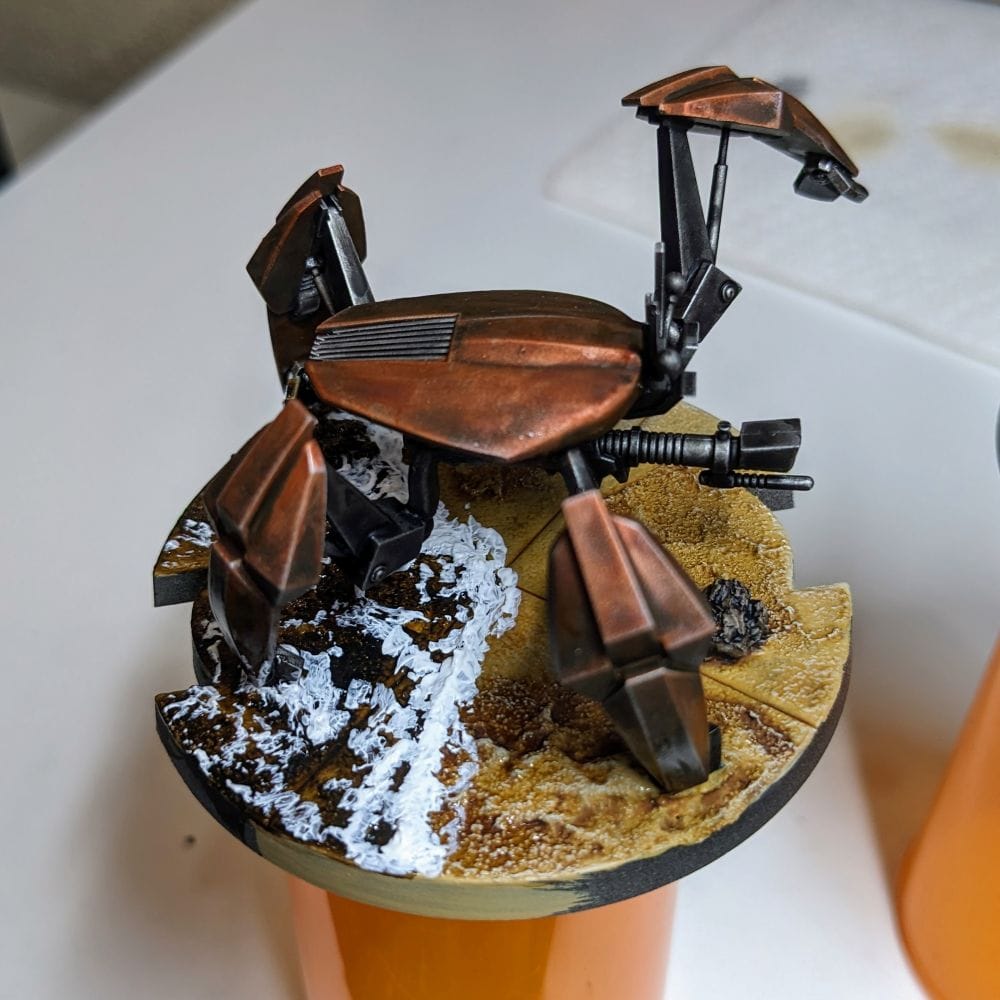
I wanted to add a little distinction between the two models, so I decided to add a little bit of water to the back of the base to make it look like it’s just coming out of the water. Once the sand base painting dried, I applied some very thin Garaghak's Sewer to the back of the base, in the shape of the shallow wave creeping up on the sand.
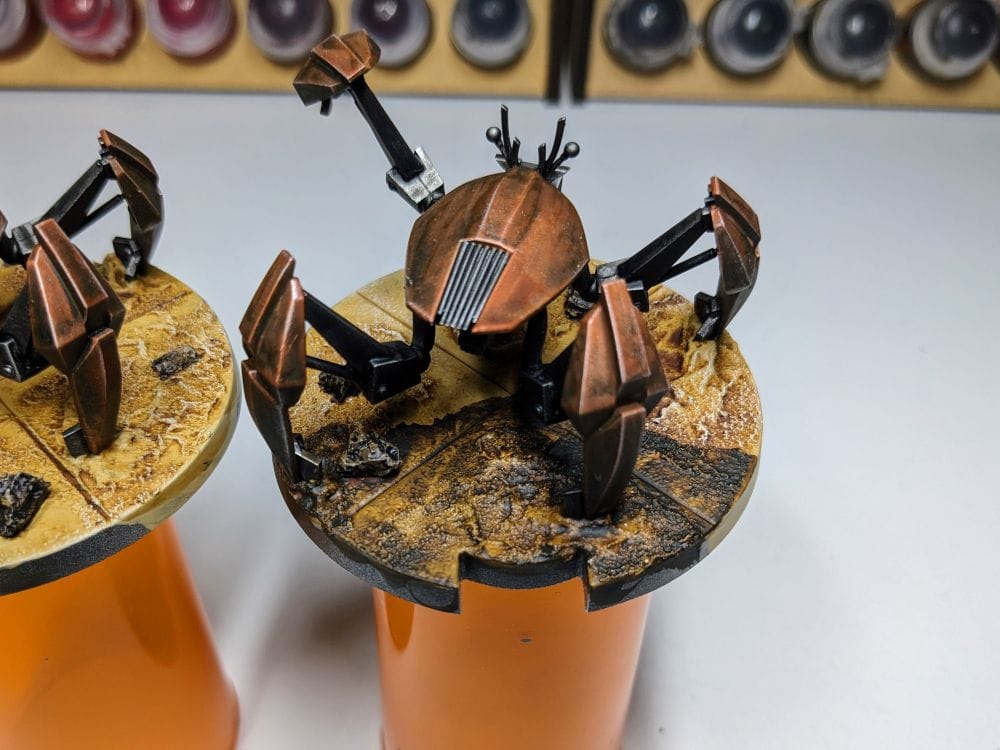
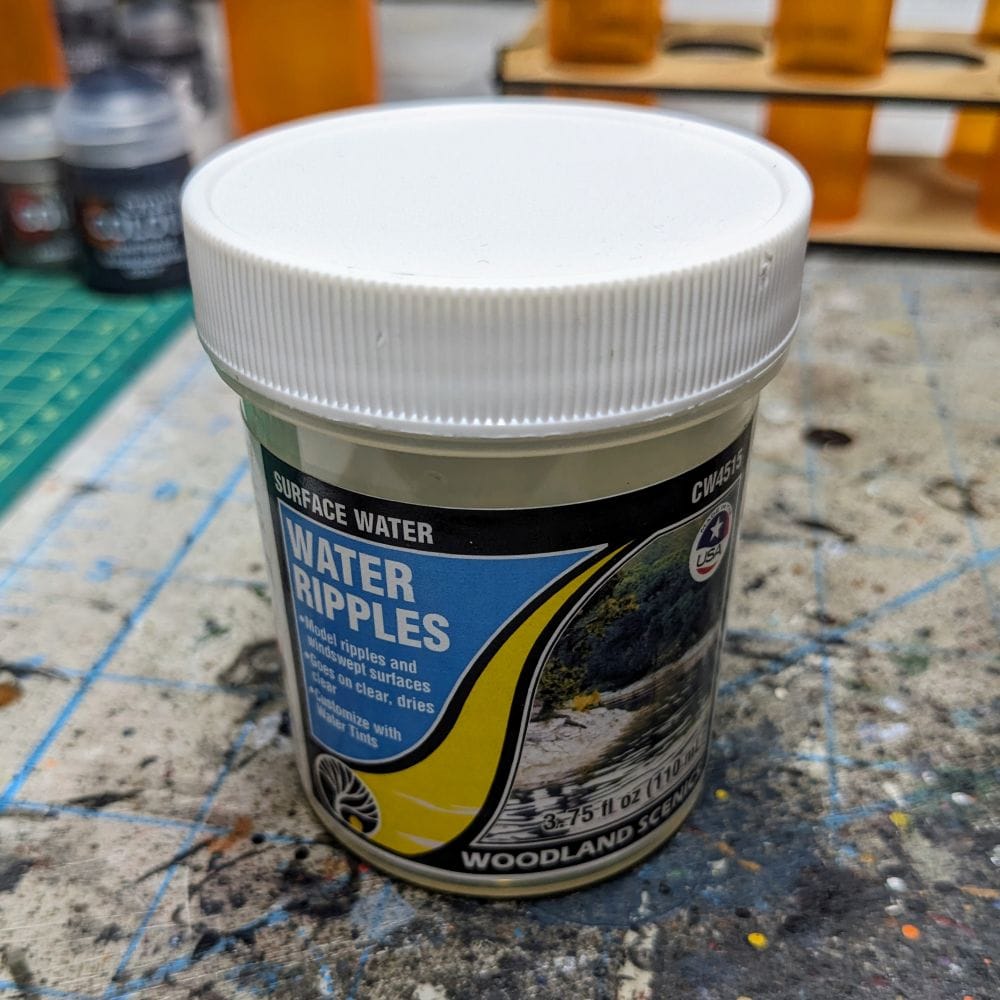
With a thicker brush, I applied an uneven, medium-to-thick coating of Woodland Scenics Surface Water - Water Ripples on the darkened area to try and give it the effect of movement of water either coming or going. After this dried, I applied a second layer of water effects to the most raised areas of the water to try and give a little more height to them. I also applied this technique around the legs and rocks, where water would normally be rippling around. On the legs, I used some gloss varnish near the ends of the legs to show that it’s still wet, but that this metal best is drying off in the sun.
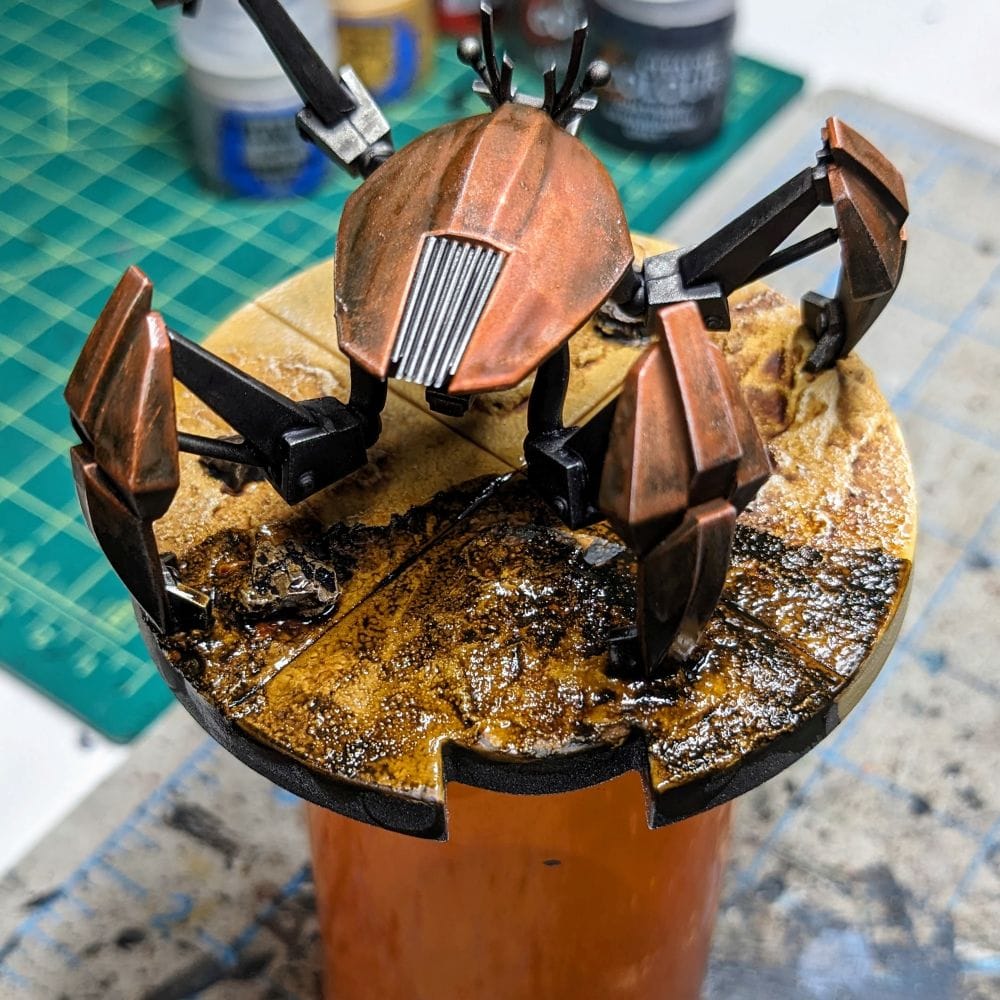
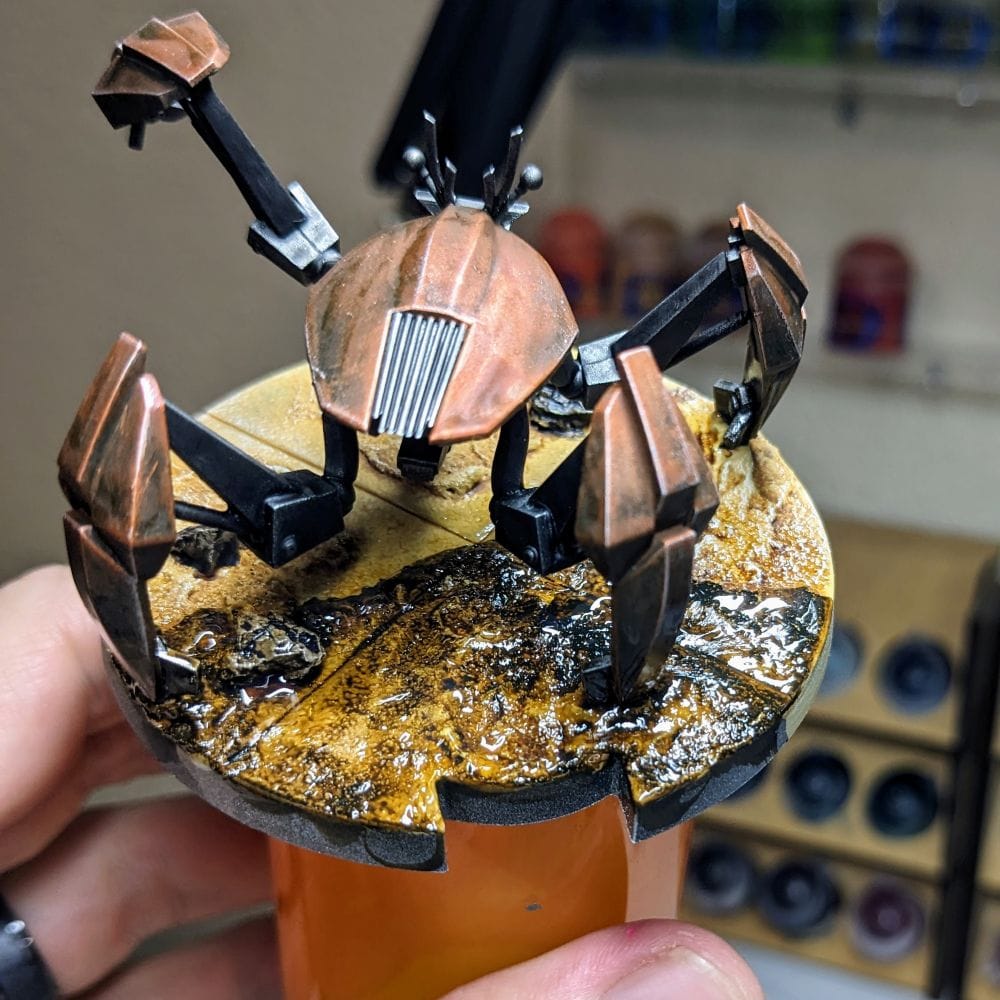
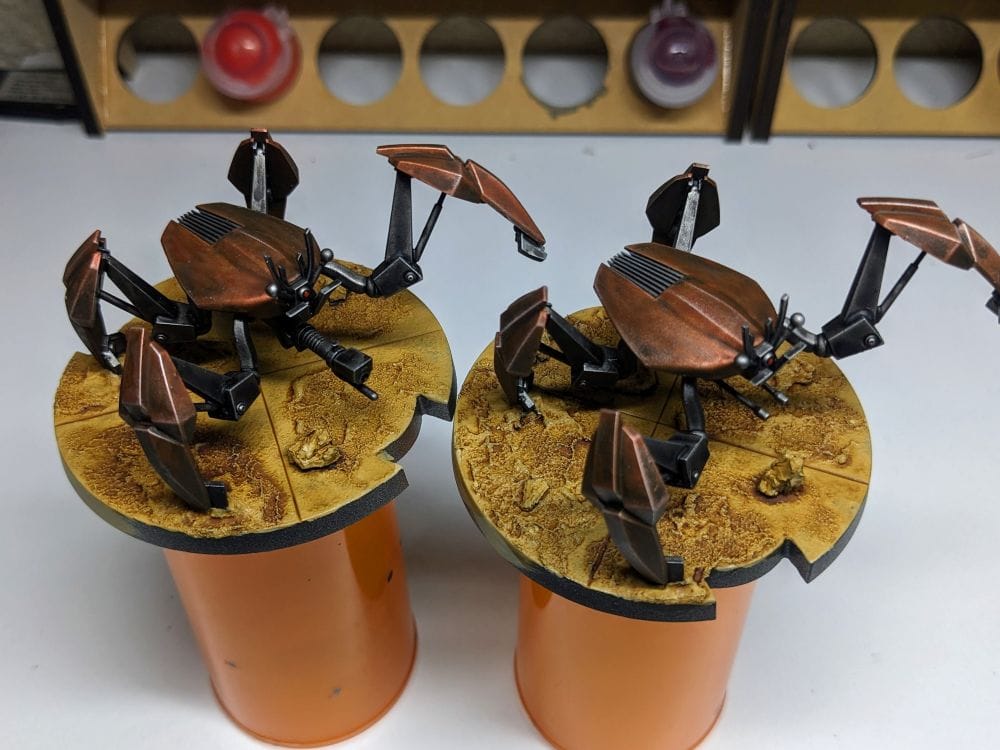
Crab (Center) has one layer of the water effects applied, where crab (right) has the second layer.
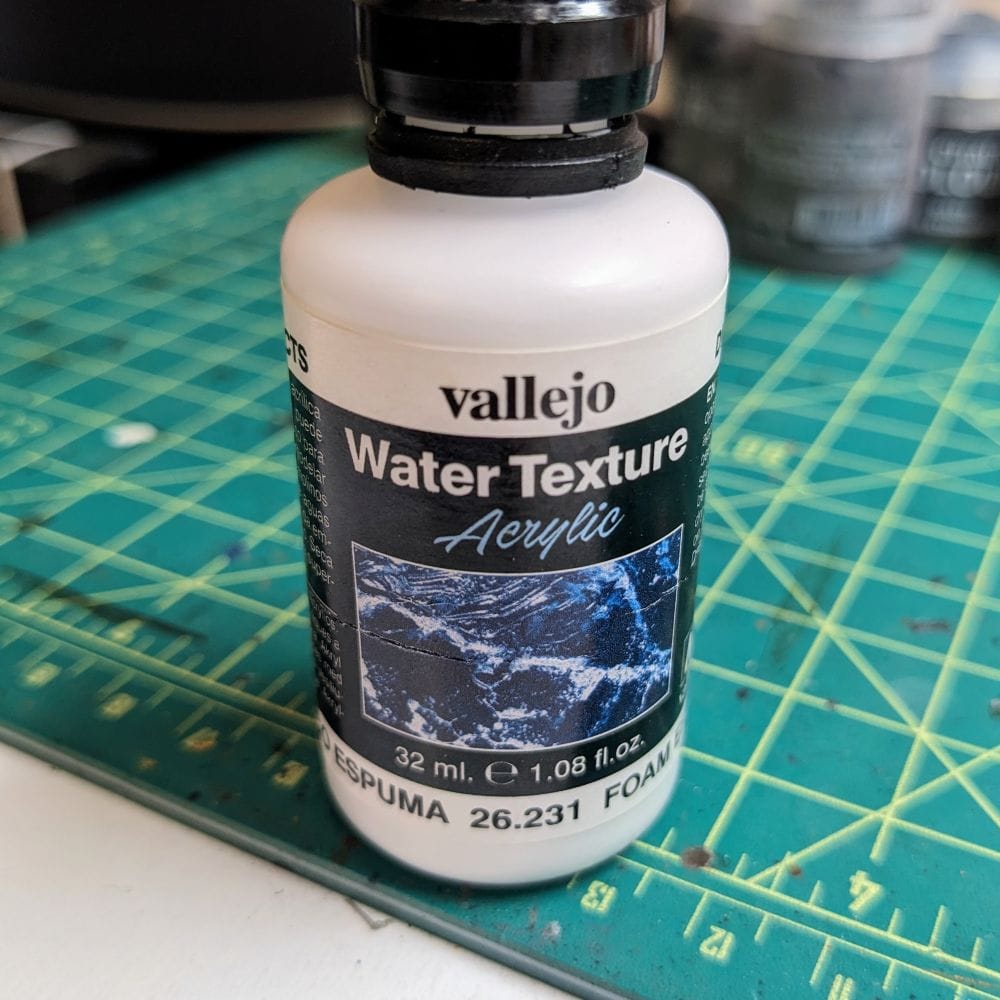
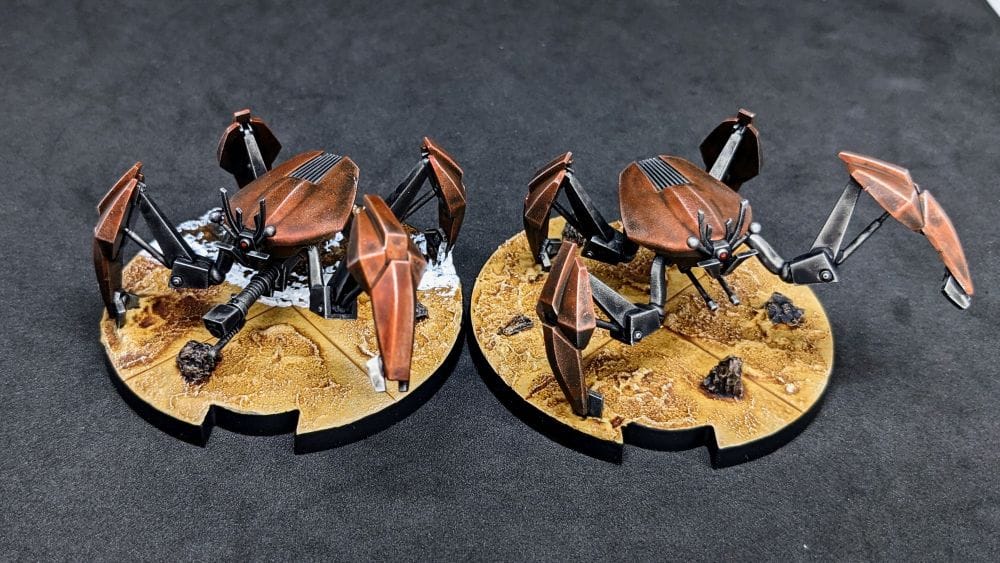
Once I was satisfied with the shape of the waves and ripples I used some Vallejo Water Texture Foam Effect to add in the suds and bubbles to the water, applying it in the motion and shape of the ripples. You can also use just regular white paint for this effect. I applied it thinly, which helped it give it more of a transparent look to it. Where the water was hitting a rock, or the back leg, I applied a little more white to make it more opaque.
With that complete, I painted black around the rims and called them ‘cooked.’
As I do with all of the models I paint that I also play, I apply a protective clear coating over the paint. This helps preserve the paint on the model and keep oils from the hands from rubbing off the paint as you continuously touch the models during games. There are many different kinds of clear varnishes to use, but I typically use any matte or anti-shine varnishes, as satin, semi-gloss, and gloss tend to distort the colors of the models (not to mention that most models aren’t supposed to be shiny).
Brands that have been reliable for me in the past are Rustoleum Matte Clear Coat and Testors Dullcote, although the latter can be expensive and difficult to find. For a coat with no shine that really enhances the colors, I use the AK Interactive’s Ultra Matte Varnish, applied with an airbrush.
These Crab Droids were actually a lot of fun to paint, simply because it takes so little effort to make them look good and ready for the tabletop. I actually think I spent more time water for washes, contrasts, and water effects to dry than I spent actually painting the model. I was very happy with how the basing came out, and am excited to see them in battle!
Total Paint Time (without water effects) - 30-45 minutes* for both models.
Total Paint Time (with water effects) - 15-20 minutes additional, depending on how much water you want to add.
*Time with brush only - does not include drying time
Follow Gaming Trend for more Learn to Paint and Star Wars: Legion articles. We’d love to see how you painted up your models so share your work with us in the comments!