
The Elden Ring board game from Steamforged Games seeks to bring the Lands Between to the tabletop, allowing players to explore the familiar setting and fight massive bosses with up to three friends. Along the way, players are able to upgrade their Tarnished, improving both their stats and gear to ensure their survival in the infamously difficult combat of the video game’s genre. While the narrative lore and exploration are both represented in this adaptation, if there’s one thing that Steamforged nailed, it was a difficult combat experience. Unfortunately, that difficulty comes largely from elements beyond the players’ control, and the game suffers as a result. Stormveil Castle is an expansion to the Realm of the Grafted King core box, but can also be played as a standalone experience and is reviewed as such.
Rules & Components
For the most part, the rules for Elden Ring are easy to understand and didn’t give me any difficulty when I was learning how to play. However, there are a few errors that did cause some frustration, most notably the section on memory cards. Memory cards are attached to weapons to give your Tarnished more options and require a matching slot on the weapon itself, which makes sense, as you can’t gain access to new spells by using a giant axe. However, the example that explains this slot in the rules shows a weapon without any memory slot depicted. Since the weapon itself is a magical staff, I can only assume that the lack of a slot on the card itself was an error, but it’s disappointing that this mistake made its way into the rulebook as well.
The rules and cards weren’t the only sources of errors, either. While setting up to fight the final boss of this box, Godrick the Grafted, I found that his scenario rules didn’t include the number of Boss cards he used for each round of combat. I was able to reverse-engineer this by looking at the previous bosses; so far, they had been drawing the same amount, and I simply hoped that this would remain the case. But this is another disappointing oversight on such a large game, and especially for the grand finale of the box.
I also had a major issue with the components of the rulebook itself. As I was reading the rules for the first time, about half of the pages simply fell out as I tried turning them, one after another. While it was nice having the entire combat rules section available as reference sheets while playing, I don’t think that creating a “modular rulebook” was the creator’s intent, and it led to a rather poor first impression of the game itself.
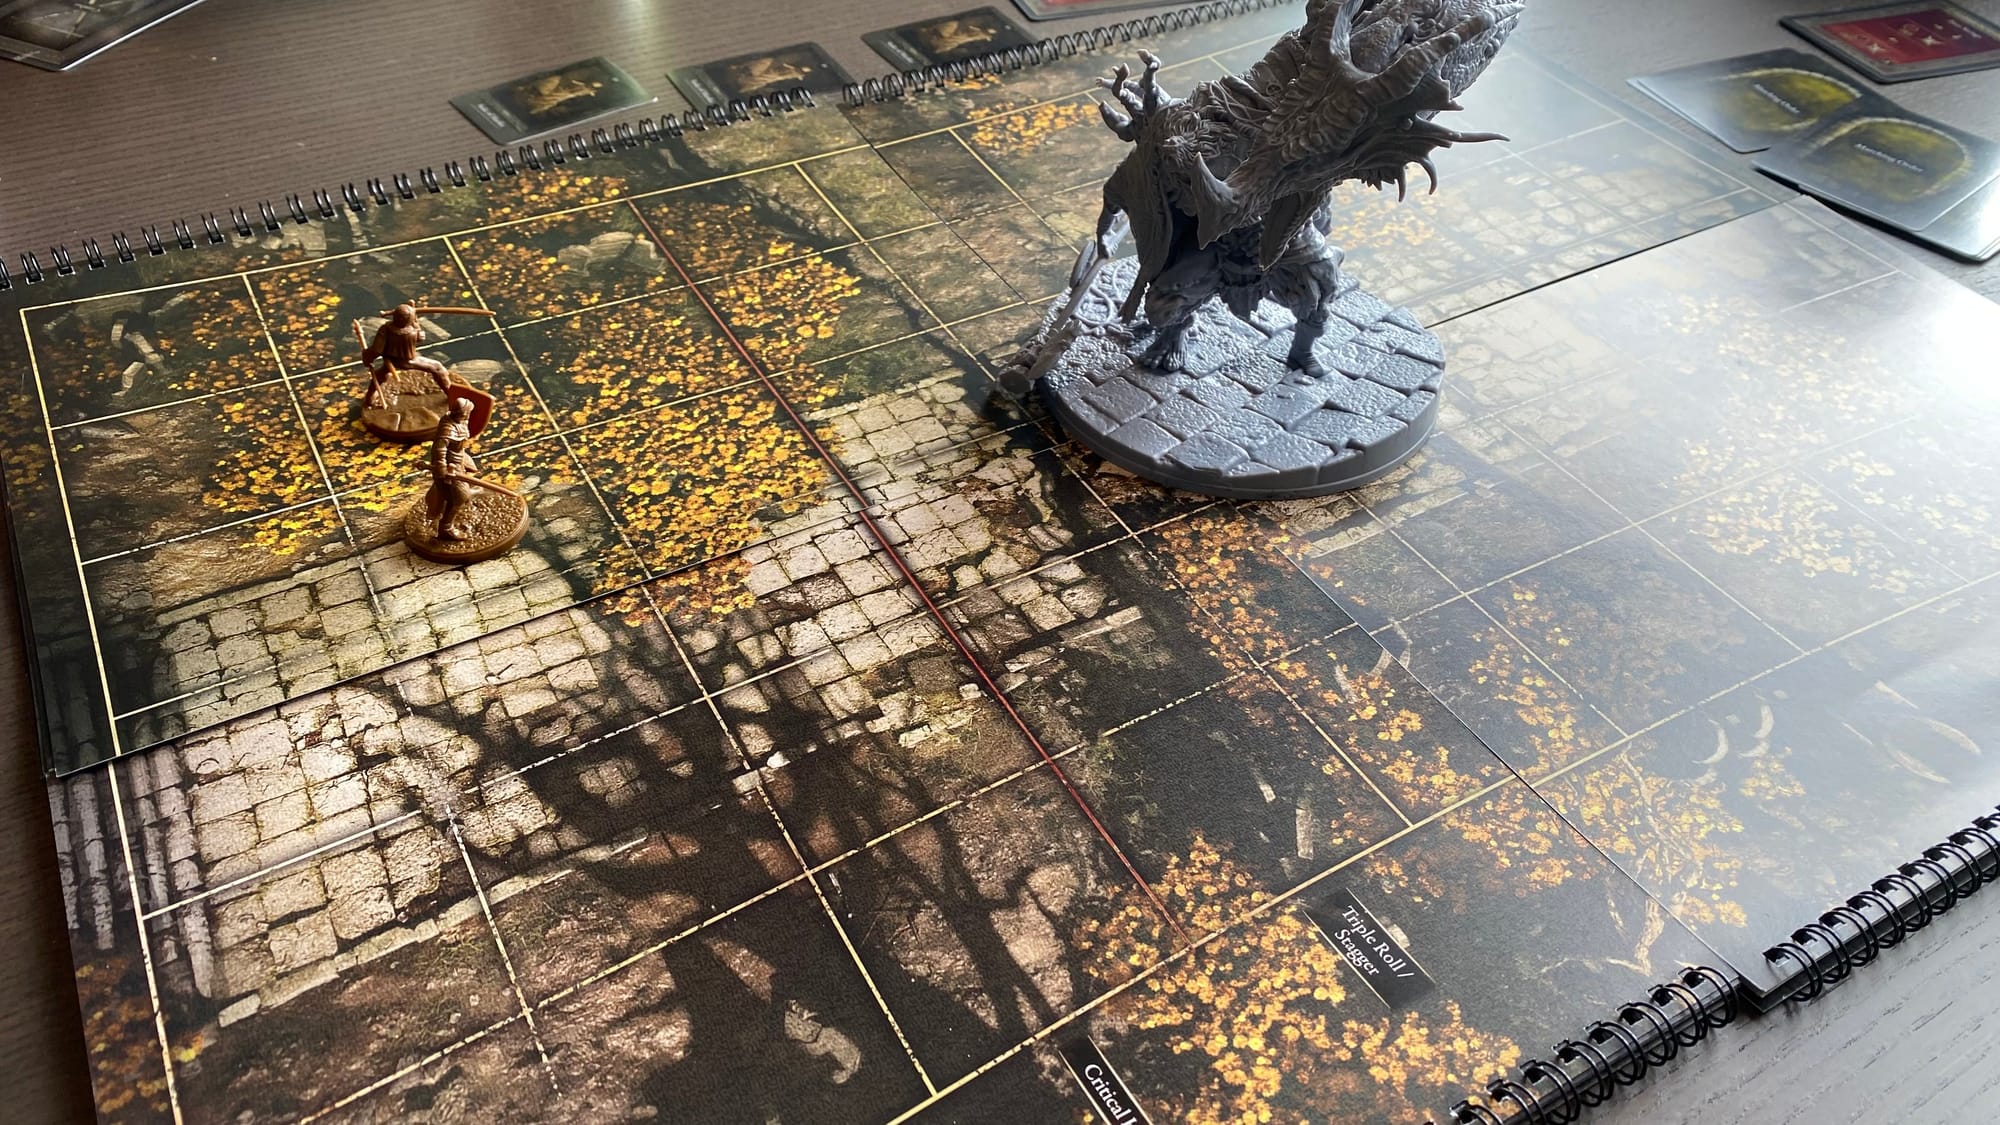
While the cards and cardboard are all pretty standard, the miniatures themselves look great. Plenty of intricate detail that shows the care with which Steamforged recreated the video game’s characters, and Godrick’s posing helps him dominate the table when players finally reach him.
Gameplay
Gameplay in the Elden Ring board game is split into three different scenario types, which can occasionally flow into each other: Narrative, Exploration, and Combat. The Narrative mode is basically a choose-your-own-adventure where one player reads to the table, and occasionally a choice appears for the players to decide on together. The writing isn’t so much an original story, as much as it is a description of the environments in Elden Ring, with a few things changed or added. These scenarios primarily serve to simply determine which Exploration or Combat scenario the players will play next. Sometimes, the Tarnished will receive something if they complete or fail at a goal outlined at the beginning of the Narrative scenario, but it isn’t made clear until the end whether this is a boon they should work for or a punishment to avoid. The story will present the players with Hardships, skill checks that I’ll explain more in the Exploration section, that punish or reward the party based on how many of them passed vs failed. Players don’t have any chance to improve their odds on these Hardships or effectively influence their outcome besides improving their Tarnished’s Attribute deck, so the outcomes can be fairly luck-based. This is definitely the weakest section of Elden Ring’s gameplay, as the narrative exploration is fairly boring on top of infrequent grammar mistakes and odd sentence structure. Luckily, Stormveil Castle only has one Narrative scenario aside from the tutorial, and the game focuses mostly on the Combat scenarios.
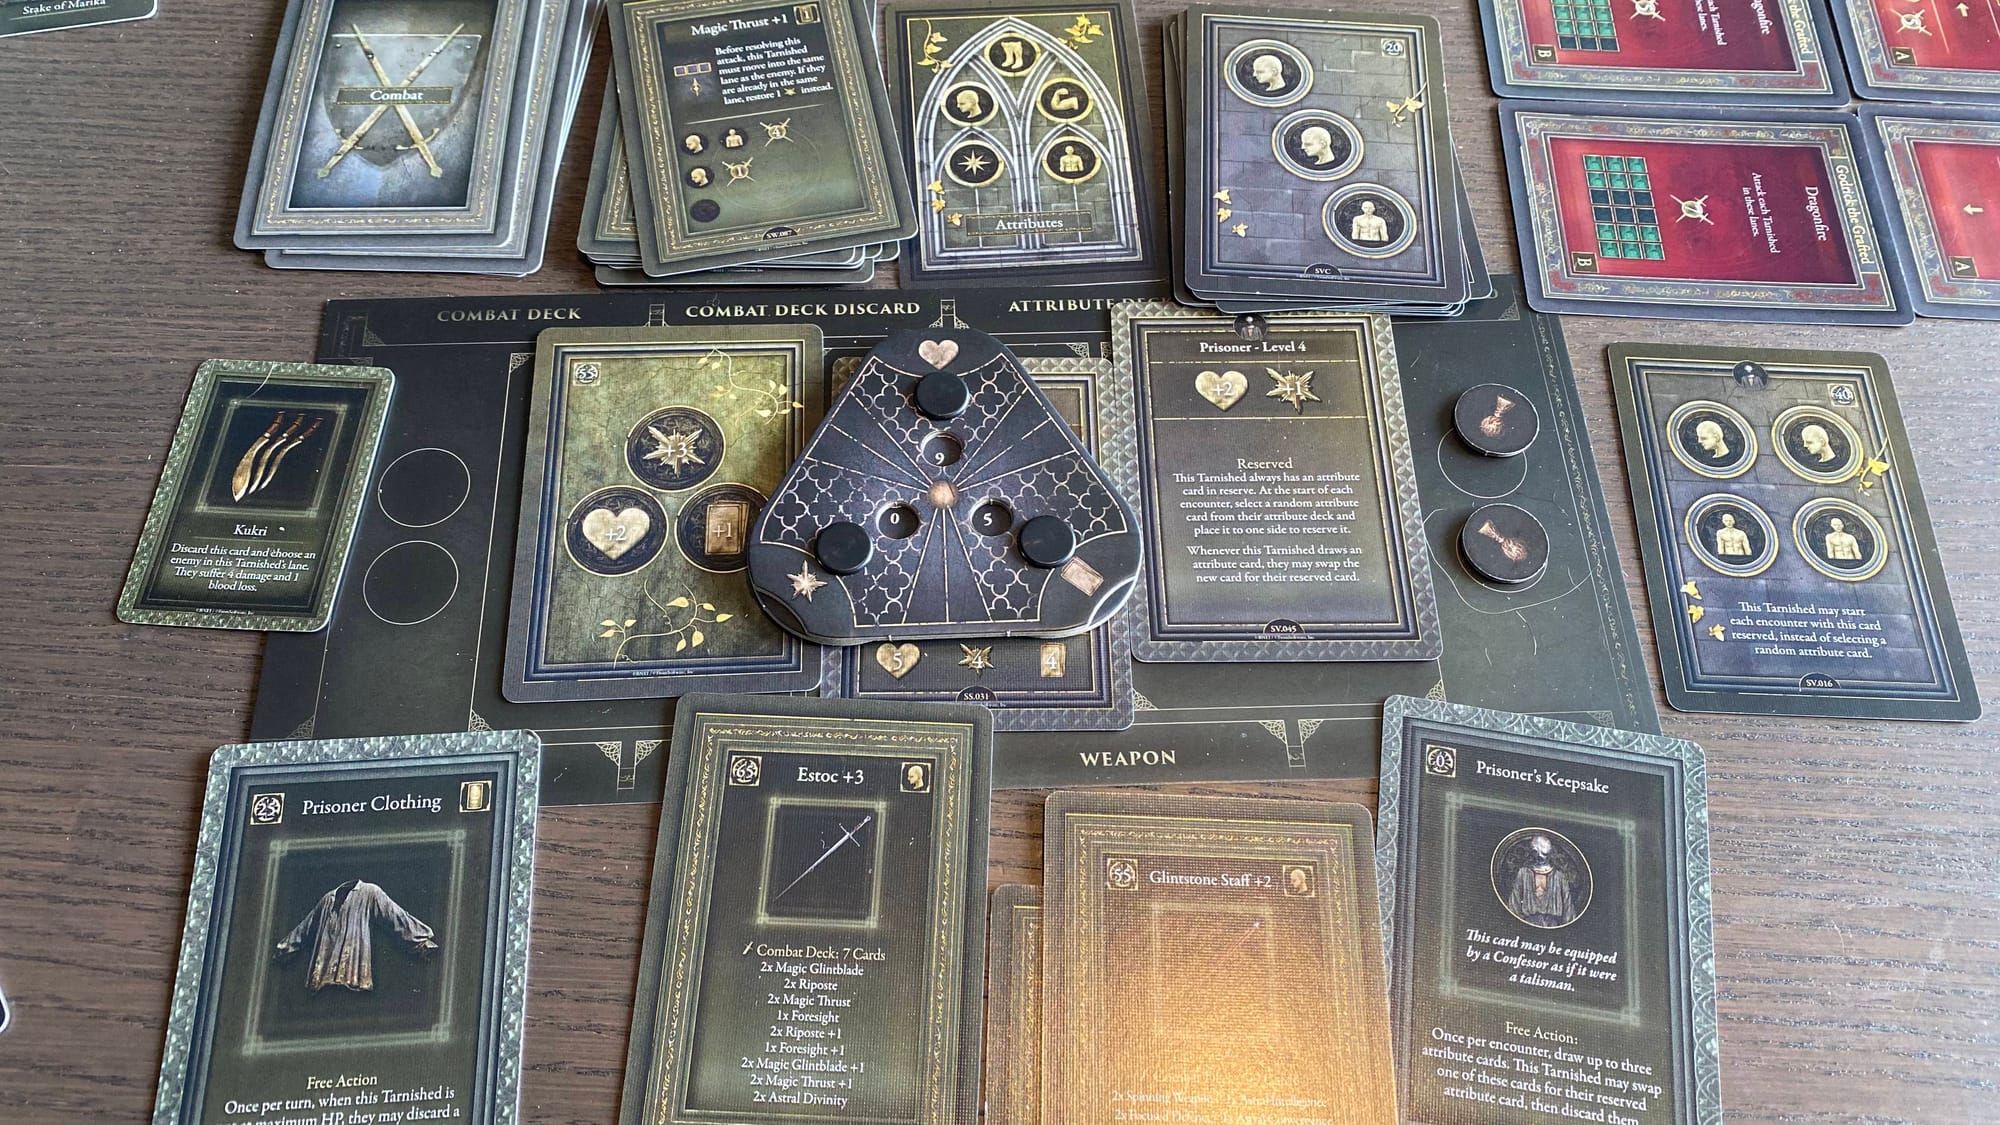
Between scenarios, players are able to upgrade their Tarnished by spending Runes, which they are granted as rewards. These are used to equip new weapons or upgrade their existing ones, customize their Attribute deck, or increase their core stats: health, focus points, and hand size. Because the Attribute deck is such a core component of everything players do, it is imperative that players spend a fair amount of Runes ensuring that they have enough icons on their cards to succeed against Hardships and fare well in combat. Although new weapons were unlocked or discovered during the campaign, my group of Tarnished consisted of a Prisoner and a Vagabond who sadly did not benefit from any of the extra offerings found within the Stormveil Castle box. I don’t know what the core box contains or if the other Tarnished classes would have found the items more to their liking, but it was disheartening to never branch out much from the starting equipment. Runes can be refunded and reallocated at any time, allowing an easy “respeccing” of a character, but the core gimmicks of our classes and the attribute icons present on our base Attribute cards were nonetheless immutable.
Exploration
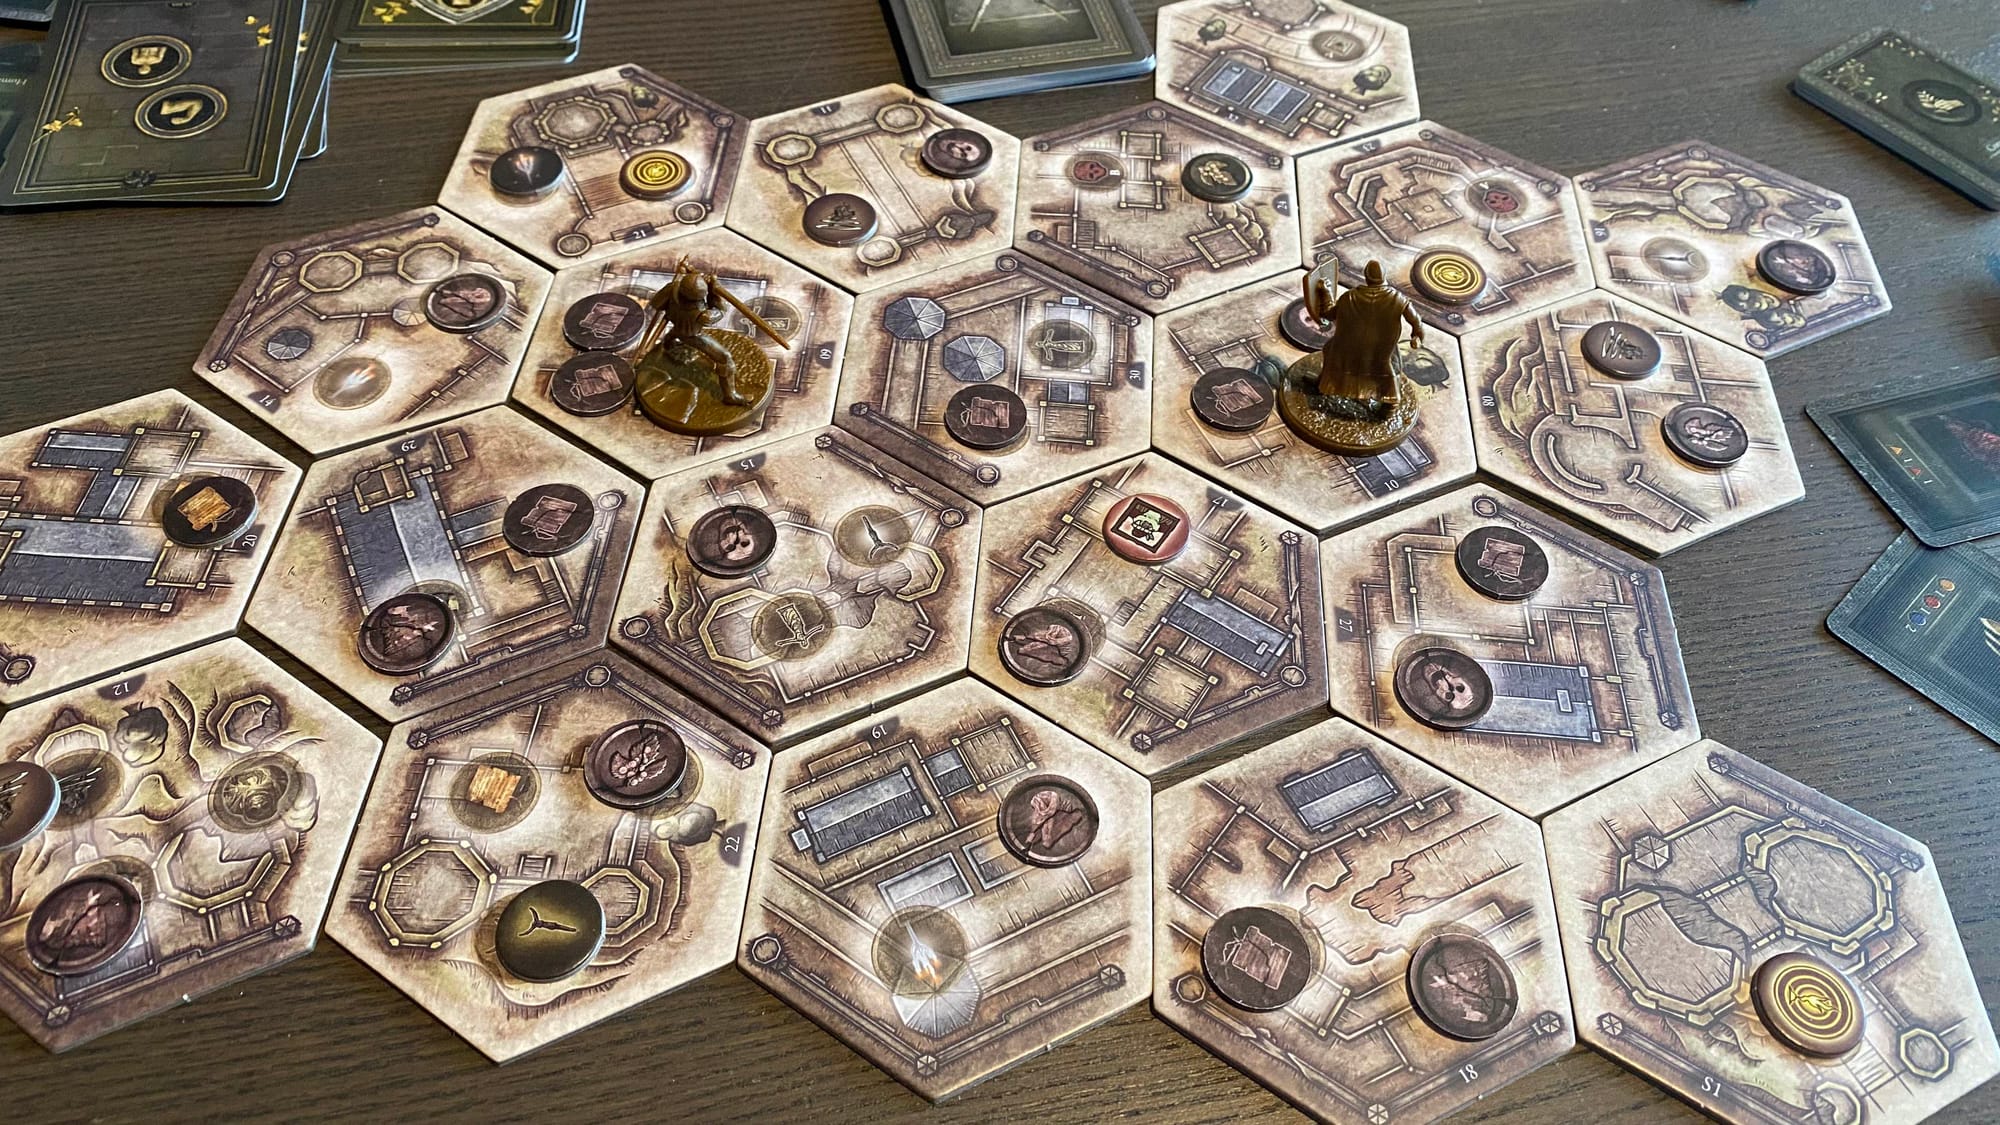
In Exploration scenarios, players will explore a hex map with their Tarnished while they work towards a goal defined at the start of the scenario, such as resolving four enemy encounters. Along the way, they will contend with events and Hardships, collect crafting materials, complete Spirit Candle quests, and locate Stakes of Marika. Map tile placement is not tied to where the depicted art was located on the video game’s map, so players are free to explore in any direction and shape the map however they wish. Each tile will have one or two location icons describing what Tarnished will encounter there. After placing a new tile, players will cover these icons with the matching tokens, which feels a bit fiddly, but there’s a reason for this. While several tokens simply remain when interacted with, some (e.g., Enemies and Stakes of Marika) are removed from the map after being interacted with, and others (e.g., Materials and Hardships) are instead flipped over to an “exhausted” side. When a Tarnished rests at a Site of Grace location, they not only refill their health and focus points (along with both their restorative flasks), they also refresh any exhausted locations adjacent to their current tile. This allows players to re-collect nearby crafting materials, though they will need to contend with more Hardships as well. To prevent players from endlessly cycling through this and grinding for crafting materials, there are two weather decks: day and night. In addition to triggering the occasional event and swapping the time of day, with nighttime making all Hardships even harder, they will end the scenario with a failure if both decks run out.
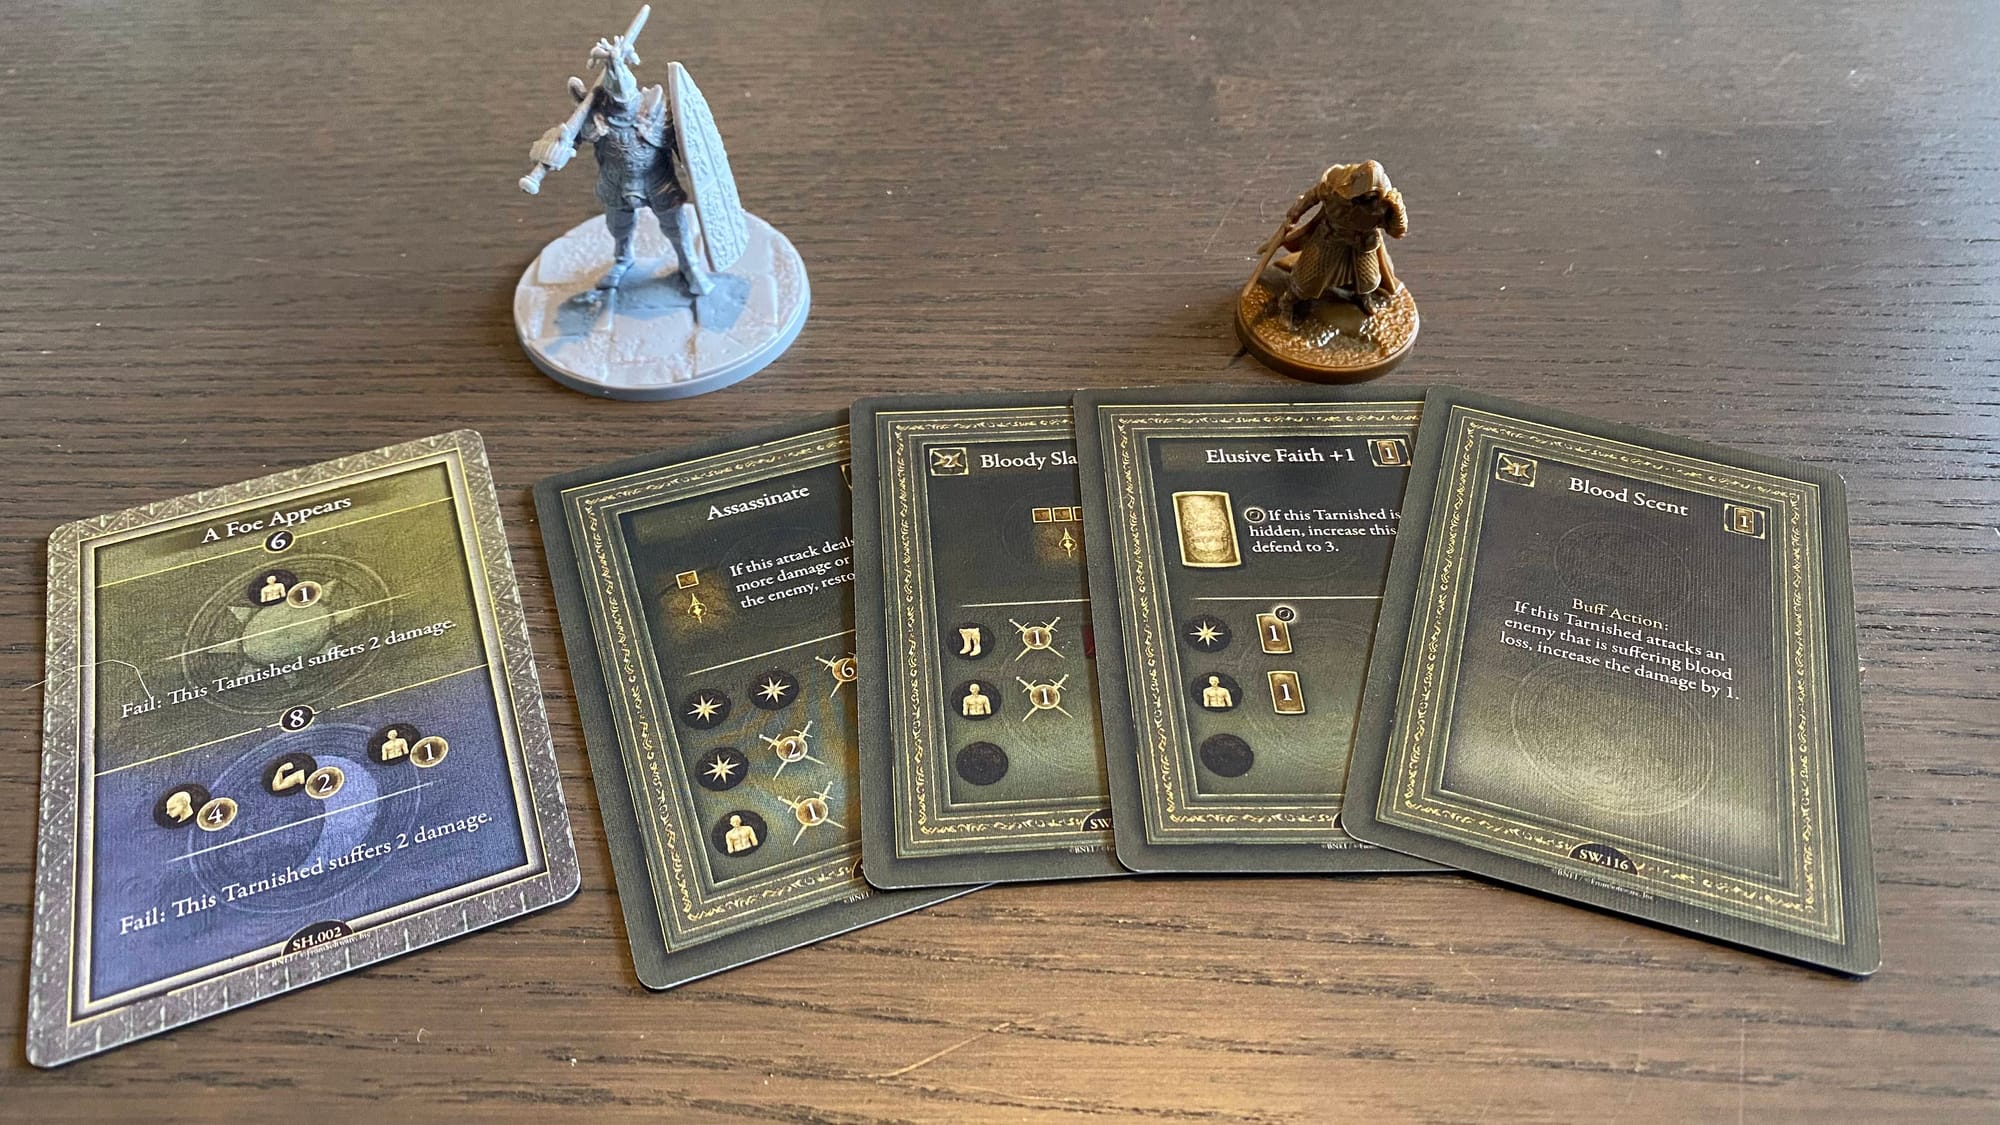
Hardships require the Tarnished to complete a skill check, drawing cards from their Attribute deck. Attribute decks are customizable, and each card features icons representing the stats a player’s Tarnished has. Much of the game revolves around this deck, from attacking and blocking in combat to resolving these Hardships, so it’s crucial that players properly invest in them. For Hardships specifically, Tarnished draw two Attribute cards and compare the icons shown on their cards with those depicted on the Hardship itself. The Hardship will indicate how many “points” a given icon is worth; for example, on one Hardship, Dexterity might be worth 4 points while on another it will be worth only 2. Any icons that don’t match the Hardship can be treated as Common icons, which are typically worth a single point. These points are then compared to a threshold on the card to determine whether the Tarnished passed or failed the test, with the consequences written below. This gets resolved quickly enough during gameplay, but in my experience mostly resulted in random failure with no recourse. As Tarnished will typically focus on the single stat needed to fuel their combat cards, the other three stats will have little to no presence in their Attribute decks. Since there’s no way to foresee what Hardships will come up in the Narrative scenarios or the randomized Hardship deck, this leads to Tarnished facing tests impossible for them at least 3 out of 4 times. Even if a test does match a Tarnished’s specialty, it’s entirely possible that they simply draw poorly, especially early in the campaign, and fail anyway. There are no redraw mechanics or other ways to manipulate your decks outside of character progression, so it often feels like the game is punching players down at random for no reason. While the Elden Ring video game players are at least able to see threats coming and can plan accordingly, the random card draw does not give board game players that same benefit of at least seeing a brick being thrown before it hits them in the face.
One feature of the Exploration scenarios that I did find interesting was the enemy encounters. While in the middle of exploring, a Tarnished may happen across an Enemy location and be pulled into a full combat. The scenario itself will detail what enemies they fight and which of the encounter maps to use, and the Tarnished mini will be temporarily removed from the explored map until the combat is fully resolved. Other Tarnished can optionally join the combat as well, or can wait and join the combat later by spending an Effigy of the Martyr. If other Tarnished choose not to join, they simply continue taking their turns as normal, exploring the map. When the Tarnished that initiated the combat takes a turn, they instead resolve a full round of combat with any other Tarnished that joined against the enemies present. Tarnished that joined the combat have their turns skipped, since they’re instead taking their combat actions along with the initiator. I found the juxtaposition of my single combat occurring at the same time as the other Tarnished continued harvesting materials from the map interesting, and I think the designers did well in enabling this mix of gameplay. However, even at two, the player downtime for my fellow player was strained as my combat rounds took significantly longer than their exploration turns, and this problem would only be worsened at higher player counts.
Combat
A game like this will live and die by how enjoyable its combat system is. The narrative can be mediocre, and the other mechanics can be boring, if the combat is incredibly satisfying. Unfortunately, combat in Elden Ring fell flat for me due to some of its peculiarities. The rules for combat are actually fairly simple. Each participant has an initiative card (or two, for Tarnished in combat alone), which gets shuffled with everyone else’s and dealt into a Marching Order. In order from left to right, these are resolved: enemies have their actions shown on their card, and players get to take a turn consisting of three actions. A player’s action might be moving one space on the battlefield, playing a card and resolving its effects, or drawing back up to their hand size. There are a few others, like summoning Spirit Ashes or using consumables/flasks, but I’m only going to cover the three mentioned as they have the most impact on players’ experience with this game.
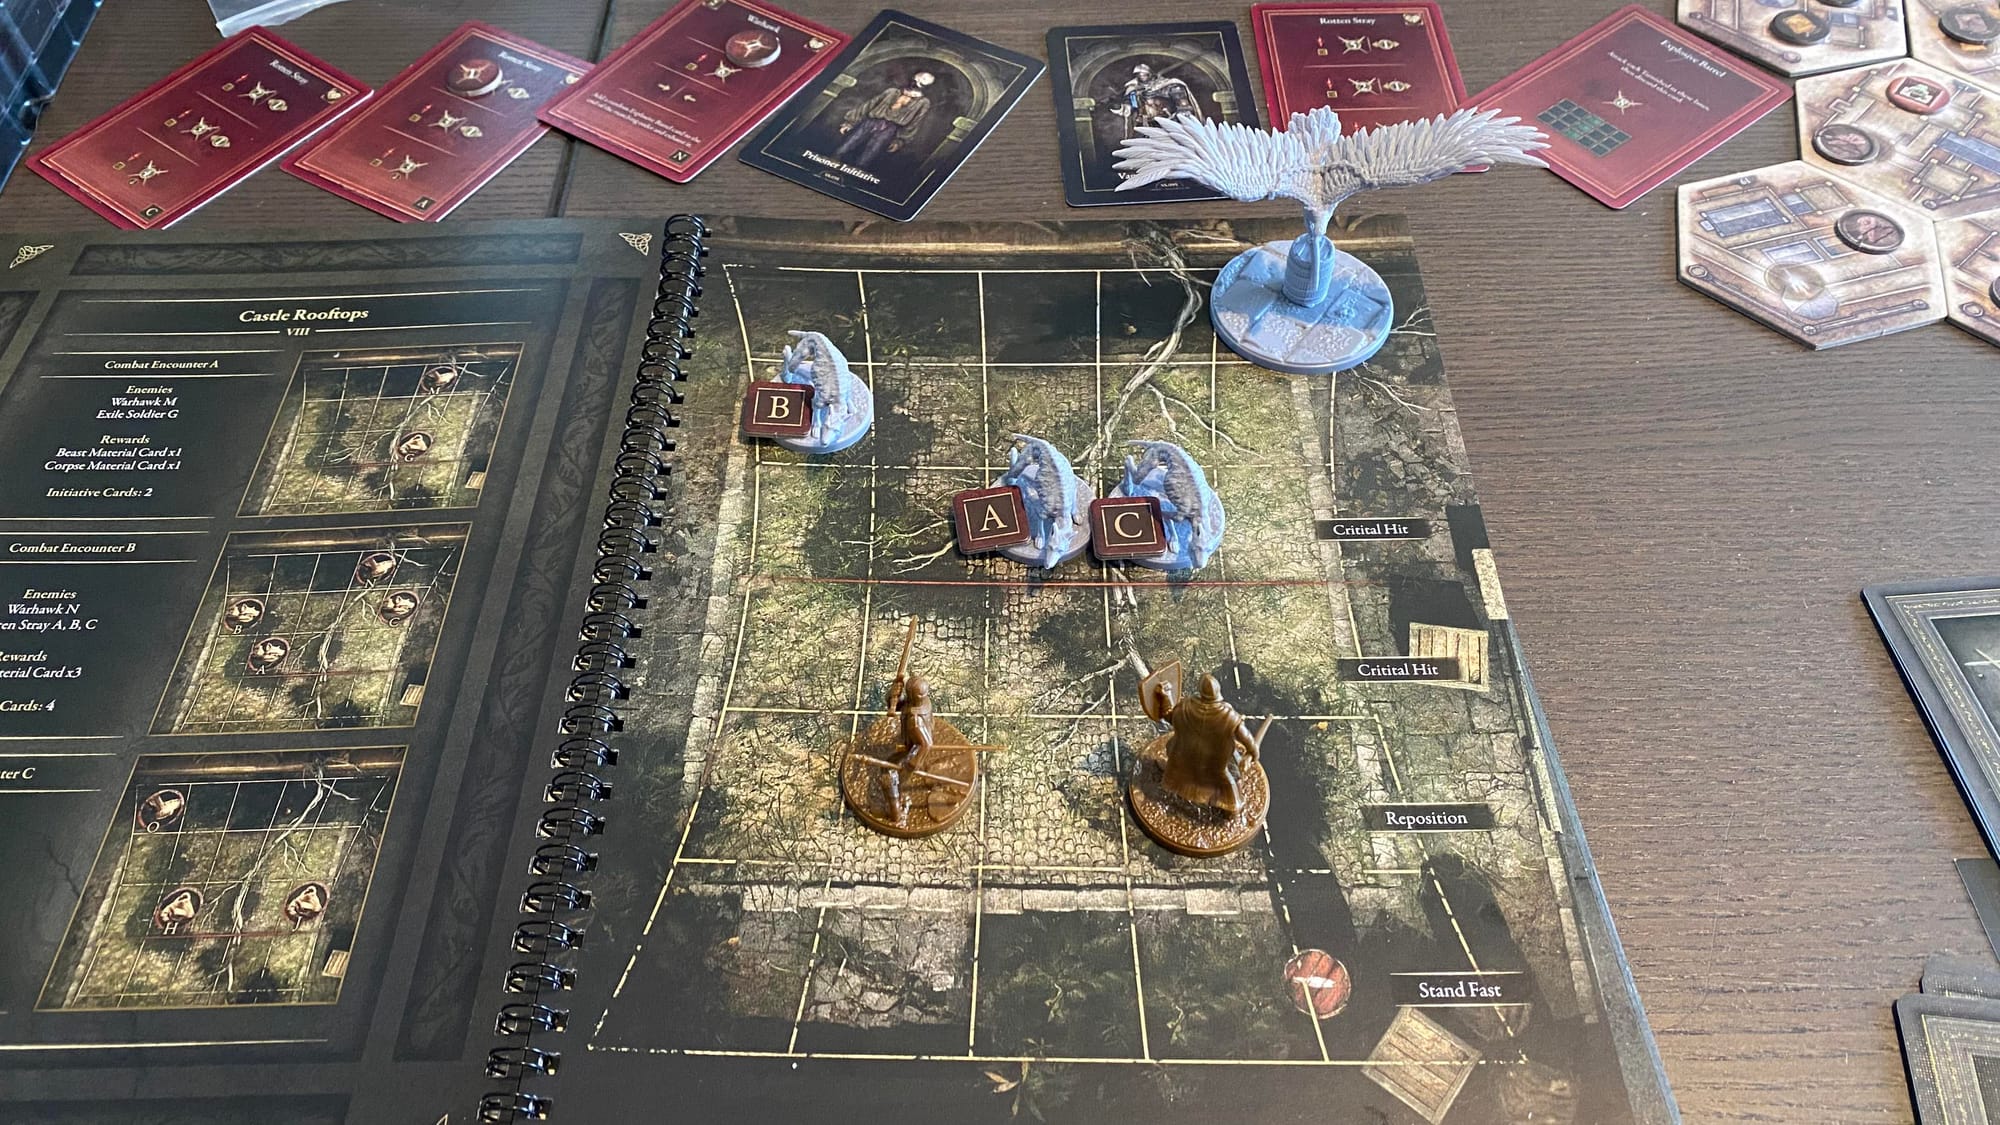
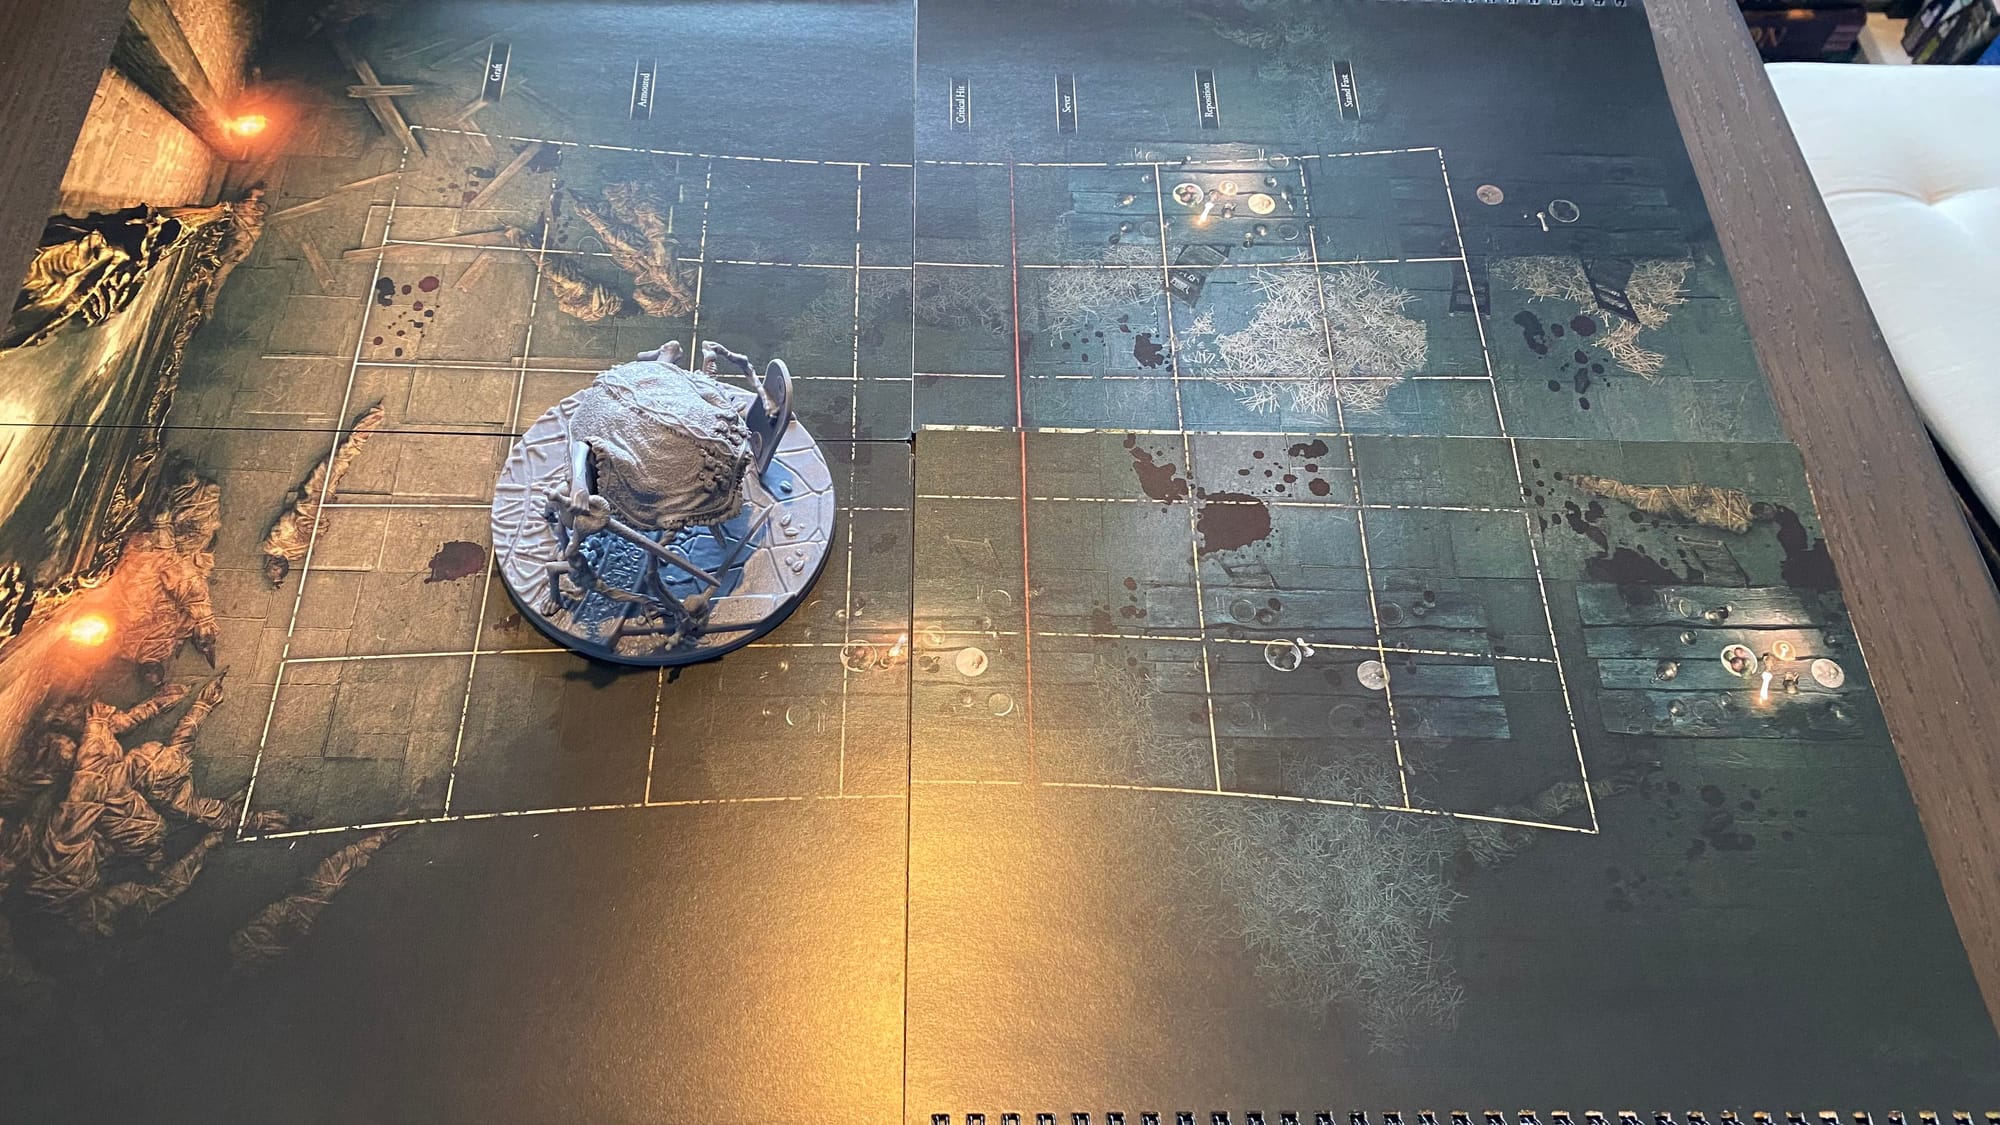
Each battlefield in Elden Ring is made up of a grid, though this isn’t like a typical D&D-style combat grid. Rather, the row that a figure (both Tarnished and enemy) is in represents how aggressive or defensive they are, with the column indicating which opposing figures they can reach. The actual rows available on a map vary depending on the battle, with bosses often having unique effects tied to certain rows. But the most common row effects for Tarnished are Critical Hit, Stand Fast, and Reposition. Critical Hit and Stand Fast are pretty simple, allowing Tarnished to draw an extra Attribute card and choose one to resolve when either performing or defending against an attack, respectively. Reposition works quite differently, with its effect resolving as soon as the Marching Order is dealt, and allows Tarnished to adjust their position to be either earlier or later in the round. This is incredibly important and quickly became my default position during combat.
Playing a card results in either an attack or some sort of special action and may cost Focus Points (FP). Action cards simply perform their effects and are either discarded or set aside as a temporary buff, while attacks are resolved using Attribute cards similar to Hardships. Attacks will indicate whether they hit one or multiple enemies in the Tarnished’s current column and if they can target adjacent lanes as well. Most importantly will be the attack profile, which details combinations of attribute icons and their effects. After the player draws their Attribute card, or draws two and selects one if in the Critical Hit position, they compare the icons to the attack profile to determine the amount of damage dealt and any additional abilities that might be triggered. Some Tarnished classes have special abilities that manipulate this, such as my Prisoner, which sets aside a random Attribute card at the start of each combat and can swap it with any Attribute card they draw. After damage and any extra effects are resolved, the card is discarded, and the turn continues.
Arguably more important than either of these is the Draw action. All this does is refill a player’s hand of combat cards to their maximum. The reason for this importance is based on how defence works. Whenever an enemy attacks a Tarnished, the player has a couple of options on how they want to play cards for defence. First, they may discard any number of cards for the block value in the upper-right corner of the card, which decreases the incoming damage by that amount. Then, they may play one Defence card and resolve it like an attack by drawing Attribute cards, although these usually have effects that reduce incoming damage instead (although there is one that oddly deals damage instead, despite being called “Block”). Finally, any unmitigated damage is dealt to the Tarnished. Refilling a player’s hand at the end of their turn not only provides more options for their next turn, it gives the player their only method of avoiding damage aside from moving out of the enemy’s attack pattern—which isn’t always possible and costs a fair bit of movement actions. Unfortunately, that still isn’t enough most of the time.
Sometimes, there’s really nothing the player can do. Picture two Tarnished facing off against four generic enemies. The random Marching Order, which can only be slightly influenced by the Reposition position, results in one Tarnished acting very early in one round. They take their turn as normal and refill their hand at the end, so they have a max hand of about 4 or 5 to weather the upcoming blows. Even if they didn’t act first or avoid some hits by being in a further column, some enemies make two attacks each turn, so this Tarnished can easily take 4+ attacks in this round, which is unfortunate but manageable with some blocking cards. However, if they go late in the following round, due to the randomized Marching Order, they’ll have to deal with 4+ attacks yet again before they have a chance to refill their hand, resulting in several attacks going unblocked. Tarnished don’t get much health, and even generic enemies have some decent damage output, so this can easily kill a player. The Stakes of Marika allow instant revival during combat, but they’re a finite resource and don’t really help the deflating feeling of dying once more because the Marching Order allowed 6 or more enemy activations before you got a second turn. This happens regularly, in every combat, to the point that it became much better to fight alone, as it allowed Tarnished two activations in each Marching Order. If combat becomes easier without allies, then something is likely very wrong.

The bosses each have unique mechanics, such as the fire from Godrick’s second stage or the ability to hack grafts off of the Grafted Scion, and these do make their fights more interesting and enjoyable. But the underlying combat system feels so luck-based between the Attribute cards and the Marching Order, that the boss fights were simply more fun by comparison and not actually fun in their own right. The positioning system and how it abstracts range into columns and enables stances for both players and enemies is interesting and novel, something I like to see in games. But the rest of the system made the game less than enjoyable for me.
Elden Ring: Stormveil Castle
Bad
The Elden Ring board game has some interesting ideas present, but they’re dragged down by problems with the non-miniature components and writing on top of an unpleasant combat system. Stormveil Castle presents some interesting bosses with unique mechanics, but not every Tarnished will have a use for the equipment on offer.
Pros
- Highly detailed miniatures
- Tarnished can be respecced between scenarios
- Novel stance-based combat positioning
- Interesting boss mechanics
Cons
- Highly luck-based and difficult combat
- Mistakes in both grammar and components
- Rulebook's physical quality is subpar
- Exploration combat creates high downtime for other players
- Lack of variety in builds for some Tarnished
This review is based on a retail copy provided by the publisher.


