
Weathering. When you think about this in a hobby context, think of chips, scratches, dents, places where rust gathers, dirt accumulation, the feeling of something being worn or used.
For me, when I look at specific models, like Warhammer, Warmachine, military, vehicles, terrain, I want it to feel like it’s been through combat, storms, dust…it adds such a level of realism that helps make a model pop and truly stand out.
And there are many ways to accomplish this, from the easy (splatttering) to the unusual (using reactive paints), to what I refer to as hard mode, which is what I’ll walk you through today.
A few years back at ReaperCon, I took a class from Aaron Lovejoy about weathering. When I came in, I was handed a blue dumpster, and instead of pulling out paints, the first thing we did was scratch up the dumpster with a variety of tools. Old brush, toothpicks, paper clips, fingernails…and as I scratched, I noticed that the dumpster suddenly revealed a different color underneath, a bright rust color! I was amazed, and needed to understand the magic that was at work.
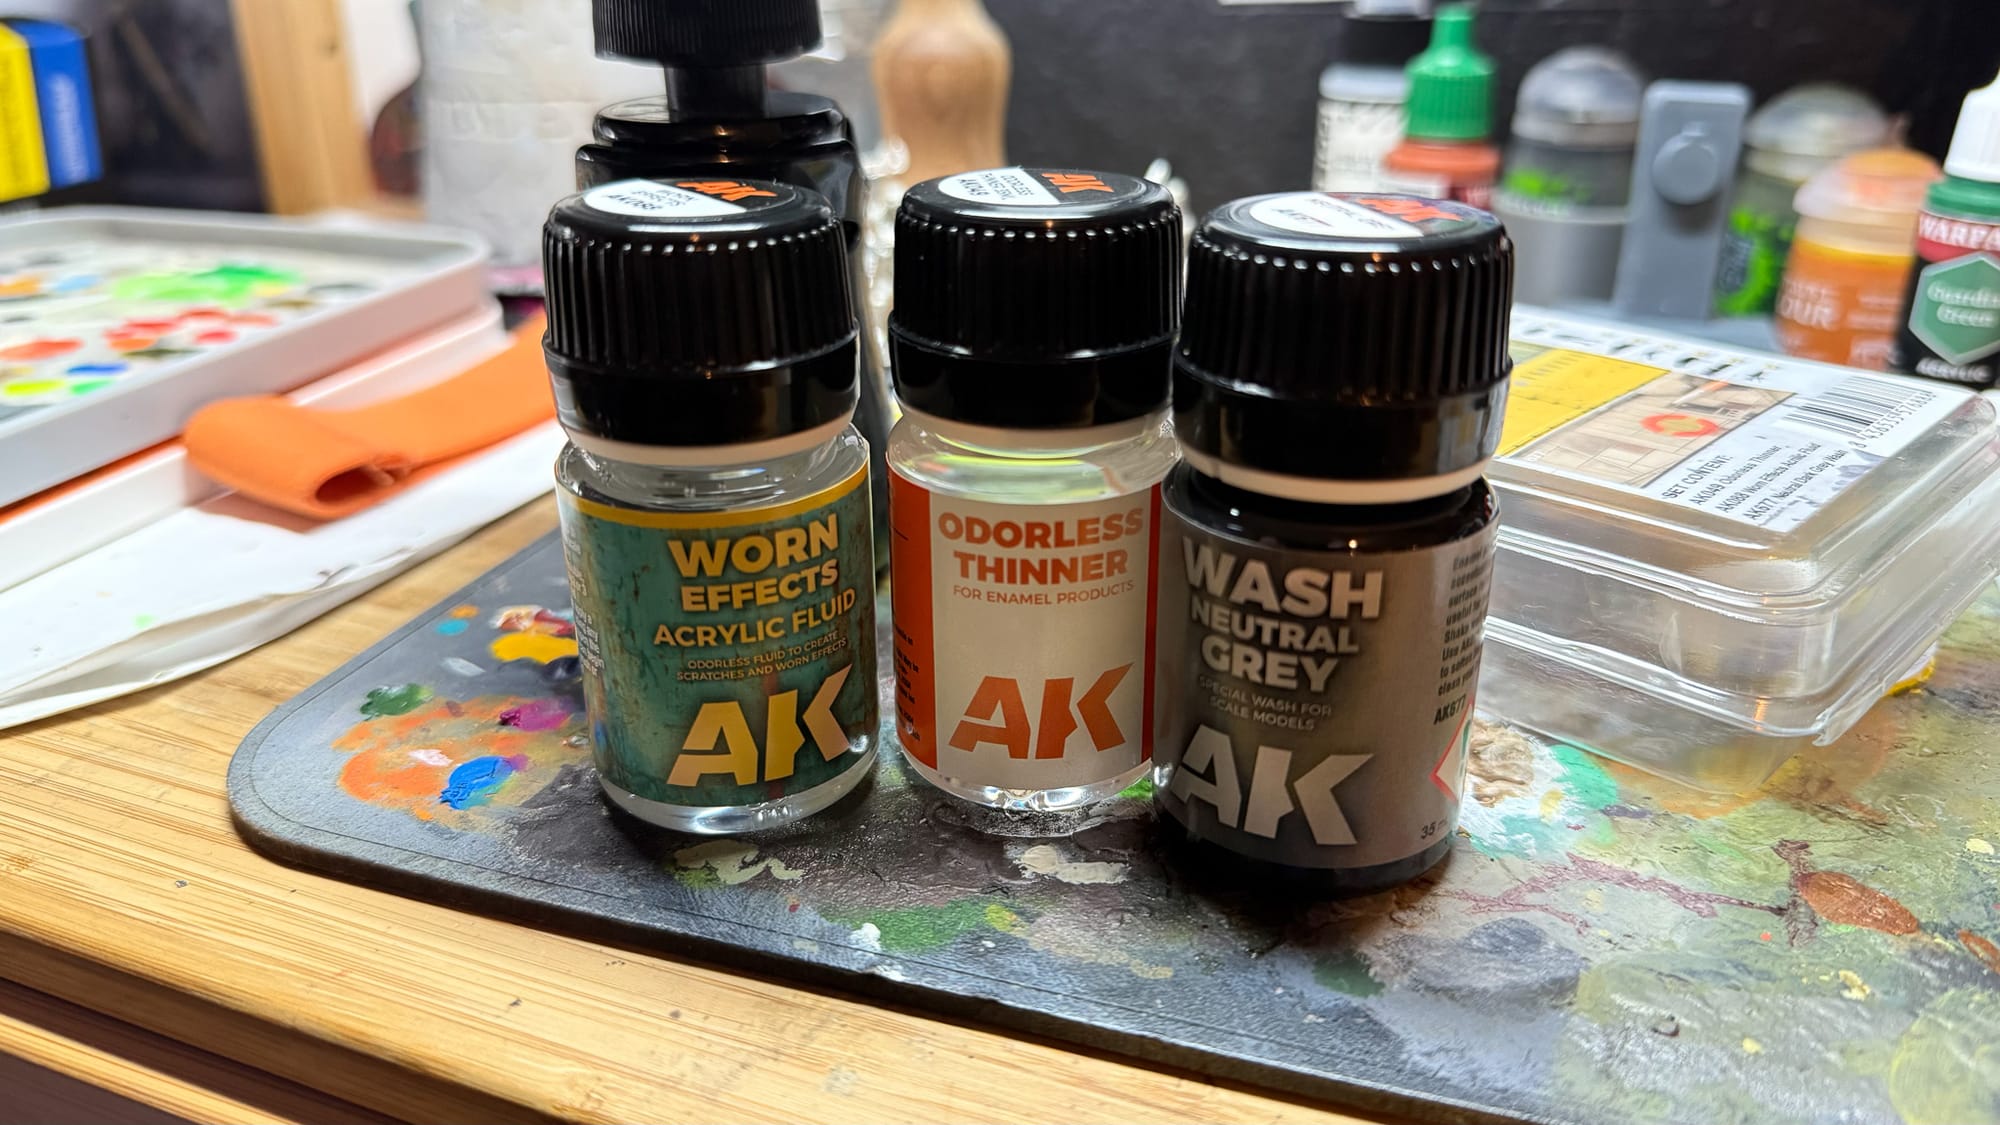
The Basic Weathering Set from AK Interactive does just this, and they toss in a bottle of Neutral Grey wash and thinner for fun. The star of the set is a bottle of “Worn Effects” fluid, which can be airbrushed or painted on a model. Let it dry completely, and repeat for 2-3 layers. Once dried, apply a coat of paint on top. Then, the magic happens. Take a moist, stiff brush, and start rubbing. You’ll see the top coat of paint come off the model, revealing whatever you’ve painted below.
Magic. What this does in a bottle is replicate the “hairspray technique”, in which you paint your undercoat, then spray your model with hairspray to build a tacky coat on top of it, then paint your top coat, then chip. What AK has done is concoct a chemical that is similar to hairspray into one bottle, and I really dig it.
Here’s what you do, shown off with a model by a friend, Orc Butt.
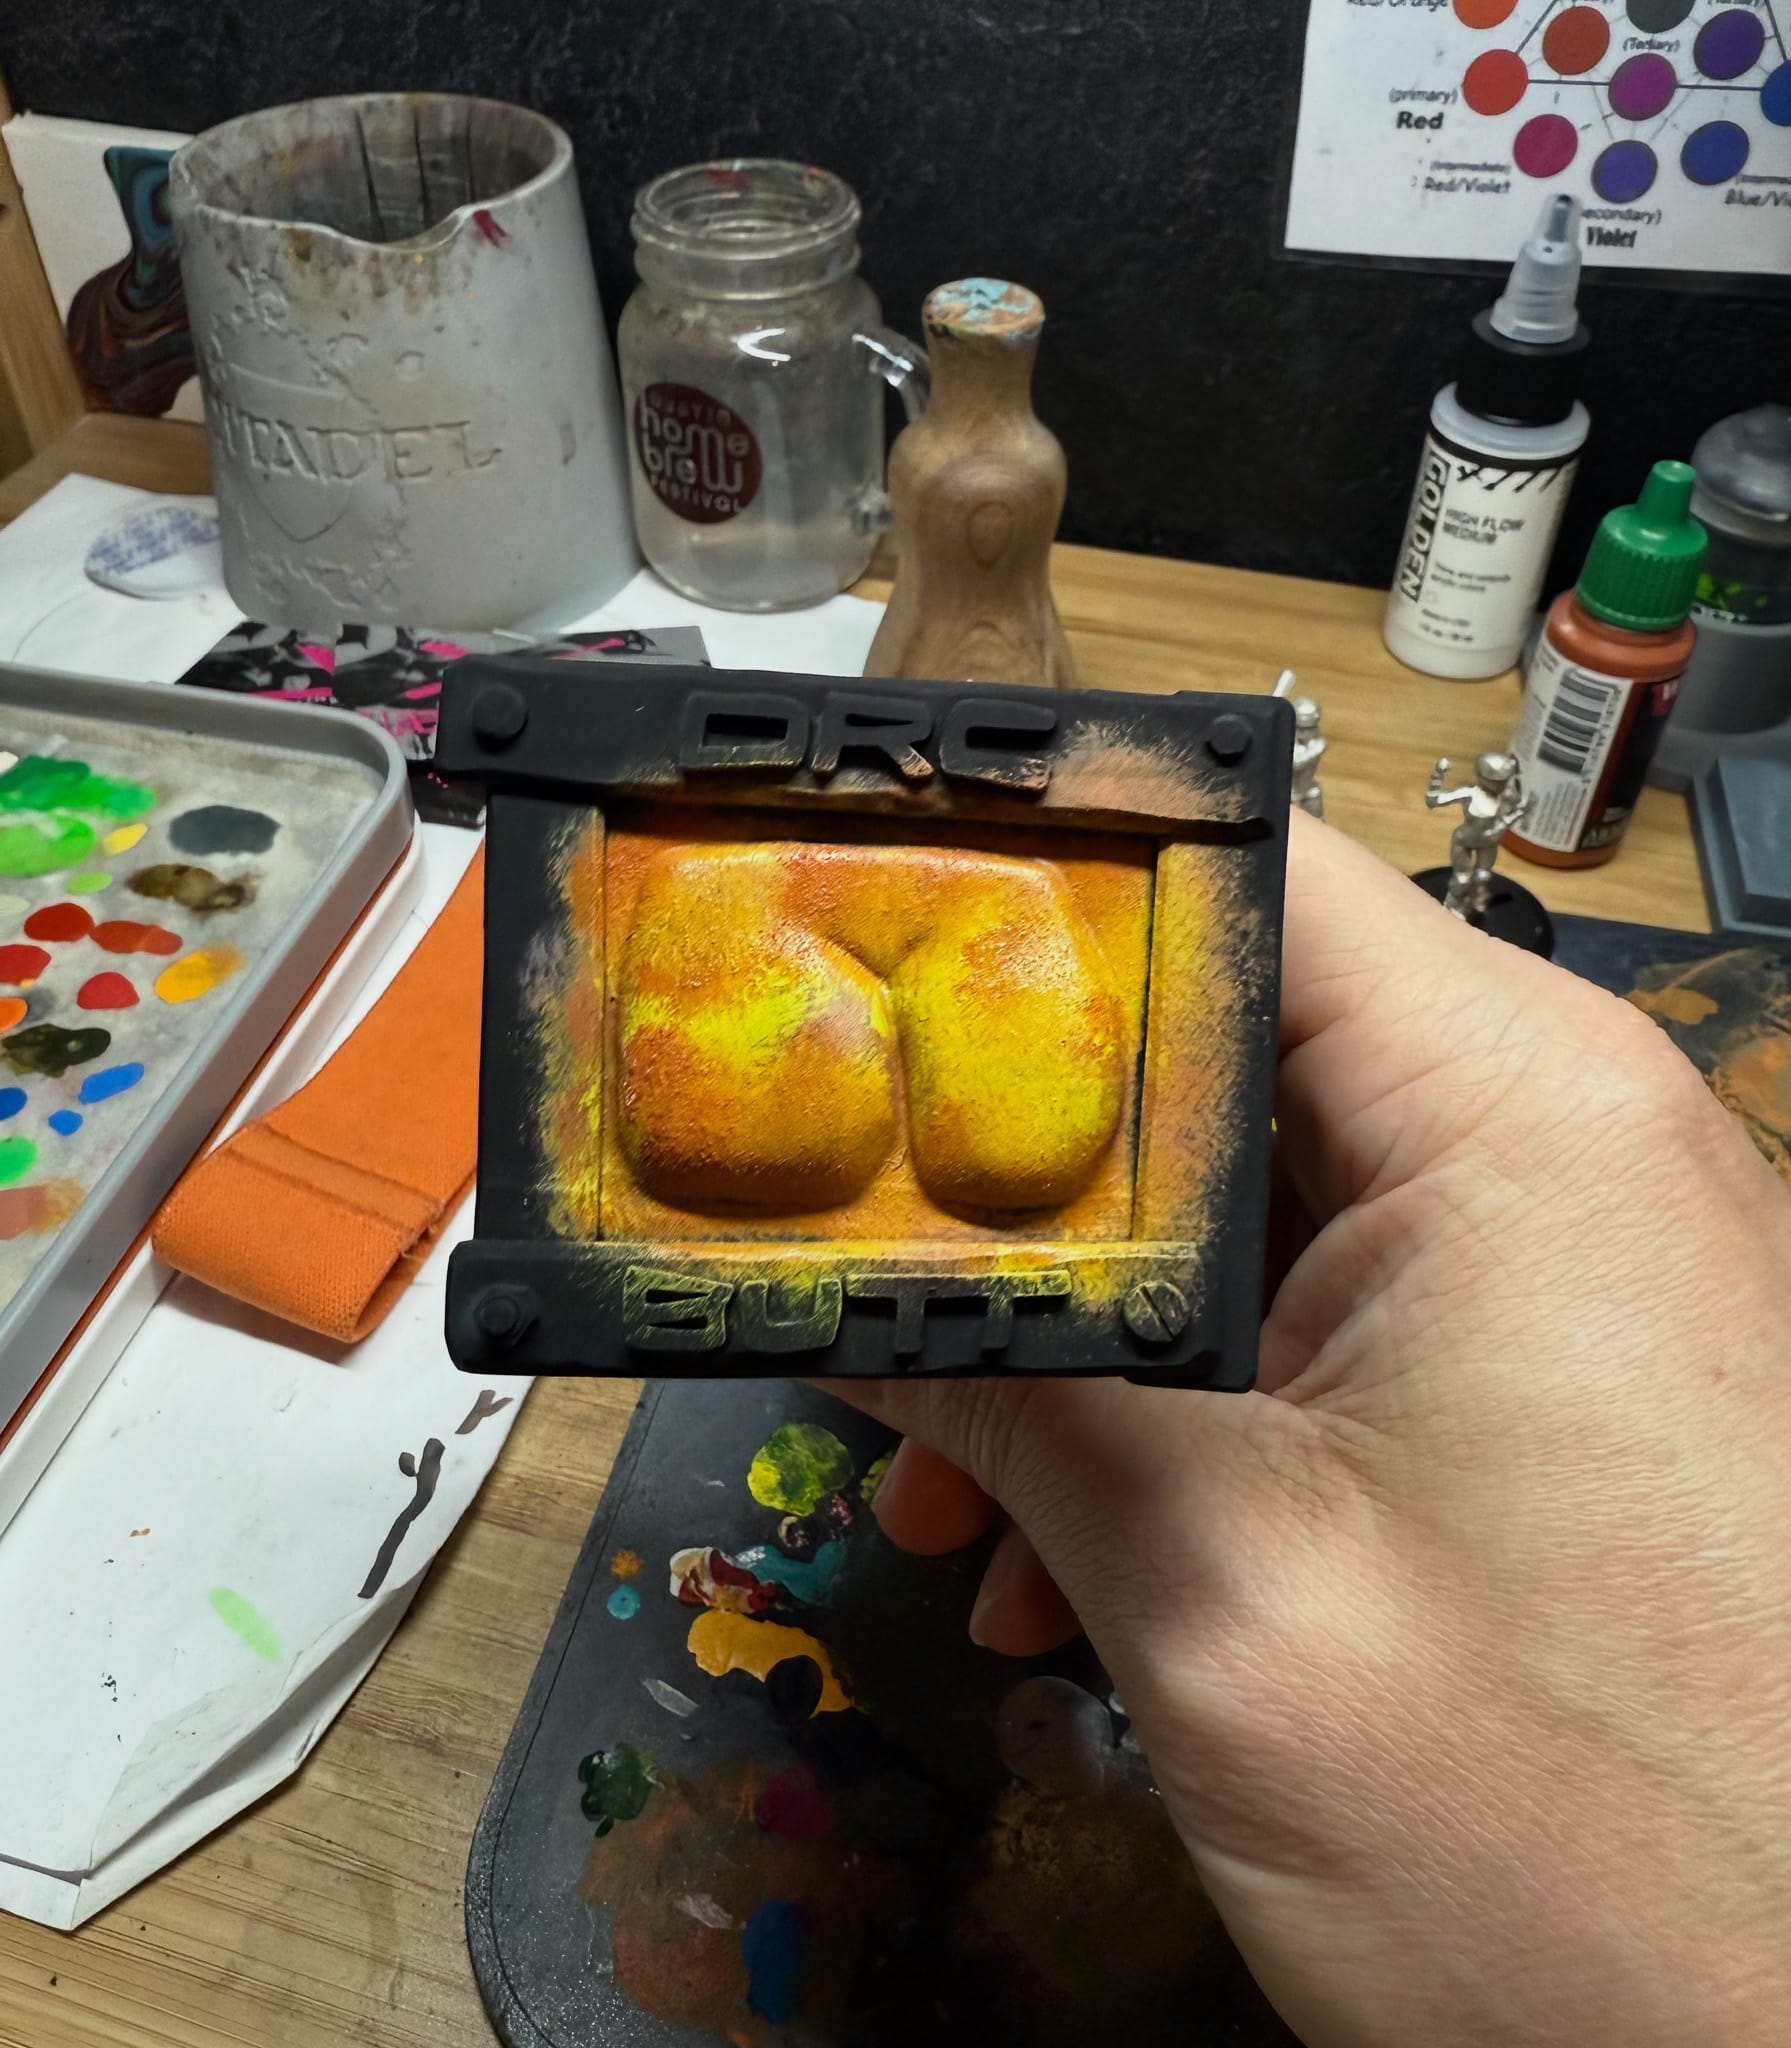
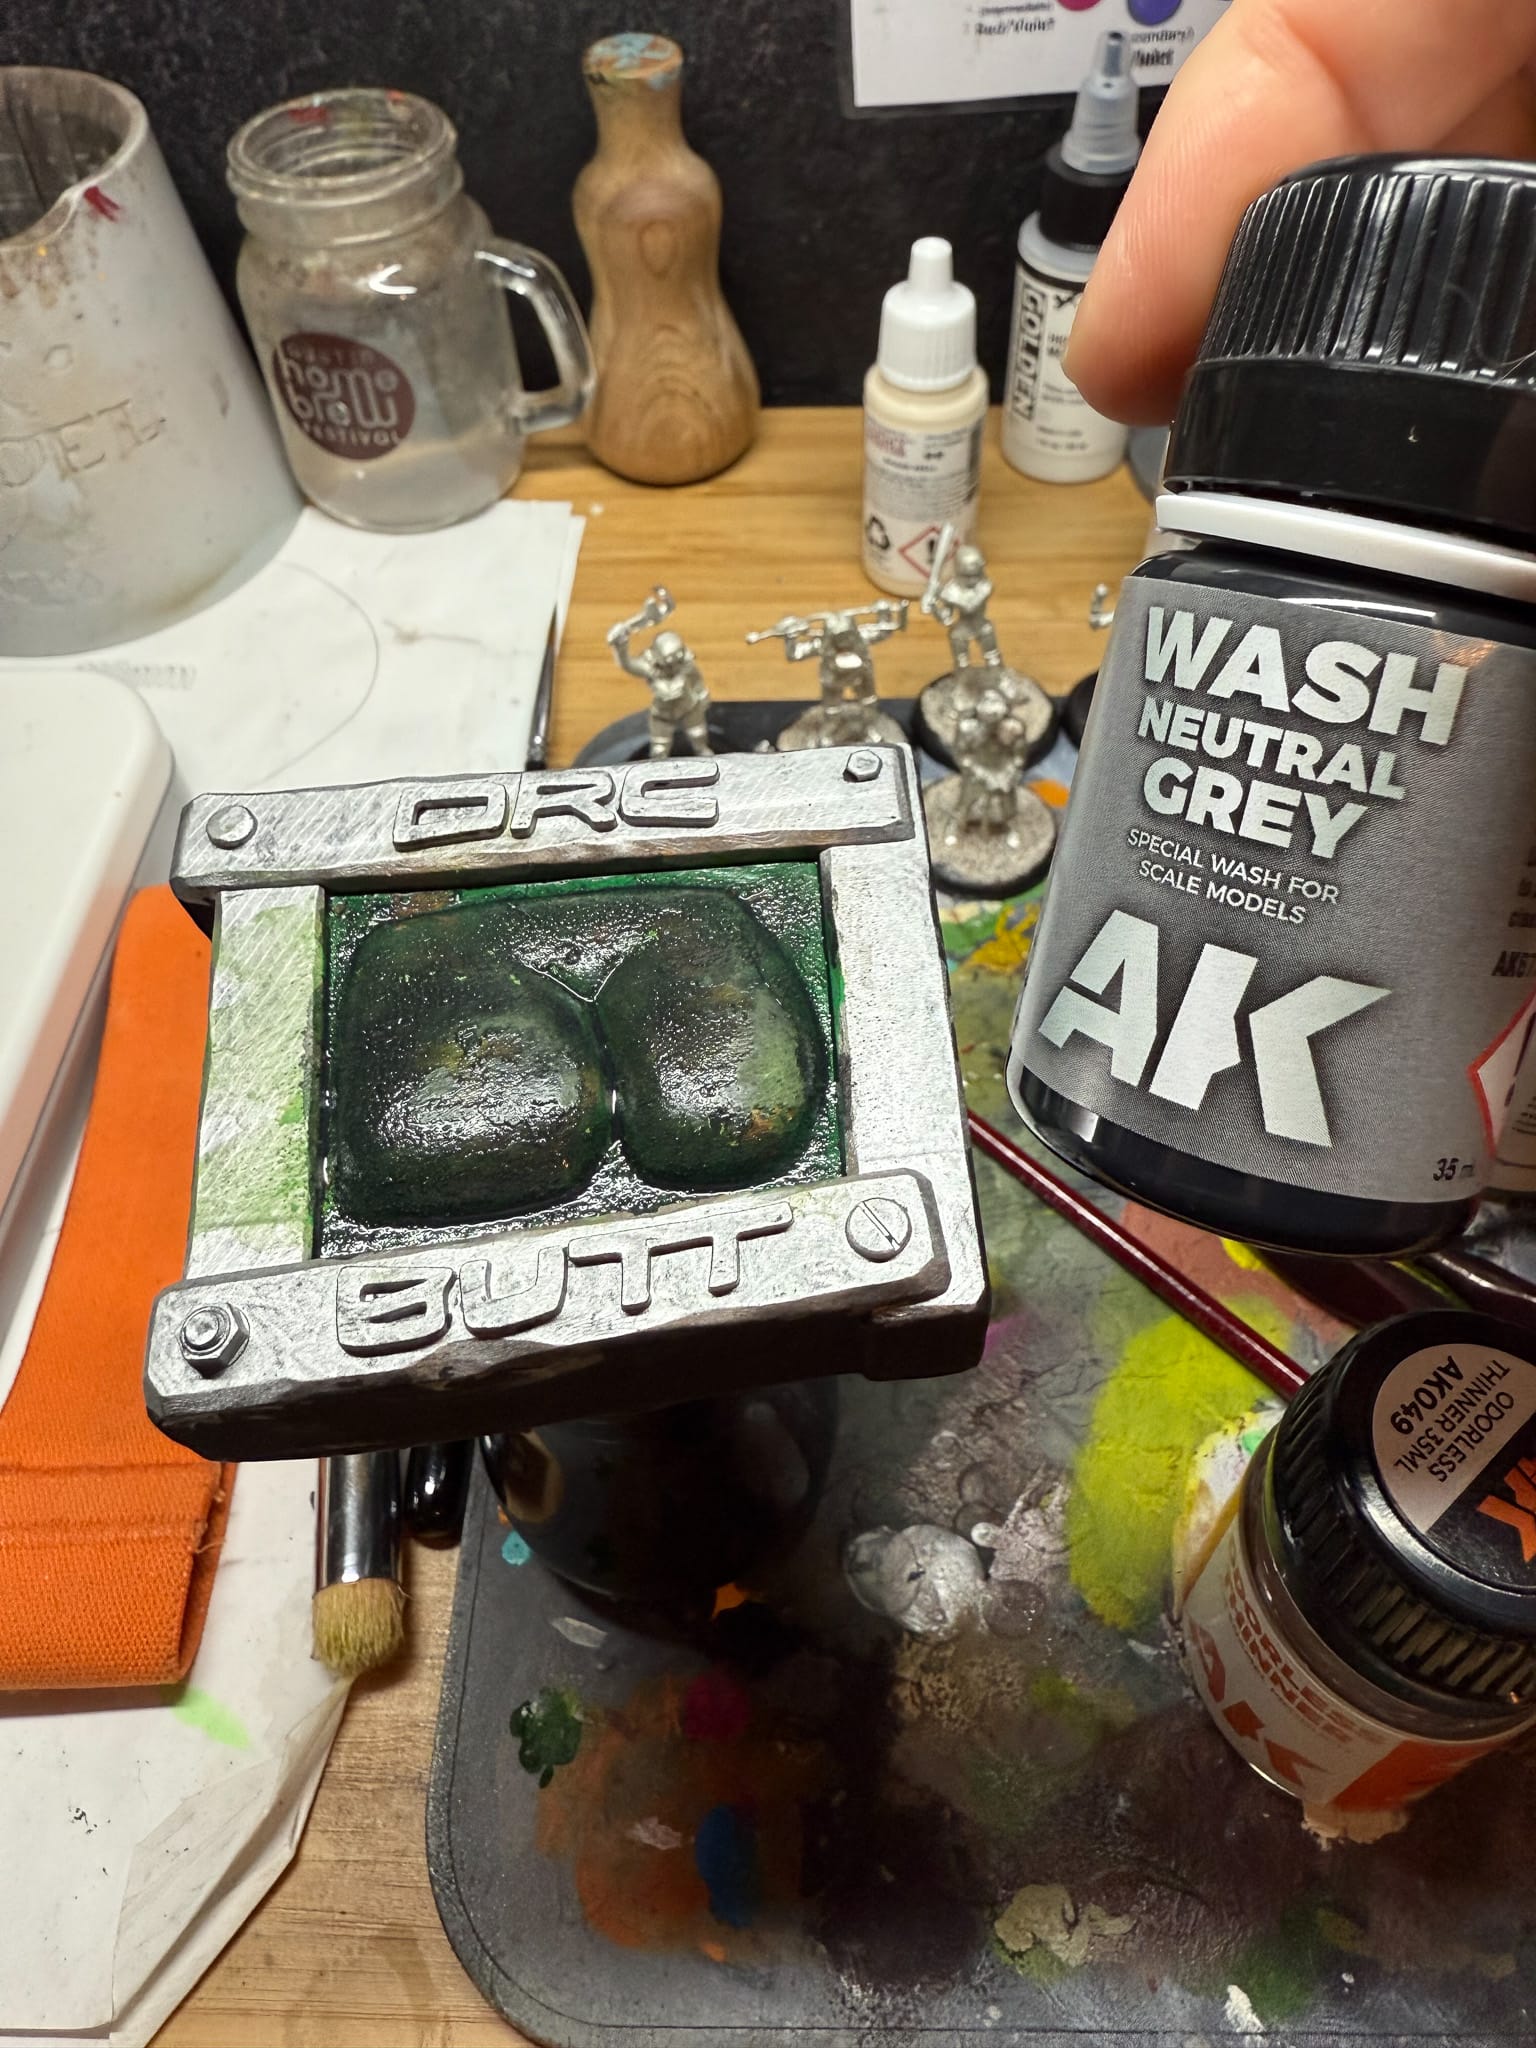
For this, I used 3 layers of the weathering fluid, which helped create texture.
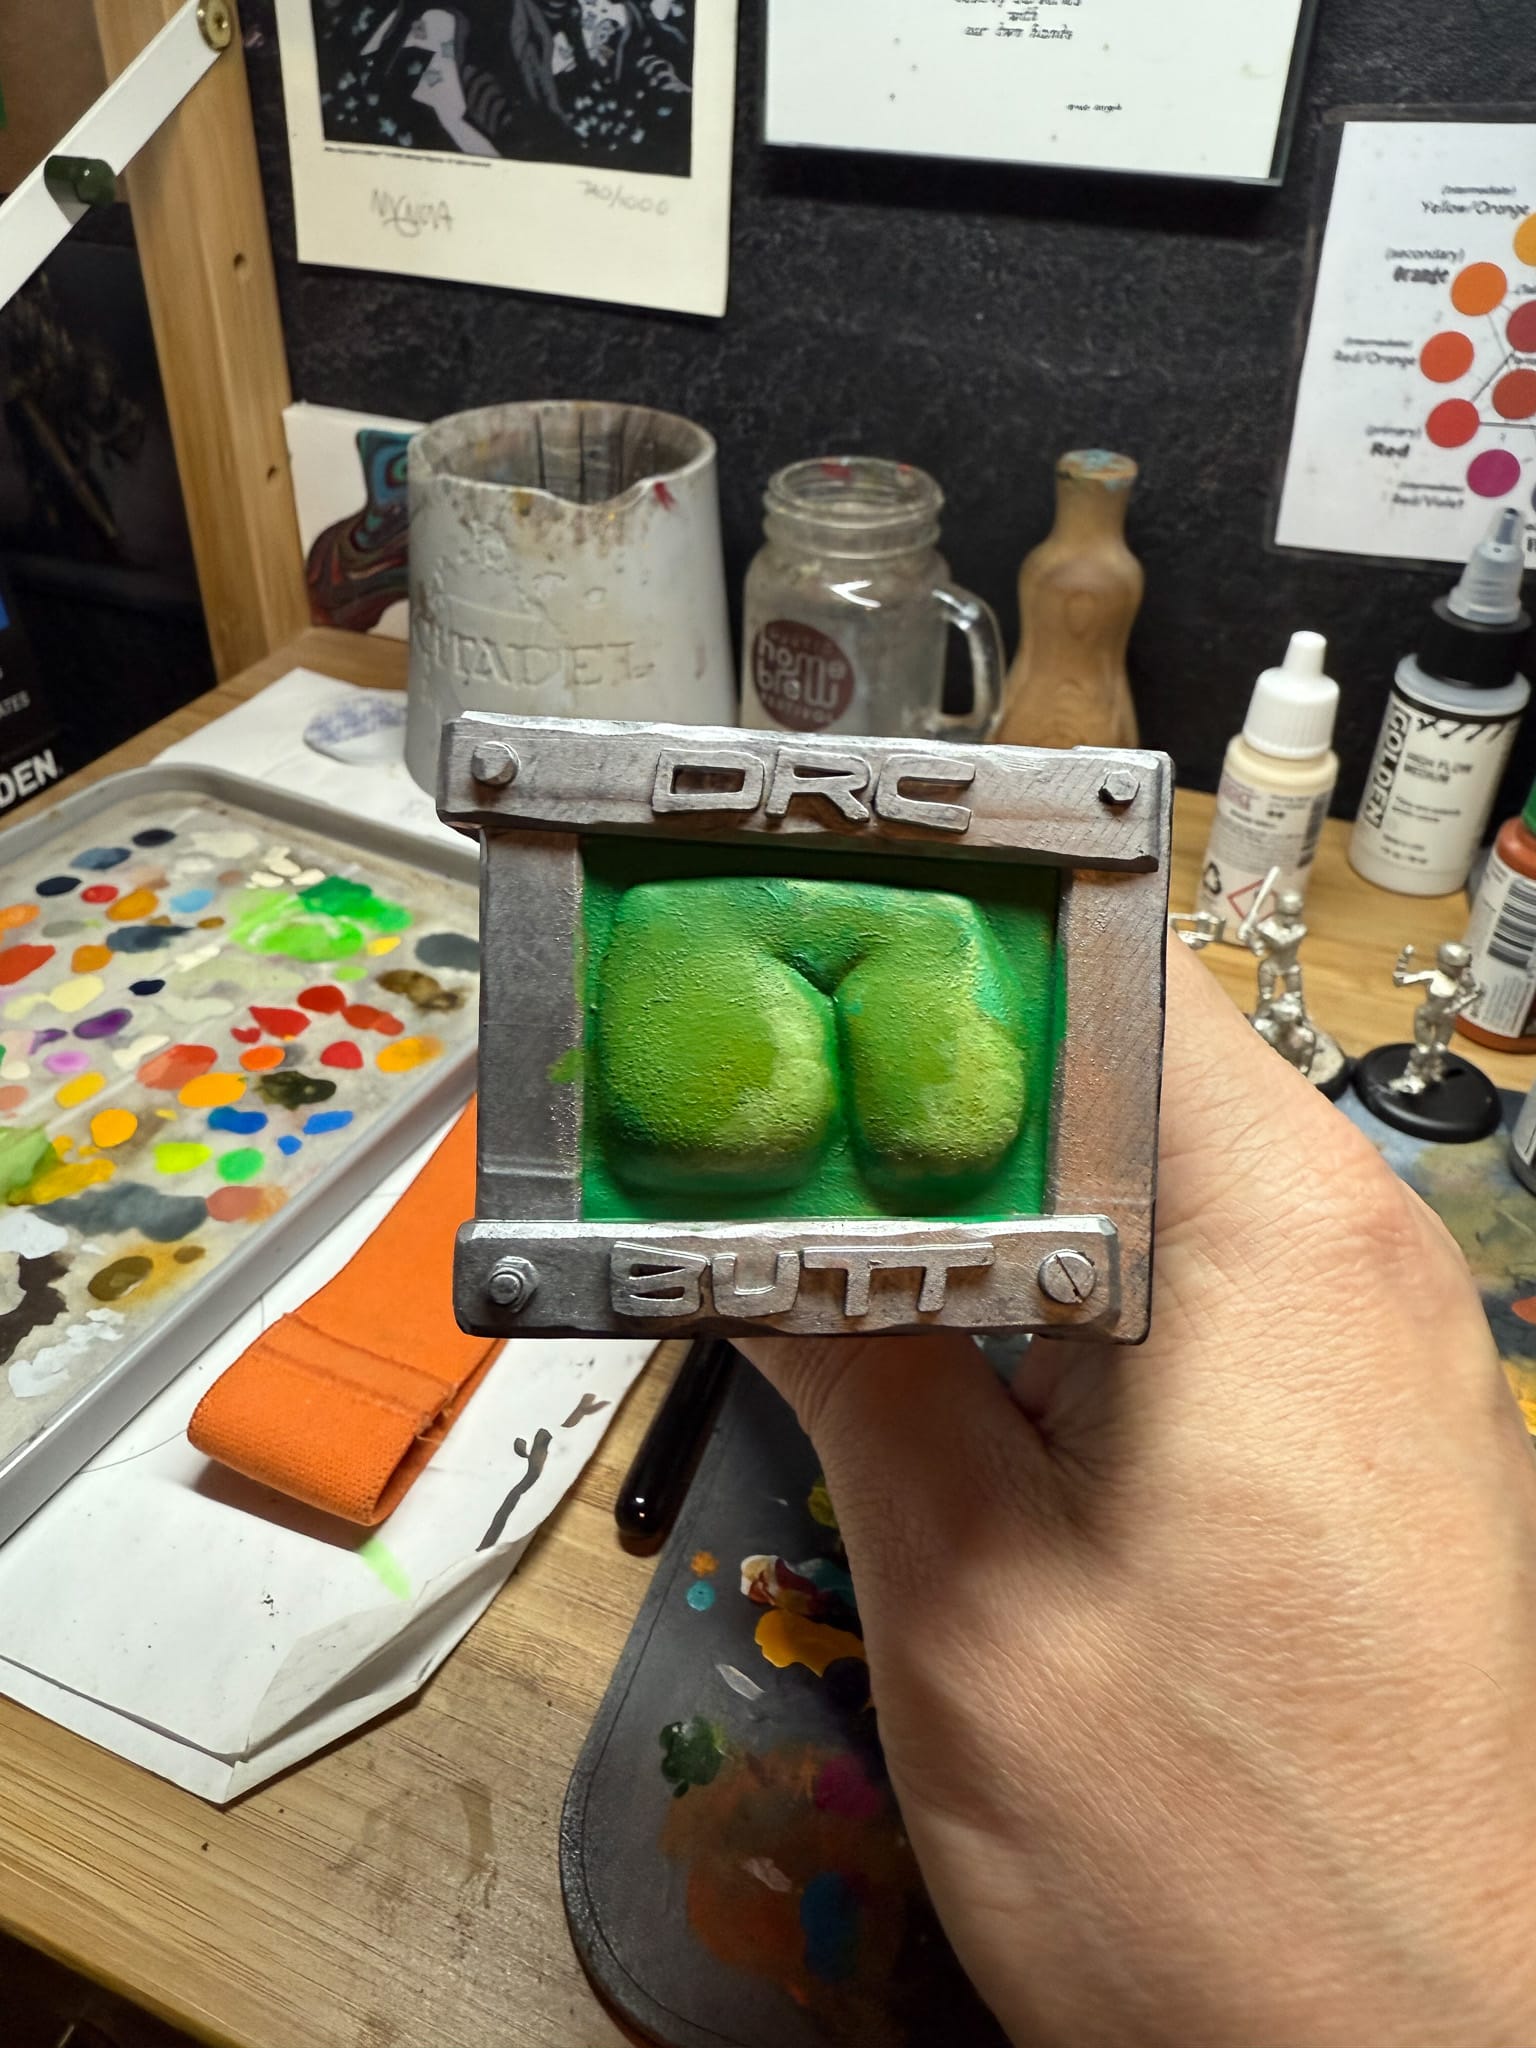
First, layer in your undercoat. For this model and review, I wanted to go bold, so I mixed in reds and yellows in a rustyish pattern, using some splotchy techniques with big brushes. It doesn’t need to be clean, as you’re going to cover up the paint anyways. After that layer was done, I slapped on 3 layers of the Worn Effects. I painted 3 layers because I wanted to, no other reason. Maybe to feel safe? Once those were done, I then painted my next coat, a yellowish green coat, because this is an orc’s butt, right?
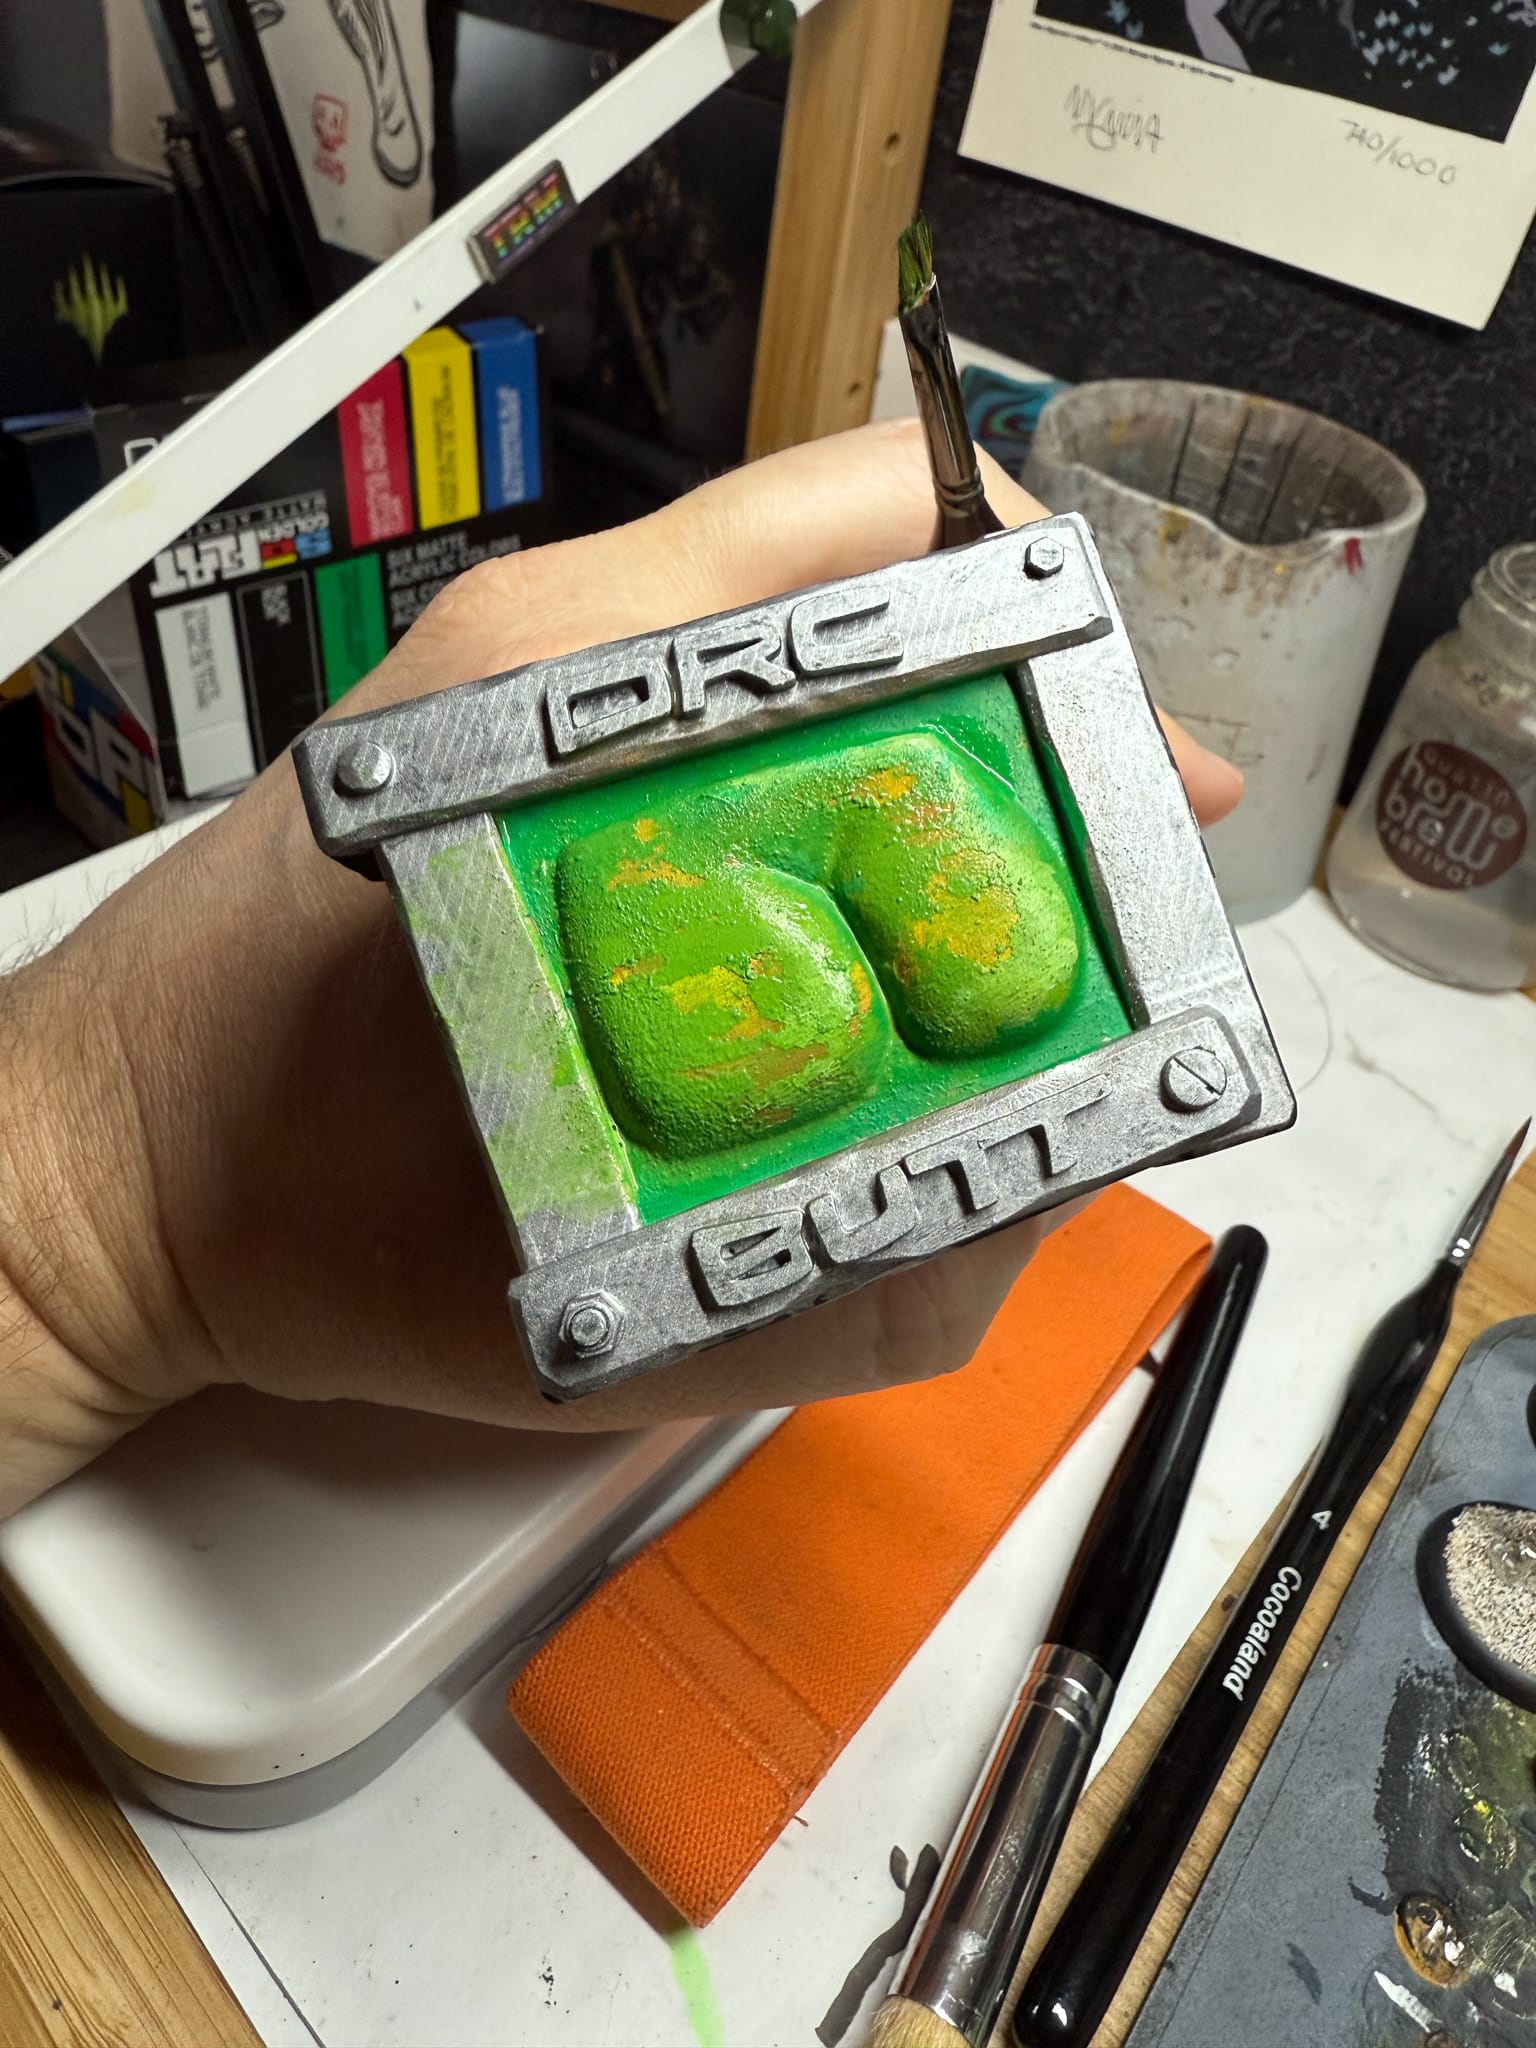
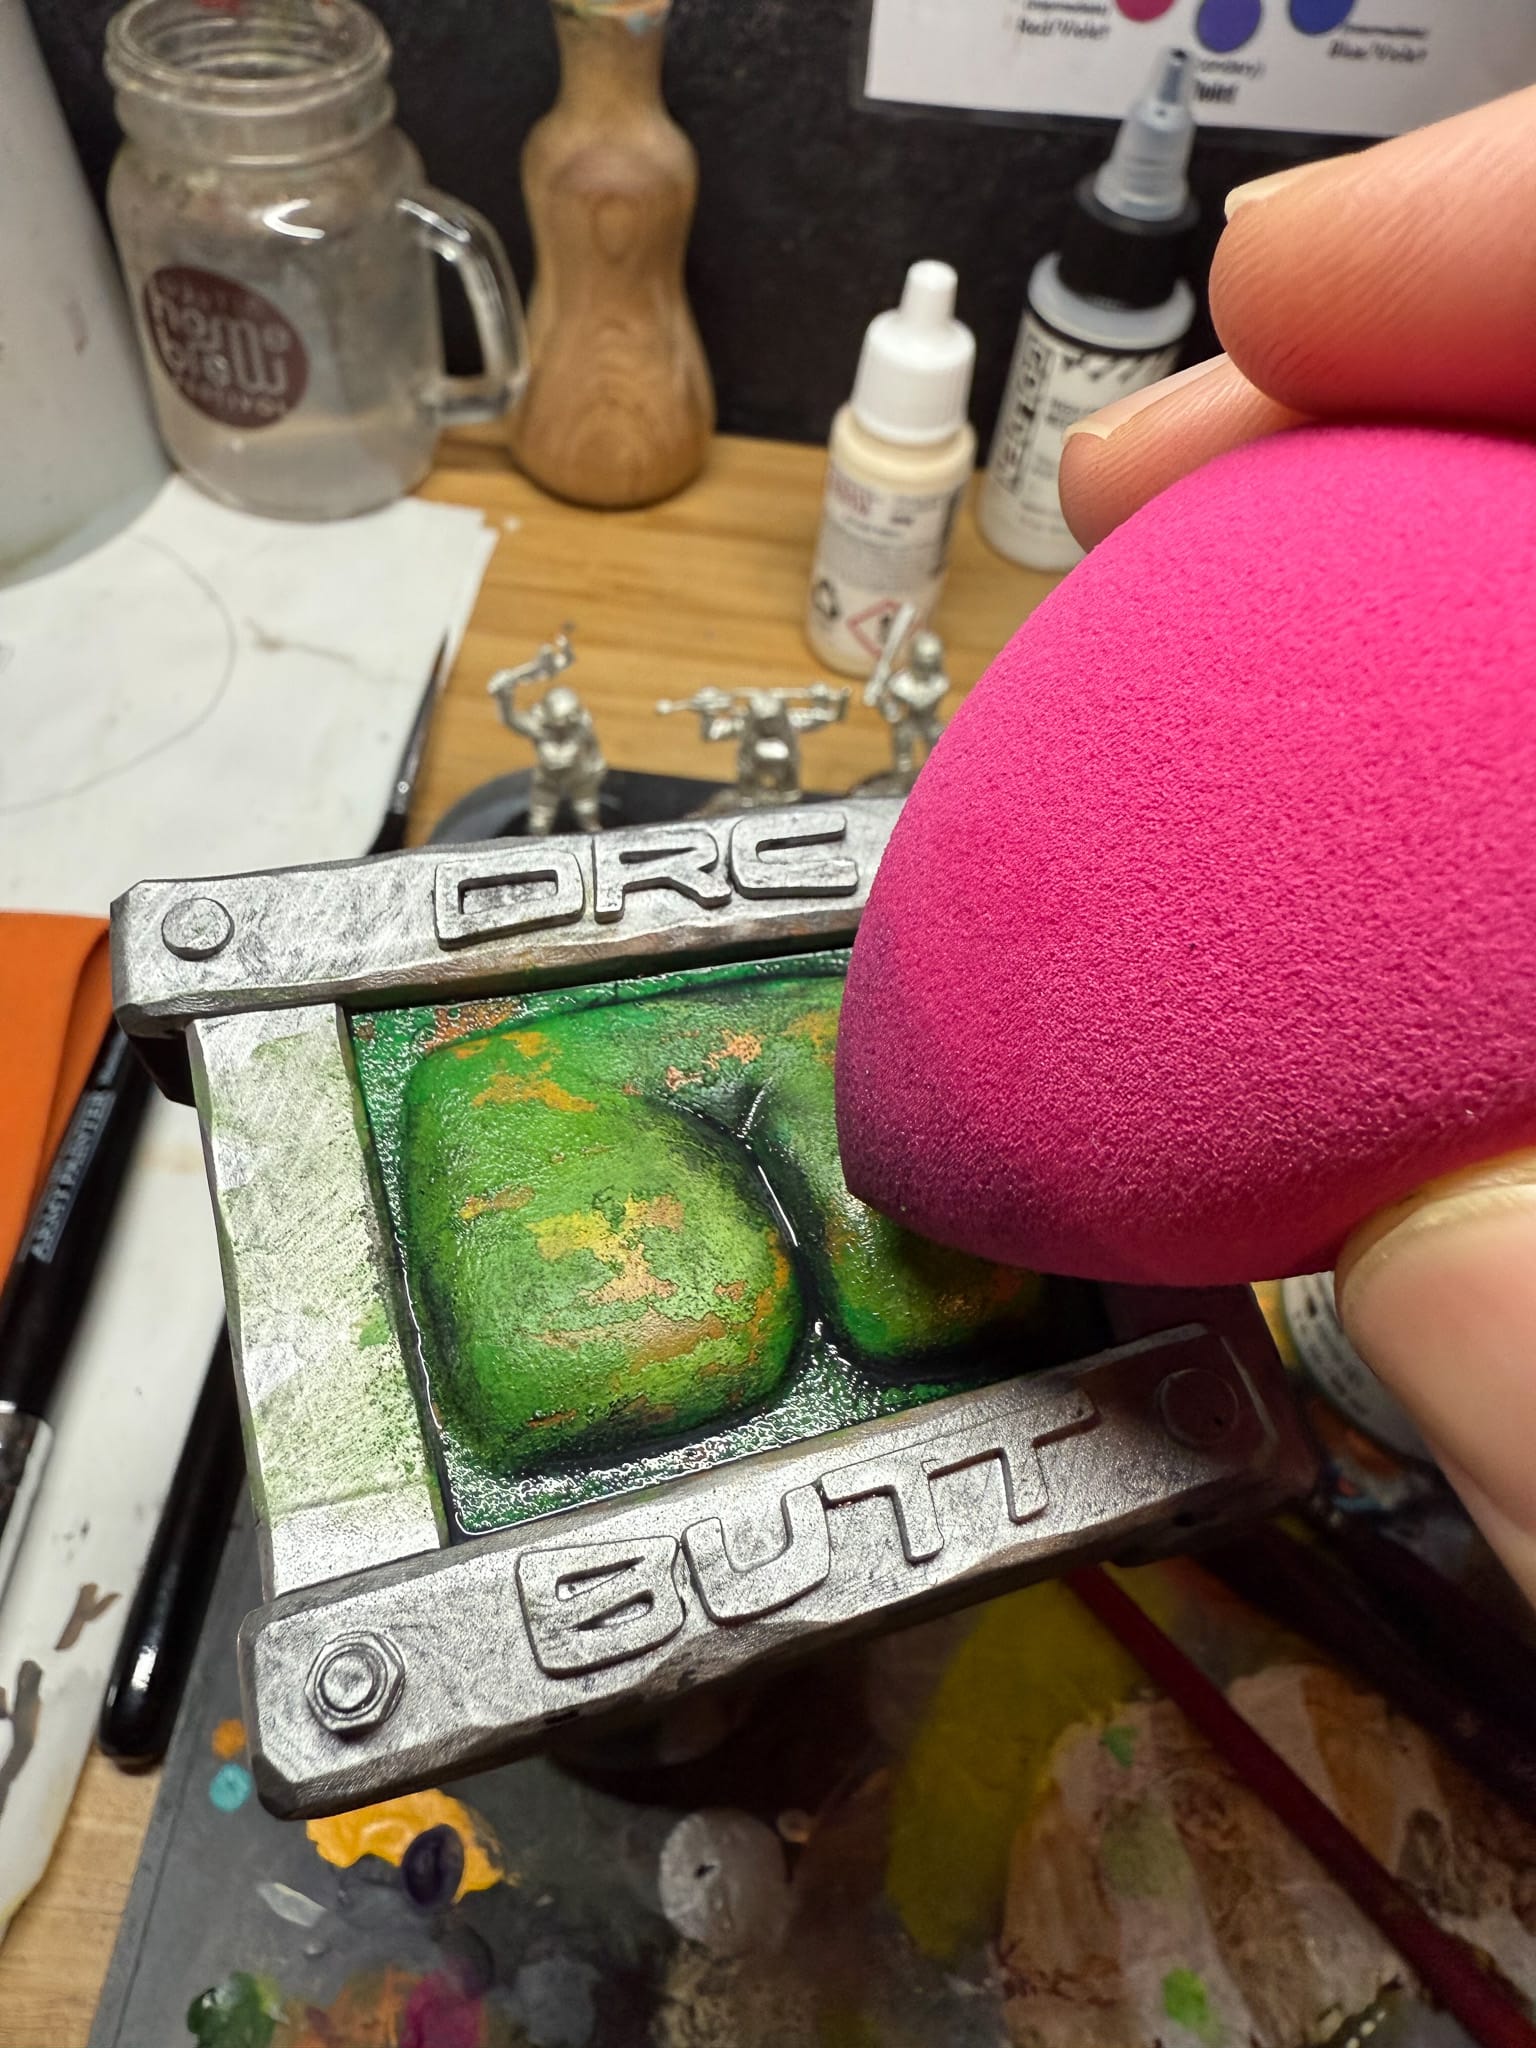
I used a stiff brush and a toothpick to make my scratches, and I was highly impressed. It worked! Perfectly well.
The grey wash is an enamel, and like all enamels, I decanted some of the thinner and used a makeup sponge to erase the wash from the highlight areas of the model.
For $13 USD, this is a pretty solid deal, and I’m glad I have this now. While I like the idea of the hairspray technique, I feel like it takes extra time, and this set saves me that time, so it gets a recommendation from me.
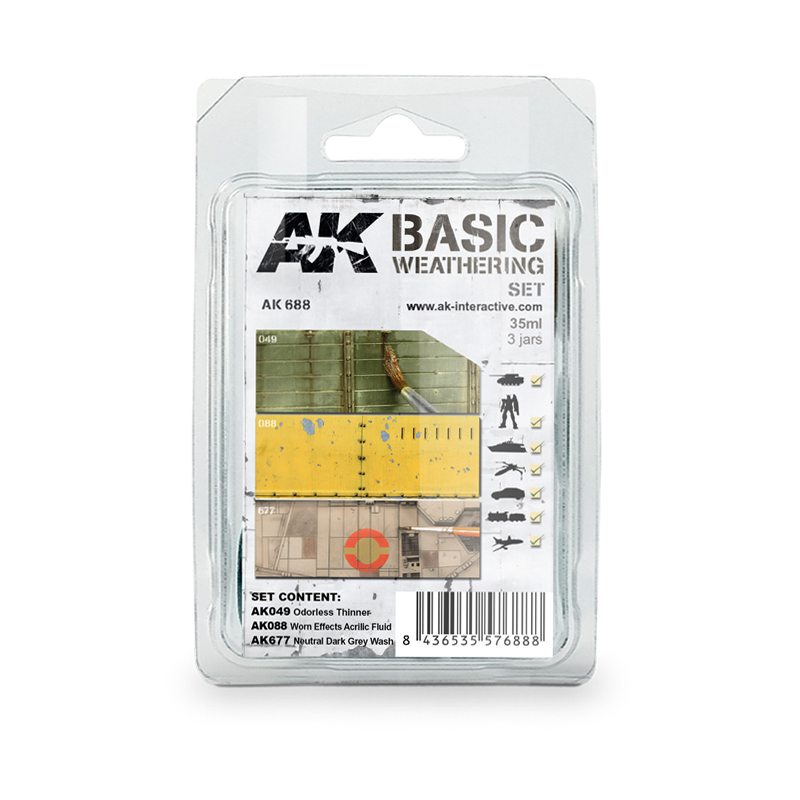
AK Interactive Basic Weathering Set
Excellent
Truly, all someone needs is the Worn Effects fluid from AK, but the rest of the set is a nice grab for the cost.
Pros
- Easy to use product
- Great package for the cost
Cons
- Some folks may want to use Hairspray
This review is based on a retail copy provided by the publisher.


