As a hobbyist reviewer and a miniature painter, every now and then I take a step back and look at the collection of models, tools, paints, and ephemera associated with this hobby, and I’m amazed. There’s seemingly a neverending line of products out there: Weathering effects, paint pens, chipping brushes, sponges, handles, wet palettes…it feels like too much sometimes.
Yet, despite the constant flood of products, I keep being surprised. While thick body acrylics aren’t a new thing in the art world, they are new to me in the context of miniature painting. I’ve spent the last week testing and experimenting with AK Interactive’s new line of Artist Dense Acrylics, and I think I’ve found a paint that really makes me happy with its flexibility, drying time, and intensity of color…but those benefits bring a different way of thinking about how paint works.
Let’s dig in.
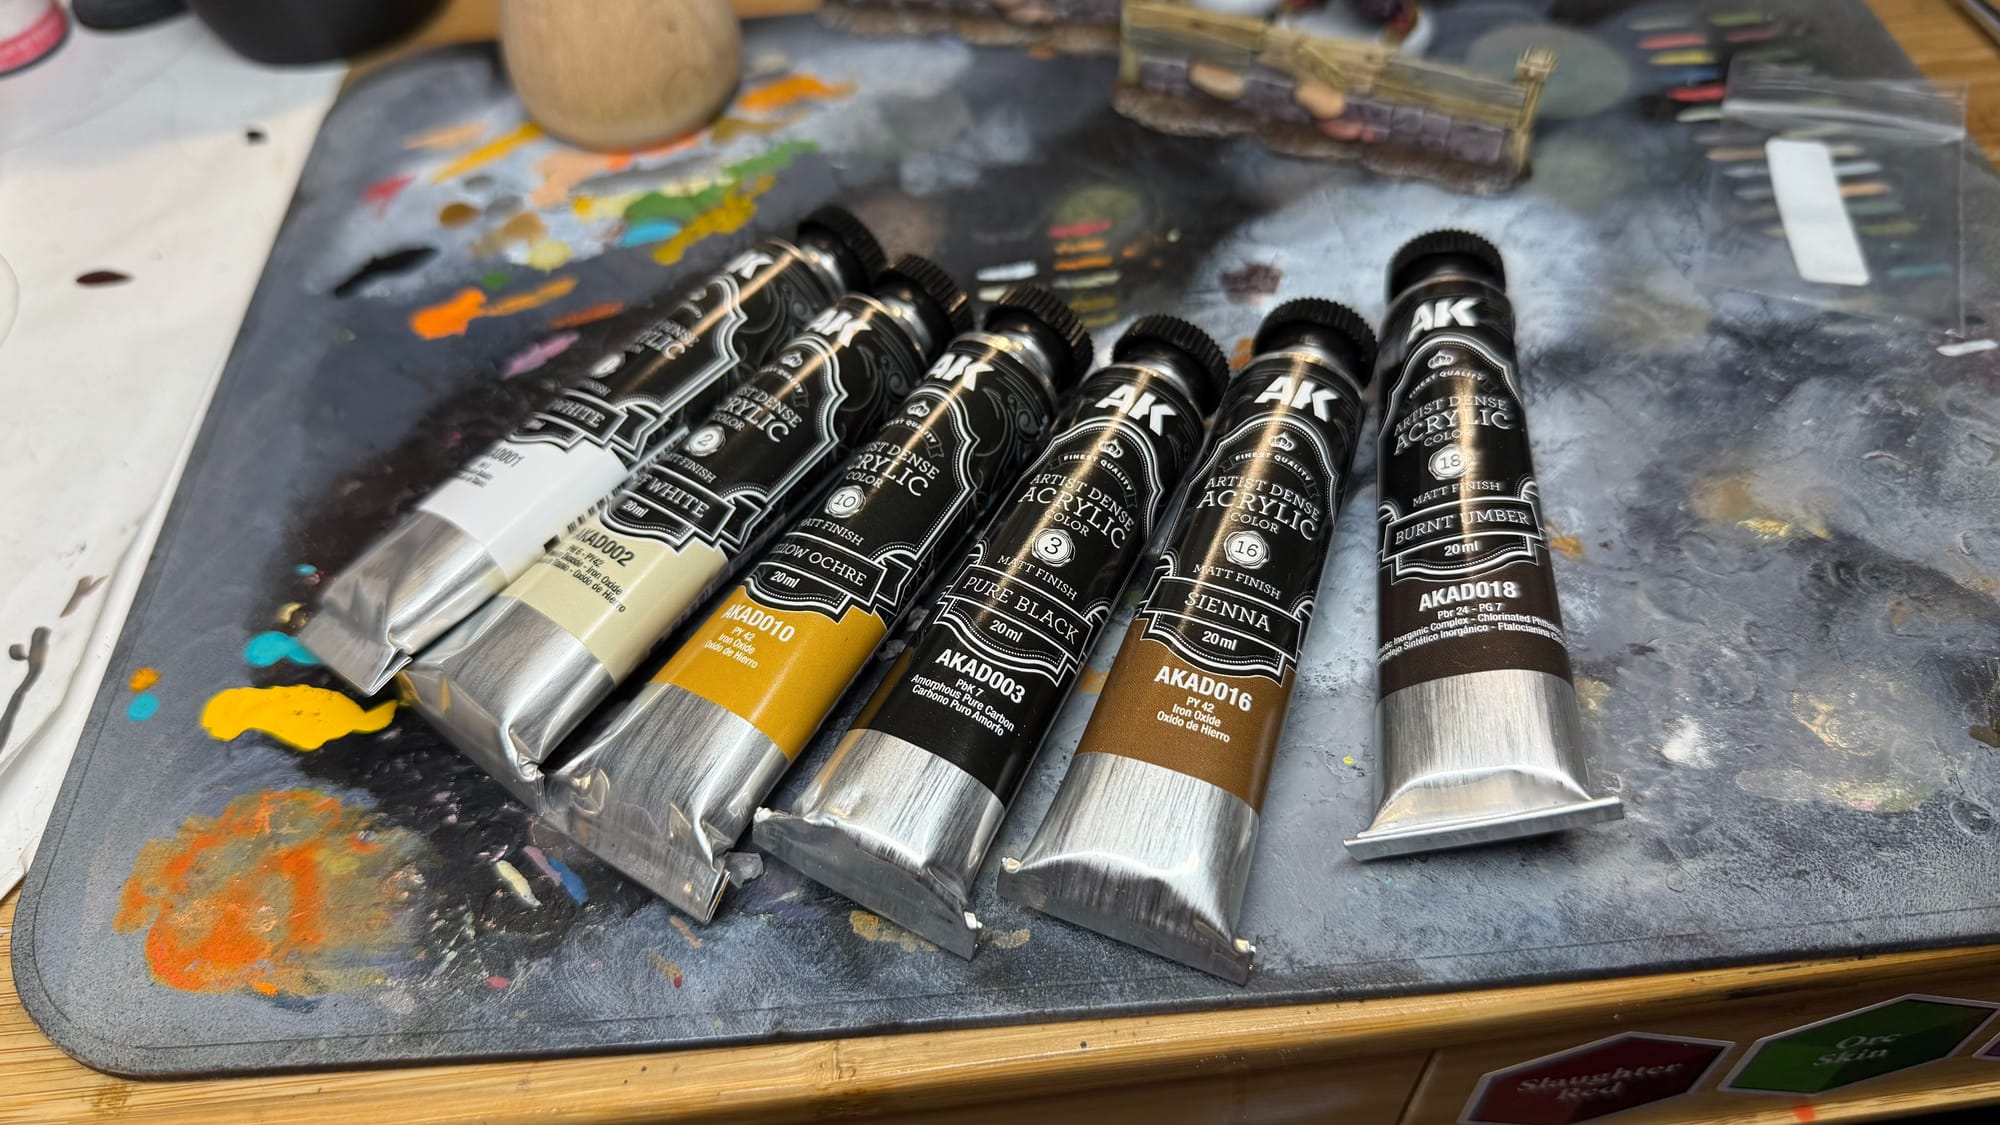
Artist Dense Acrylics are a line of extra fine, matte paints that come in the most basic of colors. In fact, there’s only 18 in the whole line. This is intentional, as these acrylics are for the most part either single or 2 pigments, which are listed conveniently on each tube. For example, Cyan as a color is made up of Titanium Dioxide (white), and Copper Phthalocyanine (a bright blue). They’re mixed in an acrylic emulsion base…think of a colorless resin that binds to pigments which then creates the paints we love. Also, don’t lick your brush. These are serious chemicals.
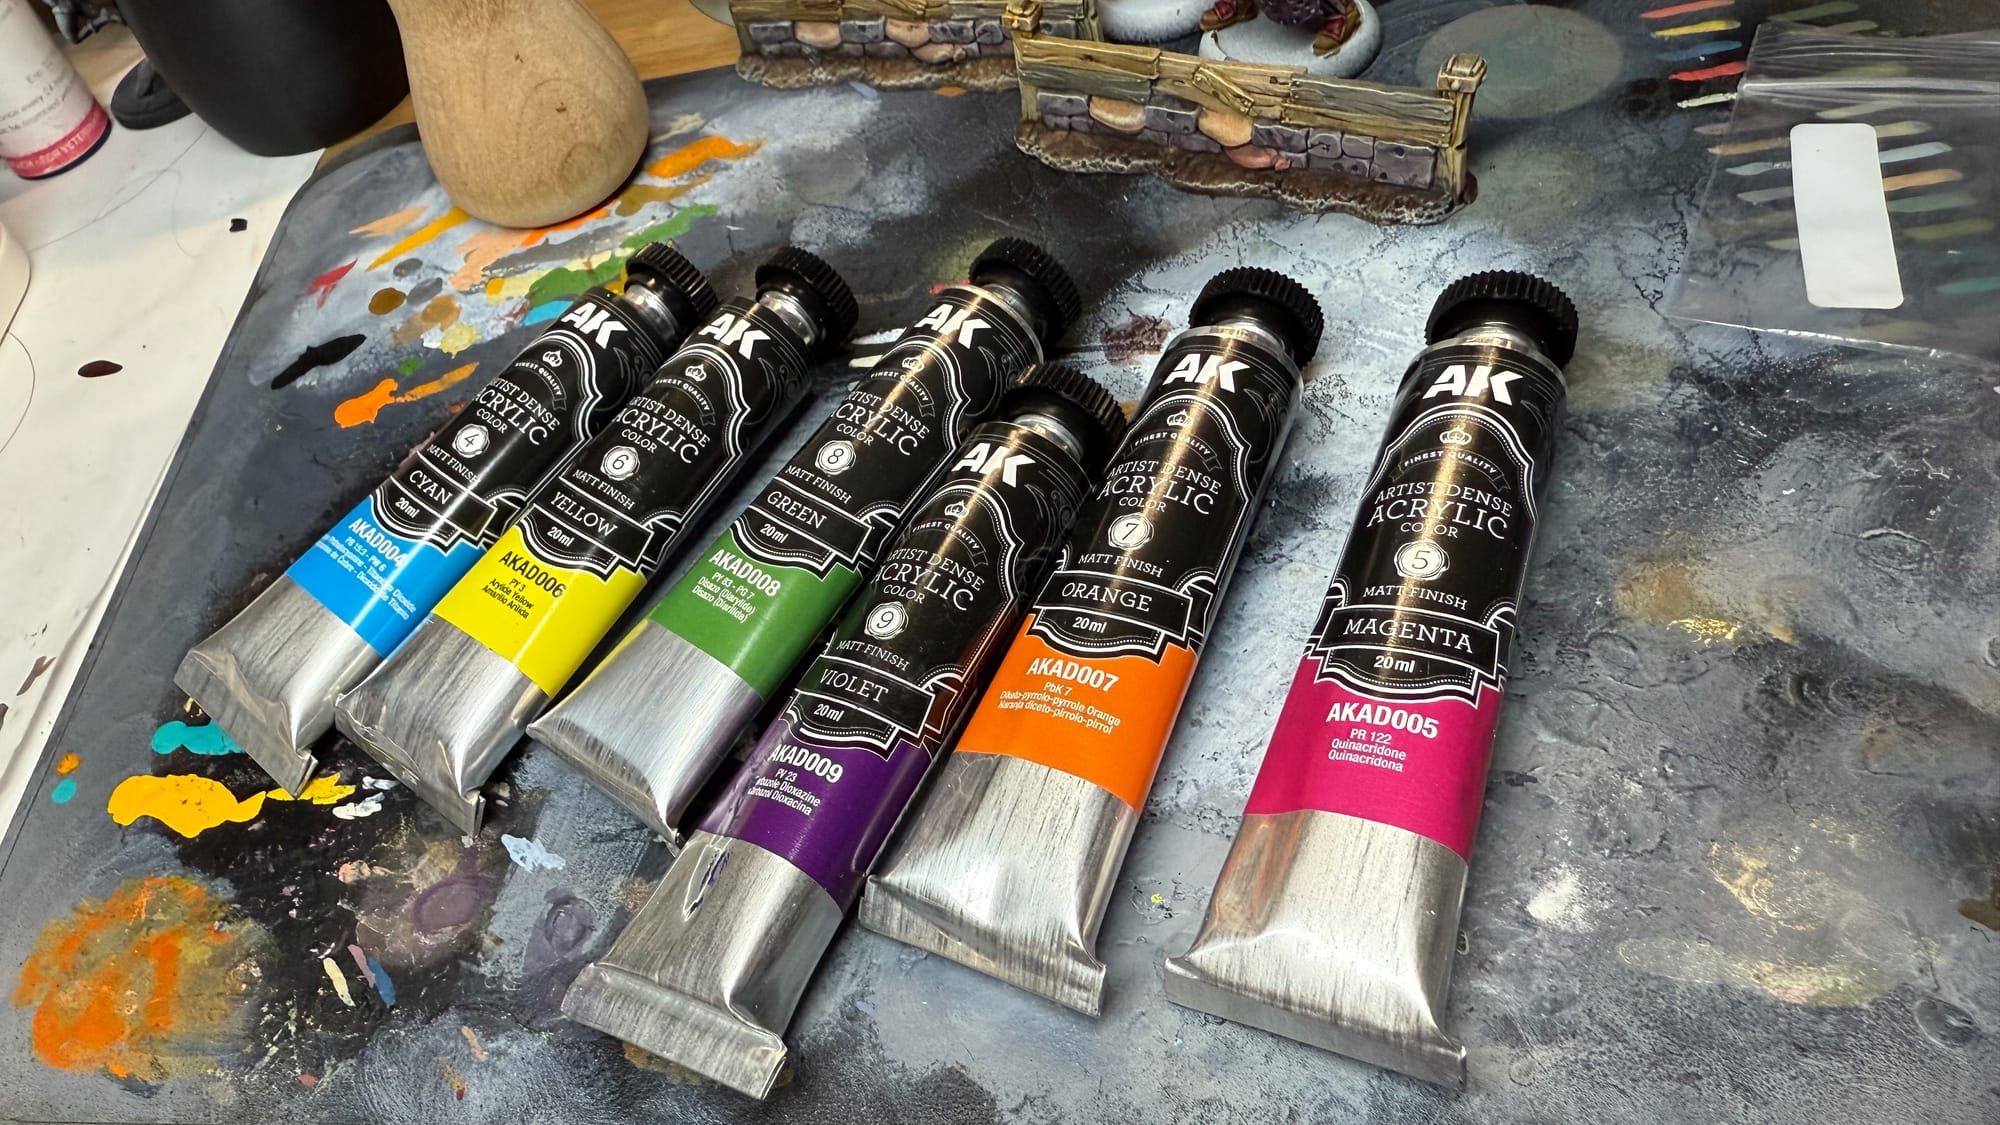
AK serves up all 18 colors in their store, which I assume you can either find or request from your local game store, but they sent me 2 packs which do a good job of gathering similar paints. I was sent the Primary/Secondary set and the Black & White set. Put these together, and you can access nearly every paint color out there. They also tossed in a bottle of the Acrylic Drying Retardant Gel, which I will say is the BEST drying retardant I’ve ever used.
Each tube of paint is 20ml, which may make you scoff at first because that’s roughly $4.36 per paint…something Alec and I will be exploring in a future article, because once again, there’s a lot of heavy body acrylics out there So which is best for your buck? Check back in the future for that article.
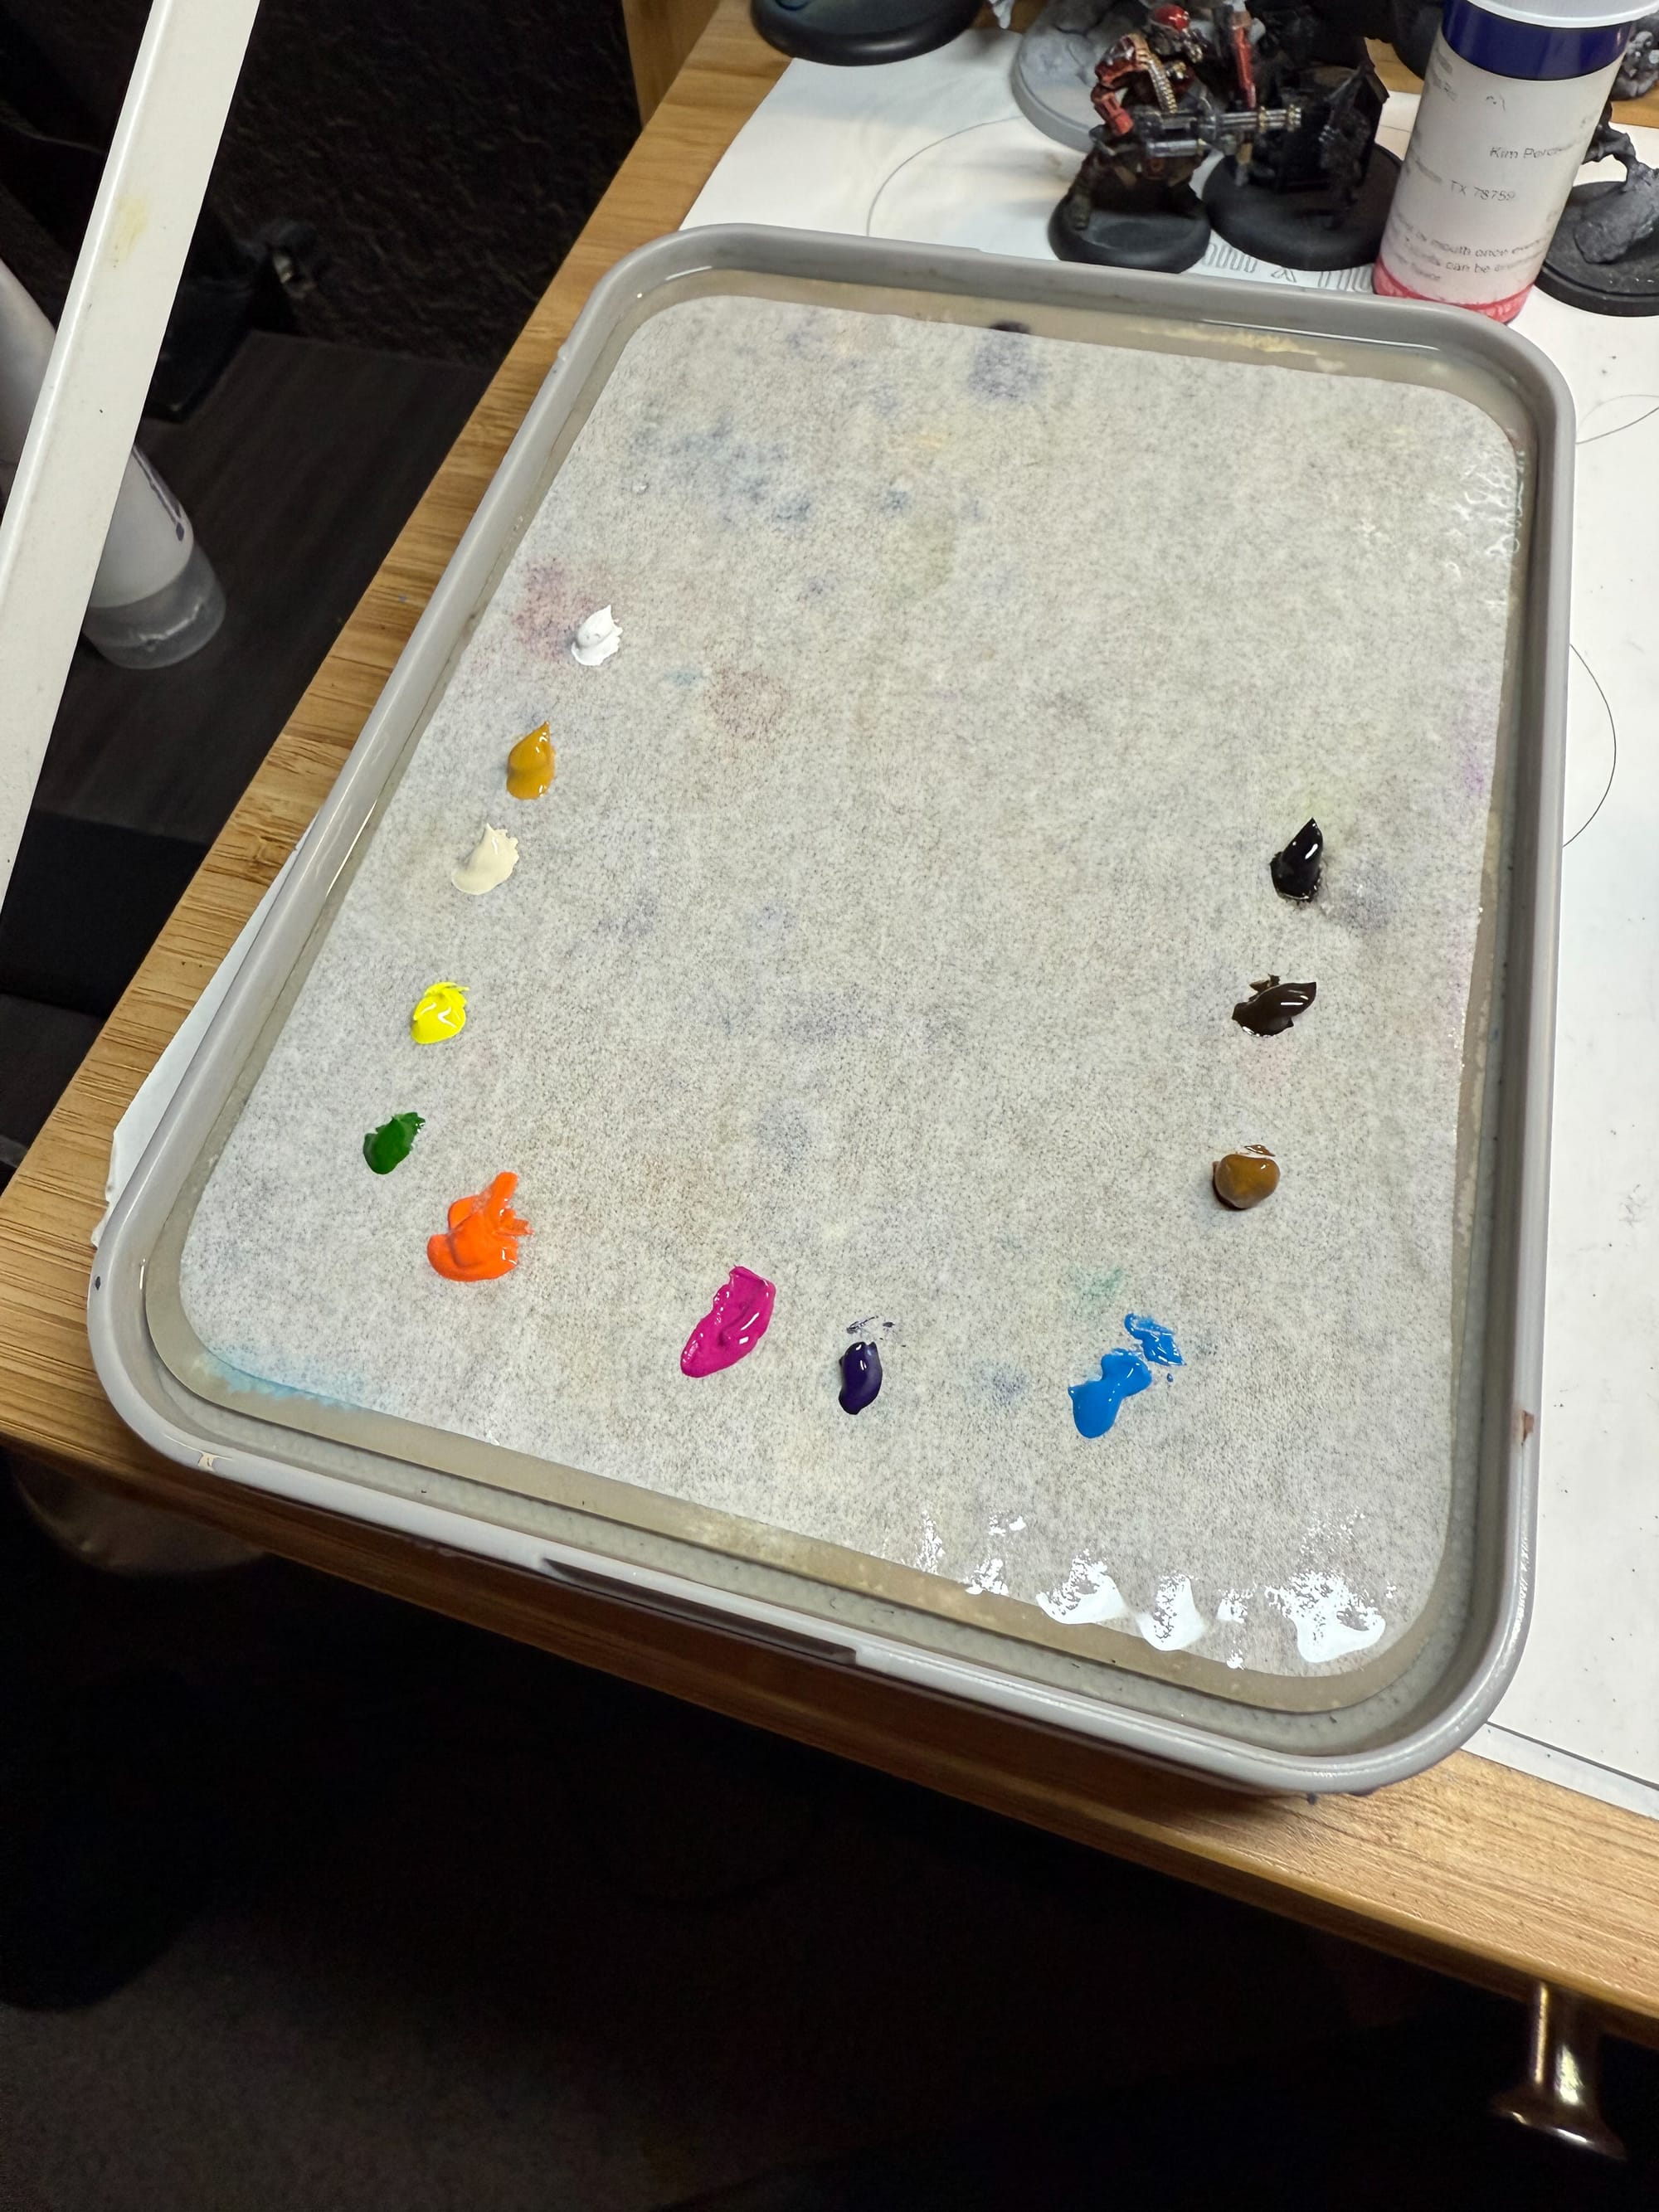
This paint stays wet over the course of multiple sessions.
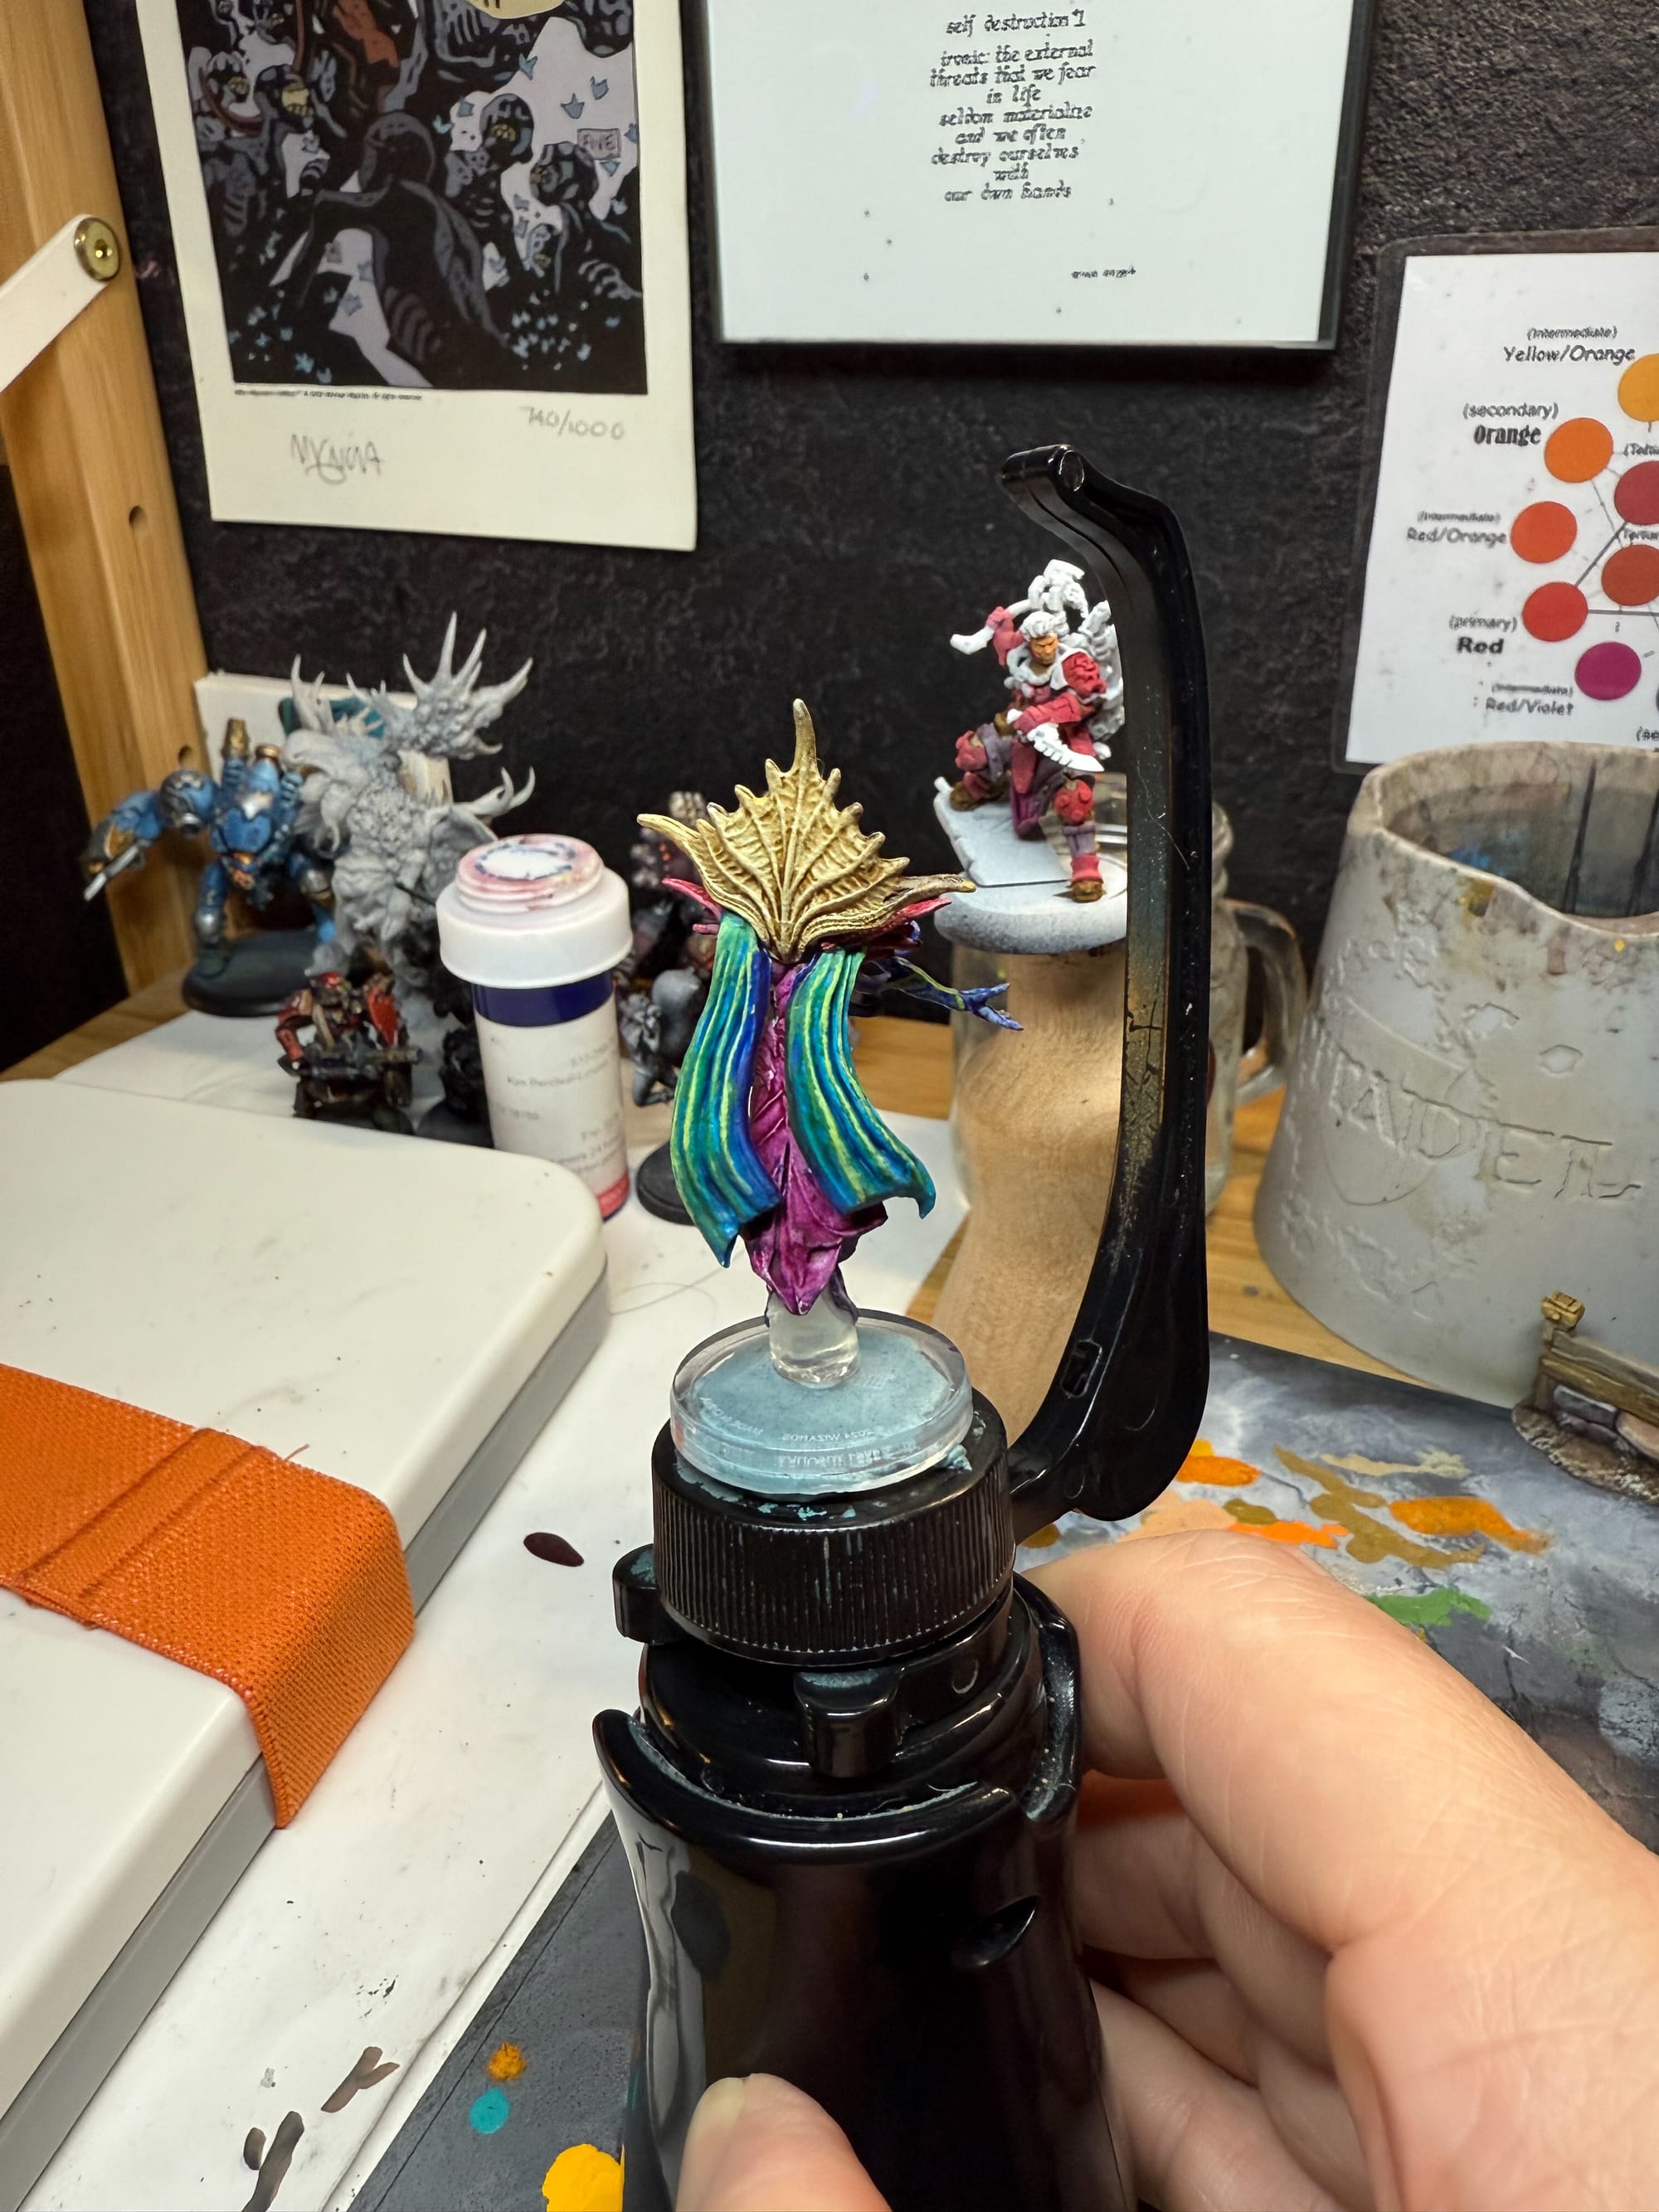
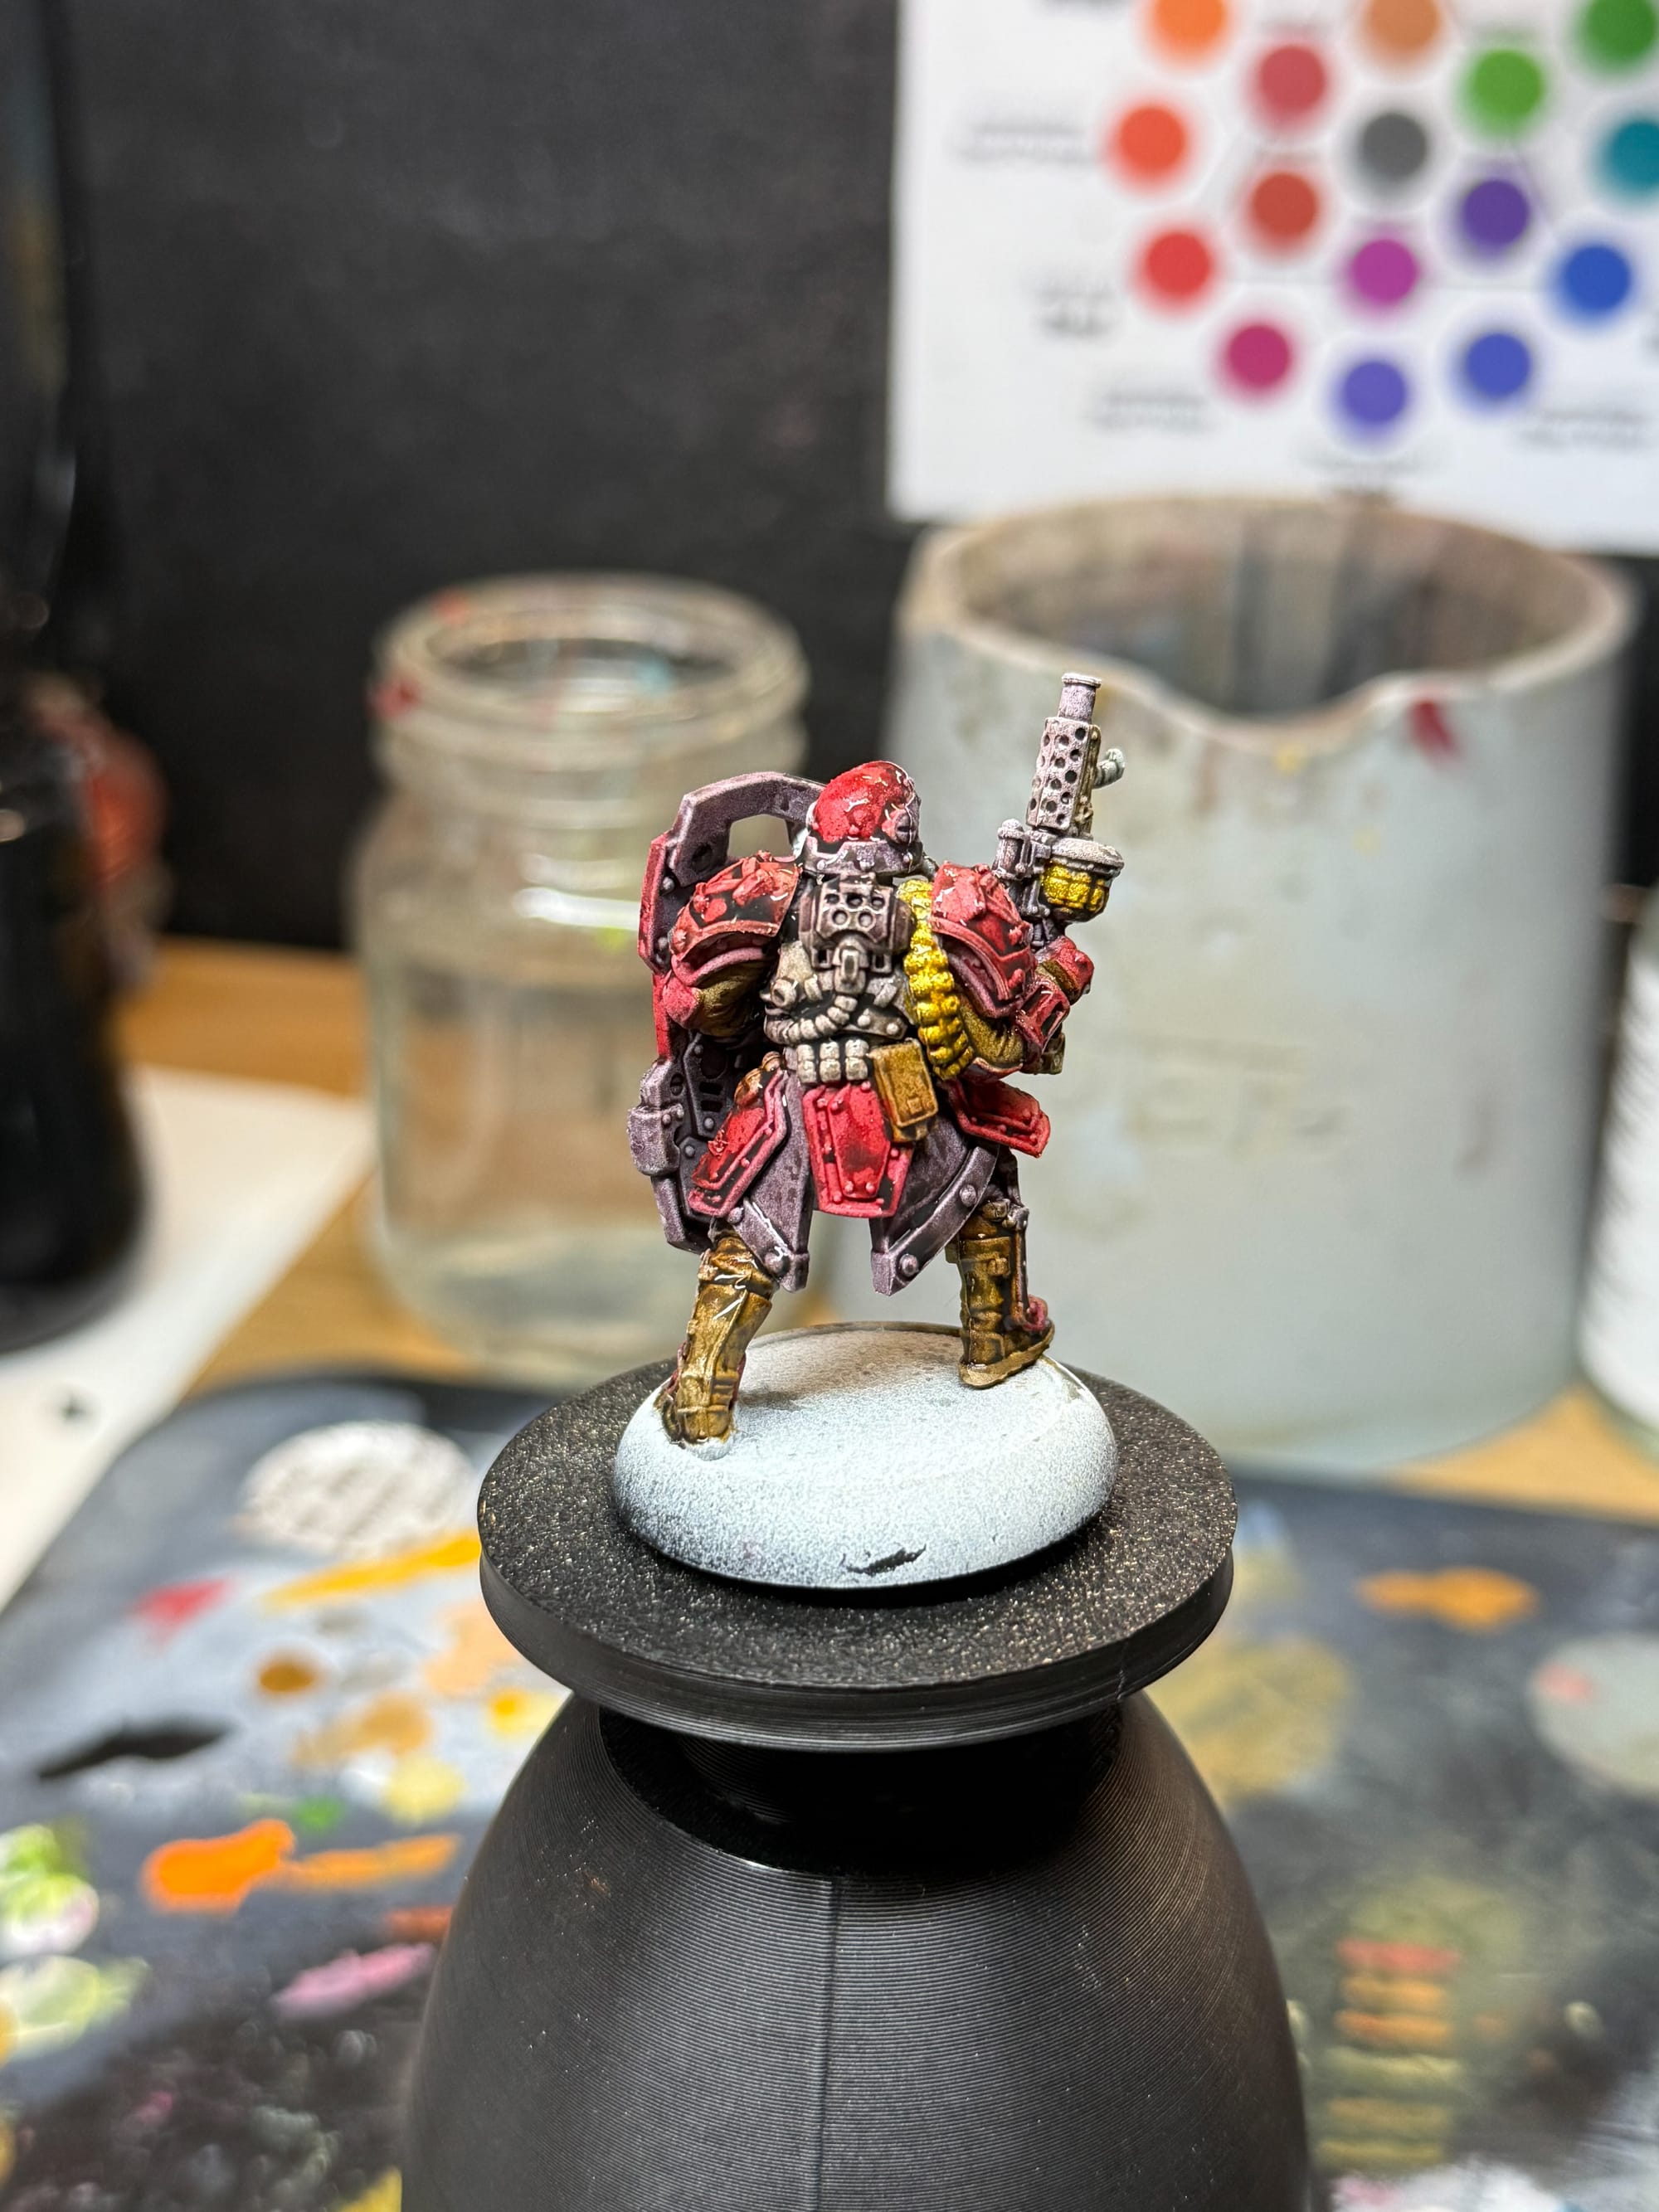
Onto the paints! As you can see in the image, the paint comes out thick and bright. For my tests, I used these paints in a wet palette and a dry palette, experimenting with both traditional layering, drybrushing, and lastly creating washes to see how these paints react in all of the usual situations painters find themselves in. I would assume that provided the correct airbrush setup and thinners, these paints would operate flawlessly…once again, due to the nature of the paints being just medium + pigment…no additives to get in the way.
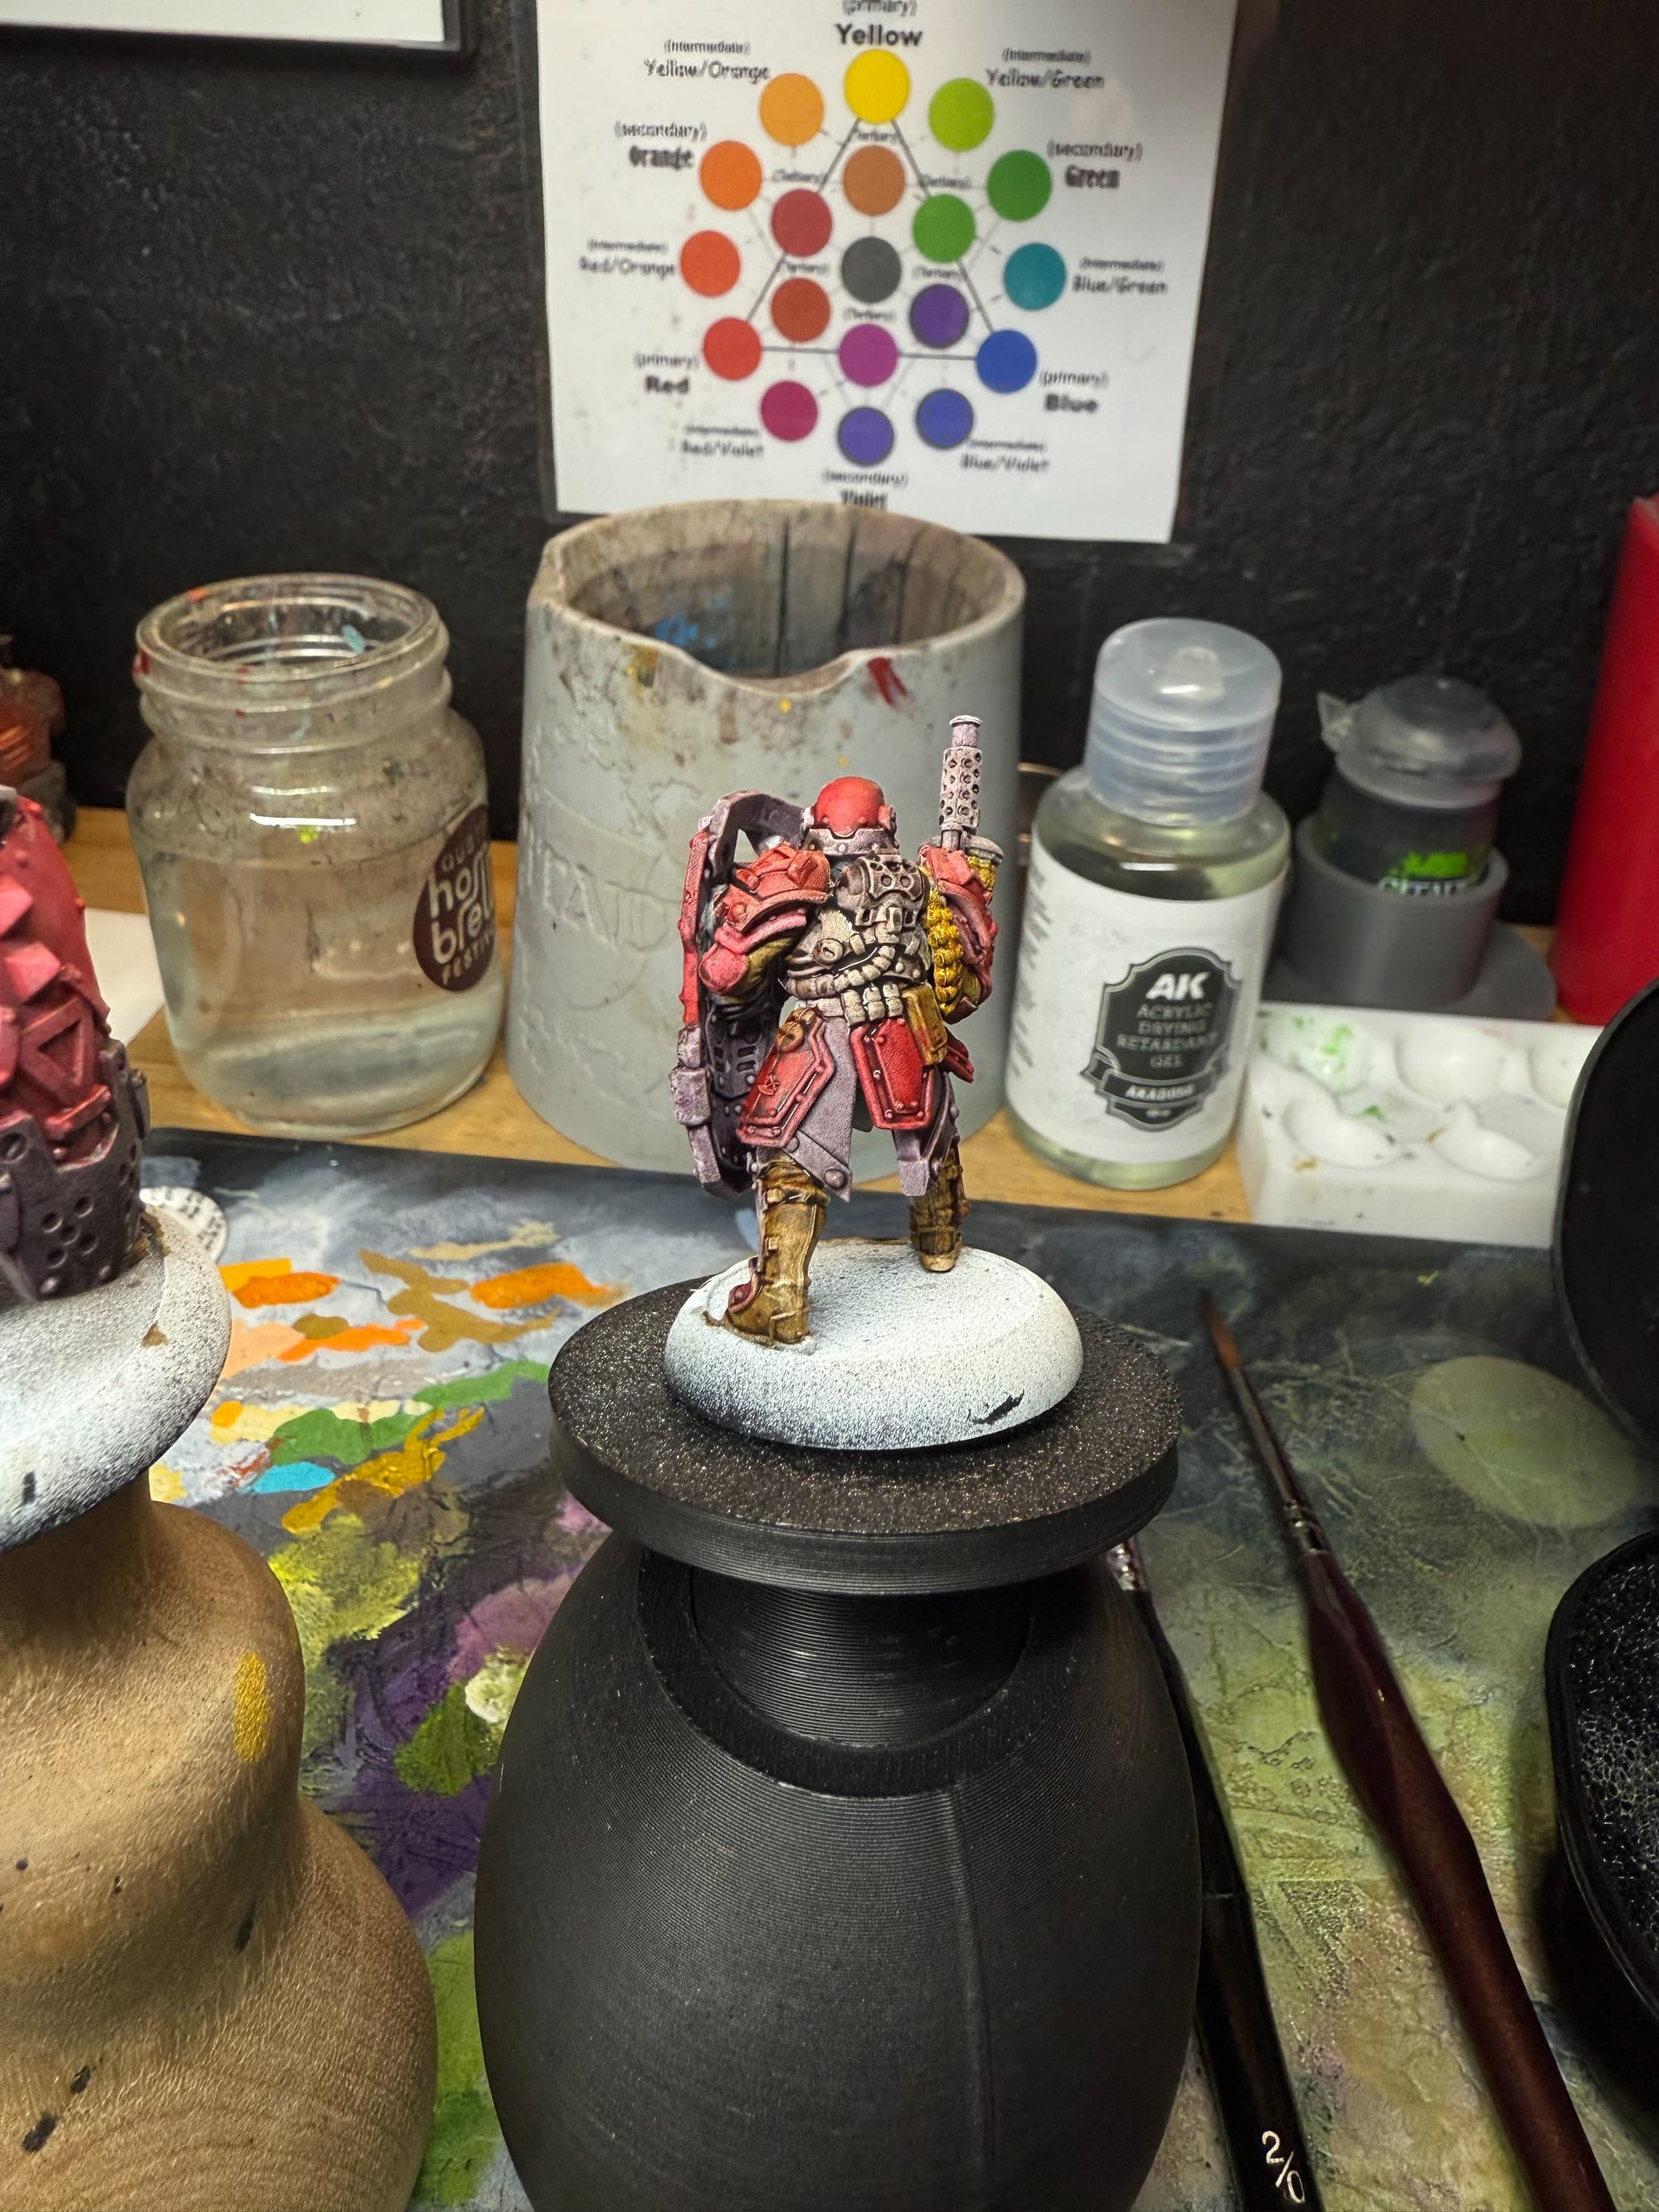
Drying time in a wet palette is ridiculous. I put paint down and nearly a week later, I can still reactivate the paint with a little bit of water. On the dry palette, it was another story. Because of the thickness of the paint, I very quickly overloaded my drybrush, so I suggest starting with a damp brush, and really make sure to brush the majority of the paint off the brush using your texture/dry palette. Trust me, there will be more than enough to accomplish your job. As you can see, I worked with several models. Our Warmachine and Mind Flayer returned from the Quick Gen review (I really wanted to see how these paints layer up) and I brought out a fun new tool for the drybrushing: a texture palette by Taro.
Traditional layering
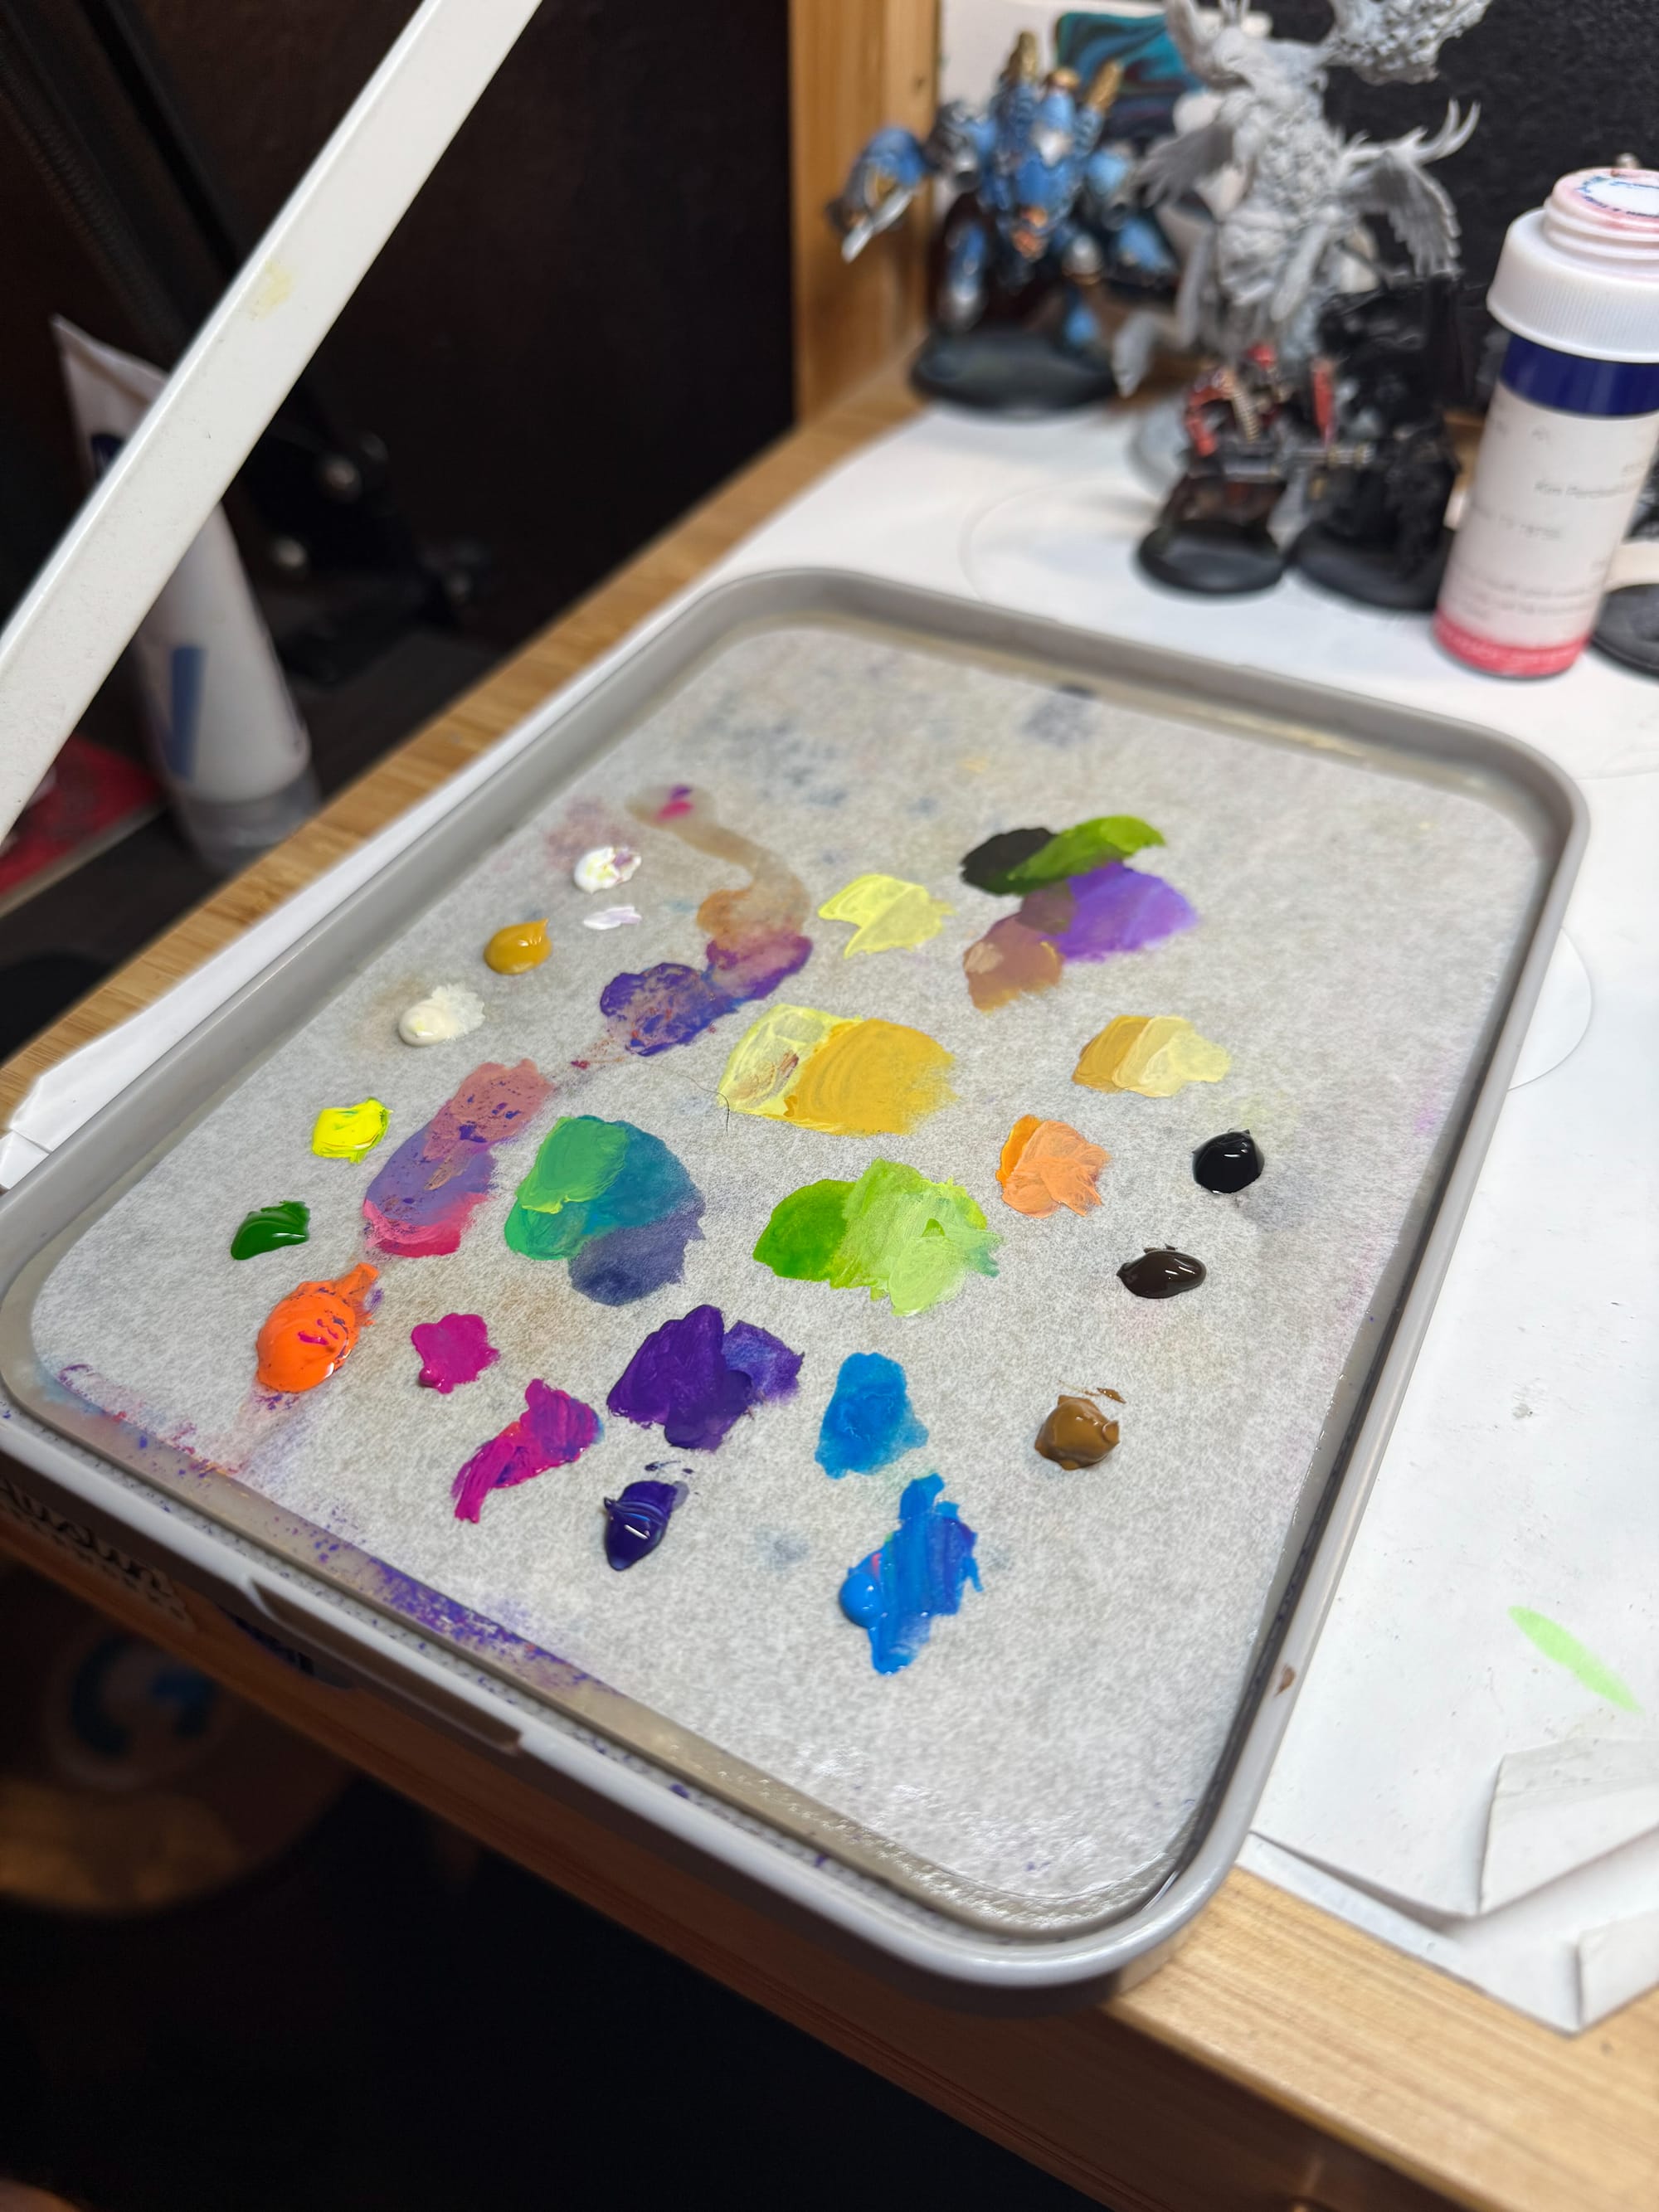
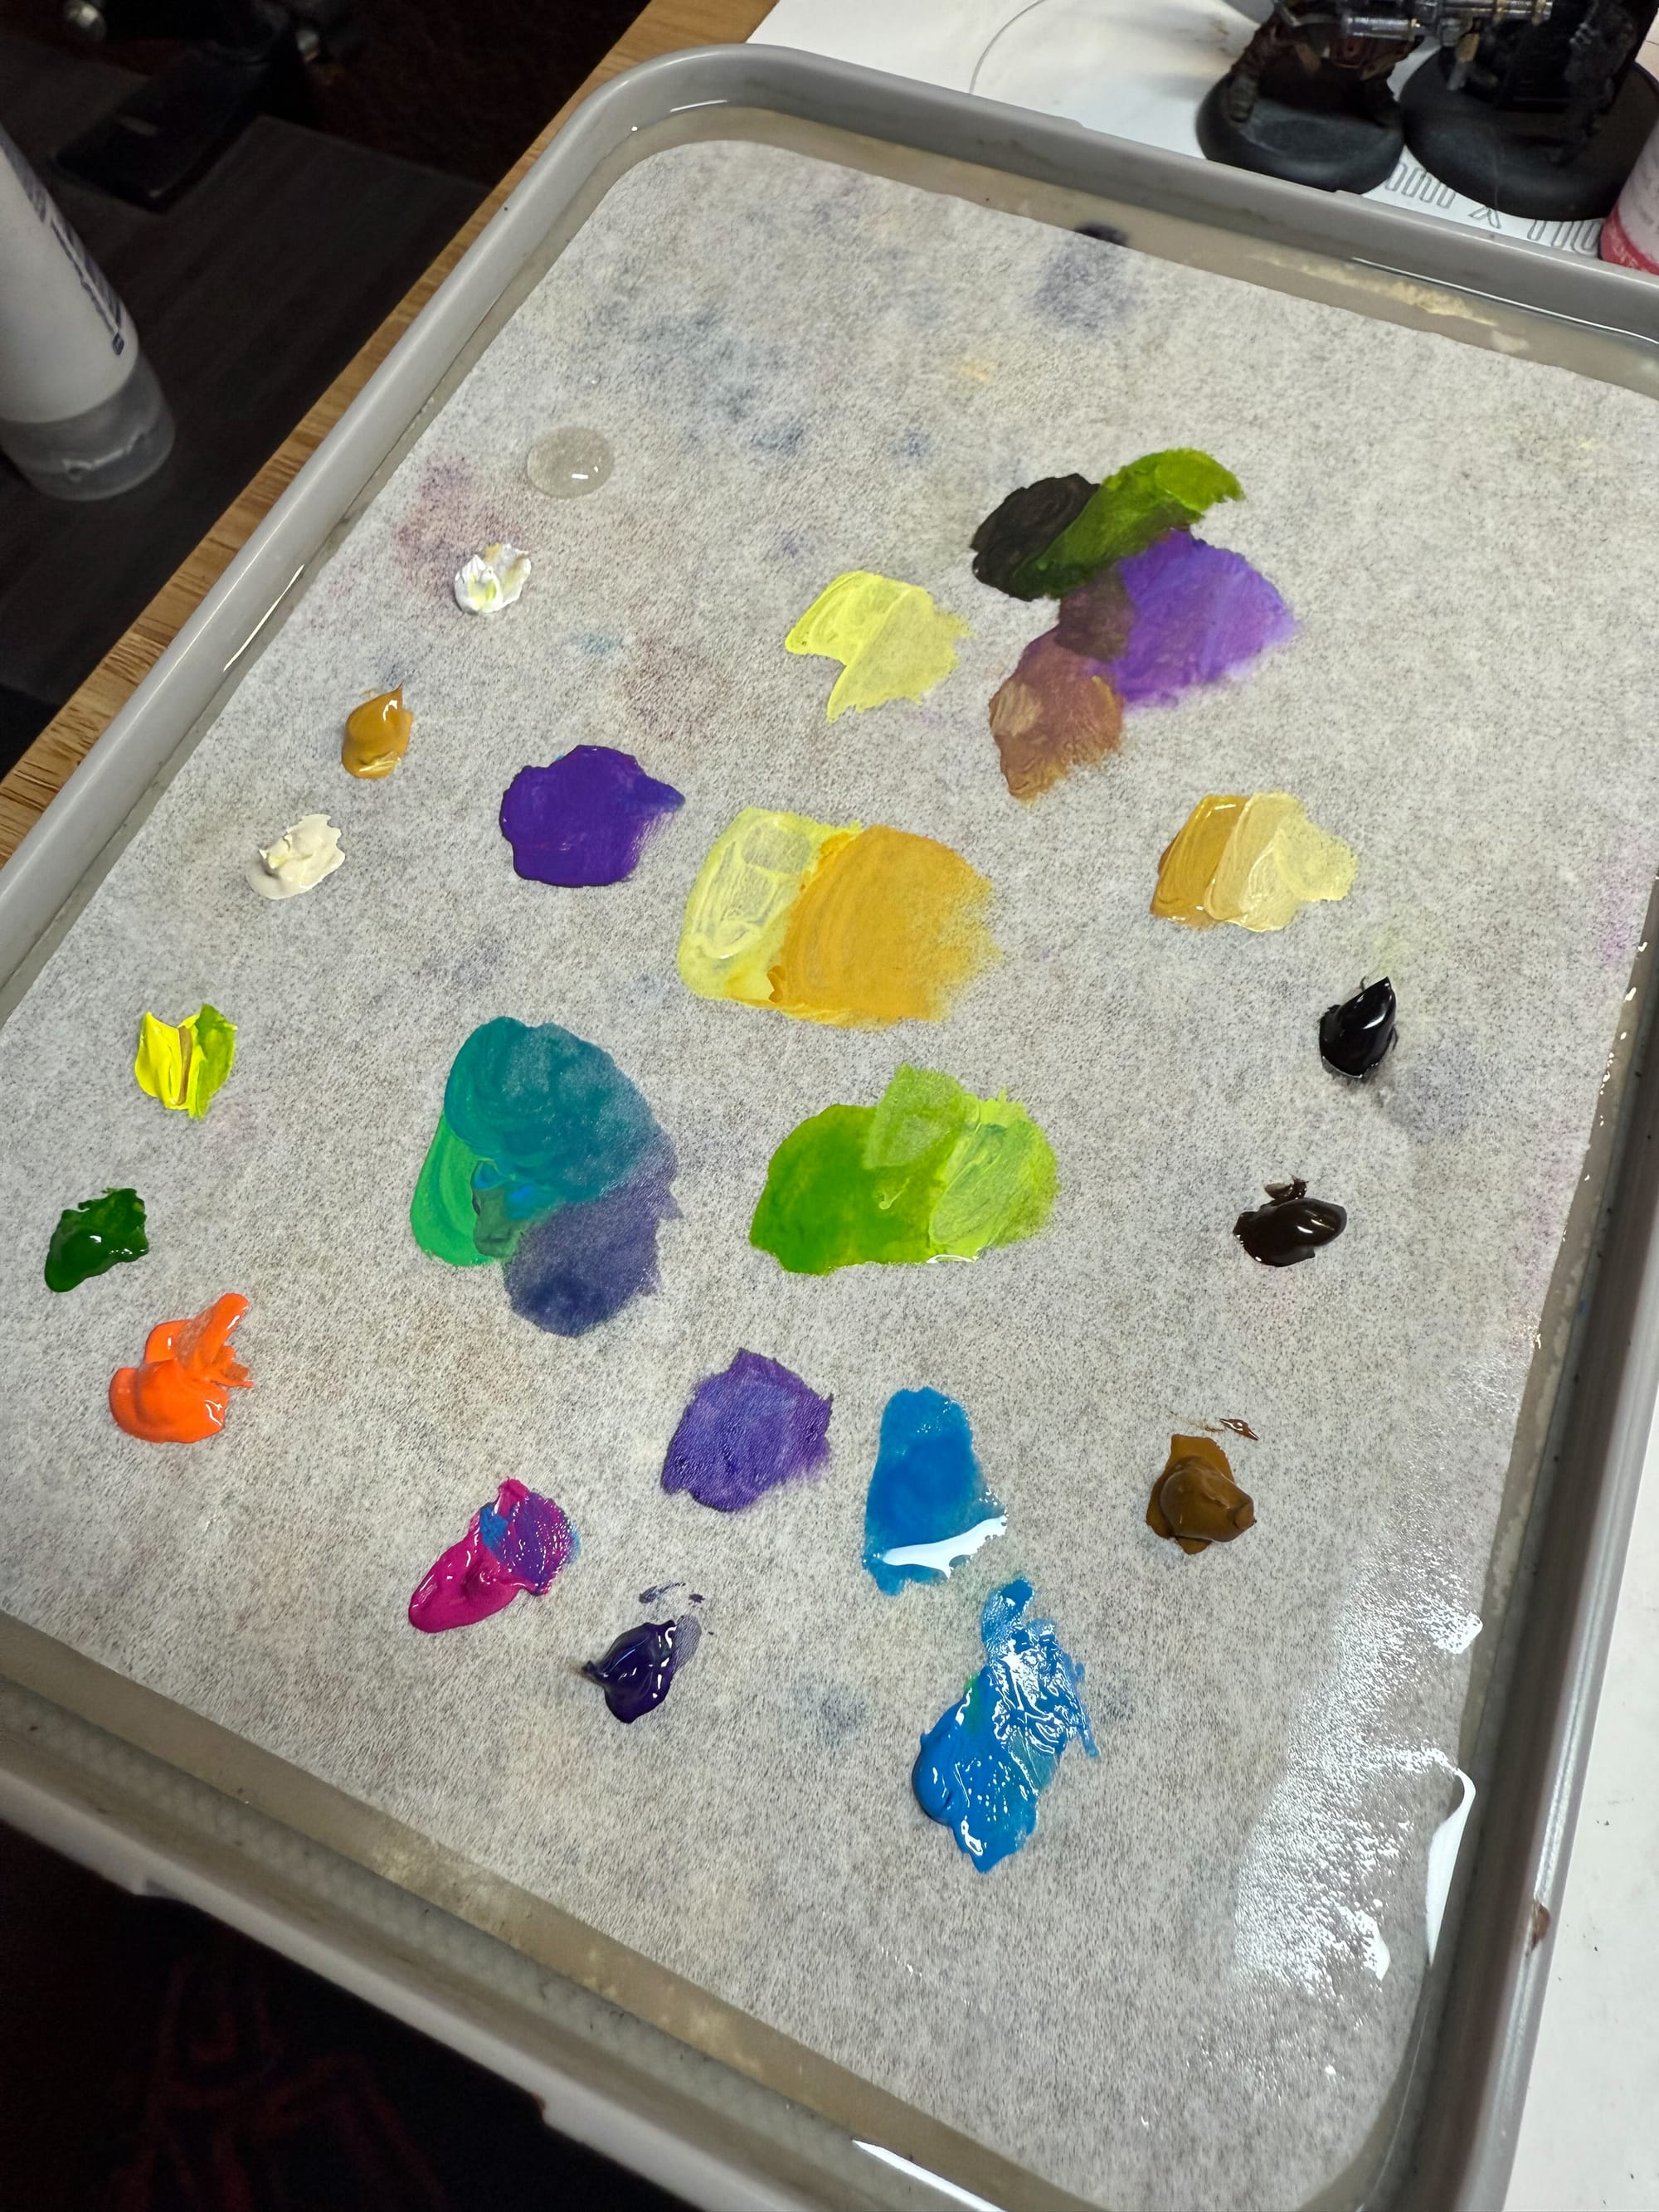
Paints blend beautifully together, giving you expert control.
These paints layer and wet blend so well, I finally felt that I had unlocked one of the secrets of miniature painting. As you can see in both the palette and the backside of the Mind Flayer, I was able to blend from violet/magenta all the way to greenish/yellow, hitting teals, cyans, whites all throughout. This work took a few passes, as I learned a few things…
1. This paint can reactivate quickly. This is a blessing and a curse, as you can put a lot of paint on the model and really burnish and blend it into recesses and peaks. However, if you do too much, you will remove paint layers, including the layers below.
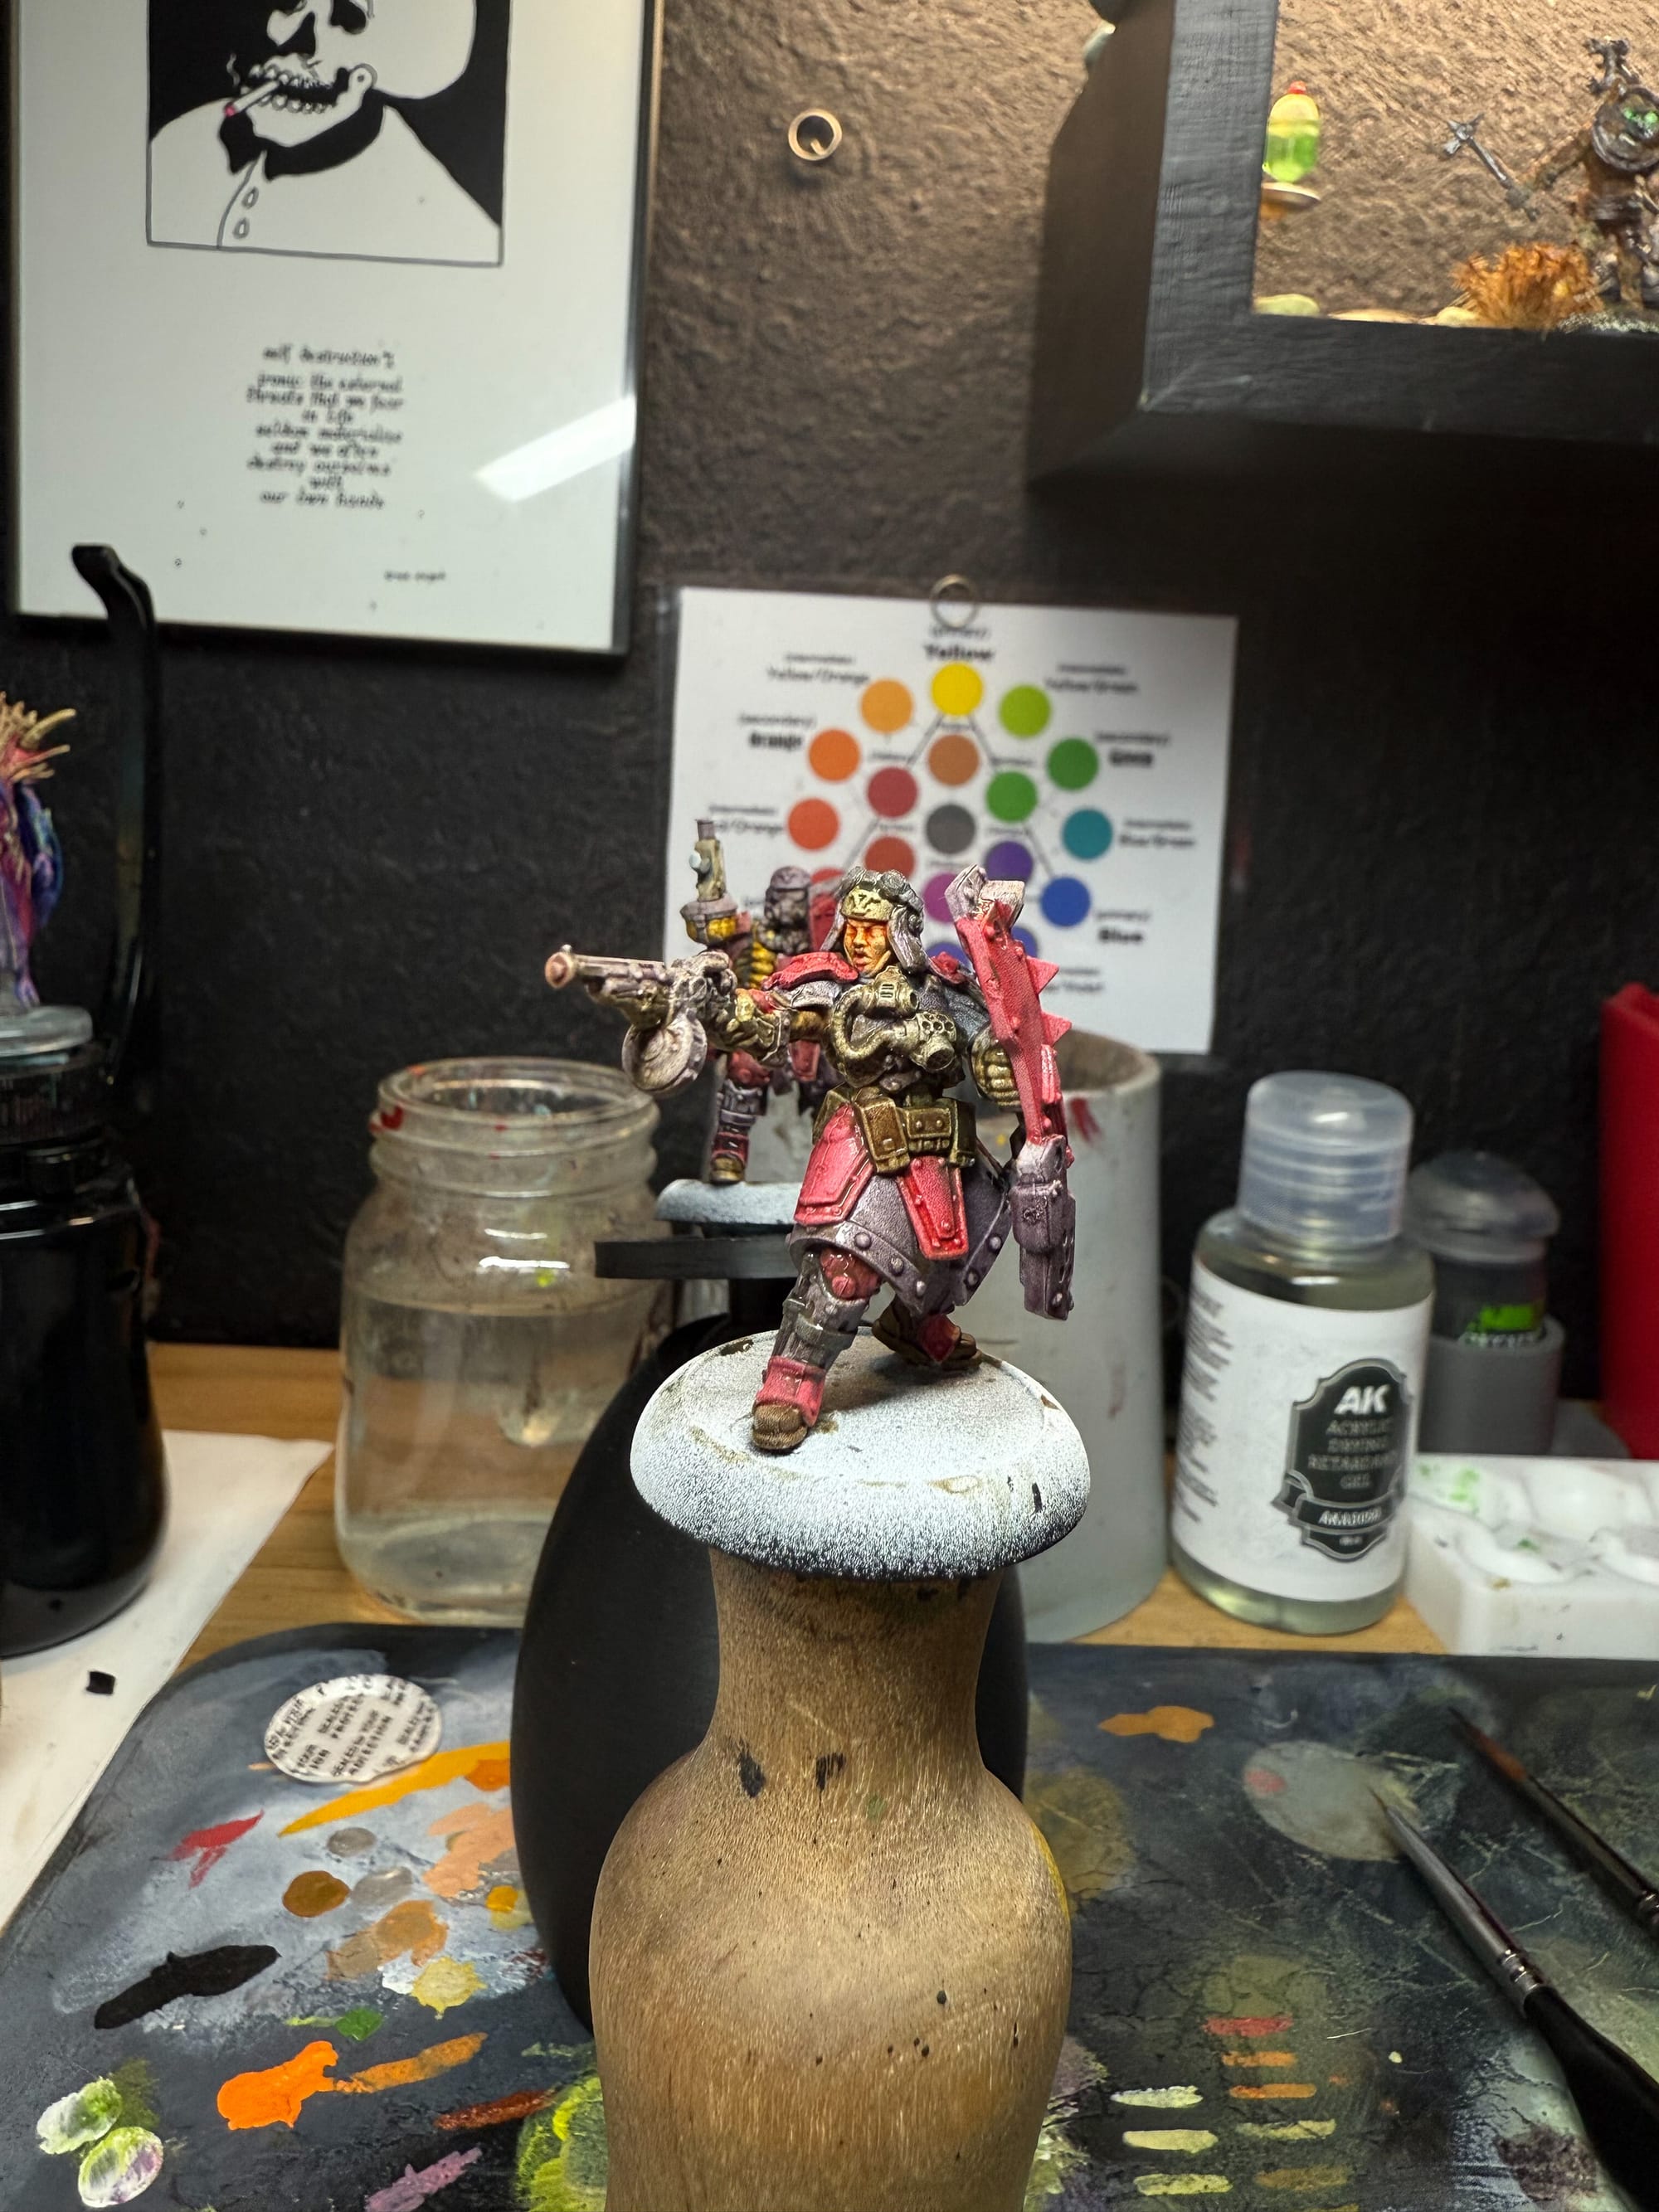
2. You really need to understand color theory. I have a color chart in front of my paint station for a reason, and I relied on it heavily with these paints. Understanding that blending yellow and blue can give you a real solid green, then adding white to it will desaturate vs. starting with green and adding yellow for vibrancy will help you immensely as a painter. Also, blending 3 pigments together normally starts to give you browns.
3. Washes and glazes are effortless, but can get messy quickly. A reason why Citadel shades tend to be really good is because they are a great mixture of pigment, binder, medium, and other additives, which makes them run into recesses perfectly. When you’re making your own, you either use a wash medium (I used Monument’s, as I really love the working time), or water (which I do not recommend, as it breaks apart pigment).
These are somewhat more advanced concepts, so I think the person reading this review who just wants to paint up a Space Wolf army might want to look elsewhere. But, if you’re looking to add depth, have more control over your paint, especially the display and competitive painters out there…these paints help unlock those skills and push you to the next level.
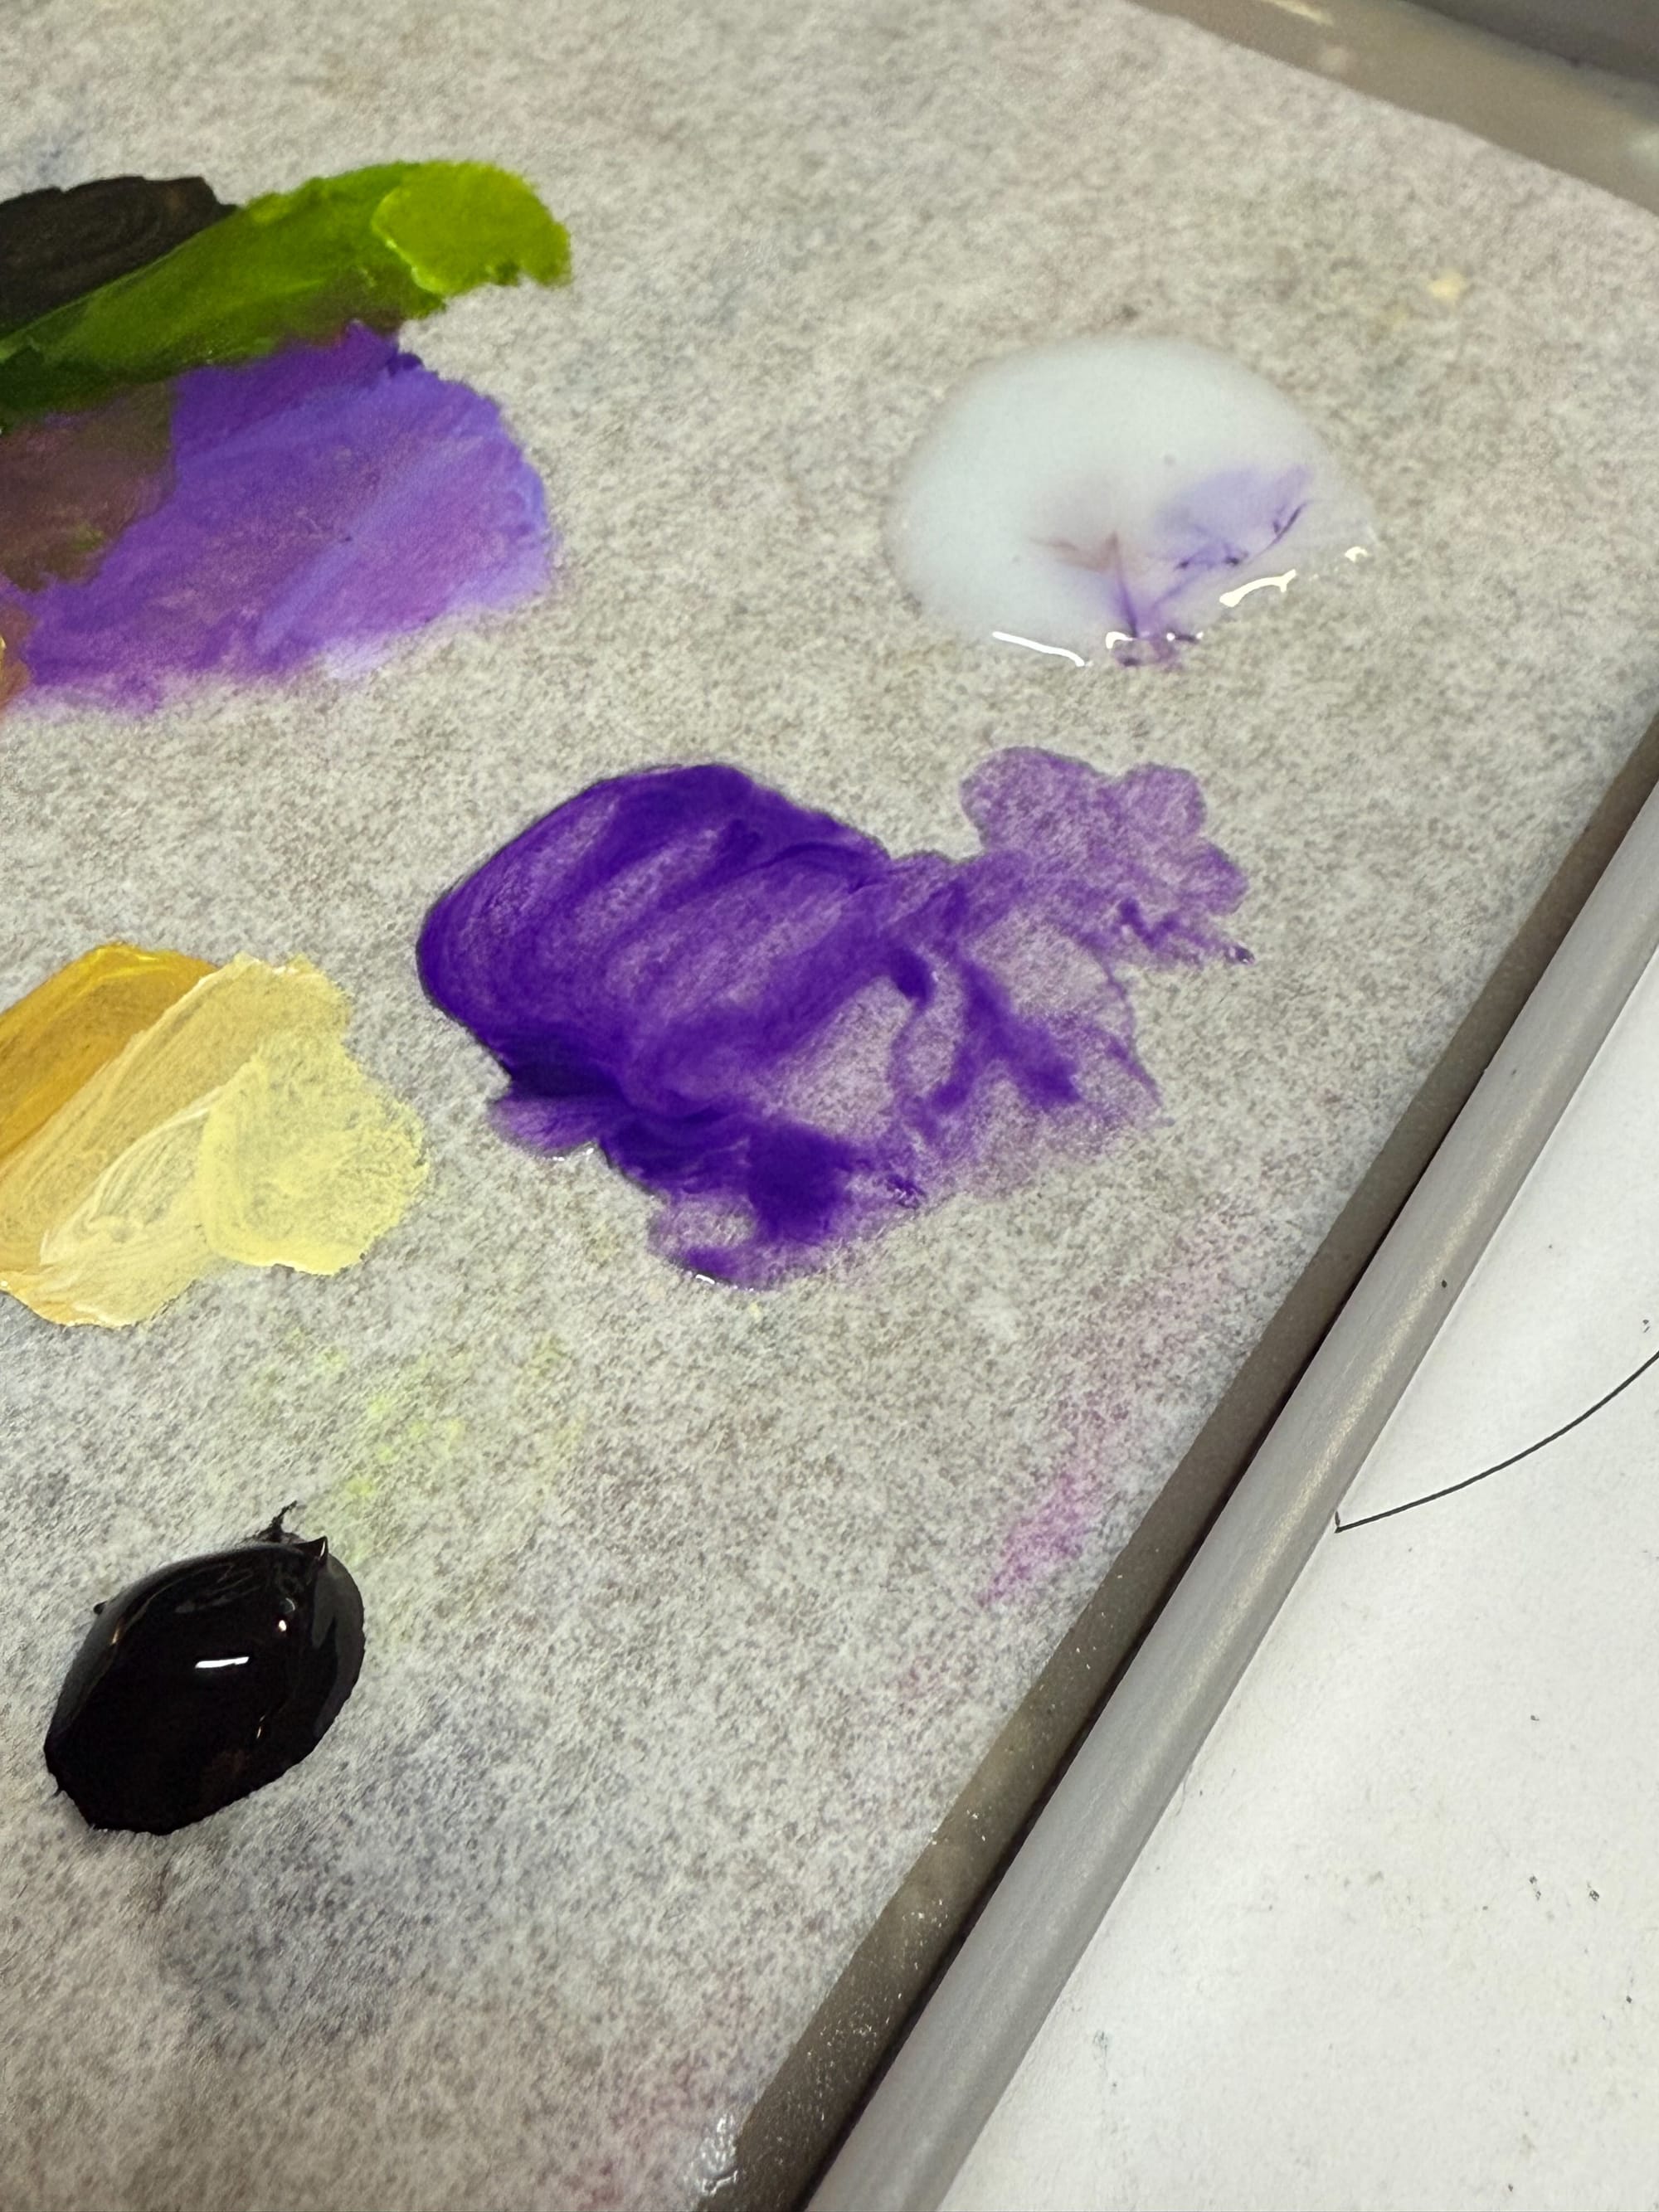
The paints can also turn into washes with no pigment loss
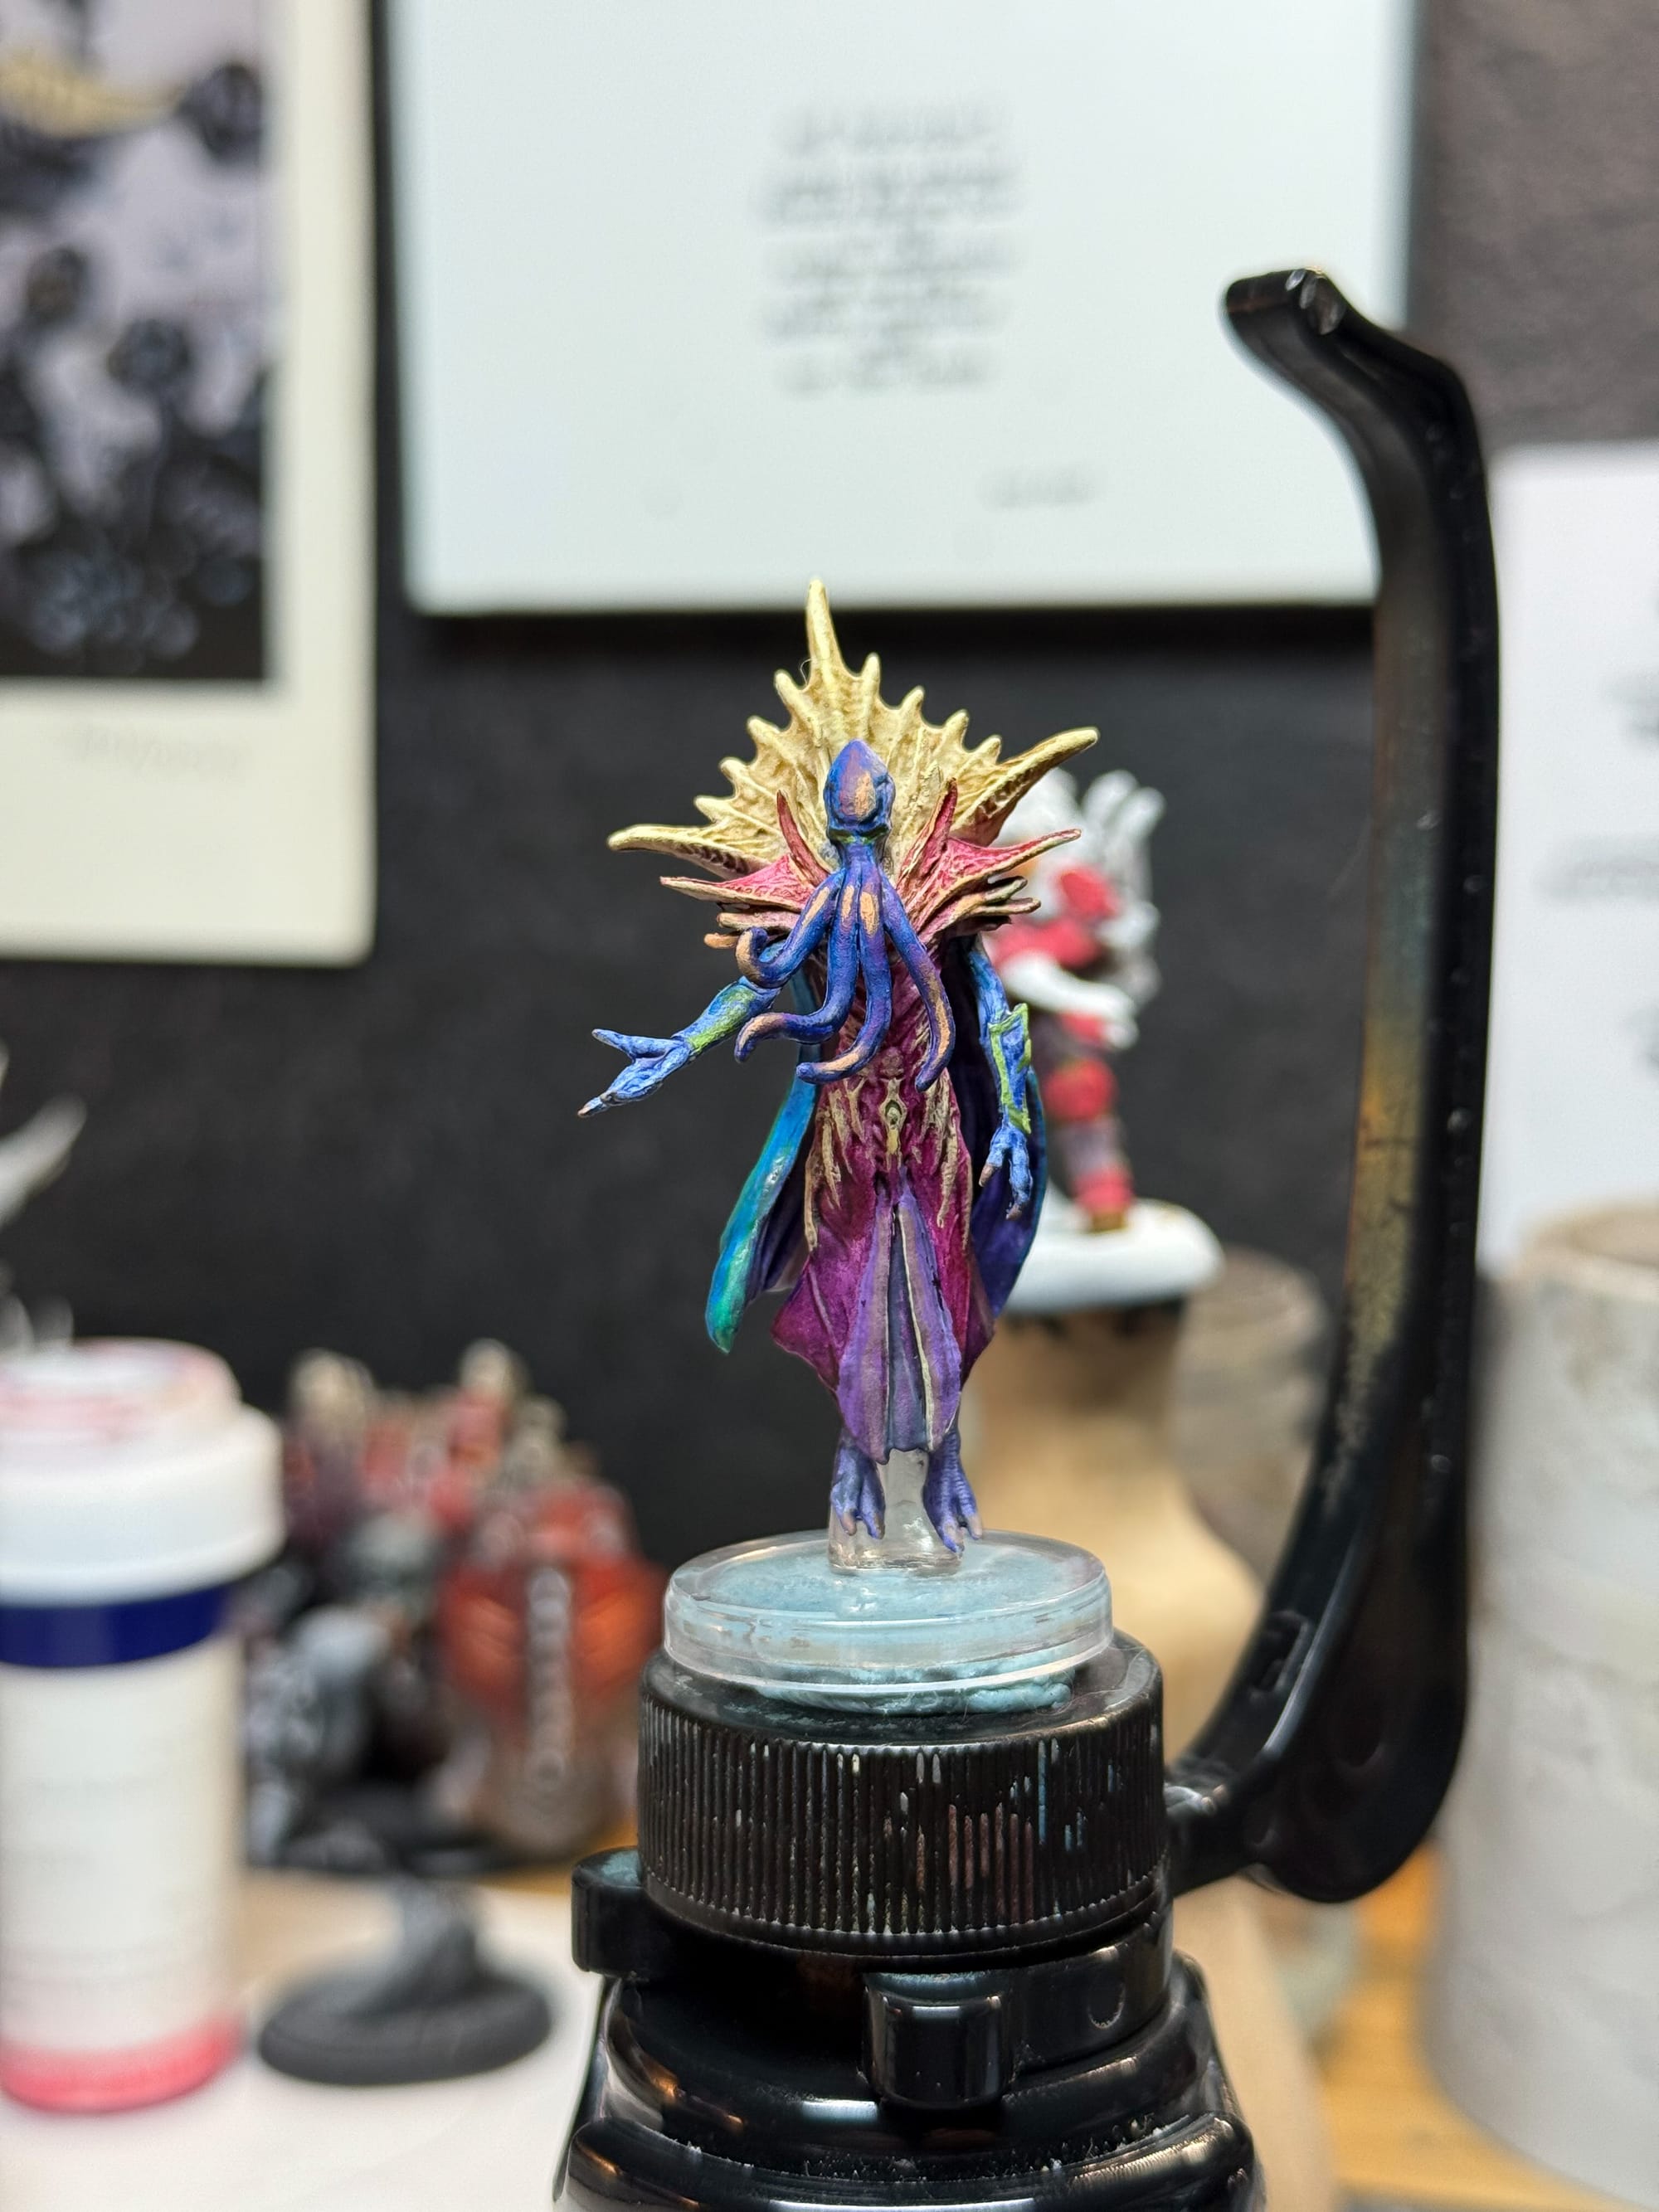
For me, I wanted to see if I could spruce up an otherwise bland Wizkids model. I admit, I went wild. On the face, I added violet to the existing color and built up highlights through oranges, yellows, and some off white, with just a tiny bit of Pure White (titanium dioxide) to hit a final highlight. I blended teals and greens into the arms to bring the armor out. Black and magenta to hit the interior folds of the cloak, and a sienna wash for the bone/protrusions.
Will this model win an award? Absolutely not. But will it look cool on the table? Absolutely. These paints are just so bright, I can’t not enjoy seeing them so brightly presented on the model.
Washing and the Reductive Technique
Looking at my Warmachine models, the initial passes I made with the Quick Gens were effective on getting paint on the model and establishing my areas, but they were missing a depth to them. I figured a great test of these paints was if I could build up a big wet wash, and then use a makeup sponge to clean up my highlights and flat areas.
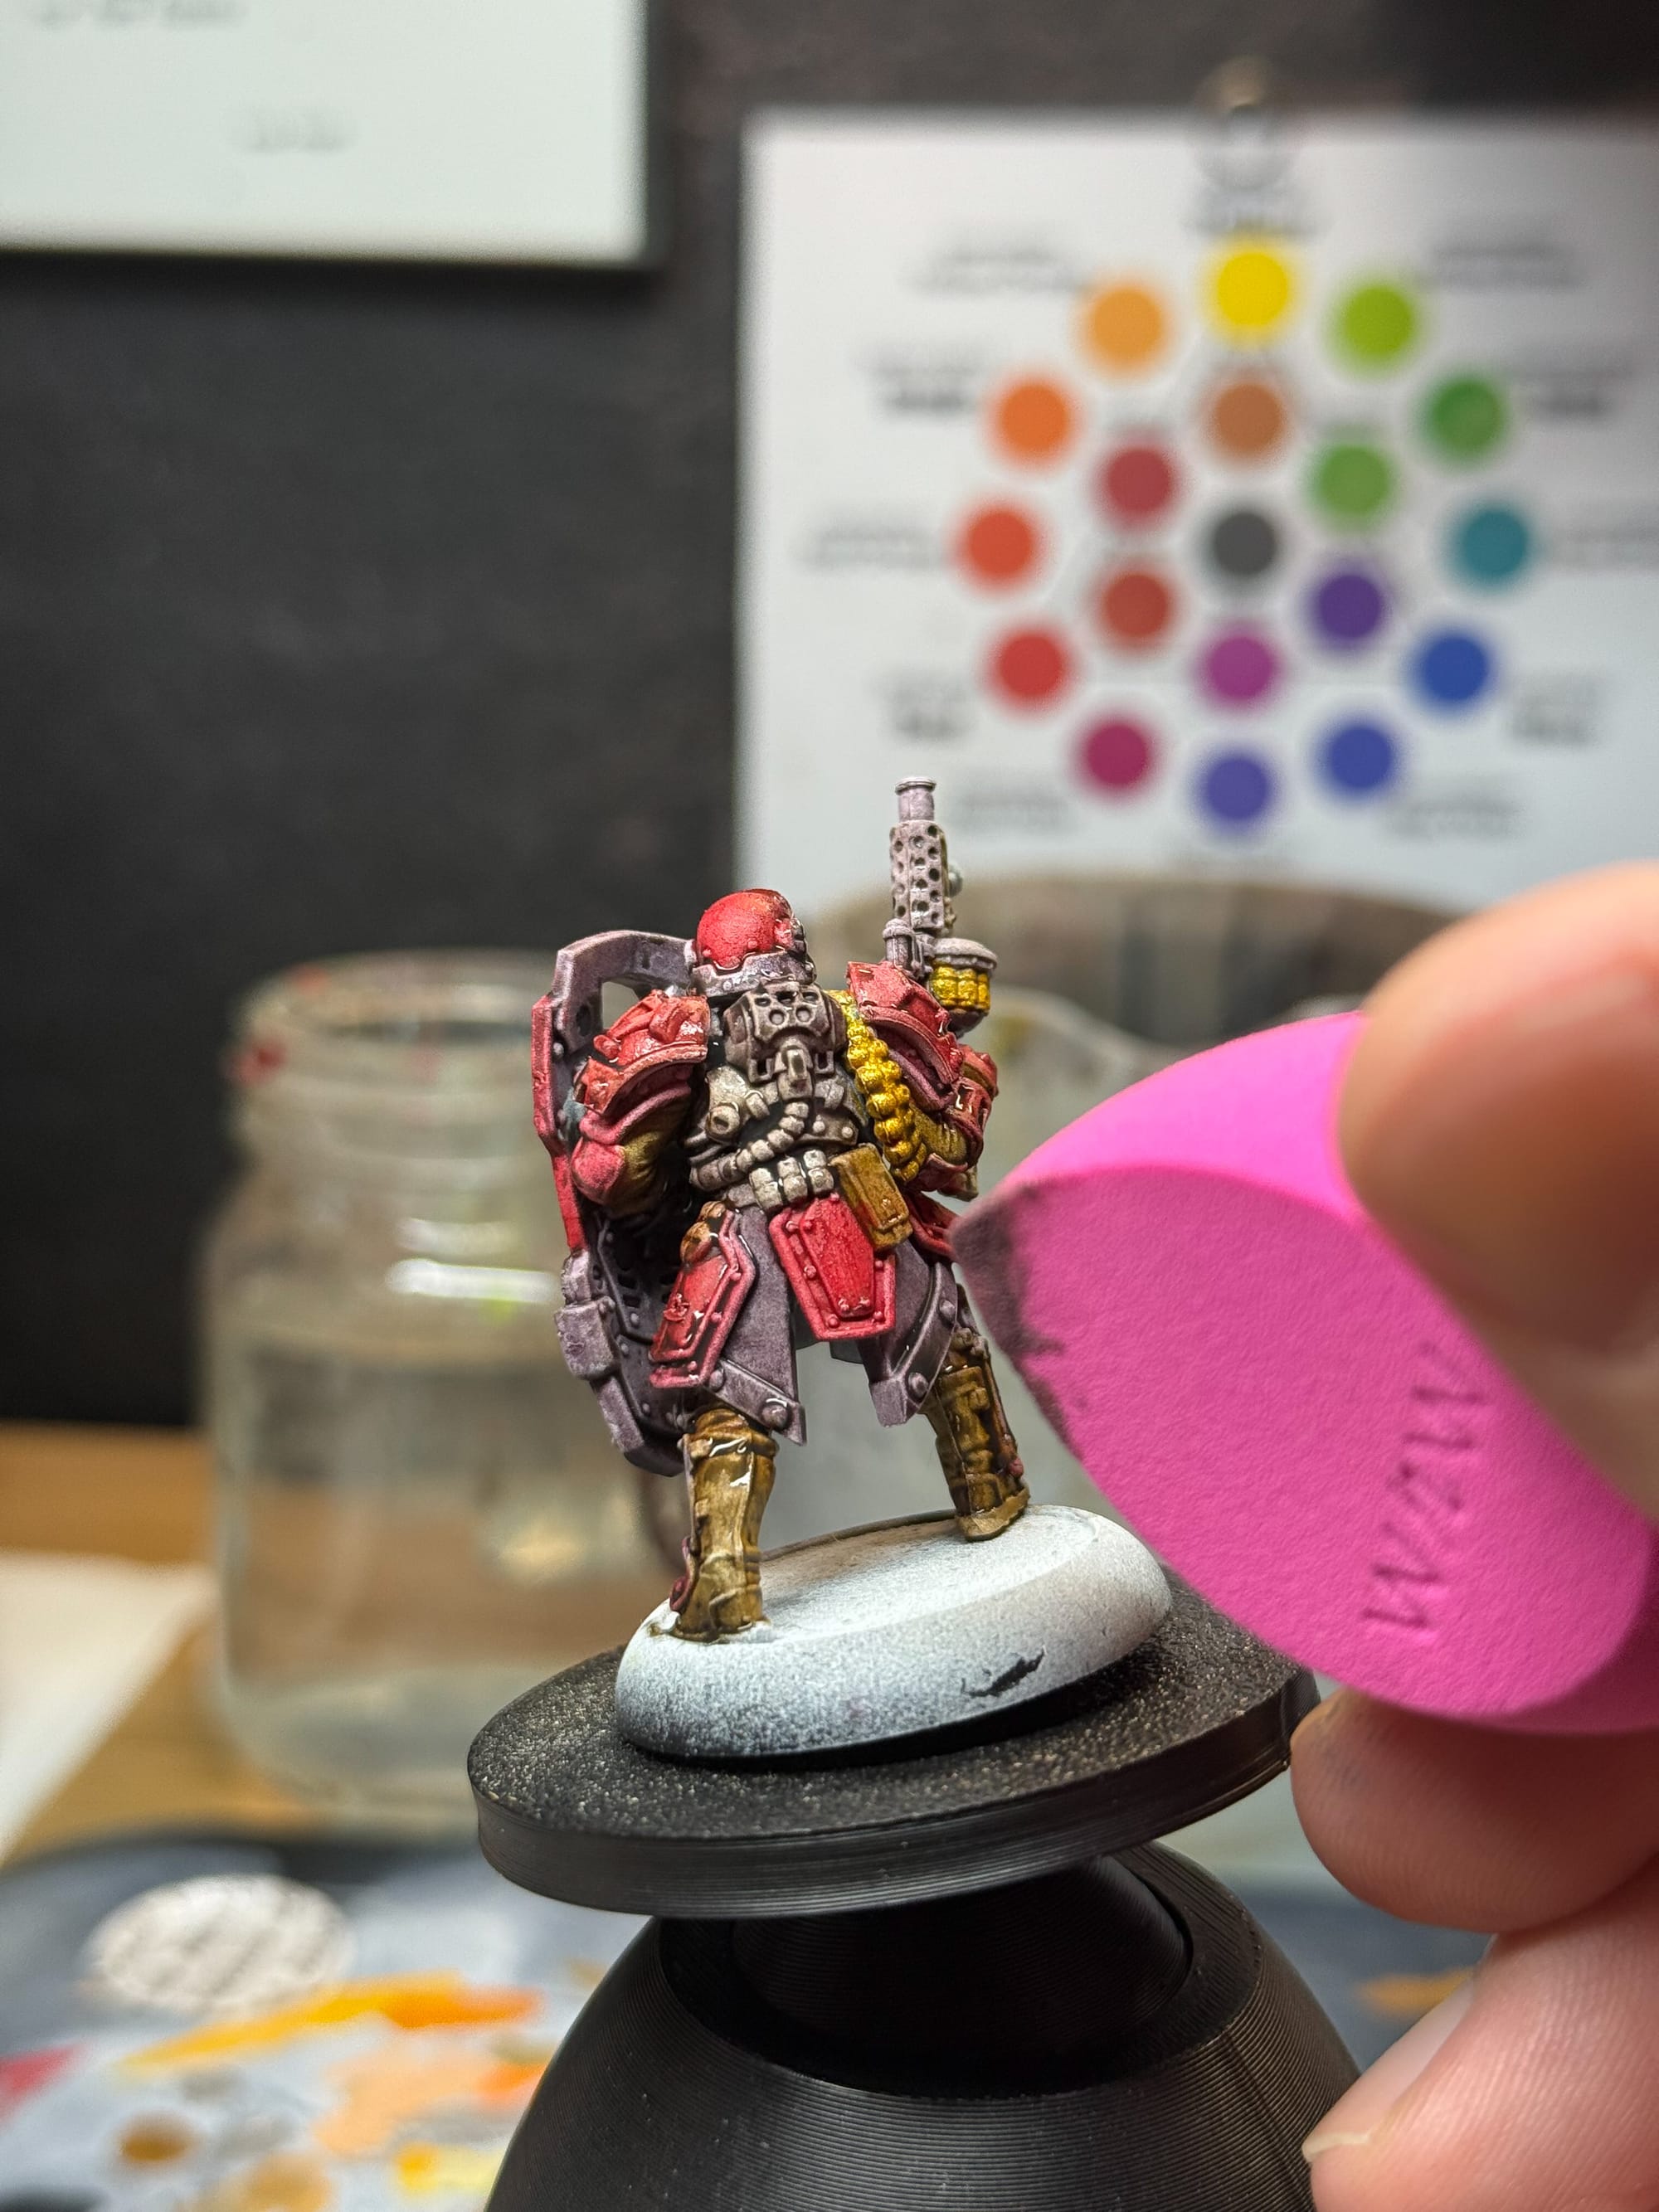
The reductive technique with a sponge can make washing models a breeze.
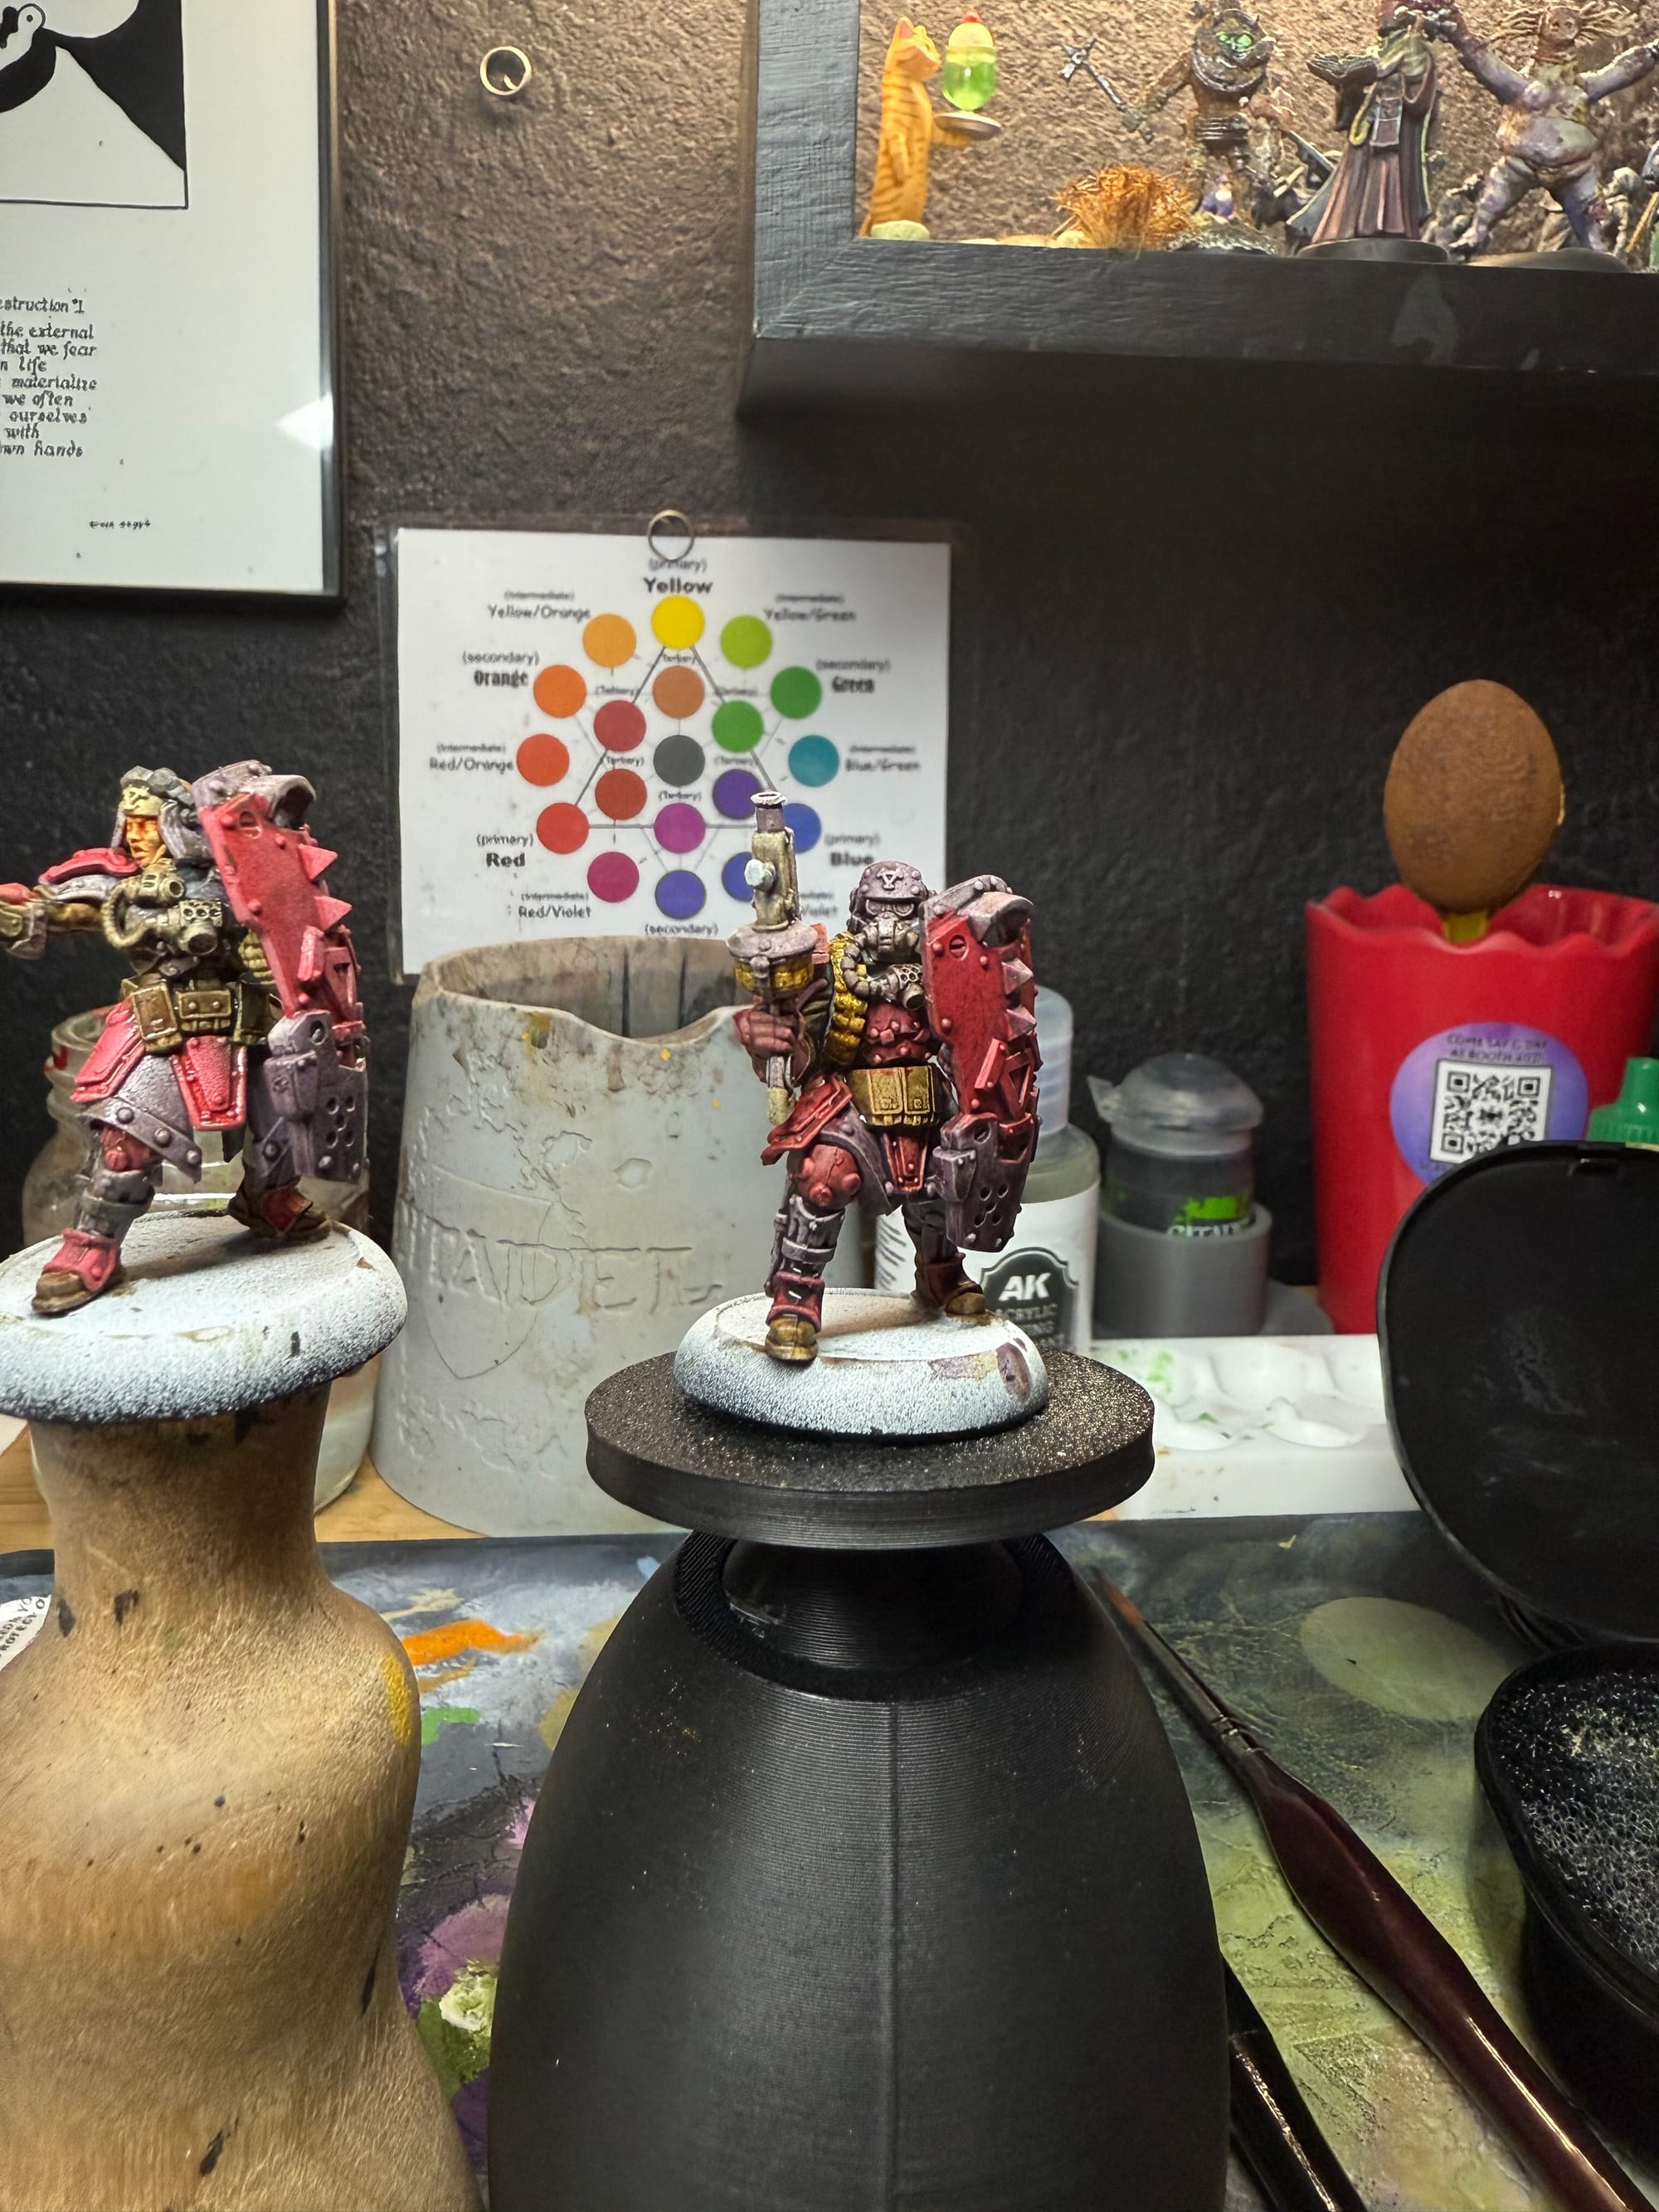
This is commonly referred to as the Reductive Technique and if you can master it, you’ll be able to paint up your pieces, then add in the washes later, and simply dab off the excess. This is typically a technique that I use with oil paints, employing the use of white spirits to help reactivate and remove the oil, but with products like a weathering medium similar to Monument Hobby’s Newsh. For our more armored fella, I created a simple wash with Pure Black (Amphorous Pure Carbon) and a touch of Violet (Carbazole Dioxazine). I mixed it and then brushed a little bit on a dry palette, to unload the brush, then I went to work. While the model was still wet and covered in wash, I came back through with a sponge, pulling excess away. What’s left is a Khador model with really great shadows in the recesses, and I don’t have to repaint highlights.
Drybrushing
These paints drybrush beautifully. Mind the bristles that got stuck in the paint.
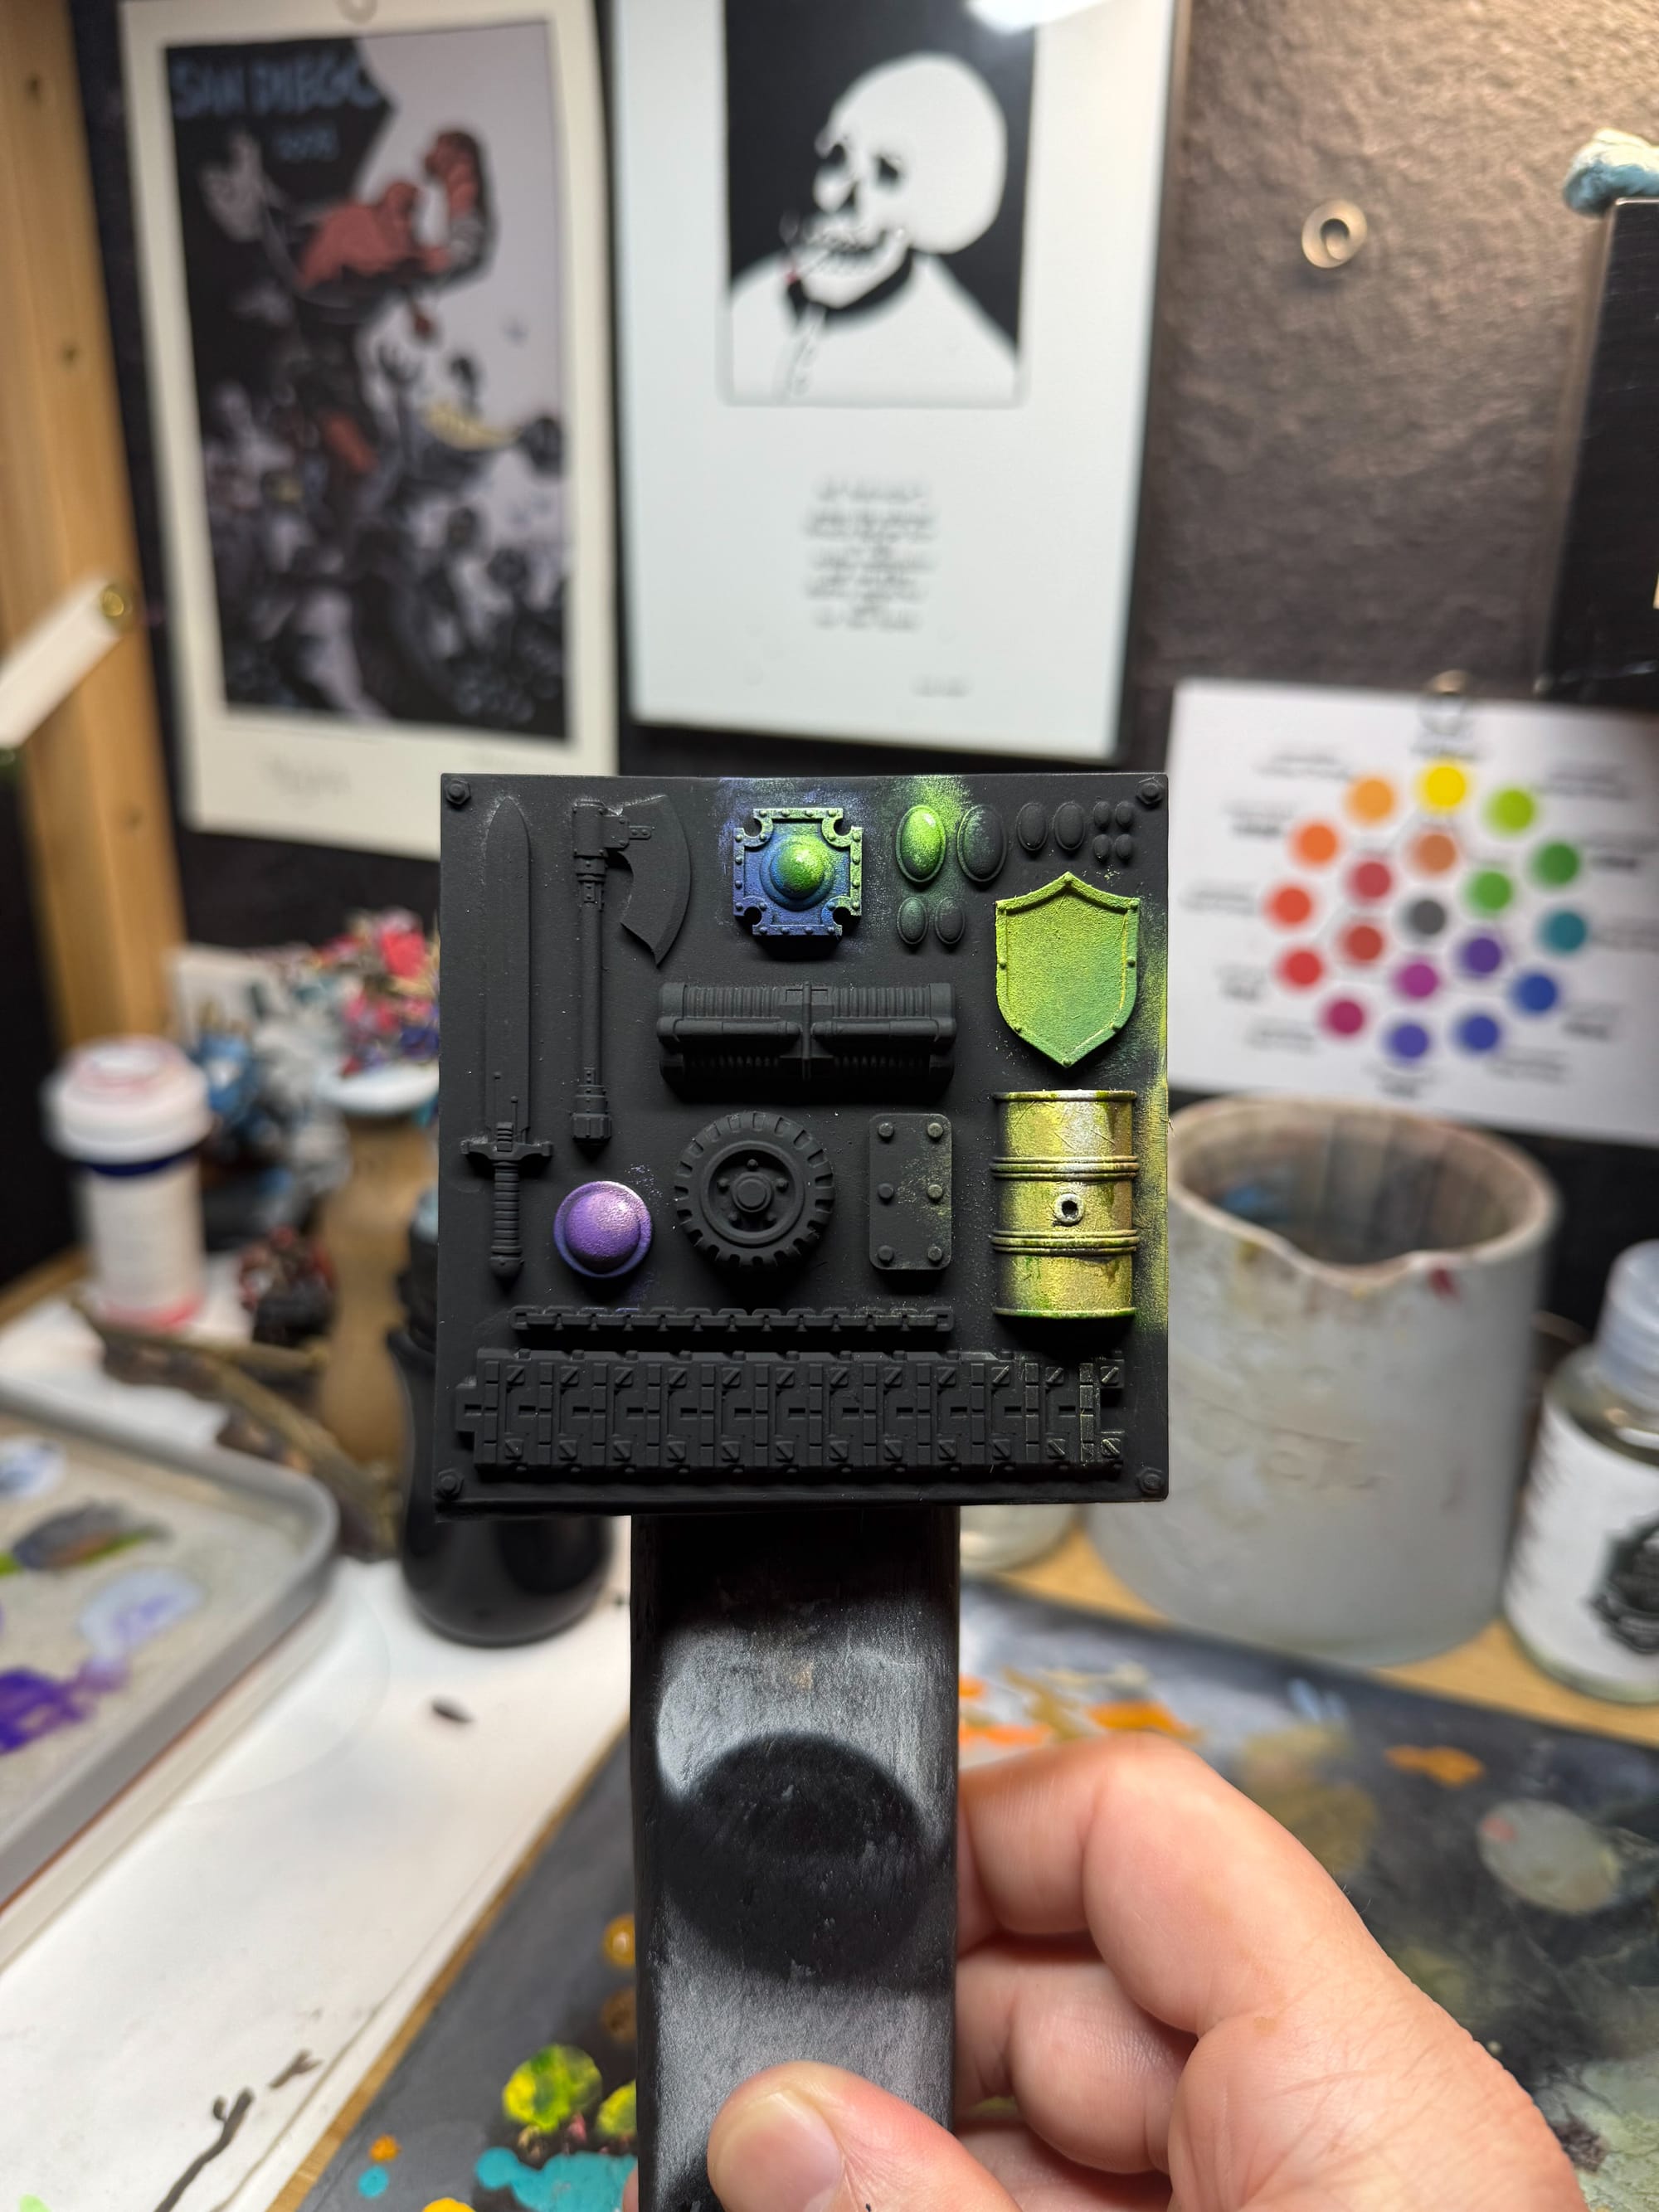
For my final test, I pulled out a texture trainer I got from Taro back at Adepticon. These kinds of trainers are a fantastic way to easily focus on particular skills, I highly recommend getting one or several. As you can see, the paint drybrushes very well, but there is some caution to throw here…
1. You’re going to use a lot of paint. This is because without extra binders and additives, this paint can suck right into a dry brush and it will take considerable effort to “unload” the brush on your dry palette. It makes me wonder if I would be better off mixing the paint with the retardant in a separate vessel, then applying it to my board.
2. Reactivation. Much like with layering, you’re going to want to let these dry. What’s nice about these paints is that they brush on pretty translucent, which can allow for dry brush blending to easily occur. I learned this on the drum, which was ok because the areas I pulled up paint, I was able to re-blend in another color…and it’s an oil drum, so it should look a little dirty.
3. On the gems, Drybrushing results in beautiful results. Just by blending violet into magenta with a little bit of white at the end, I was able to get a very quick NMM (non metallic metal) finish. I did the same with blue to green on the larger adornment.
With time, I feel like I’ll be able to master some OSL skills with these paints, as they can give me that “blinding” light that you sometimes see on really well made terrain bits.
Conclusions
I really like these paints, and can see them being absolutely useful in my future projects. That being said, I don’t think they replace anything in my collection, they rather add to what I have. Does this make them an absolute go purchase?
It depends. I think that if you are looking to go to the next level, give heavy body acrylics a shot. They’re more difficult, but the output is worth it. As for me, I’ll definitely be using some of these for specific applications in projects, and I’m going to go buy the red, because good, bright red paint is something that is so hard to find.
AK Interactive Artist Dense Acrylic Paints
Excellent
AK Interactive Artist Dense acrylics are an advanced product that if you’re looking to push your skills in the hobby, they’re definitely worth looking into.
Pros
- Great working time
- Fantastic pigmentation
- Can build almost any color
Cons
- Price is a little high for 20ml
- Takes time to learn
- Don't taste em!
This review is based on a retail copy provided by the publisher.