Call of Duty: Modern Warfare II Season 5 reloaded is right around the corner, and so is a brand new multiplayer map. I’m always excited to see a new one hit the rotation, and DRC Zone 1 sounds intriguing. It’s a more small to medium-sized map based on the secretive Building 21 from DMZ fame. The Call of Duty Blog has dropped all the intel you’ll need, so check that out below and prepare for Season 5 Reloaded!
Deploy to Defense Research Center Zone 1, a research campus with projects in bioscience, artificial intelligence, computer processing, and other advanced topics. The map location is classified, leaving Operators to focus on the campus itself.
Zone 1 represents a small portion of the greater campus. Navigate the buildings for Research & Development, Labs, and the Lobby, positioned around the central Courtyard and Patio. Except for R&D, the interior spaces here are tight, favoring frenetic, close-quarters combat throughout the map.
This is DRC Zone 1, a new 6v6 Core Multiplayer map launching with Season 05 Reloaded in Call of Duty®: Modern Warfare® II.
Spawn Point: KorTac
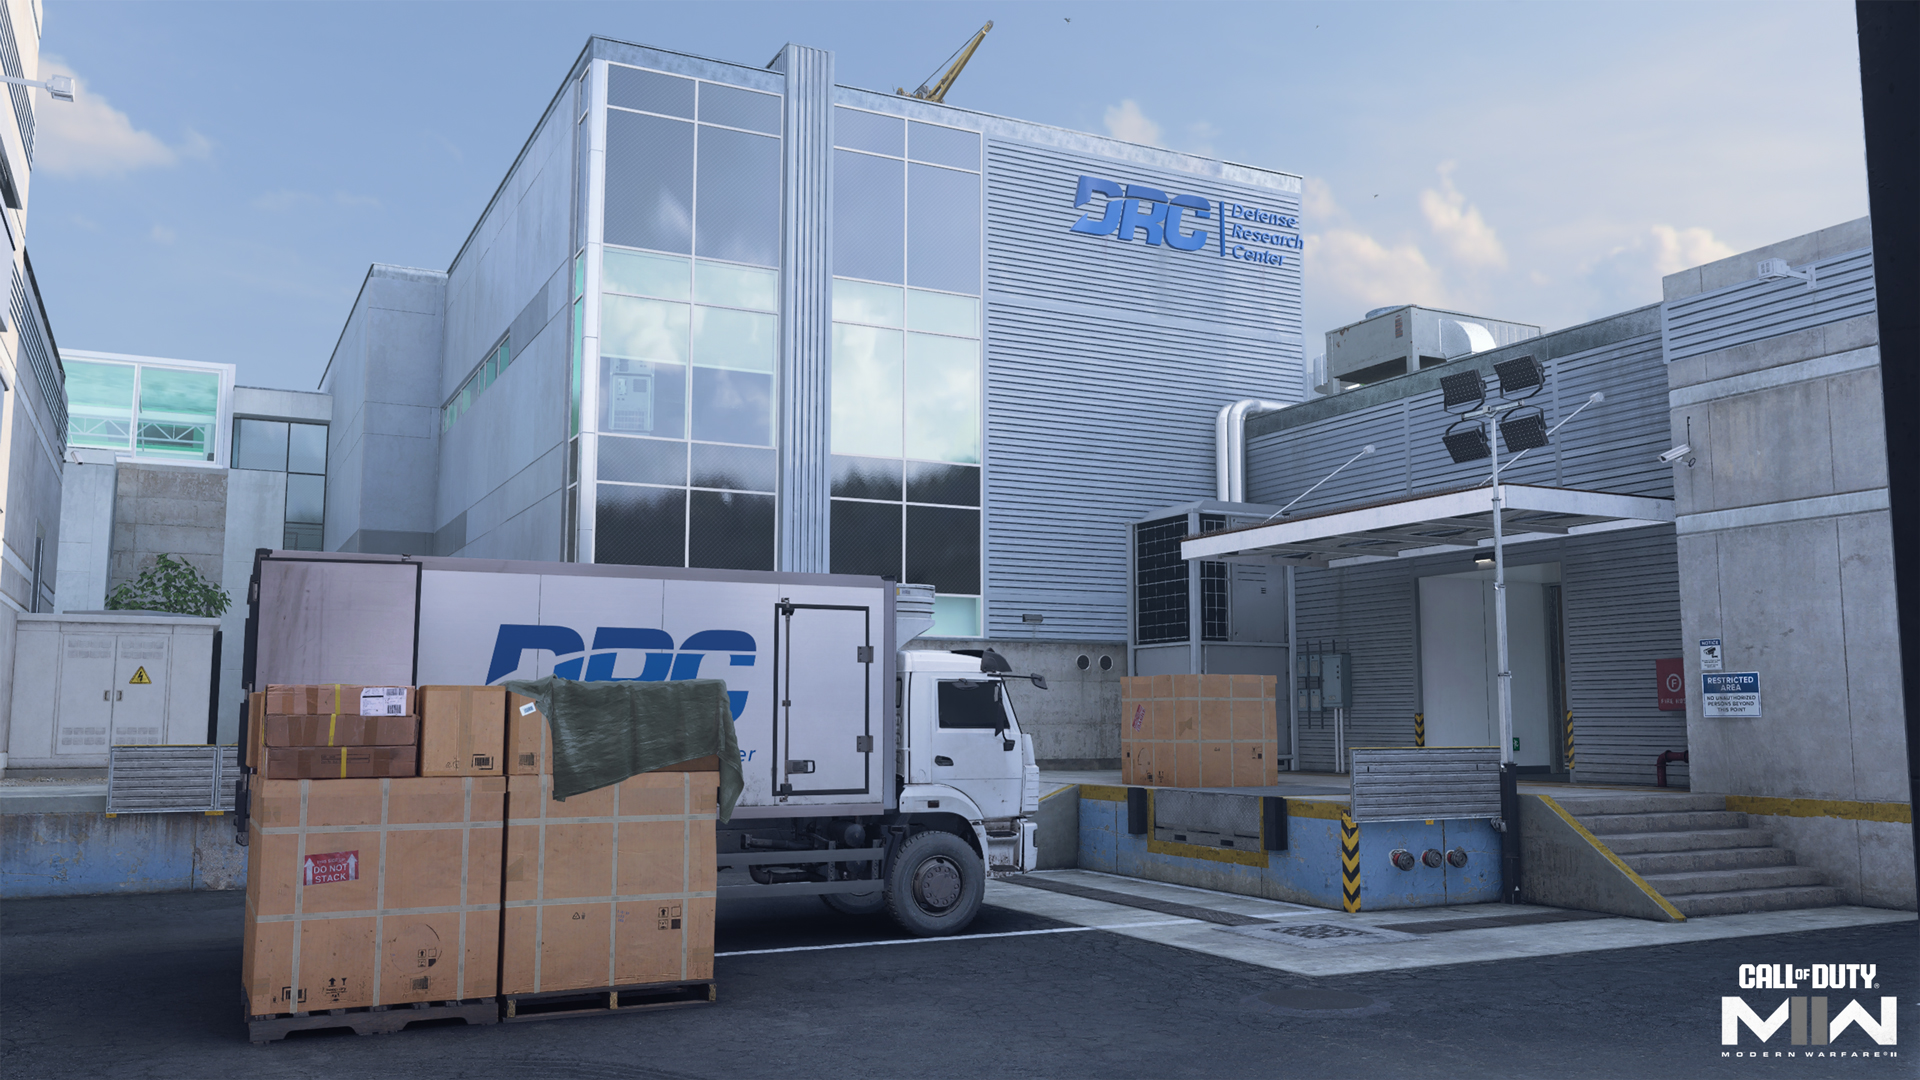
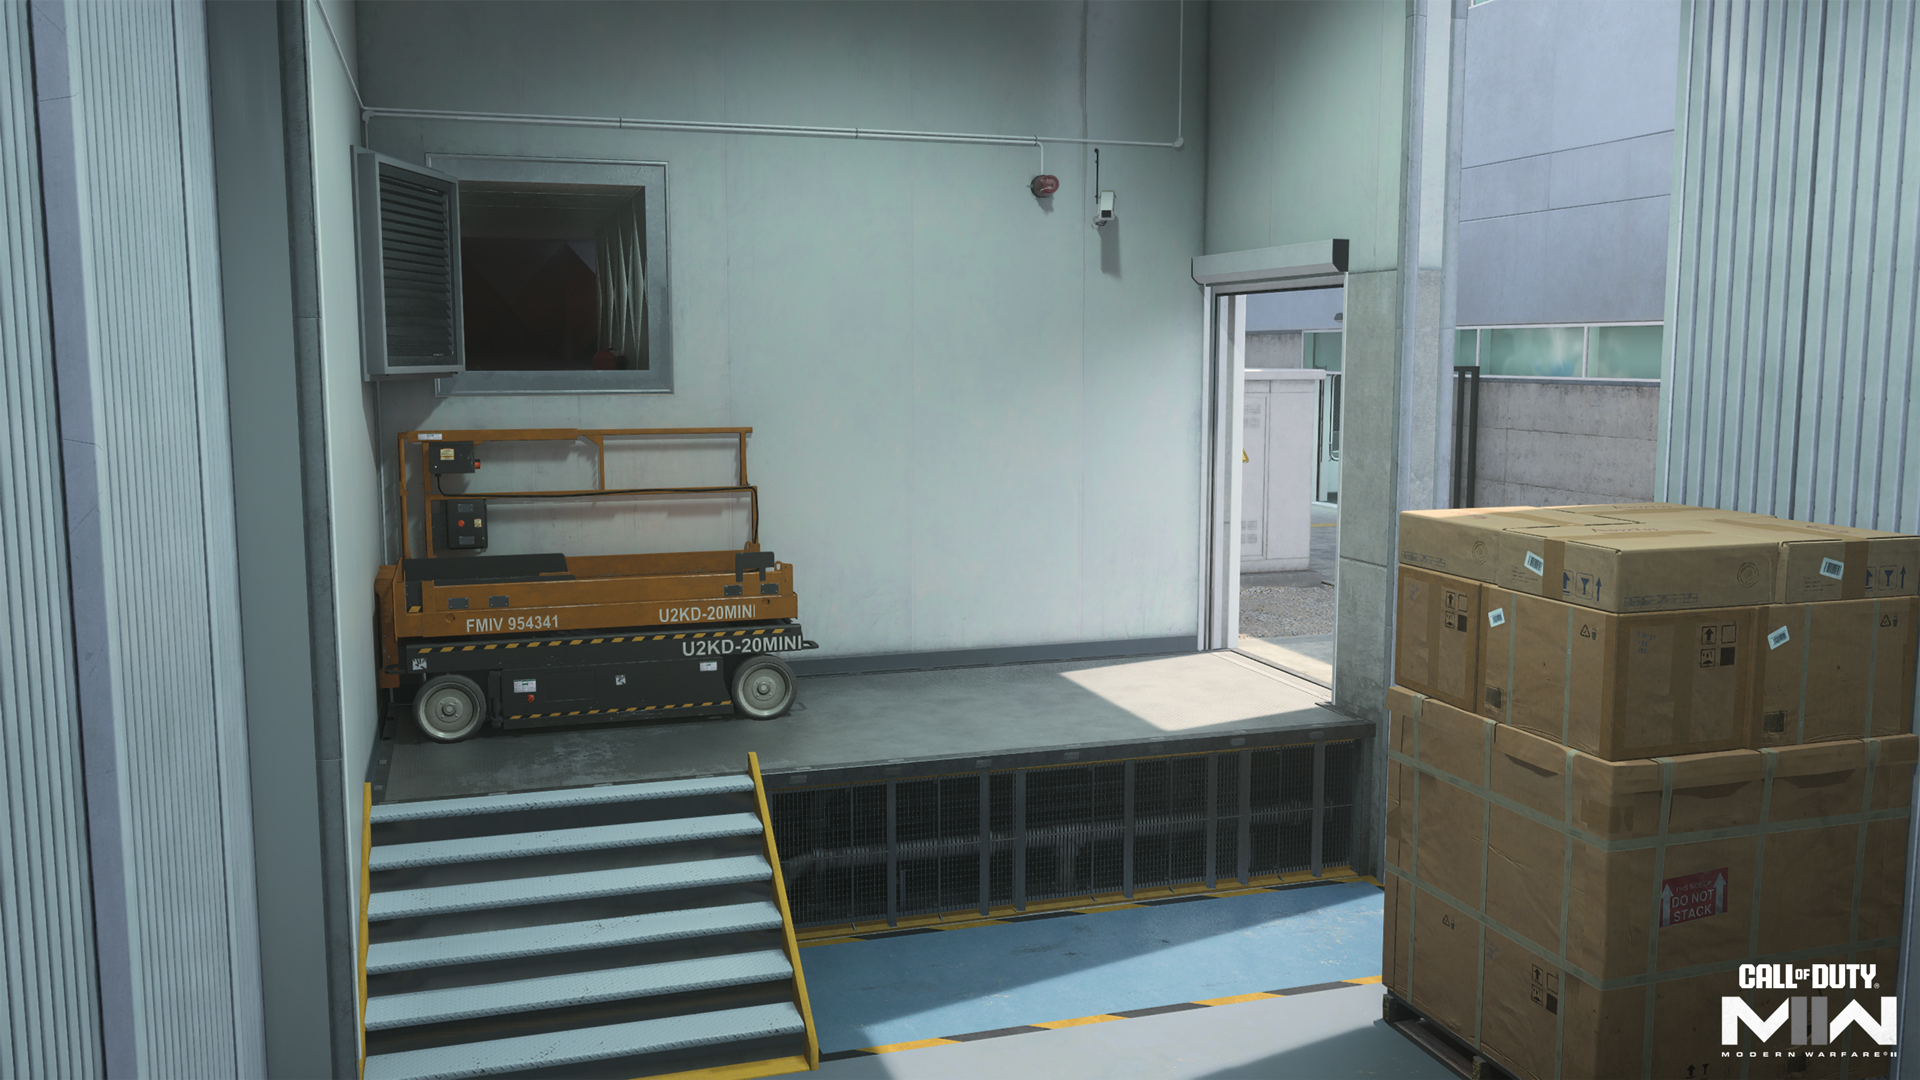
KorTac Spawn Zone (South) — Loading Area
There’s little time to prepare in Zone 1’s tight environment, but a strong start can help build an early match streak. Head straight up to the Courtyard to get right into the fight or set up in R&D and eliminate incoming enemies. Take the Warehouse route for a more cautious approach; there are fewer entry points and a protected boundary running up to the Parking Lot.
Spawn Point: SpecGru
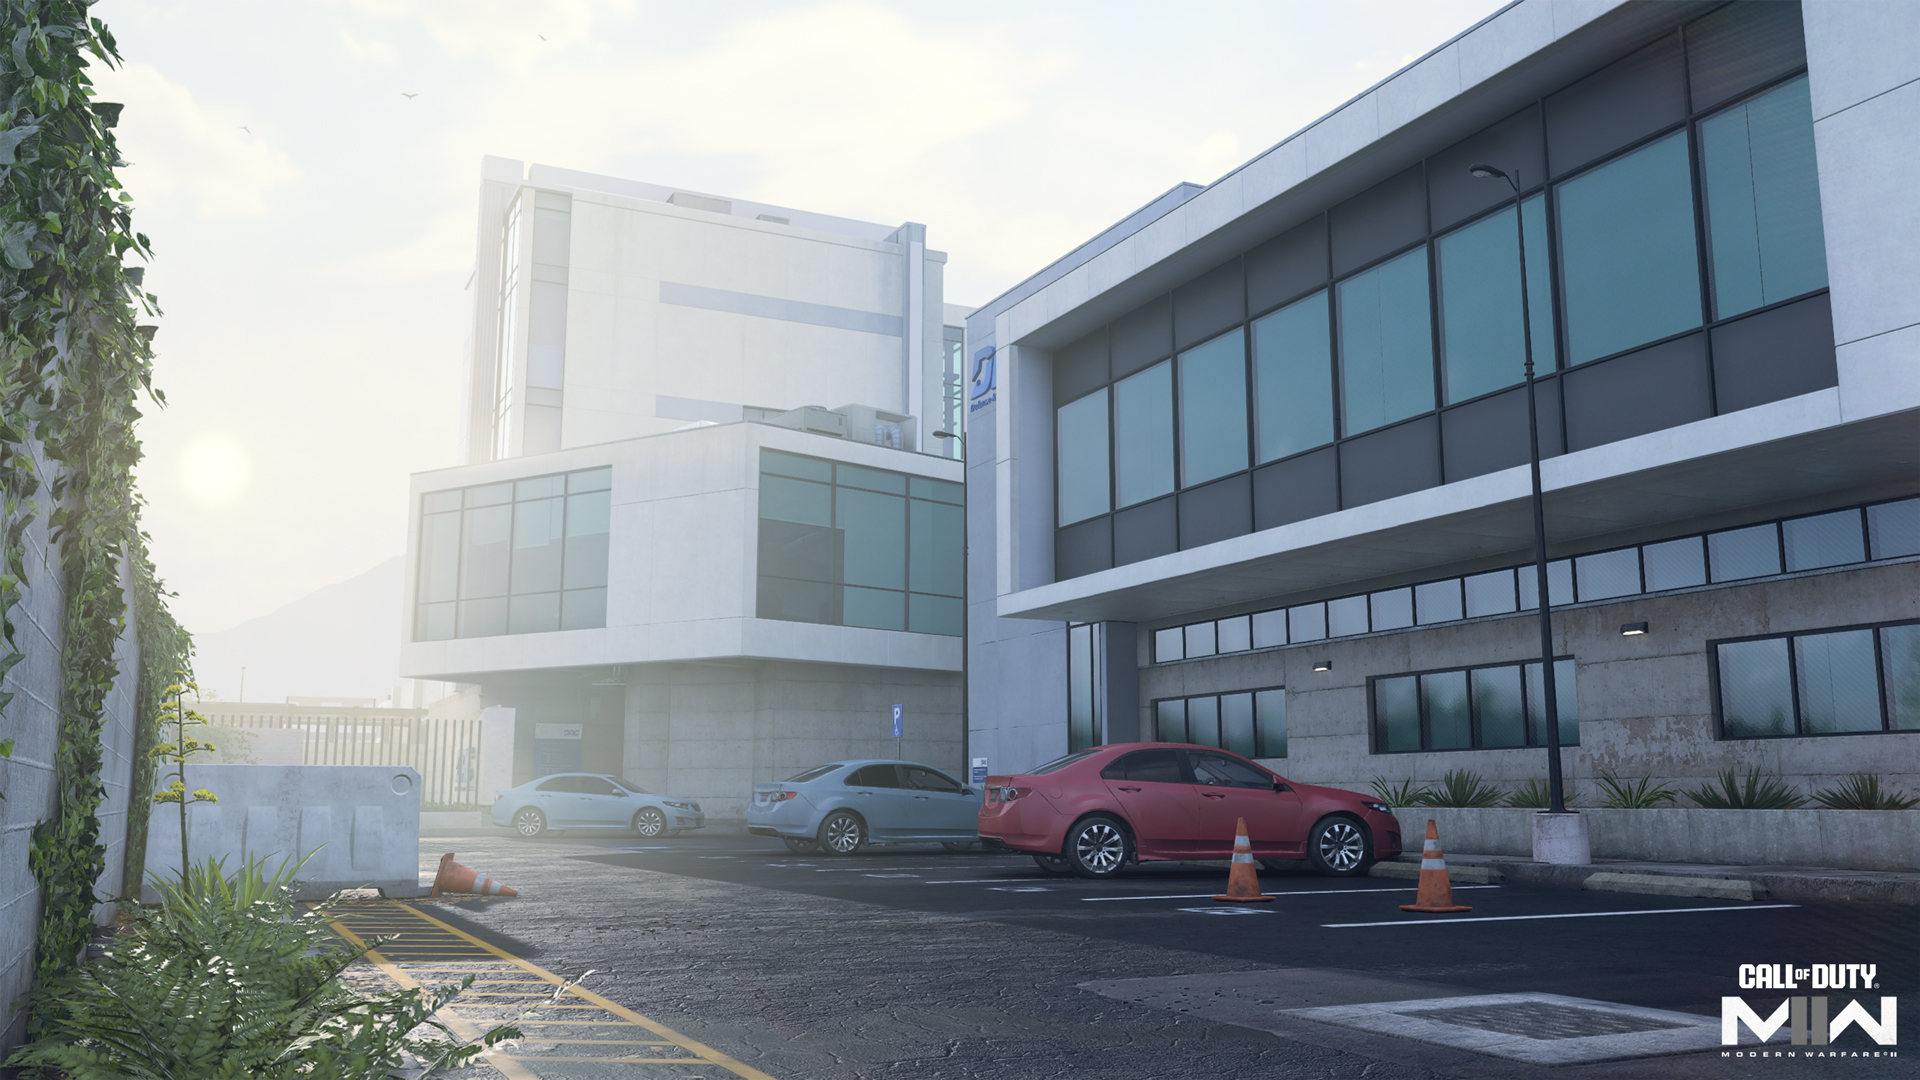
SpecGru Spawn Zone (North) — Parking Lot
The Parking Lot is double the size of the Loading Area; players with long-ranged Loadouts may choose to stay put to utilize the area’s long sightlines. For a more aggressive approach, race through the Lobby and Labs into the Courtyard. This is where close-quarters shines. Take the Service Access ramp to the Patio for a more controlled approach.
Map Maneuvers: Route Planning
For the purposes of this guide, we’re dividing DRC Zone 1 into five main sections:
- Parking Lot
- Lobby and Labs
- Courtyard and Patio
- Research and Development
- Loading Area
Parking Lot
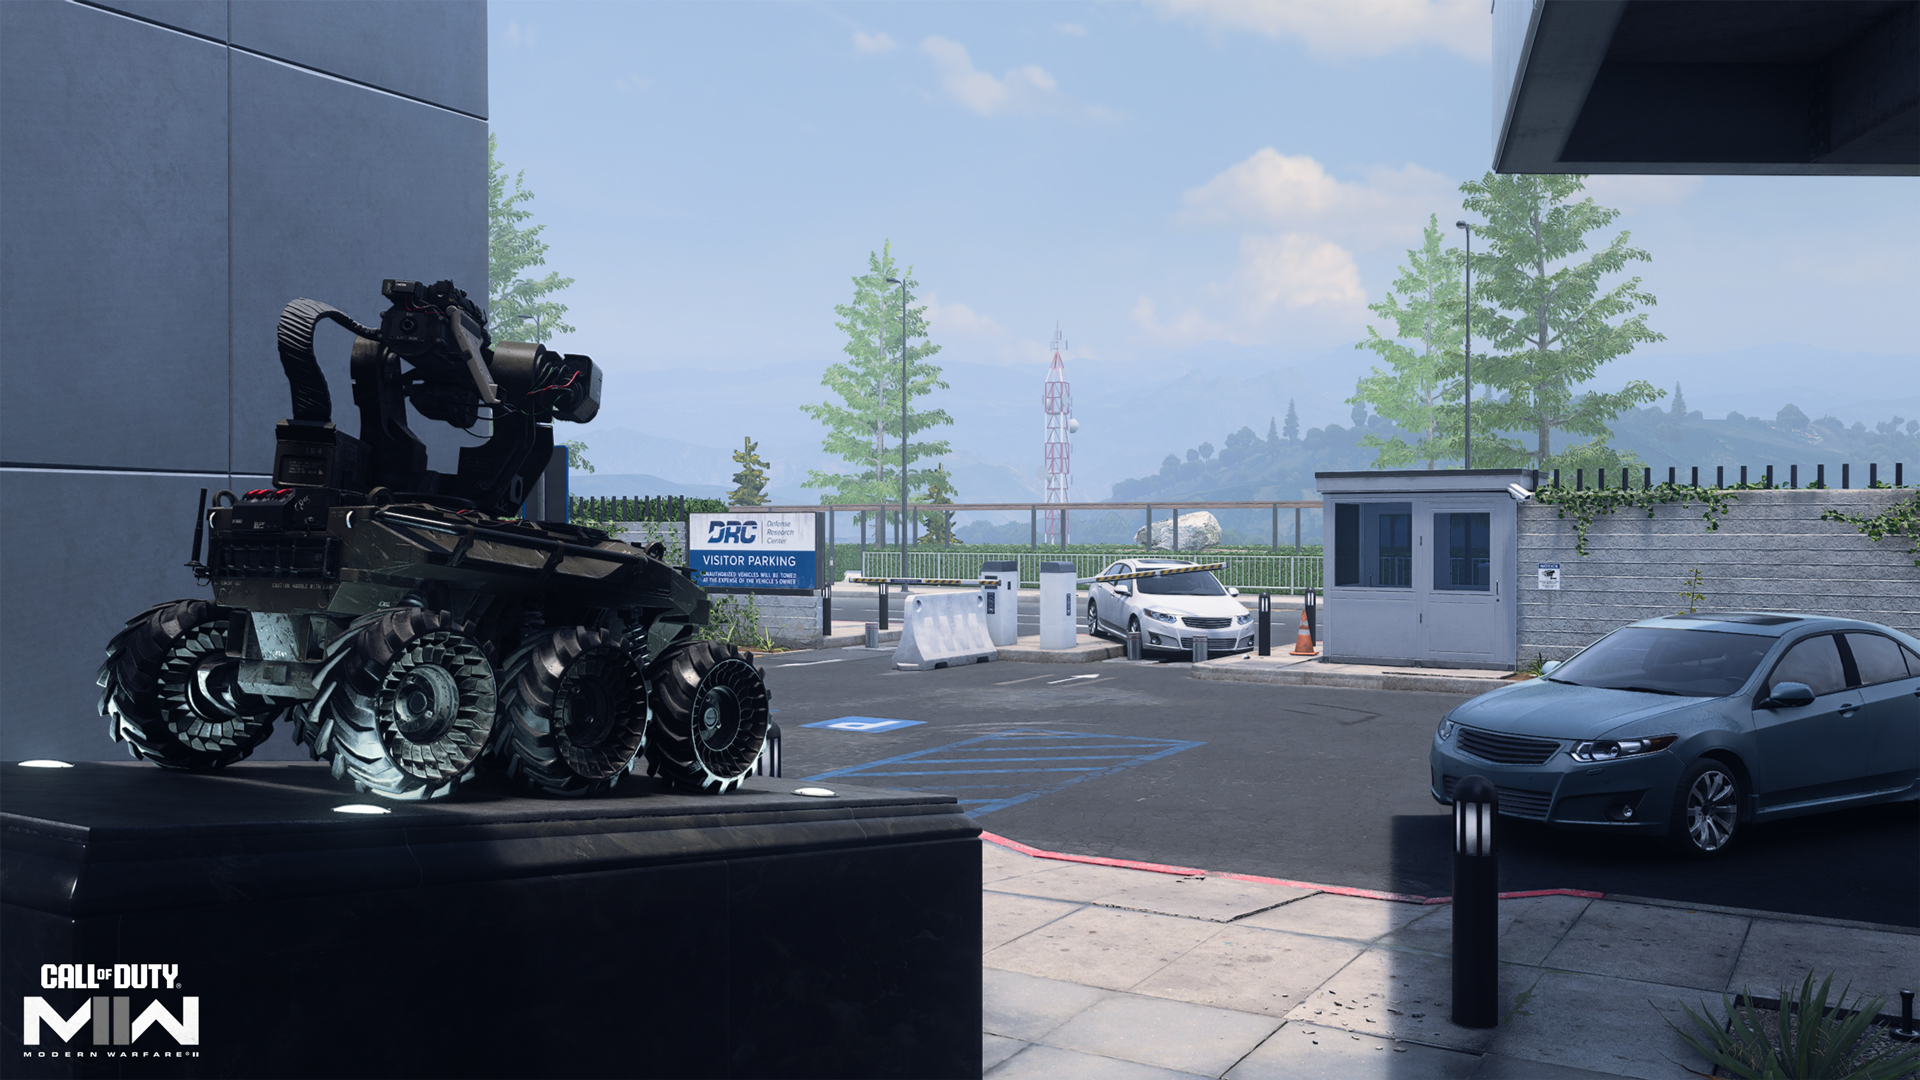
The Parking Lot is the biggest exterior space on the map, an advantage that players with long-ranged Loadouts should utilize. Use the open space to create distance from your enemies. Bring a teammate to help cover the three entrances into the area. A well-positioned duo can make a lasting defense. Keep your eyes on the sky and be ready to book it inside should an overhead threat appear.
Lobby and Labs
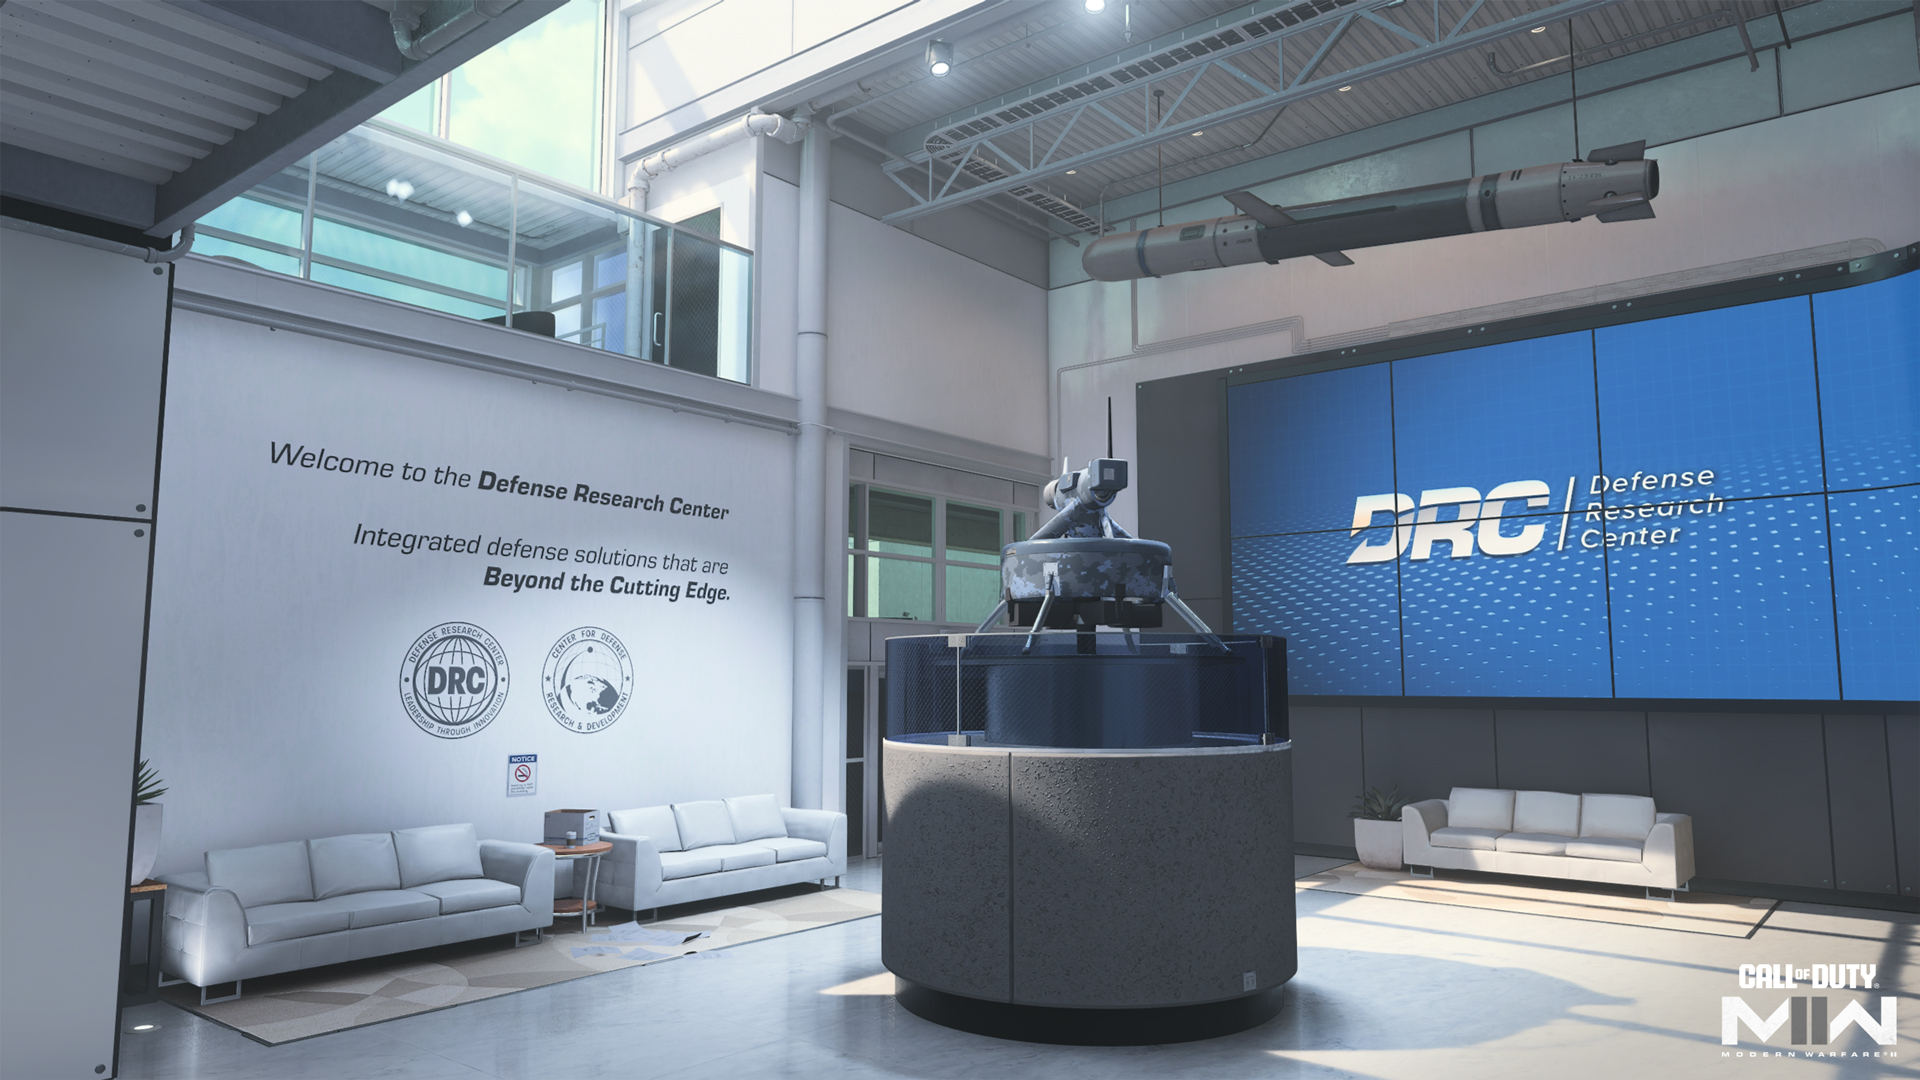
Connecting the Parking Lot and Courtyard, the Lobby and Labs area is primed for short-ranged combat. Even the largest path through the central Lobby is fraught with danger; the center stand blocks views and presses Operators to the sides of the room. The remaining Lobby and Labs passages are mere hallways, so be ready. Use the branching paths here to get around enemies and outmaneuver them. Extend out to the Service Access ramp to regroup in the Patio.
Courtyard and Patio
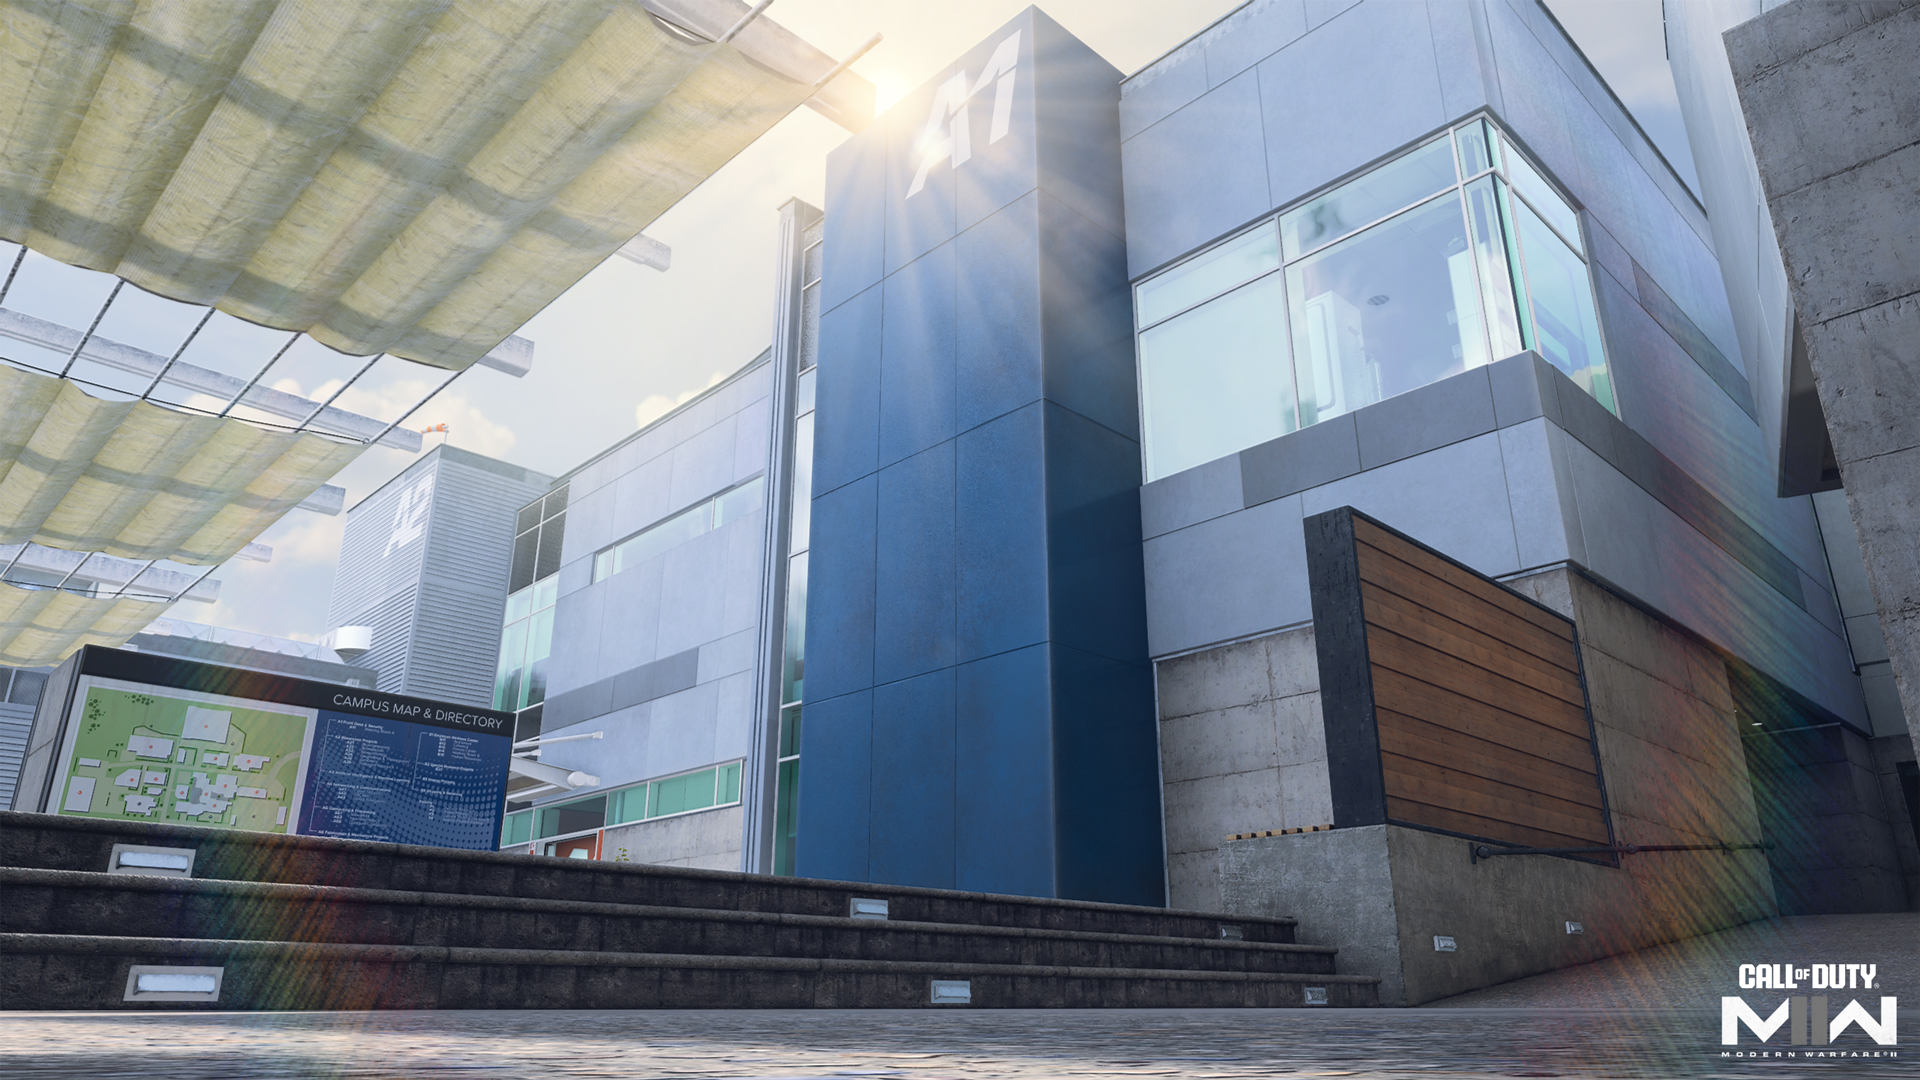
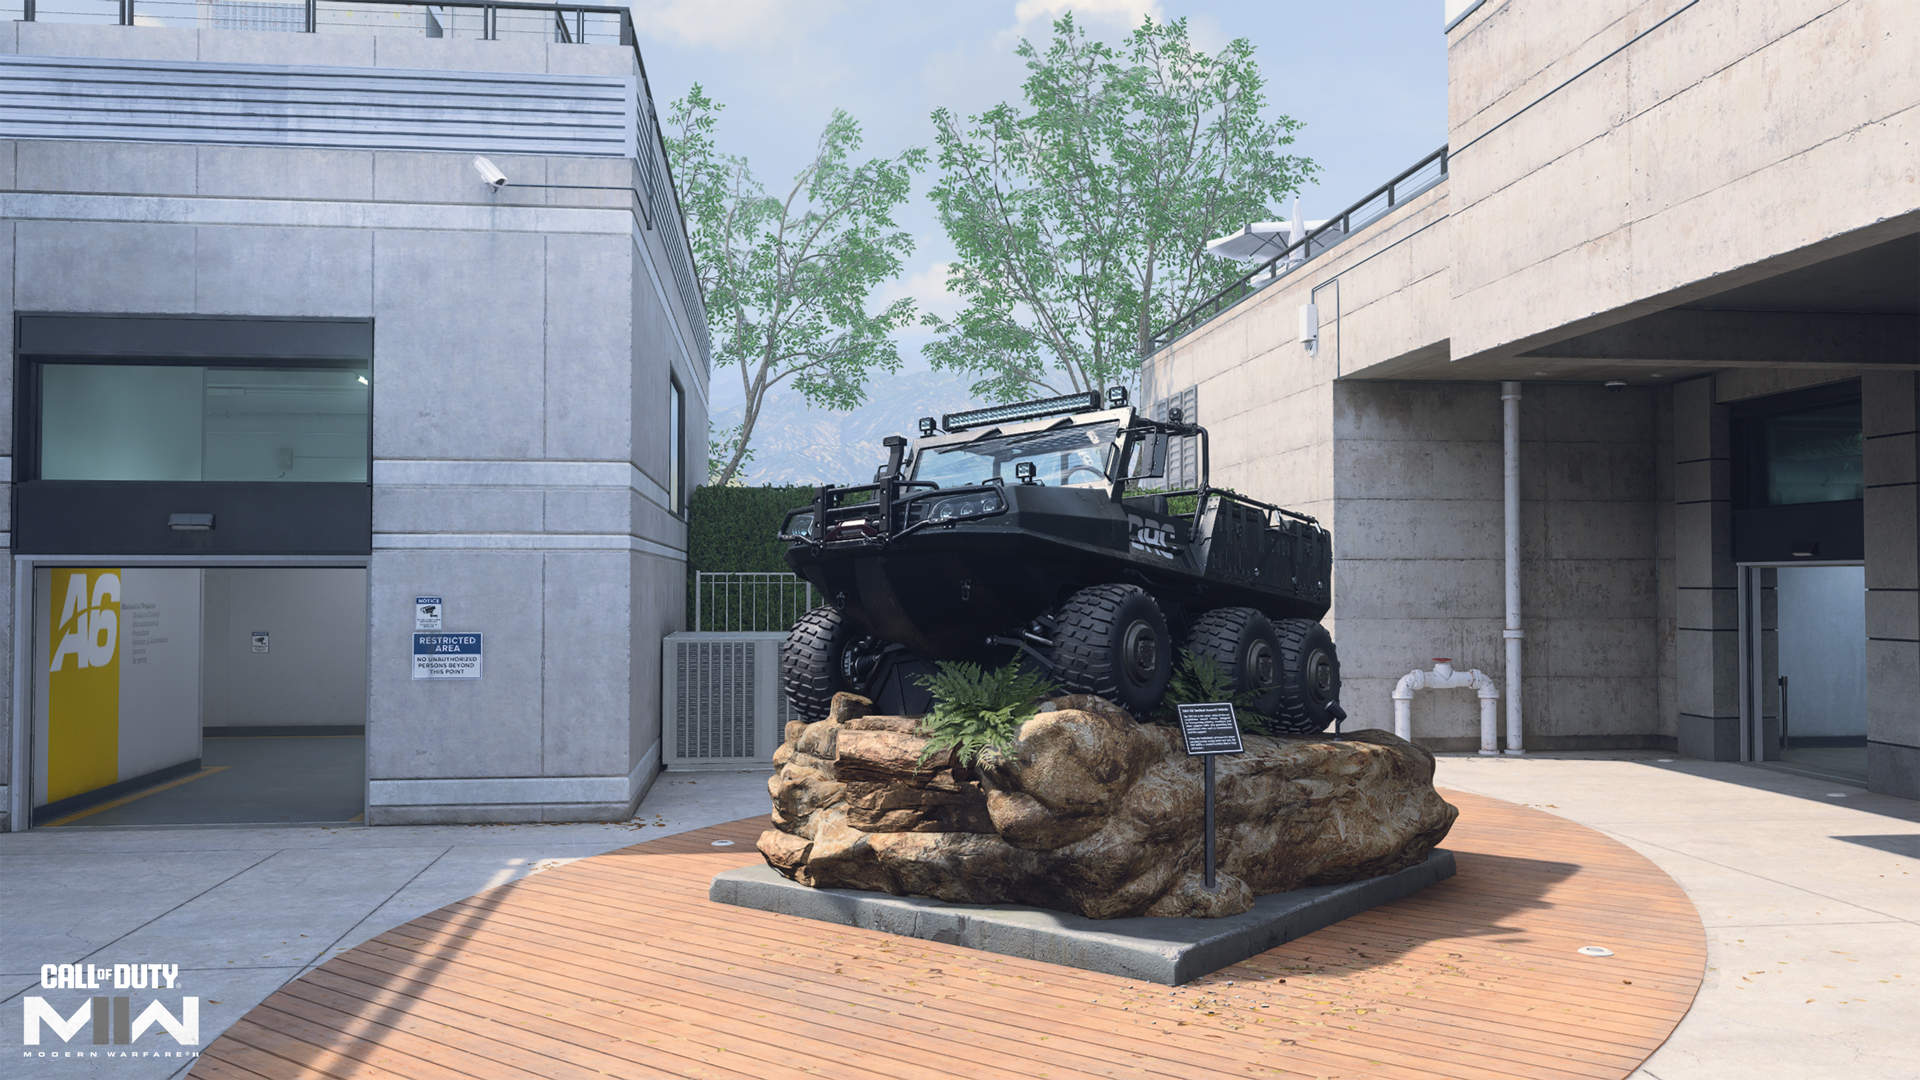
At the center of the map, the Courtyard and Patio are where Operators will meet the most. With routes into the Courtyard from Lobby, Labs, R&D, and the Patio, it’s vital to move through the area carefully and be ready to engage at a moment’s notice.
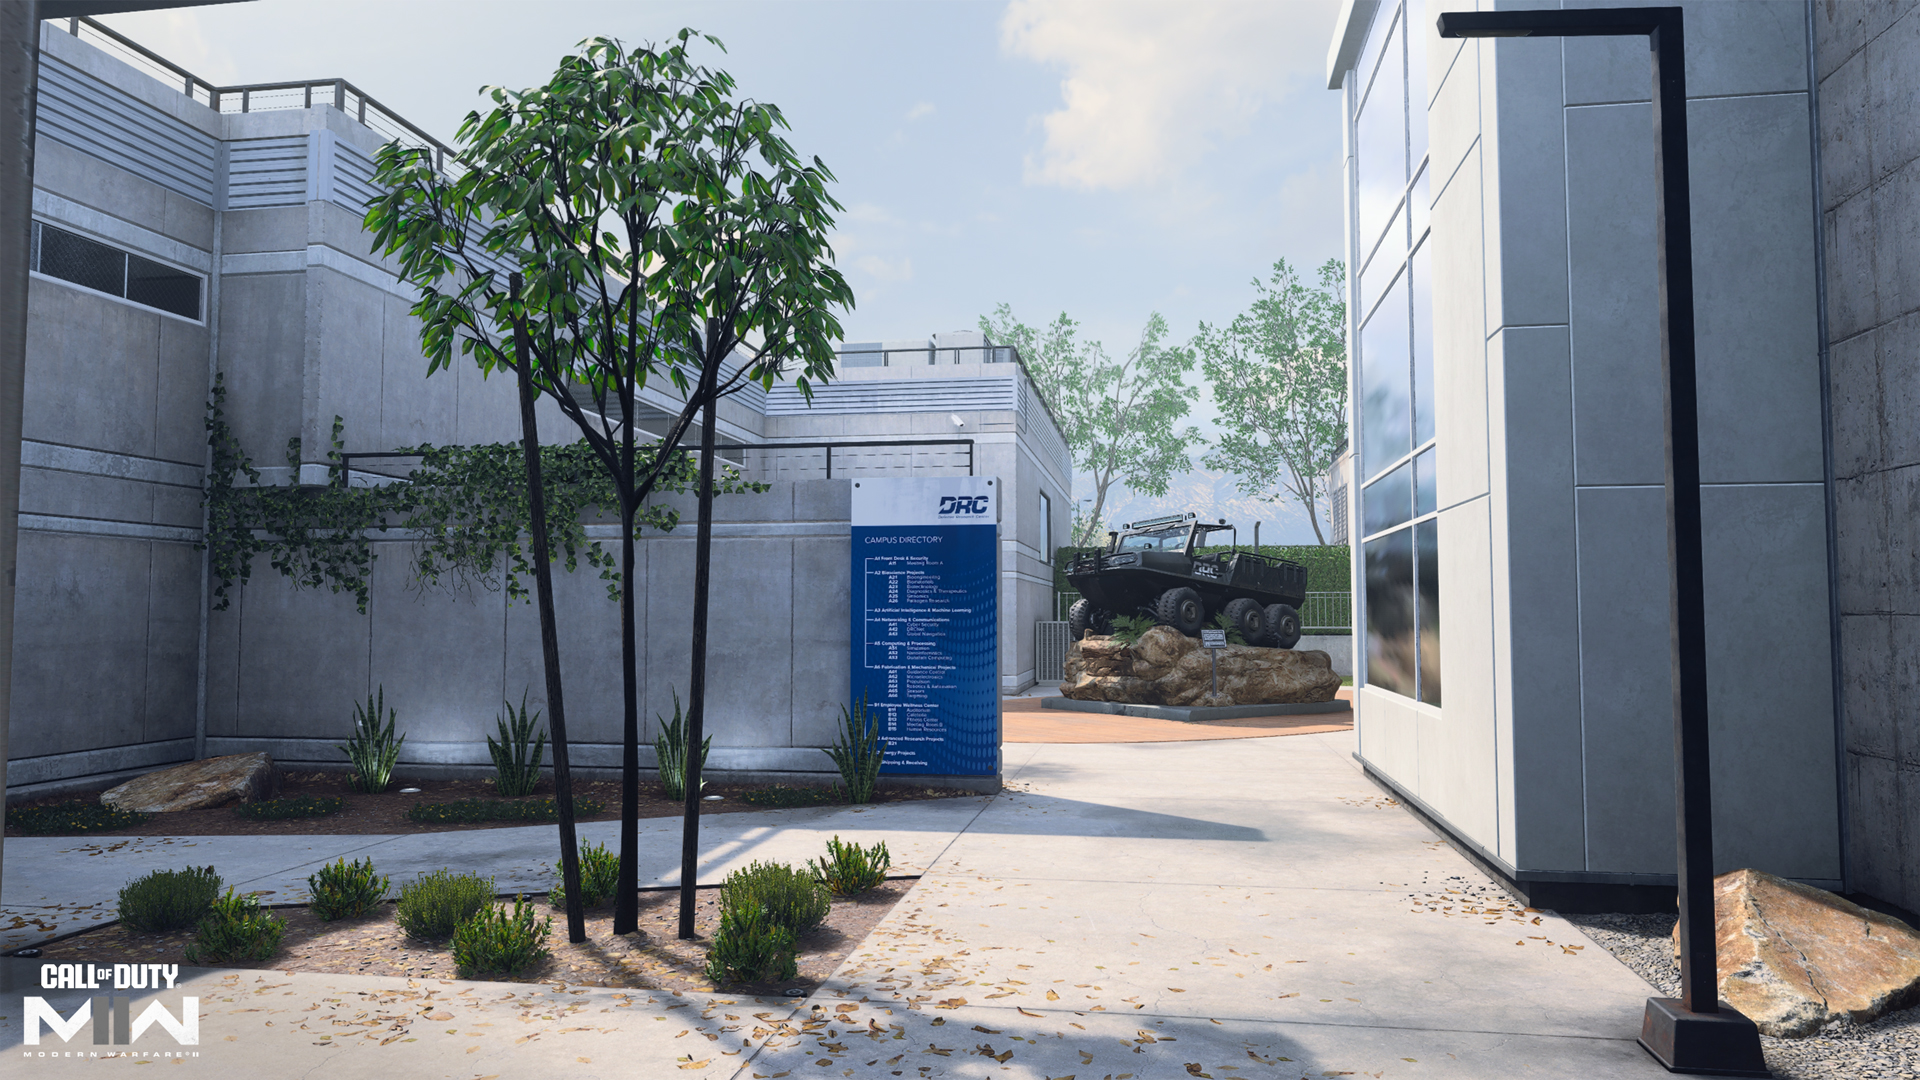
On the Patio, use the campus directory for cover. While there are still multiple entry points leading here, the Patio is generally less chaotic than the Courtyard. Use its safer passage to get across the map and set up flank attacks.
Research and Development
R&D is the biggest interior space on the map and boasts some interesting features. Enter the Vents in the northeast corner for an elevated view in and out of the building. Crash through the north window by climbing onto the nearby air-conditioning unit.
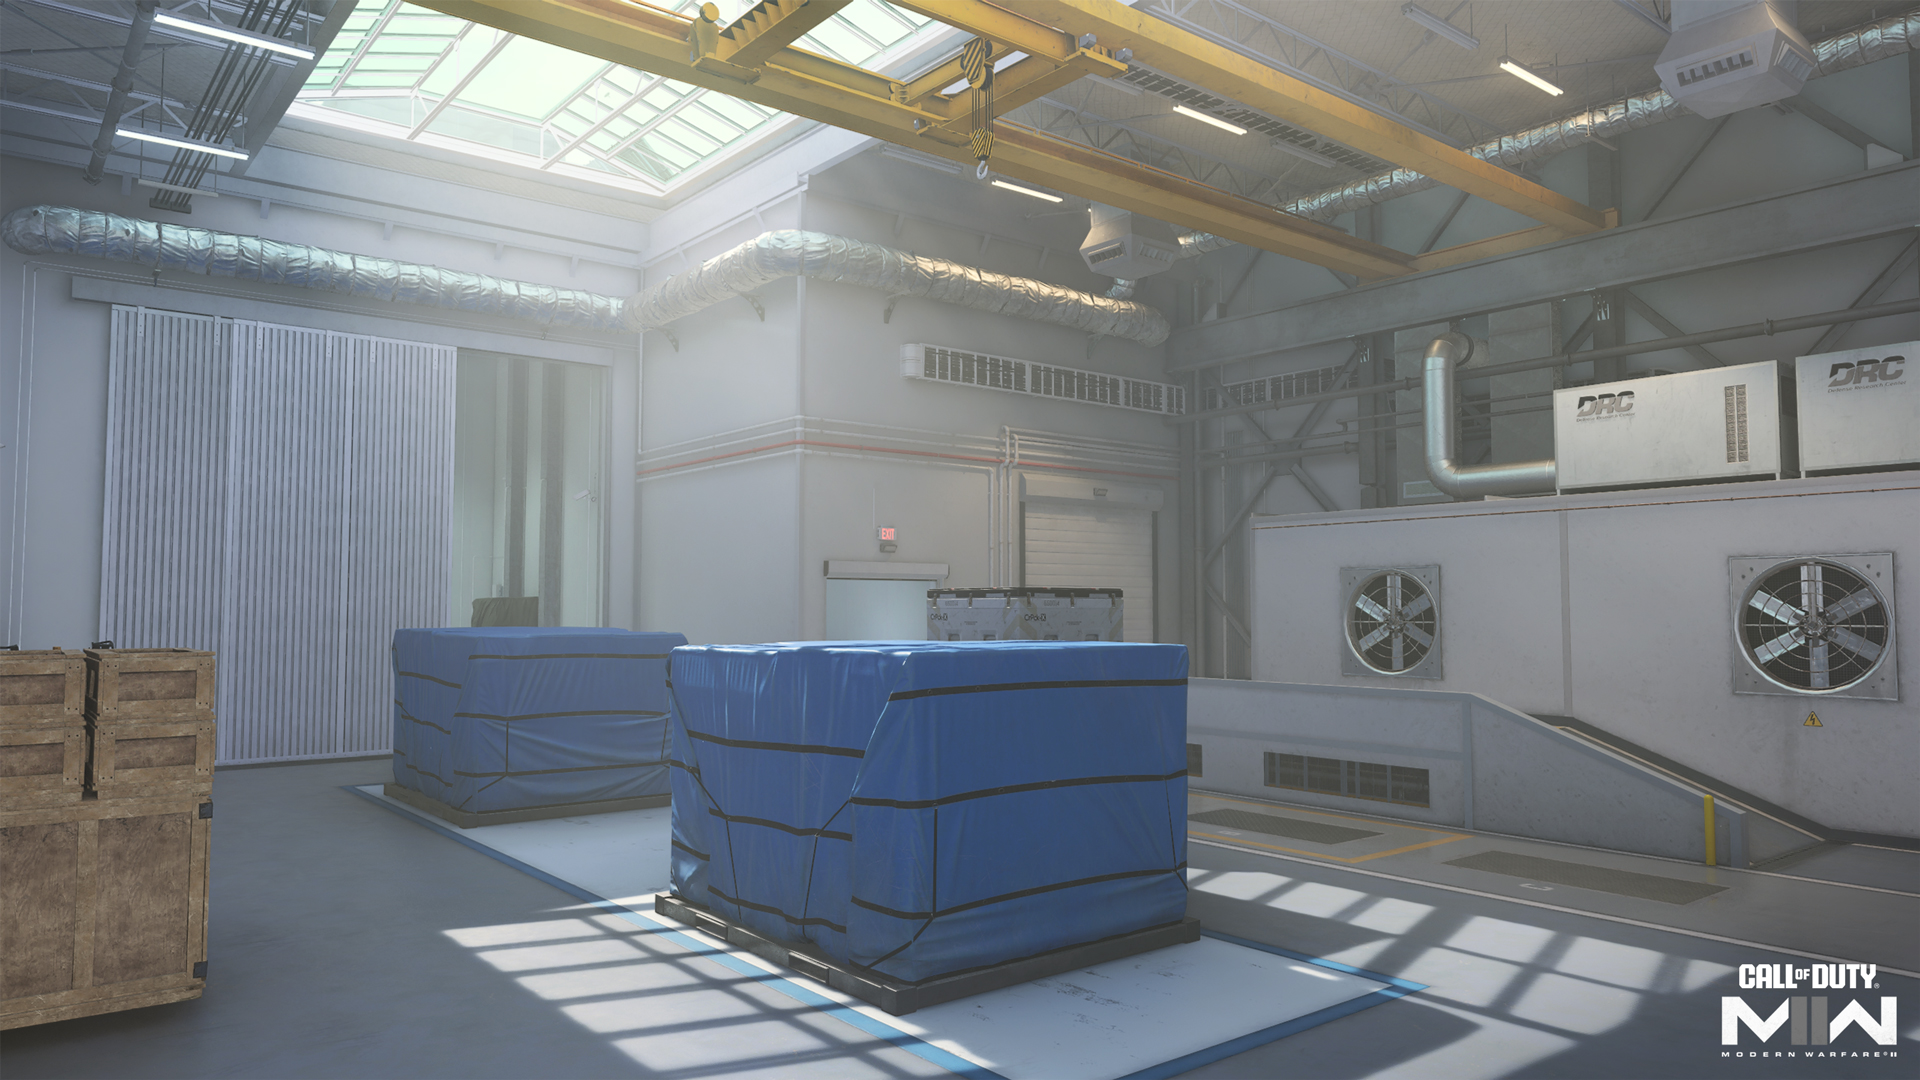
The interior features a narrow hallway over a larger storage room. Of the map’s inside spaces, this is the one where midranged Loadouts perform best. Note the glass ceiling over the largest room here, providing a window for streaks to hit targets inside the building.
Loading Area
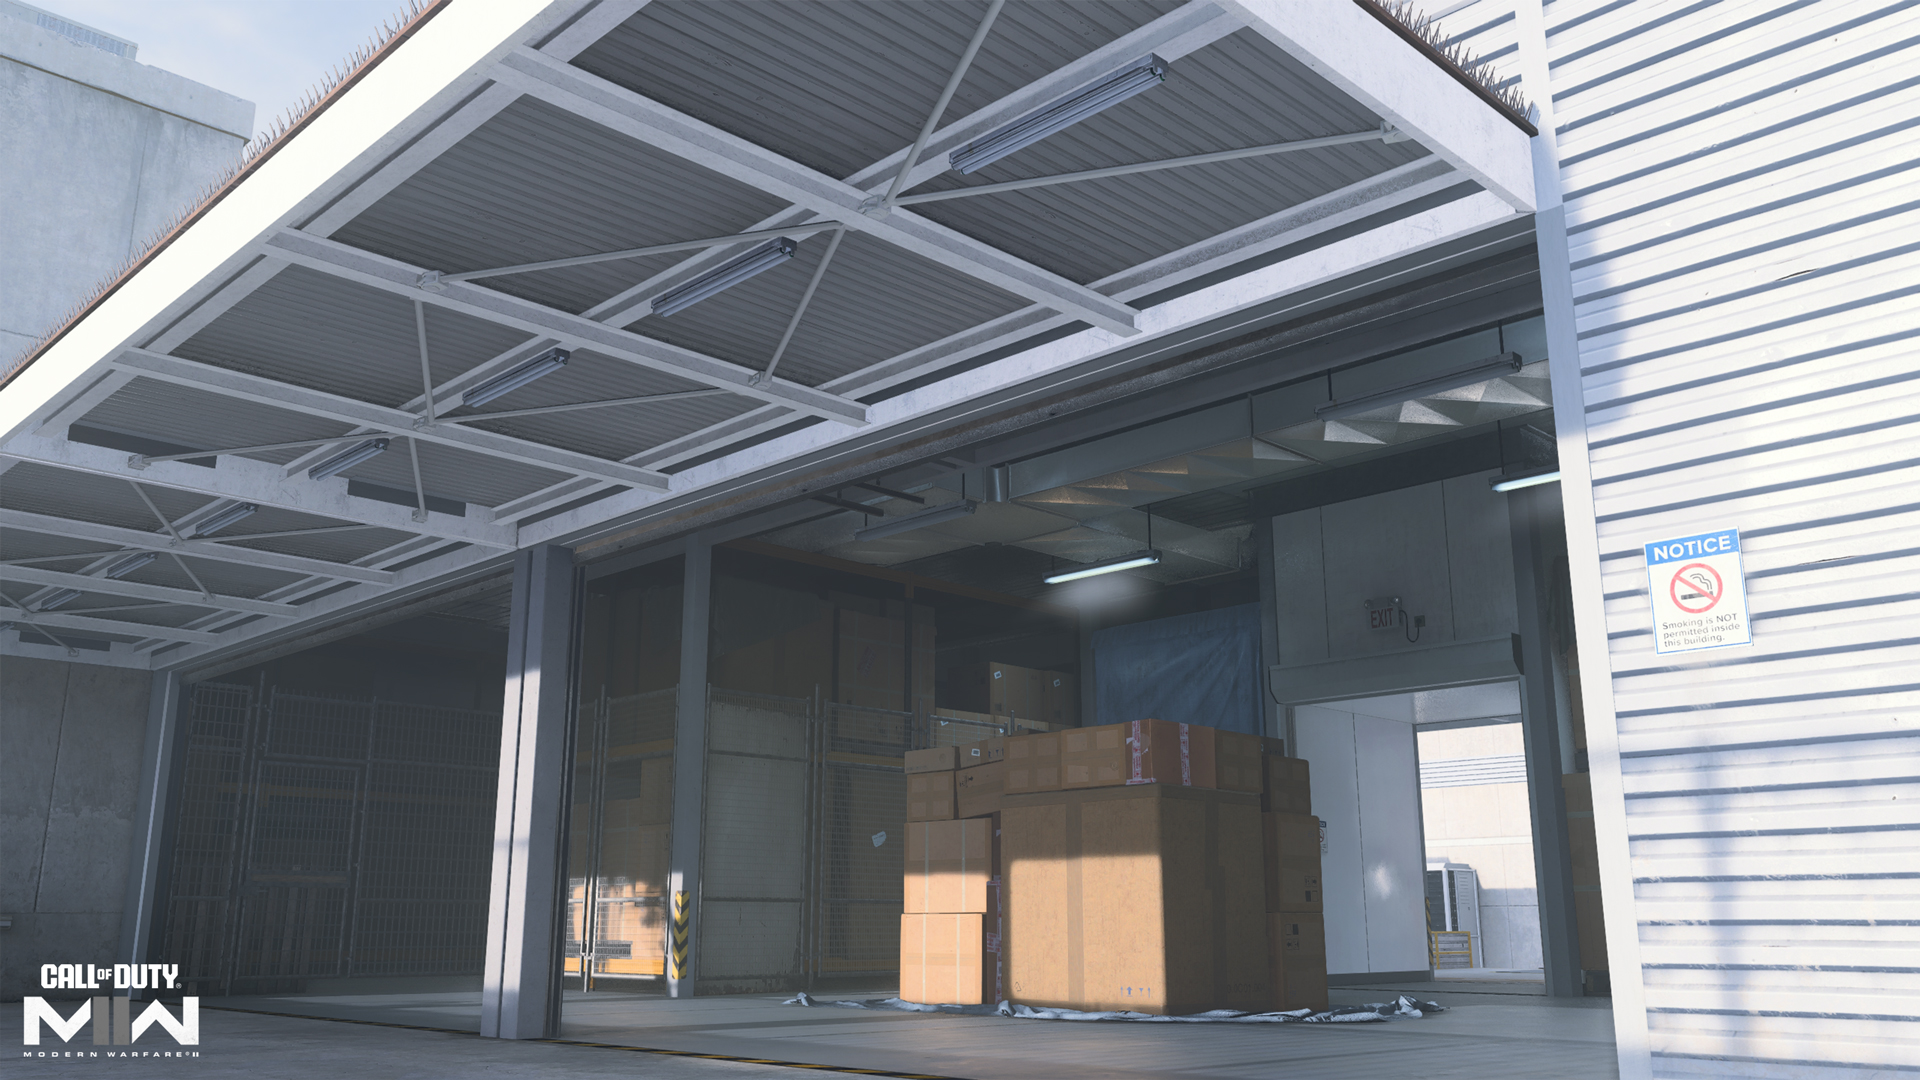
The Loading Area and Warehouse both feature large cover objects; get behind them to ambush enemies or climb on top to get over them. The Warehouse provides overhead cover in a discreet location while the Loading Area intersects with multiple locations. Weave between the two, depending on the threat at hand.
Objective Routes and Rotations
Mode Intel: Domination
The Domination flags mark a tight spread in the middle of the map. Flag A sits in R&D, Flag B is on the Patio, and Flag C is in the Courtyard. On a map this small, the flags are sure to change hands often. It doesn’t matter which two flags you take, only that you keep at least two in your possession for most of the match. Be flexible and always look for opportunities to capture a flag.
Use the minimap to help determine where the enemy is concentrated, then decide whether it’s best to attack straight on or redirect toward another flag. Use your grenades when approaching an objective and play defense from time to time so your teammates can focus on the attack.
Mode Intel: Search & Destroy
There are advantages to attacking both bomb sites. Starting in the Parking Lot, attackers can push through the Service Access ramp and over the Patio toward A, or move through the Courtyard toward B in R&D. On a map this small, going for the elimination win is also viable. The enemy is never far off.
Bring long-ranged backup when going for A. The Service Access ramp allows an Operator or two to stand back and provide cover to teammates moving toward the Warehouse; bring your close-quarters Operators to the front to deal with enemies in the more constrained Warehouse and Loading Area.
Teams who want to remain fully within close- to midranged engagements may prefer taking B, using the Courtyard and R&D building to keep enemies within a moderate range. On defense, spread out initially to get eyes over both bomb sites; then regroup once the attacking team’s play begins to materialize. When you get the chance, go for the team elimination.
Mode Intel: Hardpoint
Hardpoint starts off hot as Operators rush the central Courtyard for the first objective; get in there fast and watch your angles for incoming enemies on all sides. After that, the Hardpoint moves up to the Parking Lot and then down to the Loading Area. At the ends of the map, these areas aren’t as chaotic as the center, but an early rotation is still key to securing the objectives and getting your defense in order.
The last two Hardpoints appear in the R&D building and finally on the Patio. Be willing to change your Loadout when transitioning between these two areas, with the Patio generally favoring longer-ranged engagements than R&D. Throughout it all, keep earned streaks on standby until they’re most effective, either when pushing into a new Hardpoint or to help dislodge enemy defenders from an entrenched position.
Top Tips
1. Sights up. DRC Zone 1 is a small map with little downtime between engagements. Don’t get caught sprinting past a corner unless you’re certain that it’s clear on the other side. Keep your sights up and be ready to engage.
2. Check the Vents. Think there might be an enemy in the Vents? Toss a grenade in there when passing by and you’ll likely get a hitmarker if there’s someone inside. If not, you can always climb up and take advantage of its sightlines for yourself.
3. To the side. The narrow Lobby and Labs passages each feature an indented space to the side of their otherwise straight route. Use these to protect your back so you can you focus on covering just one of the two entrances. Don’t overdo it, though, as it’s an easy move to counter.
4. Take care with aerial streaks. About half of the map provides overhead cover, so be mindful when calling in aerial streaks. In general, these are best used in objective modes where you know there’ll be plenty of activity in open spots like the Parking Lot and Loading Area.
5. Hop up. The great thing about the many midsized cover objects across the map is that you can climb on most of them. Though this exposes you to attack from all angles, it also provides a strong vantage point against incoming enemies. This is best used when you know where your target is located. Get the elimination and then hop back down and keep moving.
6. Guard dog. Though it’s a small map, there are still opportunities to pick an area and stick with it. Areas like R&D, Patio, Lobby, and even Courtyard can be defended by a single active Operator. Choose a site, lock it down, and constrict the enemy.
7. What was that? Getting the initiative is of even greater importance on small maps like this. Consider using the Dead Silence Field Upgrade to quiet your footsteps during critical plays. You’ll have plenty of opportunities to land gun and melee eliminations to refresh its duration, too.
8. Snap or smoke. Depending on your playstyle, you might prefer obscuring the enemy’s view or enhancing your own. If distraction is more your style, head in with a Smoke Grenade for those risky passages. If intel is your watchword, bring a Snapshot Grenade to tag enemy positions for the whole team.
9. Courtyard dash. Need to cross the Courtyard with minimal exposure? Use your Tactical Sprint to race between the narrow Lobby passage and the northern window of R&D, accessible via climbable objects on either side.
10. Offensive defense. Though aggressively moving through the map keeps the enemy on their toes, it often pays to group up and hold a critical area of the map, especially in objective modes. Work with your teammates to form the best defensive postures when needed. This is the Defense Research Center, after all.
Stay frosty.
Stay tuned to Gaming Trend for more Call of Duty: Modern Warfare II news and info!

