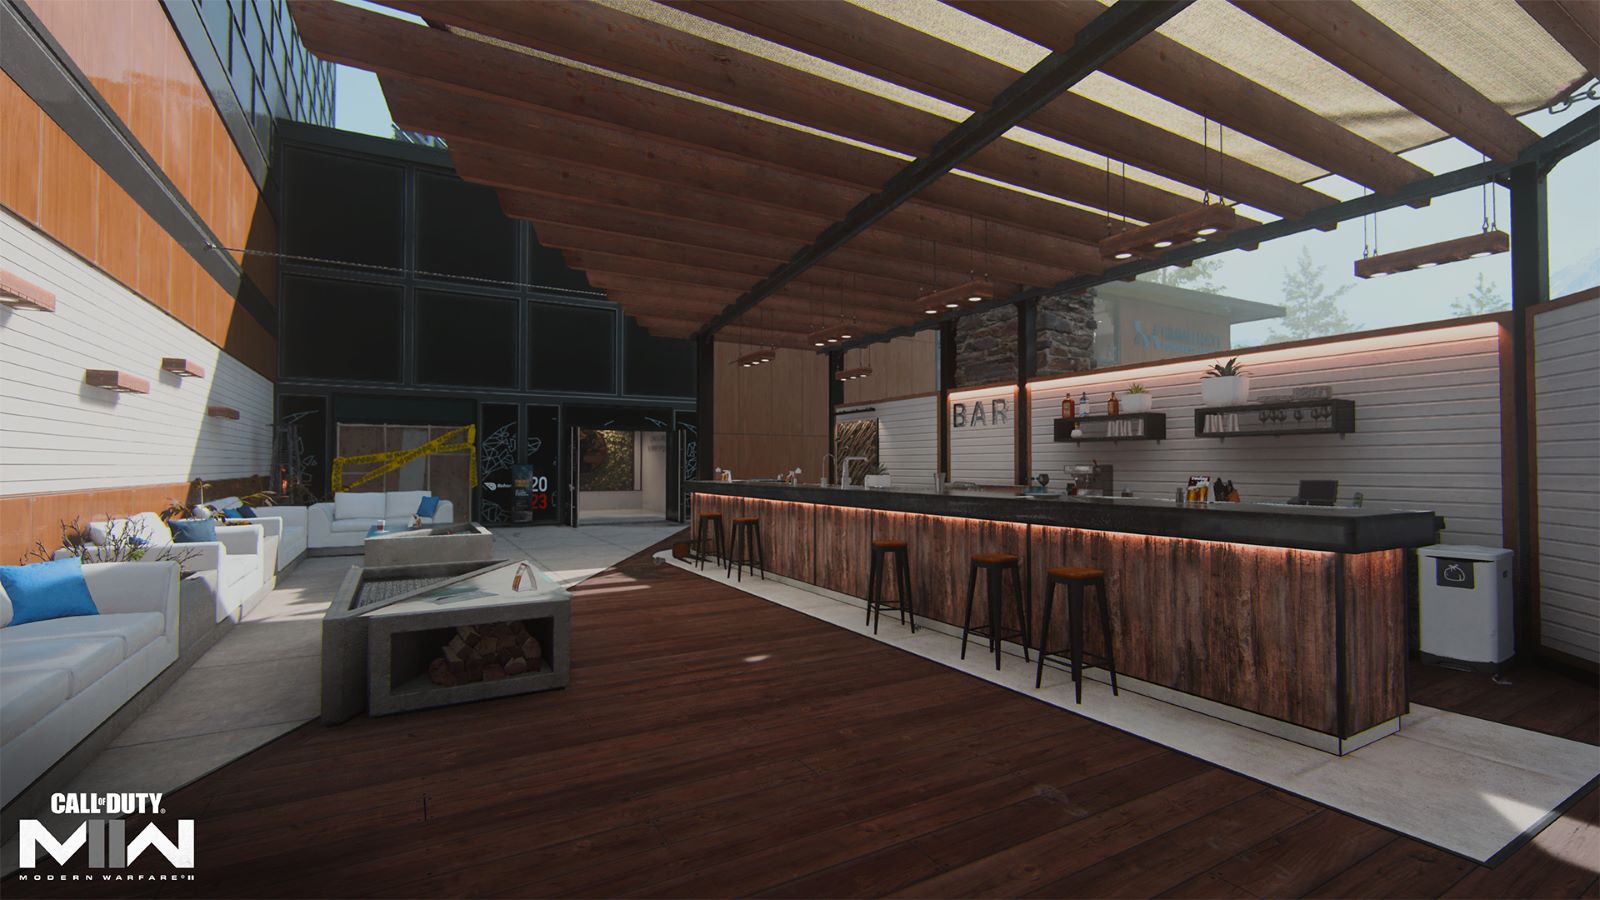
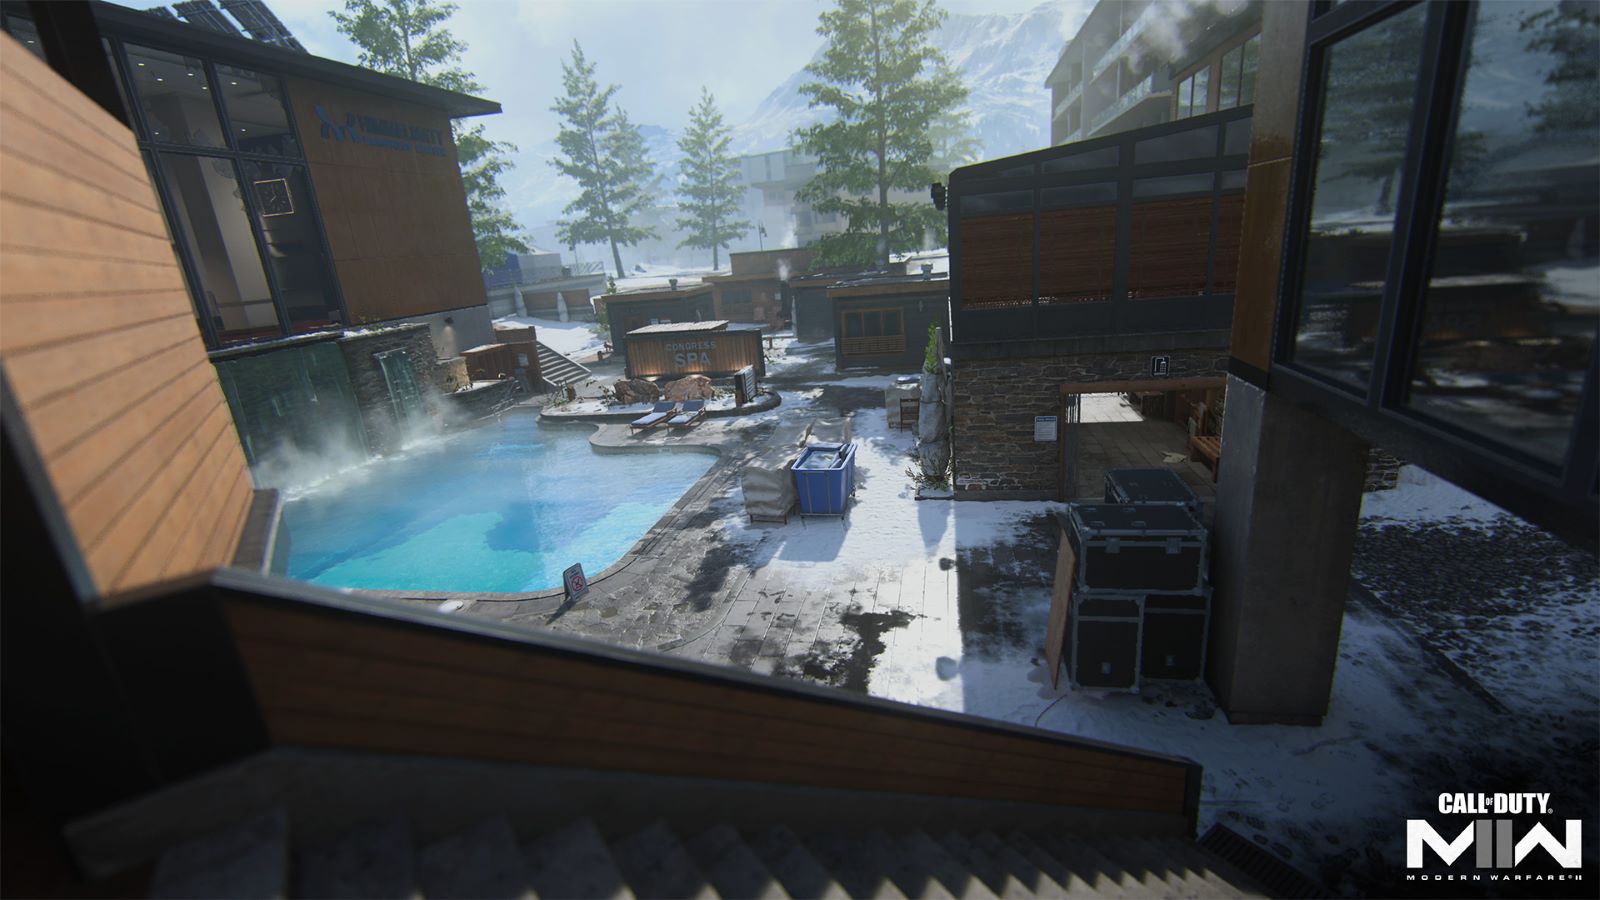
A new blog post from the Call of Duty team gives an in-depth look at the new 6v6 map launching on March 15. Himmelmatt Expo takes place in a snowy resort out in Switzerland. The map features both indoor and outdoor sections providing plenty of flanking opportunities. The developers say this is a larger map than most, so it’ll be interesting to see how the community takes to Himmelmatt Expo. You can read the full breakdown here with highlights from the blog post below:
Get your winter jacket and prepare to deploy to the Himmelmatt Expo, an idyllic company retreat nestled in the Swiss Alps. Attendees for the upcoming Oil & Gas Summit 2023 will have to delay their arrival, however, as combat breaks out on the site between SpecGru and KorTac forces.
This new 6v6 Multiplayer map launches on March 15 alongside Season 02 Reloaded in Call of Duty®: Modern Warfare® II. On this medium- to large-sized Multiplayer map, Operators will navigate through the main event center and its neighboring amenities, which include the Pool, Sauna, and an upscale Restaurant. Catch breathtaking views of the surrounding mountains while booking it across the snowy streets; then get back to the task at hand and secure victory.
KorTac Spawn Zone (South) — Roundabout
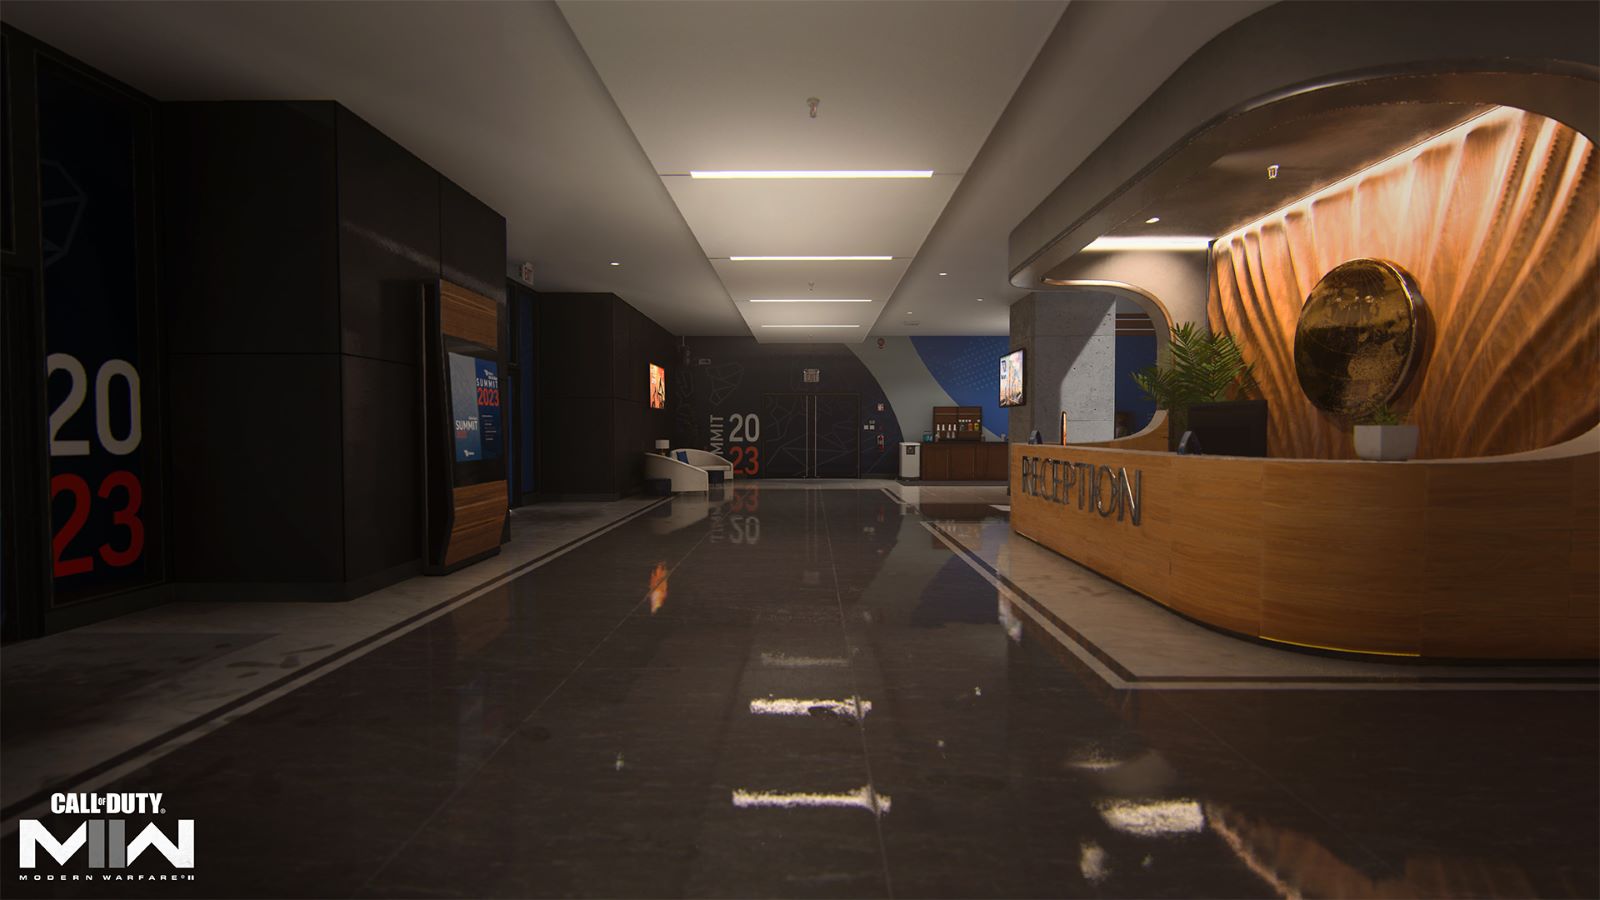
KorTac forces spawn on the southern tip of the map, facing the event center, where they will see its welcome messages in various languages. Operators have several options from this area: Rush straight through the double-door entrances leading into the Lobby — where they can then head to the Lounge, Terrace, or Conference Room — take the double-door entrance leading into the Lounge, or stay outdoors, wrapping around the main building toward the Pool and Sauna.
Aggressive Operators may prefer starting in the Lobby, which offers greater concealment for tracking down enemy players. Want to start the match in a defensive position instead? Head for the Lounge and check for enemies crossing near the Pool and taking up position in the opposite Restaurant.
Also, take caution when moving through the Sauna; though it makes for a strong flanking path, you’re at a height disadvantage from several angles, so always be aware of your position.
SpecGru Spawn Zone (North) — Street
Spawning in at the top of the map, SpecGru Operators can turn immediately into the North Hall or continue down the Roundabout toward the Pool, Restaurant, and Sauna.
The North Hall entrance leads directly to the Conference Room or the Terrace, where there are bound to be enemies arriving in from the Lobby. Operators with long-ranged Loadouts may prefer to stay outside, picking off enemies stationed in the Lounge from a distance or cutting off Operators attempting to move through the Sauna.
Situated directly across the Lounge, the Restaurant’s upper story makes for another defensive position worth utilizing even with its apparent risks.
Himmelmatt Expo consists of four major areas, outside of the spawn zones:
—Congress
–Main Roads
–Restaurant
–Pool & Sauna
Congress Hall
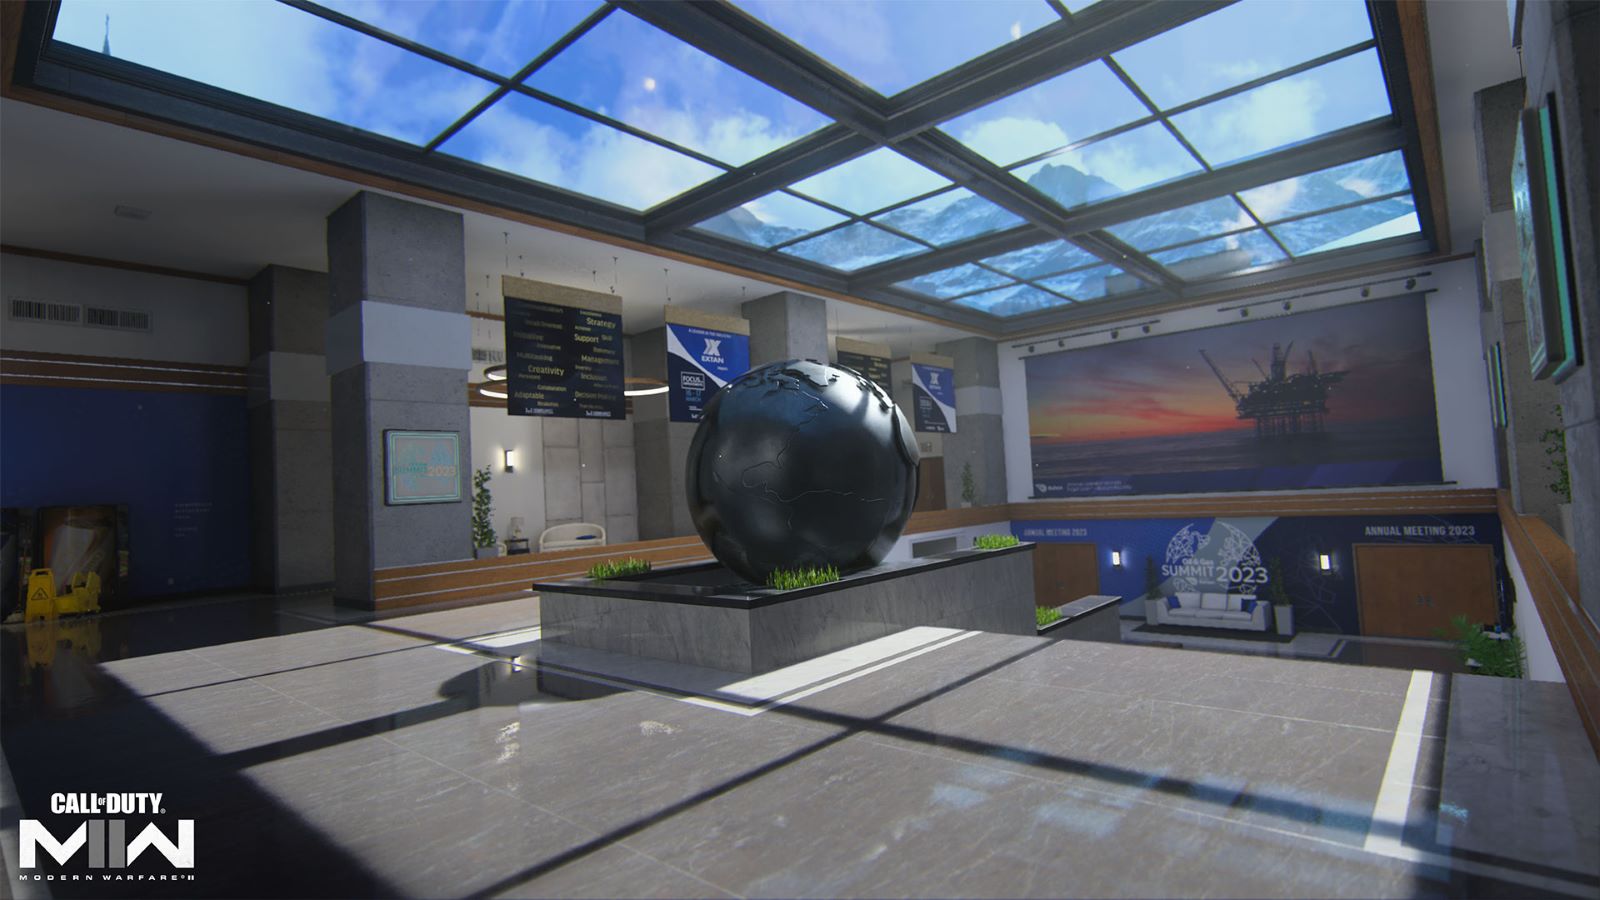
The Congress Hall event center occupies nearly half of the map, as it houses reception services, a Conference Room, the Lounge, and a Terrace. The structure is composed of two levels: the main floor that runs from the reception desks on either side of the building and through the Terrace, and the lower floor leading to the Conference Room.
There are two areas worth highlighting: the Conference Room’s Backstage and the Lounge. Backstage is accessible from the Lobby through a quick trip on the stairs or dropping down the elevator shaft. This is also a fast route to the Conference Room — a high-value location in several objective modes.
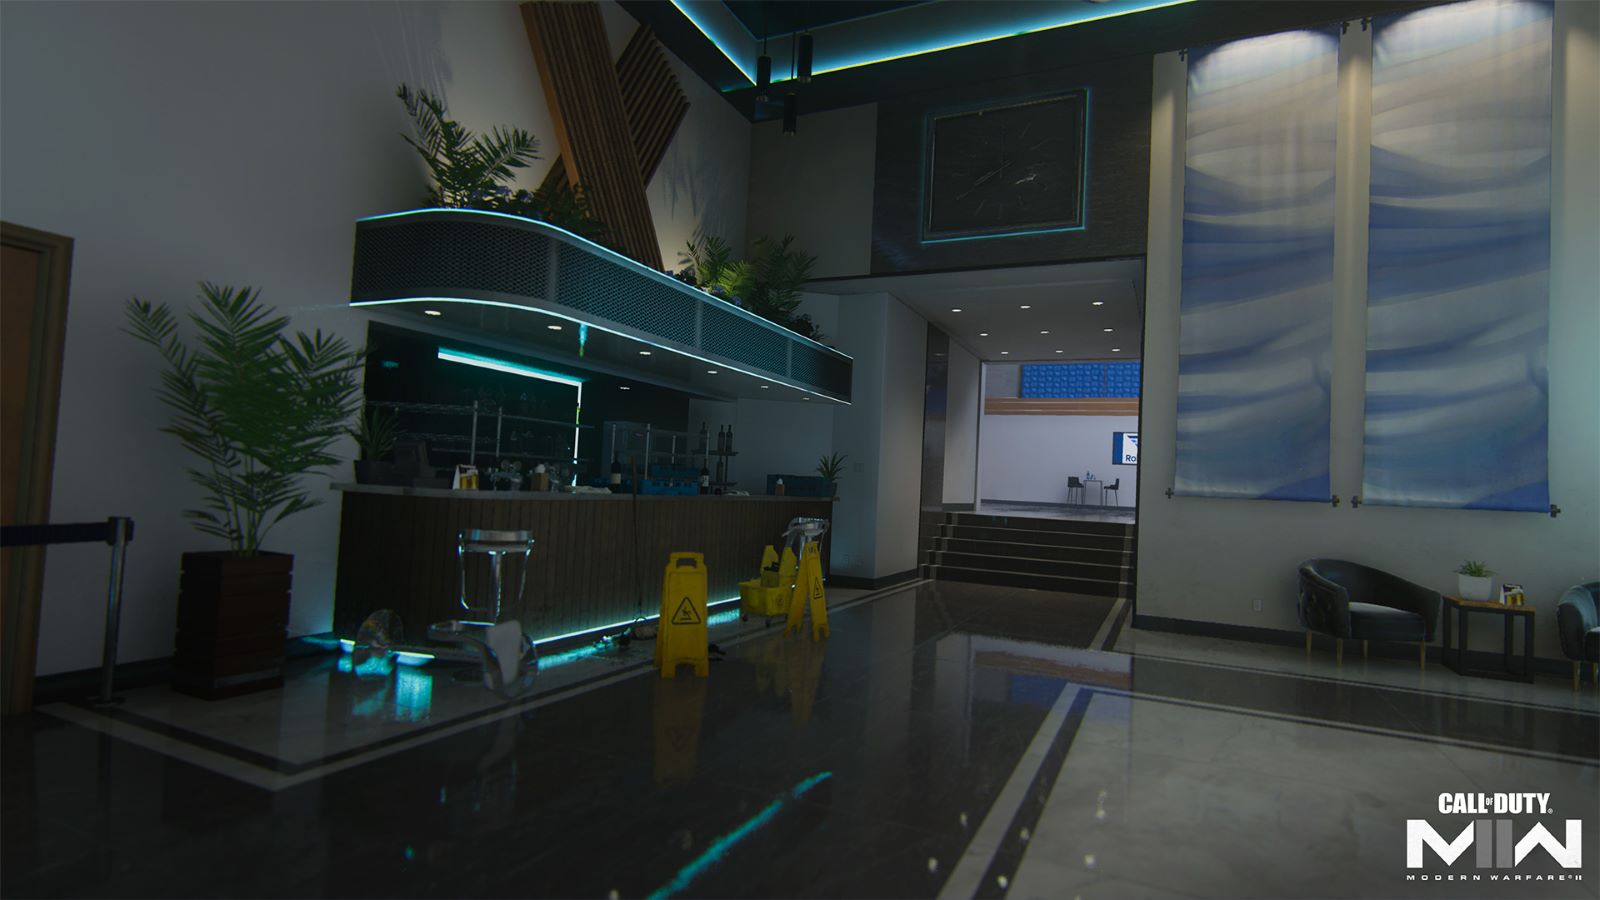
The Lounge provides a great view of the outer pool area, though its floor-to-ceiling windows make Operators inside clearly visible. Also, it’s possible to climb up into the Lounge from the Pool, a point worth keeping in mind whether you’re attacking or defending the area.
Main Roads
The Main Roads lead to the event center’s top and bottom entrances, with parked vehicles scattered throughout. From the southern Roundabout, one can see over the Sauna and up toward the Restaurant, while Operators in the north Street enjoy a similar view over the Sauna and against enemies emerging from the Pool.
Use the various trucks and vehicles here for cover as needed and be sure to race inside if you get notified of an incoming enemy streak.
Restaurant
While tiny compared to the Event Center, the Restaurant occupies an important position on the map, with several game modes positioning their objectives at or near the building.
The bottom floor consists of the bar, a small room with only the double doors leading into it and the staircase winding up to the second story.
While there’s more room to move around upstairs, it’ll still be a tight skirmish against any enemies you run into. Don’t miss the turn leading to the outside seating area, where Operators can get a view into the Lounge and over the Pool and Sauna.
Pool & Sauna
Yes, you can swim in the Pool, thereby conducting an amphibious assault by emerging and climbing up into the Lounge.
The Sauna offers a somewhat safer route when traveling outdoors, considering its position to the side of the map and the squat buildings providing solid cover. If you have to get through the Pool area, use your Tactical Sprint to get through fast; otherwise, you risk becoming a sitting duck on a cold winter day.
Mode Intel: Domination
Standing in the Lounge, the A flag is open to attack both from inside the event center and out toward the Pool where enemies can climb up into the Lounge or attack from the upper level of the Restaurant. Stick by the wine display in the café when capturing the flag to avoid taking shots from enemies outside. Watch the windows as well as the northwest corner of the room, where a discreet black door leads to a small staircase into the room.
Head down to the Conference Room to capture the B flag, sitting in a seemingly secluded area. With many different access points to the room, however, it’s a difficult task to determine where the next enemy may appear. Note the windows in the upper hall overlooking the Conference Room; this makes for a great ambush point against enemies who fail to take cover while capturing the flag.
The C flag is positioned outside, located at the top of the map between the Tourist Office and the Media Tent. Expect attacks from the Sauna and the Street behind the flag and keep an eye on that North Hall VIP entrance. Note that this flag is open to aerial streaks, so watch your head.
Mode Intel: Search & Destroy
In this one-life mode, the attacking team begins at the south entrance while the defenders start in the north. The A Bomb Site is positioned outside up north by the Tourist Office (in a similar location to the Domination C flag), while the B Bomb Site sits in the event center’s Conference Room.
The B Bomb Site is more quickly accessible to the attacking team, though the Conference Room presents plenty of dangers in its small play space surrounded by various entry points. Watch the upper window and the back wall for defenders rushing in from the North Hall entrance. You might instead send your bomb carrier through the Sauna to the A Bomb Site where the battle is less confined. This is a good move in the opening rounds before Operators have had a chance to build up streaks.
The defending team is about equidistant from both bomb sites, so it might make sense to split up the team. Even sending just one or two teammates to the outer A Bomb Site is well worth it, as they can more easily spot incoming enemies here as opposed to the confined Conference Room. Try jumping atop the bus here or taking up a spot in the upper story of Das Lokal Restaurant & Bar.
Mode Intel: Hardpoint
There are five Hardpoints on Himmelmatt Expo. The first appears just in front of the Restaurant; use the Showers area within the Hardpoint for cover. The Hardpoint then rotates to the Conference Room, which encompasses the stage and up to the first cover barrier past its front steps; you’ll most definitely want a Trophy System here, as grenades of all types are bound to inundate the enclosed room.
The third Hardpoint marks the only one outdoors, positioned in the north between the Tourist Office and the Media Tent. As the only point open to the skies, it’s bound to be a target for aerial streaks, so don’t group up too closely when defending the area. The fourth point takes you back inside to the Lounge — watch those windows — and the fifth Hardpoint is located just inside the North Hall entrance; use the concrete pillars here for cover.
Once there’s about 30 seconds left in the current Hardpoint, start rotating over toward the next. When the enemy comes knocking, you’ll be waiting for them.
Stay tuned to Gaming Trend for all your Call of Duty news and info!

