True Metallic Metal painting, or TMM as it’s commonly known, has always eluded me. Ever since I started painting in 2015, I think I was always intimidated by paint with reflective properties in it, and for the most part, I avoided it, unless I was painting a sword or maybe some details on a model. It wasn’t until last year where I started to look at TMM with both an objective lens and a learner’s mindset.
In miniature painting, for the most part, we try to paint a particular point of interest on a model, where contrast and volume are at their most intense, drawing the eye to that particular section. This is where non metal metal, or NMM, comes into play. Like in traditional art, the painter utilizes layers of shadow and highlight to create these intense points of interest on the model. The end result means that the model is meant to be viewed from a particular point of view. When it comes to TMM, the painter allows light and shadow to accurately create the intense points of interest, which would be accurate to real life. This means that they may start to trade off the amount of control for the point of view, but could end with a model that can look great from any and every angle.
Before we dive too deeply into the principles of light and shadow and this review turns into art class, I think we should discuss the matter at hand. Army Painter has created a line of metallic paint that not only looks fantastic, but covers the model and flows in a way that is surprising and produces stunning effects.
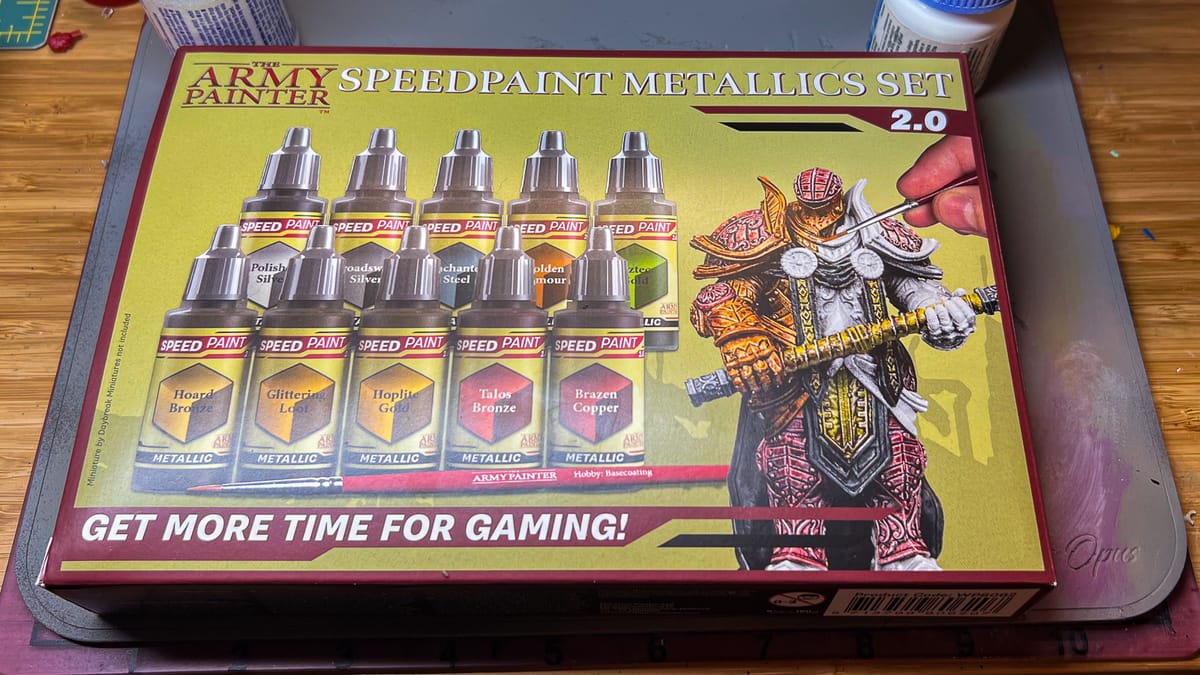
This is the Army Painter Speedpaint Metallics 2.0 set.
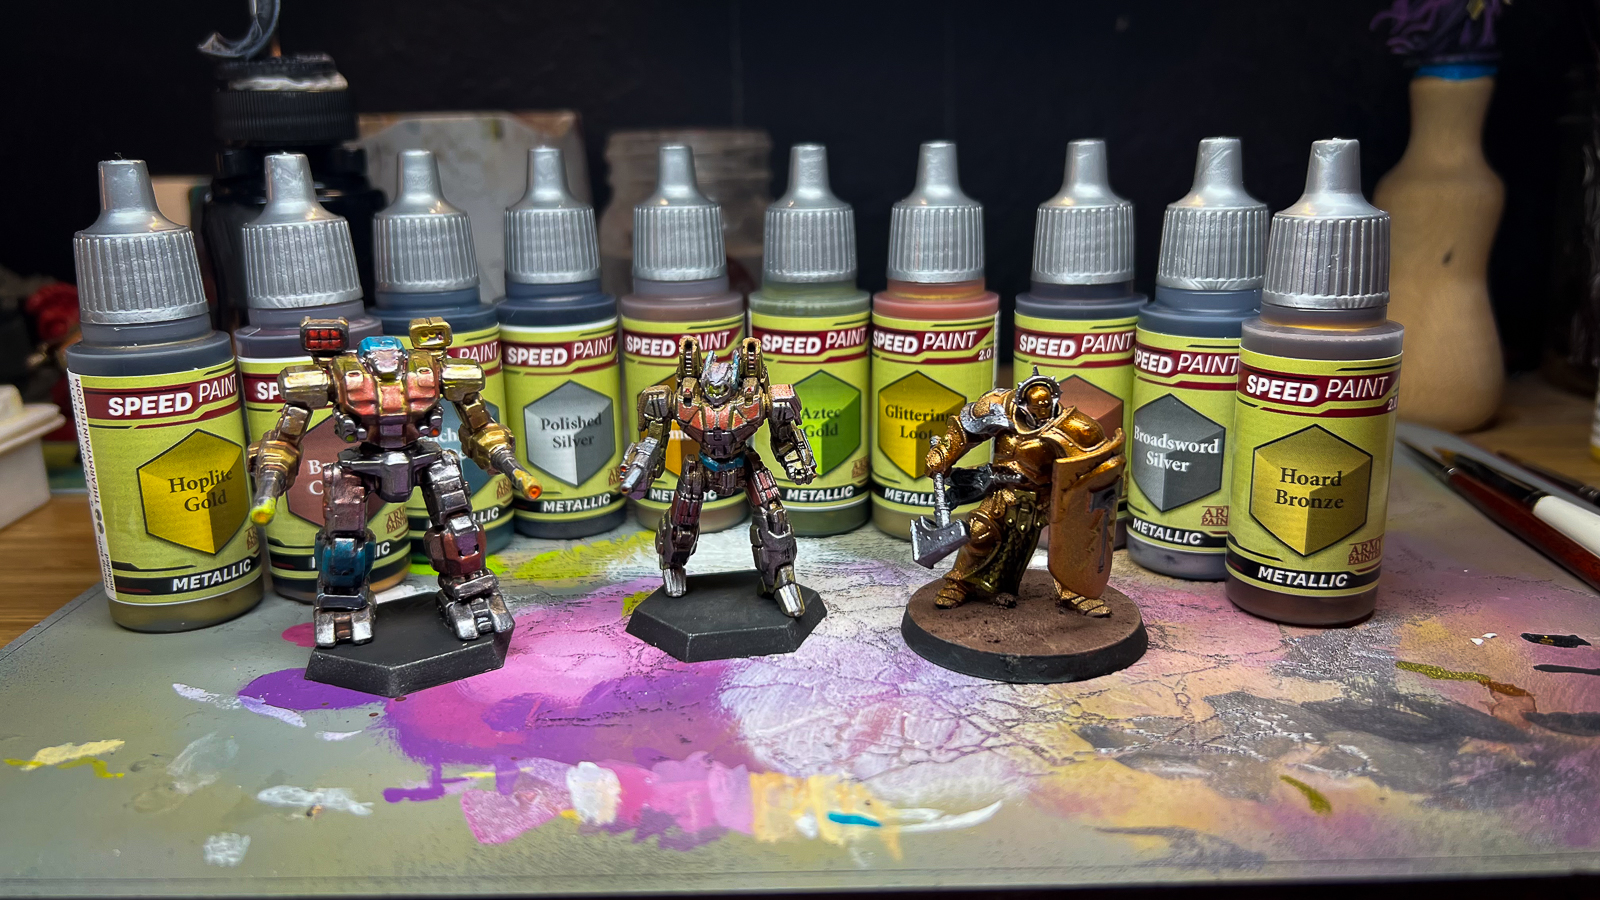
The metallic speedpaints are vibrant and easy to use
Over the last few years, a new painting technique & new products emerged to help players get their models painted faster. This was generally known as “contrast painting”, but you may be more familiar with the Slap Chop method, in which a model is primed typically with black, then a gray mid-tone drybrush, and lastly a white zenithal highlight. The model is then covered in various contrast paints, with the promise of one to two coats being all a painter needs.
The goal of contrast paints is for them to flow evenly over the surface of a model. Using the method I described above, a painter could easily paint flesh, rounded surfaces, capes, clothing…theoretically, everything can be painted with contrast paints. And as I mentioned, there are a plethora of products out on the market, each with their pros and cons. Army Painter is on the 2.0 version of their Speedpaint range, and I was supplied with a handful of ‘Mechs and the Metallic set to test.
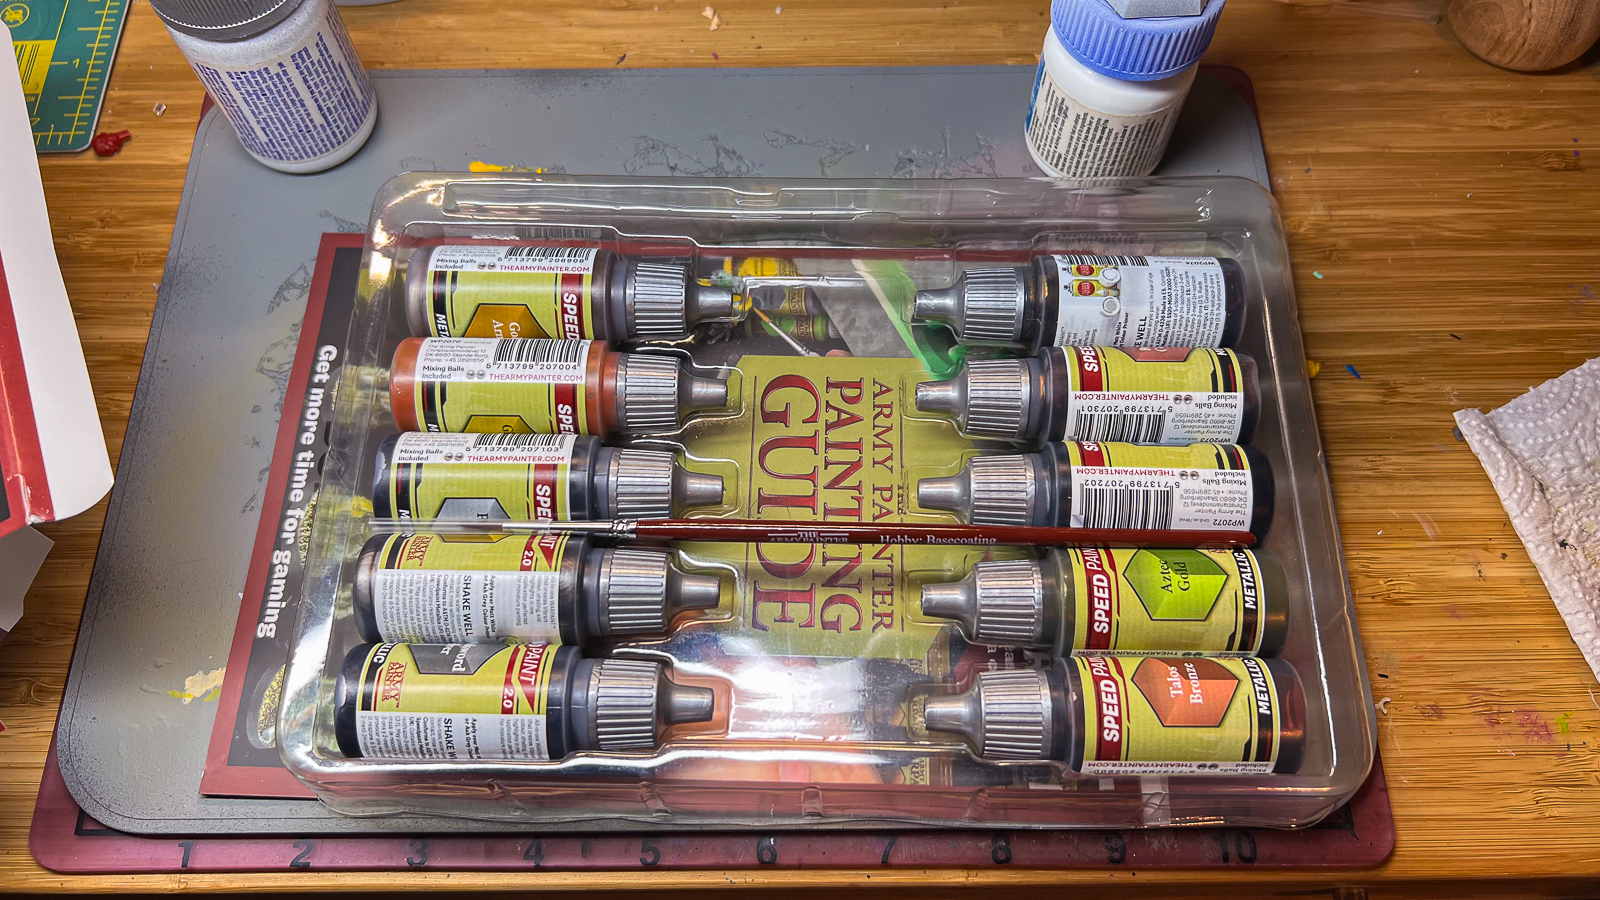
Army Painter provides you with enough variation to handle most metallic paint jobs.
The box itself is lightweight, a little cheaply made, but I believe Army Painter probably thinks instead of keeping the box around, you’ll probably add these paints to your racks, so don’t go wild ripping open the box. Inside, you get 10 paints, all of which provide what you’ll most likely need to paint silvers, golds, coppers, and two distinct metallics, a greenish gold and a deep goldish copper. You also get a basecoat brush, a painting guide, and some stickers.
The bottles are droppers, complete with mixing balls. This is great because you can pour out what you need and ensure it’s shaken up enough to have a good mix on your palette.
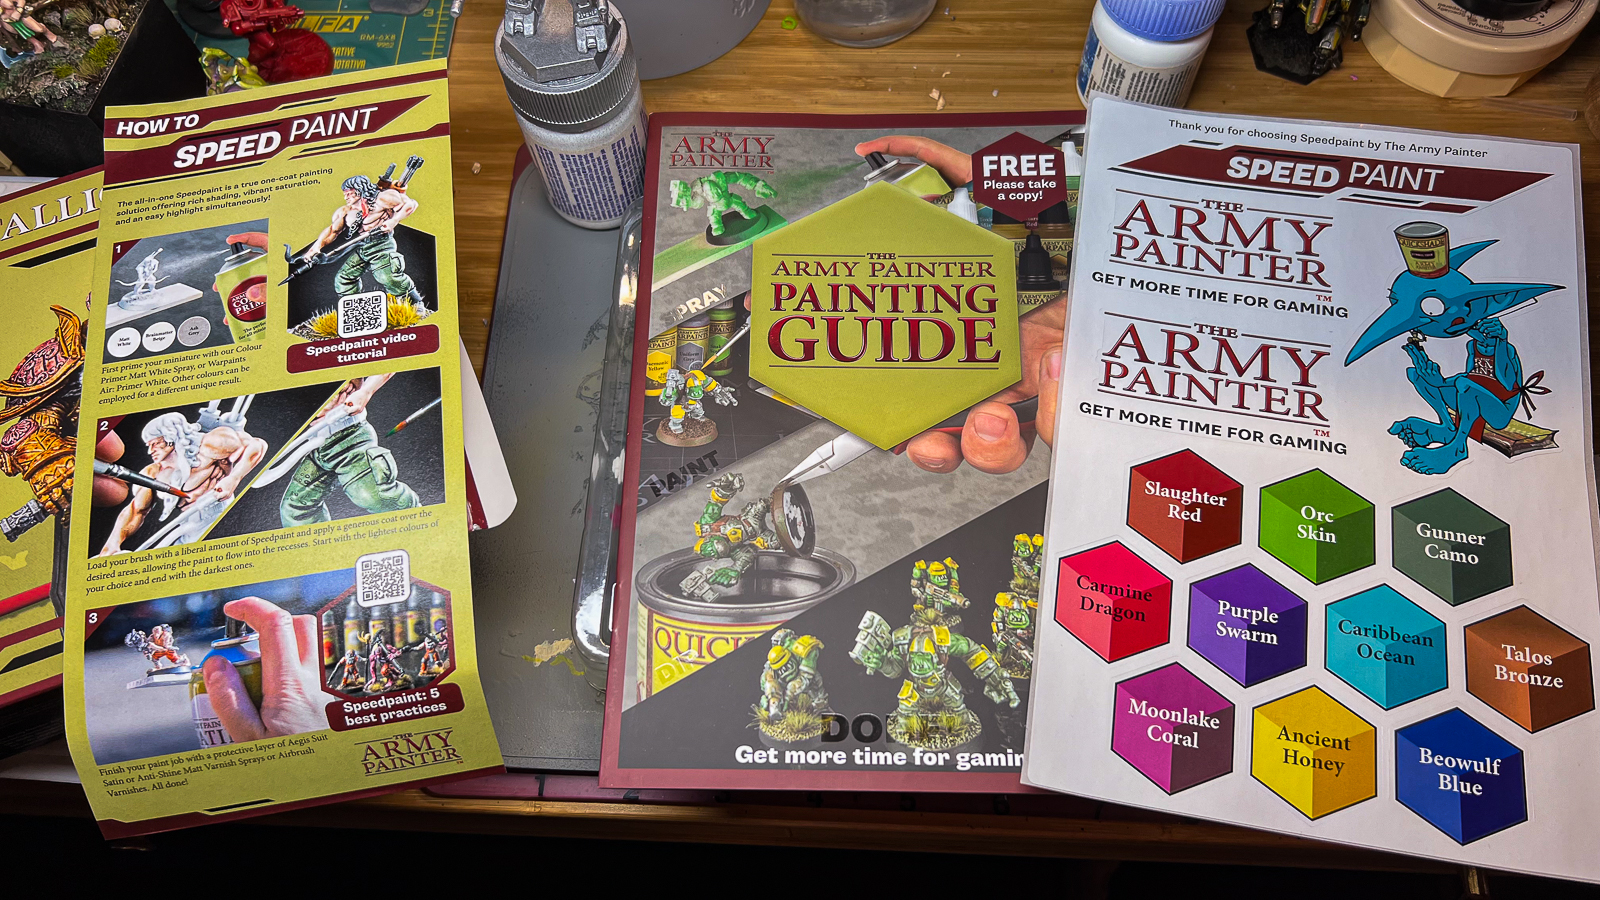
The guides are actually useful for anyone not accustomed to Speedpaints.
For painting your models, the directions are simple. Prime with white or other lighter colors, and then liberally apply Speedpaint, allowing the paint to flow into the deepest recesses. They recommend starting with the lightest colors first and ending with the darkest ones, which goes completely against everything I know as a miniature painter.
Full stop, what? Experienced painters reading this know what I’m talking about, so I’ll quickly clarify. In painting, we traditionally start from the darkest tones and bring up the highlights to their desired brightest point. But, this is a hobby where there are no hard and fast rules (minus paint brush licking), so experiment away.
In my testing, I found that both the method Army Painter recommended and my traditional method still produced desirable results, but test and figure out which works for you.
I used 3 models. One model was primed white, one was primed with an Army Painter metallic, and the Stormcast was primed in a light gray.
These paints amaze me. They go on your models so easily, and the coverage is near perfect. For most of the paints, one coat is all I needed. Especially on the Stormcast model, the paint flowed perfectly around all of the points on the armor, giving me a perfect base coat.
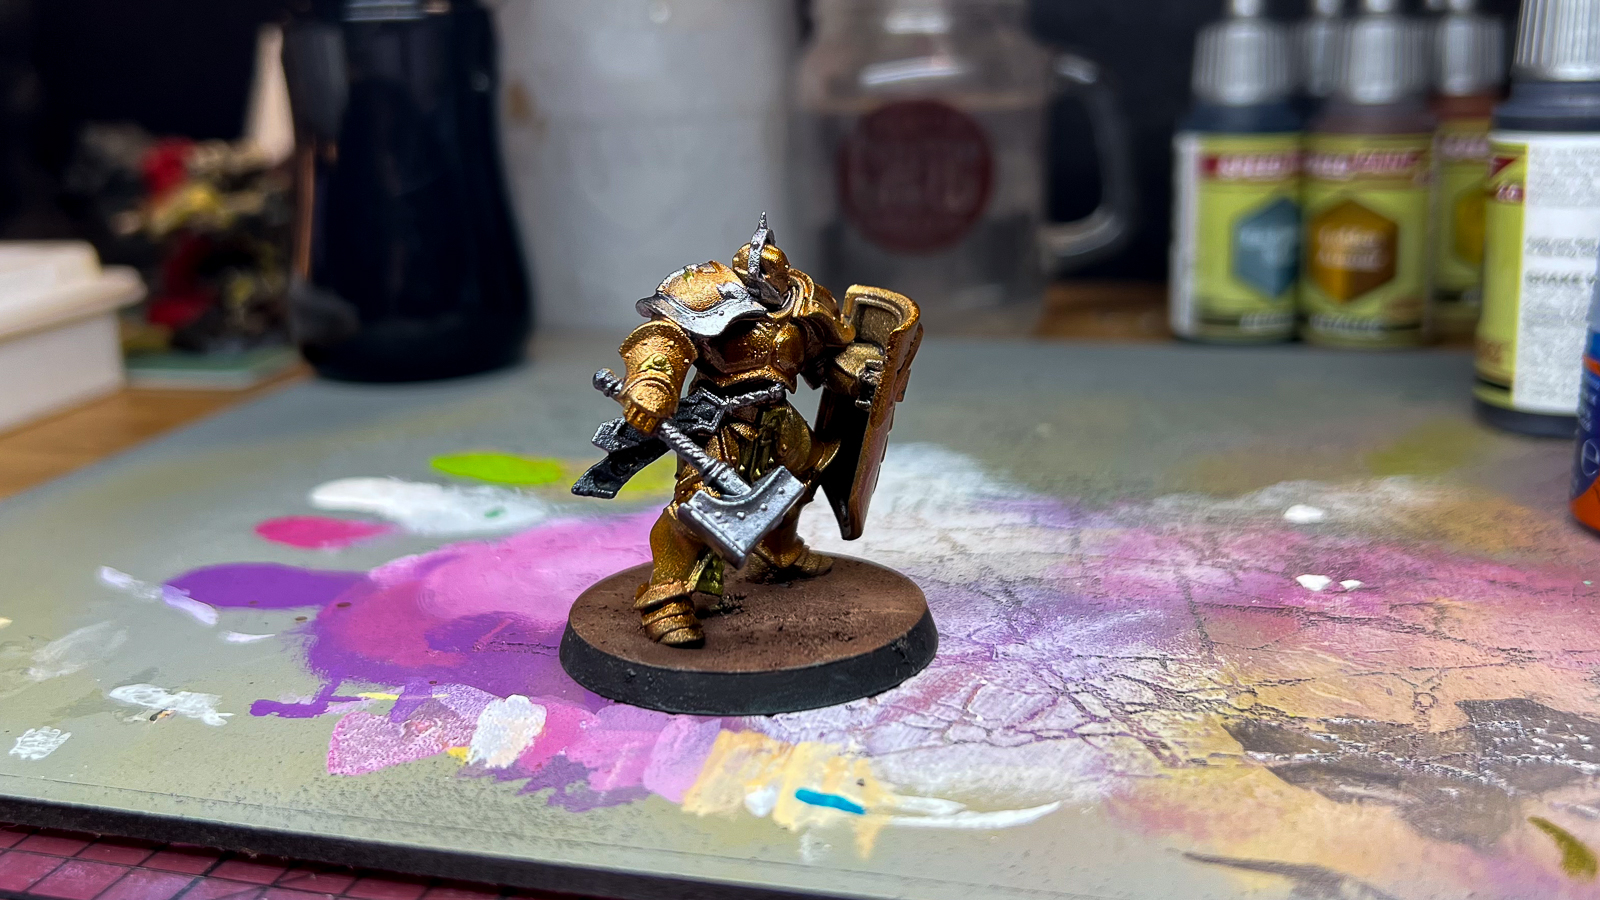
This Stormcast model was perfect for testing some layering of metallics.
The color choices are great as well. The golds & silvers easily fit into triads, if you’re trying to focus on tones that would work with light and shadow, and the Aztec Gold, Golden Armour, and Bronze paints really stand on their own, Aztec Gold especially. I can see many painters taking advantage of this to create green armors, unique jewels, and some special effects on some models.
These paints also react well to layering on top of each other. On the Stormcast and smaller ‘Mech, you’ll notice that layering worked out very well, maintaining the details of the model. I will mention that you’ll want to keep the layering of metallic Speedpaints to a minimum, as they can start to feel a little thick after the 3rd layer. The paints tint very easily and react to washes exceptionally well. On all of the test subjects, I layered on some tints of red, blue, which reacted well with the lighter primers. And I layered in either Nuln Oil or Monument Hobby’s Black wash to great success.
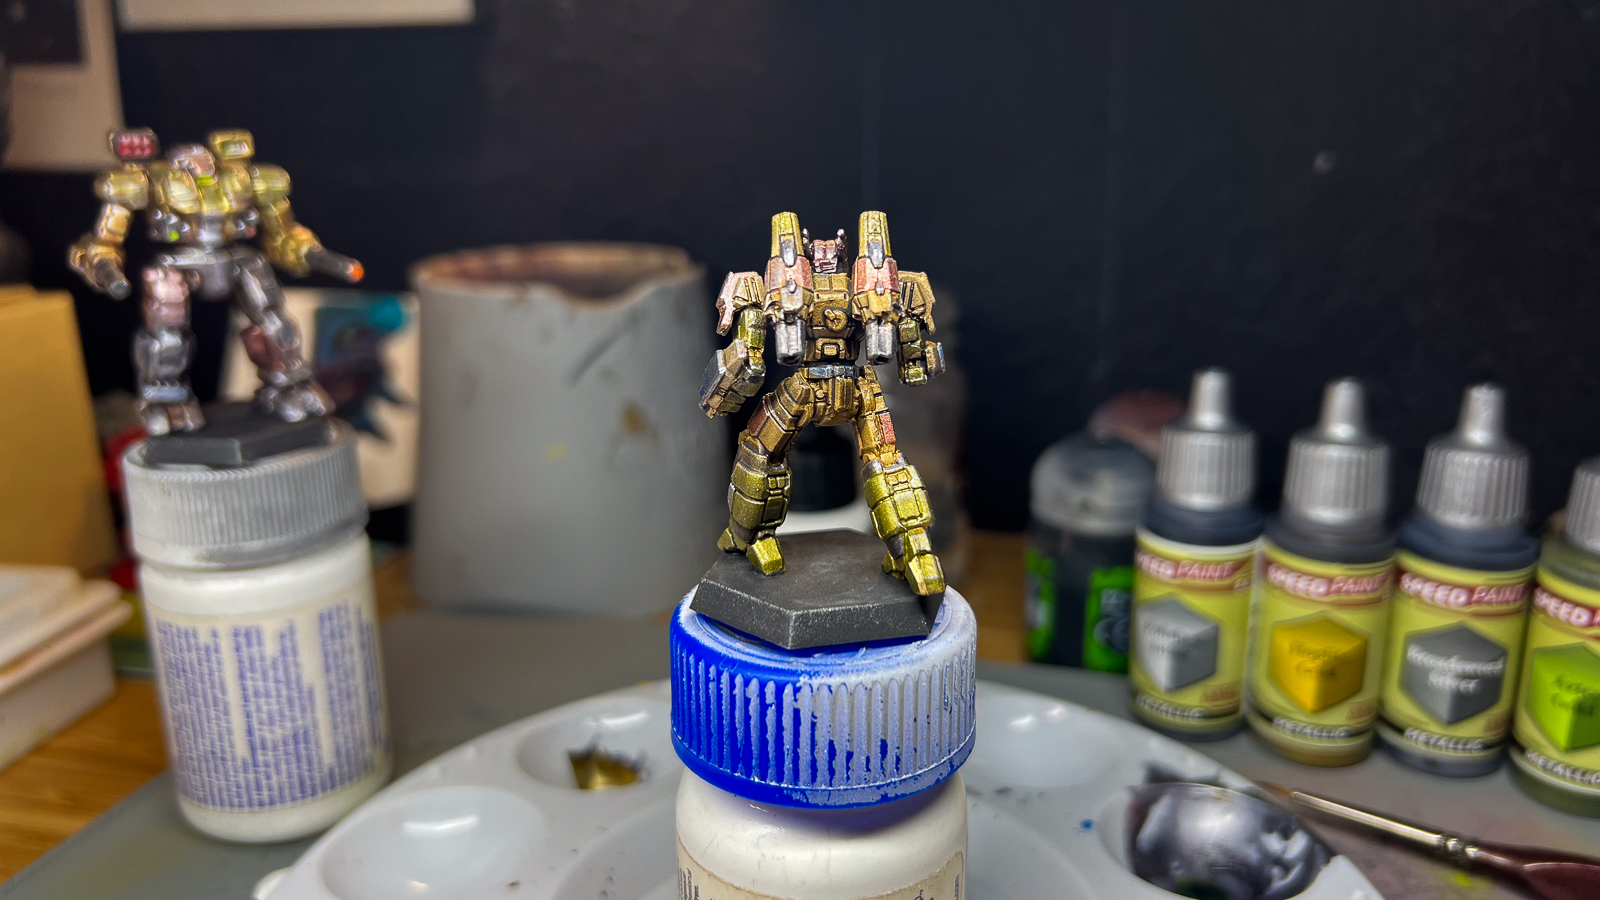
Washes worked very well with this test model.
I used a traditional paint palette for my testing, and found that with a small amount of paint, I could get a long session done. Applying a wash strategically to areas on the models was very easy, and cleanup didn’t reactivate the paint layers. My most recent test, the Stormcast, took maybe 2 hours. If I didn’t have a hairdryer on hand between layers, it may have taken more time, but this is a game changer for me, especially if I need to get something tabletop ready in quick fashion. Speedpaints, indeed. In the future, I would love to test these alongside the rest of the Army Painter Speedpaint 2.0 range, to see how everything comes together.
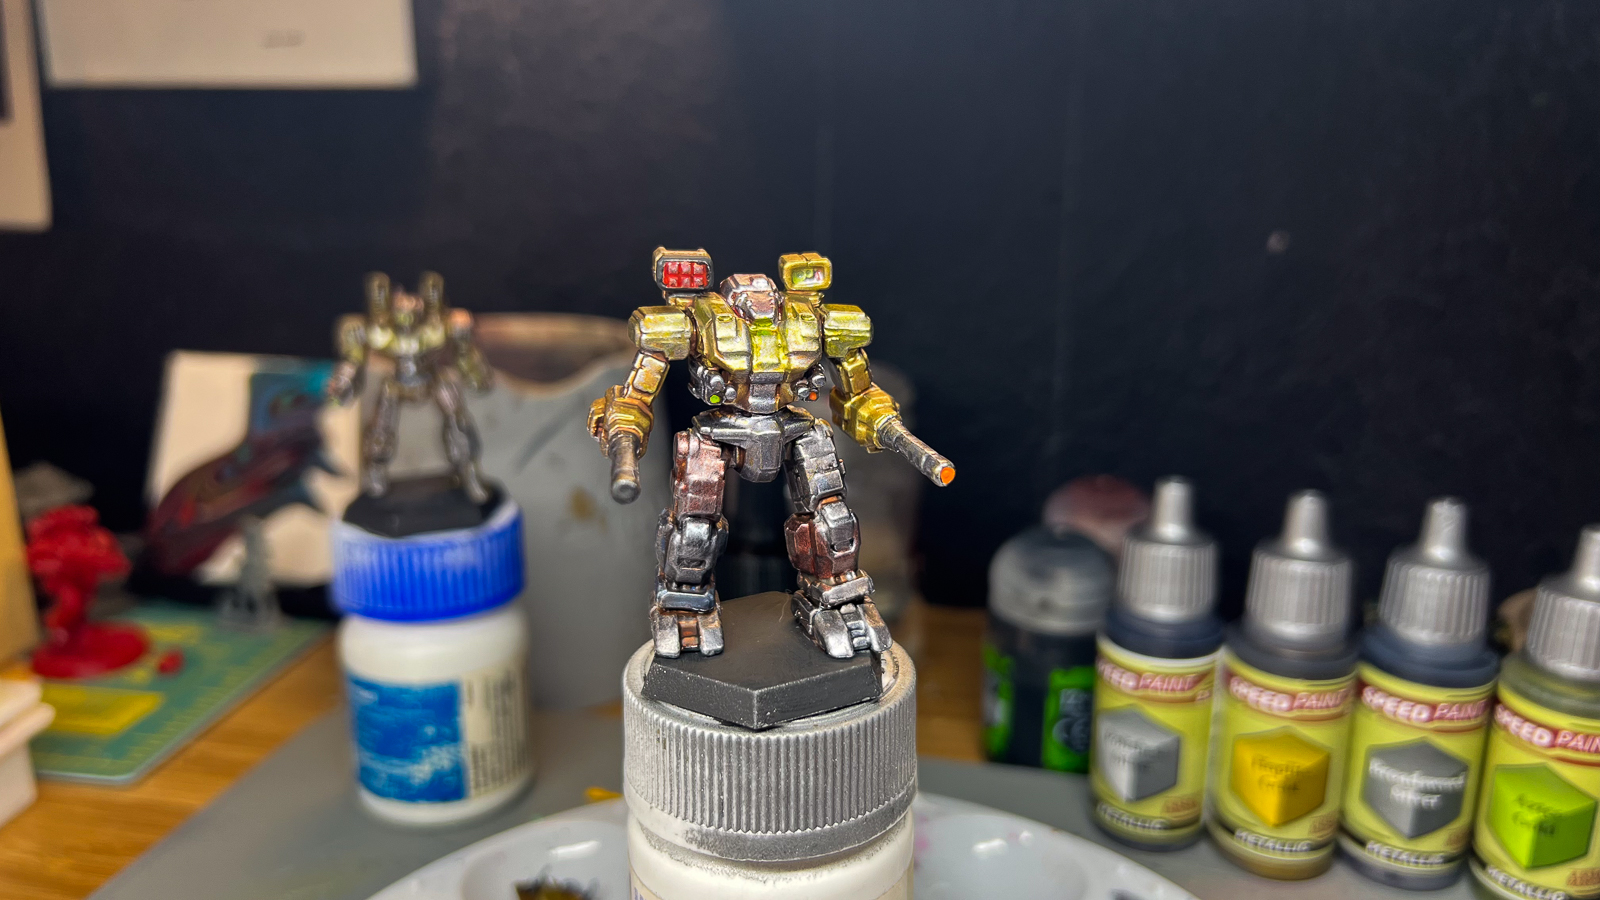
If you prime with metallic primer, you may lose detail, like I did here.
The only model that I don’t think worked well at all was the larger ‘Mech’, which I had primed with a metallic primer. The paint ended up taking on a sticky/clunky appearance, which unfortunately covered up details on the model and made some areas look thick and awkward. I also noticed that this model didn’t work well with normal paint on top of the speedpaint either. So based on my limited testing, I do not recommend metallic primers.
If you’re looking to get into speed painting, and if you’re looking to increase your skills with metallic paints, these are an excellent entry point.
Army Painter Speedpaint Metallics 2.0
Excellent
It’s very hard to find any fault with these paints. All of the colors were solid, the layering was perfect, and they dried quickly, living up to their name. For any hobbyists trying to decide about this range, I encourage you to pick it up. I will be utilizing these in multiple TMM projects in the future, and I can’t wait to mix them with some other painting techniques..and I encourage The Army Painter to give us more varieties of paint!
Pros
- Excellent quality of paint
- Dropper style bottles & mixing balls ensure smooth application
- Fantastic set of colors to handle most metallic situations
Cons
- Make sure you’re using a light primer
