Abomination is a fun Marvel character. As called out in my original review, he brings a lot of smashing power for cheap to Marvel Crisis Protocol. And the model is a beast, but in this painting tutorial, I’ll walk through my color scheme and techniques, so you can quickly paint Emil for your table!
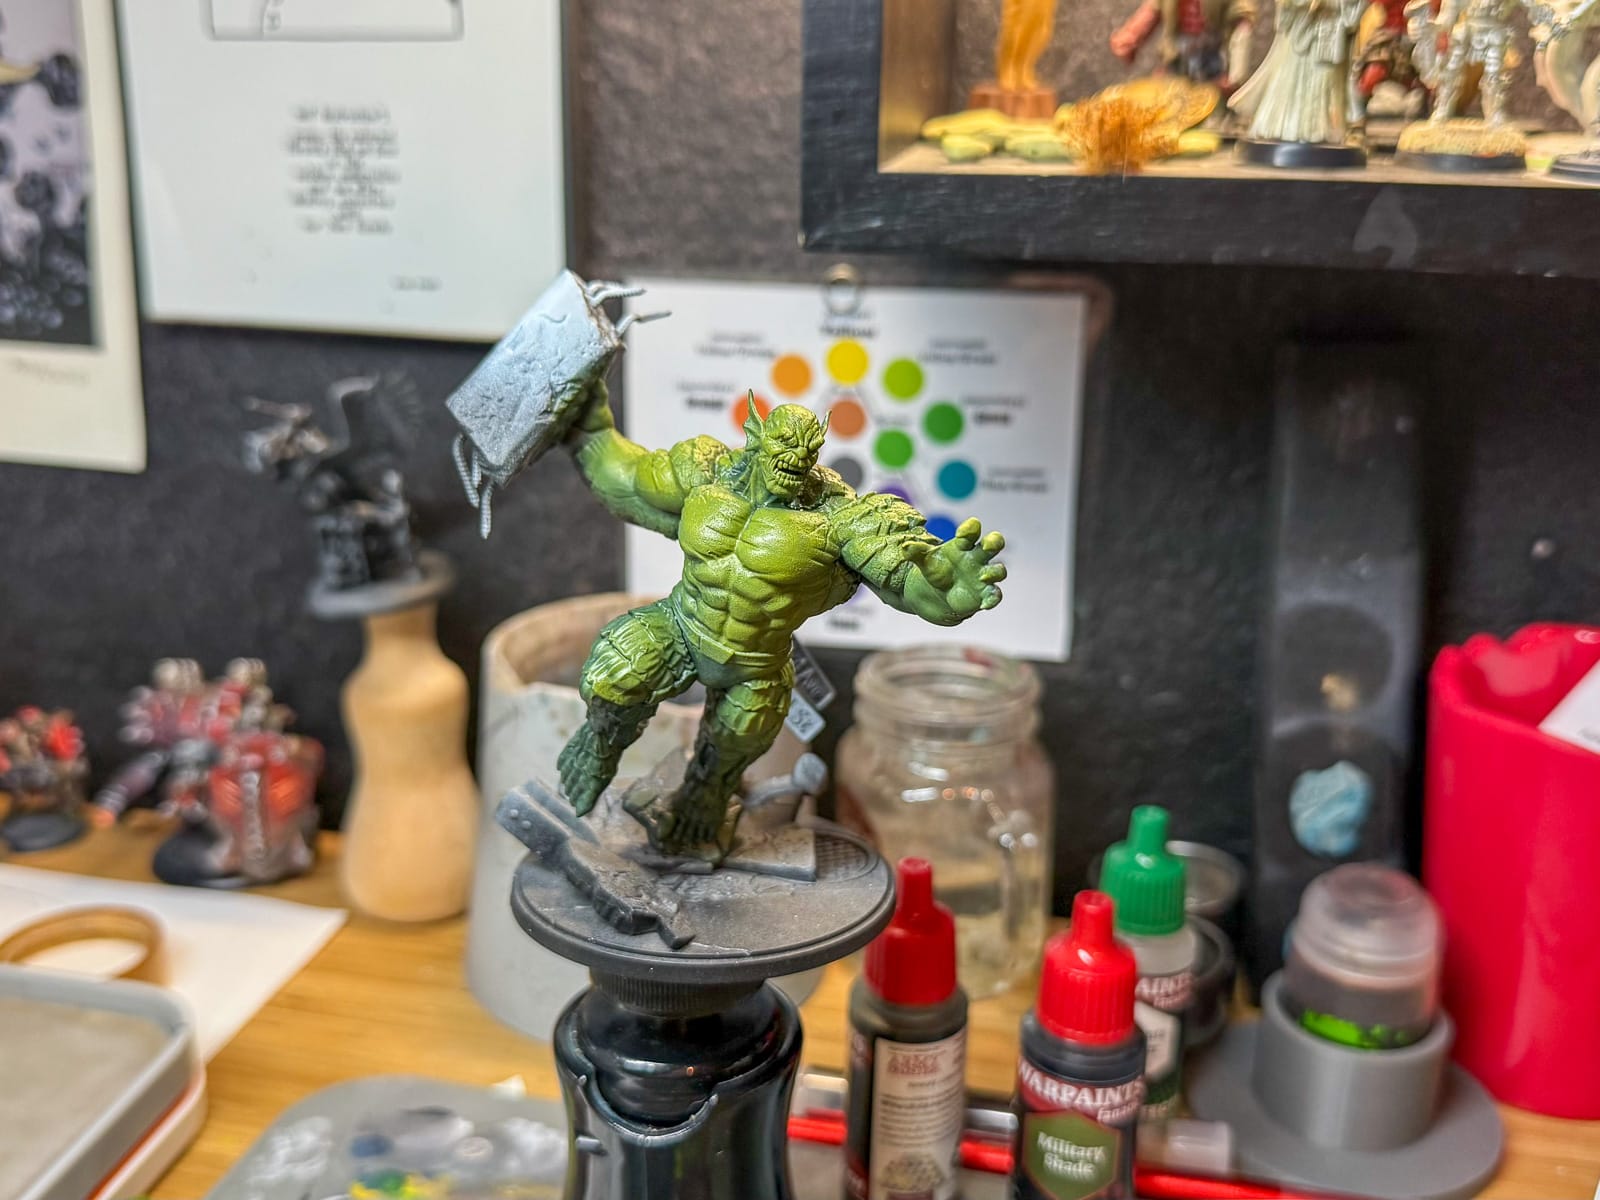
First, I started with a zenithal highlight, which is where you prime your model black and then use grey or white primer at the point where you want light to hit the model (typically a 45-degree angle). This is key to “slap chop,” a speed painting methodology, but for our purposes, it helps us remember where highlights, mid-tones, and shadows should be placed.
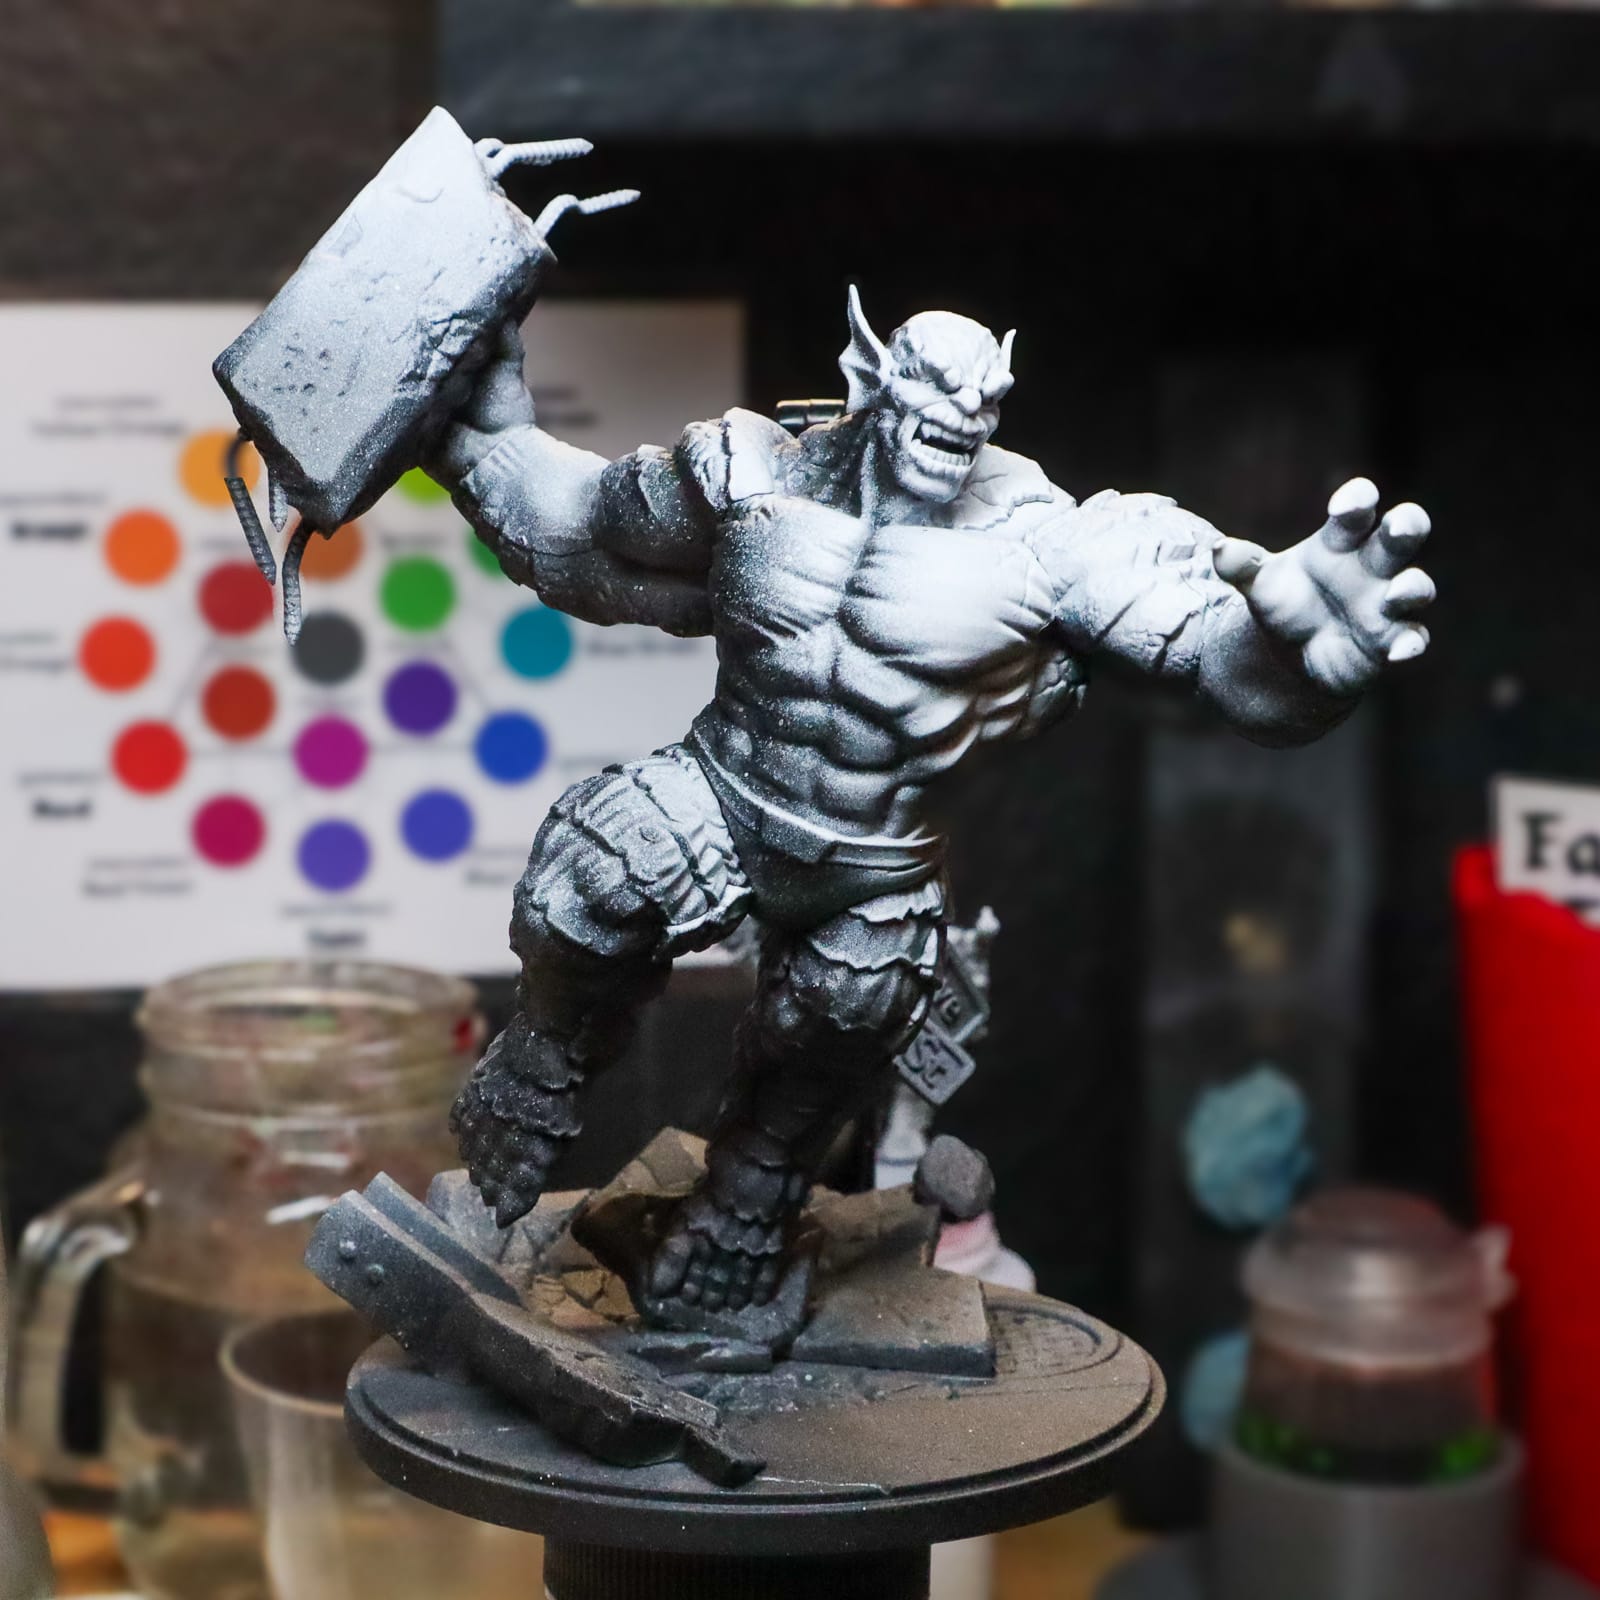
Early stages of painting include priming your model and setting up your paints.
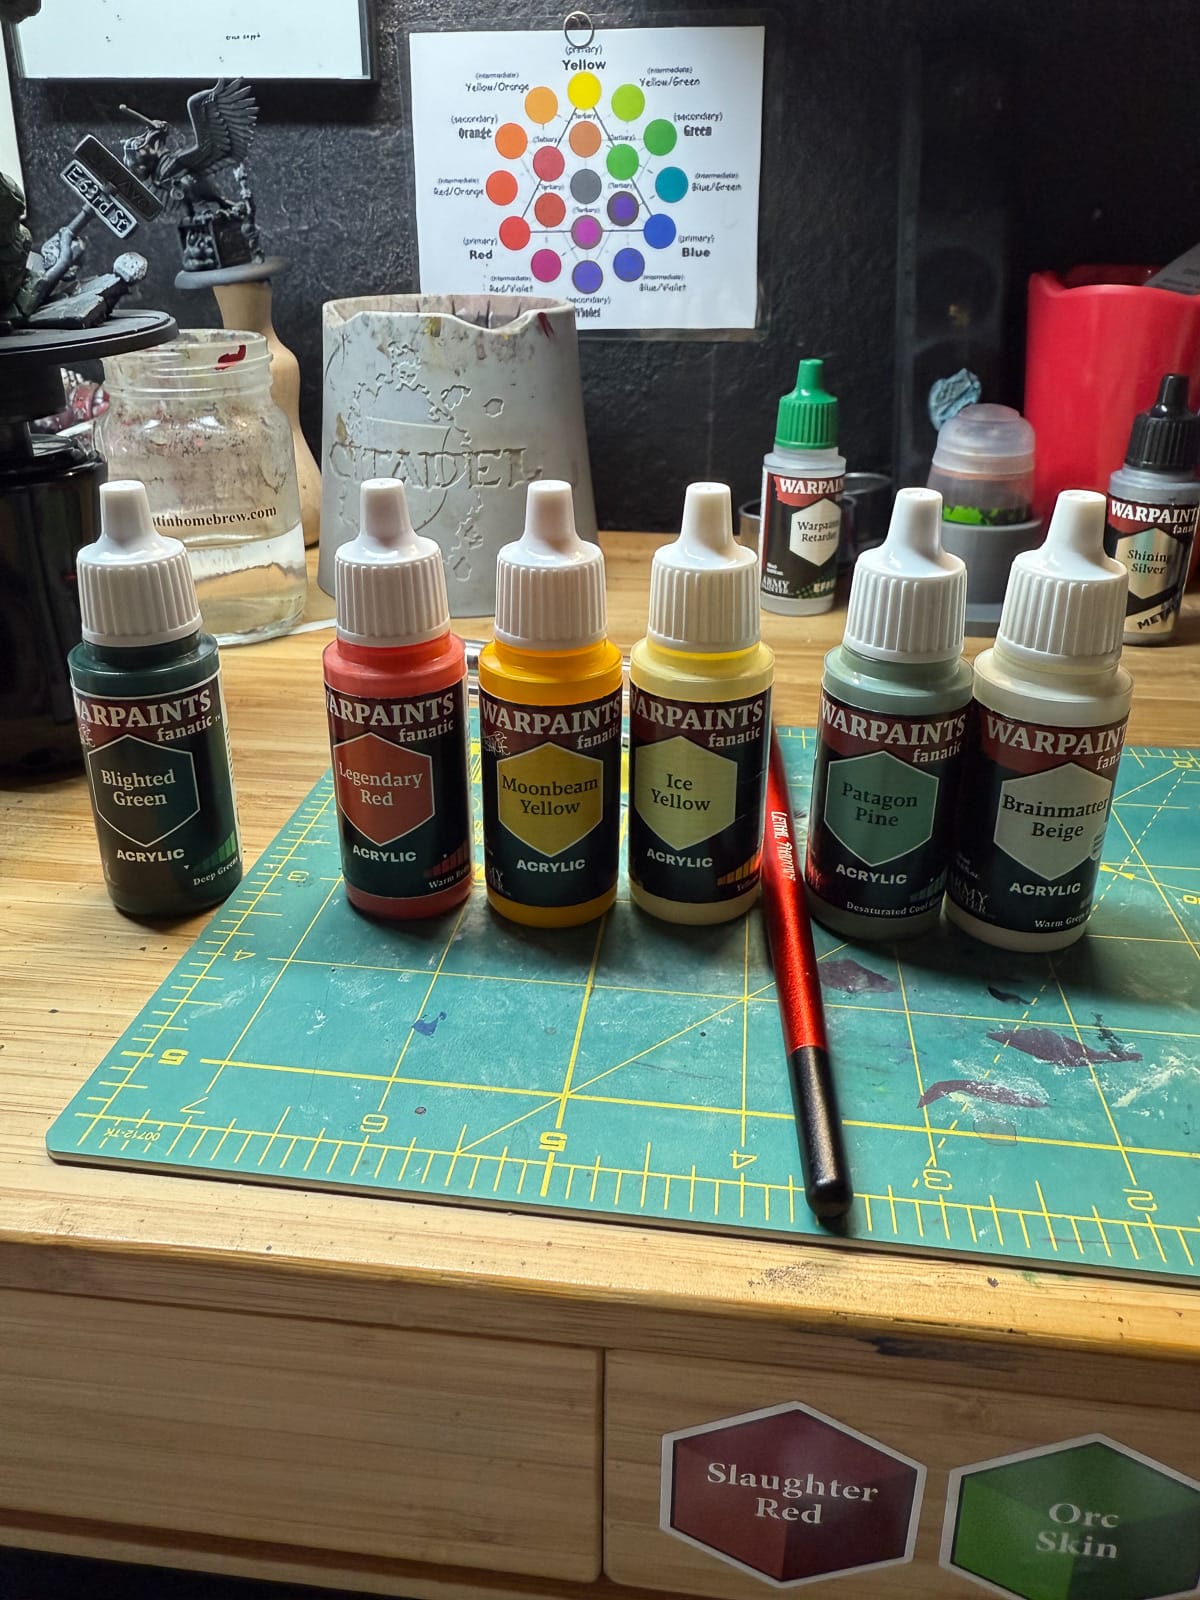
My paint choices for this piece are pretty simple, which is another great aspect of this model. Abomination is, for the most part, a big green scaly monster, so for the skin, I kept it simple with the Army Painter Fanatic line:
Blighted Green for my shadows/base tone, Patagon Pine to help establish the mid tone, with an increasing amount of Moonbeam Yellow to brighten the paint. I’m intentionally using more muted tones because I want Abomination to have an alligator-ish feel to the paint job, and I have a plan to make the highlights pop later.
These initial stages you can get messy and rough. Have fun with it!
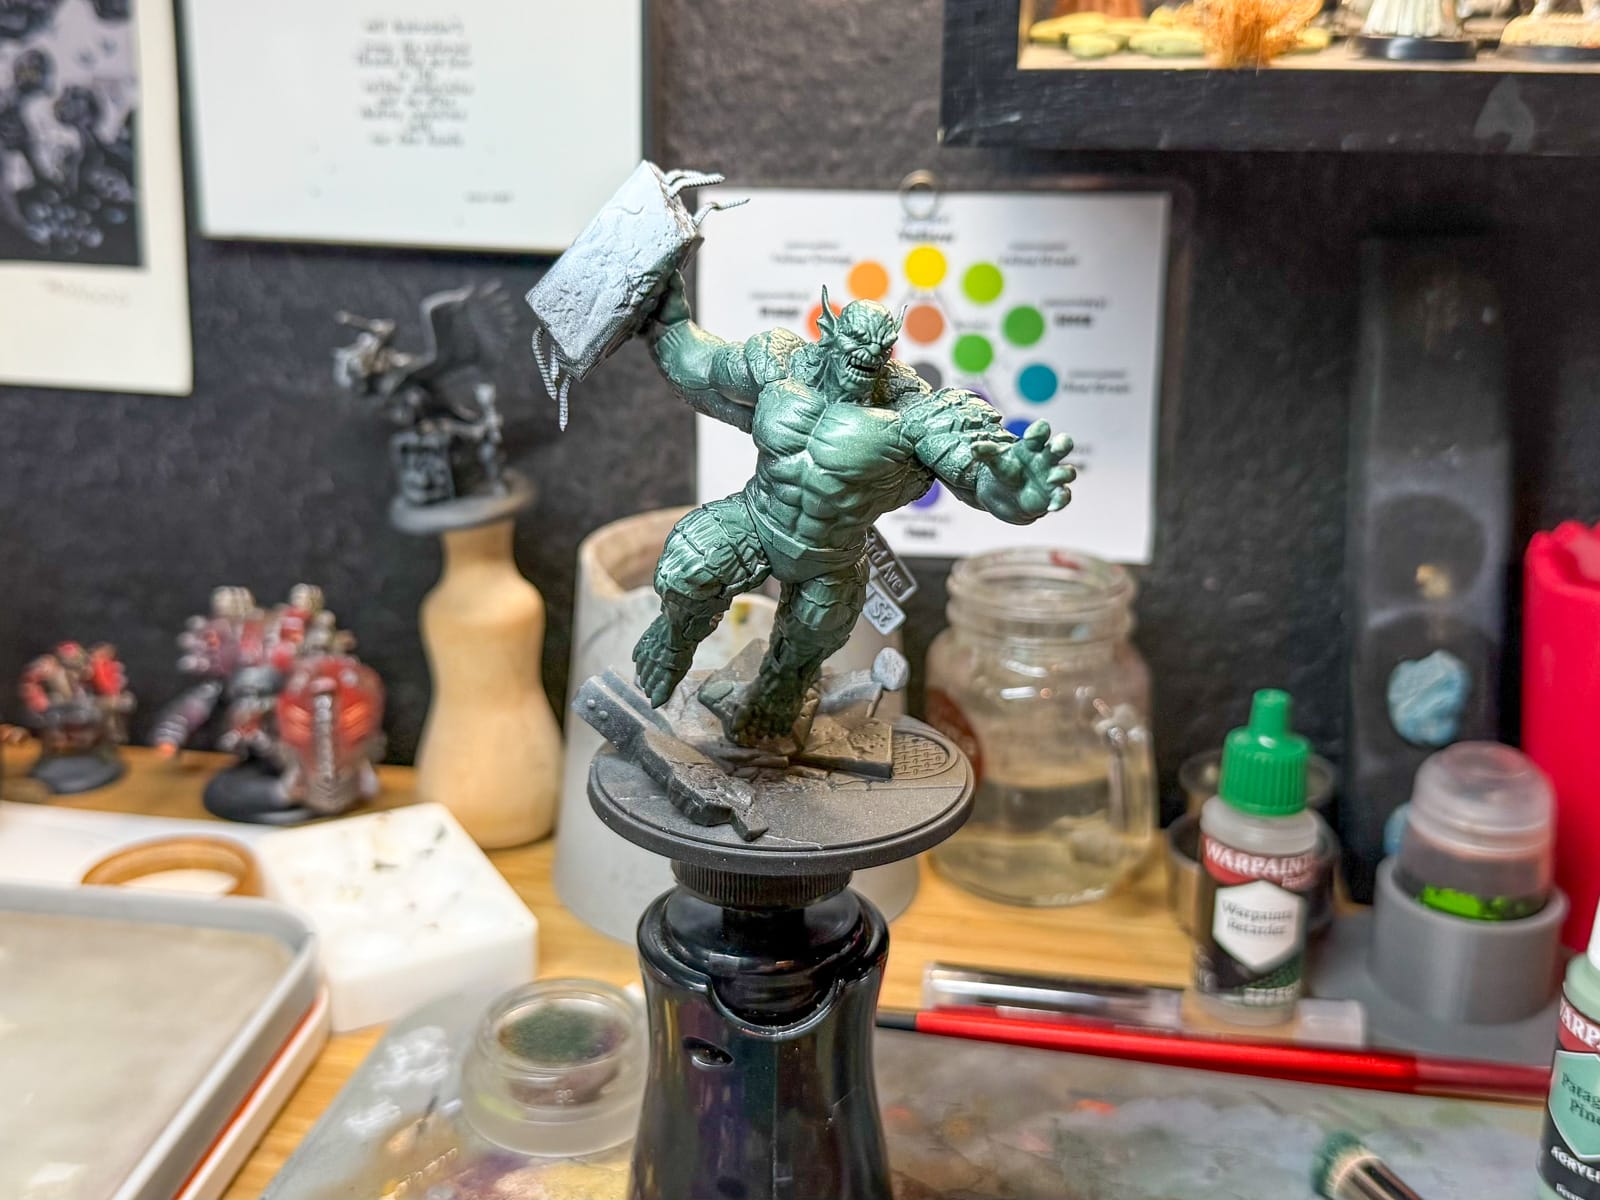
I also used a dry palette at this stage. Modern dry brushing techniques can help you quickly establish a gradient, and on a model like this, it makes setting up all of those tones easy. For ratios, I primarily used 1:1 of each color, with my mid-tones and highlights increasing more of the Pine and Yellow.
As you can see, after a few passes of the drybrush, I was able to set up my initial tones. At this stage, I switched to a wet palette and normal brushes and used the same palette. In order to get a “pop” out of my highlights, I used a mixture of Ice Yellow and Patagon Pine to create a light bluish/green tone, which I use as an under paint. This brighter and desaturated tone will EAT up the Pine/Yellow mixture that I put on top. For a final highlight, I added in Ice Yellow in increasing amounts, until I had the highlight the way I wanted it. Also, at this stage, I’ve become aware of the layers of paint, and I don’t want to get chunky with my paint.


Using a lighter tone under your highlight gives you an extra boost to the color
During this time, before I went into the final highlights, I held the model upside down and applied Voodoo Shade to the recesses. Voodoo is a mix of browns, greens, and dark tones, which is perfect for this model. And by hanging Abomination upside down, I was able to ensure my washes got into the crevices.
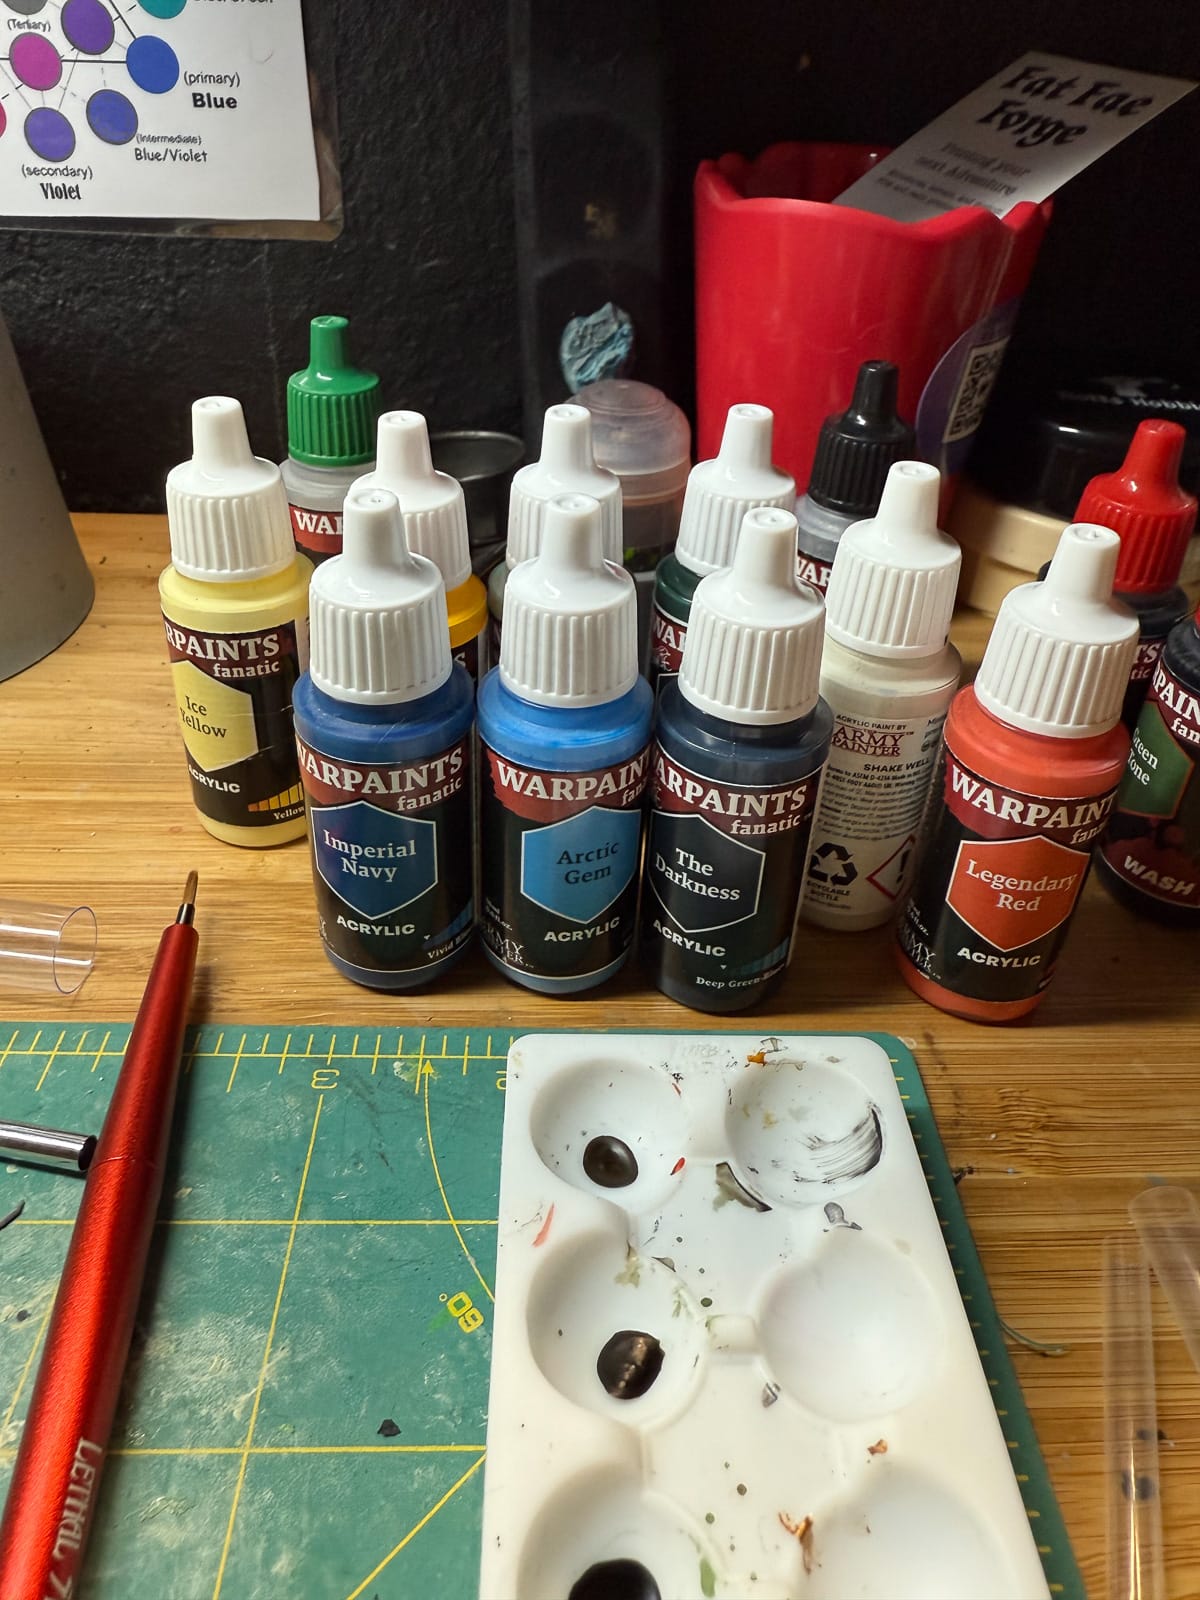
At this point, I realized Abomination needed pants. Keeping it simple, I used The Darkness, Imperial Navy, and Arctic Gem, which was a suitable triad to bring me from a dark green blue to a bright enough color to represent the spandex that I assume Abomination wears. A little bit of Ice Yellow helped establish that final tone, and a mix of Plate Metal Steel and a tiny bit of shade gave me his belt buckle.
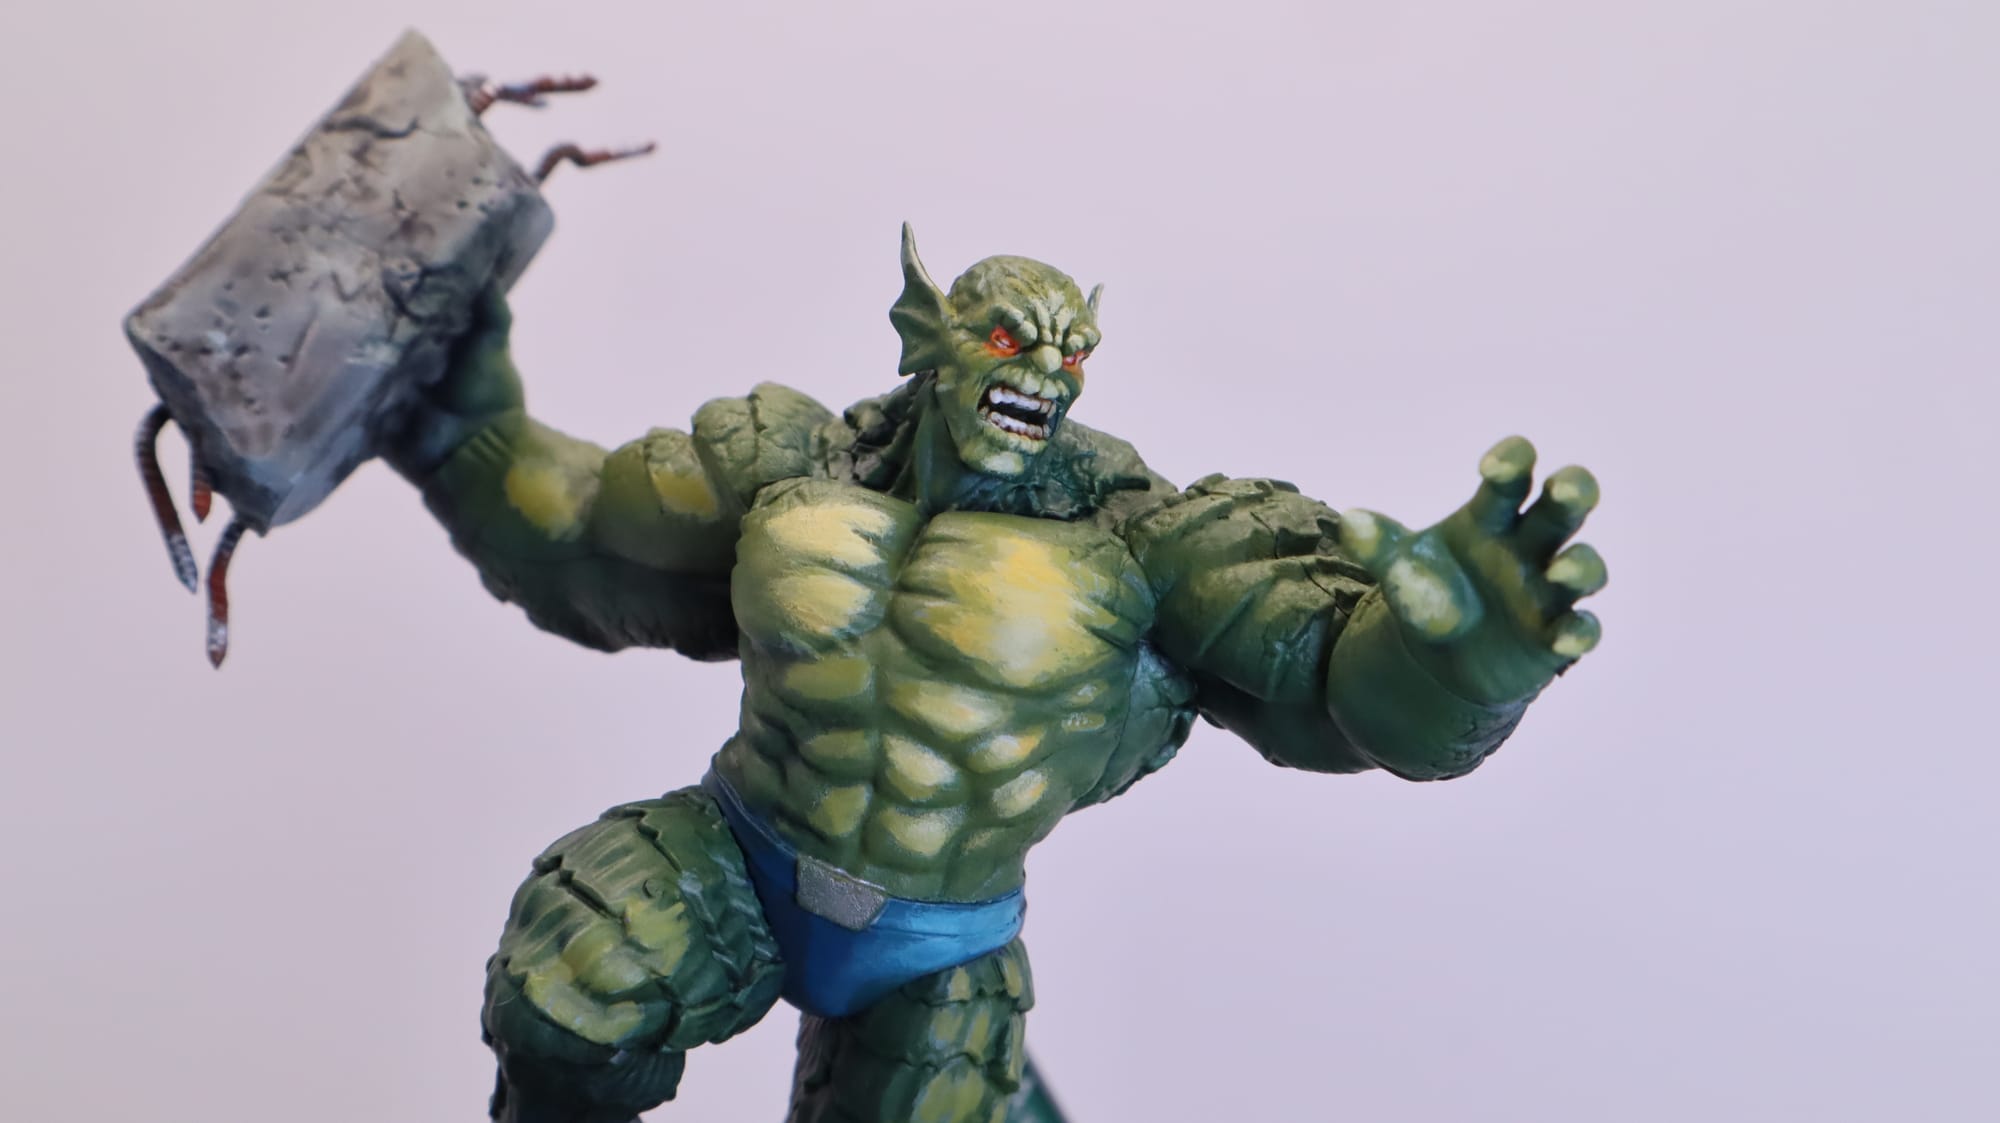
Lastly, the face. Brain Matter Beige gave me his teeth, while Patagon Pine helped to start establishing the eyes. A wash of Sepia Tone on the teeth and a pass with the Beige finished the teeth, while I pulled a mix of Legendary Red and Moonbeam Yellow to build out some red glowing eyes. A final touch of Red and Yellow around the eye socket gave me a nice OSL effect, and effectively, we’re done!
If I really wanted to, I could spend even more hours on this piece, but I just need him looking good for the table. If I were to take this model to the next level, I would go about highlighting the specific armor panels, adding texture to the skin with stippling techniques, adding some dust and grit to the model to represent how dirty he probably gets, and maybe even add a secondary light source to the back to make it more interesting. But, this is for the table, not for the display.
I hope you enjoyed this tutorial, hope to see you back for the next one, and keep reading Gaming Trend for all things Marvel Crisis Protocol!