by David Burdette
by Ron Burke
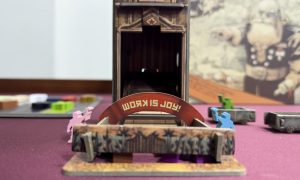
Step into the bustling corridors of Factory 42, where you’re thrust into the role of overseeing Marxistic dwarves in an industrialized setting...
by Mike Case
Continuing on my quest to play every two player abstract game that Gigamic and partner Hachette Games has to offer, we have...
by Mark Julian
I’m a huge fan of Nanoleaf, having decked out my arcade room a while back with their Lines, Shapes, and Bulb products,...
by Richard Allen
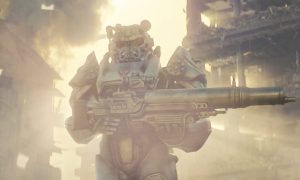
Grab your loadouts, Champs is here. The Call of Duty League version of the Superbowl is in our sights, happening in July,...
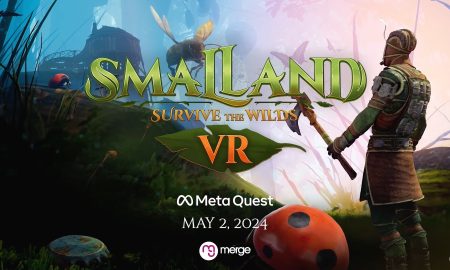
Maximum Entertainment has revealed that their upcoming epic survival adventure game Smalland: Survive the Wilds VR will launch on May 2nd for...
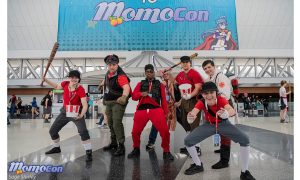
MomoCon 2024, which is set to take place in Atlanta over Memorial Day weekend (May 24th – 27th) has announced that legendary...
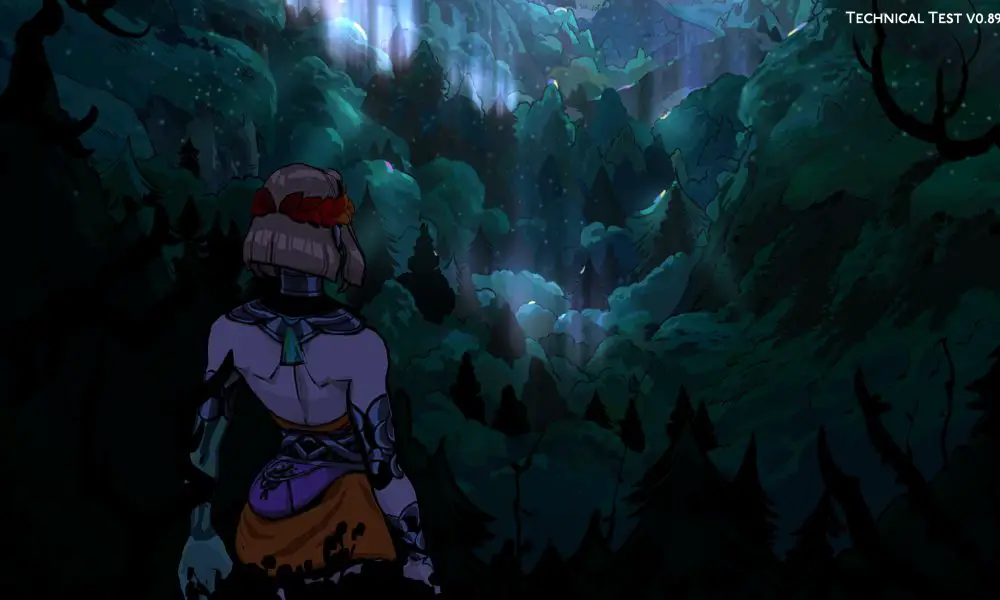
The Kickstarter is now live for the upcoming hand-drawn martial arts sci-fi adventure Moon Samurai, which is set to launch on the...
All of Supergiant’s games are masterpieces, but Hades took the world by storm. Its addictive rogue-like gameplay, compelling story and characters, and...
Check out the latest press release from Ares Games: In a universe where space battles are a celebrated sport, command a fleet...
Paizo is back with some big news about some of the upcoming Pathfinder products. Check out their press release: Tuesday, April 16th,...
iBUYPOWER, a leading manufacturer of high-performance pre-built gaming PCs, has unveiled their VALORANT Champions Tour (VCT) Americas themed gaming PC systems. iBUYPOWER...
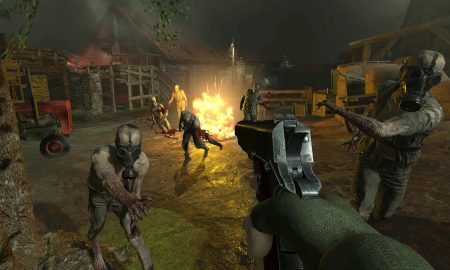
Get ready undead-sniping heroes, because a new story trailer for Zombie Army VR was just released. Zombie Army VR takes place alongside...
Today FarBridge, Inc., in partnership with Gearbox Entertainment, made a surprise announcement regarding the Homeworld franchise. Homeworld: Vast Reaches, a new virtual...
Unsound doesn’t have to tell you that it’s based on a true story. Never have I seen something so real. Never has...
Today, Black Tabby Games released an update for their game, Slay the Princess. In addition, as par of the Steam Midweek Madness...